Blog by Steve Laug
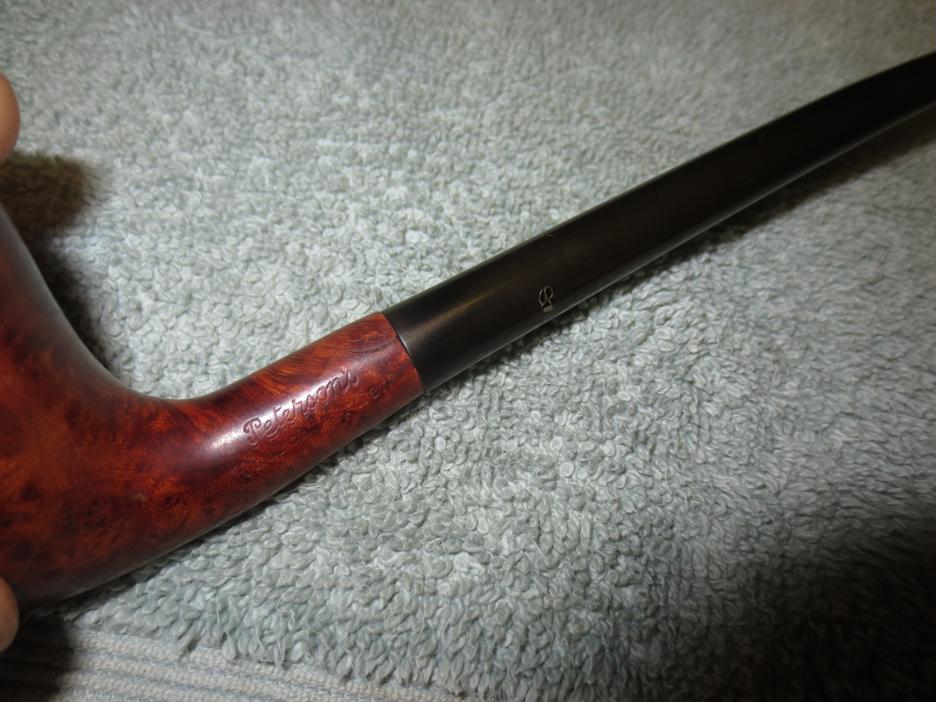
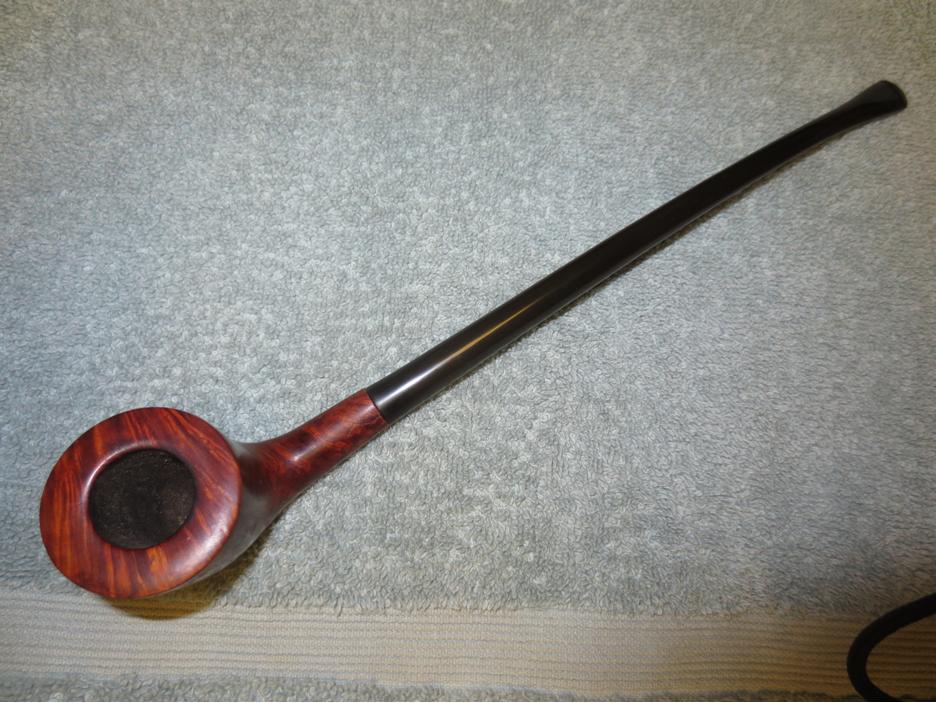
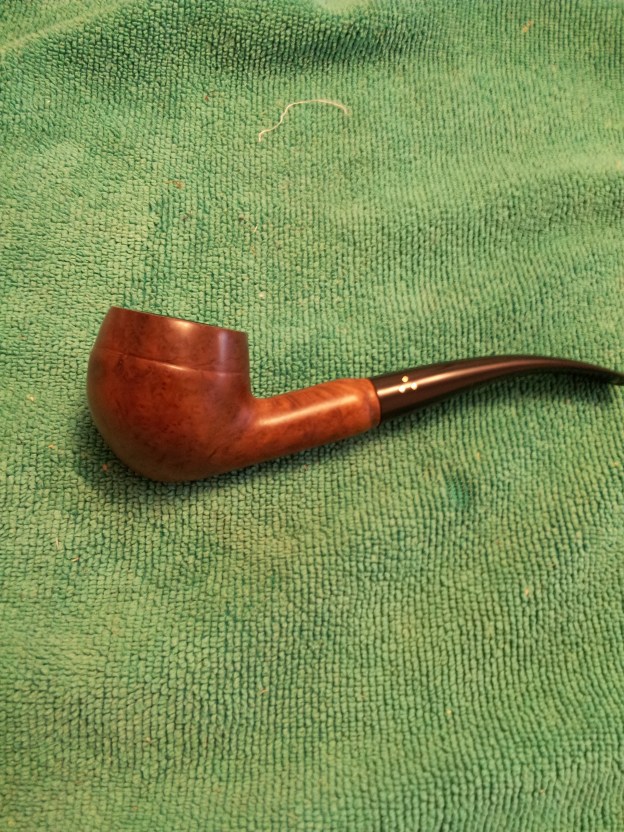
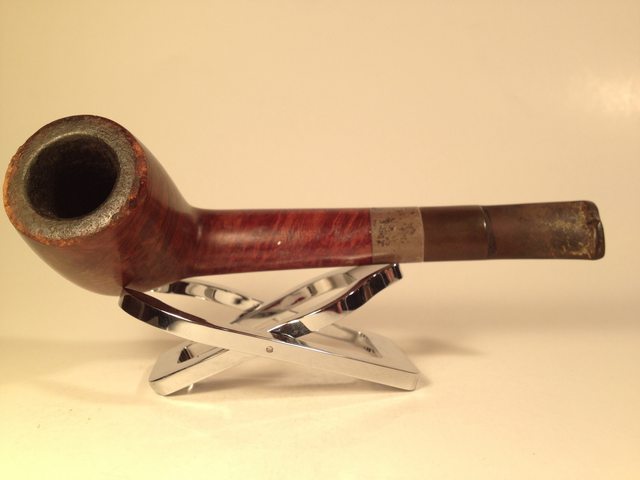
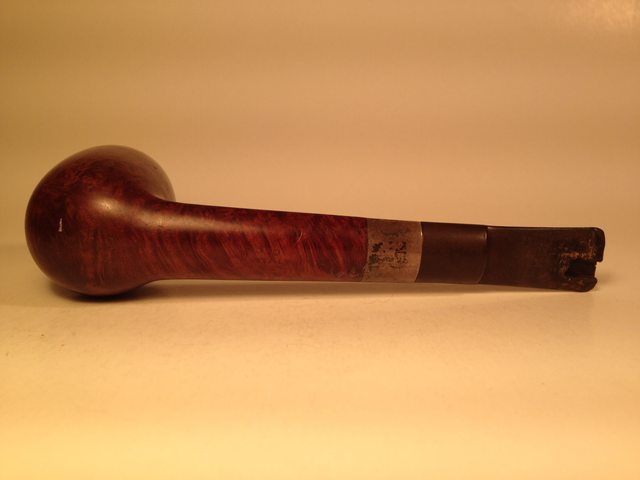
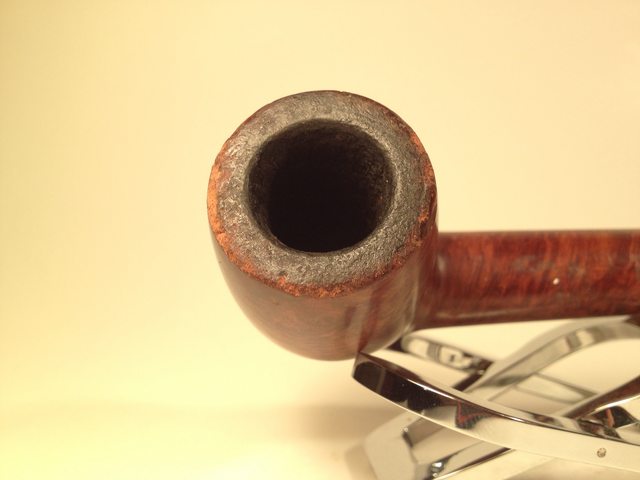
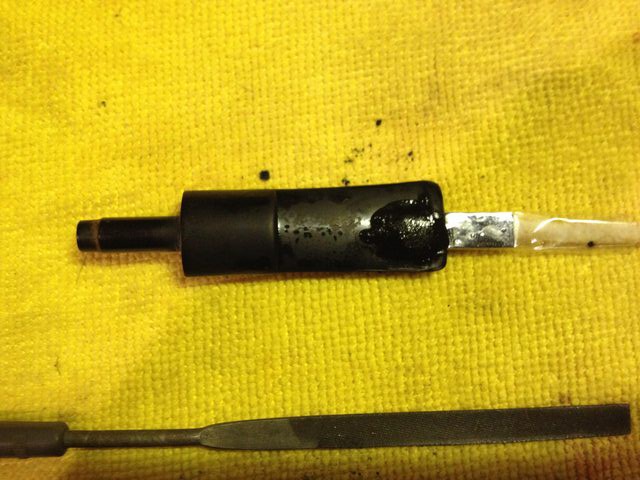
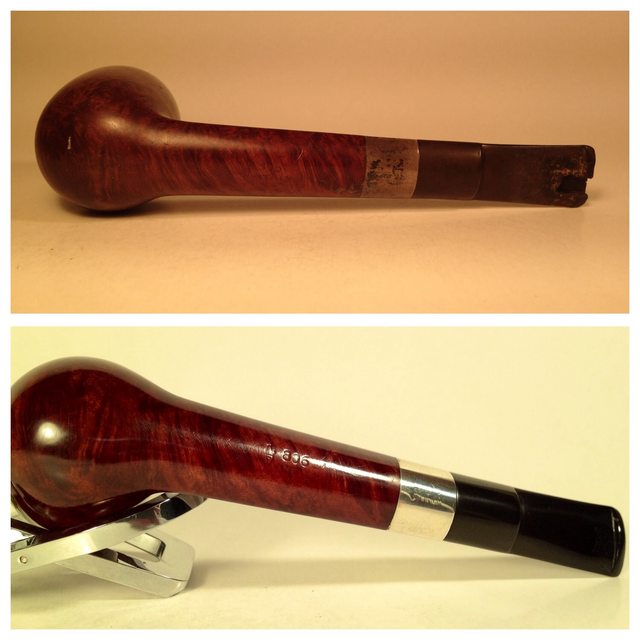
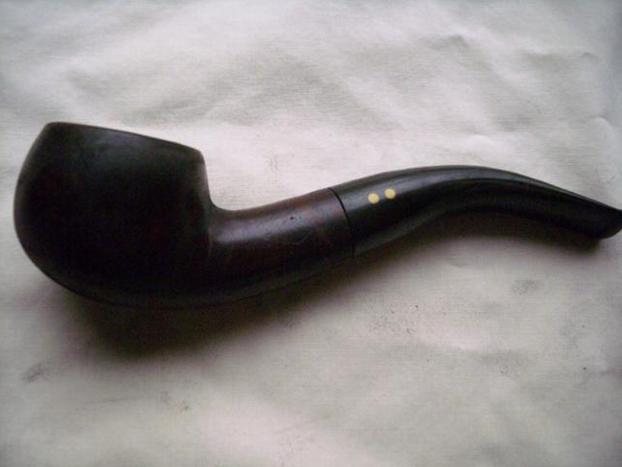
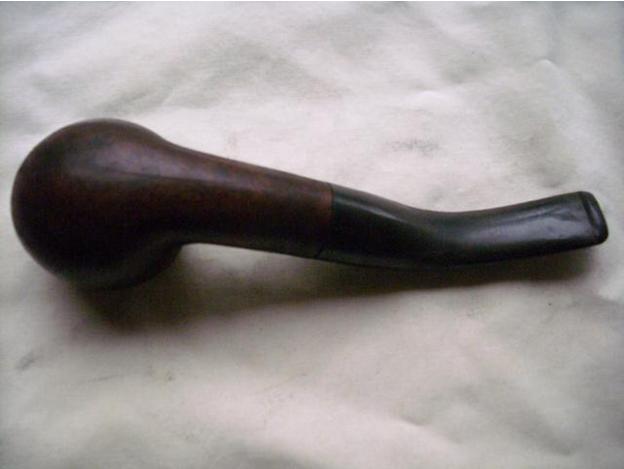
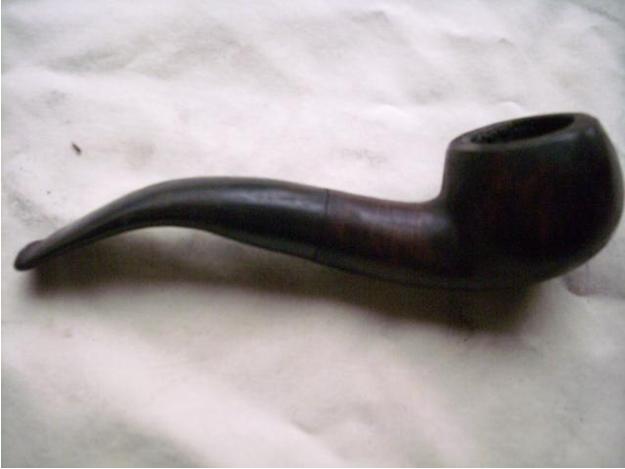
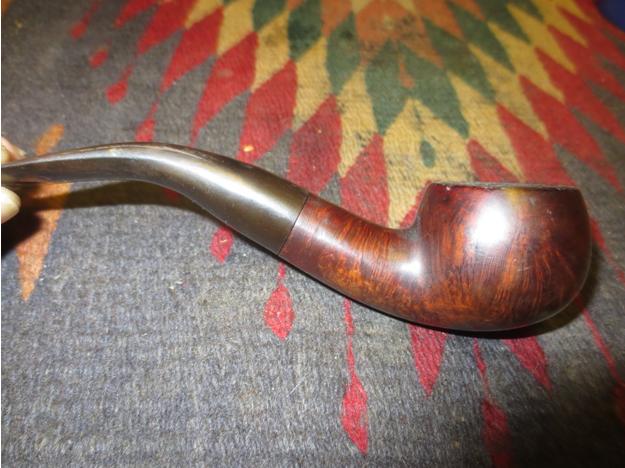
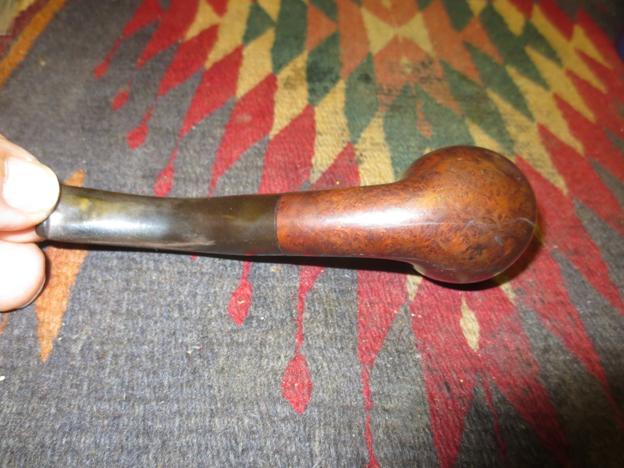
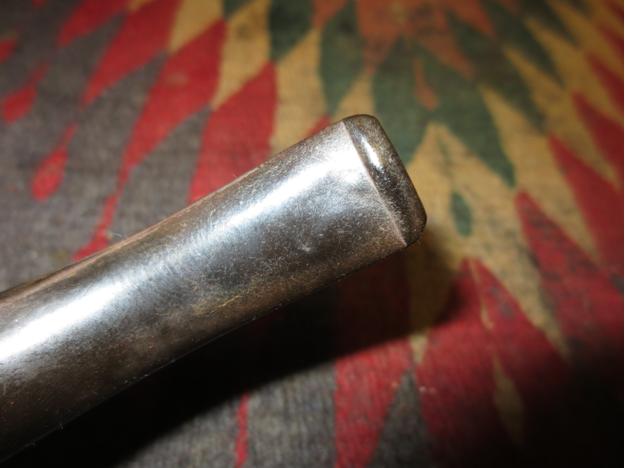
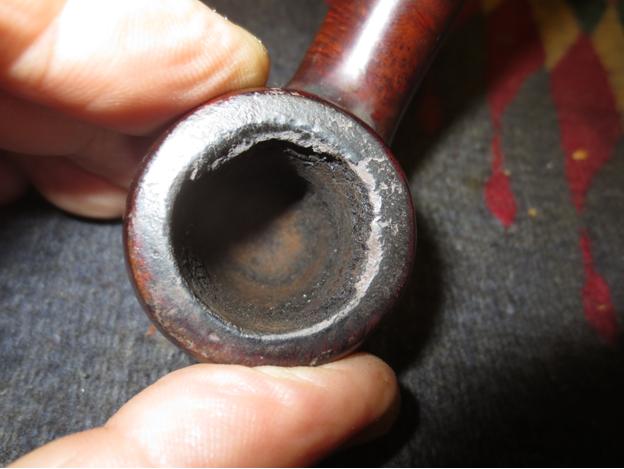
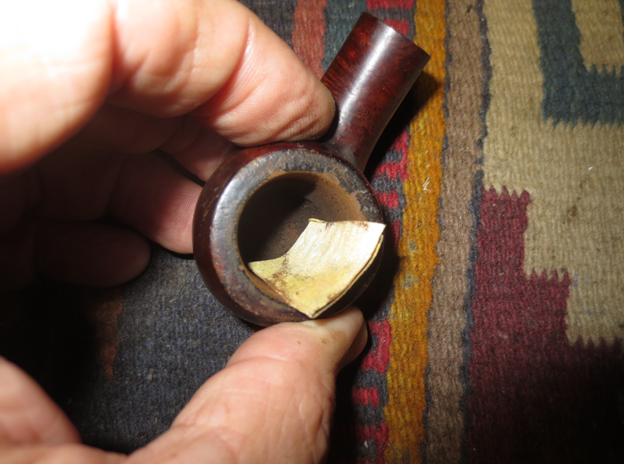
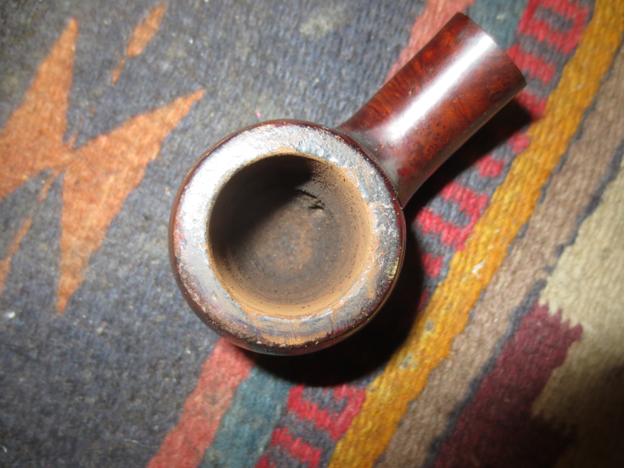
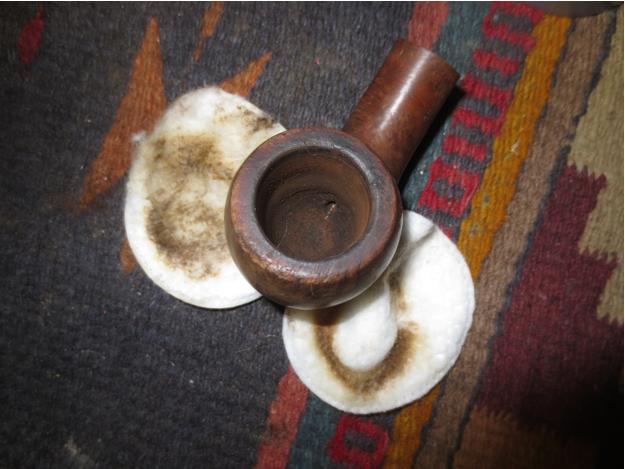
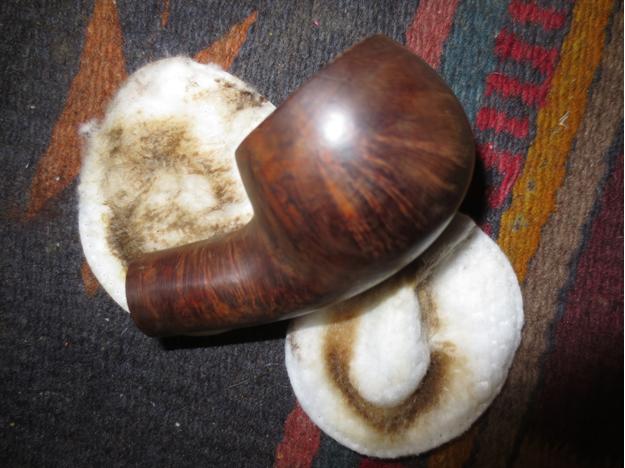
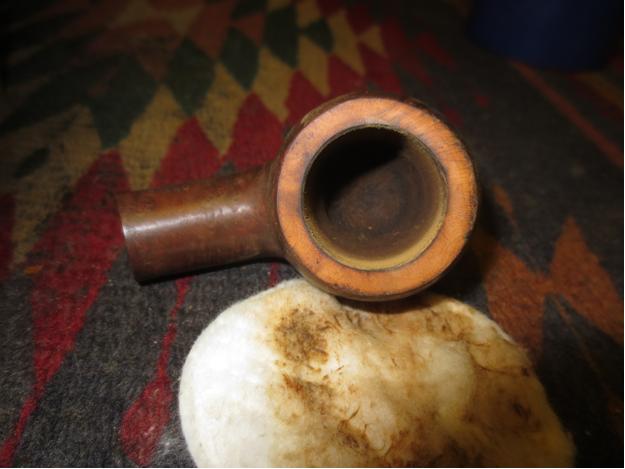
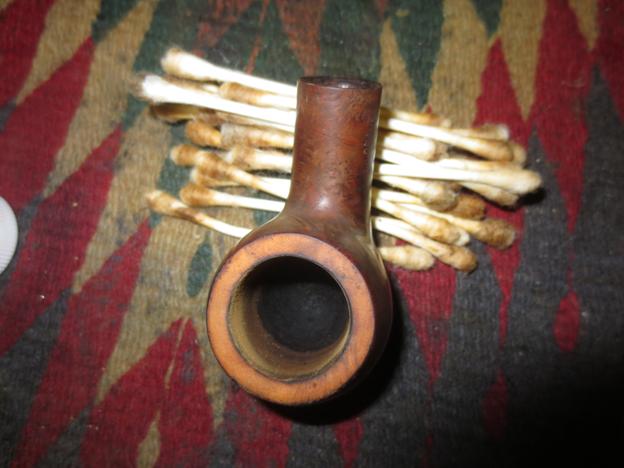
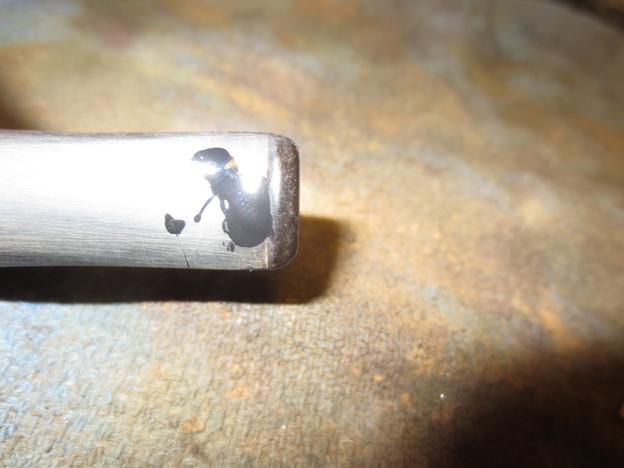
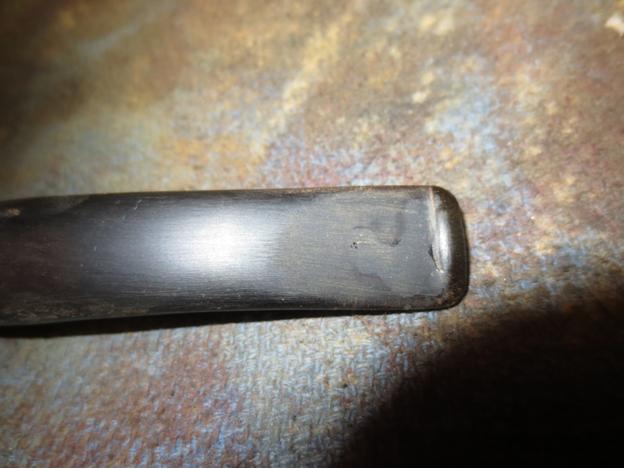
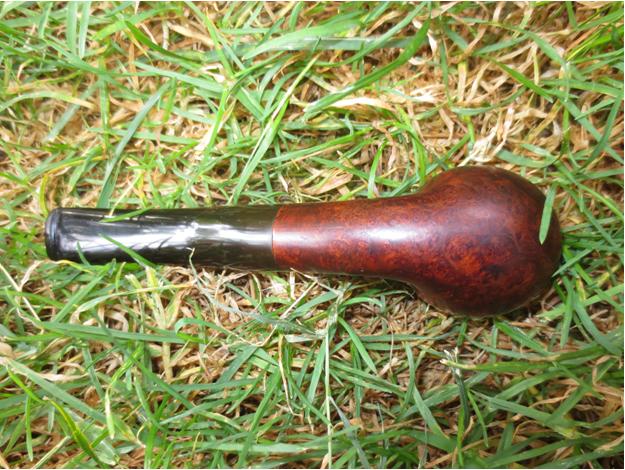
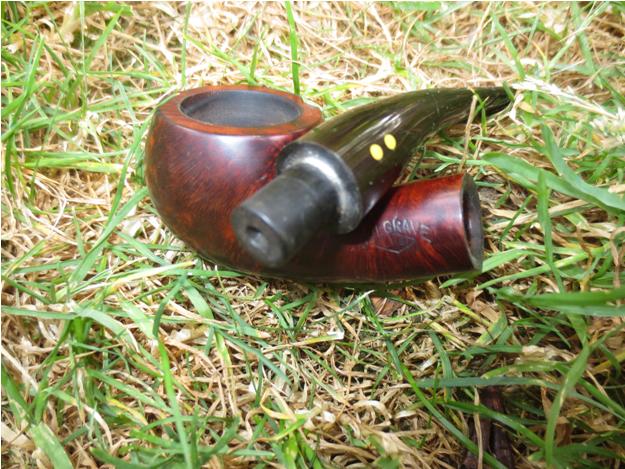
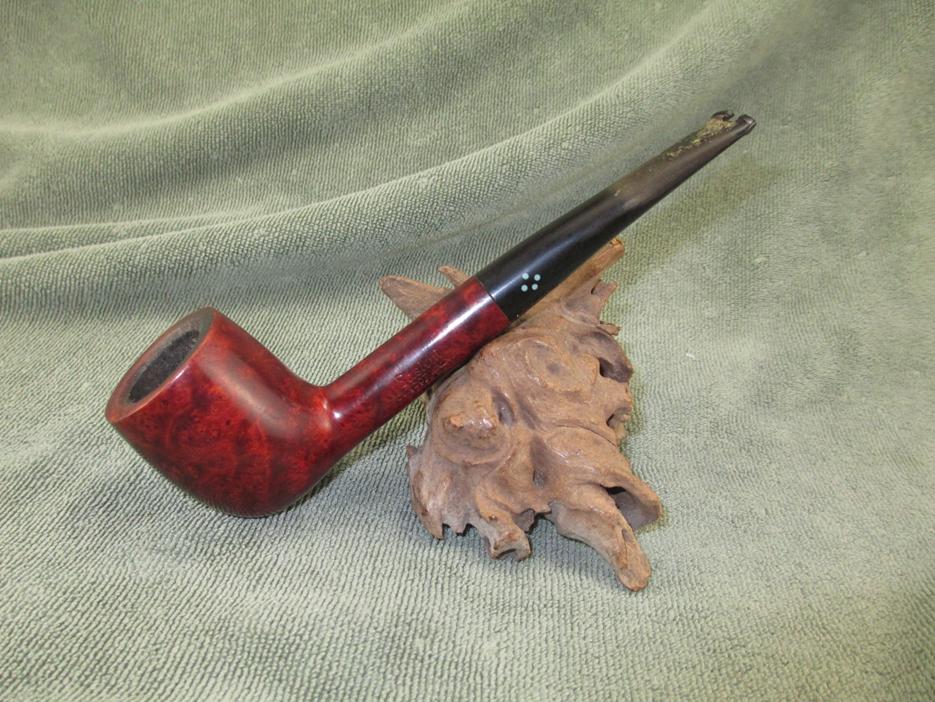
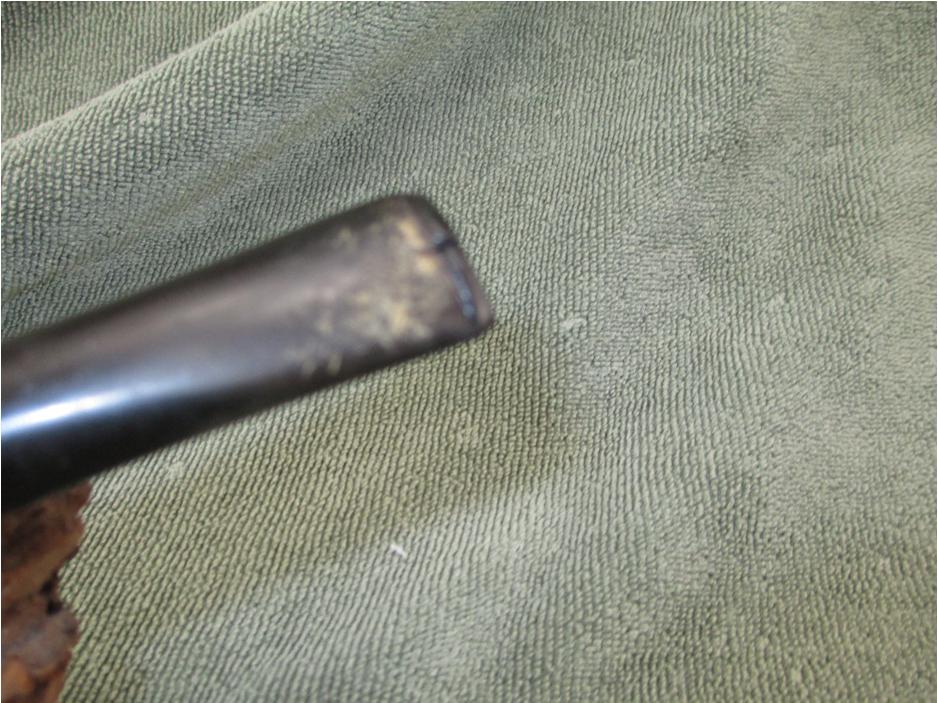
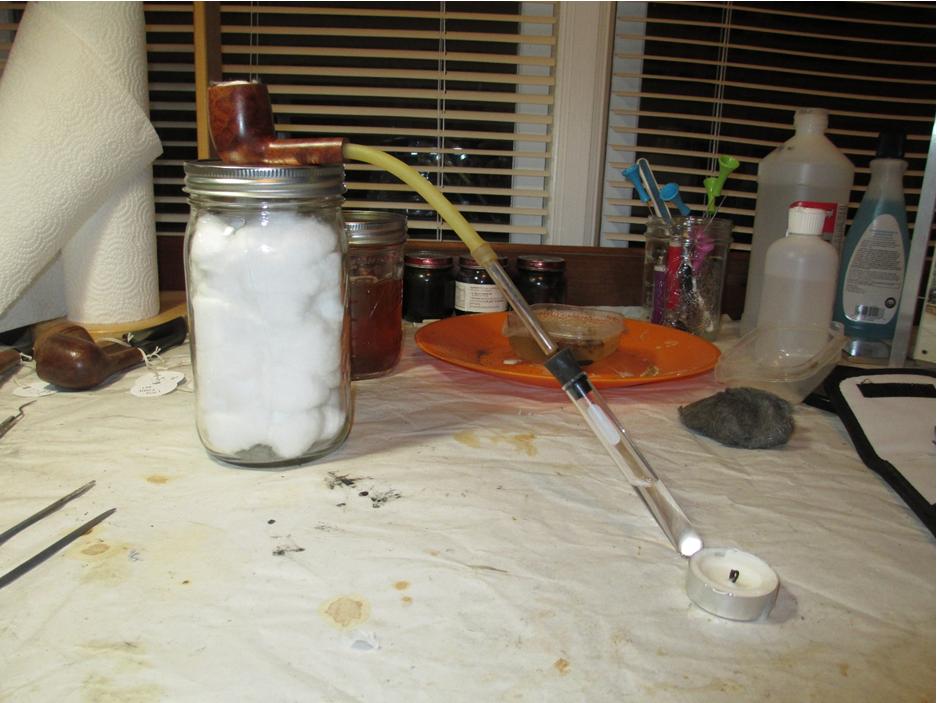
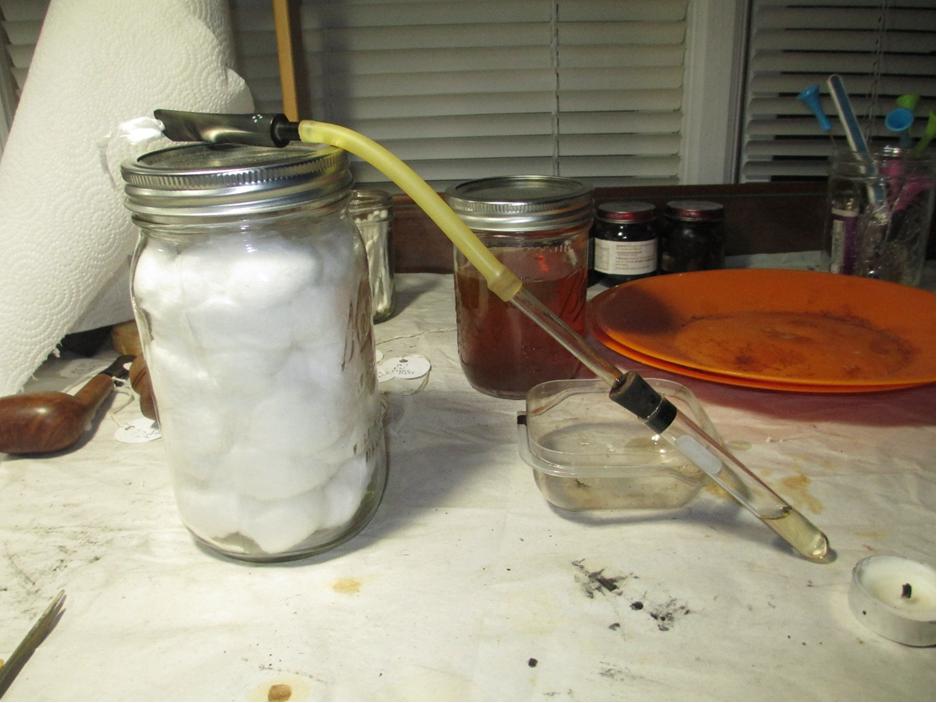
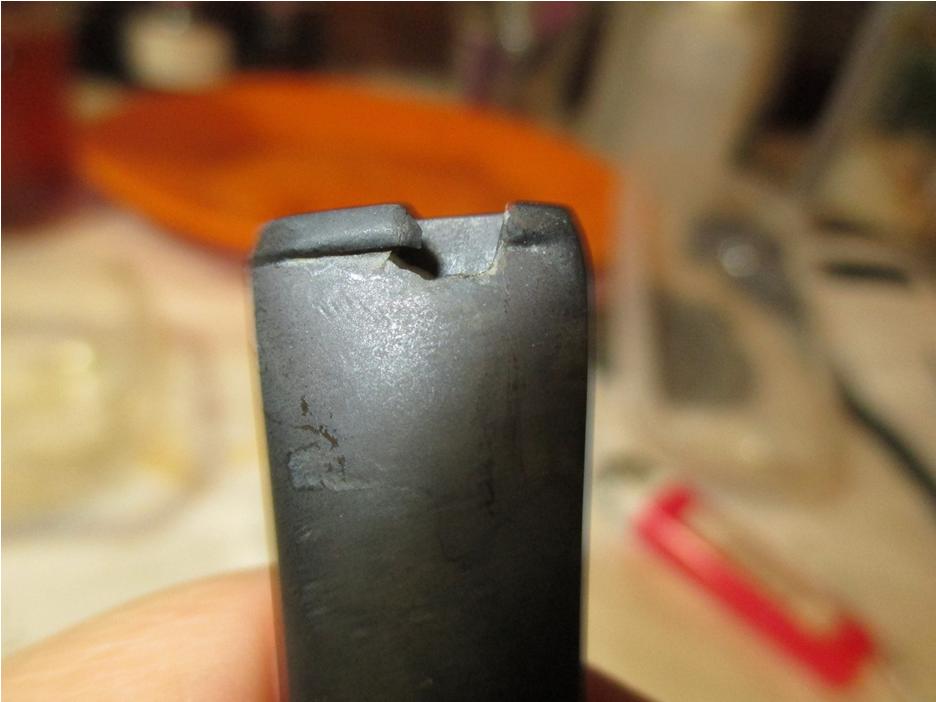
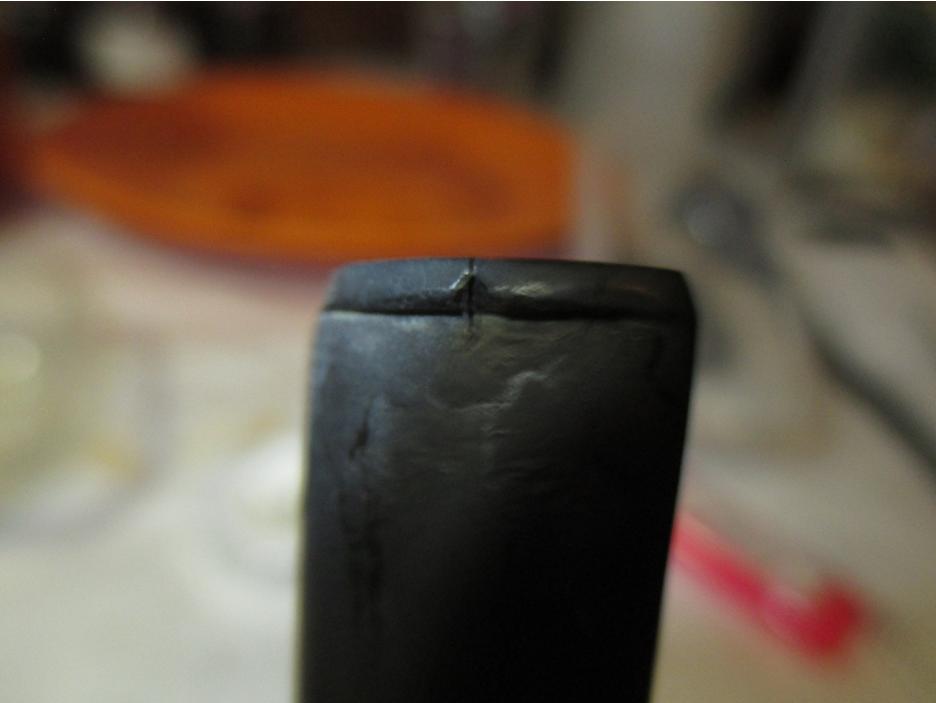
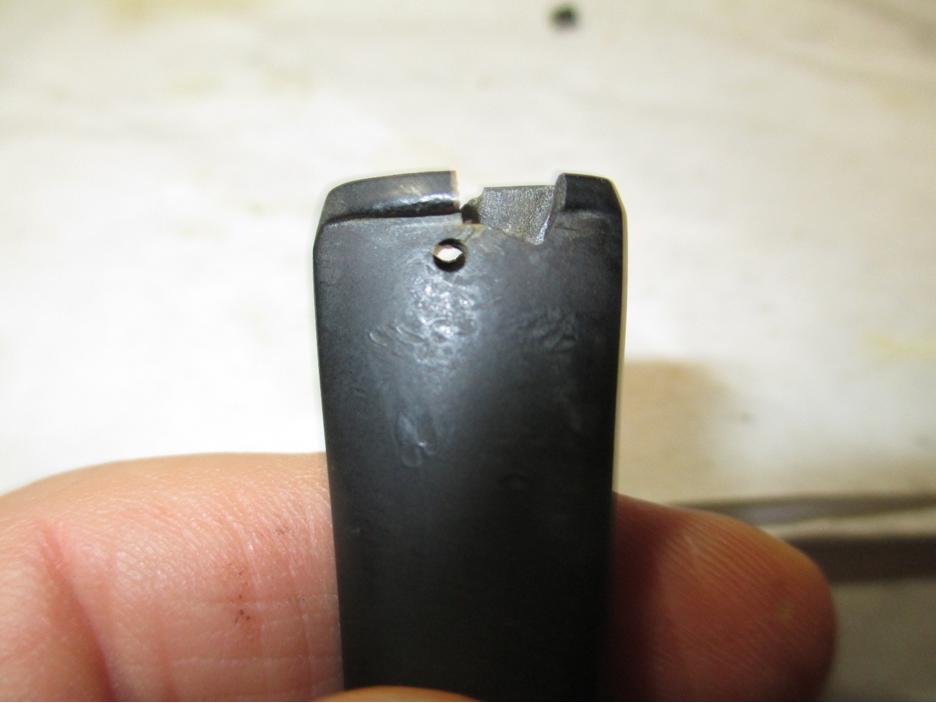
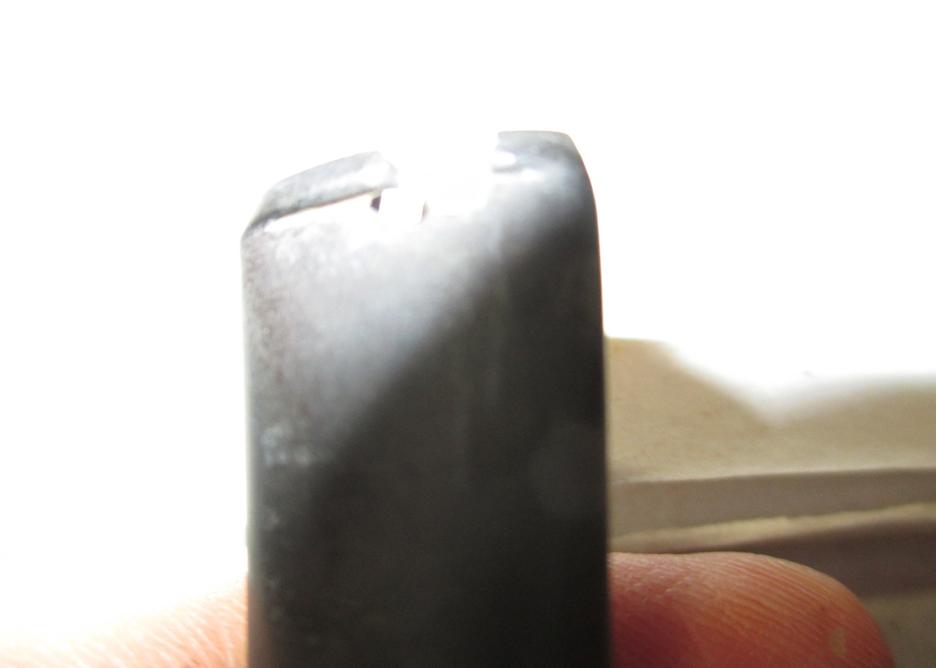
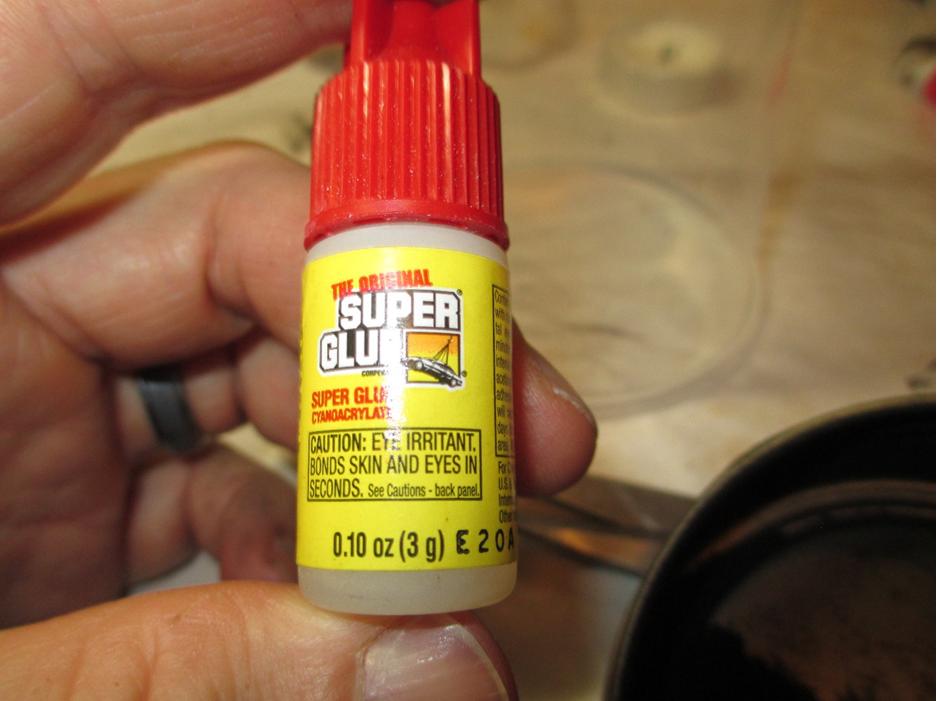
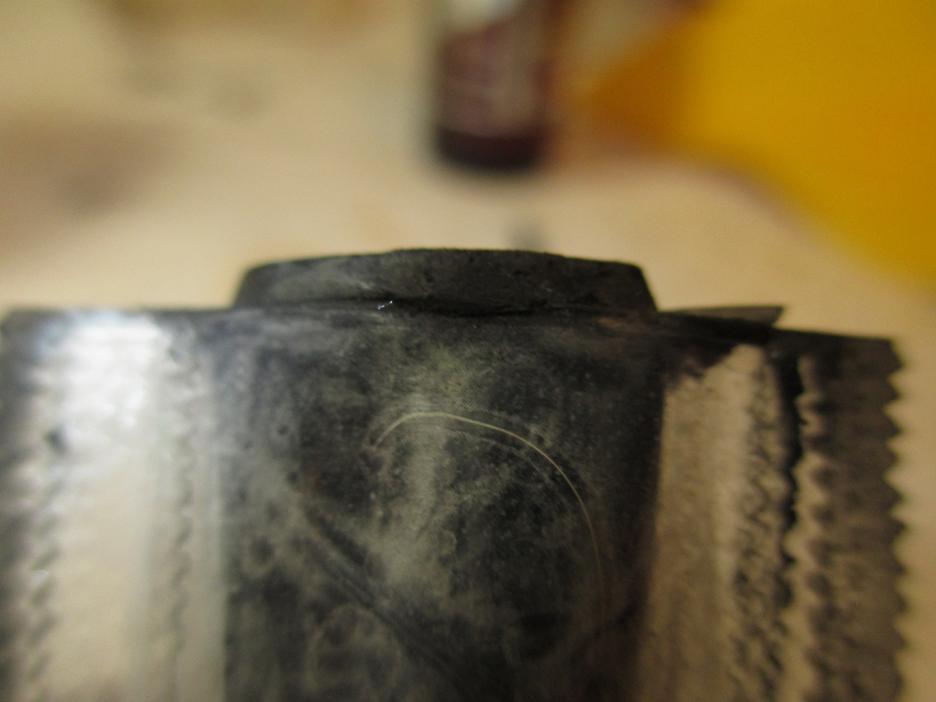
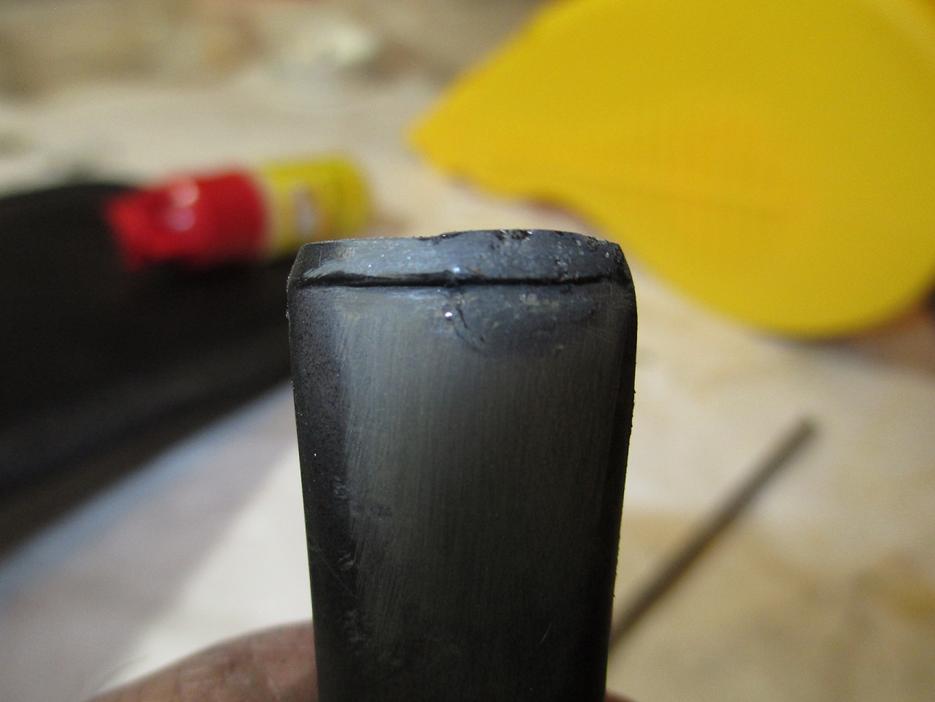
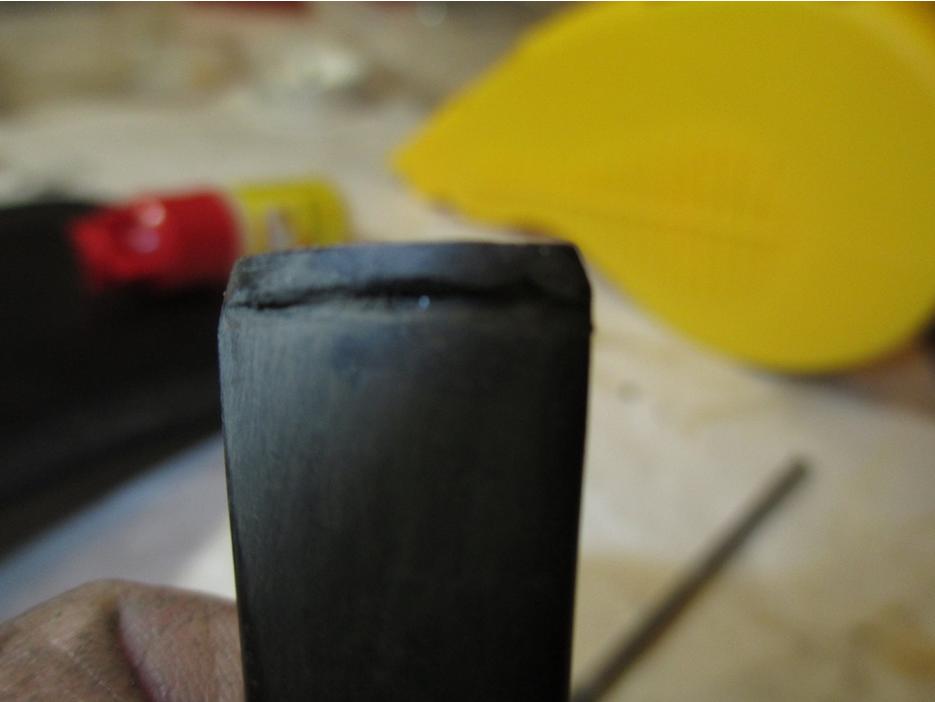
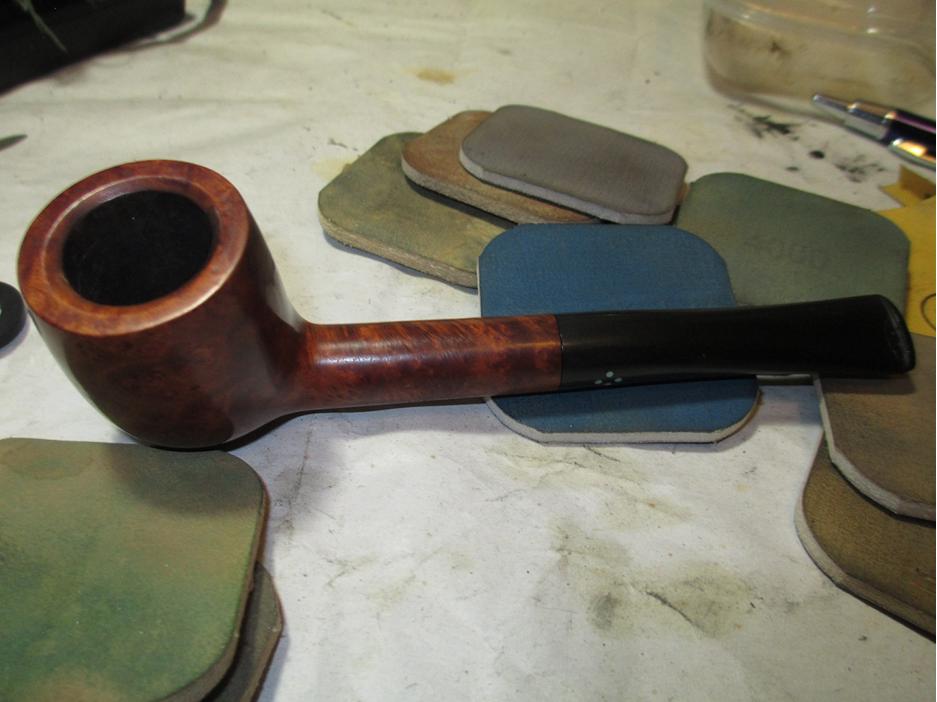
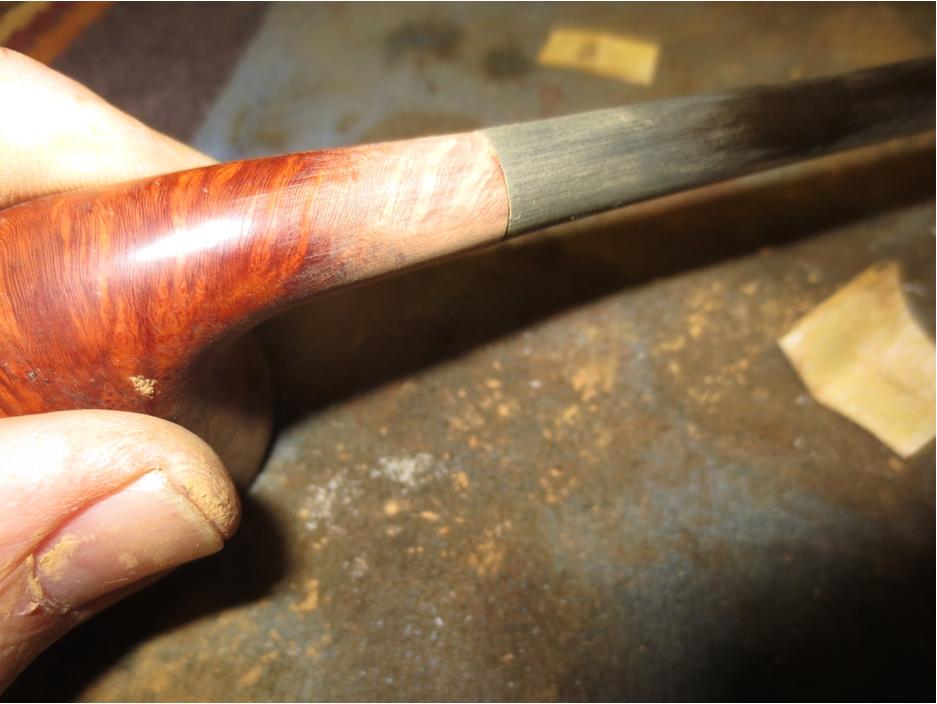
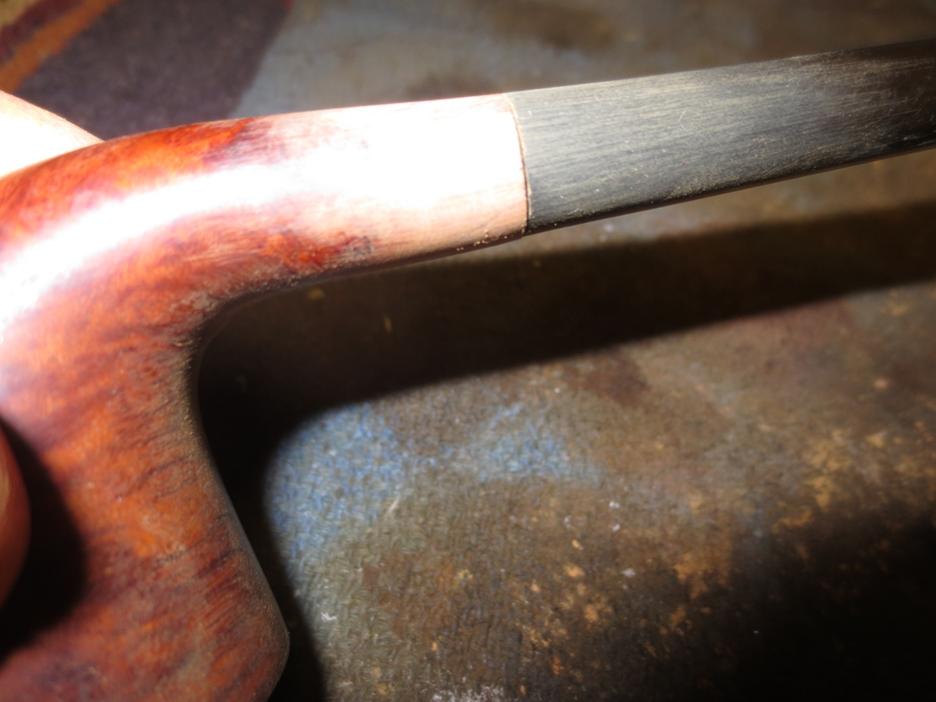
A friend of mine stopped by with a pipe he wanted me to take a look at. It was a beautiful Peterson Churchwarden with a shapely long bent stem. The Dublin shaped bowl was perfect for this pipe. He showed me the issue – a cracked shank. Now that is typically an easy repair – just drill a pin hole at the end of the crack, glue and band the shank. But John being who he is does not like bands or bling on his pipes so he wanted me to see if I could band it from the inside! I thought it would be worth a try as I had done it before using a Delrin tube glued inside the shank to stabilize the cracks and then super glue into the cracked area and clamp until it sets. The issue with this crack was not as straight forward as the two photos below show. It was actually cracked in two places on the top of the shank – about a half-inch apart. The two cracks joined and if I had wanted to I could have removed a triangular piece of briar from the shank. The good news with this was that the joining of the two cracks had stopped the crack from going further up the shank so a repair would be straightforward.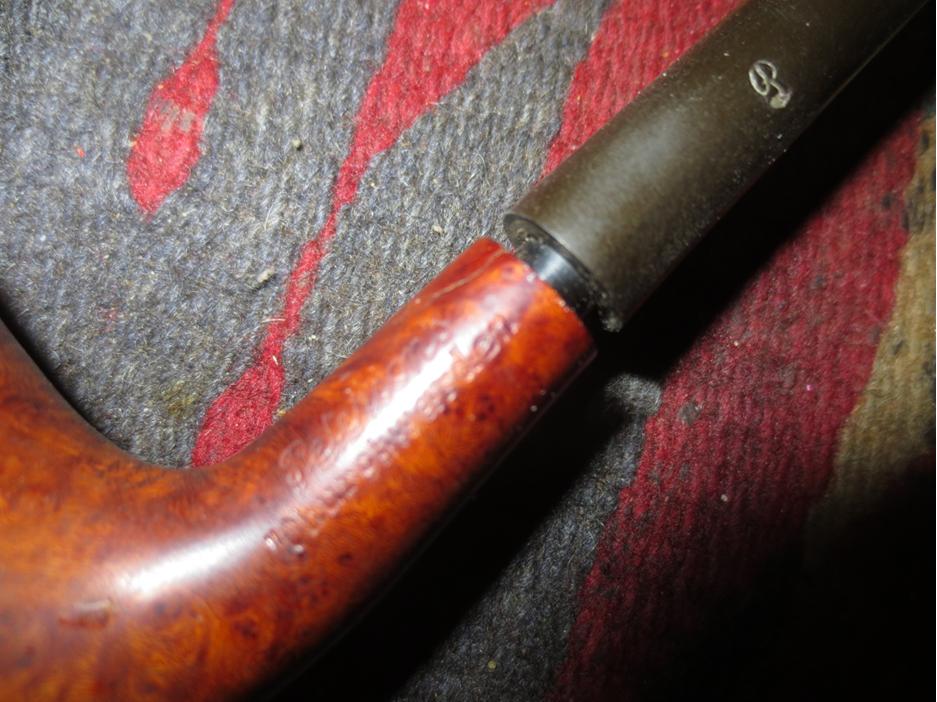
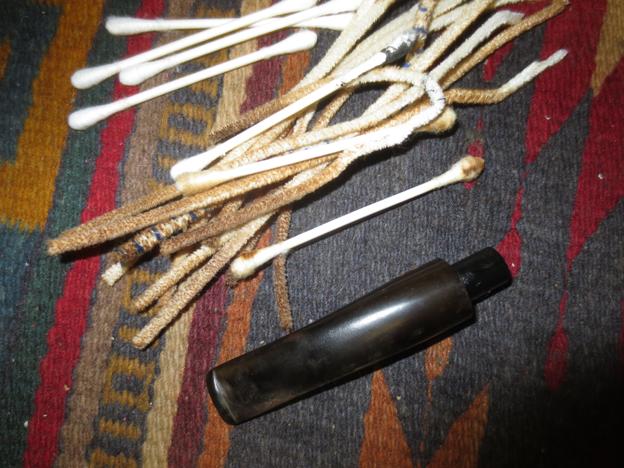
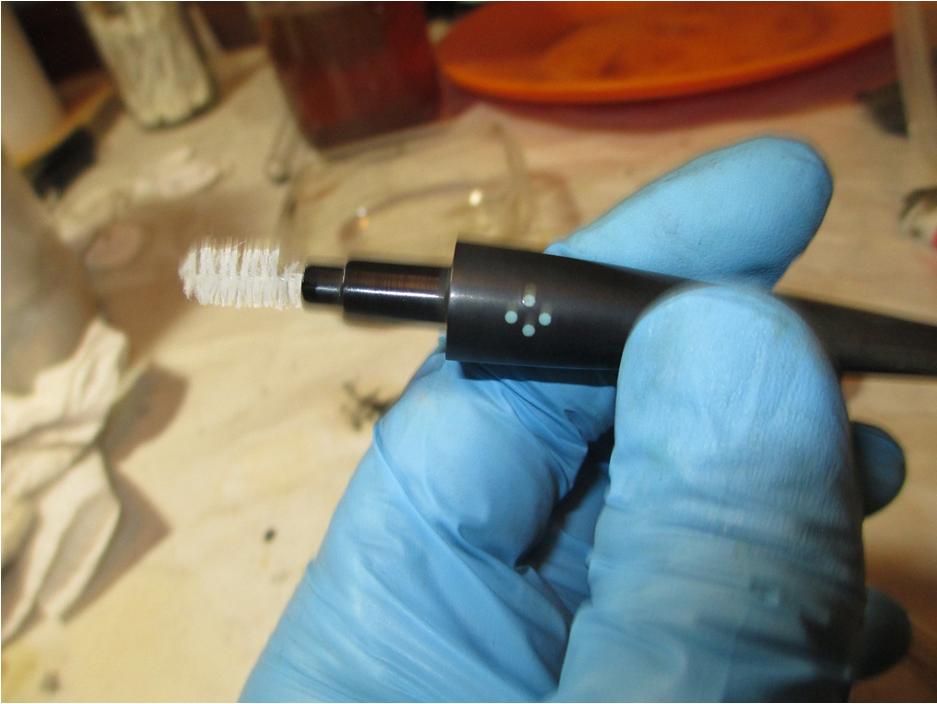
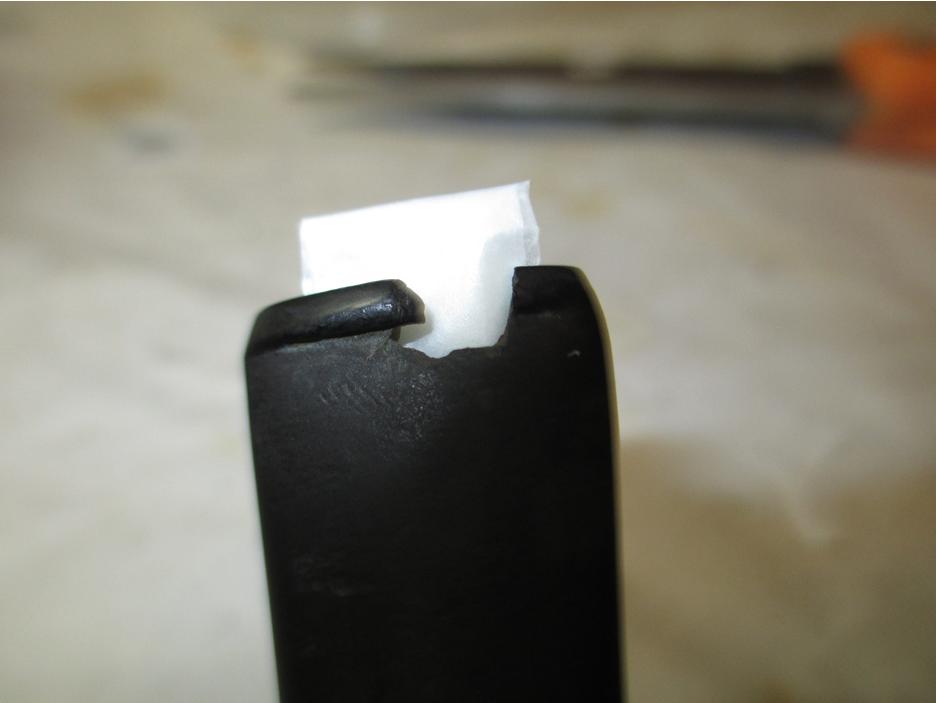
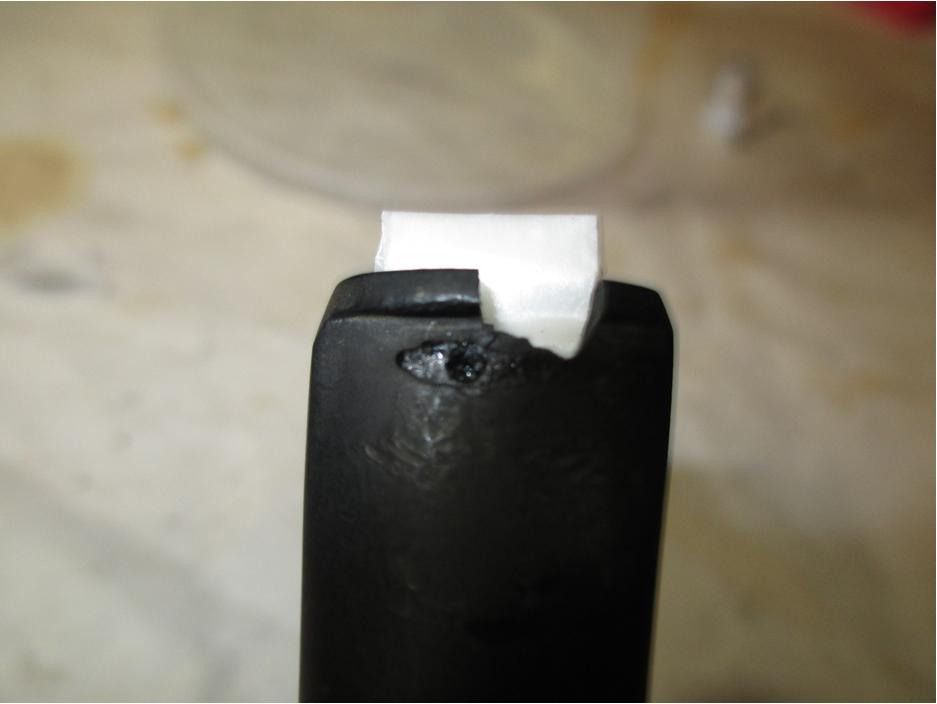
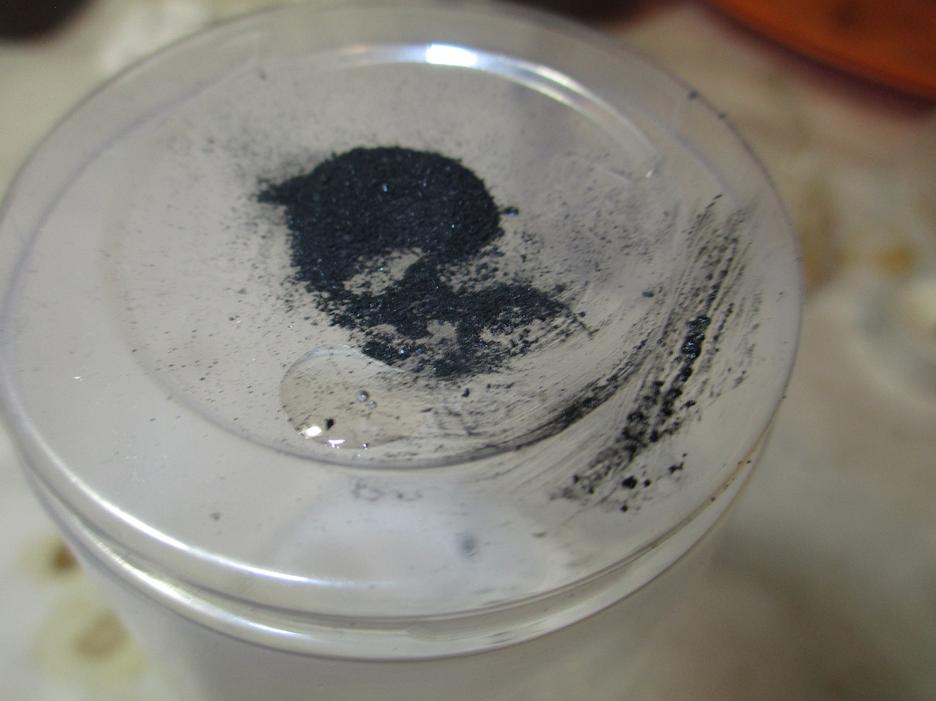
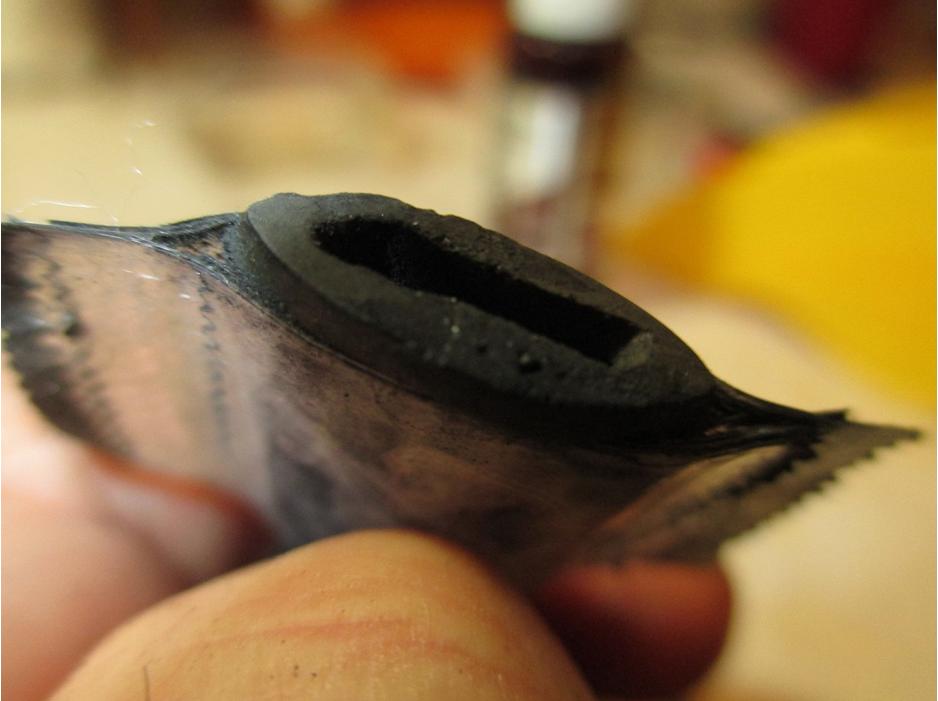
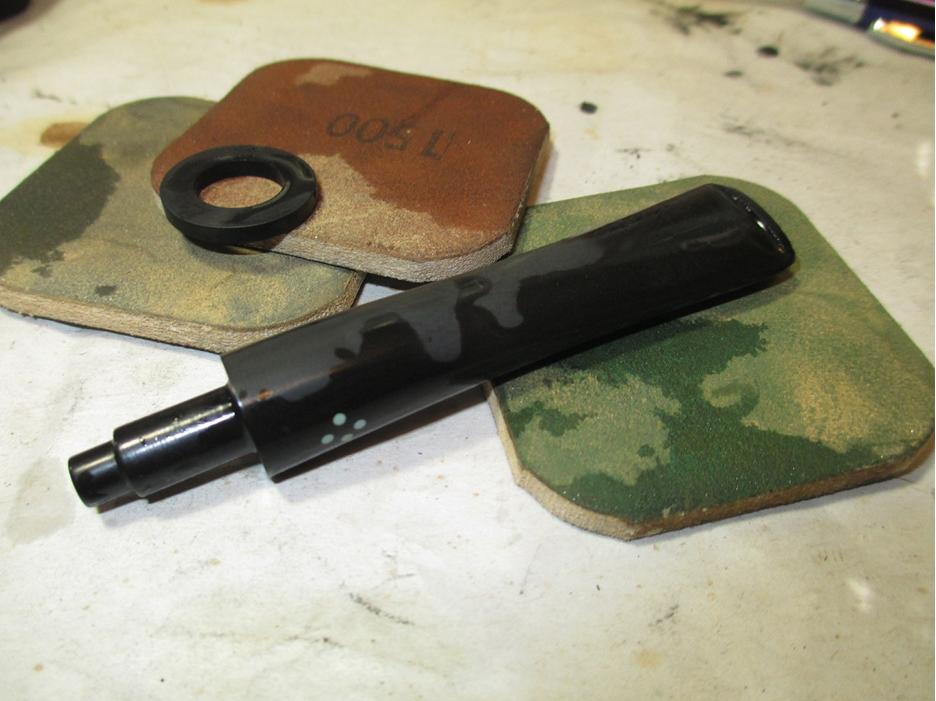
 Now the challenge begins. I did not have any Delrin tenons that I could repurpose so I looked in my parts box and found the shank end of a replacement push tenon insert for meerschaum pipe repairs. Long ago I had used the stem end for something else and saved the shank insert knowing that one day I would be able to use it. Today was the day. I used my Dremel and sanding drum to sand off the edges of the thick end and to take down the threads on the insert. When I was finished sanding I had a rough surfaced tube insert that would sit in the shank of the Peterson with little effort.
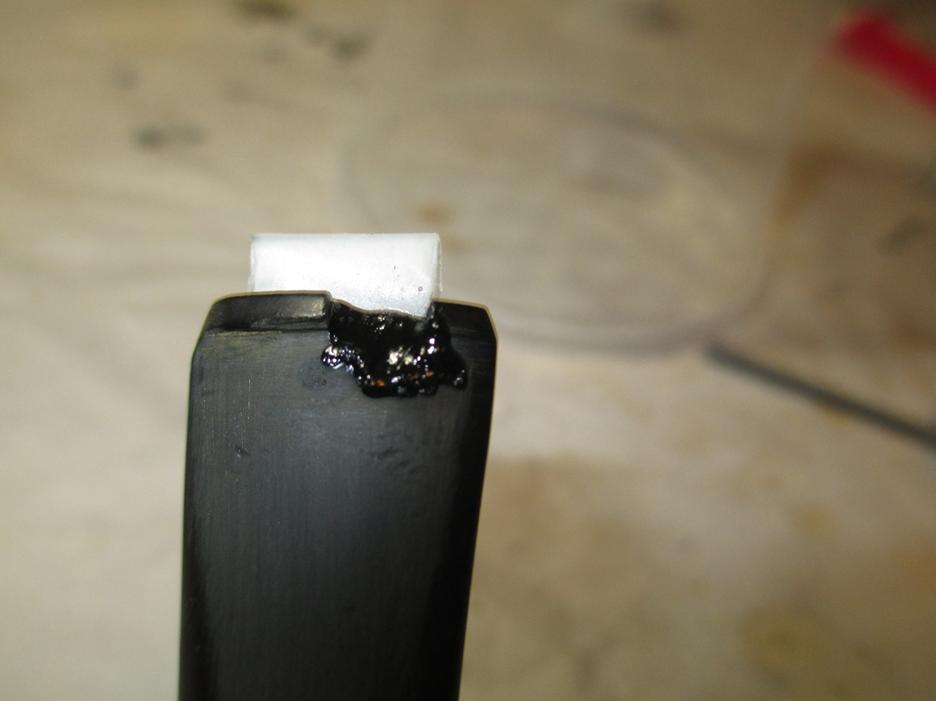
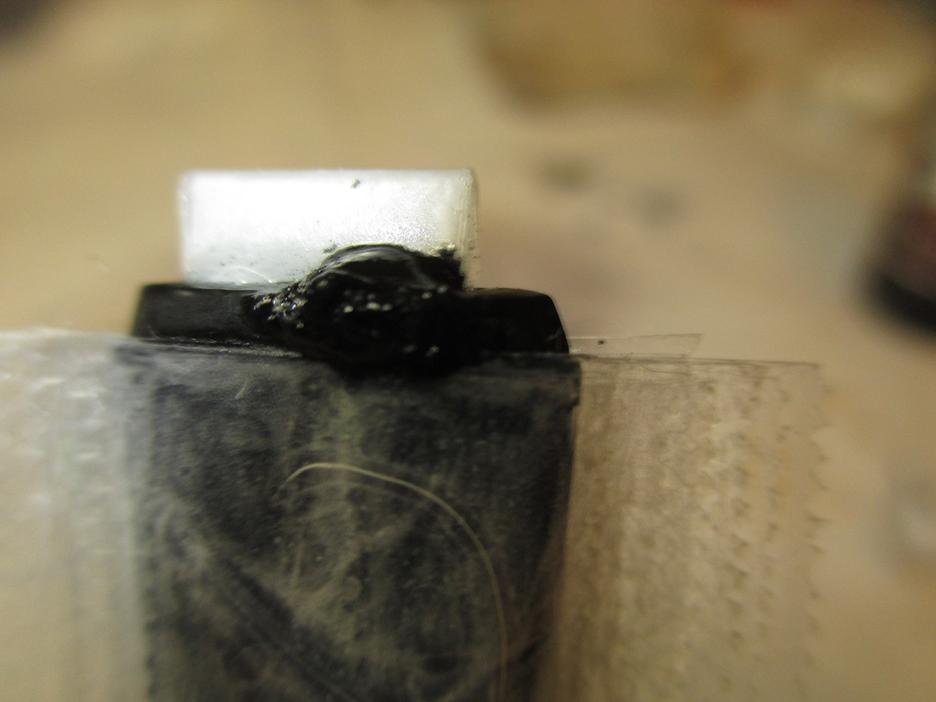
 I opened the crack in the shank and put clear super glue into the opening. I pressed it together until it set. Then I coated the exterior of the tube with viscous super glue that was slow drying and pressed it into the shank. I set it aside to dry while I worked on the diameter of the tenon to reduce it enough to fit in the repaired shank. To me this is always the tricky part. I was sure I could take the tenon down some without weakening the strength of the tenon too much. With the size of the airway I only had one chance to get it right.
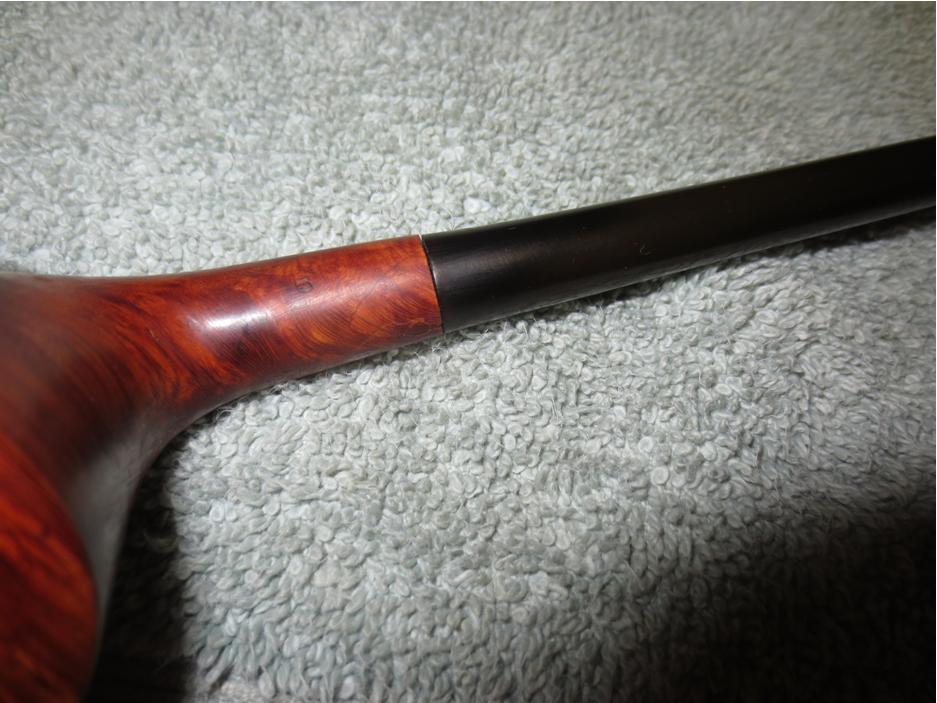
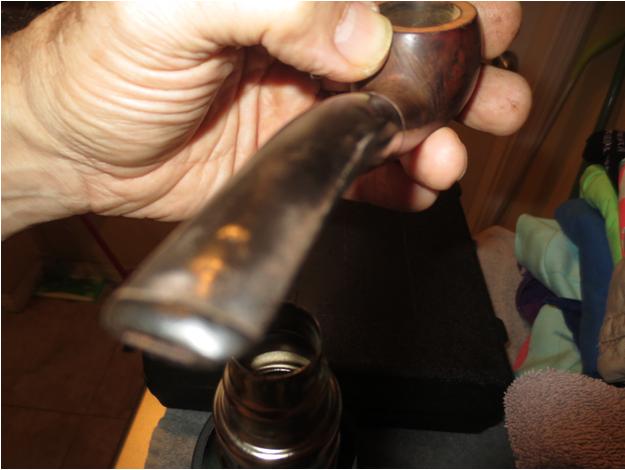
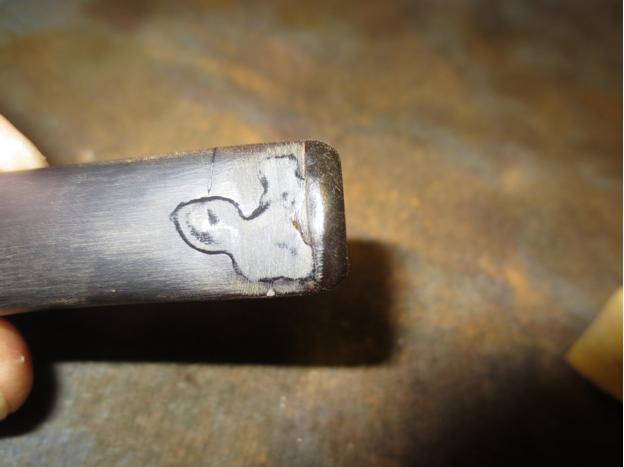
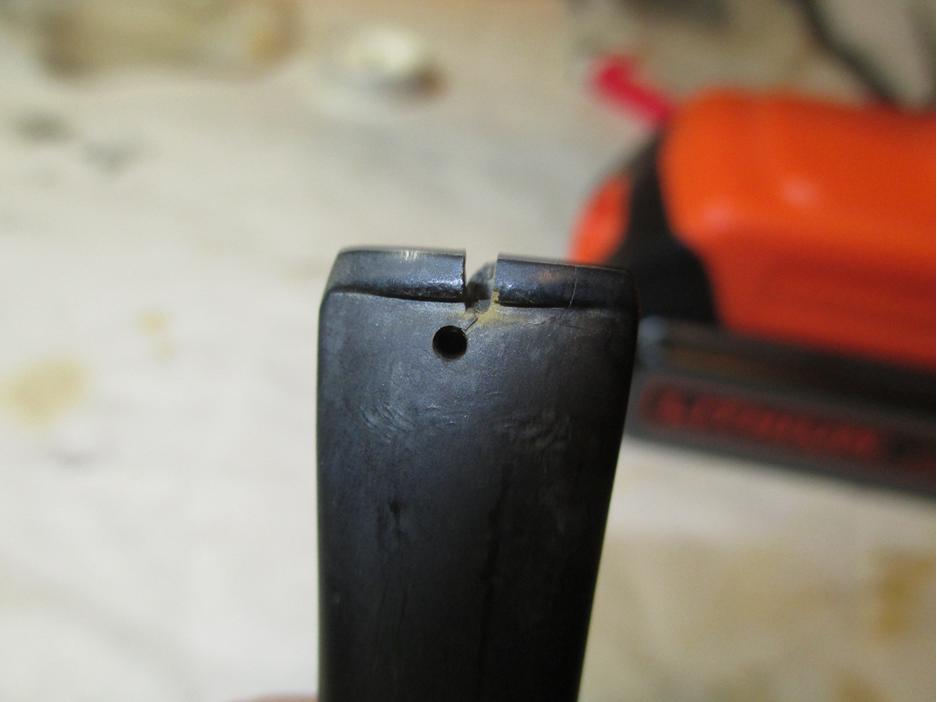
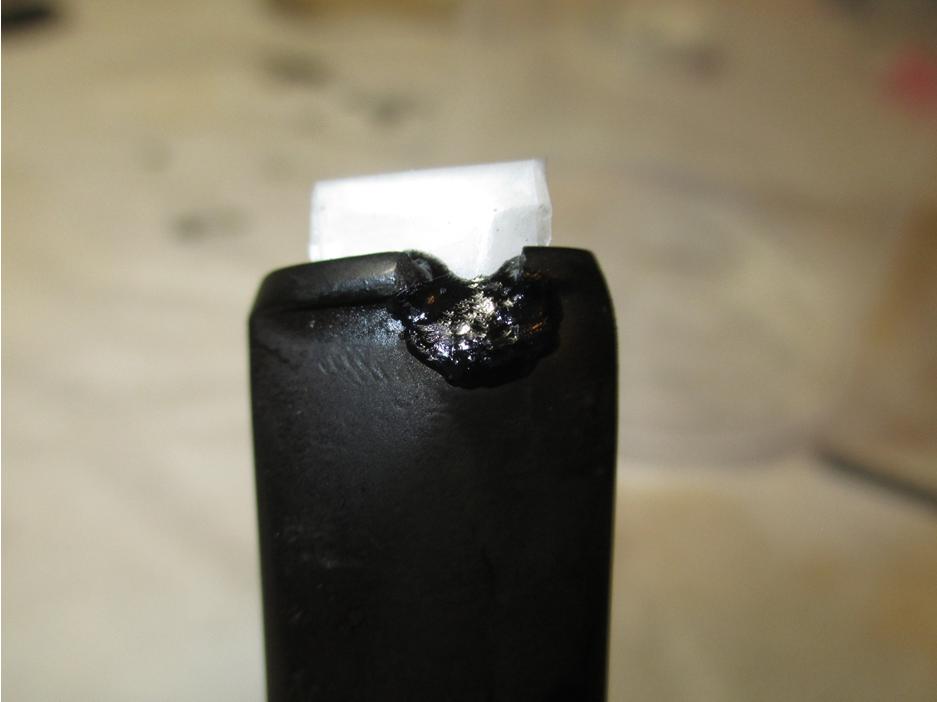
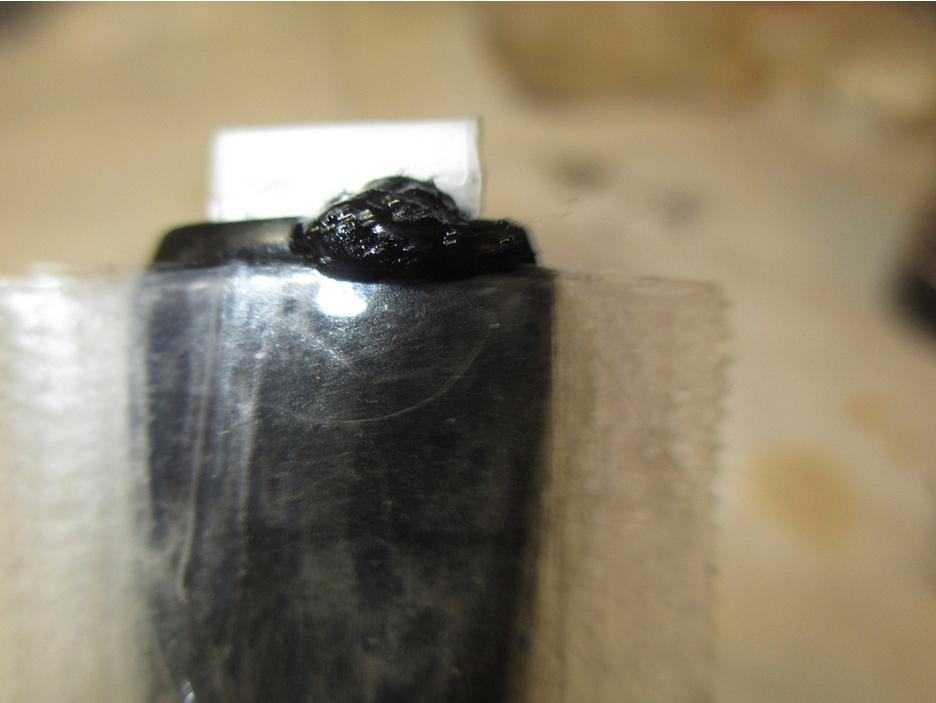
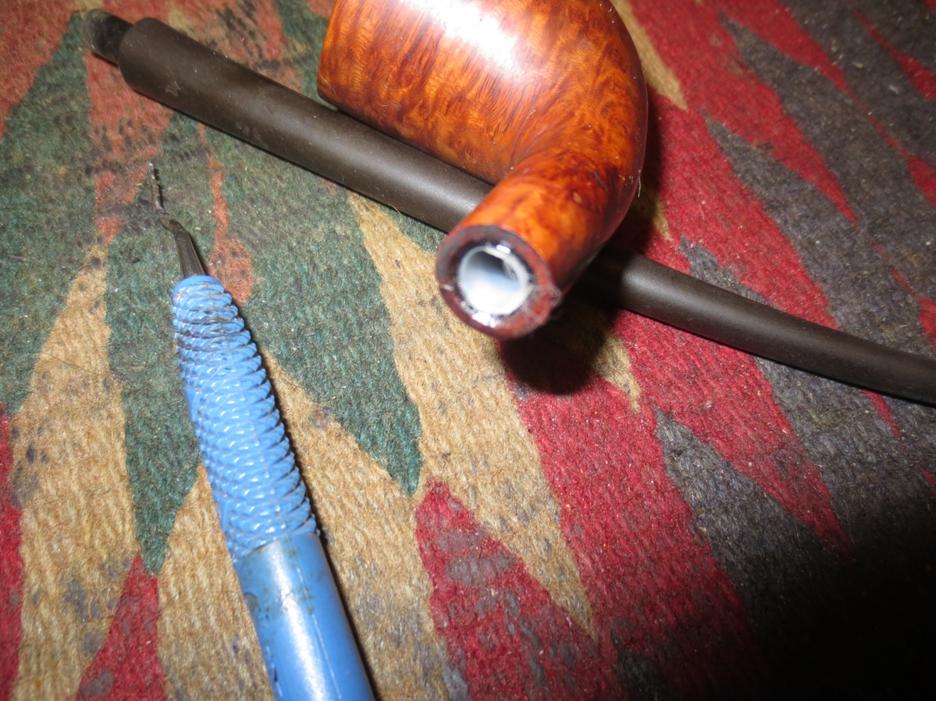 When the insert was set, I used a drill bit and turned it into the shank to remove excess thickness and maximize the room for the tenon. I also used a knife to bevel the end of the tube insert and flare it to fit the bevel of the briar. I put the stem in place and the fit was good! I sanded the shank to clean up the repair glue. I sanded carefully around the nomenclature so as not to harm it but I wanted it to blend with the rest of the shank.
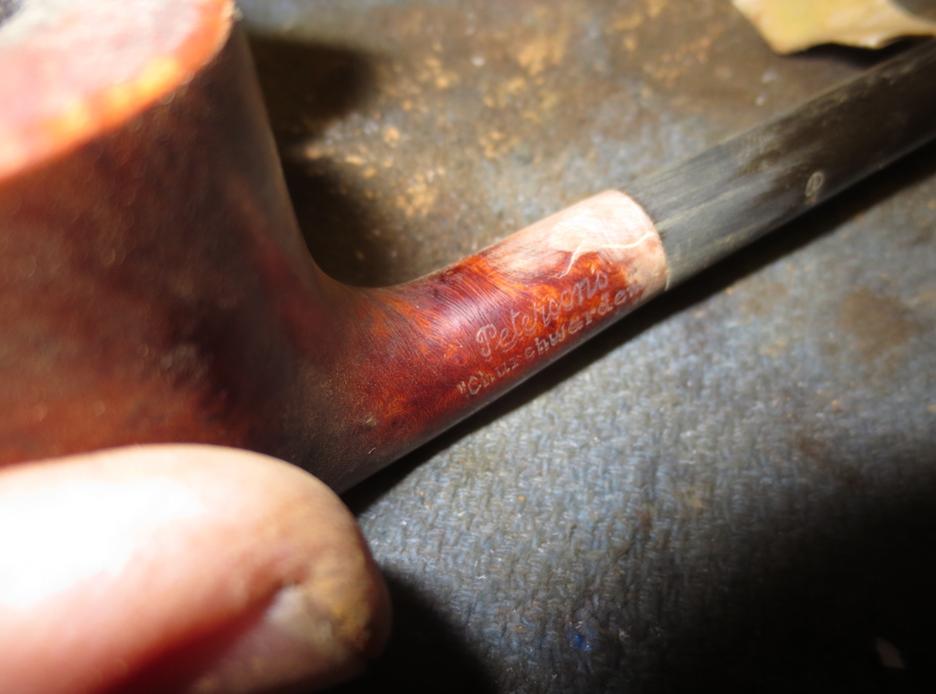
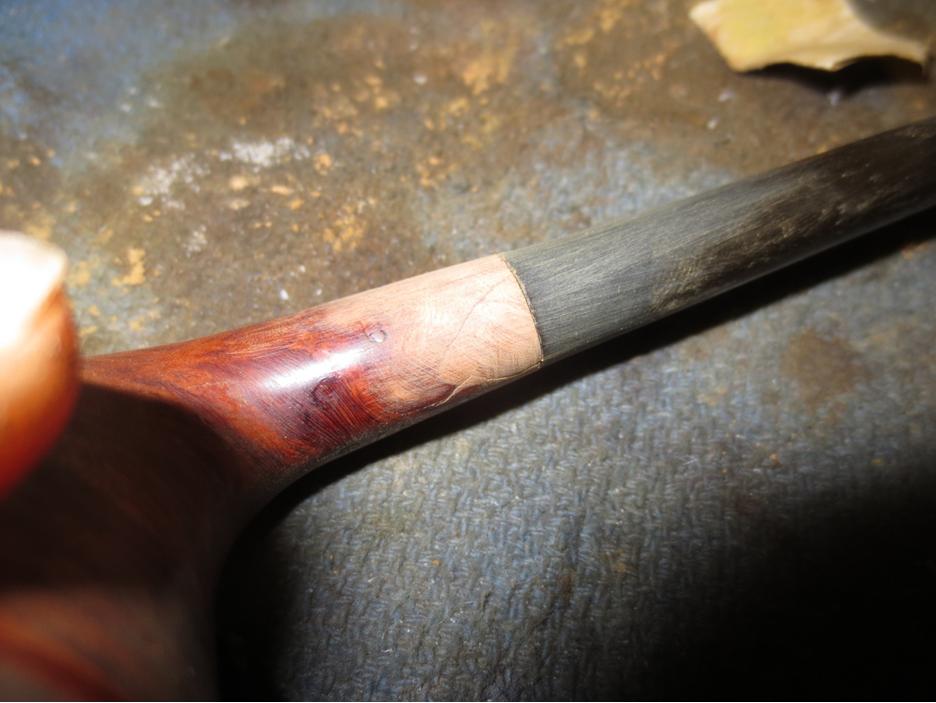
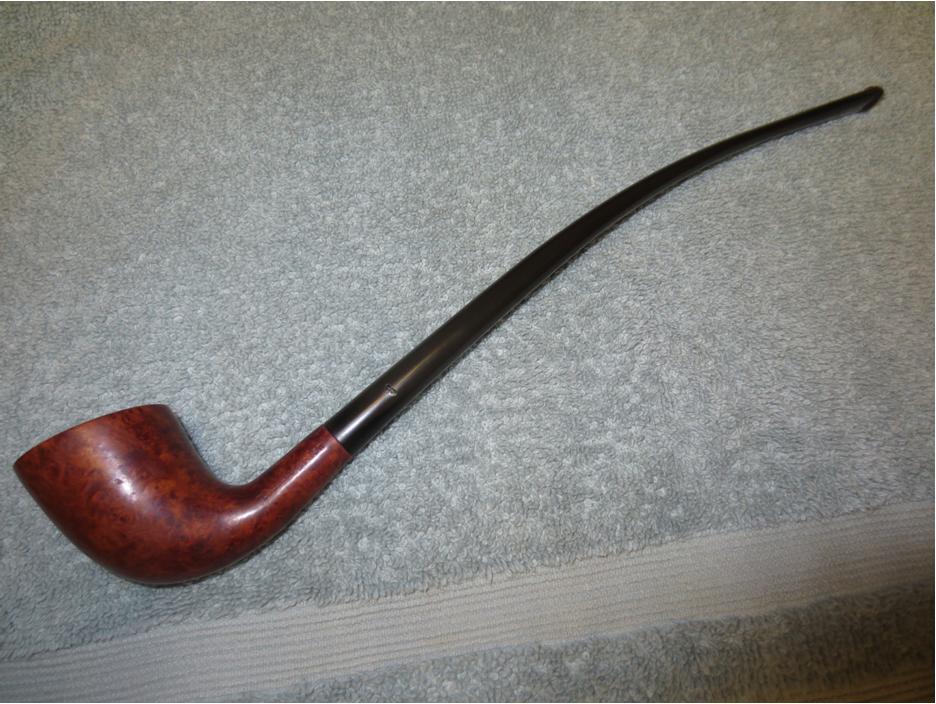
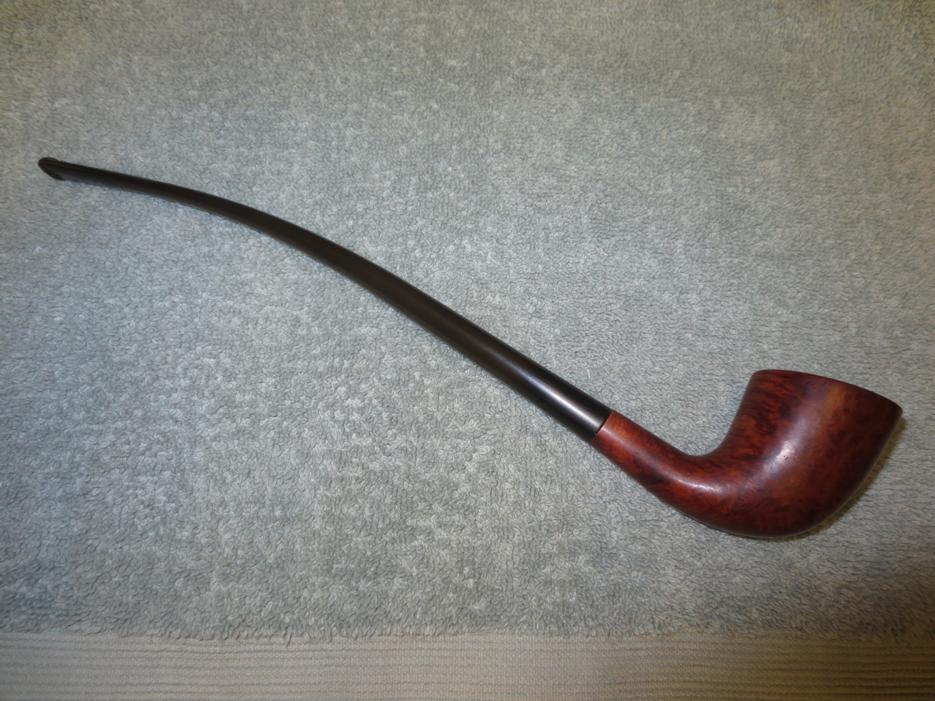
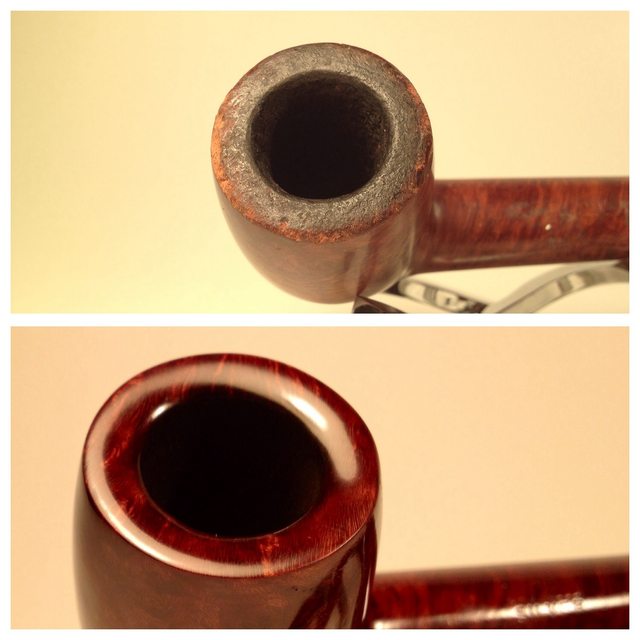
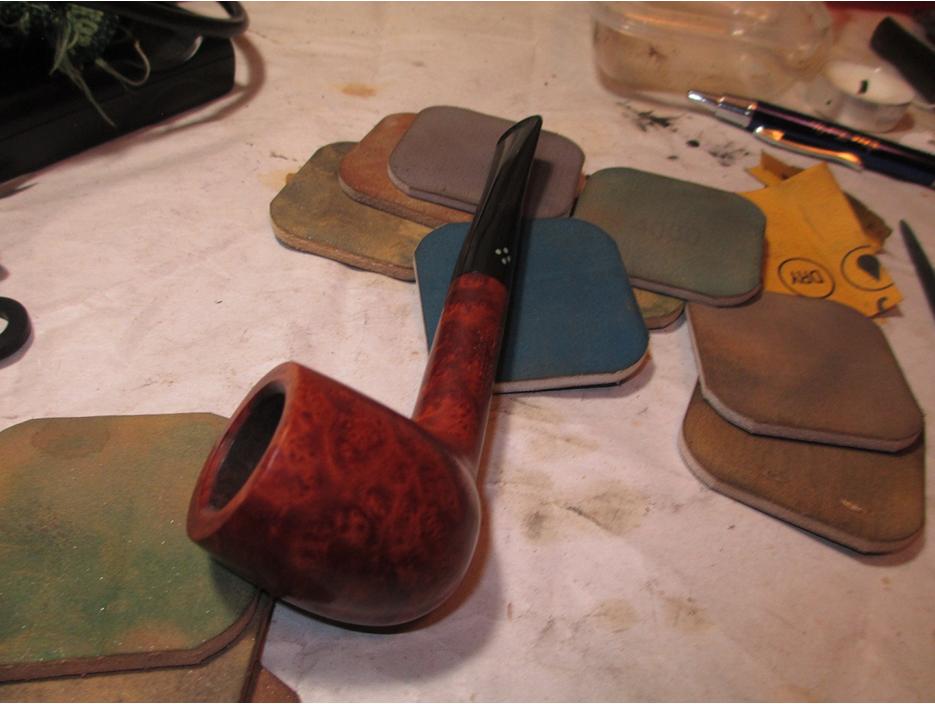
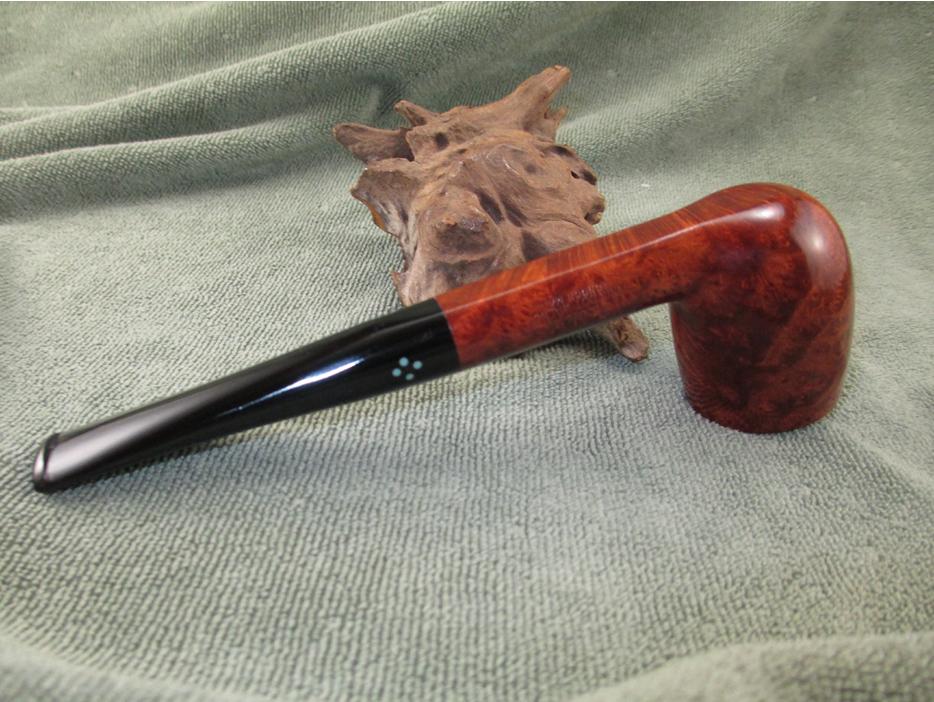
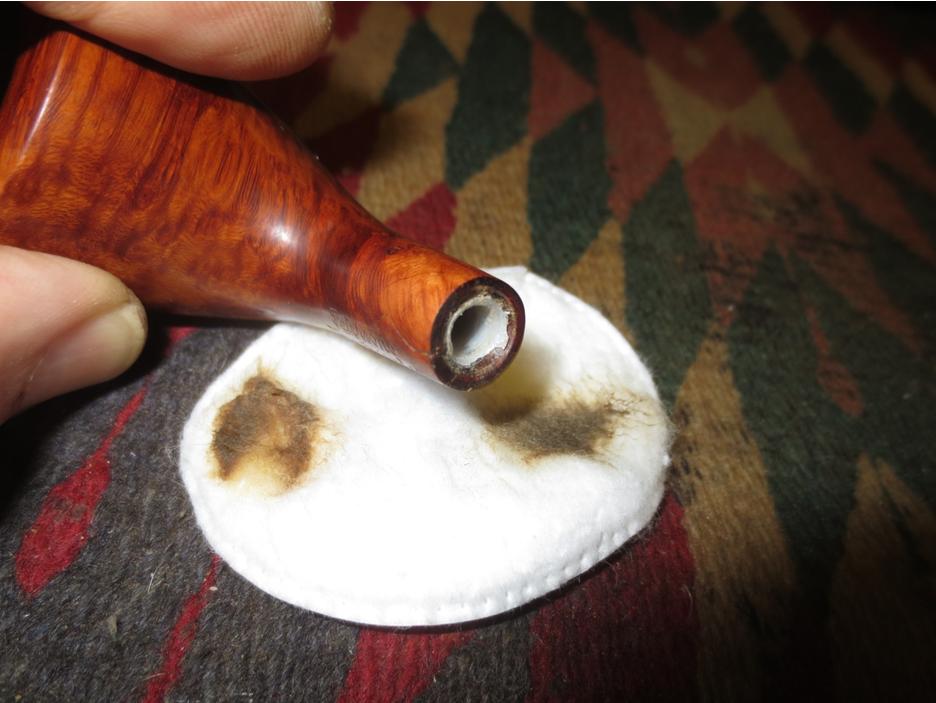
 Once I had the shank/stem fit the way I wanted it I stained it with a medium and dark stain pen to blend it in with the rest of the briar. I also scrubbed the rim with saliva and a cotton pad to remove the tars on the surface. I buffed the bowl with Blue Diamond and then gave the bowl several coats of carnauba wax.
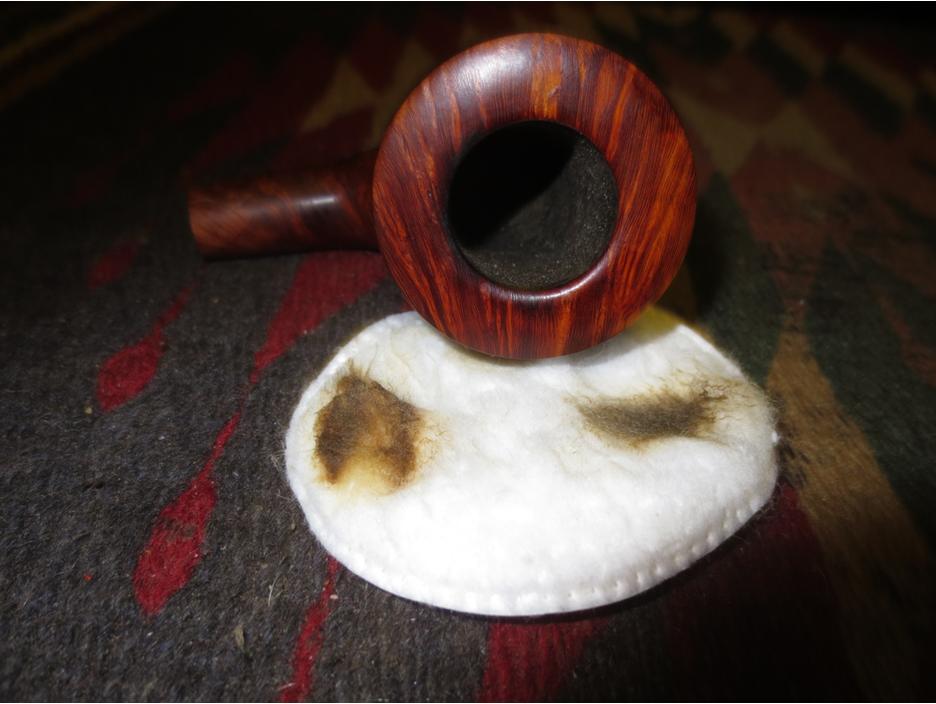
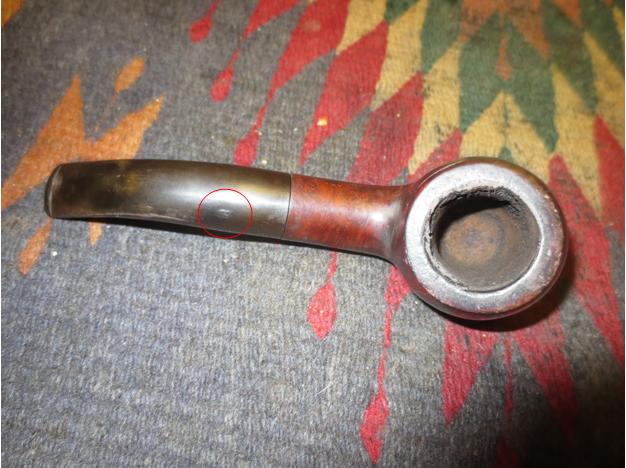
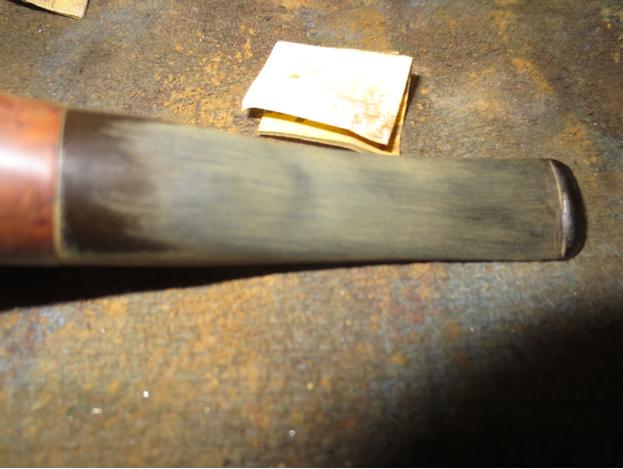
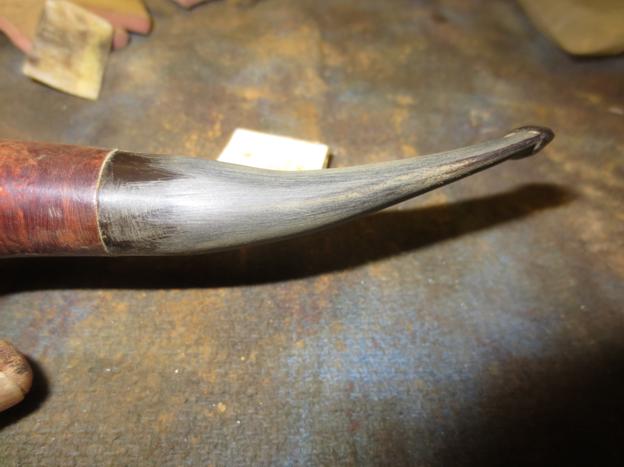
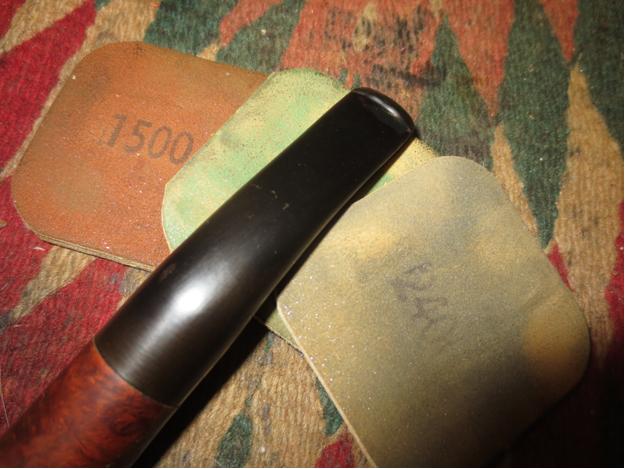
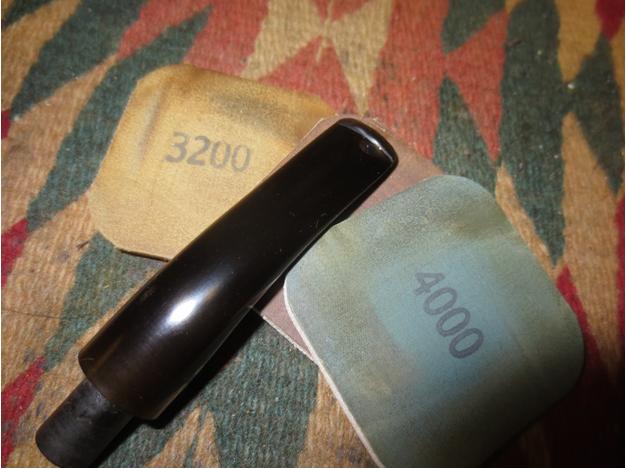
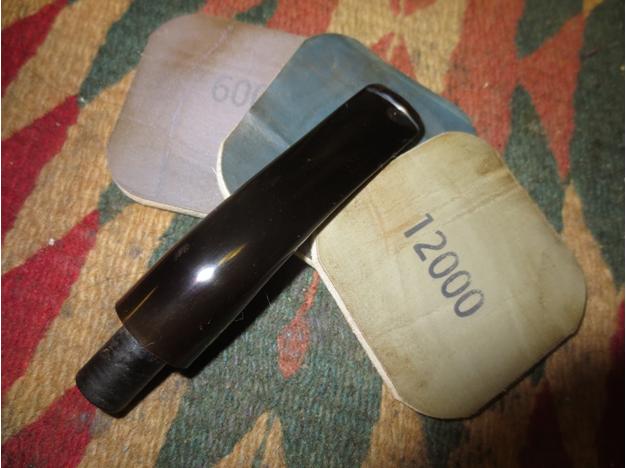
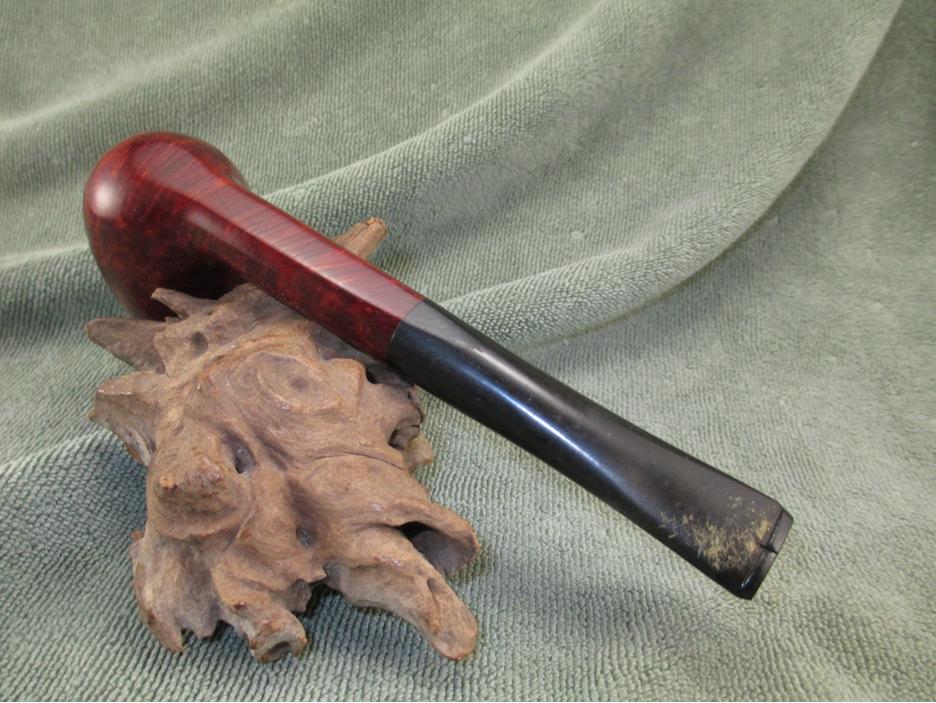
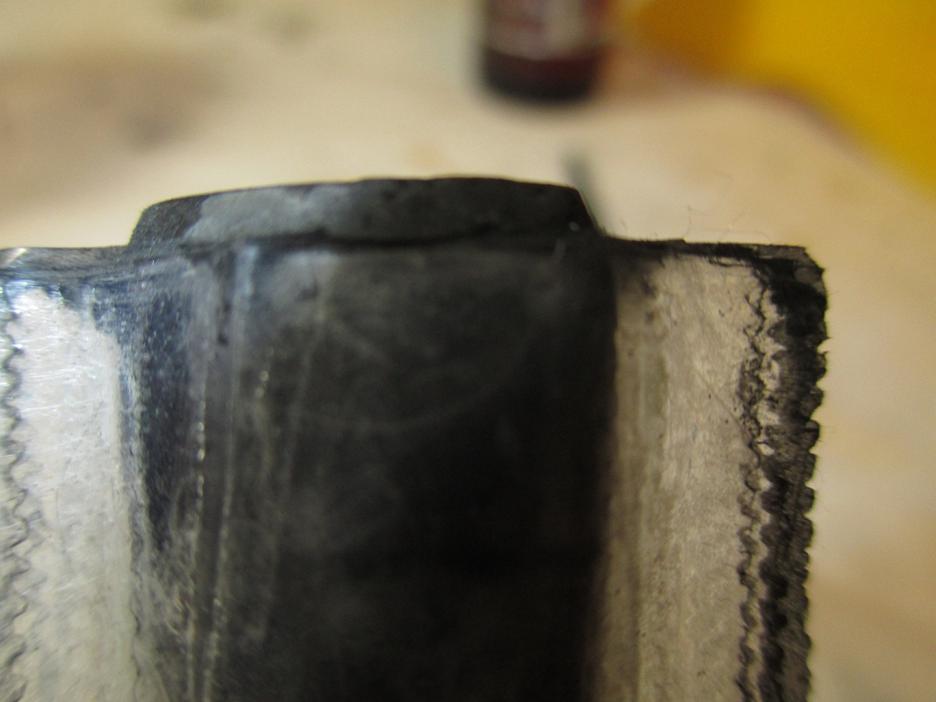
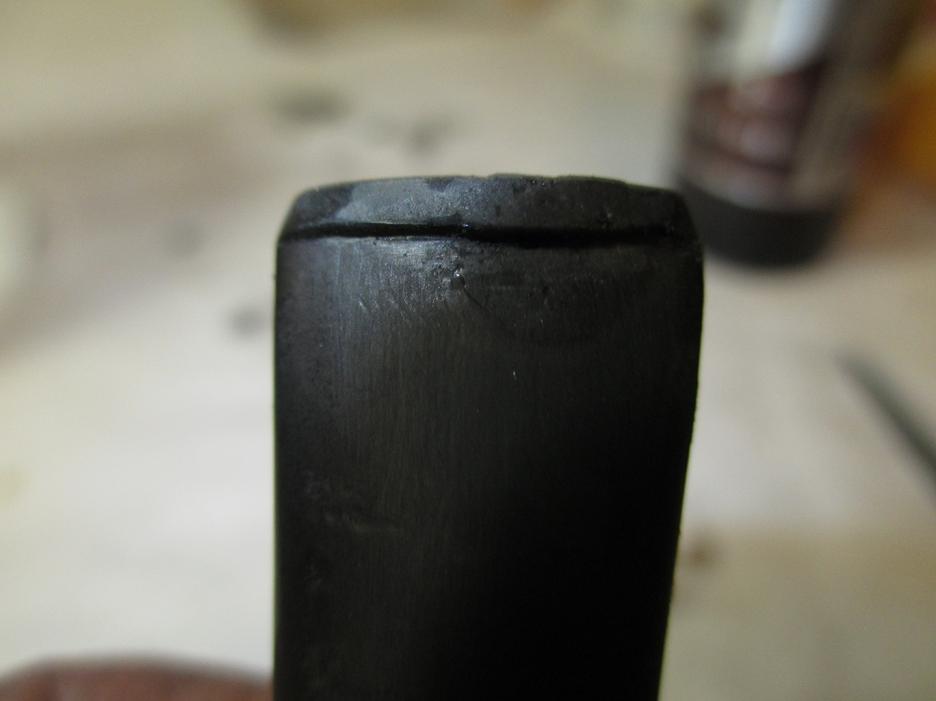
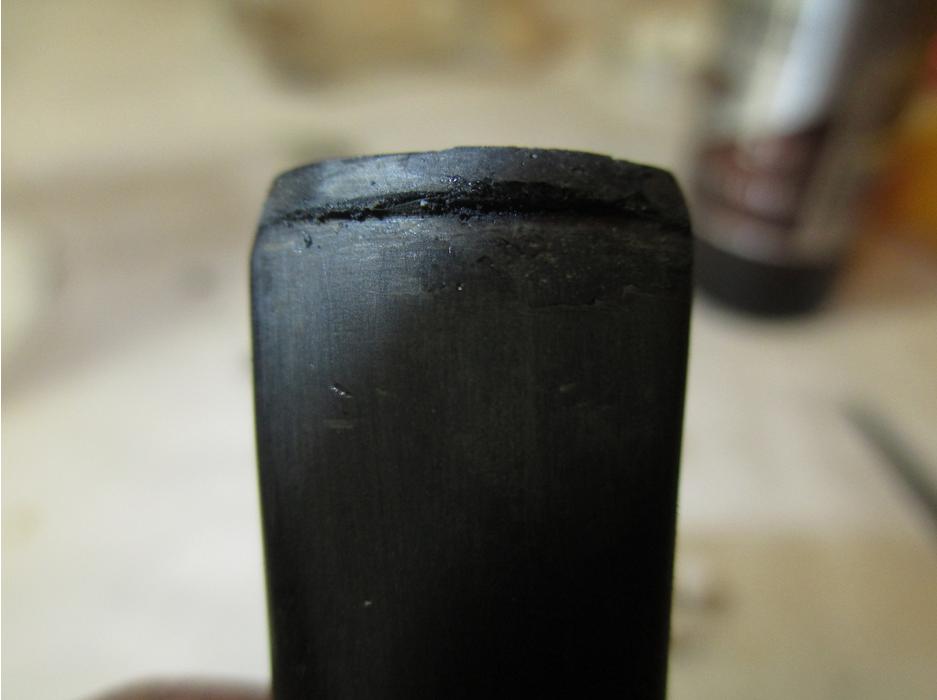
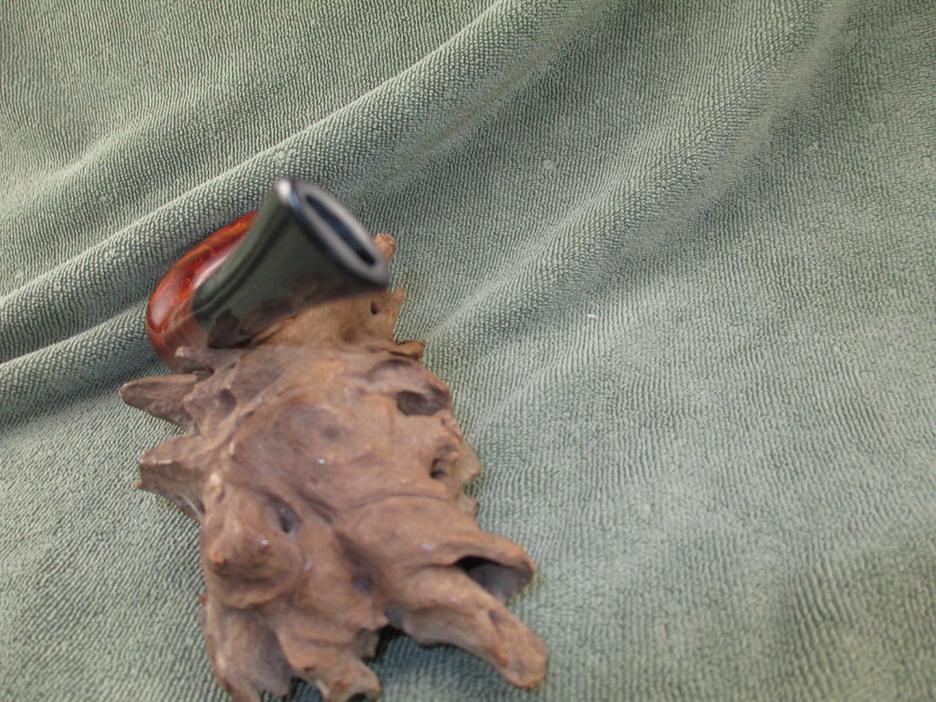
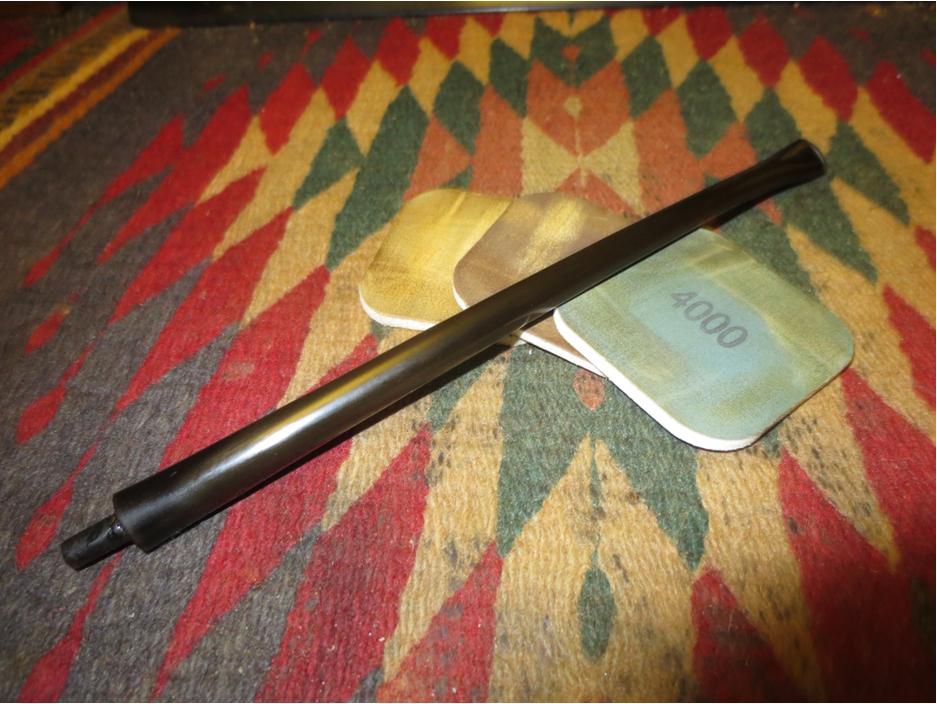
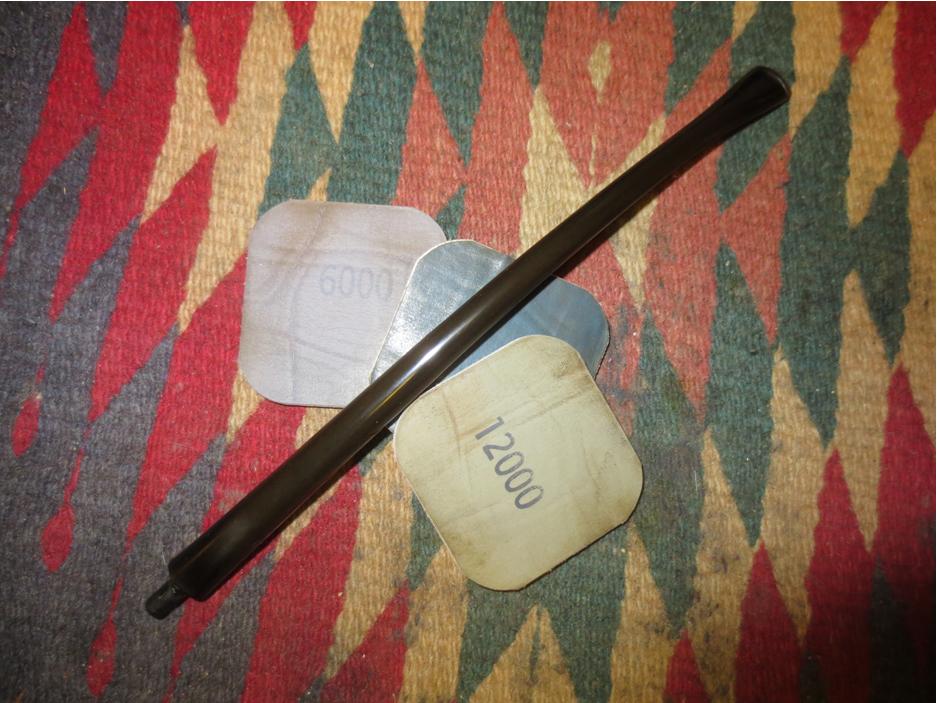
 Though still visible on the exterior of the shank the crack is sealed and repaired. I worked on the stem to give it a polish. I sanded it with micromesh sanding pads – wet sanding with 1500-2400 grit pads and dry sanding with 3200-12,000 grit pads. In between each set of three pads I rubbed the stem down with Obsidian Oil. After the final sanding with the 12,000 grit pad I let the oil soak into the vulcanite before buffing the stem with Blue Diamond.
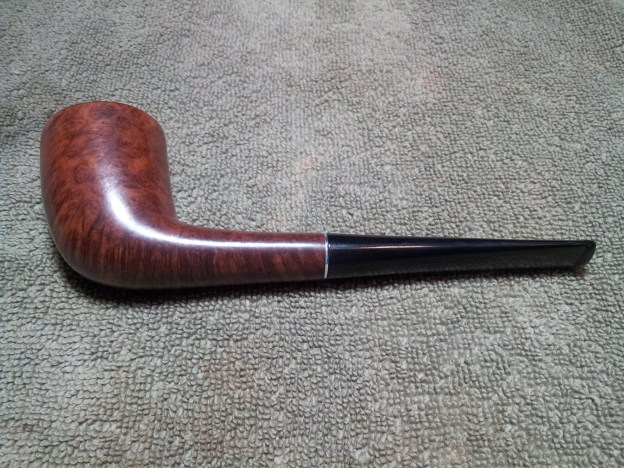
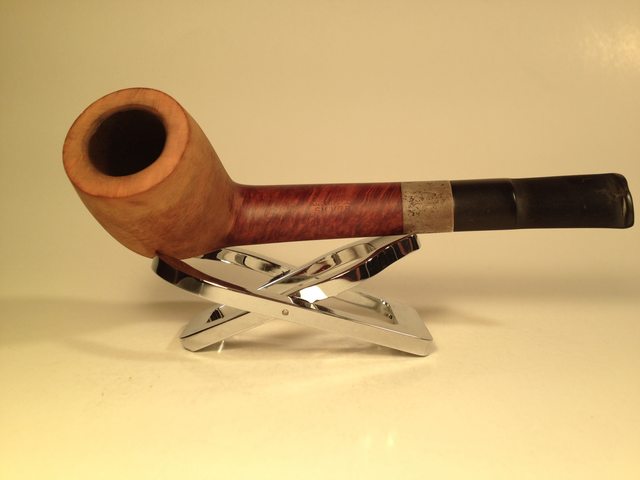
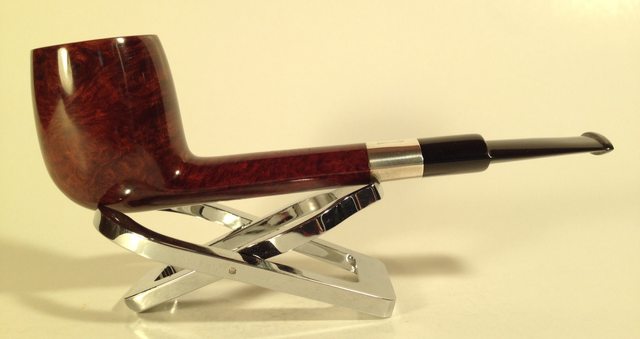
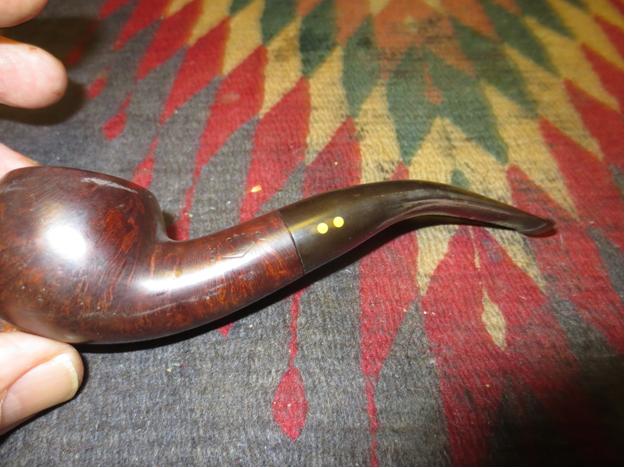
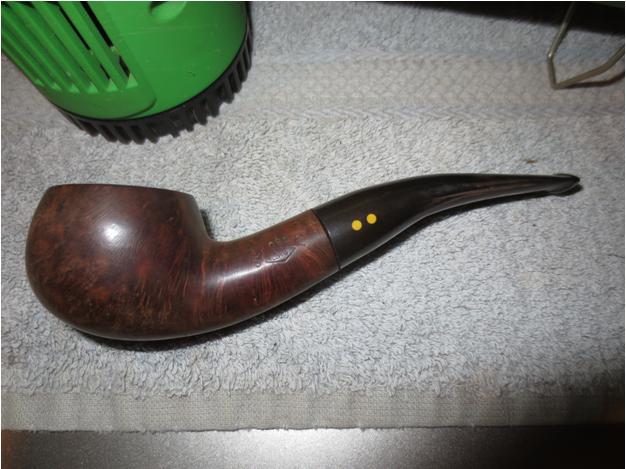
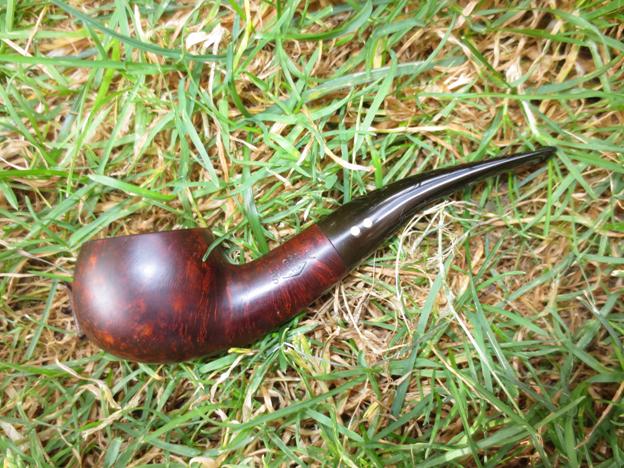
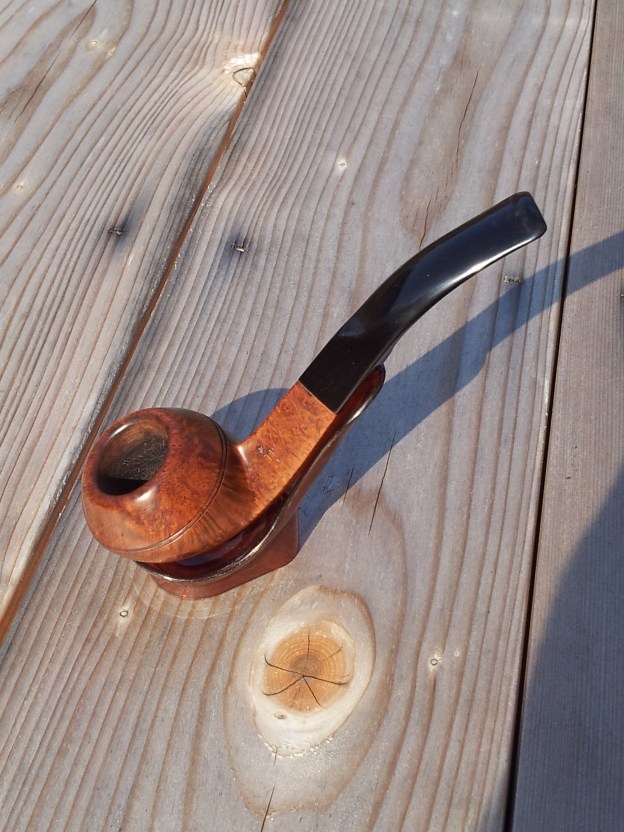
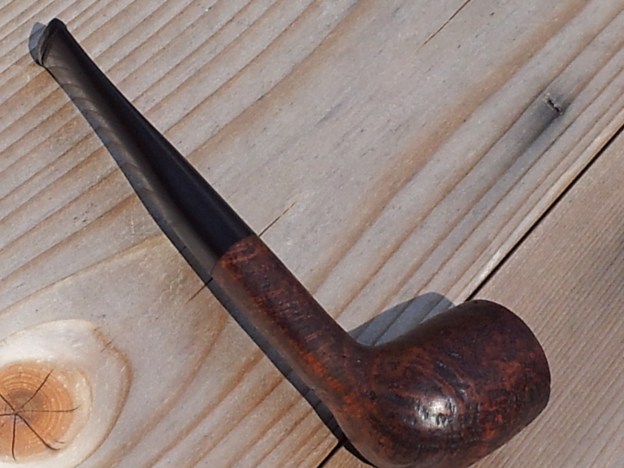
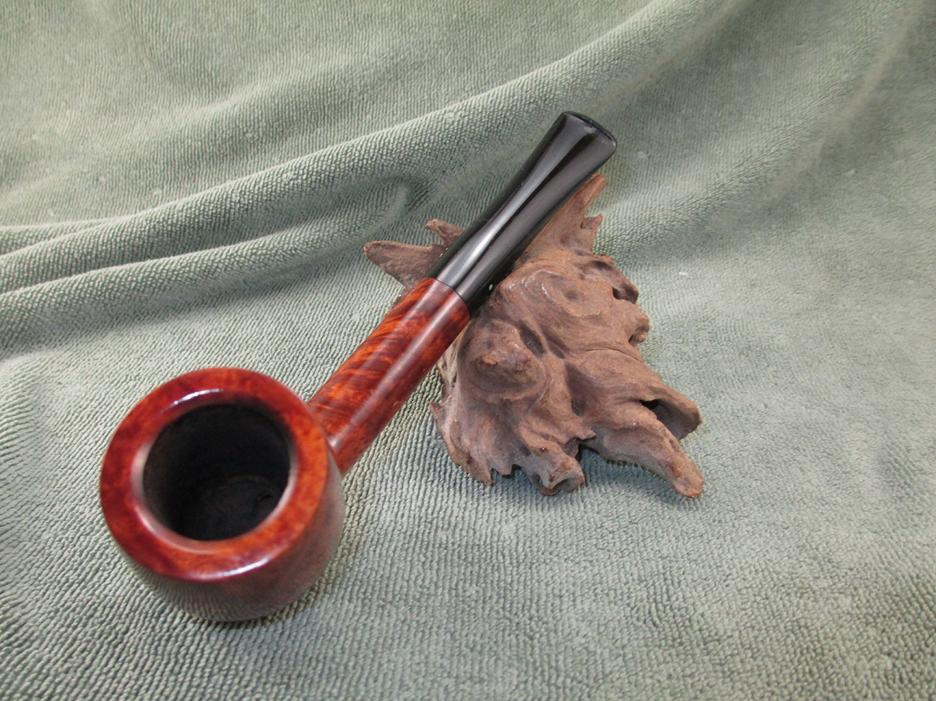
 I buffed the stem with Blue Diamond polish on the wheel and then gave the bowl and stem multiple coats of carnauba wax. I polished it with a clean flannel buff and then rubbed it down by hand with a microfibre cloth to give it a final shine. The finished pipe is shown below.