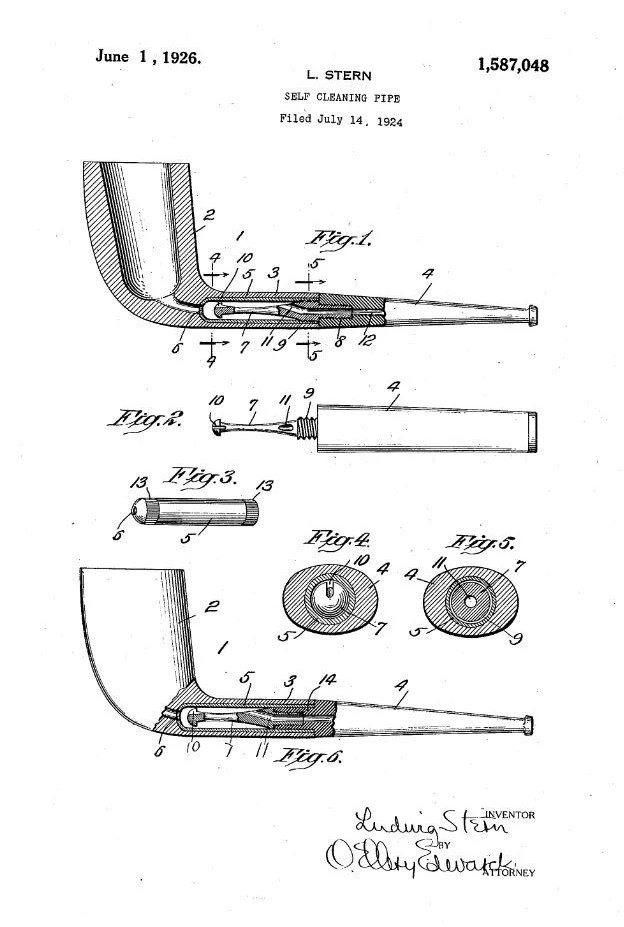
by Steve Laug
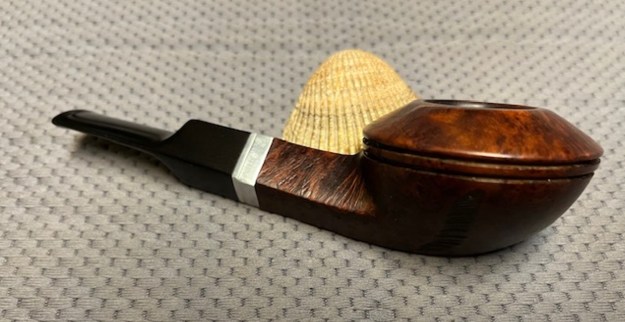
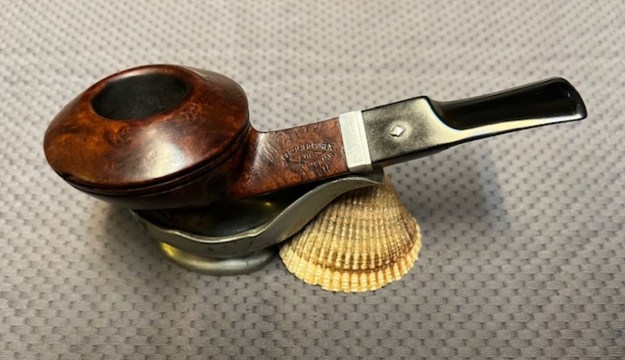
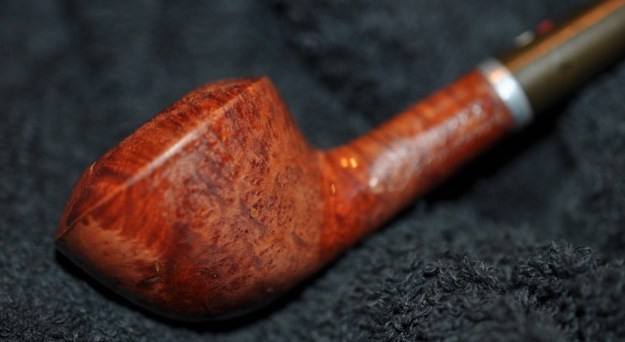
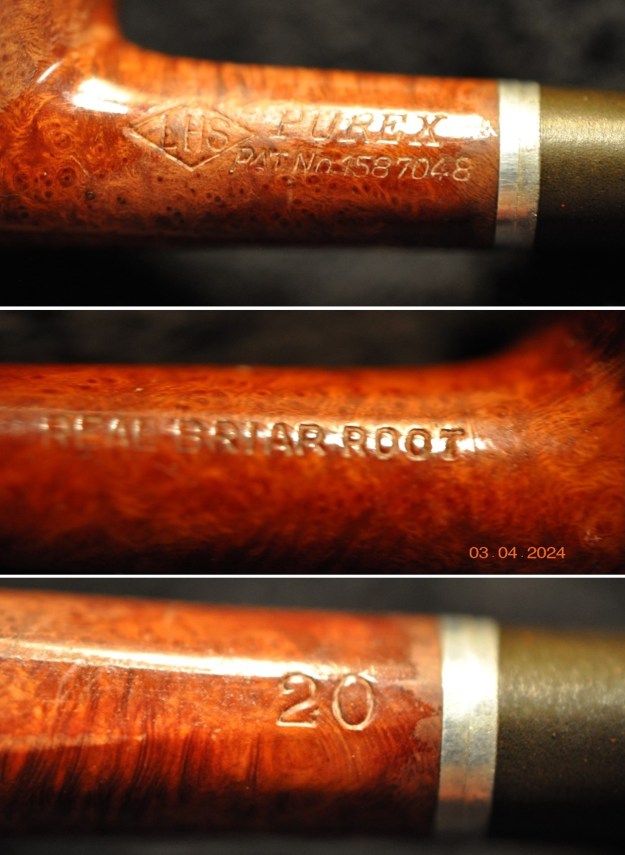
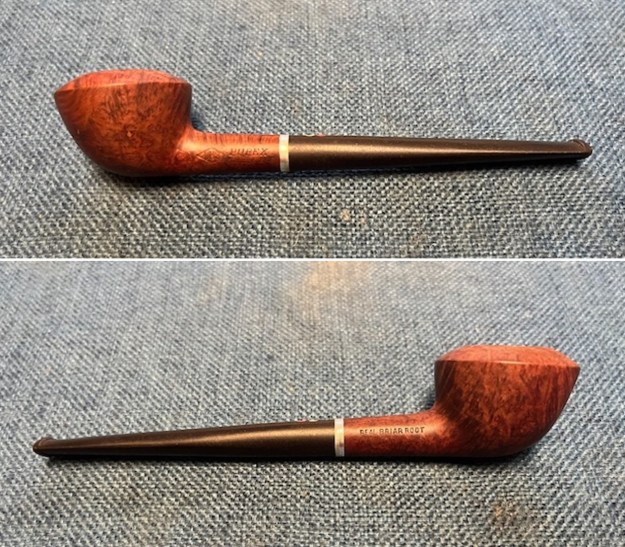
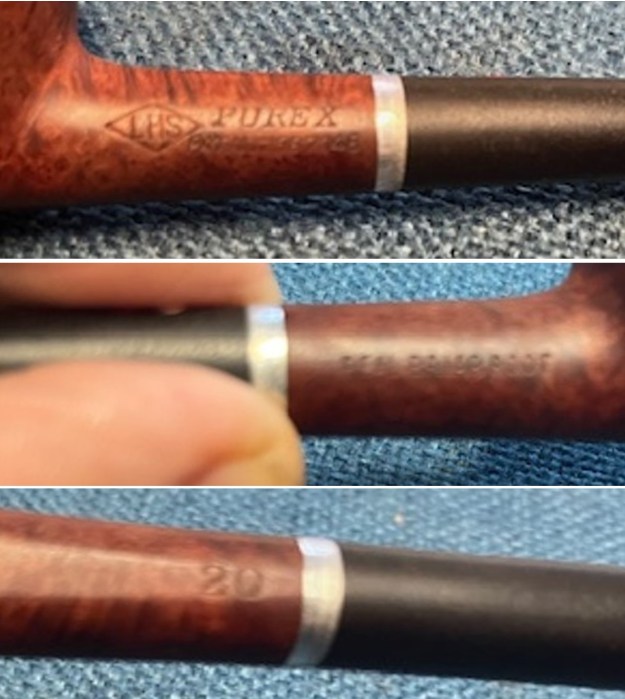
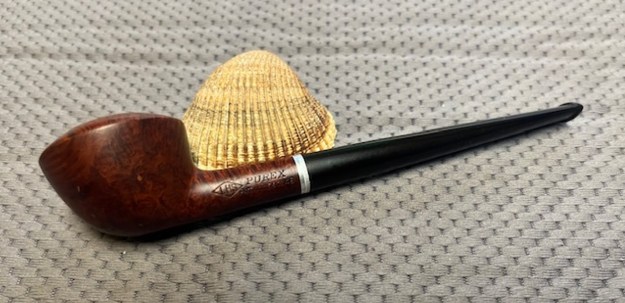
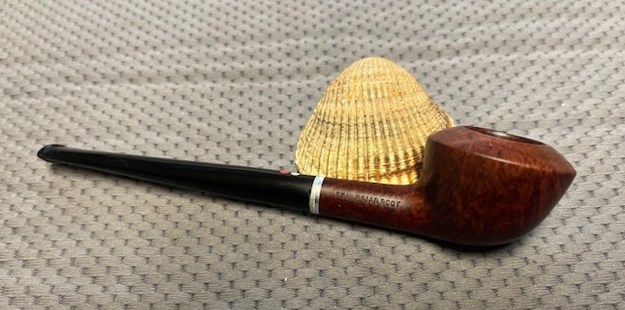
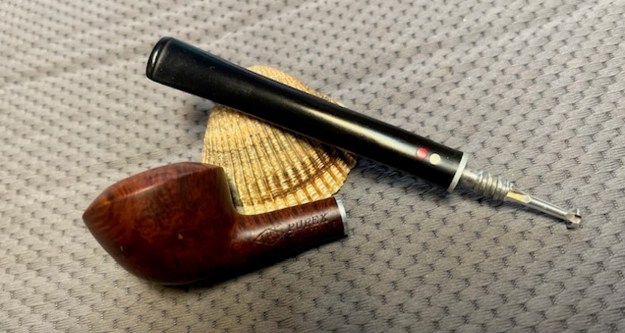
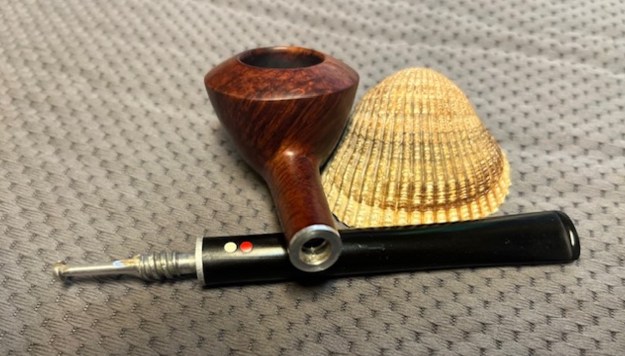
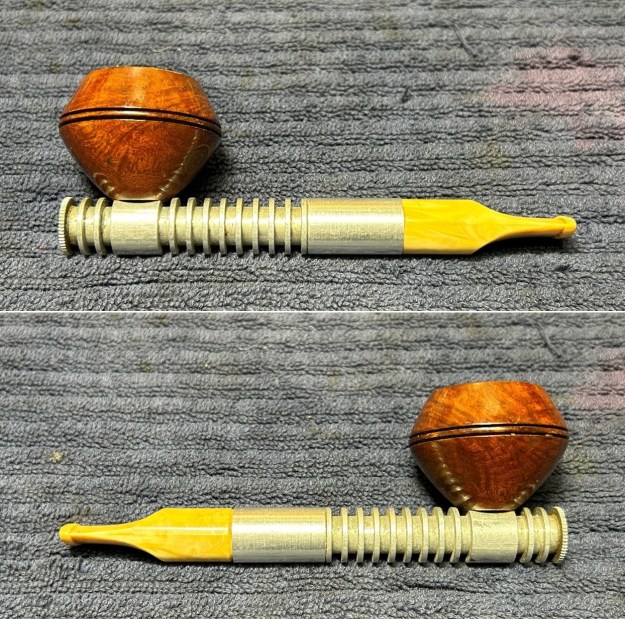
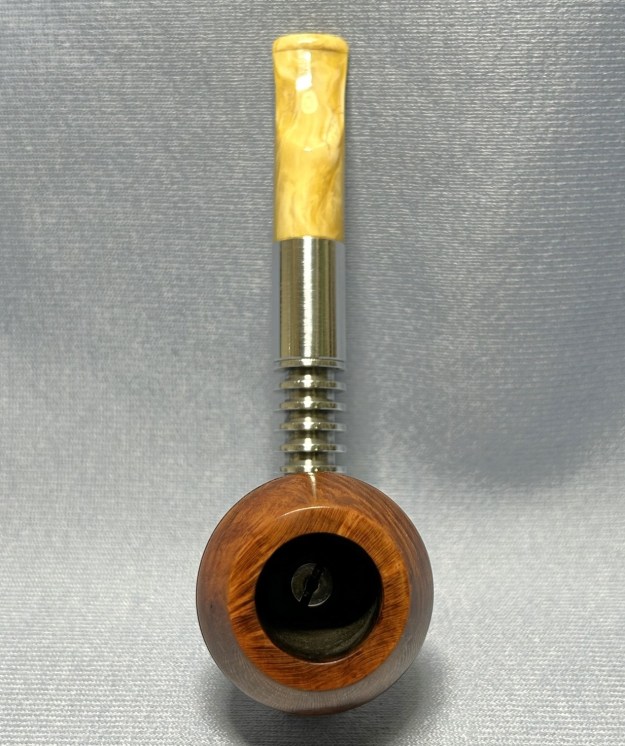
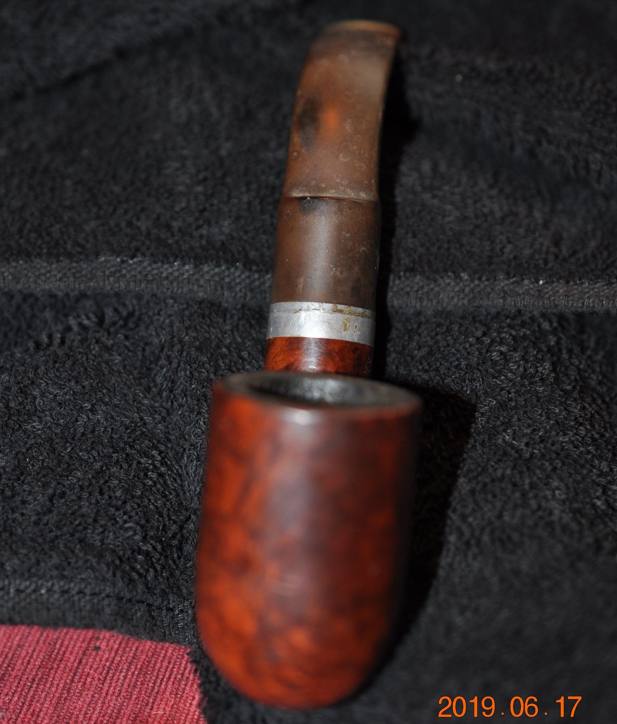
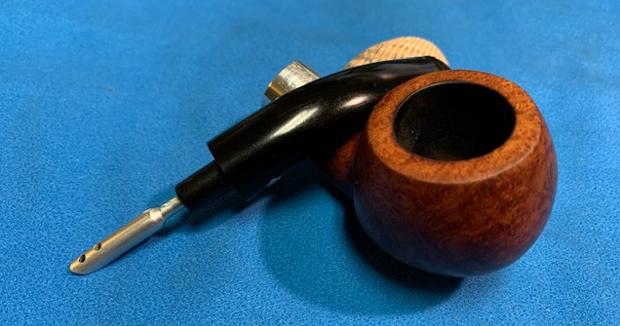
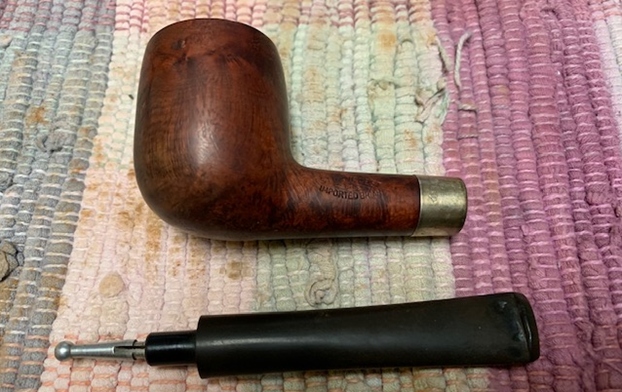
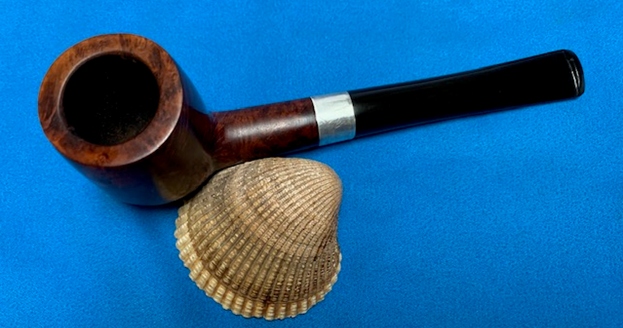
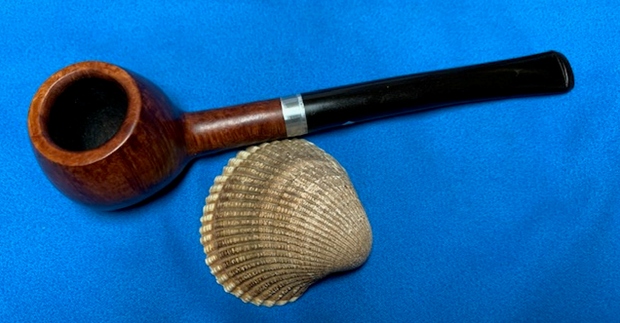
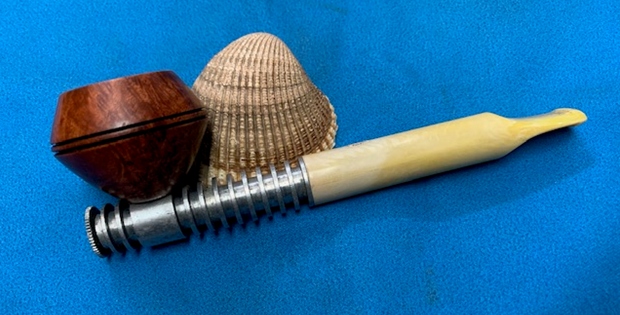
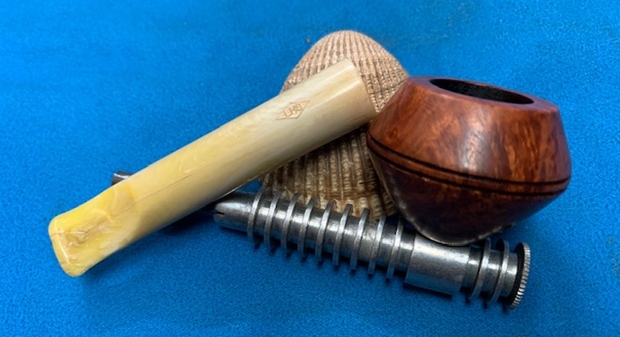
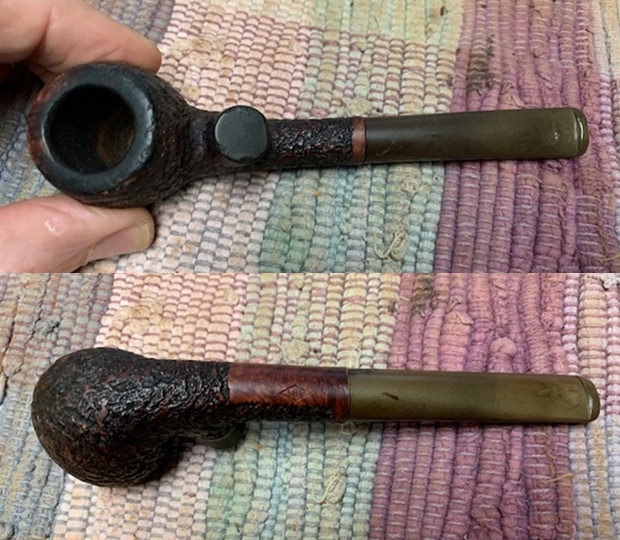
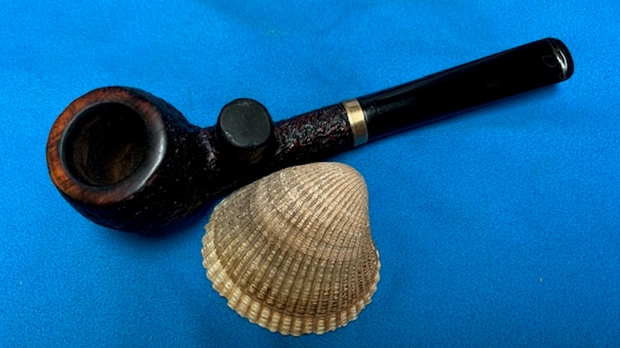
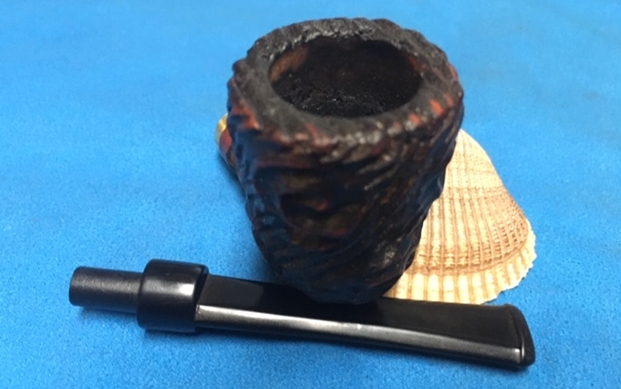
The next pipe I have chosen to work on was purchased from an online auction on January 22, 2024 in Jordan, Minnesota, USA. I have worked on a lot of LHS pipes through the years and many of them had the LHS Certified Purex stamp on the shank. This large flat Bulldog is very nice with great grain around the bowl. There are a few worm trail rustications on the sides of the bowl. It is stamped on the left side of the shank and reads CERTIFIED PUREX arched over a diamond the LHS in the centre. Underneath that is stamped Imported Briar. On the left underside of the diamond shank it is stamped with the shape number 97. The stamping is clear and readable. The saddle stem also bears the silver (inlaid) diamond logo on the left side. The bowl had a thick cake and there was a lava overflow on the rim top. The inner edge of the rim thickly covered with lava so it was hard to know the damage at this point. The outer edge and rim cap showed nicks and light damage. The stem is oxidized, calcified and has tooth marks and chatter on both sides at the button. Jeff took photos of the pipe before he started his clean up. 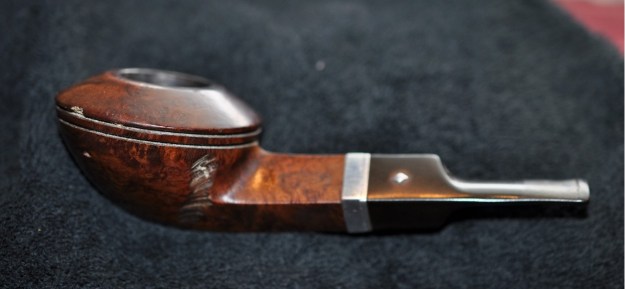
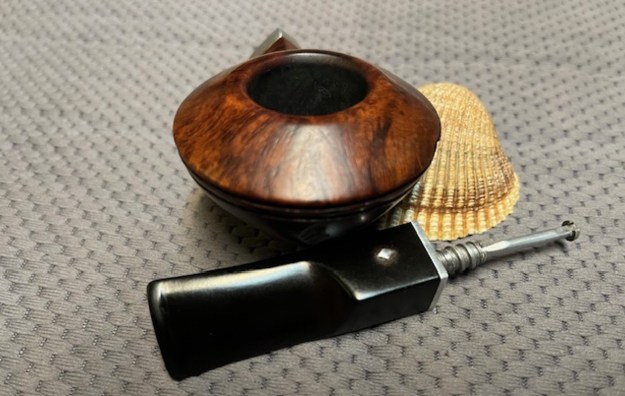
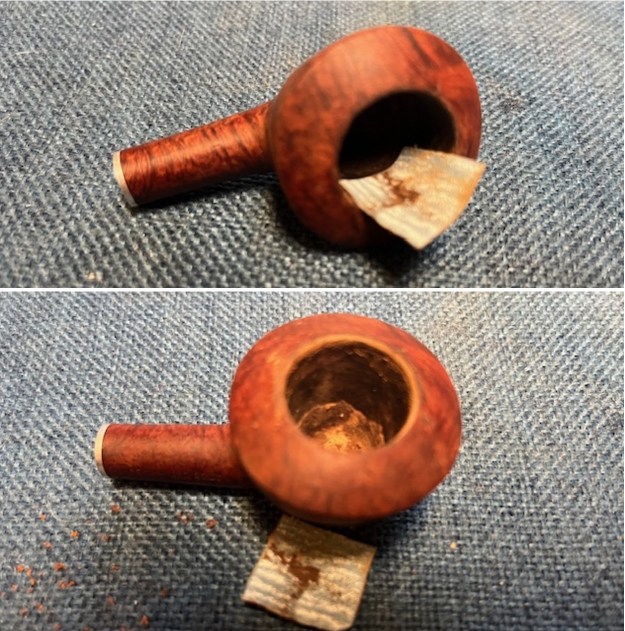
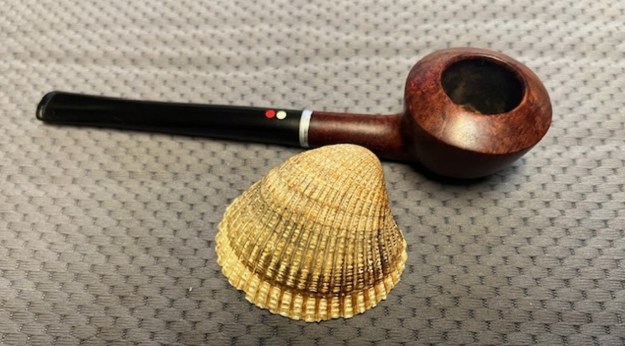
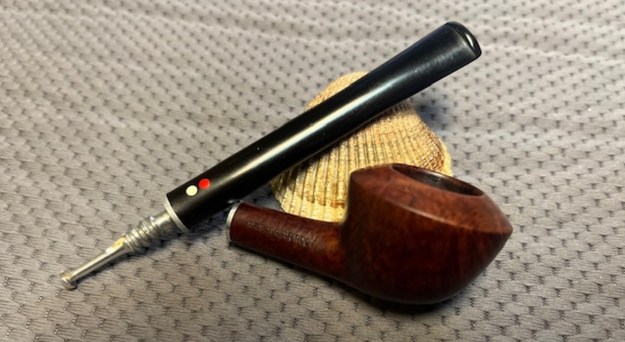
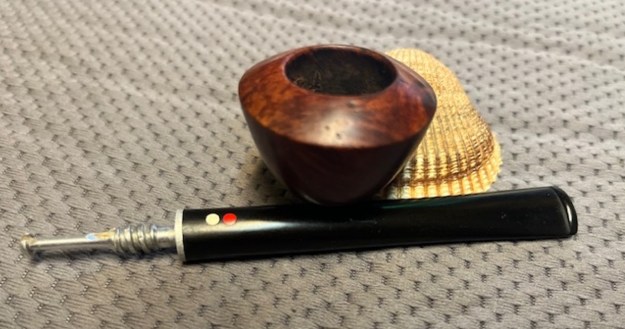
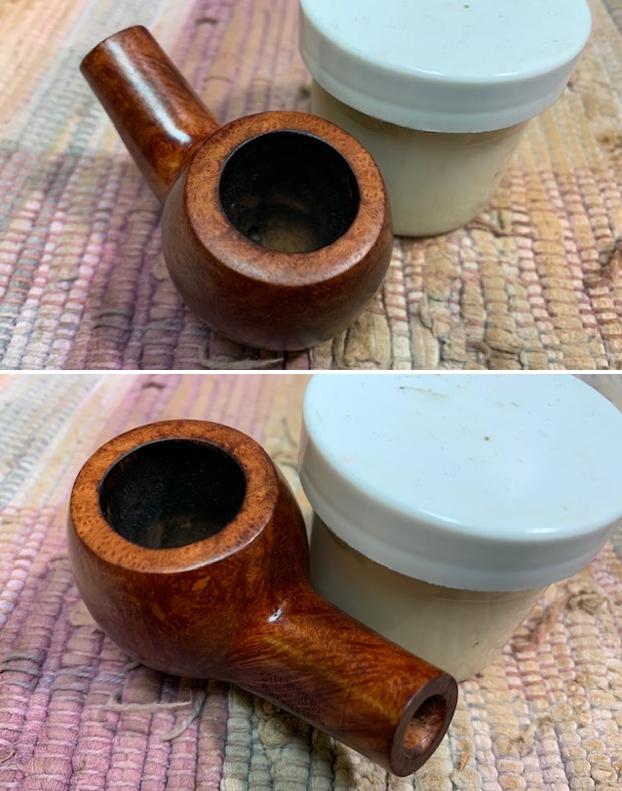
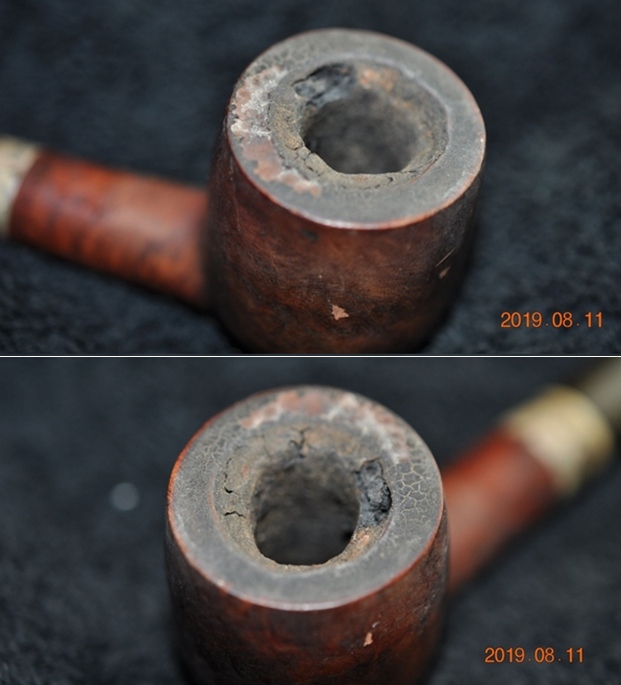
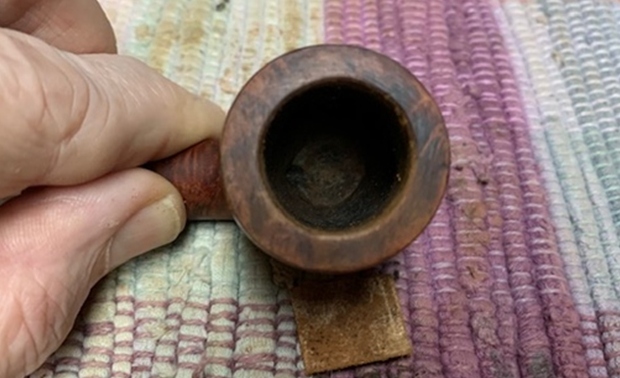
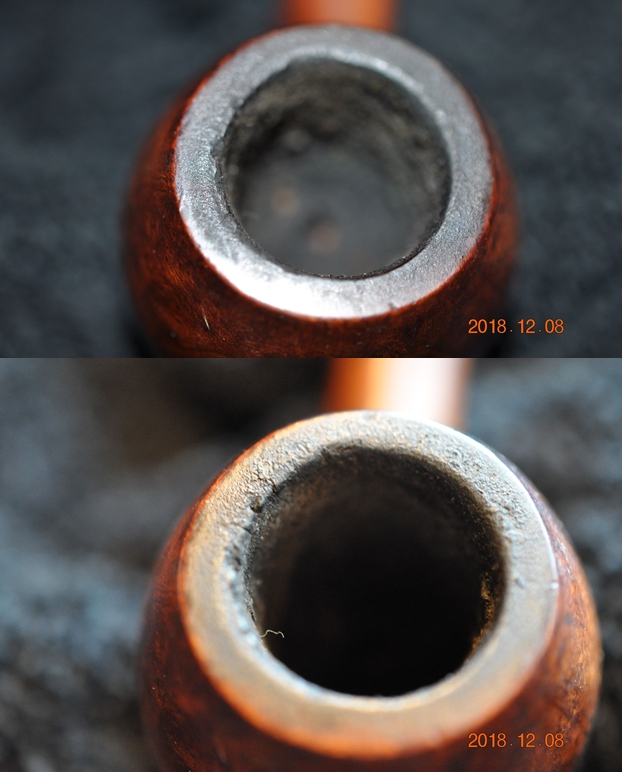
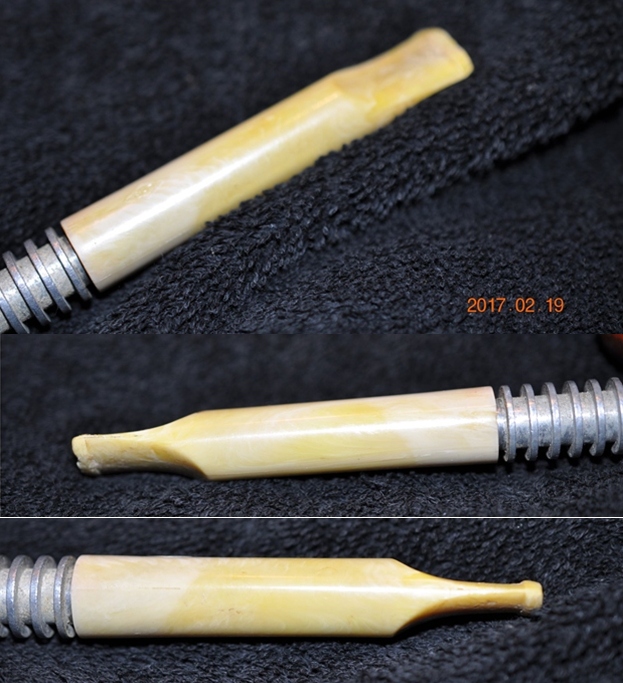
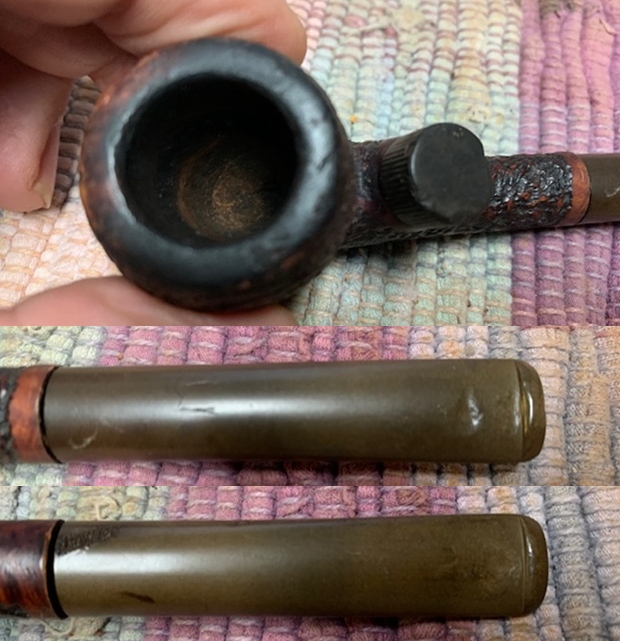
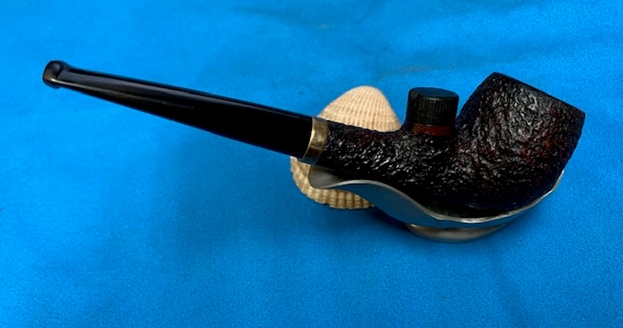
 Jeff took photos of the bowl, rim top to show the thickness of the cake in the bowl and the lava on the rim top. The bowl had a thick cake that overflowed in lava on the inner edge and rim top of the bowl. I am hoping that the thick lava coat protected things underneath it from damage to the edges and top. He took photos of the top and underside of the stem showing the tooth chatter, scratching, calcification and oxidation on the stem surface and wear on the edges of the button.
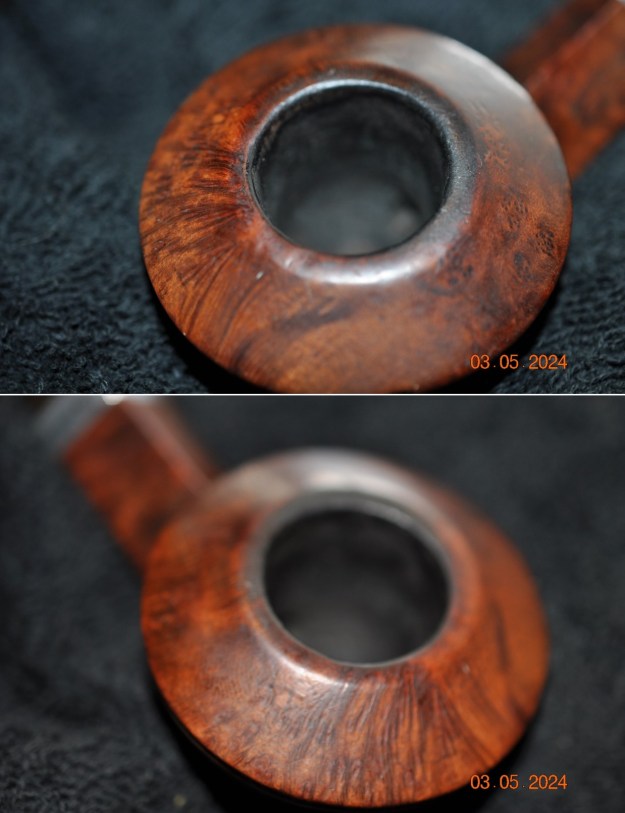
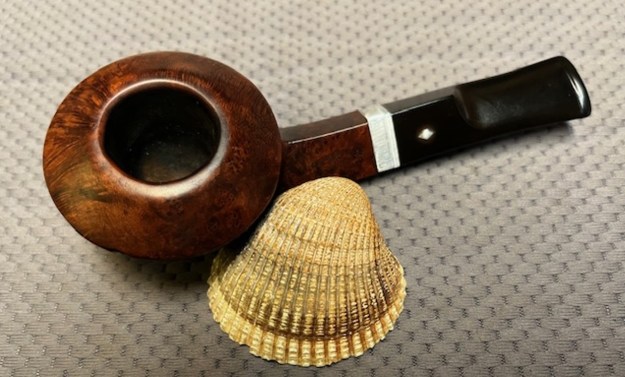
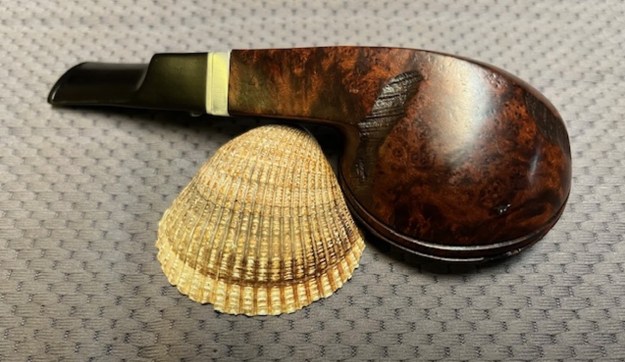
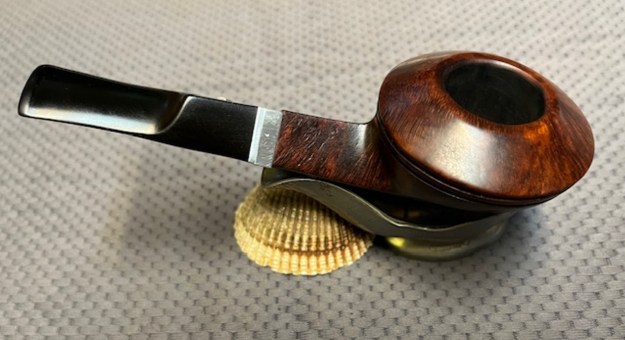
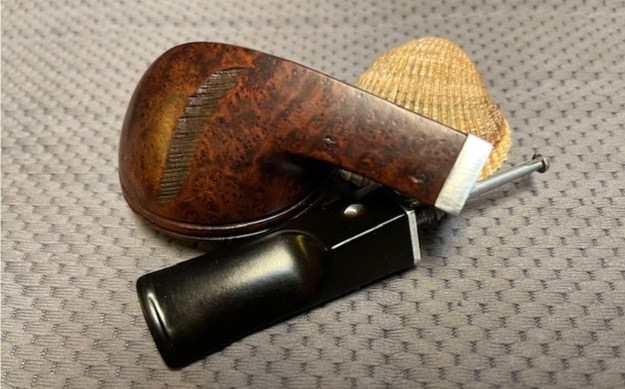
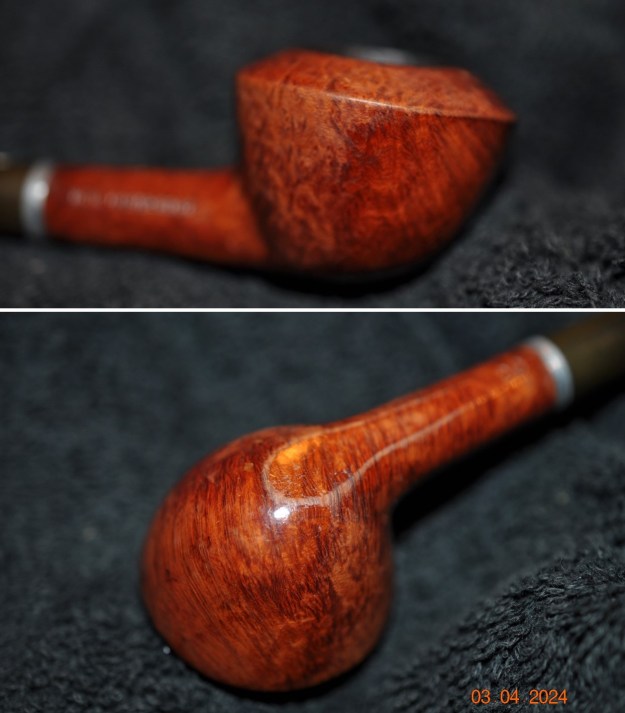
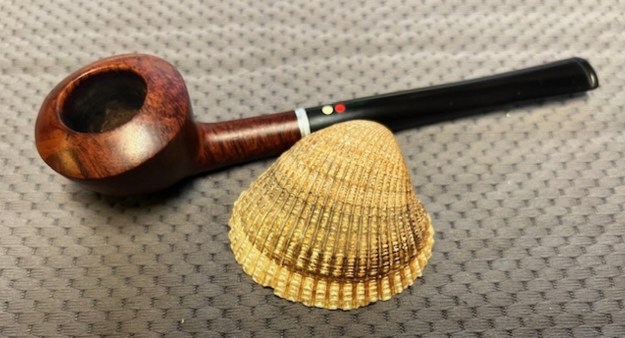
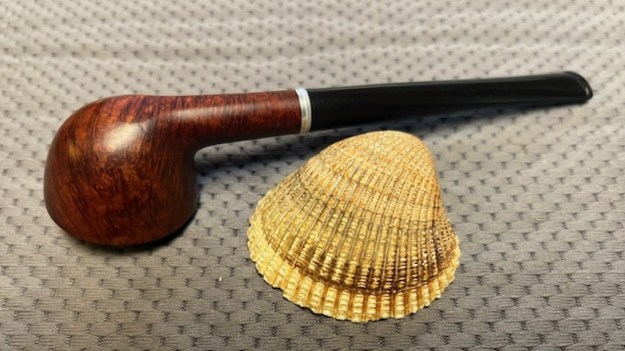
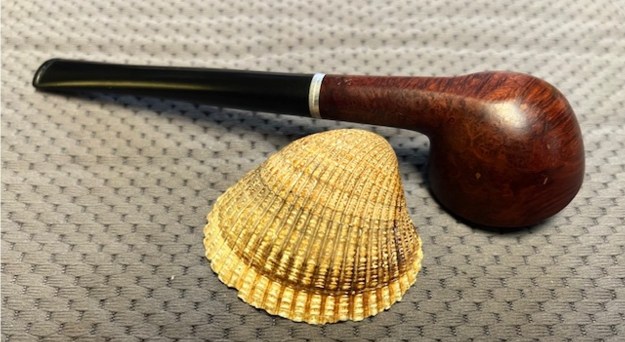
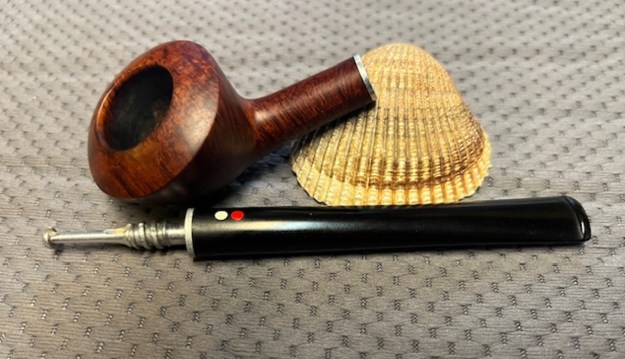
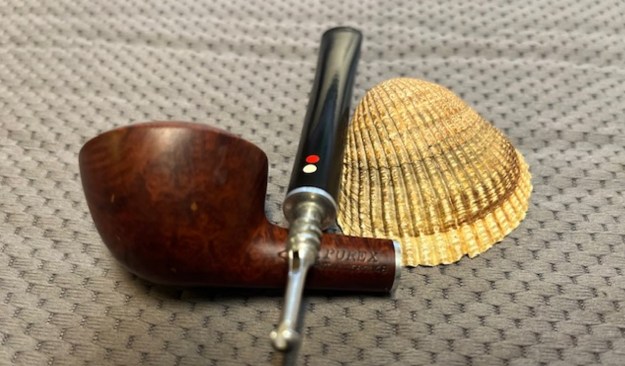
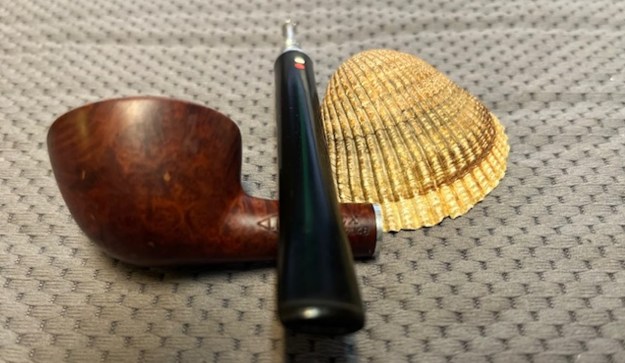
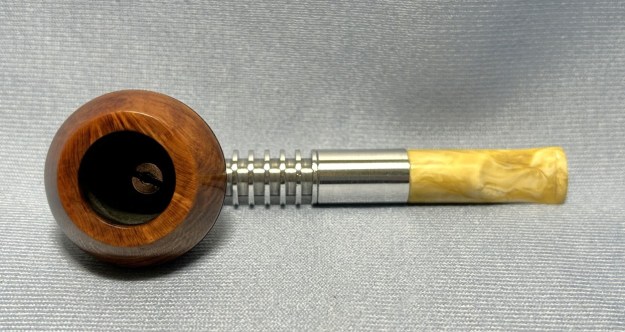
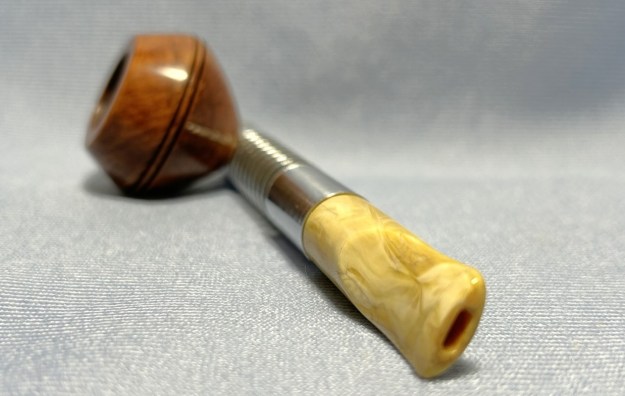
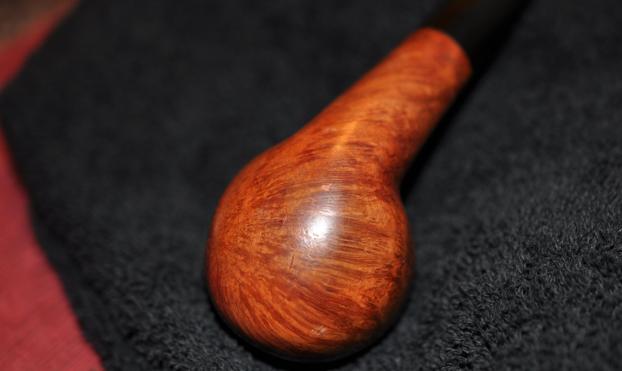
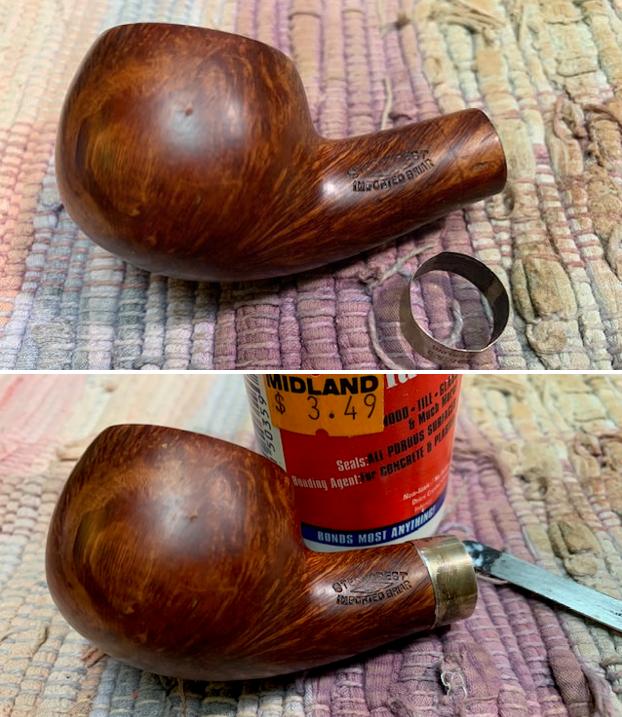
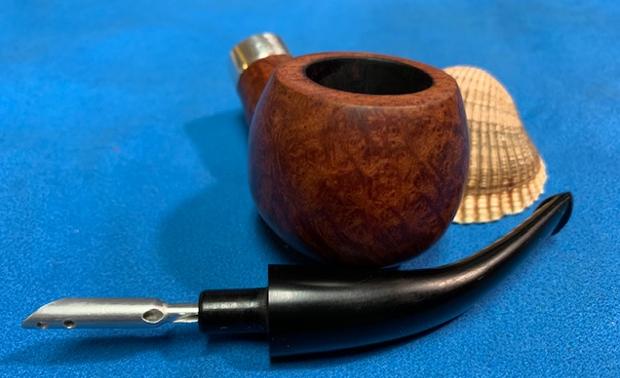
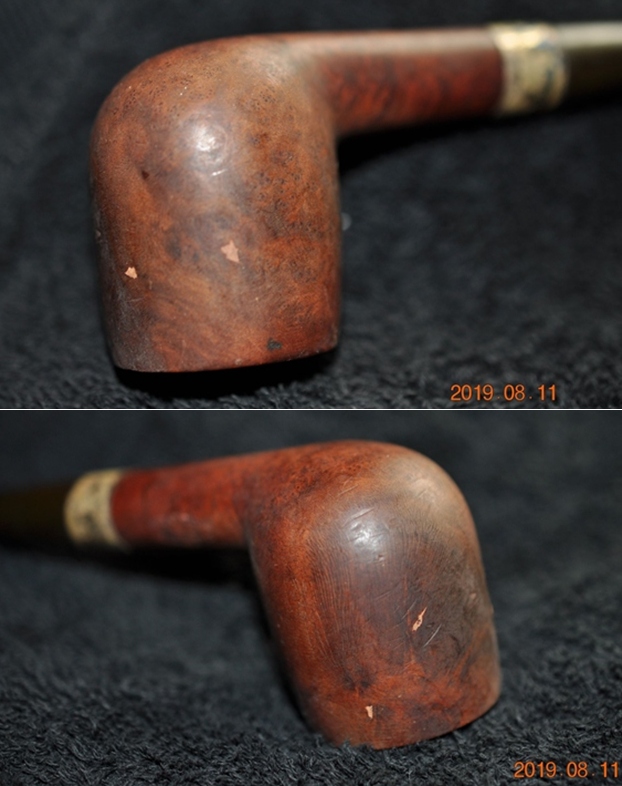
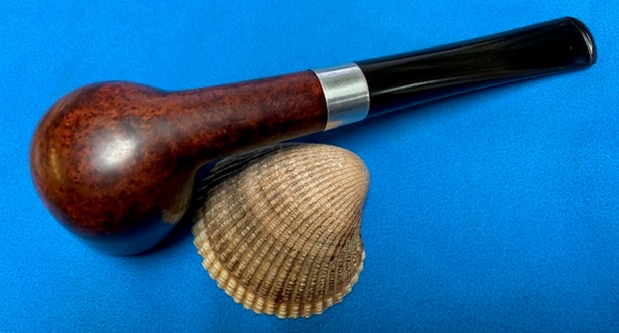
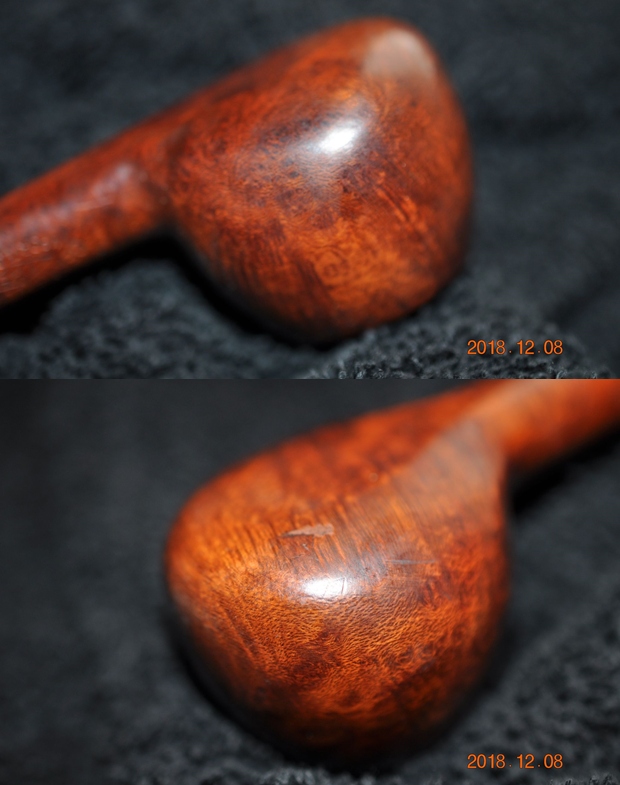
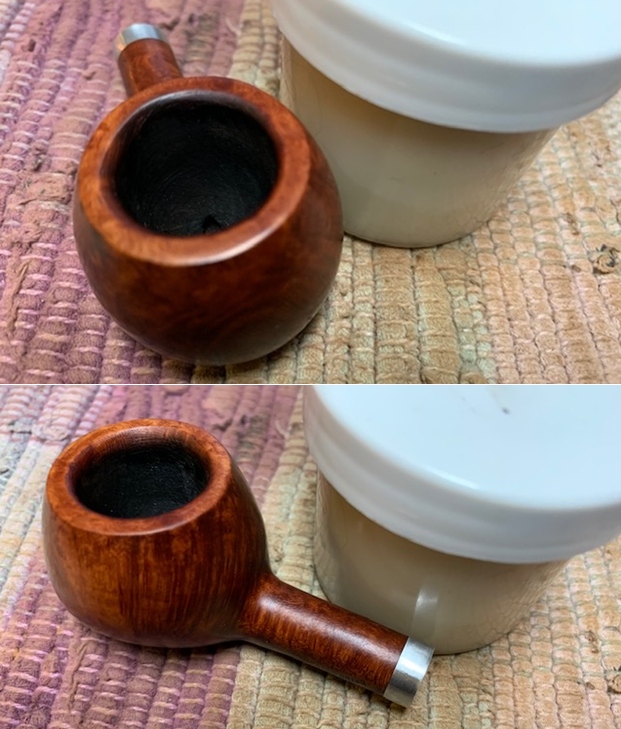
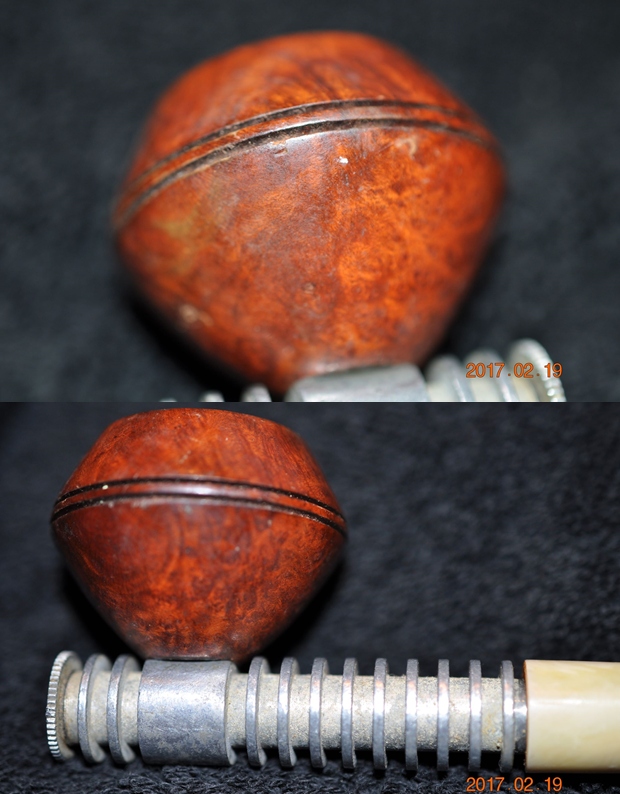
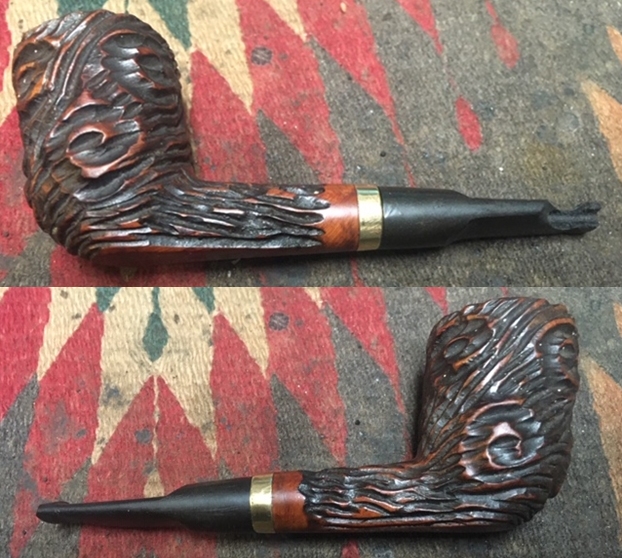
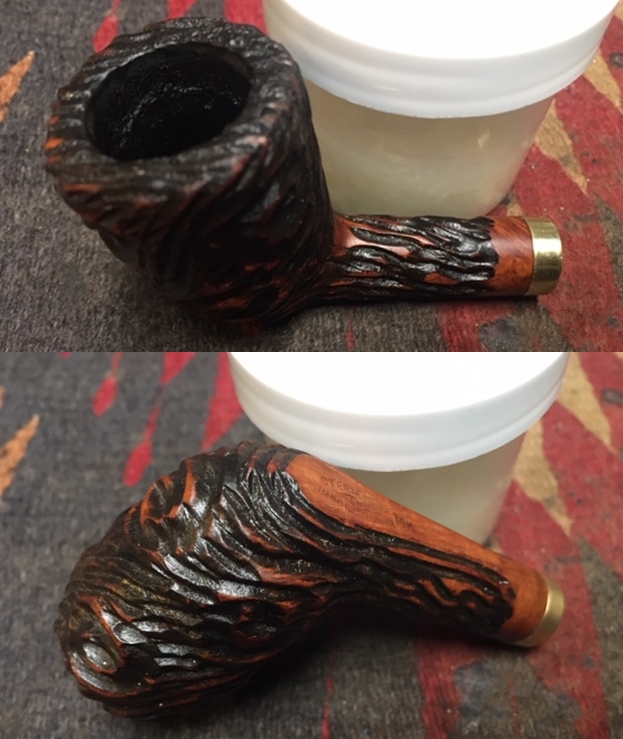
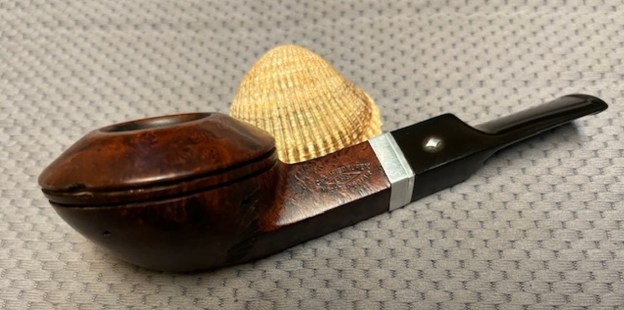
 Jeff took photos of the sides and heel of the bowl to show the condition of the briar. You can see the beautiful shape of the bowl even through the dirt and debris of many years. You can also see the nicks in the rim cap and the side of the bowl.
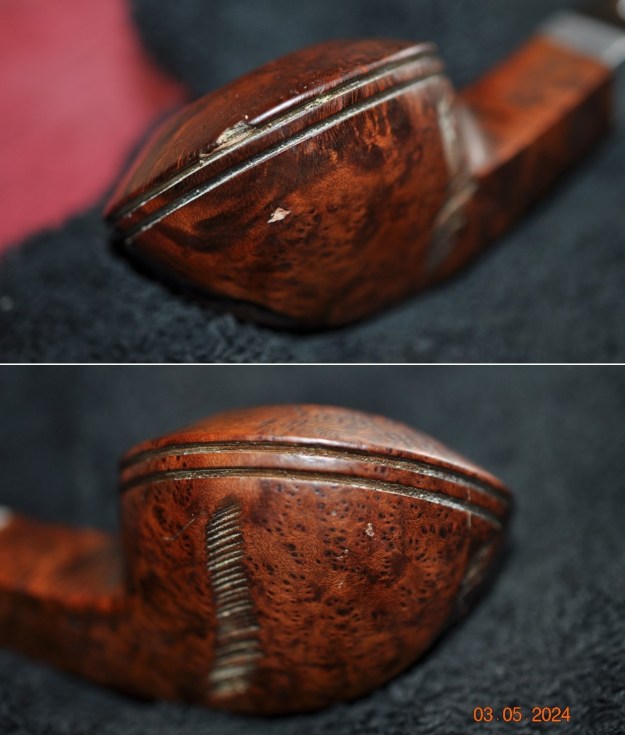
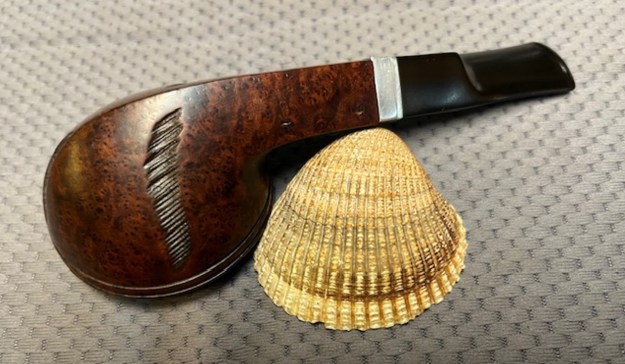
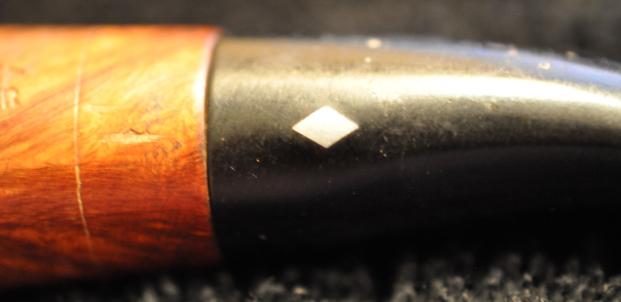
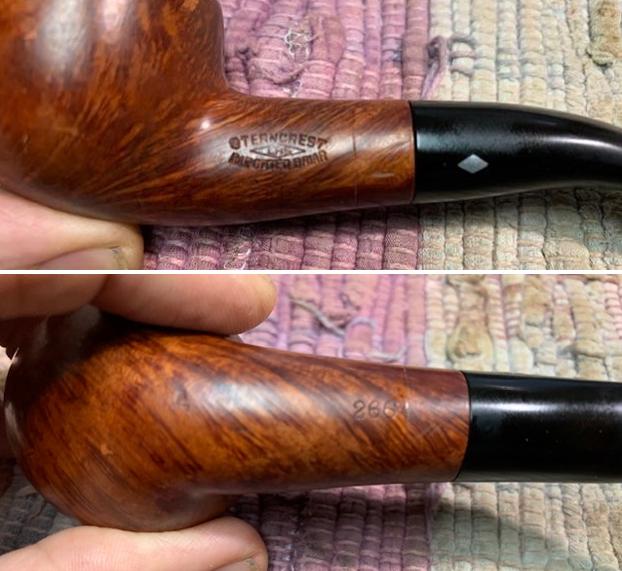
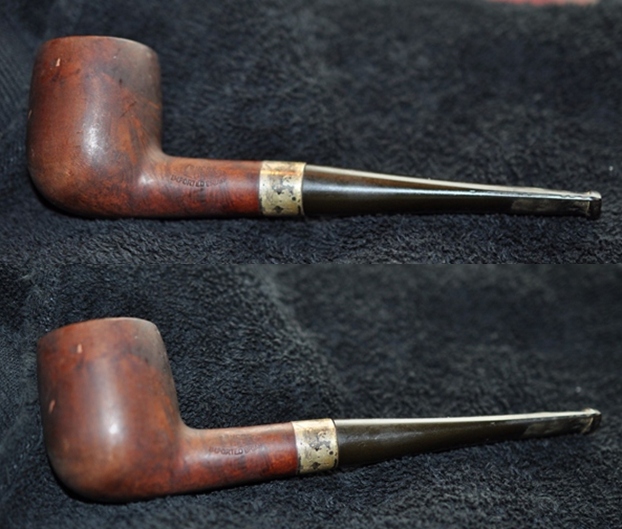
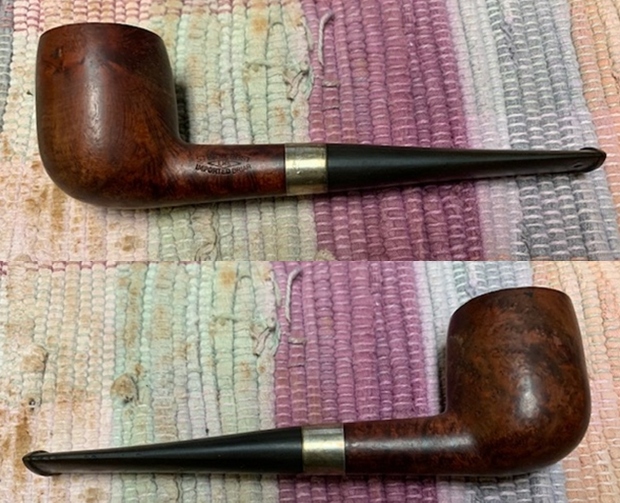
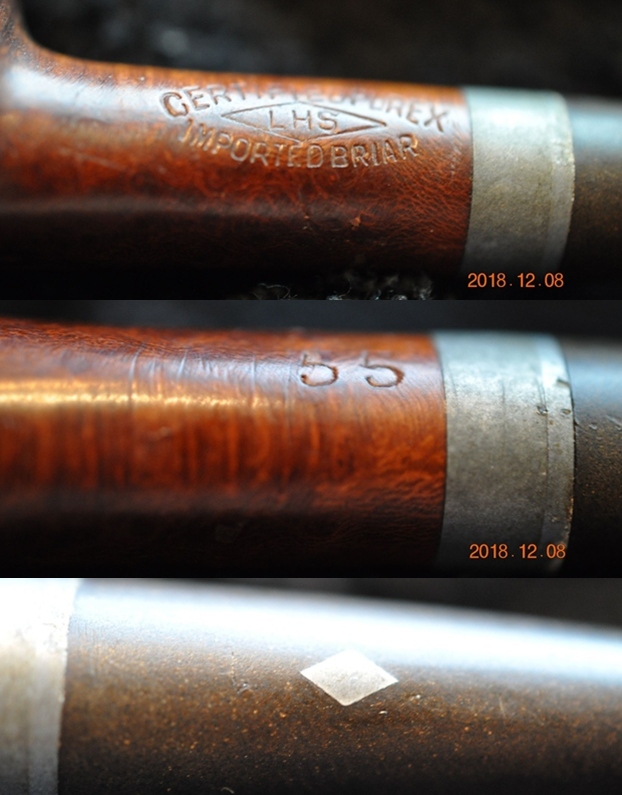
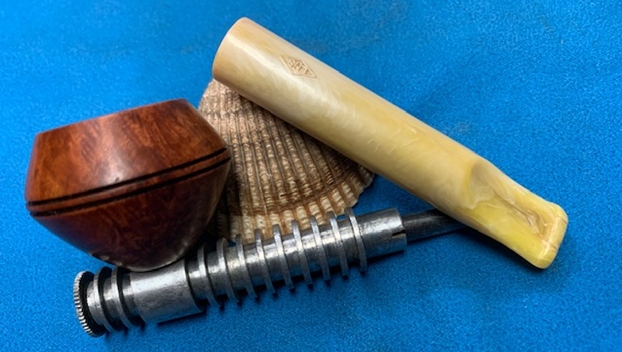
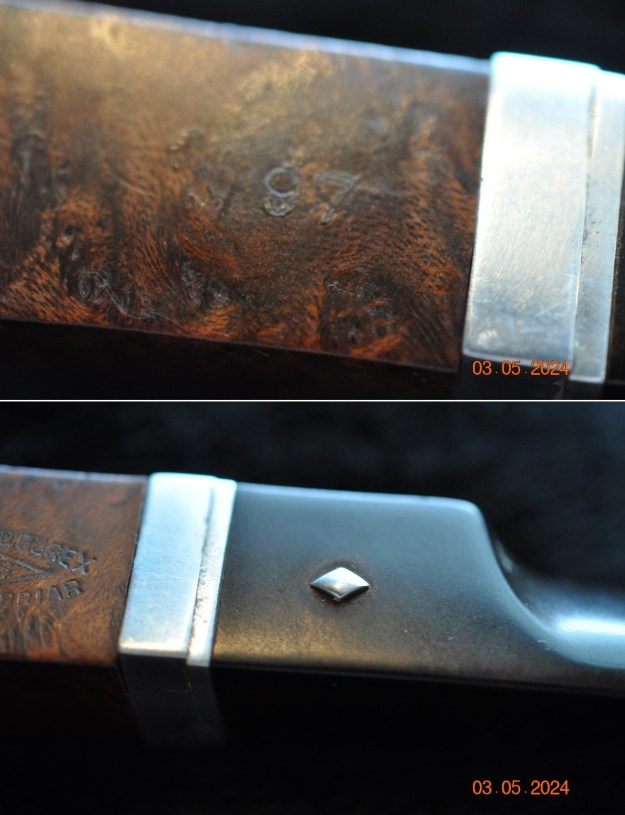
 Jeff took photos of the stamping on the sides of the shank. You can see that it is clear and readable as noted above.
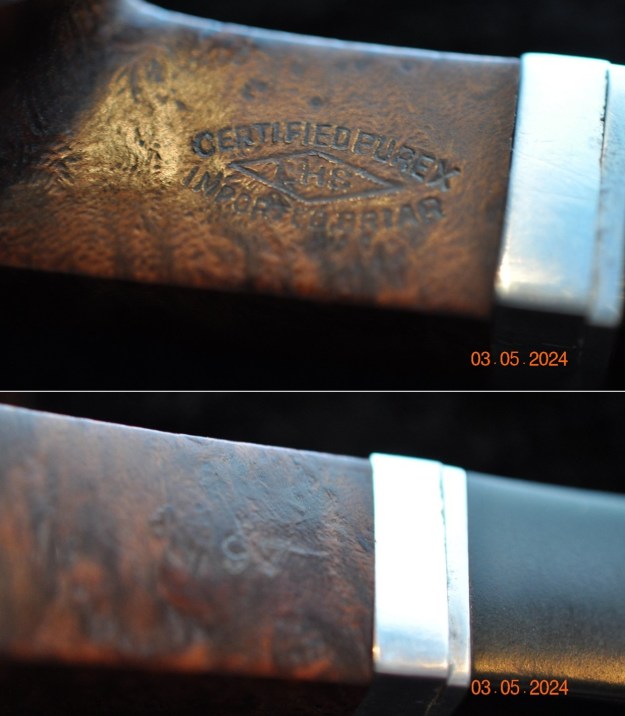
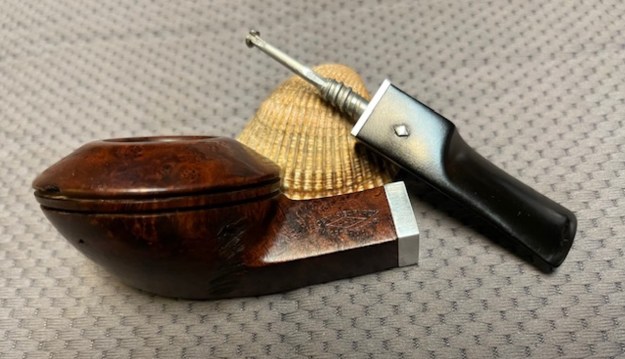
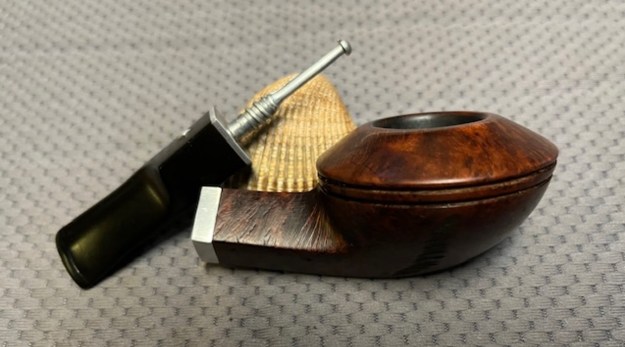
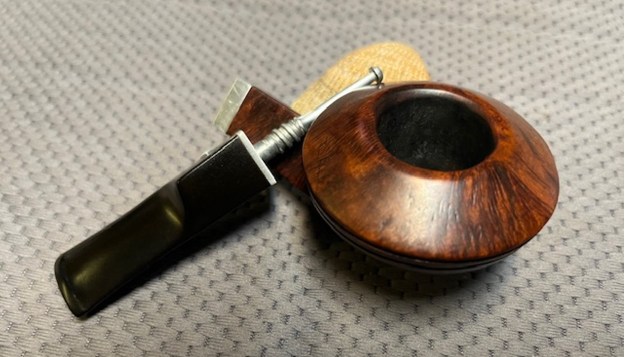
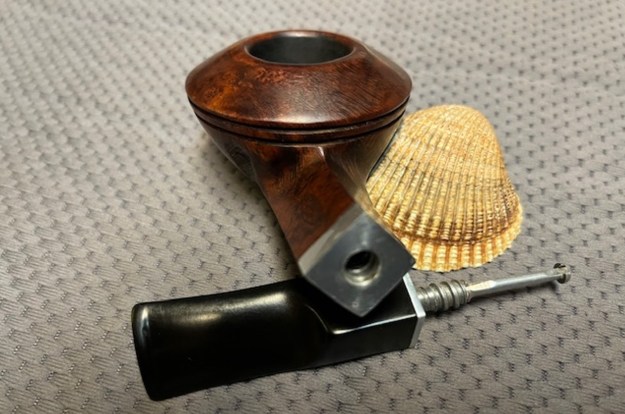
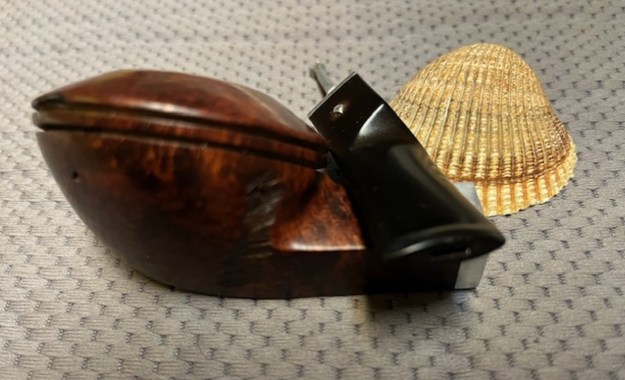
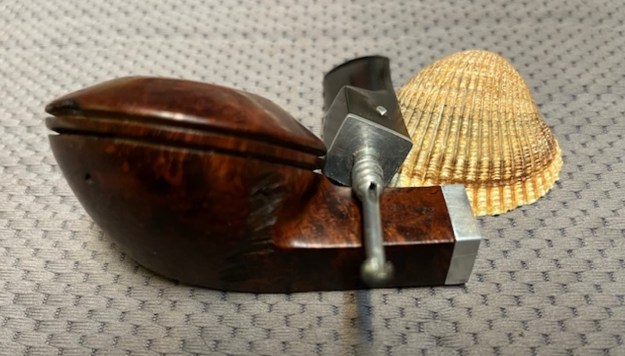
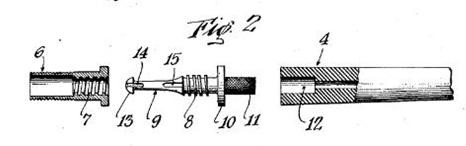
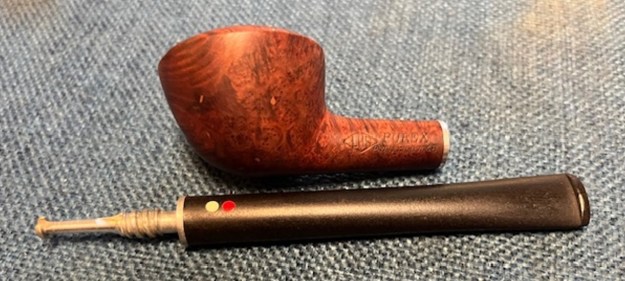
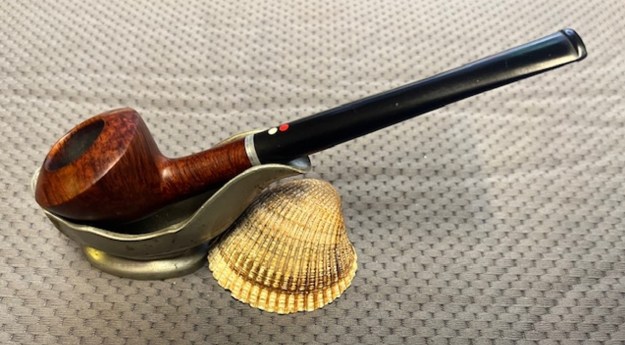
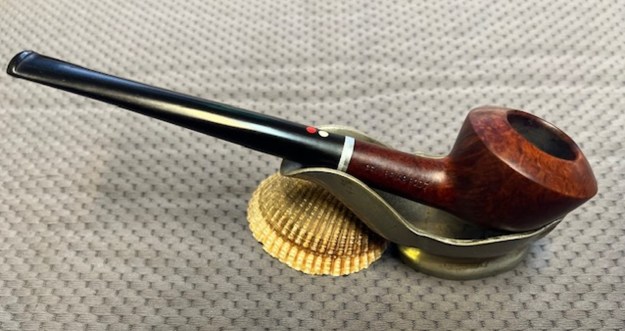
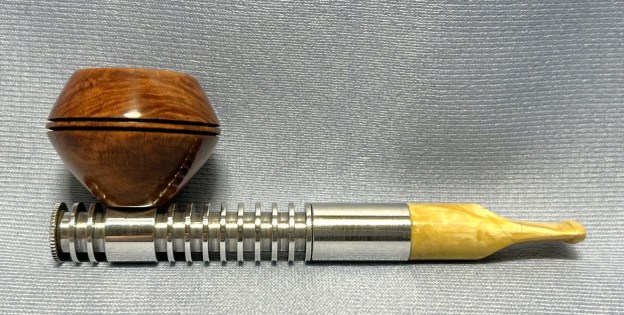
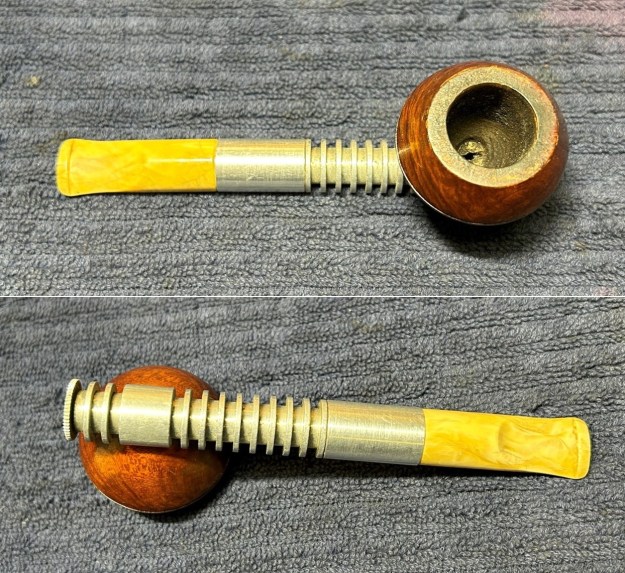
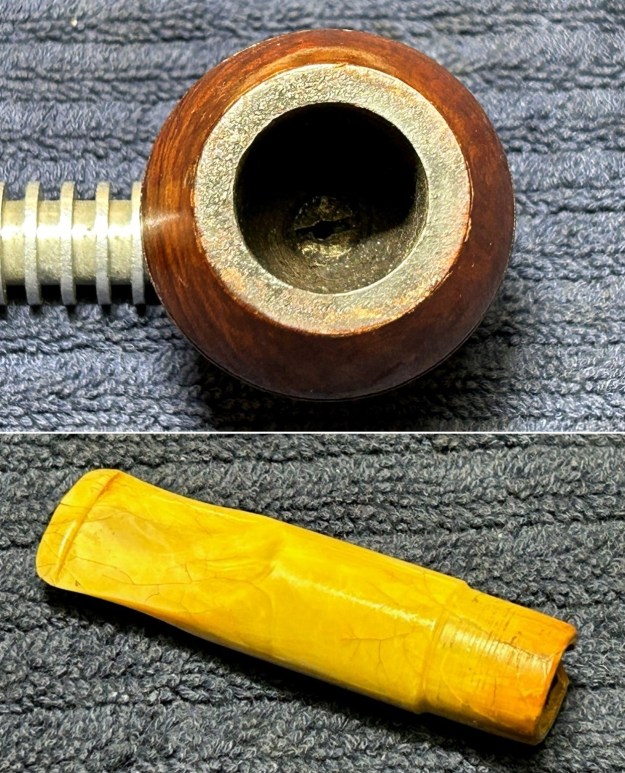
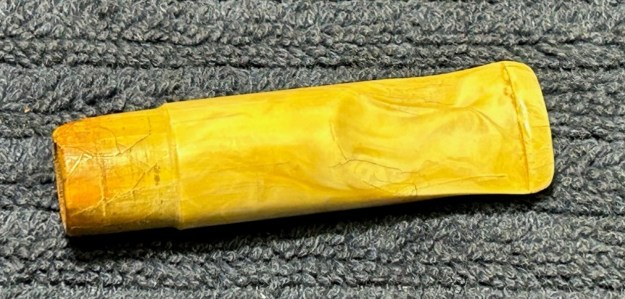
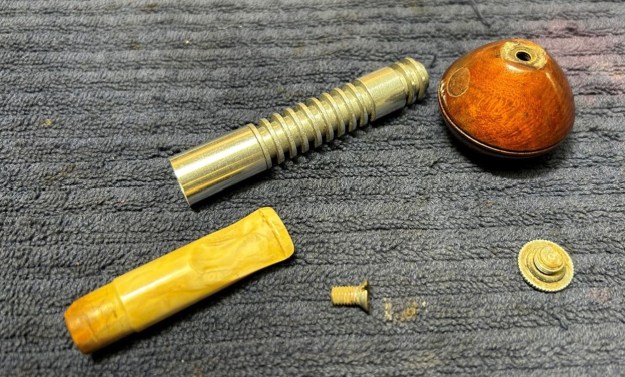
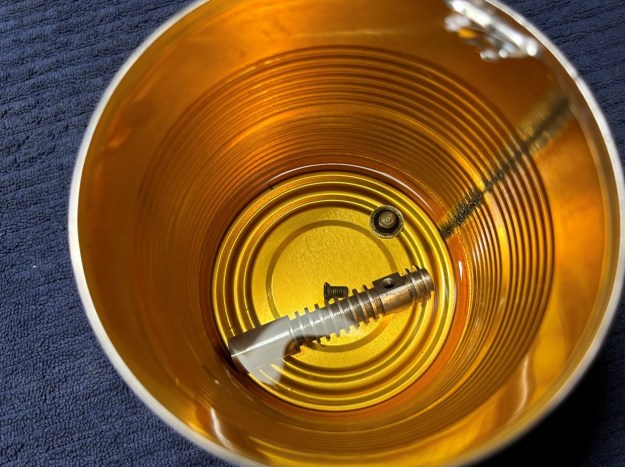
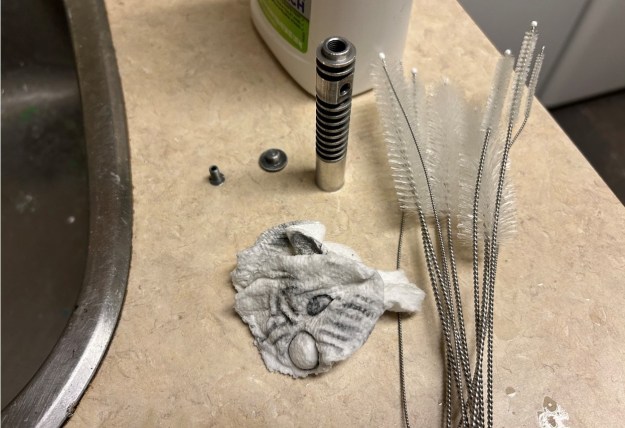
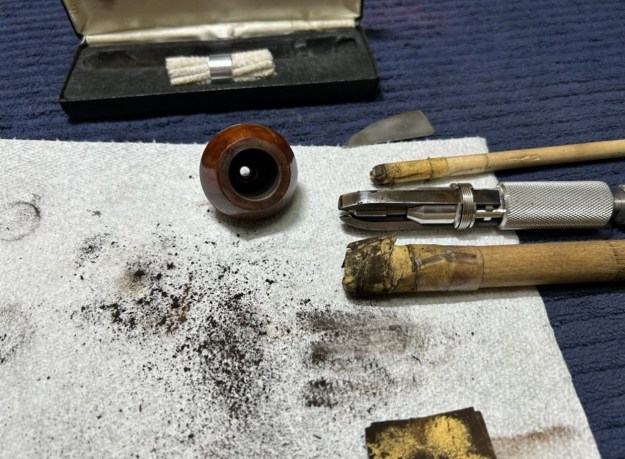
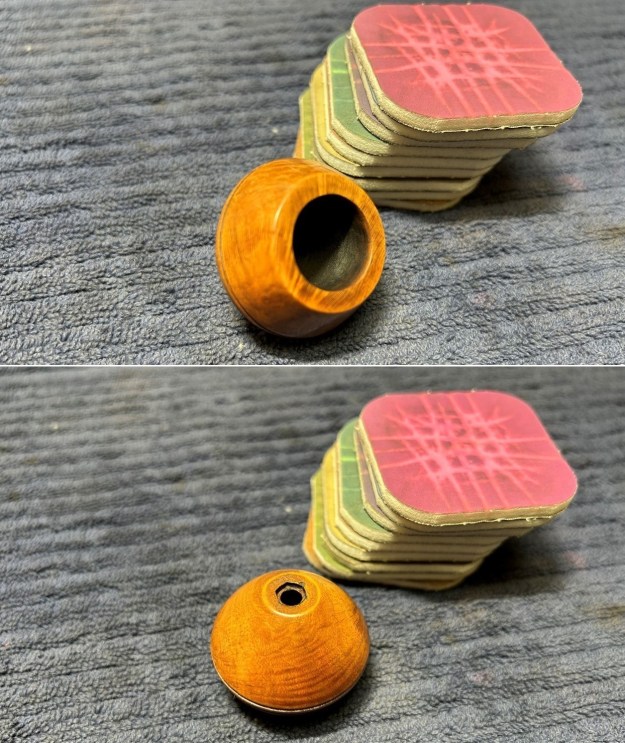
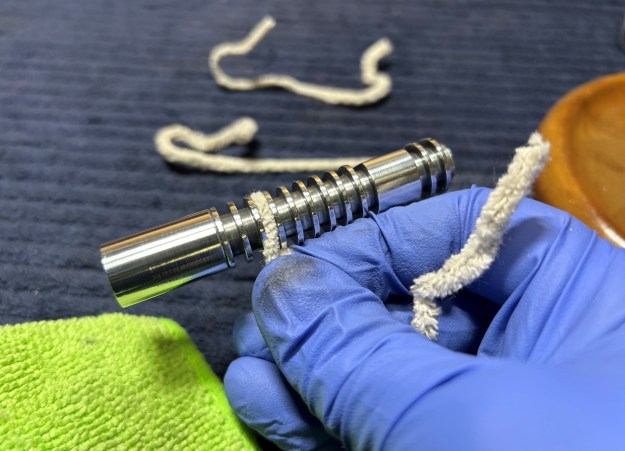
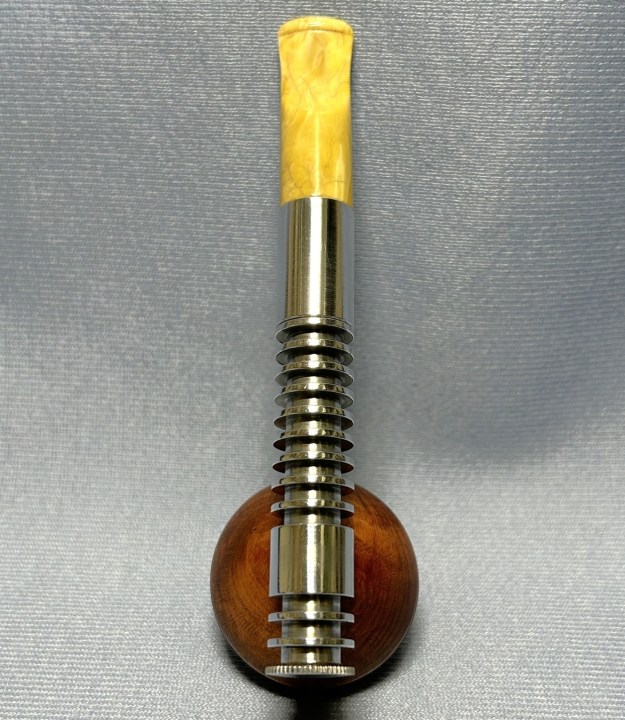
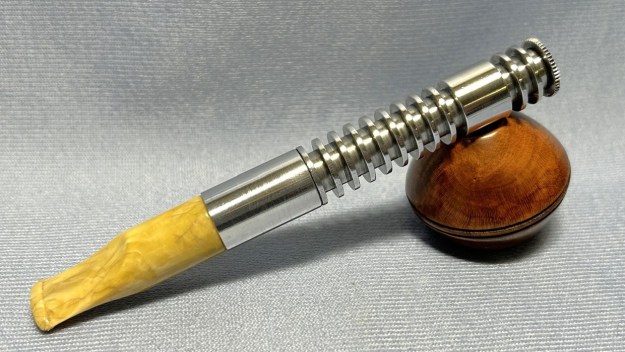
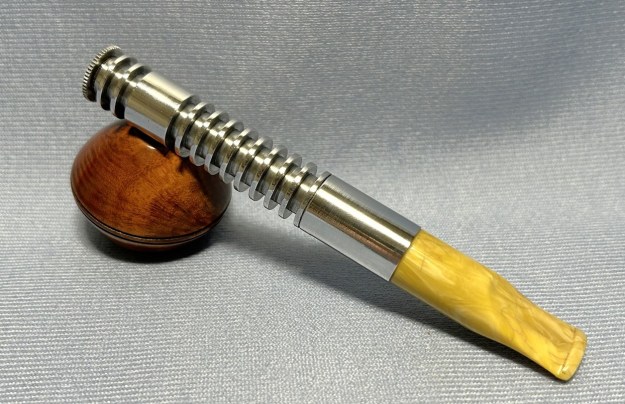
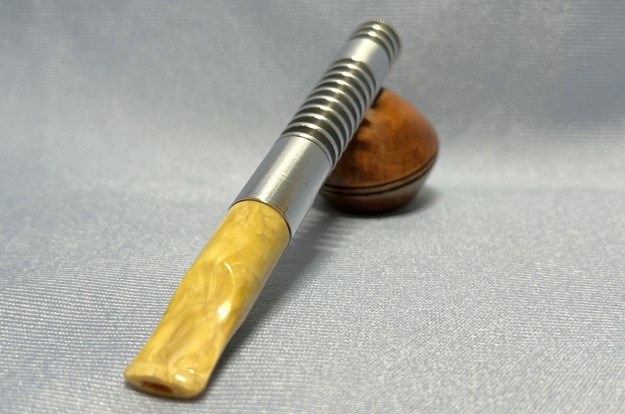
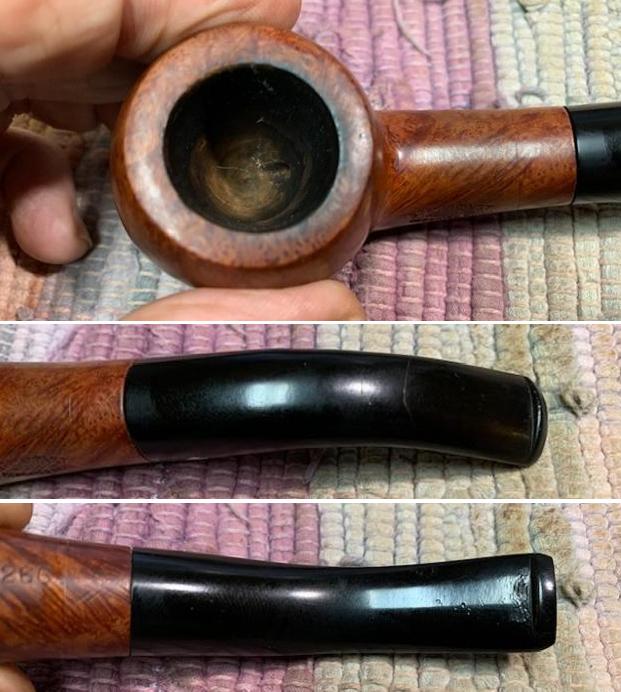
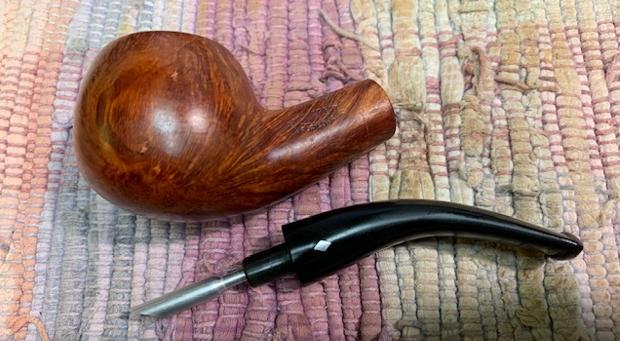
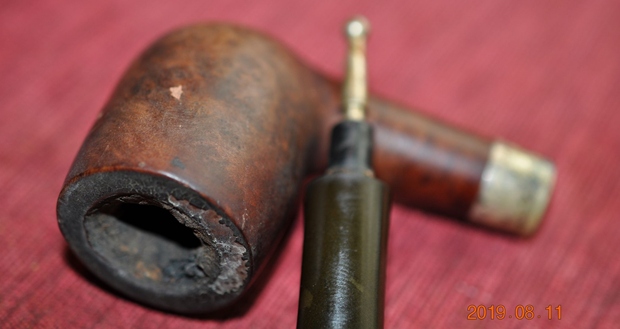
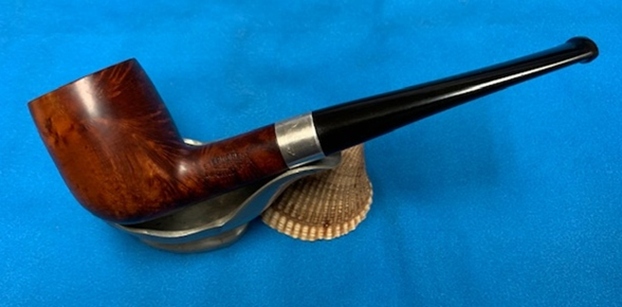
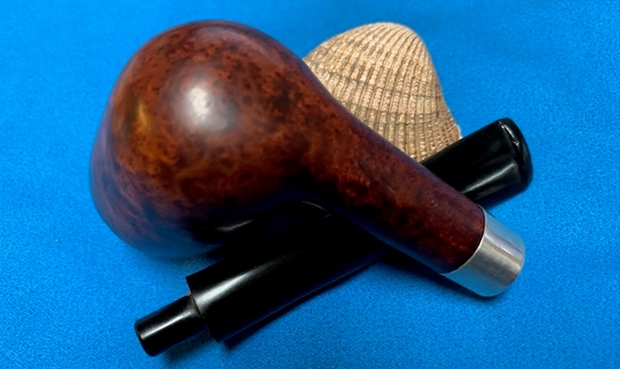
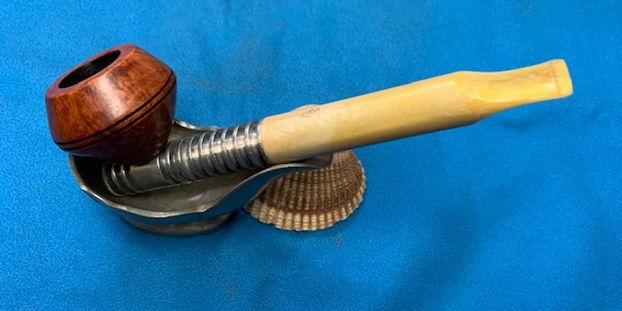
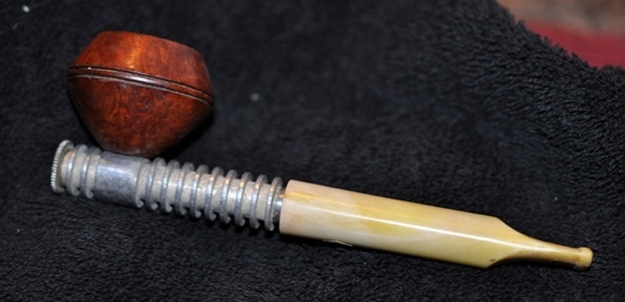
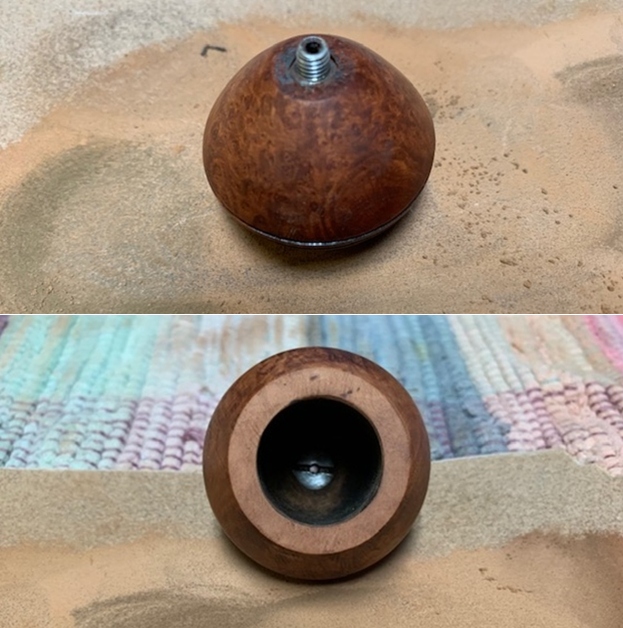
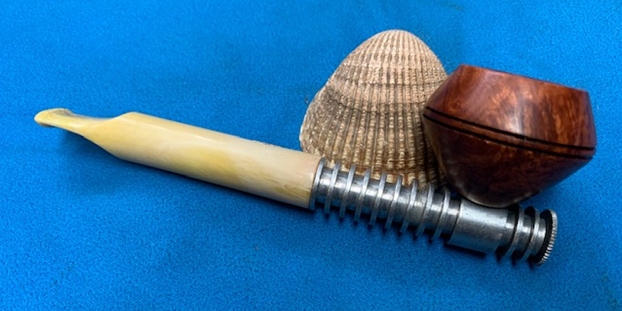
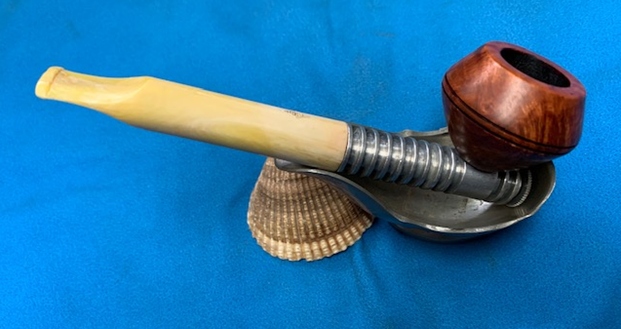
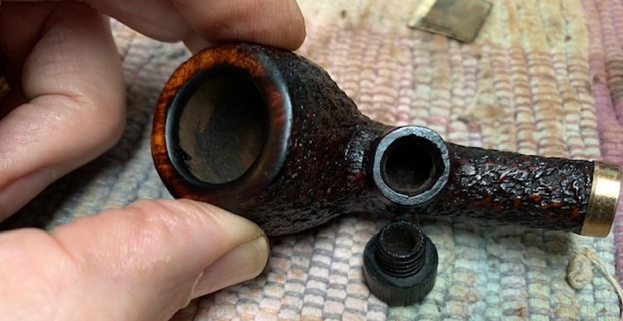
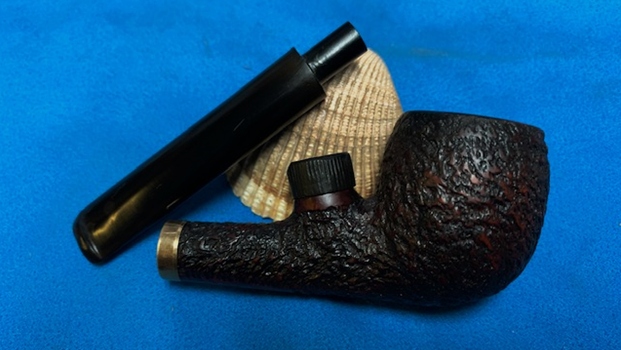
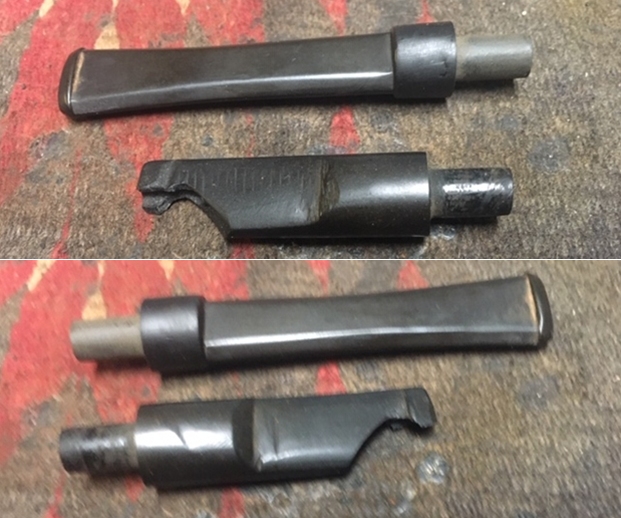
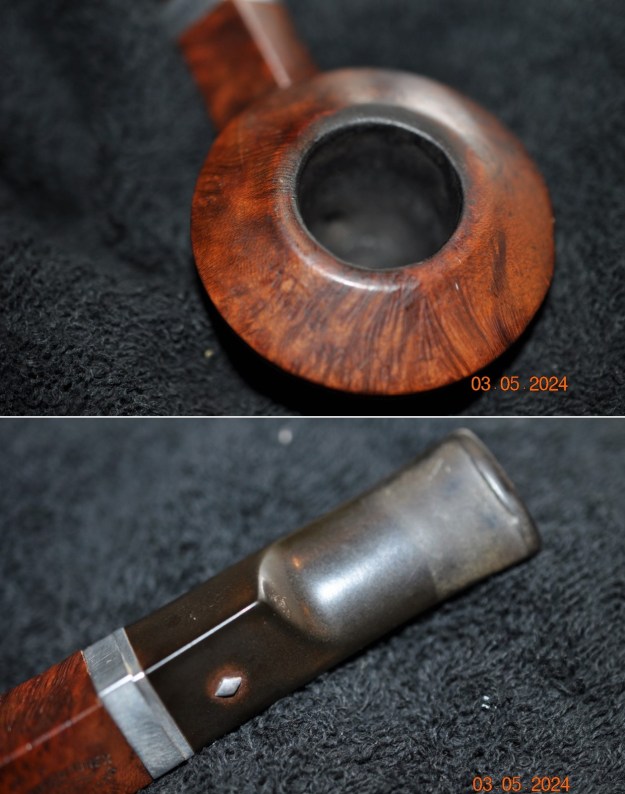
 Jeff took photos of the pipe taken apart. It shows the shank insert that is screwed into the shank end. You can also see the threaded stinger/tenon apparatus as well.
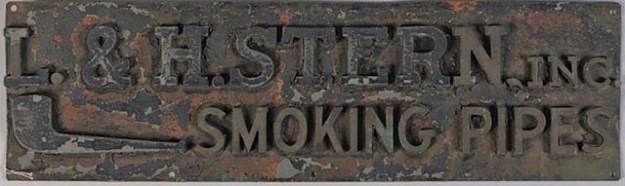
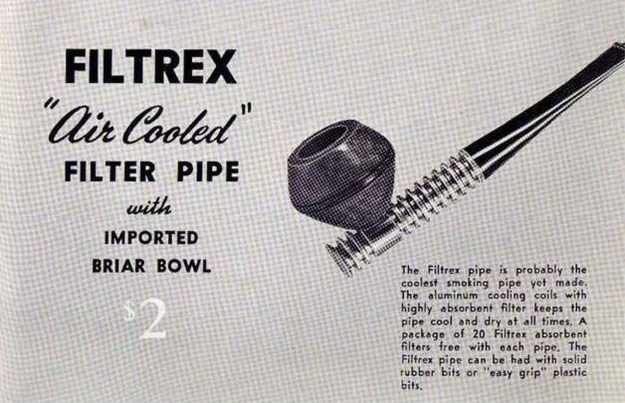
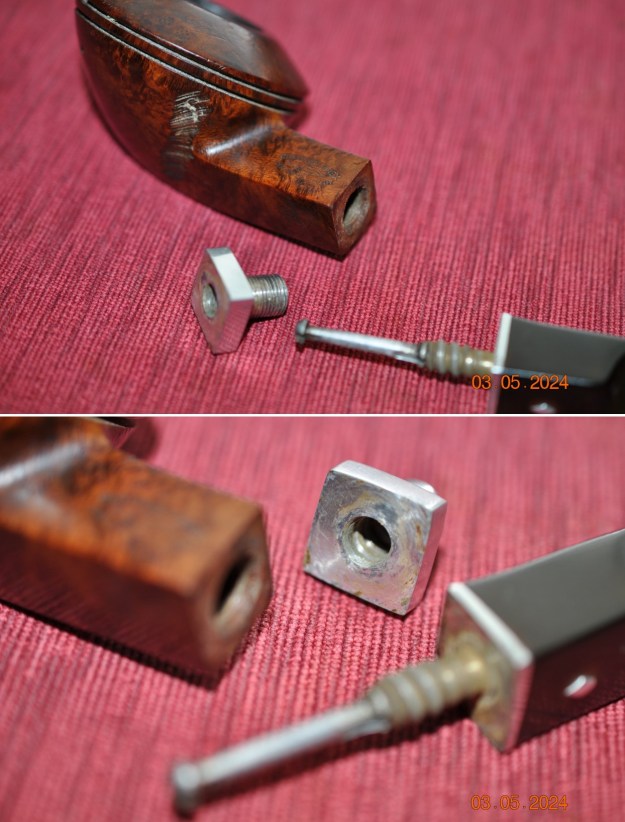 I turned first to Pipephil’s site (http://pipephil.eu/logos/en/logo-lhs.html) and found a pipe with the same stamping as the one that I am working on.
 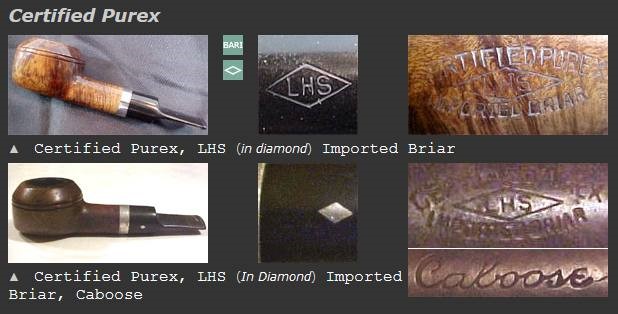 There was a brief history of the brand at the top of the page. It read as follows:
The L&H Stern Inc. was established by Ludwig Stern (1877-1942) in 1911. His brother Hugo (1872-?) acted as vice-president & secretary. The firm moved to 56 Pearl St. Brooklyn in 1920. It closed down in the 1960s. LHS was one of the main pipe supplier for US soldiers during WWII.
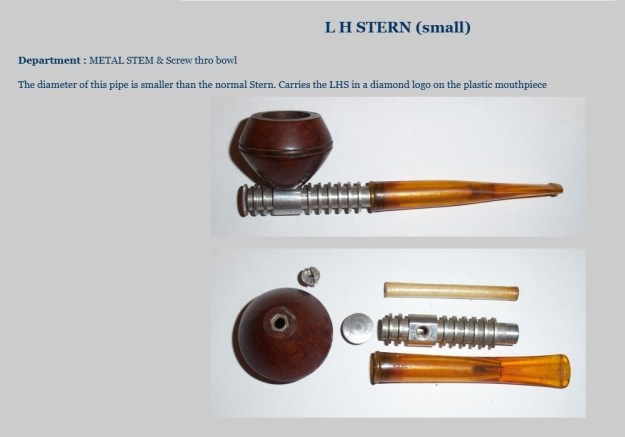
I turned to Pipedia to try and place this pipe in the timeline of the brand and was able find some helpful information which I have included below (https://pipedia.org/wiki/LHS). Again it had a brief history. It read as follows:
Ludwig Stern, a successful pipe manufacturer since 1893 and closing around 1960, reorganized his company along with his brother Hugo Stern, opening a factory in 1911. They named the company L&H Stern Smoking Pipes & Holders. The newly formed company was moved into a six story building on the corner of Pearl and Waters street Brooklyn, NY…
There were also Notes from Geyer’s Stationer on the page below this. It read as follows:
Thoroughly organized in all departments, and housed in a well-lighted and ventilated modern office and manufacturing building, the firm of L&H Stern Inc. is located near the first arch of the Manhattan bridge, near the river and convenient to the Brooklyn bridge, which makes it accessible from all the hotels in the metropolis for visiting buyers. The structure is six stories with a seventeen-foot basement, with light on three sides through prismatic glass windows, the first floor being seven feet above the sidewalk. Light enters the upper floors from all four sides.
L&H Stern is known to every important wholesaler and jobber in the country. LHS manufactures a complete line of briar pipes. Ginmetto wood pipes are also made, as well as Redmanol goods, the man-made amber. The first substitute for amber. Everything, even down to the sterling silver and other metal trimmings are made under one roof.
LH Stern was a fascinating company that literally covered the manufacture of all the pipe parts. I was not able to pin down the date on it with the information but it was a nice piece of briar. Now on to the pipe.
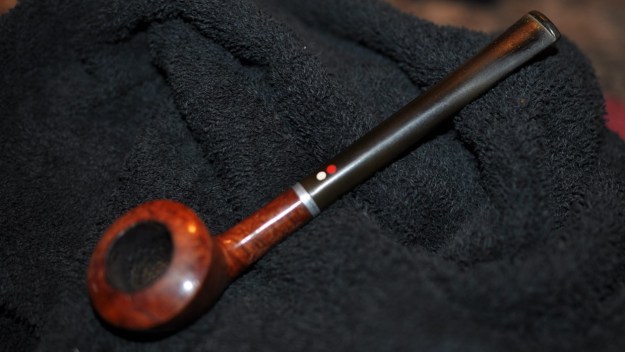
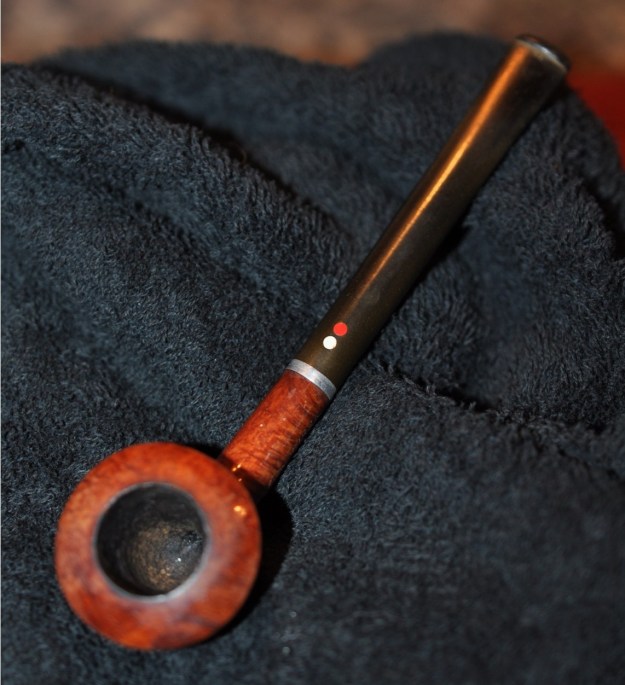
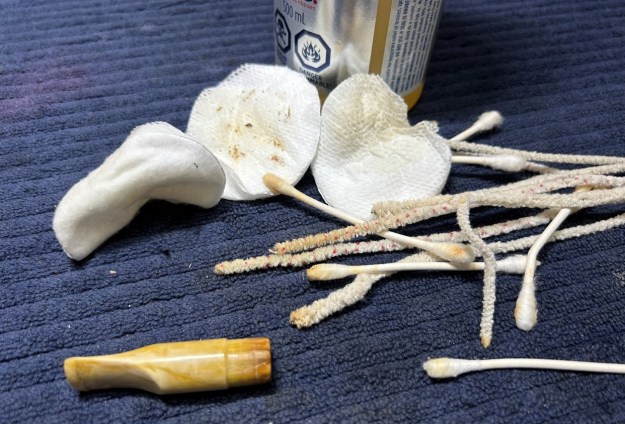
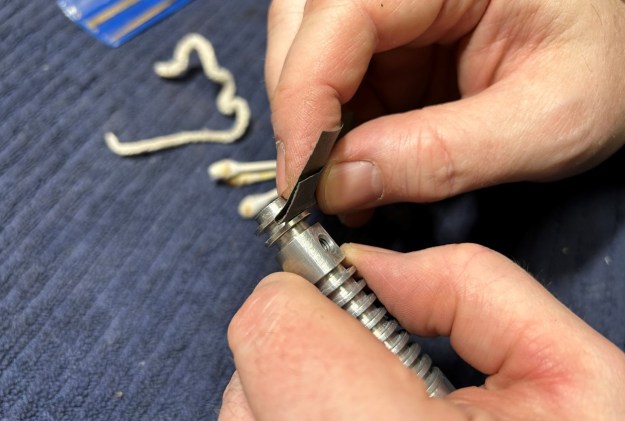
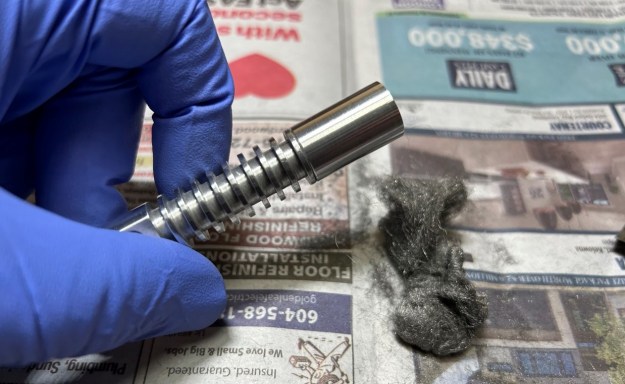
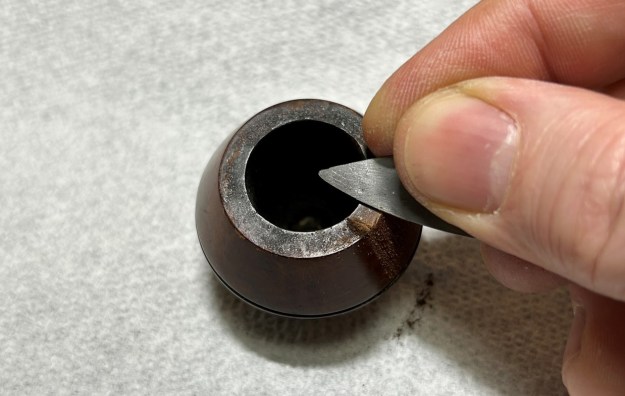
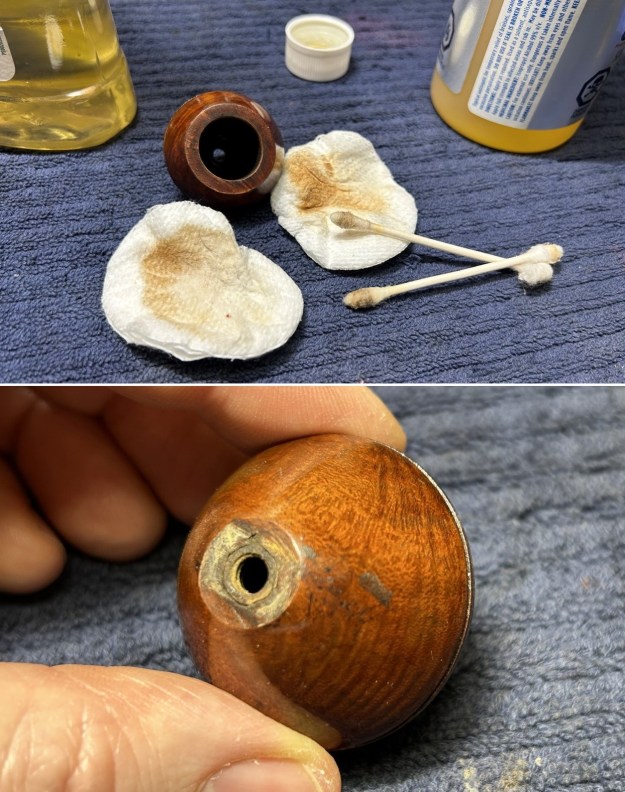
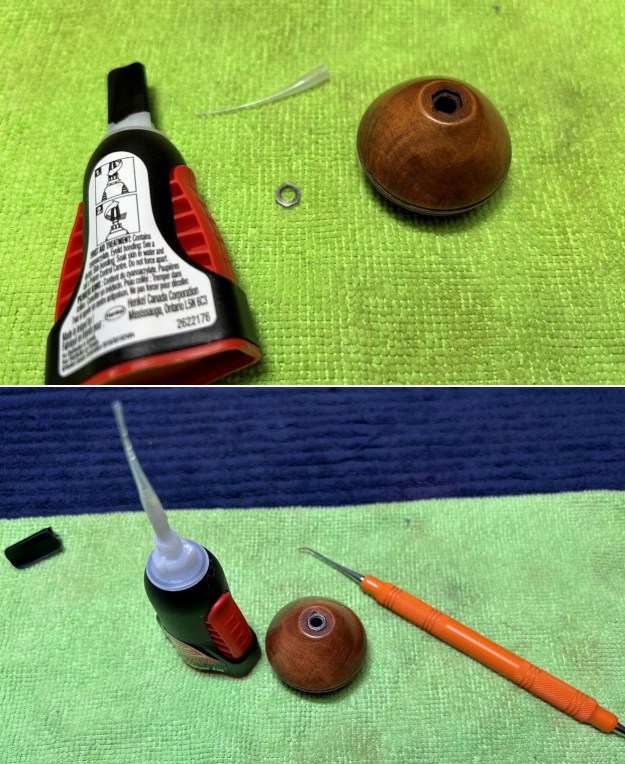
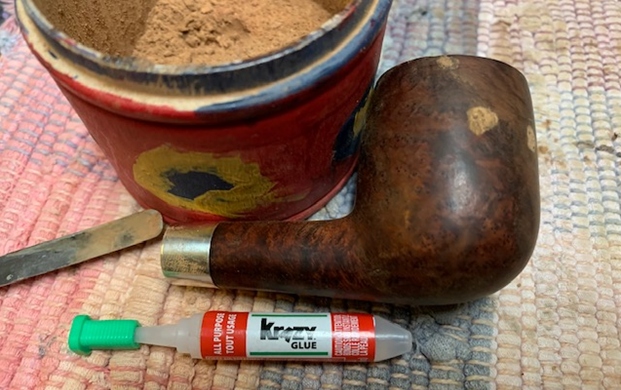
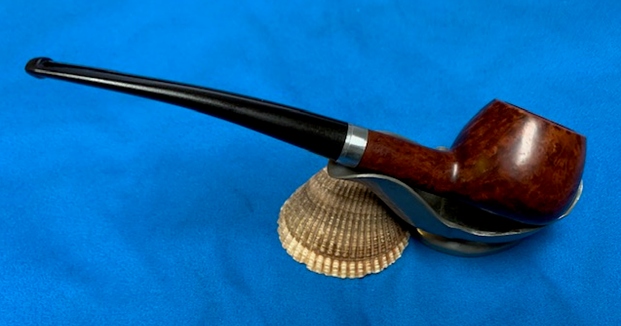
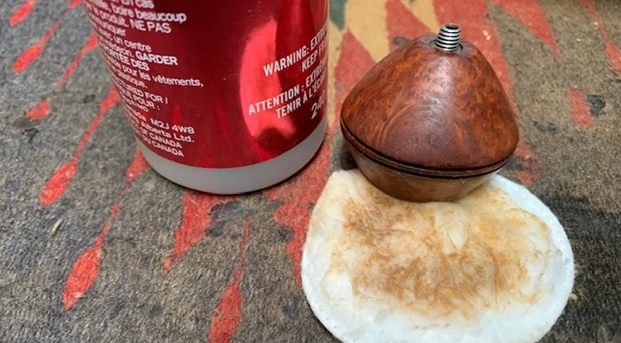
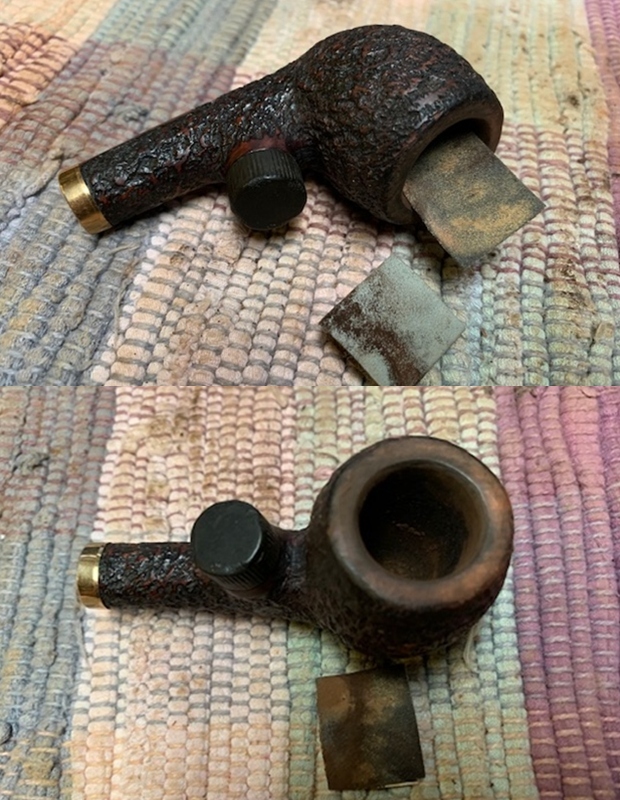
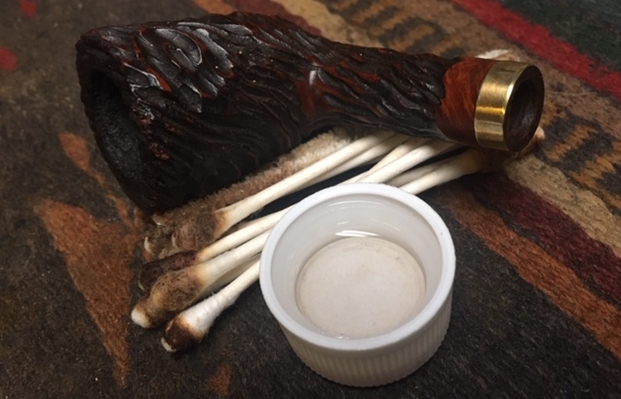
Jeff carefully cleaned the pipe. He reamed it with a PipNet pipe reamer and then cleaned up the reaming with a Savinelli Fitsall Pipe Knife. He scrubbed out the internals of the shank, stem and shank extension with alcohol, pipe cleaners and cotton swabs until the pipe was clean. He scrubbed the exterior of the bowl with Murphy’s Oil Soap and a tooth brush to remove the grime and grit on the briar and lava on the rim top. The finish looks much better and has a deep richness in the colour that highlights grain of the briar. The rim top had some darkening and there was some damage to the inner edge of the bowl. The aluminum on the shank end and on the stem were slightly oxidized but clean. Jeff soaked the stem in bath of Before & After Pipe Stem Deoxidizer to remove the oxidation on the rubber. He worked it over with Soft Scrub All Purpose Cleaner to remove any remnants of oxidation. When the pipe arrived here in Vancouver and I finally started my work on it I was amazed it looked so good. Here are some photos of what I saw. 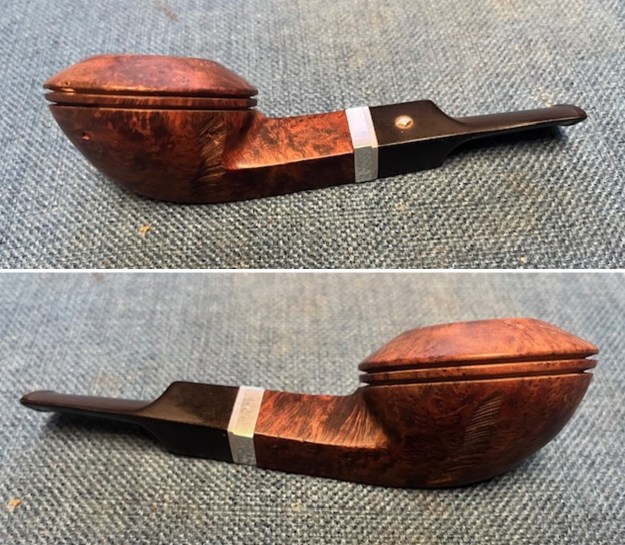
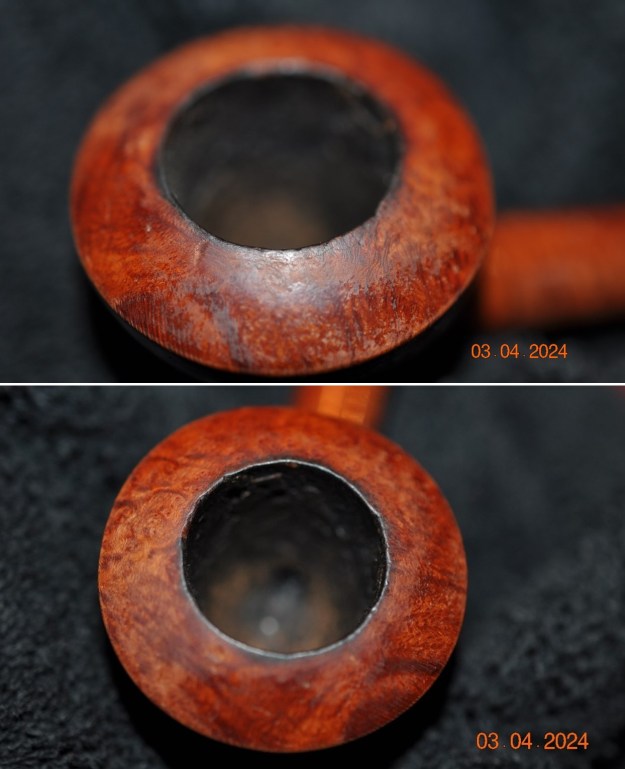
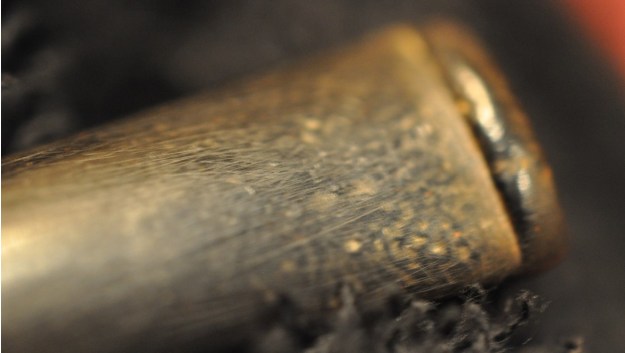
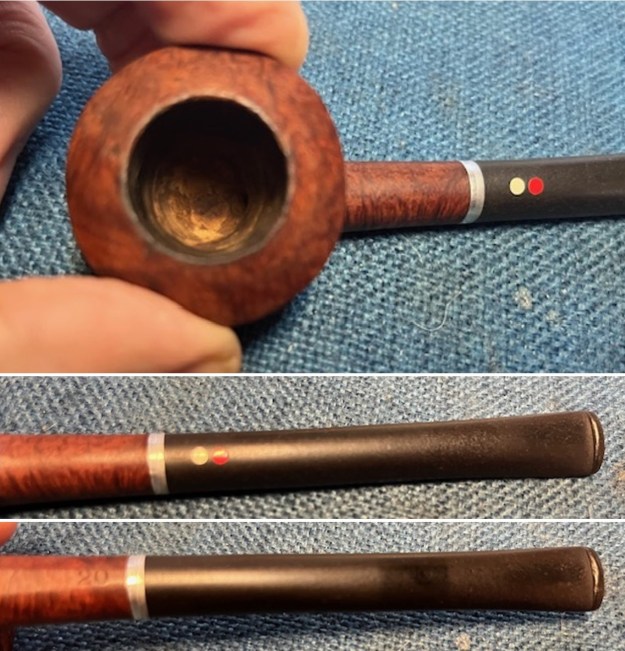
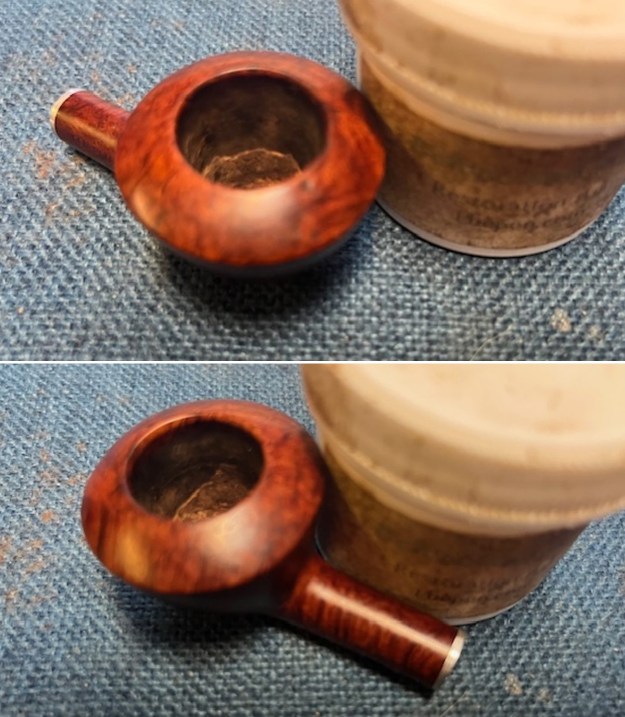
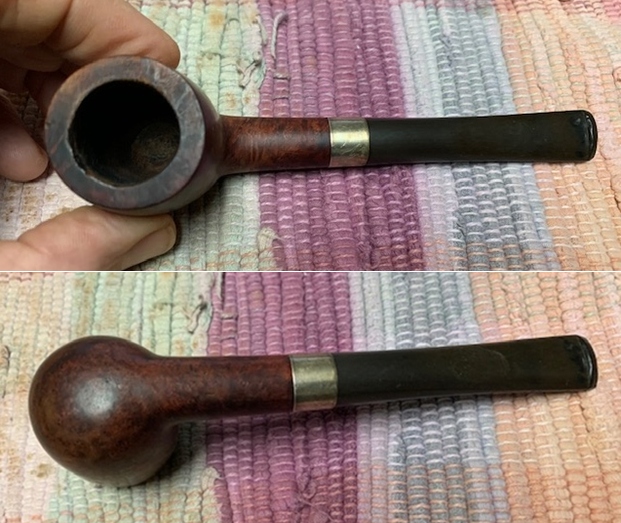
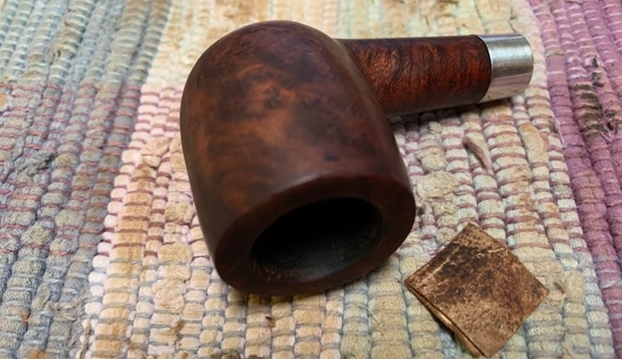
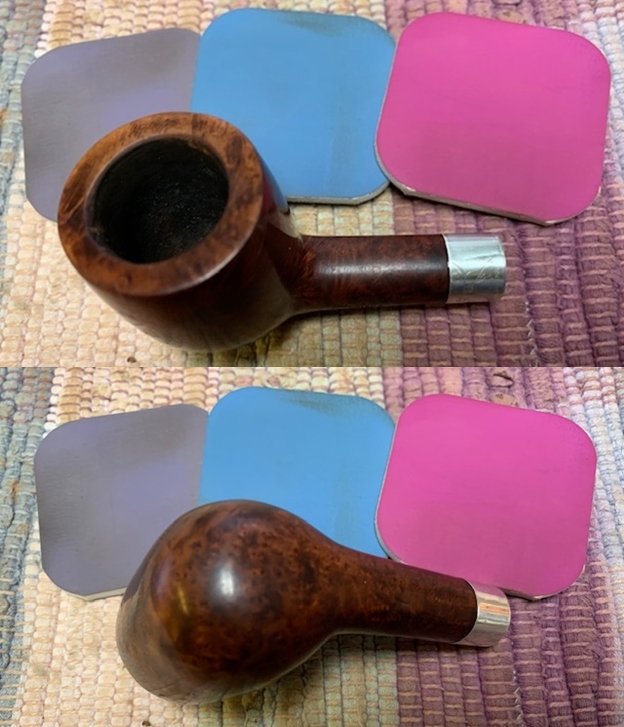
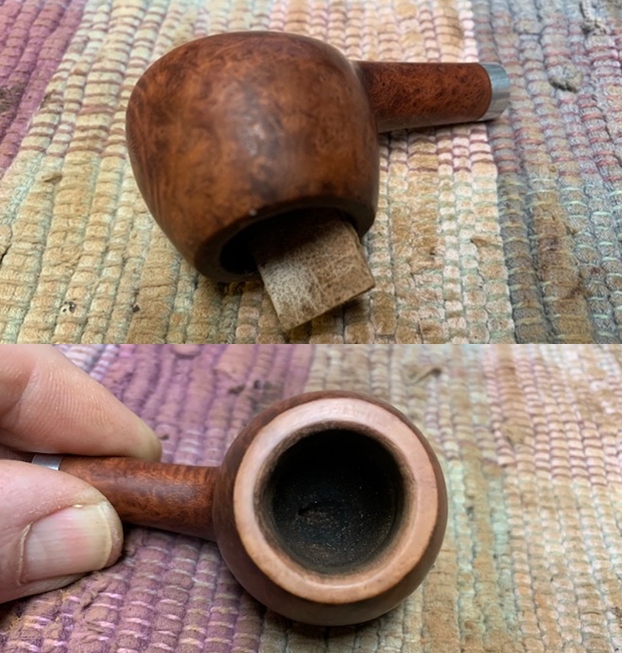
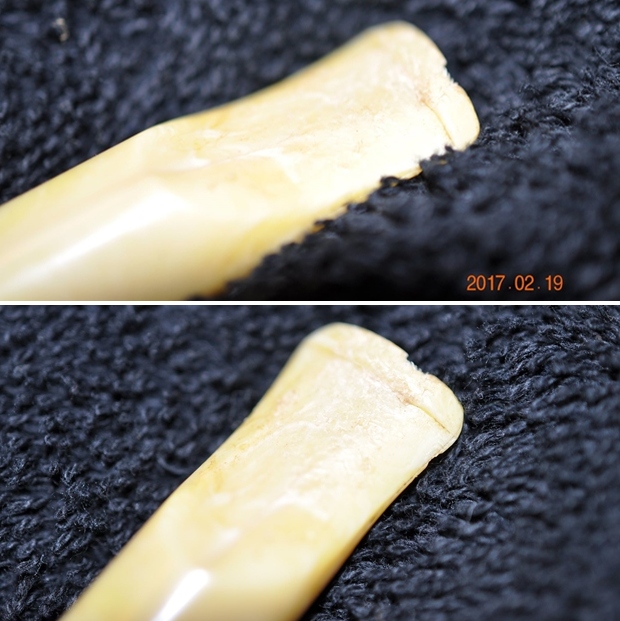
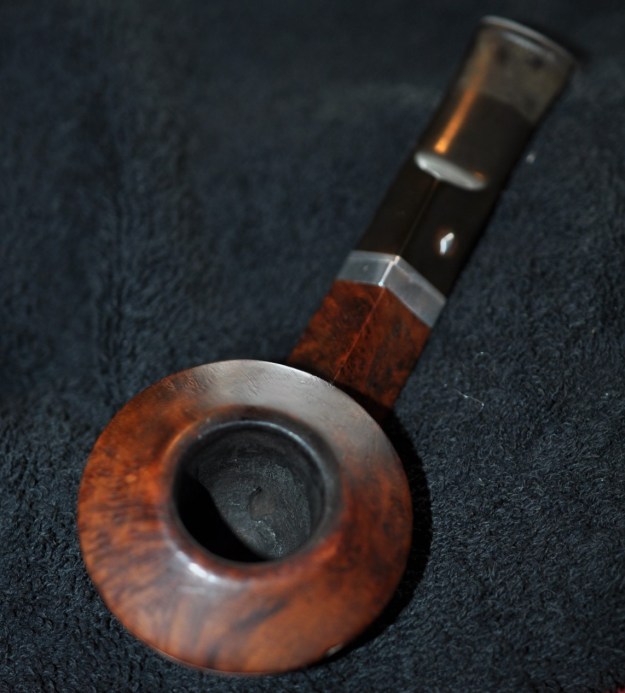
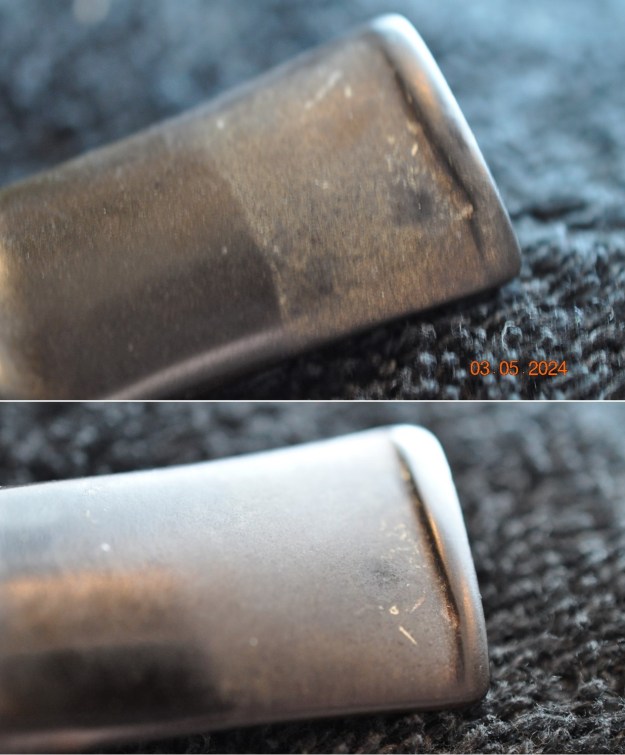
 I took some close up photos of the rim top and the stem surface. The inner edge of the rim was nicked around inner edge of the bowl. The rim cap was nicked and damaged as well. I took close up photos of the stem to show the condition of the surface and button. There was some remaining oxidation near the shank and the tooth marks and chatter were evident near the button on both sides.
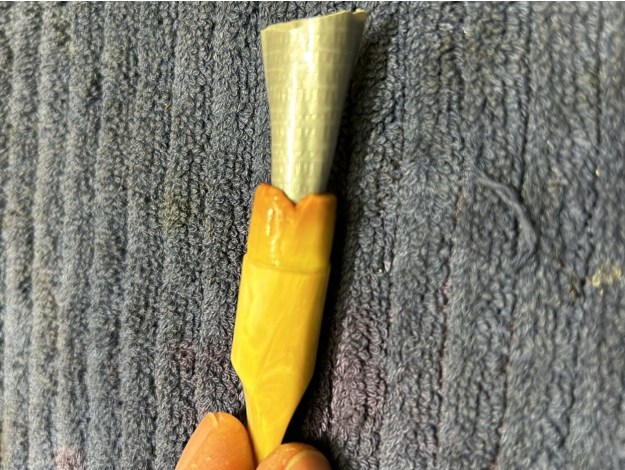
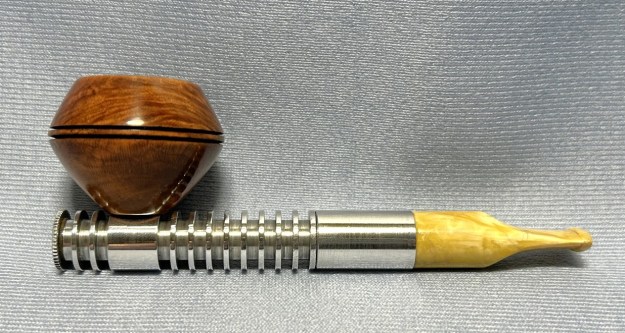
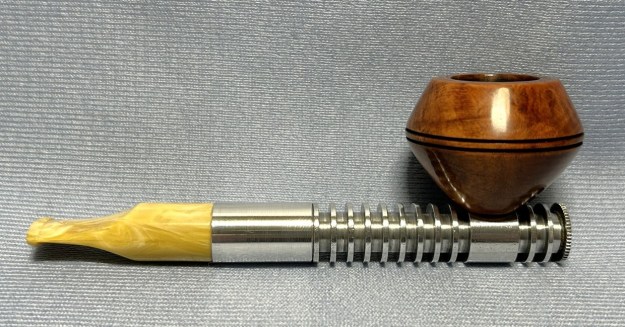
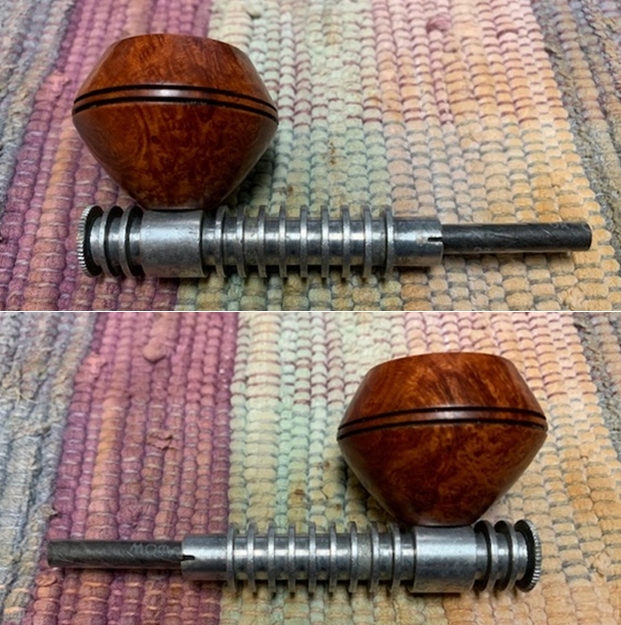
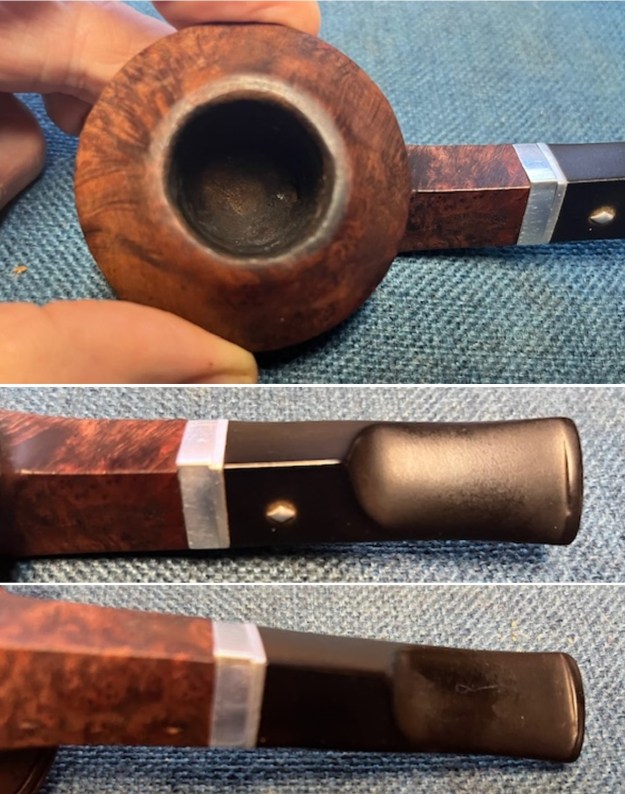 I took a picture of the stamping on the shank sides and it was all clear and readable as noted above. I took the pipe apart and took a photo of the pipe with the stem. It is a good looking pipe and very unique. The stinger apparatus and integrated tenon were a single unit.
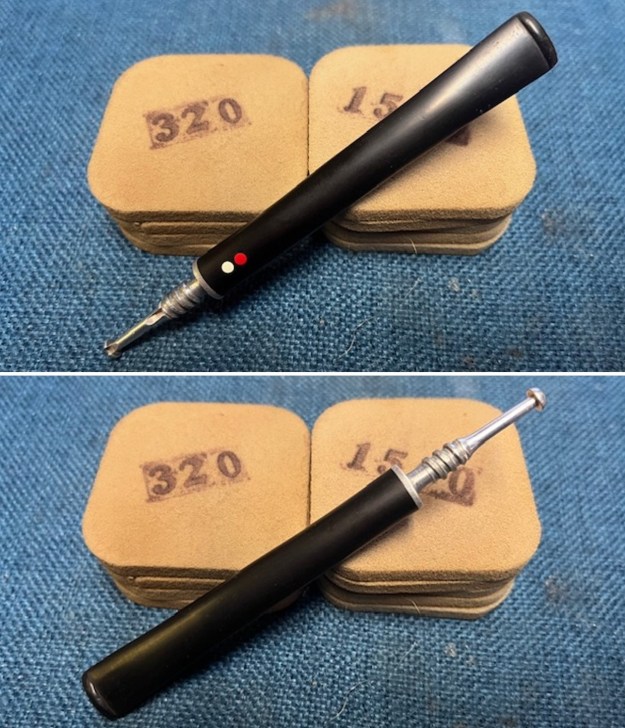
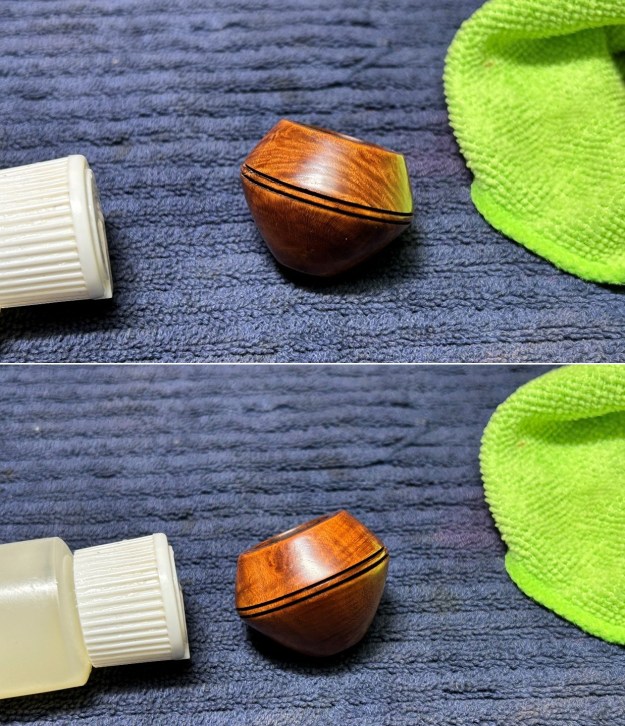
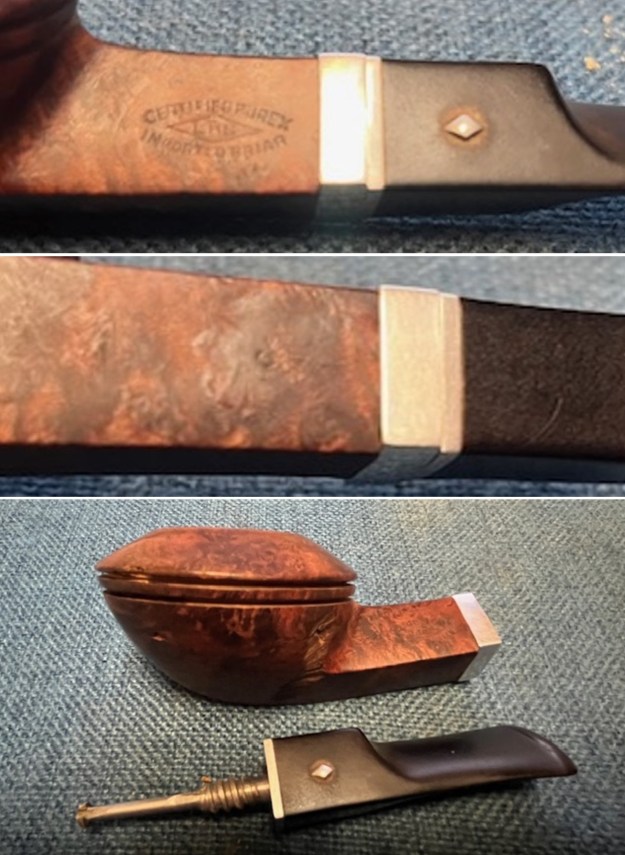 I started my work on the pipe by addressing the damage on the inner edges of the bowl. I used a folded piece of 220 grit sandpaper to work over the inner edge to clean up the damage. I also worked over the rim top and outer edges at the same time.
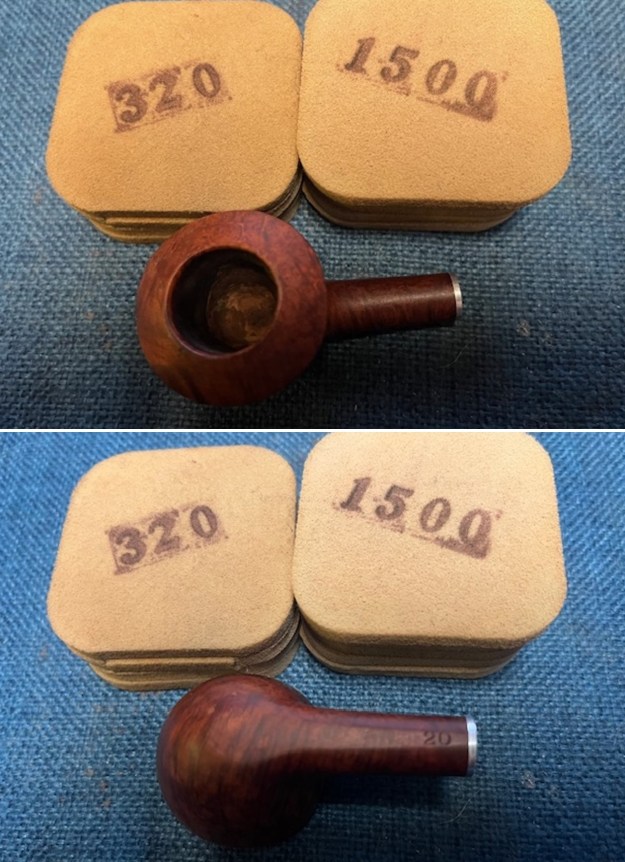
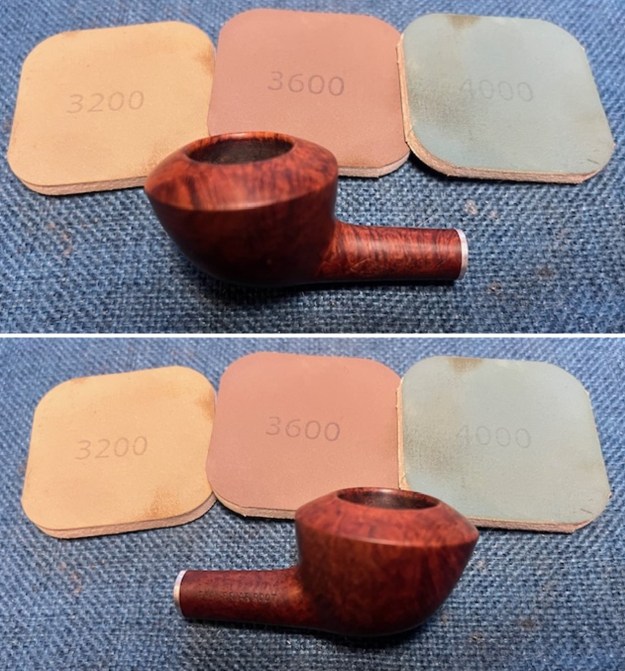
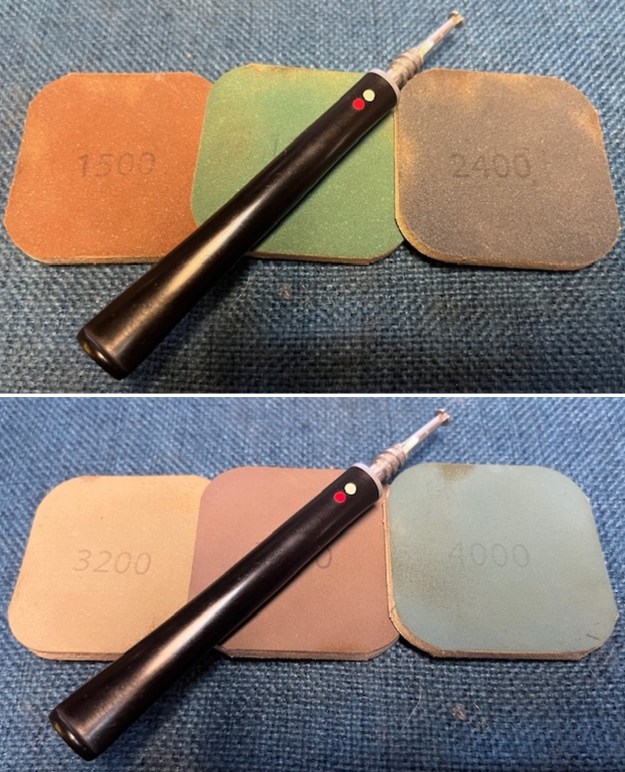
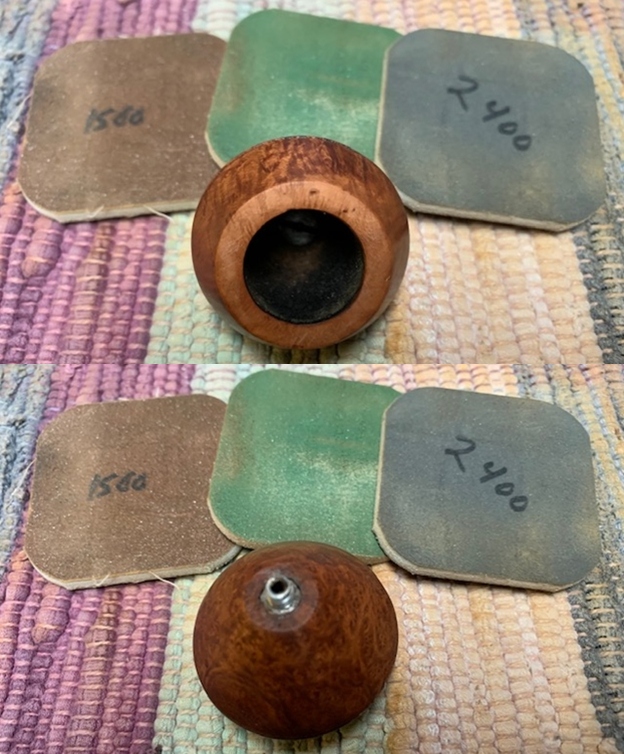
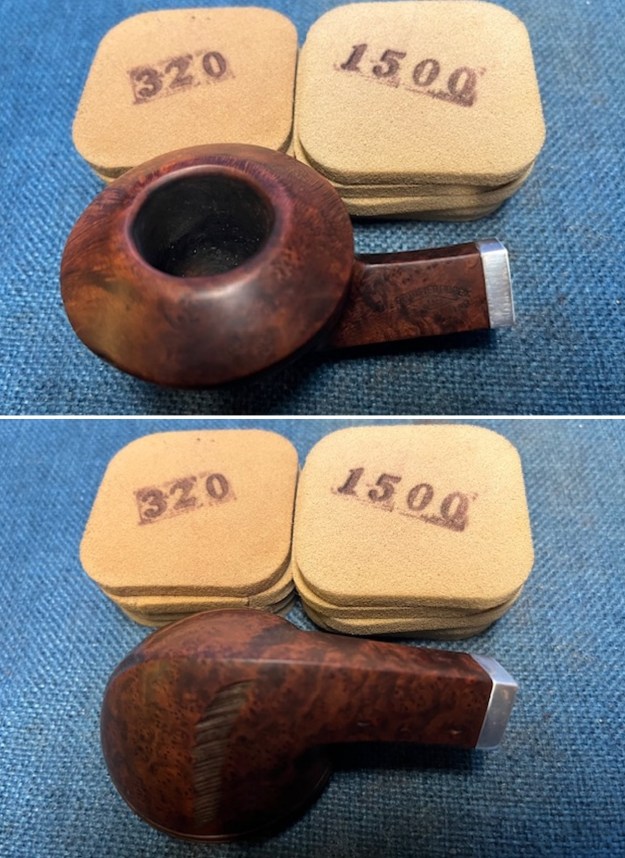
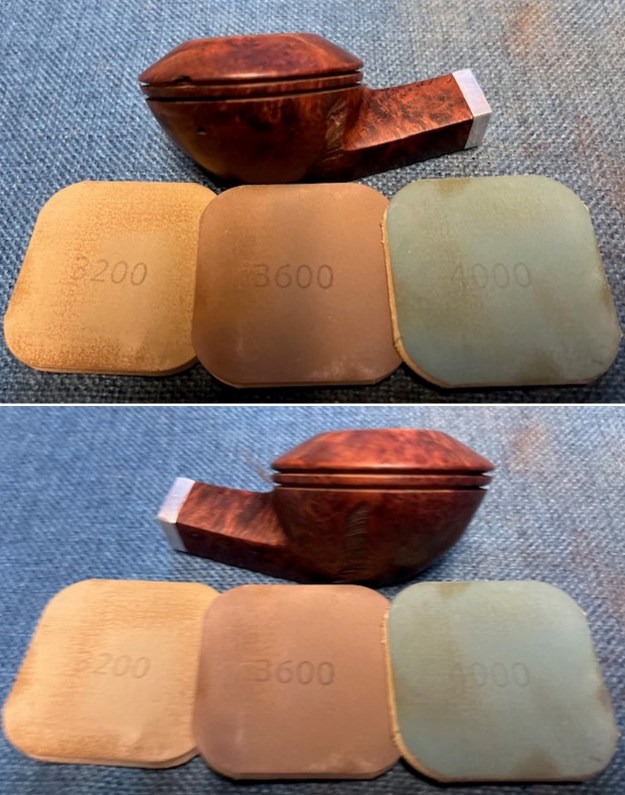
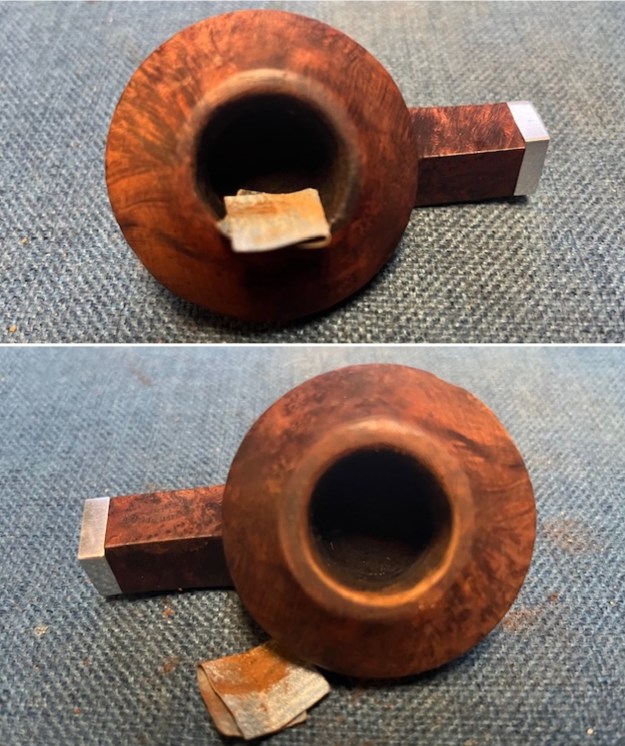 I sanded the nicks and scratches in the rim cap and bowl with 320-3500 grit sanding pads. I wiped the bowl down between sanding pads with a damp cloth. By the last pad the pipe began to take on a shine.
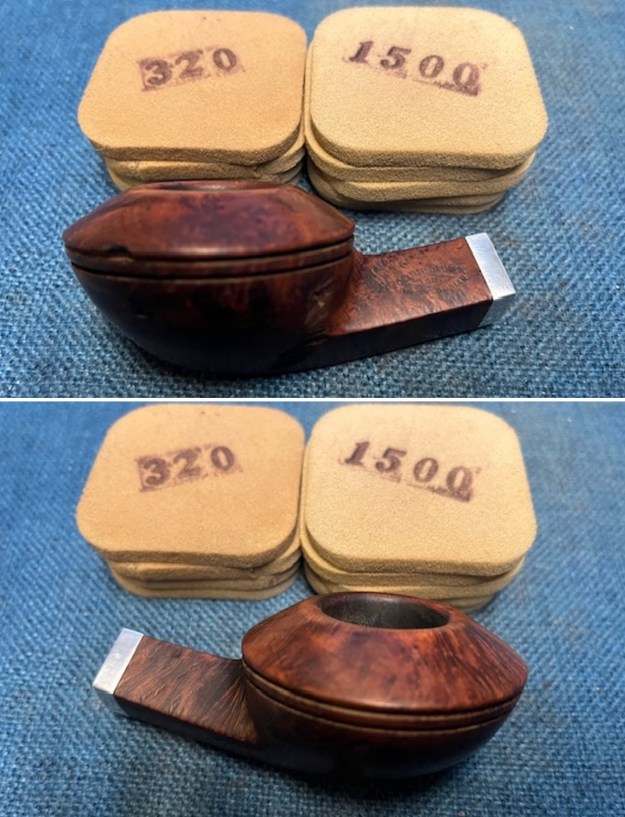
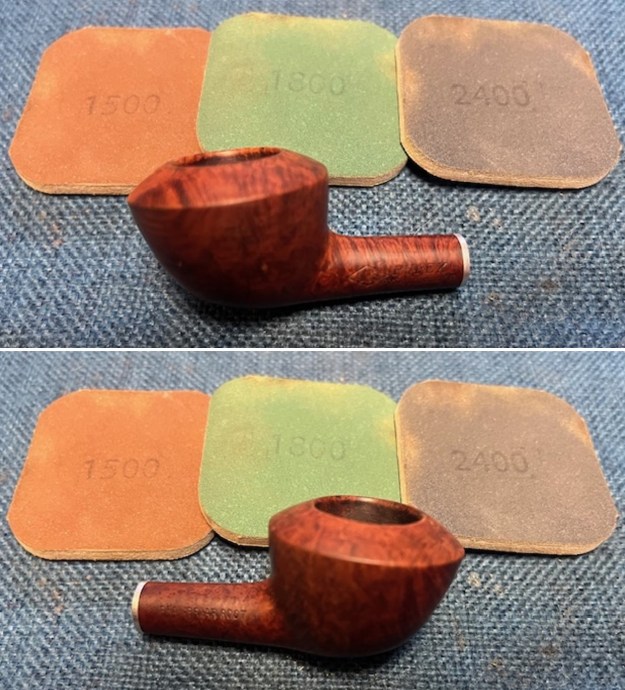
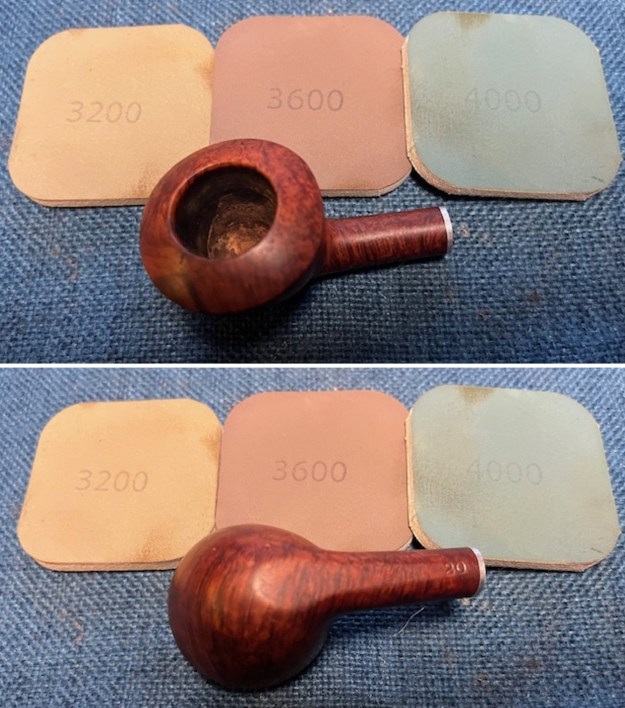
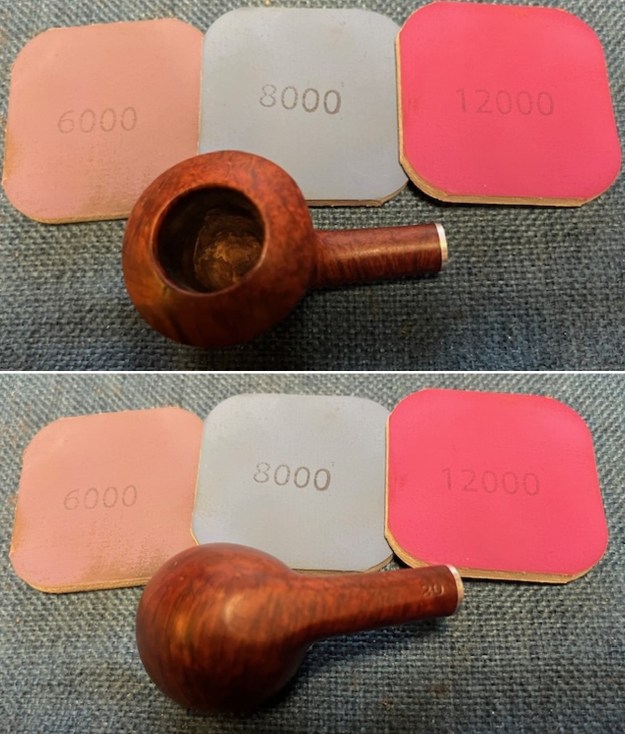
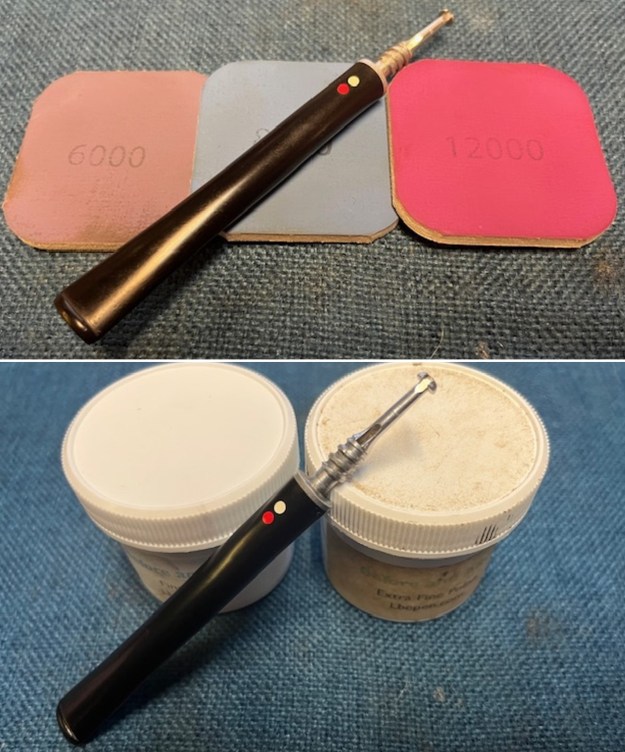
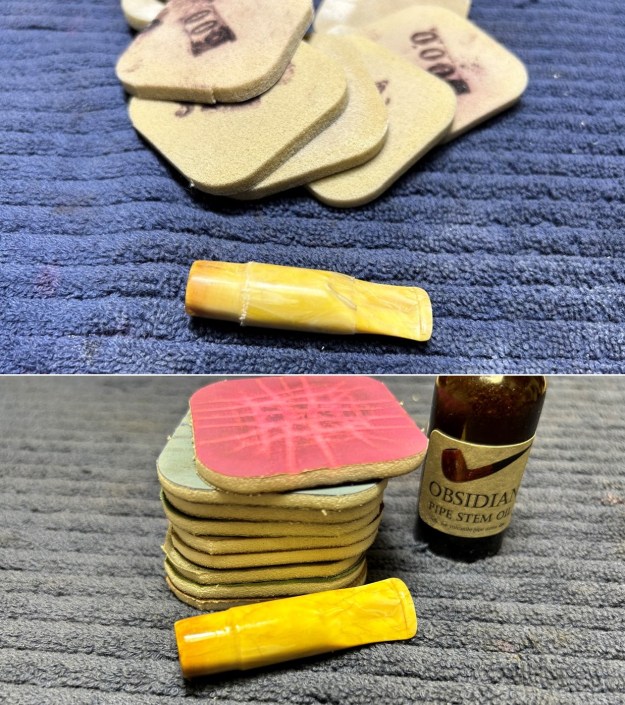
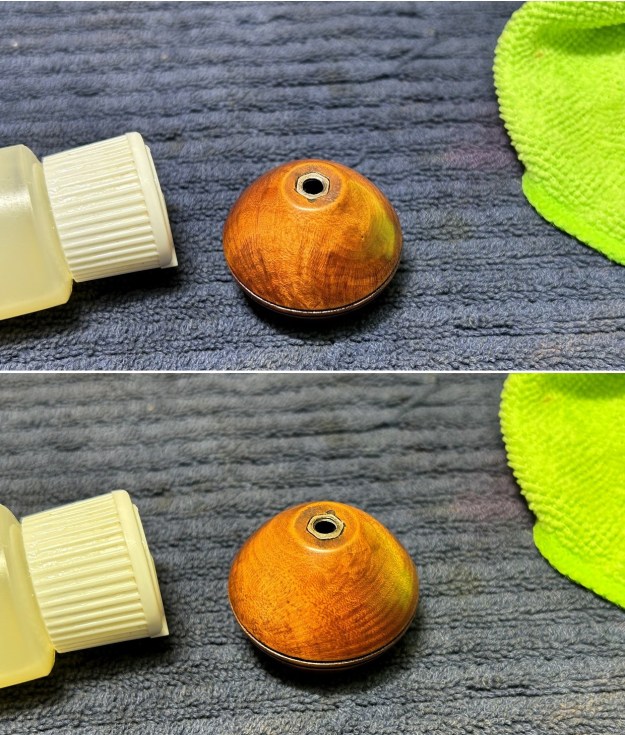
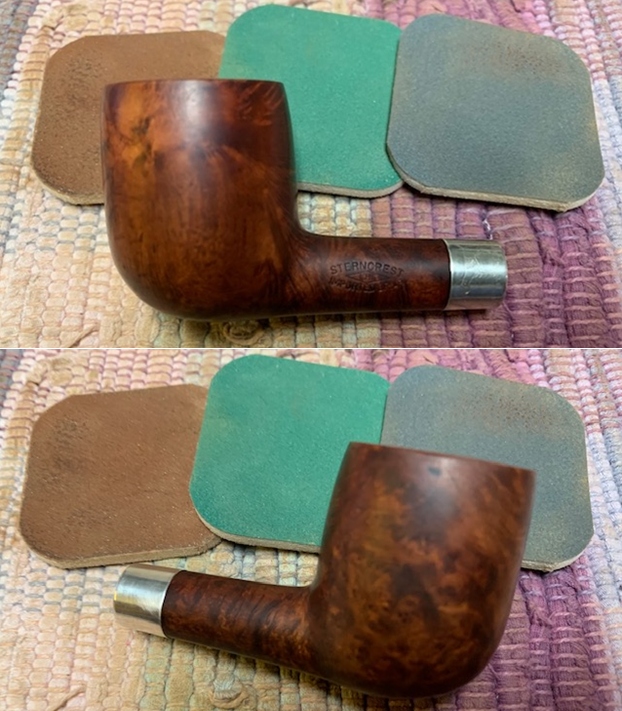
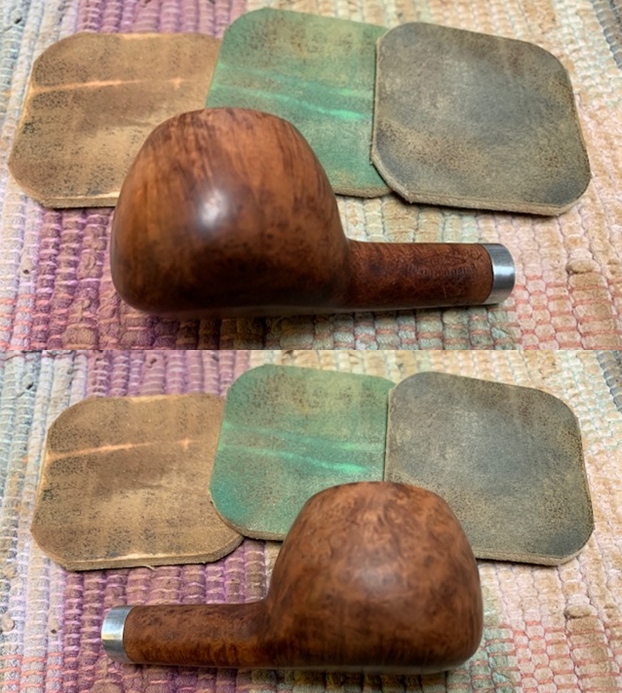
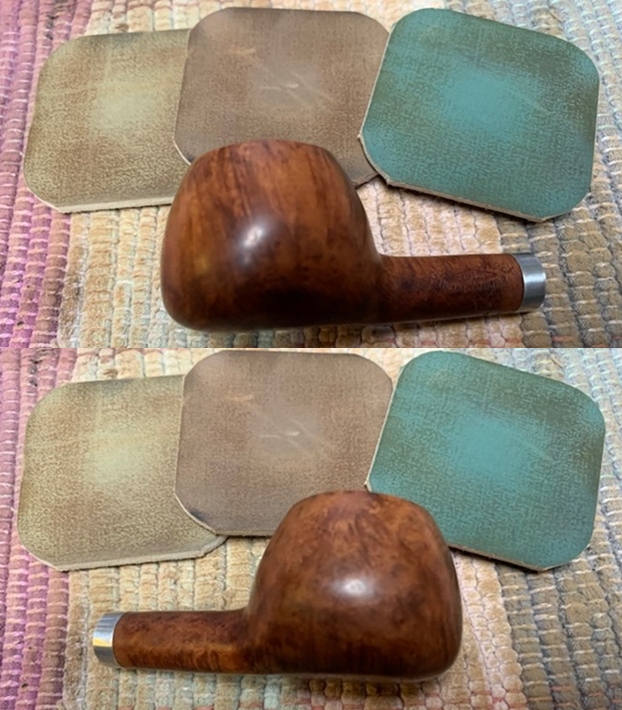
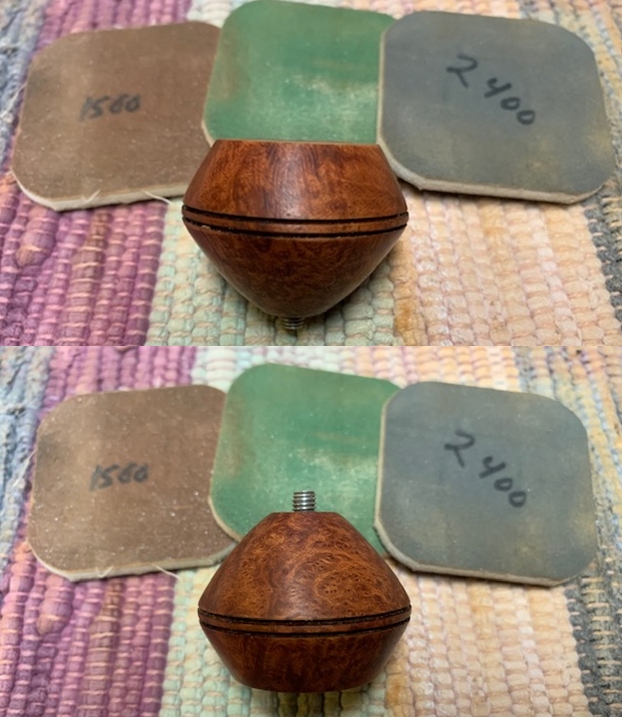
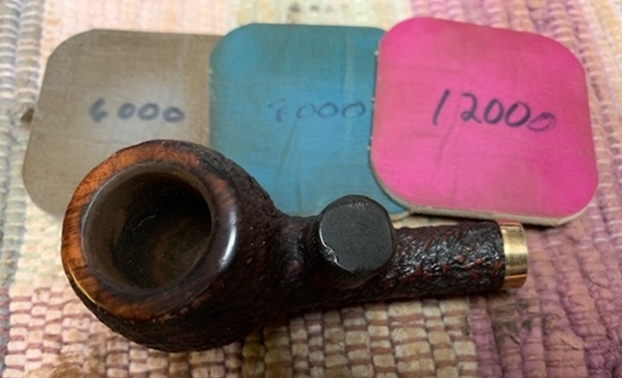
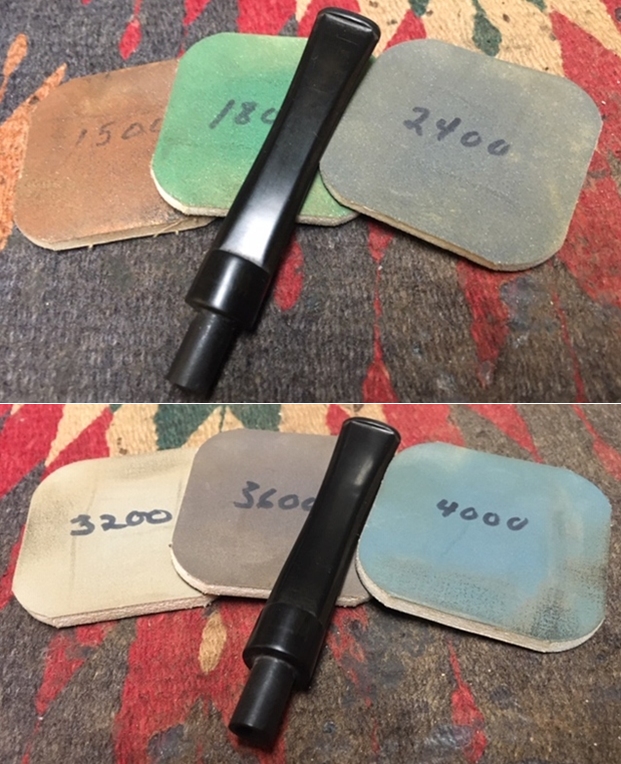
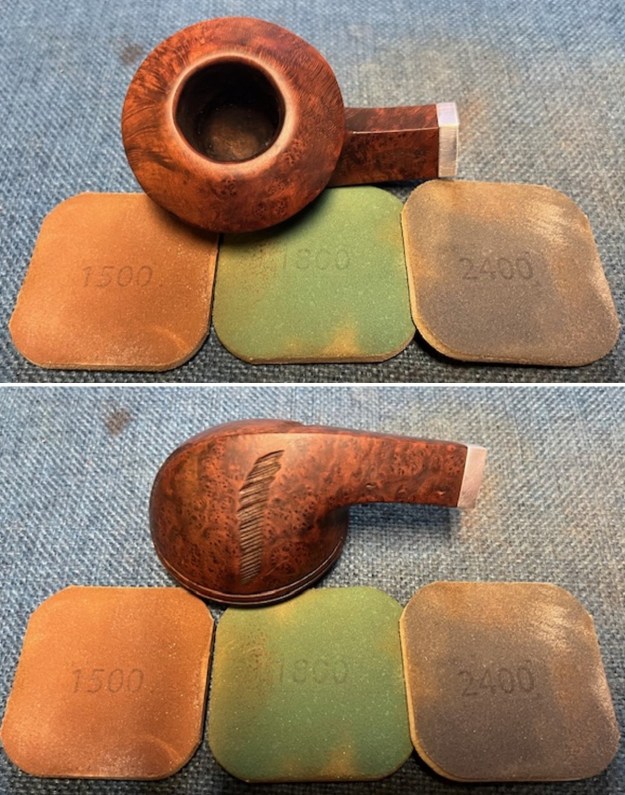
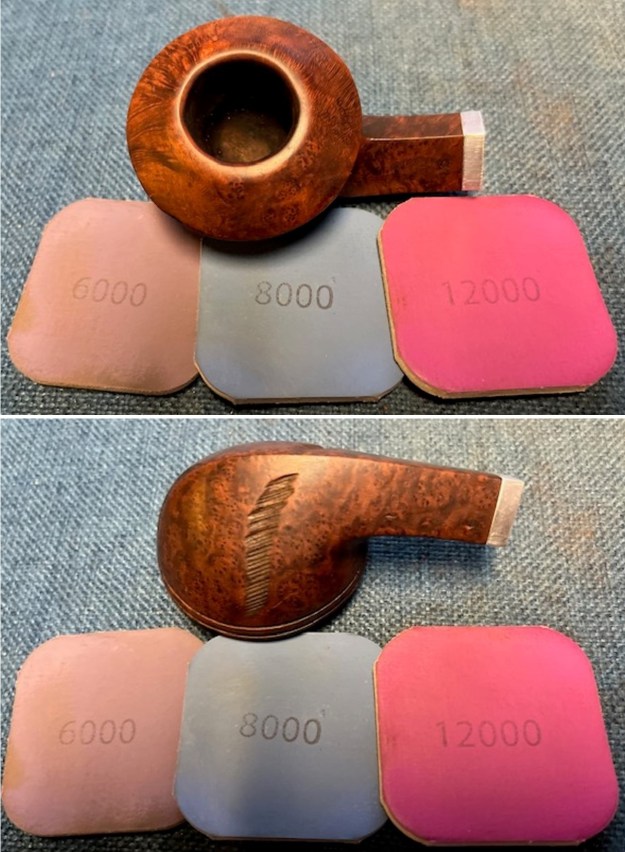
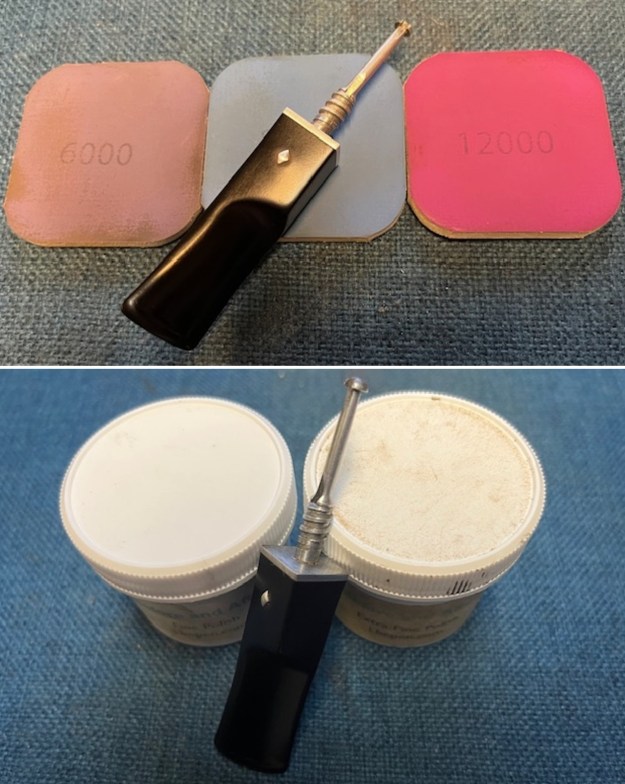
 I polished the briar with micromesh sanding pads – dry sanding with 1500-12000 grit pads. I wiped the bowl down a damp cloth to remove the sanding debris. The grain real shone through with the polishing.
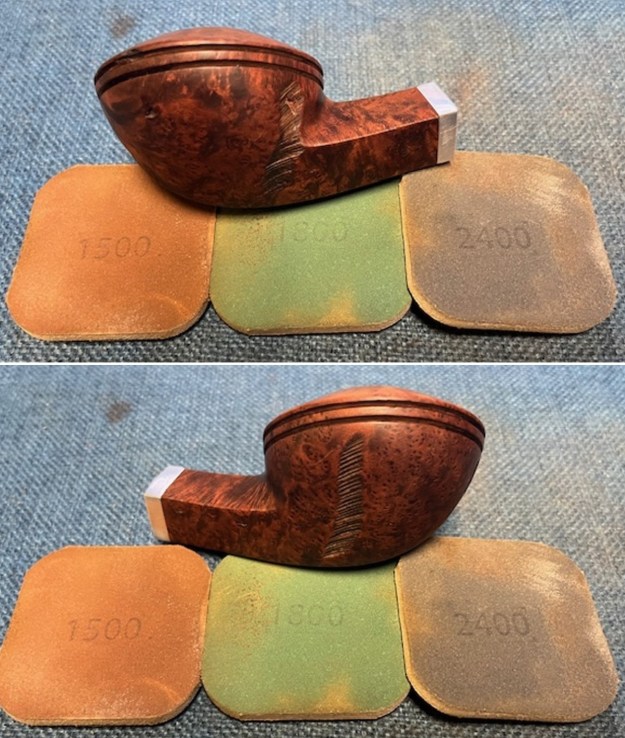


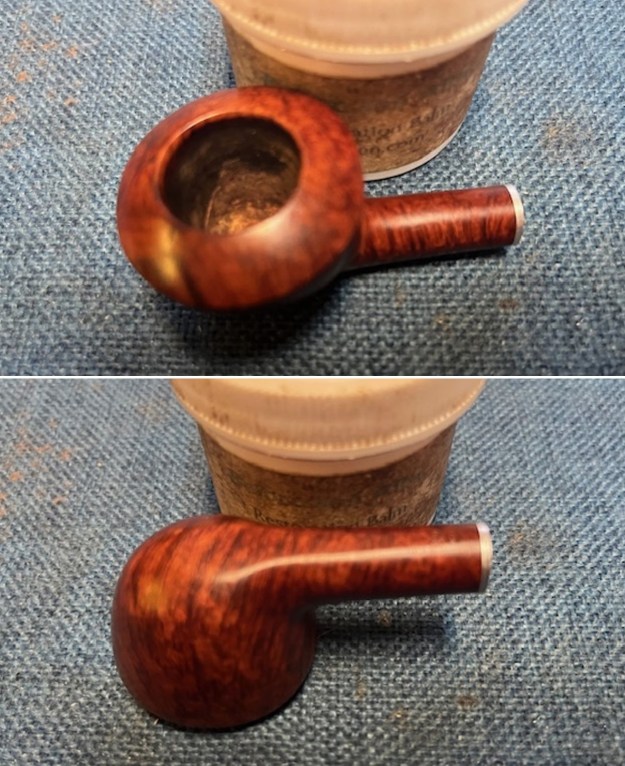
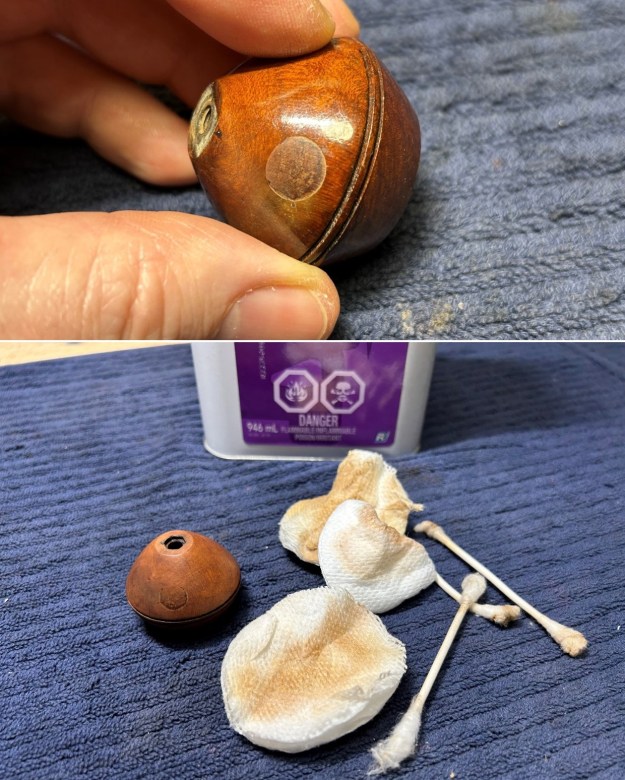
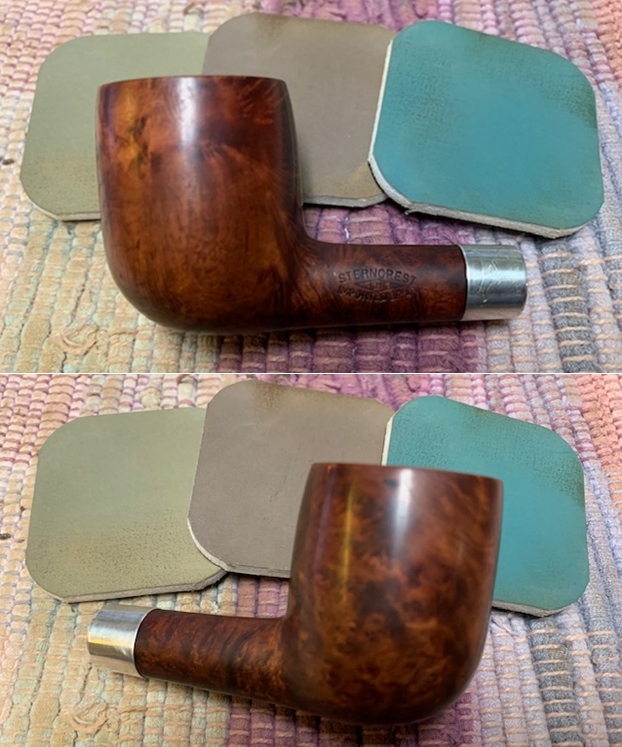
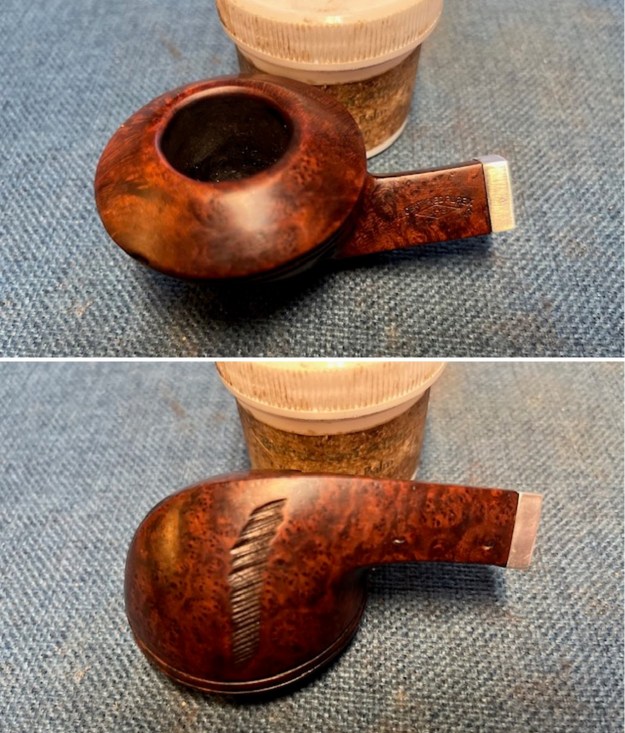
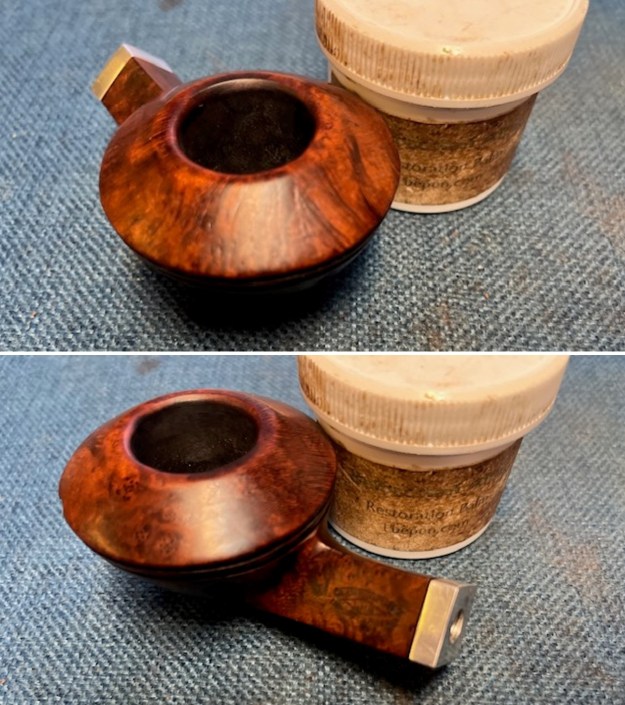
 I worked some Before & After Restoration Balm into the surface of the bowl and shank with my fingertips to clean, enliven and protect the briar. I let the balm sit for 15 minutes and then buffed with a cotton cloth to raise the shine. The photos show the bowl at this point in the restoration process.
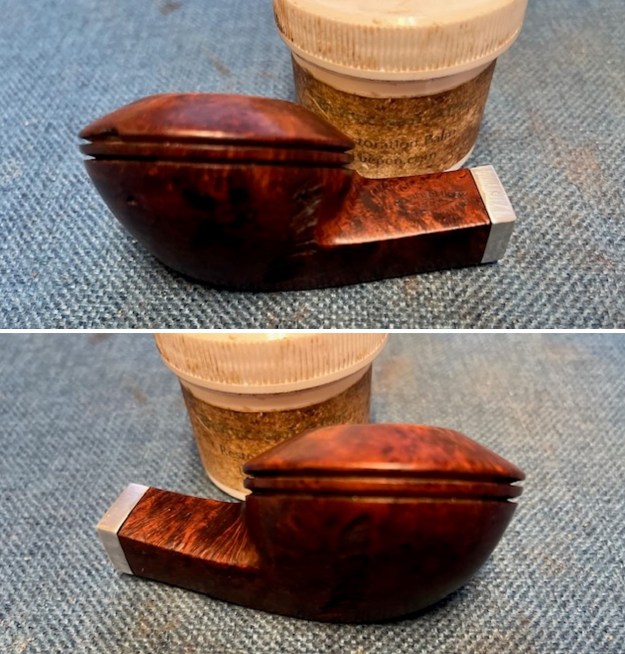
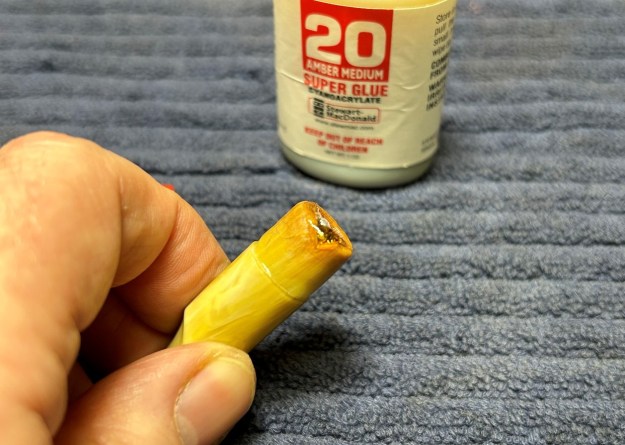
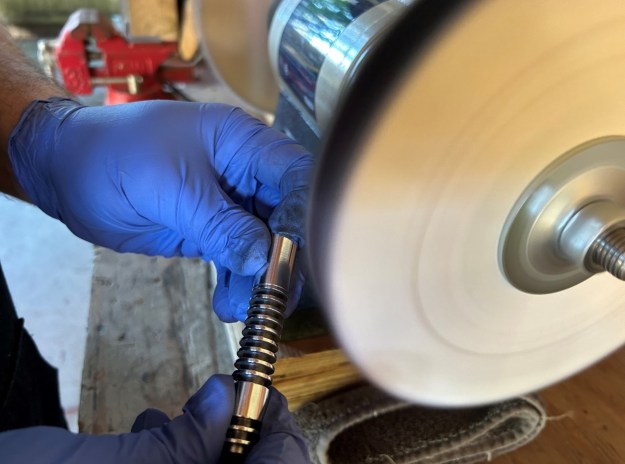
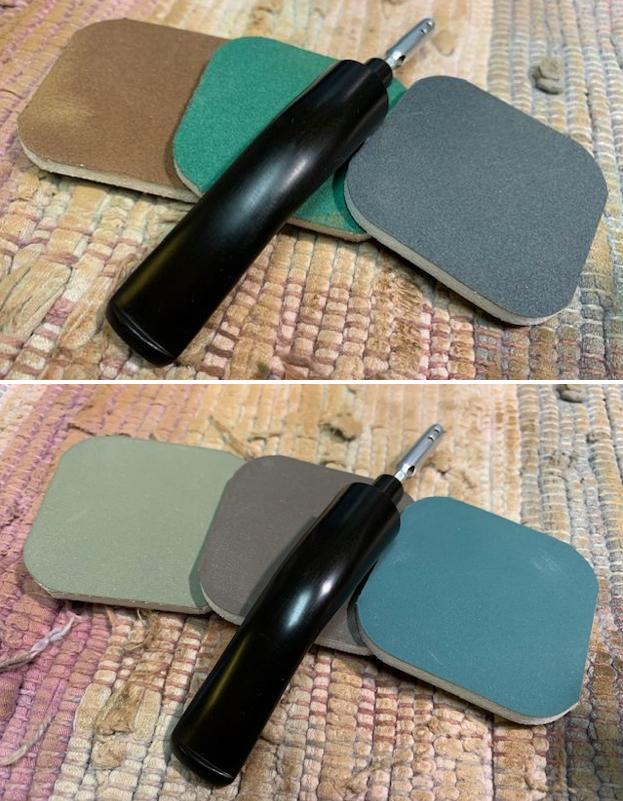
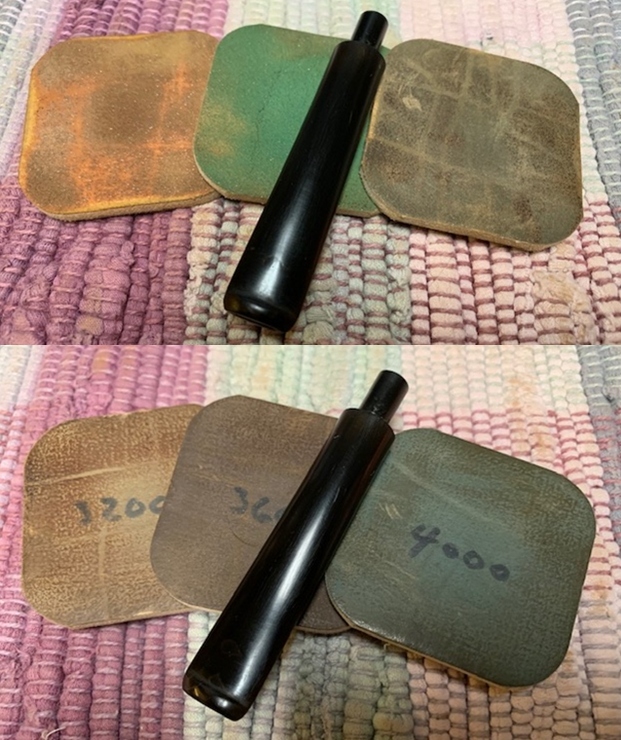
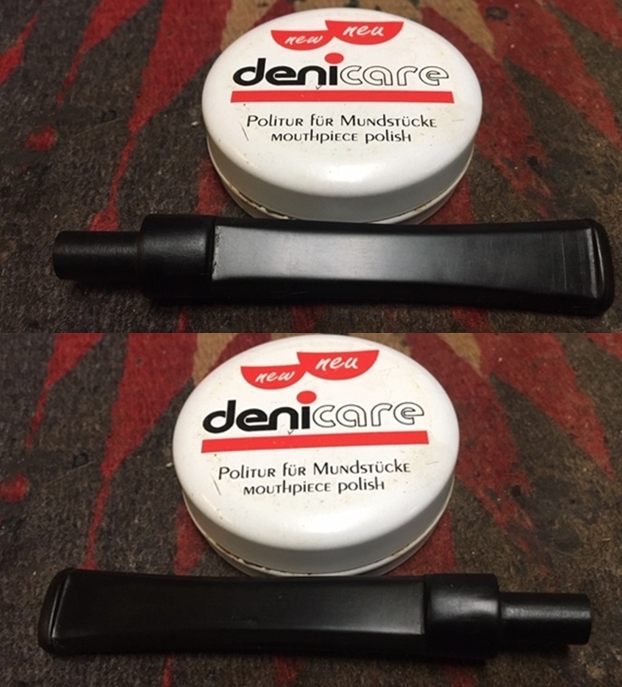
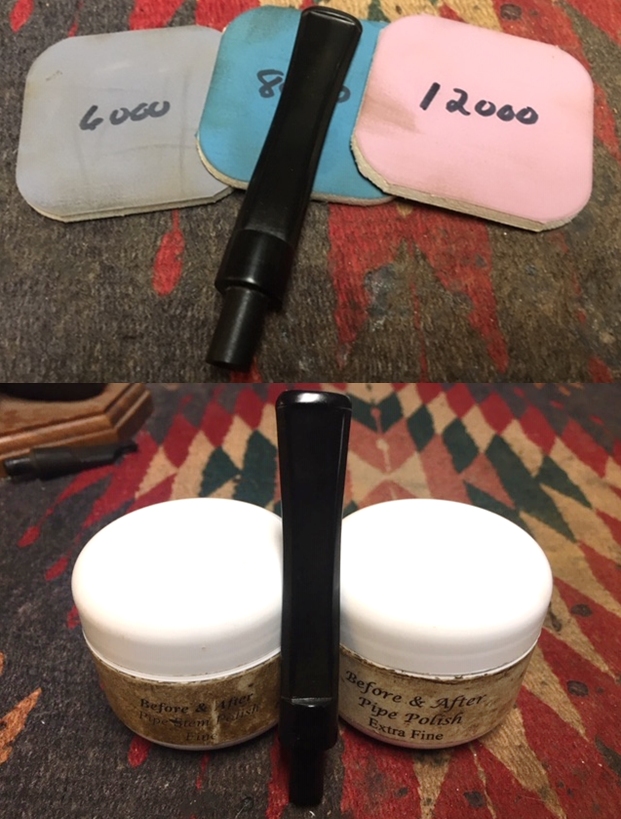
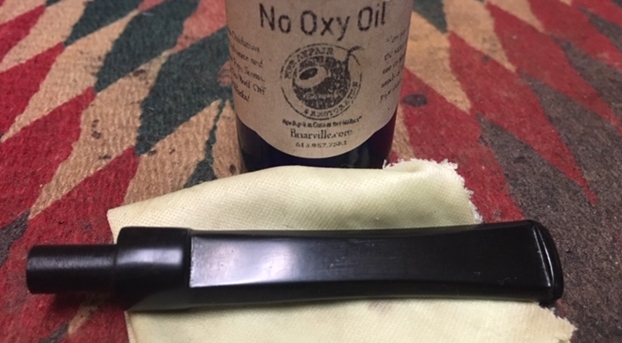
 I polished the stem with micromesh sanding pads – dry sanding with 1500-12000 grit sanding pads. I wiped it down after each sanding pad with Obsidian Oil. I polished it with Before & After Pipe Stem Polish – both Fine and Extra Fine. I gave it a final coat of Obsidian Oil.
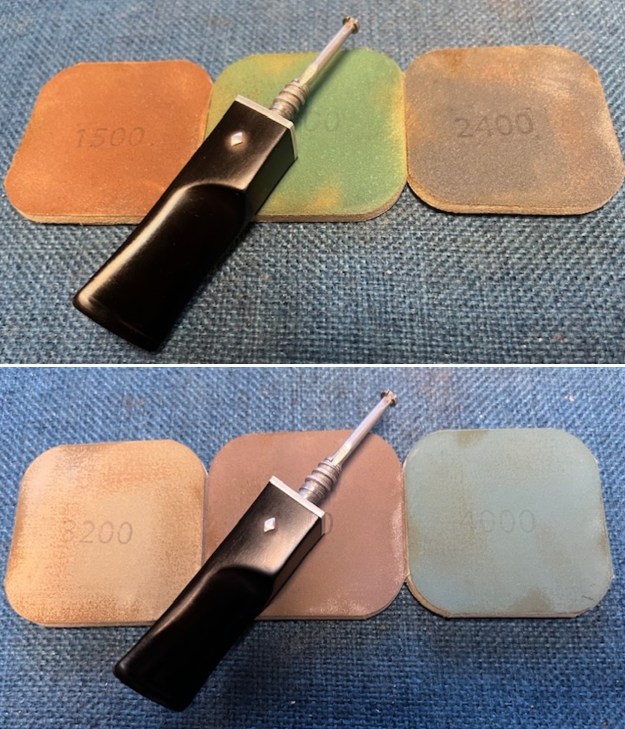
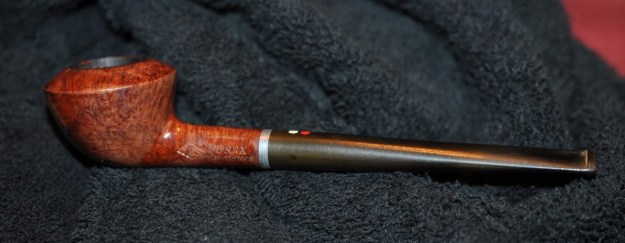
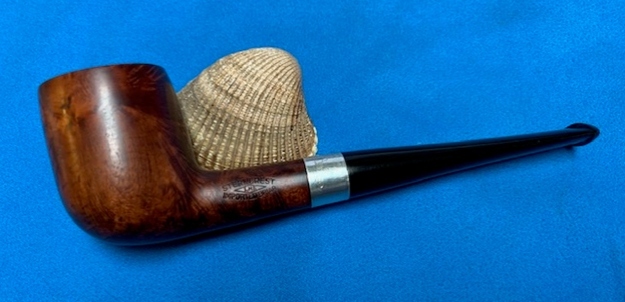
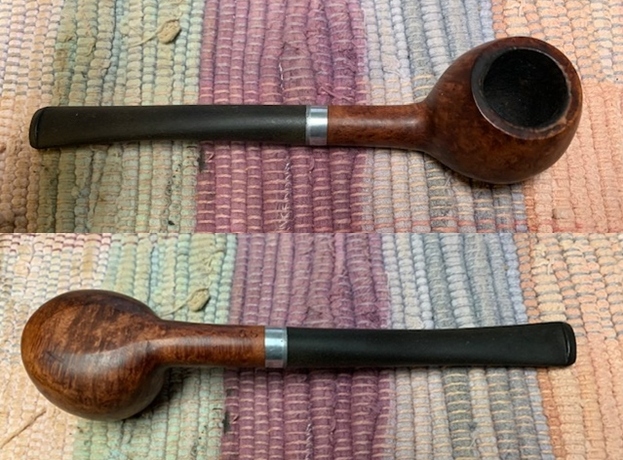
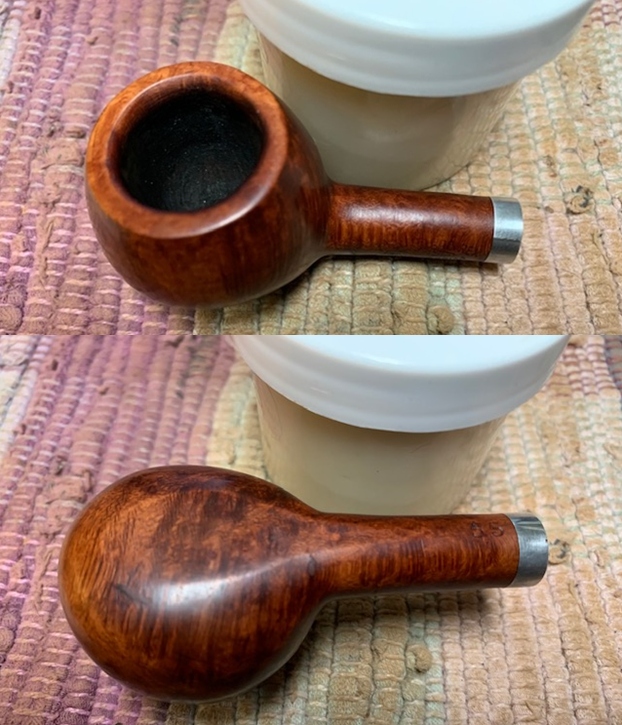
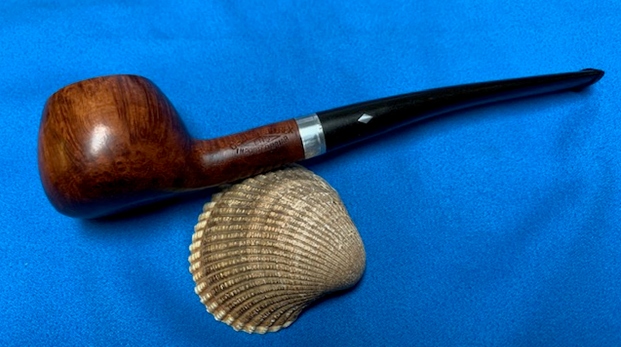
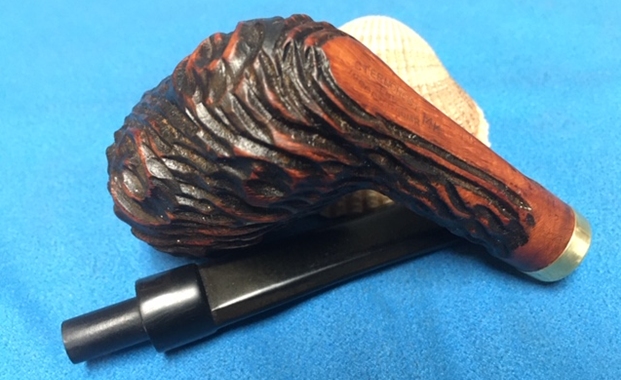
 With the bowl and the stem finished I put the LHS Certified Purex Imported Briar Bulldog 97 back together and buffed it on the wheel using Blue Diamond to give it a shine. I gave the bowl and stem multiple coats of carnauba wax on the wheel and then buffed it with a clean buffing pad to raise the shine. I hand buffed it with a microfiber cloth to deepen the shine. It really a nice looking sandblast. The dimensions of the pipe are – Length: 5 ½ inches, Height: 1 ¾ inches, Outside diameter of the bowl: 2 ¼ inches, Chamber diameter: 7/8 of an inch. The weight of this large pipe is 2.01 ounces /57 grams. This LHS Certified Purex Imported Briar Bulldog was a great find. I will be putting it on the rebornpipes store in the American Pipe Makers Section soon. If you would like to add it to your collection let me know. This is another pipe that has the possibility of transporting the pipe man or woman back to a slower paced time in history where you can enjoy a respite. Thanks for walking through the restoration with me.