Blog by Dave Gossett
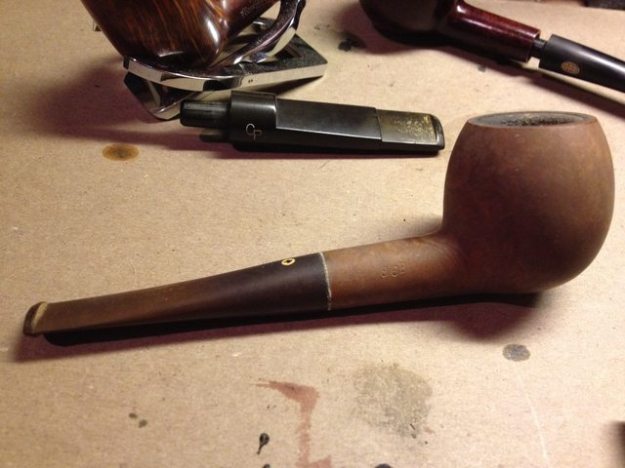
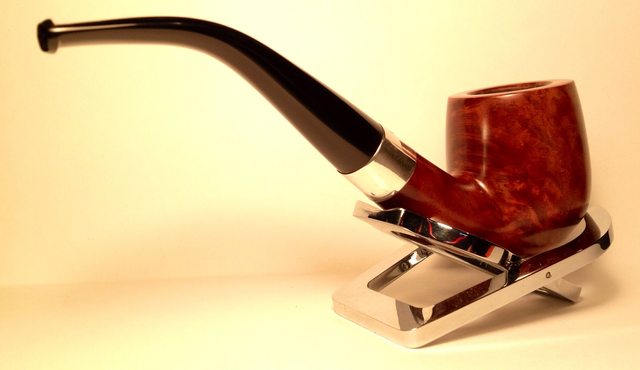
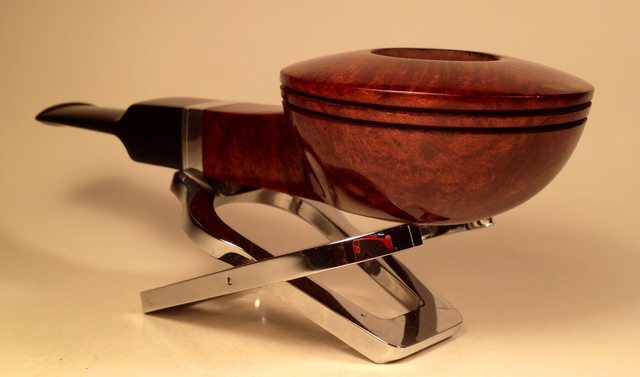
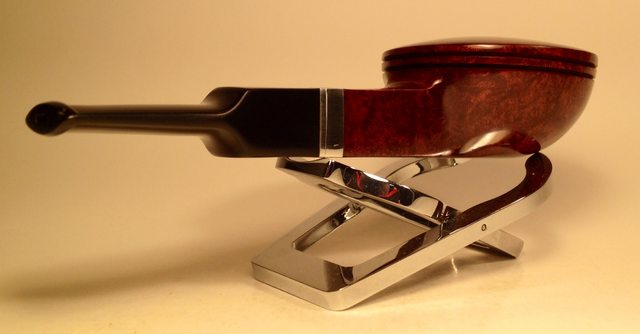
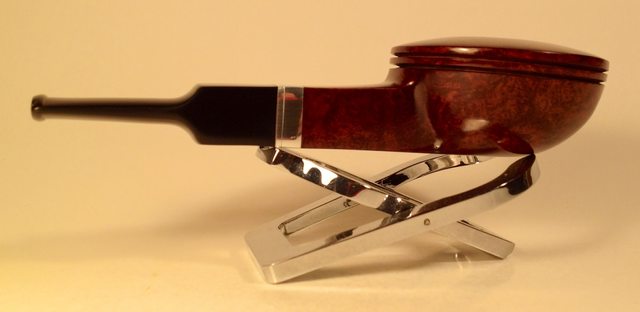
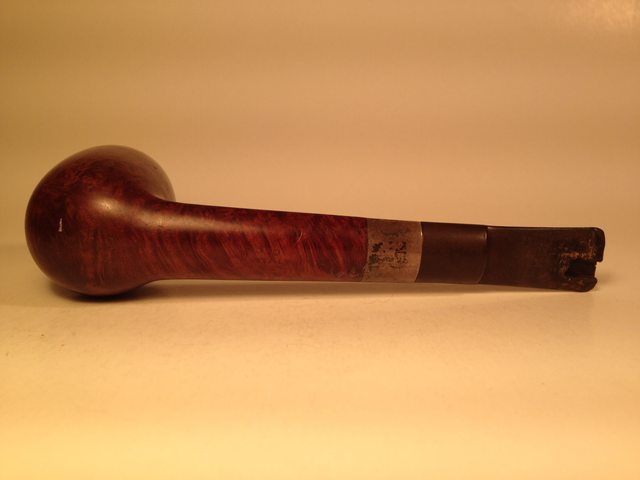
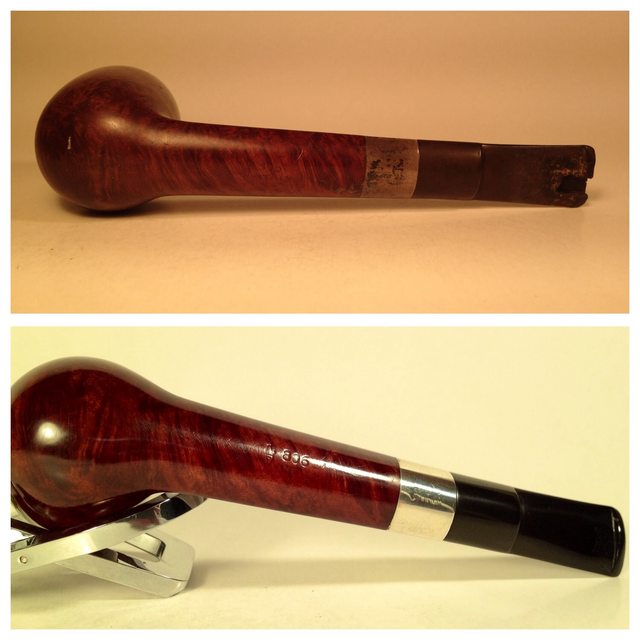
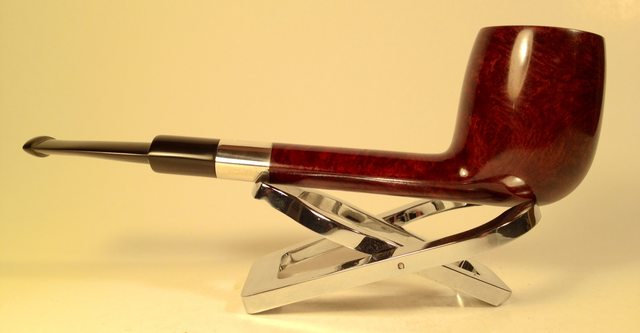
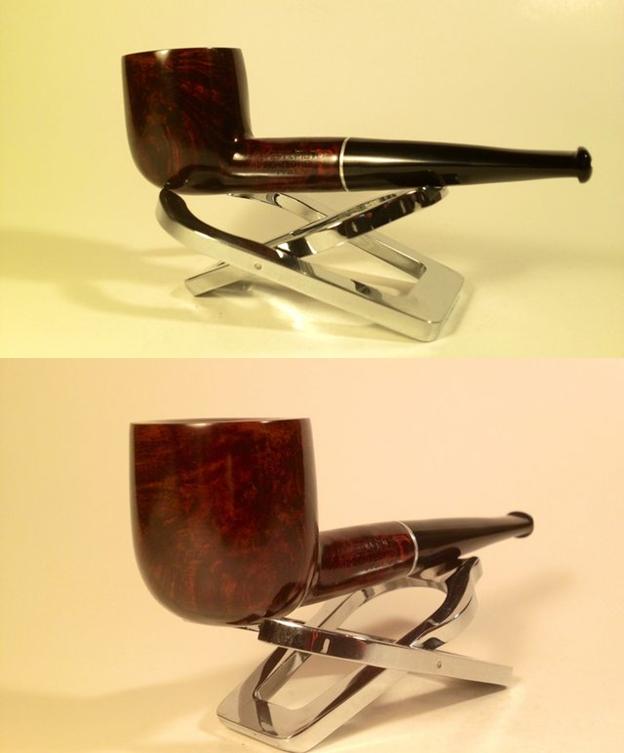
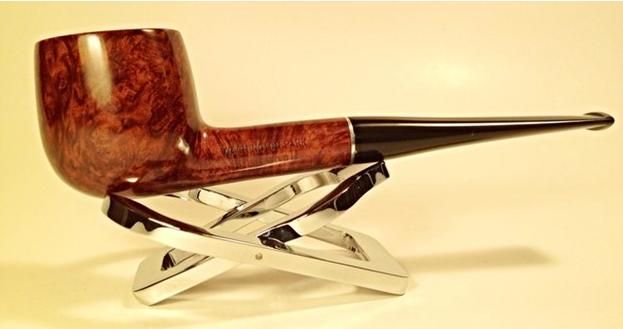
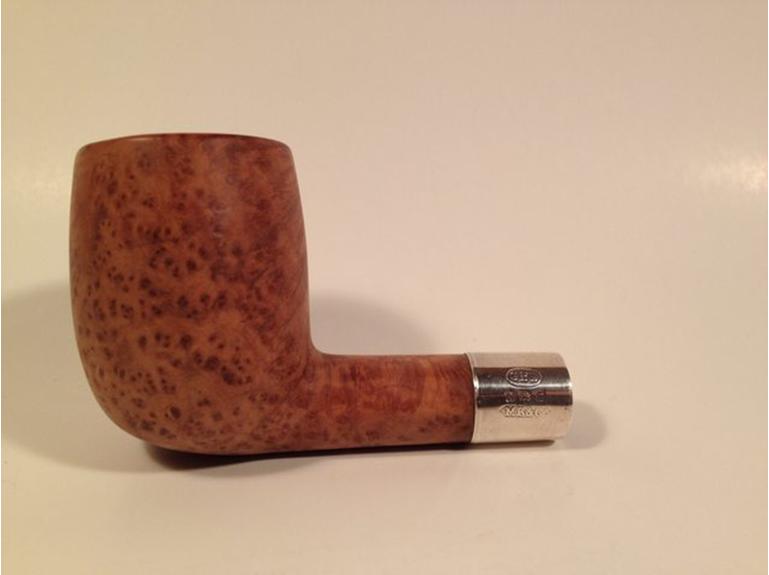
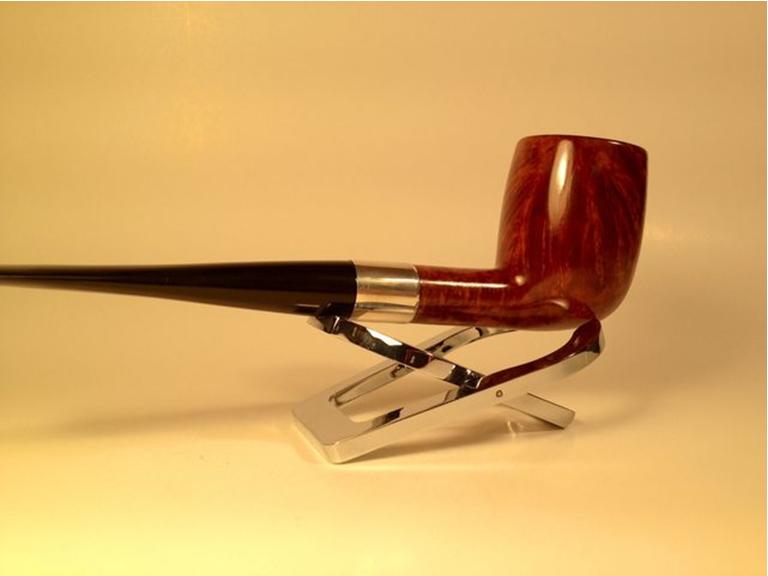
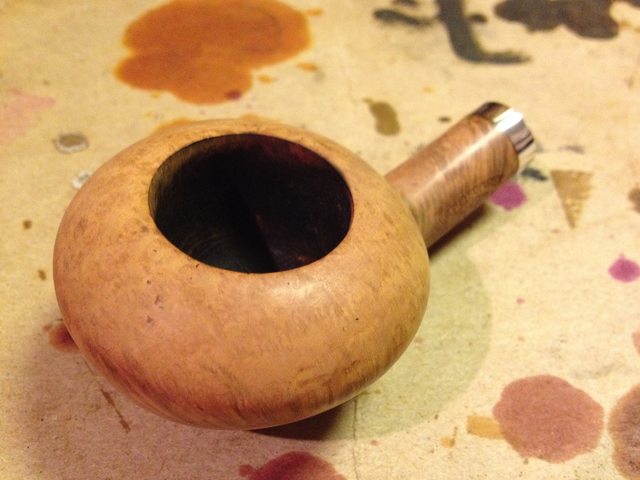
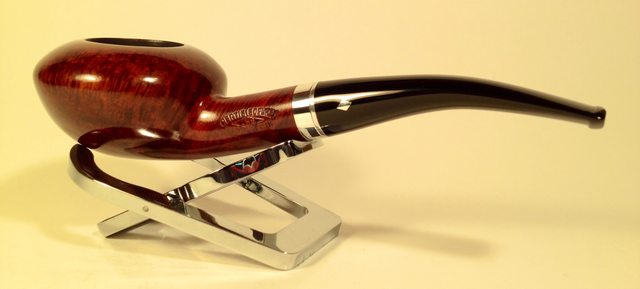
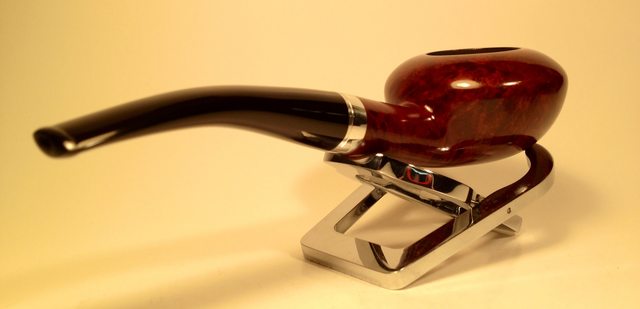
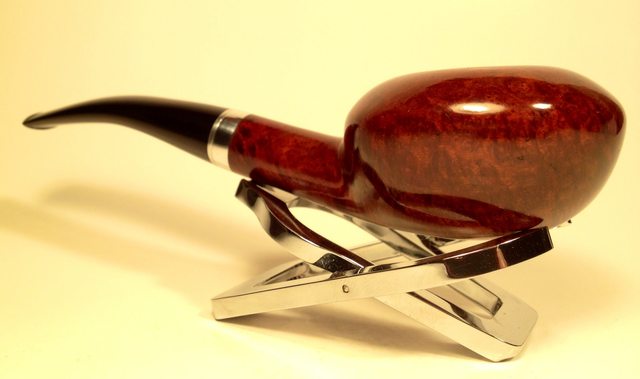
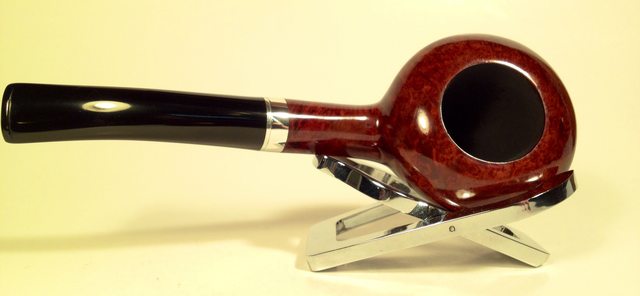
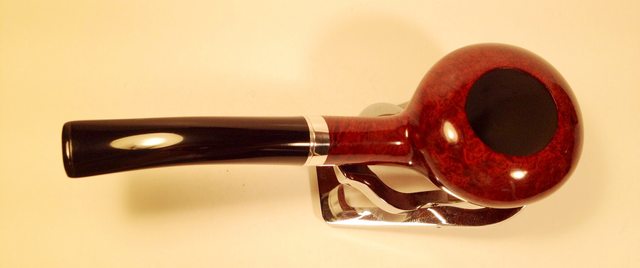
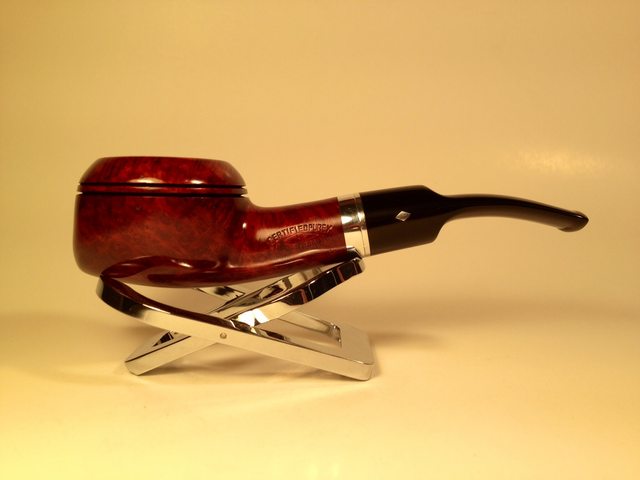
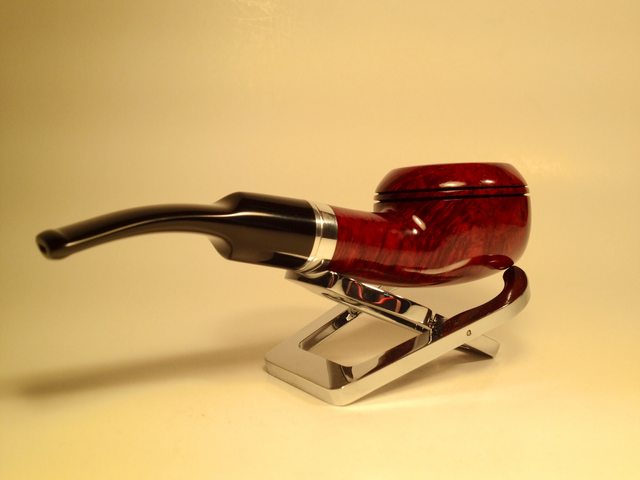
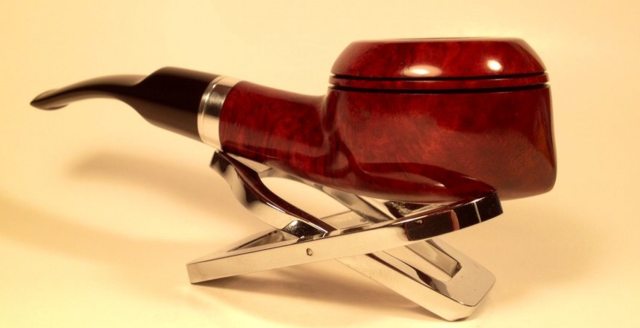
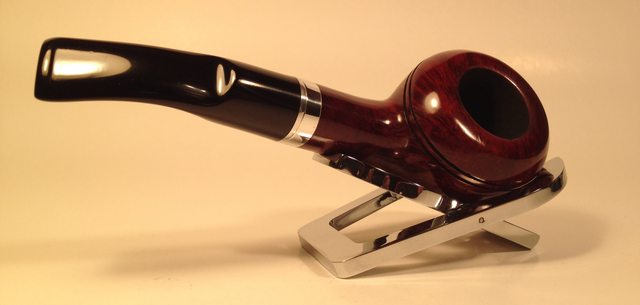
 LHS Certified Purex shape #99.
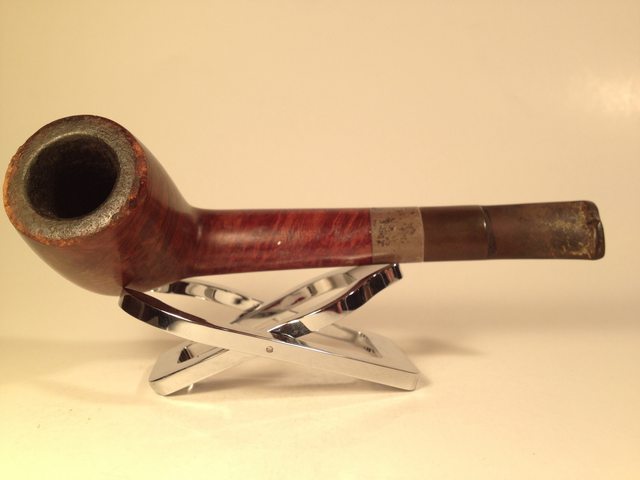
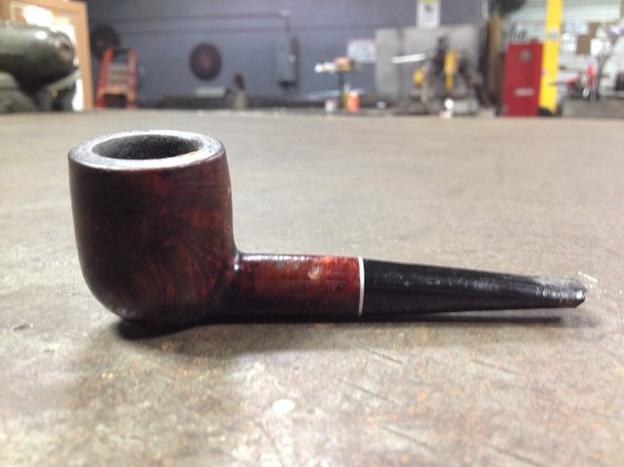
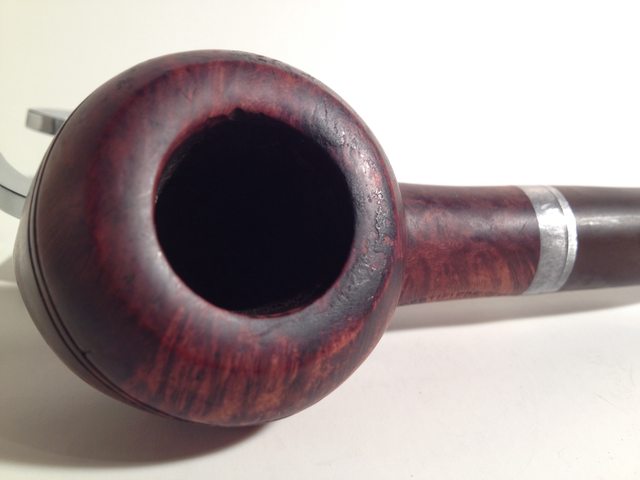
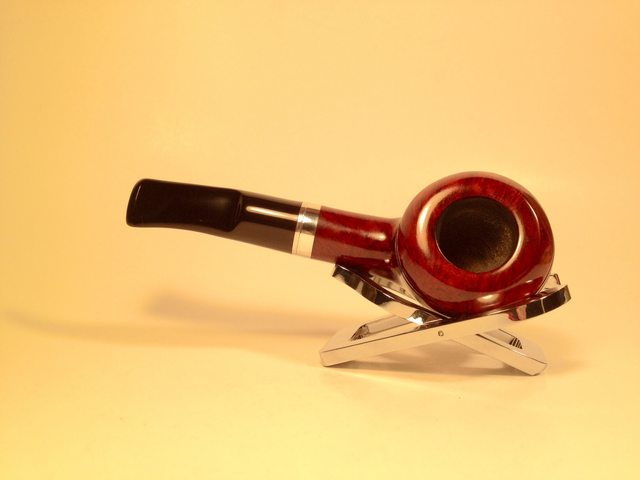
This pipe was in better shape than most estates I start with. It had some dents and dings and some tooth chatter, but overall it was a solid pipe.


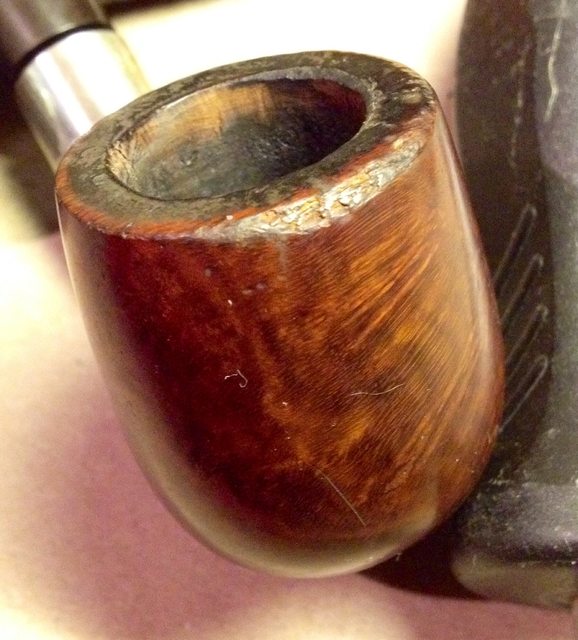
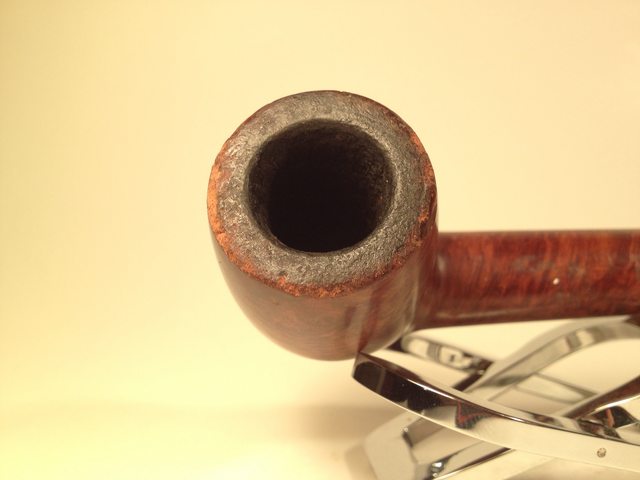
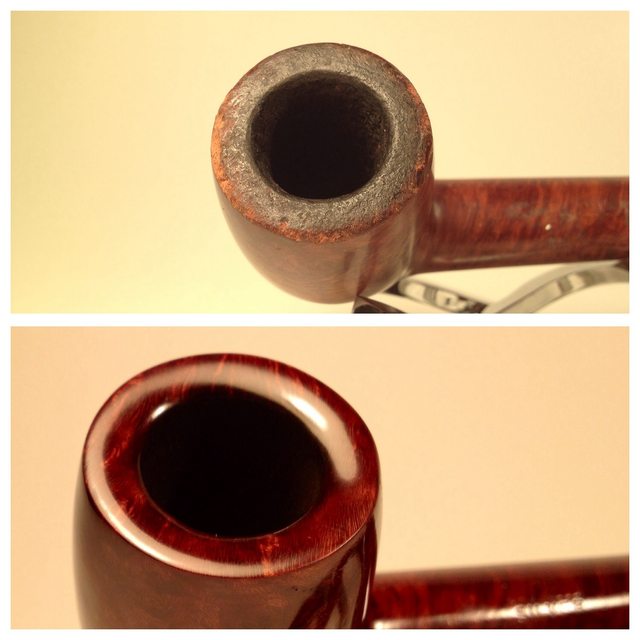
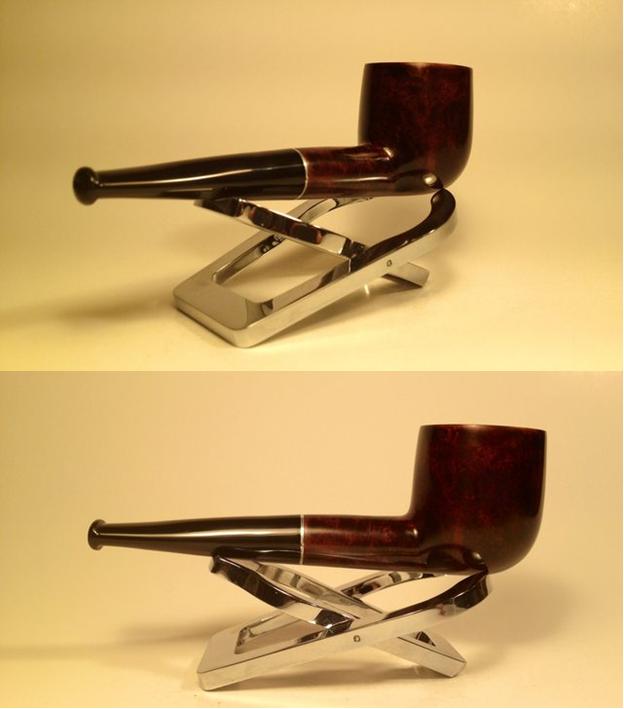
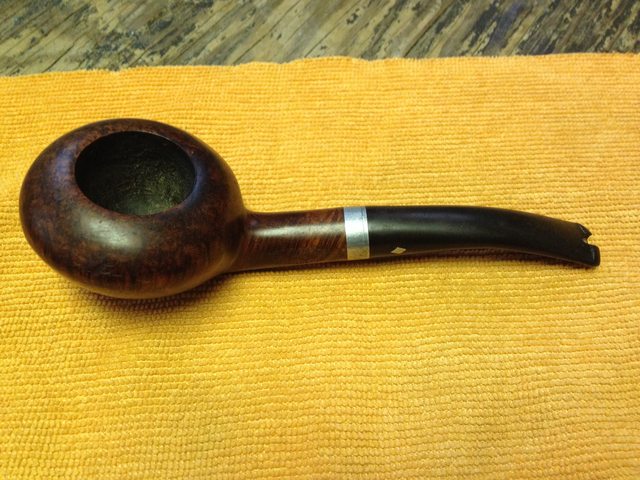
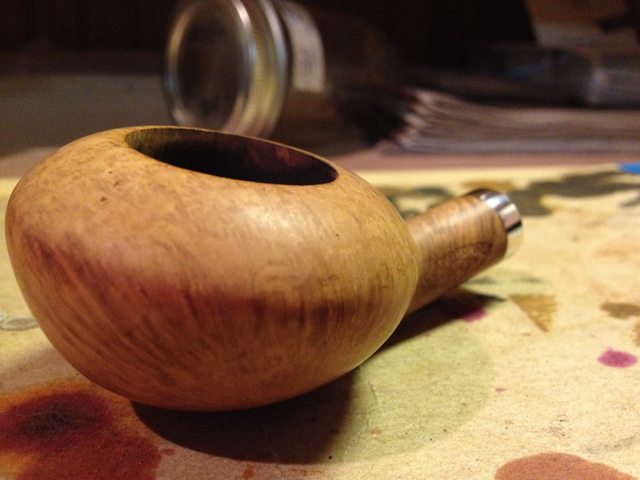
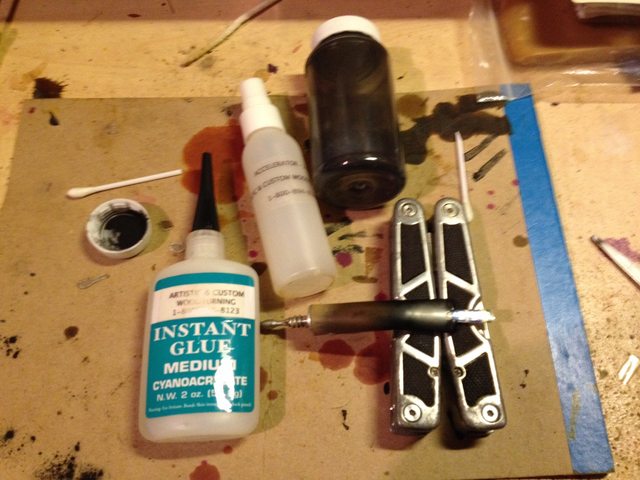
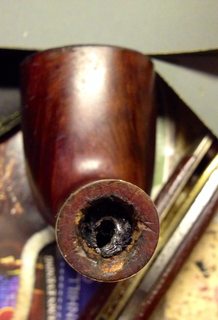
 I started off this restoration with the usual internal cleaning, giving the stem, mortise, and airway an alcohol scrub with pipe cleaners and a shank brush. Next up was the bowl chamber. After removing what little cake build up that was in the bowl, I sanded the bowl chamber smooth with 400 grit.
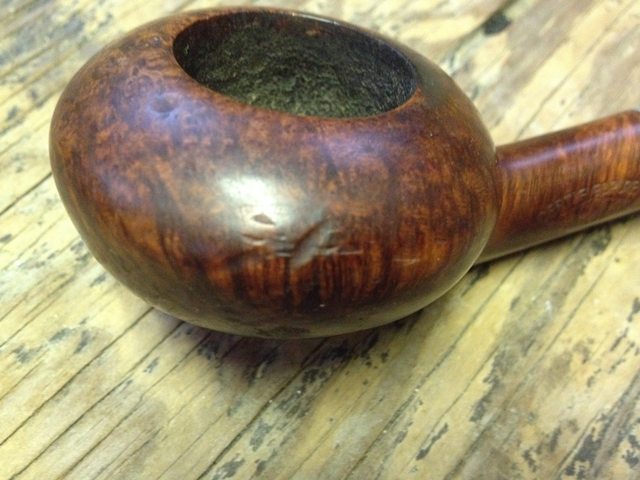
Next, I tackled the dents and dings – first with steam followed by 2000 grit. Heating the flat side of a butter knife and pressing it firmly to the dented areas with a damp rag between the two will generate steam, lifting the dents from the briar. Don’t try this around any stampings, as it will lift the stampings just as it does with dents. This may need to be done more than once or twice for stubborn dents.
After I had worked the dents, I gave the briar a very light scrub with alcohol and 0000 steel wool to remove the stain and even out the finish where I had steamed and sanded.
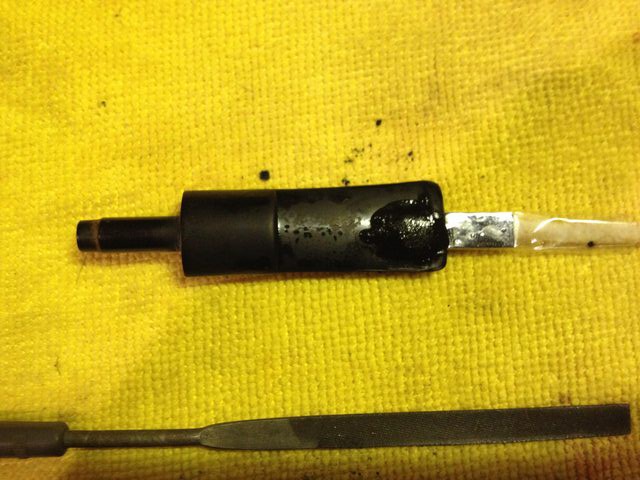
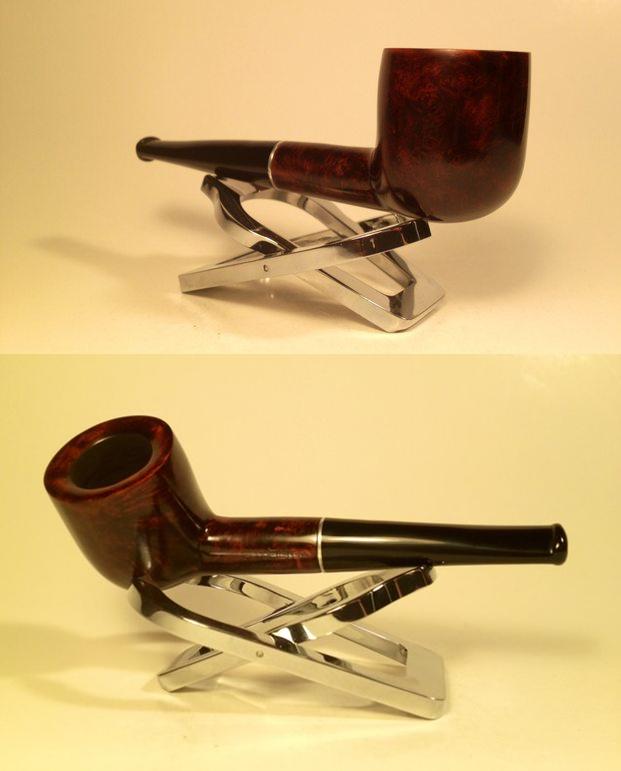
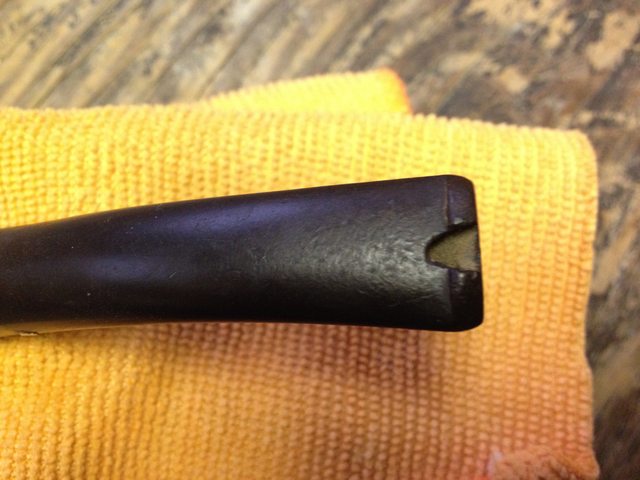
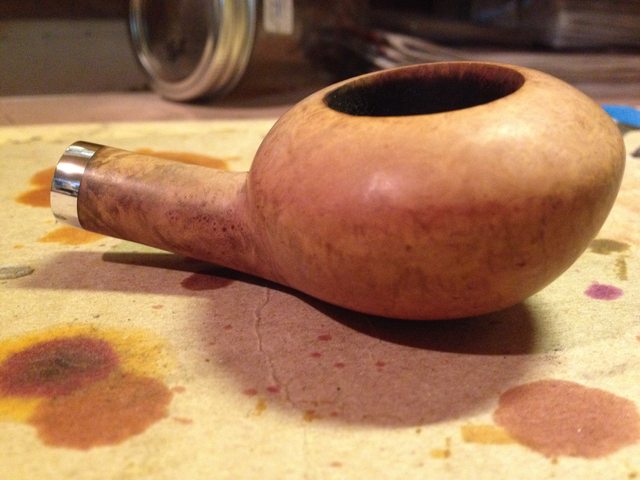
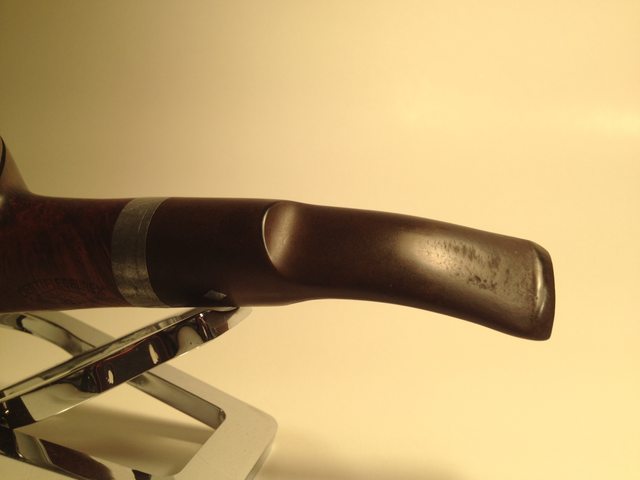
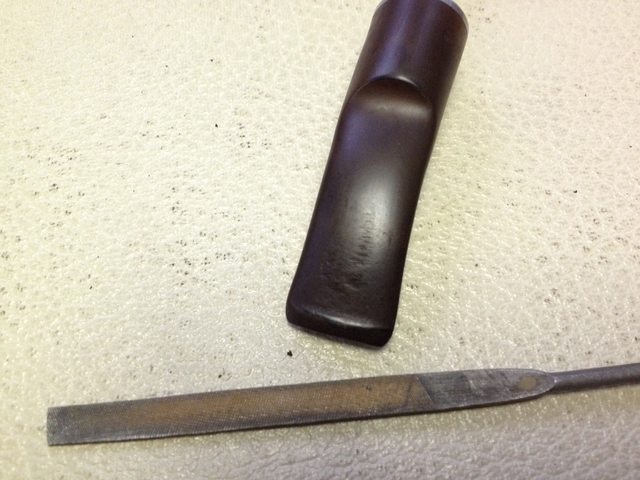
After prepping the briar, I started on the stem. The button was a little worn down but not bad enough to reform, so I left it as is. I used a needle file to remove the tooth chatter. Feathering out and away from the button past the damaged area will prevent the stem from having a warped look or divot around the repaired area.
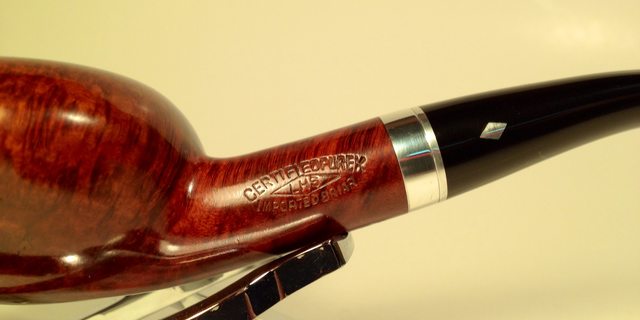
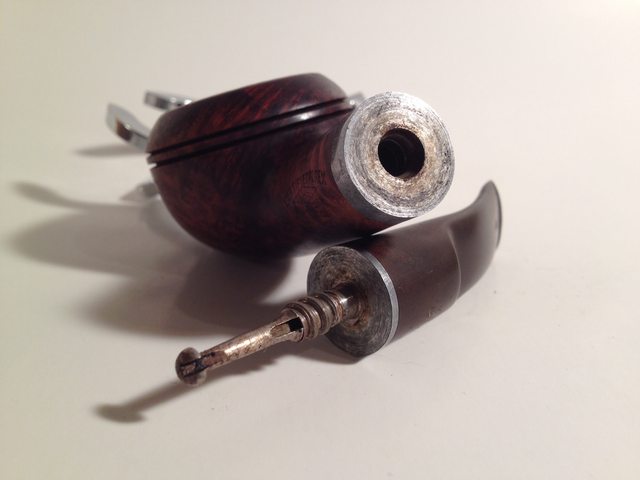
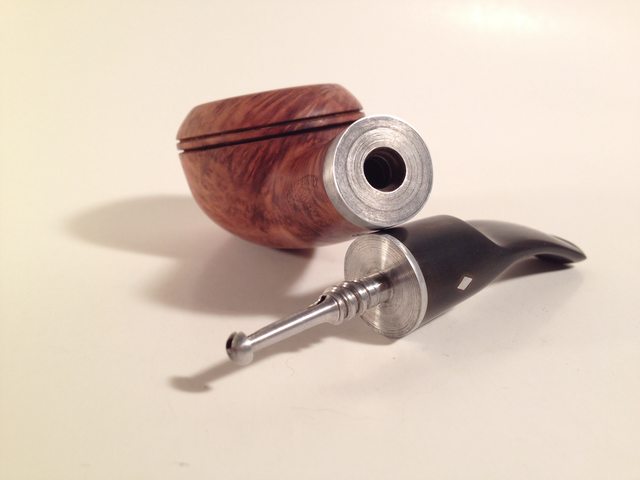
 The next step after removing the tooth chatter was wet sanding the stem to remove the oxidation and file marks. The way this particular stem was made with a metal inserted logo and metal ring and stinger attached, made this clean up much easier than most others. No worrying about working around a fragile stem stamping or rounding the crisp edge of the stem/shank connection, I was able to just mow through the whole stem while wet sanding until I unearthed fresh black vulcanite.
Now that the grunt work is over, it’s almost time for the fun stuff…
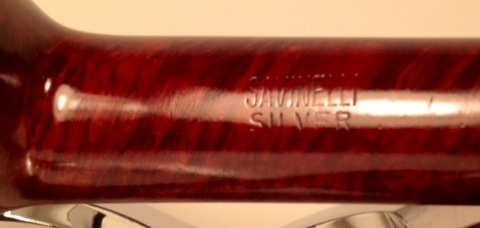
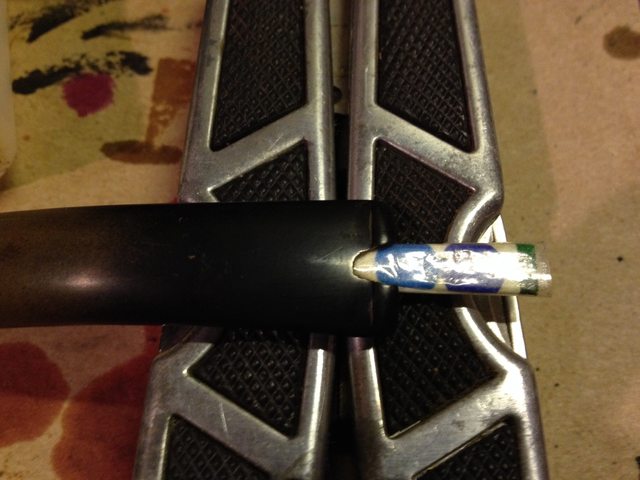
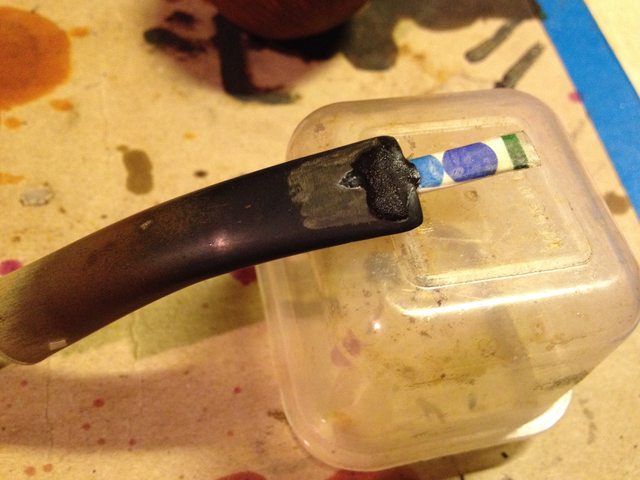
 Oh, one more thing. Let’s try our hand in some metal alchemy by making the aluminum look more like sterling silver.
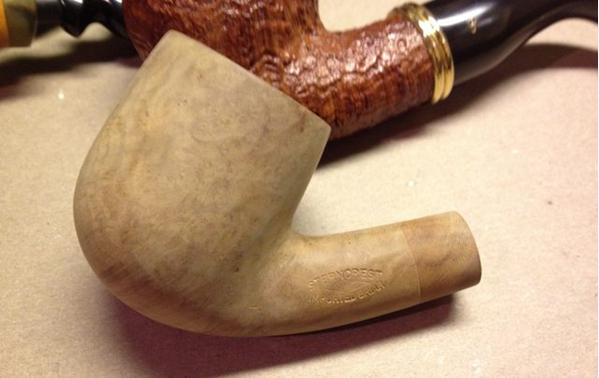
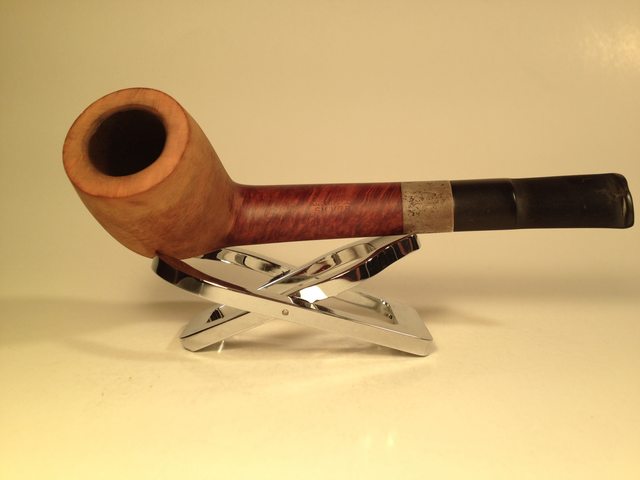
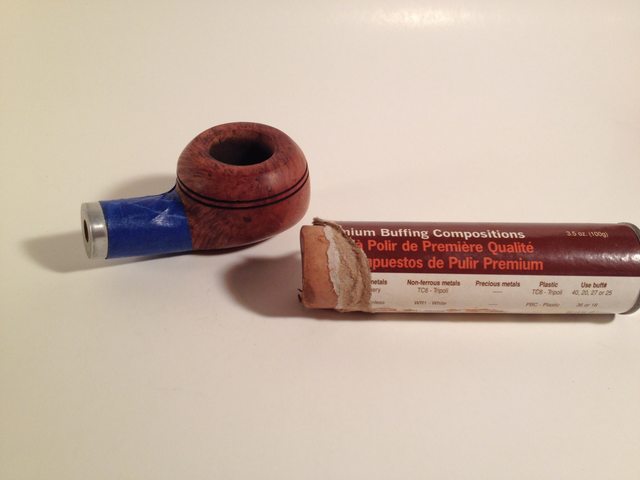
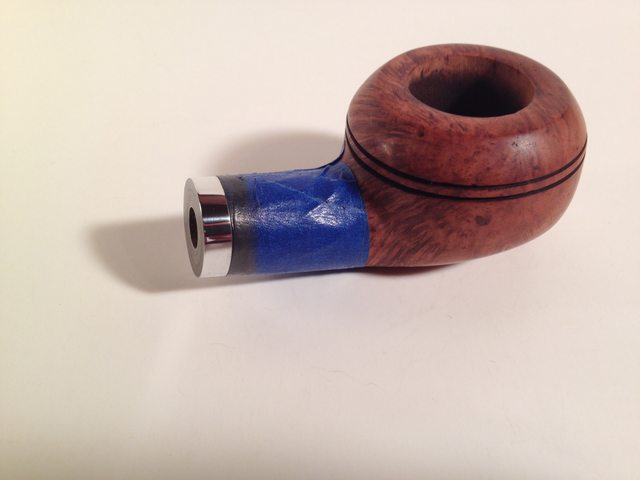
I prepped the briar with tape for two reasons. First, the compound will raise the grain if you run it on a buffing wheel and secondly, the tarnish/compound mix on the buffer wheel with stain the briar black. Notice how dark the tape is afterwards.
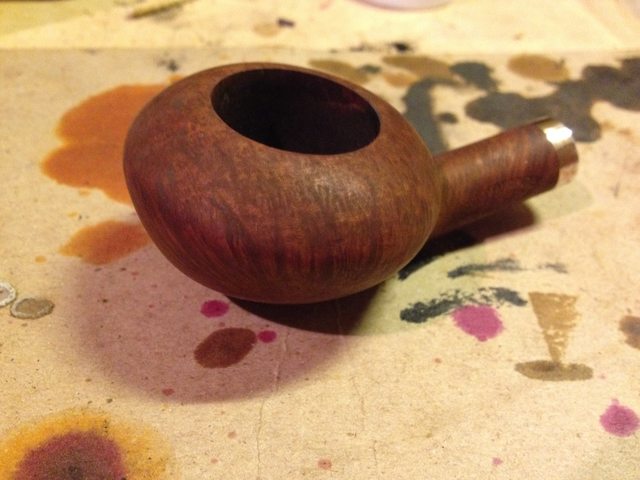
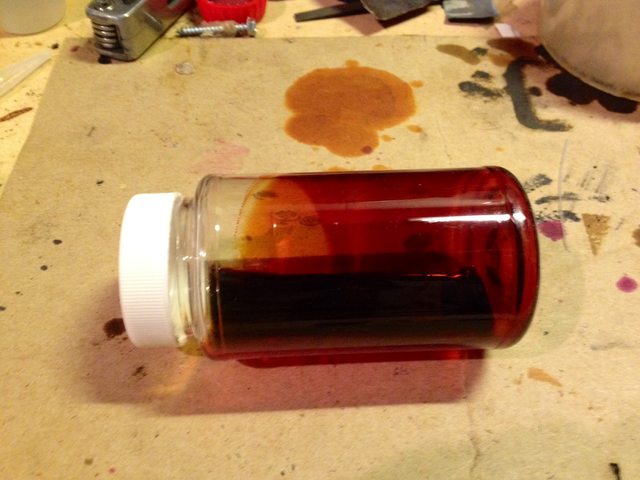
 The natural briar looked pretty nice and I thought about leaving it in a natural finish, but I decided to put it back to its original color, or as close as I could get. I blended a color close to the LHS burgundy by mixing two full droppers of alcohol, one full dropper of oxblood, and one half dropper of dark brown.
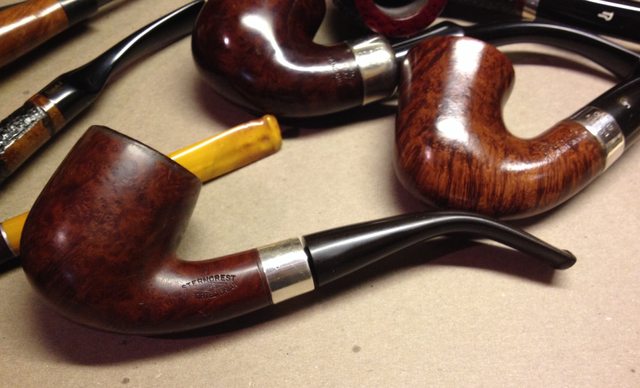
Pay no mind to the workbench of disarray. Sometimes I lose the pipe I’m working on in all the clutter.
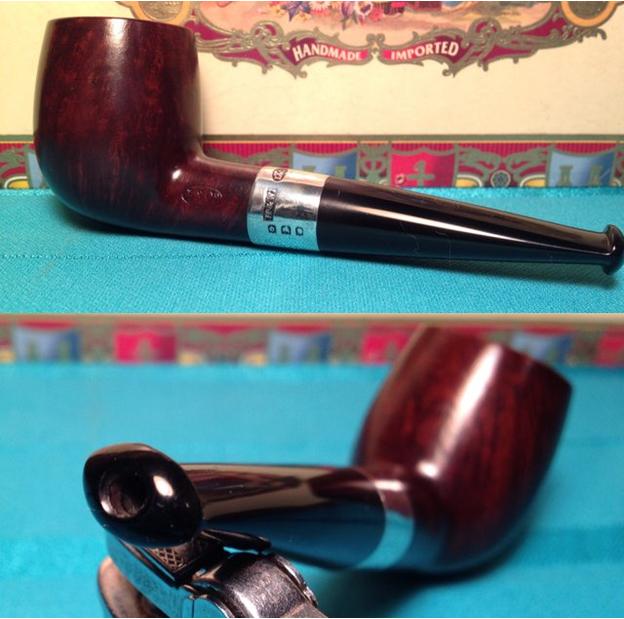
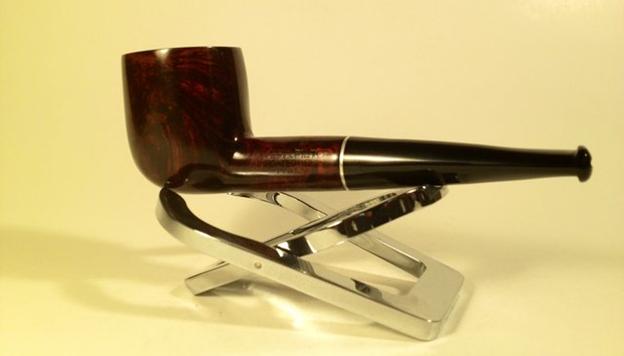
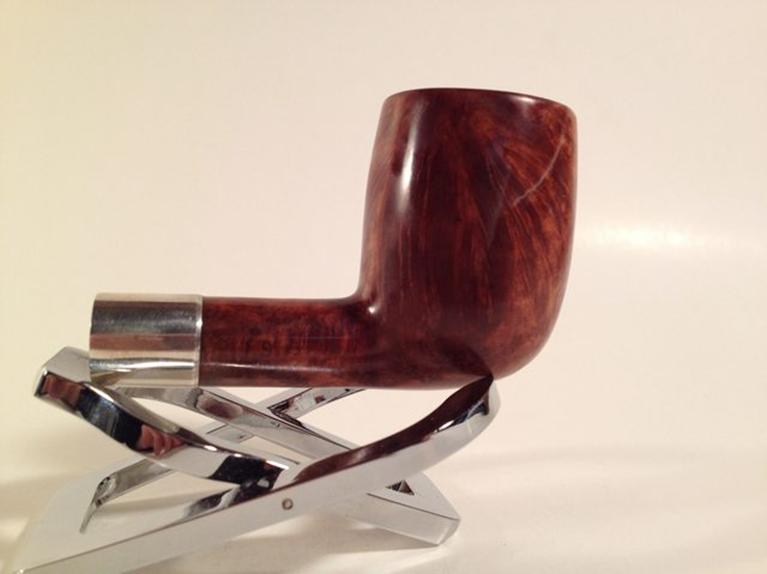
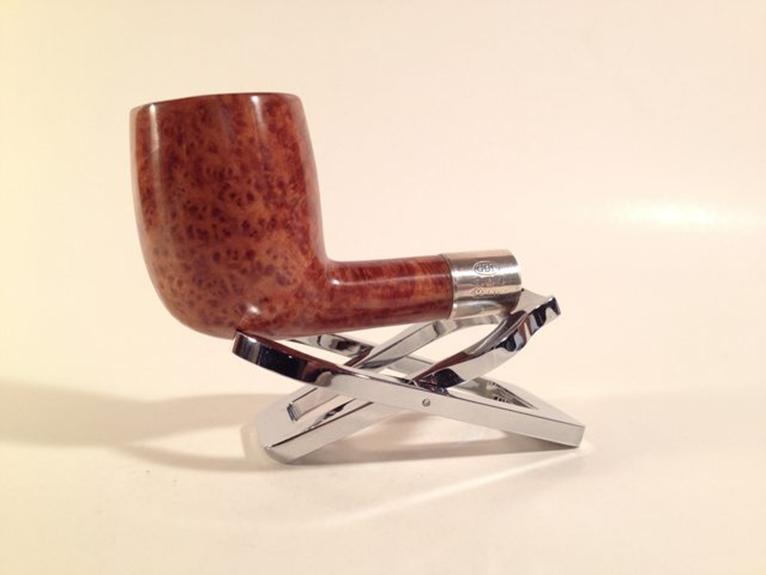
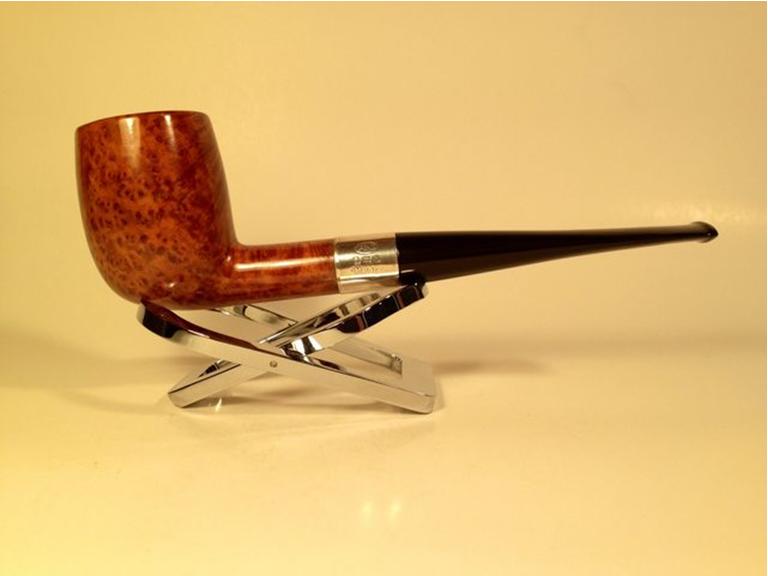
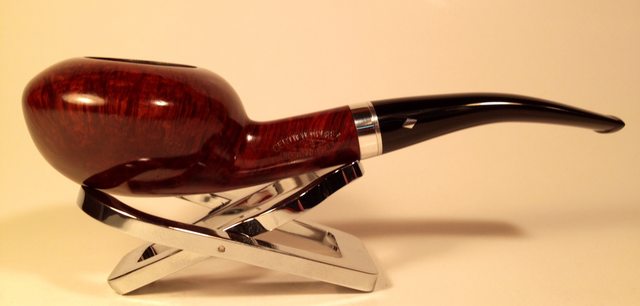
 After the stain had dried, I lightly sanded the briar with a worn piece of 2000 grit to highlight the grain a bit, and then proceeded with laying on the carnauba wax. Two coats followed by a hand buff with a microfiber rag.


 I forgot to wipe out the buffer fuzz before taking photos.
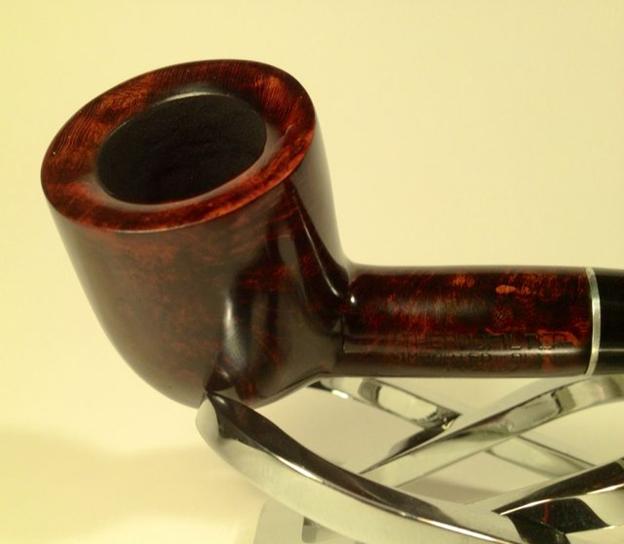
 Last but least, I finished up the pipe by adding a fresh carbon bowl coating. This is a simple and effective way to give a tired looking bowl chamber a great new look. I’ve seen many crazy recipes for a homemade bowl coating but after trial and error, I have found this to be the most effective and easiest way to do it. Once the bowl chamber is clean and smooth, apply a thin coat of maple syrup to the chamber. Next fill the entire bowl to the top with activated charcoal. Leave it for one hour, then dump it out and blow through the shank to remove excess. Don’t touch it for five days. After the five day curing process, it is as tough as a Savinelli factory coating and looks just as nice.

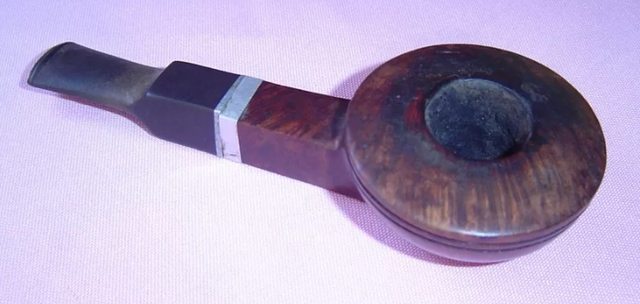
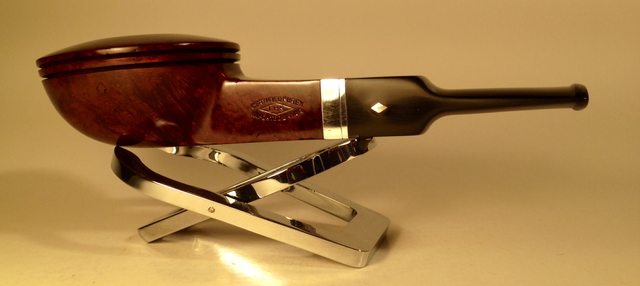
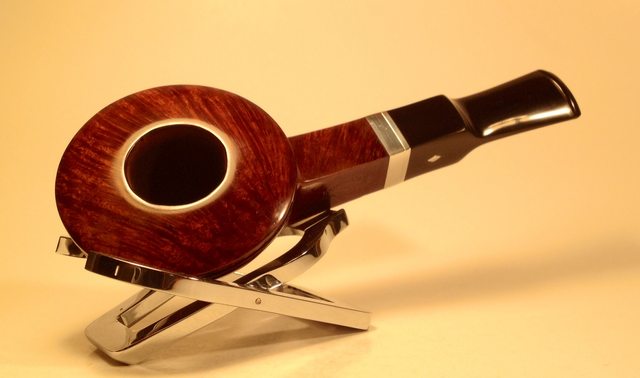
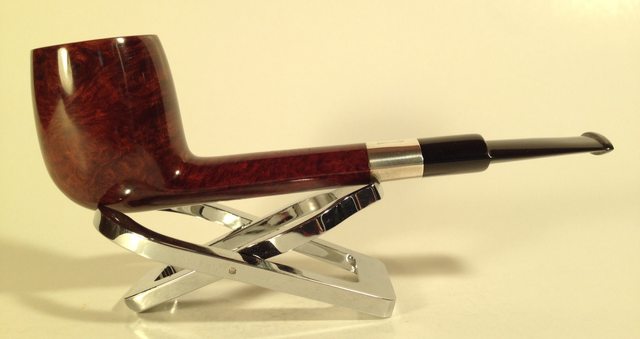
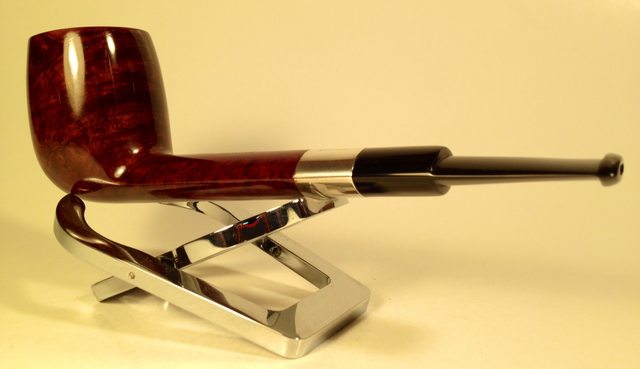
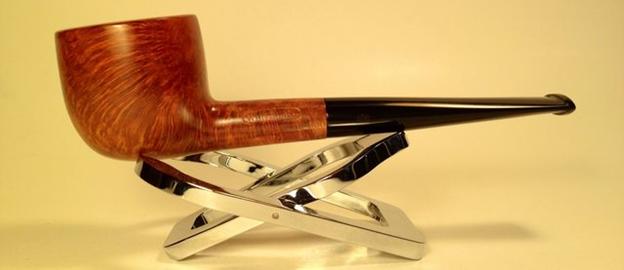
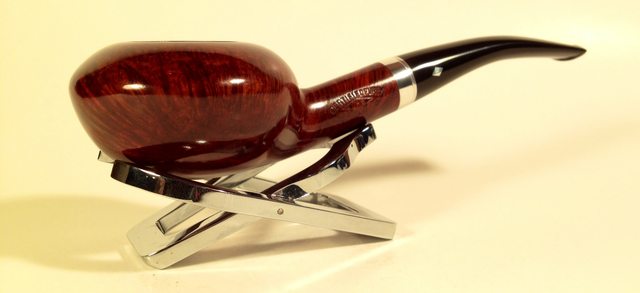
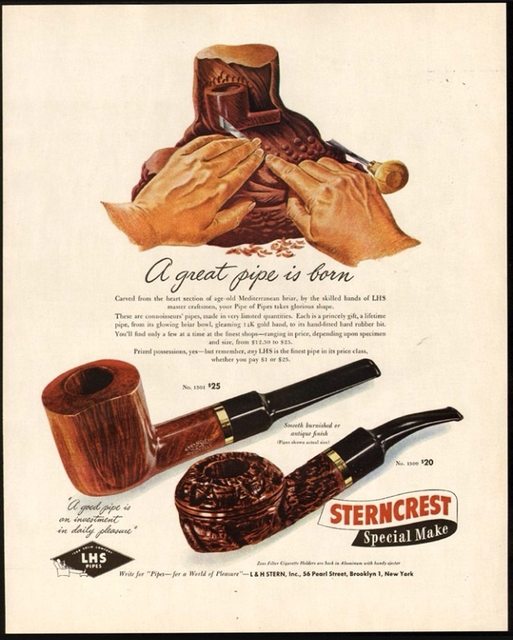 A great pipe is reborn, the ad should read. This old LHS has been an extensive traveler throughout its long life. Plucked from the Mediterranean soil and carved in Brooklyn New York, traveling to the west coast, back to the east coast once more. From there it made its way to British Columbia, then again back to the east coast of America where it currently resides.
 Here is the link to Steve’s great repair/rescue and stem replacement on this pipe.
 I started in on the usual ream and clean. Next I lightly topped the bowl and began working out the dents and scratches.


 Once I had a smooth clean stummel, I mixed up some Fiebings and tried to match the original finish.
 Sanding with 2500 grit I lightened the stain until I was close to the shade I wanted. I used a rag dampened with alcohol around the stampings to lighten those areas and blend in with the rest of the stummel.