Blog by Dave Gossett
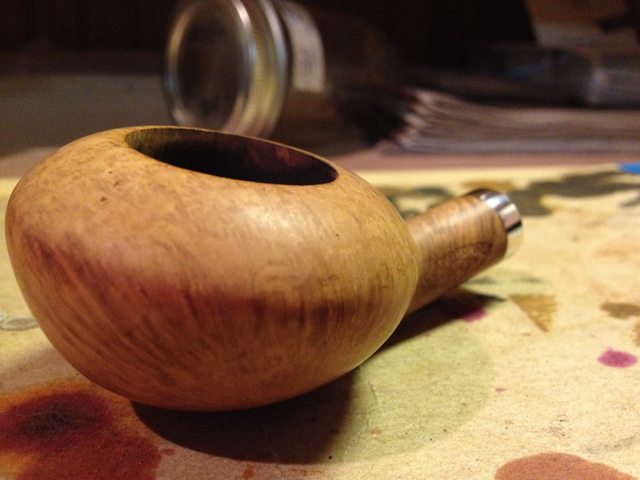
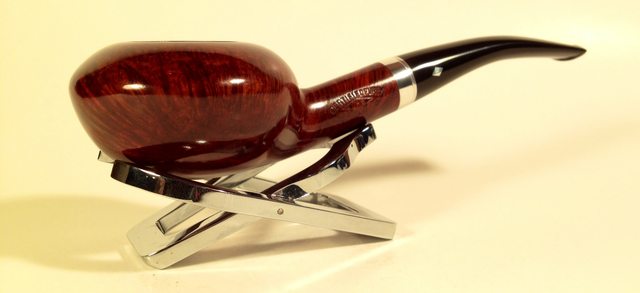
A pipe shape this elegant deserves a better name than squashed tomato. I received this pipe looking more like a bruised tomato. It was beat up and chewed up. An LHS this shape doesn’t pop up very often so I was happy to accept the pipe in any condition.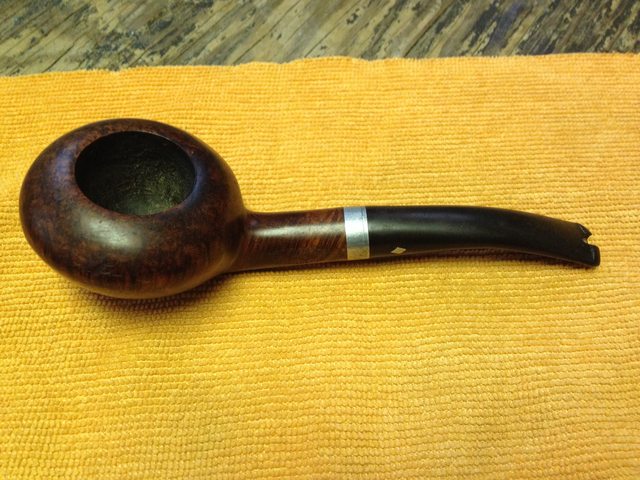

 I started off with the routine internal cleaning of the pipe with alcohol, pipe cleaners, and shank brush.
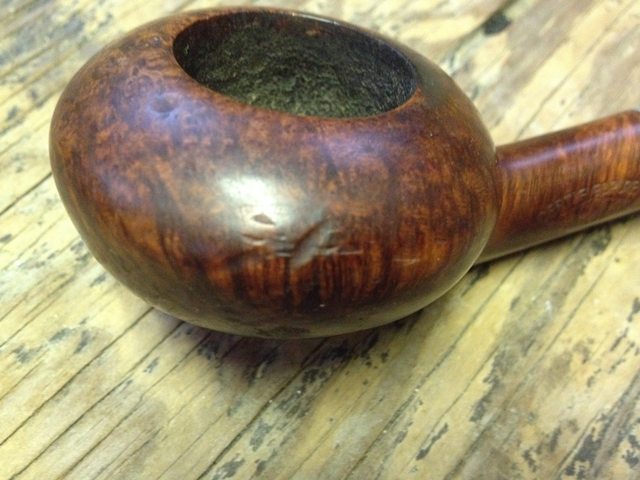
Next I began to work out the dents by heating a butter knife with a propane torch and pressing it firmly to the dented areas with a damp rag between the two. This generates steam and lifts the dents out of the briar. This may have to be done several times to the same area depending how bad the dents are.
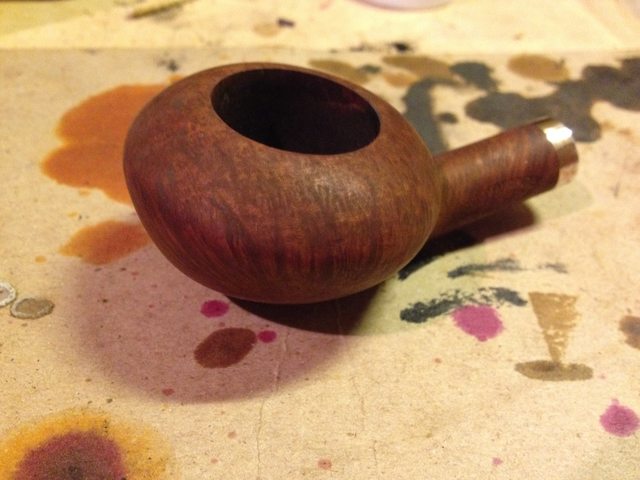
After steaming, I sanded the scratches from the rest of the briar, smoothed out the bowl chamber, prepping it for the carbon coating, gave it a light alcohol scrub with 0000 steel wool to remove the leftover patchy original finish, and finally, masked off the shank and polished the aluminum.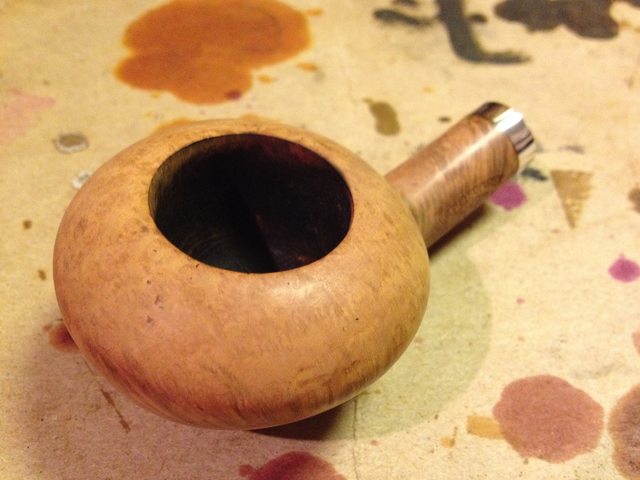
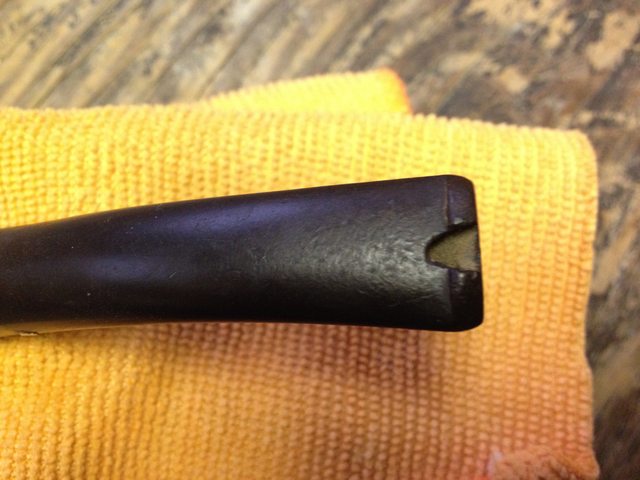
 Next up is the stem rebuild.
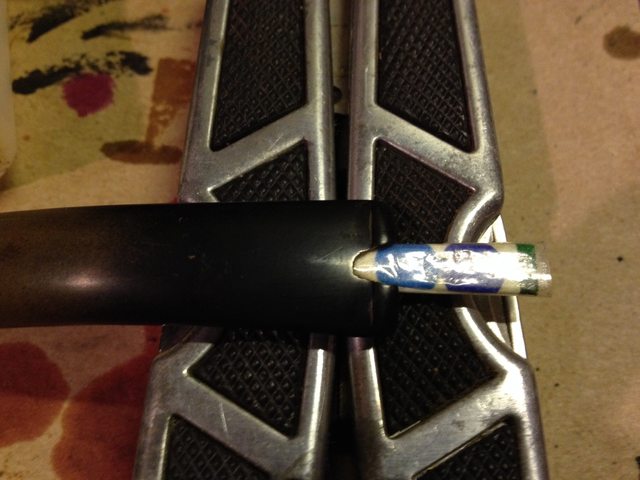 A tight fitting plug/form for the air way and bit is made from cardboard wrapped in clear tape.
Here is a picture of all the materials used for the stem rebuild.
Cyanoacrylate glue (medium viscosity), activated charcoal. 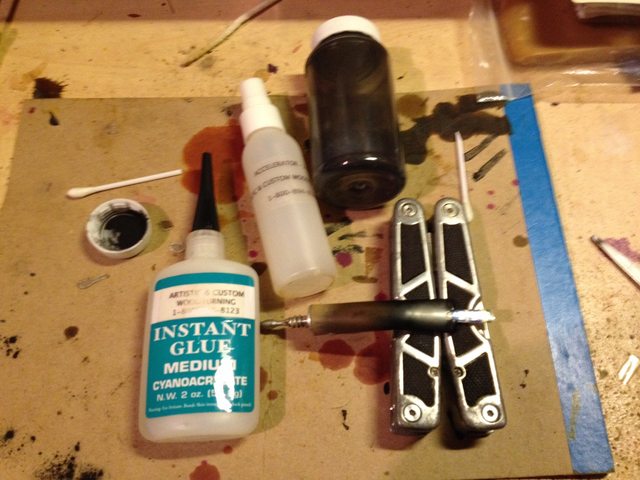 I use disposable things for mixing and application process. 25% charcoal/75% glue mixed thoroughly is the recipe. I mix it in bottle caps, and use a q-tip stem with a small scoop/spoon cut into the end to apply to the repair site.
The repair site needs to be scored and cleaned before the mix is applied.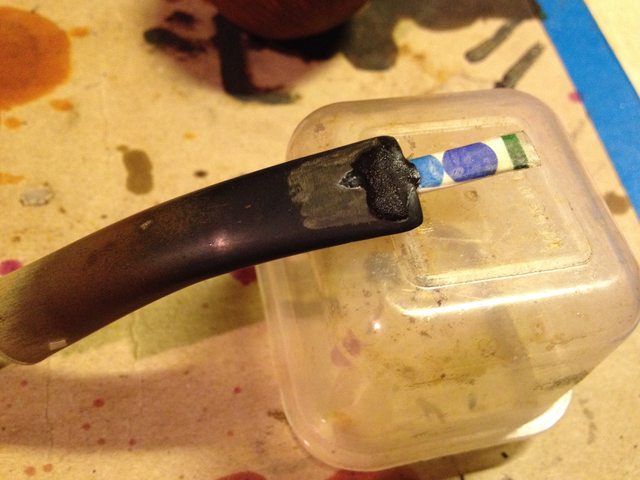 Once the material has cured, the tape covered cardboard plug is easily removed. Using a needle file I reshaped the button and then wet sanded the stem.
Back to briar.
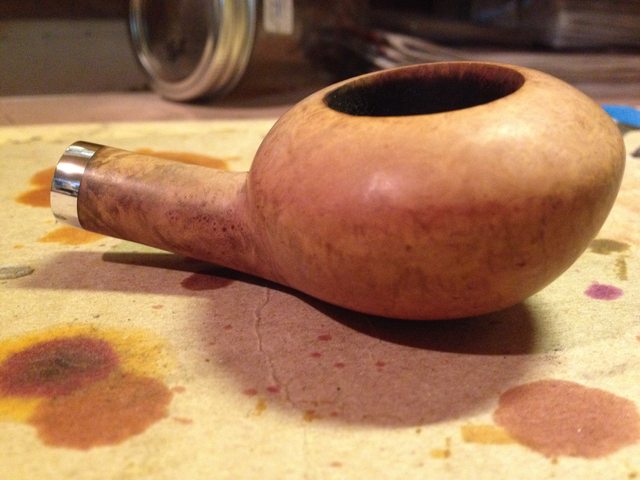
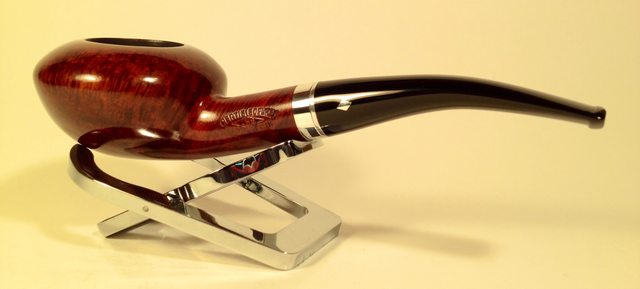
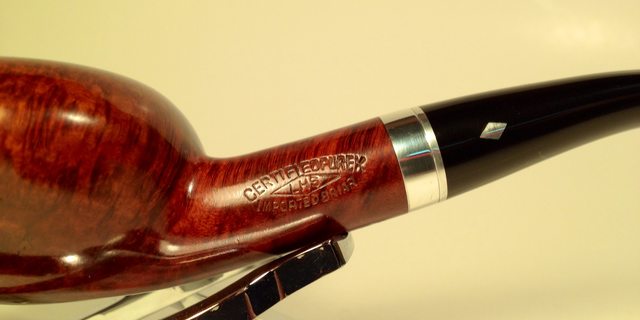
Now that it has been steamed, sanded, and had the old stain removed, I applied a custom color mix of Fiebings, consisting of dark brown, a hint of orange, and a bit of oxblood, thinned a bit with alcohol.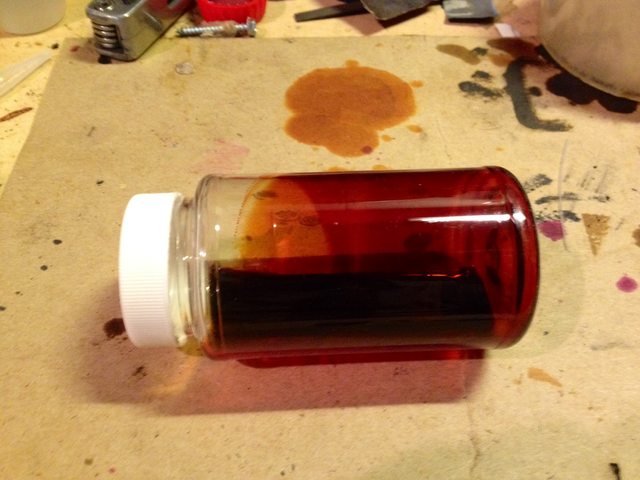
 I always like seeing the color transformation from the dry stained tint to the very different shade it becomes after the carnauba wax is applied.
The final step in the restoration after waxing is the carbon bowl coating. It’s a very simple detail to make an old estate pipe look fresh again. Maple syrup and activated charcoal. After the bowl chamber is clean and smooth, lightly coat the bowl chamber with maple syrup, then fill the bowl to the top with the charcoal. Leave it for one hour or more then dump the bowl and blow through the shank to remove the excess. Next is the hard part. Don’t touch it for 5 days. It takes 3-5 days for it to harden and cure. I usually give it a week just to be sure. Once it has set up, it’s as tough as a Savinelli carbon coating and looks just as good. The pipe will have the familiar slightly bitter taste of a brand new pipe, but it doesn’t last nearly as long. After you smoke a bowl or two it goes away. 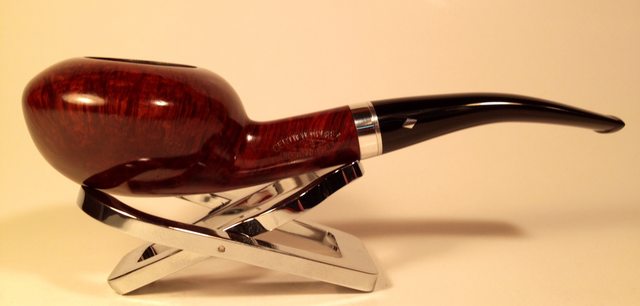
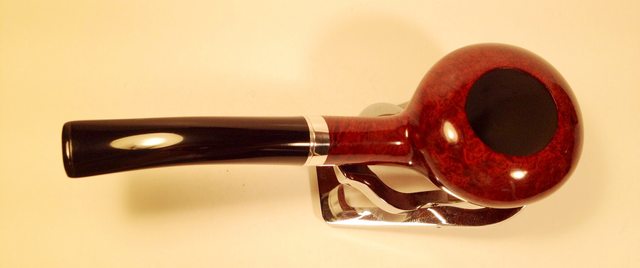

That stain color is too perfect to not mention it.
LikeLike
Dave,Outstanding,A True Rags To Riches.
LikeLike
Wow, Dave! From relic to regal! Nice work. I’m also envious of your shine. 😉
LikeLike
Had I not seen the before and after pictures I would never believe the finished pipe was the same as in the before pictures. Thanks for sharing the techniques used to achieve this beautiful finished pipe.
LikeLike
Dave, very nice! This is the second article of yours that I have read and I am blown away by finished shine. How do you apply your wax finish? What form is your carnauba in… I see it in blends or bars but I have only used a blend by Walker Briar myself and have not gotten your level of gloss.
LikeLike
I use pure carnauba in block form for all my pipes. A hand buff with a micro fiber rag makes a big difference after applying the wax.
LikeLike
I’m glad to see you here Dave (we are members of the PipesMagazine forum). The work on that LHS is fantastic and I appreciate the process tips you have shared.
LikeLike
Stunning transformation!
LikeLike