Blog by Steve Laug
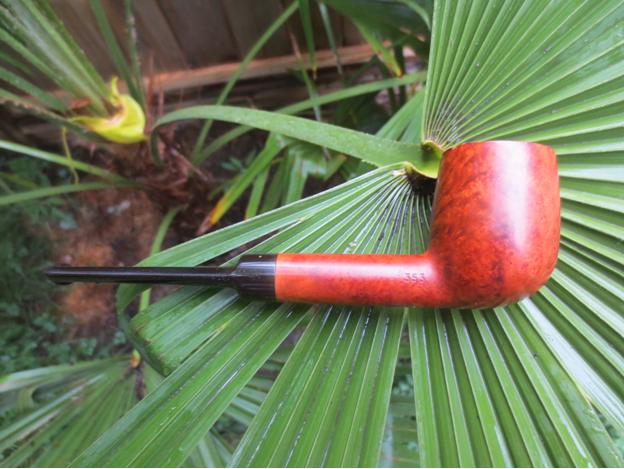
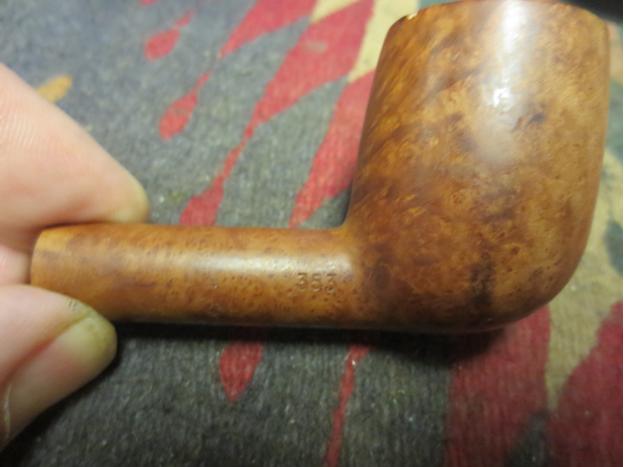
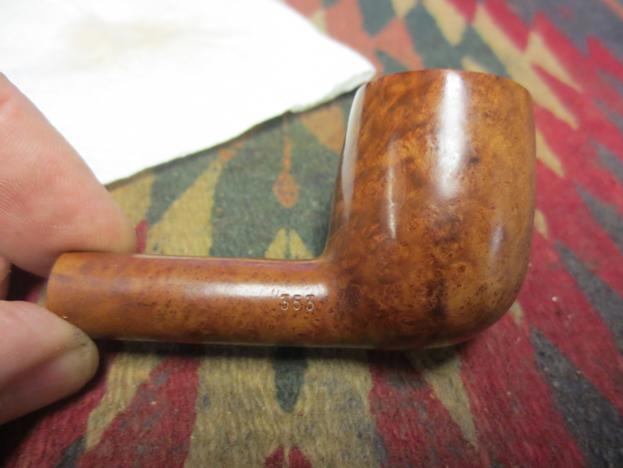
This was another of the pipes I picked up on a recent trip to Idaho Falls. I found it and several nice older pipes in a local antique mall. This one is stamped White Flame over Natural Briar on the left side of the shank and 353 on the right side. On the underside of the stem there was a lightly stamped FRANCE on the saddle. I had never seen a pipe with the White Flame stamping. I looked on the pipephil site and there was nothing there either. I did find a reference to the brand in Who Made That Pipe. There it was listed as a brand made by both Imperial and Civic. The book said the make was English and American. From my experience though, both the Imperial brand and the Civic brand were English made pipes. I know that Yello Bole made an Imperial and I am wondering if that is not what WMTP is referring to. This one however, just says British Briar in the shape, the stamping and everything else. I searched on the web to find a shape chart for either Imperial or Civic and so far have found nothing that lists the shapes of the two brands.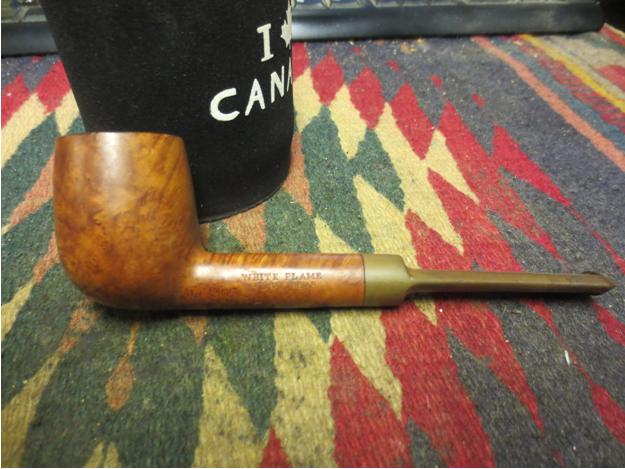
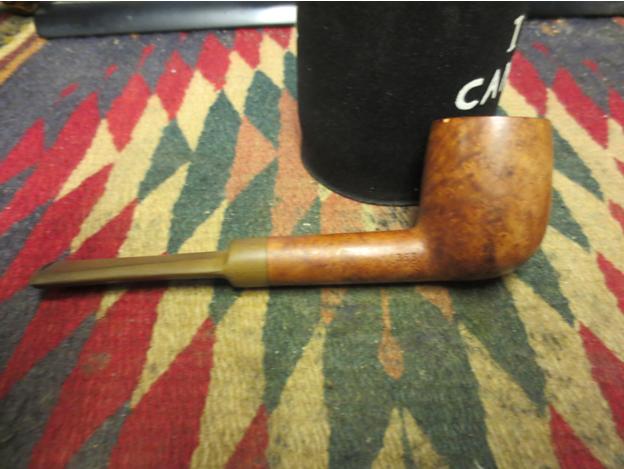 The pipe had a natural, virgin finish that had picked up a slight patina over the years. There was a hint of red in the briar under the grime. The stem was badly oxidized. The bowl had a thick cake and the rim was nicked on the back right side outer edge and the top was blackened with a coat of tars and carbon that had run over from the bowl. Other than that the pipe was in decent shape. The bowl was still round. There were a few slight nicks and dings in the sides but it still was decent enough that a restoration would not be too difficult.
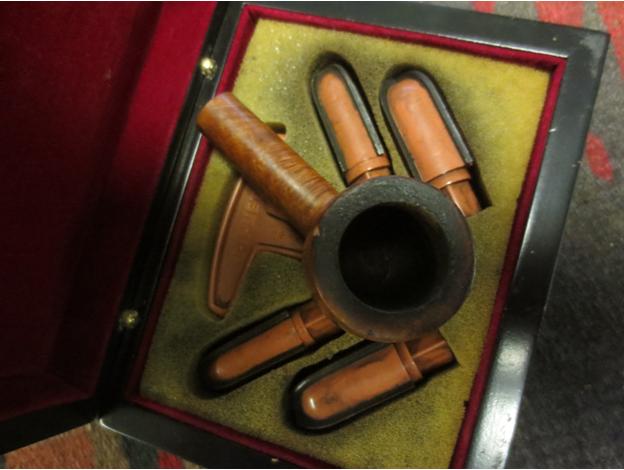
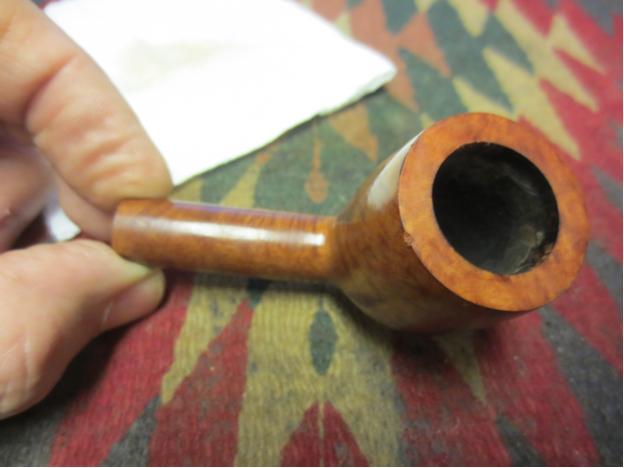
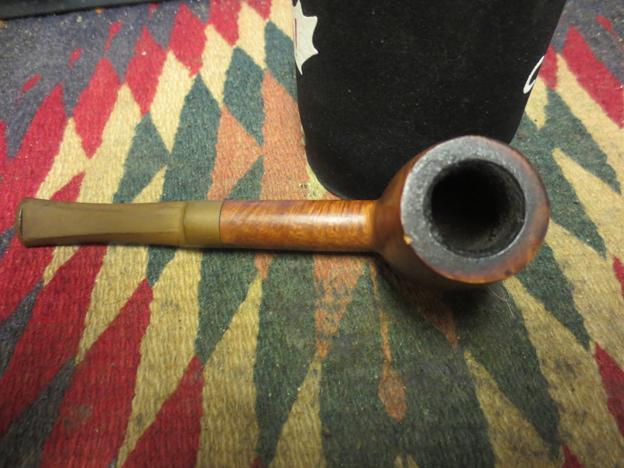 I have included a close-up of the rim to show the thickness of the cake in the bowl and the damage to the outer edge of the rim. The tarry lava overflow on the top of the rim is also very visible.
 I have also included some photos of the stamping to see if any of you reading this have any ideas of the maker.
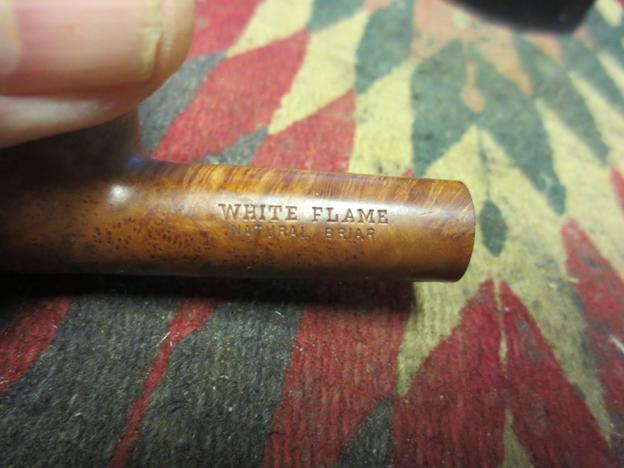
 I reamed the bowl with a PipNet reamer starting with the smallest head on the T handle and working up to the third head. I took the cake back to the briar walls of the pipe.
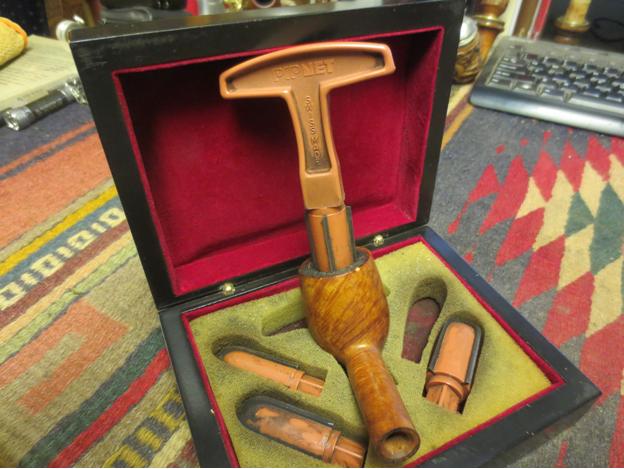
 Because of the rim damage and the thick build-up I decided to top the bowl and remove the damage. I would not be able to remove all of it without changing the profile of the bowl but I could minimize its visibility. I topped it on the topping board with 220 grit sandpaper.
 I finished topping it by sanding it with a medium and a fine grit sanding block to smooth out the scratches left from the sandpaper. The topped bowl is shown below.
 The oxidation was bad enough that I decided to drop it in a mixture of Oxyclean and let it soak for an hour to let the Oxy do its magic. As soon as it hit the warm mixture the water turned amber as the oxidation bubbled away.
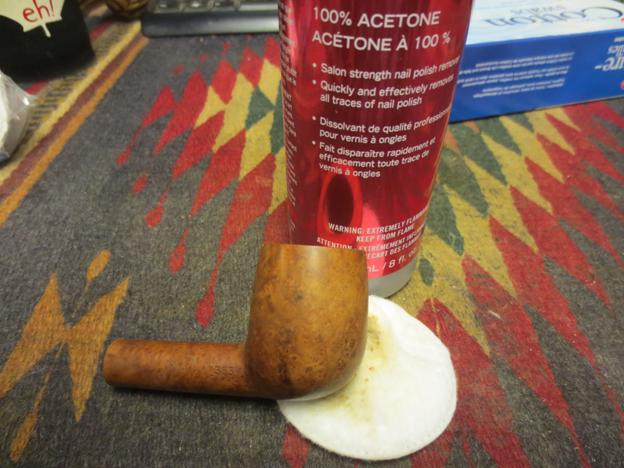
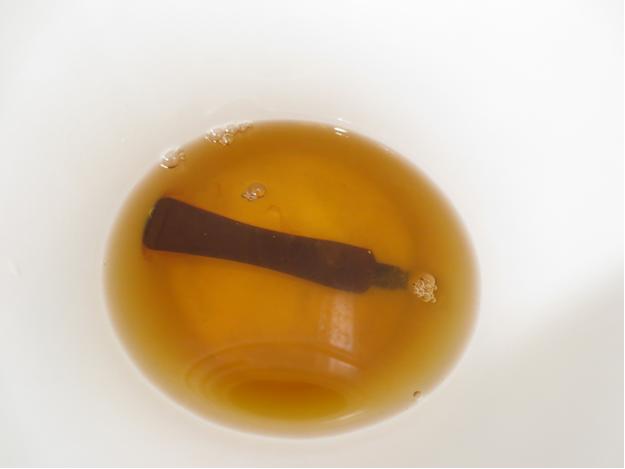 While it soaked I scrubbed the bowl with acetone on cotton pads to remove the grime and the wax from the briar.
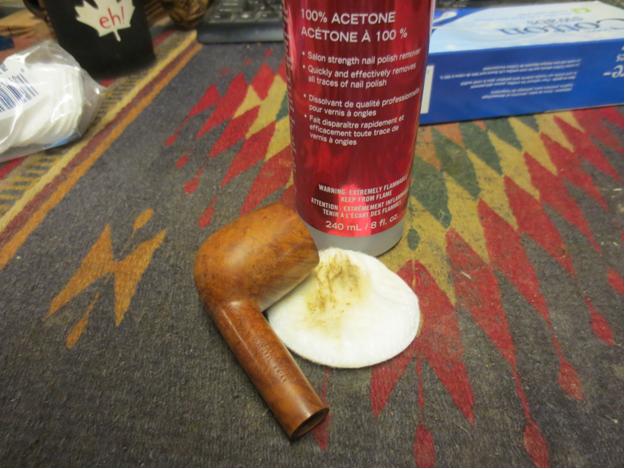
 I cleaned out the shank and mortise with alcohol, cotton swabs and pipe cleaners.
 The patina of the bowl was darker than the newly topped rim so I used a light coloured stain pen to match the colour of the briar. It would need some more work to blend it but the colour was very close.
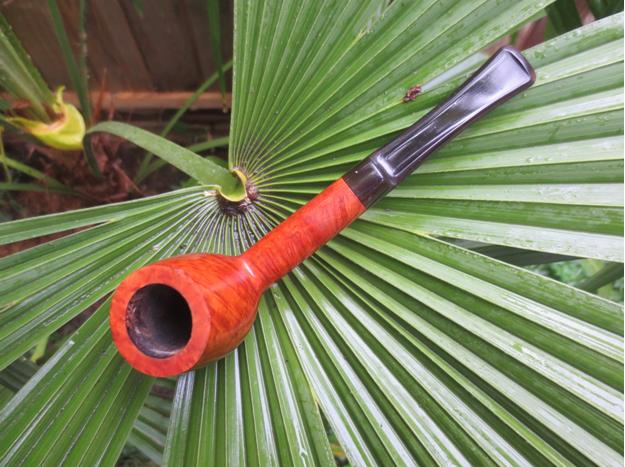
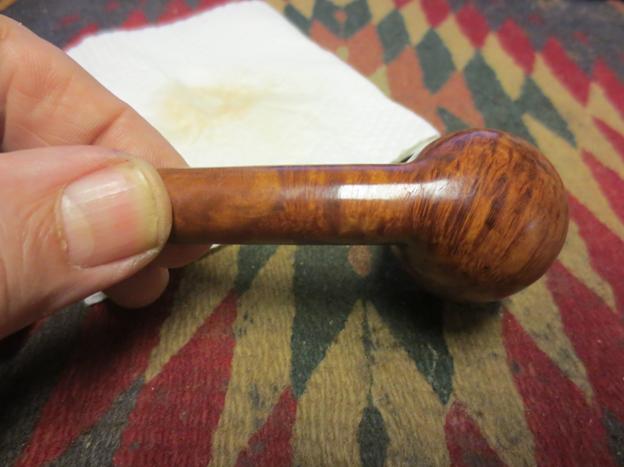
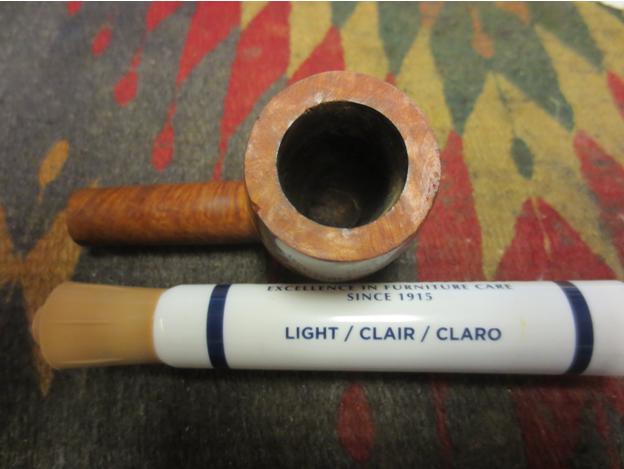 I gave the bowl and rim a light coat of olive oil to give back some life to the grain and work to match the bowl and rim even more. After oiling it I hand buffed it with a microfibre cloth to remove the excess and to get a clear picture of the match of the rim to the bowl. The match was perfect as can be seen from the photos below.
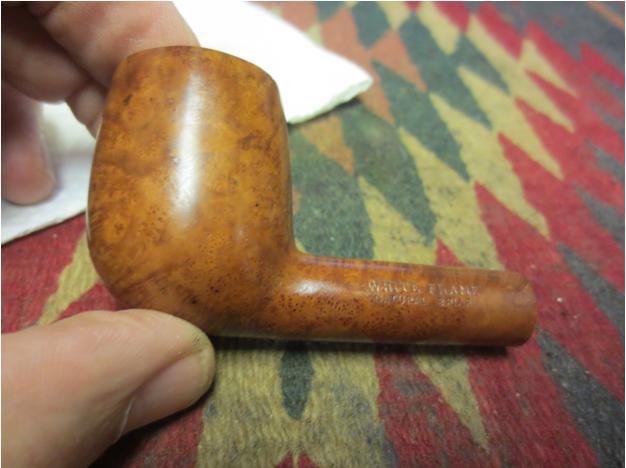
 After the stem had soaked for an hour I took it out of the bath and dried it off with a coarse cotton cloth. I was able to rub off the majority of the remaining oxidation. The stem is shown in the photo below after the rub down.
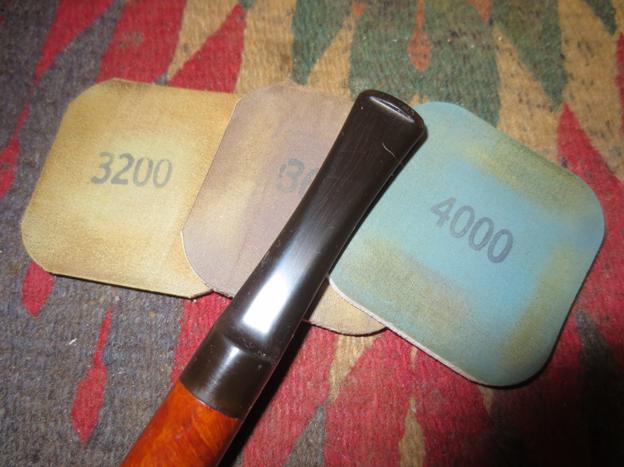
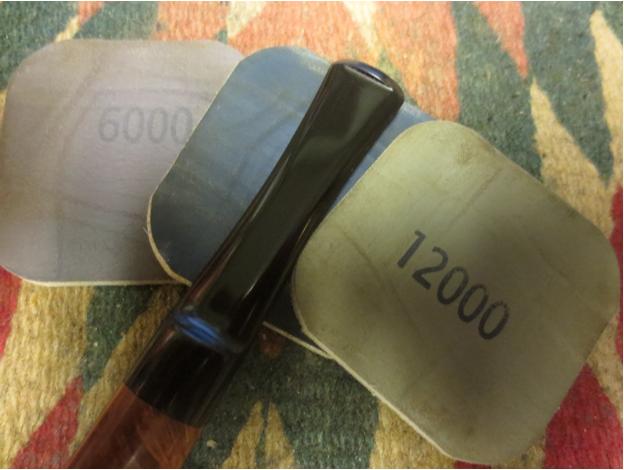
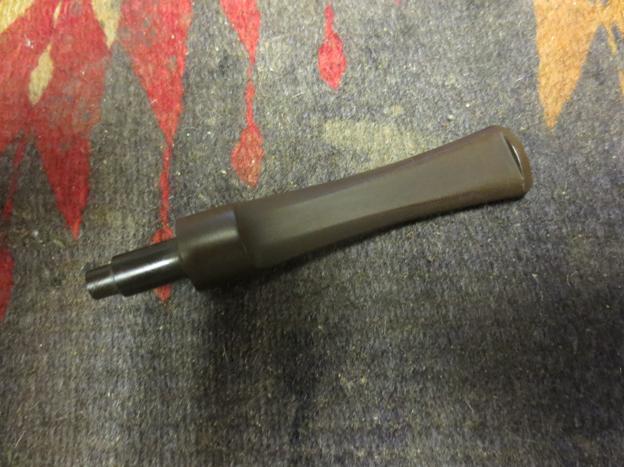 I sanded the stem with a medium and a fine grit sanding sponge to remove the remaining oxidation. I then worked on the stem with micromesh sanding pads. I wet sanded the stem with 1500-2400 grit pads and then rubbed it down with Obsidian Oil. I dry sanded with 3200-4000 grit pads, rubbed it down with oil again and then finished by dry sanding with 6000-12000 grit pads. I gave it a final coat of Obsidian Oil and then buffed it with Blue Diamond on the wheel.
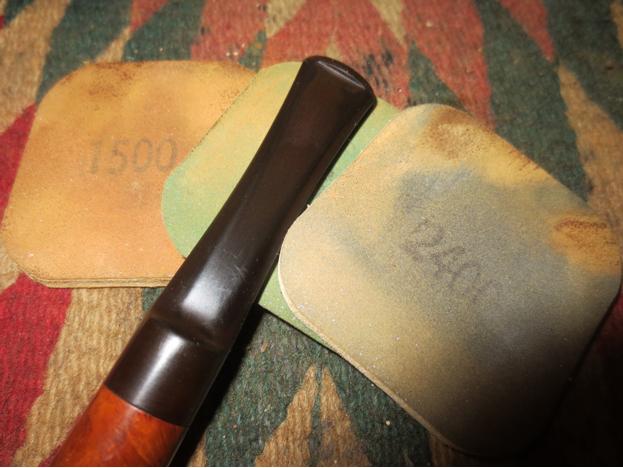
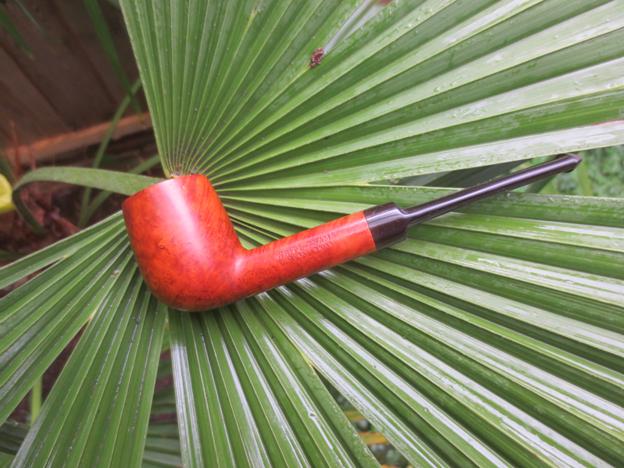
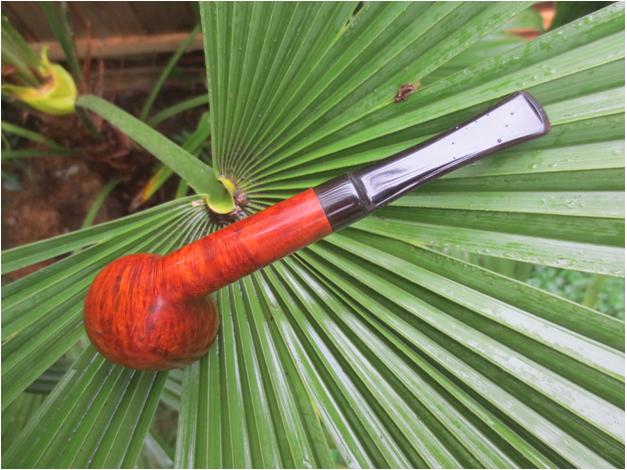
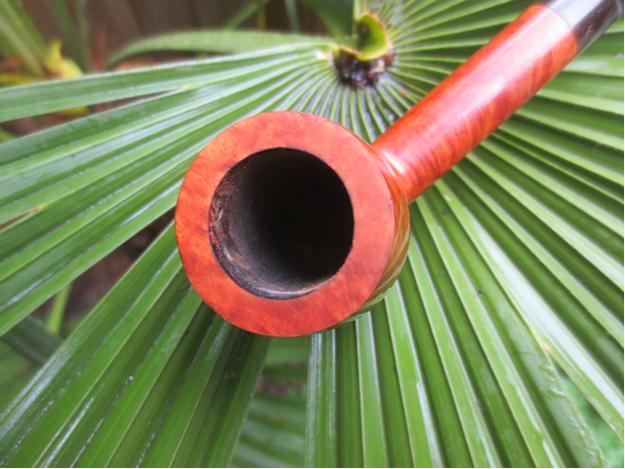
 I finished the restoration by buffing the pipe with Blue Diamond and then I gave the stem and bowl multiple coats of carnauba wax. I buffed it with a clean flannel buff and then took it back to the work table and hand buffed it with the microfibre cloth. The finished pipe is shown in the photos below. We are in the midst of a much needed rain storm but I love the look of the pipes in the fronds of the palm tree in my back yard. On these photos you will see some raindrops on the stem and bowl in several of the photos. I am pleased with the finished look of the pipe. The natural light brings out the reds in the briar. It is a beautiful pipe. Thanks for looking.