Blog by Steve Laug
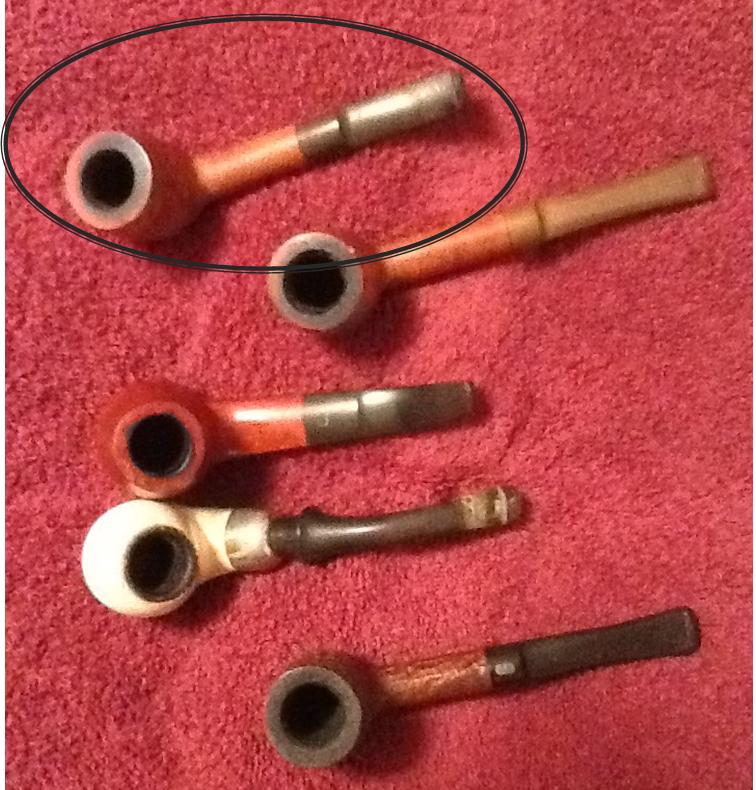
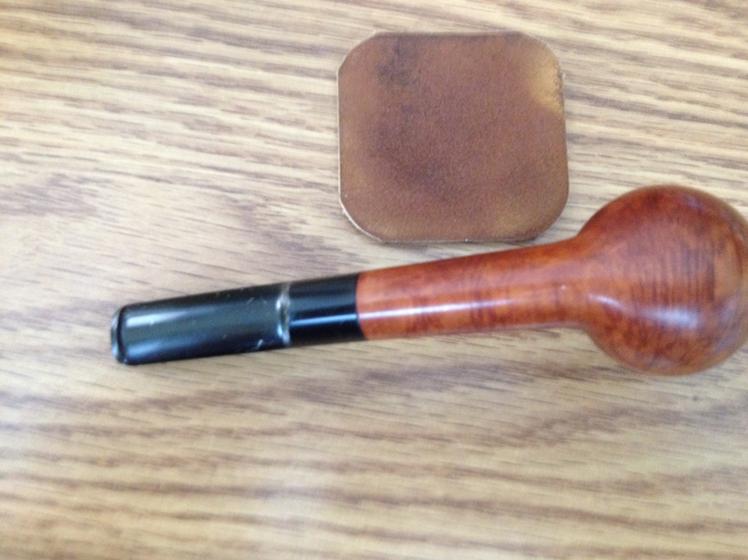
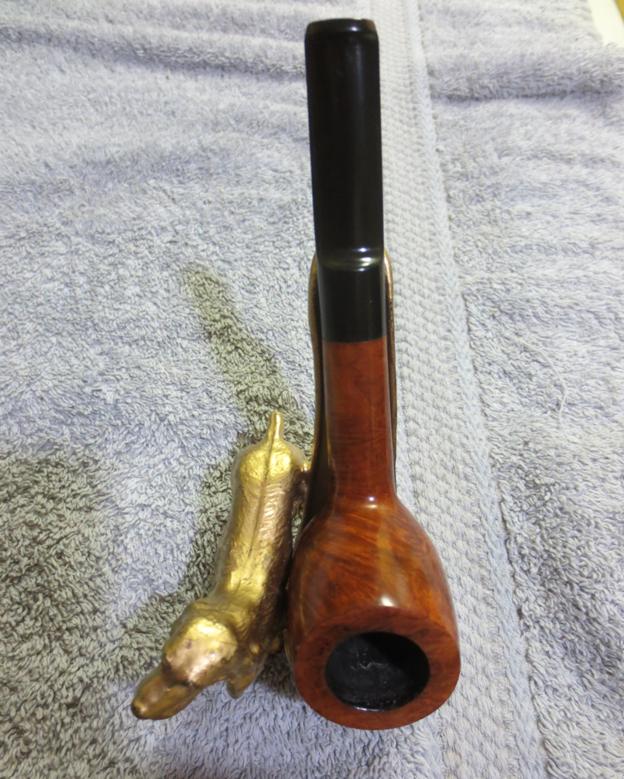
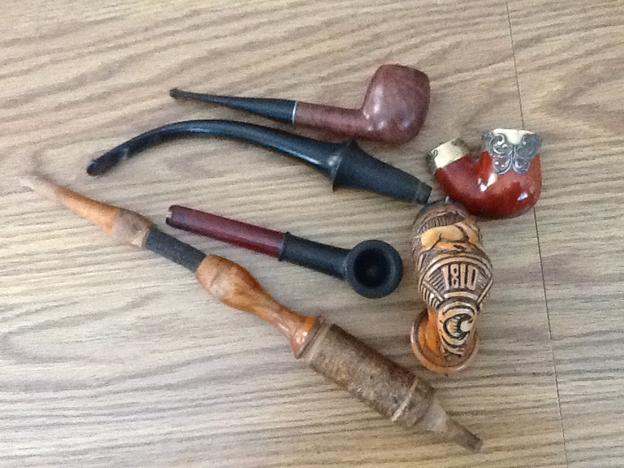
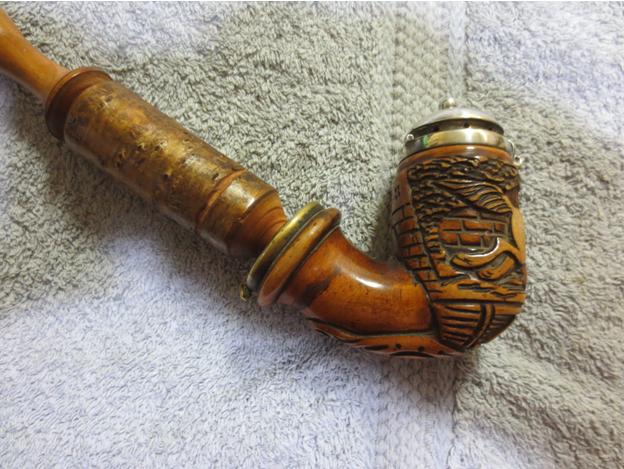
On Monday, June 29, 2015 after a weekend of celebrating with my parents and brothers in Idaho Falls, I went to visit one of my favourite pipe hunting haunts when I come to town. There weren’t any pipes on the three floors of the antique mall but before I left I asked the sales clerk if he had any pipes that somehow I had neglected to see. He said that there were not any on the floor but he had a few in a bag at home and if I would come back on Wednesday he would bring them with him and we could make a deal. Wednesday when I went back he had a bag of old pipes that are shown in the photo below. The top pipe is a Kaywoodie Apple with a three hole stinger. Tthe stem below it comes from a WDC Wellington but the pipe itself was missing. Next to it was an oval shank meerschaum with lots of bling on the shank and the bowl top. It had a broken tenon in the shank and would be an easy one to make a stem for. The third pipe down was a Bakelite stem and base but was missing the bowl. The bottom one was quite interesting to me. I had not seen one of these before intact. It was a meerschaum bowl with a wind cap and brass shank end. The stem itself was long with bark on the bottom portion and then hard wood ending with a woven hose and stem that was also wooden with bark on the portion next to the hose.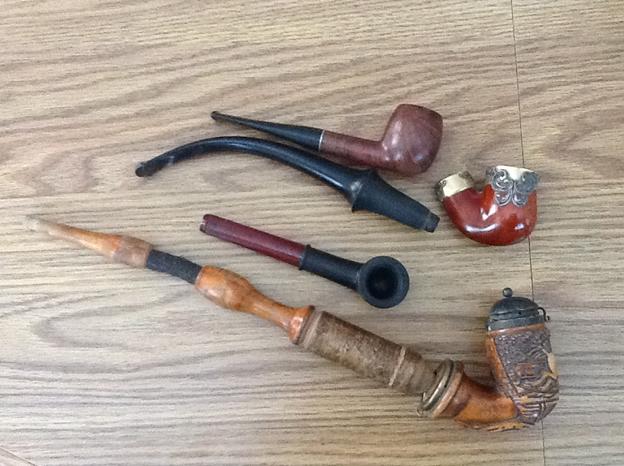
 I asked the sales clerk where the pipe had come from hoping that he would know the story behind this old meerschaum. It turned out that he knew a lot about the old pipe. I had belonged to his grandfather who was a German immigrant to Idaho Falls. The two meerschaum pipes were his. He had brought them with him when he came from Germany. He was brought over to be the beermeister for the Eagle Rock Brewery which only had a short life – 1896-1898. His own father (the sales clerk’s great grandfather) had purchased the pipes new in Germany and smoked them throughout his life. He had passed it on to his son, the brewmeister who smoked the pipe throughout his life even after the brewery closed. The sales clerk’s father had passed it on to him with the story of the pipe. The carved date on the pipe fits well with the four generations – 1810. I love these old stories behind the pipes I refurbish.
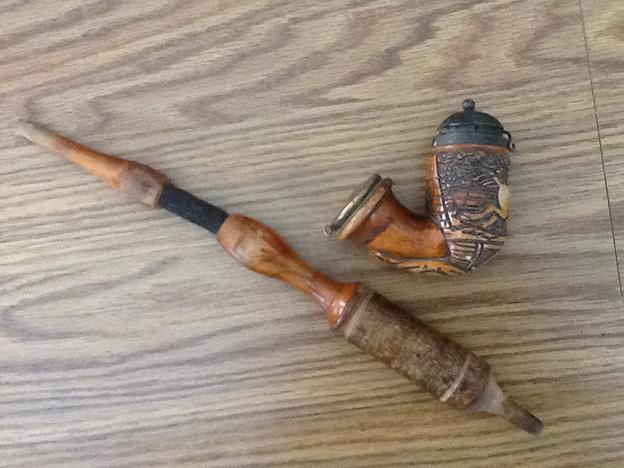

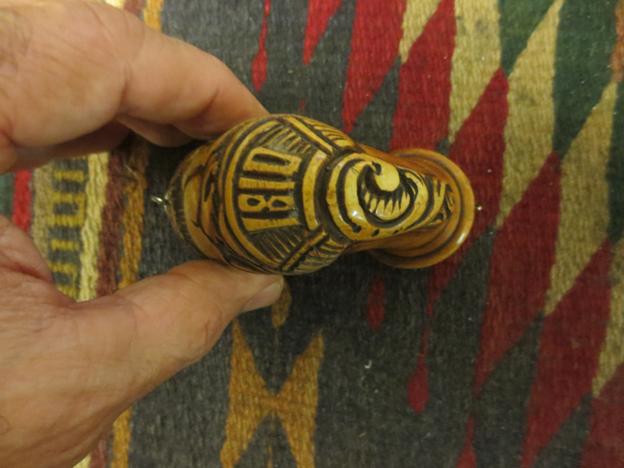
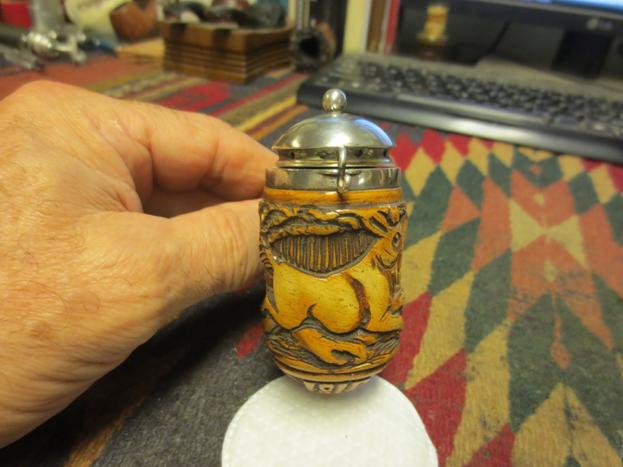
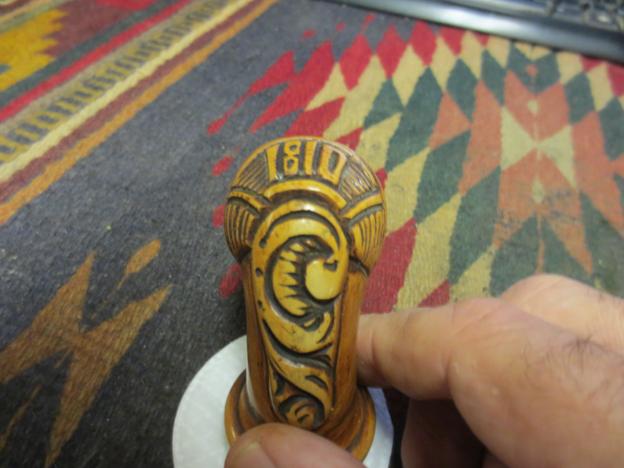
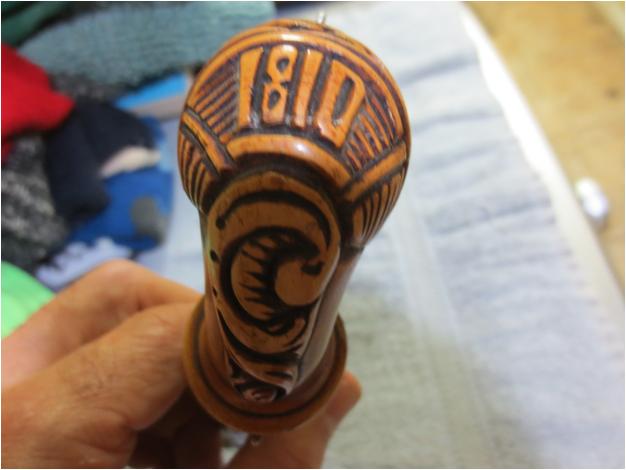
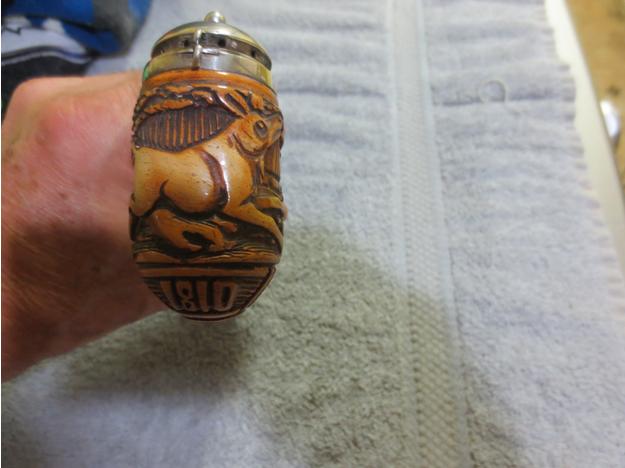
 The bowl had a few little nicks in the meerschaum but none were detracting. The meer had a nice patina that was all over the bowl and shank. The carving on the bowl was a dog set in a background of carved bricks and wood making up a wall. On the front underside of the bowl was carved the year 1810. Someone had rigged some brass wire around the stem and the ring on the shank to keep the stem inserted in the bowl but it was very loose. The stem portion was in great shape on the bottom part up through the hose. The hose itself was dried out and had some cracking in the surface. The top portion, the stem was dry but had been chewed and there were tooth marks in the surface.
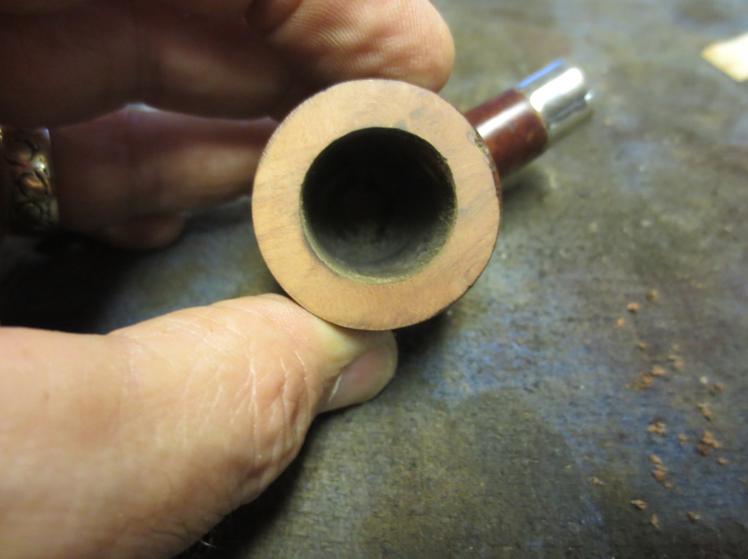
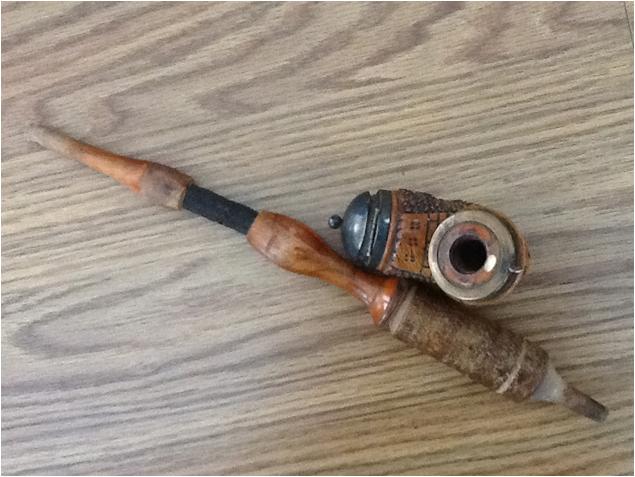
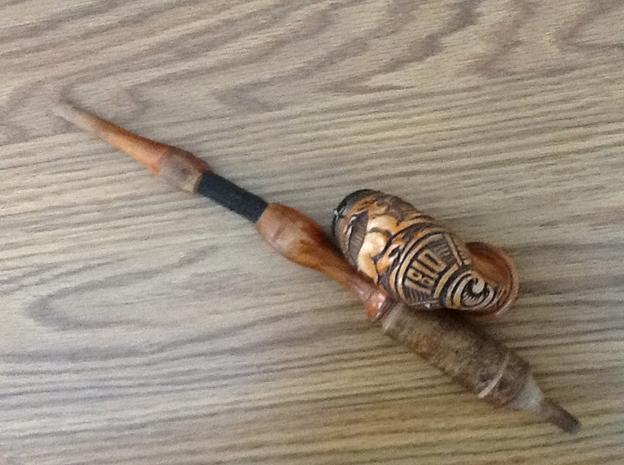 The wind cap was badly oxidized and the top of the rim was oxidized and covered in thick tar. I was not sure if it was silver or brass under the black of the oxidation. The inside of the cap had a heavy tar buildup that was like rock. There was a very thick cake that went to the bottom of the bowl and there was some unburned tobacco in the bottom 1/3 of the bowl. It was a bit of a mess and would take some work to bring it back to life and usability.
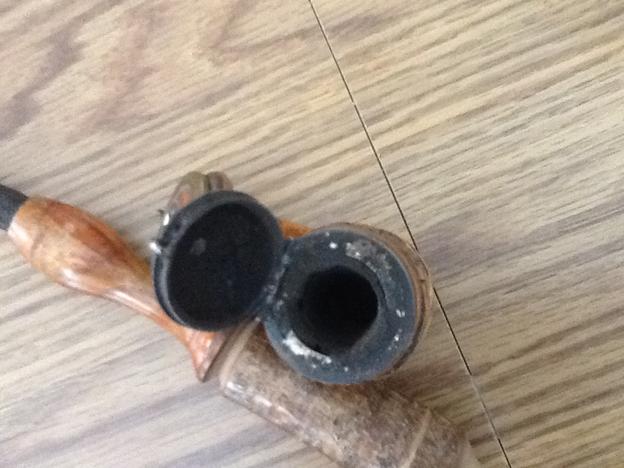
 I paid the clerk $40 for the lot and headed home to my parents. I put newspaper on the kitchen table and went to work cleaning up the bowl. I did not have a reamer with me so I used a sharp knife with a short rounded blade to ream out the carbon/cake in the bowl. I took it back to the meerschaum walls so that there was no cake left.
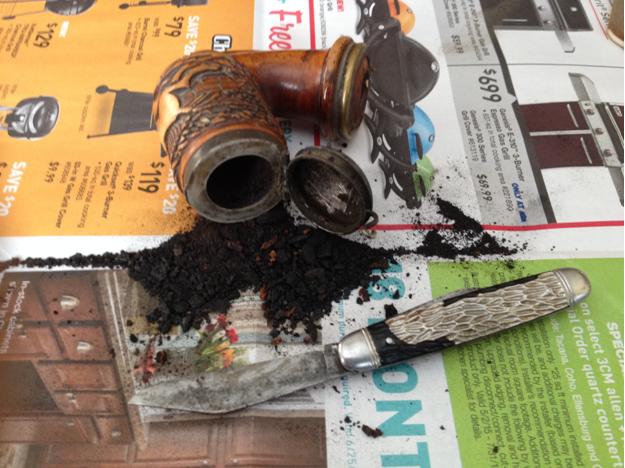 I scraped as much of the buildup on the inside of the wind cap and the rim as was possible with the tools that I had with me.
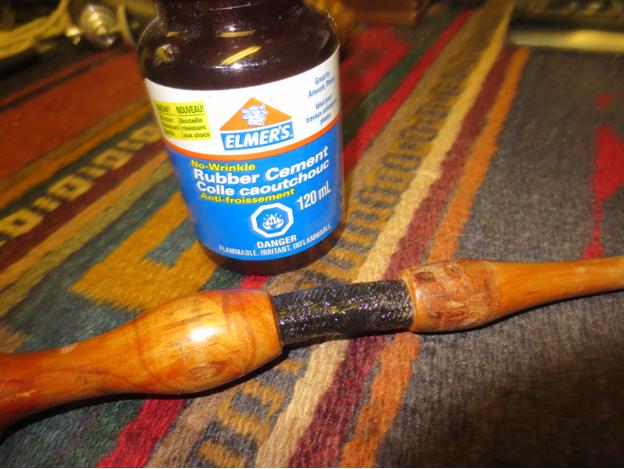
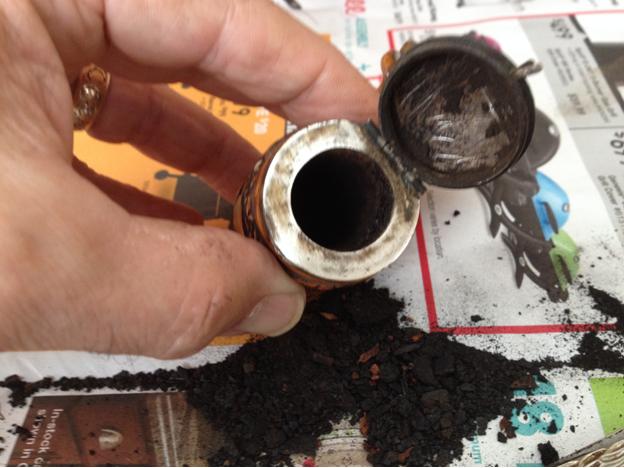 I put the pipe away carefully in my bag to be carried back to Vancouver. When I got home I worked some more on the pipe. I started by working on the hose portion of the stem. I gave it a thick coat of rubber cement to fill in the cracks and to provided the flexibility that was originally present when the pipe was made.
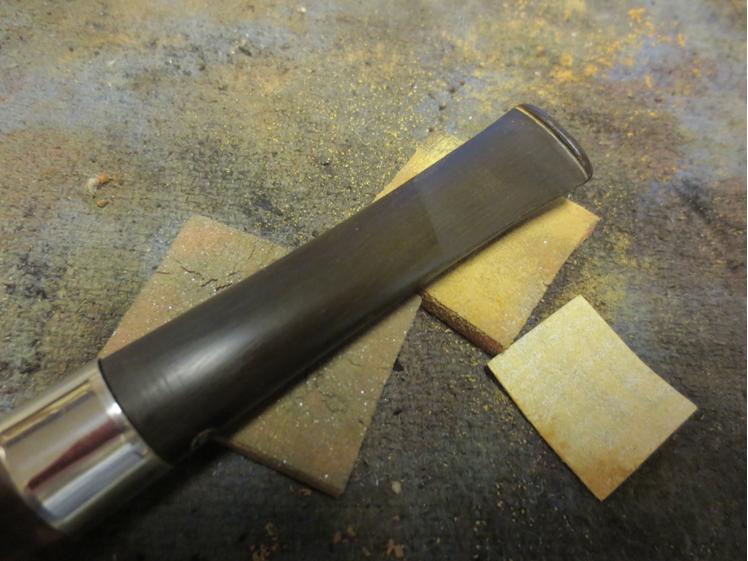
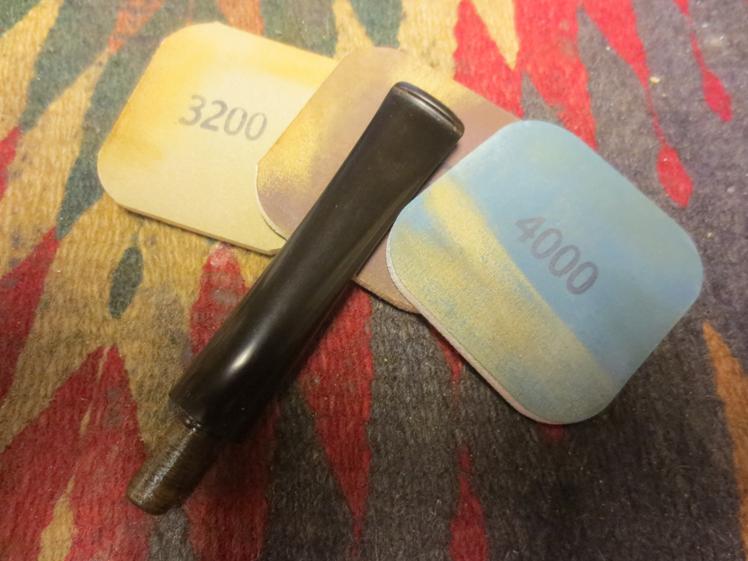
 I sanded the bit portion of the stem with 220 grit sandpaper to remove the tooth damage and reshape the button.
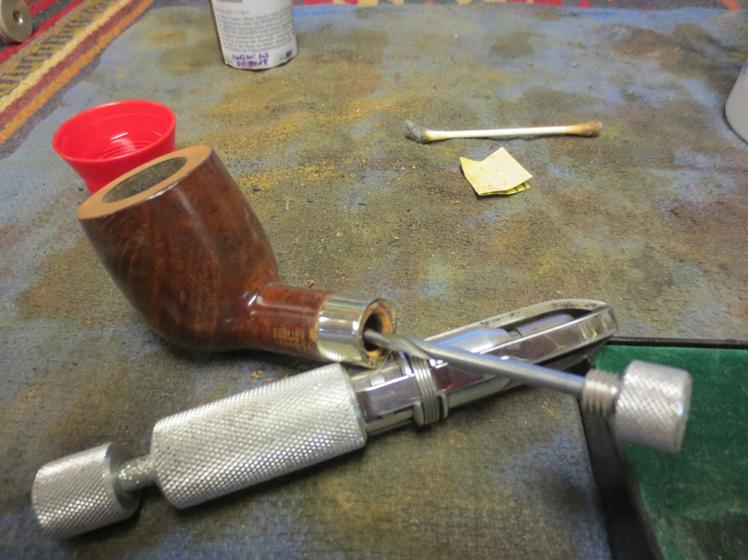
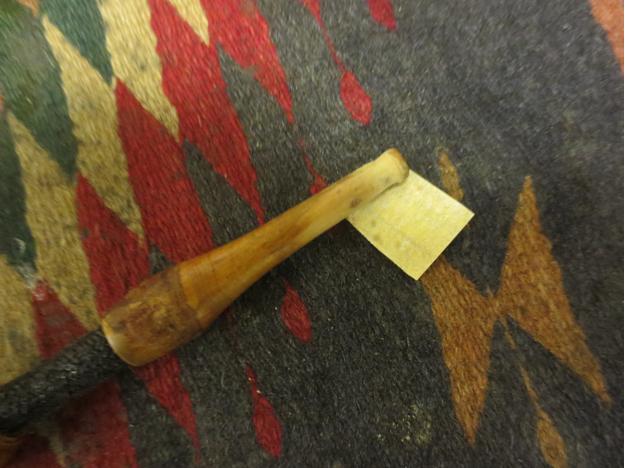 I cleaned out the inside of the shank and stem with pipe cleaners, cotton swabs and isopropyl alcohol until they came out clean. I used the brown tarred pipe cleaners to touch up the nicks on the bowl and shank.
 The entire stem had a coat of varnish on it that was peeling on the centre portion. I wiped down the entirety with acetone on a cotton swab to remove the varnish coat.
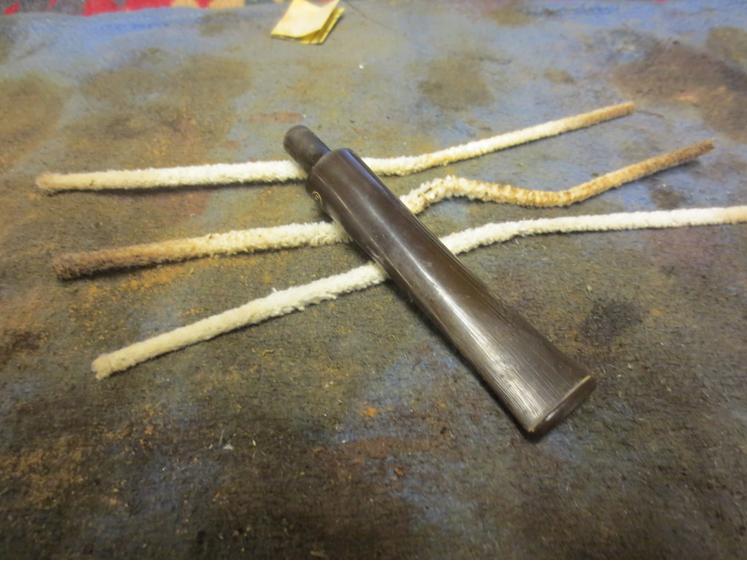
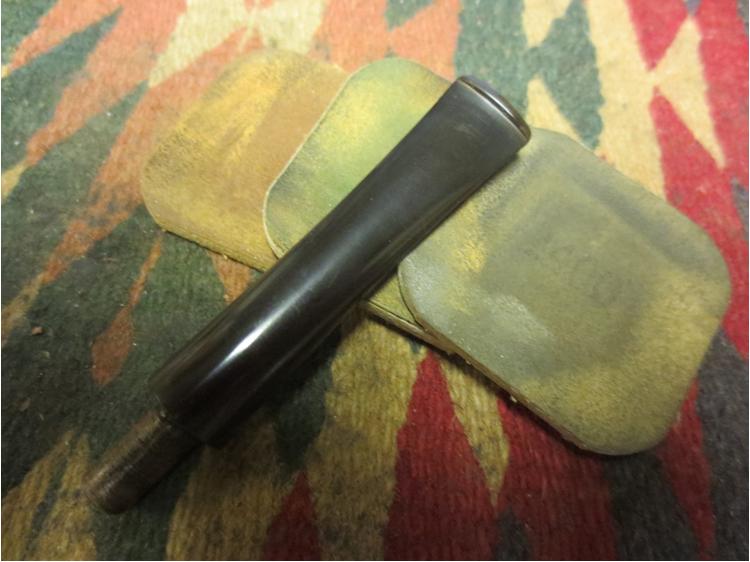
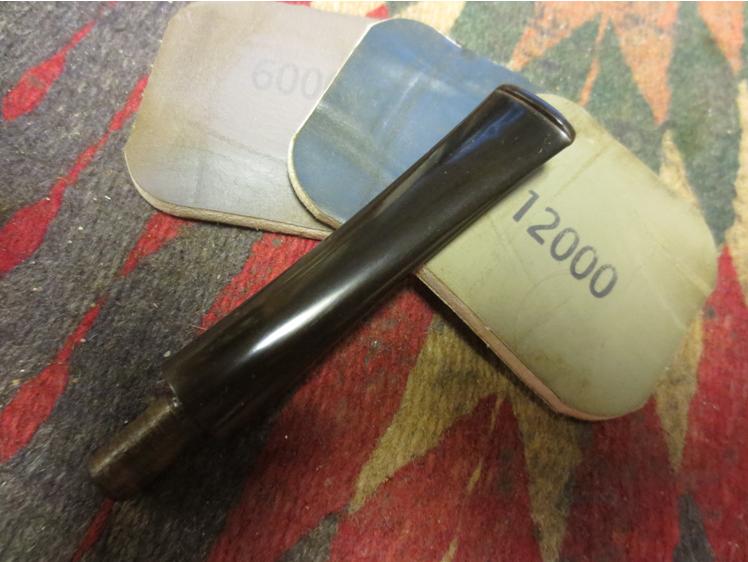
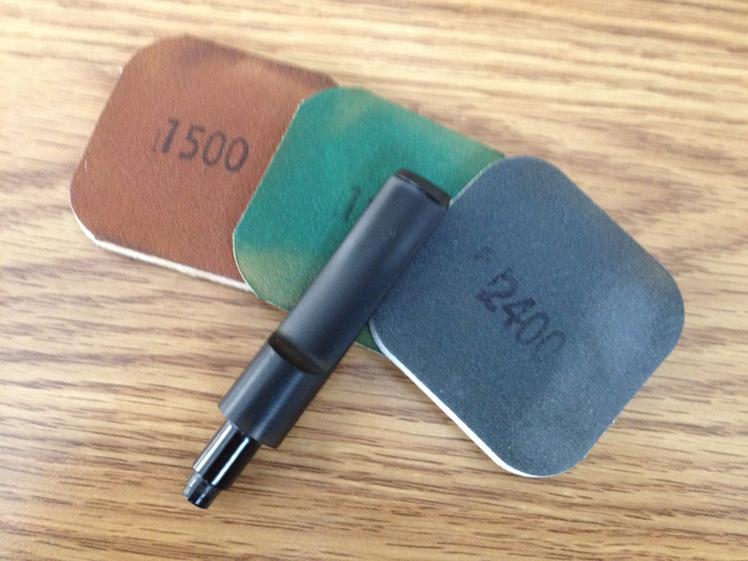
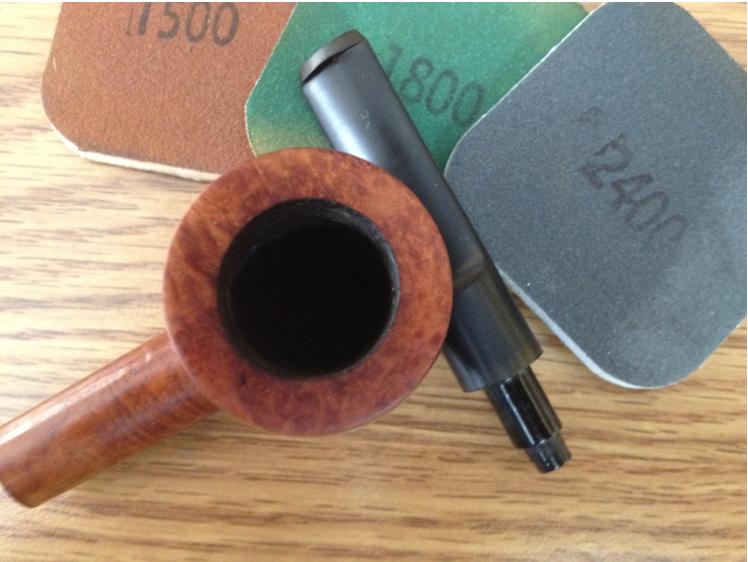
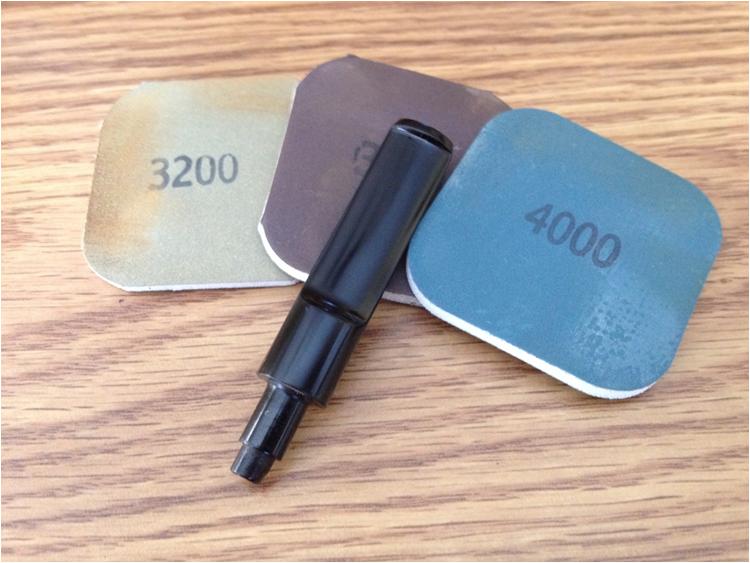
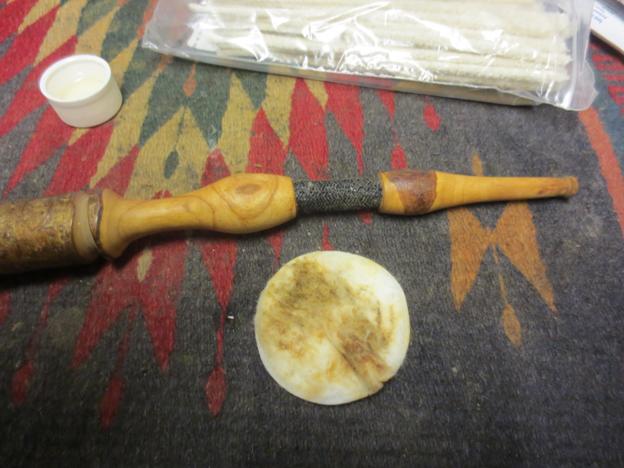 I sanded the stem with 1500-2400 grit micromesh pads to smooth out the wood and minimize the tooth damage.
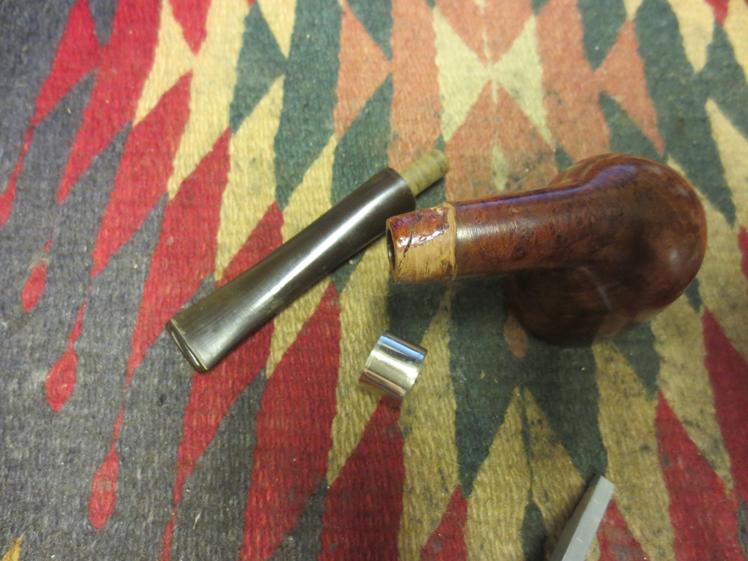
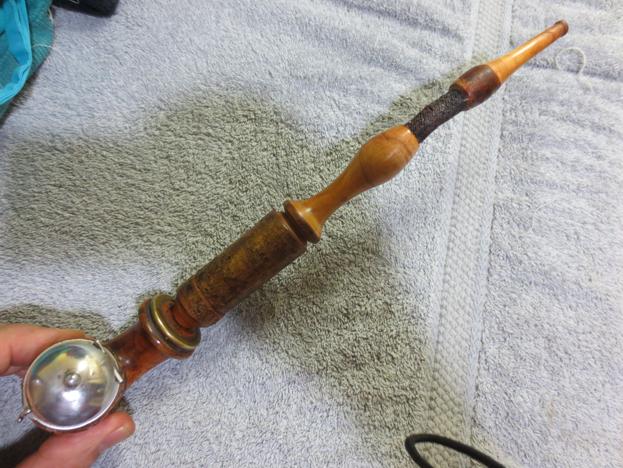
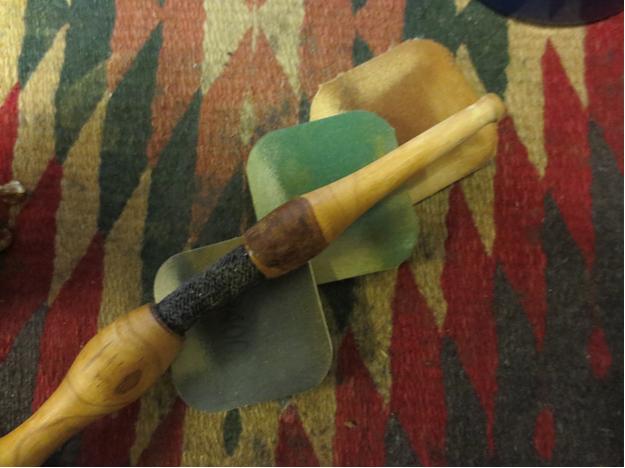 I removed the brass wire that held the stem to the shank and cleaned out the groove that had been carved in the bark of the lower portion. I put it in a pipe rest and took the next photo to show the look of the pipe at this point in the clean up process.
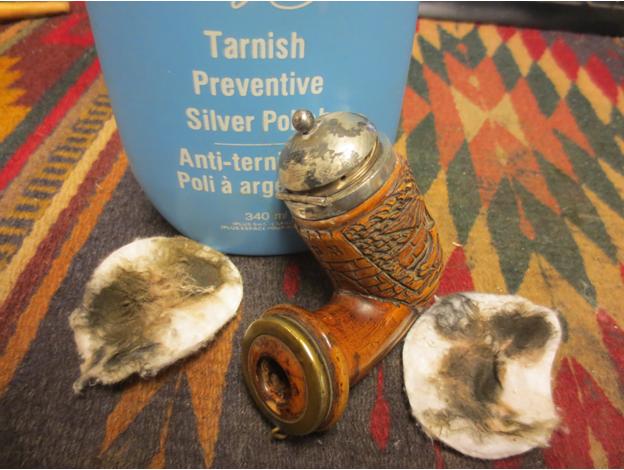
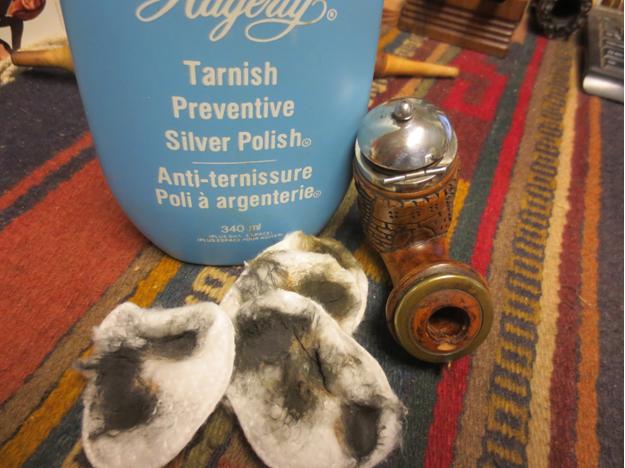
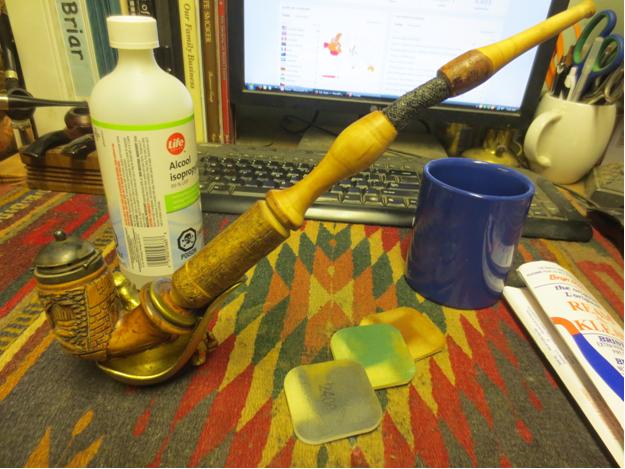 I scrubbed the wind cap with silver polish tarnish remover until the silver below all the black began to shine. The next photos show the silver beginning to shine through with each successive cotton pad.
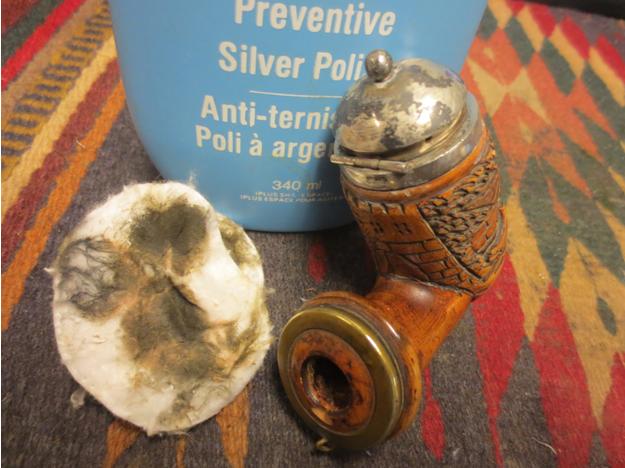
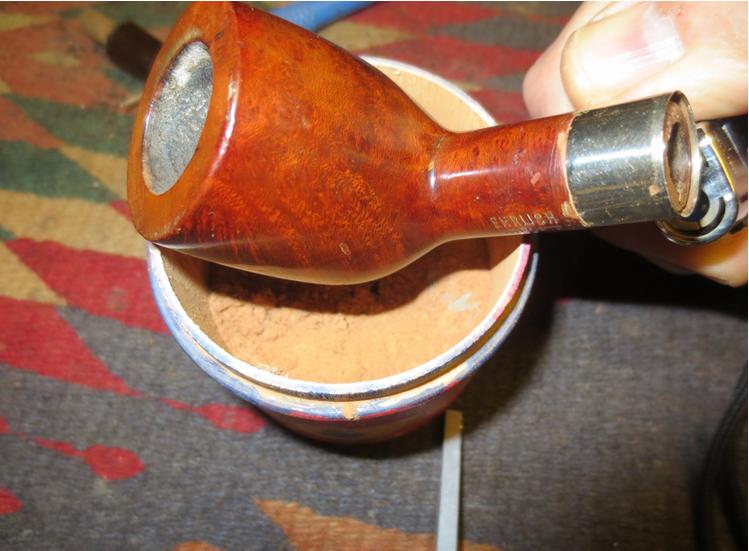
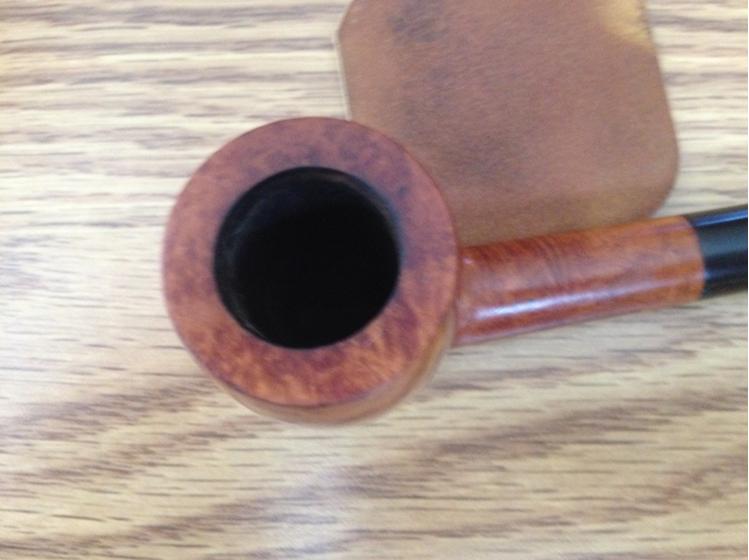
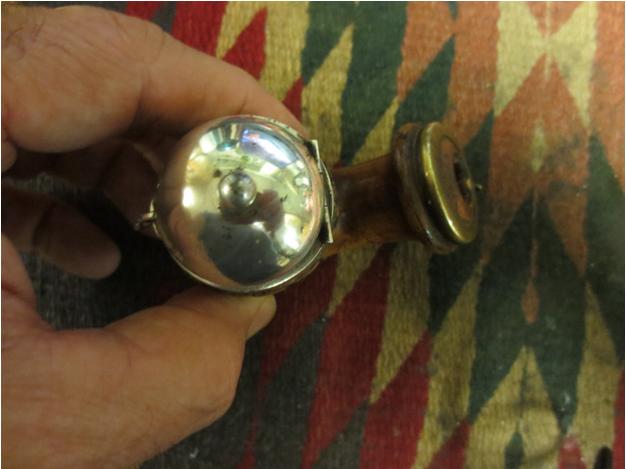
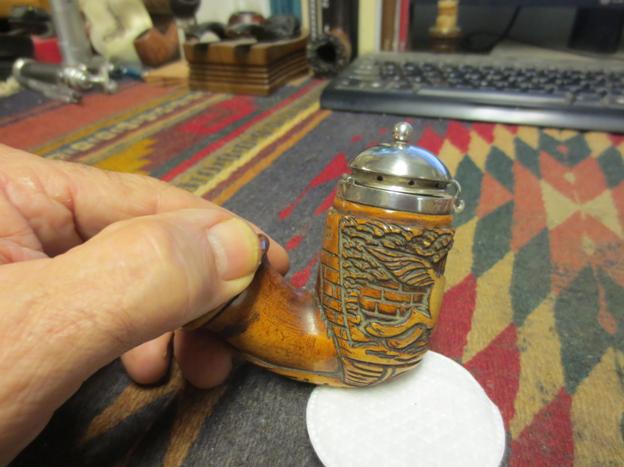
 I took the next set of photos to show the look of the bowl and cap after polishing the silver.
 I used 0000 steel wool to clean up the inside of the wind cap. The tar was thick and some of the silver had deteriorated. I was able to smooth out the surface of the inside of the cap but it left some dark areas on the cap.
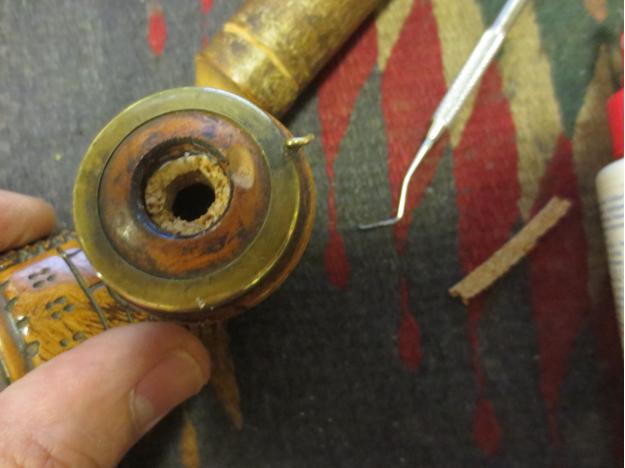
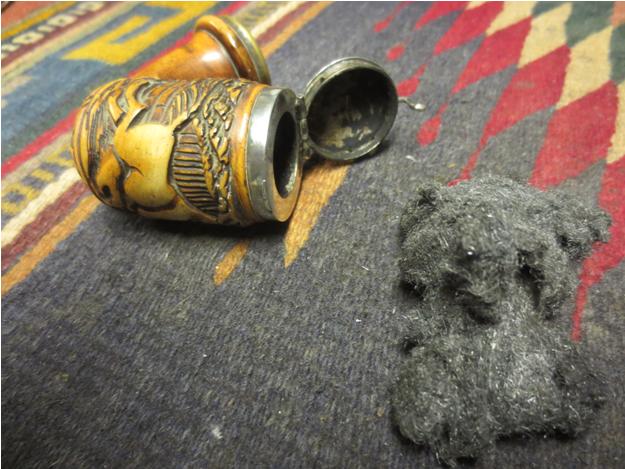 The tenon end of the stem was very loose in the shank and needed a little creativity to make a snug fit. As I looked at the inside of the shank it appeared that it had originally had some sort of gasket that was glued to the inside of the mortise. I cut a small strip of cork to fit in this area of the shank. I cleaned out the shank with alcohol and then coated the outside of the cork piece with white glue. I used a dental pipe with a flat spatula end to press it into the shank. When the glue on the cork dried I inserted the stem to have a look at the finished fit. It was perfect.
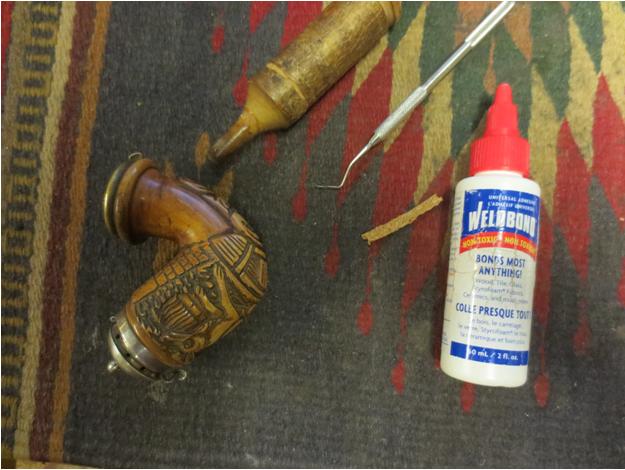
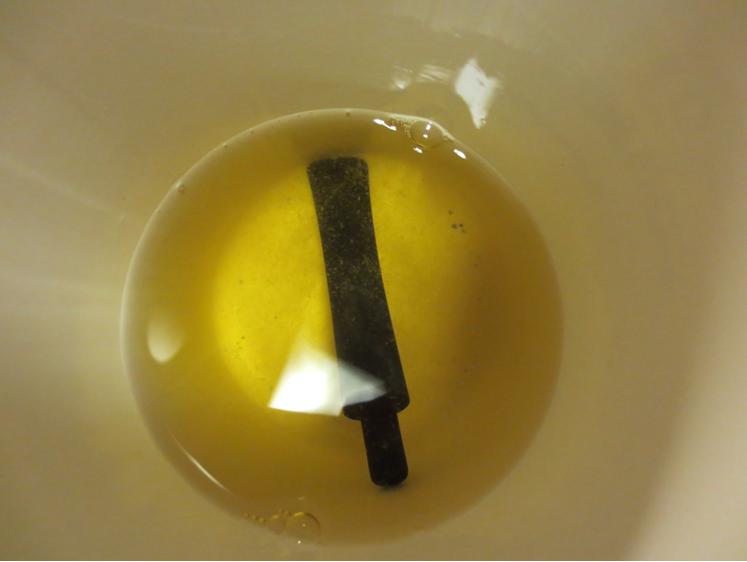
 I rubbed down the long stem with a light coat of olive oil to bring more life to it. I stained the long stem with some Danish Oil and cherry stain to protect the wood.
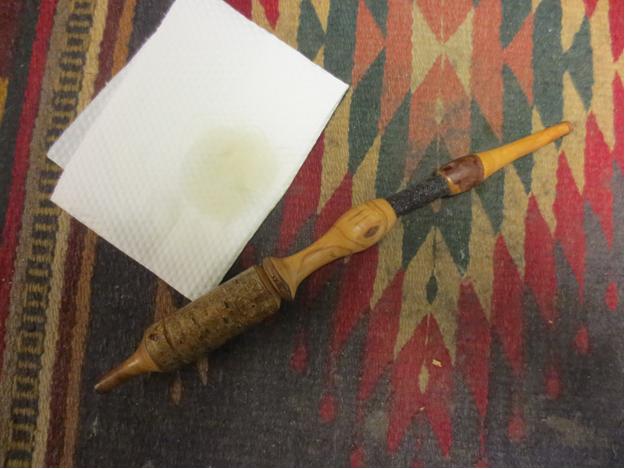
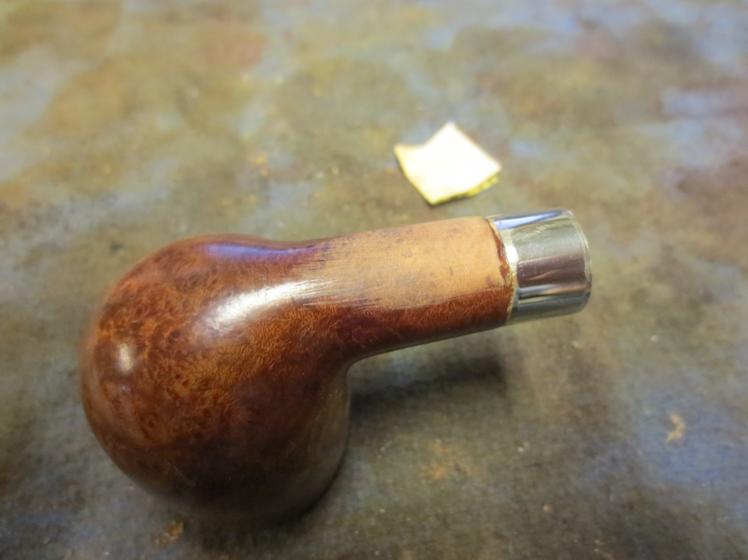
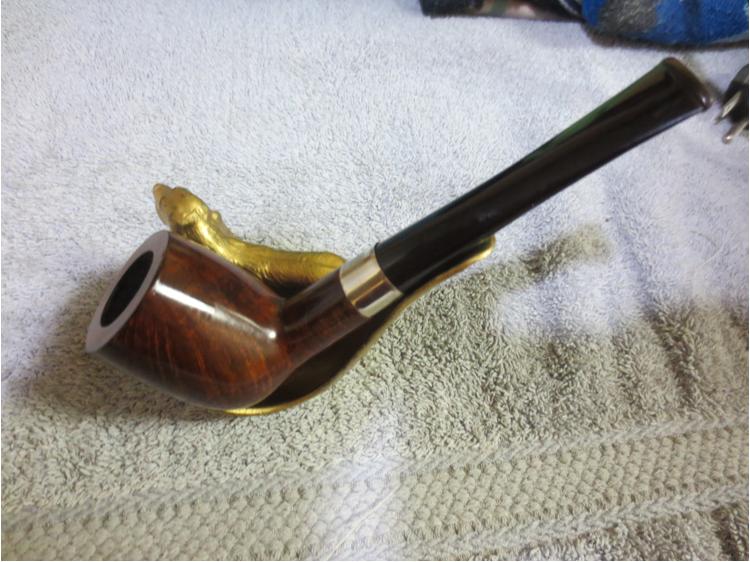
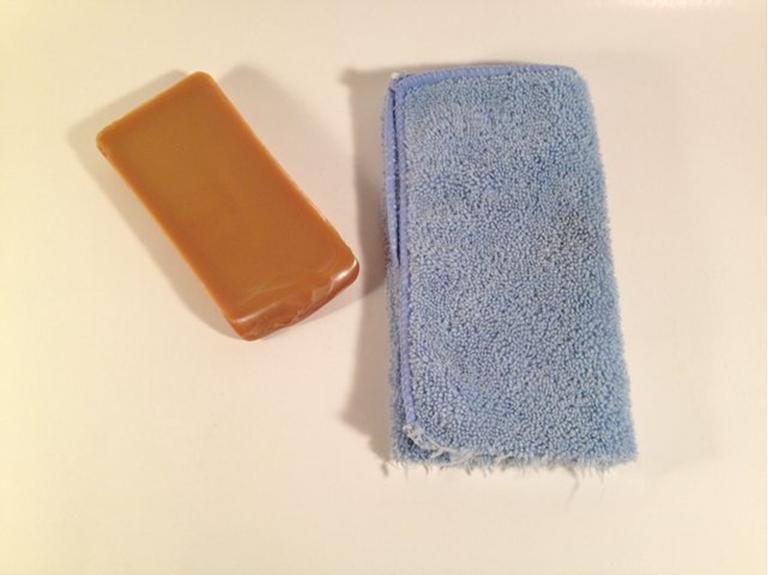
 I rubbed the silver cap and rim with a silver polishing cloth to give it a final polish. It really combines nicely with the brass ring around the end of the shank and sets off the darkening meerschaum bowl.
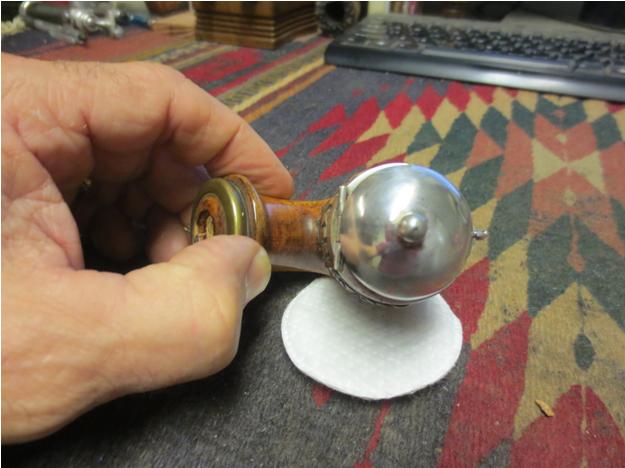

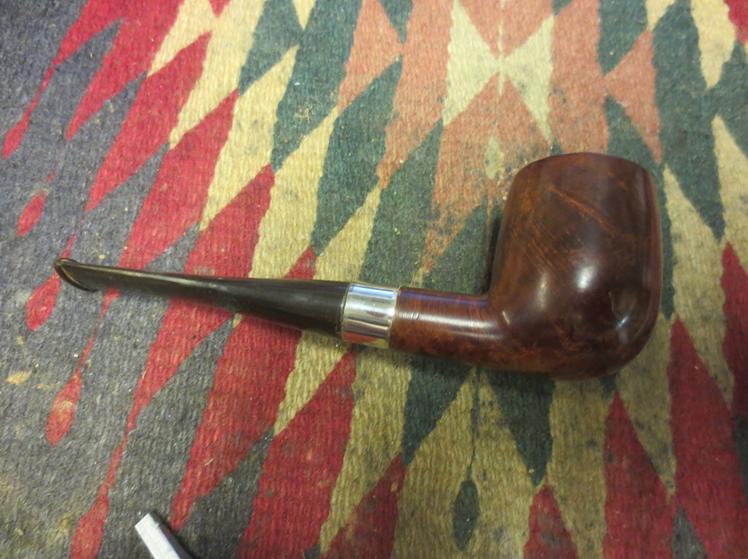
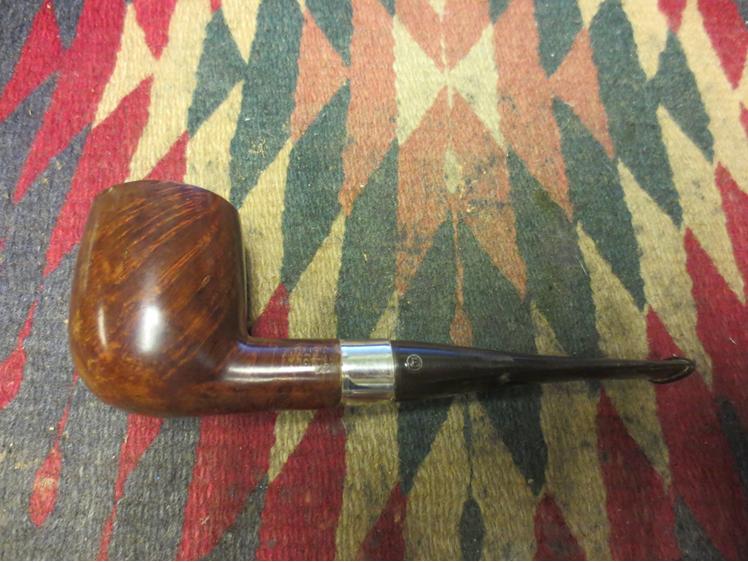
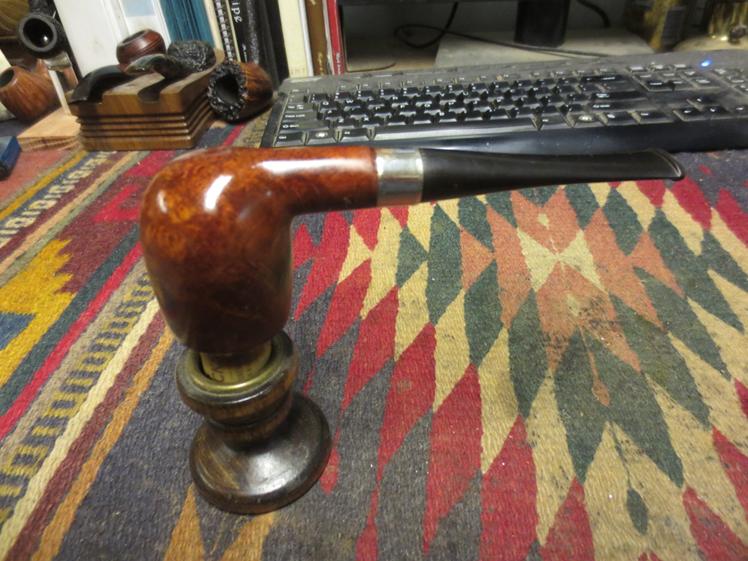
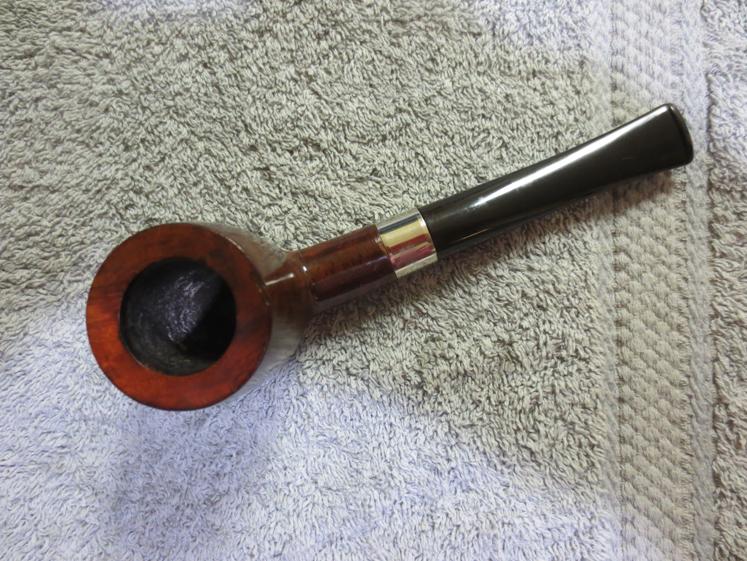
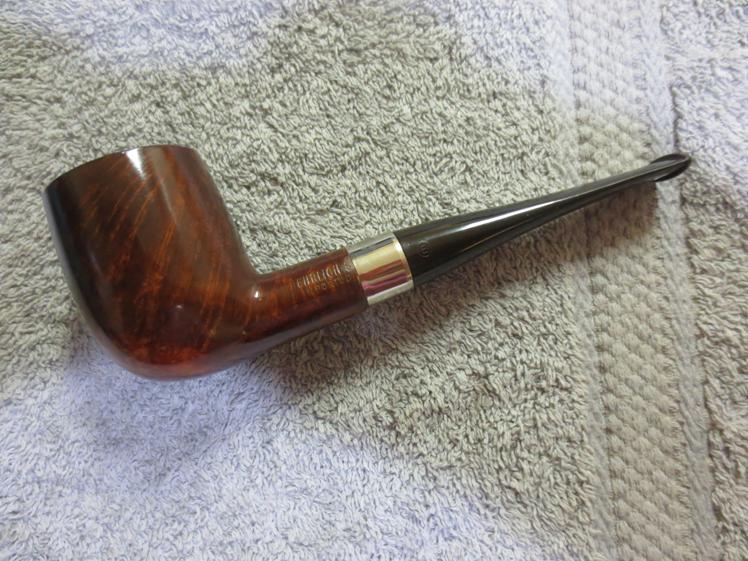
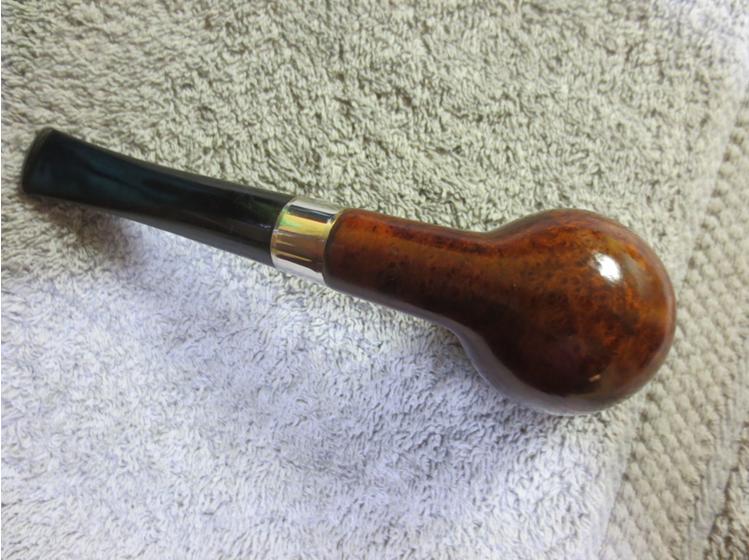
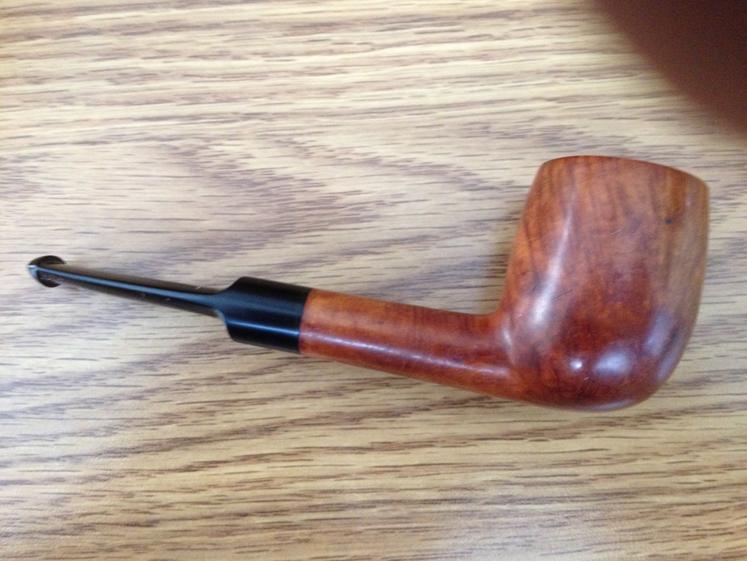
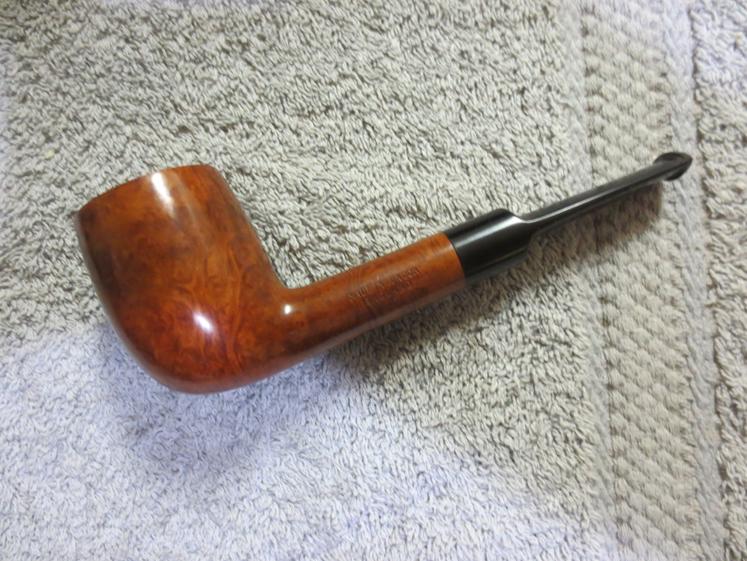
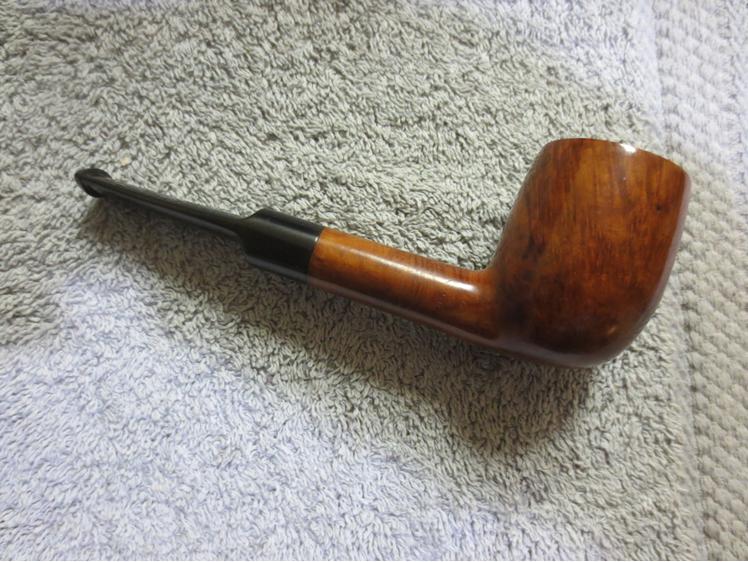
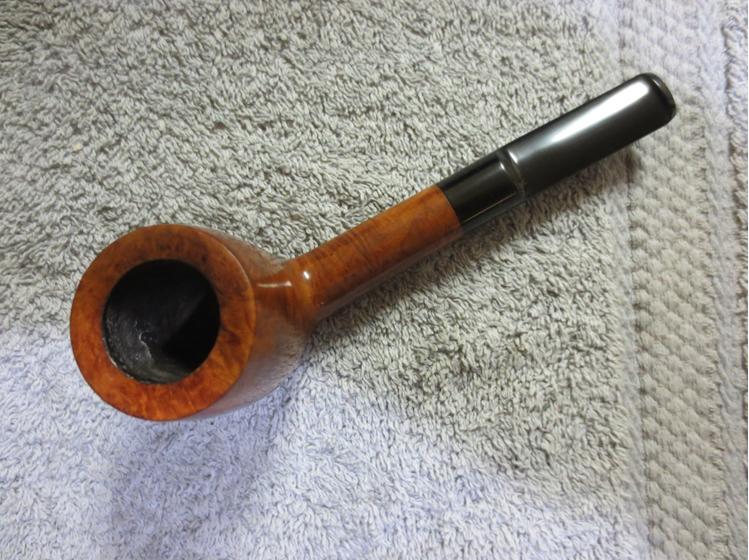
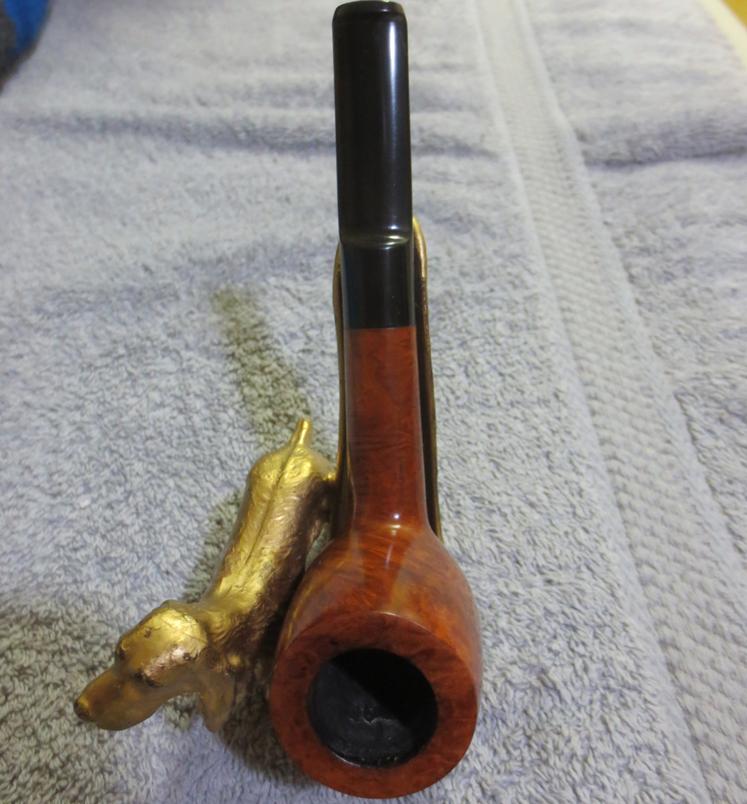
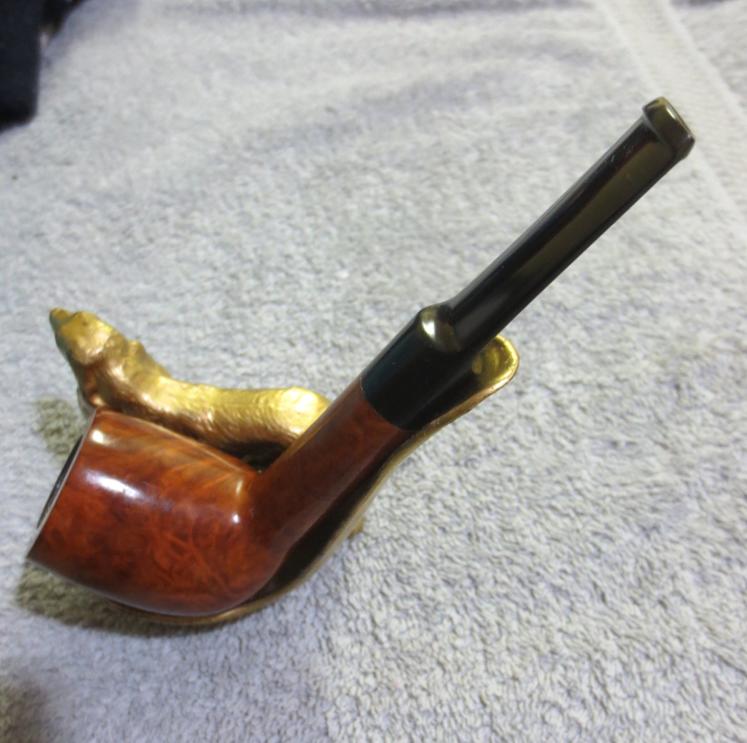
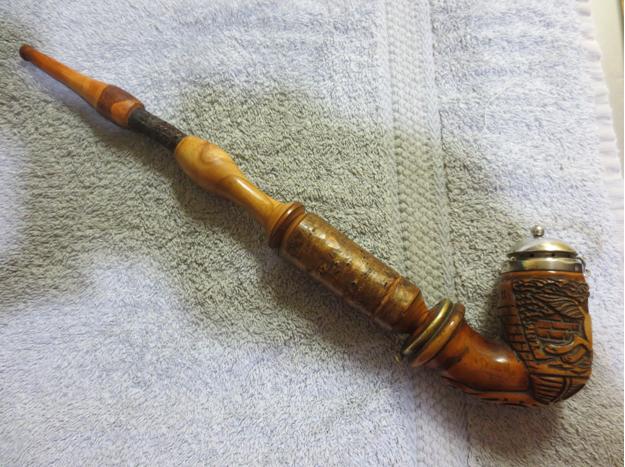
 I hand buffed the stem and bowl with a microfibre cloth to raise a shine and polish it a final time. The finished pipe is shown in the photos below. It turned out far better than I had expected when I picked it up at the antique mall.
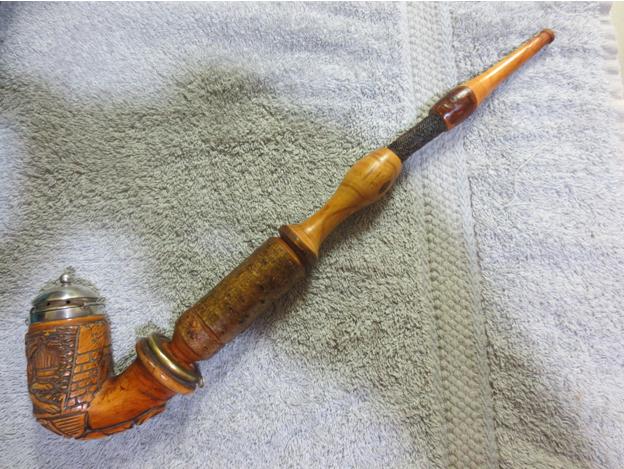


 Addendum
One of the readers of the blog just sent me this information regarding this pipe. It is much appreciated and answer questions that remained for me when I finished the restoration. Thanks Brad.
Regarding your post on the 1810 German Meerschaum pipe…
I’ve got a similar pipe and have been doing research on it. Mine has “1815” and has a portrait of the Duke of Wellington on it, likely commemorating the Battle of Waterloo. It has a horn mouthpiece with copper and mother of pearl inlay on the stem. While mine is missing a wind cap which would have the makers mark, it is very similar in look.
I’ve found through endless searching that these pipes are likely related to Josef Klinkosch, an Austrian metalsmith that worked from 1822-1888. If you google his name you will see similar work. There are similar pipes that have been sold through Gros & Delettrez online.
Since I finally found my answer, I figured I’d share it with you.