Blog by Troy Wilburn
Troy originally wrote this simple step by step methodology for refurbishing pipes for the Dr. Grabow Collectors Forum. Troy’s method is straight forward and he gives great photos to help along the way. I thought it might be helpful for those who are just starting in this hobby of ours. It also may give pause for thought to us who have been doing this for a long time. I firmly believe that there is always something new to be learned from each other as we work to restore old pipes and give them new life. Thanks Troy for this great how to piece. – Steve
I’ve had a few PMs by the newer member asking questions on refurbishing pipes. So I decided to make a more detailed way of what I do on refurbing pipes. Now this is what I prefer and what works for ME. Everyone has their own twist and preferred methods.
The first thing is to pick the right pipe. This to me is very important especially when doing your first pipes. You want one that’s inexpensive and an easy clean up. So ones with holes in stems and rims that look like they were used to hammer walnuts with might be ones to pass until you get a few under your belt. Not having to sand it a lot and restain is a plus.
Now we are not making a show pipe or restoring a rare pipe that you want to keep original. We are going to bang out a good clean pipe for smoking pleasure. I can do a pipe like this in good condition in 2 hours or less start to finish. This pipe will be smoked and smoked a lot so it doesn’t need to be so glossy you need to put sunglasses on to pick it up. Just a good dependable pipe for low cost. The lower the cost the more pipes you can get .
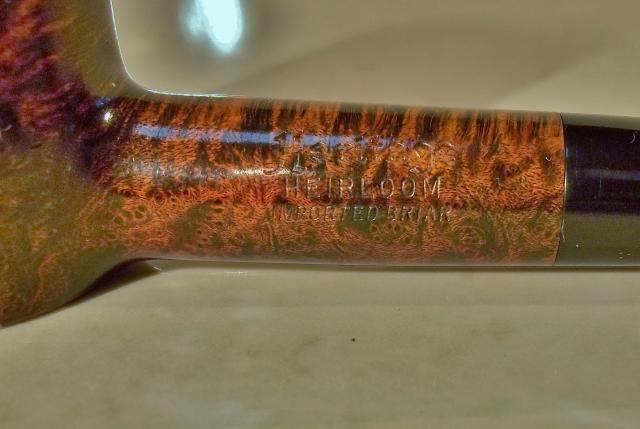
Ok so the pipe I picked is a good old trusty Westbrook Billiard, still a plentiful pipe, easy to refurbish and can be found cheap. They are good quality, tough as nails and extremely fine smokers.
I got this one for 5 dollars and with shipping; I got right under 10 dollars in this pipe. The seller wanted 9.99 but after watching it for a while I took advantage of the best offer and got it for the 5 bucks. It was in good shape from pictures with no stem damage and bowl not banged up. Once cleaned it will smoke just as good as any new pipe you can get today from 20-100+ dollars. I do like to drill out my pipe shanks a little larger diameter so that will help the smoking of it some.
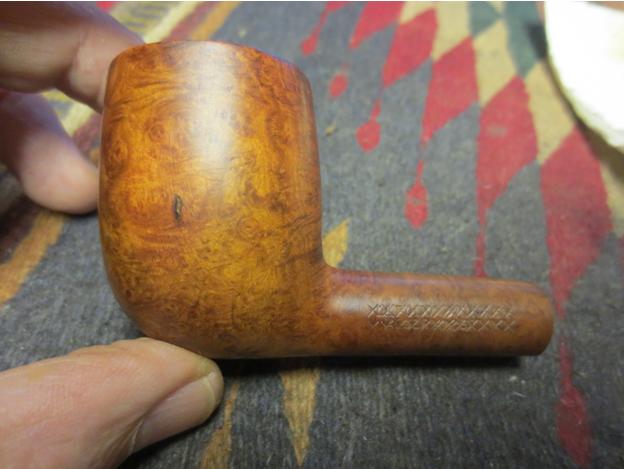
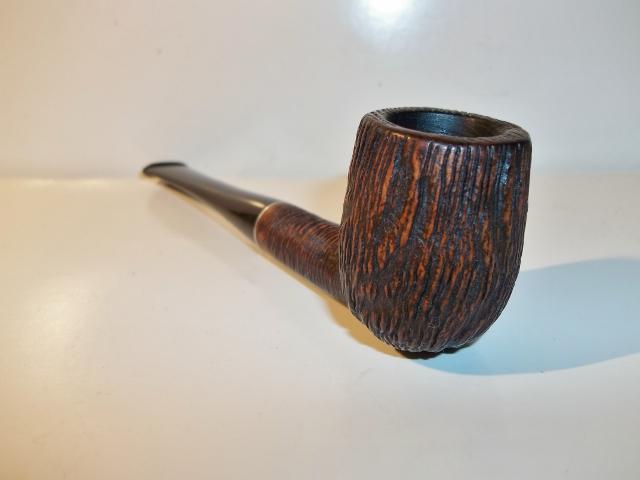
OK now on to the pipe. This is a #36 Westbrook Double Carved coupon pipe.
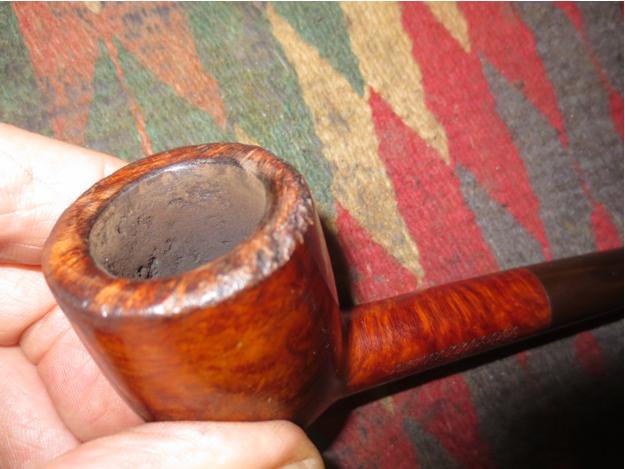
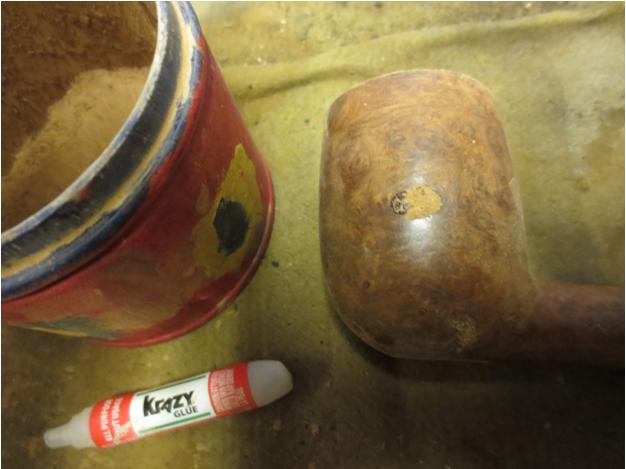
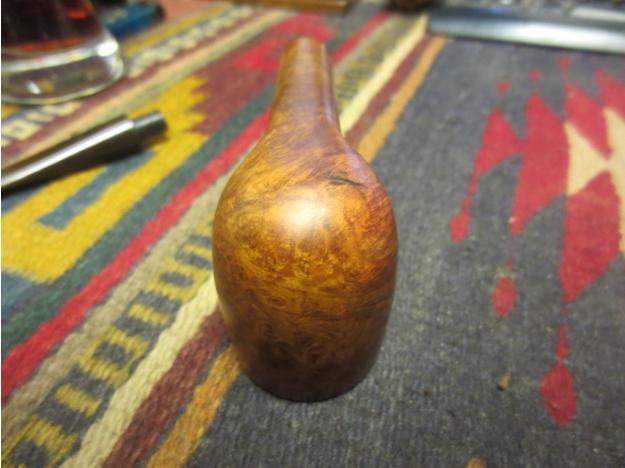
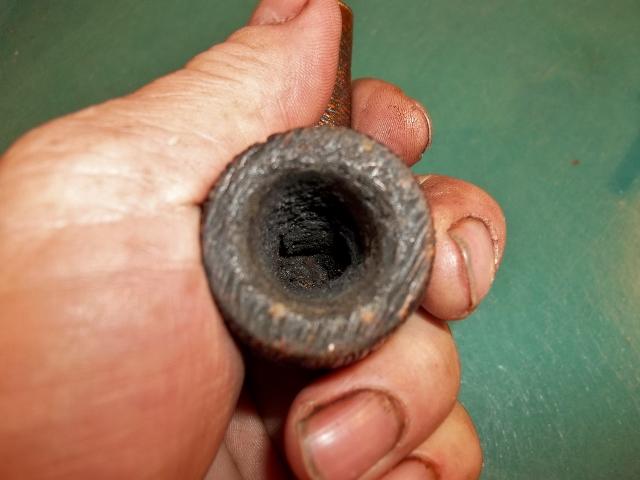
Before…. The pipe is dirty and has plenty of cake in bowl.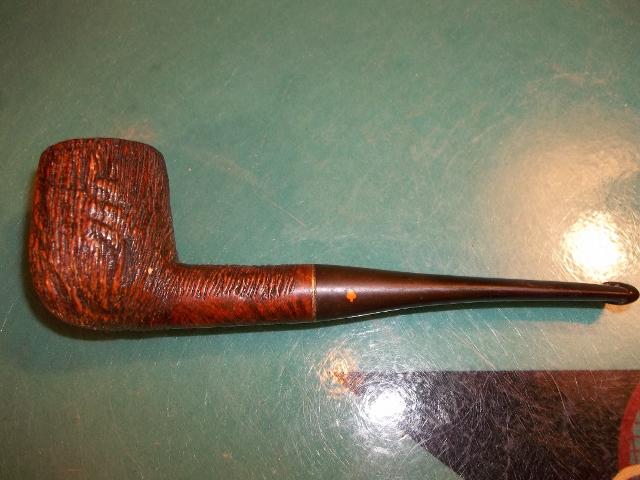
 The refurbish
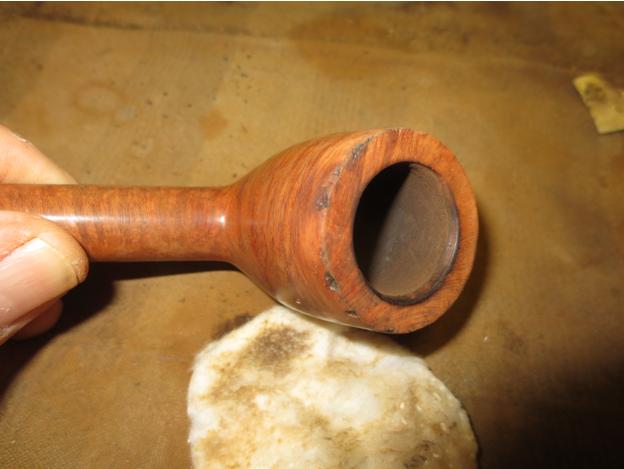
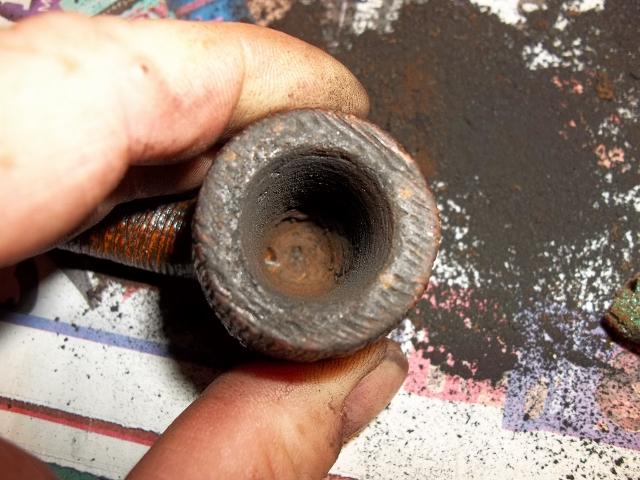
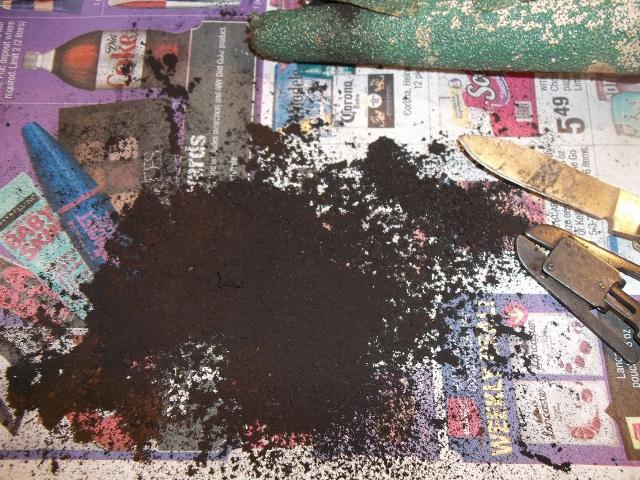
Not getting too detailed about how to clean out bowl. All you need if you don’t have a reamer is a dull pocket knife and some coarse sandpaper. I used to use salt baths and or soak them overnight with cotton balls soaked in alcohol (91%), but is not necessary if you do the way I’m going to show you. Be careful not to get over zealous in this as you don’t want to dig gouges in the inner walls of pipe. Just light scrapes to get out biggest part of cake. Most of the time the heavy build up pops right out. After this just roll up your coarse sandpaper in a tight funnel shape and work it up and down and around in bowl. Check progress often as to not take out too much of inner bowl.
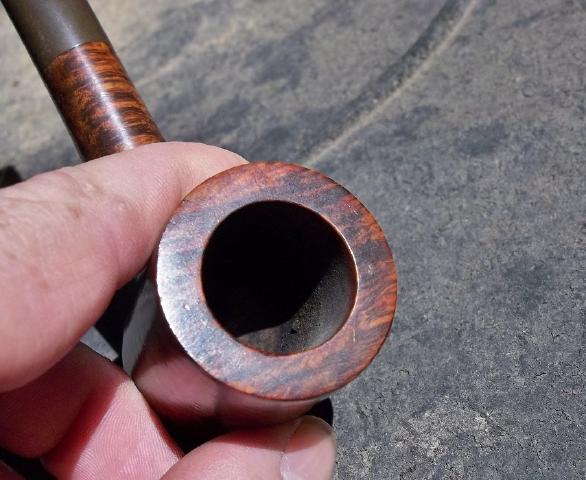
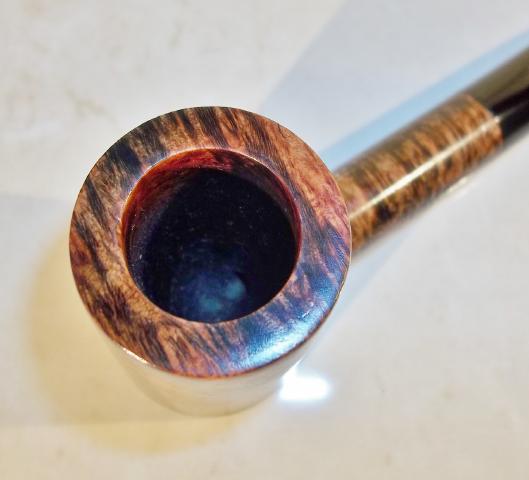
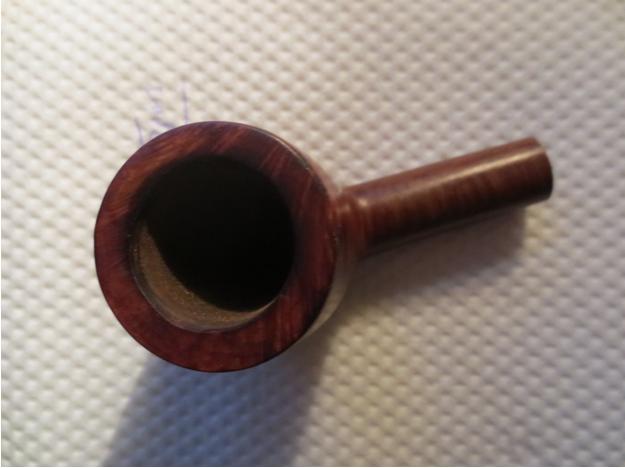
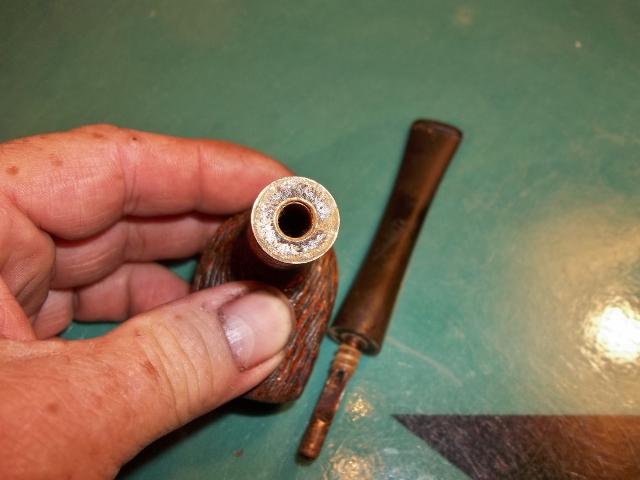
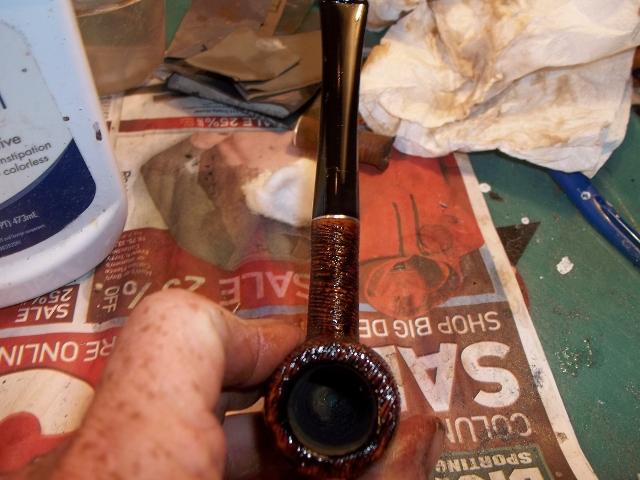
Bowl cleaned to right amount and cake removed. Leave a thin coat still in bowl.
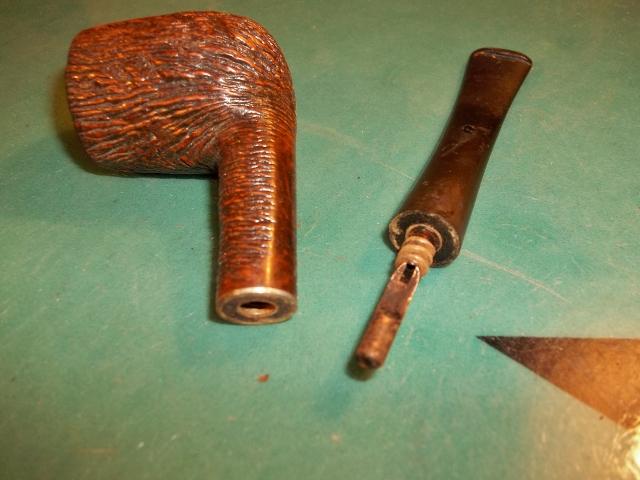
 Cleaning out shank and stem. My advice is to buy a few of those shank brushes as they will save you a small fortune in pipe cleaners.
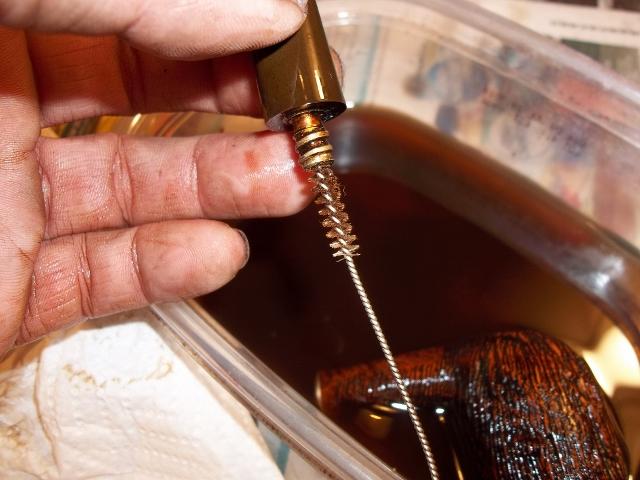 Soak stem and bowl in some 91 % ISO (if it’s a smooth and you want to save finish then don’t soak bowl just clean it with a Scotch Brite pad with 91% very lightly). With these Westbrook double carved you don’t have to worry about as you can just buff them with no staining and they will look fine. Plus I like to soak the bowls on these deep carving to get rid of years of handling with someone else hands. It’s hard to tell what has accumulated in the recess of them carving over the years. Run the shank brush through the shank and stem until (soaked in 91%) until it stops coming out black and gunky.
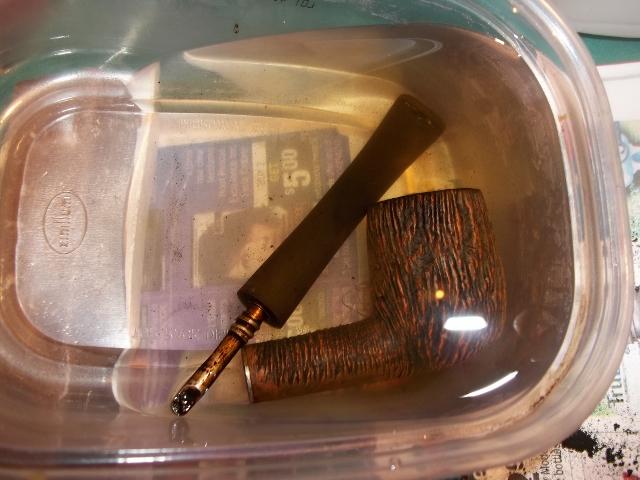 Rinse out the bowl while it is soaking and a good brushing with an old tooth brush over everything including inside bowl. Also rub the bowl with a Scotch Brite pad as it will take off old wax and grime but not so rough you have to sand behind it. After this is done just keep running pipe cleaners in shank and stem with clean ISO until they are coming out clean. I use a combination of the coarse cleaners and regular pipe cleaners. After a good brushing with shank brushes it shouldn’t take too many.
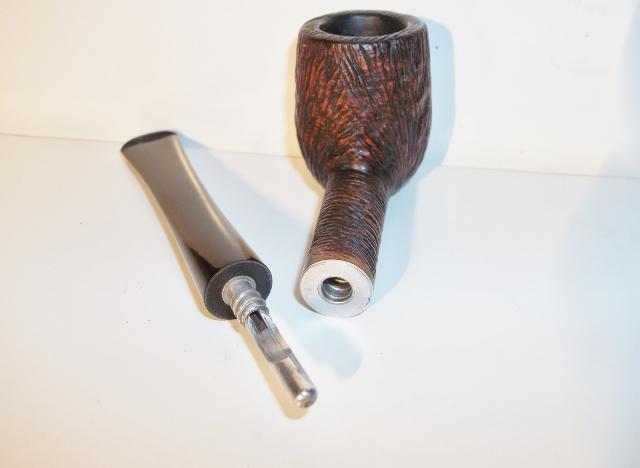
After this I usually place stem in oxy clean and warm water (about half to full scoop that provided in container) and let soak for about 30-40 minutes. It can soak while I work on cleaning the stinger and Adjustomatic female shank. I put the old stinger in an old stem I have to help hold it after it soaked in ISO with bowl and stem. Take some 000 steel wool and just rub it briskly getting into every little part. Take a small screwdriver to use it to push it through the small air trench.
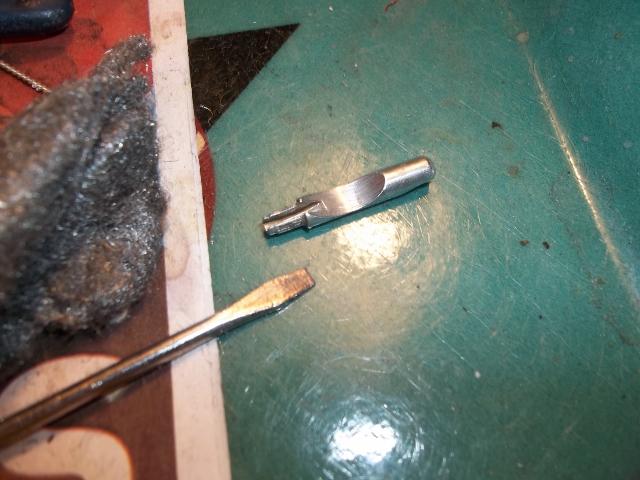 Take some steel wool and make it into a long skinny shape.
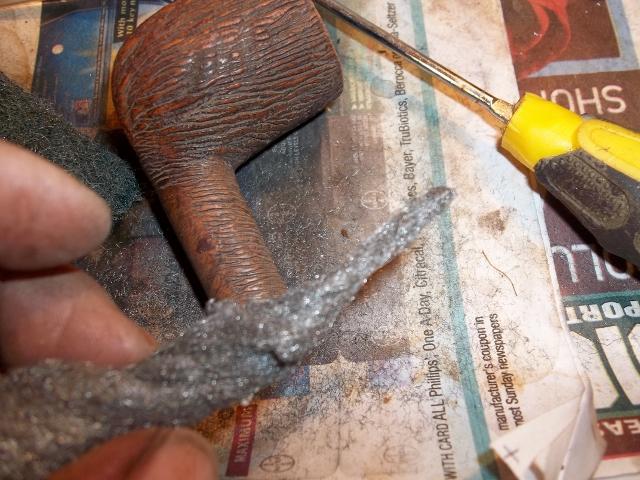 Run it up in shank a little way then take a small screwdriver and run it up alongside. Then twirl the bowl as it will screw the 000 into the threads. Then unscrew it, most of times it will come out but sometimes it will break apart and you will have to push it out with a cleaner or a stiff piece of wire. A small long screwdriver will work also.
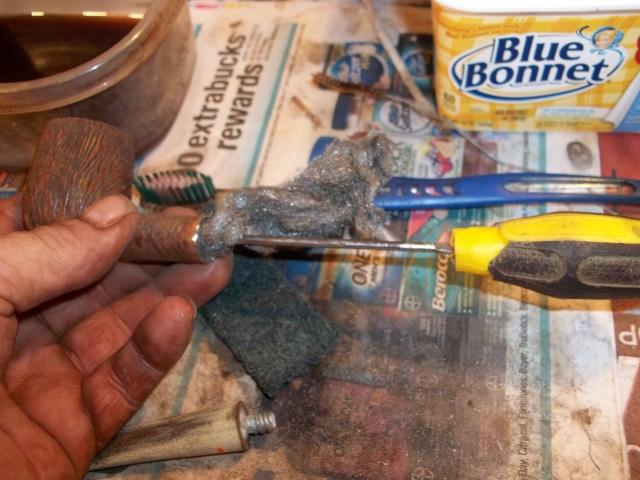
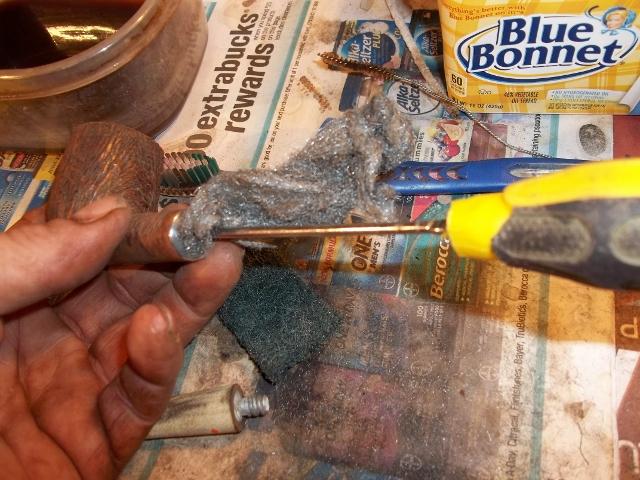 You might have to do this a couple of times to get it good and clean. Be sure to blow out all the fine pieces of steel wool afterwards.
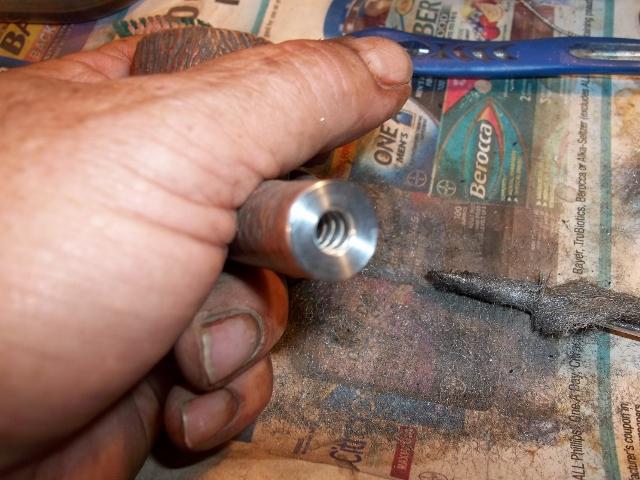 Now we can take the stem out of Oxy Clean bath.
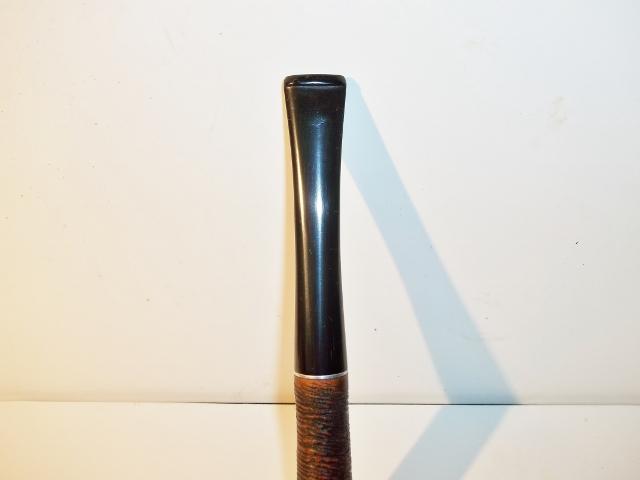
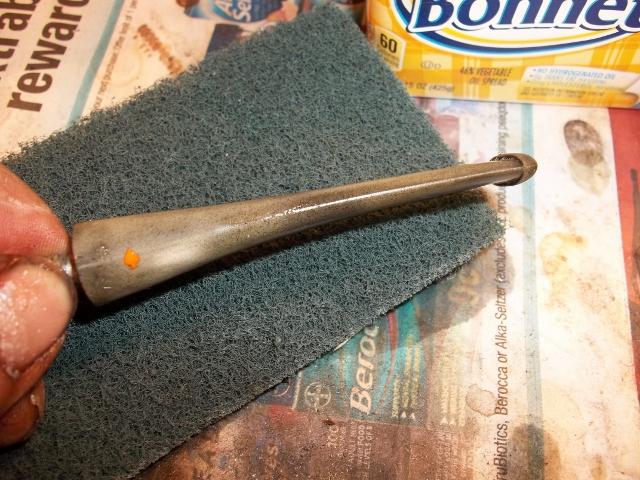 Take a Scotch Brite pad and dip into the oxy water and rub the stem. I know people say use Magic Erasers but to me this is much easier and cheaper. It’s a lot less rubbing and faster. Work smarter not harder is what I was taught :). Here it is half done, took maybe 5 seconds.
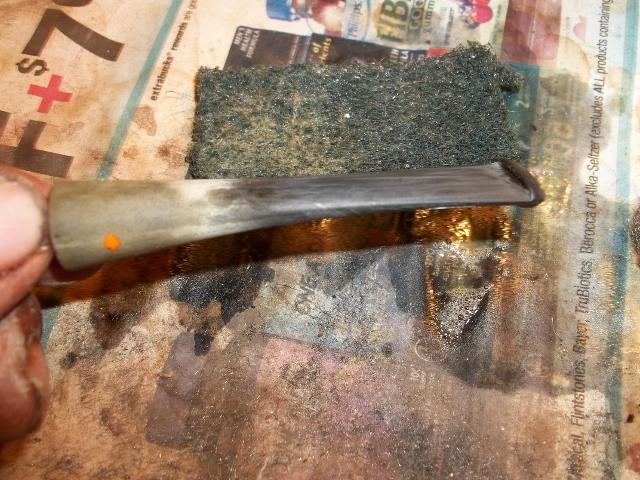
 All oxidation that oxy clean bought to the surface is scrubbed off now. Took like a minute.
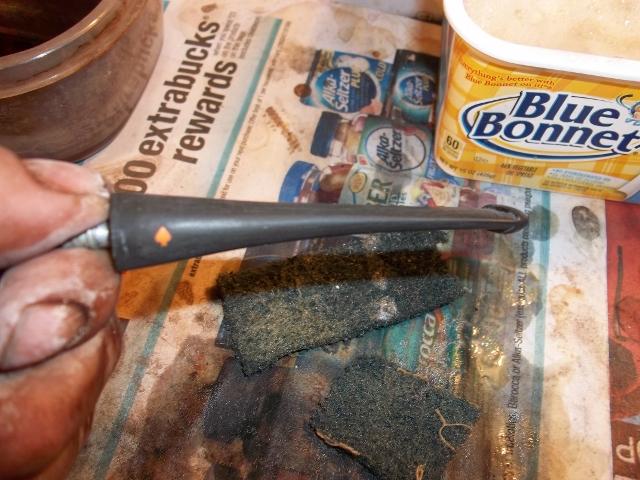 After the oxy bath I take clean water and wipe off bowl and stem with clean water and tooth brush or ISO 91%, your choice, to remove any residue left from the alcohol and oxy clean. I use water because it’s cheaper.
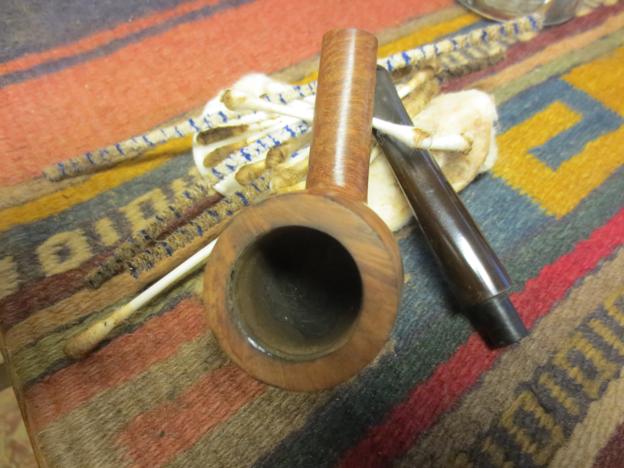
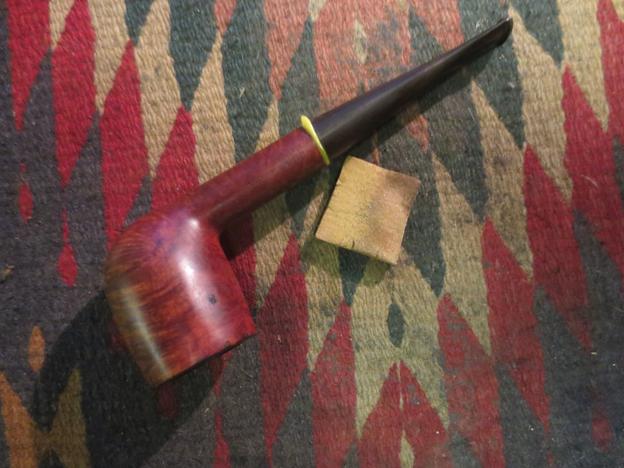
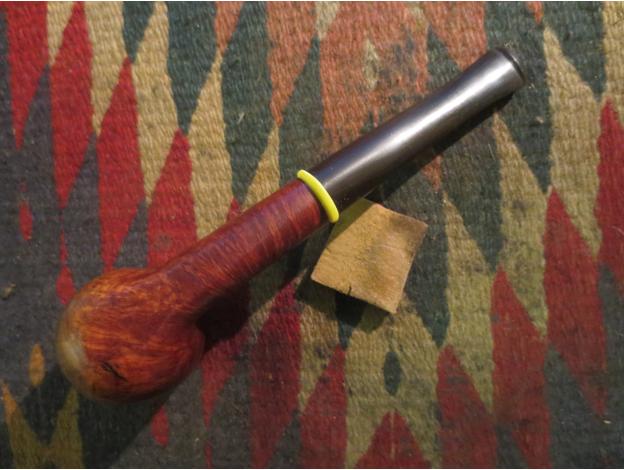
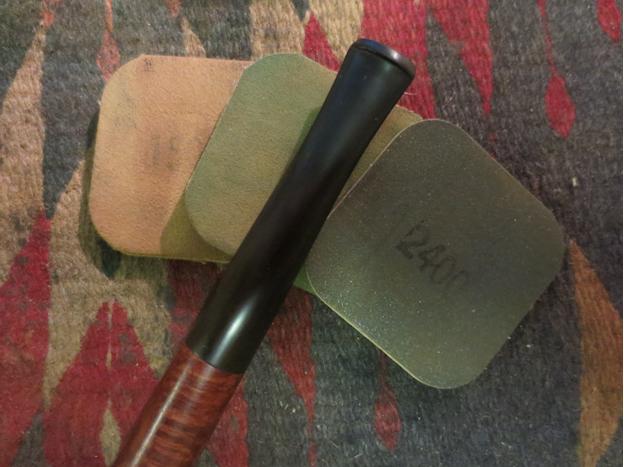
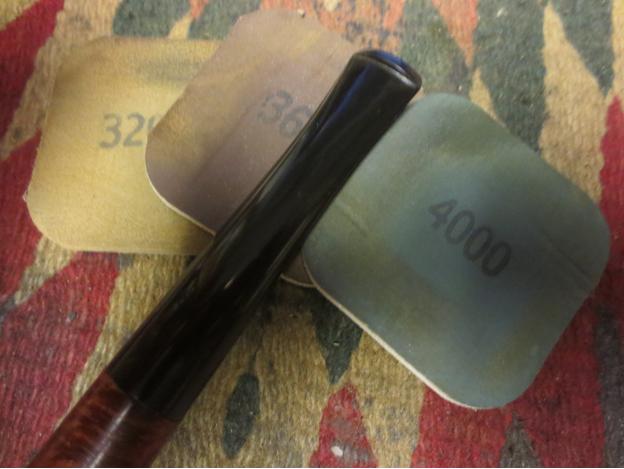
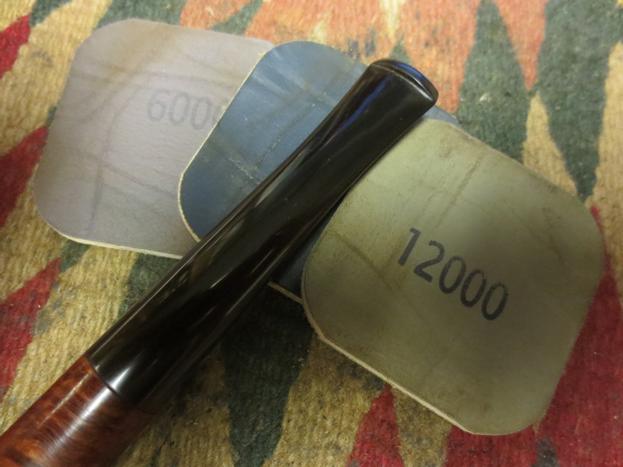
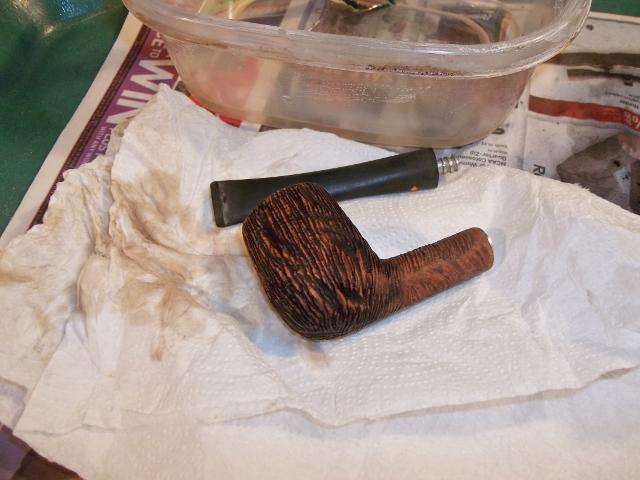 Go ahead and run a few pipe cleaners through stem with ISO to remove any debris and residue left behind from oxy bath. The stem is ready for wet sanding. As this stem is in such good shape it won’t take long to wet sand. If it had tooth marks and or heavy scratches you need to sand it more of course. I’m going to use 400, 600, 800 and 1200 grit sandpaper. Any finer grit to me is overkill for this pipe as I said it’s a daily working pipe and not a show pipe. Sand it lightly with each grit of sandpaper, being careful not to over sand it and make it not register with the shank properly. Being ultra careful where the stem goes into the shank as not to take off too much material. As most all the oxidation has been removed it doesn’t need to be sanded too much as we are just trying to make it smooth. Just a few light strokes with the coarse paper is all you need then using the finer grit a little more will do the trick. I have a piece of an old shank that broke off a bowl to use as a holder for Adjustomatic stems. It makes holding them during sanding a lot easier.
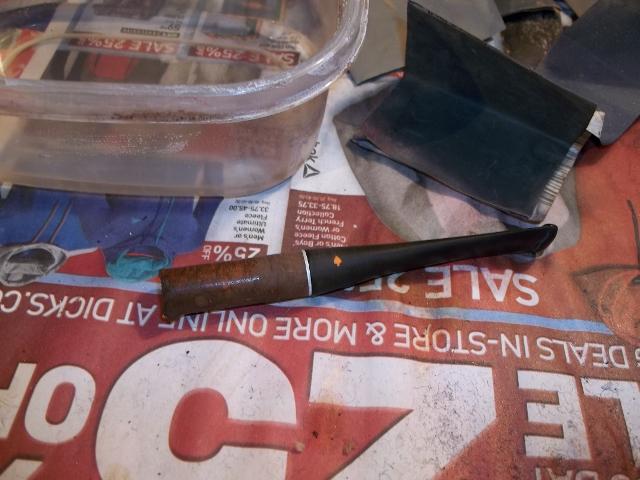 Ok the pipe bowl is cleaned and scrubbed and the stem sanded.
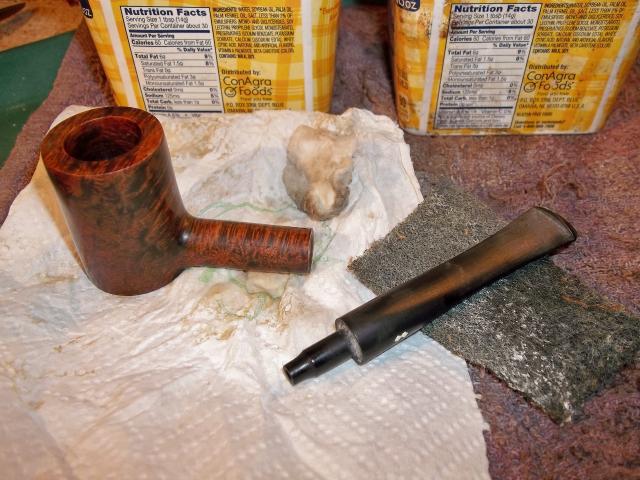
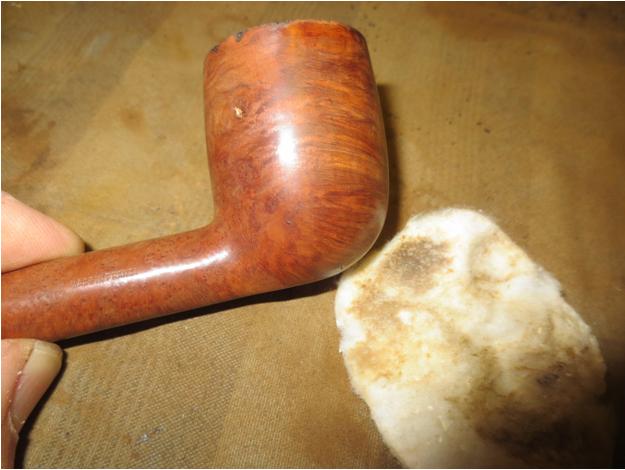
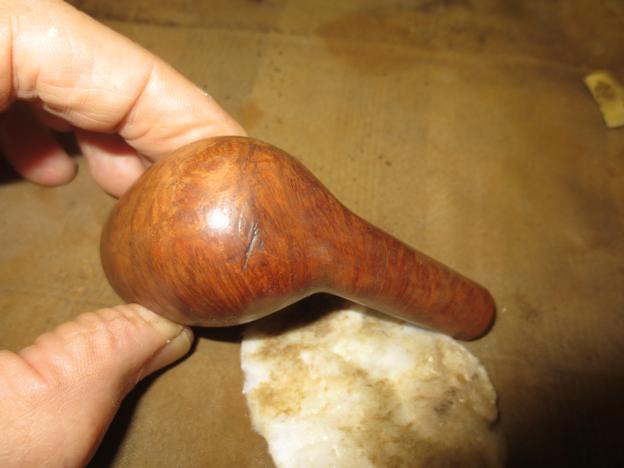
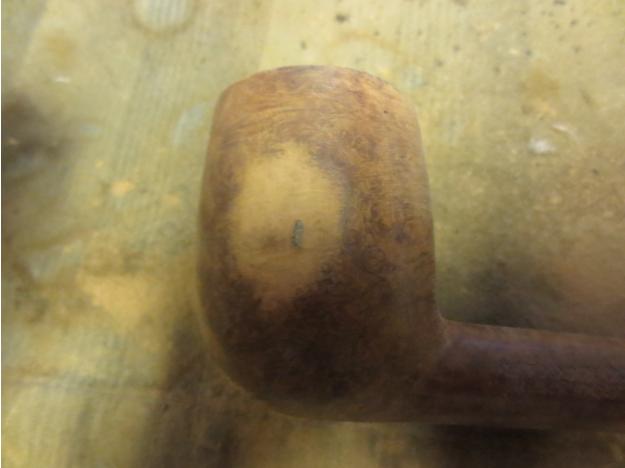
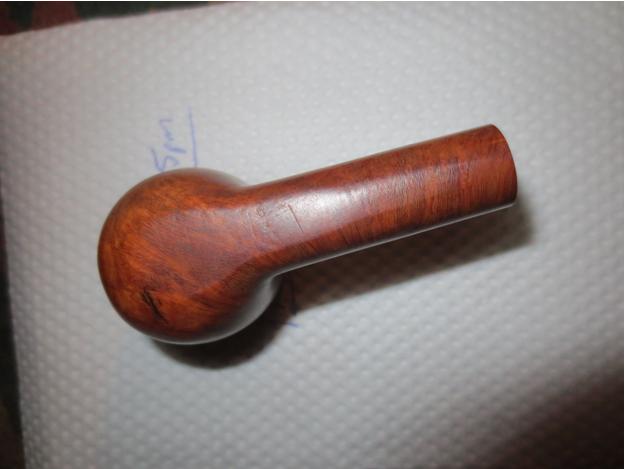
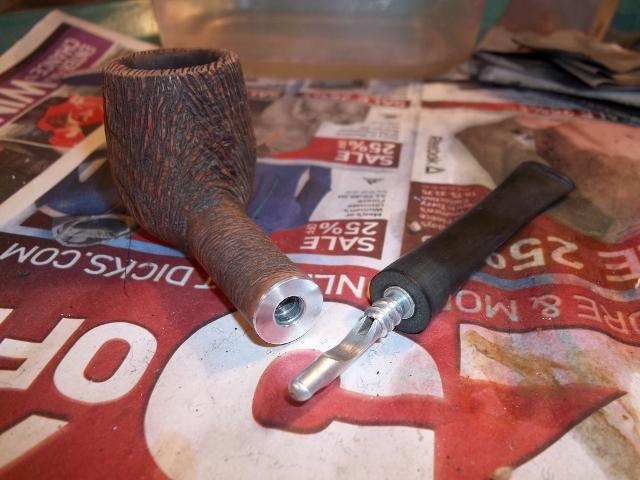 At this point I like to rub the pipe down with Mineral Oil. Some like to use olive oil but Mineral oil is odorless and tasteless. It doesn’t have the danger of turning sour like a type of vegetable oil can. Plus it helps to bring out grain in wood.
Any defects and or oxidation (brown spots in stem) will show up and allow you the luxury of fixing it before you apply wax. I apply the oil with a cotton ball and take a tooth brush and get into all the recesses. It will also show you pretty much what the color of the pipe will look like after buff and wax.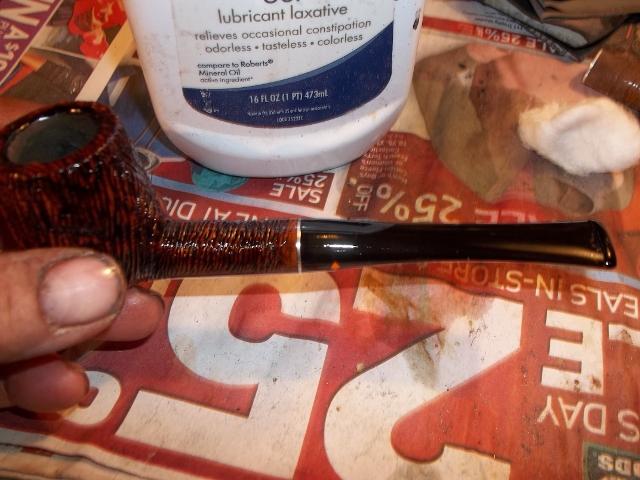
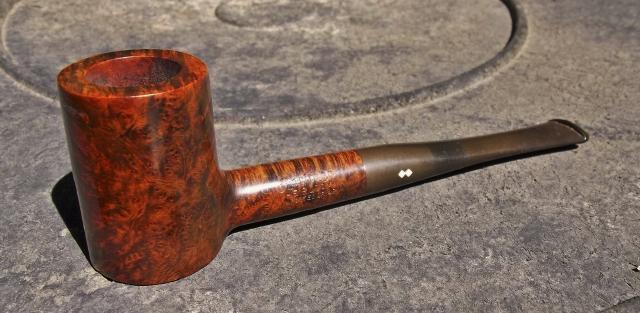
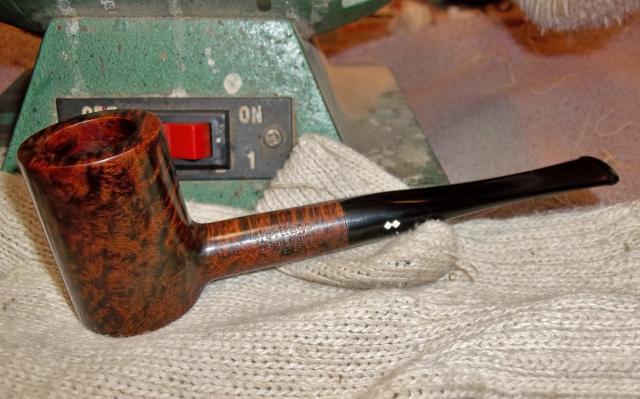
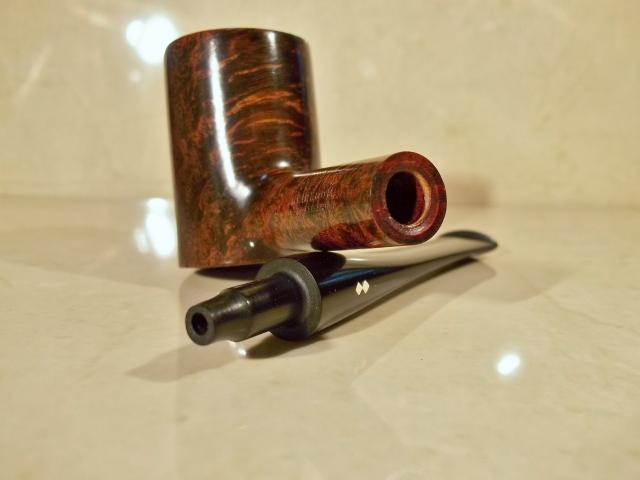
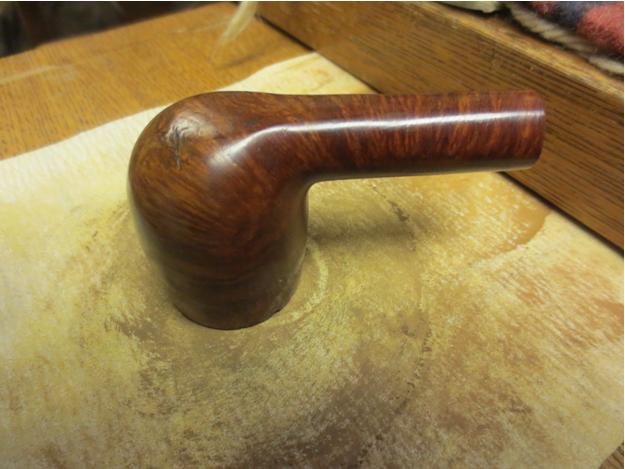
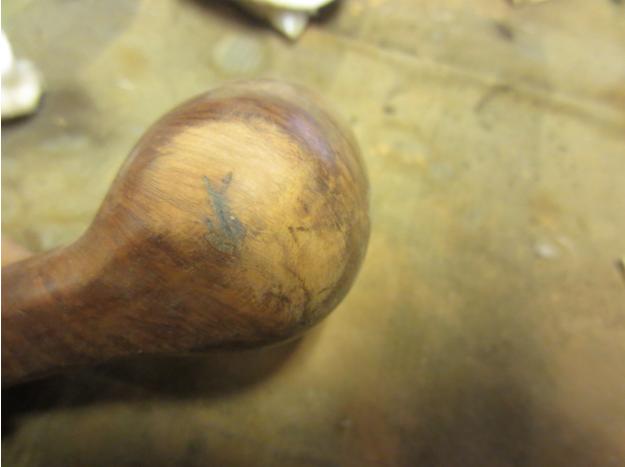
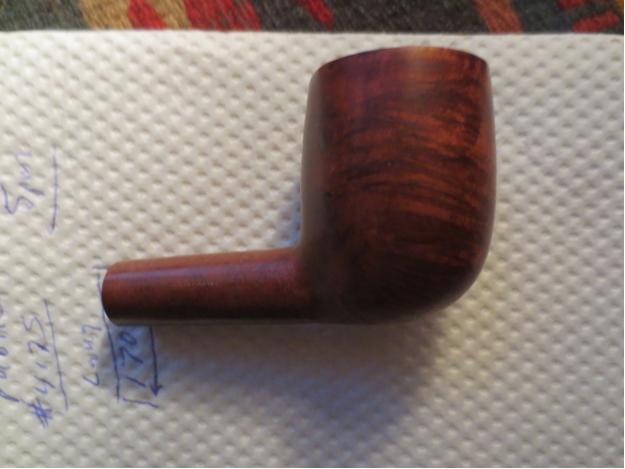
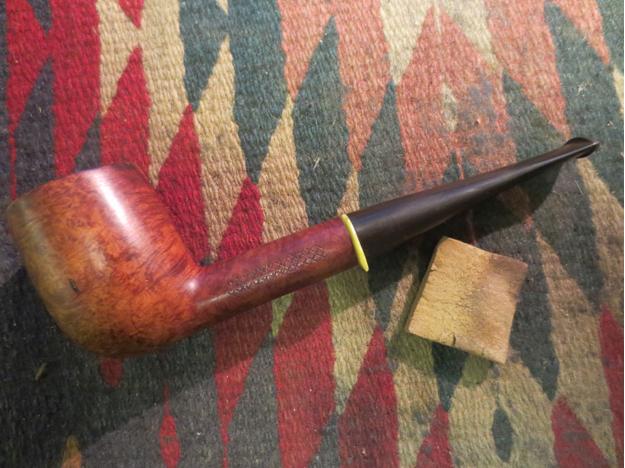
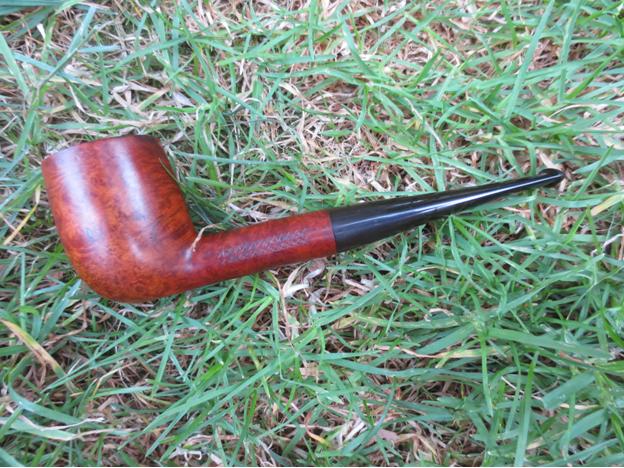
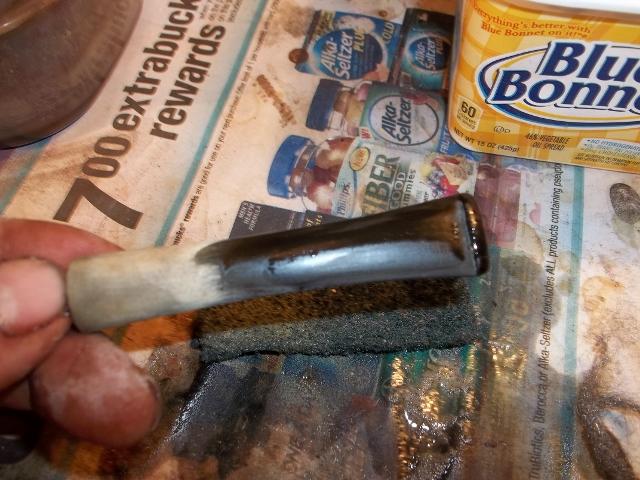
 The photo below shows the pipe after the Mineral Oil has been wiped and dry, ready for buffing.
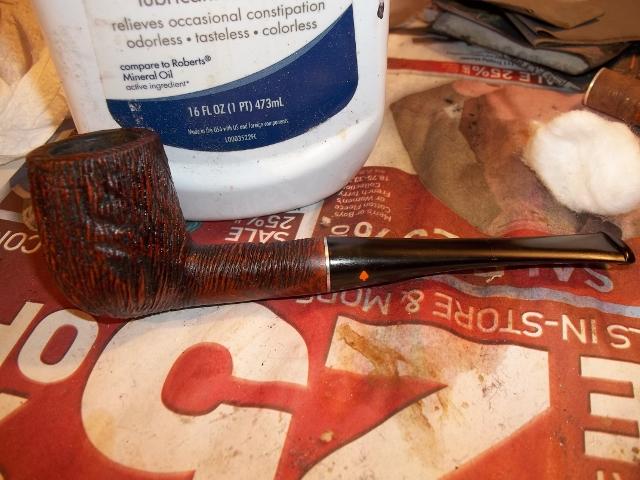 I use a buffing wheel and compounds but I know some who read this do not have this. I will not get into this as it will take too long and I’m still learning myself. I used to do all hand buffing. At this point you can just apply hand coats of various waxes you can buy that come in paste form and it will look fine.
Well I hope this can be a help to anyone that wants to start refurbing their own pipes. It’s a lot of fun and can save you a lot of money. Dave Whitney also sells a book that I would suggest getting it is called “OLD BRIAR” and it is a book on restoring and trading estate pipes. It is available via Amazon for Kindle.
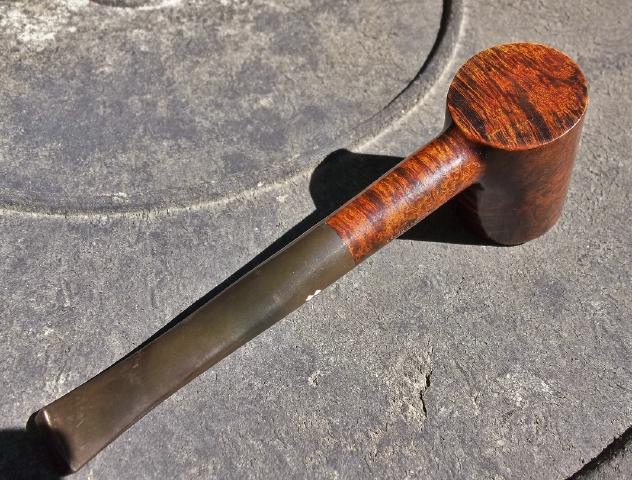
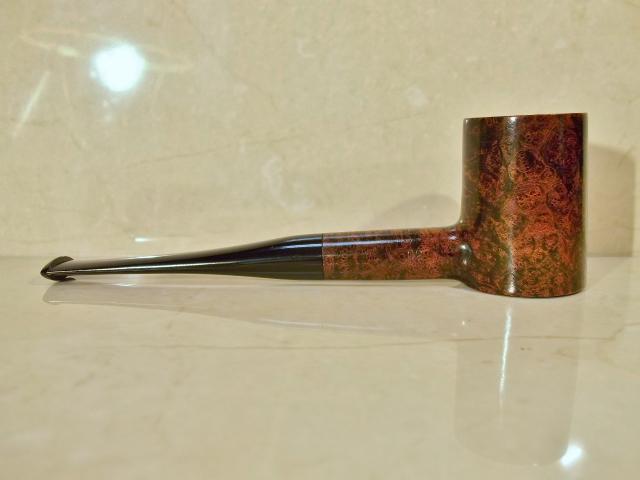
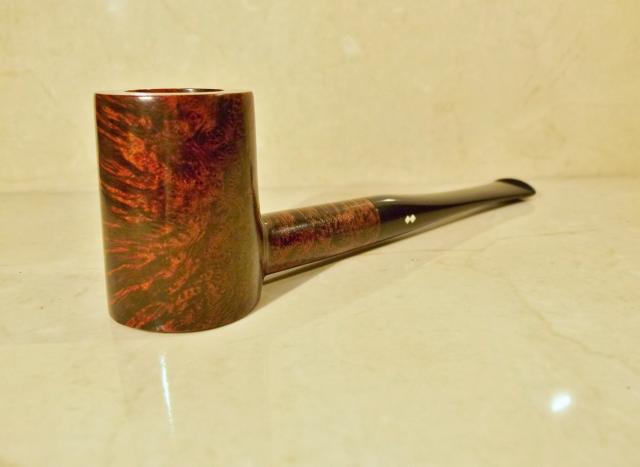
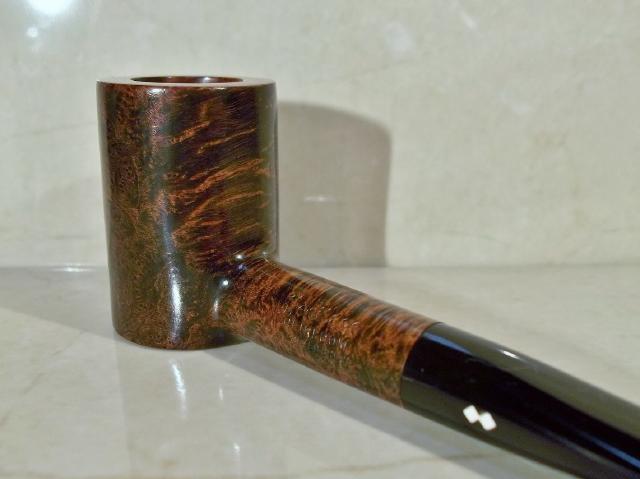
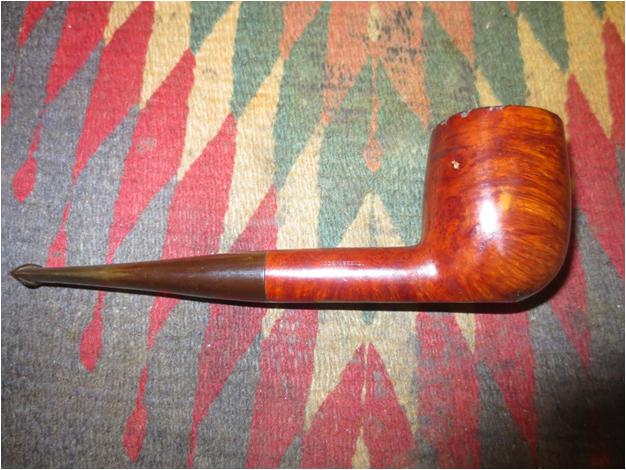
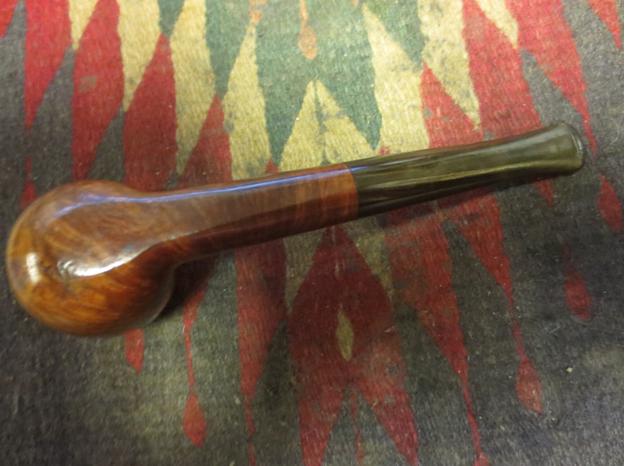
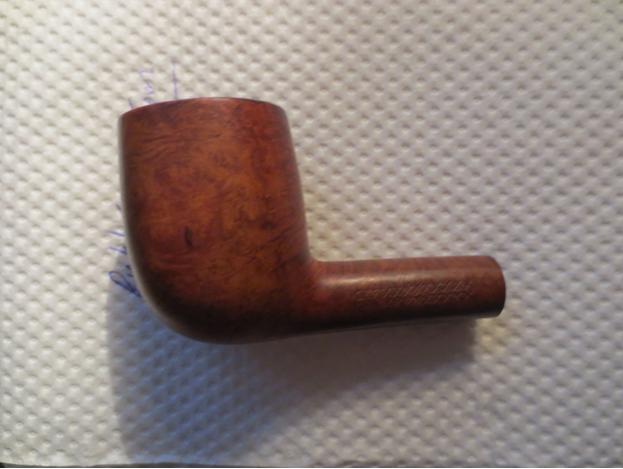
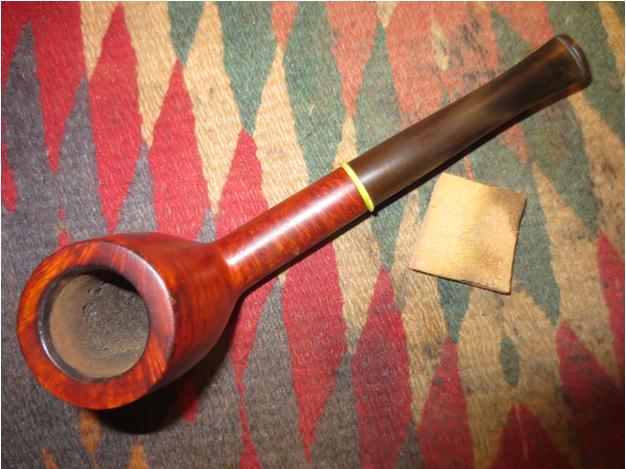
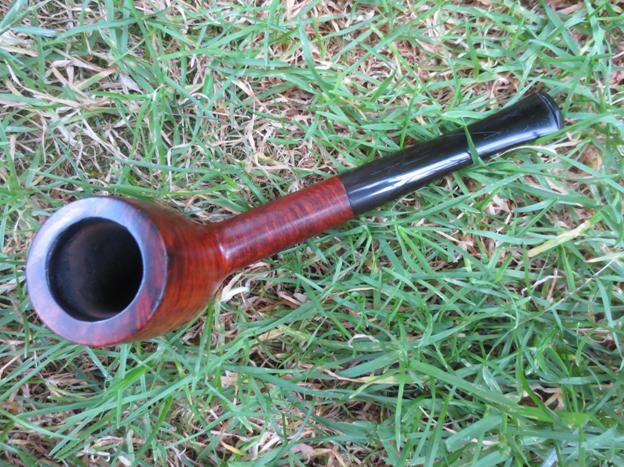
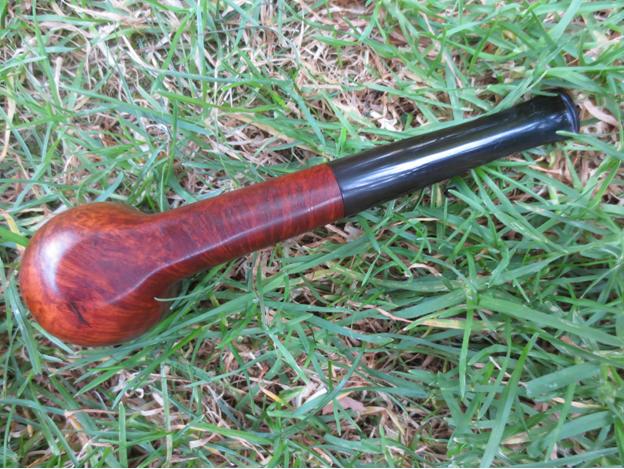
Here is after pics.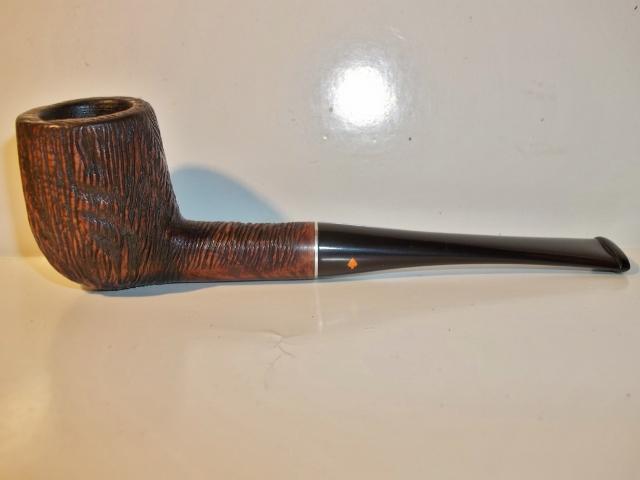
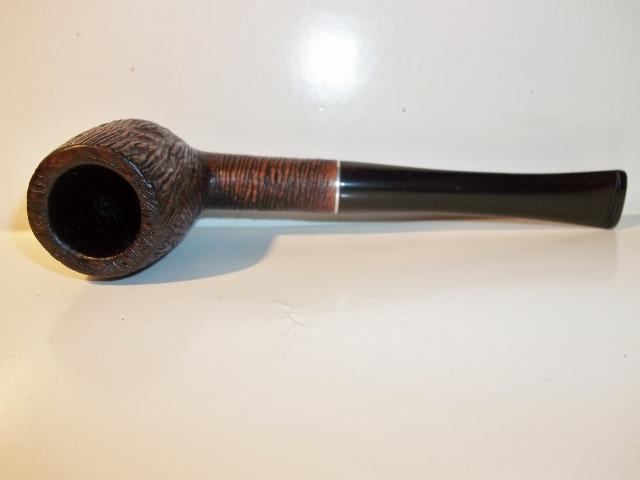
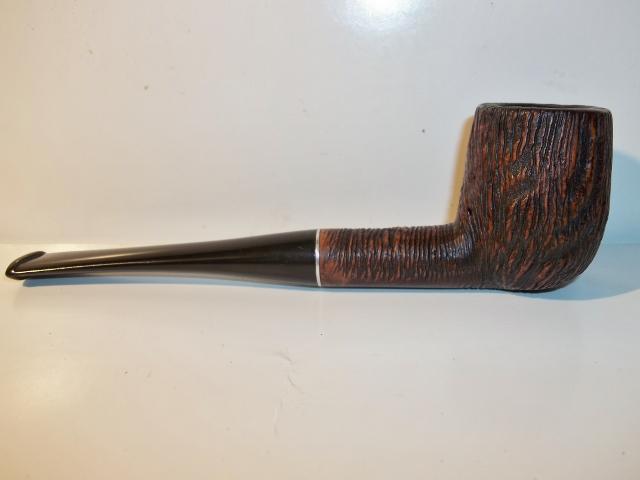

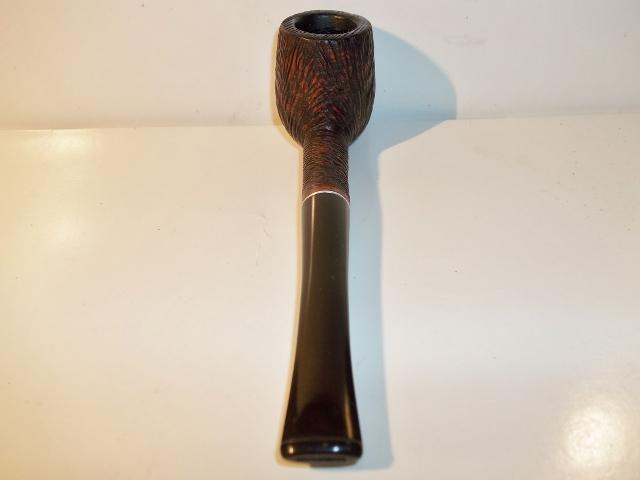
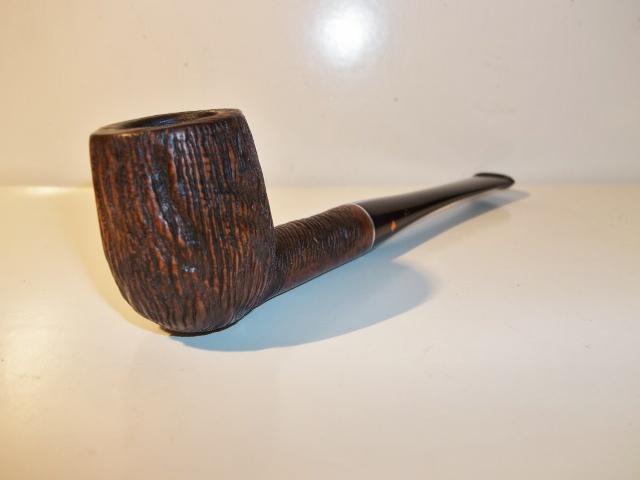
 After about a 24 hour rest to let the alcohol evaporate out it will be ready for smoking. This is my favorite combination for breaking in a refurbed pipe: 50% Carter Hall and 50% 5 Brothers. It will be build cake fast and burn out any reminisces of a ghost left behind. It is a strong burley combination and has a good nicotine hit so be warned.
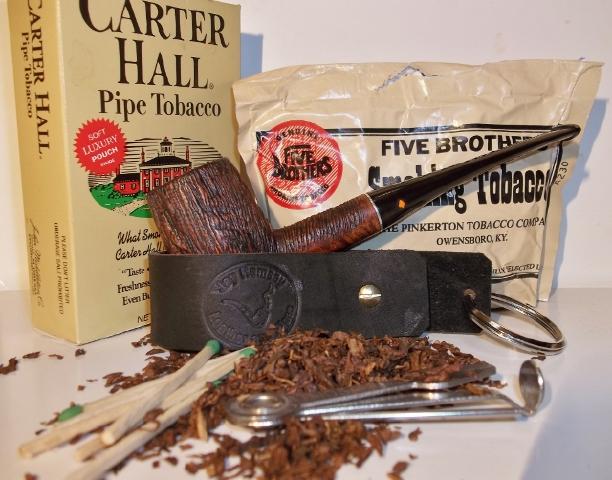 Now you don’t have to pick a Westbrook as this is just a guide to help you get started. But I would suggest starting on rusticated pipes as they seem to be an easier pipe to refurbish to me. You can always add your own twist to the pipes you do. Now on occasion a problem does pop up like a frozen Adjustomatic or a stuck stem etc…. That’s pretty rare occurrence from the pipes I’ve done. But if it happens, just post your questions here on the Dr. Grabow Collectors forum (or even here on rebornpipes for that matter). Help and advice is something our forum is not lacking in . Or you can just send me an email and I’ll help you best I can or send you in the right direction to someone who can.