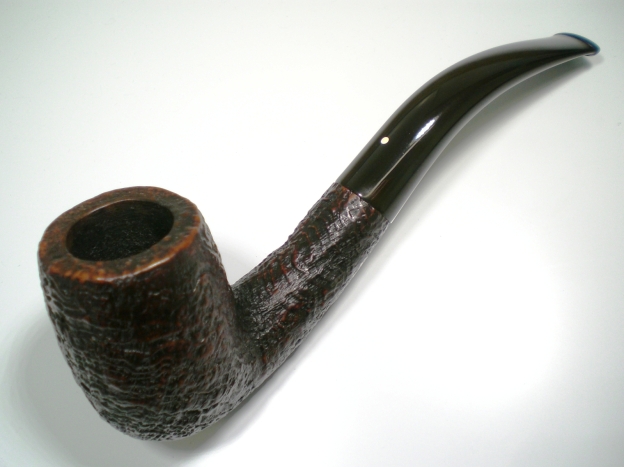
Blog by Steve Laug
This old Whitehall pipe came to me from the antique shop in Victor, Idaho, a small town on the way to Jackson Hole, Wyoming. On a recent trip to Idaho my brother and his family and my daughters and I visited Jackson Hole. On the way home, we stopped in Victor to stretch our legs and wander a bit. I went into the antique shop and struck up a conversation with the owner. Eventually a tin of five pipes and some parts came out from under the counter. I bought all of them. They traveled back to Vancouver with me and will one day all be refurbished.
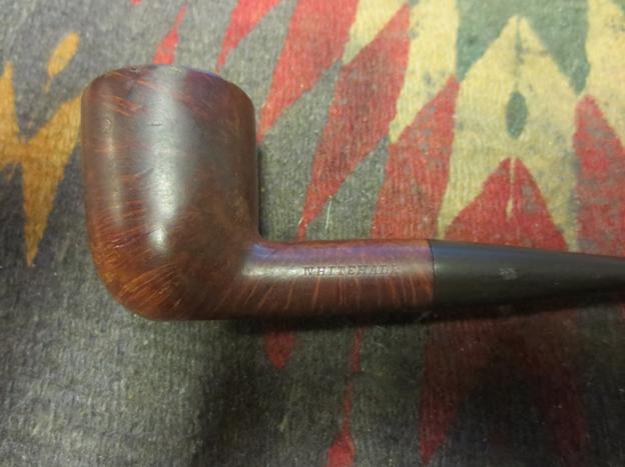
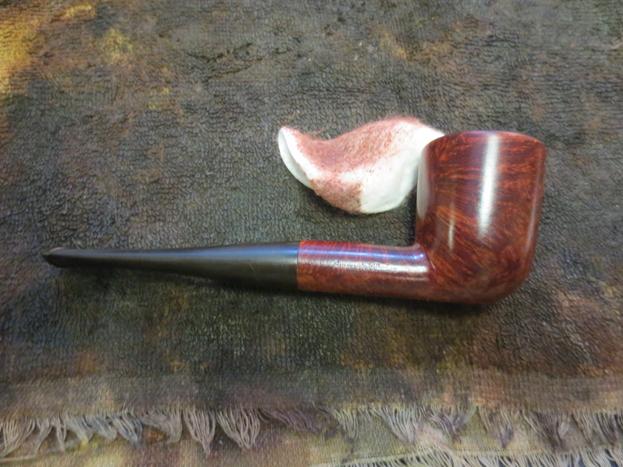
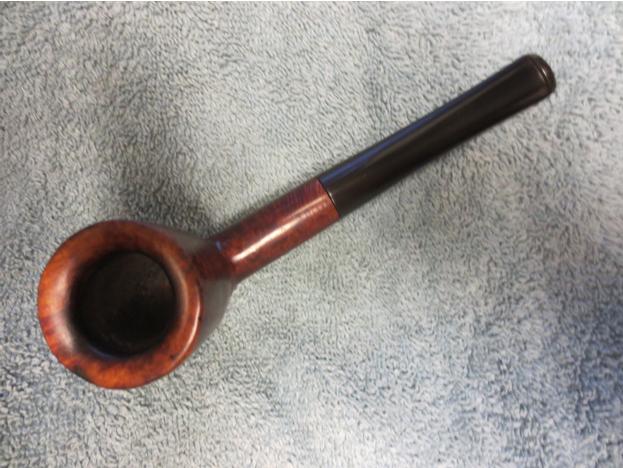
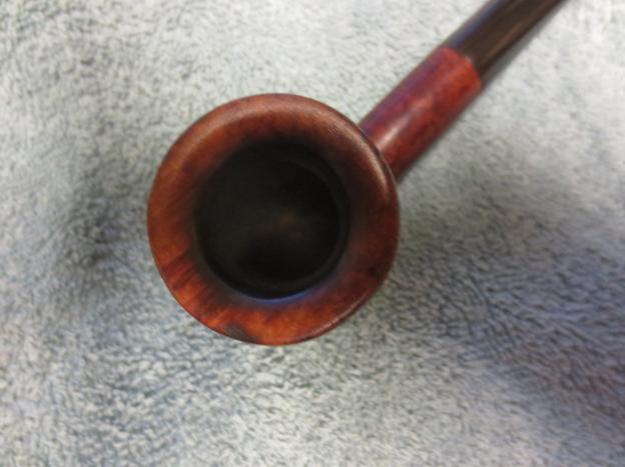
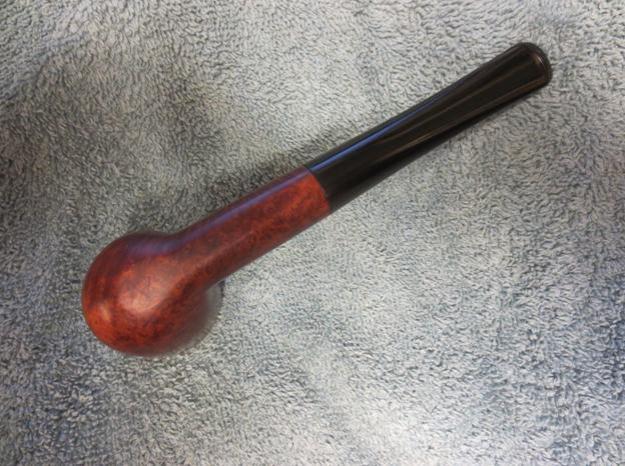
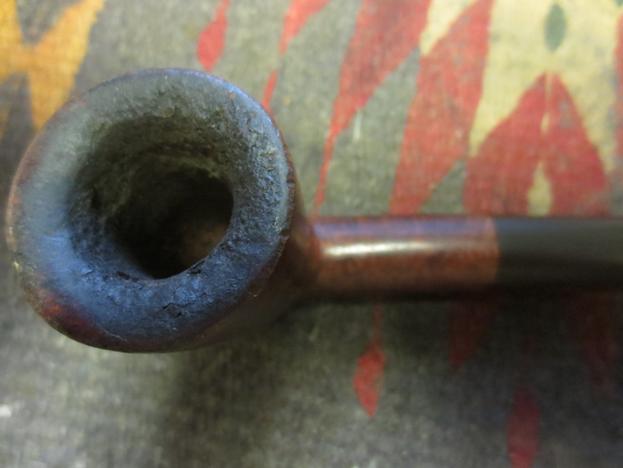
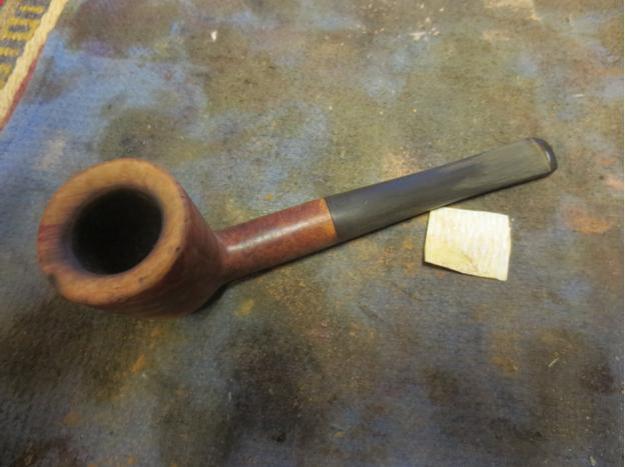
This Dublin shaped pipe is stamped Whitehall on the left side of the shank – though the stamping is faint. On the right side it is stamped Imported Briar (also faint). It has a flat bottom and sits well on that. The finish was very worn but was a rich oxblood colour under the grime. The bowl sides have some great cross grain. There were some small fills near the top of the bowl on the left side. The rim was damaged on the outer edge and very caked from the bowl over the rim top. The inner edge of the rim was still round and did not show signs of damage under the thick cake. The stem appeared to be a poor fit but as I looked at it I realized that it was upside down. The flattened bottom of the bowl had not been continued on the stem so it sat wrong.
 I took some close-up photos of the rim and sides of the bowl. The rim photo shows the tarry buildup and the side photos show the stamping.
 I generally ream the bowl when I start a clean up to remove the cake so I can examine the pipe thoroughly to check for inside wall damage and potential issues. I reamed it with a PipNet reamer and took the cake back to bare briar.
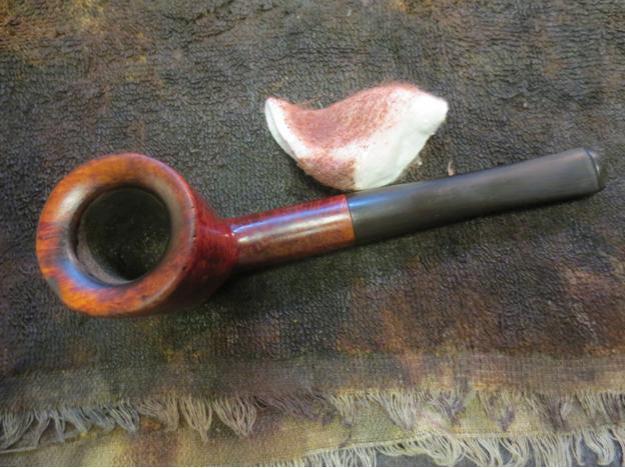
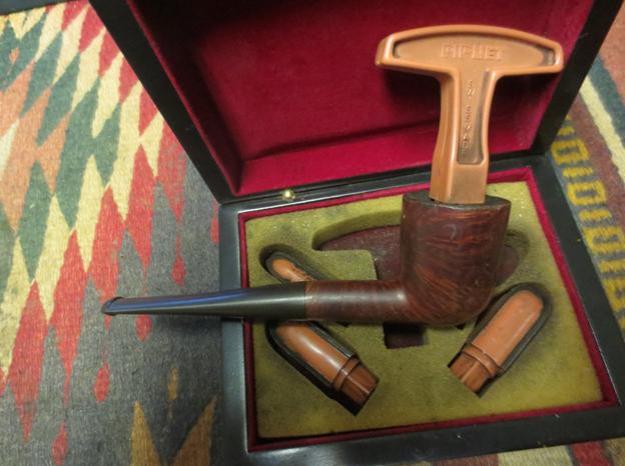 While I was at it I scrubbed the rim with alcohol and cotton pads to remove some of the tars. I had to use a sharp blade to gently scrape away the thick coat of tars while I was scrubbing. The photo below shows the initial cleanup of the rim and newly reamed bowl.
 I sanded the rim with 220 grit sandpaper to further remove the tars and to minimize the outer edge damage. There was a burn mark on the front left of the rim that I was able to reduce but not remove altogether.
 I scrubbed out the shank and the bowl with alcohol, cotton swabs and pipe cleaners.
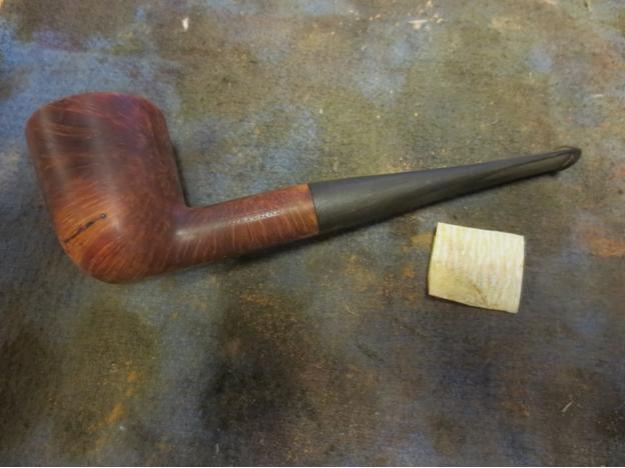
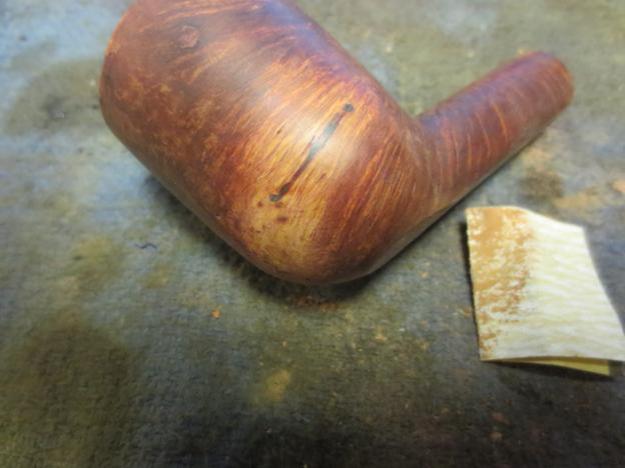
 I wiped down the exterior with alcohol and cotton pads to remove the finish and to clean it up. In doing so I found that there was a small shallow crack/flaw toward the bottom of the bowl on the left side. In the photo below the dental pick is at the close end of the crack and the dark spot is the far end.
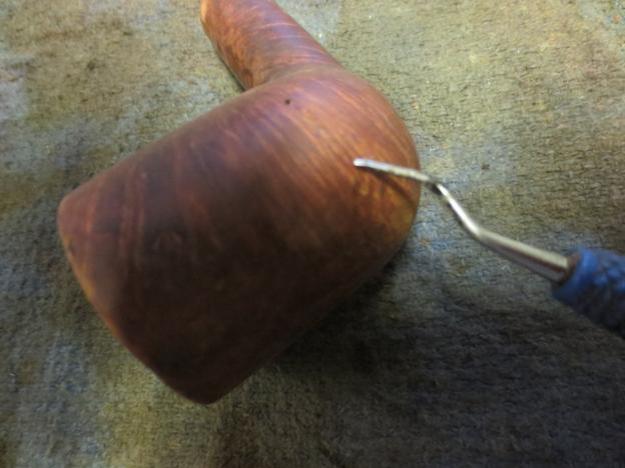 I picked out the crack with the dental pick, drilled two small holes – one on each end of the crack to stop it from going further. Interestingly this crack followed the pattern of the grain on the side of the bowl. Once I had it cleaned out I wiped it down with alcohol a final time. I pressed briar dust into the crack, dripped super glue into it and then pressed more briar dust on top of the glue. The photo below shows the repaired crack. Fortunately the crack was not deep and did not affect the interior of the bowl. It did not go all the way through and appeared to be more of a flaw in the briar than damage.
 I sanded the repair with 220 grit sandpaper to remove the excess patch and blend it into the surface of the briar. I sanded it with a medium and a fine grit sanding sponge to remove the scratches in the briar and feather out the surface. I sanded the entire bowl and rim with the same sanding sponges and sandpapers.
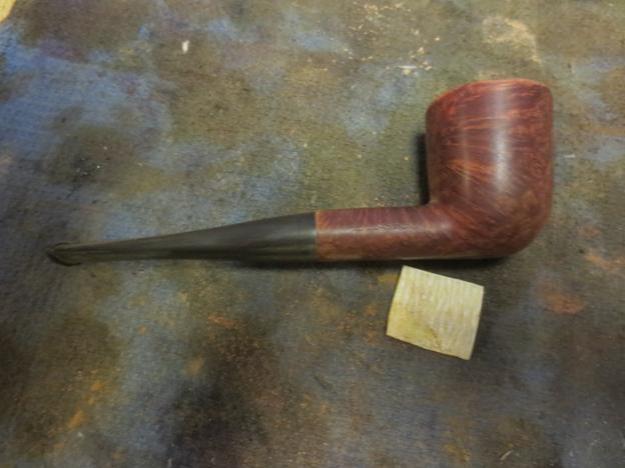
 I aligned the stem and sanded it with 220 grit sandpaper to smooth out the rough surface and then flatten the bottom to match the bottom of the shank.
 I wiped down the bowl with alcohol and then stained it with an oxblood alcohol based stain. I put the stain on heavy around the sanded areas on the shank and the bowl repair. I also darkened those areas with a dark brown stain pen following the pattern of the grain. I lightly buffed the pipe by hand and took the pictures below to show how the newly stained pipe looked at this point.
 I darkened the rim with the stain pen and gave it another top coat of the oxblood stain. I flamed it and buffed it lightly.
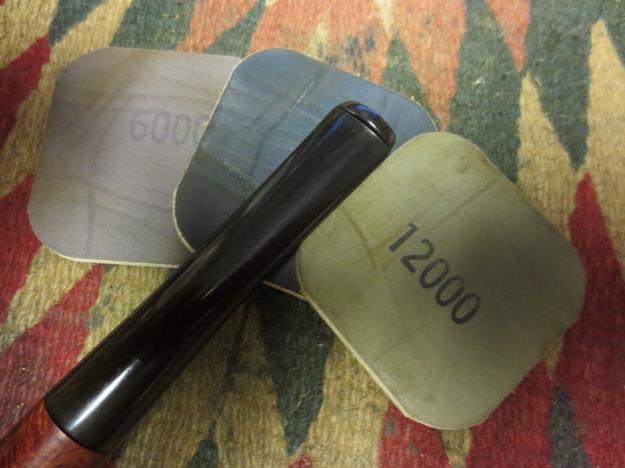
 With the bowl finished I worked on the stem. I wet sanded it 1500-2400 grit micromesh sanding pads. I rubbed it down with Obsidian Oil. I continued by dry sanding it with 3200-4000 grit pads, rubbed it down again with oil and then finished by dry sanding with 6000-12000 grit pads. I gave it a final coat of Obsidian Oil and let it dry.
 I buffed the bowl and stem with Blue Diamond on the buffing wheel, gave it multiple coats of carnauba wax and then buffed it with a clean flannel buff. I brought it back to the work table and then hand buffed it with a microfibre cloth. The finished pipe is shown below. It looks better than it did when I started, in my opinion. The rich oxblood colour helps to hide the repair and the burn mark on the rim. It should be a great smoking pipe if the amount of cake buildup that was there when I started is any indication. It should continue to provide great service to whoever ends up with it in their pipe rotation. Thanks for looking.


