Blog by Steve Laug
Not long ago I received and email from Dave, a reader of the blog, asking about a couple of pipes that he had picked up. I have included his email below. He gives his assessment regarding the pipes and what he wanted done. He had also done a bit of research on the Dr. Grabow pipe for me. I really like this kind of information.
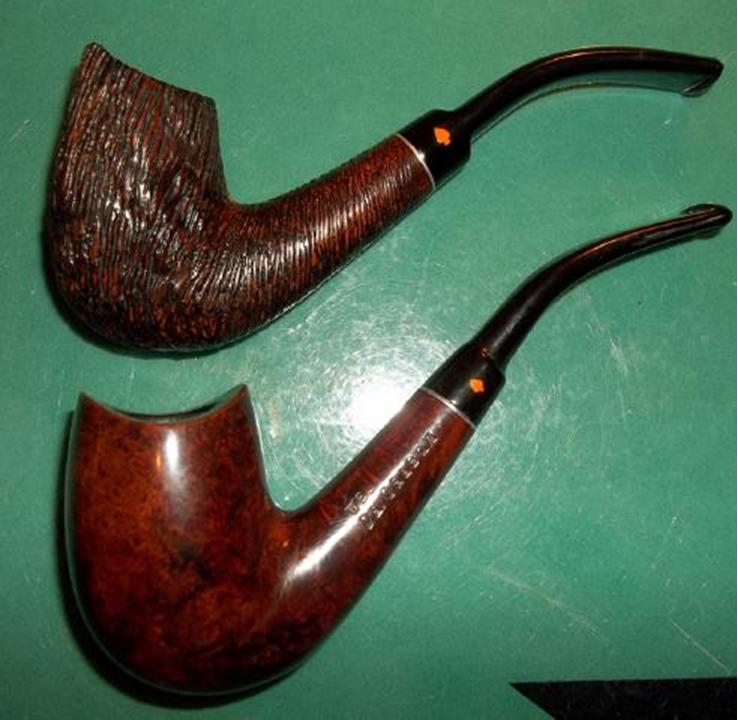
Steve… I have recently been gifted 2 estate pipes that I would love to have reincarnated by your hands. I am not sure of the cost and wanted to speak with you first. One because I have never shipped anything to Canada and I am not sure if there would be any issues. Two, I also wanted to get an estimate of cost before going forward. The 2 pipes in question are not in bad shape, just have some age, cake and minimal wear; one is a Whitehall rusticated with saddle stem and the other a Pear shaped Dr. Grabow Westbrook. The Dr. Grabow from what I can find is a special R J Reynolds model which has the orange spade on the side of the stem. I have attached some images with this email so that you have some idea of how they look. If you need additional images please let me know. Thank you for your time and consideration.
Regards, Dave
 The first that I chose to work on was the Dr. Grabow Westbrook Pear Shaped pipe. The pear shape came in both a slim pear (#74) and a medium pear (#44). The chart below is taken from https://pipedia.org/wiki/File:1960sDrGrabowFlyer5.jpg. It shows the shape of the pipe I was working on. I believe that I am working on a shape 44, Medium Pear.
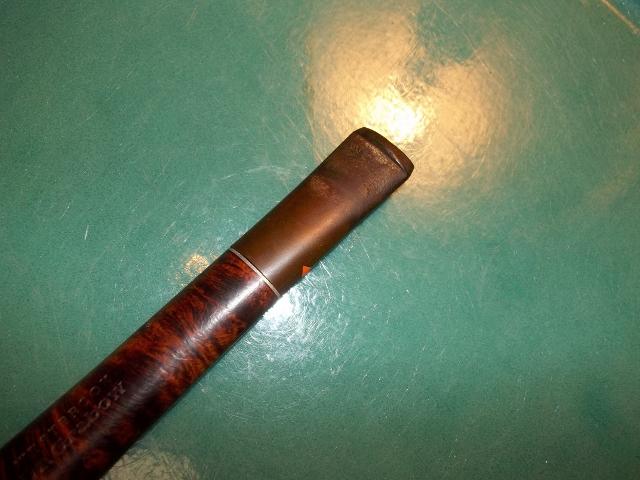
 I examined the shank with a lens and I could see that the left side of the shank was stamped Westbrook over Dr. Grabow. The right side of the shank was stamped Imported Briar over PAT. The number that follows the PAT. stamp is illegible. It is very faint. From this I can extrapolate that the pipe is an early version of the Dr. Grabow Westbrook line. It came out in the early 1960s. https://pipedia.org/wiki/Dr._Grabow
I found an article on Pipedia about the RJ Reynolds pipes and when and how they were offered through pipe coupons. I have included the majority of the article as well as the link.
https://pipedia.org/wiki/RJR_Grabow_information
R.J. Reynolds Tobacco Company had two other pipe tobaccos which were George Washington and Carter Hall that shared a good hunk of the pipe tobacco market left over from Prince Albert and Sir Walter Raleigh. Thus sets the stage for a coupon to be placed in each package or can of these tobacco products. The pipes presented to the American public were the very finest mass produced pipes ever created by man, or in all probability will ever be created by man. Pipes were presented with either a metal filter or a paper filter. The highest quality pipes were presented with only a metal filter. The Westbrook model came either in a rustic or matte finish and had metal filters along with the Berwyck that presented the same choice with paper filters. These pipes could be purchased only by mailing five coupons and three dollars to Sparta, North Carolina. The classic of the series was a natural grain Emperor with only the metal filters and its cost was five dollars and required twenty five coupons. About half way through the duration of the offer the Sculptura was introduced as demand was high for a quality sandblast grain pipe. So, R. J. Reynolds Tobacco Company set out to produce the perfect sandblast grain pipe and boasted that no finer sandblast pipe had ever been produced by man nor ever would be produced by man than its Sculptura that could only be purchased by collecting five coupons and sending that along with four dollars to Sparta, North Carolina.
Each order that was filled for every pipe ordered throughout America came in a neat box with a full set of literature including a shape chart that actually gave a pipe smoker an immediate choice to choose from far greater than any pipe store or other outlet that America has ever seen or probably will ever see.
This mail order offer that began sometimes in the early 1950’s would end in 1987 when R. J. Reynolds Tobacco Company sold its tobacco products to John Middleton, Inc. At that time it was announced that this mail order offer was the longest running mail order offer in duration of time of any mail order offer of any product on the American market. Thus, an era ended eighteen years ago or so and as each year turns over these pipes become less available and thus more valuable.
The argument about a good smoking pipe so prevalent today among pipe smokers is not applicable to these pipes for the simple reason that they all smoke good and they all smoke just alike with no discernable differentiation that any one pipe is any better or worse than any of the others. These pipes came from the top twenty percent of Briar obtainable and were constructed with the quality control standards of a Zippo lighter. The only difference was in the shape and this was presented in a very large number of choices. The Dr. Grabow pipe is clearly stamped as such, but was never ever retailed. It was admitted by all that these pipes were superior to the retail Dr. Grabow pipe. Those with the metal filter are no longer obtainable from any source. Those with the paper filter, although similar to the present Dr. Grabow, is of a superior quality. Since those with the paper filter were not nearly so popular as the metal filter in those old days it is rather difficult to find one these days. There will not be many days until those with the metal filter are gone forever never to be replaced and it is likely that anyone who possesses such a pipe has a very valuable piece of Briar or to become such in not very many years. One other point, also like a Zippo, these pipes are virtually indestructible…
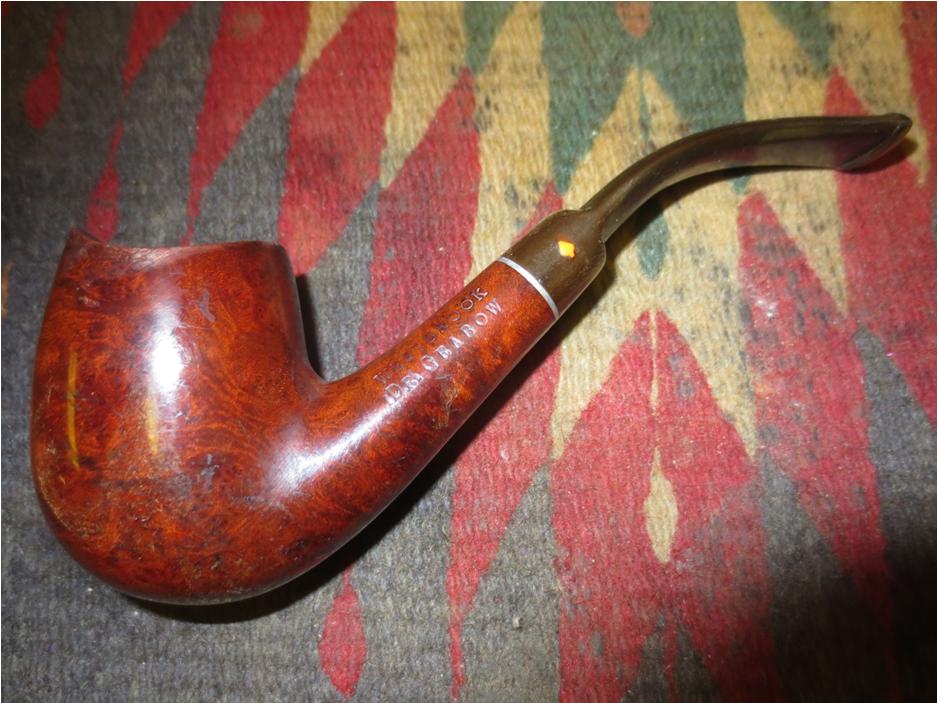
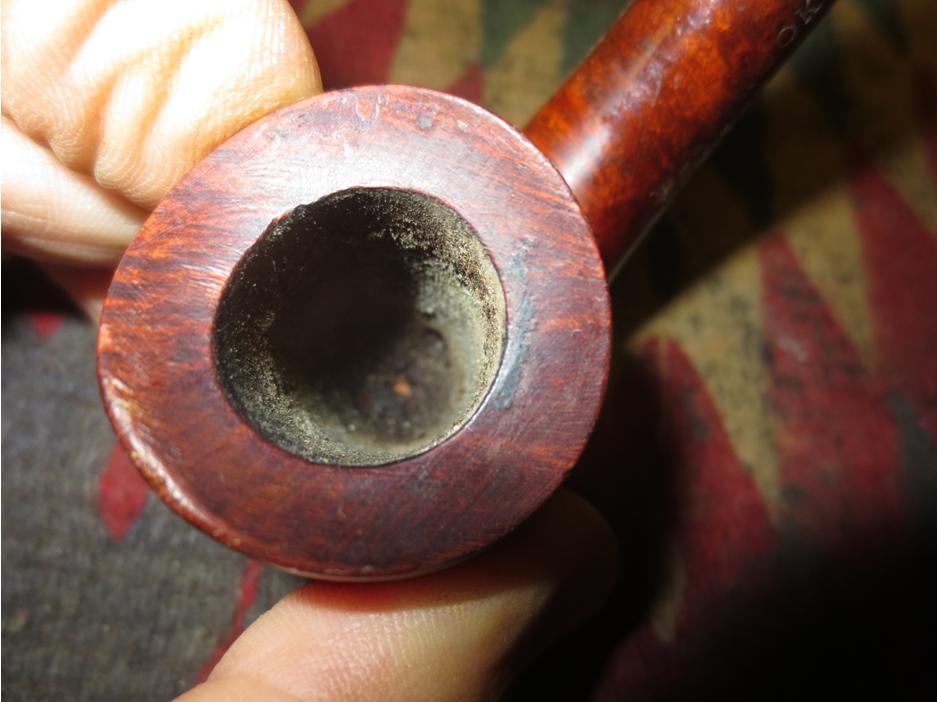
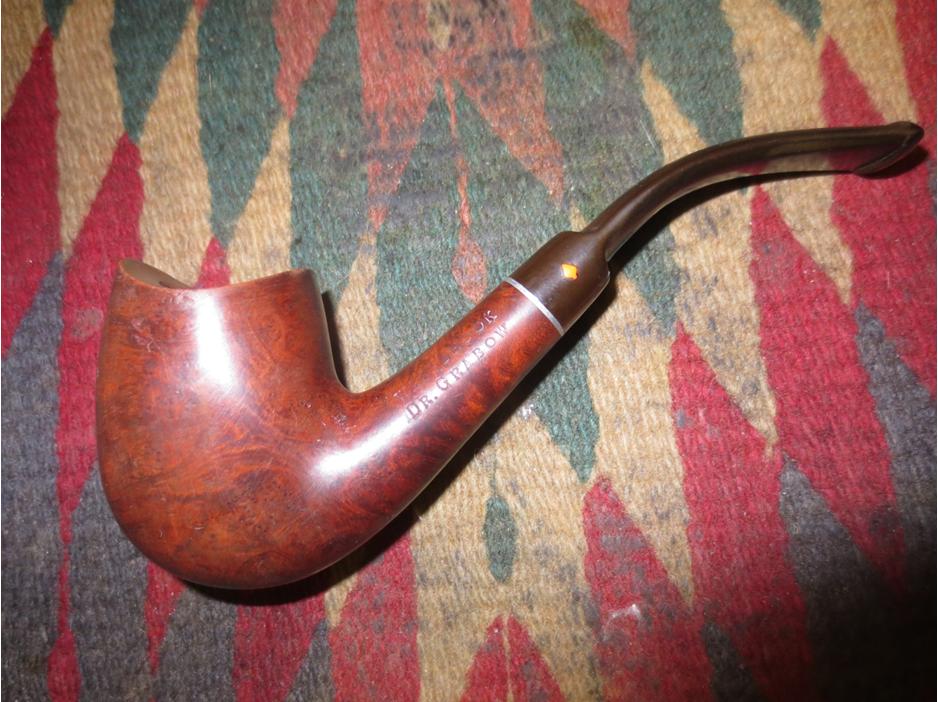
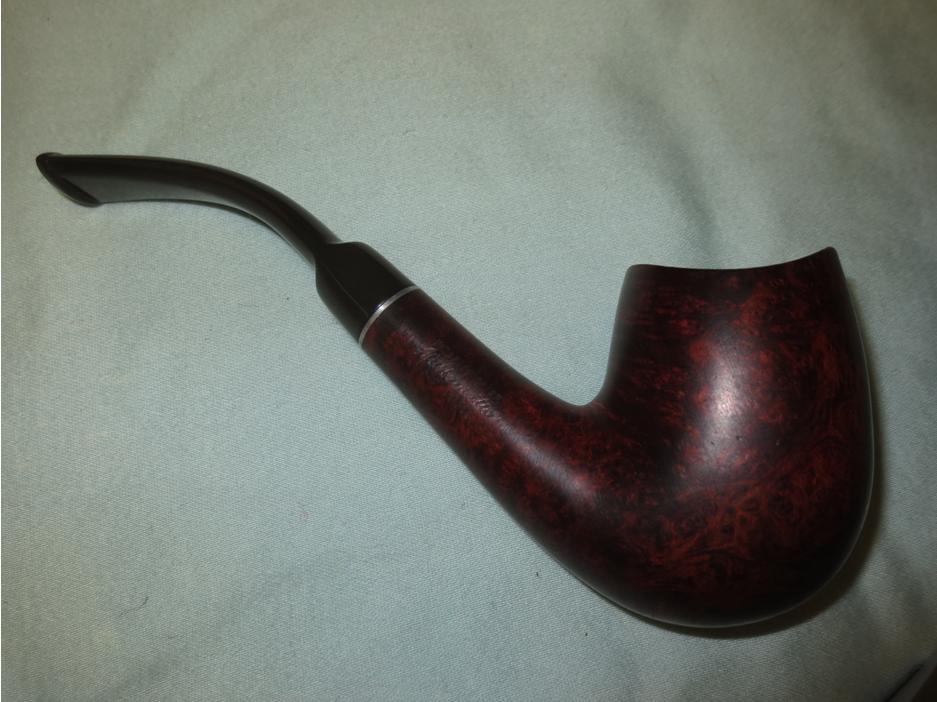
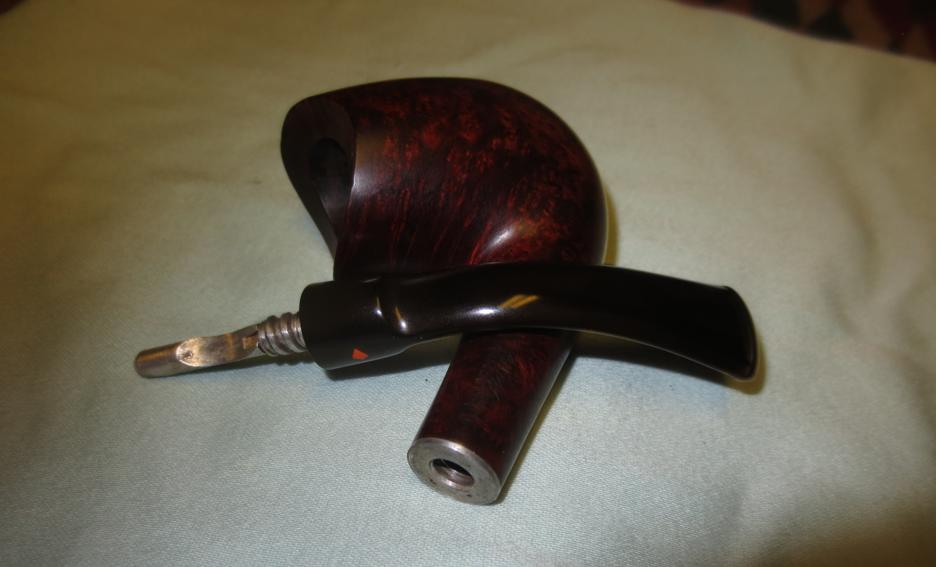
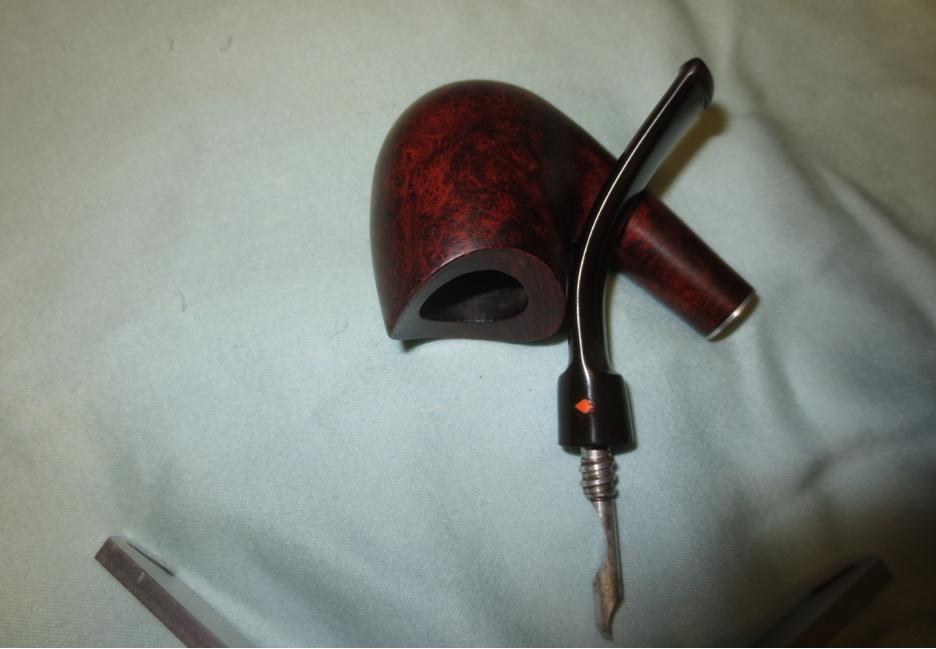
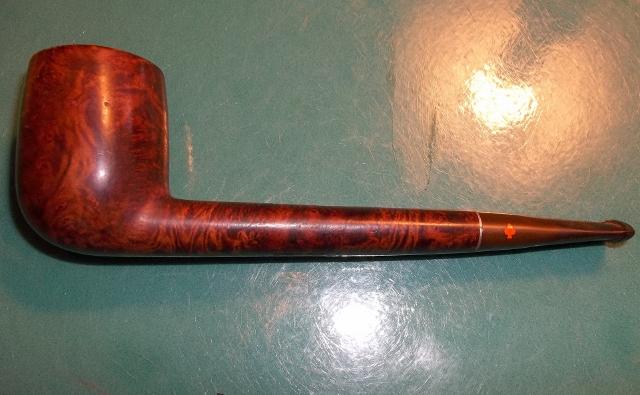
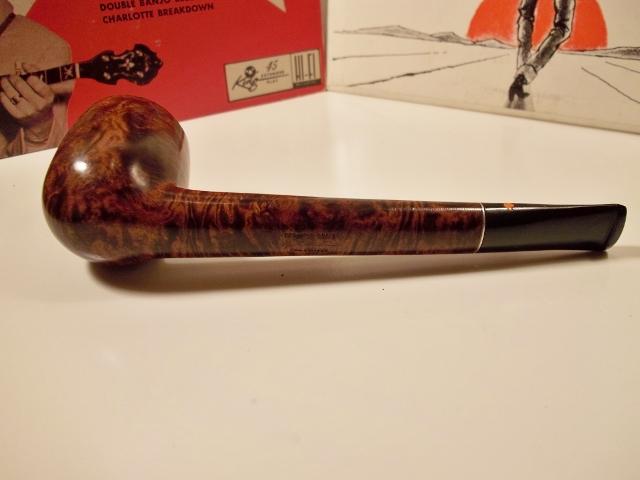
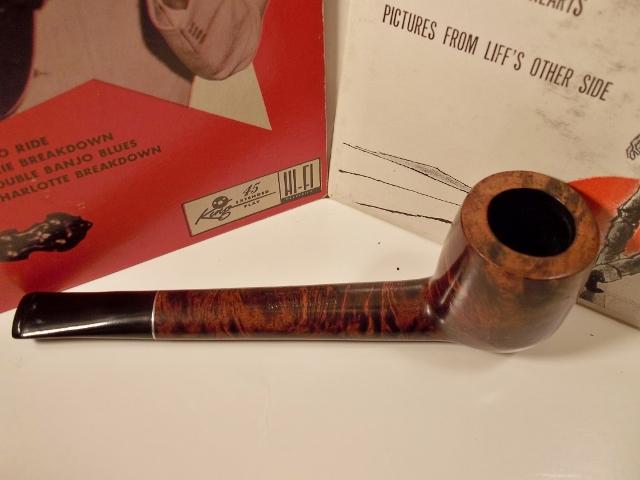
I took some photos of the pipe when it arrived. Overall impressions of the pipe were good. The briar was a beautifully grained piece; the stamping was faint on the left side of the shank and not readable on the right. The bowl had a light cake with overflow and darkening on the crowned rim. The stem was oxidized and appeared to have been clipped off. The new button was thin and the slot was sloppy. Work would need to be done with that end of the stem.
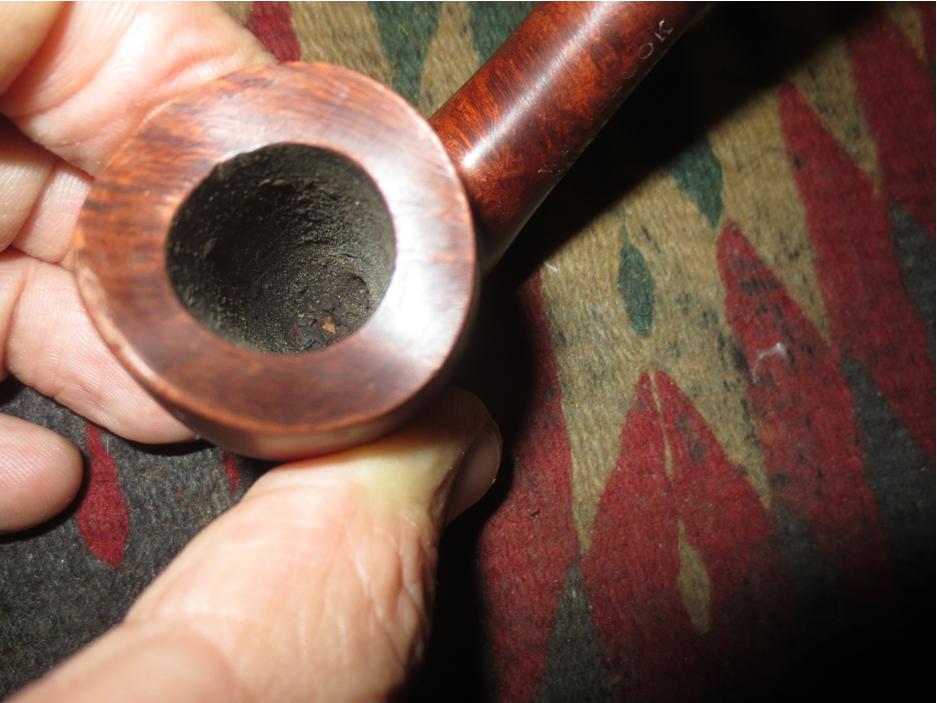
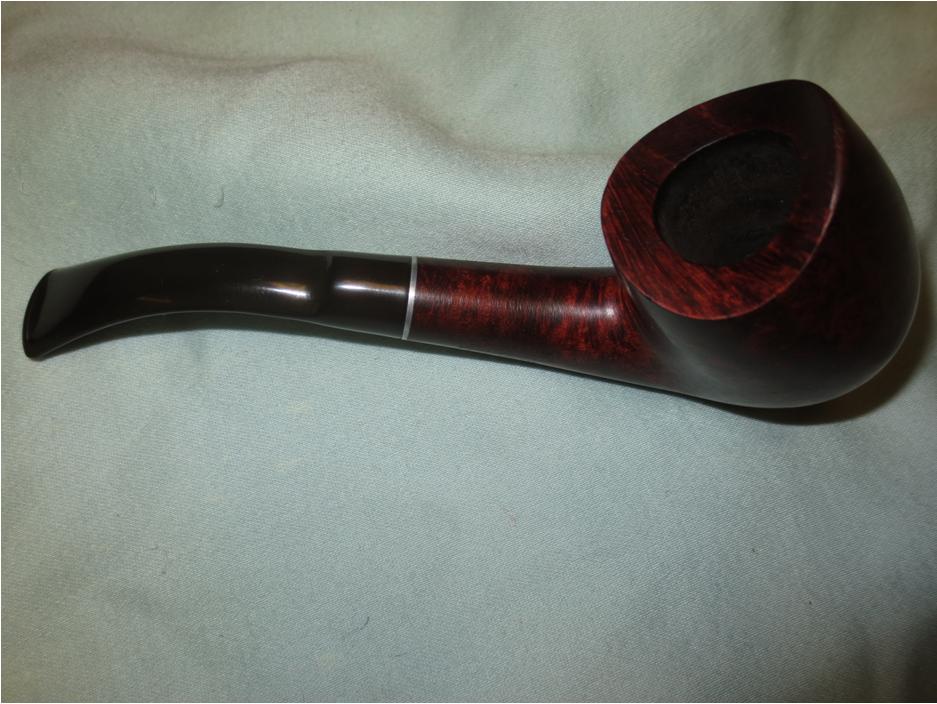
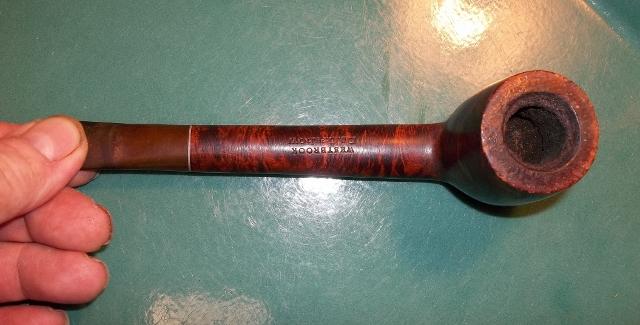
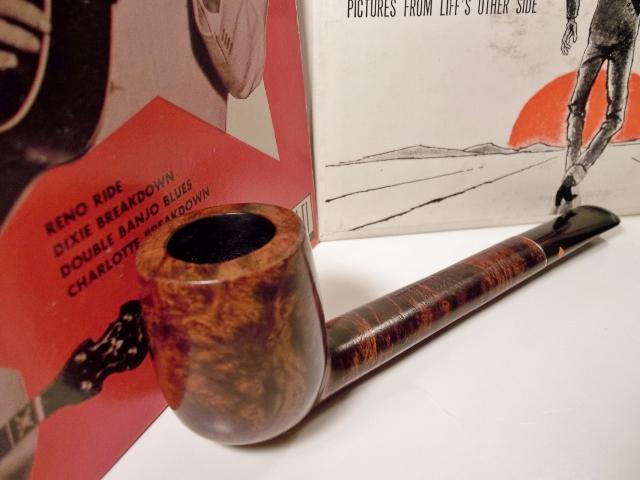
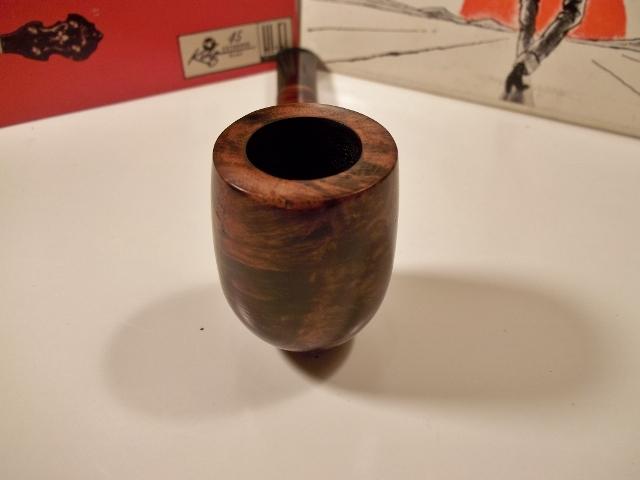
 I took a close up photo of the rim top and bowl to show the overall condition. It was in great shape for a pipe this age. It had been pretty well cared for over the years. I also took photos of the stem to show the thinness of the button. I am pretty certain it was reshaped somewhere along the way.
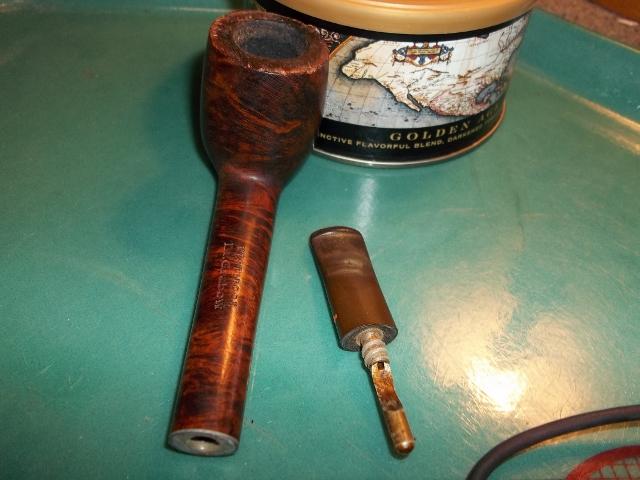
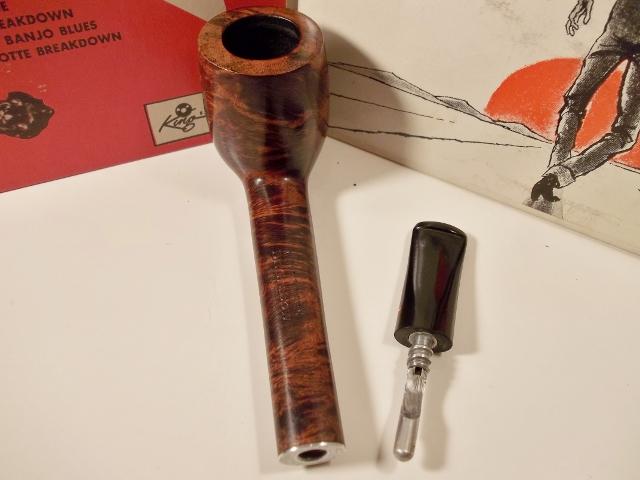
 The stinger apparatus was different from other Grabows that I have worked on. It was pressure fit into the threaded tenon and was a tube rather that the shovel stinger I was expecting.
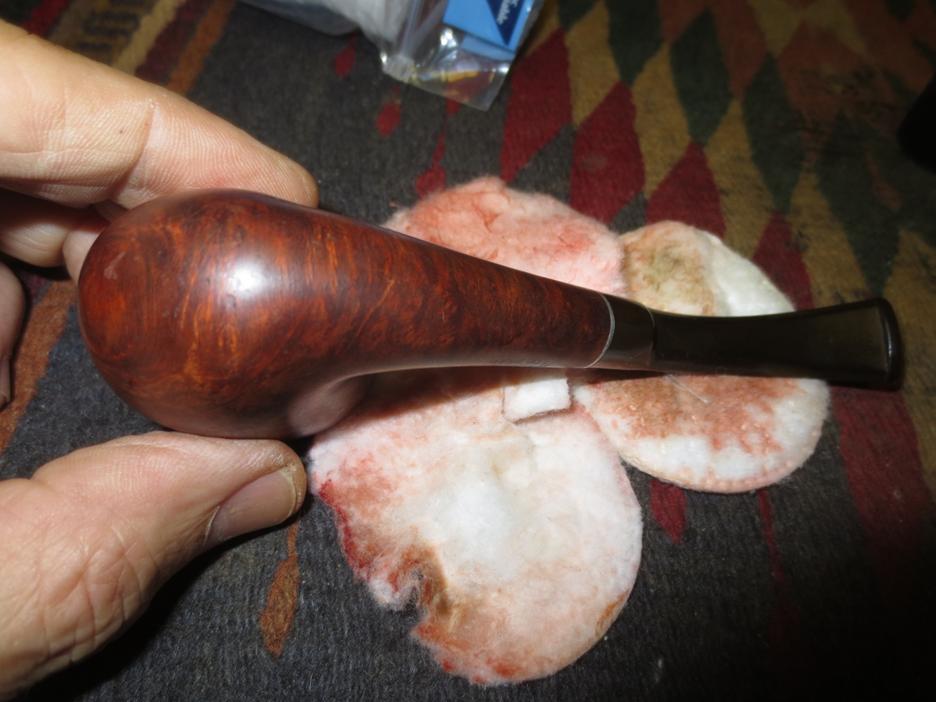
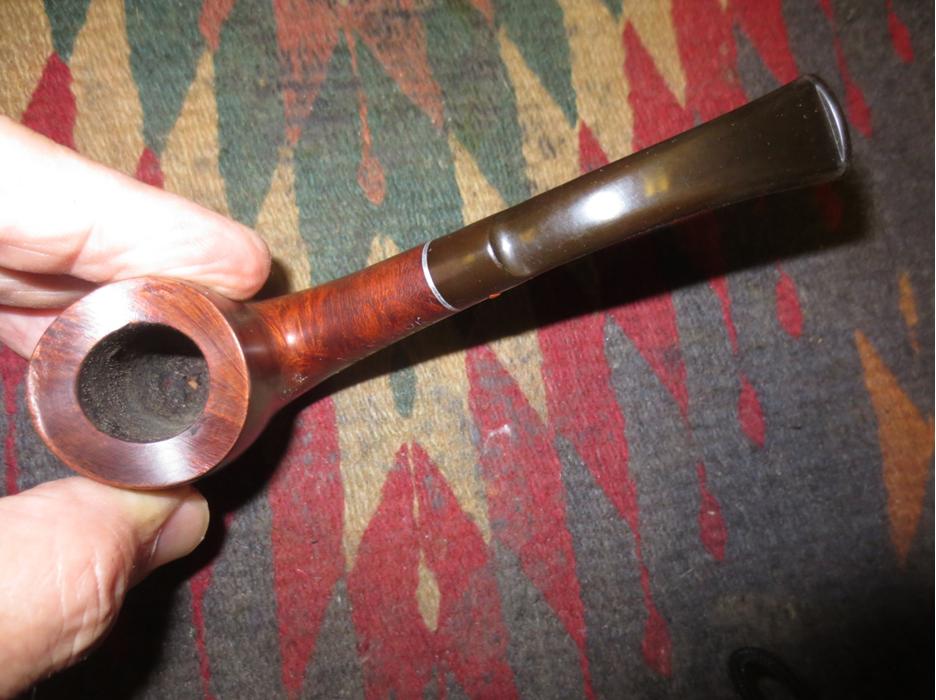
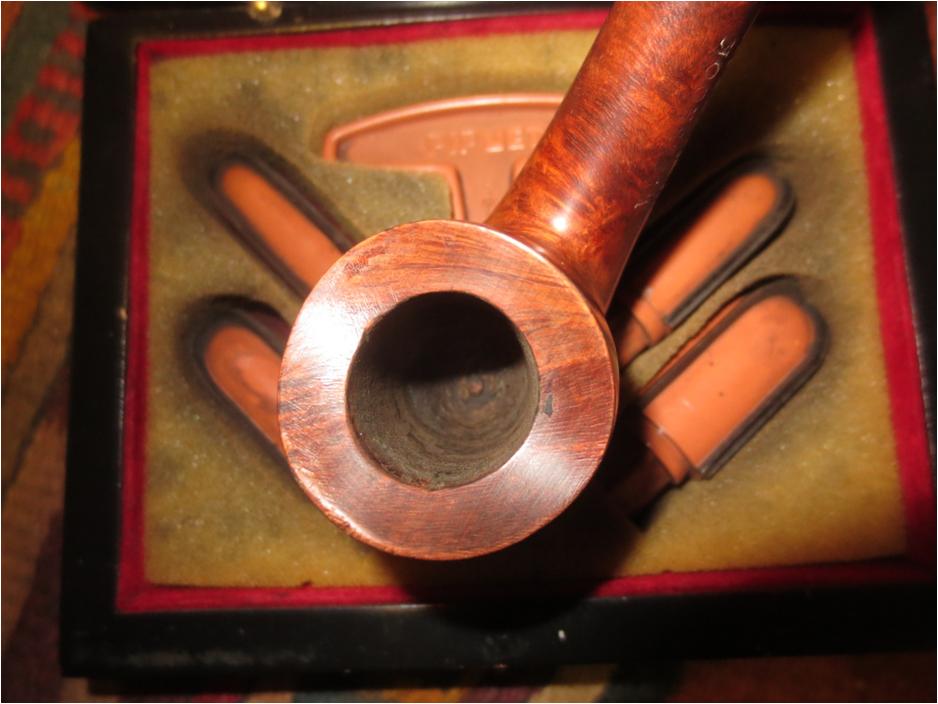
 I scrubbed the top of the rim with a cotton pad and saliva to try to remove the buildup and darkening that was there. It actually worked very well. I sanded it with 1500 grit micromesh to further smooth things out. I reamed the bowl with a Savinelli Fitsall Pipe Knife and took the cake back to bare briar.
 I built up the button top and bottom with black super glue. I did not need to build it up too much so I decided to just use the glue and not add charcoal powder. I set the repaired stem aside to let the glue cure.
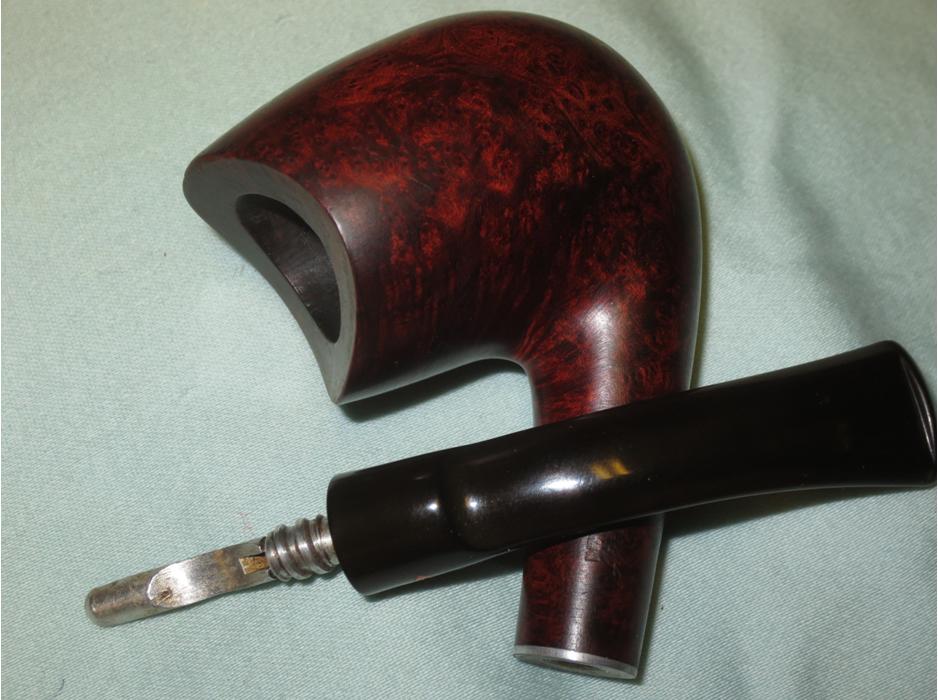
 I sanded the bowl with 1500-6000 grit micromesh sanding pads and wiped it down with a damp cotton pad to remove the sanding dust. The photos below show the bowl after sanding it with 1500-2400 grit pads.
 I scrubbed out the shank and the metal mortise with alcohol, pipe cleaners and cotton swabs until they came out clean. The interior of the shank was really dirty. Many pipe cleaners and cotton swabs later the shank was clean and the metal mortise was shiny.
 In the past I have used a Cherry Danish Oil Stain that matches the colour of these older Grabow Westbrook pipes really well. It is the kind of stain that you rub on, let sit and rub off. Since the finish on the Westbrook smooth pipes was smooth, once the stain was dry I would rub it down to a matte gloss look.
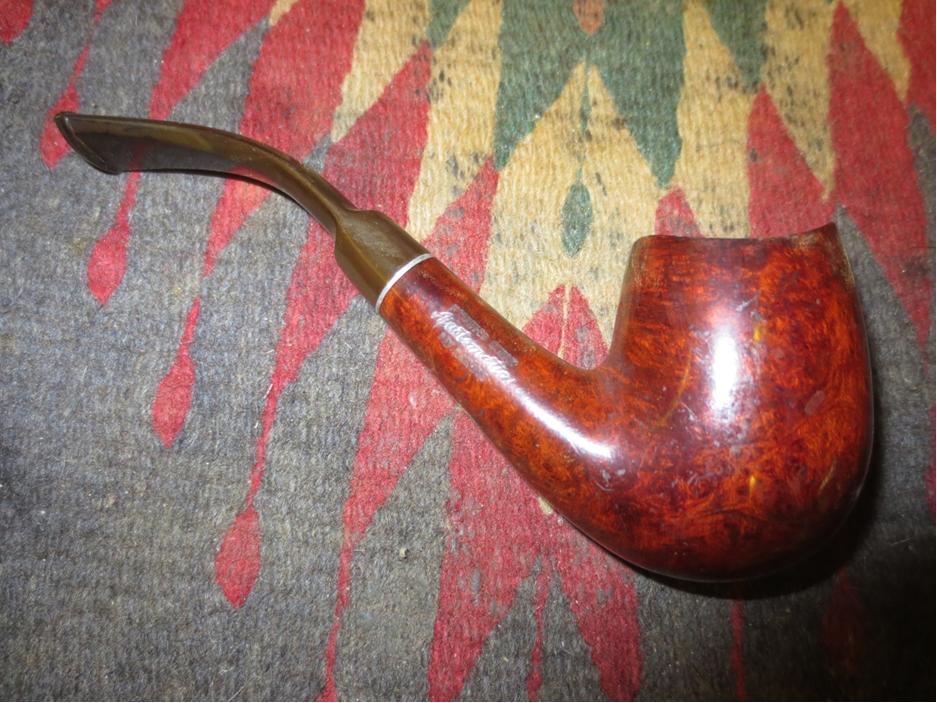
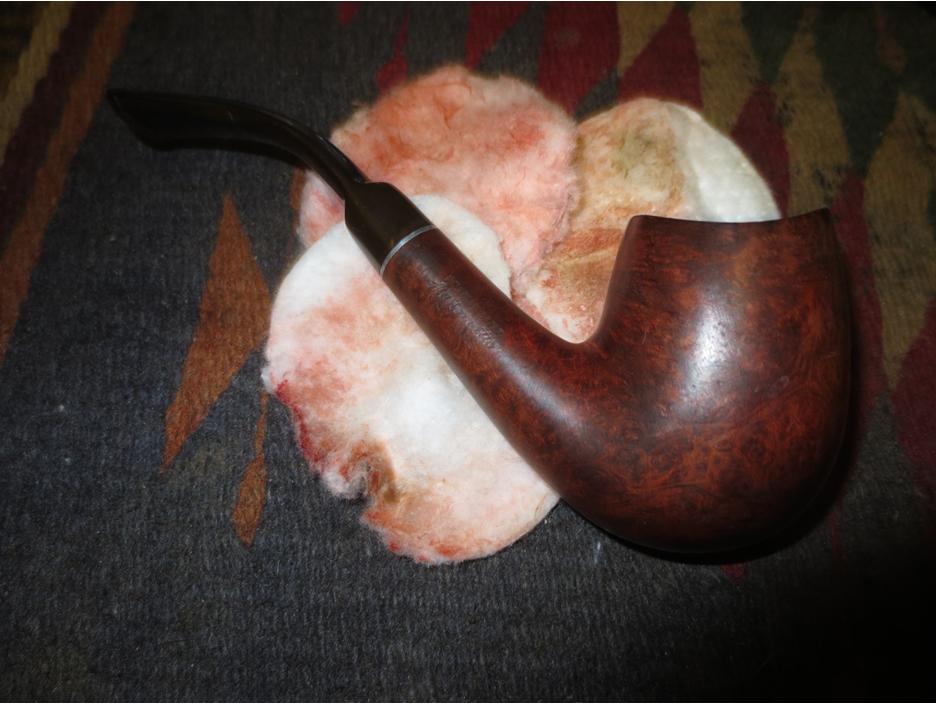
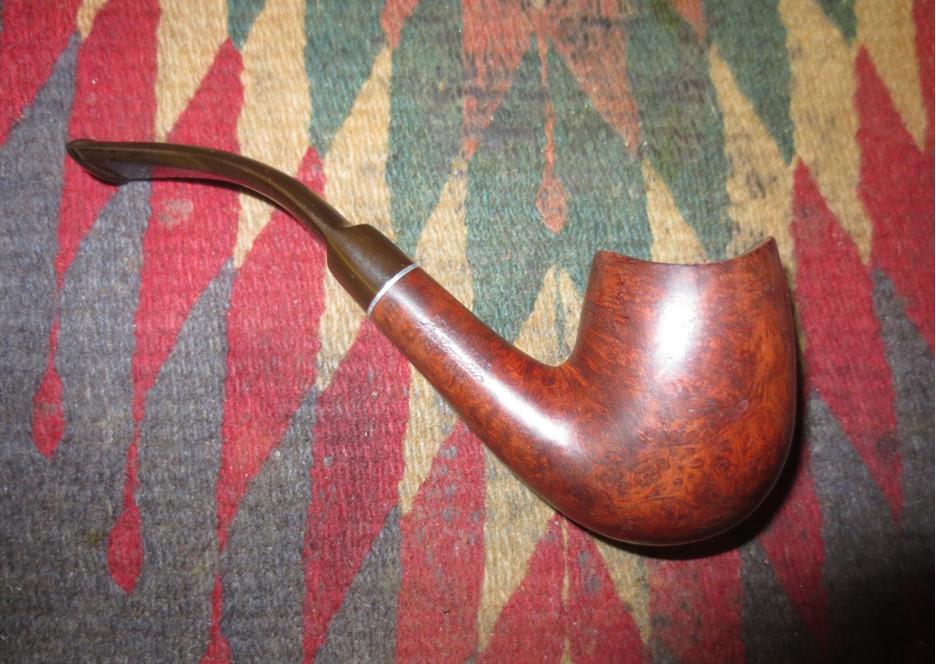
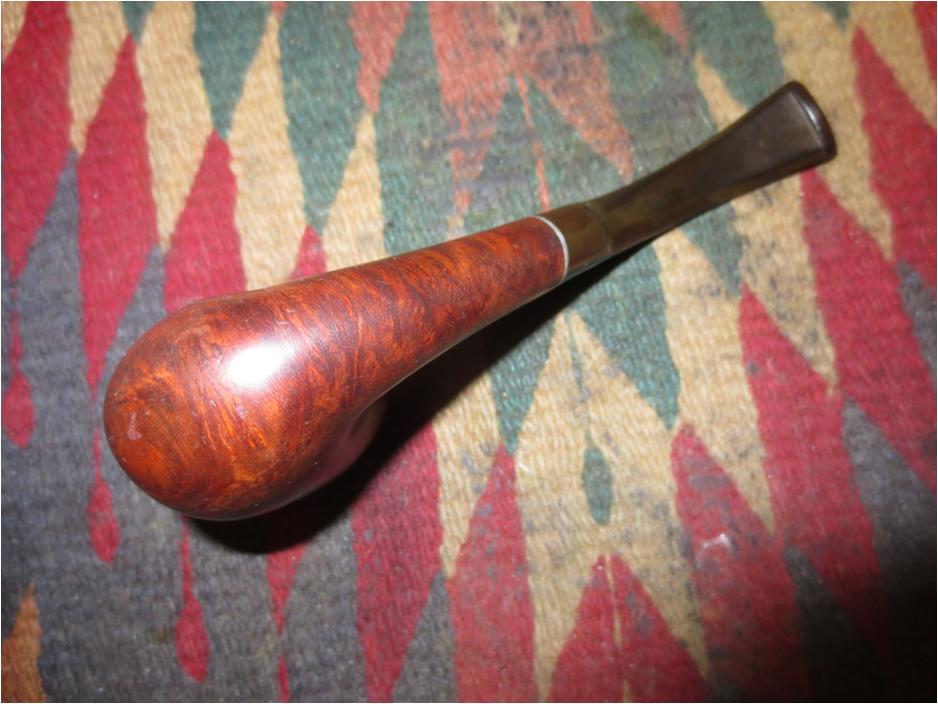
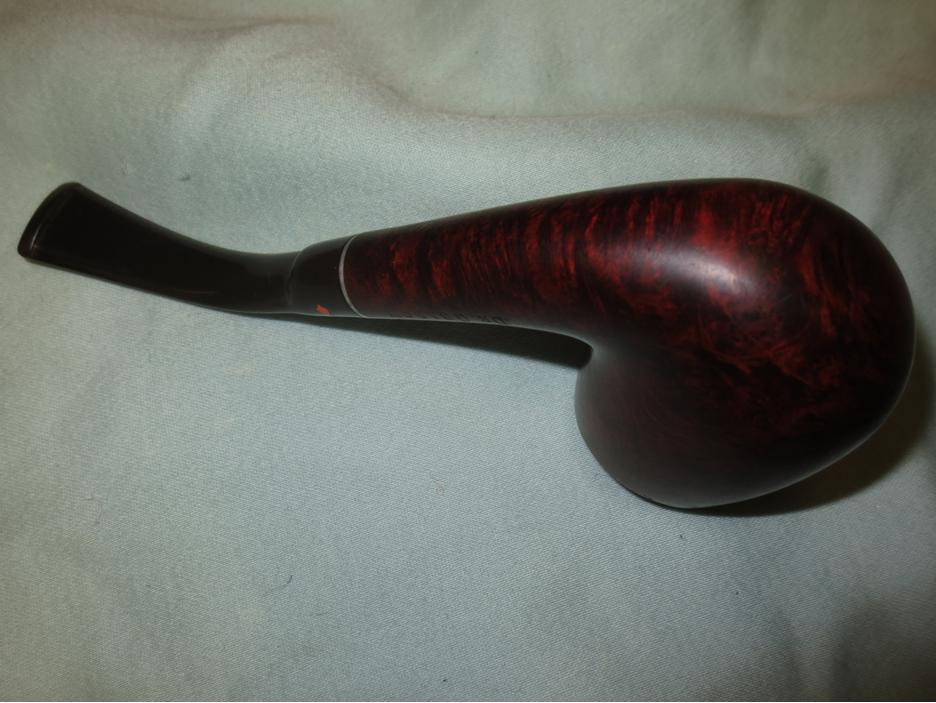
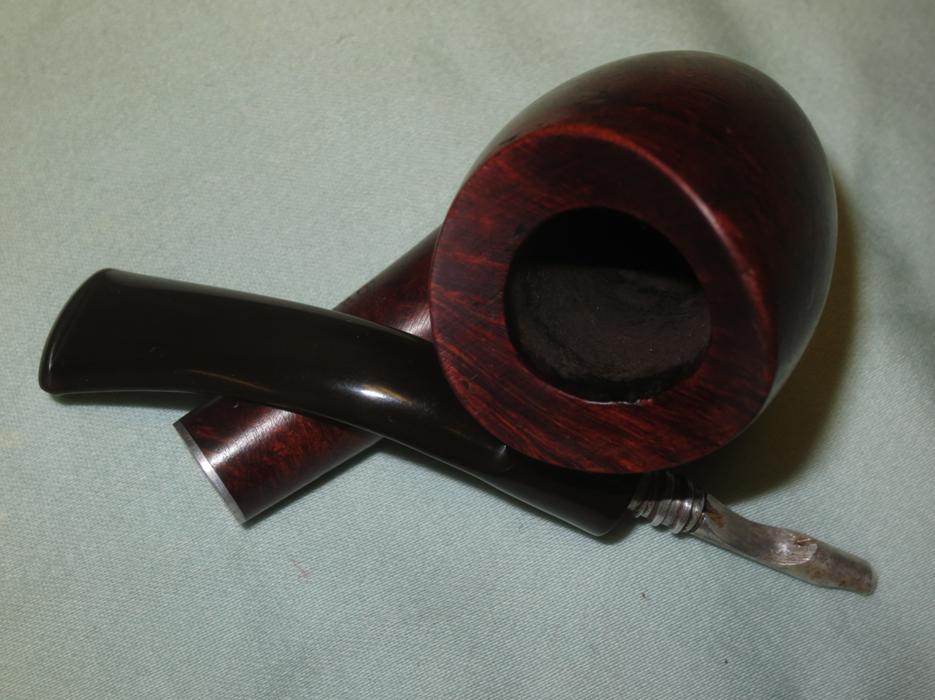
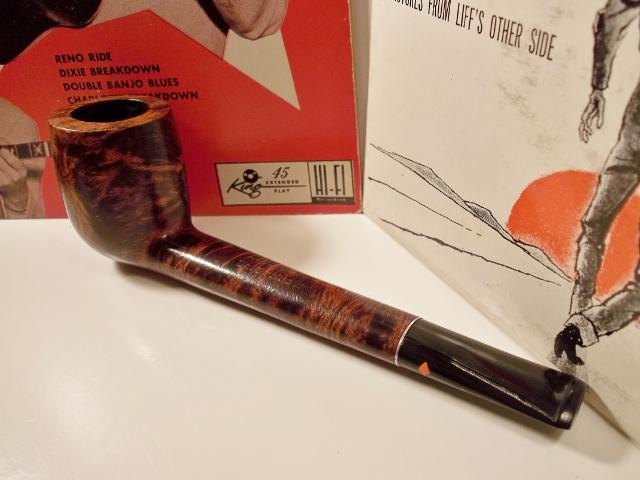
 I hand rubbed the finish once it had been sitting for a short time. The photos below show what the bowl looked like after it had been rubbed down. The grain really stands out now – showing a combination of birdseye and cross grain. I love the look of the briar on this old pipe.
 Once the repair had dried I reshaped the button with needle files. I worked on the slot with needle files. The third photo shows what the slot looked like at this point. I will need to smooth it out but it is looking better.
 I sanded down the file marks and the oxidation on the stem with 220 grit sandpaper. I folded a piece of 220 grit sandpaper and worked on the slot to smooth out the file marks. I sanded the flat end of the button. I cleaned out the airway in the stem with a pipe cleaner and alcohol.
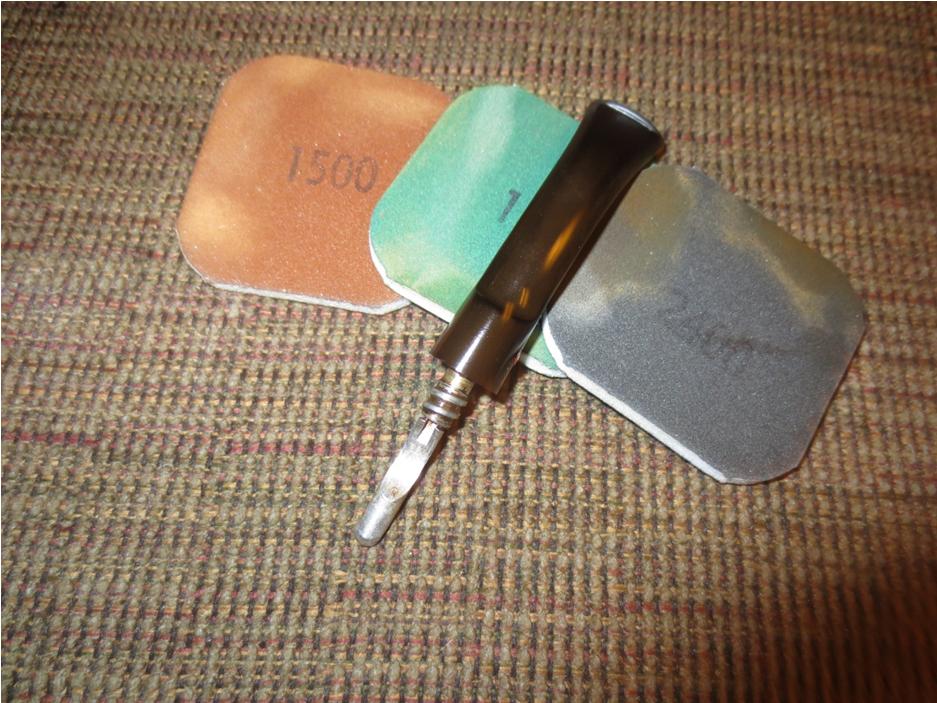
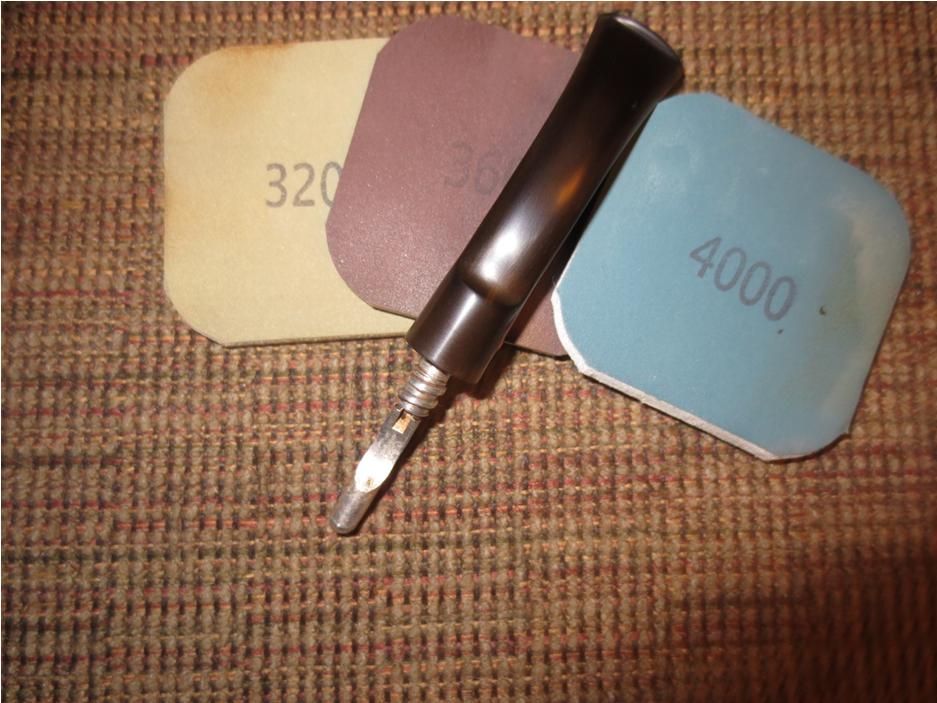
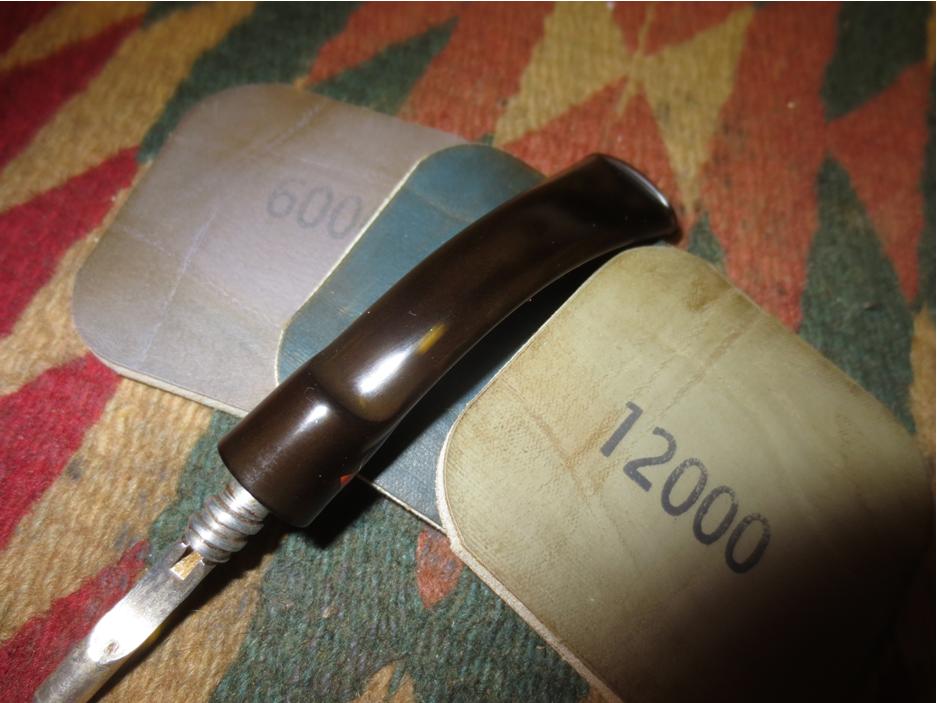
 I polished the stem with micromesh sanding pads – wet sanding with 1500-2400 grit pads and dry sanding with 3200-12000 grit pads. I carefully buffed the stem with red Tripoli between the 2400-3200 grit pads. I finished with the pads. I rubbed the stem down with Obsidian Oil after each set of three pads. I gave it a final rubdown with oil and set it aside to dry.
 After I saw the oxidation still showing in the above photo I buffed the stem again with red Tripoli. I started the sanding process over and sanded the stem with the earlier micromesh sanding pads. I buffed it with Blue Diamond on the buffing pad.
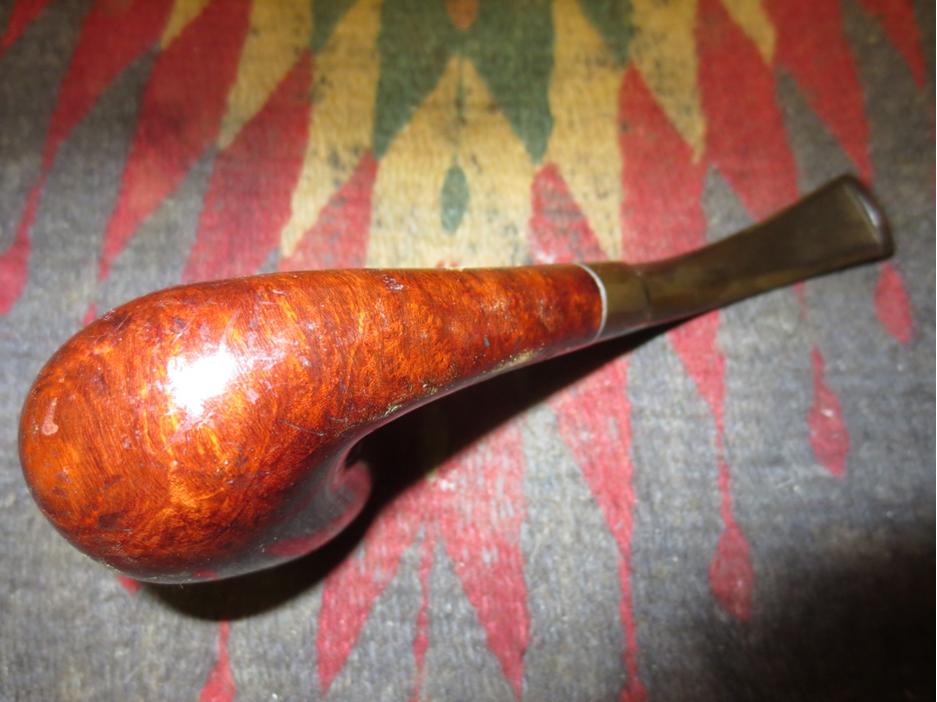
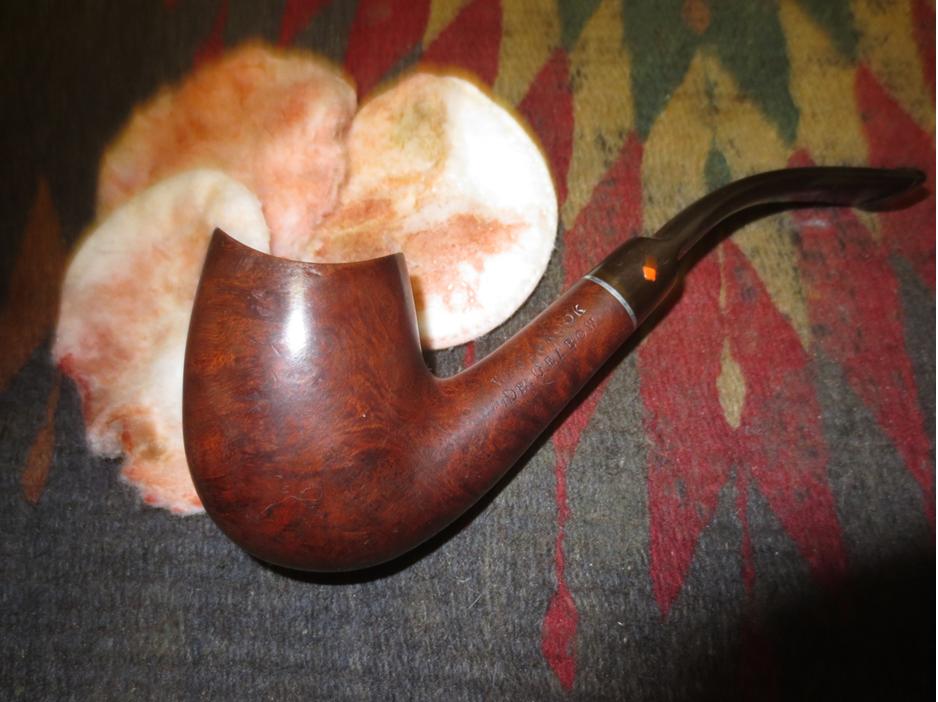
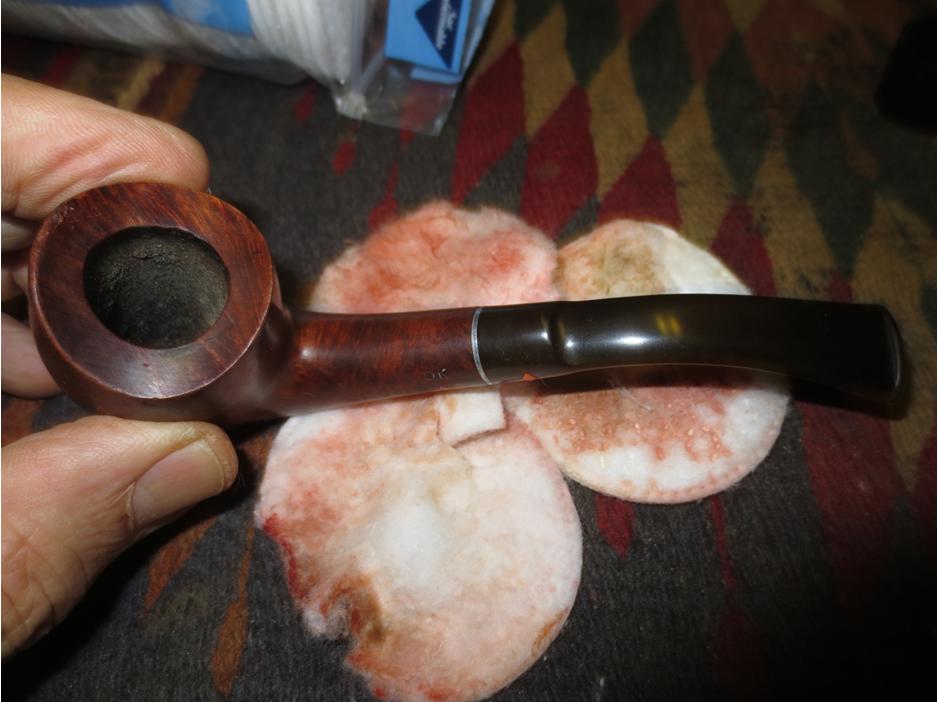
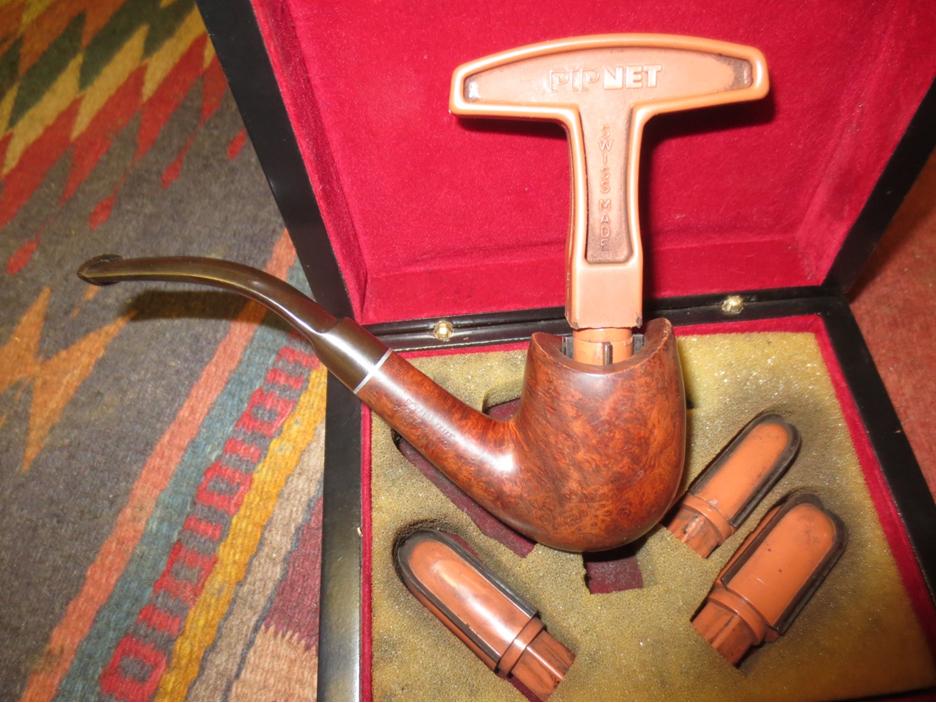
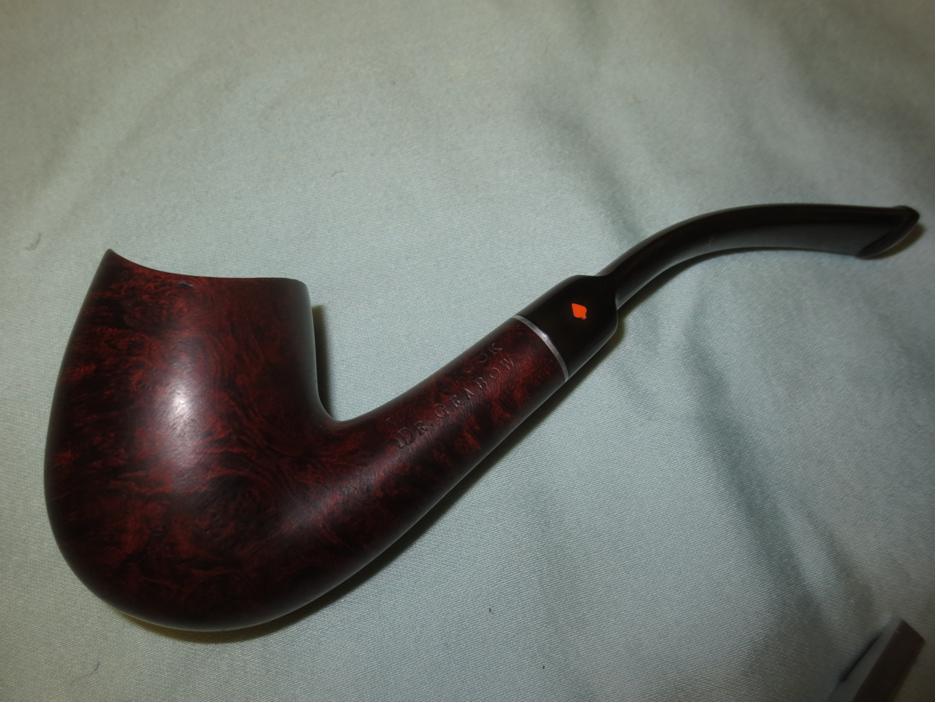
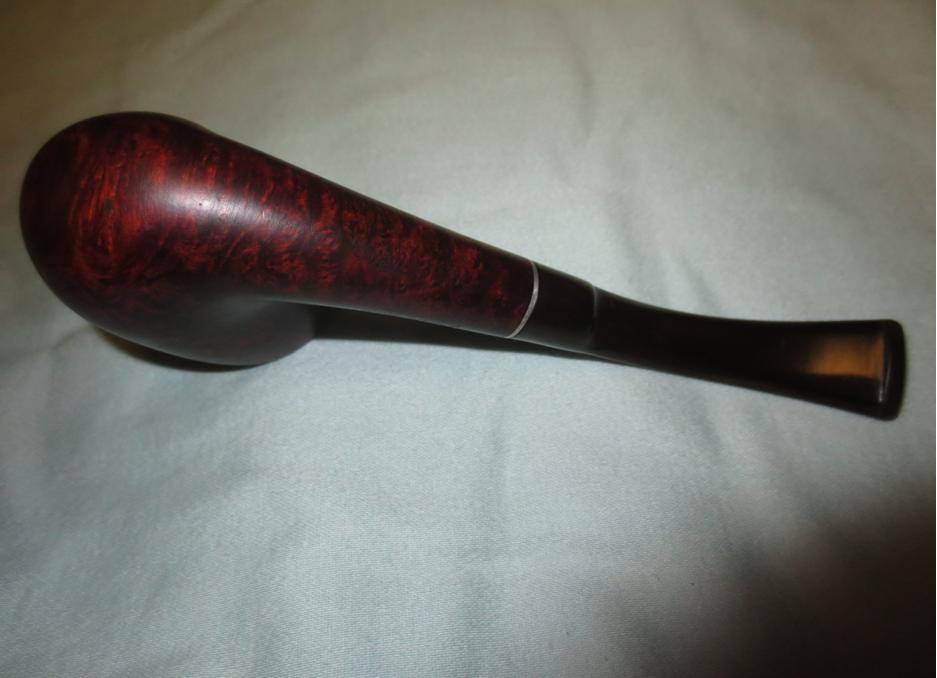
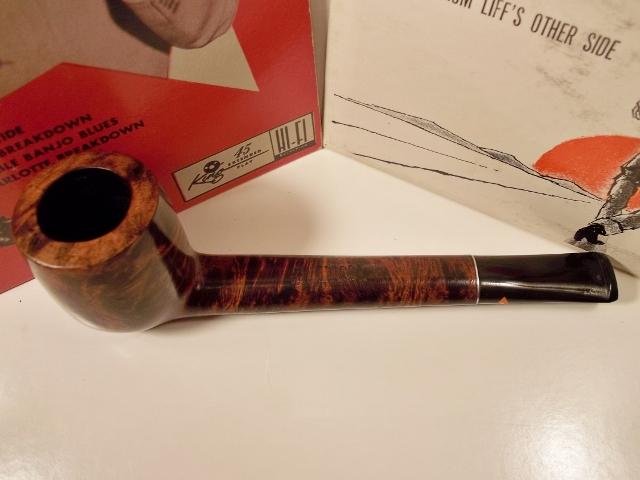
 I worked some more on the stem to get out the hard to remove oxidation. It took time but I think it is gone for the most part. I polished the end of the stem with micromesh sanding pads to smooth out some of the scratches. The stem looks much better. I buffed the bowl and stem with Blue Diamond, carefully avoiding the Dr. Grabow spade logo so as not to damage it. I gave the bowl and stem multiple coats of carnauba wax to protect it. I buffed it with a clean buffing pad to raise the shine and by hand with a microfibre cloth to deepen the shine. I took the following photos of the finished pipe. It is truly a beautiful piece of briar – hard to believe it is a coupon pipe it is such nice wood. The pipe is ready to go back to Dave. Now I have to finish up the second pipe he sent to me. Thanks for looking.


