Tag Archives: articles by Troy Wilburn

Refurbishing a Dr. Grabow Westbrook 84L Smooth Canadian


Blog by Troy Wilburn

I got this pipe in a trade. I was pleasantly surprised when it showed up it was an 84L and not a regular 84. The stampings are crisp. The rim did have some dings so I had to lightly top it and restain it. There are still some very light dings on pipe but I let them go as the factory finish and color was excellent. So I just cleaned and buffed it other than rim. The stem still has some teeth marks I could not get out fully. The old bowl cake came out easy and the shank was not that dirty and I’m glad because these Canadian shanks are a pain to clean lol. It has zero fills too, which on that much briar was a nice surprise. All and all I’m very happy with it.

Here is the pipe when it arrived.West1

West2

West3

West4

West5 I took pics of it after I had finished restoring it with a couple of my favorite 45 EPs .

After: West6

West7

West8

West9

West10

West11

West12

West13

West14

West15

West16

West17

West18

Preserving Two LHS Advertising Pokers


Blog by Troy Wilburn
Troy originally posted this to the Dr. Grabow Collectors Forums. You can read the original post and the responses to his work at the following link: http://drgrabows.myfreeforum.org/sutra129300.php#129300

I picked up both of these rare early 20th Century (I would guess just after WW1 to mid-20’s) LHS pokers made for companies to advertise their services and goods. I imagine few of these survived as they were given away to the public and most likely company employees. They were smoked until they were worn out or broken and then thrown away.

The first poker model is one that I have seen before on an old post from 2010 on Tamp and Puff (http://tampandpuff.com/viewtopic.php?f=9&t=1119). I have drooled over that for a couple of years now hoping to find one and I did . Mine is not as nice as that one but happy to have it just the same. I have not found any more pictures of or posting of another before or since. When this one came on EBay I knew I had to have it. Luckily there wasn’t much interest because of the way the seller posted it.

The first poker is marked Warner Sand Gravel Lime Products Est 1794. The shank is stamped Italian Briar (mine is double stamped) with LHS logo.LHS1

LHS2 More pics of the pipe as it arrived to me. Worst condition problems of pipe were bad tooth marks on the stem and shank’s stampings are worn. It was also really greasy and dirty but not caked up and in otherwise good shape with no major damage.LHS3

LHS4 It’s missing its unique stinger that luckily was still in the other poker I acquired. With the rarity of the pipe I decided to preserve what I had and do little more than just a good cleaning. The pipe really had a lot of grime and greasy feel. I gave it a good cleaning inside and out and removed most of the rim scorching with Oxy Clean and Scotch Brite pad. It could have used a slight topping but I decided not to as I’m preserving the pipe not restoring it. Plus I was afraid it would mess up the symmetry of the pipe rim design. I also gave the rest of the bowl several scrubbings with mild detergent and a soft bristle tooth brush. Wiping it down after with paper towels till the paper towels wiped clean afterwards.LHS5

LHS6 I gave the stem a good scrubbing as well Oxy Clean and water as I dipped the end of the tenon in alcohol to test it and it acted like it would melt the rubber. After cleaning I dipped the button end of stem in very hot water to raise the tooth marks best I could. I then filed the stem to get rid of almost all the tooth marks without compromising the structure of it.LHS7 After wet sanding stem to sand out file marks I sanded rim and stem with 2500 grit and mineral oil and wiped rest of pipe down with mineral oil as well.LHS8 After some light buffing and wax.LHS9

LHS10

LHS11

LHS12

LHS13

LHS14

LHS15 The second Poker is marked Bird Archer Co. NY. It’s a company that sold chemicals that was used in water for steam locomotives. They were in business from around start of 20th century till end of WW2. Shank stamped same as other – Italian Briar over LHS logo.LHS16

LHS17

LHS18 This one has the unique stinger. I can tell you it made cleaning the shank and stem a breeze as most all the tar was in the stinger. It runs from the bottom of the bowl to about center of the stem.LHS19 The pipe pretty much got the same cleaning treatment as the above pipe with less work on the stem as there were not bad tooth marks. When I buffed the pipe I did not use the buffer on the embossed stampings but instead hand buffed to avoid causing any damage to them.LHS20 Finished Bird Archer pipe.LHS21

LHS22

LHS23

LHS24

LHS25

LHS26

LHS27

LHS28 I had been looking for an all original LHS poker for a long time and to find both of these original ones at once was very lucky.

Doing an interior shank repair and restemming a KBB Yello Bole Lovat


Blog by Troy Wilburn

I got this pipe from a member of Dr. Grabows Collector Forum, John McP. He hails from across the pond in Scotland. He had contacted me about a old KBB Yello Bole pipe that he had picked up that did not have a stem and wanted to know a little about it and what kind of stem it originally had. He also informed me it had an old repair of a cracked shank.

It is stamped 2079 and had the “Honey Cured Briar” under the KBB Yello Bole, which made it a pre 1936 model. I then checked my Kaywoodie charts. It’s a large bowl, long shank Lovat saddle bit. Even though the KW shape charts call it a Canadian I don’t think so because of its round shank. I’ll never consider a round shank as a Canadian.K1 I informed him that it was a nice pipe and should be a good smoker once cleaned up and a replacement stem found. Unfortunately for John the old repair was not a good one and it had made the shank weak. When John tried to fit some stems to it, a piece broke out of the shank. He asked me if I wanted it free of charge as he did not want to tackle repairing the pipe.

The pipe as John showed me before he sent it.K2 I agreed that I would see what I could do with it. Well after over a month in the mail it finally arrived and I got a good look at it and found a donor saddle bit from another Yello Bole.K3

K4 The bowl had some black scorch marks from smoking hot.K5 I was going to get this pipe blasted after repairs to help hide them and cover some dark burn marks on the bowl. After much thought I decided to restore it close as factory as I could. The possible history of this pipe was just too good to alter it. In the short time of my possession of this pipe it had already been half way around the globe. That’s just a fraction of the long life that this pipe has had over it’s at least 80-year-old life. Maybe it was taken over by an allied soldier and left behind as a gift of friendship? Maybe it was carried by an OSS agent behind German lines during the war? Maybe not but its fun to think of the possibilities.

So all the sand pits and small fills were left as is and not covered or filled. After all it’s a Yello Bole if it did not have these imperfections it would have been a Kaywoodie. The old war horse has some scars from repairs and wear. The stamping’s are quite worn but it’s a pipe someone had thought enough of to repair it once before. Hopefully it has many more years left in it.

I decided to do an inner band like Steve did on a YB I sent him for repair. I found an old metal tenon from a Grabow filter stem I had.K6 I filed out the inner shank and broken shank piece to clean up and to give the glue something to grab too.K7 After grinding the metal tenon to fit inside the shank. I cleaned up the shank and broken piece with some 91% alcohol and marked the best way it fit with a black sharpie so I know where to place it when glued.K8 I mixed up some two part epoxy and then set the inner band in the shank.K9 After it set up I got ready for the broken piece and cleaned off the Sharpie from the metal band to ensure a good bond. I put two part epoxy on the metal band then super glue on the briar edges and set the broken piece. Then I applied briar dust before the glue set. I had to work fast so no pics during this process, only before and after.K10

K11

K12 I then sanded the repairs; the old repair had a bad high spot and took some filing.K13 I had to build up the bottom from making the old repair flush again. It was a bit lower than the stem.K14 I then filed the stem to match the shank.K15 After cleaning out the shank and bowl I noticed that all the old YB coating was gone from wear or scraped out over time. I decided to remove all the cake and address this later.K16 I then stripped off the old finish with warm water and Oxy Clean bath. I did some light scrubbing with a toothbrush and a Scotch Brite pad used on the stubborn spots. I then wet sanded repairs and bowl with various grits of wet dry paper from 600 – 2500.K17 After this I wiped the pipe several times with household bleach to lighten the dark spots and repairs so it would be harder to spot with the dye.K18 After bleach bath the pipe is ready for dye.K19 I then mixed up some dye close to original stain but slightly darker to help cover the repairs and black marks. I applied three coats.K20 Pipe dry and ready for some base wax.K21 After applying three coats of wax to lock in the dye I mixed up some homemade Yello Bole bowl coating.K22 I applied the bowl coating and found a Yello Bole paper cover from a NOS pipe I have. The cover is from an Imperial but I thought it would look nice for the pictures.K23

K24 After several more coats of wax the pipe is done. First off the repairs are not perfect and I wish I could have gotten a tighter fit with the stem. This was my first inner banding so I didn’t get the band quite as square as I should have making the stem fitting a bit difficult .The more I tried to get a tight fit the more gap I would get on one side, so I settled for a uniform gap. I’ll know better next time and should get a better fit. Here are some pics of the finished repairs.

As Steve pointed out to me on the Dr. Grabow Collectors Forum, if you flare the tube it will make it fit more squarely. I think showing your mistakes is as important as showing your successes for the next person trying to do a similar repair. So if you are doing an inner band repair soon I suggest you flare the end before you set it with epoxy.K25

K26

K27

K28 I did manage to save what little of the stamping’s were left.K29

K30 Pictures of whole completed pipe K31

K32

K33

K34

K35

K36

K37

K38

K39

K40

K41 Even though this was a tough and time consuming refurbish it was quite fun and wish to thank John for sending me this old soldier to be used and enjoyed again.

Restoring a Monster KBB Yello Bole Imperial Rusticated Billiard


Blog by Troy Wilburn

I picked up this huge pipe from a friend of mine on the Dr. Grabow Collectors Forum. This pipe isn’t a magnum it’s a howitzer! It is 7 ½ inches long and has an almost 2 ½ inch tall bowl. The pipe was nice but had some issues. The top of the rim and the inner edge had been hacked up. The stem also has some heavy nicks and dings in it. It was really clean though and I had very little to do as far as getting the inside clean.

Here are some photos of the pipe before I worked on it.Troy1

Troy2

Troy3

Troy4 As I stated above the top of the rim and the inner edge were badly hacked.Troy5 I began by working on the rim. I topped it and made a large concave inner rim. I don’t know if it came like this from the factory or not but it has one now. I took it down with 80 grit sandpaper and then a lot of sanding with 120 grit sandpaper.Troy6

Troy7 After I had finished rough shaping the rim I did LOTS and LOTS more sanding from 400 grit sandpaper all the way up to 2000 grit sandpaper. I used mineral oil as a lubricant for the sandpaper and also to bring out the colour of the natural wood. Troy8

Troy9

Troy10 I soaked the stem in alcohol and then scrubbed it with a green scouring pad. I cleaned it out with pipe cleaners.Troy11 The stem had several tooth marks and gouges on the top and the bottom side next to the button.Troy12

Troy13 I filed out the tooth marks and reshaped the button.Troy14 Here is a little trick that some of you may know, but I came up with it in working on the last few pipes. I thought I would share it here. After filing the stem I take a lighter and work the flame back and forth across the file marks. The heat from the lighter helps to blend in the file marks and makes it easier to sand them out.

Here is a photo of the stem before I used the lighter.Troy15 Here is a photo of the stem after using the lighter.Troy16 I buffed the rim with Brown Tripoli a few times to get rid of the fine sanding marks. I could not get the pads into the concave inner rim so I waxed it by hand with paste wax several times.Troy17 With the initial sanding and cleaning of the stem done, I still had a lot more sanding to do. There were lots of scratches and dings in it. I began sanding with 400 grit sandpaper and worked my way up to 2500 grit sandpaper.Troy18 I put the stem back on the bowl and got it ready for the final buffing and waxing.Troy19 Here are photos of the pipe after it had been buffed and polished.Troy20

Troy21

Troy22

Troy23

Troy24

Troy25

Troy26

Troy27

Troy28

Troy29

Troy30

Troy31 To give an idea of the size of this pipe and put it in perspective here is a photo of it next to a Yello Bole Hand Made Poker I have. As most of you would know, a Hand Made is not a small pipe by any means. This billiard almost dwarfs it.Troy32

Masking Fills in Briar Using Acrylic Paint


Blog by Troy Wilburn & Steve Laug

One of the things I love about rebornpipes is that I learn something not only in the refurbishing of the pipes that I do but also in the work of others who contribute here. I am always looking for innovative and untried by me ways to address issues in the pipes we refurbish.While reading Troy’s latest blog on refurbishing the Dr. Grabow Belvedere Apple there was one particular part of it that I wanted to highlight. Most of the steps he takes many of us use when working on estate pipes. But there was one step that was new to me – a different way in which he deals with fills to blend them or mask them into the finish of the pipe. I have found that for me when something like this is included in the ongoing text of a refurb it is easy to lose sight of and it is forgotten. I have never tried his method of masking the fills on the pipe using acrylic paint. I thought I would pull out the process he enumerated from his post and use his photos to show the step by step process that he employed. I wrote and asked Troy if I could do this and he gave his permission. With that all taken care of here is the process. The majority of the text is from Troy’s blog. I have added my comments to his or put them in parentheses following the text.

1. The fills are present in the pipe in hand and they are truly eyesores. I generally pick them out and refill them with my own dark mix or the pipe gets rusticated. But that is not Troy’s tact. He cleaned the surface of the bowl with isopropyl alcohol.Troy2

Troy3 2. The next steps are taken from his own description of the process in the original blog. Mineral oil is applied to highlight the damage to the bowl and the fills for examination.Troy7 3. I then took some acrylic paint from Walmart and mixed up a color that would help blend the fills in somewhat.Troy14

Troy15 4. I applied the blended paint to the fills using a small brush.Troy16
5. Once all the fills were covered by the paint I set the pipe on the heater for drying.

6. After the paint had dried I wet sanded the pipe again with mineral oil and 2500 grit sandpaper to blend out the paint. I sanded the paint very lightly though, as it does not take much to smooth it out. (In the photo below you can see lightly sanded fills. There were a lot of them on this bowl.)Troy18 7. I applied a couple of coats of wax to the bowl and shank and after that the fills don’t look too bad.Troy19 8. I buffed the finished pipe and though the fills are still present they are well blended into the surface of the bowl and shank. (The photos below show different views of the bowl and shank that match those shown above where the fills were very obvious.)Troy21

Troy23

Troy27

Troy28

Troy29

New Life for a Dr. Grabow Belvedere Apple


Blog by Troy Wilburn

I got this pipe from a friend on Facebook. He buys lots and sells pipes out of them. He sent me a message and said he had a decent Dr. Grabow Belvedere for $2.50 + $2.50 shipping. He stated it would clean up pretty good. I’ve known him for a while and have purchased a few pipes from him. I trust his judgment, so I told him to ship it to me. I didn’t even ask what shape number it was or finish. Heck for 5 bucks a good stem is worth that. That’s cheaper than a pack of smokes nowadays.

The next group of photos shows what the pipe was like when I got it. It has several fills and the back of rim is banged up. On a good note there are no cracks or such and the stem was in fine shape. It’s not the prettiest looking pipe, but it will make a fine smoker. With all the fills this will be a work horse pipe – a pipe I can keep in a tackle box, tool box, RV /camper, pickup truck glove box or just a for beating around outside when doing work. Because of the rook stinger this makes it an early Belvedere from around mid 1950’s.Troy1

Troy2

Troy3

Troy4

Troy5 I took the bowl and gave it a good cleaning with Oxy Clean, a Scotch Brite pad and warm water. After that I cleaned out cake and shank with isopropyl alcohol.Troy6 I wiped down the bowl with mineral oil to get a good look at the damage.Troy7 Starting with 400 grit sandpaper I worked over the major damage on the bowl and slowly working it out with 600, 800, 1000, 1200, 2000 grit sandpaper. Then I used 2500 grit sandpaper over the whole pipe. I used mineral oil as a lubricant for the wet/dry paper instead of water.Troy8

Troy9

Troy10

Troy11 I set the pipe on a space heater to dry the oil out so I could work on the fills.Troy12 I scrubbed and cleaned the stem inside and out after a soak in isopropyl and then Oxy Clean. The stem wasn’t that bad. After using a shank brush on it I found that it only needed a few cleaners.Troy13 I then took some paint and mixed up a color that would help blend the fills in somewhat. It was just plain old acrylic paint from Walmart.Troy14

Troy15 I applied it on fills of course using a small brush.Troy16 I then set the pipe back on heater for drying. While it was drying I wet sanded stem with 400 grit sandpaper on up to 2500 grit sandpaper, just like I had done with the bowl. I also cleaned the stinger and male threads with steel wool.Troy17 After bowl dried I wet sanded the pipe again with mineral oil and 2500 grit sandpaper to blend out the paint. I sanded very lightly though, as it does not take much.Troy18 The fills don’t look too bad after a couple of coats of wax.Troy19 Here are some photos of the completed pipe.Troy20

Troy21

Troy22

Troy23

Troy24

Troy25

Troy26

Troy27

Troy28

Troy29

Troy30

Troy31 For a few bucks a little time and elbow grease I got me a fine daily smoker and work pipe that will last a long time and smoke great.

Ready for those “honey do” projects.Troy32

A Kaywoodie Supergrain 5102 Poker Clean Up


Blog by Troy Wilburn

I got this pipe in a lot of pipes I received from a friend on Facebook. It’s a pre 1936 four digit (5102) stamped poker with the 4 hole stinger. It was in terrific shape, so being at least 78 years old I wanted to keep it as original as possible. I basically just gave it a good cleaning with little else needed.

Here is the pipe before:KW1

KW2

KW3 I scraped out old cake (which there wasn’t much of) and gave the shank a good cleaning. I cleaned off all the old grime with a cotton ball and a small amount of Oxy Clean mixed with warm water. I cleaned the rim with isopropyl alcohol on a cotton swab followed by scrubbing it with oxy/water with a Scotch Brite pad. Mineral oil will bring the color back out.KW4

KW5 I soaked the stem and stinger in isopropyl alcohol for about 45 minutes to loosen up the stuff on the stinger.KW6 I cleaned stinger and inside stem with steel wool and isopropyl alcohol. Once finished with the scrubbing it was ready for wet sanding.KW7

KW8 I had to file out some very minor tooth marks on the top and bottom of the stem next to the button.KW9 With the bowl cleaned and stem wet sanded I put the pipe back together for inspection.KW10 I wiped down the pipe and stem with mineral oil to condition wood, bring color back out and then did some final inspecting before buffing.KW11 Once the oil absorbed into the wood and vulcanite it was ready for a little buffing.

Here is what the pipe looked like after I was finished.KW12

KW13

KW14

KW15

KW16

KW17

KW18

KW19

KW20

KW21

KW22

KW23

KW24

The use of Rit Dye to stain pipes


Blog by Troy Wilburn

imagesYesterday I sent an email to Troy about his use of Rit Dye to stain pipes. I have been reading and enjoying his blogs on the various restorations he has done here on rebornpipes and from reading them had some questions about his use of the dye. I have had questions for a while now about water based stains in general so I looked forward to his reply. His response was very helpful and gave me the information I wanted to know. I have included my email that started the conversation before Troy’s response.

Hey Troy,
Hope the morning is going well for you. I have been thinking about your Rit dye stain. I have a couple of questions for you.
1. Does the dye swell the grain being water based? I wonder if you could mix it with Isopropyl alcohol like the aniline stains that come in powder form and mix with alcohol.
2. What is the durability? When you heat it does the stain come off on your hands? Over time does it come off with use?

Thanks
Steve
Rit2 
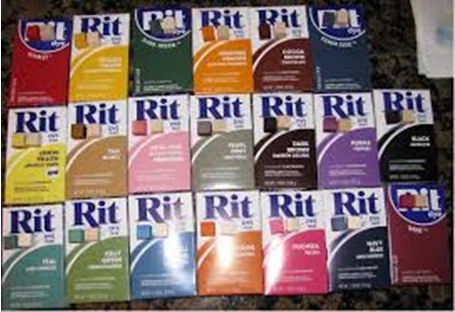
Here is Troy’s response:

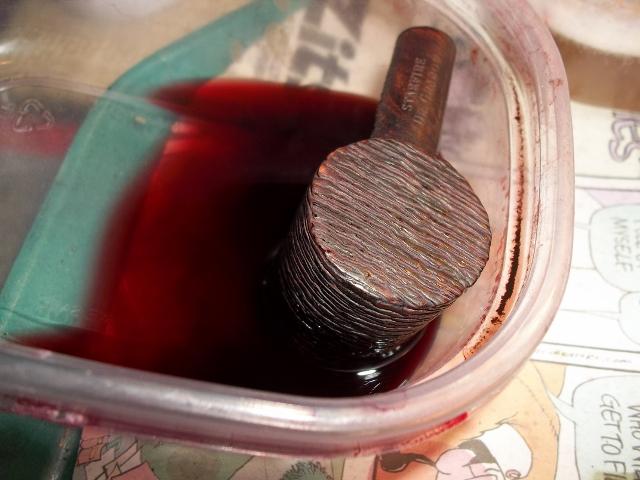
The dye does not mix with alcohol well from my experience.

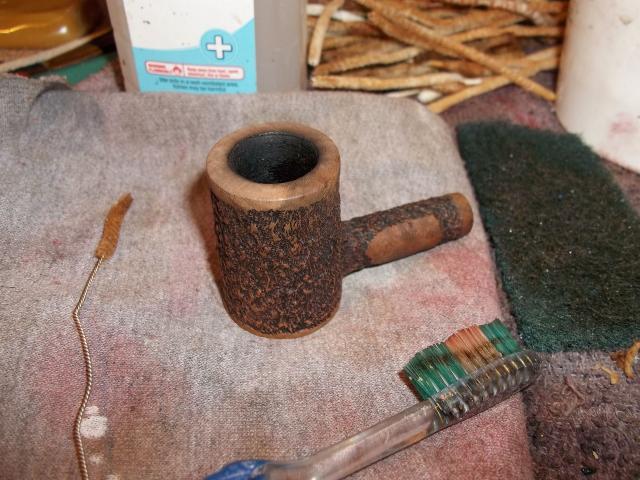
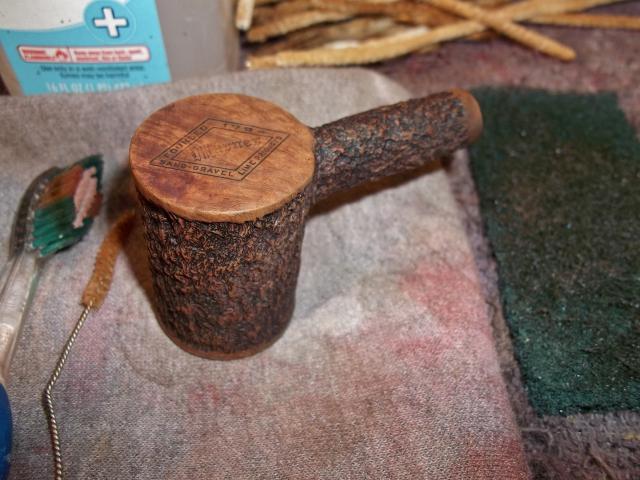
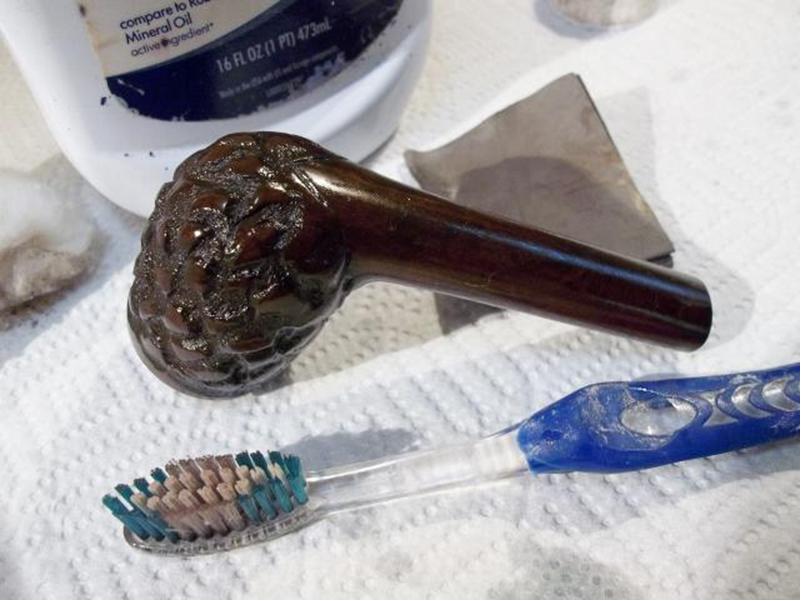
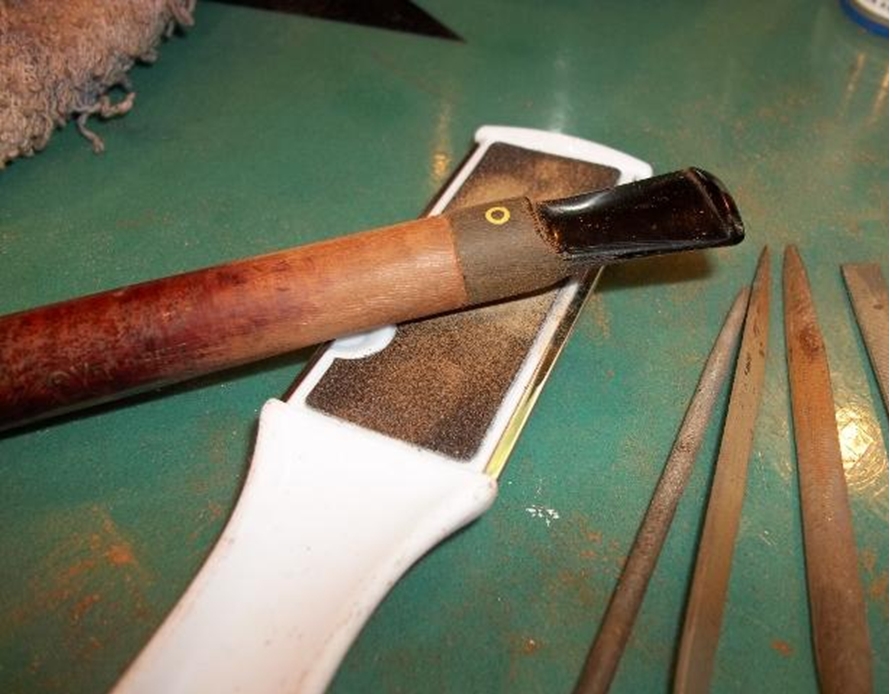
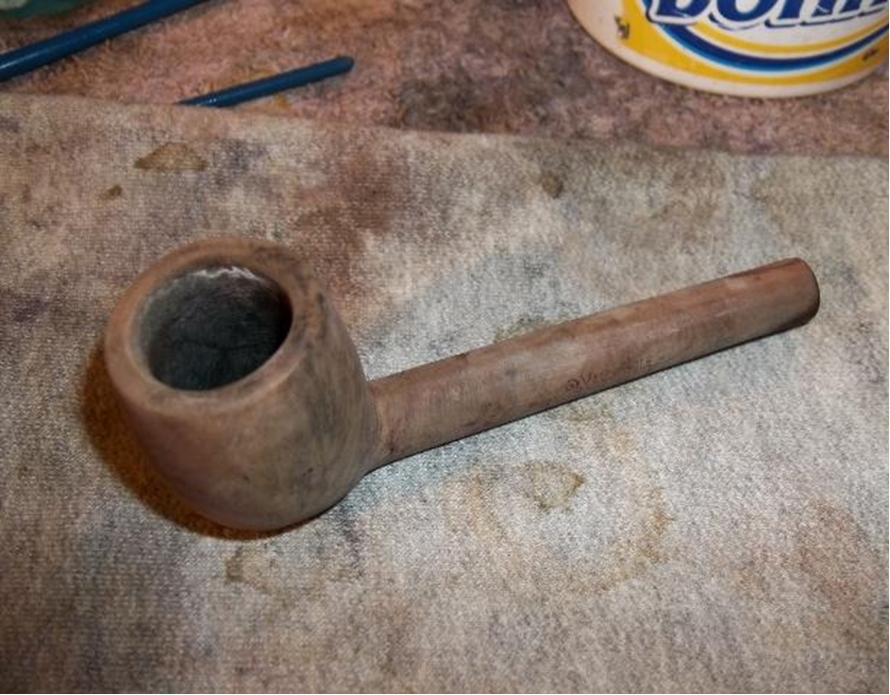
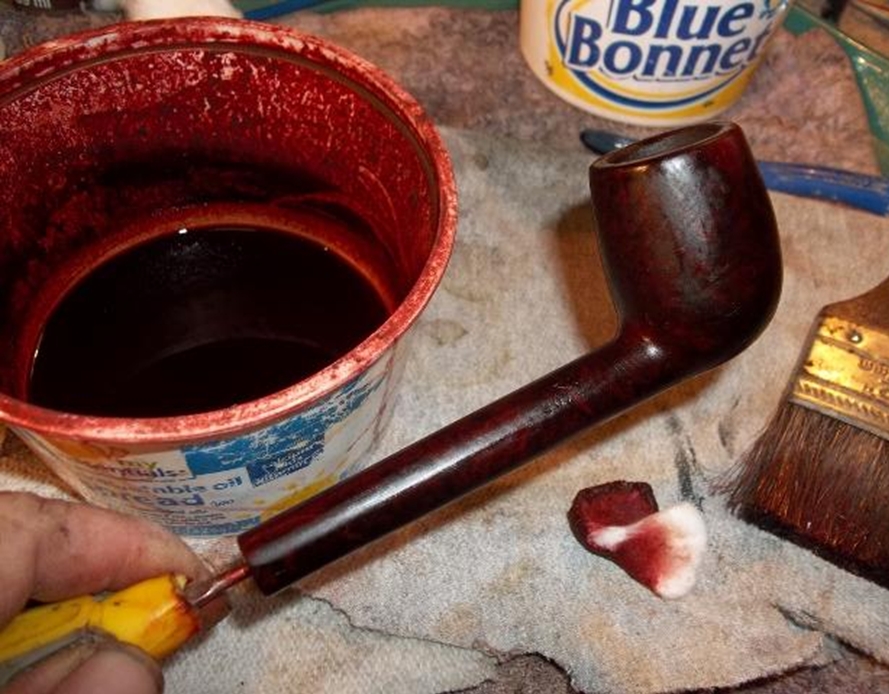
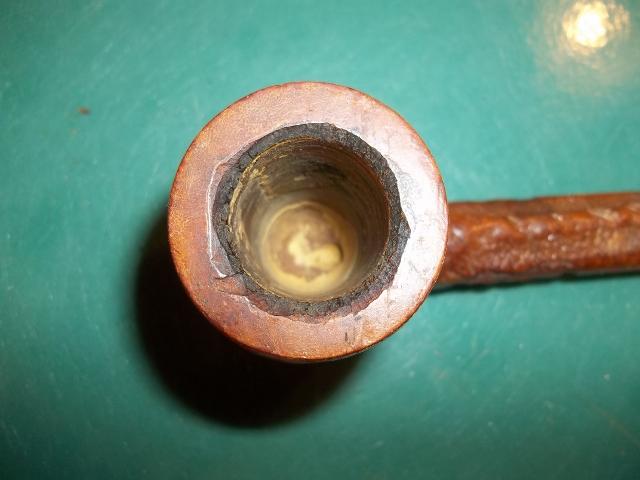
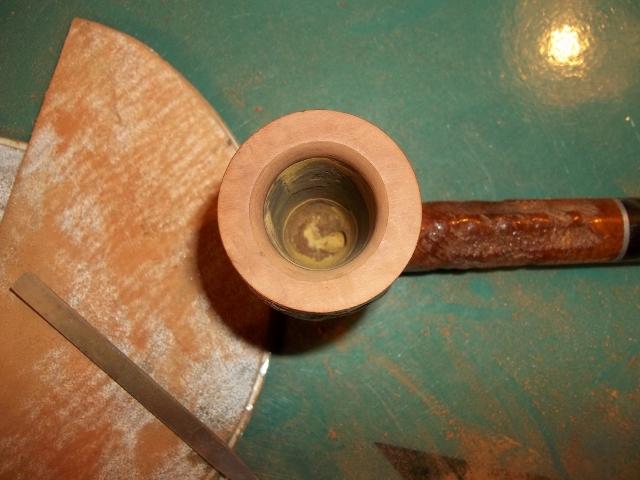
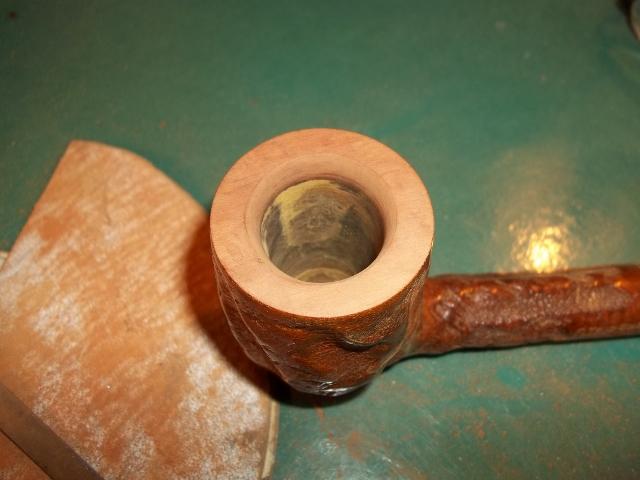
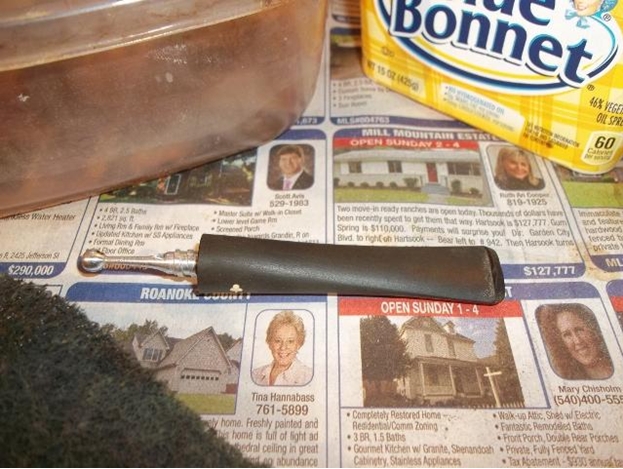
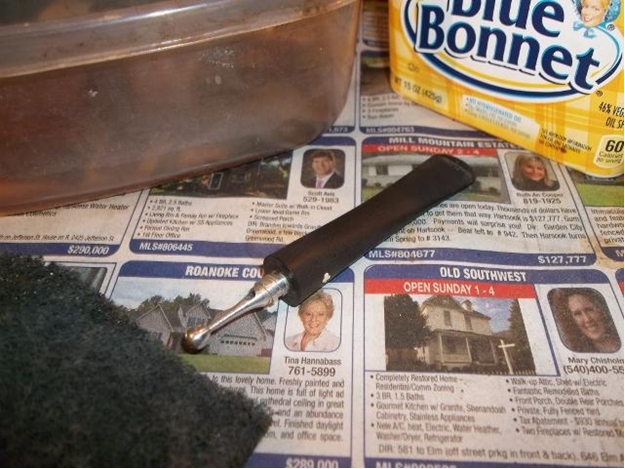
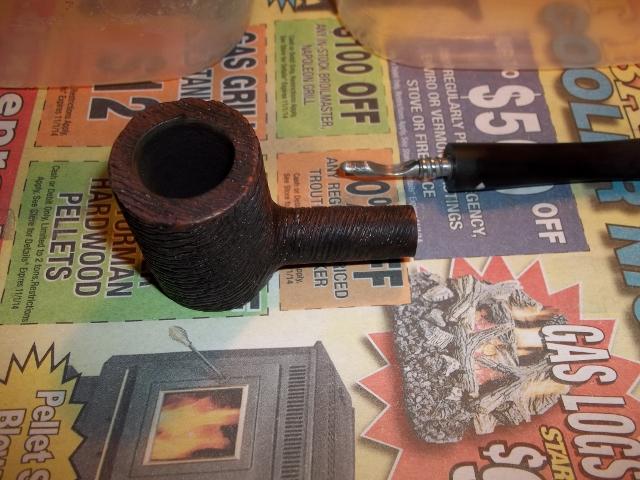
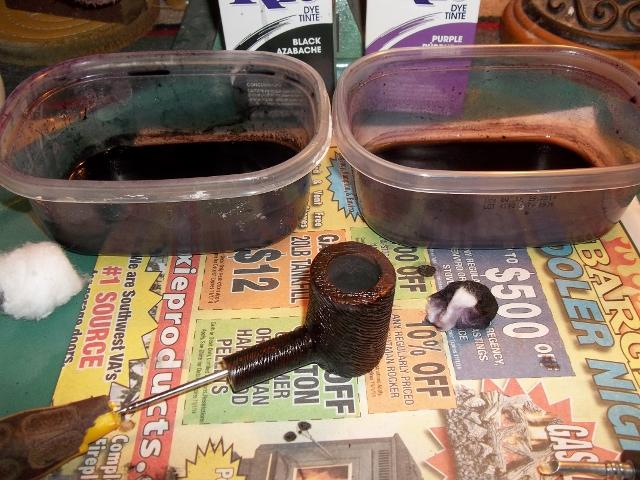
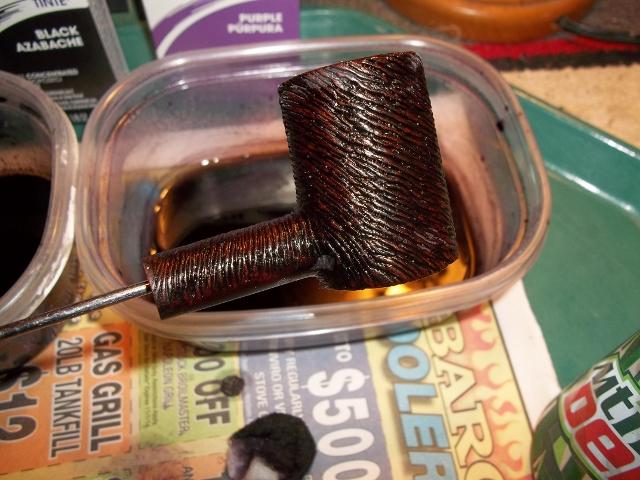
The mixture does raise the grain some but not as much as you think. That is one reason I rub the pipe down with mineral oil after drying. It seems to knock down the raised grain. I usually use a cotton ball with oil. If it’s a rusticated or blasted pipe after wiping with oil I take a tooth brush and gently spread the oil in recesses.

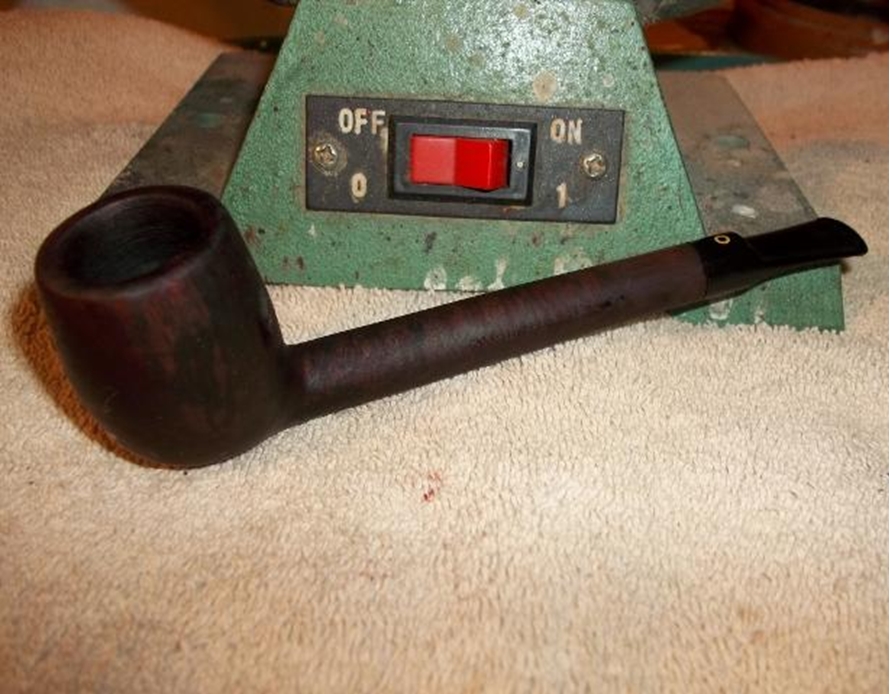
Some dye will be lifted in doing this and in the first time you apply wax with a wheel, so I tend to make it a little darker as it will lighten up slightly. When I apply the first base wax I do it very lightly as I just want to use it as a sealer.

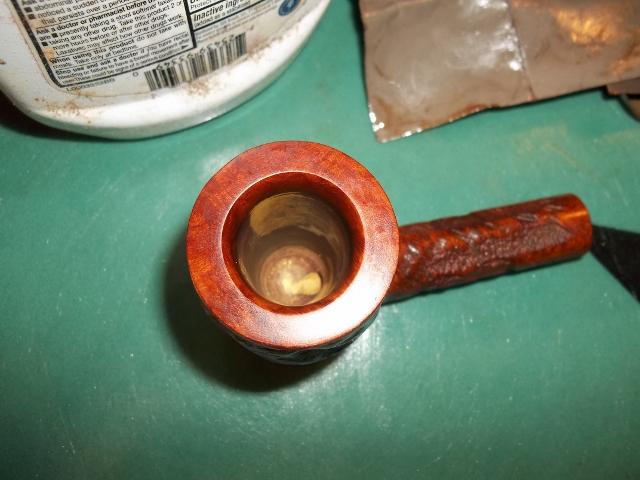
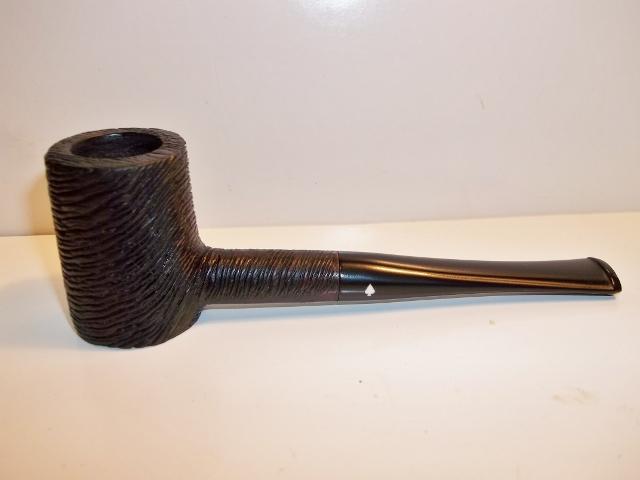
As far as durability I have had no problems using this and all the pipes I have done have held up well to constant smoking.

If I want to do a light stain I simply wipe on and wipe off. I repeat this process if I want to add just a slightly darker coat. If I want to do a very dark stain or a dark base I wipe the mixture on heavy and use a small paint brush and brush the stain after applying it with a rag or cotton ball.

I used to do be employed as a wood finisher for a custom cabinet furniture company in Florida, so I have some experience in water based stains and mixing my own colors. One reason I chose to try and use fabric dyes is basically they are water based stains and can be found easily and they are cheap to buy.
I have used alcohol based stains before also but prefer water based as they are more forgiving and easier to manipulate if you want to lighten or darken. They are also easier to tint over.

Getting the Rit dye to mix well and figuring out the right amount to use does take a little time but can be mastered by trial and error rather quickly. The hotter the water the better and use small amounts until you get the right consistency and the depth of color you are looking for.

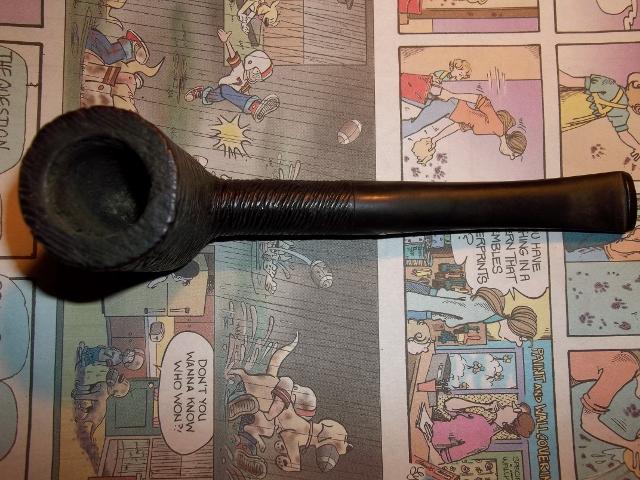
If you are interested in trying out the Rit dye I suggest messing around with some old trashed bowls and judge for yourself if it is something that you would like to use. Just because I like it and works for me you may not like it.

I think for someone who has used a lot of alcohol based stains and is comfortable with them this may not be their cup of tea.

As I stated before I’m more comfortable with water based stains and used to mixing my own colors.

Hope this helps in your questions and feel free to ask anymore anytime.

Troy

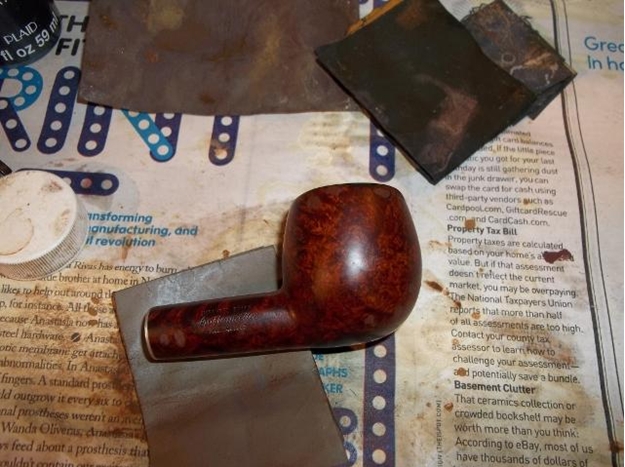
I thought I would include some of the colours that are available for Rit dye. The chart below gives just a few of them and the combinations that can be made are many. – Steve
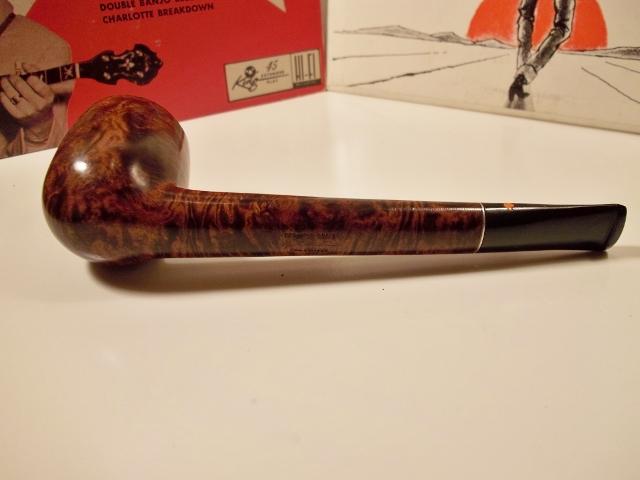
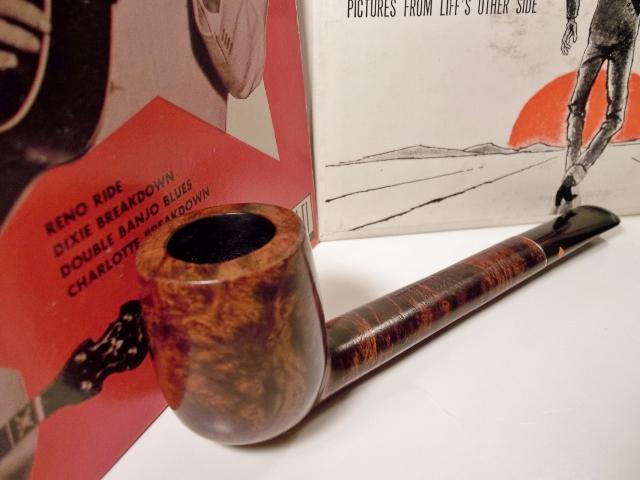
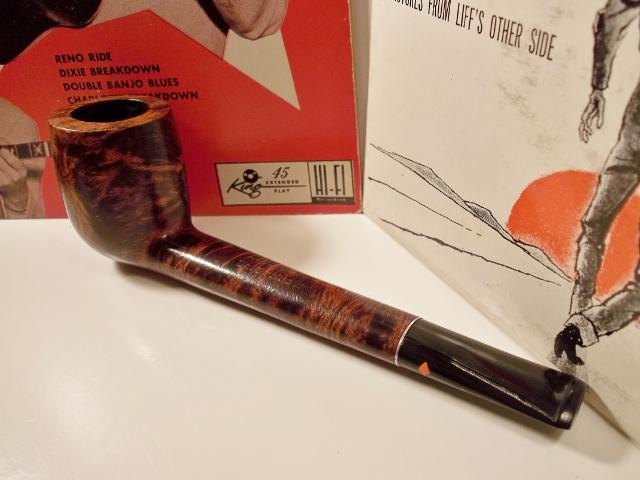
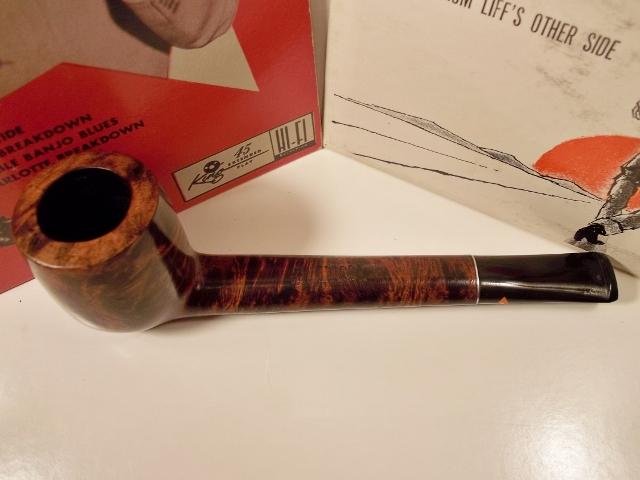
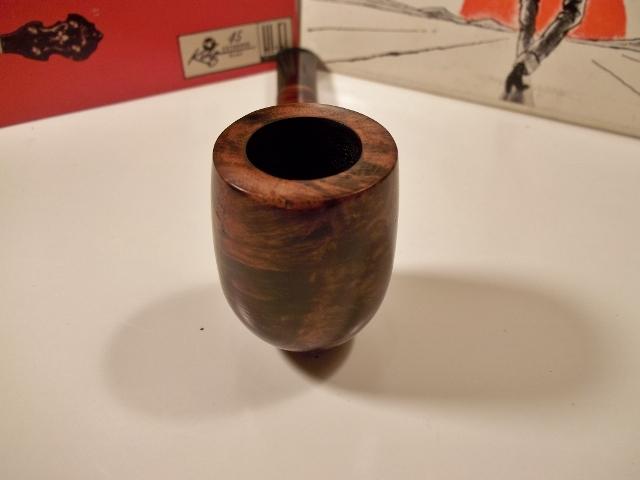
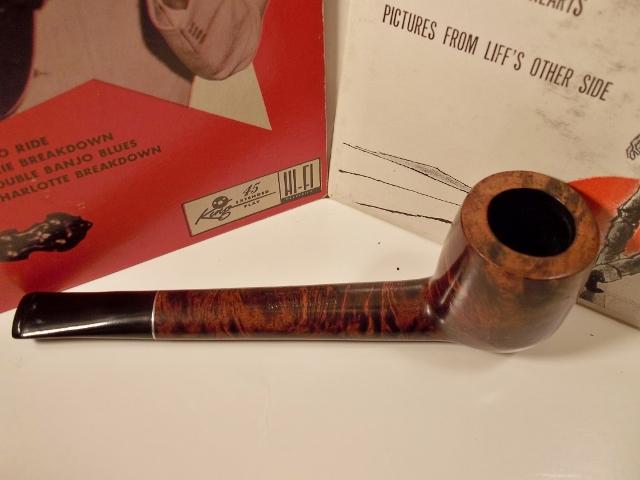
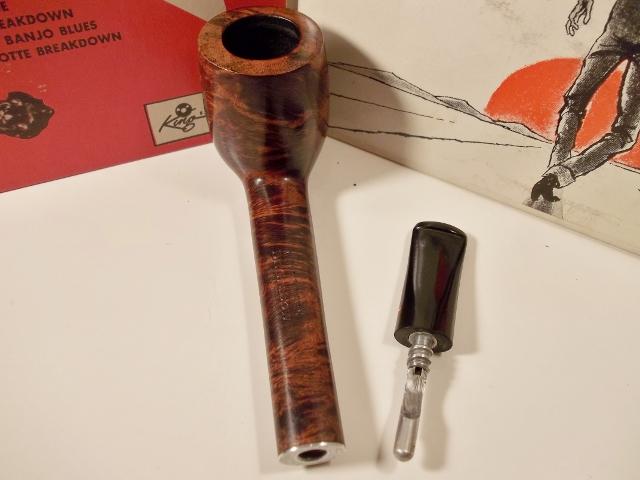
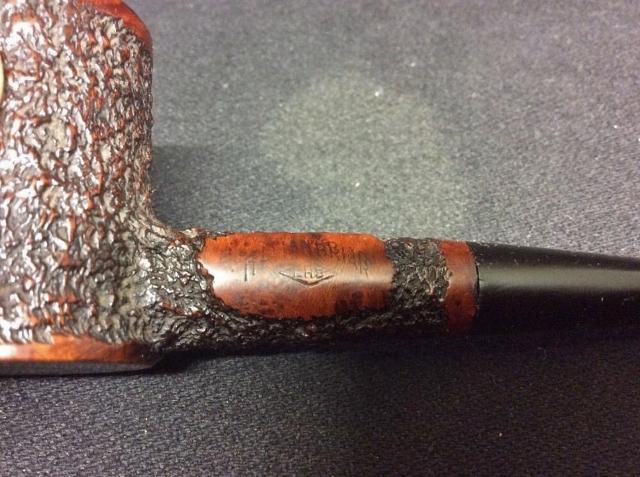
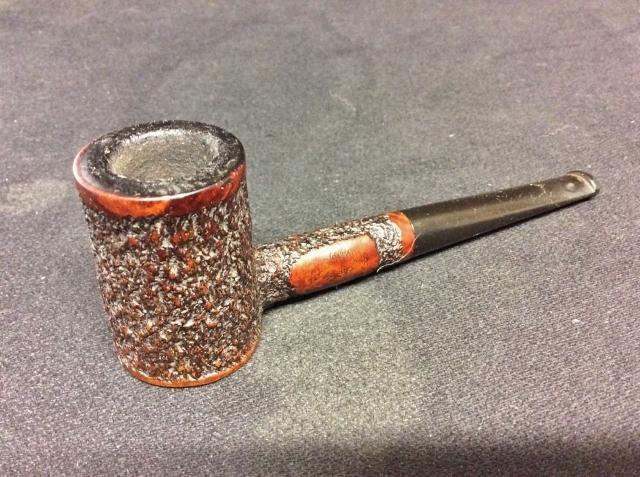
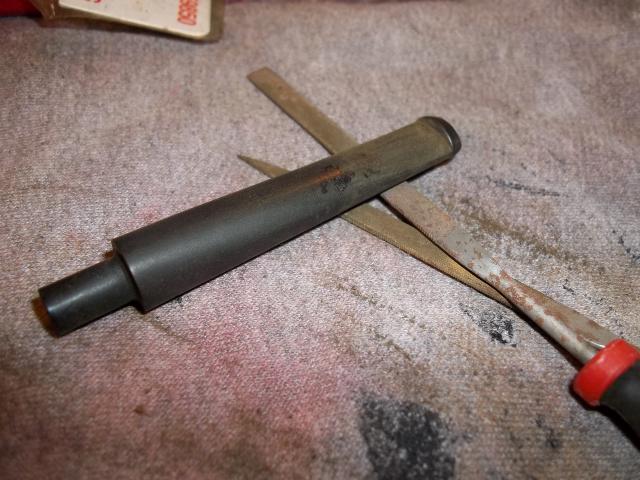
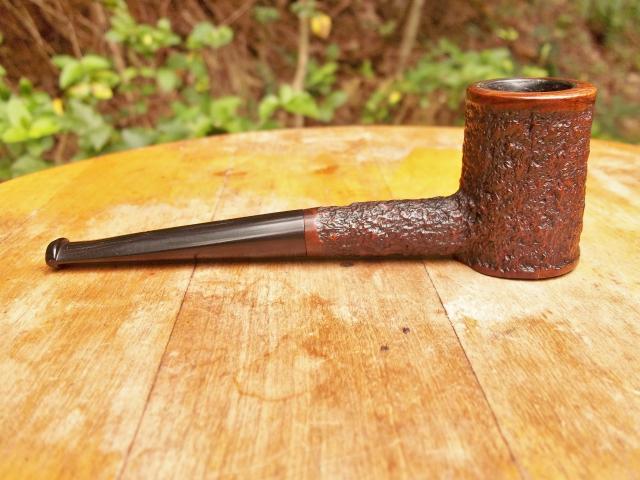
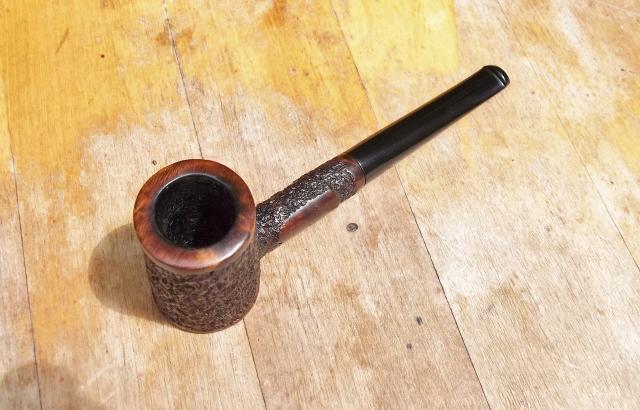
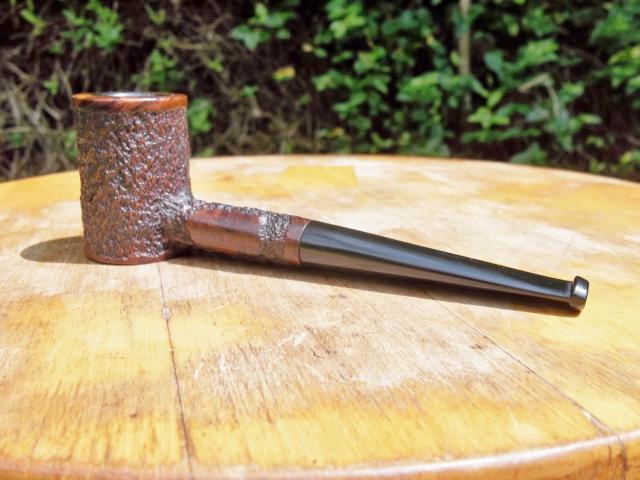
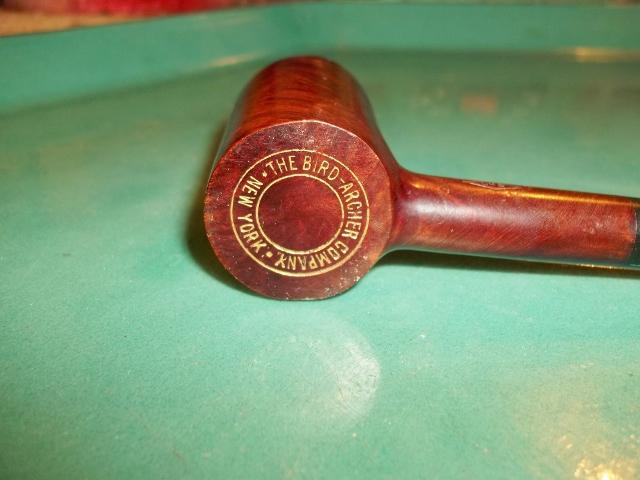
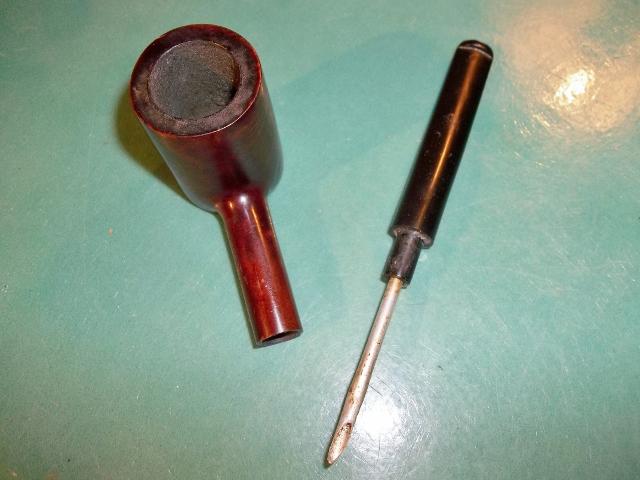
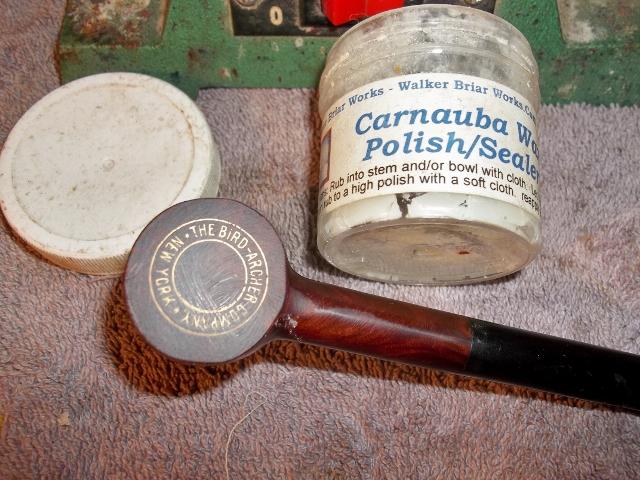
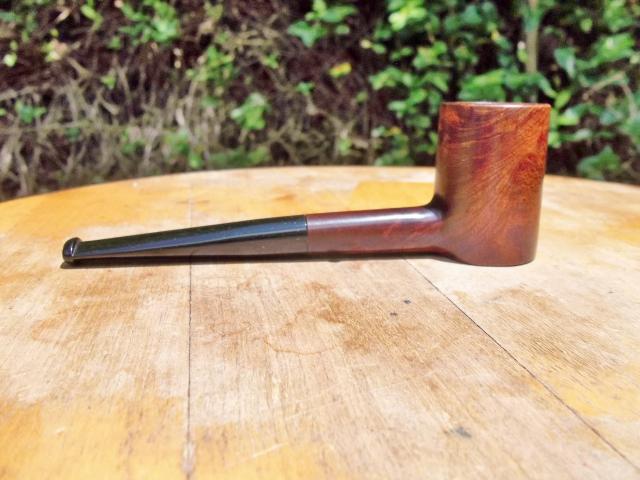
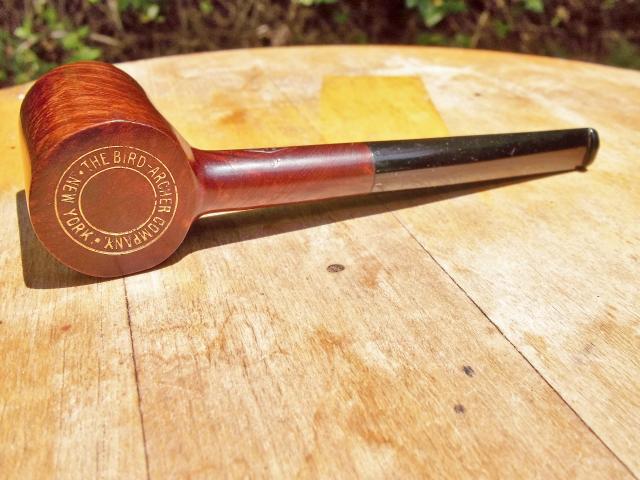
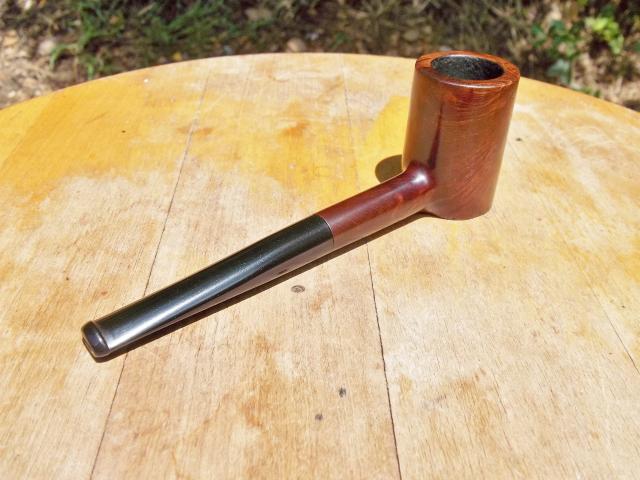
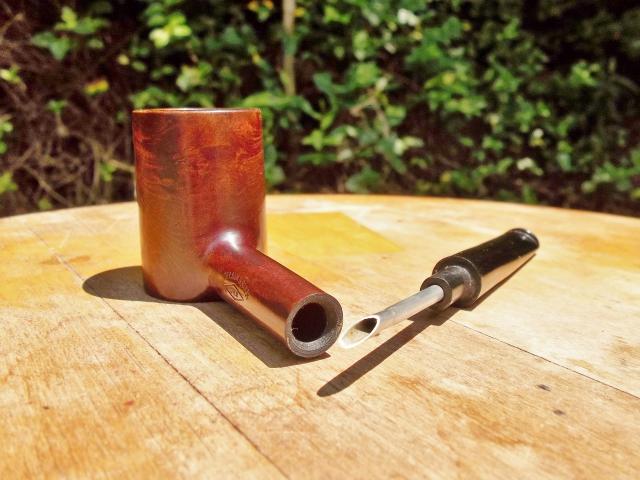
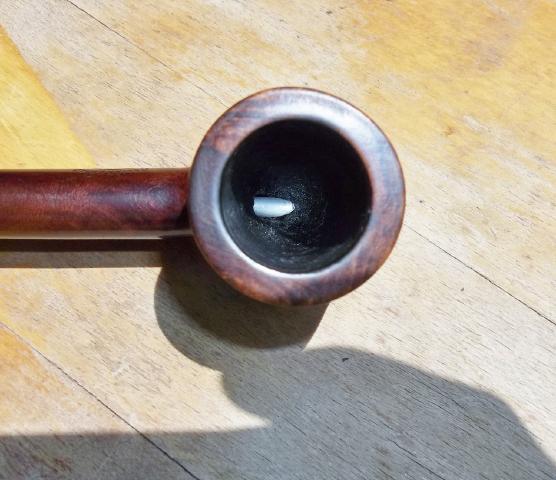
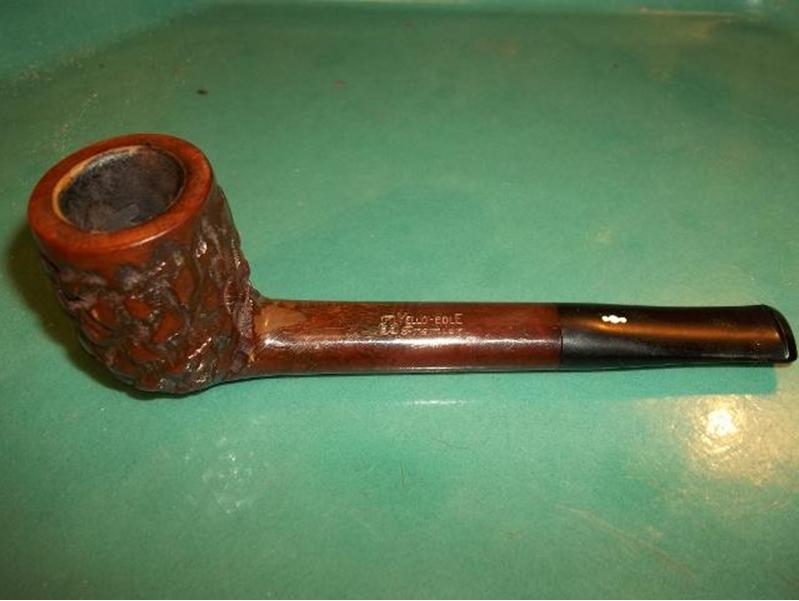
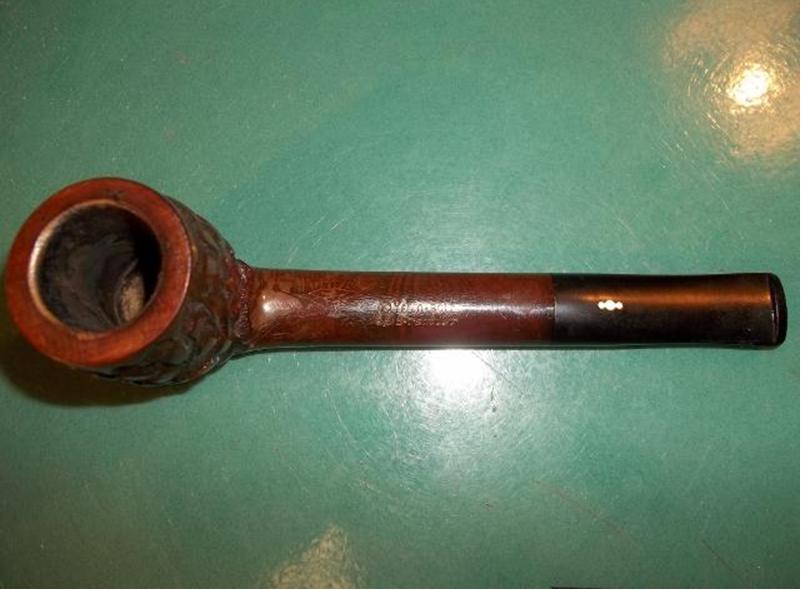
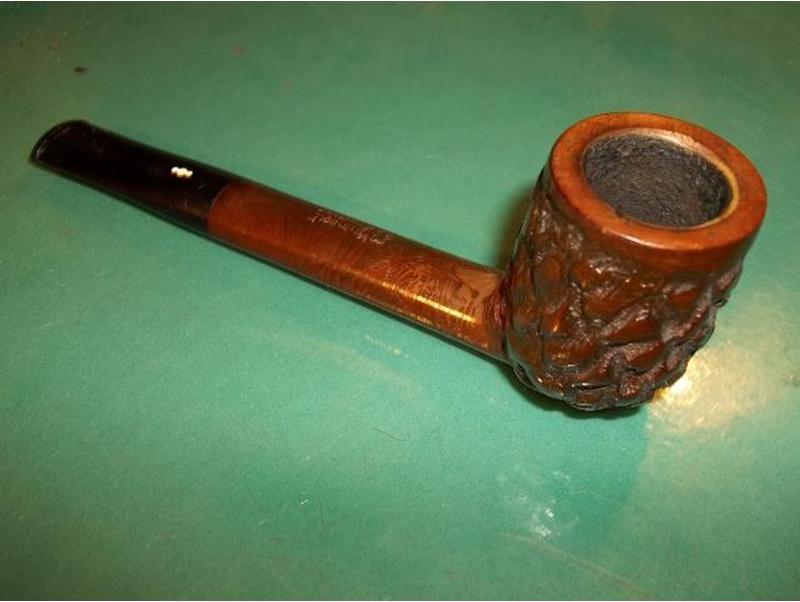
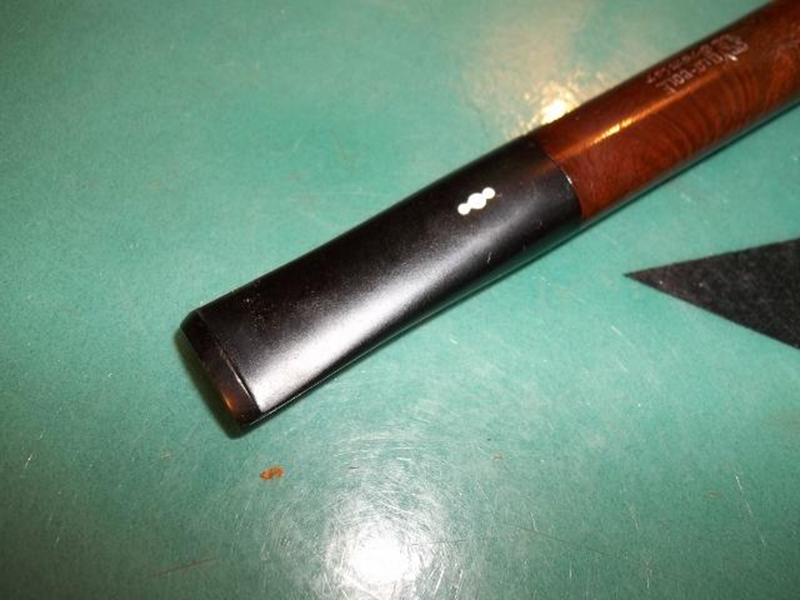
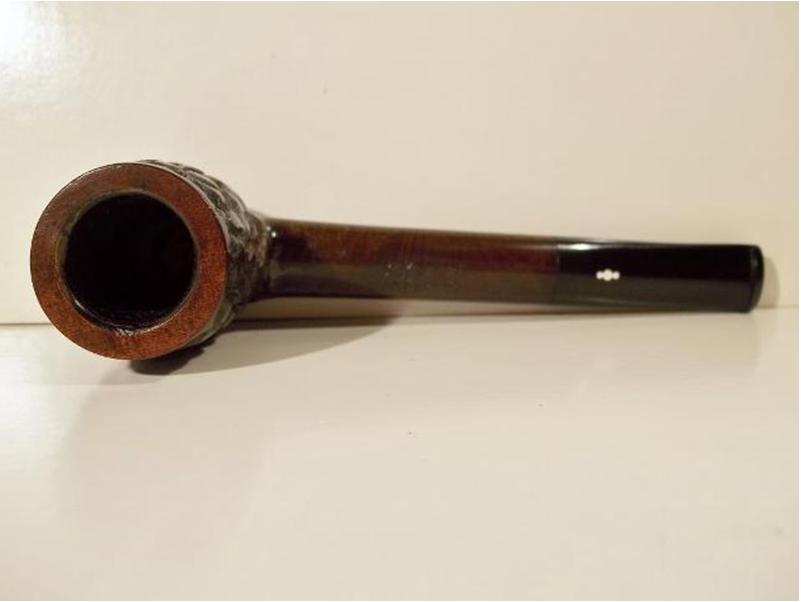
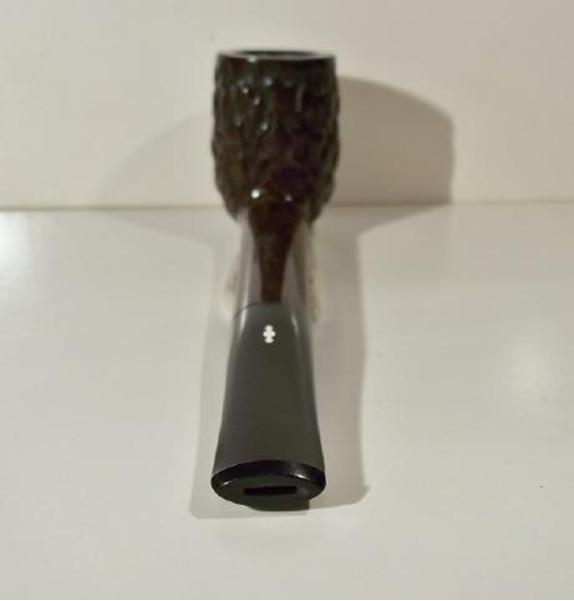
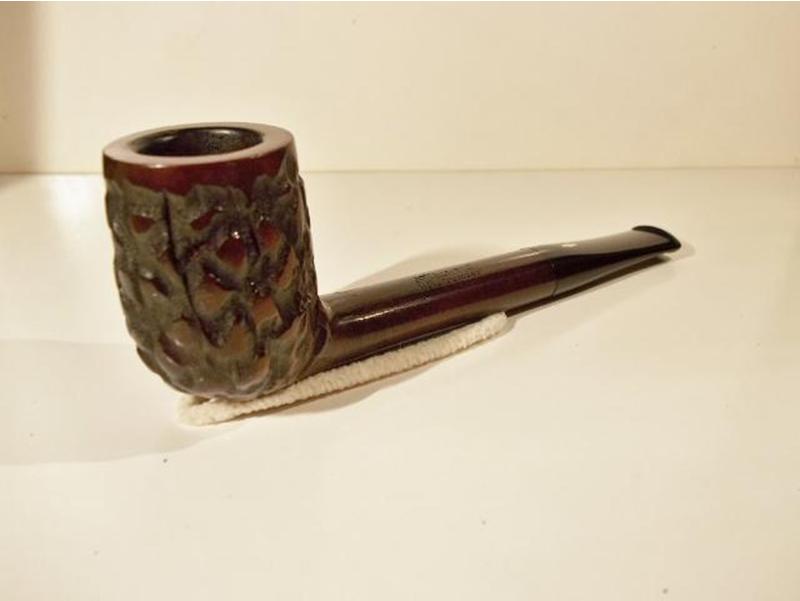
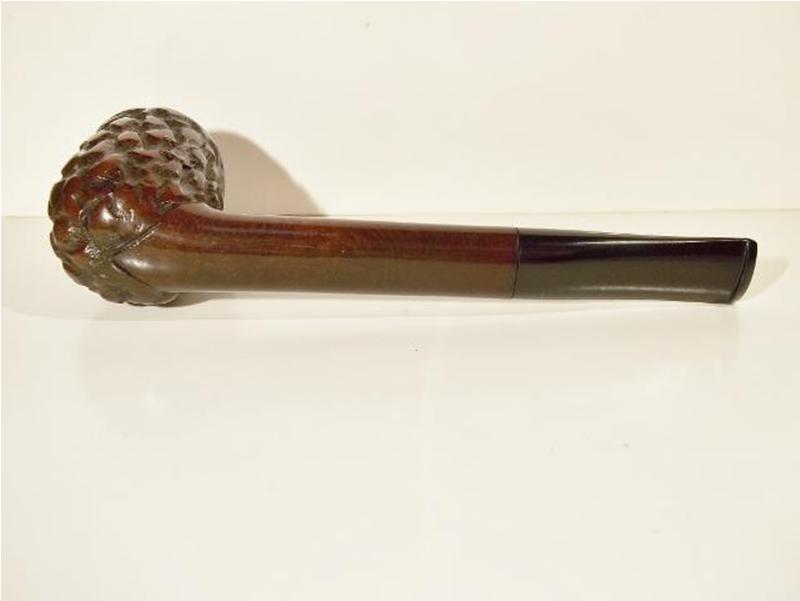
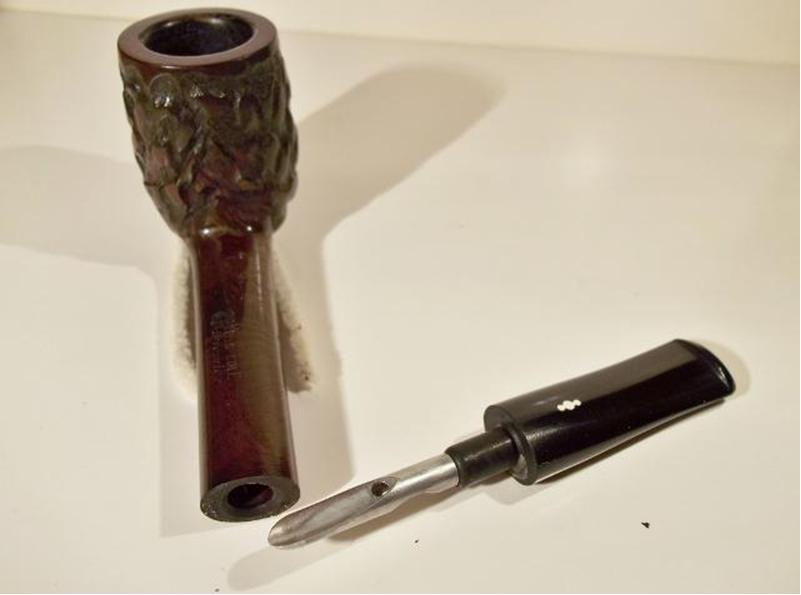
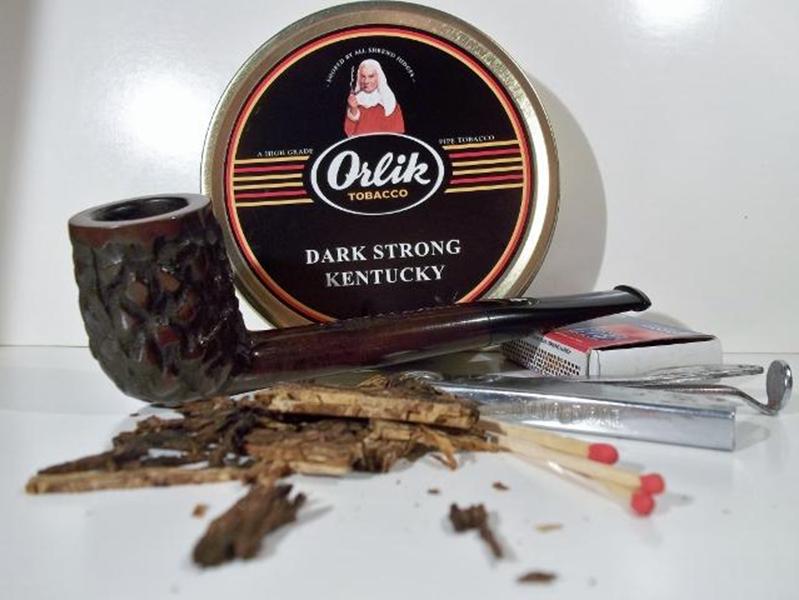
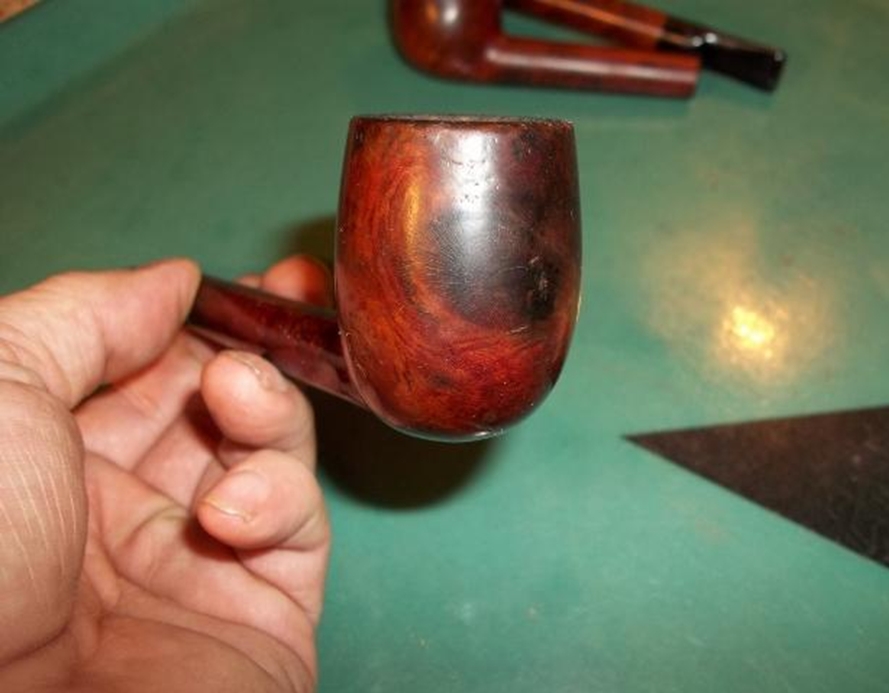
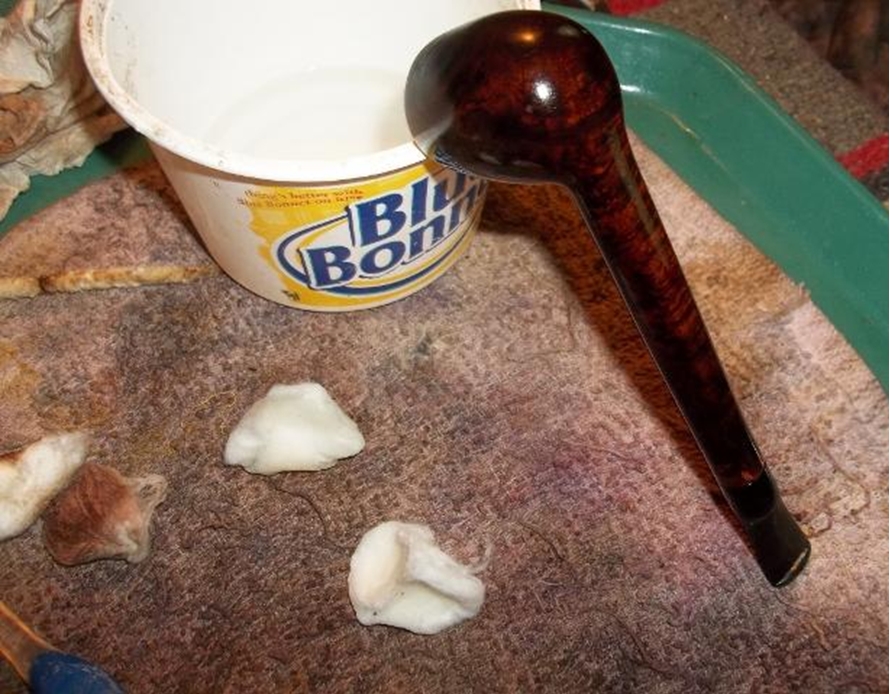
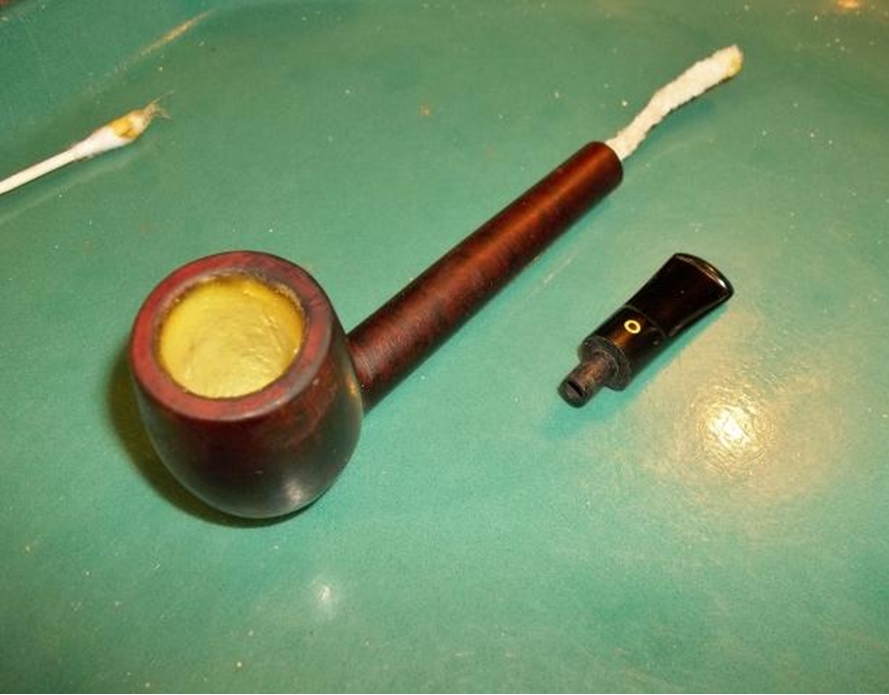
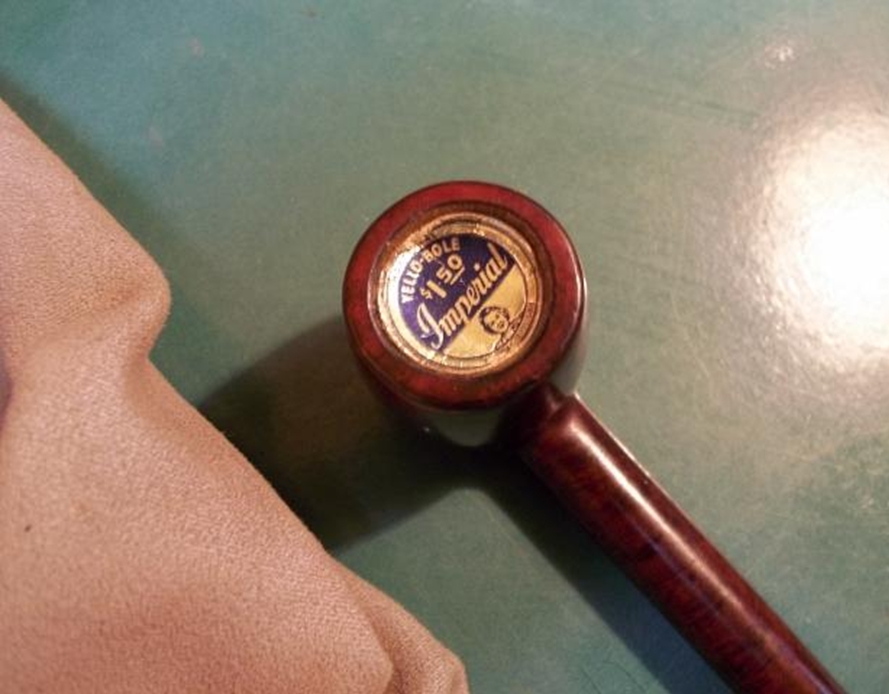
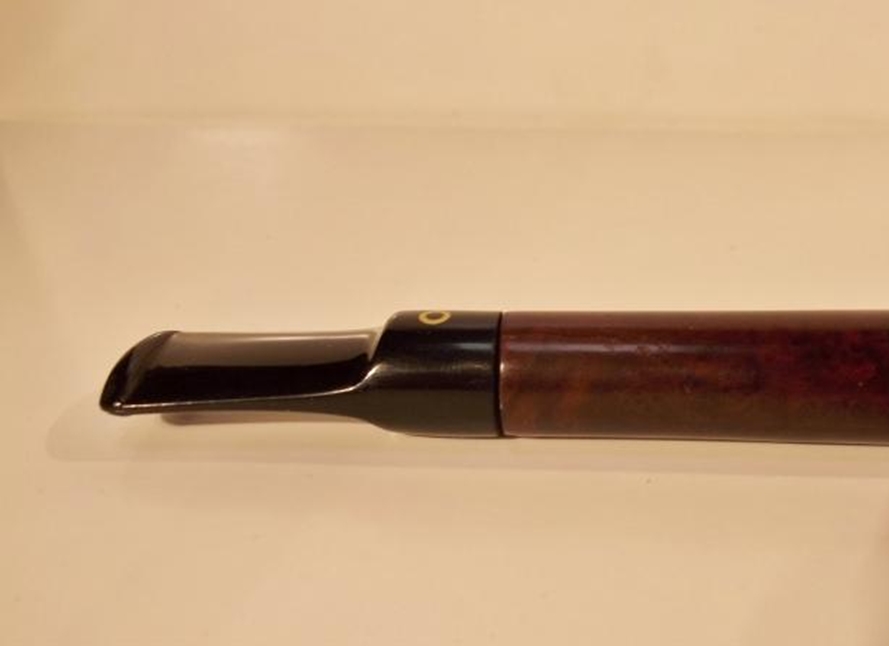
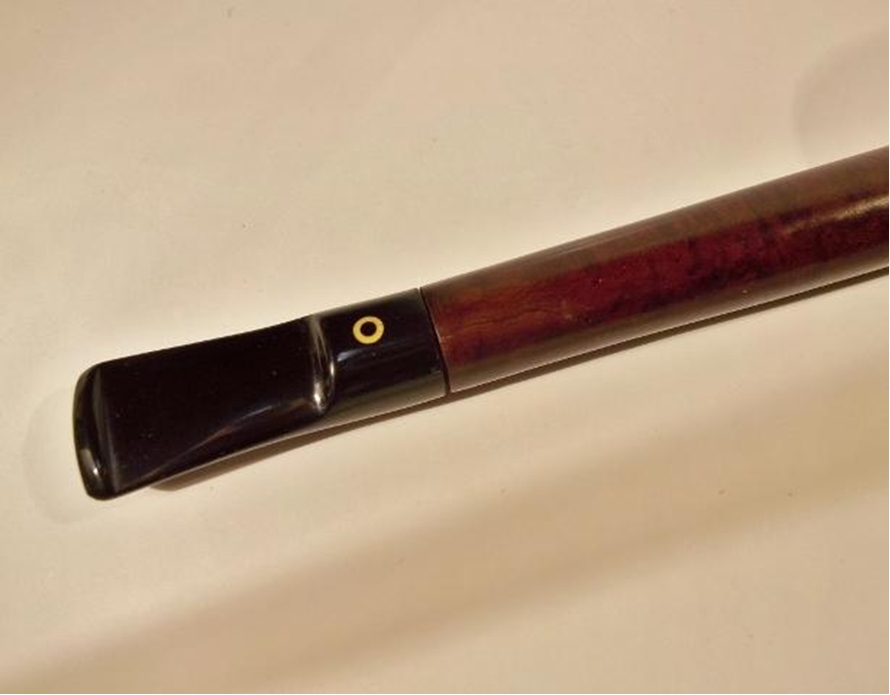
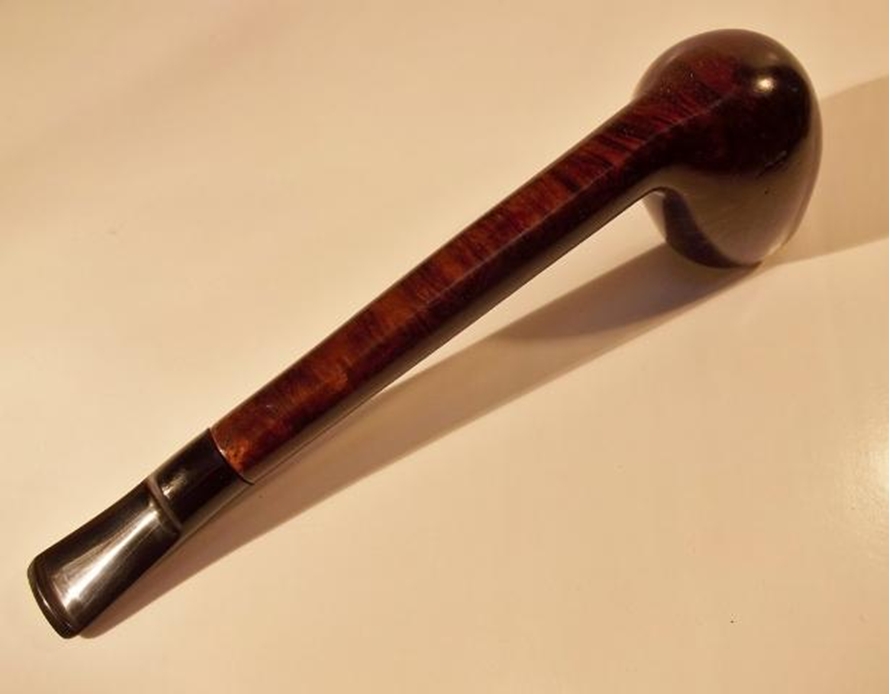
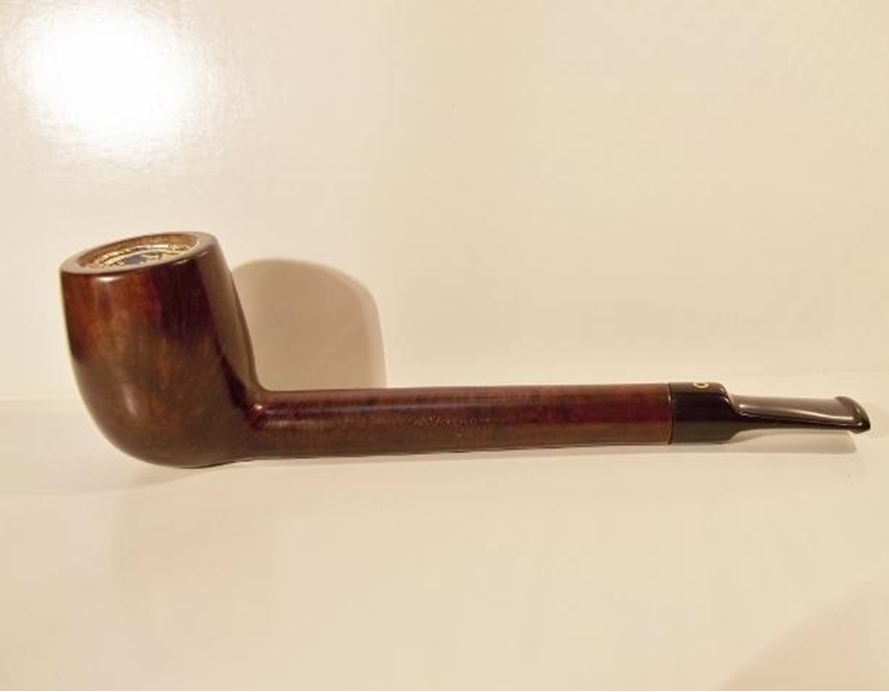
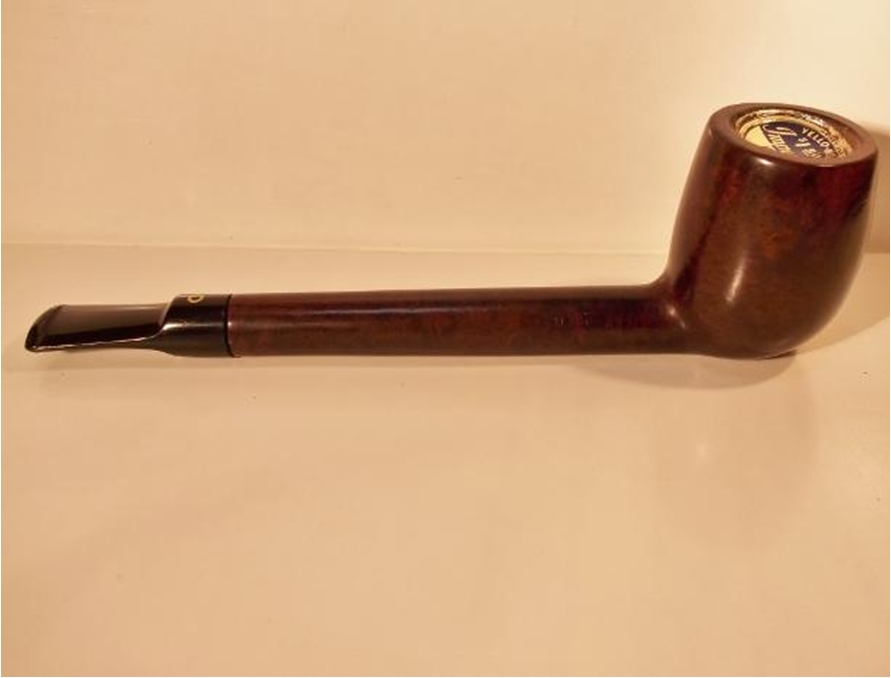
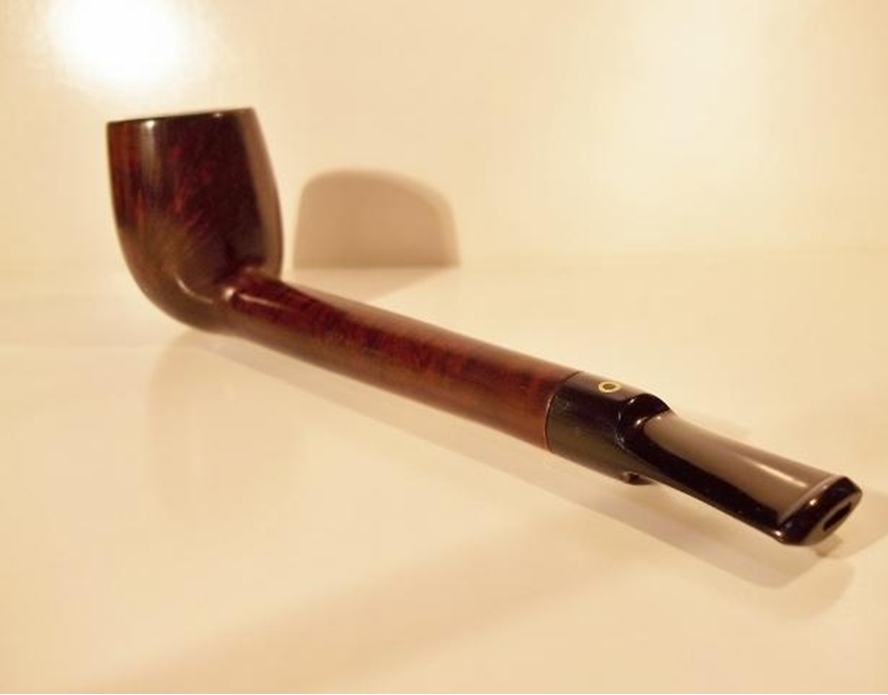
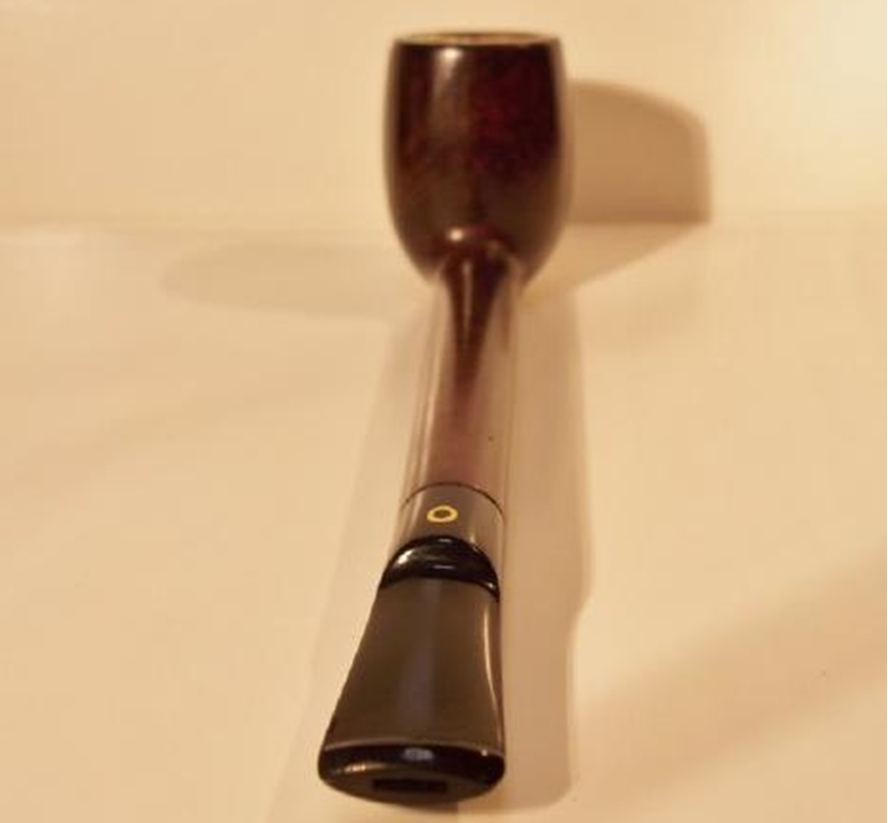
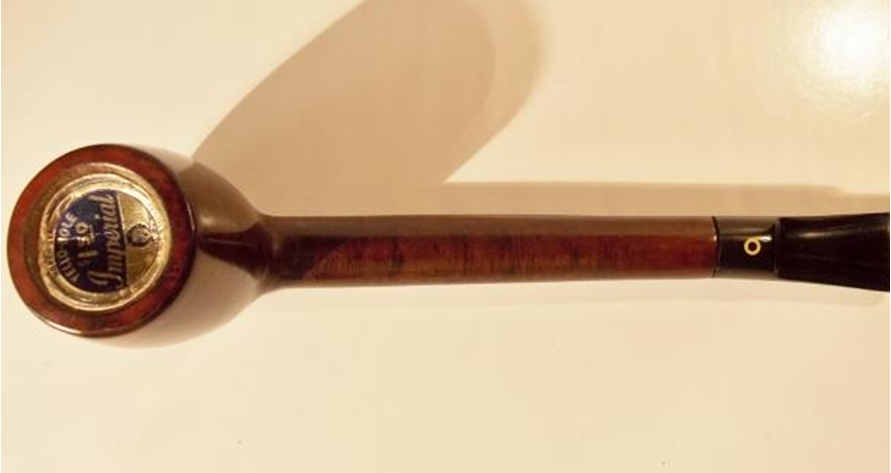
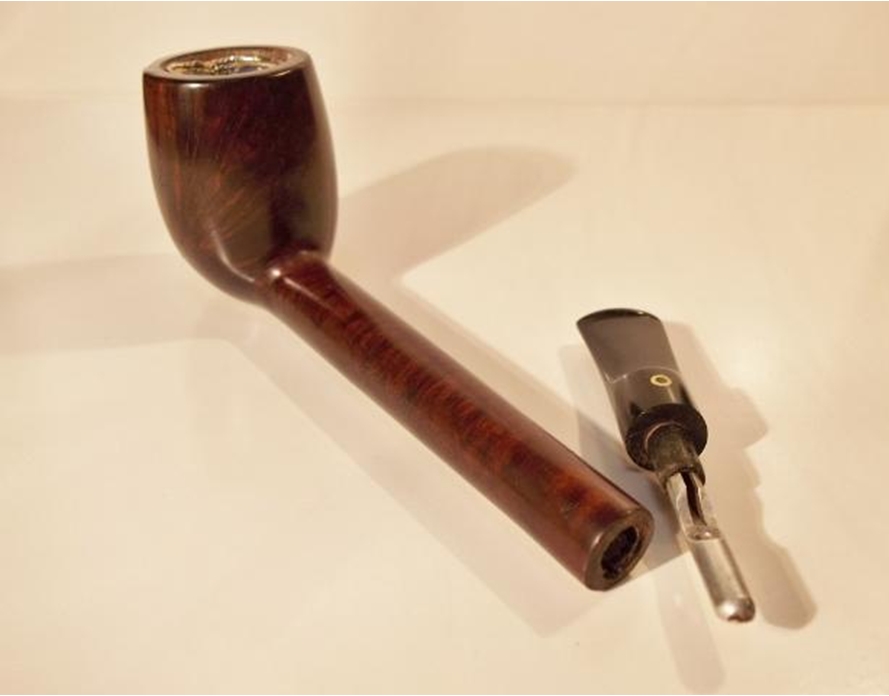
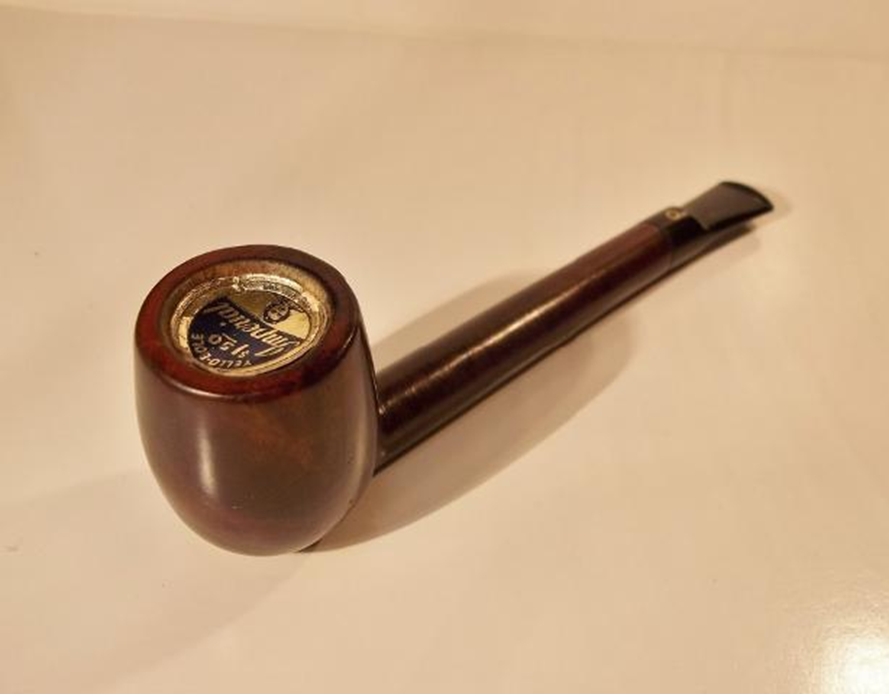
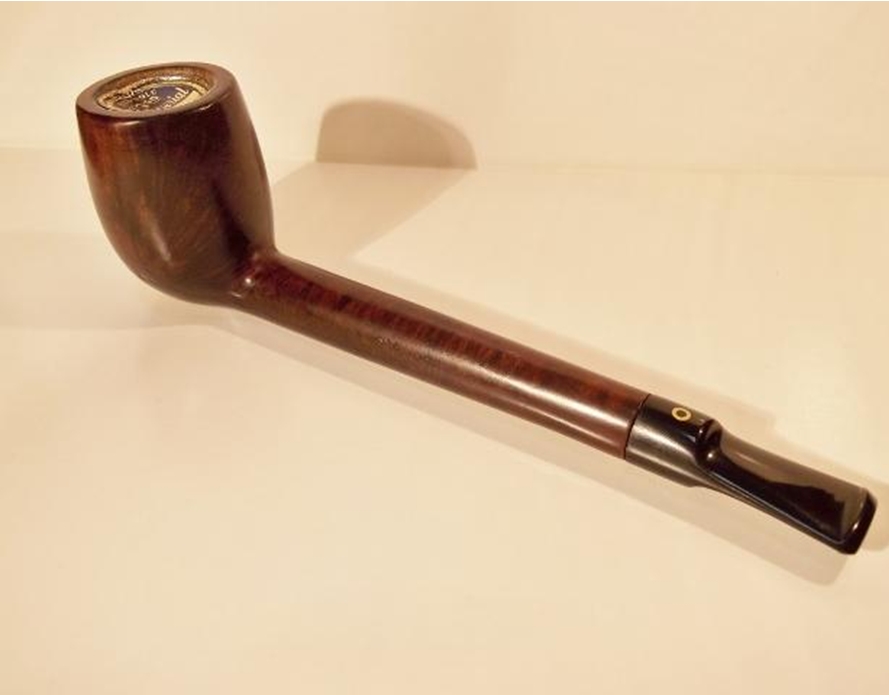
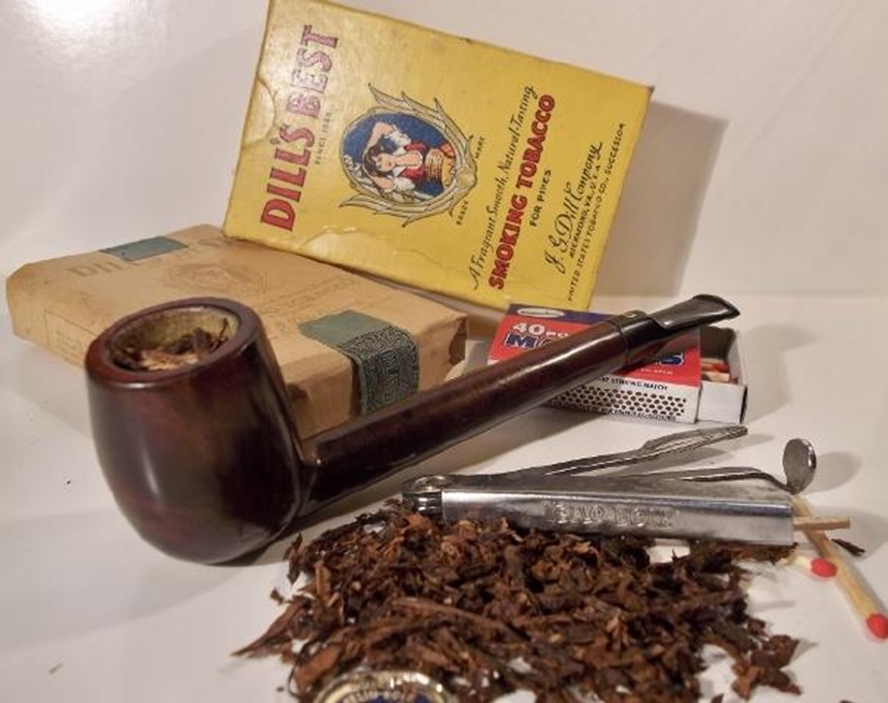
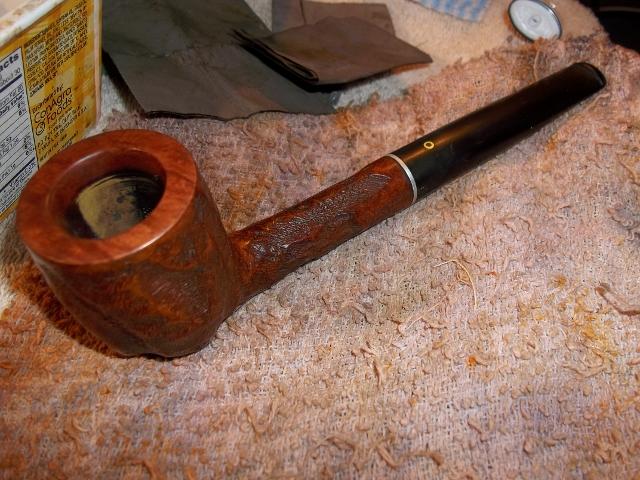
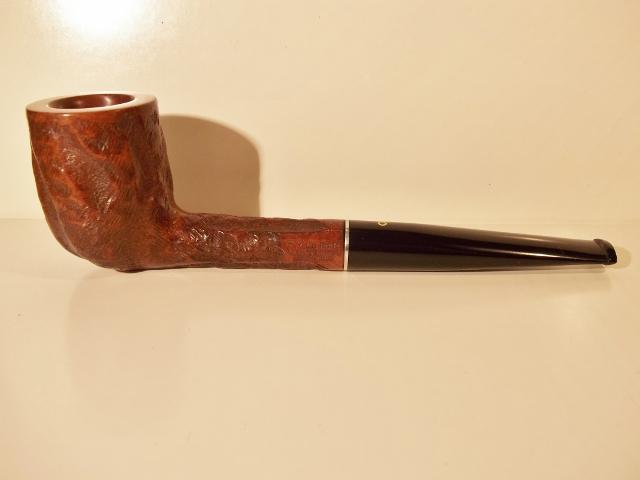
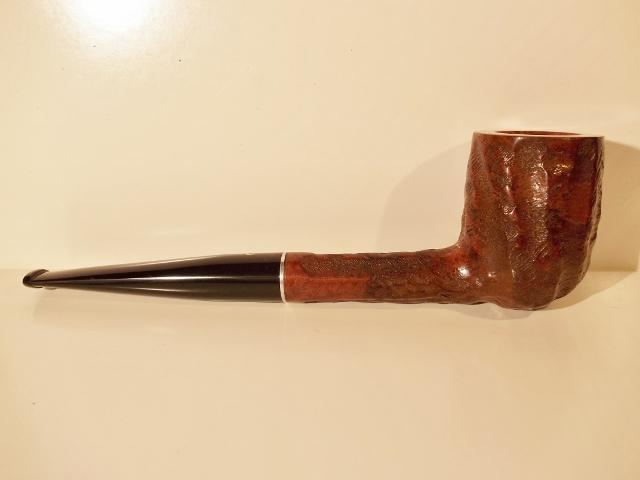
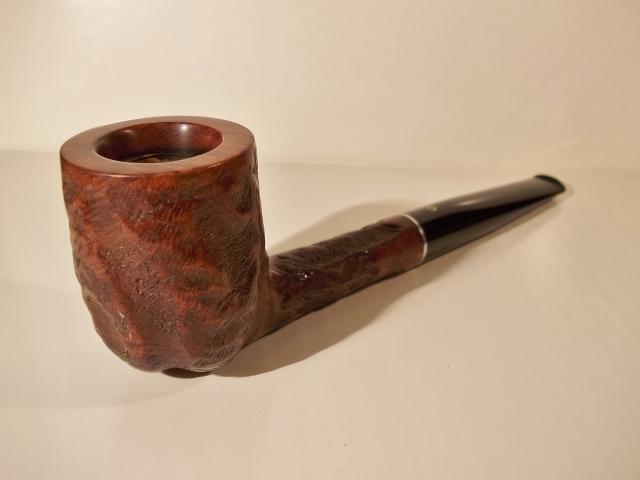
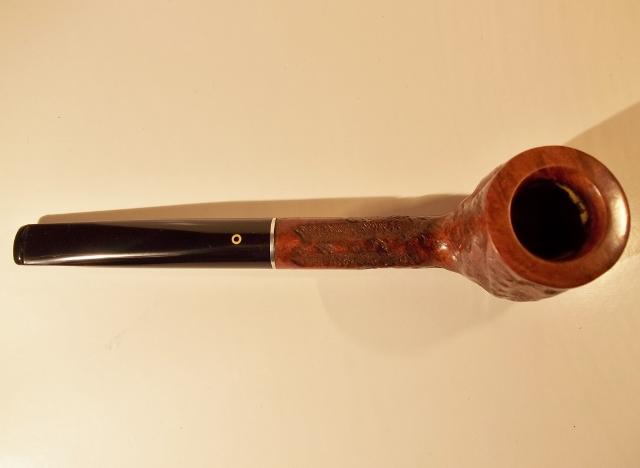
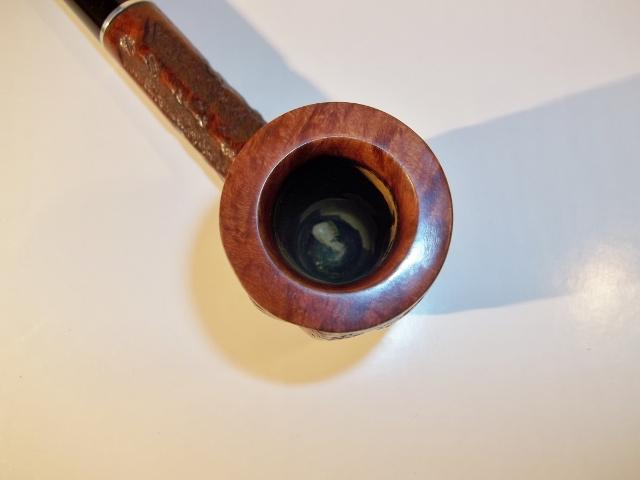
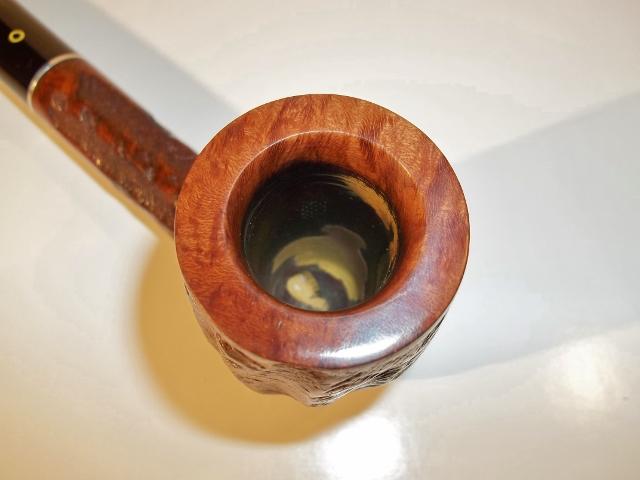
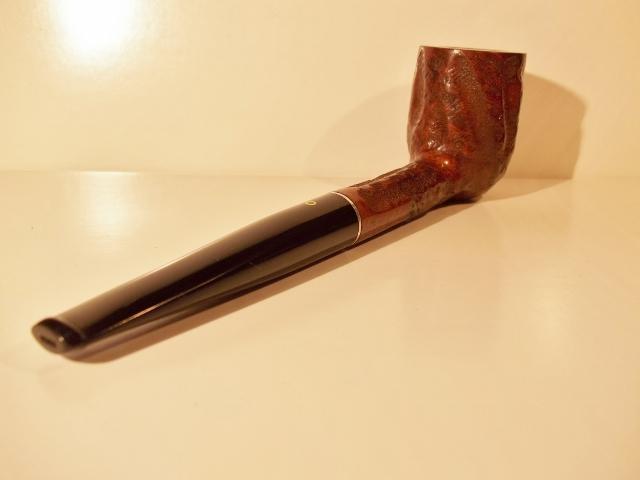
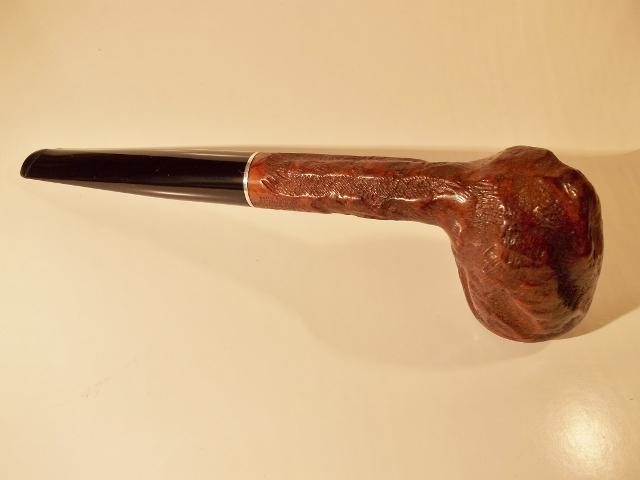
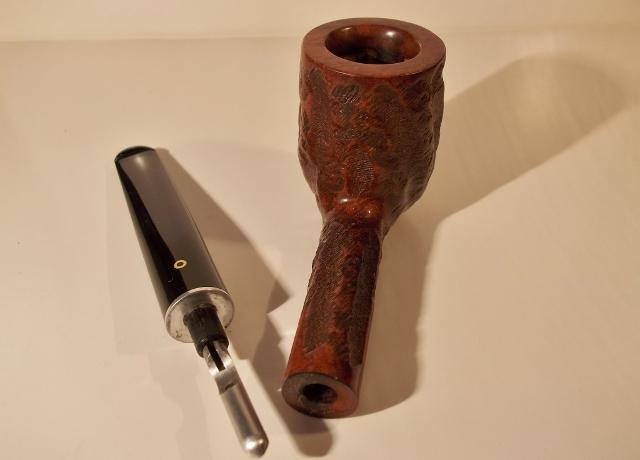
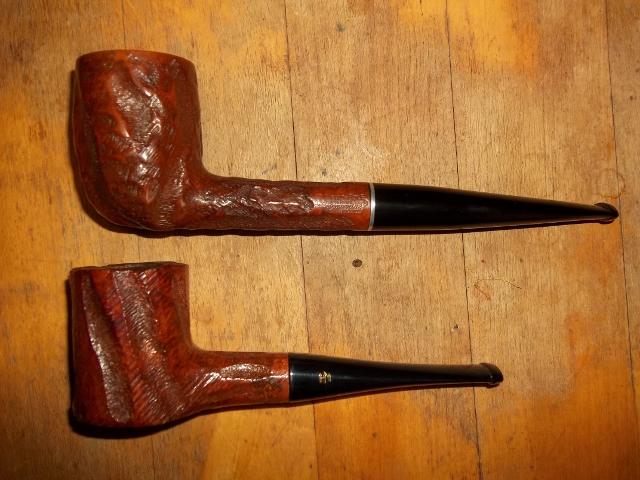
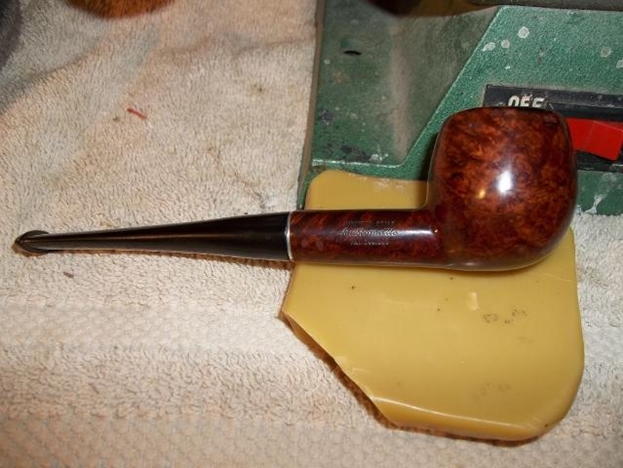
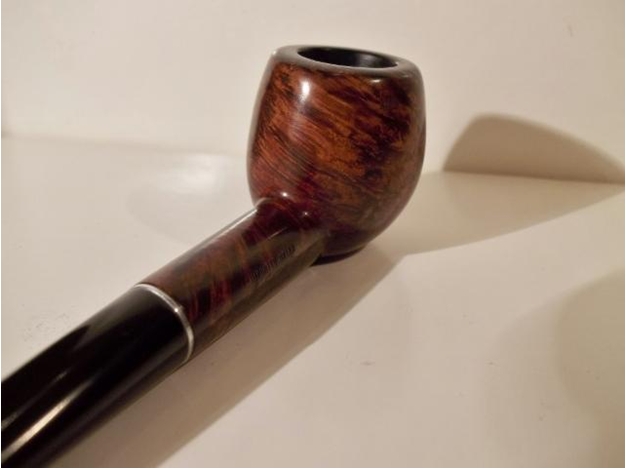
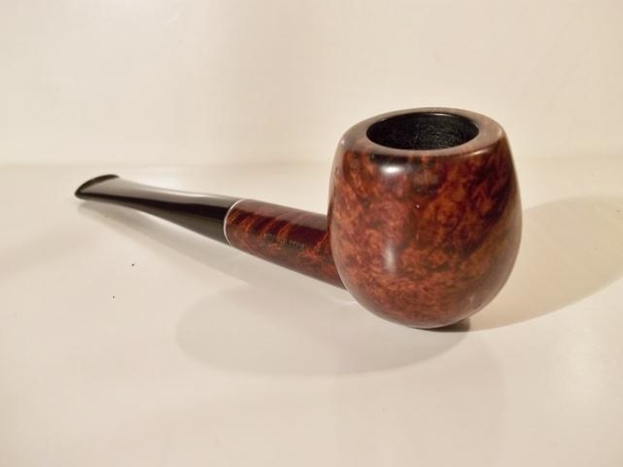
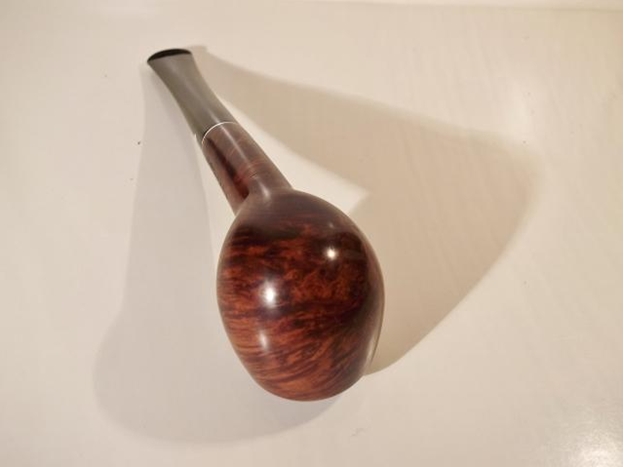
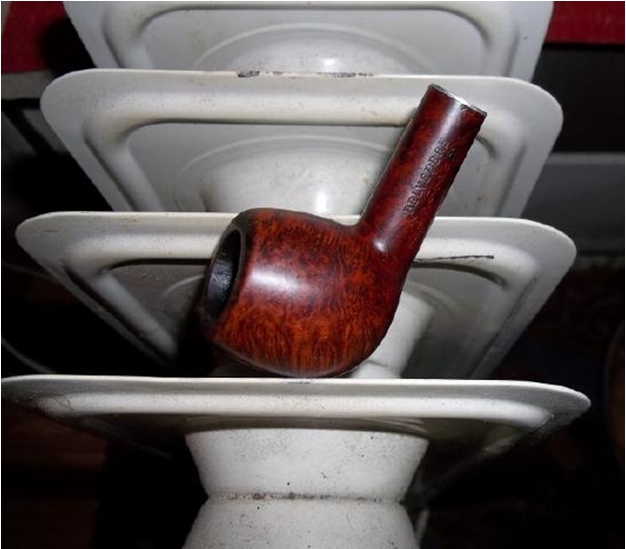
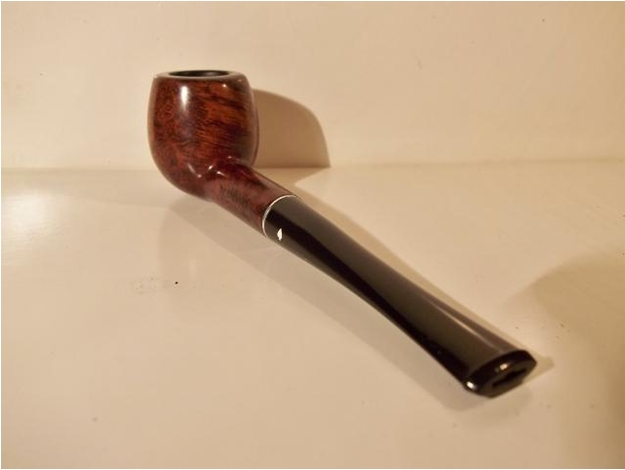
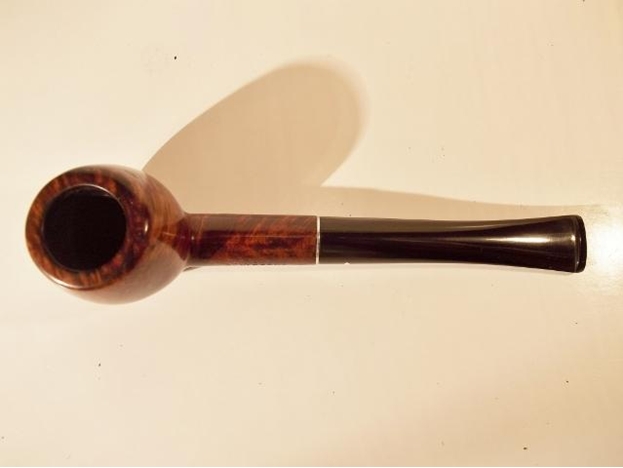
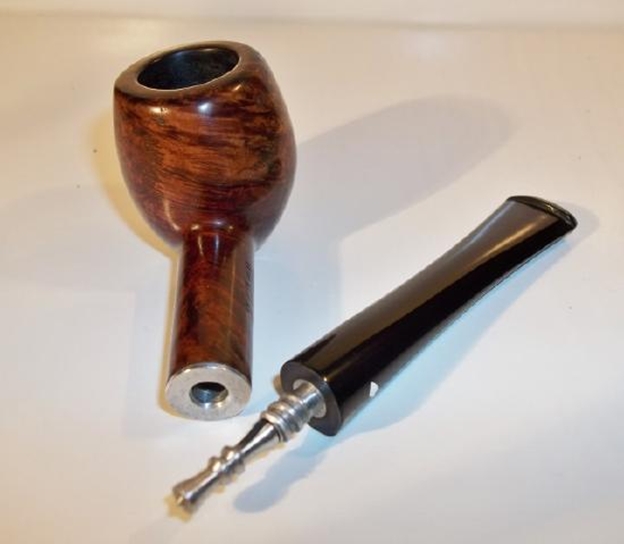
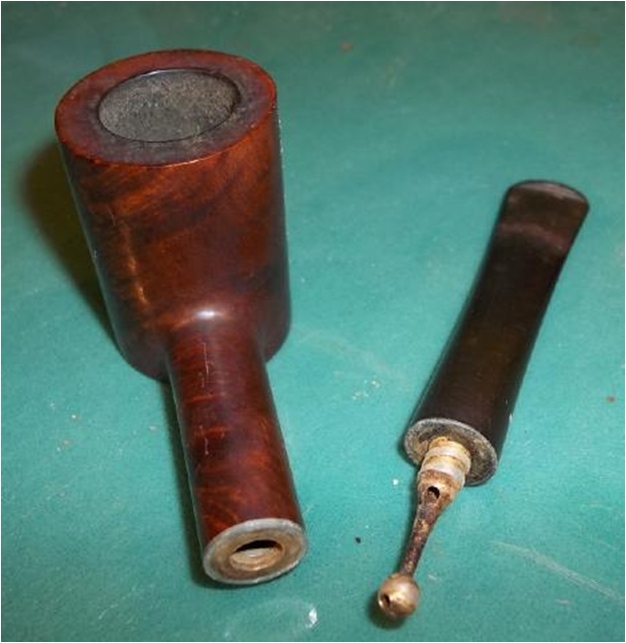
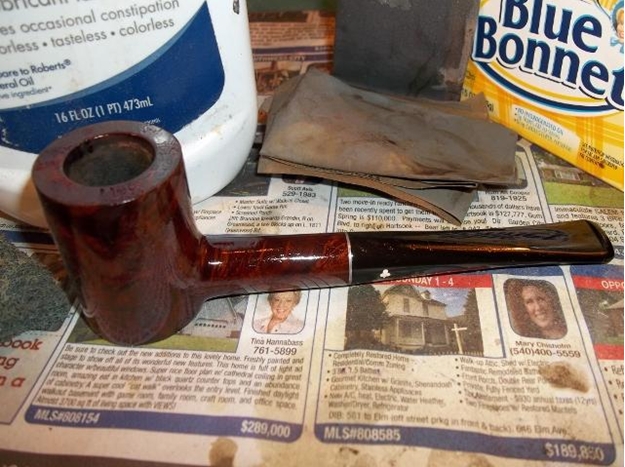
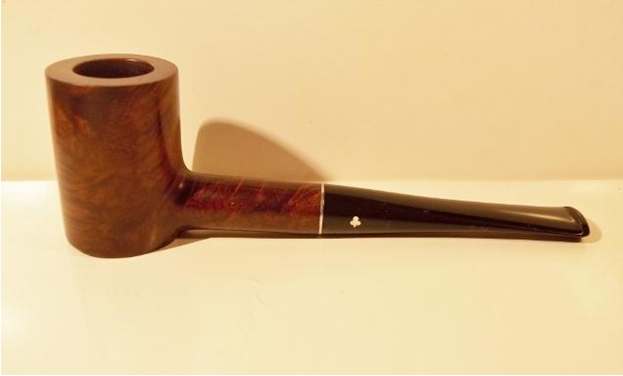
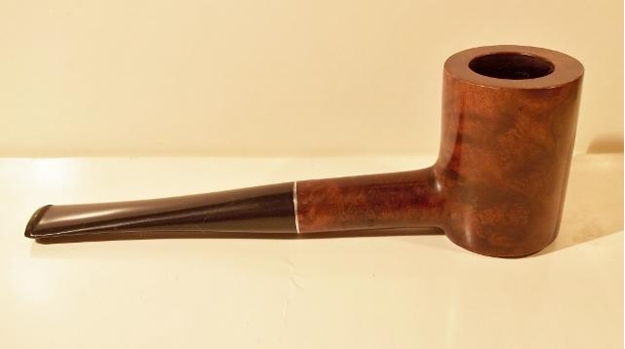
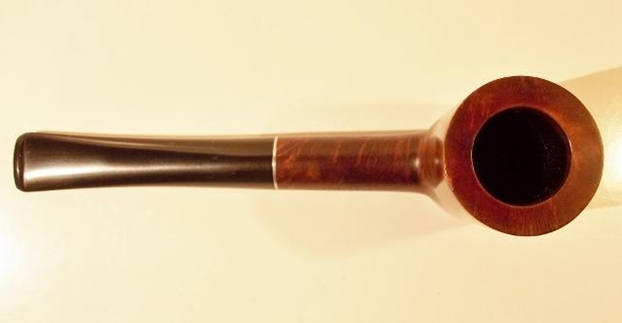
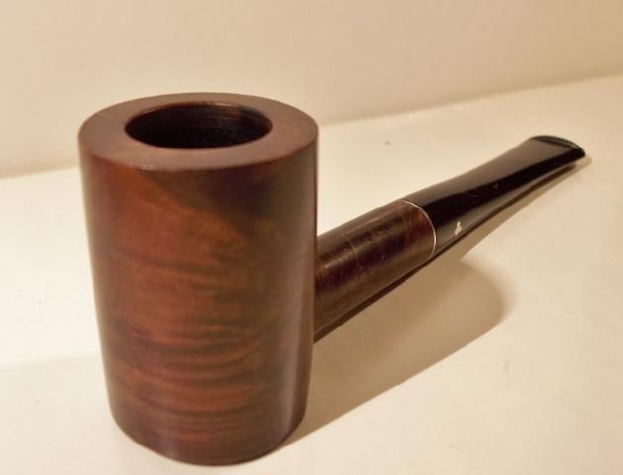
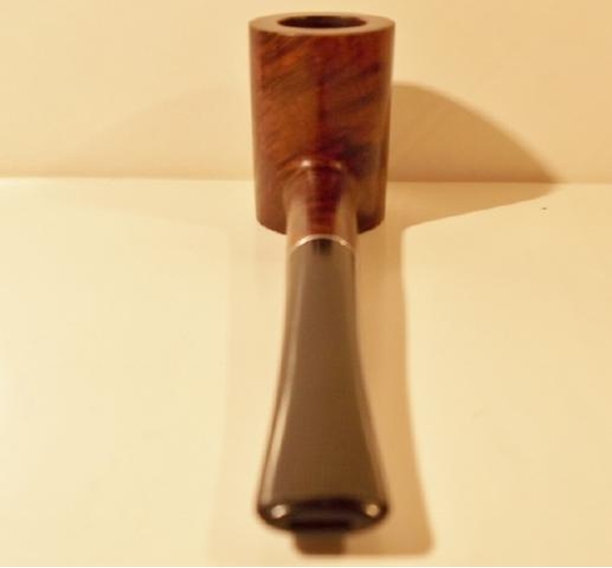
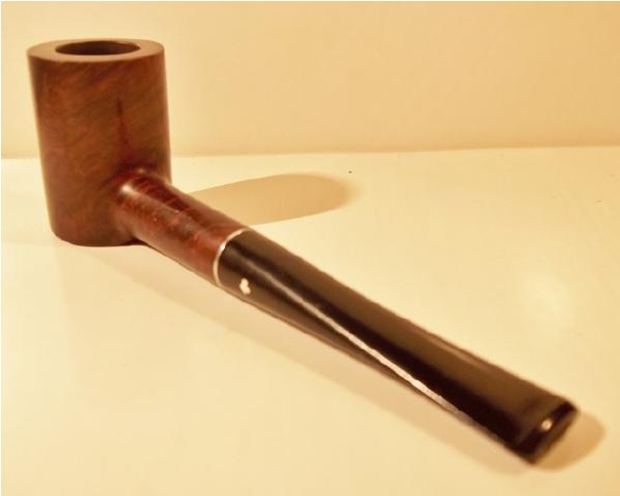
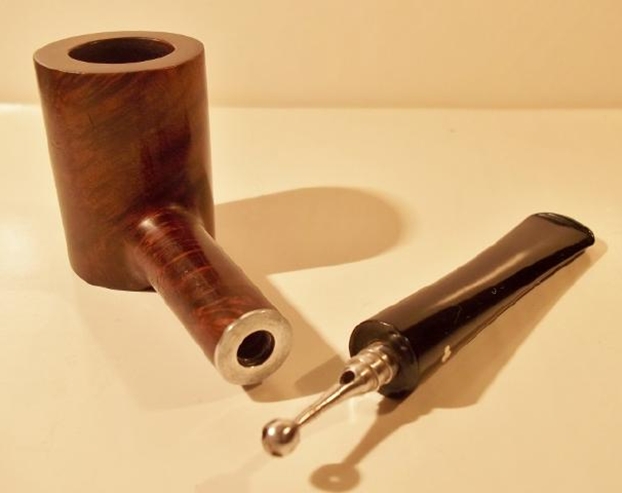
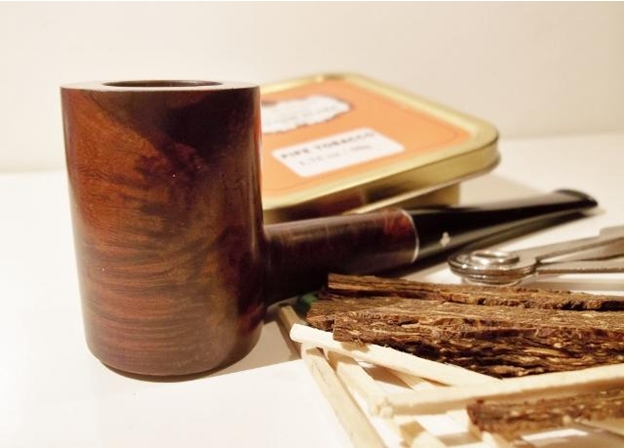
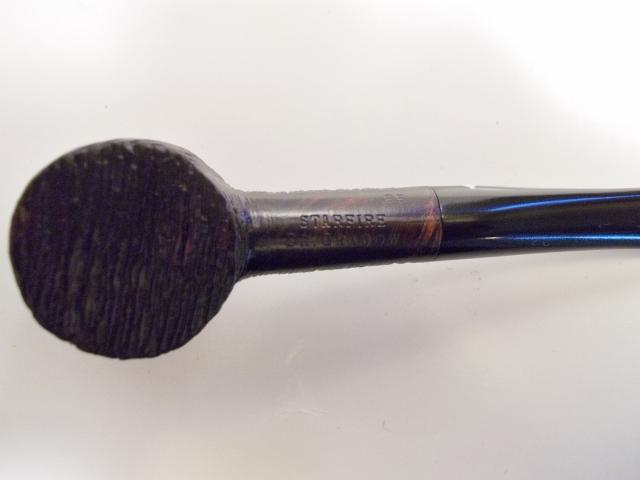
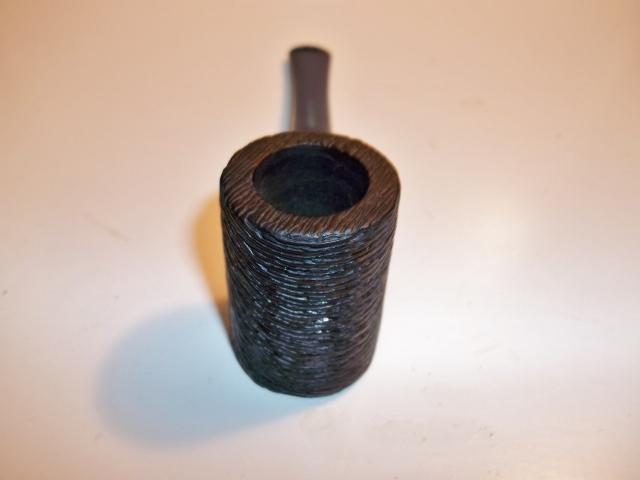
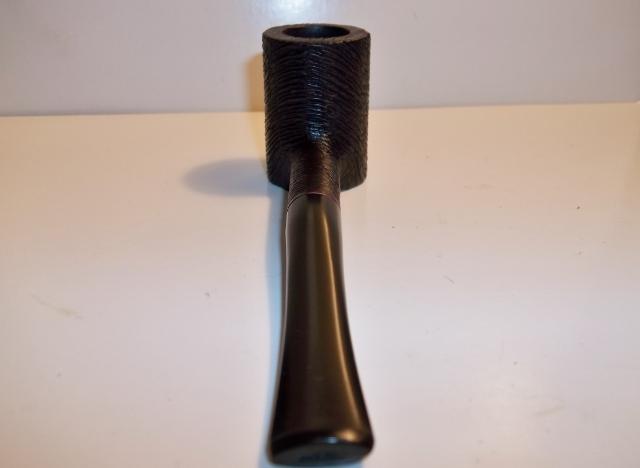
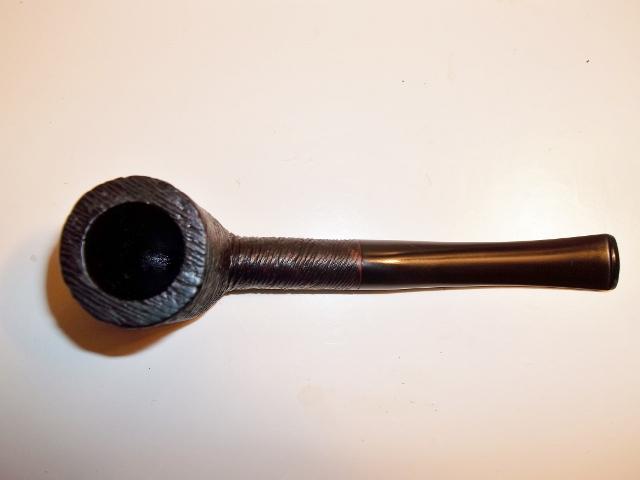
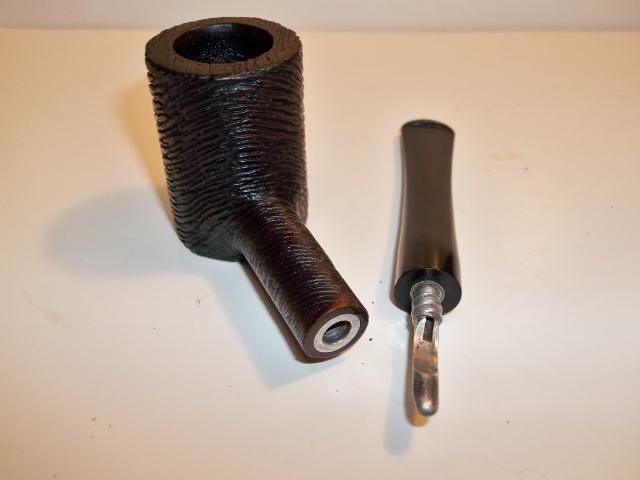
Rit dye

Restoring a Dr. Grabow Starfire Wirecarved 85 Poker


Blog by Troy Wilburn

This pipe is a Dr . Grabow Starfire Wirecarved shape no.85 I picked up recently from an online auction. This is my favorite Dr. Grabow shape and I own several poker model 85s. Most of them are from the RJ Reynolds coupon era. Although the Starfire wasn’t a coupon pipe the quality was just as high on them as the RJ Reynolds pipes. I’m a big fan of the black wirecarved finish on the Starfires and Belvedere’s.

The pipe was in good shape although the wire carving was a little worn and the stem, an Adjustomatic, was stuck from corrosion. I did manage to get it unstuck after twisting on it several times really hard with hands and did not have to freeze it over night .

Before photos:Dr1

Dr2

Dr3

Dr4 After cleaning out bowl and shank I soaked bowl in alcohol and scrubbed it many times with a tooth brush trying to get as much dirt and residue as I could out of wire carving to make it crisper looking.Dr5 After a good soak in some OxyClean I managed to get stinger removed from stem and do some scrubbing on it with a scotch brite pad. I also oiled and heated the Adjustomatic and got it working correctly again.Dr6 With the bowl and stem cleaned, buffed and sanded I was ready to stain the bowl.Dr7 I decided to try a two part stain, so I mixed up some purple and black. The finish on Starfire and Belvedere wirecarved pipes is not a true black but black with purple undertones.Dr8 I applied three coats of purple dye letting it dry between coats. Then I applied three thinner mixed coats of black.Dr9

Dr10 With the staining done I now needed to let it dry for a bit.Dr11 The next photo shows the pipe back together and rubbed with mineral oil. It is ready for buffing after it dries some.Dr12 After photos:Dr13

Dr14

Dr15 This particular poker is also a less common shape stamped model.Dr16

Dr17

Dr18

Dr19

Dr20 It is a good pipe to smoke my favorite Old Codger Burleys OTCs in.Dr21