Blog by Steve Laug
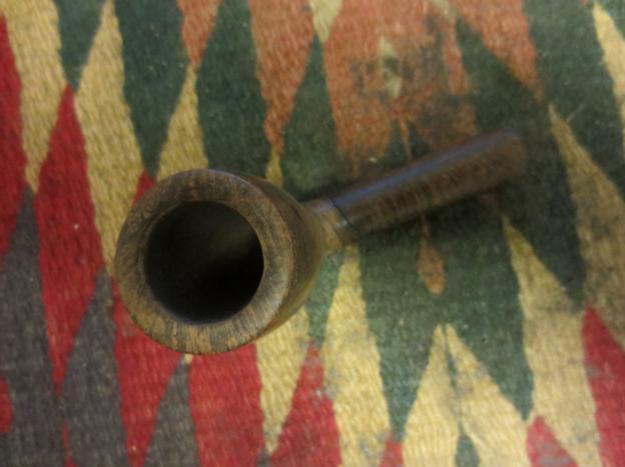
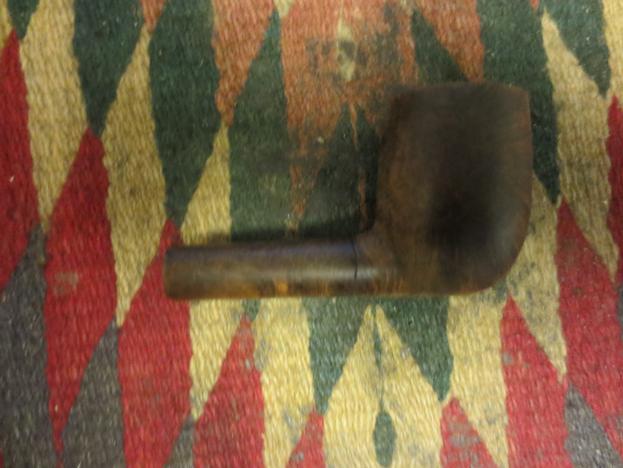
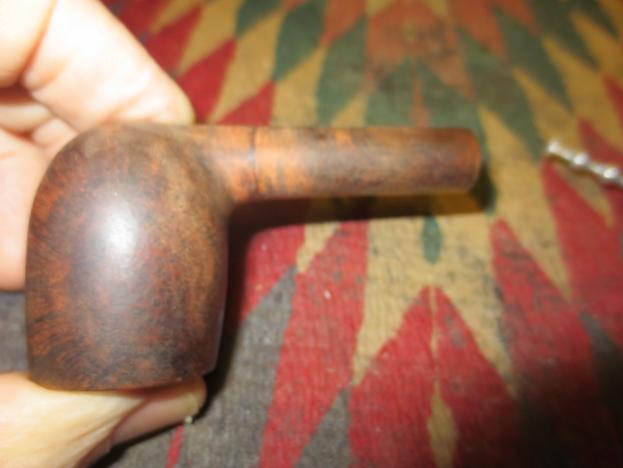
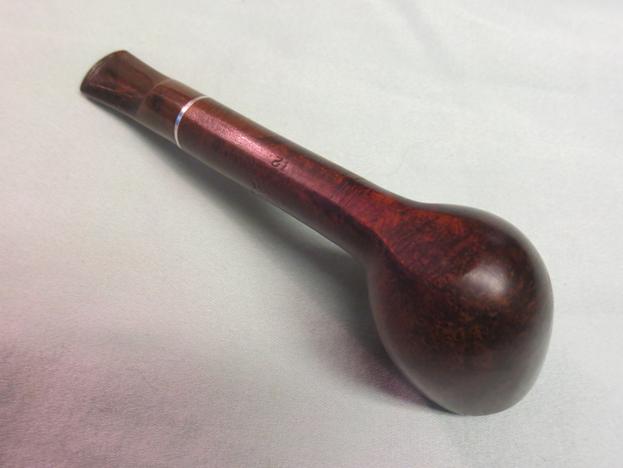
I came home from a two-week work trip to Berlin and Budapest to find a package from Troy Wilburn waiting for me. It contained a beautiful little LHS Park Lane De Luxe Lovat shape 12 that we had been speaking about before the trip. I am a sucker for LHS pipes and really like the Park Lane series as they have a quiet elegance about them. The shank on this one had broken near the bowl. Fortunately it was a clean break and not splintered or chipped. The repair on these has become pretty straight forward for me. I have learned a few tricks in joining the parts of a broken shank together from the Frankenpipes that I have crafted. That was their purpose and their schooling has paid off on quite a few of these shank repairs for me. The Park Lane had a Bakelite stem (at least I think it is Bakelite as it feels and acts different from Cumberland). The next two photos show the snapped shank.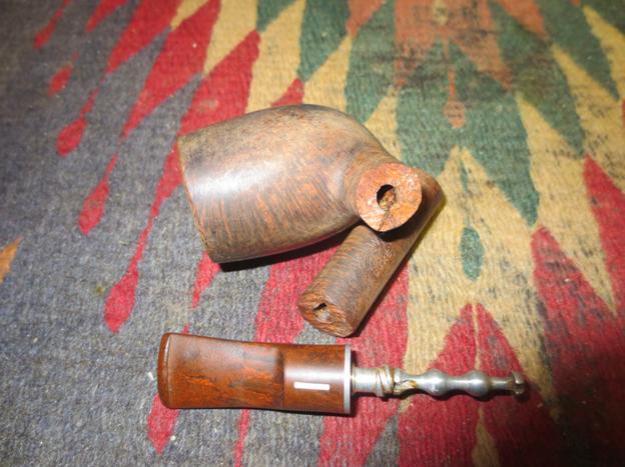
 Just as I suspected I had a piece of brass tubing that was the perfect size and fit for the repair. I used a file to cut grooves into the tube and to roughen the surface for the glue to have something to hold onto when I glued it in the shank.
 I cleaned out the airway on both sides of the broken shank to remove debris and to give a good clean surface for the glue to bond with. To check the size and the fit of the tube in the two parts of the shank I inserted it in the bowl end of the break and then twisted the shank end onto it. The fit was perfect and once glued the repair should be solid.
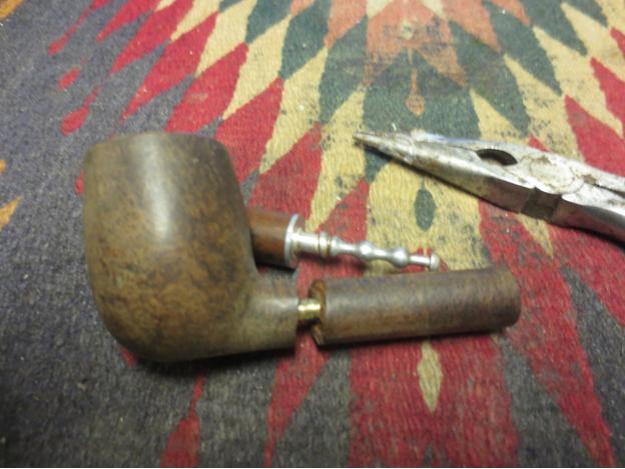 I mixed some epoxy and applied it to the metal tube being careful to not get any inside of the airway. I inserted it into the bowl side of the break. I left slightly over half of the tube extending so that when I put the shank piece in place there would be enough of the metal tube to strengthen the repair on that end.
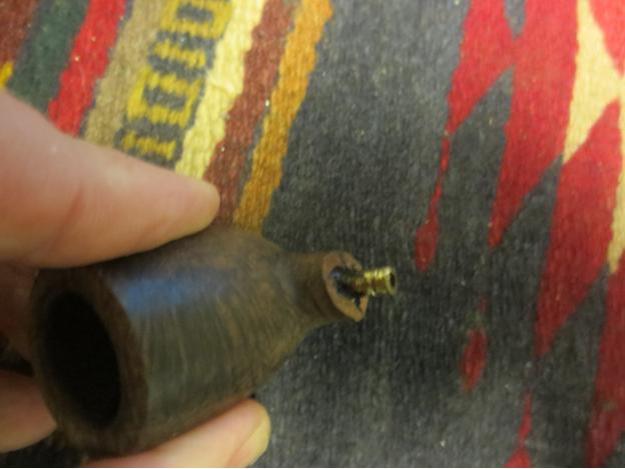
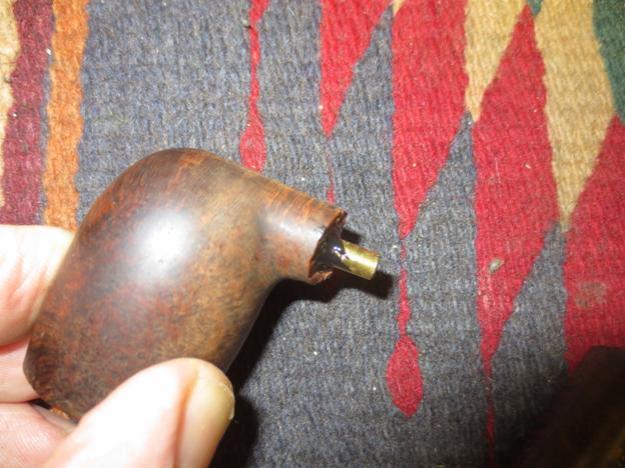 When the epoxy set and the tube was solidly in place I painted some more of the epoxy on the opposite end of the tube and a little on the briar surface of each side of the break. I have learned not to overdo the glue on the briar as it is a pain to remove from the wood when it dries. I twisted the shank piece in place, lined it up and pressed it in place against the bowl side. I held it firmly until the quick set epoxy set and that portion of the repair was finished.
 I pushed some fine briar dust into the small space that remained around the surface of the crack and then filled it with clear super glue. I applied it with the point of a dental pick so as not to get too much glue on the briar.
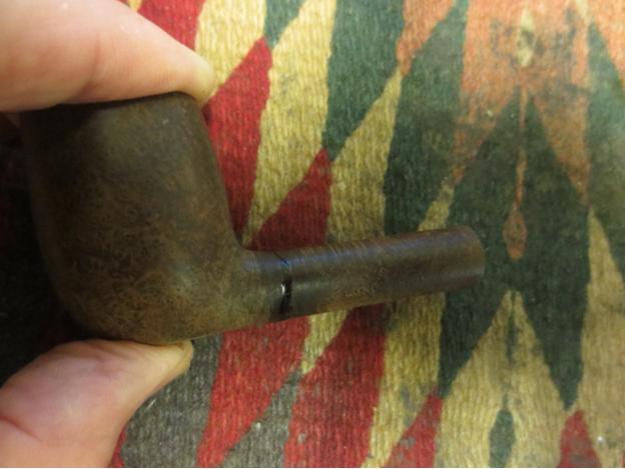
 I sanded the repaired area carefully with a folded piece of worn 220 grit sandpaper to remove the excess glue and briar dust from the patch. Then I sanded with a fine grit sanding sponge to remove the scratches. I used a medium brown coloured stain pen to touch up the sanded area around the patch. I cleaned out the shank with a pipe cleaner to make sure that there was no glue in the tube.
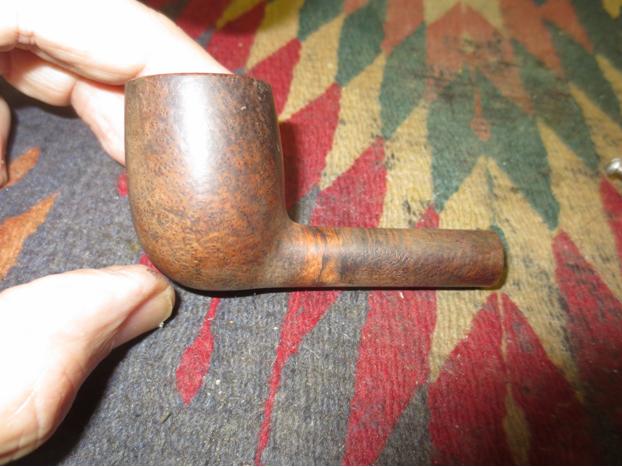
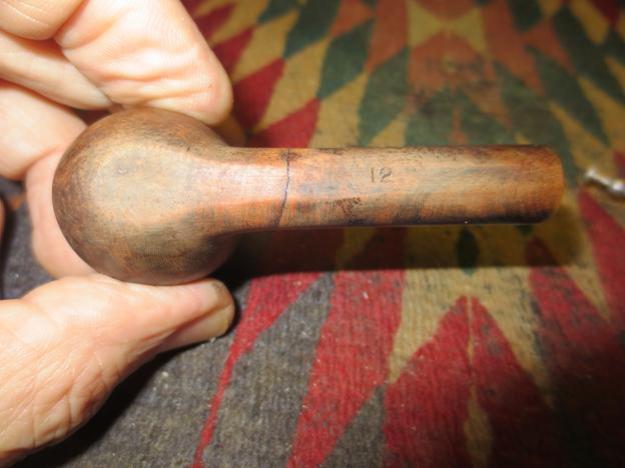 The stem was slightly under clocked. I heated the stinger with a lighter until the glue in the stem softened and then carefully screwed it into the shank while holding the shank. I was able to align it perfectly with the shank.
 With that completed, the repairs to the pipe were finished. The stem was in the right position. The cracked shank repaired and strengthened with an inner tube. All that remained was to clean up the surface of the pipe and give it a coat of stain to blend in the sanded areas around the repairs. I also needed to do some work on the stem with micromesh to raise the shine and polish the Bakelite. (I rarely use the buffer on these older LHS stems as I do not want to risk it. I would rather polish them by hand than damage them.)
 I wiped the bowl and shank down with alcohol on a cotton pad to remove the grit and grime on the surface of the bowl and to remove the remaining finish.
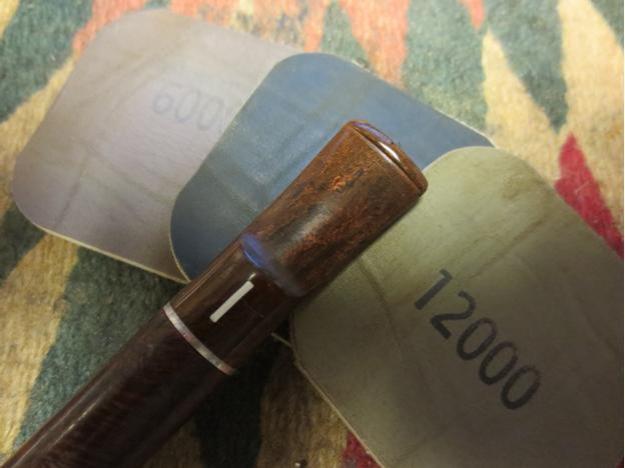
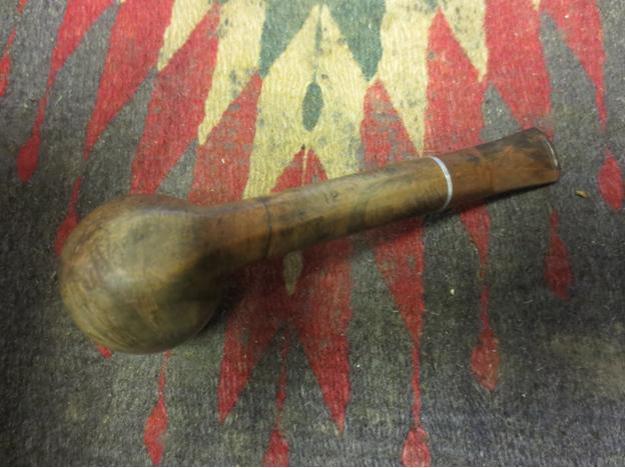 I cleaned off the tars on the stinger with 0000 steel wool. I wet sanded the stem with 1500-2400 grit micromesh sanding pads and then rubbed it down with Obsidian Oil. I continued to dry sand the stem with 3200-4000 grit pads and then gave it another coat of oil. I finished with the final three grits of micromesh – 6000-12000 – and gave it a final coat of Obsidian Oil. Once the oil dried I gave the stem some coats of Paragon Wax and hand buffed it with a microfibre cloth.
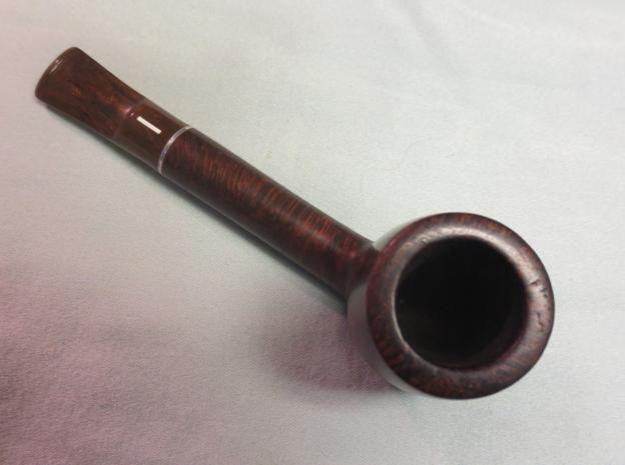
 I gave the bowl a rubdown with some olive oil and then buffed it out. I touched up the light areas of the stain on the repaired shank with a dark stain pen and then rubbed a little more oil onto the shank. I buffed the pipe with Blue Diamond and then gave it several coats of carnauba wax. I buffed it with a clean flannel buff and then hand buffed it with the microfibre cloth. The finished pipe is shown below. I am hoping to put it in the mail later today or tomorrow to get it back to Troy.
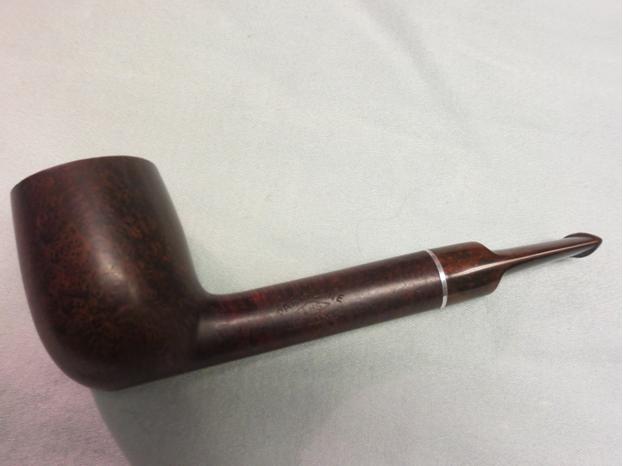
 There was some light damage to the rim surface. I decided to leave it alone as it was not enough to top the bowl. It gives character to this old pipe.

