by Steve Laug
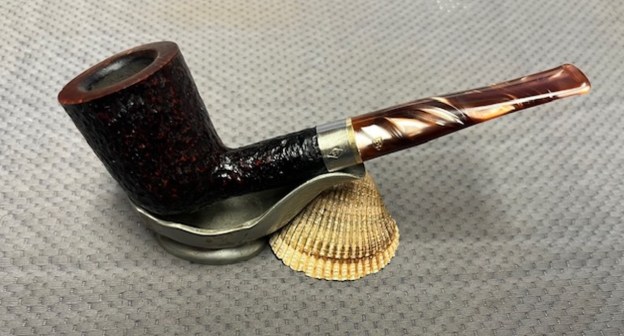
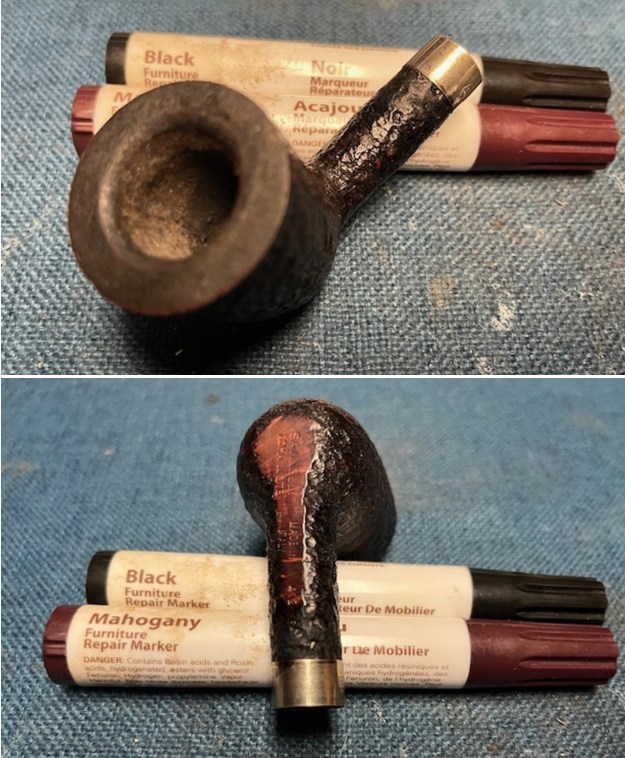
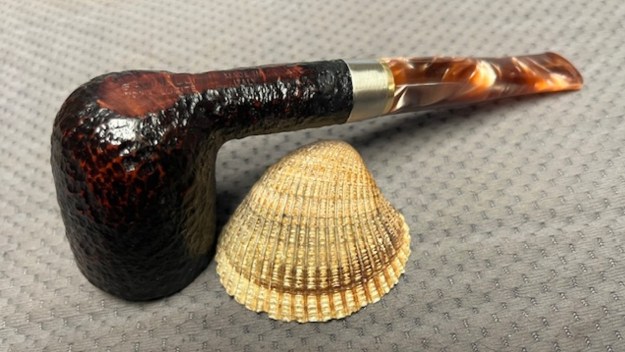
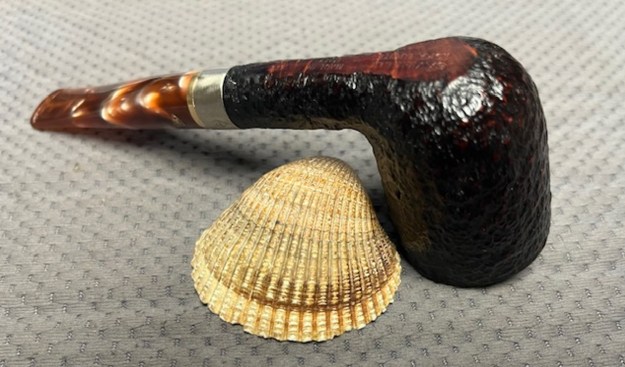
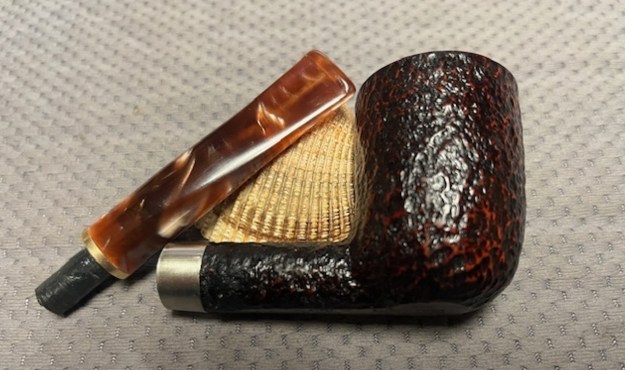
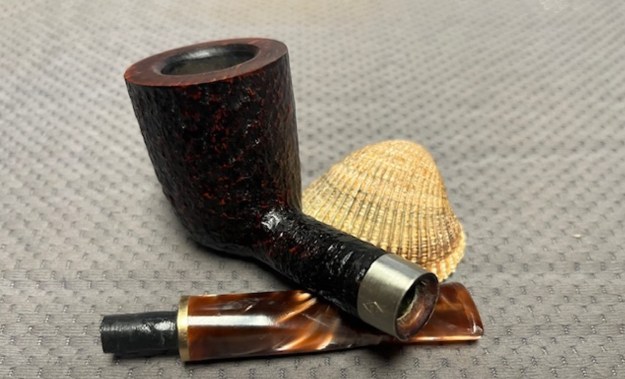
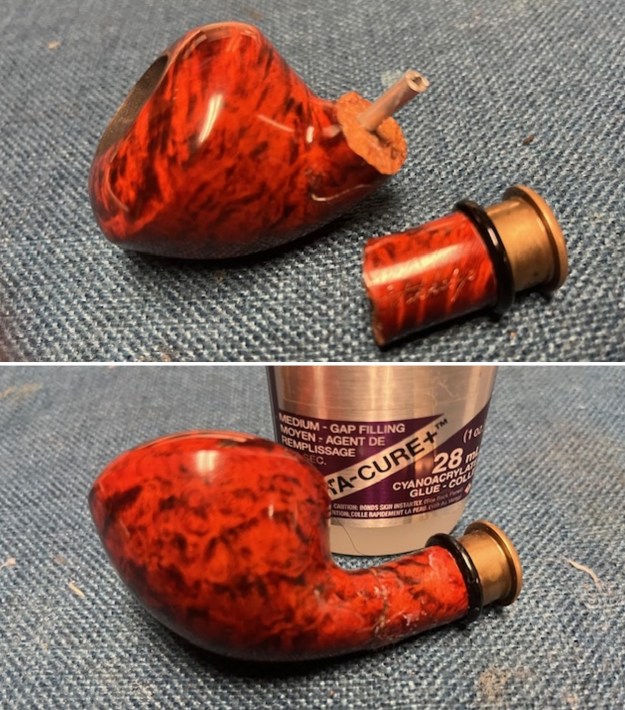
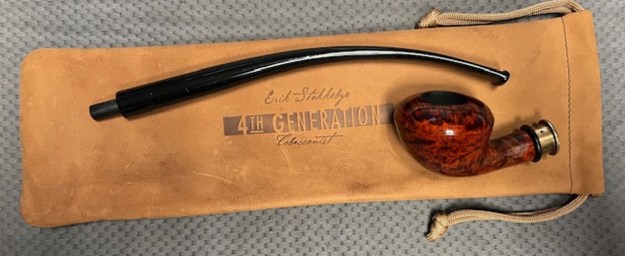
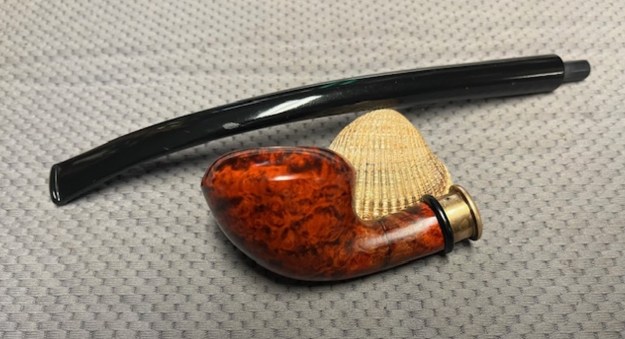
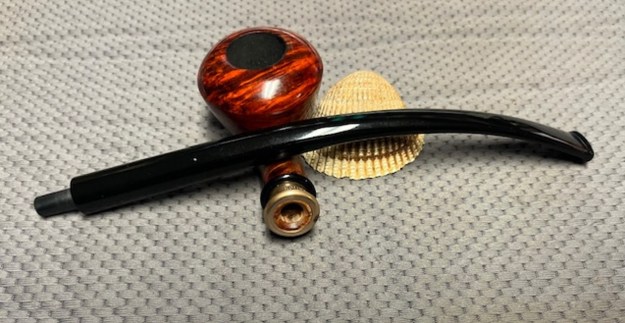
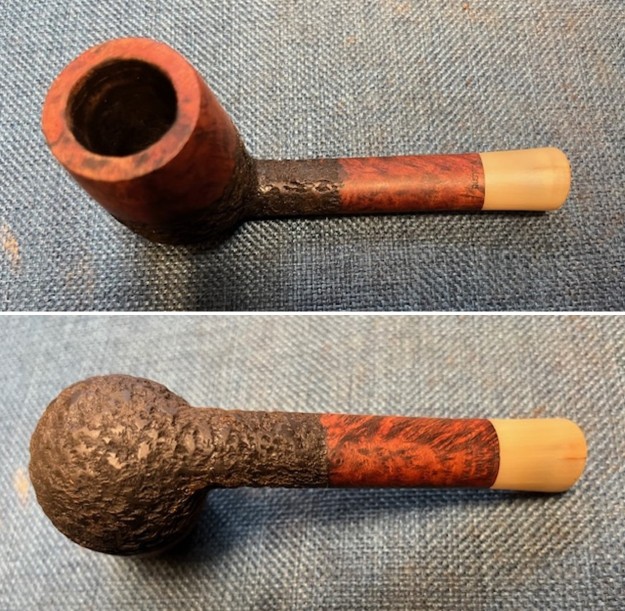
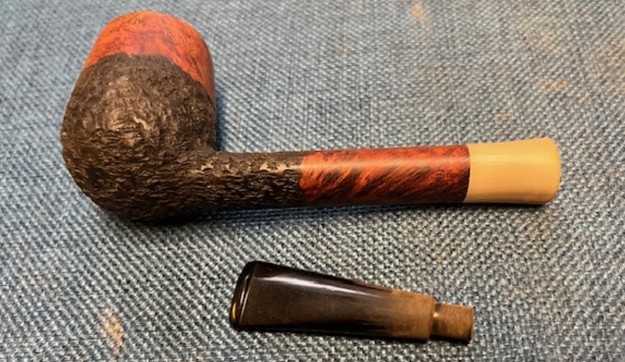
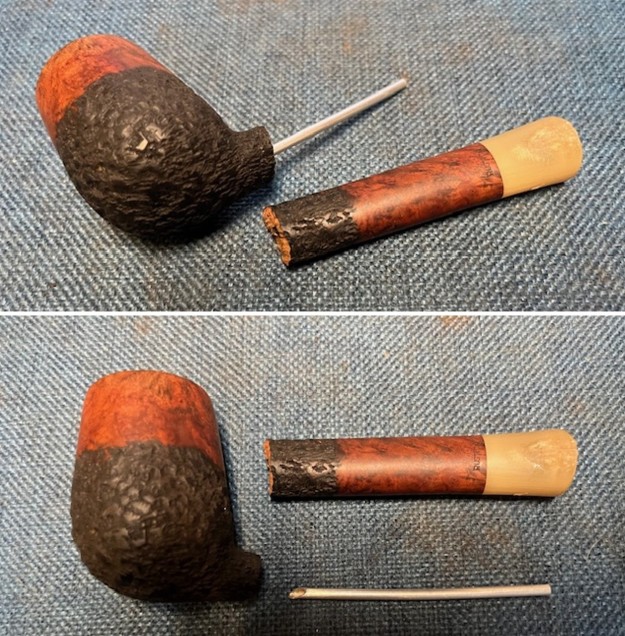
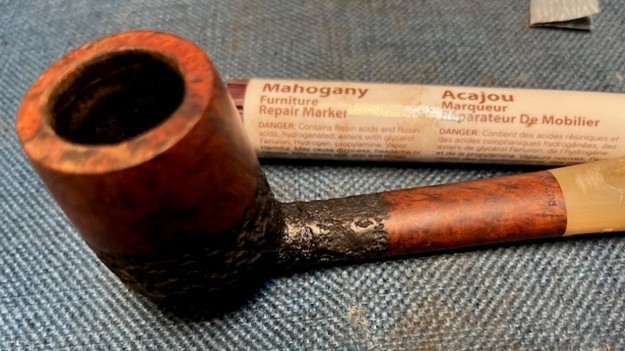
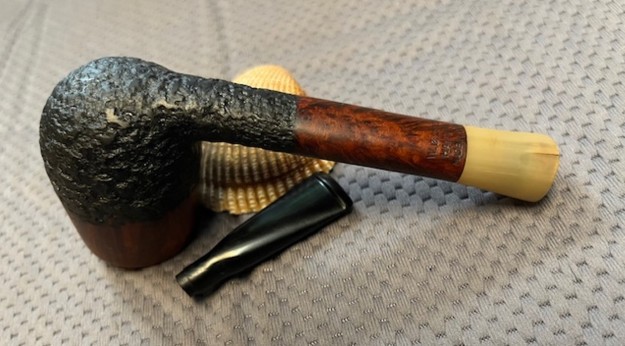
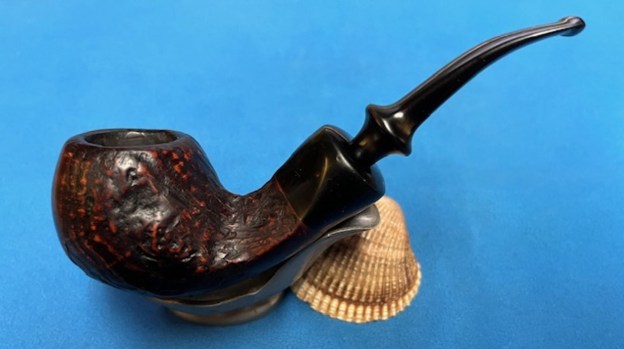
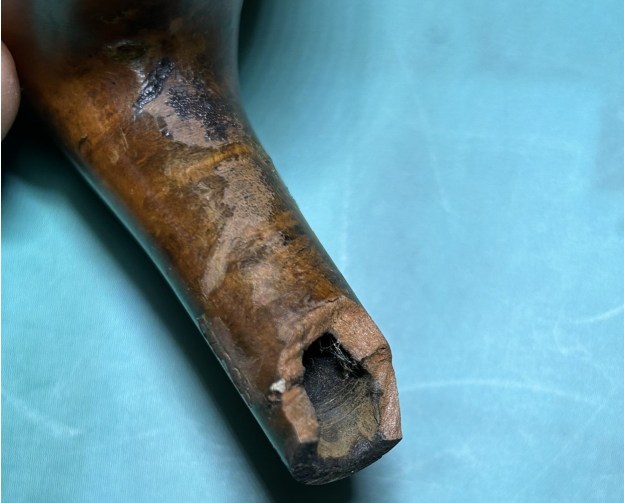
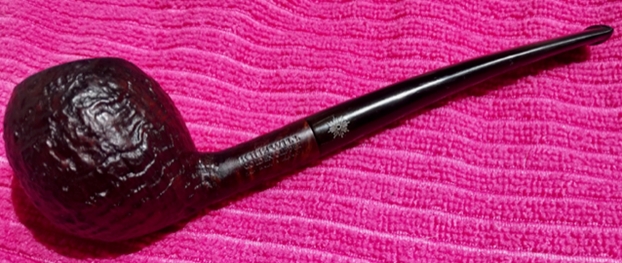
The next pipe came from Curtis, the same pipeman whose Neerup pipe I restemmed. He sent me the two pipes for work. This one is stamped on a smooth panel on the underside of the shank. It was stamped Savinelli [over] Roma Lucite [followed by] Made In [over] Italy [followed by] the shape number 412 KS. It was a sandblast pipe with an interesting blast that showed the grain around the bowl and shank. The stem was a variegated orange/brown Lucite taper with a brass spacer at the end of the stem and a gold R Shield on the left side of the shank. The stem had light tooth chatter on the top and underside ahead of the button. It had a thick cake in the bowl and an overflow of lava on the rim top. To me those are easily dealt with and really are not an issue. What was an issue was the cracked shank. It cracked ¾ of an inch up the shank with a clean break. It was too far up the shank to band it to hold the parts together. It was a mess that I would need to be creative to fix. I left it over night to see if I could sort out a repair of some sort that would put the pieces back together again. I had some brass tubing that would work well in the shank together from the inside.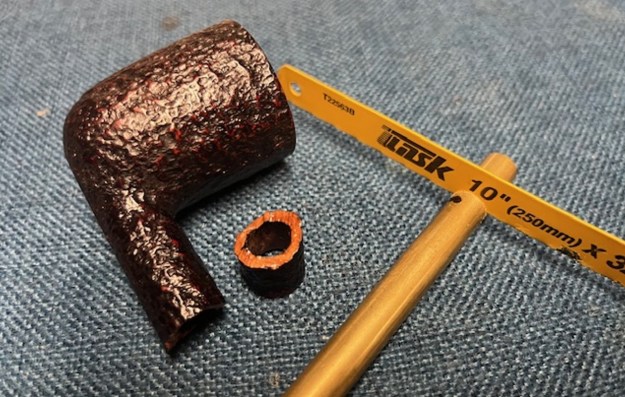 I cut a piece of brass tubing that fit from the entry of the airway in the shank, across the cracked shank and ending at the bevel on the shank end. My thoughts on it were that I would reduce the size of the tenon on the stem so it would slide into the shank. It was thick enough that the thinning would not make it weak.
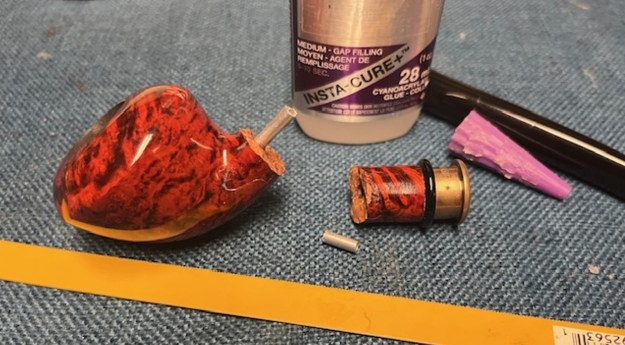
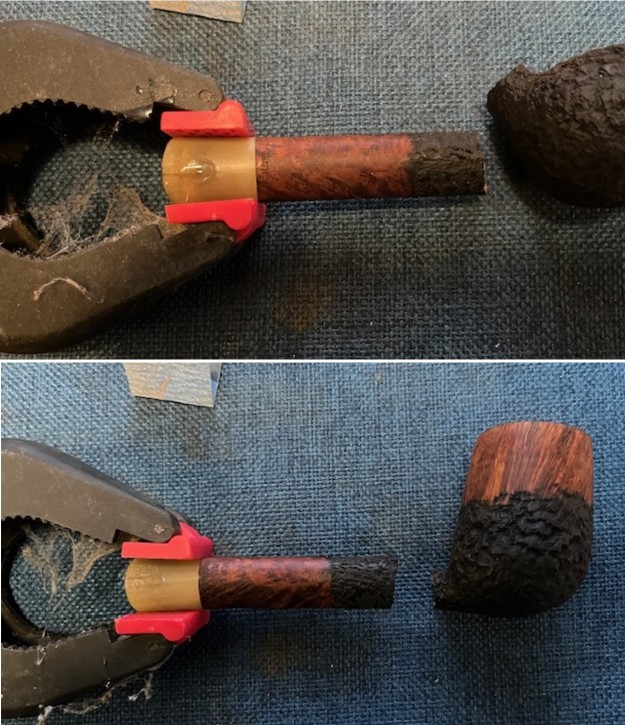
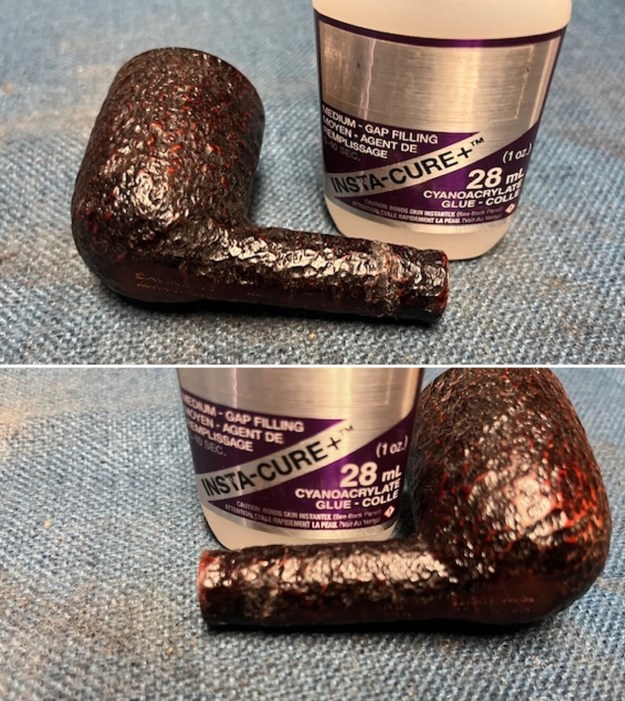

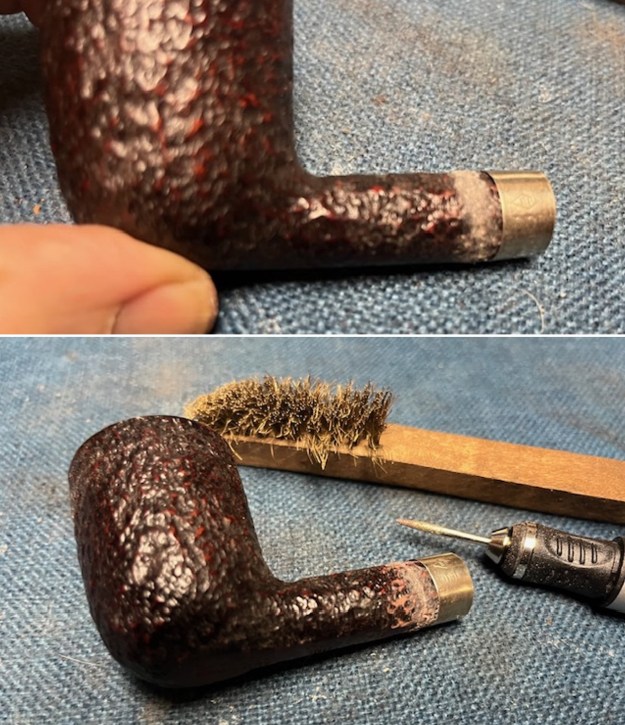
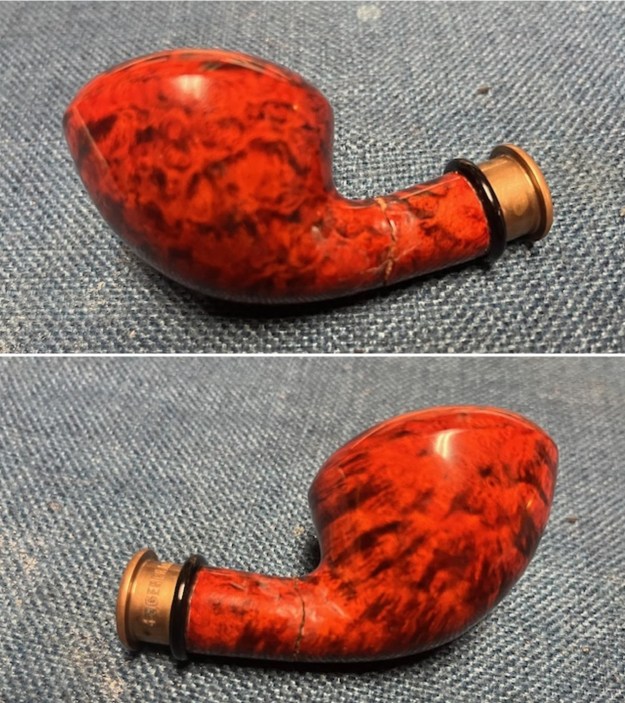
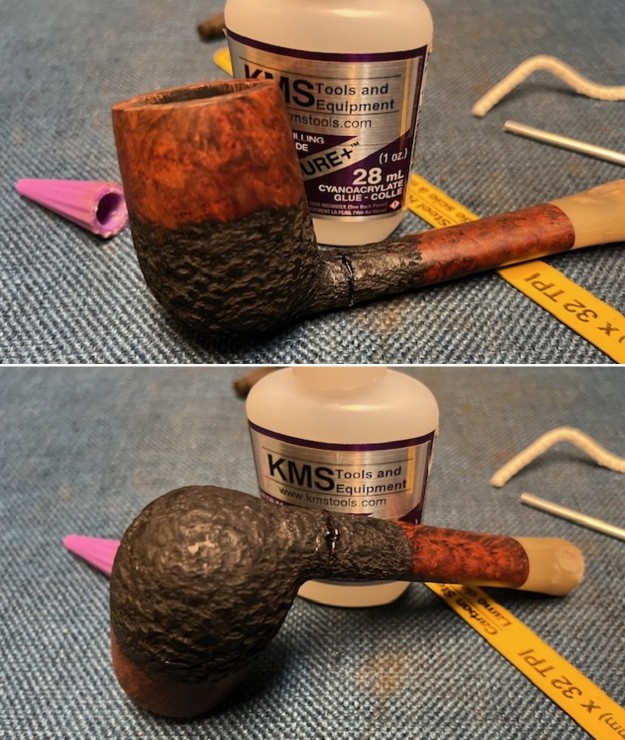
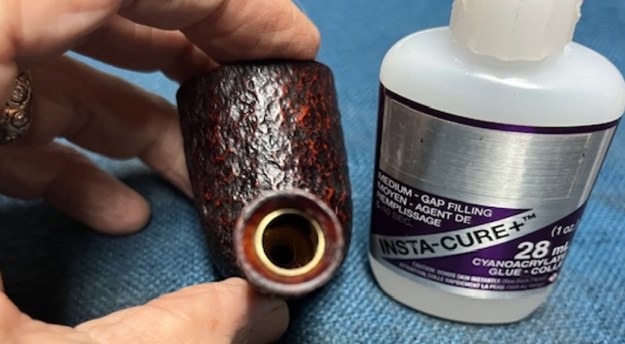 I used a brass bristle wire brush to roughen the area of the repair on the shank to match the sandblast on the finish. It was close but I would need to do more. I found a deep set band that once in place combined with the internal tube should protect the shank. I pressed it on the shank.
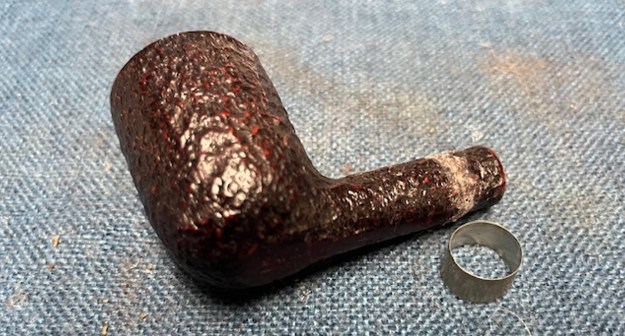
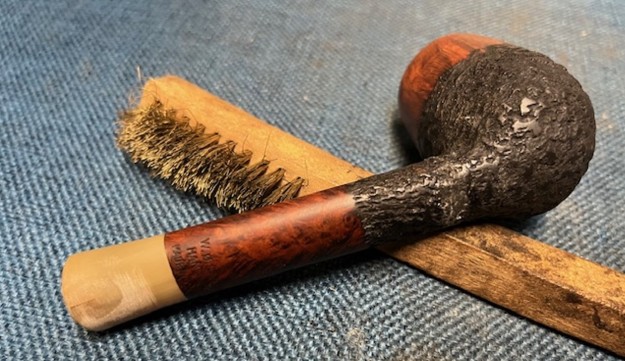
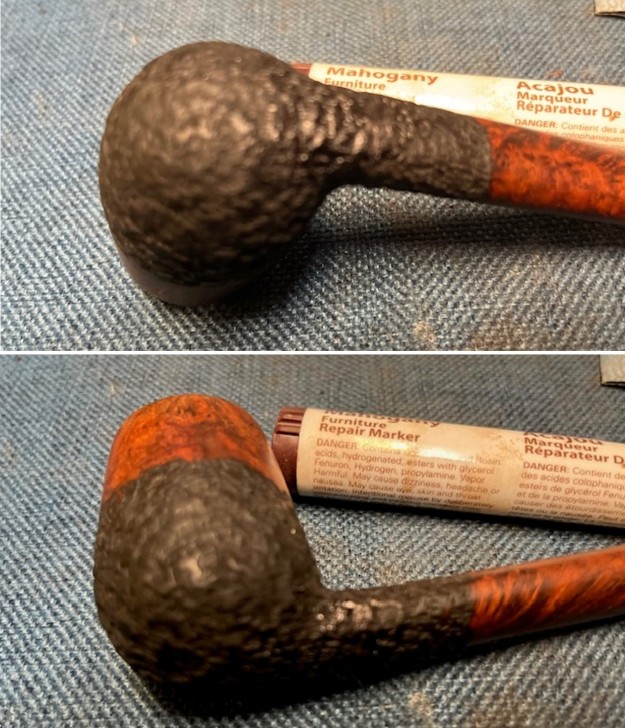
 I worked over the repair on the shank with the wire brush and an etching tool. I wanted it to match the rest of the shank and bowl finish. It will look good once the section is restain.
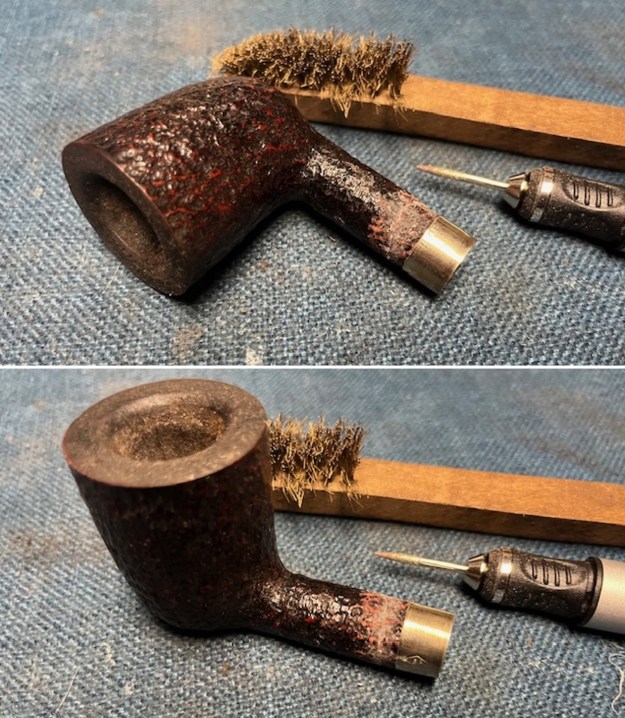
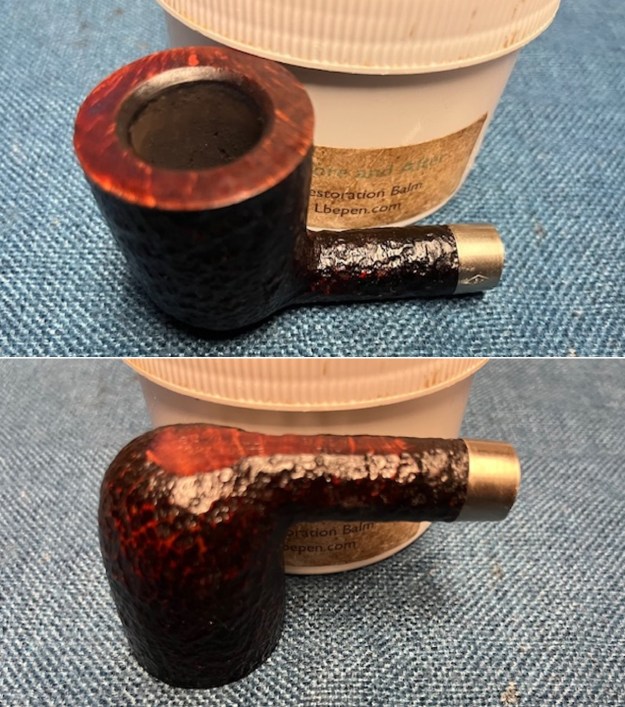
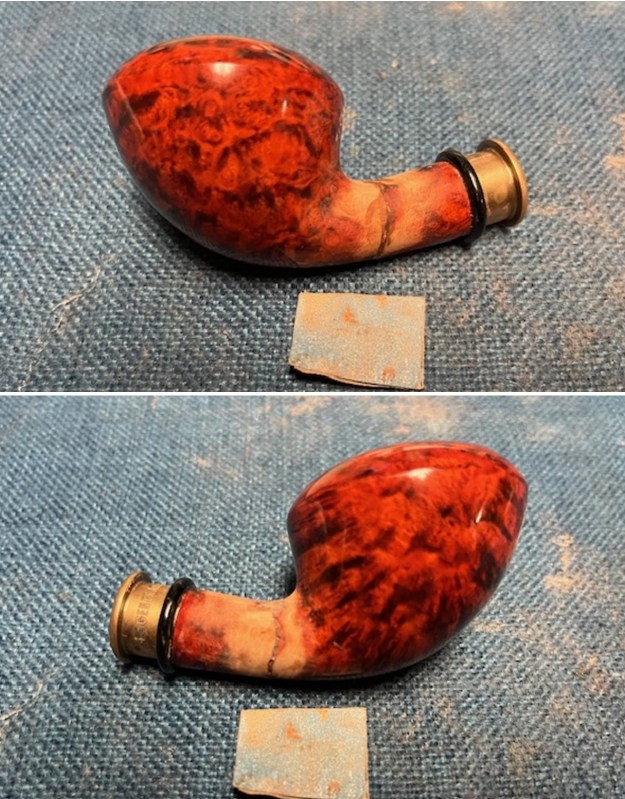
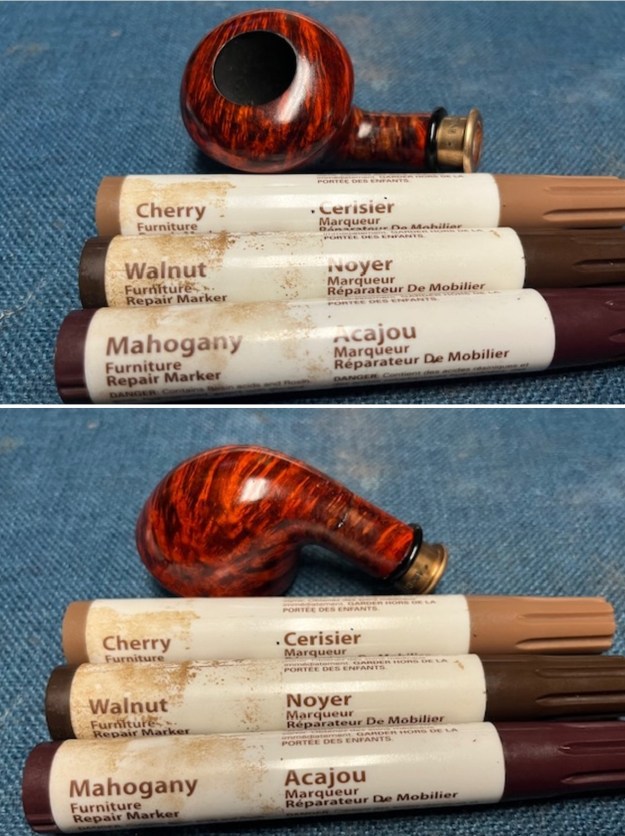
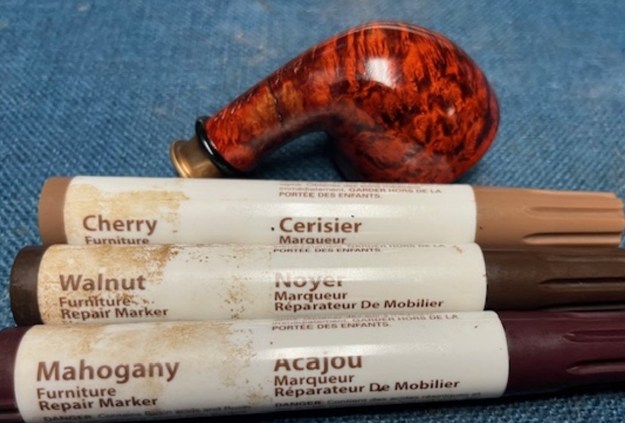
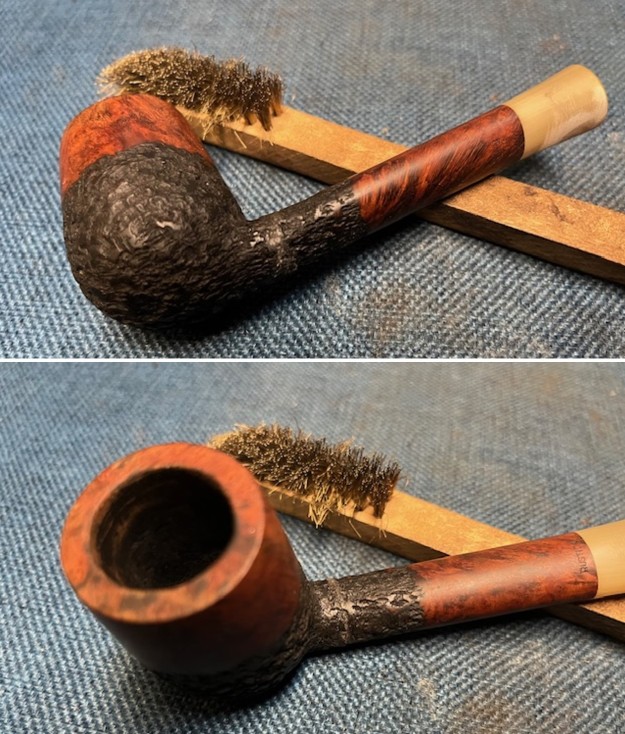
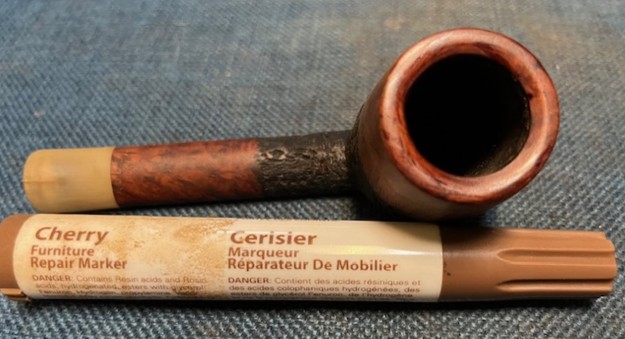
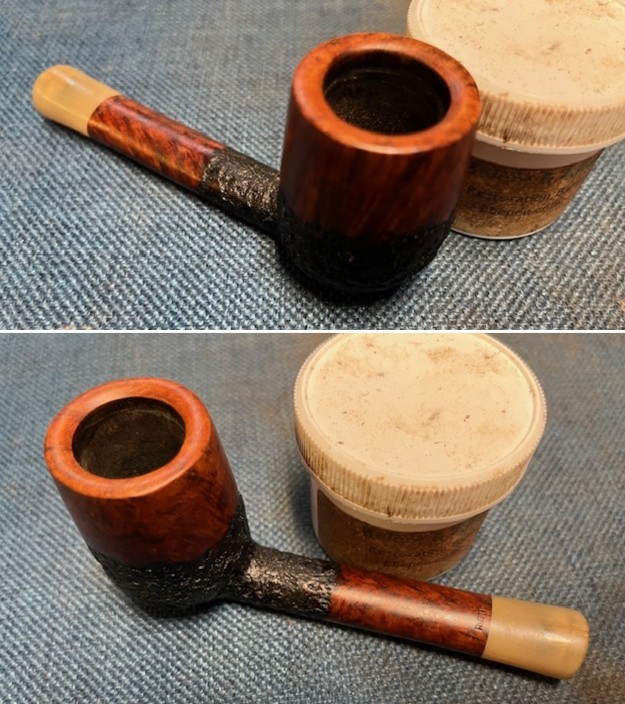
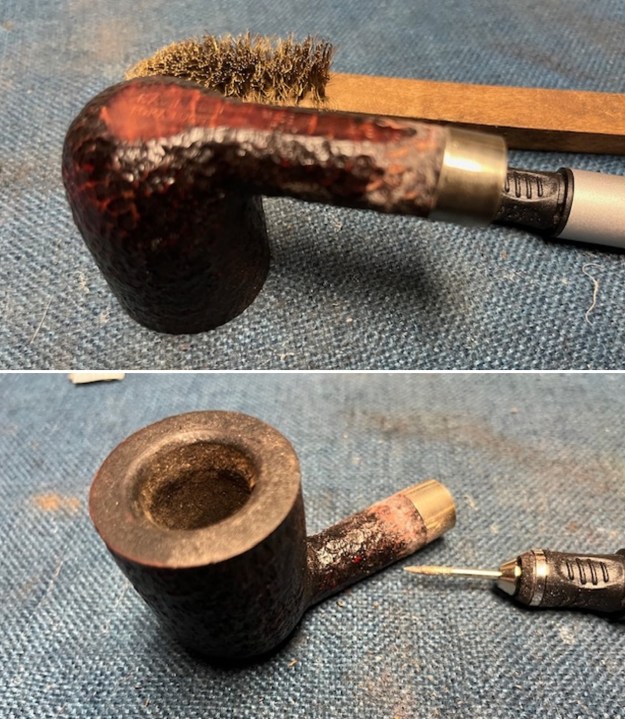 I restained the shank end with a combination of Mahogany and Black stain pens. Once it dried I buffed it with a soft cloth and the repair looked very good.
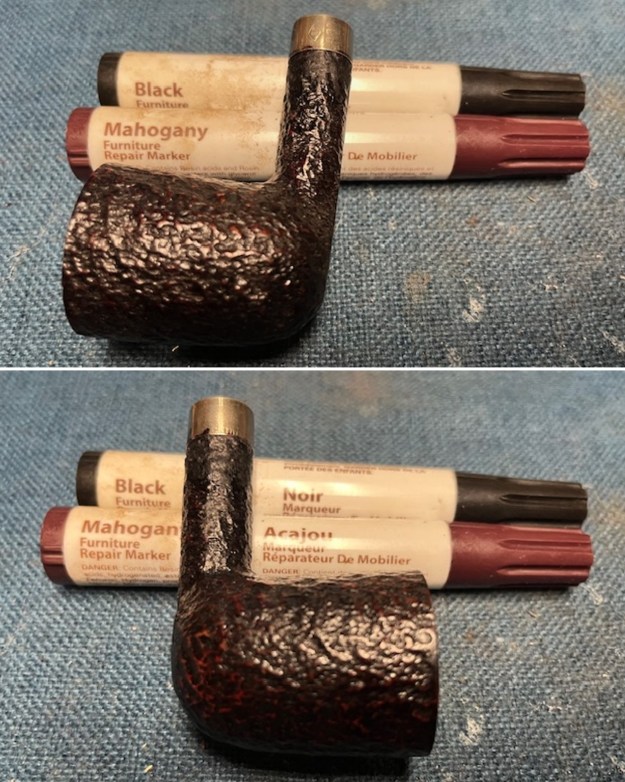
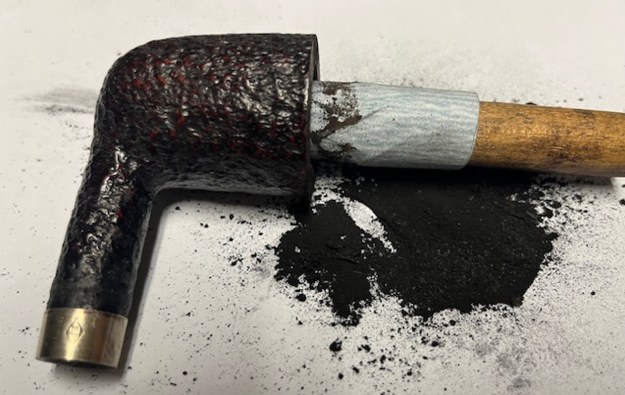
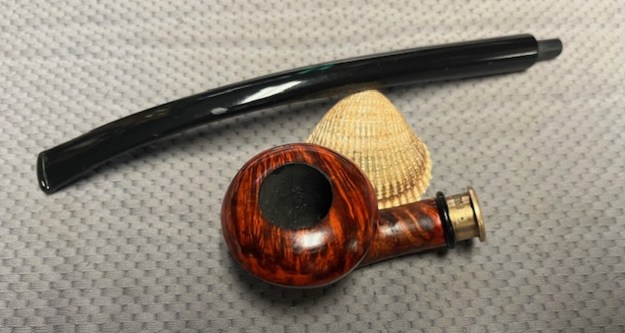
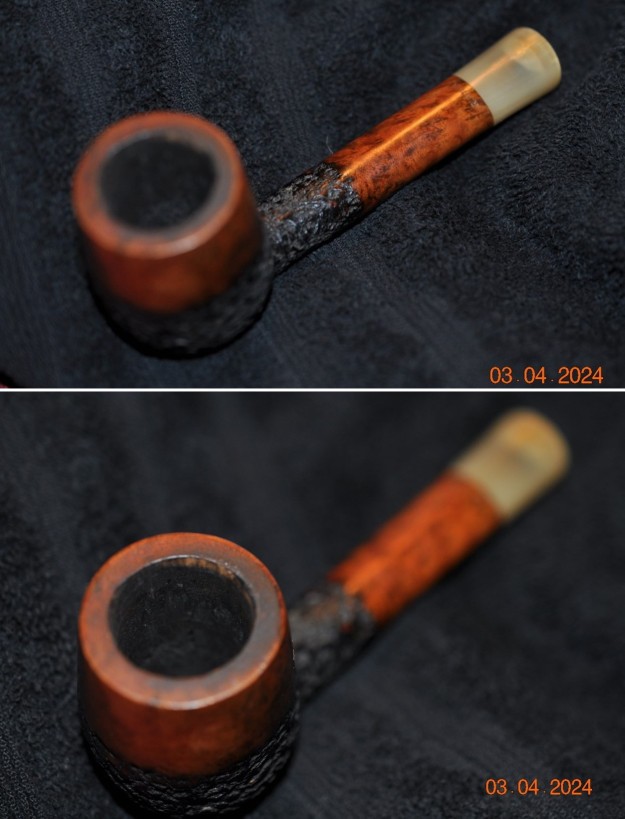
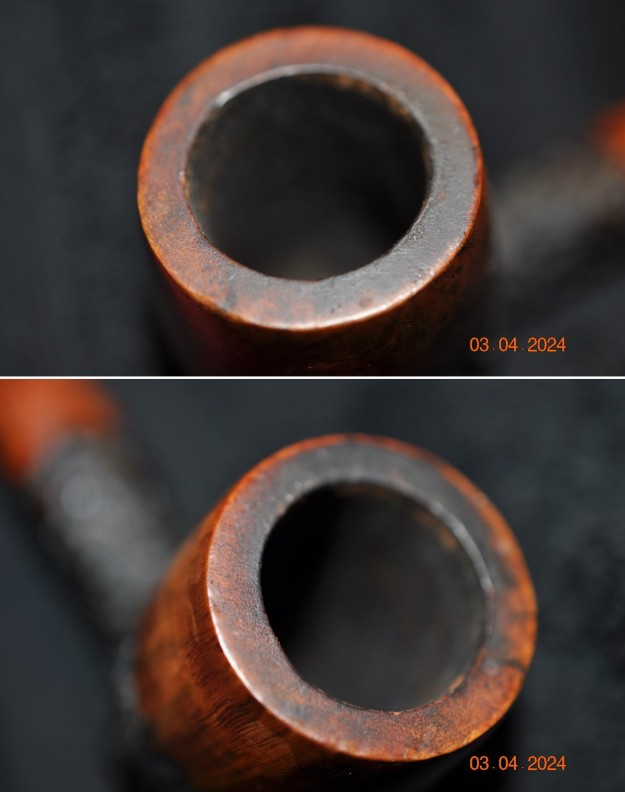
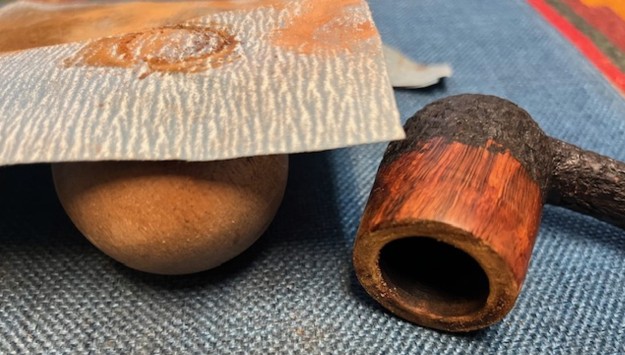
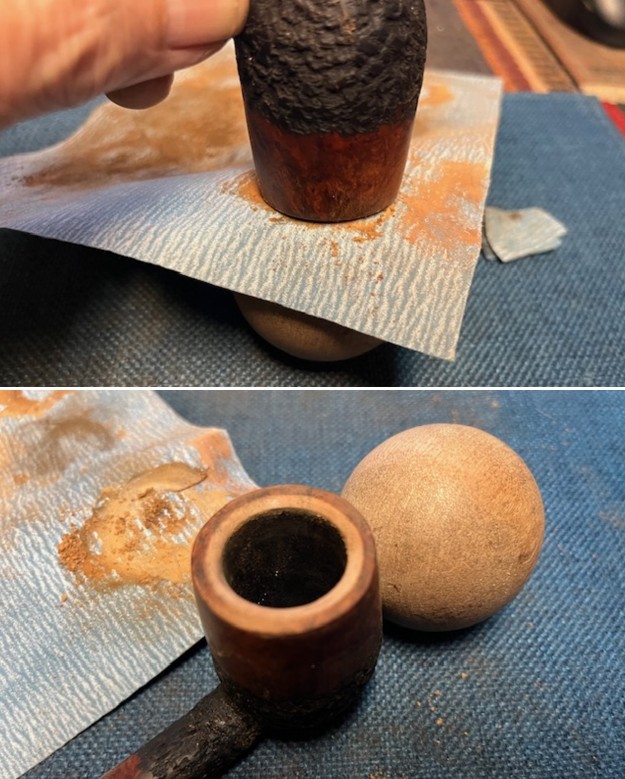
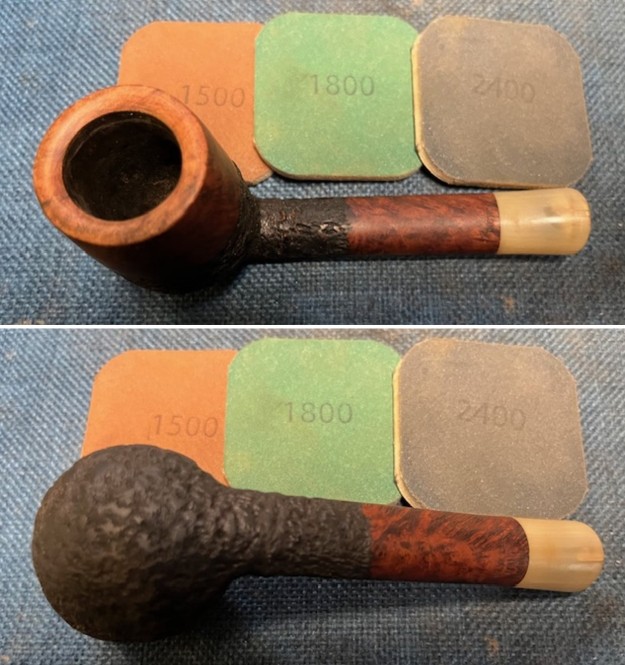
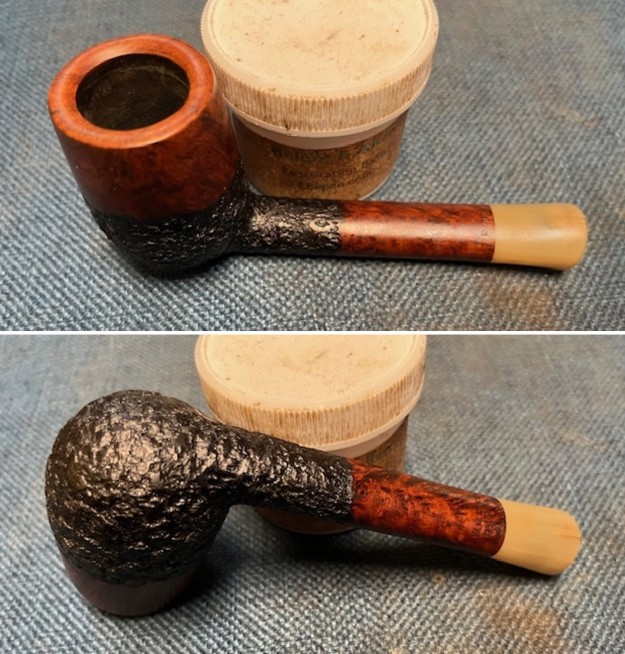
 I reamed the pipe with a PipNet pipe reamer using the second and third cutting heads to remove the thick cake in the bowl. I scraped the bowl with a Savinelli Fitsall Pipe Knife to remove the remainder of the cake in the bowl. I sanded the bowl with a piece of dowel wrapped in 220 grit sandpaper. It looked good.
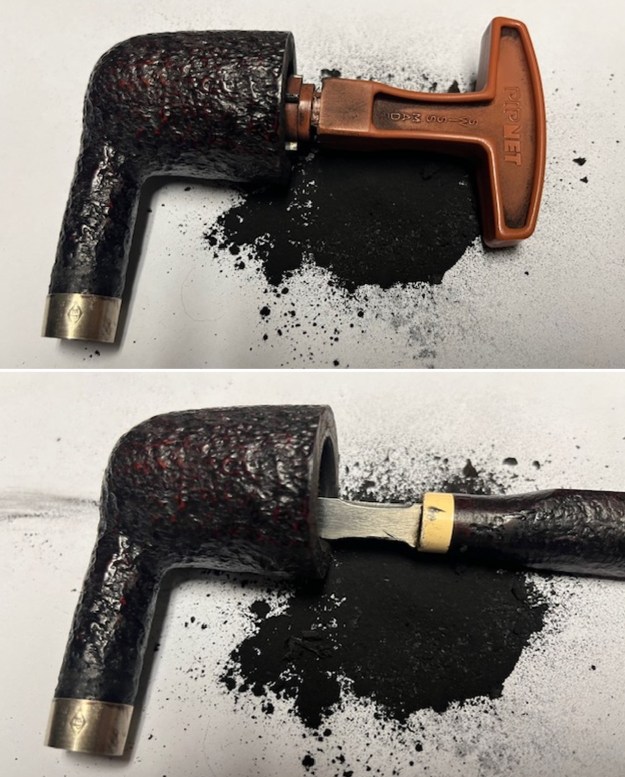
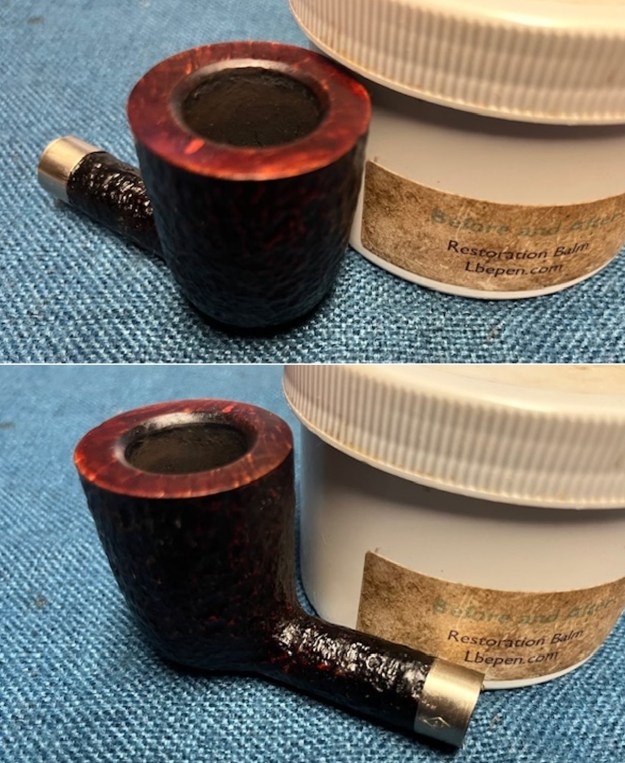
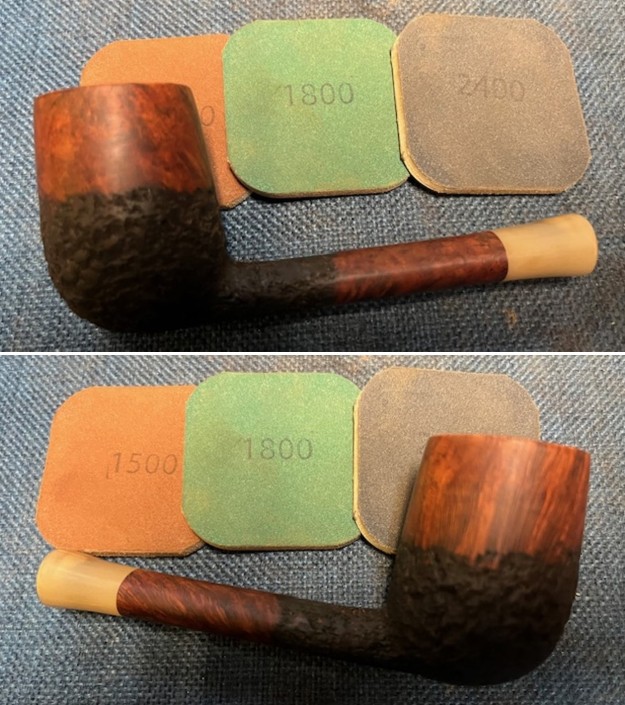
 I cleaned up the rim top. I scraped off the lava coat with the Savinelli Fitsall Pipe Knife. I scrubbed it with some warm water and a paper towel to remove the bulk of the grime. I used a 1500 grit micromesh sanding pad to polish off the remainder of the grim and the rim top look significantly better.
 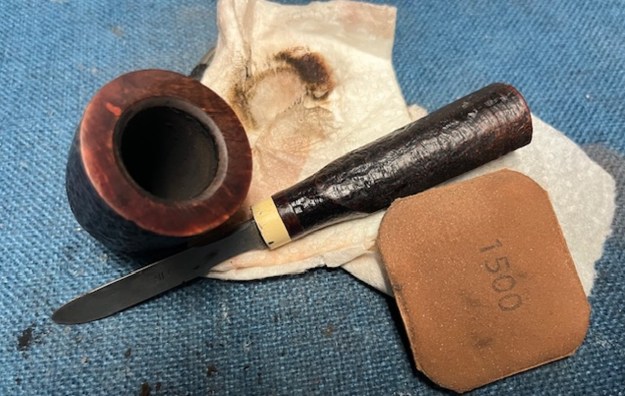 I scrubbed the airway in the shank and the stem with pipe cleaners – both regular and bristle one and isopropyl alcohol.
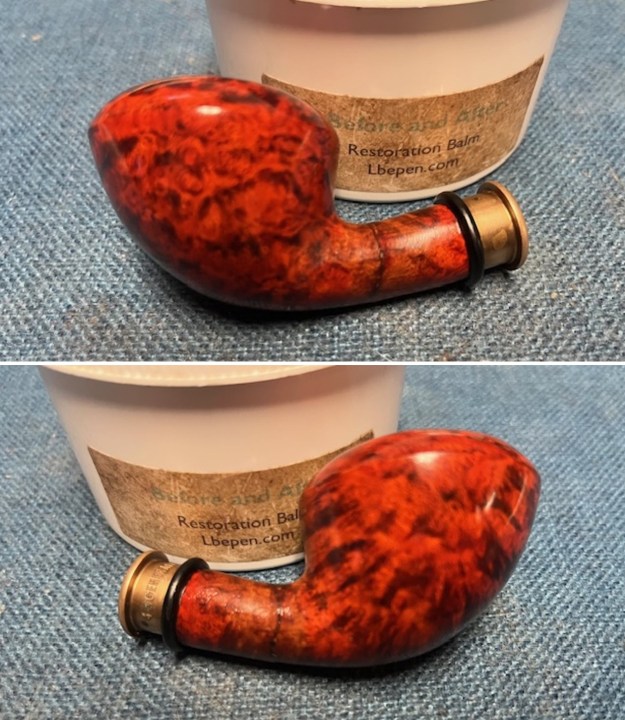
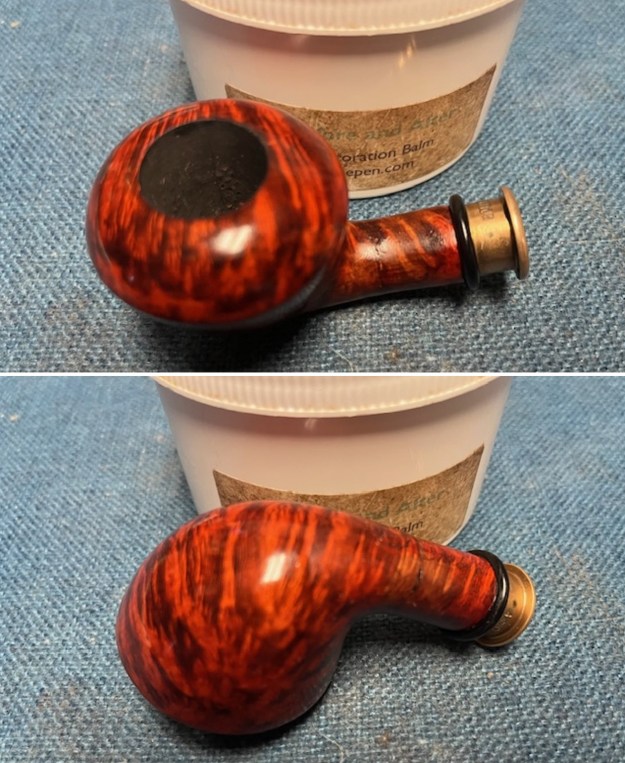
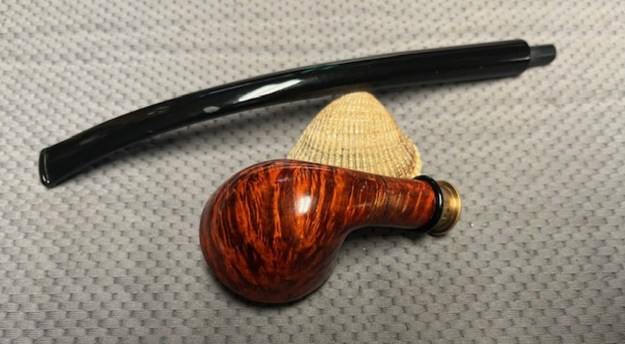
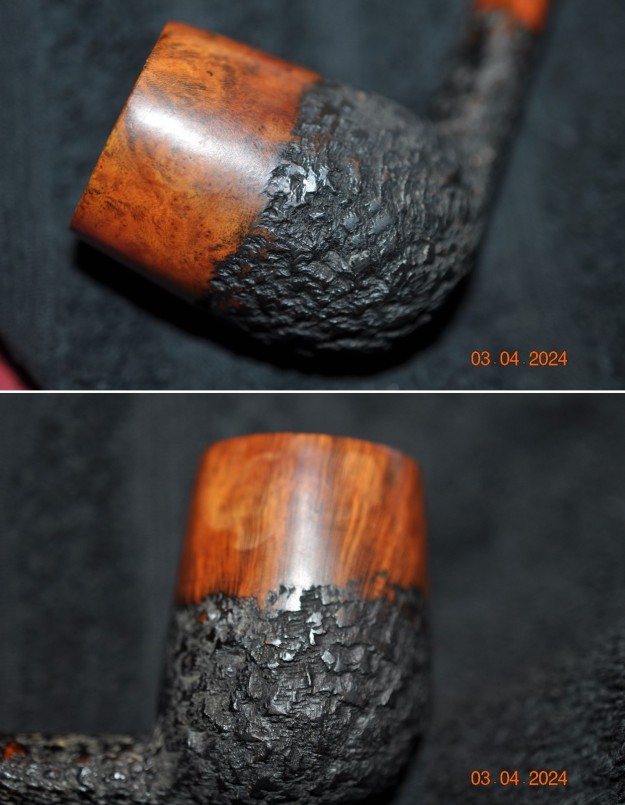
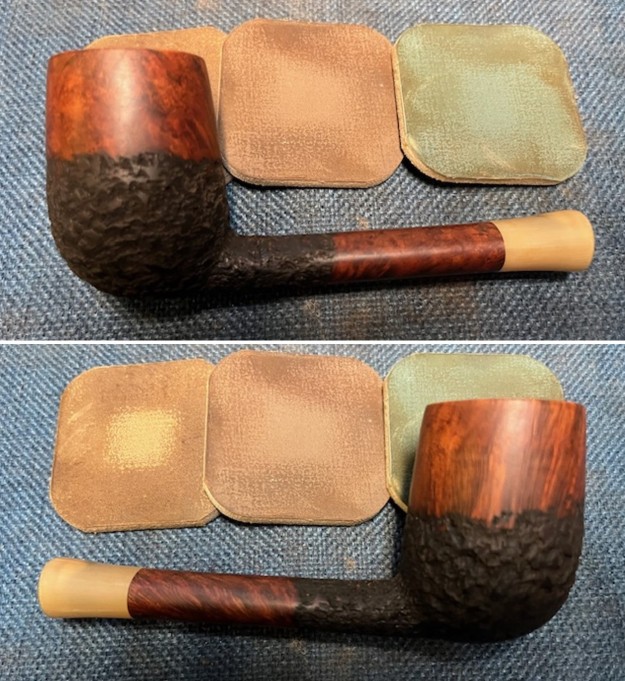
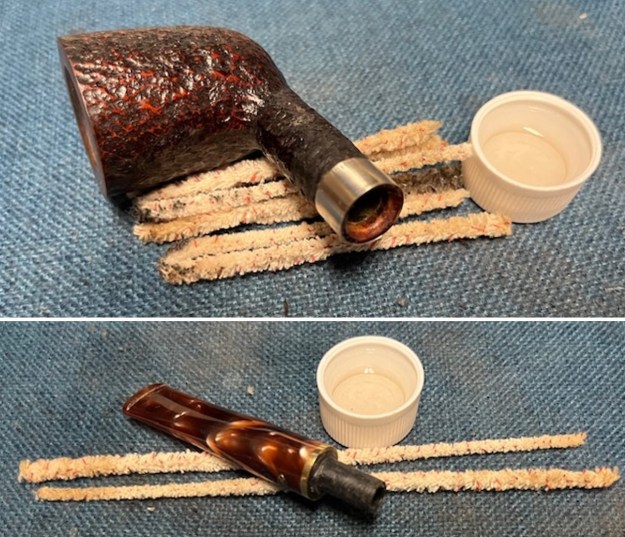 I rubbed the briar down with Before and After Restoration Balm. I worked it into the finish with my fingertips and let it sit for 10 minutes to let it do its magic. After that I buffed it off with a soft cltoh to polish and raise the shine on the bowl. It looks very good.
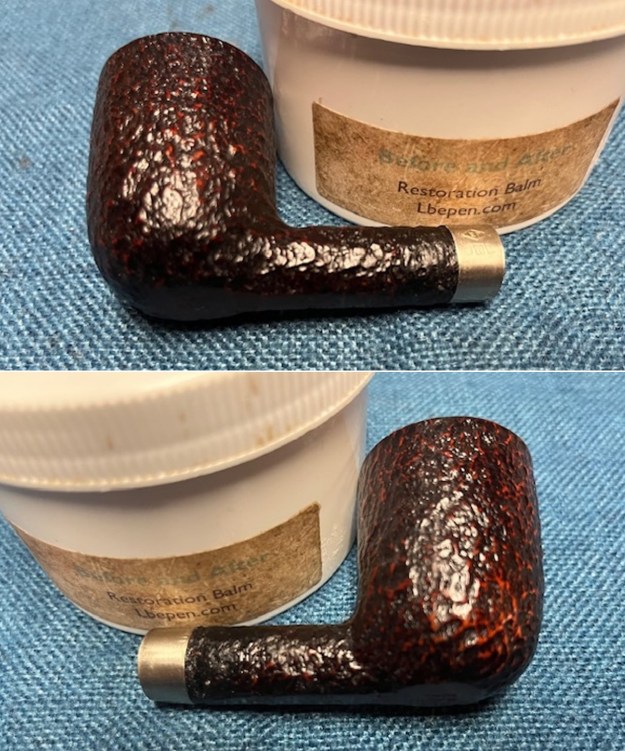
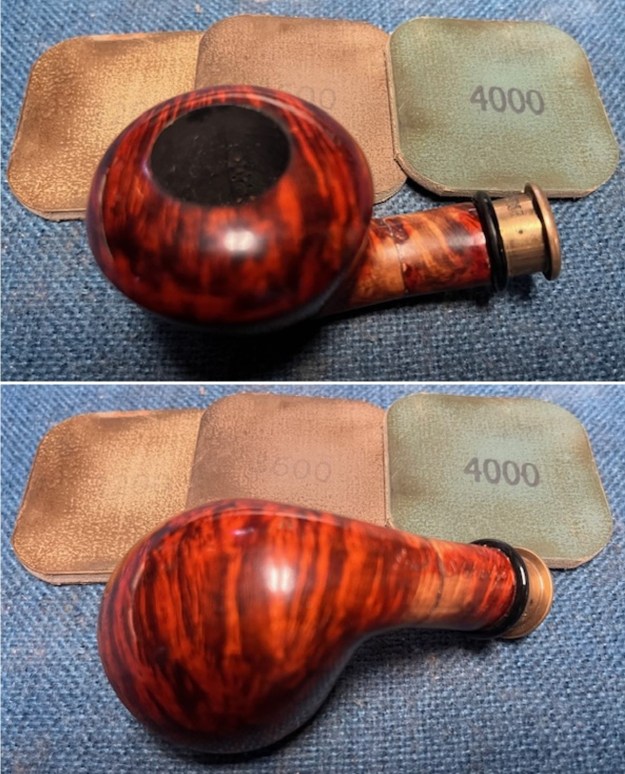
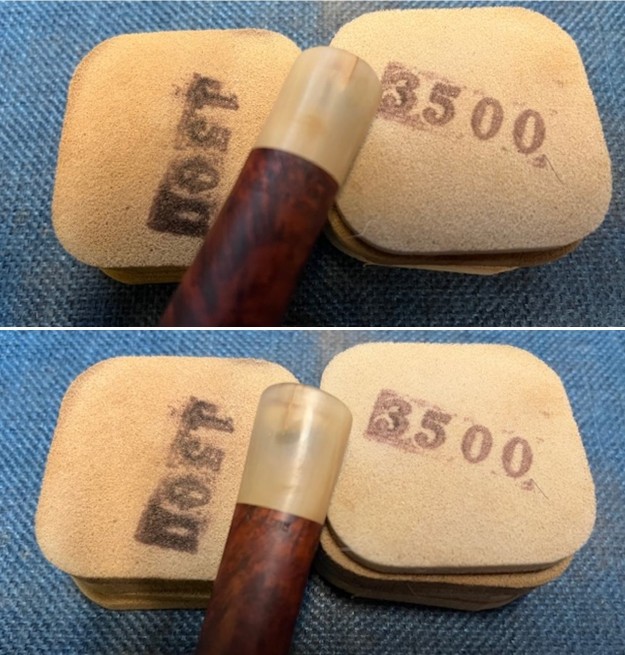
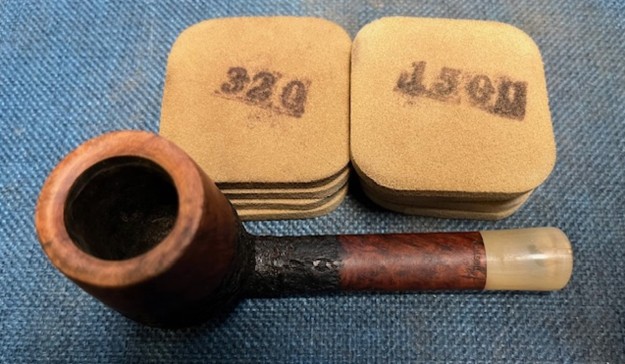
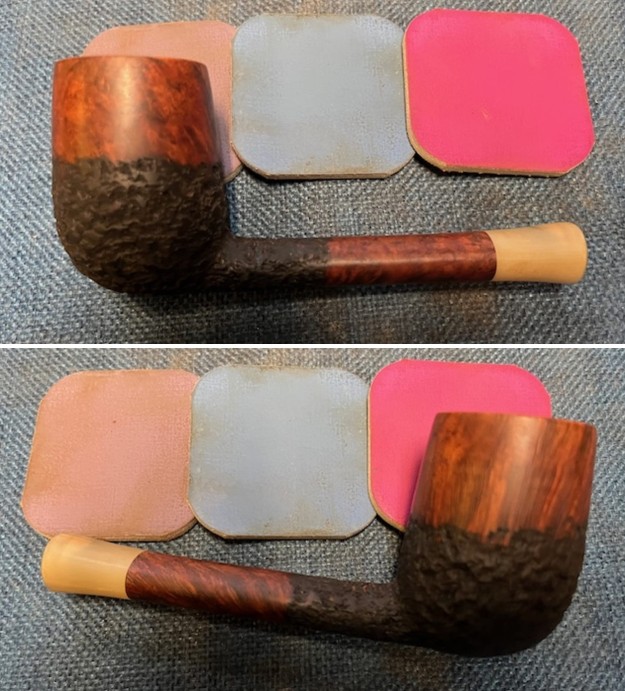
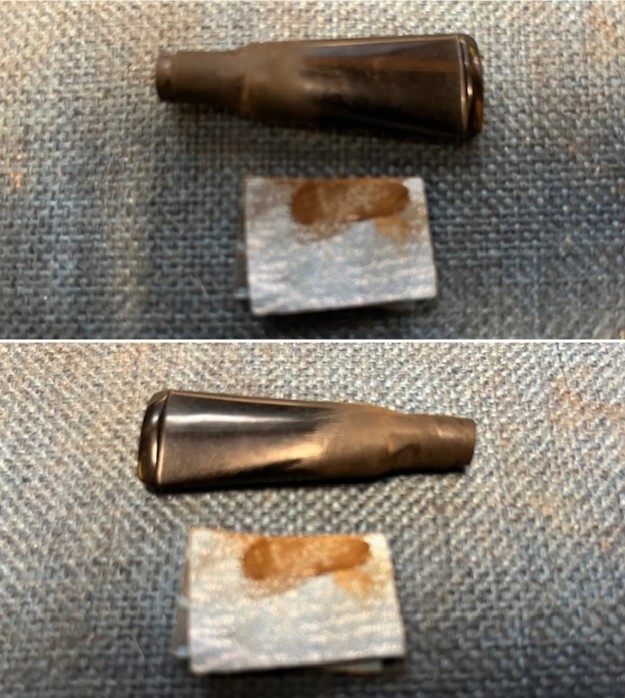
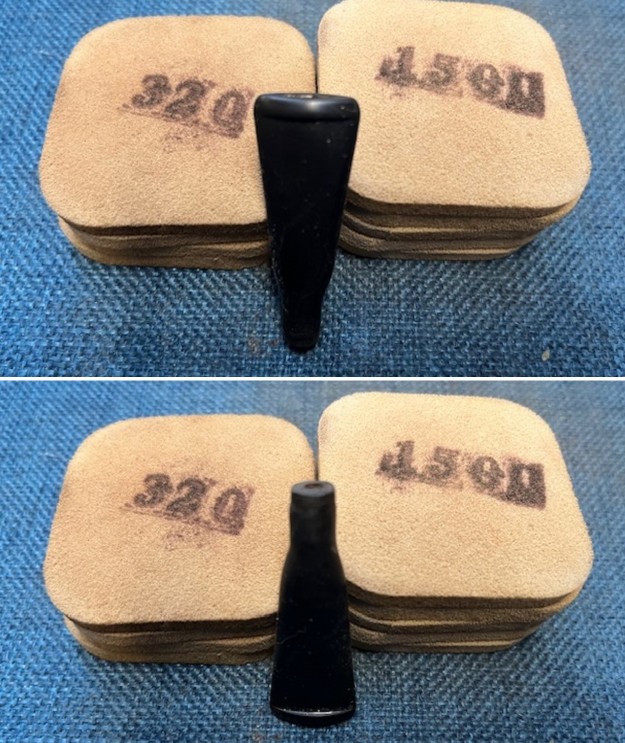
 I set the bowl aside and turned my attention to the stem. I polished out the tooth marks and chatter with 320-3500 grit 2×2 inch sanding pads. I wiped the stem down after each sanding pad with an obsidian Oil soaked cloth. It is looking good.
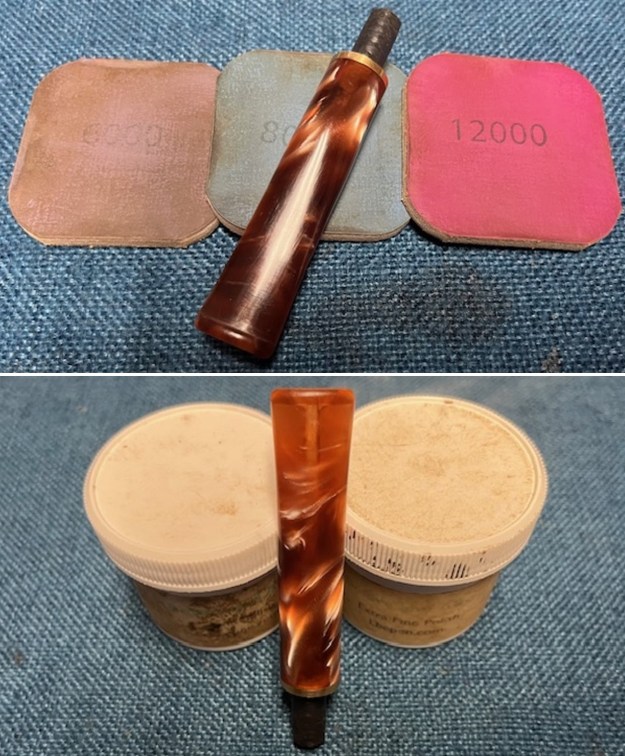
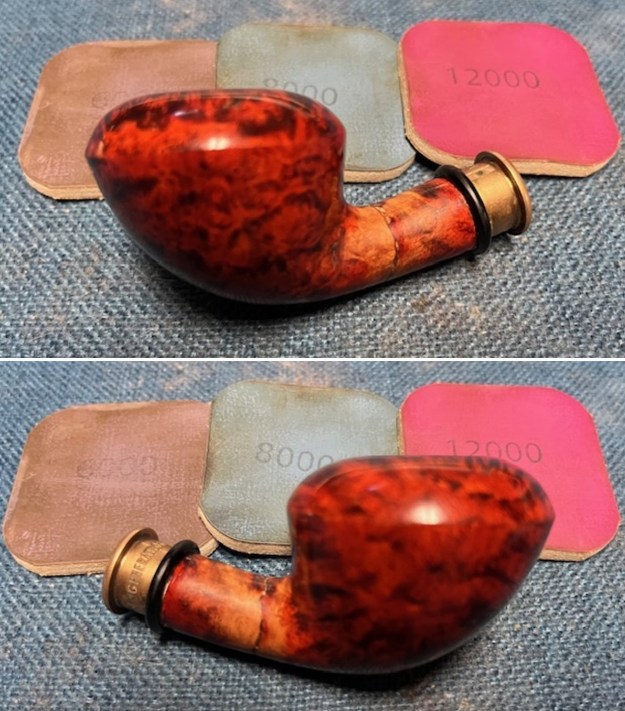
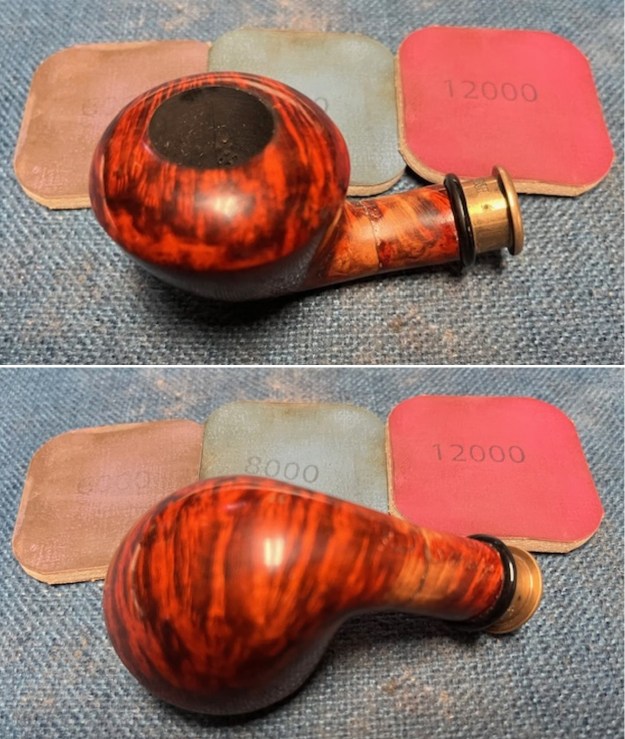
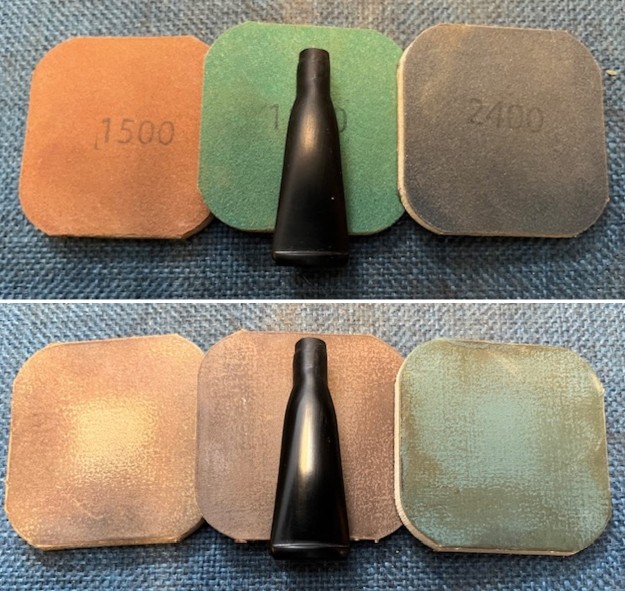
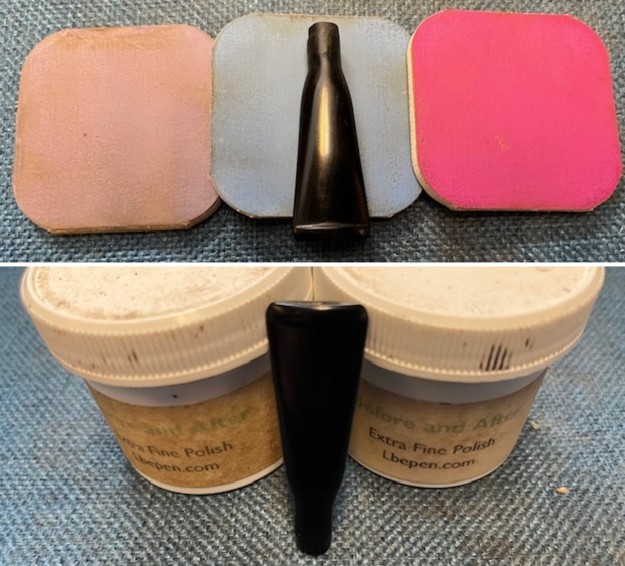
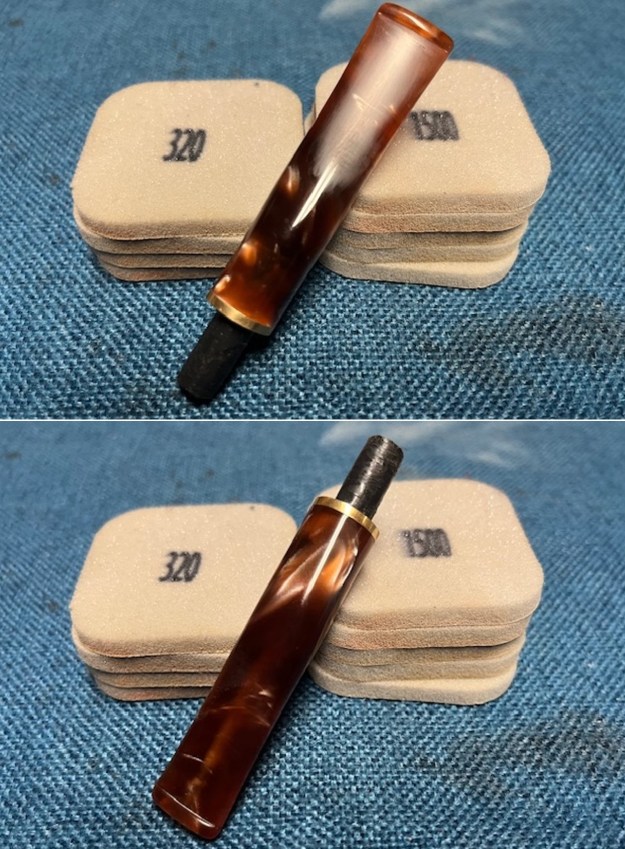 I polished the stem with 1500-12000 grit micromesh sanding pads – dry sanding with each pad. I wiped it down with the Obsidian Oil after each pad. I finished polishing the stem with Before and After Pipe Stem Polish both Fine and Extra Fine polishes. I polished it with each polish and the stem began to have a rich glow.
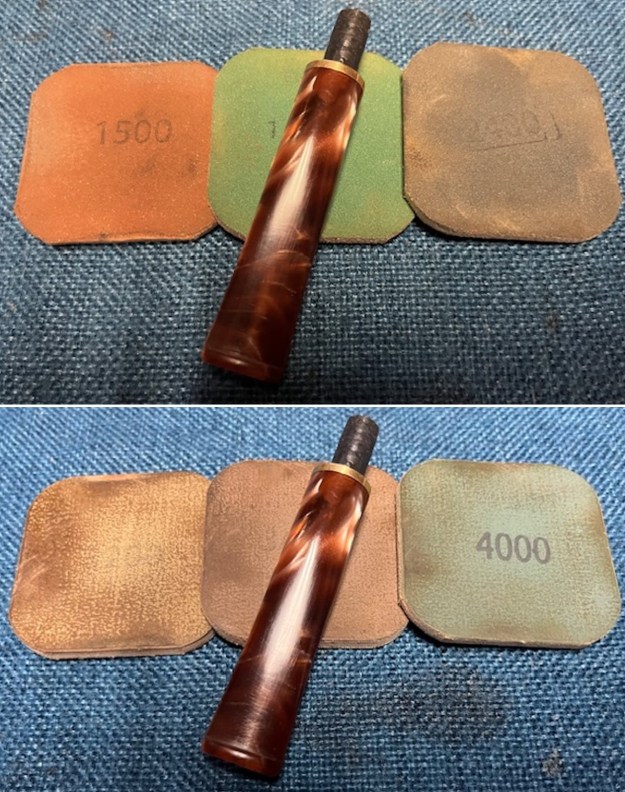
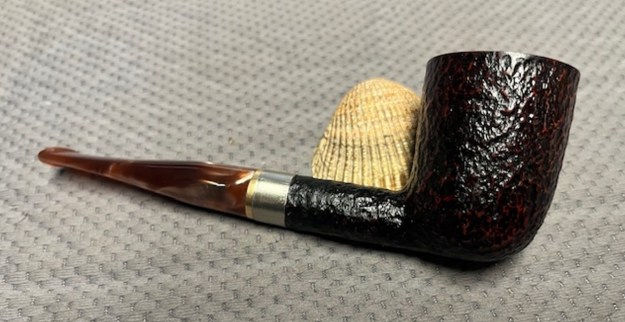
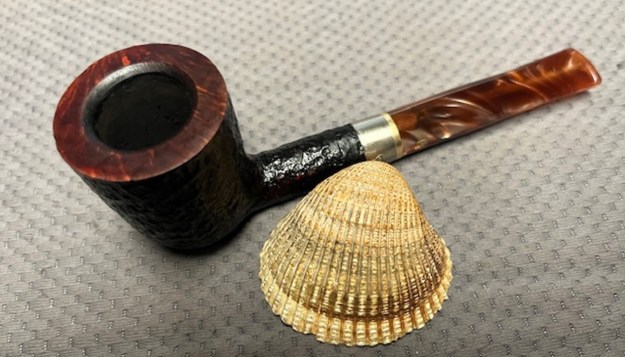
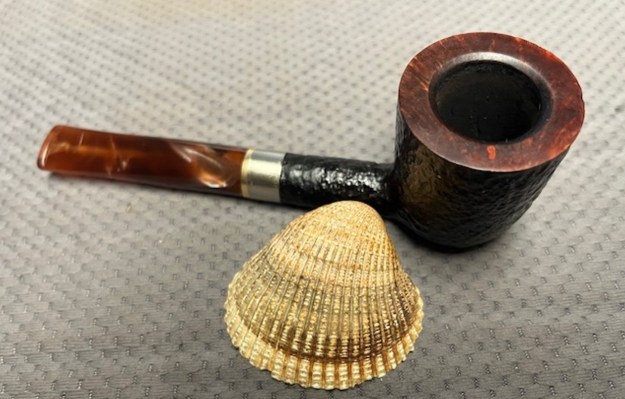
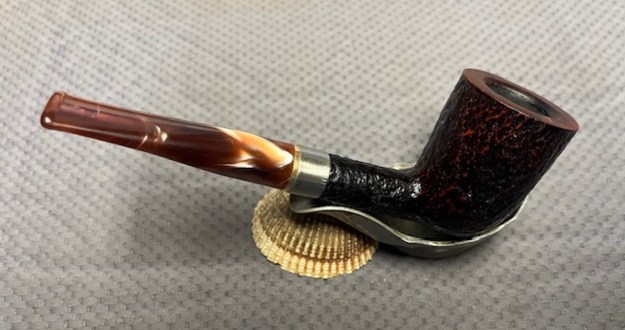
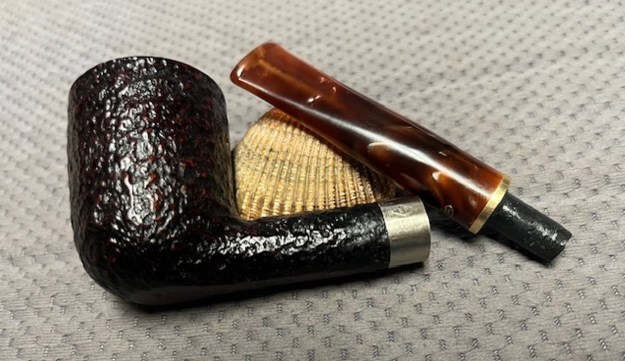
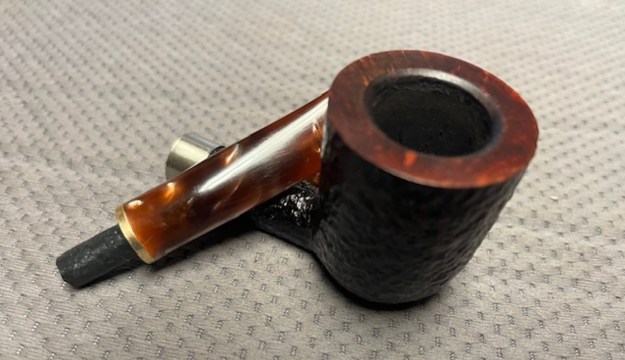
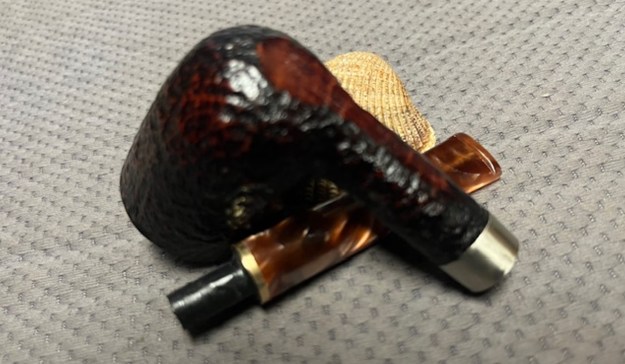
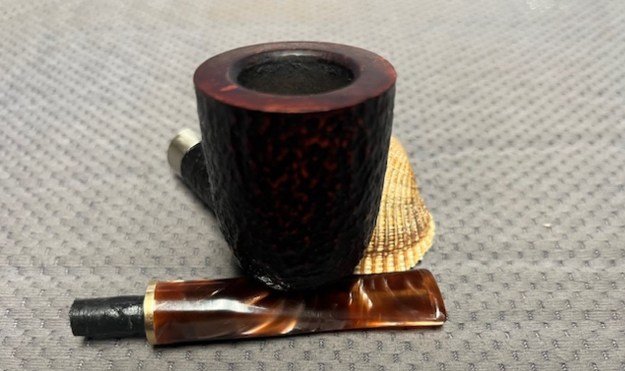
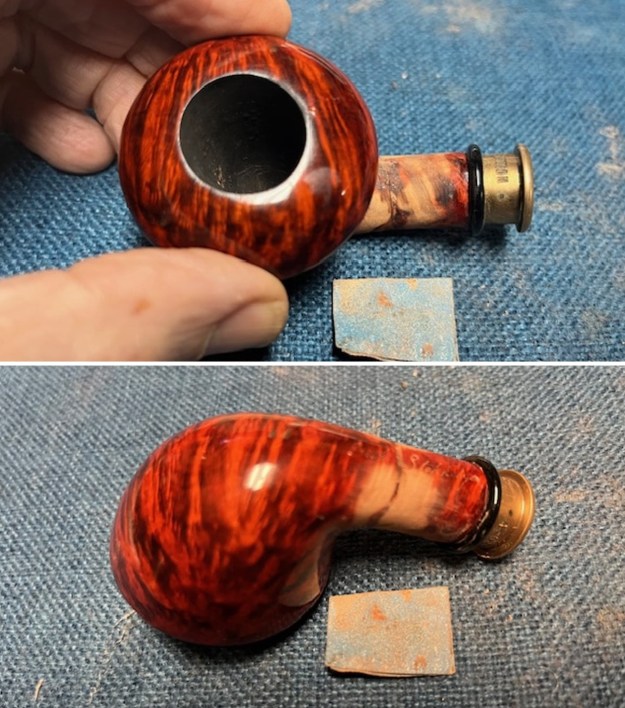
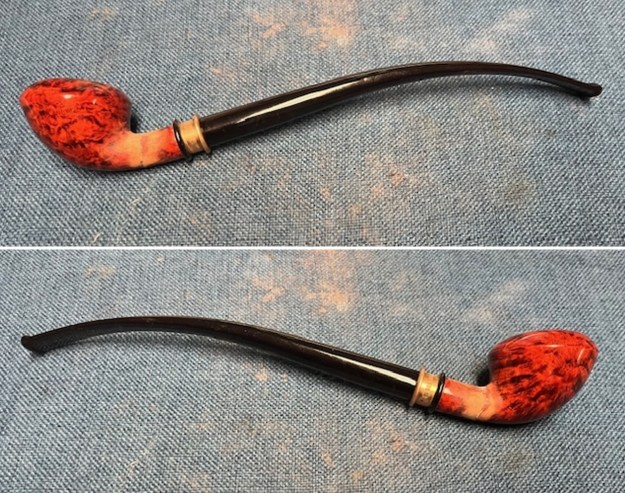
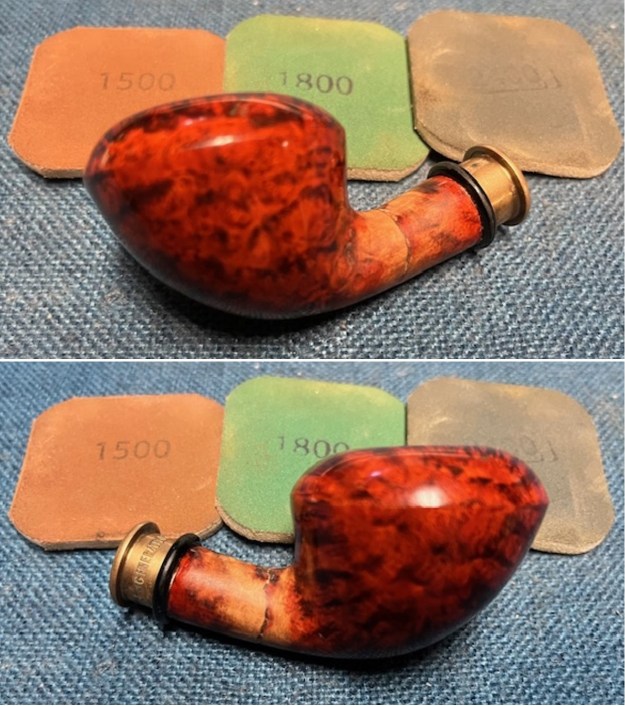
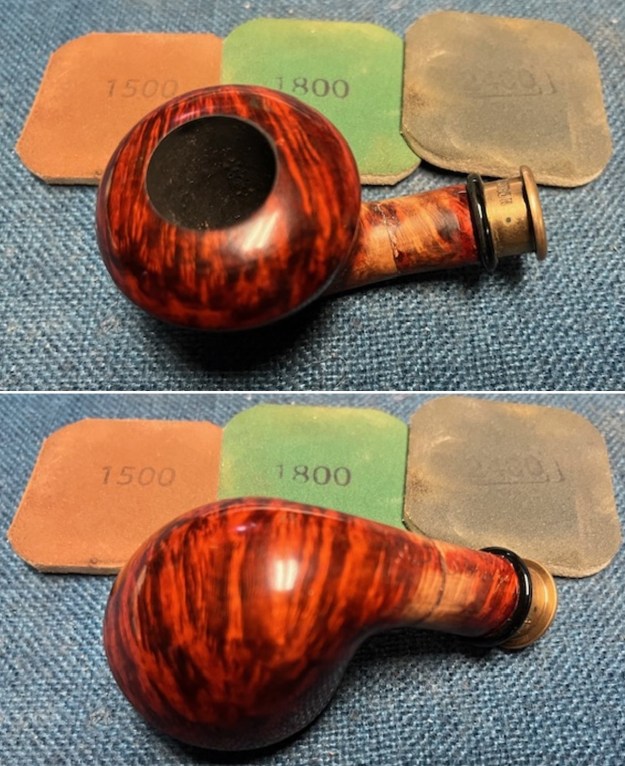
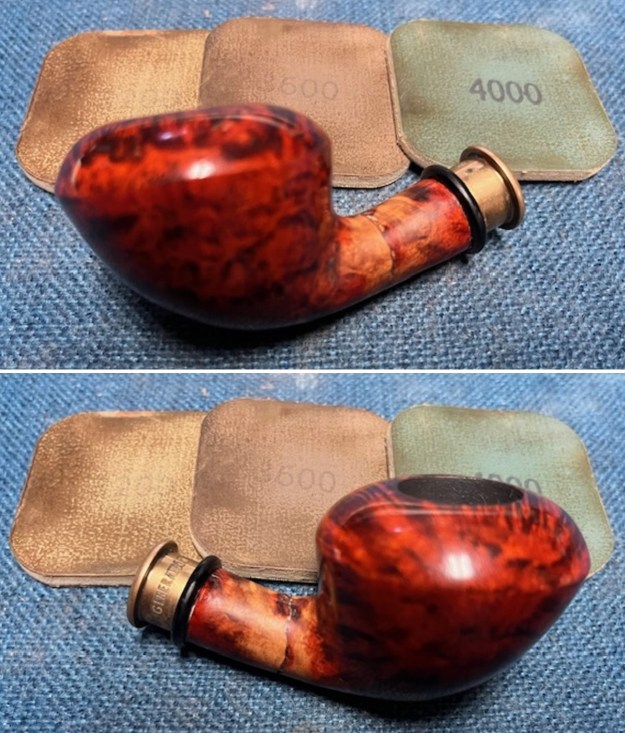
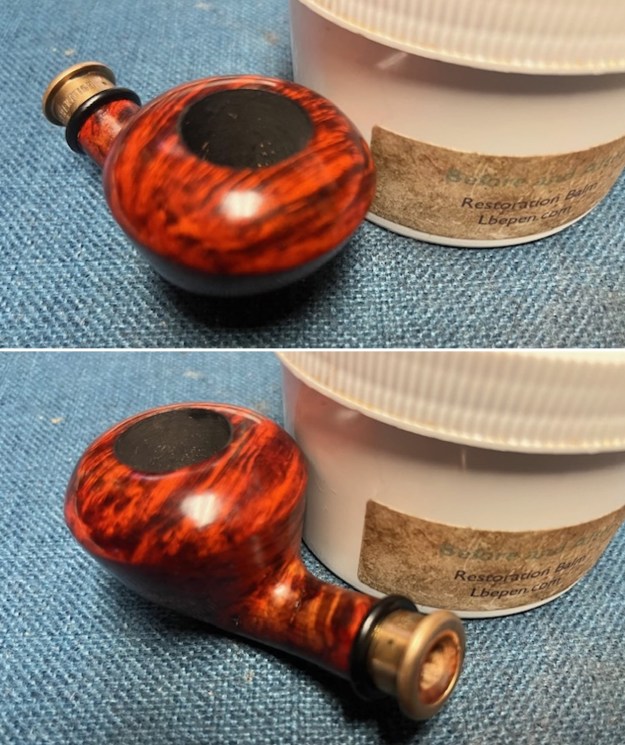
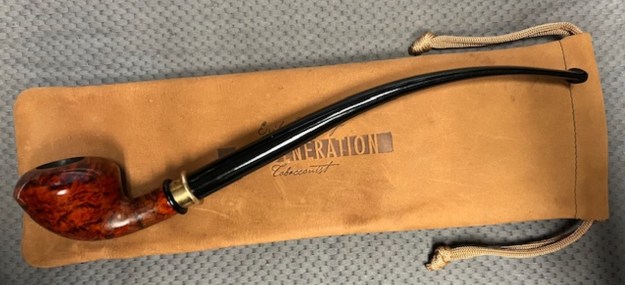
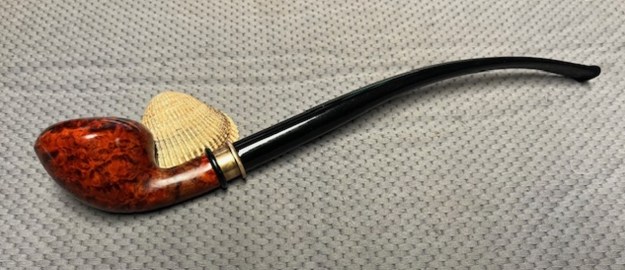
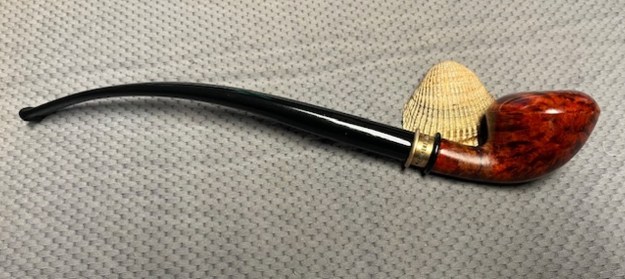
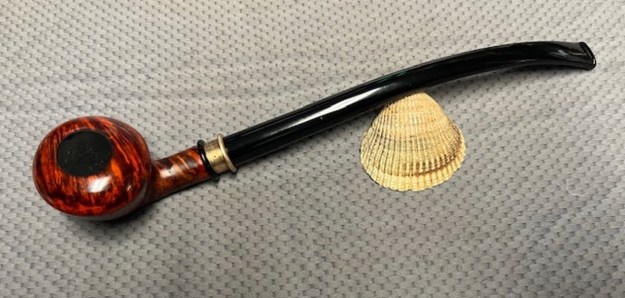
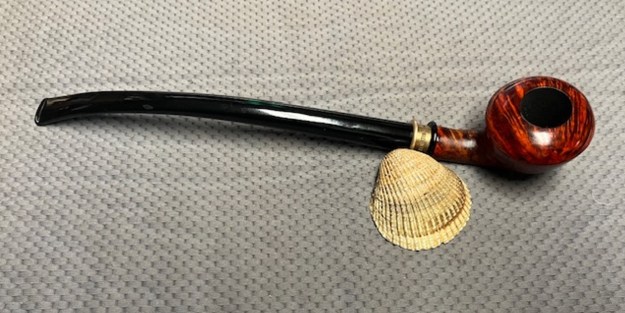
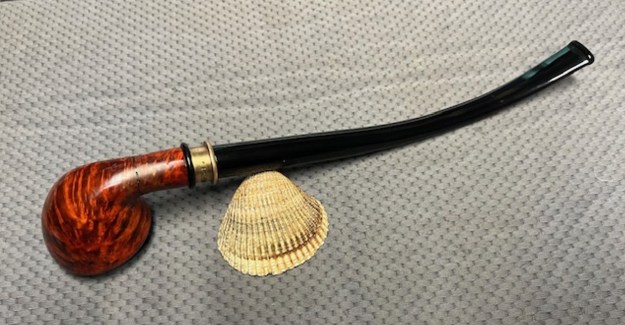
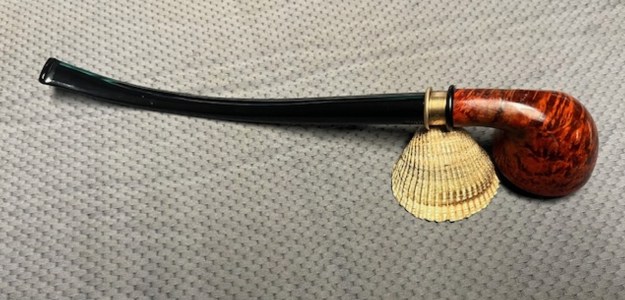
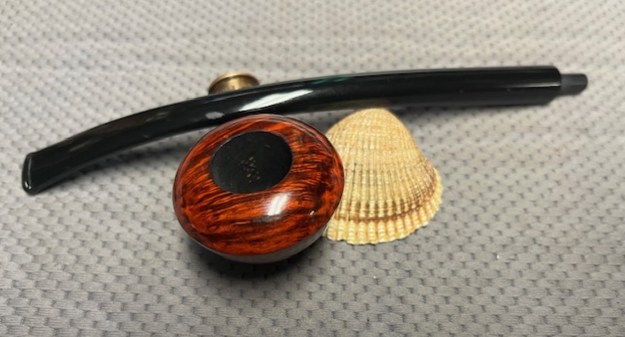
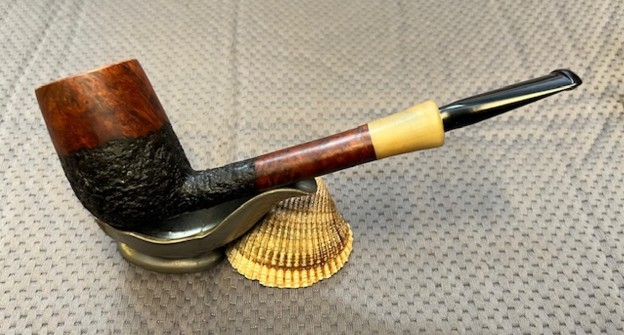
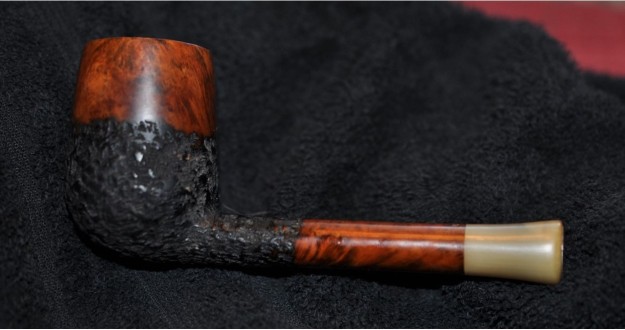
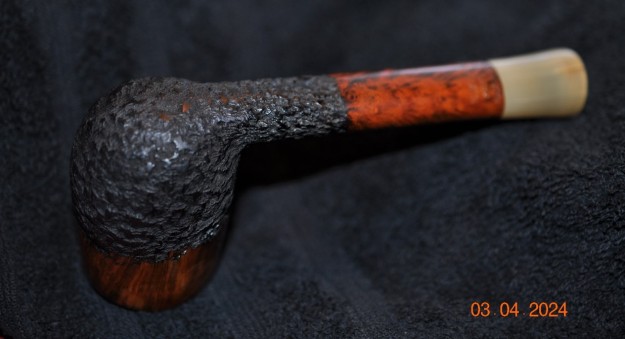
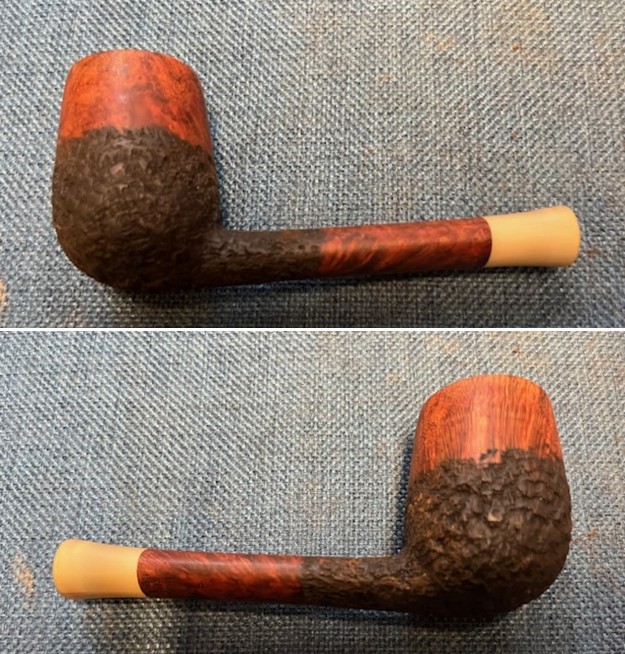
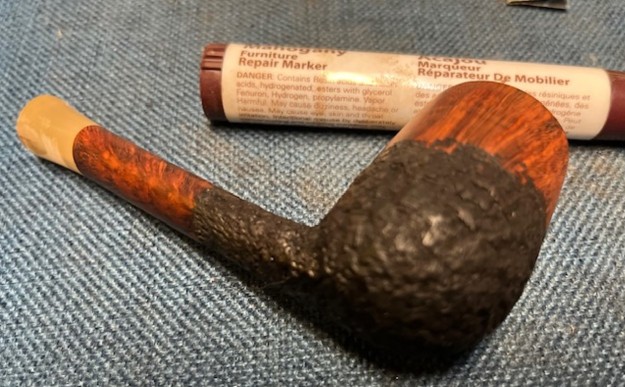
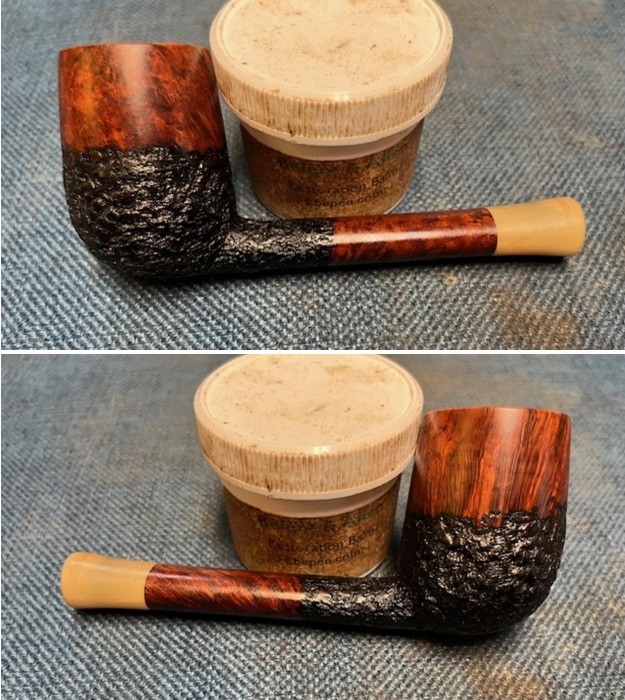
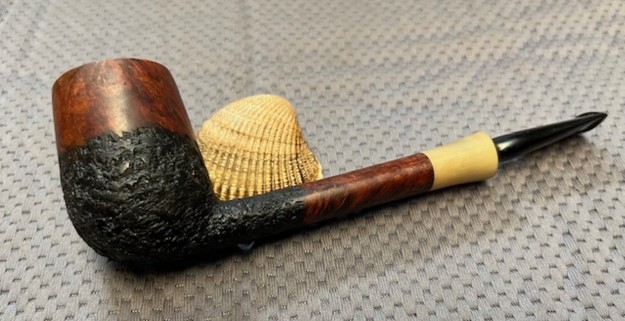
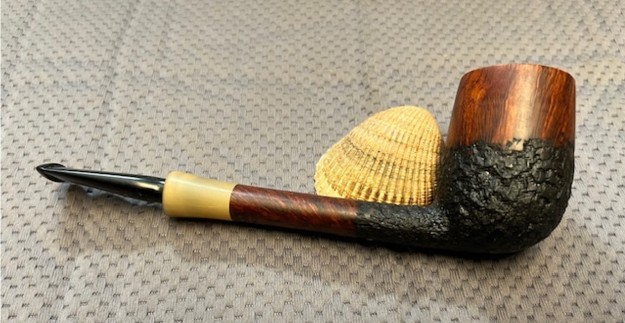
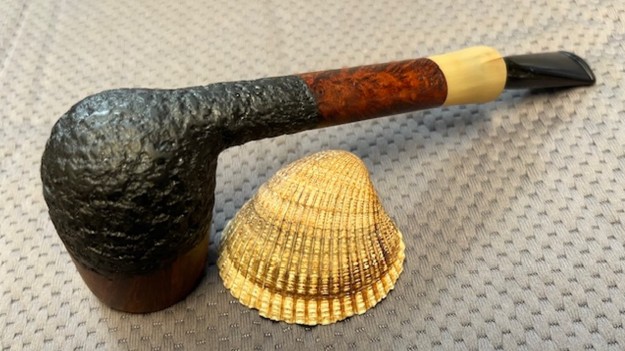
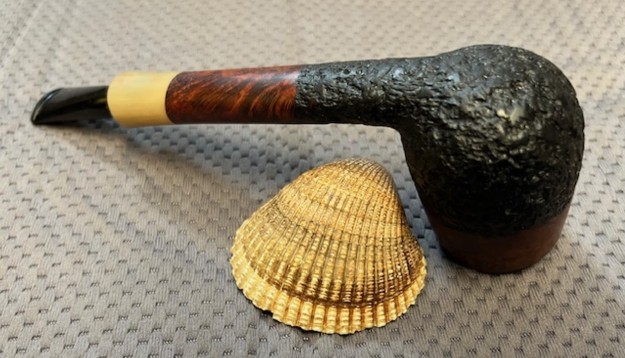
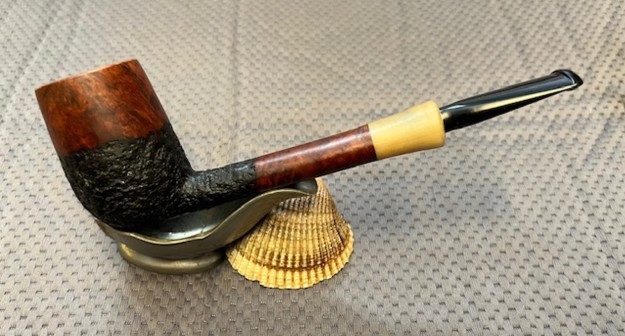
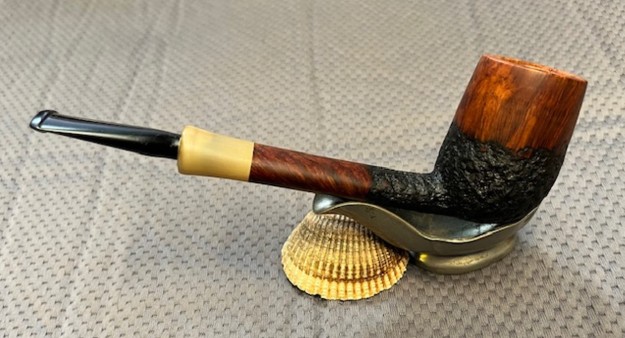
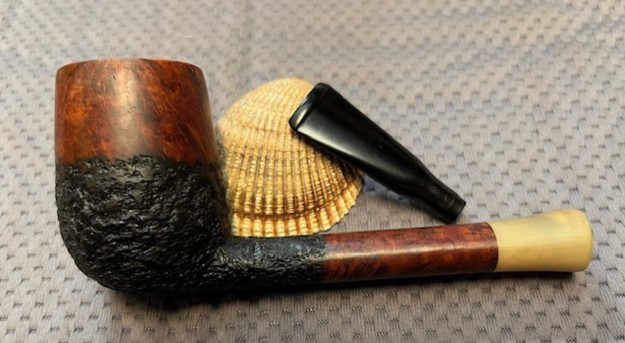
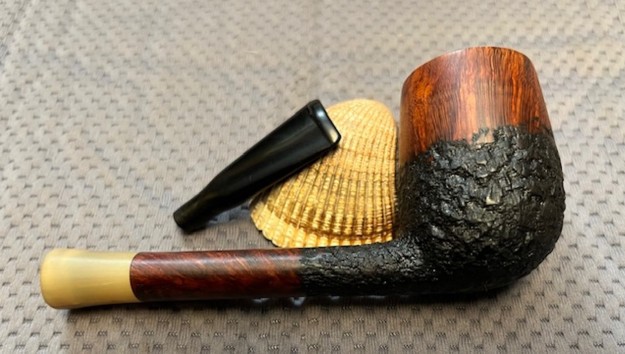
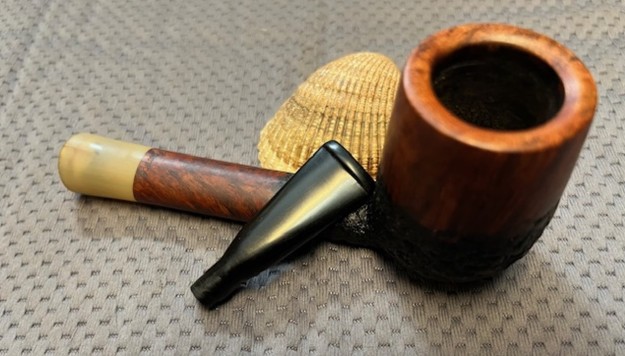
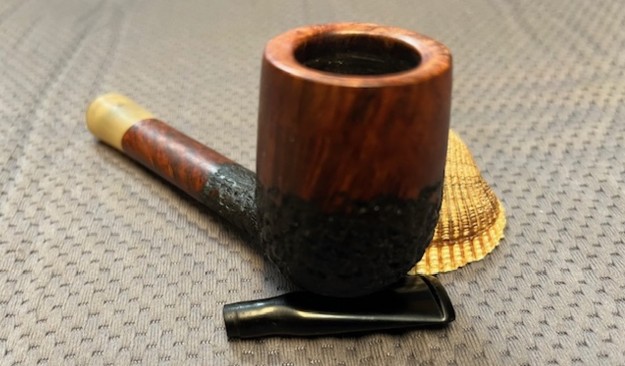
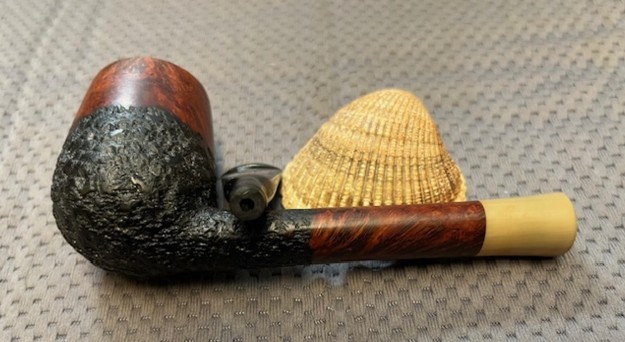
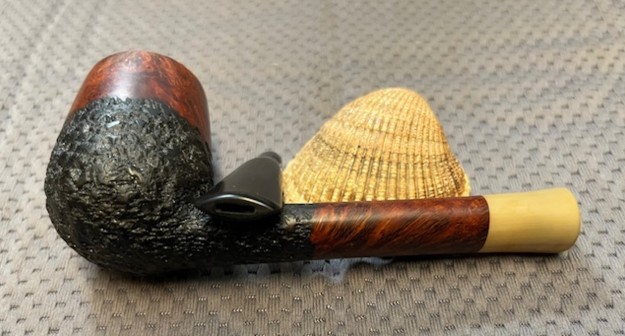
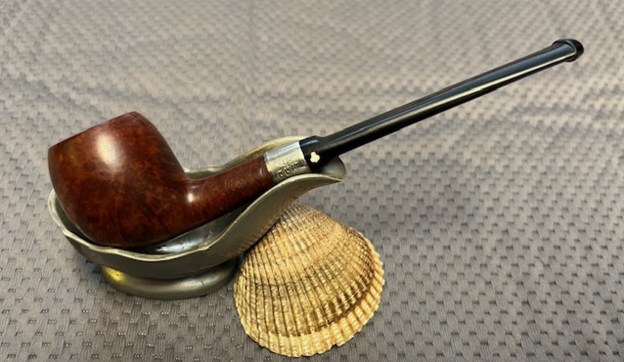
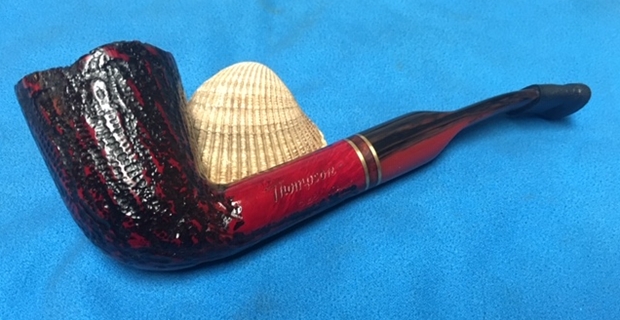
 I am excited to be on the homestretch and look forward to seeing the Savinelli Roma Lucite 412KS Billiard put back together, polished and waxed. I put the bowl and stem back together and lightly polished the bowl and stem with Blue Diamond to polish them. I gave the bowl and the stem multiple coats of carnauba wax. I buffed the pipe on the wheel with a clean buffing pad to raise the shine. I hand buffed it with a microfiber cloth to deepen the shine. The depths of the grain really pop with the wax and polish. The polished variegated Brown Lucite stem is a beautiful contrast to the combination of stains on the bowl and shank. This Savinelli Roma Lucite Billiard was a lot of work to bring back to life. The pipe is light weight, comfortable in the hand and should feel great as it is warmed up when smoking. The finished pipe is shown in the photos below. The dimensions of the pipe are Length: 6 inches, Height: 1 ¾ inches, Outside diameter of the bowl: 1 ½ inches, Chamber diameter: 7/8 of an inch. The weight of the pipe is 1.45 ounces/41 grams. I will be packing this one up with restemmed Neerup and getting them in the post to Curtis. I look forward to hearing from him regarding his two pipes.
As always, I encourage your questions and comments as you read the blog. Thanks to each of you who are reading this blog. Remember we are not pipe owners; we are pipe men and women who hold our pipes in trust until they pass on into the trust of those who follow us.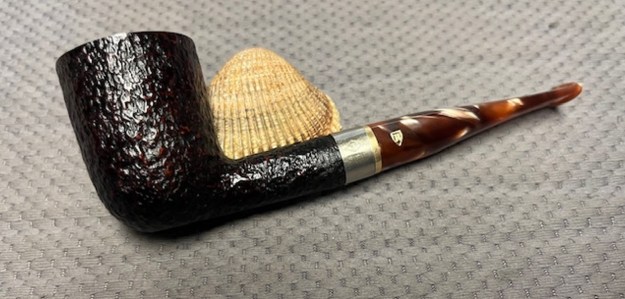


