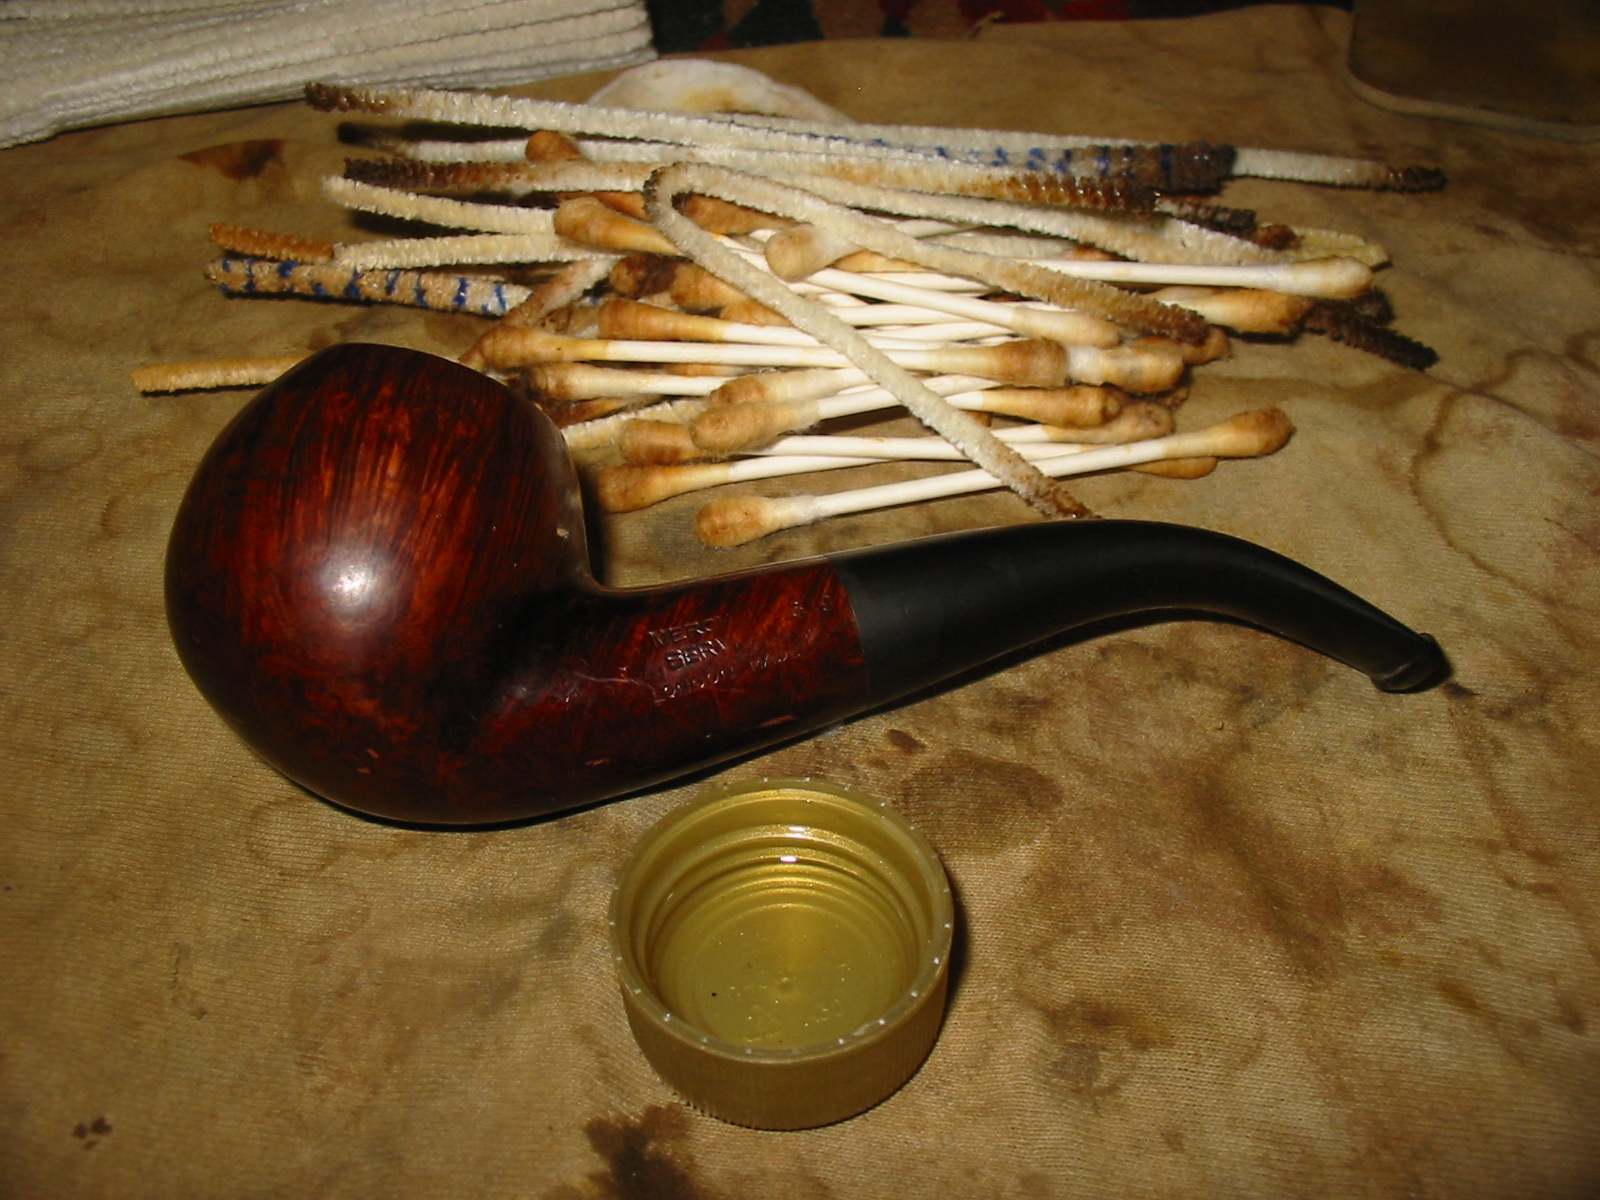
Monthly Archives: November 2013

A Book Review – Our Family Business by Mary Dunhill


Blog by Steve Laug

9dca8450e349c2007078376e9fa56ebd
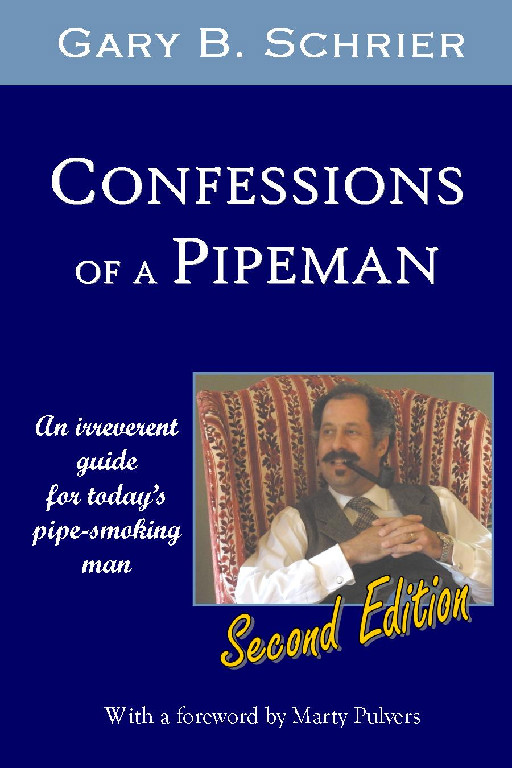
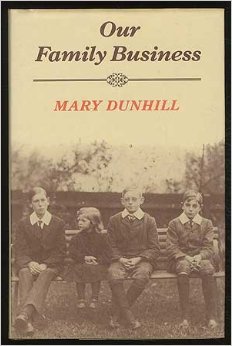
I just finished reading Our Family Business by Mary Dunhill (pictured to the left). The book is written in the style of personal reminiscences of the author. It is quite engaging. She starts with her memories of the family from birth and moves through the various business developments as they happened and as she saw them in her growing up years. She gives a brief glimpse at the history of the Dunhill family and their settlement and house building efforts that ran parallel to the family business. It is an inside glimpse of the making of the Dunhill business groups and the people and family behind the development.

After reading the book I believe that the words written on the fly-leaf of the cover summarize the book really well: “At the age of seventeen Mary Dunhill joined her father’s pipe making and tobacco business, starting at the bottom as an assistant cashier. 38 years later she became the chairman of the Dunhill group of companies, a job she held through fourteen years of international expansion. Her book demonstrates the demands that a professional career make on a woman as well as the skill that women can bring to the problems of management. Yet this is more than a career story, more than a history of an enterprise unlikely to be rivalled in the economic conditions of today. It is a candid portrait of the Dunhill family, of their beginnings as harness makers and of the very different personalities that went into the building of a rare quality and character.”

Like most books or reminiscence the book does not have a table of contents. There are no simple headings on the chapters to give the reader an idea of the content of that chapter. It is written in a flowing style that proceeds from the early years to the later years of the writer. It is as if the reader is taken inside the head of the writer and given an intimate glimpse of her life. Mary had done a masterful job in being transparent about what she when through in a way that I have seldom seen in personalities of this ilk.

To help potential readers make a decision on whether to purchase and read the book, I have summarized the content of each chapter below.

41Xh2VfDTLL._SY344_BO1,204,203,200_ Preface – pages 5-7 – a note from Mary Dunhill on the flow and content of the book as she tells the story of her life within the Family Business.

Chapter 1 – pages 9-13 – Mary’s birth into the Dunhill family in Edwardian London. The development of her father’s move into the tobacco business is introduced. The opening of the shop in Jermyn and Duke Street stocked with pipes, tobaccos and cigars.

Chapter 2 – pages 14-21 –The early history of the Dunhill family and the related trades and businesses they engaged in. The development of the Dunhill Motorities. The chapter ends with a description of the early work of Mary’s father prior to opening his tobacco shop.

Chapter 3 – pages 22-29 –The life of Mary’s family in Harrow before the WWI. The hard times of the tobacco business on Duke Street. Her father began to make a name as a blender of the My Mixture blends. She also introduces the reader to her mother.

Chapter 4 – pages 30-38 – The life in the new house in Woodlands with a look at her school and social events. She met Rex, the man she married forty years later. Inserted into this chapter are a collection of family photos. Each is labelled and gives a clear picture of life in those times.

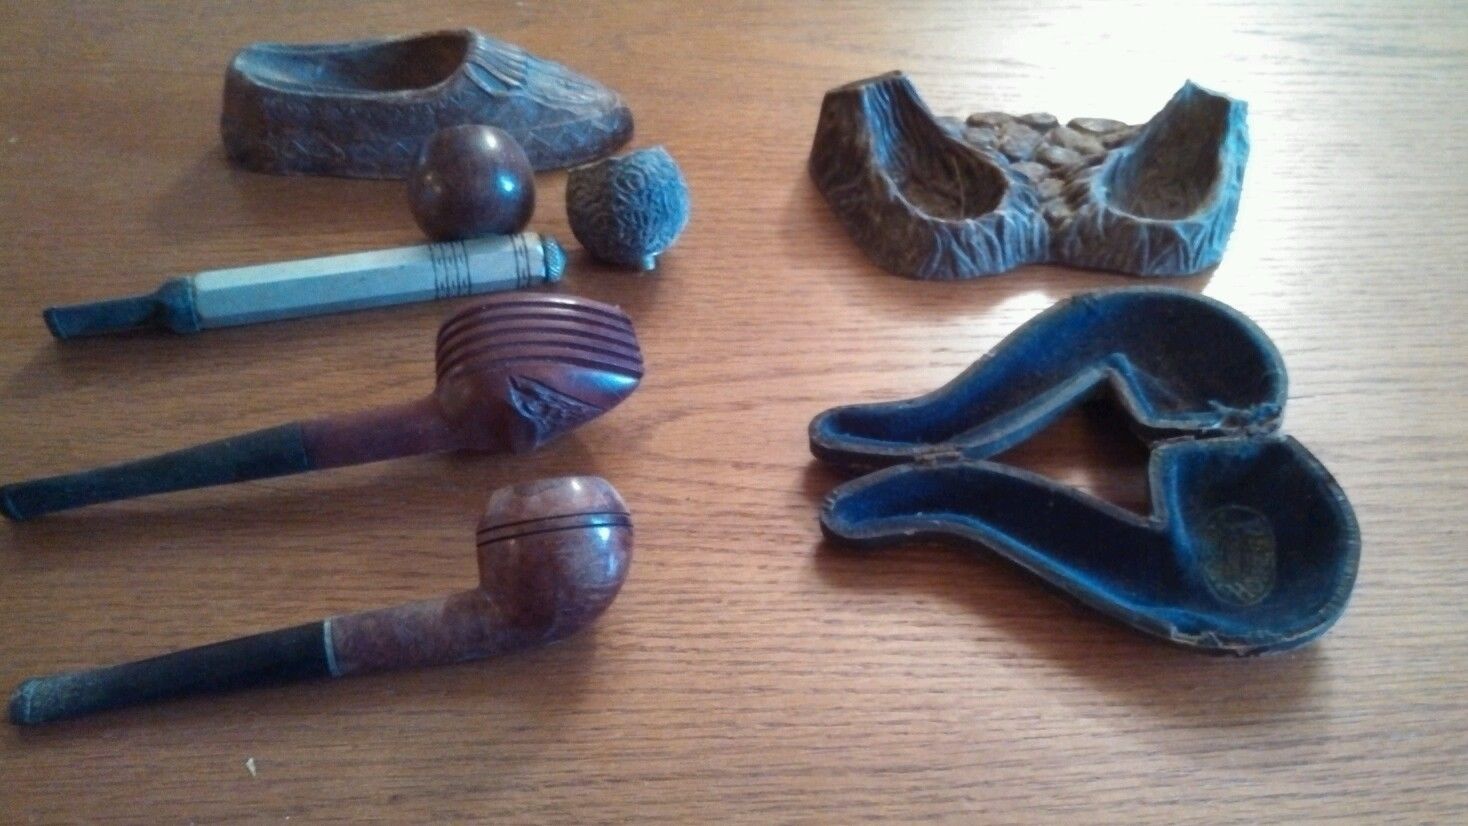
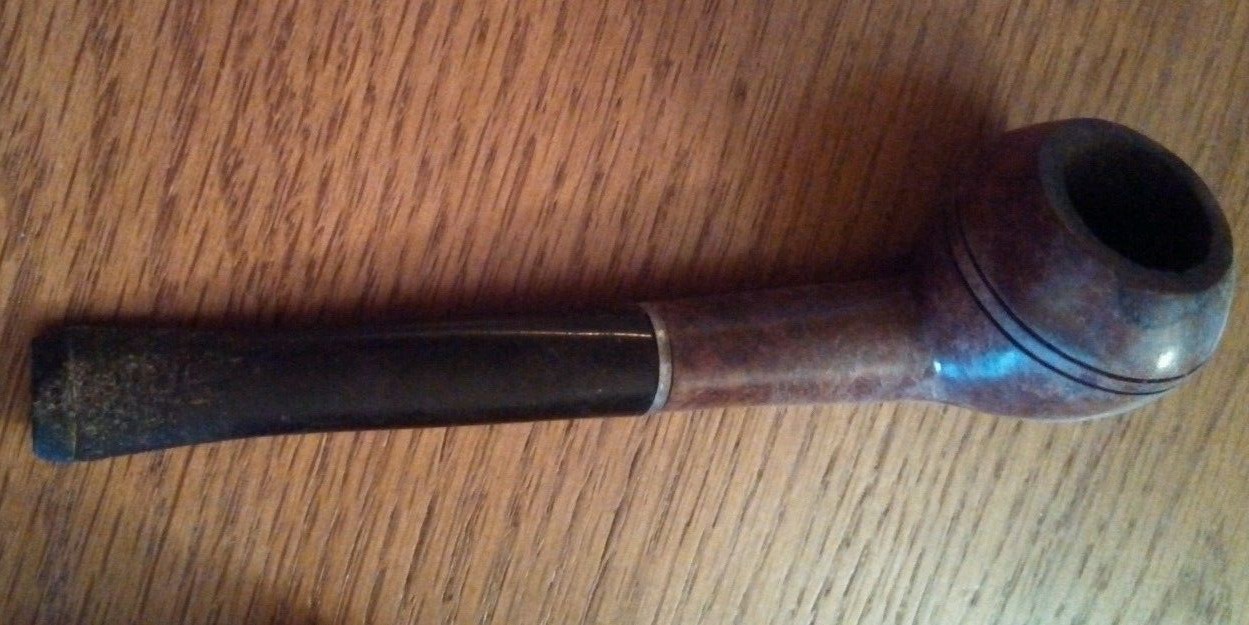
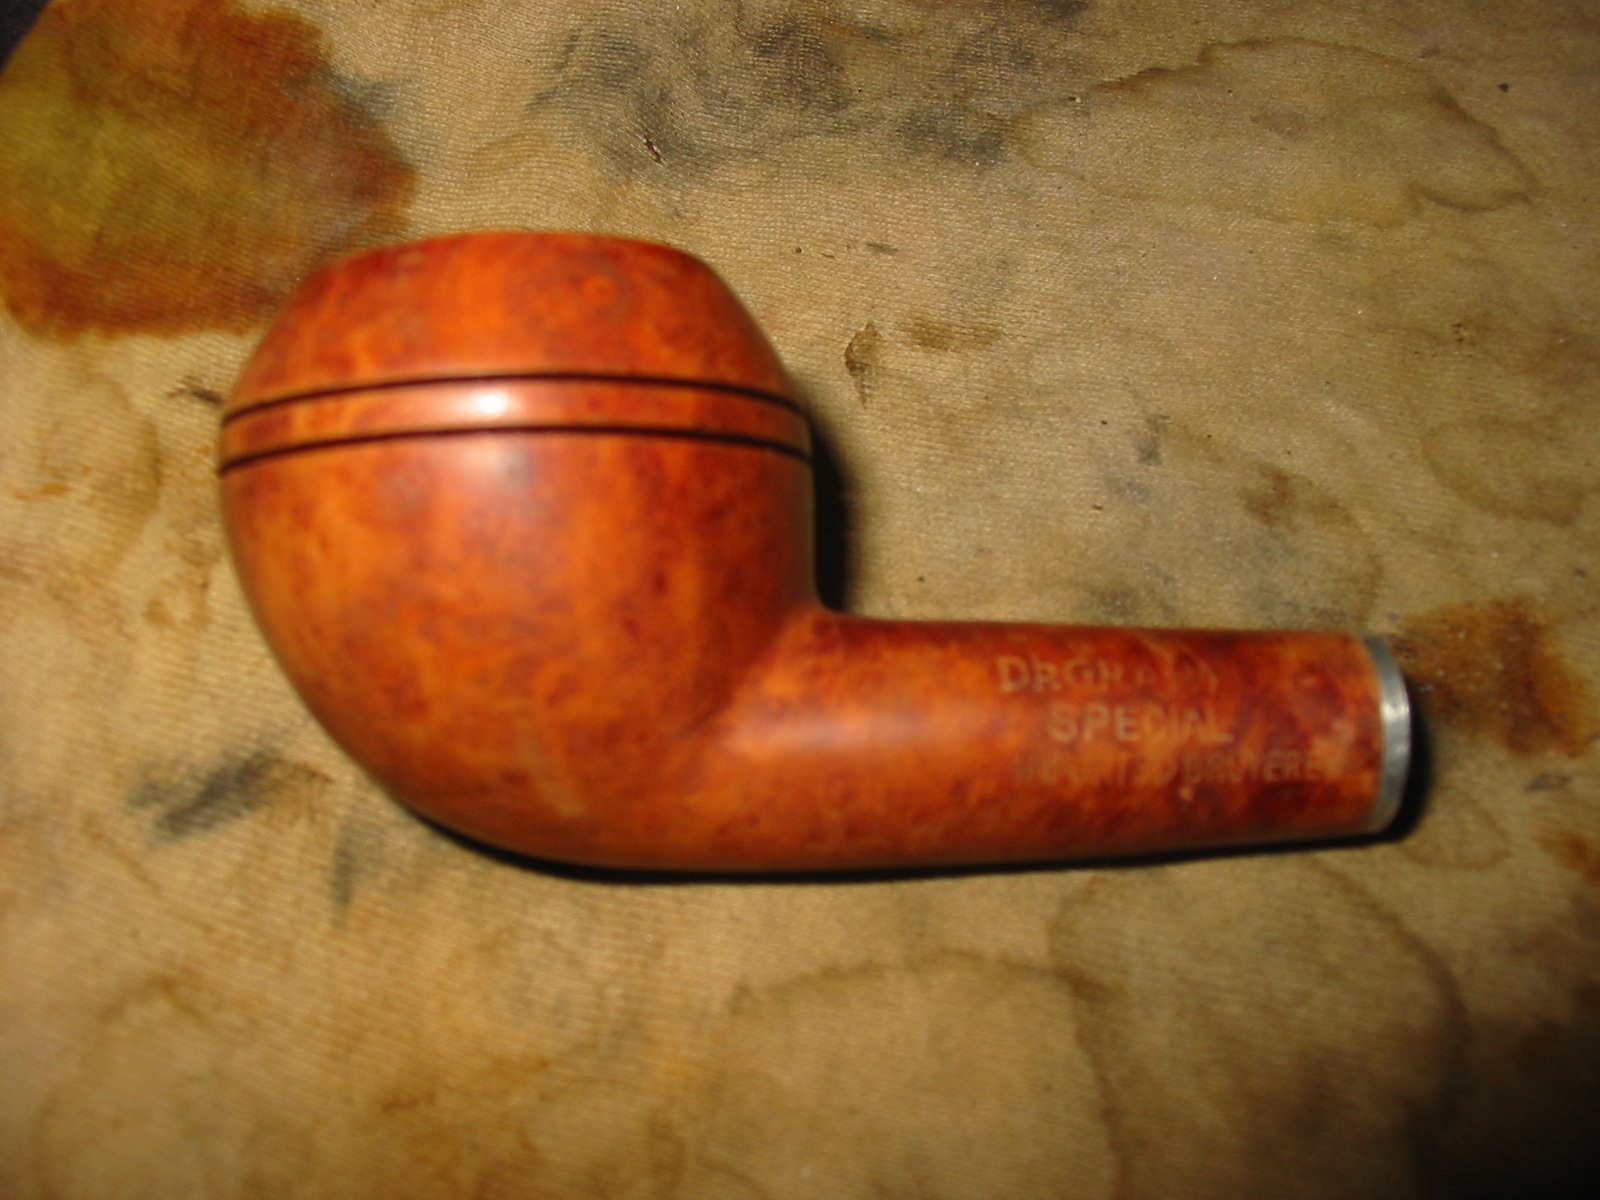
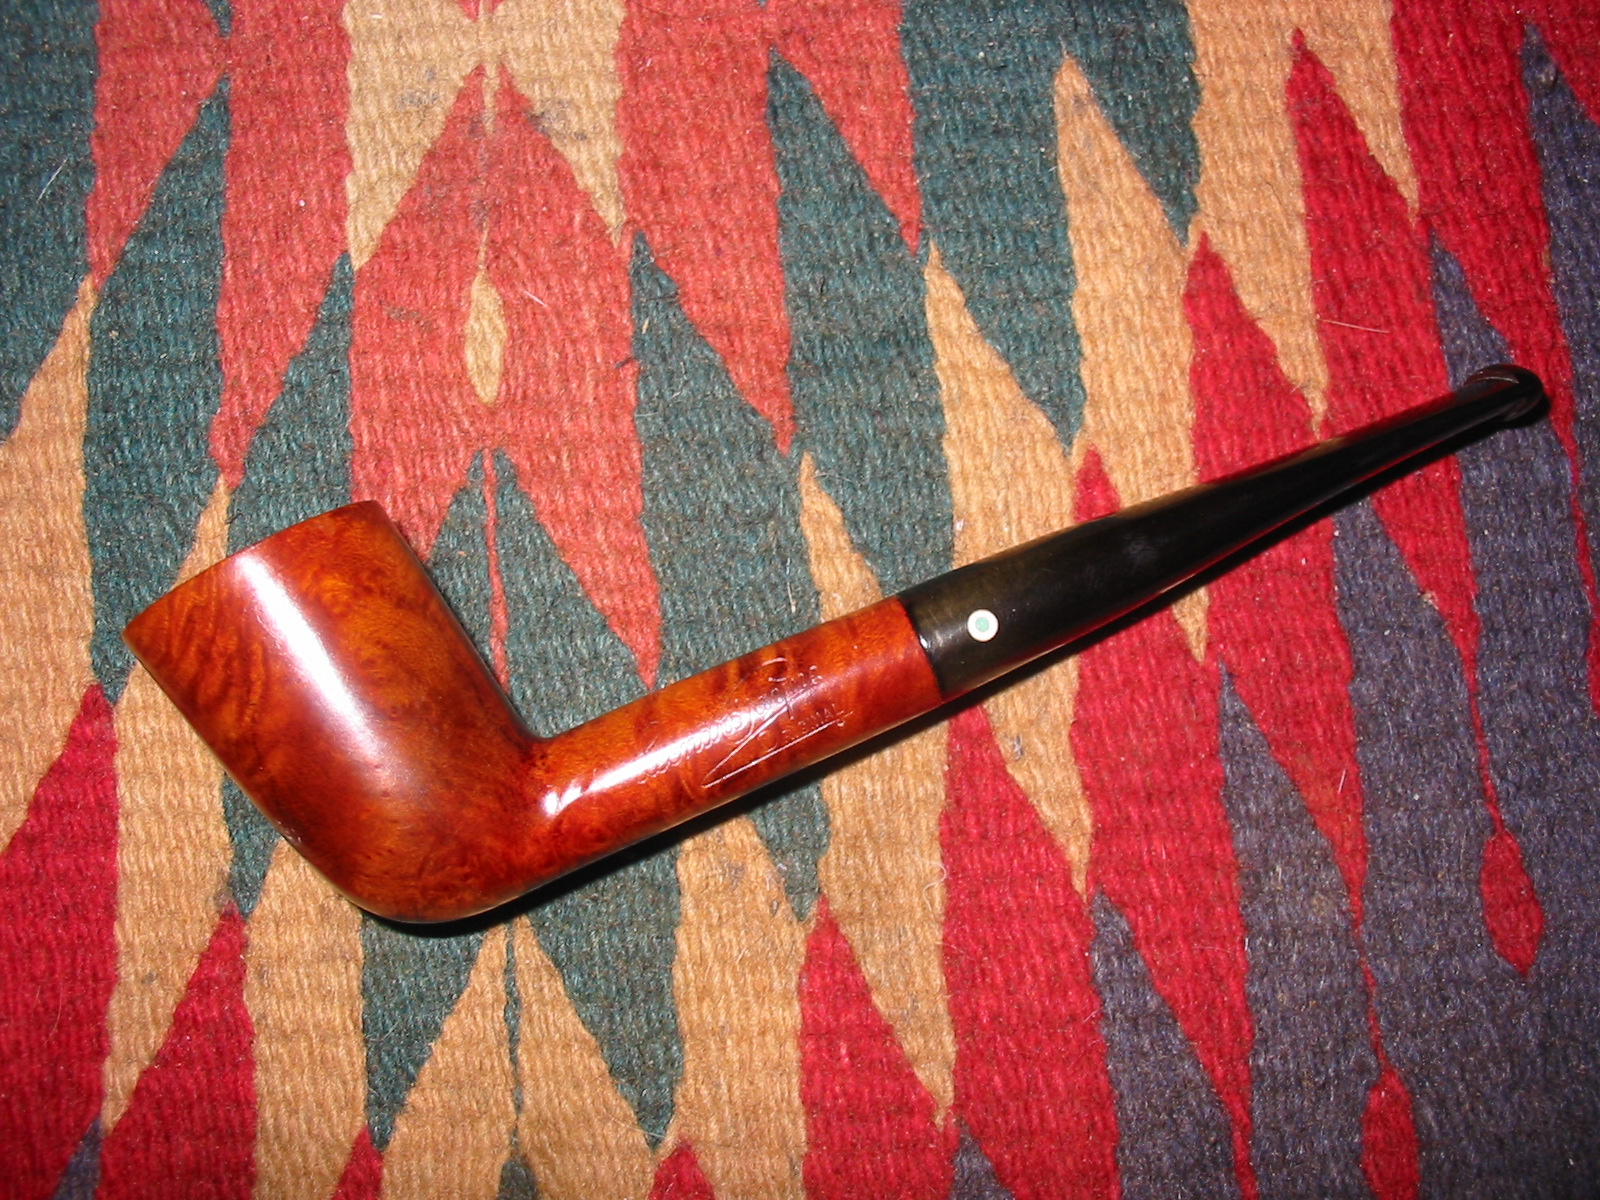
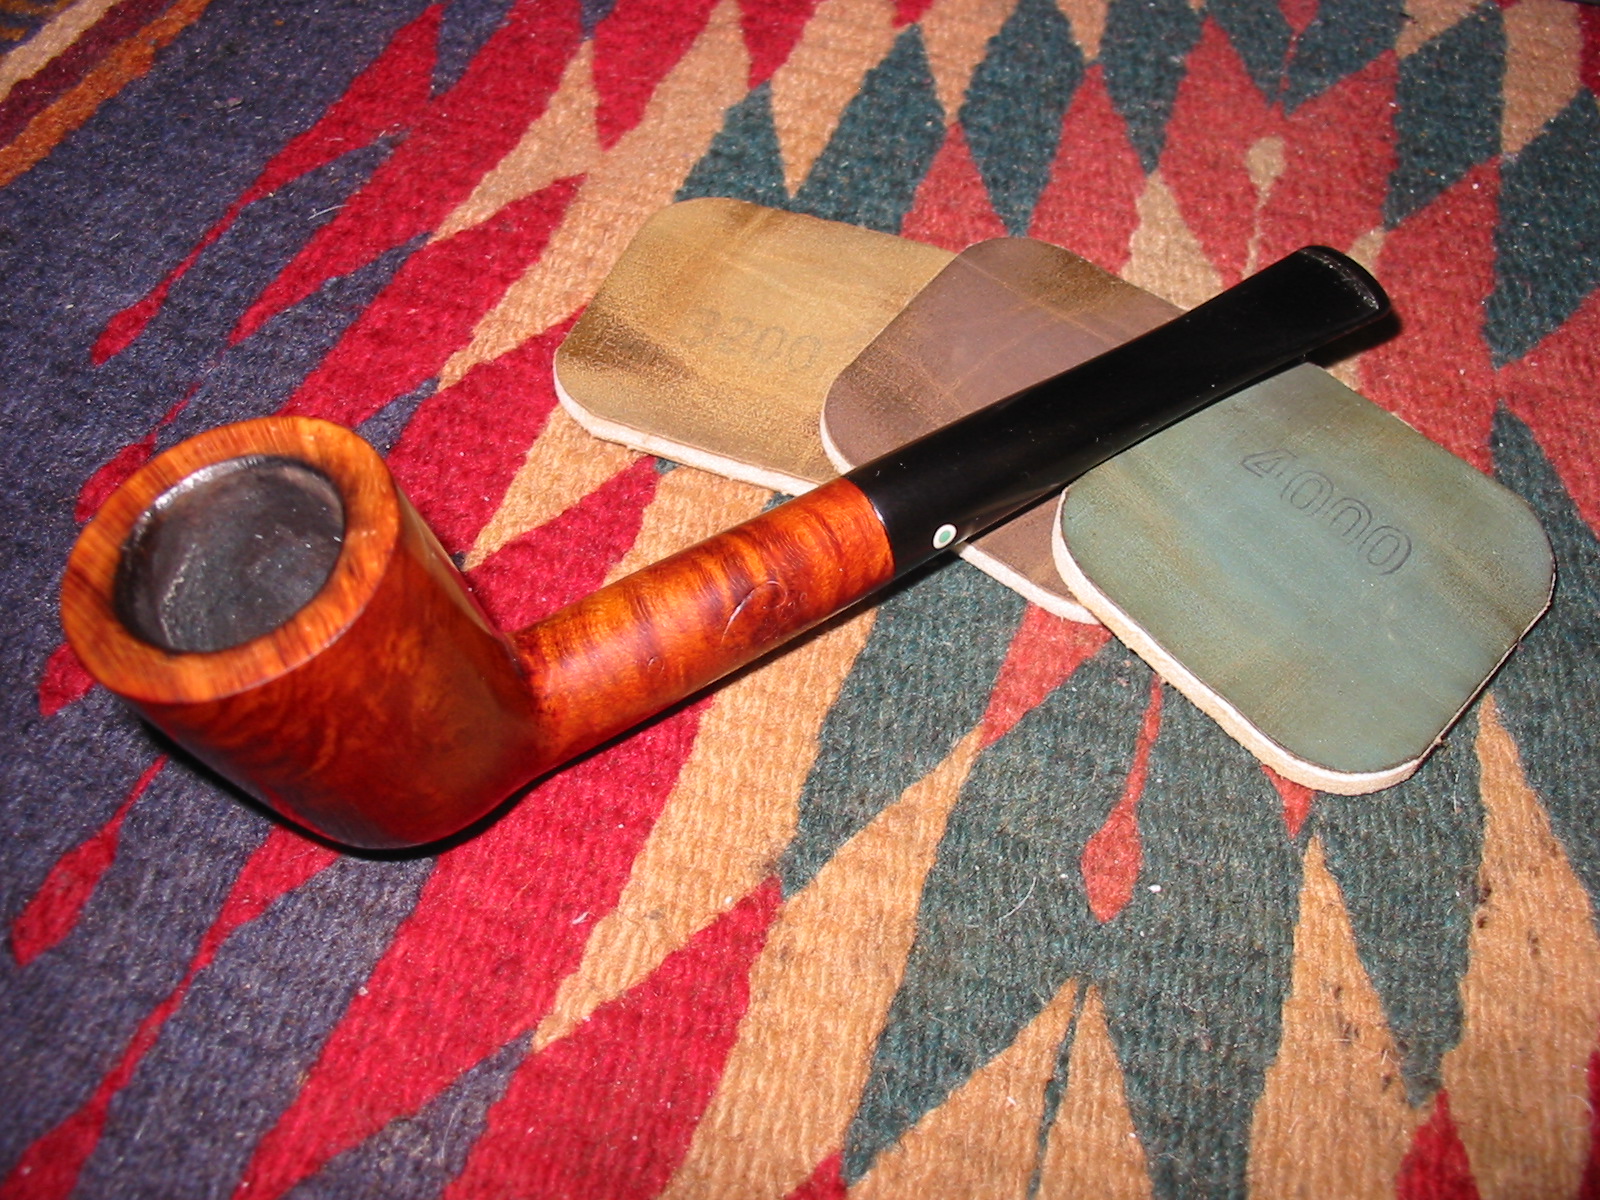
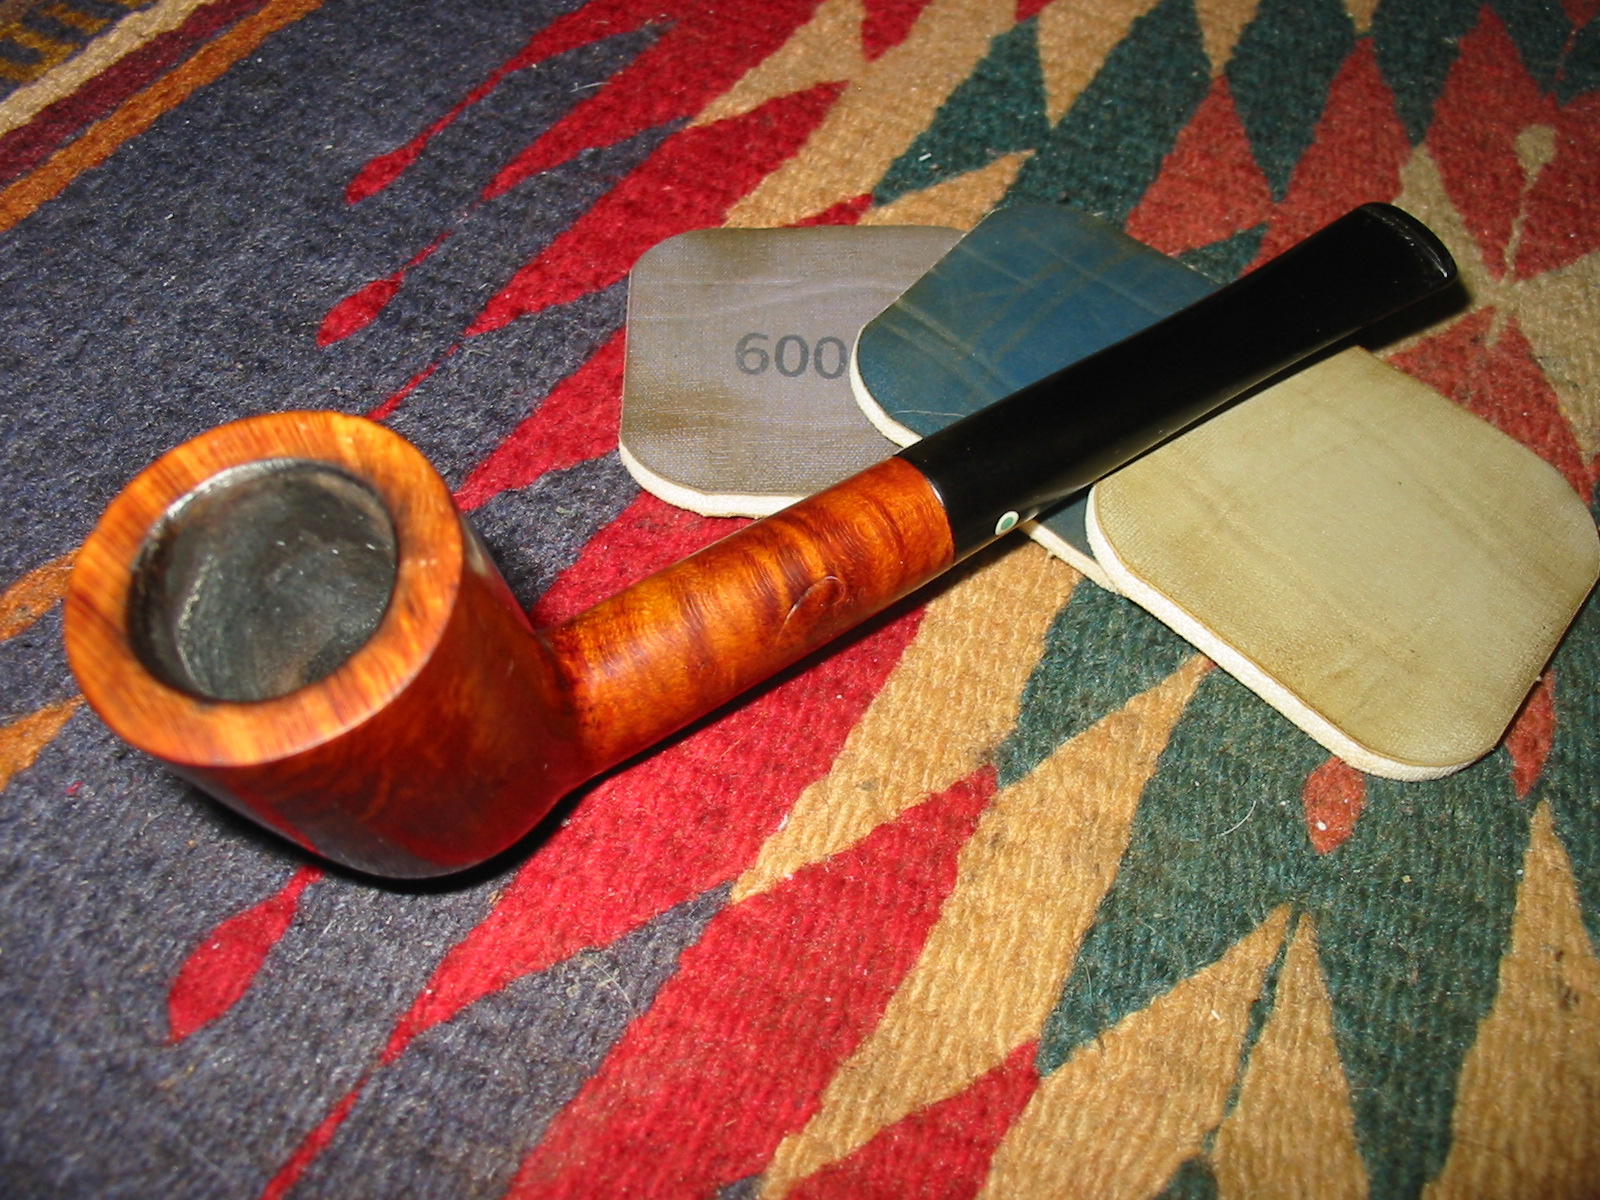
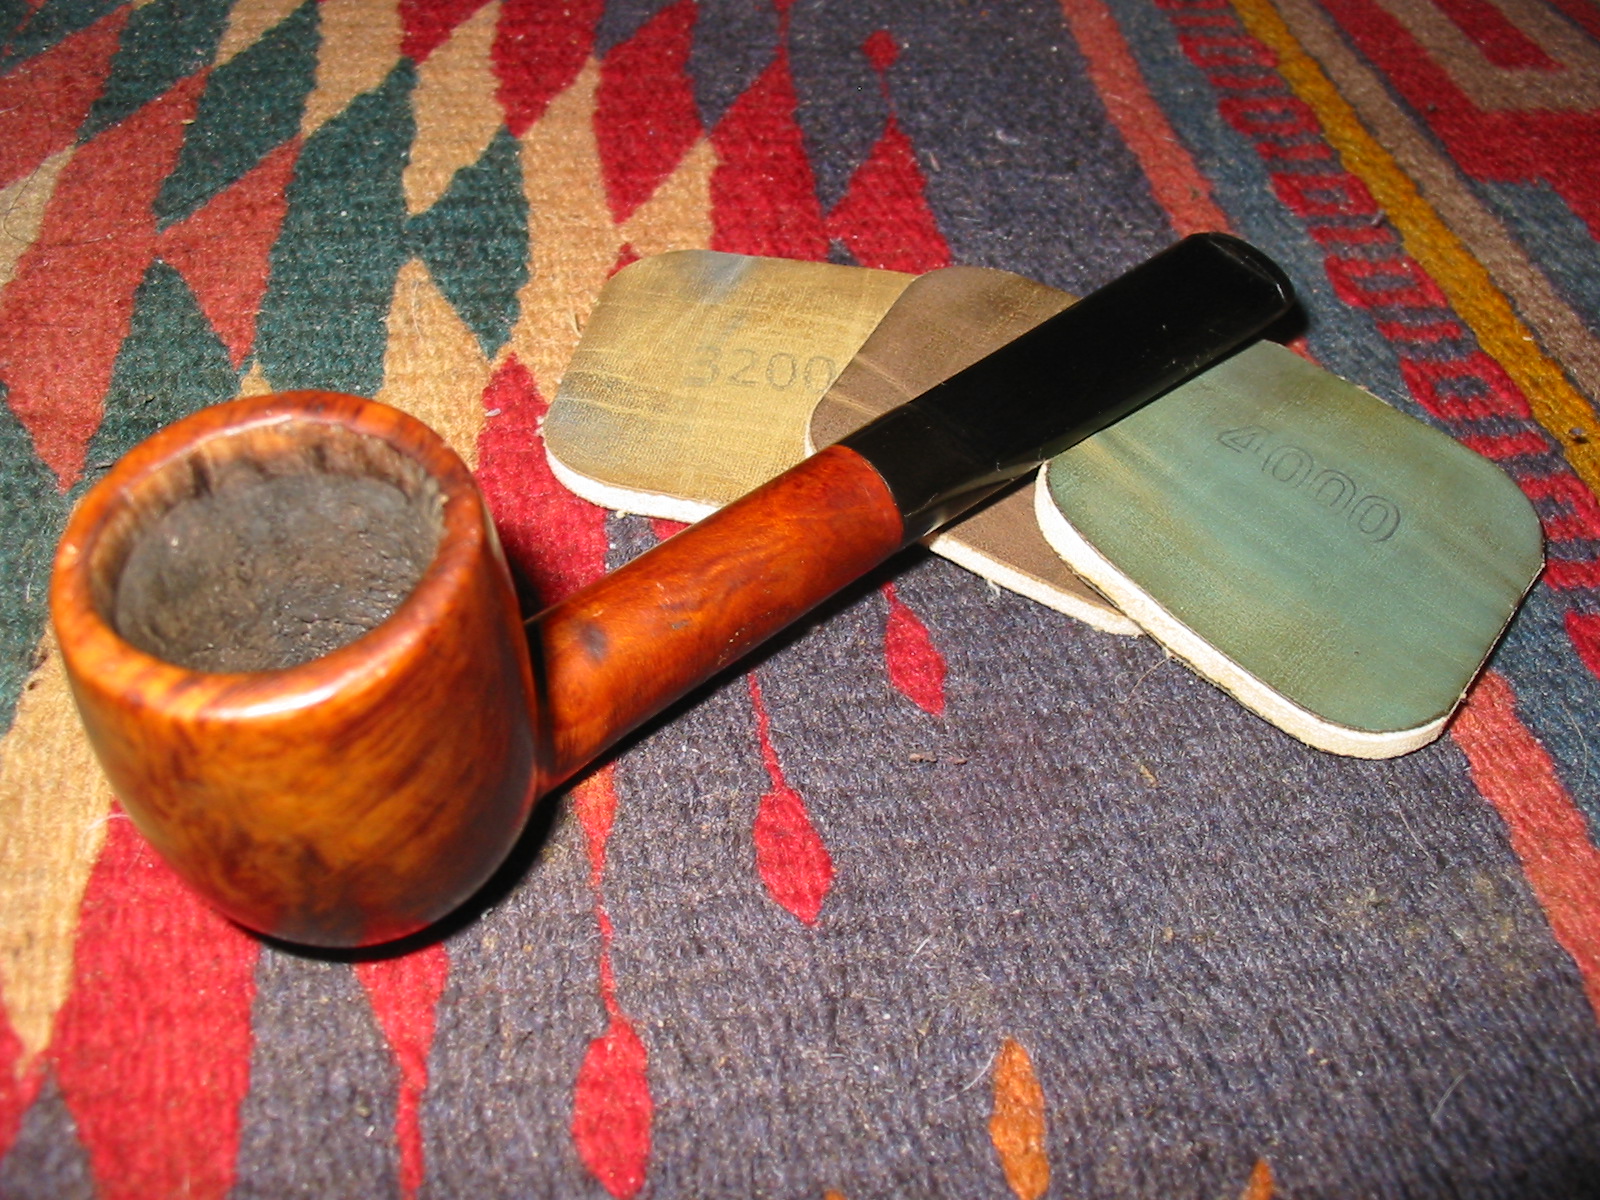
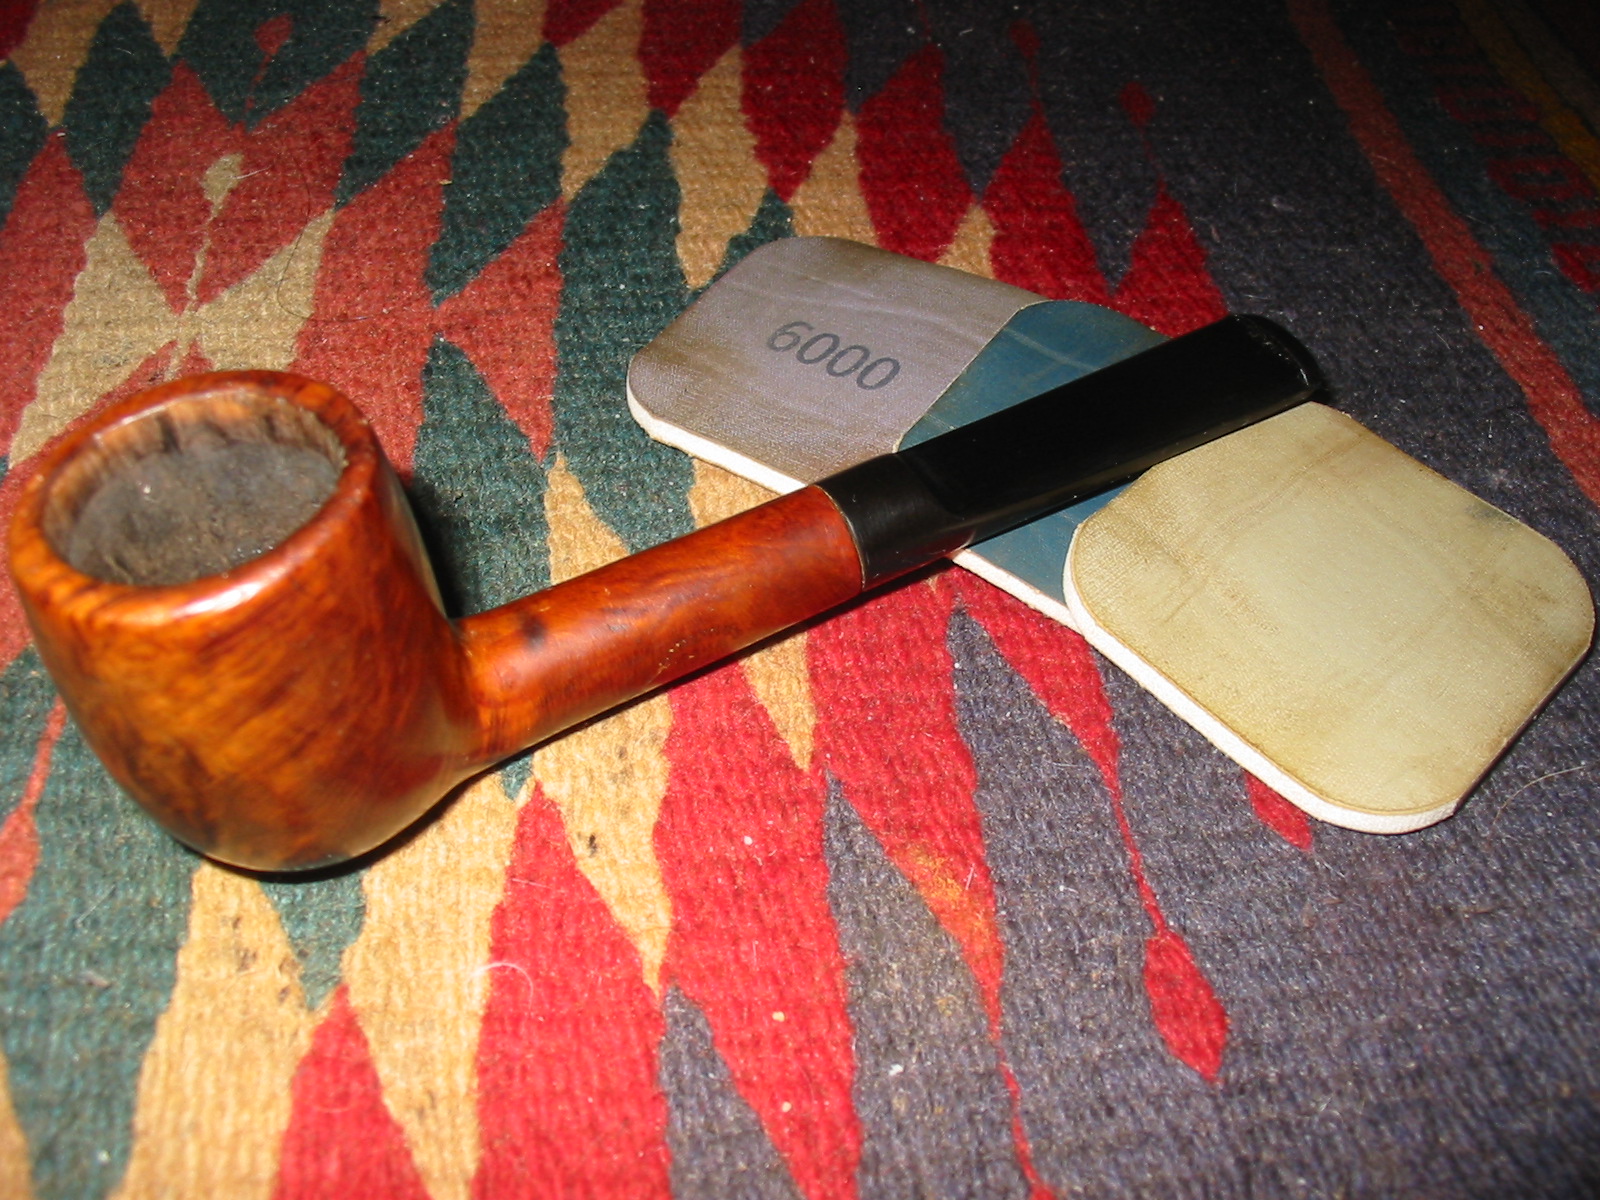
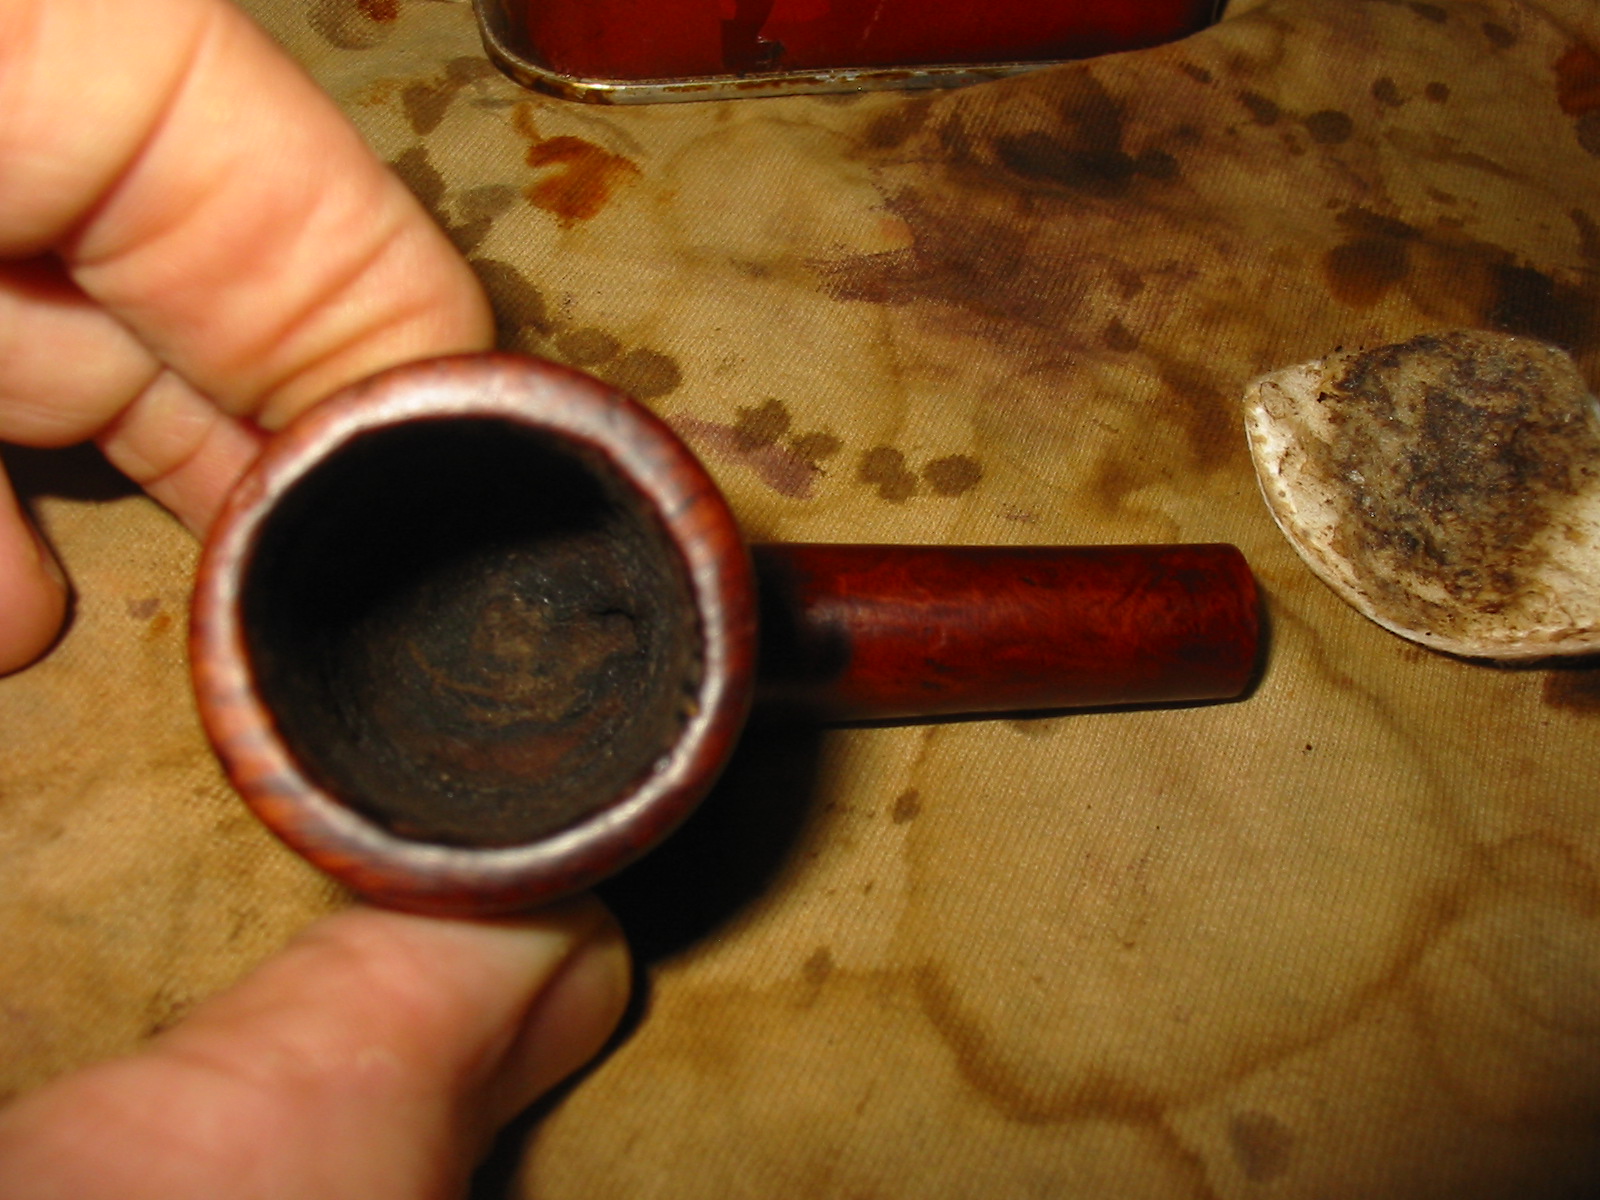
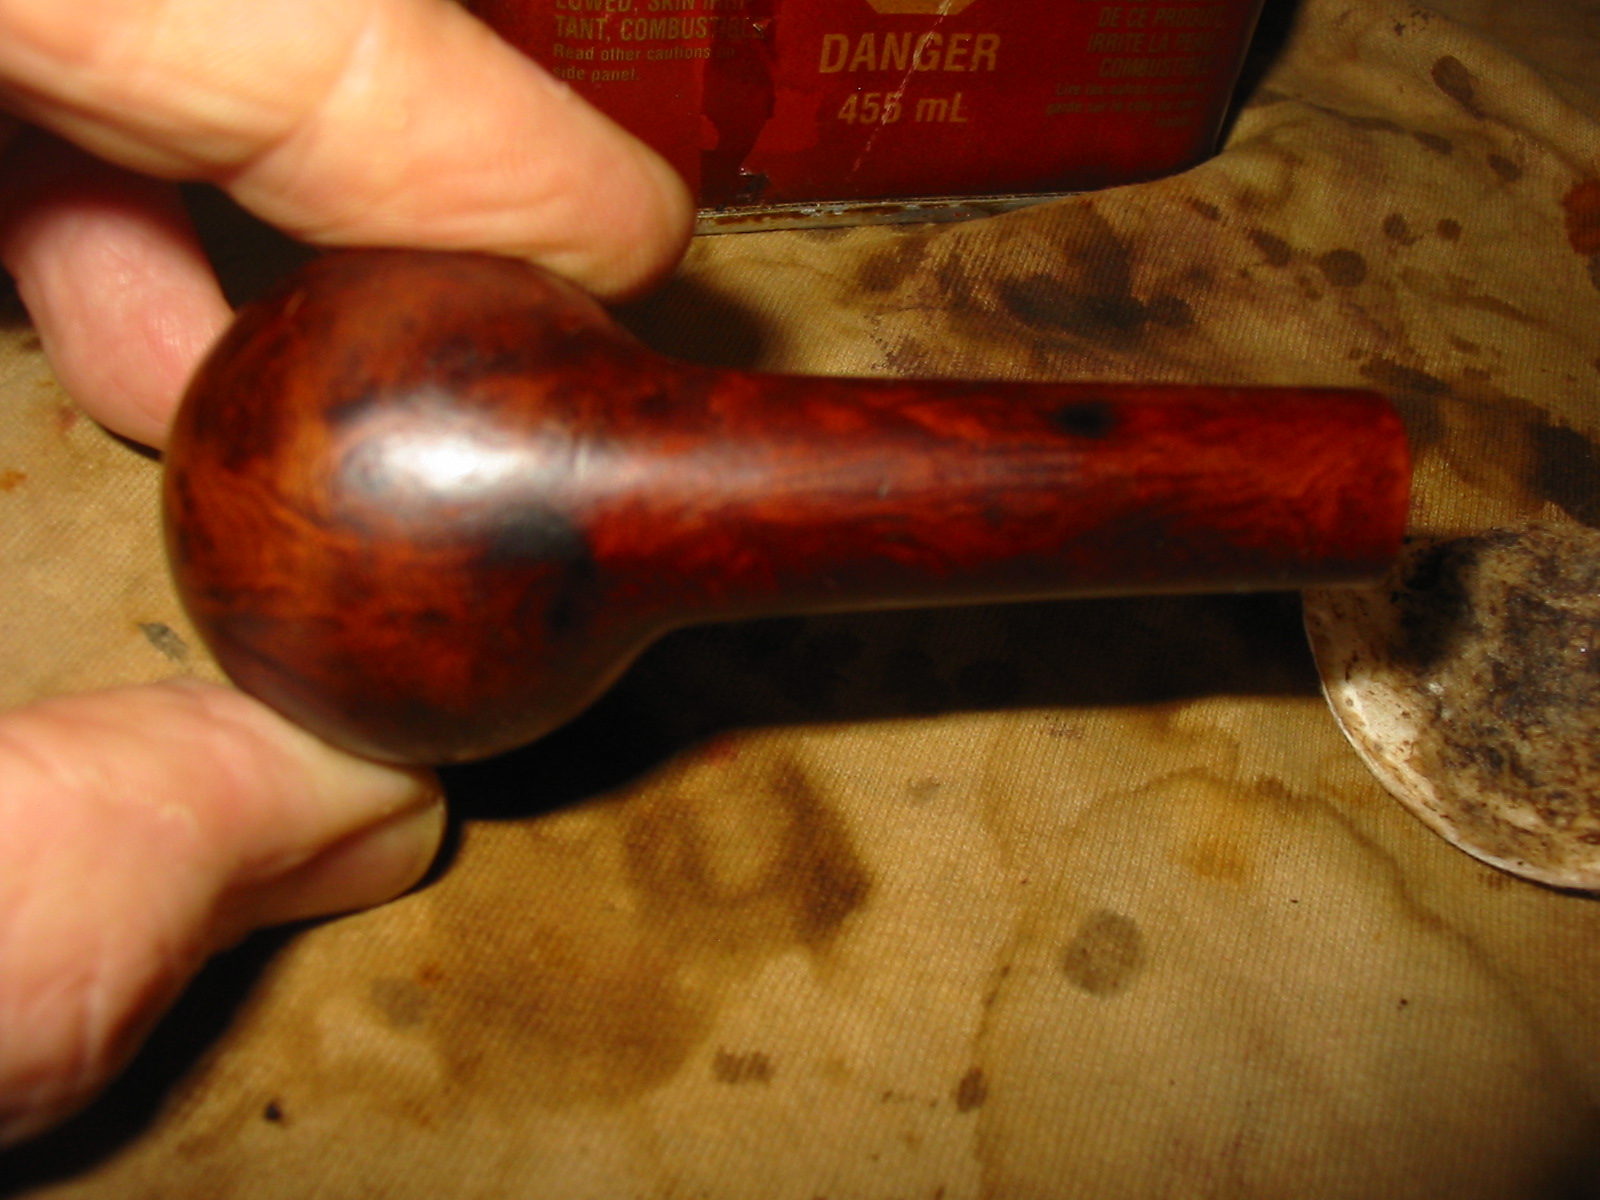
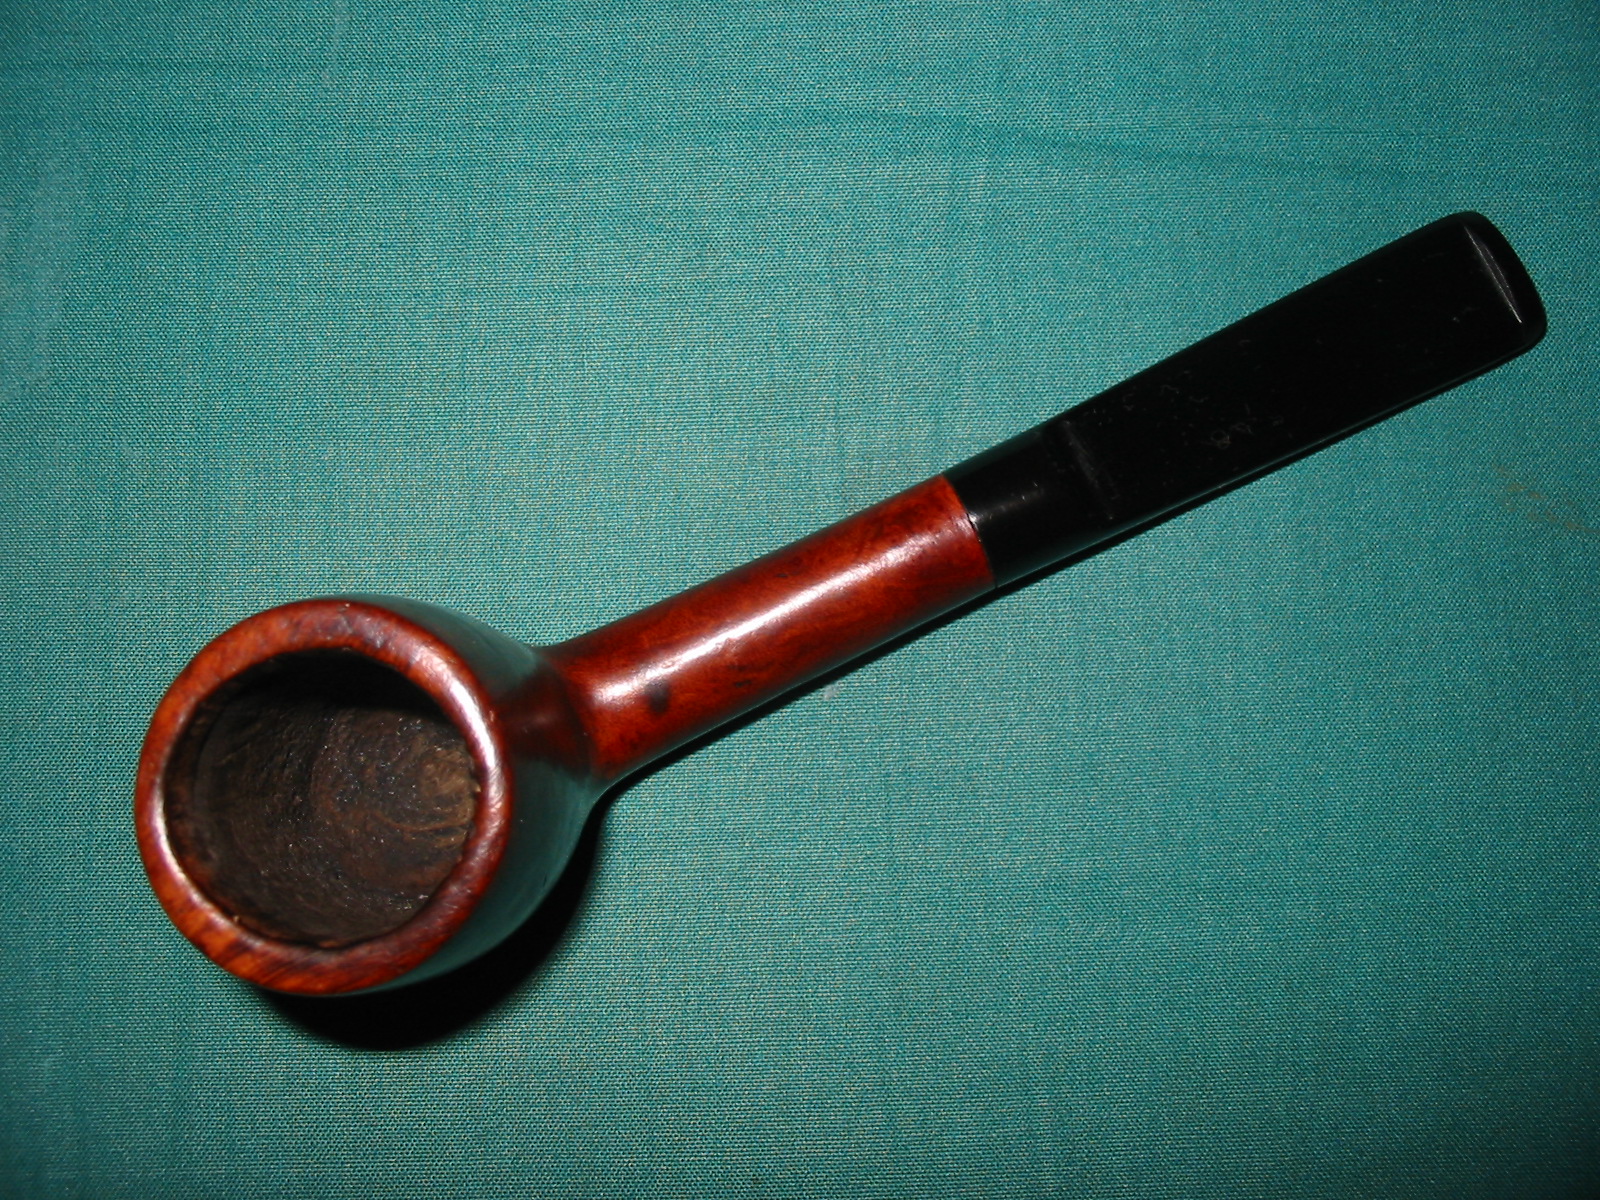
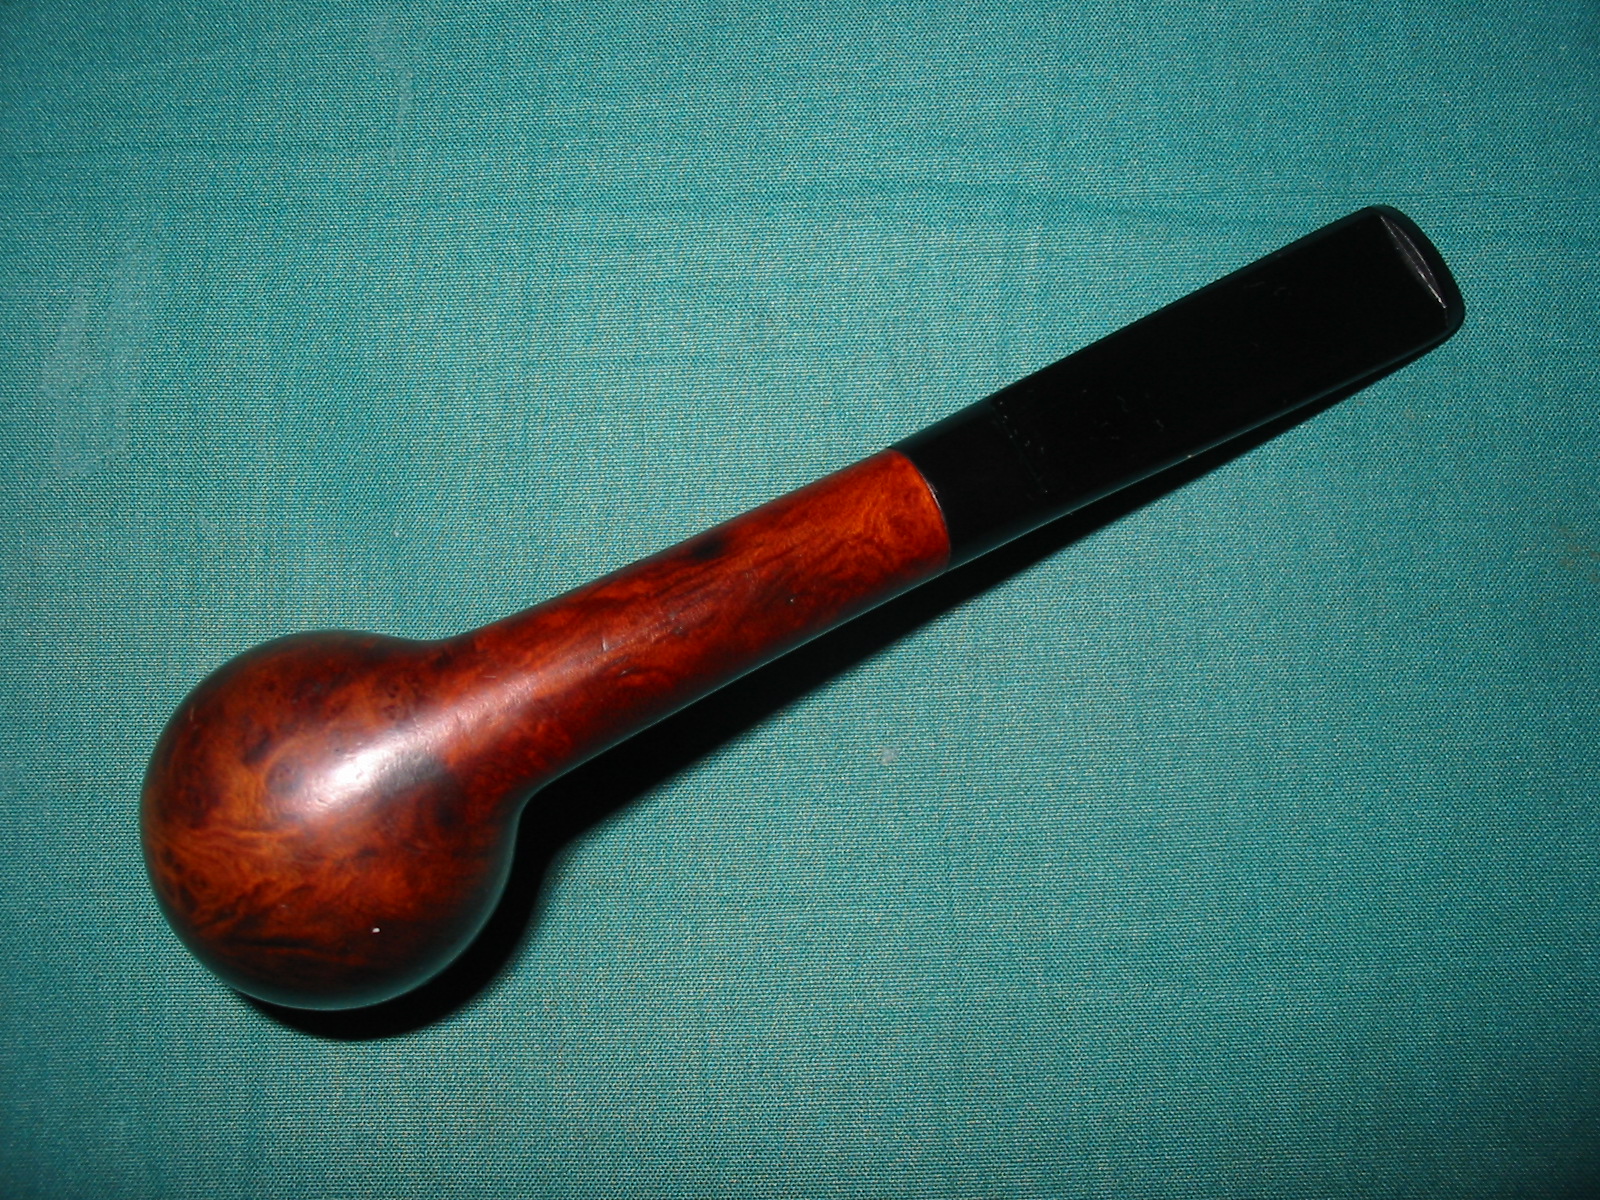
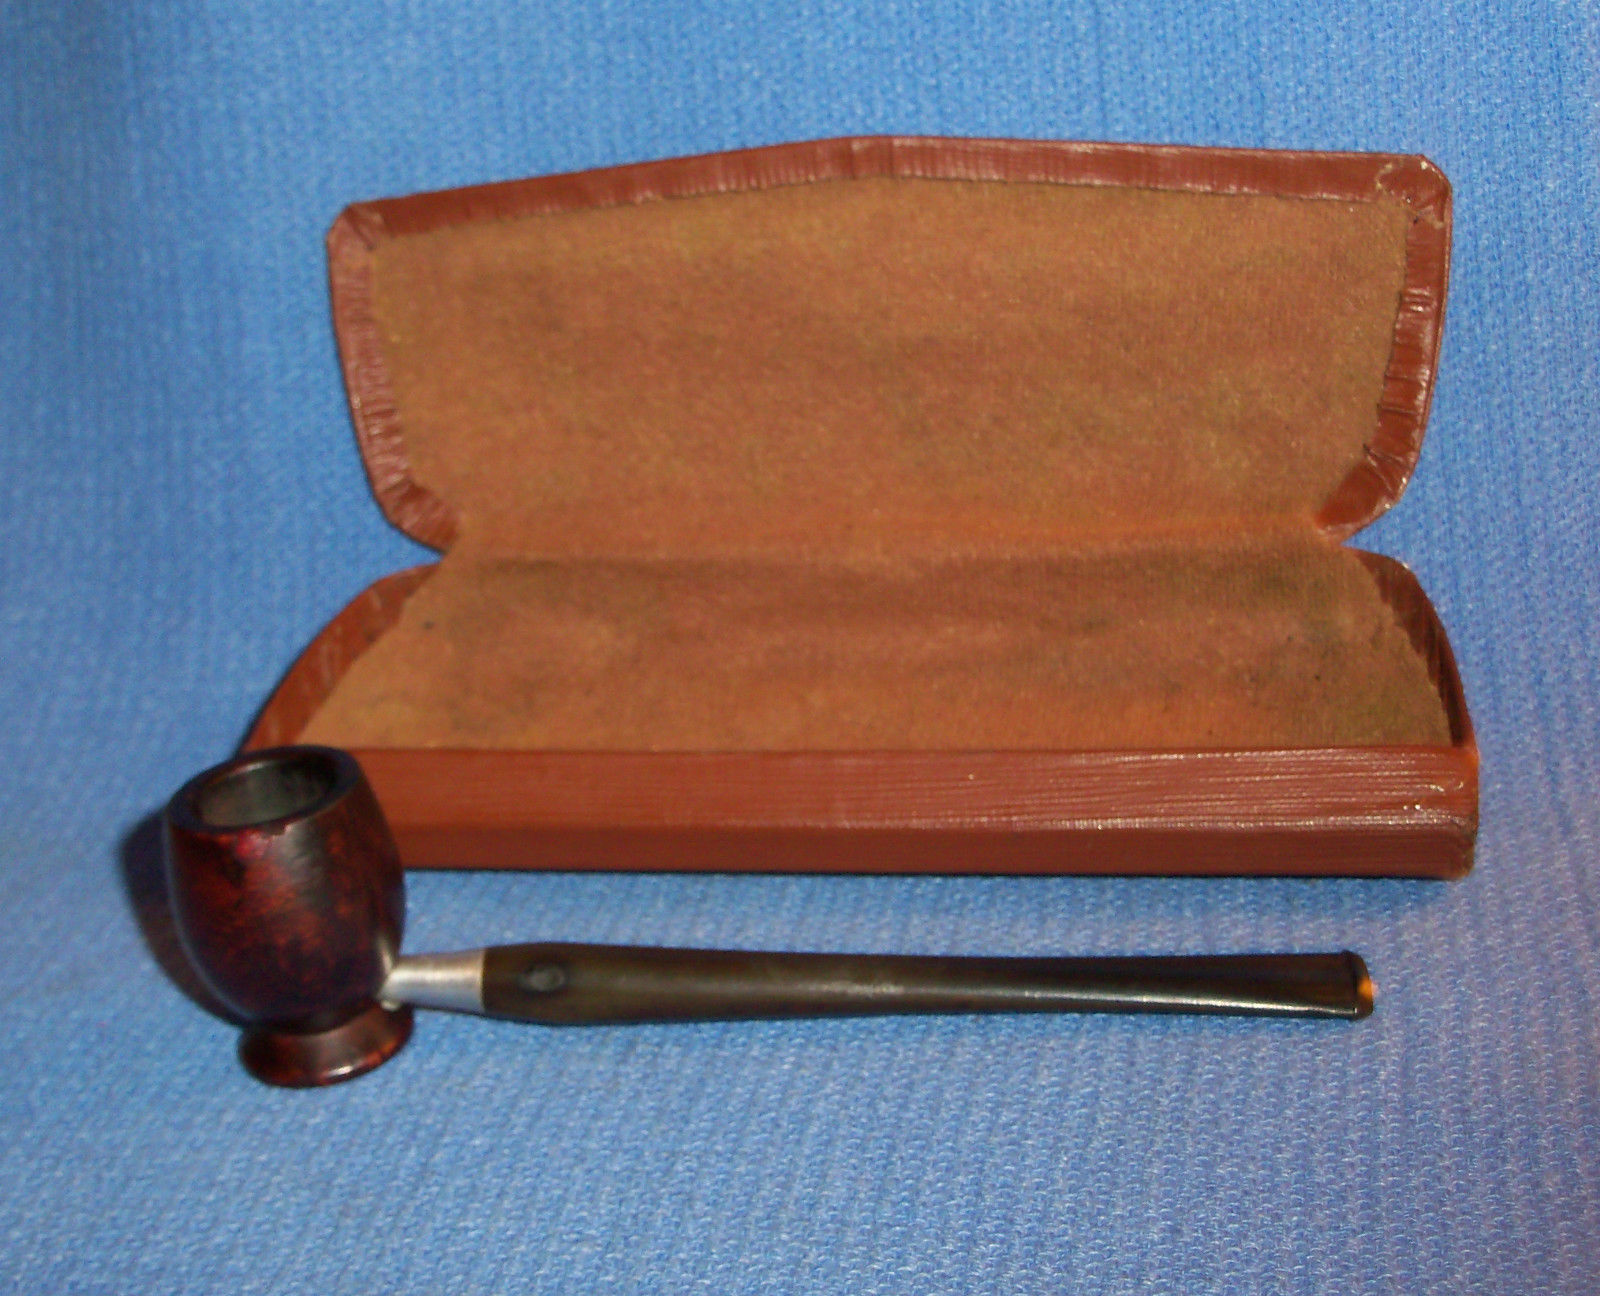
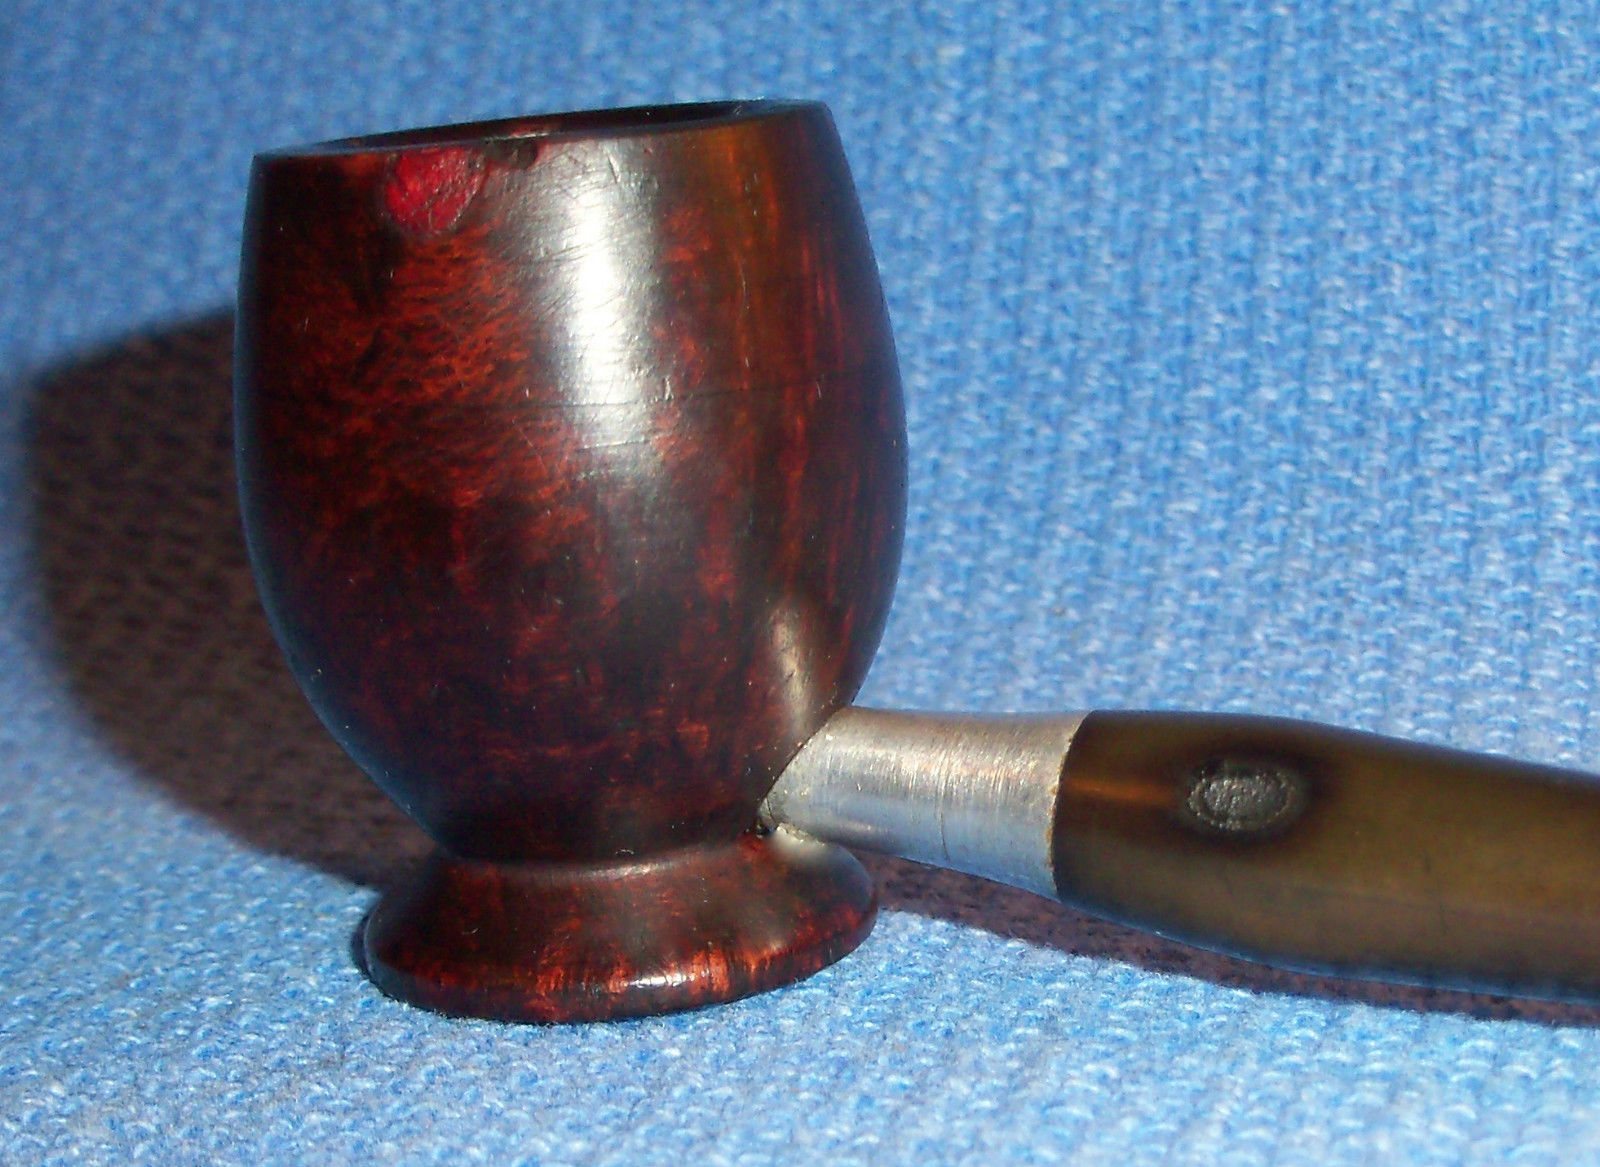
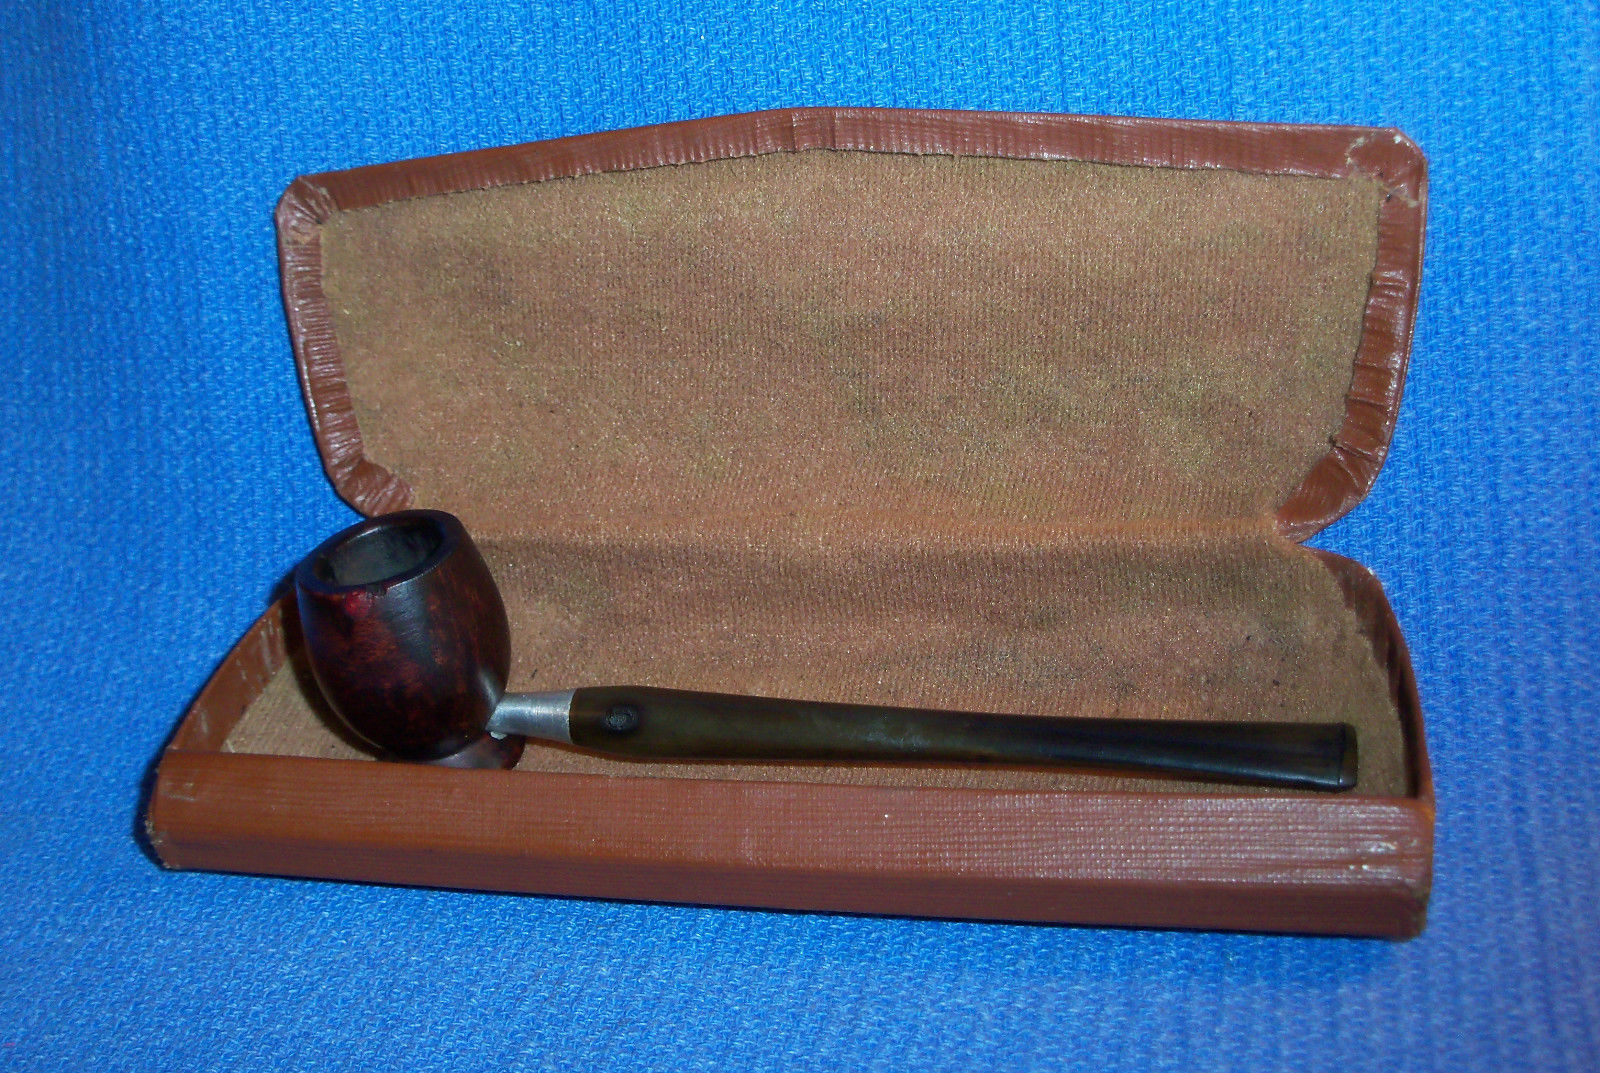
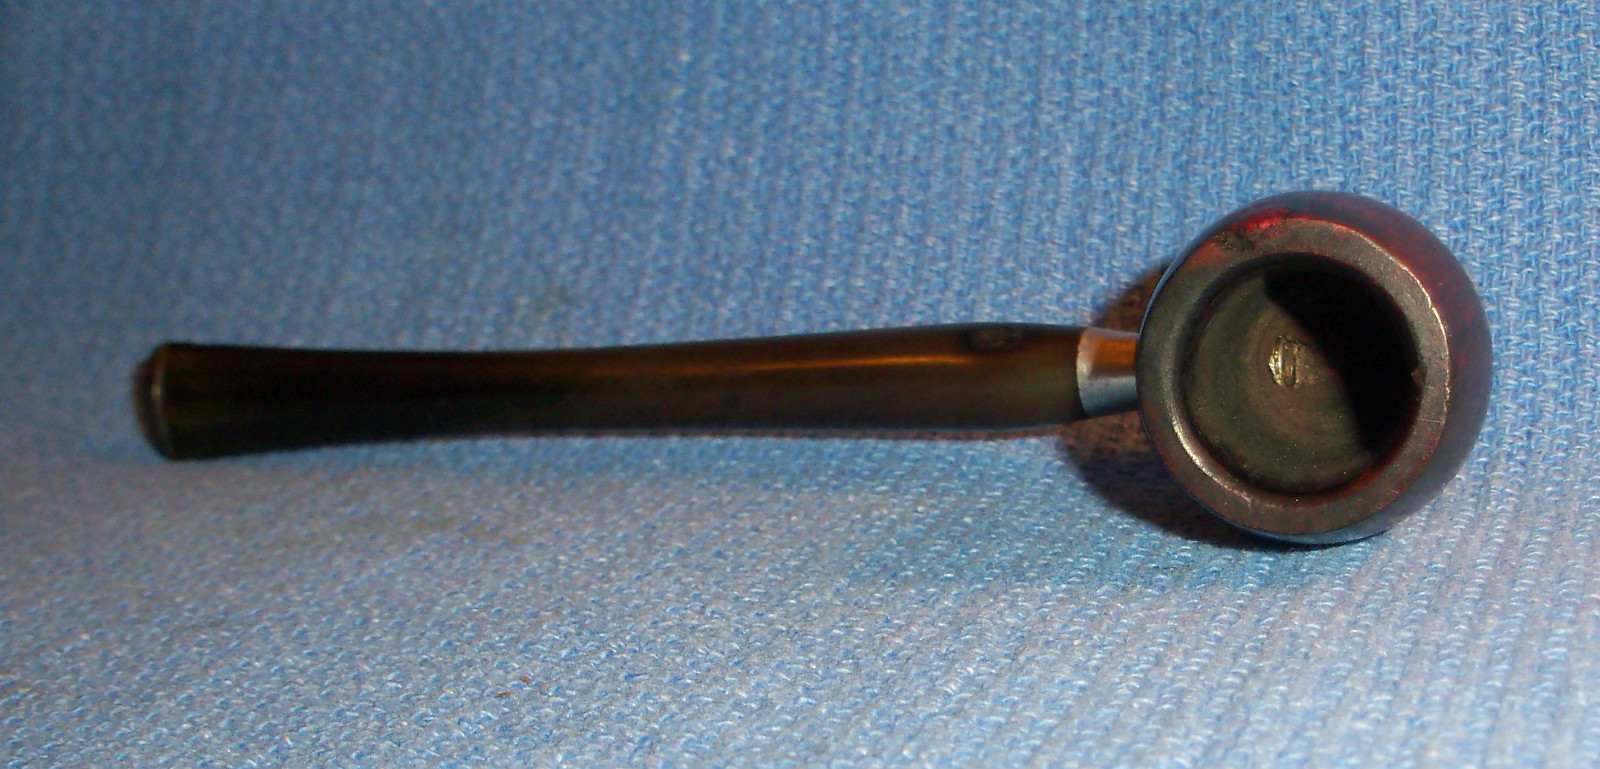
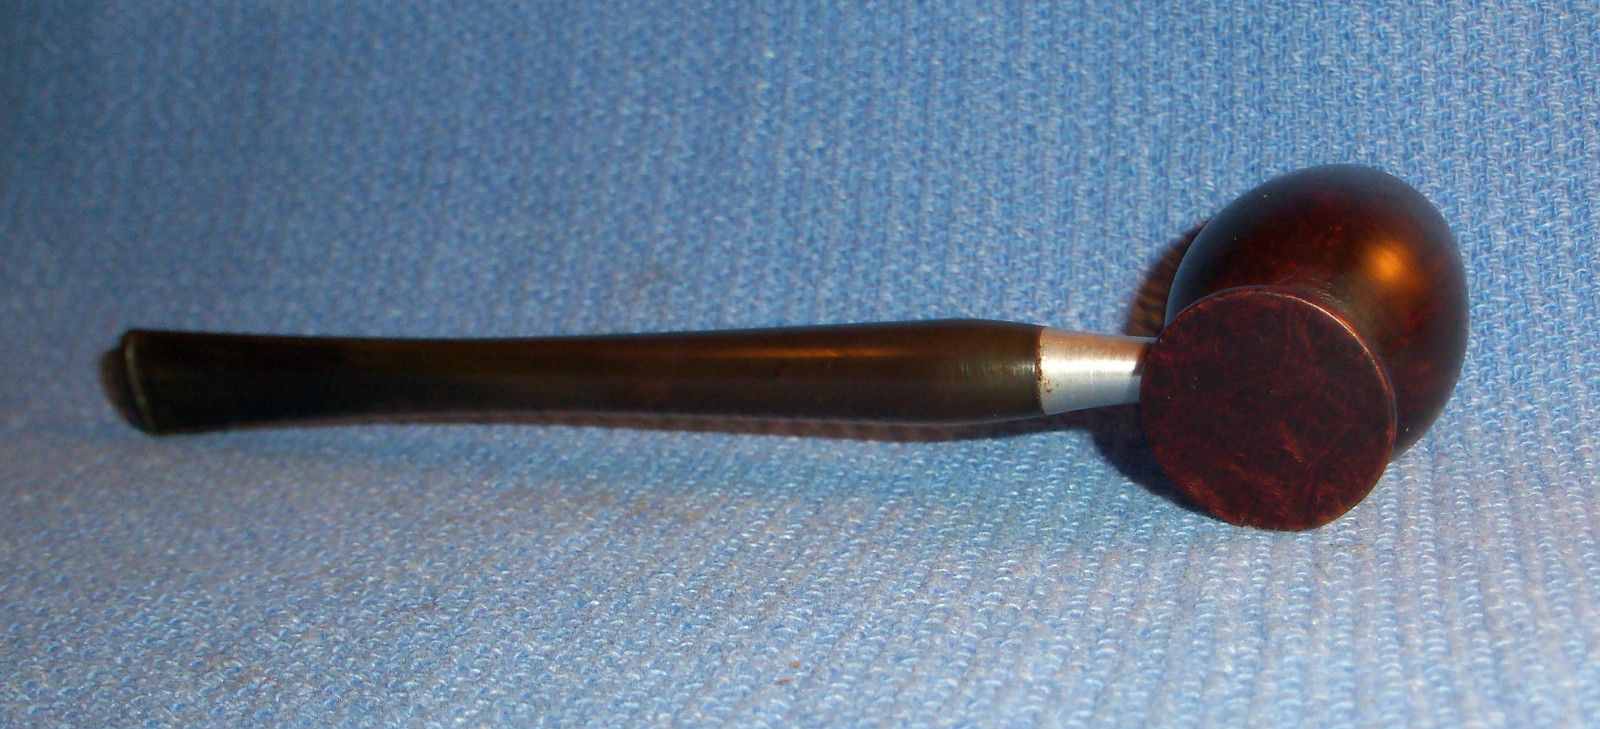
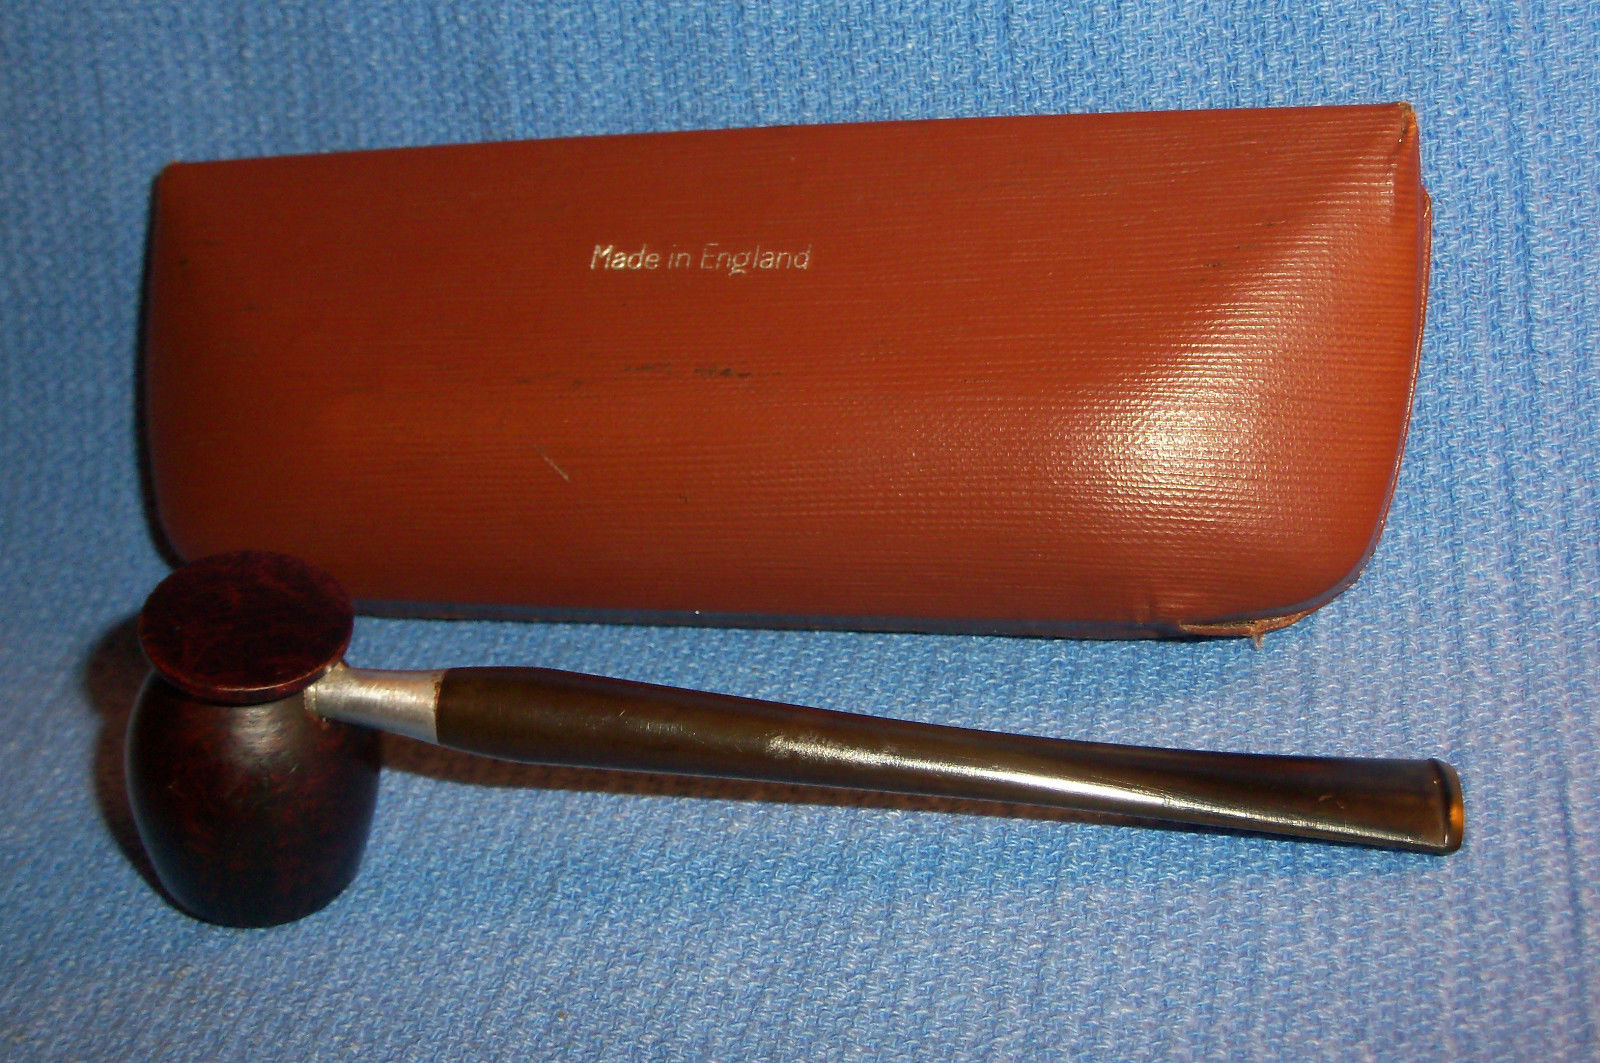
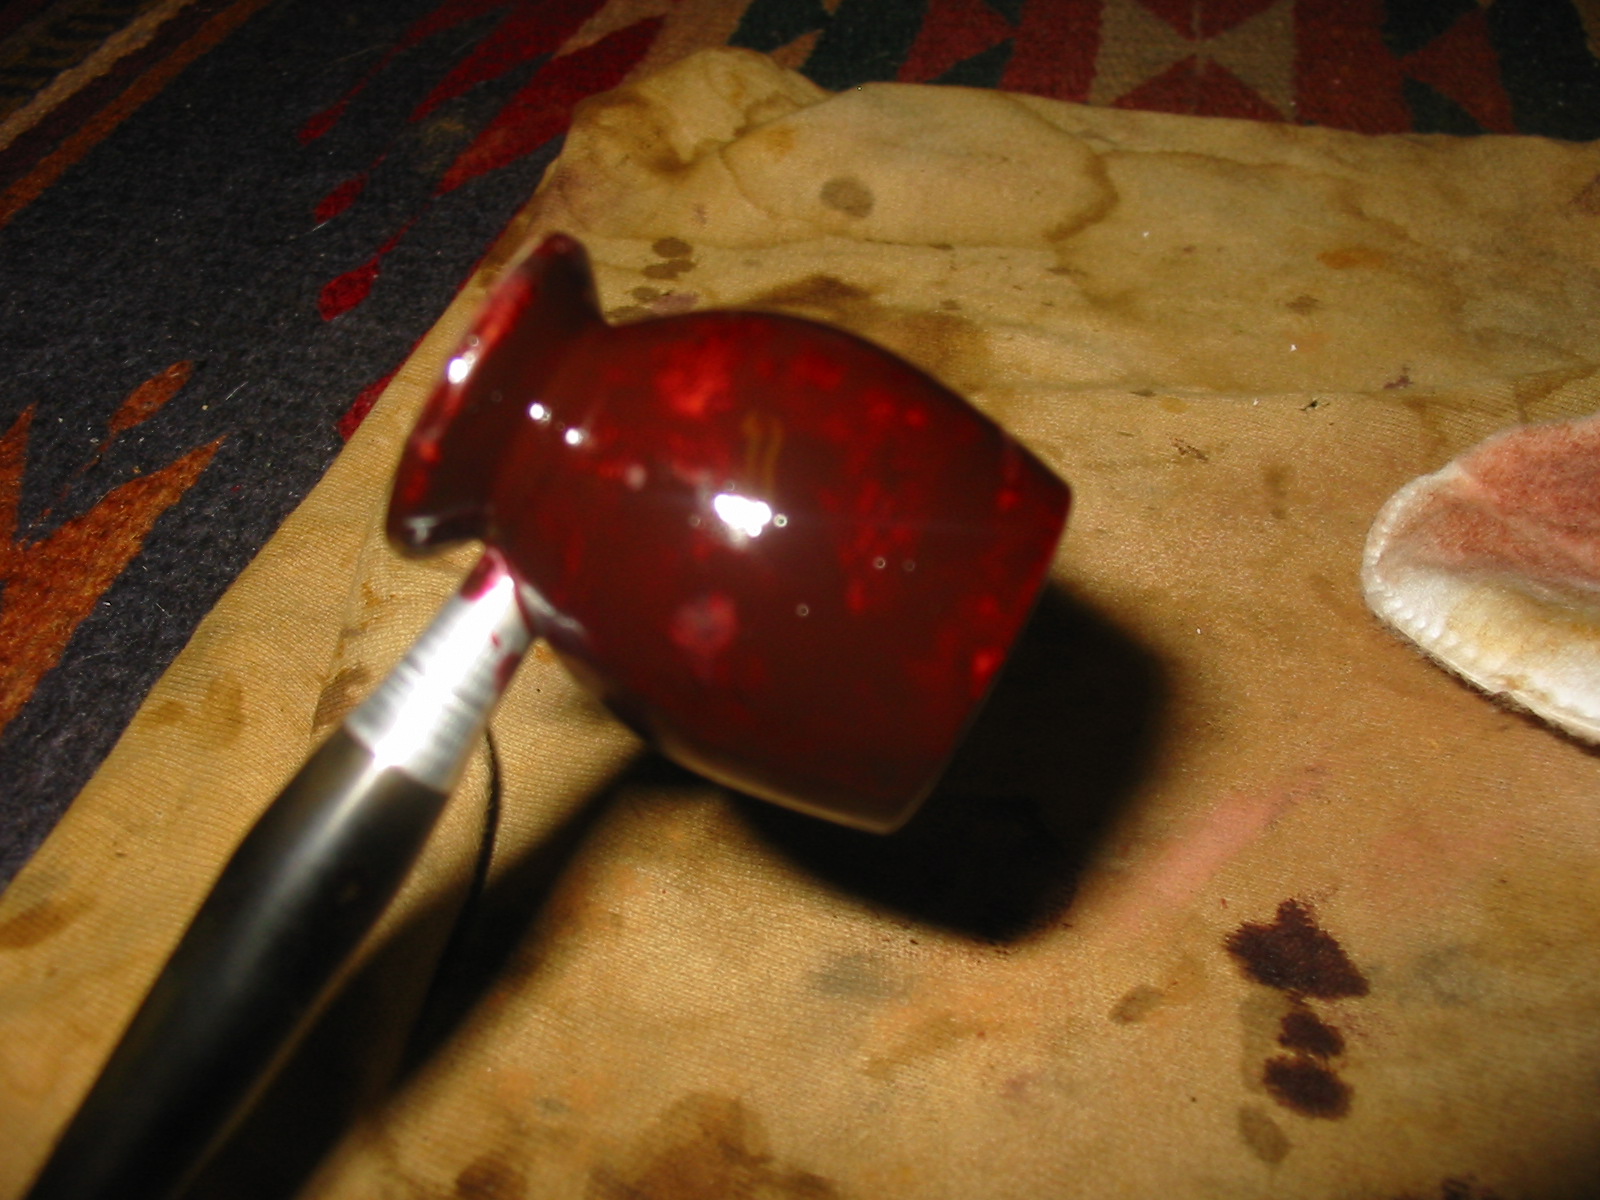
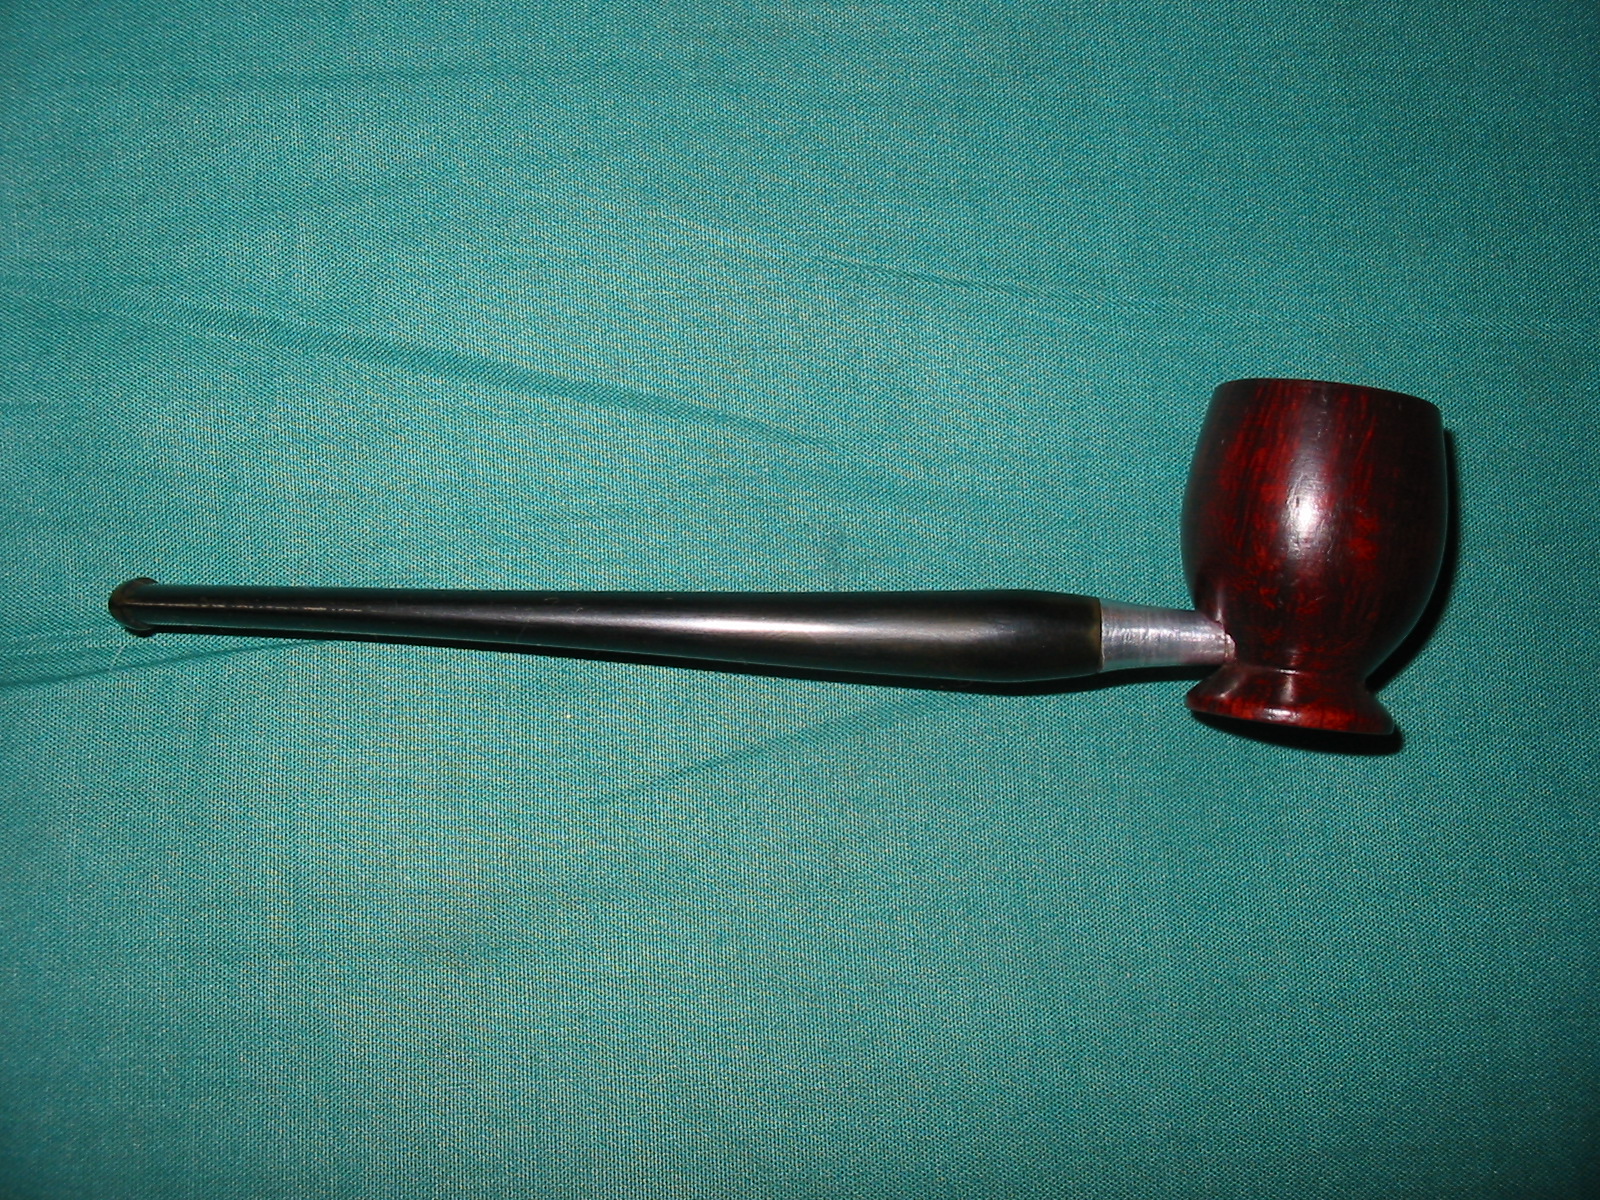
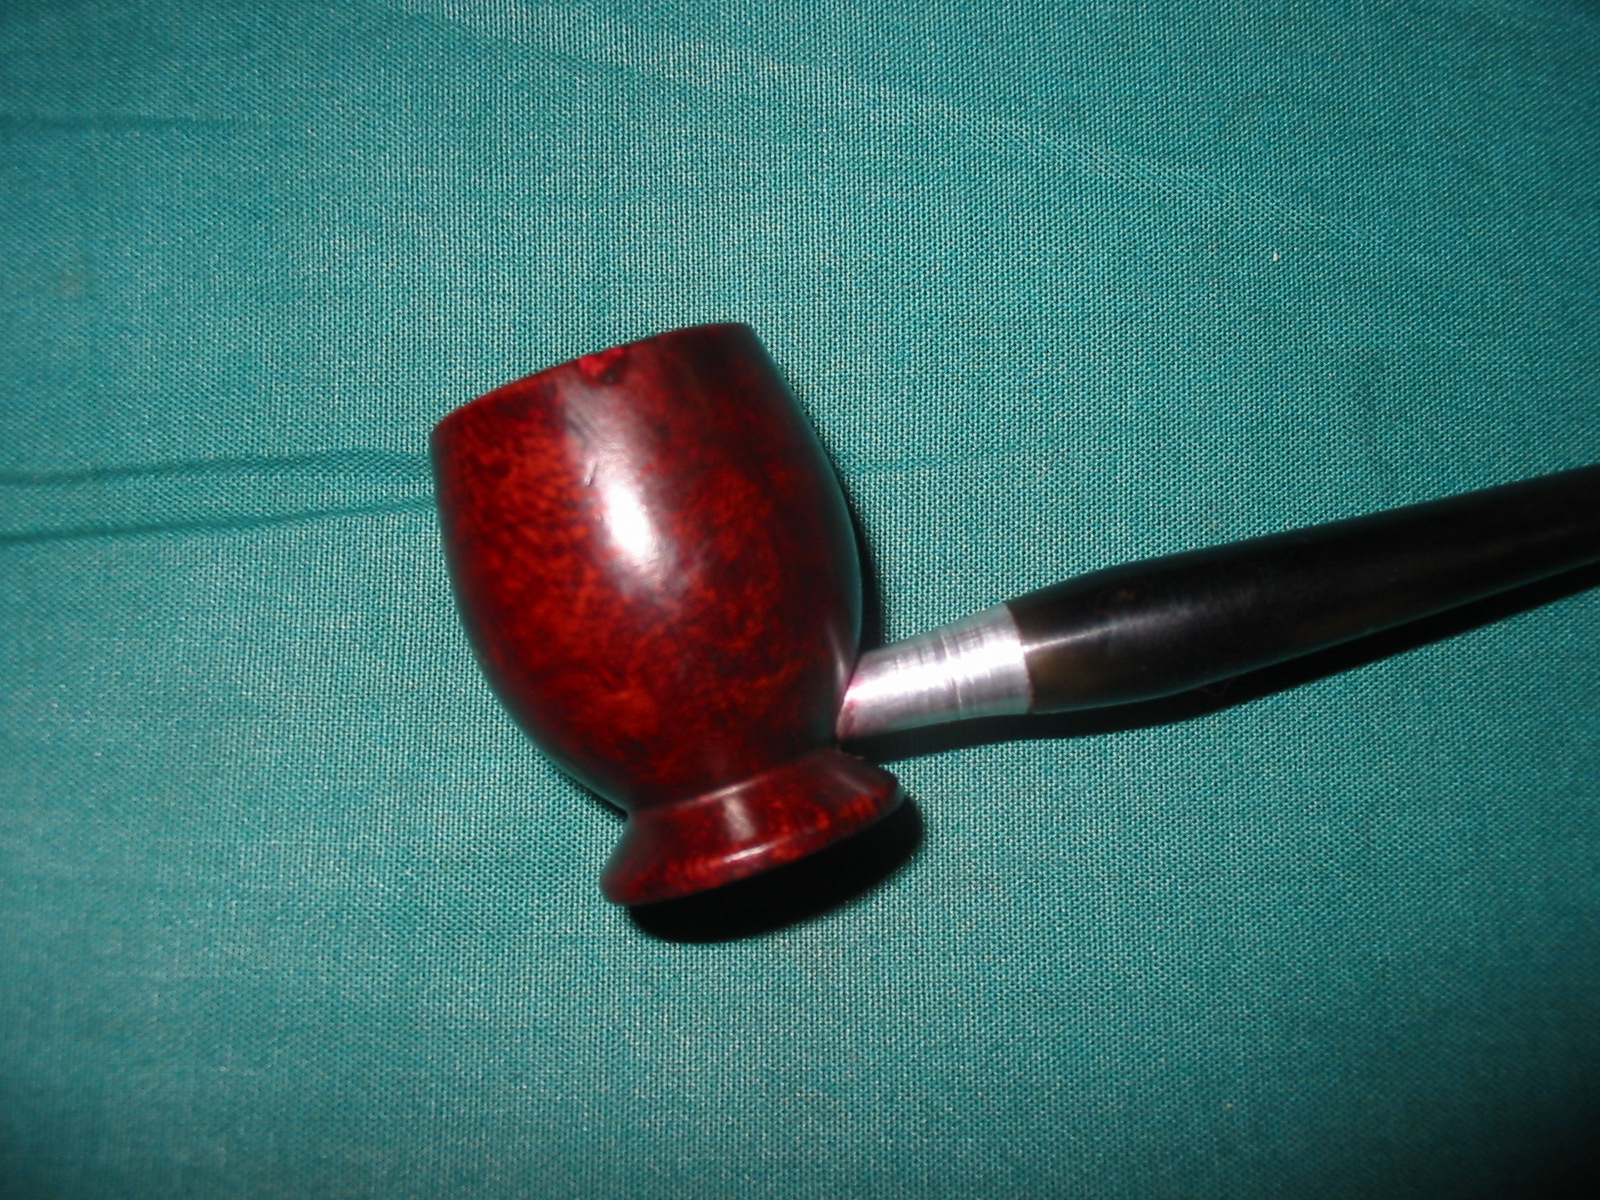
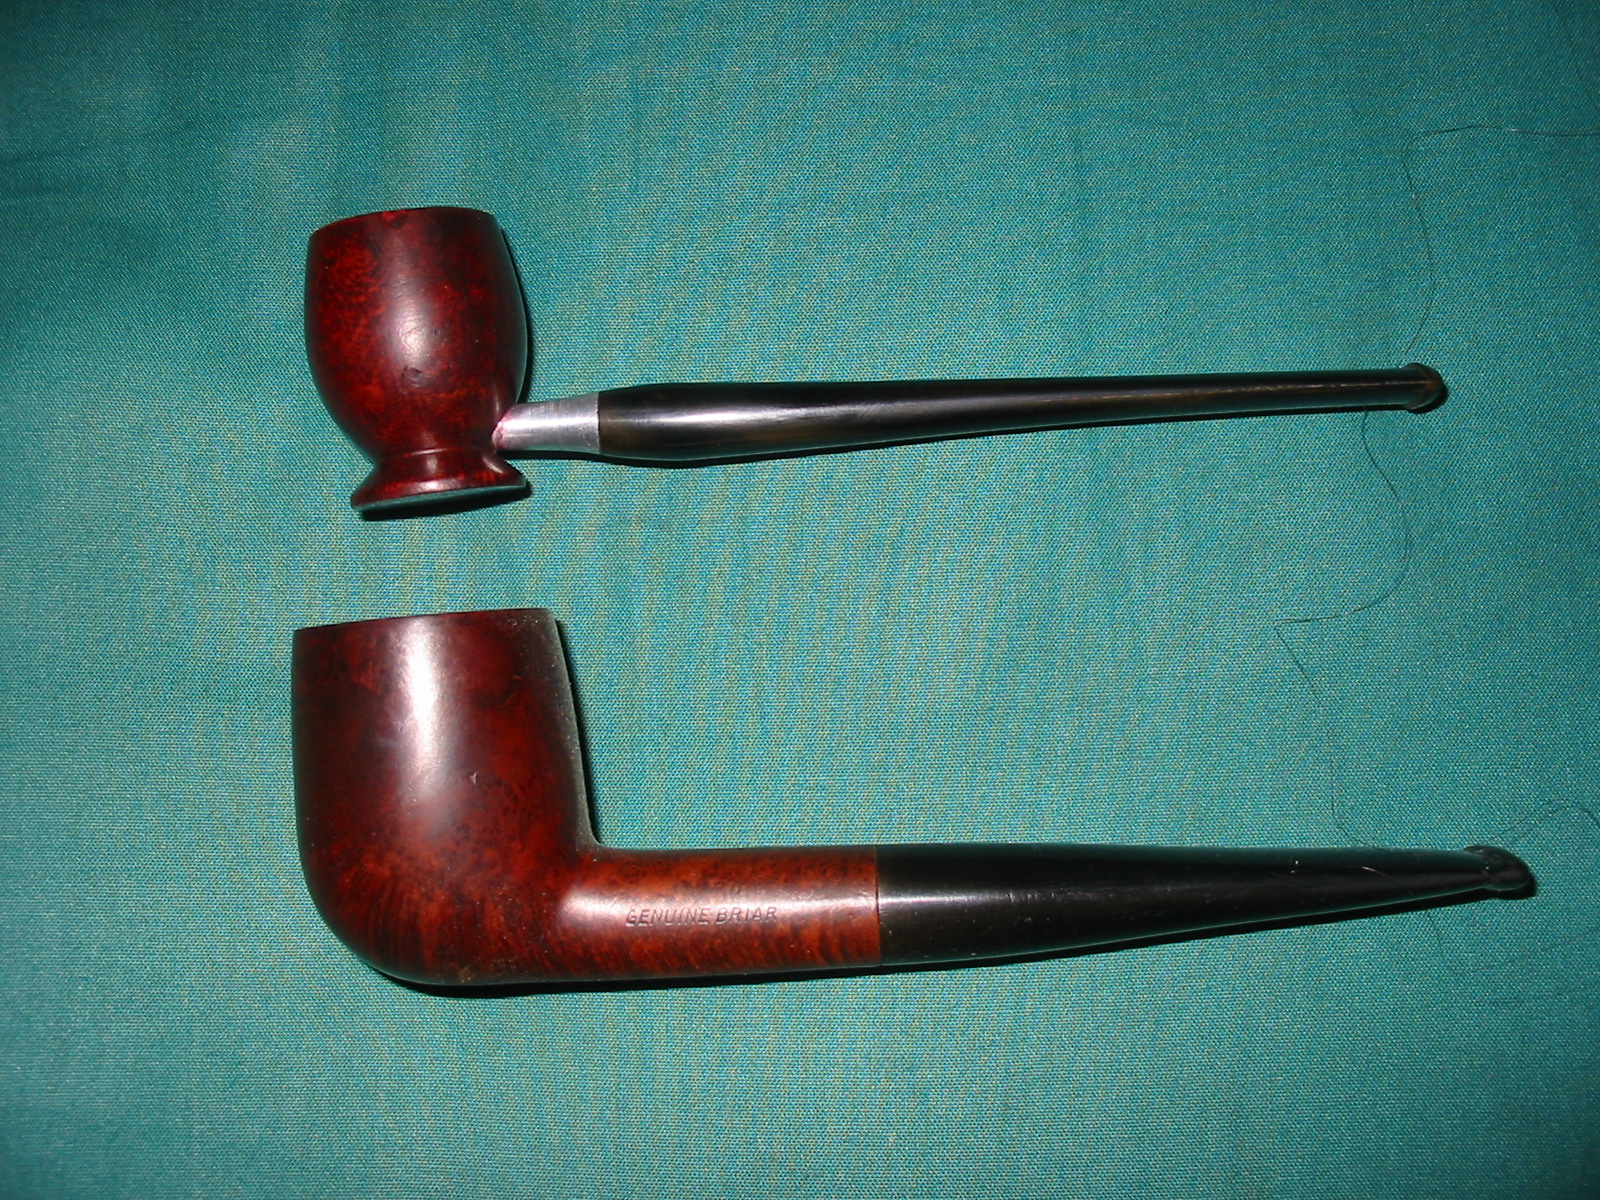
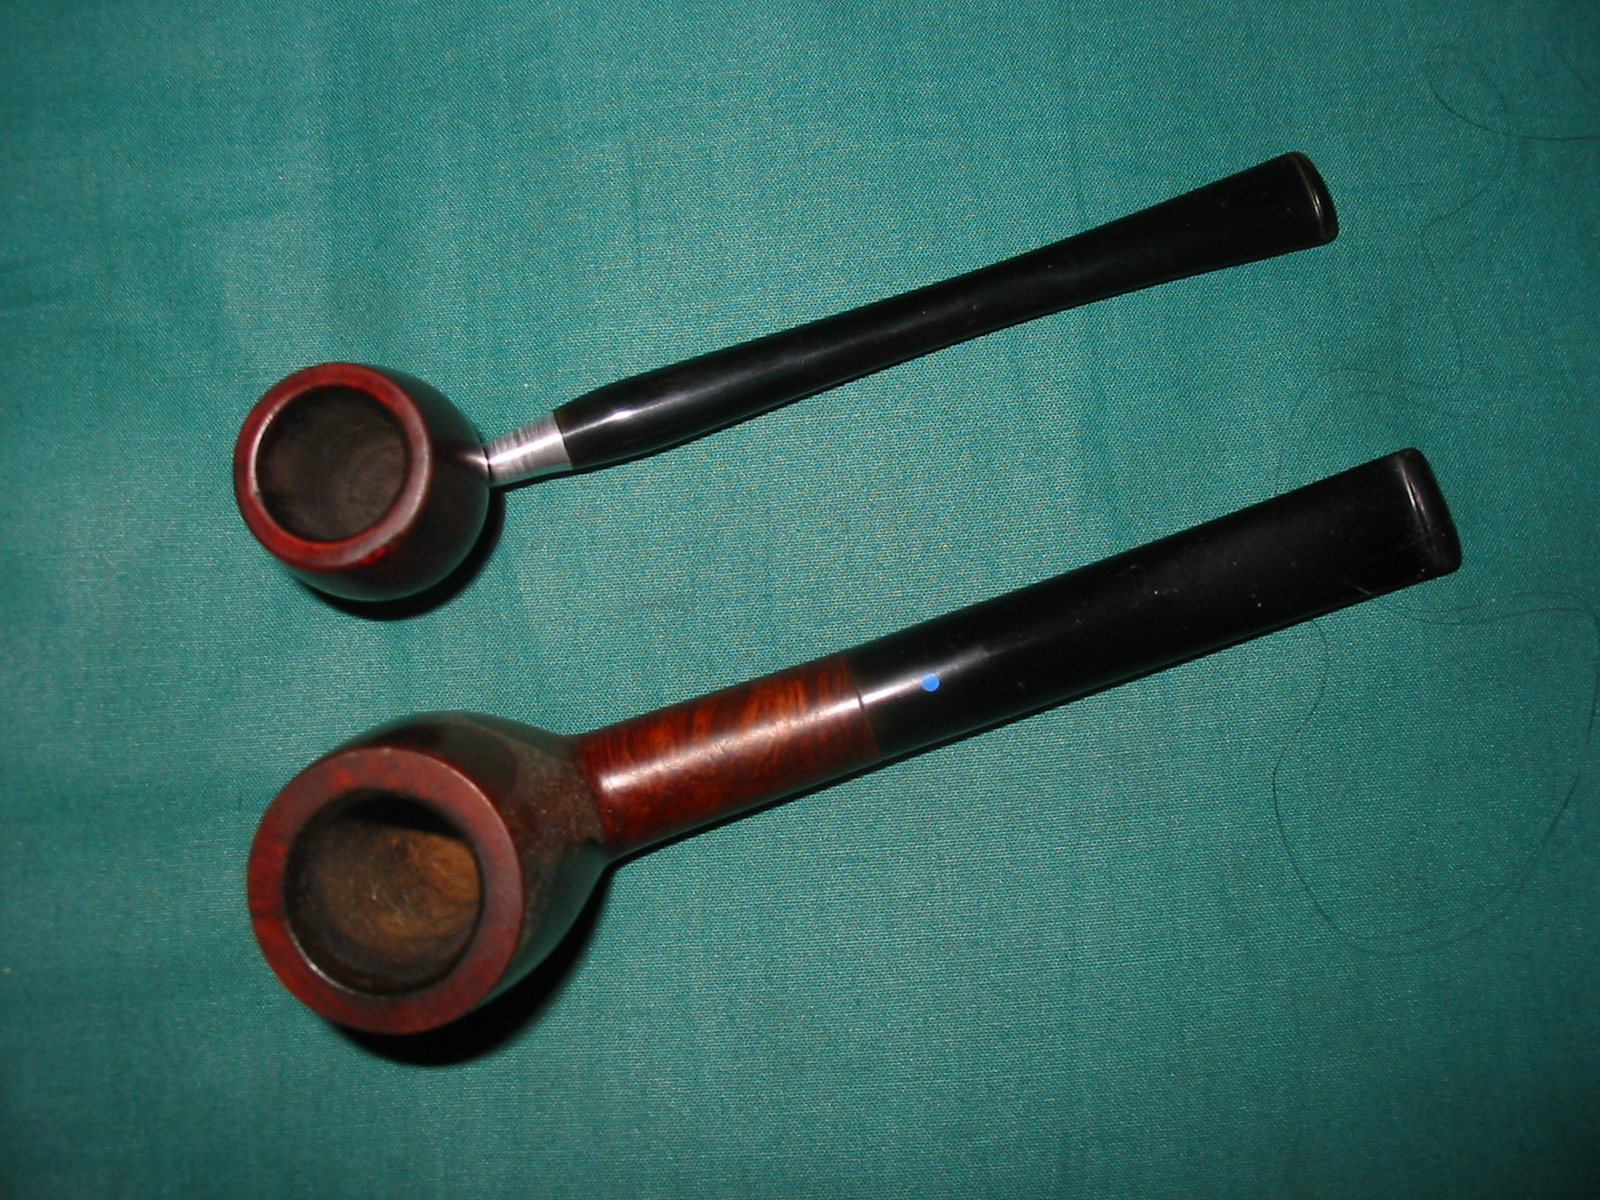
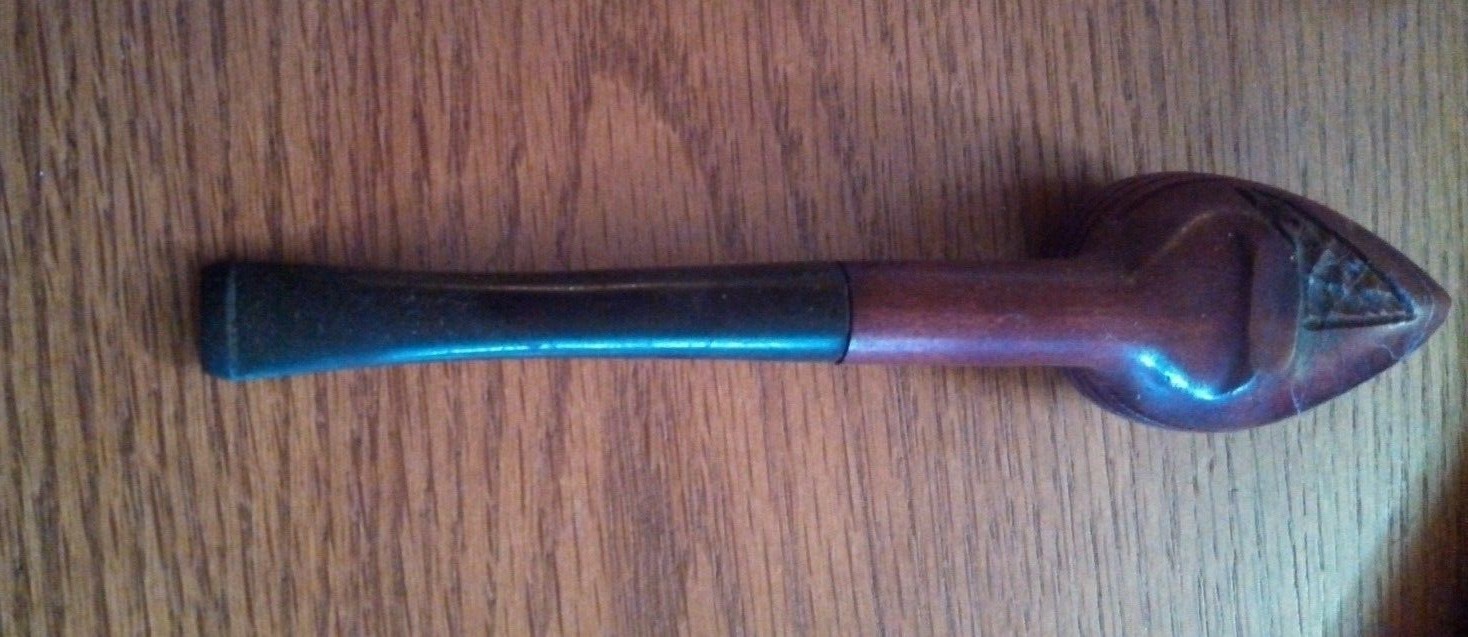
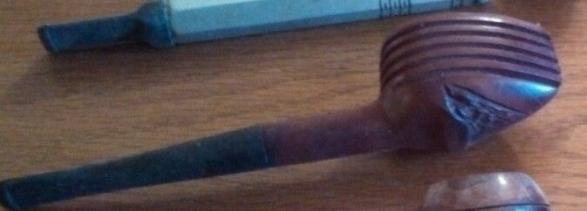
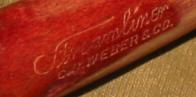
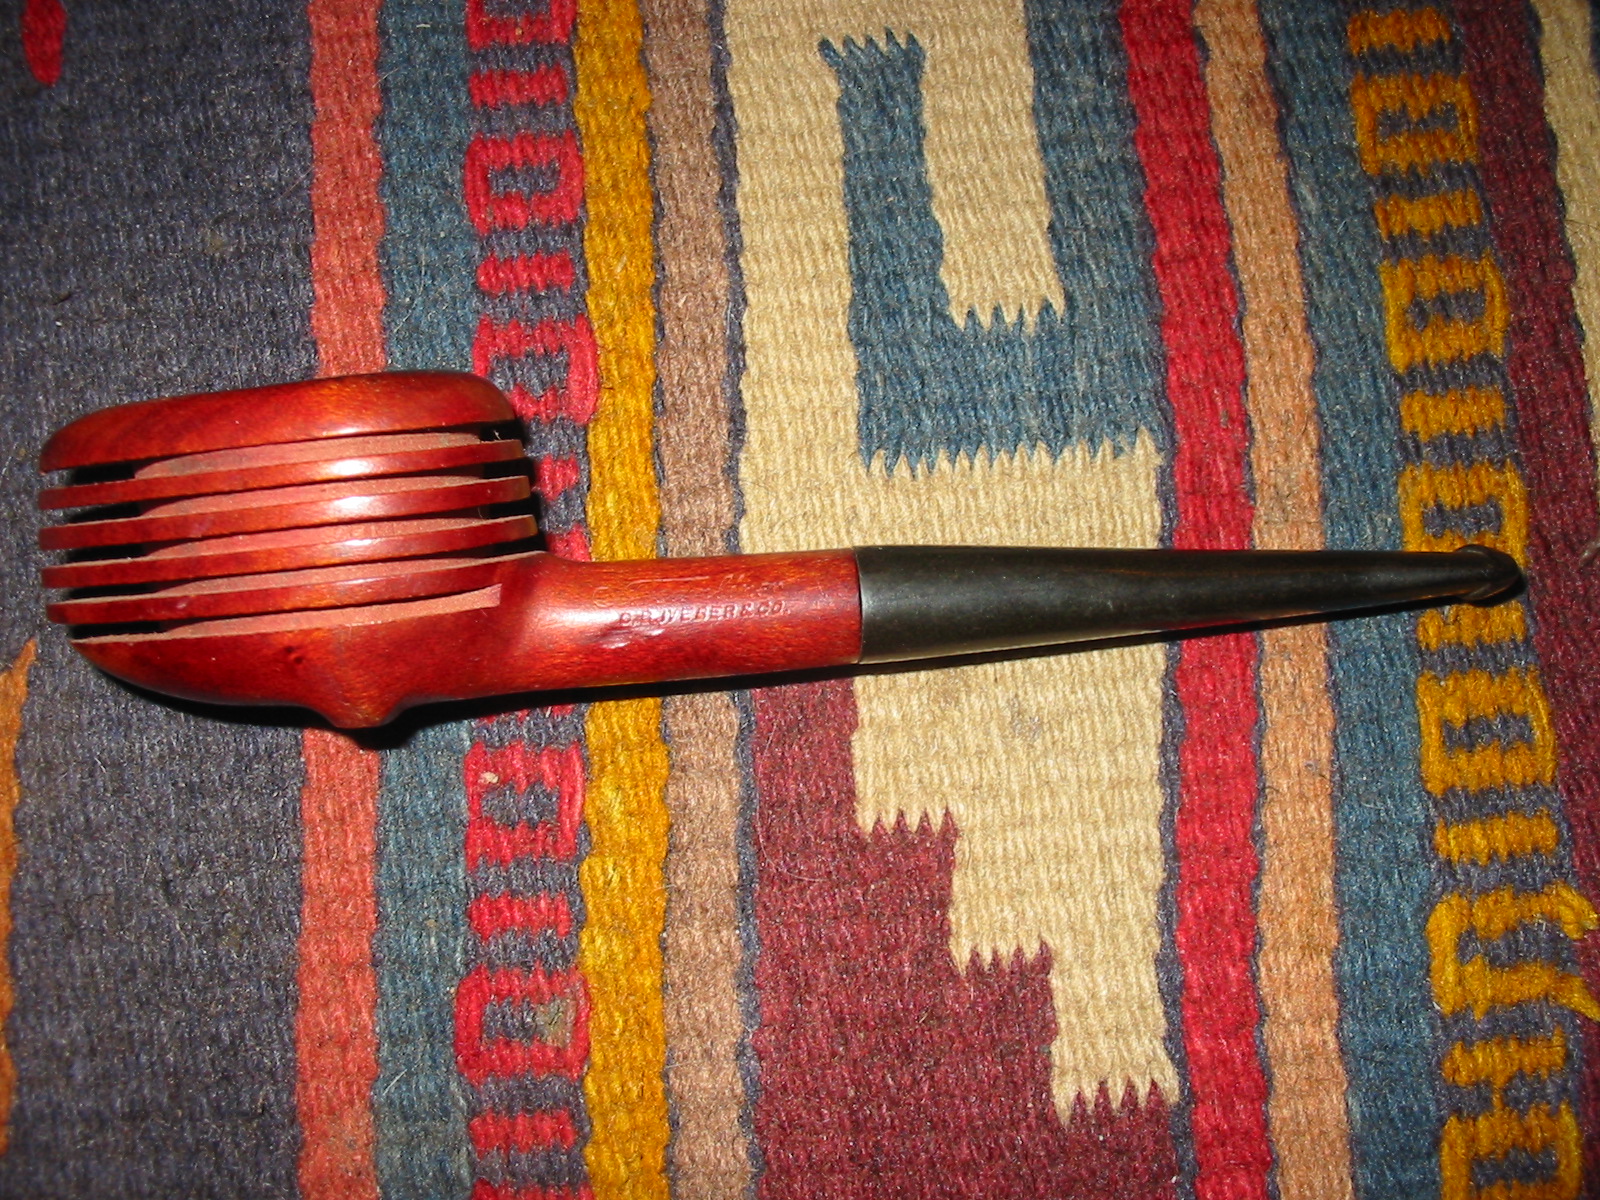
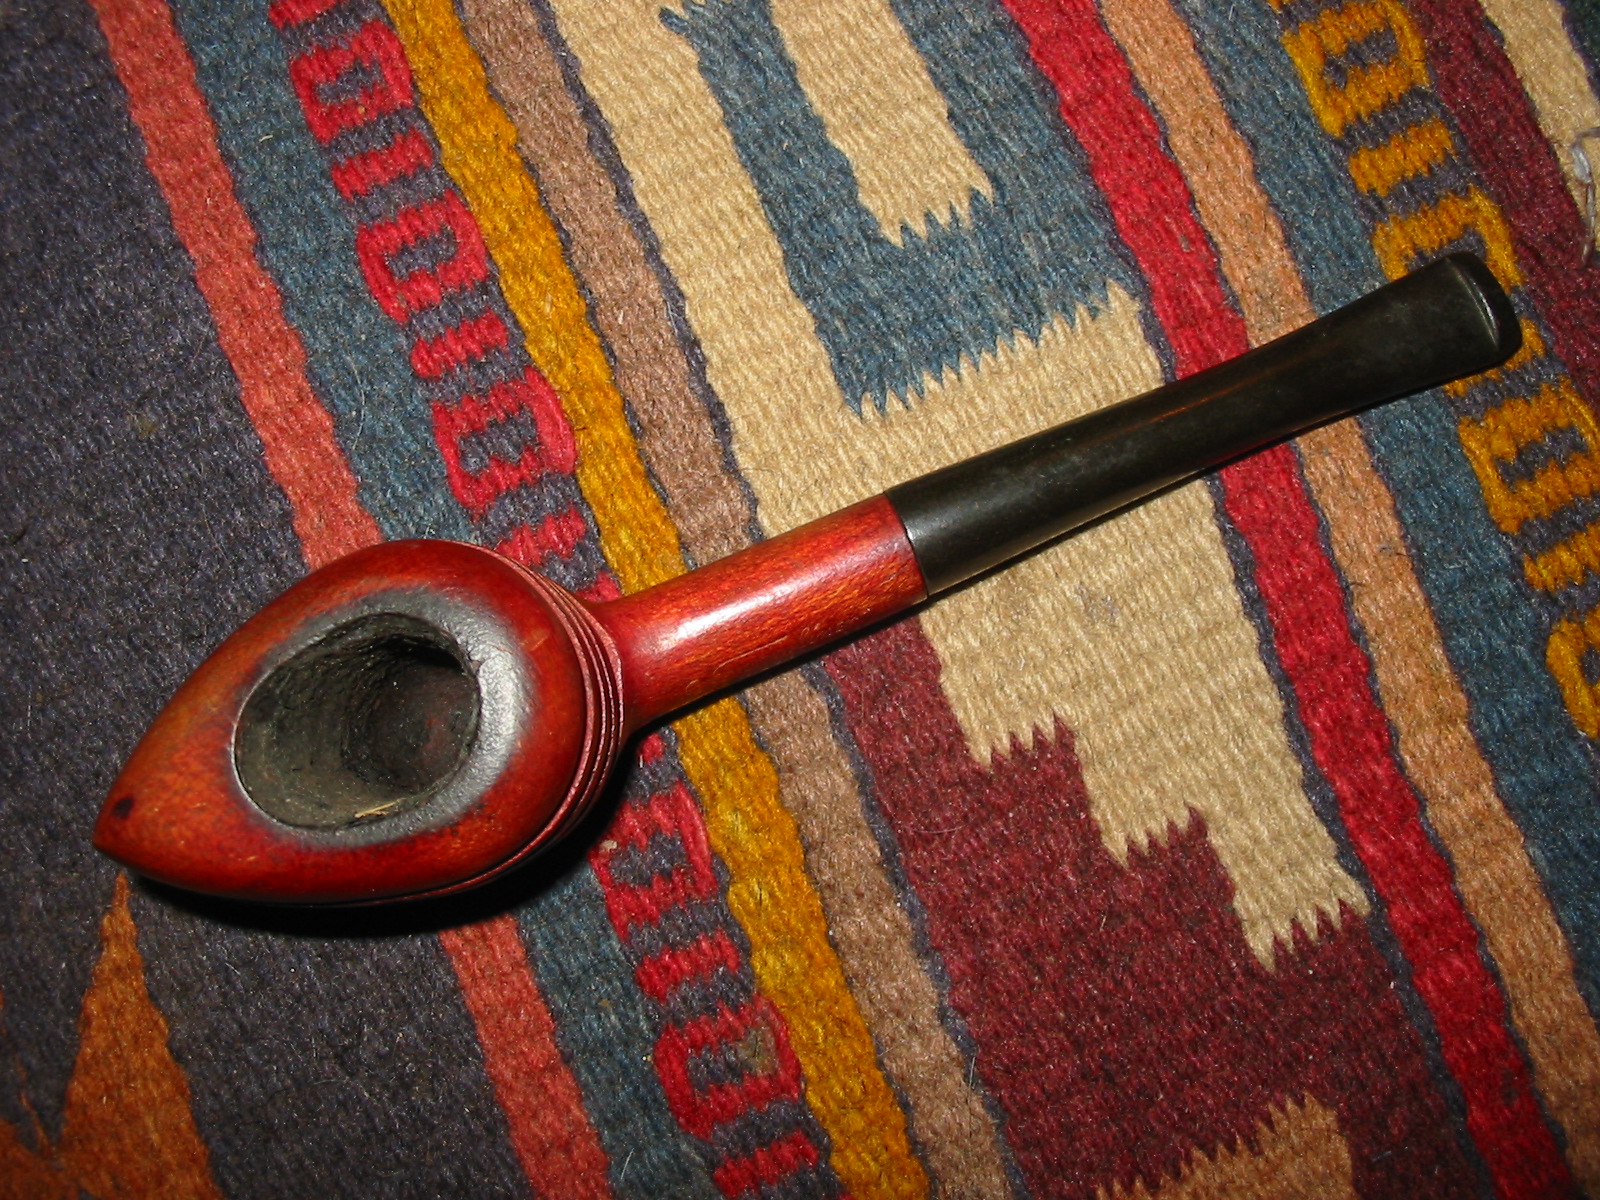
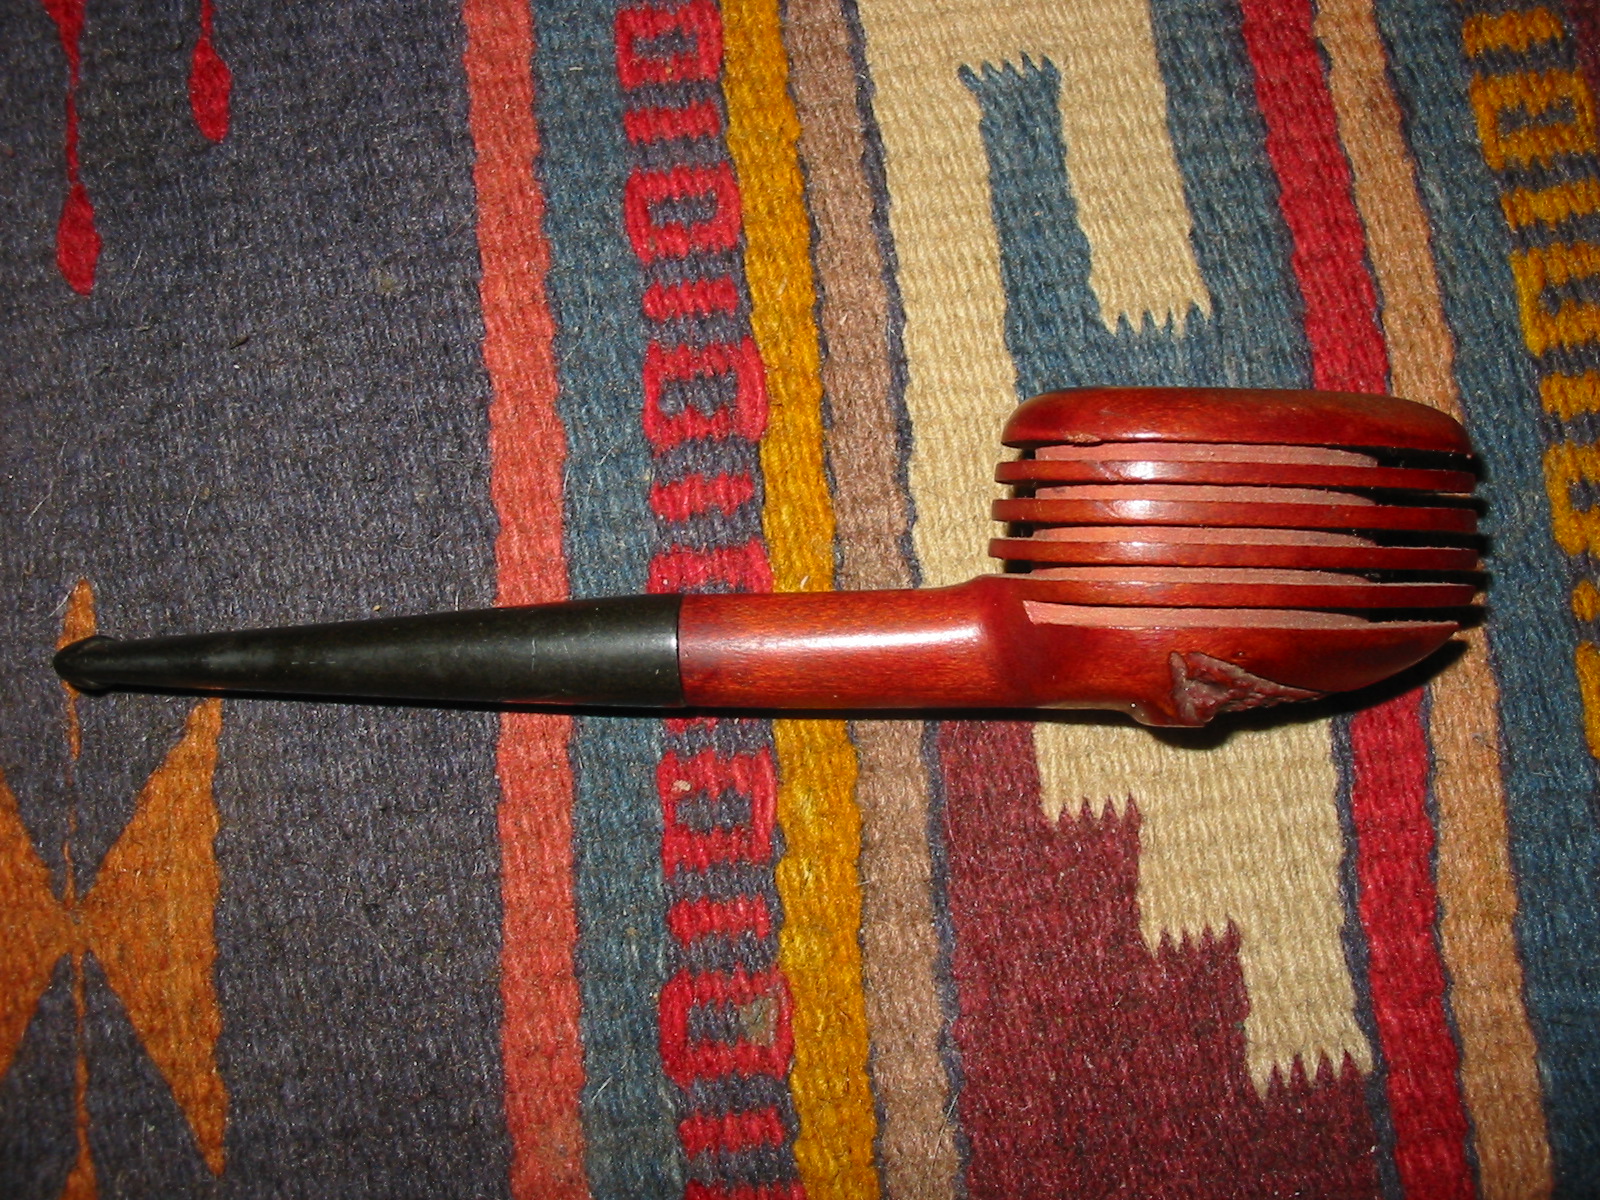
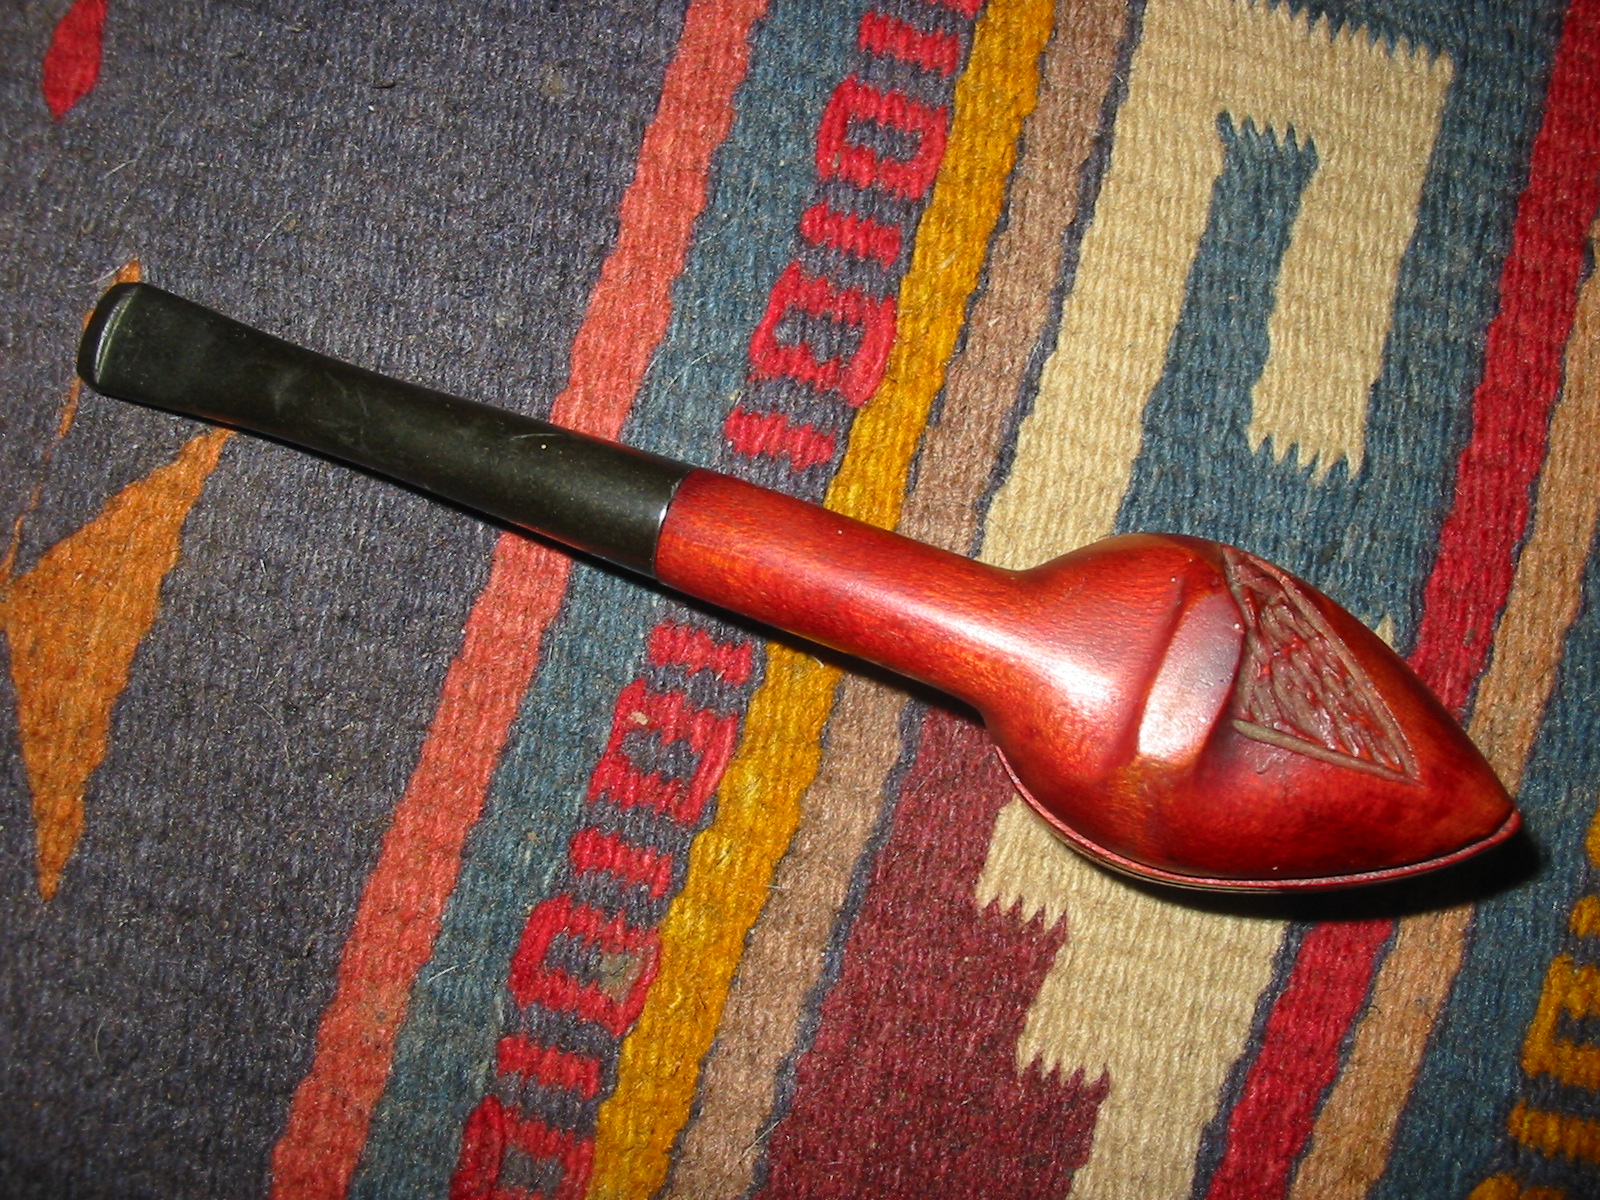
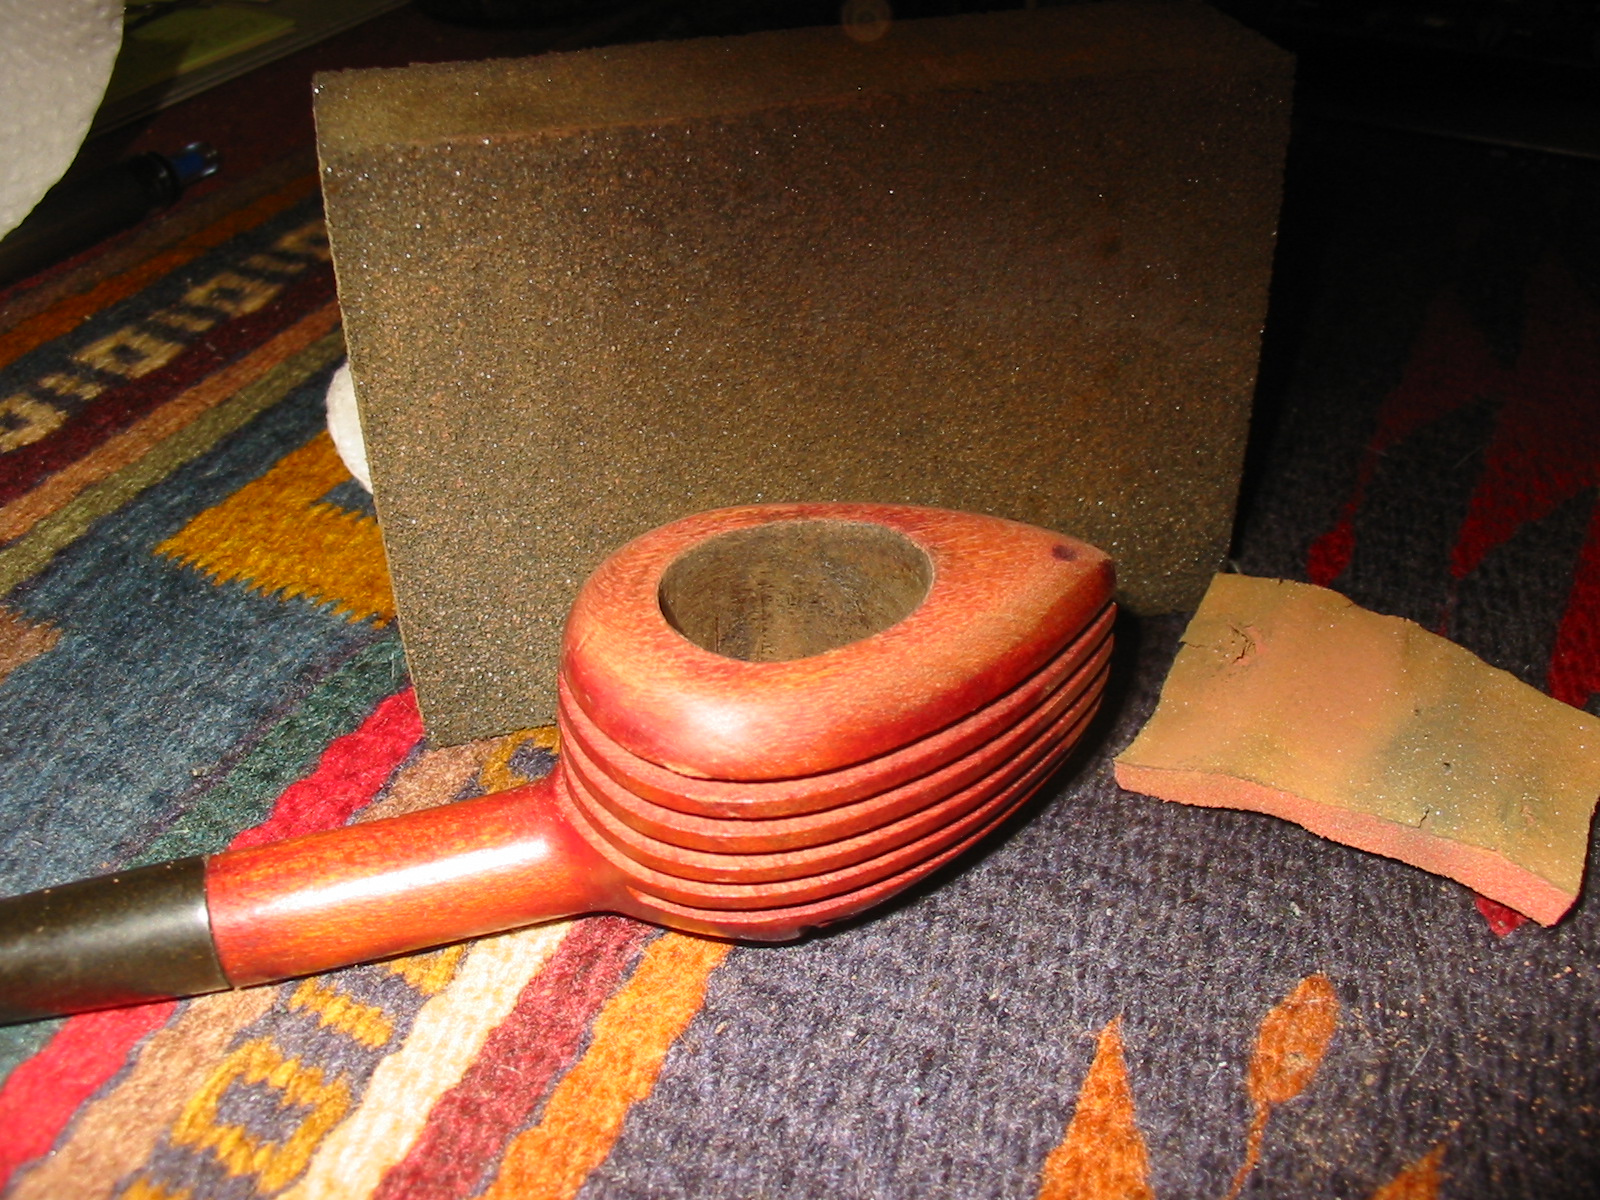
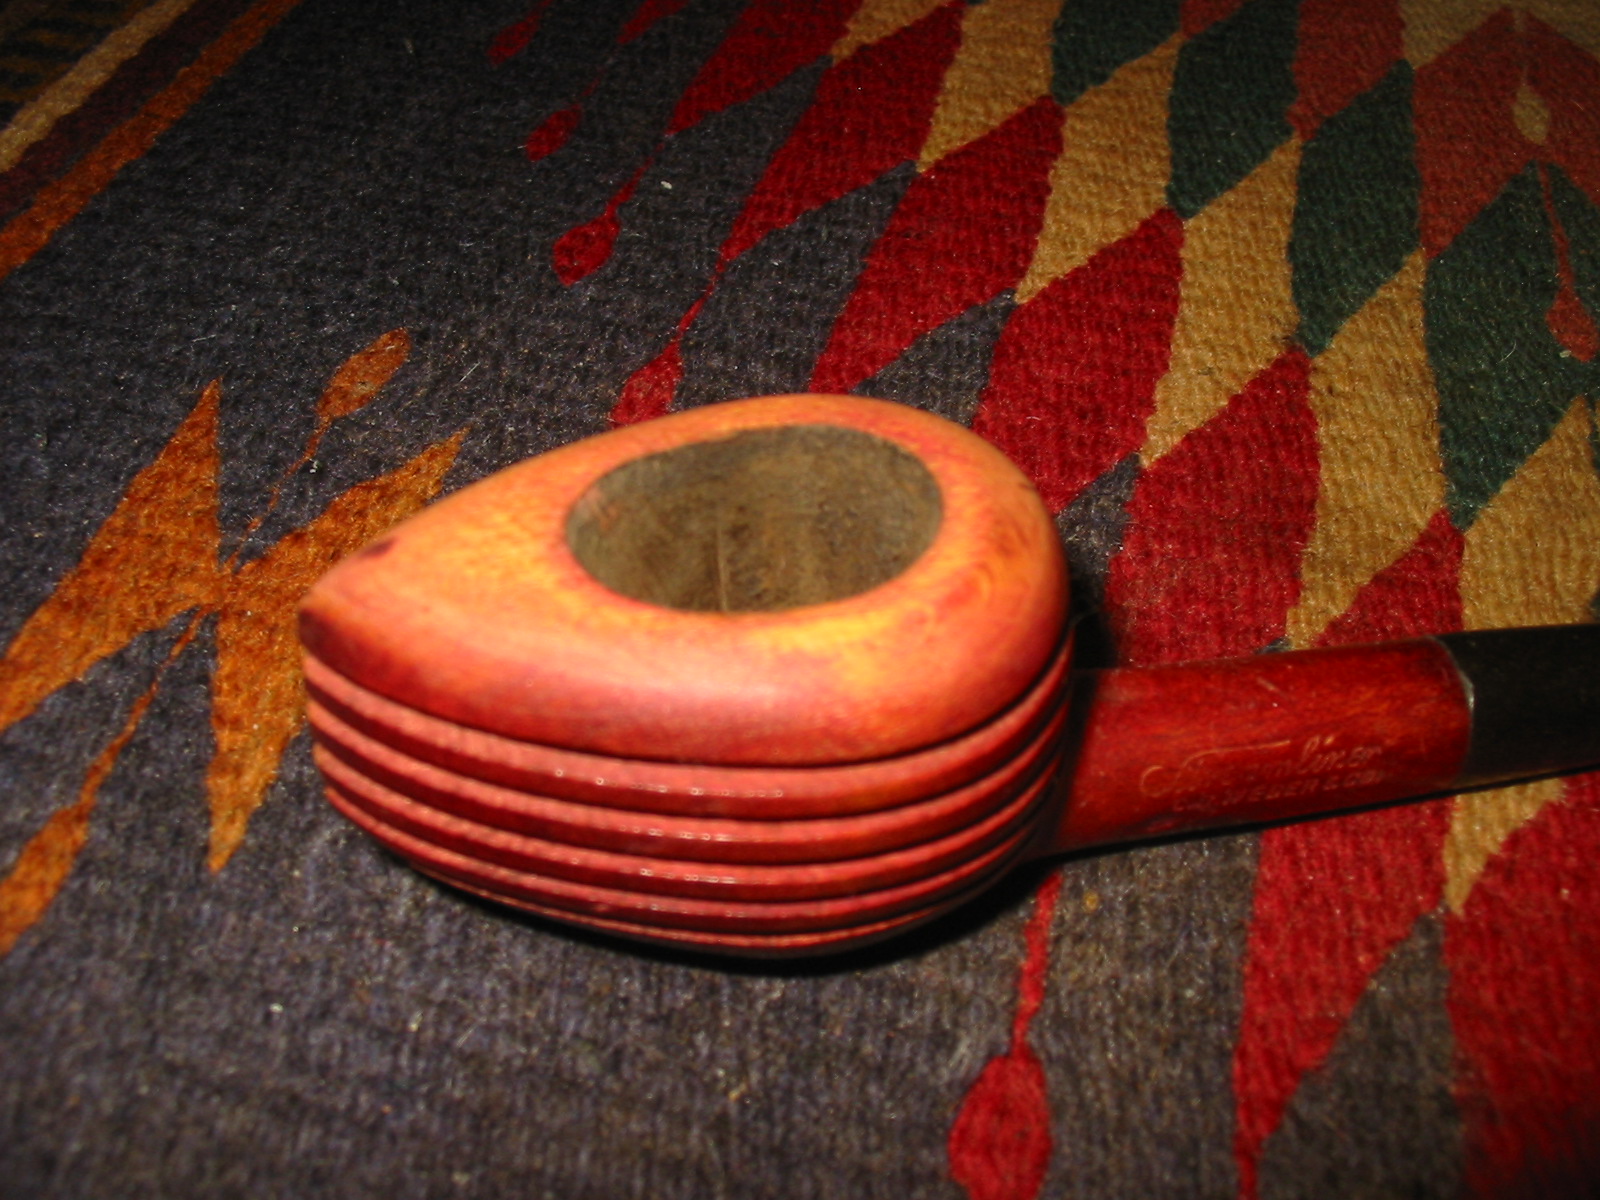
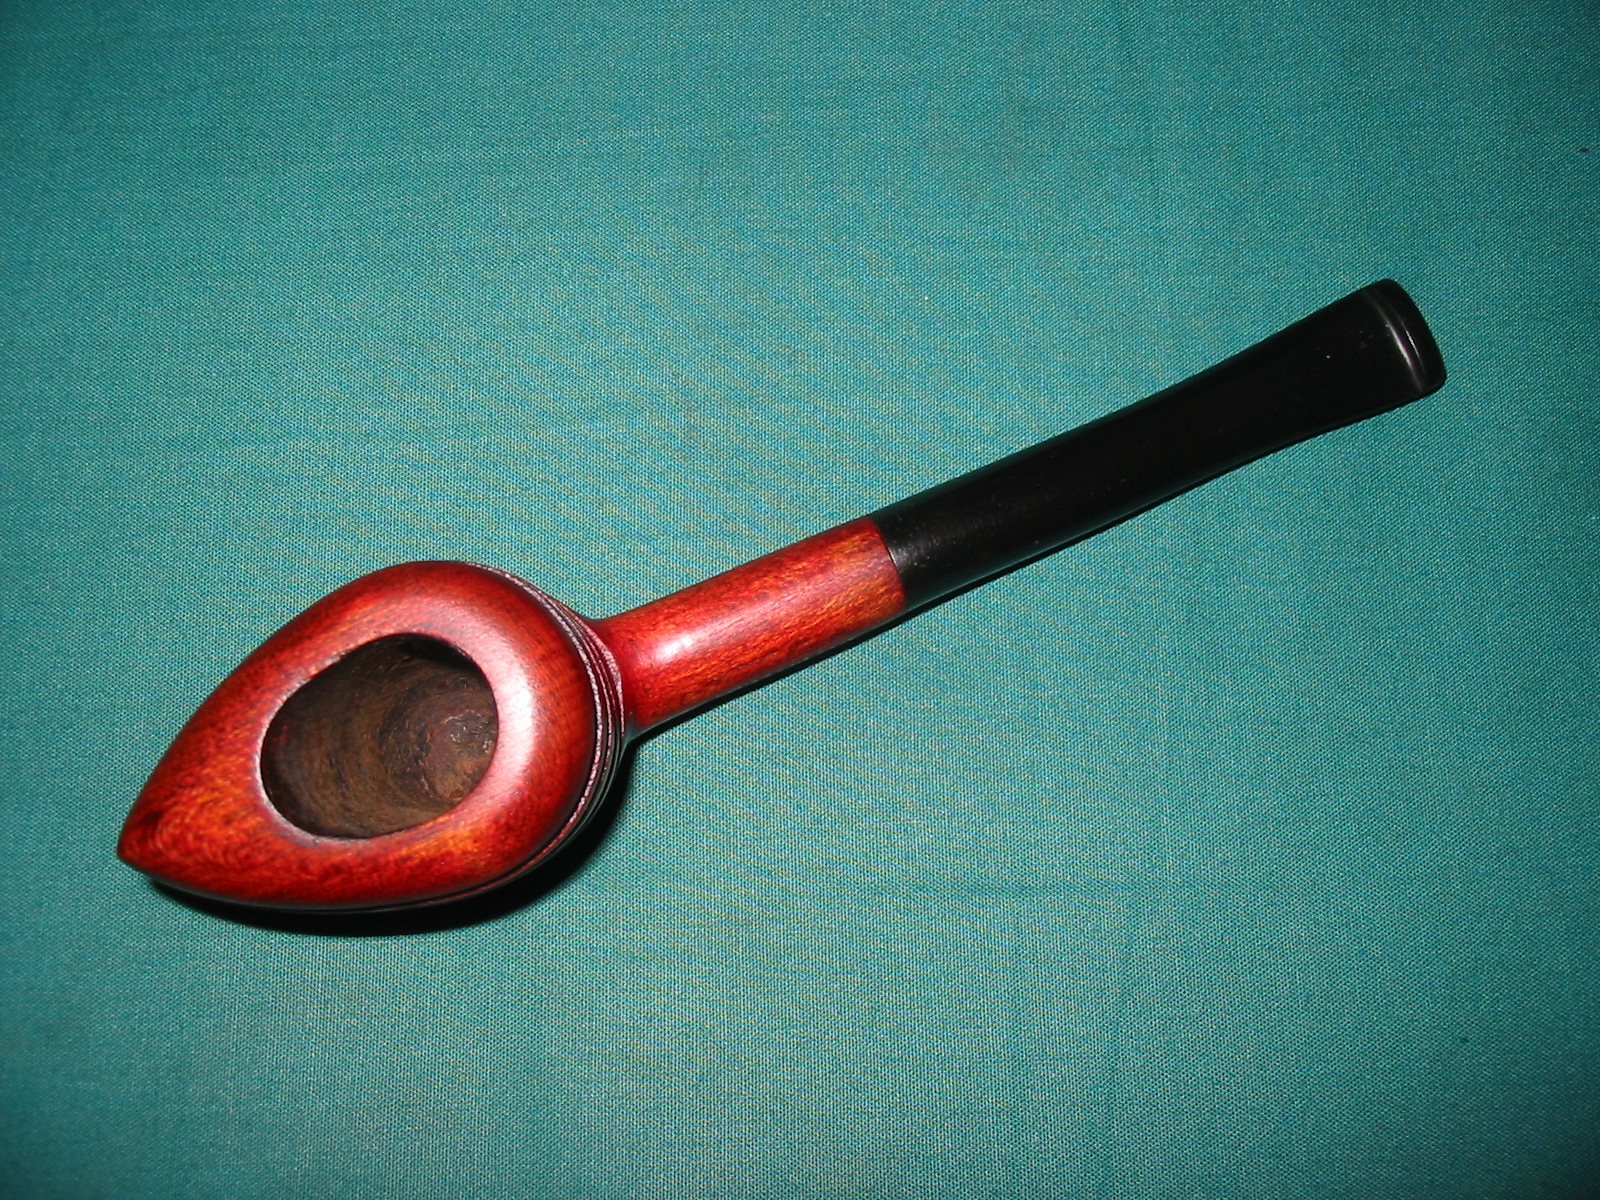
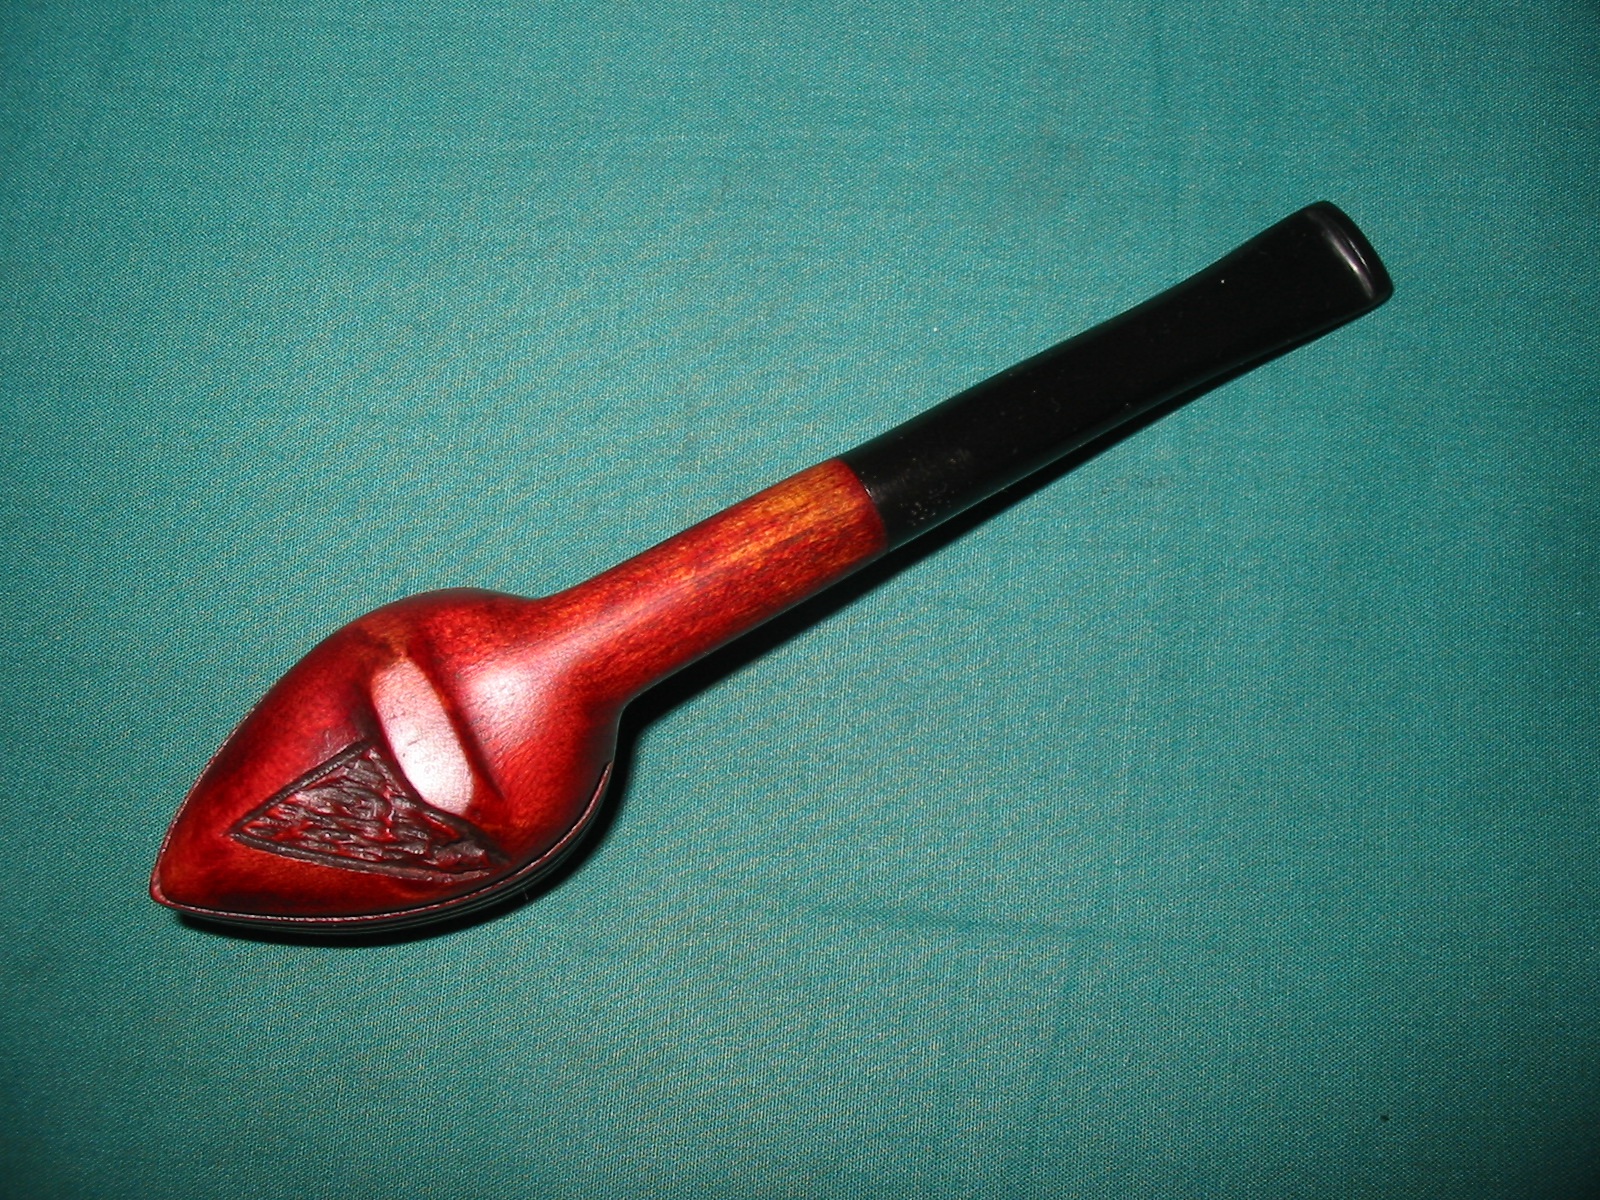
Chapter 5 – pages 39-46 – The development of the Dunhill pipe and the rise of that pipe to fill the need for pipes that did justice to Alfred’s blends of tobacco. A brief history of briar pipes and the way Dunhill pipes were made and the number of pipe makers employed to meet the demand.

Chapter 6 – pages 47-54 – The prosperity of the Dunhill’s is explored and their move into a life of maids, cooks and butlers is described.

Chapter 7 – pages 55-61 –Mary’s life in boarding school and how it led her to leave school and enter the family business as a junior clerk.

Chapter 8 – pages 62-72 – Her work at the Notting Hill Gate factory. Notting Hill factory turned out several thousand Dunhill pipes per week. The history of the Dunhill lighter is introduced toward the end of the chapter.

Chapter 9 – pages 73-83 – Another move to another house – the “Barn” is described and detailed. Mary explains the start of her own small cosmetics business that introduced her to customer service and business management (later it became a lucrative part of the Dunhill label).

Chapter 10 – pages 84-92 – A second photo section. The details of business development in US, Canada, France and England are mentioned and some of the famous clients of Dunhill products. The chapter ends with the birth of her first daughter, Kay.

Chapter 11 – pages 93-102 – Beginning with the birth of her second daughter, Tessa and exploring the development of the Dunhill Company during Hitler’s rise to power in Germany and the war years. She describes the bomb damage to the Jermyn Street frontage of the Duke Street shop and the destruction of much stock. Reflections on how they survived the war years.

Chapter 12 – pages 103-109 – Post war growth of the Dunhill Company. The global developments of the business are detailed. The changes in the family are also noted with the deaths of many of the older Dunhill family members of Mary’s first husband Geoffrey.

Chapter 13 – pages 110-119 – Mary’s growing involvement in the work of the Board. Her responsibility of management of the struggles of the Company in the late 50s is detailed. Her line of Mary Dunhill cosmetics had expanded across the US. The chapter ends with her marriage to Rex.

Chapter 14 – pages 120-126 – Mary’s role as Chairman of the main Dunhill board beginning in 1961. This chapter details her role on the board and the changes and developments that occurred in the early years.

Chapter 15 – pages 127-133 – The Far East marketing of the Company with significant development in the Japanese Market added to a Far East boom period. The company was also in a boom in Europe and the US. As Dunhill continues to develop, Mary’s daughter Tessa killed herself in hospital.

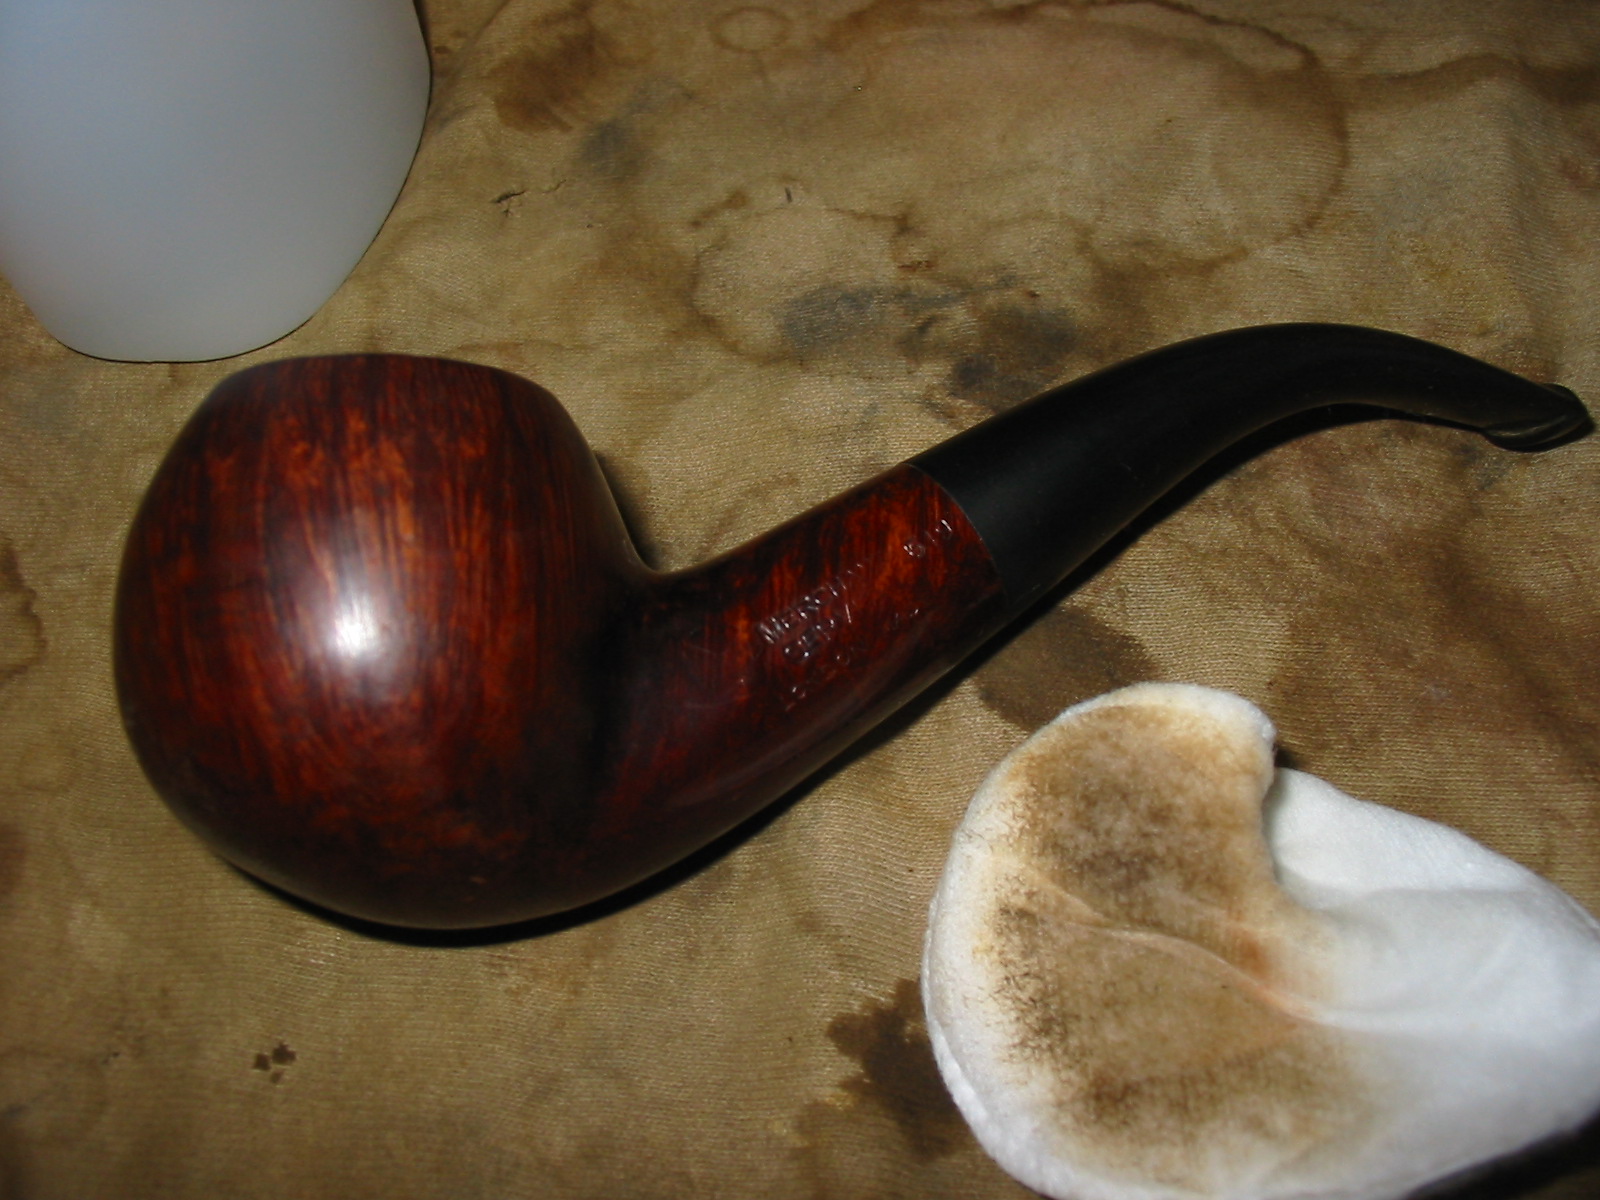
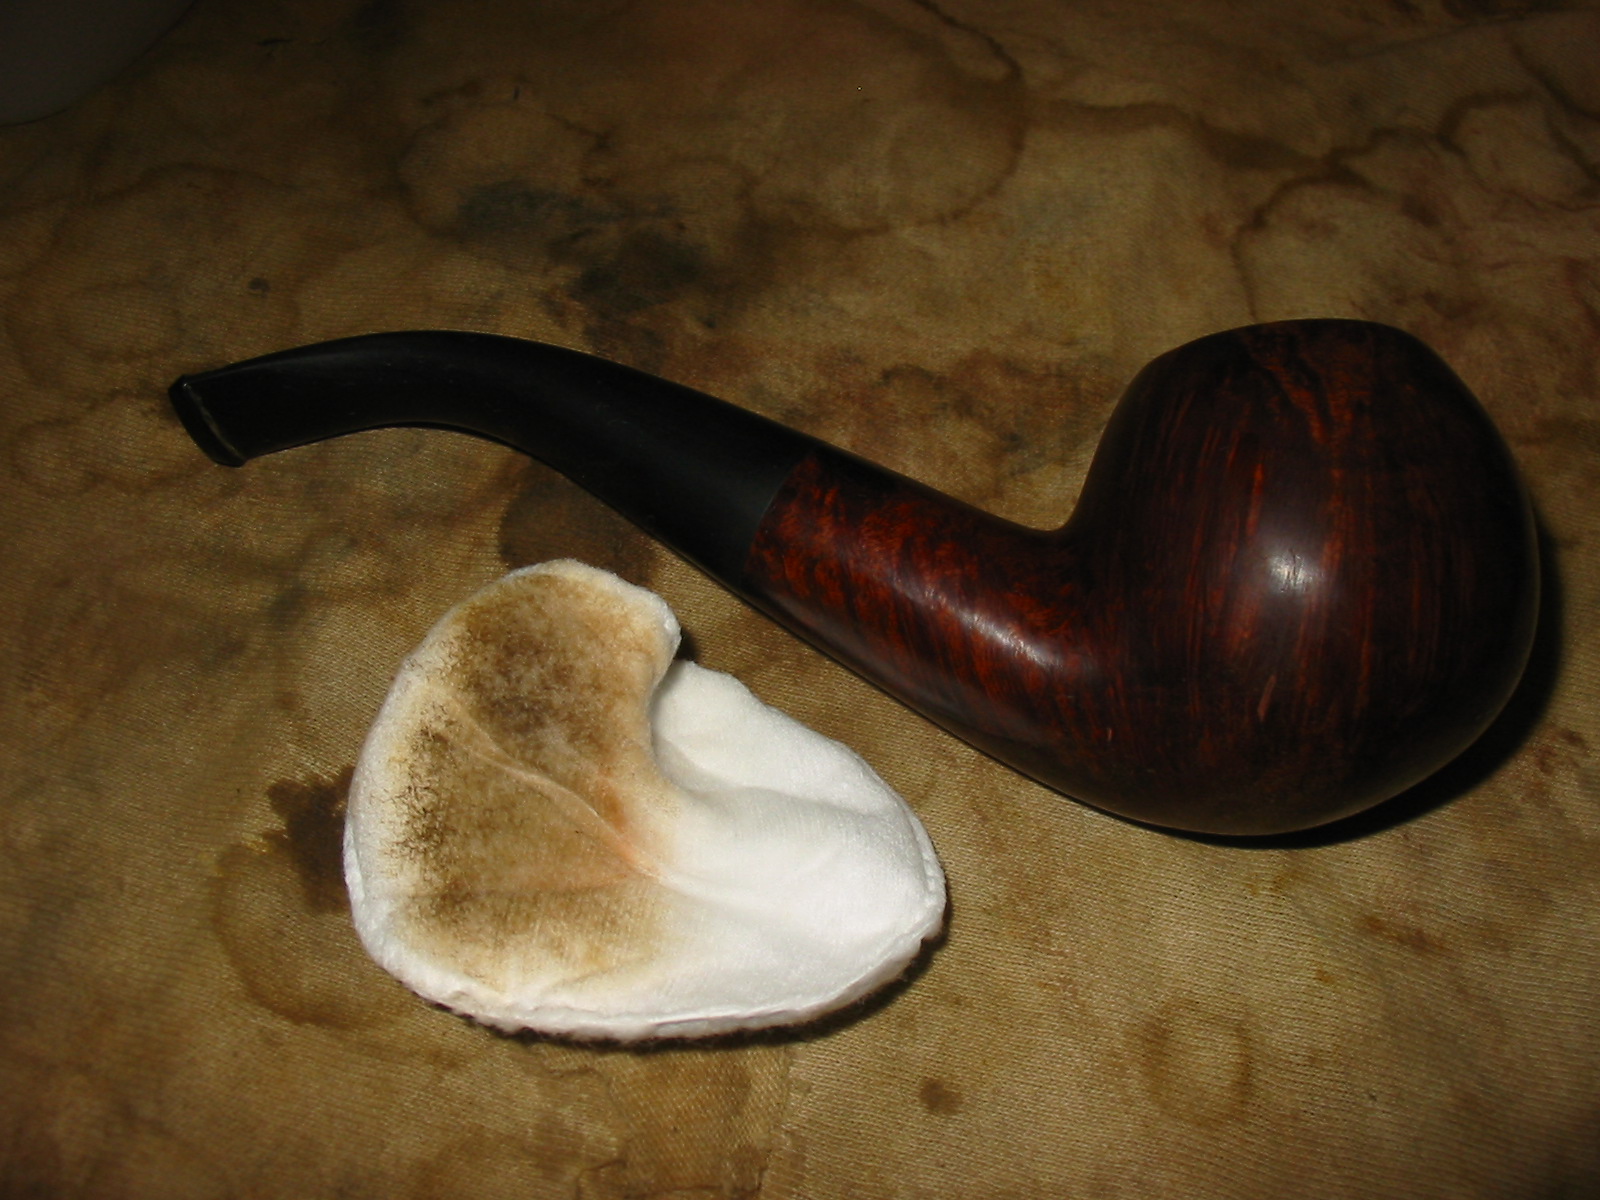
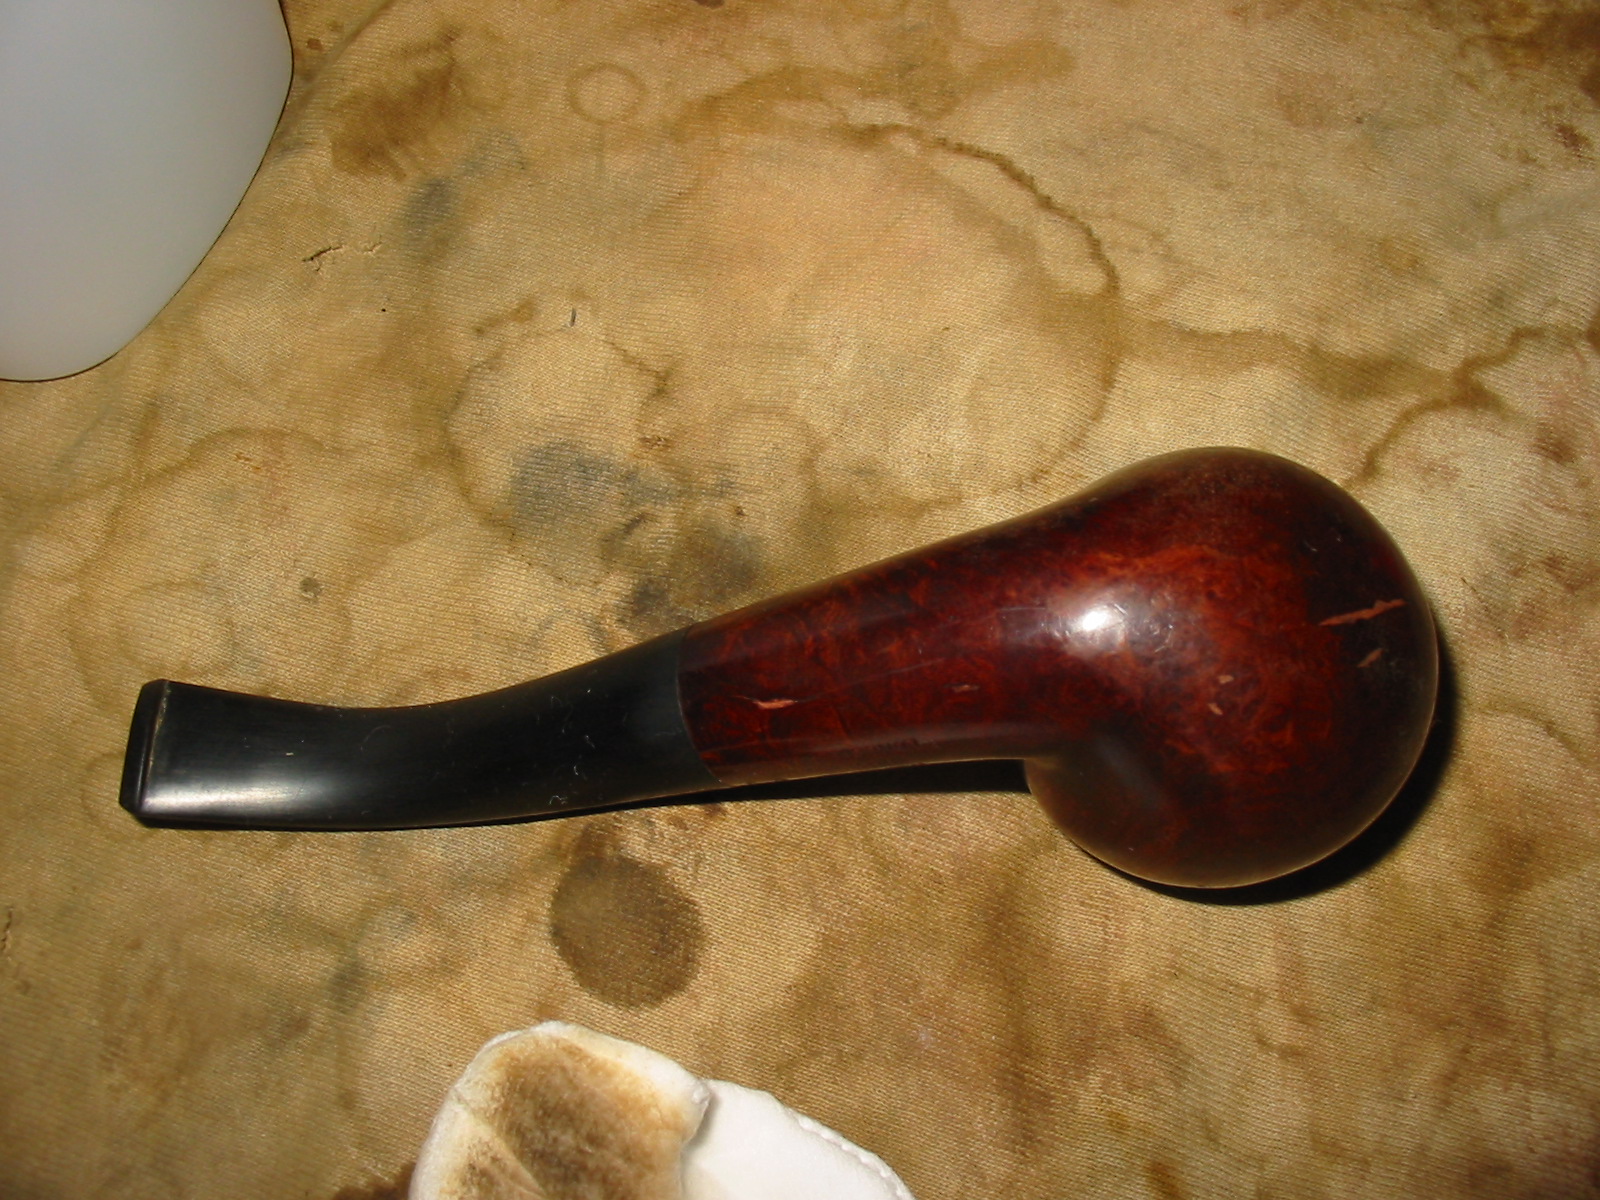
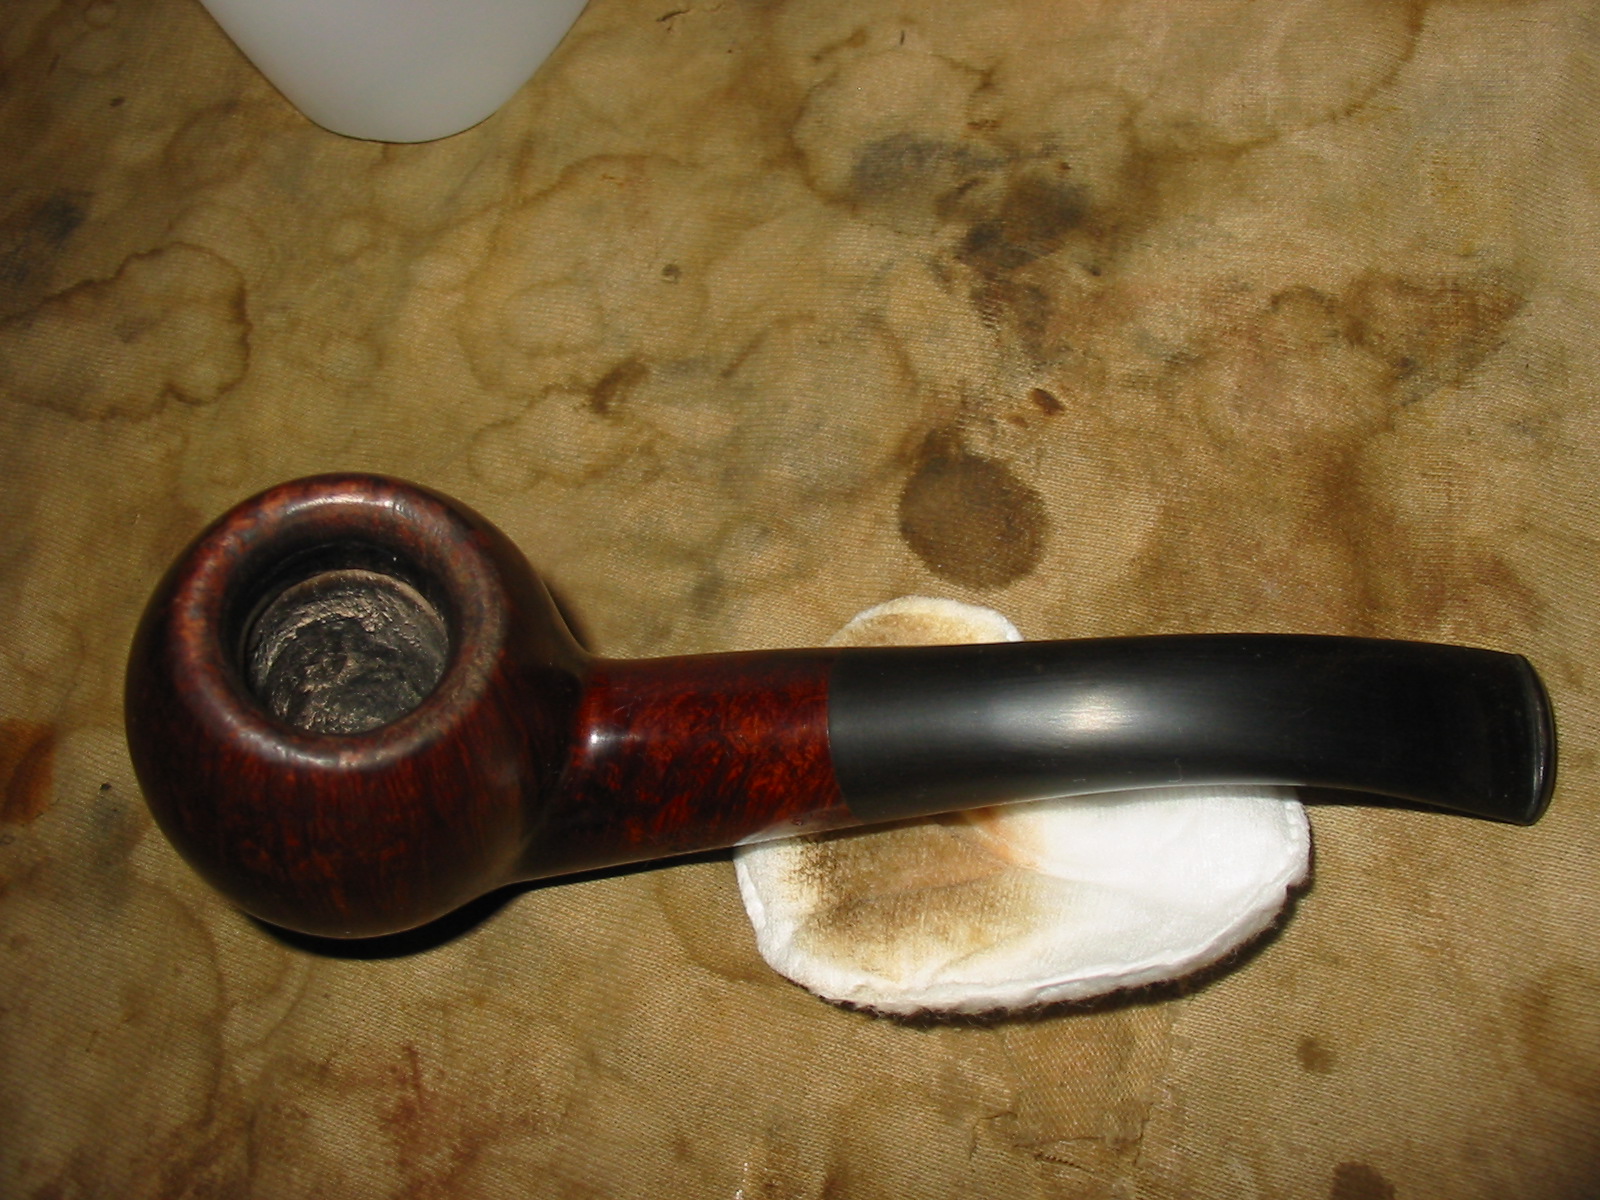
Chapter 16 – pages 134-140 – Summarizes the business of the Dunhill Company from 1912 through 1975 when her nephew, Richard took over the company – pipes, tobacco, lighters and accessories, jewellery, leather goods, watches, writing instruments. A diversified portfolio of products was sold.

Chapter 17 – pages 141-146 – Summarizes some of the lessons learned in her life in the family business. She describes the happiness that she experienced in leading the company during its growth years.

This book is autobiographical in nature but at the same time given the length of Mary Dunhill’s involvement in the family business it gives an intimate picture of the history of the Dunhill Company with all of its constituent parts. The inner workings of the company and the development of the tobacco blending and later pipe making aspects are rich with history for the pipeman who loves to understand the ins and outs of his/her hobby. Well worth the read. The style and manner of the writing is clear, concise and also full of revelations about Mary’s own feelings and struggles both in life and as the head of a large company.

A Book Review – The Pipeman’s Companion by Ogden’s of Liverpool


74522My copy of this book was published by Interfocus Publishing, Bristol, England. It is marked a First Edition and dated 2000. The cover of this of my edition is seen to the left and is the publisher’s original illustrated card wrap cover [softback]. It contains 59 printed pages of text with colour illustrations and photographs throughout.

On the inside cover there is a dedication that reads: To Pipe Men Everywhere from Ogden’s of Liverpool.
Across the page from the dedication is a Welcome from the editors that reads as follows:

“The Pipeman’s Companion is an unashamed celebration of the pleasures of the pipe and pipe smoking. It is brought to you by Ogden’s of Liverpool – Britain’s leading pipe tobacco manufacturer, whose world renowned brands include Gold Block, Amphora and the best-selling St. Bruno. The Pipeman’s Companion is also an invaluable reference work that all discerning pipe men will want to return to time and again. We have attempted to cover every fascinating facet of the history and practice of pipe smoking, with the aim of enhancing every pipe smoker’s understanding and enjoyment of this most satisfying of pastimes – be they experienced by pipe men, or eager new recruits. Ogden’s of Liverpool, with its distinguished past, looks forward to remaining a trusted companion to pipe men for many years to come.”

A brief glance at the table of contents gives a clear idea of what is included in the pages of the book.
Chapter One – pages 2-11 – The Smoking Story, Five Hundred Years of Pipe Smoking
Chapter Two – pages 12-20 – The Tobacco Story, Blended to Perfection
Chapter Three – pages 22-33 – The Pipe Story, Crafted with Devotion
Chapter Four – pages 34-39 – The use and Maintenance Story, A Friend for Life
Chapter Five – pages 40-47 – The Ogden’s Story, Sweet Smell of Success
Chapter Six – pages 48-53 – The Antiques Story, Bringing the Past to Life
Chapter Seven – pages 54-57 – The World Story, Pipe Smoking Across the Globe
The Glossary – pages 58-59 – Pipe Smoking, Tobacco and Pipe Terminology

The book is a beautiful table top sized book filled with highly readable text and many photos of pipes, etchings, artwork and photos of antique pipe and tobacciana. The sidebars of each page are filled with historical pictures and short notes on all things pipe and tobacco related. These side bars run next to the main body of the text and are a pleasure to read by themselves. In Chapter Three there is a great photo spread and short side bar expanded over several pages about Bill Ashton Taylor and his Ashton pipes. It has some great photos of Bill turning bowls, filing stems and flaming stain on newly made pipes. Include are charts of pipe shapes and the anatomy of a pipe etc. The pipe chapter includes not just briar but also Clay and Meerschaum with some great photos of carving and shaping Meerschaum pipes.

Chapter Four on pipe maintenance is well written and includes material on pipe lighters, matches, pipe reamers and tampers. This chapter has charts on reaming correctly and on common pipe problems solved. It is interestingly written with a great wealth of information in the space of a few pages generously interspersed with colour photos of pipes and pipe tools.

Chapter Five is a history of Ogden’s of Liverpool from its beginning to the early years of the 2000’s. It is again richly written and there are some amazing photos included of tins from the Ogden Tobacco line as well as great photos of the factory and production floor. The side bars in this section continue the tradition of the previous chapters in including tidbits of information and historic photos and artwork. For instance there is a full page of advertisements and posters for St Bruno. These alone are fascinating.

Chapter Six is on Antique Pipes and gives a collection of photos of all kinds of pipes. There is a front spread of carved Meerschaum pipes that is beautiful. Some of the pipes are huge while others are delicate and unusual. There is for instance a cased set of a Victorian couple lying in bed – two pipe bowls inserted under the “Covers” with stems set in the cover of the pipe case.

Chapter Seven is a quick world tour through word and photographs of the state of pipe smoking. It is well written and captures the universal appeal of the pipe and tobacco.

The book ends with a useful glossary of terminology. It covers pipe shapes, pipe anatomy, pipe repairs and types of tobacco and cuts of tobacco. It also covers pipe accessories and how they are used. It is a helpful list with short definitions.

The Pipeman’s Companion is a well written book that is a great read and visual display of all things pipe related. It is easily a book that could be read as you smoke your favourite bowl of St. Bruno’s or as you sit and read by the fire on a cold winter’s evening. It will provide hours of enjoyment and is a great refresher to the long time pipeman as well as important information to the new pipe smoker. It truly welcomes us into the world of pipemen throughout history. Well done Ogden’s of Liverpool for a well crafted book on the world of the pipe. Thank you for your work in producing this book.

A Book Review – Barling’s International Exhibition, London 1851 Pipe Catalogue


Blog by Steve Laug

Barling Catalogue
I purchased this facsimile/reproduction catalogue of 28 pages on EBay a bit ago. It cost approximately $20 USD and the seller had quite a few available at the buy it now price.

They printed a run of 200 copies and this one is 010 of 200. It is copyrighted by Jesse Silver. There is an email address included inside the cover should you want to order a copy of the catalogue noblebrush53@yahoo.com

Included with the catalogue is a print of the Barling’s Factory. The inside is nicely done and indeed looks vintage. The type is in two colours – a reddish brown and a black. There are also nice etchings of the various pipes. Each page shows four pipes, each one number and named. The names are quite catching. Here are a few for interest sake: The Goodwood, Birkenhead, Savernake, Aberdeen, Nymph, Bent Army, Corinthian, Sydney, Elegant, Trojan and Victorian. The names don’t always reflect the shape of the pipe but sometimes do as in the Bent and the Straight Army. Some of the short chubby pipes also have unique names: The Gordon, Sporting, Hunt, Jap are just a few of the names. The overall feel of the book is like a trip back in time to a simpler and quieter era. The catalogue opens with the words: these are just a few of the many shapes that are available in Barling’s Celebrated Pipes.

I wanted to include the opening page of the catalogue for your reading pleasure. It is a note from B. Barling & Sons, London and reads as follows:

“We have much pleasure in presenting our New Catalogue illustrating some of the principal shapes and specialties in our celebrated EB/WB Briar Pipes.

Our pipes being so well and universally known (without artificial aid of advertisements), we will not here dwell on their perfection, but would ask you to kindly peruse this book, which will no doubt introduce to you some new patterns.

If you are not already a smoker of our pipes, we hope that it will lead to your giving them a trial and thus testing their quality and workmanship, we ourselves being confident of your ultimate judgment and satisfaction.

Every department of our factory being under our own practical and personal supervision, ensures every pipe turned out by us coming under our direct notice. This fact, coupled with the excellence of the materials used in their manufacture, has given our pipes a reputation second to none in the smoking world, a reputation we firmly intend to maintain and strengthen.”

I find the introduction to the catalogue a fascinating read and one that has proven to be true even in our day over 150 years later. Barling’s Pipes are still seen as quality pipes that deliver a great smoke. I have Pre-transition, Transition and Post-transition pipes and though there are certainly differences in quality of workmanship in the later pipes they nonetheless are good smokers. The pages of the catalogue are full of information both in the form of the photos and shape names and numbers but also in the stampings on the pipes and the linking of certain shapes to others with a note on the size. For instance, the Hunt, No. 344 a diamond shank billiard, is a parallel shape to shape #324 which is larger and shape #566 which is smaller.

After the main shapes portion of the catalogue the pages turn toward specialty items such as Crocodile and Morocco cases which are noted to be “unsurpassed for durability and finish” and can be obtained for any Barling pipes as a Single or a Companion case. There are several pages o of pipes with unique covers – with shapes from flat to domed, with hinges and with chains holding them in place. These are truly beautiful looking pipes. Something I was unaware of was that Barling’s made Meerschaum lined pipes as well. They show three examples with a note that they can be made for any shape of Barling’s pipes. I had to laugh at the note (so contrary to much I read today on the forums regarding meer lined pipes) that “Our Meerschaum Lined Pipes we can recommend for cool and sweet smoking. They are suitable for hard smokers and also for those who do not like briar…”

The catalogue ends with what for me has become a bit of a wish book – Specialties in Companions and Cased Amber Briars. These are the beautiful cased singles and pairs of pipes – one with a vulcanite stem and one with an amber stem on matching pipes. Others have a bent pipe and straight pipe with a military bit with two sets of stems – vulcanite and amber. Some have stem extensions made out of albatross wing bone and others have three pipes in a case. These cases are the Crocodile and Morocco cases spoken of above. The economy of size and shape make these great pocket cases for the pipes they contain. I am forever on the prowl for a set like these to add to my collection.

If you want to have a piece of history in the form of a catalogue that gives you a real feel for a time long gone you could not do better than pick up a copy of this facsimile. It is a treat for the Barling’s pipe collector and smoker and would also be a great piece for anyone who wants a nostalgic glimpse at the past.

A Book Comparison: Confessions of a Pipeman – 2nd Edition by Gary Schrier


Confession of a Pipeman CoverThis is not as much a review as a comparison of the first edition to the new second edition of the Confessions of a Pipeman by Gary Schrier. I have reviewed the Confessions, first edition on the blog previously and the review still stands. The book is truly a good read and will provide you an opportunity to pause and reflect on the hobby and lifestyle of being a pipeman. I enjoyed the second edition as much as the first. The link below will take you to the review of the first edition. https://rebornpipes.wordpress.com/2012/05/30/confessions-of-a-pipeman-first-edition-gary-b-schrier/
Gary released the second edition of his book, Confessions in September 2010. According to the advertisements on his site this edition has 50% more content than the first, 24 chapters and more illustrations, now all in color. This new, expanded edition, Schrier gives the pipeman more of that irreverent, much-needed counsel on being a better pipe smoker. I decided to do a bit of comparison for the sake of deciding if the purchase of the second edition would be worth the cost.

I checked out the website to see how Gary was marketing the book and how much that would help in explaining the additions and justify purchasing the new edition. The site has the following quote: “Not a “how to” book, but a lifestyle guide. As a cautionary note, I will warn the easily-offended and politically-correct person that this little book throws punches, though I believe all of them are above the belt. I hope you find my views amusing and thought provoking and that you enjoy reading my words as much as I enjoyed struggling to cobble them together professional-like. This book is unlike anything the pipeman has seen written about his treasured passion of the pipe, tobacco, and how he is to get on with it. For the beginner and knowledgeable alike.With a foreword by Marty Pulvers.”
The book sells for $20 and can be ordered directly through Briar Books Press. The web address is http://www.briarbooks.com/

I read the original edition of the book when it first came out and thoroughly enjoyed it. It delivers exactly what Gary promised. It is a book of essays that is interesting, amusing and provocative. Gary has no qualms about stating his opinions on the topic at hand regardless of whether he is the only one holding them. I find his approach refreshing and stimulating. I laughed as I read the book and more often than not found myself agreeing with his assessment of things. There were points in the book I found thought provoking even if in the end I did not agree. It is a great read. So after reading the press and doing some research on the two editions I decided to pick up a copy.

I made the chart below to compare the two editions and to clearly show the additional material and give you an idea of what is in the book. The first column is the material in the second edition while the second column is that found in the first edition. I know it is the opposite of what you would expect but that is why I am noting it for you. I further highlight the new material by the blue cells on the chart. These show the essays that were added in the second edition. These include the new Preface and the following essays/chapters: Dunhill is Dead – Long Live Dunhill, Cavendish, Heart of Hearts, What Others Have Said, You Might Be A Pipeman If and What If You Should Die. These chapters and the edits to the previous chapters make the purchase of the second edition worth the price – especially if you enjoyed the first edition.

Thanks Gary for the work you are doing making pipe books available and accessible to the well read pipeman. I for one greatly appreciate the work you are doing.

COMPARISON OF THE SECOND AND FIRST EDITIONS OF CONFESSIONS OF A PIPEMAN by Gary Schrier
Pipeman

A Dr. Grabow Special Rhodesian/Bulldog – A Makeover


The last of the pipes from the Ebay lot below was the one in the bottom left corner of the photo. It was stamped Dr. Grabow over Special over Imported Bruyere on the left side of the shank. The finish was a varnish or polyurethane coat over the briar. It was bubbling and crackling. There was water damage on the edges of the rim. The briar itself was in good shape with no dents or roughening on the rim. The rim was slightly darkened but no dents or dings. The bowl was slightly out of round from poor reaming but very workable. The stem was a mess with chew marks on the top and the bottom for about an inch up the stem from the button. The stem was made of nylon and not vulcanite. The tenon was a push style and not a screw in stem. There was a shovel like stinger in the end of the tenon. The stem was loose in the shank and there was significant debris and buildup in the shank and in the stem. The second photo below shows the pipe as it was in the pictures from the seller.
pipes1

pipes3

I took it to my worktable this evening and went to work on it. I took the stem out and began to sand on the bite marks on the top and bottom of it. The next series of five photos show the progress of smoothing out the stem by sanding. I began with 220 grit sandpaper and worked up to a medium grit sanding sponge. By the fourth and fifth photo the bite marks are gone and some sanding scratches remain that will need to be worked out with micromesh sanding pads. I recut the edge of the button on the top and bottom with a needle file to clean up the angles. That is also visible in the last two photos. I also removed the stinger and cleaned it with 0000 steel wool and then polished it with micromesh sanding pads.
IMG_2564

IMG_2565

IMG_2566

IMG_2567

IMG_2568

While I worked on the stem the bowl had been soaking in an alcohol bath to help loosen the varnish or urethane finish. My plan was to remove the finish totally and sand and restain the pipe once it was cleaned and sanded.
IMG_2569

IMG_2570

IMG_2571

The alcohol bath softened the finish so when I dried it off the finish was cloudy. I have found that with this kind of finish I can use acetone on a cotton pad afterward to further remove the softened finish. The next two photos show the bowl with the finish removed. There is some nice looking birdseye grain coming through. Once the briar was clean I reglued the metal decorative band back on the shank and let it dry.
IMG_2572

IMG_2574

I sanded the bowl with the medium grit sanding sponge and then with 1500-2400 micromesh sanding pads. The next series of four photos are a little out of focus but the cleaned surface of the briar is visible and the grain that was underneath the finish is quite nice. I was also able to remove the water marks/damage that was along the outer edge of the rim and down the side of the bowl in the process of the sanding. I also cleaned out the shank with cotton swabs and Everclear. I did the stem as well and cleaned until the cleaners and swabs came out clean and white.
IMG_2575

IMG_2576

IMG_2577

IMG_2579

While the glue dried I worked on the nylon stem. I was able to remove all of the tooth damage. I wet sanded it with 1500-2400 micromesh sanding pads and removed the majority of the scratches left behind by the sanding sponge. I continued to rework the stem with these sanding pads until all of the scratches were gone and the stem began to take on a shine. (Photos 1-2 below show a top and bottom view of the stem).
IMG_2581

IMG_2582

I dry sanded with the remaining grits of micromesh sanding pads from 3200-12,000 grit. The stem took on its original shine. The next series of four photos show the stem as it moves through each level of polishing.
IMG_2583

IMG_2584

IMG_2585

IMG_2586

I wiped the bowl down a final time with acetone on a cotton pad to remove the sanding dust and grit. I dried it carefully and then it was ready to stain. I decided to use a linseed oil and medium walnut stain on this pipe. I felt it would make the grain show well and give the bowl a good protective coat. I applied the stain and wiped it off, reapplied and wiped it until I got the coverage I wanted on the bowl. The next series of four photos show the stained bowl.
IMG_2587

IMG_2588

IMG_2589

IMG_2590

I buffed the bowl and shank on the buffing wheel lightly with Tripoli and then with White Diamond to give it a shine. I then buffed it with carnauba wax and gave it several coats to protect the wood. I did not buff the stem on the wheel as the nylon heats too quickly on the buffing wheel and melts. I have made a mess out of more than one nylon stem. It does not seem to matter how light a touch I use the wheel and the nylon stems do not work well together. I gave the stem a coating of Obsidian Oil and rubbed it into the stem. I then hand applied several coats of carnauba wax and hand buffed the stem with a shoe brush and a soft cotton cloth. The finished pipe is pictured below. All in all it is not a bad looking old Grabow. It is clean and should smoke very well.
IMG_2591

IMG_2592

IMG_2593

IMG_2594

Rejuvenating A Nicely Grained Merchants Service Apple


I bought a pair of older pipes on EBay for a good price. I have written about the refurbishment of the first – the ¾ bent Royal Falcon in an earlier blog post. This particular post is about the second pipe. It is pictured at the top of the first two photos below and on the left in the third photo. It is stamped on the left side of the shank with the words, Merchants over Service in block capital letters over London Made also in block caps though smaller stamp. There is a shape number stamped next to the above stamping and just prior to the stem – 519. The photos below were supplied by the seller in the EBay sale. The seller said that the finish on the pipe looked very good in the photos and the stem was in good shape without cracks, dents or tooth chatter. They also said that the bowl was clean but previously smoked.
MS pipe

While I waited for its arrival I did a bit of hunting on the web to find out what I could about the brand. There was not much information available and what was there was attached to Bing Crosby. What I found out about the brand on the internet turns out to have originally come from Jose Manuel Lopes great work called Pipes, Artisans and Trademarks. The Merchant Service Pipe was a former English brand of pipe made by Merchant Service Ltd. It was a firm created by Herbert Merchant (d.1944) and which later belonged to Holland Penny Limited. It turns out that the company was a favourite of the North American Entertainer Bing Crosby. That is not a lot of information and I would love to find some more. If anyone who reads this has more information please do not hesitate to post it in the response boxes below.

I took the pipe to my worktable this morning and worked on the stem. It was pretty clean though it had some oxidation on the left side next to the shank and some tooth chatter on the top and bottom of the stem next to the button. I sanded the stem with 1500 grit micromesh to remove the oxidation and to sand away the tooth chatter next to the button. I wet sanded with the micromesh pad until the finish was a matte black and free of oxidation and marks. The next four photos show the stem after this initial sanding.
IMG_2535

IMG_2536

IMG_2537
The underside of the bowl was covered with many fills of a pinkish coloured putty that showed through the finish.
IMG_2538

I decided to remove the largest of the putty fills and rework them with briar dust and superglue. To prepare the surface of the briar for reworking the fills I wiped down the surface of the bowl with acetone on a cotton pad. As I removed the grime and some of the dark buildup on the bowl a beautiful grain began to pop out on the briar. This one was going to be a beauty when I finished refurbishing it.
IMG_2539

IMG_2540

IMG_2541

IMG_2542

I cleaned out the inside of the pipe and stem before working on the fills. It took many pipe cleaners and cotton swabs to remove the buildup inside the stem and shank. The shank had a reservoir area below the airway and it had collected a lot of tars and build up. The stem was also dirty on the inside.
IMG_2543

When I had finished cleaning it I removed the stem and turned the bowl over on the worktable to begin to pick out the putty in the fills. Once I had the putty picked out I wiped the surface down with acetone once again to remove the debris that might be left behind in the flaws. I packed briar dust into the cleaned areas and tamped it down into the grooves. Once it was tightly packed I dripped clear superglue into the repaired area and pushed some more briar dust into the superglue surface. When it was dry, which takes very little time, I would sand down the surface to make it match the bowl surface.
IMG_2544

I sanded the superglue/briar dust fill with 220 grit sandpaper and a medium grit sanding sponge to remove the excess of the patch (I always overfill them as they tend to shrink as the glue dries). The third photo below shows the patch after the sanding has blended it into the surface of the bowl. I sanded it with micromesh sanding pads 1500-3200 grit to prepare the surface for the restaining. I wiped it down a final time with acetone on a cotton pad to remove all grit from the sanding. It was ready for a restaining.
IMG_2546

IMG_2547

IMG_2548

I applied a dark brown aniline stain mixed with two parts isopropyl alcohol to one part dark brown stain. I used a cotton swab to apply it to the newly sanded area of the repair and flamed it and restained until it matched the rest of the bowl. When that was finished I gave a light coat of stain and flamed it to the entire bowl to blend in the restain on the bottom even more. The next five photos show the restained bowl bottom and then the retouched remainder of the bowl.
IMG_2549

IMG_2550

IMG_2551

IMG_2552

IMG_2553

With the bowl finished and ready to go it was time to tackle the stem. I sanded it with micromesh sanding pads from 1500-12,000 grit. I wet sanded with 1500-2400 grit and dry sanded with the remaining grits. The next three photos below show the progressive shine building on the stem. Once it was finished I buffed it with White Diamond and then rubbed it down with Obsidian Oil to protect it. When it had dried I put it back on the pipe and took it to the buffer.
IMG_2554

IMG_2555

IMG_2556

I buffed the entirety (carefully around the stamping) with White Diamond a final time and then gave it multiple coats of carnauba wax and buffed it with a clean flannel buffing pad. Once it was finished I loaded up a bowl of Balkan Sobranie Virginian No. 10 and went for a long walk on a cool and dry fall day in Vancouver. It is a great smoking pipe and one that is one of my favourite shapes.
IMG_2557

IMG_2558

IMG_2559

IMG_2560

A Canadian Pipe Maker I had never heard of: Leonard Payne Pipes


Blog by Steve Laug

On a Saturday not too long ago I went on a pipe hunt in Vancouver. I began at the Vancouver Flea Market and worked my way back toward my home. I stopped a quite a few antique shops and “malls” in my hunt for old pipes. I found a few at the flea market and several old timers at the shops that I left behind. However, one pipe caught my eye. It was not a brand that I had seen before or heard of.It was a nicely shaped thick shanked apple that needed very little work. It had a bit of tarry build up on the rim, some tooth chatter on the stem and minor oxidation. It grabbed my attention. The stamping was Leonard Payne on the left side of the shank and Made in Canada on the right side. The stem bears a green dot in the centre of a white circle on the left side of the stem. I decided to do a bit of research on the web and found the following advertisement that highlighted the pipes.
Payne Pipes

Further digging with Google came up with this short note from alt.smokers.pipes forum. It was written by Mike Glukler of Briar Blues. I quote it below in full. (https://groups.google.com/forum/#!topic/alt.smokers.pipes/RrICLiVgE2o) “Leonard Payne was based in B.C. for many years. He came to Canada from England. He had shops in Surrey, B.C. and Kelowna, B.C.Interesting fellow. Gruff as the day is long. When you bought a pipe it was handed to you in a paper bag. No sock, no box. Most of his pipes carried a “carburetor” system at the shank / stem junction.Another Payne idea was his shanks. Almost all his pipes were two pieces. He’d turn the bowl and shank, then cut off the shank and reattach with glue (not always with the same piece of briar, so many did not match grains). His thinking was that the shank being the weakest link, if cut and glued would never break and thus “correcting”the weakest link.You may find his pipes on E-Bay on occasion listed as a Len Cayne. The P in his stamping looks more like a fancy upper case C.”

That is the extent of information that I could find on the pipe. It was a Canadian made pipe carved by an eccentric BC pipe carver. The one example I purchase was a single piece of briar without the broken and reglued shank that Mike mentions above. It is a light weight piece of briar and the fit of the stem and shank is very well done. The gap between the end of the tenon and the end of the mortise is very small – just enough to allow for expansion. The finish was very good and the stain well done.

My clean up on the pipe was very simple. I sanded out the tooth chatter on the stem near the button and polished the stem with micromesh sanding pads from 1500-12,000 grit. I then took it to the buffer and used red Tripoli and White Diamond on the buffing wheels to further polish the stem. I reamed the bowl and cleaned the tars off the rim and polished it as well with White Diamond. I am careful when buffing the shank area where the stamping is so that I do not harm the stamping. Once I was finished with the polishing I gave the bowl and the stem several coats of carnauba wax. I polished the pipe with a soft flannel buffing pad. The finished pipe is pictured below.
Payne1

Payne2

Payne3

Fast forward several months to a conversation had with a friend in Ontario via email. She had come across several Leonard Payne pipes and done the same research I did. She found the same information I did and sent me photos of the three pipes she found. We talked for a while and I offered to restem a pipe of hers. She sent me the pipe for work and then also the nice little Leonard Payne Zulu/Dublin pictured below.

She said that it needed some TLC but it was really in quite good shape. The finish was clean, though somewhat spotty. There were very few scratches or dings. There was a scuff mark on the bottom of the shank next to the stem and the stem was slightly scuffed in the same area. The rim was also clean. The bowl was already reamed and relatively clean. The bowl and shank smelled of Latakia but the pipe really seemed to be hardly smoked and certainly not broken in to the bottom of the bowl. The stem had some ripples in the surface near the button and in those were the remnants of tooth marks. The shoulders of the stem at the stem/shank junction were slightly rounded from sanding or buffing with the stem off the pipe. There were two small spots of oxidation around the logo.
IMG_2520

IMG_2521

IMG_2522

IMG_2523

I sanded the stems and shank with a fine grit sanding sponge and used a sanding block to reduce the rounding to the shoulders of the stem. I then sanded the stem with micromesh sanding pads from 1500-12,000 grit to polish the vulcanite. I rubbed stem down with Obsidian Oil and let it soak into the surface. Once it was dry I buffed it with White Diamond and then carnauba wax. The ripples in the stem are gone and the oxidation around the logo is also gone. My Black and Tan Cocker Spaniel decided to sit and “help” me this morning. He has learned that I generally have some dog chews at the work table but he gives me the illusion that he is really interested in what I am doing!
IMG_2524

IMG_2525

IMG_2526

IMG_2527

I set the stem aside and worked on the bowl. I found that though the finish was clean it was faded and spotty in places. I decided to give it a coat of medium walnut aniline stain mixed with linseed oil to even out the finish and give it a shine. I applied the stain with a cotton pad and then buffed it by hand with a cotton cloth when it was dry.
IMG_2528

IMG_2529

IMG_2530

I reinserted the stem and gave the entire pipe a buff with White Diamond and then gave it several coats of carnauba wax. I finished by buffing the entirety with multiple coats of carnauba wax. The finished pipe is pictured below. This nice little pipe is cleaned, restored and ready to smoke. It joins the other Leonard Payne pipe in my collection.
IMG_2531

IMG_2532

IMG_2533

IMG_2534

A New Stem for a Barling’s Make Billiard


Blog by Steve Laug

In talking with a friend a few days ago via email she mentioned that she had come across an old Barling pipe on US Ebay. She described it as a small billiard with nice grain, a few scratches and some over reaming in the bowl. The stem had a faded “W” or a crown on it the top. The stamping is Barling’s arched over Make on the left side and possibly a faint EL and a 3 near the bowl on the right side. She sent me the following two photos for me to have a look at the pipe.
BARLING MAKE PIPE PIC.1

BARLING MAKE PIPE PIC.2

From the photos and her description I was pretty certain the pipe stem was not original. It just did not look right in the photos above – the fit was off on the shank and the length was too short. I was pretty sure she had a replacement stem on the pipe. She packed it up and sent it off to me. I received it yesterday and took it to the work table. My assessment is below.

The pipe is old and very worn. The scratches that she mentioned were deeper than I expected from the photos. The finish was worn on the underside of the shank and in places on the sides of the bowl. There were some dark spots on the top and bottom of the shank that looked like stains from moisture or something sitting against the shank in a box. Several of the scratches had white markings in them. As she noted the bowl was over reamed but that too was worse than I expected. It had been reamed to the point that the walls were very thin all the way around and the inner edge of the bowl was out of round. In examining the tapered stem up close it indeed seems to be proportionally short in comparison to the length of the bowl and shank. The shoulders at the shank/stem union are rounded and the fit is not tight. The crown or “W” stamping she mentioned is very hard to see and I am not sure of the actual stamp. There were deep scratches on the vulcanite of the stem as well. In my opinion the pipe needed to be restemmed. The next three photos below show the pipe on my work table before I started fitting a new stem.
IMG_2505

IMG_2506

IMG_2507

I had a slab cut stem blank in my box of stems that had a Barling like look to it. The tenon needed to be turned slightly and hand sanded to fit the shank well. The diameter of the stem at the joint of the shank and stem was larger and needed to be trimmed to fit well. The slab blank had casting seams along the edges, a tight slot and an unfinished look to the edges. I used a Dremel with a sanding drum to cut back the diameter of the stem at the shank. I also used it to sand away the casting marks and to smooth out the edges of the slab to give it a more finished looked. I took it back to the work table and sanded the saddle and slab with medium grit emery cloth to reduce the scratches left behind by the Dremel and to smooth out the fit to the shank. The next four photos show the state of the pipe after fitting the stem, using the Dremel and the emery cloth. The saddle still shows the marks of the sanding drum and needs more fine tuning to be a good tight fit but it is getting there. To me this stem looks more fitting to the old Barling’s Make billiard.
IMG_2501

IMG_2502

IMG_2503

IMG_2504

I sanded the stem with 220 grit sandpaper and a medium grit sanding sponge to fine tune the fit and to remove the scratches. I then sanded the stem with micromesh sanding pads. I wet sanded the stem with 1500-2400 grit pads and used needle files to open up the slot in the button. I used the round, oval and flattened files to open and shape the slot. I sanded it with a folded piece of 220 grit sandpaper to smooth out the newly shaped slot. I then dry sanded with the remaining grits of micromesh from 3200-12,000 grit. The photos below show the progress of the sanding.
IMG_2508

IMG_2509

IMG_2510

IMG_2511

I rubbed the stem down with Obsidian Oil and set it aside to dry while I worked on giving the bowl a new coat of stain to bring it back to life. I gave it a coating of Medium Walnut aniline stain and flamed it. I took it to the buffer and gave it a light buff with White Diamond on the buffing pad. I was careful around the faint stampings on the shank and hand buffed the shank.
IMG_2512

IMG_2513

IMG_2514

IMG_2515

I reinserted the new stem and gave the stem a buff with White Diamond and then waxed the entire pipe with carnauba wax. I applied several coats of the wax and the buffed it with a clean flannel buff to bring up the shine. The finished pipe is pictured in the four photos below. The new stem gives the pipe a much more dignified new look. I can’t wait to get it back to the owner and see what she thinks of the “new” look her pipe now sports!
IMG_2516

IMG_2517

IMG_2518

IMG_2519

A Petite Egg Cup Sitter – (English Made?) Repaired


This pipe is a total mystery to me, but the shape and form of it caught my eye and I put a bid on it. The case that came with the pipe did not appear to be a pipe case at all but rather a case for a pair of glasses. The case thus did not lend any information to the maker of the pipe. The pipe itself looked to be quite small and petite. The dimensions given by the seller were a great help in determining whether this pipe was a miniature or not. Its overall length was 5 ¼ inches (which is not a small pipe). The bowl was 1 3/8 inches tall and the inner diameter of the bowl was 5/8 inches. The outer diameter of the bowl was 15/16 inches. The stem appeared to be attached to the bowl by a metal tip that was anchored in the bowl much like the insert in a cob – though way more elegant. The stem looked delicate and pencil like.
sitter1

The bowl was like an egg cup – a round, egg shaped bowl sitting on a flat pedestal. The finish looked to be in good shape. There was a chip out of the top edge of the bowl, outside edge of the rim that had been repaired with a red putty of some sort that had bubbled. The rim was clean and undamaged. The bowl was very clean and the finish was a dark oxblood/dark brown combination that looked nice. The stem seemed to be in excellent shape. There were no bite marks of consequence. It was oxidized and brown but intact. In the photos the oxidation did not look too bad. There was a mark on the right side of the stem near the metal insert into the bowl. It did not look too deep but it was visible. The seller thought it may have once held a logo/medallion or some kind of identifying mark. It does not look like it did; rather it looks like an accidental burn (the burn mark and the bowl repair are visible in the seller’s photo below).
sitter7

The next five photos below are the remainder of those posted by the seller.
sitter2

sitter3

sitter4

sitter5

sitter6

When it arrived it was more delicate looking than it was in the pictures. Even though the measurements were correct it gives the illusion of being much smaller. My observations above drawn from the photos provided by the seller were correct. The case was indeed made for eye glasses and not the pipe. The stem was in excellent shape in terms of dents or bite marks. The mark on the side near the front was indeed a burn mark left by a match or cigarette in the ashtray. The aluminum was scratched and oxidized. The stem itself was more oxidized than the photos showed. The bowl finish was not bad and would not need to be refinished but would need to be touched up when I repaired the divot on the side of the bowl and rim. The next four photos show the pipe when I took it from the box and put it on my worktable.
IMG_2468

IMG_2469

IMG_2470

IMG_2471

The next photo below shows the burn mark on the stem. It is slightly blurry and I apologize for that but the burn itself is very visible. I cleaned out the burn mark with a dental pick to remove any of the damaged vulcanite around the mark. I sanded the stem with 220 grit sandpaper and a medium grit sanding sponge to clean up the vulcanite. I wiped it down with Everclear to remove and sanding debris and prepared it for a superglue patch.
IMG_2472

The next series of three photos show the patching of the burn mark. I put a drop of superglue in the burn mark and let it dry. When it dried I sanded it with the medium grit sanding sponge to even out the surface and remove the excess glue. The center of the patch was still concave so once I cleaned the surface of the stem again I put another drop of black superglue on the mark and set it aside to dry.
IMG_2475

IMG_2476

IMG_2477

The superglue dried over night and was hard in the morning. I sanded it with 220 grit sandpaper and the sanding sponge to blend it into the surface of the stem. This is done carefully so as to not change or damage the profile of the stem. The next two photos show the progress of the blending. The first one was done with 220 grit and the second with the sanding sponge.
IMG_2479

IMG_2480

Once the initial sanding was done with the sponge I moved on to sanding the stem with micromesh sanding pads. I wet sanded with 1500, 1800 and 2400 grit micromesh and dry sanded with the remaining grits of pad from 3200-12,000. When I had finished sanding and polishing the stem with the micromesh I rubbed it down with Obsidian Oil. When it had dried I polished the stem with a soft cotton cloth.
IMG_2481

IMG_2482

IMG_2483

With the stem finished I worked on the chip and repair on the bowl and rim. I carefully picked out the putty fill with a dental pick. It only covered half of the chip so it was necessary to clean it out enough to repair the whole chip with one solid patch. I also sanded the rim in that area as the chip also extended into the surface of the rim. I wiped down the bowl and the area of the chip with acetone on a cloth to clean up the surface for the superglue and briar dust repair.
IMG_2484

I packed briar dust into the chipped area with a dental pick and tamped it in place. I over filled the area on the side and on the rim of the bowl. Once it was solidly packed in place I dripped clear superglue into the briar dust on the side and the rim. The glue dries very quickly so it is a good idea to pack the dust in well the first time. If it sinks you can refill it and reapply the glue. It can be done in layers to build up the chip or fill area.
IMG_2485

IMG_2486

As the clear superglue dries quickly, the patch can be sanded soon after the application. I sanded it first with a corner of 220 grit sandpaper to remove the excess of patching material. I then sanded it with the sanding sponge to clean up the scratches and remaining surface grit. I also used a sanding sponge to top the bowl. The aim was not to remove much of the rim but to blend the patch into the rest of the rim.
IMG_2487

IMG_2488

I sanded the rim and the side of the bowl with micromesh sanding pads to smooth out the surface and to prepare it for staining. The next two photos show the patch after sanding and cleanup. It is ready for staining at this point in the process in terms of smoothness of the bowl. The red of the original putty patch came through the briar dust and superglue fill. It is evident in the photos below but should blend fairly well into the stain of the bowl once it is finished.
IMG_2489

IMG_2490

Before staining the pipe I wiped it down with acetone to even out the stain and to remove any remaining dust left behind by sanding.
IMG_2491

I applied an oxblood aniline stain to the rim and bowl of the pipe. I flamed it and reapplied it as necessary. The rim and the repair took more coats of stain than the rest of the bowl which is to be expected.
IMG_2492

IMG_2493

Once the stain had set, I hand buffed the bowl with a cotton cloth and a buffing brush. I then gave the bowl and stem a hand applied a coat of carnauba wax and buffed it again by hand. I then took it to the buffer and gave it a buff with White Diamond and several coats of carnauba. I buffed the pipe with a soft flannel buff to give it a shine. The finished pipe pictured below. I have also included a close shot of the area of the stem and the bowl that were repaired.
IMG_2494

IMG_2495

IMG_2496

IMG_2497

IMG_2498

Al asked in a comment below that I post a picture of the pipe with a regular pipe to give an idea of the size. The pipe I have in the picture is the blue dot billiard that I posted earlier. It is about a group four sized pipe.
IMG_2499

IMG_2500

Restoring An Interesting Piece of Pipe History – An Art Deco C.B. Weber Streamliner


Blog by Steve Laug

In a recent EBay purchase I picked up a unique pipe that has a flowing look to it. I was intrigued to figure out the history and any information I could find regarding it so I went on a hunt on the web. One of the first articles I came across is found in the link below. http://streamlinesdeluxe.wordpress.com/2012/06/01/weber-streamliner-pipe-2/ The author of the blog makes a brief reference the pipe I found and even has a picture of it. He speaks of the stem being made of something other than vulcanite. Other references I found in online pipe forums spoke of the fact that the bowl was not made of briar but of some composite material. Others said that the bowls were made of American hardwoods. Interestingly no one spoke of what hardwoods were used. I have hunted high and low on the web and can find nothing definitive on the pipe’s manufacture or composition.

I broadened my search to information on finned pipes. I did not want information on Porsche design pipes or metal finned pipes but was looking for anything on wooden finned pipes. I came across the following information on a patent taken by a carver/designer named Wayne Leser. His diagrams and patent application is included below and it can be seen that it is actually very close to CB Weber’s Streamliner. His patent was applied for through the US Patent Office in January of 1941. I assume the patent was granted as it is on the Patent website. Weber’s design seems to be elongated a bit more than the Leser design but the tear drop shape of the outer bowl and the similarly tear drop shape of the drilling match quite well.

I can find no further information on Wayne Leser so I have no idea if he sold his concept to Weber, or worked for Weber. If anyone has further information on that connection it would be great to learn about it. Please post a response below.
Leser Patent Drawings

Leser Patent Application

The pipe I picked up is pictured below in photos from the EBay seller. The photos were not very clear so I could not see the condition of the pipe very well but I was intrigued by it nonetheless. It looked like the bowl was in good condition. The stem however, appeared to be a replacement stem and the fit was poorly done. In the second photo below it is evident that the junction of the stem and shank does not meet.
pipes2

Streamliner

When the package arrived from the seller I took the pipe to my worktable and photographed the condition of the pipe. The pipe was in fairly decent condition. The left side of the bowl was clean. It is stamped Streamliner in script over C.B. Weber & Co.
Streamliner logo3

Streamlinerlogo2
There were two small divots in the shank just below the stamping. I thought at first these might be dents but they are actually spots where the wood is missing. The right side of the bowl is also in good shape. The fins are intact all the way around the bowl with no chips or breakage. The rim was tarred and had a small burn spot on the point at the front of the bowl. The stem was definitely a replacement stem. In my reading I had found copies of the logo that was originally on the stem and also the fact that the stem had a stinger apparatus as part of the fitments. This stem had neither and the fit was wrong. The diameter of the stem was bigger; the tenon was off center therefore the fit was out of line with the left side being too large and the right side too small. The length of the stem was also too long and did not match the dimensions that I had found online regarding the overall length of the pipe. The bowl was in pretty decent shape though there was some kind of bowl coating on it that had broken free of the walls. It is a tear drop shaped bowl with a downward angle on the front portion so reaming it would be tricky. The wood on this one was definitely not briar. The bottom of the bowl has a foot that makes it a sitter and there is a rusticated pattern on the bottom of the bowl.
IMG_2425

IMG_2426

IMG_2427

IMG_2428

IMG_2429

I carefully reamed the bowl to remove the bowl coating and the slight cake that was there. I used two different cutting heads on the PipNet reamer. The first head was the same diameter as the main portion of the bowl. For the angle teardrop end I used the smallest cutting head. Between the two of them I was able to clean up the bowl and remove all of the coating.
IMG_2430

IMG_2431

Removing the tars from the rim was a bit of a challenge and combined with burn mark on the point I decided to sand off the rim with a medium grit sanding sponge. I would then have to restain the bowl. I sanded it with the medium grit sponge and then with a fine grit sanding block to work on the burn mark and the darkening of the rim.
IMG_2432

IMG_2433

IMG_2434

IMG_2435

I finished the sanding by wiping down the bowl with acetone on a cotton pad. I was able to even out the finish on the bowl and rim so matching stain would be much easier to do. I was also able to lighten the burn spot with the same process to the point that a good coat of oxblood stain would make it fade into the surface of the rim.

I then set the bowl aside and went to work on fitting a new stem to the bowl and shank. In the first photo below I have the new stem blank fit to the shank. It still needs work to make the diameters match. The stem is about an inch shorter and brings the pipe back to the original length as noted from my online work. I also think that proportionally it works better with the elongated bowl and shank than the one that came with it.
IMG_2436

In order to get the fit good and tight I used a sanding block to make sure that the transition between the bowl and shank was smooth. This entailed sanding the shank slightly in the process. In the next series of four photos below the fit is finished. The transition is smooth and the fit is good and tight.
IMG_2437

IMG_2438

IMG_2439

IMG_2440

I wiped the pipe down with acetone once again to even out the finish on the shank. The grain in the original wood is quite visible in these photos and it is not briar.
IMG_2441

IMG_2442

IMG_2443

The flow of the taper on the stem was still too chunky in my opinion to match the Streamline concept of the pipe. I used 220 grit sandpaper and files to change the slope of the stem. When I had it the way I envisioned I sanded it with 220 grit sandpaper, a medium grit sanding sponge and also a fine grit sanding block. The angle was right and the profile looked much more “streamlined”.
IMG_2445

IMG_2446

I sanded the stem, bowl and shank with micromesh sanding pads. I wet sanded them with 1500-2400 grit sanding pads and dry sanded with 3200-12,000 grit pads.
IMG_2447

I decided to try to match the original stain using a Danish Oil (linseed oil with a cherry stain). I applied the stain with a cotton pad and wiped it down. When it had dried I was not happy with the coverage and appearance so I removed the stain with acetone to try a different stain.
IMG_2448

IMG_2449

IMG_2450

Once I had the finish removed I restained it with an oxblood aniline stain. I had to apply it and flame it several times to the top of the bowl and shank to get the stain to set deeply and match the rest of the bowl. This was a hard one to get a good stain on. I decided to not apply the stain in the grooves of the fins but just on the surface of the bowl. It worked quite well with the original stain in the fins matching the surface colour really well.
IMG_2452

IMG_2453

IMG_2454

IMG_2455

I did some further polishing on the stem with the higher grits of micromesh from 3600-12,000. Once I had finished the sanding I polished the stem with Maguiar’s Scratch X2.0 to deepen the shine. I coated the stem with Obsidian Oil and then buffed it with carnauba wax to seal it and protect it. The final buff on the stem was done with a soft flannel pad.
IMG_2457

IMG_2458

I reinserted the stem and gave the pipe a final buff with carnauba wax and a soft flannel buffing pad. The finished pipe clearly shows some of the grain pattern of the alternative wood on the shank and the top and bottom of the bowl. The stem came out fitting nicely and giving the overall pipe a new “streamlined” appearance more accurately approximating the original stem. The bowl feels great in the hand and is uniquely attractive as a piece of pipe history. Time will tell if I smoke this one or just keep it around for display purposes. Below are photos of the finished pipe.
IMG_2463

IMG_2464

IMG_2465

IMG_2466