Tag Archives: Metal pipes

Restoring an Amazingly Grained Kirsten Full Bent Sitter E


Blog by Steve Laug

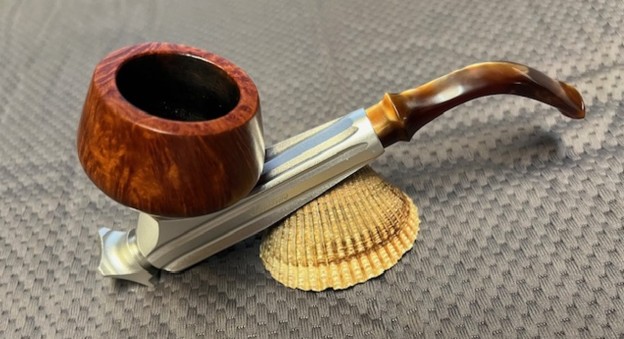
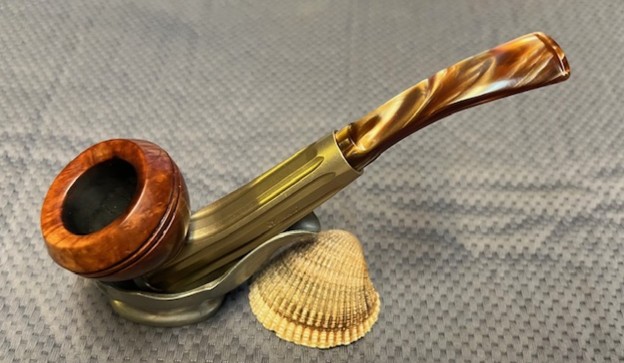
I bought my first Kirsten – a Mandarin in the early 80s from a pipe shop that specialized in them in Idaho Falls, Idaho. That shop is long since gone but there is still something about Kirsten pipes that attracts my attention. It may be the design look of the pipe and it may be the stubborn resolve that gave birth to it when Kirsten invented it after getting word from his doctor that he had to stop smoking. I don’t what it is but I like the boxy look of the base and shank, the grooves in the machined metal, the beautiful grain on the smooth bowls and the gentle curves of the stem. They always catch my eye. This one is no exception. We purchased it at an estate sale on 09/16/2023 in Idaho Falls, Idaho, USA. It has O rings on the stem and the end valve and a base on the bowl so I know that it is one of the more modern renditions. It also has the same kind of thick marbled acrylic stems that the one I purchased had. The pipe is a large one with a silver tone barrel. The smooth Mandarin style bowl has some great grain on it under the grime on the surface. The bowl was thickly caked with a light lava overflow pouring over the rim top. It was hard to know the condition of the inner edge and rim top underneath the lava but cleaning that up will tell the story. The acrylic stem had light tooth marks and chatter on both sides ahead of the button. The internals were heavily tarred and the metal tube and intake to the stem was also very dirty. The valve on the front of the bowl was tight but it was not frozen. It had a flattened base that allowed the stem to stand. Jeff took photos of it before he worked his magic in the cleanup process. The exterior of the pipe was very dirty – grime and grit ground in from years of use and sitting. The rim top was covered with a coat of thick lava that overflowed the bowl. There was also some darkening and lava on the rim top. The bowl itself had a thick cake with flecks of tobacco stuck in the cake on the sides. The acrylic stem surface was dirty and had some tooth marks and chatter on both sides. Jeff took photos of the sides of the bowl to give a better feel for the condition of the bowl. You can see the interesting grain on the bowl side and front. He took photos of the pipe taken apart to show the constituent part s of the pipe. IT really was a well-made piece of engineering from the Kirsten factory. I was looking forward to working on it. The next photos show the stamping on the sides of the barrel shank and it is very readable. It reads Kirsten on the left side of the barrel and on the underside Made in USA E.Before doing cleanup work on the pipe I decided to do some research on the pipe. I have several Kirsten catalogues on the site and turned to the 1993-94. Here is the link to that catalogue (https://rebornpipes.com/2022/11/17/1993-94-kirsten-pipe-catalogue/). I have included several of the pages below. The first shows the bowl shape and the Radiator barrel. The bowl is the Mandarin shape bowl below, the second from the top in the drawings of bowl shapes. The stem is shown in the second catalogue page below. It is a bronze coloured Italian Lucite with a bent. With that information in hand I went over the details of the stamping on a previous blog that I had posted by Dave Whitney who wrote Old Briar. He gave a helpful guide to dating a Kirsten pipe by the stamping and component parts. He separated them into generations – 1, 1.5, 2, 3. Going over the details I concluded that what I was dealing with a Generation 3 pipe that was made between 1985 and the present. Here is the link and a portion of the blog. I have italicized the portions that pertain to this particular pipe (https://rebornpipes.com/2012/11/03/kirsten-generation-1-1-5-2-3/).

Generation 3 – 1985 to the present                                                                         

All current models stamped “Made in U.S.A.” and all have O rings on both the valve and stem. They come in the following models:

Straights

JX Jewel Brass

M Mariner

L Lancer

Quarter-Bents

RX Regent Brass

H Horizon

Full bents

Advertisement

EX Esquire Brass

DX Designer Brass

FOOTNOTE ON VARIATIONS IN LETTER DESIGNATIONS:  Generally speaking, the X added to a model letter like “S” stands for brass tone finish, i.e., “SX.” There is one exception to this: In the 1960s Kirsten made a brass tone model with an “Eternalum” finish that gave the brass tone an antiqued look. They were marked with a “X” designation following the model letter. The B added to a model letter like “M” stands for black finish, i.e., “MB.”

He ended his answer to the questions with this great note: “Now the fun part…. this is how they came from the factory. What people did to them after they got them is what makes it an inexact science. Parts for the different sizes are not interchangeable, except for the bowls. I have a Gen 1 – M and -S…nothing interchanges but the bowls. If you get a Gen 1 that has been badly abused, you can end up losing either the bit or metal insert, or both, no matter what you do or how long you try.”

References used:

Whitney, Dave (2009) Old Briar – Pipe smoking on a budget. Pipesbywhitney http://www.kirstenpipe.com/

I now knew that the pipe I was working on was a Generation 3 made between 1985 and the present. It was a Full-Bent and the E made it an Esquire Version. The E is for Esquire shape and it has a silver finished. Now it was time to work on the pipe.

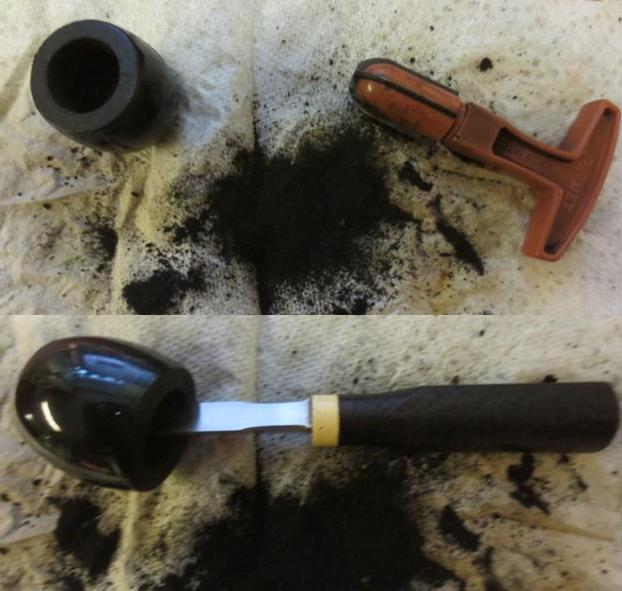
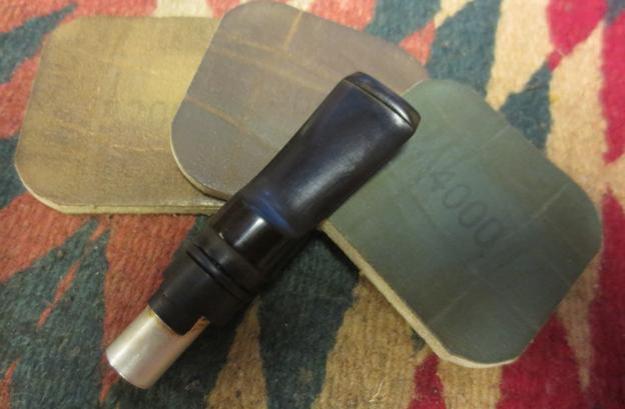
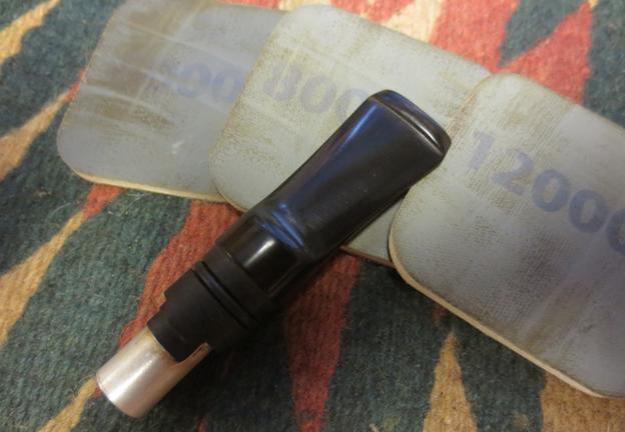
Jeff reamed it with a PipNet pipe reamer and cleaned up the remaining cake in the bowl with a Savinelli Fitsall Pipe Knife. He scrubbed out the internals with alcohol, pipe cleaners and cotton swabs until the pipe was clean. He scrubbed the exterior of the bowl with Murphy’s Oil Soap and a tooth brush to remove the grime and grit on the briar and the lava on the rim top. The finish looks very good with good looking grain around the bowl and shank. The rim top had some significant damage on the back part of the bowl. It had been burned from repeated lighting with a torch lighter. Jeff took the pipe apart and cleaned the barrel, the adjustable valve and the stem with alcohol, pipe cleaners and cotton swabs. He scrubbed the stem with Soft Scrub and soaked it in Briarville’s Pipe Stem Deoxidizer to remove the grime on the acrylic. When the pipe arrived here in Vancouver for the second stop of its restoration tour it looked a lot better. I took photos before I started my part of the work. I took a photo of the bowl and rim top to show how well it had cleaned up. The top and the edges of the bowl are in very good condition. There does not seem to be any damage on either the inner or outer edges and the rim top. The stem had light tooth marks and chatter on both sides ahead of the button.I took photos of the stamping on the left side and underside of the shank. It is clear and readable.I remove the stem from the barrel and took a photo. I removed the bowl from the barrel and took another photo.I started my work on the pipe by polishing the bowl and rim top with micromesh sanding pads – dry sanding with 1500-12000 grit pads. I wiped the bowl with a damp cotton pad after each sanding pad. The surface began to take on a nice shine. I worked Before & After Restoration Balm deep into the smooth finish to clean, enliven and protect the briar. I hand rubbed it with my fingers and worked it into the finish. I set it aside to dry for 10-15 minutes. I wiped it off with a soft cloth. I buffed the bowl with a cotton cloth to polish it. It really began to have a deep shine in the briar. I took some photos of the bowl at this point to mark the progress in the restoration. The grain on the bowl stands out with interesting lines moving across the sides of the bowl. I set the bowl aside and sanded the stem with the 2 inch square 320-3500 grit sanding pads. I wiped down the stem after each sanding pad. I was able to remove the tooth marks and chatter on both sides with the pads. The stem looked very good.I polished the acrylic stem with micromesh sanding pads – dry sanding it with 1500-12000 grit pads. I wiped the stem down after each sanding pad with Obsidian Oil and set it aside to dry.I polished it further with Before & After Pipe Polish – using both the Fine and Extra Fine Polishes. I gave it a rubdown with Obsidian Oil one last time and set it aside.I put the Kirsten Generation 3 Full Bent Mandarin E back together and worked the pipe over on the buffing wheel using Blue Diamond to lightly polish the bowl and the acrylic stem. I buffed the bowl and stem to raise the gloss on the briar and the acrylic. I gave the pipe multiple coats of carnauba wax. I buffed the entire pipe with a clean buffing pad to raise the shine. I hand buffed it with a microfiber cloth to deepen the shine. The finished the Kirsten Gen 3 Full Bent Mandarin is shown in the photos below. The medium brown stains on the smooth Bulldog shaped bowl works well with the rich bronze Italian acrylic stem. The dimensions of the pipe are: Length: 6 inches, Height: 2 ½ inches, Outside Diameter: 1 ½ inches, Diameter of the chamber: 1 inch. The weight of the pipe is 61 grams/2.15 ounces. This is an interesting piece of briar, cross grain and birdseye on the bowl and shank. I really like how the briar and the vulcanite work well together. This one will soon be on the rebornpipes store. If you are interested in adding a Kirsten to your collection this may well be the one for you. Thanks for walking with me through the restoration process.

Restoring a Lovely Generation 3 Kirsten RX Brass Tone ¼ Bent Bulldog


Blog by Steve Laug

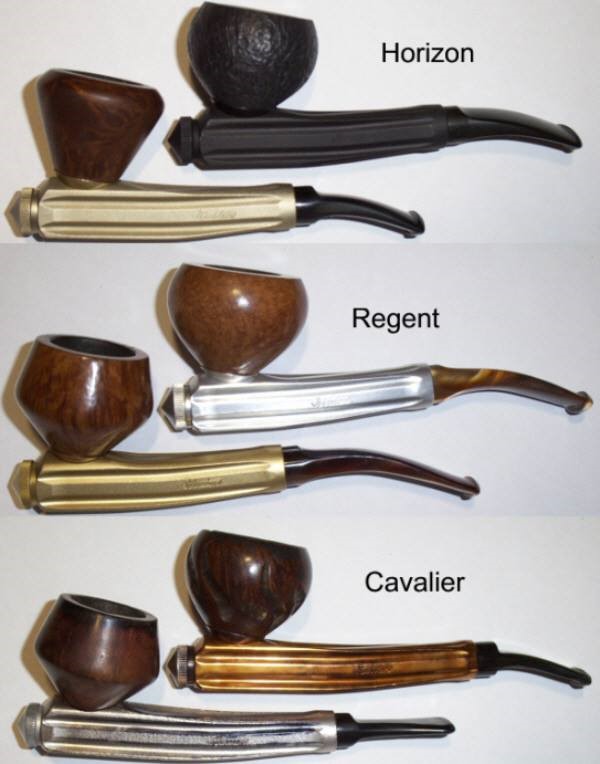
I bought my first Kirsten – a Mandarin in the early 80s from a pipe shop that specialized in them in Idaho Falls, Idaho. That shop is long since gone but there is still something about Kirsten pipes that attracts my attention. It may be the design look of the pipe and it may be the stubborn resolve that gave birth to it when Kirsten invented it after getting word from his doctor that he had to stop smoking. I don’t what it is but I like the boxy look of the base and shank, the grooves in the machined metal, the beautiful grain on the smooth bowls and the gentle curves of the stem. They always catch my eye. This one is no exception. We purchased it at an estate sale on 09/16/2023 in Idaho Falls, Idaho, USA. It has O rings on the stem and the end valve and a base on the bowl so I know that it is one of the more modern renditions. It also has the same kind of thick marbled acrylic stems that the one I purchased had. The pipe is a large one with a brass tone barrel. The smooth Bulldog style bowl has some great grain on it under the grime on the surface. The bowl was thickly caked with a thick lava overflow pouring over the inwardly beveled rim top. It was hard to know the condition of the inner edge and rim top underneath the lava but cleaning that up will tell the story. The acrylic stem had light tooth marks and chatter on both sides ahead of the button. The internals were heavily tarred and the metal tube and intake to the stem was also very dirty. The valve on the front of the bowl was tight but it was not frozen.  Jeff took photos of it before he worked his magic in the cleanup process. The exterior of the pipe was very dirty – grime and grit ground in from years of use and sitting. The rim top was covered with a coat of thick lava that overflowed the bowl. There was also some darkening and lava on the rim top. The bowl itself had a thick cake with flecks of tobacco stuck in the cake on the sides. The acrylic stem surface was dirty and had some tooth marks and chatter on both sides. Jeff took a photo of the sides of the bowl to give a better feel for the condition of the bowl. You can see the interesting grain on the bowl sides and front.He took photos of the pipe taken apart to show the constituent part s of the pipe. It really was a well-made piece of engineering from the Kirsten factory. I was looking forward to working on it. The next photos show the stamping on the sides of the barrel shank and it is very readable. It reads Kirsten on the left side of the barrel and on the underside Made in USA RX.Before doing cleanup work on the pipe I decided to do some research on the pipe. I have a catalogue for Kirsten pipes in my files and found this pipe in the catalogue. It is shown in the photo below in the bottom of the photo. The pipe I am working on is in the Regent Shape. I also have several Kirsten catalogues on the site and turned to the 1993-94. Here is the link to that catalogue (https://rebornpipes.com/2022/11/17/1993-94-kirsten-pipe-catalogue/). I have included several of the pages below. The first shows the bowl shape and the Radiator barrel. The bowl is the Bulldog shape bowl below at the bottom of the drawings of bowl shapes. The stem is shown in the second catalogue page below. It is a bronze coloured Italian Lucite with a ¼ bent. With that information in hand I went over the details of the stamping on a previous blog that I had posted by Dave Whitney who wrote Old Briar. He gave a helpful guide to dating a Kirsten pipe by the stamping and component parts. He separated them into generations – 1, 1.5, 2, 3. Going over the details I concluded that what I was dealing with a Generation 3 pipe that was made between 1958 and 1985. Here is the link and a portion of the blog. I have italicized the portions that pertain to this particular pipe (https://rebornpipes.com/2012/11/03/kirsten-generation-1-1-5-2-3/).

Generation 3 – 1985 to the present                                                                         

All current models stamped “Made in U.S.A.” and all have O rings on both the valve and stem. They come in the following models:

Straights

JX Jewel Brass

M Mariner

L Lancer

Quarter-Bents

RX Regent Brass

H Horizon

Full bents

Advertisement

EX Esquire Brass

DX Designer Brass

FOOTNOTE ON VARIATIONS IN LETTER DESIGNATIONS:  Generally speaking, the X added to a model letter like “S” stands for brass tone finish, i.e., “SX.” There is one exception to this: In the 1960s Kirsten made a brass tone model with an “Eternalum” finish that gave the brass tone an antiqued look. They were marked with a “X” designation following the model letter. The B added to a model letter like “M” stands for black finish, i.e., “MB.”

He ended his answer to the questions with this great note: “Now the fun part….this is how they came from the factory. What people did to them after they got them is what makes it an inexact science. Parts for the different sizes are not interchangeable, except for the bowls. I have a Gen 1 – M and -S…nothing interchanges but the bowls. If you get a Gen 1 that has been badly abused, you can end up losing either the bit or metal insert, or both, no matter what you do or how long you try.”

References used:

Whitney, Dave (2009) Old Briar – Pipe smoking on a budget. Pipesbywhitney http://www.kirstenpipe.com/

I now knew that the pipe I was working on was a Generation 3 made between 1985 and the present. It was a Quarter-Bent and the RX made it a Regent Brass Version. The R is for the Regent shape and the X stamp refers to the Brass finish. Now it was time to work on the pipe.

Jeff reamed it with a PipNet pipe reamer and cleaned up the remaining cake in the bowl with a Savinelli Fitsall Pipe Knife. He scrubbed out the internals with alcohol, pipe cleaners and cotton swabs until the pipe was clean. He scrubbed the exterior of the bowl with Murphy’s Oil Soap and a tooth brush to remove the grime and grit on the briar and the lava on the rim top. The finish looks very good with good looking grain around the bowl and shank. The rim top had some significant damage on the back part of the bowl. It had been burned from repeated lighting with a torch lighter. Jeff took the pipe apart and cleaned the barrel, the adjustable valve and the stem with alcohol, pipe cleaners and cotton swabs. He scrubbed the stem with Soft Scrub and soaked it in Briarville’s Pipe Stem Deoxidizer to remove the grime on the acrylic. When the pipe arrived here in Vancouver for the second stop of its restoration tour it looked a lot better. I took photos before I started my part of the work. I took a photo of the bowl and rim top to show how well it had cleaned up. There is some rim damage on the back of the beveled rim top from the outer edge to the inner edge. It was burned from repeated lighting from a torch lighter and the charring seemed quite deep but sanding would make that clear. The rest of the rim top had some darkening but it was very clean. The stem tooth marks and chatter are very light.I remove the stem from the barrel and took a photo. I removed the bowl from the barrel and took another photo.I started my work on the pipe by dealing with the burn damage on the beveled rim top, the inner edge of the rim and the general darkening on the rim top with a wooden bowl and some 220 grit sandpaper wrapped around it.Once it was finished it looked very good. The burn damage was minimized and the darkening around the top and edges was mostly removed. I restained the rim top and edges with an oak stain pen to match the rest of the bowl.I polished the bowl and rim top with micromesh sanding pads – dry sanding with 1500-12000 grit pads. I wiped the bowl with a damp cotton pad after each sanding pad. The surface began to take on a nice shine. I worked Before & After Restoration Balm deep into the smooth finish to clean, enliven and protect the briar. I hand rubbed it with my fingers and worked it into the finish and used the shoe brush to get in the twin rings. I set it aside to dry for 10-15 minutes. I wiped it off with a soft cloth. I buffed the bowl with a cotton cloth to polish it. It really began to have a deep shine in the briar. I took some photos of the bowl at this point to mark the progress in the restoration. The grain on the bowl stands out with interesting lines moving across the sides of the bowl and the shank. I set the bowl aside and sanded the stem with the 2 inch square 320-3500 grit sanding pads. I wiped down the stem after each sanding pad. I was able to remove the tooth marks and chatter on both sides with the pads. The stem looked very good.I polished the vulcanite stem with micromesh sanding pads – dry sanding it with 1500-12000 grit pads. I wiped the stem down after each sanding pad with Obsidian Oil and set it aside to dry.I polished it further with Before & After Pipe Polish – using both the Fine and Extra Fine Polishes. I gave it a rubdown with Obsidian Oil one last time and set it aside.I put the Kirsten Regent Brass (RX) Bulldog back together and worked the pipe over on the buffing wheel using Blue Diamond to lightly polish the bowl and the acrylic stem. I buffed the bowl and stem to raise the gloss on the briar and the acrylic. I gave the pipe multiple coats of carnauba wax. I buffed the entire pipe with a clean buffing pad to raise the shine. I hand buffed it with a microfiber cloth to deepen the shine. The finished the Kirsten Regent Brass Bulldog is shown in the photos below. The medium brown stains on the smooth Bulldog shaped bowl works well with the rich bronze Italian acrylic stem. The dimensions of the pipe are: Length: 6 inches, Height: 2 inches, Outside Diameter: 1 ½ inches, Diameter of the chamber: 1 inch. The weight of the pipe is 59 grams/2.08 ounces. This is an interesting piece of briar, cross grain and birdseye on the bowl and shank. I really like how the briar and the vulcanite work well together. This one will soon be on the rebornpipes store. If you are interested in adding a House of Robertson to your collection this may well be the one for you. Thanks for walking with me through the restoration process.

Bringing a FILTO SYSTEM Pipe Back to Life


Blog by Steve Laug

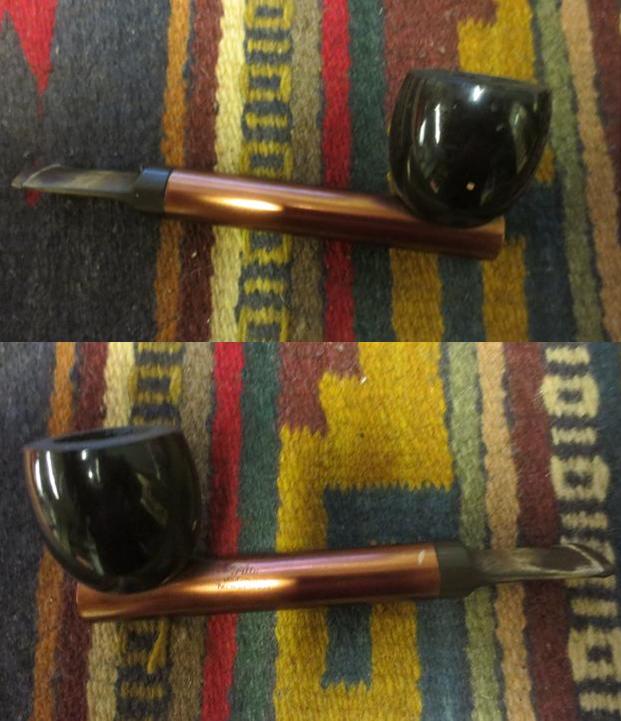
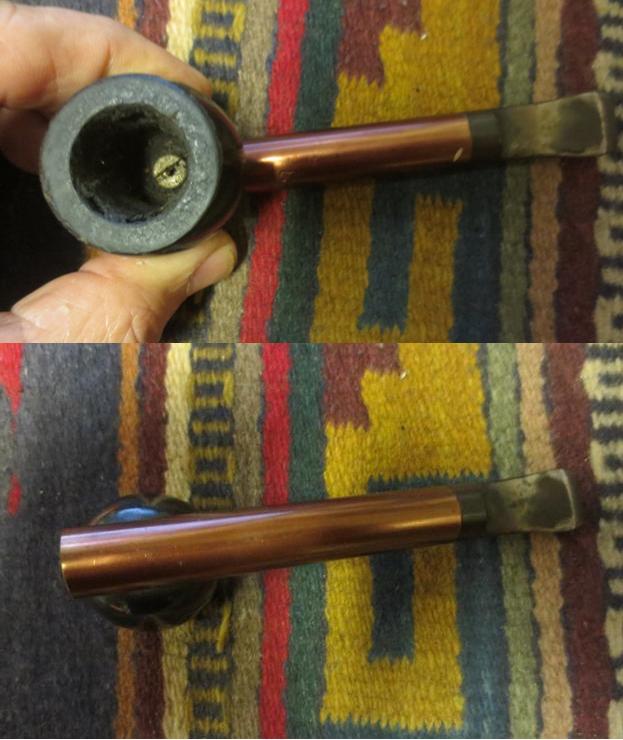
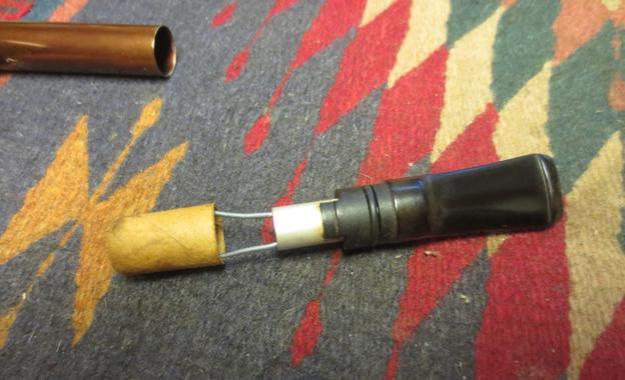
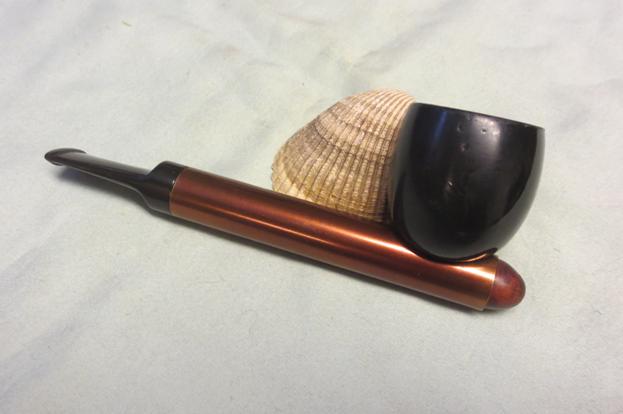
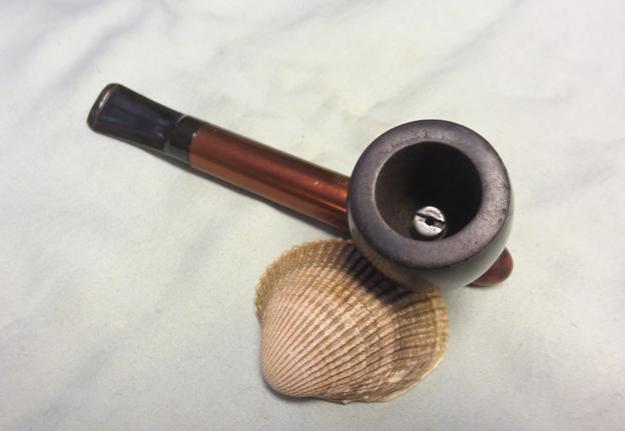
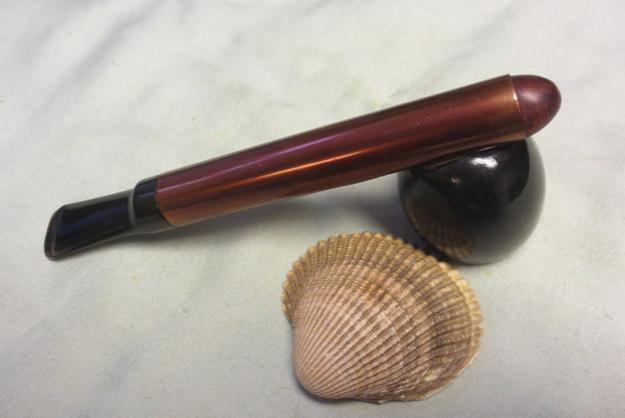
I have had this pipe sitting in a parts box for a while now. It was missing a few parts – notably the end plug. It had a copper coloured barrel and a black vulcanite mouthpiece that was oxidized. There were no tooth marks on the stem. The bowl was painted with a dark brown paint and had a shine. The rim was dirty with lava from the overflow of the bowl. The bowl had a thin, uneven cake on the walls. There was a screw in the bottom of the bowl that was similar to Kirsten screws. It had a hole in the centre that allowed the air to be pulled from the bowl into the barrel. It was stuck in the bottom under the cake that held it in place. The inside of the barrel on the end that was missing the end plug was thickly caked with tars and oils. There appeared to be something in the barrel part way down that closed off the barrel. The side of the barrel is stamped FILTO over Burgaw, NC over PAT. MADE IN USA.Filto1Filto2

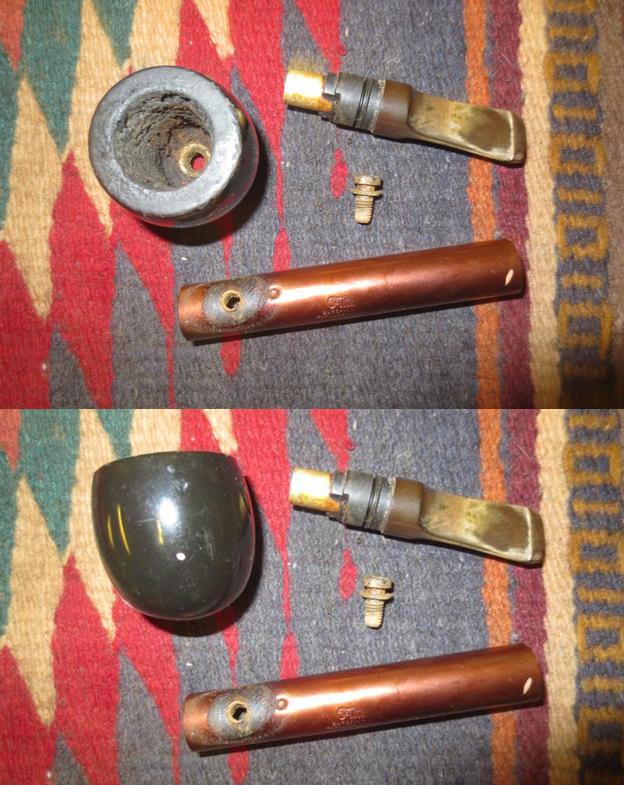
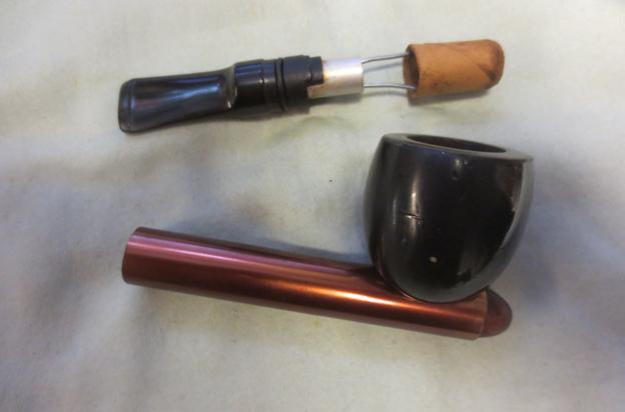
I took the pipe apart so that I could look at the pieces. The next photos show the barrel, bowl, stem and screw. The screw is interesting in that it had a collar that kept it lifted above the bottom of the bowl. There seemed to be a build-up of something on the top of the barrel where the bowl sat.Filto3

I did a bit of hunting on the web to see if I could figure out what was missing in the barrel. I knew that the end cap was missing and that it was a pressure fit. I also wanted to know what the card board piece was that seemed to be in the middle of the barrel. When I took the above photo I had not removed it from inside the barrel as I did not know what it was and did not want to damage it. I checked the Smoking Metal Website which is my first stop when seeking information on metal pipes. The site not only had the pipe listed but a variety of photos of the internals and of the models that were available. I have included the link and the short text that was included on the site.  http://www.smokingmetal.co.uk/pipe.php?page=213

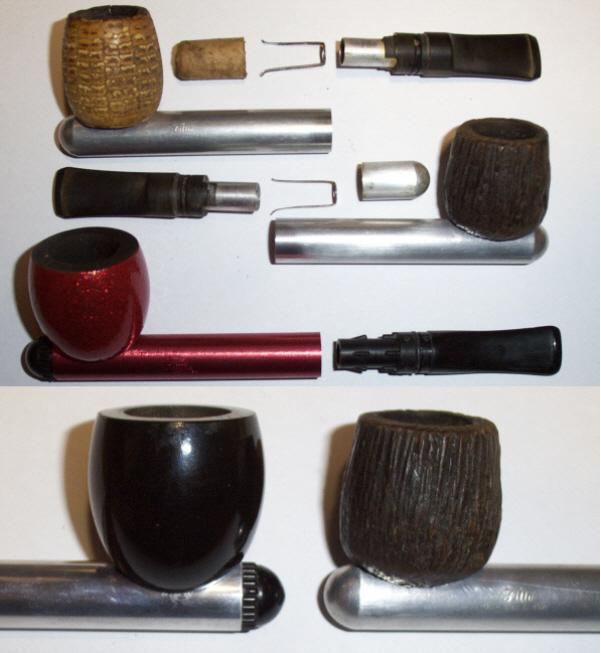
“Made by Filto Pipes Inc. of Burgaw, North Carolina, inventor Robert L. Smith, US Patent #33170468 23rd Feb. 1965. The stem, sealing ring and filter holder design mentioned in design by Aristocob. The bowl and stem are in a great variety of colours, all interchangeable.The spring clip in the bit assists in holding the filter in place. There are two version of the stem one with a spun front end and more common with a plastic push fit end cap.”

The photo below shows the parts that are enumerated in the above quote. There are two different barrel designs shown as well. The top one seems to show that the end is rounded and closed like a cigar cap. The red pipe below shows a plastic ridged endcap. The close up of the two bowls at the bottom show both ends. It is obvious that the one I had was like the pipe on the left side. Filto4

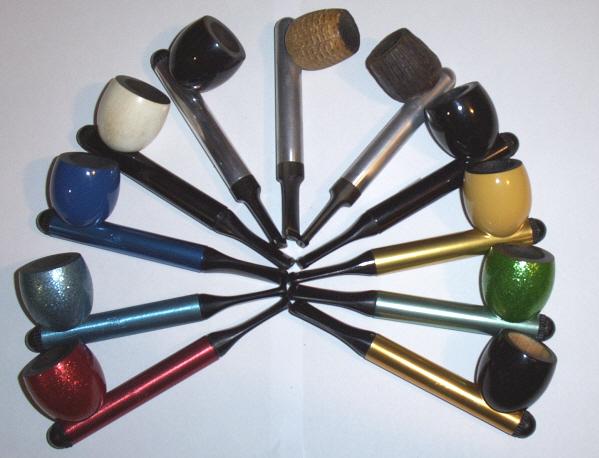
The photo below shows many different models of the same pipe. There are obviously two different styles of stems – a saddle stem like the one I have and a tapered stem.Filto5

Now I understood the shape of the end cap and also what the cardboard in the barrel was. I took a photo of the stamping on the barrel. It is clear and easy to read.Filto6

I reamed the bowl with the PipNet reamer and took the cake back to bare briar. I cleaned up the reaming with the Savinelli Pipe Knife.Filto7

I pushed the cardboard out of the barrel and it was marked FILTO filter. The cardboard was a filter that allowed the air to flow around the edges and caught the tars and oils on the end of the filter. This one was unused.Filto8

I cleaned out the inside of the barrel by pushing rolled cotton pads soaked in alcohol through the shank. I also used cotton swabs and alcohol to further clean out the barrel. I scraped the cardboard gasket from the top of the barrel where the bowl sat using the dental spatula. I cleaned the outside of the barrel with alcohol and cotton pads.Filto9

I cleaned out the inside of the tenon on the mouthpiece insert with cotton swabs and alcohol. I ran alcohol soaked pipe cleaners through the mouth piece and tenon to clean out the tars and oils.Filto10

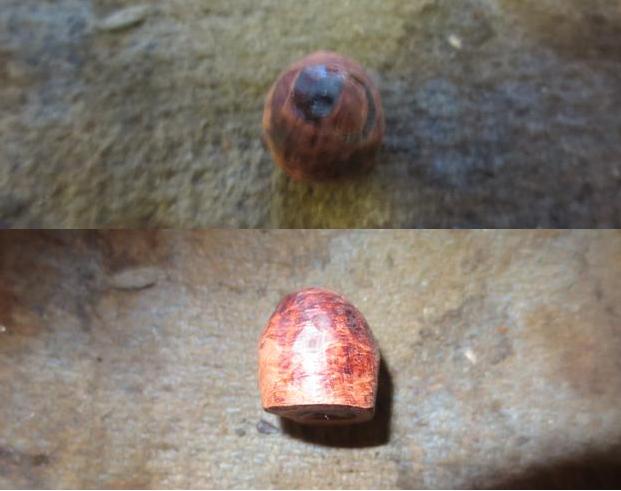
I decided to make and end cap or plug out of briar. I had a piece of briar that was next to the bowl. I had cut it off a while back to use for other purposes. Since it was drilled with an airway I needed to also make a round plug for the airway in the centre of the briar piece. I rounded out the shank piece and the small chip with a Dremel and sanding drum to make the end cap/plug. I round the chip until it fit perfectly into the drilled airway on the briar. I pushed it into the airway and glued it in place with super glue. I used the Dremel and sanding drum to smooth out the end that would go inside the barrel and the end that would stick out.Filto11

I used the Dremel and sanding drum to shape the end of the plug to be shaped like a cone. It continued to shape it until it would pressure fit into the end of the barrel.Filto12

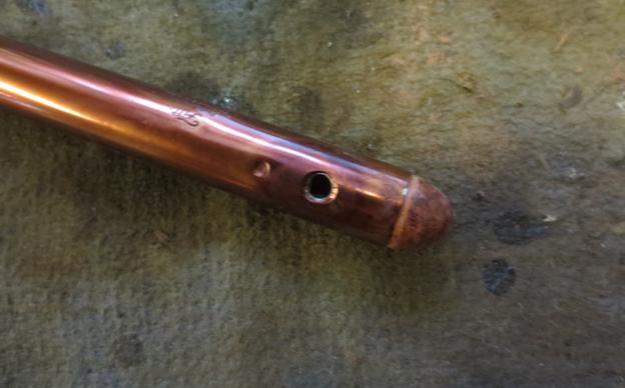
I shaped it like a cone and rounded the end. I cut a small band around the diameter of the end that would sit in the barrel. There was a step down inside that the cap sat against. I pressed it into place and continue to shape it with 180 and 220 grit sandpaper.Filto13

Once I had it shaped correctly I stained it dark brown with a stain pen and buffed it until it shone. I sanded it with 3200-4000 grit micromesh to give it some polish and thin down the opacity of the stain.Filto14

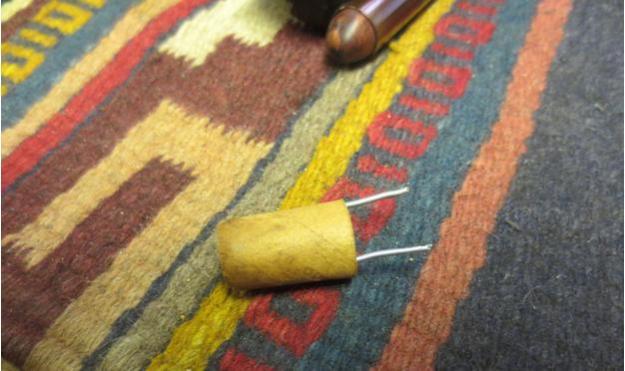
Looking at the spring clip that held the filter in place in the shank I made one that was similarly shaped out of a paper clip. I bent it to fit into the cardboard filter and to sit in the metal tenon of the stem.Filto15

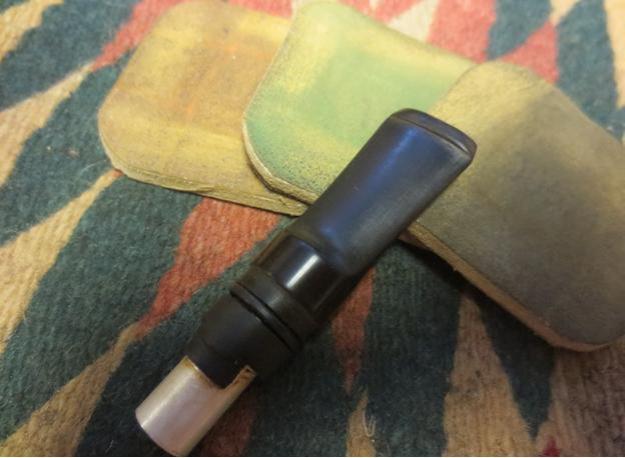
I sanded the stem with 220 grit sandpaper to remove the calcification that was built up on the mouth piece at the button. There was some light oxidation on the saddle portion as well. I wet sanded it with 1500-2400 grit micromesh sanding pads and gave it a coat of Obsidian Oil. I dry sanded it with 3200-4000 grit sanding pads and gave it another coat of oil. I finished sanding it with 6000-12000 grit pads and gave it a final coat of Obsidian Oil.Filto16Filto17Filto18

I buffed the stem with Blue Diamond on the wheel and gave it several coats of carnauba wax. I buffed it with a clean buffing pad to raise the shine and hand buffed it with a microfibre cloth. I put the bent paperclip in the filter and in the end of the tenon.Filto19

I lightly polished the bowl and barrel on the buffer using Blue Diamond. I gave both a coat of carnauba wax and buffed it with a clean pad to polish it. The bowl had a few dents and dings that I left as I found them because of the painted finish. I hand buffed the pipe with a microfibre cloth to deepen the shine. The finished pipe is shown in the photos below. The first four photos show the finished pipe as a whole. The last three show it in pieces.Filto20Filto21Filto22Filto23Filto24Filto25Filto26


A Piece of Art Deco – Greenwich House Thoro-Kleen


Blog by Steve Laug

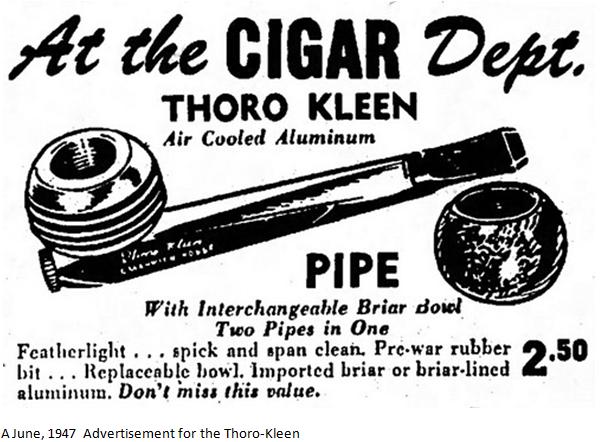
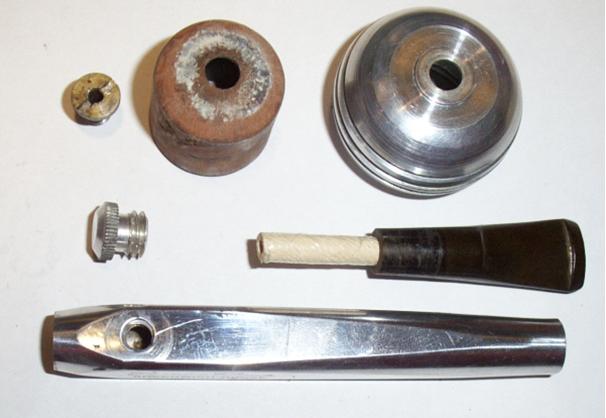
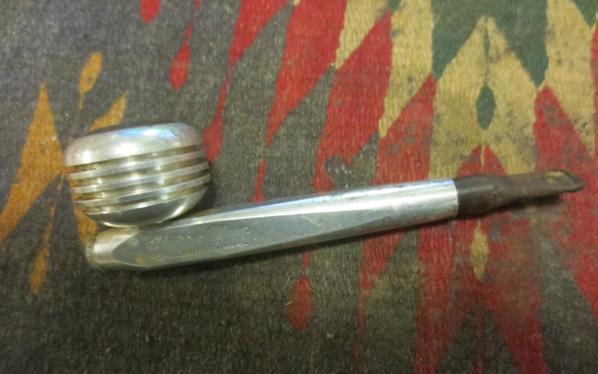
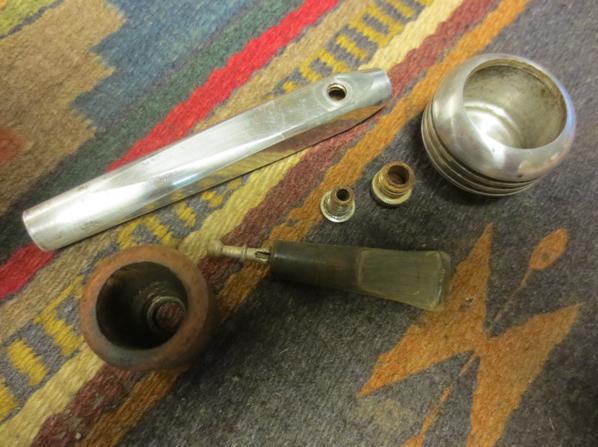
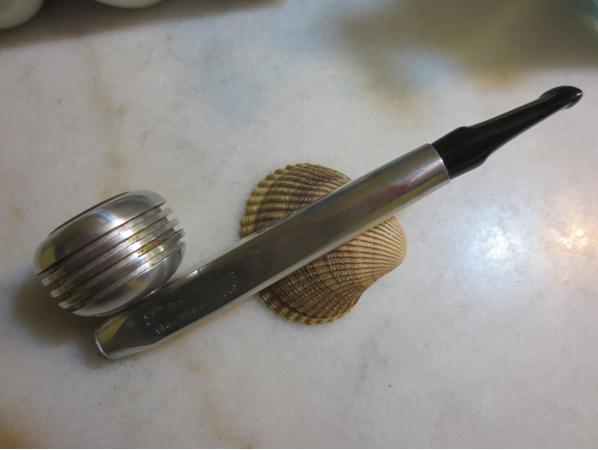
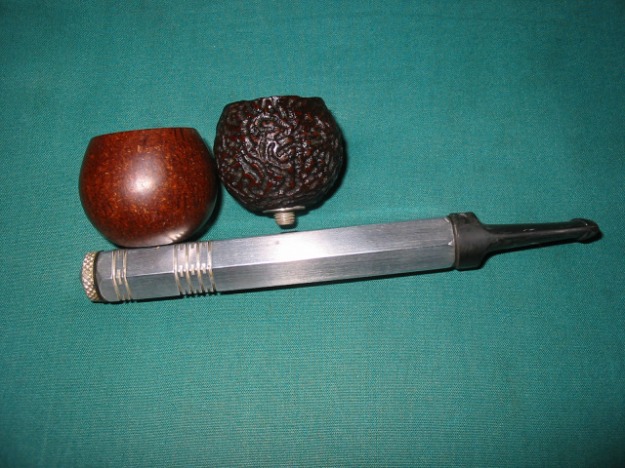
For some crazy reason I have always liked odd pipes – pipes that pushed the envelope in the search for a cool dry smoke. Together they are alike a museum display of odd and inventive contraptions. When my brother sent me this metal pipe it certainly fit the category of the unusual. The design and shape to me bring back memories of watching the Jetsons on Saturday morning cartoons. The metallic spaceship like pipe encourages those connections for me. It has a streamlined metal shank with an end cap on one end and a stem on the other. It flows. The bowl is a finned affair with a briar insert. I think the idea was to make an indestructible easy to clean pipe. The fact that many remain on the market speaks to the indestructibility of the pipe but as for easy to clean well to me the jury is still out.Green1 Evidently the pipe originally came with two bowls – a choice of looks. The first like the one shown in the advertisement about was metal finned affair with a briar insert. The second was a briar bowl of various shapes. Both bowls were held to the shank with a hollowed out screw that served as the airway from the bottom of the bowl to the shank. The stem and end cap come off for ease of cleaning. The body of the pipe can be hexagonal, square (Thoro-Kleen only seen in this shape) or circular in cross section. The unmarked version tends to be regarded as the COMET, all the others being stamped with a name. The Smoking Metal website shows variations on the brand. Follow the link and you can see photos and information. http://www.smokingmetal.co.uk/pipe.php?page=99

According to Pipedia the Greenwich House Thoro-Kleen was a metal pipe system from the same family as the Roybrooke, Comet, and Original Gridiron pipes, and parts from all are believed to be interchangeable. The pipes were sold by the Greenwich House Corporation, located in 1947 at 939-M 8th Avenue, N.Y. 19, N.Y… The pipe set sold for $2.50 in 1947. https://pipedia.org/wiki/Thoro-Kleen

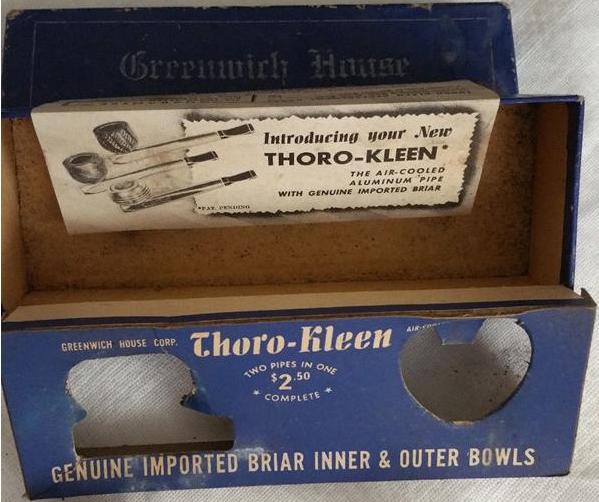
From all of this I learned that the probable year of the pipe’s manufacture was 1947. It was a pretty sweet little pipe that definitely wore its age well. I did a bit more research as I wanted to find out what the packaging and the additional bowl looked like as the one I had, came only with the attached bowl. I found some photos that show the original packaging and have included them below.Green2

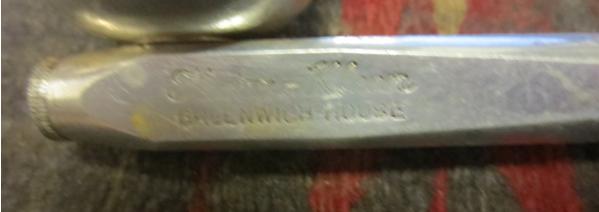
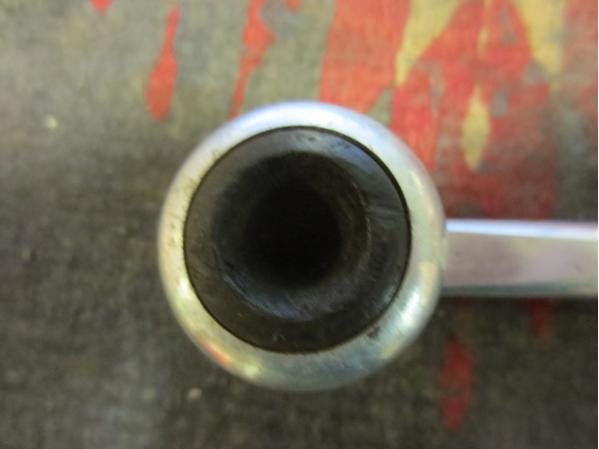
Green3 I also found a picture of the pipe taken apart showing all of the pieces. This was an important picture for me as it helped to understand how to take apart the bowl and the end cap. The one I was working on was so dirty and caked that I could not see the screw in the bottom of the bowl and the end cap was stuck. I was not sure if it was pressure fit like a Kirsten or threaded. This answered those questions for me. Once I took mine apart I found that it did not have a paper filter but rather a metal stinger.Green4 I took the following photos of the pipe to record the condition it was in when I started. Part of the fun for me is to work on a pipe and then compare the finished pipe to where it was when I started the process. The aluminum bowl and base were oxidized and dull. The stamping on the side of the shank was readable but lightly stamped in the middle portion. It read Thoro-Kleen in flowing script over Greenwich House.Green5 The end cap had a slot that fit a standard 25 cents piece that could be used to open it. In this case it was stuck and I could not turn it. The stem was oxidized and had many tooth dents on the top and bottom sides. The bowl was badly caked to the point that no air could get from the bowl to the base. I was unable to see the bottom of the bowl and know what held it to the base. The briar bowl insert was damaged and had burn marks toward the bowl front.Green6

Green7

Green8

Green9 I took some close up photos of the bowl and stem to show the condition they were in when I began the restoration.Green10

Green11 In order to take the pipe apart I reamed the cake enough to be able to get to the screw in the bottom of the bowl. The funny thing is that while I was turning the handle on the PipNet pipe reamer the bowl twisted free of the base and I was able to take it apart. At this point the pipe looked like the photo below. I was not able to remove the end cap as it was still stuck.Green13 I finished reaming the bowl with the PipNet reamer and took the cake back to bare briar.Green14

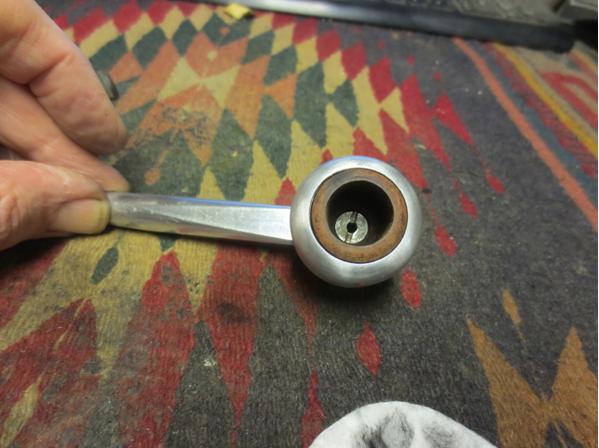
Green15 I heated the end of the pipe with the flame from the lighter to loosen and soften the tars that held the threads tightly in place. After several failed attempts to turn it and then reheating it I was able to turn if free of the base with a pair of padded pliers. You can see from the photos below the thick dark substance that filled the end cap and the base.Green16

Green17 I used a dental pick to begin to pick out the sludge on the inside of the cap and the base. You can see from the photo the amount of dried hard material that came out and this was only the beginning.Green18 The inside of the base was lined with hardened material. I plugged the tube with cotton pads and ran alcohol through the base to begin to soften the material. It took a lot of work to loosen it and the cotton pads came out darkened.Green19 I lightly topped the bowl to remove the damaged area and the burned area.Green20

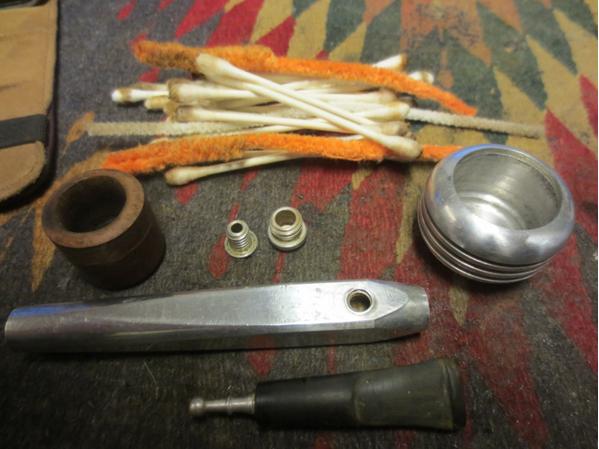
Green21 I removed the stinger from the stem and cleaned the airway with fluffy and bristle pipe cleaners, cotton swabs and alcohol. I sanded the stem with 220 grit sandpaper to remove the oxidation and minimize the tooth marks.Green22 I used thick folded bristle pipe cleaners to run through the base to remove the grime and oils that were left behind once I had scraped it clean.Green23 With the first level of cleaning done on the pipe I laid out the parts and took a picture. I also took a photo of the stamping on the shank now that I had cleaned it up enough for it to show more clearly.Green24

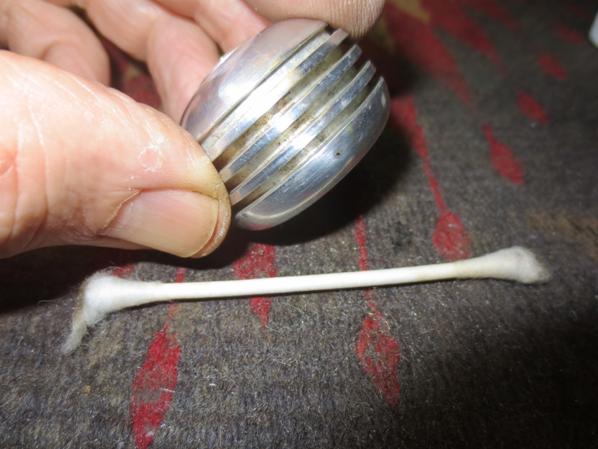
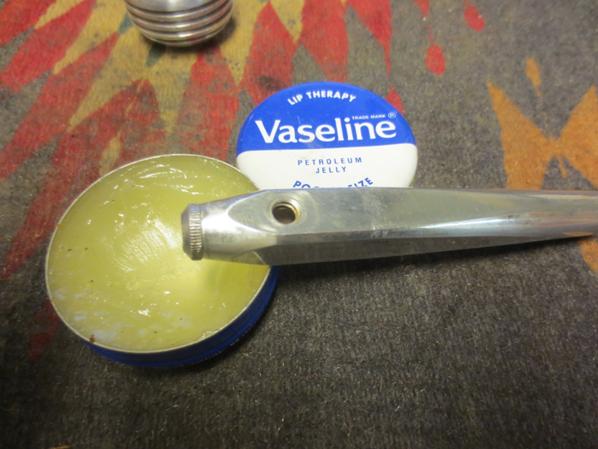
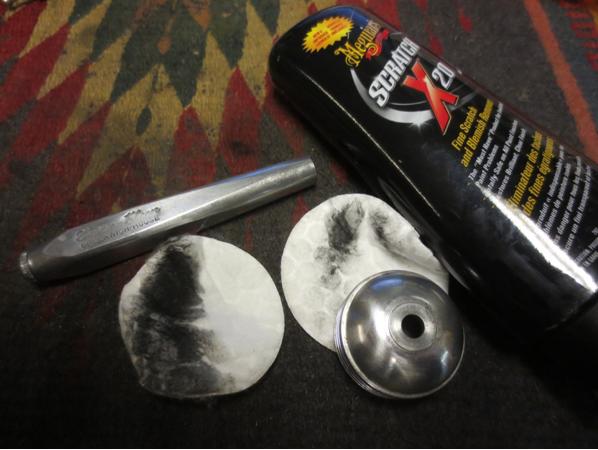
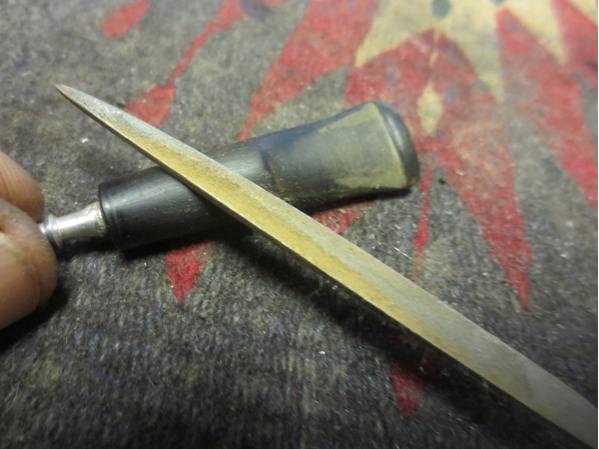
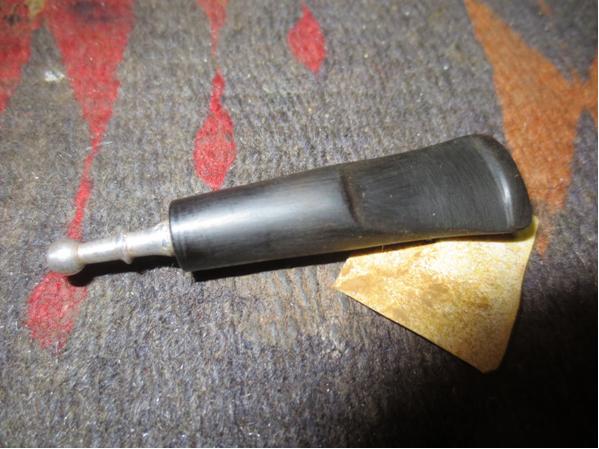
Green25 I scrubbed the fins and grooves on the bowl with alcohol and cotton swabs.Green26 I scrubbed out the inside of the screw, end cap, threads and the inside of the metal bowl with pipe cleaners, cotton swabs and alcohol.Green27 Once the end cap was clean and the inside of the base was clean I greased the threads on the cap with Vaseline and turned it into the base.Green28 I polished all of the aluminum parts of the pipe with Meguiar’s Scratch X2.0 to remove some of the scratches and oxidation.Green29 With the bowl and shank finished I put the pipe back together minus the stem. I put the briar bowl in the metal bowl and turned the screw into the base.Green30 I set the bowl and base aside and worked on the stem. I cleaned up the edge of the button on the stem with needle files to give it more of a sharp definition and remove the tooth marks.Green31 I sanded the file marks with 220 grit sandpaper and further cleaned up the stem.Green32

Green33 I wet sanded the stem with 1500-2400 grit micromesh sanding pads and then gave it a coat of Obsidian Oil. I dry sanded with 3200-4000 grit pads and gave it another coat of oil. I finished by sanding it with 6000-12000 grit pads and gave it a final coat of the oil and let it dry.Green34

Green35

Green36

Green37 I buffed the stem with Blue Diamond on the wheel and then gave it several coats of carnauba wax. I buffed it with a clean buff and then by hand with a microfibre cloth. I gave the base and bowl a coat of Conservator’s Wax and hand buffed it with a cloth. The finished pipe is shown in the photos below. I can’t help but saying at this point – “Meet George Jetson…” Thanks for looking.Green38

Green39

Green40

Green41

Green42

Green43

Green44

Looking Over My Metal, Nylon and Bakelite Pipes with Threaded Bowls


Blog by Steve Laug

It is funny how the number of pipes one has seems to grow exponentially. It is almost as if they are breeding in the drawers I keep them stored in. This afternoon I thought I would take out assorted metal stemmed pipes and then added the Nylon and Bakelite pipes as well. All of them have threaded bowls that are interchangeable within the brand of pipes. None of them are interchangeable with each other.

The first photo below shows my two Dr. Grabow Vikings. I have two of them and one of them I restemmed. They do not have any stamping on them but the base and the design of the stems matches other Vikings that I have had.
IMG_5716
The next photo shows my three Falcon Bents. All of my Falcon pipes were made in England including the straight shank one in the second photo. The bowls are interchangeable among the Falcons but not on the Grabows. I have refinished all of the bowls. The second and third bowl below were unfinished when I bought them on Ebay so I sanded them and finished them.
IMG_5715
The next photo shows my only Falcon straight. I have had many of these over the years and sold or gave them away. I refinished the bowl on this pipe as well.
IMG_5717
The next photo shows a unique metal pipe – a Dr. Plumb Peacemaker – Made in England. This pipe has a very narrow shank from the top view but a wide shank from the side. The bowl is threaded and only fits the Peacemaker pipes.
IMG_5719
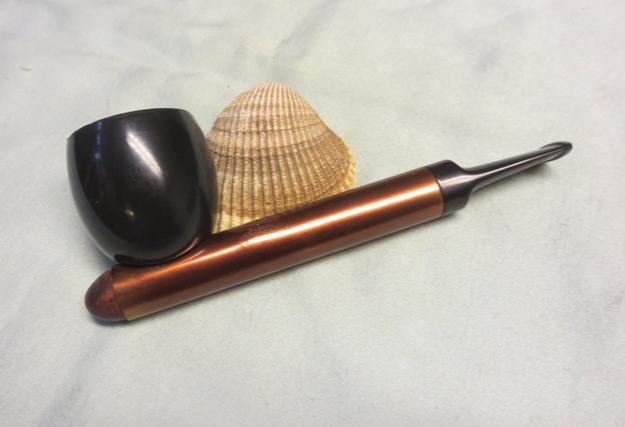
The next two pictured below were made by Kirsten in Seattle, Washington, USA. The top one was a silver barrel and stem I picked up on Ebay. I carved and fitted the meerschaum bowl to fit the barrel. The second one is a Kirsten Mandarin. I bought this pipe in the 80’s brand new. It is a lightweight pipe and has a large diameter bowl. The stem is a thick Lucite and not particularly comfortable.
IMG_5720
The next two photos show a two bowl Bryson metal pipe. I did a write up on the blog on refurbishing this old pipe. It was a challenge. The bowls are actually compressed briar dust – almost like particle board. The grain on the smooth one was a decal. The rustication on the other hides the nature of the material.
img_2416

IMG_5718
The pipe pictured below has a Nylon stem and base. The bowl is not briar but an alternative wood. It has the appearance of maple but I am uncertain of the wood. It is extremely lightweight. I wrote a blog post on the refurbishing of this pipe as well. If you are interested do a search for Nylon pipes among the posts and you can read about it.
img_2213
The final photo shows some of my Bakelite Pipe stems and bases with interchangeable bowls. Three of them are made by WDC. I reworked the bowls and restemmed two of them. The Bakelite stem and base are hard and quite resilient. The bottom pipe in the photo has no name stamped on it and is a Bakelite bowl and stem. I have not seen one of these before and enjoyed refurbishing it.
IMG_5721
These pipes hold a unique place in my collection. I find that I do not smoke any of them that often. The Falcons and Grabows are kept for their uniqueness and their place in pipe and tobacco history. I enjoy working on them. They tend to pass through my collection quite often. Today I have the ones pictured but they may well be gone in the months ahead and replaced by others. The Brylon and the Peacemaker are kept for their uniqueness and will probably remain with me. The Kirstens I smoke and enjoy infrequently but find that I pick them up several times a year to have the dry smoke they offer. The final photo of the WDC pipes and the Bakelite bowled pipe pictures pipes that will remain with me and not be traded or sold unless I find better versions of them.

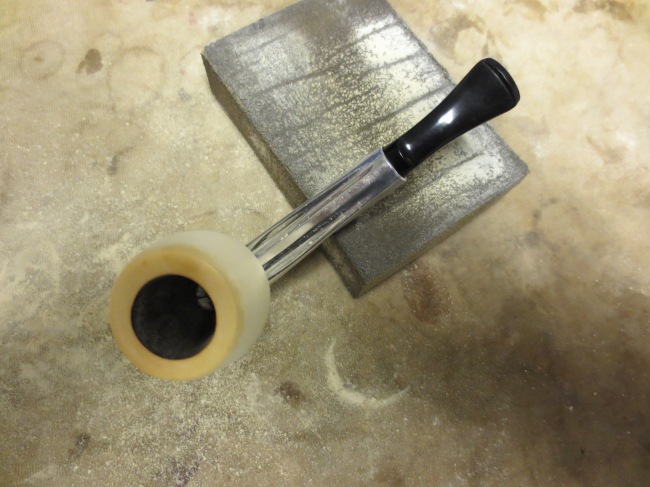
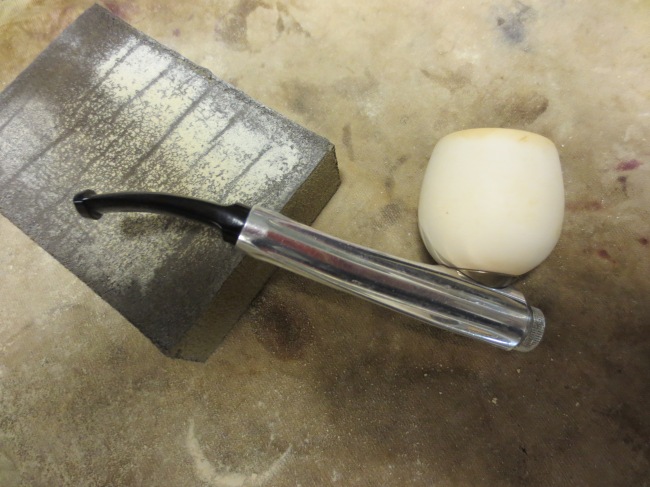
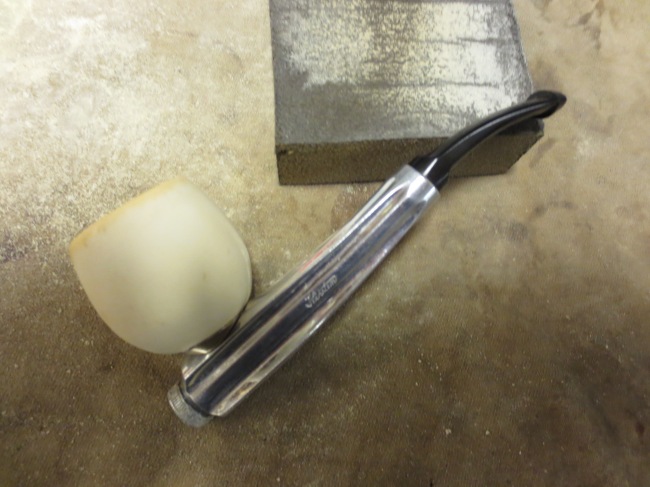
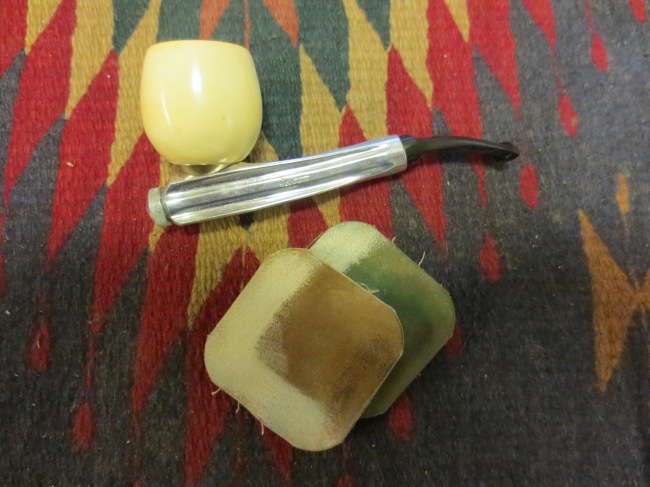
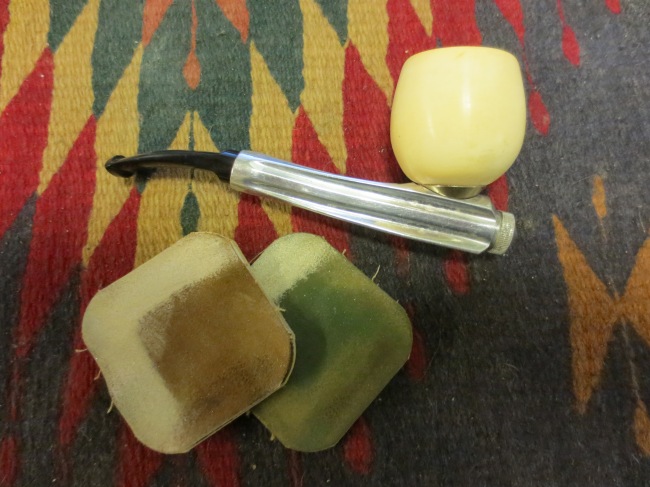
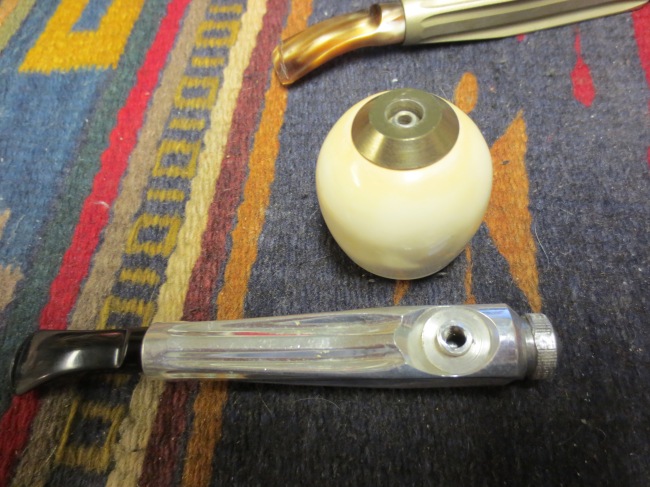
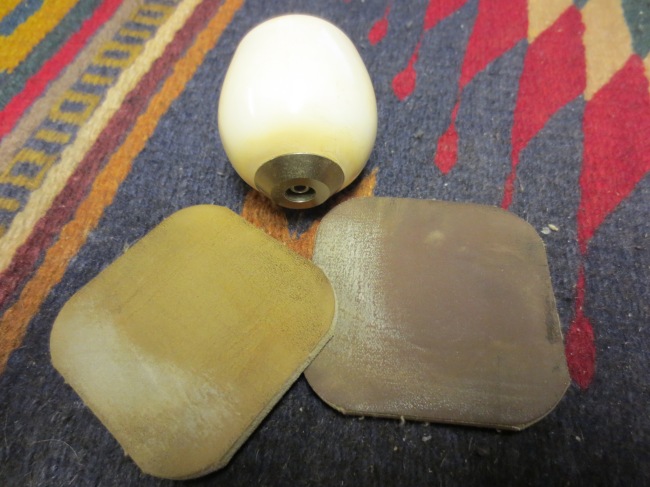
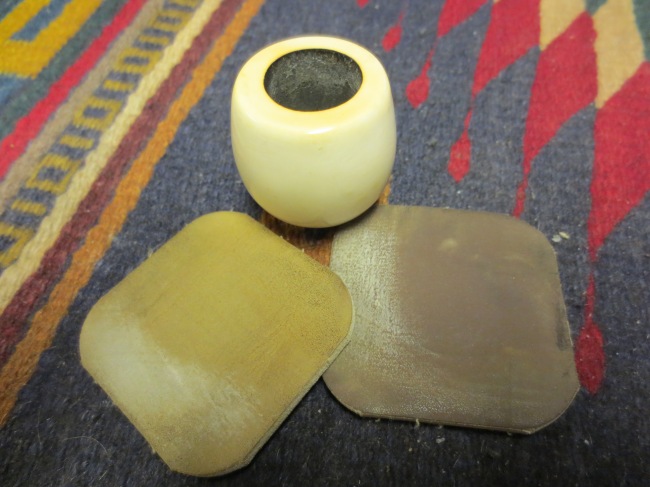
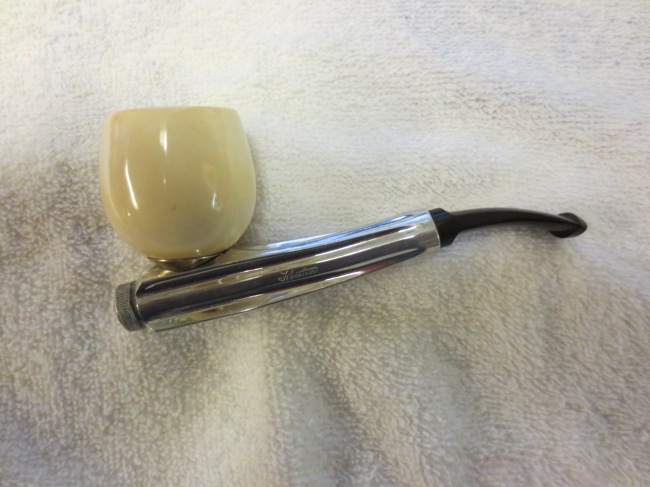
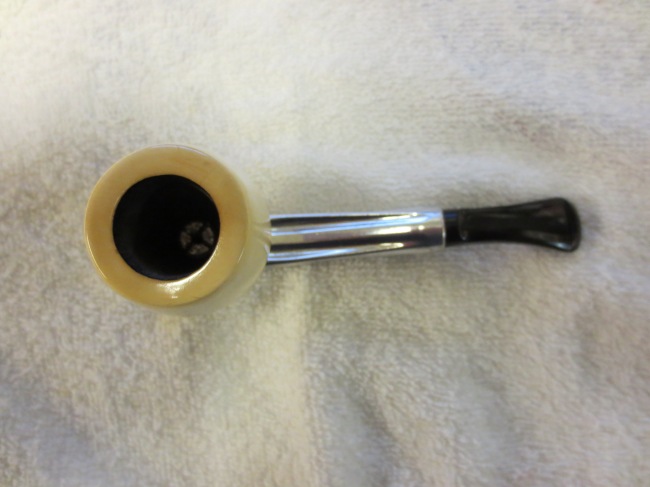
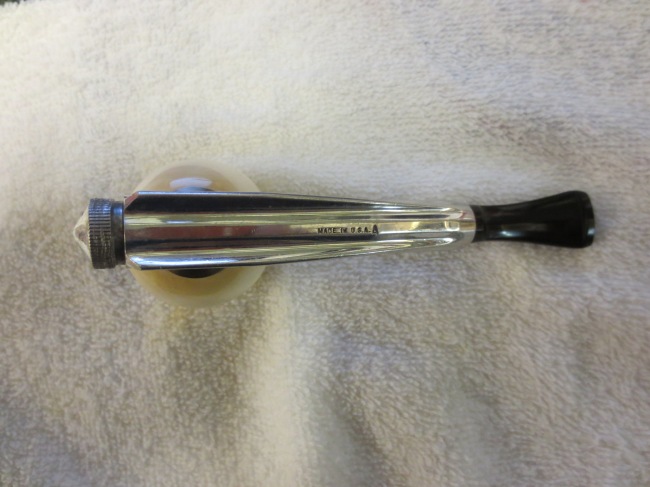
Modifying an Old Meerschaum Bowl to Fit a Kirsten Pipe Barrel


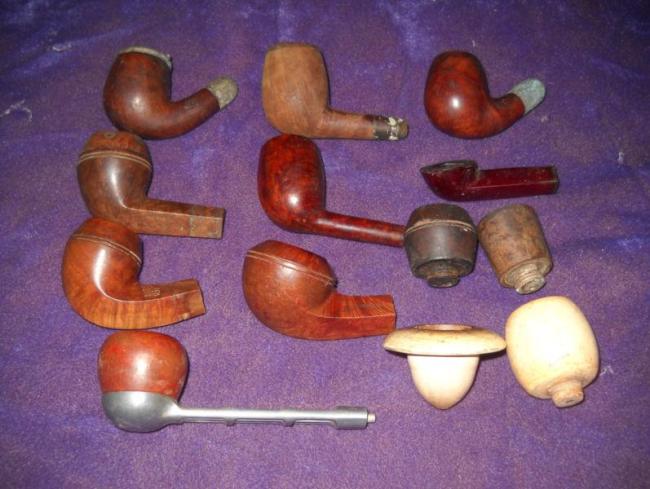
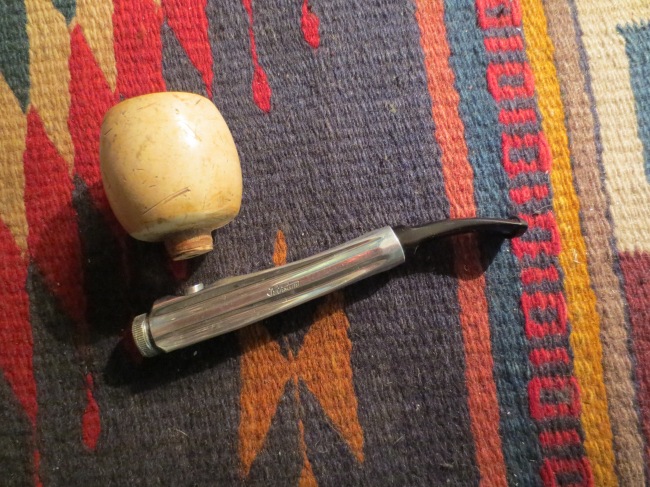
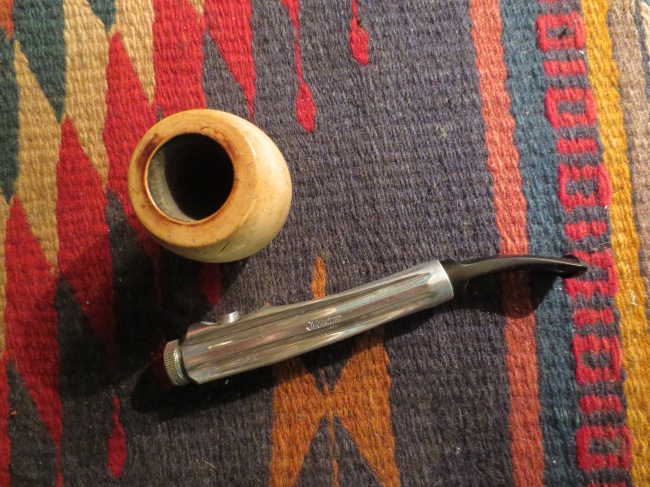
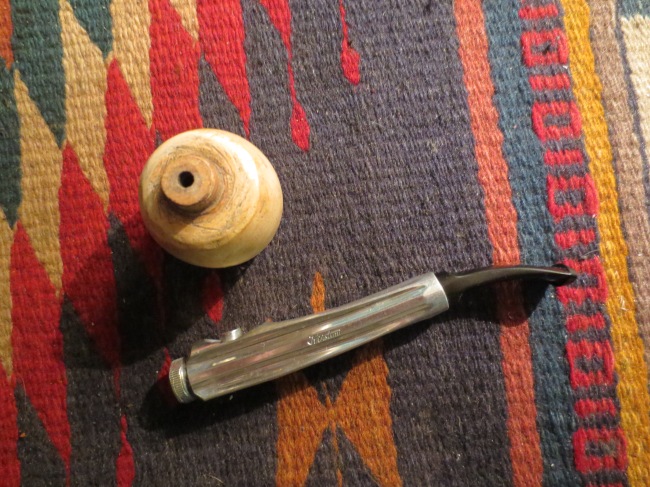
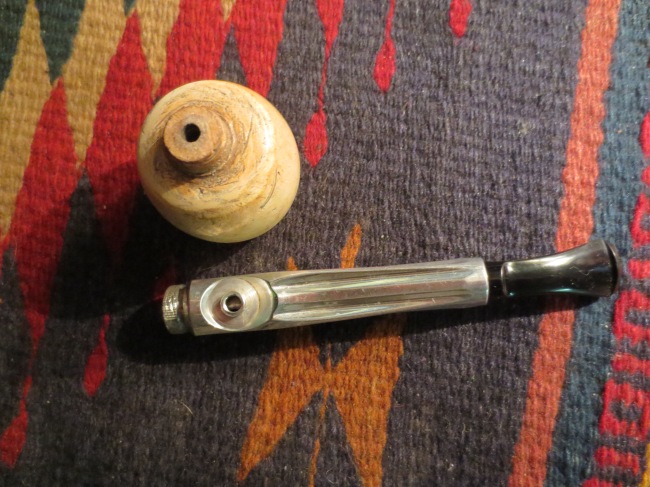
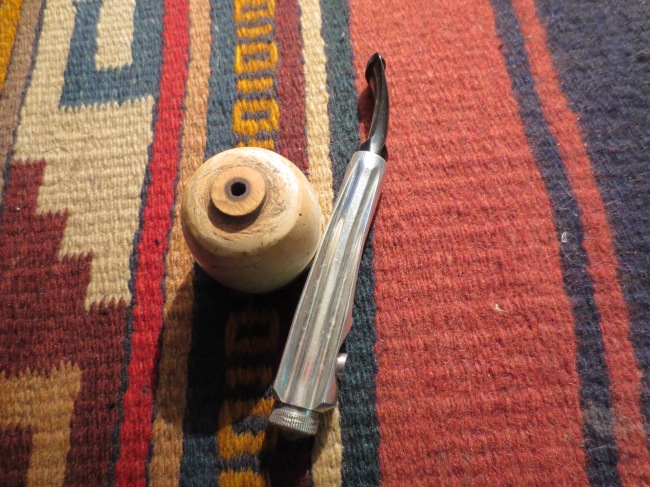
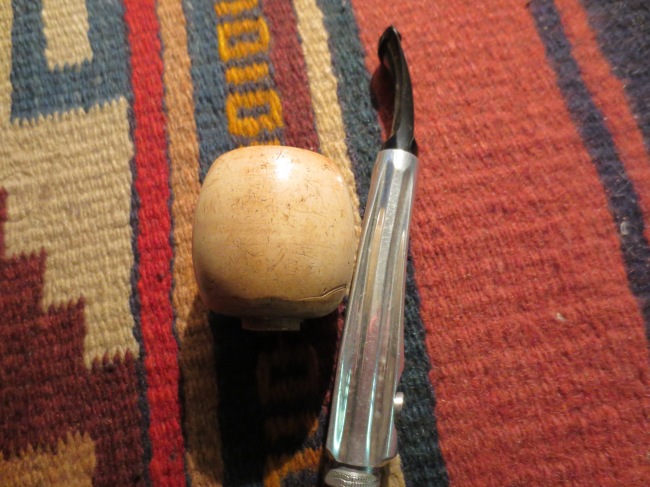
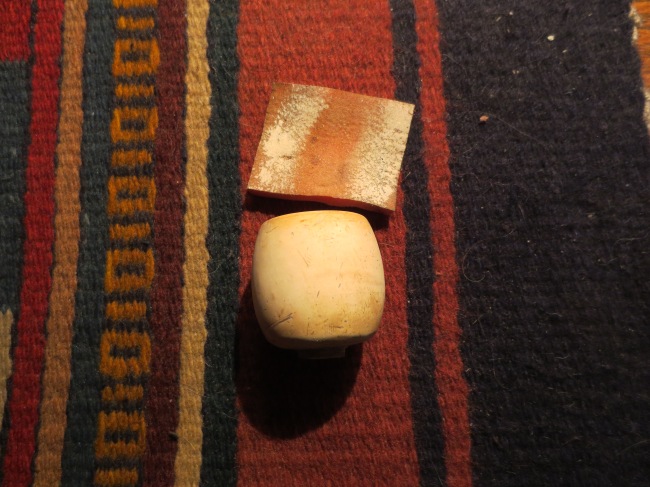
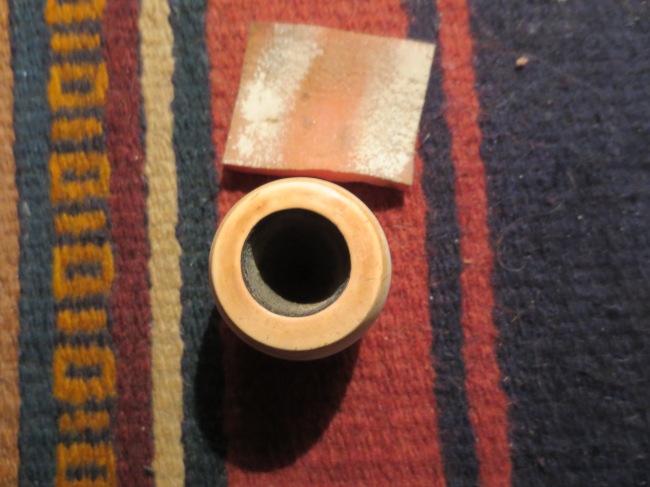
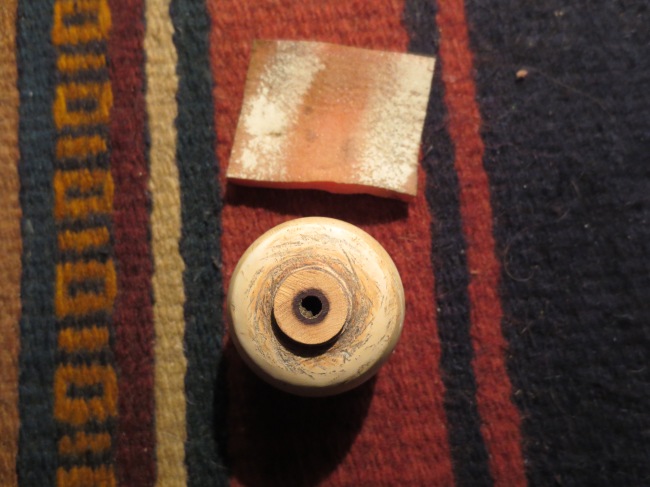
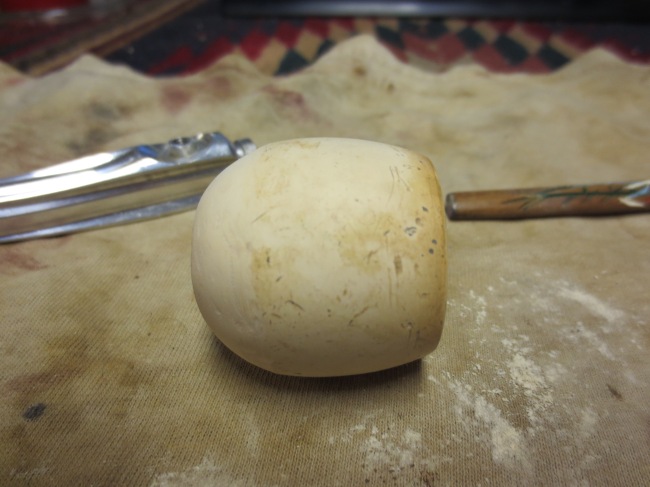
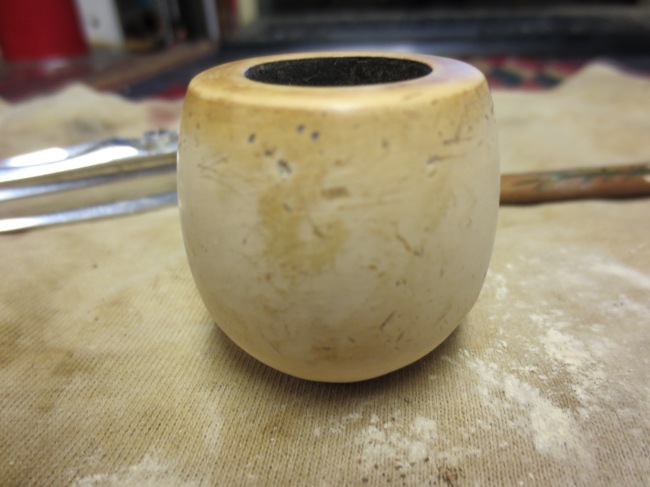
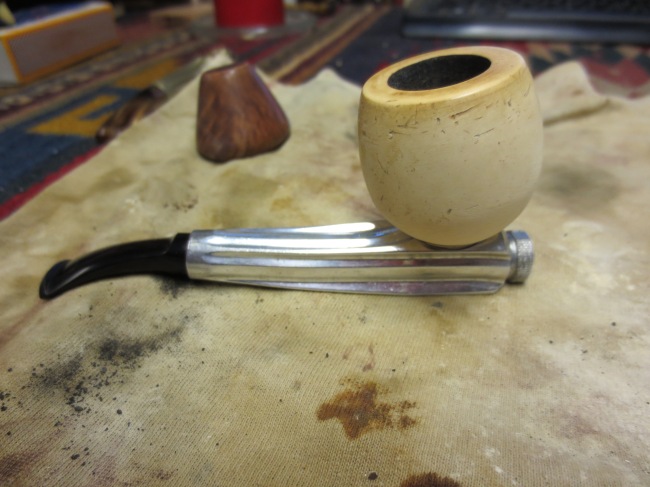
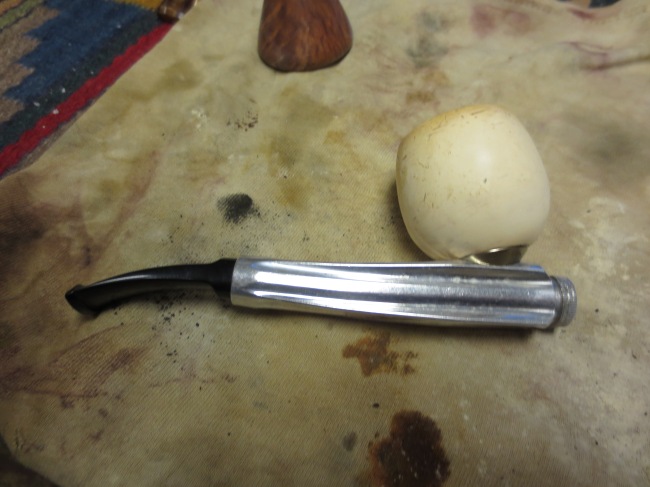
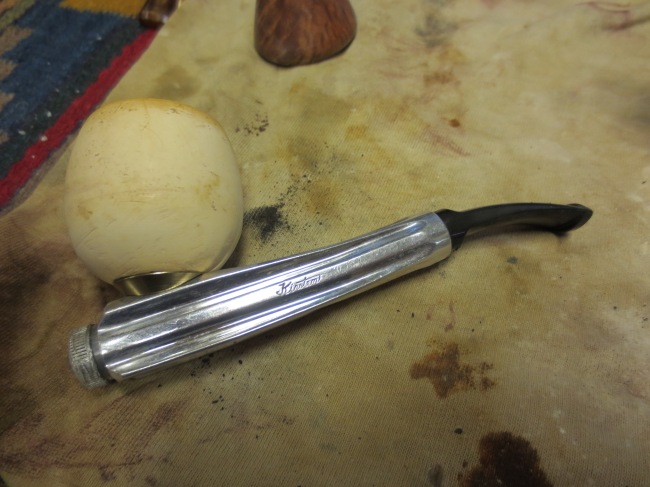
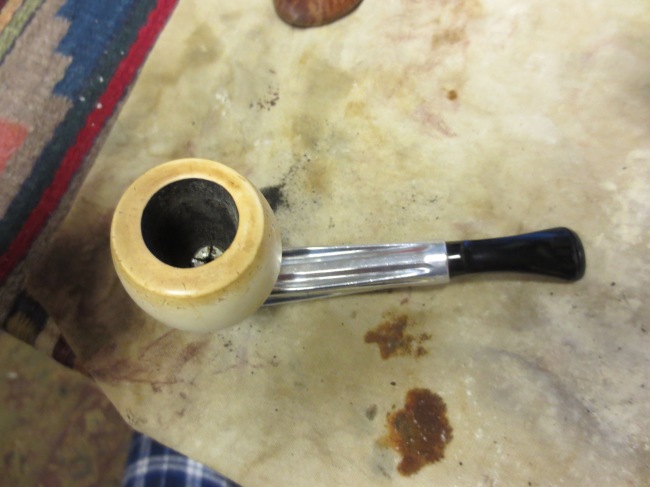
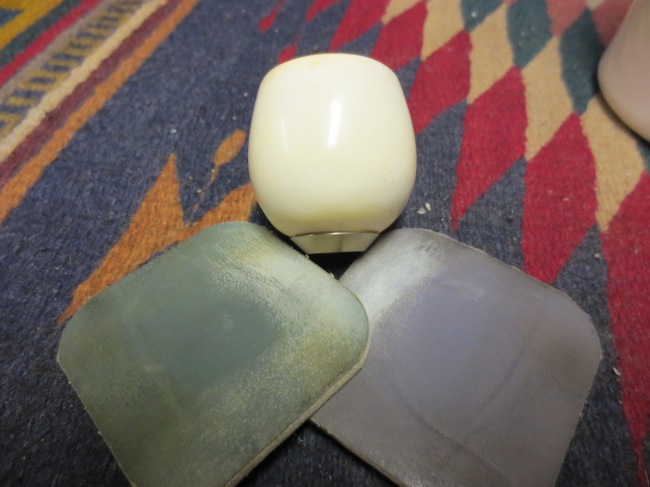
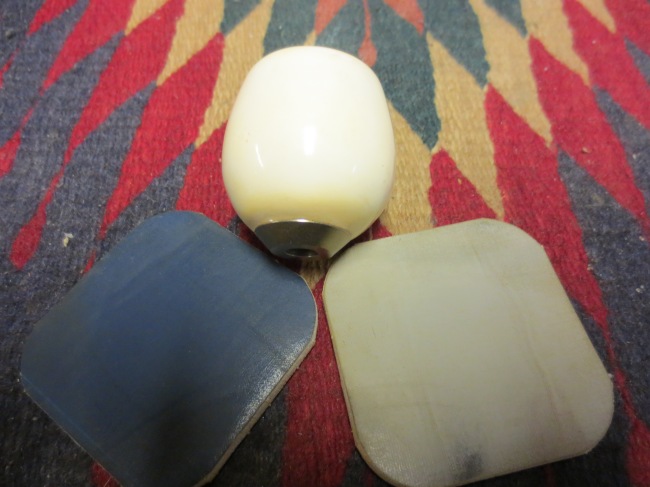
In a lot I picked up off EBay was a nice older meerschaum pipe bowl. I think it was originally made either for the WDC base that came in the lot or for a different metal or Bakelite pipe. The threads on the pedestal base were stripped out. As I was looking at it I thought, “Why not see if I can modify it to fit the Kirsten stem and barrel that I have waiting for a bowl”. In the first photo below is the lot of bowls I picked up on EBay. The Meerschaum bowl is in the bottom right corner. The base or nipple is visible in this photo.

Image

The next series of four photos show the bowl before I began work on it I wanted to line it up and see if it would possibly work on the Kirsten. I wanted to see if it was awkward looking or would look feasible. I took photos of the bowl and pipe from different angles to get a feel for the look of the bowl on the pipe.

ImageImageImageImage

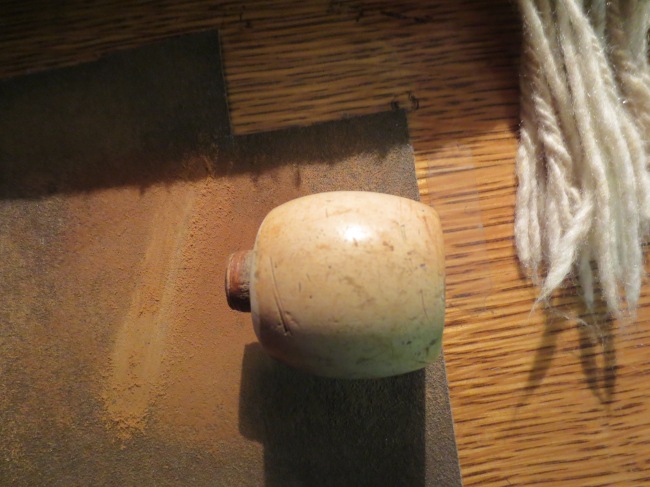
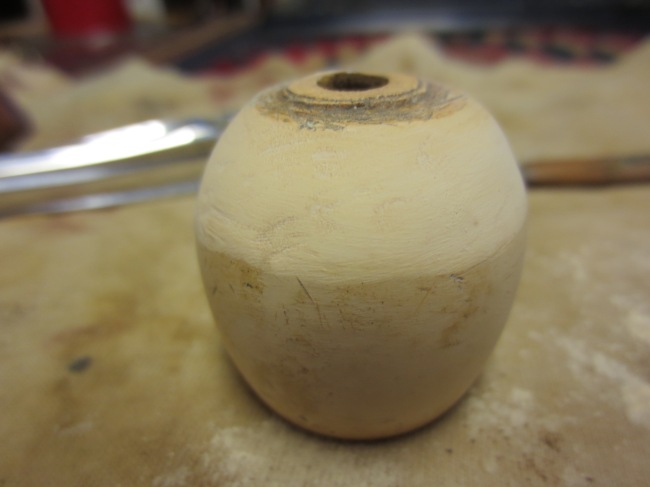
I decided to try the same process I use in topping a bowl to remove the nipple or base. I set up my sandpaper on a flat board and sanded the nipple to flatten it out. It seemed like it was going to take a long time to remove it so I took it to my Dremel and quickly removed most of it and then came back to the sanding board to finish it up. The next three photos show the process of removing the meer nipple.

ImageImageImage

Now the bowl needed to be cleaned up and shaped to fit the barrel of the Kirsten. I sanded the bowl with a medium grit sanding sponge to remove the tar and finish of the bowl. Since I was going to reshape the bowl bottom I wanted to remove the old patina and dents as much as possible to make matching the bowl bottom simpler. The next three photos show the sanding of the bowl.

ImageImageImage

After sanding the bowl surface I used my Dremel to remove the material from the bottom of the bowl and to reshape the bowl to fit the Kirsten. It was a slow and repetitive process as one thing I have learned it you can always remove more material but you cannot put it back. I wanted to shape the bowl with a more rounded bottom on it and give the overall look of a brandy shape. The next three photos show the new shape of the bowl after the Dremel had done its work.

ImageImageImage

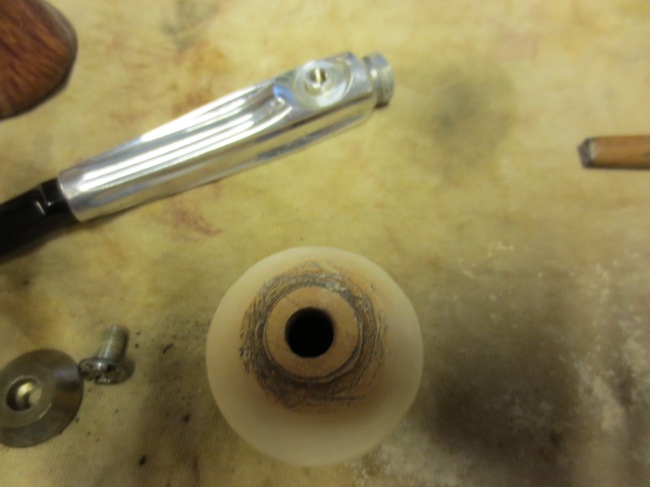
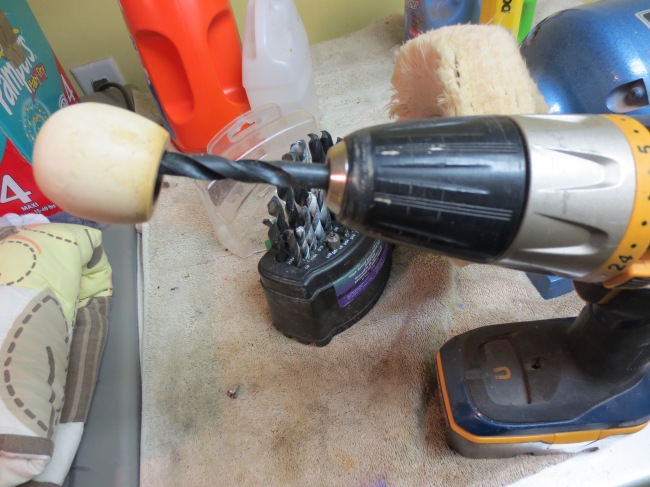
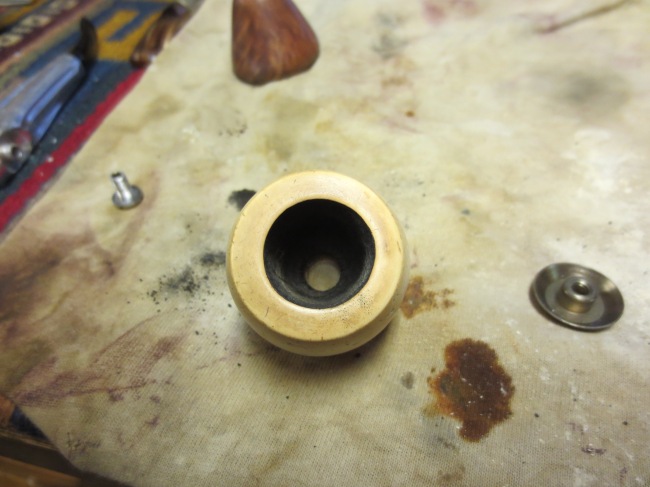
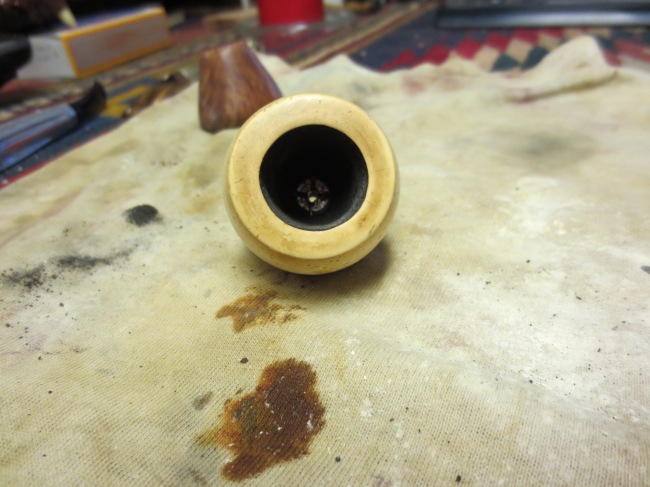
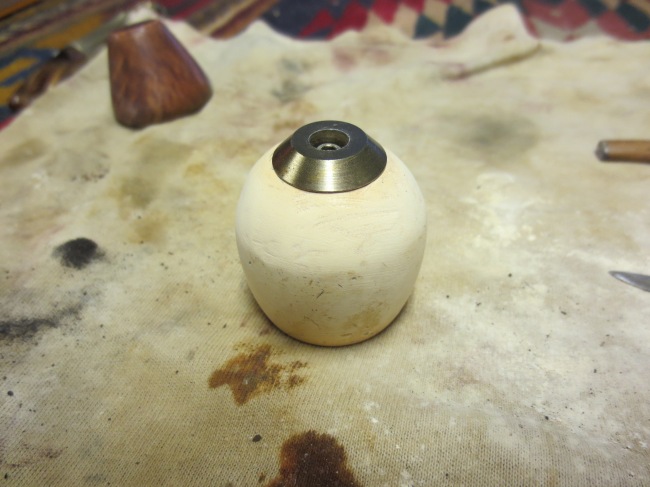
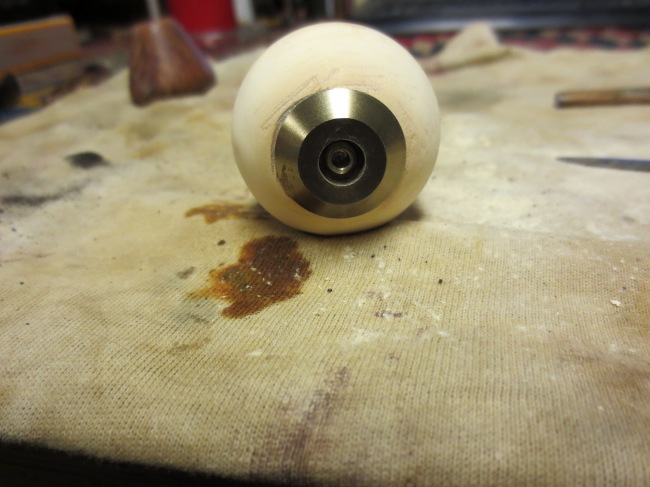
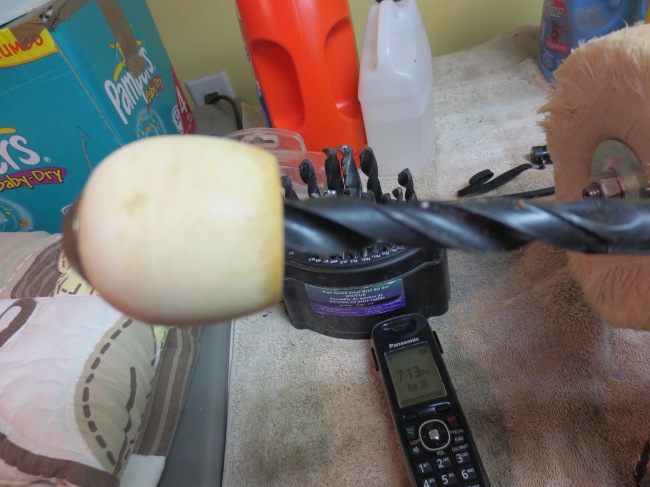
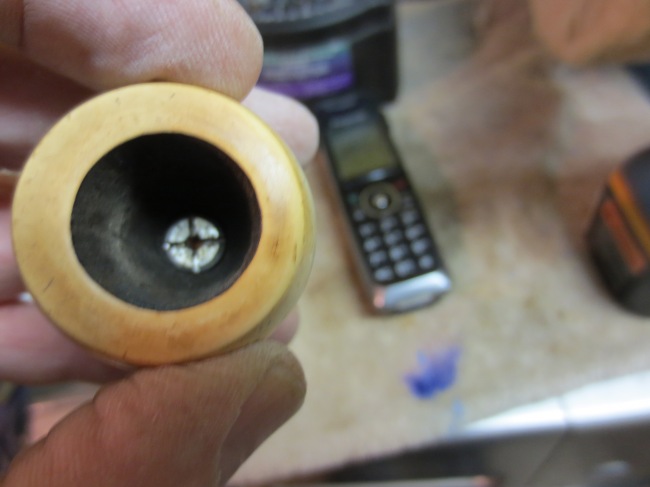
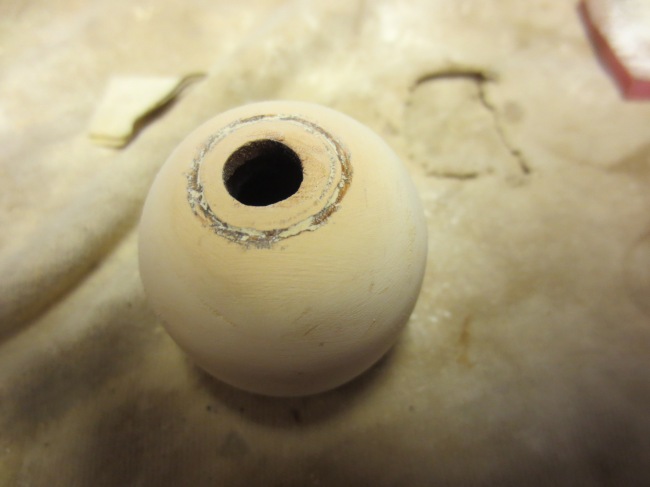
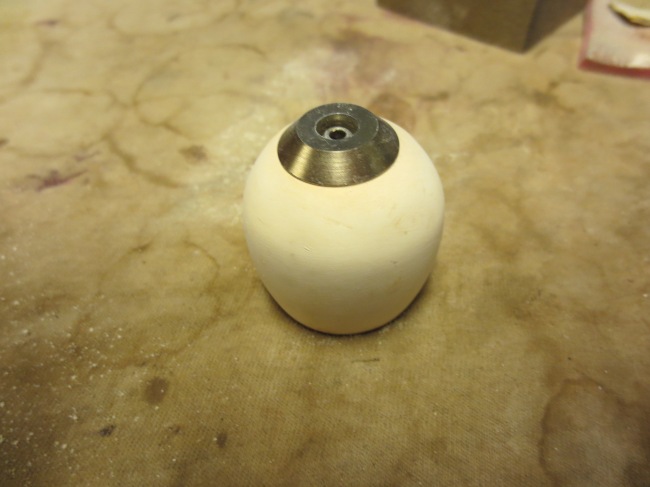
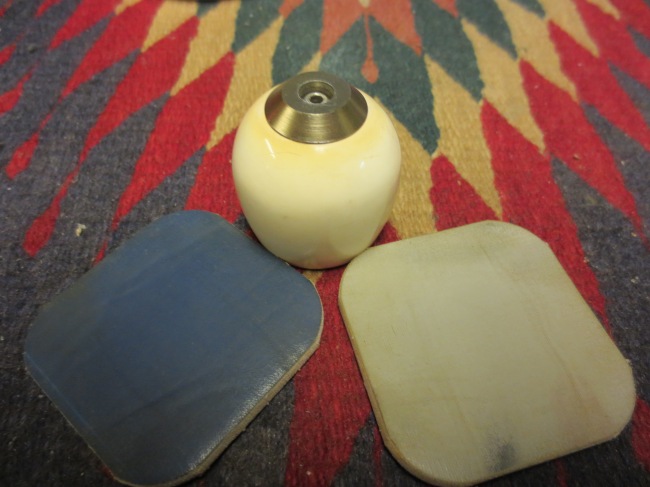
The next step in the process was to open up the hole in the bottom of the bowl in order to receive the bottom plate on the outside and the hollow screw on the inside. Kirsten bowls have a brass or vulcanite bottom plate that is inserted into the bottom of the bowl. This adapter or plate is cupped so I matched the bowl bottom to the cup on the plate. I had to drill slowly with increasingly larger drill bits until I had opened the airway enough for the plate to fit. Then I needed to open the bowl bottom enough to take the screw head. This particular bowl was a bit tapered so I needed to drill it so that the bottom was more flat on the inside so that the screw head would rest evenly on the bottom of the bowl. The outside drilling was ¼ inch when finished. The inside drilling was a ½ inch to let the screw sit evenly. The next three photos give an idea of the drilling and the end product. In the last of the three photos I placed the plate/adapter and the screw in the photo so that you can see where I was going with my drilling.

ImageImageImage

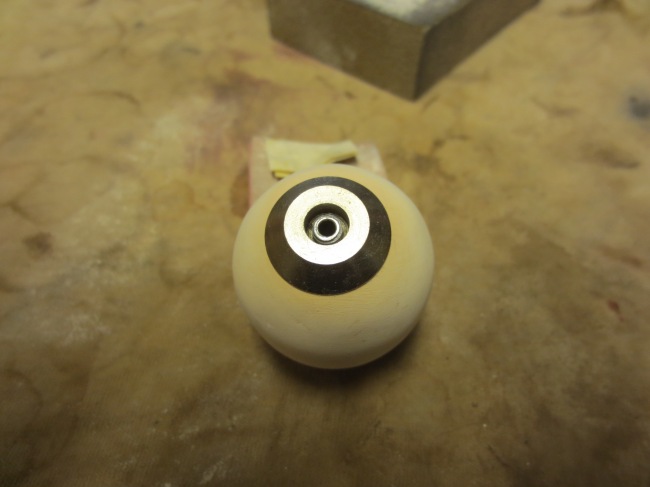
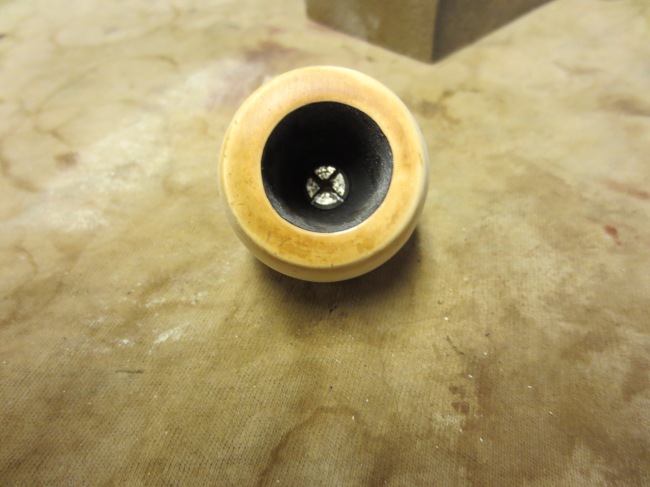
After drilling the bowl to fit the pieces I put it together to see if it all worked. The first three photos below show the bottom plate and the screw attached. I tried to photograph the bowl from a variety of angles in order to show the fit and feel of the bottom plate. The top down photo shows the placement of the screw. The other two photos show the fitted bottom plate. The last photo of the three shows the view from the bottom of the bowl with the screw centered in the bottom plate and the bowl ready to place on the shank.

ImageImageImage

At this point in my work I wanted to see how the bowl fit the barrel and stem. I wanted to determine if I needed to remove more of the meerschaum to ensure a good fit with the barrel. The next four photos give you a look at the pipe bowl fit at this point. There was still much work to do in making the fit perfect but I was getting there and the finished pipe had potential that it would look very good.

ImageImageImageImage

The internal screw was still not sitting flat and deep enough in the bowl to ensure a good tight fit to the barrel. I rode too high in the bowl bottom to really be able to tighten the bowl snugly against the barrel. So I took it back to the drill and inserted a larger bit in the drill and carefully drilled the internal bowl bottom to let the screw seat more deeply. This process took care as I did not want to go too deep into the bottom as that would weaken the bottom of the bowl. I went slowly and checked the seating often until it was the correct fit. The next series of two photos show how I did the drilling and the finished fit of the screw in the bowl bottom.

ImageImage

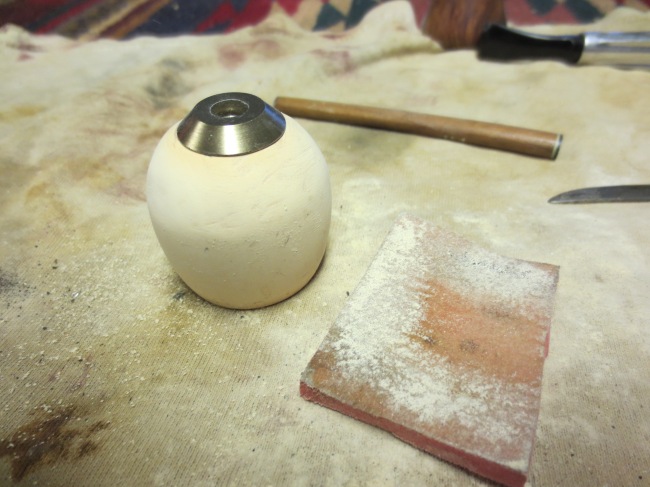
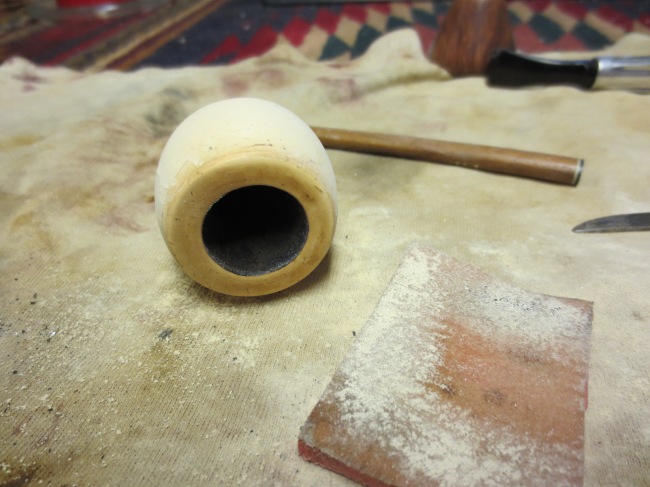
Once the fit of the bottom plate was correct it was time to sand the meerschaum bowl. This was a very messy proposition with the dust being similar to sanding Gyprock or drywall board after it has been taped and mudded. I had no idea that the sanding would be such a messy work. The dust was very fine and permeated everything, my hands and arms were covered with the fine white powder. Even my eye sockets were filled with the dust. I used 320 grit sandpaper to begin the process and sanded out the deeper scratches left by the Dremel and also the deeper gouges in the bowl from its previous history. I then used a medium grit sanding sponge to further remove those scratches and the finer ones left by the sandpaper. The next six photos show the sanding process and the increasingly smooth surface of the reshaped bowl.

ImageImageImageImageImageImage

I stopped sanding at this point and put the bowl back on the barrel to make sure that the edges and bottom of the bowl sat correctly against the top of the barrel. While it was on the barrel I sanded it further with a fine grit sanding sponge. The next three photos show the look of the bowl on the barrel after sanding. The shape and finish is beginning to appear in the process.

ImageImageImage

Once the fit and feel were correct it was time to work on the finish of the meerschaum bowl. Meer is pretty unforgiving in that it shows scratches in detail and as the bowl is smoked and heated any hidden ones suddenly will appear. I figured I would have to deal with that when it happened but in the mean time I would work to minimize that effect. I sanded the bowl with micromesh sanding pads. I used 1500-12,000 grit. The eight photos below show the progressive shine that developed in the bowl after each successive grit of micromesh was used. It was fascinating to me that as I sanded and polished the bowl more of the patina seemed to come to the surface and what was almost white in the newly sanded bowl began to yellow and darken around the top and bottom edges with the polishing.

ImageImageImageImageImageImageImageImage

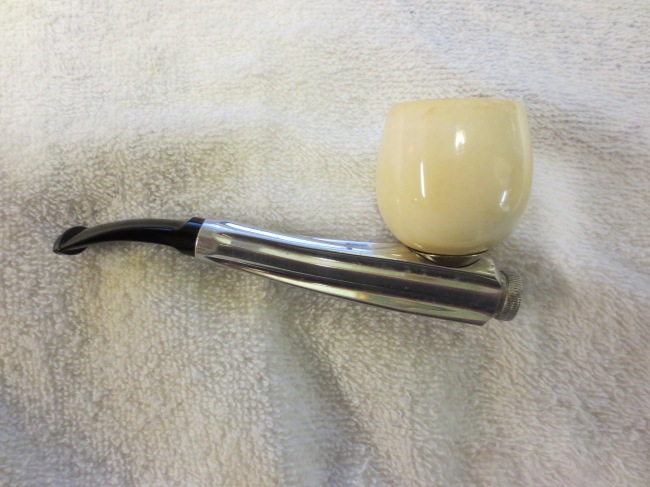
The final series of four photos show the finished bowl on the barrel and ready to use. I am very pleased with the look of this old meerschaum bowl on the newer Kirsten metal barrel. The marriage of old and new is actually quite pleasant to look at. The feel in the hand is also very nice and the bowl has a natural shine to it from sanding with the micromesh. I gave it a coat of white beeswax after the sanding and hand polished it. I will continue to give it coats of beeswax as I use it.

One thing I have learned in the process of working this meerschaum bowl to fit the barrel is that there is always a use for what appears to be a throw away bowl. I will think long and hard before I discard a pipe bowl as junk because who knows what beauty lies just beneath the surface and what a pleasant new life can be resurrected from the old pipe.

ImageImageImageImage

Kirsten Generation 1, 1.5, 2, 3


Blog by Dave Whitney and Steve Laug

I wrote Dave Whitney for permission to use his material in this post. He wrote back granting that permission and asked that I credit it as coming from OLD BRIAR by Dave Whitney. Thanks Dave for allowing this information to be posted here. What follows is taken from correspondence with Dave that later became the article in his book.

Over the years I have had several Kirsten pipes of different ages and different composition. I have always found it difficult to tell the difference between the various pipes in terms of their age. I have ordered replacement parts from Kirsten in Seattle and I have also cannibalized older ones that I have here that are not useable. From these I have traded and bought others. One of the early ones I had stumped me in terms of the markings and stampings on the barrel and the bowl. I wrote to a fellow on one of the online pipe forums (I now know that it was Dave Whitney as I have since found an article by him on Kirsten pipes that I have read and have written to him. I kept the information he gave me and finally got around to editing it and putting it on the blog.) My questions to him revolved around how to tell age of Kirsten I had in my hands.

He replied with the below information. I found it very helpful and have not found other places to get this info so I thought I would post it here for all to use. (Since writing this I have found that Dave has developed the material in his book Old Briar – it should be consulted for more information).

“Kirsten’s are fun to try and figure out, especially when trying to buy then on eBay. Years ago, when I first started, I finally got a hold of a fellow who “Restored” Kirsten’s for quite a long time. He taught me about the Generation system, and it immediately made life easier. I could ask the seller to take the pipe apart and tell me about the O-rings. I could even call the company and refer to the Generation parts I wanted, and at that time they knew exactly what I was asking for…the last time I called was three years ago, so who knows now. This is all from memory……”

All Kirsten pipes are made up of five basic components – mouthpiece, radiator body or barrel, valve, bowl and bowl screw (a sixth component, the bowl ring, is found in many Kirstens. They were originally designed in 1936 by Professor Frederick Kirsten – the man who invented Boeing’s first wind tunnel – after he has been advised by his physician to stop smoking. Kirsten was looking for a way to trap the tars and moisture from tobacco and the Kirsten pipe was his solution.

Kirsten2

Generation 1 – 1936-1958
The wooden bowl on this generation connects directly to the metal barrel and there is no metal cup spacer. It is a pretty flush fit that goes flat against the barrel. On the underside of the metal barrel it is stamped with one or more of the following “Pat. Appl. For” (1936-38) and “Pats. & Pats. Pending” (1938-1958) over “Made in USA” – S” (or applicable size – S, M, L). There are no O-rings on the bit or metal shank insert. They came in the following models:

Straights

Companion First edition in rough finish.

S Standard 1st generation with full-length cooling fins

M Medium

L Large

A Aristocrat Extra large 1st generation

Generation 1.5 – transitional period – mid to late 50’s
This was an experimental stage. Kirsten realized that the bit and insert were prone to seizure as the condensate dried. This model always has O-rings on the metal insert, and later models can have O-rings on both. Same markings, as I remember it. There is no metal cup spacer under the bowl. This generation has O rings either on the valve or mouthpiece but no O rings on the other end. This transitional period is stamped “Pat. Pending” and “Pats. & Pats. Pending” some with “Made in U.S.A.  It seems like the company was using surplus parts to combine into this series of pipes. They came in the following models:

Straights

K Companion

M Medium

L Large

They came in a polished finish and later white Heritage finish. There were a few other Transition Models:

Thrifty – a nice early model with black offset valve that works in reverse. There is an O ring on valve but none on the stem

No Letter/No Name – This one is an unmarked short pipe with a different valve and O ring. There is not an O ring on stem

Generation 2 – 1958-1985
Markings on underside of metal shank “Made in USA XL” (or app. size) and “Pat. & Pats. Pending”. The presence of O rings on both the valve and the mouthpiece and the metal cup spacer under bowl are the biggest thing that separates the Generation 1 from the Generation 2 pipes. These O rings help provide a tighter seal when the stem and apparatus are inserted into the radiator stem. Instead of “O” rings, the machining of the Generation 1 pipes was so precise the fit was exact. This generation came in the following models:
Straights

K Companion

G Gem

S Sportsman

SX Sportsman Brass

M Mariner

MB Mariner Black

L Lancer

Quarter-Bents

A Aladdin

V Vagabond

CX Cavalier Brass

T Tyrolean

Full bents

W Westerner

B Beau Geste

P Premier

F Firesider

Generation 3 – 1985 to the present                                                                         

All current models stamped “Made in U.S.A.” and all have O rings on both the valve and stem. They come in the following models:

Straights

JX Jewel Brass

M Mariner

L Lancer

Quarter-Bents

RX Regent Brass

H Horizon

Full bents

EX Esquire Brass

DX Designer Brass

FOOTNOTE ON VARIATIONS IN LETTER DESIGNATIONS:  Generally speaking, the X added to a model letter like “S” stands for brass tone finish, i.e., “SX.” There is one exception to this: In the 1960s Kirsten made a brass tone model with an “Eternalum” finish that gave the brass tone an antiqued look. They were marked with a “X” designation following the model letter. The B added to a model letter like “M” stands for black finish, i.e., “MB.”

He ended his answer to the questions with this great note: “Now the fun part….this is how they came from the factory. What people did to them after they got them is what makes it an inexact science. Parts for the different sizes are not interchangeable, except for the bowls. I have a Gen 1 – M and -S…nothing interchanges but the bowls. If you get a Gen 1 that has been badly abused, you can end up losing either the bit or metal insert, or both, no matter what you do or how long you try.”

References used:

Whitney, Dave (2009) Old Briar – Pipe smoking on a budget. pipesbywhitney

http://www.kirstenpipe.com/