Blog by Steve Laug
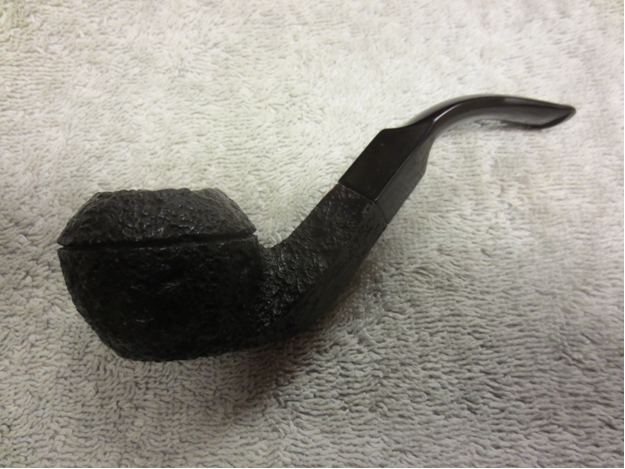
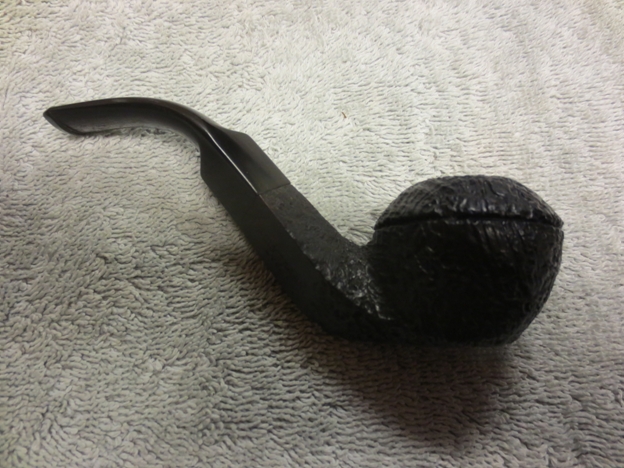
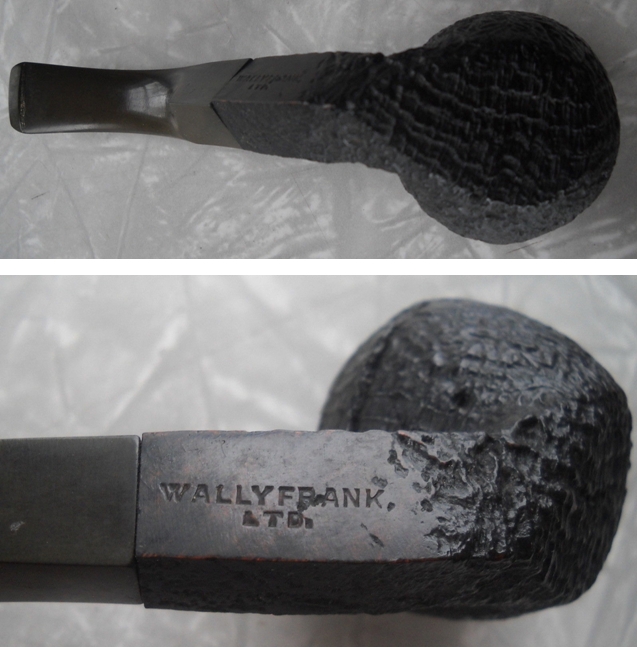
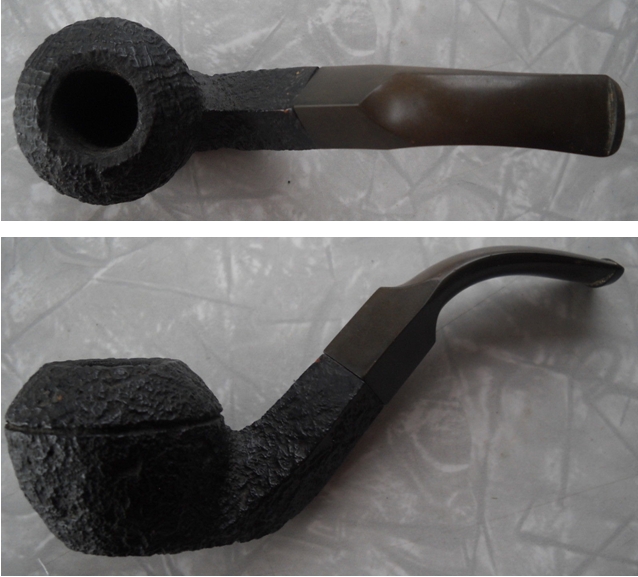
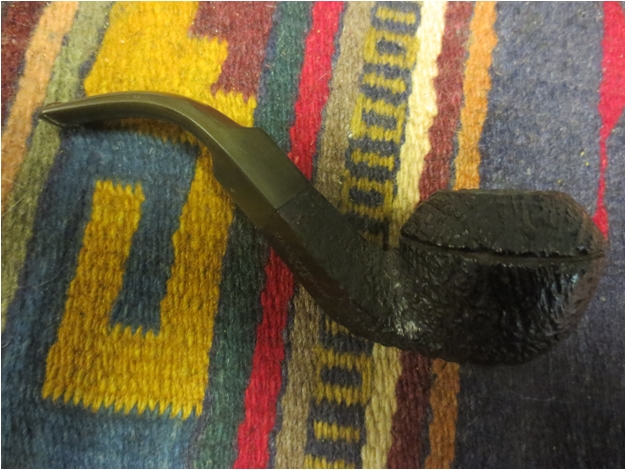
Every once in a while I get the urge to just sit and work my way through the estate pipes on the various Ebay sites. I rarely if ever pick anything up anymore unless it is something that is unique and just grabs me. The last time I did the scan of the various sales I came across this old Wally Frank sitter. It combined the look of a Rhodesian with a diamond shank like a Bulldog and a sitter base. It had a very English made pipe look in my opinion. The sandblast on the bowl and front portion of the shank appeared to be deep and craggy. The rustication of the last third of the shank, a feature that I find often on sandblasted Wally Frank pipes, looked good and the stamping was clear and readable. The bowl appeared to be in decent shape and finish looked good in the photos. The stem was oxidized and the seller noted that it sat off centre slightly or did not line up with the shank. I figured if it had a metal tenon that was fixable and if it was a push tenon it was a non-issue. I was hooked. I bid on it and won, only to find out that the shipper never shipped out of the US. We corresponded and he decided to send it on to me. For that I thank him. The next series of six photos were included by the seller in the Ebay write-up.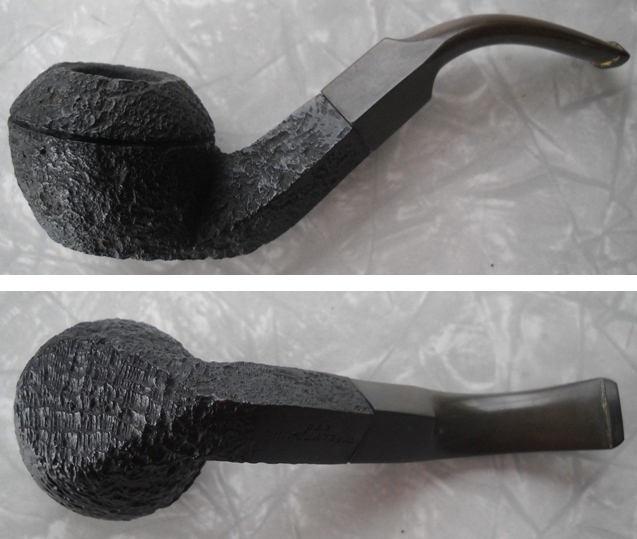
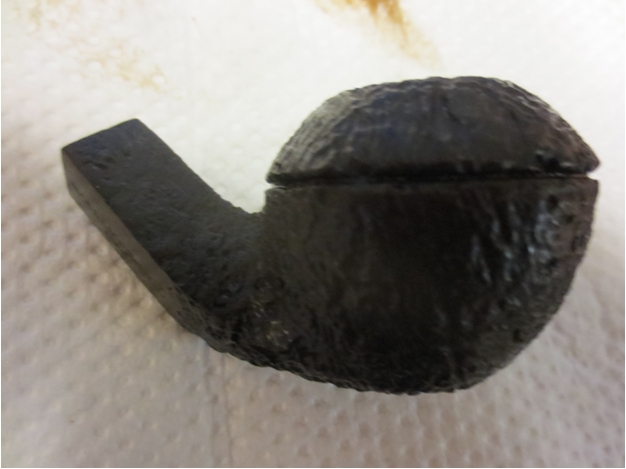
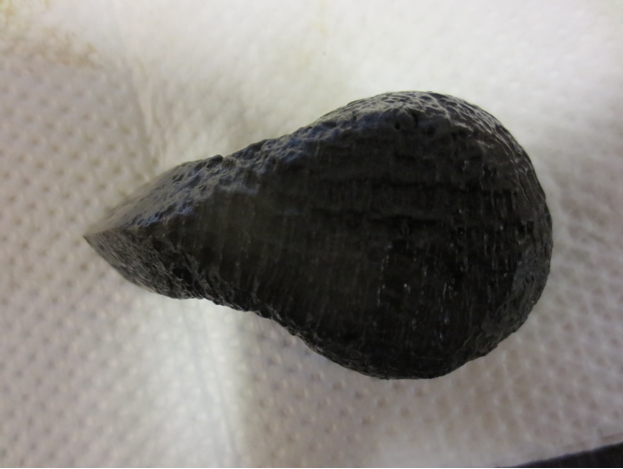
 When the pipe arrived, I opened the box and removed the pipe. The blast was even better than the photos had shown. The stem oxidation was pretty much as shown above. The misaligned stem was no issue as the stem had a push tenon and was only a matter of turning the stem slightly. The airway was open but dirty with tars and grime. The bowl had a light cake that thickened toward the bottom of the bowl. The edges of the shank and the stem were sharp and clean showing that it had not been buffed much in its history. There were a couple of spots on the edge of the rim and shank at the union next to the stem where the stain was worn or missing. The rim itself was dirty with tars. The stem was clean though oxidized with no tooth marks or chatter. The button was crisp and sharp and the slot was an open oval that flared into the stem opening up into the airway like a funnel. I took a few photos of the pipe when I took it out of the box.
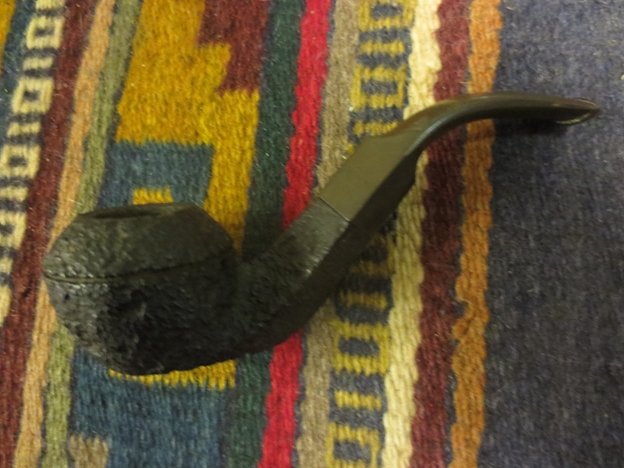
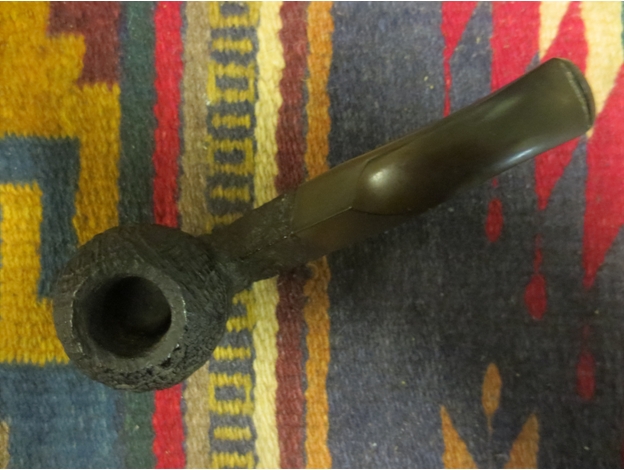
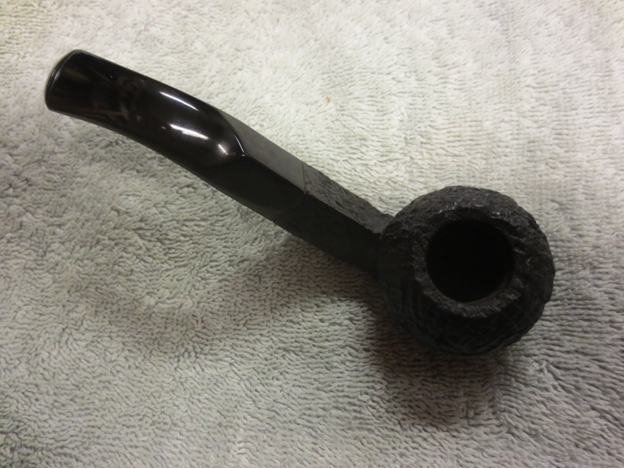
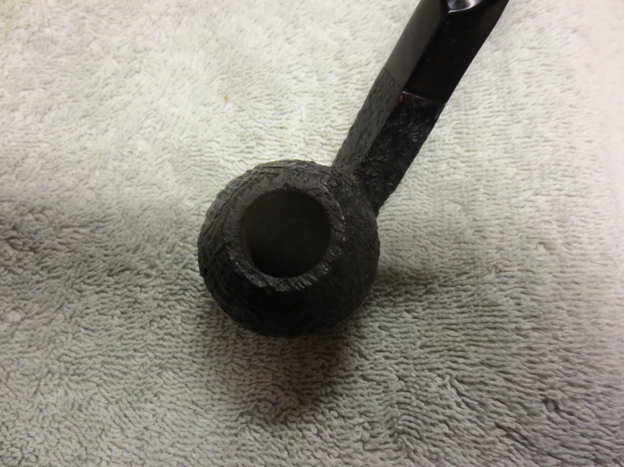
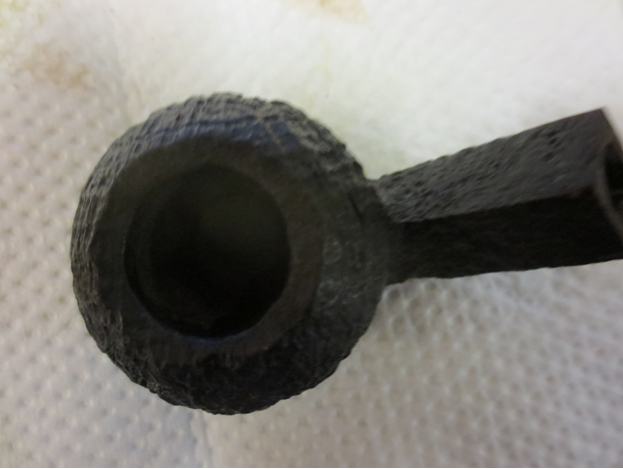
 The photo below shows the situation with the cake in the bowl. It was not centered or evenly built up around the bowl so it would need to be cleaned up and adjusted.
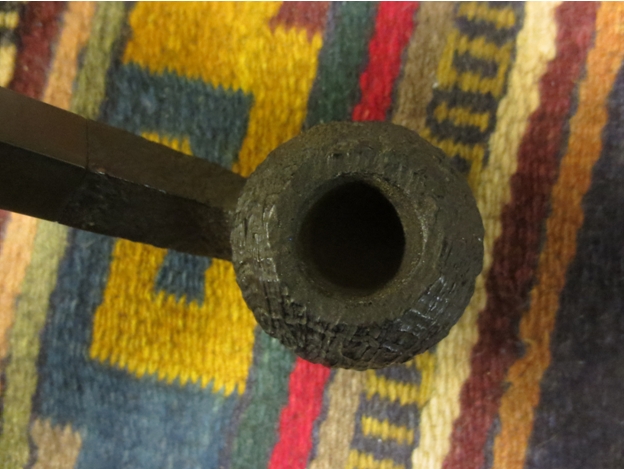 I reamed the bowl with a PipNet reamer and took the uneven cake back to bare wood. I used the smallest cutting head to begin with and worked my way up to the second cutting head. With these two I was able to clean out the cake. The bowl shape is kind of combination of a V and U shape. The sides are U-shaped to about a half-inch from the bottom of the bowl where it shifts to a V shape. I scrubbed the rim surface with a soft bristle brass tire brush to clean off the tars and oils built up there.
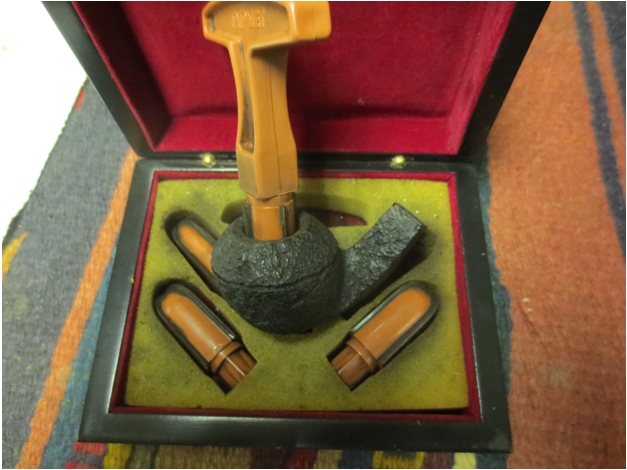
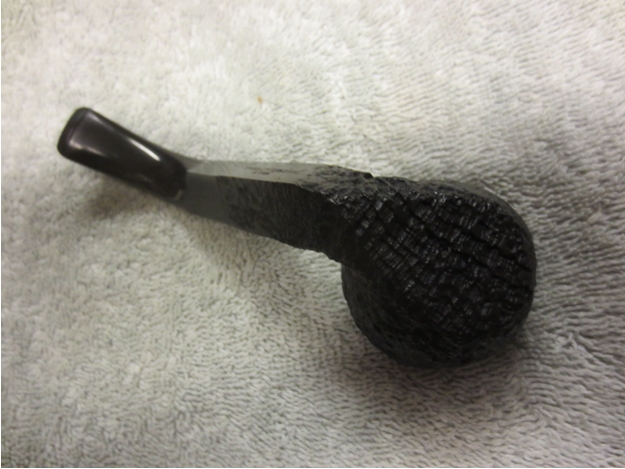
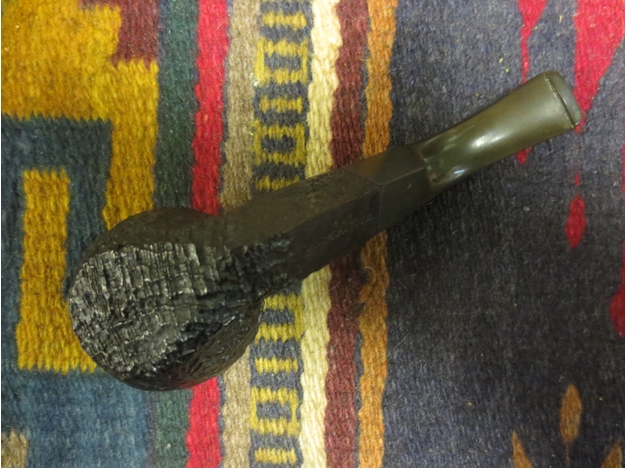
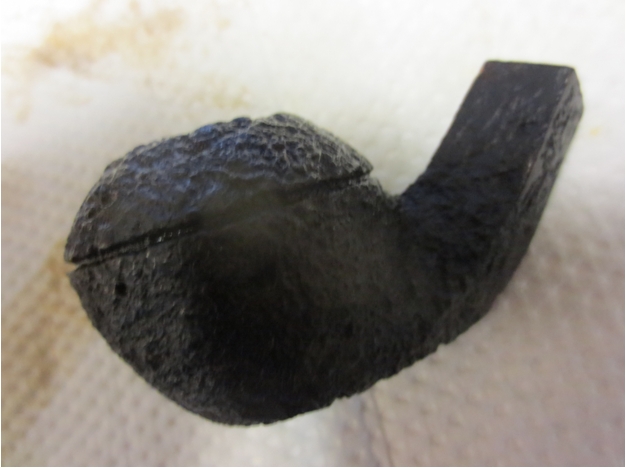
 I scrubbed the bowl and rim with Murphy’s Oil Soap and a tooth brush. Once I had scoured it with the soap I put a thumb over the bowl and rinsed off the soap with running water. The photos below show the pipe after I had scrubbed, rinsed it and dried it off with a soft cloth.
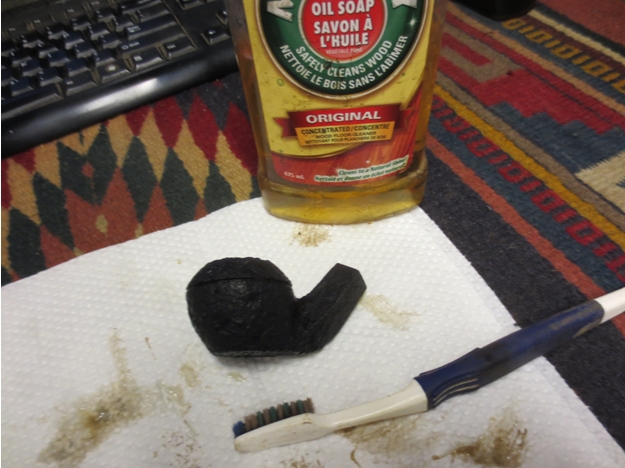
 After cleaning the briar I gave it a coat of Conservators Wax which is a microcrystalline wax cleaner. I buffed it with a shoe brush to bring a shine to the bowl.
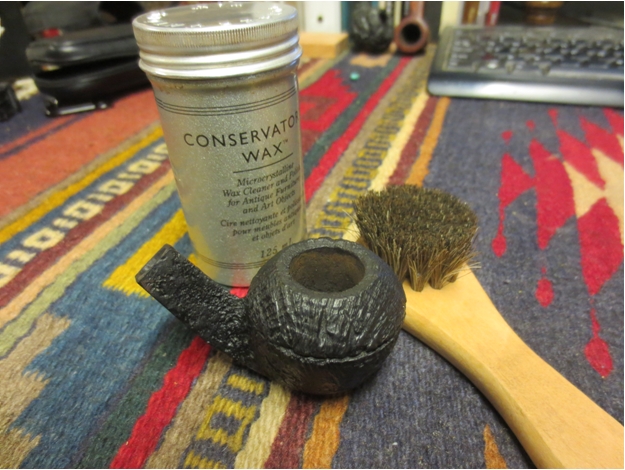 I put the stem in a jar of Oxyclean to soak and raise the oxidation to the surface. I let it sit overnight to soak. I then returned to the inside of the bowl. (NOTE: The reason I give the bowl a coat of wax before cleaning the inside of the shank and bowl is because I want to protect the finish when I am cleaning out the inside).
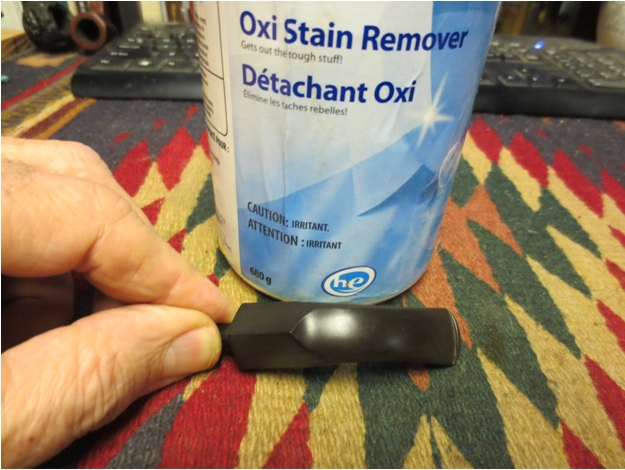
 I cleaned out the shank with isopropyl alcohol and cotton swabs and the airway with pipe cleaners. I cleaned it until the cleaners came out with no grime on them.
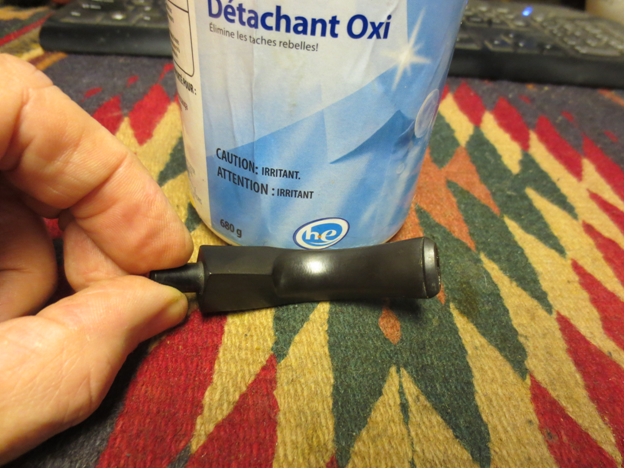
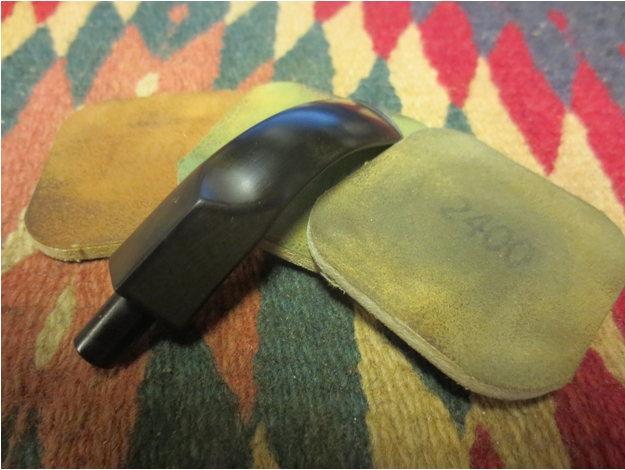
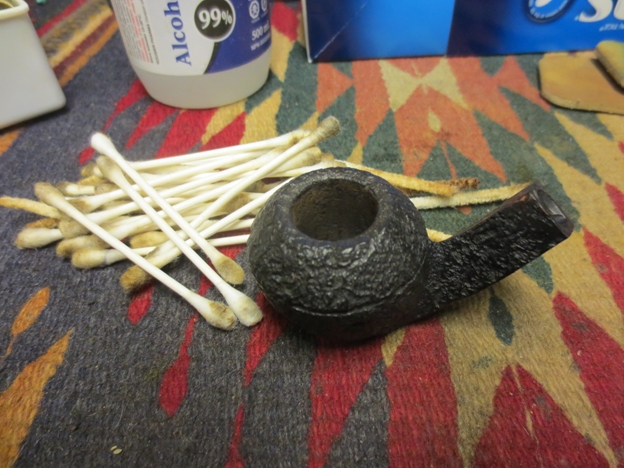 In the morning I took the stem out of the oxyclean and dried it off with a paper towel. The roughness of the paper towel removes the oxidation that has been raised to the surface of the stem. Once it was dry I slipped a plastic washer on the tenon and reinserted it into the shank of the pipe. The washer allows me to sand all the way to the edges of the stem without rounding the edges at the shank junction. I started with a medium grit sanding sponge and worked through a fine grit sponge and fine grit sanding block. I then wet sanded with 1500-2400 grit micromesh pads and dry sanded with 3200-12,000 grit pads. I rubbed down the stem between each group of three pads with Obsidian Oil and then moved onto the next set of three. When I finished I buffed the stem with White Diamond and gave it a final coat of Obsidian Oil and let it sit until it had dried.
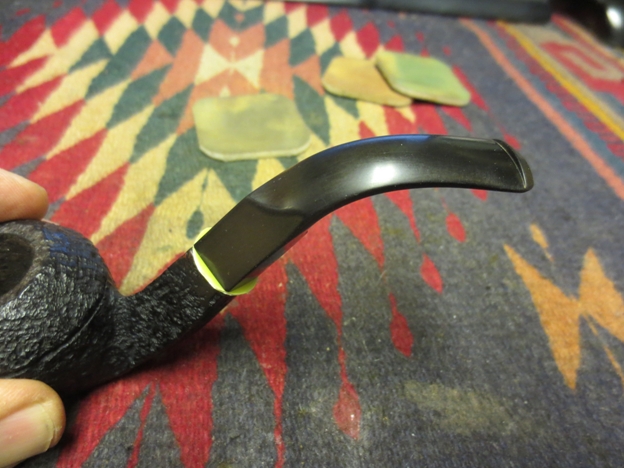
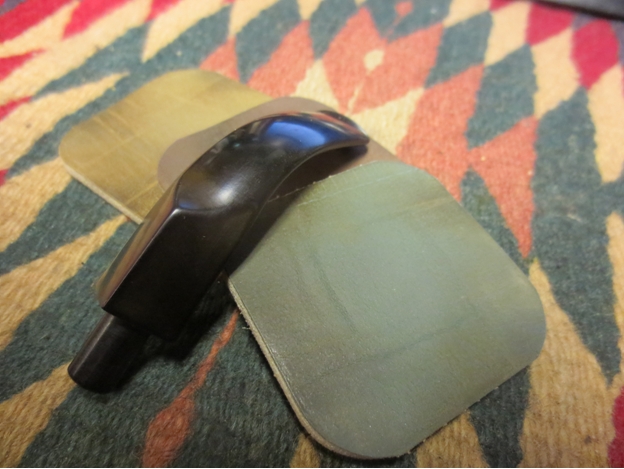 (NB In the photo below I left the plastic washer in place on the stem while in the two above I removed it for the photo)
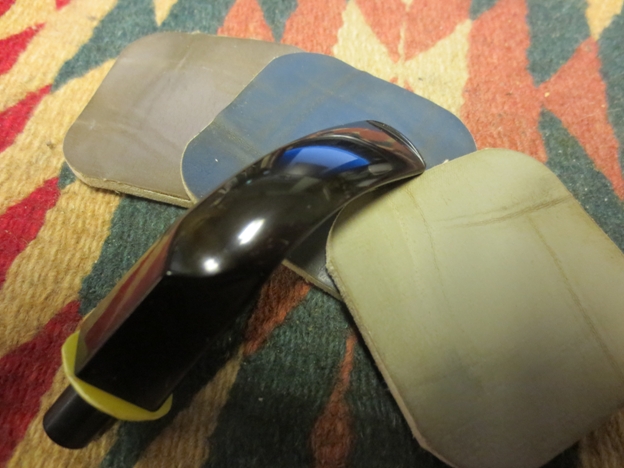 I put the stem back on the bowl and gave it a final buff with a blue polishing bar on the buffer. This polishing compound is a plastic polishing compound (Blue Diamond maybe, can’t remember the name). I finished by giving the bowl a buff of carnauba wax (light touch so as not to gum up the blast finish) and then multiple coats of the wax on the stem. I buffed the whole pipe with a soft flannel buff for the finished shine on the stem and the bowl shown in the photos below. The pipe is ready to be christened with its inaugural smoke this afternoon while I go for a walk in the neighbourhood. I have chosen a Virginia Perique blend called Pilgrim’s Muse that I purchased from the Country Squire Tobacconist. It is a great smoking tobacco with a good flavour.