Blog by Andrew Selking
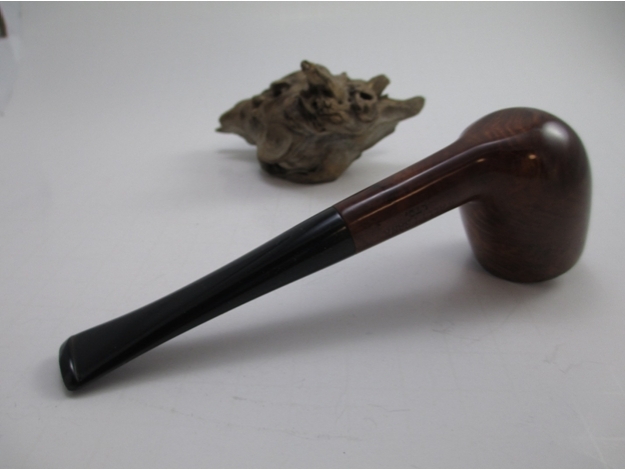
I promised Steve that my next restoration would not be another chunky diamond shank pipe, so I decided to do a Wally Frank Natural. Wally Frank was a New York tobacco shop that sourced its pipes from Charatan’s, Sasieni, Weber, and other European pipe makers. This is my second Wally Frank Natural and like the first, it is very well made. The briar is not very exciting and it has a small fill on the bottom, but the pipe is very light weight (1.3 ounces) and the lines are elegant.
When I received the pipe, it looked fairly clean. It had some tar build up on the rim, slight oxidation of the stem, but not chatter and the bowl was well reamed.
 I dropped the bowl in the alcohol bath and placed the stem in a Oxyclean solution. The only challenge I anticipated with this pipe was the fill on the bottom, but I had a new secret weapon; CA glue accelerator.
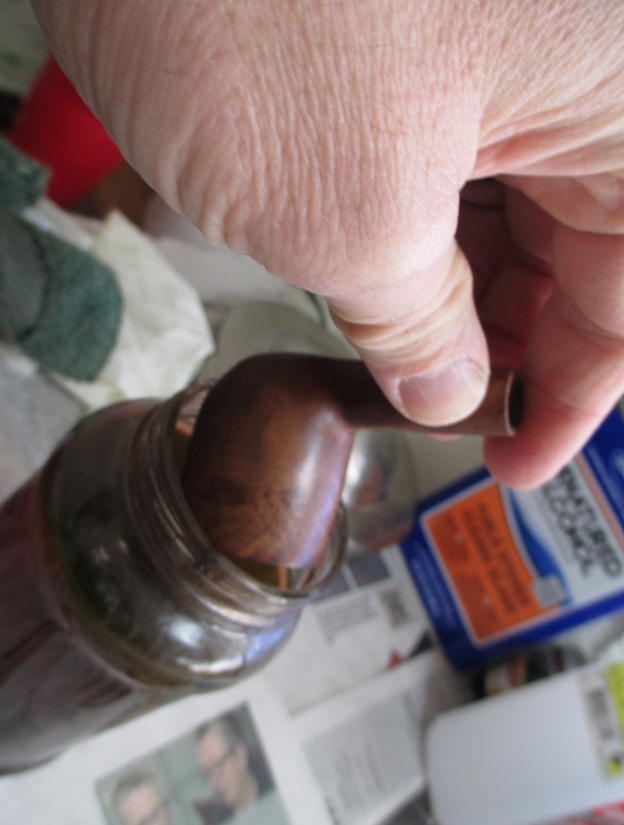 After soaking, I used a pipe cleaner and the Oxyclean solution to get the worst of the gunk out of the stem.
 Next I reamed the bowl with my T-net reamer.
 Everything looked pretty good to that point and I figured this would be an easy clean up. Boy was I wrong! I did a retort on the bowl first.
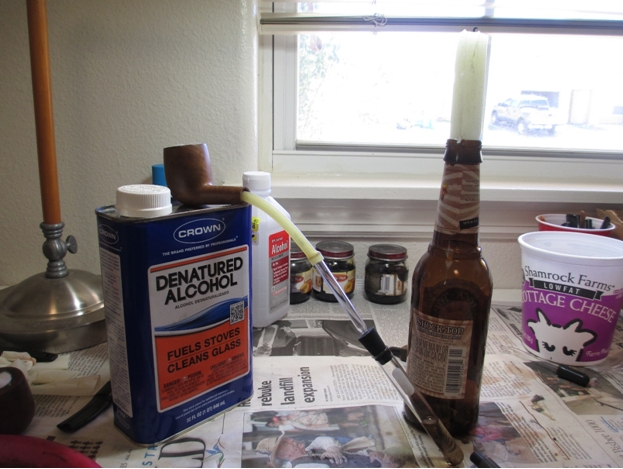 The pipe cleaning brush (available in the baby section at Walmart) came out loaded with gunk.
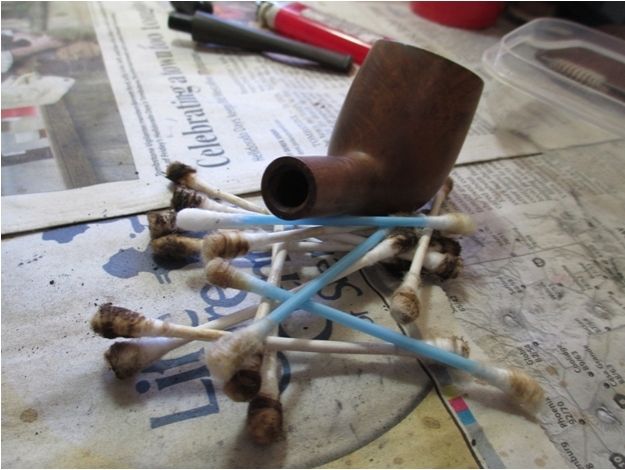
 I did the retort four additional times, using the brush after each try, before finally moving on to pipe cleaners. Then I used a pile of q-tips. The only thing I can think is the previous owner smoked a goopy aromatic and didn’t use pipe cleaners afterwards.
 Next up, retort the stem.
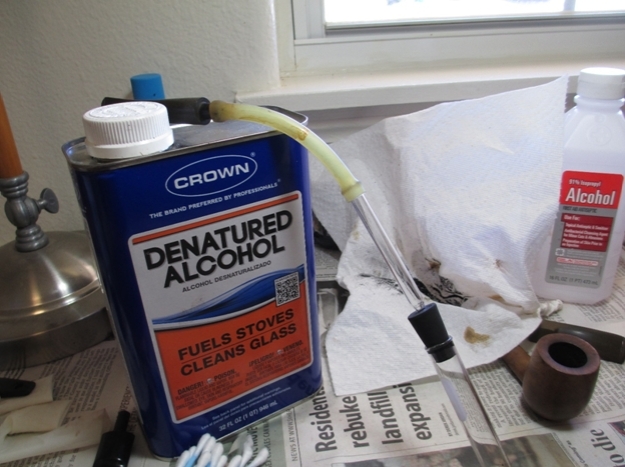 The stem was just as nasty as the shank, and I repeated the process four times. After numerous pipe cleaners, it finally came clean.
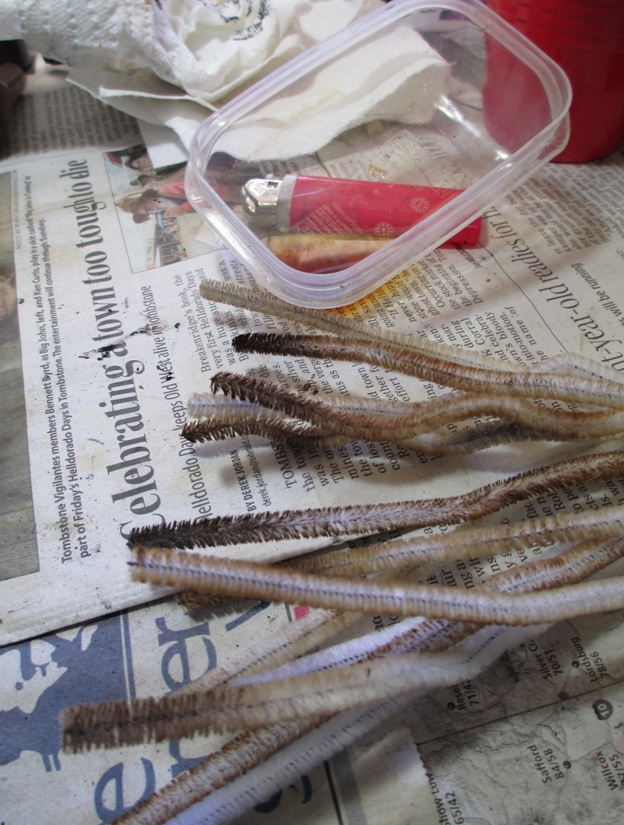 My next challenge was the fill on the bottom of the bowl. I have an old shank (a past victim of the buffing wheel) that I use for briar dust. I use a file to grind off the dust.
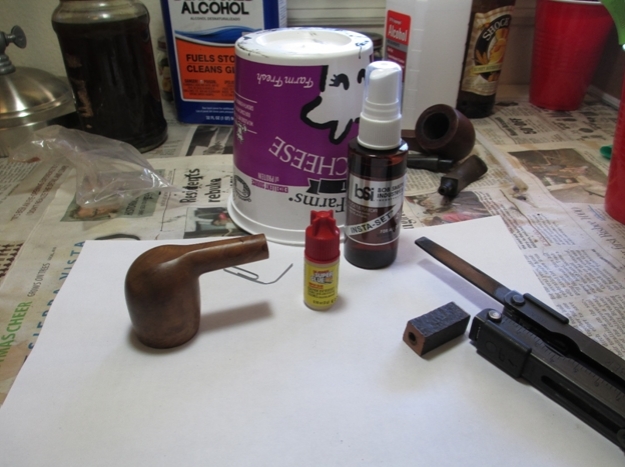 I put a drop of super glue on the bottom of the cottage cheese container and applied it to the fill area with the tip of the paper clip. I then packed the briar dust on top and sprayed it with the accelerator.
 I’m going to work on refining that technique, it was a little messier than I like and the resulting lump of briar dust took more sanding than would have been necessary if had made the fill only as much as was needed.
Next I turned my attention to the stem. I did the usual progression of 400 grit wet/dry with water, followed by 1500-2400 grit micro mesh with water. I then used a progression of 1500-12000 grit micro mesh on both the bowl and stem.
 Although the pipe had a natural finish on it, I decided to darken it slightly to help cover the fill. To do this I used Kiwi Parade Gloss brown shoe polish.
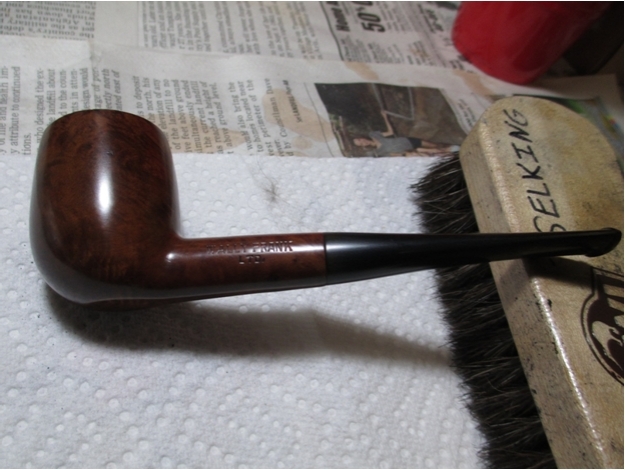
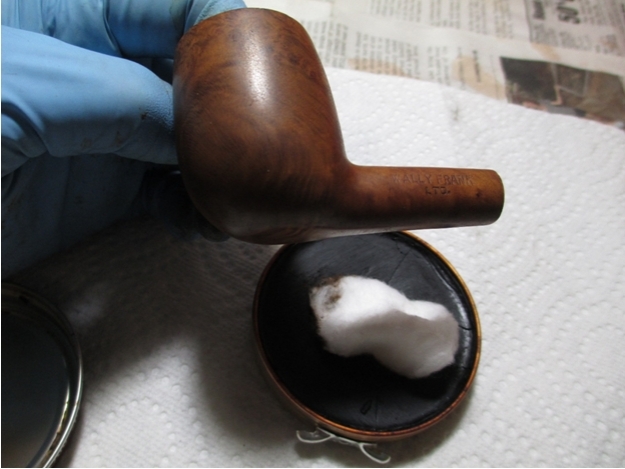 After applying the shoe polish I used a heat gun to briefly heat it up then buffed it out with a shoe brush. Here is the results after using the brush.
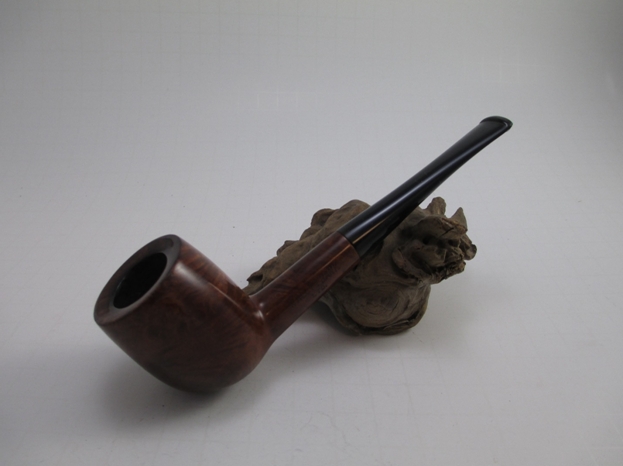
 I had an uneventful trip to the buffing wheel, and here is the end result.
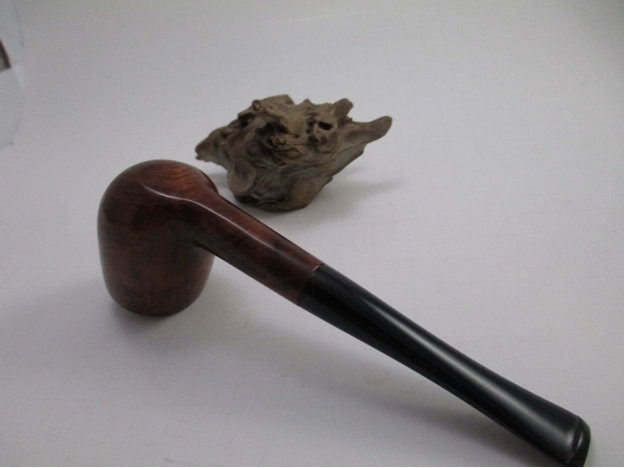 Here is a close up of the fill.
 I hope you enjoyed this write up. If you happen to stumble across a Wally Frank Natural, I would encourage you to buy it. They are a good value for the money.


