Blog by Steve Laug
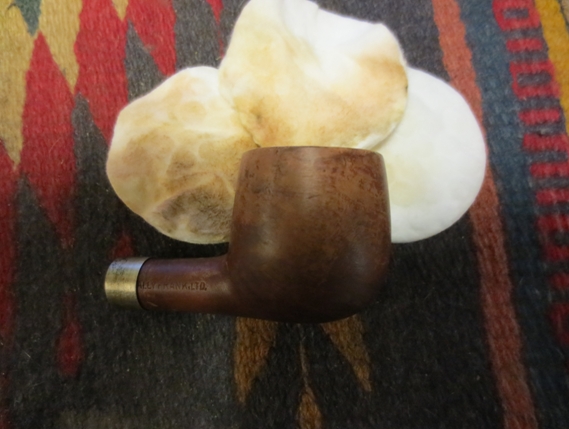
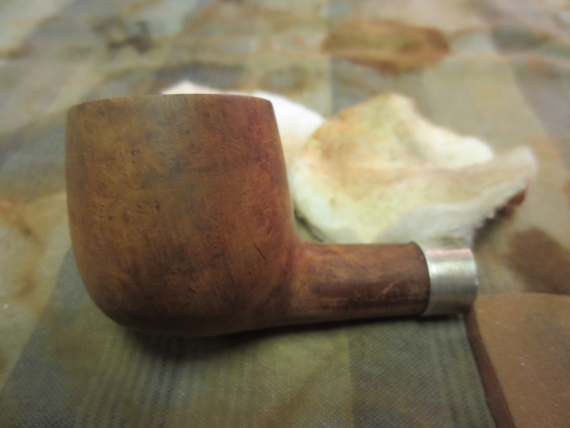
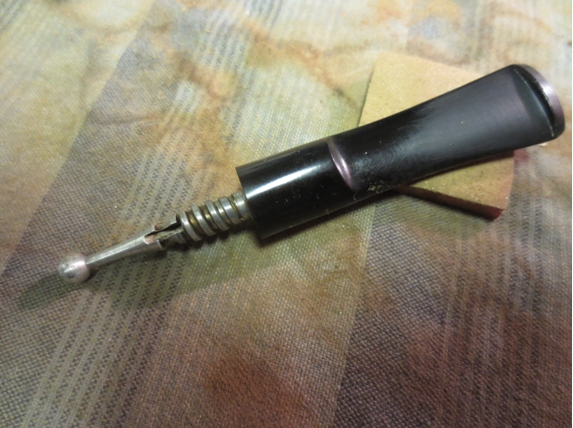
I gravitated toward restoring this old Pot shaped pipe next because it looked rough with a worn finish and what I thought was an oversized band on the shank. When I took it out of the box and looked at it more closely my first impression was that someone had banded it post manufacture. It covered the stamping on both sides of the shank so that on the left the HUNTLEIGH stamping only read HUNTLEI and the Wally Frank Ltd. on the right only read ally Frank Ltd. On the flat bottom of the shank it is stamped Imported Briar in a Germanic Script. You can imagine my surprise when I found that what had appeared as a band was not. It was metal mortise and cap fitting that held a threaded screw mount stem and tenon. The tenon had a stinger apparatus that extended into the shank. Now the mystery – I don’t know if this was how the pipe was shipped from Wally Frank or if it was a later addition to a favourite pipe. The saddle stem appears to be original and fits against the cap perfectly. It is the same diameter as the shank of the pipe.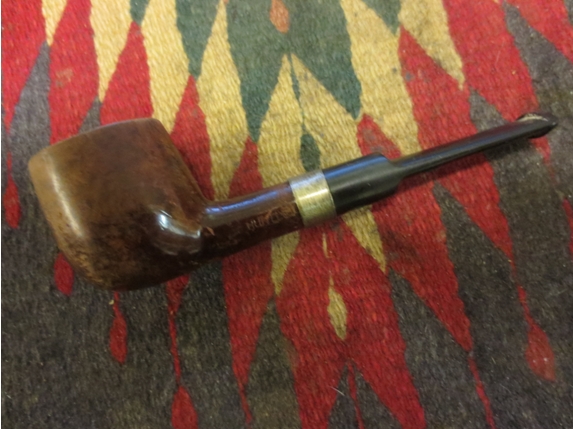
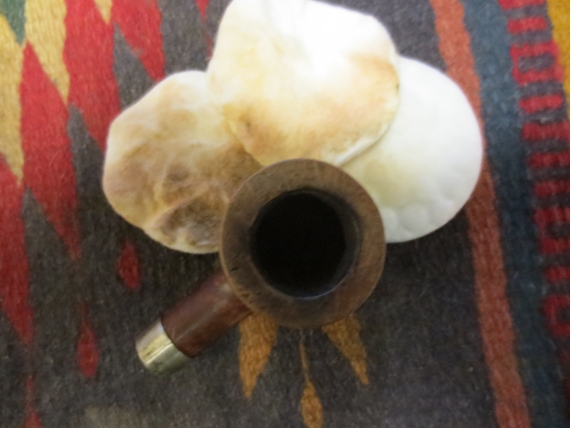
 The finish on this old boy was very tired. The finish on the top half of the bowl was worn off while on the lower half it had an old varnish coat that was peeling away. The outer edge of the rim was not beat up or worn at all. The inner edge was slightly damaged and had nicks in that made the bowl out of round. The top of the rim was damaged with small pin prick holes that look like they came from knocking out the pipe on a rough surface. The end cap/mortise insert was polished aluminum and it was oxidized. The stem had a lot of tooth chatter on both sides from the button up the stem about an inch. The button itself had nicks in it and there was a small tooth mark on the top and bottom of the stem next to the button in virtually the same spot. The stinger was quite clean. The bowl had been reamed out recently.
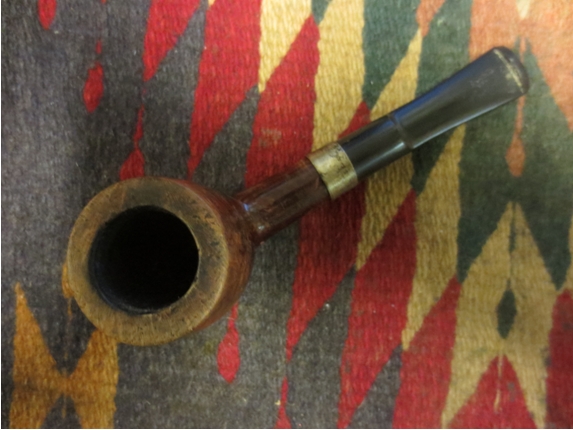


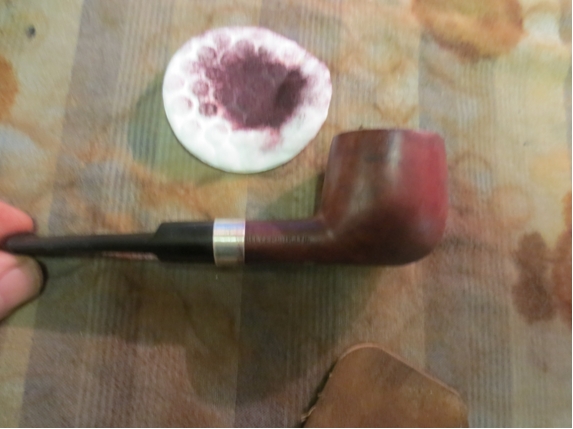
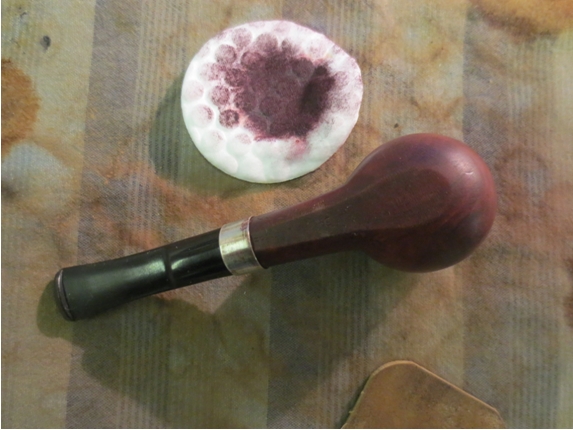
 I decided to start with cleaning up the finish on the bowl. The peeling varnish and overall worn and tired appearance bugged me so I started there. I wiped the bowl down with acetone on cotton pads to remove as much of the finish as possible.
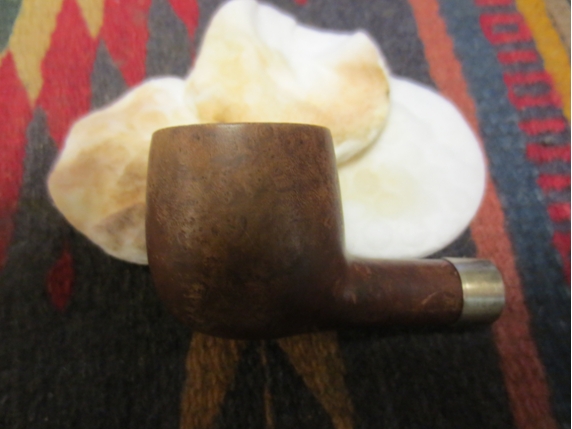
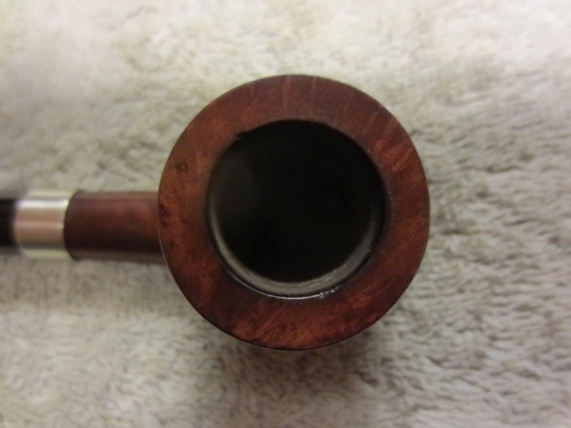
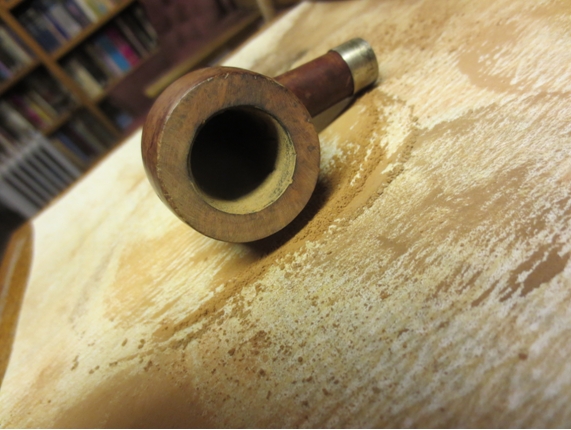
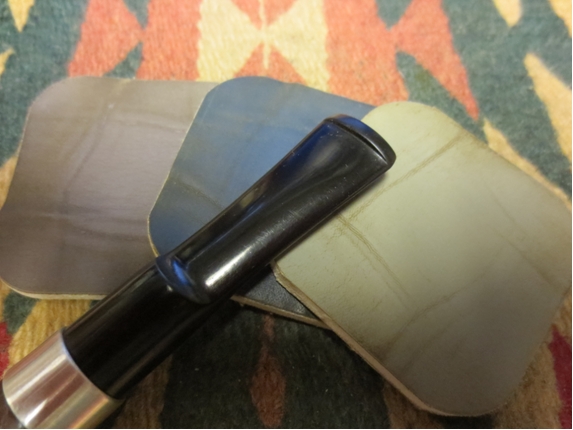
 I mentioned above the damage to the rim surface so I have included the first photo below to show a close up view of the damage. I topped the bowl with 220 grit sandpaper on a topping board and removed the damaged surface. I sanded until the rim was smooth and the pinpricks were gone.
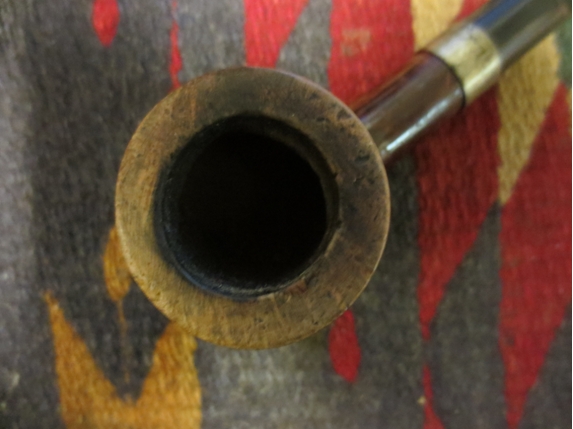
 With the rim clean and the finish partially removed I decided to drop the bowl in my alcohol bath and let it soak awhile. I figured the alcohol would loosen what remained of the finish and also lend a patina to the sanded rim and the bowl. When I removed it from the bath after an hour of soaking it looked pretty good – as long as it remained wet!
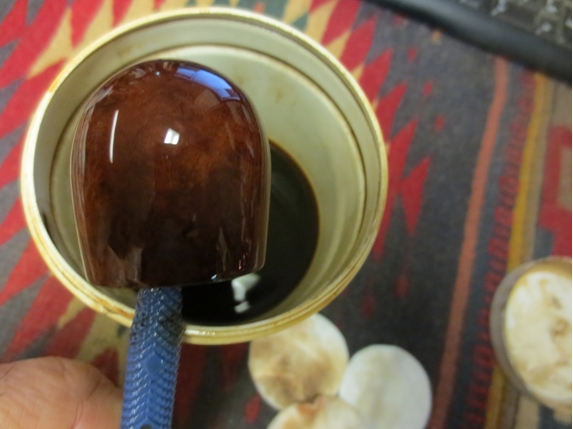
 Once I dried it off I could still see the line around the bowl where the finish had been and where it had worn off. This was a stubborn bowl. I sanded it with a medium and a fine grit sanding sponge. I also repaired some of the fills that were pitted with super glue and briar dust. The next two photos show the bowl after I had sanded the finish off. It was finally getting to the point where I could start again with the finish. There were many imperfections and fills in the bowl and shank. This one was going to be a challenge. I knew I could not remove all of them but I wanted to give the old pipe a bit of dignity and take away the tired looking finish.
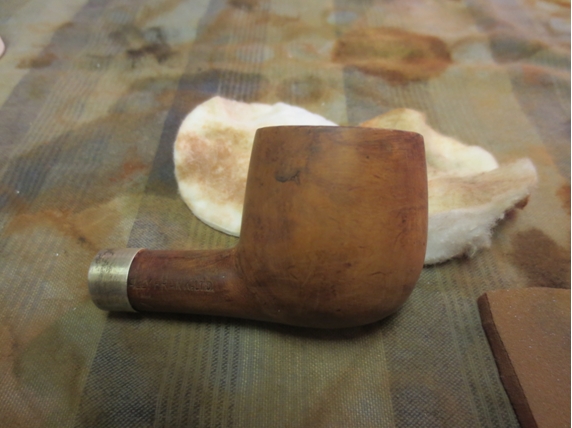
 While I reflected on what to do with the bowl I worked on the stem. I sanded the tooth chatter and tooth marks with a folded piece of 220 grit sandpaper. I was able to remove all of the tooth marks and chatter. The stem would clean up nicely.
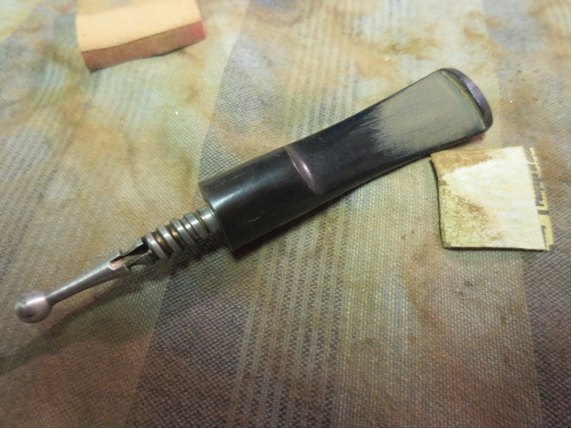
 I sanded the stem with a medium and a fine grit sanding sponge to remove the scratches left behind by the sandpaper. The stem surface was free of marks now but still needed to be polished to bring back the shine to the vulcanite.
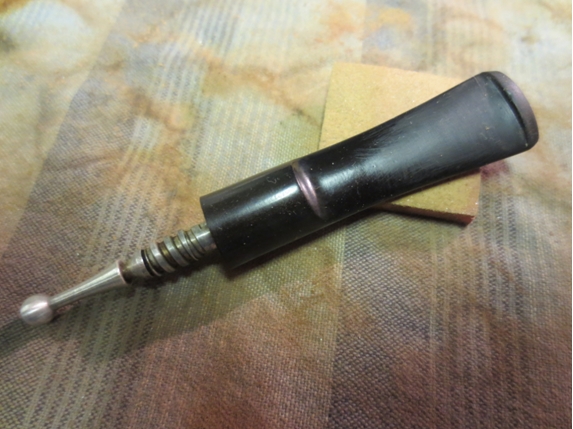
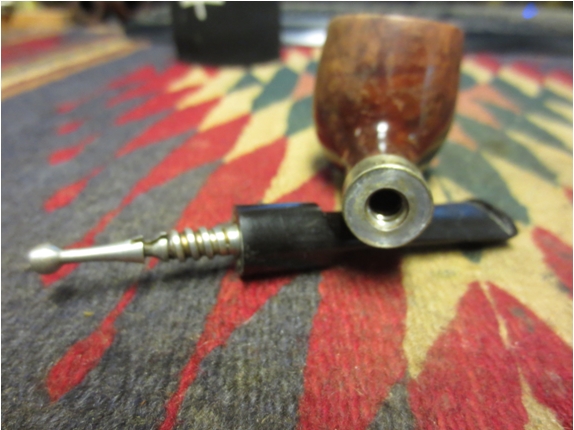
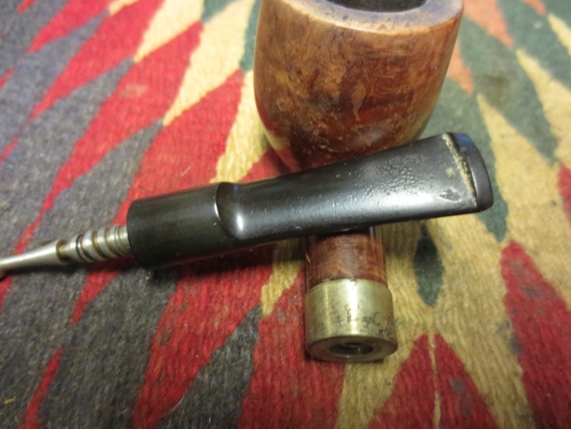
 I cleaned out the shank and stem with pipe cleaners, cotton swabs and isopropyl alcohol. The dirty portion of the shank was the grime in the threads of the mortise. The airway ahead of the metal mortise was clean. It took a bit of scrubbing but I was able to clean out the grime. The internals of the shank were clean. I ran pipe cleaners through the stem and stinger. I was surprised that I could easily run a pipe cleaner from the slot to the bowl without major issues with the stinger. Once it was clean I threaded the stem on the shank to see what the pipe looked like so far. It had come a long way and had the potential to turn out to be a good looking pipe.
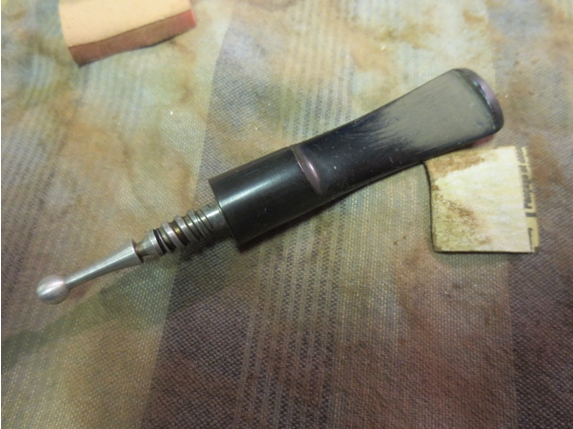
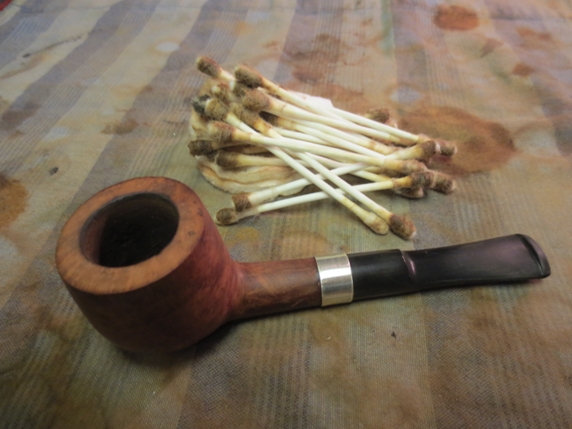 I wiped the stem down with a damp cloth and then worked it over with the micromesh sanding pads. I wet sanded with 1500-3200 grit pads this time and then dry sanded with 3600-12,000 grit pads. I rubbed the stem down with Obsidian Oil between each set of three pads. I also used the later grit pads to polish the aluminum of the mortise insert. After sanding the stem with the 12,000 grit pad I rubbed it down a final time and let it soak in before taking it to the buffer.
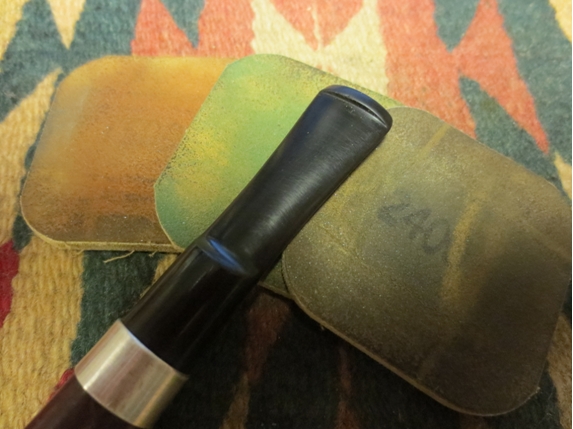
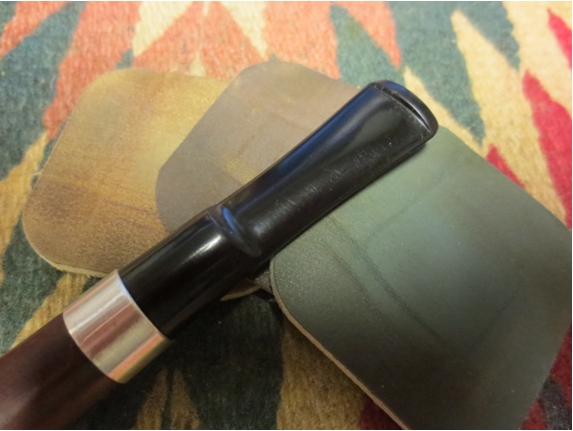
 I buffed the stem with White Diamond and a blue plastic polish bar that I picked up. It really gives the stem a deep shine.
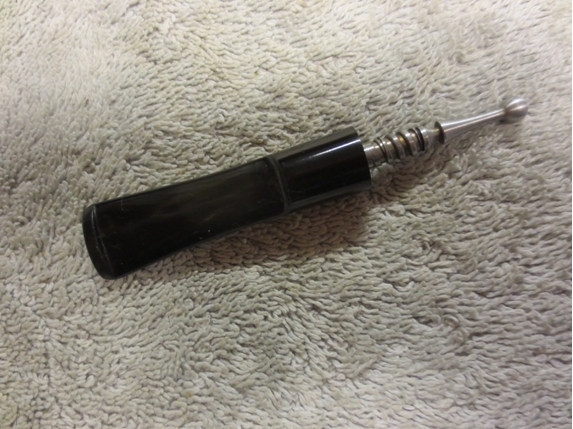
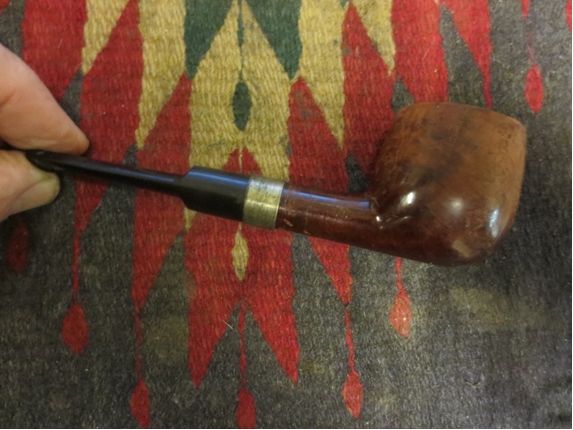
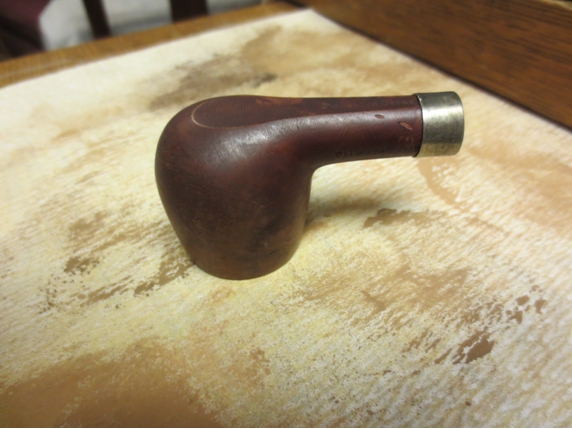
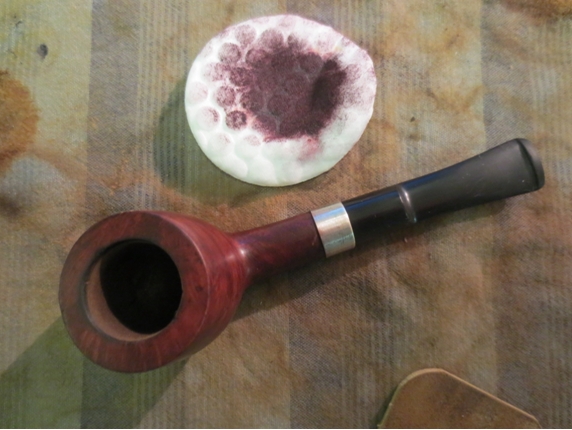
 I stained the bowl with several coats of a cherry aniline stain and flamed it. In the photos below the pipe is shown after a light buffing with a soft cloth. (These photos were taken before I polished the stem.)
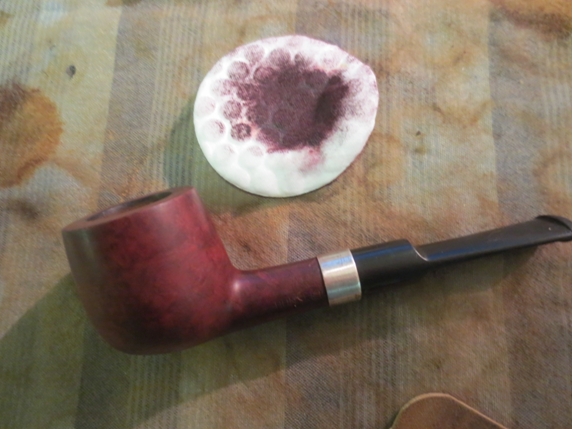
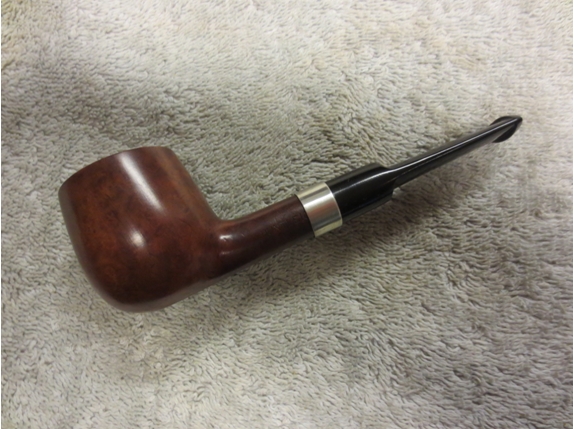
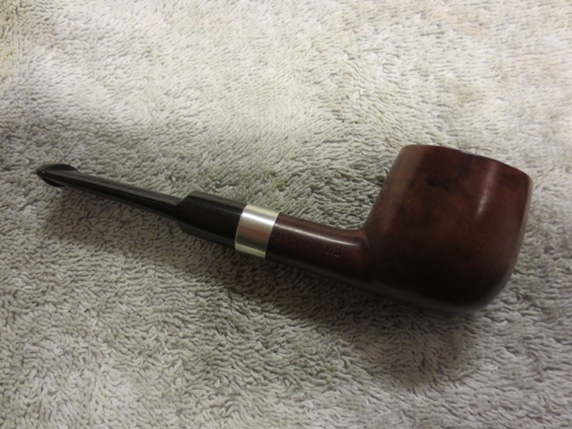
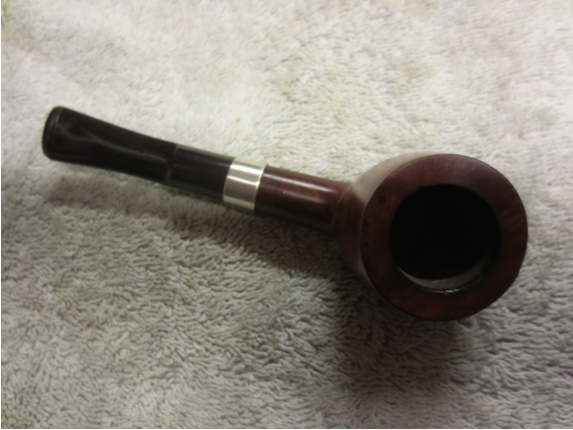
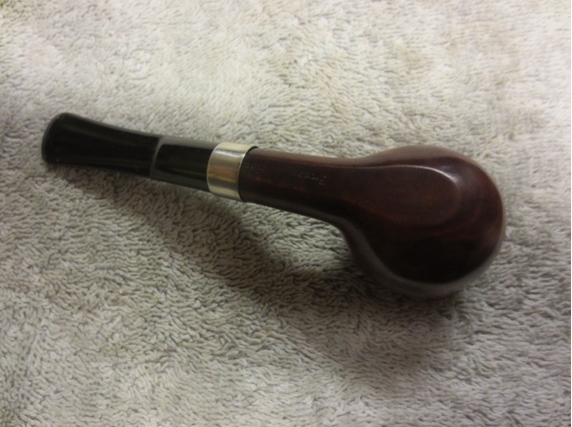
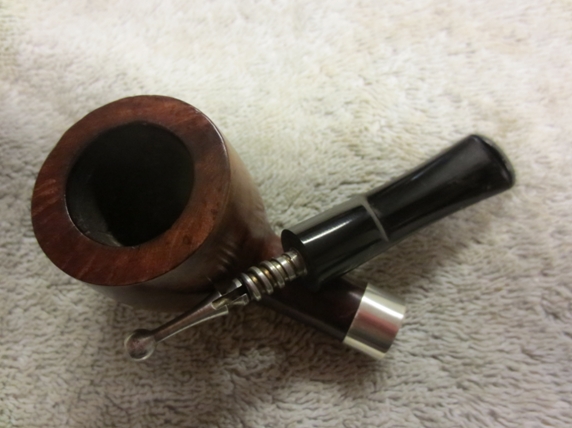
 I sanded the bowl with the 6000-12,000 grit micromesh sanding pads and then buffed it with White Diamond. I gave the bowl and the stem multiple coats of carnauba wax and buffed it with a soft flannel buff. The finished pipe is shown below. I have also included a photo of the reworked rim and the tenon and aluminum mortise just to show the finished pipe in all of its parts. It should make someone a good smoking pipe if the original condition was any sign of the smoke-ability of this pipe.