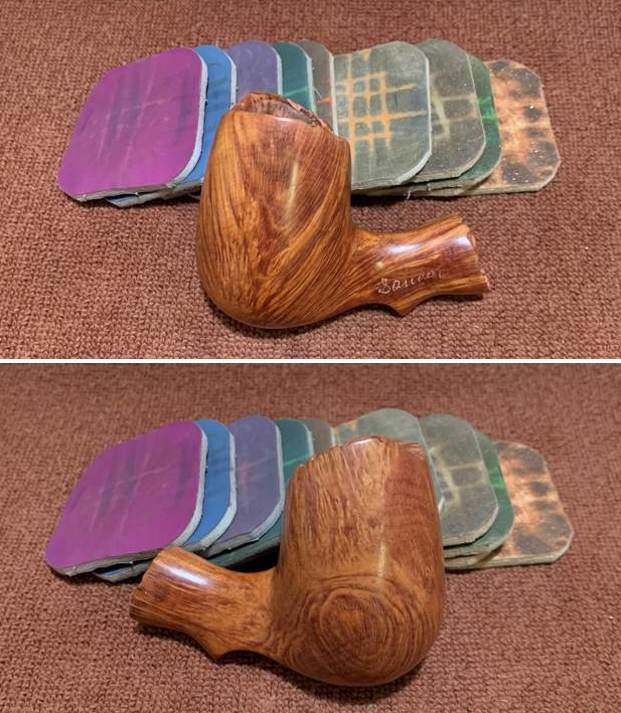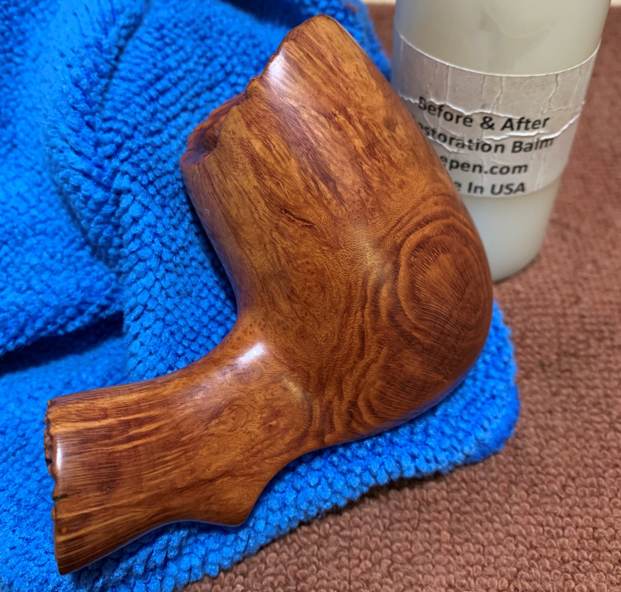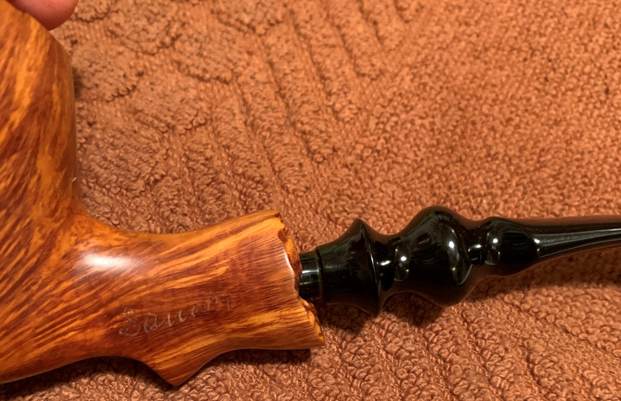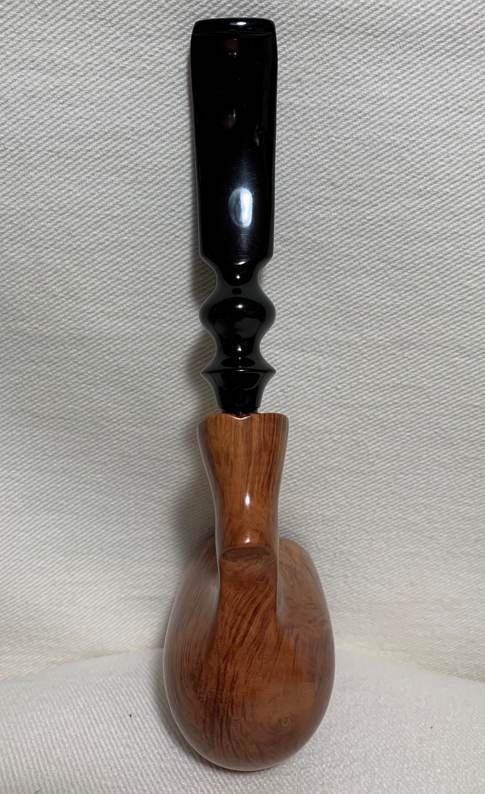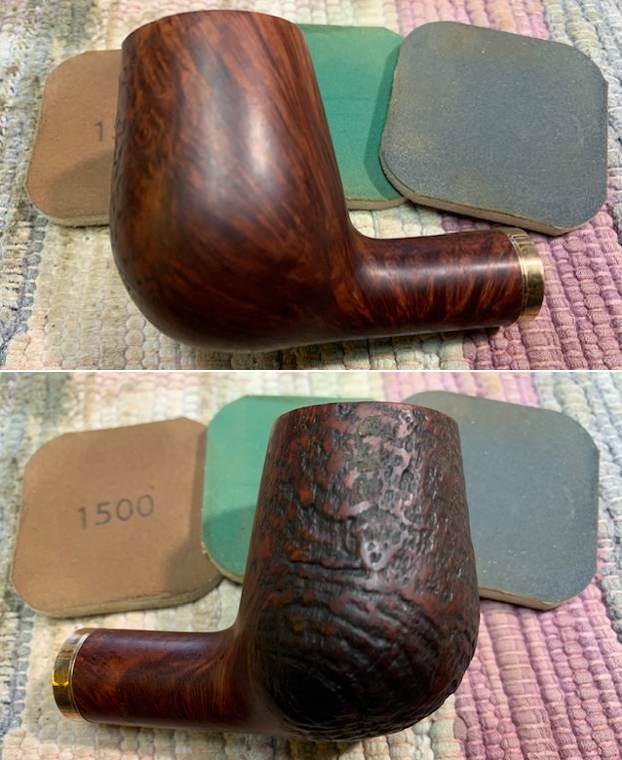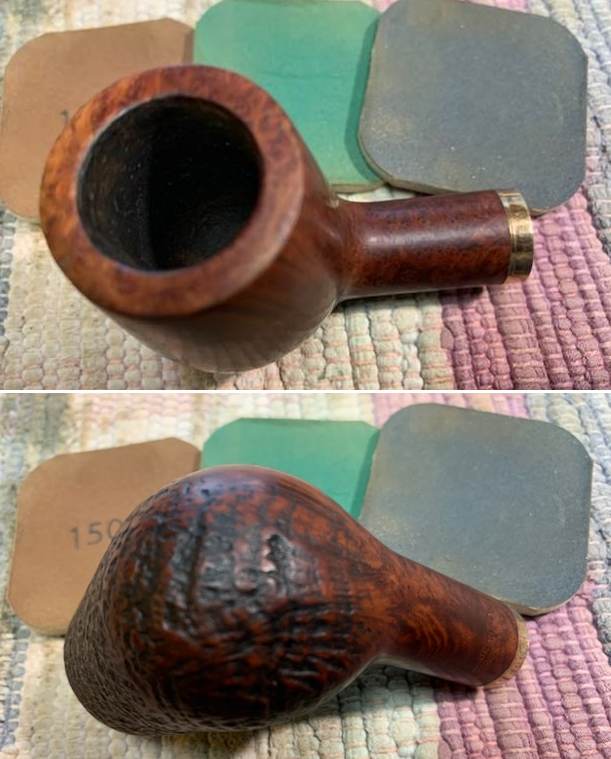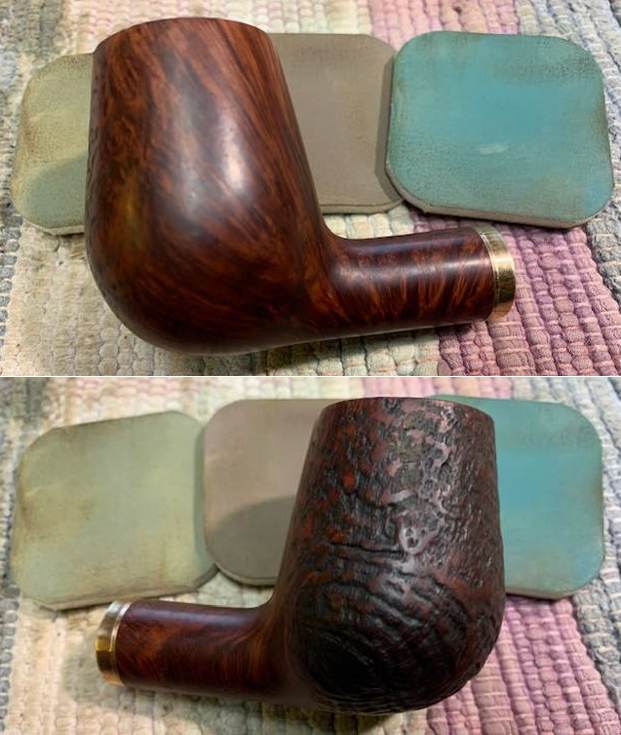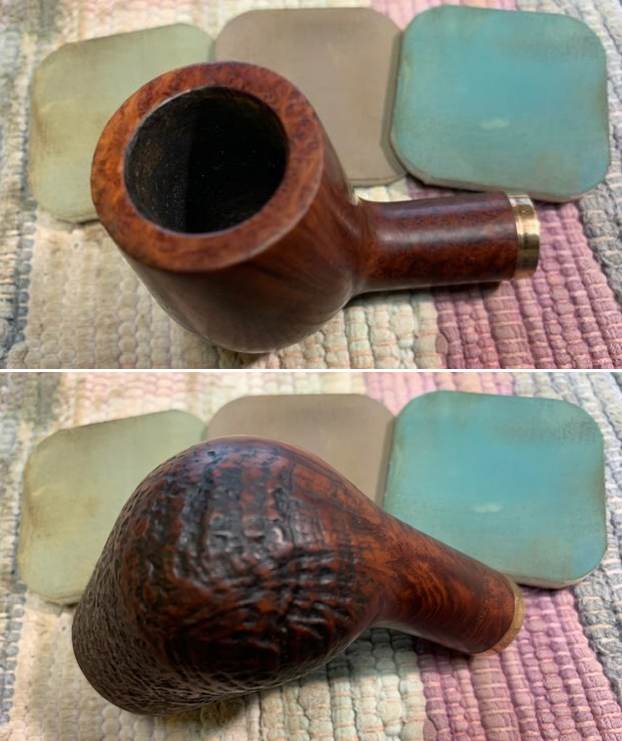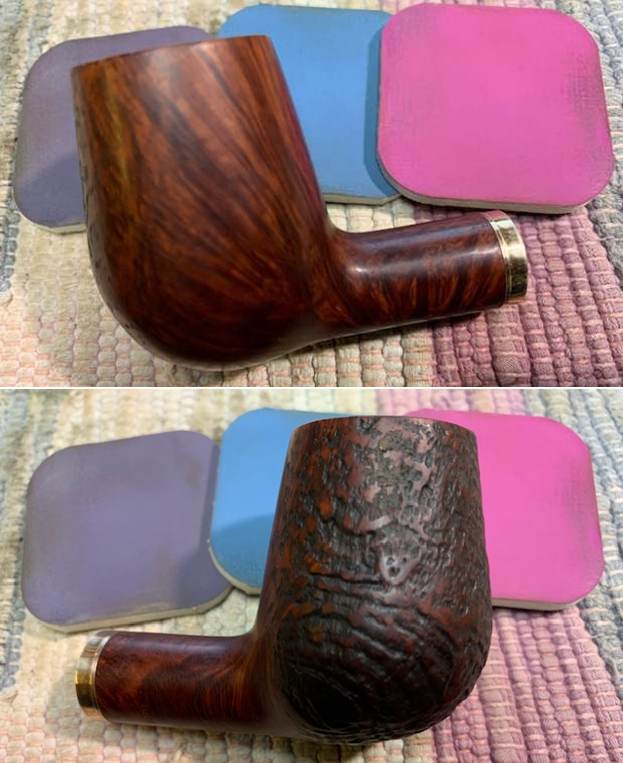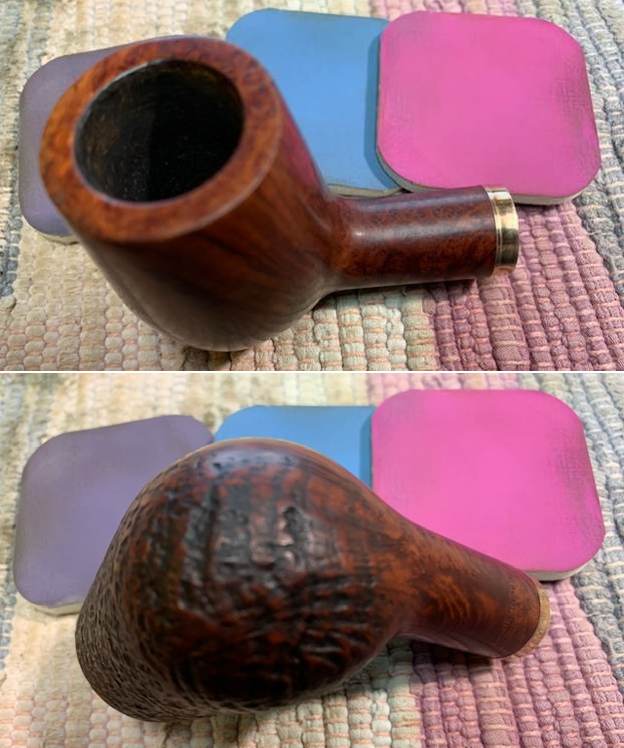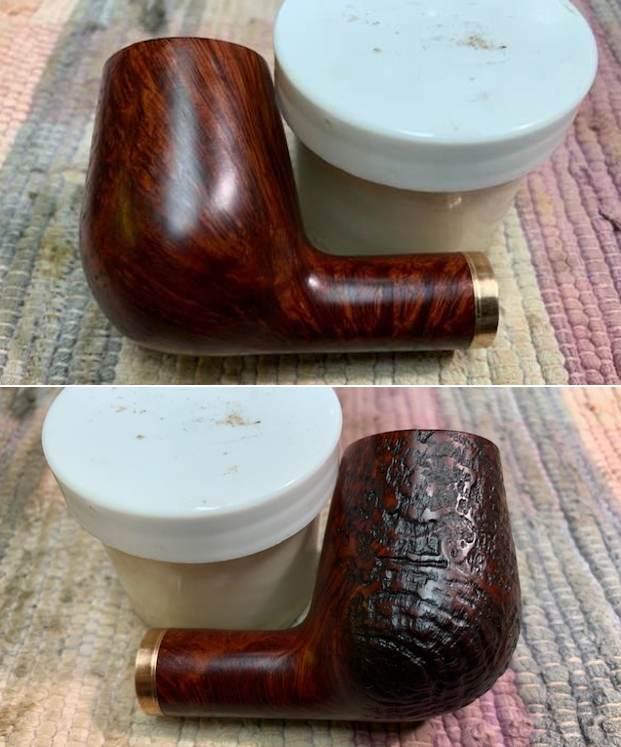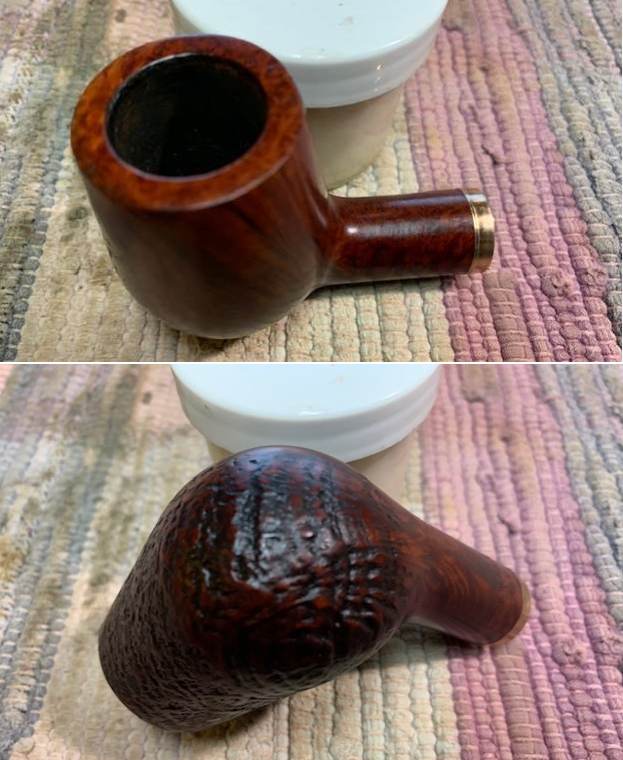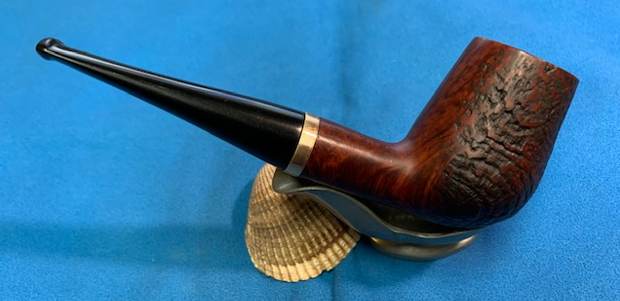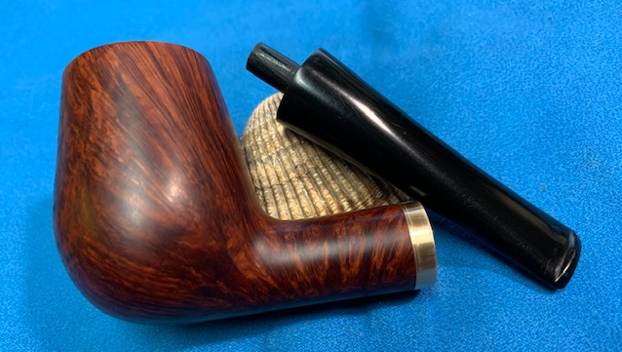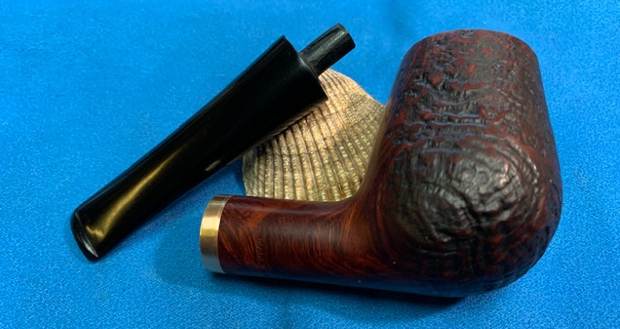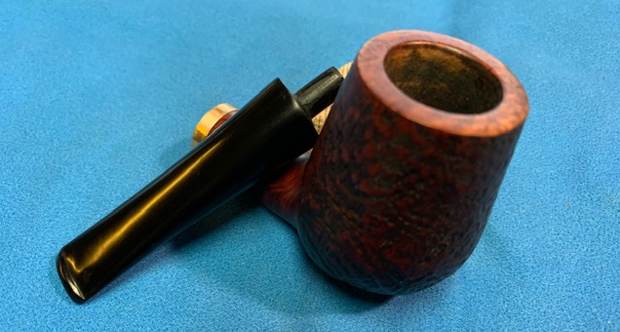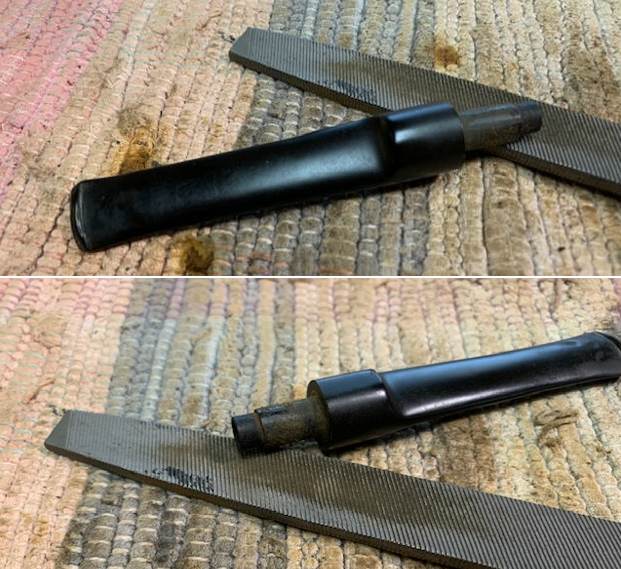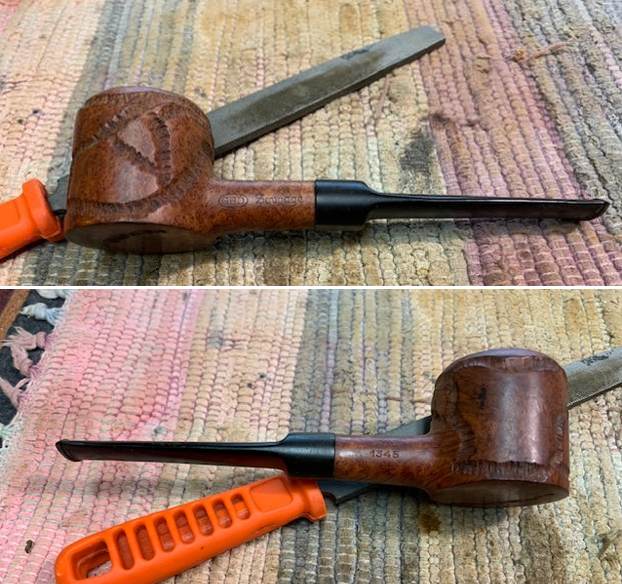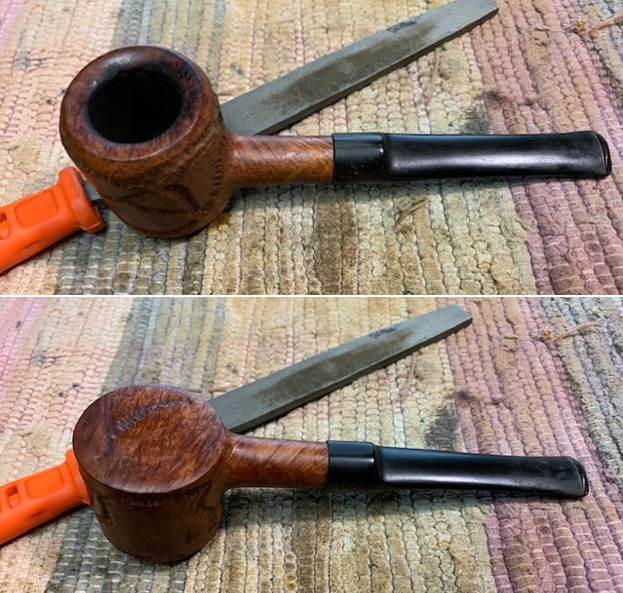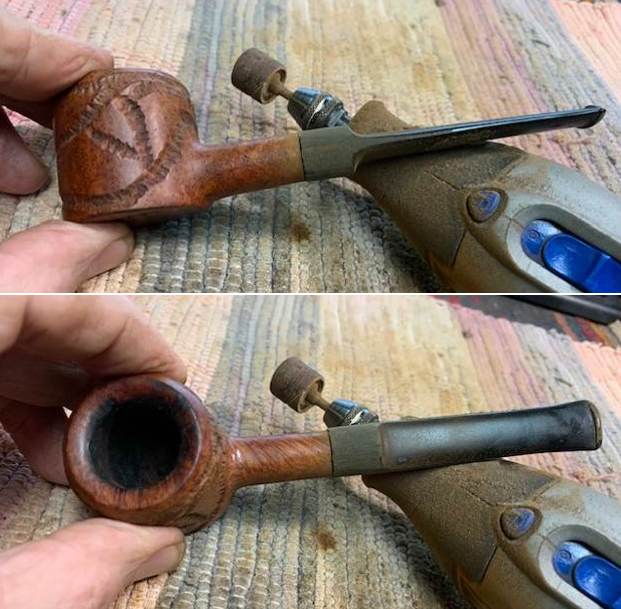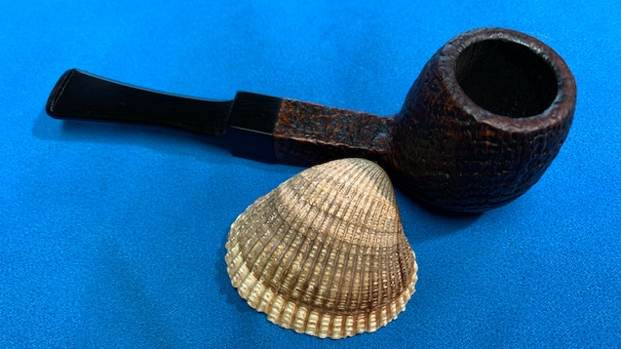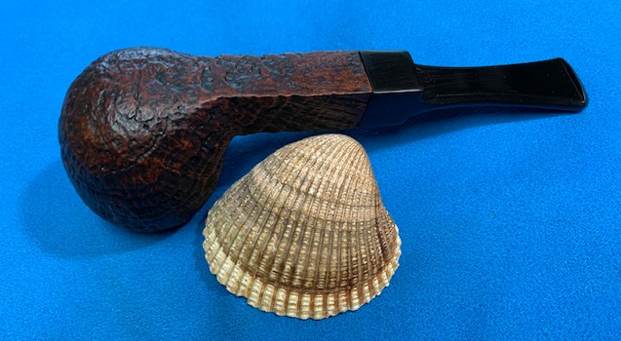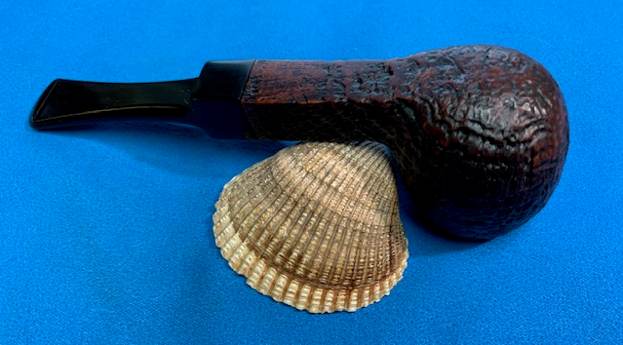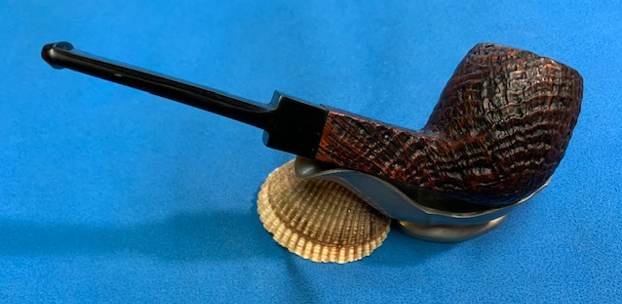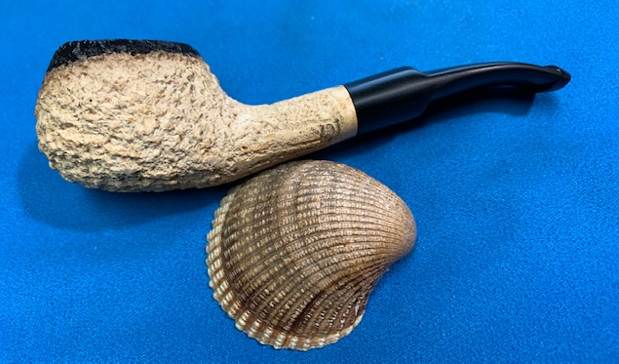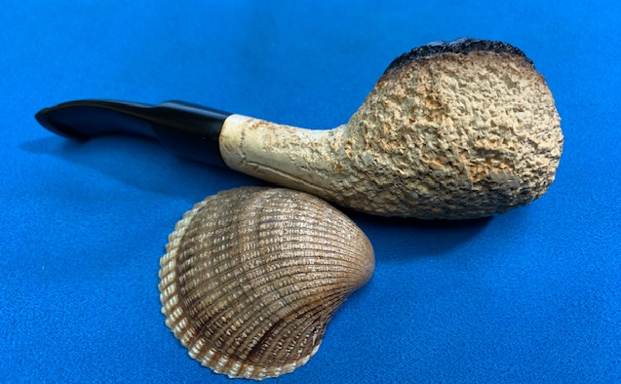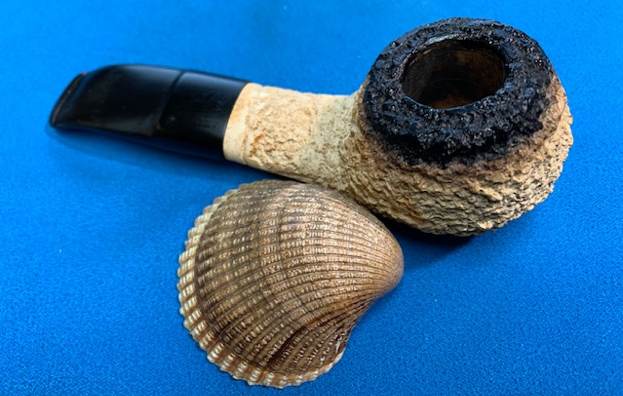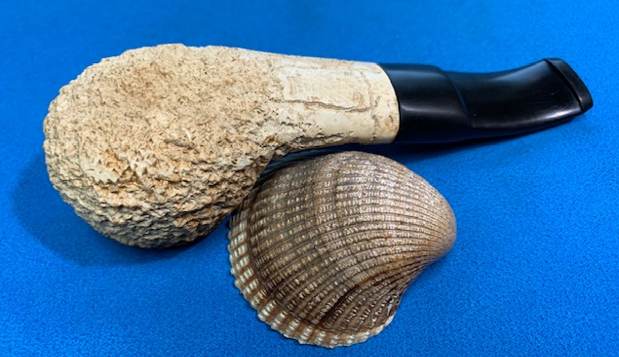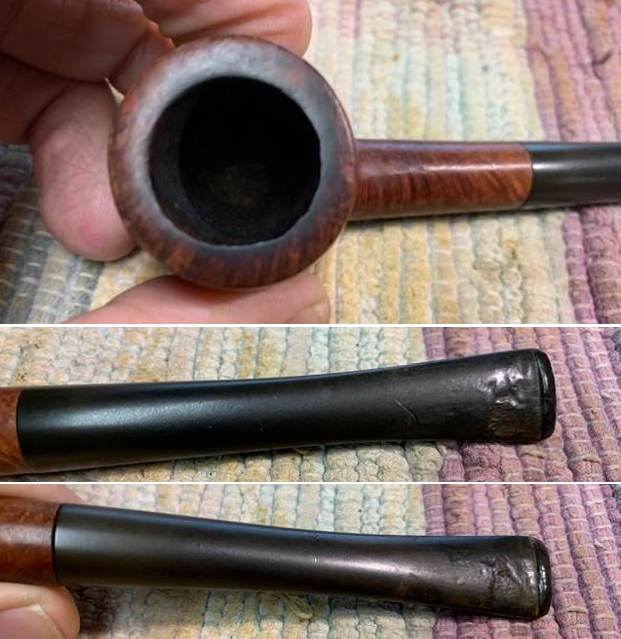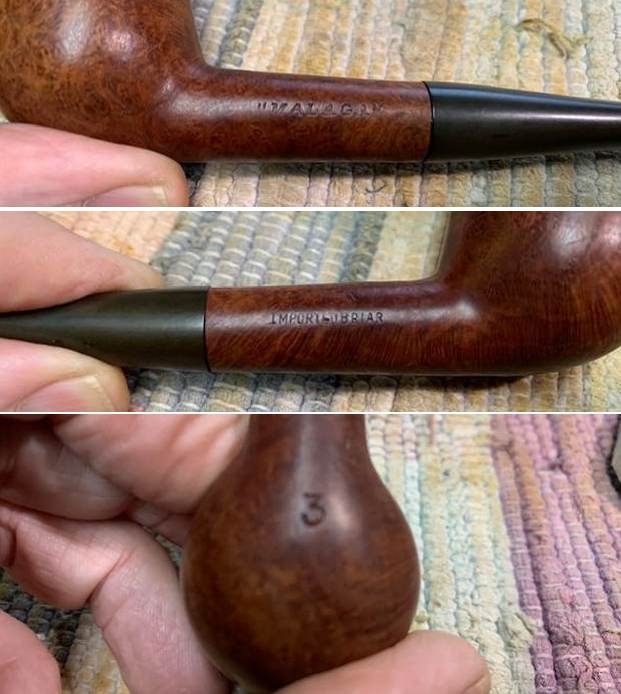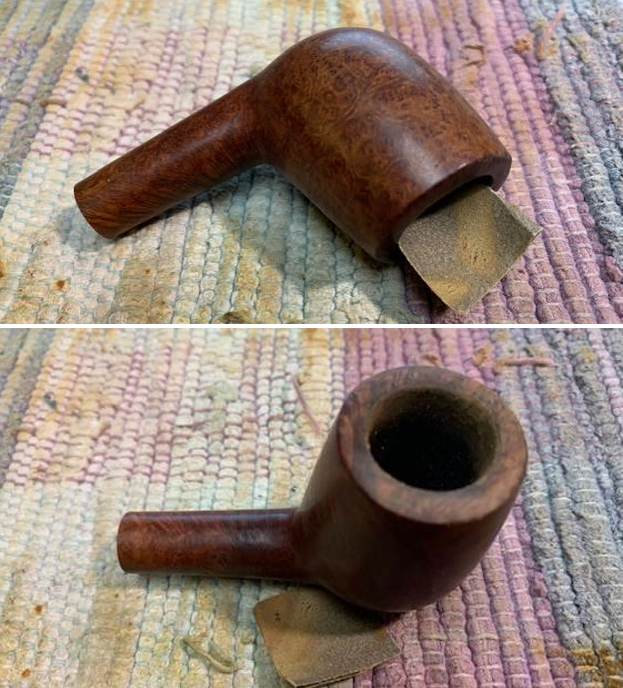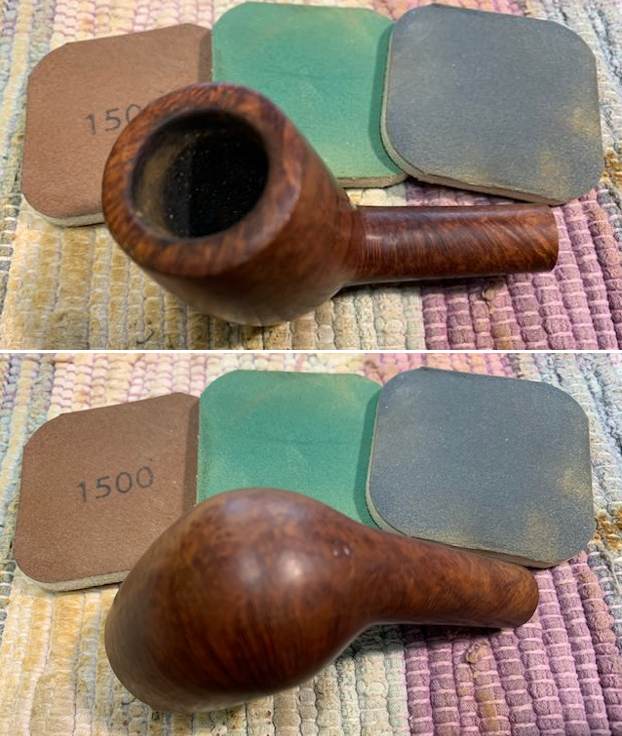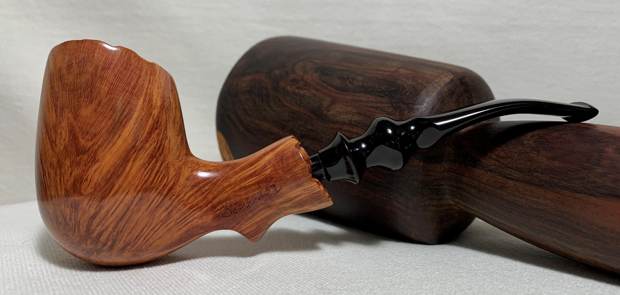
Tag Archives: sanding a stem

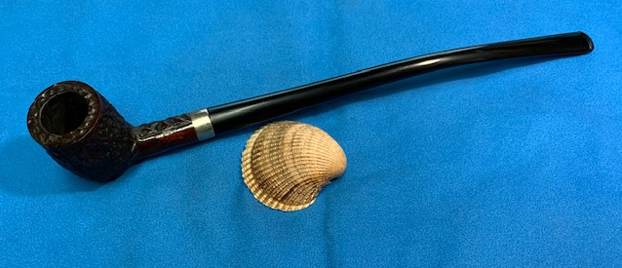
Cleaning up a Television Imported Briar Italian Made Churchwarden


Blog by Steve Laug

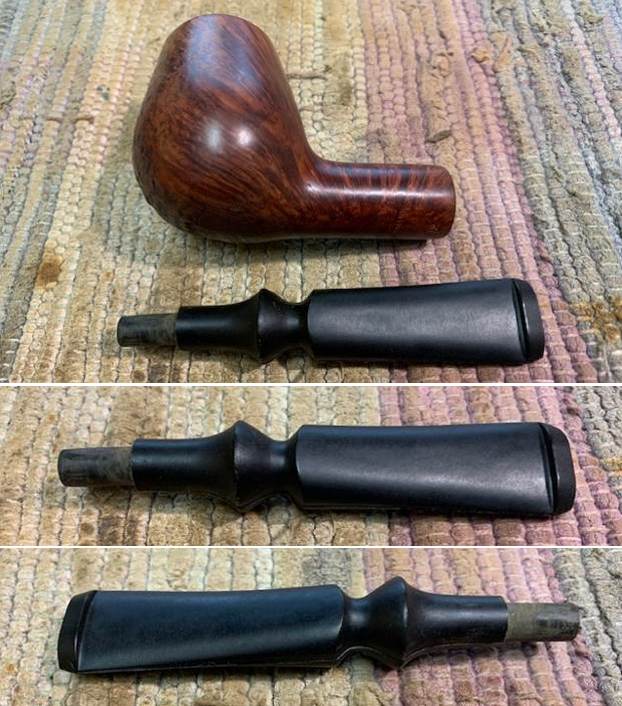
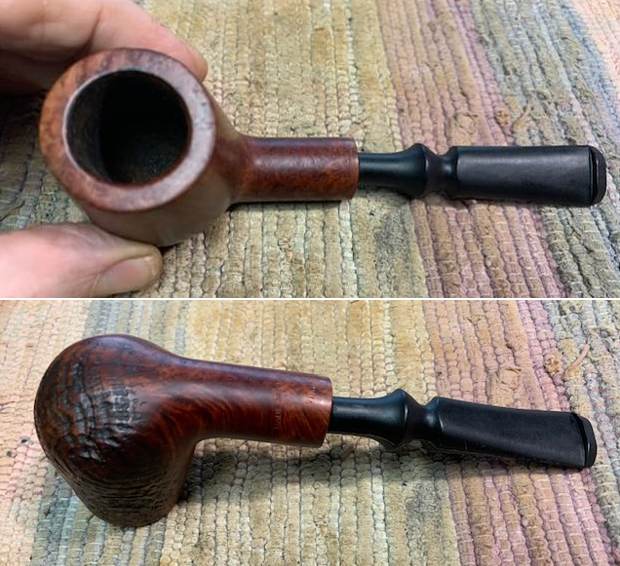
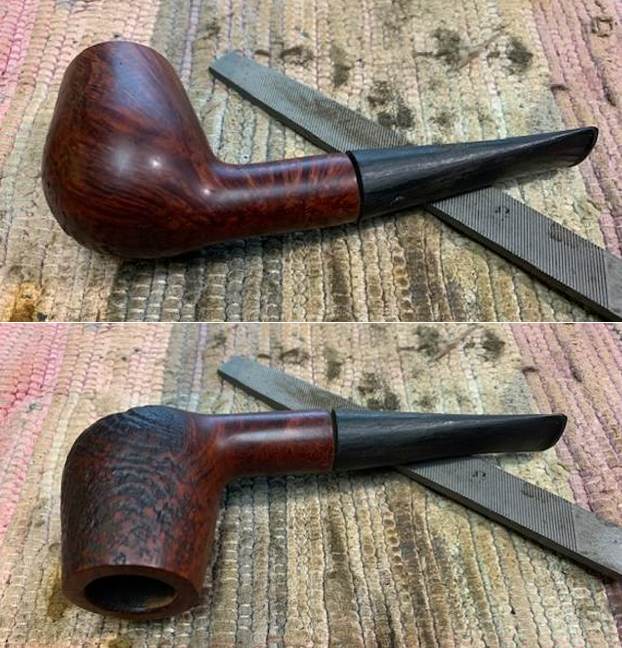
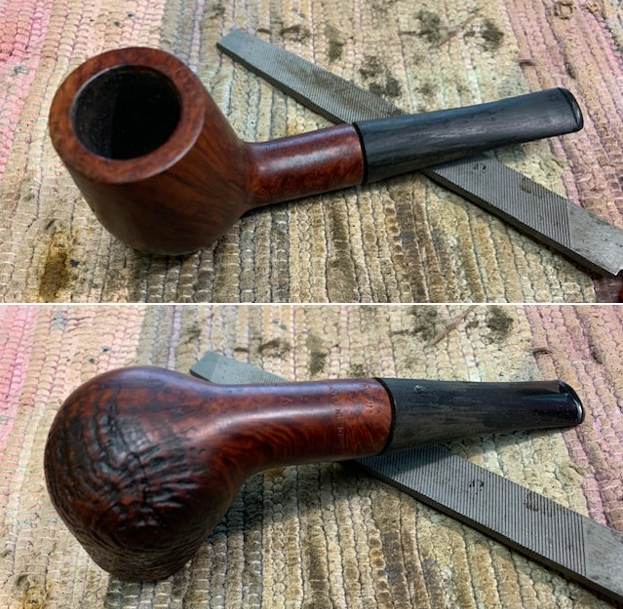
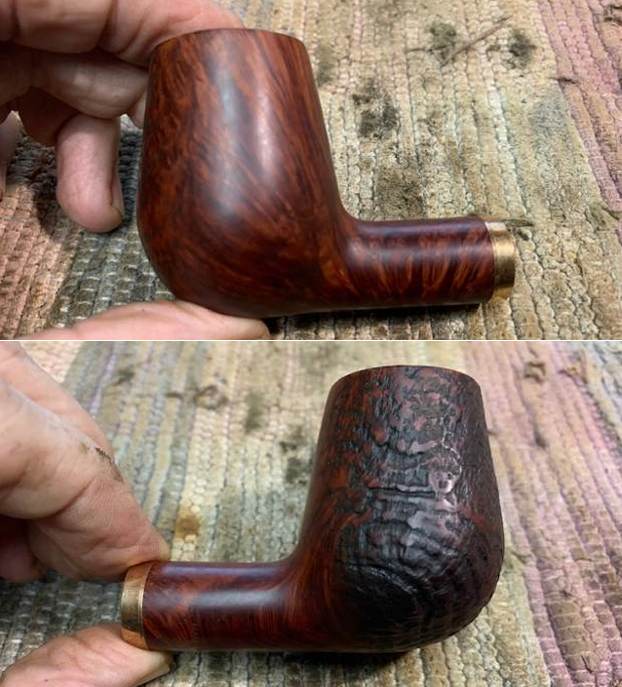
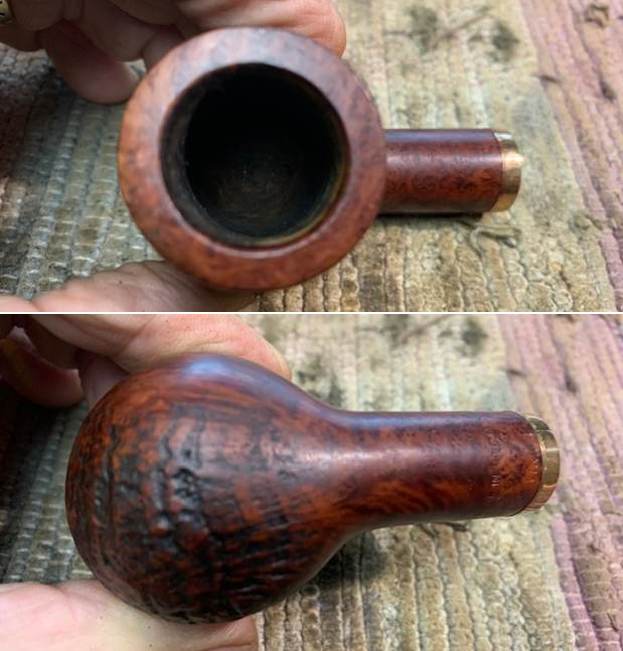
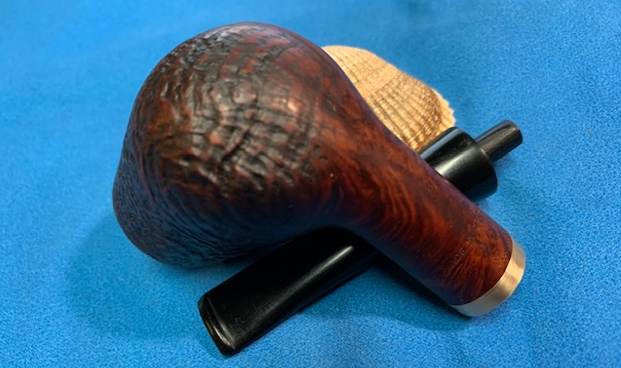
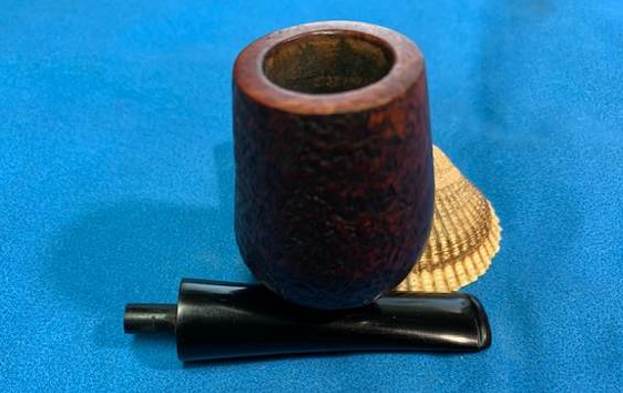
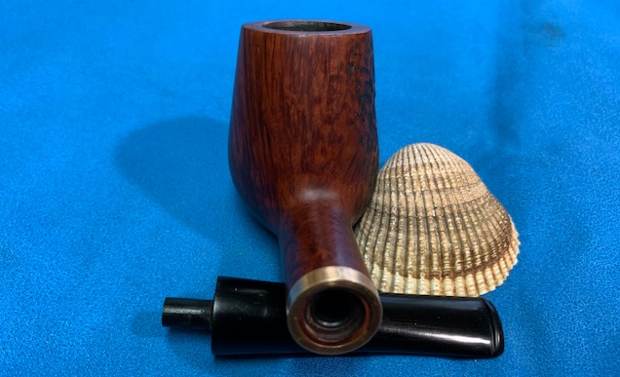
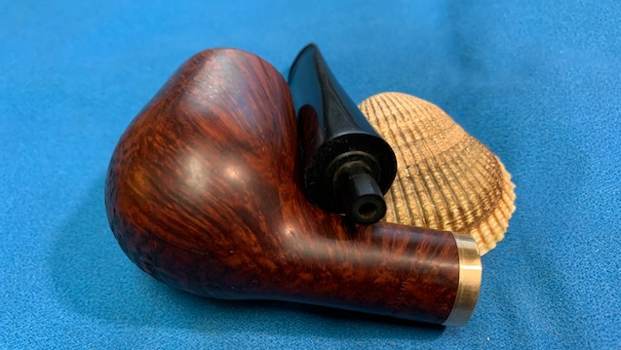
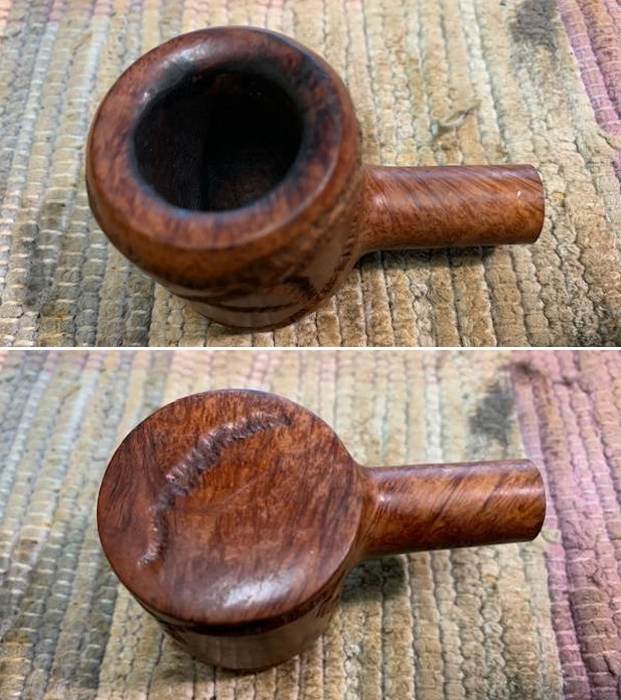
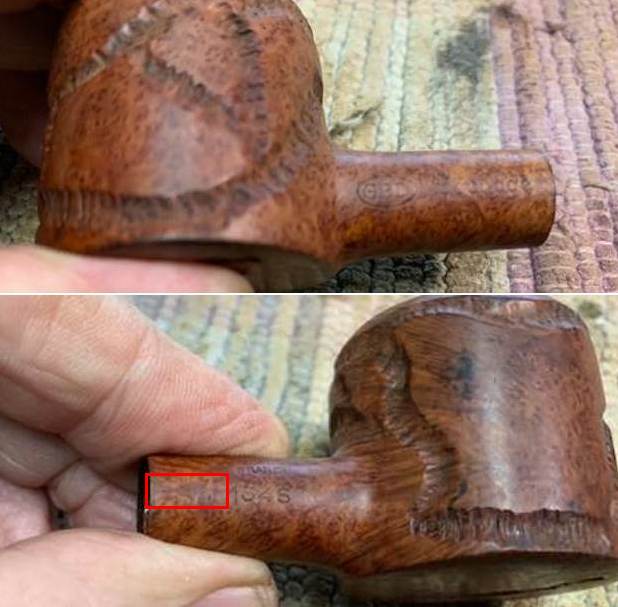
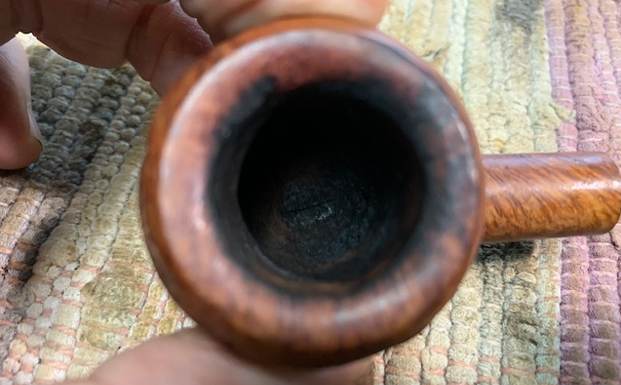
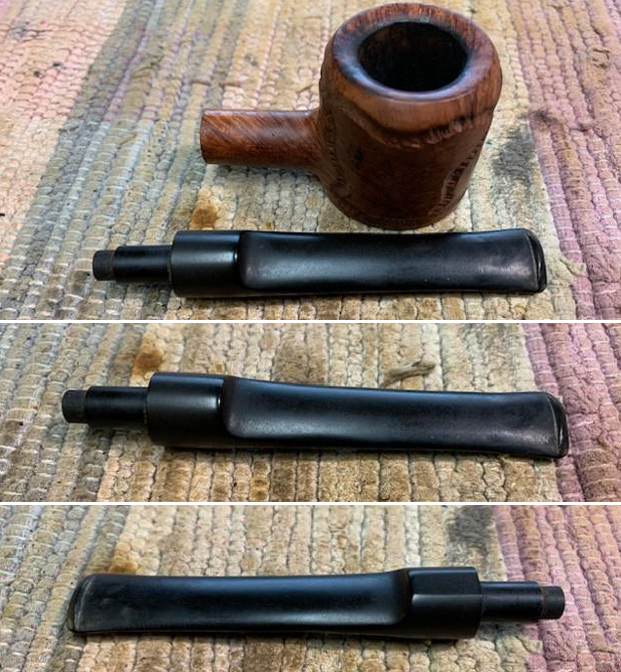
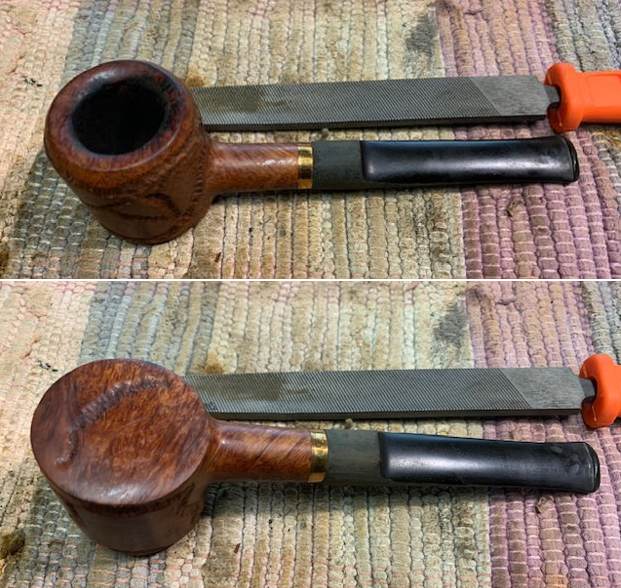
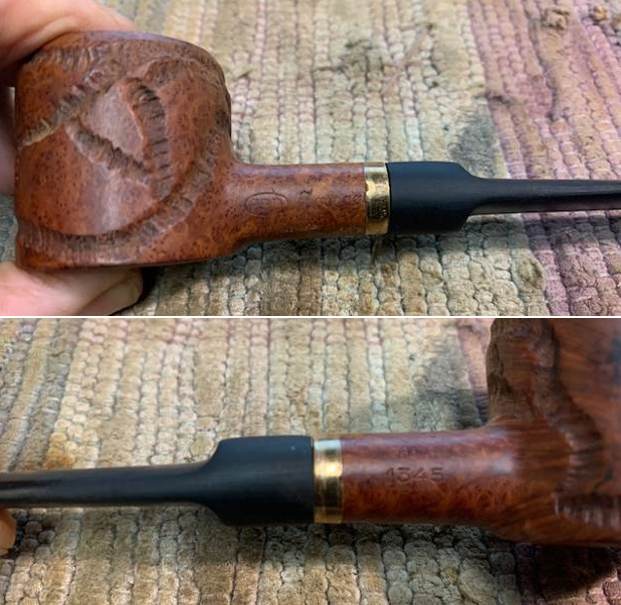
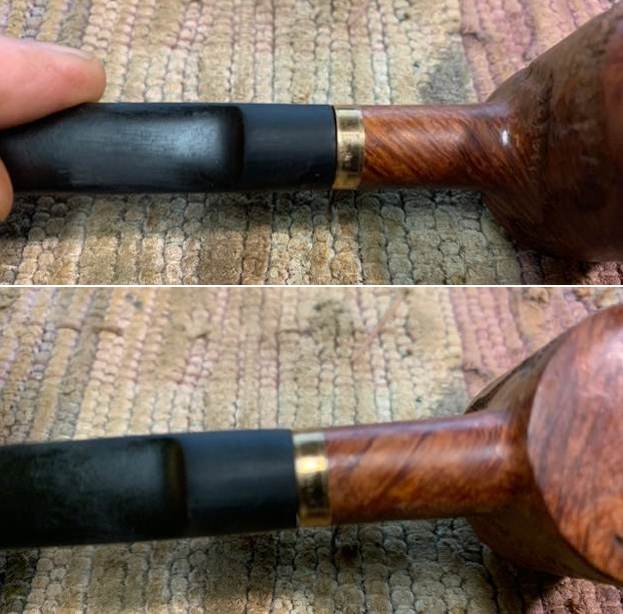
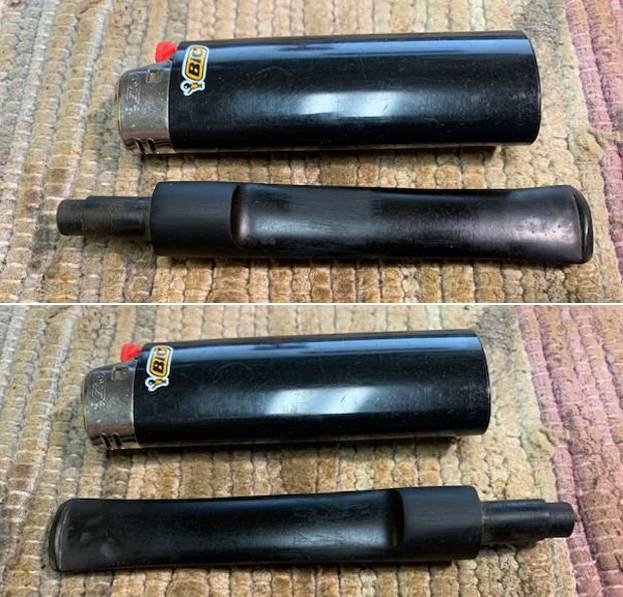
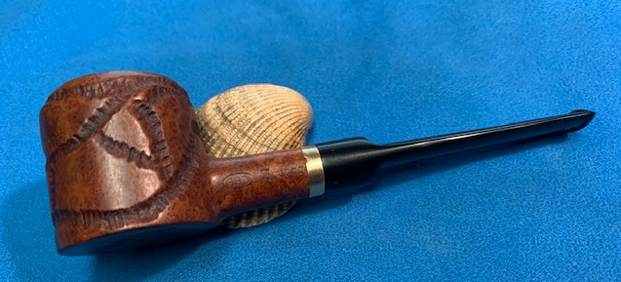
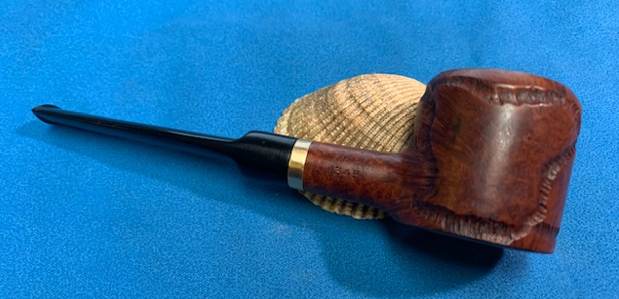
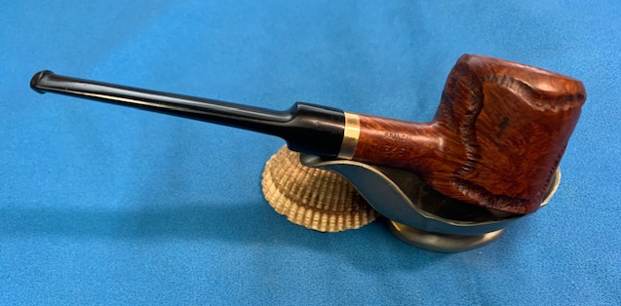
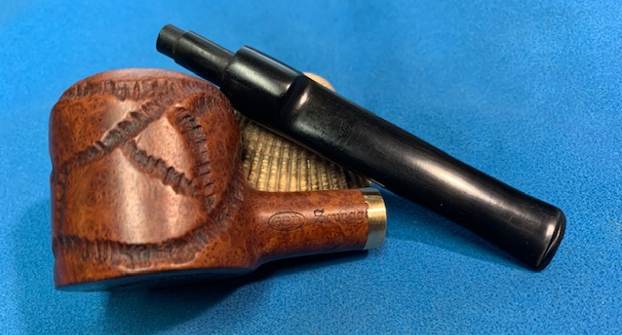
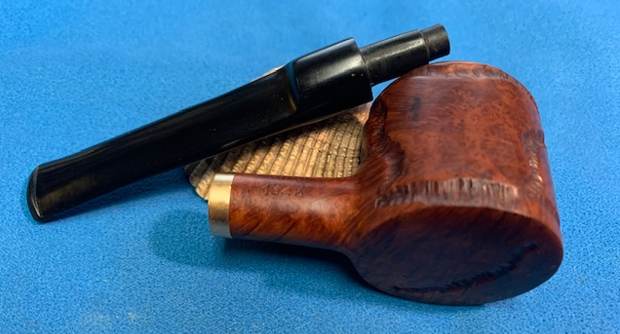
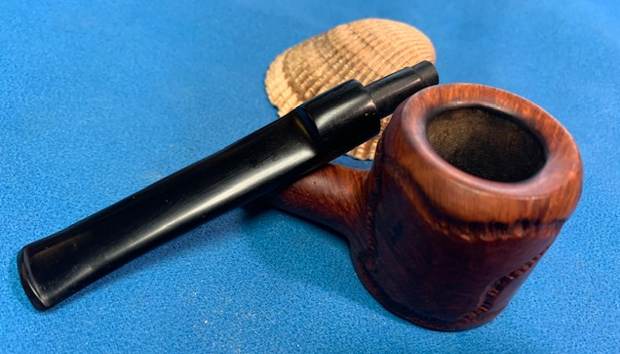
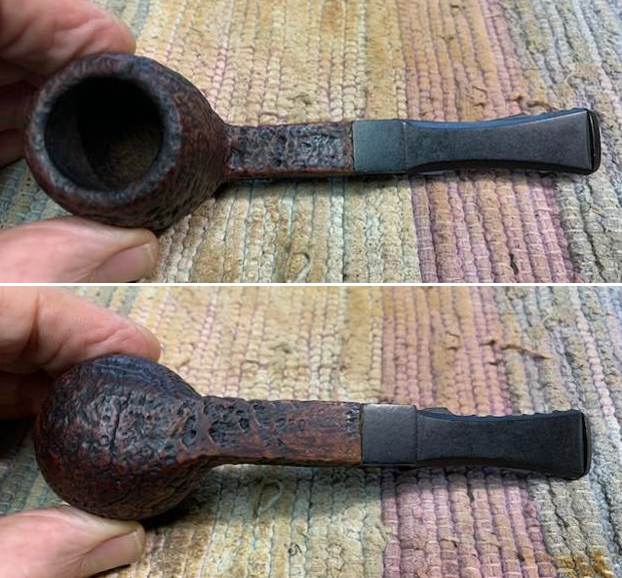
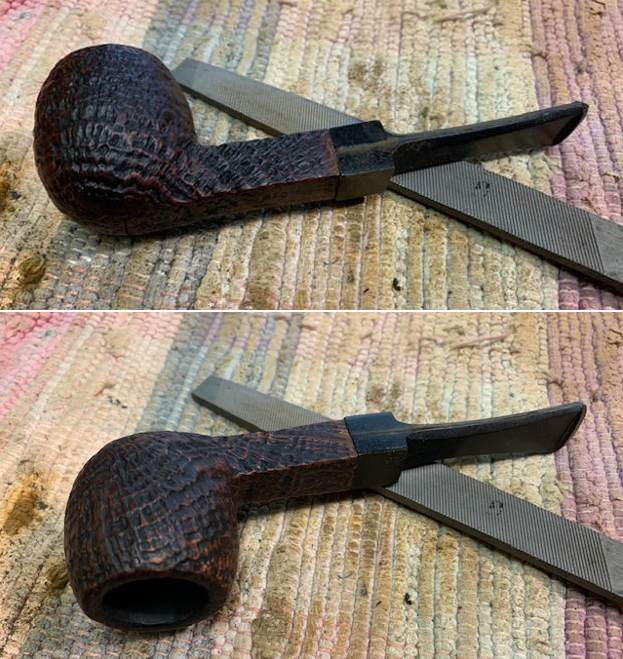
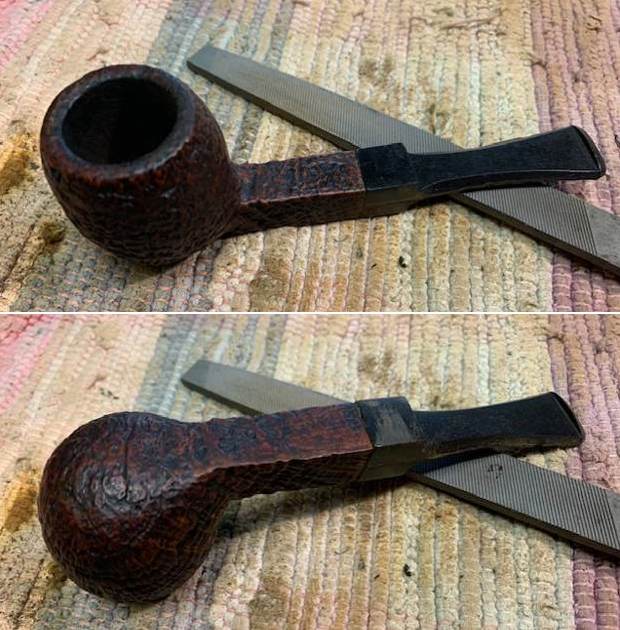
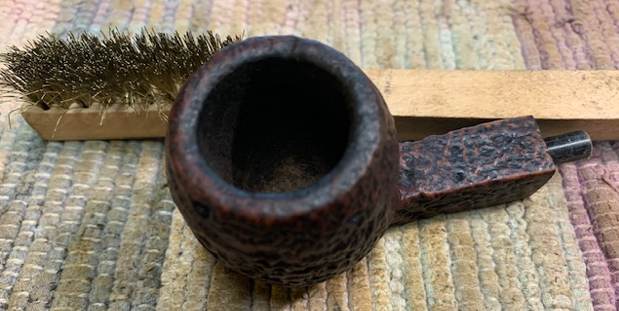
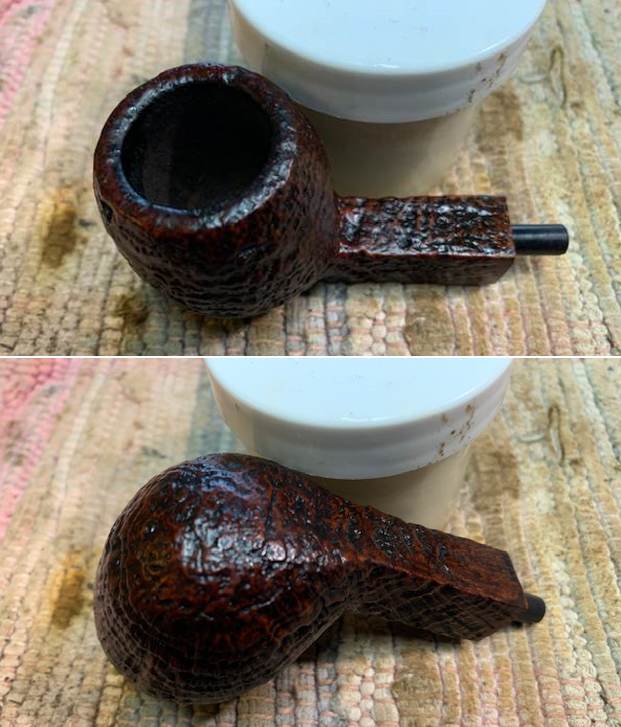
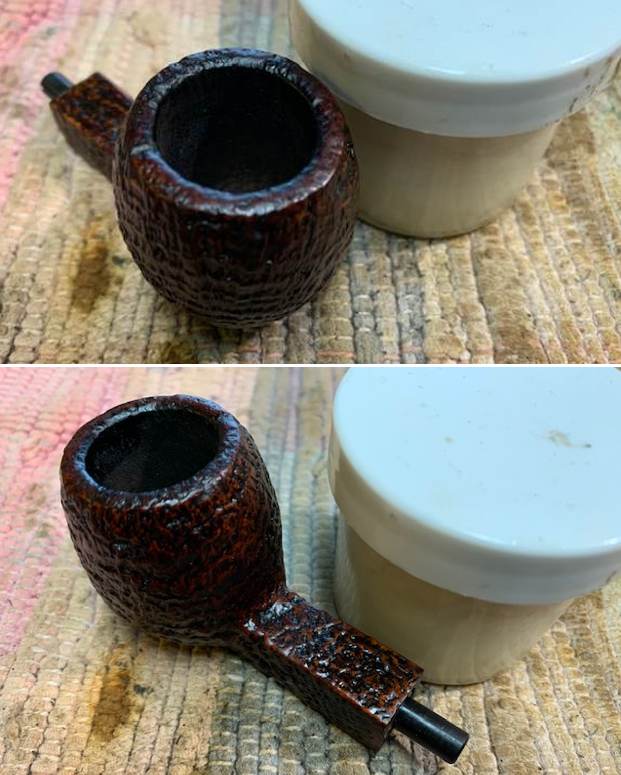
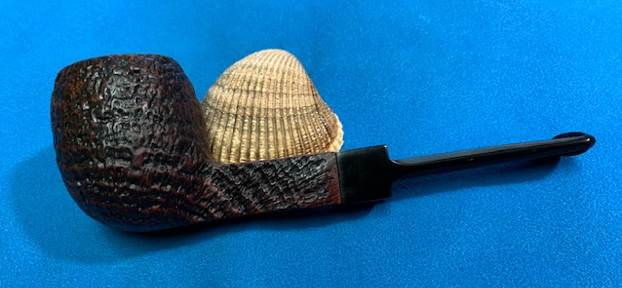
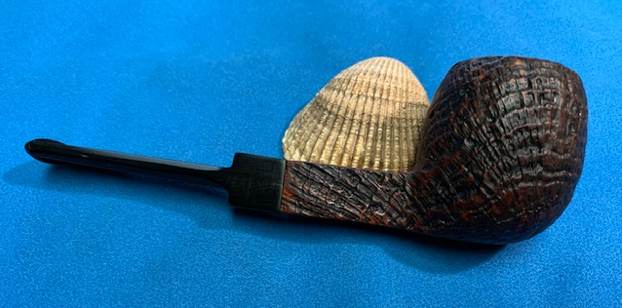
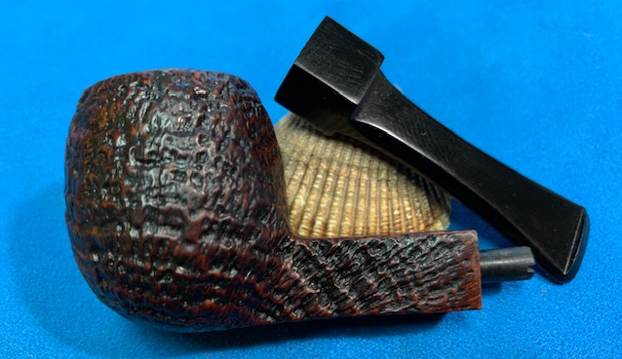
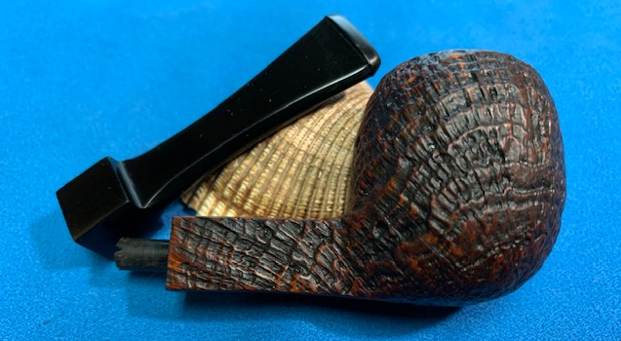
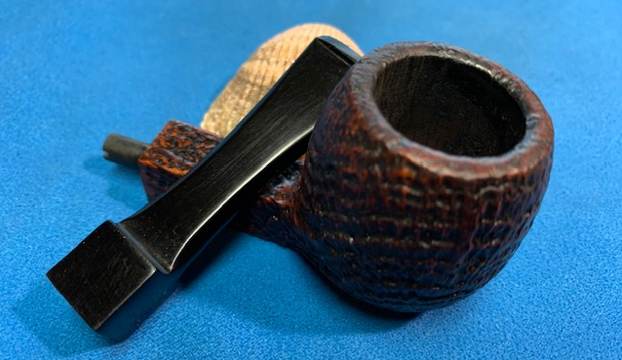
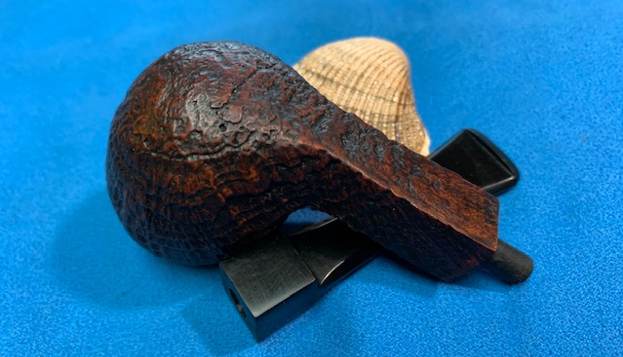
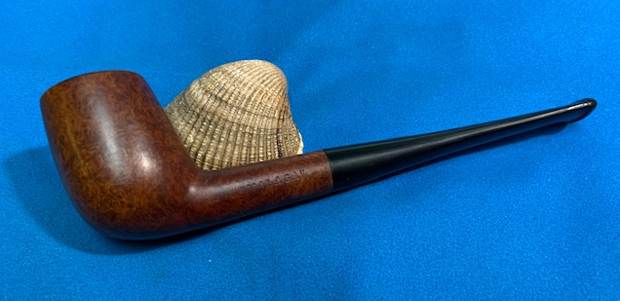
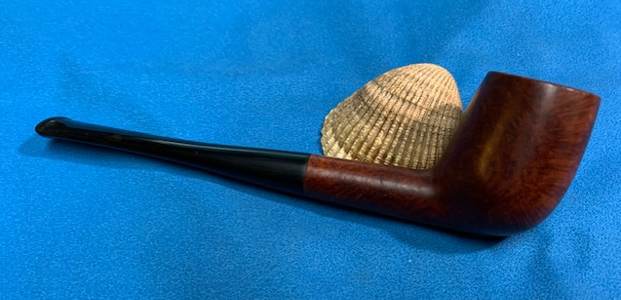
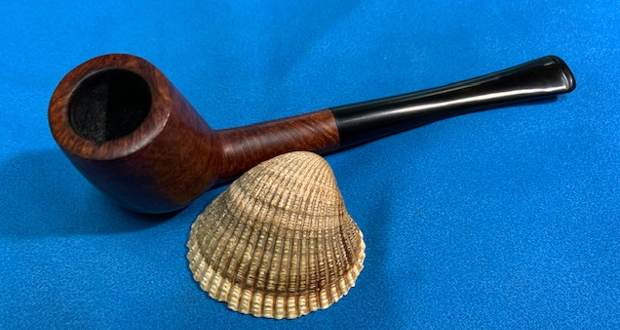
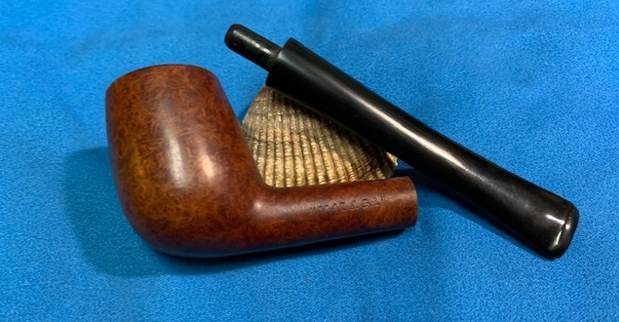
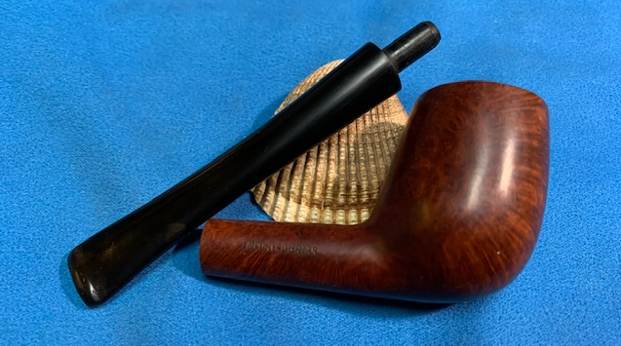
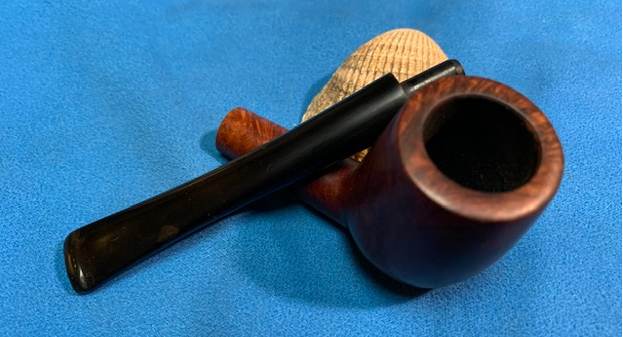
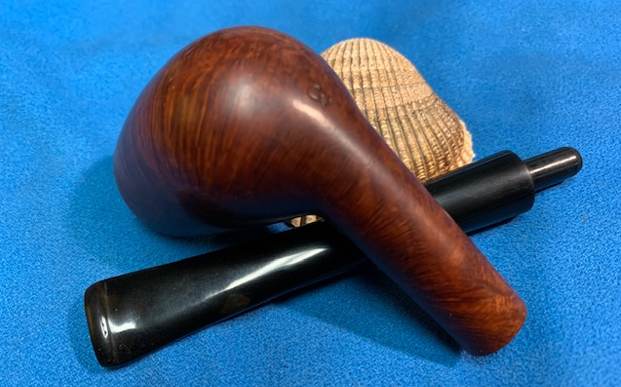
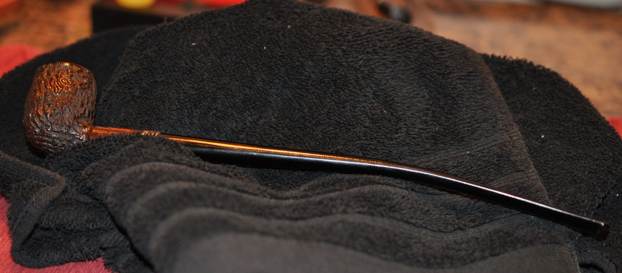
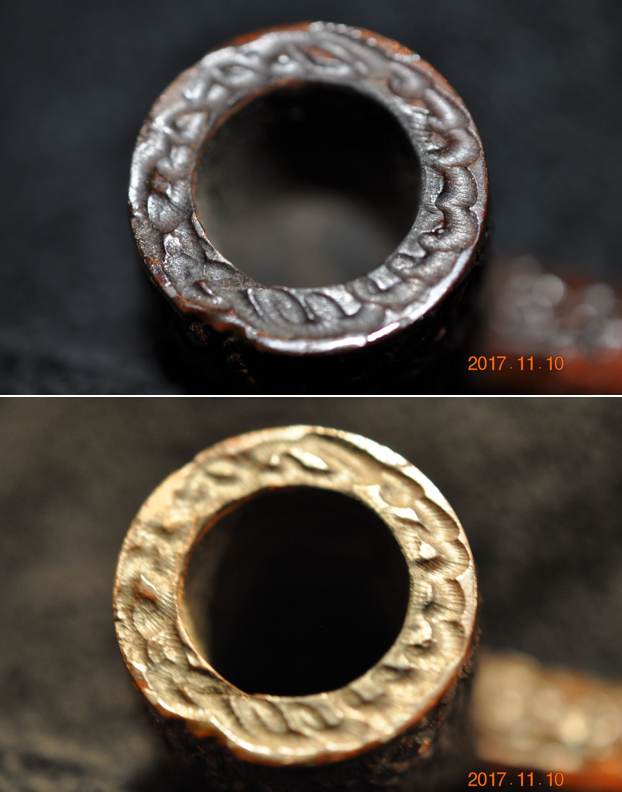
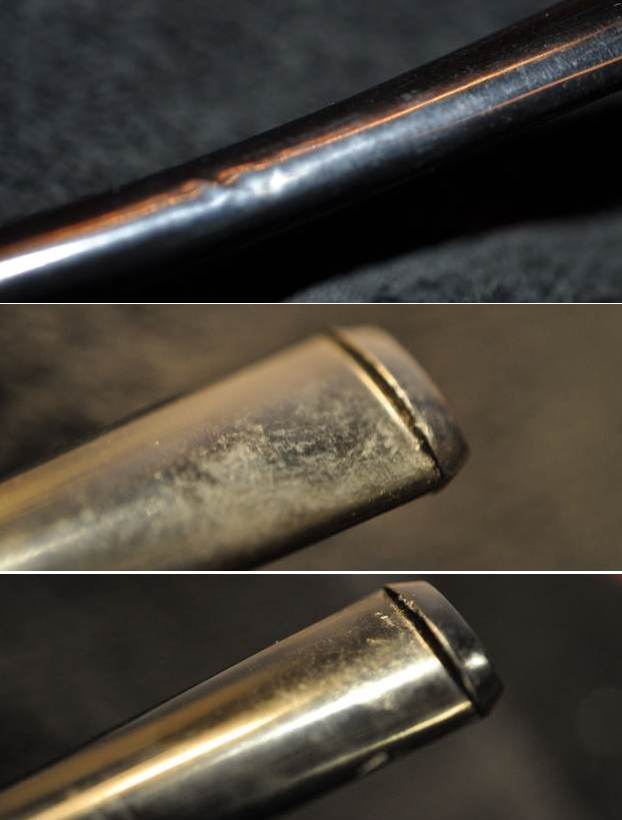
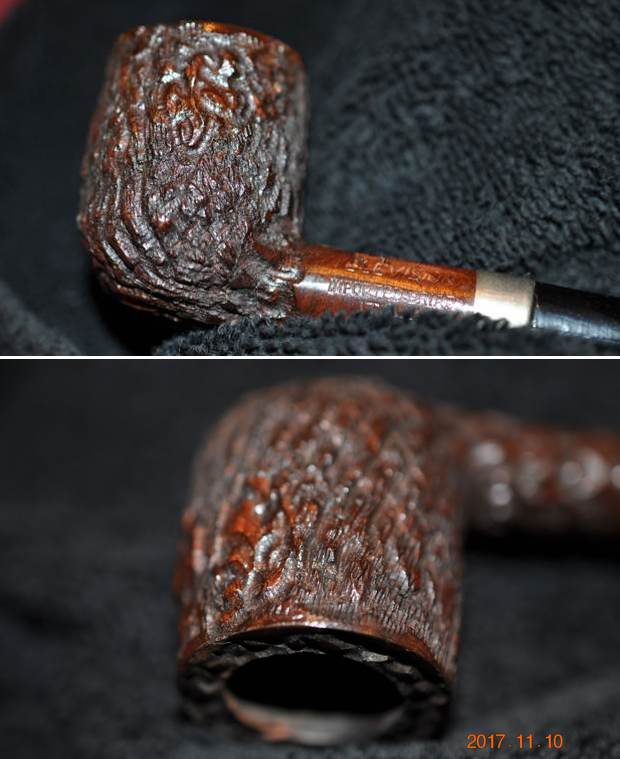
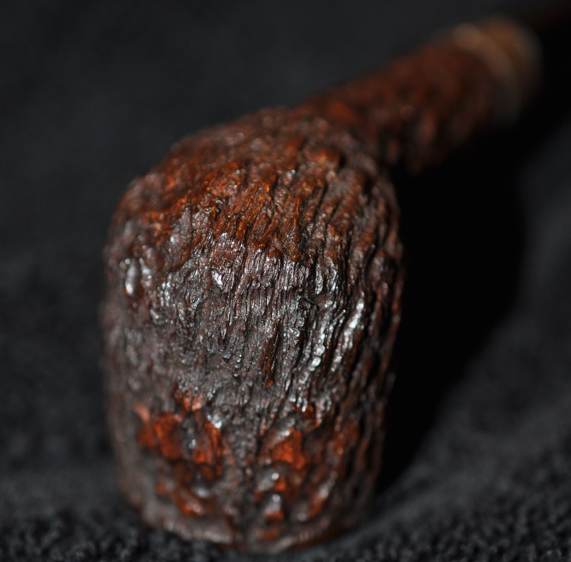
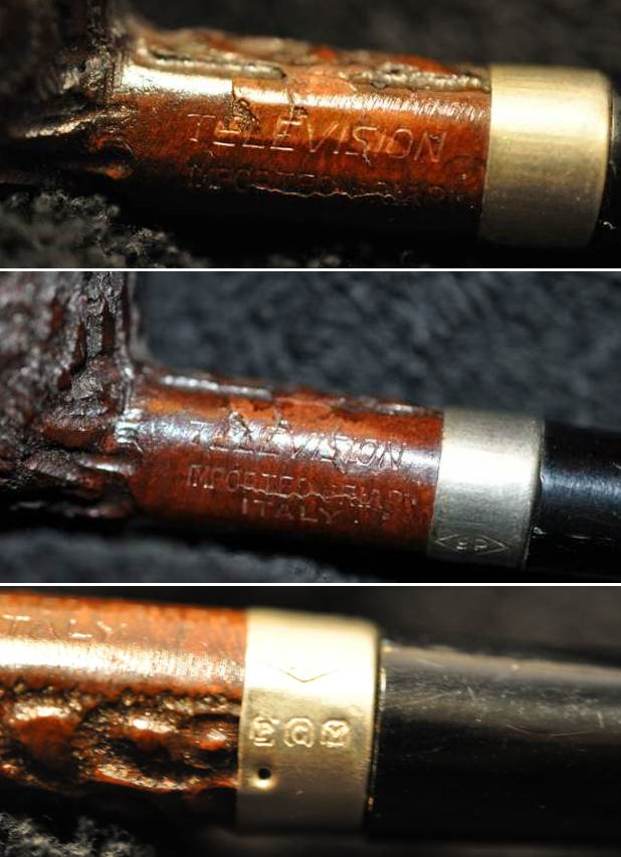
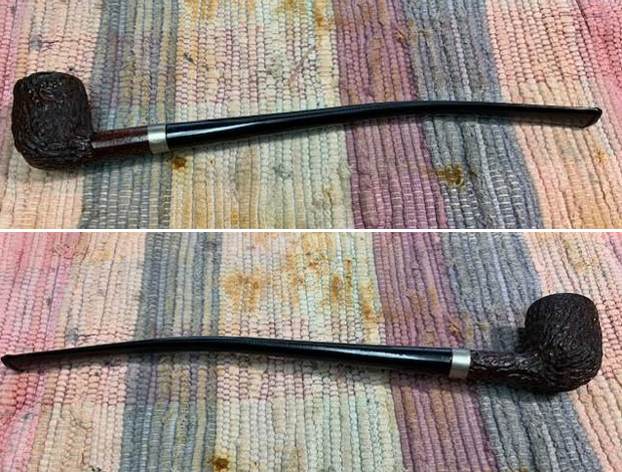
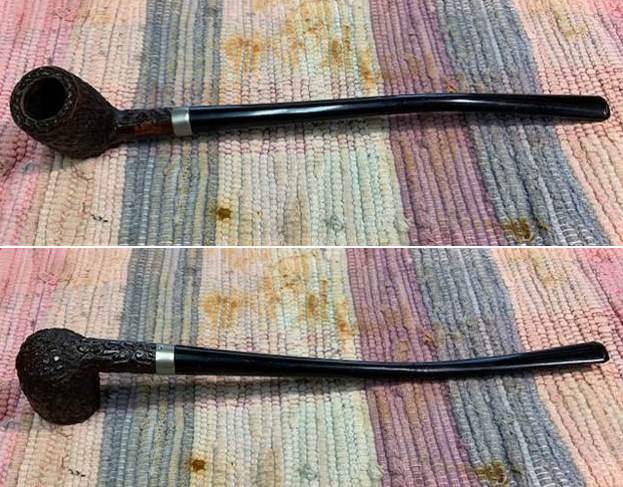
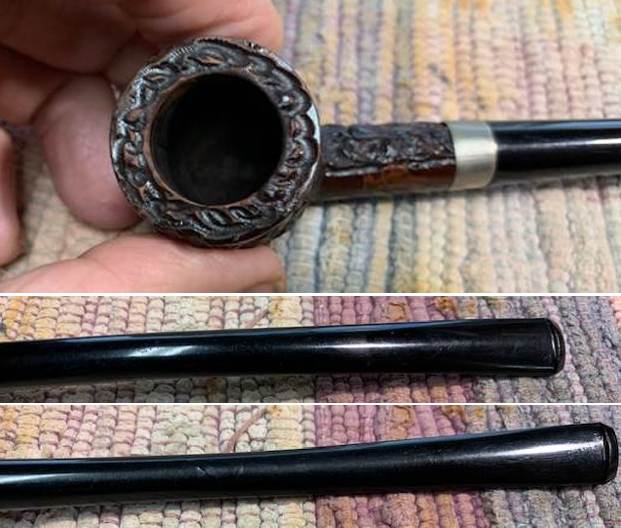
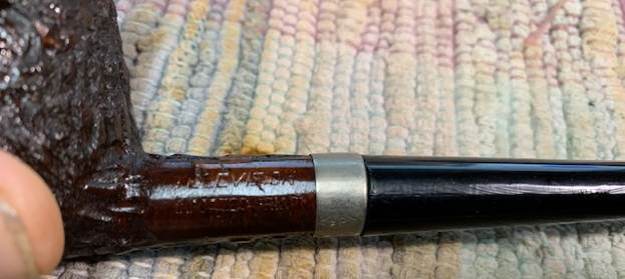
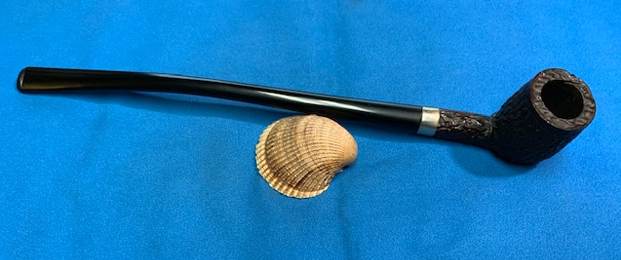
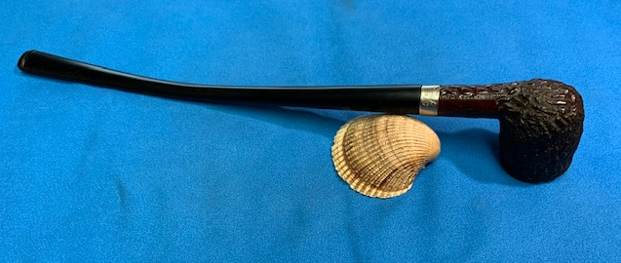
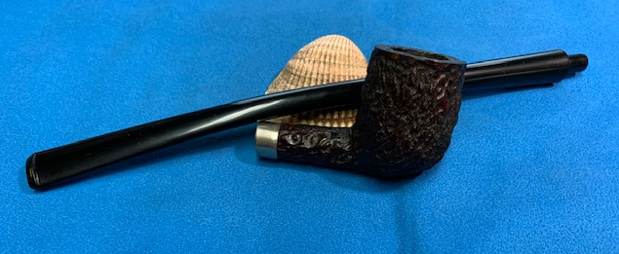
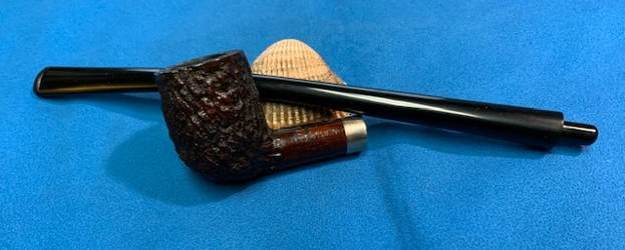
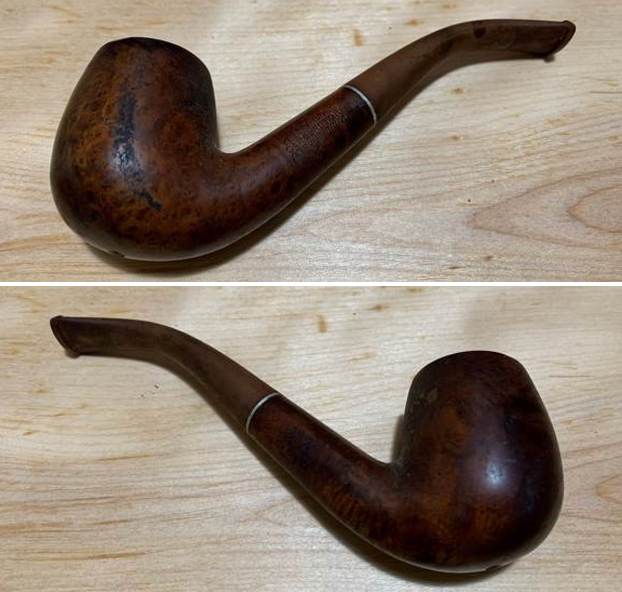
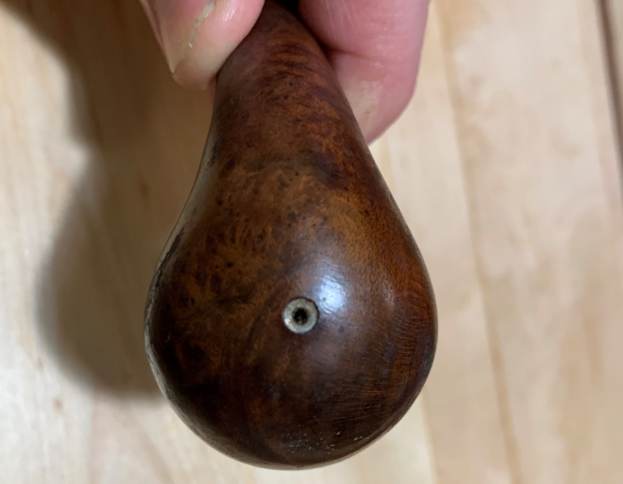
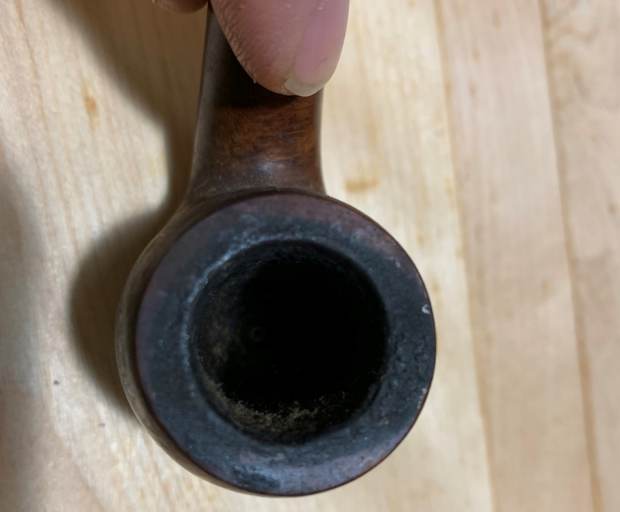
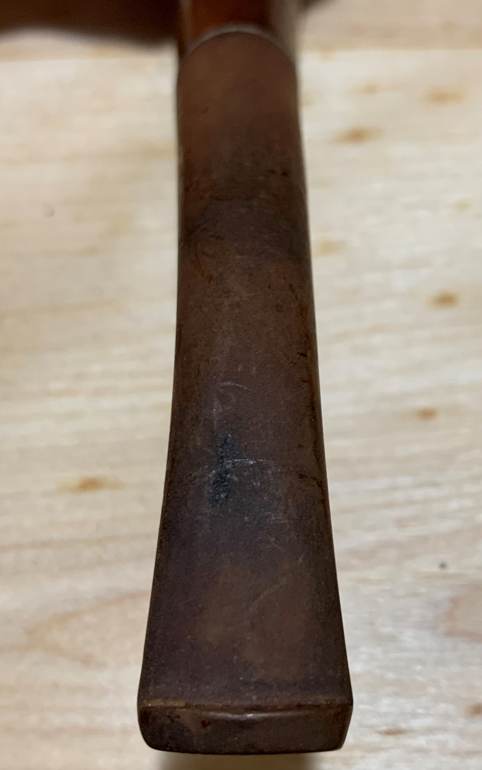
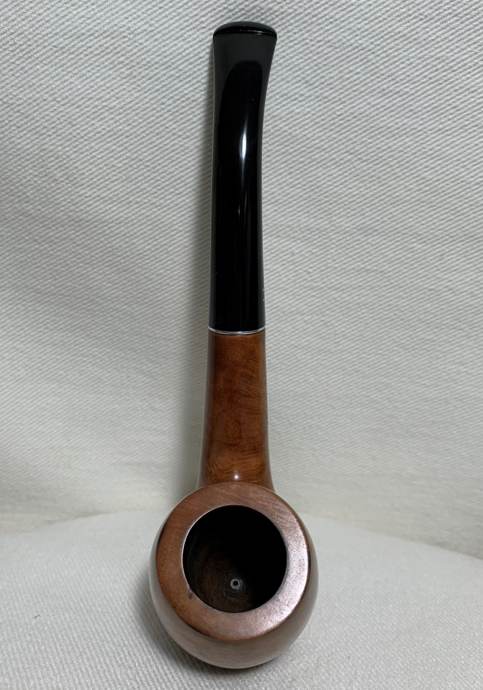
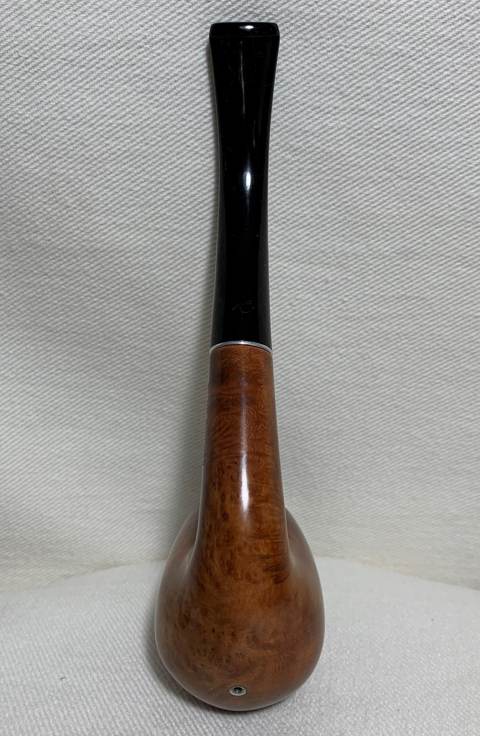
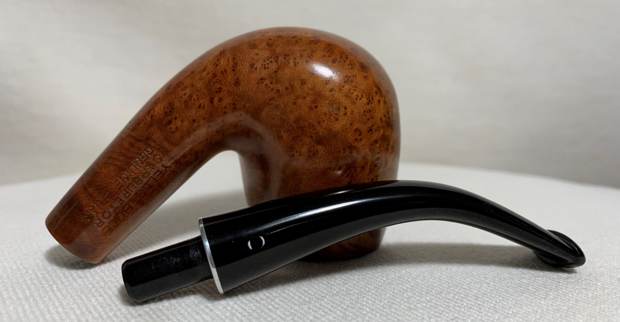
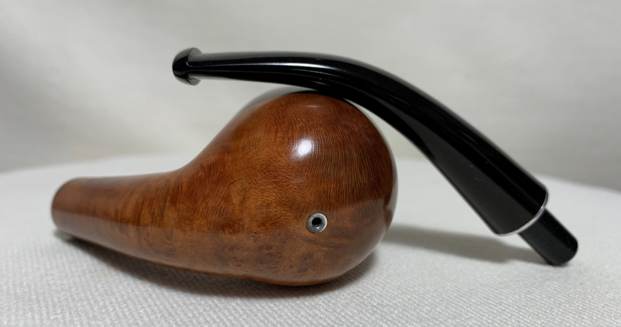
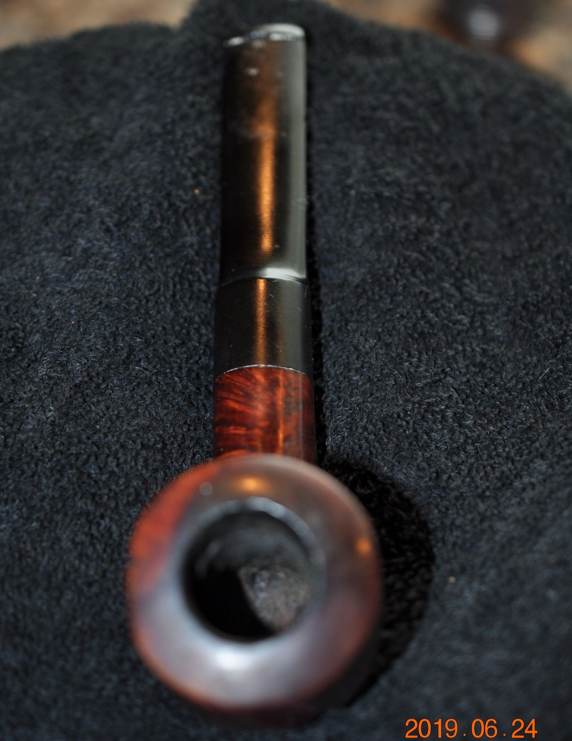
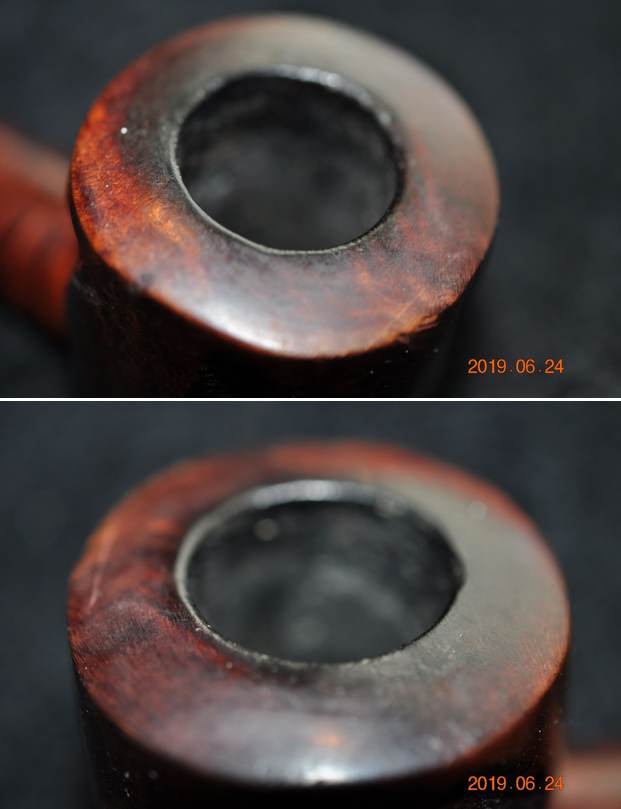
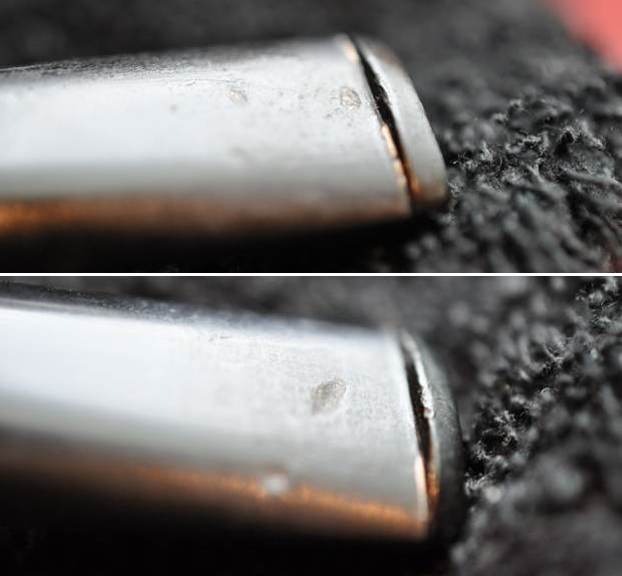
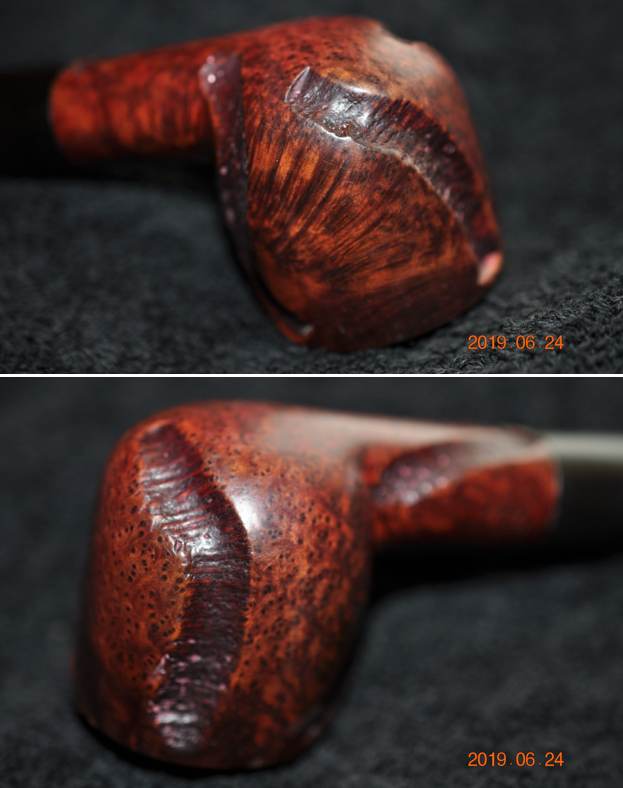
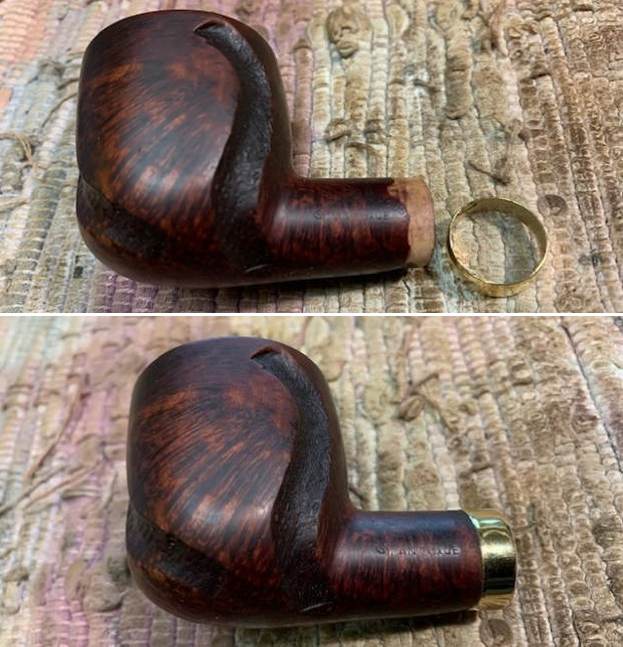
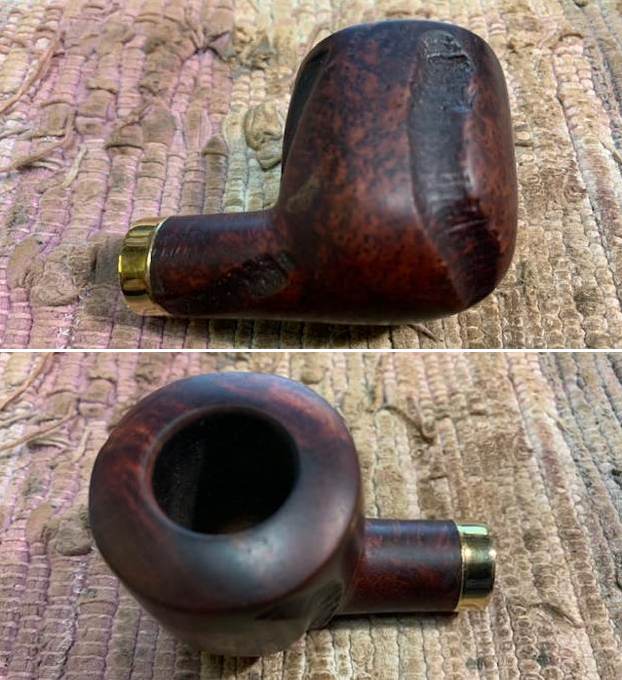
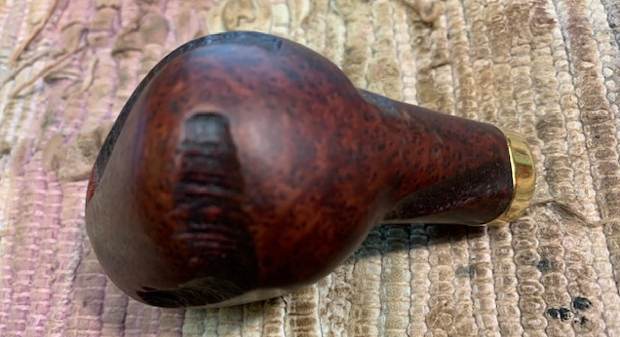
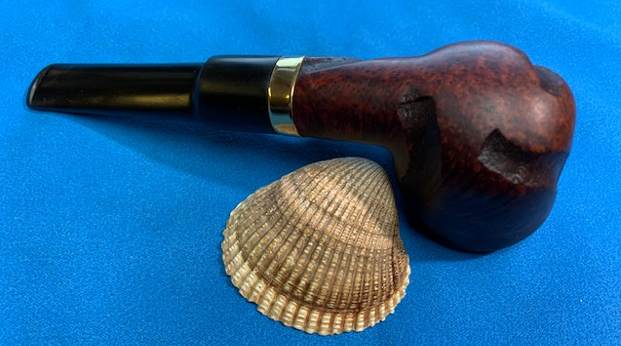
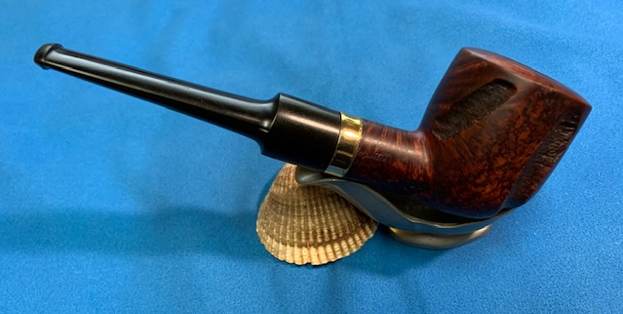
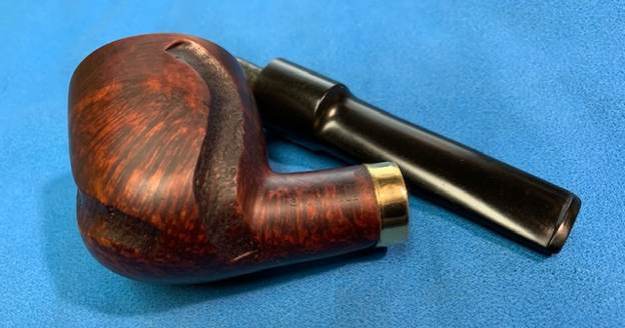
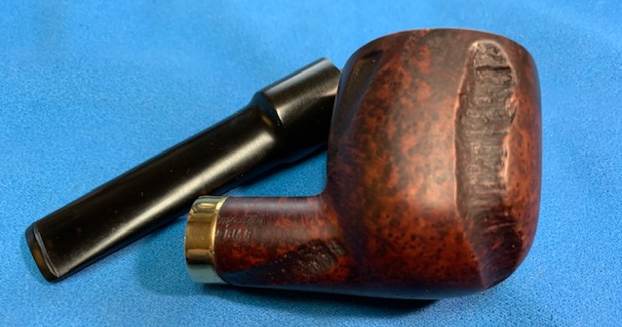
The next pipe on the table was purchased from an antique store on 10/14/17 in Pocatello, Idaho, USA. It is a nice looking Rusticated Billiard Churchwarden with a long straight stem. It is stamped on the left side of the shank and reads TELEVISION [over] Imported Briar [over] Italy. The stamping is very clear and readable. The rusticated finish had a spotty coat of varnish around the rusticated rim, sides and shank but it was primarily on the high spots with little of it going into the depths of the rough rustication. The bowl had a thin cake and dust and debris in the rustication on the rim top and the rest of the bowl and shank. The stem was acrylic and in decent condition with some ripples in the underside from when it had been heated to bend it. It had some tooth chatter and marks on both sides near the button. Jeff took photos of the pipe when he unpacked it and before he started his clean up work. It is a great looking piece of briar. Jeff took photos of the bowl and rim top to show the cake in the light cake bowl and the debris in the rustication. He also took photos of the stem to show the wrinkles in the middle of the underside as well as the light tooth marks and chatter on the acrylic stem. He took photos of the bowl and heel to show the condition of the finish. Though the photos show the deep rustication around the bowl sides and heel. It is a rugged, tactile looking pipe with a nickel band on the shank. The stamping is on a smooth portion of the shank. You can also see the spotty finish on the bowl and shank. Jeff took photos of the stamping on the left side of the shank. It read as noted above and was readable. It took two photos to capture the full stamp on the shank. You can also see the crackle in he varnish coat on the shank. Jeff also took photos of the shank band. The photos show that it had an EP in a diamond stamped on it and underneath were some faux hallmarks.I have worked on quite a few Television Pipes over the years – old timers, billiards and at least one Churchwarden pipe. I checked all the usual sites for information and I could find nothing about the brand. I decided to leave the hunt behind and just work on the pipe.

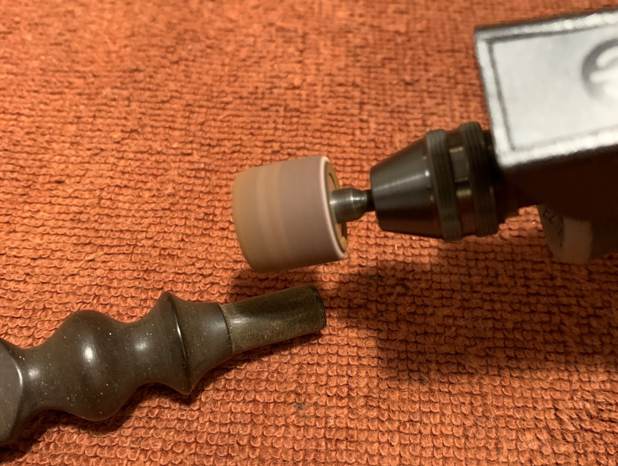
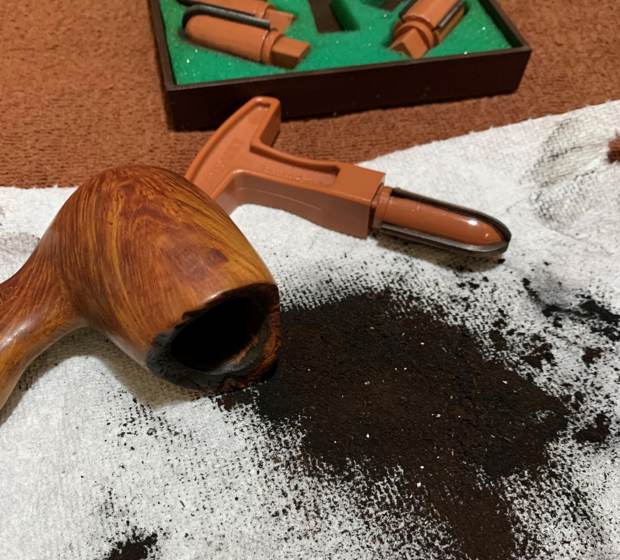
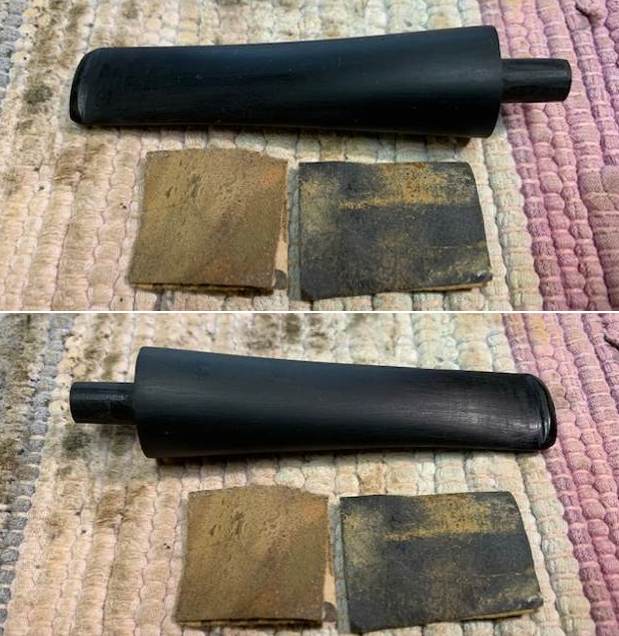
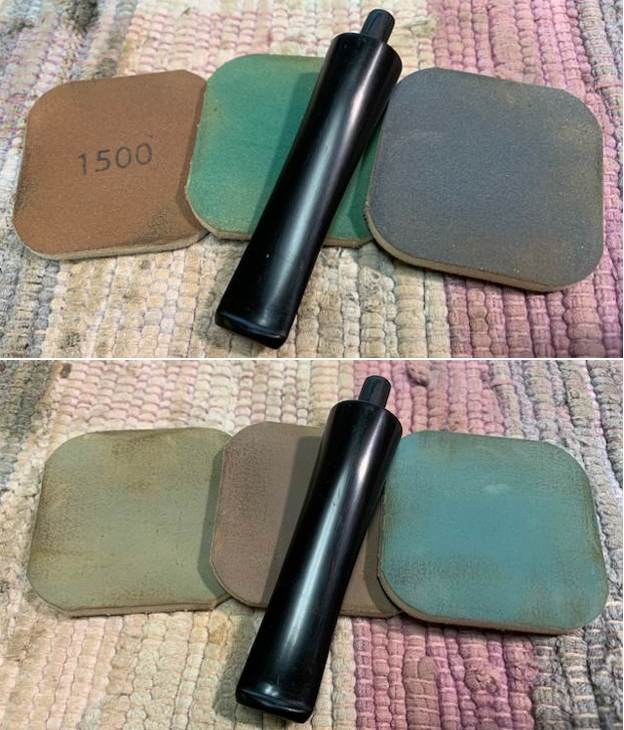
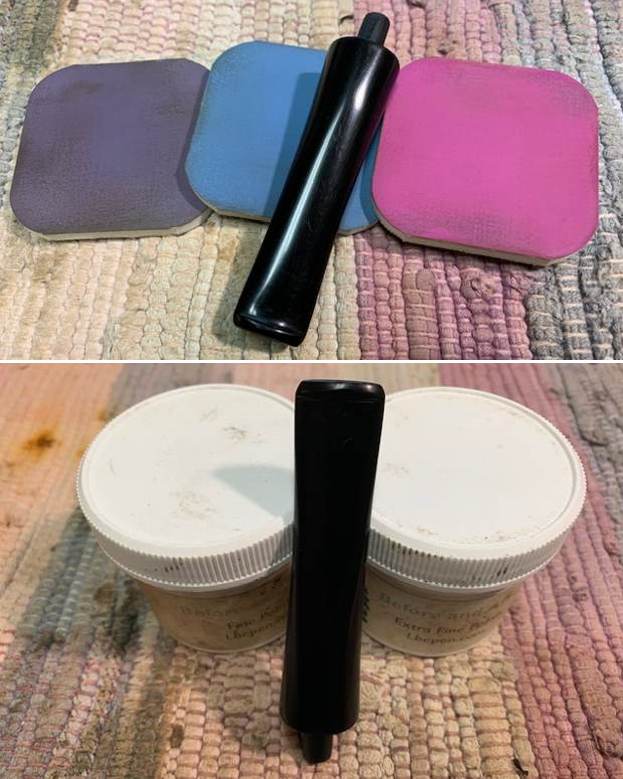
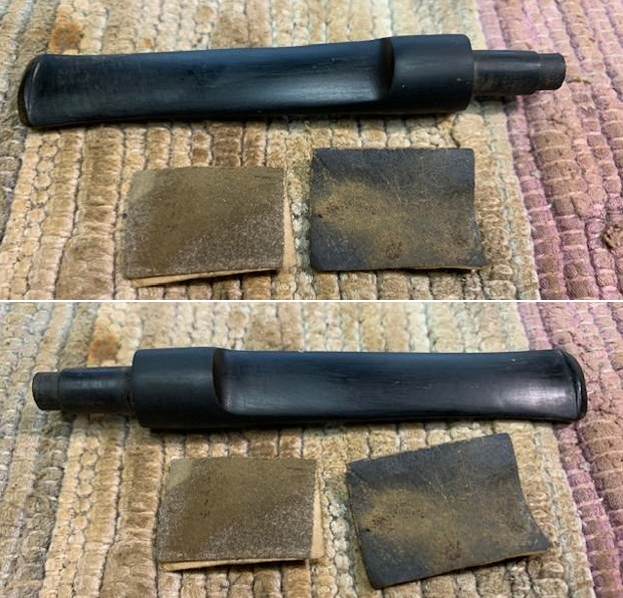
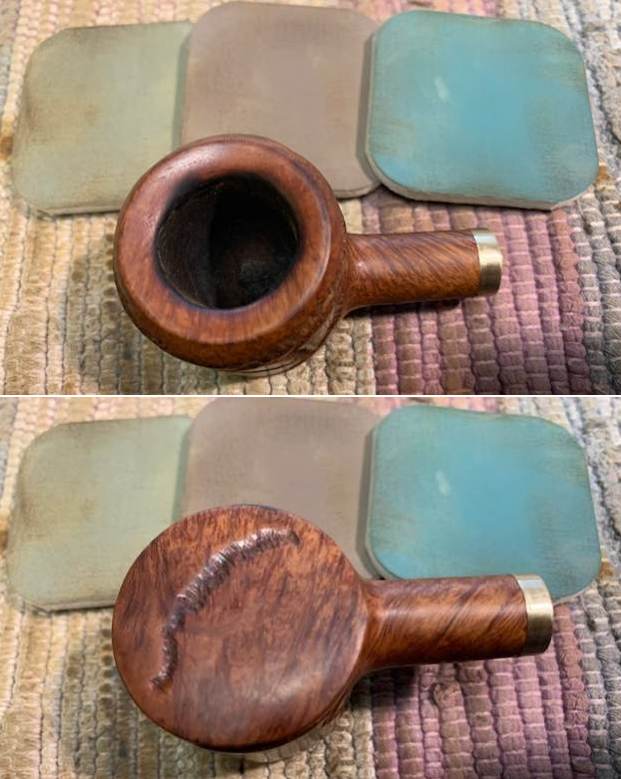
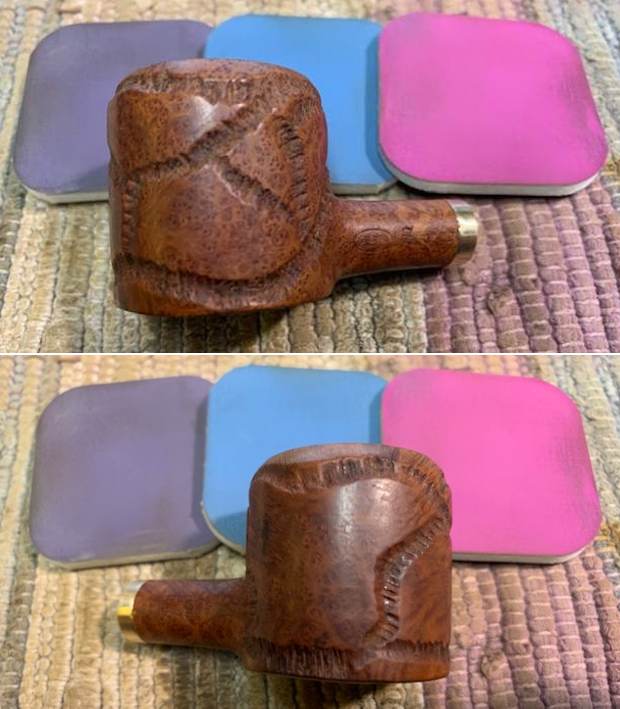
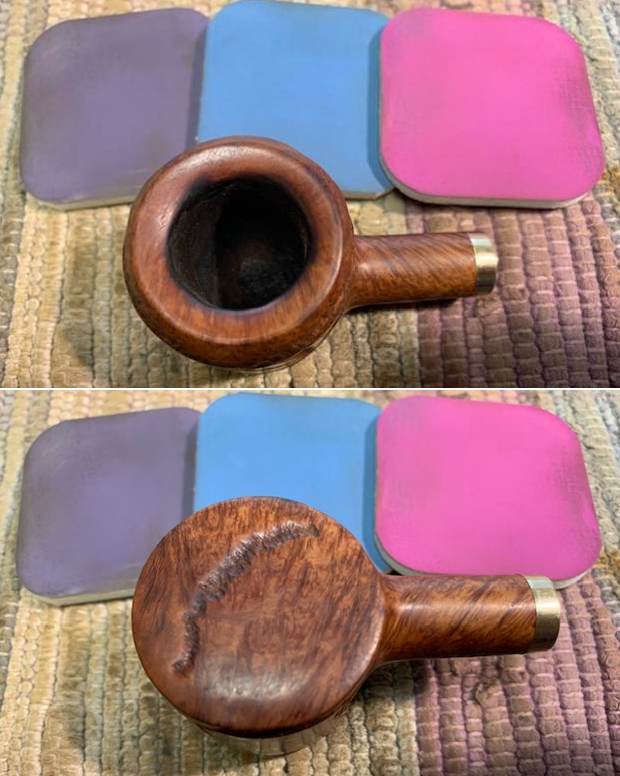
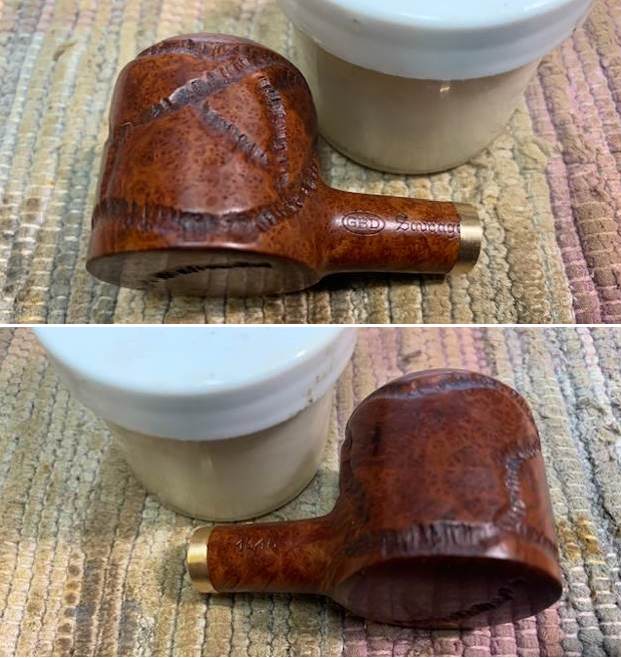
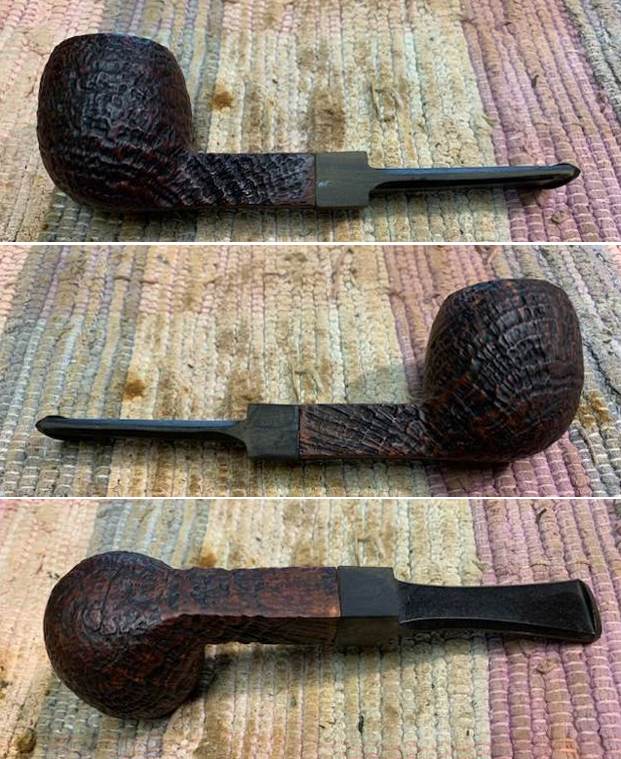
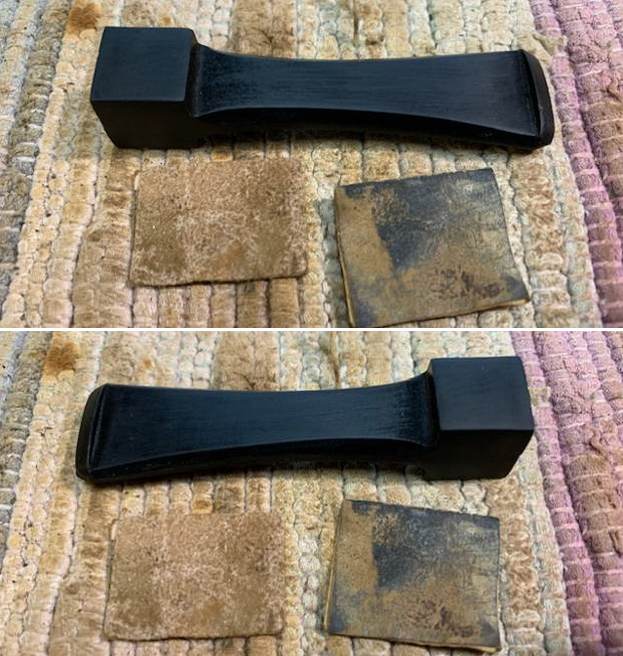
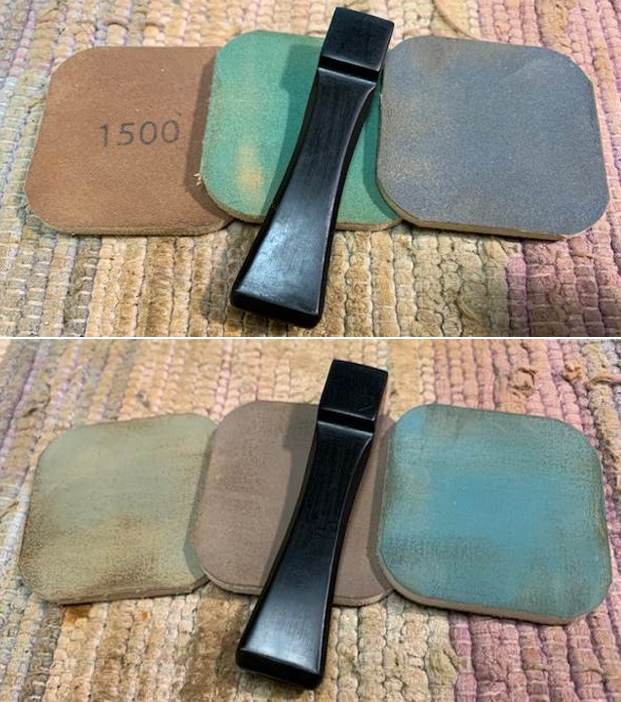
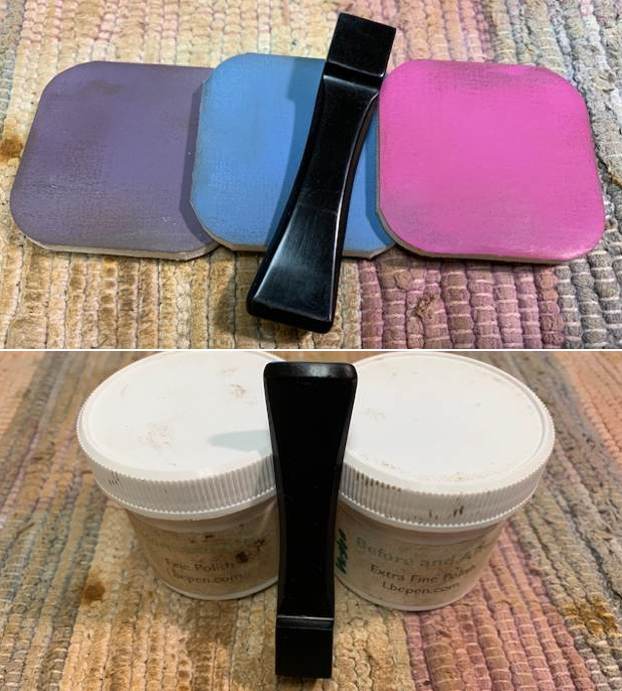
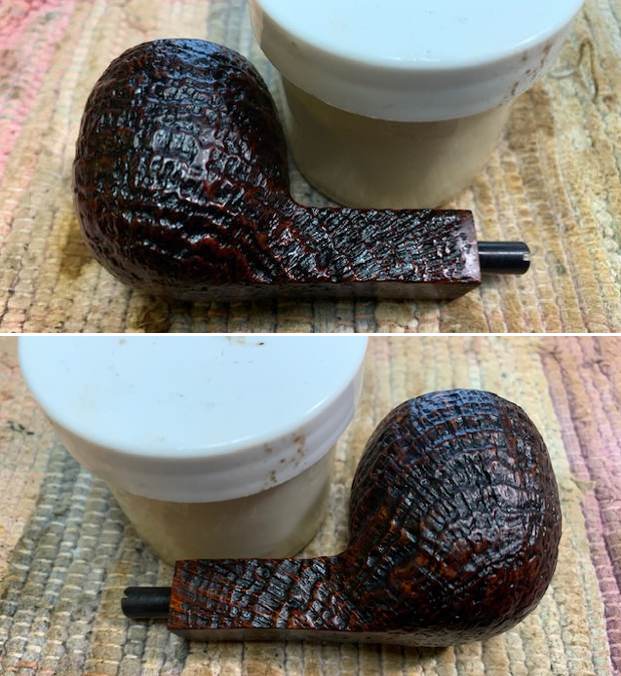
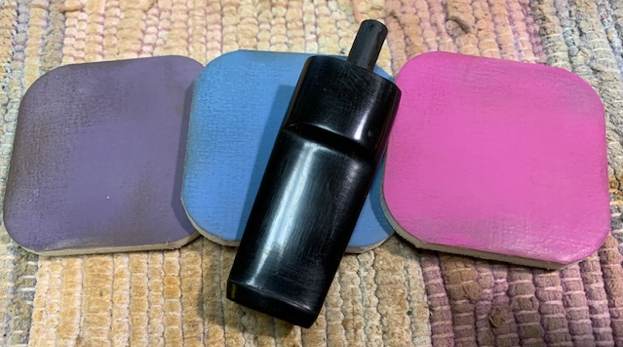
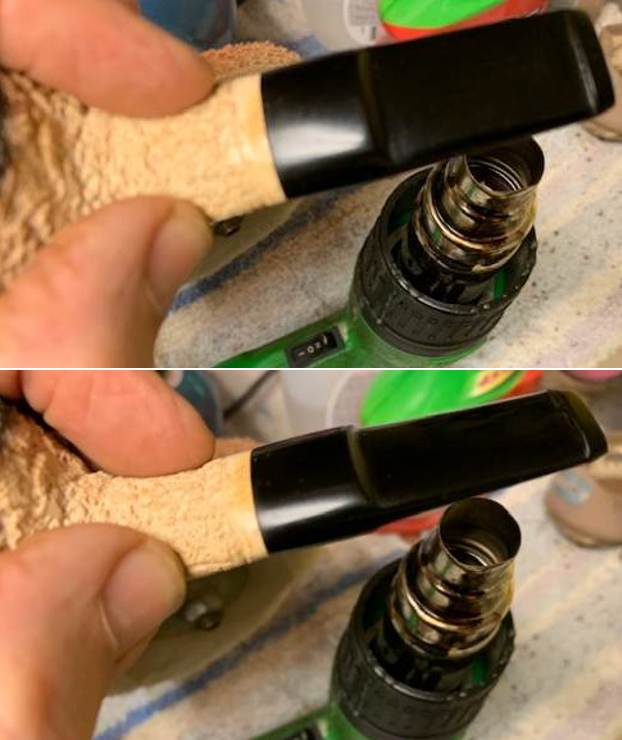
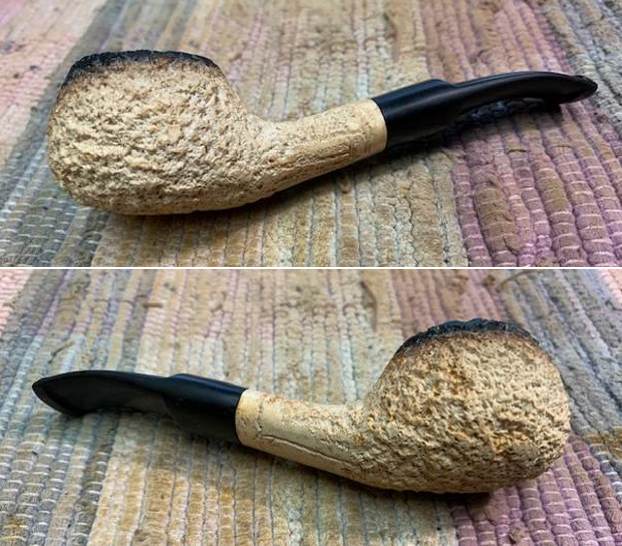
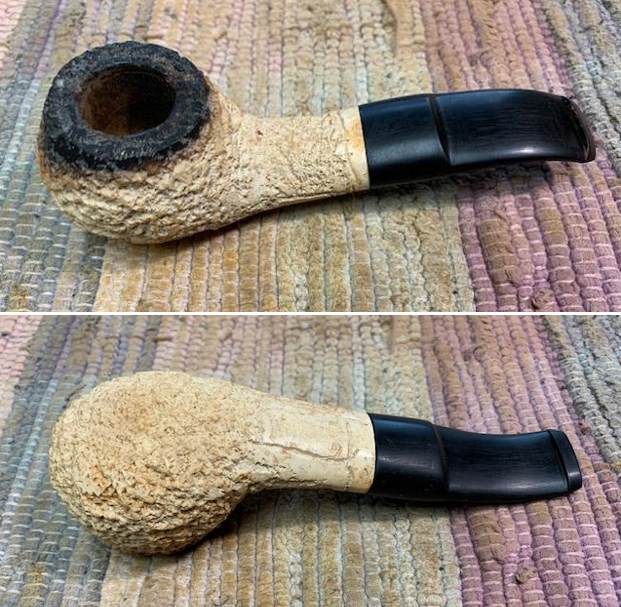
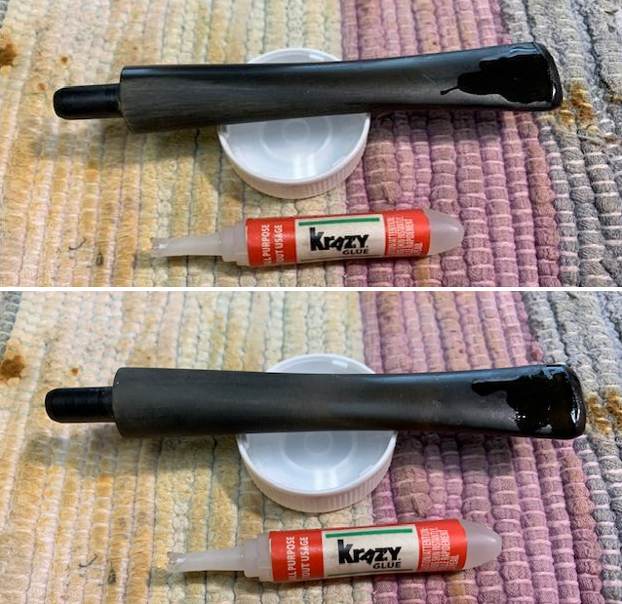
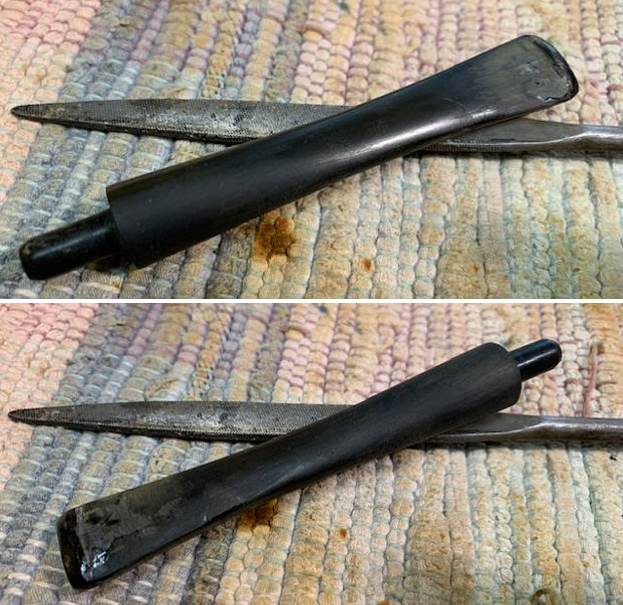
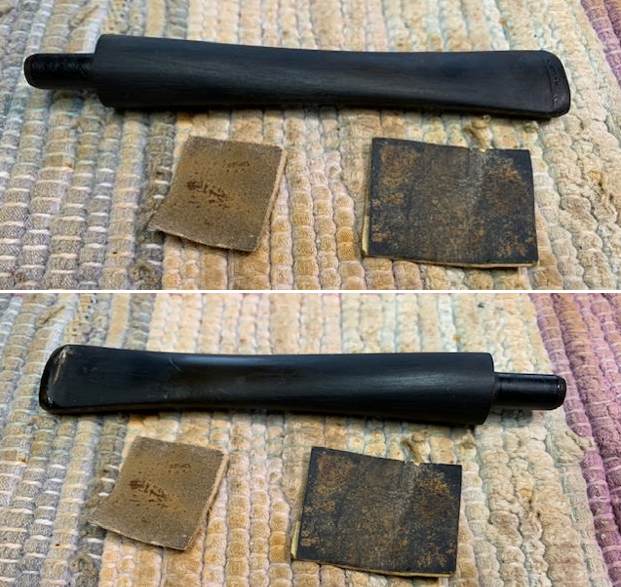
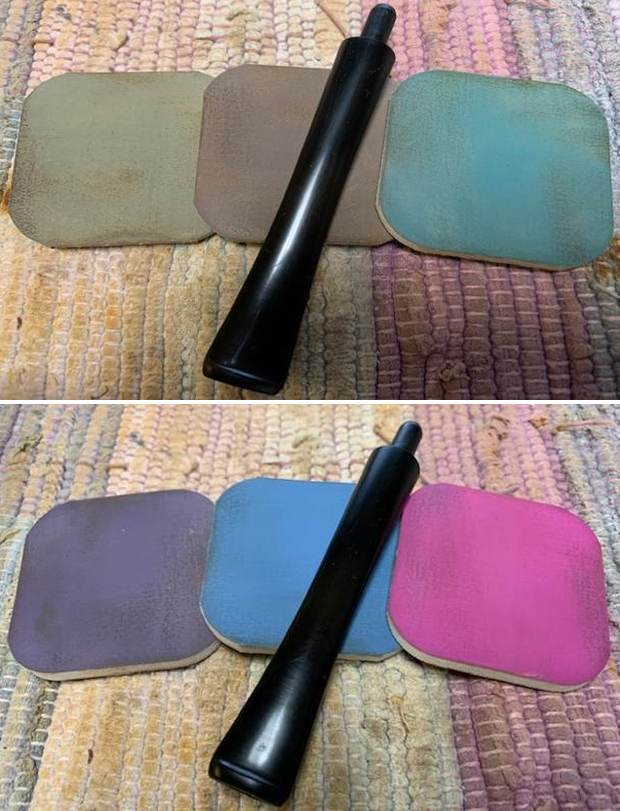
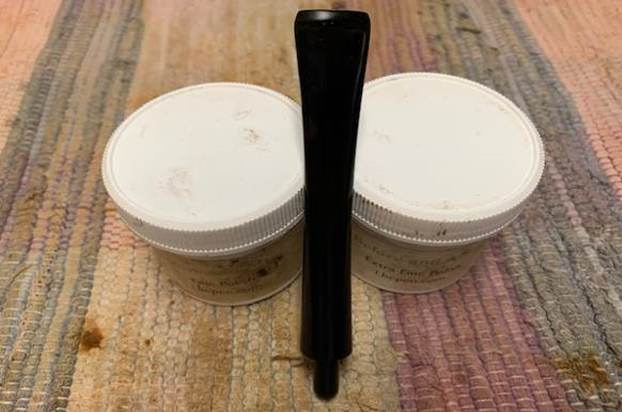
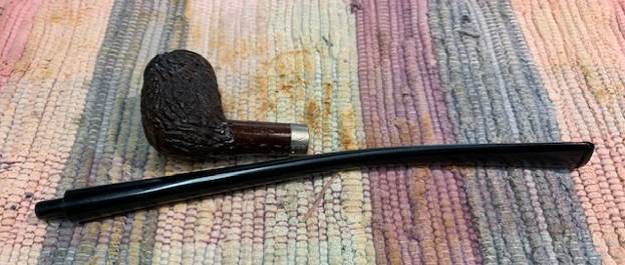
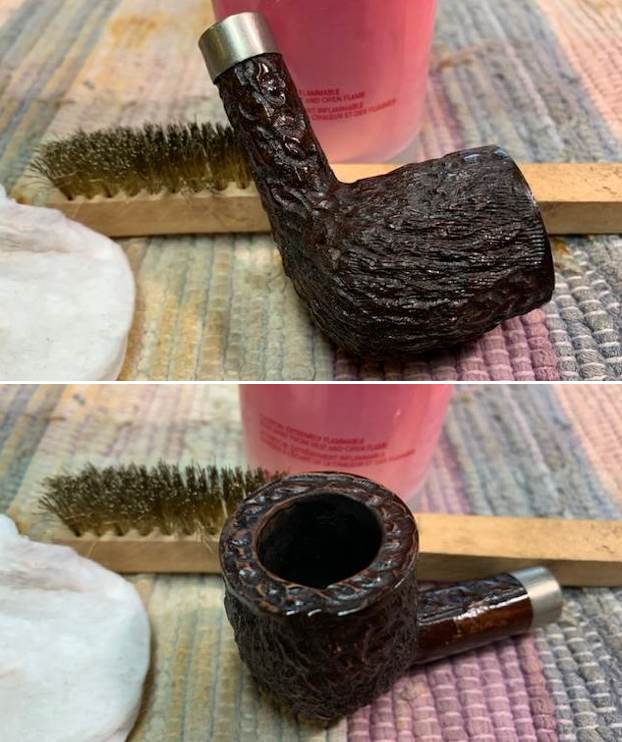
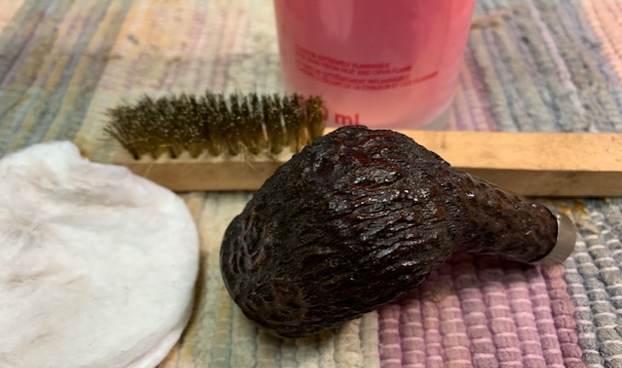
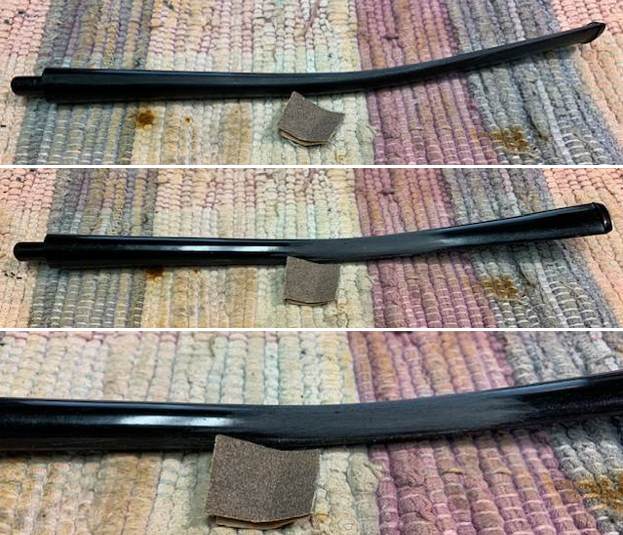
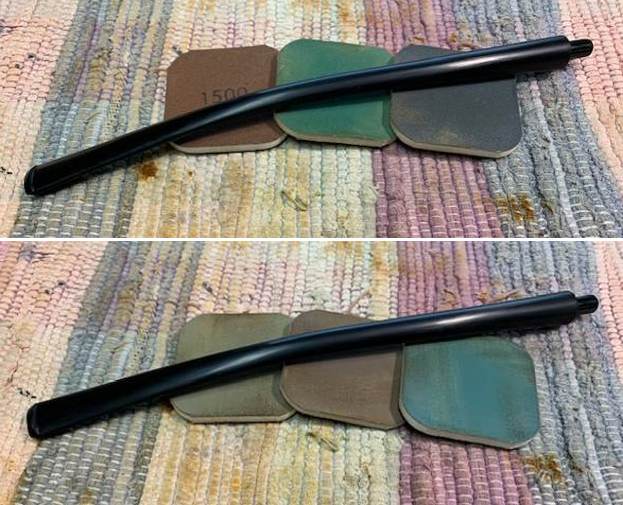
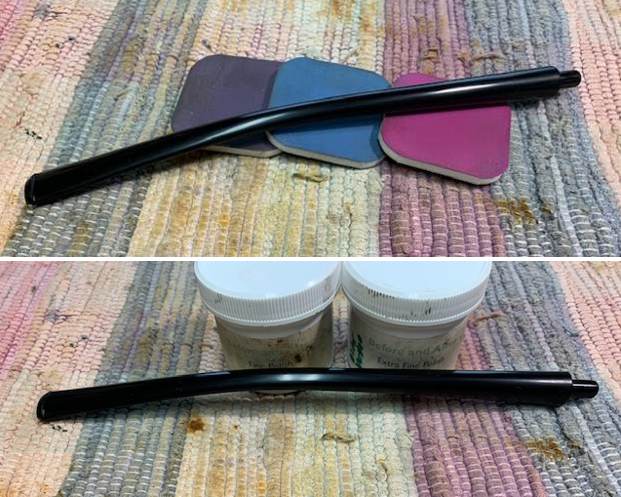
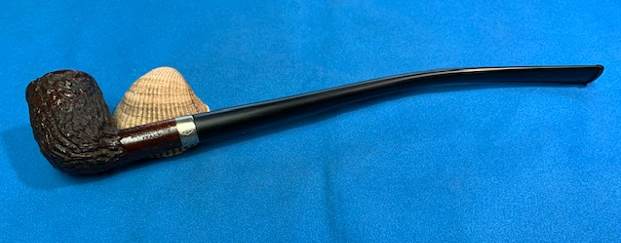
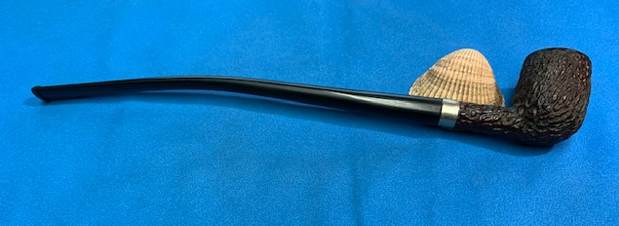
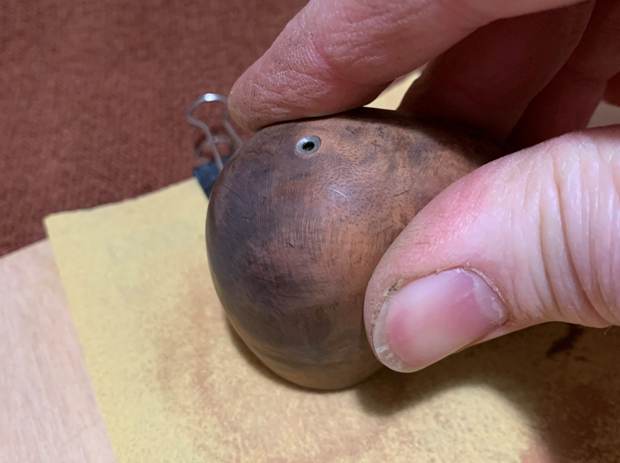
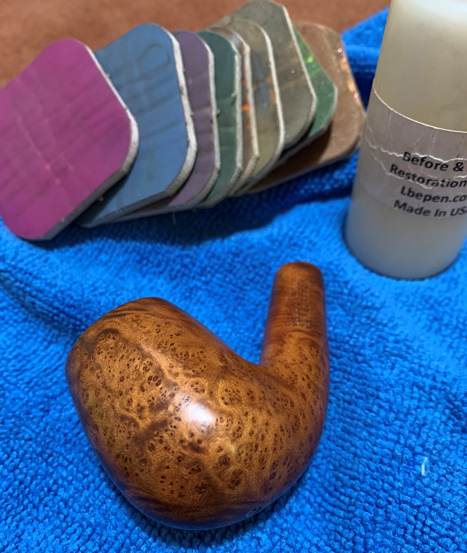
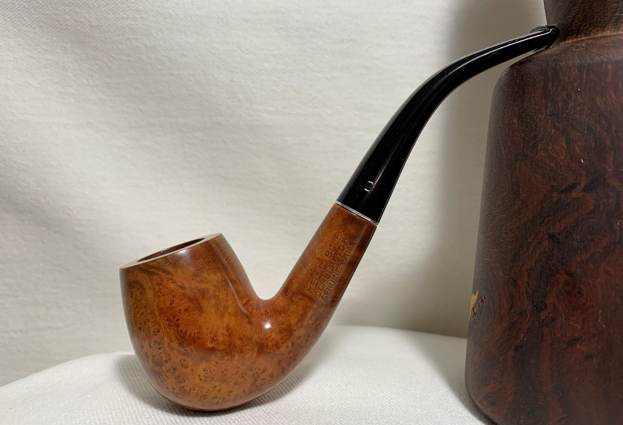
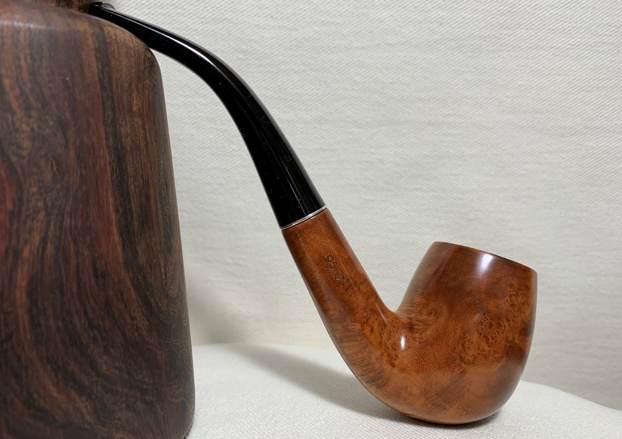
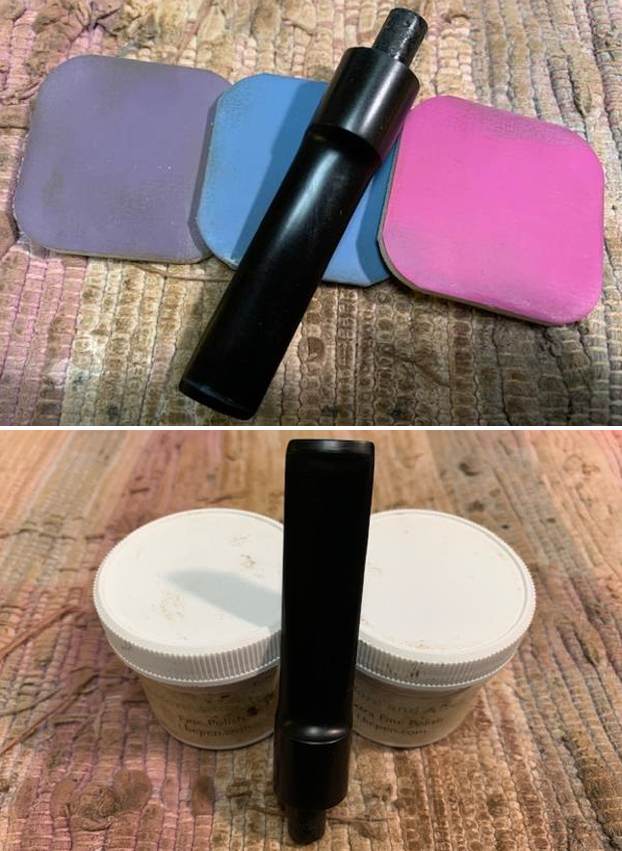
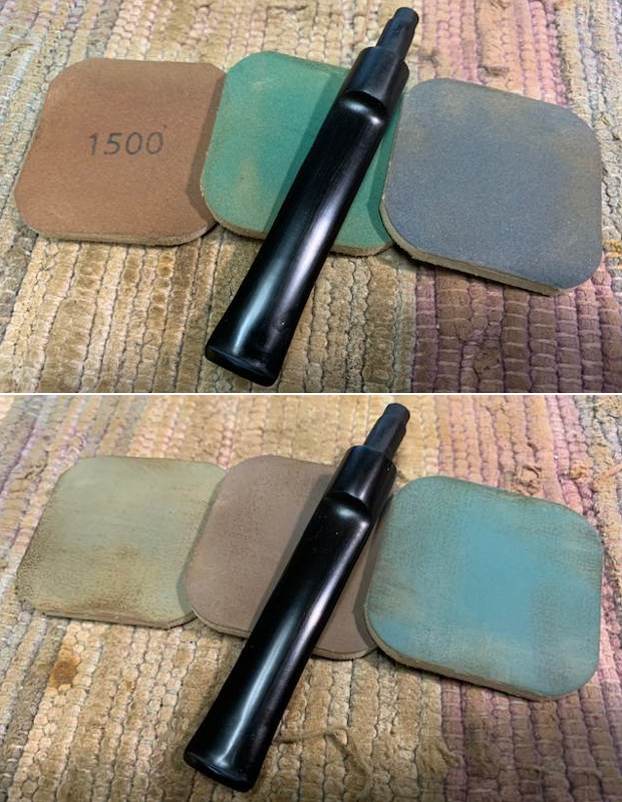
I took some photos of the pipe as I took it out of the box. Here is what I saw. I slid it out of the wrapper around it. I could see that Jeff had cleaned it well. The bowl had been reamed with a PipNet reamer and Savinelli Fitsall Pipe Knife. He had scrubbed the exterior with undiluted Murphy’s Oil Soap. He rinsed it with warm water. He cleaned out the internals with alcohol, cotton swabs and pipe cleaners. The stem was twisted and tweaked to the right as can be seen in the photos of the top and underside of the pipe. The grain on the bowl is quite nice with just a few small fills that are solid and well blended in with the surrounding briar. I took photos of the pipe before I started my work on it. The rim top had cleaned up very well and the rim top and edges looked very good. The stem was in decent condition other than light tooth chatter on both sides at the button. The stem also has some casting marks on the sides and a wrinkle on the underside from when it was heated and bent originally. I was surprised to see that the stem was acrylic rather than vulcanite. It really does shine. I took a photo of the stamping on the smooth panel on the left side of the shank. It is clear and readable as noted above.I removed the stem and took a photo of the pipe to show the proportion of the stem to the bowl. It is a nice looking pipe.I decided to start work on this pipe by addressing the spotty varnish coat on the bowl. It was a bit odd in that it was on the high spots not in the crevices of the rustication as much. I scrubbed it with a brass bristle wire brush and acetone to try and break it down. Once finished it did look better. I would at least be able to stain the valleys and crevices! I stained the bowl with a dauber and a light brown aniline stain. I put the stain on quite heavy to let it get down in the crevices. I flamed it with a lighter to set the stain in the grain and repeated the process until I was happy with the coverage.When the stain dried I buffed the finish with a clean buffing pad and a horsehair shoe brush to raise the shine. I also polished the Electro Plated band with a jewelers cloth to bring out the shine. It is quite nice looking at this point. I set the bowl aside and turned my attention to the stem. I sanded out the casting marks along both sides of the stem as well as the wrinkle in the stem with 220 grit sandpaper. I also smoothed out the tooth chatter on both sides. It became exceptionally clear that I was working with an acrylic stem. The sanding dust was almost blue looking and plastic feeling dust. I started polishing the stem with 400 grit wet dry sandpaper. I polished the stem with micromesh sanding pads – 1500-12000 grit pads. I wiped it down with Obsidian Oil after each sanding pad. I used Before & After Pipe Polish – both Fine and Extra Fine to further polish the stem. I gave it a final coat of Obsidian Oil and set it aside to dry. Once I finished working on the stem, this Television Imported Briar Italy Churchwarden was another beautiful pipe. The rusticated briar around the bowl is clean and really tactile. The rim top and edges are in great condition. The rich brown stains gave the grain a sense of depth with the polishing and waxing. The depth of the rustication really stood out. I put the acrylic stem back on the bowl and carefully buffed the pipe with a clean buffing pad to raise the shine. I hand buffed the pipe with a microfiber cloth to deepen the shine. The finished Television Italian Churchwarden is a beauty and feels great in the hand and looks very good. Give the finished pipe a look in the photos below. The dimensions of the pipe are Length: 11 inches, Height: 1 ¾ inches, Outside diameter of the bowl: 1 ¼ inches, Chamber diameter: ¾ of an inch. The weight of pipe is 1.38 ounces /40 grams. It is another one that is much more beautiful in person than these photos can capture. I will be putting it on the rebornpipes store soon. Look for it in the Italian Pipe Makers section. If you would like to add it to your collection let me know. Thanks for walking through the restoration with me.

Firing Up the Carburetor


Blog by Kenneth Lieblich

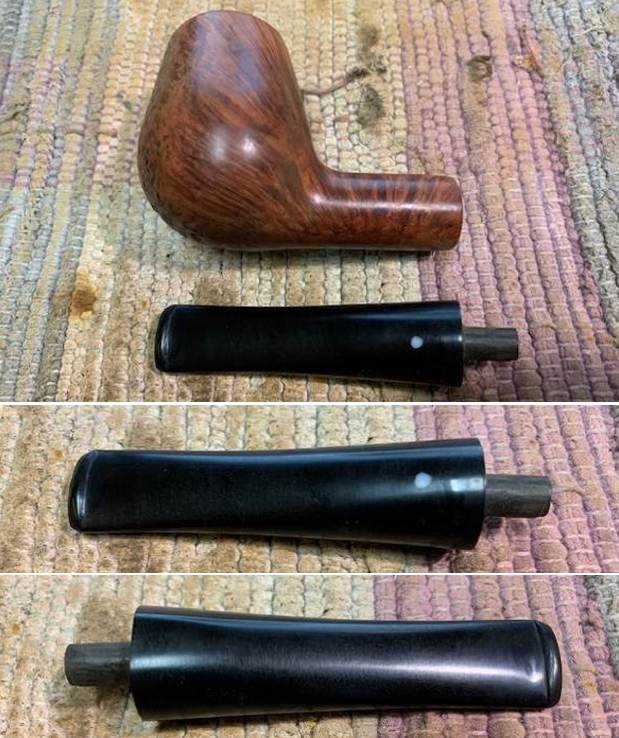
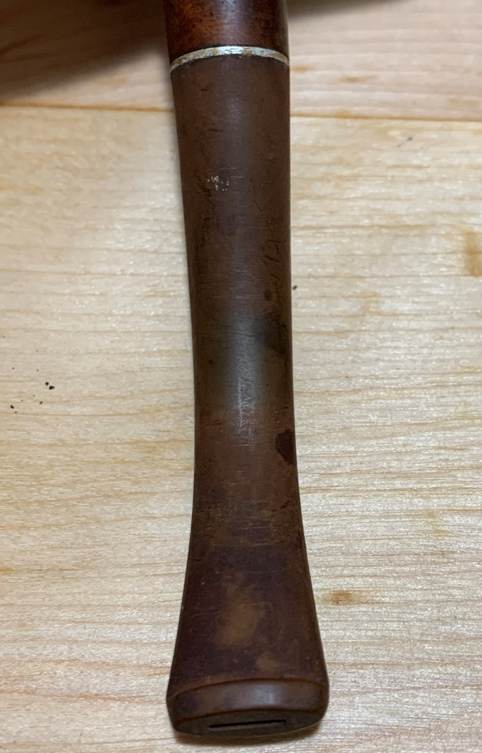
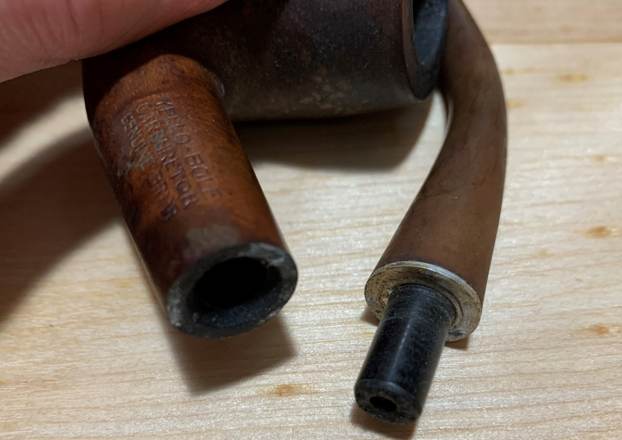
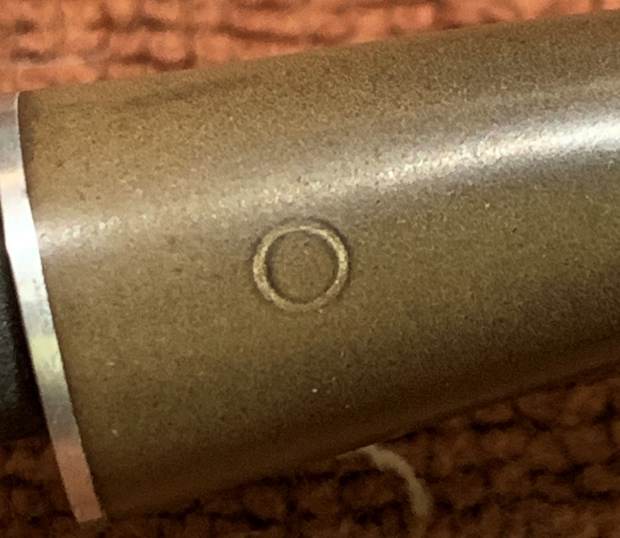
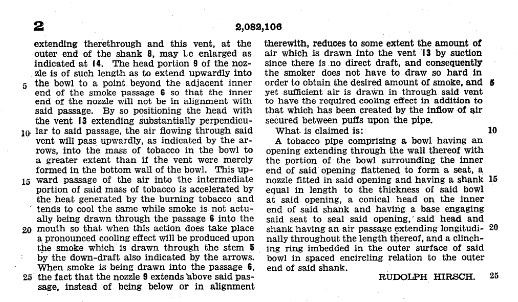
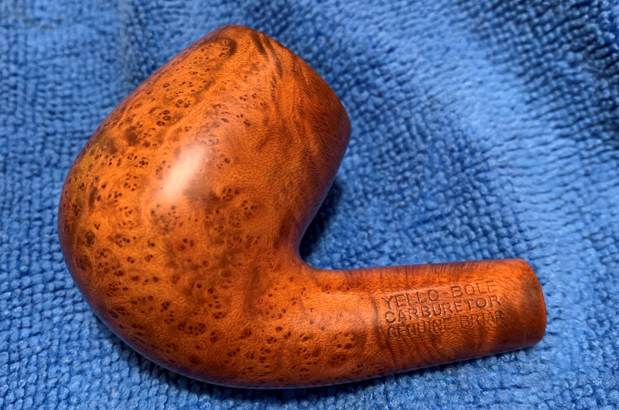
Next on the chopping block is an amazing, old Yello-Bole Carburetor. It has lovely proportions and very nice lines. It was clearly a well-made pipe, but it was a mess. It came to me in a lot off of Craigslist, here in the Vancouver area. There were several interesting pipes in this lot, but I grabbed this one because I wanted to learn more about carburetor systems in pipes. This seemed like a good starting point. The pipe turned out beautifully, but it was not clear that that was going to be the case when I started! This is a bent-egg-shaped pipe – and a really pretty one too. It felt very nice. There is plenty of information to be had on Yello-Bole pipes, but this one is slightly tricky to date. The markings on the left of the shank read Yello-Bole [over] Carburetor [over] Genuine Briar. On the right side of the shank is the model number 9567. Also, on the stem, there is a whitish circle, unlike the yellow circles of old. RebornPipes has a few write-ups on Yello-Bole Carburetors, but none quite like this one. I believe this pipe to be a bit newer than the previous restorations – certainly dating after 1955 and before 1972. I say “certainly” because when S.M. Frank & Co. Inc. bought out Yello-Bole et al from KB&B in 1955, they ceased using the KB&B clover-leaf logo. This pipe does not have the clover. The history of Yello-Bole’s carburetor system is quite interesting. I am borrowing from an old post of Steve’s to relay the following information:

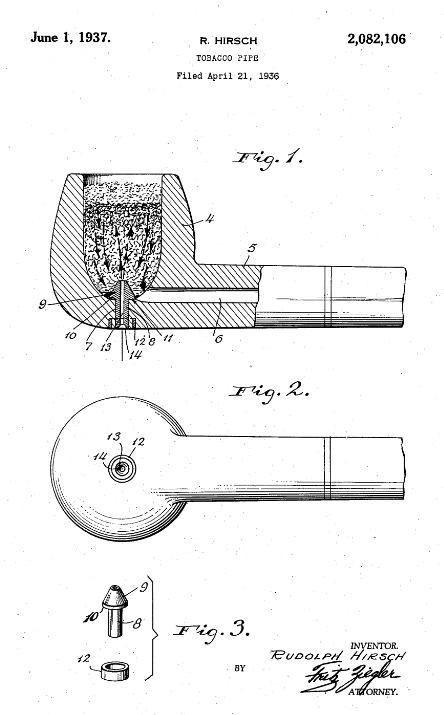
I decided to look up the patents on the US Patent site and see what I could find about about them and the date they were filed (https://patft.uspto.gov/netahtml/PTO/srchnum.htm). I searched first for the US. Pat. 2,082,106 that was stamped on the top and left side of the shank. I assumed it referred to the Patent for the Carburetor but I was not certain. I found a drawing and description of the carburetor system of a patent filed by R. Hirsch on April 21, 1936 and granted on June 1, 1937. I have included those pages below. For those interested in the problematic dating of Yello-Bole pipes, please refer to this link which has some useful information: https://www.tapatalk.com/groups/kaywoodie/dating-yello-bole-pipes-t86.html.

Anyway, on to the pipe, and – as I mentioned – it was very attractive, but a bit of a mess. The stem was dark and dreary. It had significant oxidation and plenty of tooth chatter and scratches. Meanwhile, the stummel also had some problems. There was plenty of lava on the rim, some small burns, cake in the bowl, and a few scratches here-and-there. The staining of the wood needed to be revivified too. The finish on the wood had come off in spots and that was going to need attention. Also, the carburetor itself was impregnated with gunk. This pipe was going to require quite a bit of elbow grease, but I was looking forward to working on this one. It is a pipe that still has many decades of use in it.

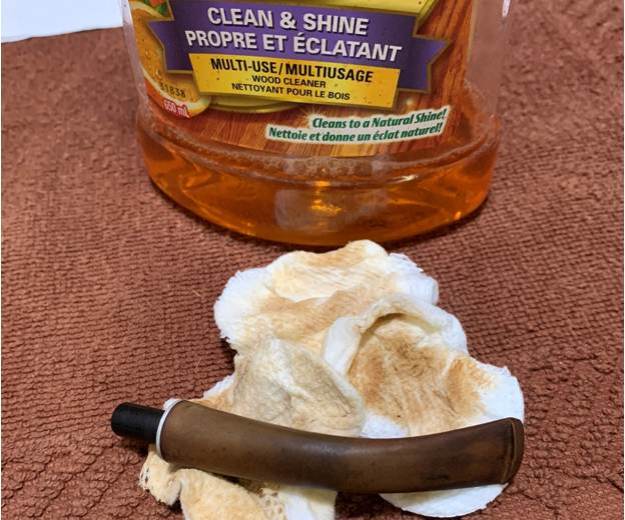
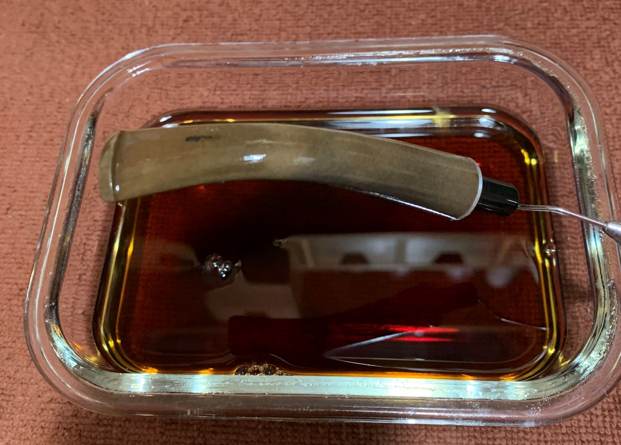
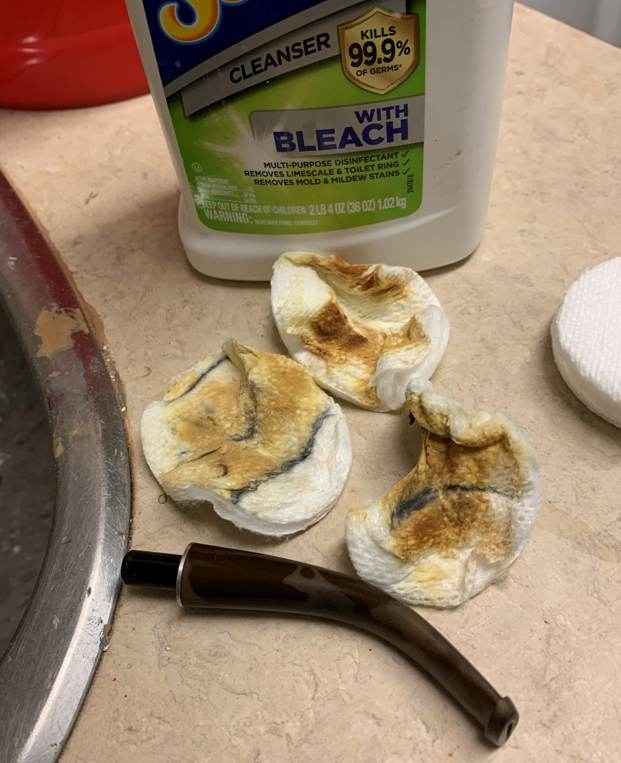
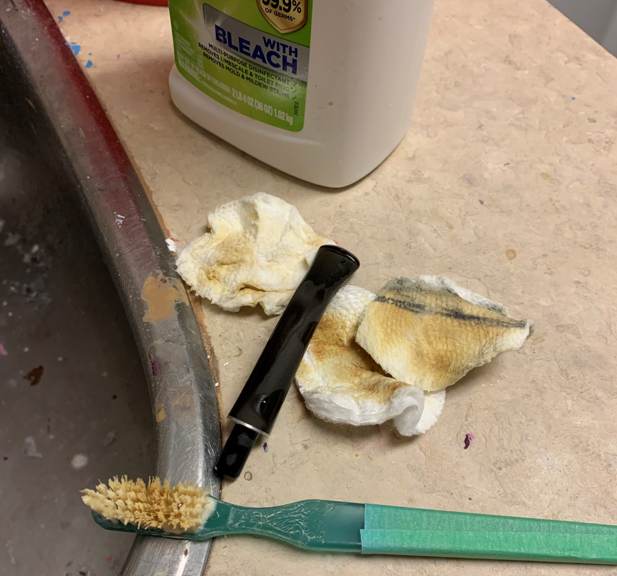
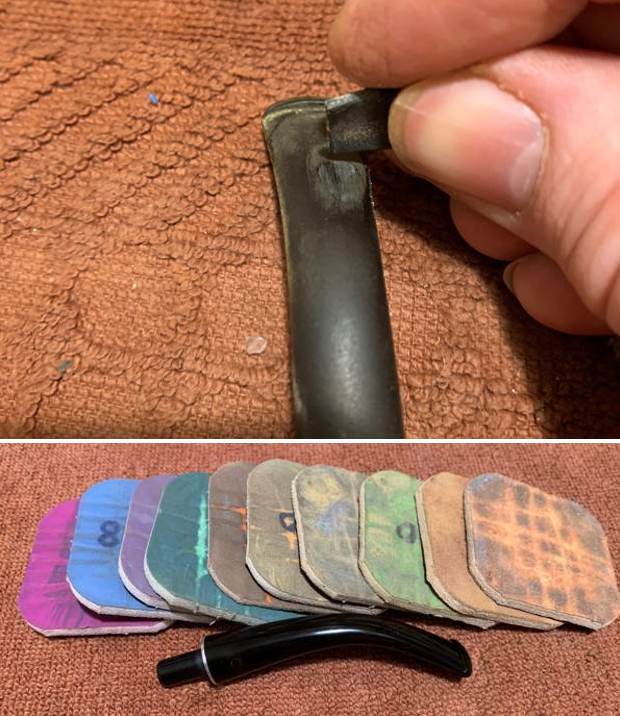
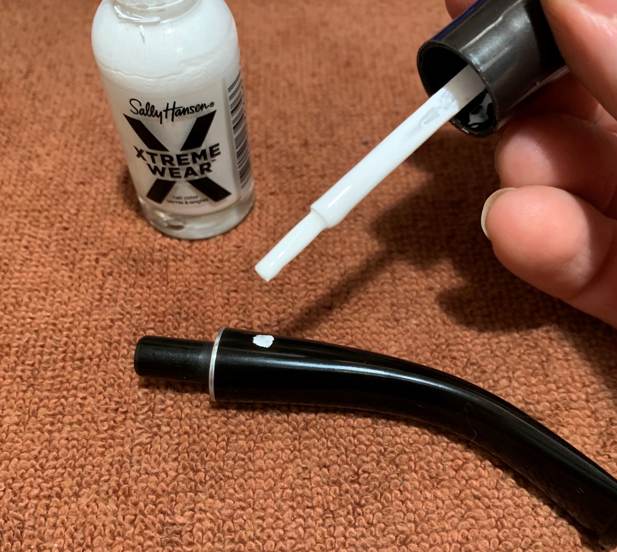
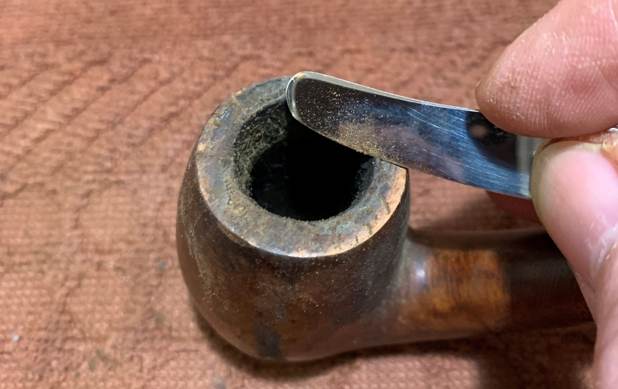
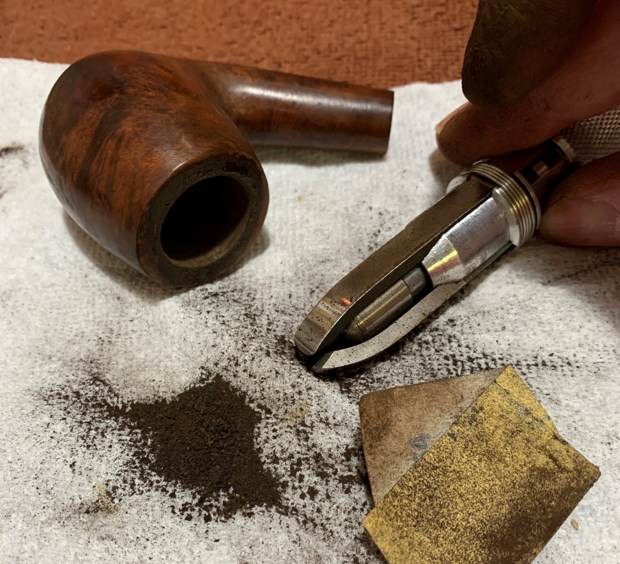
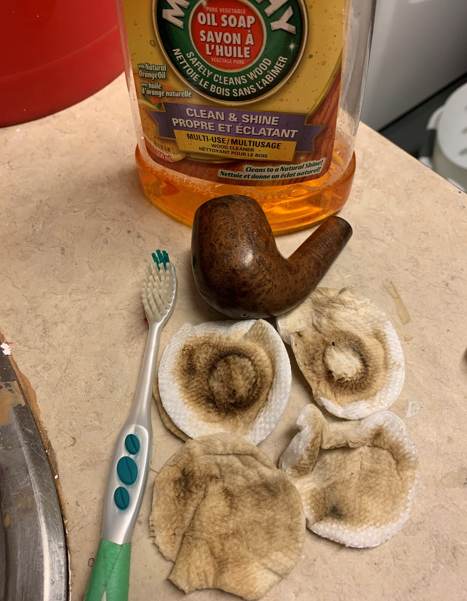
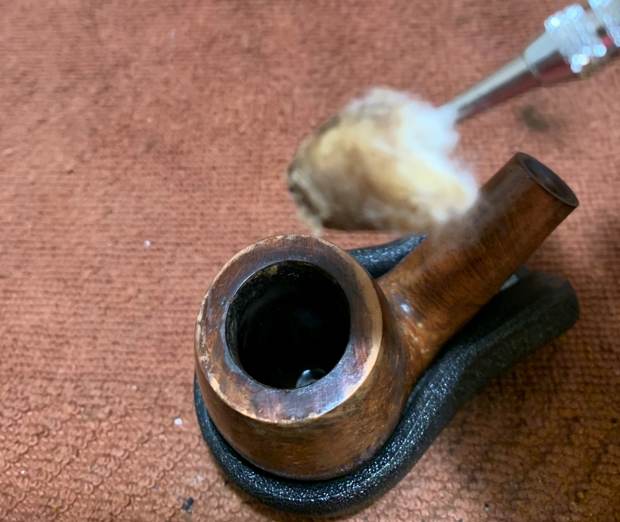
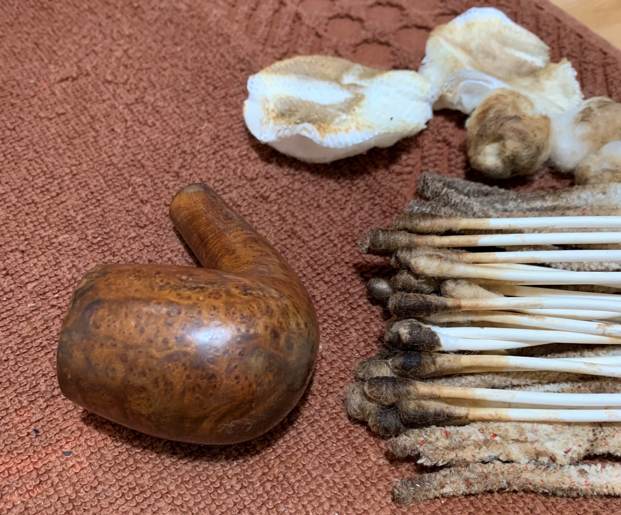
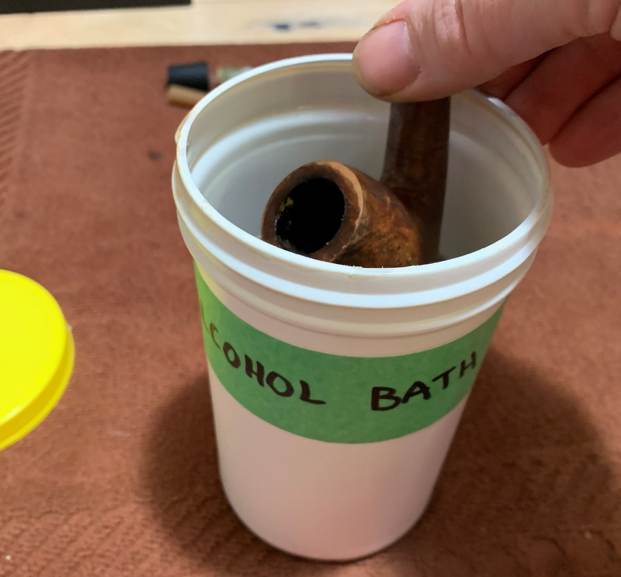
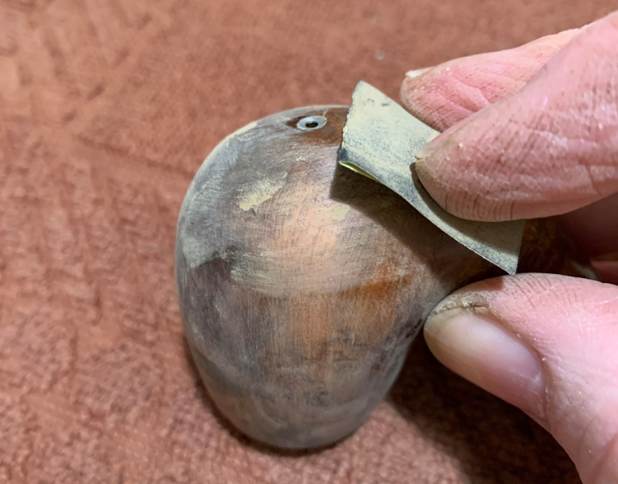
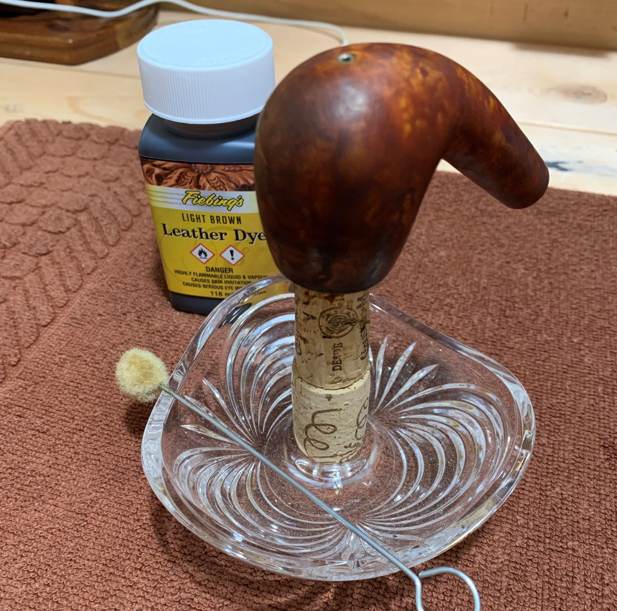
The stem was first on my list. I wiped down the outside of the stem with Murphy’s Oil Soap on some cotton pads. I also took a BIC lighter and ‘painted’ the stem with its flame in order to lift the bite marks and dents. This was somewhat successful in raising the damage. Then, I cleaned out the insides with pipe cleaners and isopropyl alcohol. Once this process was done, the stem went for an overnight soak in the Before & After Hard Rubber Deoxidizer. The following day, I cleaned all of the de-oxidizing sludge off with alcohol, pipe cleaners, et cetera. The oxidation had migrated to the surface and would be fairly straightforward to remove. I scrubbed vigorously with SoftScrub on cotton pads (and a toothbrush) to remove the leftover oxidation. Before I moved on to the Micromesh pads, I built up some tiny dents on the stem with cyanoacrylate adhesive and let it fully cure. I then sanded it down with 220-, 400-, and 600-grit sandpapers to meld seamlessly into the stem. I then used all nine Micromesh pads (1,500 through 12,000 grit) to bring out the lovely black lustre on the stem. I also used Obsidian Pipe Stem Oil in between each pad scrubbing.I also decided to paint the “O” on the stem with some white nail polish. This sort of “paint” works very well in filling in the markings and is quite resistant to wear-and-tear.This stummel was quite a mess. The lava on the rim was so substantial that I first gently scraped it with a knife to remove as much as possible. I then decided to ream out the bowl. I used both the PipNet Reamer and the KleenReem to remove the built-up cake and followed that with 220-grit sandpaper to eliminate as much as I could. I took it down to bare briar, as I wanted to ensure there were no hidden flaws in the walls of the bowl. Fortunately, there were none. I then proceeded to clean out the insides of the shank with Q-tips, pipe cleaners, and isopropyl alcohol. There was a lot of nastiness inside this stummel and – boy-oh-boy – it took a lot of cotton to get this thing clean! I also used some cotton balls, isopropyl alcohol, and a straight pin to clean the carburetor. I followed that up by cleaning the insides with some castile soap and tube brushes. But that was just the inside! I then moved on to cleaning the outside of the stummel with Murphy’s Oil Soap, a toothbrush, and some cotton pads. Wow – I got a lot of filth off the stummel and I began to see some signs of real beauty in the wood. A sign of good things to come! But I still needed to address the patchy finish on the wood. It may have looked good once upon a time, but no longer. So, I opted to soak the stummel in isopropyl alcohol for a few hours. This will usually remove the sort of deteriorating finish I was faced with. When I took the stummel out of the alcohol bath, I scrubbed the wood with a brush (to remove any remnants) and left it to dry. In order to remove the lingering bits of finish (and eliminate any nicks on the rim), I “topped” the pipe – that is to say, I gently and evenly sanded down the rim on a piece of 220-grit sandpaper. This effectively removed the damage, without altering the look of the pipe. I opted to carry on sanding the whole stummel with 220-, 400-, and 600-grit sandpapers to even everything out. I then used all nine Micromesh pads (1,500 through 12,000 grit) to finish it off. After that, a light application of Before & After Restoration Balm brought out the best in the stummel’s grain. There is some beautiful wood after all – and look at that bird’s-eye! On to another problem: the colour. During the course of its previous life and my vigorous cleaning, this pipe had lost some vibrancy of colour. So, in order to accentuate the external beauty of this pipe, I opted for aniline dye. I applied some of Fiebing’s Light Brown Leather Dye. As usual, I applied flame from a BIC lighter in order to set the colour. What a difference that made! It looked so much better with a fresh coat of stain.I applied some Before & After Restoration Balm and then it was off for a trip to the buffer. A dose of White Diamond and a few coats of carnauba wax were just what this pipe needed. The lovely shine made the wood very attractive. This is a very elegant pipe and will provide many years of smoking pleasure.
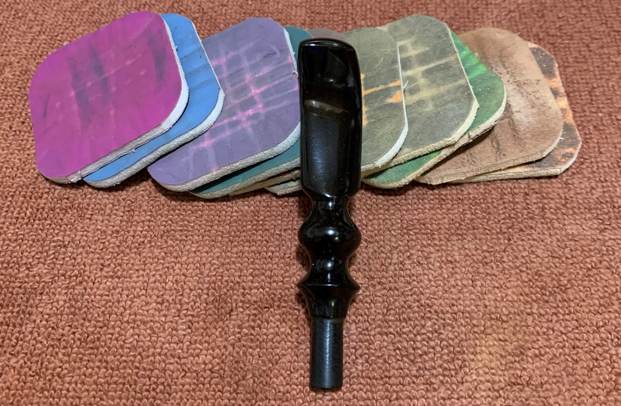
This Yello-Bole Carburetor is back to its old glory and ready to be enjoyed again by the next owner. I am pleased to announce that this pipe is for sale! If you are interested in acquiring it for your collection, please have a look in the ‘American’ pipe makers section of the store here on Steve’s website. You can also email me directly at kenneth@knightsofthepipe.com. The approximate dimensions of the pipe are as follows: length 5¾ in. (145 mm); height 2¾ in. (50 mm); bowl diameter 1⅛ in. (29 mm); chamber diameter ¾ in. (19 mm). The weight of the pipe is 1⅜ oz. (40 g). I hope you enjoyed reading the story of this pipe’s restoration as much I as I did restoring it. If you are interested in more of my work, please follow me here on Steve’s website or send me an email. Thank you very much for reading and, as always, I welcome and encourage your comments.
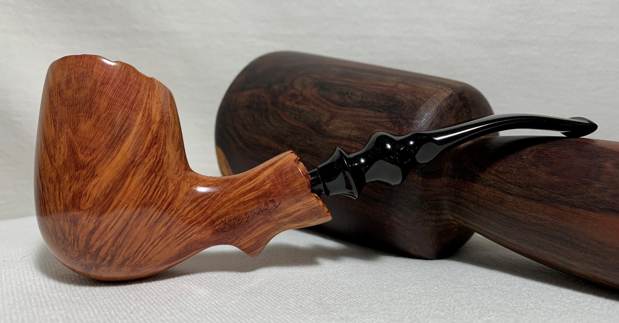
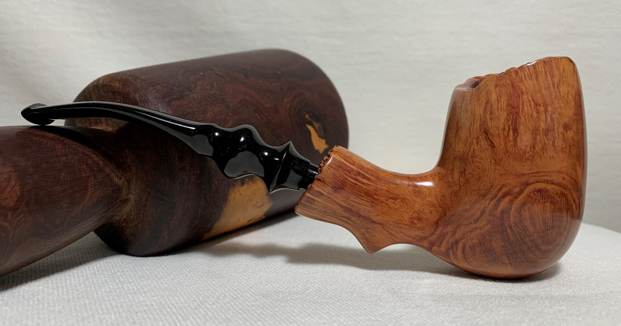
This Greenwich House Antique Imported Briar Crowned Pot Turned into a Nightmare


Blog by Steve Laug

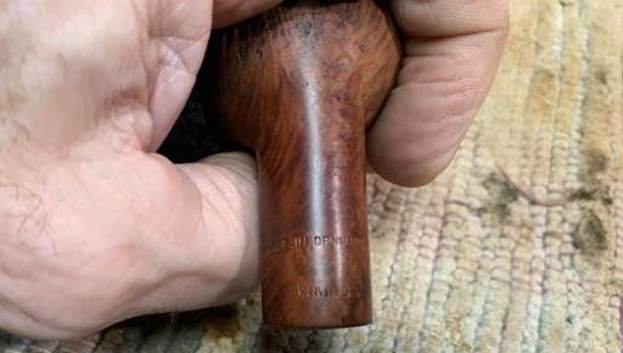
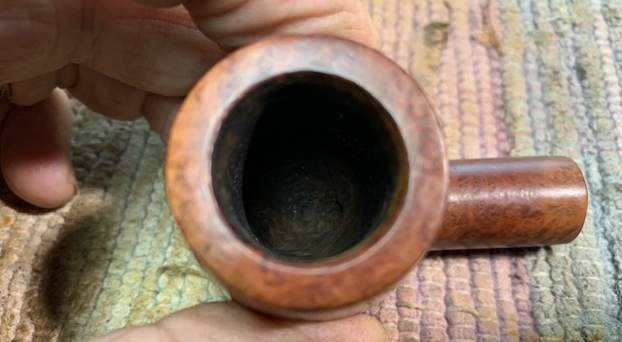
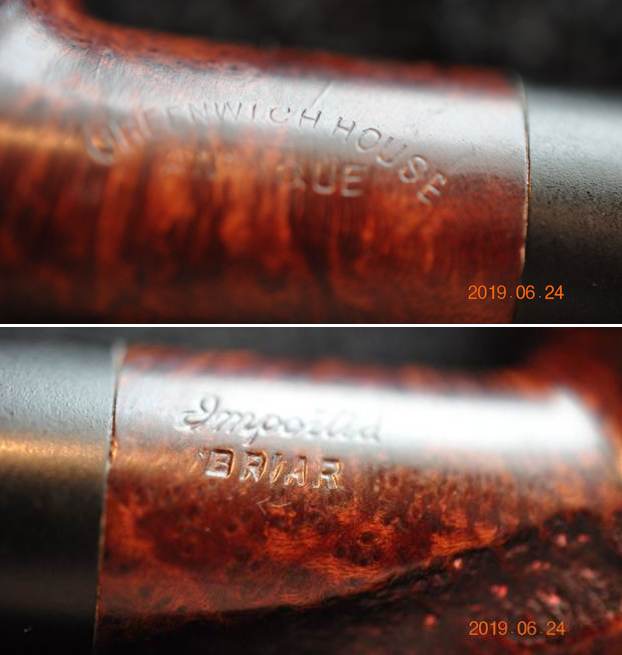
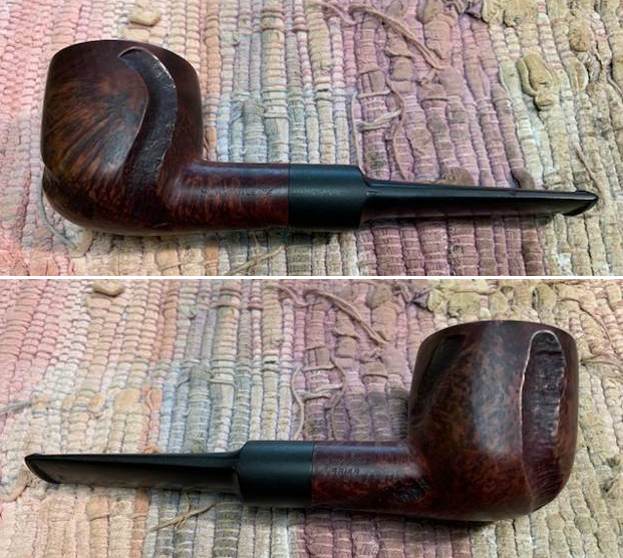
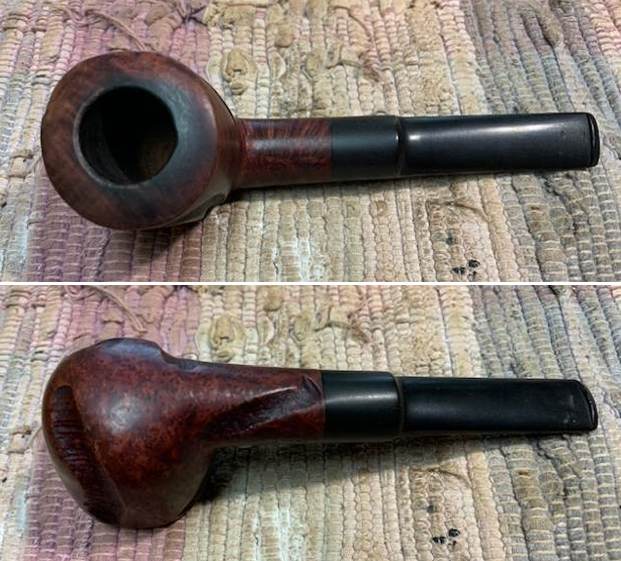
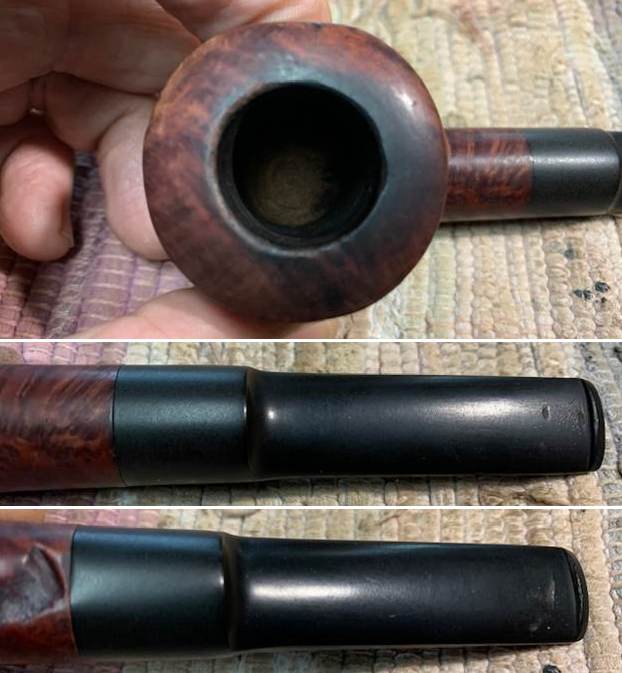
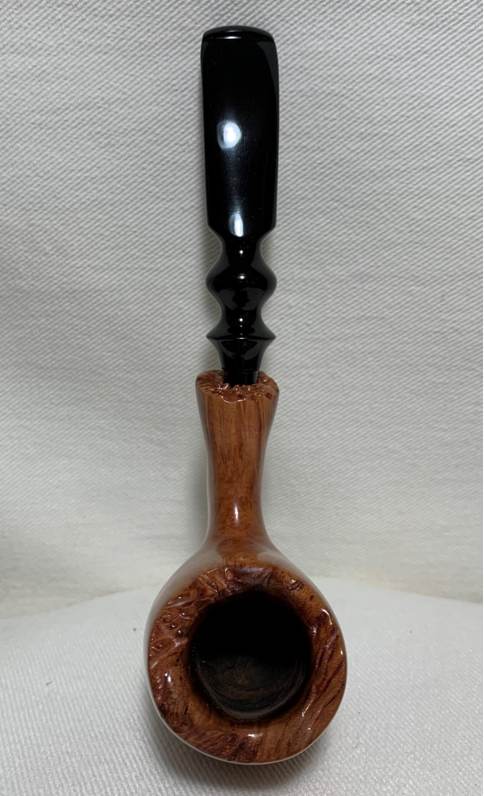
Sometimes when I start working on a pipe there is can be a sense of gloom or expectant trouble. That was the case with this one. I thought it would be a straightforward clean up and restoration. Little did I know what lay ahead for me in this restoration. Time would tell and I would share it here with you my readers. It started as usual. I recognized the brand on this pipe but could not remember any of the details. Jeff picked this pipe up from an antique store in Ogden, Utah, USA back in 2019. It is stamped on the left side of the shank and reads Greenwich House [arched over] Antique and on the right side Imported [over] Briar. It was the Greenwich House tag that grabbed my attention. You know how sometimes a name just sits on the edge of your memory beyond your reach but you still know it? That is what this name did to me. The finish is quite dirty with a cake in the bowl and lava overflow on the rim top. The worm trails on the sides and base reminded me of a Custom-Bilt but a bit more smooth. The crowned rim top was more elegant. The saddle style stem was old vulcanite and other than deep tooth marks it was quite clean, Jeff took some photos of the pipe before he started. He took close up photos of the rim top, bowl and stem to give a better picture of what he was seeing as he prepared to clean it up. You can see the cake in the bowl and the lava on the rim top. The inner edge appears to be burned and damaged but it was hard to tell for sure. The stem had some deep tooth marks on both sides just ahead of the button and some light calcification at the sharp edge.Jeff took his characteristics photos of the bowl sides and heel to give a clear picture of the grain around the bowl and the style of the worm trails carved into the sides and heel. It is a nice piece of briar.The stamping was readable though a little faint on the left side of the shank. It read Greenwich House arched over Antique on the left. On the right side it was very clear and read Imported [over] Briar.I turned first to my blog on a previous restoration of a Greenwich House pipe. I had worked on one that was stamped Thoro-Kleen, a metal pipe (https://rebornpipes.com/2016/02/24/a-piece-of-art-deco-greenwich-house-thoro-kleen/). I read through that blog and have included a pertinent piece of information on the brand below.

According to Pipedia (https://pipedia.org/wiki/Thoro-Kleen) the Greenwich House Thoro-Kleen was a metal pipe system from the same family as the Roybrooke, Comet, and Original Gridiron pipes, and parts from all are believed to be interchangeable. The pipes were sold by the Greenwich House Corporation, located in 1947 at 939-M 8th Avenue, N.Y. 19, N.Y…

From that I knew it was an American Made pipe that had been carved for or by a company known as Greenwich House Corporation in New York City.

I turned to the listing of American Brands on Pipedia to see if there was a listing for the Greenwich House itself (https://pipedia.org/wiki/American_Pipe_Brands_%26_Makers_G_-_H). I found that there was not an article but the list of makers identified the brand and said that The Antique was made of Aged Algerian Briar. One more piece fell in place. The pipe I was working on was stamped Antique so I now knew the source of the Imported Briar.

But I still wanted a bit more information so I did a Google search and was taken to pipes made by Greenwich House on smokingpipes.com and other sites. Worthpoint, an auction site had several and also had one stamped Antique (https://www.worthpoint.com/worthopedia/vintage-greenwich-house-carved-1992675965). I have included the description from the sale item below as it is quite descriptive of the pipe in my hands.

Vintage Greenwich House Carved Antique Aged Algerian Tobacco Pipe. Good condition. Measures about 6.25″ long.

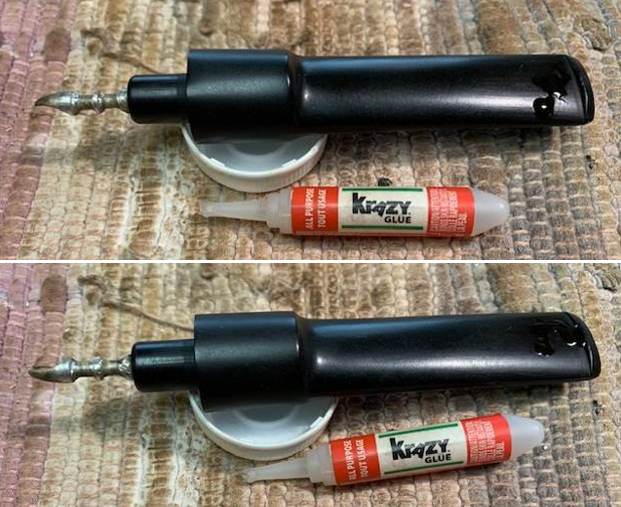
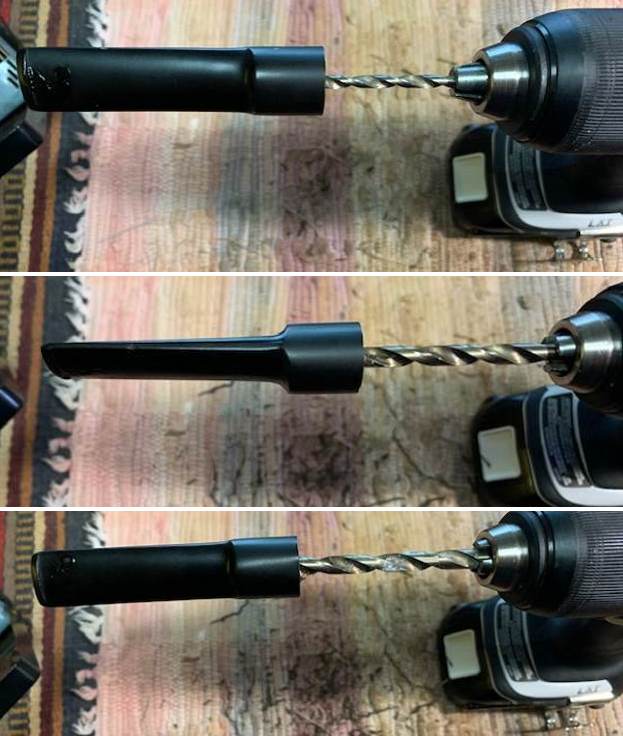
It is similarly stamped as mine and also similarly sized. Now it was time to work on the pipe itself. Jeff had cleaned up this nicely grained Pot with his usual pattern. He reamed the bowl with a PipNet pipe reamer and then cleaned up the inside of the bowl with a Savinelli Fitsall Pipe Knife. He scrubbed the exterior of the bowl and shank with Murphy’s Oil Soap and a tooth brush to remove the grime on the rim top and bowl. He cleaned the internals of the shank and stem with pipe cleaners, cotton swabs and alcohol until the airways were clean and the pipe smelled fresh. The pipe looked much better once the bowl and stem were clean. He scrubbed the stem with Soft Scrub to remove the oxidation and then let it soak in Before & After Pipe Stem Deoxidizer. He rinsed it with warm water when he took out of the soak. Before I started my part of the work I took photos of the pipe. I took close up photos of the bowl and the rim top to show the condition. The photo clearly shows the burn damage to the inner edge and the rim top at the back of the bowl. You can also see the roughening of the rest of the inner edge and rim top. It was going to take some work to bring it back. I also took photos of both sides of the stem to give a sense of the condition of both sides at the button. There is deep tooth marking and damage on both sides ahead of the button. I took a photo of the stamping on the sides of the shank. It was readable but was more faint on the left than the right side. It read as noted above.I removed the stem from the shank and saw to my chagrin a stinger. I fiddled with it a bit to see if it was pressure fit or screwed into the tenon. There was no give to it. (This portends what is ahead, keep reading.) I set the stem down with the bowl and took a photo to give a general look at the proportions of this pipe.I started work on this one by using a folded piece of 220 grit sandpaper to clean up the inner edge of the bowl and the rim top at the back. I was able to clean and reshape the bowl by slowly working through the process. So far the restoration was going well.I polished the bowl and rim top with micromesh sanding pads – dry sanding with 1500-12000 grit pads and wiped down the bowl after each sanding pad. I rubbed the bowl and shank down with Before & After Restoration Balm. I worked it into the surface of the bowl sides and shank with my fingertips and a horse hair shoe brush to clean, enliven and protect the briar. I let the balm sit for a little while and then buffed with a cotton cloth to raise the shine. The Balm did its magic and the grain stood out.   So far so good! I filled in the deep gouges on the top and underside of the stem and set it aside for the repairs to cure.After the repairs cured things took a horrible turn! If you have read this blog for long you know how much I dislike metal stingers. I find that they indeed condense moisture and fill the shank with horrendous muck. Soooo… I decided I would try to remove this one and give the stem a thorough cleaning. I have found that most stingers are either threaded and screwed into the tenon or are pressure fit. Either way a little heat loosens the glue or gunk that hold it tight and it is easily removed.

Well… the heat did absolutely nothing with this one. It did not twist or wiggle free. It was solid with or without heat… or cold for that matter. I was frustrated at this point and tried to pull it with pliers and the “wicked” thing snapped off! Now that usually does not matter either. I can easily drill it out with a small bit.

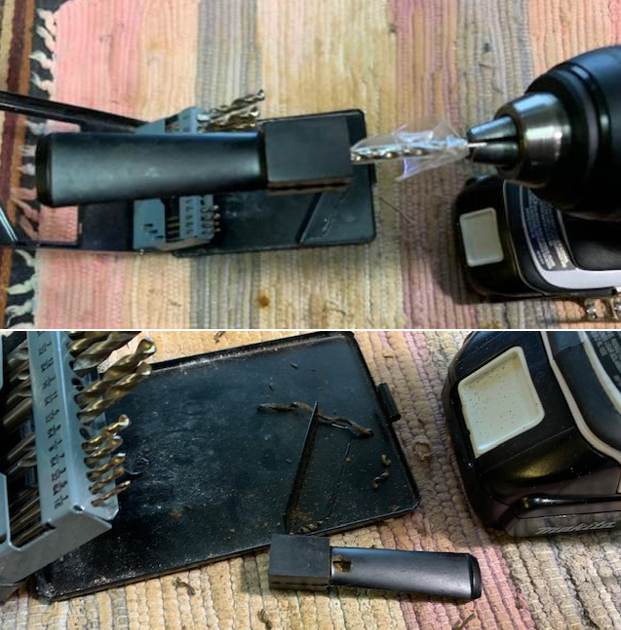
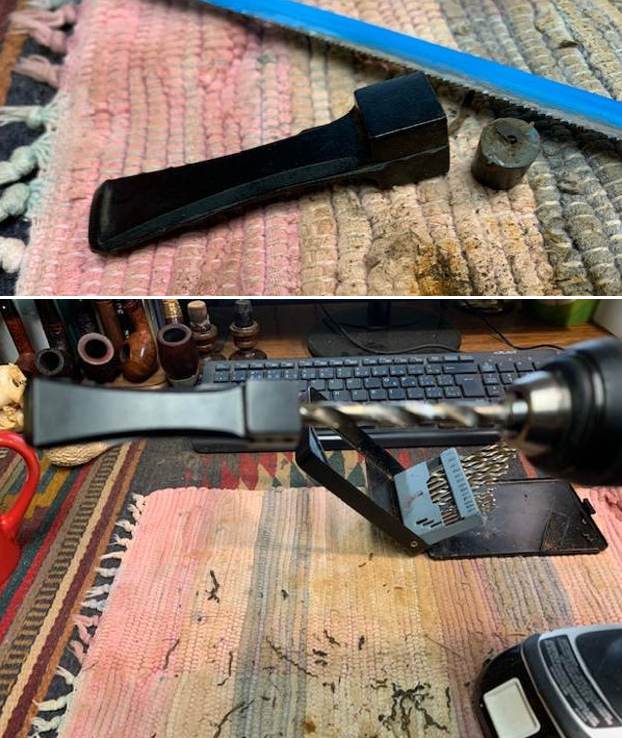
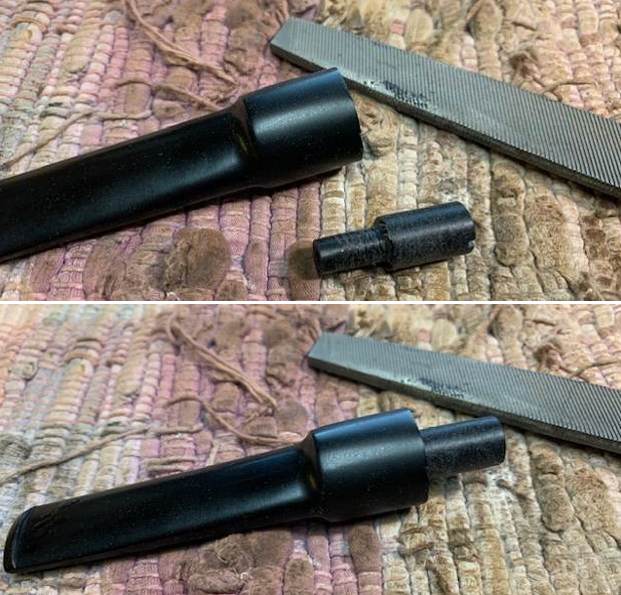
Again not so!! The remaining tube went well beyond the saddle on the stem. I drilled and drilled then filed the edges to smooth it out. At this point I should have just left it. But I DID NOT DO THAT. NO! I tried to pull out the remnant of the tube with a small file. And then a chunk of the tenon cracked off. You can see the offending tube in the tenon stubbornly laughing at me. Arggh… This was becoming much more of a  problem. Each step I took to remedy it made it actually worse. Now I would need to cut off the remaining tenon and the drill the stem and make a new tenon for it. OH MY! THIS IS NOT WHAT I WANT TO DO!!

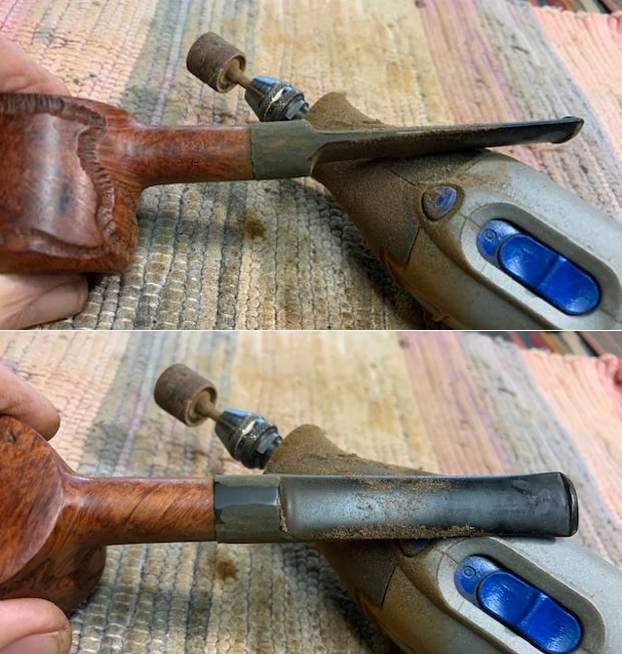
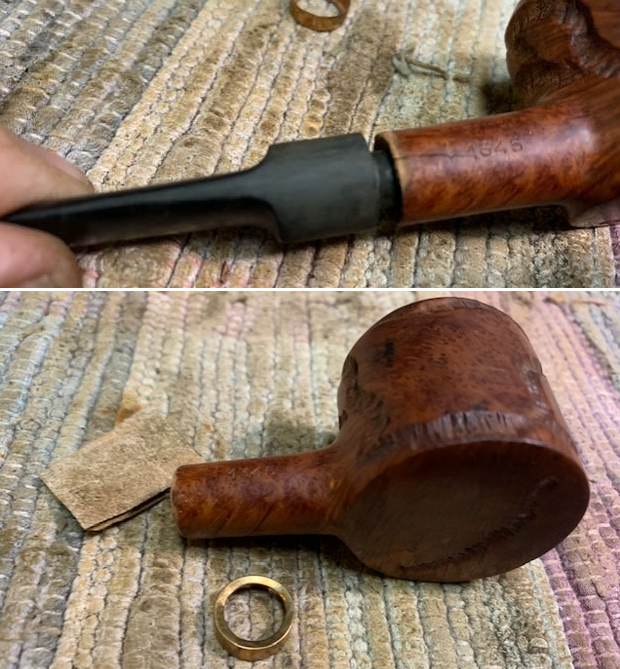
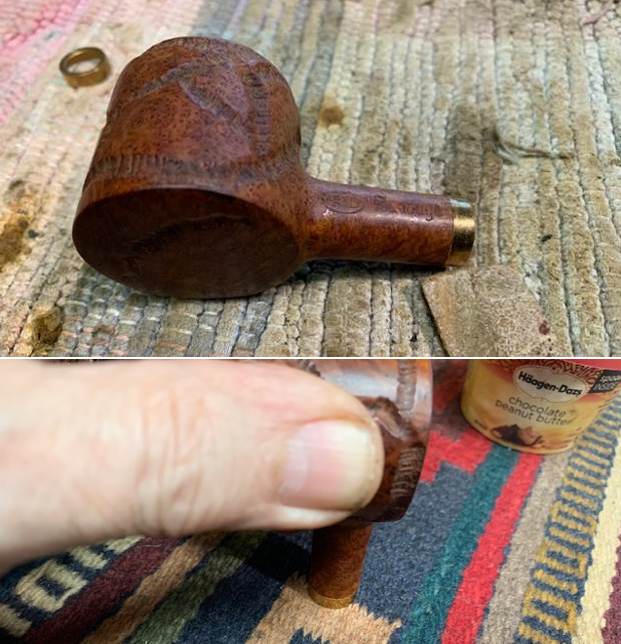
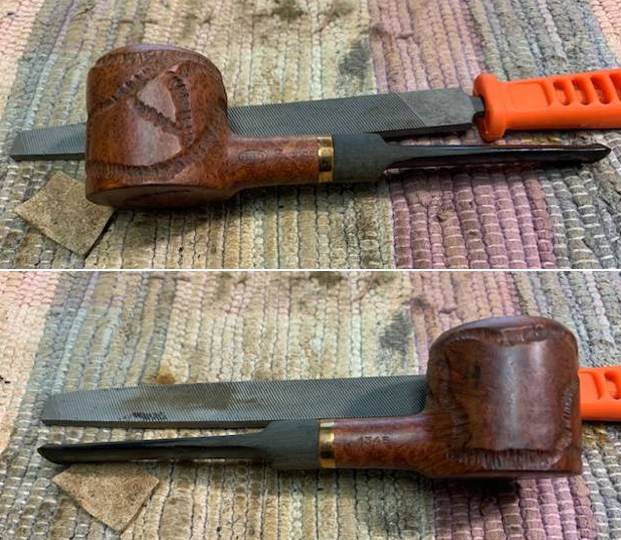
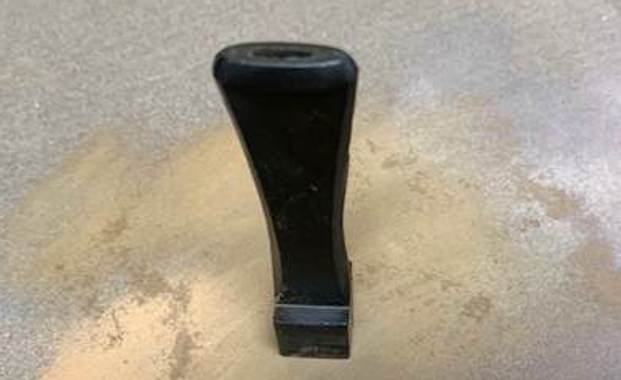
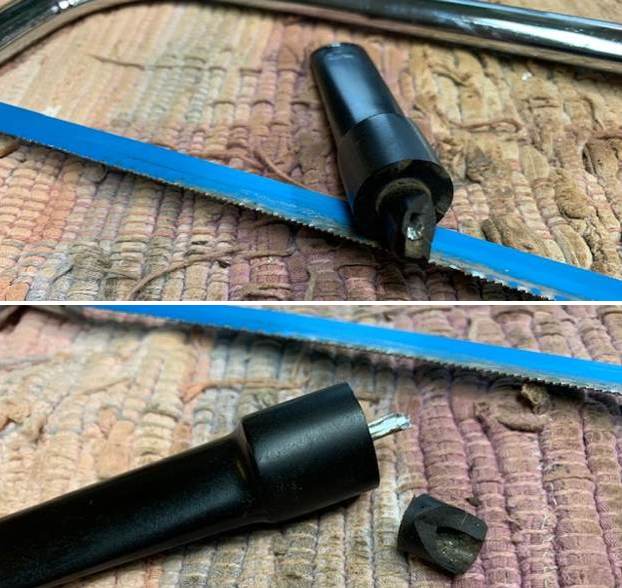
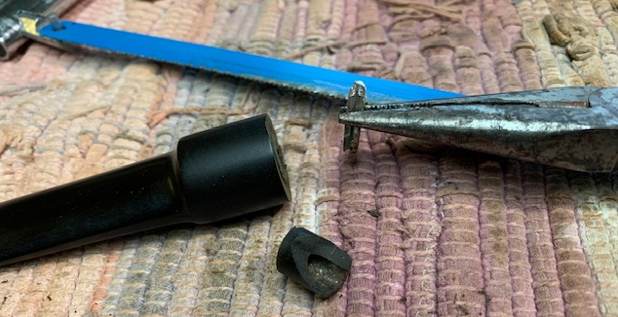
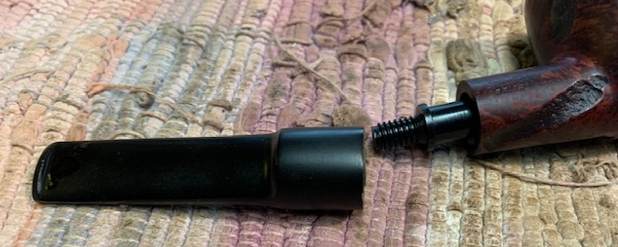
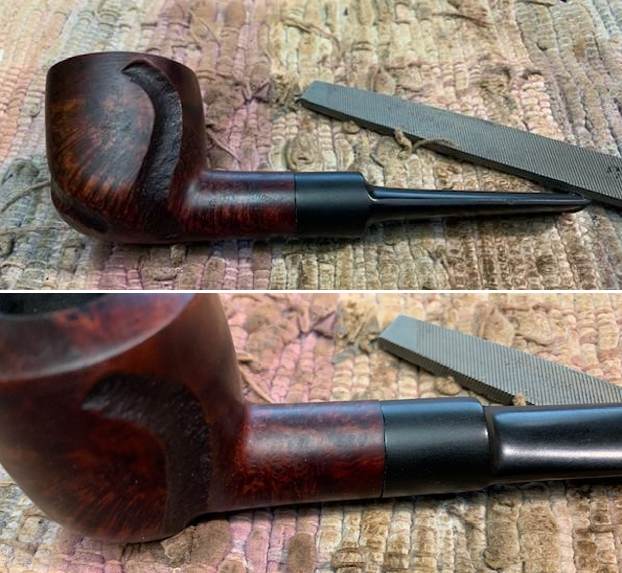
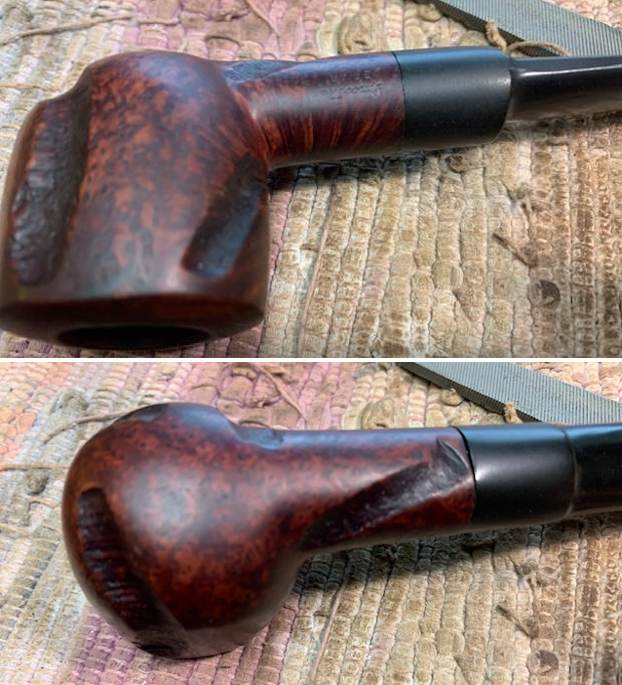
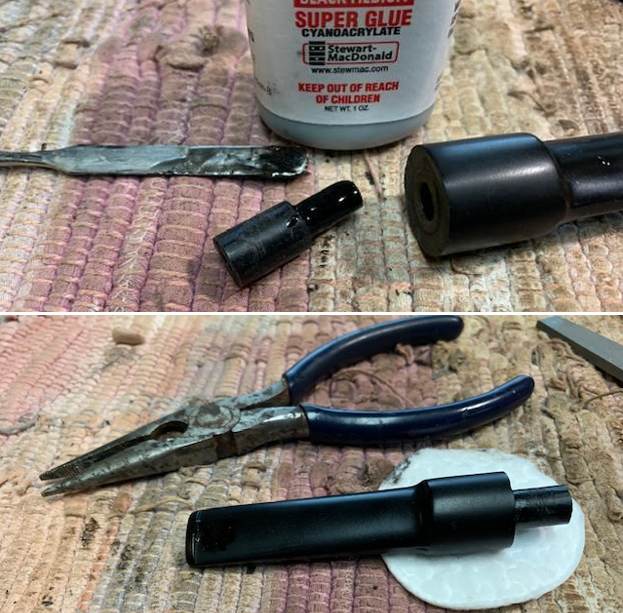
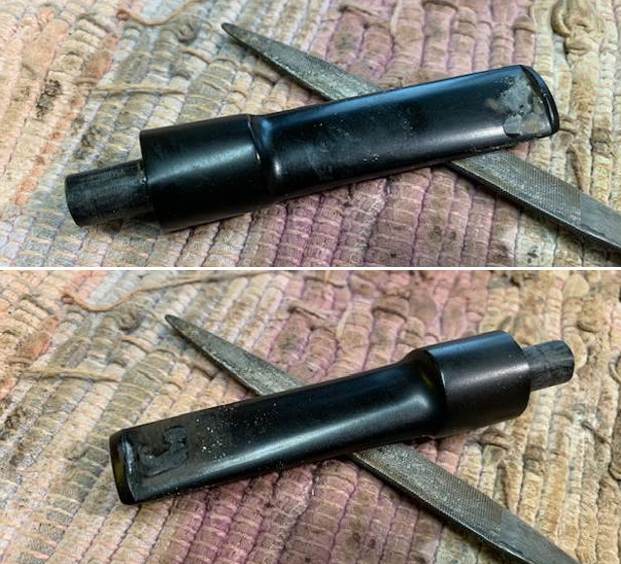
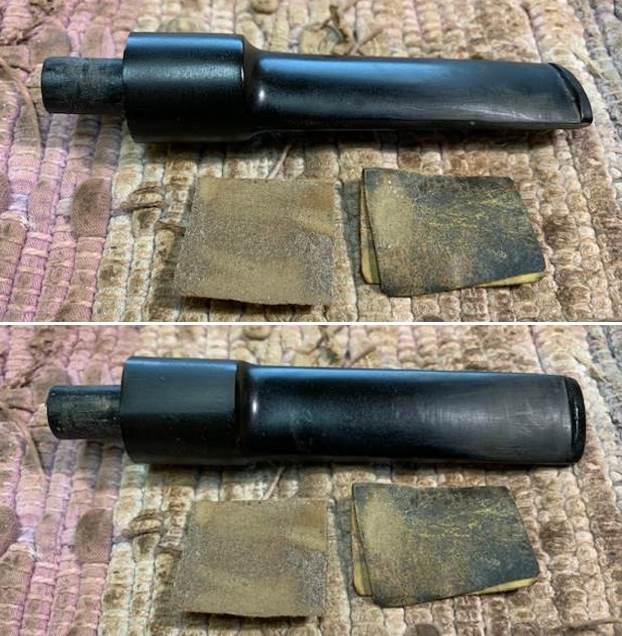
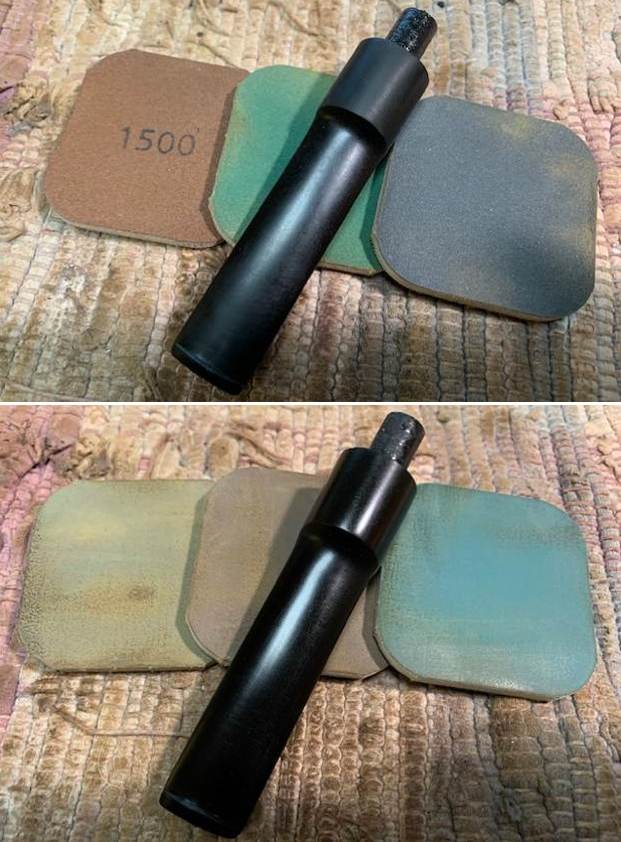
I got out my hacksaw and carefully cut all the way around the broken tenon. I purposely did not cut the tube as I wanted to see how far into the stem it actually went. I pulled it out with a pair of pliers and took a photo of the length of the offending tube once it was free of the airway. You might laugh at this point and I invite that. This was a lot of work to go to just to clean out the airway in the stem. But now I could replace the tenon. I went through my tenons and had one that was a close fit to the shank of the pipe. I would need to drill out the stem to take the threaded replacement tenon but I was hoping that this part would proceed without more things going awry. I started drilling with my cordless drill and a bit slightly larger than the airway in the stem. I continued going through various bits up to ¼ inch which was the size I would need to receive the threaded tenon end with some modifications. You will notice the repairs to the deep tooth marks still have not been smoothed out.I modified the threaded tenon with a Dremel and sanding drum. I removed the should on the middle of the tenon and reduced the diameter of the threaded portion so that I could glue it in place in the stem. I cleaned up the edge between the thicker portion and the threaded portion with a flat rasp to make the fit smooth when inserted in the stem. I inserted it in the stem and took a photo.Before gluing the tenon I the stem I put all the parts together to make sure that everything lines up correctly. It looks good so I take photos to show it at this point in the process. With the alignment correct I coated the threaded end of the tenon with black super glue and pushed the tenon in place in the stem. I set the stem aside to let the glue cure and went and had a cup of coffee with Irene. I needed to lick my wounds a bit on this whole mess!After coffee I went back to the stem to clean up the repairs on the top and underside of the stem. I flattened out the repairs with a flat file to begin to blend them into the surface. I followed that up with 220 grit sandpaper to further blend it in. I started polishing it with 400 grit wet dry sandpaper. I polished the stem with micromesh sanding pads – 1500-12000 grit pads. I wiped it down with Obsidian Oil after each sanding pad. I used Before & After Pipe Polish – both Fine and Extra Fine to further polish the stem. I gave it a final coat of Obsidian Oil and set it aside to dry. While I liked the look of the new stem on the shank it felt like it was missing something to me. I really wanted to give it a special touch that would set it apart and make the look spectacular. I went through my band collection and found a perfect 14K Gold band that would do just what I wanted. I took down the end of the shank to enable a snug fit. I heated the band with a lighter and pressed it onto the shank end. I finally finished this nightmarish restoration of a pipe that should have been quite simple. The Greenwich House Antique Import Briar Crowned Pot with a vulcanite saddle stem is a great looking pipe now that everything came together. The briar around the bowl is clean and really came alive. The rim top looks much better than when I began. The rich brown stains gave the grain a sense of depth with the polishing and waxing. The grain  on the smooth portions really popped and the worm trails carving look good as well. I put the vulcanite stem back on the bowl and carefully buffed the pipe with Blue Diamond on the buffing wheel using a light touch on the briar. I gave the bowl and the stem multiple coats of carnauba wax on the buffing wheel. I buffed the pipe with a clean buffing pad to raise the shine. I hand buffed the pipe with a microfiber cloth to deepen the shine.

The finished Greenwich House Antique Pot is a beauty and feels great in the hand and looks very good. Give the finished pipe a look in the photos below. The dimensions of the pipe are Length: 5 ¾ inches, Height: 2 inches, Outside diameter of the bowl: 1 ½ inches, Chamber diameter: ¾ of an inch. The weight of pipe is 2.29 ounces/65 grams. It is much more beautiful in person than these photos can capture. I will be putting it on the rebornpipes store soon. Look for it in the American Pipe Makers section. If you would like to add it to your collection let me know. This is another pipe that has the possibility of transporting the pipe man or woman back to a slower paced time in history where you can enjoy a respite. Thanks for walking through the restoration with me.

New Life for an Italian Briar Church Warden with a Great Story Attached


Blog by Steve Laug

The next pipe on the table was purchased off eBay on 11/16/2017 from Chesapeake, Virginia, USA. I think what captured Jeff was what he read on the paper wrapper around the pipe. It read as follows: The pipe belonged to W.W. Hallbrook (Wales). Janet’s father – died 5/1/37 in Oil City, PA. That alone attaches a story to the pipe. It also provides a date for the pipe – pre-1937. The pipe was a Dublin with a long straight stem. The finish had a peeling, worn varnish coat over a dark oxblood stain. The bowl had a thick cake and a thick coating of lava on the rim top. The stem had some tooth chatter and marks on both sides near the button. It was heavily oxidized along the entire length. Jeff took photos of the pipe when he unpacked it and before he started his clean up work. It is a charming pipe with an interesting journey. I wish it could talk and tell us the story of its journey from Italy to Wales and then to Oil City, Pennsylvania, USA. From there it traveled to Idaho Falls, Idaho and then to Vancouver, British Columbia, Canada. Jeff took photos of the bowl and rim top to show the cake in the bowl and the thick lava coat on the top and on the inner edge of the bowl. I am hoping that it protected the edge from damage. He also took photos of the stem to show the light tooth marks and chatter on the oxidized stem. He took photos of the bowl and heel to show the condition of the finish. You can see the peeling varnish coats and the wear and tear around the bowl. It has some nice grain poking through the varnish and is a rich reddish colour. Jeff took a photo of the stamping on the left side of the shank. It read as noted above and was faint but readable. There is not a lot of information to be gleaned from the stamping on the pipe. Not much can be learned from the Italian Briar stamp. It is hard to know for certain about the maker but there is something KB&B like about the shape and the finish of the pipe. One can imagine origins of the pipe can’t one? LOL! Makes a great tale anyway. I don’t know why but the pipe sat in a box of pipes to be restored until this morning. That is just over 4 years it sat here moldering with the other pipes in the box. But today is the day for its rebirth. I raise a bowl and say, “Here’s to you Janet’s Father – W.W. Hallbrook”.

I took some photos of the pipe as I took it out of the box. Here is what I saw. I slid it out of the wrapper around it. I could see that Jeff had cleaned it well. The bowl had been reamed with a PipNet reamer and Savinelli Fitsall Pipe Knife. He had scrubbed the exterior with undiluted Murphy’s Oil Soap. He rinsed it with warm water. He cleaned out the internals with alcohol, cotton swabs and pipe cleaners. The stem was still lightly oxidized – probably from sitting here this long. The varnish coat was still peeling some but the grime was totally gone. I could see some great grain poking through. Time to work. I removed the stem from the shank and took photos of the pipe and stem to give you a sense of what the pipe looks like. The stem is an older style straight one with no flare at the button end. There is also a very different style stinger pressure fit in the tenon.The rim top had cleaned up very well and all of the varnish was gone from the top. The inner and outer edges of the rim looked very good with no burn damage. There were some scratches in rim top.  I took a photo of the stamping on the left side of the shank. The stamping is clear and readable as noted above.I started my work on the pipe by removing the peeling varnish coat. I removed the stem and wiped the briar down with acetone to strip back the varnish coat.I wiped off the bowl with an acetone dampened cloth pad to remove any remnants of varnish that remained on the finish of the bowl. I took the following photos to show what the pipe looks like at this point. The grain is peeking through and it looks really good. The first photo below shows the flaw in the finish. Jeff captured it and the photo shows  that is a flaw/fill that came out. I filled in the chip/flaw in the underside of the shank with clear super glue and briar dust. I am happy with the way it blended in. I have drawn a red circle around it in the photo below.I polished the bowl and rim top with micromesh sanding pads – dry sanding with 1500-12000 grit pads and wiped down the bowl after each sanding pad. I rubbed the bowl and shank down with Before & After Restoration Balm. I worked it into the surface of the bowl sides and shank with my fingertips to clean, enliven and protect the briar. I let the balm sit for a little while and then buffed with a cotton cloth to raise the shine. The Balm did its magic and the grain stood out. I set the bowl aside and turned my attention to the stem. I scrubbed off the oxidation on the stem with Soft Scrub and cotton pads. I was able to remove the majority of it.Once the oxidation was removed was in good condition. The chatter and marks were very light and could be polished out. I polished it with micromesh sanding pads – 1500-12000 grit pads. I wiped it down with Obsidian Oil after each sanding pad. I used Before & After Pipe Polish – both Fine and Extra Fine to further polish the stem. I gave it a final coat of Obsidian Oil and set it aside to dry. Once I stripped off the varnish and refinished this Italian Briar Churchwarden with a long vulcanite stem is a beautiful pipe. The briar around the bowl is clean and really came alive. The rim top looks much better than when I began. The rich reddish-brown stains gave the grain a sense of depth with the polishing and waxing. The grain really popped. I put the older style vulcanite stem back on the bowl and carefully buffed the pipe with Blue Diamond on the buffing wheel using a light touch on the briar. I gave the bowl and the stem multiple coats of carnauba wax on the buffing wheel. I buffed the pipe with a clean buffing pad to raise the shine. I hand buffed the pipe with a microfiber cloth to deepen the shine. The finished Italian Briar Churchwarden is a beauty and feels great in the hand and looks very good. Give the finished pipe a look in the photos below. The dimensions of the pipe are Length: 12 inches, Height: 1 ½ inches, Outside diameter of the bowl: 1 ¼ inches, Chamber diameter: ¾ of an inch. The weight of pipe is 1.34 ounces /37 grams. It is much more beautiful in person than these photos can capture. I will be putting it on the rebornpipes store soon. Look for it in the Italian Pipe Makers section. If you would like to add it to your collection let me know. This is another pipe that has the possibility of transporting the pipe man or woman back to a slower paced time in history where you can enjoy a respite. Thanks for walking through the restoration with me.

Life for a Beautifully Grained Royal Saxon Canadian


Blog by Steve Laug

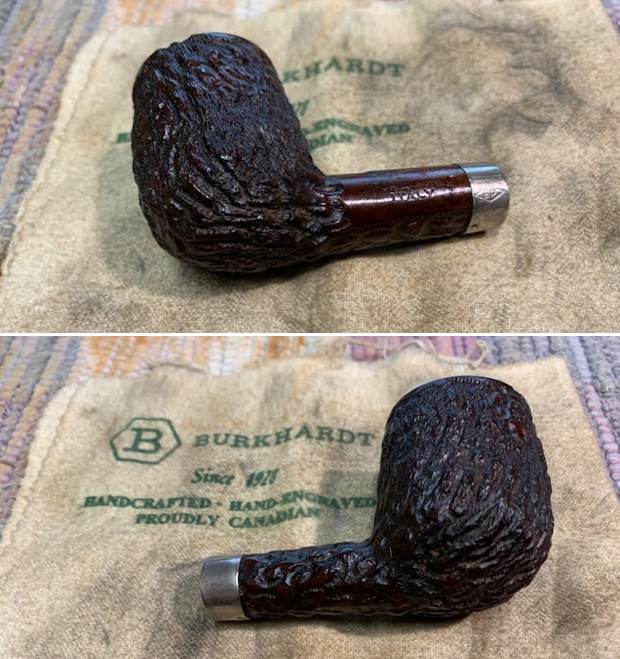
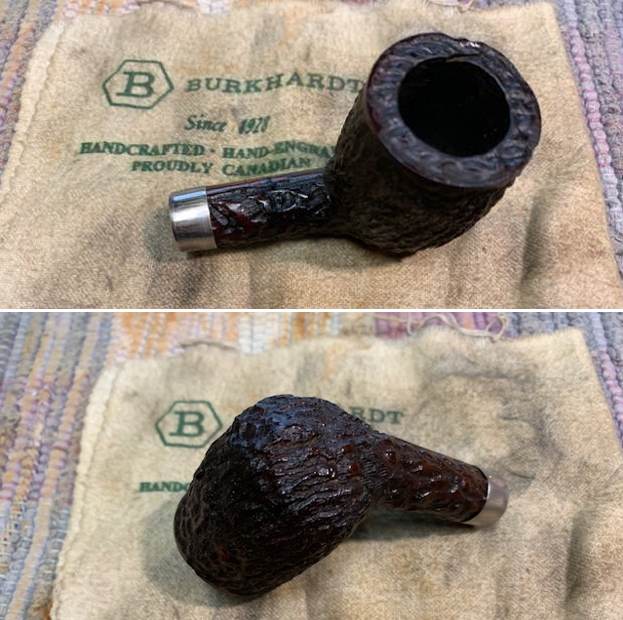
This pipe was bought from an online auction on 04/04/19 in Wilkes Barre, Pennsylvania, USA. It is a nicely grained Canadian with a Sterling Silver shank band and a vulcanite taper stem. The bowl had a thick cake in the bowl and burn damage all around the inner edge of the bowl. There is also a burn mark on the outer edge on the front top and left edge of the bowl. There are some nicks in the left side toward the front of the bowl. The finish is very dirty with a lot of debris and grime ground into all the way around. The Sterling Silver band is oxidized and tarnished. The stamping on the pipe is on the top of the shank and reads Royal Saxon. There is no other stamping on the briar. The band is stamped Sterling Silver on the top side. There does not appear to be any cracks in the shank so it is solely for cosmetic purposes. The stem is oxidized and has tooth marks on the top and underside ahead of the button. Jeff took some photo of the pipe before he started his work on it. Jeff took photos of the bowl and rim top to show the cake in the bowl and the burn damage on the top and on the beveled inner edge of the bowl. He also took photos of the stem to show the tooth marks and chatter on the oxidized stem. He took photos of the bowl and heel to show the condition of the finish. You can see the small chip/nick on the front middle of the bowl on left side. It is solid but it is visible at this point.Jeff took photos of the stamping on the top of the shank and the silver band. They read as noted above and were in excellent condition. I checked on both Pipephil’s site and Pipedia for information on the Royal Saxon brand and neither site had any information. I checked on Who Made That Pipe and again found no information. So I Googled Royal Saxon Smoking Pipes and found information on Worthpoint and on Smokingpipes.com that said the pipe was an Italian Made pipe. They showed a variety of shapes – smooth, rusticated and blasted that all were stamped exactly like the one I am working on. Thus I know that the pipe is an Italian Made pipe but I have no idea who made it.

I did a bit of digging on Savinelli seconds but no Royal Saxon was listed as made by them. I also checked with Lorenzo as they made a lot of seconds lines and there was no listing for the Royal Saxon so I was at a dead end. Oh well – now it was time to work on the pipe.

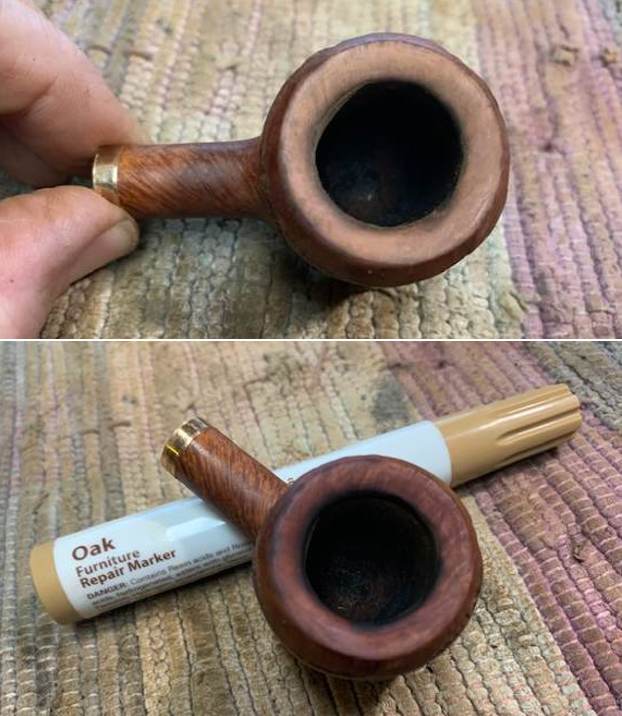
Jeff had cleaned up this nicely grained Royal Saxon with his usual pattern. He reamed the bowl with a PipNet pipe reamer and then cleaned up the inside of the bowl with a Savinelli Fitsall Pipe Knife. He scrubbed the exterior of the bowl and shank with Murphy’s Oil Soap and a tooth brush to remove the grime on the rim top and bowl. He cleaned the internals of the shank and stem with pipe cleaners, cotton swabs and alcohol until the airways were clean and the pipe smelled fresh. The pipe looked much better once the bowl and stem were clean. He scrubbed the stem with Soft Scrub to remove the oxidation and then let it soak in Before & After Pipe Stem Deoxidizer. He rinsed it with warm water when he took out of the soak. Before I started my part of the work I took photos of the pipe. I took close up photos of the bowl and the rim top to show the condition. The photo clearly shows the burn damage to the inner and outer edge of the bowl at the front. You can also see the roughening of the rest of the inner edge and rim top. It was going to take some work to bring it back. I also took photos of both sides of the stem to give a sense of the condition of both sides at the button. There is tooth marking and damage on the top of the button on both sides as well as ahead of the button. The silver band is shown in the photos and is clearly tarnished.I took a photo of the stamping on the shank and silver band. It was readable but had some faint spots. What was interesting to me is that in the first photo there is also a stamp that shows up on the top side of the stem that I had not seen before. It is almost like a Old English “C” but I am not sure.I removed the stem from the shank and took a photo of the pipe to give a sense of the proportions of the whole.The first photo below shows the condition on the rim top, outer and inner edge before I started reworking it. I took a photo of the wooden ball that Kenneth gave me that I use in beveling a rim edge. I started work on this one by topping the bowl to take care of the deep burn marks on the top at the front of the bowl. I then reshaped the top and the bowl edges with a piece of sandpaper on a wooden ball. The ball and sandpaper helped clean up the beveled edge and blended in the burn and cuts in the briar as well as bring the bowl back into round. I used a folded piece of 220 grit sandpaper to further shape the bowl. Once I had it smoothed out and shaped I gave it an initial coat of stain with an Oak Stain Pen to match the stain colour around the bowl and shank. Lots of polishing yet to do but it is looking better. The burn mark on the top could not be totally removed without changing the profile of the pipe so I minimized it and it is significantly better. It will just be a permanent part of the pipe’s story.I polished the bowl and rim top with micromesh sanding pads – dry sanding with 1500-12000 grit pads and wiped down the bowl after each sanding pad. I rubbed the bowl and shank down with Before & After Restoration Balm. I worked it into the surface of the bowl sides and shank with my fingertips to clean, enliven and protect the briar. I let the balm sit for a little while and then buffed with a cotton cloth to raise the shine. The Balm did its magic and the grain stood out. I polished the Sterling Silver band with a jewelers cloth to remove the tarnish and protect it from further tarnish. I set the bowl aside and turned my attention to the stem. I wanted to see if I could use some acrylic white fingernail polish to bring back the stamp to readability on the top of the stem. I applied the acrylic and let it cure. I scraped it away and it was a little readable but not clear enough.I “painted” the stem with the flame of a lighter to try and lift the tooth marks on the stem and button surface. While it did some lifting there were some deeper ones that remained. I filled them in with clear CA glue and set it aside to cure. Once it cured I flattened them out with a small file and recut the button edge. I sanded them with 220 grit sandpaper and started the polishing with 400 grit wet dry sandpaper. I polished the stem with micromesh sanding pads – 1500-12000 grit pads. I wiped it down with Obsidian Oil after each sanding pad. I used Before & After Pipe Polish – both Fine and Extra Fine to further polish the stem. I gave it a final coat of Obsidian Oil and set it aside to dry. This nicely grained Royal Saxon Canadian with a Sterling Silver Band and a vulcanite taper stem is a great looking pipe now that it has been restored. The briar around the bowl is clean and really came alive. The rim top looks much better than when I began. The rich brown stains gave the grain a sense of depth with the polishing and waxing. The grain really popped. I put the vulcanite stem back on the bowl and carefully buffed the pipe with Blue Diamond on the buffing wheel using a light touch on the briar. I gave the bowl and the stem multiple coats of carnauba wax on the buffing wheel. I buffed the pipe with a clean buffing pad to raise the shine. I hand buffed the pipe with a microfiber cloth to deepen the shine. The finished Royal Saxon Canadian is a beauty and feels great in the hand and looks very good. Give the finished pipe a look in the photos below. The dimensions of the pipe are Length: 6 inches, Height: 1 ½ inches, Outside diameter of the bowl: 1 1/8 inches, Chamber diameter: ¾ of an inch. The weight of pipe is 1.13 ounces /32 grams. It is much more beautiful in person than these photos can capture. I will be putting it on the rebornpipes store soon. Look for it in the Italian Pipe Makers section. If you would like to add it to your collection let me know. This is another pipe that has the possibility of transporting the pipe man or woman back to a slower paced time in history where you can enjoy a respite. Thanks for walking through the restoration with me.
A Fun Restore of a Nino Rossi 1886 Classico in Shape 992


Blog by Steve Laug

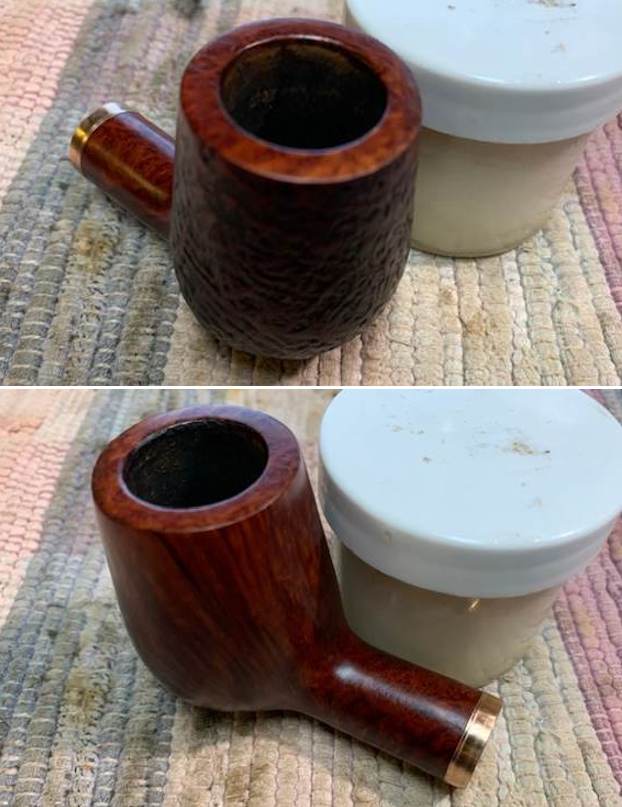
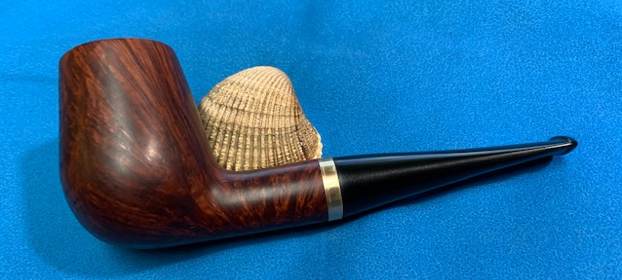
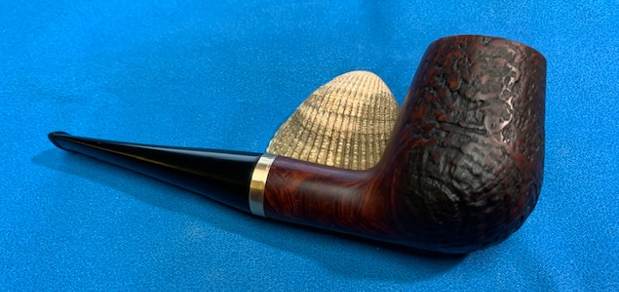
The next pipe is a bit of a mystery to Jeff and me. He keeps a spread sheet and photos of pipes that we pick up and it goes back to 2016 I believe. He has gone through that and cannot find this pipe on the record. However, we both remember finding it. I wonder if it is not on that we found on a trip that Irene and I made to Oregon and met Jeff and Sherry there. We stayed with them and Jeff and I did a bit of pipe hunting. I guess at some level we will never know for sure. I remember that when we saw it we both were struck by the uniqueness of the pipe. It really is a beauty that even the small fills around the bowl do not detract from.

The pipe was quite clean. It has all the marks of Jeff’s clean up work. The bowl is reamed and insides cleaned. The finish is very clean and the rim top and edges look very good. There is no damage on either one. The shank has an interesting joint mid shank. There is a tarnished brass spacer between two sections and each is stained slightly different. The bent saddle stem appears to have been deoxidized as it is also clean and relatively free of oxidation. There are light tooth marks and chatter on both sides at the button. It is stamped with the signature of Nino Rossi on the left side of the shank. Directly under that is the number 1886 which appears to me to be a year. On the left side of the saddle stem it has ROSSI in a oval logo inset. The right side of the shank is stamped Classico. On the underside of the shank it bears the shape number 992 followed by the stamp ITALY stamped vertically at the shank stem joint. It really is an interesting looking pipe. I have included photos of the pipe before I started to work on it.The rim top and inner and outer edges were in good condition. The stem surface looked very good with some light oxidation remaining and some tooth chatter and marks on both sides ahead of the button. I took photos of the stamping on the left/right and undersides of the shank. The stamping was clear and readable. The left side of the taper stem had a ROSSI oval  logo inset in vulcanite.  I removed the stem and took a photo of the pipe to give a sense of the beautiful grain on this well shaped Bent Billiard. I turned first to Pipephil’s site to see what I could learn about the brand as generally the site gives a good summary (http://pipephil.eu/logos/en/logo-n1.html#ninorossi). I quote the information from the side bar below and did a screen capture of the pertinent section on the site. I have also outlined a picture on the screen capture that is stamped like the pipe I am working on.

Brand founded in 1886 by Ferdinando Rossi senior. He estabished a factory in Barasso, 5 miles away from Varese. The pipes production by the 850 employees reached 50,000 pipes/day in 1936. Ferdinando Rossi junior headed the company from 1946 until close down in 1985.   I turned to Pipedia to read the more complete history of the brand and learn what I could about a possible date for this pipe (https://pipedia.org/wiki/Rossi). First I wanted to understand the 1886 stamp on the shank under the signature stamp. I found that it was the year that the company acquired land and opened Fabbrica di Pipe di Radica Rossi.

He acquired a large area of land in Barasso in the province of Varese and founded the Fabbrica di Pipe di Radica Rossi in 1886. For sure there was no lack of skilled workers and Rossi personally recruited 30 craftsmen of different occupations from the environment to get started. After a few years the enterprise had developed well and entered into export trades. In 1892 e.g. the ledgers registered the first pipes shipped to Brazil.

I quote a summary section of the article below.

From, approximately, Twenties, Rossi pipes were marked with “FRB” (Fratelli Rossi Barasso) or “MFRB” (Manifattura Fratelli Rossi Barasso), into an oval and above “OLD BRIAR” (or similar – sometimes, there was also “MFD. BY ROSSI”, as “Manufactured by Rossi”); on the stem, there was generally the “R” letter in circle. However, “FRB OLD BRIAR” was mantained for the “traditional pipes” (for cheap models – see below), surely, to Sixties.

From, approximately, the fiftieth anniverary (1936), pipes were marked with “Rossi” (in cursive font), with model name just under it; on the stem, there was “ROSSI” (for expensive models like “extra”, which had the best quality; “racine”, which was rusticated by hand; “extra grain”, which was accurately sandblasted; “super”, which had the best briar selection, and a limited production; “fiamma”, which was the best selection of Sardinia and Greece briar, and a very limited production) or “R” in circle (for unexpensive models like “standard”, “grana” and “FRB”).

From, approximately, Seventies, until 1985, Rossi pipes were marked with “ROSSI”, into an oval (sometimes there was also “ITALY” on the shank); on the stem, there was “ROSSI”. In these years, appeared the signature “Nino Rossi” (in cursive font): he was the last heir of the factory.

When Savinelli took back the production, it is said that first pipes had a twinbore mouthpiece, with “ROSSI” on the stem, and they were marked with “ROSSI” on the shank. Today most of them had 6 mm or 9 mm adapter (also, for the most part, the stem was made by methacrylate, always with “Rossi” on the side).

The section I have highlighted in Blue above gave me what I was looking for regarding this pipe. It is one that was clearly made between the 70s and 1985 when the company closed. It is stamped as described in the highlighted paragraph. Now it was time to work on the pipe.

As I examined the spacer between the two parts of the shank it became clear that it was oxidized brass. I started there with my work on this pipe. I lightly sanded it with a 1500 grit micromesh sanding pad to break up the oxidation and then polished it with a jewelers cloth that removes oxidation and preserves against further oxidation. It is a pretty neat looking addition with the polished brass. I took some photos of the pipe to show the spacer. I polished the bowl and the rim top, sides and shank with micromesh sanding pads – dry sanding with 1500-12000 grit pads and wiping it down after each pad with a damp cloth. I carefully avoided the stamping on the sides of the shank so as not to damage it. The fills on the side of the bowl and shank are visible but oddly do not bother me too much. It is still a nice looking pipe. I rubbed the bowl and shank down with Before & After Restoration Balm. I worked it into the surface of the bowl sides, rim top and shank end with my fingertips to clean, enliven and protect the briar. I let the balm sit for 15 minutes and then buffed with a cotton cloth to raise the shine. The grain really stood out clearly. While the fills are still evident they seem to blend in better at this point in the process.   I set the bowl aside and turned my attention to the stem. I heated the stem with a lighter flame to lift out the tooth marks (forgot to take photos). They were too sharp and essentially were cuts so they did not lift at all. I filled them in with clear CA glue and set them aside to cure. Once they cured I flattened the repairs out with a small flat file. Once the repairs had cured I sanded them smooth with 220 grit sandpaper to blend them into the surrounding vulcanite. I started the polishing with 400 grit wet dry sandpaper. I worked over the stem with micromesh sanding pads – 1500-12000 grit pads. I wiped the stem down with Obsidian Oil after each sanding pad. I used Before & After Pipe Polish – both Fine and Extra Fine to further polish the stem. This well made Nino Rossi 1886 Classico 992 Bent Billiard with a briar shank extension and a vulcanite saddle stem is a great looking pipe now that it has been restored. The rich reddish, brown finish that was used came alive with the polishing and waxing. The brass spacer was a great touch in the middle of the shank. I put the stem back on the bowl and carefully buffed the pipe with Blue Diamond on the buffing wheel using a light touch on the briar. I gave the bowl and the stem multiple coats of carnauba wax on the buffing wheel and followed that by buffing the entire pipe with a clean buffing pad. I hand buffed the pipe with a microfiber cloth to deepen the shine. The finished Nino Rossi Classico is a beauty with combination of great grain and rich stain. Even the fills do not detract from its appearance. It fits nicely in the hand and looks very good. Give the finished pipe a look in the photos below. The dimensions of the pipe are Length: 5 inches, Height: 1 ¾ inches, Outside diameter of the bowl: 1 1/8 inches, Chamber diameter: 5/8 of an inch. The weight of the pipe is 58 grams/ 2.01 ounces. If you are interested in adding this pipe to your collection I will be adding it to the rebornpipes store shortly. It will be in the Italian Pipe Makers section. Send me a message or an email if you are interested in purchasing it. Thanks for reading this blog and my reflections on the pipe while I worked on it. As always there are more to come.

Restemming a CPF (Colossus Pipe Factory) Clay Bent Billiard


Blog by Steve Laug

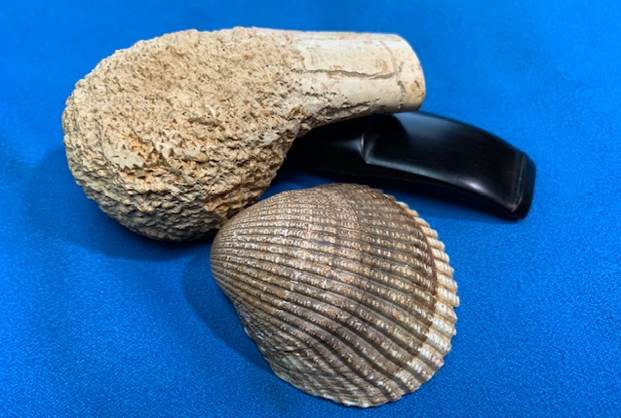
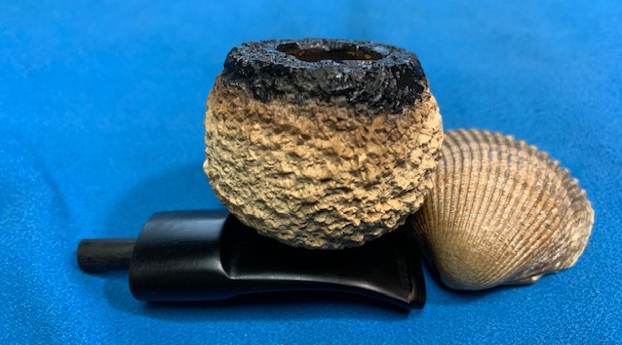
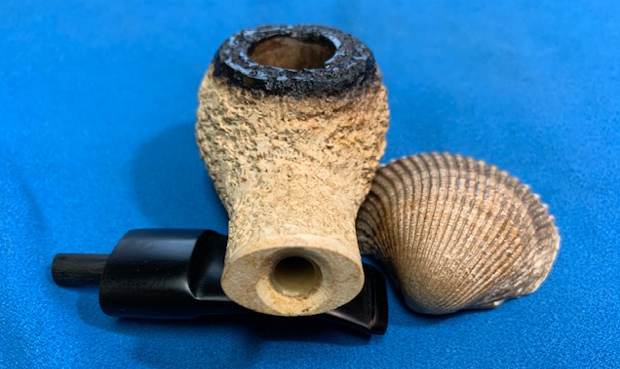
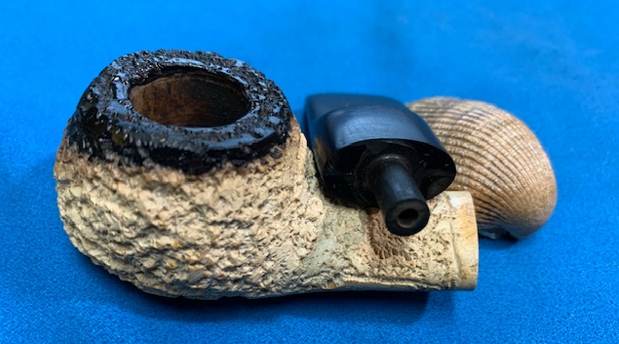
The next pipe on the worktable is another interesting piece of pipe history that comes from the bag of old pipes that I have been working on intermittently. This one is an interesting clay bowl sans stem. The bowl was in pretty clean shape with little damage. The bowl had been lightly smoked but was in good condition. There was a nickel ferrule on the shank that was marked C.P.F. in an oval (The Colossus Pipe Factory) logo. Under that it was stamped Germany. The bowl was a mix of dark, rich brown/red on the bottom (heel of the bow) working up to a rich golden colour with a dark ring cut around the top of the bowl and rim top. There was no stem with the pipe so I would have to go through my collection to find one. I took some photos of the pipe before I started on it. The bowl has a cast pastoral scene around the bowl sides. It a well executed water buffalo in the grass under a tree spreading across the back and the top of the bowl.I took photos of the stamping on the left side of the nickel ferrule on the shank end. It is clear and readable as noted above.A short description would be that it is a lightly smoked ceramic bowl with a nickel ferrule and vulcanite screw in stem. It is stamped on the left side of the ferrule and reads C.P.F. in an oval [over] Germany. I have a collection of C.P.F. pipes here that I have worked to build up over the years in all different sizes and shapes as well as a variety of materials. This old ceramic pipe will fit well into that collection. I wrote a blog a few years ago on the brand that gives a clear history and defines the meaning of the C.P.F. stamp. Here is the link to the blog and a pertinent quote that I am including below.

(https://rebornpipes.com/2013/04/14/some-reflection-on-the-historical-background-on-cpf-pipes/).

From my research I believe that we can definitively assert that the C.P.F. logo stands for Colossus Pipe Factory. The brand was purchased by KB & B sometime between 1884 and 1898 and that it continued until 1915. That time frame gives help in dating some of the older CPF pipes you or I might find. It can be said that prior to the dual stamping it is fairly certain that the pipe is pre-1884 to 1898. After the dual stamping it can be placed post 1898 until the closure of the brand line in 1915. CPF made beautiful pipes. I believe Sam Goldberger was correct in his assertion of the potential carvers that made the pipes being of European training and the classic shapes and well aged briar. That coincides with all the CPF pipes that I have come across.

I went through my stems and found an older vulcanite stem that may well have been the one that came with the pipe. The tenon had been threaded and it screwed into the shank and ferrule perfectly. It turned into place and was a perfect fit. I took a picture of the stem with the bowl to give a sense of what the pipe would look like with the stem. I liked what I was seeing.I touched up the rim top where the finish had worn off using a Walnut Stain Pen. The match was perfect.I set the bowl aside and turned to deal with the stem. I scrubbed it with Soft Scrub to break down the oxidation that was deep in the vulcanite. I was able to remove a large portion of it that way. I then sanded it with 220 grit sandpaper to remove more. I started polishing it with 400 grit wet dry sandpaper.I polished out the scratches and more of the oxidation in the surface of the vulcanite with micromesh sanding pads – 1500-12000 grit pads. I wiped it down with Obsidian Oil after each pad. I used Before & After Pipe Polish – both Fine and Extra Fine to further polish the stem. I gave it a final coat of Obsidian Oil and set it aside to dry. I really enjoyed refurbishing this old C.P.F. Germany Glazed Clay Bent Billiard because it is so unique looking. I put the bowl and stem back together to have a look at the whole with all it of it polished. I hand buffed it with a microfiber cloth to deepen the shine. It is fun to see what the polished bowl looks like with the silver plated band and the polished black vulcanite stem. This richly finished C.P.F. Germany Glazed Petite Bent Billiard is light weight and it is clean and ready load up with my favourite. Have a look at it in the photos below. As noted above, Its measurements are Length: 4 ½ inches, Height: 1 ½ inches, Outside diameter of the bowl: 1 inch x 1 ¼ inch, Diameter of the chamber: ¾ of an inch. The weight of the pipe is 44 grams/1.55 oz. This is one will be joining other C.P.F. pipes in my personal collection of the brand as it is a unique addition. Thanks to each of you who are reading this blog. Remember we are not pipe owners; we are pipemen and women who hold our pipes in trust until they pass on into the trust of the next generation.    

Another Beautification – This time a Bertram Washington DC Grade 60 Pot


Blog by Steve Laug

The next pipe on the work table is another on that came to me from one of our estate purchases. Between us we pick up quite a few pipes for restoration. I try to work them into the restoration queue so that I can keep them moving. We picked up over 120+ Bertram pipes from an estate that a fellow on the east coast of the US was selling. This next one is from that estate – a beautiful mix of straight and flame grain on a Bertram Pot Grade 60 with a vulcanite taper stem. The pipe is stamped on the mid-left side of the shank Bertram [over] Washington D.C. centered on the shank. Lower on the shank it is stamped with the shape number 60. The finish is dull and has a lot of grime ground into the smooth finish on the bowl and some darkening around the sides of the bowl. There are also some nicks on the outer edge on the backside of the bowl. The bowl was caked with an overflowing lava coat on the top of the rim, heavier toward the back of the bowl. The edges looked okay other than some potential burn damage on the back inner edge. The stem was lightly oxidized, dirty and had light tooth chatter and marks on the top and underside near the button. There were not markings or a logo on the taper stem. Like the rest of the Bertrams in this lot the pipe had promise but it was very dirty. Jeff took photos of the pipe before he started his cleanup work.   He took photos of the rim top and bowl to give a clear picture of the thickness of the cake and the lava on the rim top. The edges of the bowl looked to bin good condition. The lava was thicker toward rear of the rim top and there were remnants of tobacco on the walls of the thickly caked bowl. He also took photos of the top and underside of the stem to show the chatter and tooth marks. Otherwise the stem is quite clean. Jeff took photos of the sides and heel of the bowl to give a picture of what the briar around the pipe looked like. There is some stunning grain under the grime.He took photos of the stamping on the shank. It reads as noted above and is clear and readable. The grade number is lower on the left side near the bowl and reads 60.    As I have worked on Bertrams I have written on the brand and have included the following information. If you have read it in past blogs, you can skip over it. If you have not, I have included the link to Bertram history and information. I would recommend that if you don’t know much about them take some time to read the background. I include a link to the write up on Pipedia (http://pipedia.org/wiki/Bertram). Bertram pipes were based out of Washington DC. They were popular among famous politicians and celebrities of the time. They made many products for them from FDR’s cigarette holders to Joseph Stalin’s favorite pipe. They were considered some of the best America had to offer till they finally closed their doors in the 70s. Bertram graded their pipes by 10s and sometimes with a 5 added (15, 25, 55 etc.), the higher the grade the better. Above 60s are uncommon and 80-90s are quite rare. I have worked on one 120 Grade billiard. I have several blogs that I have written on rebornpipes that give some history and background to Bertram pipes. (https://rebornpipes.com/2015/06/16/an-easy-restoration-of-a-bertram-grade-60-217-poker/). I have included the following link to give a bit of historical information on the pipe company. It is a well written article that gives a glimpse of the heart of the company. http://www.streetsofwashington.com/2012/01/bertrams-pipe-shop-on-14th-street.html#

From this information I learned that all of these Bertrams were made before the closure of the shop in the 1970s. This Bertram Pot has great flame and straight grain on the bowl sides and shank sides. The top and bottom of the bowl has birdseye grain. This pipe has a 60 Grade stamp on it which I am sure explains the quality of the briar. Bertram’s Grading system remains a mystery to me.

Jeff had reamed the pipe with a PipNet Pipe Reamer and cleaned up the remnants with a Savinelli Fitsall Pipe Knife. He scrubbed the bowl with undiluted Murphy’s Oil Soap with a tooth brush. He rinsed it under running warm water to remove the soap and grime. He cleaned out the inside of the shank and the airway in the stem with alcohol, cotton swabs and pipe cleaners. He soaked the stem in Before & After Deoxidizer and rinsed it off with warm water. I took photos of the pipe once I got around to working on it.      The rim top had some slight darkening on the back of the bowl and some damage to the inner edge. The stem surface had some light tooth marks and chatter on both sides near the button. I took a photo of the stamping on the shank. The brand stamp Bertram Washington DC is mid-shank on the left side. The Grade Stamp 60 is lower on the left side toward the bottom. I removed the stem and took a photo to give a sense of the grain and a look of the whole. I started my work on the pipe by cleaning up the inner edge and the rim top. I wrapped a wooden ball from Kenneth with 220 grit sandpaper and sanded the top. I was able to minimize the rim damage and darkening. I worked some more on it with 220 grit sandpaper and then restained it with an oak stain pen. I polished the bowl and the rim top, sides and shank with micromesh sanding pads – dry sanding with 1500-12000 grit pads and wiping it down after each pad with a damp cloth. I rubbed the bowl and shank down with Before & After Restoration Balm. I worked it into the surface of the bowl sides and shank with my fingertips to clean, enliven and protect the briar. I let the balm sit for 15 minutes and then buffed with a cotton cloth to raise the shine.   I set the bowl aside and turned to work on the stem. I “painted” the surface of the stem with the flame of a light to lift the marks. I sanded the ones that remained with a folded piece of 220 grit sandpaper to blend them into the surrounding vulcanite. I started polishing with 400 grit wet dry sand paper.      I polished the vulcanite stem with micromesh sanding pads – 1500-12000 grit pads. I wiped it down with a damp cloth after each sanding pad. I used Before & After Pipe Polish – both Fine and Extra Fine to further polish the stem. I gave it a final coat of Obsidian Oil and let it dry.    This Bertram Washington DC Grade 60 Pot with a vulcanite taper stem is a great looking pipe now that it has been restored. I put the stem back on the bowl and carefully buffed the pipe with Blue Diamond on the buffing wheel using a light touch on the briar. I gave the bowl and the stem multiple coats of carnauba wax on the buffing wheel and followed that by buffing the entire pipe with a clean buffing pad. I hand buffed the pipe with a microfiber cloth to deepen the shine. The finished Bertram 60 Pot is another one that is comfortable in the hand and feels great. Give the finished pipe a look in the photos below. The dimensions of the pipe are Length: 5 ½ inches, Height: 1 ½ inches, Outside diameter of the bowl: 1 ¼ inches, Chamber diameter: ¾ of an inch. The weight of this pipe is 33 grams/1.16 ounces. If you are interested in adding this pipe to your collection I will be adding it to the rebornpipes store in the American Pipemakers section. Send me a message or an email. Thanks for reading this blog and my reflections on the pipe while I worked on it. There are many more to come!

New Beginnings for another Piccadilly – Made in London England Chunky Billiard


Blog by Steve Laug

The next pipe on the work table came to me from the large estate purchase of Bertrams and assorted other pipes that included several Piccadilly pipes. It has been around for a while waiting to be worked on. Jeff did the original photographs of the pipe in March 2019. It is the second one that I have worked on. The previous one was a Liverpool that cleaned up really well with great grain (https://rebornpipes.com/2020/08/12/new-beginnings-for-a-piccadilly-liverpool/). This one is Large Chunky Billiard that has some amazing grain around the bowl. The pipe has straight and flame grain on the sides and shank and birdseye grain on the top and heel of the bowl. The stamping is the readable. It is stamped on the left side of the shank and reads the PICCADILLY.  There was also a P in a circle logo on the left side of the taper stem. On the right side it reads Made in London England. The smooth finish had a lot of grime ground into the bowl and some darkening around the sides of the bowl. The bowl was heavily caked and had a thick overflow of lava on the top of the rim. Overall it appeared that the rim top and inner edge of the bowl looked to be in good shape under the grime. The vulcanite taper stem was lightly oxidized and had light tooth chatter on the top and underside. The pipe had promise but it was very dirty. Jeff took photos of the pipe before he started his cleanup work. He took photos of the rim top and bowl to give a clear picture of the thickness of the cake and the overflow of lava on the rim top. He also took photos of the top and underside of the stem to show the oxidation and light chatter on the surface. Jeff took photos of the sides and heel of the bowl to give a picture of what the briar around the pipe looked like. There is some interesting grain under the grime. There were also some large fills in the heel of the bowl.   He took photos of the stamping on the underside of the shank. They read as noted above. When I had worked on the first Piccadilly I had done a lot of reading and digging to learn about the brand. I decided to quote from the previous blog in stead of reworking the material

To learn about the brand I turned to Pipephil’s website (http://www.pipephil.eu/logos/en/logo-p3.html). I did a screen capture of the information on the site and it appears that the pipe was made either in the US by Weber or in England by Baron & Co. This is going to take some more work.I turned to Pipedia and there were no listings on the brand name. I also checked under Baron and Company and found nothing listed there either. This is a bit of a mystery brand.

Some of the pipes that we picked up bore the Piccadilly stamp as well as the Peretti stamp from the historic Boston Tobacconist. I wonder if there is a link between the Pipe Shop and the brand. Furthermore the Circle P stamp on the stem is the same stamp on Peretti pipes! To me this adds to the connection.

Since Jeff follows the same pattern of work in his cleanup we do not include photos but rather just a simple summary. Jeff reamed the bowl with a PipNet pipe reamer and followed up with a Savinelli Fitsall pipe knife to remove the cake. He scrubbed out the mortise and the airway in the shank and the stem with alcohol, cotton swabs and pipe cleaners. He scrubbed the exterior of the bowl, rim, shank and stem with a tooth brush and Murphy’s Oil Soap to remove the oils and tars on the rim and the grime on the finish of the bowl. He rinsed it under running water. He dried it off with a soft cloth. He was able to remove the lava build up on the rim top and you could see the damages to the top and edges of the rim. I think this pipe may well been before we worked with Mark Hoover’s Before & After Deoxidizer so he cleaned the internals and externals. The stem was clean but lightly oxidized. I took photos of what the pipe looked like when I brought to my worktable.   The rim top and shank end cleaned up really well. The lava coat was removed and some darkening left behind on the back side of the rim top. The edges were in good condition. The stem surface looked very good with some light tooth chatter and marks on both sides ahead of the button. I took photos of the stamping on both sides of the shank. The stamping was clear and readable. The left side of the taper stem had a Circle P  logo with gold stamping. I removed the stem and took a photo of the pipe to give a sense of the beautiful grain on this well shaped Billiard. I decided to start my work on the pipe by address the pitted fills on the underside of the bowl. I filled them in with a mix of briar dust and CA glue. I layered in the glue first then put the briar dust on top and followed that with another layer of glue. Once the repair cured I sanded it smooth with 220 grit sandpaper to blend it into the surface of the surrounding briar.   I polished the bowl and the rim top, sides and shank with micromesh sanding pads – wet sanding with 1500-12000 grit pads and wiping it down after each pad with a damp cloth. I carefully avoided the stamping on the top and underside of the shank so as not to damage the already faint stamping.      I rubbed the bowl and shank down with Before & After Restoration Balm. I worked it into the surface of the bowl sides, plateau top and shank end with my fingertips to clean, enliven and protect the briar. I let the balm sit for 15 minutes and then buffed with a cotton cloth to raise the shine. The grain really stood out clearly.   I set the bowl aside and turned my attention to the stem. I sanded out the tooth marks on the top and underside near the button with 220 grit sandpaper. I started the polishing with 400 grit wet dry sandpaper. I worked over the stem with micromesh sanding pads – 1500-12000 grit pads. I wiped the stem down with Obsidian Oil after each sanding pad. I used Before & After Pipe Polish – both Fine and Extra Fine to further polish the stem.   This well made, classic Piccadilly Made in London Chunky Billiard with a taper vulcanite stem is a great looking pipe now that it has been restored. The rich brown finish that was used came alive with the polishing and waxing. I put the stem back on the bowl and carefully buffed the pipe with Blue Diamond on the buffing wheel using a light touch on the briar. I gave the bowl and the stem multiple coats of carnauba wax on the buffing wheel and followed that by buffing the entire pipe with a clean buffing pad. I hand buffed the pipe with a microfiber cloth to deepen the shine. The finished Piccadilly Billiard is a beauty with combination of great grain and rich stain. It fits nicely in the hand and looks very good. Give the finished pipe a look in the photos below. The dimensions of the pipe are Length: 5 ¾ inches, Height: 2 inches, Outside diameter of the bowl: 1 ½ inches, Chamber diameter: ¾ of an inch. The weight of the pipe is 66 grams/ 2.33 ounces. If you are interested in adding this pipe to your collection send me a message or an email. Thanks for reading this blog and my reflections on the pipe while I worked on it. There are many more to come!

Breathing New Life into a Hardcastle’s London Made Petite Liverpool


Blog by Steve Laug

The next pipe on the work table came to us from an online auction on 03/21/19 in Wilkes Barre, Pennsylvania, USA. It is a smooth Hardcastle’s Liverpool shaped pipe with a taper vulcanite stem. The pipe is stamped on the left side of the shank and reads Hardcastle’s [over] London Made. The Sterling Silver Band is stamped Sterling [over] Silver on the underside. The finish had a lot of grime ground into it and it was very dirty. The bowl was thickly caked and there was a lava coat on the flat rim top and damage to the back of the inner edge of the rim. The stem was lightly oxidized and had light tooth chatter and marks on the top and underside button. The dirty pipe showed some great looking flame and straight grain under the grime. It was full of promise. Jeff took photos of the pipe before he started his cleanup work.   He took photos of the rim top and bowl to give a clear picture of the thickness of the cake and the condition of the rim top and edges. You can see the darkening and damage to the inner edges all around the bowl but particularly toward the back side of the bowl. He also took photos of the top and underside of the stem to show the light oxidation and chatter and tooth marks. Jeff took photos of the side and heel of the bowl to give a picture of what the briar around the pipe looked like.    He took photos of the stamping on the shank and the silver band. They read as noted above and are clear and readable. I was curious about the particular line of Hardcastle’s pipes that I was working on. I wanted some more information on the London Made line so I did some searching on Pipephil (http://www.pipephil.eu/logos/en/logo-hardcastle.html). I including the short history of the brand as a whole from that site. The line itself was not present on the site.

1903: Edmund Hardcastle establishes the brand.

1936: the family sells 49% of the Hardcastle Pipes Limited shares to Dunhill.

1946: Dunhill buys the remaining shares. The family continues to manage the company.

1967: Dunhill merges Hardcastle with Parker. The new Parker-Hardcastle Limited company absorbs the Masta Patent Pipe Company.

I turned to Pipedia (https://pipedia.org/wiki/Hardcastle) to try to gather more information on the line. It gives a more detailed history of the brand but there is no mention of the Hardcastle’s London Made. I quote a section of the history below.

Hardcastle was founded in 1908 by Edmund Hardcastle and built itself a good reputation among the numerous British mid-graders. In 1935 Dunhill started to build a factory next door to Hardcastle in Forest Road, Walthamstow, London E17. The family owned Hardcastle Pipes Limited sold 49% of its equity to Dunhill In 1936.

Along with closing down its pipe factory in Notting Hill in 1946 Dunhill bought the remaining shares, turning Hardcastle into a 100% Dunhill subsidiary. As members of the Hardcastle family continued as executives in the company’s management Hardcastle retained a certain independence.

This ended in 1967. Dunhill merged Hardcastle with Parker (100% Dunhill as well). The new Parker Hardcastle Limited also absorbed the former Masta Patent Pipe Company. Hardcastle’s Forest Road plant was immediately given up and the production of Hardcastle pipes was shifted to Parker’s nearby St. Andrews Road factory – now consequently called Parker-Hardcastle factory.

In fact this put a definite end to Hardcastle as an own-standing pipe brand, and none other than Edwin Hardcastle, the last of the family executives, spoke frankly and loudly of Hardcastle pipes being degenerated to an inferior Dunhill second.

Today Hardcastle pipes use funneled down bowls that are not deemed suitable to bear the Dunhill or even the Parker name (as well as obtaining briar from other sources).

With that bit of information I believe it is an older family period pipe but cannot prove it. Jeff had cleaned up the pipe with his usual thoroughness. He reamed the pipe with a PipNet Pipe Reamer and cleaned up the remnants with a Savinelli Fitsall Pipe Knife.  He scrubbed the bowl with undiluted Murphy’s Oil Soap with a tooth brush. He rinsed it under running warm water to remove the soap and grime. He cleaned out the inside of the shank and the airway in the stem with alcohol, cotton swabs and pipe cleaners. He soaked the stem in Before & After Deoxidizer and rinsed it off with warm water. I took photos of the pipe over 2 years later when I finally got around to working on it.  The rim top has a lot of darkening on the top and chips and burn damage on the inner edge and on the rim surface leaving the bowl slightly out of round. The stem surface looked very good with some tooth marks and chatter on both sides near the button.I took a photo of the stamping on the shank side. It is clear and readable as noted above. I removed the stem and took a photo of the pipe to give a sense of the whole. The round shank and tapered stem makes for a lovely Liverpool.I started my work on the pipe by working over the rim top and the inner edge of the bowl to clean up the damage. Once finished the rim top and edge looked much better. I stained the sanded and beveled the rim top and inner edge with a Walnut Stain Pen. It matched the rest of the colour on the briar very well.I polished the briar with micromesh sanding pads – wet sanding with 1500-12000 grit pads. I wiped the bowl down after each pad with a damp cloth. I rubbed the bowl down with Before & After Restoration Balm. I worked it into the surface of the bowl sides and shank with my fingertips. The product works to clean, enliven and protect the briar. I let the balm sit for fifteen minutes and then buffed with a cotton cloth to raise the shine.   I polished the silver band with a jewelers cloth. It works to polish and protect it from further oxidation and darkening.I laid the bowl aside and turned to work on the stem. I polished the vulcanite stem with micromesh sanding pads – 1500-12000 grit pads. I wiped it down with an Obsidian Oil impregnated cloth after each sanding pad. I used Before & After Pipe Polish – both Fine and Extra Fine to further polish the stem. I gave it a final coat of Obsidian Oil. This petite Hardcastle’s London Made Liverpool – round shank with a vulcanite taper stem is a great looking pipe now that it has been restored. The beautiful grain that shines through the polished finish is stunning. I put the stem back on the bowl and carefully buffed the pipe with Blue Diamond on the buffing wheel. I gave the bowl and the stem multiple coats of carnauba wax on the buffing wheel and followed that by buffing the entire pipe with a clean buffing pad. I hand buffed the pipe with a microfiber cloth to deepen the shine. The finished Hardcastle’s London Made Liverpool fits nicely in the hand and feels great. Give the finished pipe a look in the photos below. The dimensions of the pipe are Length: 5 inches, Height: 1 ½ inches, Outside diameter of the bowl: 1 inches, Chamber diameter: ¾ of an inch. The weight of the pipe is 19gr/.67oz. I will be adding it to the rebornpipes store in the British Pipe Makers section. If you are interested in adding this pipe to your collection send me a message or an email. Thanks for reading this blog and my reflections on the pipe while I worked on it. There are many more to come!