Blog by Steve Laug
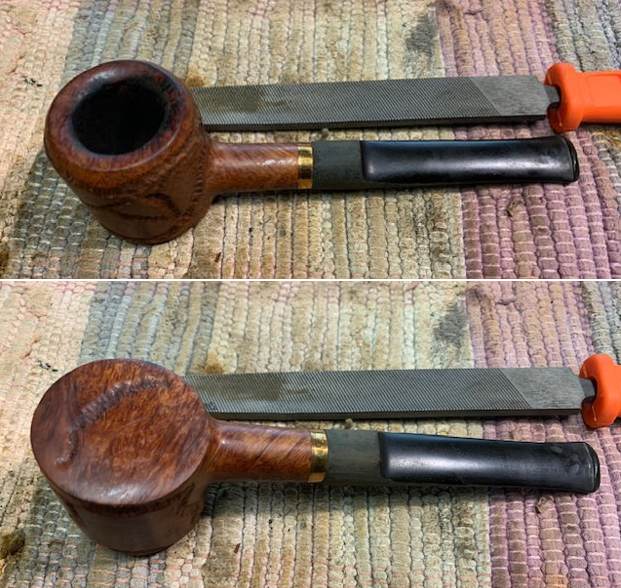
The next pipe I chose to work on was another bowl from my box of bowls to restem. It is a different looking bowl that combines both a Pot and a Poker shape. It has a inward beveled rim, flat bottom and worm trails curled around the bowl sides. When I examined the shank it had a small hairline crack on the right side that would need to be repaired but otherwise it was solid. It was unique enough I wanted to work on it. It is stamped on the left side of the shank and has a GBD oval logo next to the bowl/shank union followed by Sauvage. On the right side of the shank it is stamped FRANCE [over] the shape number 1345. The stamping was clear and readable with a lens. The bowl had been cleaned and reamed somewhere along the way by either Jeff or me. I honestly don’t remember when or where we got this bowl. It looked very good and I was looking forward to seeing the finished pipe. The stem was long gone so this would be a restemming job. I took some photos of the bowl to give a sense of the condition of bowl. 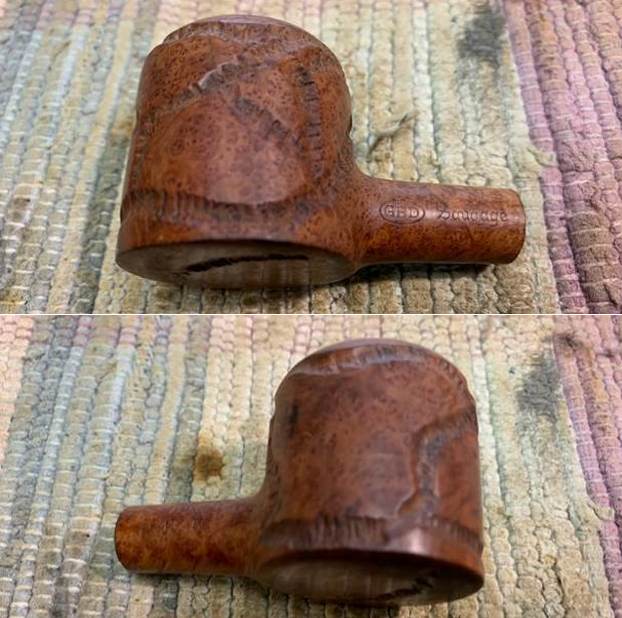
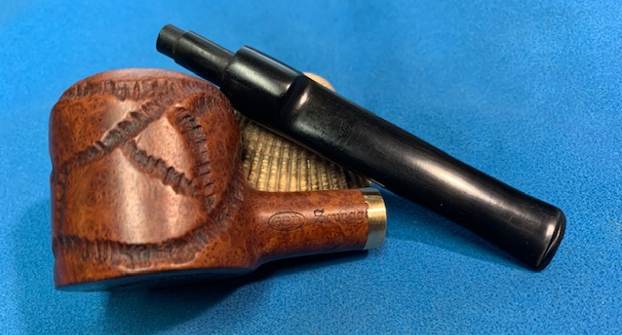
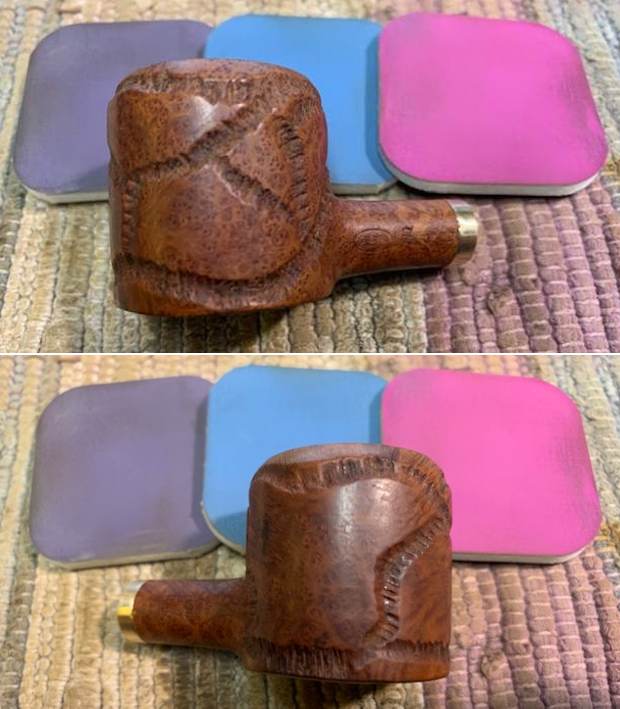
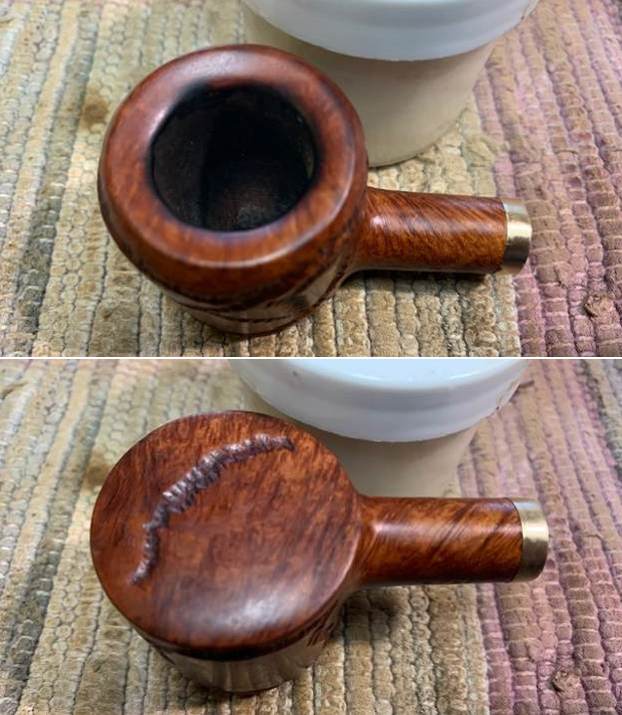
 The stamping was on both sides of the shank and it is clear and readable as noted above. I have also drawn a red rectangle around the area where the crack in the shank is located in the photo below.
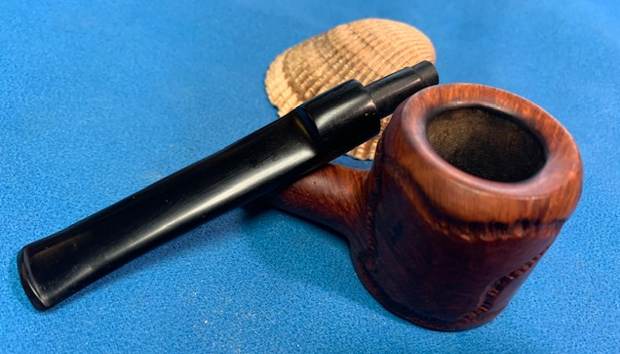
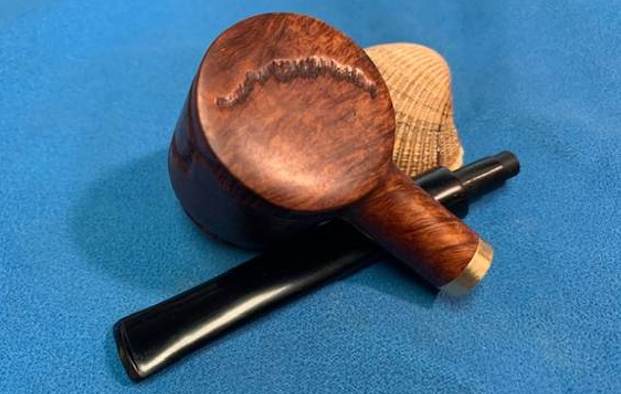
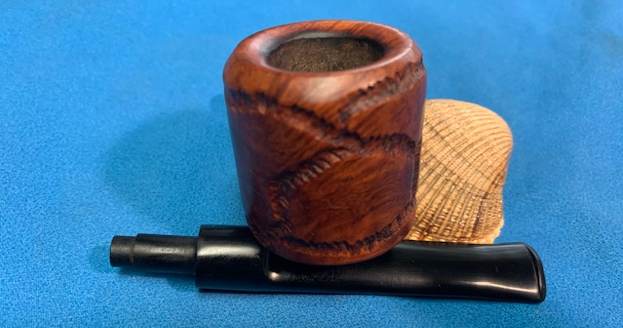
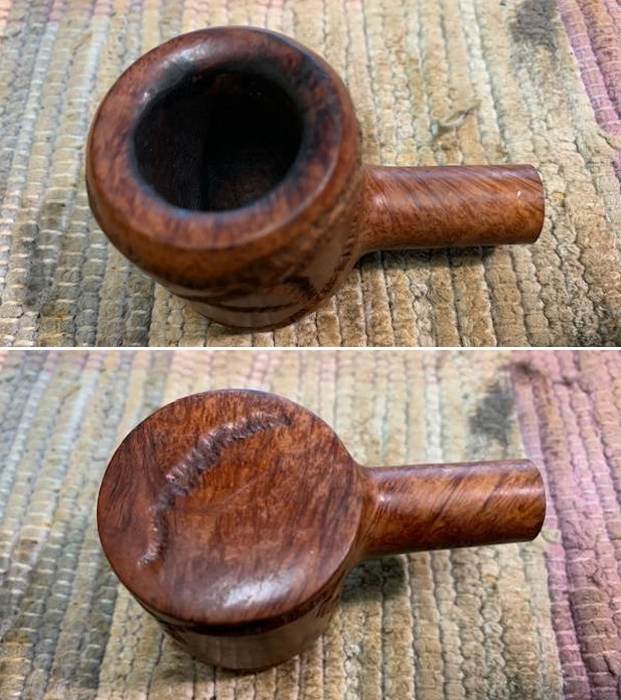
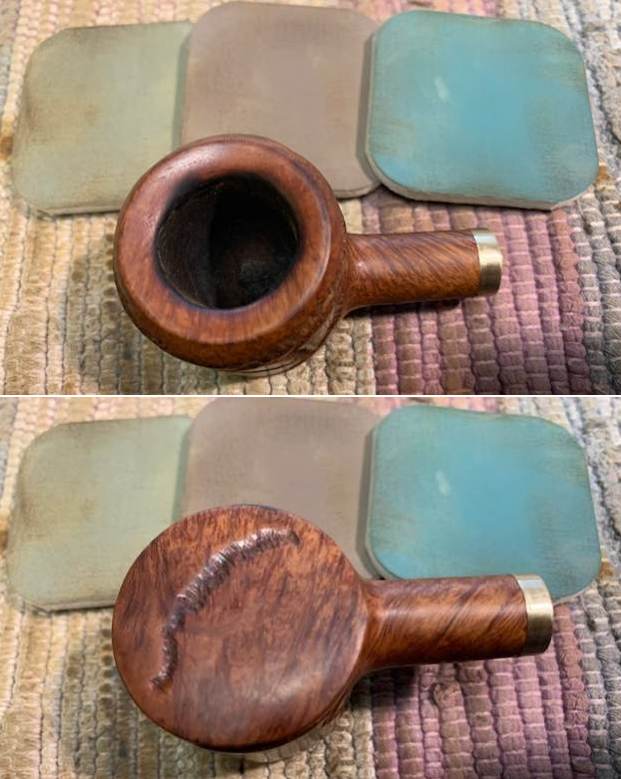
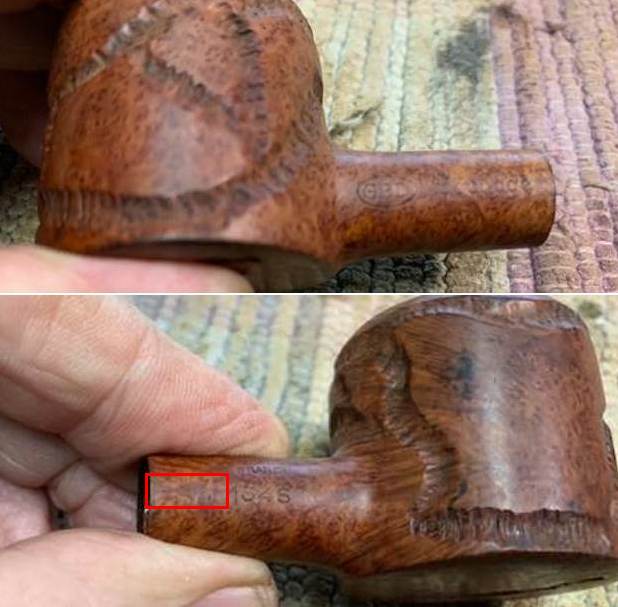 The next photo shows the rounded rim top and edges. It also shows the condition of the bowl and rim top/edges. It is clean and looks quite good. There is some burn damage on the inner edge of the bowl and on the beveled rim top at the front and the back of the bowl.
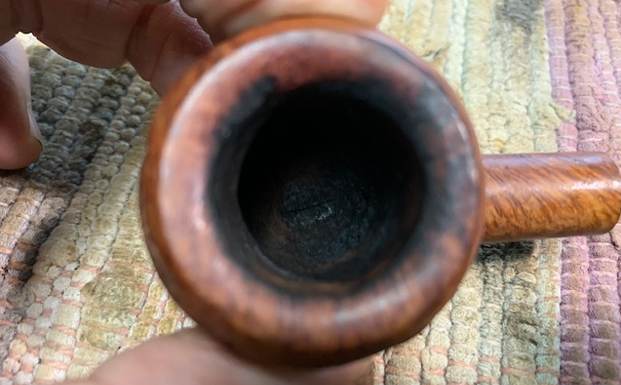 Now it was time to begin my restemming work on this pipe. I went through my can of stems and chose a stem that would work. I would need to remove some the diameter of the tenon and the saddle portion to fit the thin almost pencil shank of the pipe.
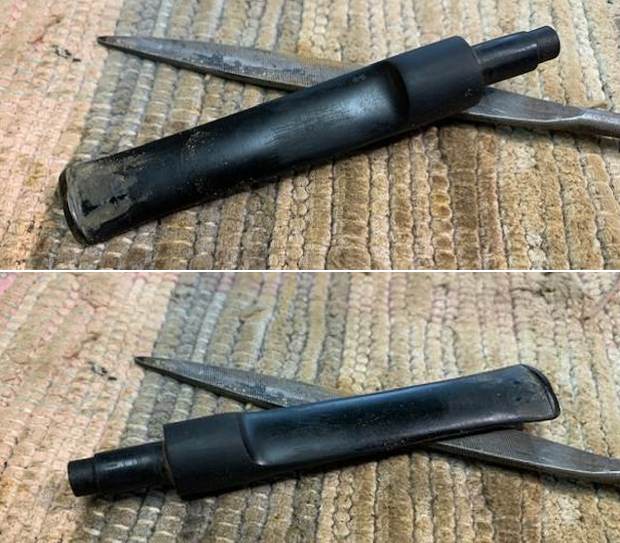
 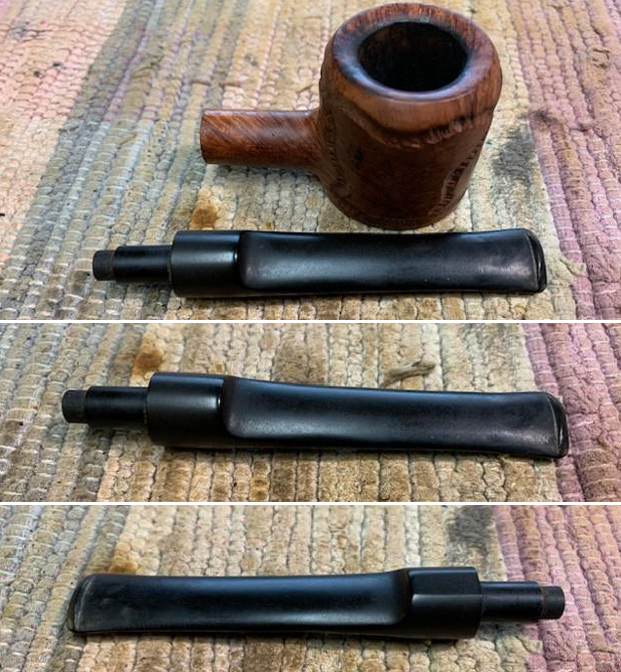 I used a flat file to remove the small amount of excess on the tenon. It was a close fit but I did not want to make the crack in the shank worse by a tenon that was not correct.
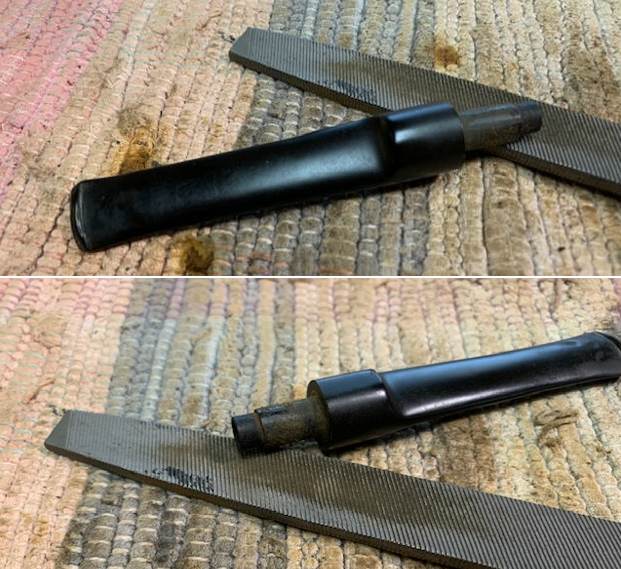 When I had finished shaping the tenon I sanded it with a piece of 220 grit sandpaper and inserted it in the shank. It was looking pretty good. I would need to trim back some of the diameter of the saddle portion but I liked it!
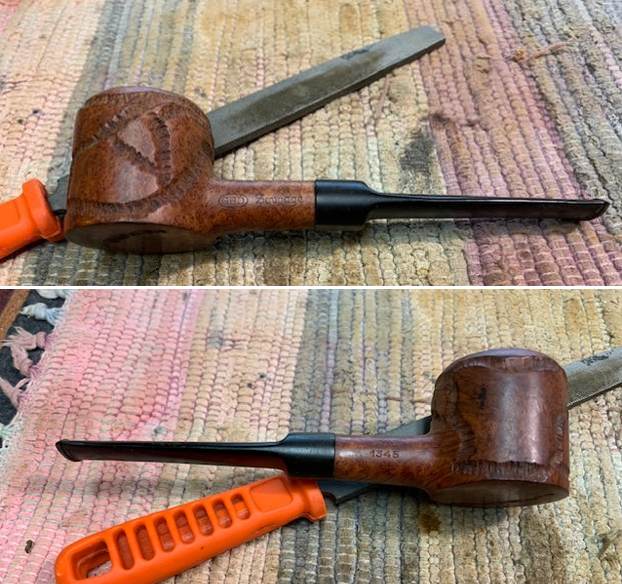
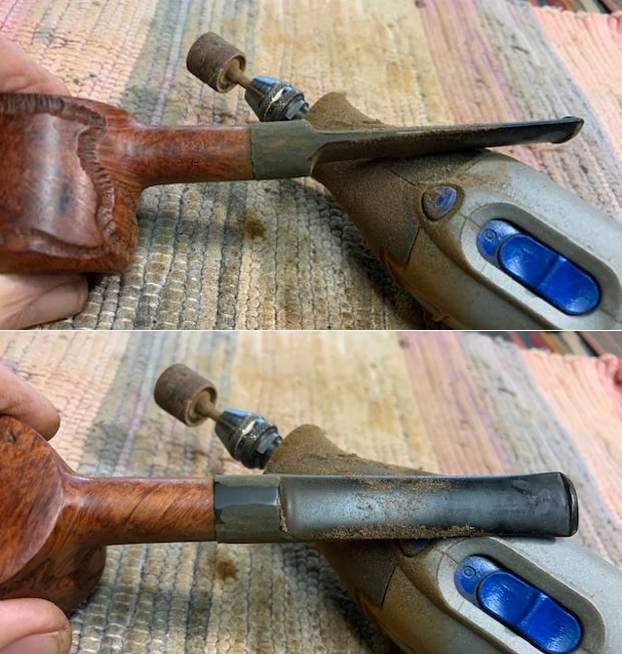
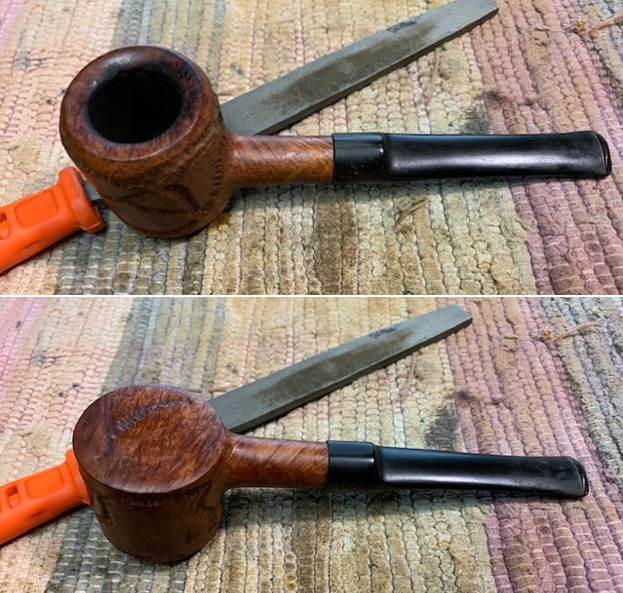 I generally use a Dremel and sanding drum to reduce the diameter of the stem. I do this with the stem in place on the shank so that I do not overdo it. It is a touchy exercise and one slip and I could easily damage the shank and make more work for myself. I move carefully and take it back as close as I can at this point. Once I band the shank I will need to do some more work on it but it is starting to look right.
 With the fit close enough it was time to band the shank. I generally do the final adjustments on the stem diameter after I have fit the band in place. I picked a band out that would fit when heated. I took a photo of the crack in the shank to show what I was working with. I sanded the shank end and gave it a slight bevel to facilitate pressing the band in place. Once it was ready I put the band on the shank. It was tight so I heated it with a lighter and when it had expanded I pressed it against the pad on my desk and pushed it all the way onto the shank. It covered the “e” on Sauvage slightly but the length of the crack defined what I needed to band it.
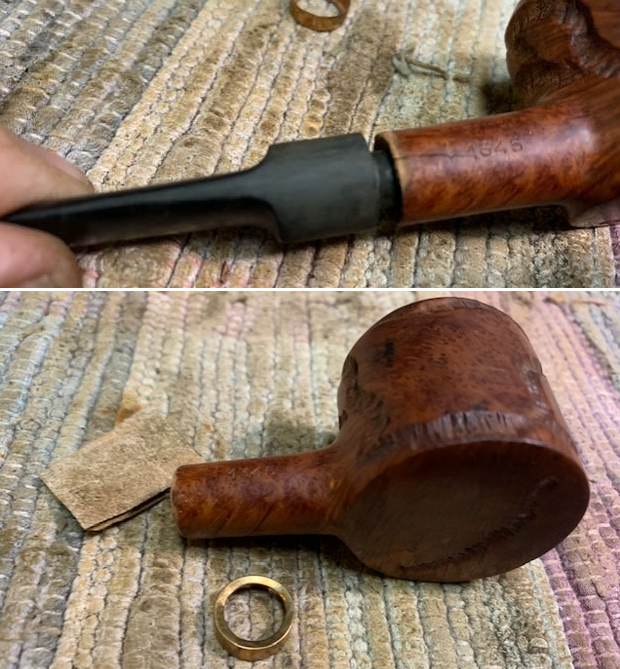
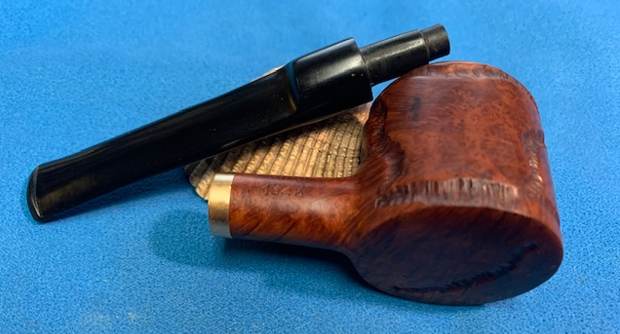
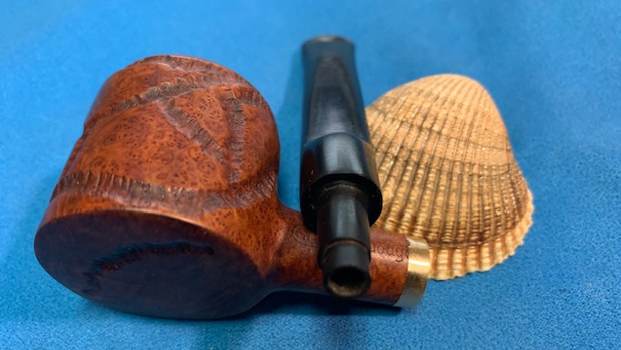
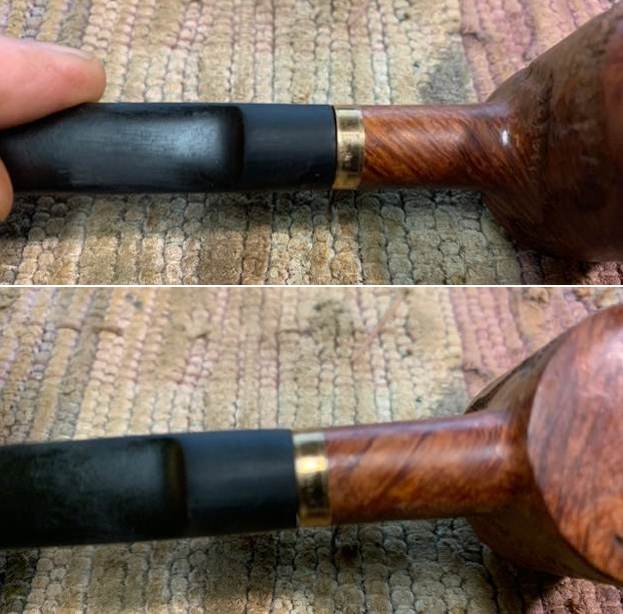
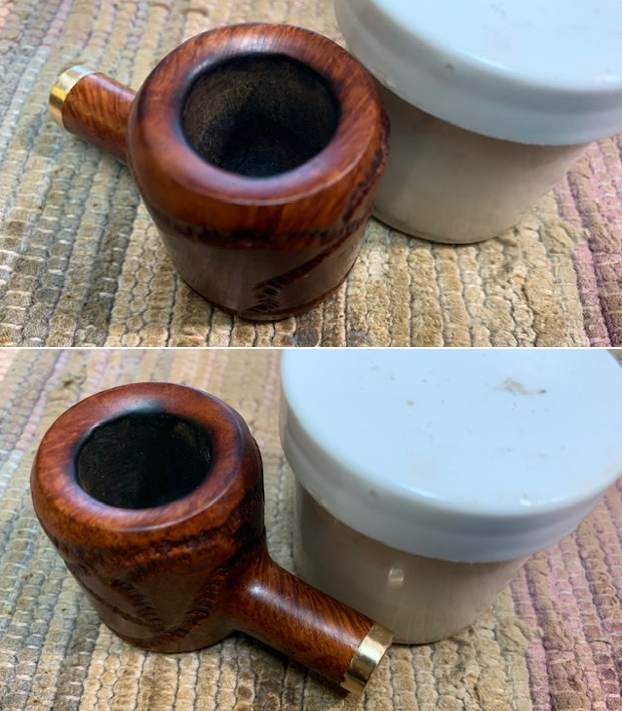
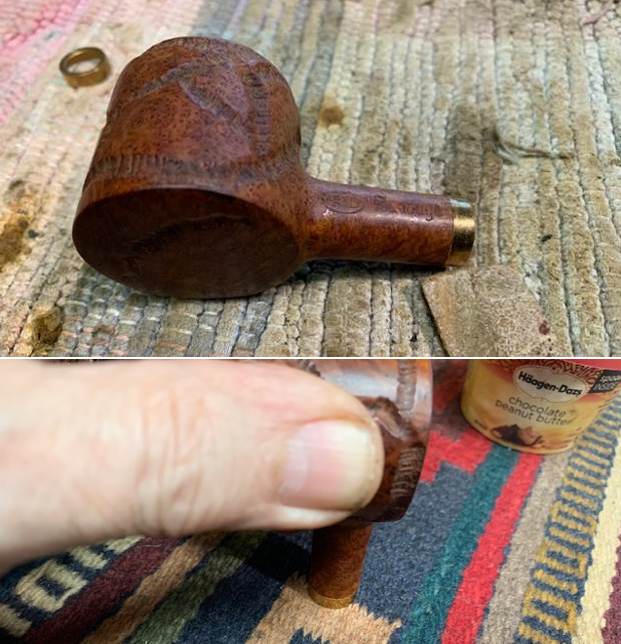 I used some 220 grit sandpaper to once again take a little bit off the diameter of the tenon and the band compresses the crack and the diameter of the mortise changes. When I was finished I put the stem in the shank and took photos of the newly banded shank. It was going to look good once I finished shaping the stem diameter but it is very close at this point. What do you think of the new look?
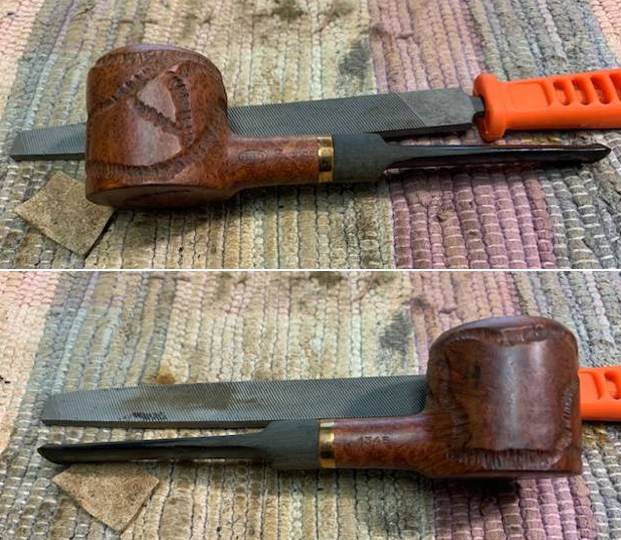
 I finished adjusting the fit of stem diameter with 220 grit sandpaper and everything was aligned. I started the polishing with 400 grit wet dry sandpaper and the stem was looking very good at this point.
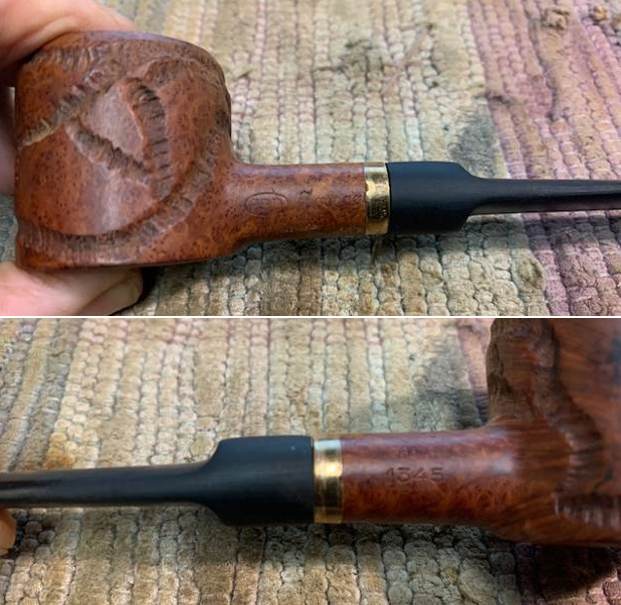
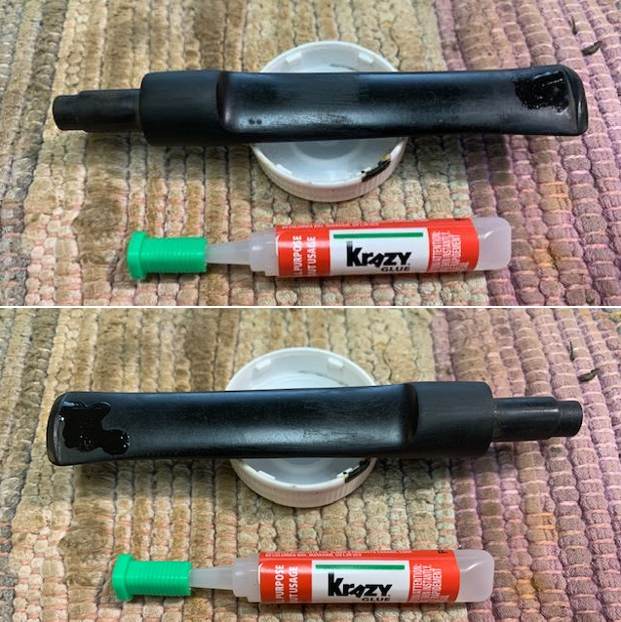
 Now I needed to deal with the tooth marks and chatter on the end of the stem. I “painted” them with the flame of a lighter to lift them as much as possible. I filled in the ones that remained with clear super glue. Once the glue cured I flattened out the repairs with a small flat file. I followed that by sanding the stem with 220 grit sandpaper to blend them into the surface. I started polishing the stem with 400 grit wet dry sandpaper.
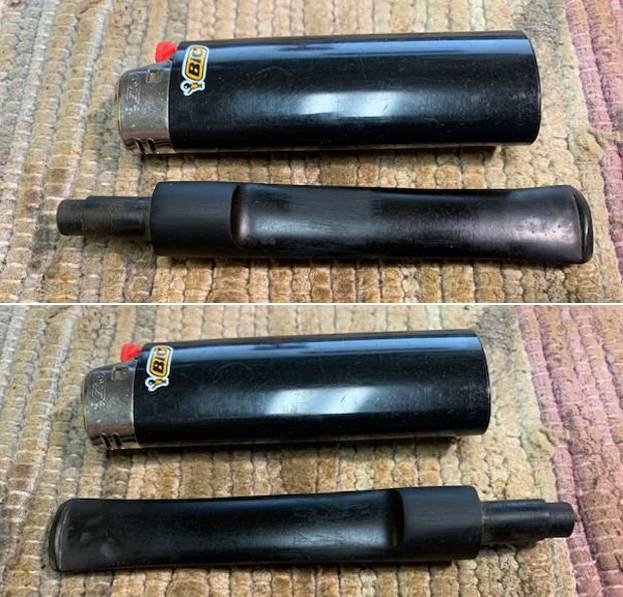
 I polished the stem with micromesh sanding pads – wet sanding with 1500-12000 grit pads. I wiped the stem down after each sanding pad with Obsidian Oil. I polished the stem with Before & After Pipe Stem Polish – both Fine and Extra Fine and buffed it with a cotton cloth. Once I had finished the polishing I gave it final coat of Obsidian Oil and set it aside to dry.
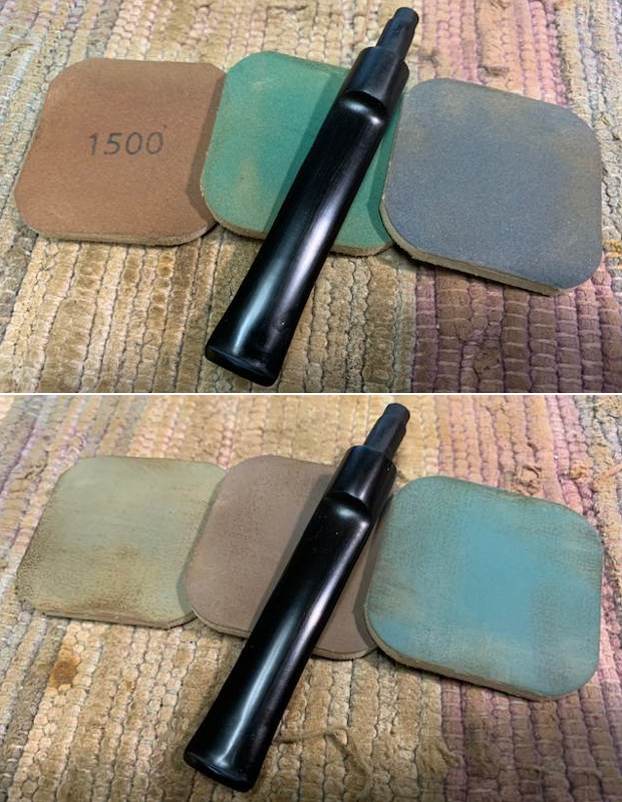
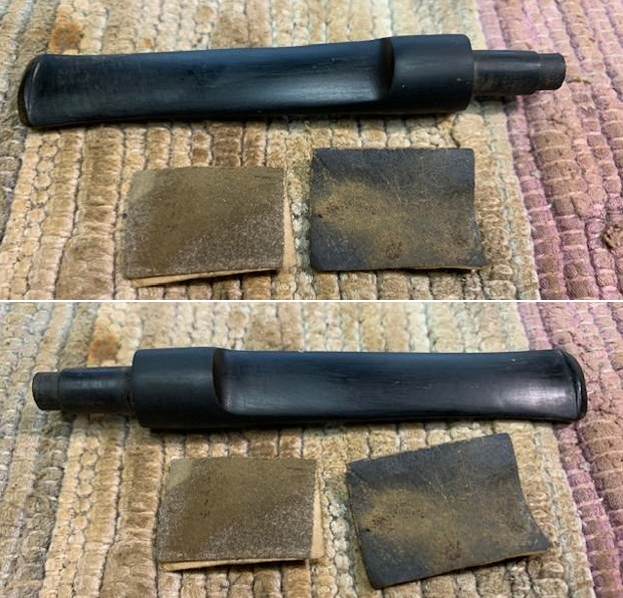
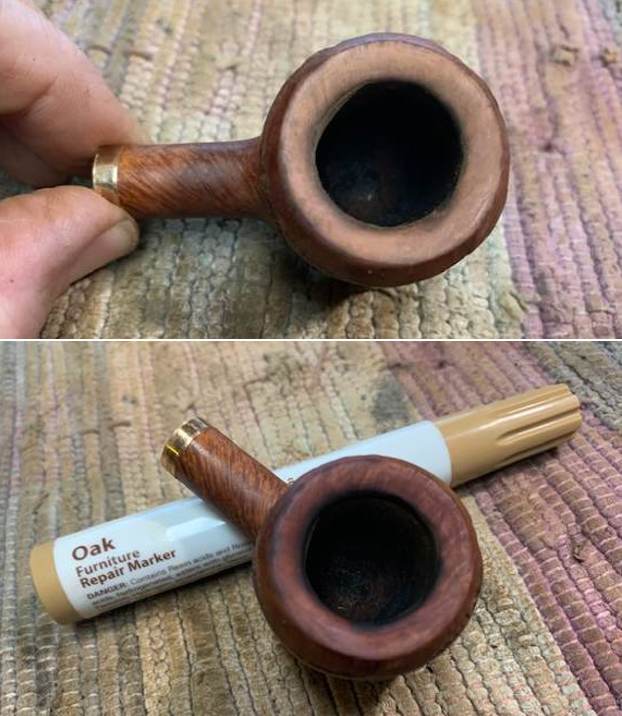
 With the stem finished (other than to buff the pipe at the end)I set it aside and I turned my attention to the bowl. I used a wooden ball that Kenneth gave me with a piece of 220 grit sandpaper to clean up the bevel. I finished with a folded piece of 220 grit sandpaper to further minimize the burn damage. I touched up the stain with an Oak Stain pen to match the surrounding briar of the bowl. It looked much better at this point.
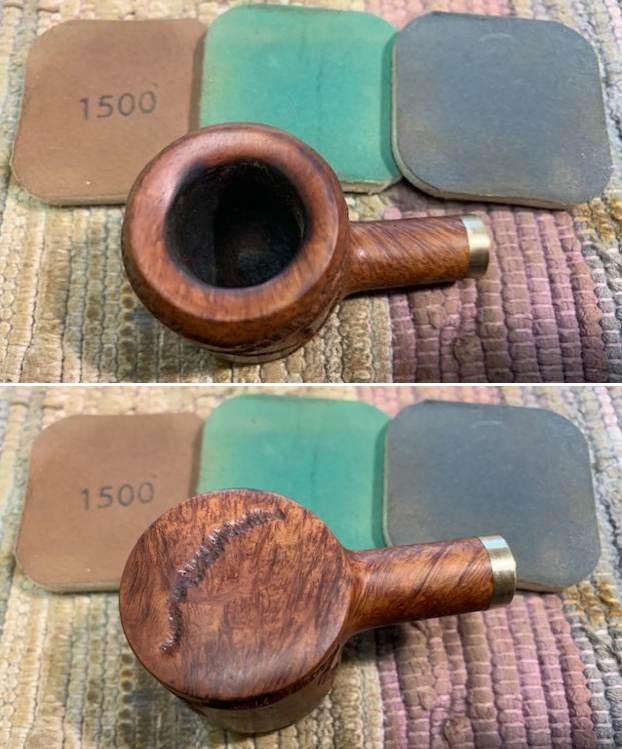
 I polished the briar with micromesh sanding pads – dry sanding with 1500-12000 grit pads. I wiped the bowl down after each pad with a damp cloth to remove the sanding debris left behind.
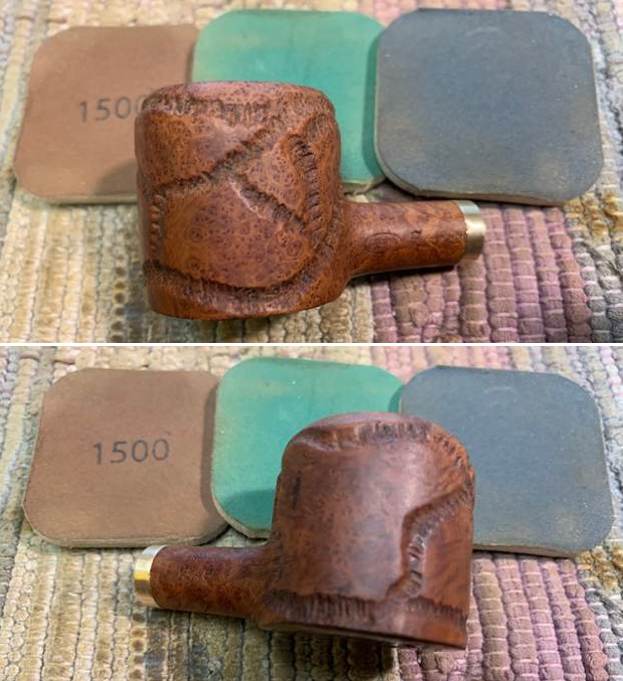
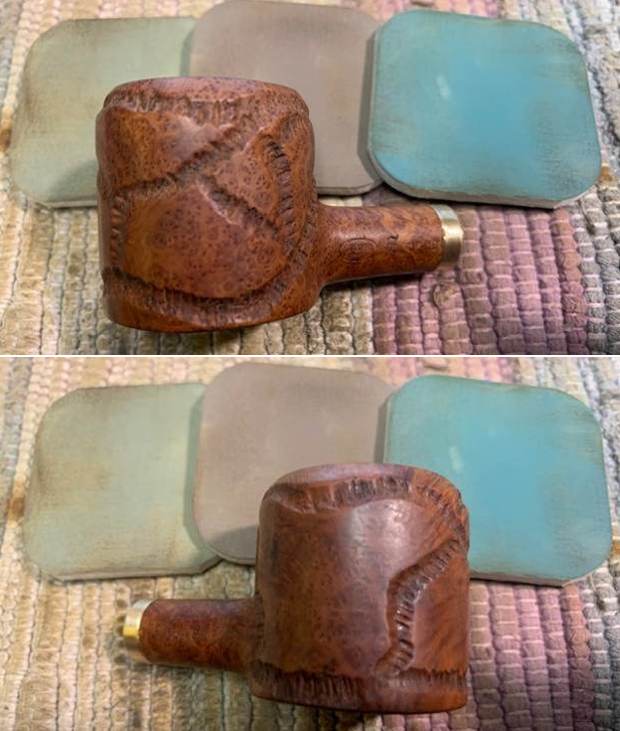
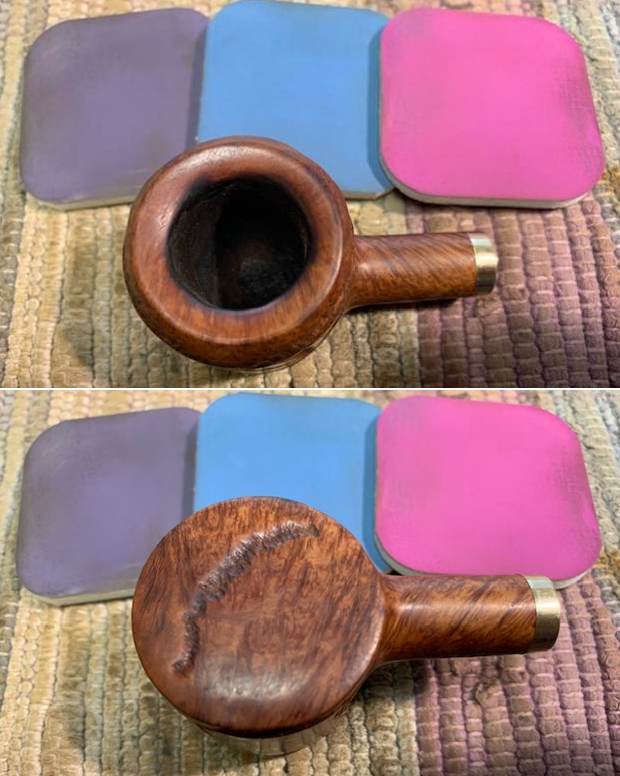 I rubbed the bowl and shank down with Before & After Restoration Balm. I worked it into the surface of the smooth and worm trails on the bowl and shank with my fingertips to clean, enliven and protect the briar. I let the balm sit for a little while and then buffed with a cotton cloth to raise the shine. The Balm did its magic and the grain really took on dimension and colour.
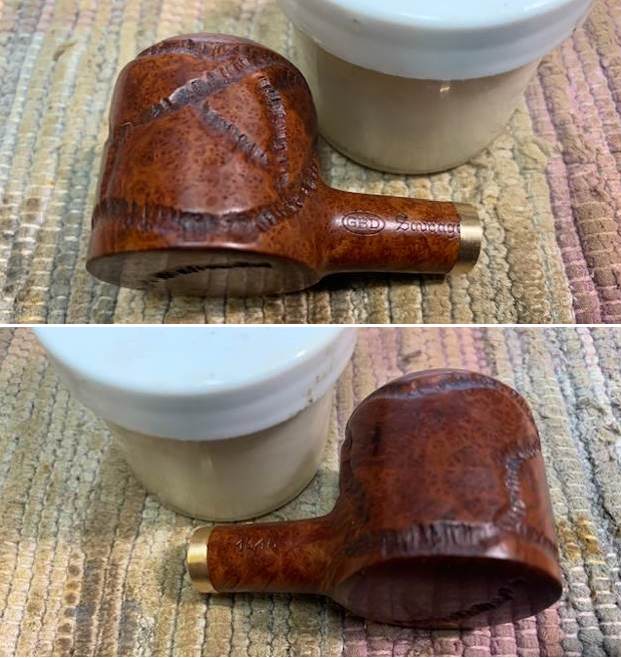
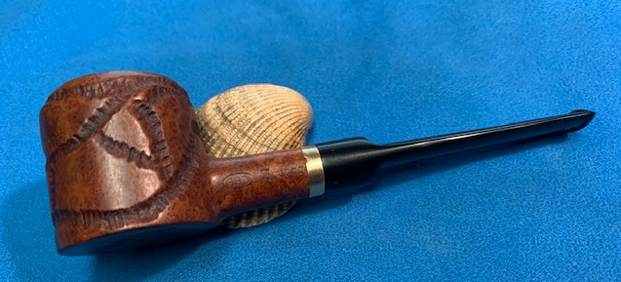
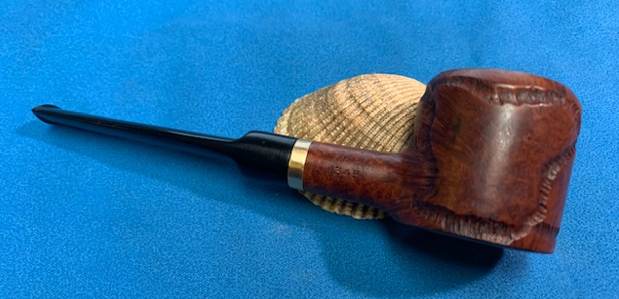
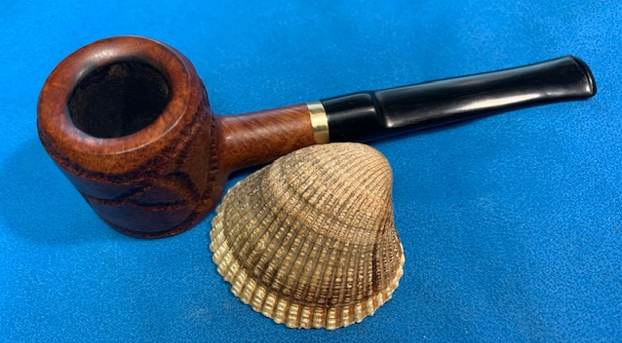
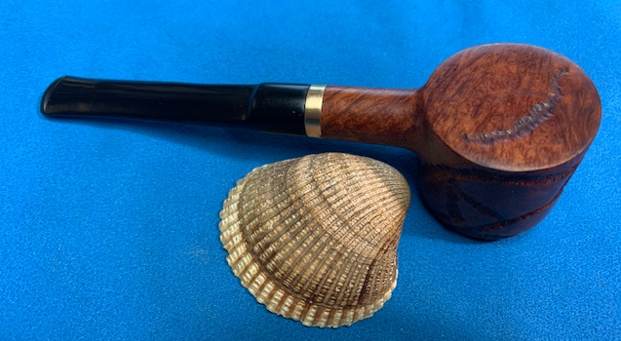
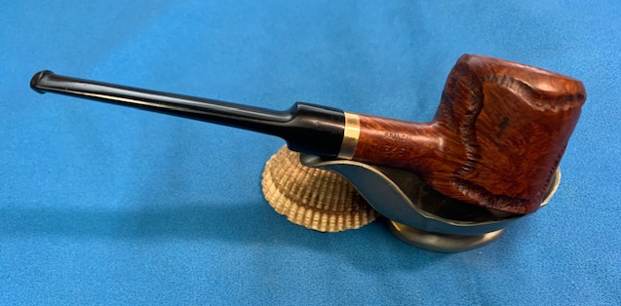
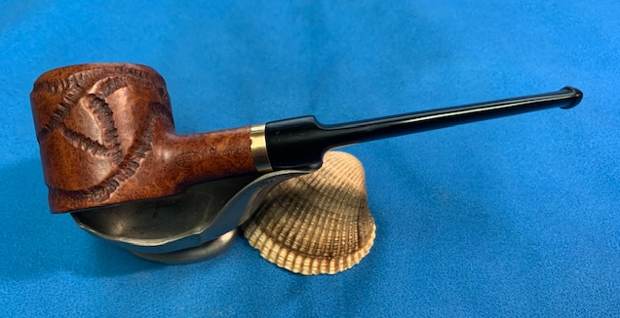
 I am excited to be on the homestretch with this petite French Made GBD Sauvage 1345 Poker/Pot. This is the part I look forward to when it all comes back together, polished and waxed. I put the bowl and the new stem together and polished the stem and bowl with Blue Diamond to polish out the scratches in the vulcanite and give a light shine to the bowl. I gave the bowl and the stem multiple coats of carnauba wax. I buffed the pipe with a clean buffing pad to raise the shine. I hand buffed it with a microfiber cloth to deepen the shine. The pipe polished up pretty nicely. The worm trail carving on the bowl actually looks okay with the rest of the smooth finish. The banded shank and new polished black saddle vulcanite stem works well with this little sitter. This GBD Sauvage Poker/Pot was another fun pipe to work on and came out looking great. It is a comfortable sized pipe to hold in the hand. The finished pipe is shown in the photos below. The dimensions of the pipe are Length: 5 ¾ inches, Height: 1 ½ inches, Outside diameter of the bowl: 1 ½ inches, Chamber diameter: ¾ of an inch. The weight of the pipe is 33 grams/1.16 ounces. If you are interested in adding this pipe to your rack it will be on the rebornpipes store in the French Pipemakers Section soon. Thanks for reading this blog and my reflections on the pipe while I worked on it.