Blog by Steve Laug
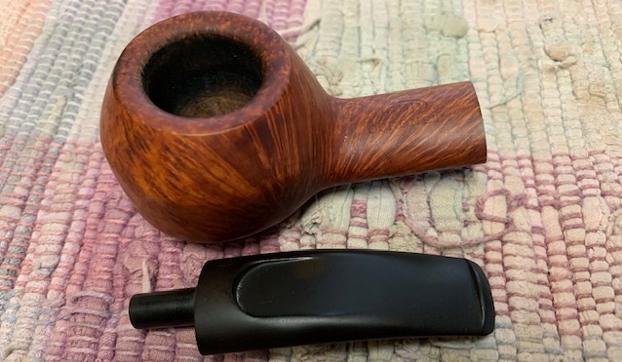
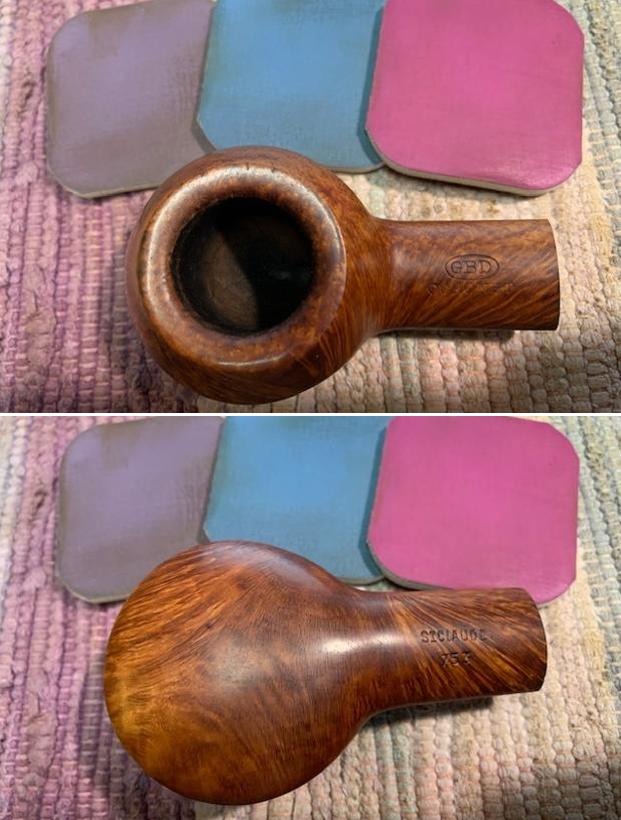
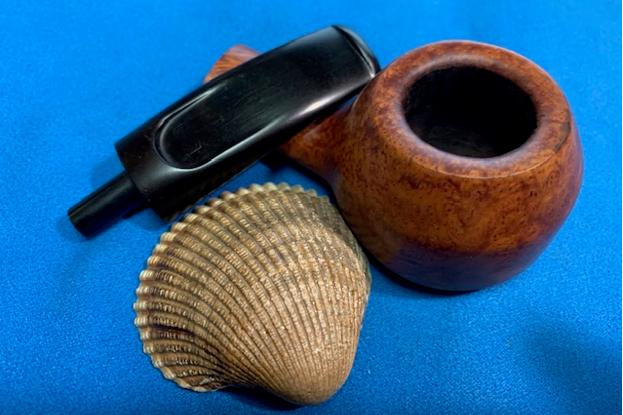
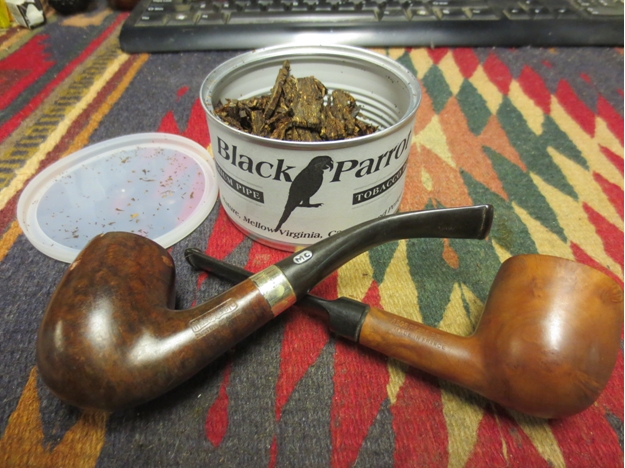
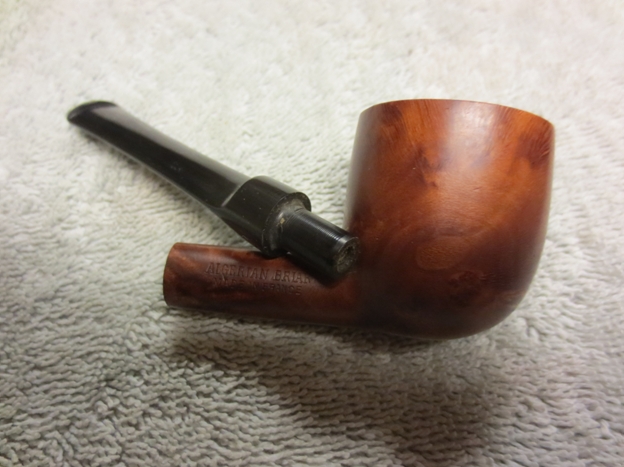
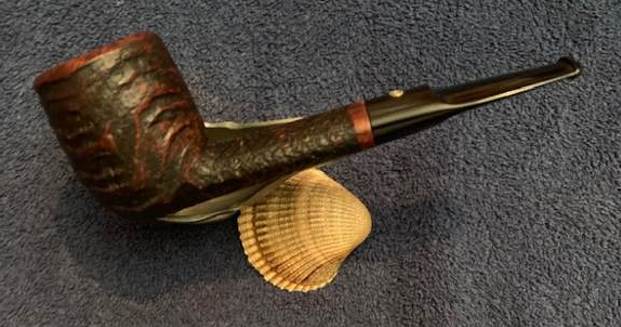
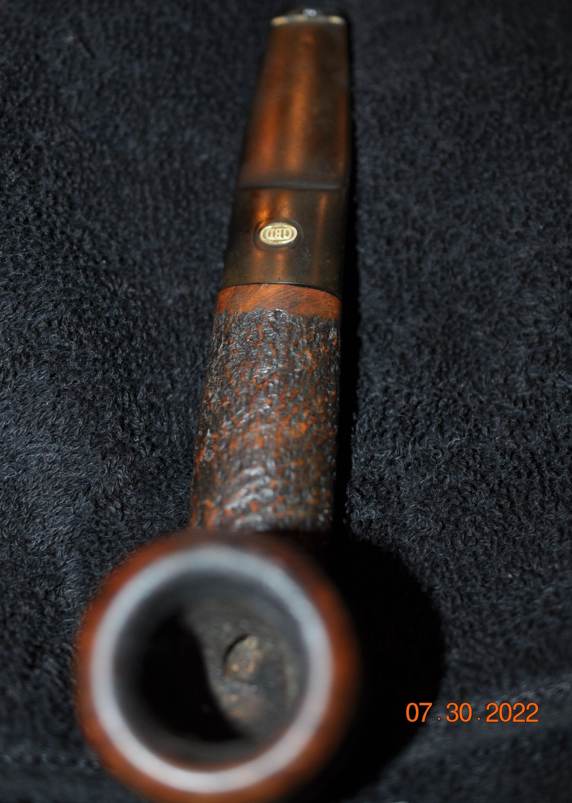
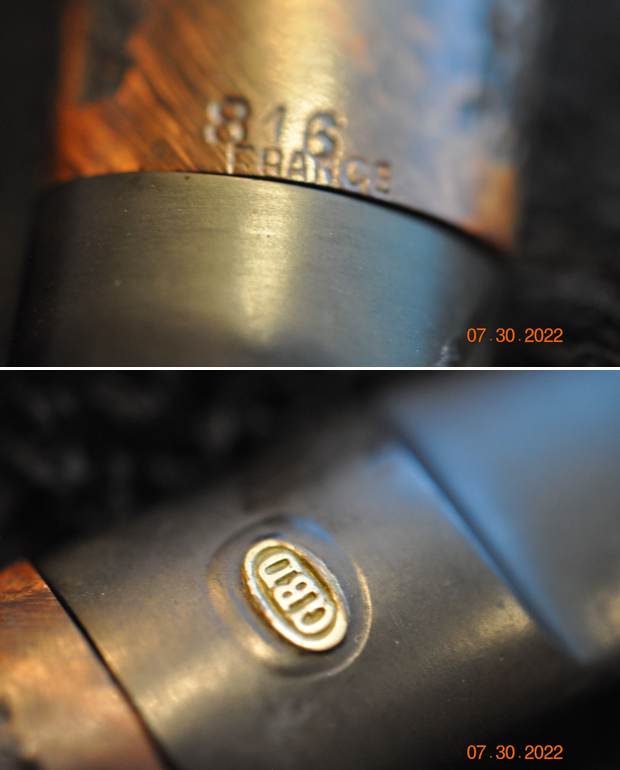
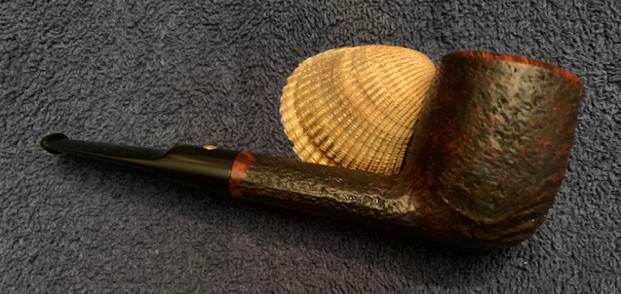
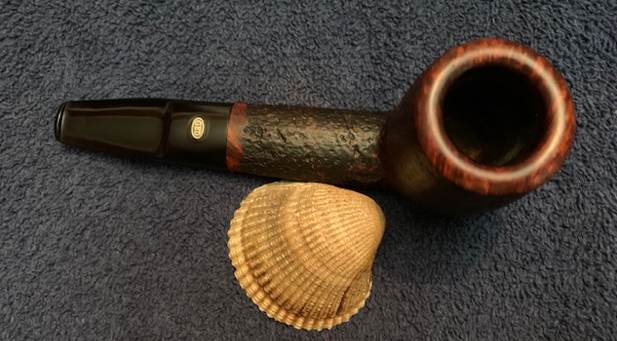
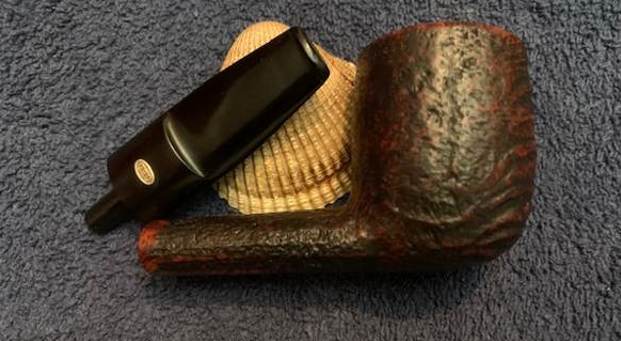
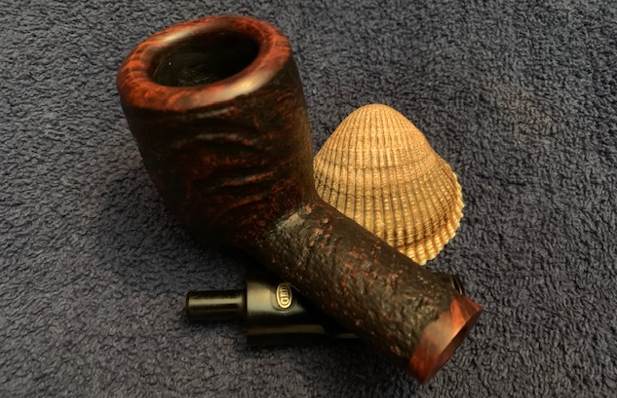
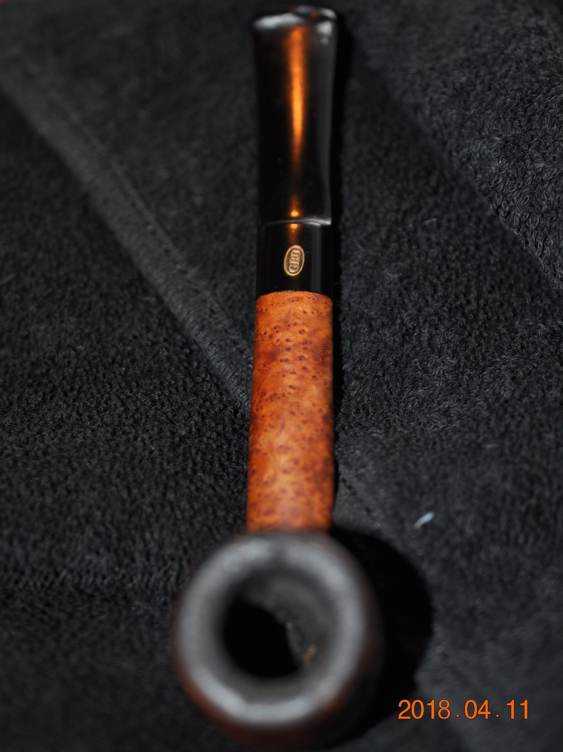
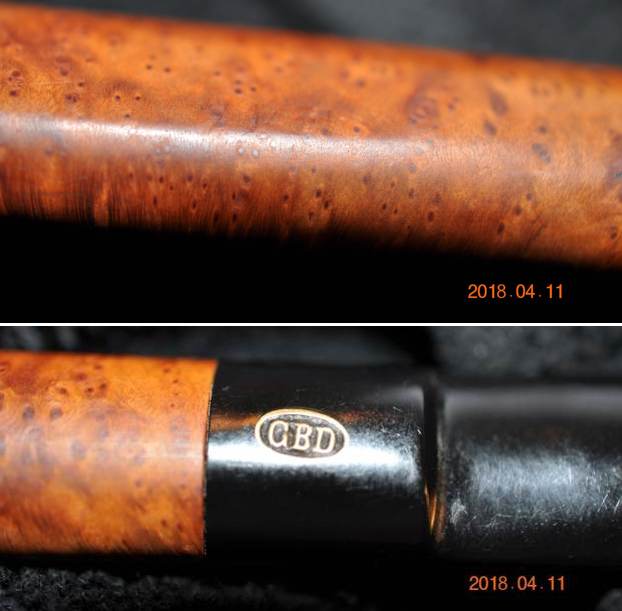
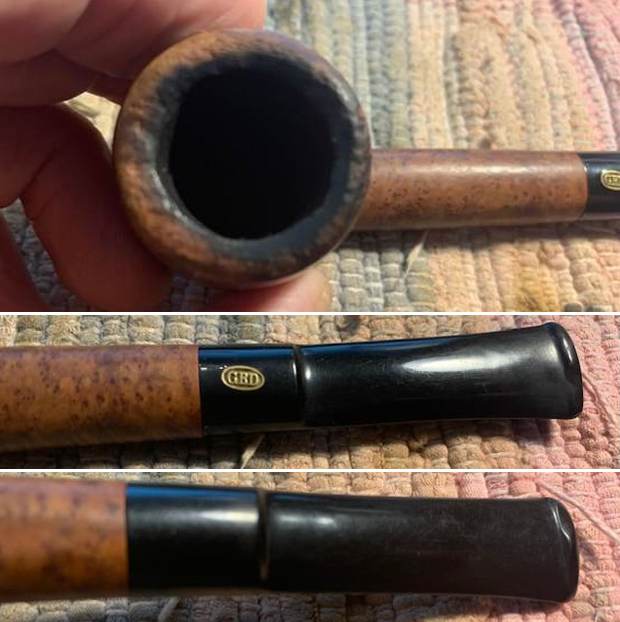
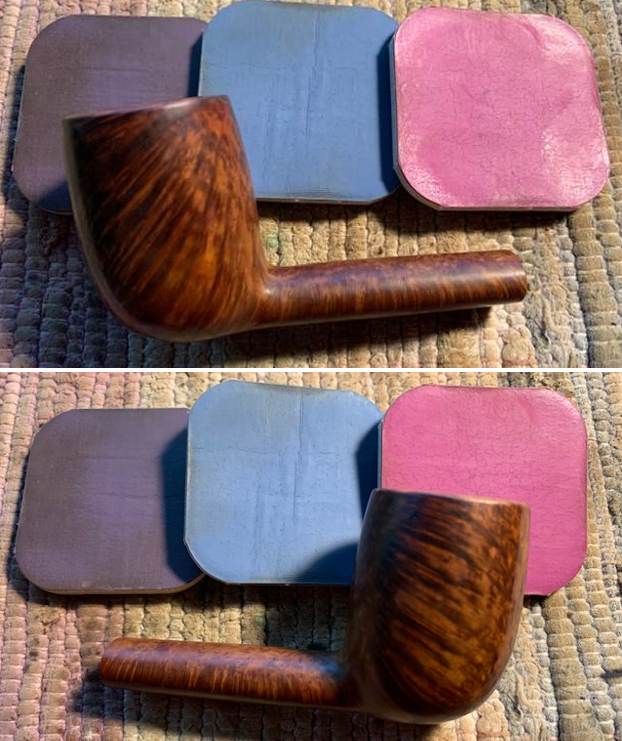
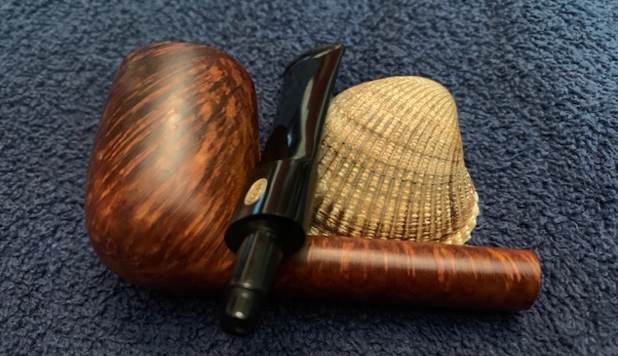
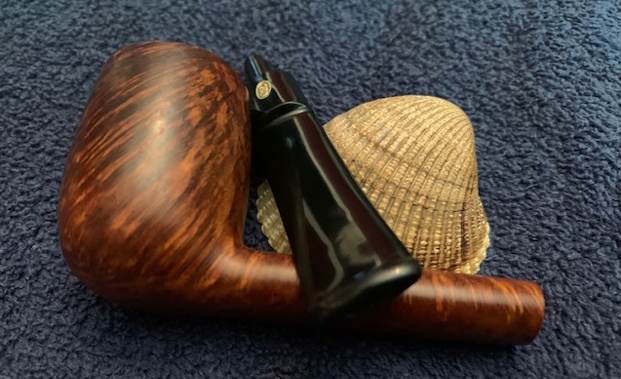
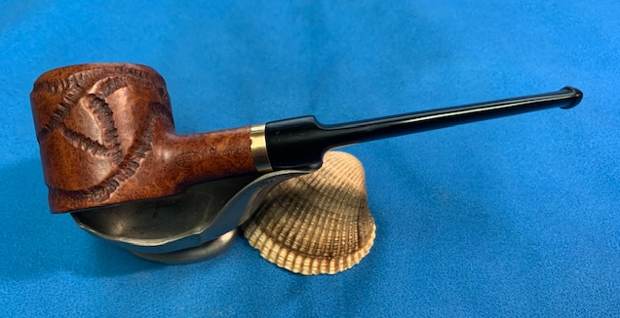
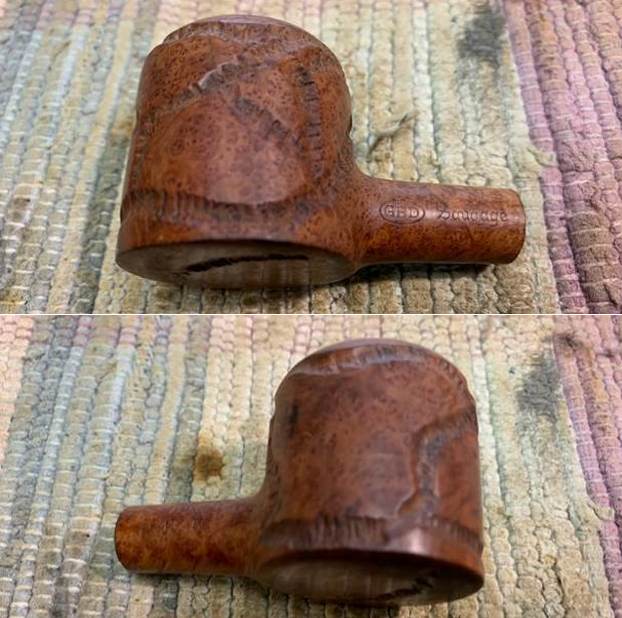
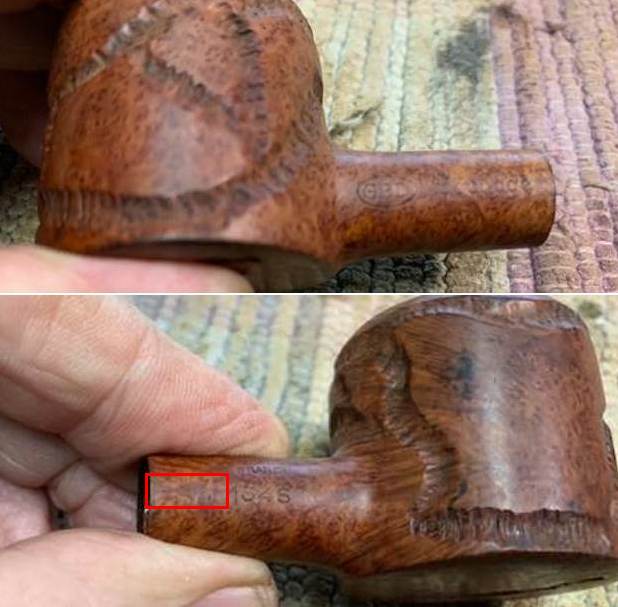
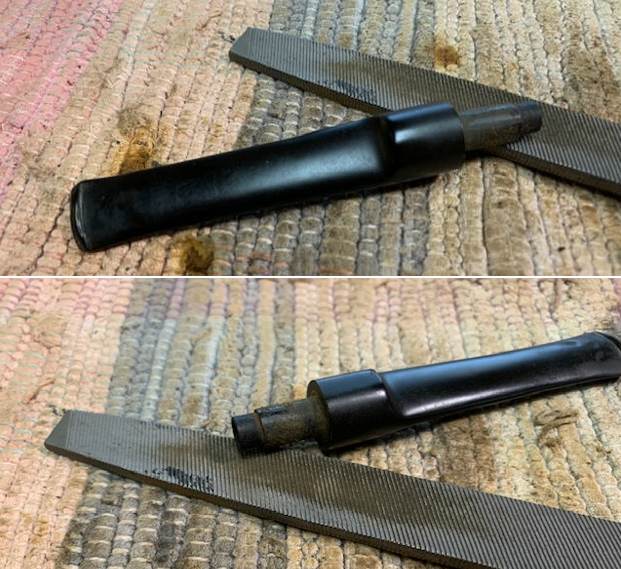
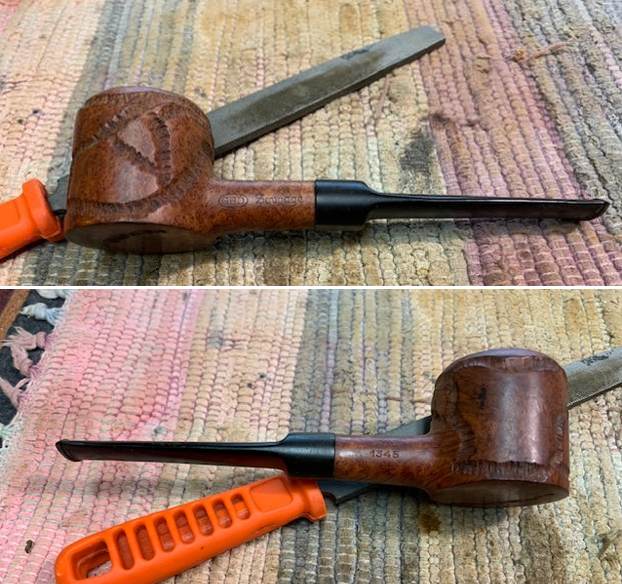
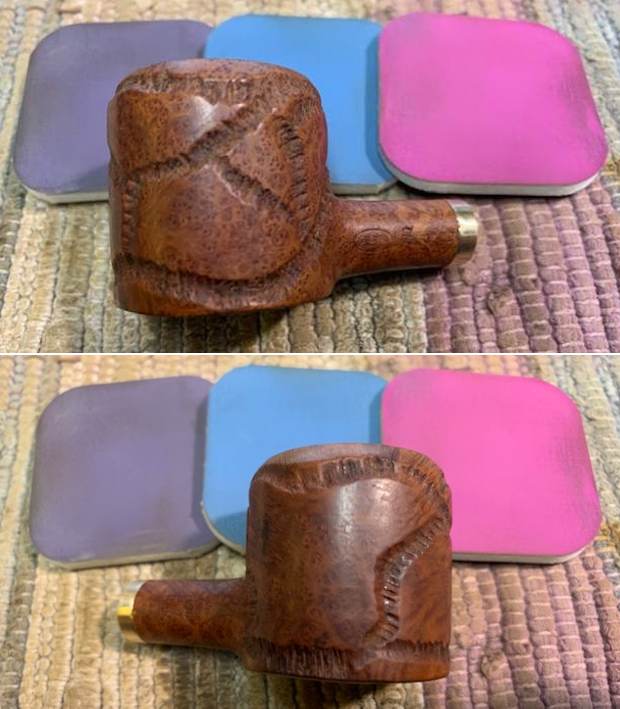
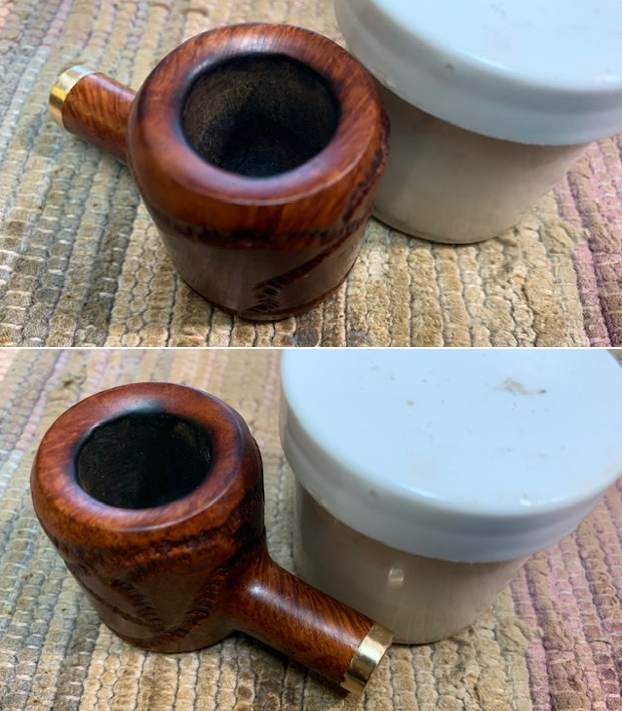
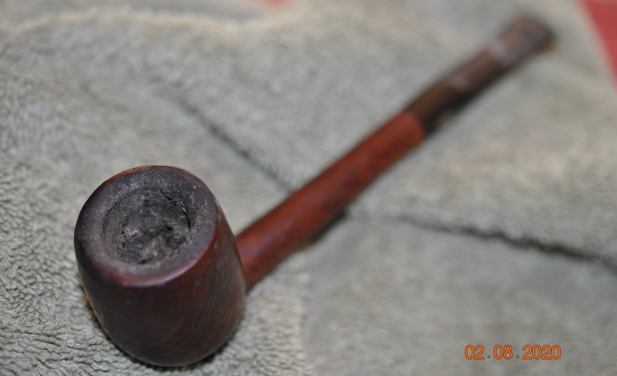
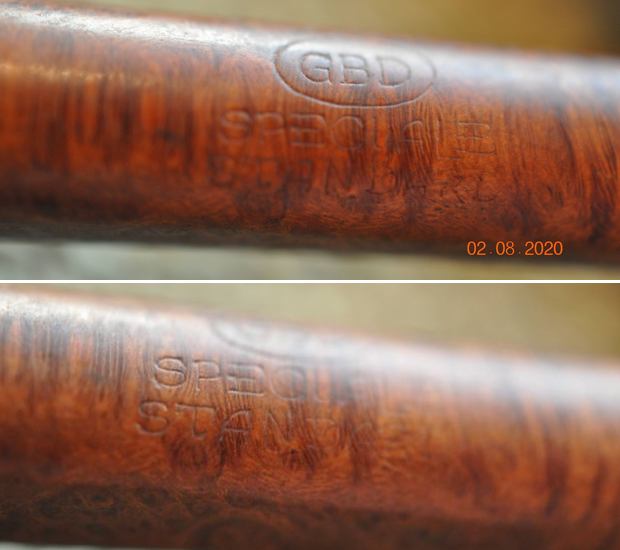
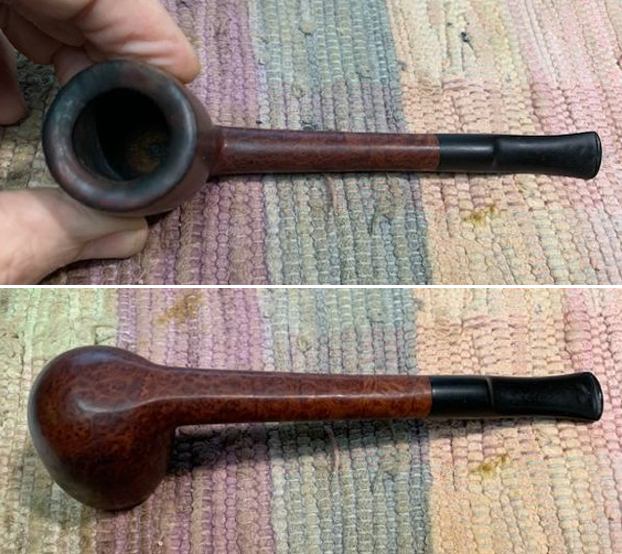
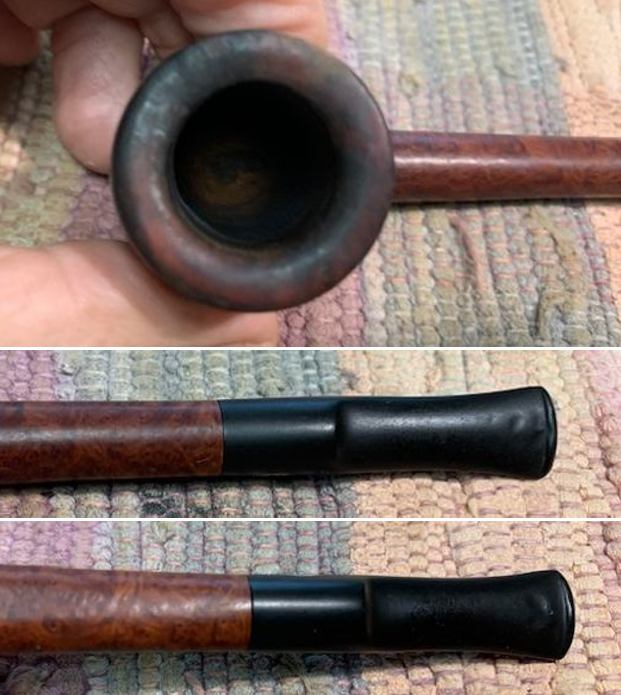
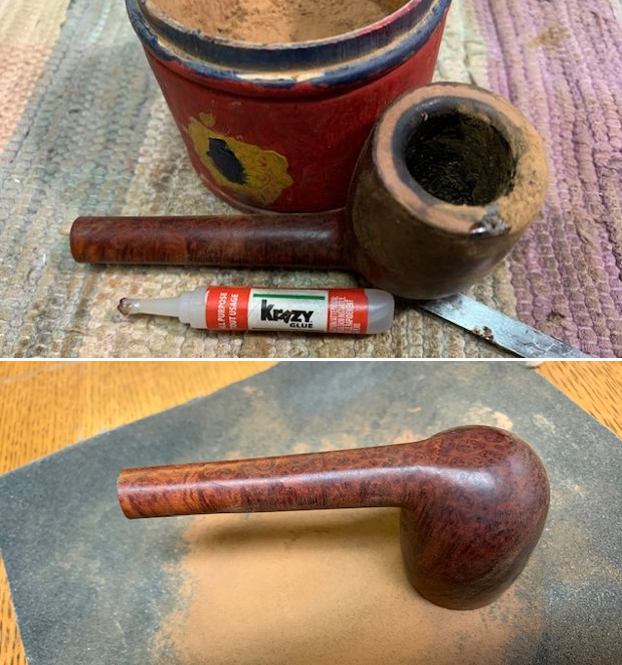
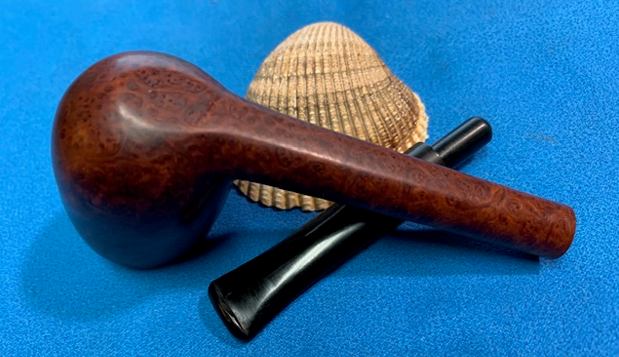
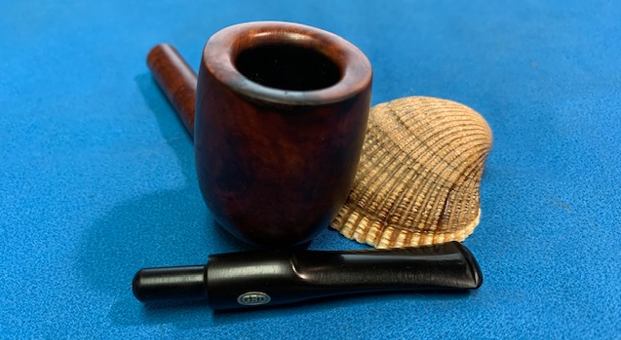
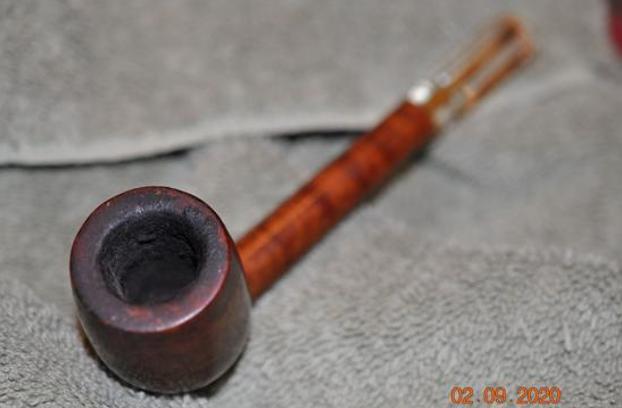
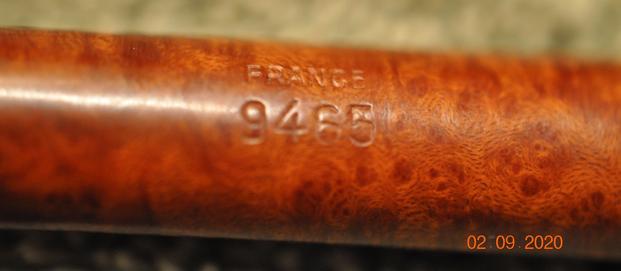
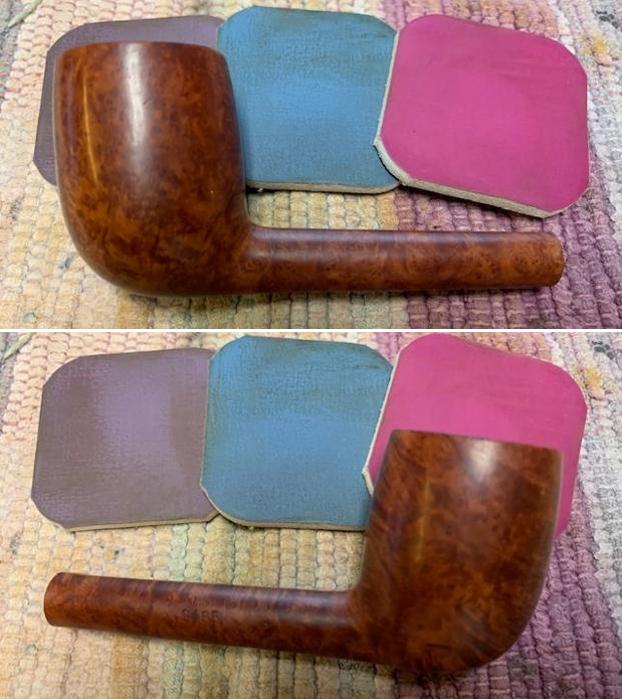
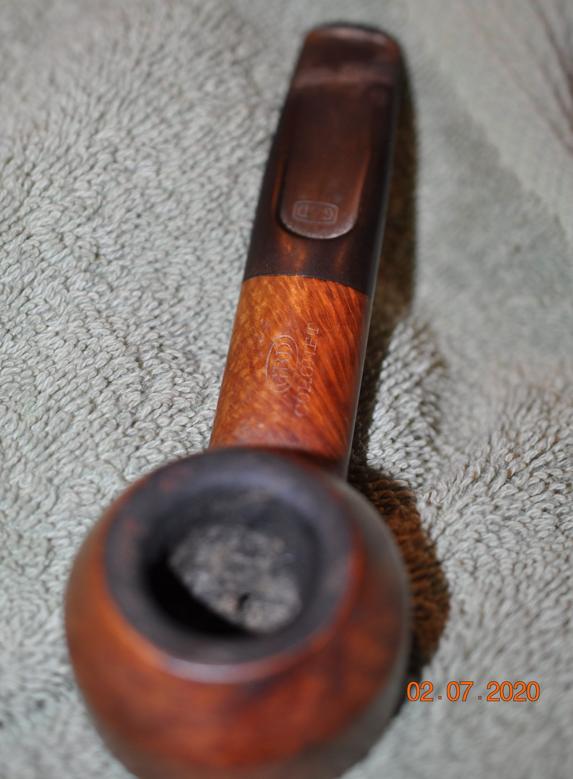
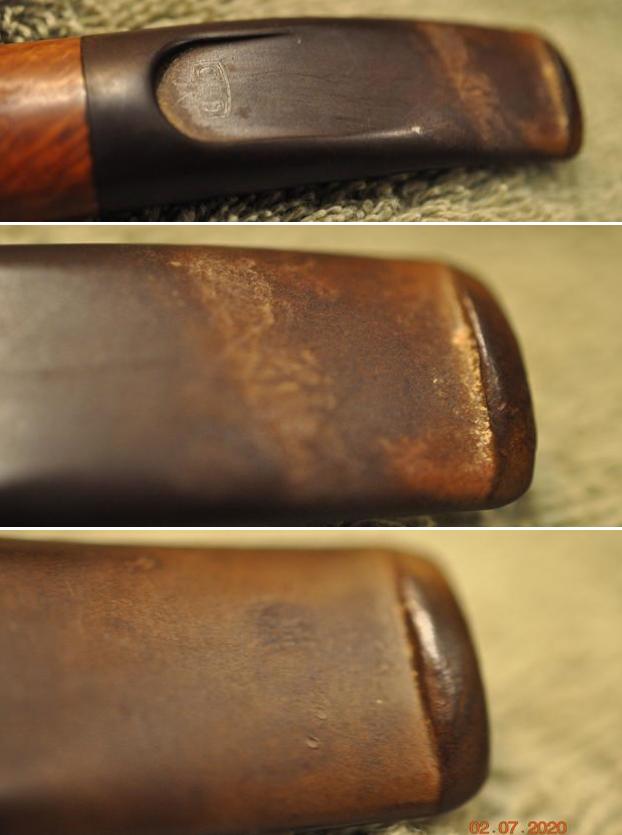
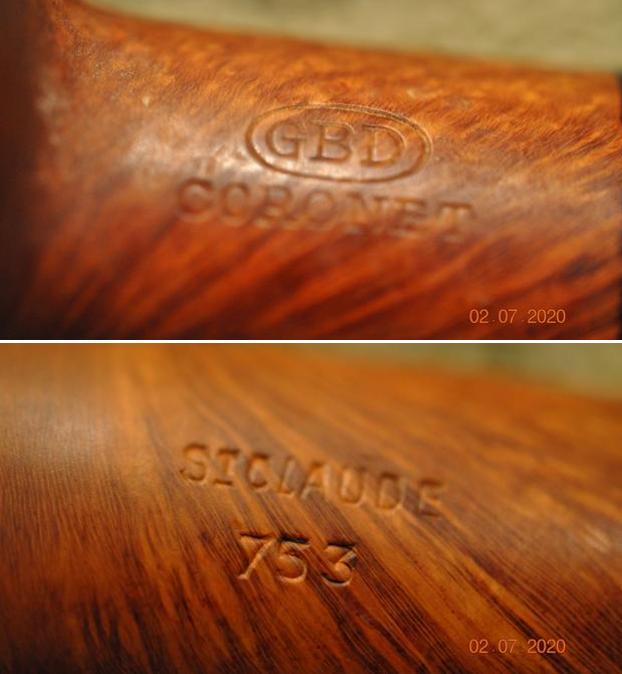
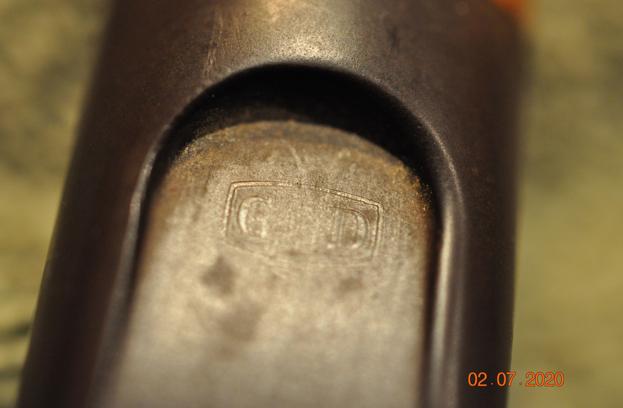
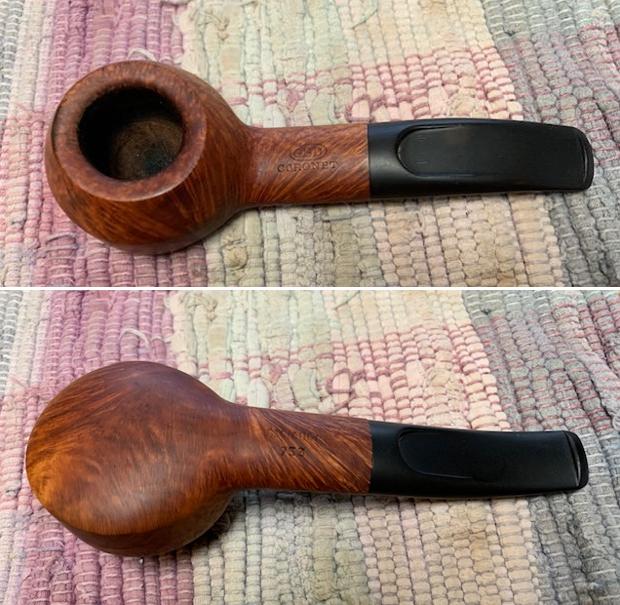
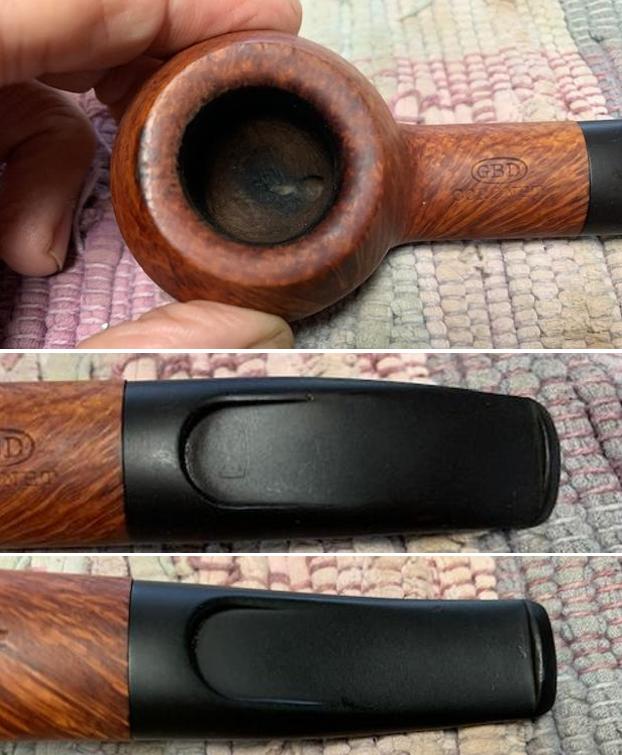
Over the years Jeff and I have picked up many different GBD pipes from a variety of lines that all have a very English look and feel to them. We have also picked up quite a few that are from the French factory before the move to England. This pipe was purchased from an estate on 06/13/22 from Fort Myers, Florida, USA. The finish on the pipe is a sandblast that is deep but smooth and follows the grain around the pipe. The mix of black and brown stains of the briar looks very good with the black of the saddle stem. The rim top is crowned with a bevel inward and has some great grain. It was hard to know if there was damage with the thick cake in the bowl and the veritable eruption of lava over the top of the rim. The finish was quite dirty with grit, grime and oils ground into the surface of the bowl and shank. The shank is stamped on a smooth panel on the underside of the shank and reads GBD in an oval [over] Avoriaz. Next to the shank/stem junction there is the shape number 816 [over] France. The vulcanite saddle stem was lightly oxidized and well dented with tooth marks and chatter on both sides near the button. There is a GBD brass oval roundel on the top of the saddle stem. Jeff took photos of the pipe to capture its condition when it arrived at his place. It was going to take some work to bring this one back to life. But both of us thought that it would be worth it.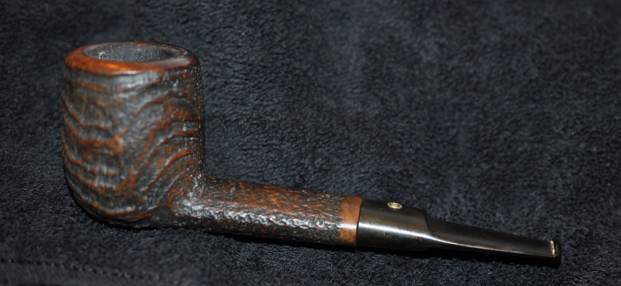
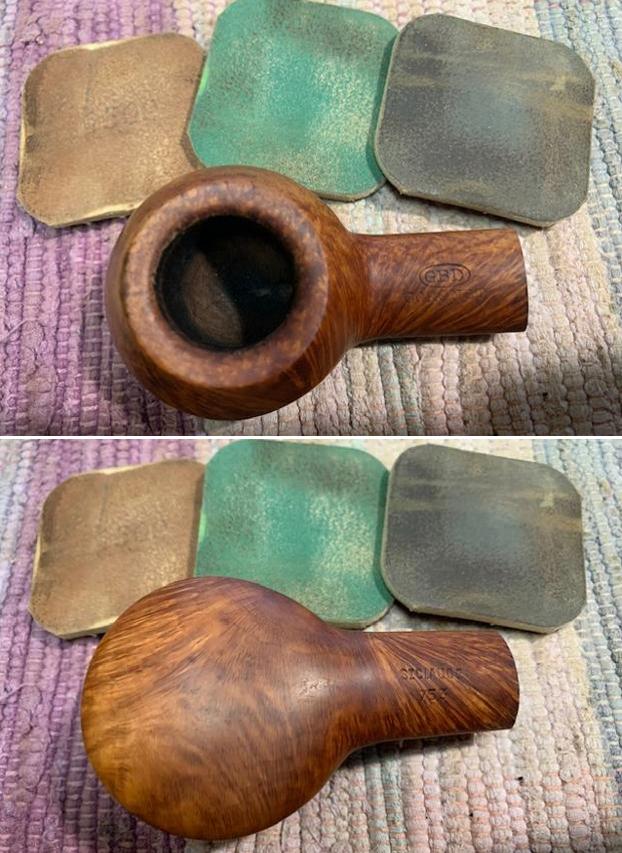
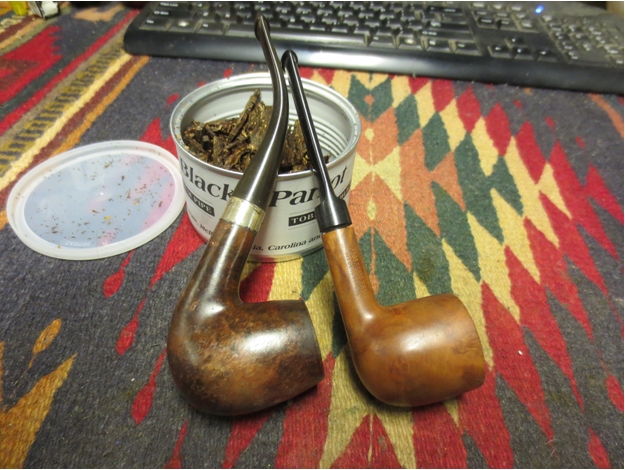
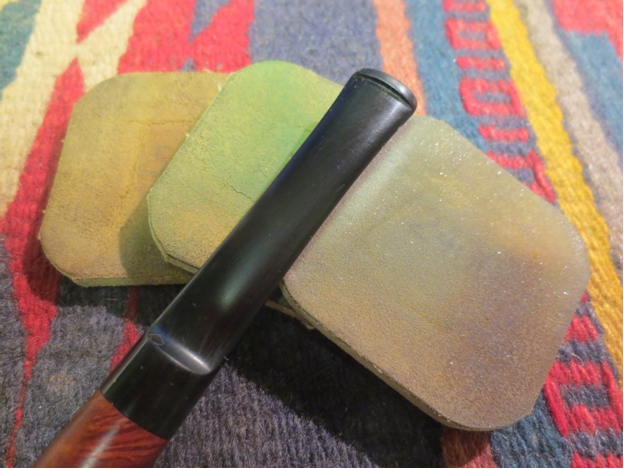
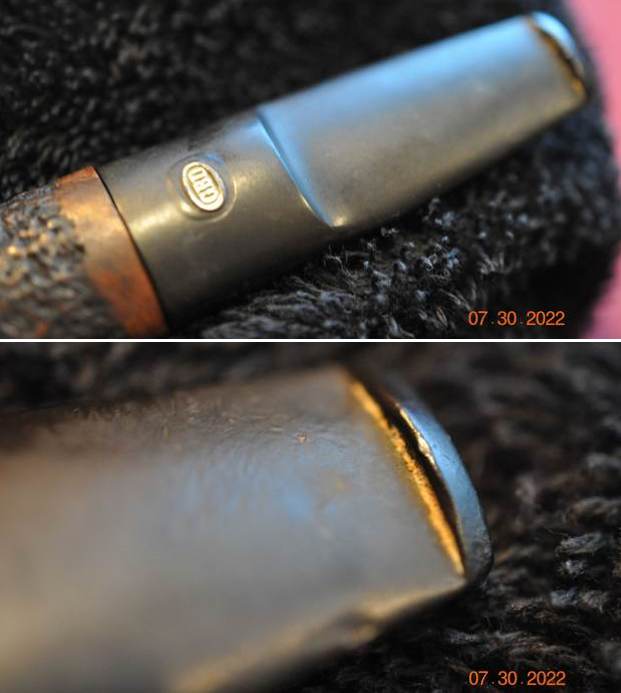
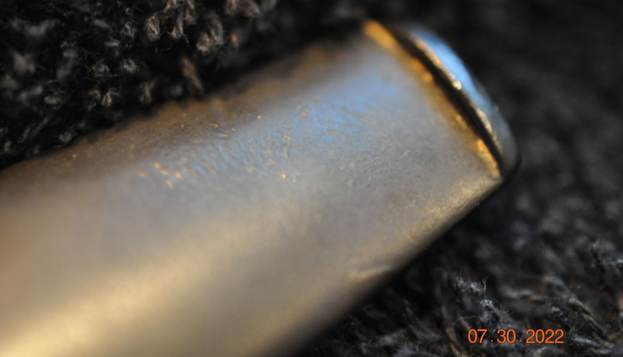
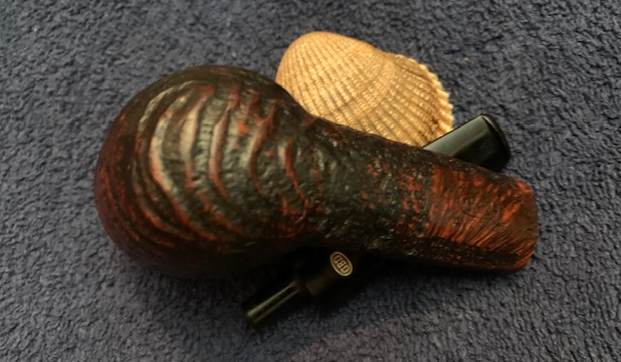
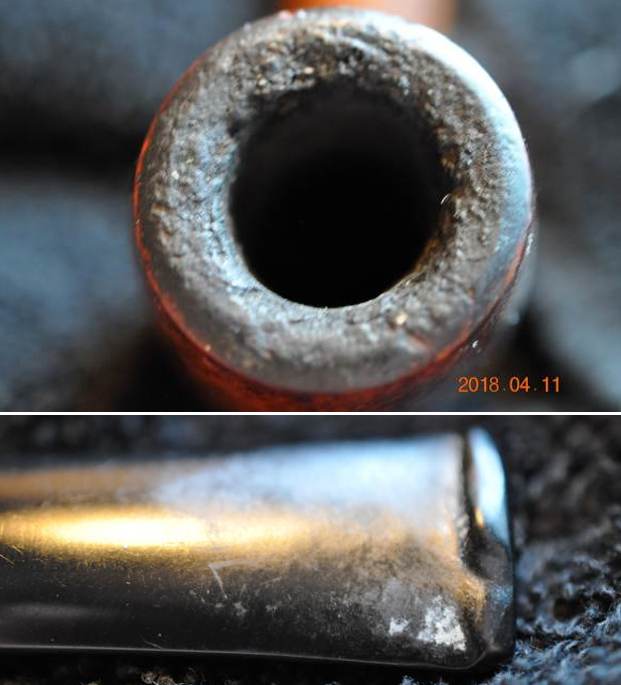
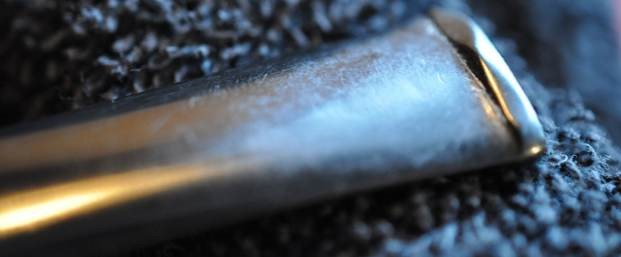
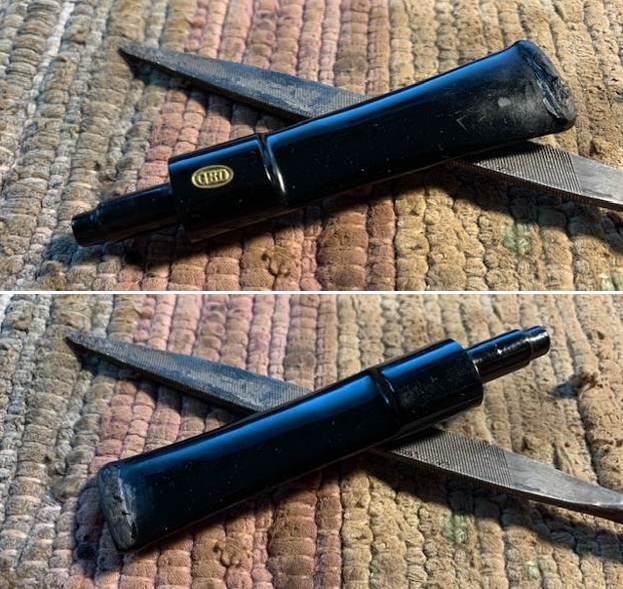
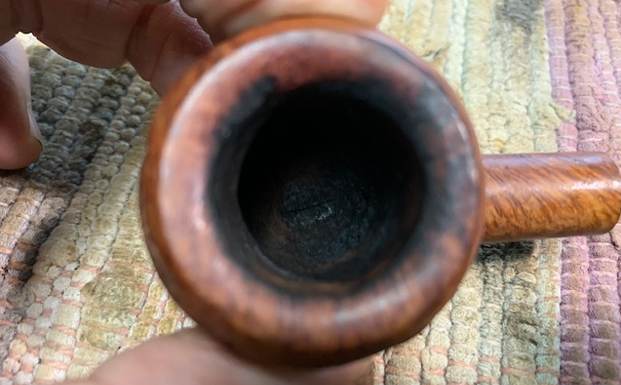
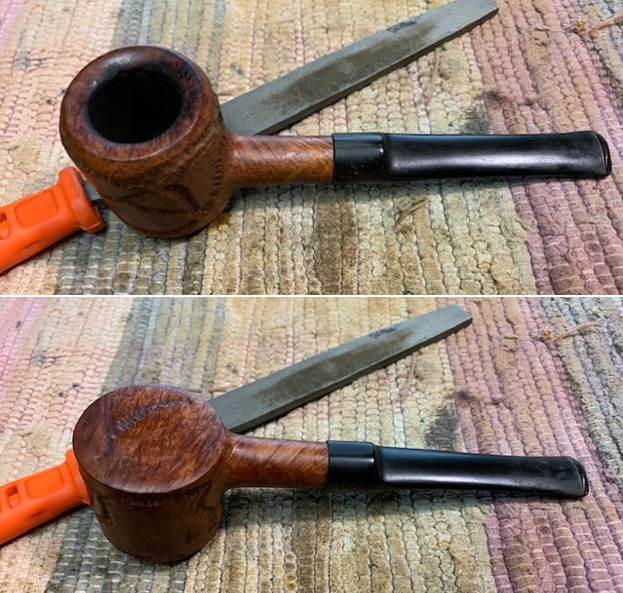
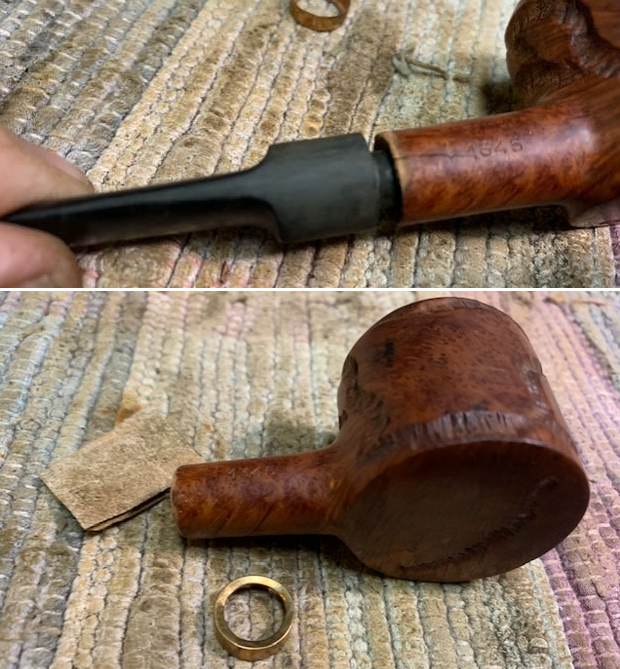
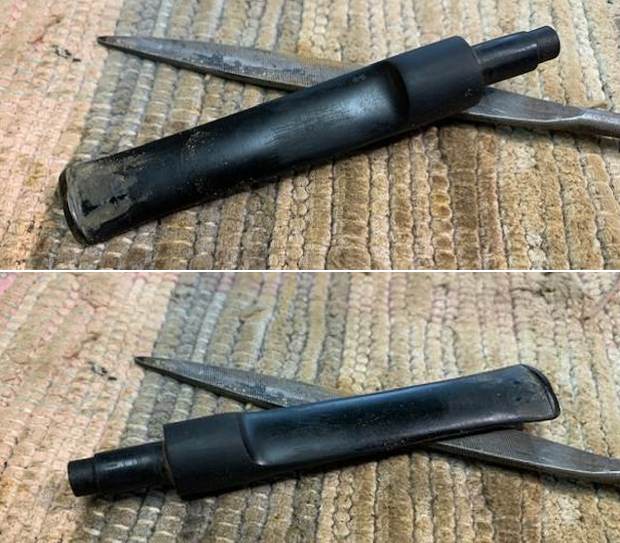
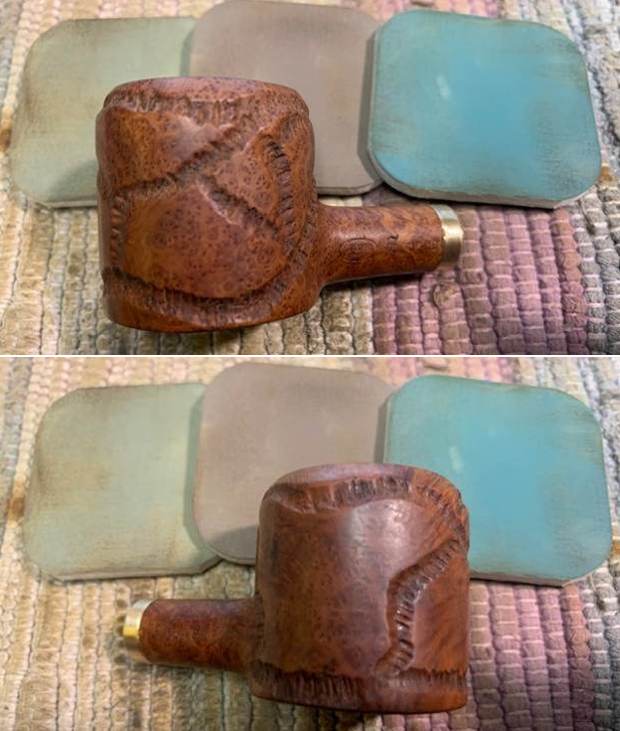
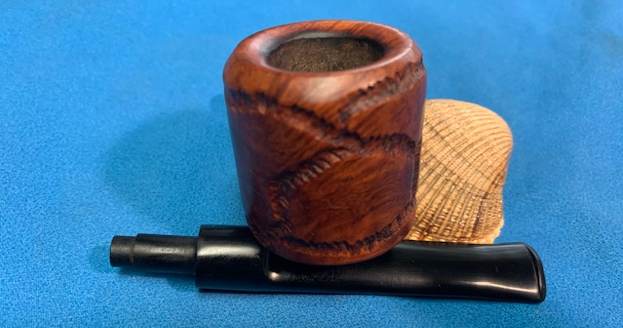
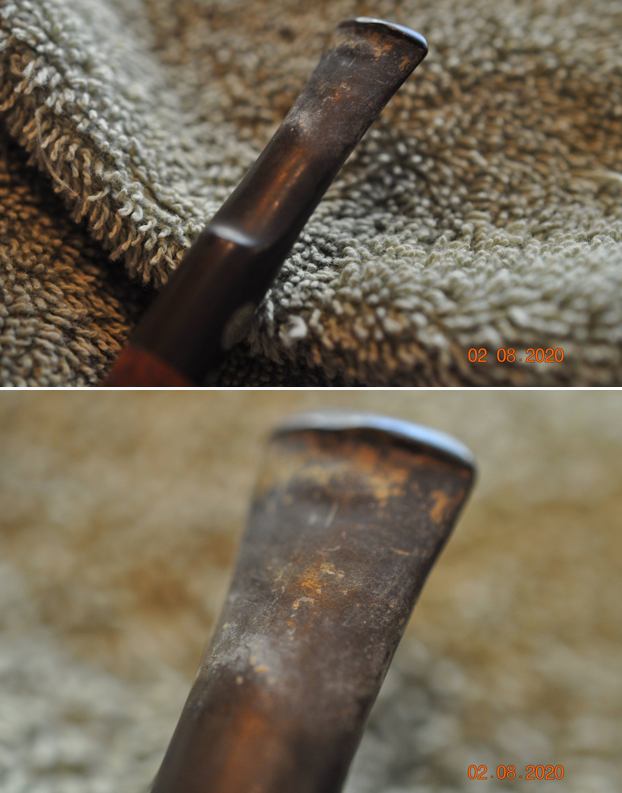
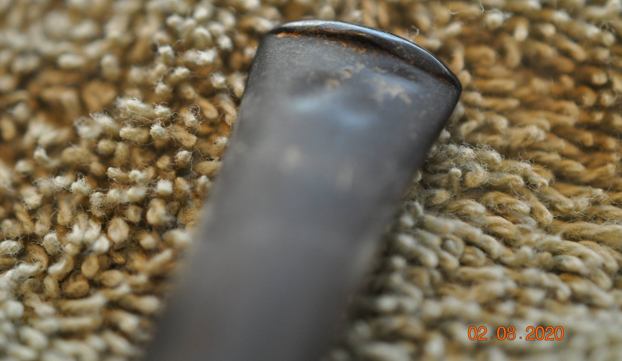
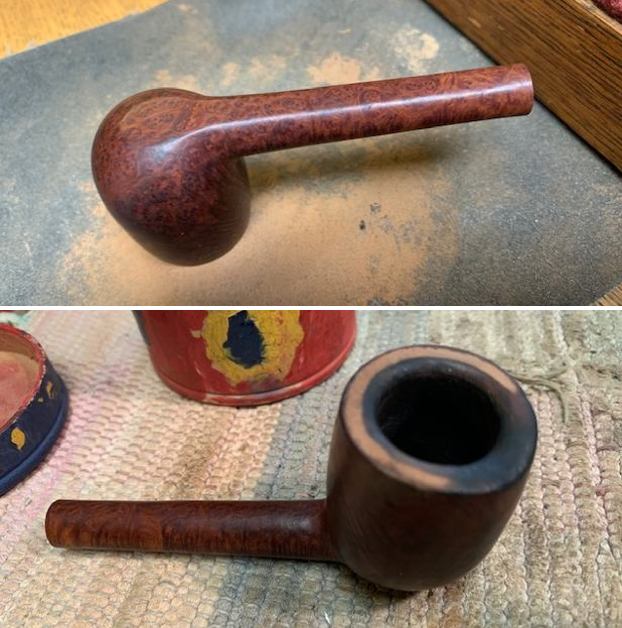
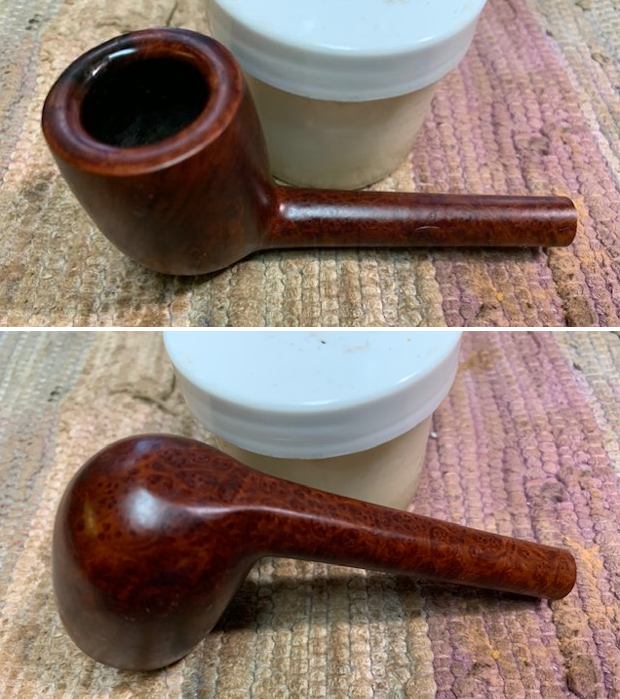
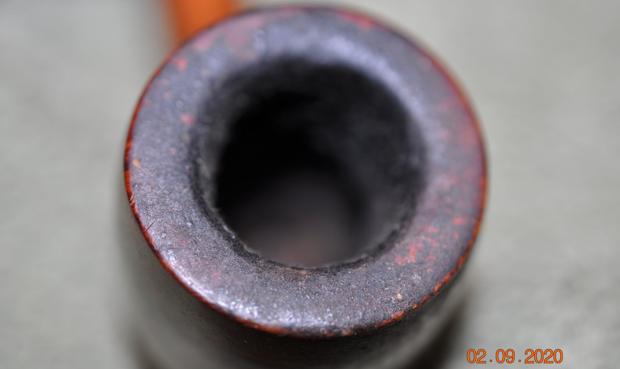
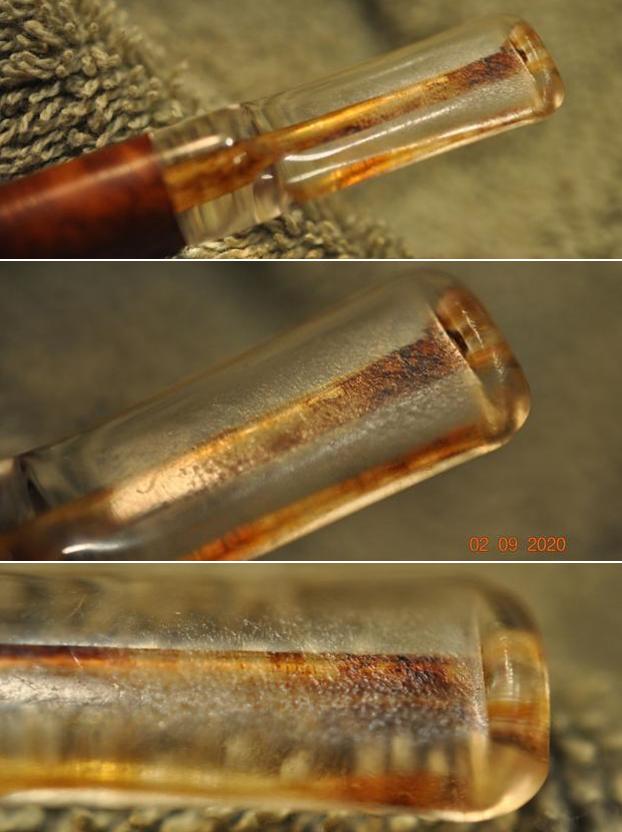
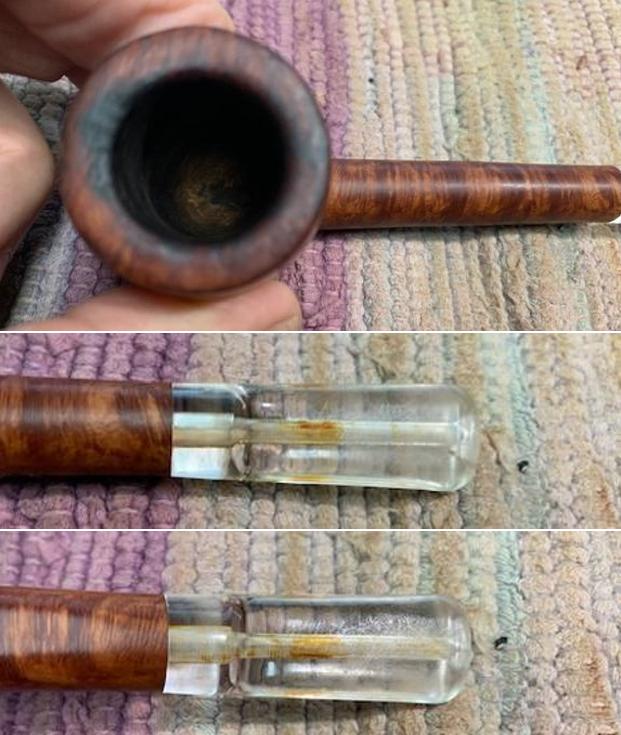
 Jeff took photos of the rim top and bowl that show the cake and overflowing lava on the top and edges of the bowl. It is really hard to know what it looks like under all of that. We have learned that it will either be badly damaged or it will have been well protected. Only cleaning it off would reveal which result was on this pipe. The stem had a lot of tooth chatter and marks that are clear in the photos that follow. There is some oxidation and the calcification on the stem surface.
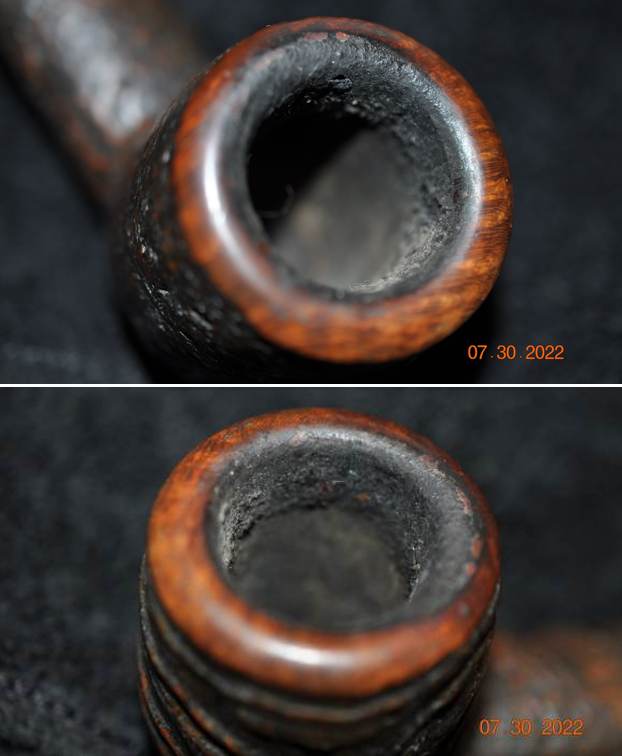
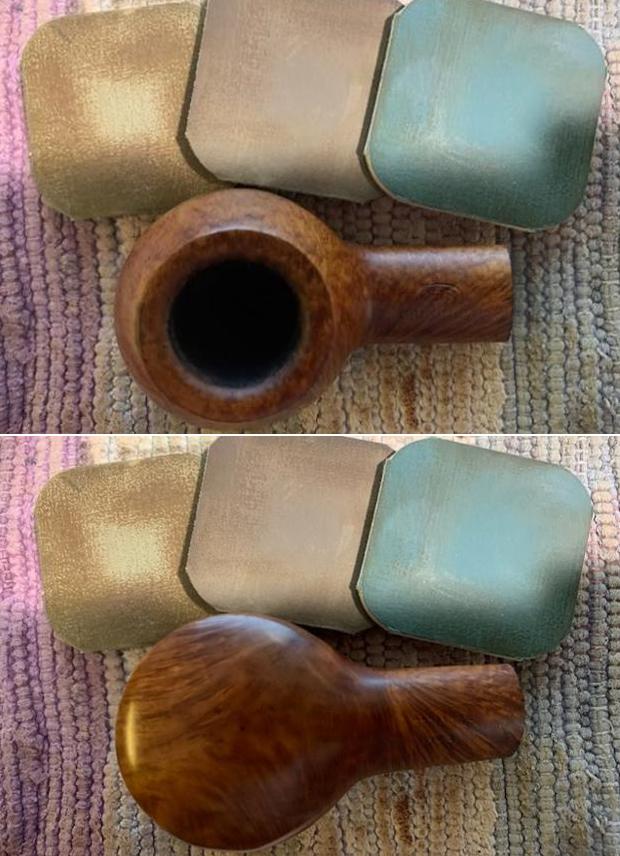
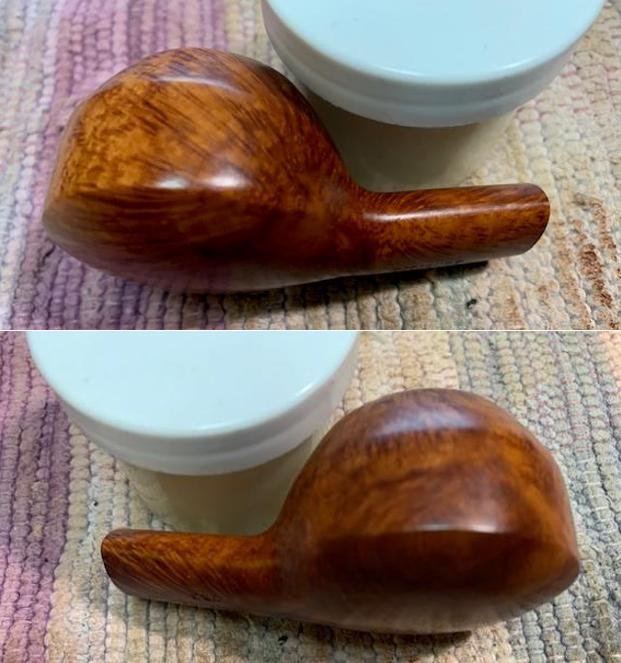
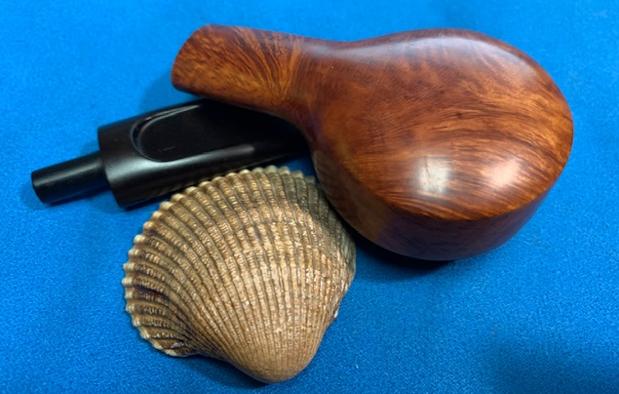
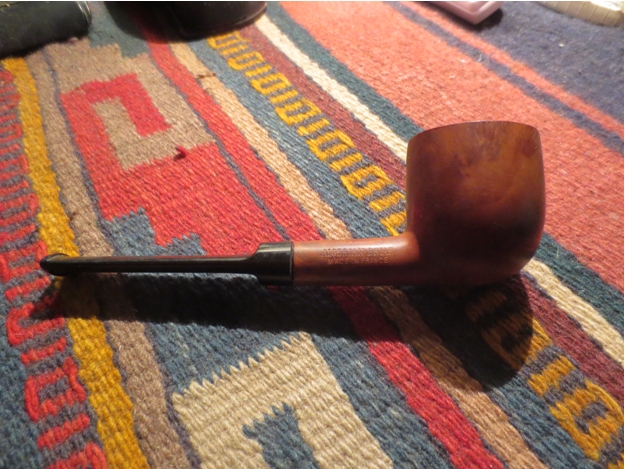
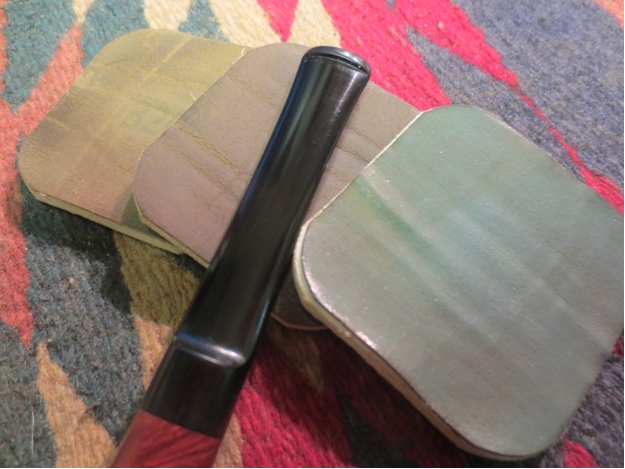
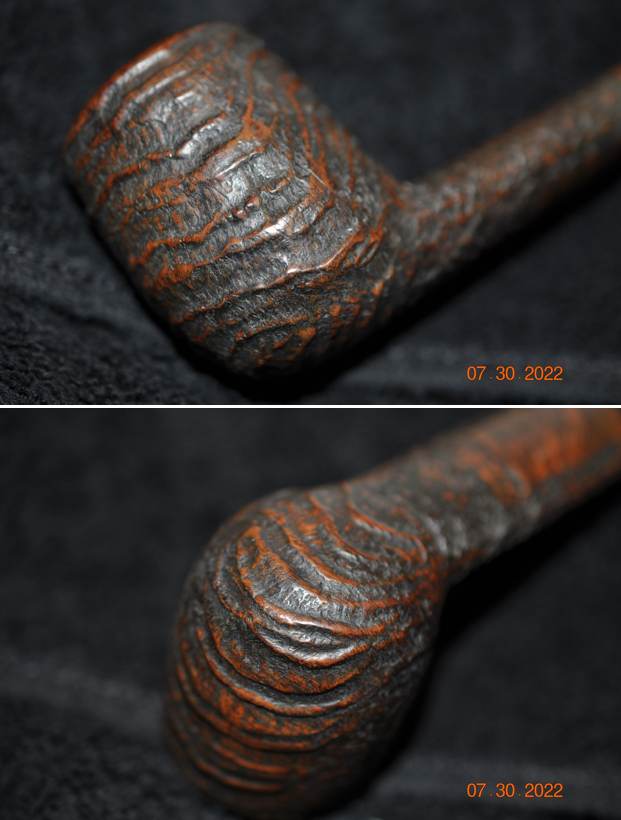
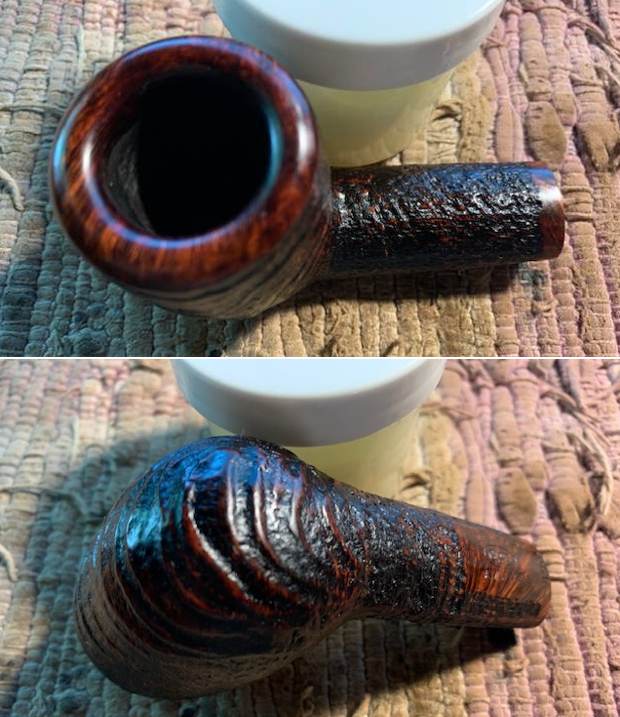
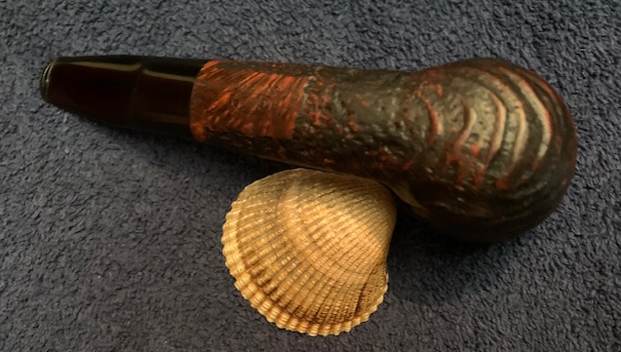
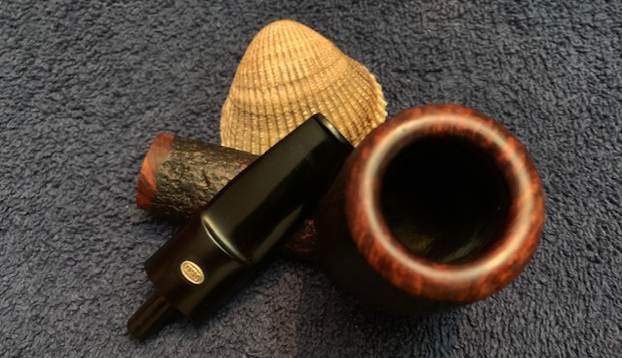
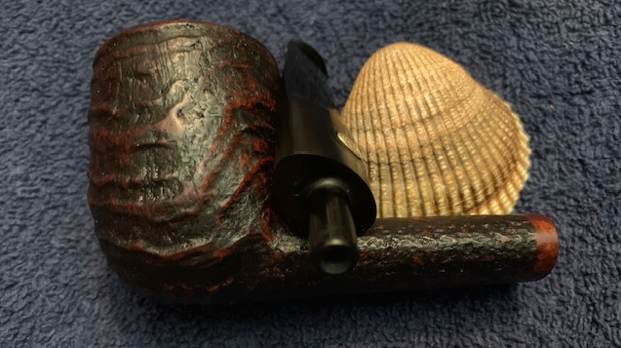
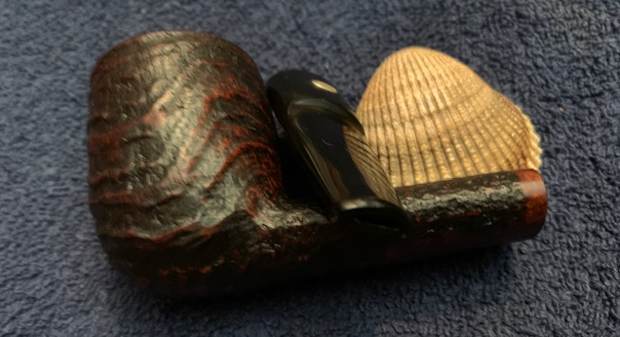
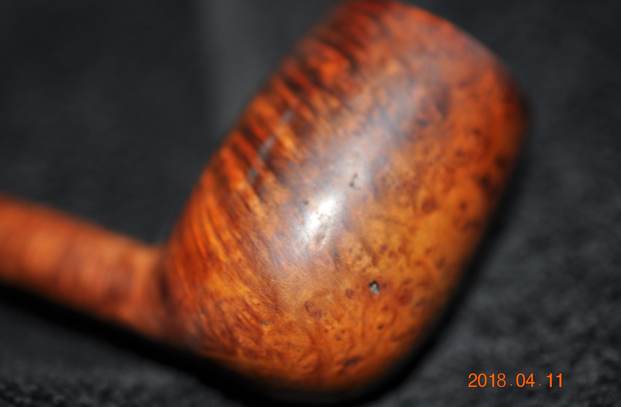
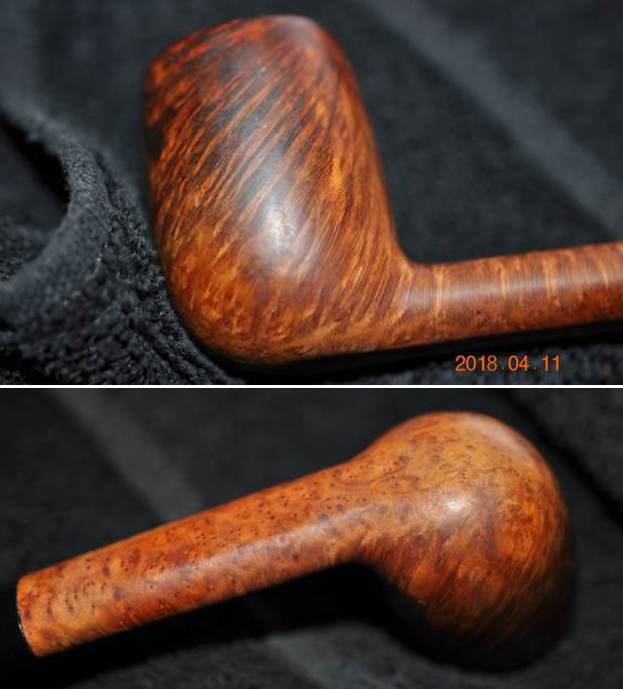
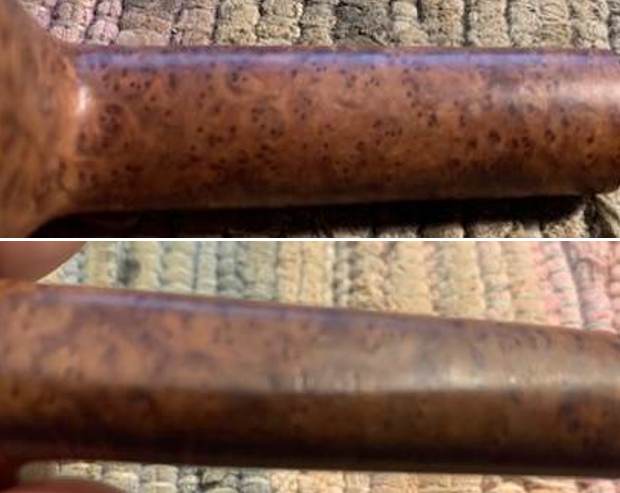
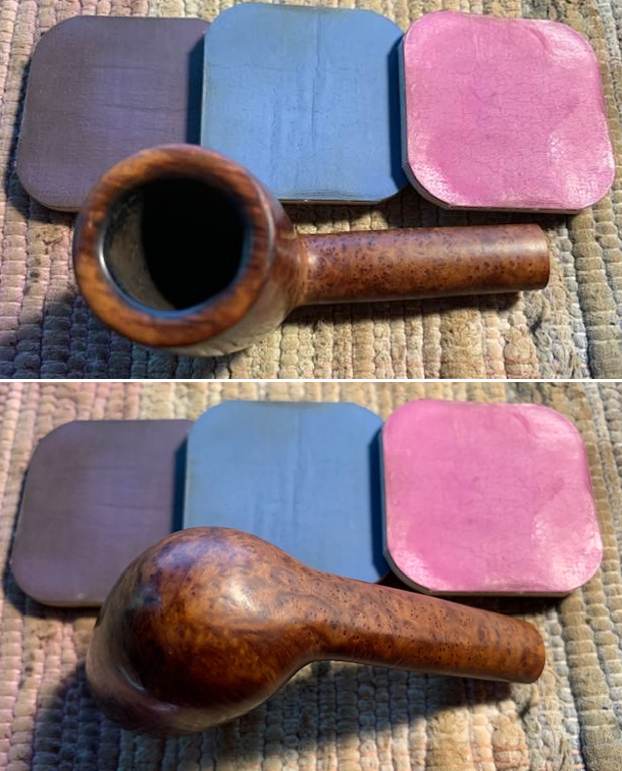
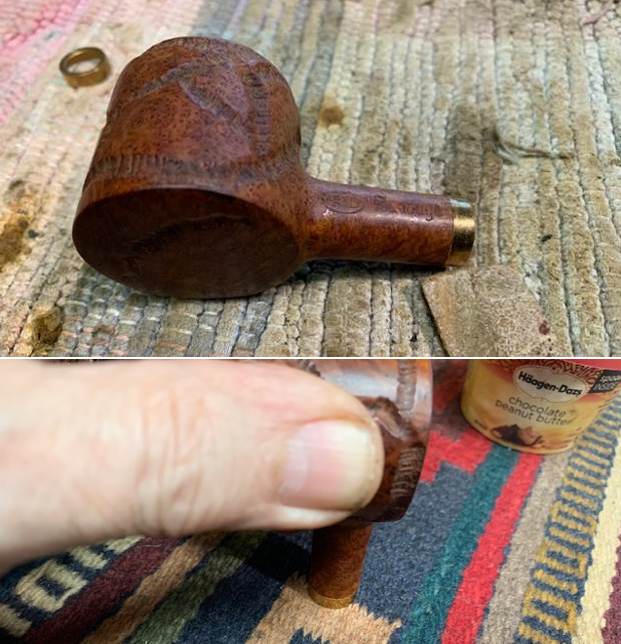
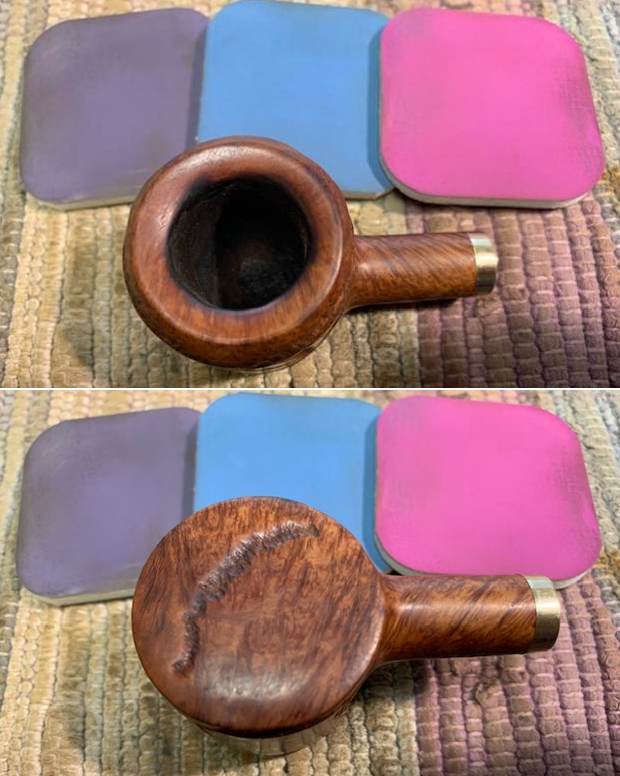
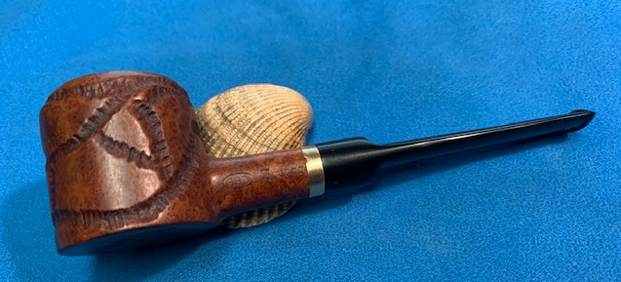
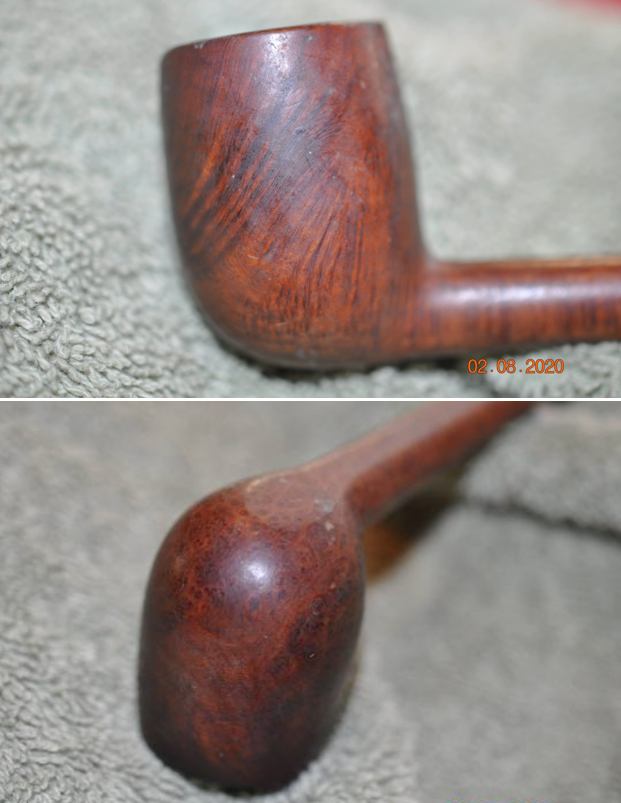
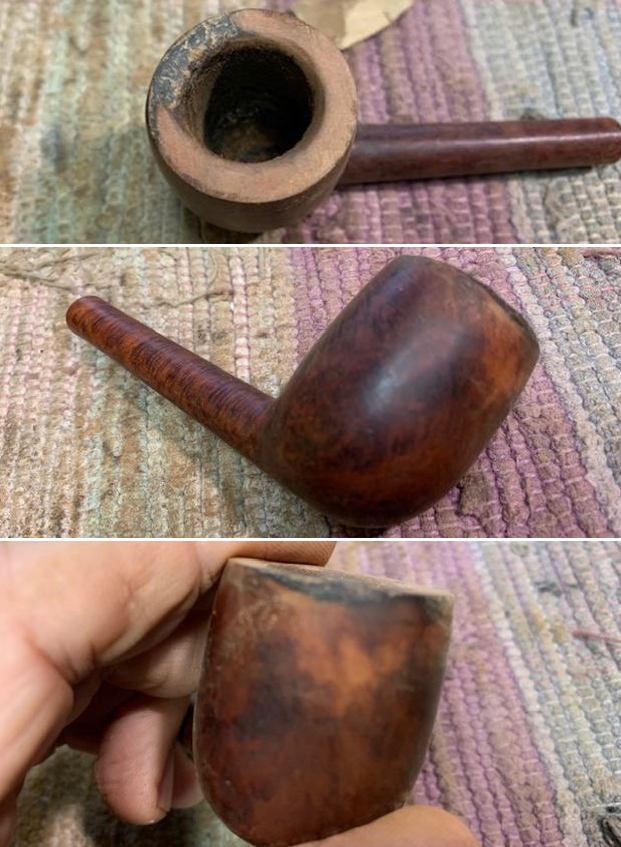
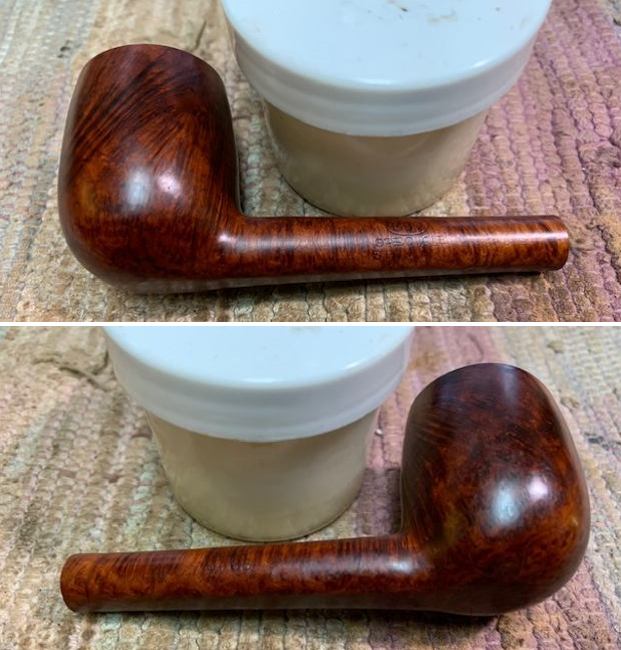
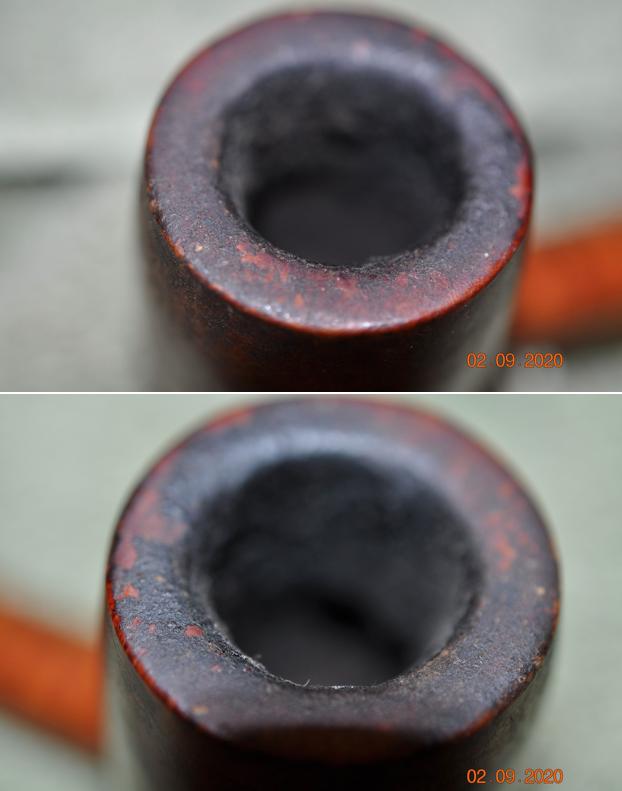
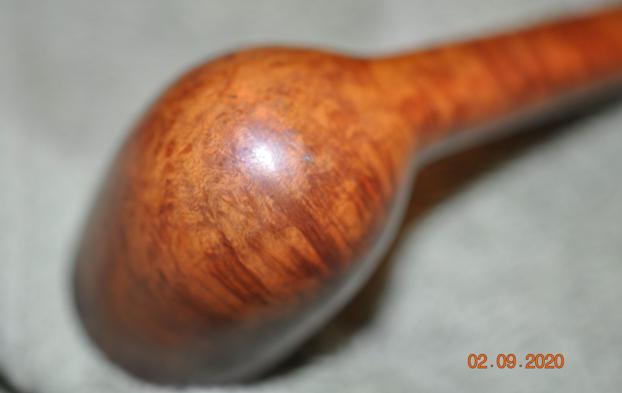
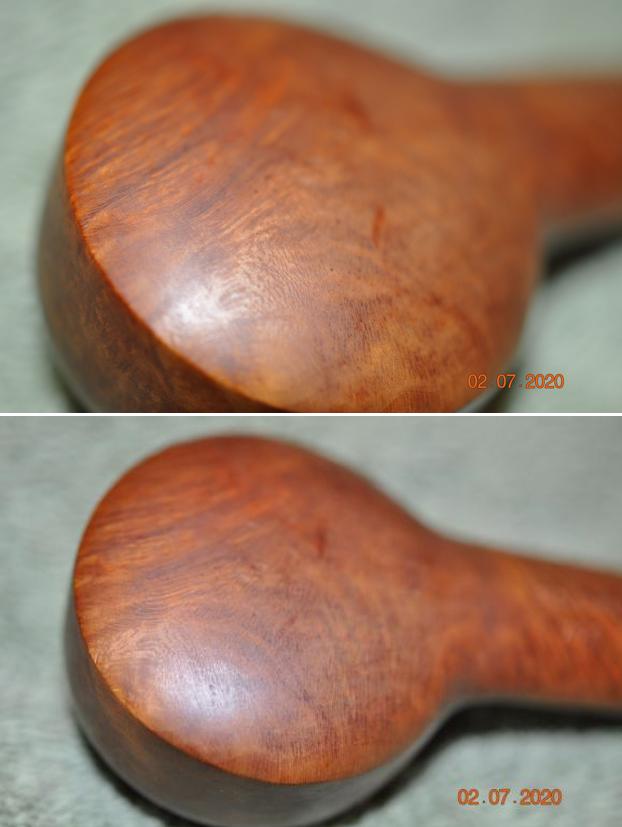
 He took photos of the sides and heel of the bowl to show condition of the briar. You can see the dust and debris ground into the bowl. The rim edge and top have some very nice grain. The sandblast is actually quite different. I wonder if it isn’t manipulated when blasting. It has a unique look to it.
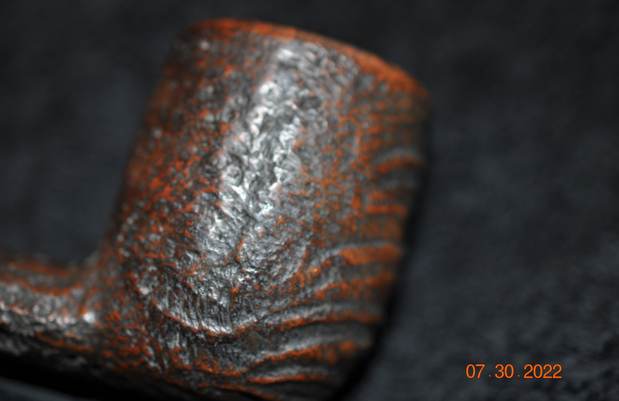
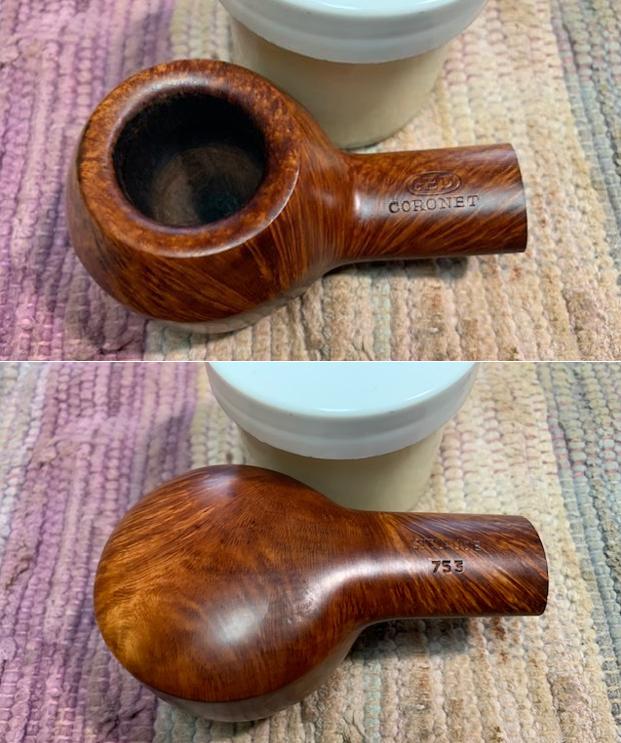
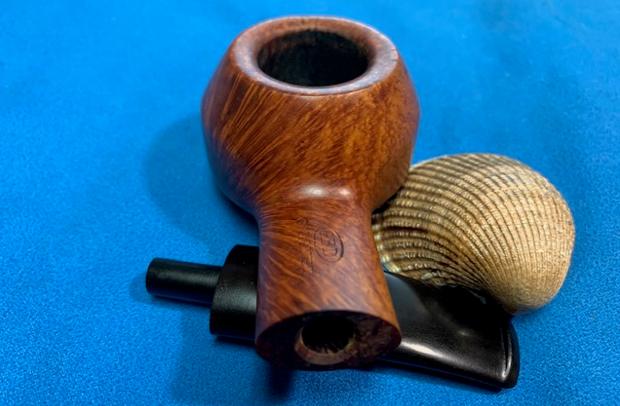
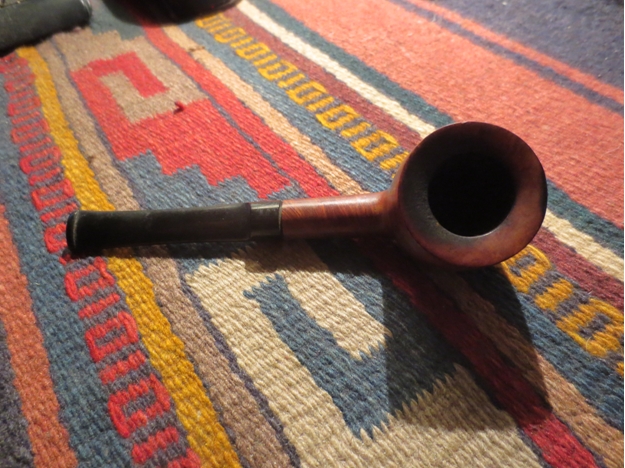
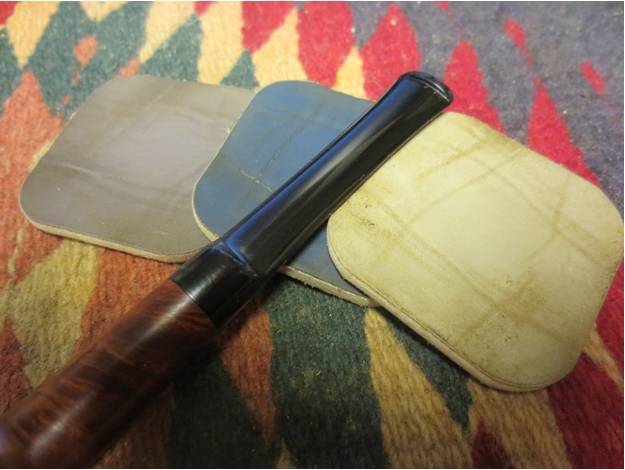
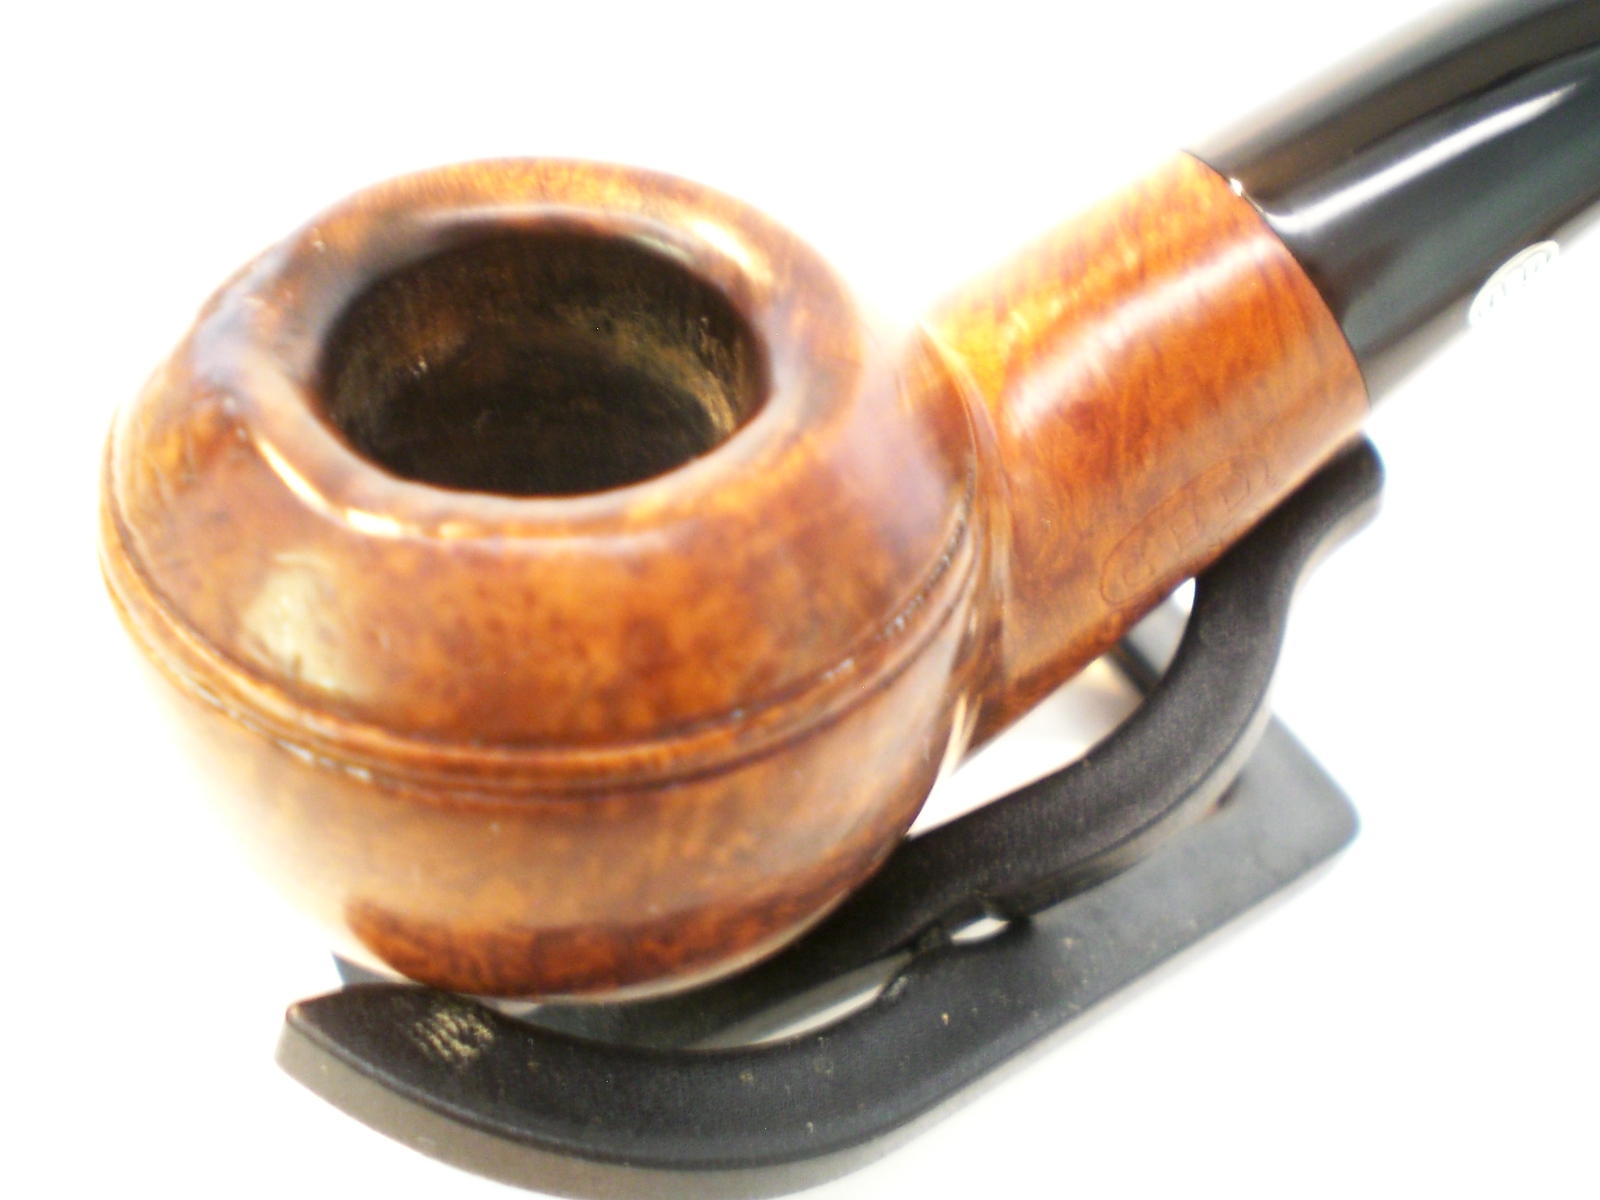
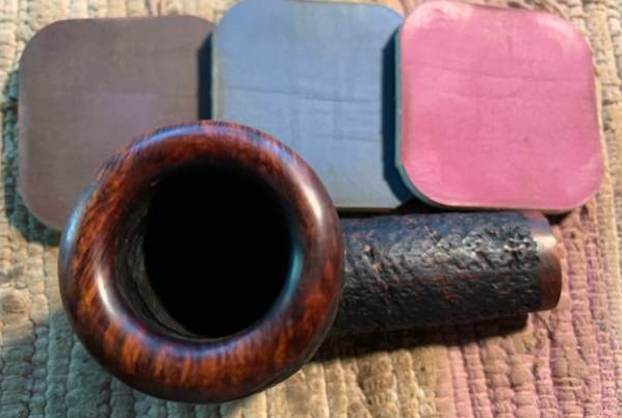
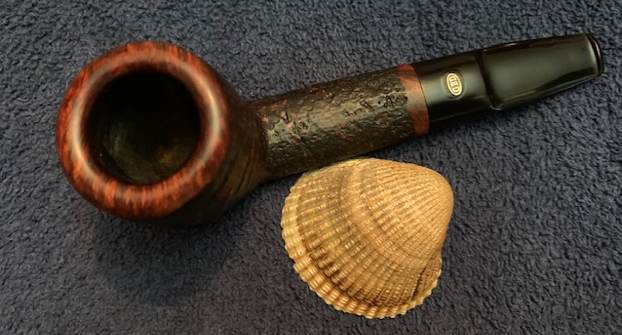
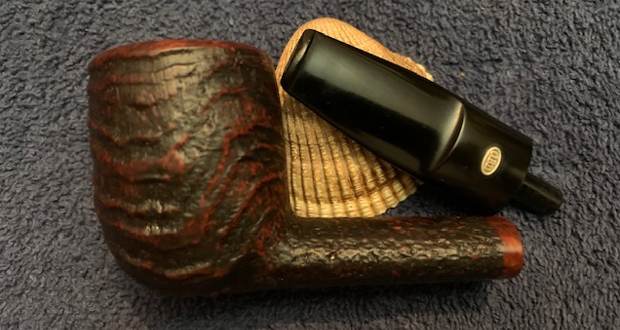
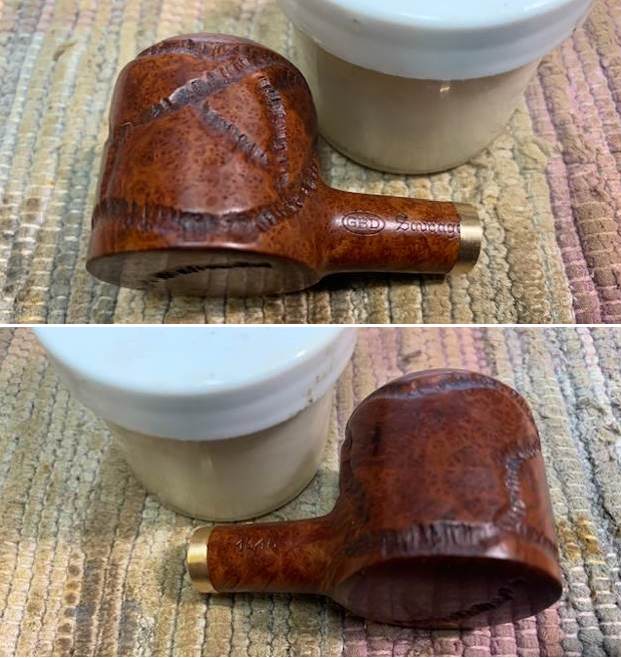
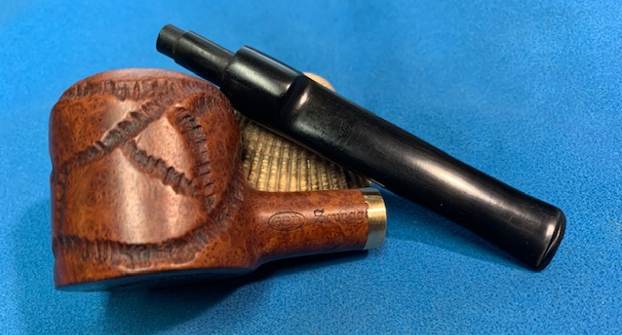
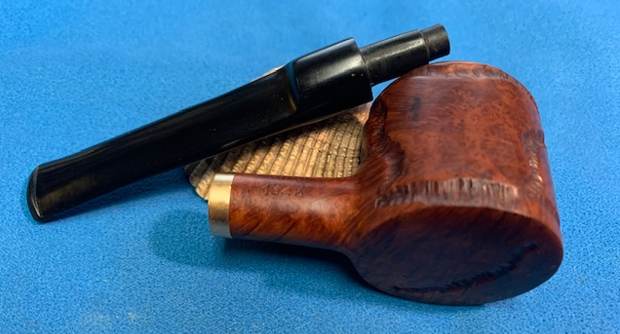
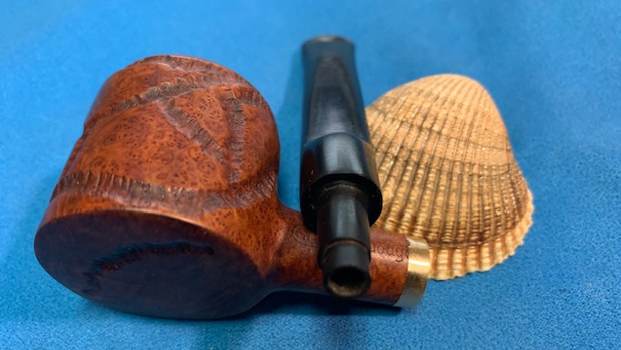
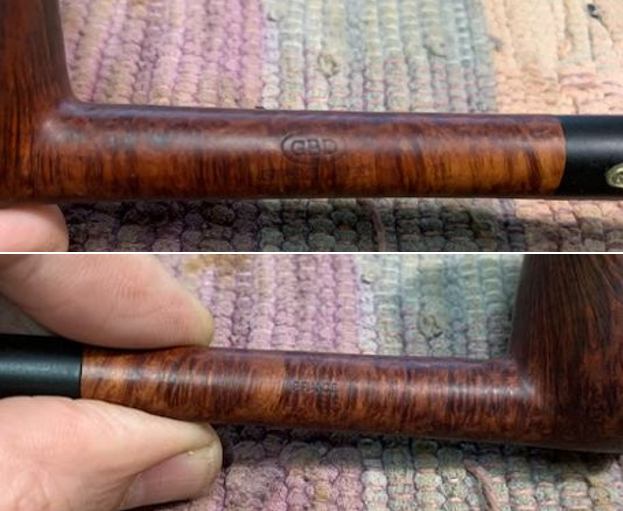
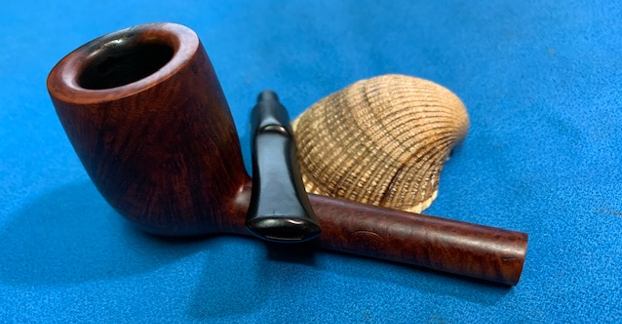
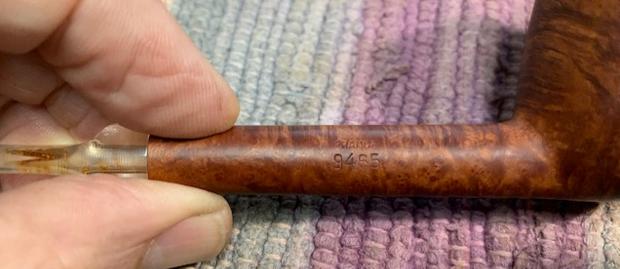
 He took photos of the stamping on the underside shank. It was clear and readable as noted above. The brass GBD roundel looked good as well.
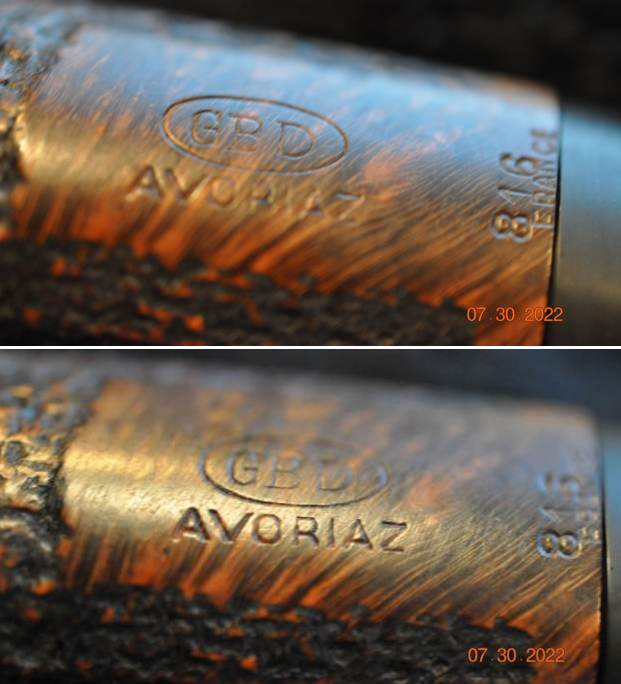
 I always like to be able to set the pipe I am working on in its historical setting so I turn to Pipedia (https://pipedia.org/wiki/GBD) and read through the brand history. Toward the middle of the article I found what I was looking for. I quote below:
The Paris factory moved to Saint-Claude in 1952. Since 1981 the majority of GBD pipes come from the English factory.
The premium lines of GBD offered very good values, and are considered amongst the most affordable high end pipe of the 1960’s and earlier and a rival in quality, design, and price to Dunhill. Smokers’ Haven was the main retail supplier for GBD’s in the US until the early 1980’s.
GBD produced consistently well made pipes, almost entirely of Algerian or Grecian briar. In the late 1960’s to late 1970’s, they introduced the “Collector” and “Unique” lines, made primarily by Horry Jamieson, who had carved for Barling for many years, and was skilled in freehand design. Older GBD pieces are excellent smokers and unique in design. They did an excellent executions of classic pipe shapes, as well as some beautiful freehands in the “Unique” line. [2]
The following list comprises the better grades in descending order:
The pipe I am working on was stamped Avoriaz (not listed in the GBD line list) and with a shape number that is not on the list either. It is stamped France, thus I knew that it was made either in Paris before 1952 or in St. Claude after that date and before 1981 when production moved to England.
I wondered about whether Avoriaz was a French word or a region. I did a quick search on Wikipedia and found what I was looking for (https://en.wikipedia.org/wiki/Avoriaz). I quote the introduction to the article on Avoriaz, a French Mountain Resort.
Avoriaz (French: [avoʁija], Franco-Provençal: [aˈvɔʁja, aˈvɔʁi])[1] is a French mountain resort in the heart of the Portes du Soleil. It is located in the territory of the commune of Morzine. It is easily accessible from either Thonon at Lake Geneva or Cluses station on the A40 motorway between Geneva and Chamonix. Either way one follows the D902, Route des Grandes Alpes,[2] to Morzine and then the D338 running from Morzine to Avoriaz. Snow chains are often necessary. Avoriaz is built on a shelf high above the town of Morzine, which is among the pioneering towns of skiing with its first lifts dating back to the early 1930s. Today Avoriaz is one of the major French ski destinations catering for all standards of skiing and ranks among the top snowboarding destinations of the world. Apart from snow-based pursuits, Avoriaz is also a centre for trekking, golf, VTT (mountain biking) and other outdoor activities during the summer. Cars are forbidden in Avoriaz. The resort is designed to be fully skiable. Other transport around the resort includes horse-drawn sleighs and snowcats during winter.
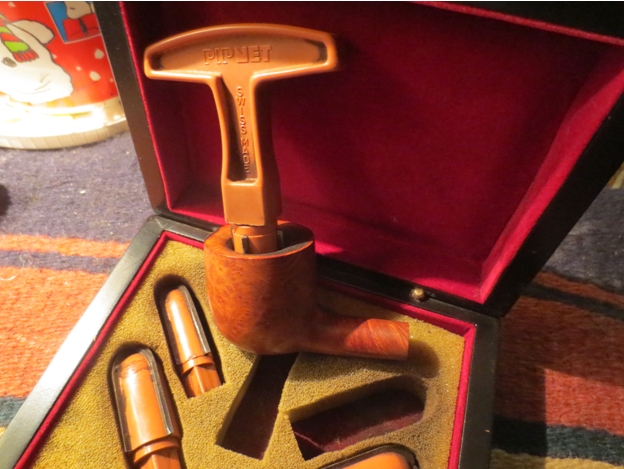
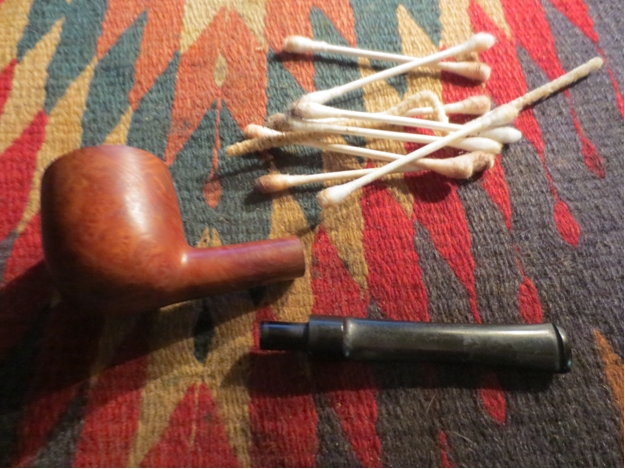
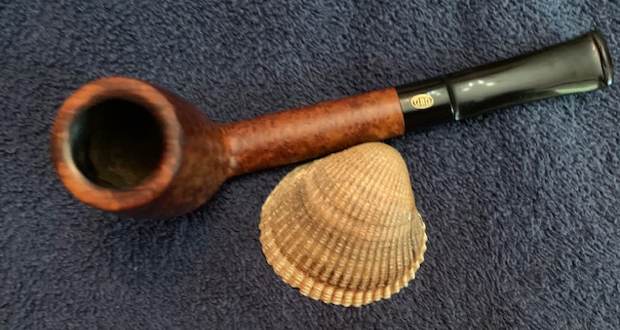
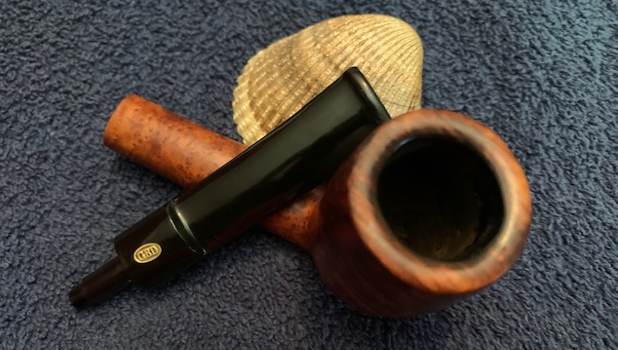
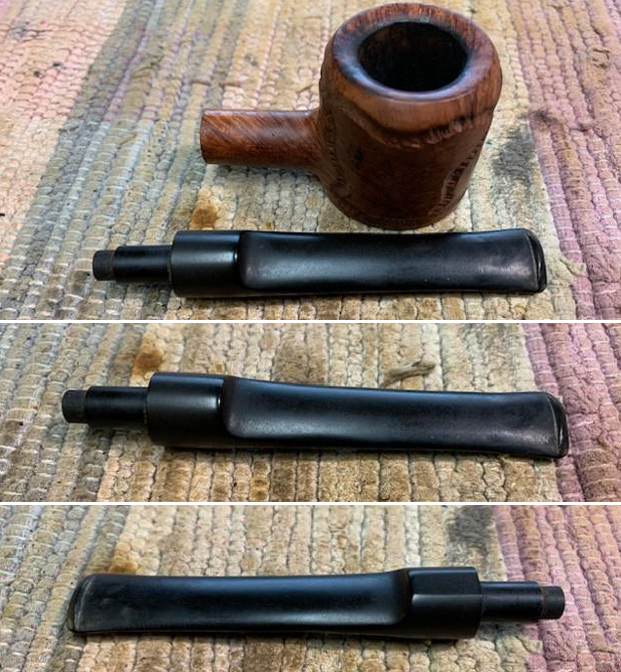
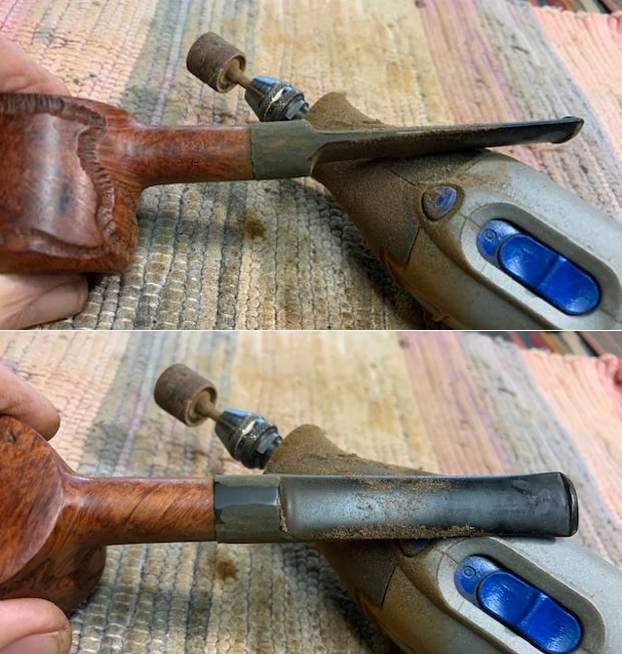
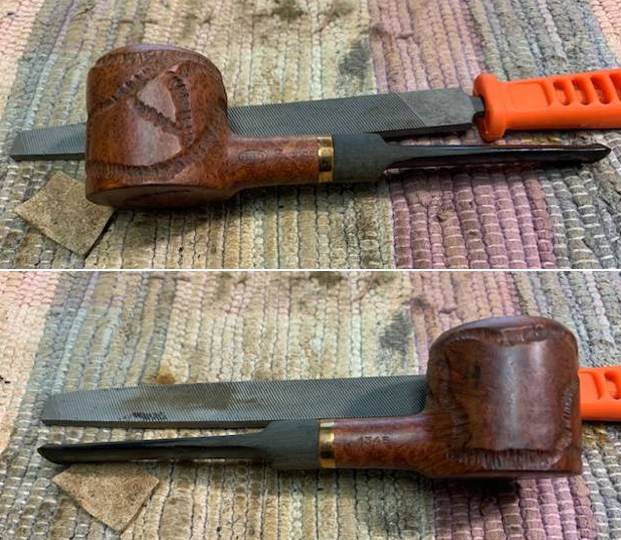
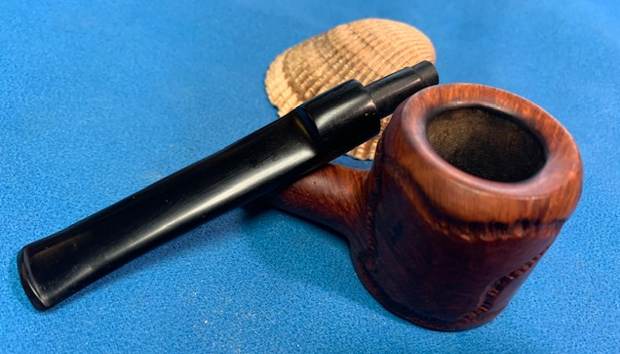
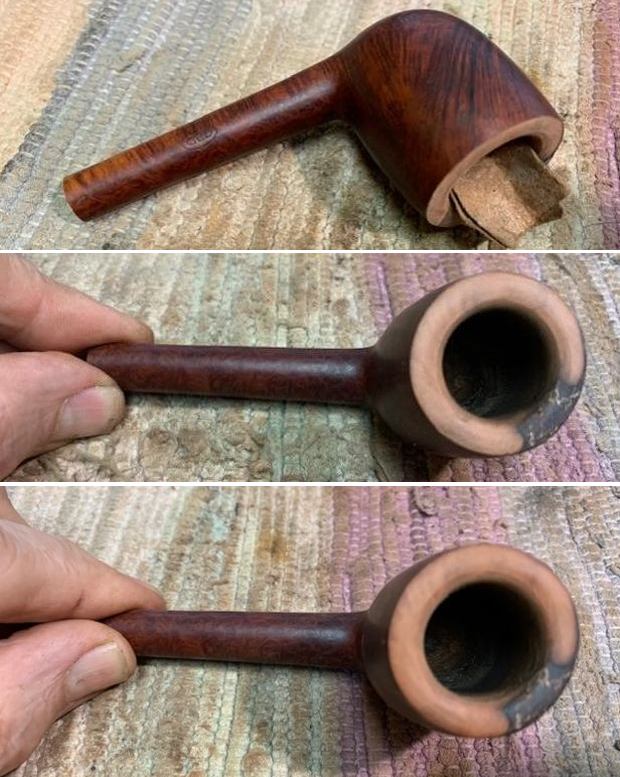
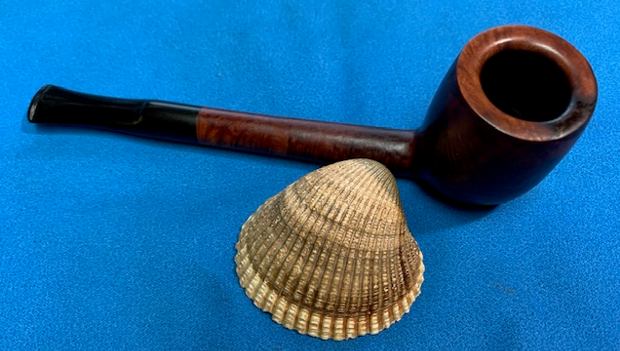
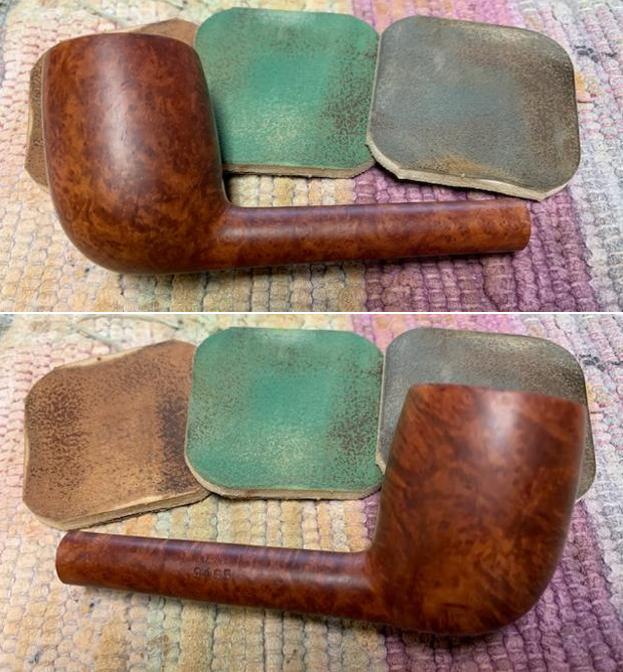
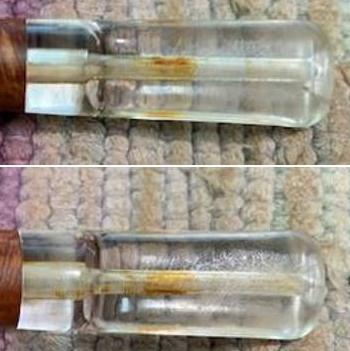
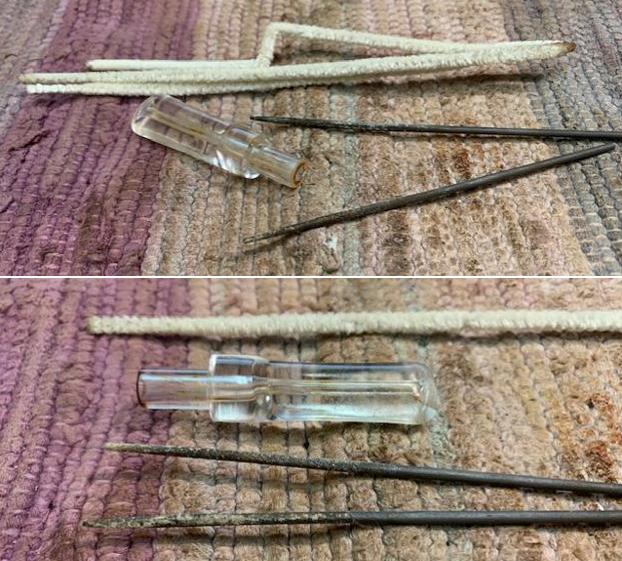
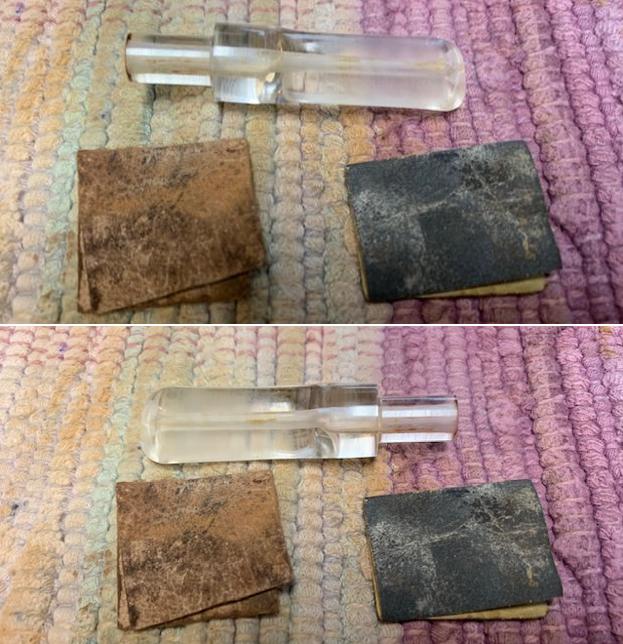
Now it was time to work on the pipe itself. Jeff had cleaned up the pipe with his usual focus on detail. He reamed the pipe with a PipNet pipe reamer and removed the rest of the cake with a Savinelli Fitsall Pipe Knife. He scrubbed the exterior of the bowl with undiluted Murphy’s Oil Soap with a tooth brush and was able to remove the thick lava build up on the rim top. He rinsed it under running warm water to remove the soap and grime. He cleaned out the inside of the shank and the airway in the stem with alcohol, cotton swabs and pipe cleaners. He rubbed down the stem with Soft Scrub – an all purpose cleaner that works well to remove oxidation and calcification on a vulcanite stem. He soaked it in Briarville’s Stem Deoxidizer and rinsed it off with warm water. I took photos of the pipe once I received it. 
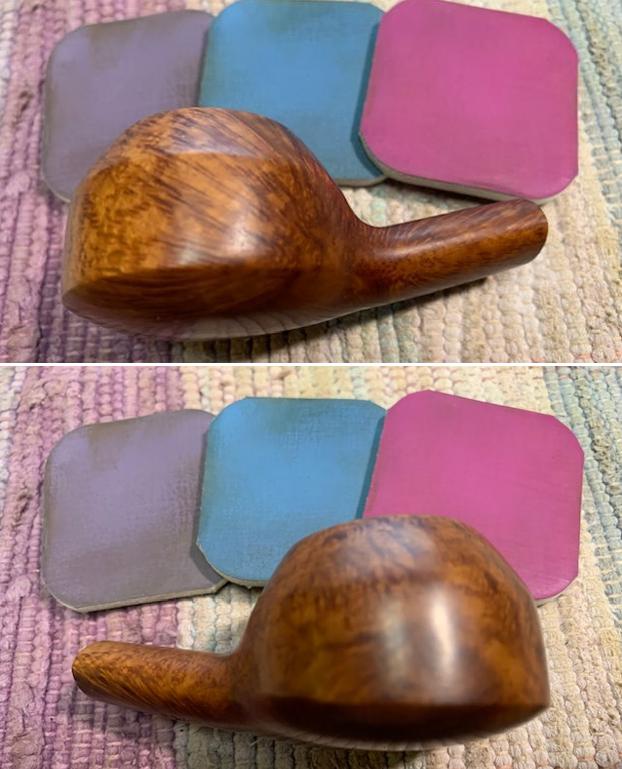
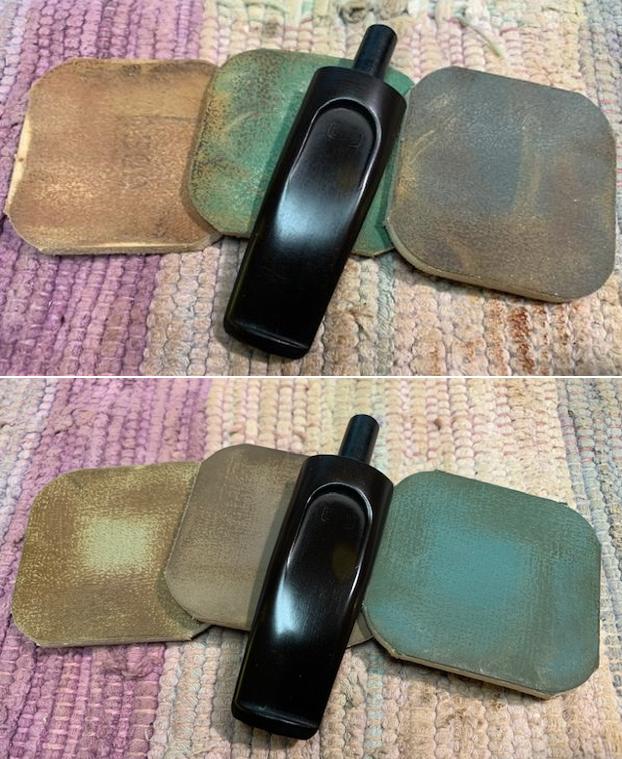
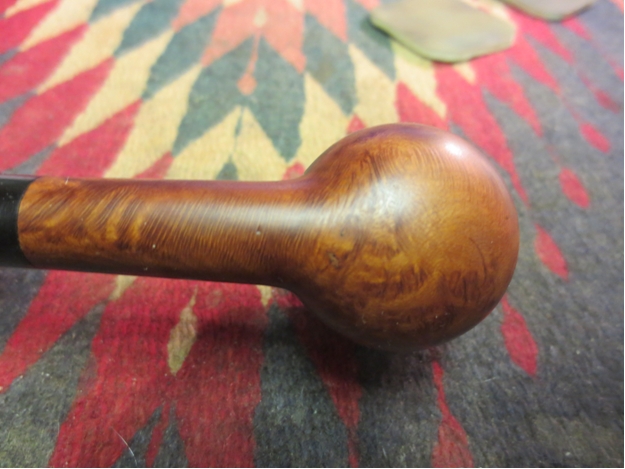
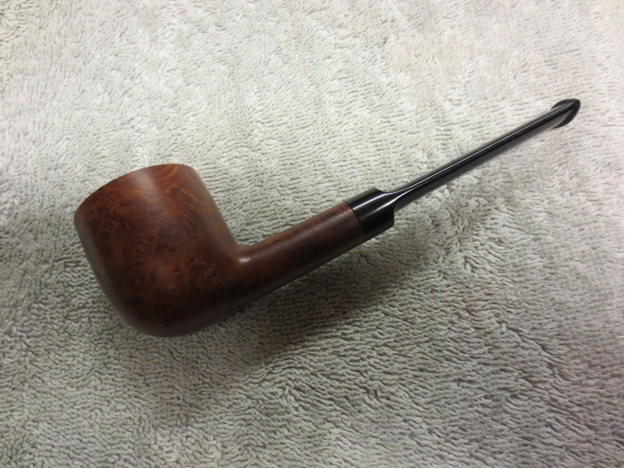
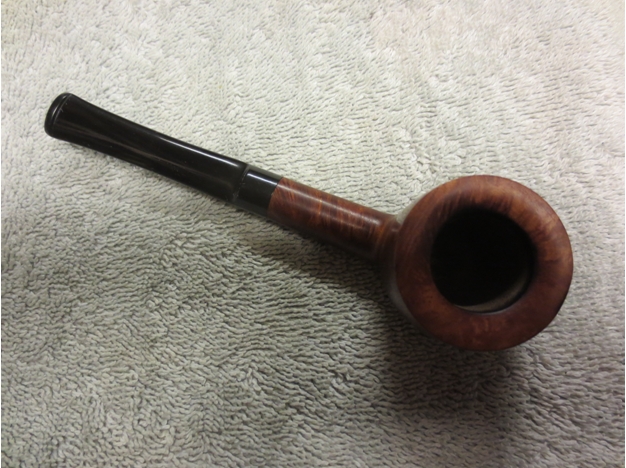
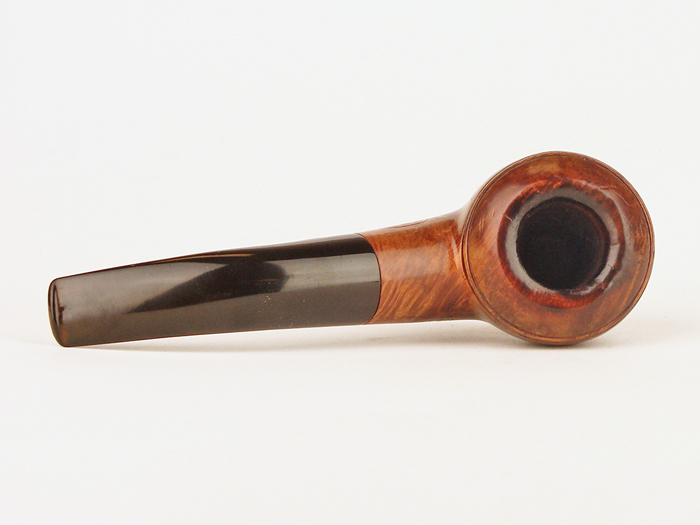
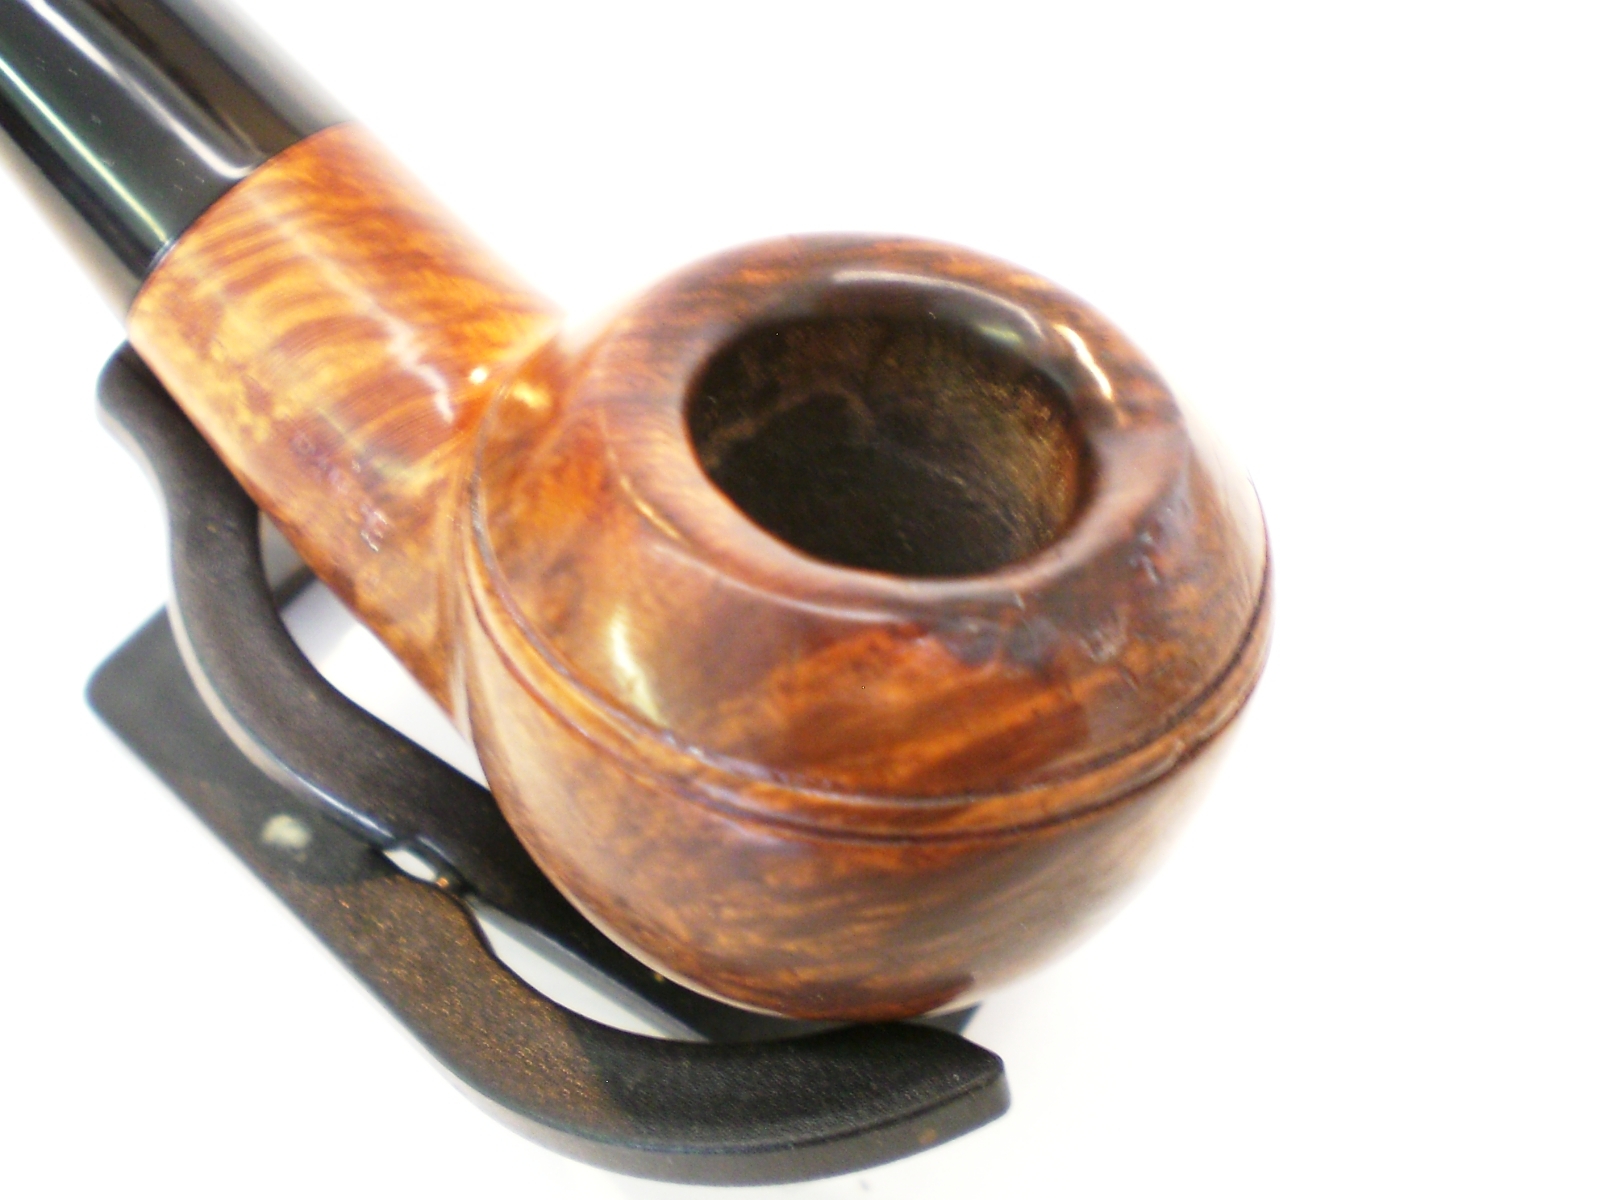
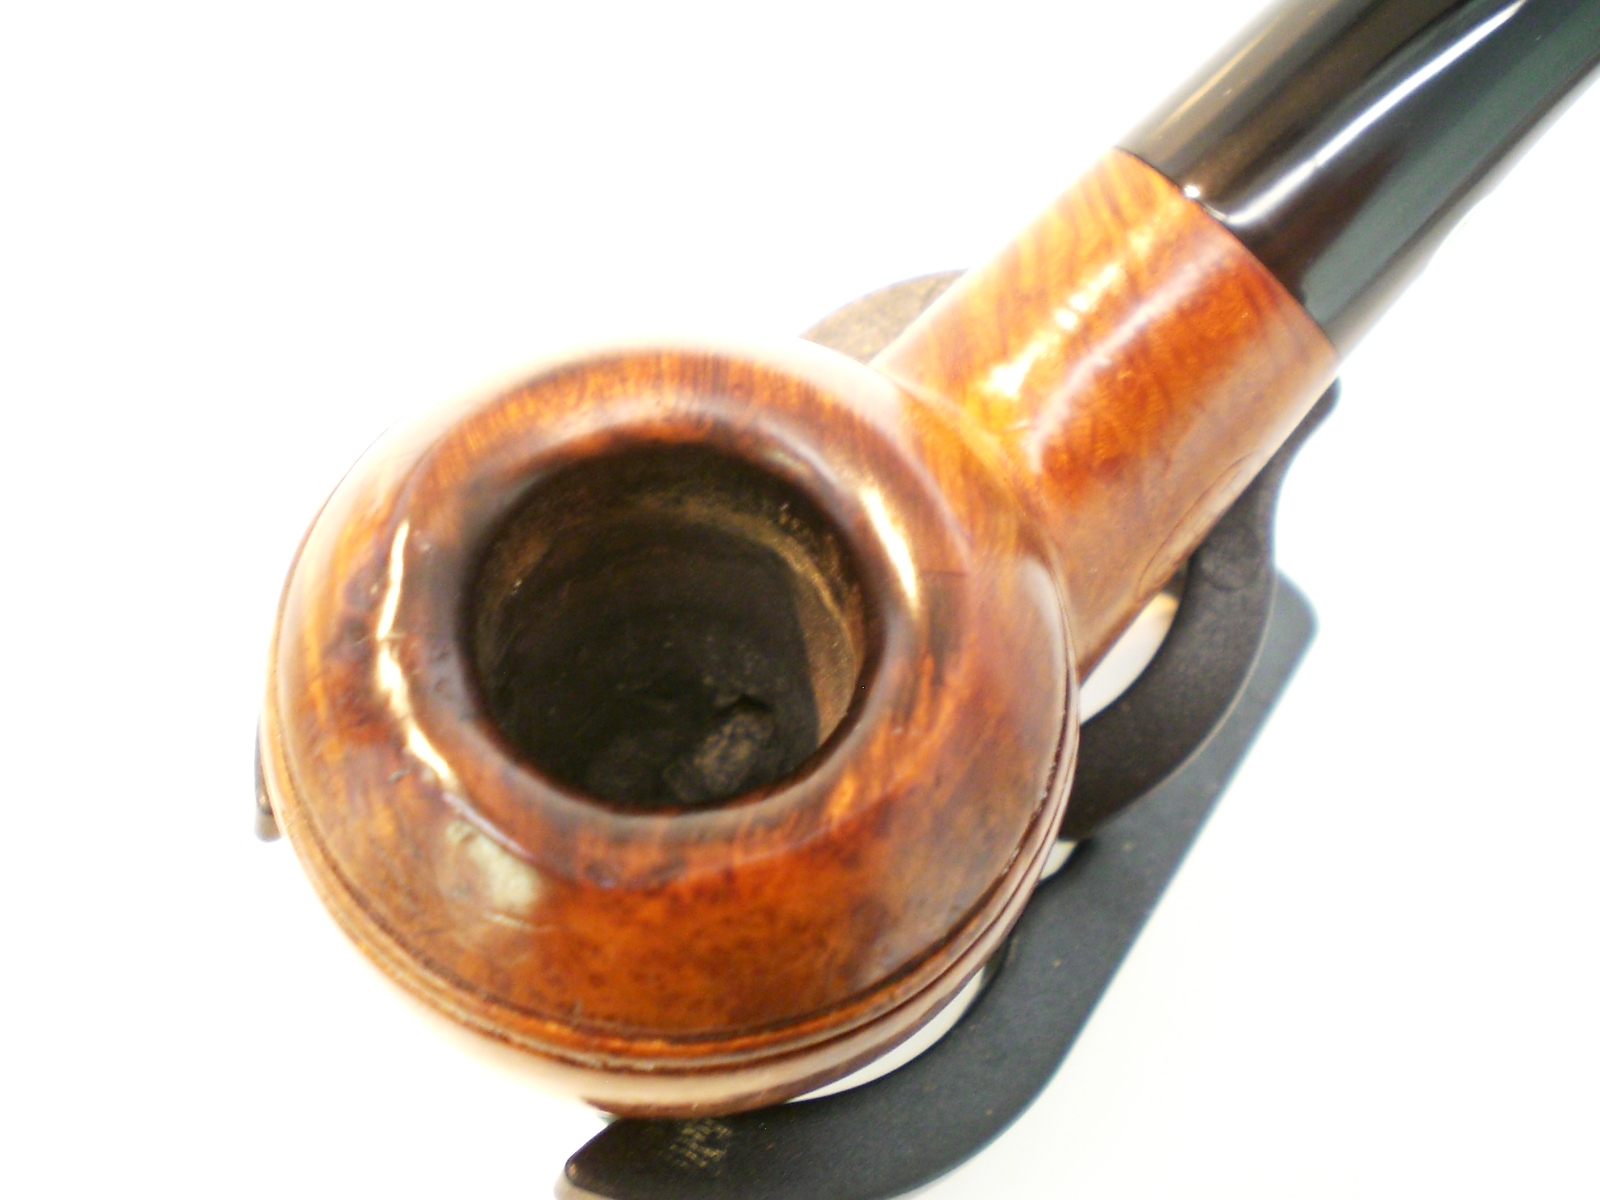
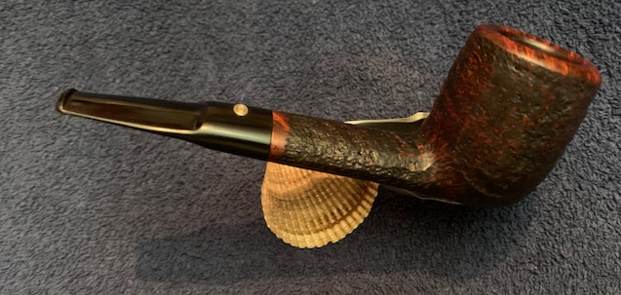
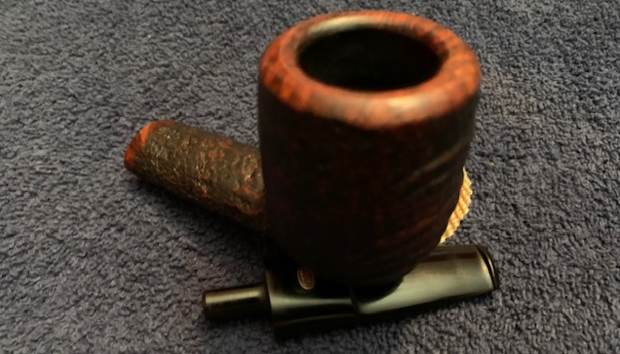
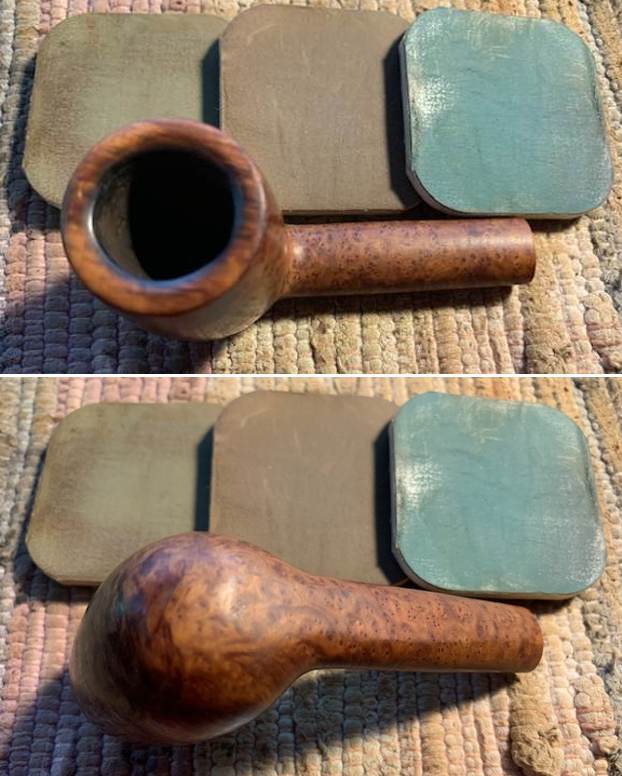
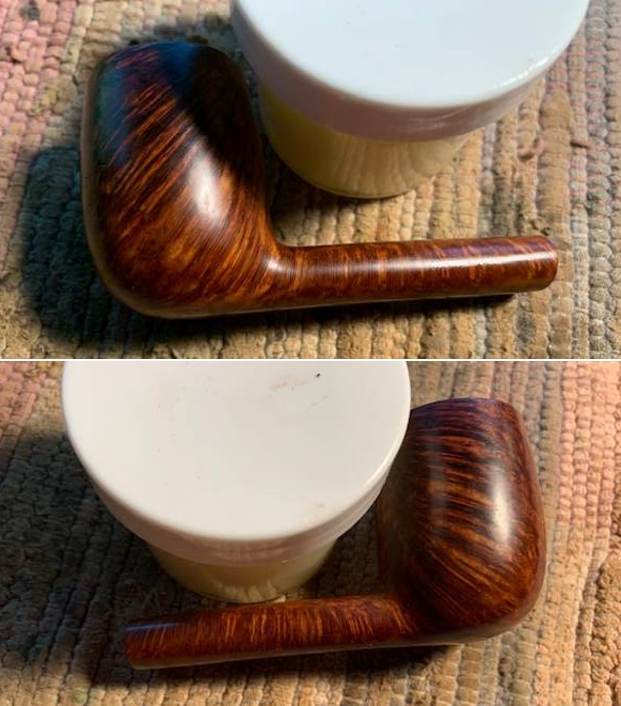
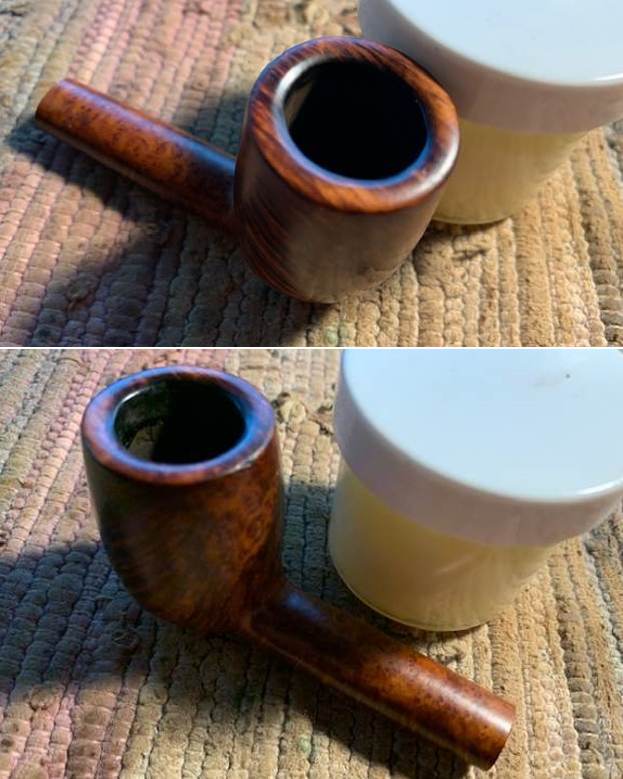
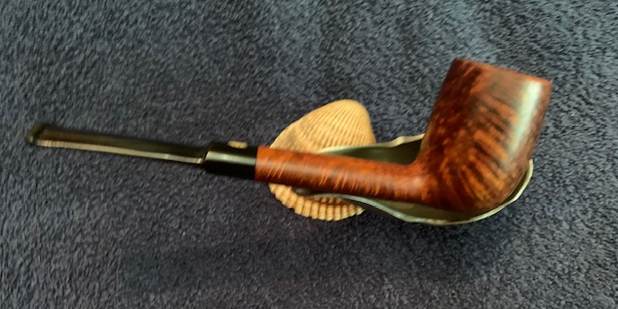
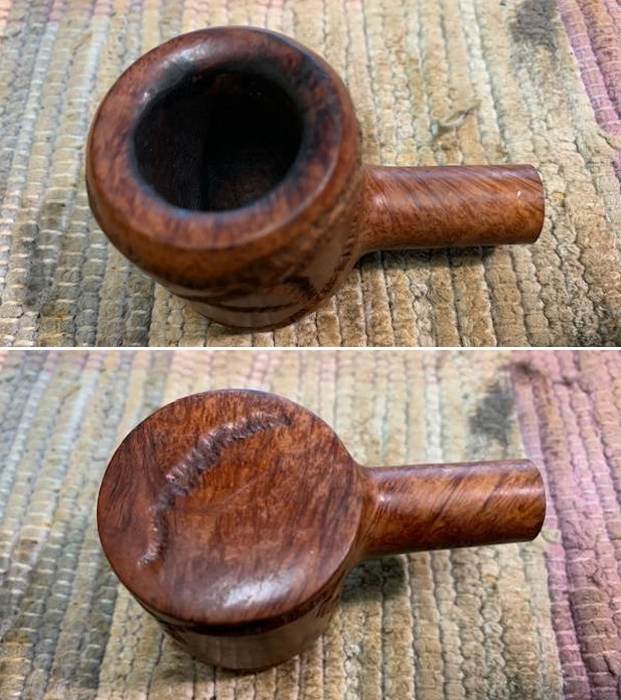
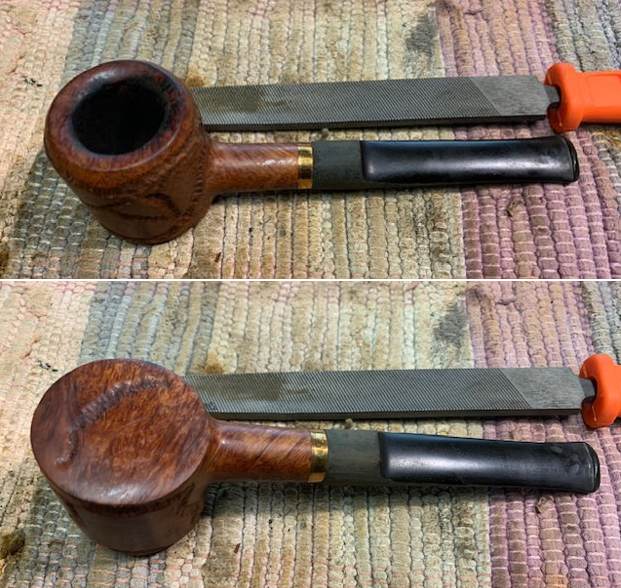
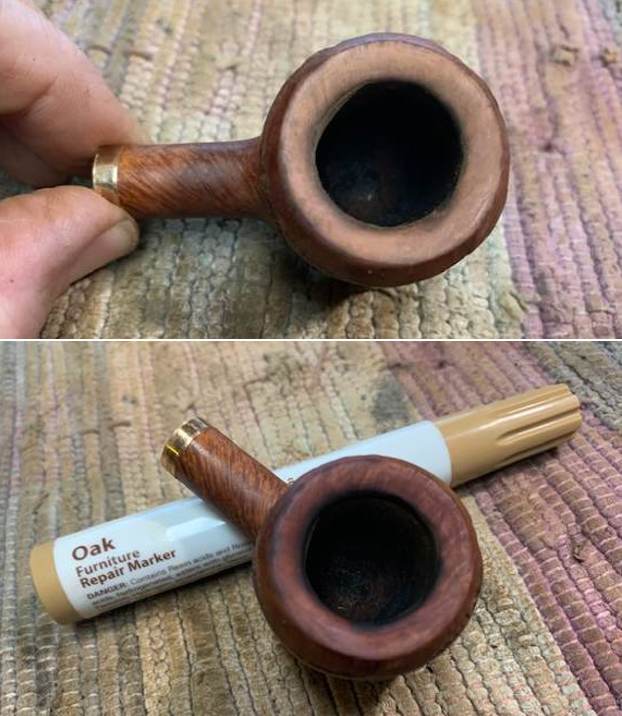
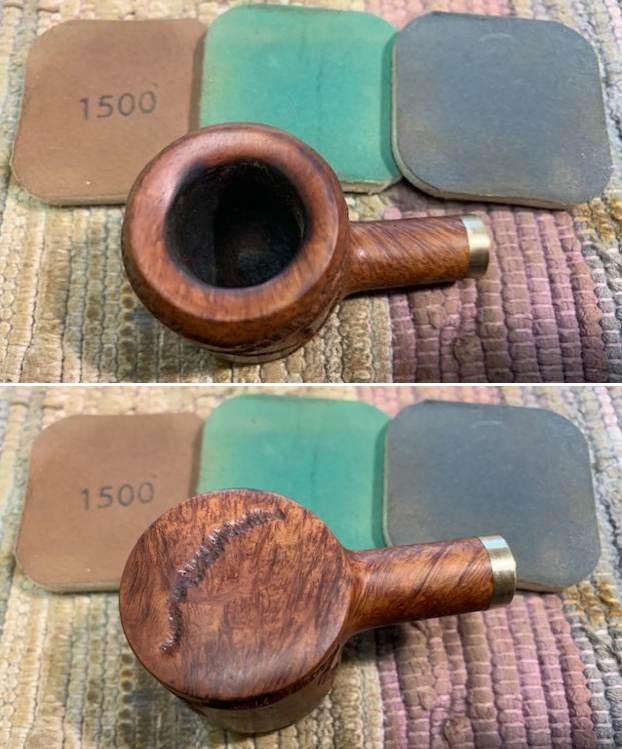
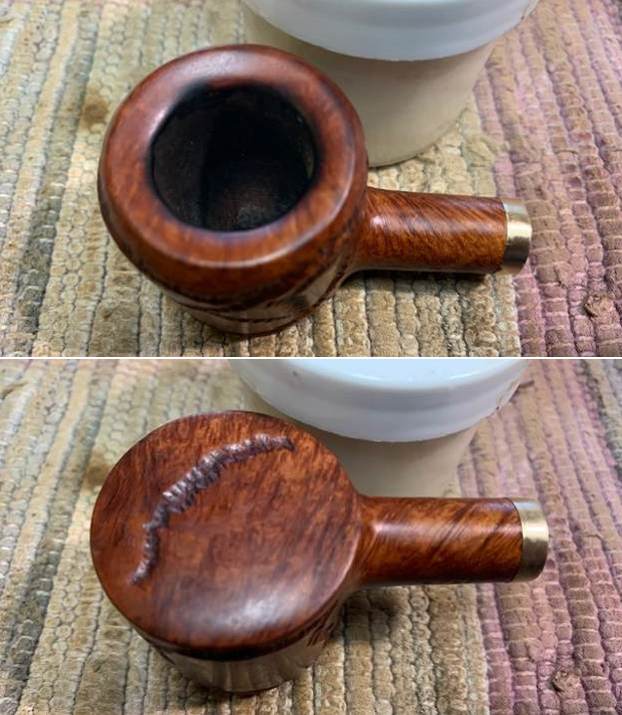
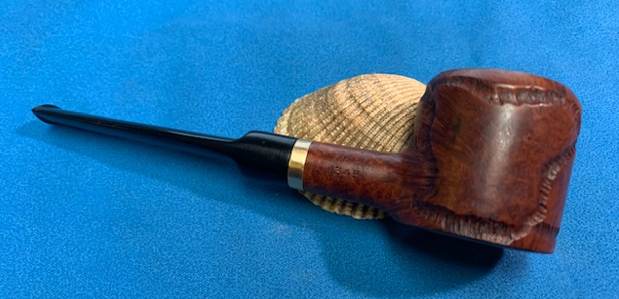
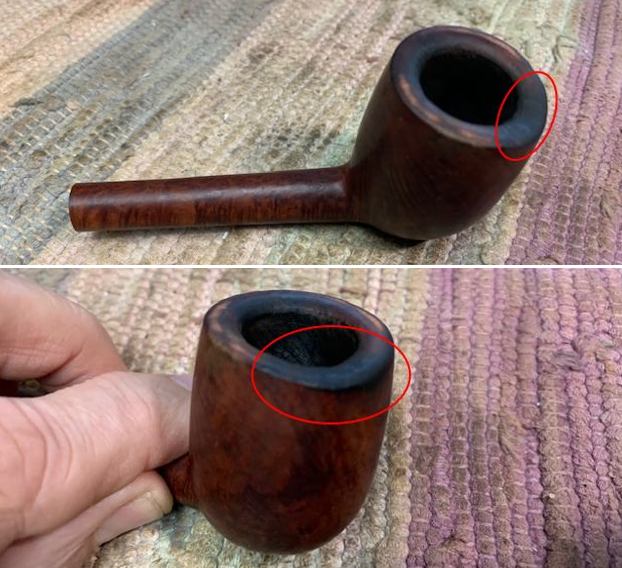
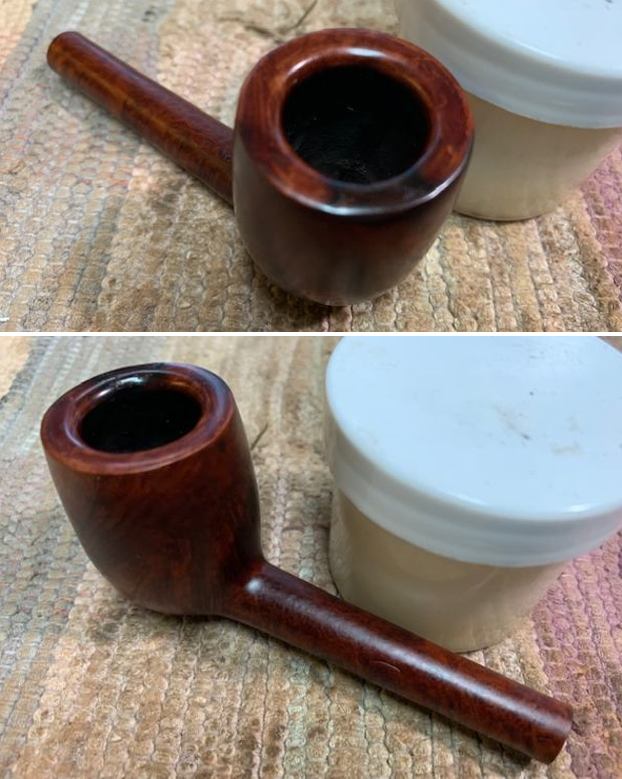
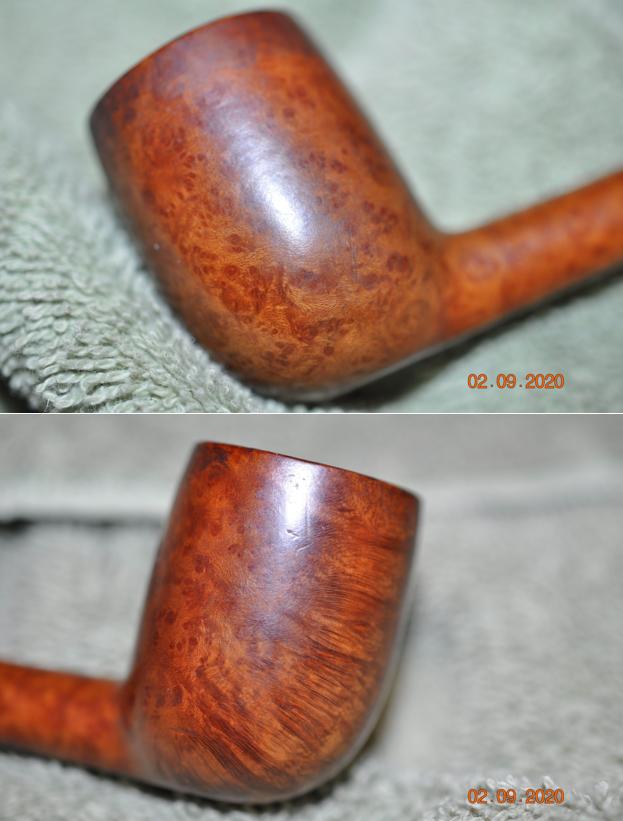
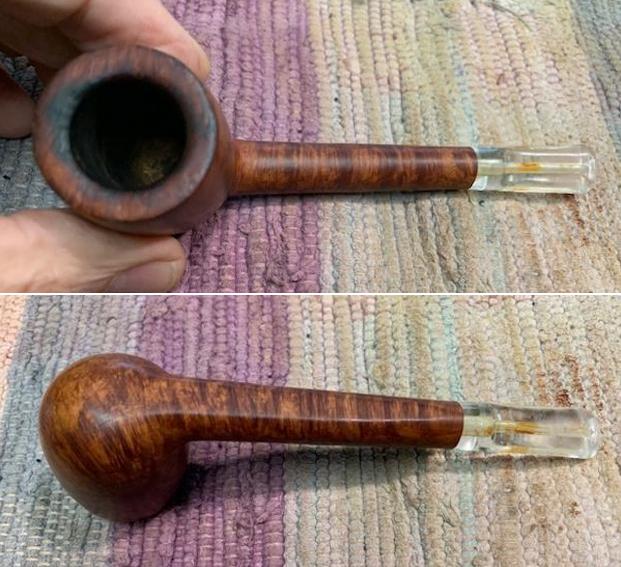
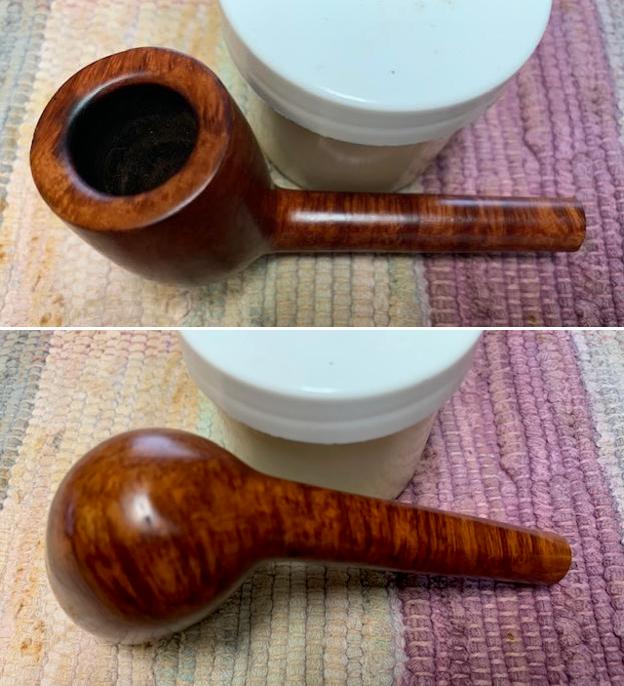
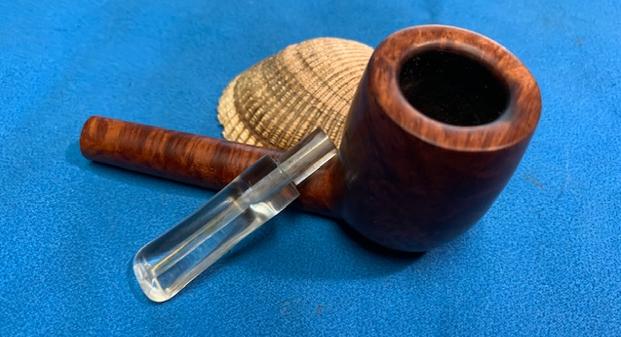
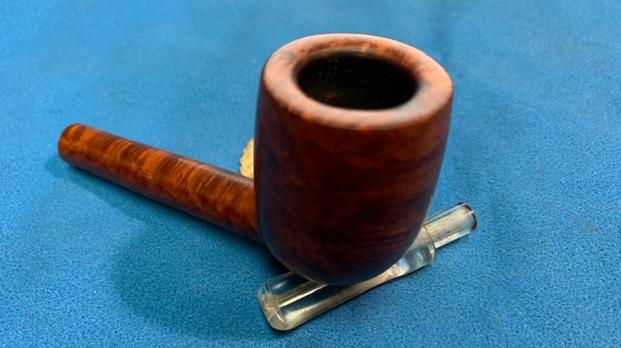
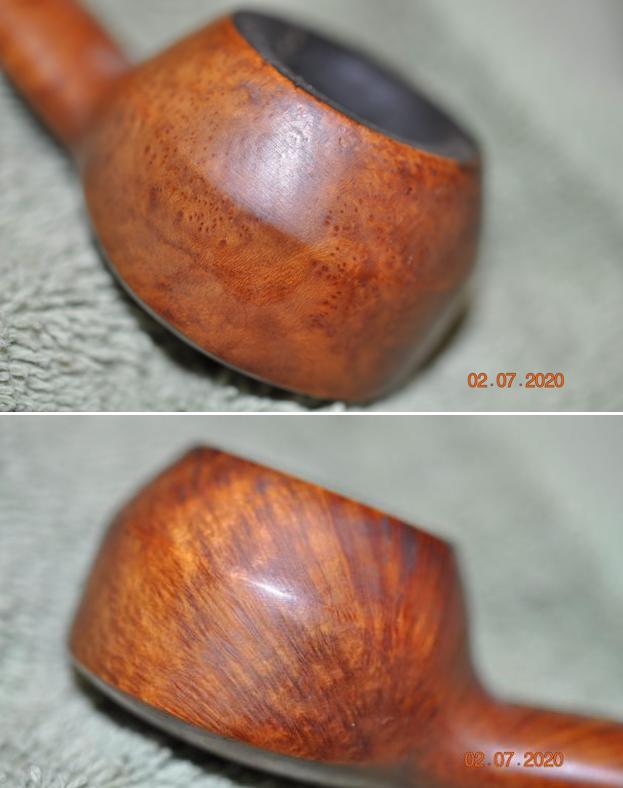
 The rim top cleaned up really well. The crowned rim top, inner and outer edges of the bowl looked very good. The rim top and inner edge has some darkening on the back side of the bowl but there was no burn damage. The stem surface looked good with some small, deep tooth marks and chatter on both sides near the button.
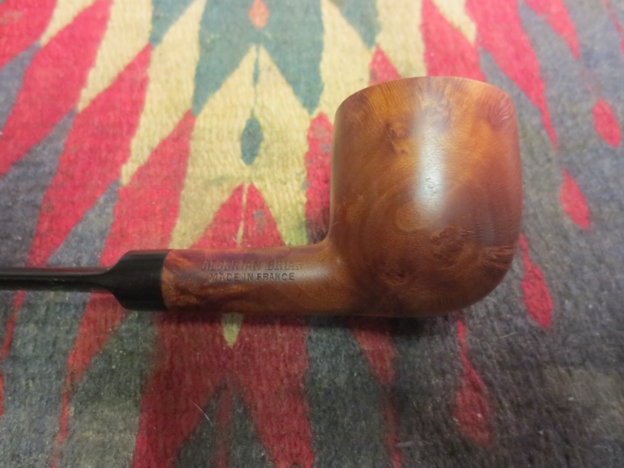
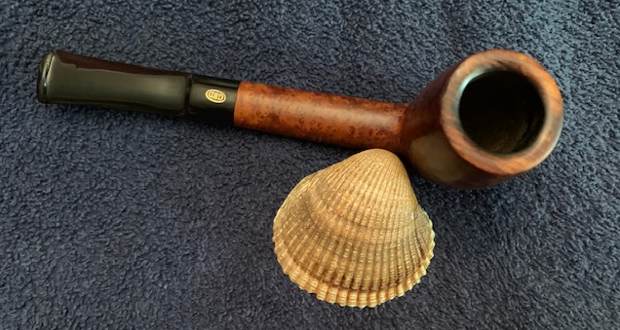
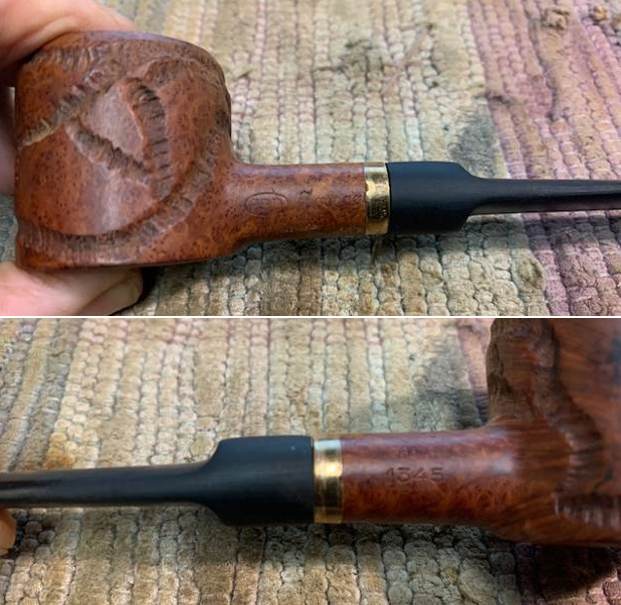
 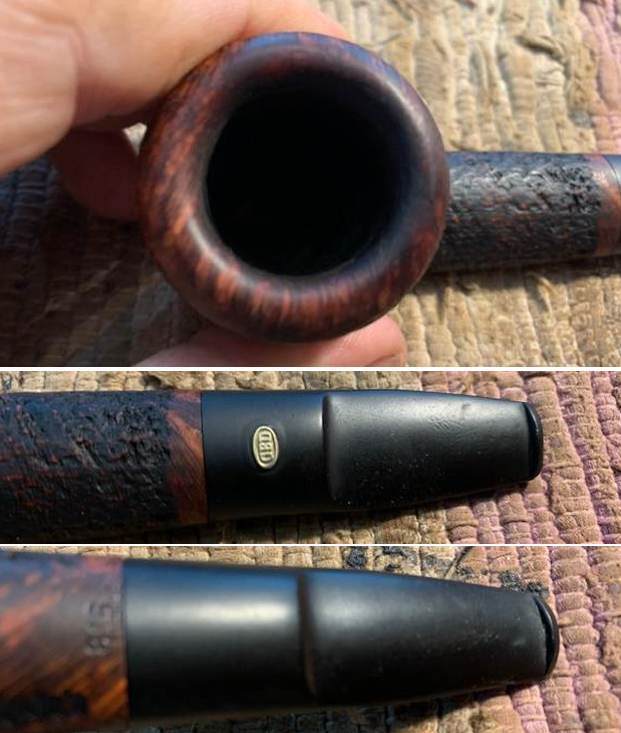 I took a photo of the stamping on the underside of the shank. It was readable as noted above.
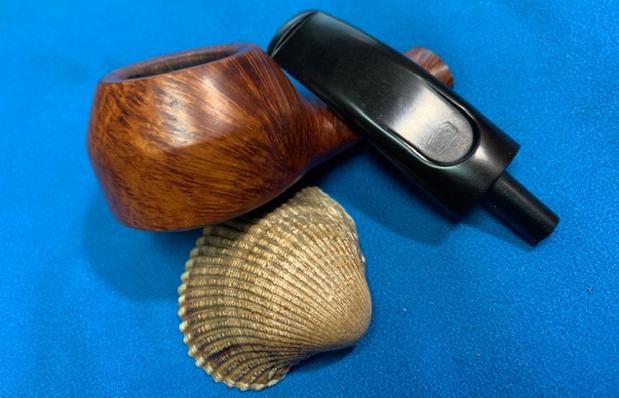
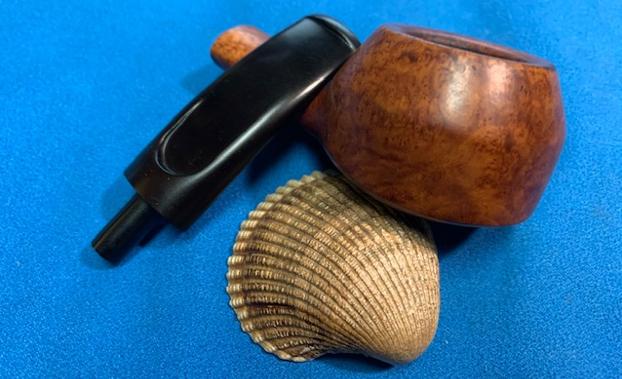
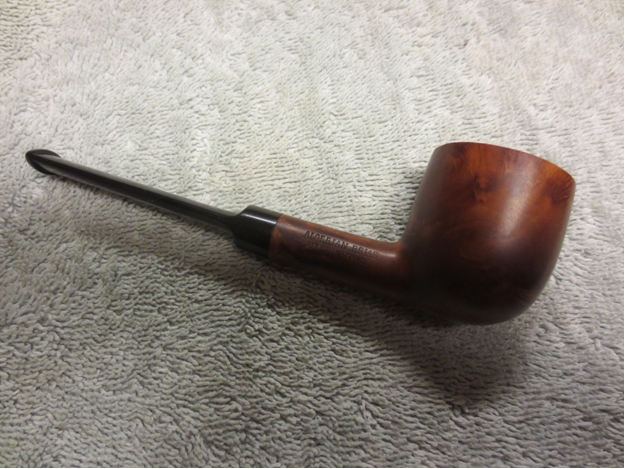
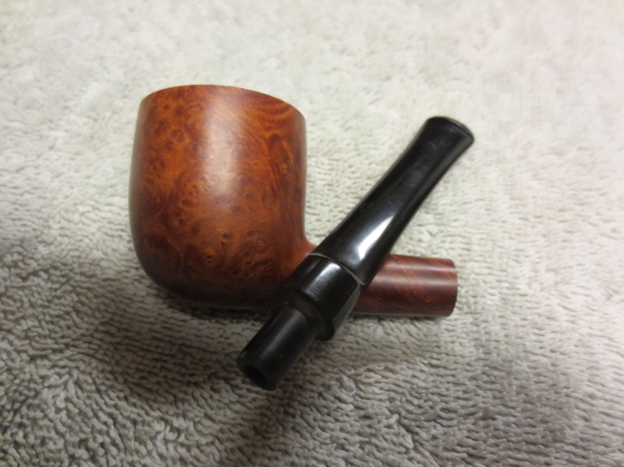
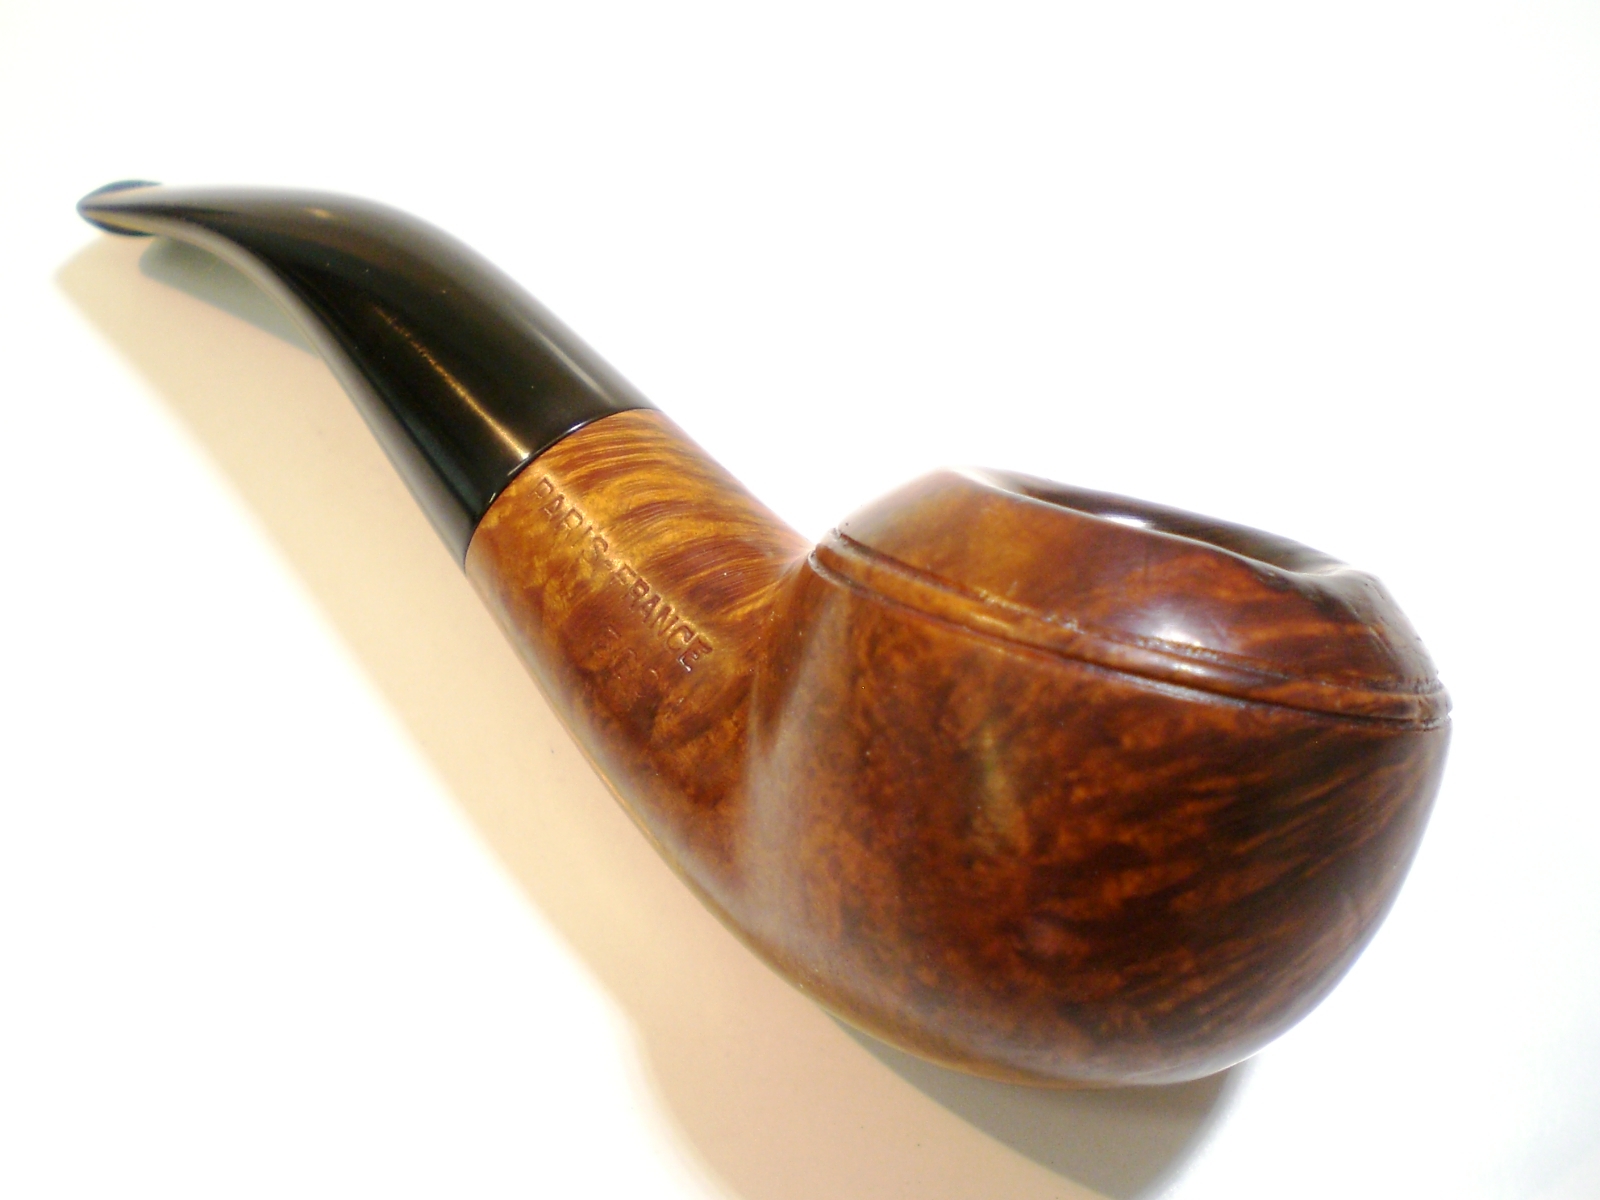
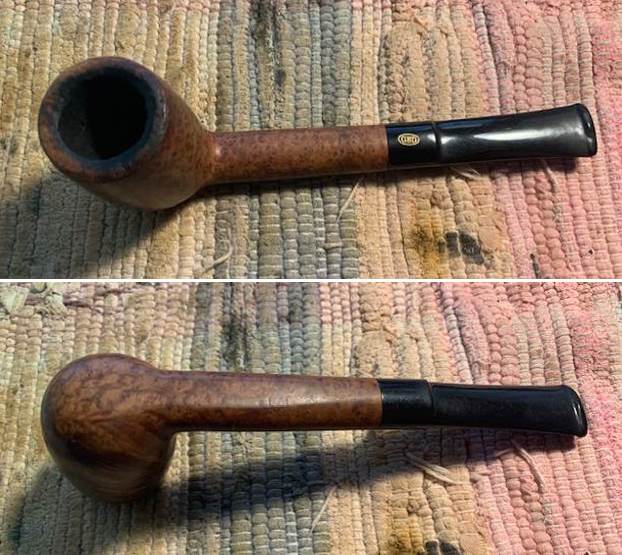
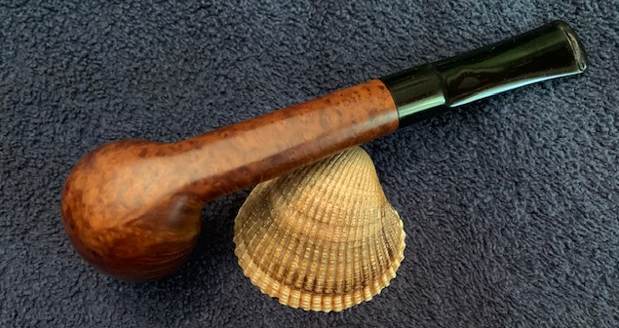
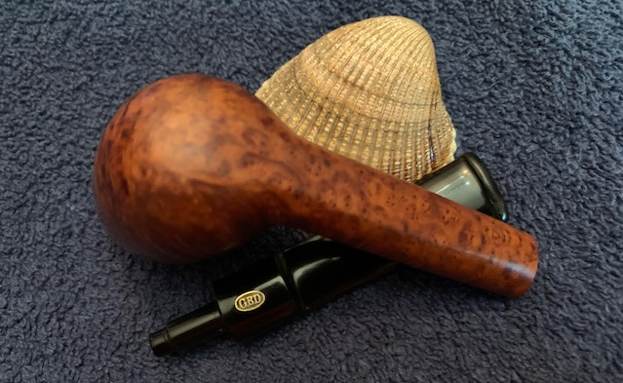
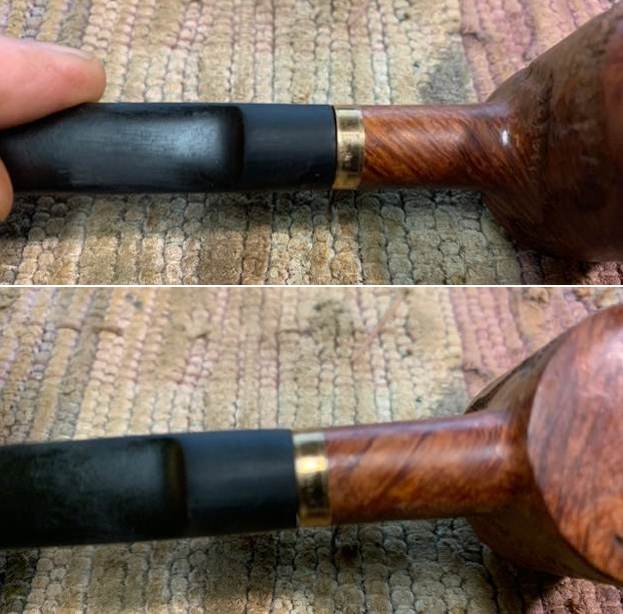
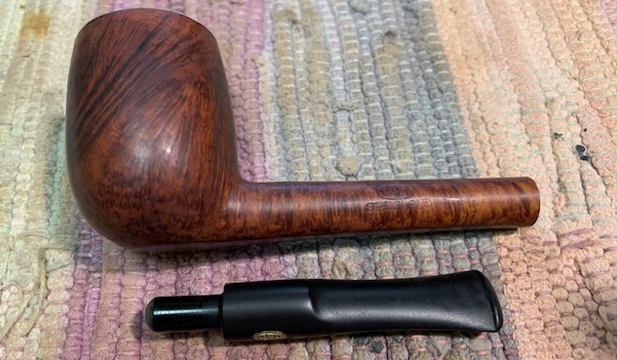
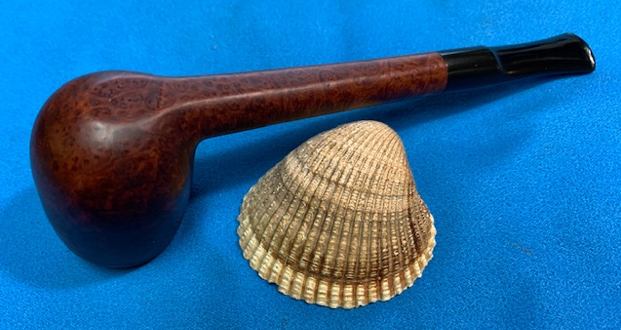
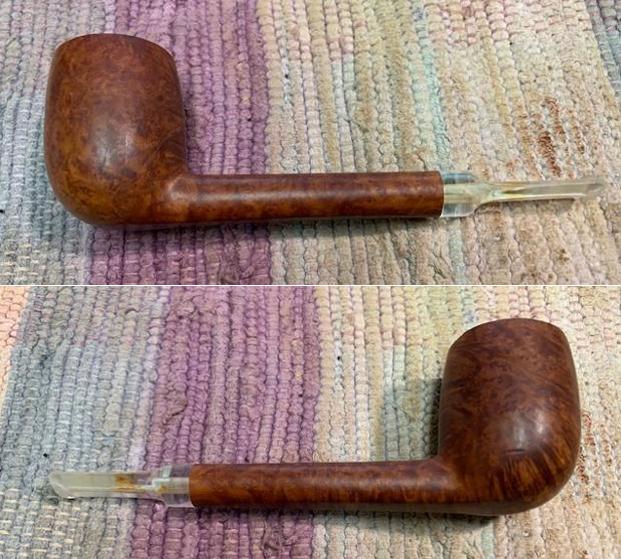
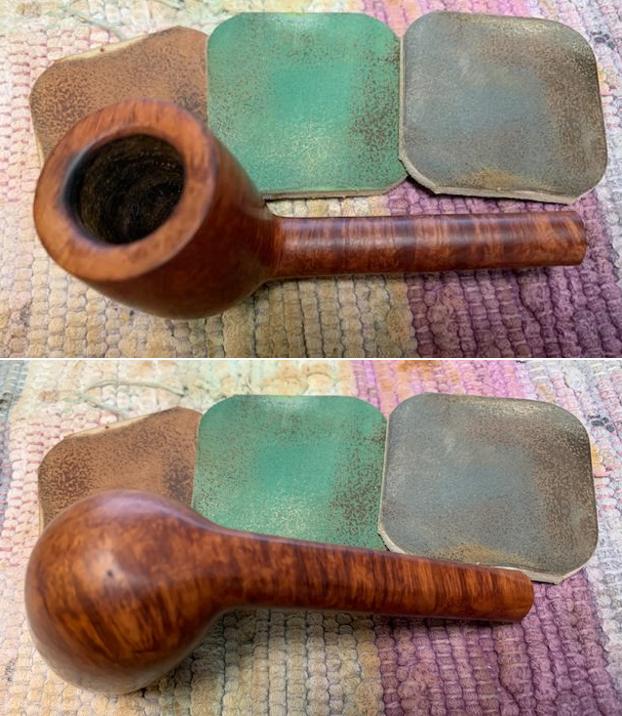
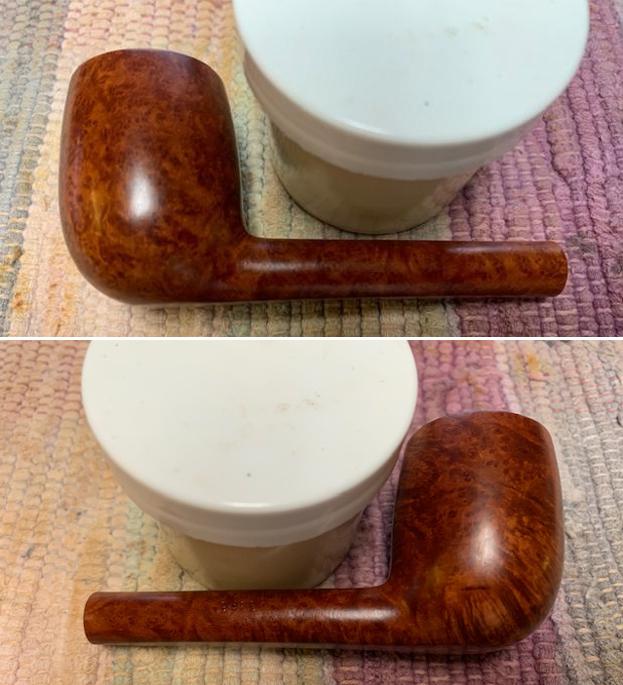
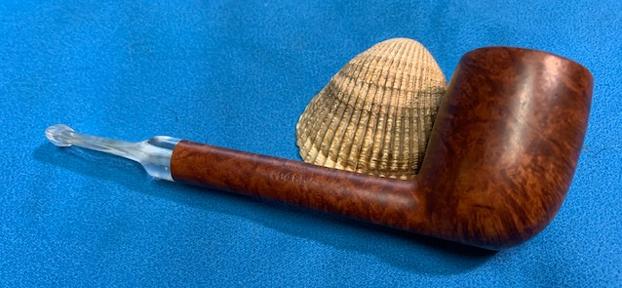
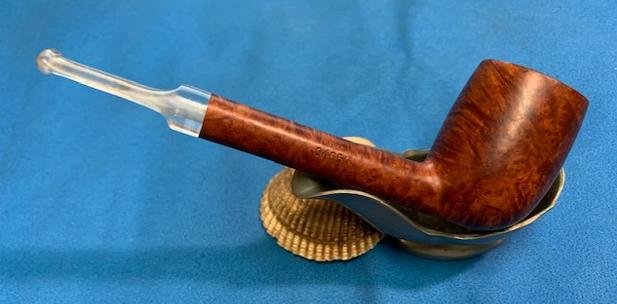
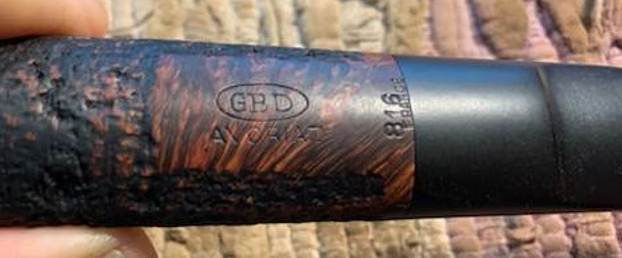 I removed the stem and took a photo of the pipe to give a sense of the whole.
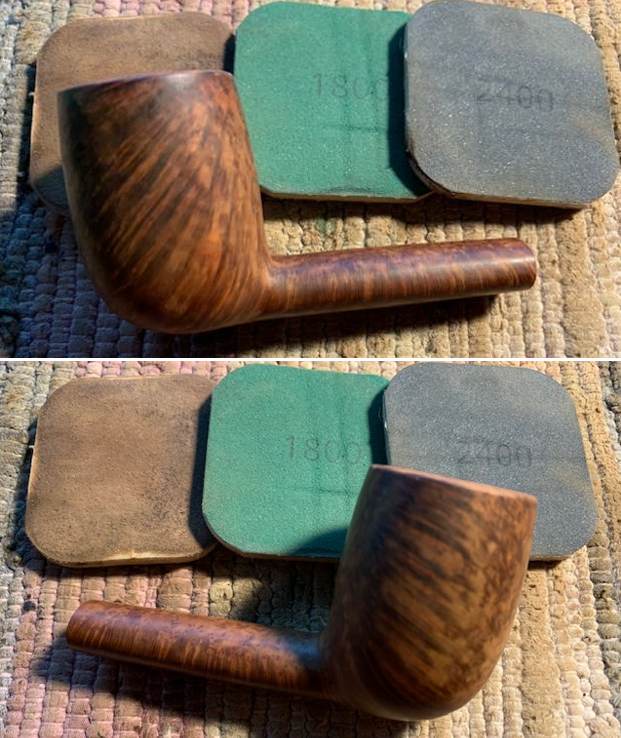
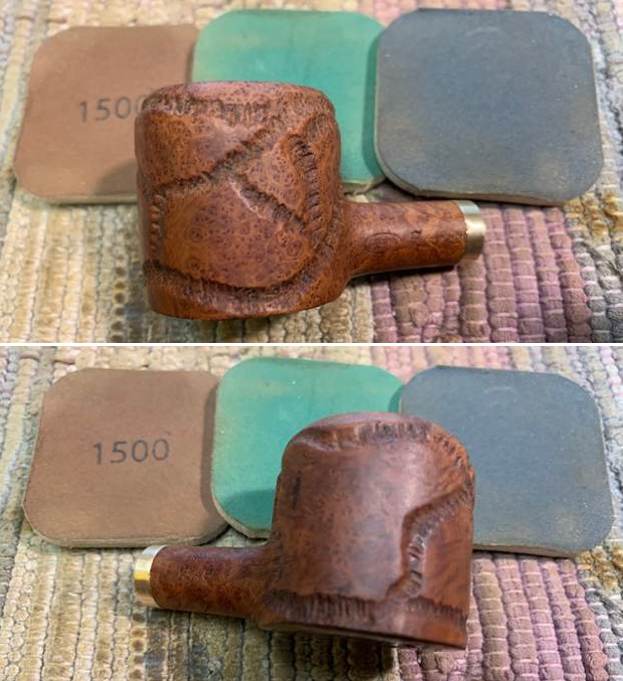
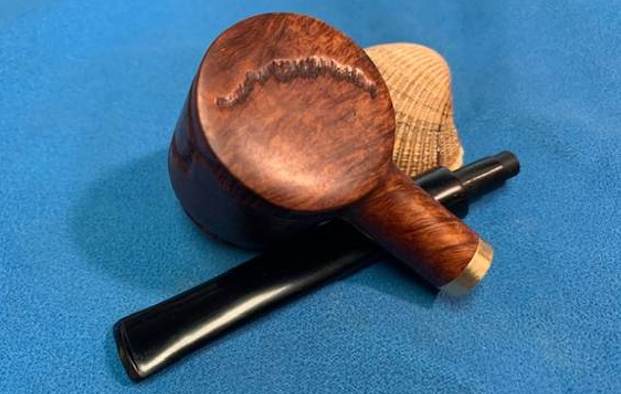
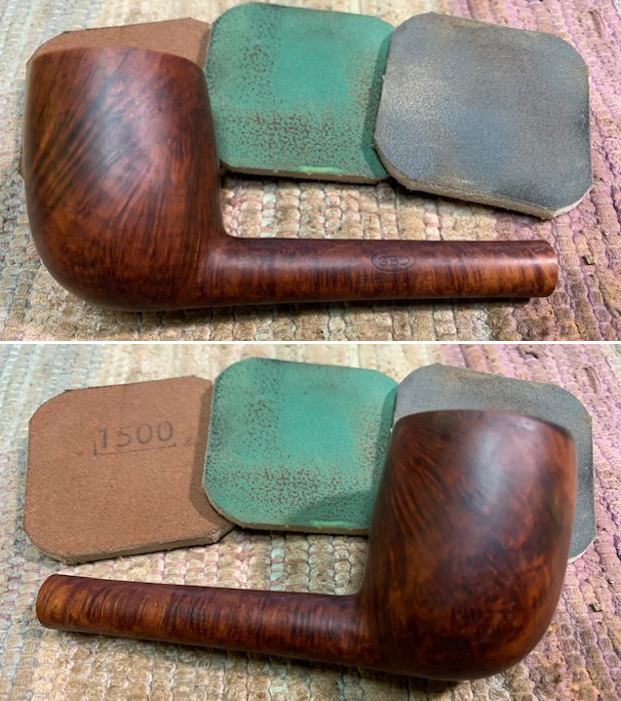
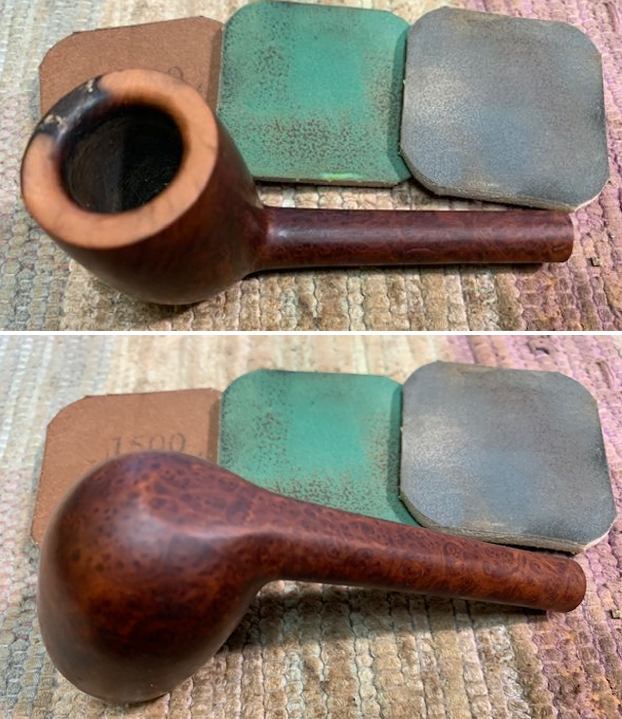
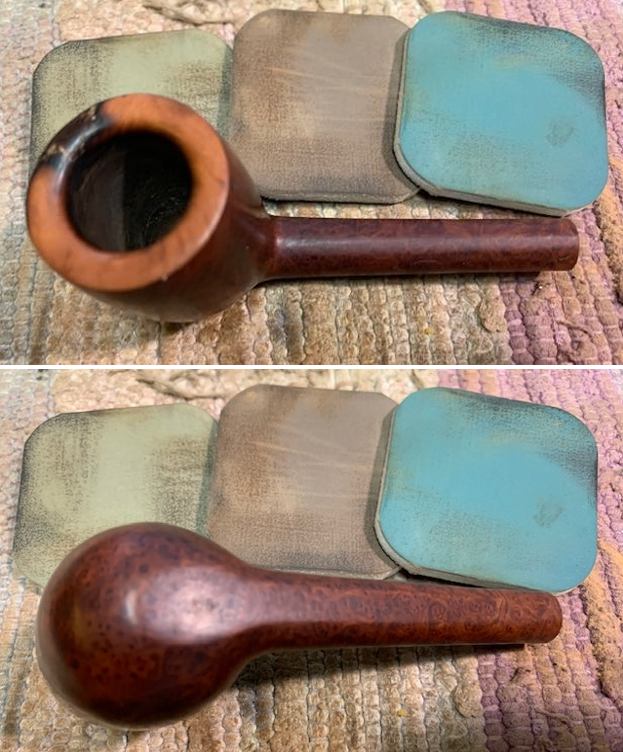
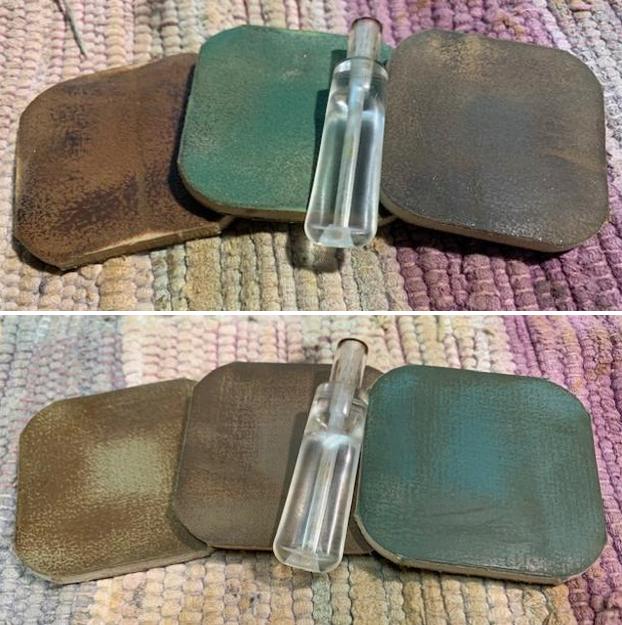
 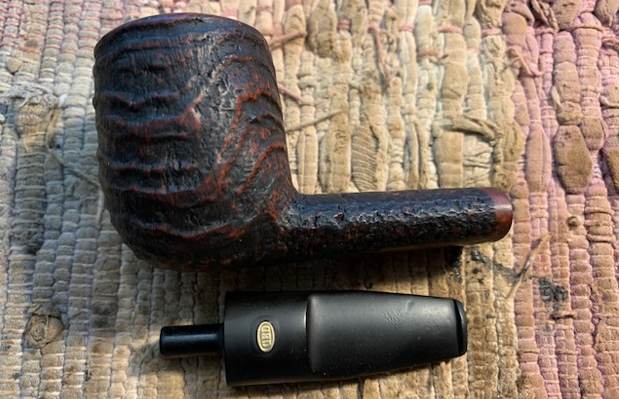 I polished the crowned rim top with micromesh sanding pads – dry sanding with 1500-12000 grit sanding pads. I wiped it down after each pad with a damp cloth to remove the sanding debris and dust.
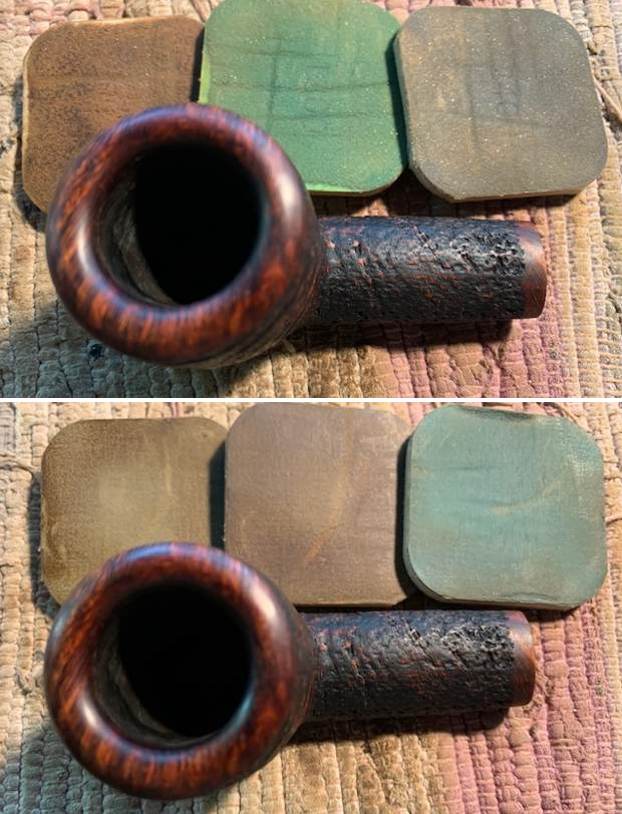
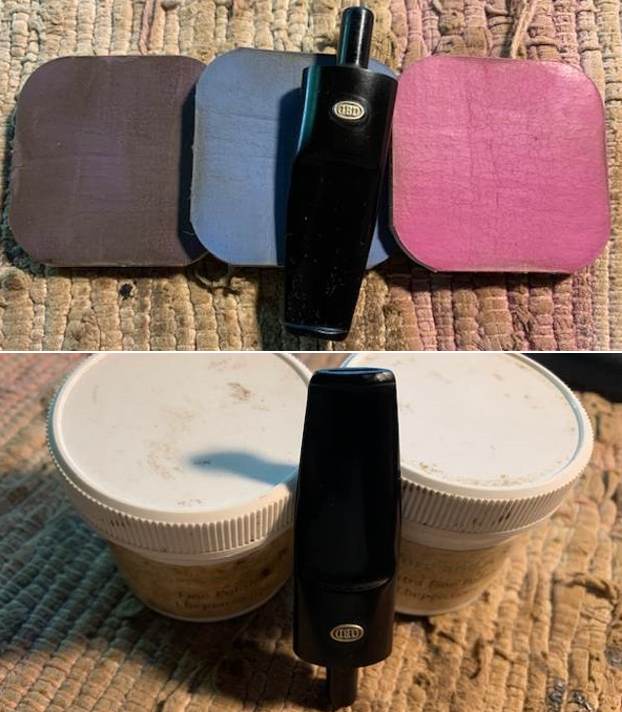
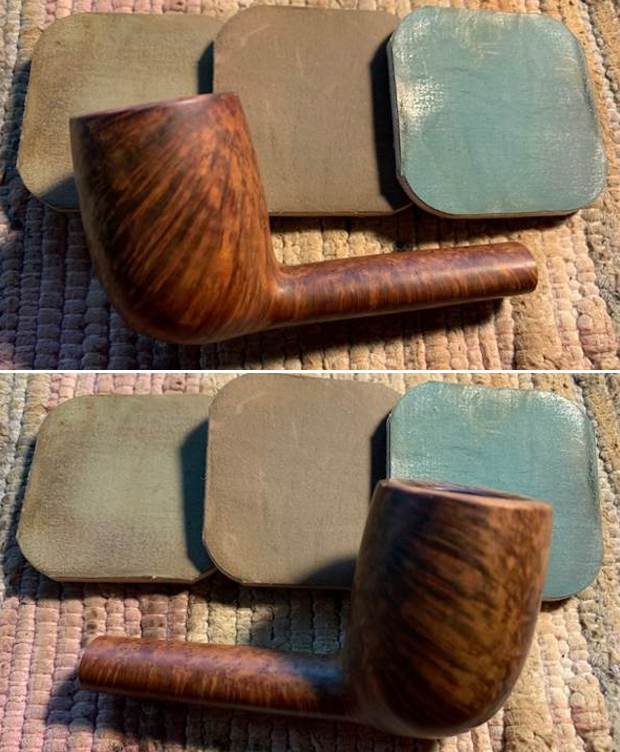
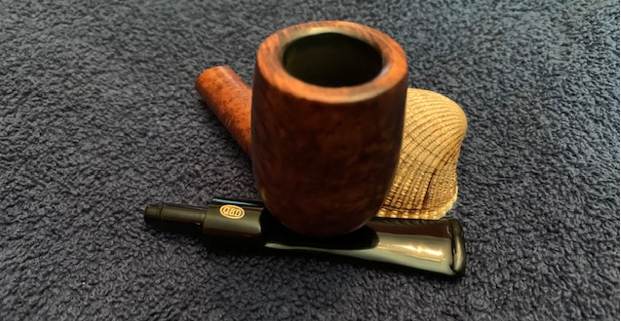
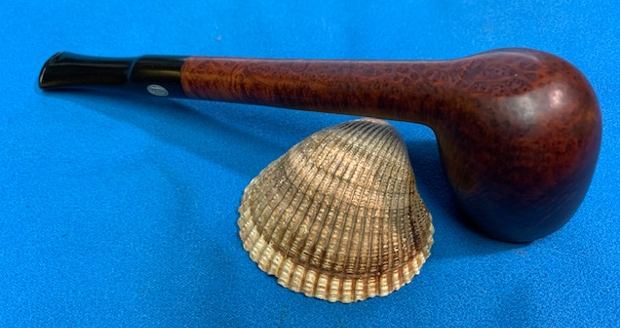
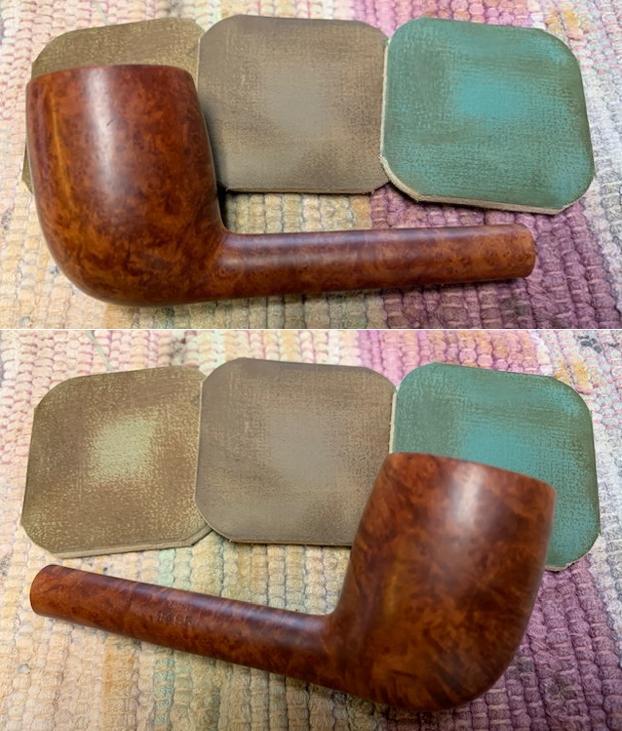
 I rubbed the bowl and shank down with Before & After Restoration Balm. I worked it into the surface of the bowl sides and shank with my fingertips. I worked it into the deeper parts of the blast with a horse hair shoe brush. The product works to clean, enliven and protect the briar. I let the balm sit for a little while and then buffed with a cotton cloth to raise the shine.
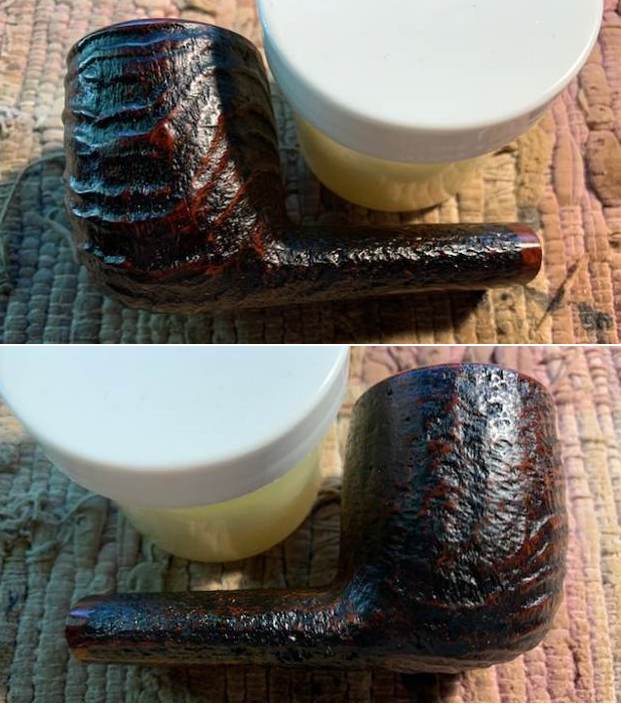
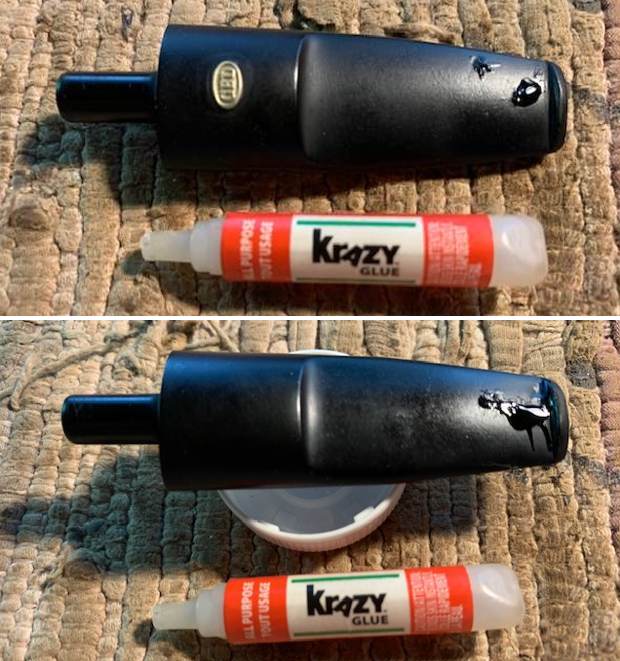
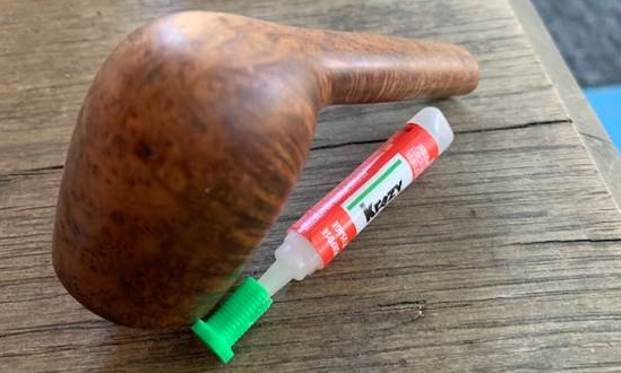
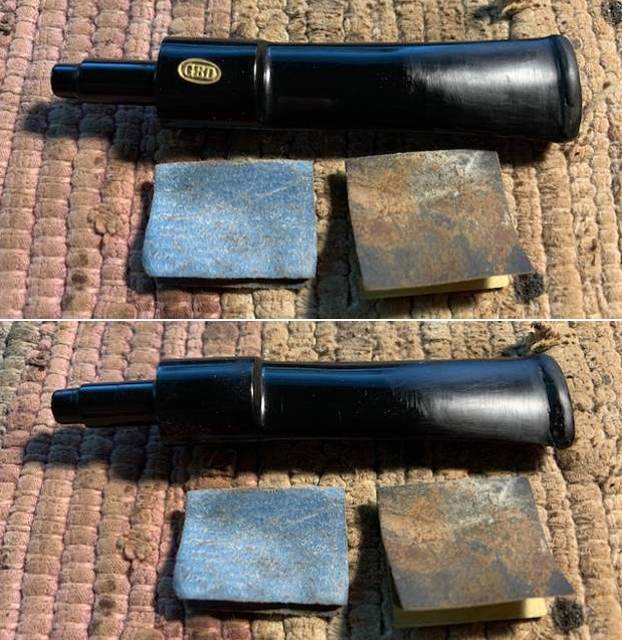
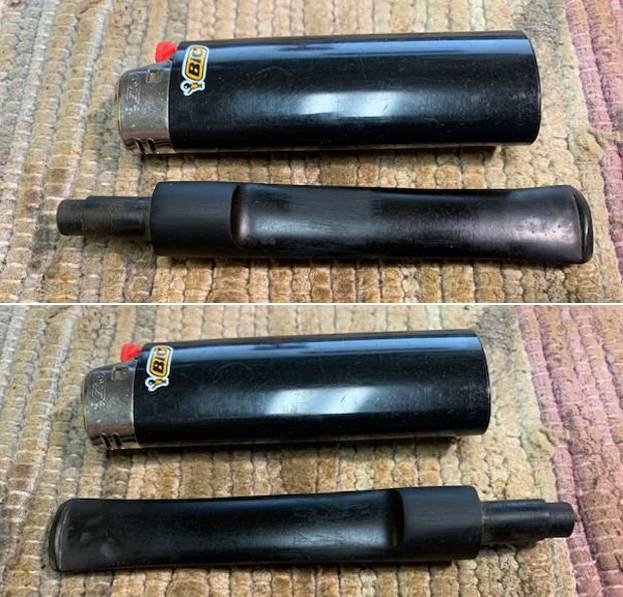
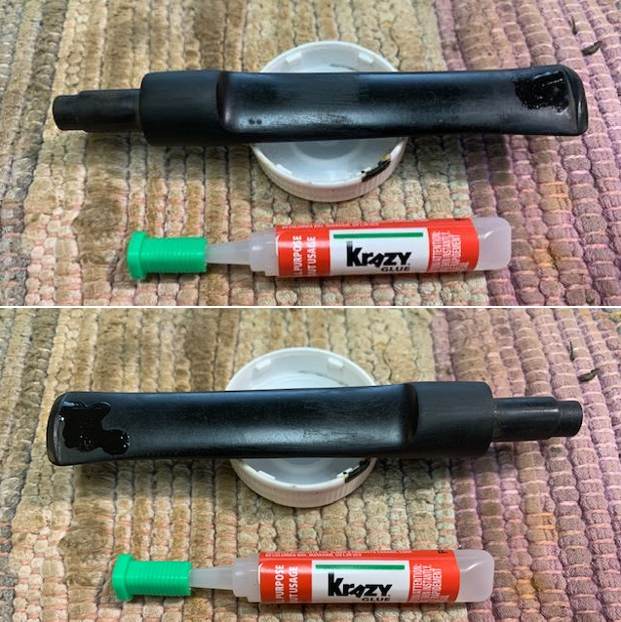
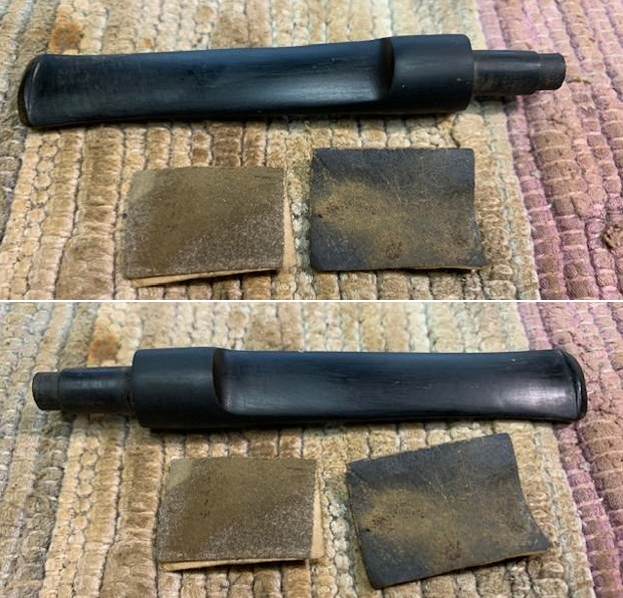
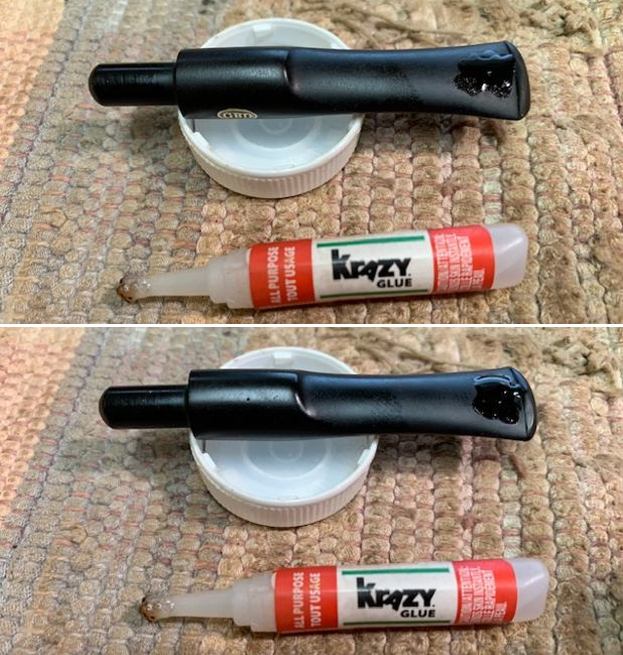
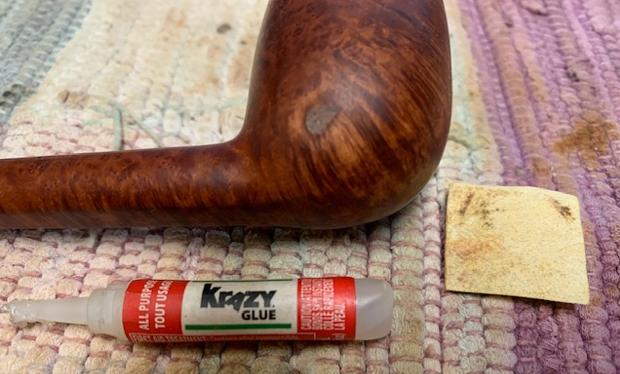
 I set the bowl aside and turned my attention to the stem. I “painted” the surface of the stem with the flame of a lighter to lift the tooth marks. It worked very well and many of the marks lifted. I filled in the remaining marks with clear CA glue and let the repairs cure. I sanded the stem with 220 grit sandpaper to blend the repairs into the stem surface. I started the polishing with 400 grit sandpaper.
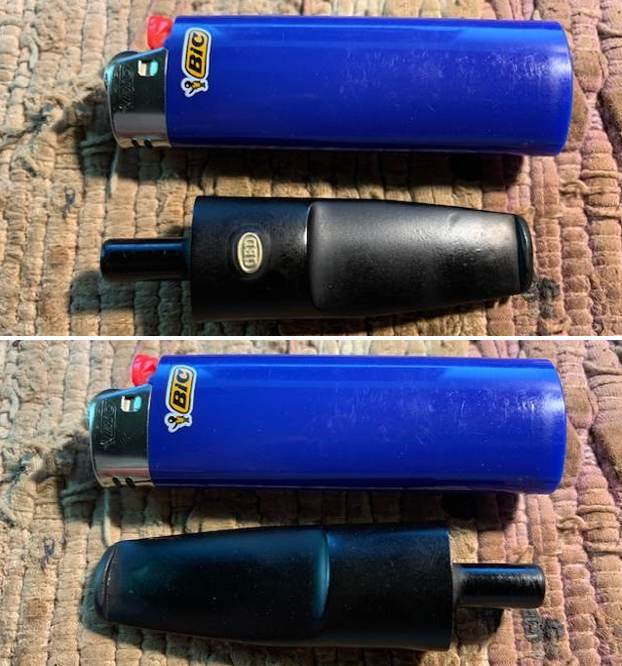
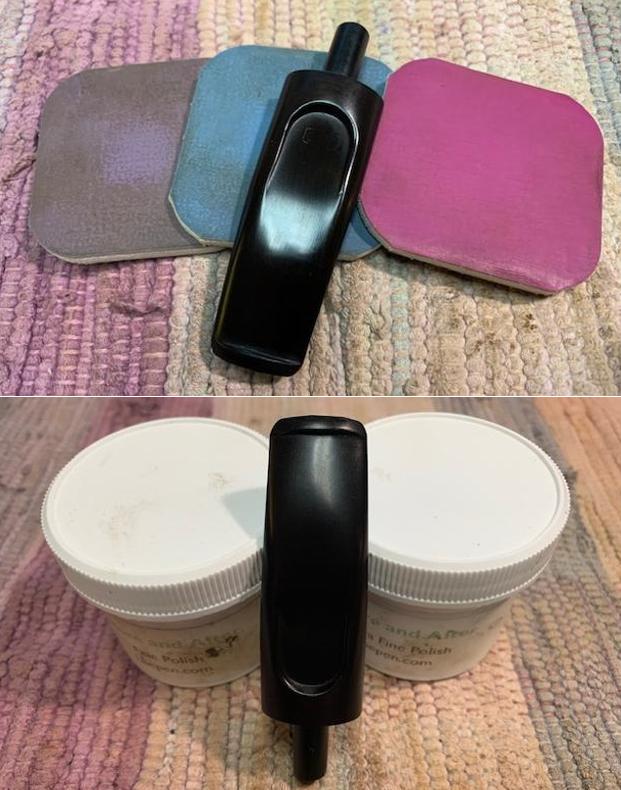
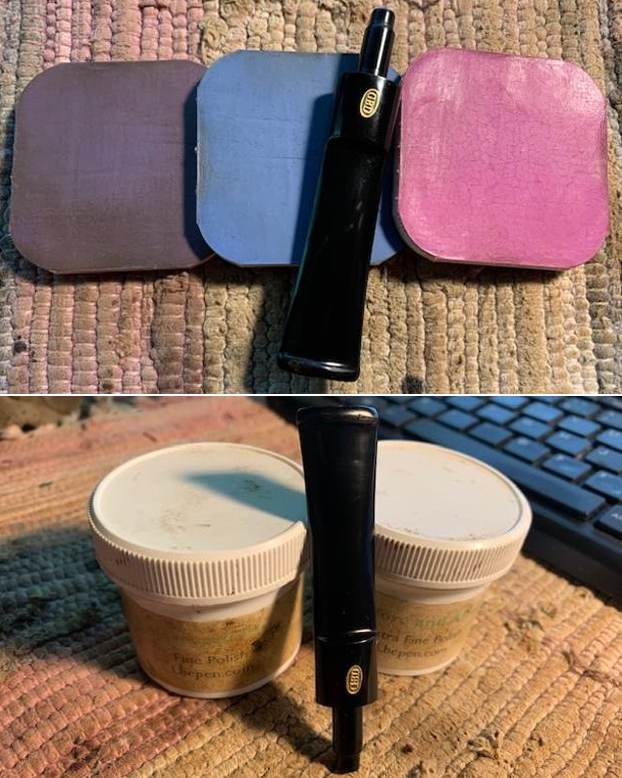
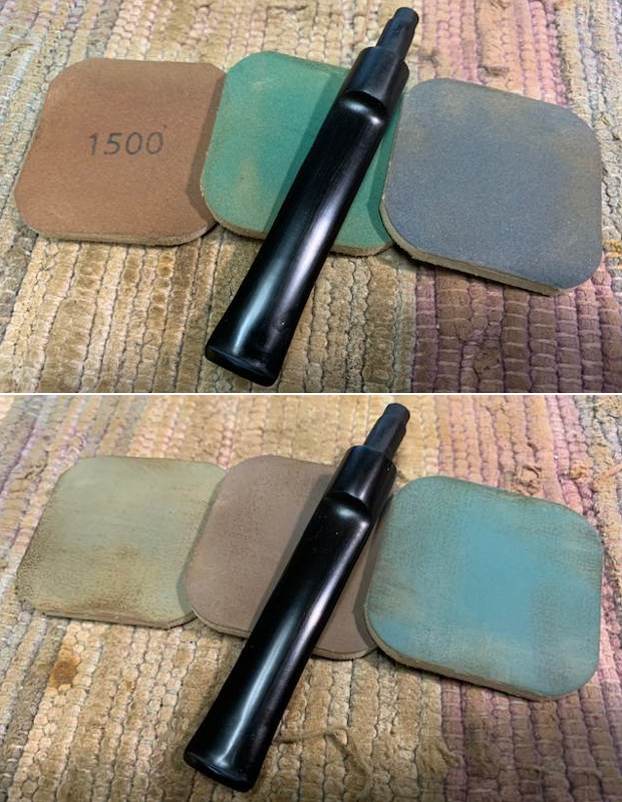
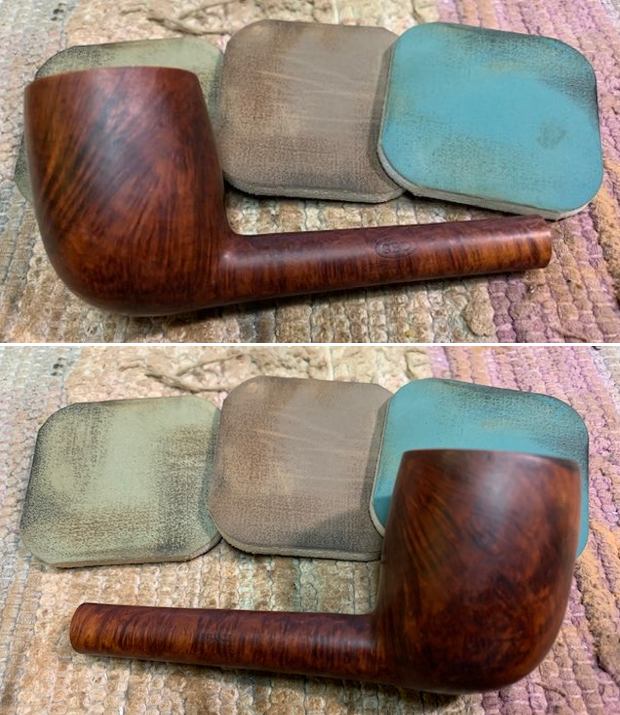
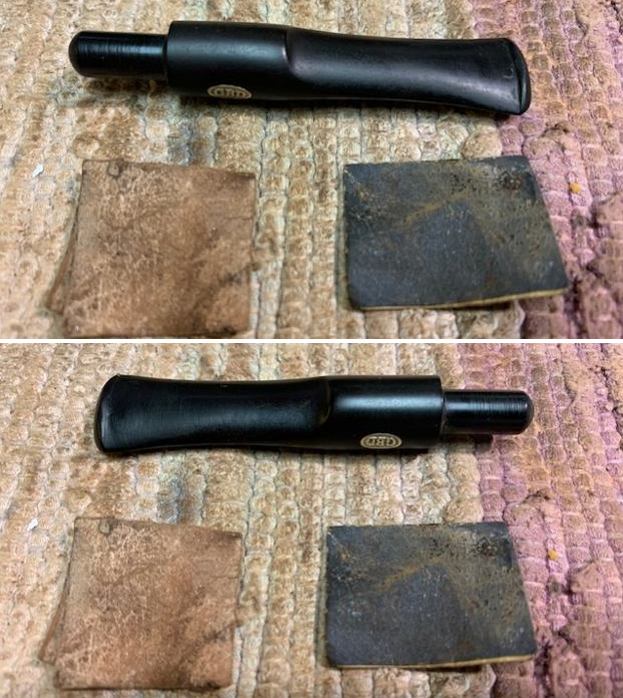
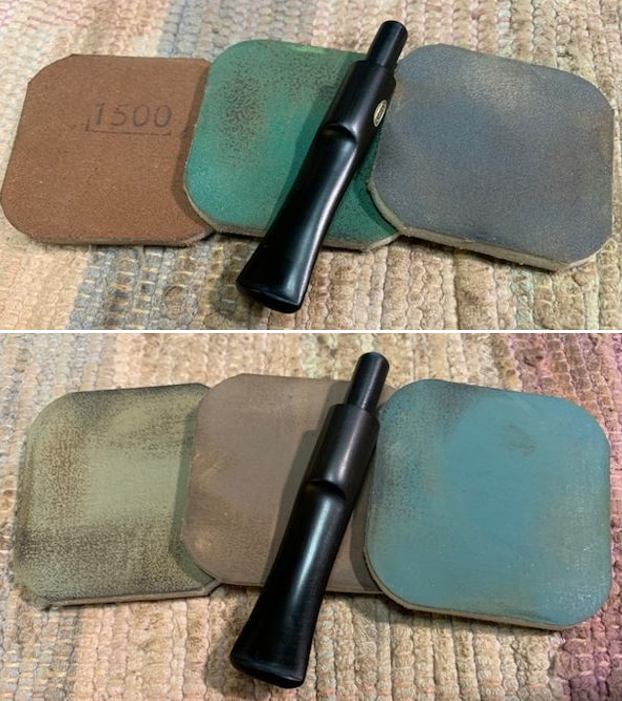
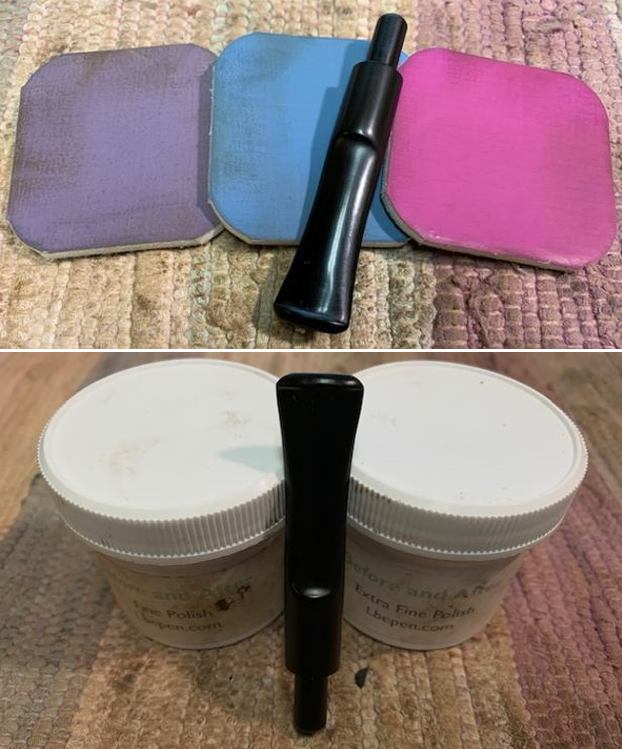
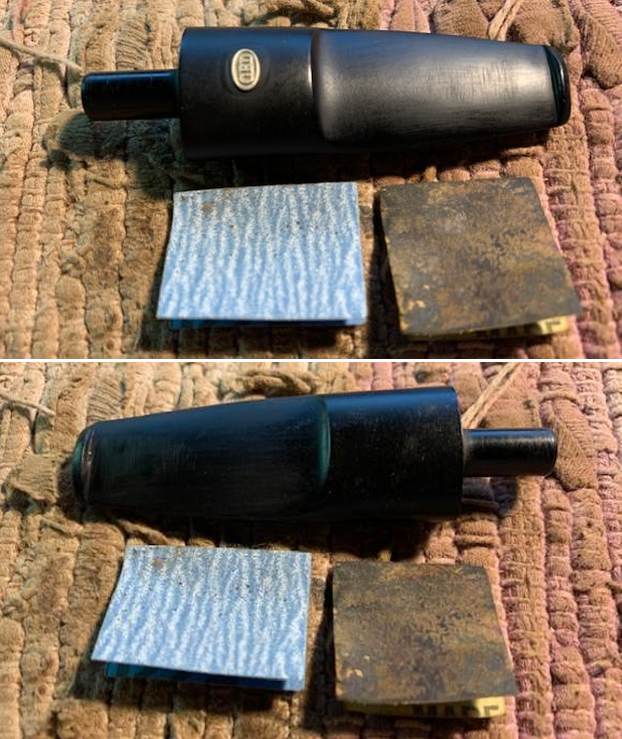 I polished the vulcanite stem with micromesh sanding pads – 1500-12000 grit pads. I wiped it down with Obsidian Oil after each sanding pad. I used Before & After Pipe Polish – both Fine and Extra Fine to further polish the stem.
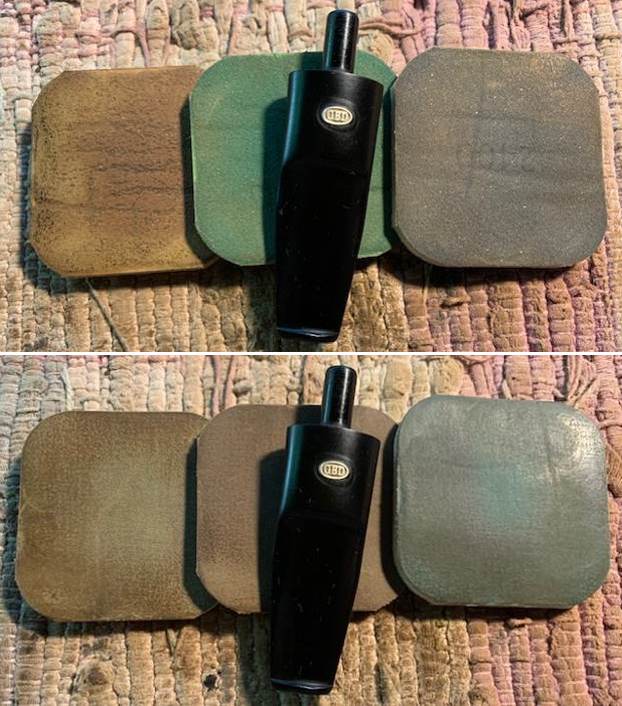
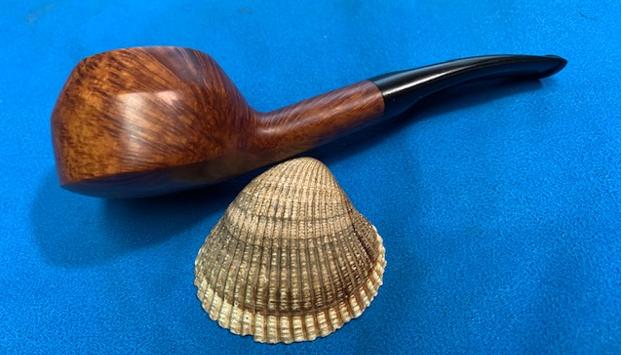
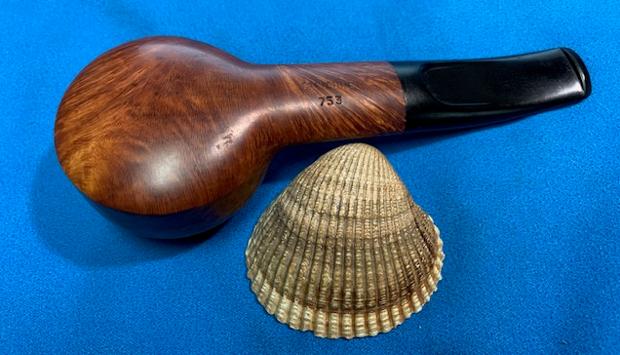
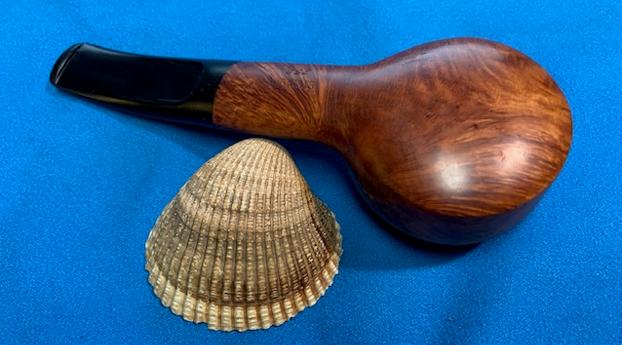
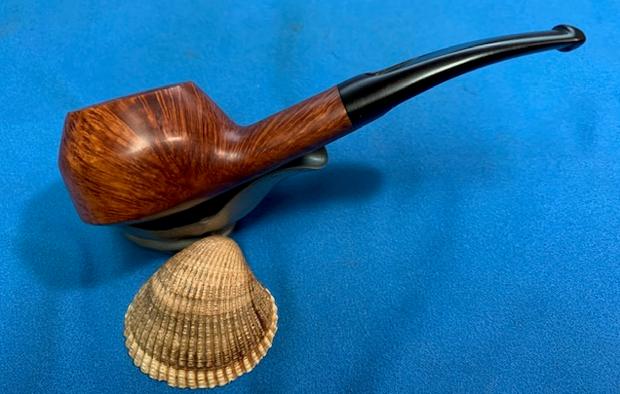
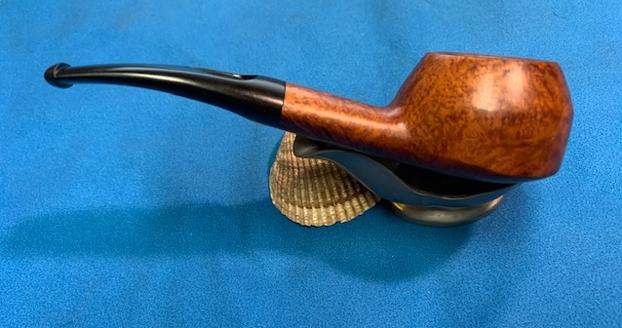
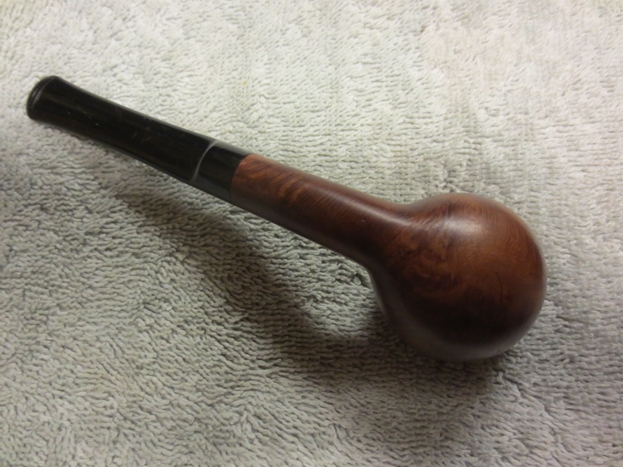
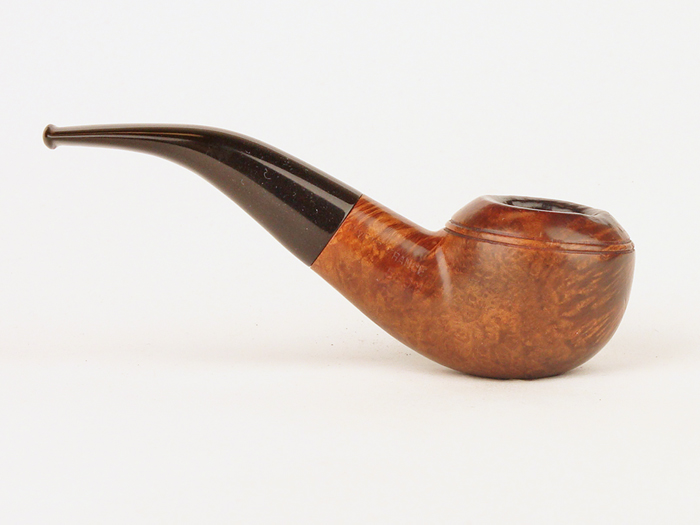
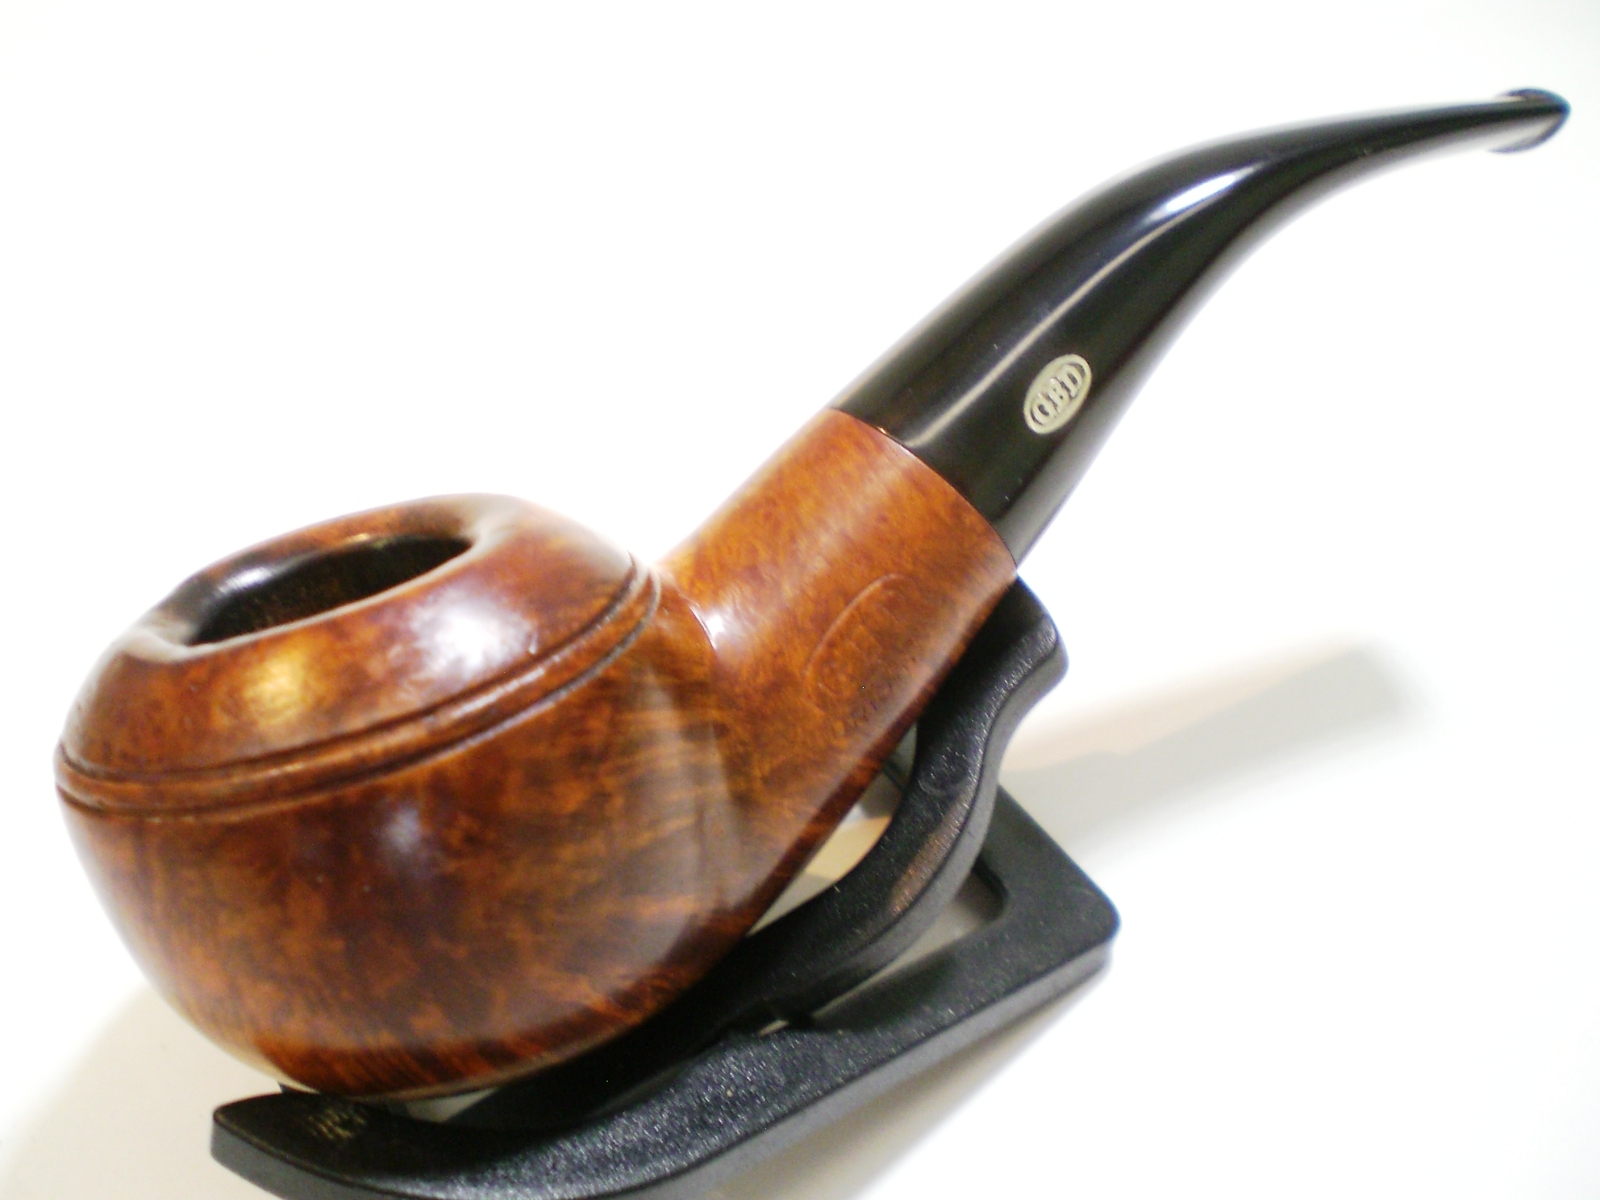
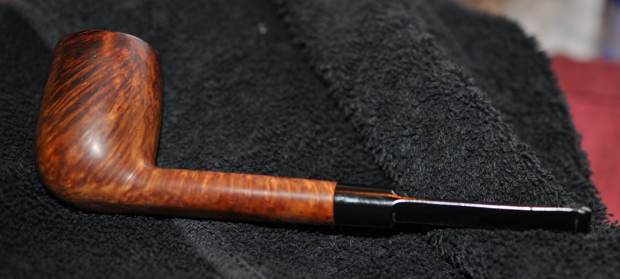
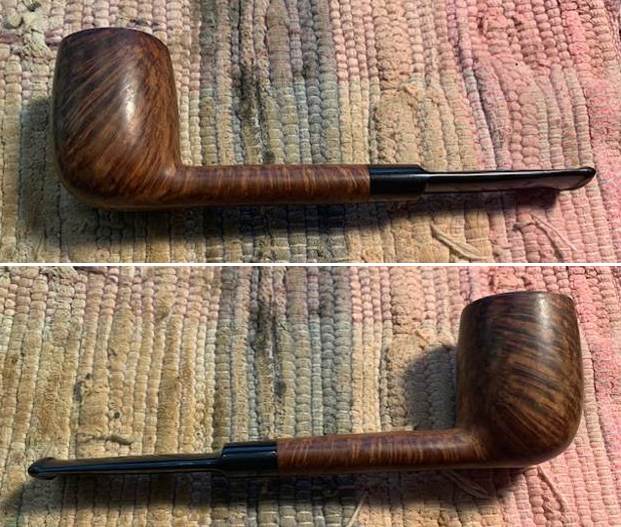
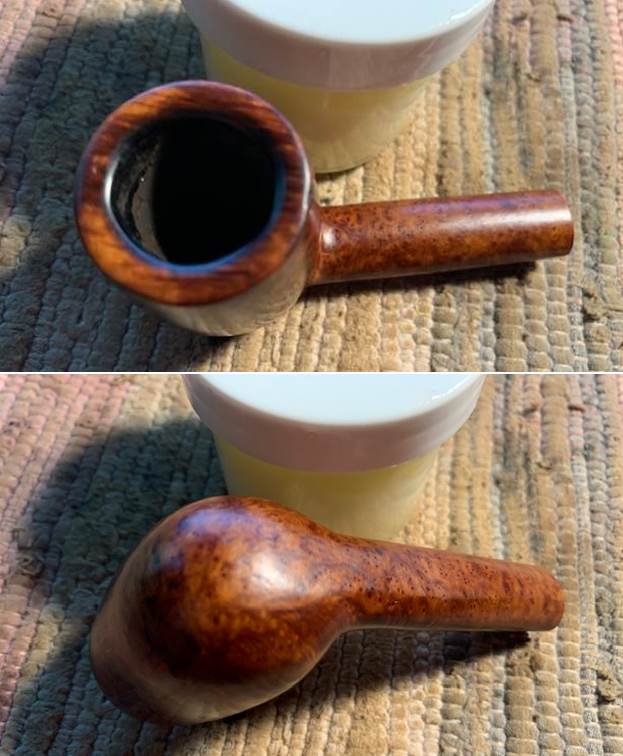
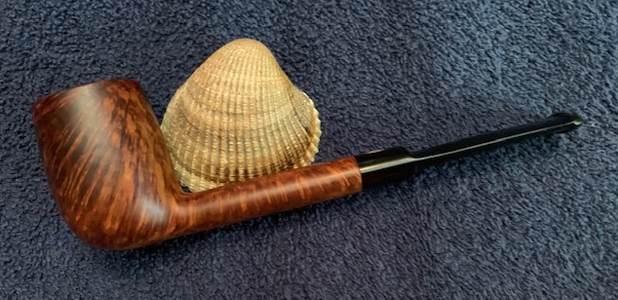
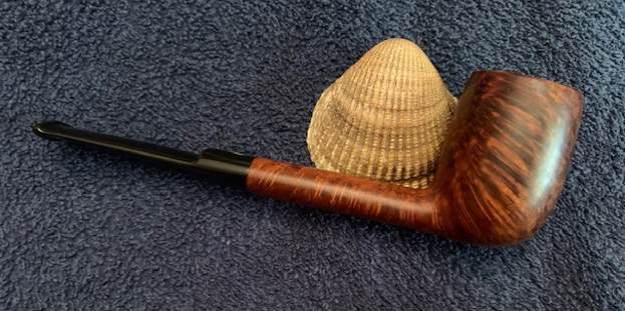
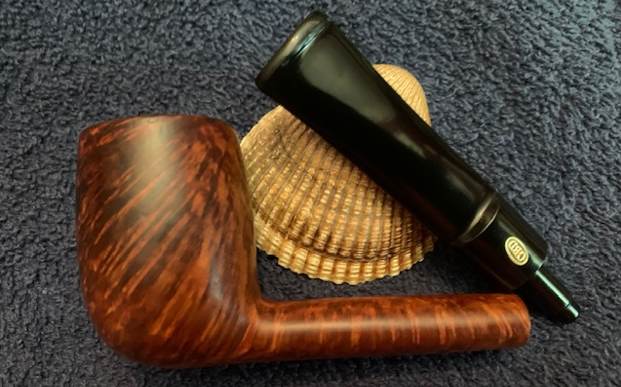
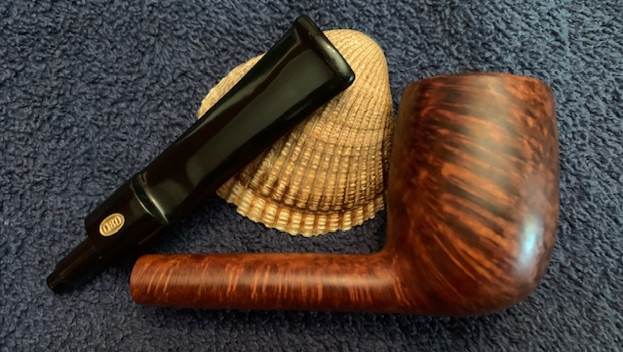
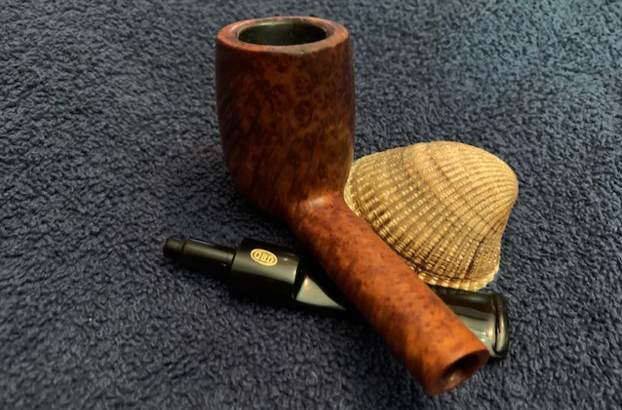
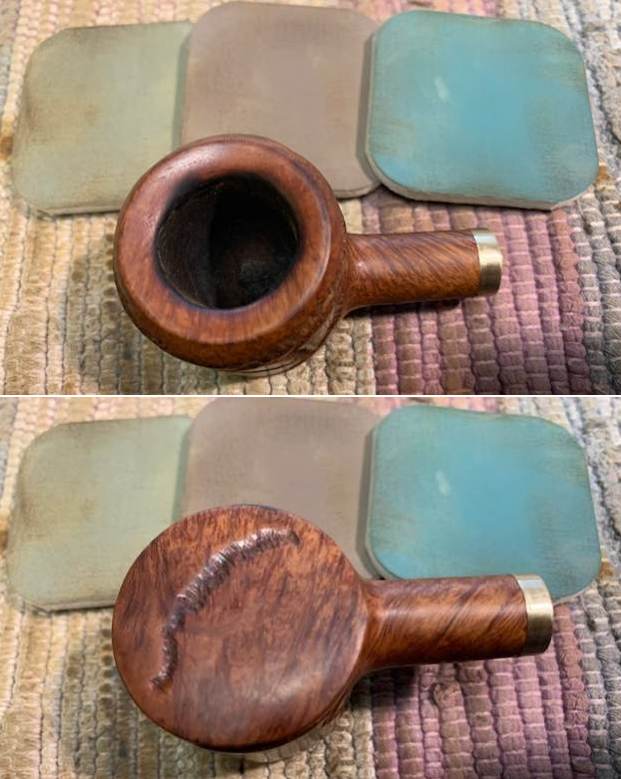
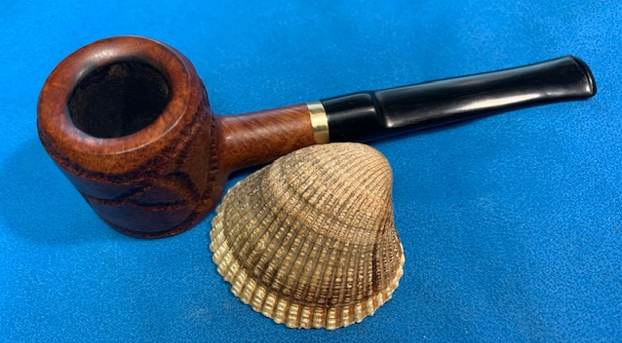
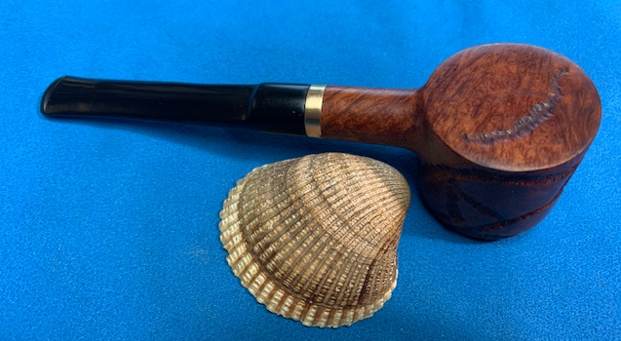
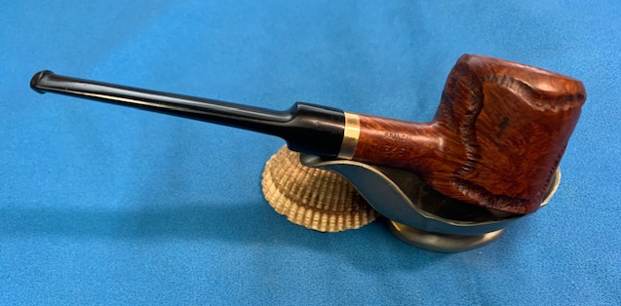
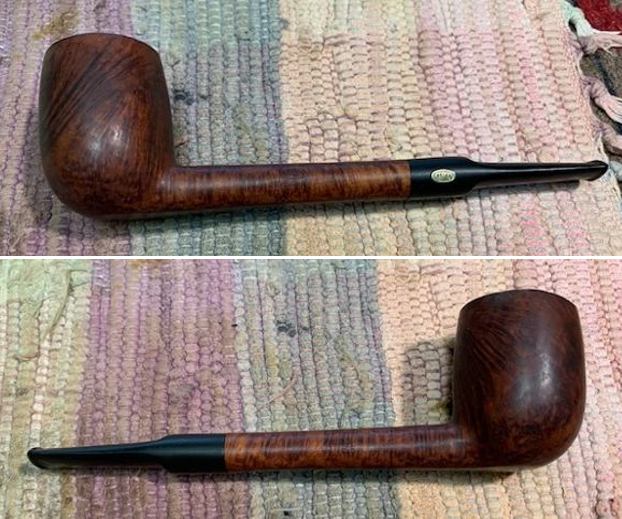
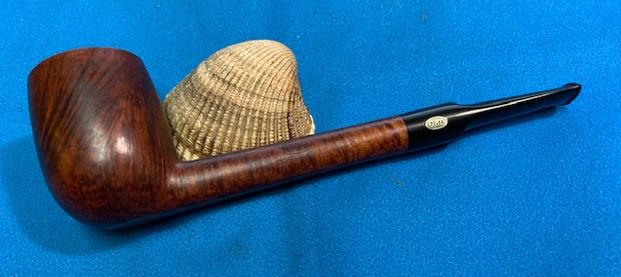
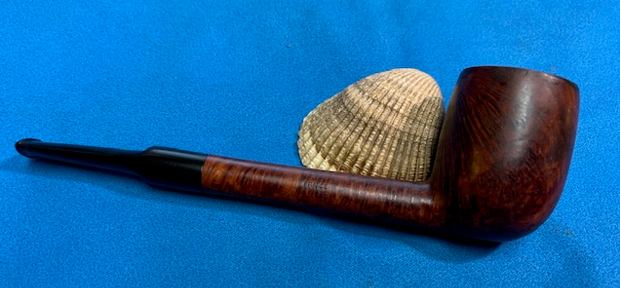
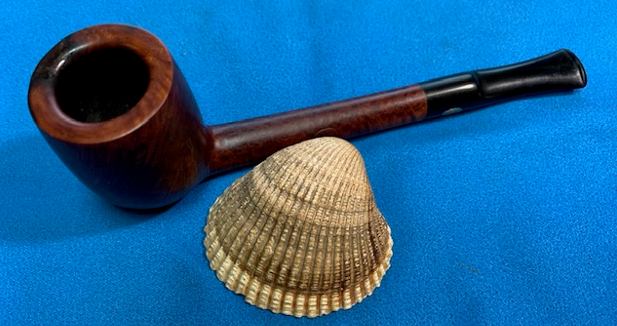
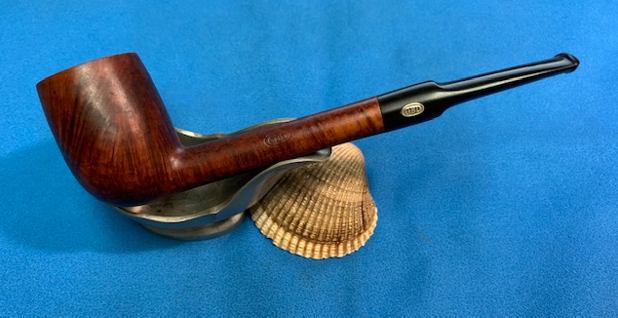
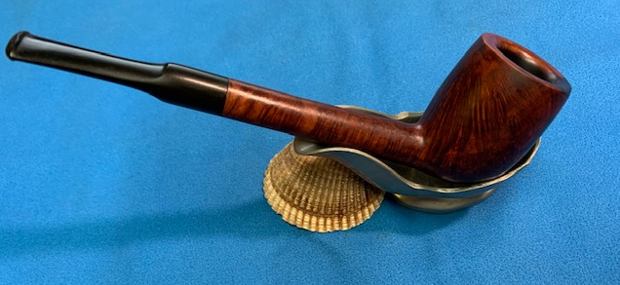
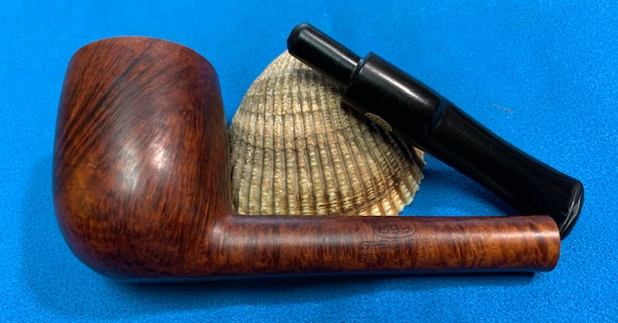
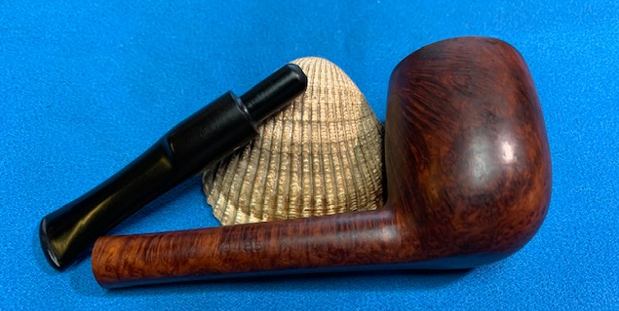
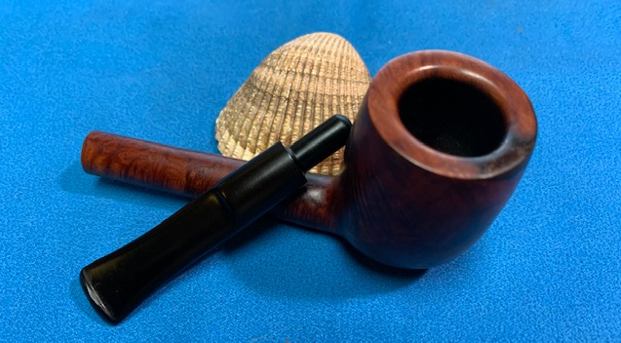
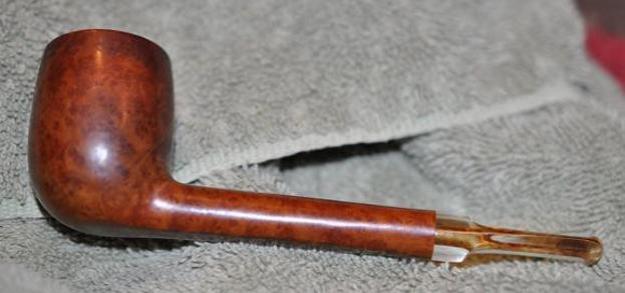
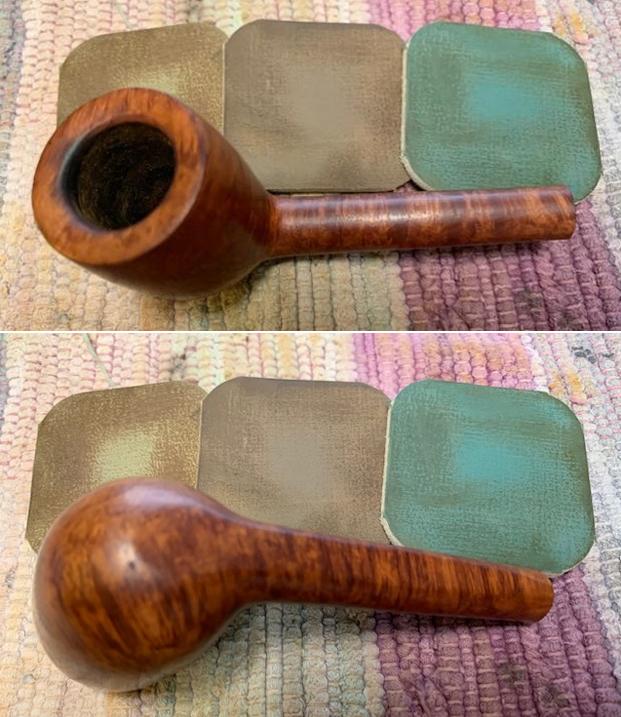
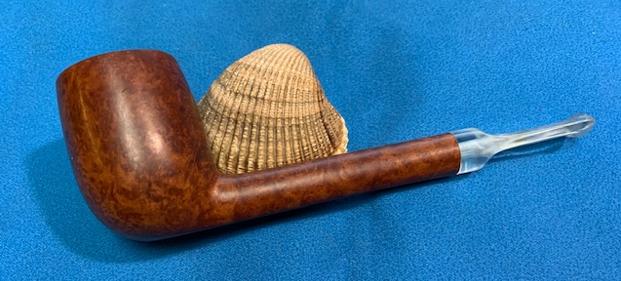
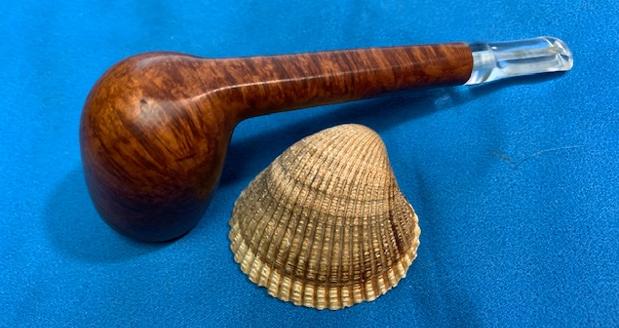
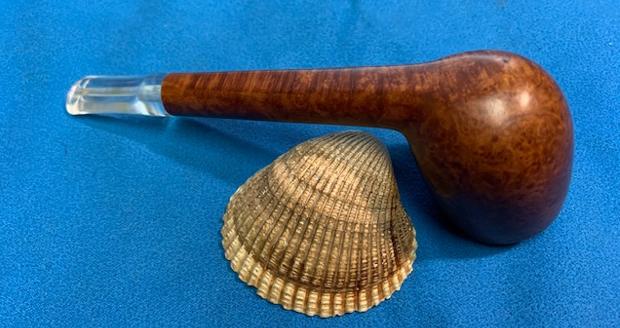
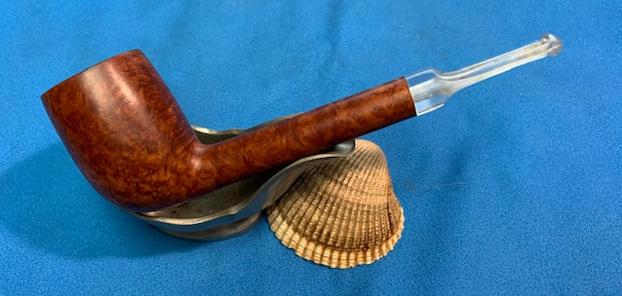
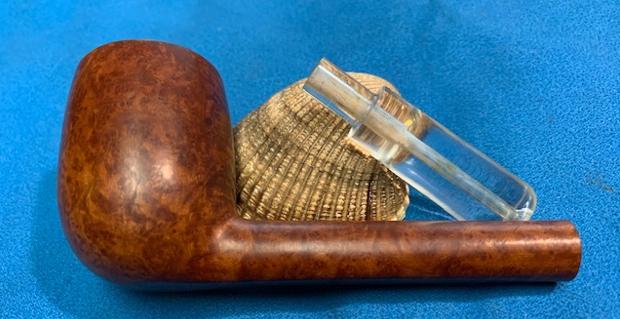
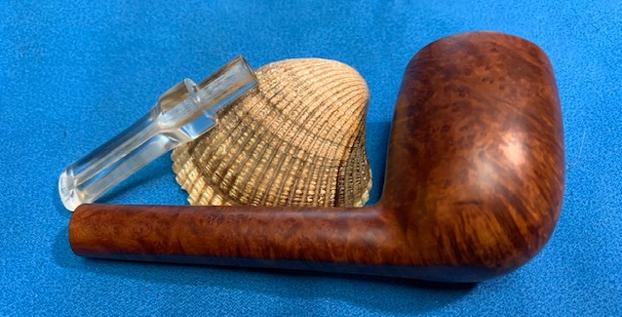
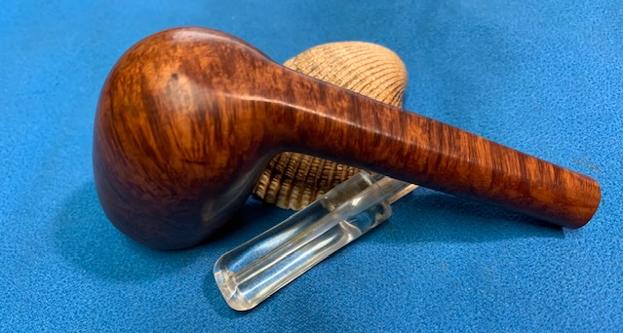
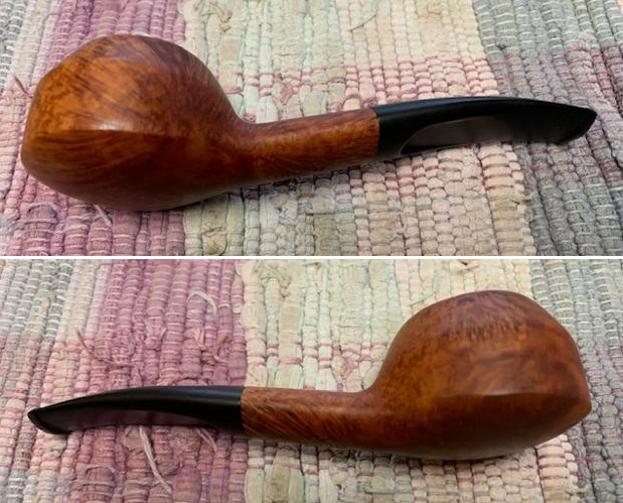
 This French Made GBD Avoriaz 816 oval shank saddle stem Billiard is a great looking pipe now that it has been restored. The rich contrasting brown stained finish around the bowl is quite beautiful and highlights the sandblast grain. The stain and finish works well with the polished vulcanite stem. I put the stem back on the bowl and carefully buffed the pipe with Blue Diamond on the buffing wheel using a light touch on the briar. I gave the bowl and the stem multiple coats of Conservator’s Wax and buffed the entire pipe with a clean buffing pad. I hand buffed the pipe with a microfiber cloth to deepen the shine. The finished GBD Avoriaz 816 sits nicely on the desk top and in the hand. Give the finished pipe a look in the photos below. The dimensions of the pipe are Length: 5 ¾ inches, Height: 2 inches, Outside diameter of the bowl: 1 ½ inch, Chamber diameter: 7/8 of an inch. The weight of the pipe is 56 grams/1.98 ounces. I will be putting it on the French Pipe Maker section of the rebornpipes store shortly. If you are interested in adding this pipe to your collection send me a message or an email. Thanks for reading this blog and my reflections on the pipe while I worked on it. There are many more to come!


 I
I