by Kenneth Lieblich
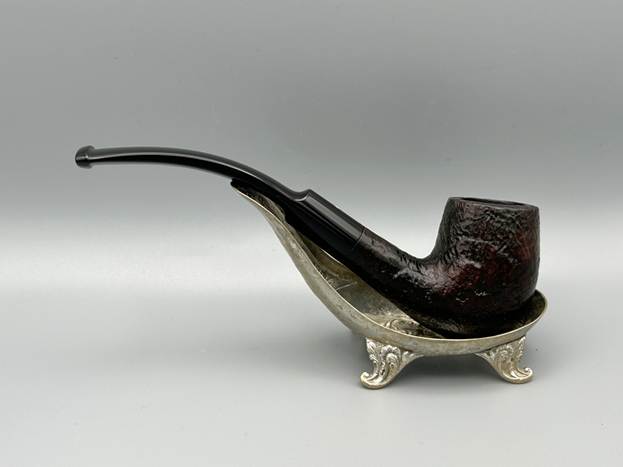
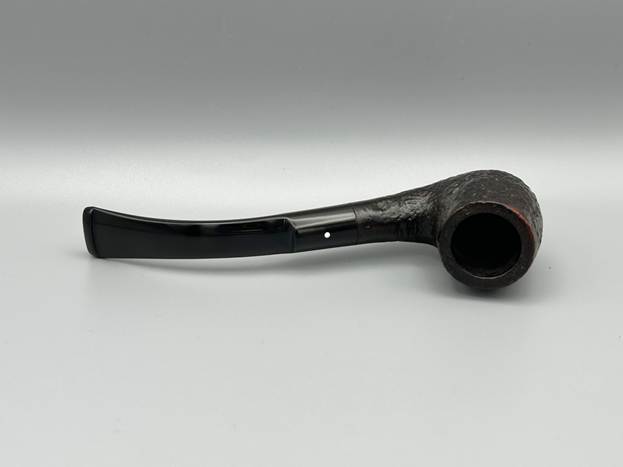
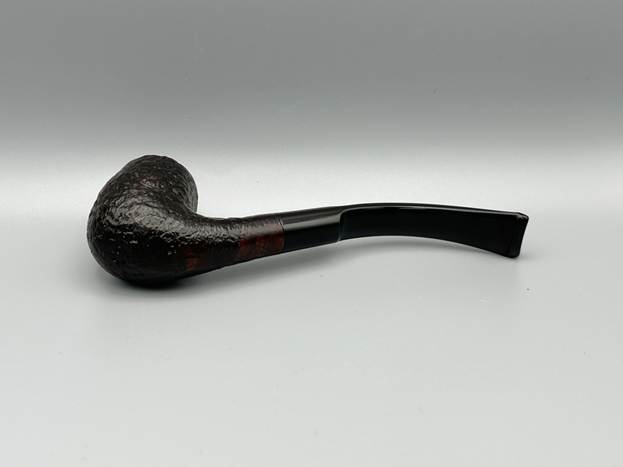
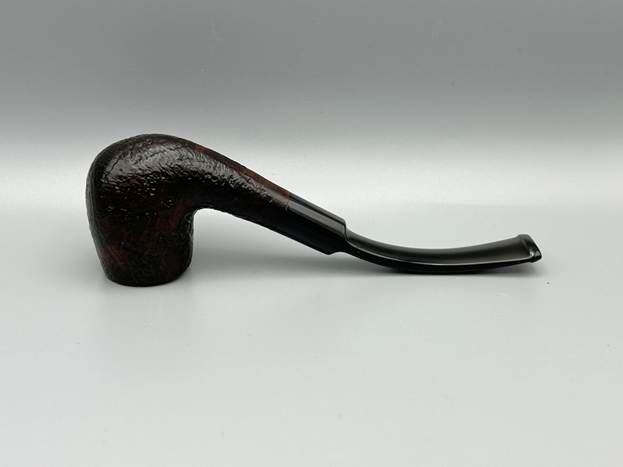
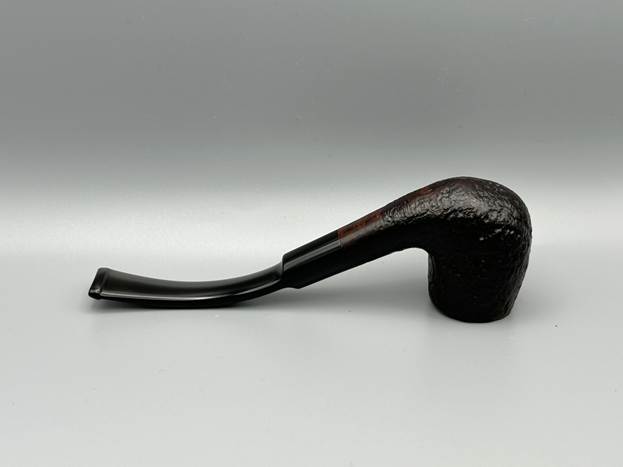
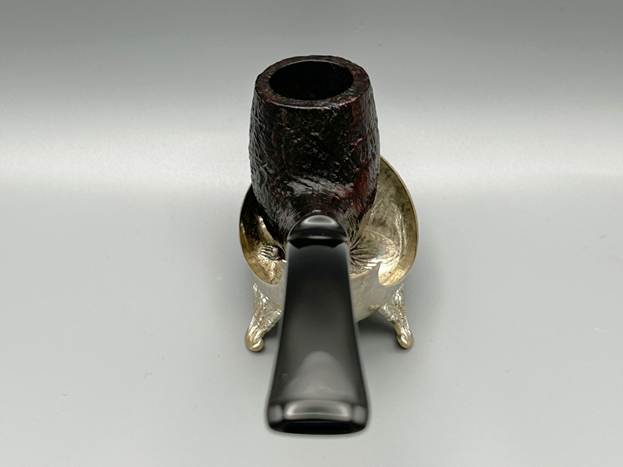
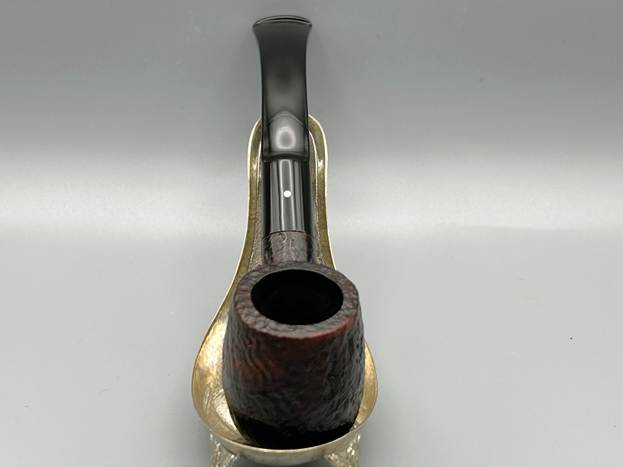
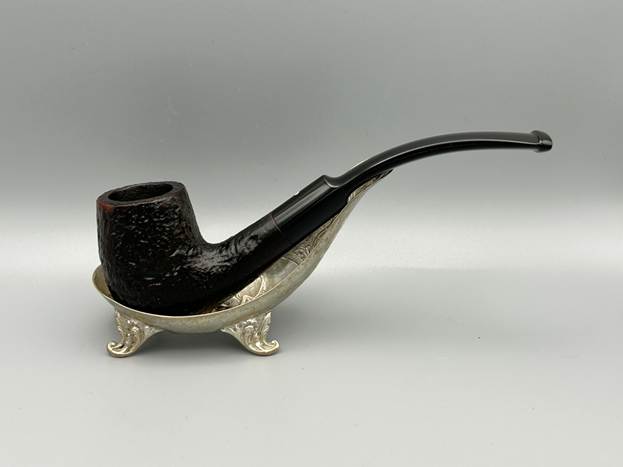
Next on my workbench is this very attractive Dunhill. As you can see, it is a Dunhill Shell 22021 bent billiard. I’ve had it in my boxes for some time and the details of its acquisition seem to have been lost in the mists of time. Undoubtedly, it was from an auction, but I don’t remember the details. It’s a pipe that projects elegance and sophistication. I am pleased that only a light restoration was needed to bring it back to its best. I hope that it now finds its way into the hands of an afficionado.
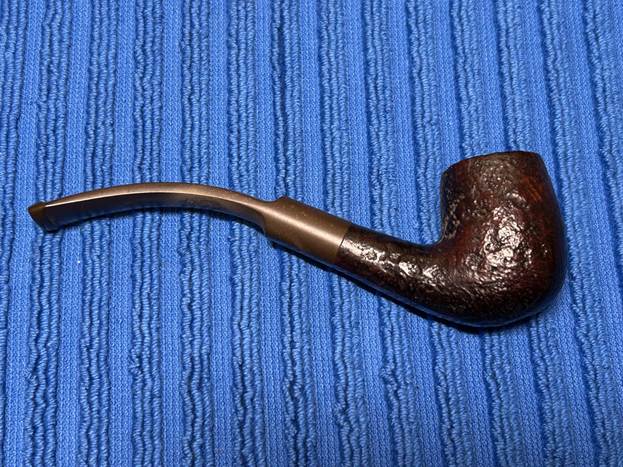
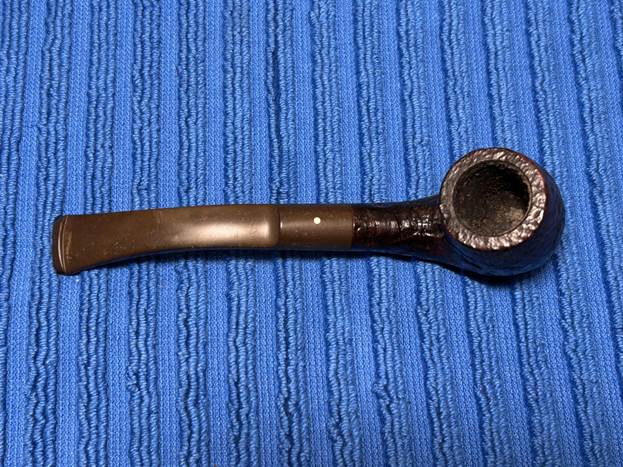
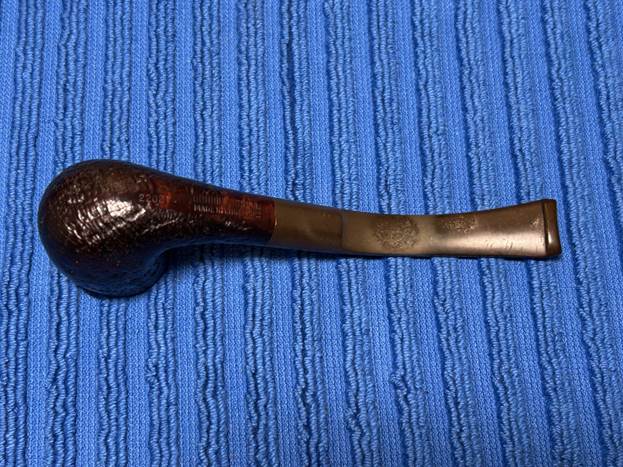
As I mentioned, this is a Dunhill Shell and the markings confirm this. It is a beautiful, classic bent billiard shape. Pleasingly, those markings are very clear and well-cut on the bottom of the shank. On the left-hand side is the model number, 22021. Immediately to the right of this is Dunhill Shell [over] Made in England19. Finally, the stem, of course, has the iconic white spot of Alfred Dunhill’s company. Here is a photo of Alfred, followed by the markings.

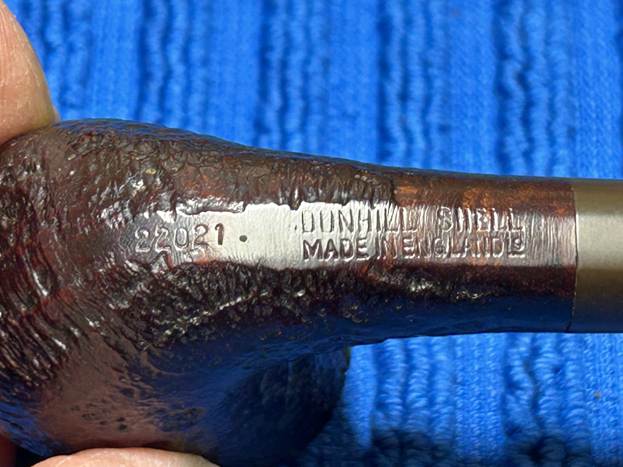
Let’s have a closer look at what all of these markings mean. The number 22021 takes a bit of deciphering, but we can figure it out. In fact, five-digit shape numbers were used only between 1976 and 1984 – so they weren’t around for long. The first digit, 2, is the bowl size – in this case, a Group 2. The second digit, 2, describes the style of stem – in this case, a saddle stem. The third and fourth digits, 02, describe the shape – in this case, a bent (billiard). The fifth digit describes a particular bowl style – although, who knows exactly what that 1 means? Pipephil shows this general explanation of the various numbers:
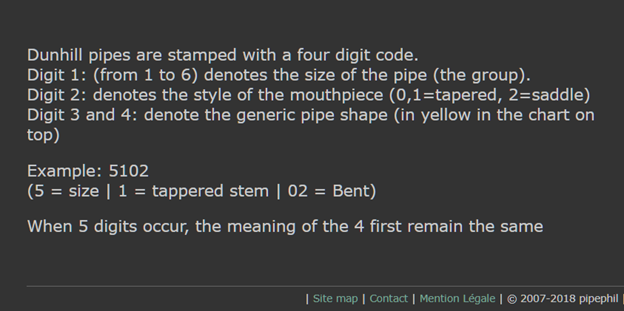
And Pipedia says the following about five-digit shape numbers:
The 5th digit indicated the style of the bowl within the group of a similar classification, each identified by the last digit, which could be any number between 1-9. The complexity of the five-digit system is well illustrated by the inconsistent number of bowl variations offered within a single shape category. A Group 4 ‘Billiard’, for example, was available in five distinct bowl styles, denoted by a fifth digit of 1, 2, 3, 4, or 9. In contrast, the smaller Group 1 ‘Billiard’ was limited to just three style variations, corresponding to a fifth digit of 1, 2, or 9. Although this five-digit code was stamped directly onto the pipes and was therefore visible to customers, its primary function was internal. It served as an essential tool for production planning and, to a lesser extent, as a technical reference for retail personnel. Ultimately, however, the system’s intricate nature proved cumbersome for practical, day-to-day application in a sales environment. Consequently, the decision was made in 1984 to eliminate the fifth digit from the pipe stampings. This simplification yielded significant logistical benefits, streamlining inventory management by drastically reducing the number of individual Stock Keeping Units (SKUs). Concurrently, it simplified tasks for retail staff, unburdening them from the considerable complexity of the previous system.
The markings Dunhill Shell refer (obviously and respectively) to the company that produced the pipe and the finish. The history of Alfred Dunhill, his company, and his family is fascinating. If you are interested in learning more, have a read of this article from Pipedia.
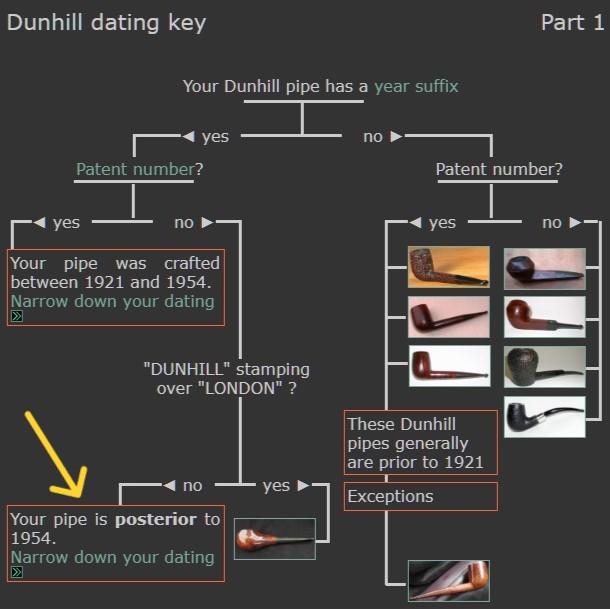
The markings Made in [over] England19 give us an indication of when this pipe was manufactured. The number is the date suffix and provides us the information we need to figure out the date. I already knew the answer, but allow me to walk you through the process. I went to Pipephil’s Dunhill Dating Key (which you can find here) and I have reproduced (below) the two charts they use to date Dunhills. In the first image below, we are asked if our pipe has a date suffix. It does, so we follow the arrow and the chart asks if our pipe has a patent number. It does not, so we proceed. Then we are asked if our pipe reads Dunhill [over] London – again, it does not. As a result, we know that our pipe dates from after 1954.
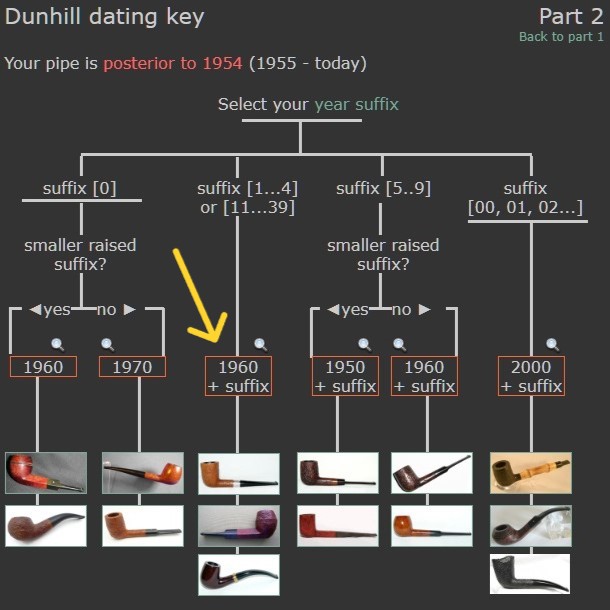
On to the second chart – and it is much more straightforward. The chart asks for the digit(s) in our date suffix. In our case, it is 19, so we know that the date of our pipe is the result of simple addition: 1960 + 19 = 1979. Now we know that the year of manufacture is 1979! Is this your birth year? If so, have I got a pipe for you!
Finally, the white spot – have you ever wondered about it? Well, very briefly, here is the origin of the famous white spot (from Pipedia):
In 1912, the famous white spot was introduced for very practical concerns. With straight pipes, customers had trouble knowing which way to insert the handmade vulcanite mouthpieces. So Alfred Dunhill ordered white spots to be placed on the upper side of the stem. This very practical solution would become a definitive trademark of Dunhill pipes. The “white spot” soon became known as a symbol of quality.
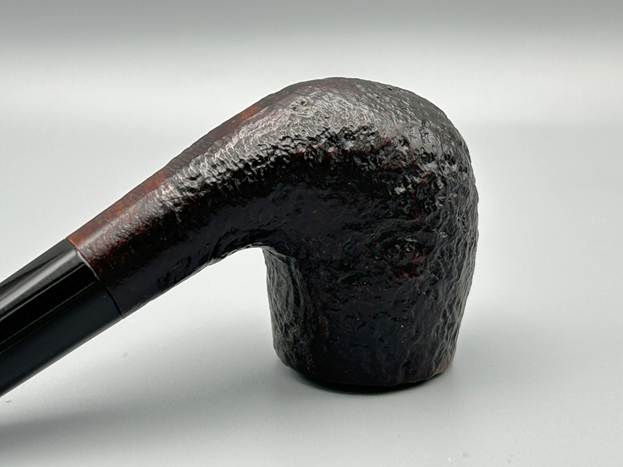
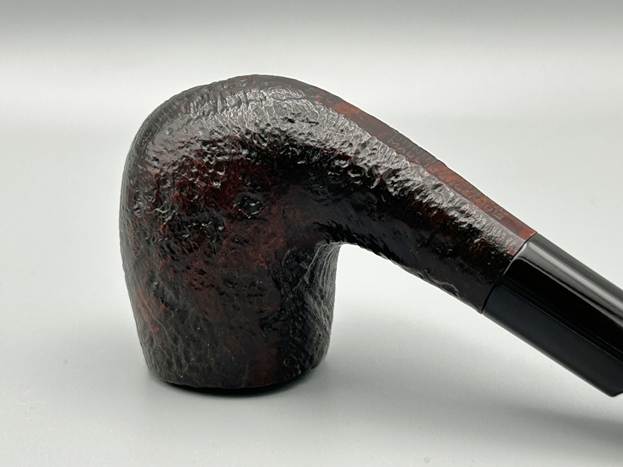
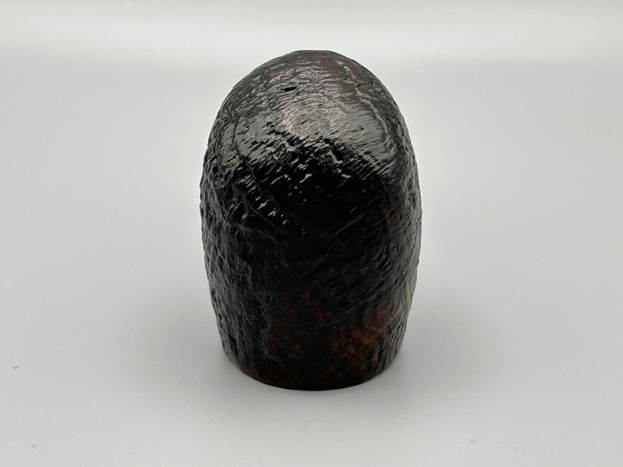
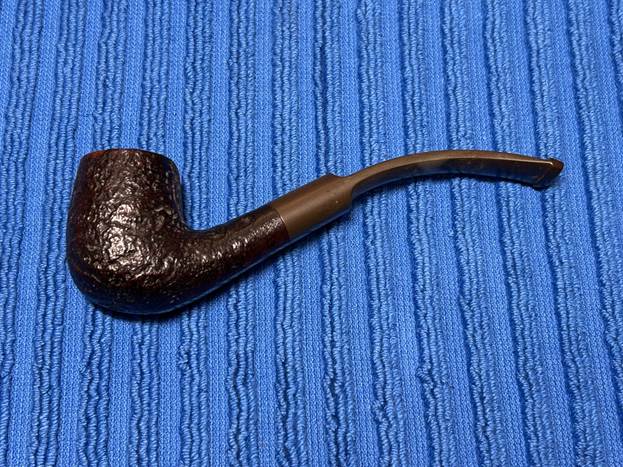
Now let’s get on with restoring this beautiful pipe! It was in generally good condition – nothing outstanding and no significant damage. As you can see, the stem had the usual wear-and-tear. There was some oxidation, but not much calcification. Meanwhile, the stummel was in lovely condition, but a bit dirty. The bowl had only a little cake inside it. The sandblast looked rich and beautiful.
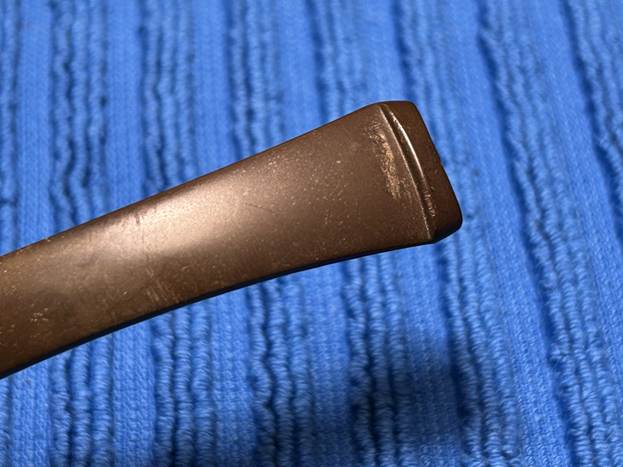
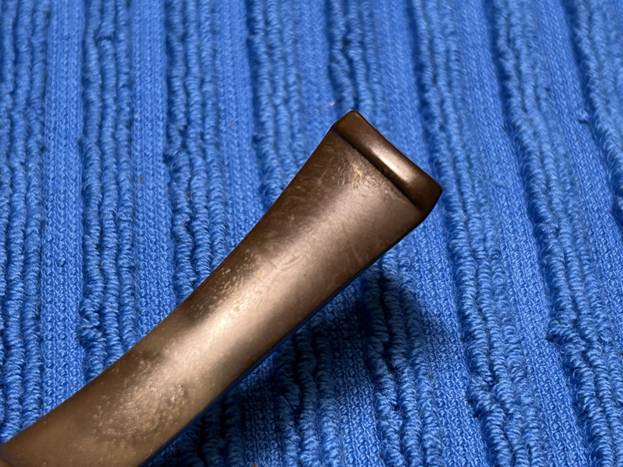
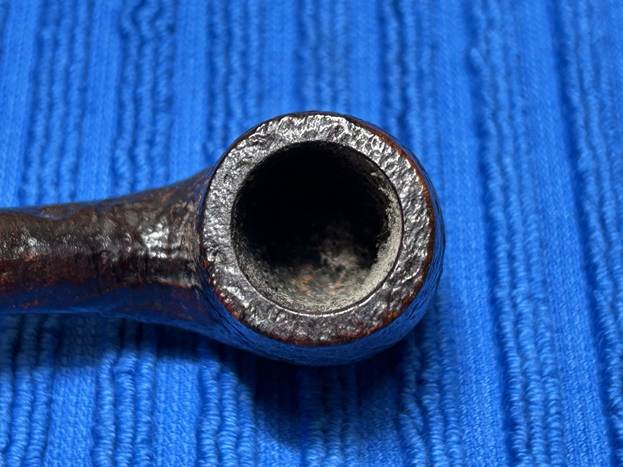
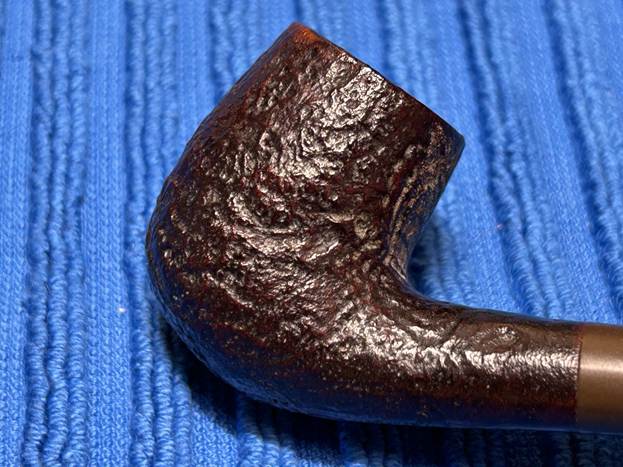
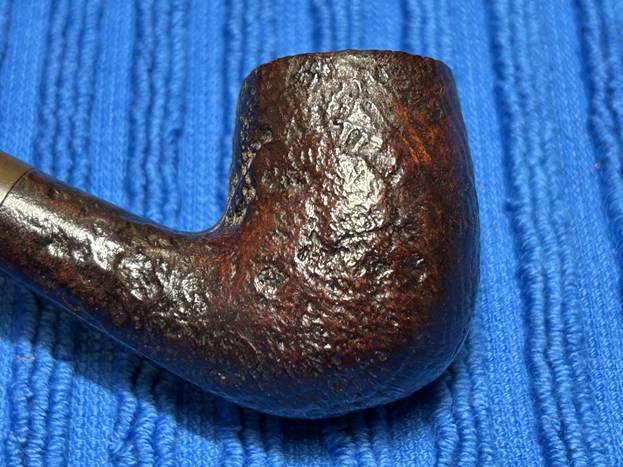
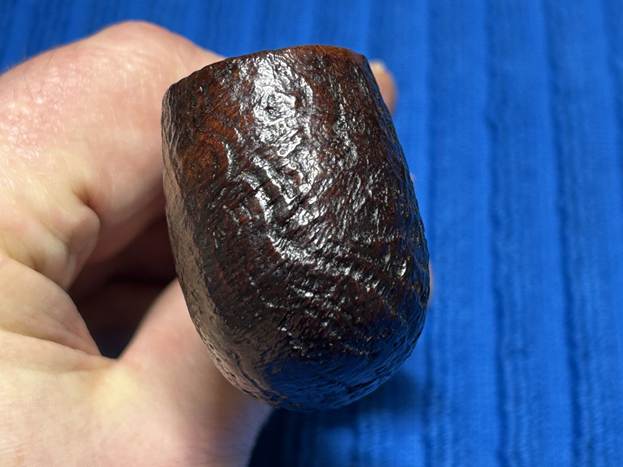
I used isopropyl alcohol on a few cotton rounds and wiped down the stem to provide an initial cleaning of filth before moving on to the next steps. The primary cleaning came next. I disinfected the inside of the stem with both pipe cleaners and cotton swabs dipped in lemon-infused 99% isopropyl alcohol.
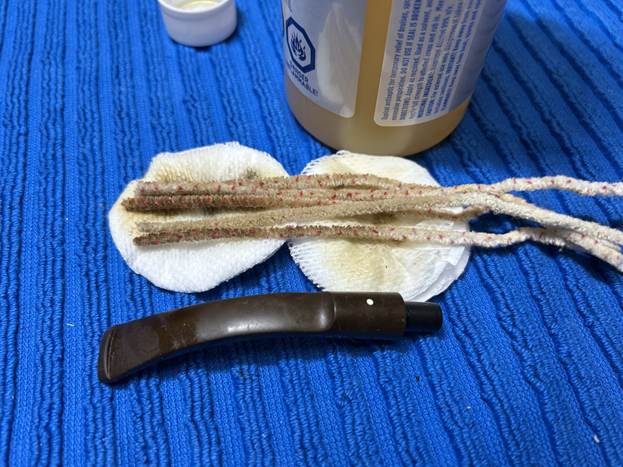
The goal of the next step is the removal (or minimization) of oxidation. Going to my sink, I used cream cleanser, cotton rounds, and a toothbrush, and scoured the stem to remove as much surface oxidation as possible. As the photos show, the result was a hideous, ochre-coloured mess – but better off the stem than on it.
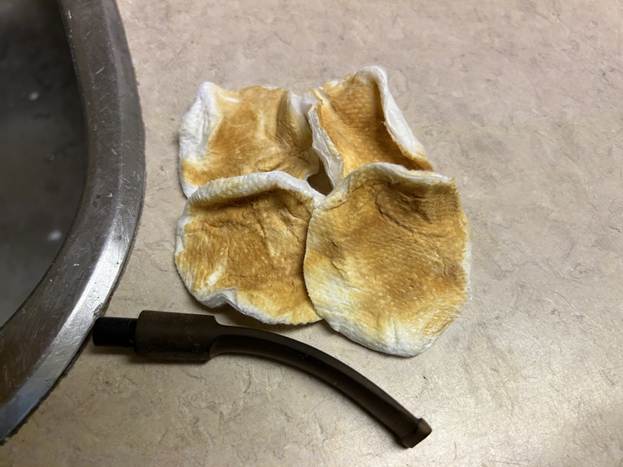
Once the stem was reasonably clean, I soaked it overnight in some Briarville Stem Oxidation Remover. This solution works to draw oxidation in the stem to the surface of the vulcanite. This is a major aid and an important step in ensuring a clean stem. The following day, I drew out the stem from its bath and scrubbed the lingering fluid with a toothbrush.
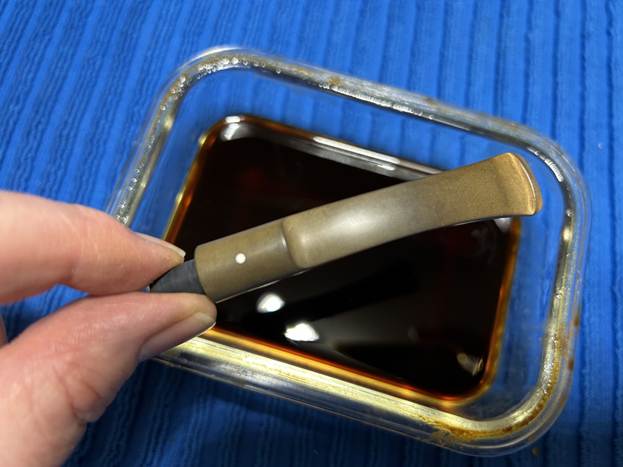
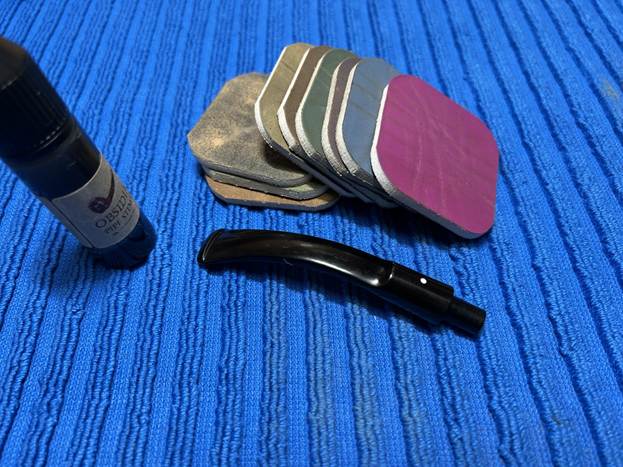
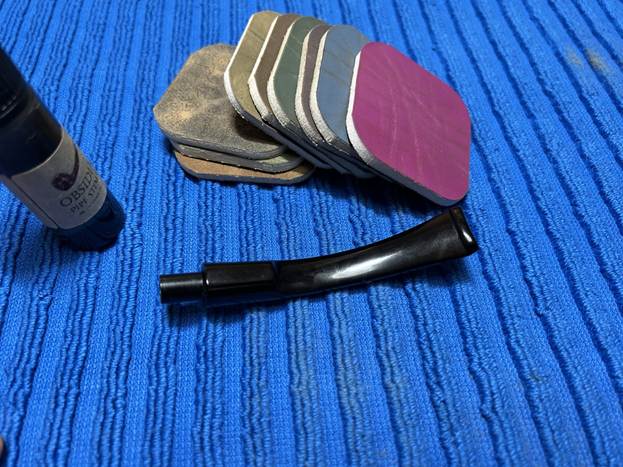
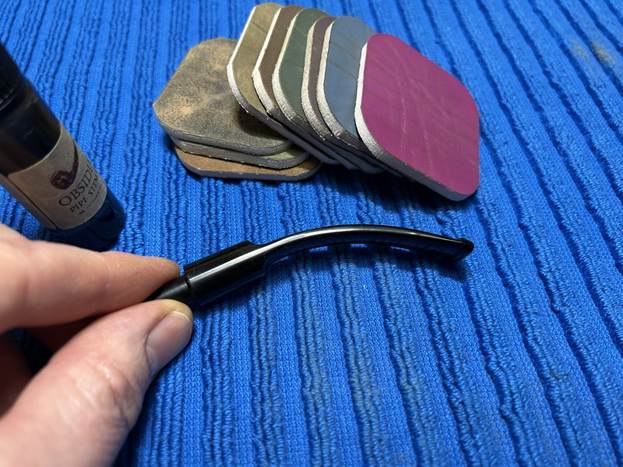
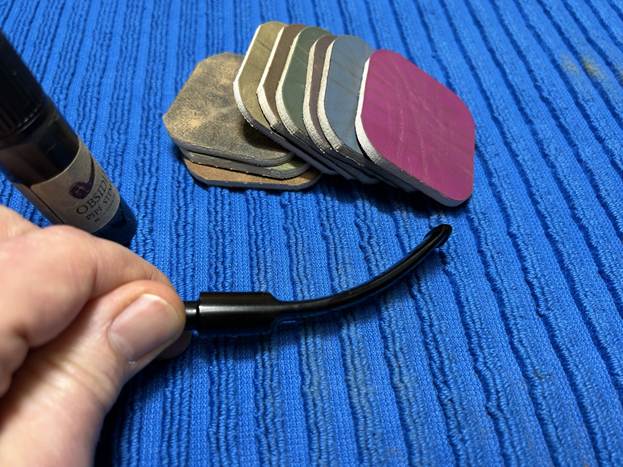
The penultimate step for the stem is sanding. I used all nine of the micromesh sanding pads (1,500 through 12,000 grit) to sand out flaws, even out the vulcanite, and provide gentle polishing of the finished surface. I also applied pipe-stem oil while using the last five micromesh pads. There was a wonderful, deep black shine to the stem when I was done.
As the stem was (nearly) complete, I moved on to the stummel. The first step was to ream out the bowl – that is to say, remove all the cake inside the bowl. This accomplished a couple of things. First (and most obviously), it cleaned the bowl and provided a refurbished chamber for future smoking. Second, when the old cake was removed, I could inspect the interior walls of the bowl and determine if there was damage or not. I used a reamer, a pipe knife, and a piece of sandpaper taped to a wooden dowel. Collectively, these ensured that all the debris was removed.
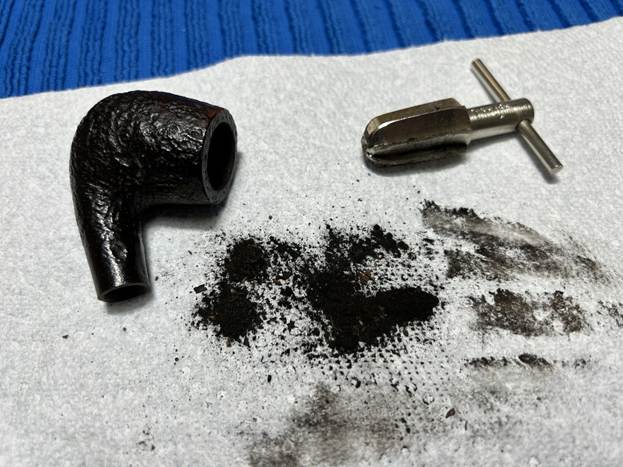
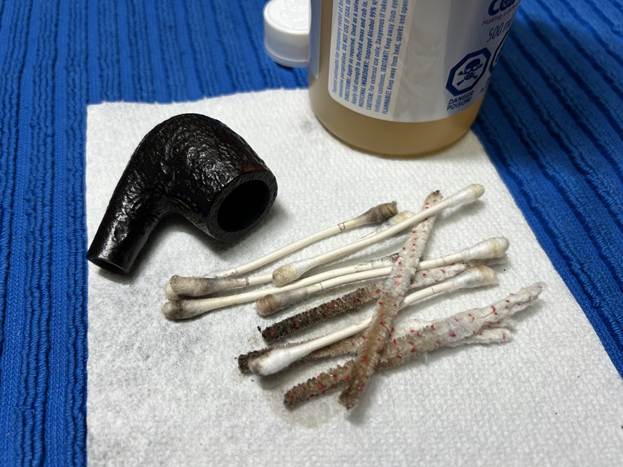
Similar to the stem, I then cleaned the stummel with both pipe cleaners and cotton swabs dipped in lemon-infused 99% isopropyl alcohol.
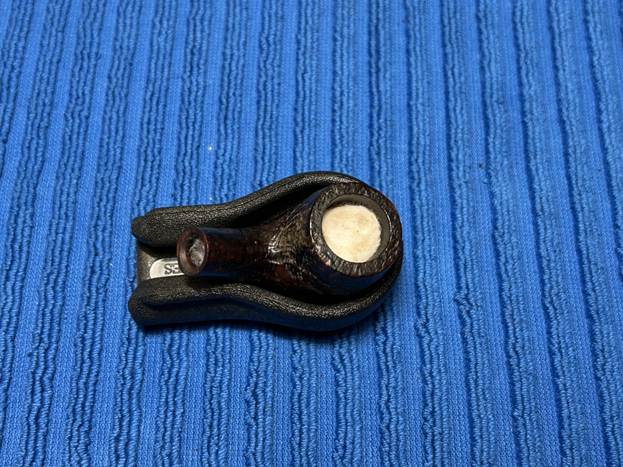
I then decided to ‘de-ghost’ the pipe – that is to say, exorcize the remaining filth from the briar. I filled the bowl and the shank with cotton balls, then saturated them with 99% isopropyl alcohol. I let the stummel sit overnight. This caused the remaining oils, tars and smells to leach out into the cotton.
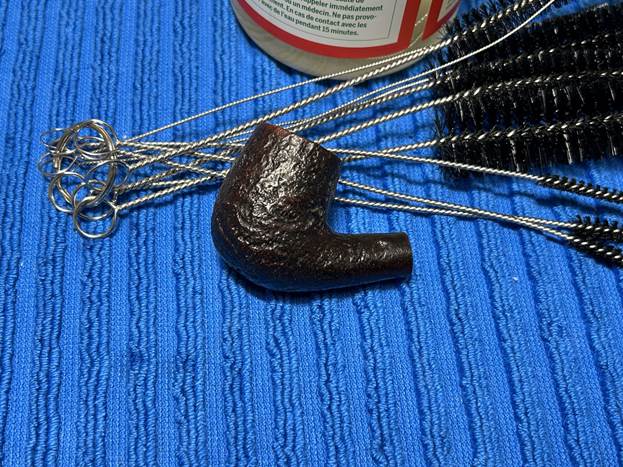
To tidy up the briar, I wiped down the outside, using a solution of a pH-neutral detergent and some distilled water, with cotton rounds. I also used a toothbrush in the crevices. This did a good job of cleaning any latent dirt on the surface of the briar. The last step of the cleaning process was to scour the inside of the stummel with the same mild detergent and tube brushes. This was the culmination of a lot of hard work in getting the pipe clean.
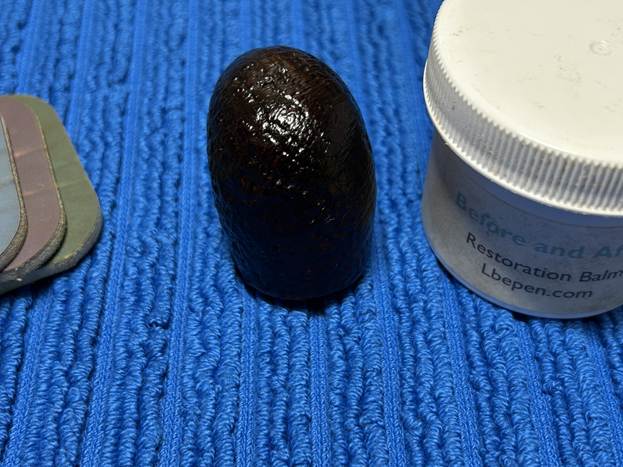
I rubbed some LBE Before & After Restoration Balm into the briar and let it sit for an hour or so. The balm moisturizes the wood and gives a beautiful depth to the briar. I then buffed the stummel with a microfibre cloth.
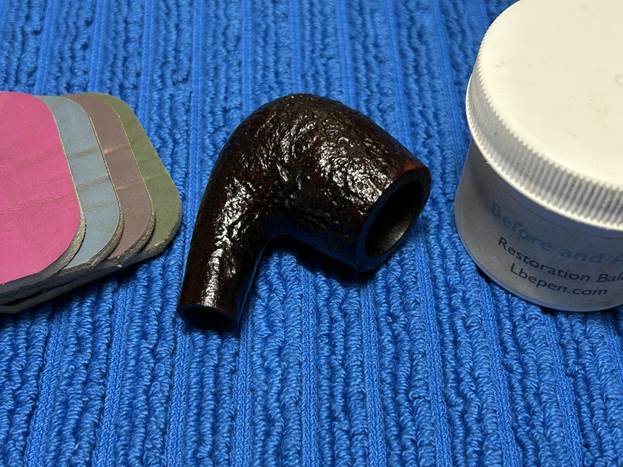
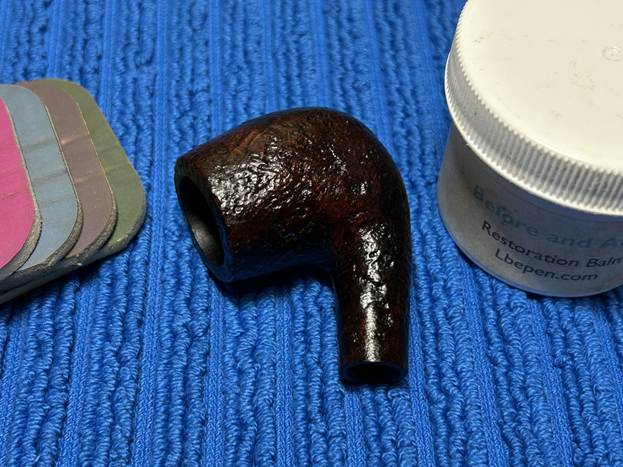
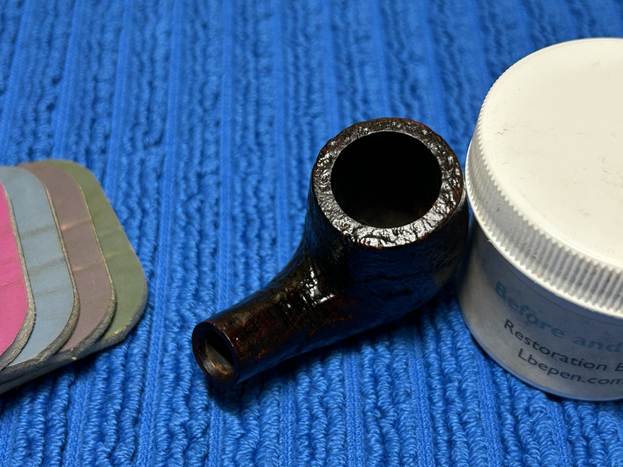
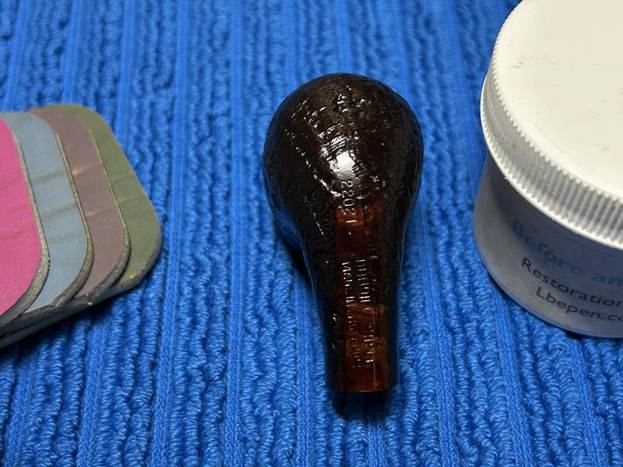
Then it was off for a trip to the bench polisher. A few coats of conservator’s wax were just what this pipe needed. Boy – that wax really makes this pipe pop! The lovely shine made the wood look absolutely beautiful. The sandblast looks fantastic and is ready to be enjoyed again by the next owner.
All done! This 1979 Dunhill Shell 22021 bent billiard looks fantastic again and is ready to be enjoyed by its next owner. I am pleased to announce that this pipe is for sale! If you are interested in acquiring it for your collection, please have a look in the ‘British’ section of the store here on Steve’s website. You can also email me directly at kenneth@knightsofthepipe.com. The approximate dimensions of the pipe are as follows: length 5¼ in. (133 mm); height 1⅝ in. (40 mm); bowl diameter 1¼ in. (31 mm); chamber diameter ⅔ in. (18 mm). The weight of the pipe is ⅞ oz. (25 g). I hope you enjoyed reading the story of this pipe’s restoration as much as I enjoyed restoring it. If you are interested in more of my work, please follow me here on Steve’s website or send me an email. Thank you very much for reading and, as always, I welcome and encourage your comments.