Tag Archives: British pipes

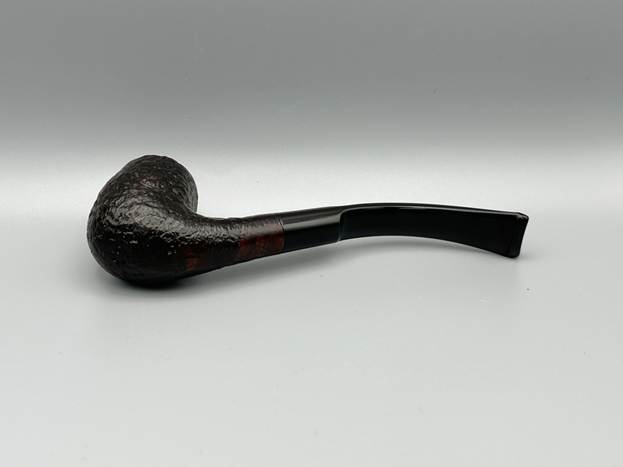
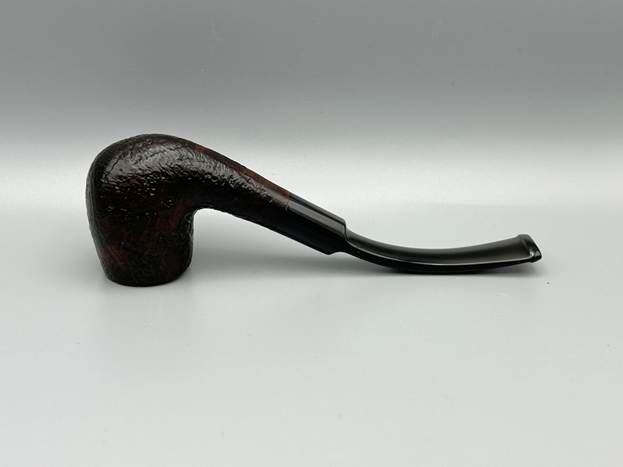
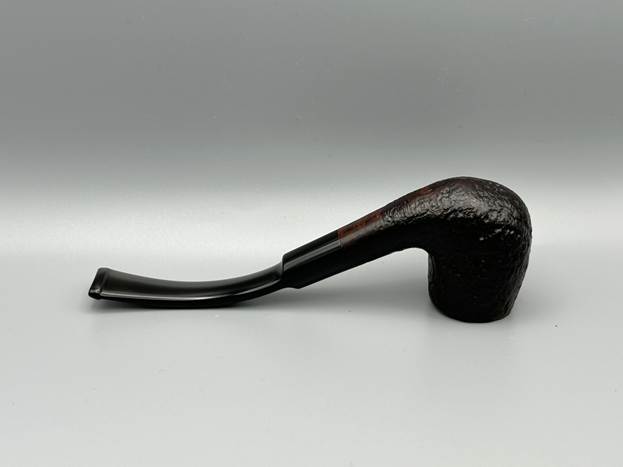
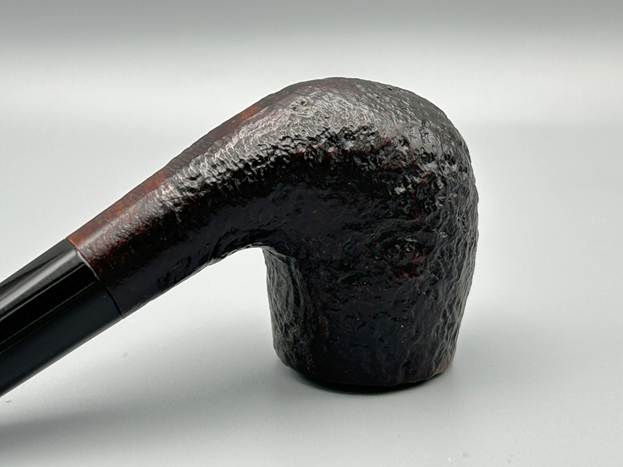
Bringing a 1967 Dunhill Tanshell 148 Bulldog Back to Its Best


by Kenneth Lieblich

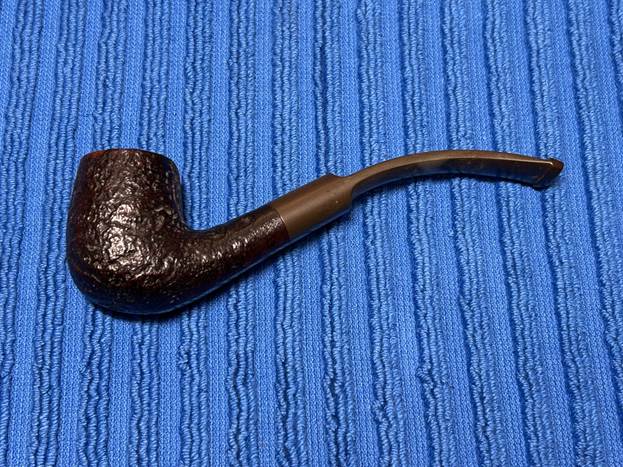
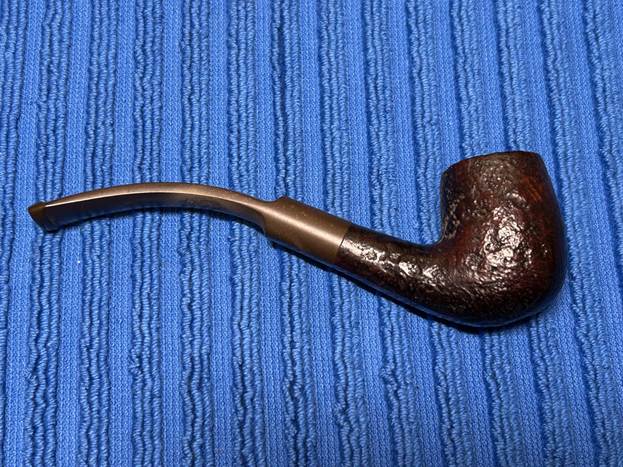
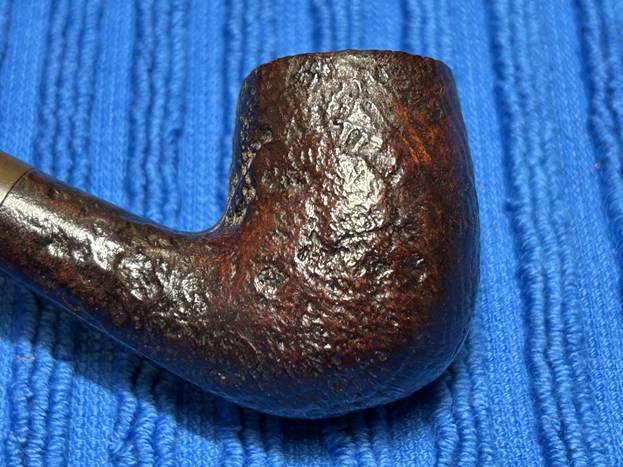
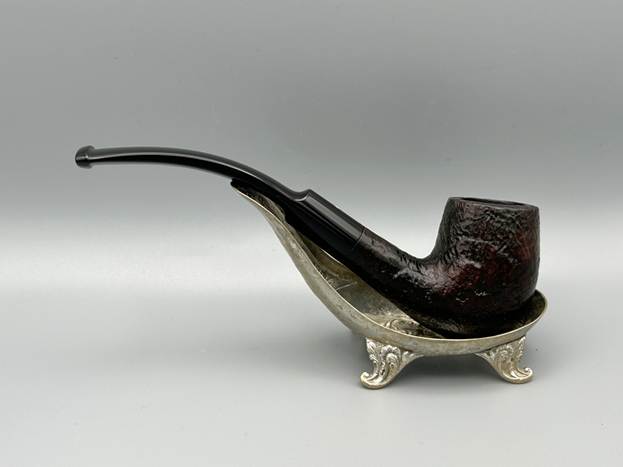
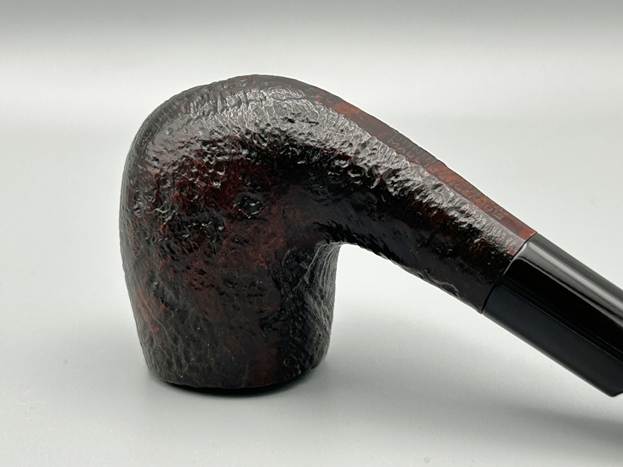
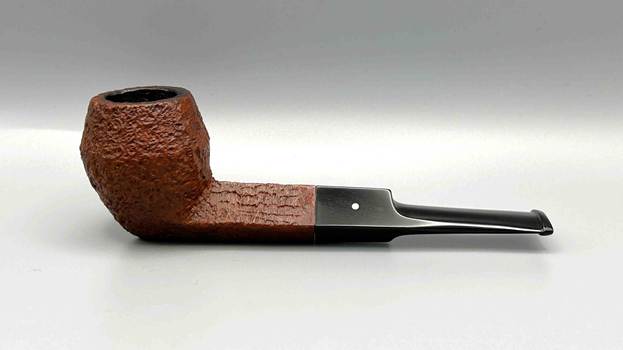
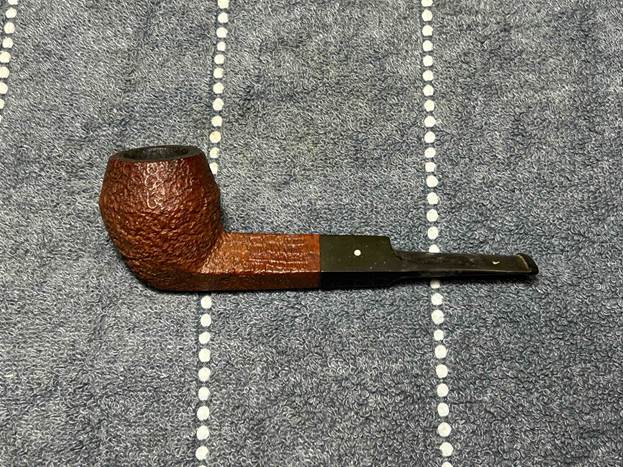
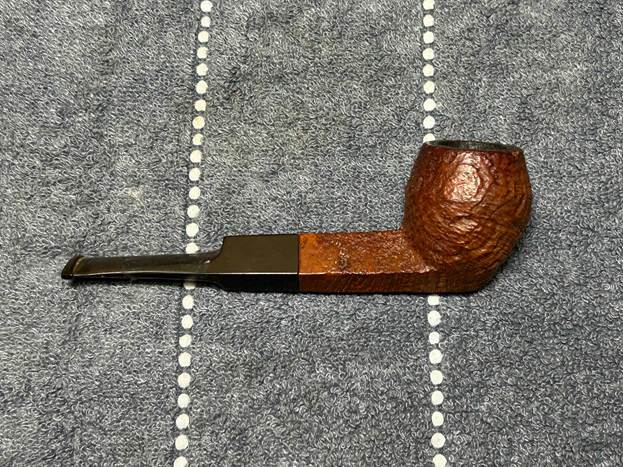
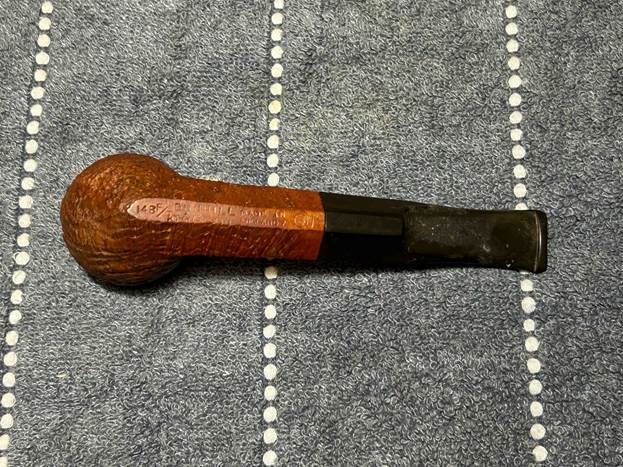
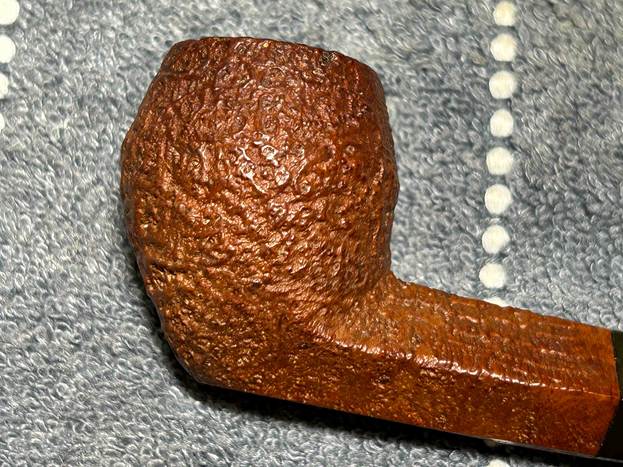
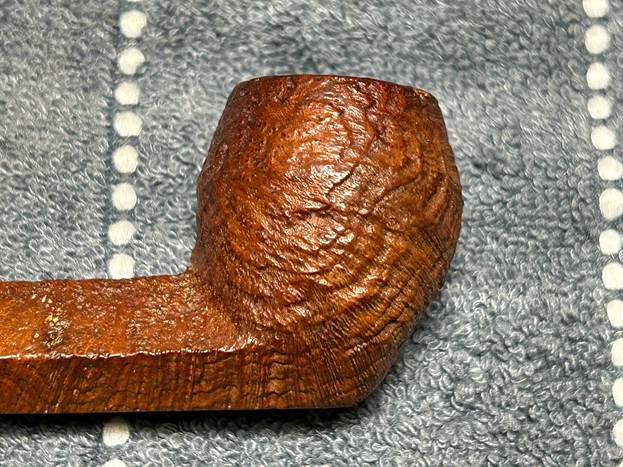
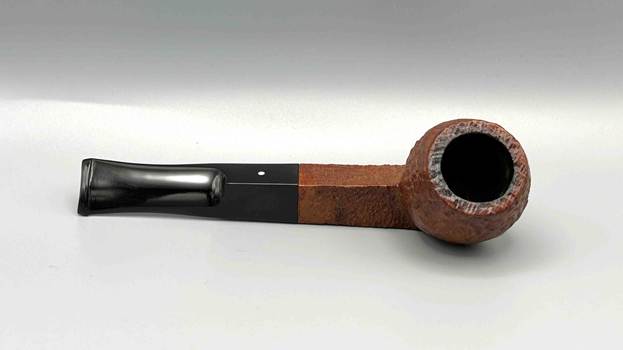
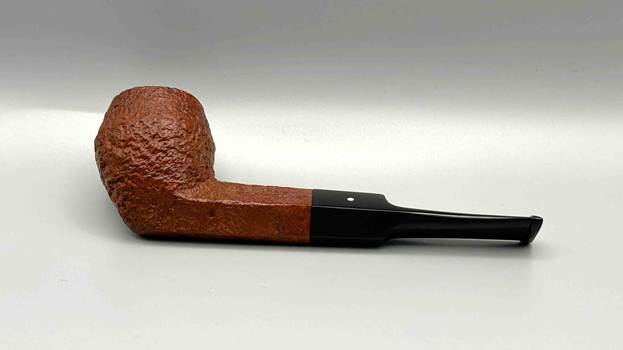
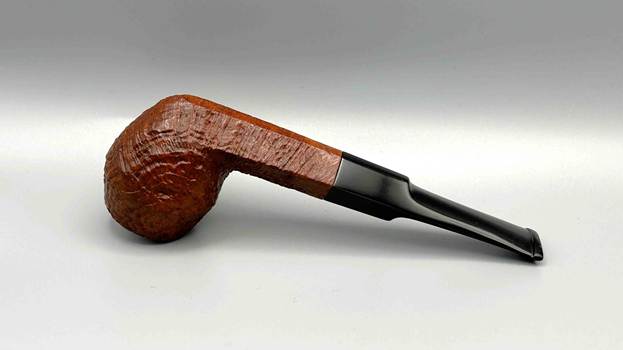
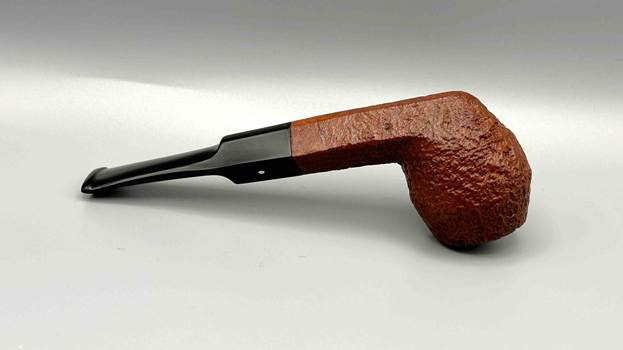
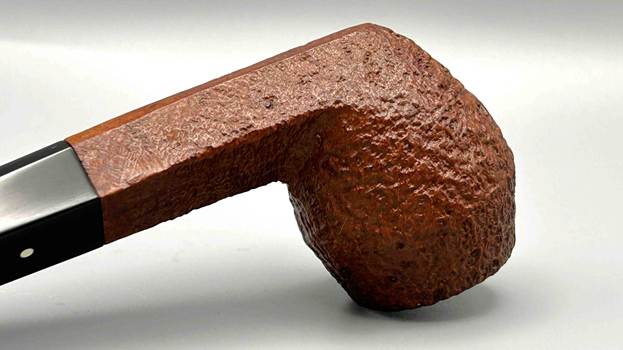
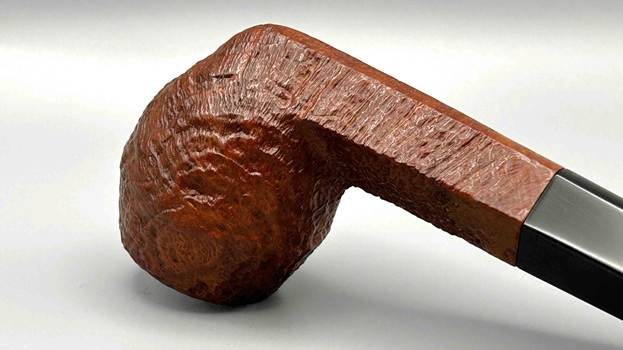
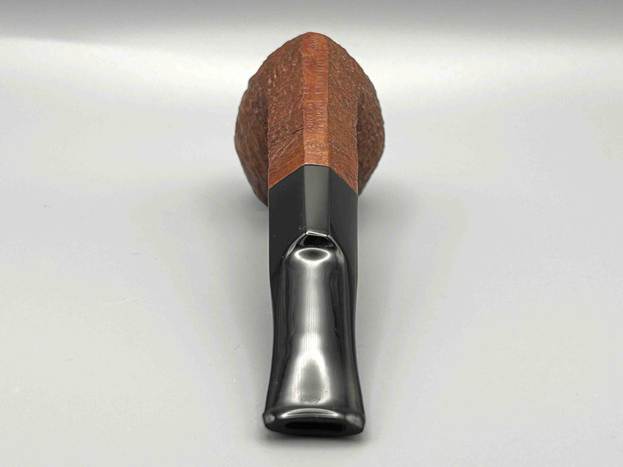
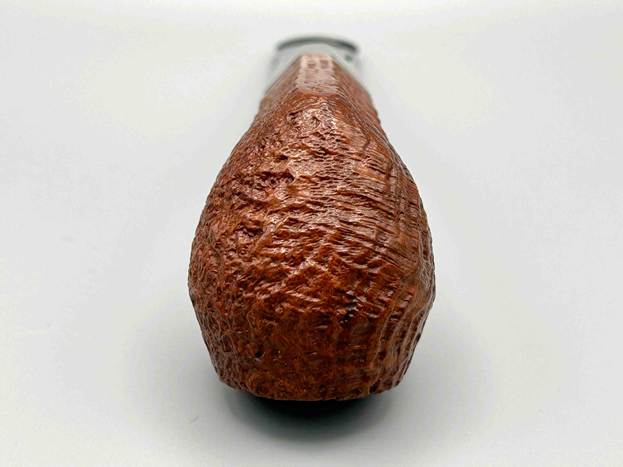
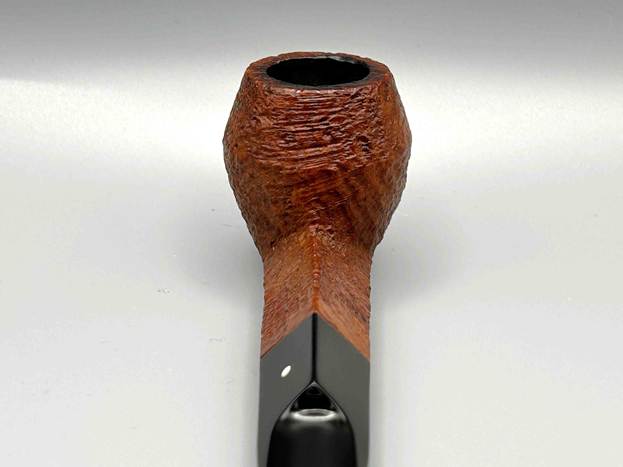
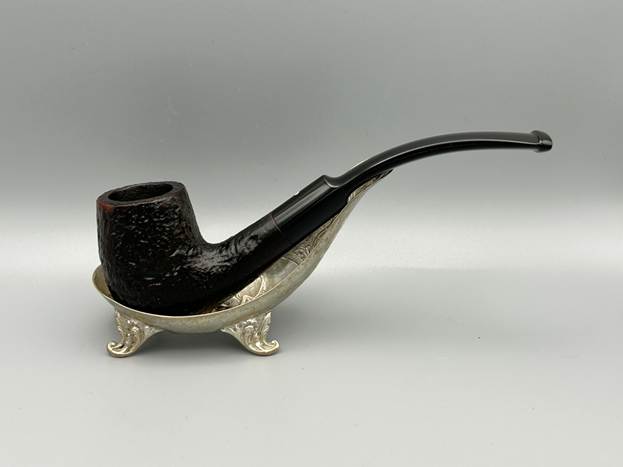
Dunhill is a name that inspires awe and warms the cockles of the hearts of many pipe smokers worldwide. Today, I am pleased to show the restoration of a wonderful tanshell briar. I acquired it in an auction some time ago. Other than that, I don’t know much of its provenance. Its colour and cragginess are very handsome, and I have no doubt that it was a much-loved pipe. I instinctively have a certain respect for Dunhill pipes, and I am especially keen to restore this one so that the next pipe smoker can enjoy it.

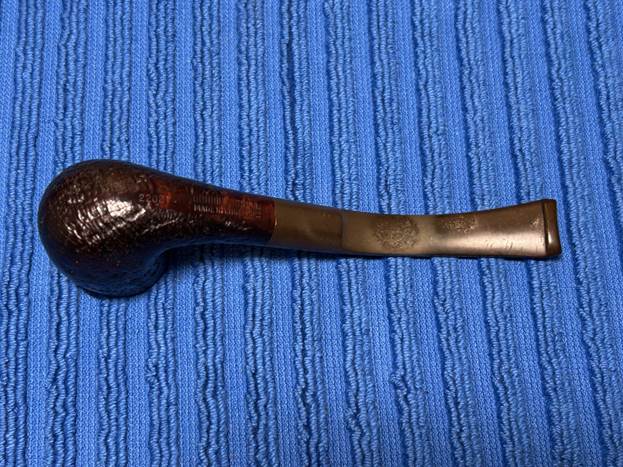
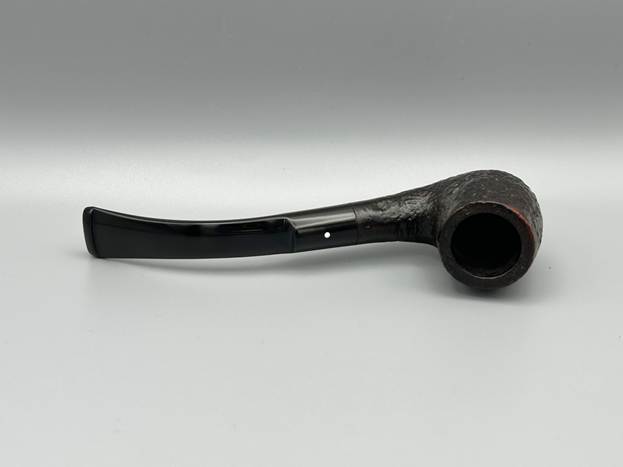
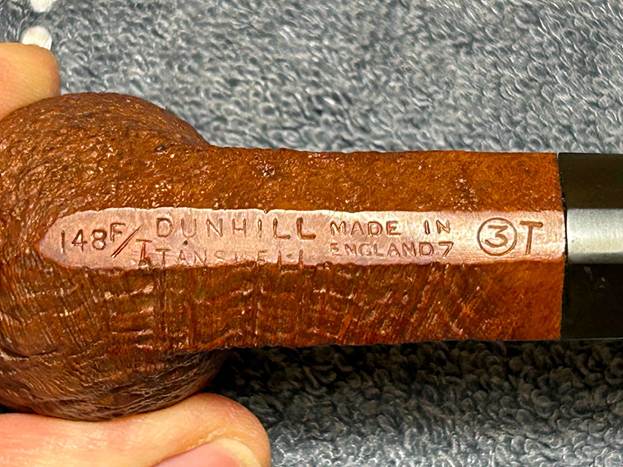
As I mentioned, this is a Dunhill Tanshell and the markings confirm this. It is a beautiful, classic bulldog shape. Pleasingly, those markings are very clear and well-cut on the bottom of the shank. On the left-hand side is the model number, 148 F/T. Immediately to the right of this is Dunhill [over] Tanshell. Then, to the right of that, is Made in [over] England7. To the right of that is an encircled 3, followed by a T. Finally, the stem, of course, has the iconic white spot of Alfred Dunhill’s company. Here is a photo of Alfred, followed by the markings.

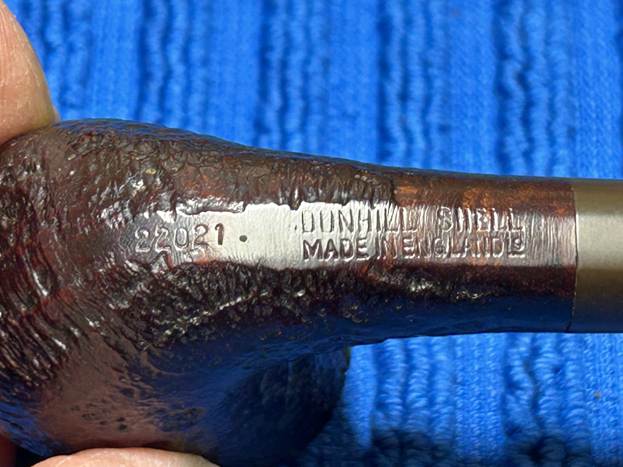
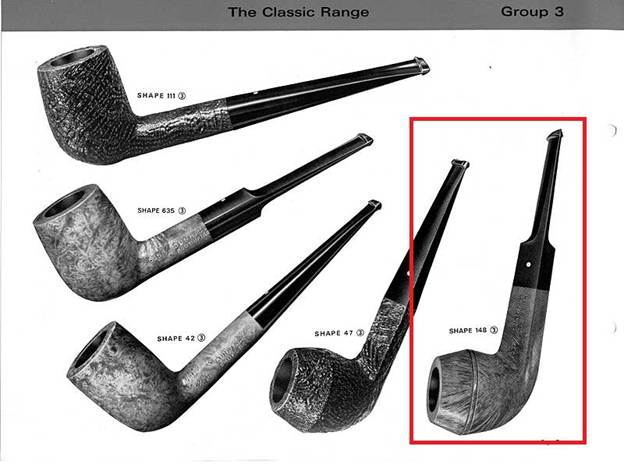
Let’s have a closer look at what all of these markings mean. The model number 148 is a classic Dunhill bulldog shape – that number first appeared back in 1950. The page on Pipedia about Dunhill shapes says this:

The original skus/model numbers from the 1920’s until the early 1970’s stood for very specific shapes and bowls. For example, the codes 31, 34, 59, 111, 113, 117, 196, LB, LBS… were all different types of Billiard shaped pipes and there were about 50(!), such codes for the Billiard shape alone.

The F/T stands for ‘fishtail’, which is the style of stem bit.

The markings Dunhill [over] Tanshell refer (obviously and respectively) to the company that produced the pipe and the finish. The history of Alfred Dunhill, his company, and his family is fascinating. If you are interested in learning more, have a read of this article from Pipedia. The tanshell finish is best described by the company itself – this is taken from Dunhill’s website. Following that is a photo of Alfred’s son (also Alfred) seeking out briar in Sardinia.

Introduced in 1952. The Tanshell is a light tan sandblast. Sardinian briar was used for this sandblast. There is a distinct contrast in the sandblasts using Sardinian as opposed to Algerian briar. The Sardinian is much denser and much harder. The resulting pattern, when blasted, is far more even and regular both in terms of the surface texture and the finish.

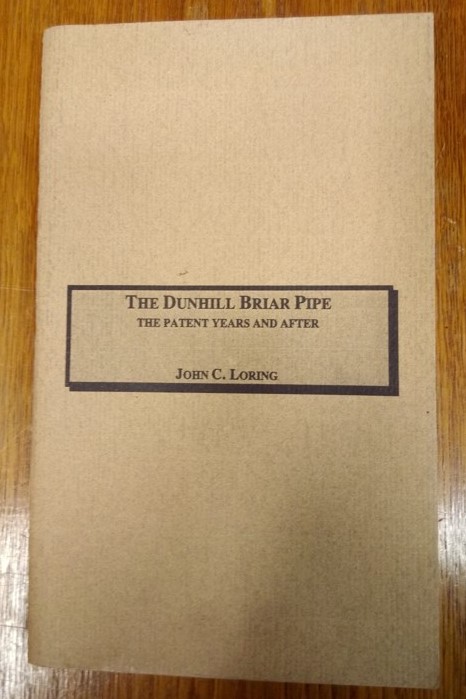
Furthermore, John Loring’s fine book, The Dunhill Briar Pipe: The Patent Years and After, says this about the tanshell:

The TanShell was Dunhill’s fourth finish and its first major post-war line addition. Introduced in 1951/1952 the TanShell was a naturally stained sandblasted pipe made exclusively from Sardinian briar through the 1960s. The TanShell apparently was not simply a light stained Shell but rather was also the product of “certain processes [unrevealed] not previously employed.” Initially, it appears that the pipe was to be named the Root Shell and a stamp to that effect was ordered and received by Dunhill in May 1951. Ultimately, however, the name TanShell was settled upon but the stamp for the TanShell name was not received by Dunhill until the beginning of December. Thus while the Tanshell was in production in 1951 it appears that most if not all TanShells made in that year did not enter into retail distribution until 1952 and were given a 1952 date code.

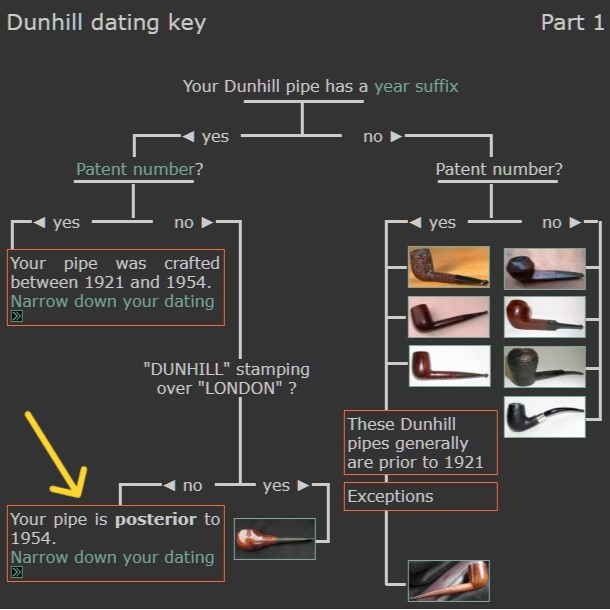
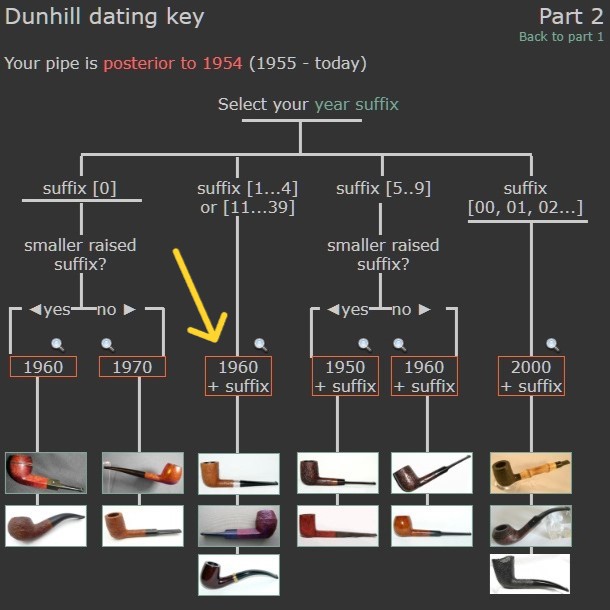
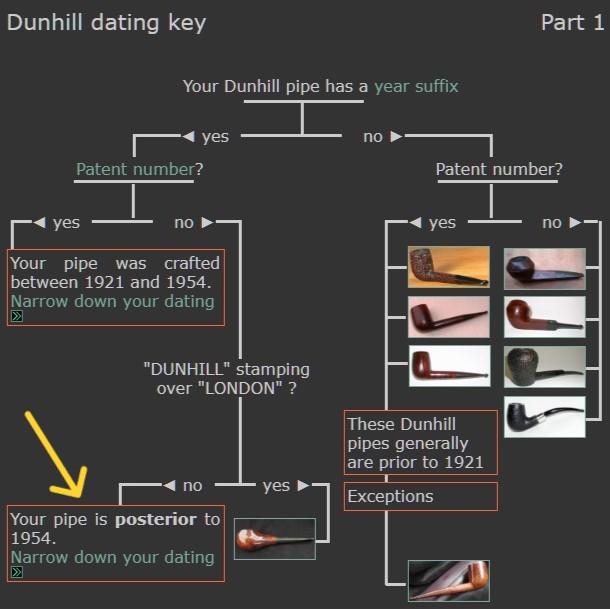
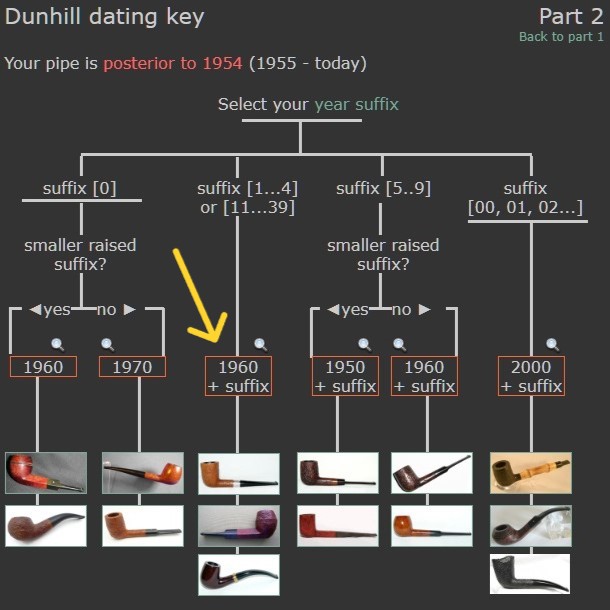
The markings Made in [over] England7 give us an indication of when this pipe was manufactured. The number is the date suffix and provides us the information we need to figure out the date. I already knew the answer, but allow me to walk you through the process. I went to Pipephil’s Dunhill Dating Key (which you can find here) and I have reproduced (below) the two charts they use to date Dunhills. In the first image below, we are asked if our pipe has a date suffix. It does, so we follow the arrow and the chart asks if our pipe has a patent number. It does not, so we proceed. Then we are asked if our pipe reads Dunhill [over] London – again, it does not. As a result, we know that our pipe dates from after 1954.
On to the second chart – and it is much more straightforward. The chart asks for the digit(s) in our date suffix. In our case, it is 7, so we know that the date of our pipe is the result of simple addition: 1960 + 7 = 1967. Now we know that the year of manufacture is 1967! Is this your birth year? If so, have I got a pipe for you!
Next, the encircled 3 and the capital T. This tells us about the size and finish of the pipe. Pipedia says:

The encircled group number indicates the size of the bowl (1, for example, is the smaller bowl). It is usually followed by a letter corresponding to the pipe finish. This number/letter code has been introduced about 1950 and was discontinued about 1976 replaced by a 4 or 5 digits code. They were reintroduced in March 2012, but only for commemorative versions.

In this case, the 3 indicates a medium-sized bowl and the T naturally refers to tanshell.

Finally, the white spot. Have you ever wondered about it? Well, very briefly, here is the origin of the famous white spot (from Pipedia):

In 1912, the famous white spot was introduced for very practical concerns. With straight pipes, customers had trouble knowing which way to insert the handmade vulcanite mouthpieces. So Alfred Dunhill ordered white spots to be placed on the upper side of the stem. This very practical solution would become a definitive trademark of Dunhill pipes. The “white spot” soon became known as a symbol of quality.

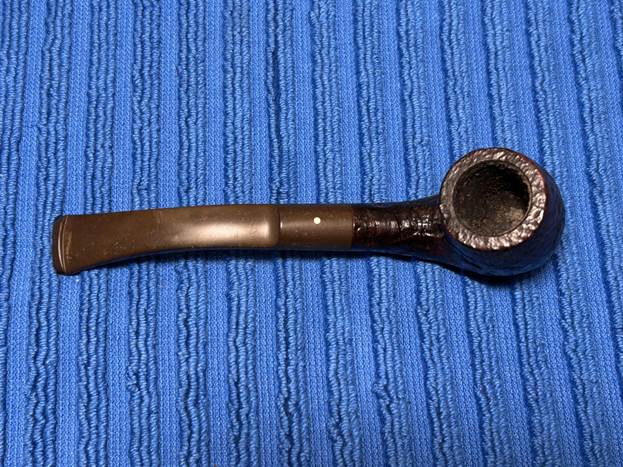
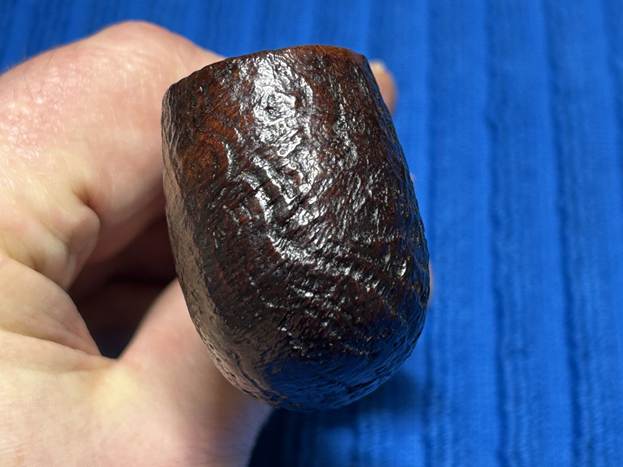
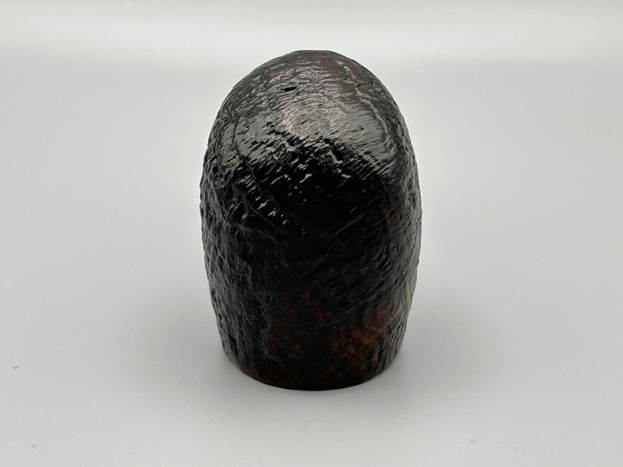
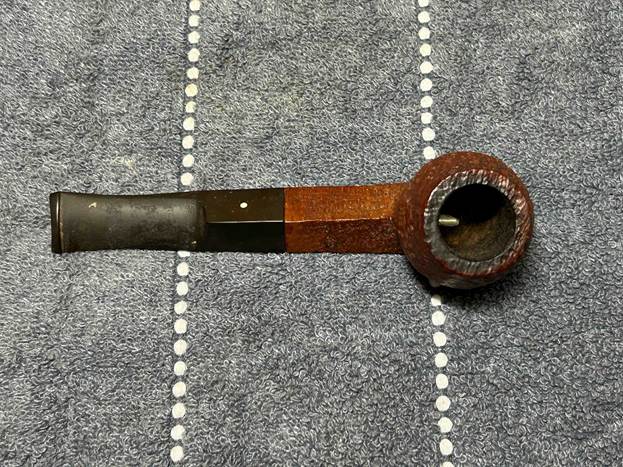
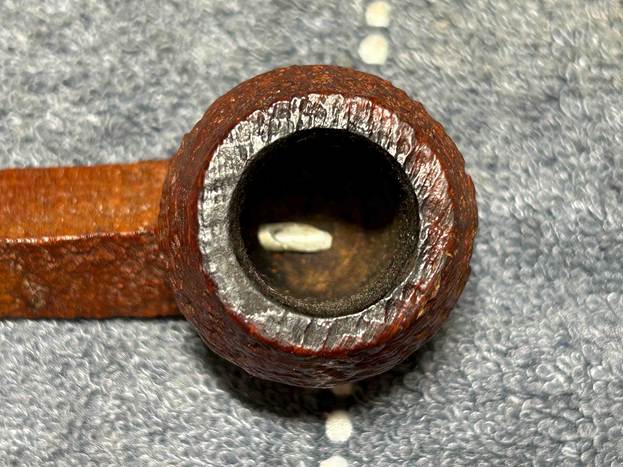
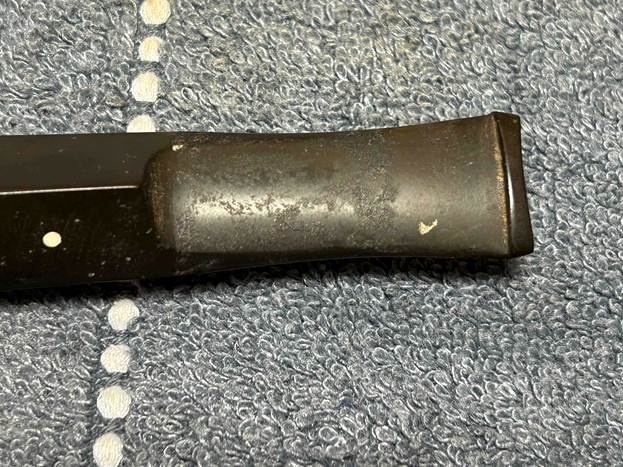
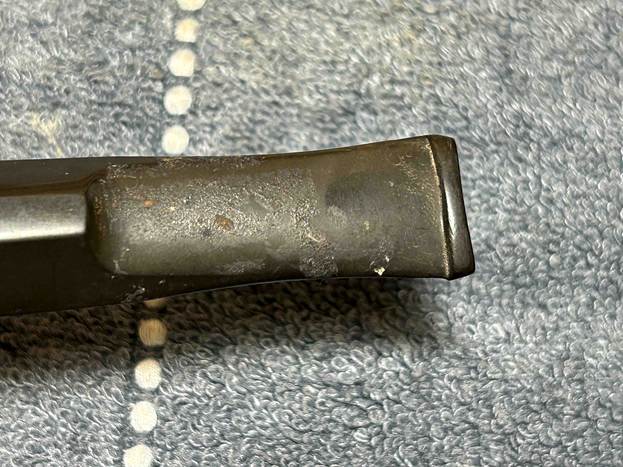
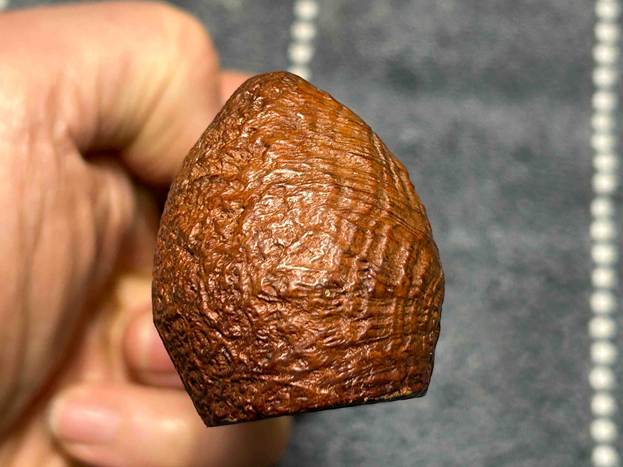
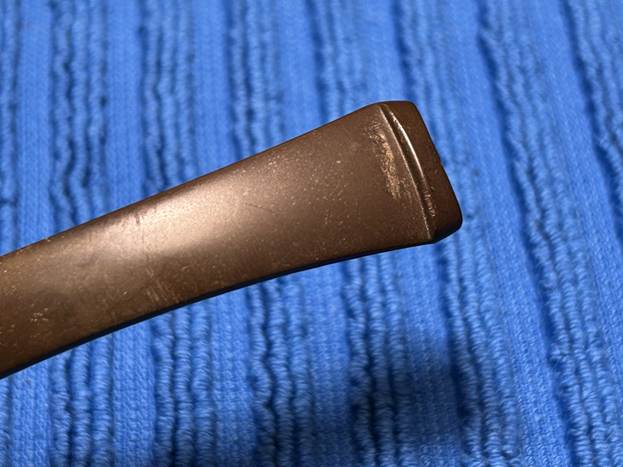
Now let’s get on with restoring this beautiful pipe! It was in generally good condition – nothing outstanding and no significant damage. As you can see, the stem had the usual wear-and-tear. There was some oxidation, but not much calcification. Meanwhile, the stummel was in lovely condition, but a bit dirty. The rim had some darkening and the bowl had only a little cake inside it. The sandblast looked rich and beautiful.
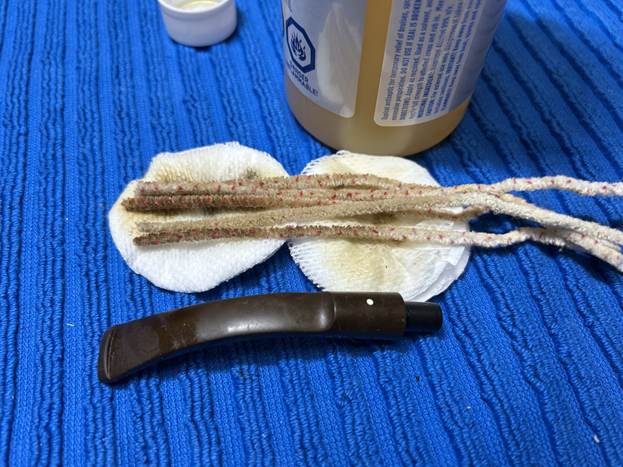
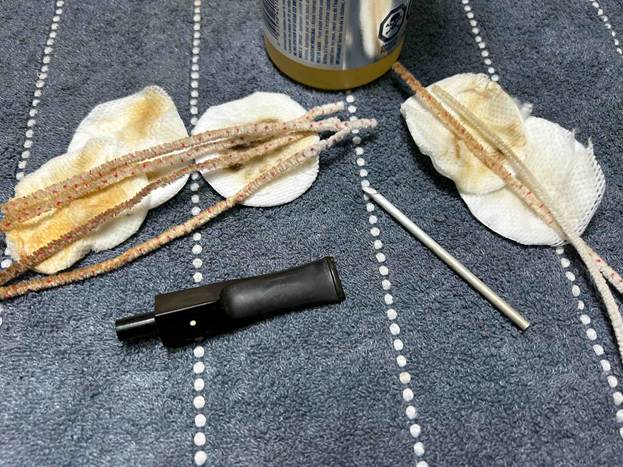
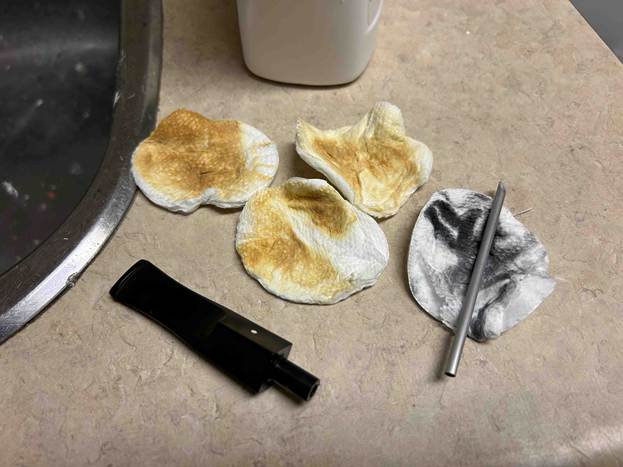
I wiped the stem and the stinger with some cotton pads. There was some filth there and I needed to remove it. Meanwhile, the stem was a bit dirty inside. I cleaned out the inside with various pipe cleaners and 99% isopropyl alcohol.

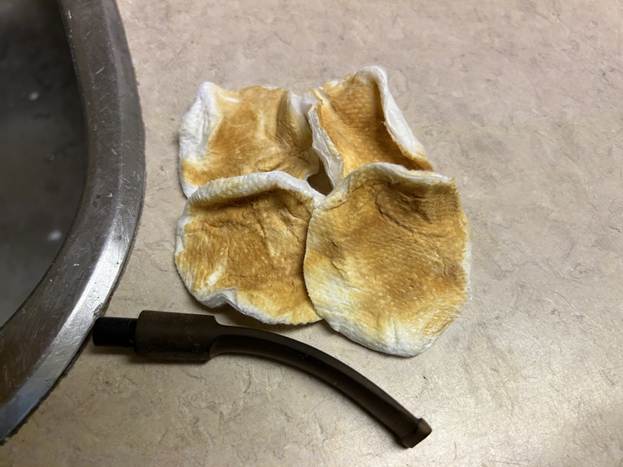
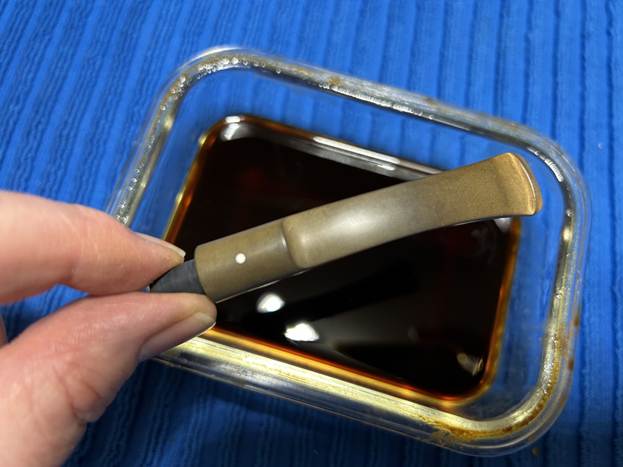
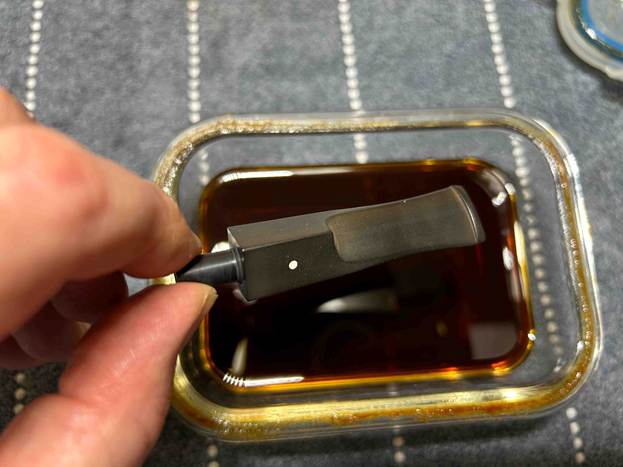
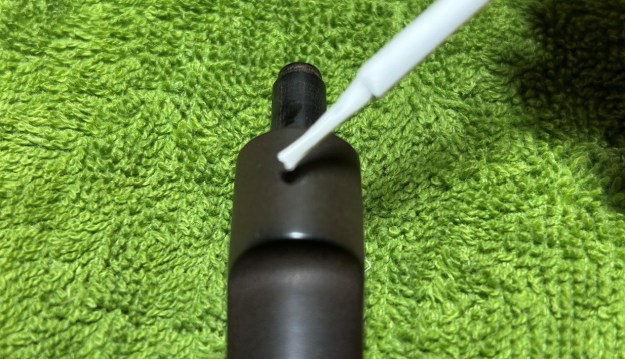
I then wiped down the stem and the stinger with some cream cleanser to remove some surface oxidation. Once this process was done, the stem went for an overnight soak in the oxidation remover. As the name suggests, this liquid removes oxidation, but, more than anything, it helps draw oxidation to the surface of the vulcanite. This allows me to clean the oxidation off in a couple of ways: both by applying a mild abrasive cleanser to the surface, then by sanding the stem. The following day, I cleaned all of the de-oxidizing mess off with alcohol, pipe cleaners, et cetera. The oxidation had migrated to the surface and would be fairly straightforward to remove. I scrubbed with the cleanser again on some cotton pads to remove the leftover oxidation.

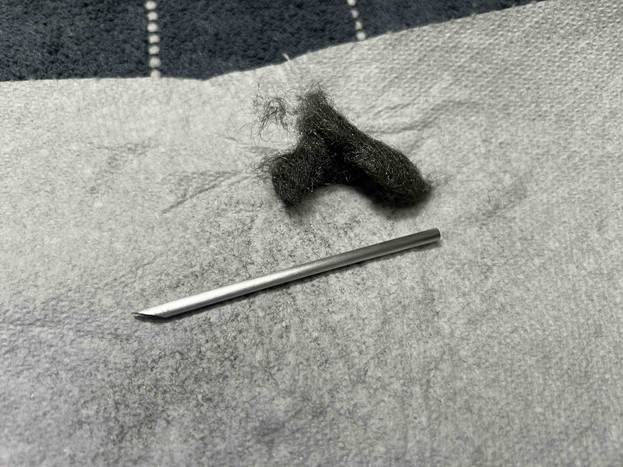
In order to give some shine to the metal stinger, I burnished it with some 0000-grit steel wood. Looked much better afterwards.

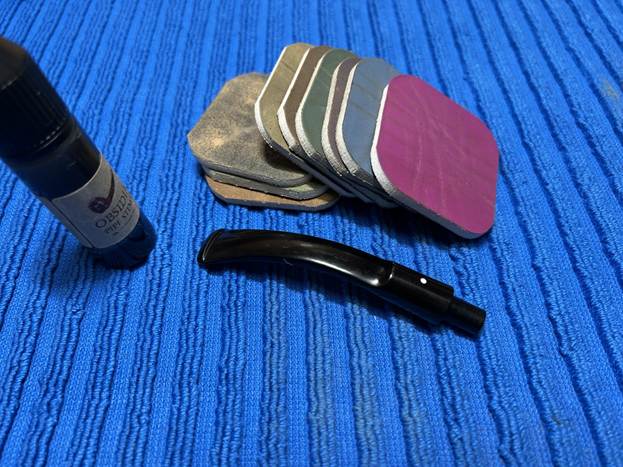
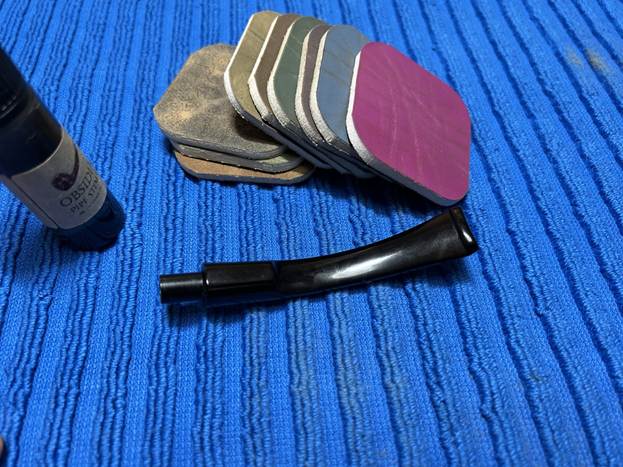
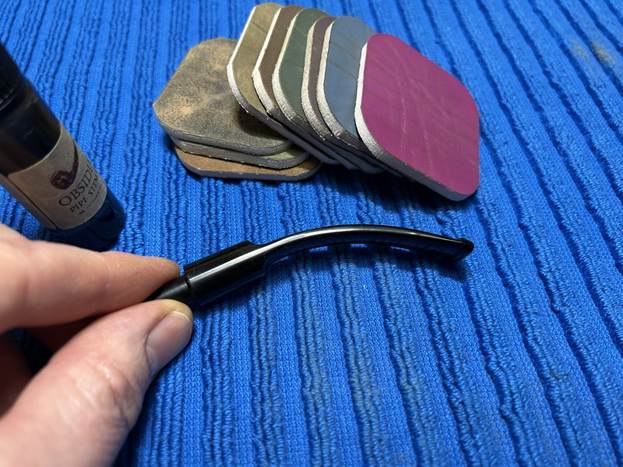
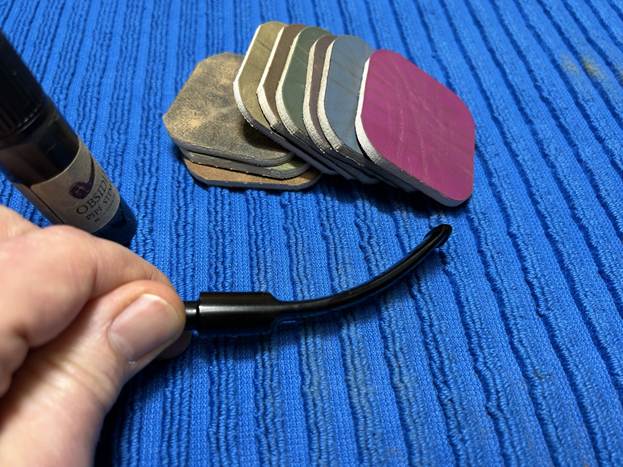
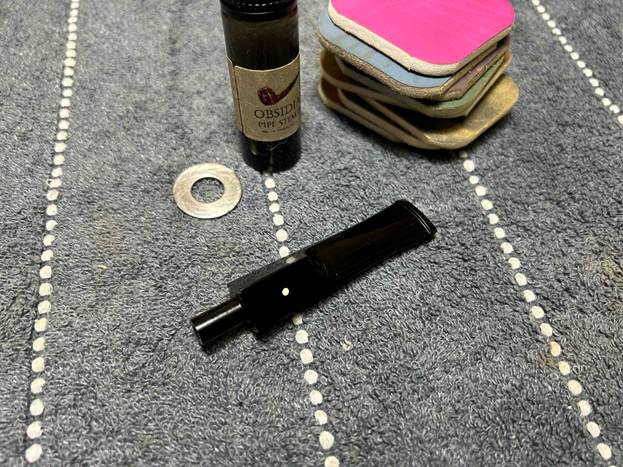
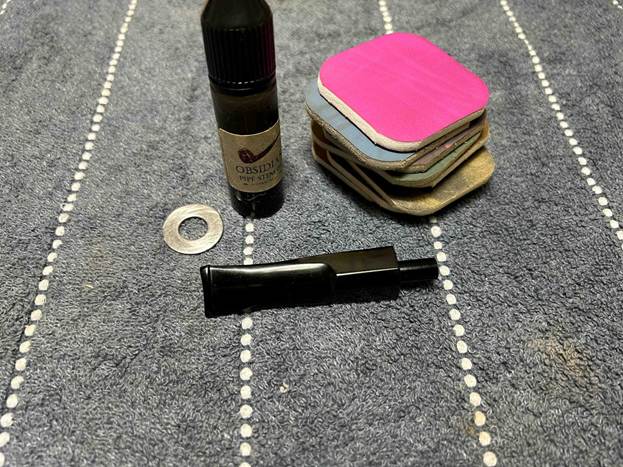
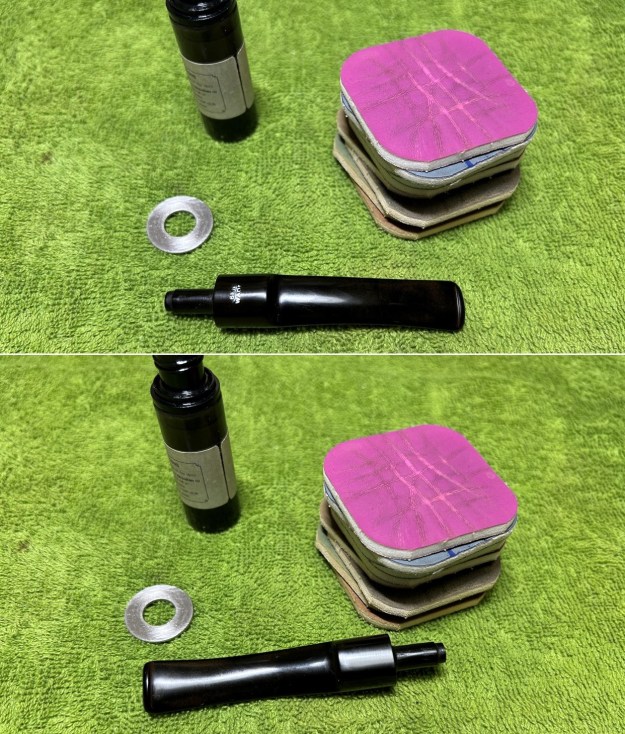
Then I used a set of nine Micromesh pads (1,500 through 12,000 grit) which gradually erased the ravages of time and brought out the stem’s lovely black lustre. For the last five pads, I also lightly coated the stem with pipe stem oil in between each scrubbing. At last, I set the finished stem aside.

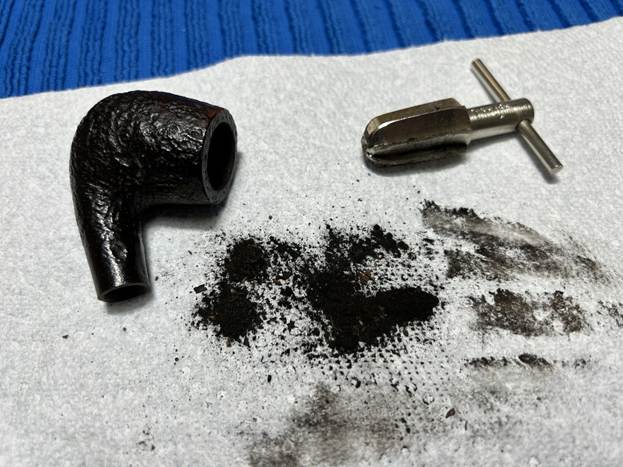
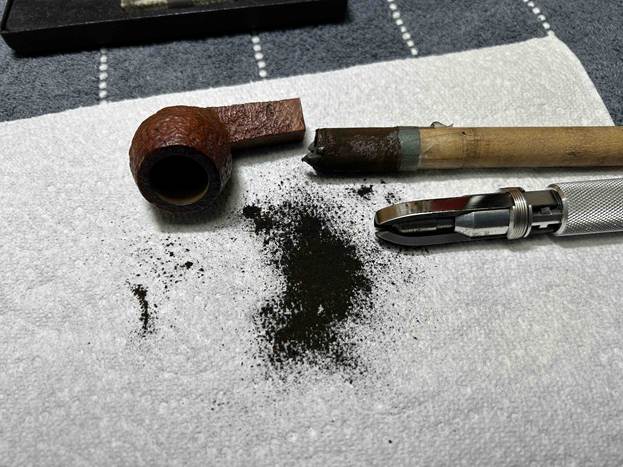
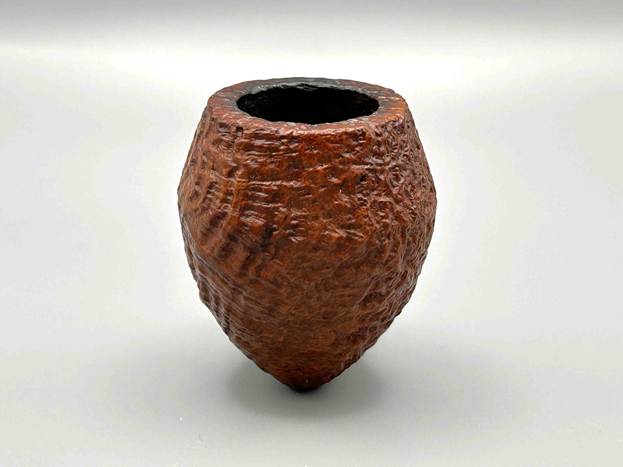
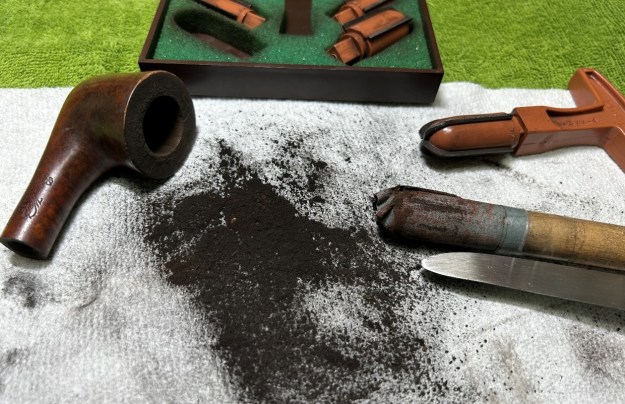
Off to work on the stummel! The outside looked very well cared-for. No significant damage and the blast maintained its great appeal. Alas, the rim had some darkening, but first things first. The bowl needed a thorough reaming, so I used the KleenReem to scrape off the built-up cake and I followed that with 220-grit sandpaper taped to a dowel to eliminate as much as possible. Generally, I prefer to sand the chamber down to bare briar. When restoring, it is important to ensure that there is no damage to the briar in the bowl, under the cake. I was pleased to see that the walls were sound.

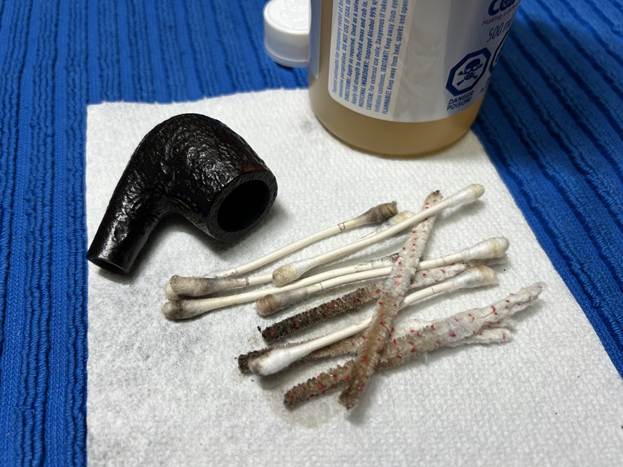
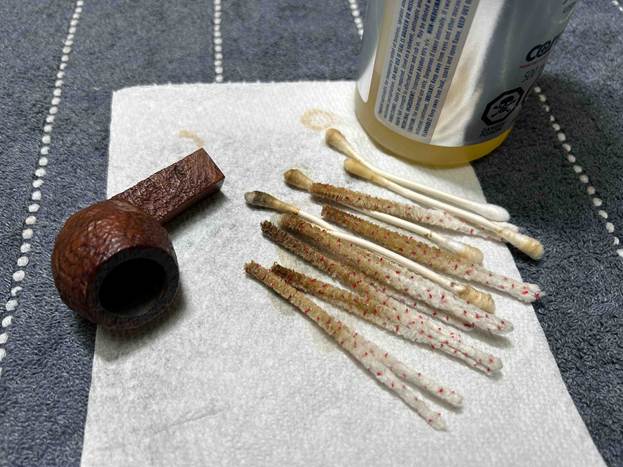
Next up, I needed to clean the shank and bowl thoroughly. I proceeded to use Q-tips, pipe cleaners, and 99% isopropyl alcohol. I made sure that everything was very clean.

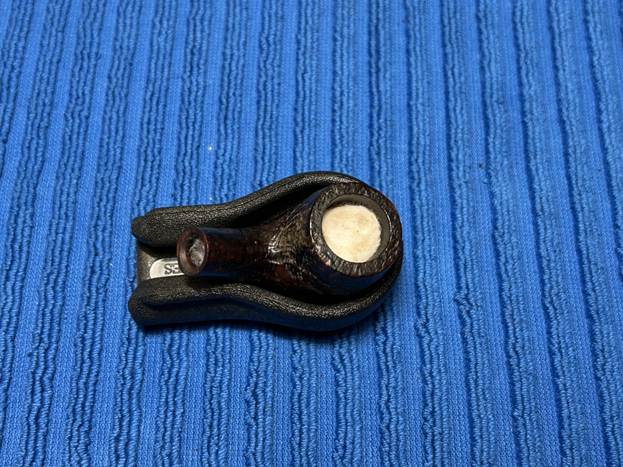
Then, to further clean the inside of the pipe, I opted to ‘de-ghost’ the pipe. I put some cotton balls in the bowl and in the shank, and then saturated them with 99% isopropyl alcohol. I let that sit overnight to exorcize any evil spirits (i.e. bad smells and oils) from the old pipe.

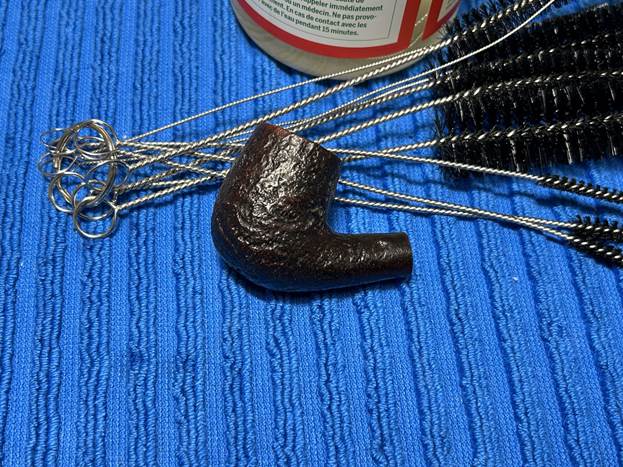
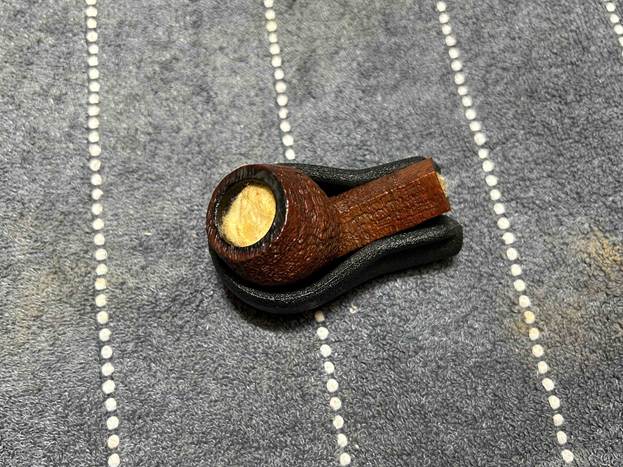
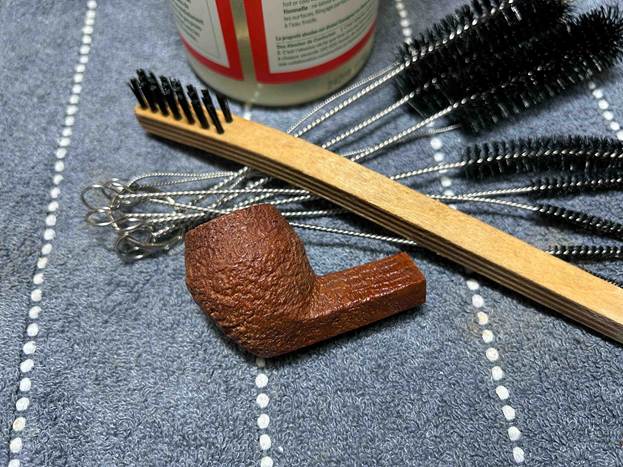
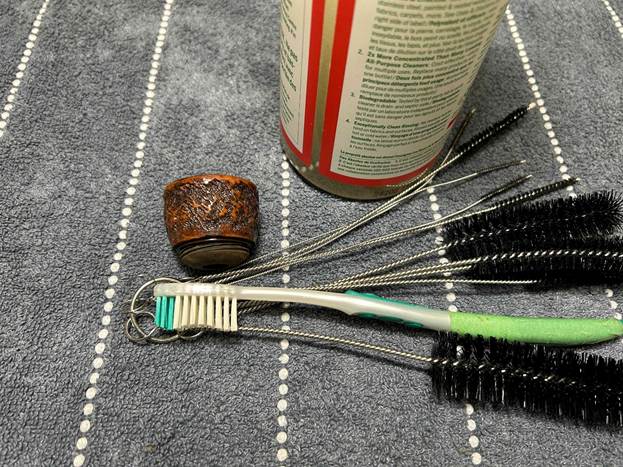
Time to deal with that rim. I gently scraped away as much debris as I could. However, given the craggy blast, that only worked so well. I moved on to cotton rounds and some pH-neutral detergent to clean the outside of the stummel and a toothbrush for the rim of the pipe. This worked reasonably well.  I followed that up by cleaning the insides with the same detergent and tube brushes.

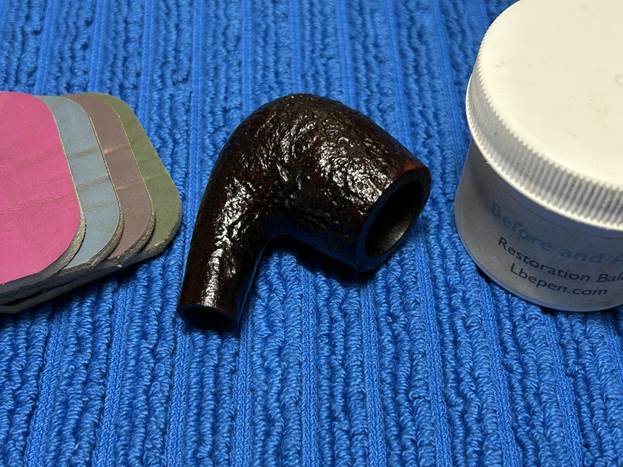
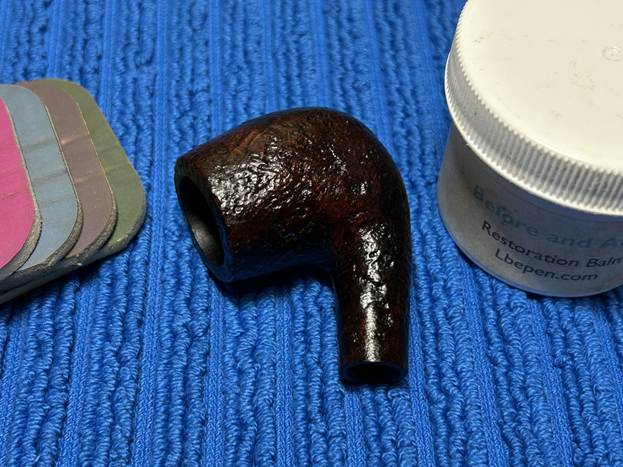
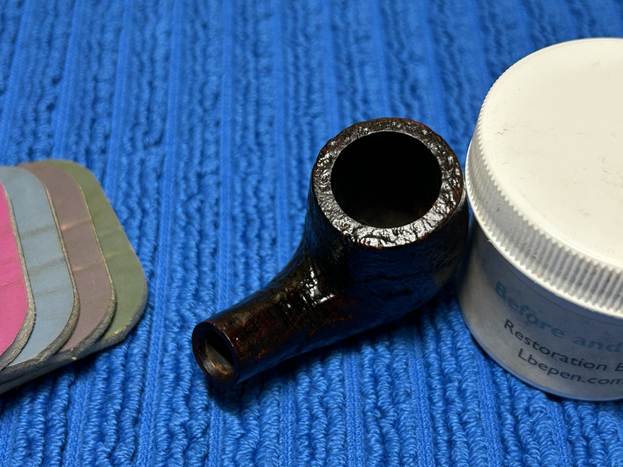
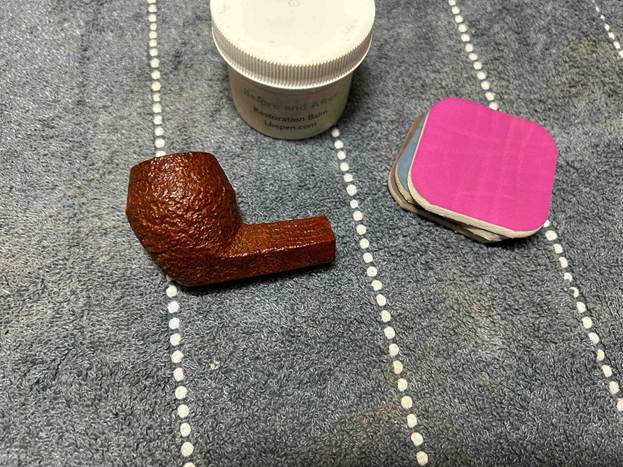
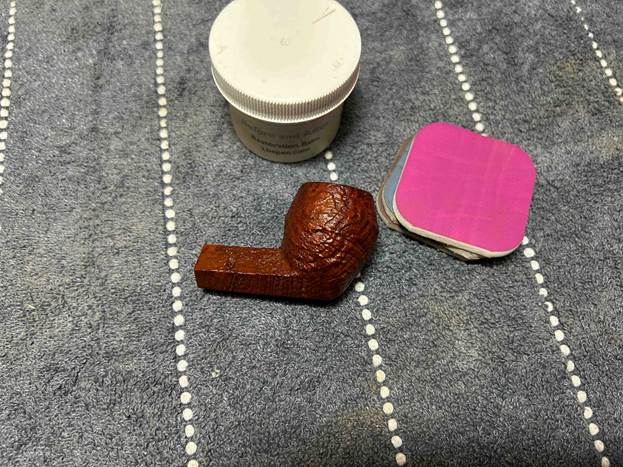
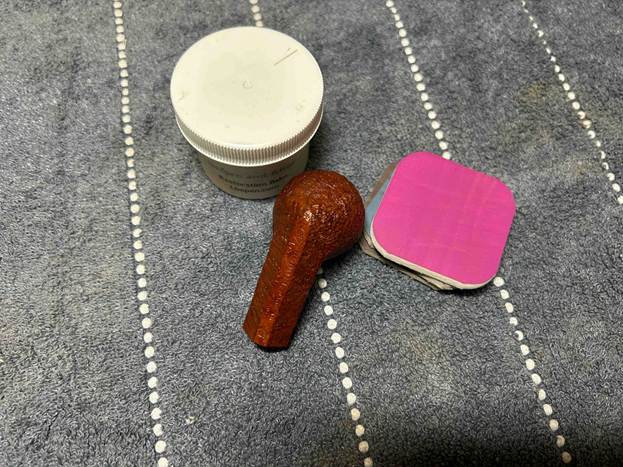
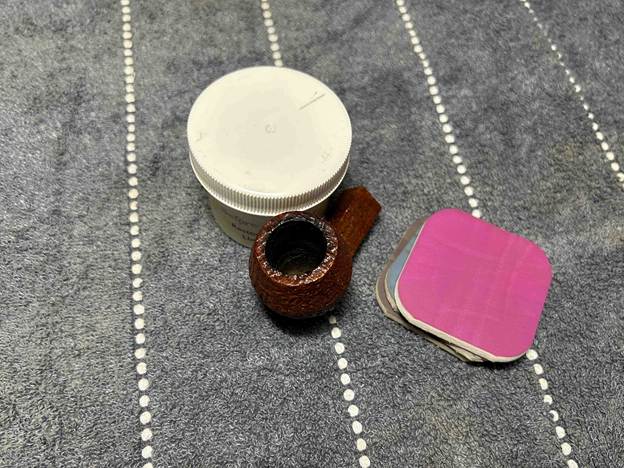
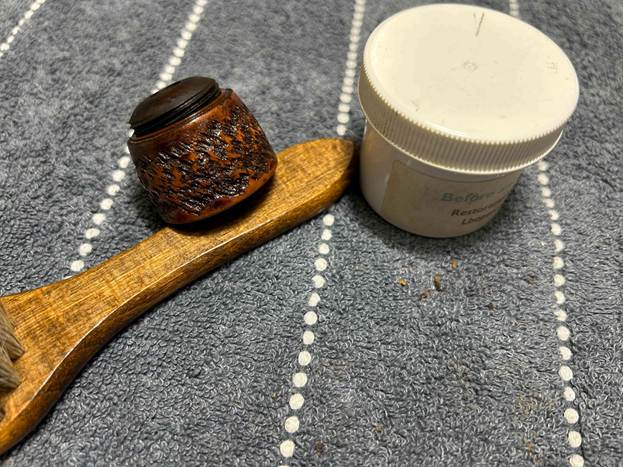
At this point, I rubbed some of Mark Hoover’s Before & After Restoration Balm into the briar and left it to sit for 15 minutes or so. I brushed it with a horsehair brush and buffed it with a microfibre cloth. The balm does wonderful things to the wood, and I really like the sheen on the sandblast.

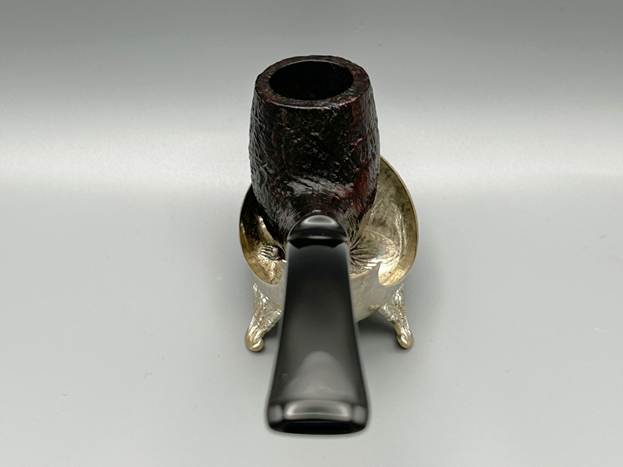
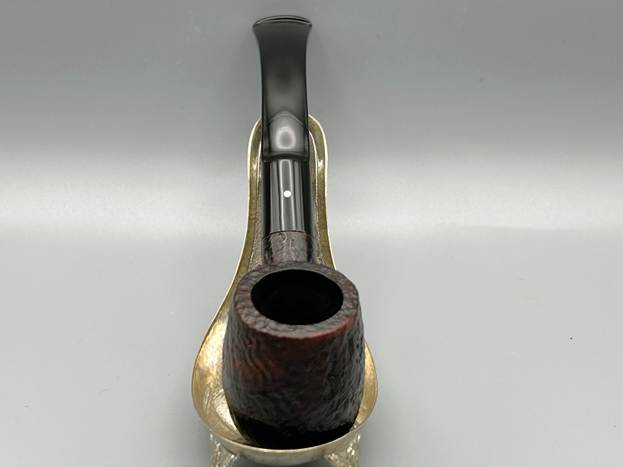
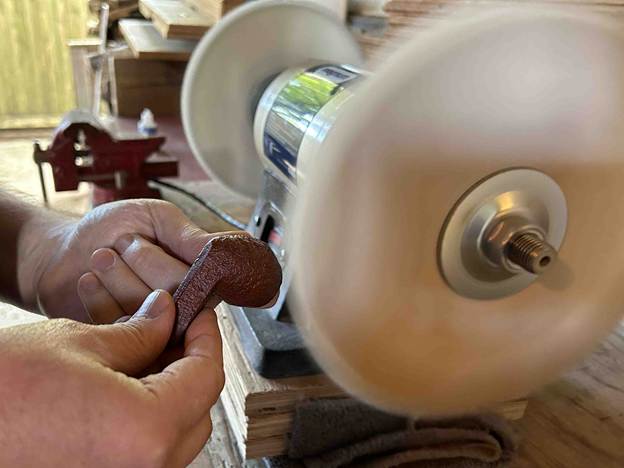
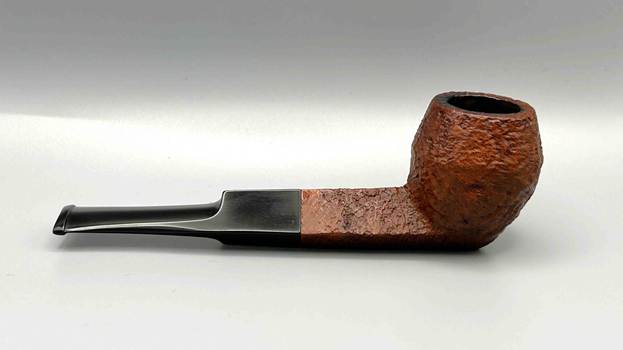
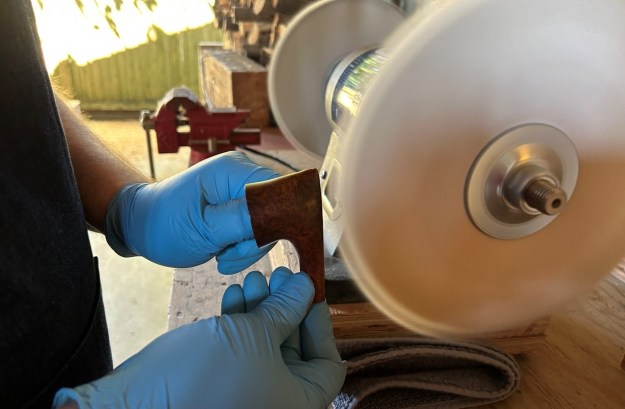
Then it was off for a trip to the bench polisher. A few coats of conservator’s wax were just what this pipe needed. Boy – that wax really makes this pipe pop! The lovely shine made the wood look absolutely beautiful. The sandblast looks fantastic and is ready to be enjoyed again by the next owner.

I thoroughly enjoyed bringing this Dunhill Tanshell 148 bulldog back to life and I am pleased to announce that this pipe is for sale! If you are interested in acquiring it for your collection, please have a look in the ‘British’ section of the store here on Steve’s website. You can also email me directly at kenneth@knightsofthepipe.com. The approximate dimensions of the pipe are as follows: length 5⅛ in. (131 mm); height 1⅔ in. (43 mm); bowl diameter 1⅜ in. (35 mm); chamber diameter ¾ in. (19 mm). The weight of the pipe is ⅞ oz. (19 g). I hope you enjoyed reading the story of this pipe’s restoration as much as I enjoyed restoring it. If you are interested in more of my work, please follow me here on Steve’s website or send me an email. Thank you very much for reading and, as always, I welcome and encourage your comments.

Restoring a Handsome, Classic English-Made Falcon AN 7


by Kenneth Lieblich

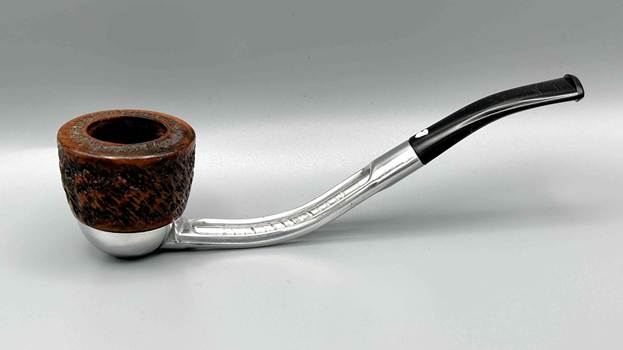
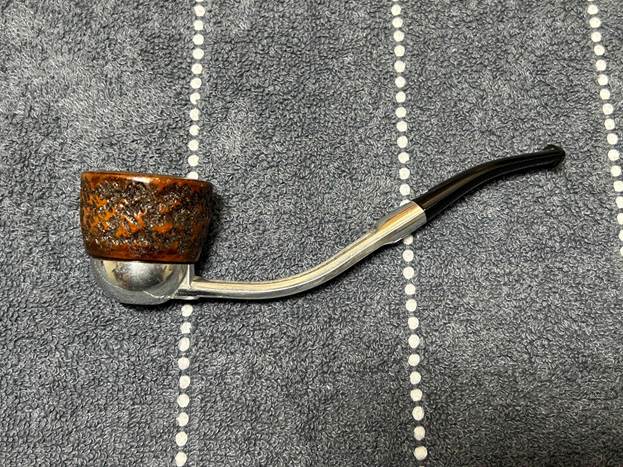
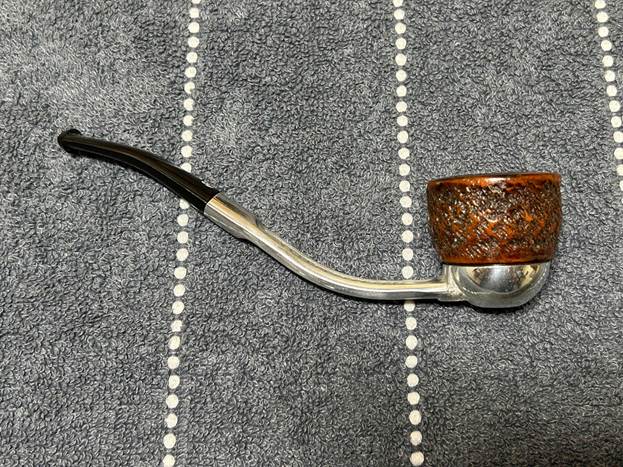
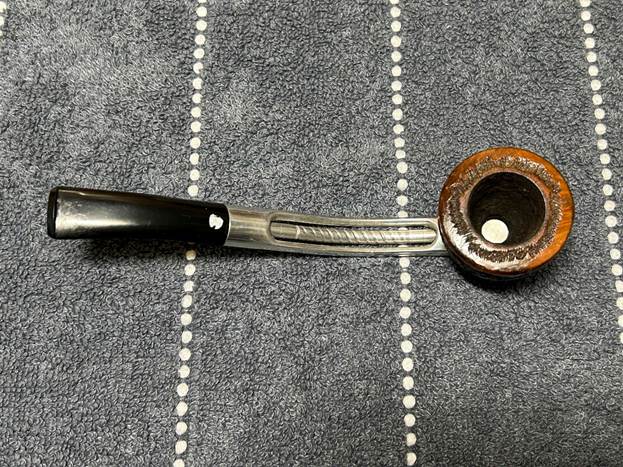
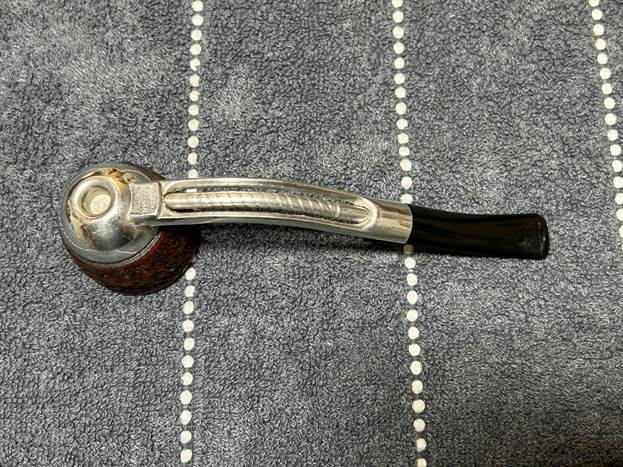
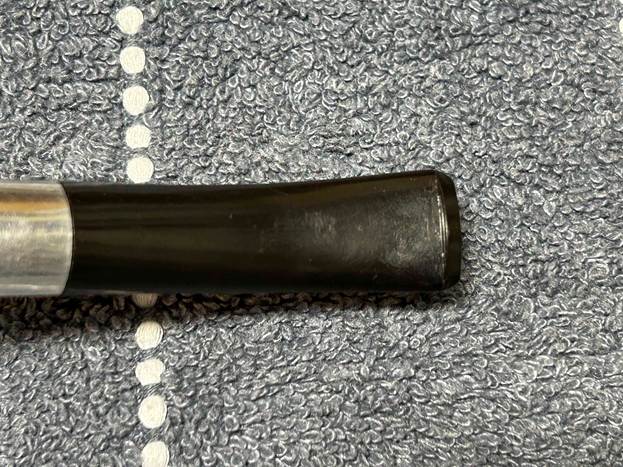
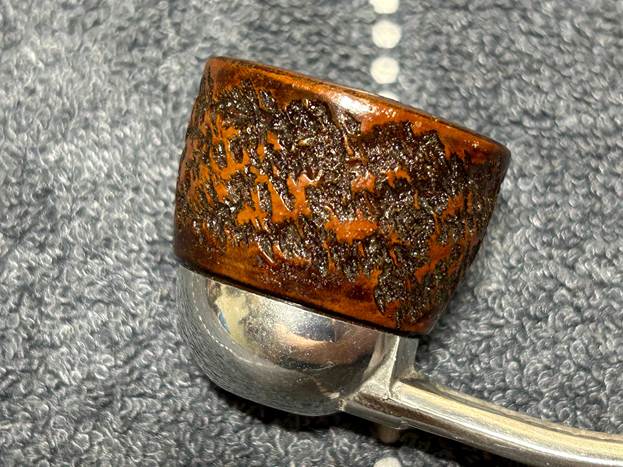
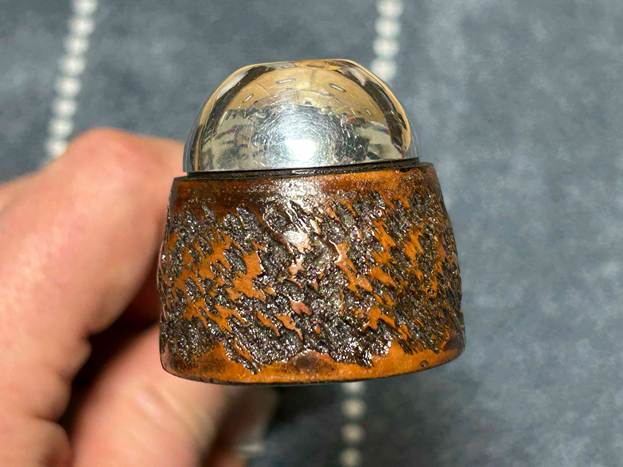
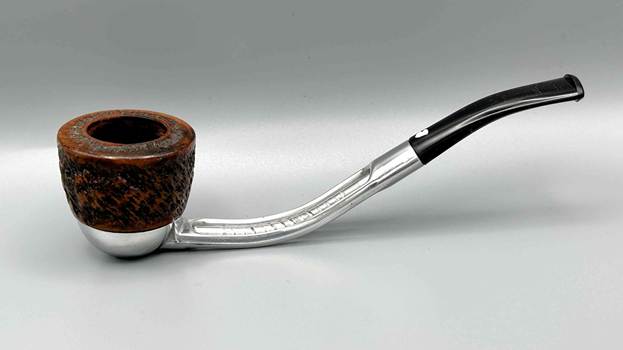
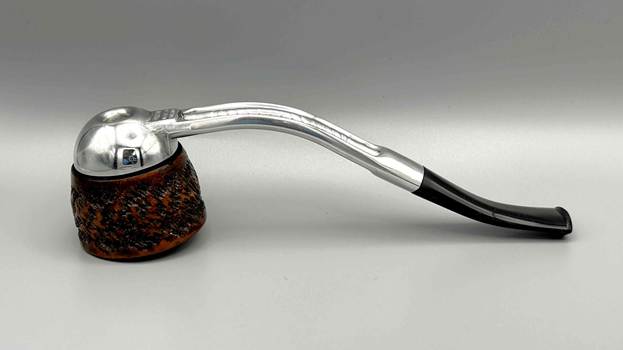
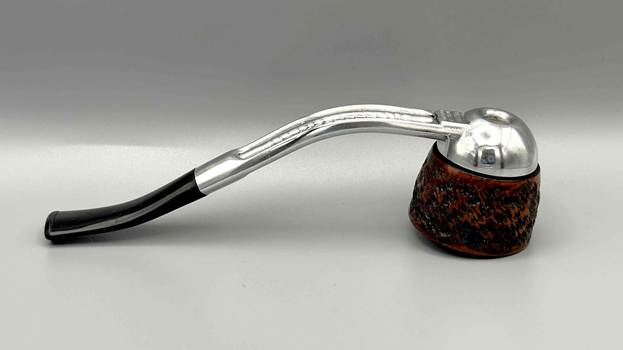
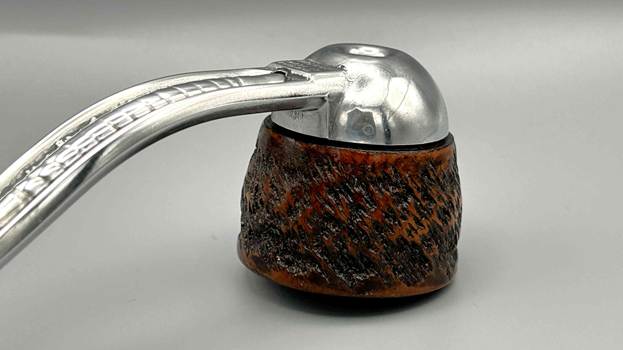
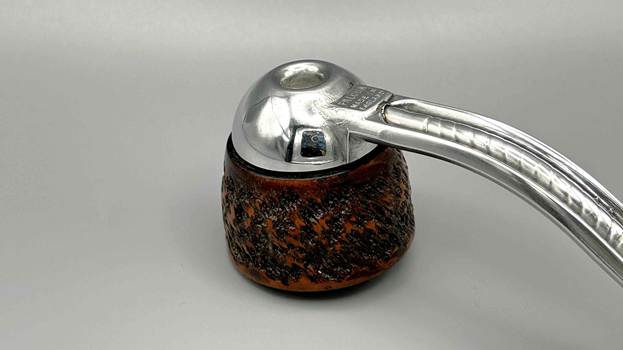
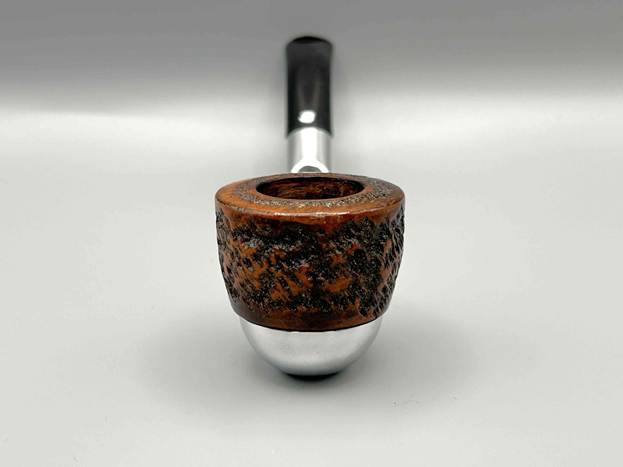
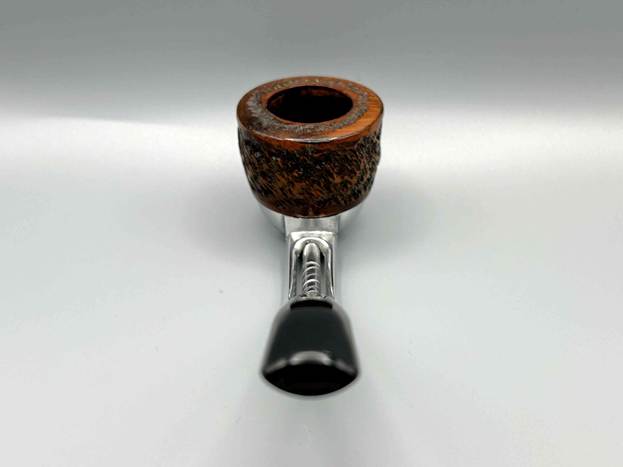
If I remember correctly, this Falcon AN 7 bent Dublin came in an auction lot last year. I don’t really remember the details of its acquisition, but no matter. Falcons are always fun, good-looking pipes. This one was already in good shape, it just looked tired and worn. This particular Falcon has a beautifully bent shank and a rusticated, Dublin-style bowl. The stem has a nice fishtail bit.

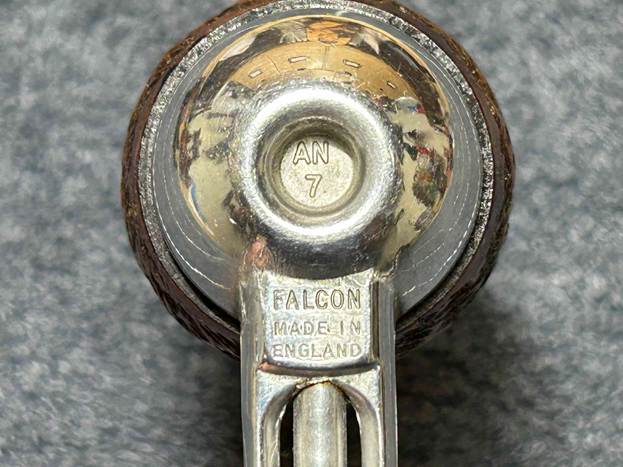
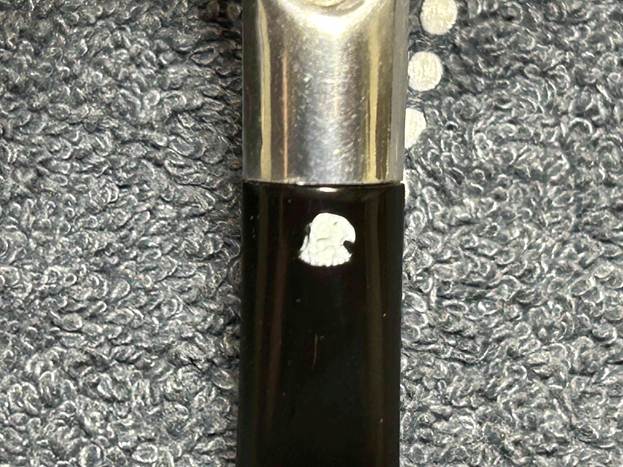
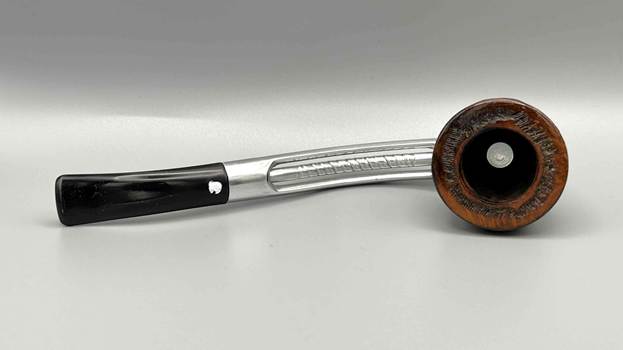
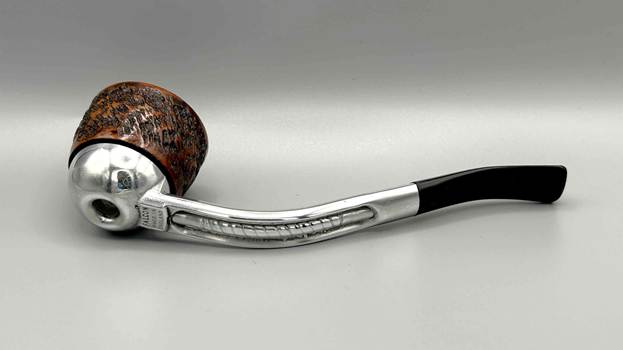
Let’s have a look at the marks. On the underside of the bowl, engraved in the metal, is the word Falcon [over] Made in [over] England. Also engraved, inside the centre circle, is the shape number AN [over] 7. At the opposite end, on top of the stem, is engraved the head of a falcon. The number 7 is the mould number from the factory and the AN indicates that this pipe was made with an anodic casting.

Looking into the background of Falcon Pipes, my first stop was SmokingMetal.co.uk – a very fine resource for all things related to metal pipes. Here are a few snippets:

There are an incredible number of combinations of Falcon pipes. many variants of the stems and of the bowls. All I can hope to do here is to show some of them. Some of course are no longer available but very many are. Contrary to most descriptions you will see, the smoke tube is not a twisted alloy tube, but a tube that has been scrolled to increase the surface area for cooling.

There are at least three distinct eras of Falcon production, those stamped under the stem with just the single word ‘Falcon’ indicating a USA made pipe, those with ‘Falcon Ireland'( indicating, or it ought to, that the casting originated in Ireland but actually only some bowls originated in Ireland) and those with ‘Falcon Made in England’ which does tell us where that model actually originated from. The bowls come in an incredible range of shapes and finishes, but can always be pinned down as Falcon as they have a 4 start thread, enabling a quarter turn to lock them on the stem. Very, very few other makes have this feature. The numbers and letters under the humidome are mould numbers.

Pipedia has some good information too (which you can find here). Here is a brief summary of Falcon history:

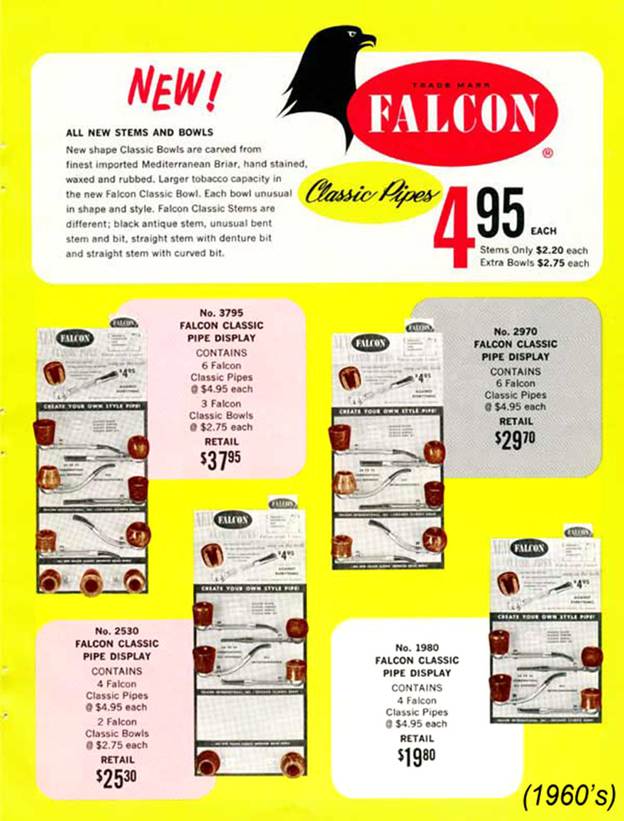
The Falcon pipe was created in 1936 by the American engineer Kenly Bugg. However during WWII the production of the Falcon was limited. In 1949 George Hunt took over production and marketing and by 1954 6 million Falcon pipes had been sold in the U.S.A. By 1961 production started in England. In 1964 the Alco was launched. In 1967 the Brentford was launched but in 1979 it was withdrawn from the market. In 1968 production of the Falcon in Chicago, U.S.A. stopped. The Falcon International was introduced in 1977, which featured a removable mouth piece and filter.

This provided some detail, but another point was mentioned in posts from the PipesMagazine and PipeSmokersDens forums. These stated that the falcon-head emblem was used on pipes between 1975 and 1981. Based on all that I read – and if I am not misinterpreting something – I can conclude that this pipe was made sometime after 1975 and prior to 1981.

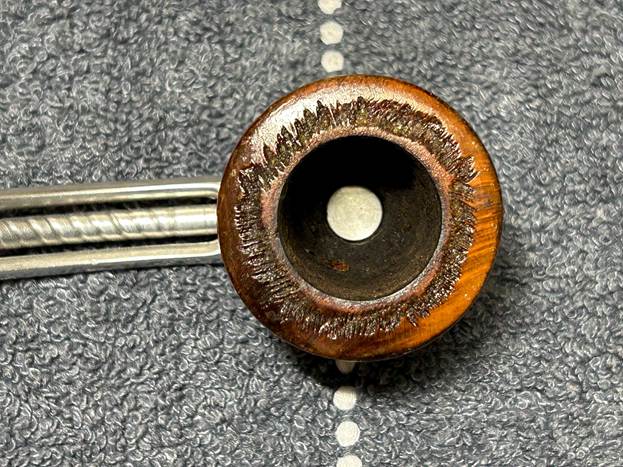
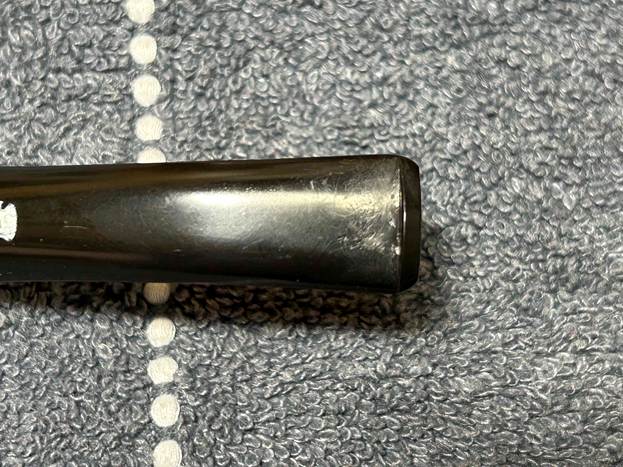
Let’s take a closer look at the condition of the pipe. As I indicated before, nothing too serious – just some minor wear-and-tear to address. The bowl is lightly smoked and just needs a good cleaning. The metal body has no notable damage and I will simply clean and polish it. Finally, the acrylic stem also has only minor wear – should be quite straightforward.

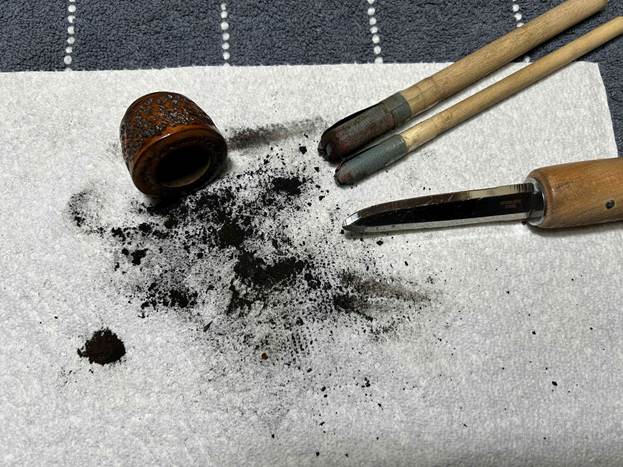
I started on the bowl. The first step was to ream it out – that is to say, remove all the cake inside the bowl. This accomplished a couple of things. First (and most obviously), it cleaned the bowl and provided a refurbished chamber for future smoking. Second, when the old cake was removed, I could inspect the interior walls of the bowl and determine if there was damage or not. Fortunately, there was none. As the cake was light, I used a pipe knife, and a piece of sandpaper taped to several sizes of wooden dowel. Collectively, these ensured that all the debris was removed. I then took a dental tool and cleaned any gunk from the grooves in the threads of the bowl.

To tidy up the briar, I wiped down the outside, using a solution of a pH-neutral detergent and some distilled water, with cotton rounds. I also used a toothbrush in the crevices. This did a good job of cleaning any latent dirt on the surface of the briar. The last step of the cleaning process was to scour the inside of the stummel with the same mild detergent and tube brushes.

I used a couple of the finest-grit micromesh pads to polish the outside of the stummel and finish it off. This minimizes flaws in the briar and provides a beautiful smoothness to the wood. I rubbed some LBE Before & After Restoration Balm into the briar and let it sit for 30 minutes or so. The balm moisturizes the wood and gives a beautiful depth to the briar. I then buffed the stummel with a microfibre cloth.

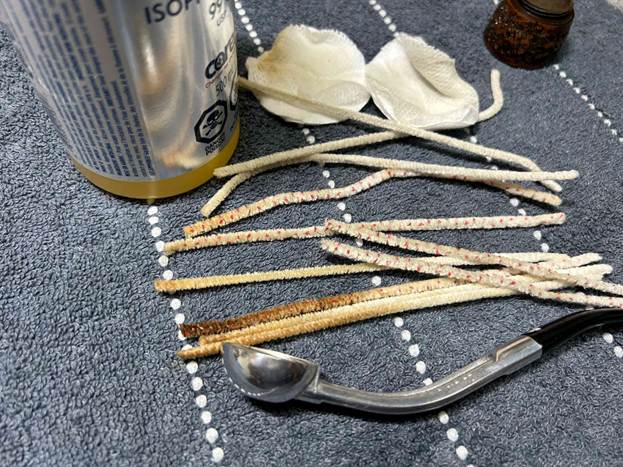
I then moved on to the metal body of the pipe (including the acrylic stem, which is attached). It didn’t initially look dirty, but took a surprising amount of elbow grease to clean! I disinfected the inside and outside of the pipe with both pipe cleaners and cotton swabs dipped in lemon-infused 99% isopropyl alcohol. I scrubbed thoroughly. I also used a wire brush to scrub some of the more stubborn areas.

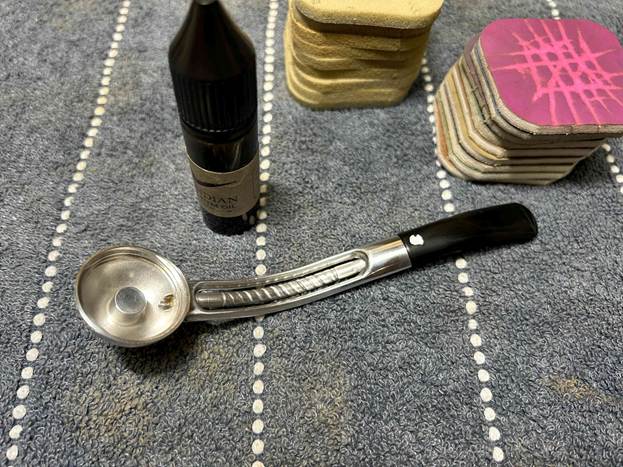
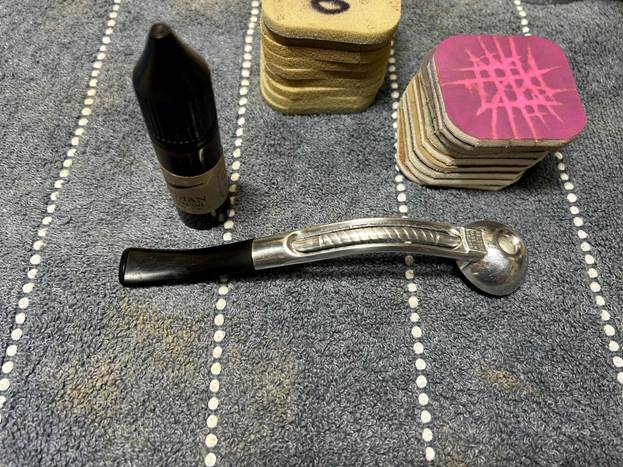
In addition, I began my polishing procedure with some 0000-grit steel wool. This worked incredibly well – I was so pleased with the results. I then used some micromesh pads that I have saved solely for metal work and buffed it up to an incredible shine. Following that, I used all nine of the micromesh sanding pads (1,500 through 12,000 grit) to sand out flaws in the stem, even out the acrylic, and provide gentle polishing of the finished surface. I also applied pipe-stem oil while using the last five micromesh pads. There was a wonderful, deep black shine to the stem when I was done. Sorry for the dearth of photos here.

For the final step, I took the pipe to my bench polisher and carefully buffed it – first with a blue diamond compound, then with three coats of conservator’s wax. This procedure makes the pipe look its best.

All done! This Falcon AN7 Dublin looks fantastic again and is ready to be enjoyed by its next owner. I am pleased to announce that this pipe is for sale! If you are interested in acquiring it for your collection, please have a look in the ‘British’ pipe section of the store here on Steve’s website. You can also email me directly at kenneth@knightsofthepipe.com. The approximate dimensions of the pipe are as follows: length 5⅞ in. (151 mm); height 1½ in. (38 mm); bowl diameter 1½ in. (38 mm); chamber diameter ⅞ in. (21 mm). The weight of the pipe is 1⅛ oz. (34 g). I hope you enjoyed reading the story of this pipe’s restoration as much as I enjoyed restoring it. If you are interested in more of my work, please follow me here on Steve’s website or send me an email. Thank you very much for reading and, as always, I welcome and encourage your comments.

Bringing a Ben Wade 53 Skater Back from the Brink


by Kenneth Lieblich

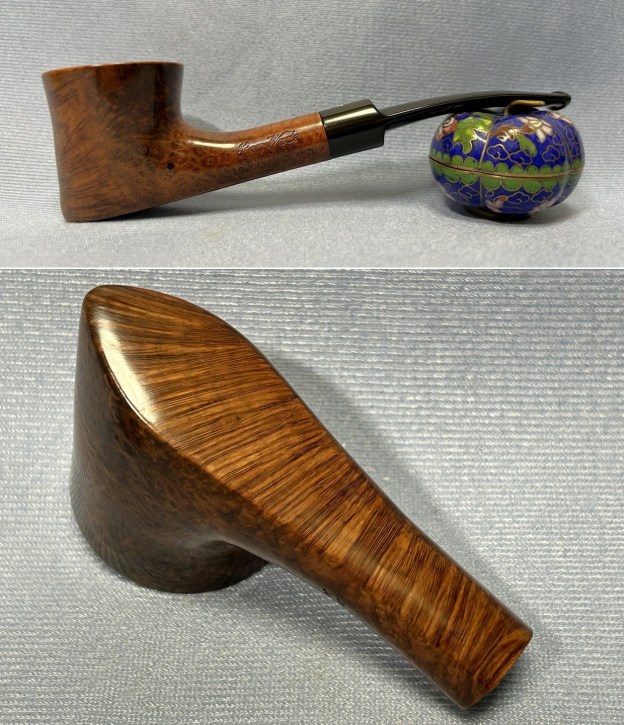
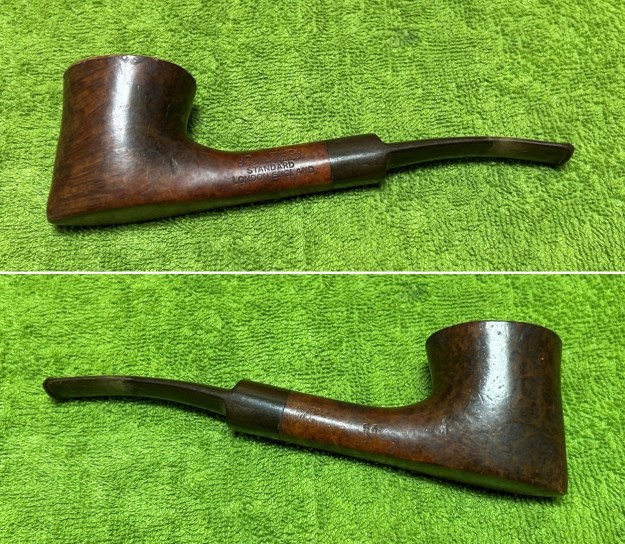
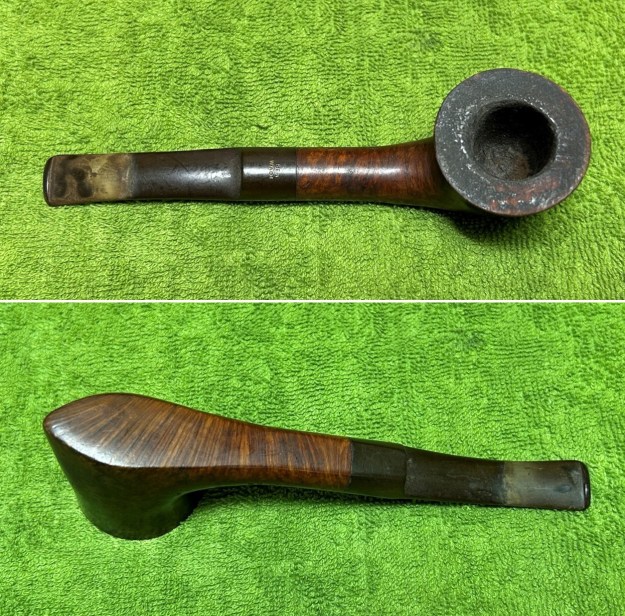
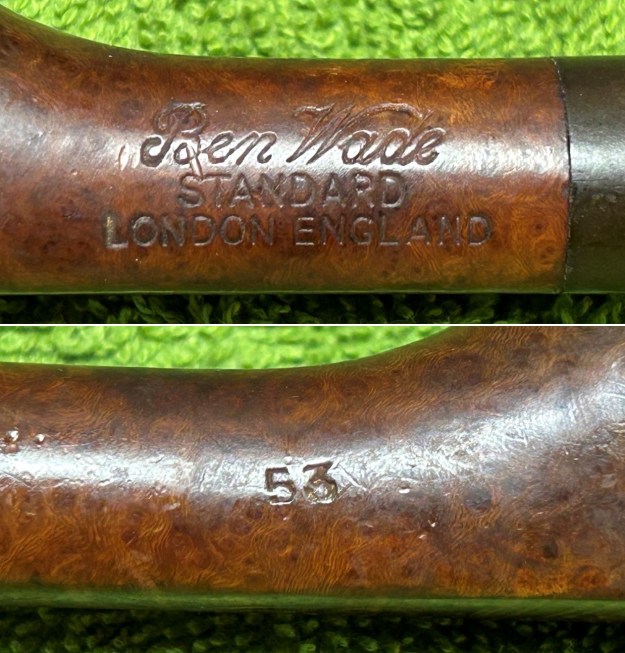
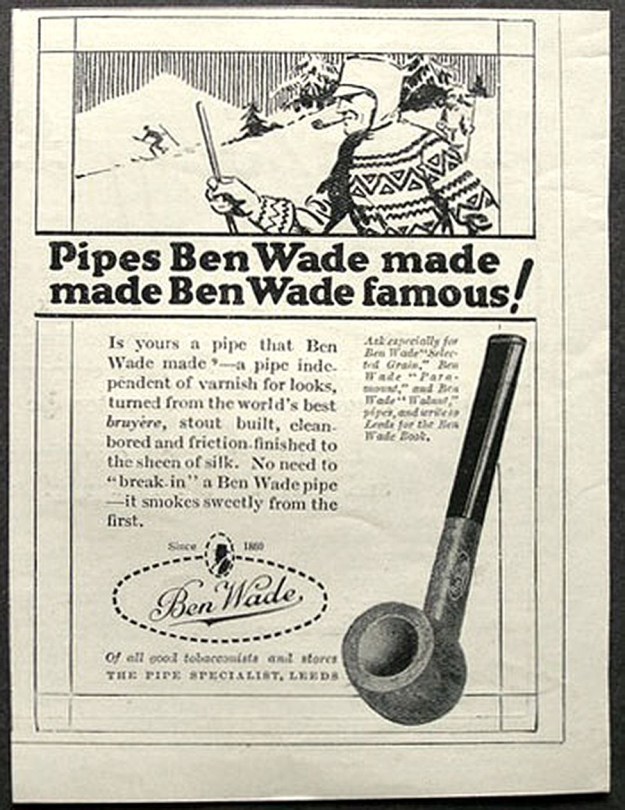
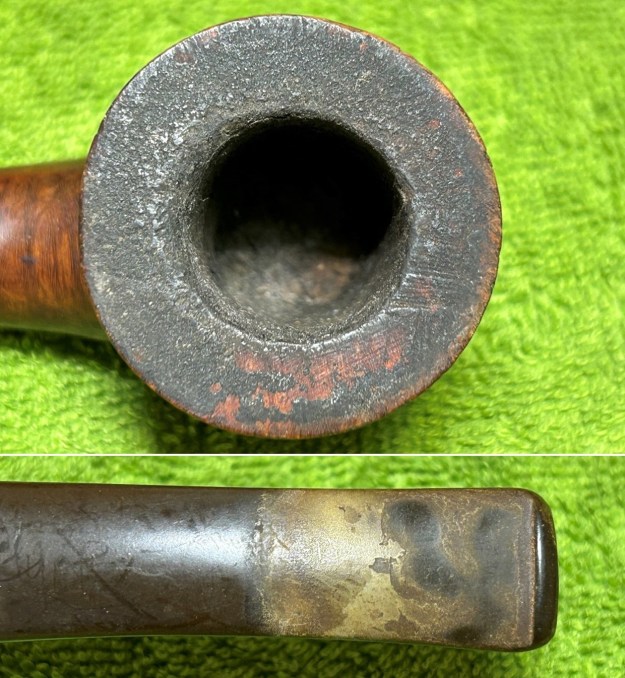
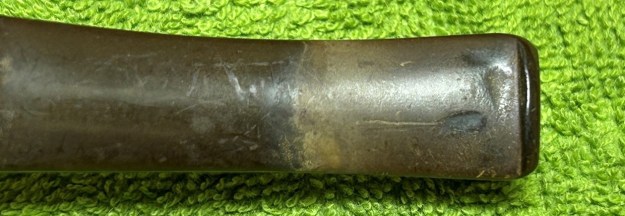
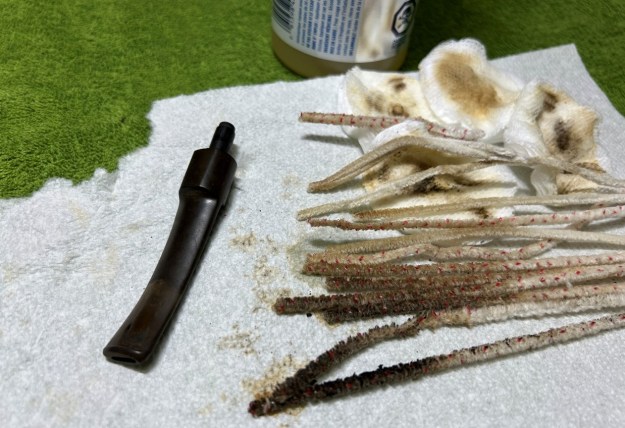
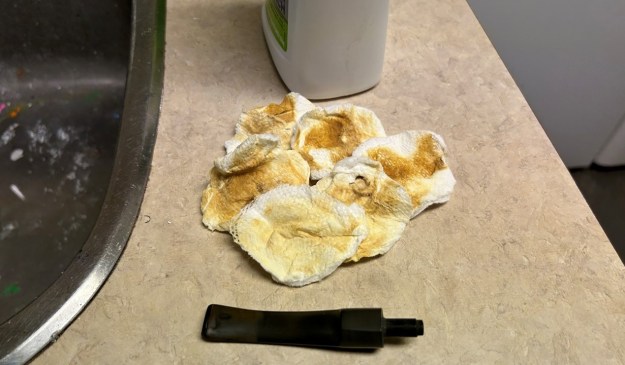
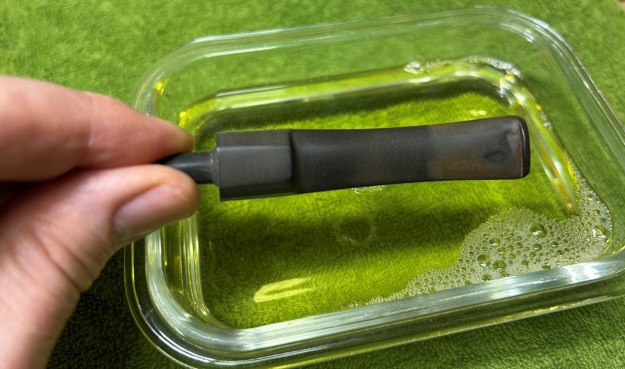
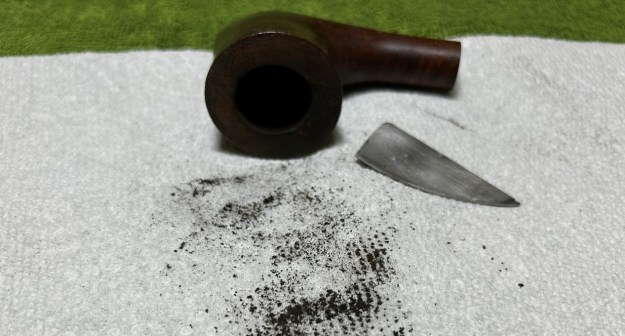
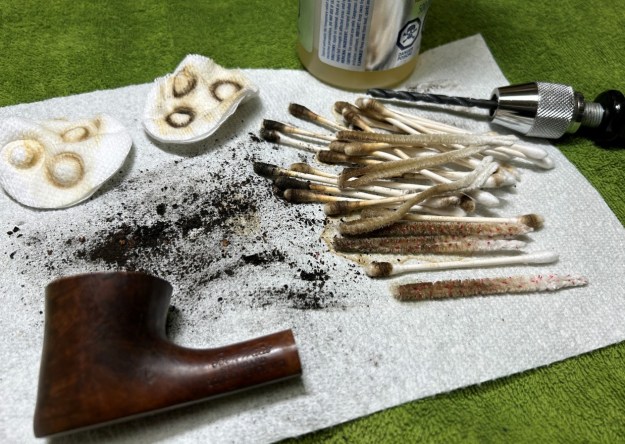
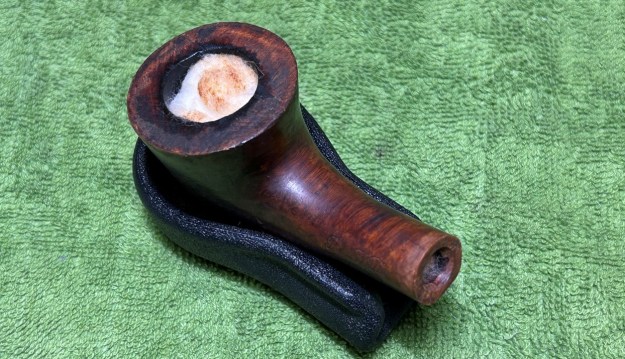
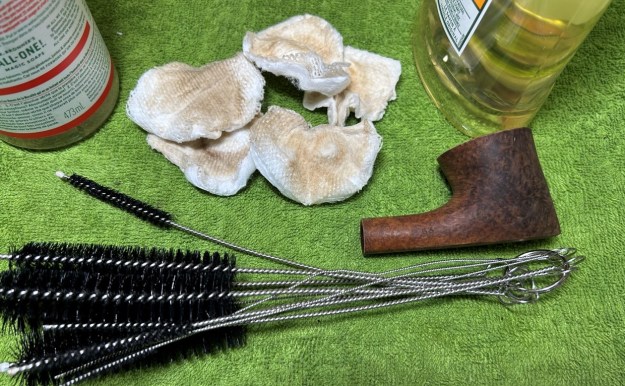
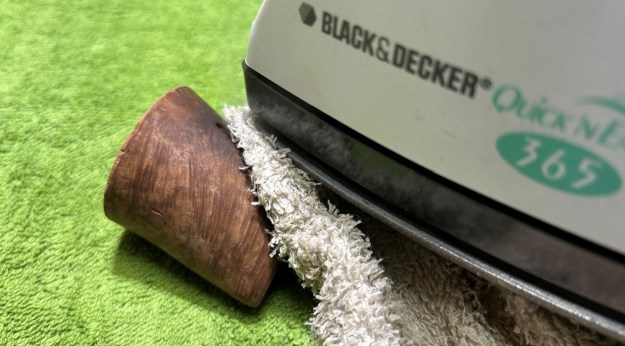
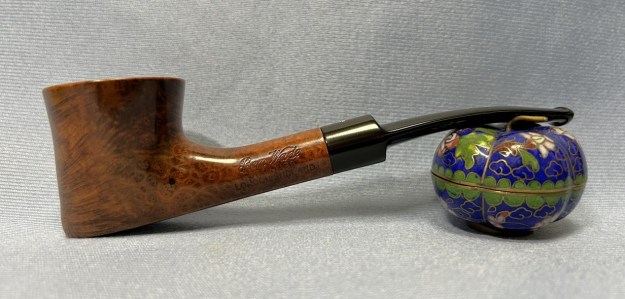
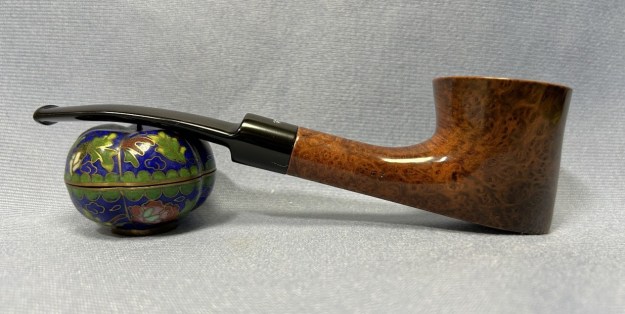
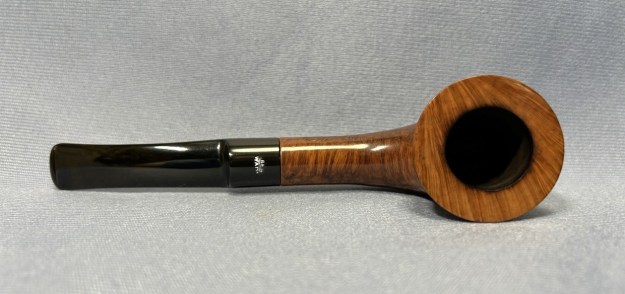
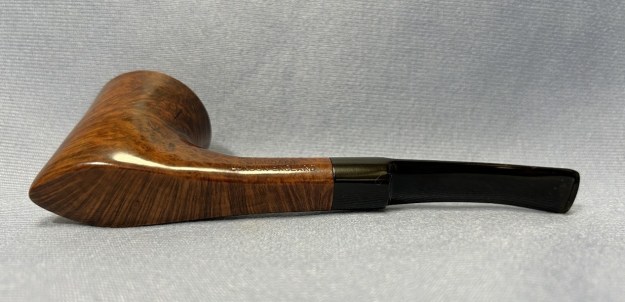
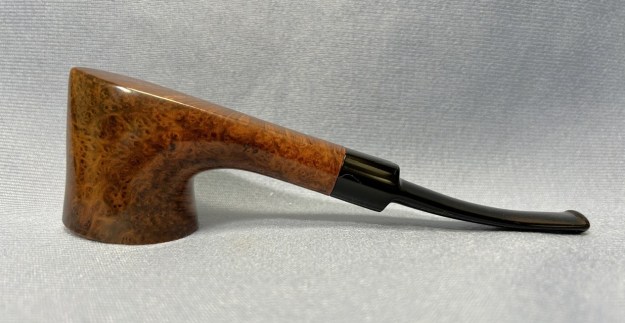
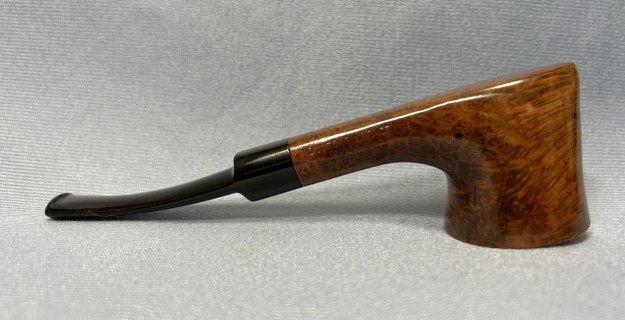
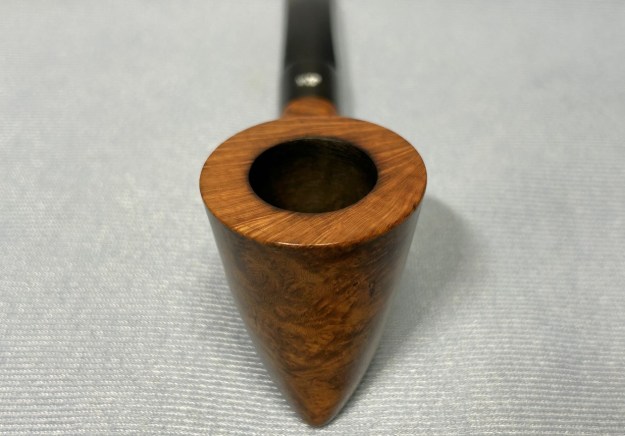
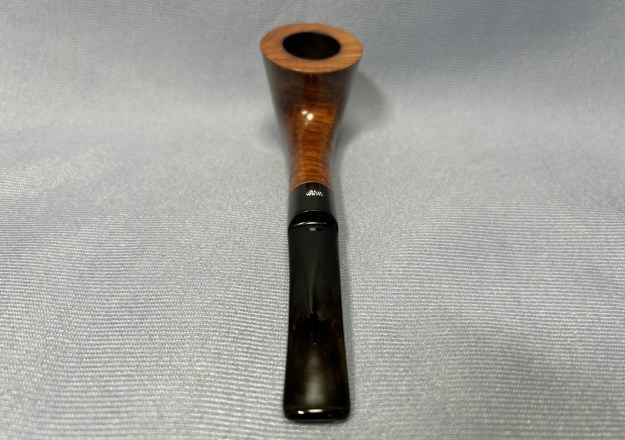
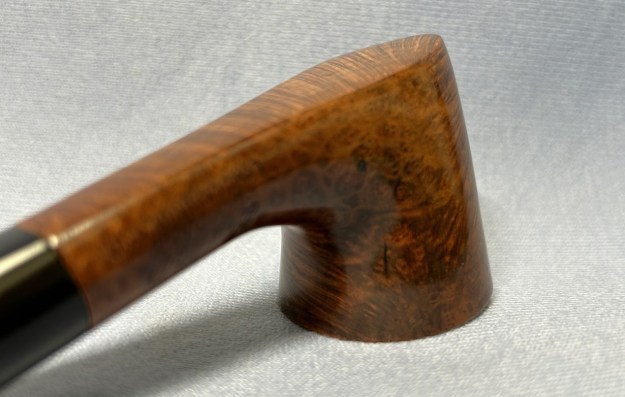
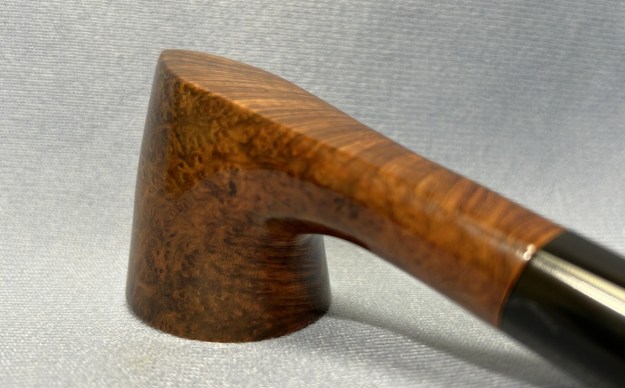
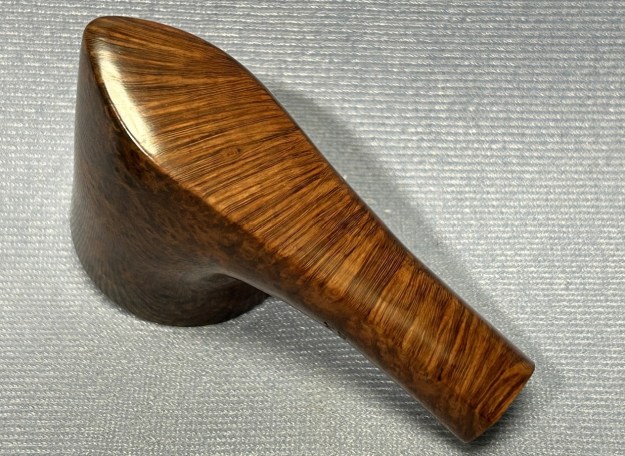
I’ve had this pipe in my stash for a long time, and I don’t really remember acquiring it. I always thought it was a neat shape and just required the right moment for restoration. Well, the pipe found its way back into my hand and the time for restoration has come. This is a Ben Wade Standard 53 skater and it has seen better days. The pipe is worn, dirty, and tired-looking. There is some stunning grain under the grime and it holds a real charm. I’m sure you will be charmed! Here are the markings on the pipe. On the left side of the shank, we see Ben Wade [over] Standard [over] London England. On the right side, we see the shape number 53. Meanwhile, on the top of the stem, we see the words Ben [over] Wade. Doing some elementary research and comparing styles of nomenclature, this pipe looks to me as though it could be from the ‘post-family, pre-Lane’ era of Ben Wade, but I am not sure. Based on what Steve told me, it also seems possible that this Ben Wade comes from the Charatan era. The skater was a well-known Charatan shape. I suppose that shape number 53 is probably a Ben Wade number, rather than a Charatan one. I am, naturally, inclined to trust Steve’s judgment over my own on this.Pipedia has a good write-up on Ben Wade and I encourage you to read it here. This is a little snippet of the article:

Ben Wade is one of the great names in English pipe making. As Richard Carleton Hacker noticed correctly Ben Wade, like many British pipe companies, has had a checkered history. Very checkered in this case. The company was founded by Benjamin Wade in 1860 in Leeds, Yorkshire, where it was located for over a century. Ben Wade started as a pipe trader, but yet in the 1860’s he established a workshop to produce briar pipes. The pipes were made in very many standard shapes – always extensively classic and “very British”. Many models tended to be of smaller dimensions. Ben Wade offered a very high standard of craftsmanship and quality without any fills. Thus the pipes were considered to be high grade and a major competitor to other famous English brands. The often heard comparison to Charatan seems to be a little bit inadequate because those days’ Charatans were entirely handmade.Let’s examine the condition. First and foremost, this pipe is really dirty. There’s lots of filth matted everywhere – especially the rim. There wasn’t much damage to the briar to be seen initially – although that would change once cleaning began. Having said that, there were a few small nicks in the briar. The smoking chamber had plenty of cake and looked like it would take some hard work to clean up. The stem was coated in oxidation and calcification. It was very dirty too and had a few tooth dents. In short, I had my work cut out for me. The stem’s calcification was quite substantial. I used an old butter knife and gently scraped some of the thicker accretion off. Doing this now helps later in removing the oxidation. I then used alcohol on a few cotton rounds and wiped down the stem to provide an initial cleaning of filth before moving on to the next steps. The primary cleaning came next. I disinfected the inside of the stem with both pipe cleaners and cotton swabs dipped in lemon-infused 99% isopropyl alcohol. I scrubbed thoroughly to make sure the interior was very clean. This stem is so dirty. I used a LOT of pipe cleaners and cotton swabs.The goal of the next step is the removal (or minimization) of oxidation. Going to my sink, I used cream cleanser, cotton rounds, and a toothbrush, and scoured the stem to remove as much surface oxidation as possible. As the photos show, the result was a hideous, brownish mess – but better off the stem than on it.Once the stem was reasonably clean, I soaked it overnight in some Briarville Stem Oxidation Remover. This solution works to draw oxidation in the stem to the surface of the vulcanite. This is a major aid and an important step in ensuring a clean stem. The following day, I drew out the stem from its bath and scrubbed the lingering fluid with a toothbrush. Due to the severity of the oxidation, I then repeated the scrubbing with the cream cleanser for maximum effect.As the stem was now clean and dry, I set about fixing the marks and dents in the vulcanite. This was done by filling those divots with black cyanoacrylate adhesive, impregnated with carbon and rubber. I left this to cure and moved on. After this, I painted the logo on the stem with some enamel nail polish. I restored the logo carefully and let it fully set before proceeding.The penultimate step for the stem is sanding. First, with my set of needle files, I reduced the bulk of the cyanoacrylate repairs. I removed the excess adhesive as near to the surface as possible, without cutting into the vulcanite. Following that, I used all nine of the micromesh sanding pads (1,500 through 12,000 grit) to sand out flaws, even out the vulcanite, and provide gentle polishing of the finished surface. I also applied pipe-stem oil while using the last five micromesh pads. There was a wonderful, deep black shine to the stem when I was done.As the stem was (nearly) complete, I moved on to the stummel. The first step was to ream out the bowl – that is to say, remove all the cake inside the bowl. This accomplished a couple of things. First (and most obviously), it cleaned the bowl and provided a refurbished chamber for future smoking. Second, when the old cake was removed, I could inspect the interior walls of the bowl and determine if there was damage or not. I used a reamer, a pipe knife, and a piece of sandpaper taped to a wooden dowel. Collectively, these ensured that all the debris was removed.My next step was to remove the lava on the rim. For this, I took a piece of machine steel and gently scraped the lava away. The metal’s edge is sharp enough to remove what I need, but not so sharp that it damages the rim. This work revealed some serious damage to the rim. It was badly scraped and I would need to address that.The inside of the stummel needed to be cleaned thoroughly. However, this pipe was so clogged, that I first needed to open the horribly occluded airway. So, I took a long drill bit and hand-cranked it to dislodge the dreadful detritus inside. Hand cranking is essential because it provides a precision and caution that a power drill cannot provide. Similar to the stem, I then cleaned the stummel with both pipe cleaners and cotton swabs dipped in lemon-infused 99% isopropyl alcohol. This stummel was sooooo dirty. It took ages and much cotton to get clean – much more than is shown in the photo.I then decided to ‘de-ghost’ the pipe – that is to say, exorcize the remaining filth from the briar. I filled the bowl and the shank with cotton balls, then saturated them with 99% isopropyl alcohol. I let the stummel sit overnight. This caused the remaining oils, tars and smells to leach out into the cotton.To tidy up the briar, I also wiped down the outside with some oil soap on cotton rounds. This did a good job of cleaning any latent dirt on the surface of the briar. The last step of the cleaning process was to scour the inside of the stummel with some soap and tube brushes. This was the culmination of a lot of hard work in getting the pipe clean.Having completed that, I was able to address the nicks on the bowl. I dug out my iron and a damp cotton flannel cloth. By laying the cloth over the affected areas and applying the iron to it, the hot and moist steam can cause the wood to swell slightly and return to shape. There was some improvement – not a lot, but it was better than doing nothing. The damage to the rim was significant. In order to lessen the scrapes on the rim, I ‘topped’ the pipe – that is to say, I gently and evenly sanded the rim on a piece of 220-grit sandpaper. This effectively minimized the damage, without altering the look of the pipe. Some damage will always remain and that is fine – it’s part of this pipe’s history. I used all nine micromesh pads (1,500 through 12,000 grit) to sand the outside of the stummel and finish it off. This sanding minimizes flaws in the briar and provides a beautiful smoothness to the wood. I rubbed some LBE Before & After Restoration Balm into the briar and let it sit for 30 minutes or so. The balm moisturizes the wood and gives a beautiful depth to the briar. I then buffed the stummel with a microfibre cloth. For the final step, I took the pipe to my bench polisher and carefully buffed it – first with a blue diamond compound, then with three coats of carnauba wax. This procedure makes the pipe look its best – the stummel sings and the stem glows.This Ben Wade Standard 53 skater looks fantastic again and is ready to be enjoyed by its next owner. I am pleased to announce that this pipe is for sale! If you are interested in acquiring it for your collection, please have a look in the ‘British’ pipe section of the store here on Steve’s website. You can also email me directly at kenneth@knightsofthepipe.com. The approximate dimensions of the pipe are as follows: length 6 in. (153 mm); height 1⅝ in. (41 mm); bowl diameter 1½ in. (39 mm); chamber diameter ⅞ in. (22 mm). The weight of the pipe is 1¼ oz. (38 g). I hope you enjoyed reading the story of this pipe’s restoration as much as I did restoring it. If you are interested in more of my work, please follow me here on Steve’s website or send me an email. Thank you very much for reading and, as always, I welcome and encourage your comments.