by Kenneth Lieblich
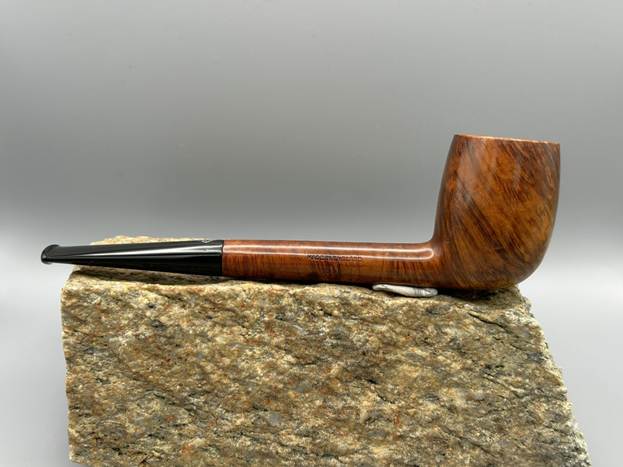
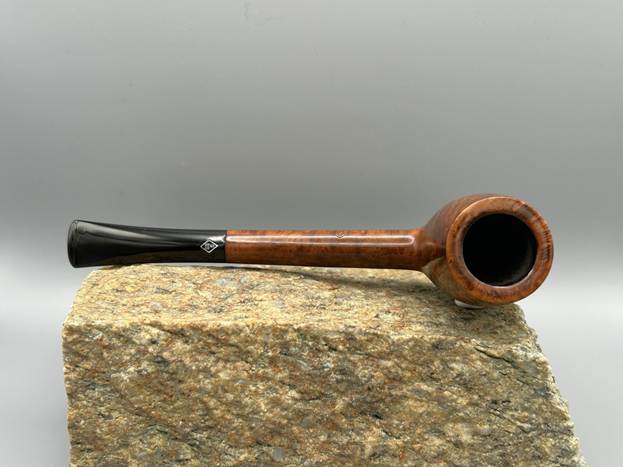
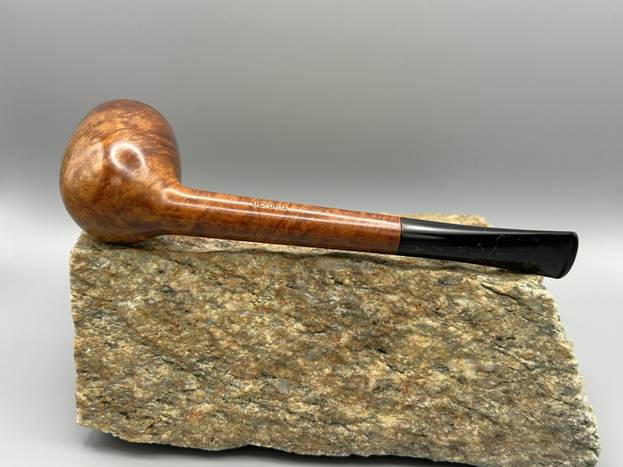
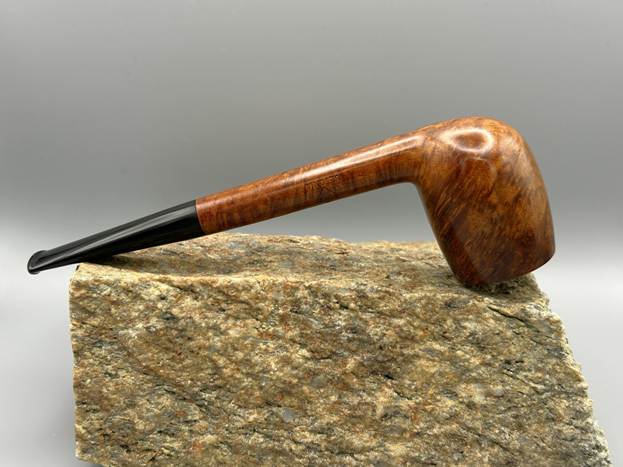
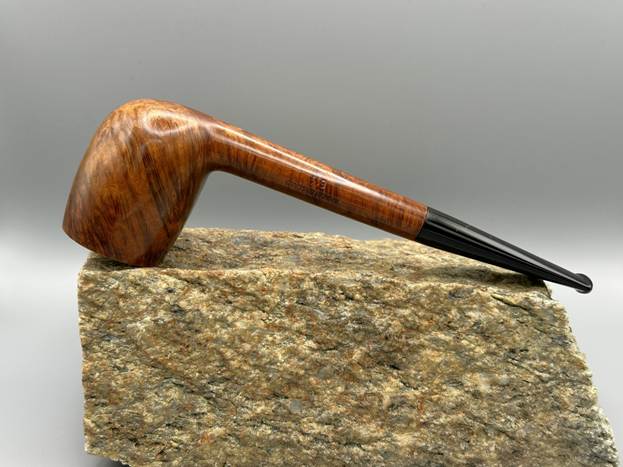
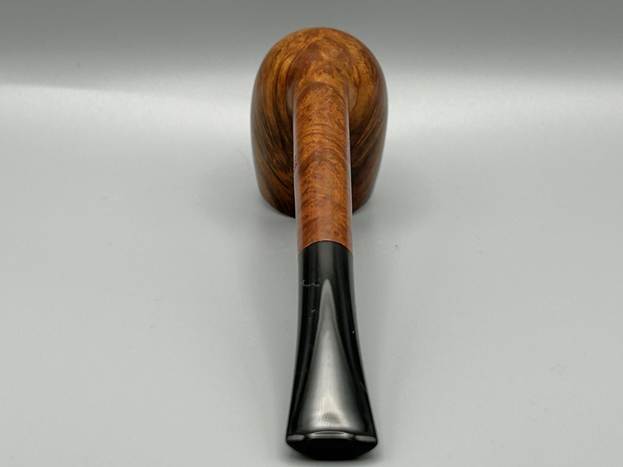
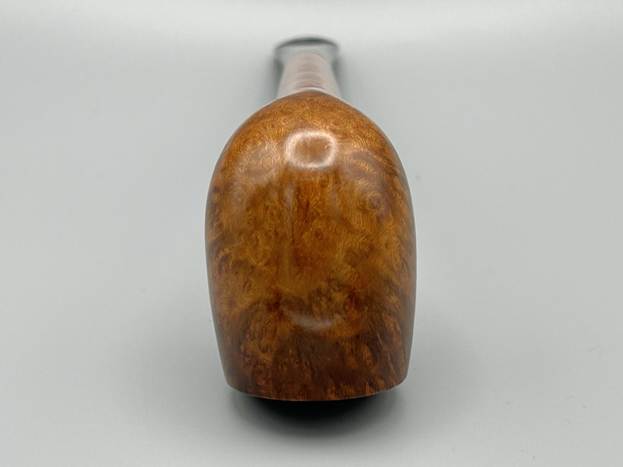
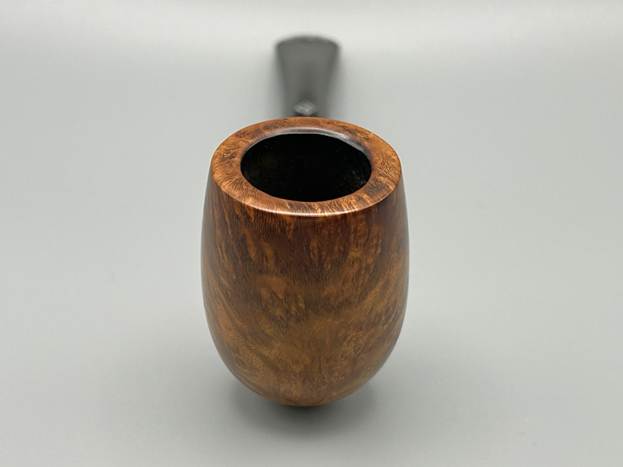
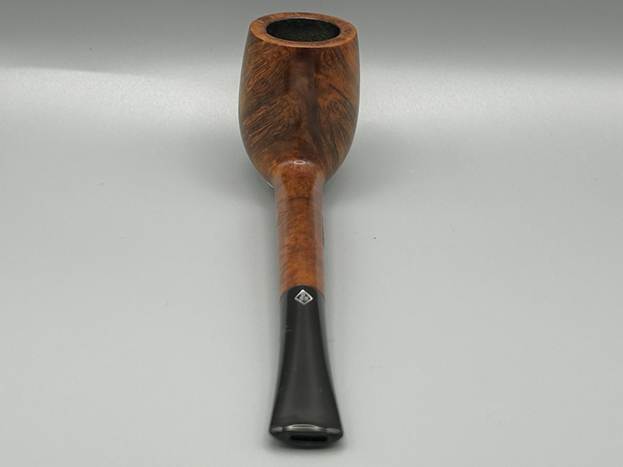
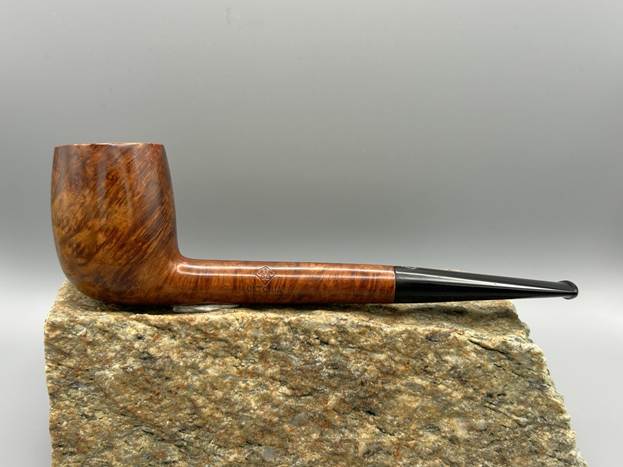
Next up is a beautiful English pipe from BBB. I acquired it locally from the estate of an old boy who kept a lovely collection of pipes. This charming fellow is luxurious, with a handsome bowl and a beautifully long, round shank. The vulcanite taper stem is also very attractive and complements the briar very well. A gentleman recently contacted me to commission the restoration of this pipe and I was only too happy to oblige. He made a great choice: there is some wonderful grain on this pipe.
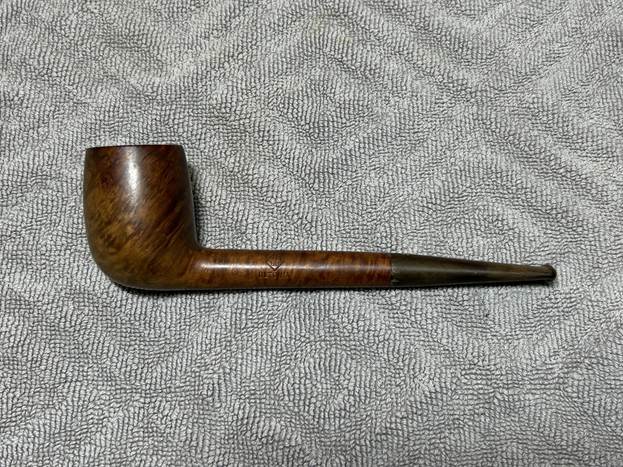
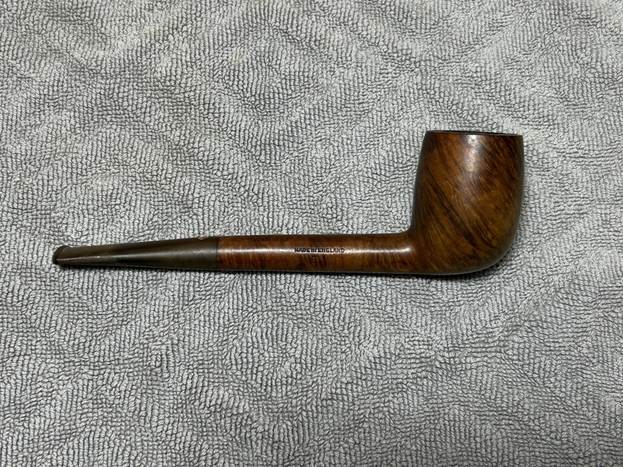
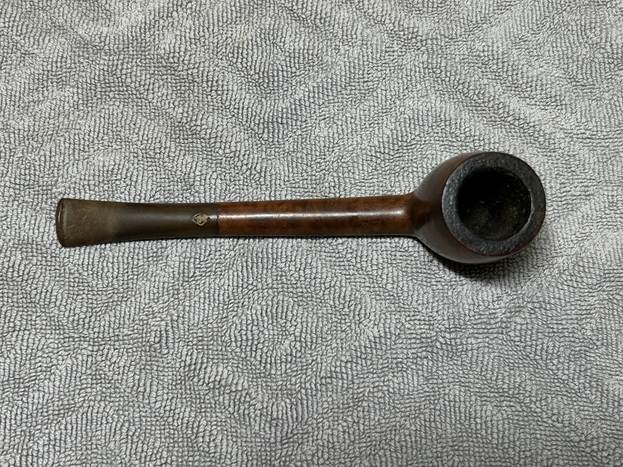
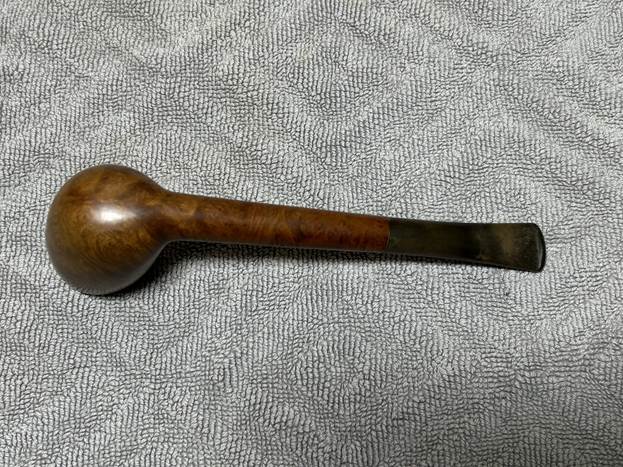
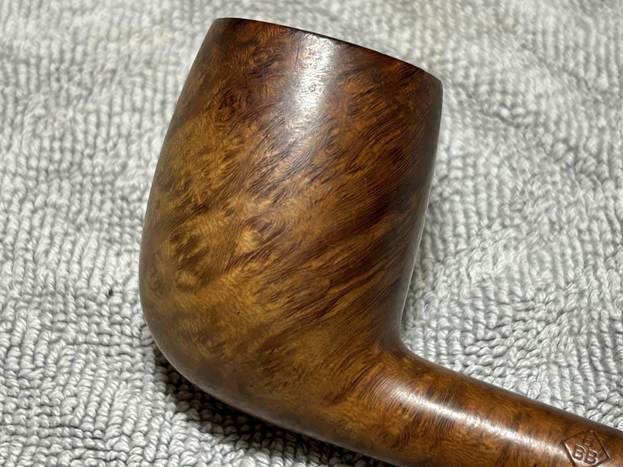
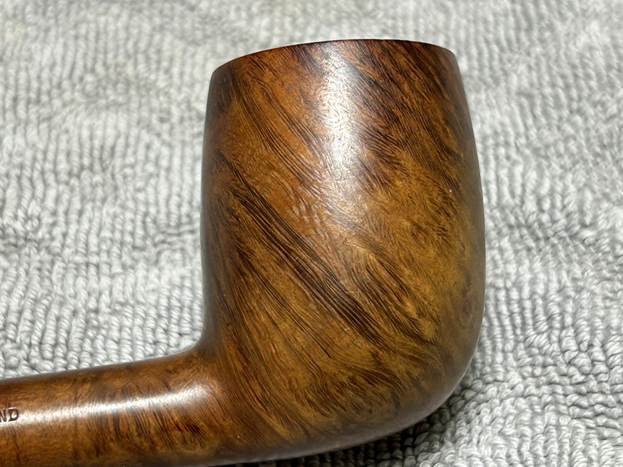
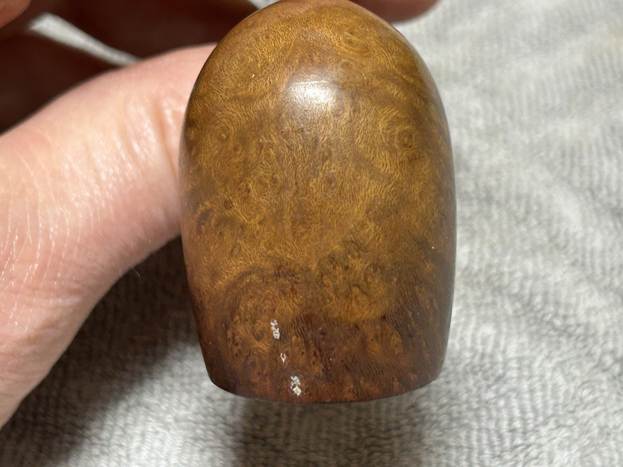
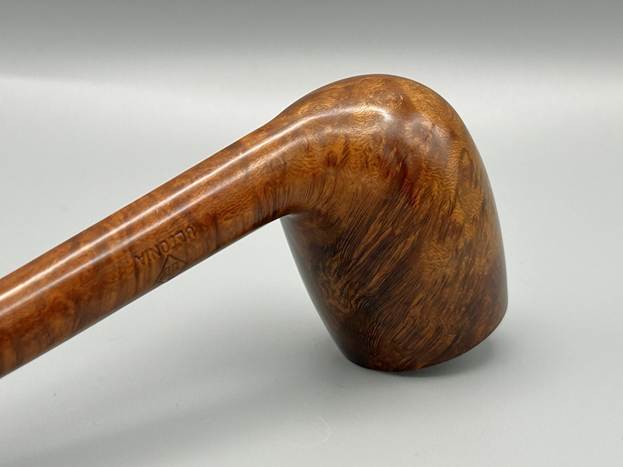
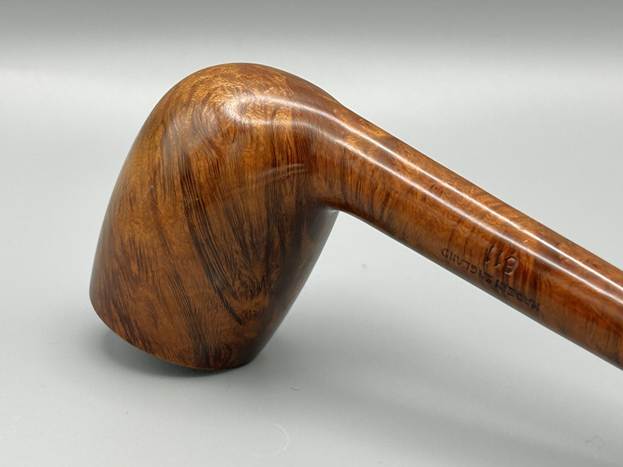
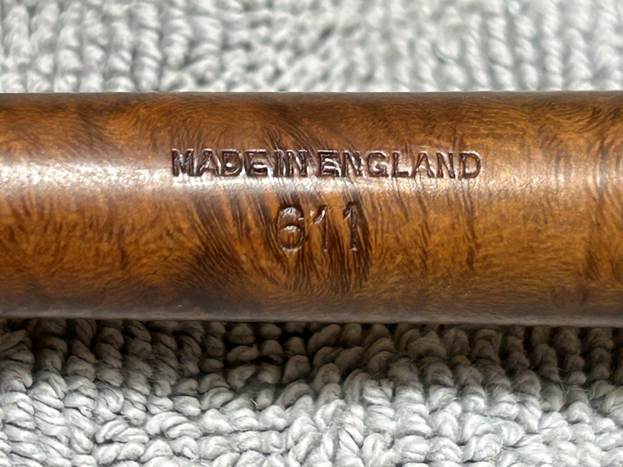
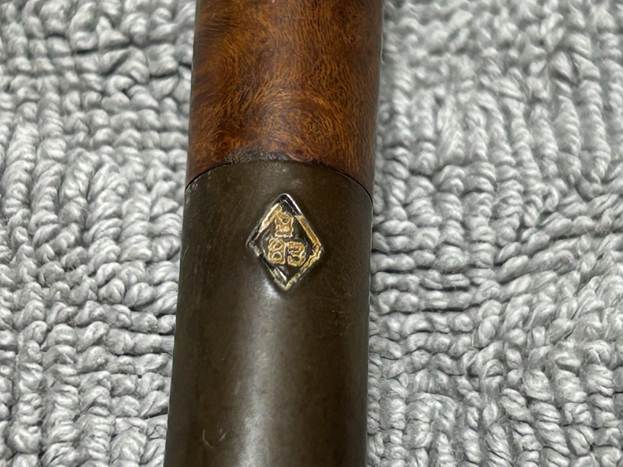
Let’s look at the marks on the pipe. They are clear and very readable. On the left side of the shank, we see the diamond-shaped logo of the company with the initials BBB inside it. Below that is the word Ultonia. On the right side of the shank, we see Made in England [over] 611 – the shape number. Finally, the stem shows the same diamond-shaped logo with the initials BBB inside it. To be clear, this logo is not in metal.
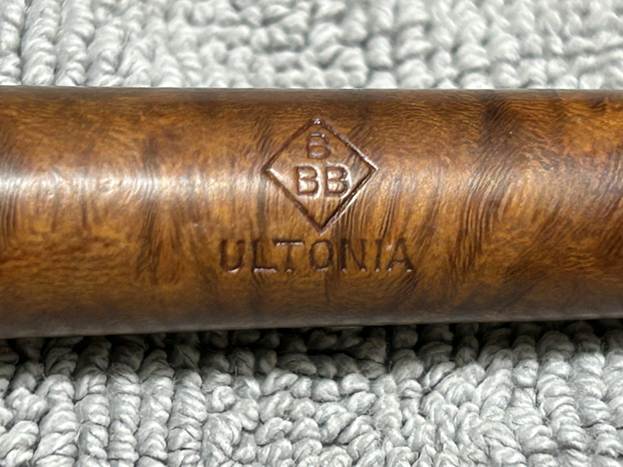
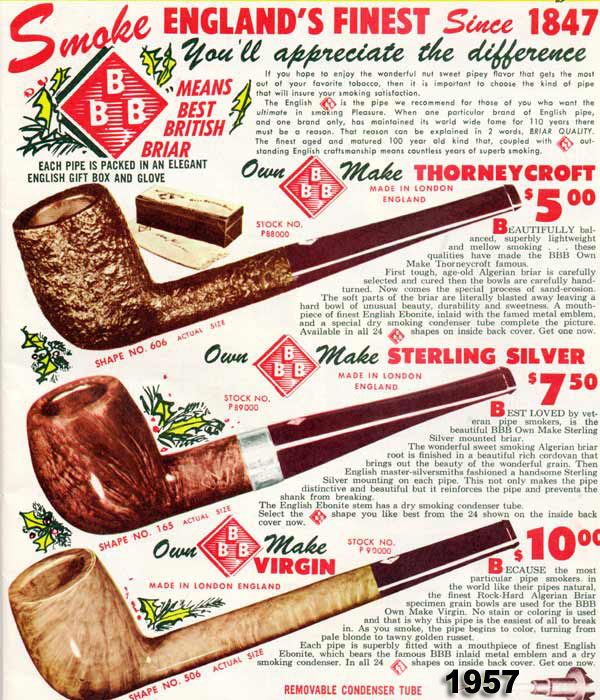
A quick examination of the background of BBB will tell you that there is much love and lore to this brand. It goes back 170 years and a great deal has been written about the company. For example, Pipedia has a good article about the company and I encourage you to read it here. As a sampling, I include the first paragraph of that article below:
The initials once stood for Blumfeld’s Best Briars after Louis Blumfeld, who took over the management of the Adolph Frankau Company in 1856. After his death, the BBB gradually became known as Britain’s Best Briars. Soon to be the oldest English trademark in current use and the first pipe ever to have a registered trademark. “Britain’s Best Briars”, often called BBB, is one of the oldest brands still in production and has always been the most popular foreign brand in Denmark. Earlier pipes included a metal rondel with a diamond shape including BBB imbedded in the stem top, and later post-Cadogan went to a stamped on logo, similar to the GBD pipes.
Pipephil also has a nice write-up on BBB, which you can read here.
The pipe is in great condition, which will make for a great restoration. On the stem, we can see some oxidation and calcification. There are also some minor tooth marks, scratches, etc. Nothing of serious concern. The bowl had some cake (but nothing terrible) and some notable lava on the rim. We’ll have to investigate that further.
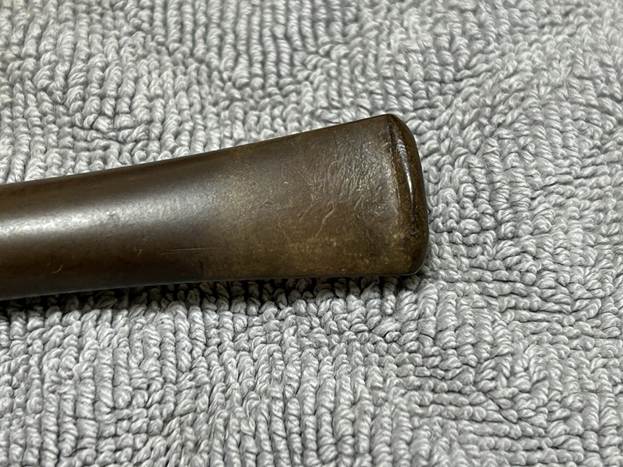
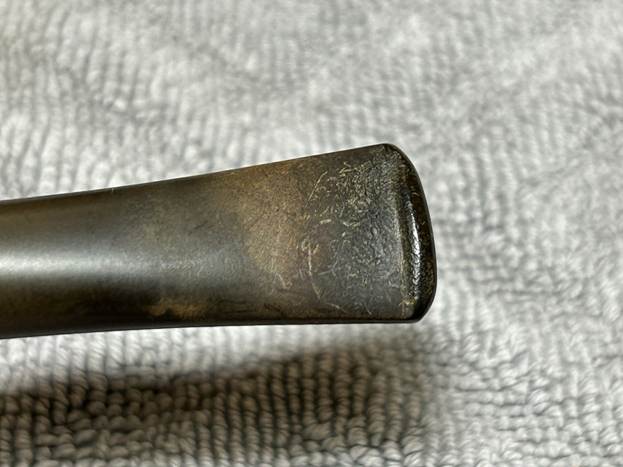
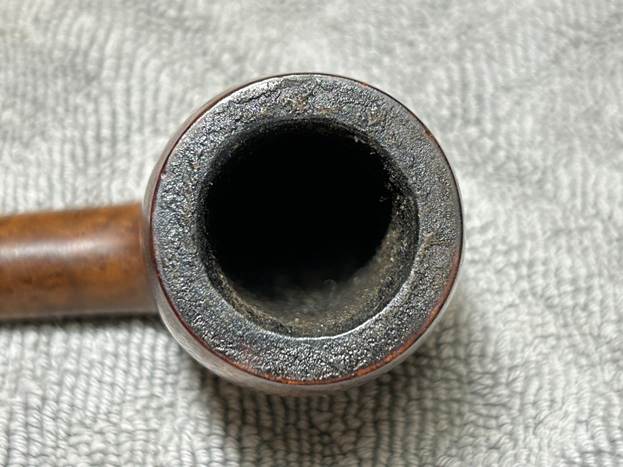
I used isopropyl alcohol on a few cotton rounds and wiped down the stem to provide an initial cleaning of filth before moving on to the next steps. The primary cleaning came next. I disinfected the inside of the stem with both pipe cleaners and cotton swabs dipped in lemon-infused 99% isopropyl alcohol. I scrubbed thoroughly to make sure the interior was very clean.
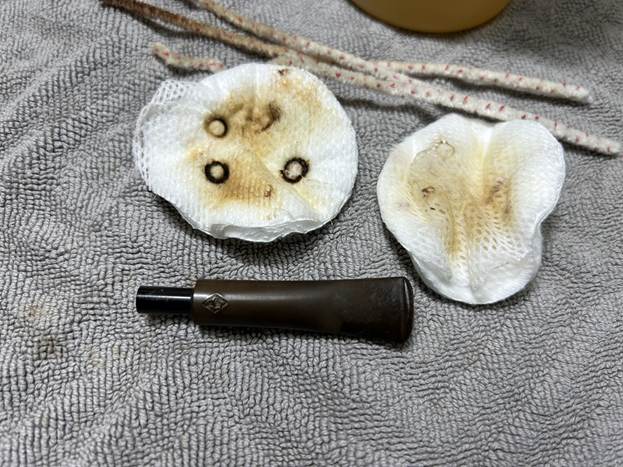
The goal of the next step is the removal (or minimization) of oxidation. Going to my sink, I used cream cleanser, cotton rounds, and a toothbrush, and scoured the stem to remove as much surface oxidation as possible. As the photos show, the result was a hideous, ochre-coloured mess – but better off the stem than on it.
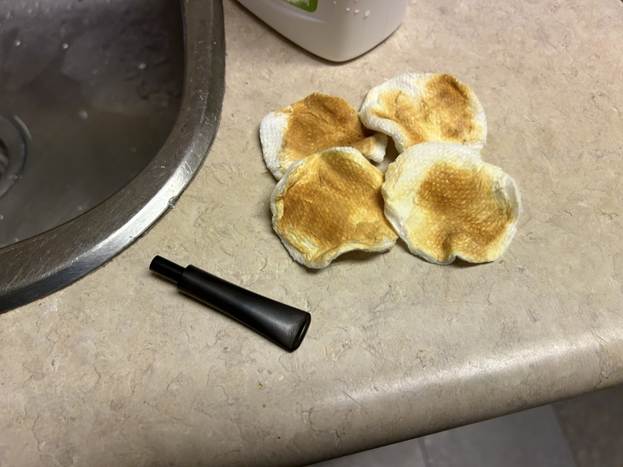
Once the stem was reasonably clean, I soaked it overnight in some Briarville Stem Oxidation Remover. This solution works to draw oxidation in the stem to the surface of the vulcanite. This is a major aid and an important step in ensuring a clean stem. The following day, I drew out the stem from its bath and scrubbed the lingering fluid with a toothbrush.
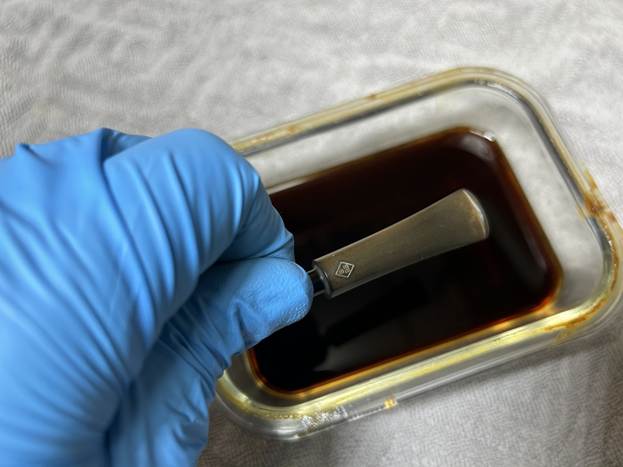
As the stem was now clean and dry, I painted the logo on the stem with some enamel nail polish. I restored the logo carefully and let it fully set before proceeding.
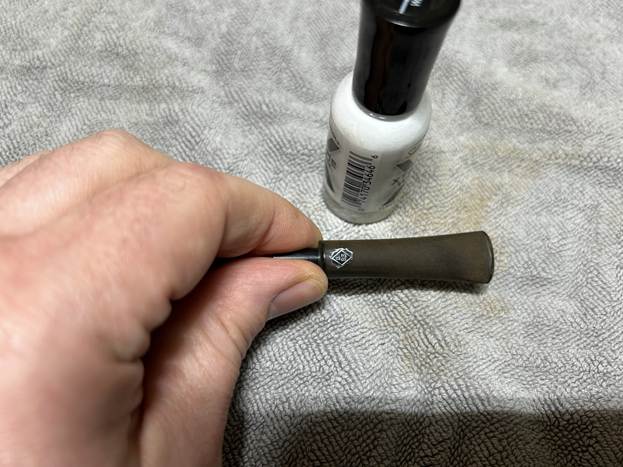
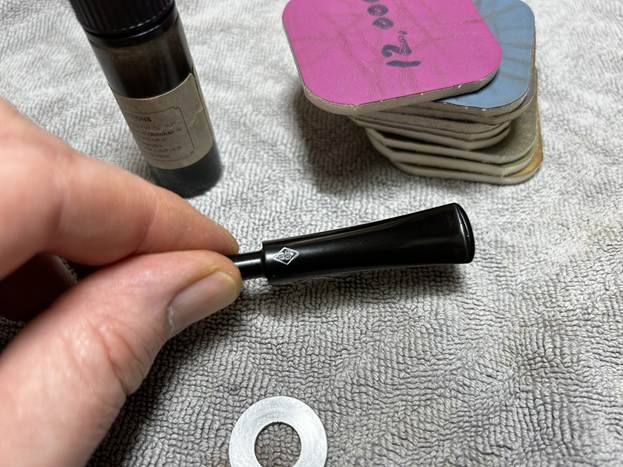
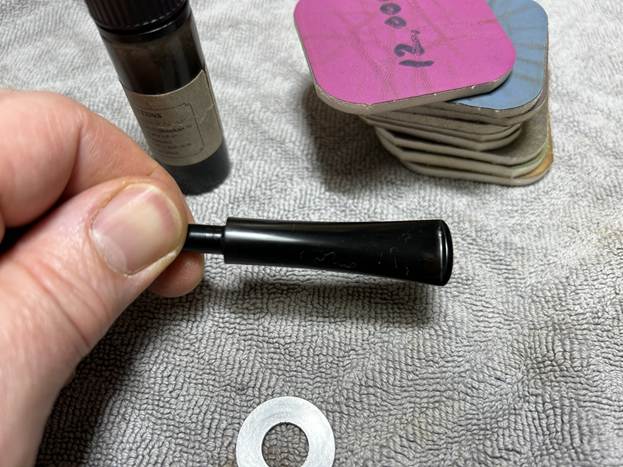
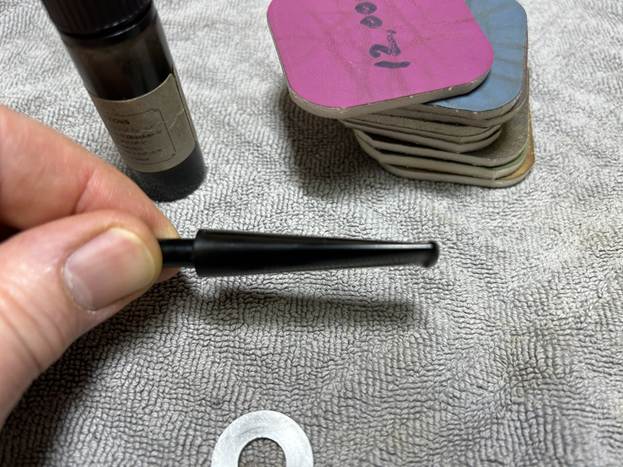
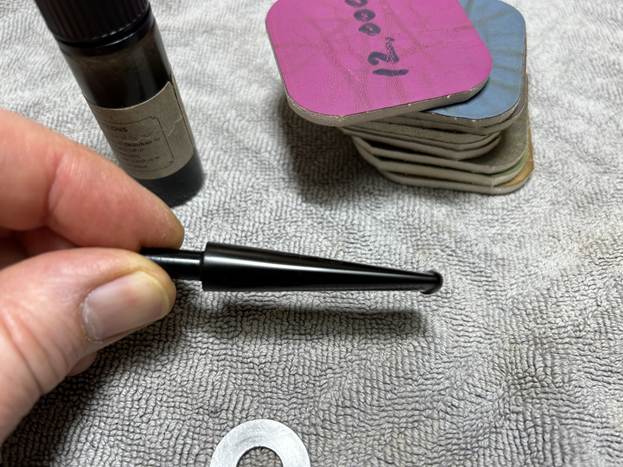
The penultimate step for the stem is sanding. First, with my set of needle files, I reduced the bulk of the cyanoacrylate repairs. I removed the excess adhesive as near to the surface as possible, without cutting into the vulcanite. Following that, I used all nine of the micromesh sanding pads (1,500 through 12,000 grit) to sand out flaws, even out the vulcanite, and provide gentle polishing of the finished surface. I also applied pipe-stem oil while using the last five micromesh pads. There was a wonderful, deep black shine to the stem when I was done.
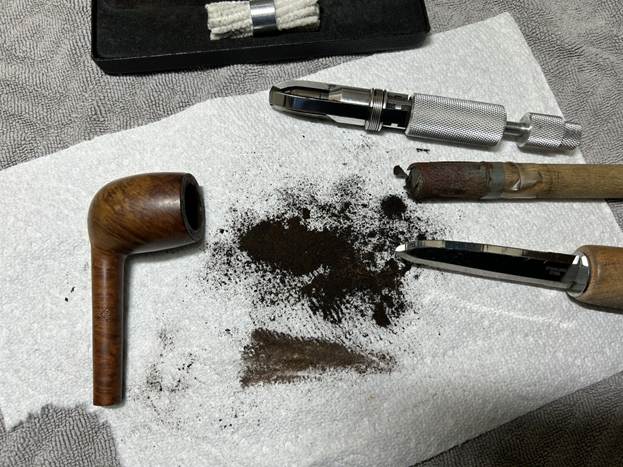
As the stem was (nearly) complete, I moved on to the stummel. The first step was to ream out the bowl – that is to say, remove all the cake inside the bowl. This accomplished a couple of things. First (and most obviously), it cleaned the bowl and provided a refurbished chamber for future smoking. Second, when the old cake was removed, I could inspect the interior walls of the bowl and determine if there was damage or not. I used a reamer, a pipe knife, and a piece of sandpaper taped to a wooden dowel. Collectively, these ensured that all the debris was removed.
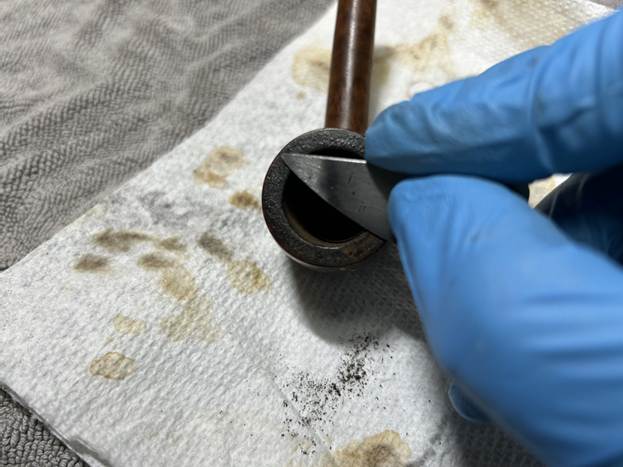
My next step was to remove the lava on the rim. For this, I took a piece of machine steel and gently scraped the lava away. The metal’s edge is sharp enough to remove what I need, but not so sharp that it damages the rim. This work revealed (thankfully) that there was no damage to the rim.
Similar to the stem, I then cleaned the stummel with both pipe cleaners and cotton swabs dipped in lemon-infused 99% isopropyl alcohol. With a pipe this dirty, it took quite a while and much cotton to clean.
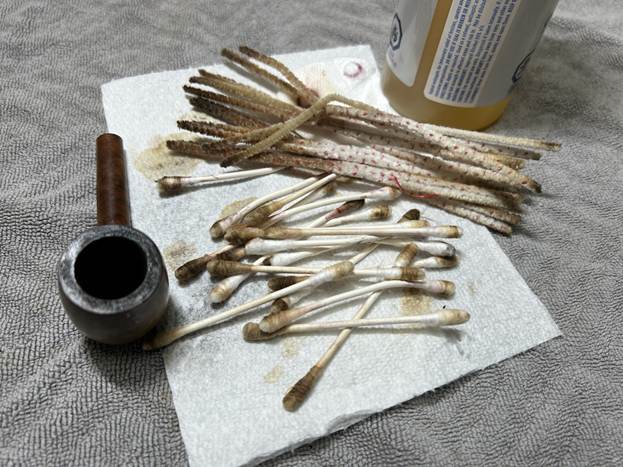
I then decided to ‘de-ghost’ the pipe – that is to say, exorcize the remaining filth from the briar. I filled the bowl and the shank with cotton balls, then saturated them with 99% isopropyl alcohol. I let the stummel sit overnight. This caused the remaining oils, tars and smells to leach out into the cotton.
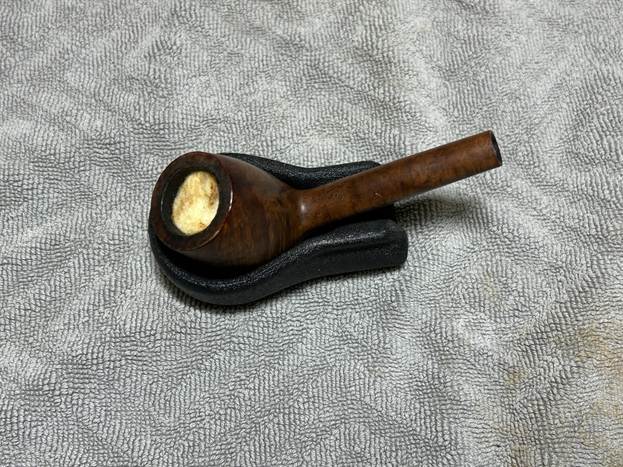
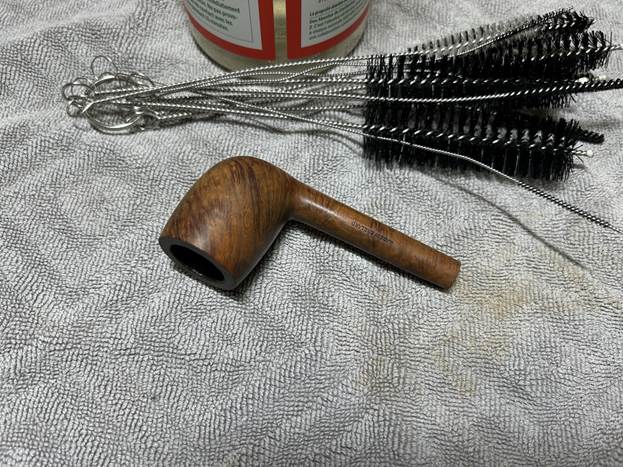
To tidy up the briar, I wiped down the outside, using a solution of a pH-neutral detergent and some distilled water, with cotton rounds. I also used a toothbrush in the crevices. This did a good job of cleaning any latent dirt on the surface of the briar. The last step of the cleaning process was to scour the inside of the stummel with the same mild detergent and tube brushes. This was the culmination of a lot of hard work in getting the pipe clean.
I used all nine micromesh pads (1,500 through 12,000 grit) to sand the outside of the stummel and finish it off. This sanding minimizes flaws in the briar and provides a beautiful smoothness to the wood. I rubbed some LBE Before & After Restoration Balm into the briar and let it sit for 30 minutes or so. The balm moisturizes the wood and gives a beautiful depth to the briar. I then buffed the stummel with a microfibre cloth.
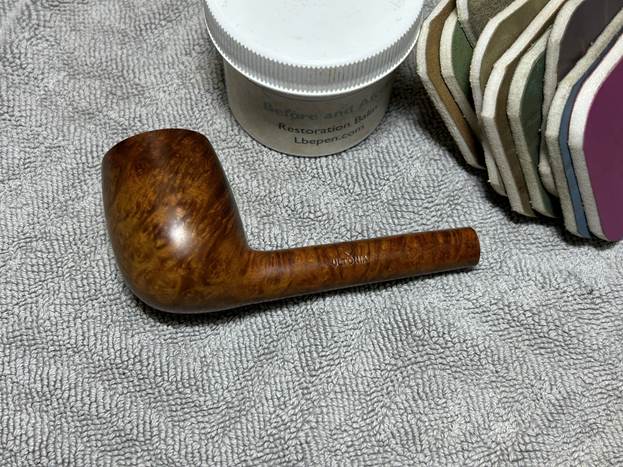
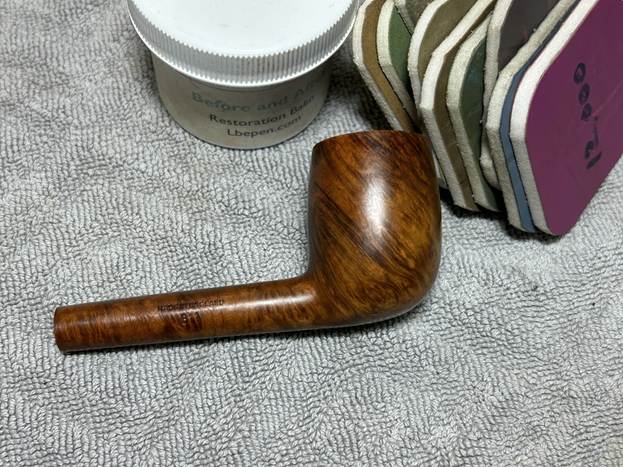
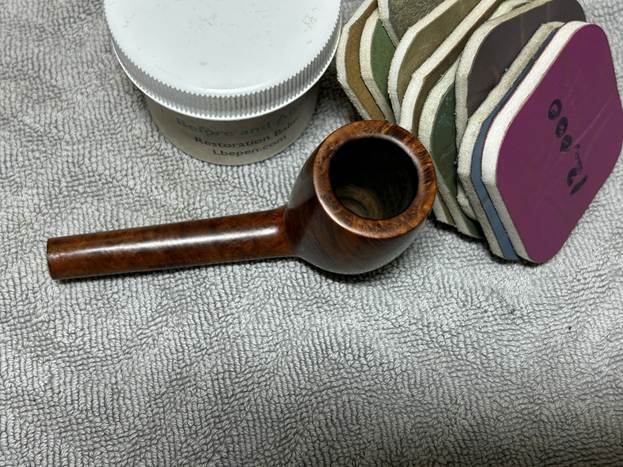
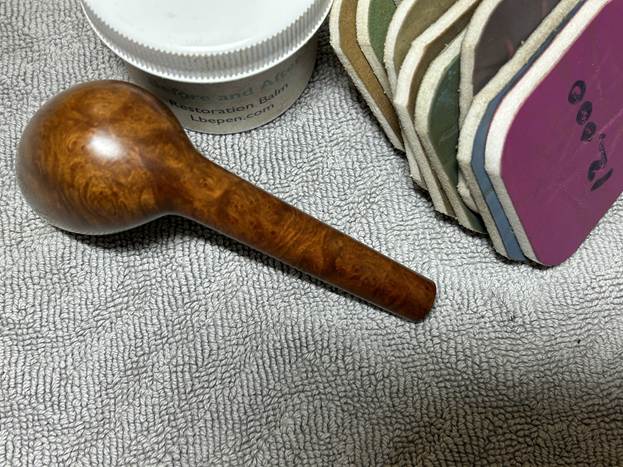
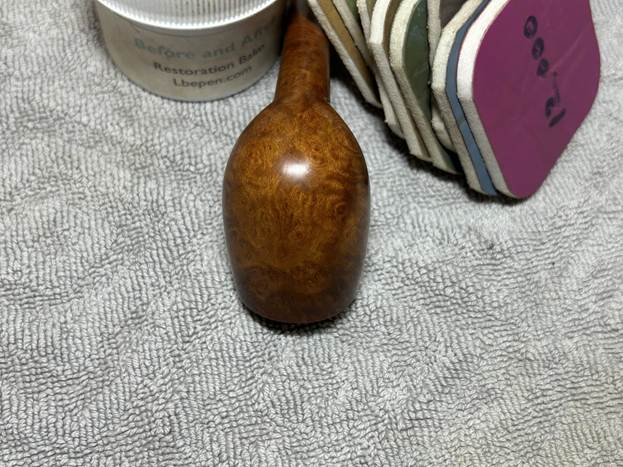
For the final step, I took the pipe to my bench polisher and carefully buffed it – first with a blue diamond compound, then with some carnauba wax. This procedure makes the pipe look its best – the stummel sings and the stem glows.
All done! This BBB Ultonia 611 looks fantastic again and I am delighted with the results. I’m sure the gentleman in Indiana will be too. The approximate dimensions of the pipe are as follows: length 5⅔ in. (144 mm); height 1¾ in. (44 mm); bowl diameter 1¼ in. (33 mm); chamber diameter ¾ in. (19 mm). The weight of the pipe is ⅞ oz. (25 g). I hope you enjoyed reading the story of this pipe’s restoration as much as I enjoyed restoring it. If you are interested in more of my work, please follow me here on Steve’s website or send me an email at kenneth@knightsofthepipe.com. Thank you very much for reading and, as always, I welcome and encourage your comments.