Blog by Steve Laug
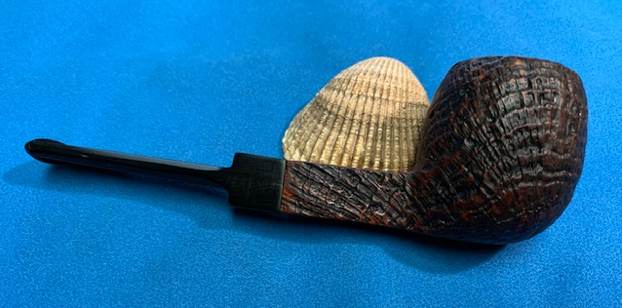
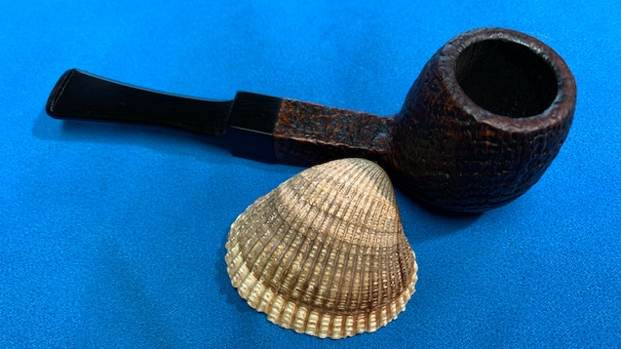
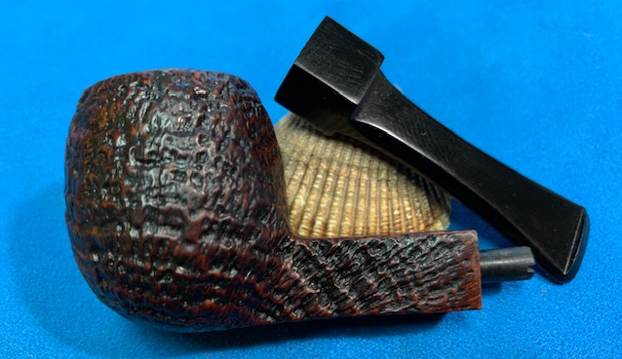
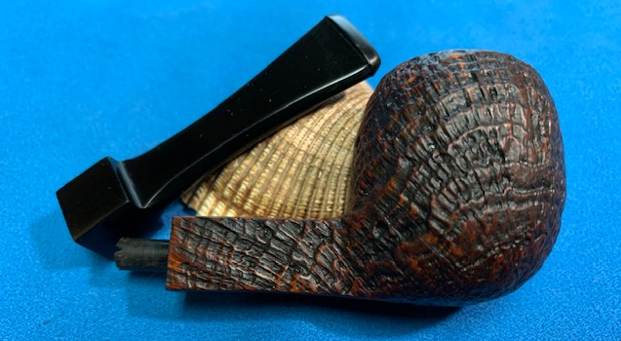
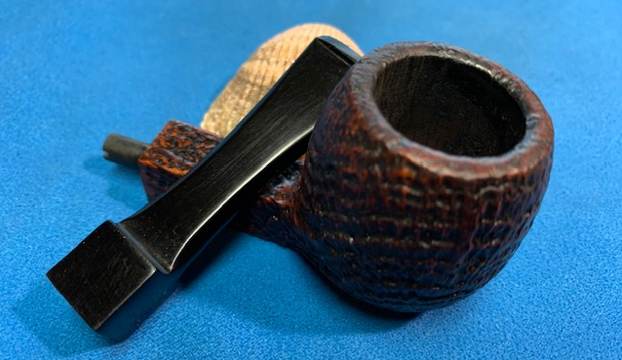
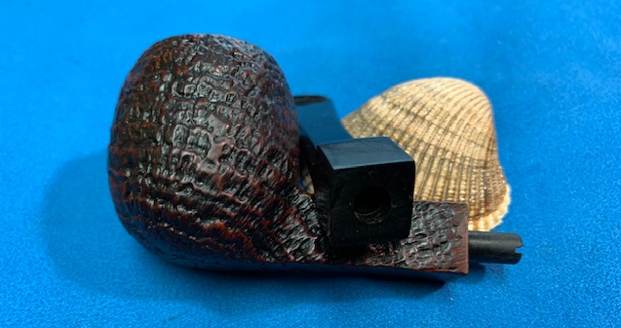
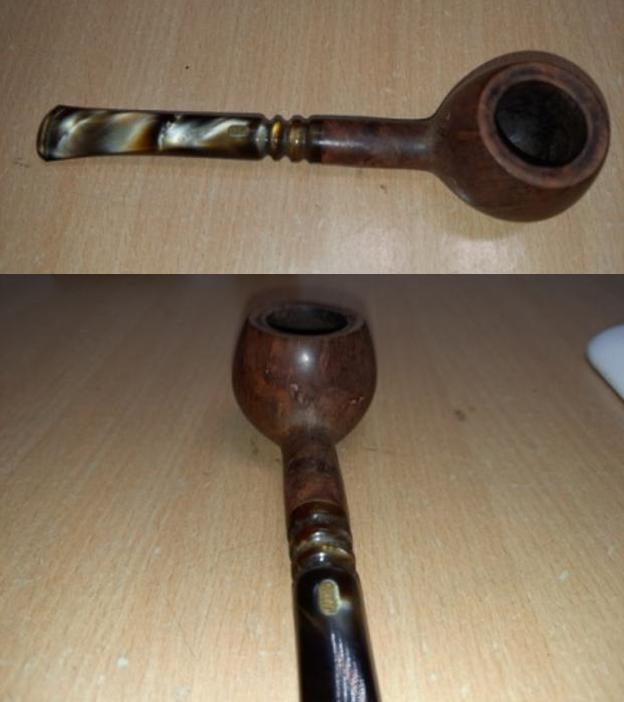
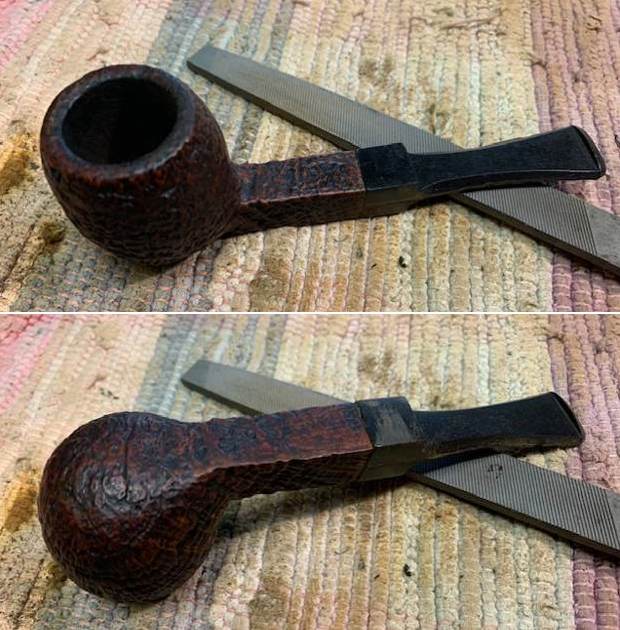
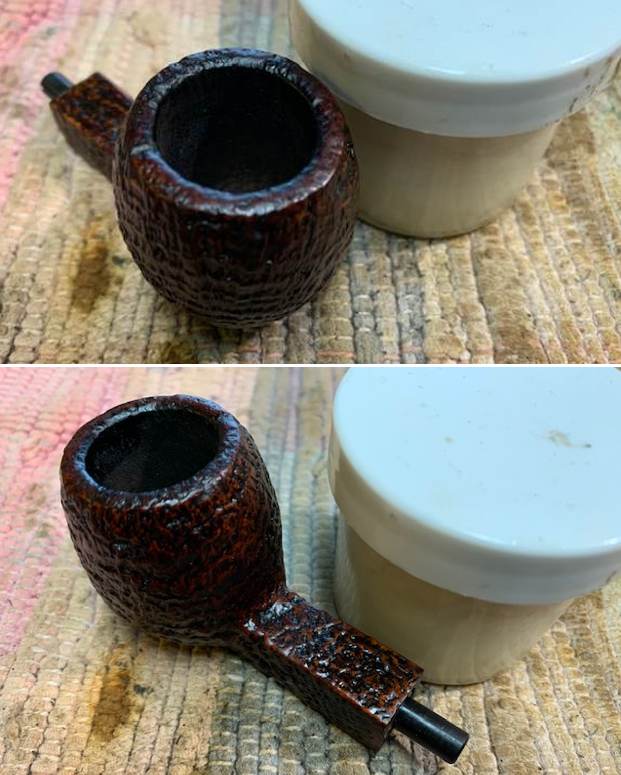
The next pipe I chose to work on was another bowl from my box to restem. This one is a nice sandblast apple. It has a deep and rugged blast around the bowl and shank. When I examined the shank it was threaded which was interesting. Once I saw the stamping that became clear. It is stamped on the underside of the shank and reads Jobey [over] Shellmoor. To the left of that stamp is a shape number 250. Underneath the Shellmoor stamp is another series of numbers – PAT. 3537462. The stamping was clear and readable with a lens. I want to see what I can find out about the Patent number. I don’t recall working on one of those before. The bowl had been cleaned and reamed somewhere along the way by either Jeff or me. I honestly don’t remember when or where we got this bowl. It looked very good and I was looking forward to seeing the finished Apple. The stem was long gone so this would be a restemming job. It would be a different stemming job because of the Jobey Link System so it would be kind of fun. I took some photos of the bowl to give a since of the condition of this nice little Apple. I took some photos of the stamping on the sides of the shank. The stamping is clear and readable as noted above.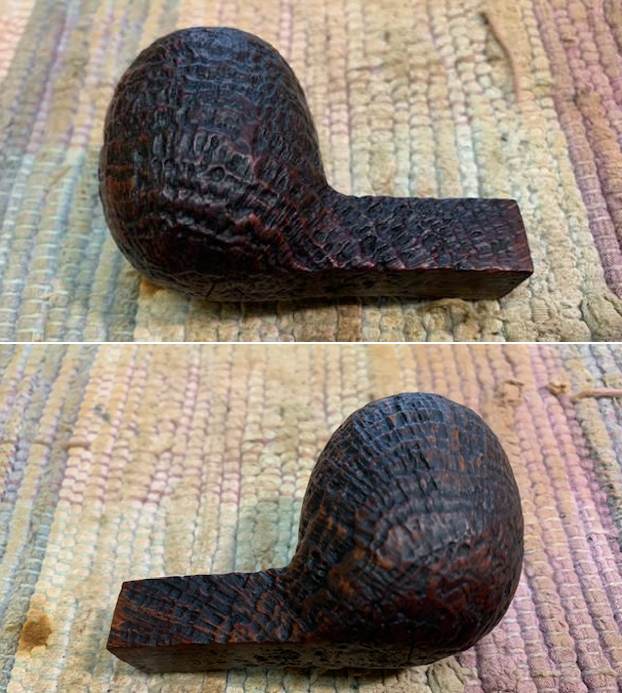
 There was a smooth panel on the underside of the shank. It is stamped as noted above and is clear and readable with a lens.
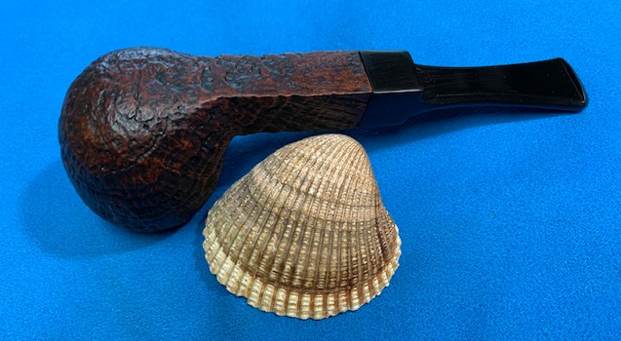
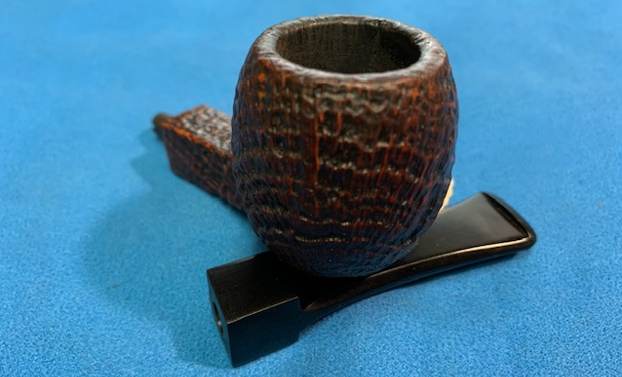
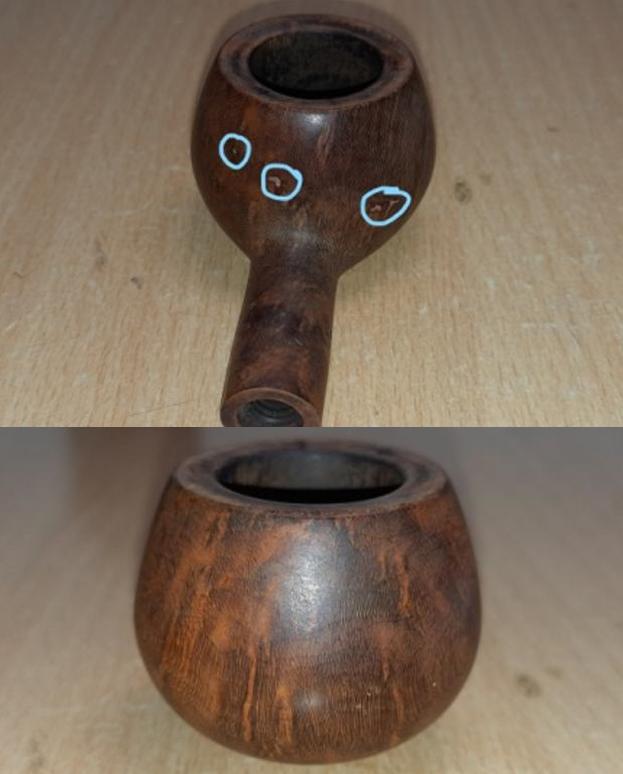
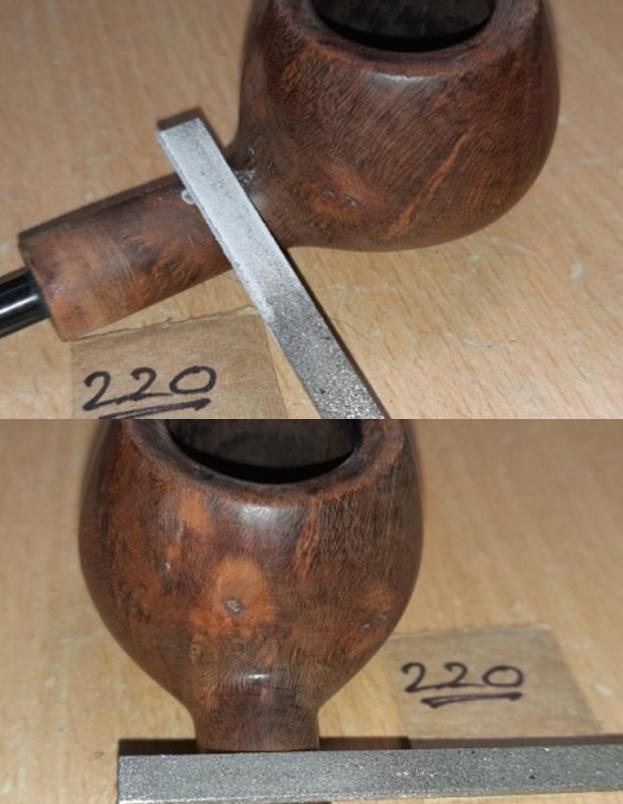
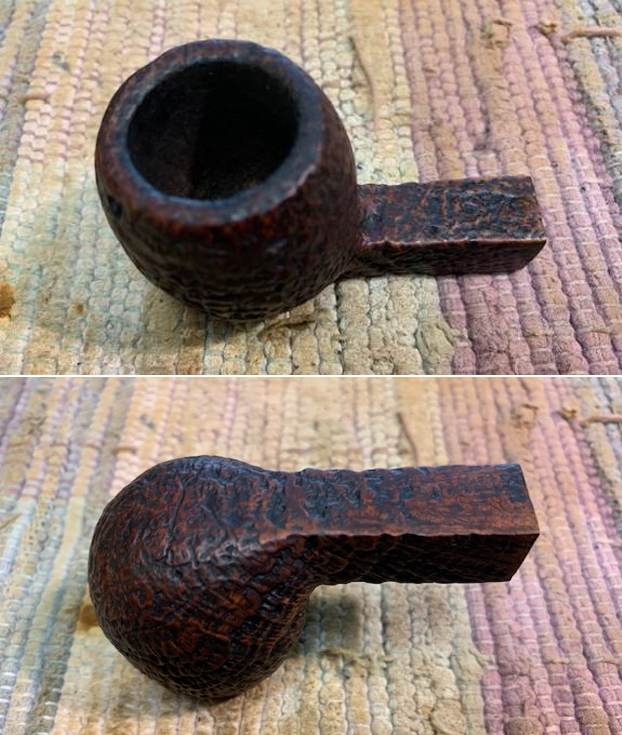
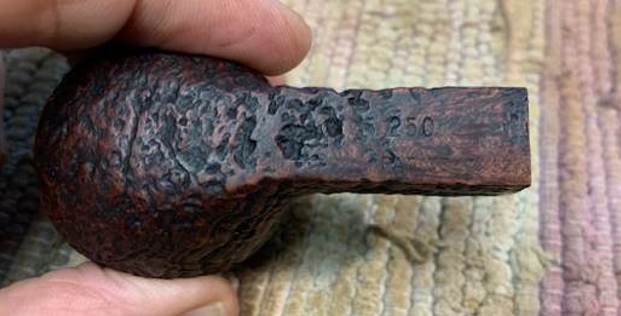 The next photo shows the rounded rim top and edges. It also shows the condition of the bowl and rim top/edges. It is clean looks quite good. I will give it a quick go over with a brass brush but otherwise it looks good.
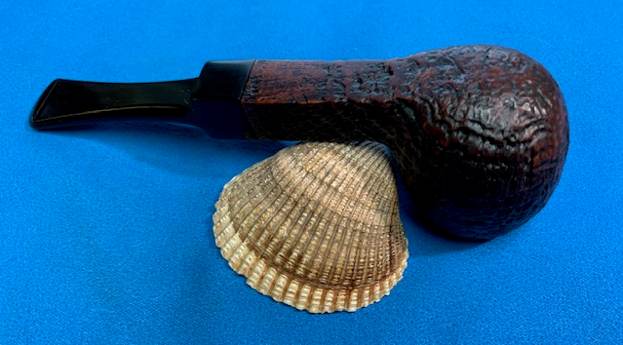
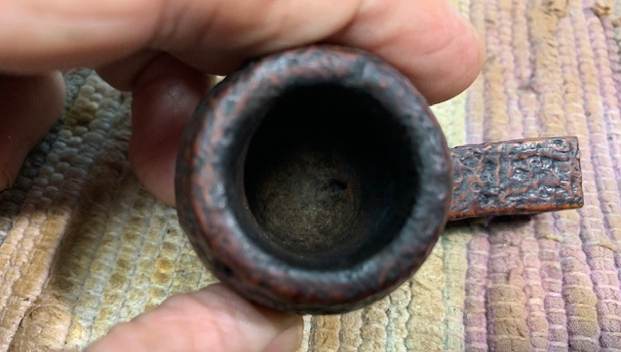 Before I started to work on the pipe I wanted to understand the patent information so I turned to the US Patent search site and entered the numbers. I was able to find both a description of the invention and a diagram that was submitted with the Patent application. Here is the link to the site and a screen capture of the information found there. https://pdfpiw.uspto.gov/.piw?docid=03537462&SectionNum=1&IDKey=6F776849C285&HomeUrl=http://patft.uspto.gov/netacgi/nph-Parser?Sect1=PTO1%2526Sect2=HITOFF%2526d=PALL%2526p=1%2526u=%25252Fnetahtml%25252FPTO%25252Fsrchnum.htm%2526r=1%2526f=G%2526l=50%2526s1=3537462.PN.%2526OS=PN/3537462%2526RS=PN/3537462
 Now it was time to begin my restemming work on this pipe. I went through my can of tenons and found a Jobey Link that screwed into the shank perfectly. I chose a stem from the can of stems I have here that would the shank well. I would need to remove the standard tenon and drill the stem to receive the end of the tenon.
 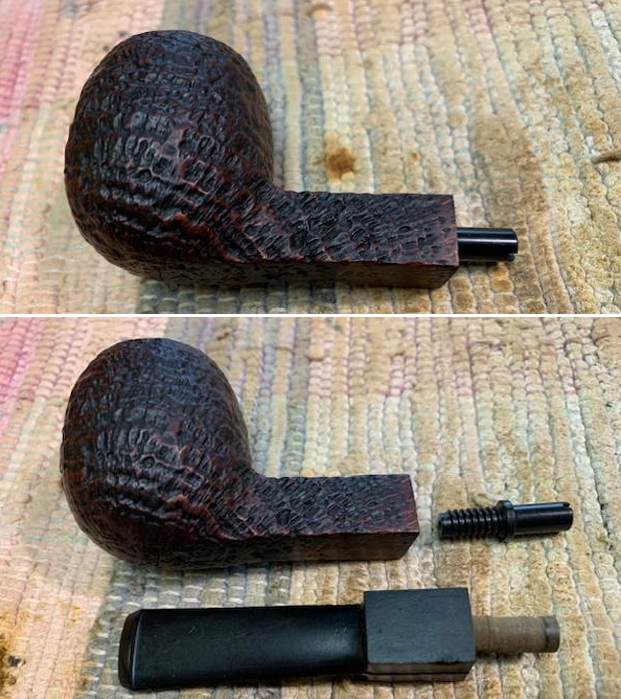 I used a hacksaw to cut off the normal tenon on the stem. That part was very simple but then things went quickly sour. I put a piece of tape on the drill bit to start drilling out the saddle to receive the Link. I started with a small bit and started drilling. The tape move and the bit suddenly came out of the top part of the blade of the stem. Yikes what a mess.
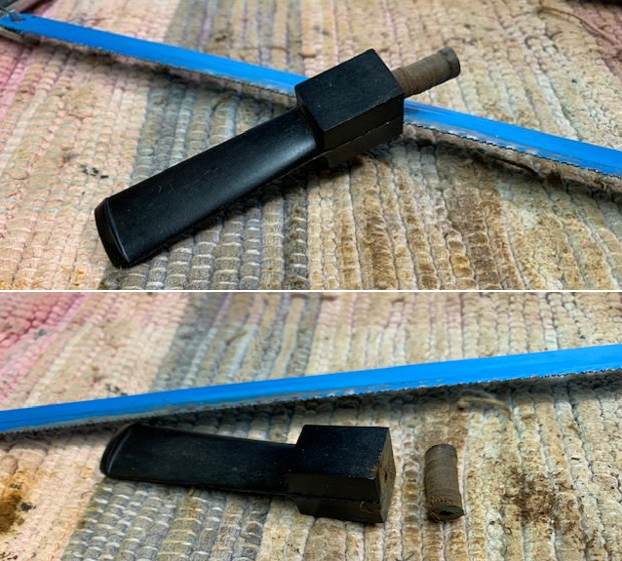
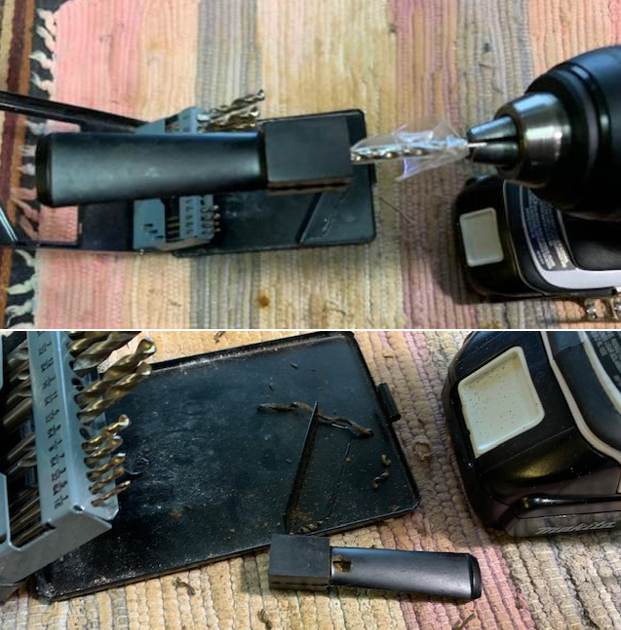 Sooo…needless to say the ruined stem went into the waste bin and I had to start over. I chose a new blank from the bag Jeff sent me as the fit was the closest one I had in terms of matching the sides of the shank. I cut off the tenon with the hacksaw. This time I measured the depth of the saddle and the length of the tenon and drilled to match it – very carefully in multiple stages. I checked and rechecked as I did not want to do the work a third time. I used a series of drill bits from one that was slightly larger than the airway and ended with a ¼ inch bit that was the size of the Link.
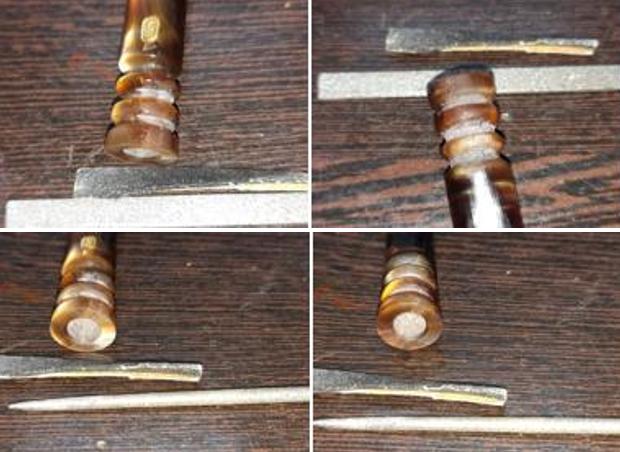
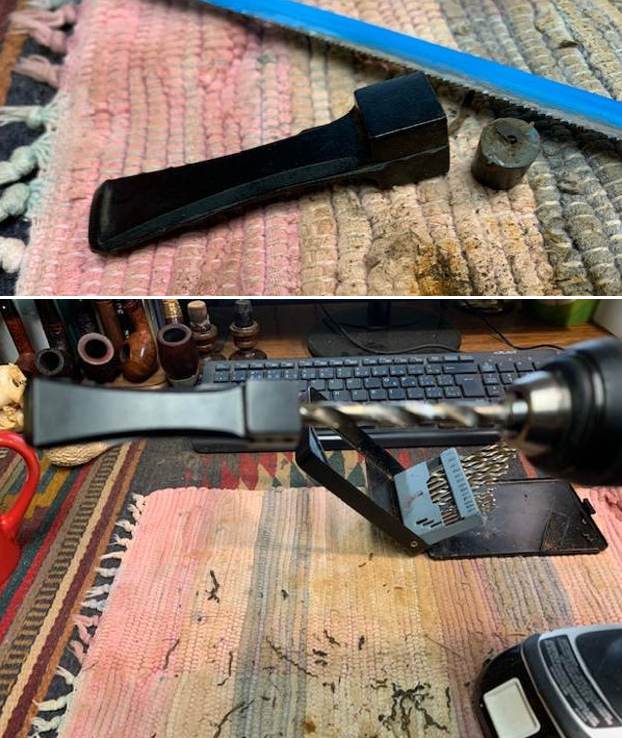 I smoothed out the face of the stem on a topping board with 220 grit sandpaper. I wanted the surface smooth so it would sit well against the shank when the Link was inserted.
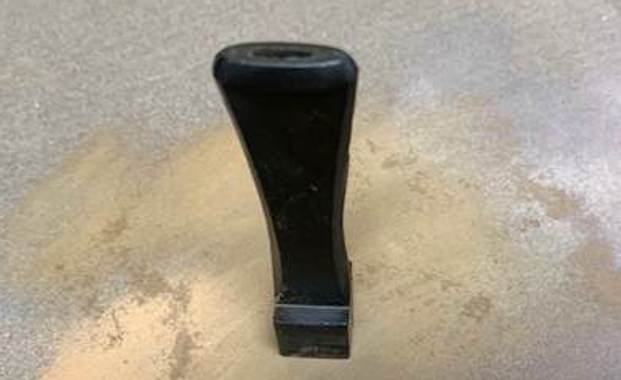 With the face smoothed out I pushed the snug fitting Jobey Link into the hole in the face of the stem. It fit well against the shank end so that was a plus. Everything lined up so I took some photos of the restem at this point.
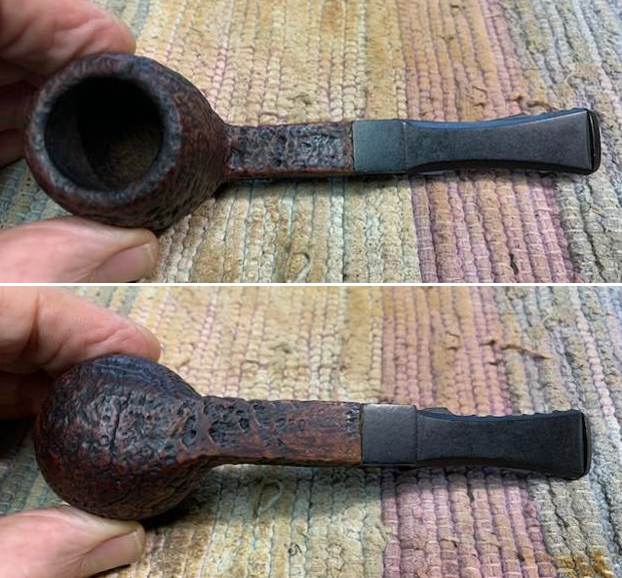 The casting remnants on the sides of the stem needed to be removed and they were quite rough and messy. I used a flat file (rasp) to flatten out the castings on the saddle and blade sides of the stem as well as the area around the slot in the button.
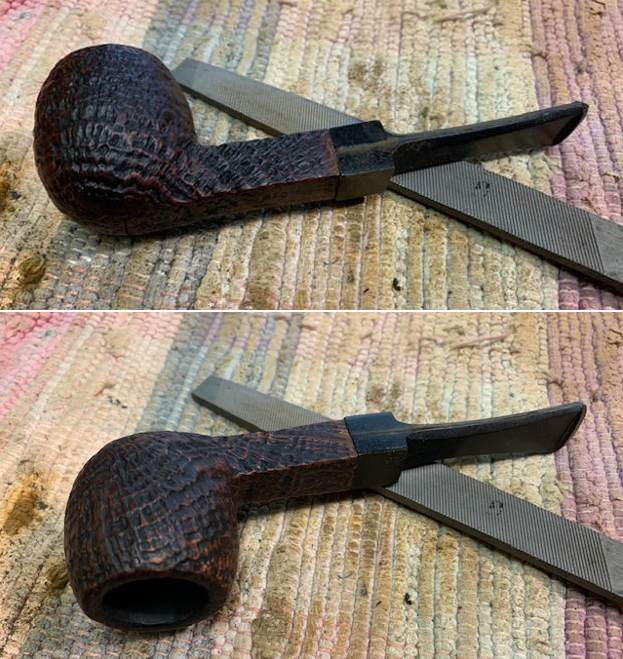
 I used my Dremel and a sanding drum to do the rough work on the stem. I worked on it carefully to remove more of the casting marks and to reduce the bottom side of the saddle to match the size of the shank.The only way I know how to do this is with the new stem in place in the shank and then carefully move the sanding drum up and around the stem surface to get a close/rough fit. It was getting much closer but there was a lot more work to do hand shaping it with sandpaper and files.
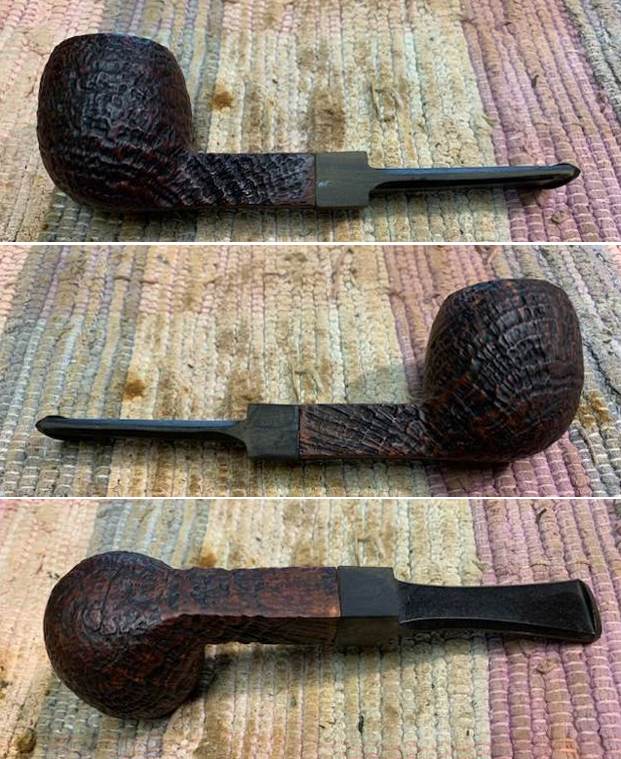 With the majority of the heavy work done it was time to work over the stem with 220 grit sandpaper and get everything aligned. I started the polishing with 400 grit wet dry sandpaper and the stem was looking very good at this point.
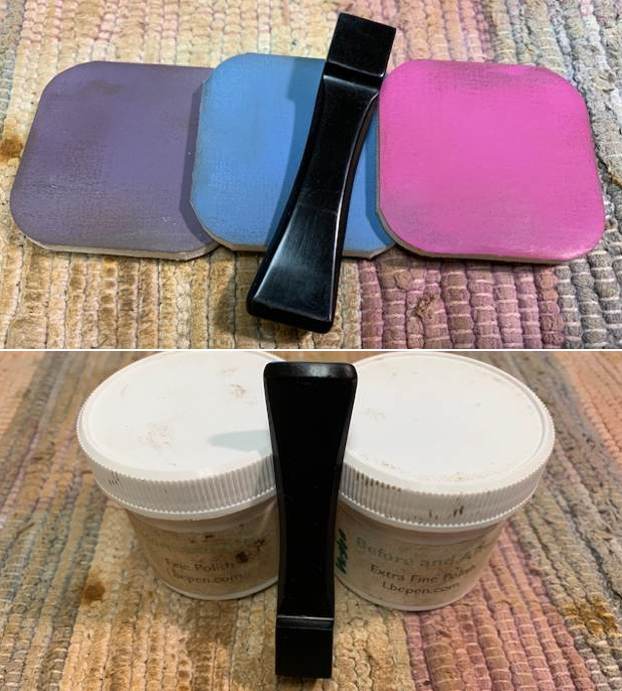
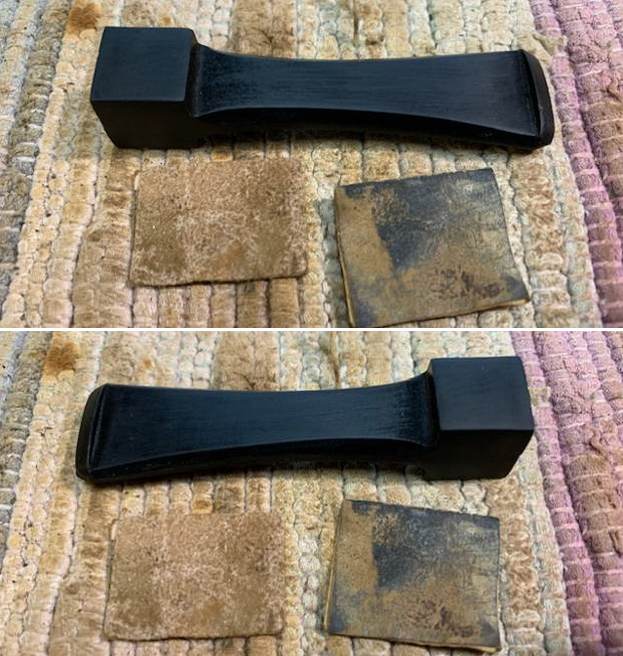 I polished the stem with micromesh sanding pads – wet sanding with 1500-12000 grit pads. I wiped the stem down after each sanding pad with Obsidian Oil. I polished the stem with Before & After Pipe Stem Polish – both Fine and Extra Fine and buffed it with a cotton cloth. Once I had finished the polishing I gave it final coat of Obsidian Oil and set it aside to dry.
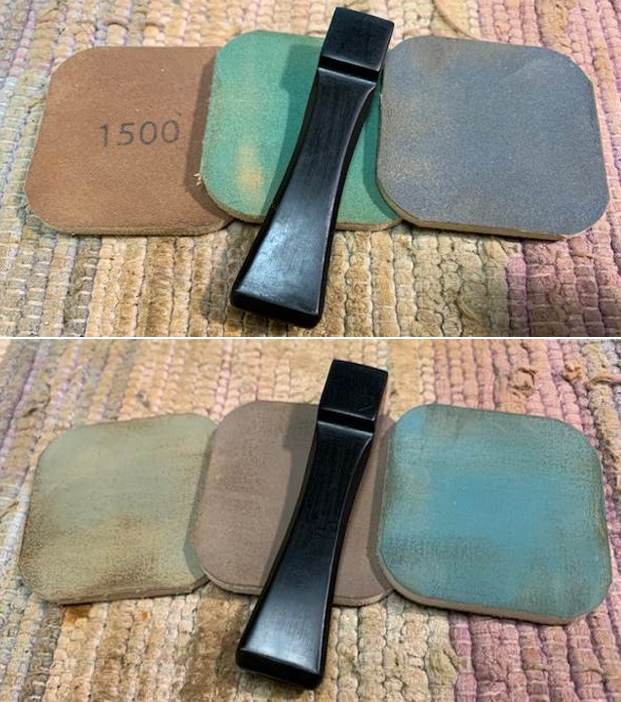
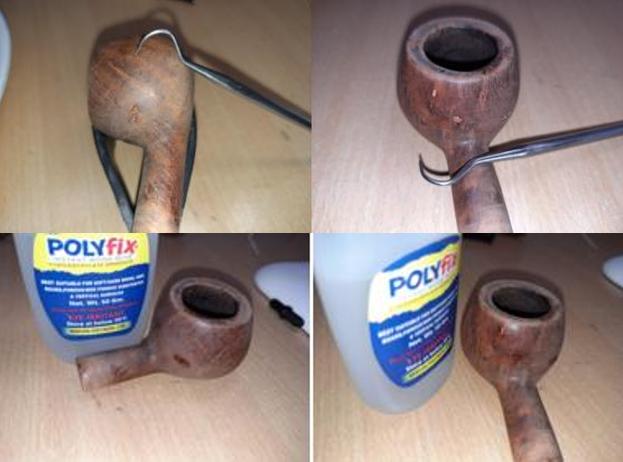
 With the stem finished (other than to buff the pipe at the end) I turned my attention to the bowl. I used a brass bristle wire brush to clean up the debris still in the sandblast rim top of the bowl. It looked better when I finished.
 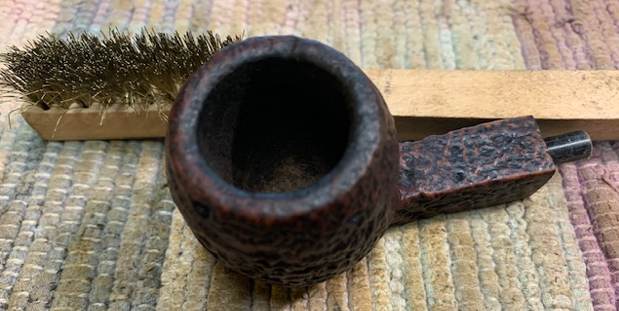 I rubbed the bowl and shank down with Before & After Restoration Balm. I worked it into the surface of the sandblast bowl sides and shank with my fingertips and a horsehair shoe brush to clean, enliven and protect the briar. I let the balm sit for a little while and then buffed with a cotton cloth to raise the shine. The Balm did its magic and the sandblast grain really took on dimension and colour.
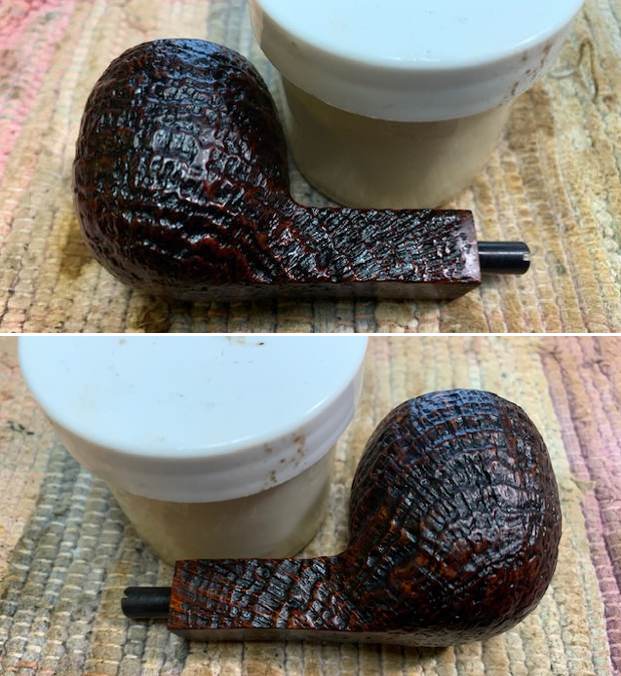
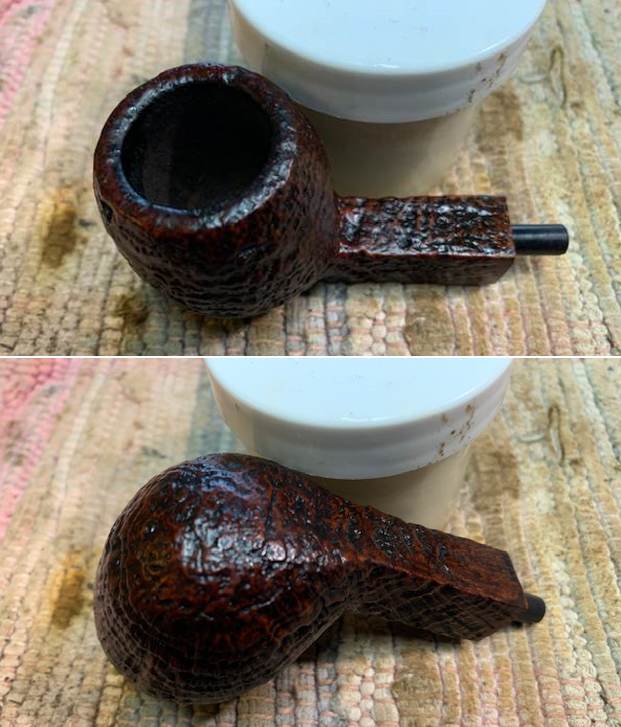
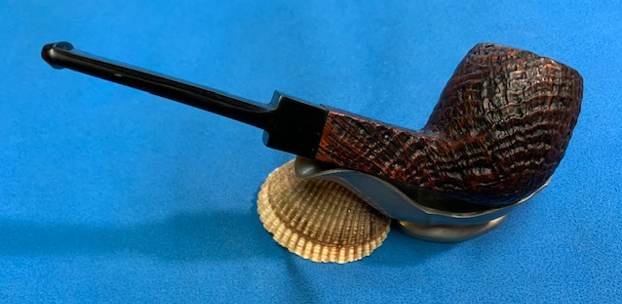
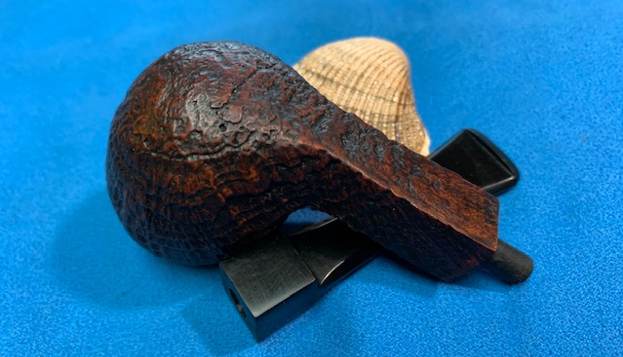
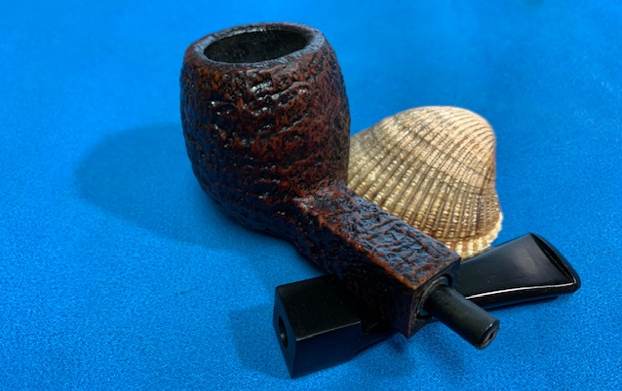
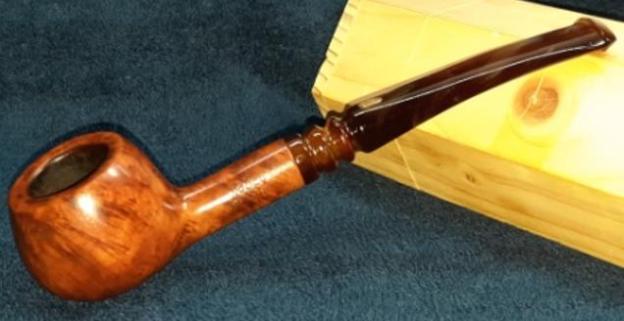
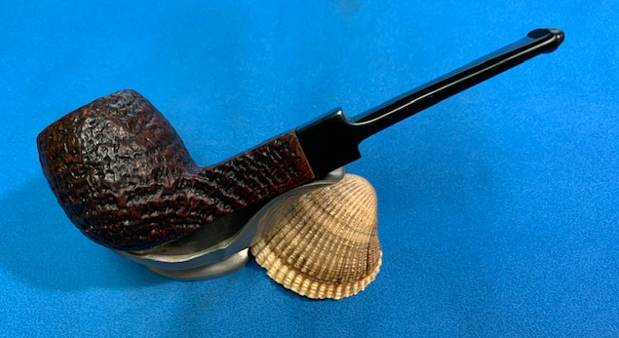
 I am excited to be on the homestretch with beautiful sandblast PAT. 3537462 Jobey Shellmoor 250 Apple. This is the part I look forward to when it all comes back together, polished and waxed. I put the bowl and the new stem together and polished the stem and bowl with Blue Diamond to polish out the scratches in the vulcanite and give a light shine to the bowl. I gave the bowl multiple coats of Conservator’s Wax and the stem multiple coats of carnauba wax. I buffed the pipe with a clean buffing pad to raise the shine. I hand buffed it with a microfiber cloth to deepen the shine. The pipe polished up pretty nicely. The rugged sandblast finish looks really good with the new polished black square saddle vulcanite stem. This Sandblast Jobey Shellmoor Apple was another fun pipe to work on and came out looking great. It is a comfortable sized pipe to hold in the hand. The finished pipe is shown in the photos below. The dimensions of the pipe are Length: 5 ½ inches, Height: 1 ¾ inches, Outside diameter of the bowl: 1 ¼ inches, Chamber diameter: ¾ of an inch. The weight of the pipe is 38 grams/1.38 ounces. If you are interested in adding this pipe to your rack it will be on the rebornpipes store in the American Pipemakers Section soon. Thanks for reading this blog and my reflections on the pipe while I worked on it.