by Steve Laug
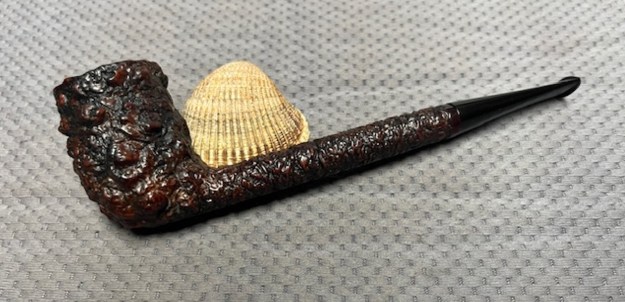
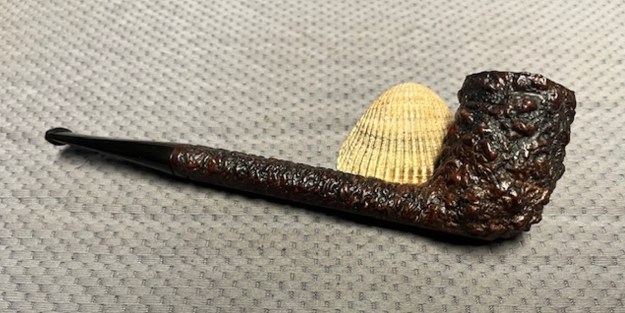
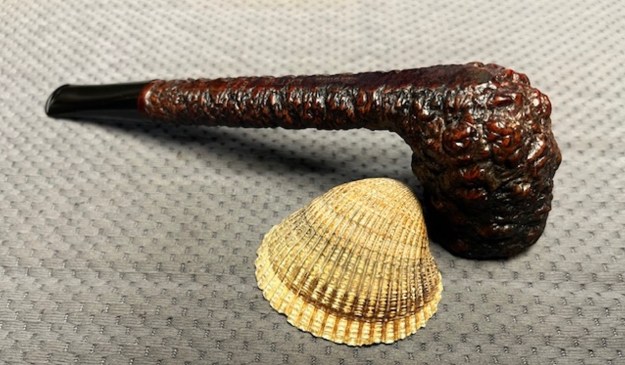
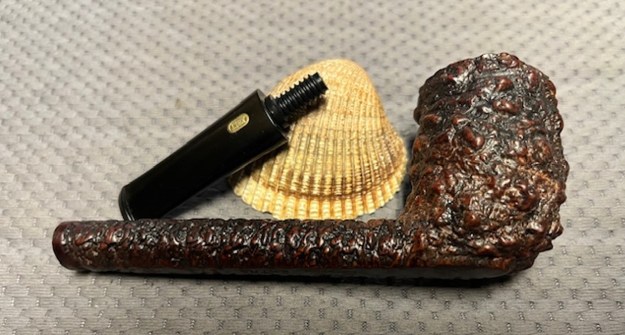
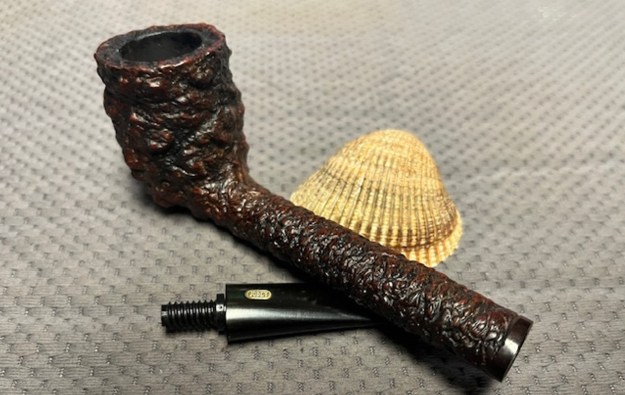
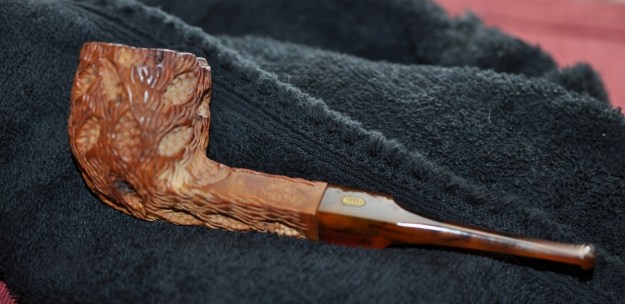
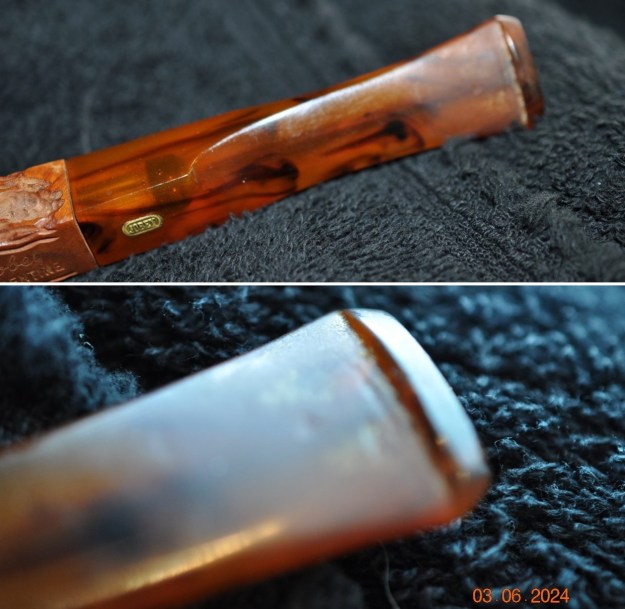
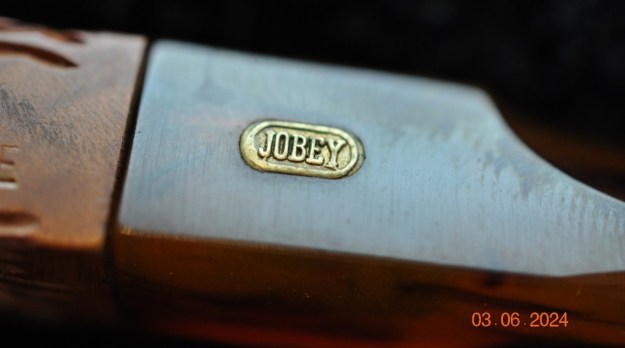
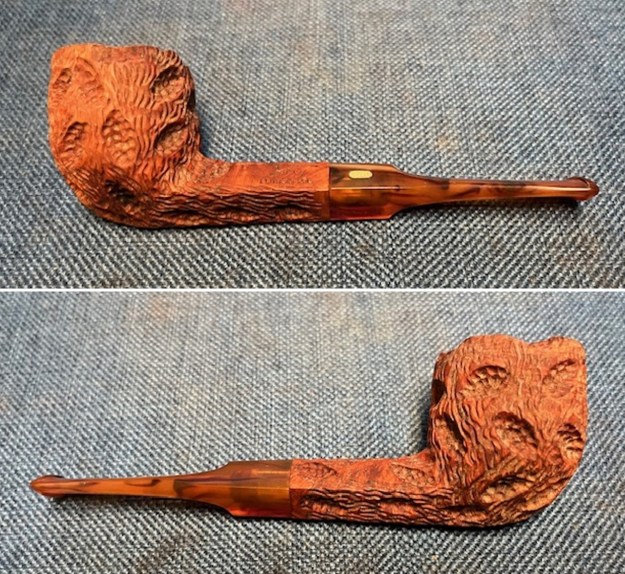
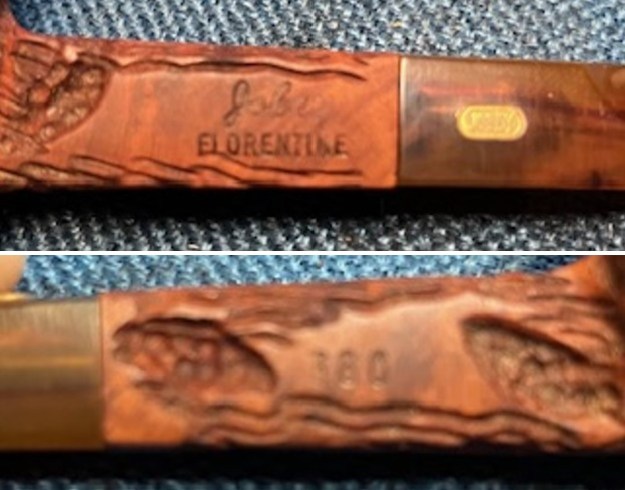
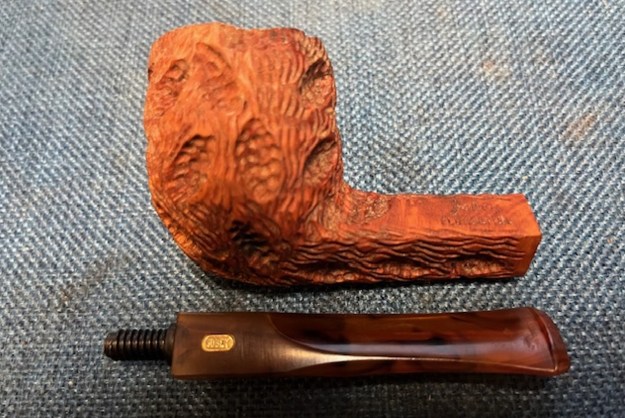
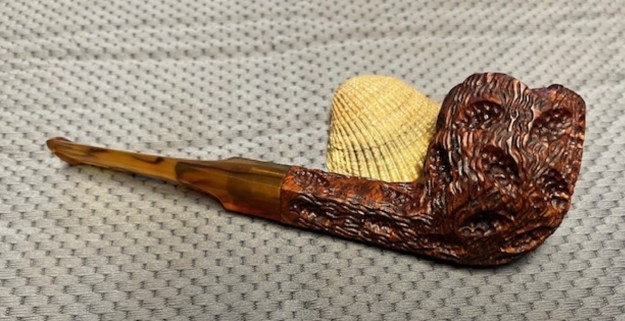
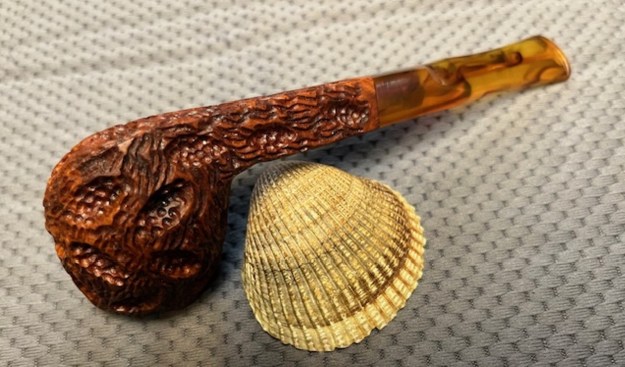
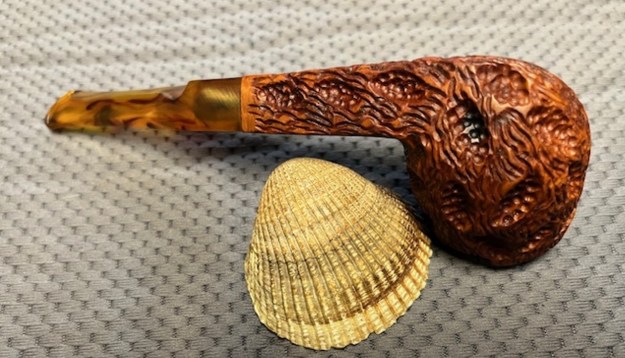
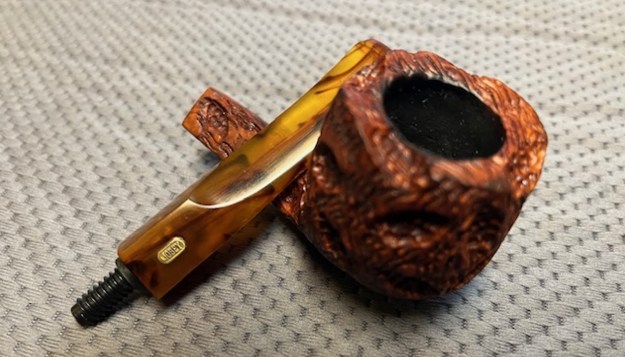
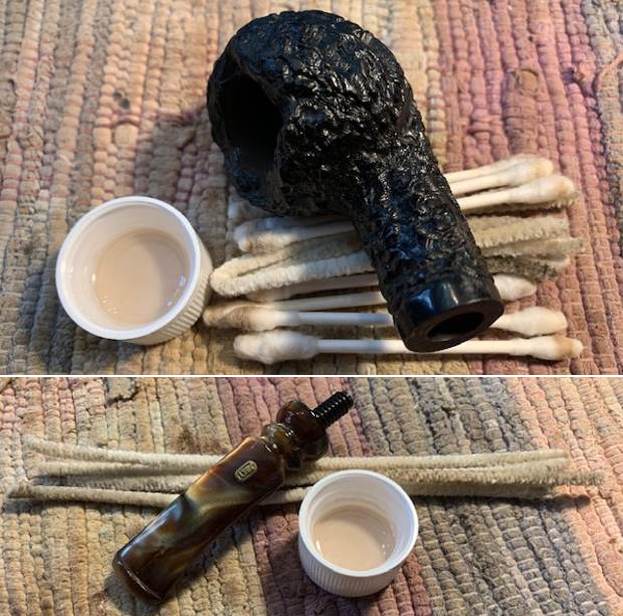
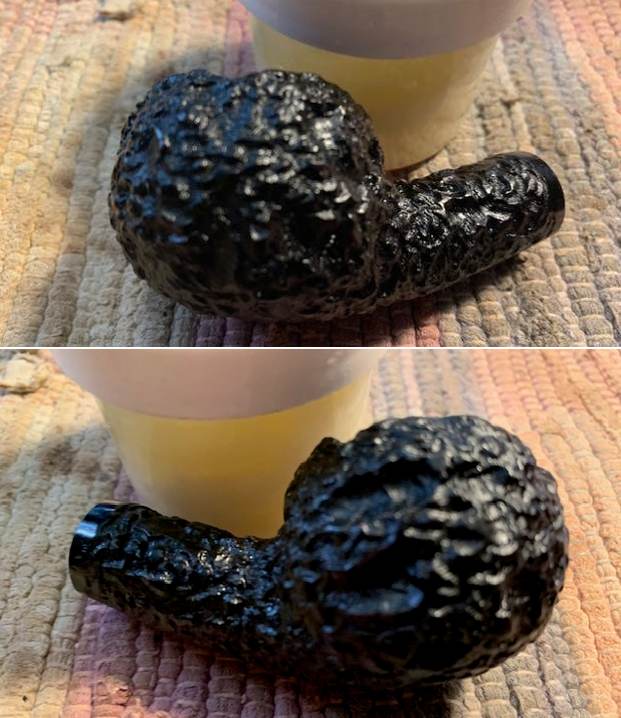
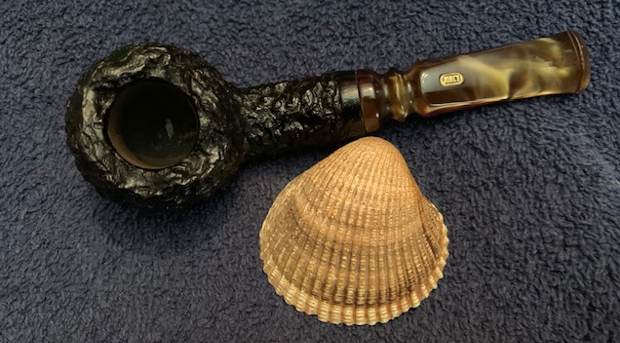
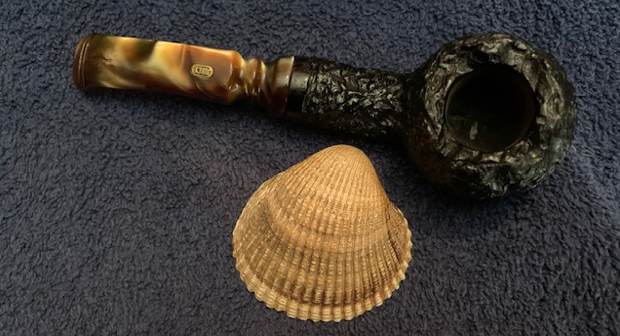
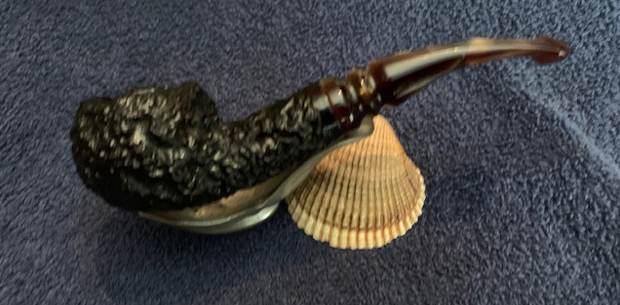
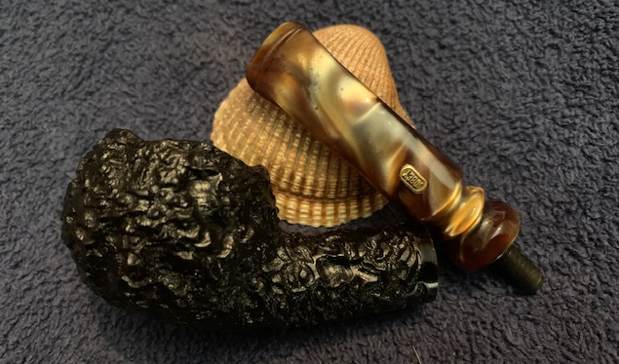
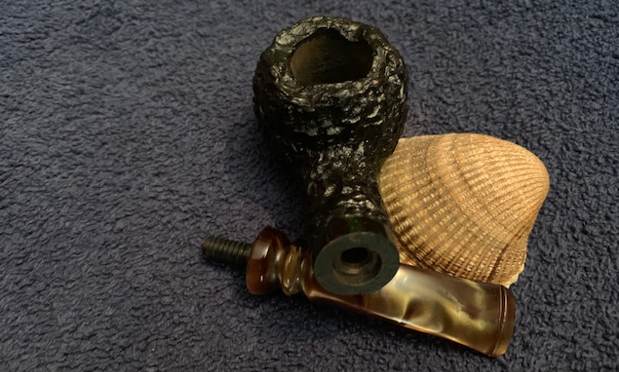
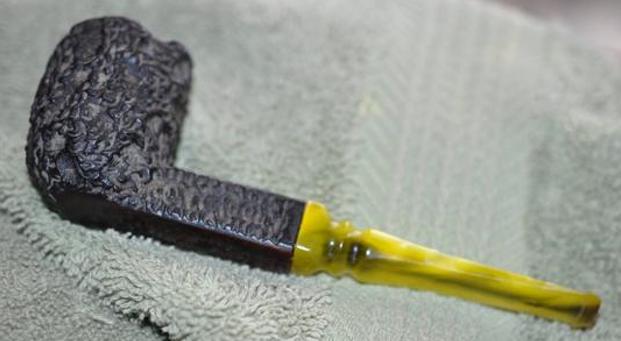
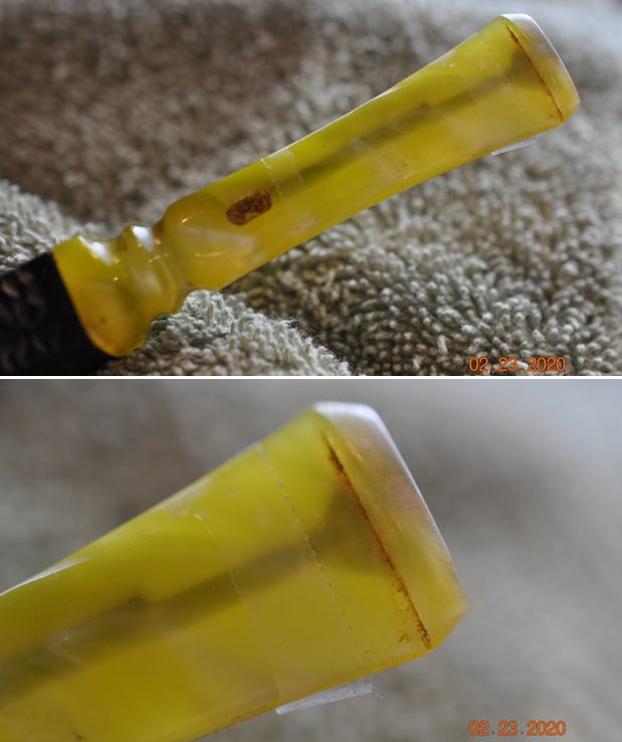
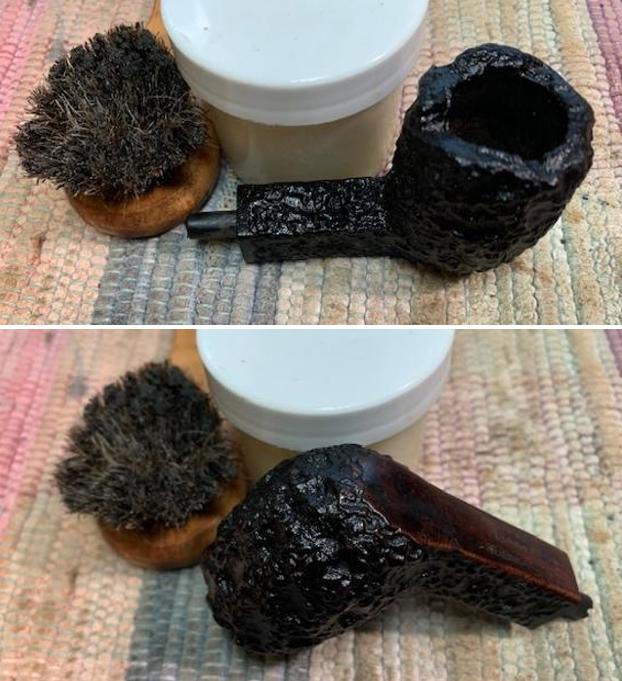
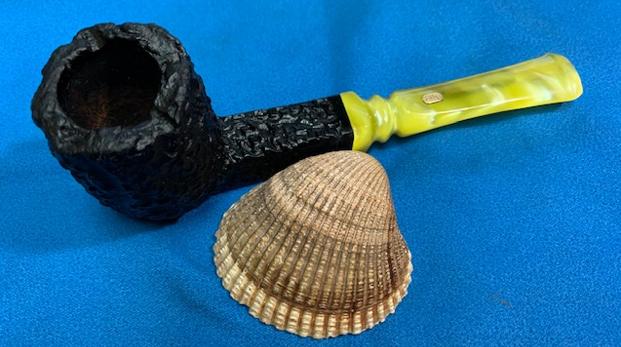
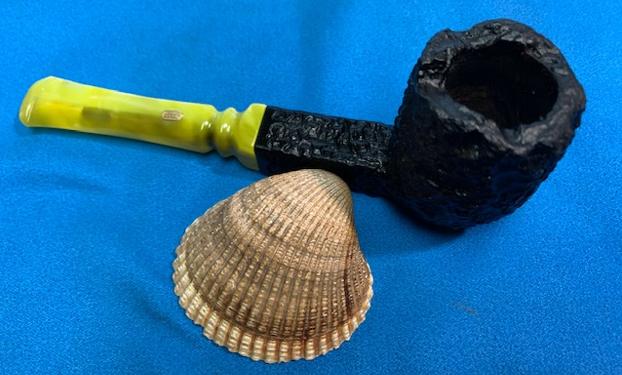
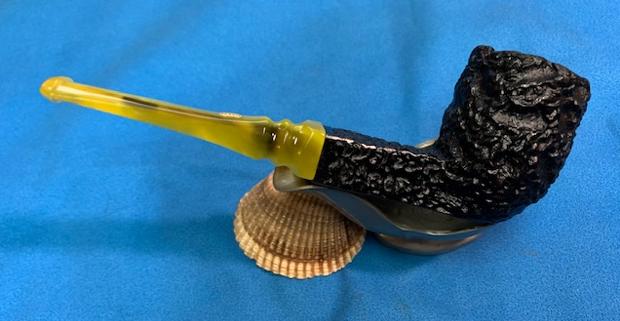
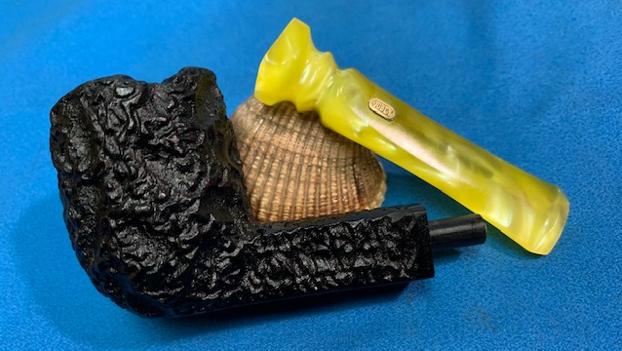
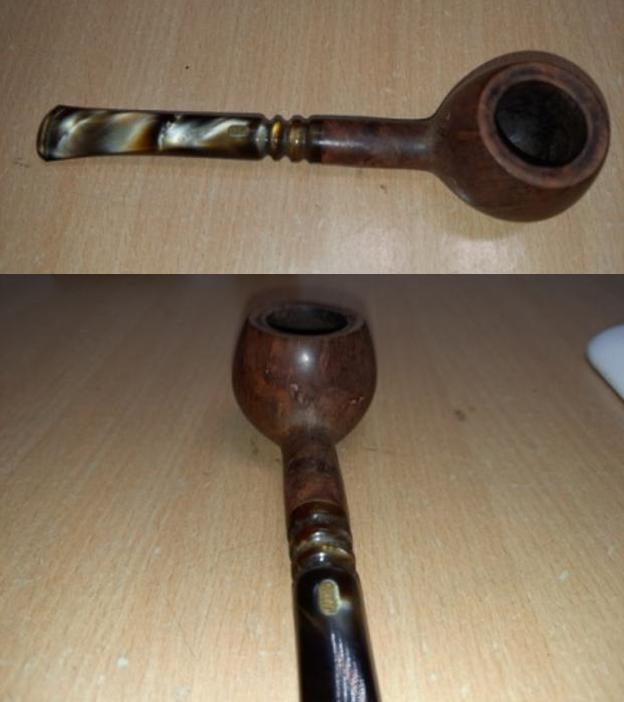
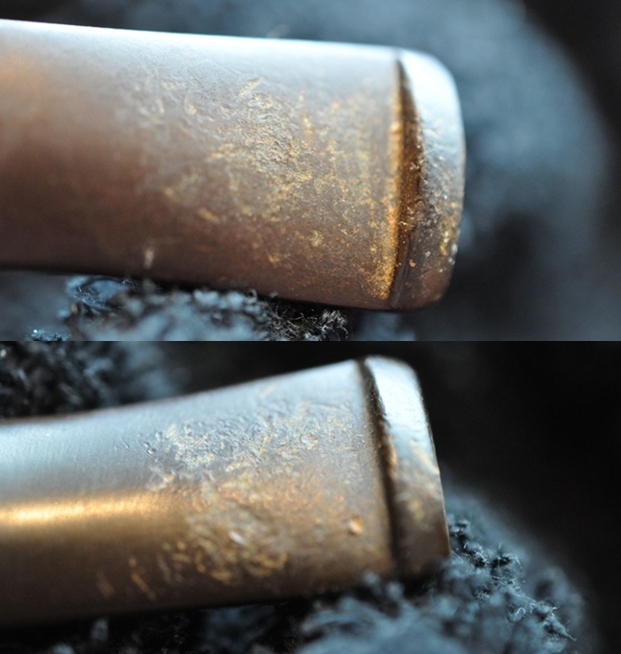
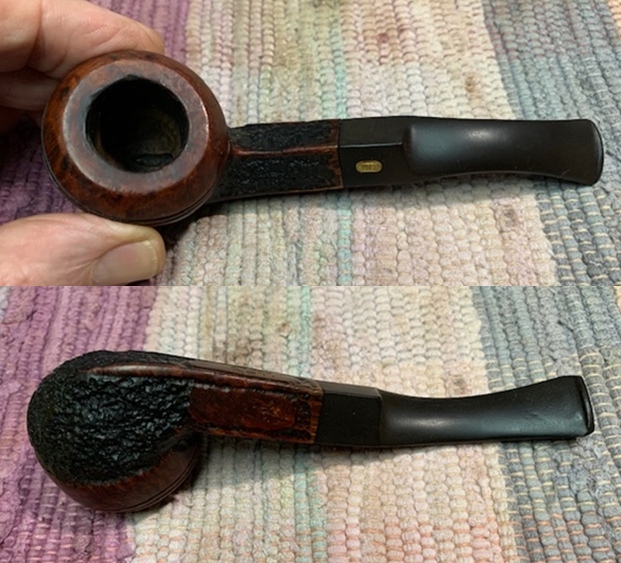
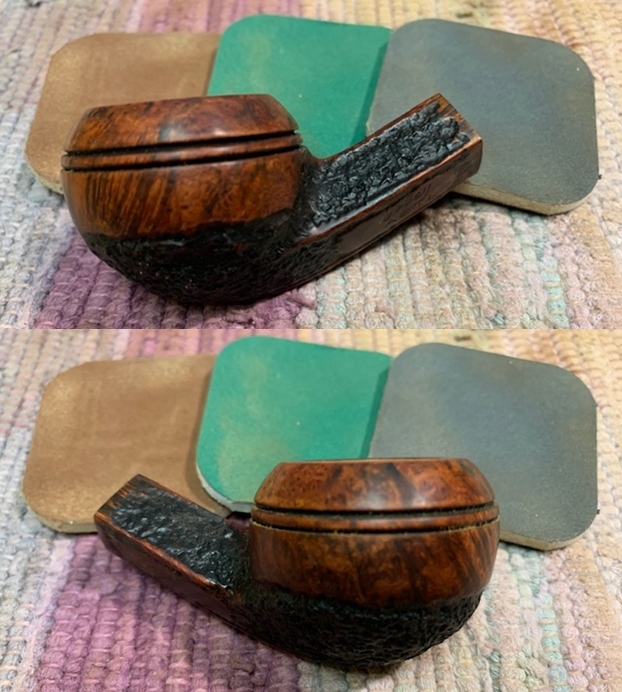
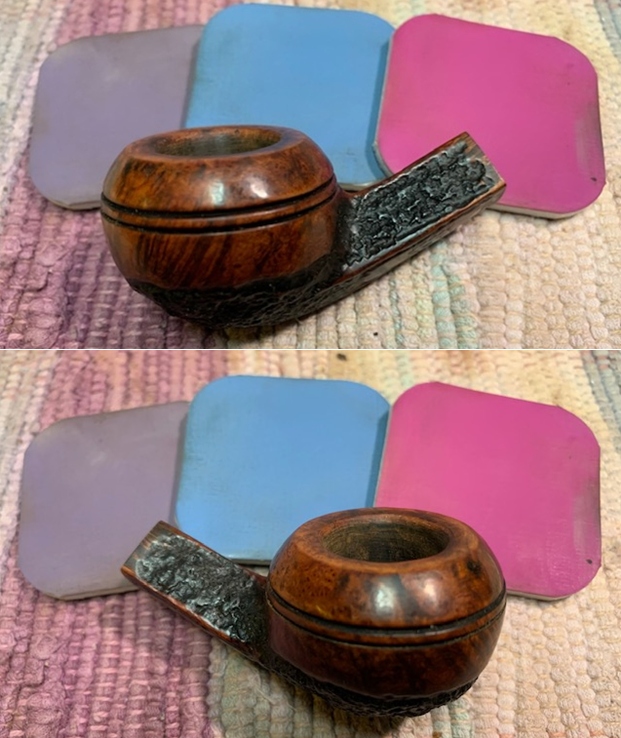
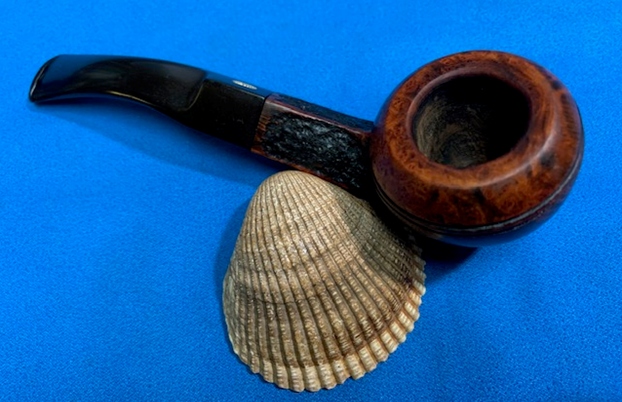
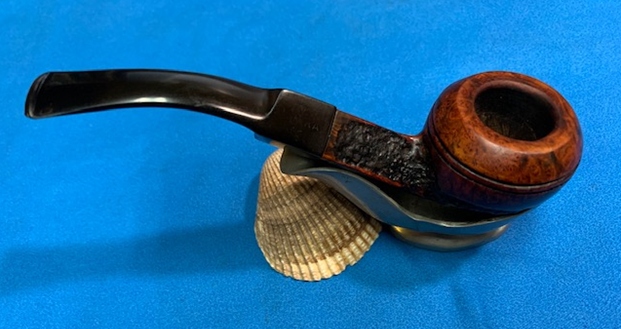
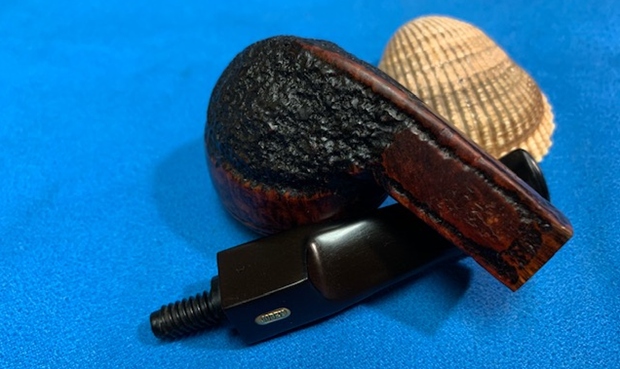
The next pipe on the table is another one that came to us from the seller in Caldwell, Idaho, USA on 07/12/2025. It is a Canadian pipe with a heavily rusticated bowl and shank. It is in dirty but in good condition as can be seen in the photos below. The underside of the shank is stamped Jobey over Florentine in script [followed by] EXTRA next to that [E72] and finally by PAT.3537462. That helps to date this to the time after the patent was filed in 1970.The stamping is clear and readable. It has rugged rusticated finish that is very tactile on both the shank and the bowl. The shape works very well with the rustication. The finish was dusty and dirty with grime deep in the valleys of the rustication but the black and brown stain really highlighted the highs and lows of the finish. The bowl had a moderate cake and there was tobacco debris in the bowl. The rim top had a lava coat on the rusticated top and edges. The stem is lightly oxidized and has tooth marks and dents on the top and underside of the stem. There is a brass Jobey logo on the topside of the stem. I took photos of the pipe to show what it looked like before I started working on it. 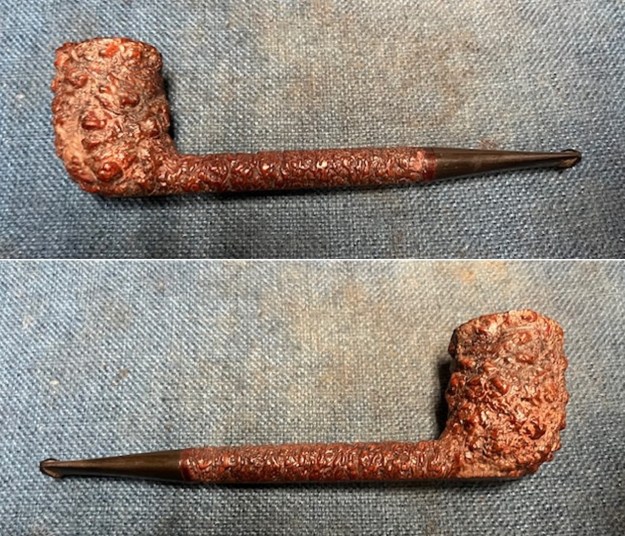
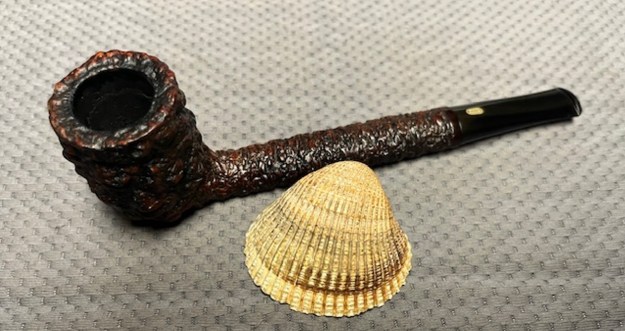
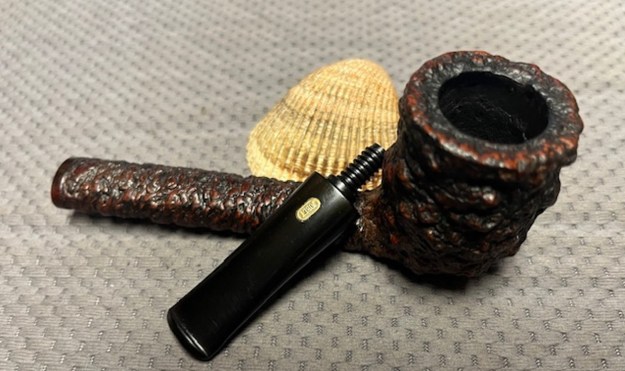
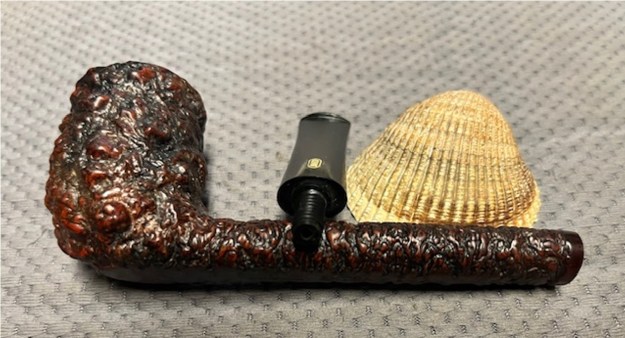
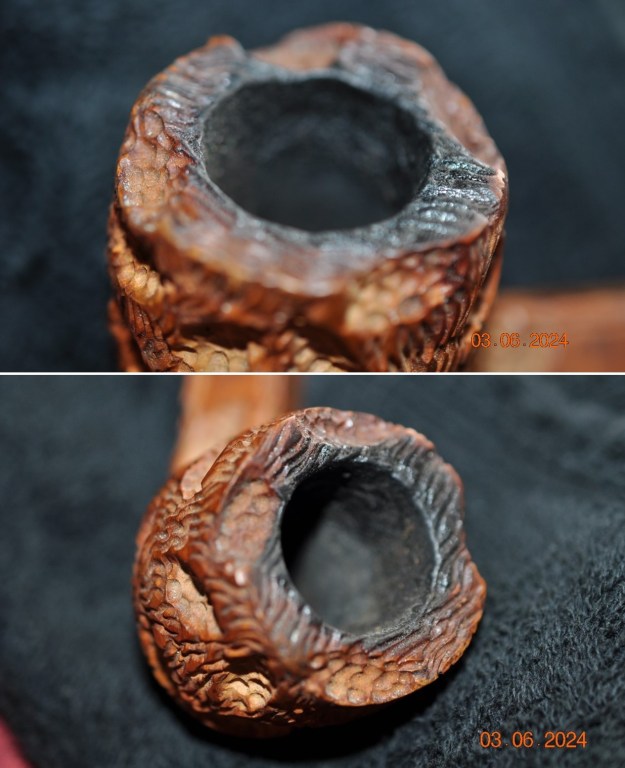
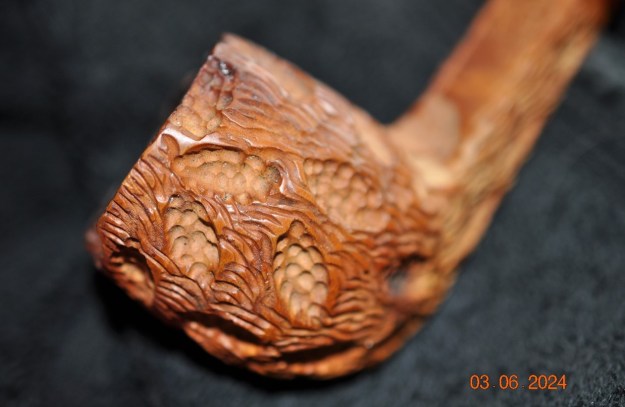
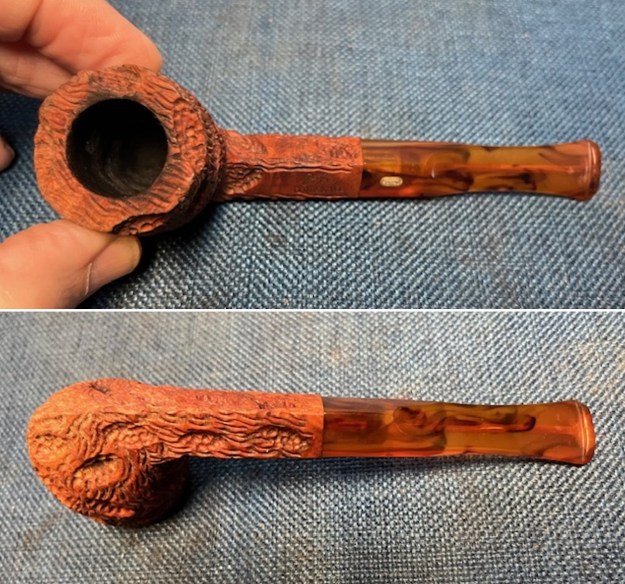
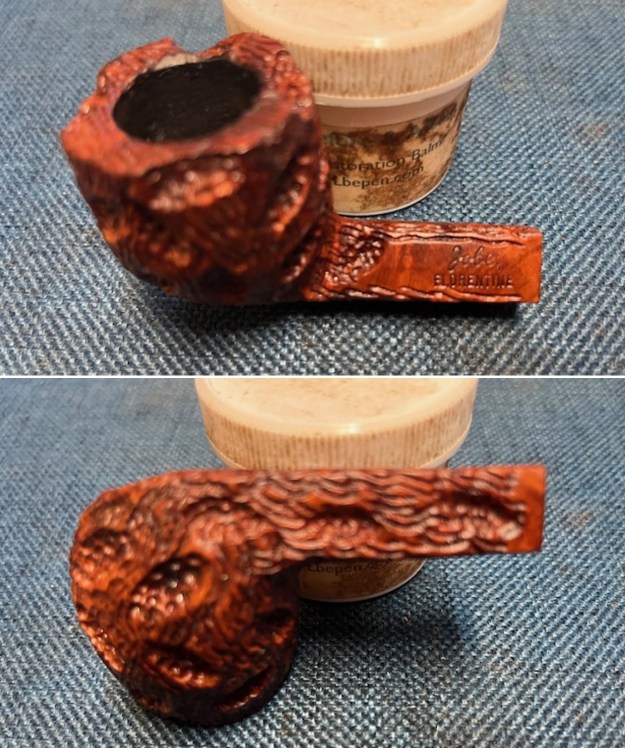
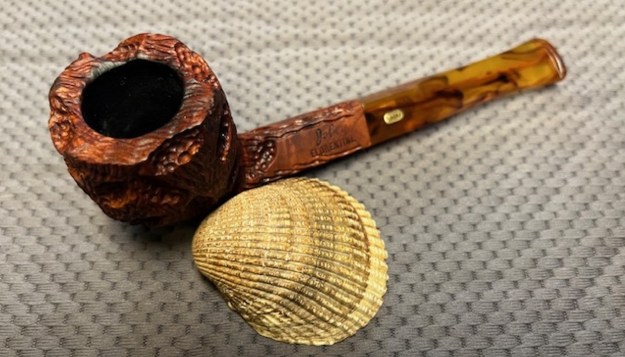
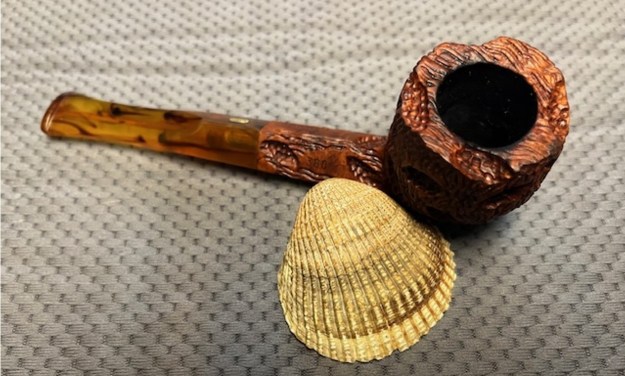
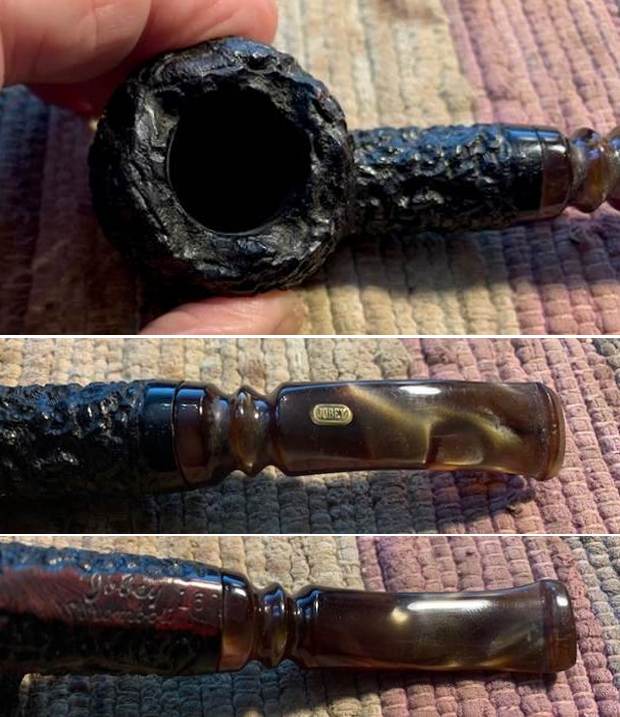
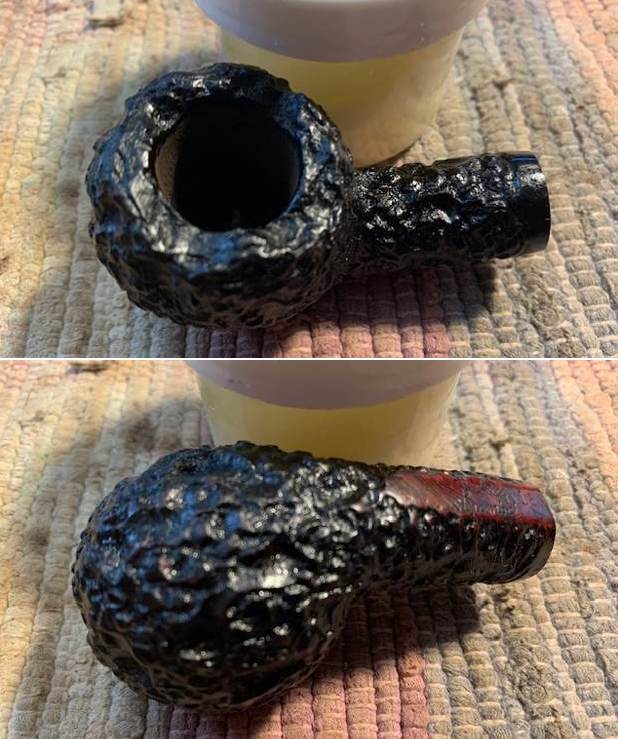
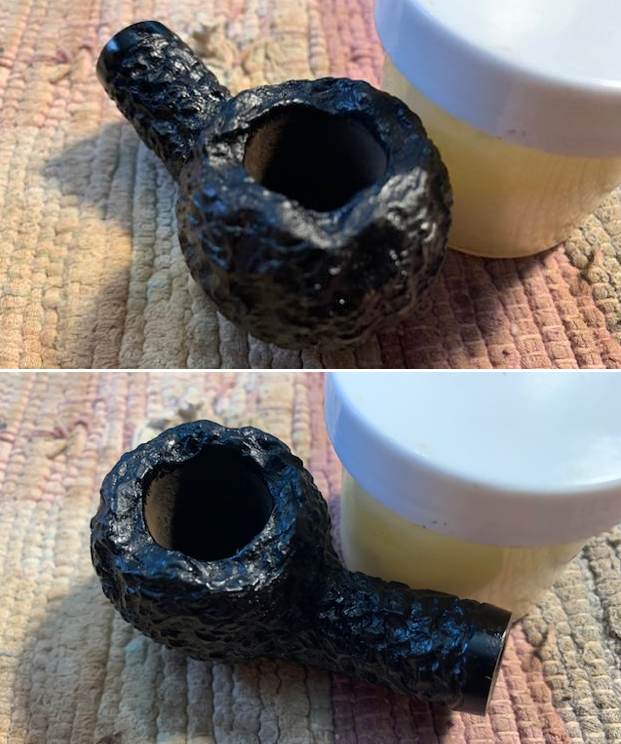
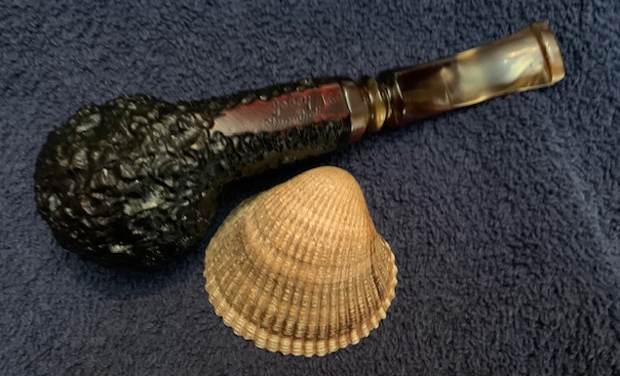
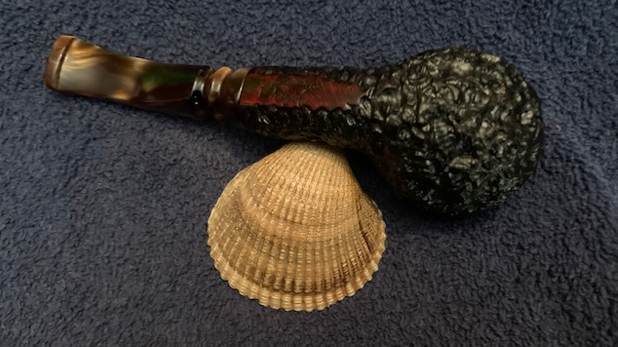
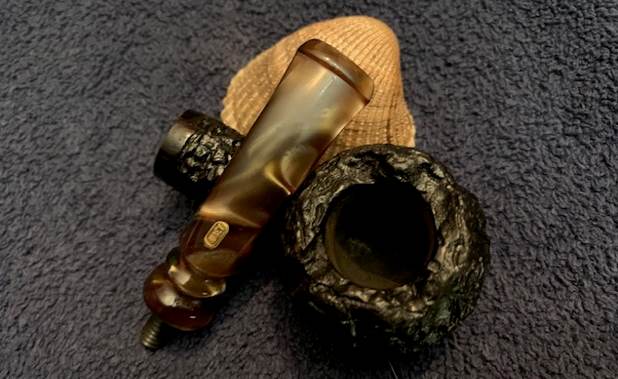
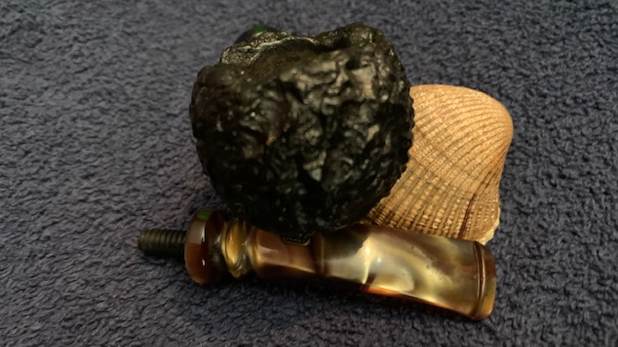
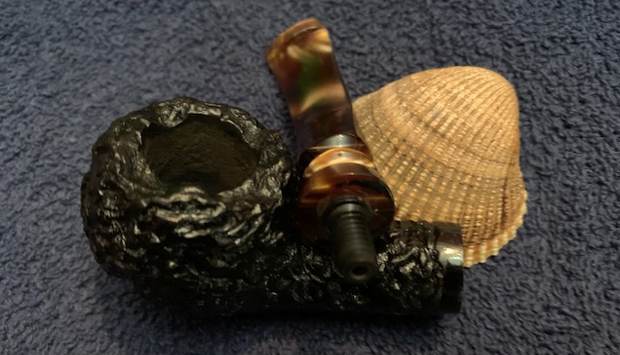
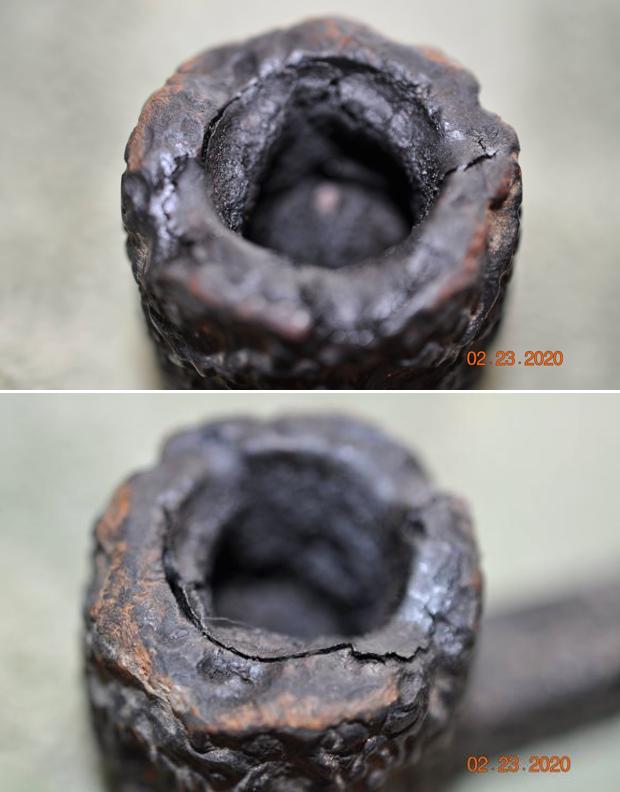
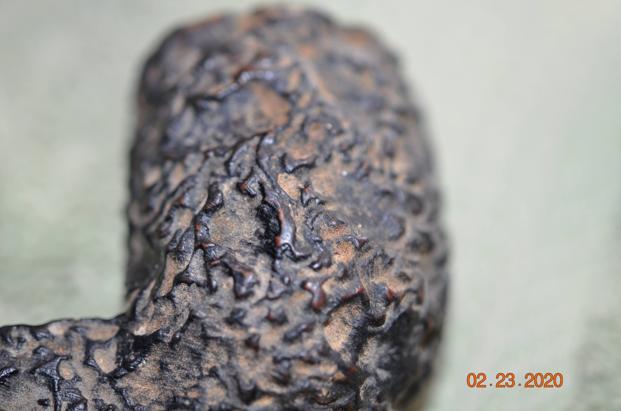
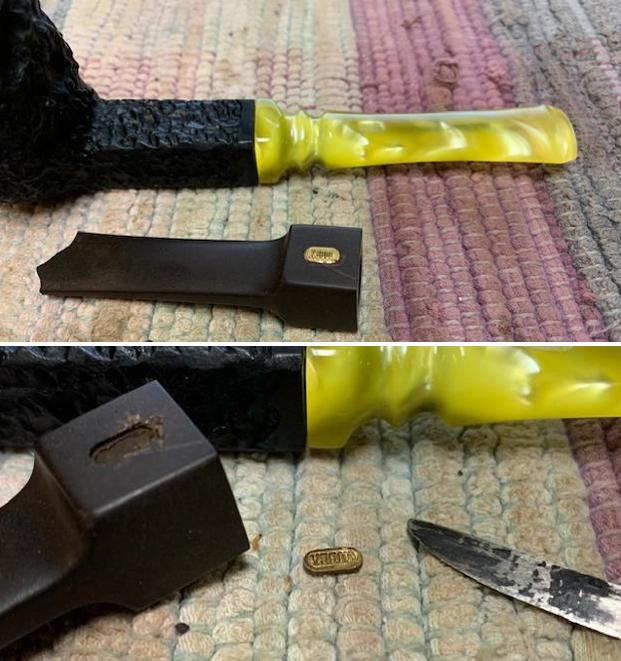
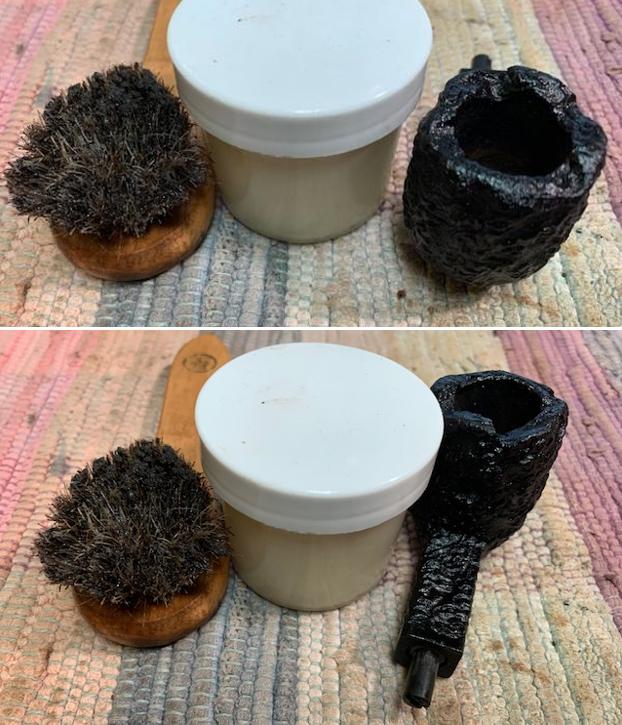
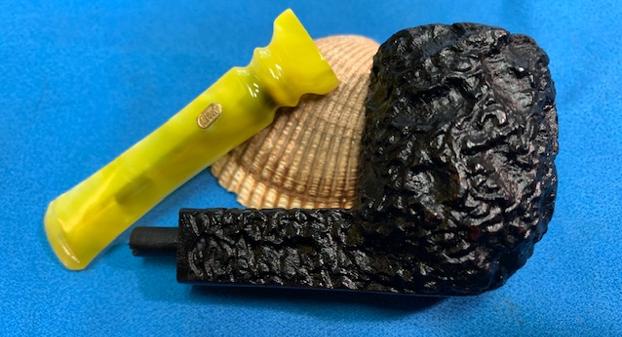
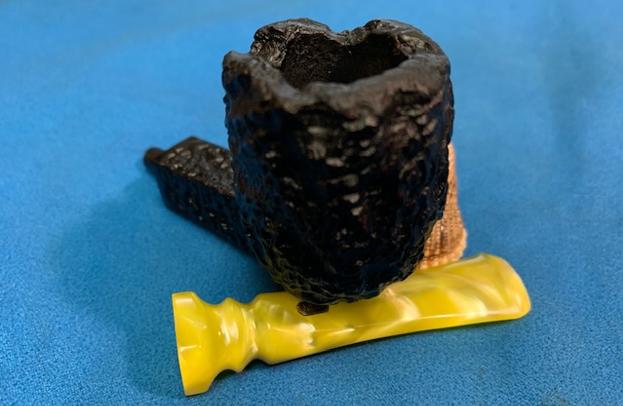
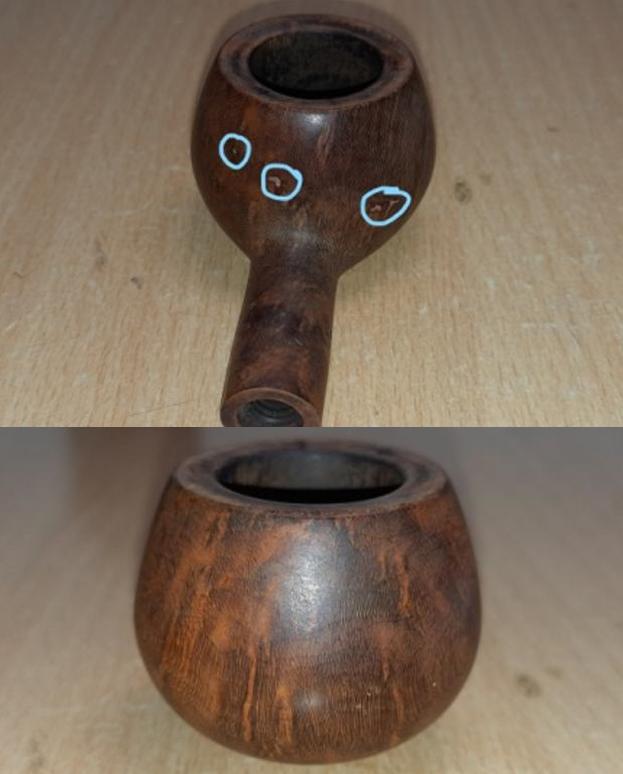
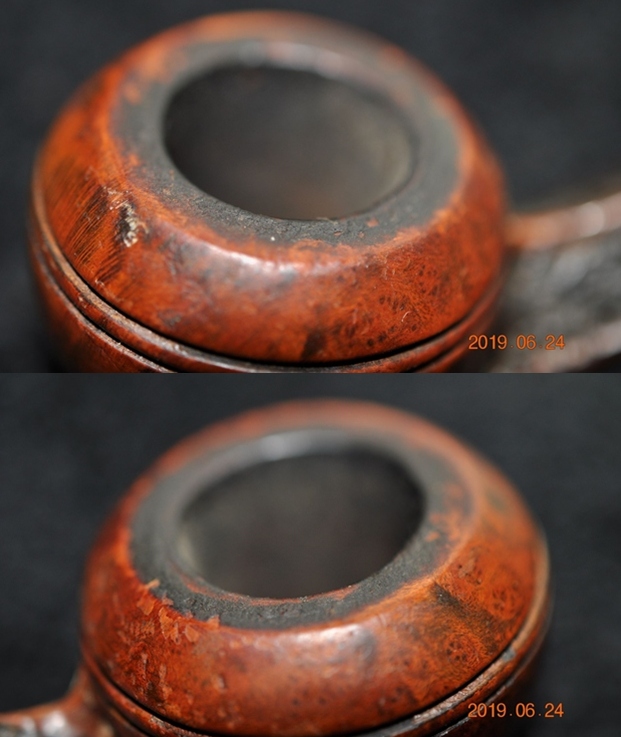
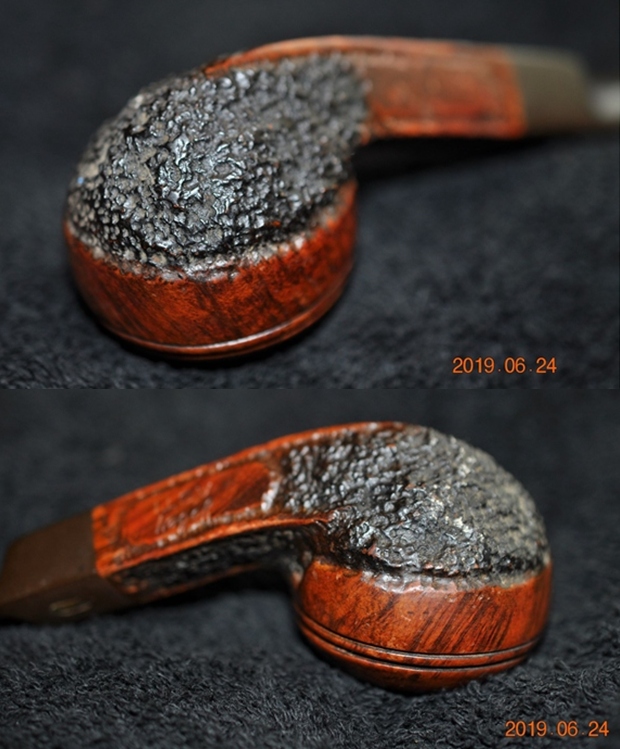
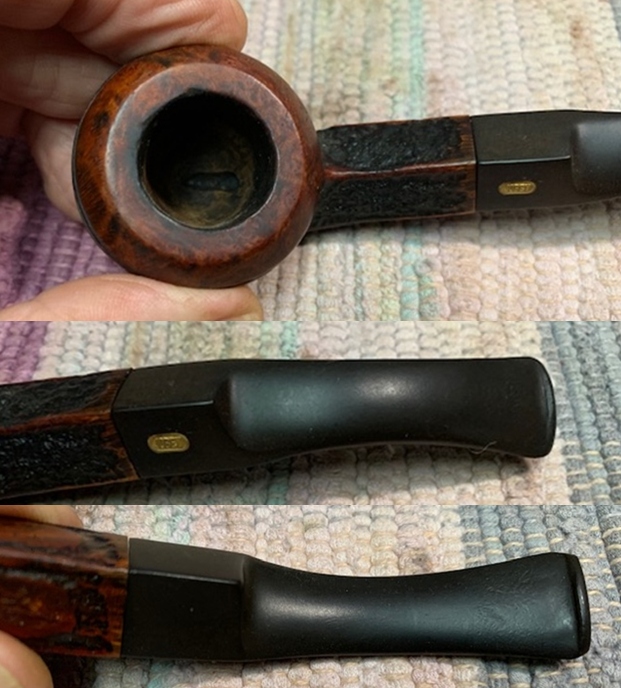
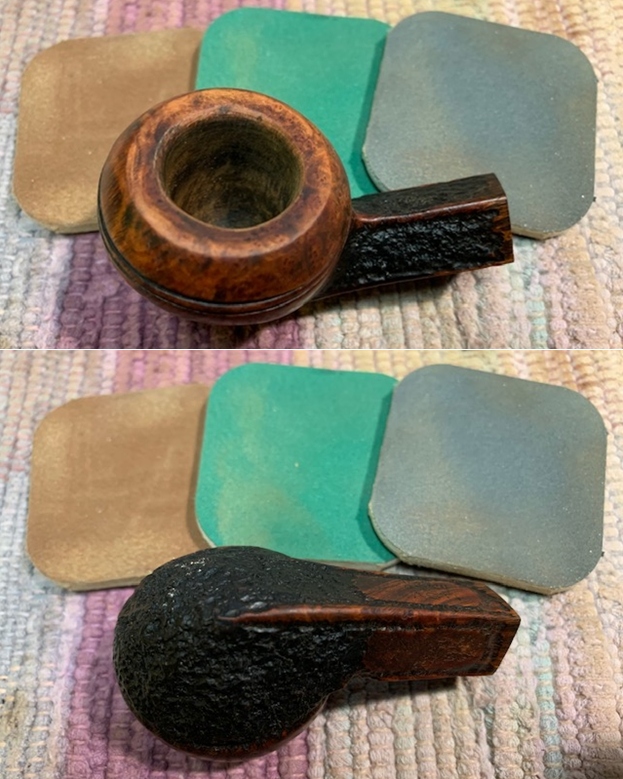
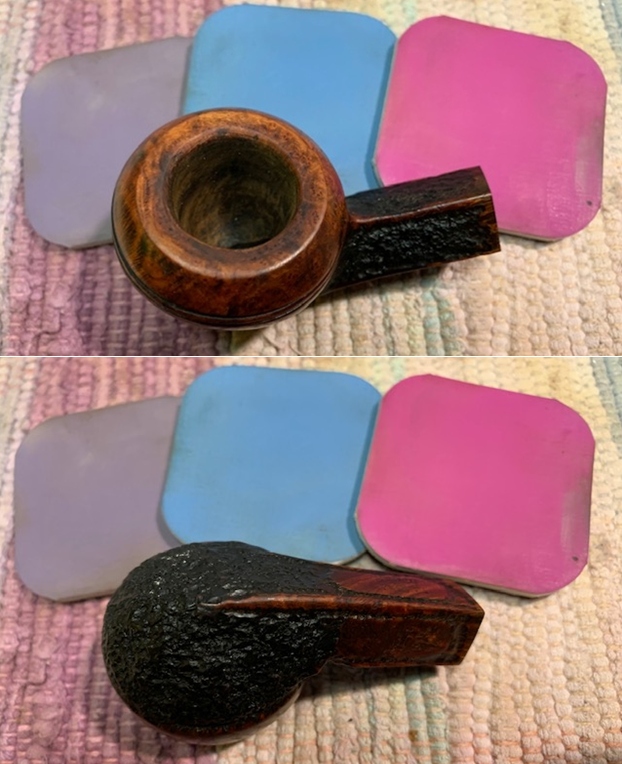
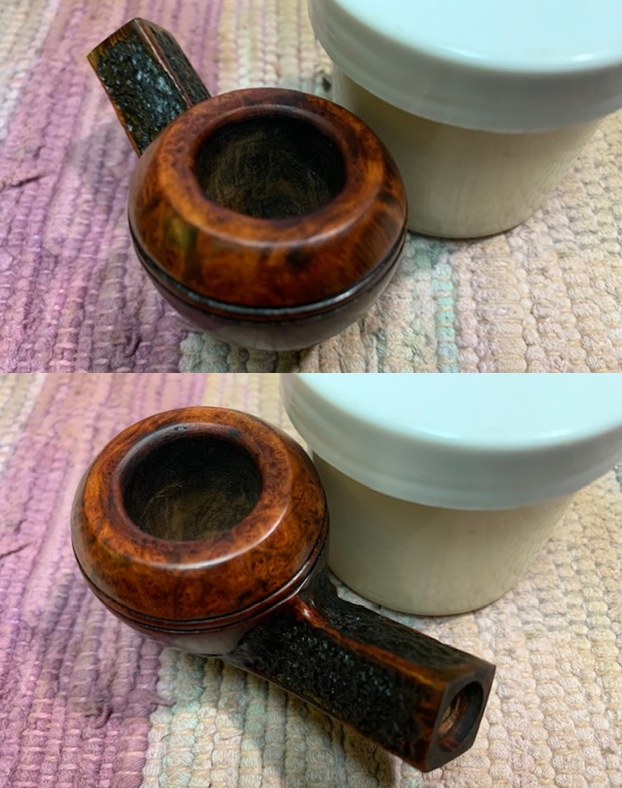
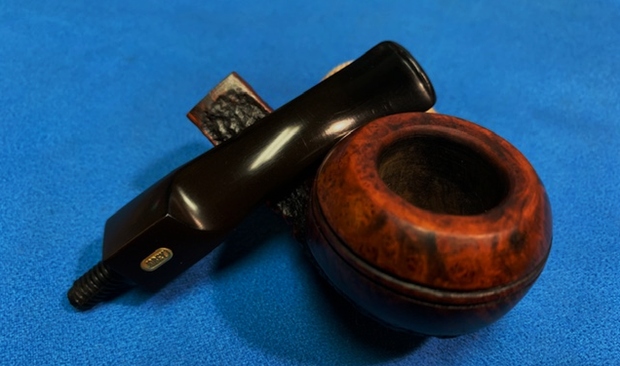
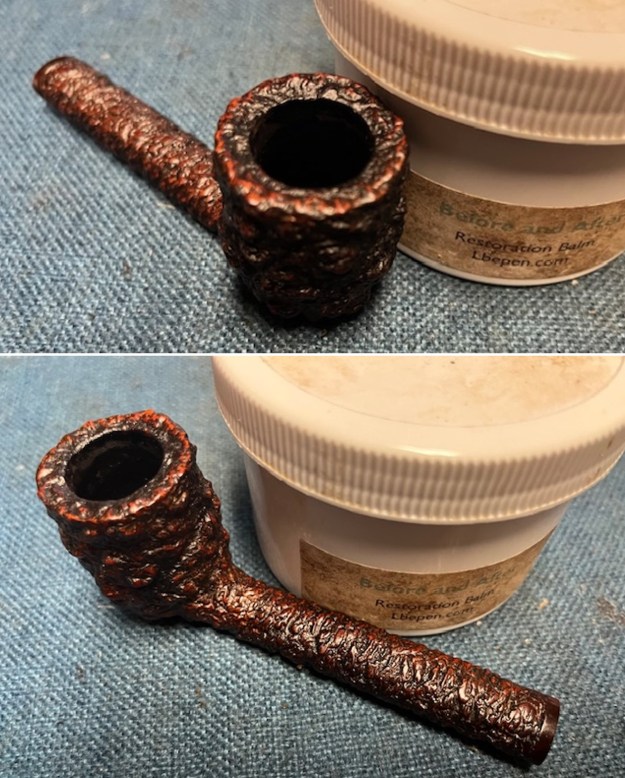
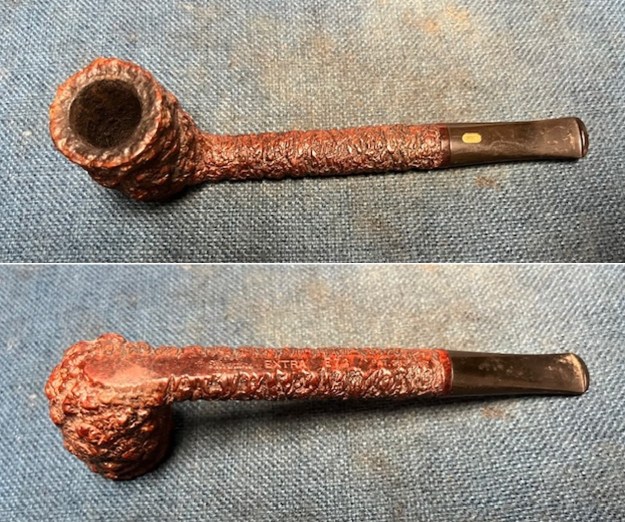 I took a closer photo of the rim top and bowl to show the condition of the bowl and rim. You can see the light cake in the bowl and the darkening and lava on the top and inner edge. It was heavier on the sides and back of the rim and top.
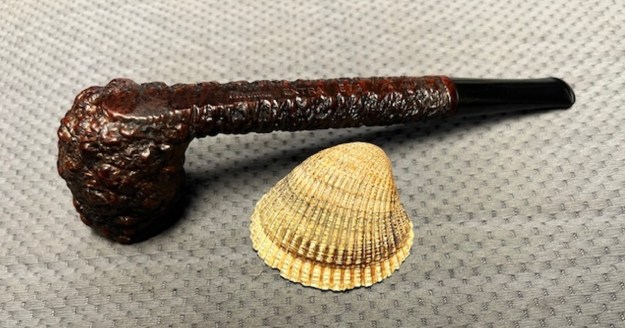
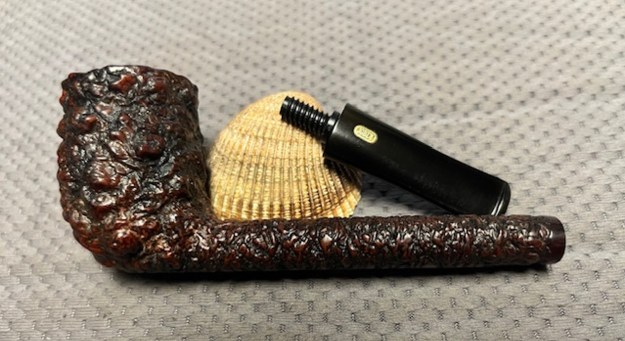
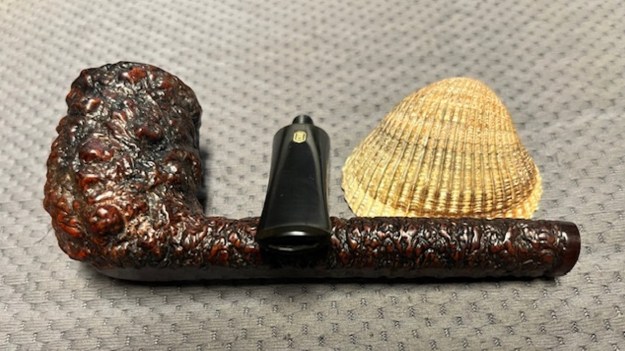
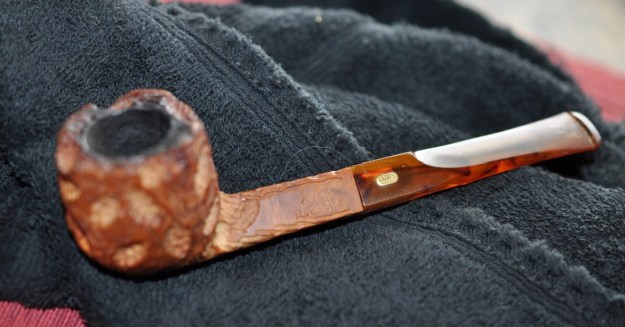
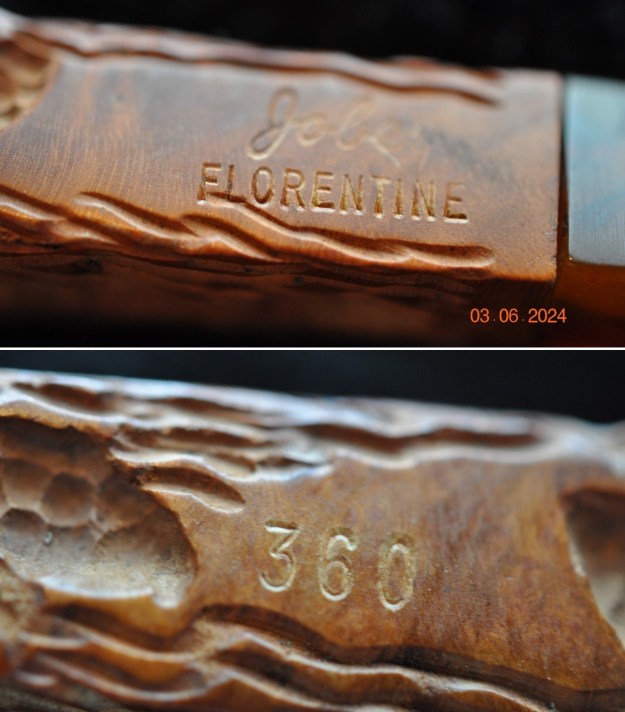
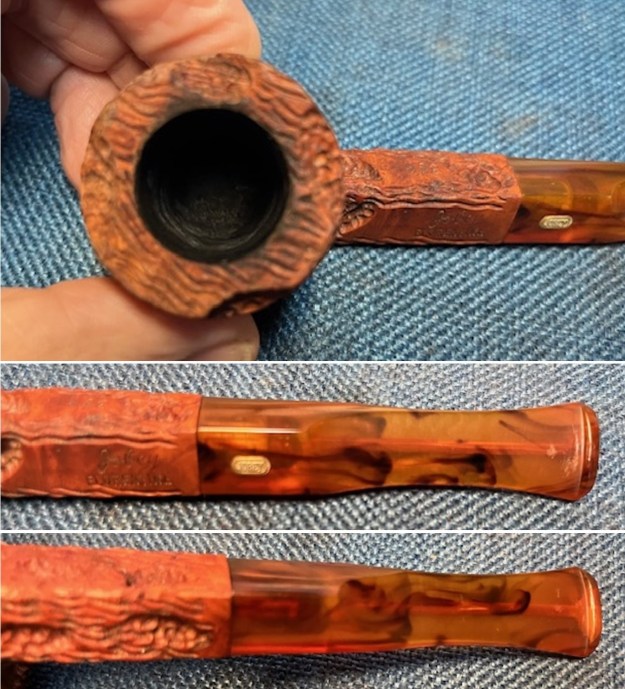
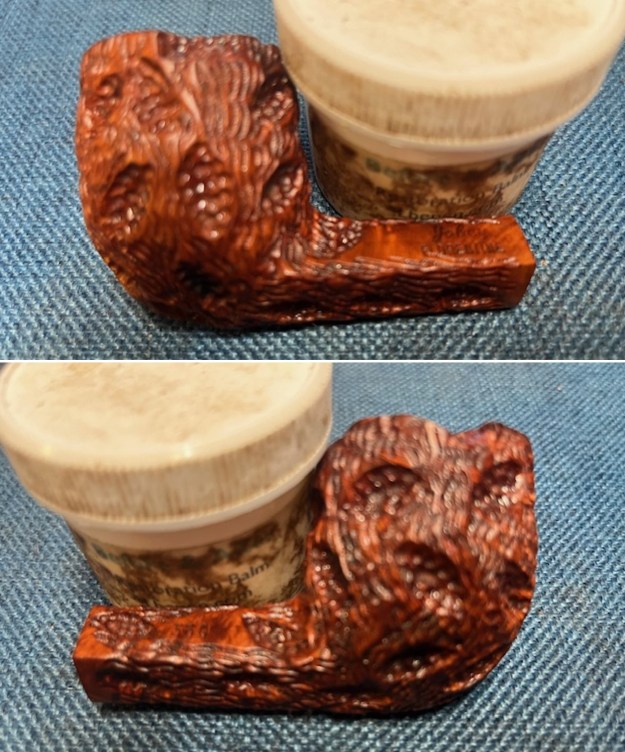
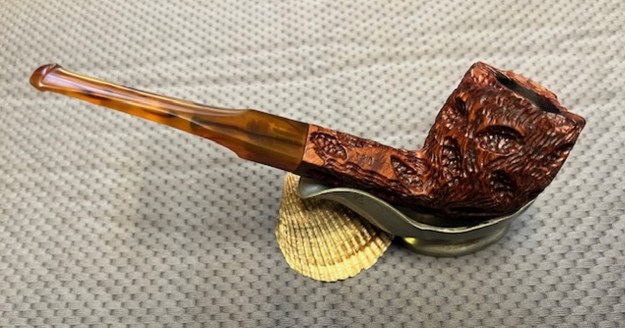
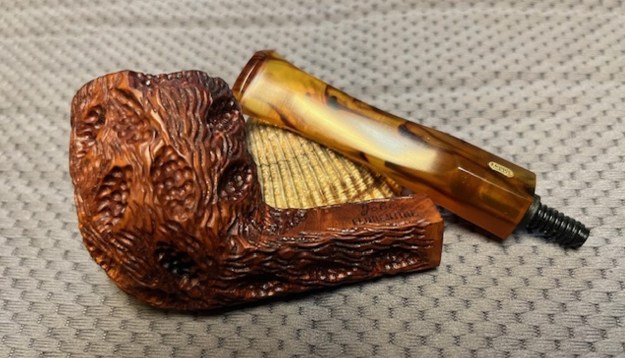
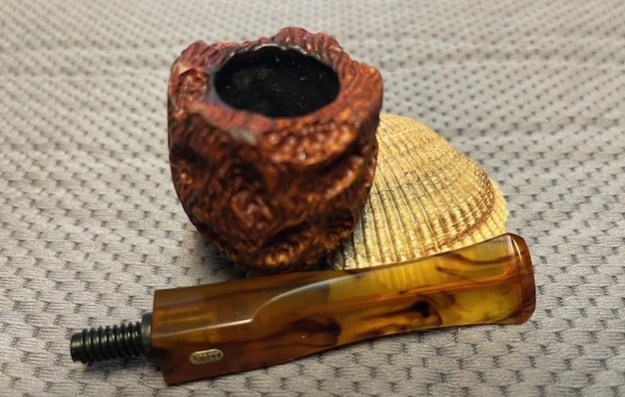
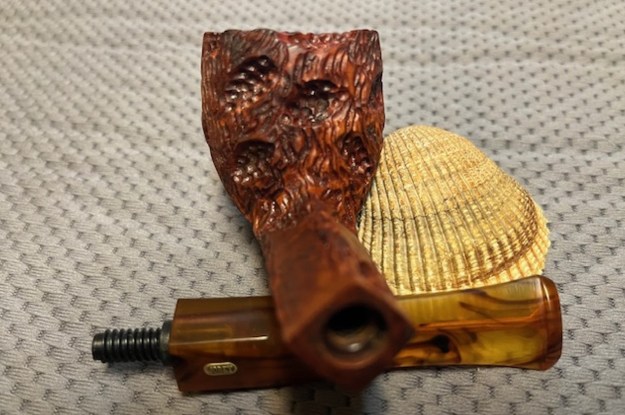
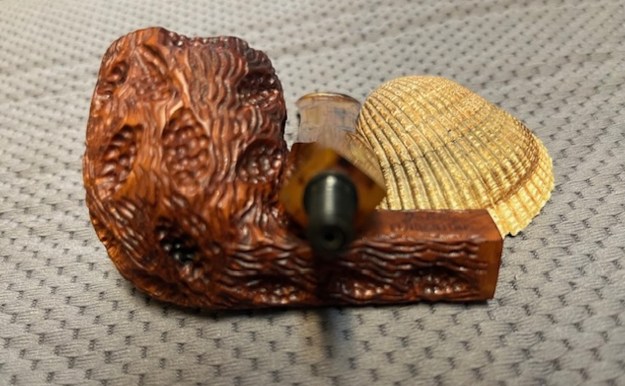
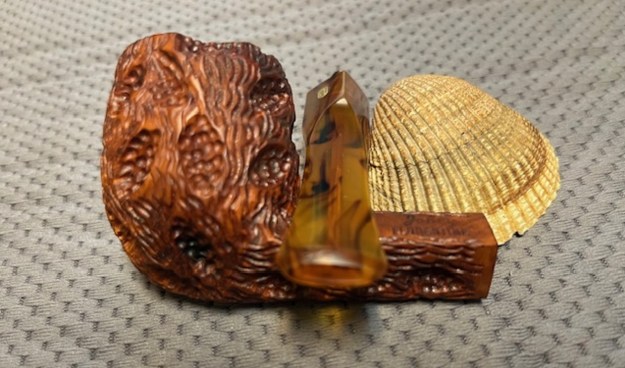
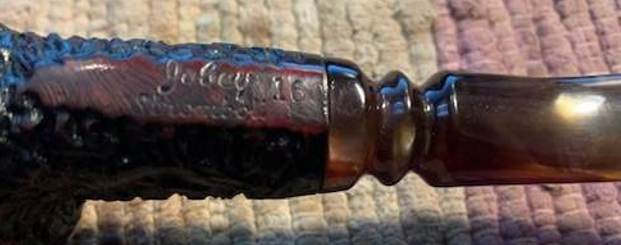
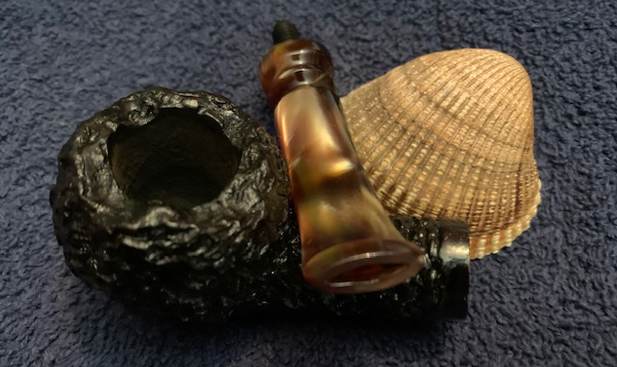
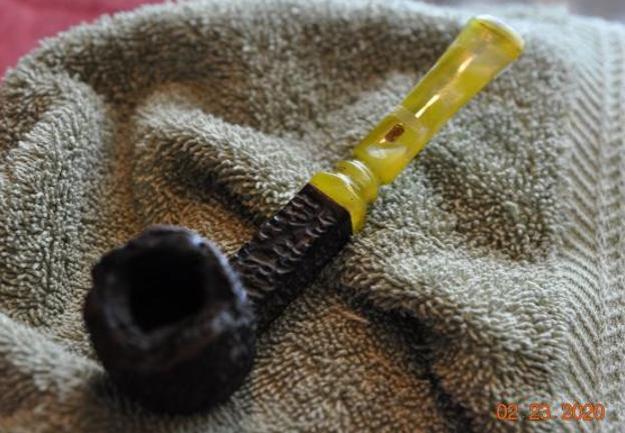
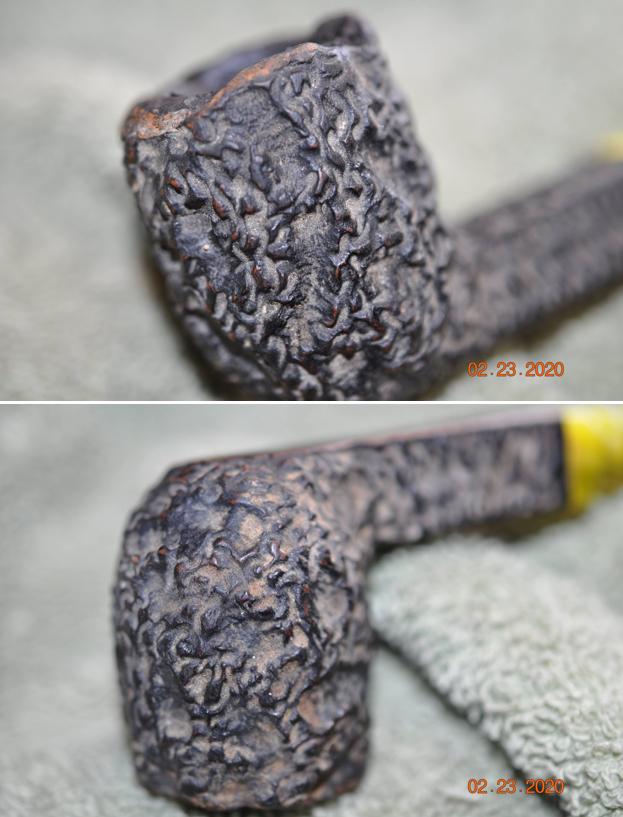
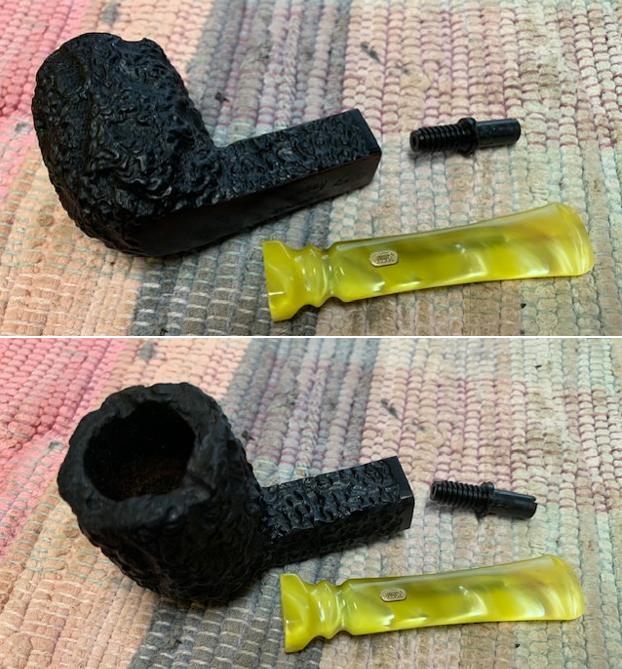
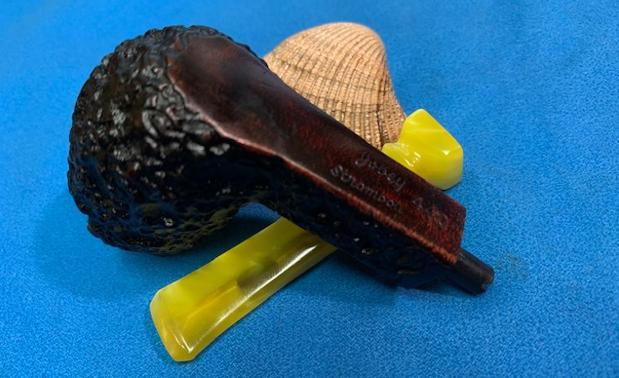
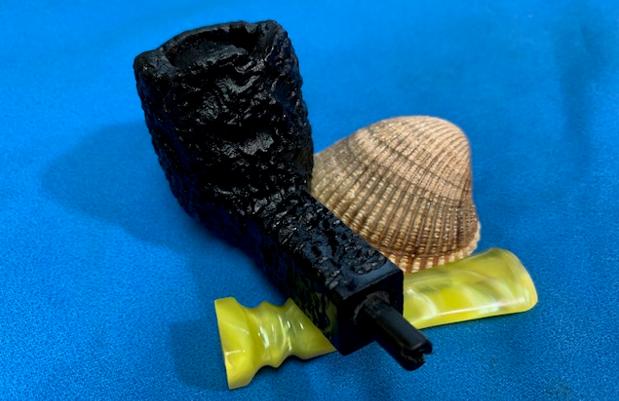
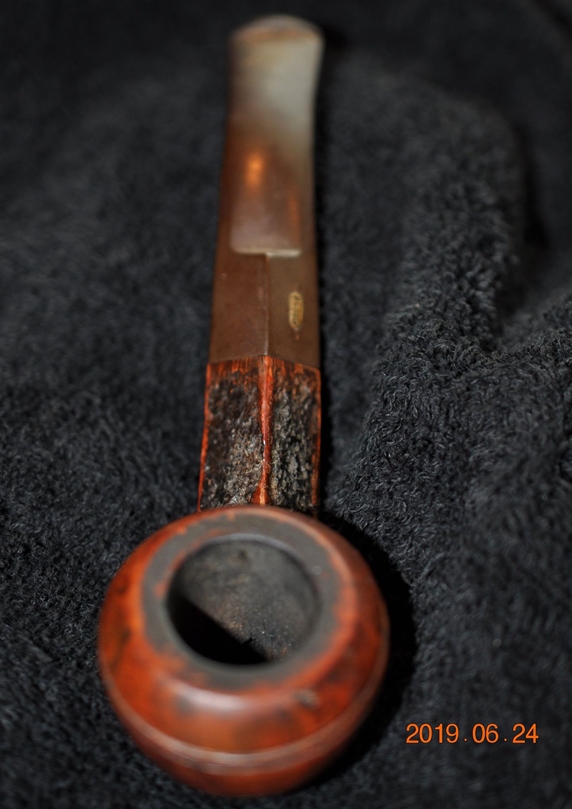
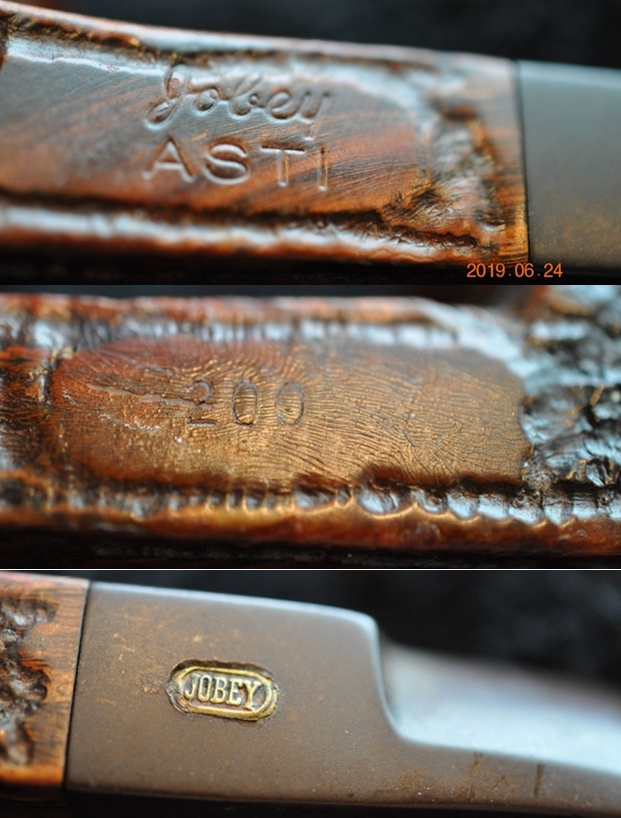
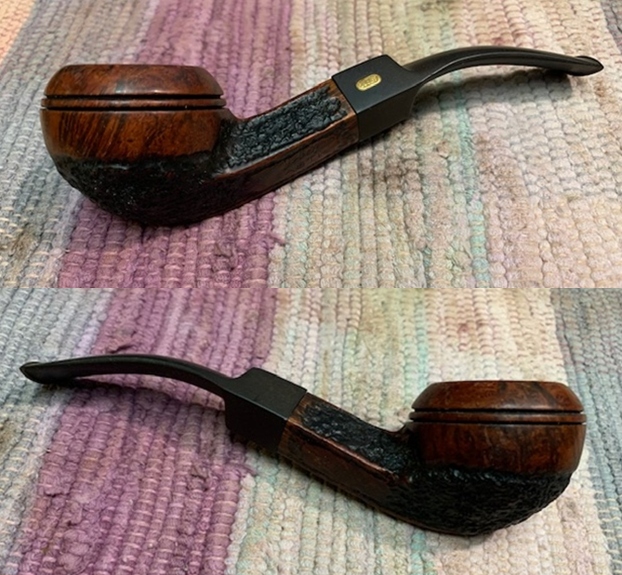
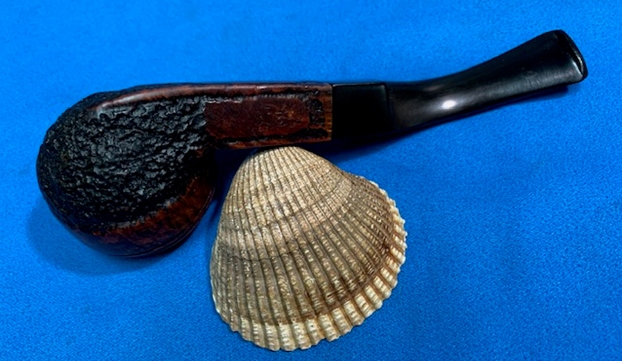
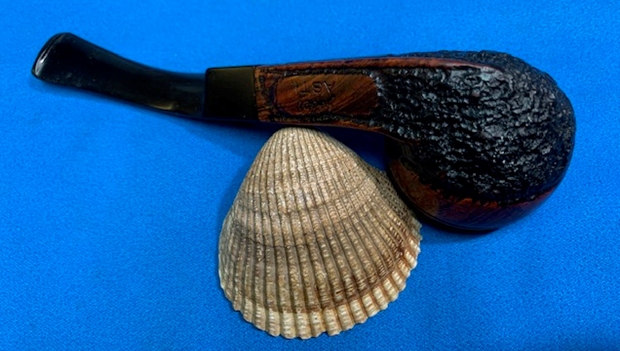
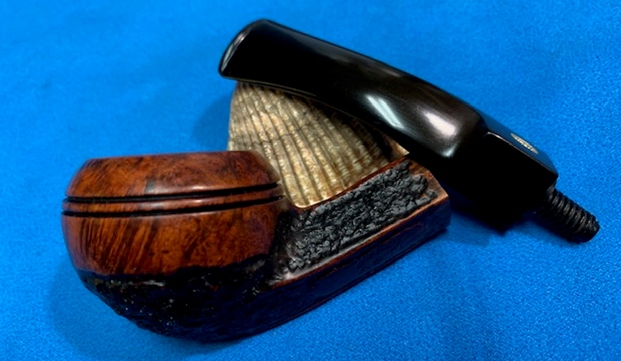
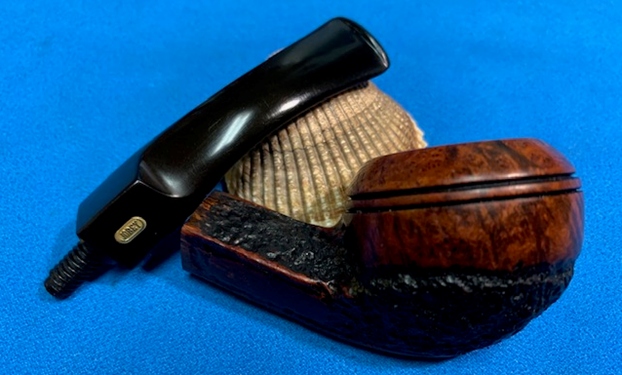
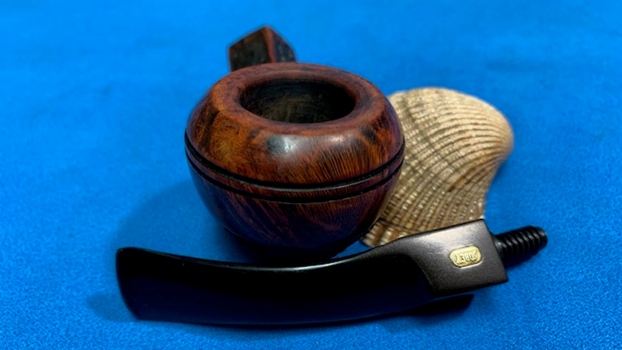
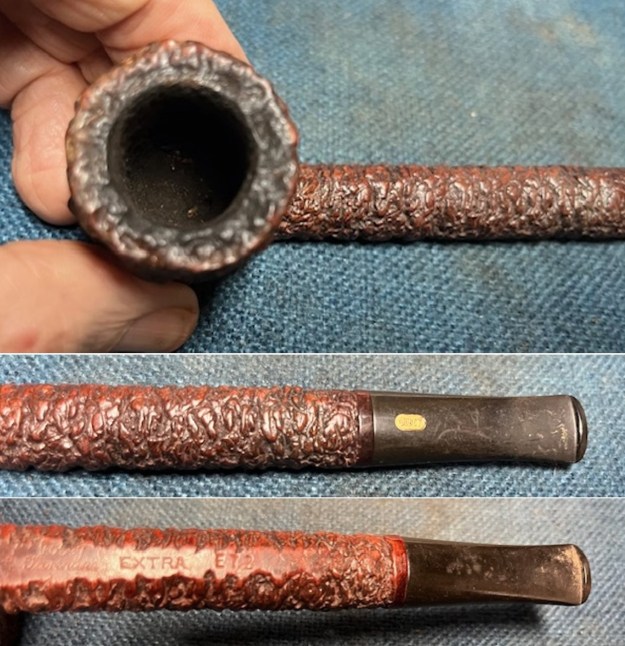 I took a photos of the stamping on the underside of the shank. It is clear and readable as noted above. I removed the stem and took a photo to show the proportions of the pipe.
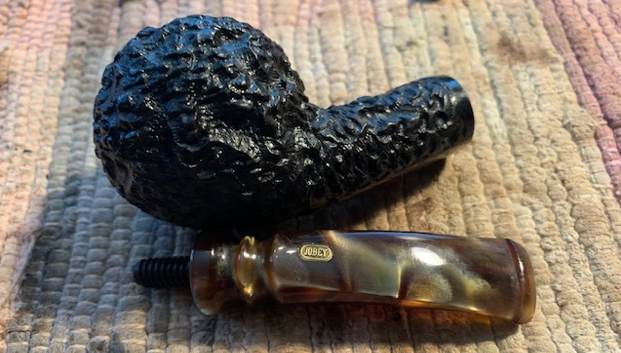
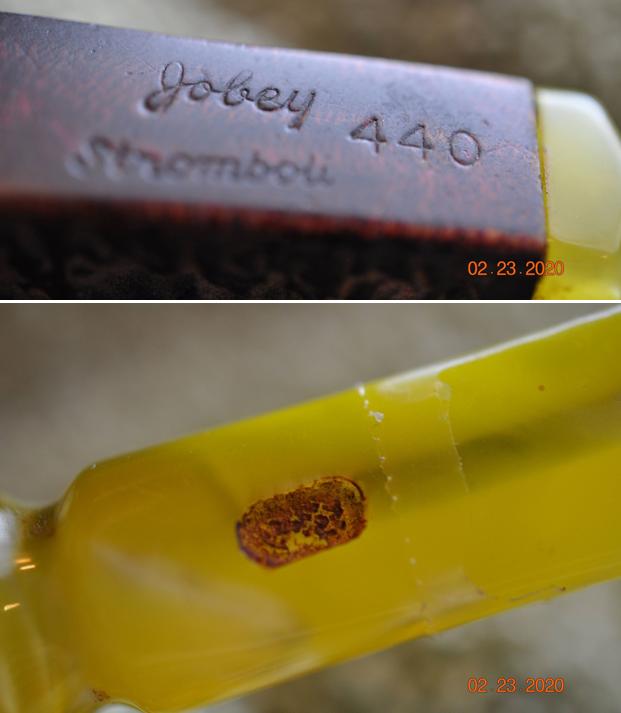
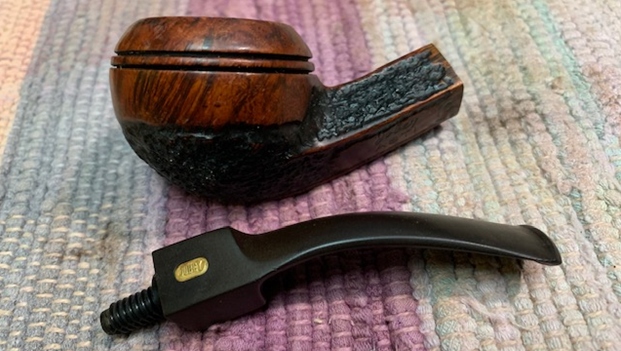
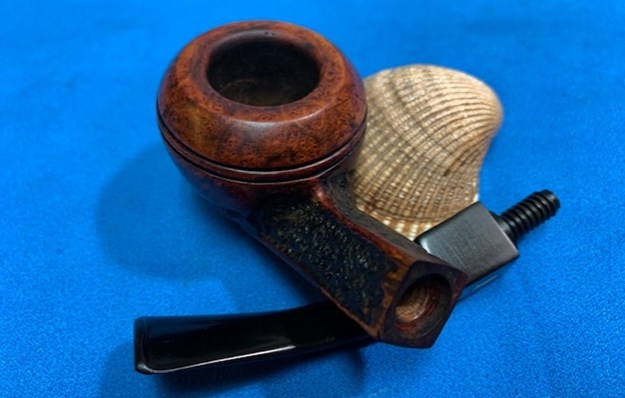
 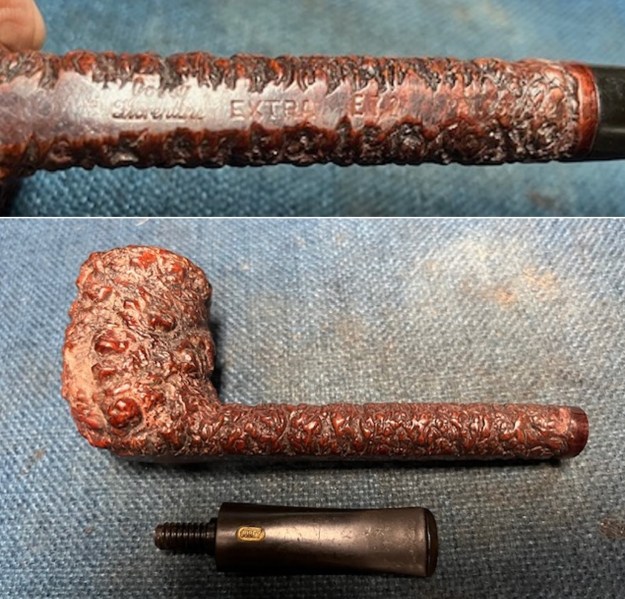 Before I started my work on the pipe I turned to Pipephil’s site to see if I could find any info on the brand and on a Florentine (http://www.pipephil.eu/logos/en/logo-j3.html). The information on Jobey was helpful but there was no listing on the Florentine line. I have included a screen capture of the information and also included the sidebar information.
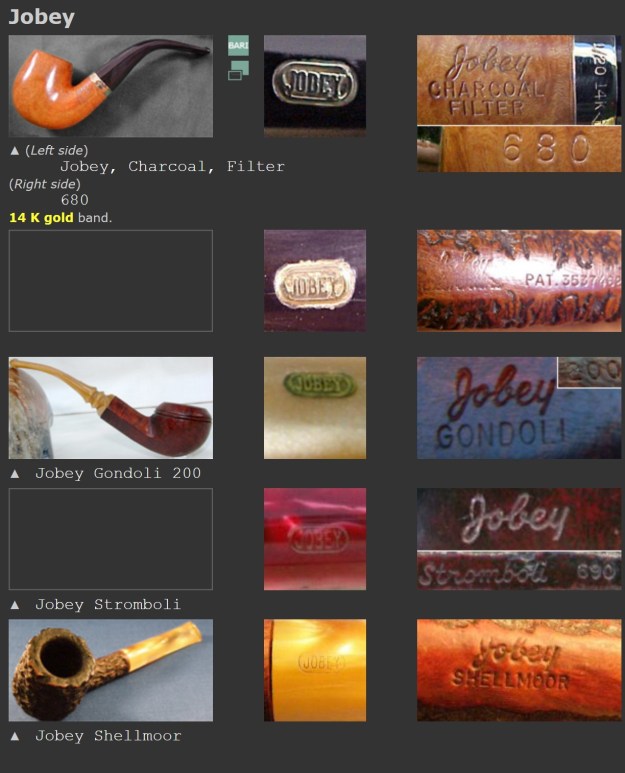 These pipes are made in St Claude (France) by Butz-Choquin (Berrod-Regad group) since 1987. Before this date some were manufactured in England and Denmark (Jobey Dansk). Jobey’s seconds: Shellmoor
I turned next to Pipedia (https://pipedia.org/wiki/Jobey). To deepen my understanding of the information of the brand. It was helpful in helping to understand the mess of where Jobey pipes were made and who made them. I have included the amount below.
 English – American – Danish – French… Sadly, solid information about Jobey is scant
Probably established in England around 1920(?) the brand hiked into the USA later. In the course of time owner, distributor and manufacturer changed repeatedly. As far as is known the following companies have been involved with the brand:
- George Yale Pipes & Tobacco, New York (1942)
- Norwalk Pipe Co., New York (1949)
- Arlington Briar Pipes Corp., Brooklyn (when?)
- Hollco International, New York (1969).
- Weber Pipe Co., Jersey City, NJ (1970’s)
- Tinder Box, (1970’s – 80’s).
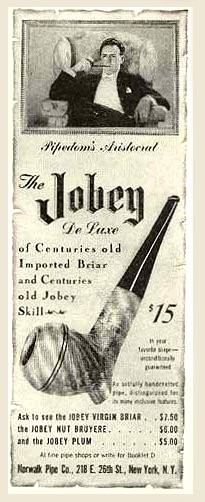
Throughout decades Jobey pipes were mainly sold in the USA, Canada and England but remained almost unknown in continental Europe. The bulk of Jobeys were predominantly made according to classical patterns and mainly in the lower to middle price range. The predominant judgment of the pipe smokers reads: “A well made pipe for the price.” So, there is hardly anything very special or exciting about Jobey pipes although a flyer from ca. 1970 assures: “The briar root Jobey insists upon for its peer of pipes is left untouched to grow, harden and sweeten for 100 years. […] Jobey uses only the heart of this century old briar and only one out of 500 bowls turned measures up to the rigid Jobey specifications.” 99.80% of cull… that makes the layman marveling!
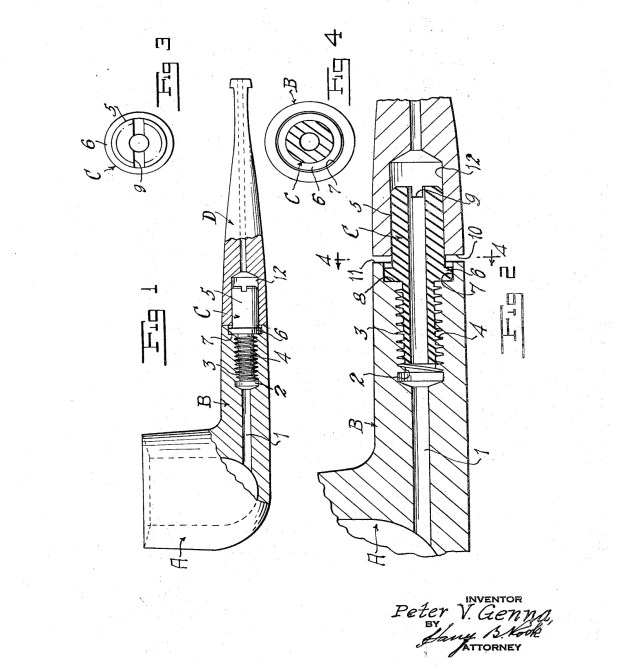
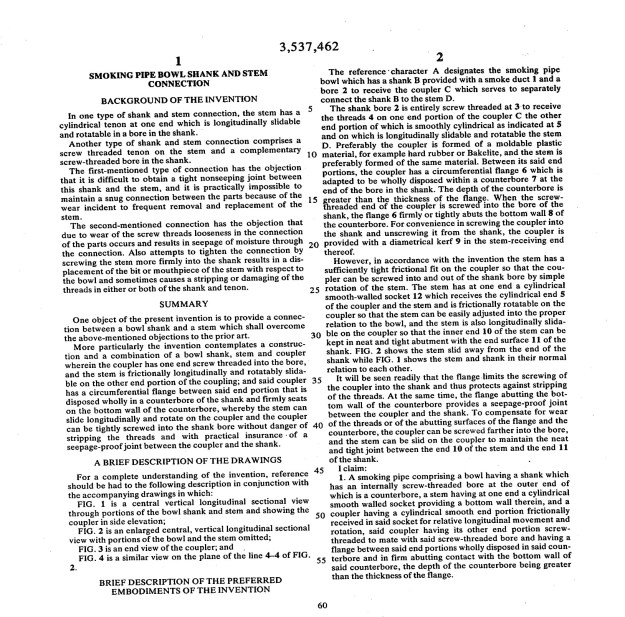
This particular Jobey includes a US Patent number that is for the Jobey Link System tenon that holds the stem to the shank. It is a great read and also tells me that the pipe was made after the Patent was received in 1970. I have included the link for the US Patent site and the information on the particular patent below (https://ppubs.uspto.gov/basic/).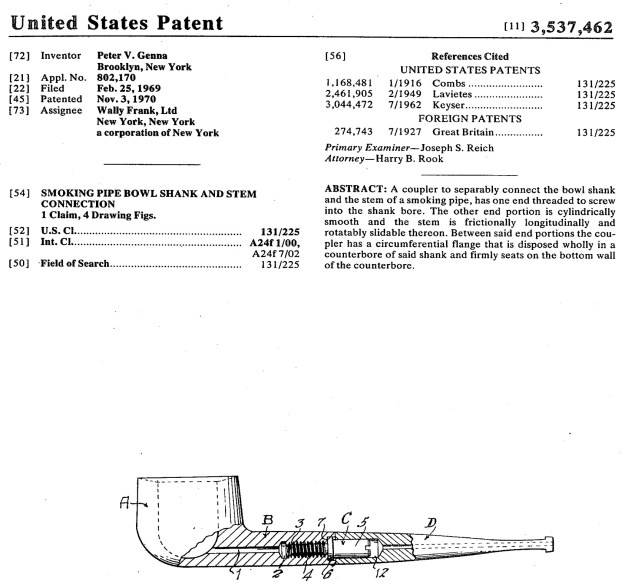
 I enjoy working on Jobey pipes and it is fun to be able to trace them back to the company that made the pipe – in this case a bit of a mystery though the US Patent makes me think that this one may be a US Made pipe. Since it was made after the 1970 Patent I believe that the pipe was made by Weber Pipe Co. perhaps for the Patent Holder, Wally Frank, Ltd. I turned to work on the pipe itself.
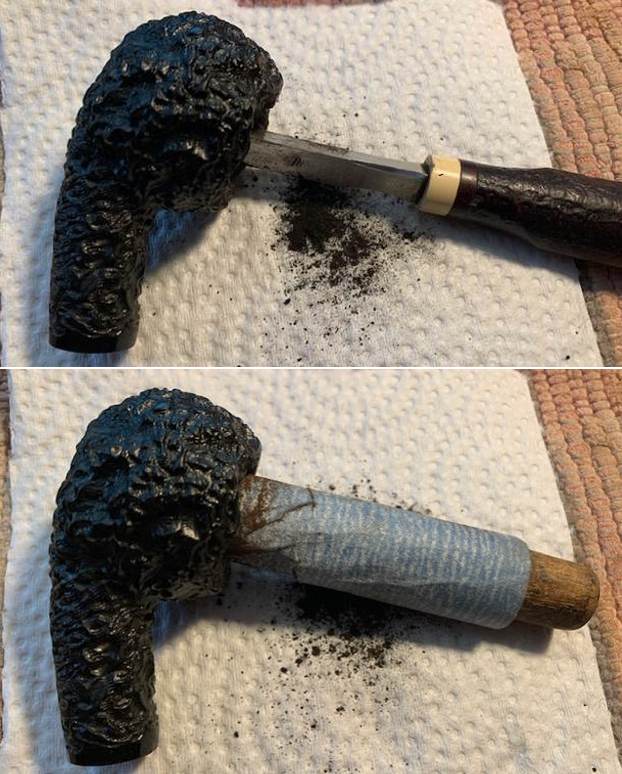
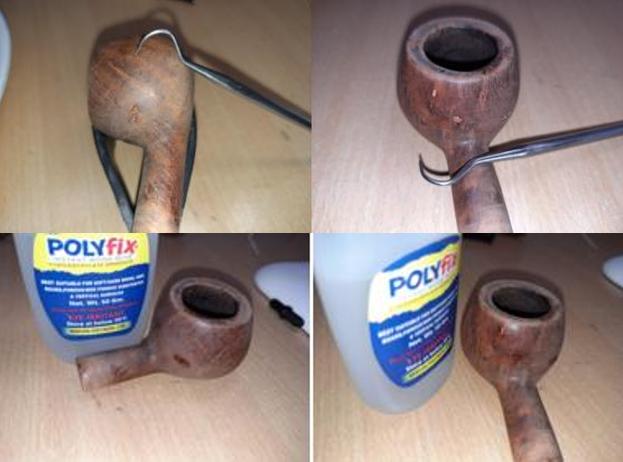
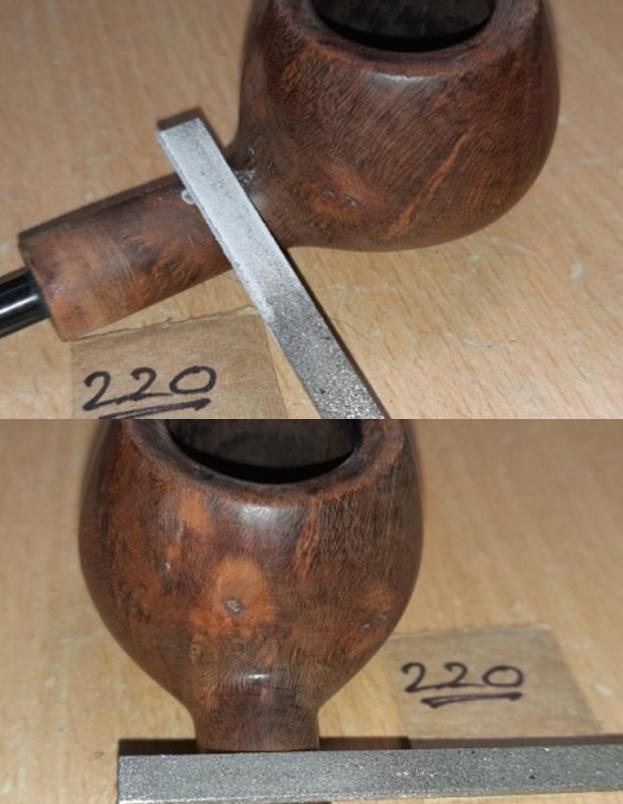
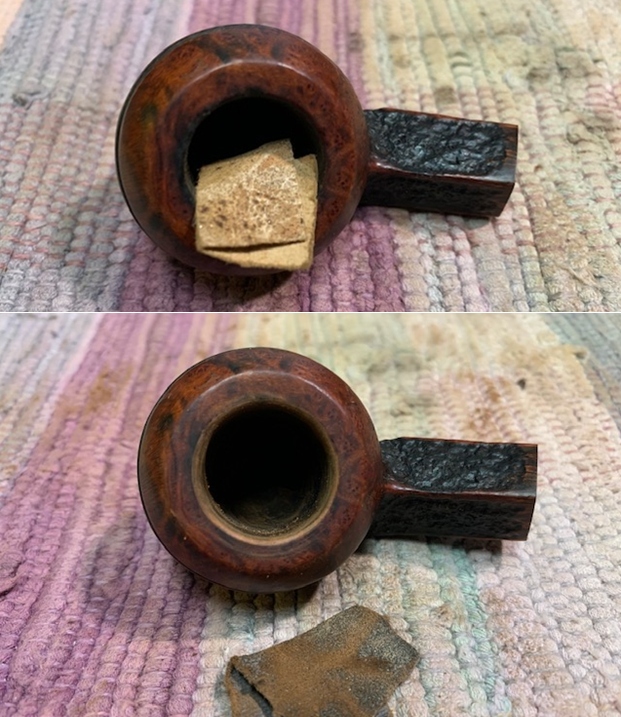
I reamed the bowl with a PipNet pipe reamer using the cutting heads 2 and 3. I finished the reaming with a Savinelli Fitsall Pipe Knife. I sanded the walls of the bowl with 220 grit sandpaper wrapped around a piece of dowel.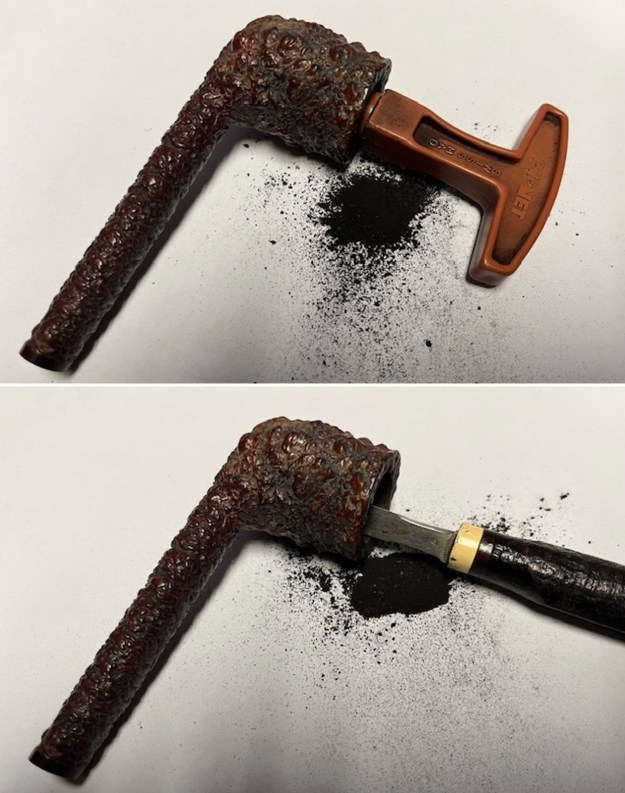
 I worked on the darkening on the rim top with a brass bristle wire brush. I was able to remove the majority of the darkening with this method.
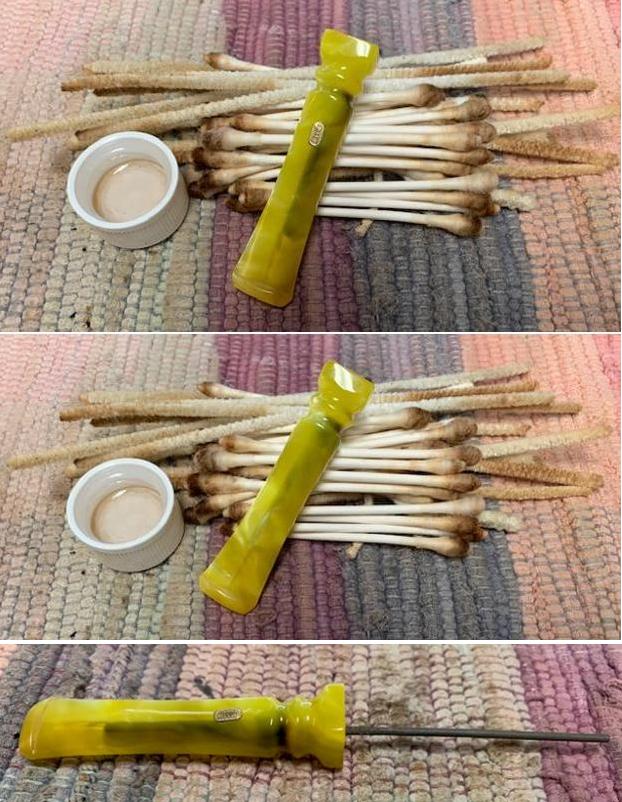
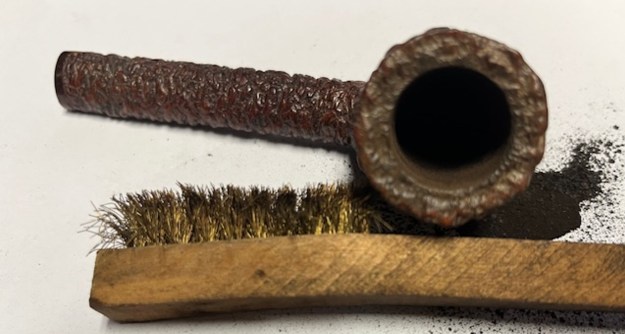 I cleaned out the inside of the shank and the airway in the stem with alcohol, cotton swabs and both bristle and regular pipe cleaners.
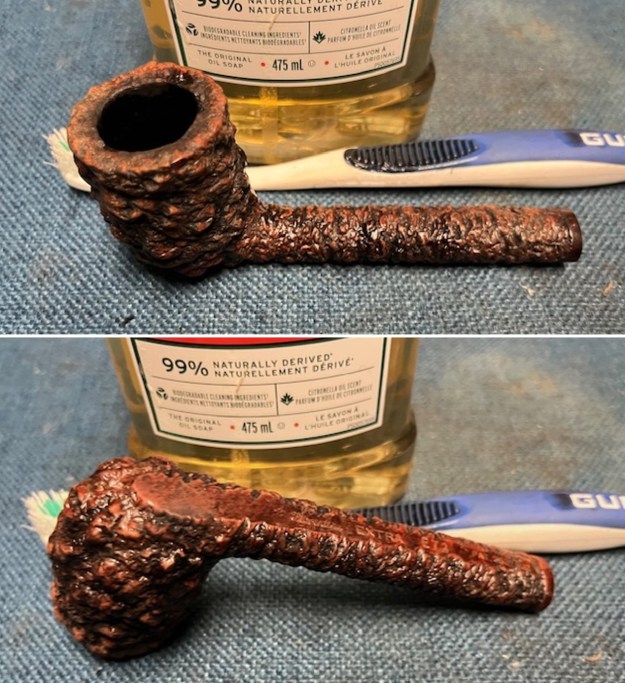
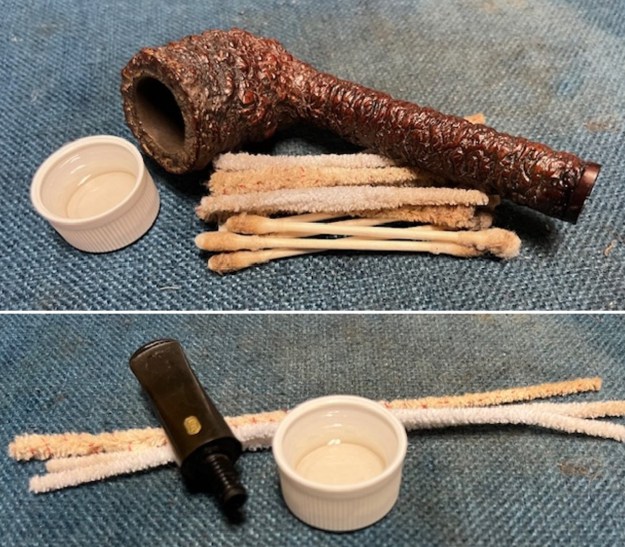 I scrubbed the bowl and shank with a tooth brush and some undiluted Murphy’s Oil Soap. I rinsed it off with warm water to remove the dust and soap from the finish. I dried it off with a soft cloth and it looked much better.
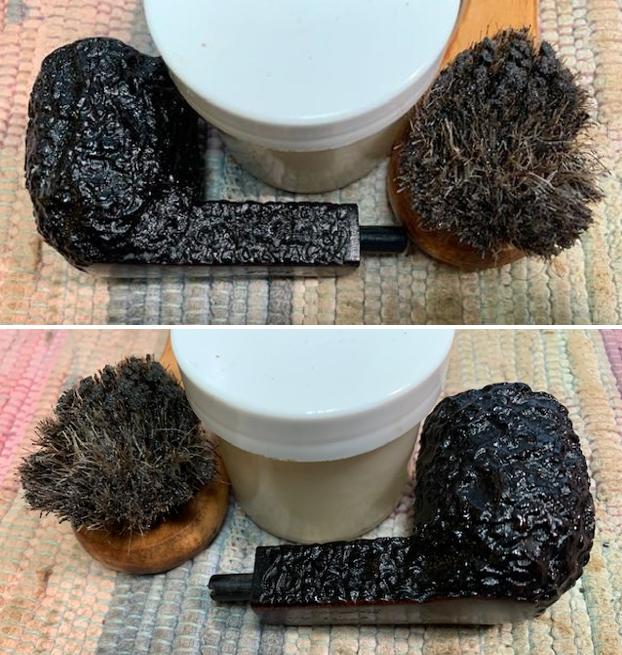
 I removed the stem and set it aside. I rubbed the briar down with Before & After Restoration Balm. I worked it into the briar with my fingertips to work it into the finish. The product works to clean, enliven and preserve the briar. I let it sit for 10 minutes then I buffed it with a cotton cloth to deepen the shine. The briar really comes alive with the balm.
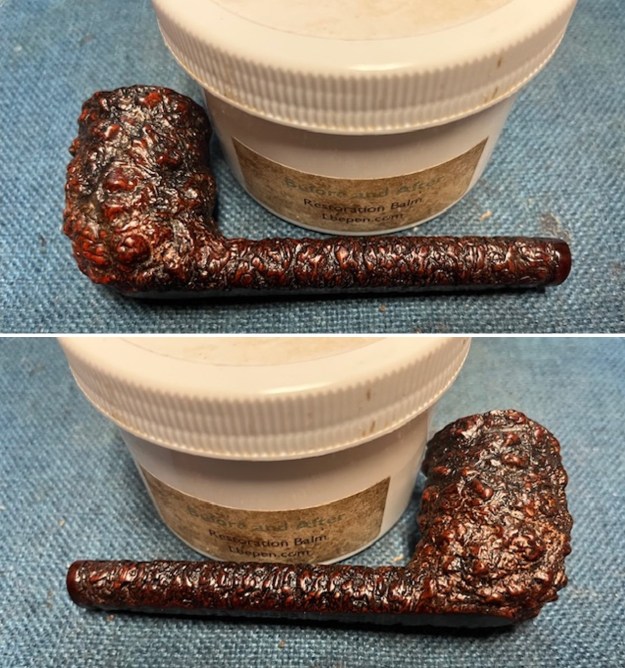
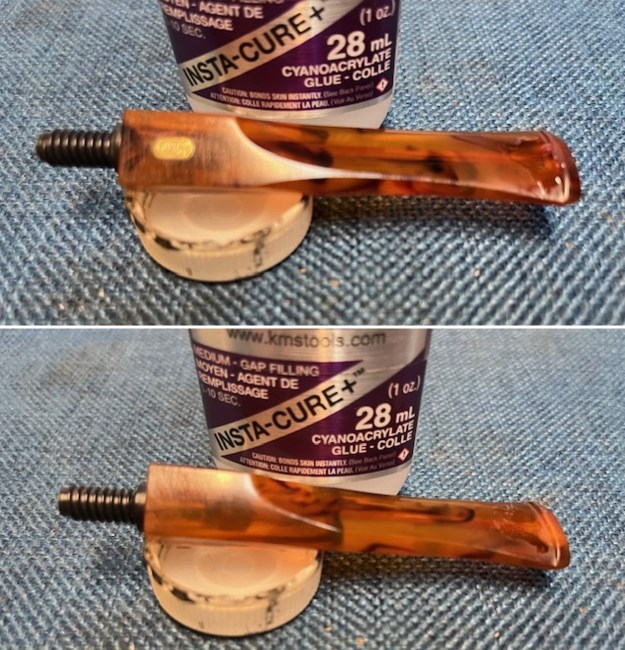
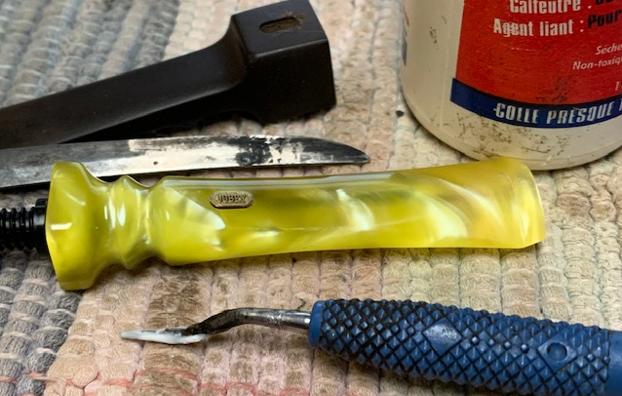
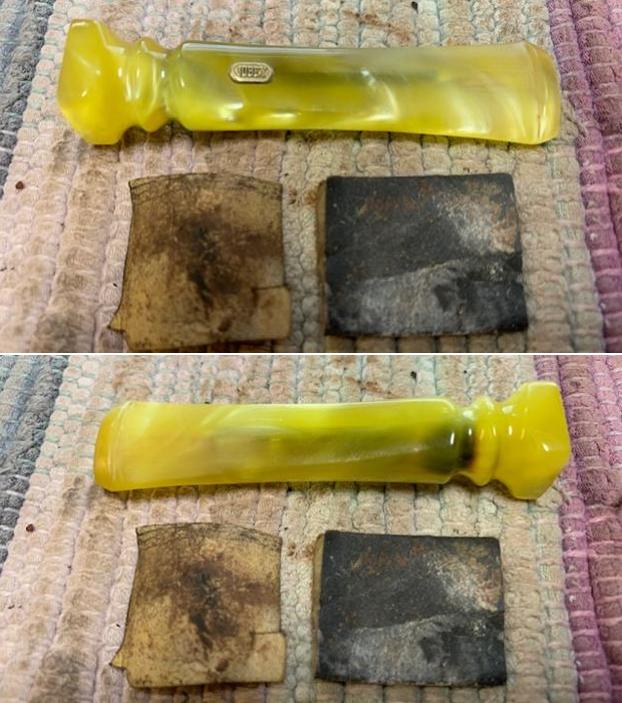
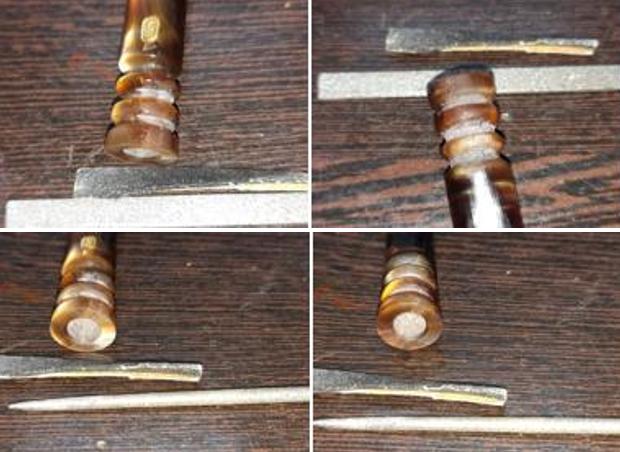
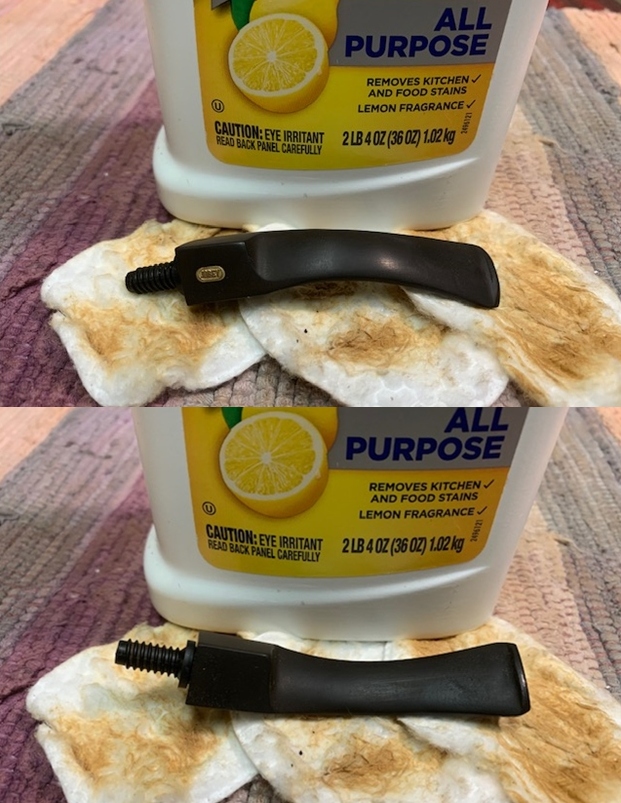
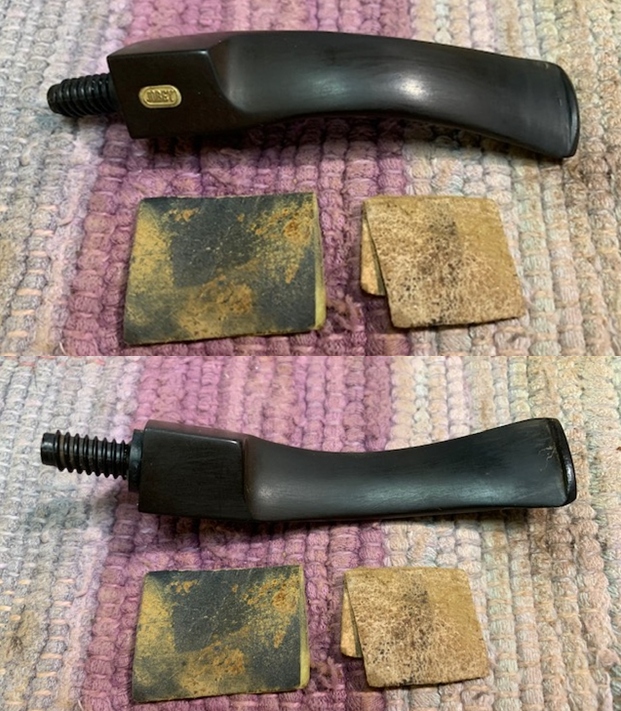
 I set the bowl aside and turned my attention to the stem. I sanded the surface of the stem with a folded piece of 220 grit sandpaper to clean up the oxidation and tooth chatter on both sides.
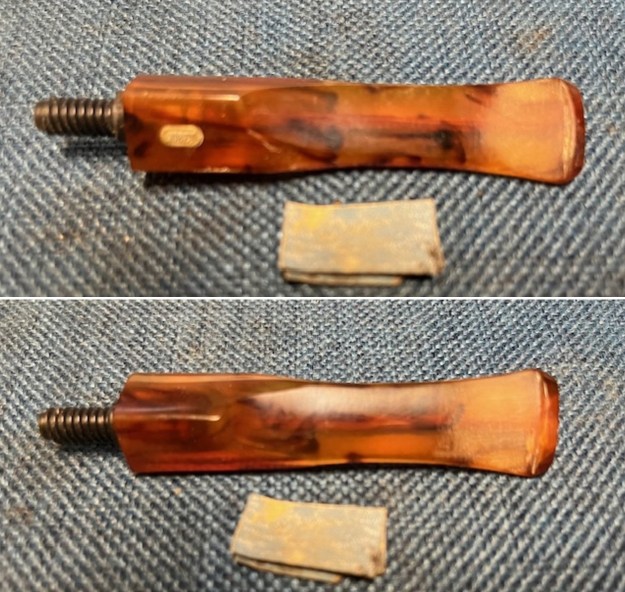
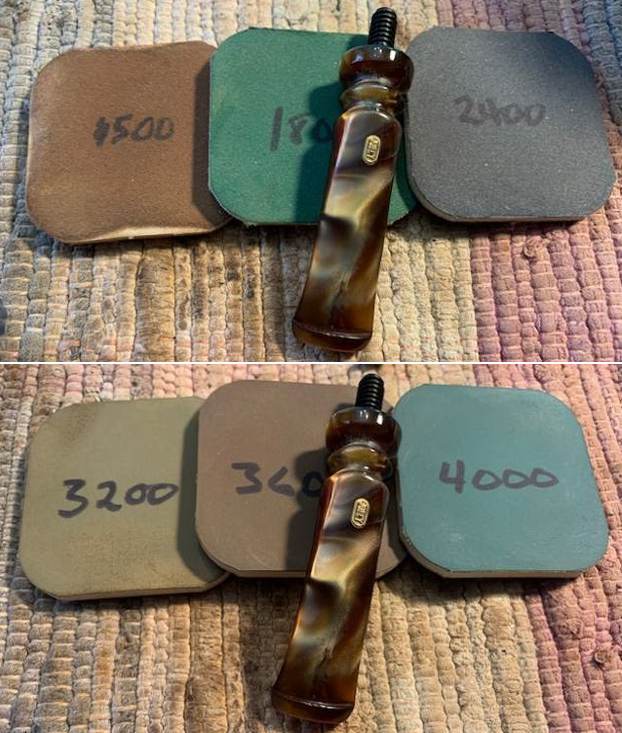
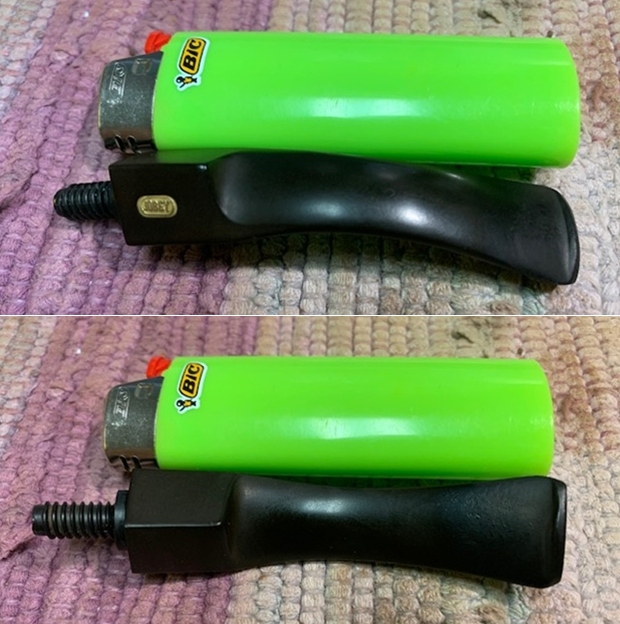
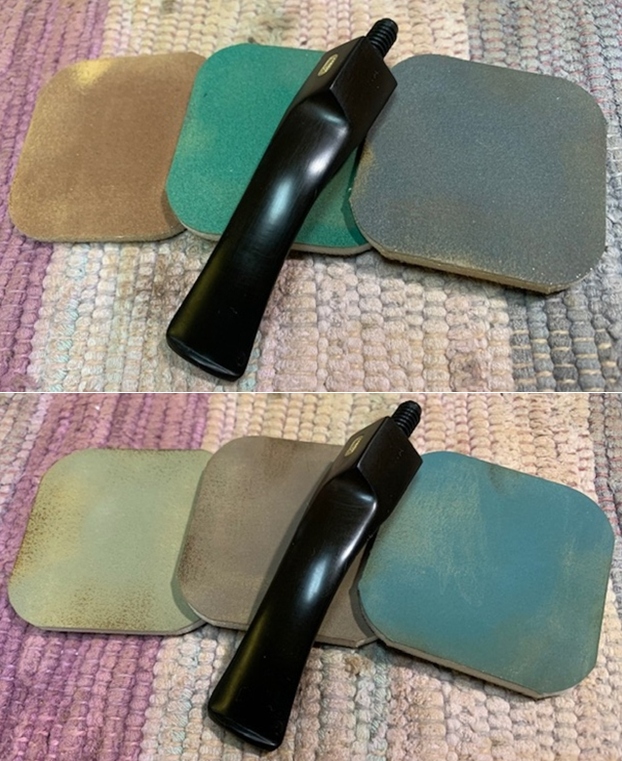
  I sanded the stem with 320-3500 grit 2×2 inch pads to further adjust the fit of the stem to the shank. I wiped the stem down with an Obsidian Oil cloth after each sanding pad.
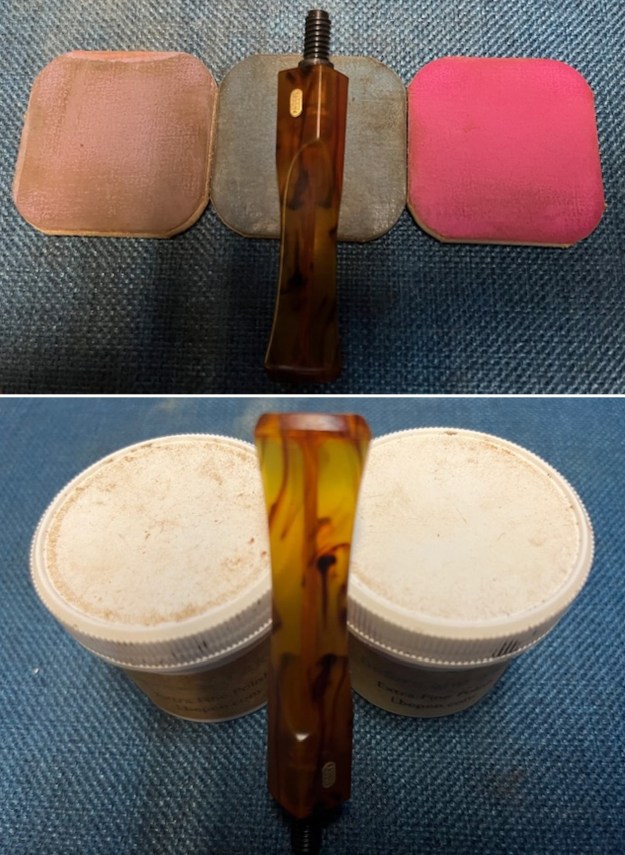
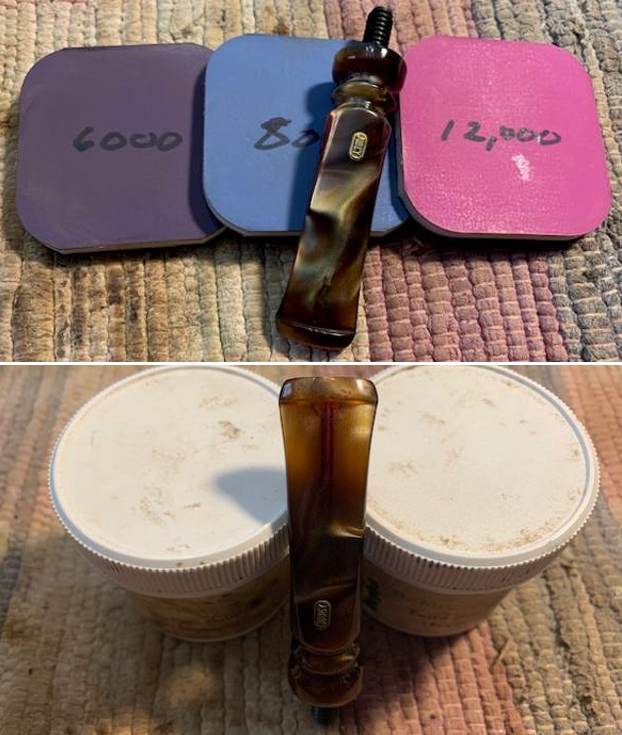
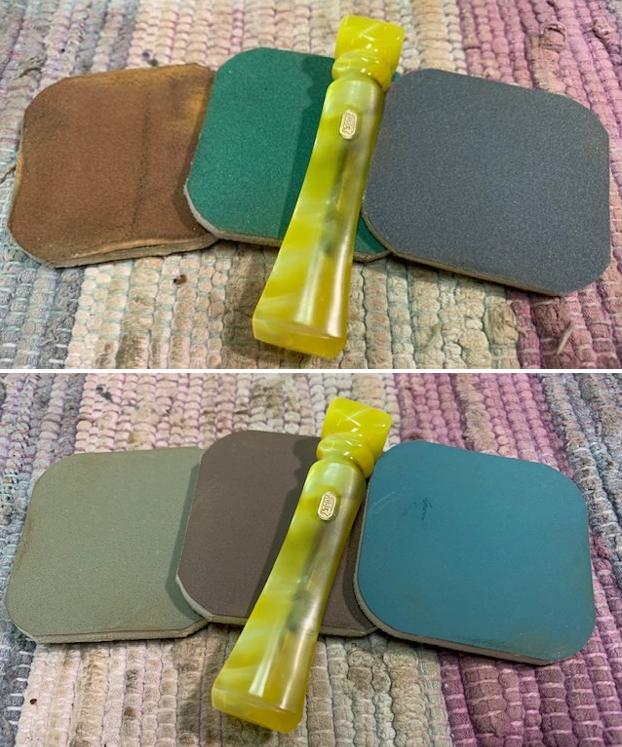
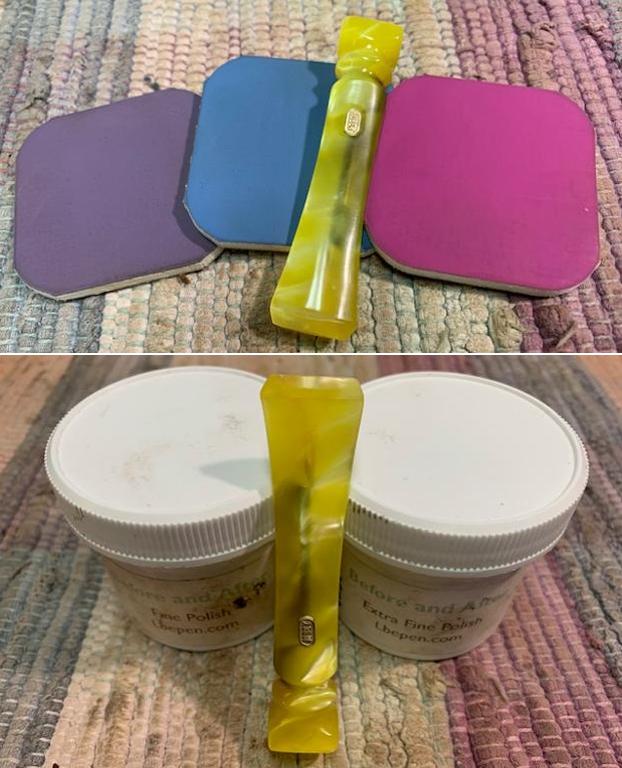
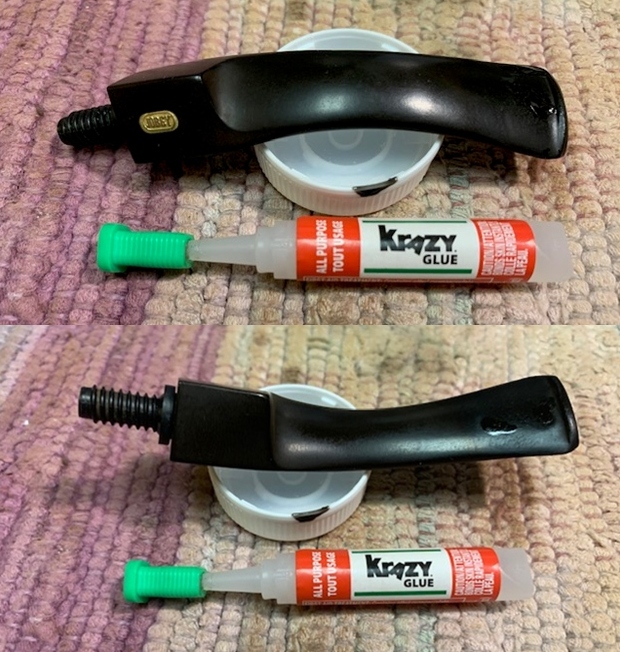
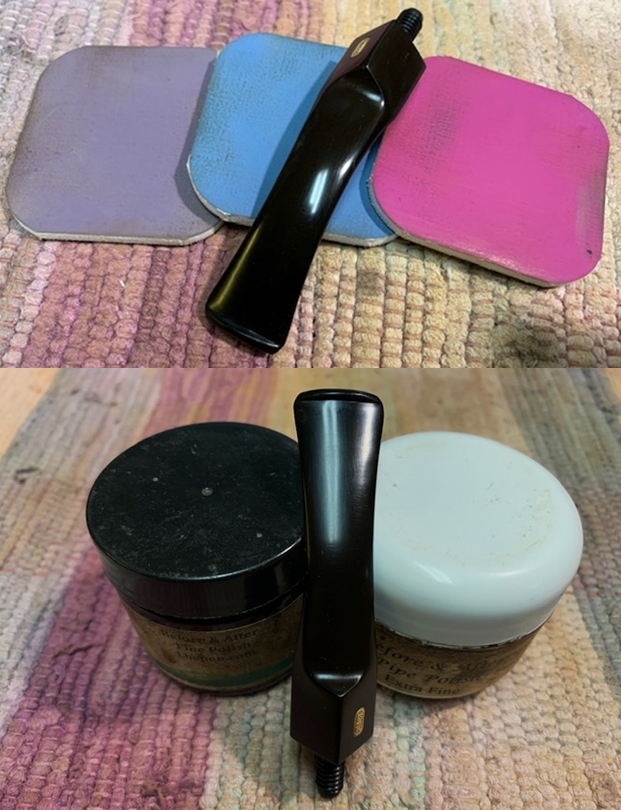
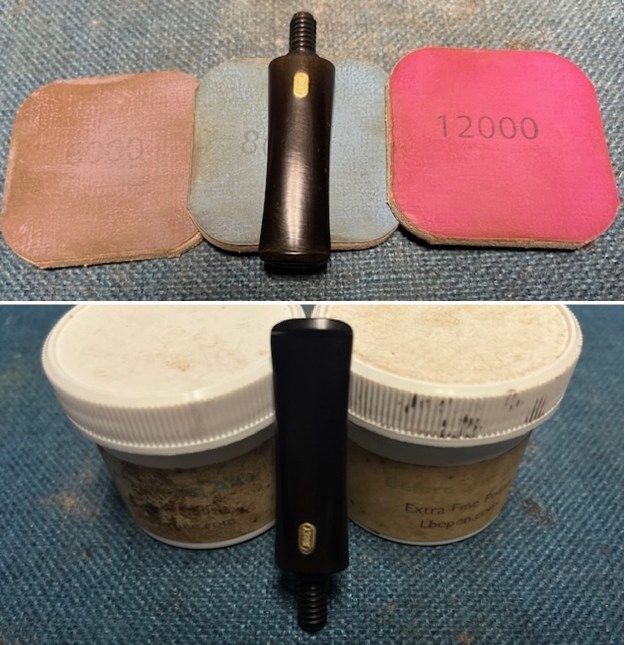
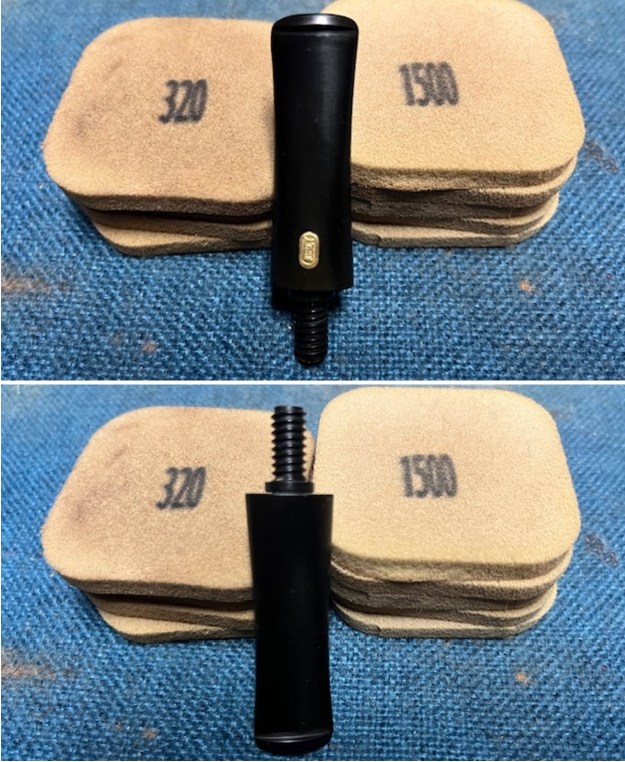 I polished the vulcanite with micromesh sanding pads – 1500-12000 grit pads. I wiped it down with Obsidian Oil after each sanding pad. I used Before & After Pipe Polish – both Fine and Extra Fine to further polish the stem.
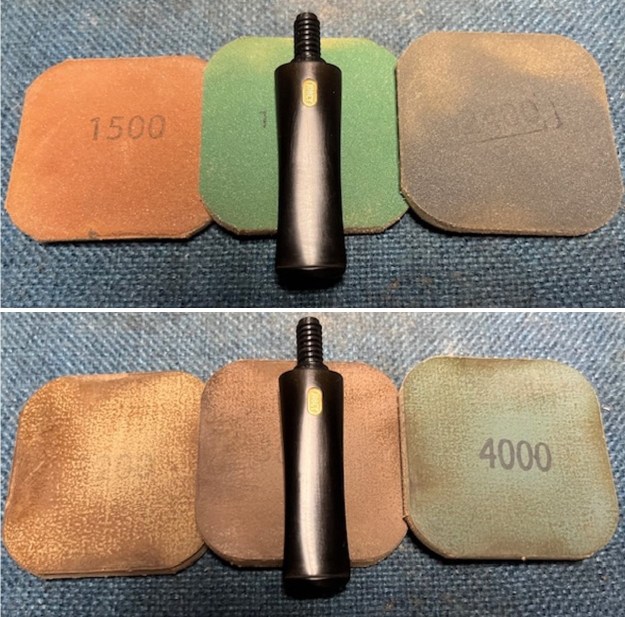
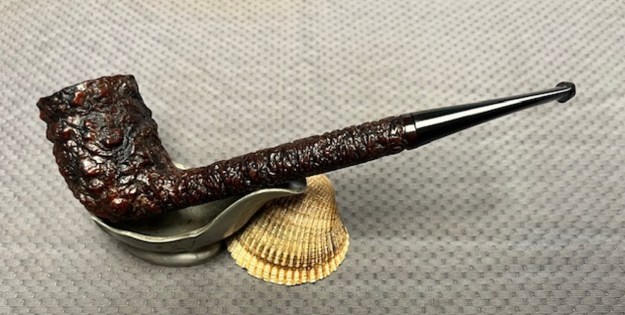
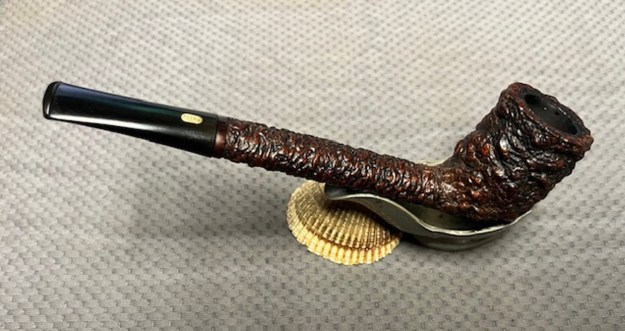
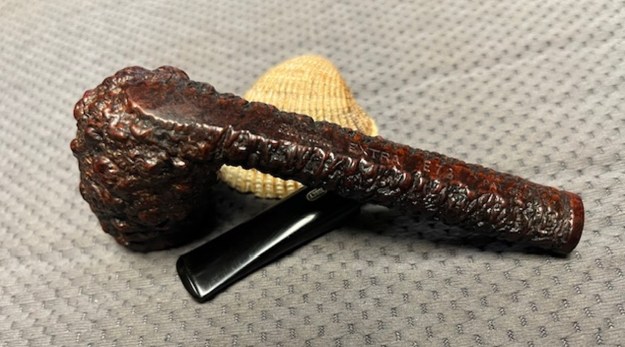
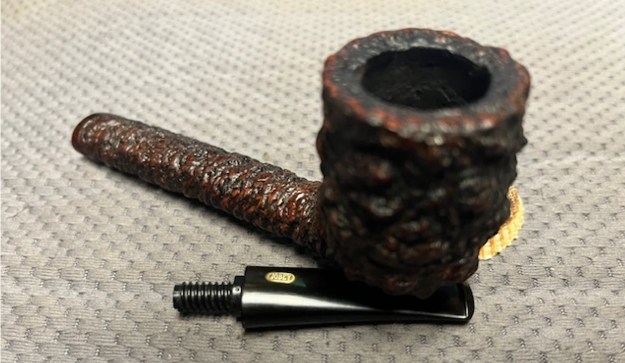
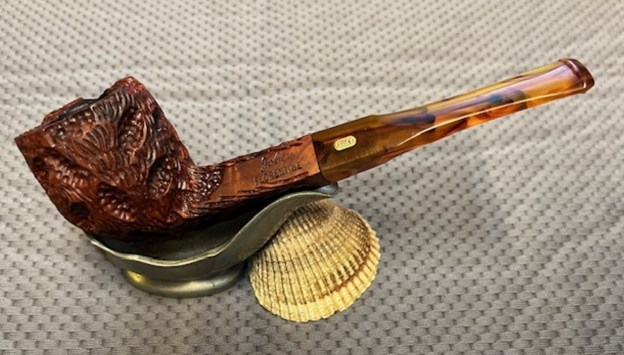
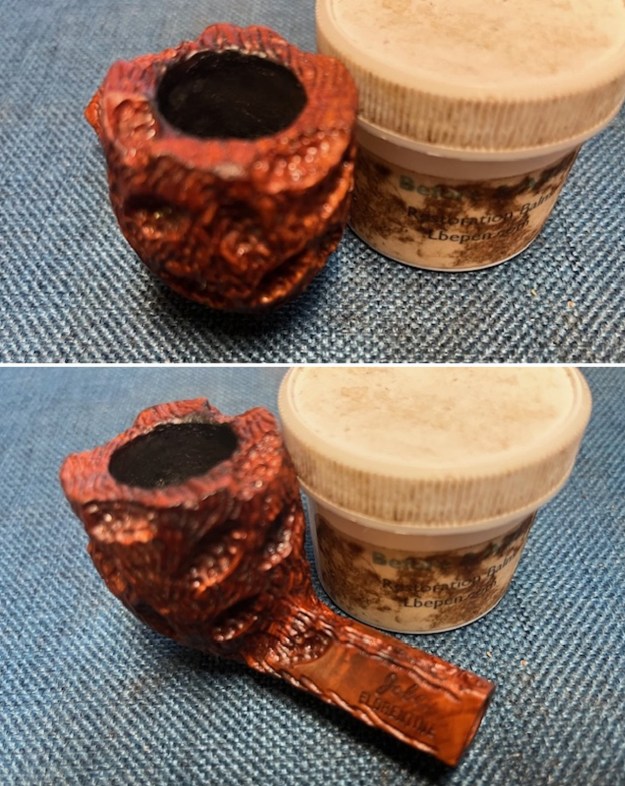
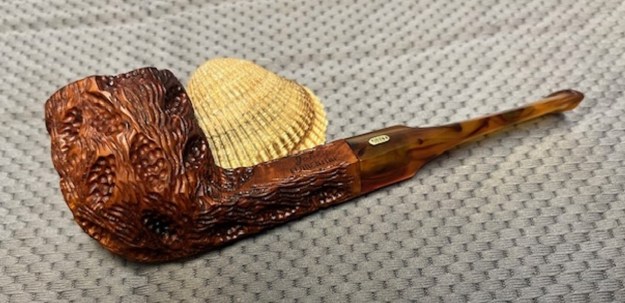
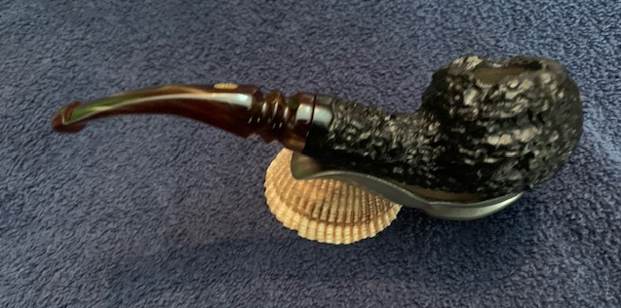
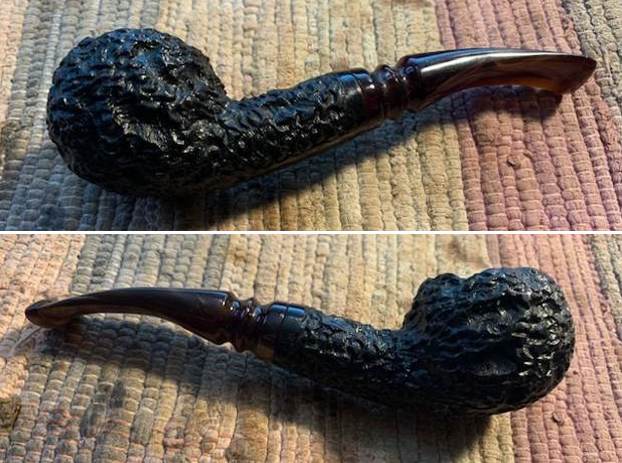
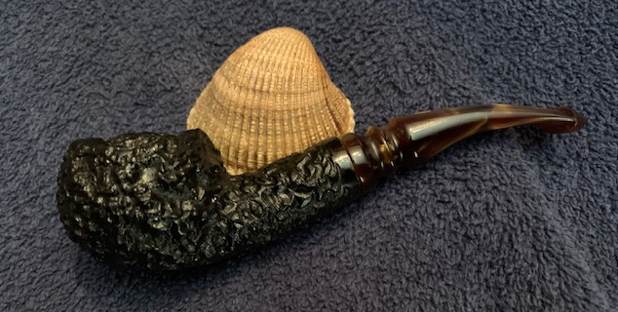
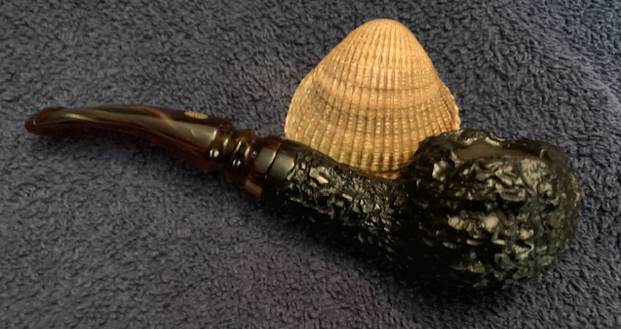
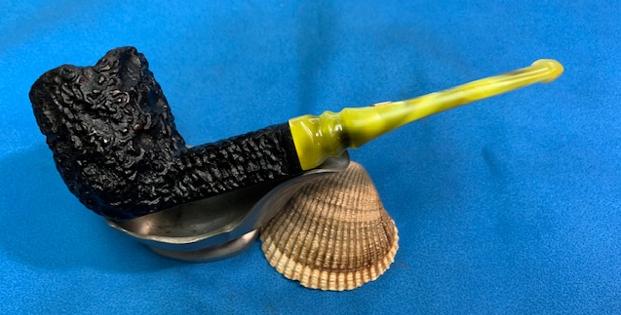
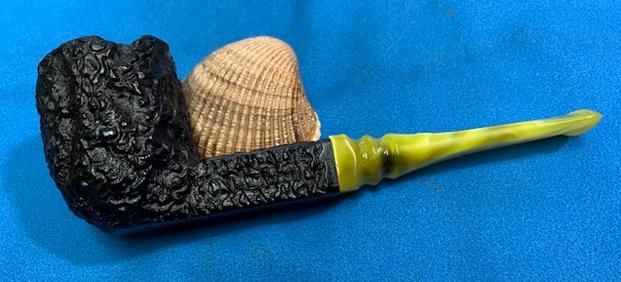
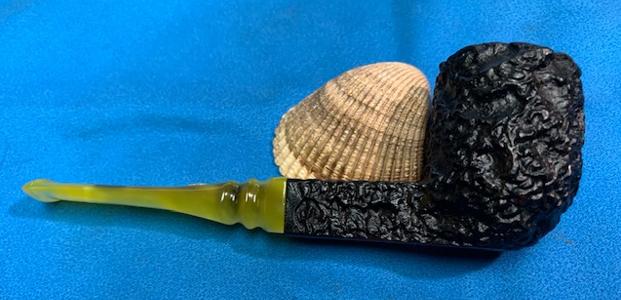
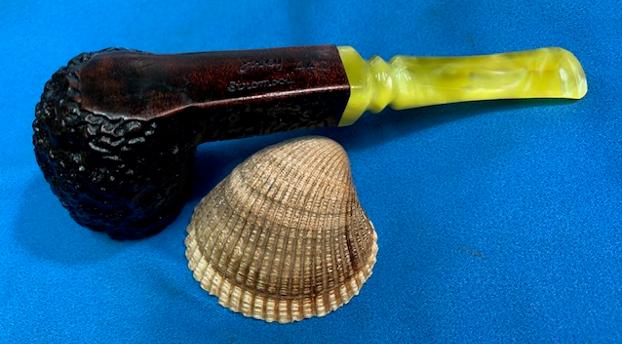
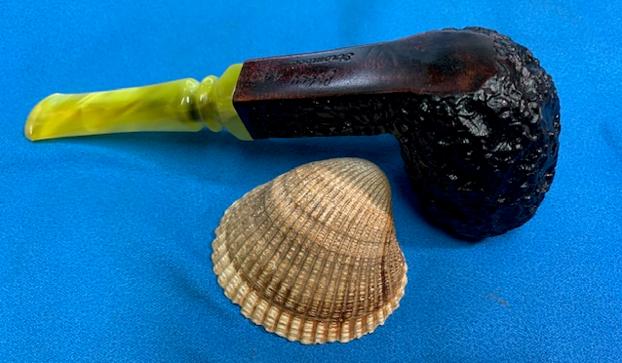
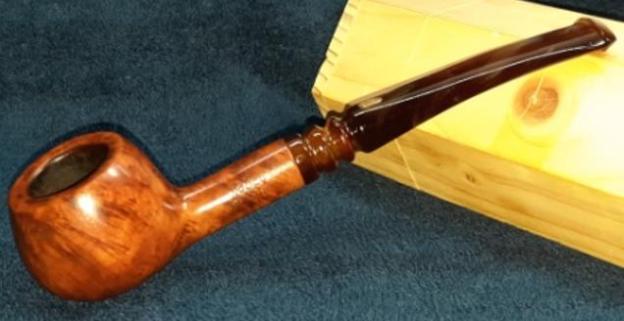
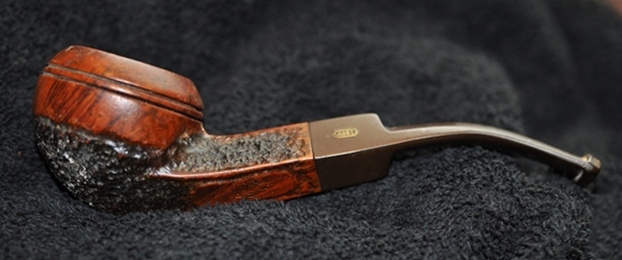
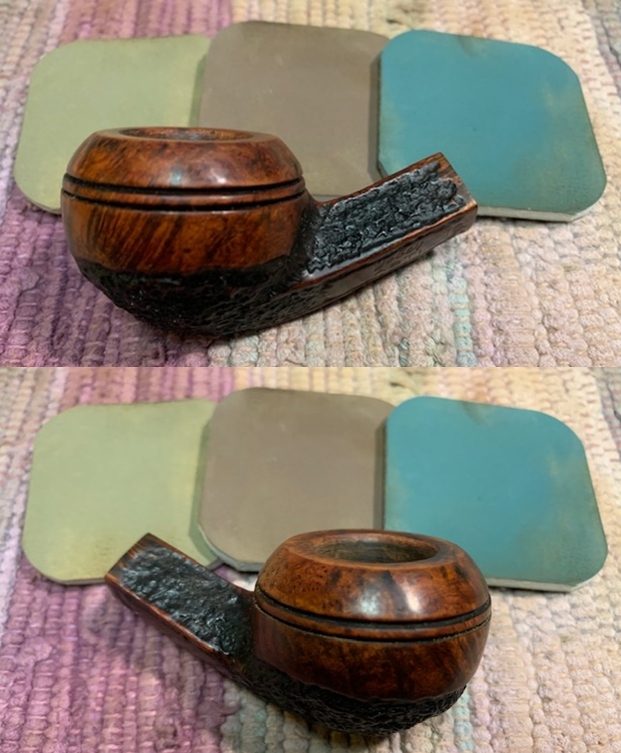
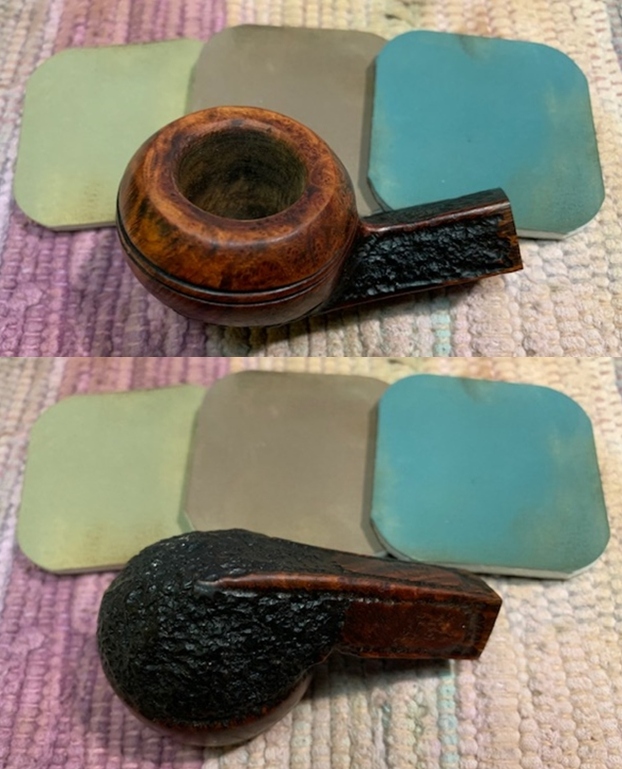
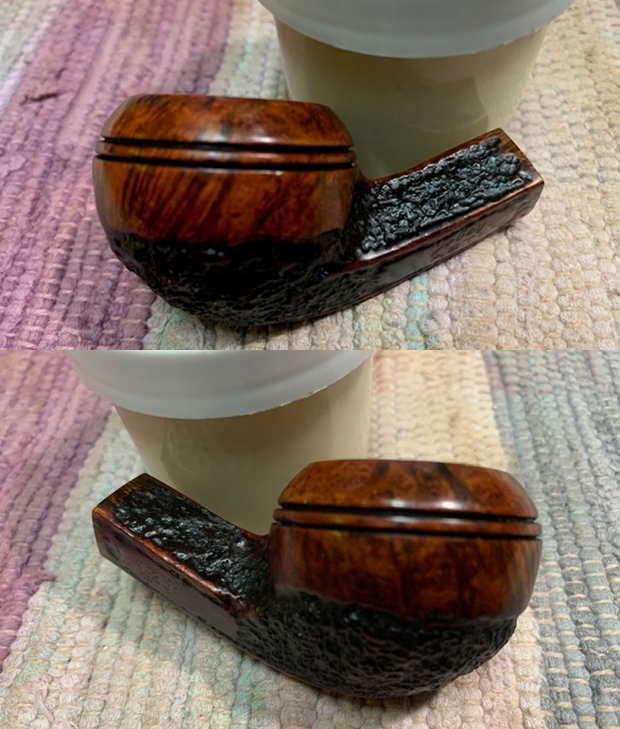
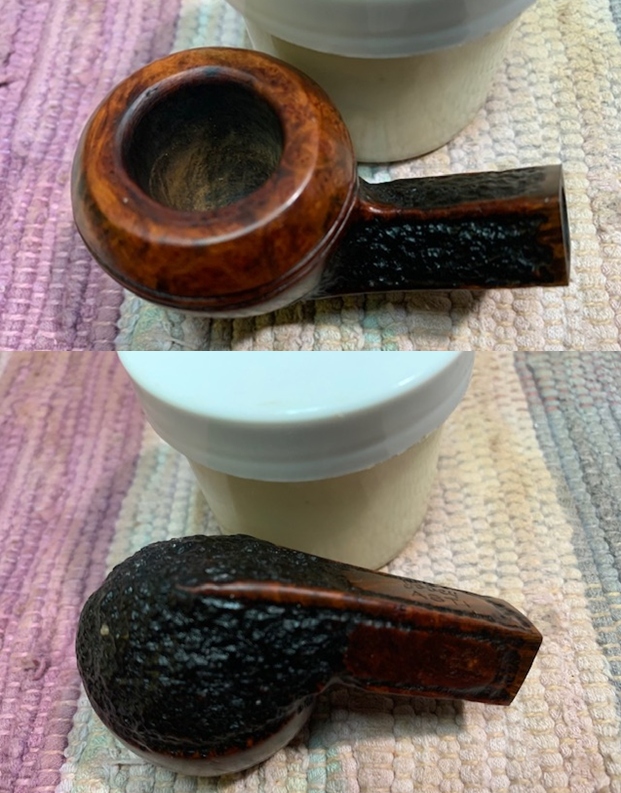
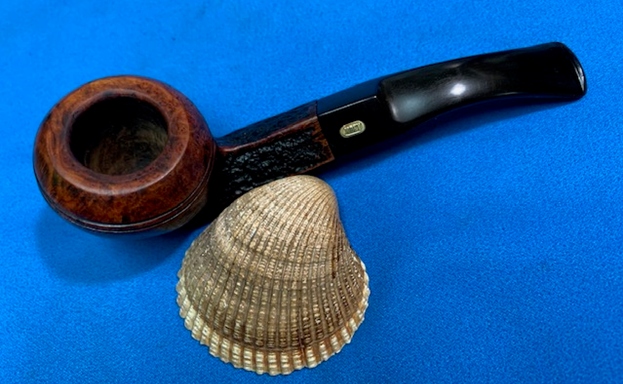
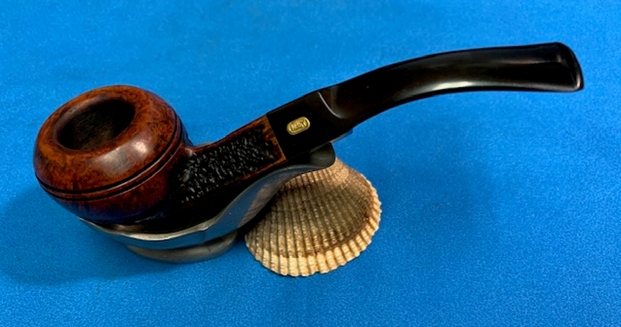
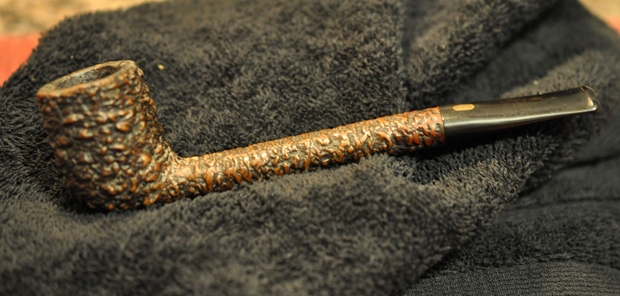
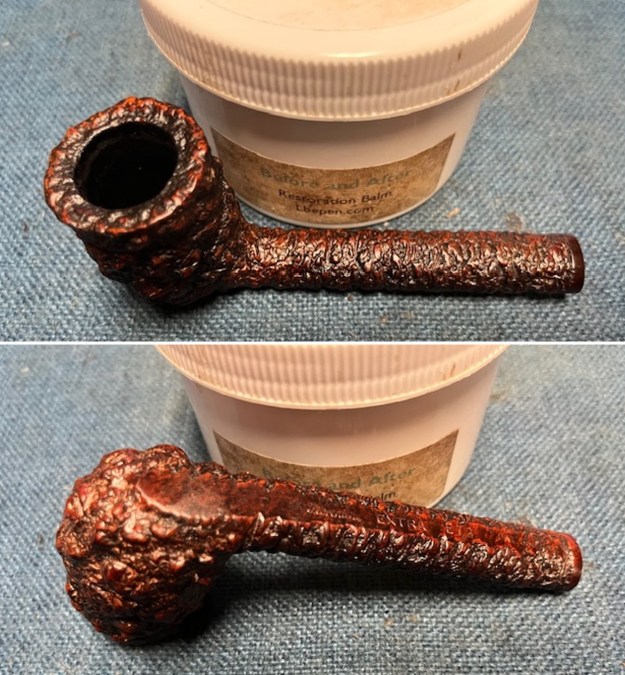
 I put the Jobey Florentine Extra E72 Canadian back together then polished the stem with Blue Diamond to polish out the remaining small scratches and gave it several coats of carnauba. I polished the bowl and shank with Conservator’s Wax and buffed it with a shoe brush. I buffed the pipe with a clean buffing pad to raise the shine. I hand buffed it with a microfiber cloth to deepen the shine. The pipe polished up pretty nicely. The finished pipe is shown in the photos below. The dimensions are Length: 6 ¾ inches, Height: 1 ¾ inches, Outside diameter of the bowl: 1 ¼ inches, Chamber diameter: ¾ of an inch. The weight of the pipe is 38 grams/1.34 ounces. I will be adding it to the rebornpipes store in the American Pipe Makers Section shortly. If you are interested in adding it to your collection email me at slaug@uniserve.com or send me a message on Facebook. Thanks for walking through the restoration with me as I worked over this rusticated Patented Jobey Florentine Extra E72 Canadian.