by Steve Laug
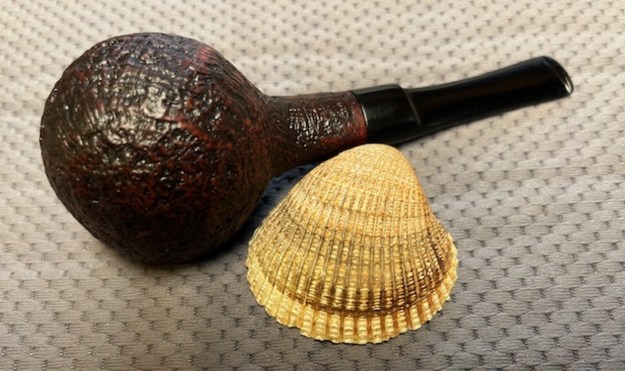
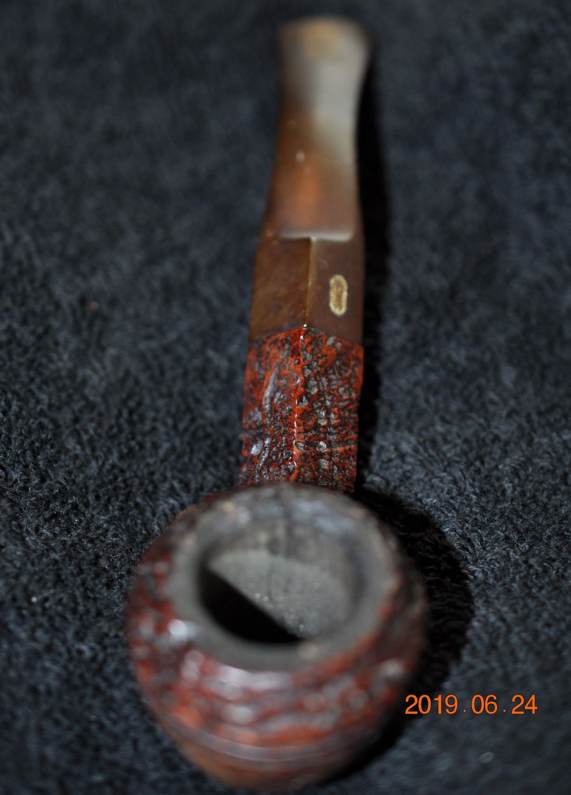
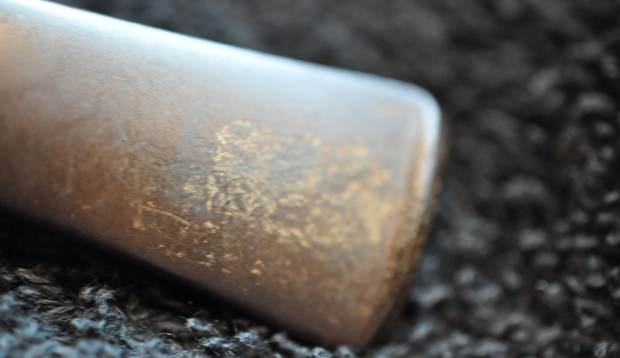
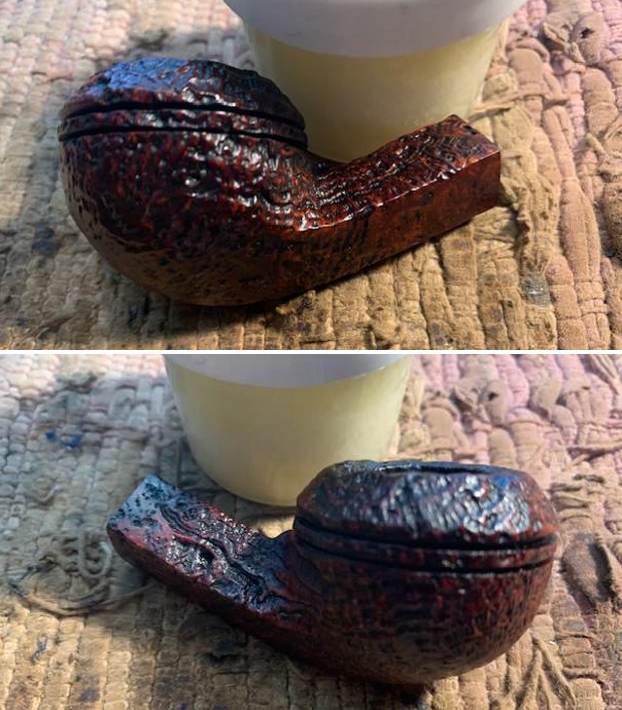
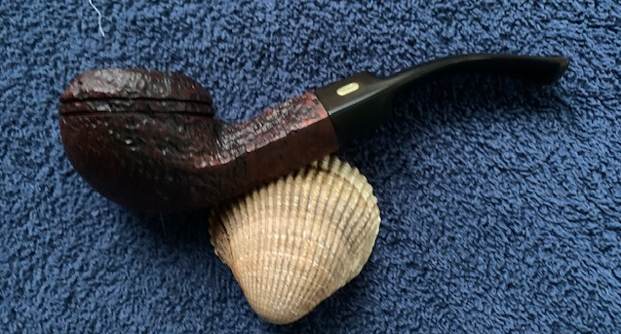
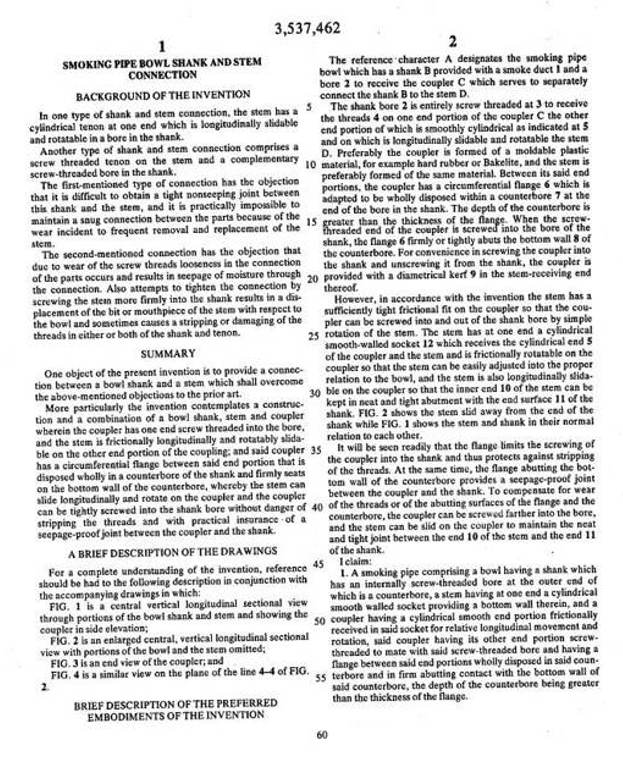
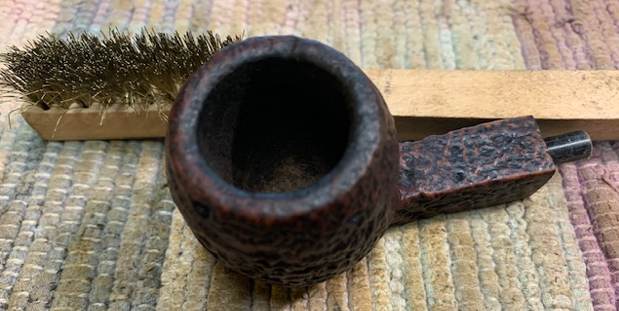
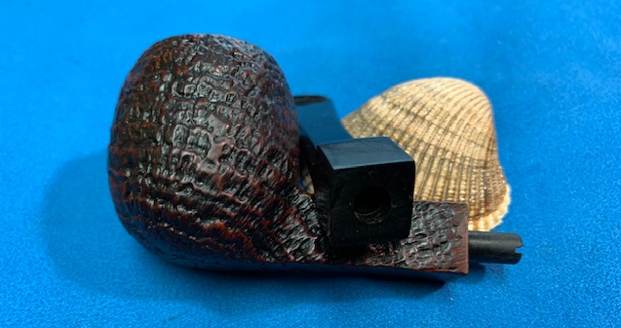
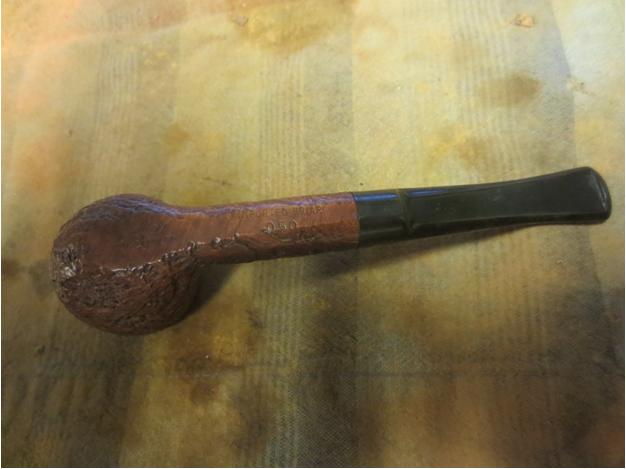
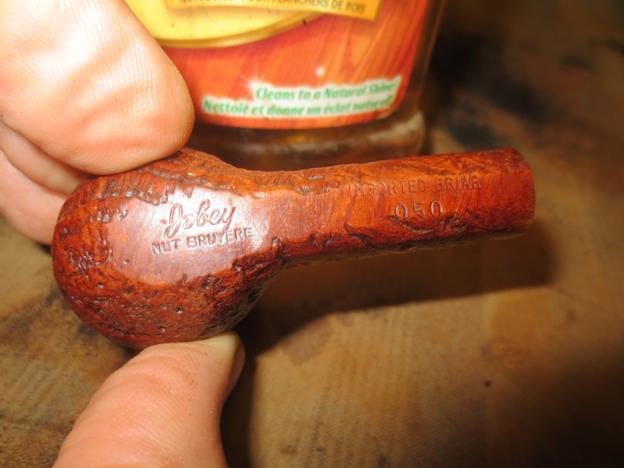
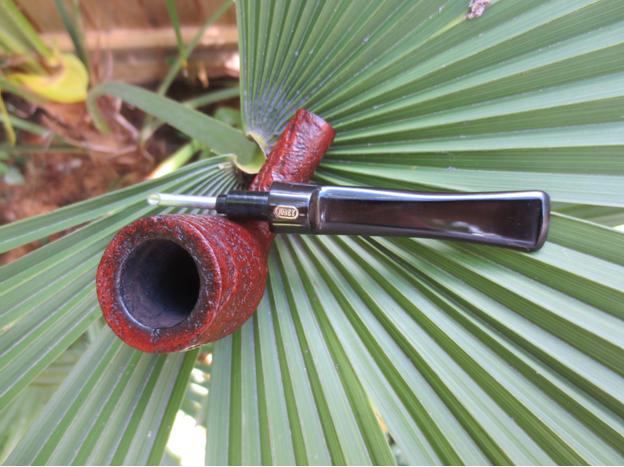
The next pipe on the table is one that has been in our work bins for over two years. It is nice looking sandblasted Hawkbill. We purchased it from an Antique Store in Bozeman, Montana, USA on 05/01/2022. It is a great looking pipe with lots of promise. The sandblast is very defined, not deep or rugged but really highlighting the grain around the bowl. There is a lot of dust and grit in the crevices of the blast. The pipe is stamped on the topside of the shank. There are faints spots but it readable. It is stamped Jobey (in script) [over] Shellmoor [over] Extra. Under that it is stamped – PAT. 3537462. The shape number E527 is right after the Extra stamp. The bowl has a heavy cake and tobacco debris in the bowl with lava overflowing and filling in much of the sandblast on the rim top. It is hard to know for sure what the edges look like because of the lava and cake but cleaning would tell all. Other than being dirty the finish is in good condition. The stem has a Jobey brass oval inlaid on the topside of the saddle stem. It has a saddle stem and is connected to the shank by the patented Jobey Link system. It is oxidized, calcified and has some deep tooth marks and chatter on both sides ahead of the button. Jeff took photos of the pipe before he started his clean up work.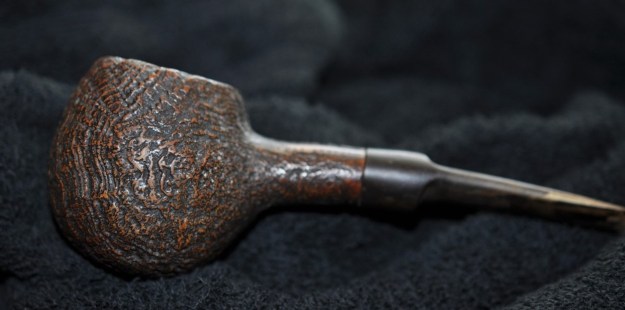
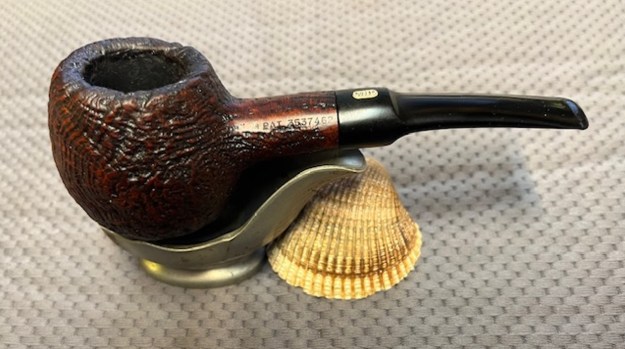
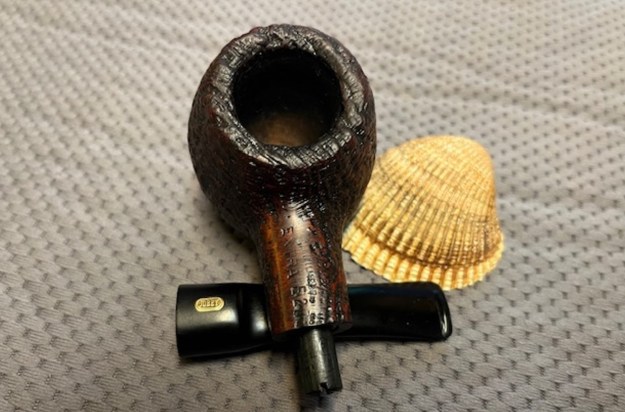
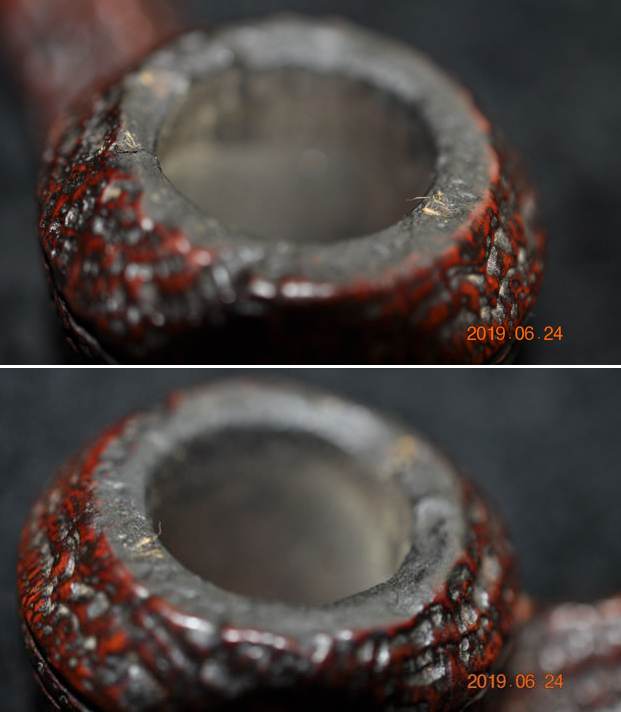
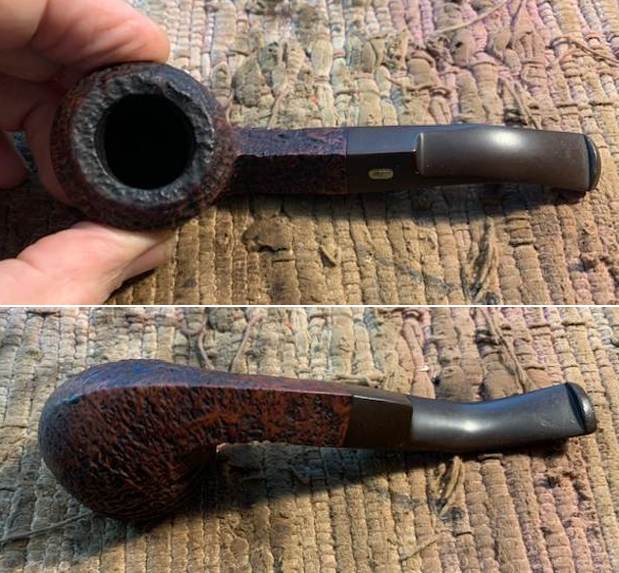
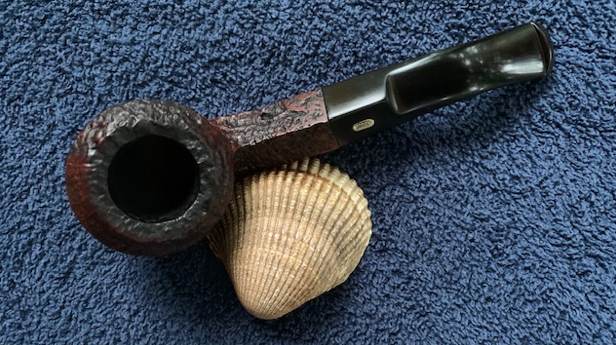
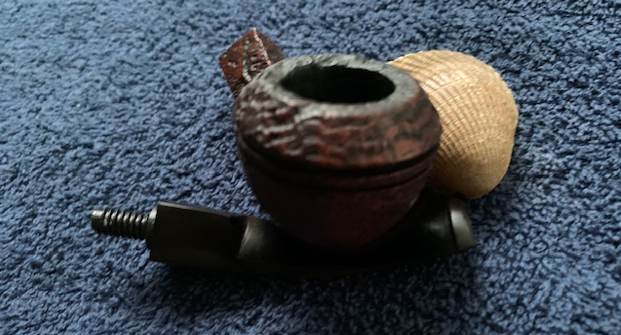
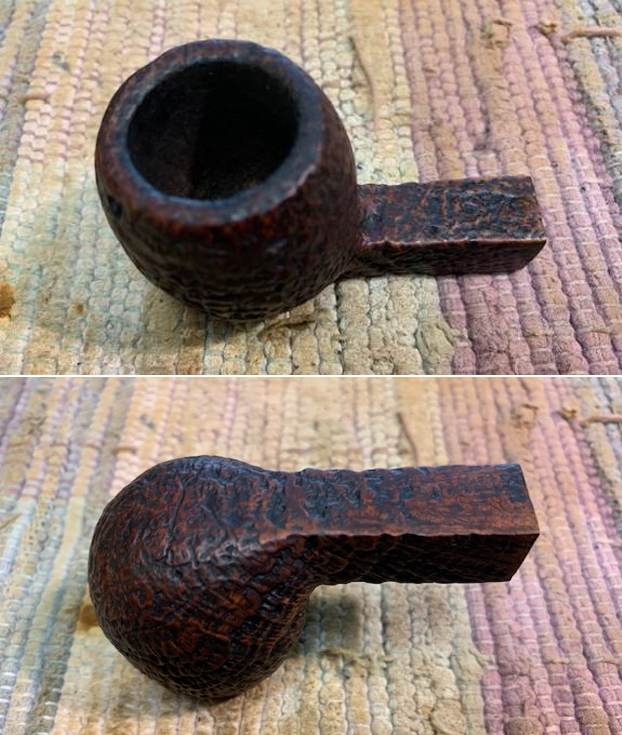
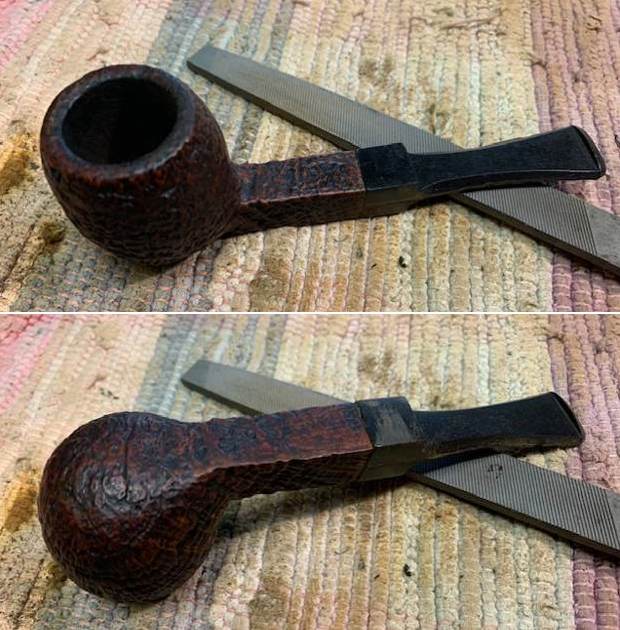
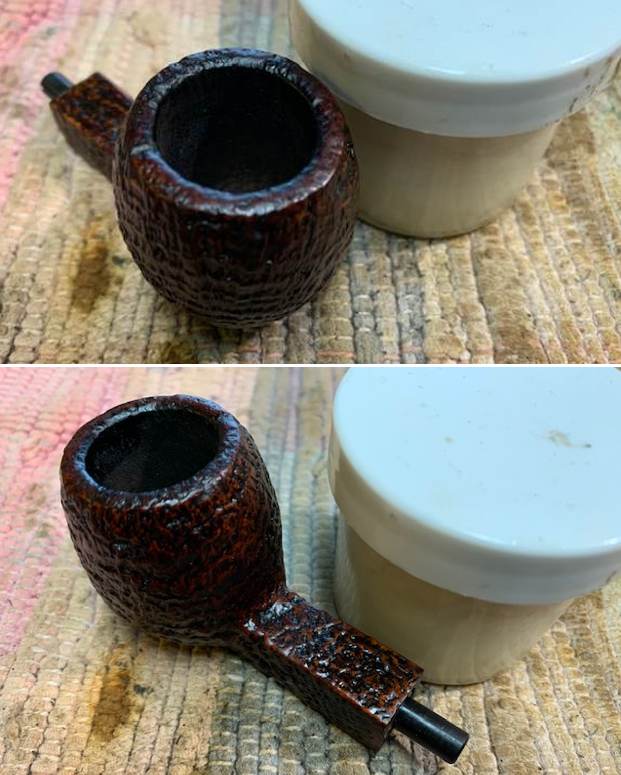
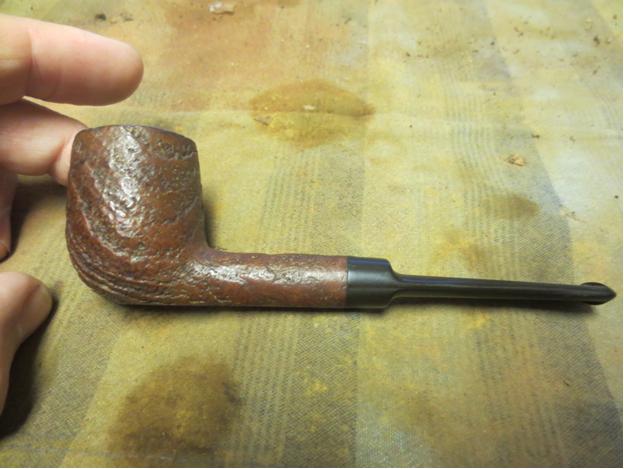
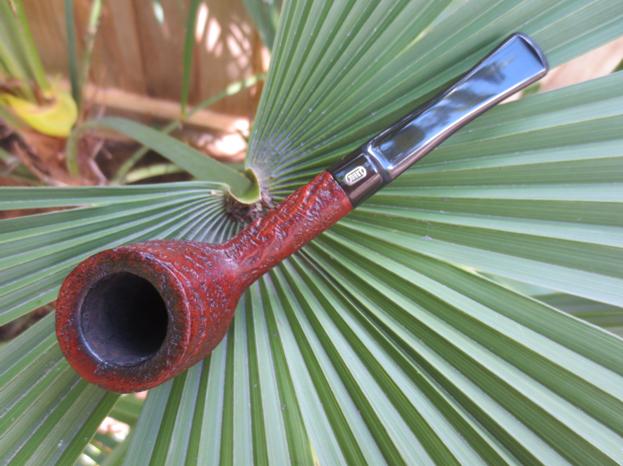
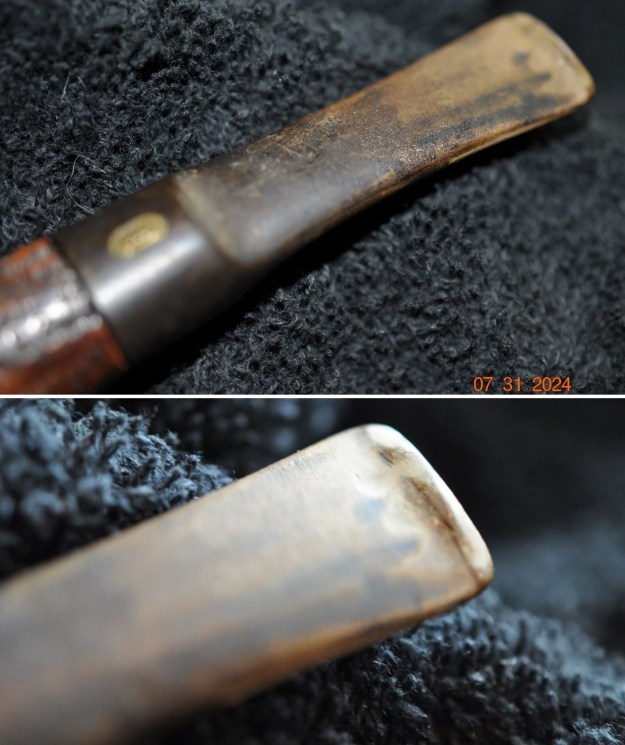
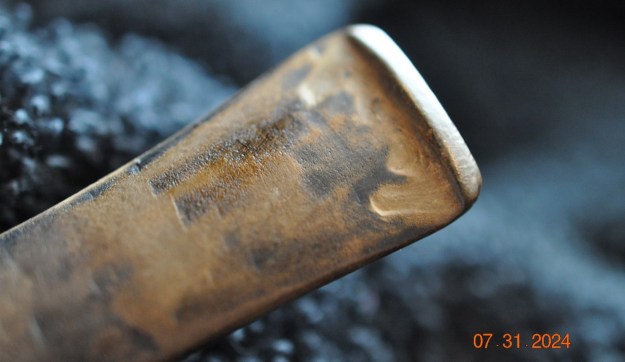
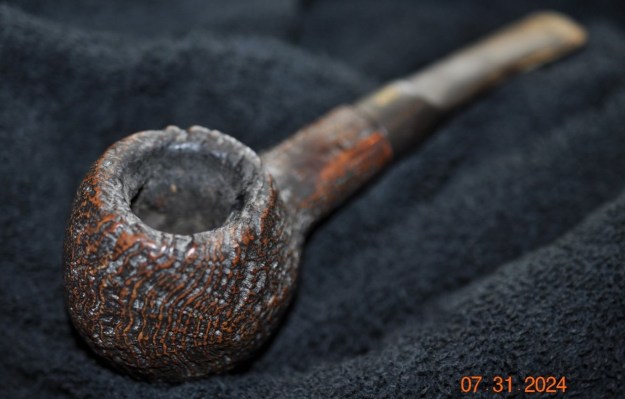 He took a photo of the bowl and rim top to show the condition of the pipe. You can see the cake in the bowl and the heavy lava on the rim top. The stem photos also show the oxidation, calcification and deep tooth marks and chatter on the top and underside ahead of the button.
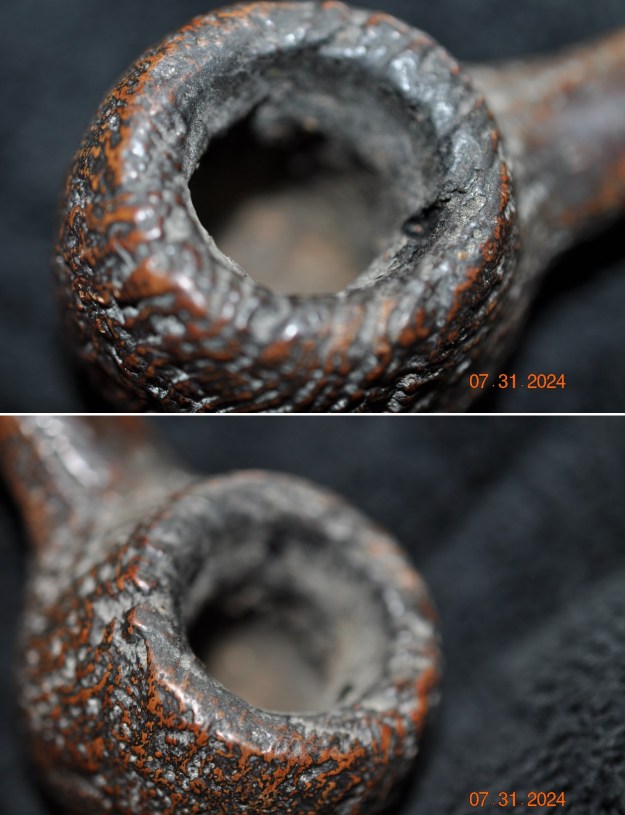
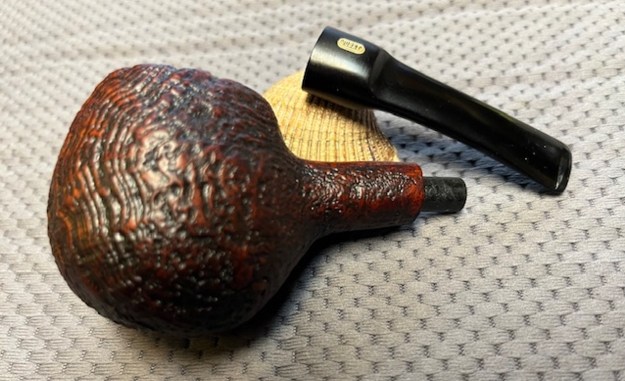
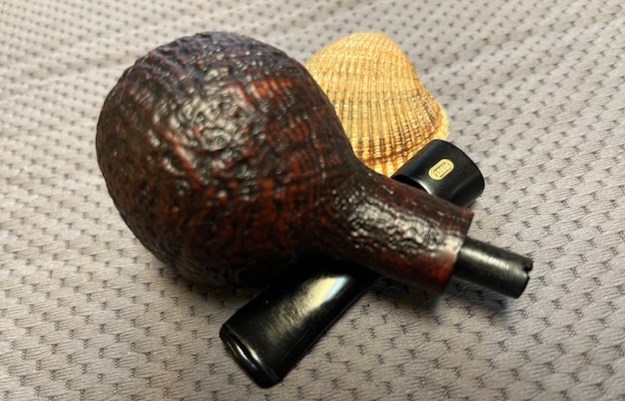
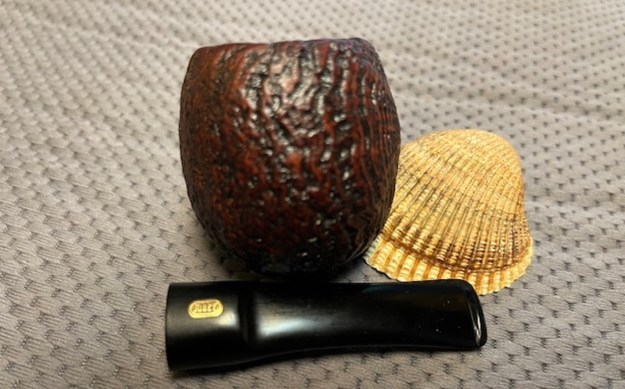
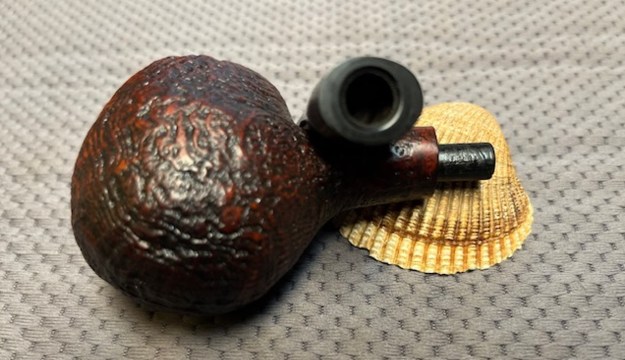
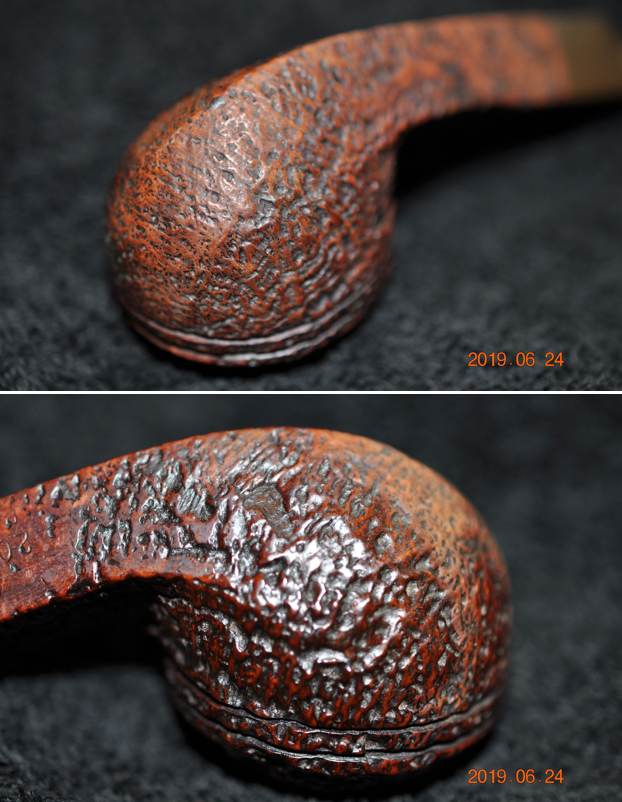
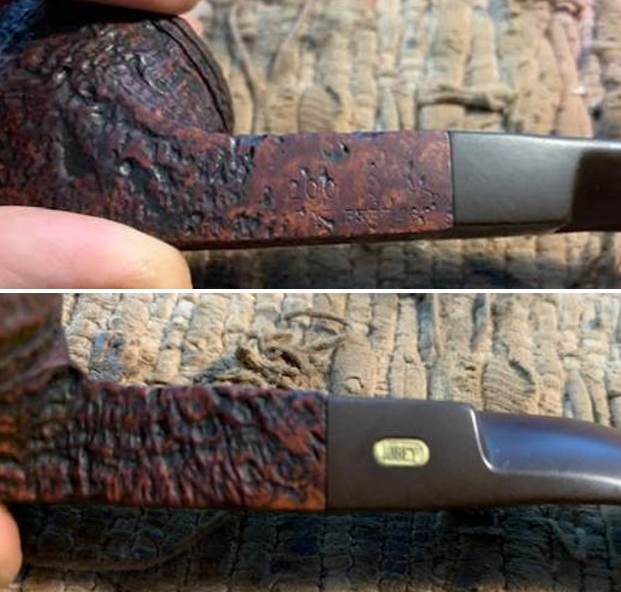
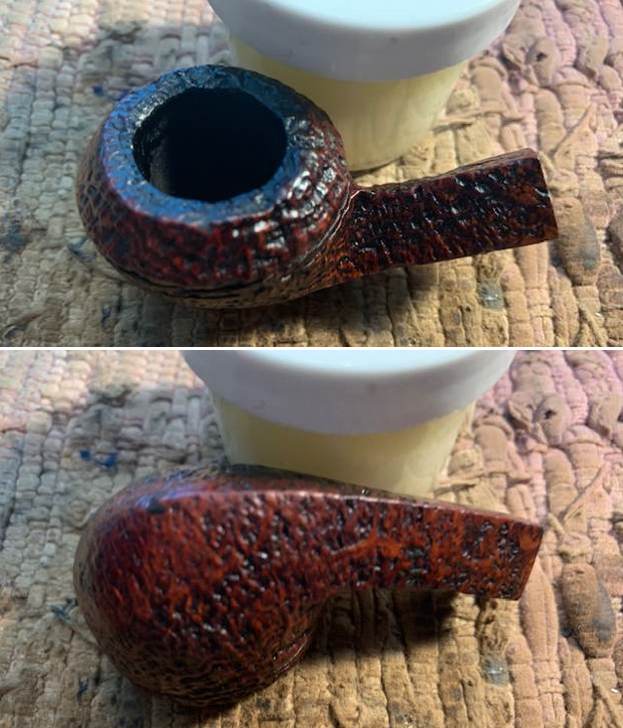
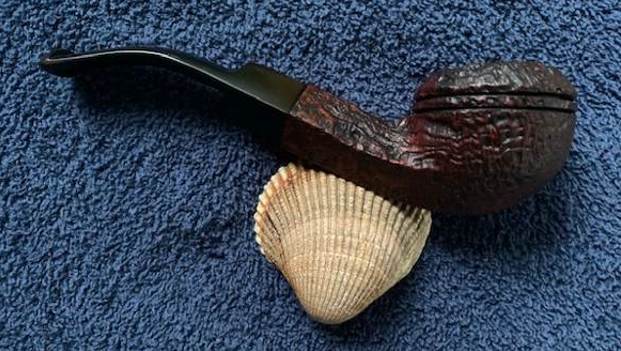
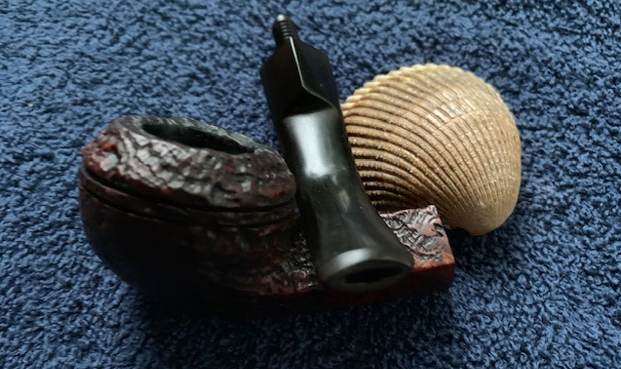
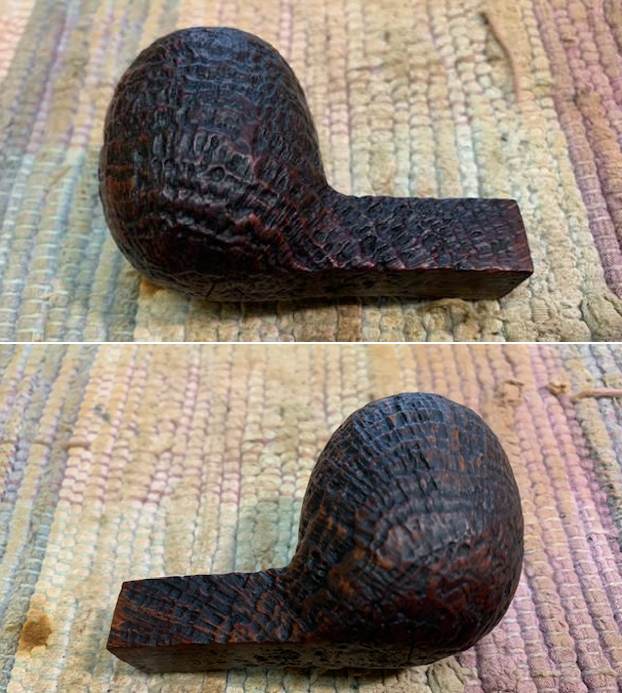
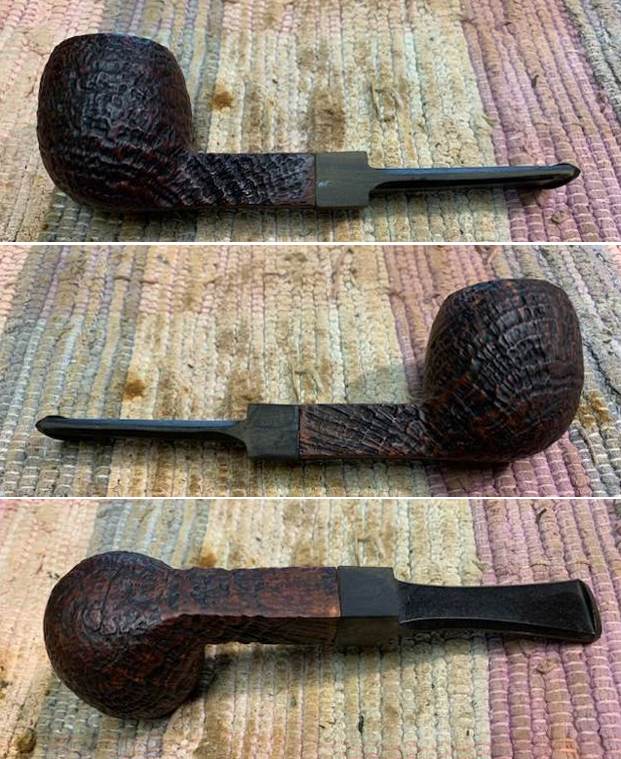
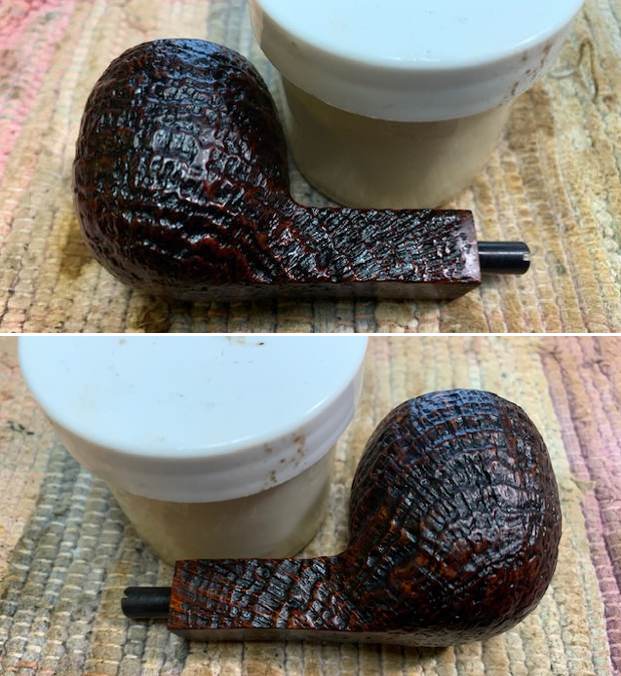
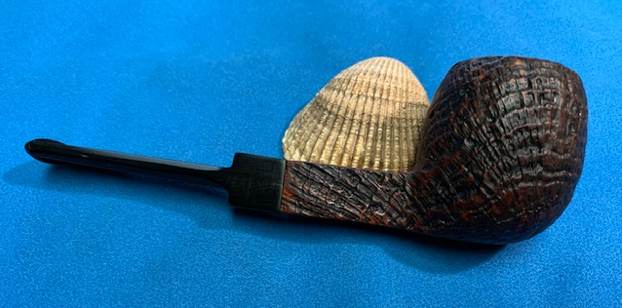
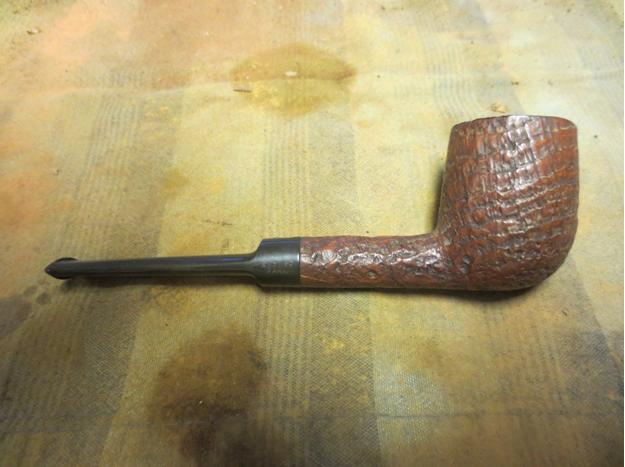
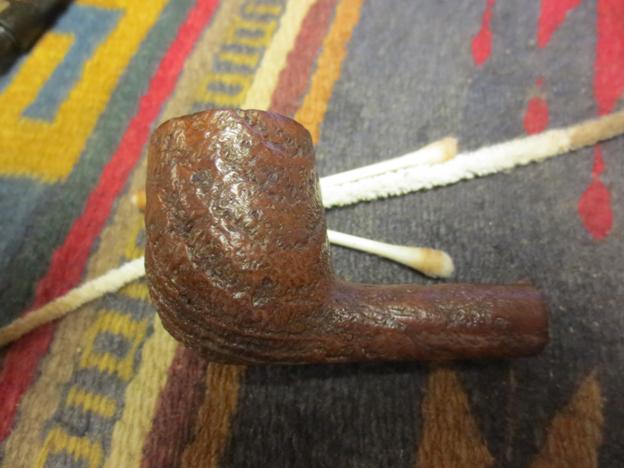
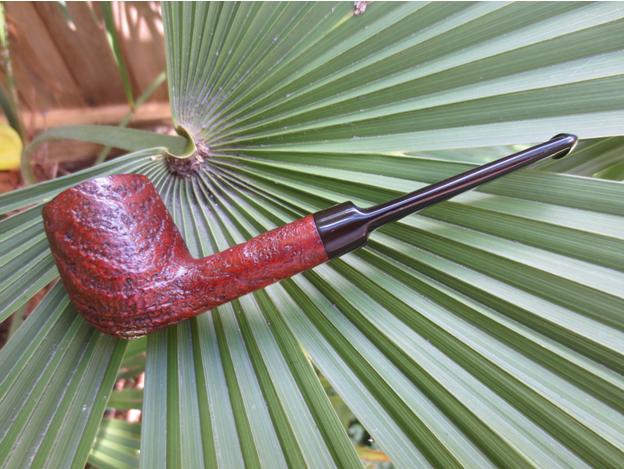
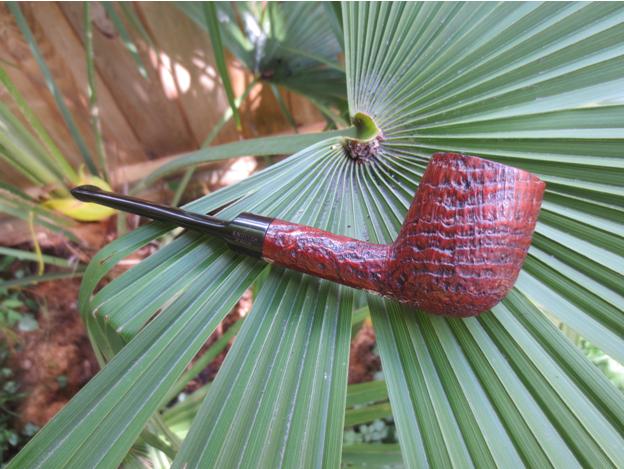
 He took photos of the sandblast on the sides and heel on the bowl. It really is a nice looking blast and unusual shape.
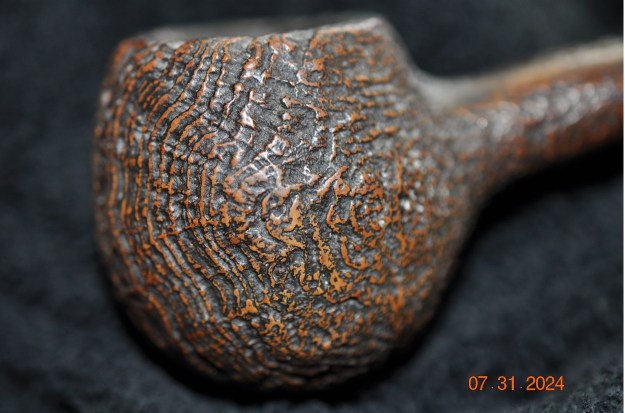
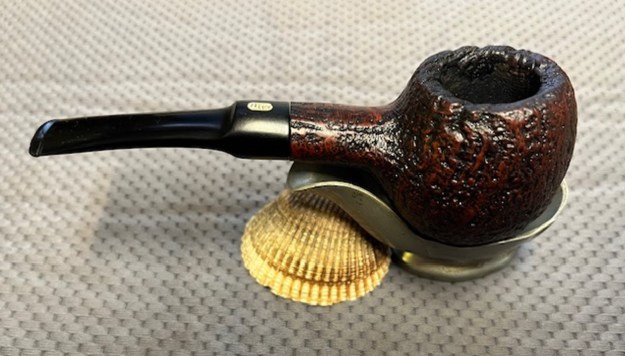
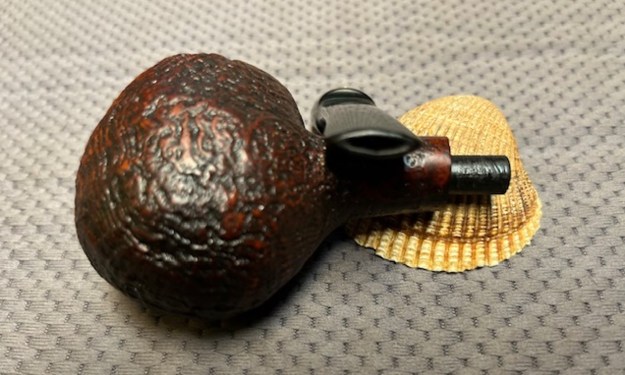
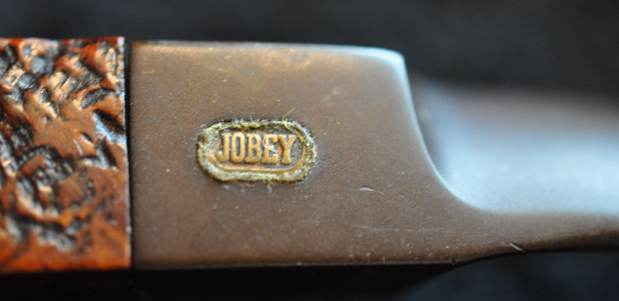
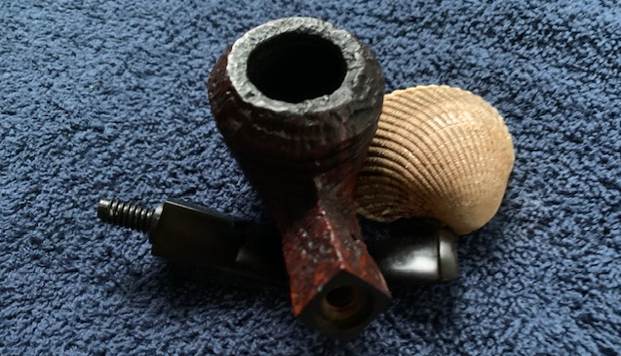
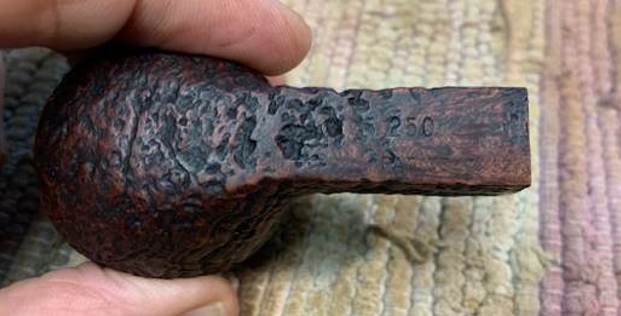
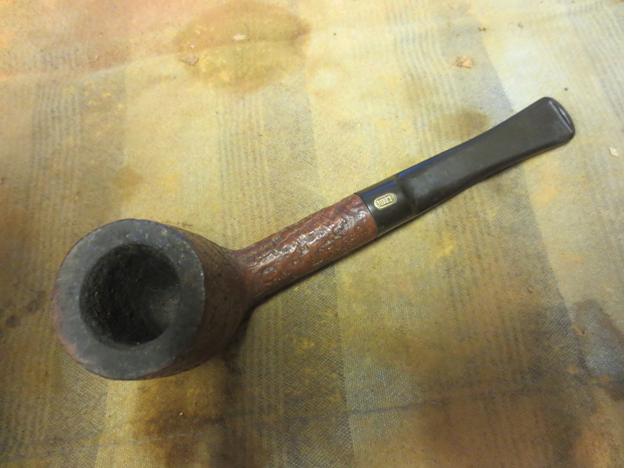
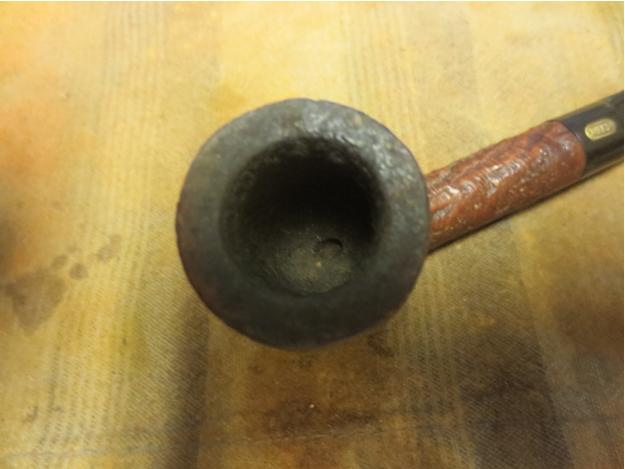
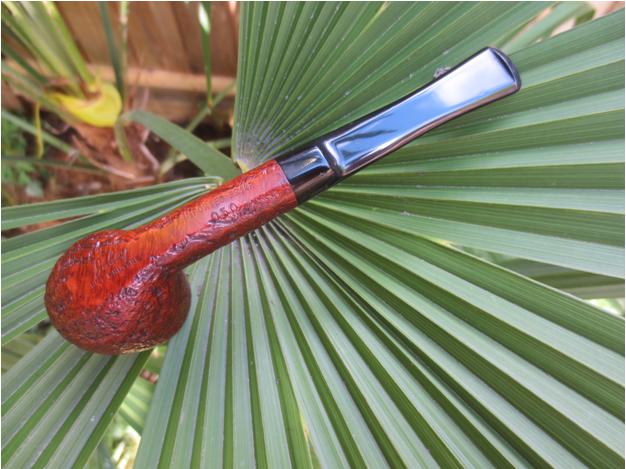
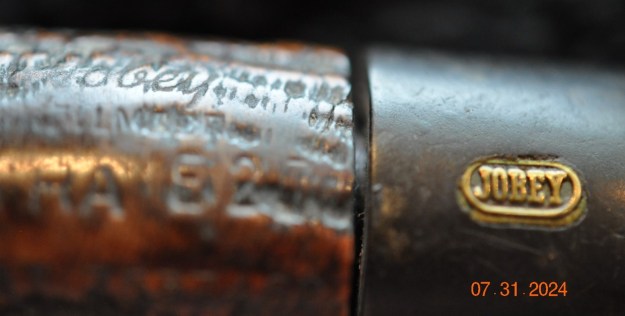
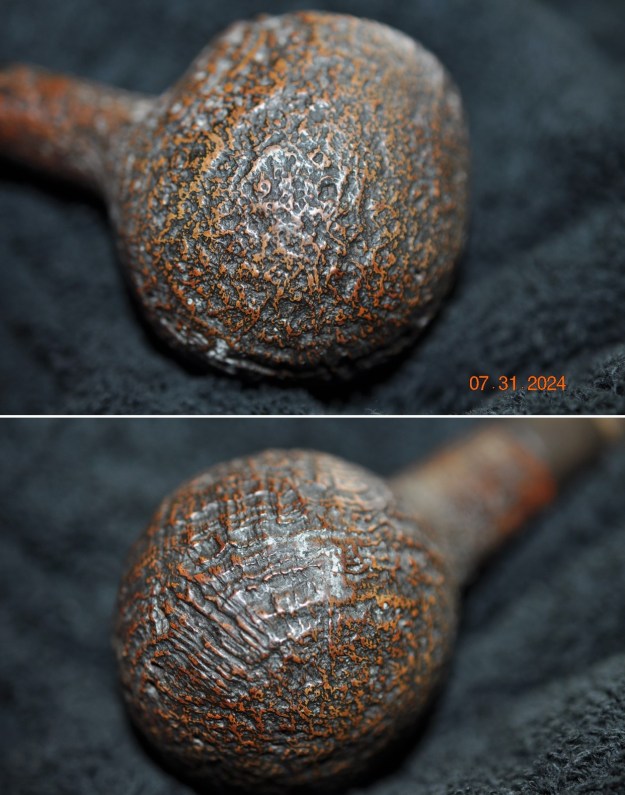 He took photos of the stamping on the underside of the diamond shank. It is clear and readable as noted above. There are some faint spots but it is readable. The Jobey brass oval logo stamp is inlaid on the top left side of the stem.
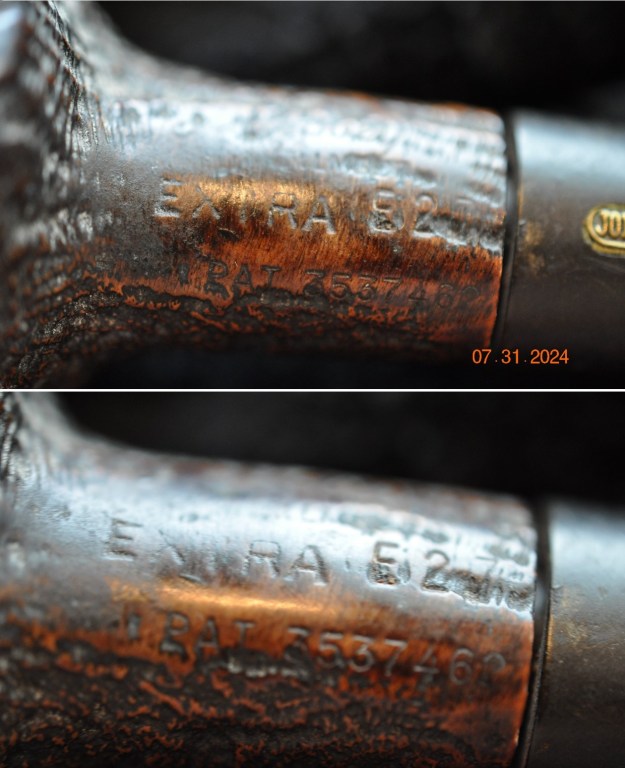
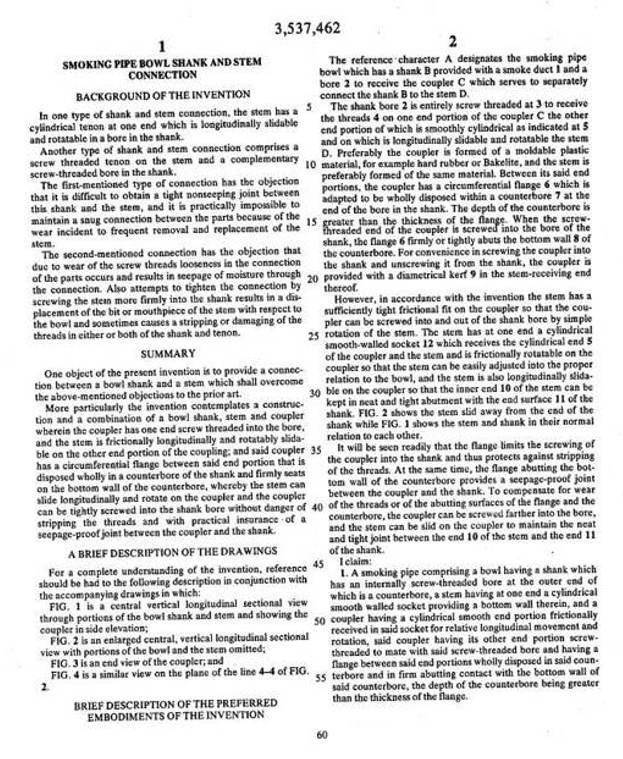
 Before I started to work on the pipe I wanted to understand the patent number on the shank. To understand the information, I turned to the US Patent search site and entered the numbers. I was able to find both a description of the invention and a diagram that was submitted with the Patent application. The patent is for the Jobey Link that connects the stem and shank on the pipe. Here is the link to the site and a screen capture of the information found there. https://pdfpiw.uspto.gov/.piw?docid=03537462&SectionNum=1&IDKey=6F776849C285&HomeUrl=http://patft.uspto.gov/netacgi/nph-Parser?Sect1=PTO1%2526Sect2=HITOFF%2526d=PALL%2526p=1%2526u=%25252Fnetahtml%25252FPTO%25252Fsrchnum.htm%2526r=1%2526f=G%2526l=50%2526s1=3537462.PN.%2526OS=PN/3537462%2526RS=PN/3537462
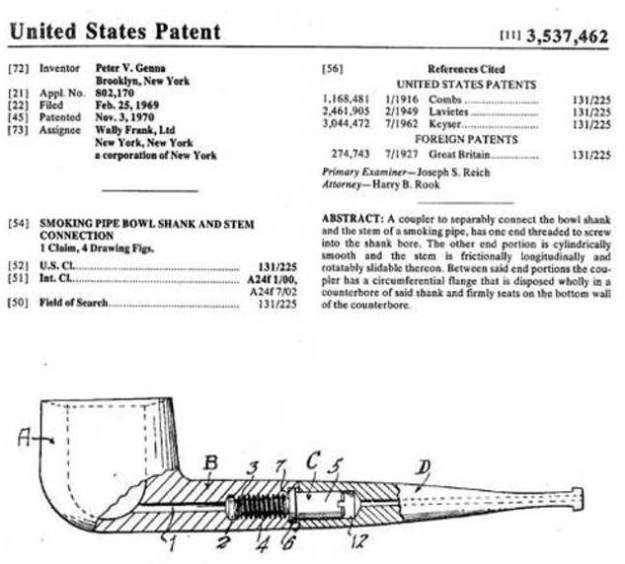
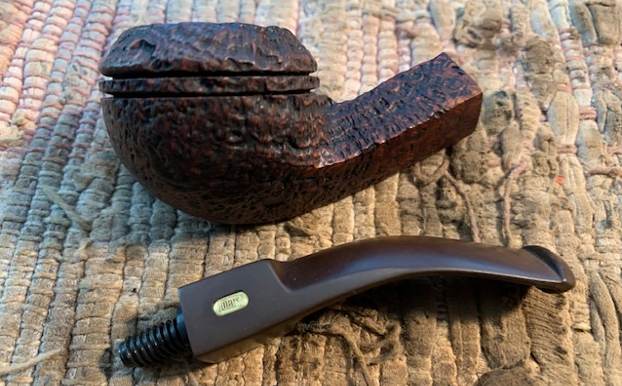
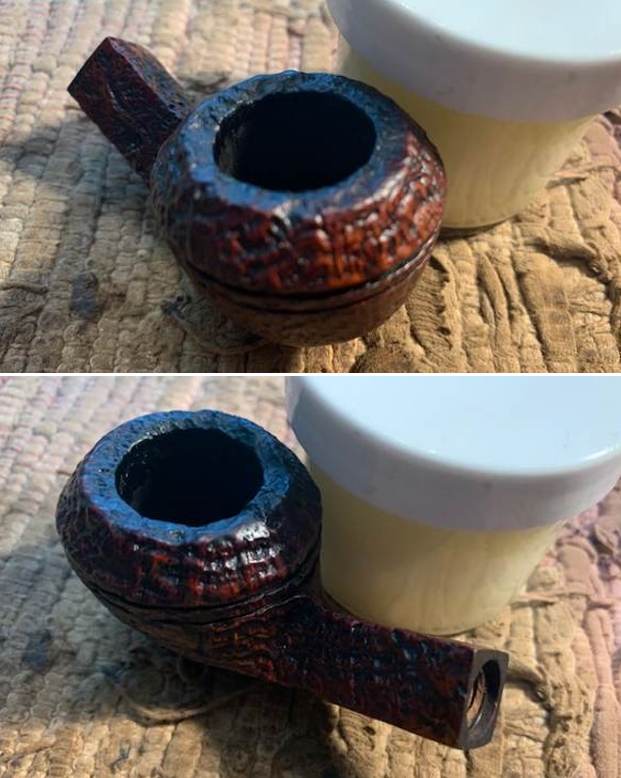
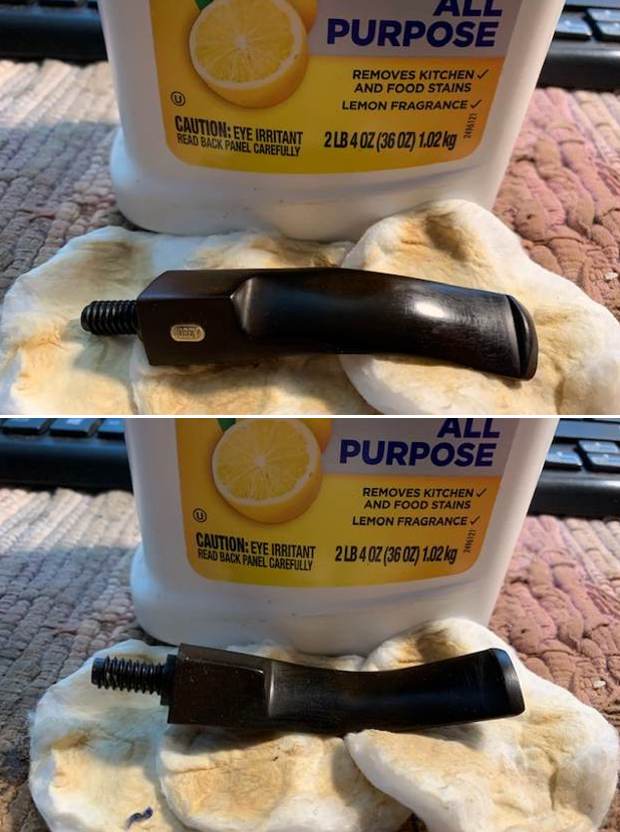
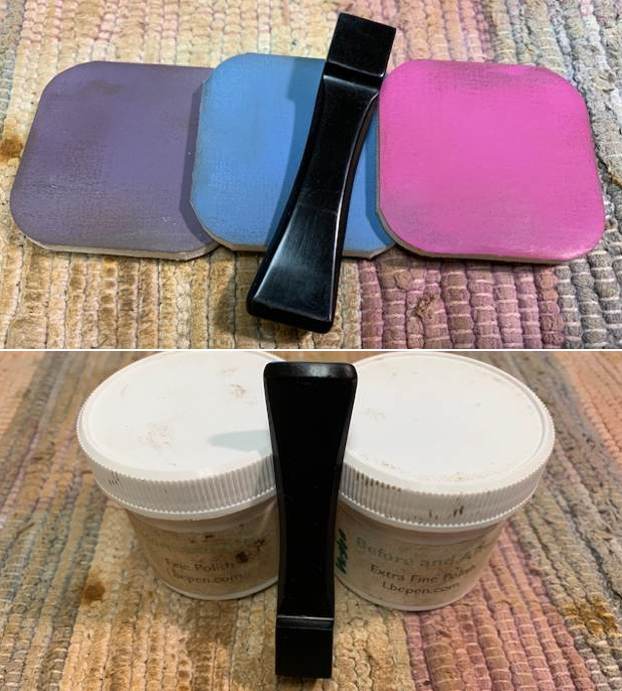
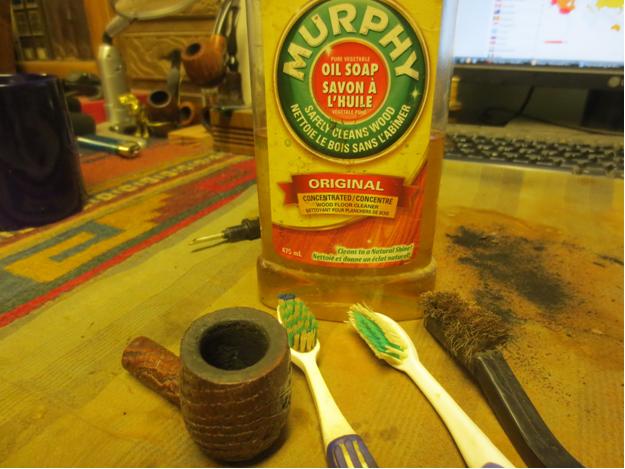
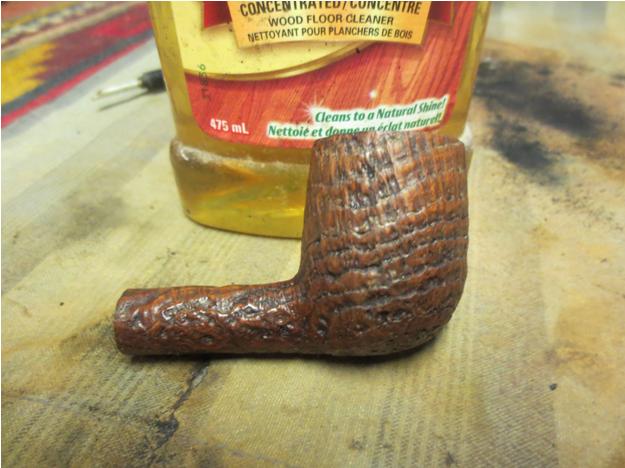
 With that information, I turned to work on the pipe itself. Jeff had thoroughly cleaned up the pipe. He reamed the pipe with a PipNet Pipe Reamer and cleaned up the remnants with a Savinelli Fitsall Pipe Knife. He scrubbed the bowl with undiluted Murphy’s Oil Soap with a tooth brush. He rinsed it under running warm water to remove the soap and grime. He cleaned out the inside of the shank and the airway in the stem with alcohol, cotton swabs and pipe cleaners. He scrubbed the exterior of the stem with Soft Scrub to remove as much of the oxidation as possible. He soaked it in Before & After Pipe Stem Deoxidizer and rinsed it with warm water. The acrylic stem was clean but had tooth marks and chatter on both sides ahead of the button. There was an Jobey Brass Oval logo inlaid on the left side of the stem. I took photos of the pipe before I started my work on it. It was an amazing looking pipe.
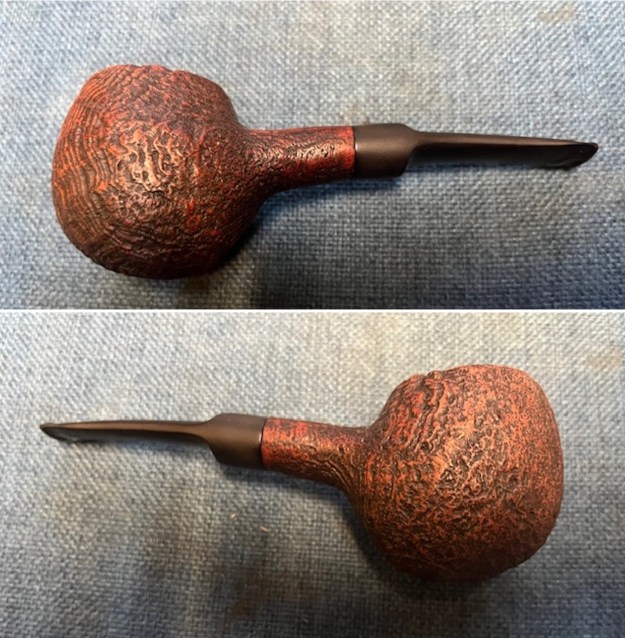
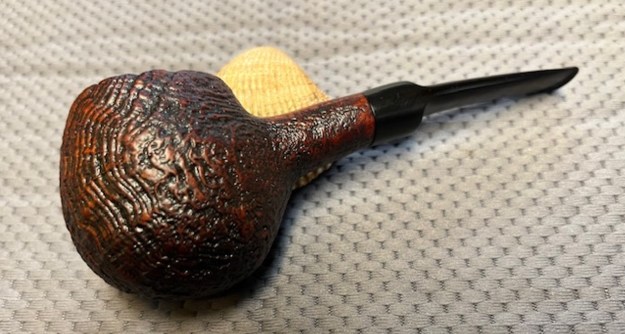
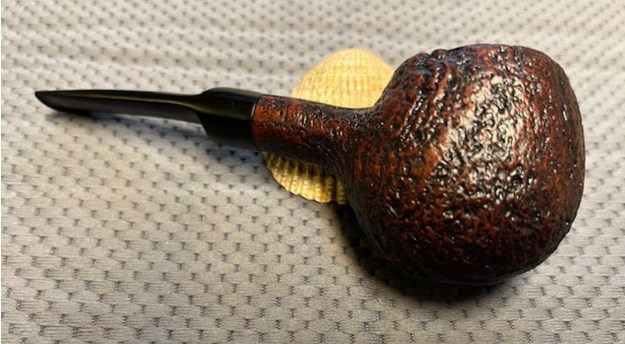
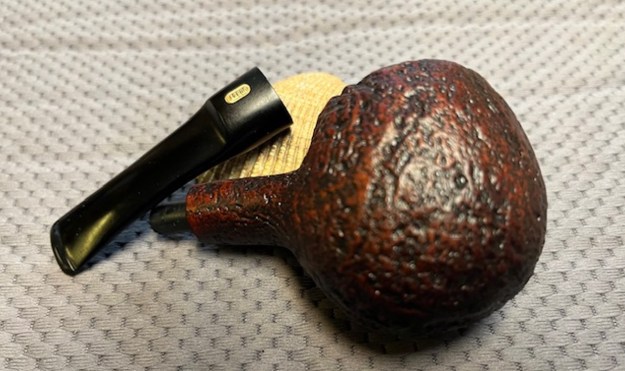
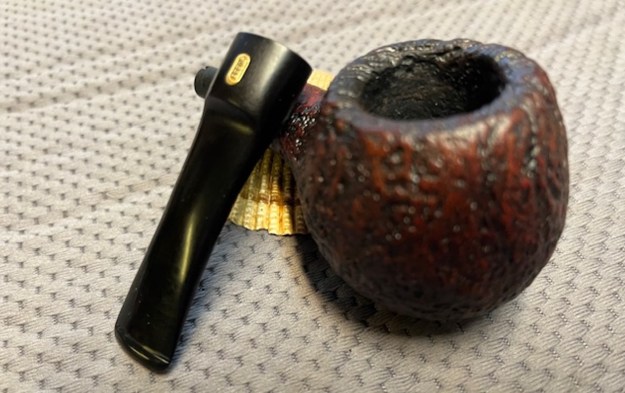
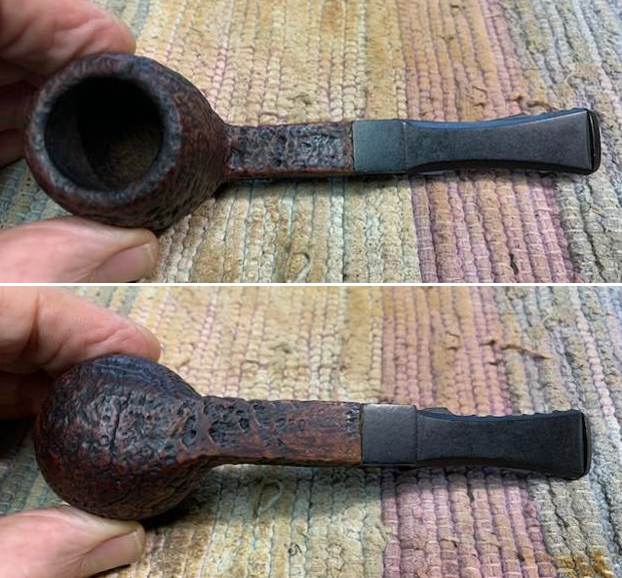
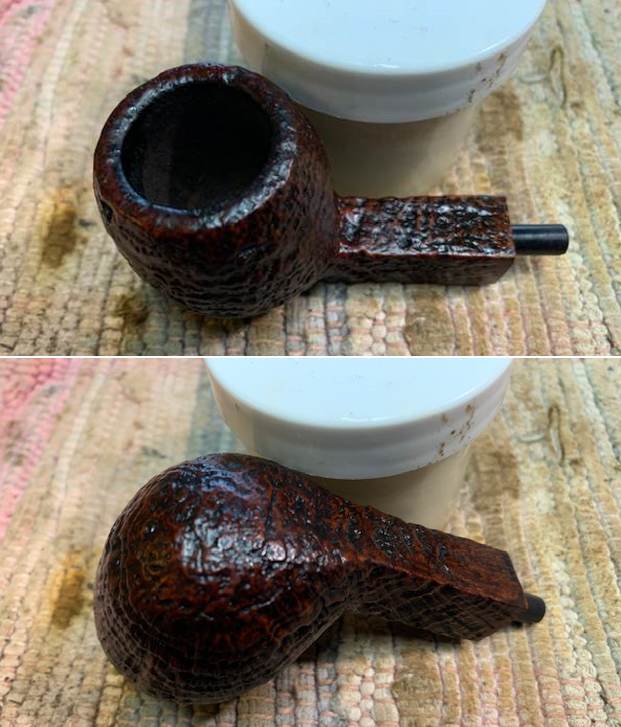
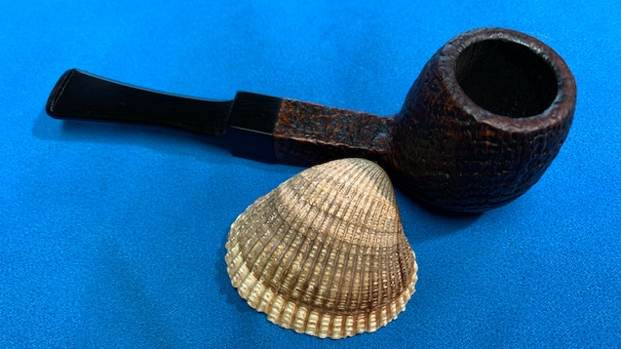
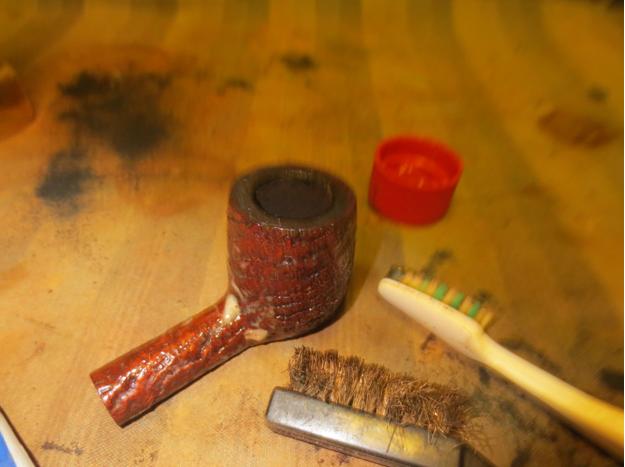
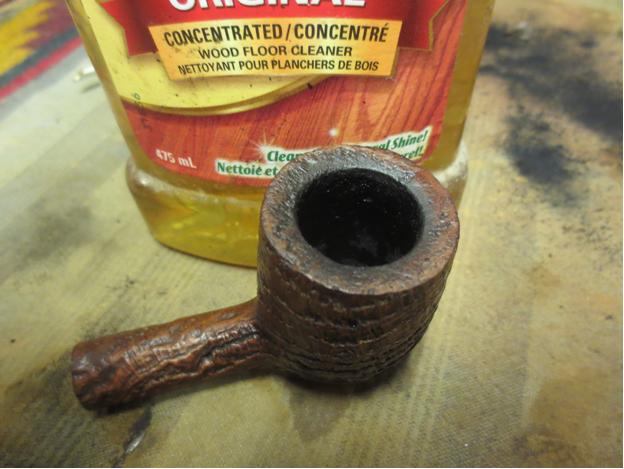
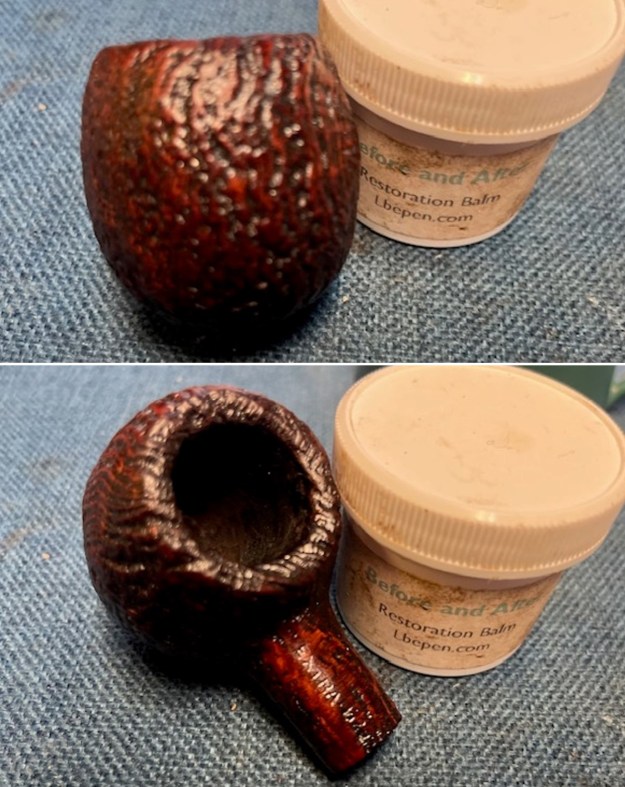
 I took photos of the rim top and bowl as well as the stem to give a sense of the condition of both. The rim top and edges looked very good. The stem cleaned up well and the tooth marks on the top and underside ahead of the button were very light.
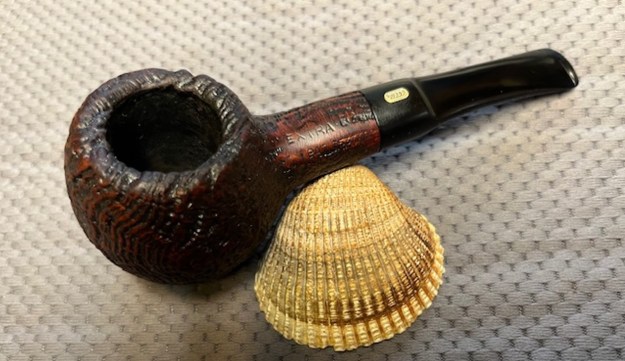
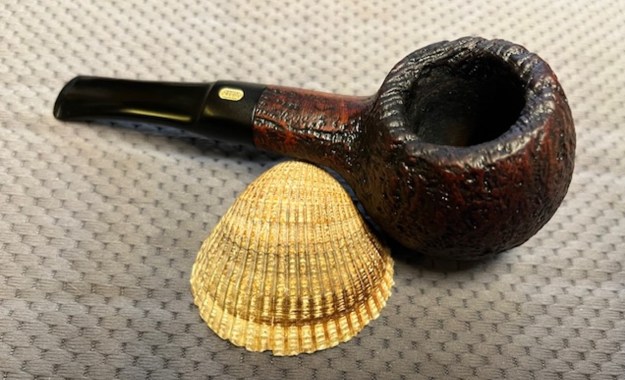
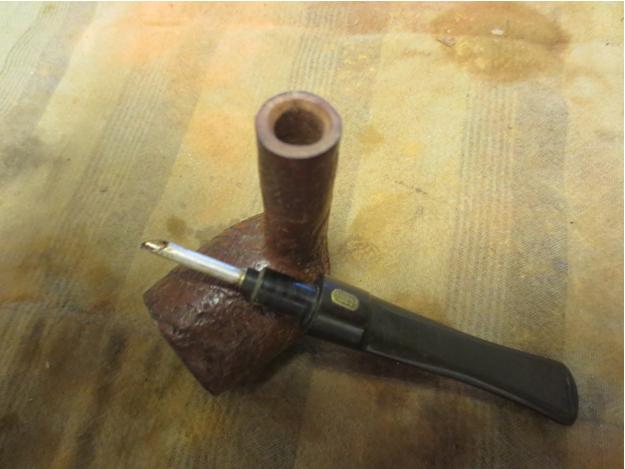
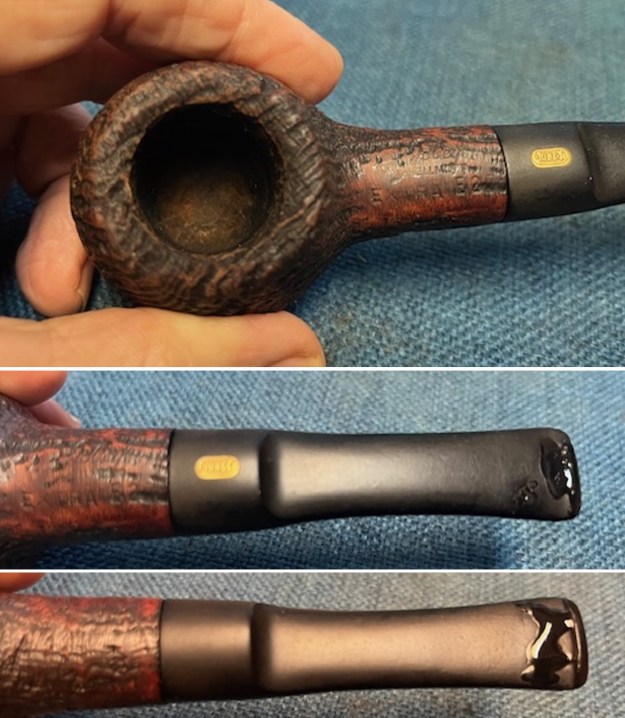 I took a photo of the stamping on the topside of the shank. It is readable as noted above. I took the stem out of the shank and took a photo of the overall look of the pipe.
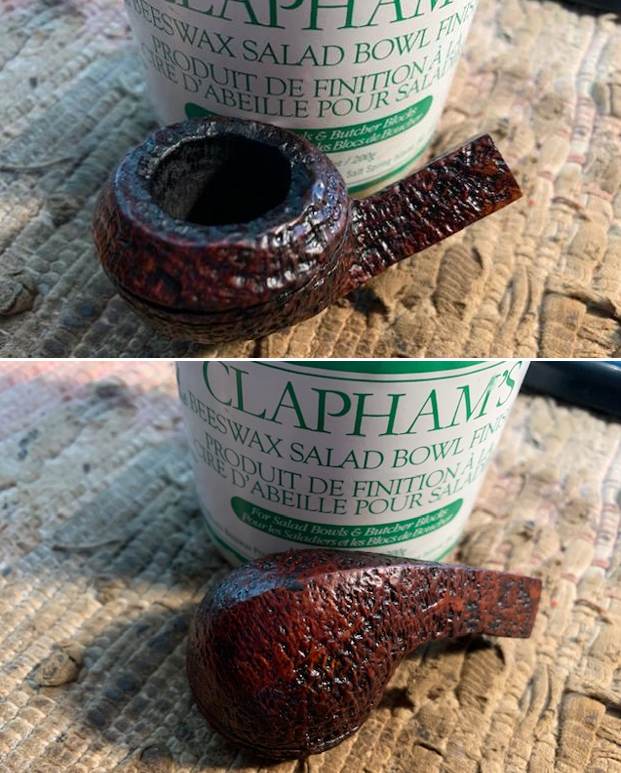
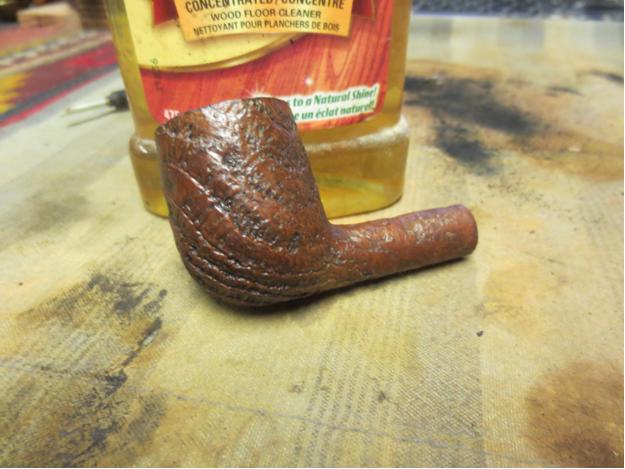
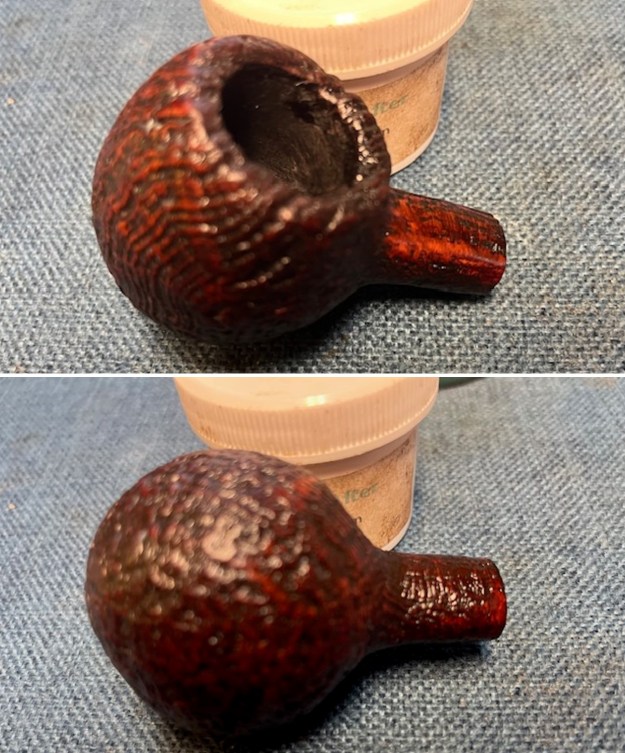
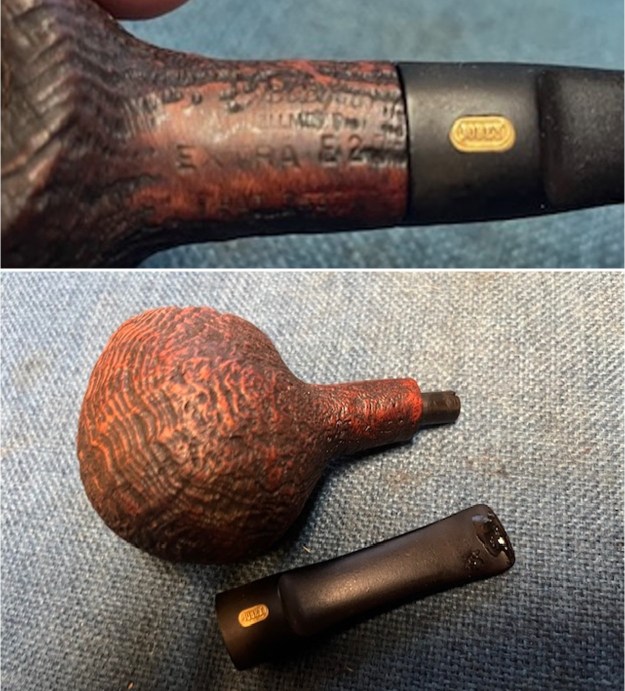 The bowl was in excellent condition. The rim top and edges looked really good. I started my work by working some Before and After Restoration Balm into the surface of the sandblast bowl. I worked it into the crevices with a shoe brush. It works to preserve, clean and renew the briar. I let it sit for 10 minutes and then buffed it off with a soft cloth. The bowl really looked good at this point.
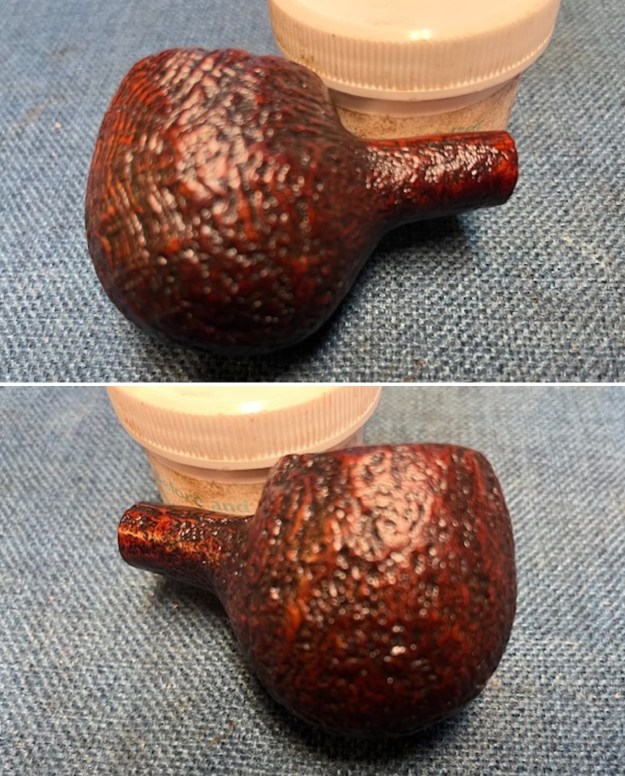
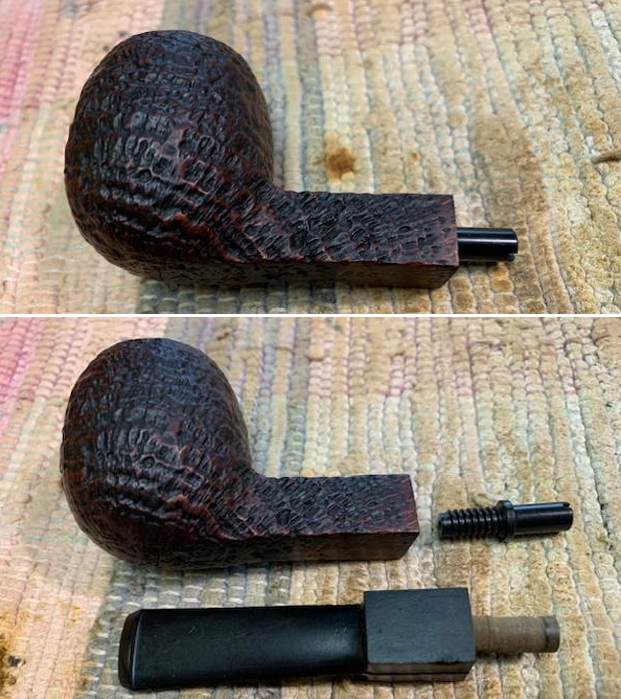
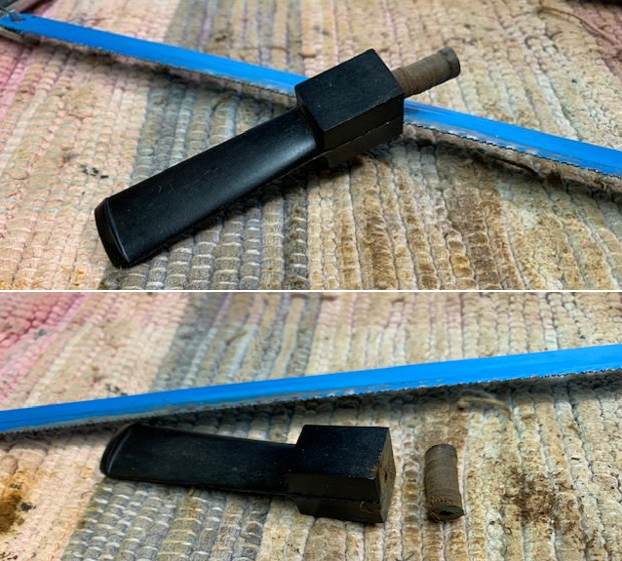
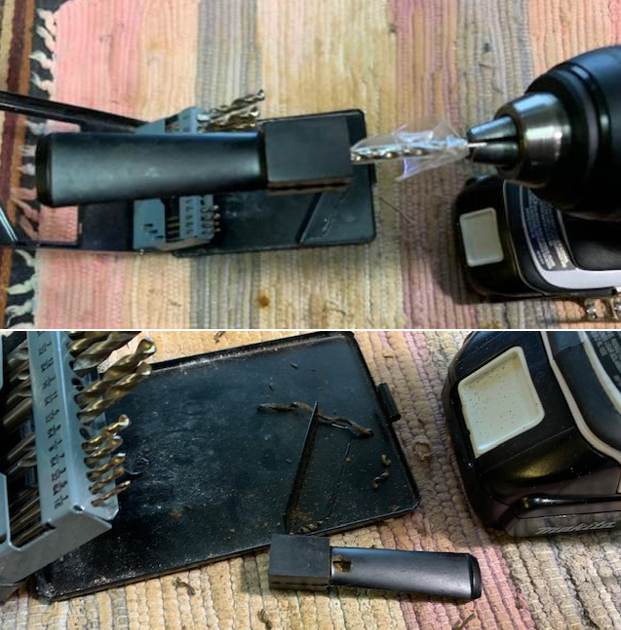
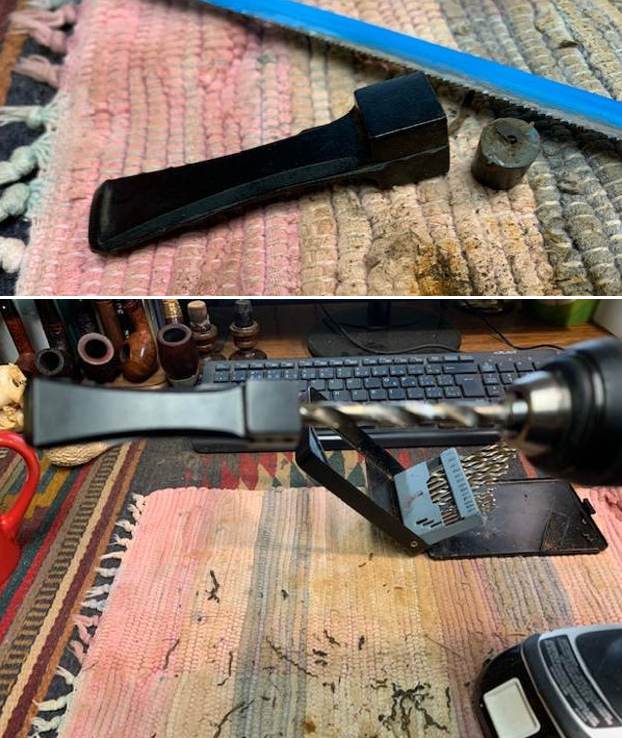
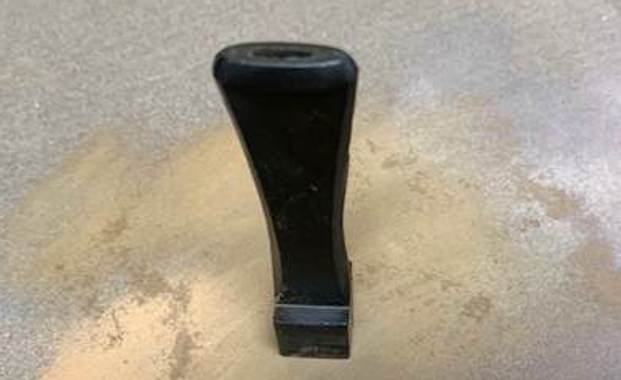
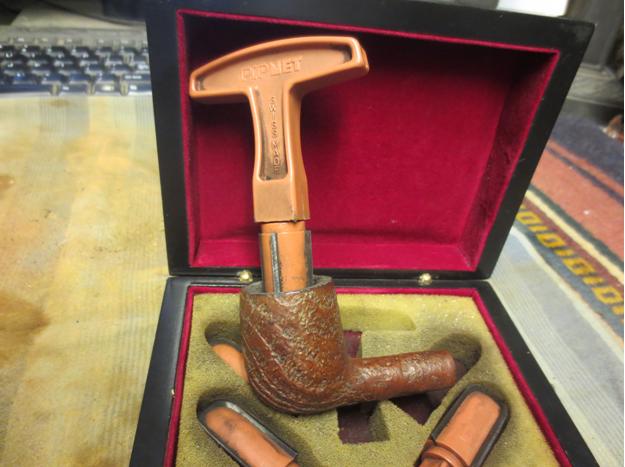
 I coated the threaded end of the Jobey Link with Vaseline and threaded it into the shank end. I used a screw driver to turn it into the shank end. The stem will fit over the non-threaded end of the stem.
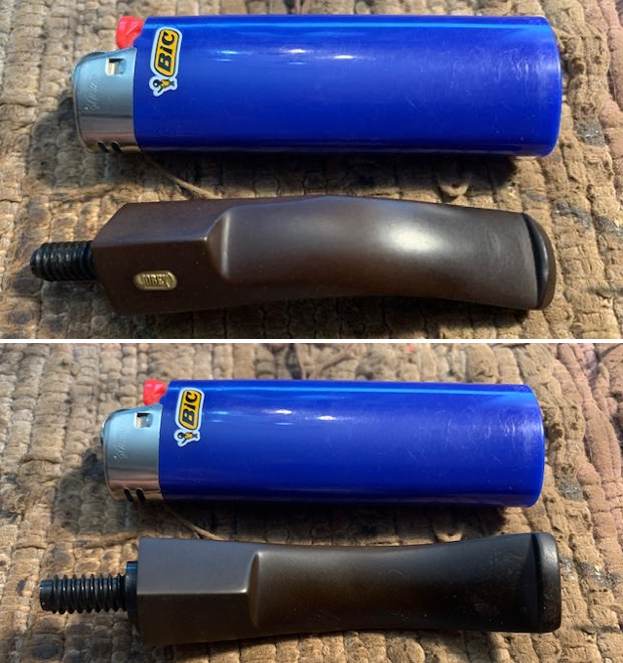
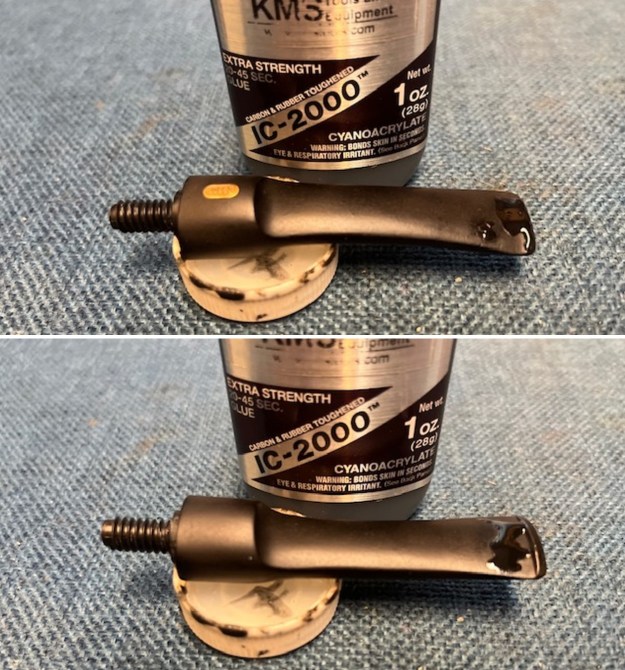
 I set the bowl aside and turned my attention to the stem. I “painted” the stem with the flame of a Bic lighter to lift the tooth marks on both sides. I was able to lift them a bit. I filled in what remained with black CA glue. Once it cured I used small files to shape the button and flatten the repairs. I sanded out the remaining repairs with 220 grit sandpaper to flatten them out and blend them into the surface.
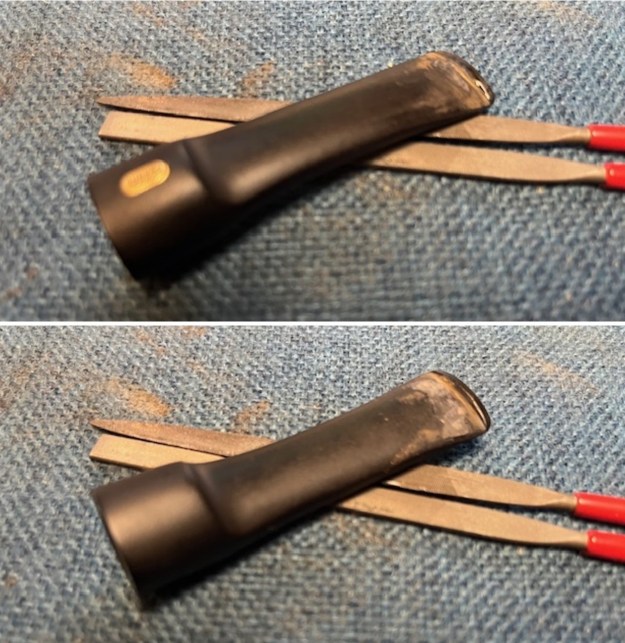
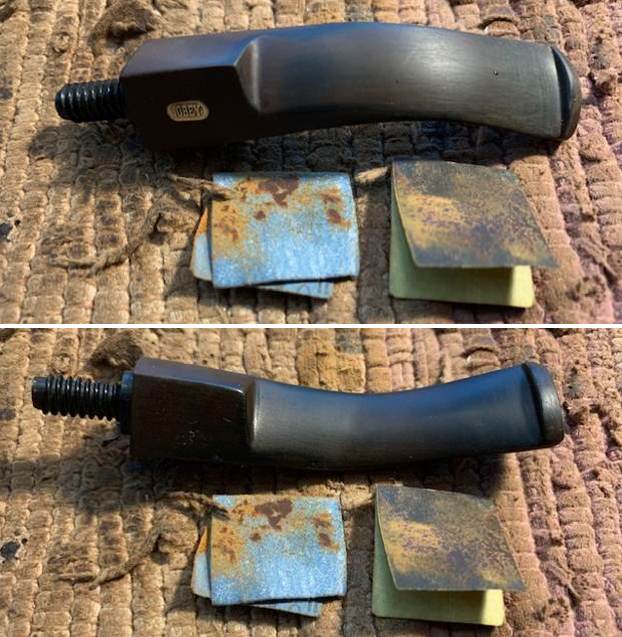
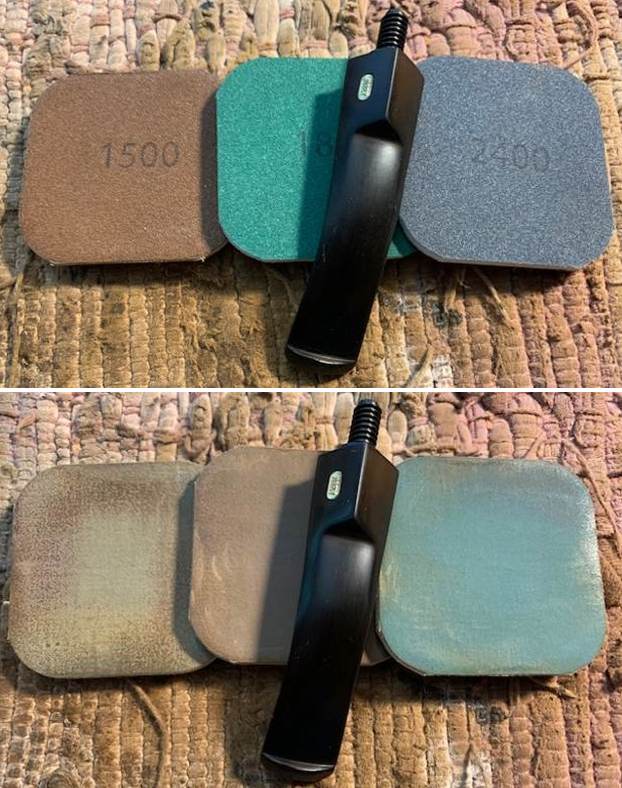
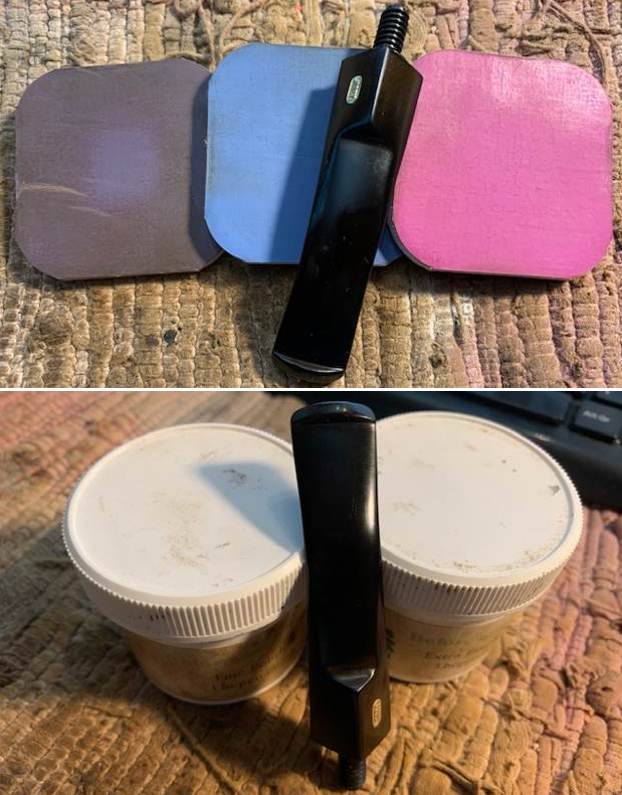
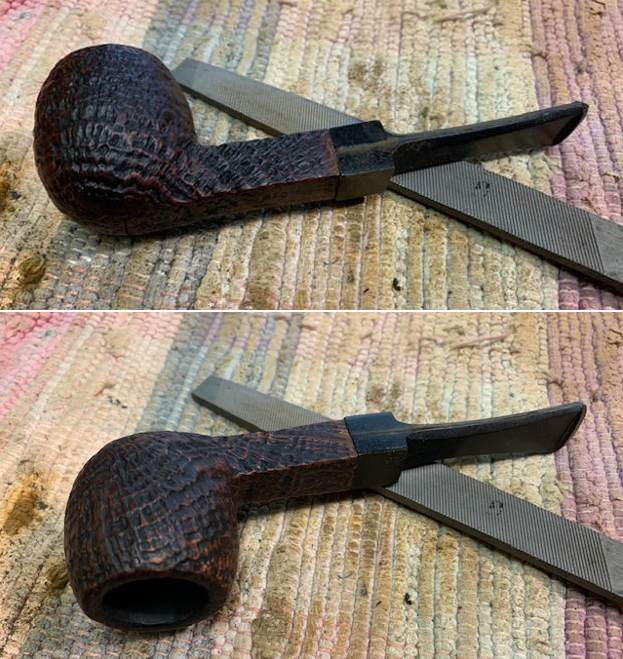
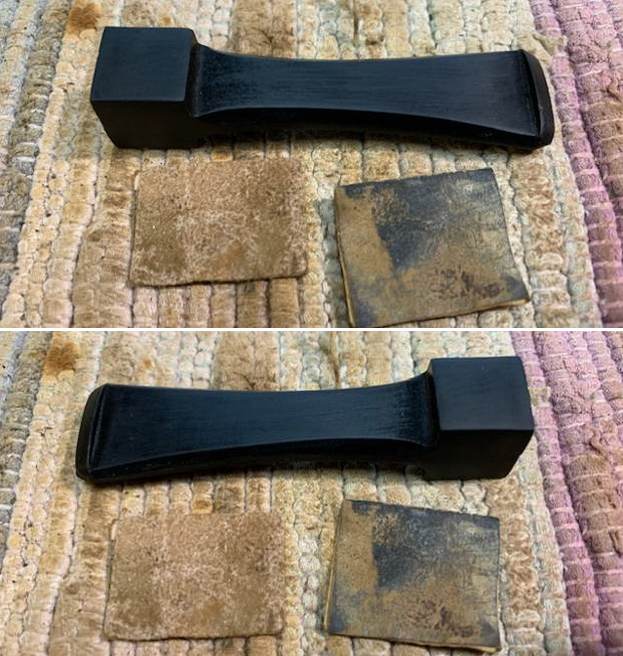
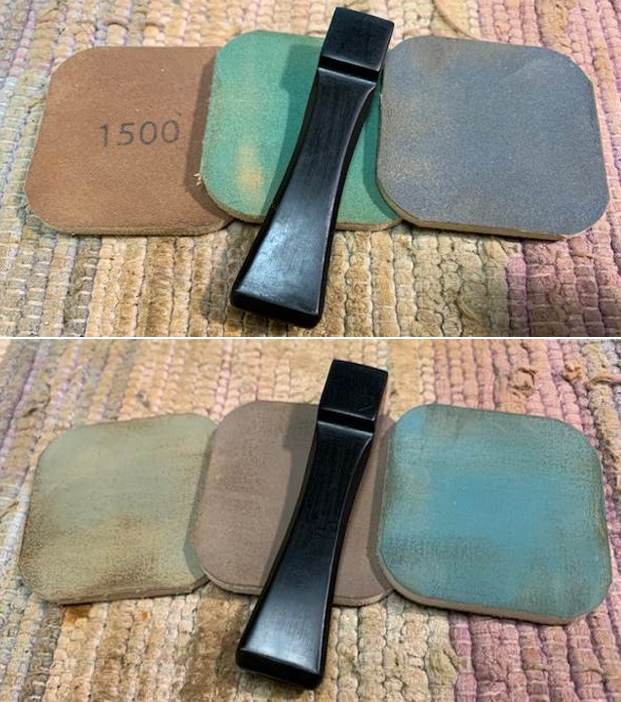
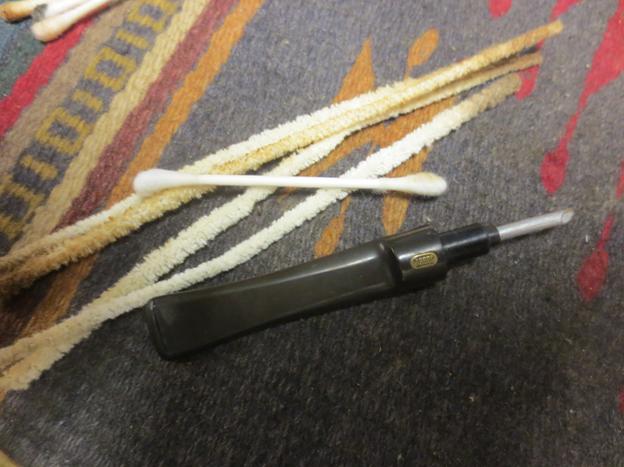
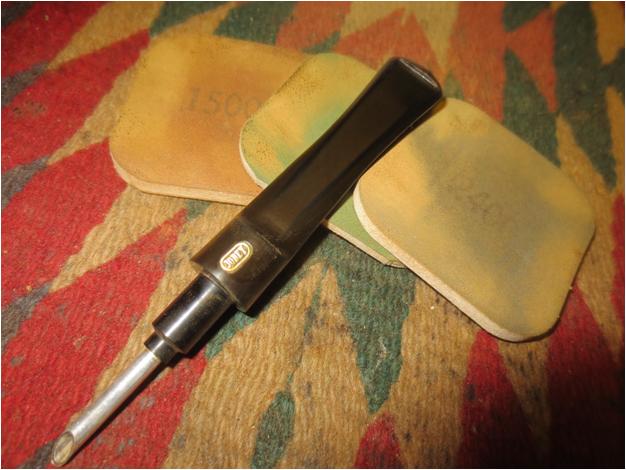
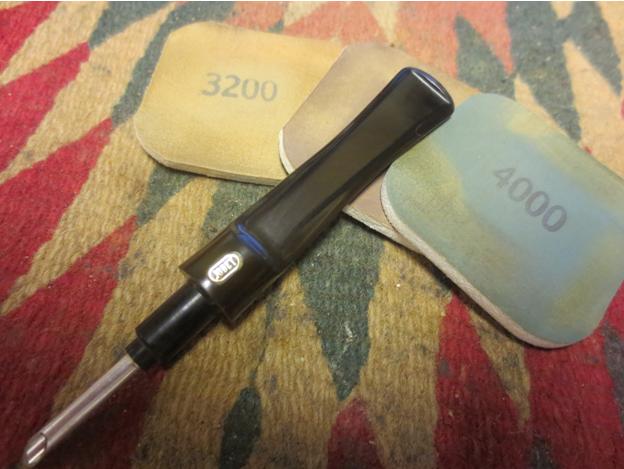
 I sanded the stem with 320-3500 grit sanding pads. I wiped the stem down after each pad with Obsidian Oil. It began to take on a deep shine after each pad.
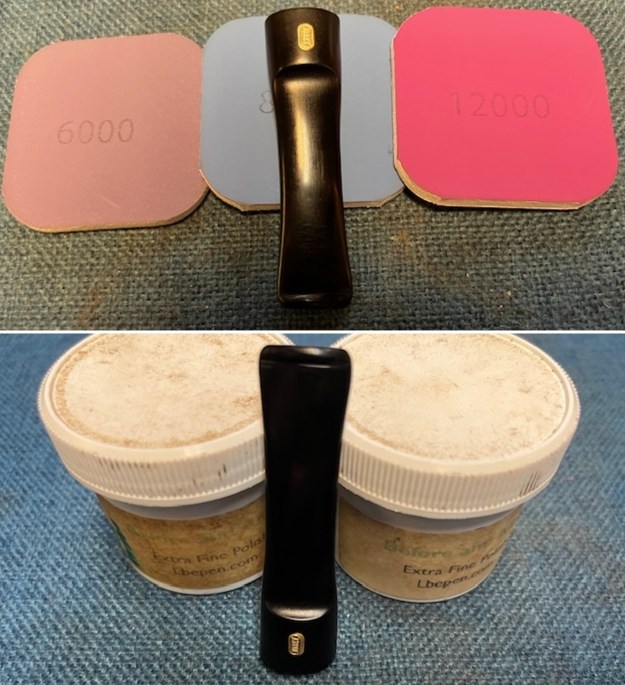
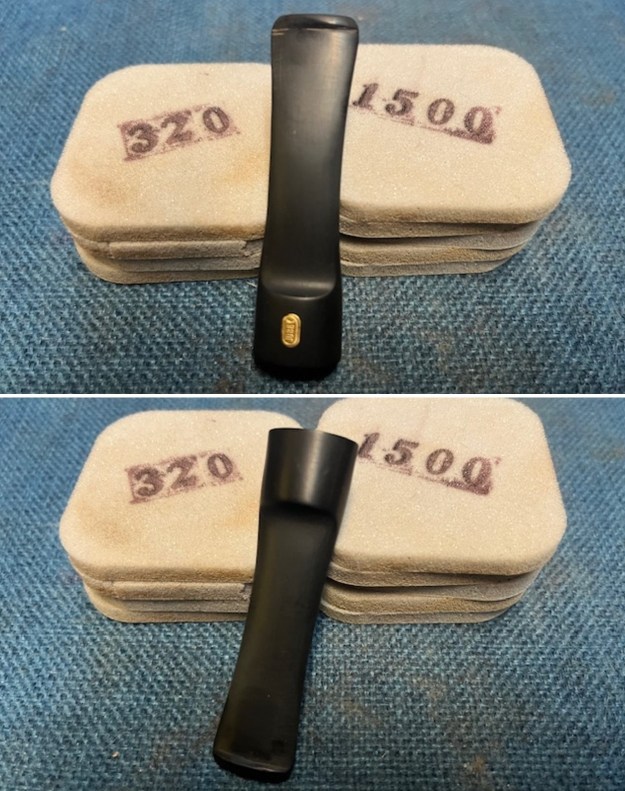 I polished the stem with micromesh sanding pads – dry sanding it with 1500-12000 grit sanding pads and wiping it down after each pad with some Obsidian Oil. I finished polishing it with Before & After Pipe Stem Polish – both fine and extra fine. I gave it a final coat of Obsidian Oil.
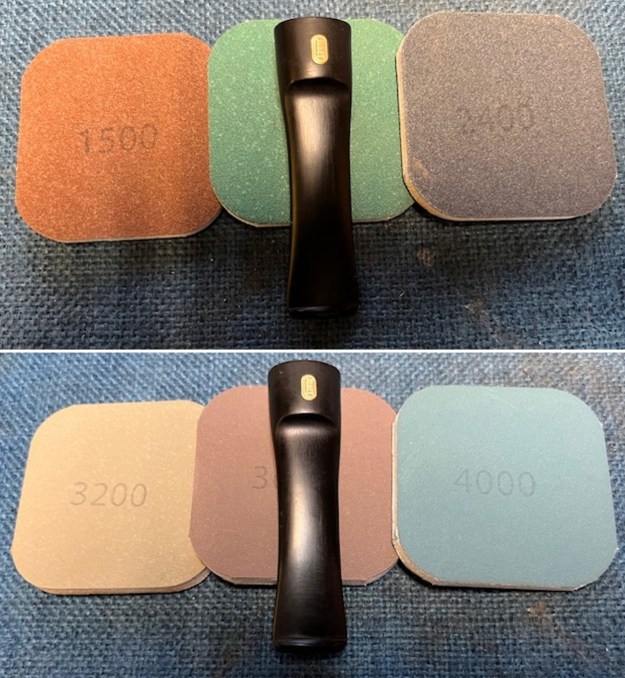
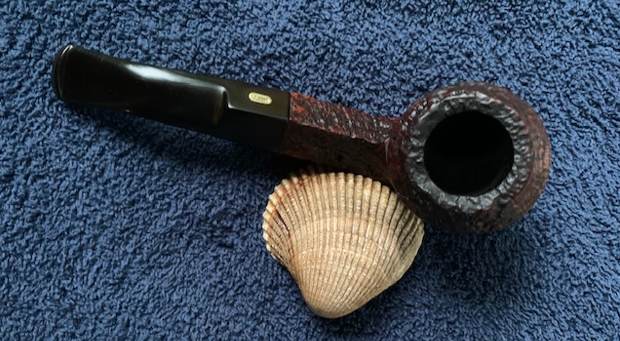
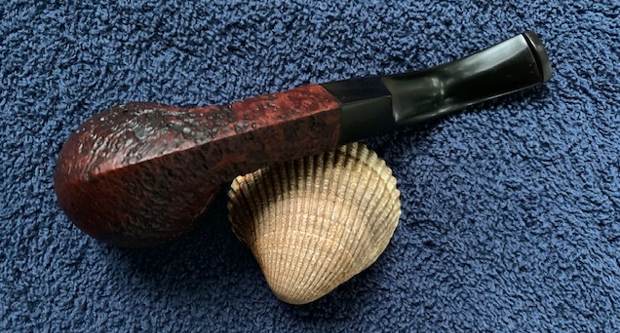
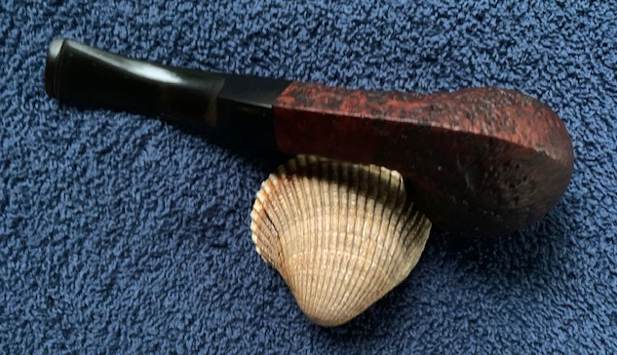
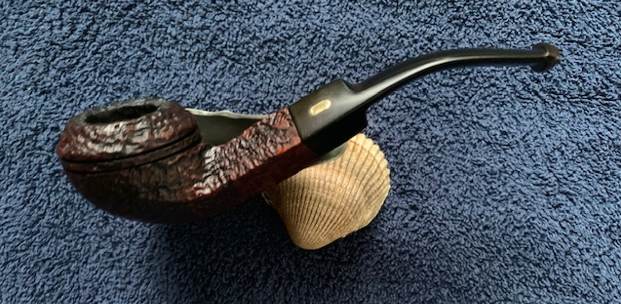
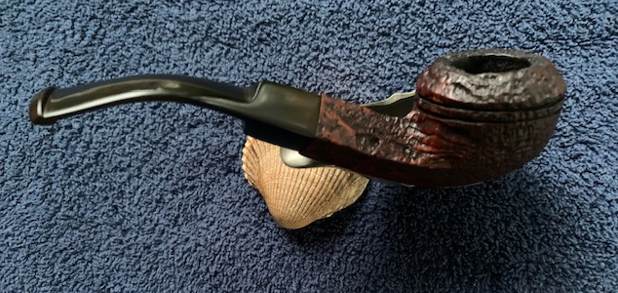
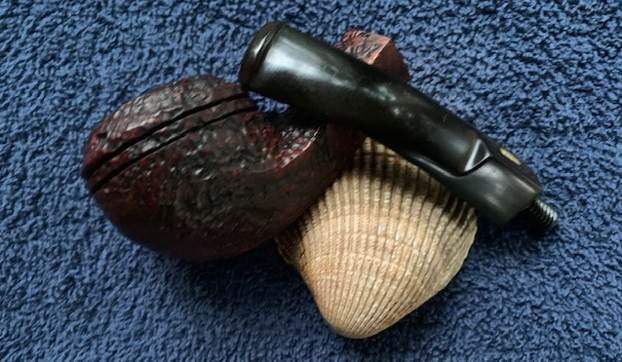
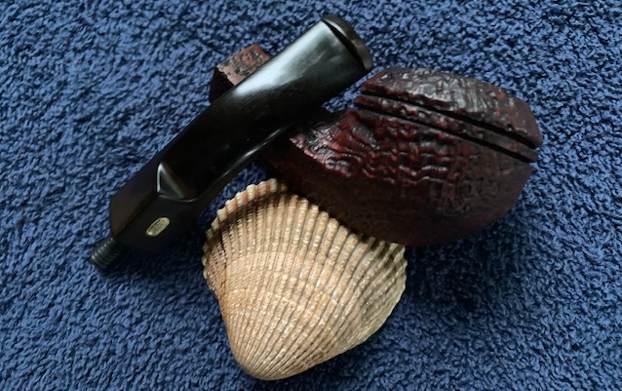
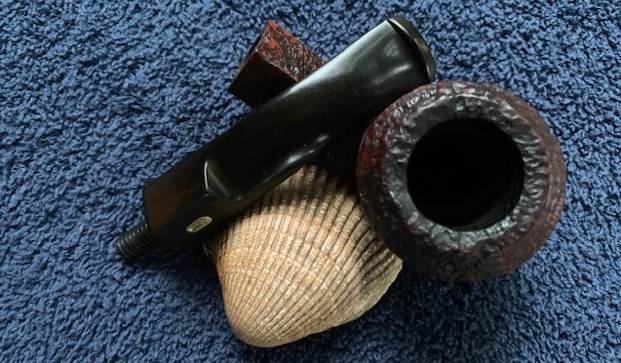
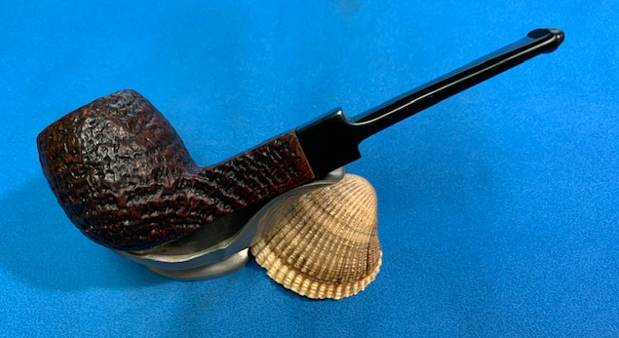
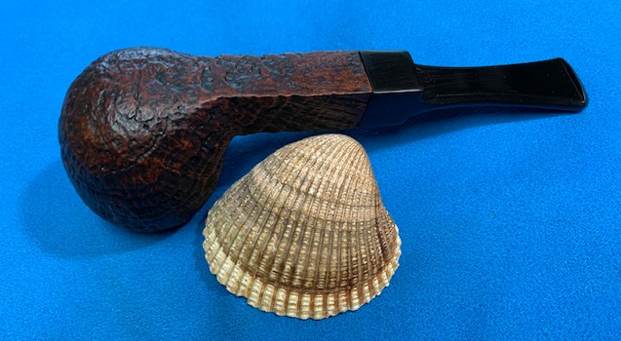
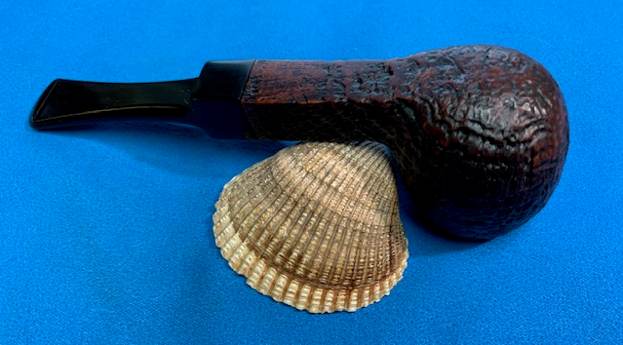
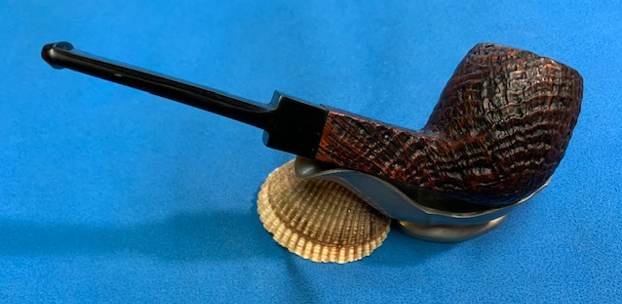
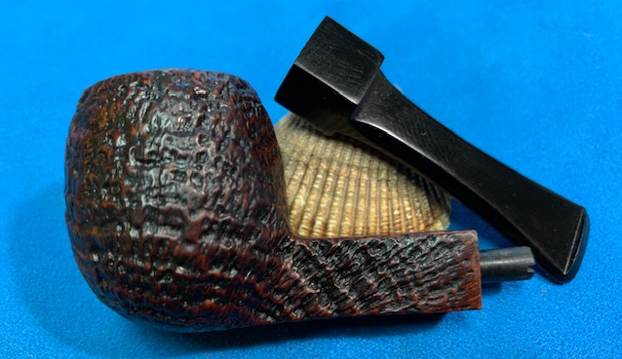
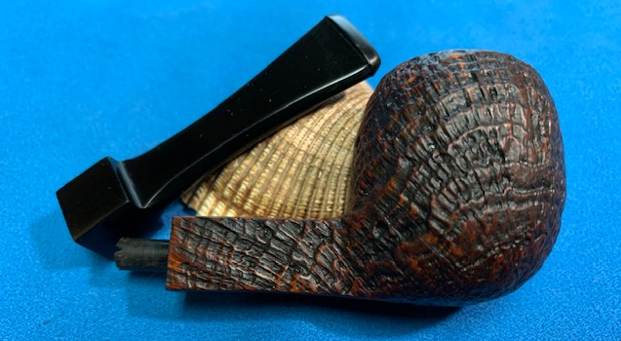
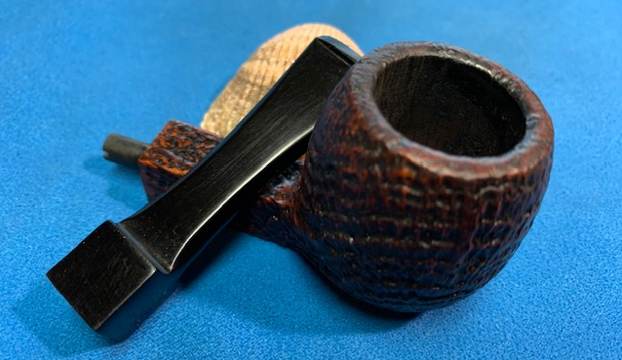
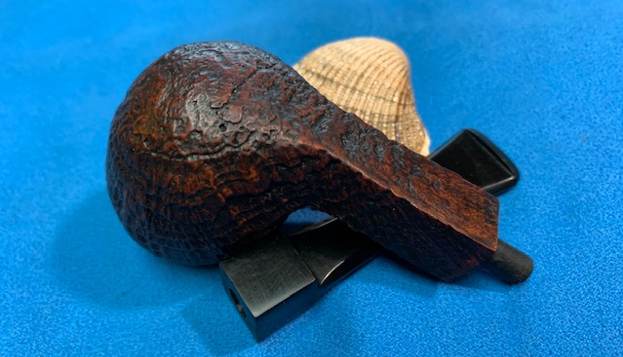
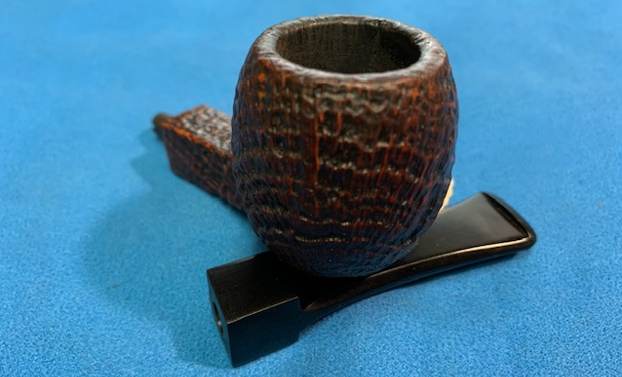
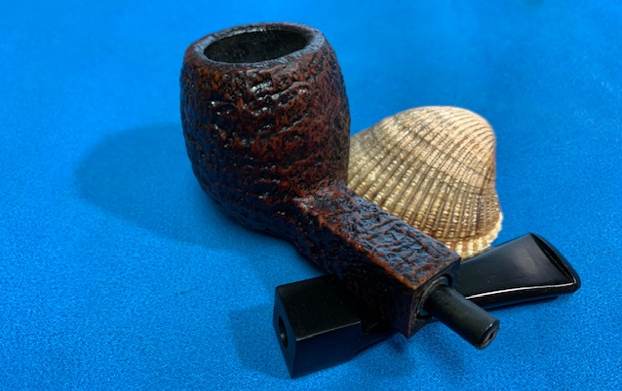
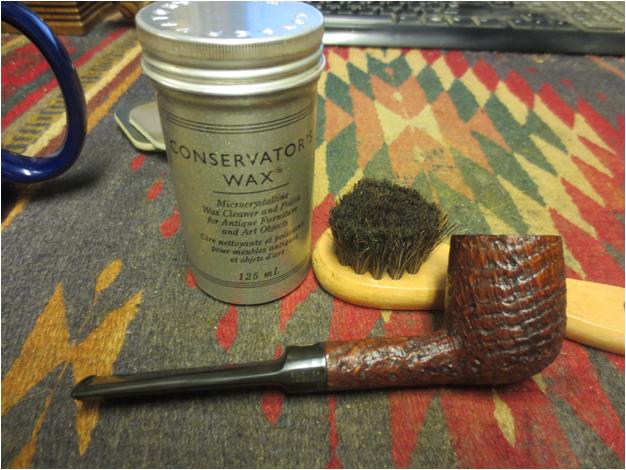
 This Patent Jobey Shellmoor E527 Hawkbill with a vulcanite saddle stem is a great looking pipe now that it has been restored. The beautiful sandblast on the briar shines through the polished finish is stunning. I put the stem back on the bowl and carefully buffed the pipe with Blue Diamond on the buffing wheel. I gave the bowl multiple coats of Conservator’s Wax and the stem multiple coats of carnauba wax on the buffing wheel and followed that by buffing the entire pipe with a clean buffing pad. I hand buffed the pipe with a microfiber cloth to deepen the shine. The finished Jobey Shellmoor E527 Hawkbill fits nicely in the hand and feels great. Give the finished pipe a look in the photos below. The dimensions of the pipe are Length: 5 ½ inches, Height: 2 inches, Outside diameter of the bowl: 1 ½ inches, Chamber diameter: 7/8 of an inch. The weight of the pipe is 59 grams/2.08 ounces. I will soon be adding it to the rebornpipes store in the American Pipe Makers Section. If you are interested in this pipe send me a message or an email. Thanks for reading this blog and my reflections on the pipe while I worked on it. There are many more to come!