by Steve Laug
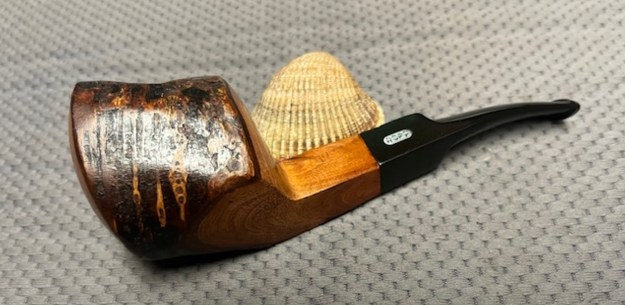
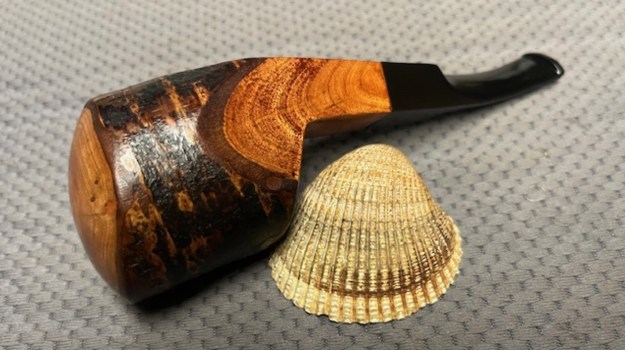
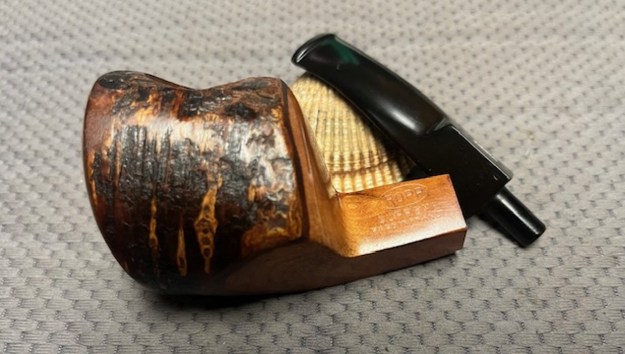
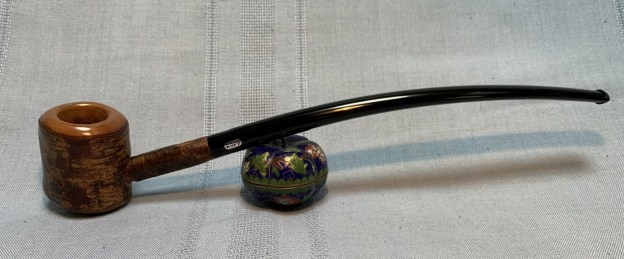
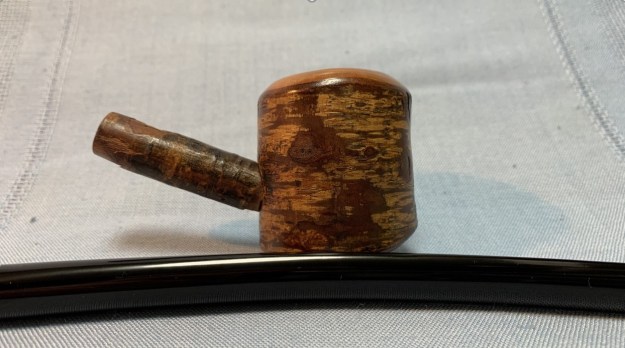
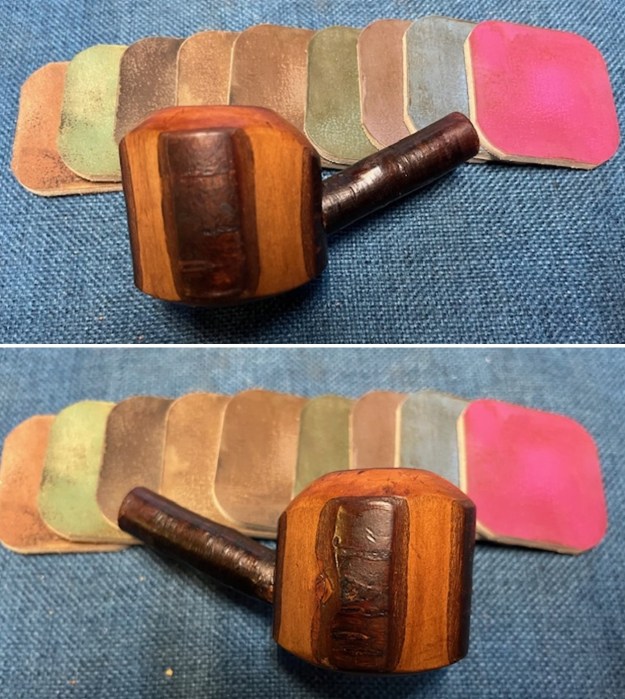
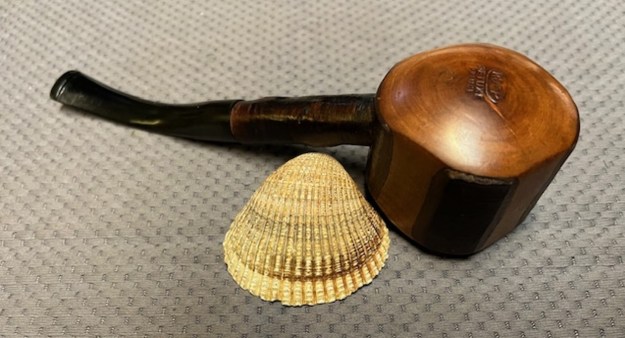
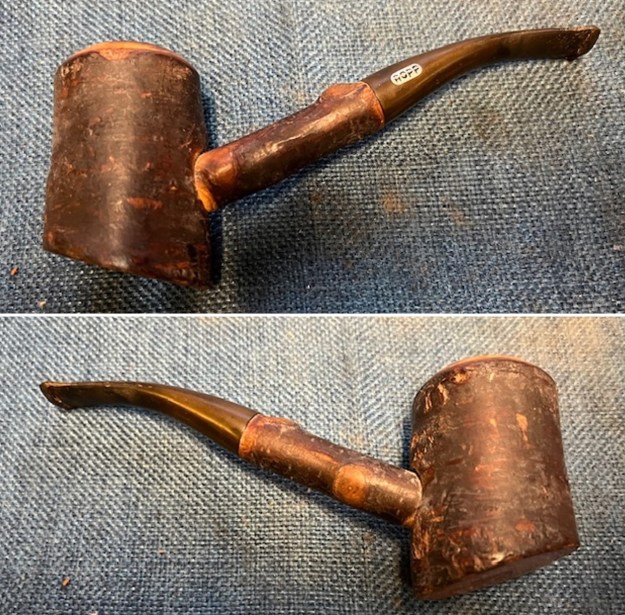
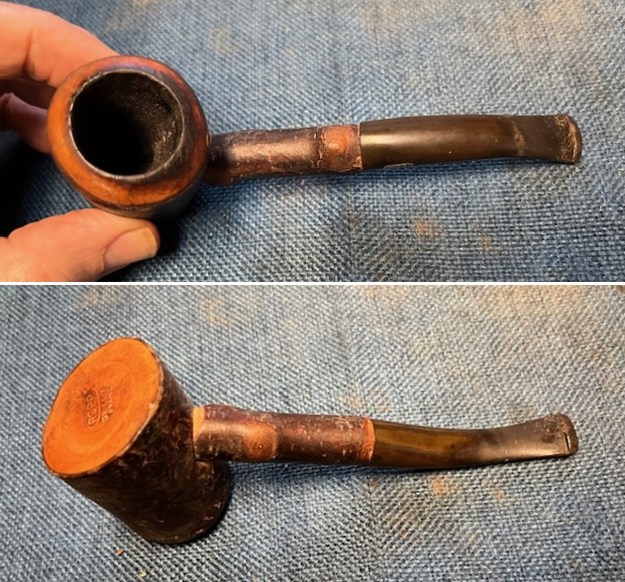
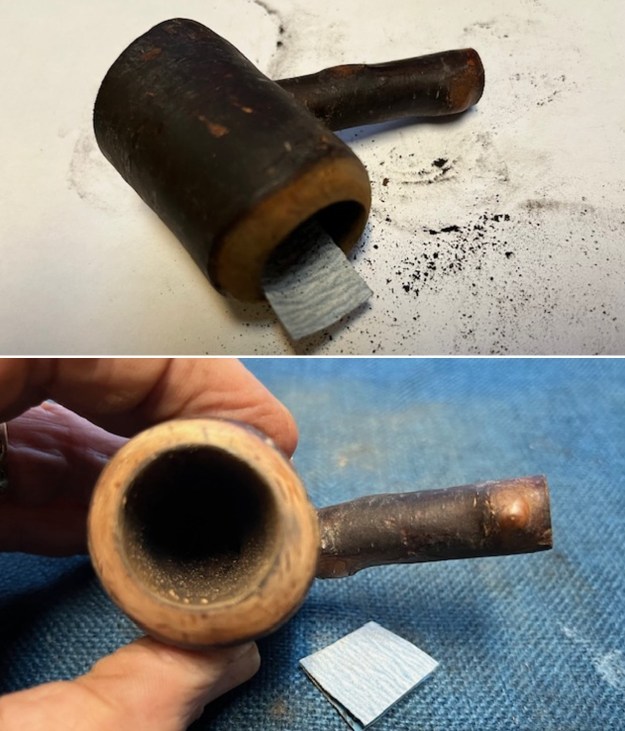
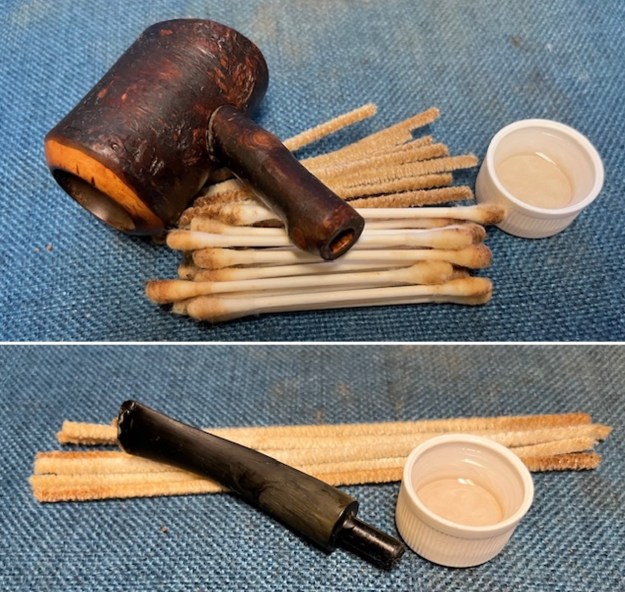
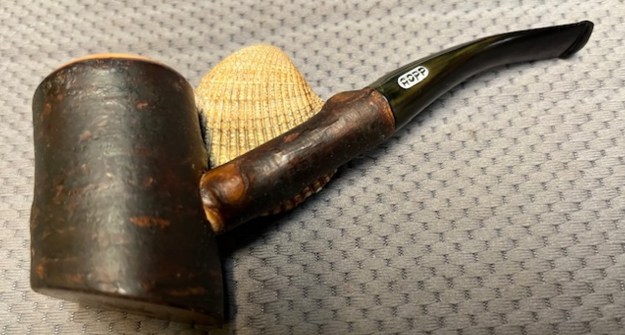
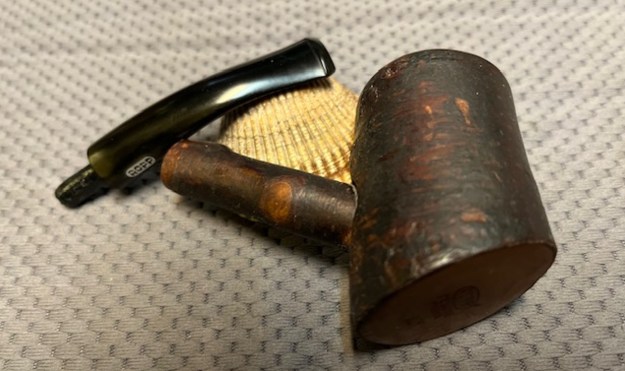
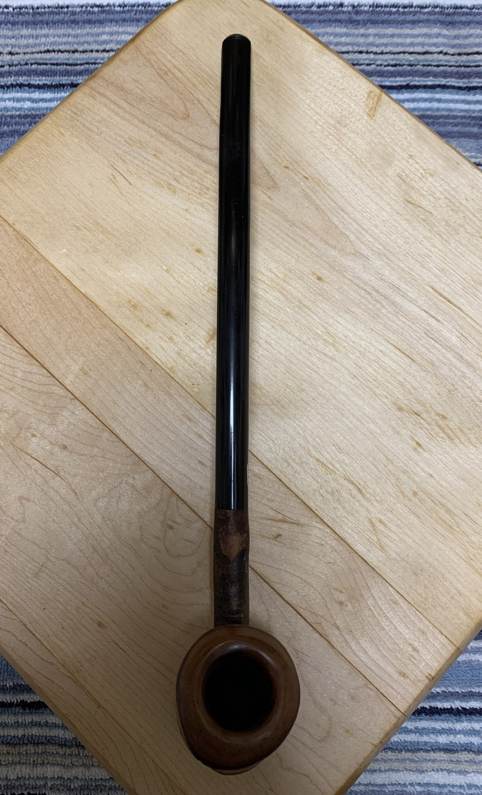
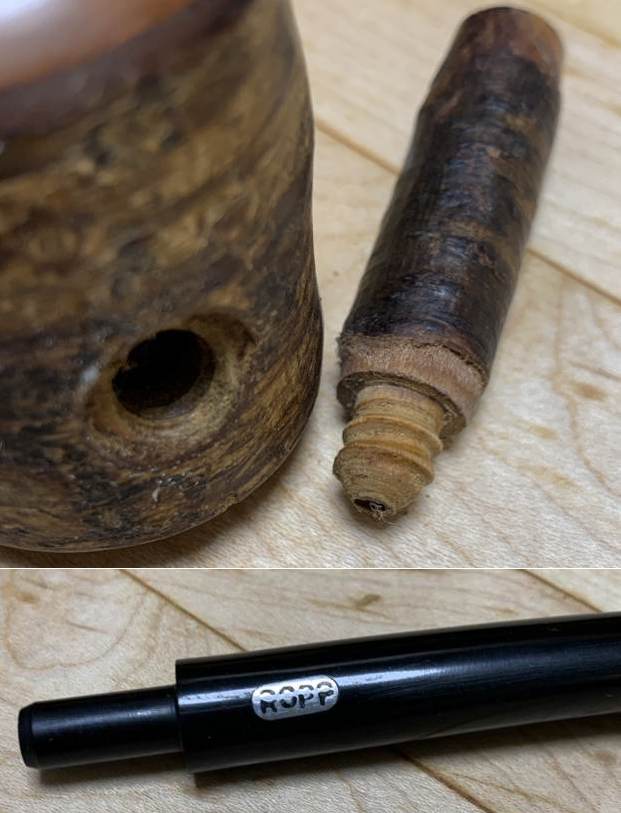
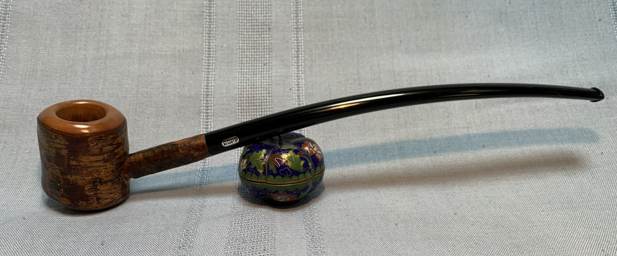
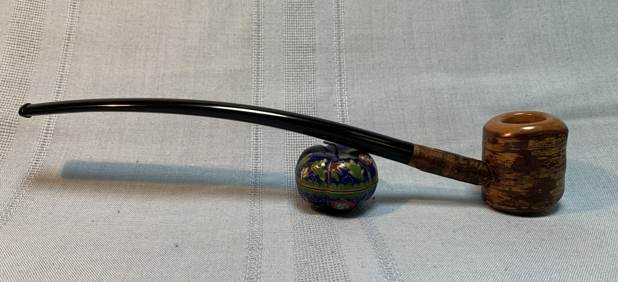
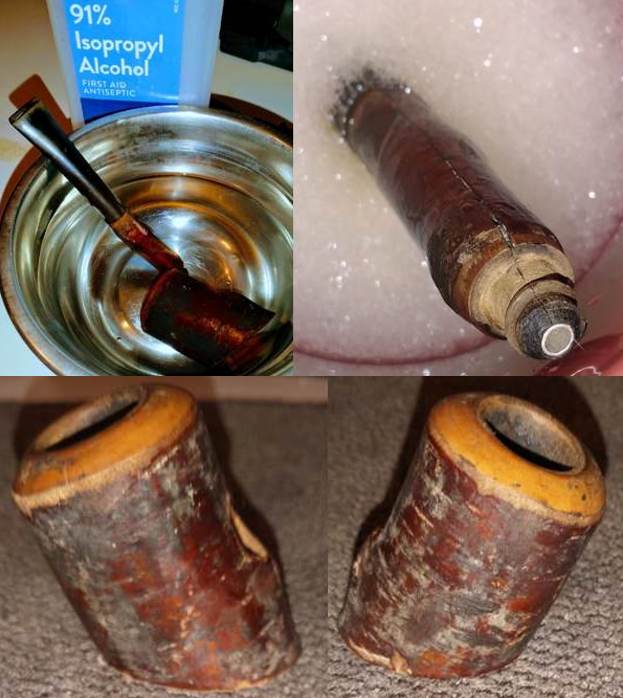
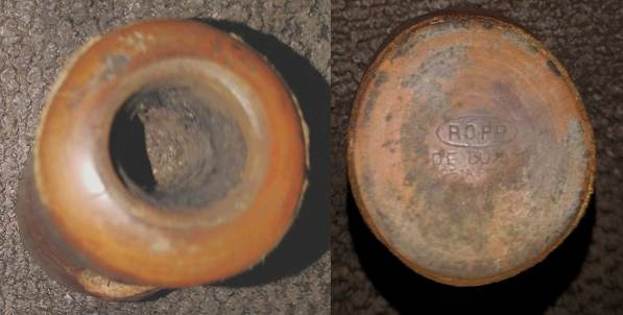
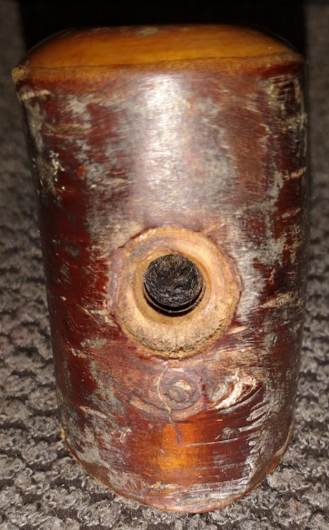
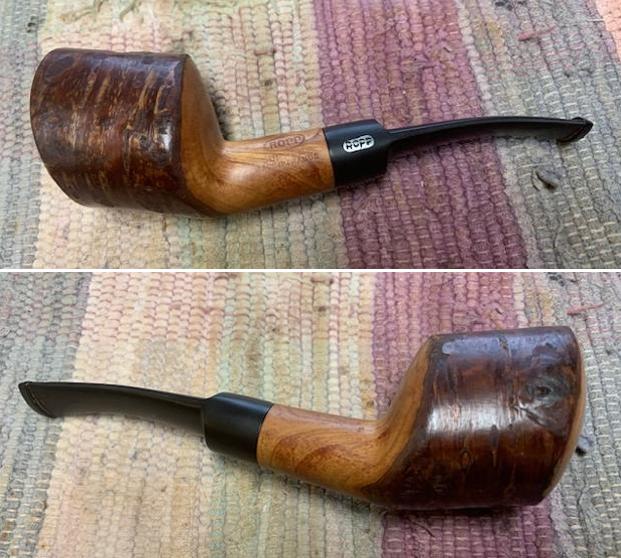
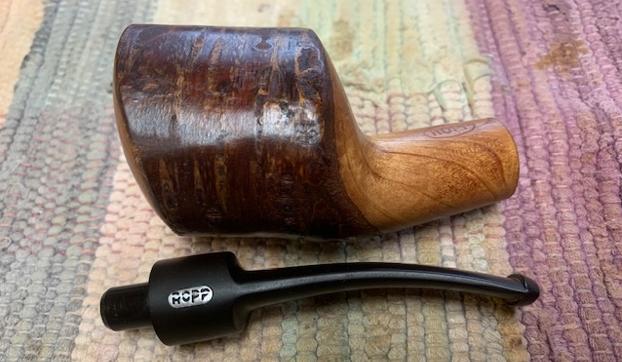
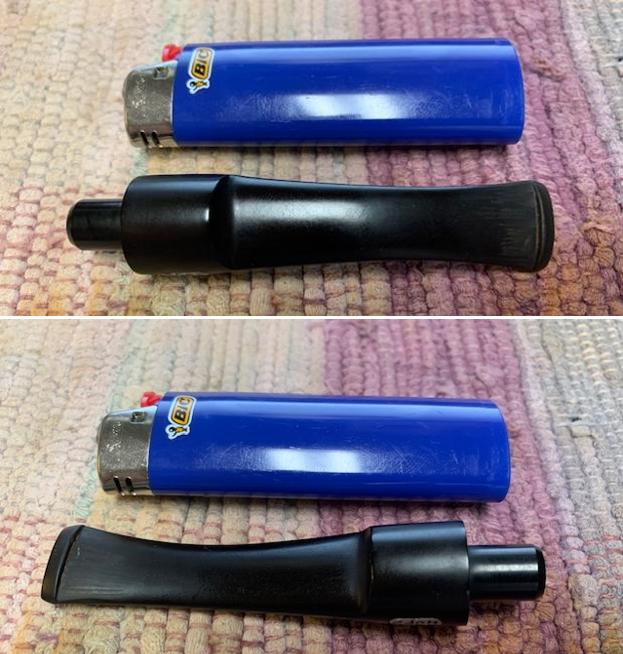
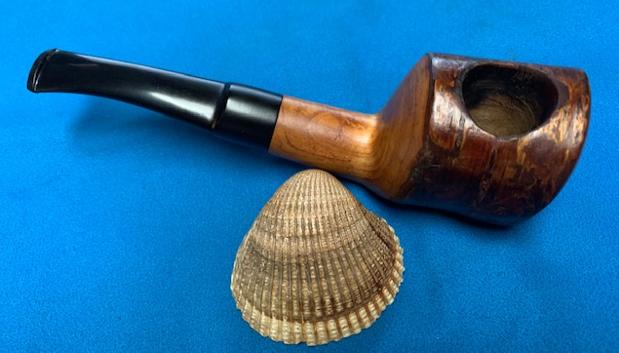
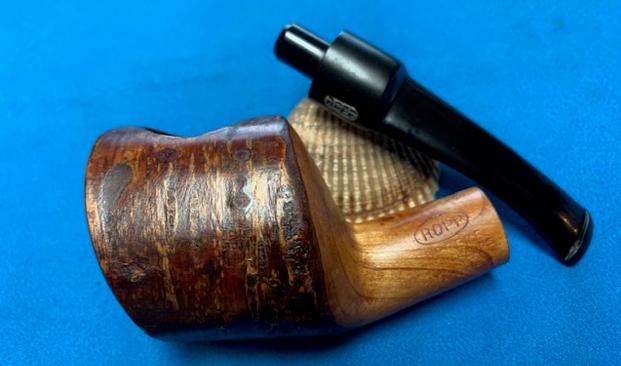
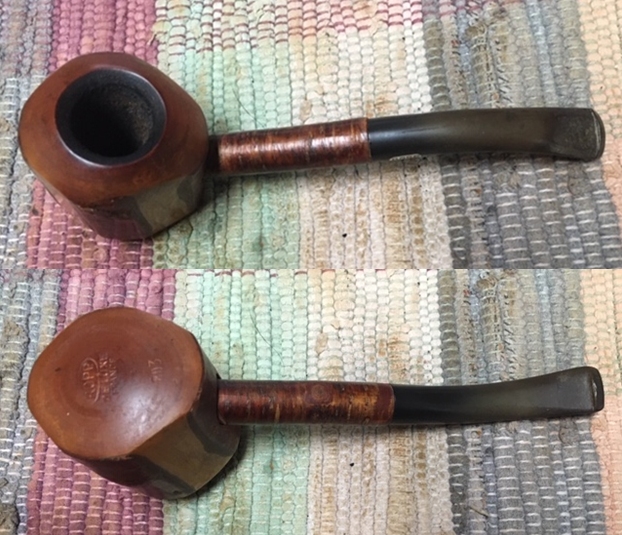
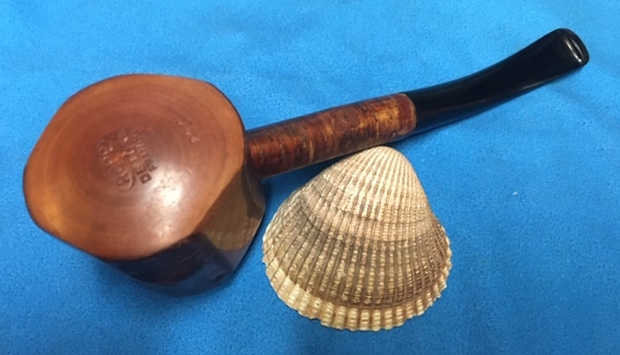
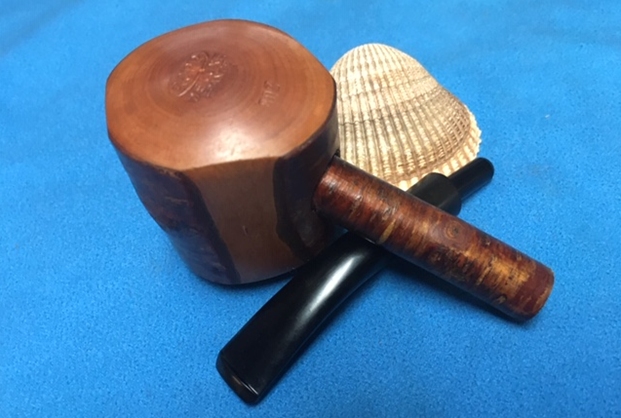
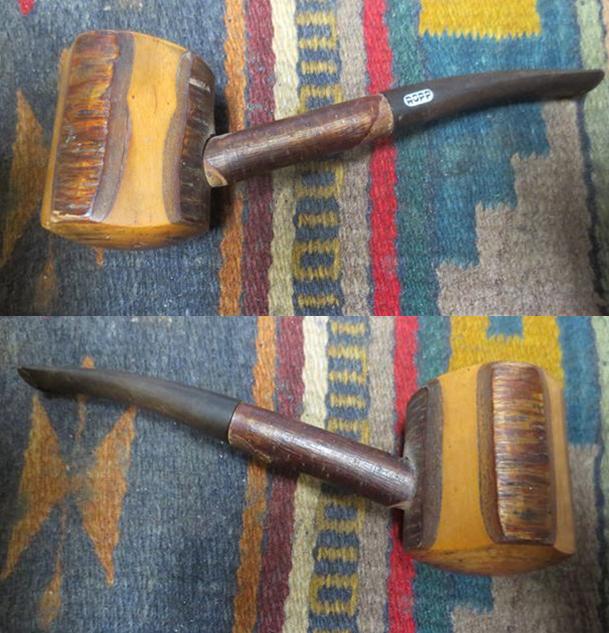
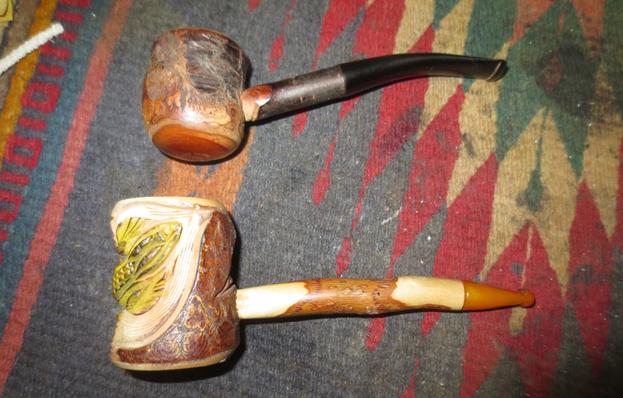
For a guy who has never really liked Ropp Cherrywood pipes I have had a lot of them over the years. I have had full bents, half bents, billiards but never one quite like this one. Jeff picked this pipe up at an antique store in Portland, Oregon, USA. It is kind of a 1/8 Diamond Shank Billiard or I don’t know what shape truly. It has a smooth shank and a smooth oval shaped panel on the front and rear of the bowl. The right and left side, top and bottom of the bowl were left with the bark in place. You can see the knot holes in the bowl where branches were snipped off. The bark around the bowl sides is in decent condition as is the bottom of the bowl. The rim top looks very good and the inner edge of the rim on both the front and the back are undamaged. The bowl was unsmoked and pristine. The pipe is stamped on the left side of the shank and reads Ropp in an oval [over] Supreme [over] Made in France. On the left side it bears the shape number 7. The stem is vulcanite with the silver Ropp oval on the left side of the saddle. It is lightly oxidized and dirty from time stored. Happily, it has no tooth marks or chatter on either side of the stem. Jeff took these photos before he started his clean up work.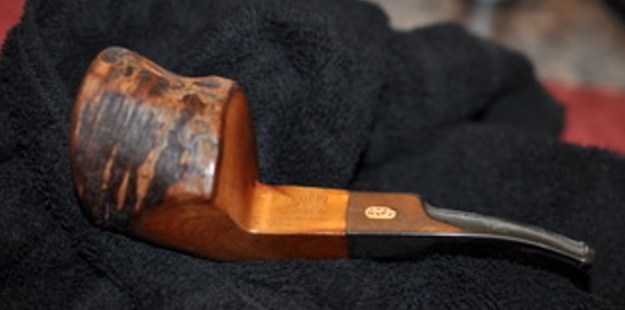
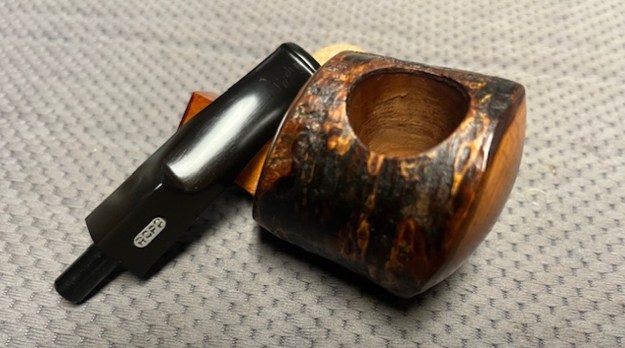
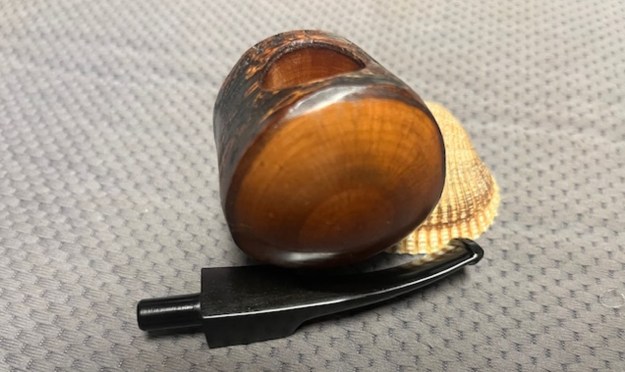
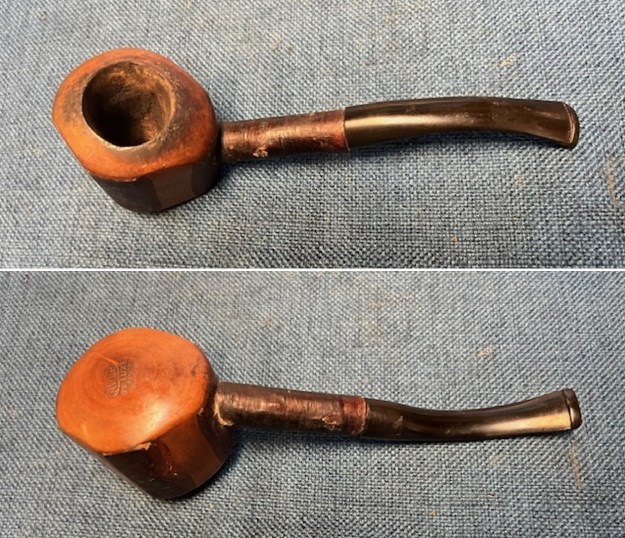
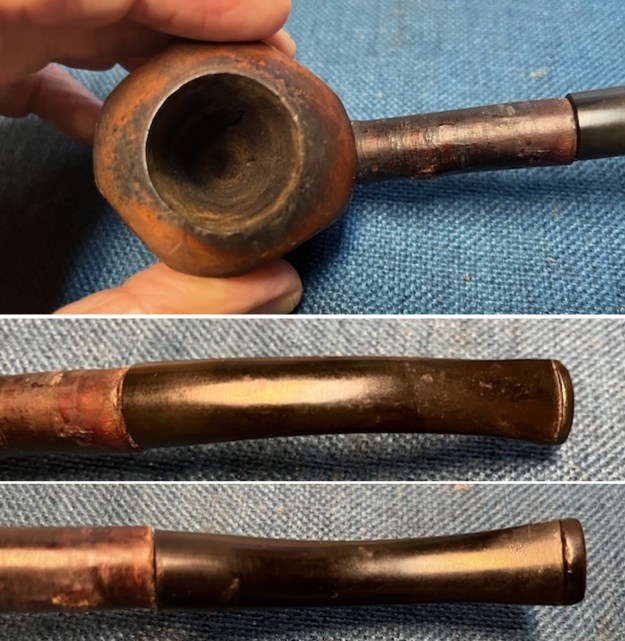
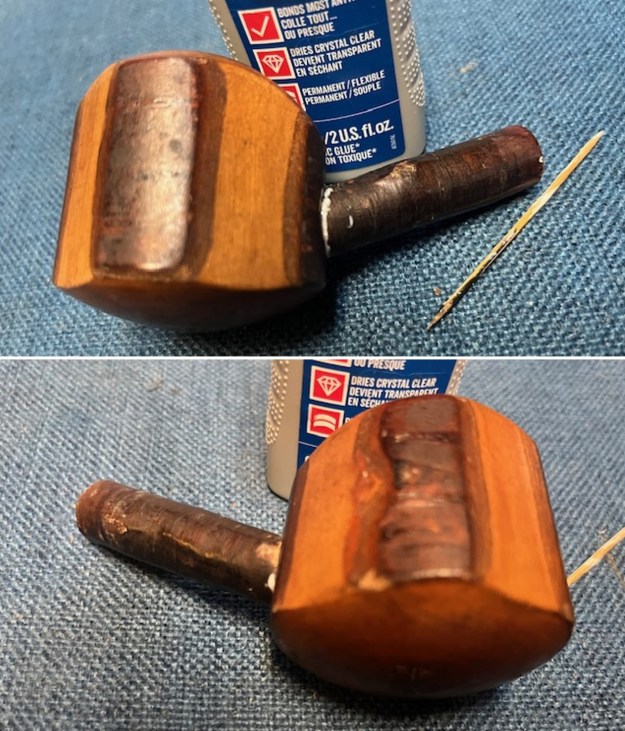
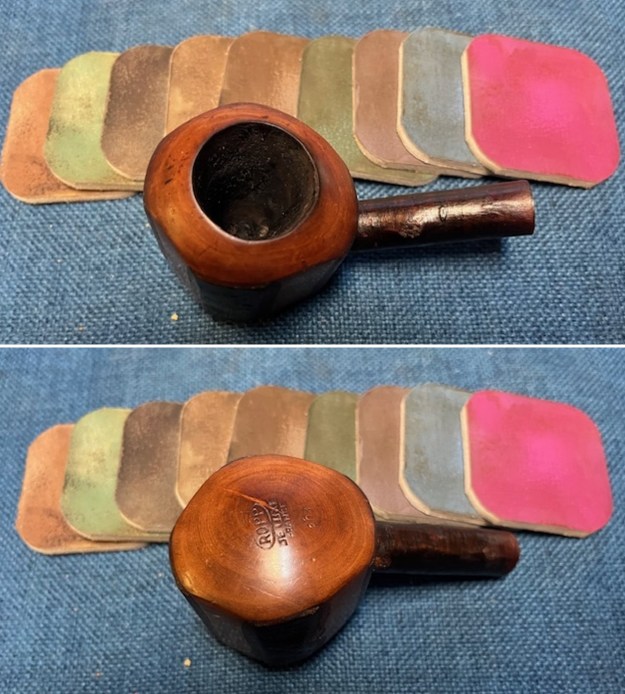
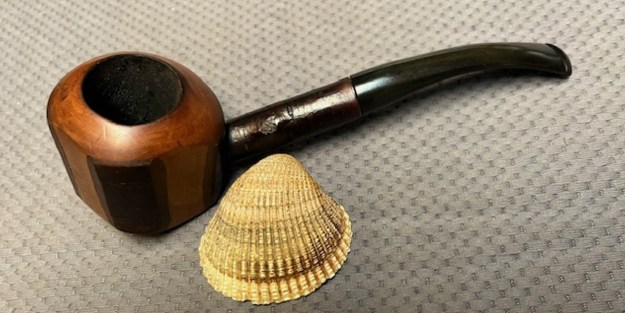
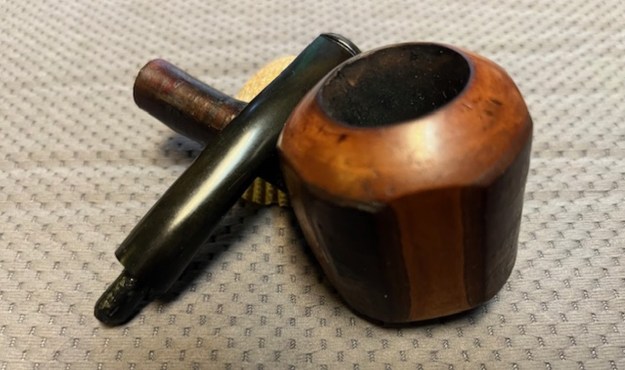
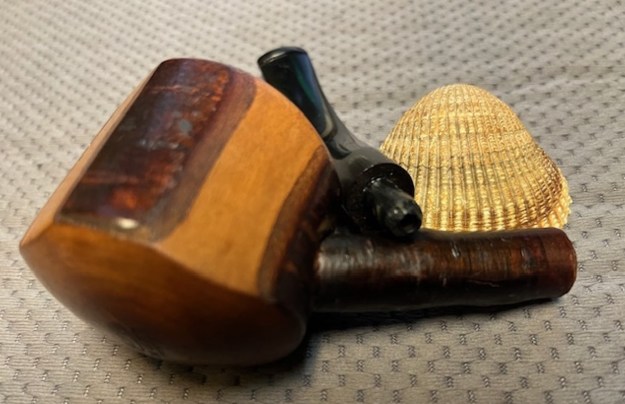
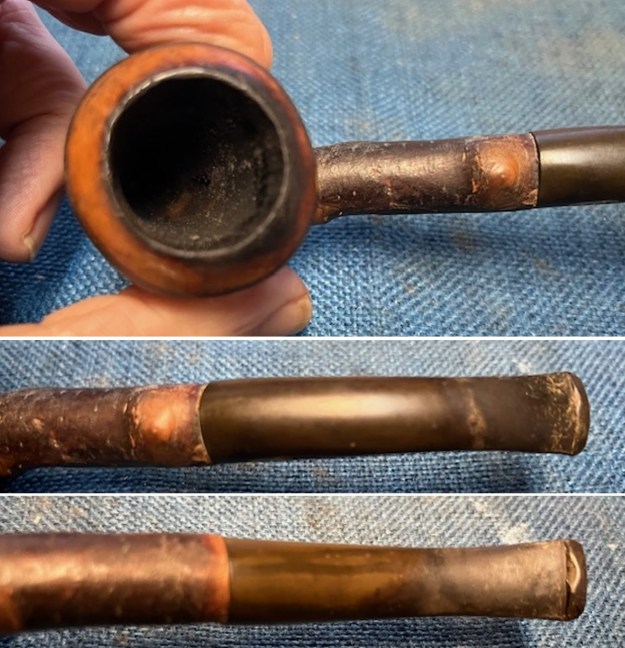
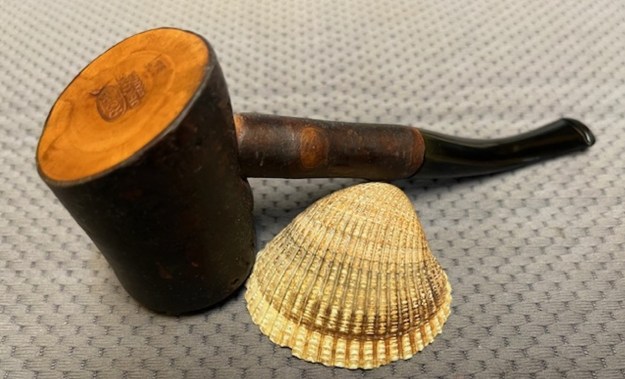
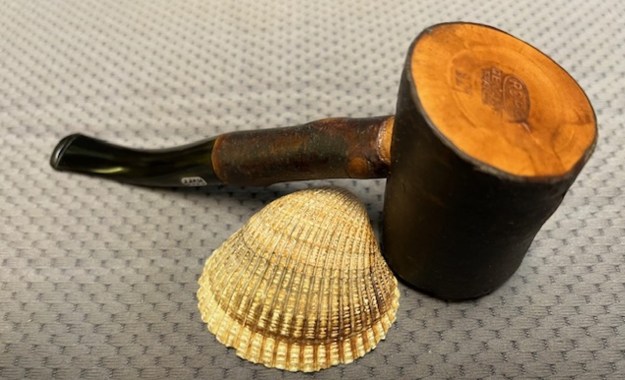
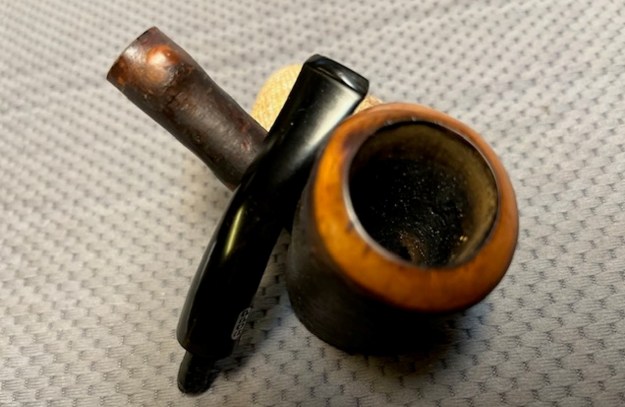
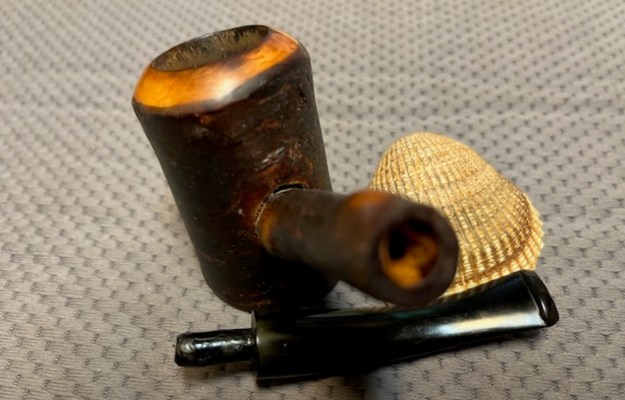
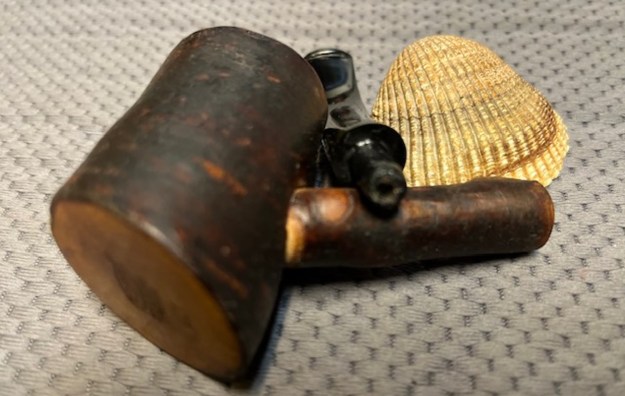
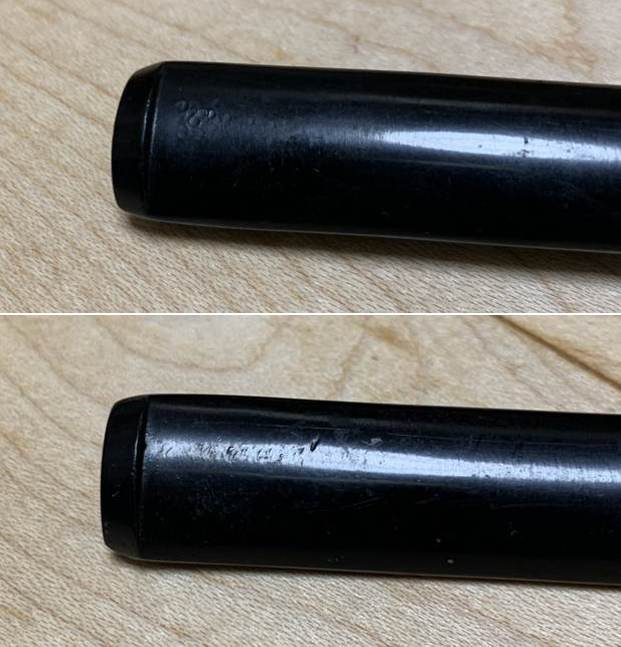
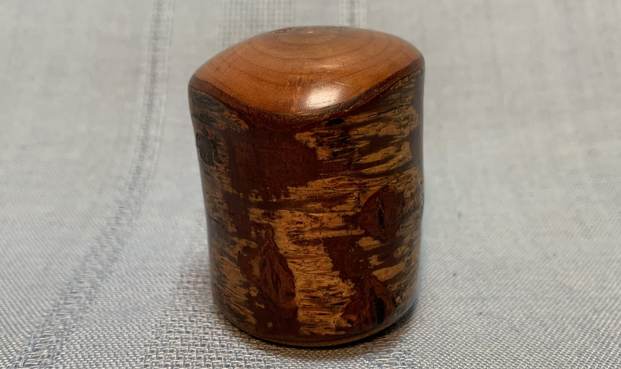
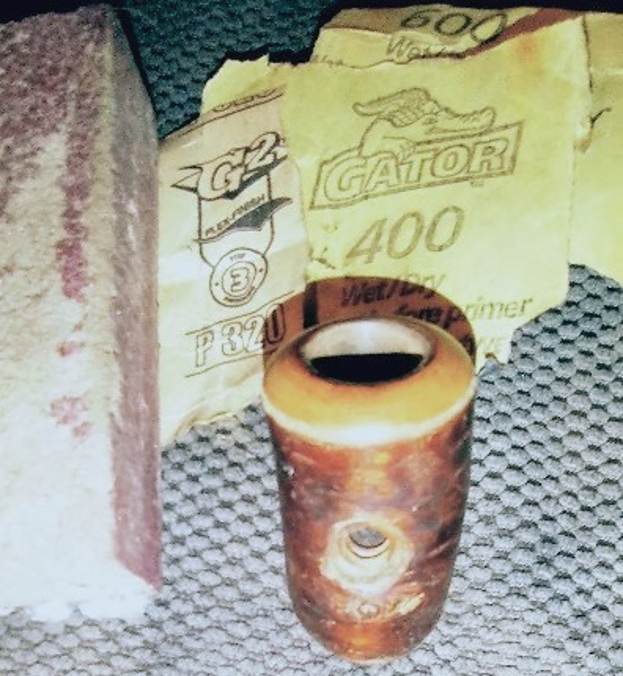
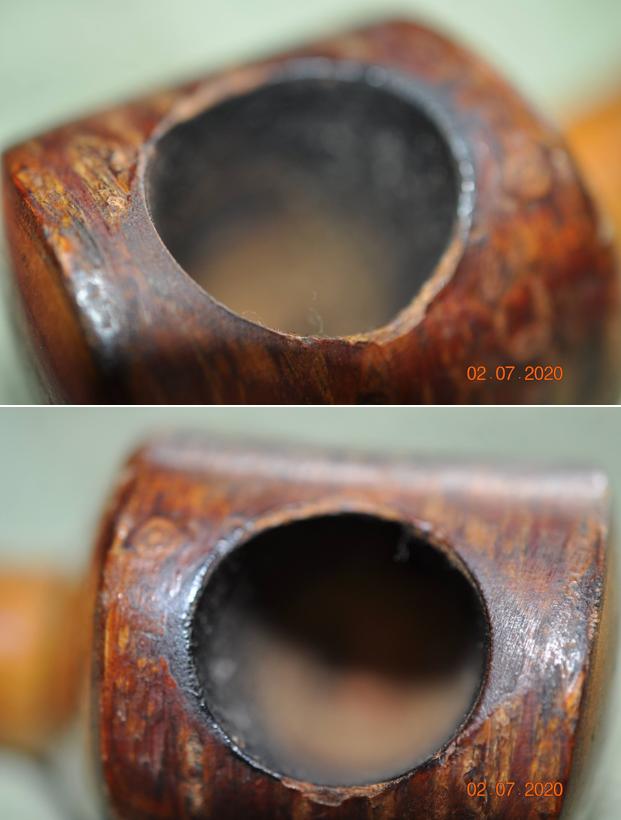
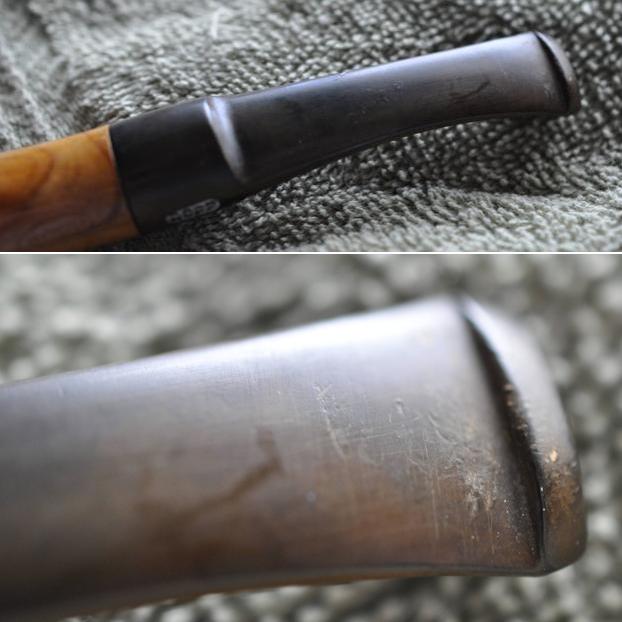
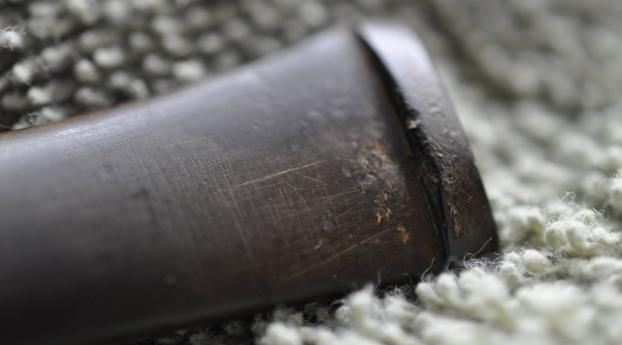
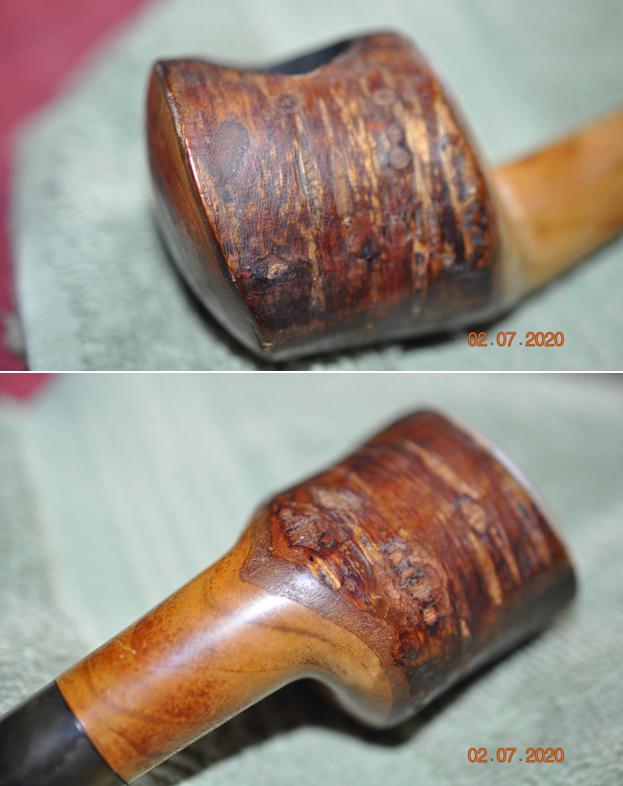
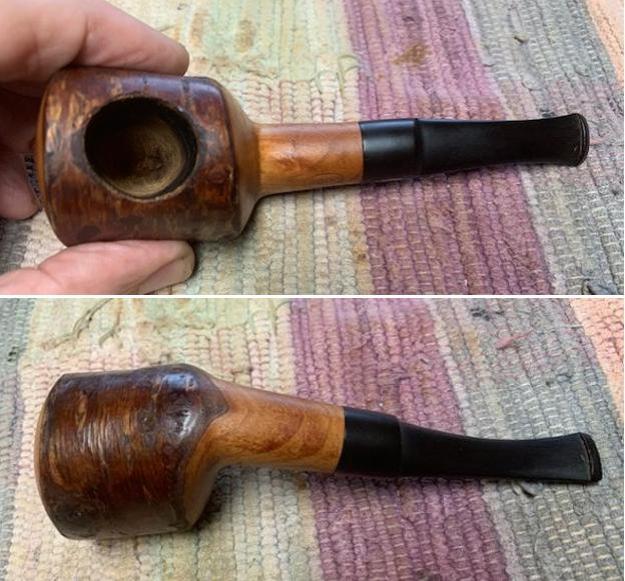
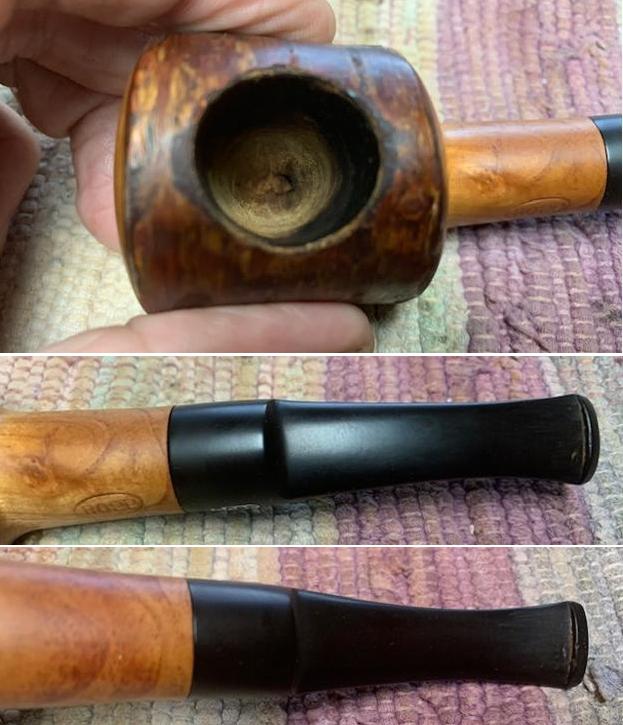
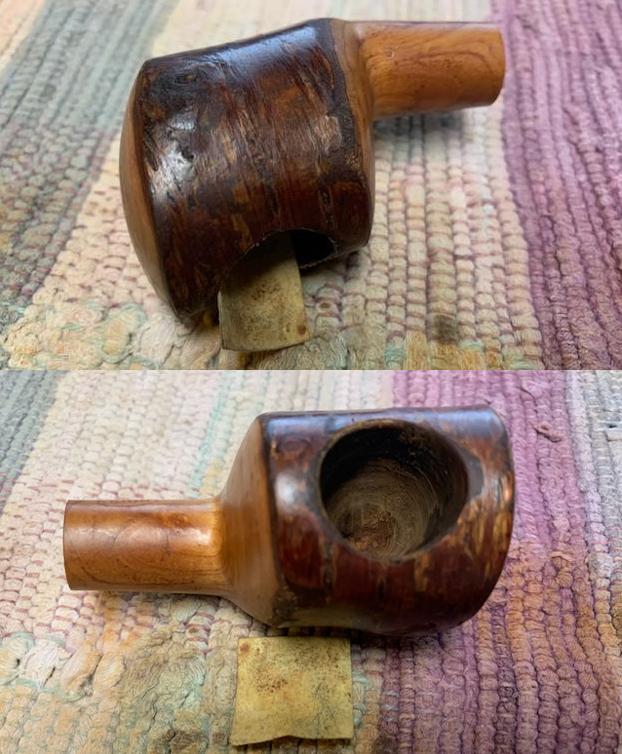
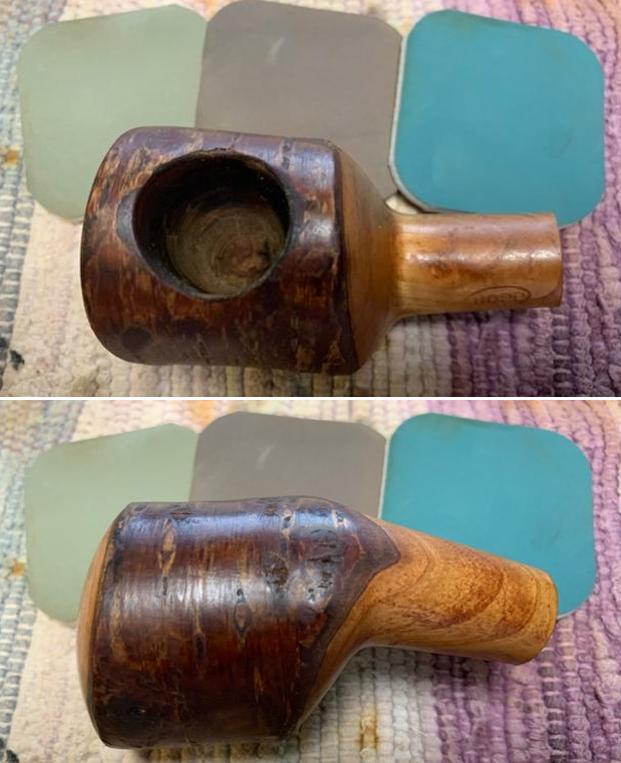
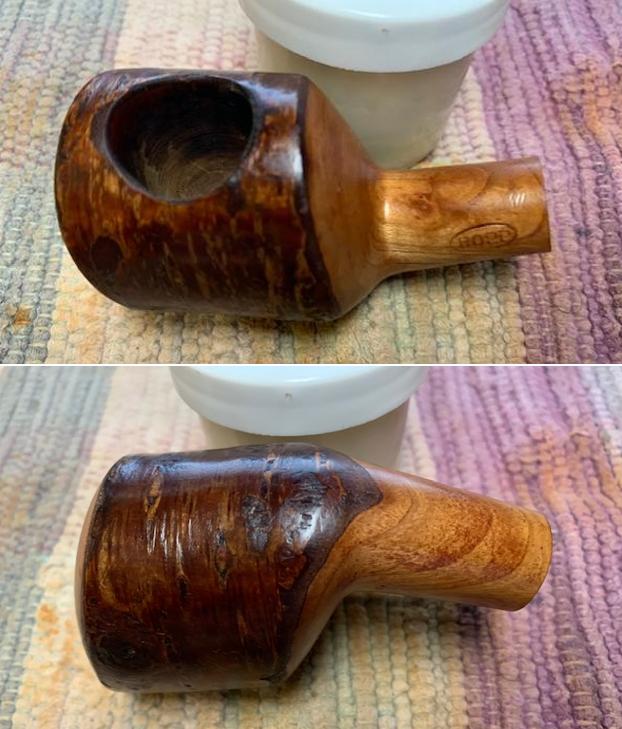
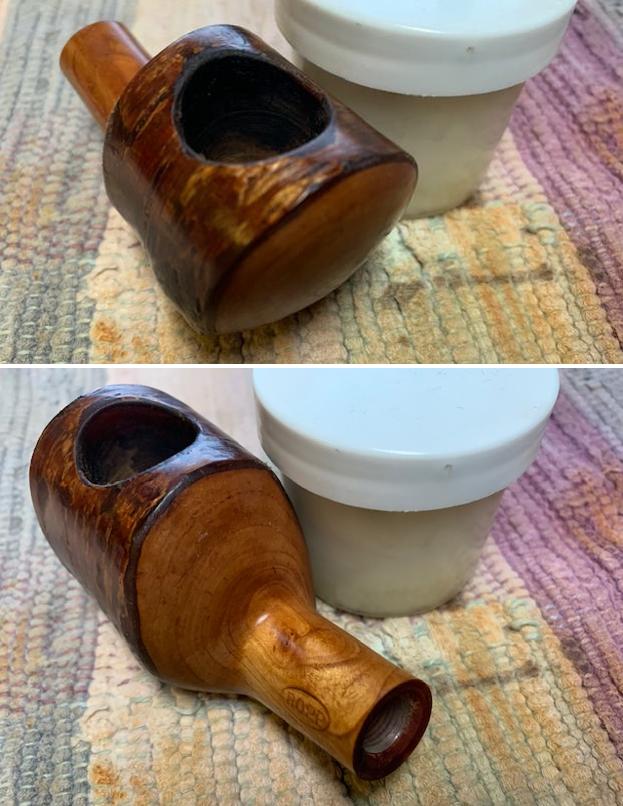
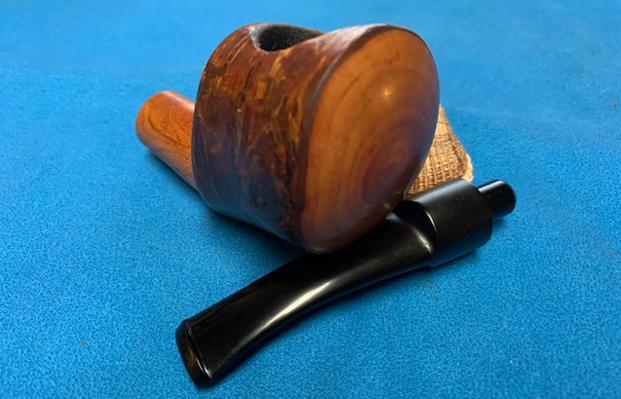
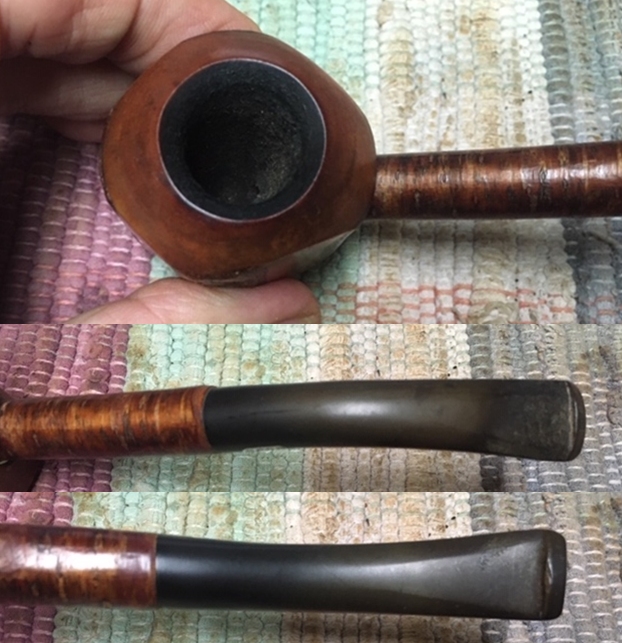
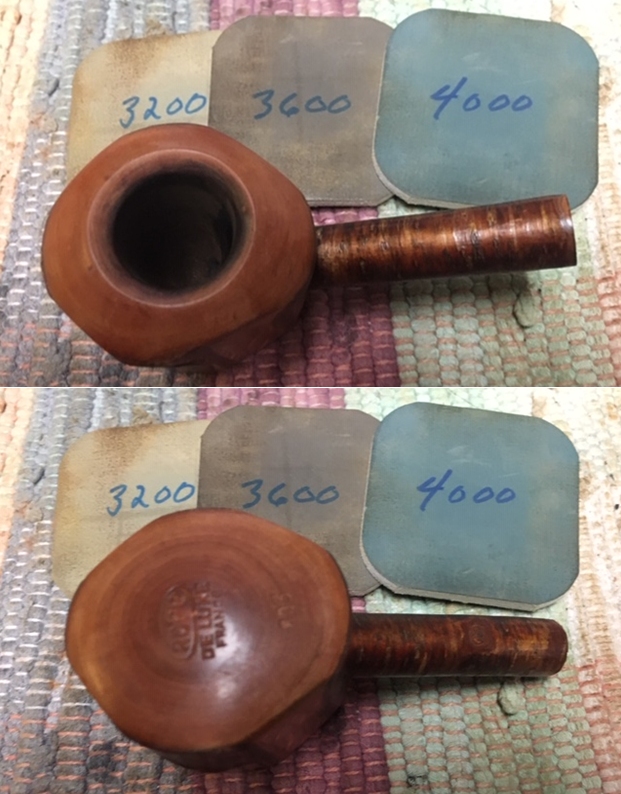
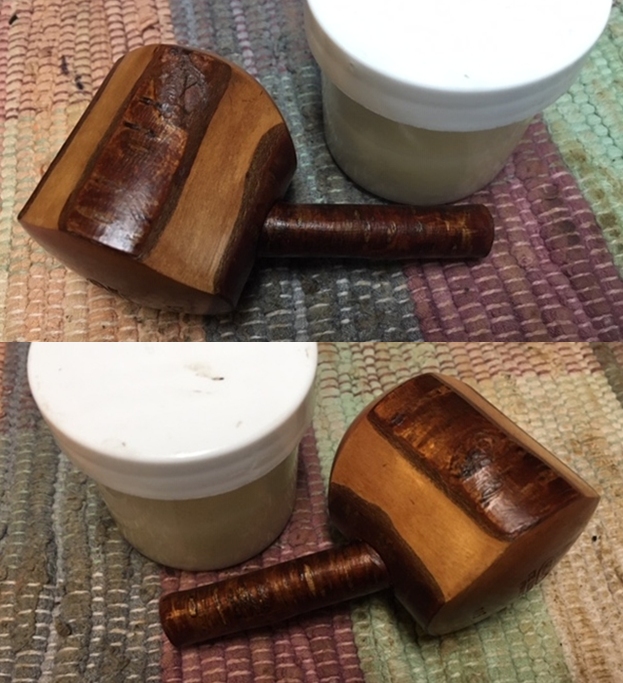
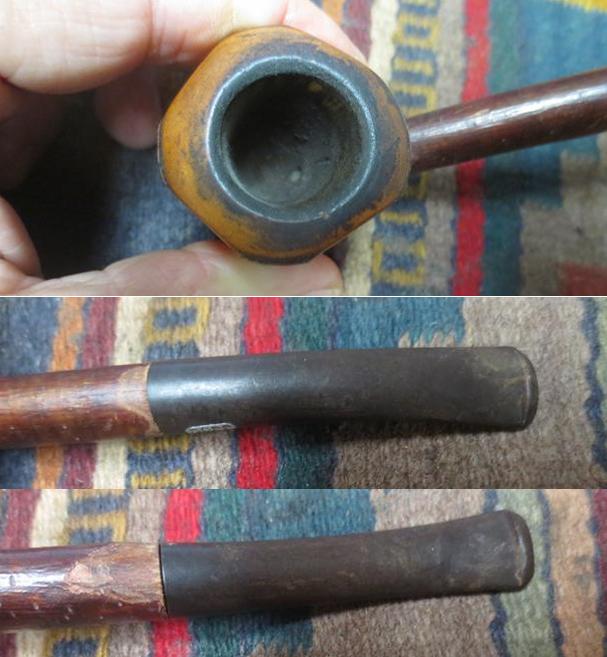
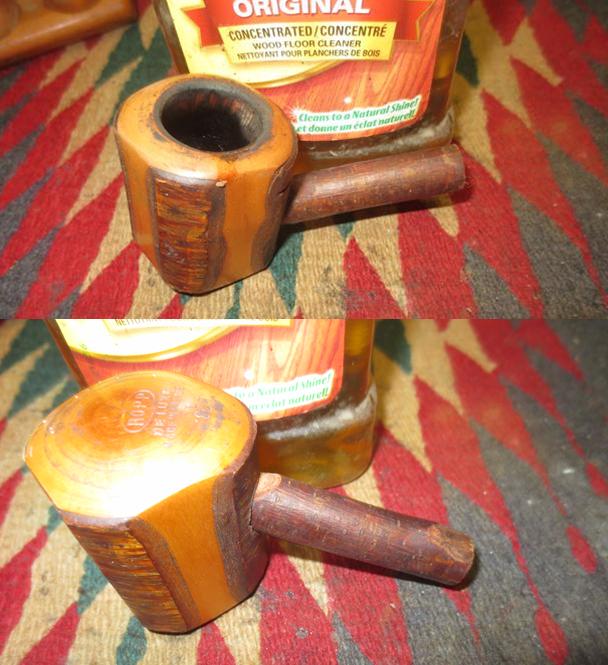
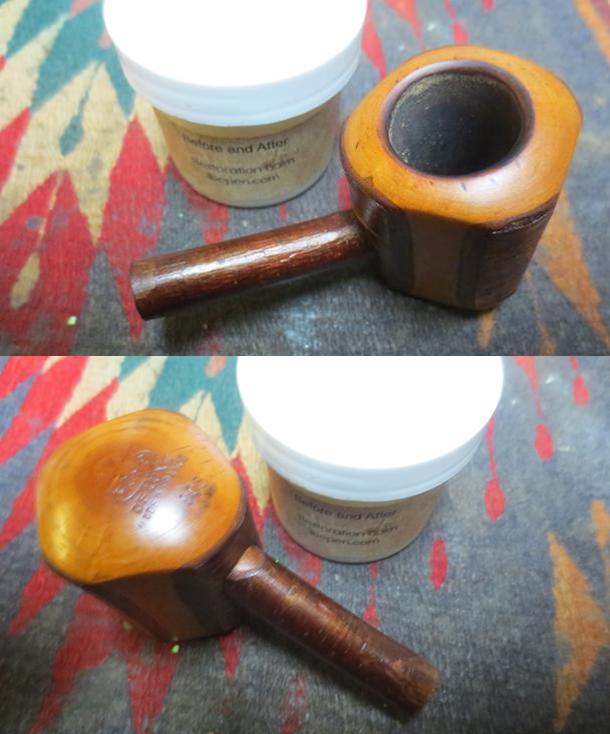
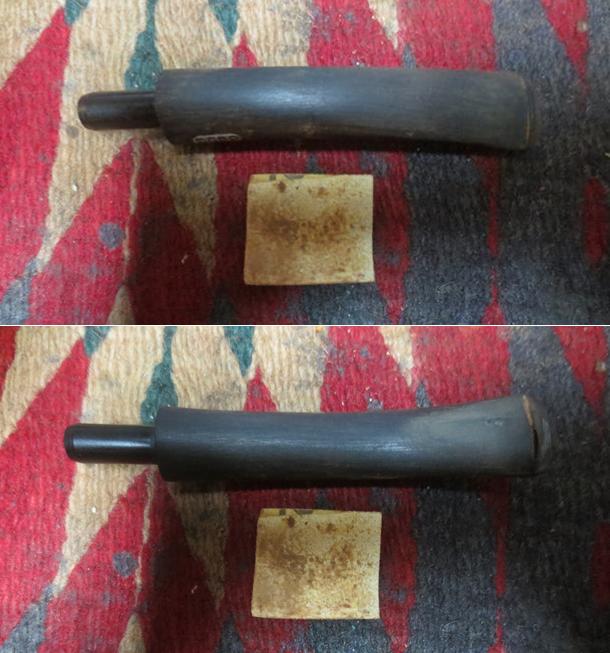
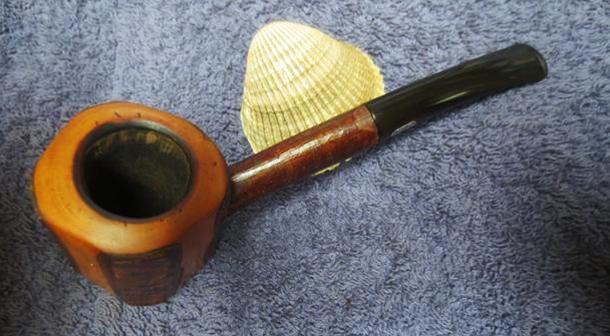
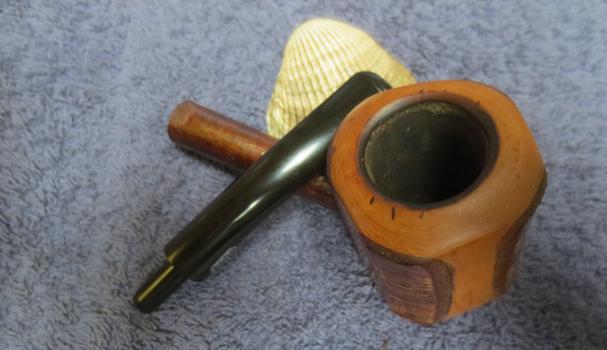
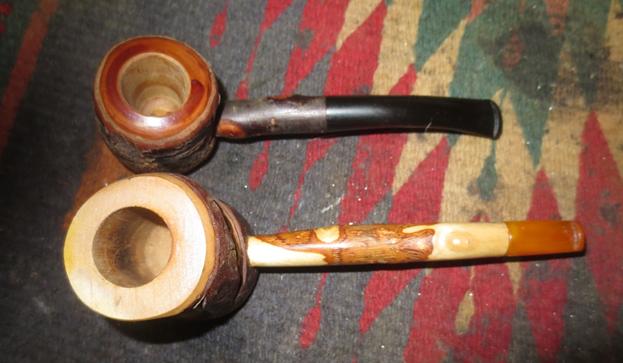
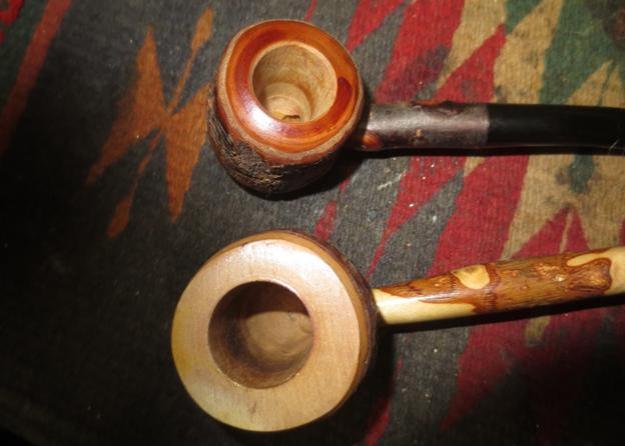
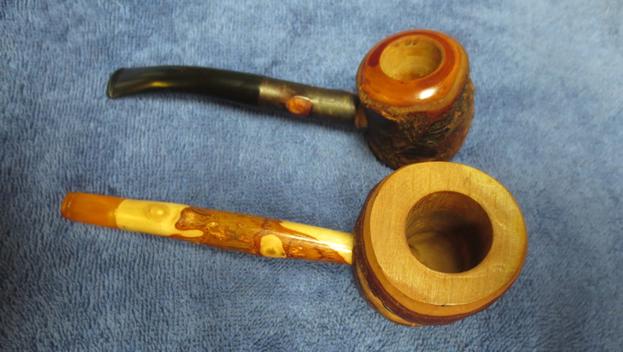
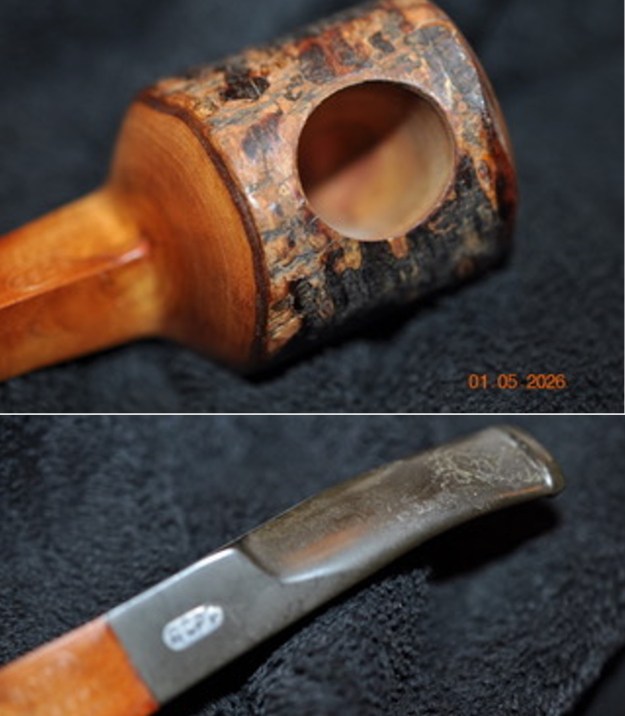
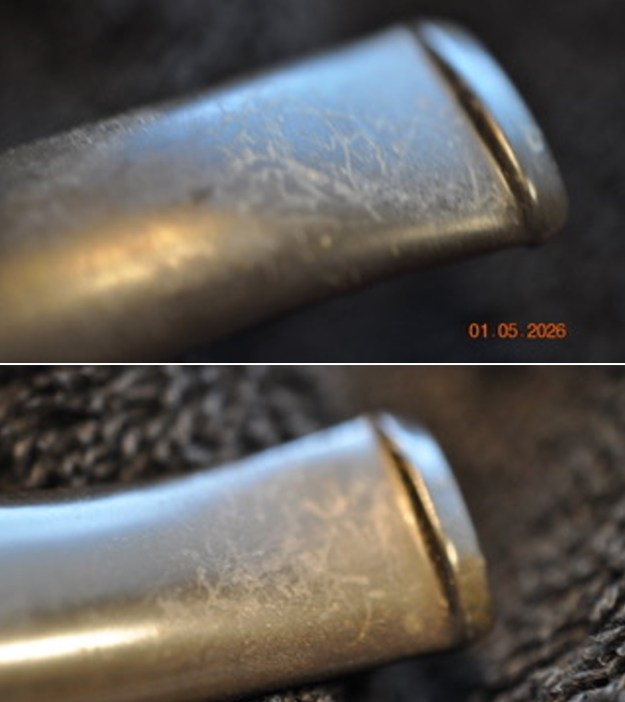
 Jeff took photos of the rim edges and top to show the damage that was there. The smooth and clean bowl and rim top are a gift of an unsmoked pipe. It is great to see. He took photos of the stem surface as well to show the condition as noted above.
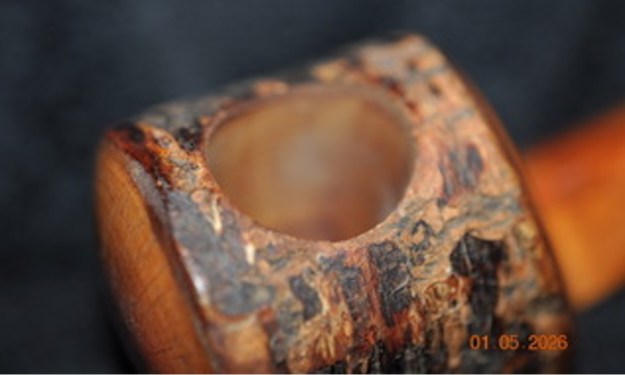
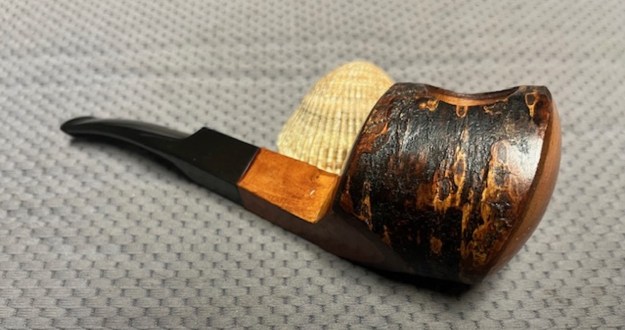
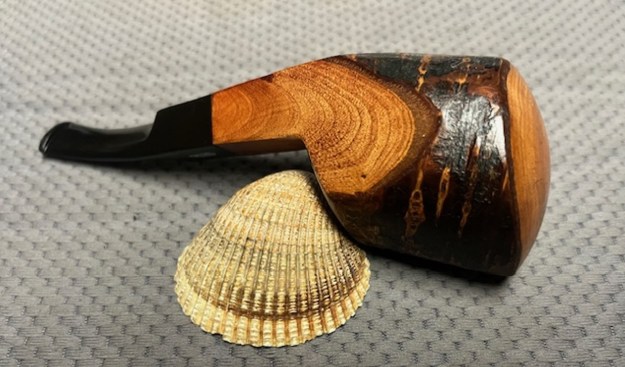
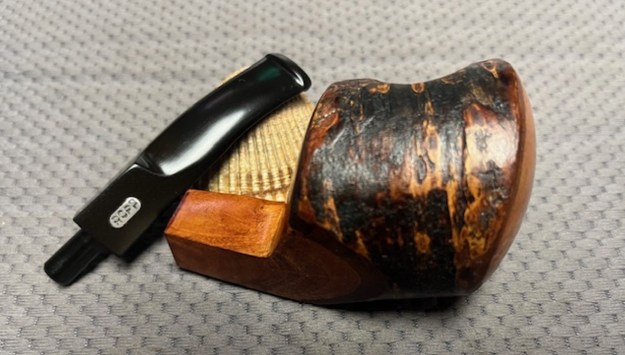
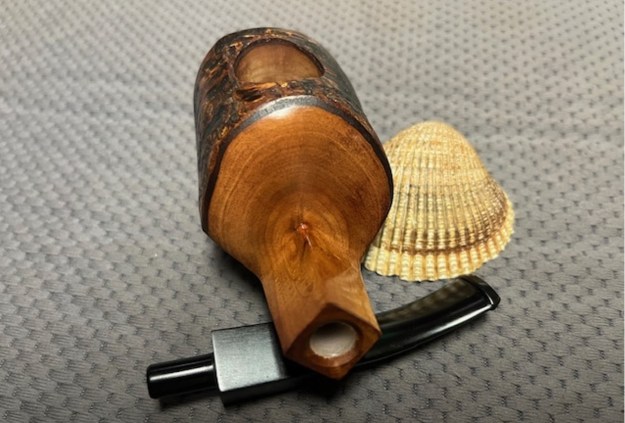
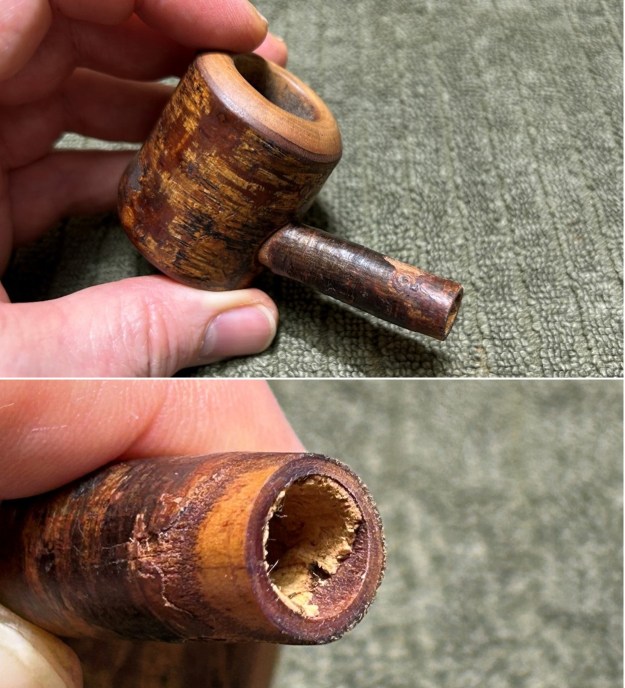
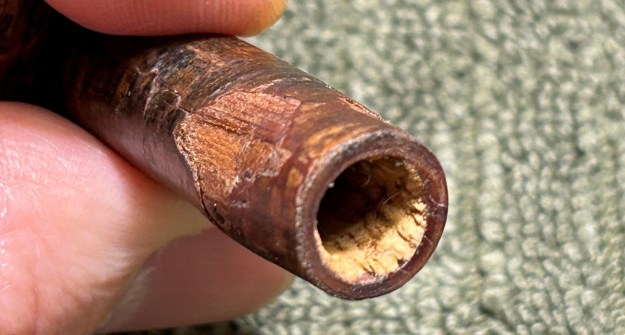
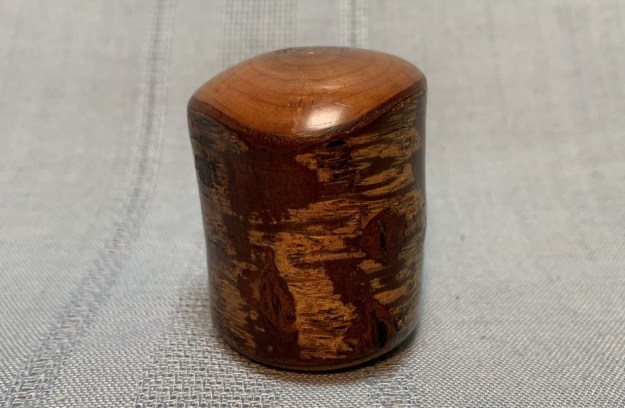
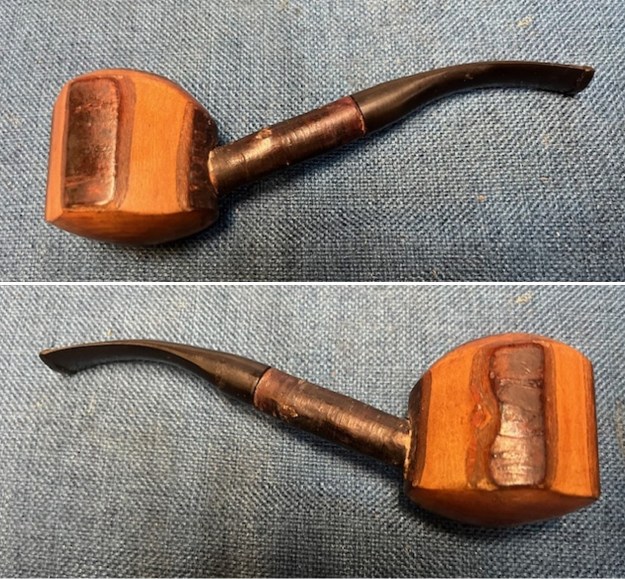
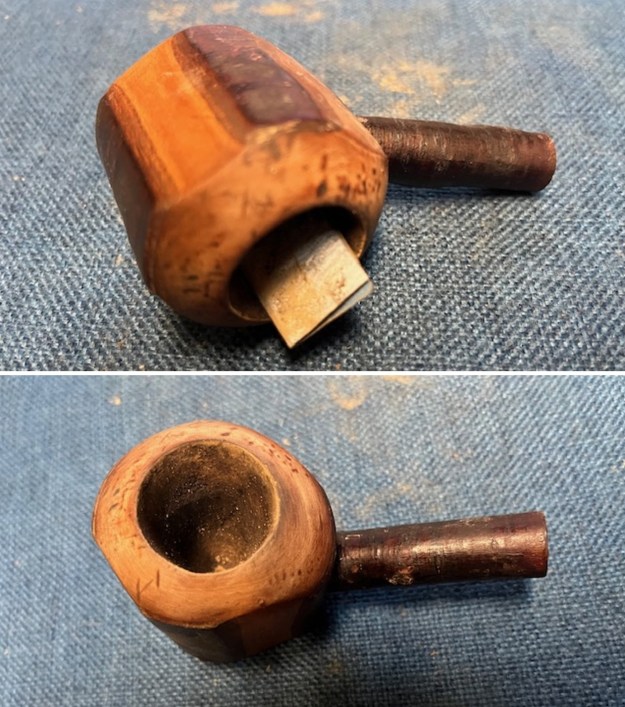
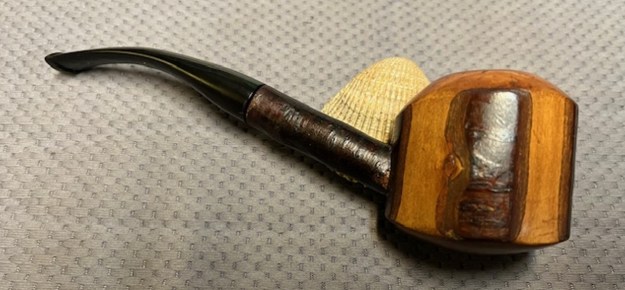
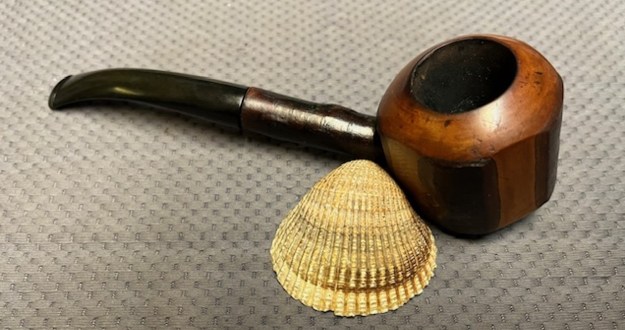
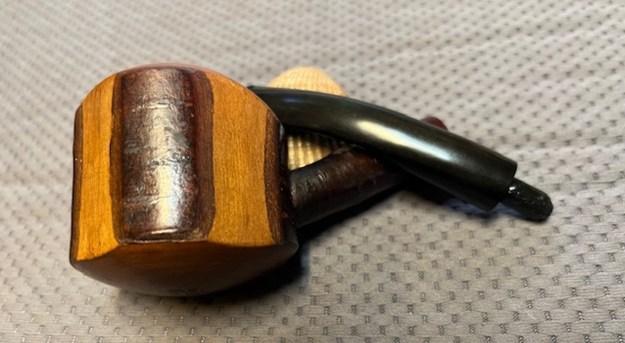
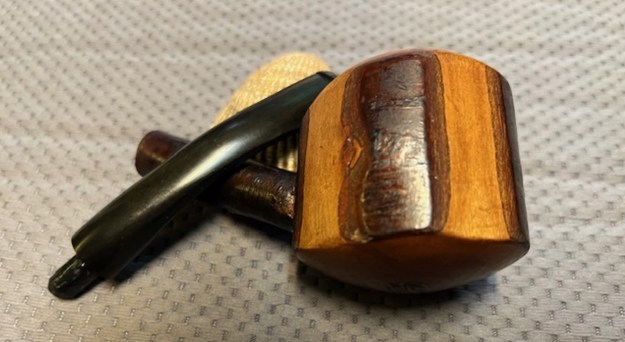
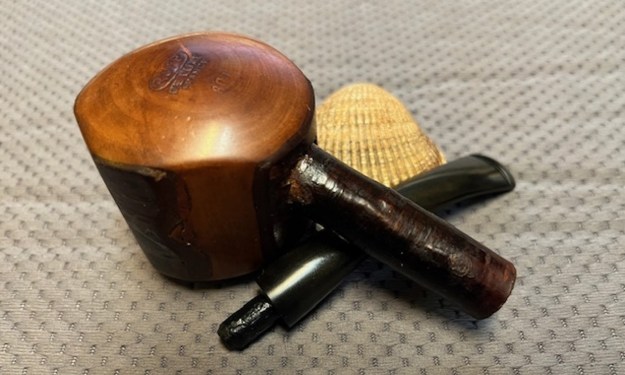
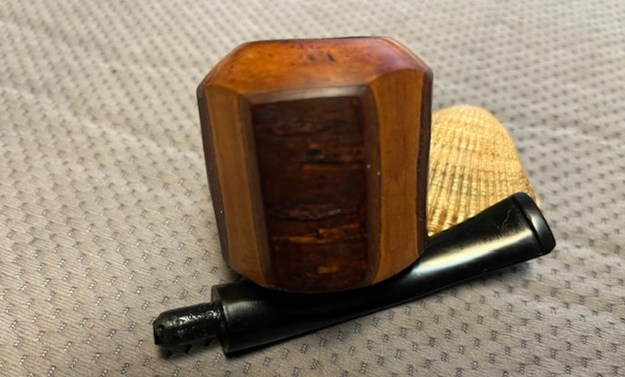
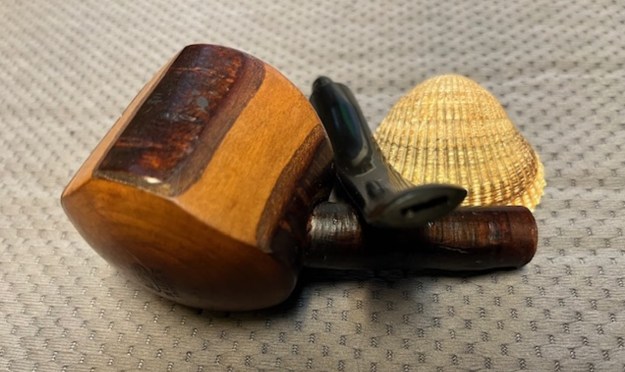
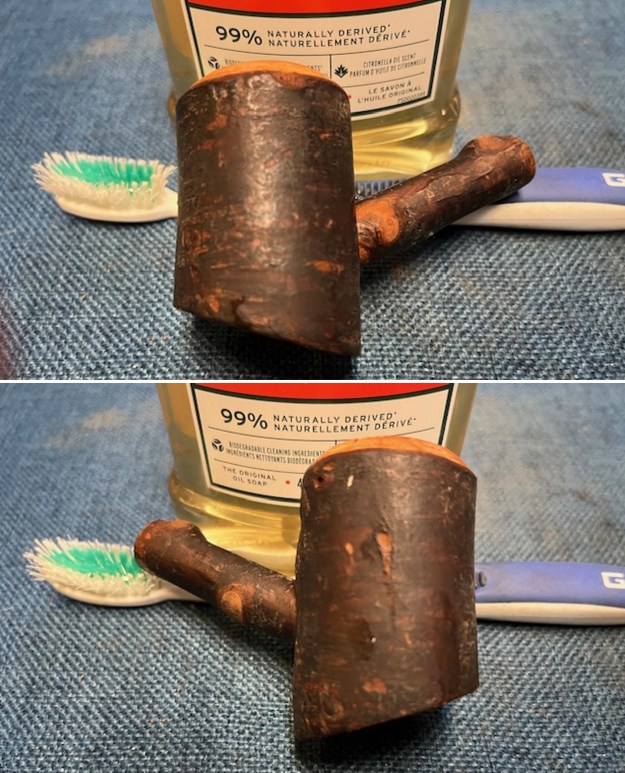
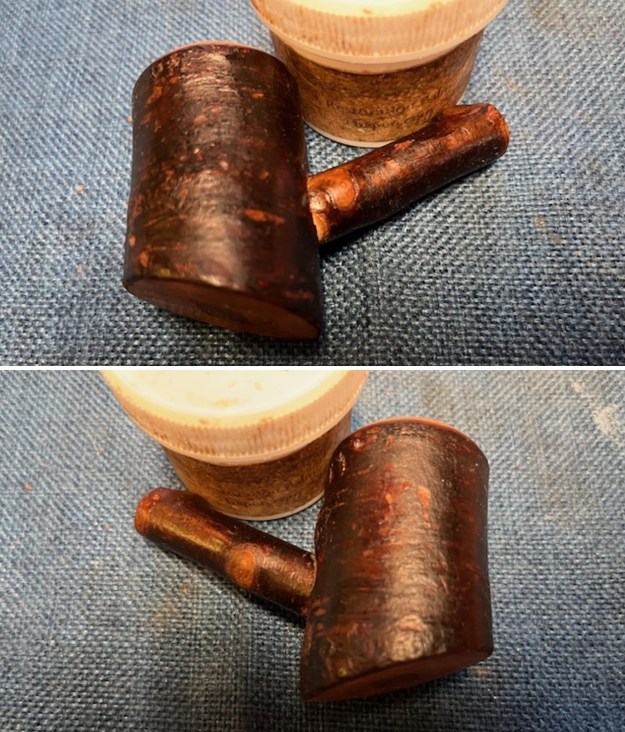
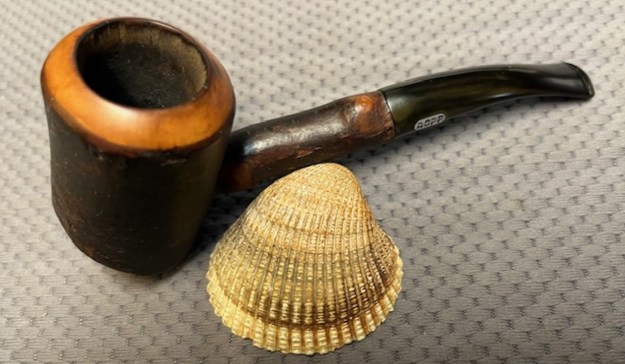
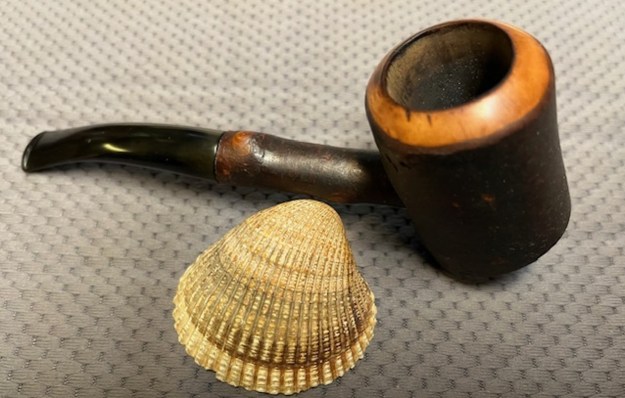
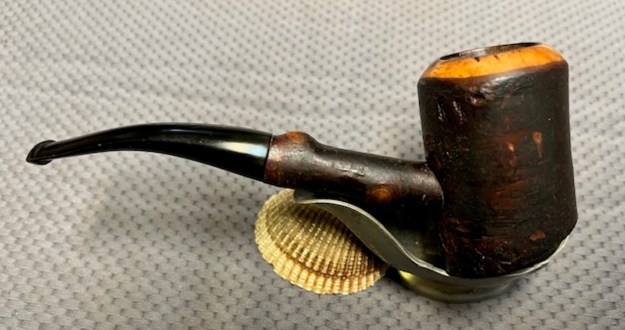
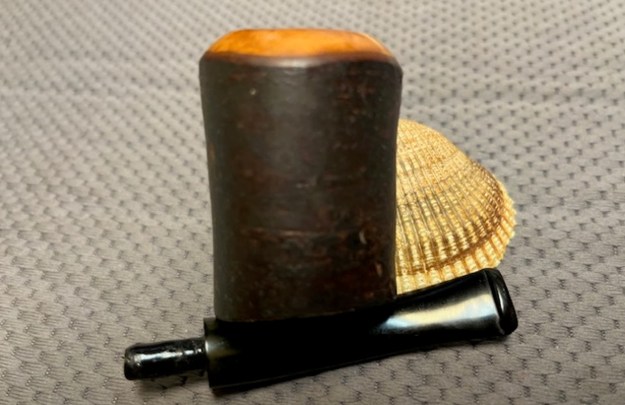
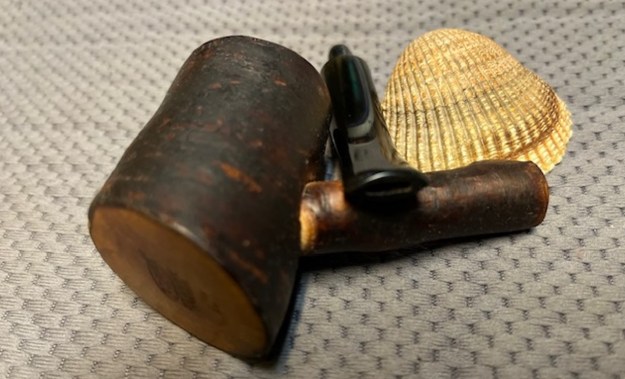
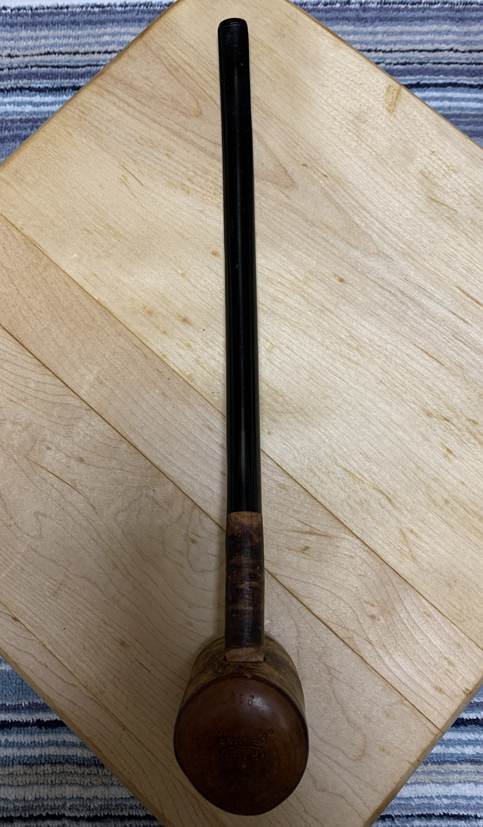
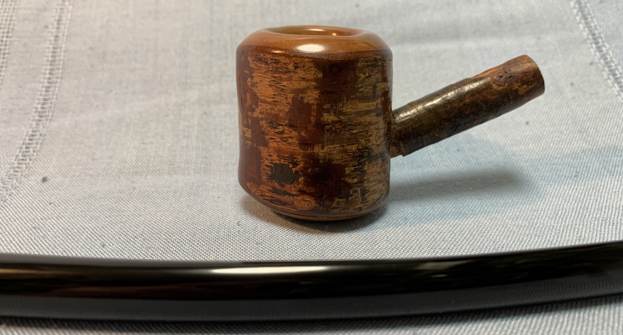
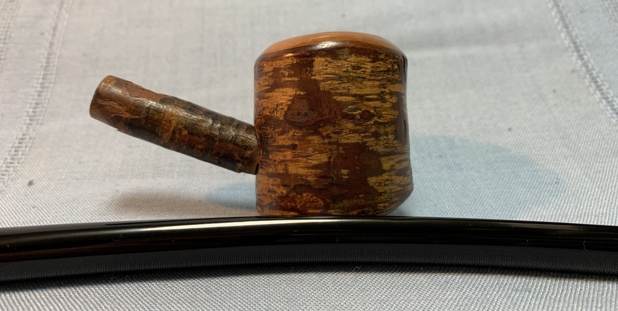
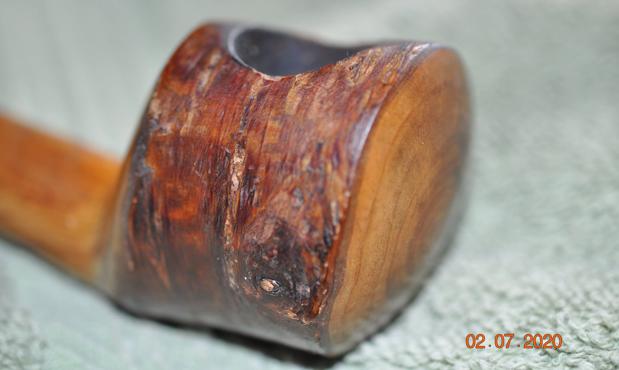
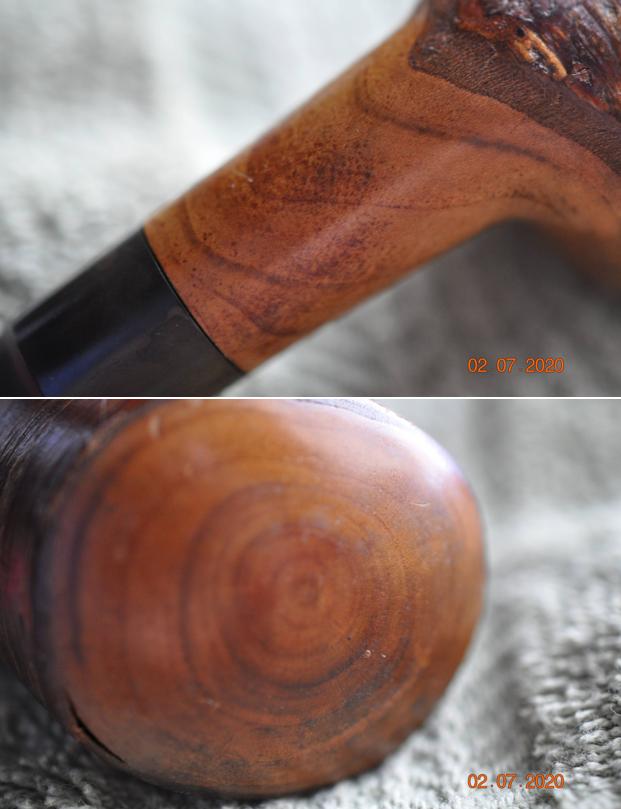
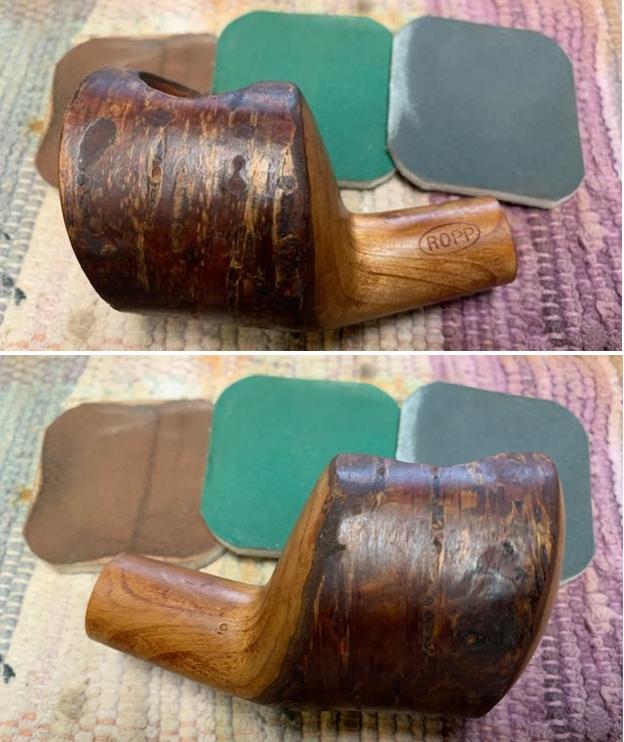
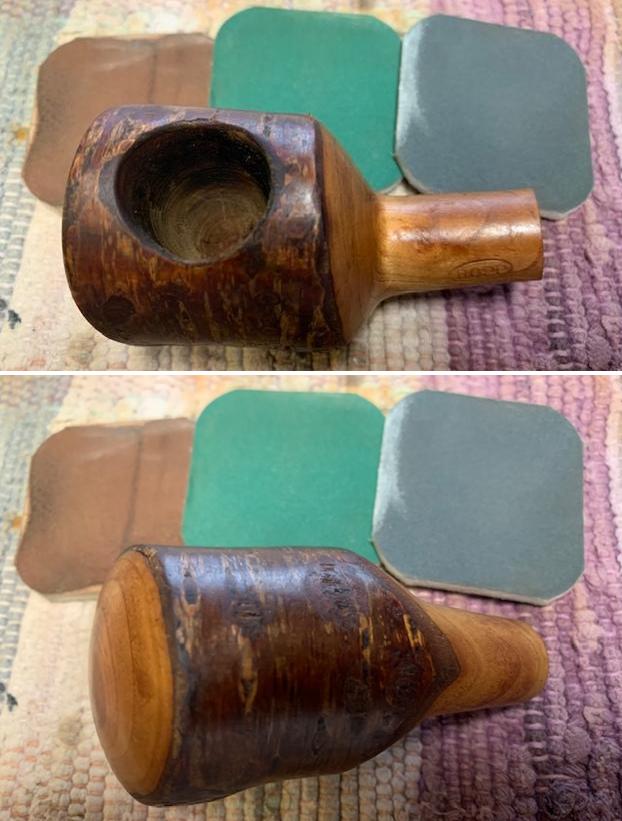
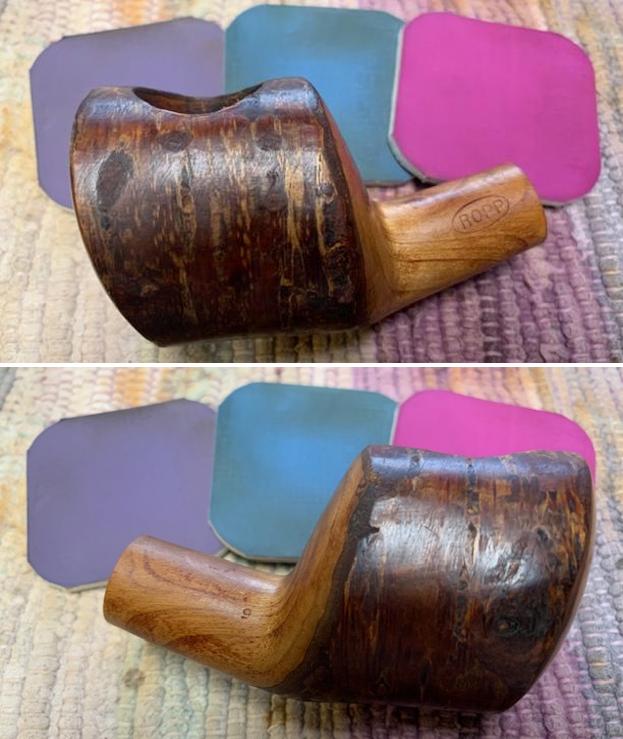
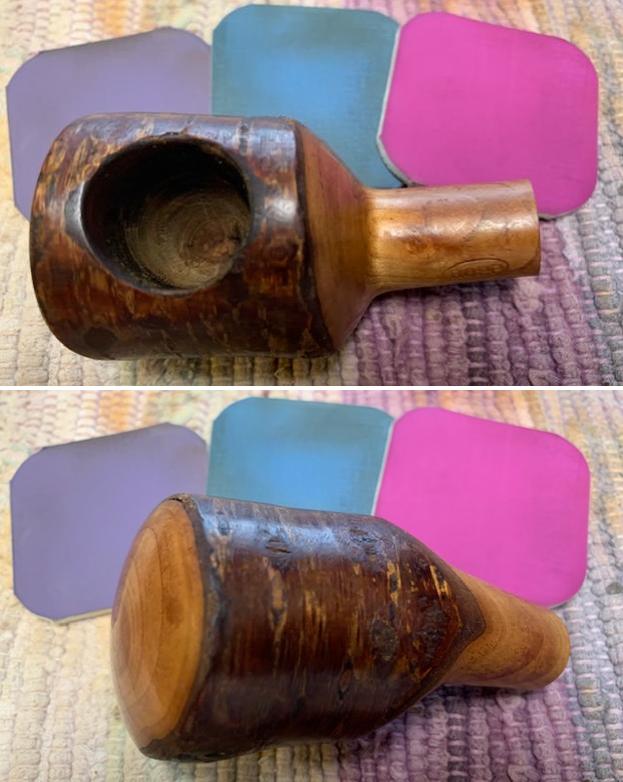
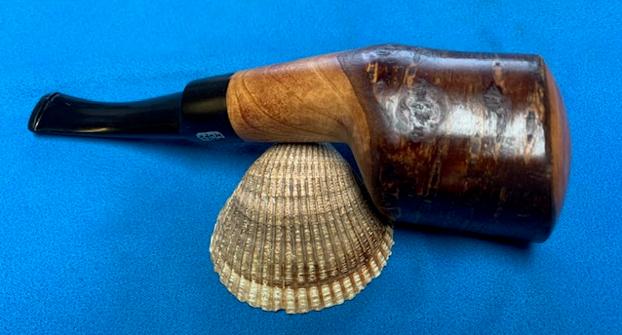
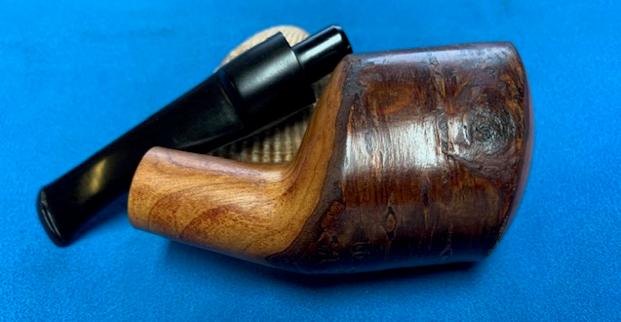
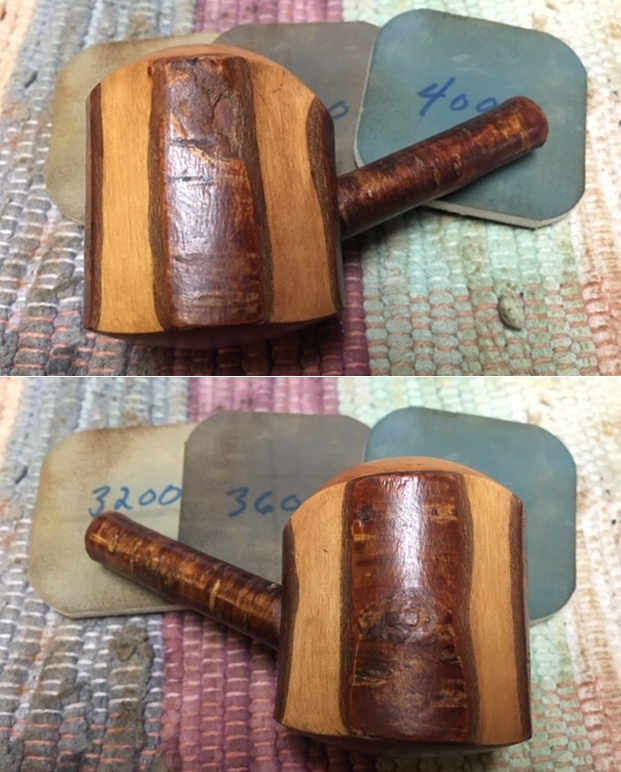
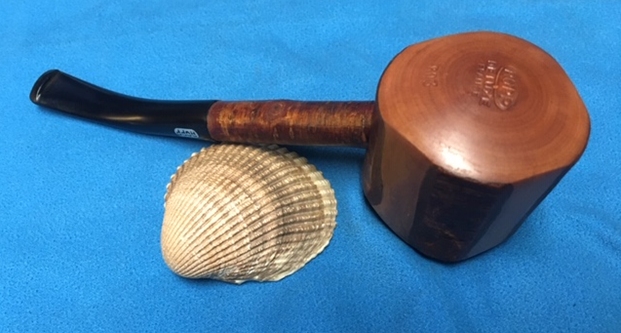
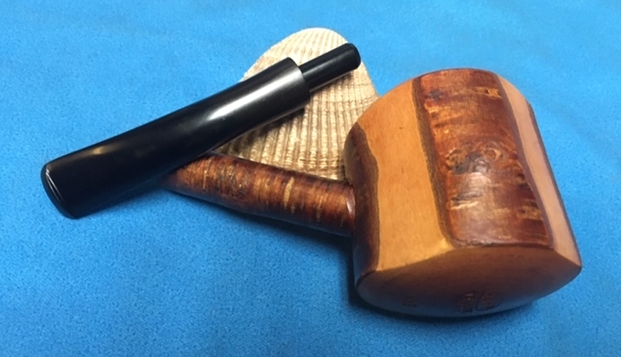
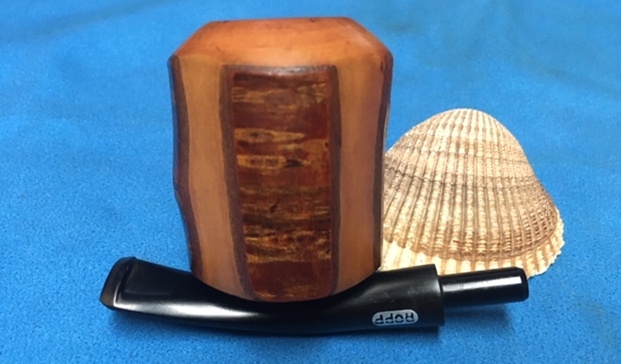
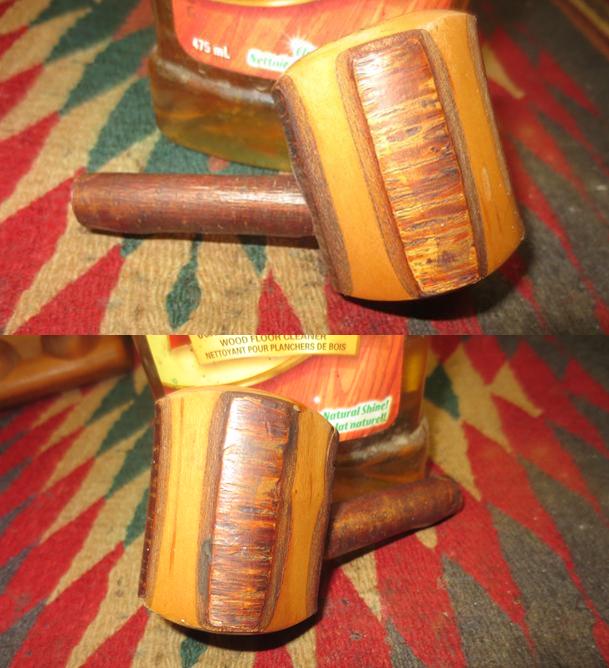
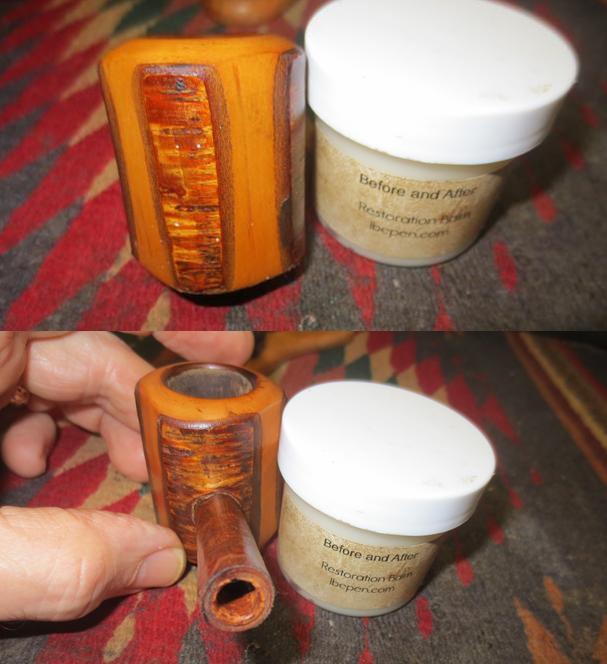
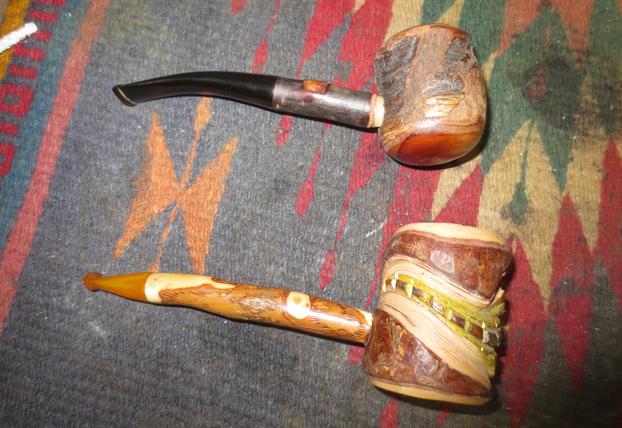
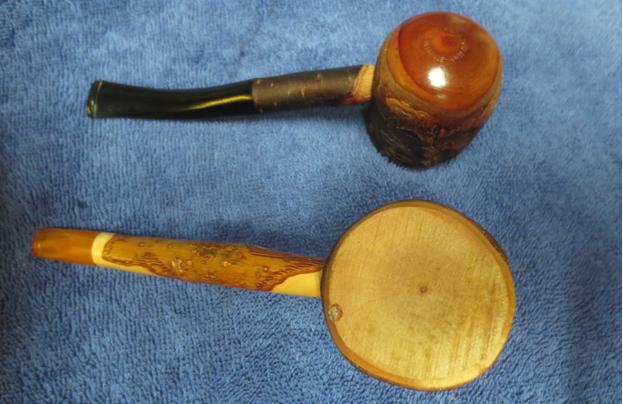
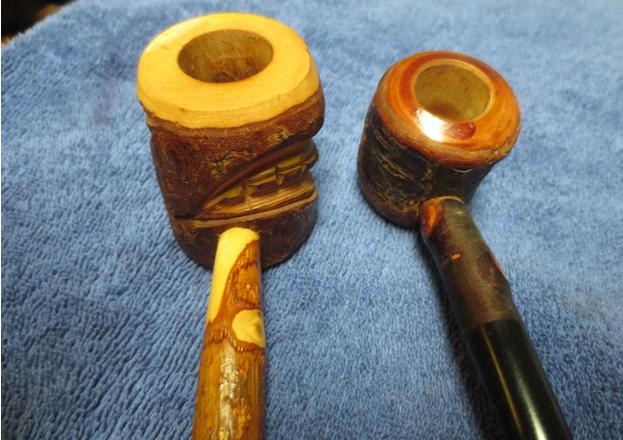
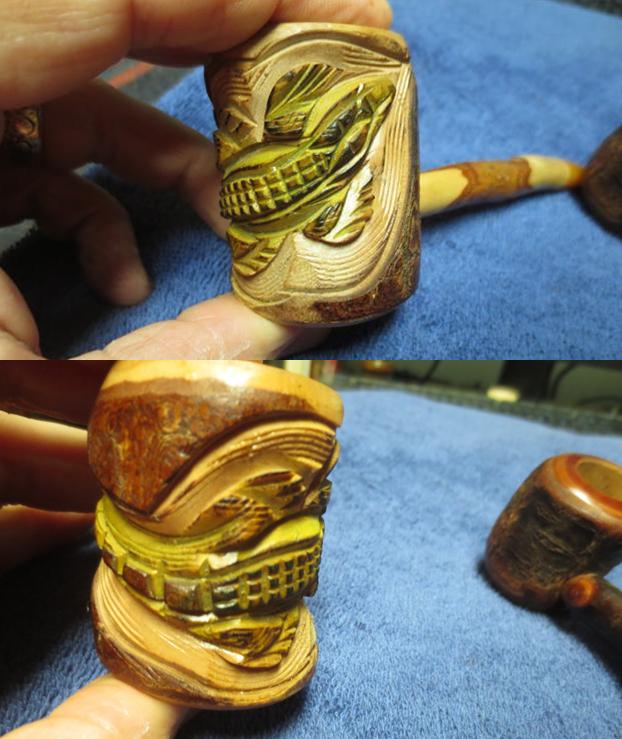
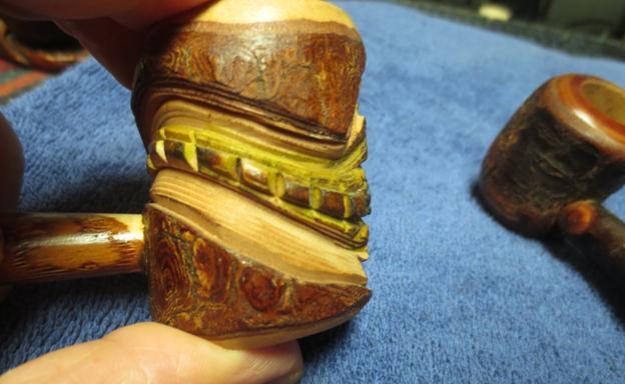
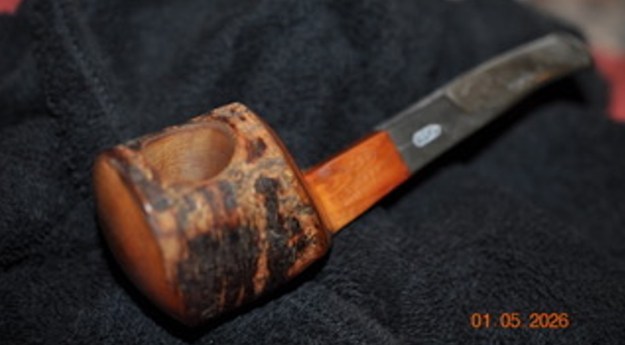
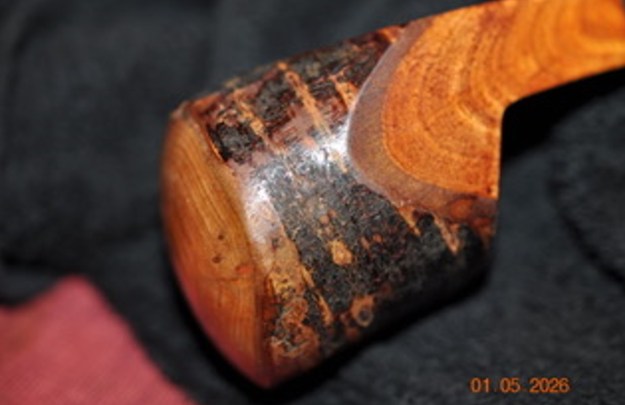
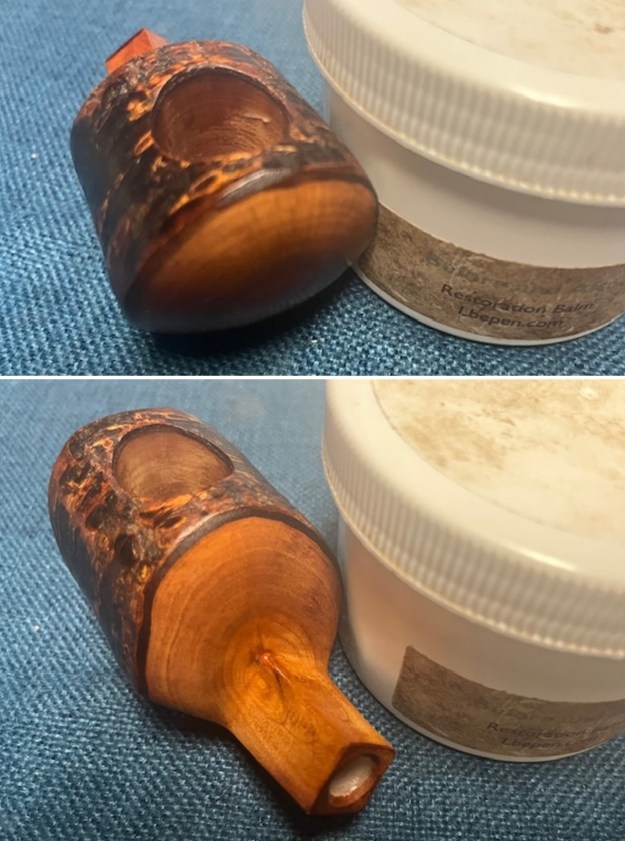
 Jeff took photos of the bowl sides, heel of the bowl and the shank to give a sense of the condition of the bark around the sides of the pipe. It is a unique one. You can see where the branches had been lopped off on both sides.
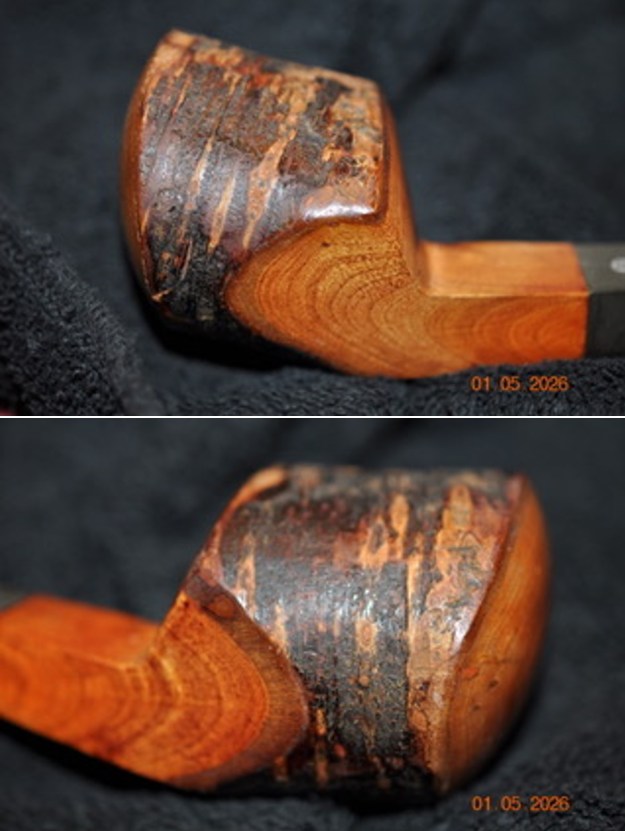
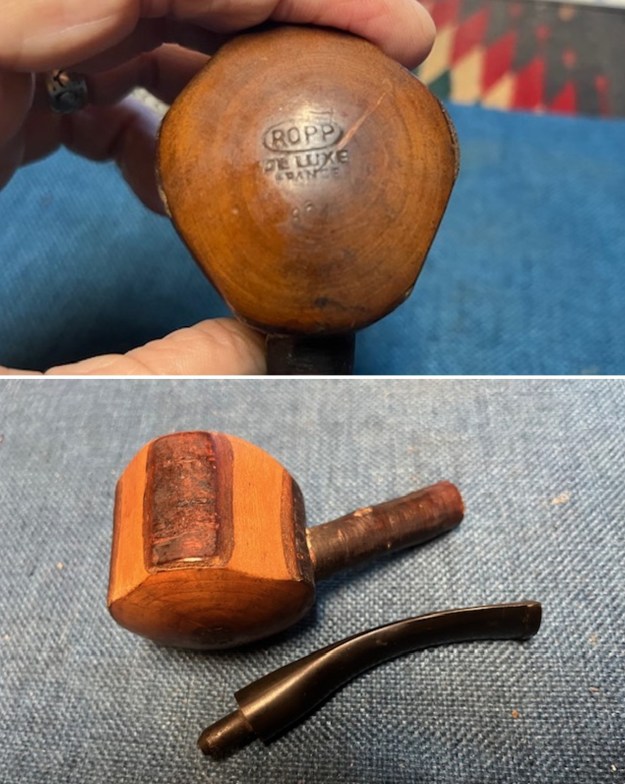
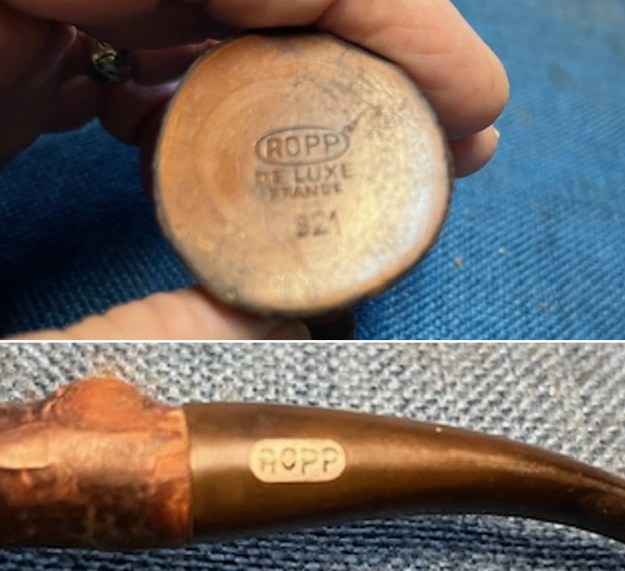
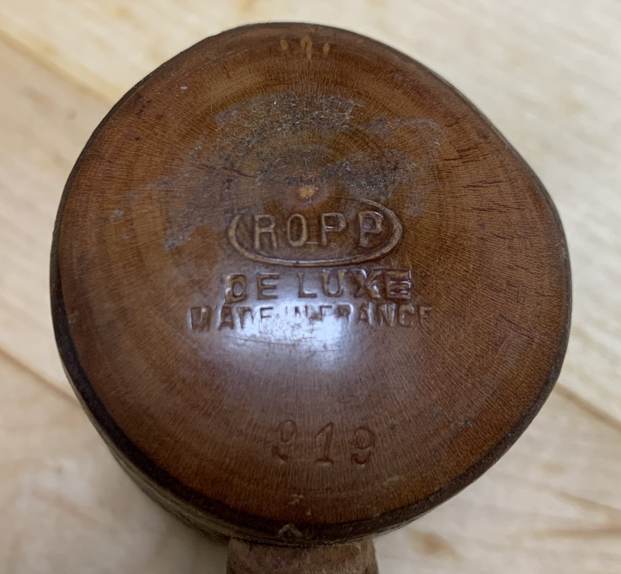
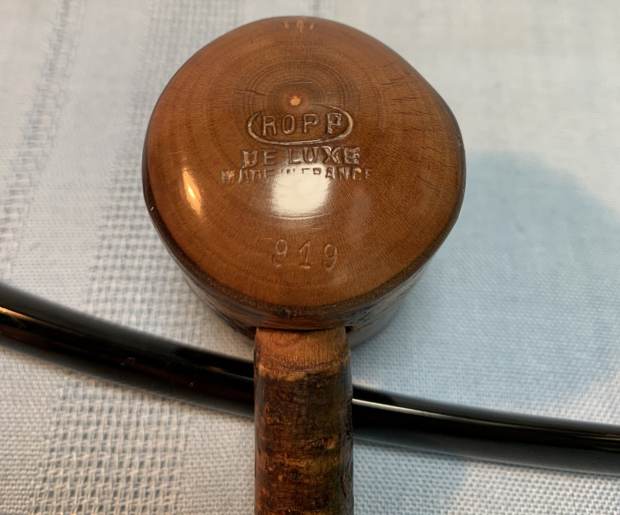
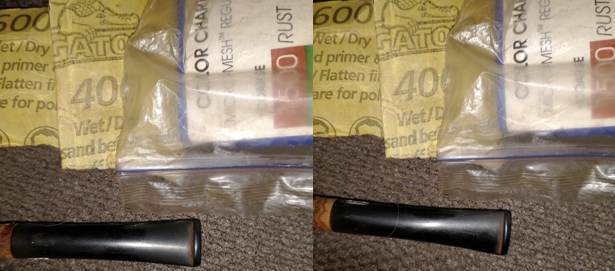
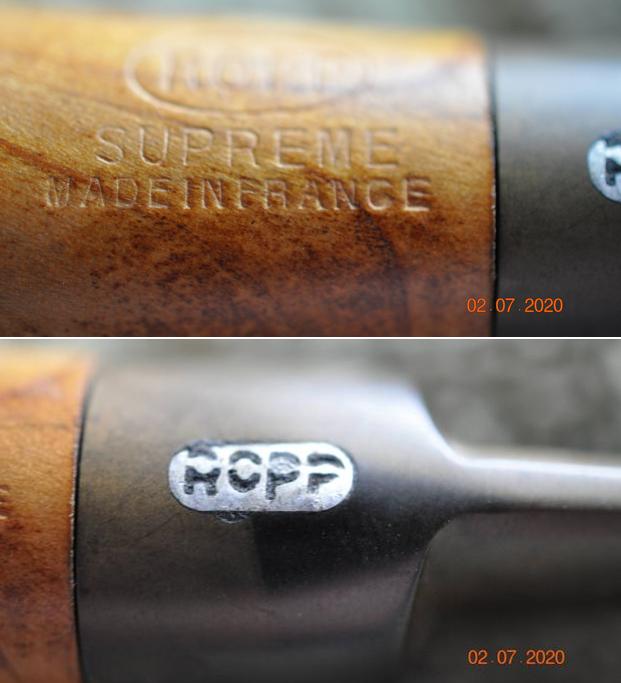
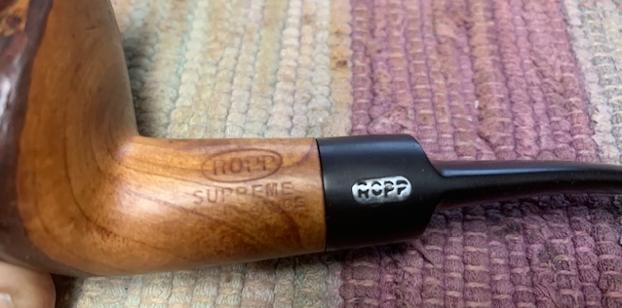
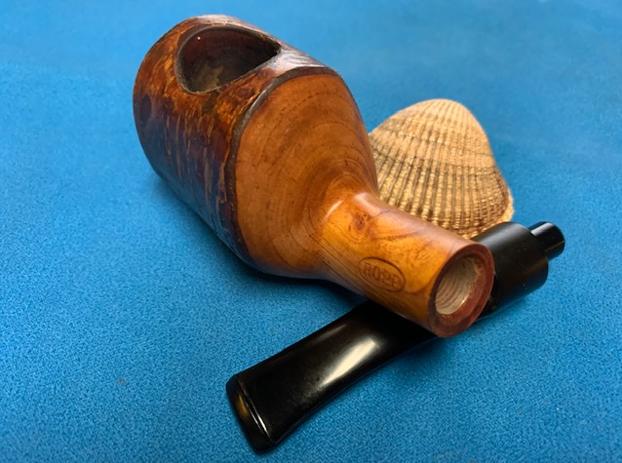
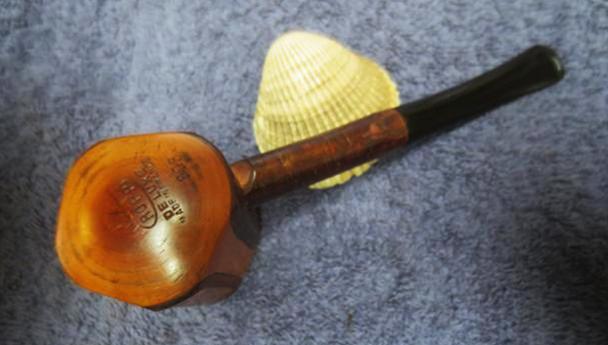
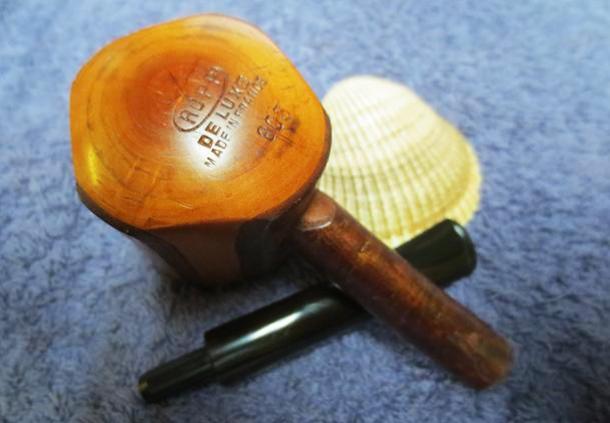
 He took a photo of the stamping on the left side of the shank and the inset Ropp oval logo on the left side of the stem. Both are readable and clear as noted above.
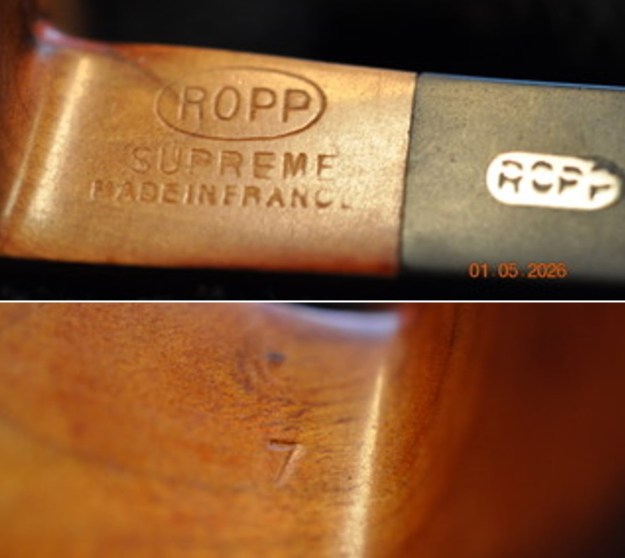 I turned to Pipephil (http://pipephil.eu/logos/en/logo-ropp.html) to get a bit more background on the brand before I did my work on the pipe. No matter how many I have worked on I seem to forget the history of the cherrywood pipes. I quote:
Brand created by Eugène-Léon Ropp (1830 – 1907) and continued throughout 3 generations. “GBA Synergie” run by Bernard Amiel (†2008) bought back Ropp in 1988 and owned it until 1991.The company was taken over by Cuty-Fort Entreprises (Chacom, Vuillard, Jean Lacroix…) in 1994.
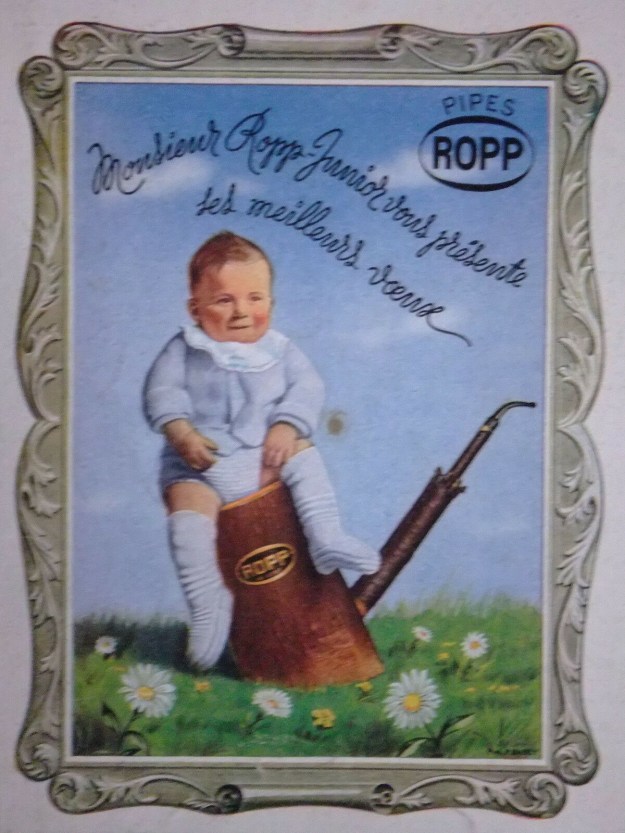
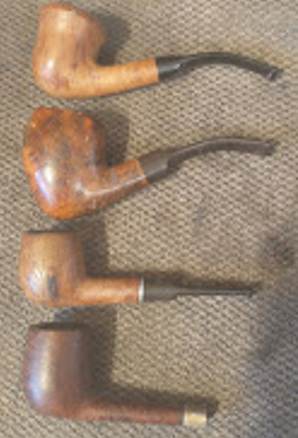
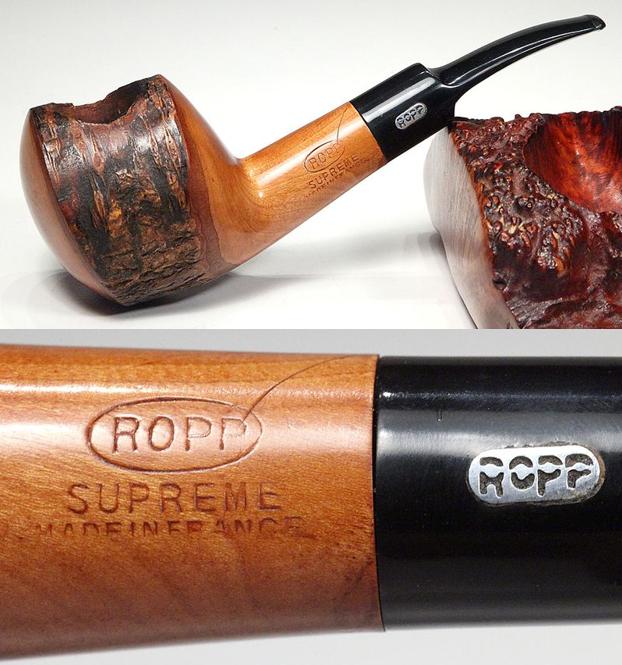
I have also included a screen capture of a Cherry wood pipe. The one I am working on is significantly different that this but it has the bark left on the pipe as noted below. Cherry wood pipe with bark. Ropp stamped a cursive R on the stems of some of their export pipes.
I turned to Pipedia for a bit more detailed history of the brand (https://pipedia.org/wiki/Ropp). I quote below.
Eugène-Léon Ropp (1830 – 1907) had acquired a patent for a cherrywood pipe (wild cherry, lat.: Prunus avium) in 1869. In 1870 he established a workshop to manufacture such pipes in Büssingen (Bussang, Vosges mountains). Around 1893 the business moved into the former mill of Sicard (part of the community of Baume-les-Dames – Département Doubs, Upper Burgundy – from 1895 on).
The pipes were a big success in the export as well. Shortly before 1914 Ropp designated A. Frankau & Co. (BBB) in to be the exclusive distributor in the UK and it’s colonies.
Probably in 1917 a workshop in Saint-Claude in the Rue du Plan du Moulin 8 was acquired to start the fabrication of briar pipes. In 1923 a small building in the environment of Saint-Claude, serving as a workshop for polishing, was added.
Even though cherrywood pipes were the mainstay of Ropp until the company finally closed down in September 1991. The company was taken over by Cuty-Fort Entreprises (Chacom, Jeantet, Vuillard, Jean Lacroix…) in 1994.
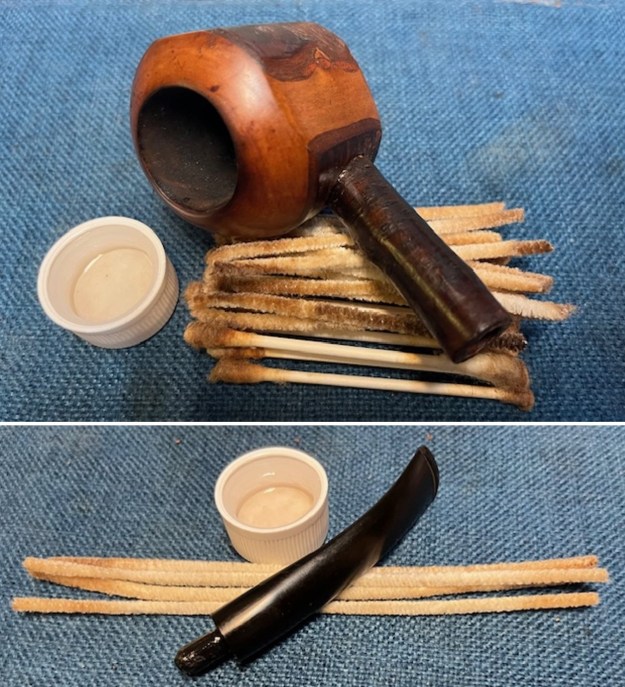
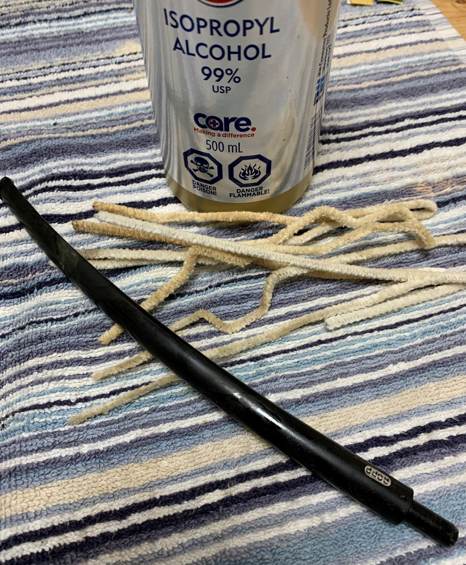
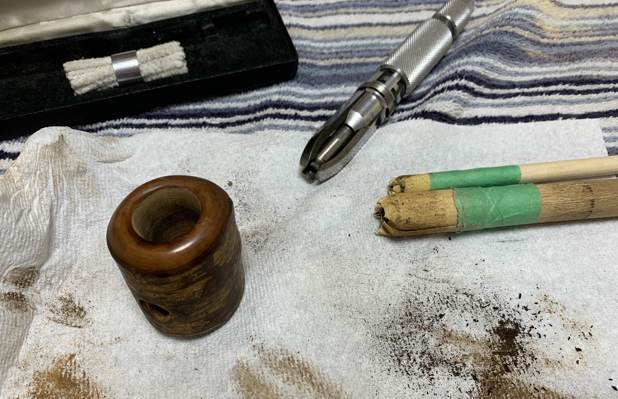
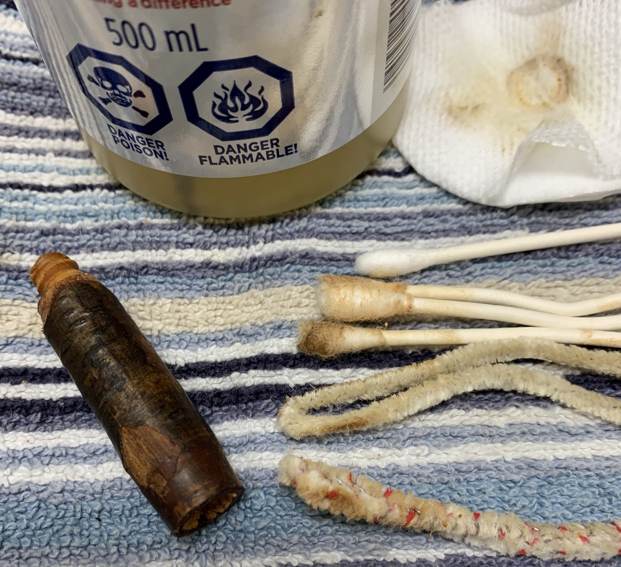
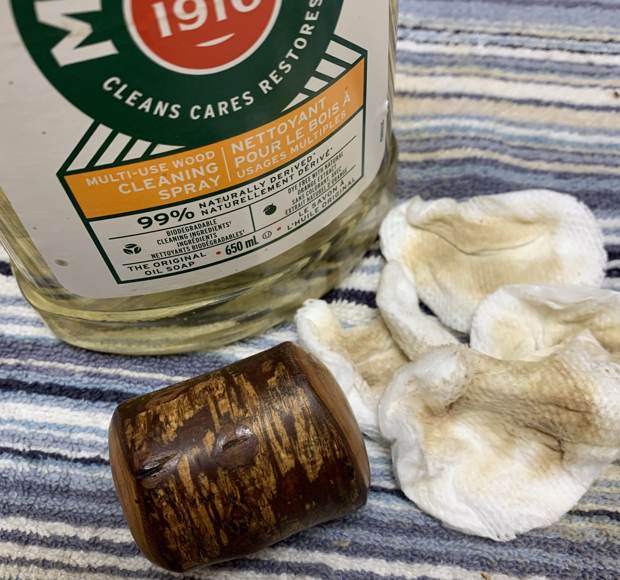
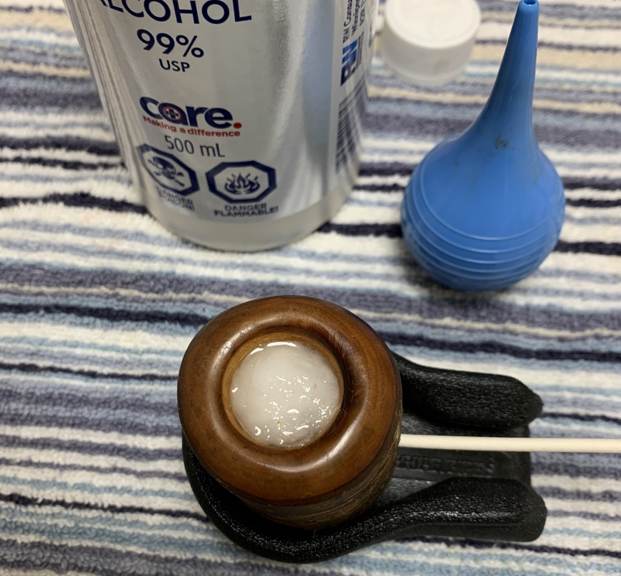
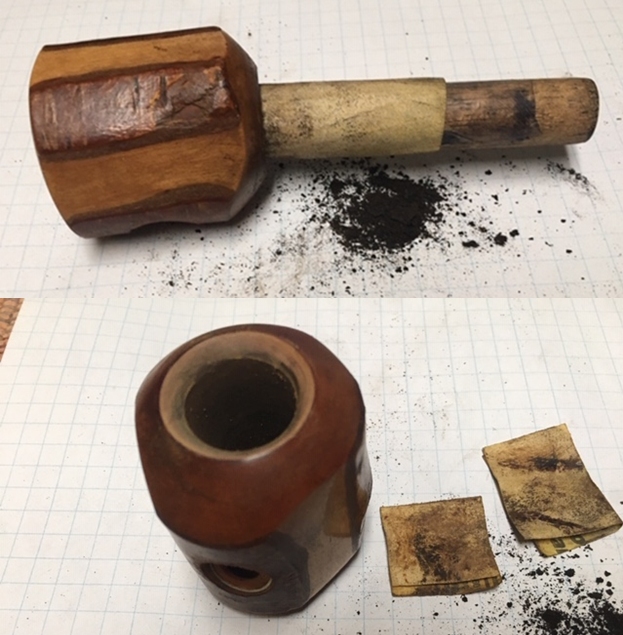
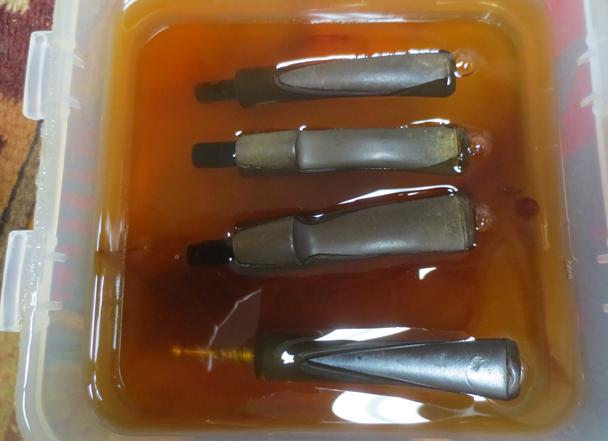
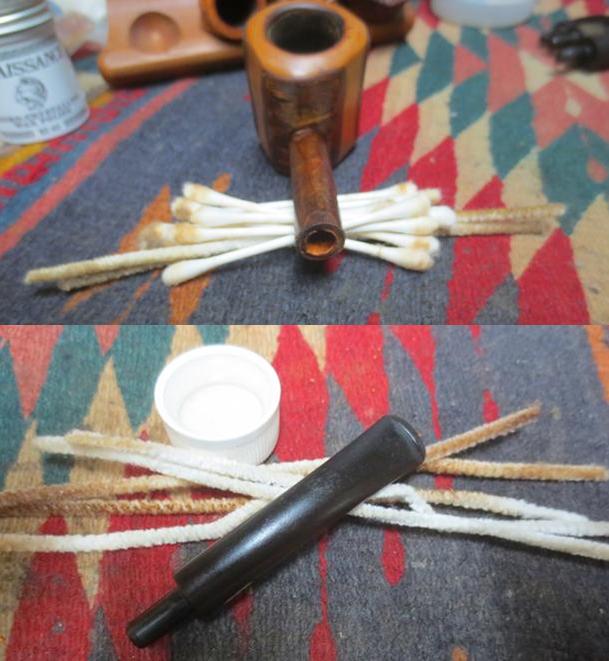
There was also a photo of the Ropp Supreme pipe that was remarkably similar to the one that I was working on. I have included that photo as well as the photo of the stamping below.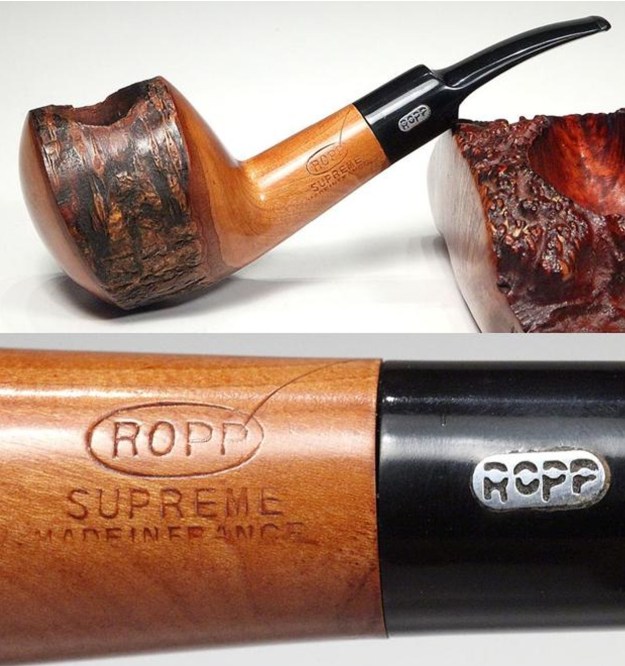 Reminded about the background on the Ropp Family and their Cherrywood pipes it was now time to turn to the pipe itself and do my part of the work. Jeff had done a thorough cleanup on the pipe. He carefully cleaned the exterior of the bowl, rim, shank and stem with a tooth brush and Murphy’s Oil Soap to remove the grime on the finish of the bowl. He scrubbed out the mortise and the airway in the shank and the stem with alcohol, cotton swabs and pipe cleaners. He rinsed it under running water. He dried it off with a soft cloth. He cleaned the internals and externals of the stem with alcohol, pipe cleaners and cotton swabs. He scrubbed the exterior of the stem with Soft Scrub and a cotton pad. Once finished he soaked the stem in Briarville’s Pipe Stem Deoxidizer and rinsed it off with warm water and cleaned out the airway in the stem with alcohol. Other than the damaged rim top the pipe looked good.
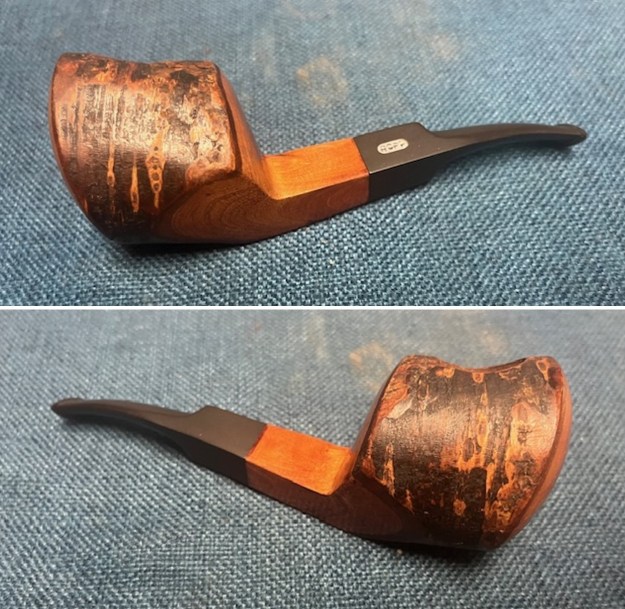
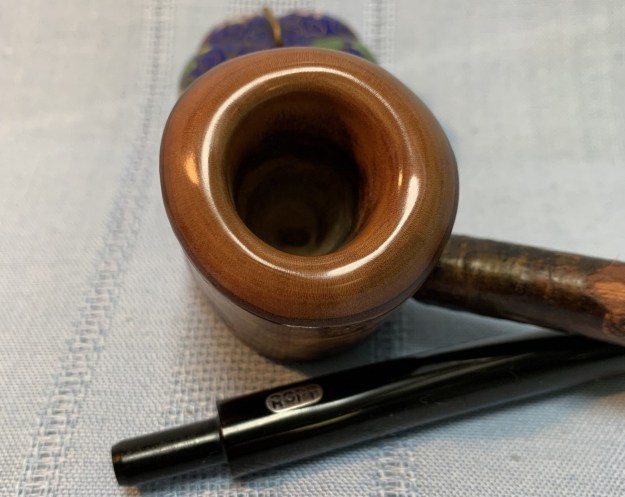
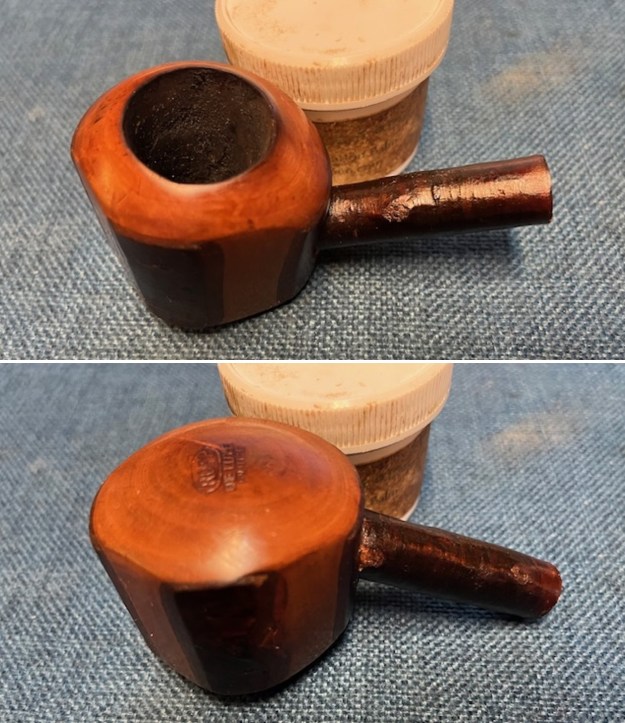
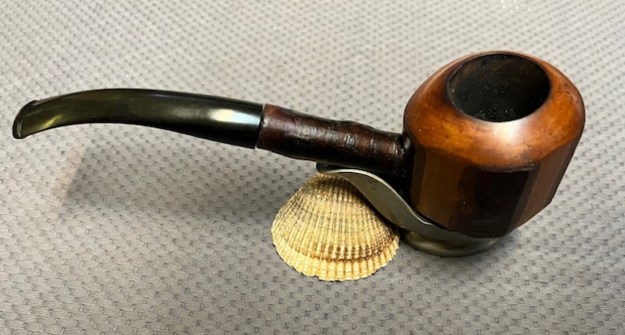
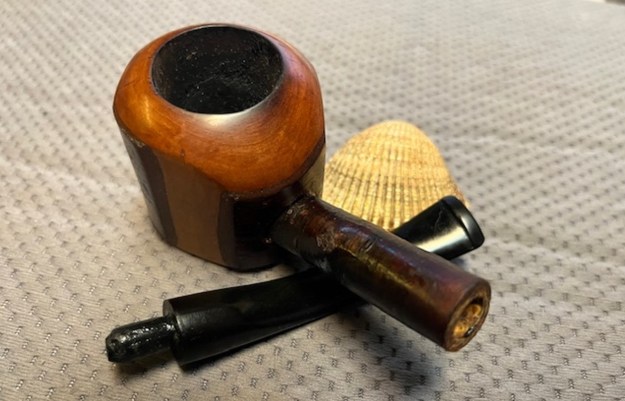
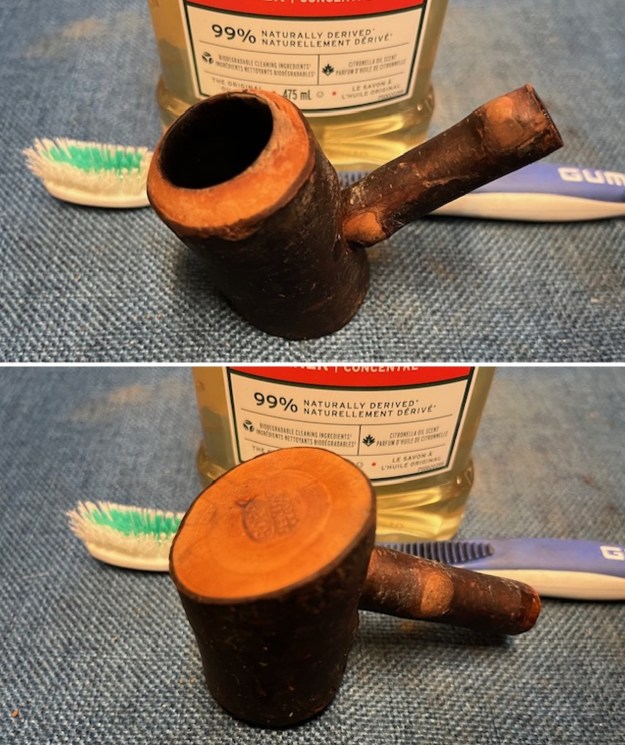
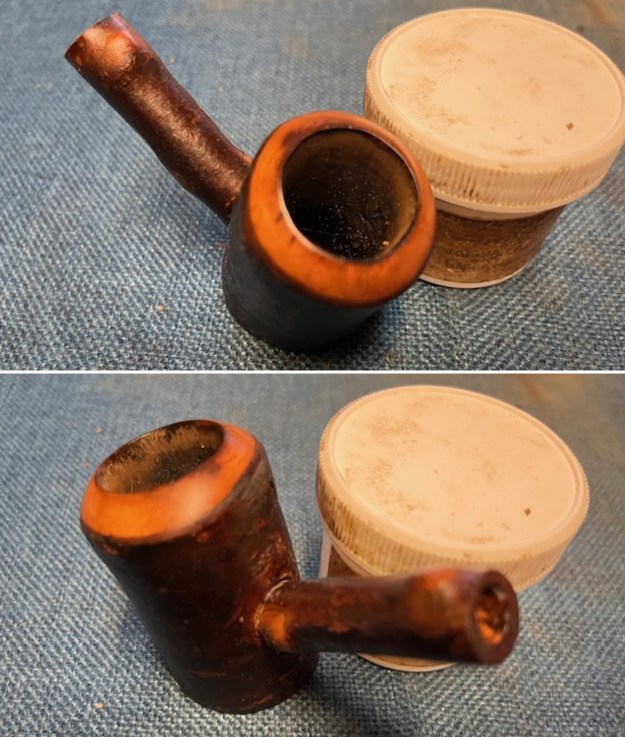
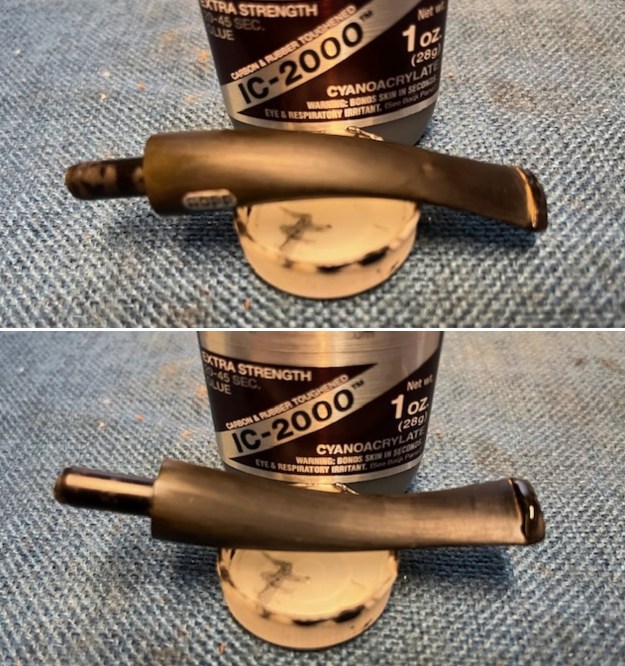
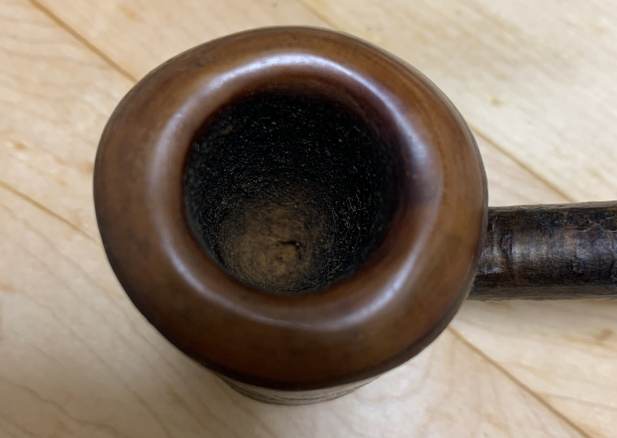
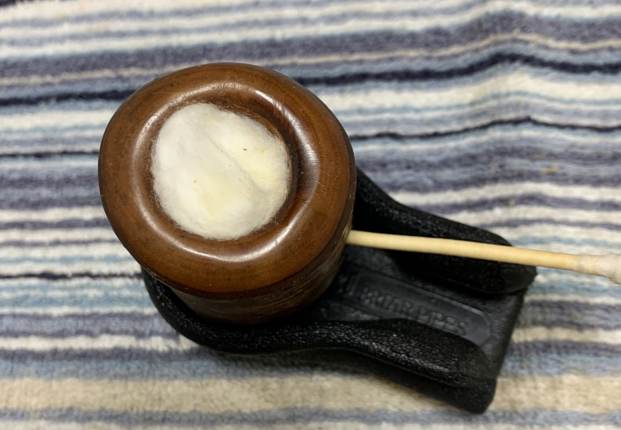
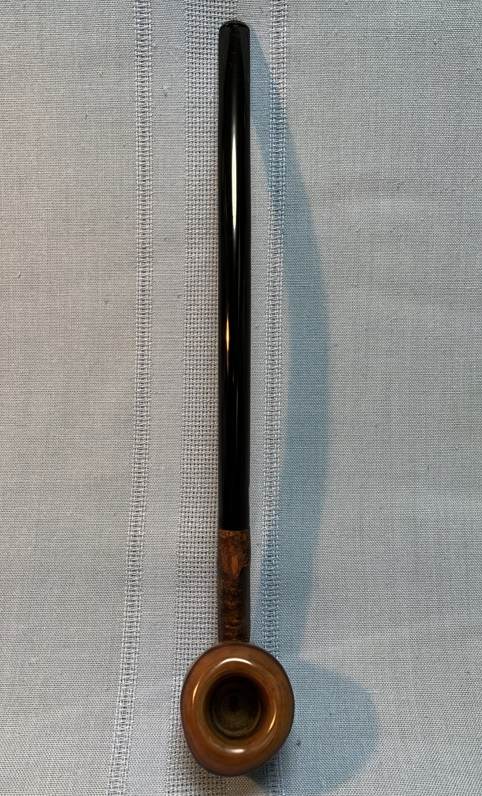
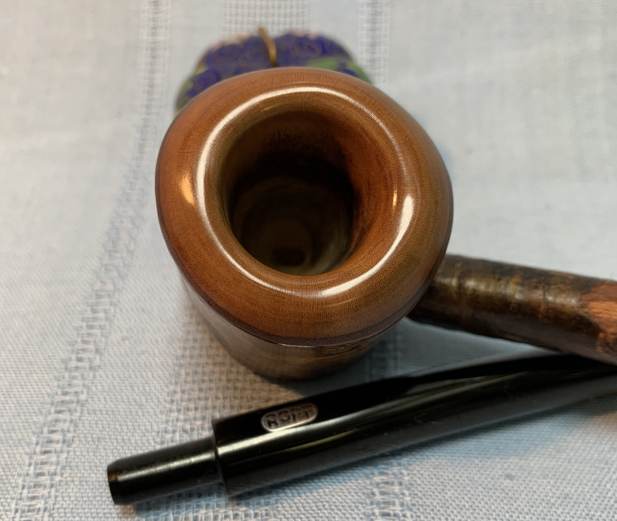
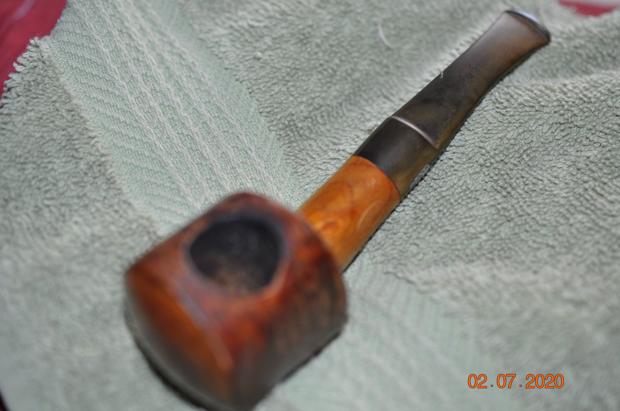
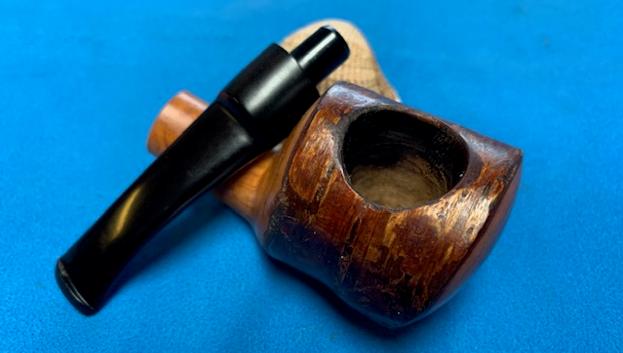
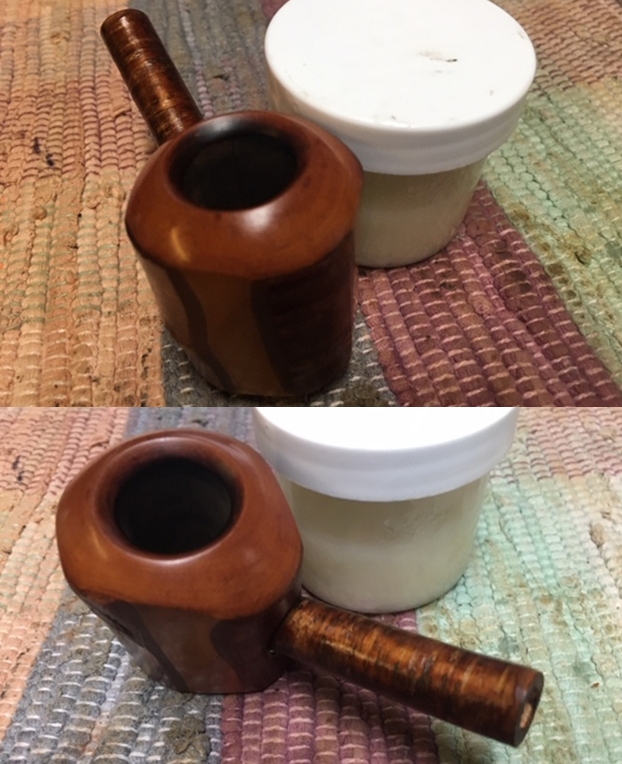
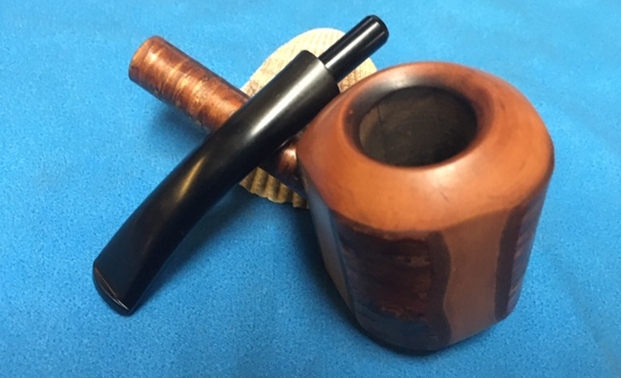
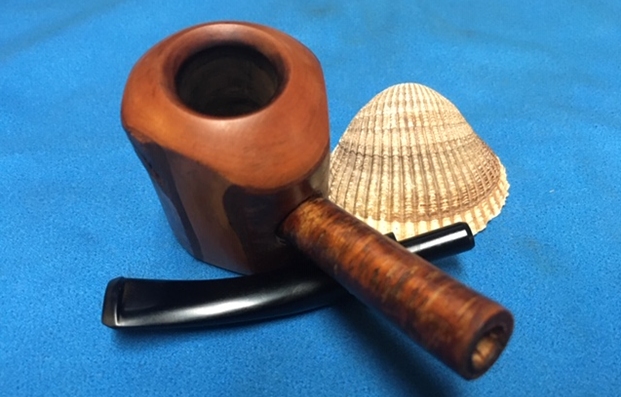
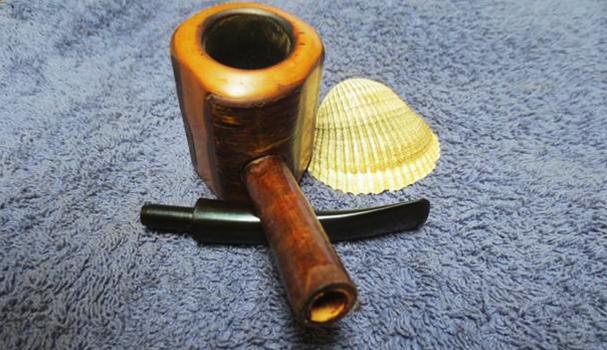
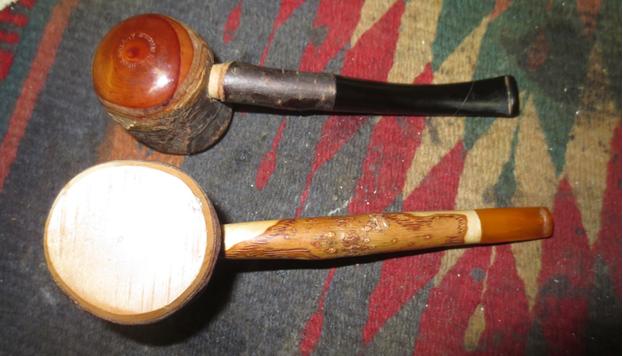
 I took a photo of the rim top and the stem to show their condition. The rim top was clean and the inner and outer edges of the bowl are in excellent condition. The stem looked better with all the grime and oxidation of the years washed away. It should polish up very well.
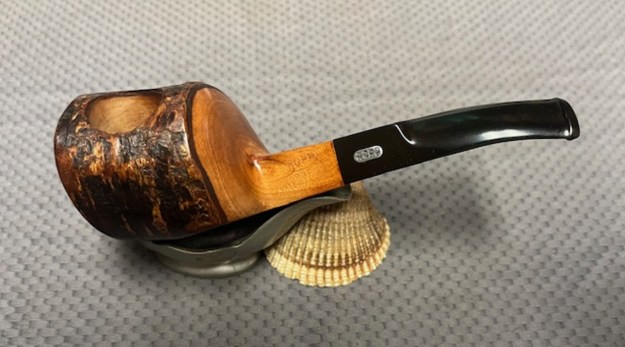
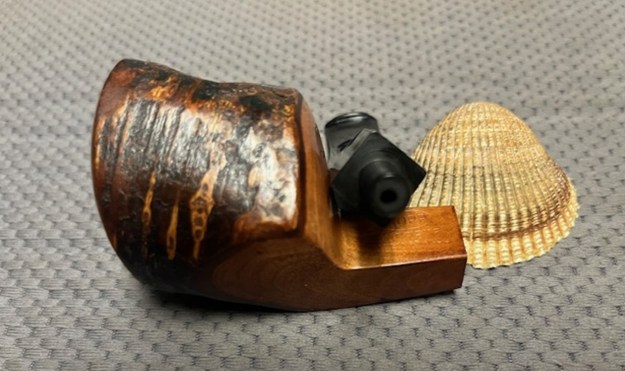
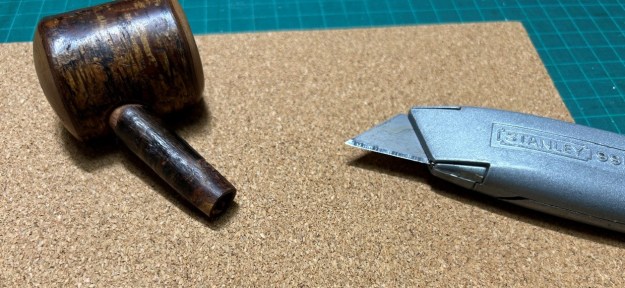
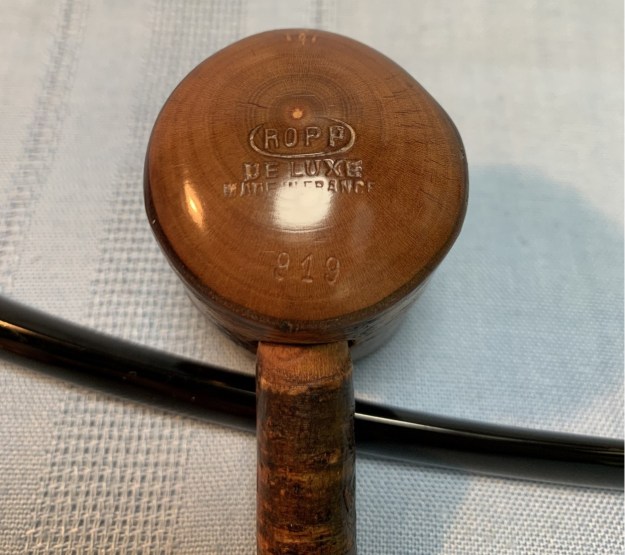
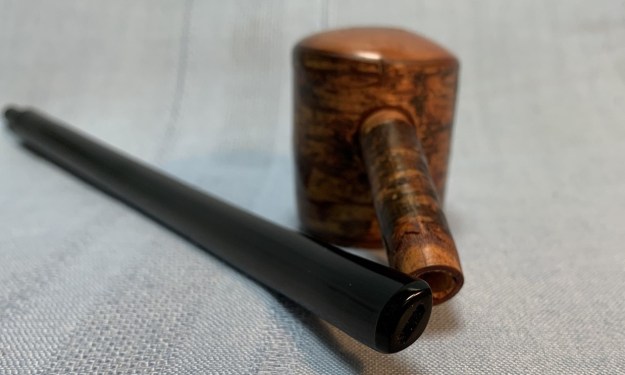
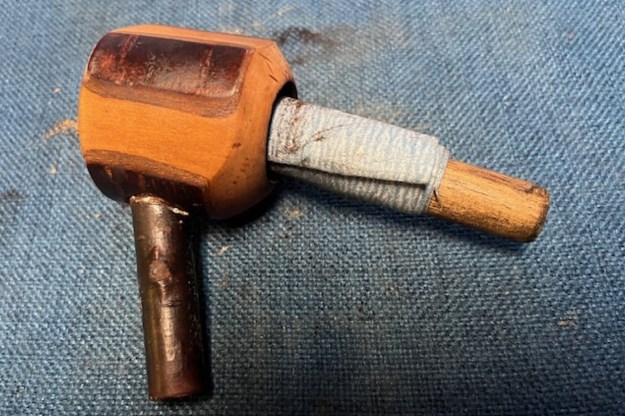
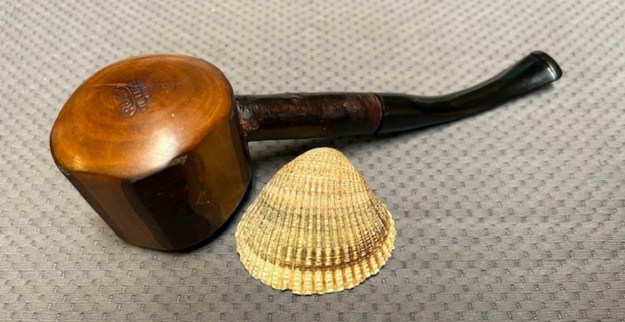
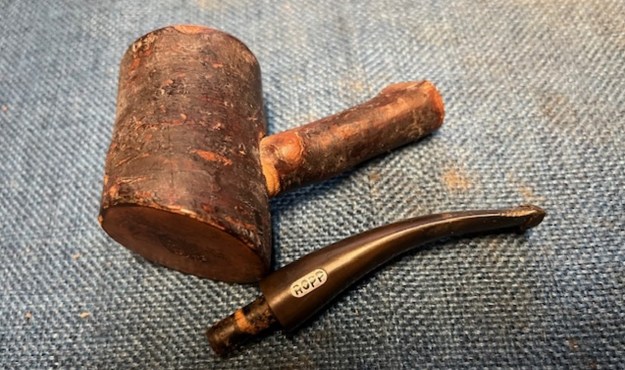
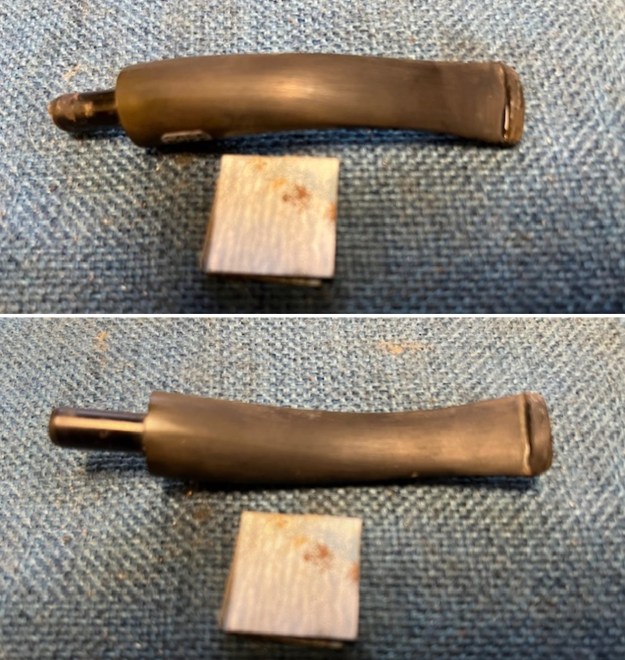
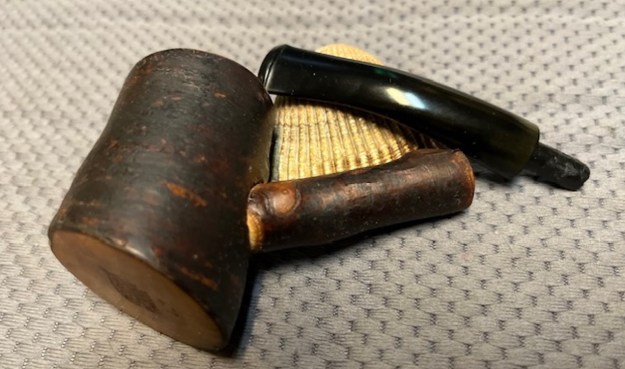
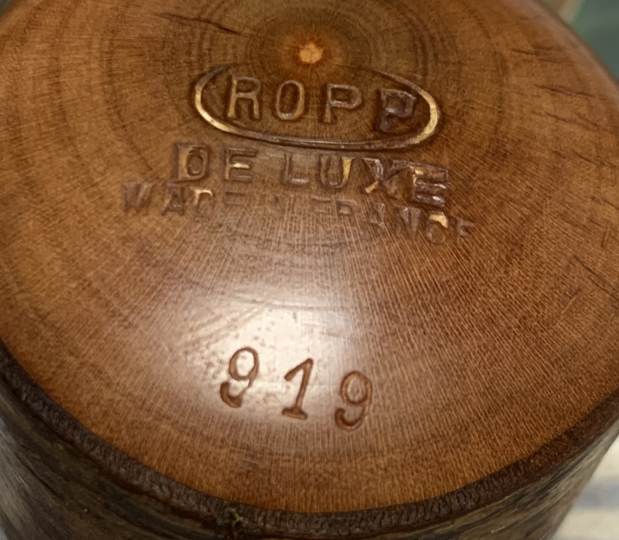
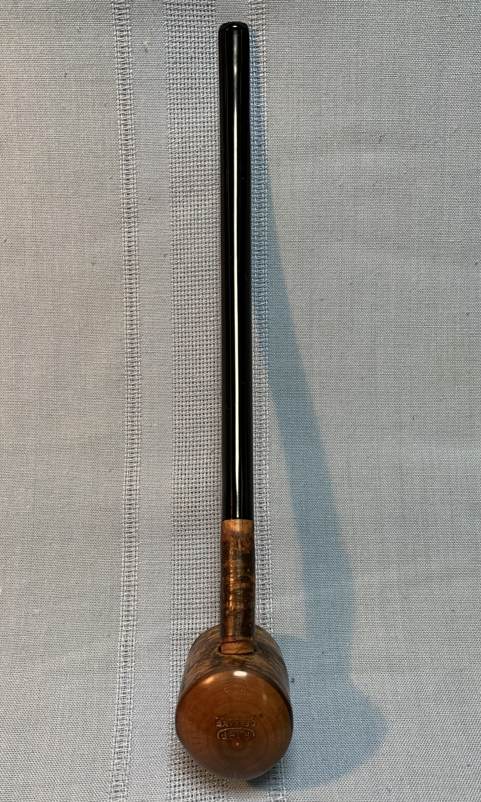
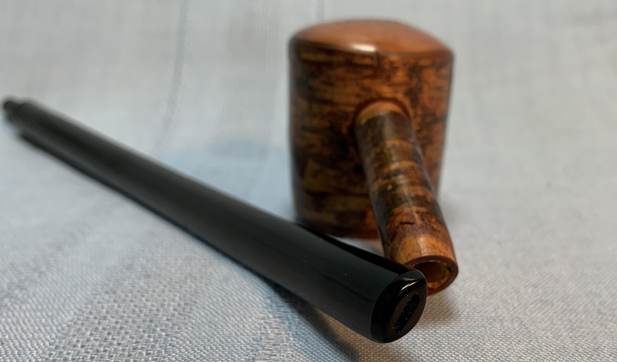
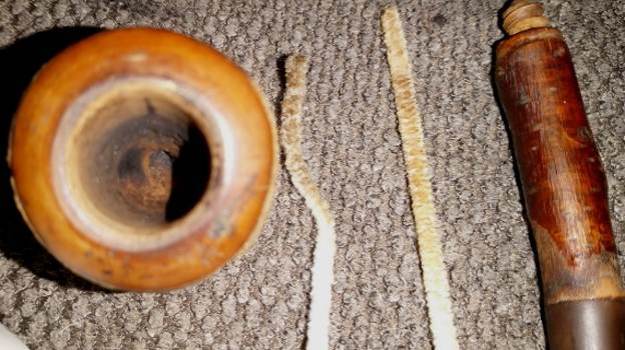
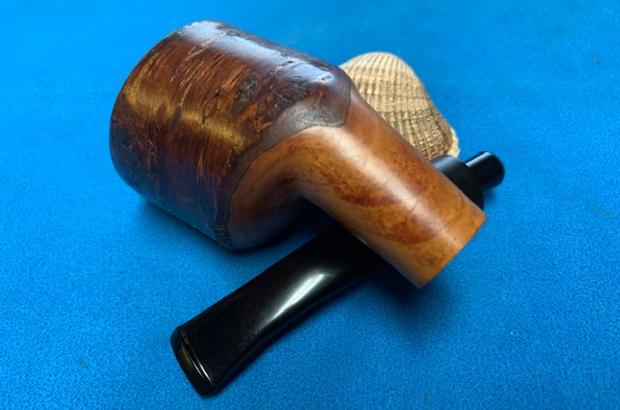
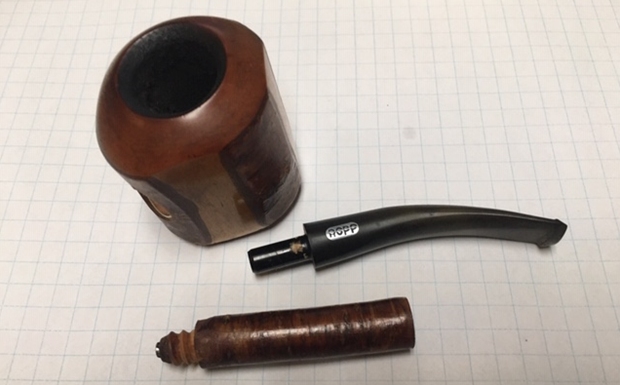
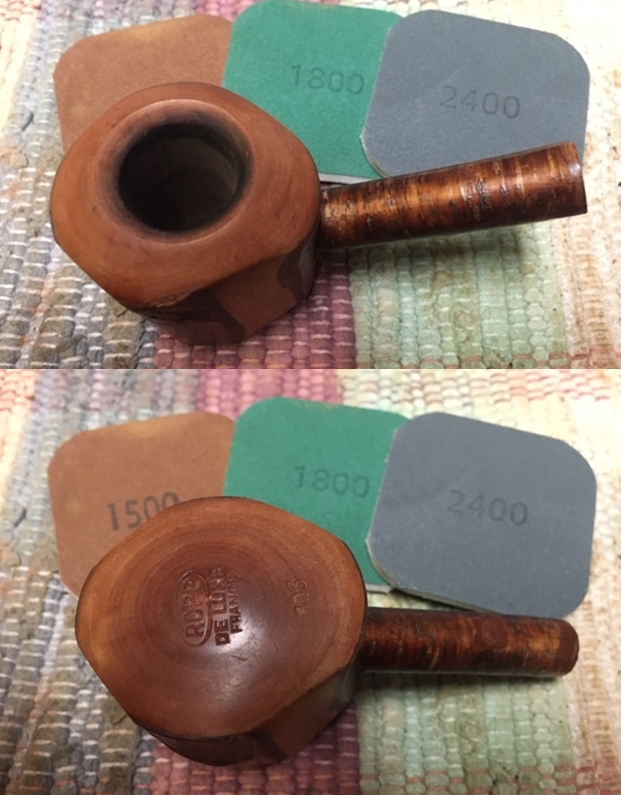
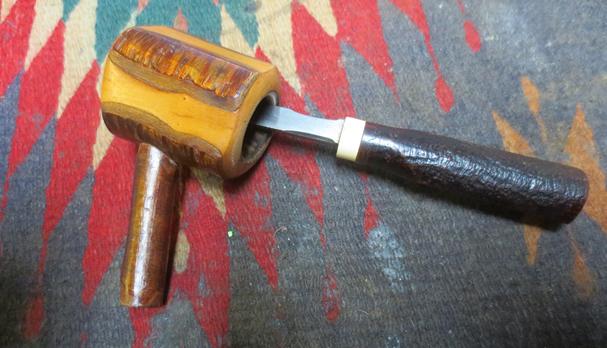
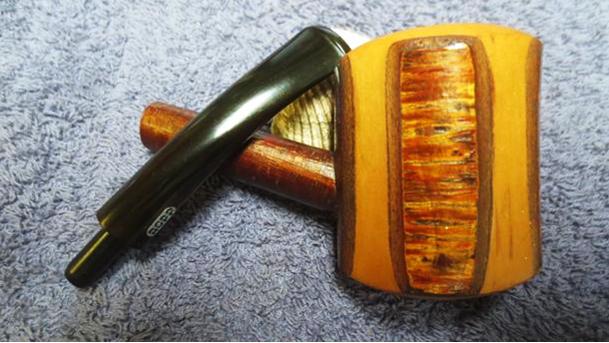
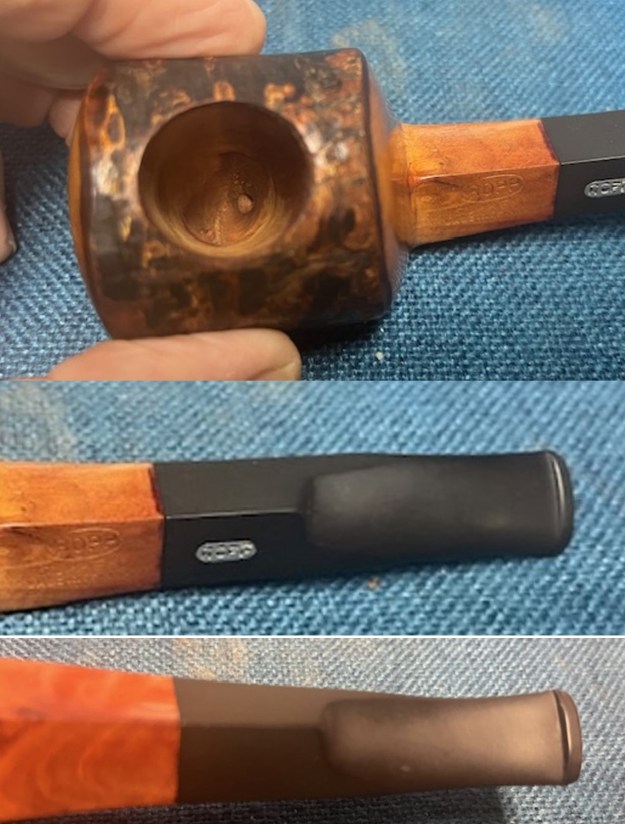 I took a photo of the stamping on the top left side of the diamond shank to show that it was clean and readable as noted above. It also shows the silver Ropp oval logo on the left side of the saddle stem. I removed the stem from the shank and took a photo of the parts to give a sense of what the pipe looks like.
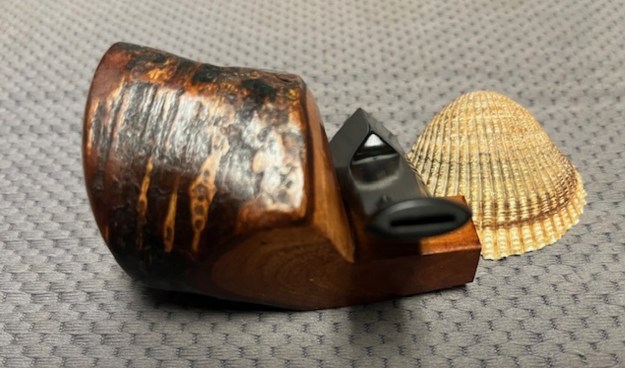
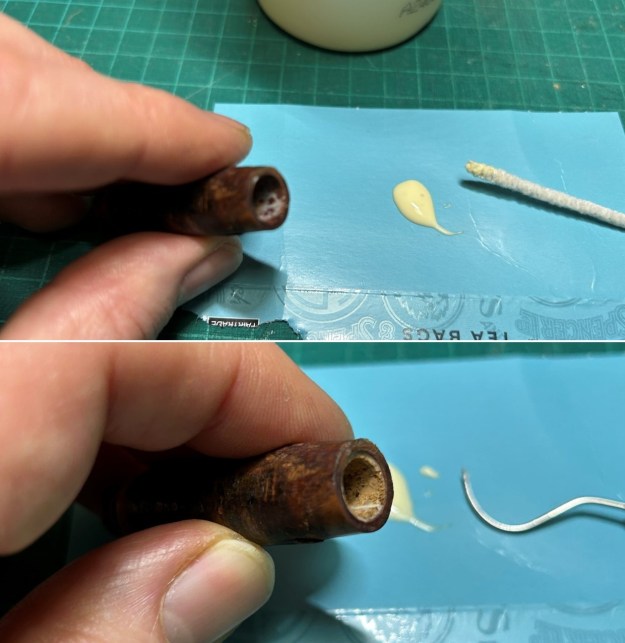
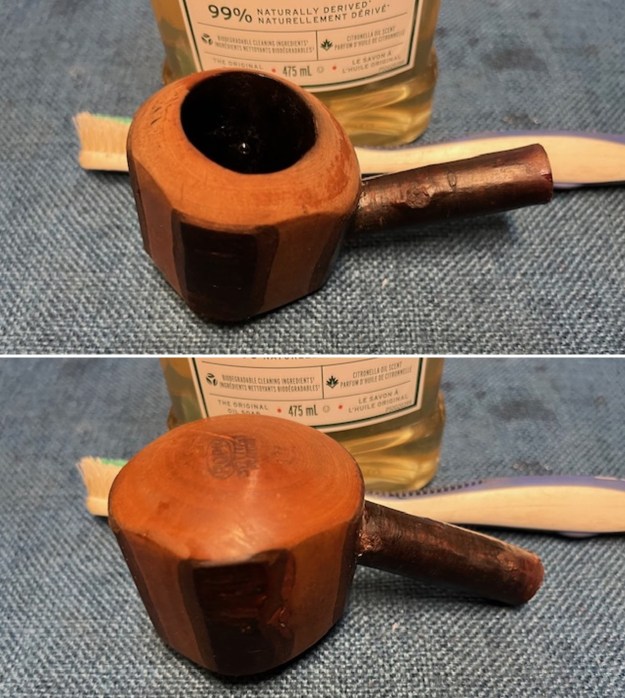
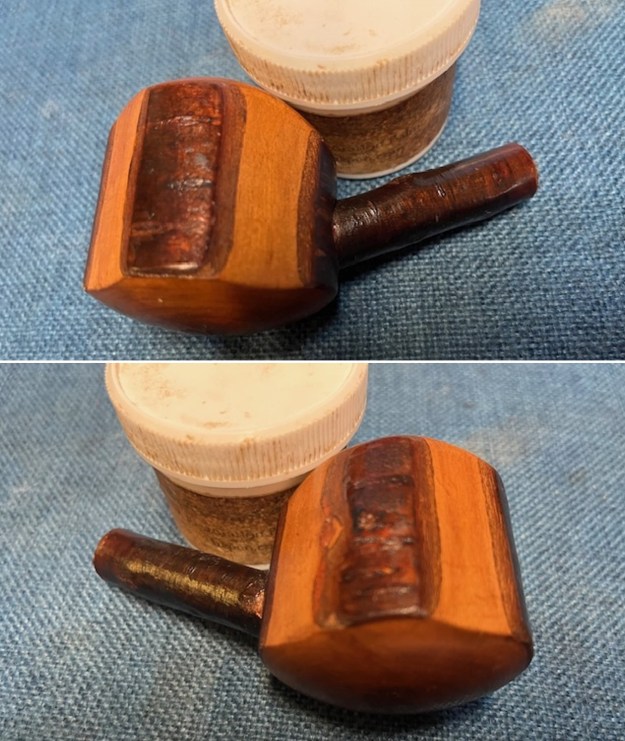
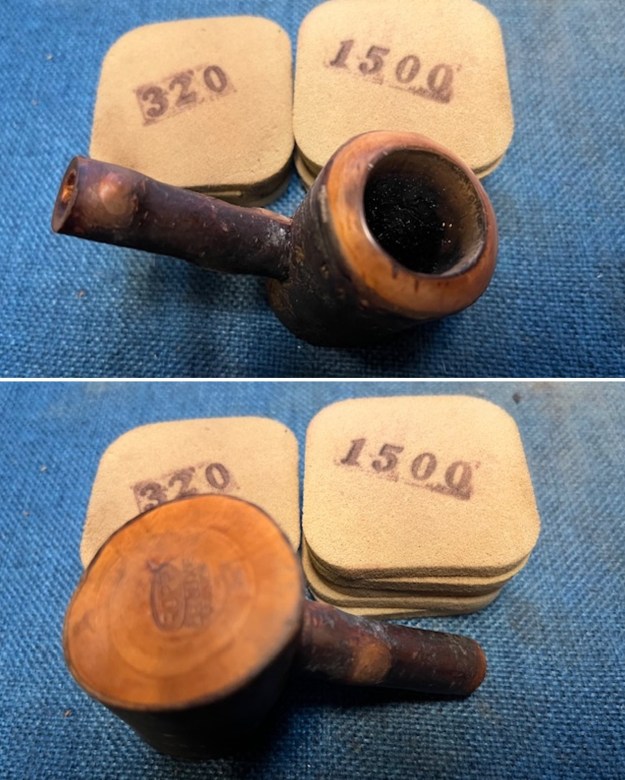
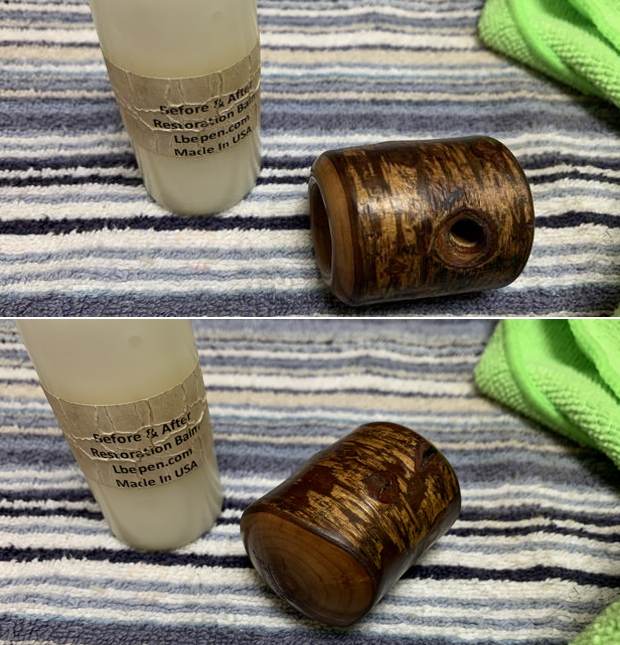
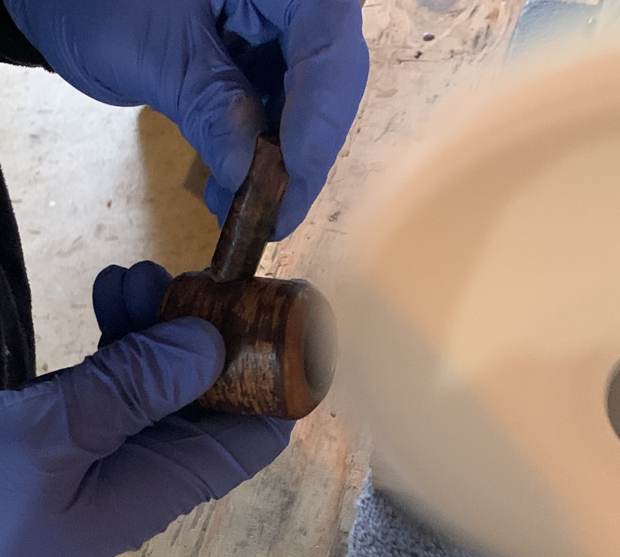
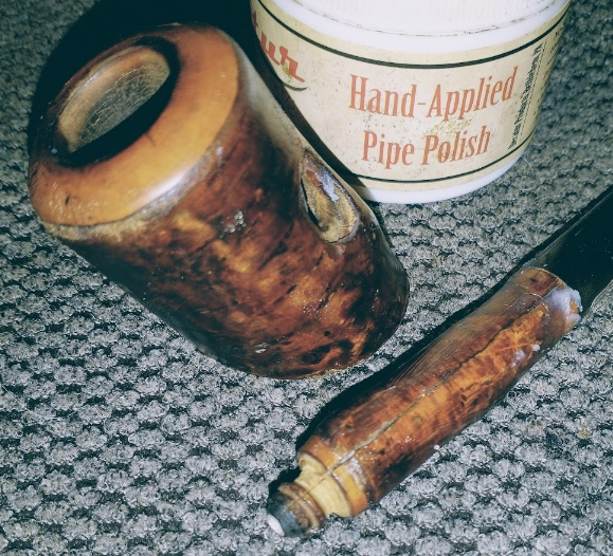
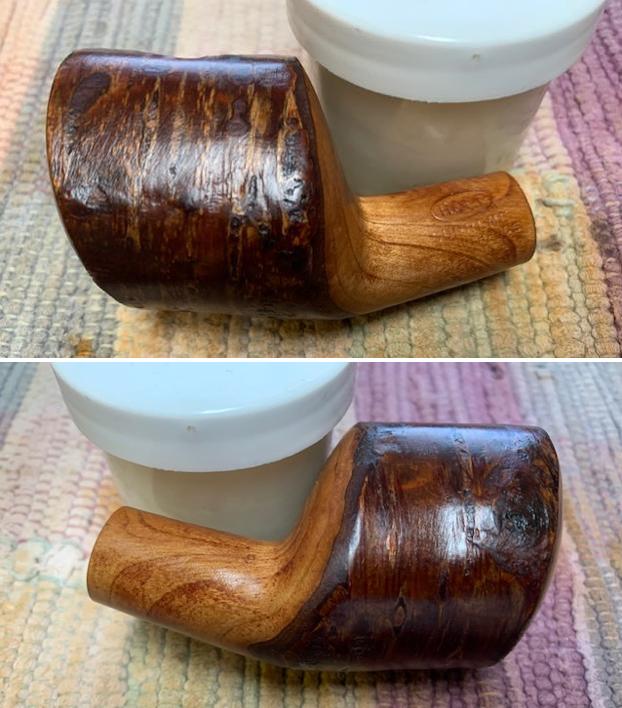
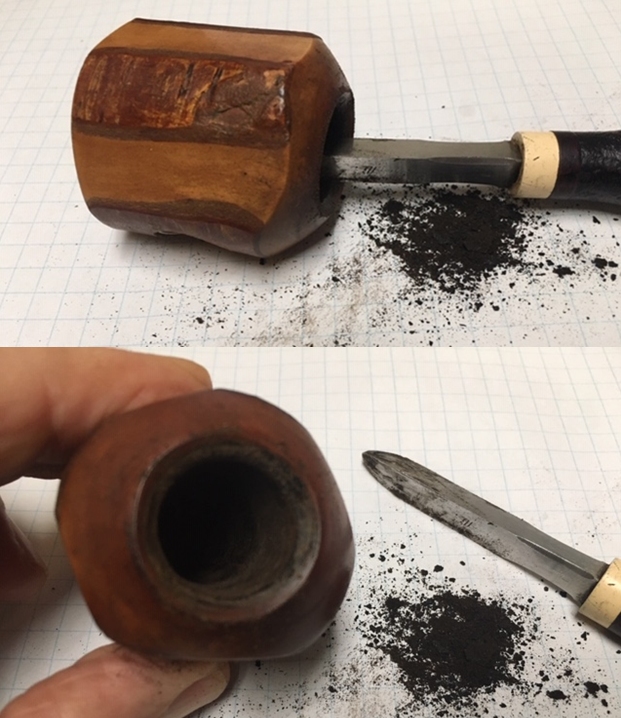
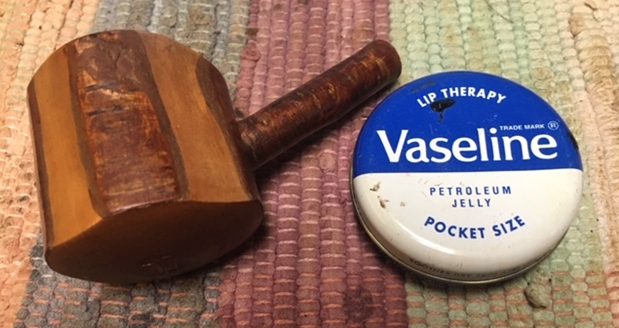
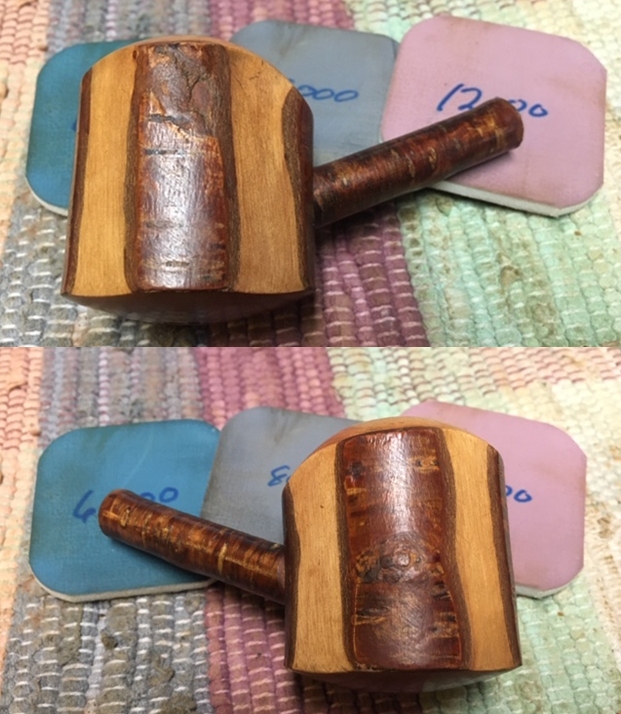
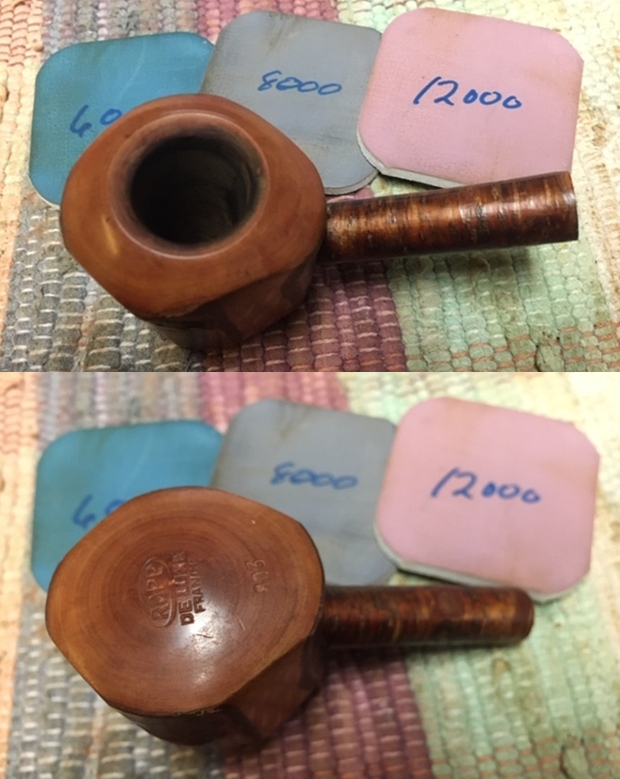
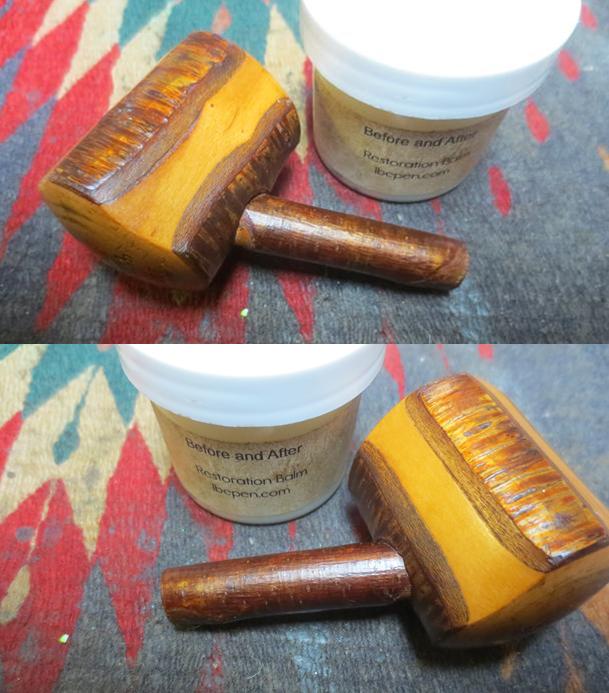
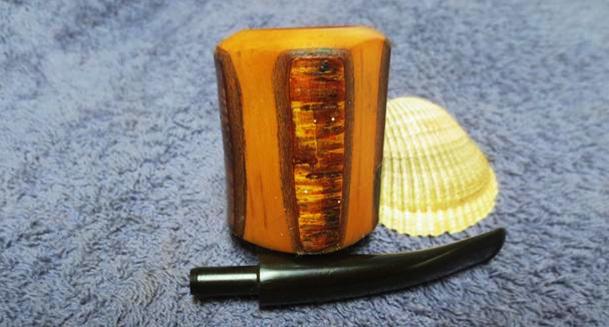
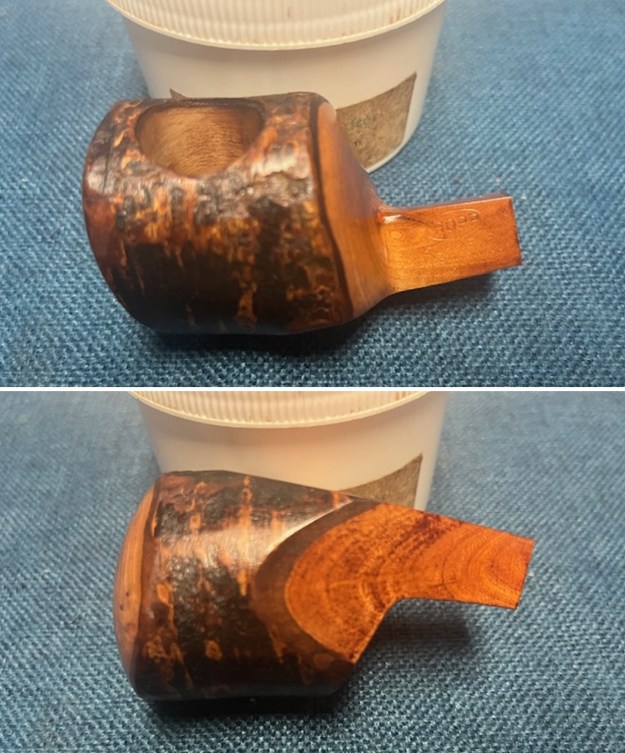
 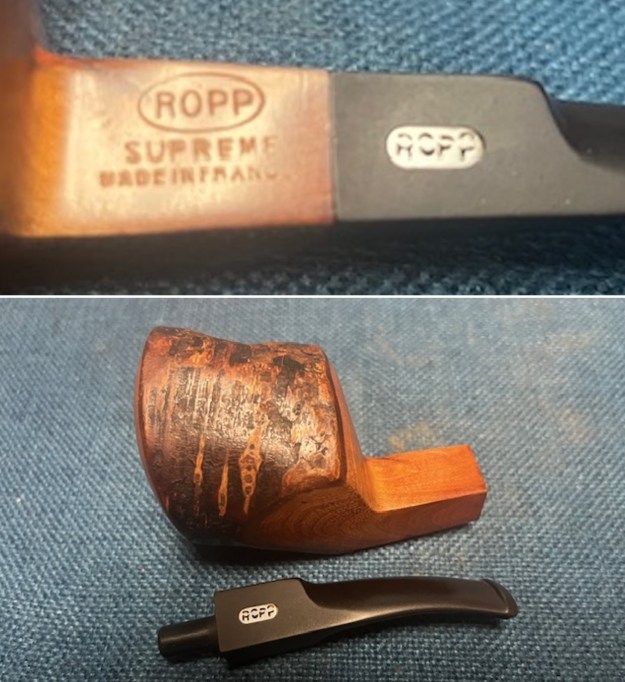 Because the bowl was unsmoked and unused I was able to leave out the micromesh sanding portion of the restoration. Instead went right to the polishing. I rubbed the bowl and shank down with Before & After Restoration Balm to deep clean the finish on the bowl and shank. The product works to clean, enliven and protect the Cherrywood and the bark. I worked it in with my fingers to get it into the wood. I let it sit for 10 minutes then buffed it with a soft cloth. The wood and bark really began to have a rich shine. I took some photos of the bowl at this point to mark the progress in the restoration. It is a beautiful bowl.
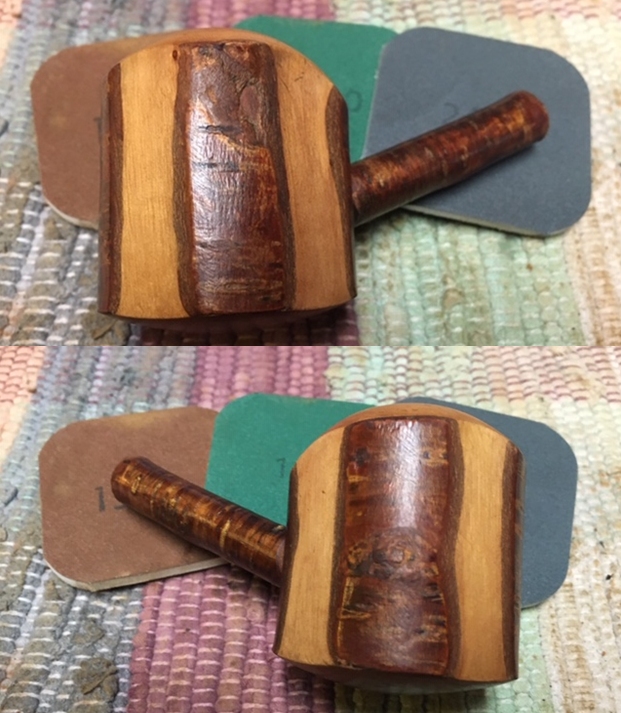
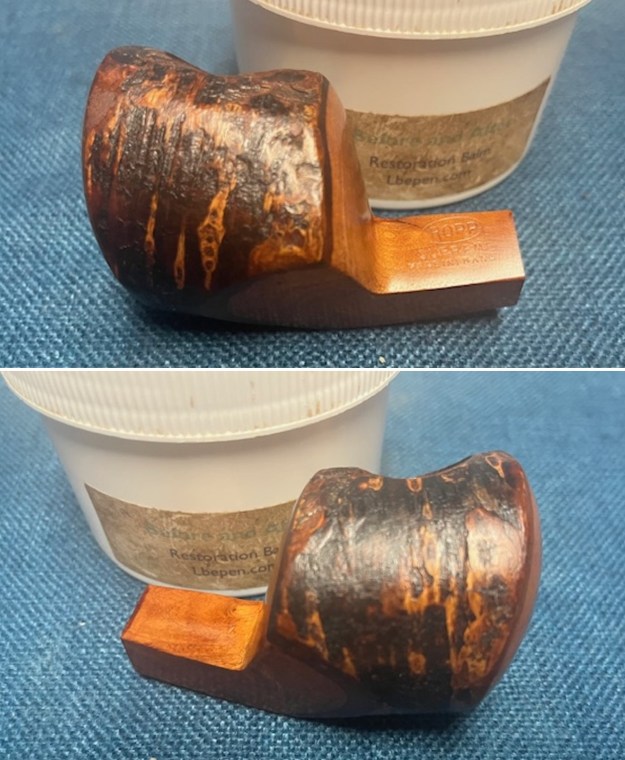
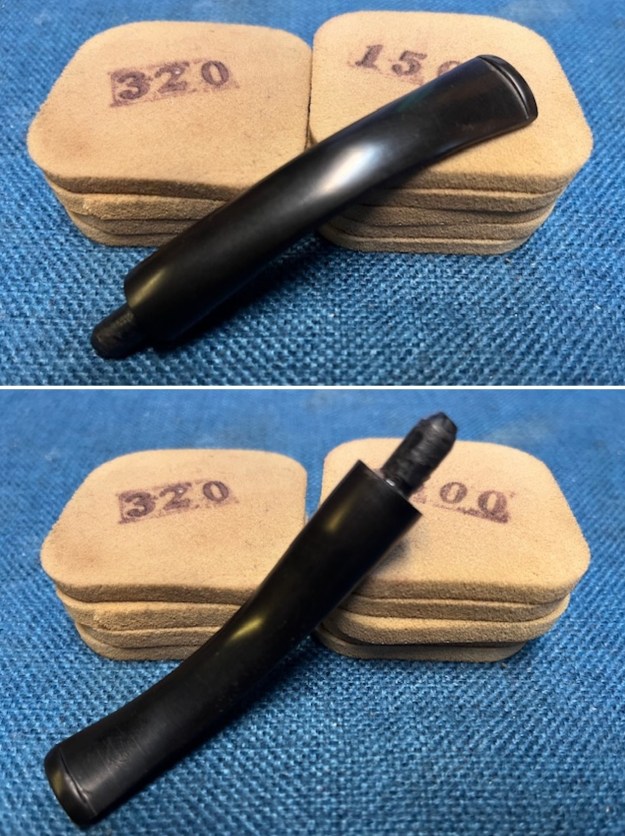
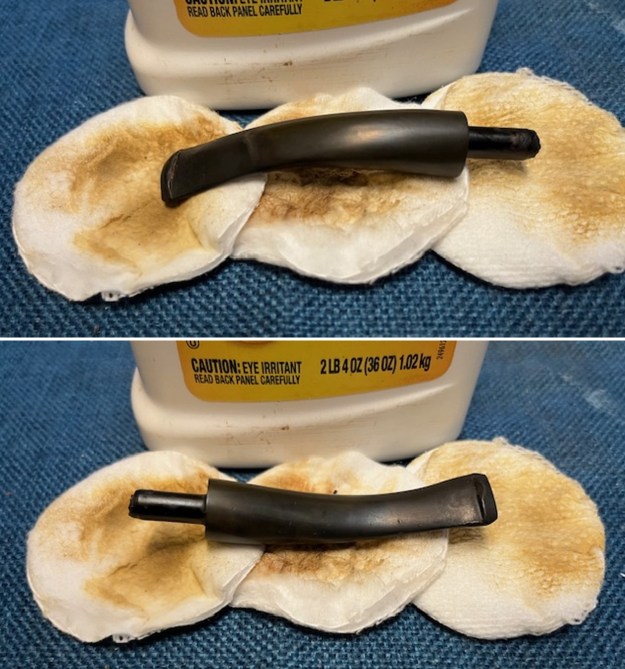
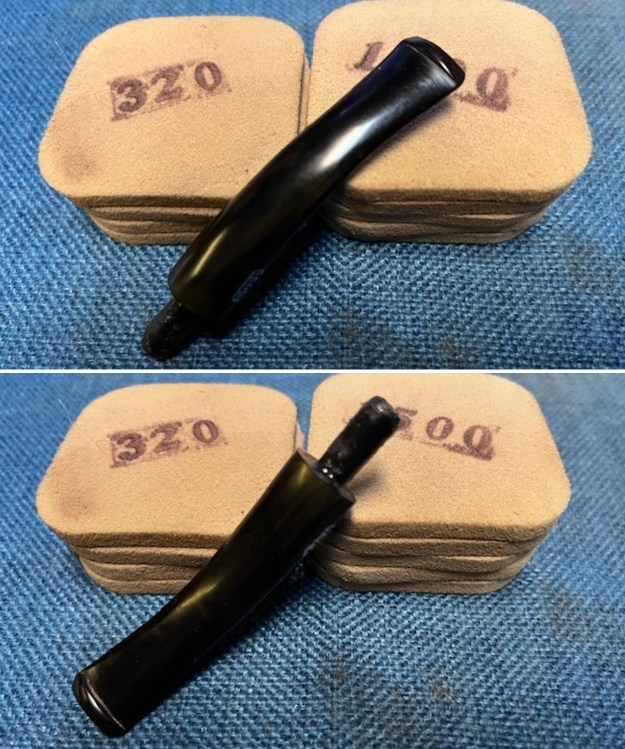
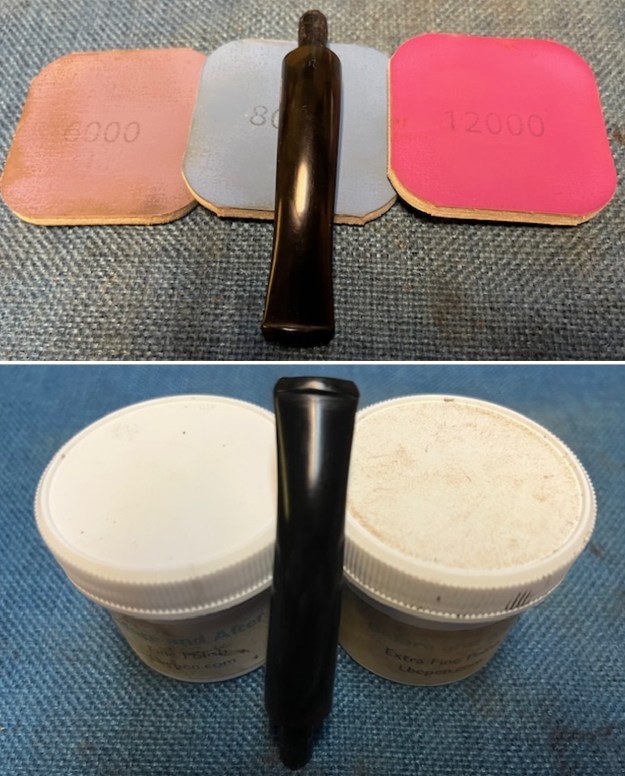
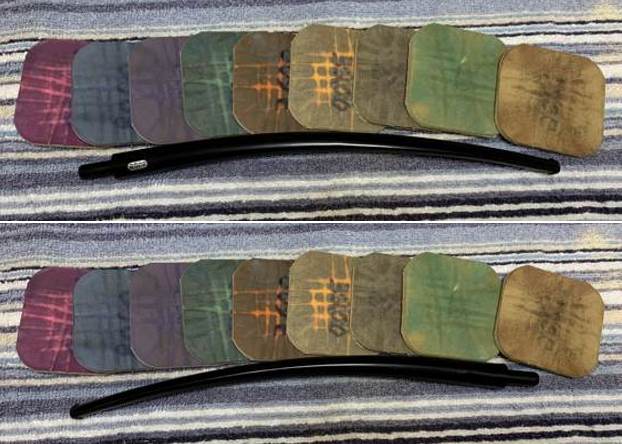
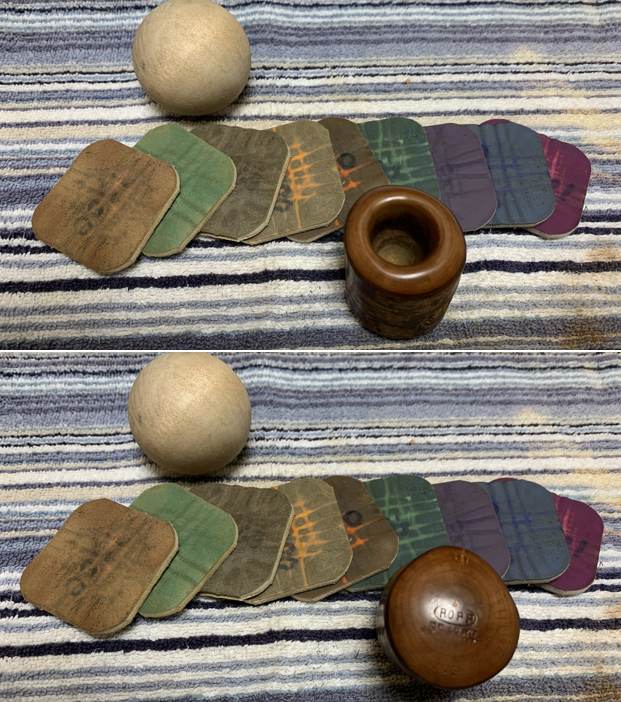
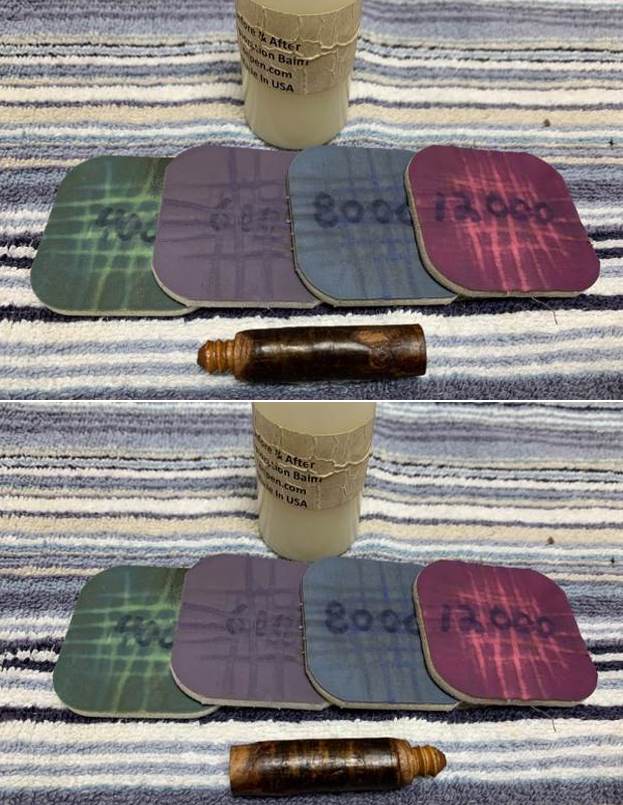
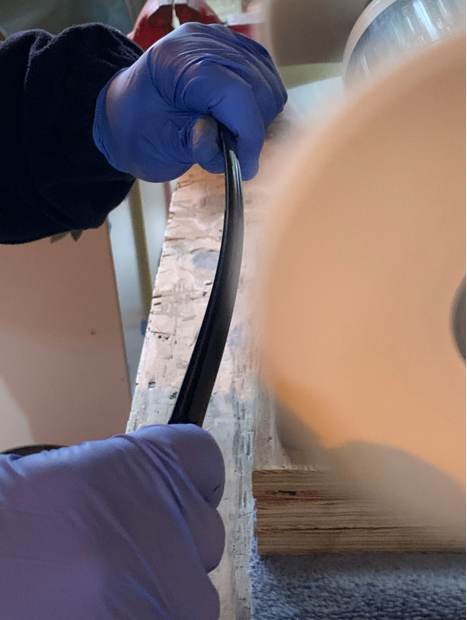
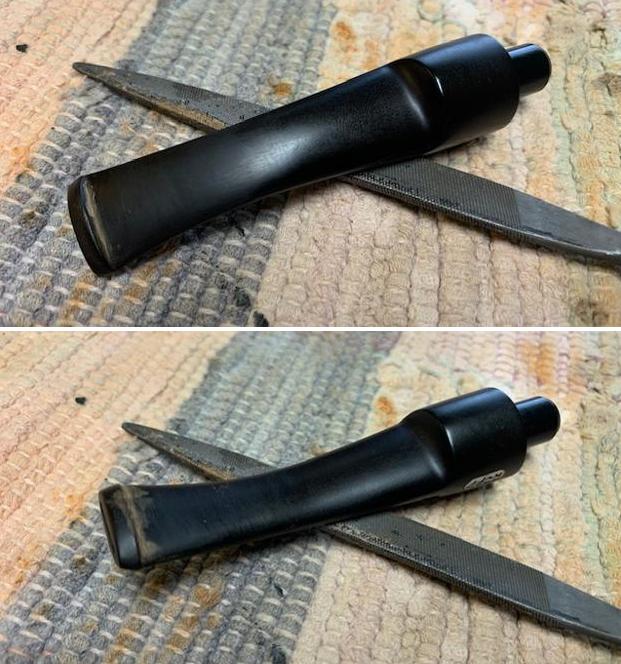
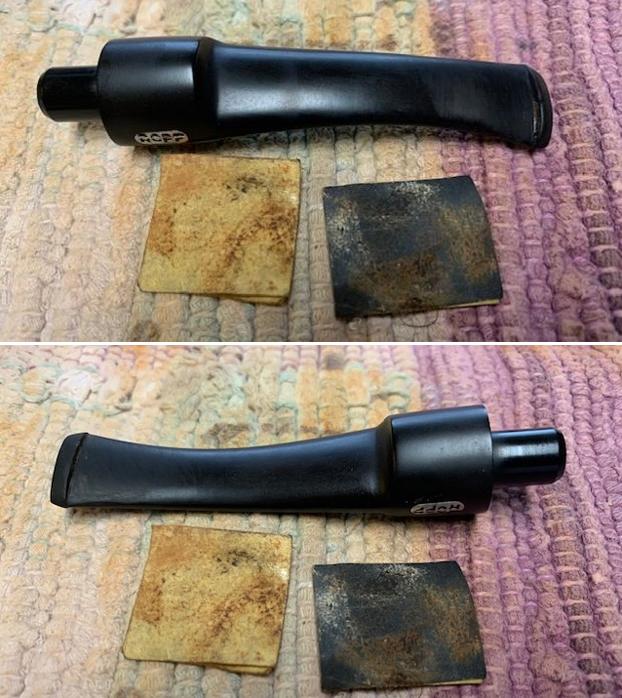
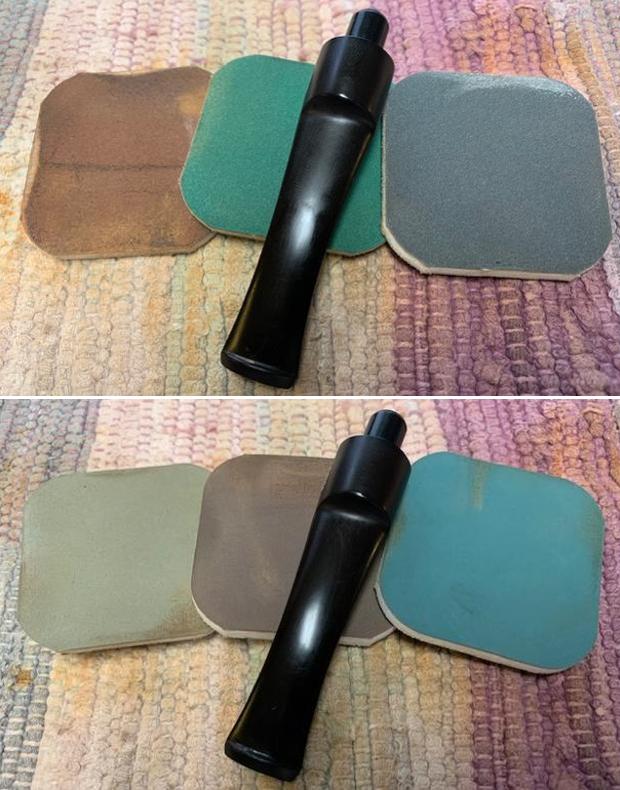
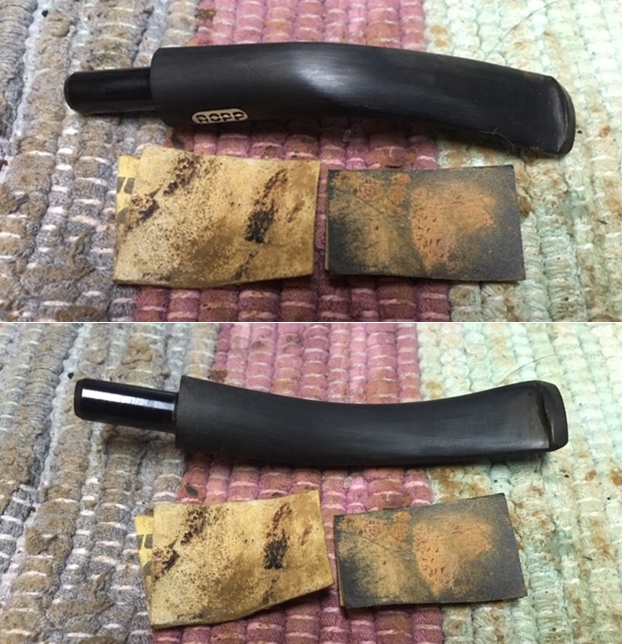
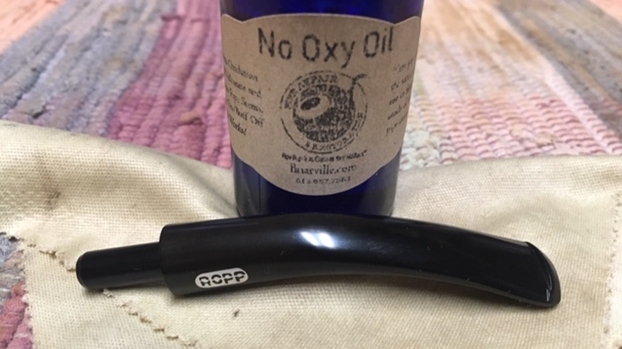
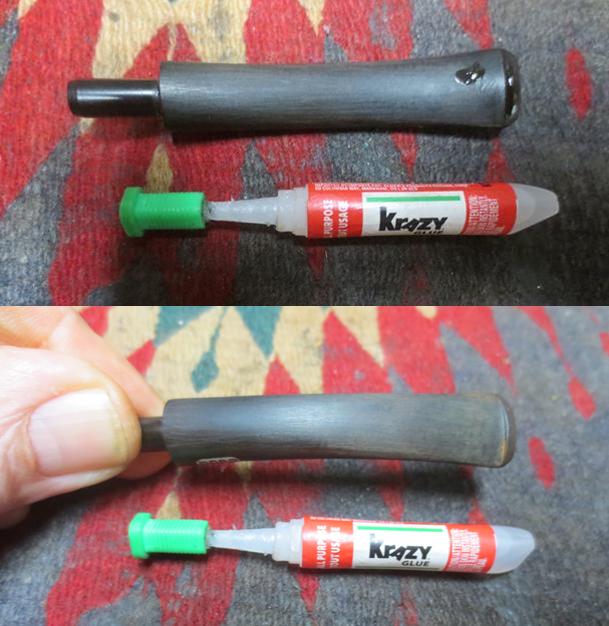
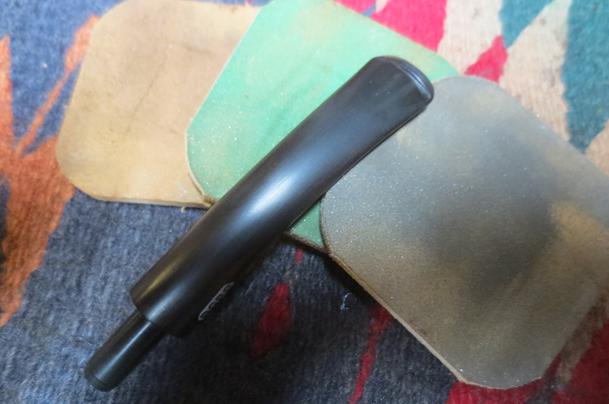
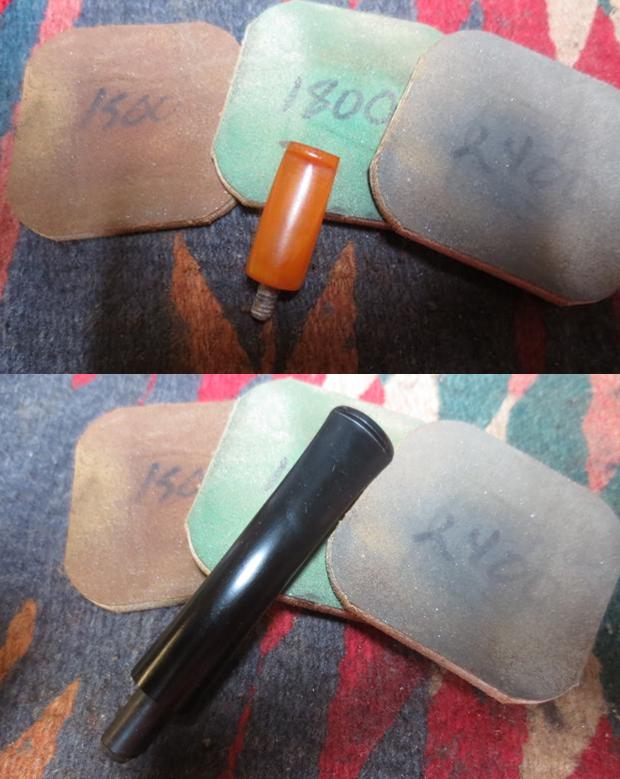
 I set the bowl aside and turned to the stem. I sanded the stem with 2 x 2 inch sanding pads – dry sanding with 320-3500 grit pads and wiping it down after each pad with an Obsidian Oil cloth.
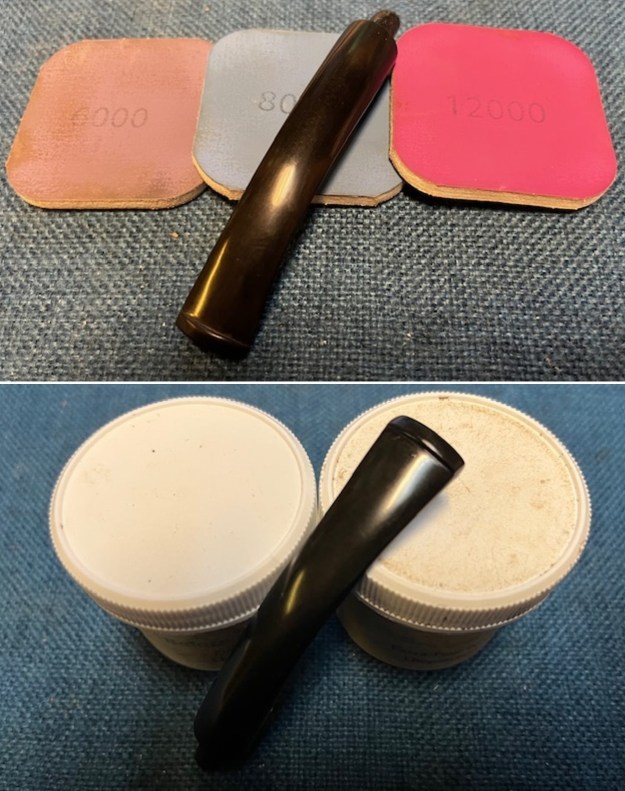
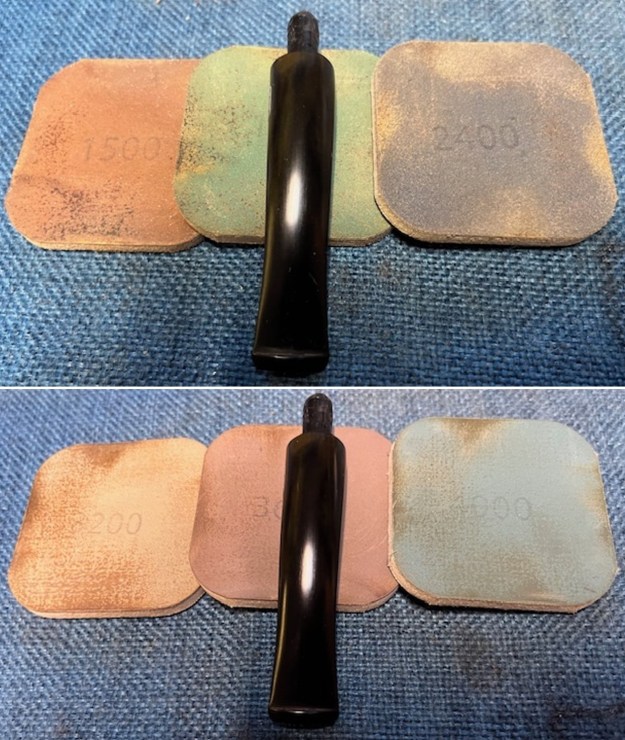
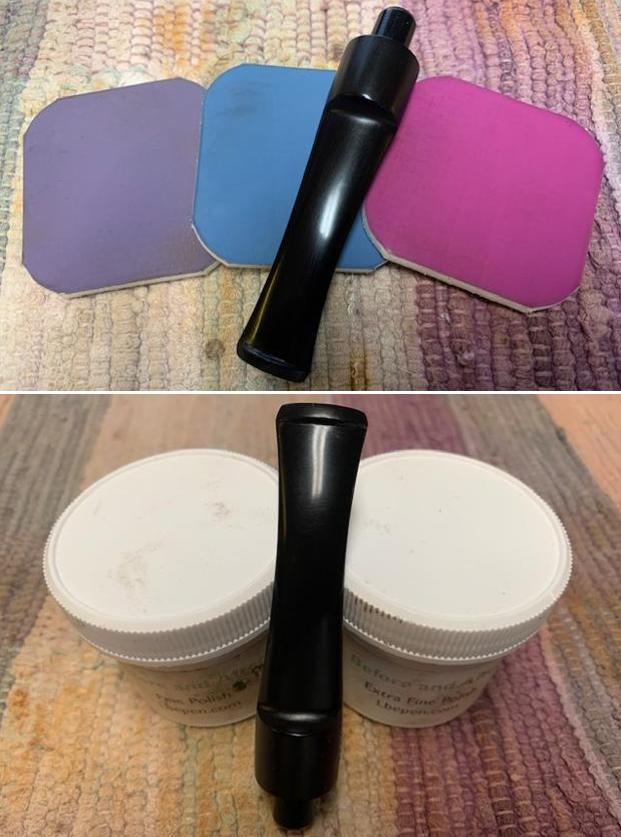
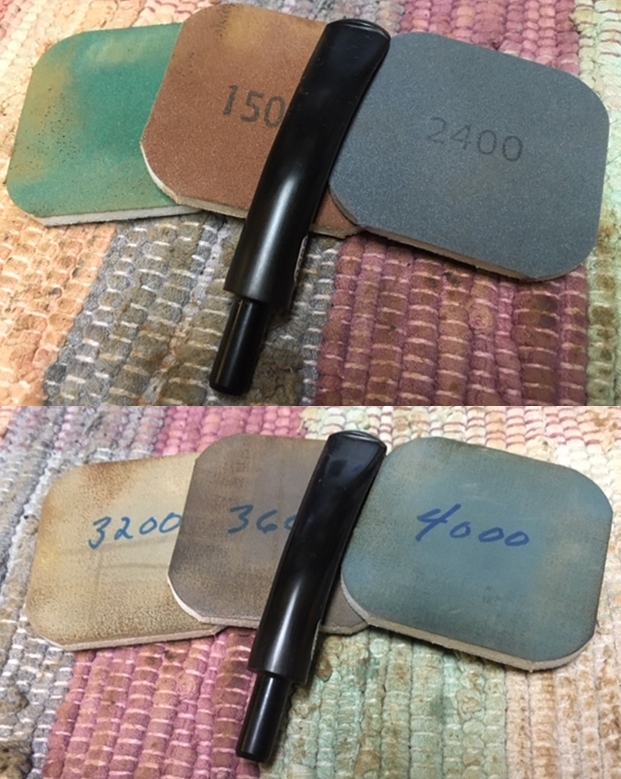
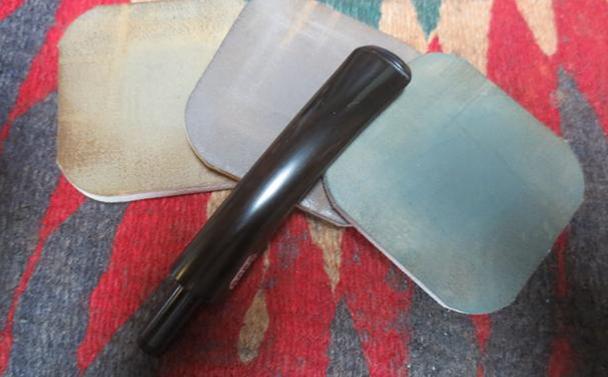
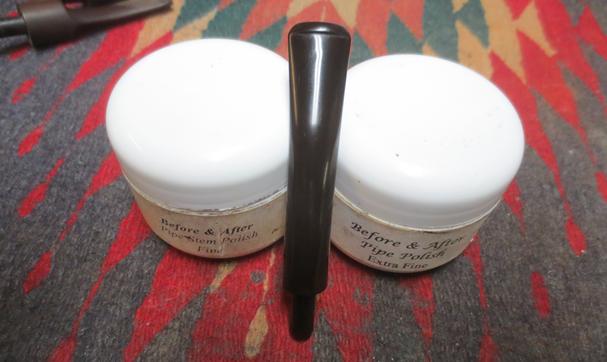
 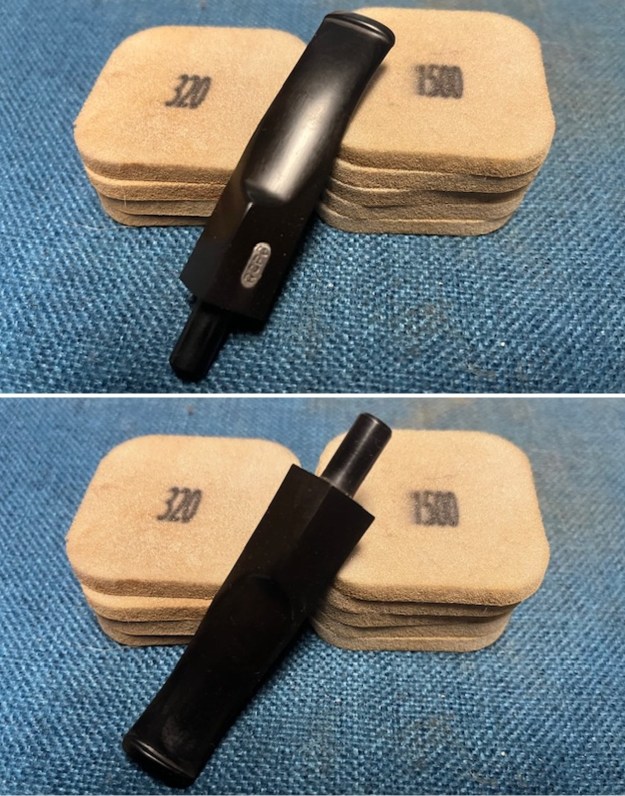 I polished the stem with micromesh sanding pads – dry sanding with 1500-12000 grit pads. I wiped the stem down after each sanding pad with Obsidian Oil. I did a final hand polish of the stem with Before & After Pipe Stem Polish – both Fine and Extra Fine. I gave it a coat of Obsidian Pipe Stem Oil. It works to protect the stem from oxidizing. I set it aside to dry.
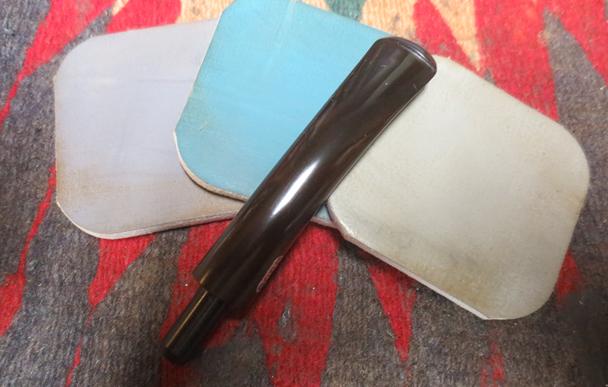
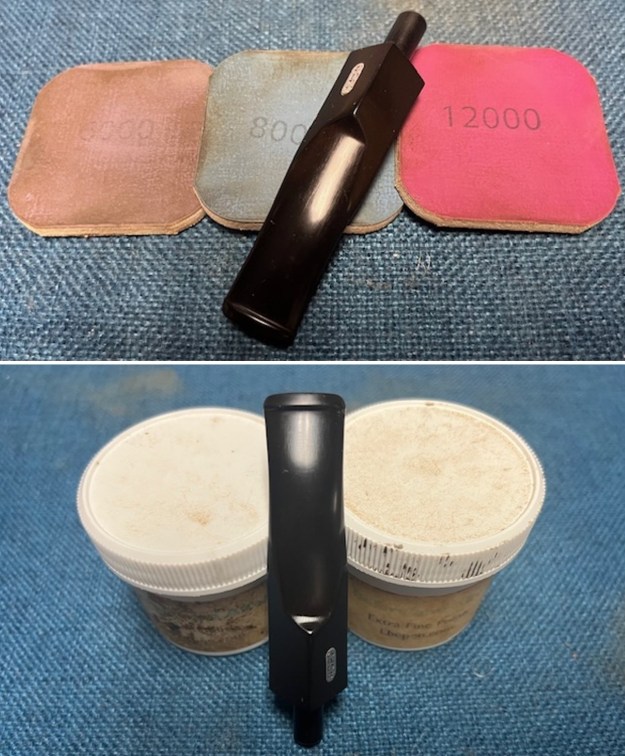
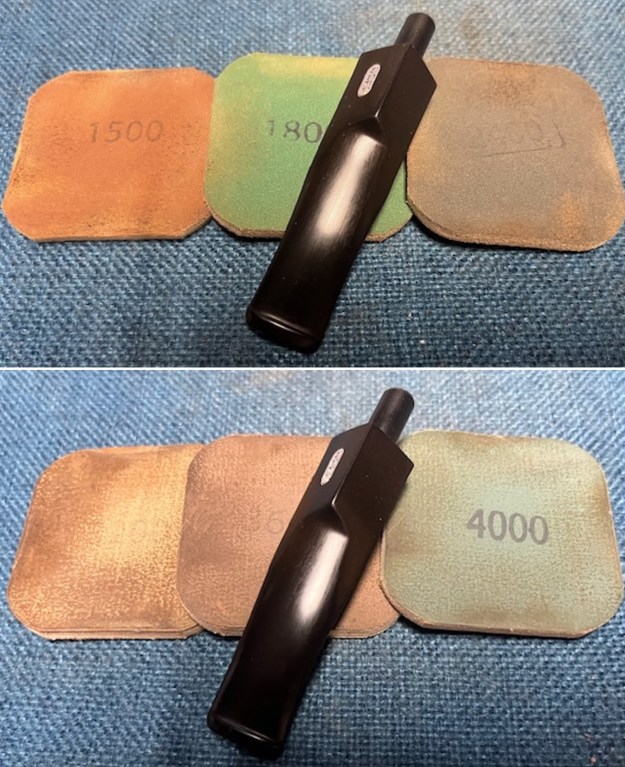
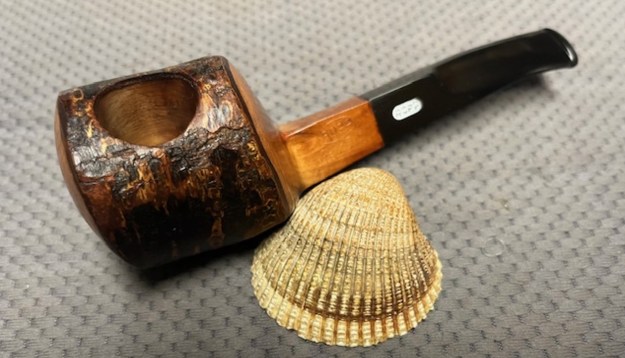
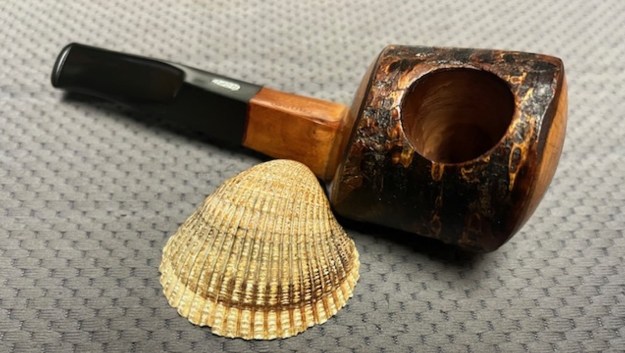
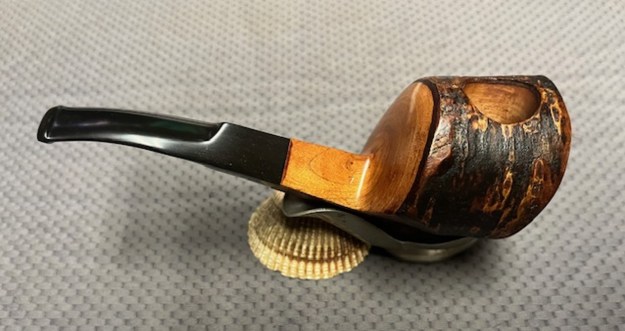
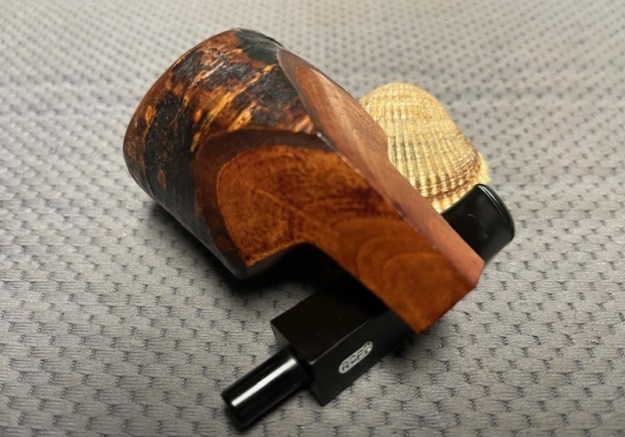
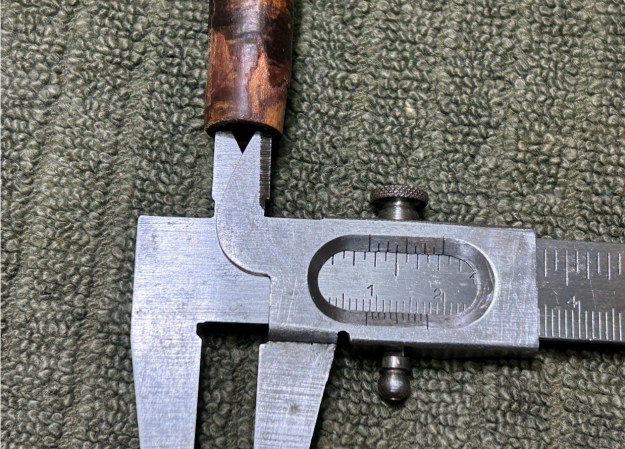
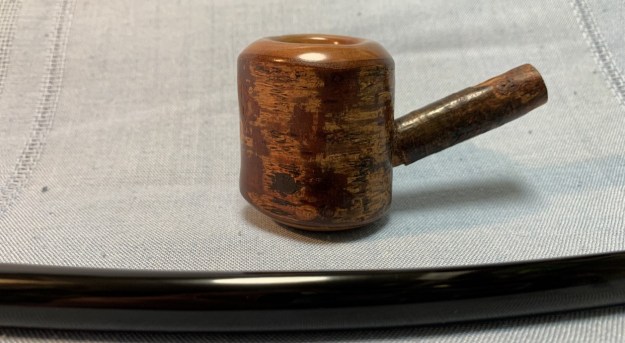
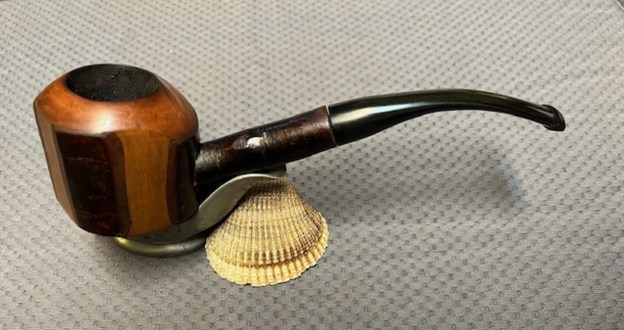
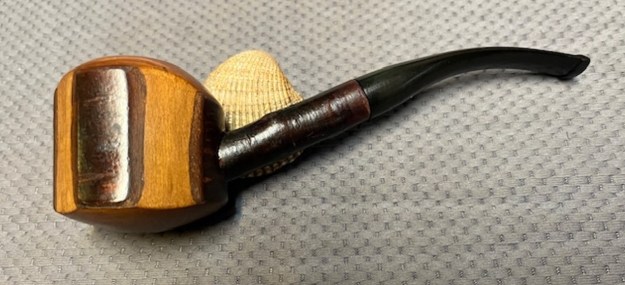
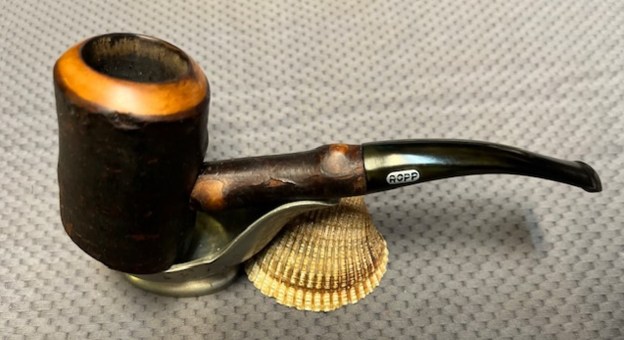
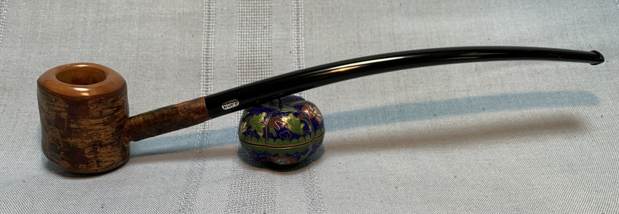
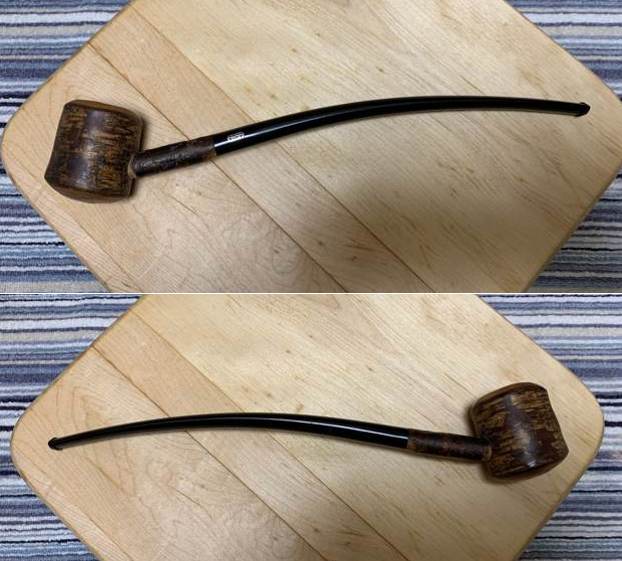
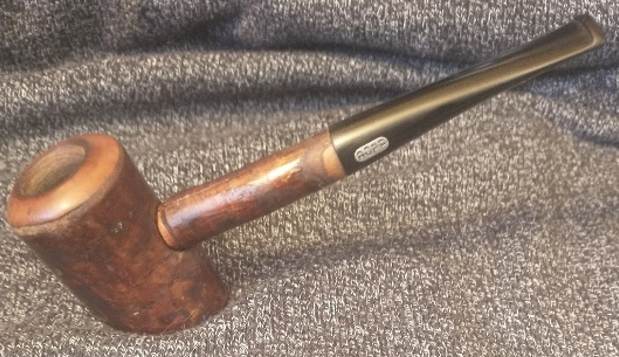
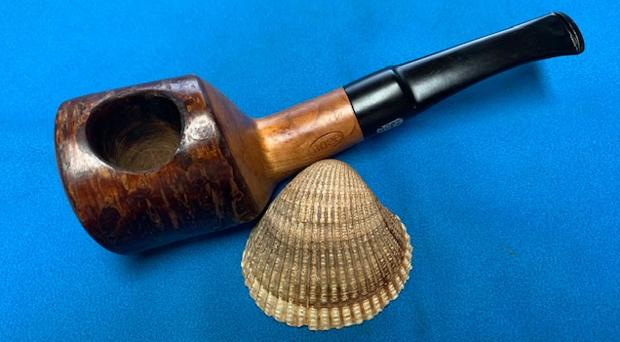
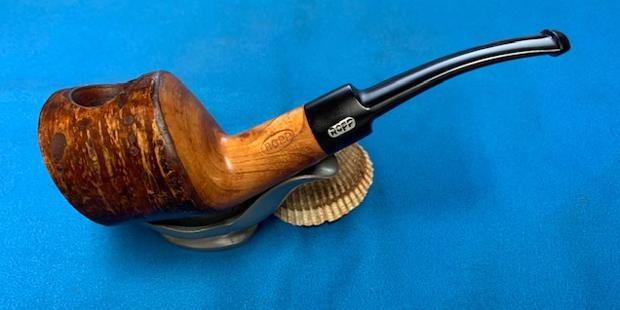
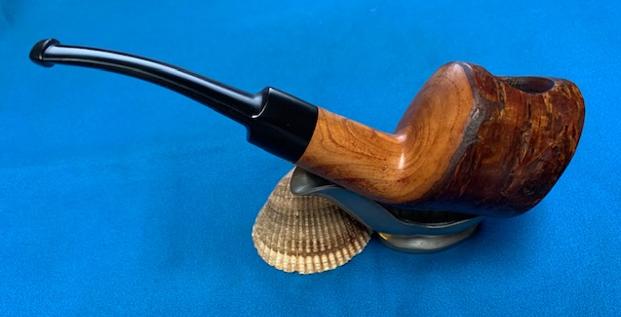
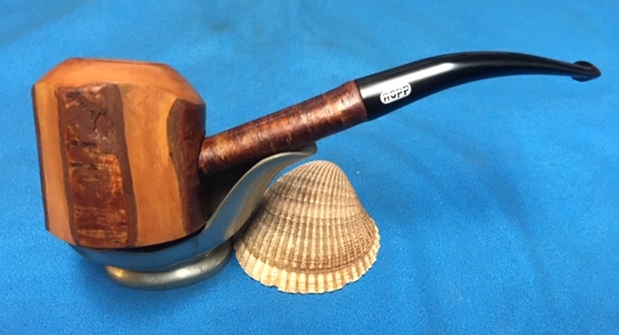
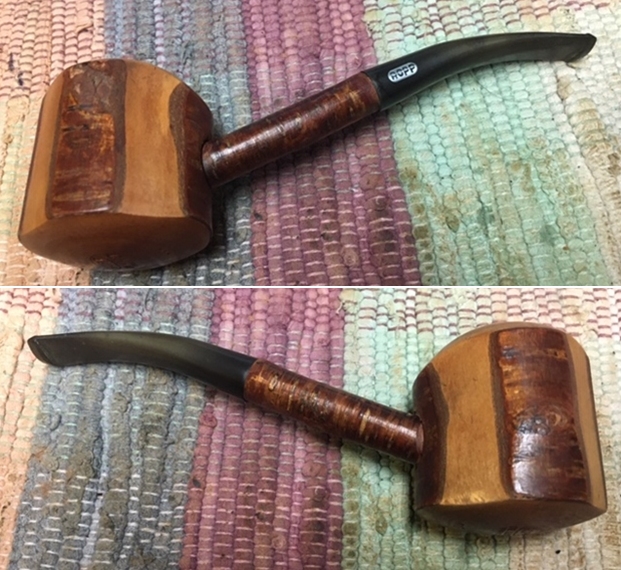
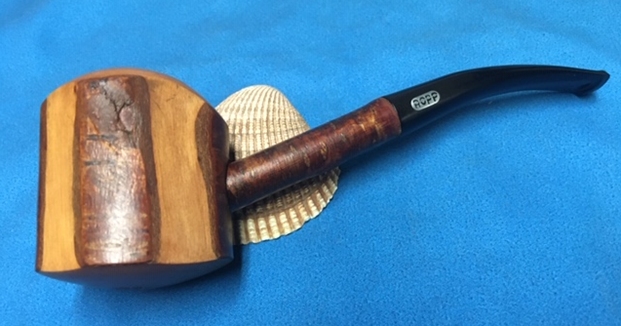
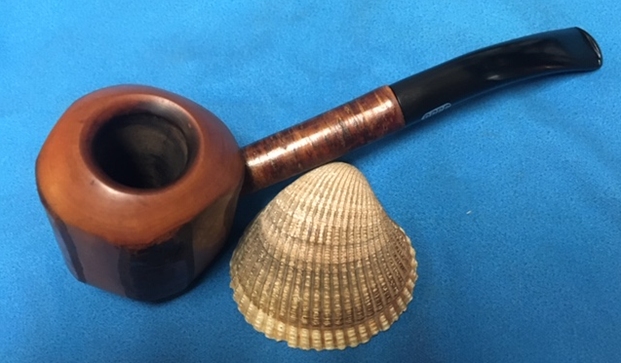
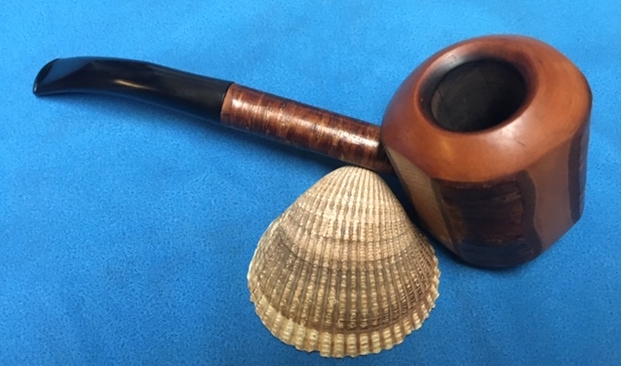
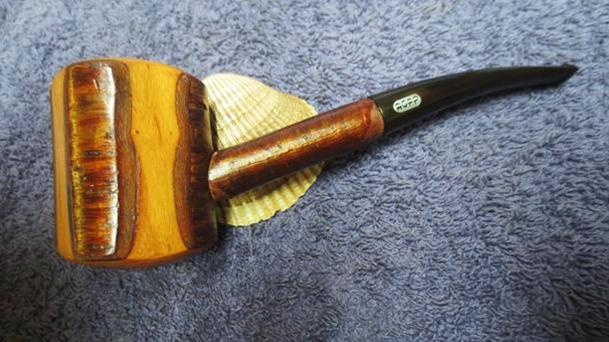
 This UNSMOKED NOS (New Old Stock) ROPP Supreme Made in France 7 Diamond Shank Billiard with a black vulcanite saddle stem is a great looking pipe. The rugged bark finish on the sides adds a ruff texture and works well with the grain on the cherrywood bowl front and back side and shank. The black saddle stem is a great contrast to the wood. The rich medium brown of the wood gave the grain a sense of depth with the polishing and waxing. The grain really popped. I put the stem back on the bowl and carefully buffed the pipe with Blue Diamond on the buffing wheel using a light touch on the briar. I gave the bowl and the stem multiple coats of carnauba wax on the buffing wheel. I buffed the pipe with a clean buffing pad to raise the shine. I hand buffed the pipe with a microfiber cloth to deepen the shine. The finished ROPP Supreme 7 Cherrywood is a beauty and feels great in the hand and looks very good. Give the finished pipe a look in the photos below. The dimensions of the pipe are Length: 6 inches, Height: 2 inches, Outside diameter of the bowl: 2 inches wide by 1 ¾ inches long, Chamber diameter: ¾ of an inch. The weight of the pipe is 2.72 ounces/78 grams. It will be listed in the French Pipemakers Section of the rebornpipes store. If you are interested in adding it to your rack let me know. Thanks for reading this blog and my reflections on the pipe while I worked on it. There are many more to come!