Blog by Steve Laug
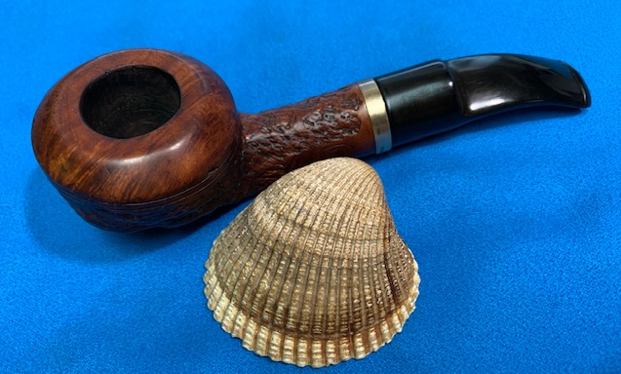
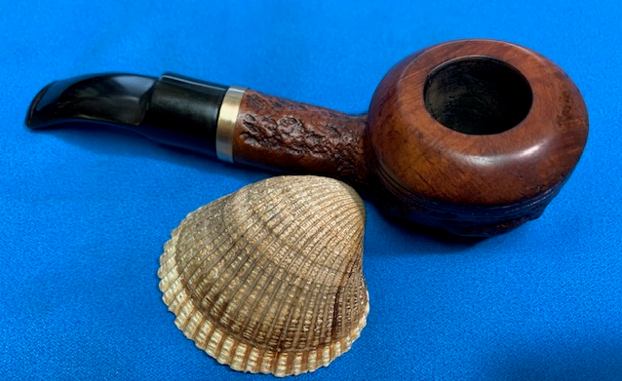
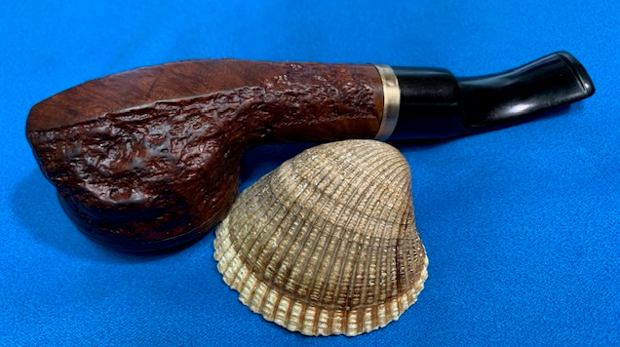
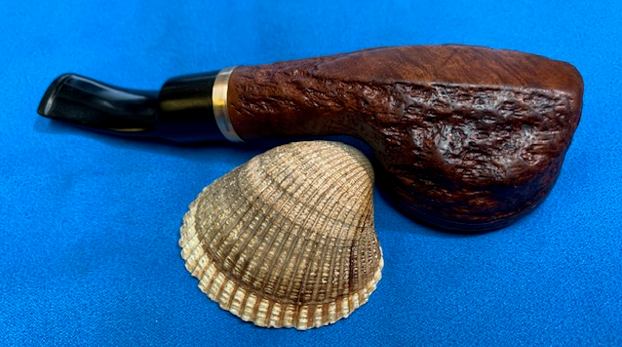
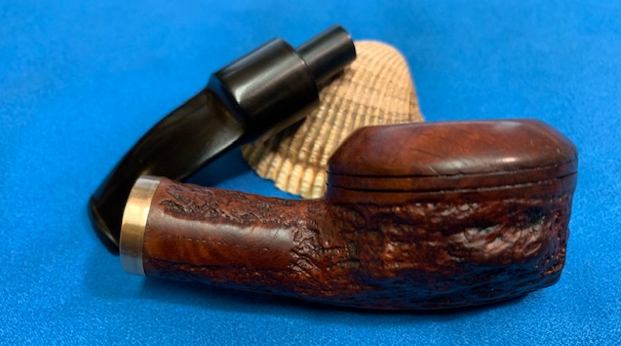
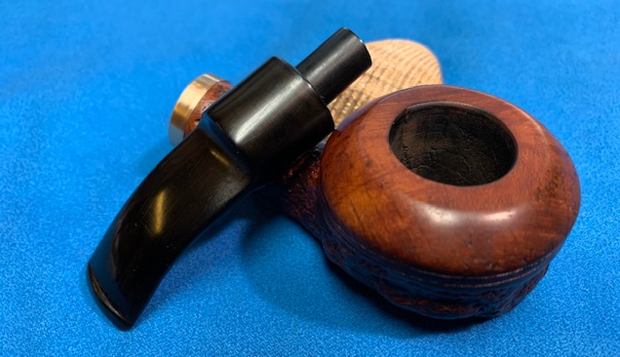
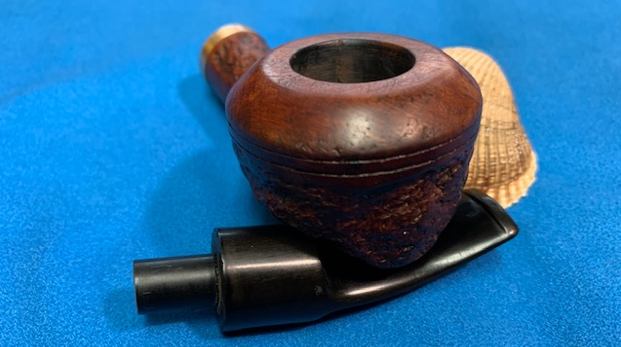
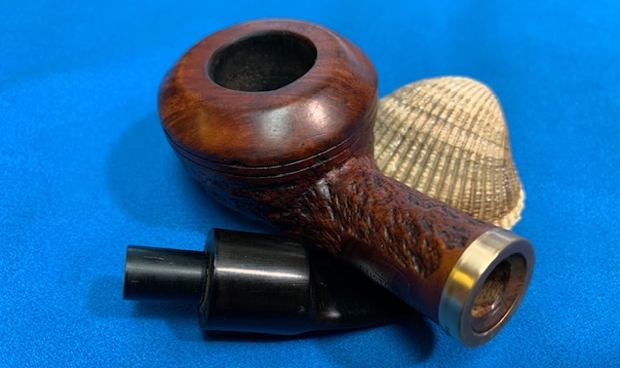
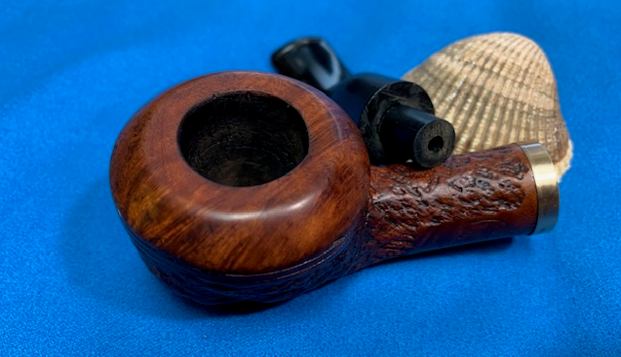
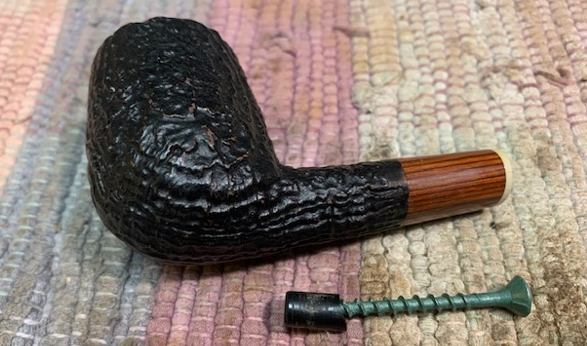
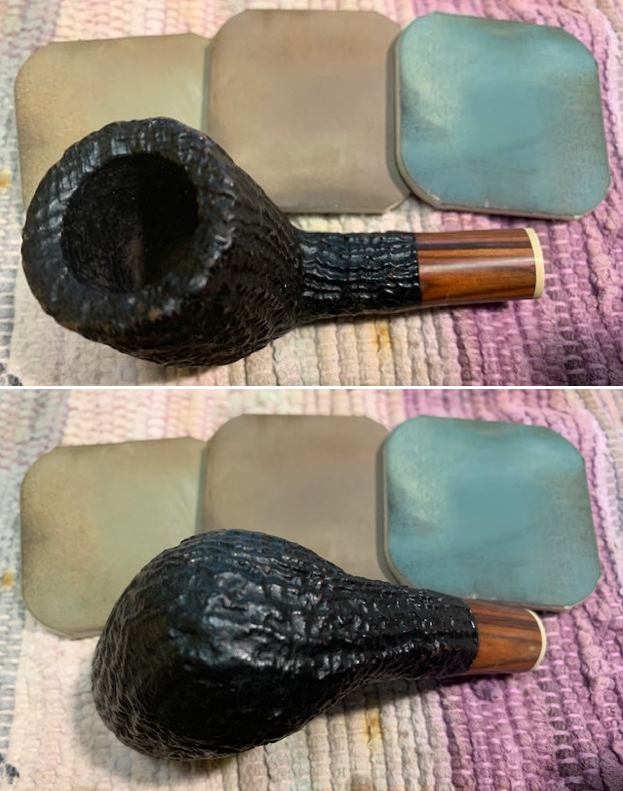
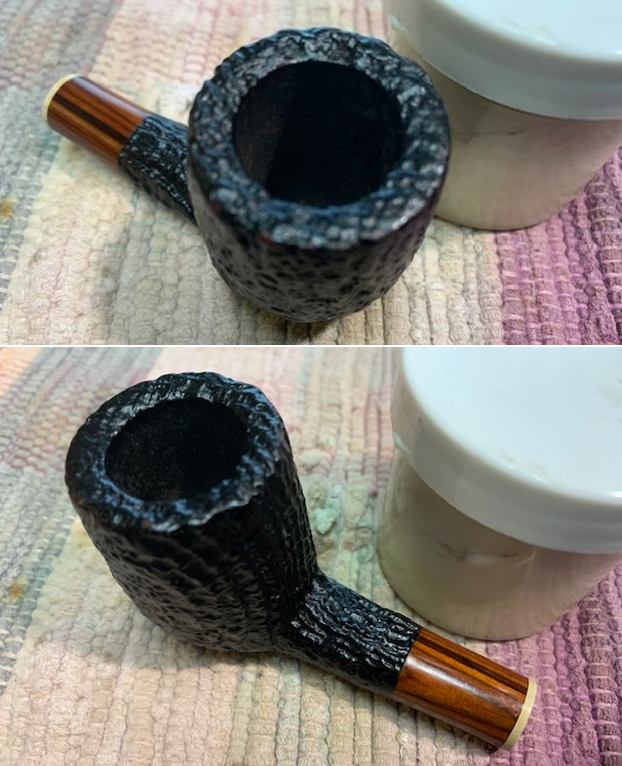
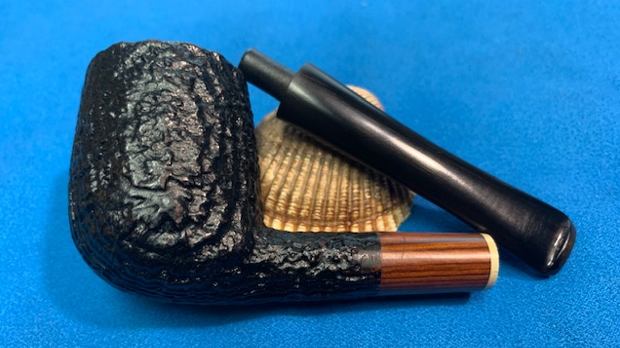
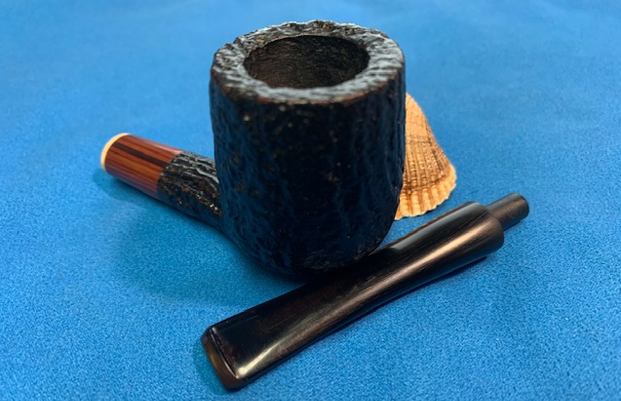
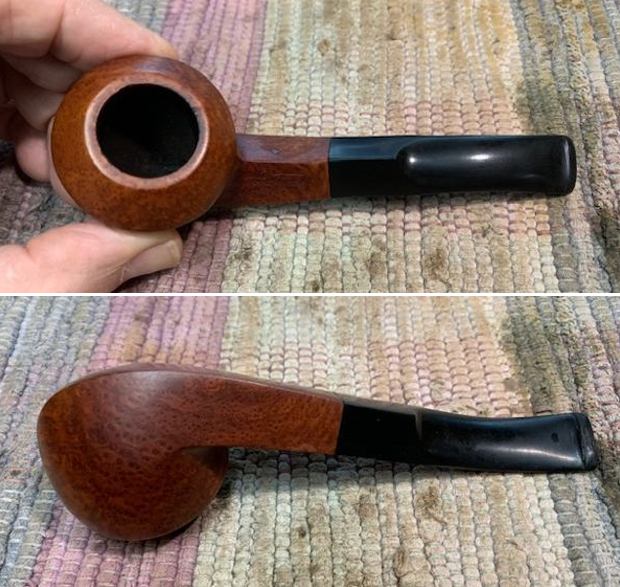
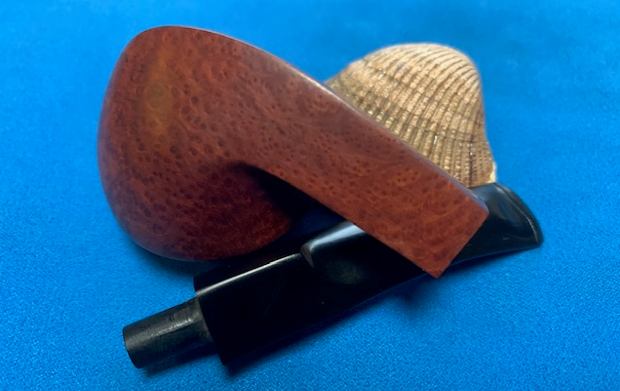
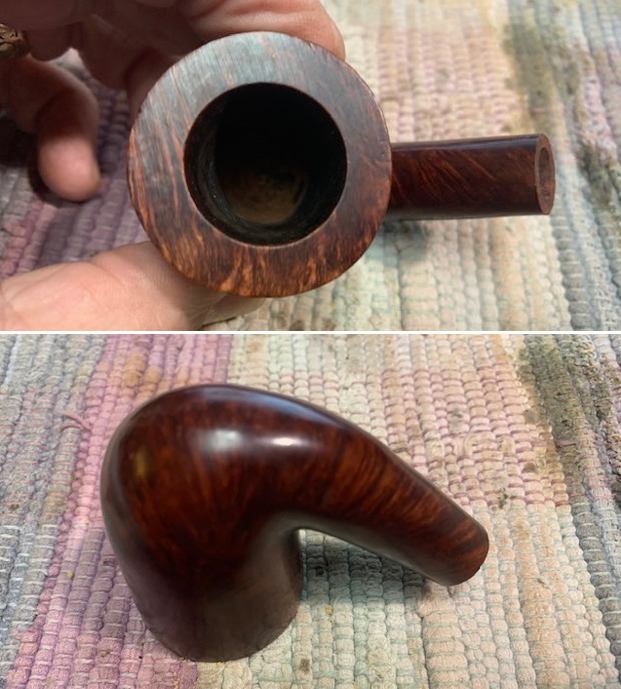
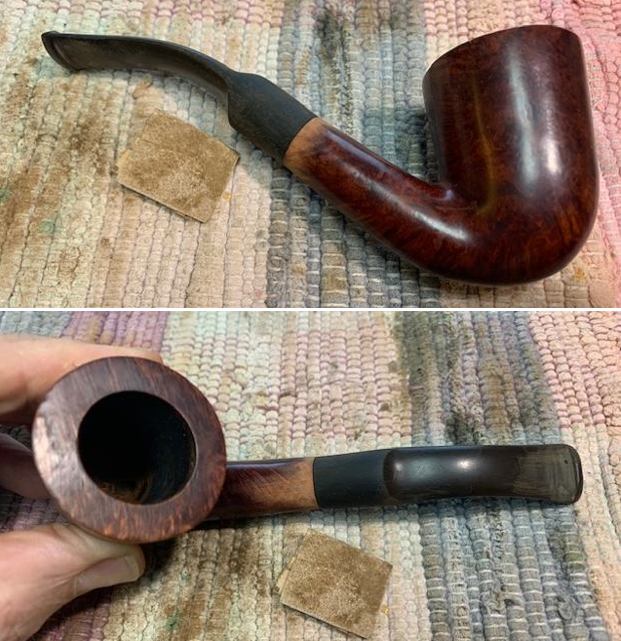
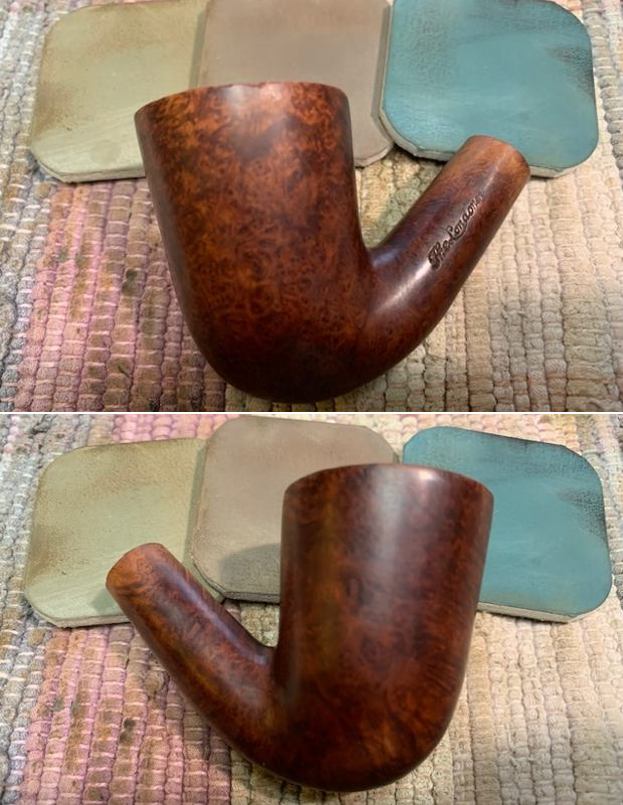
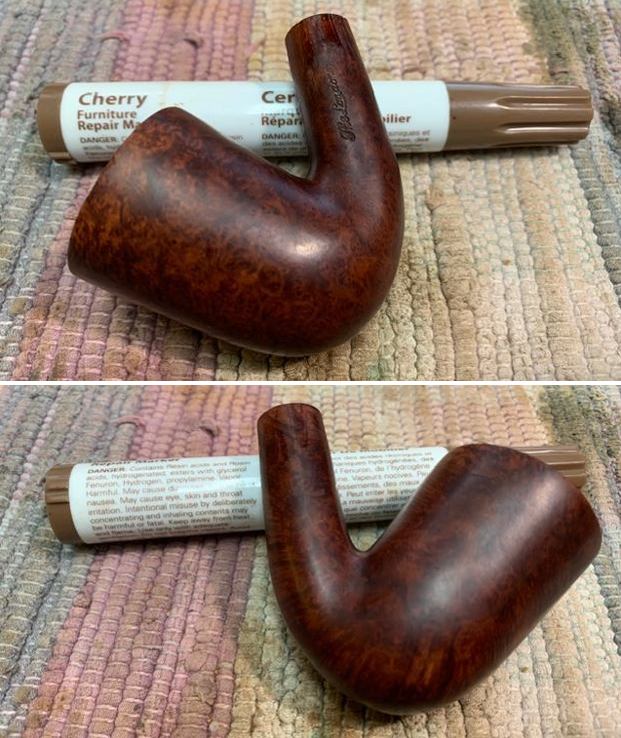
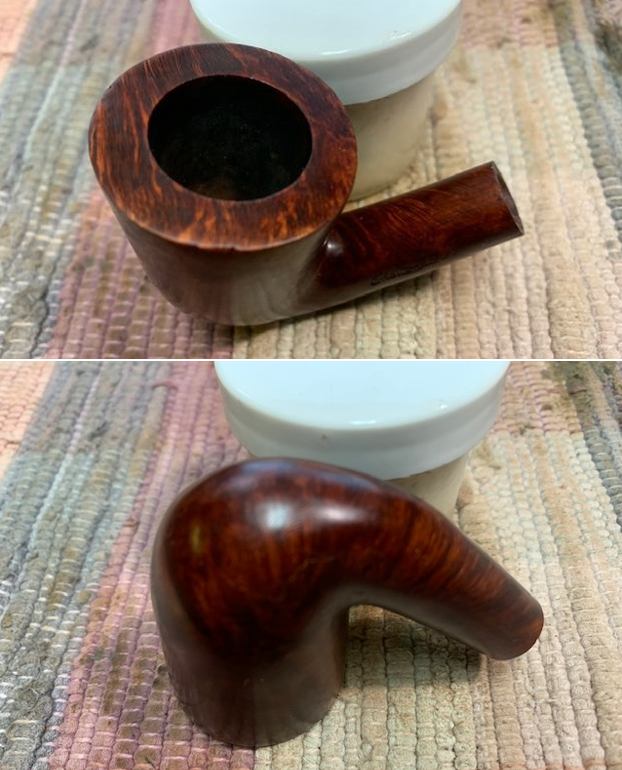
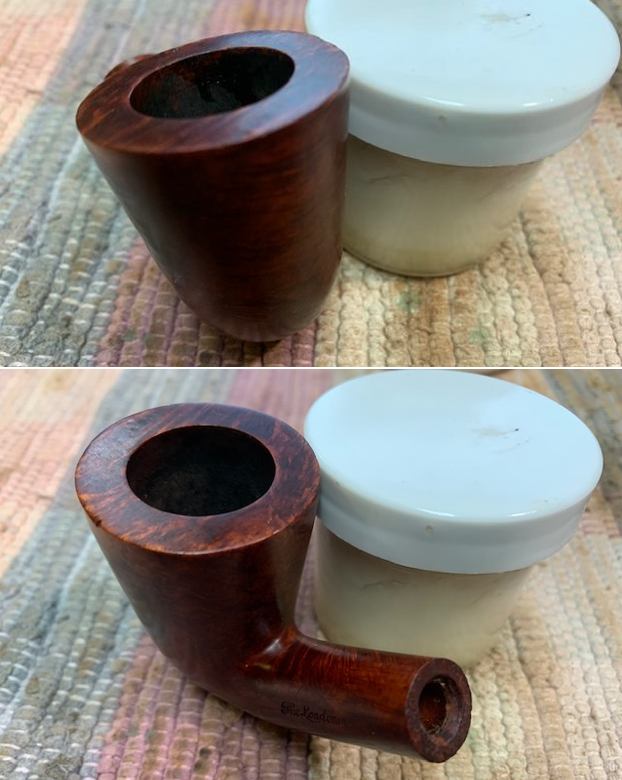
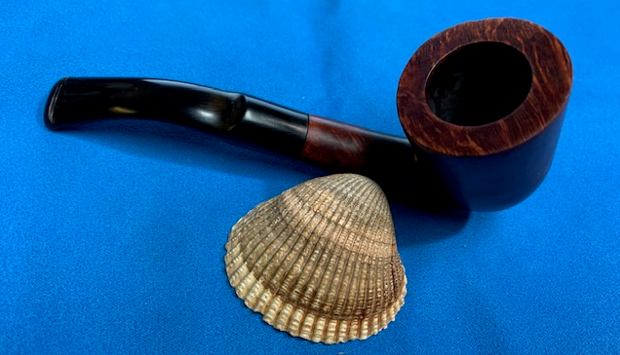
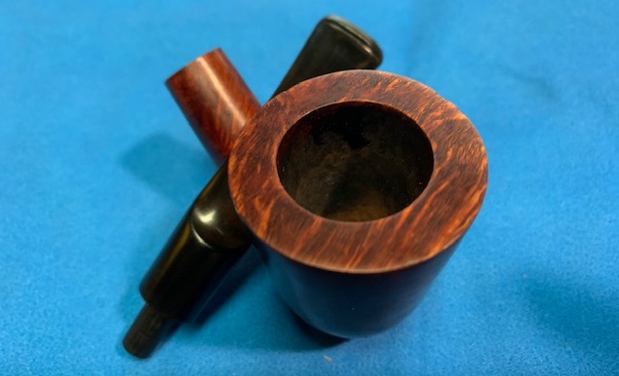
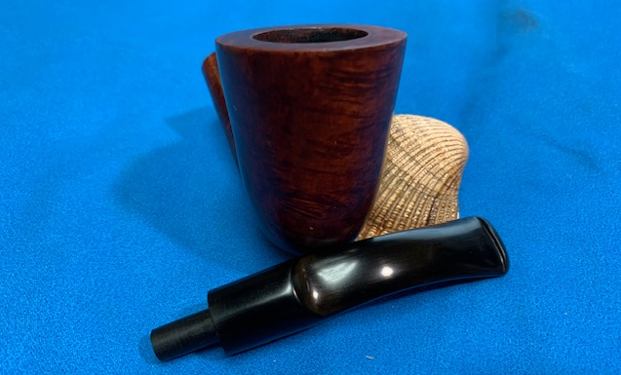
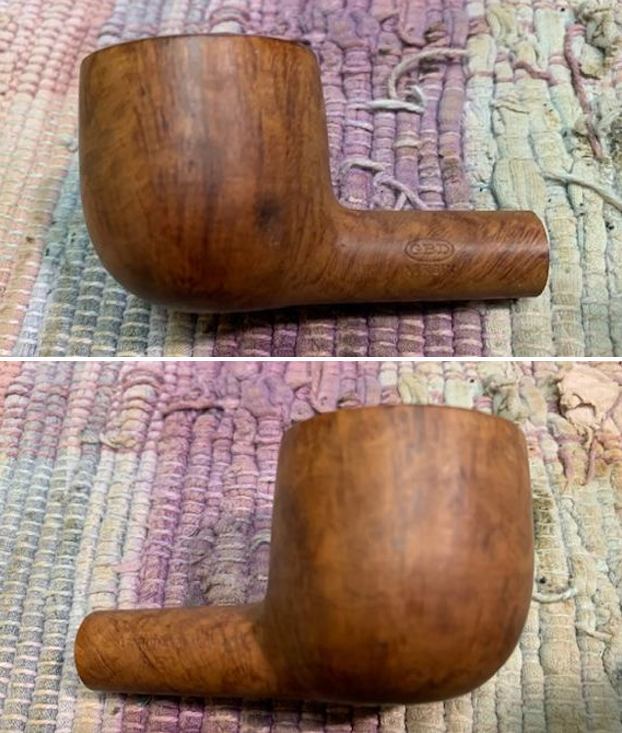
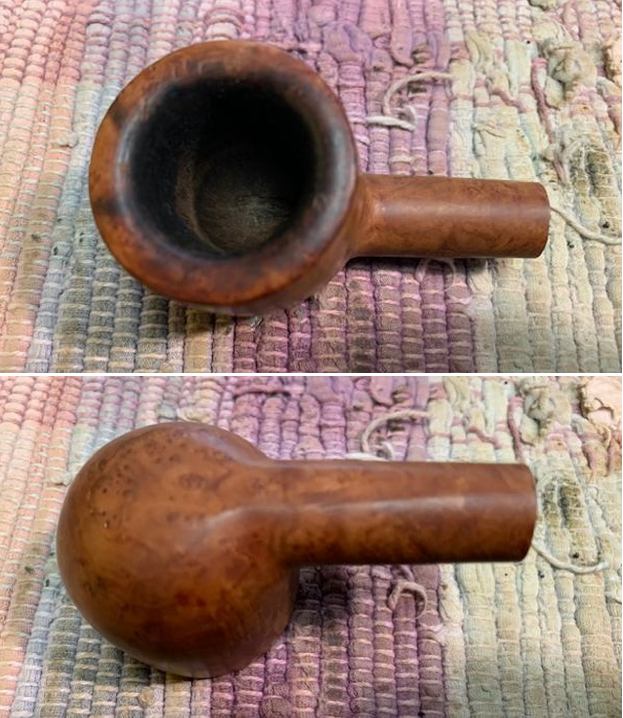
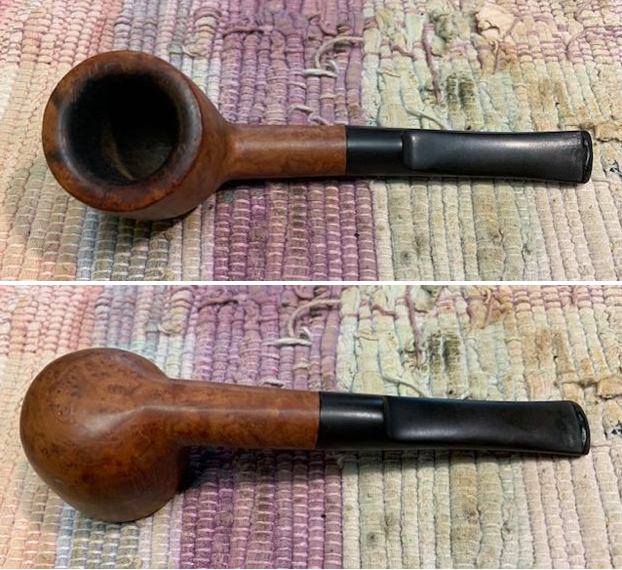
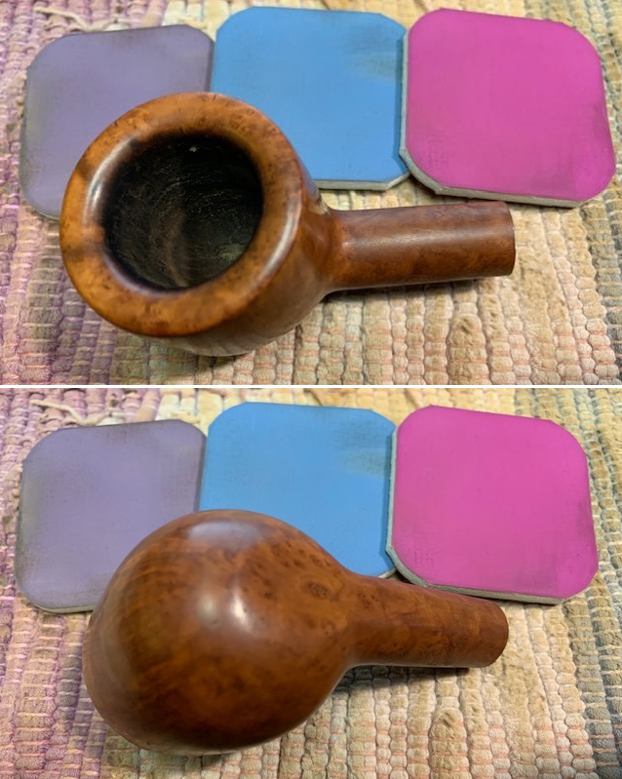
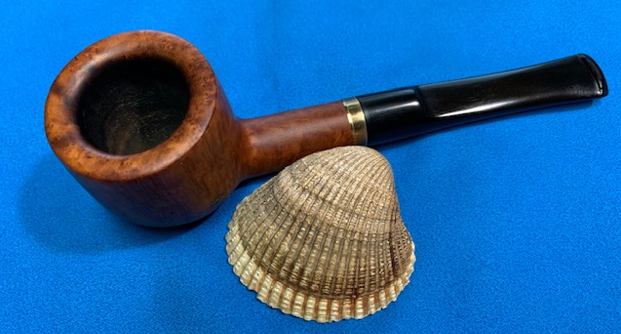
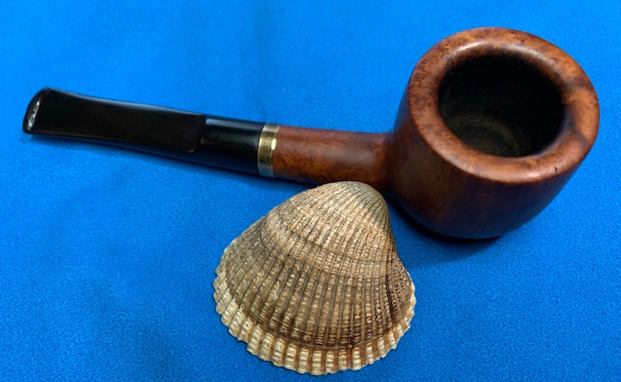
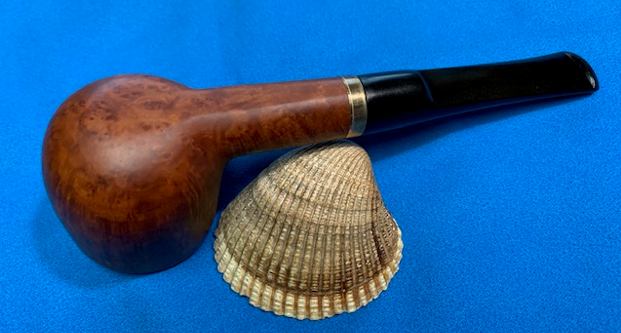
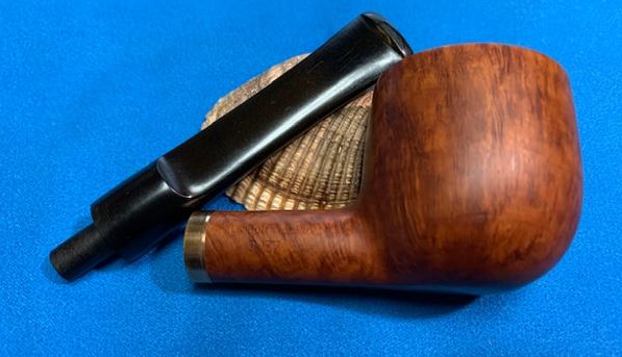
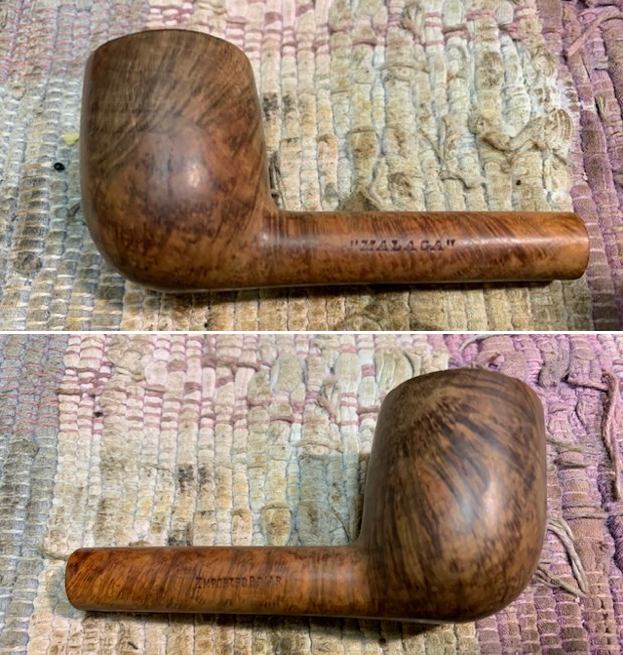
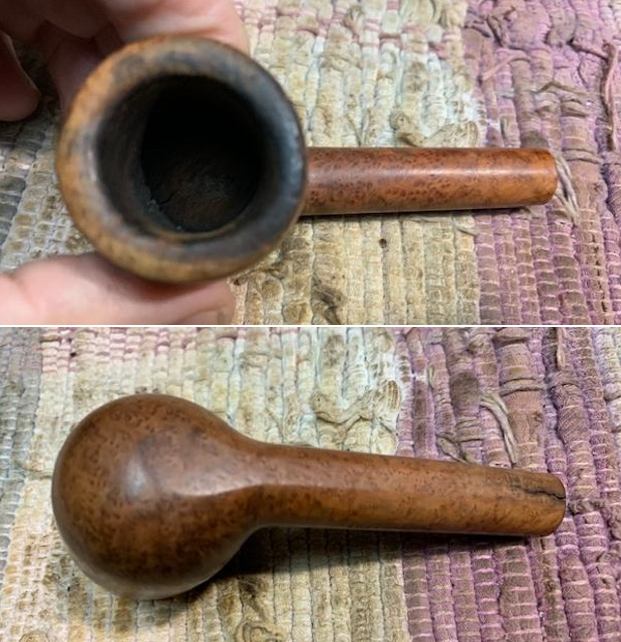
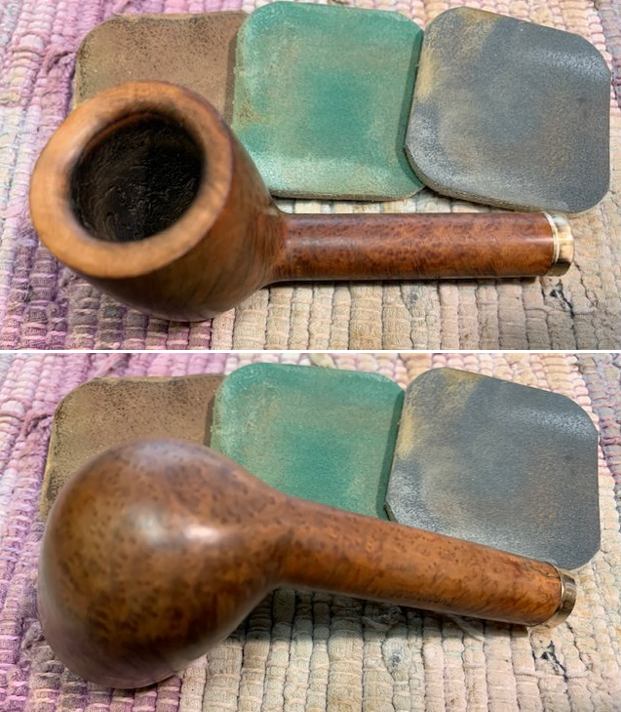
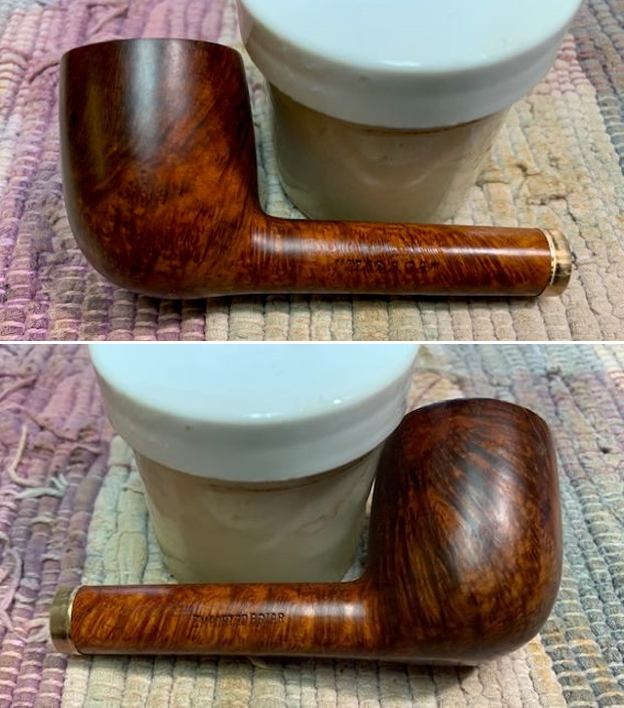
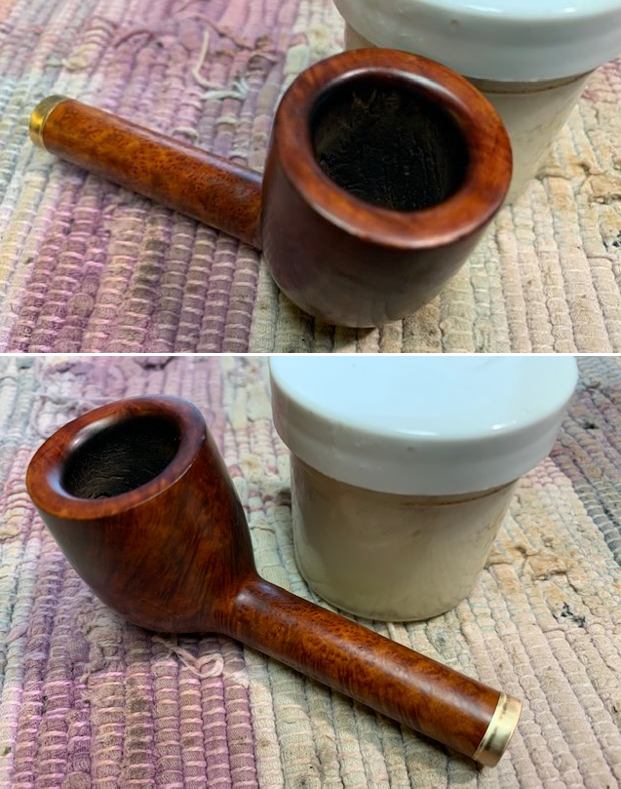
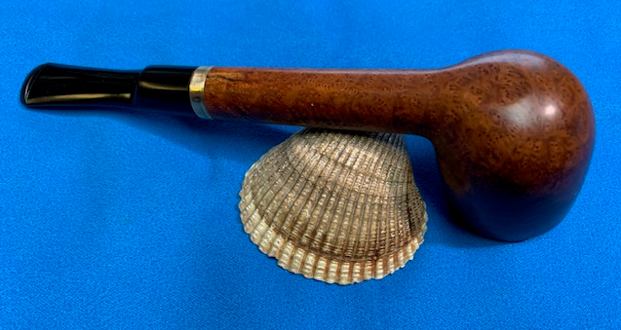
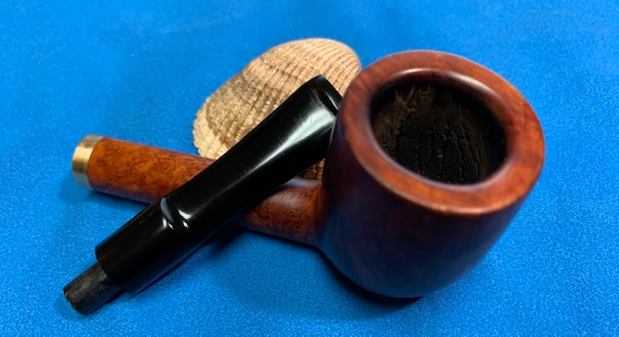
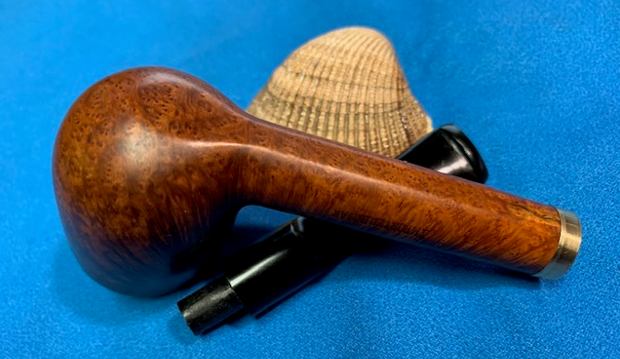
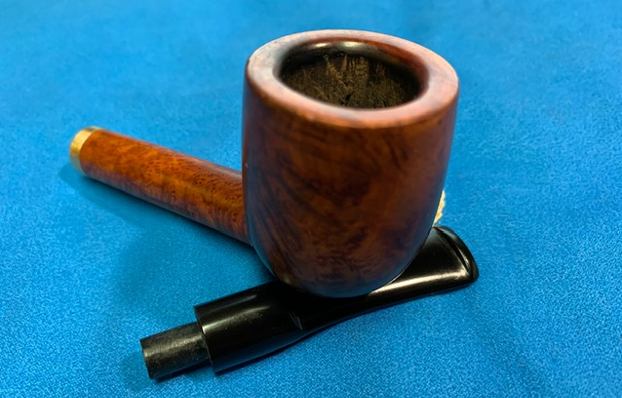
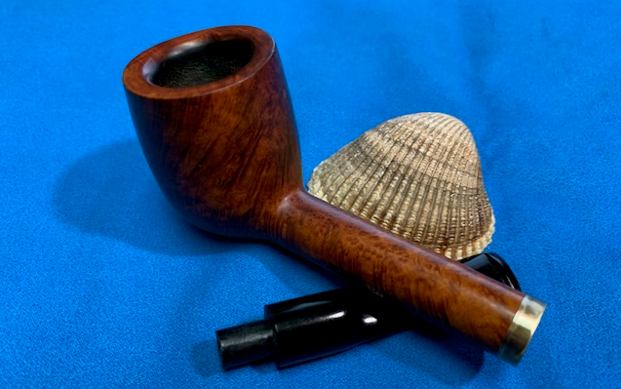
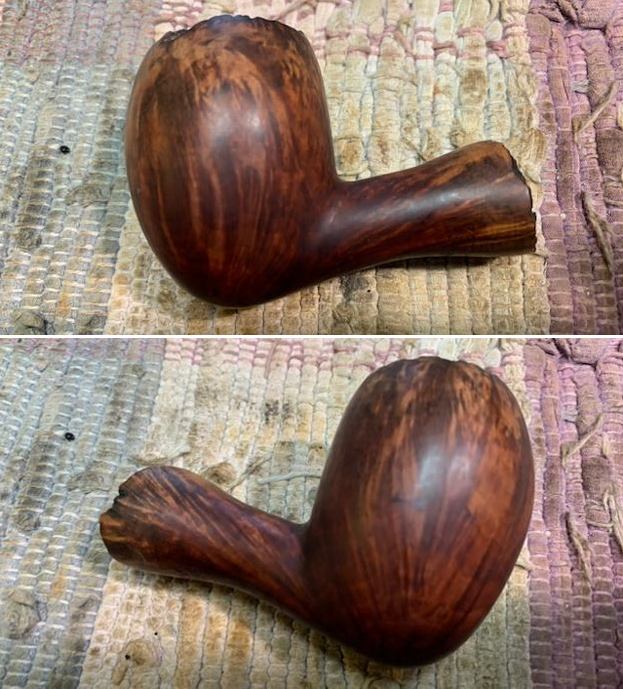
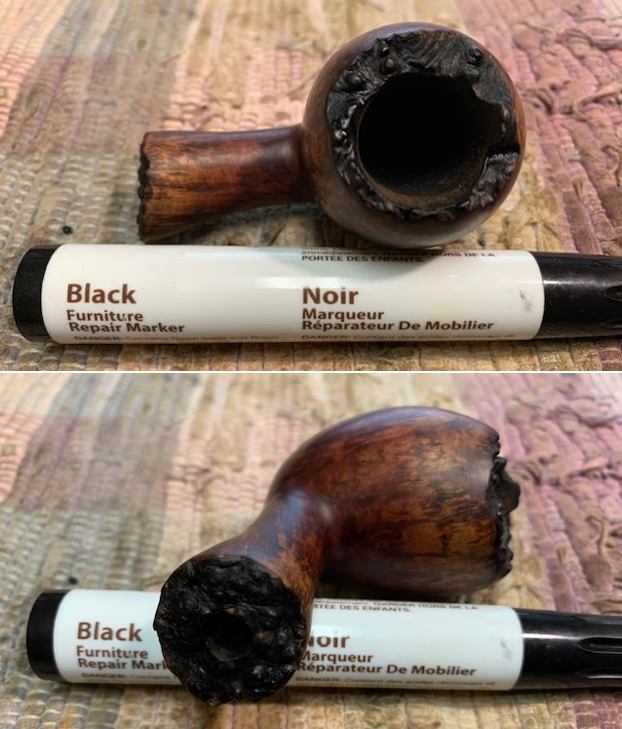
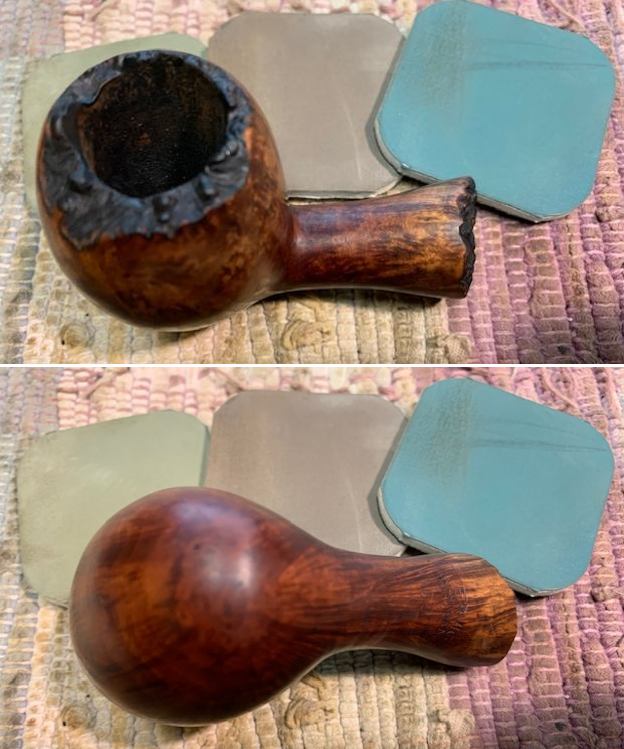
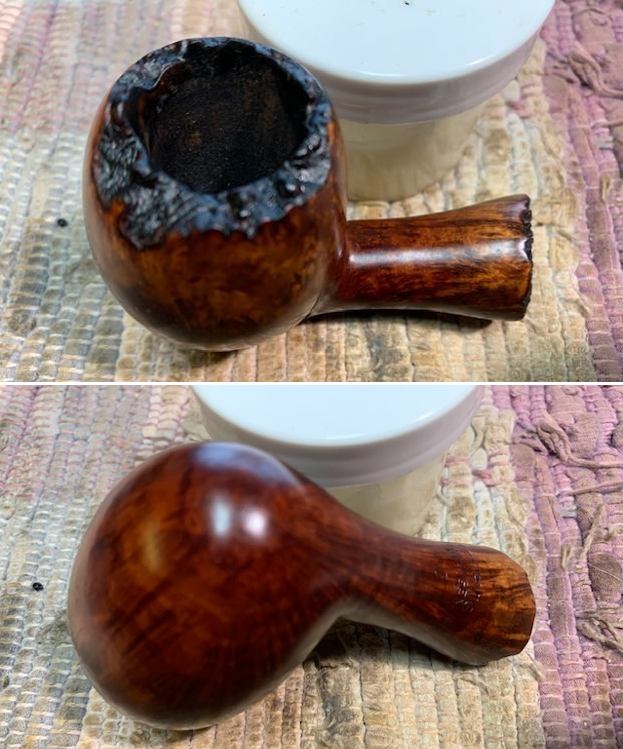
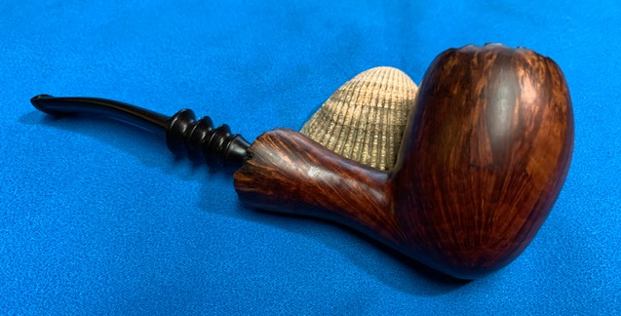
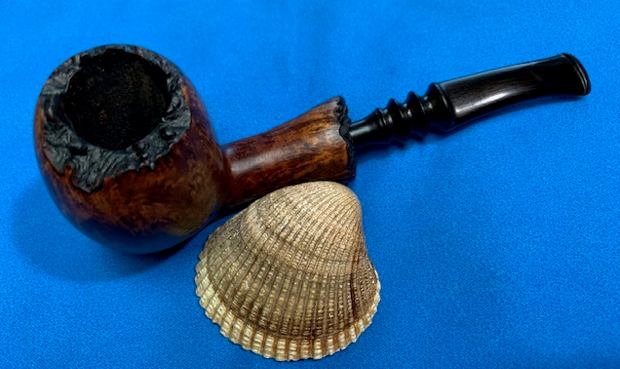
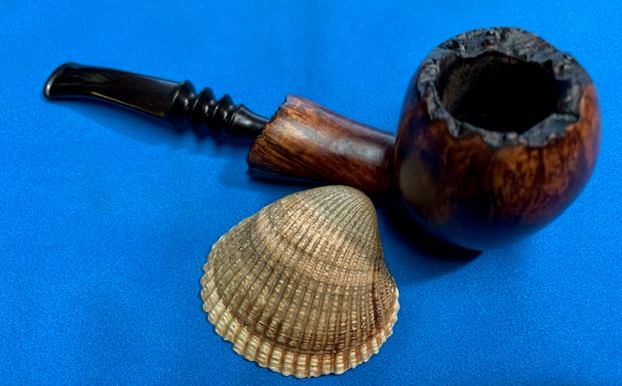
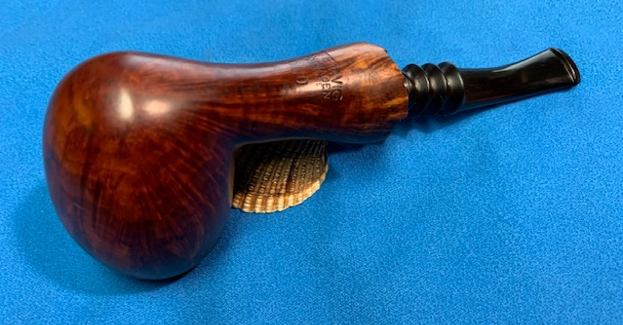
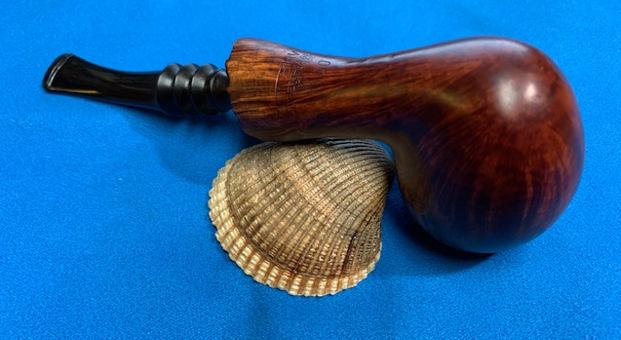
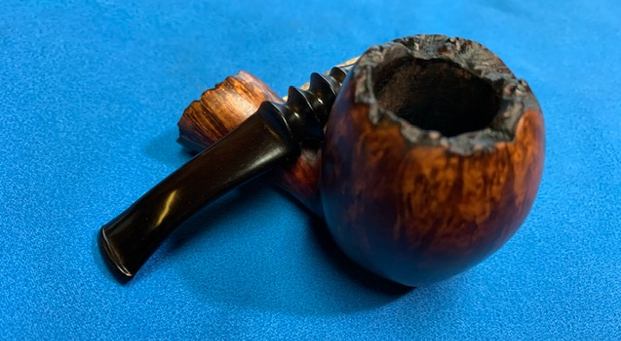
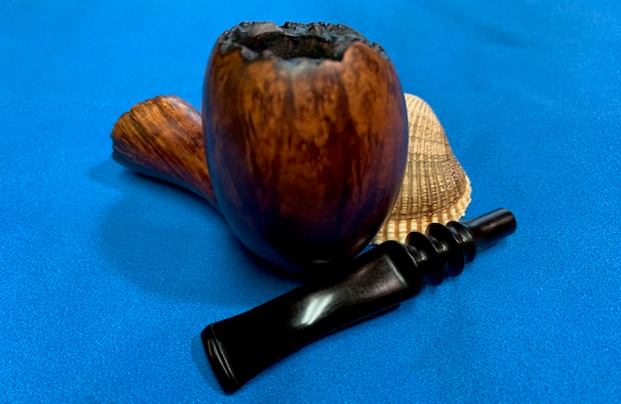
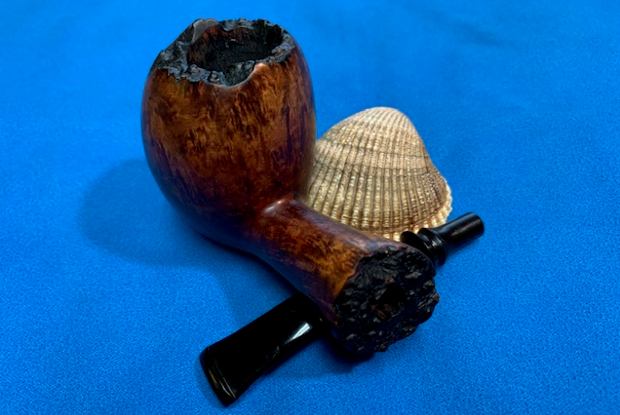
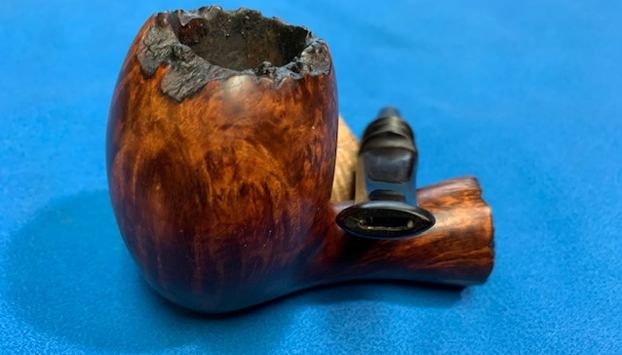
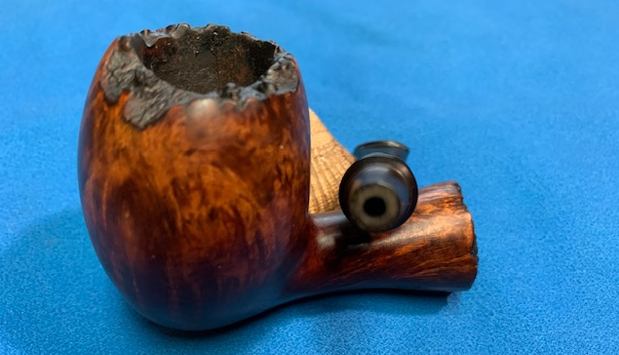
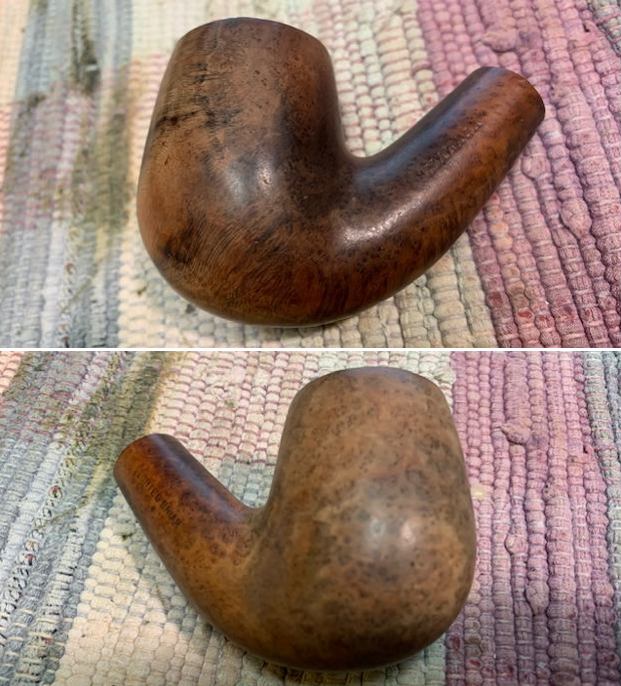
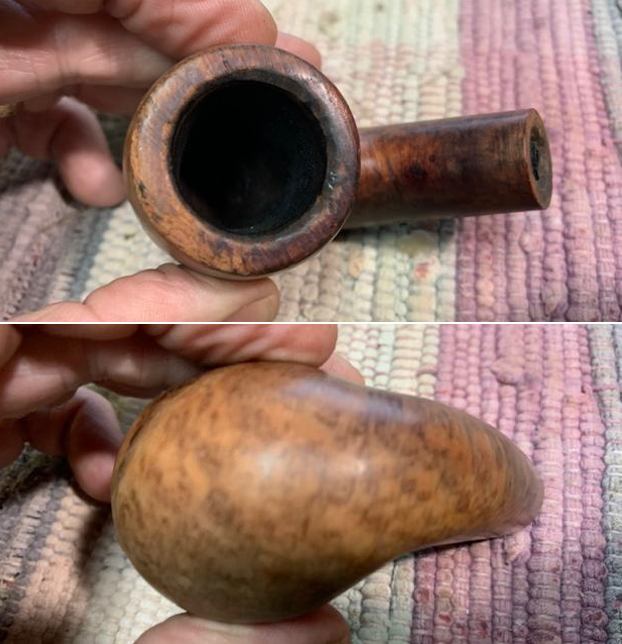
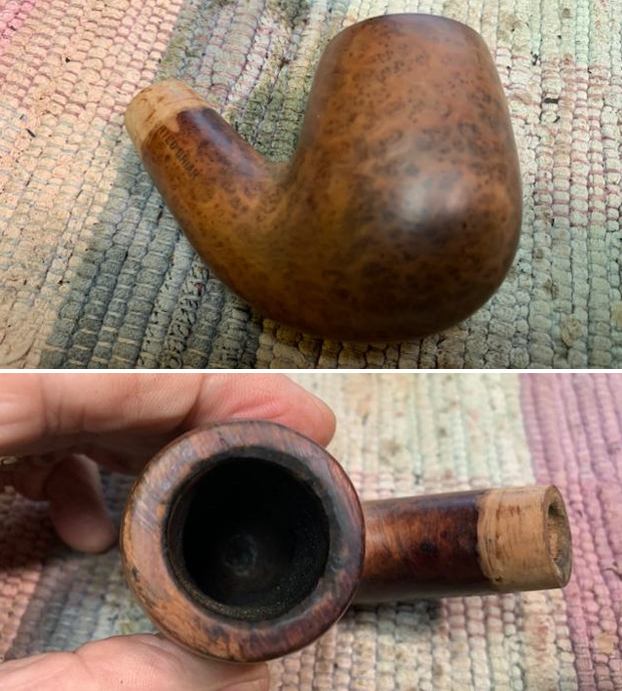
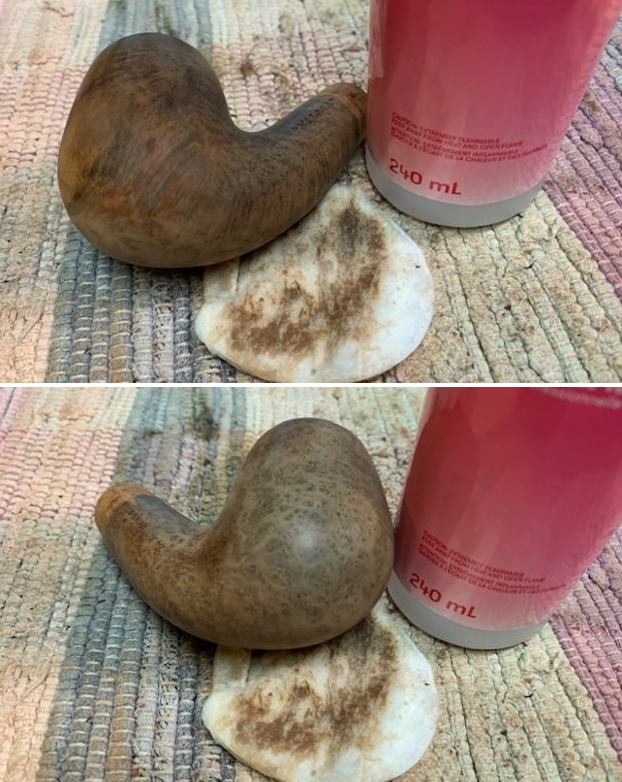
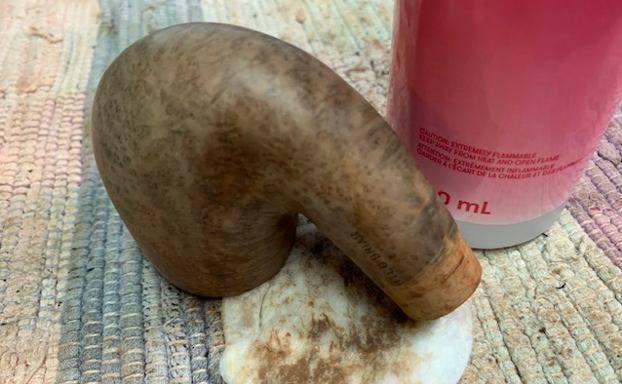
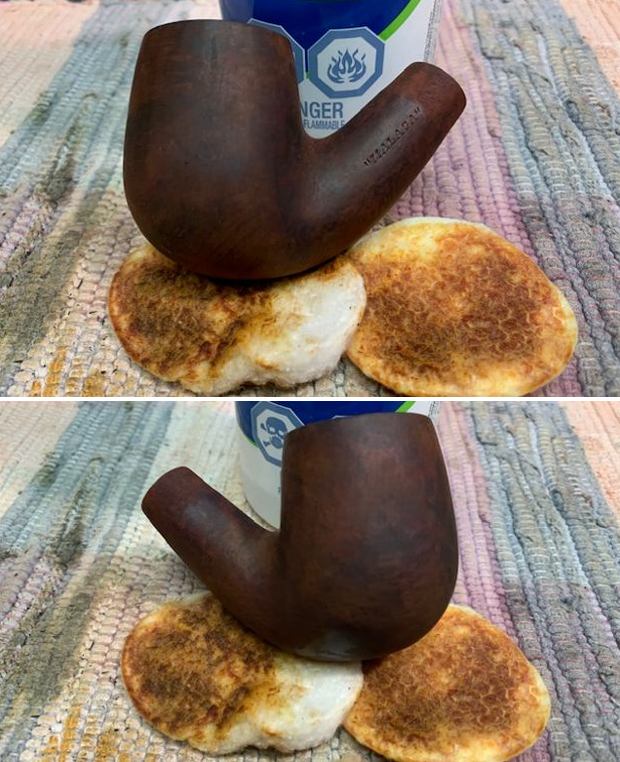
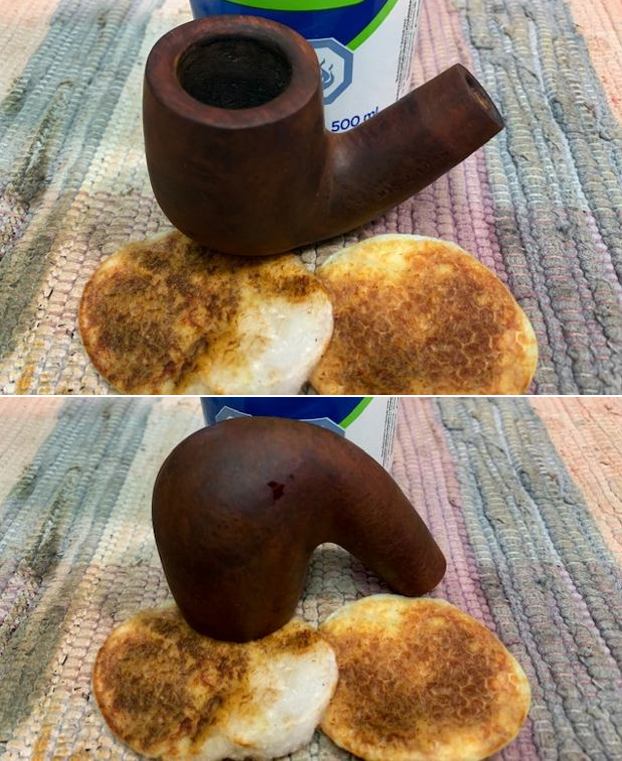
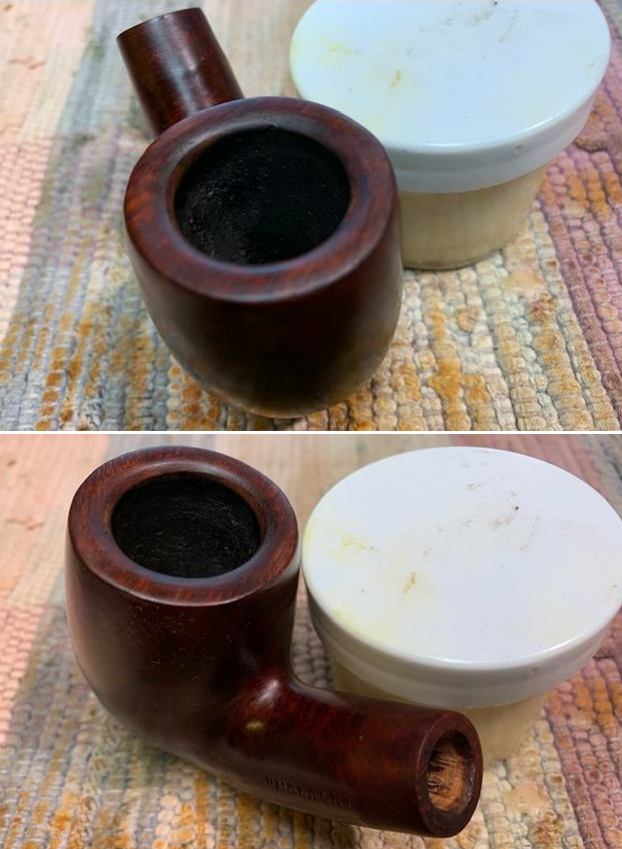
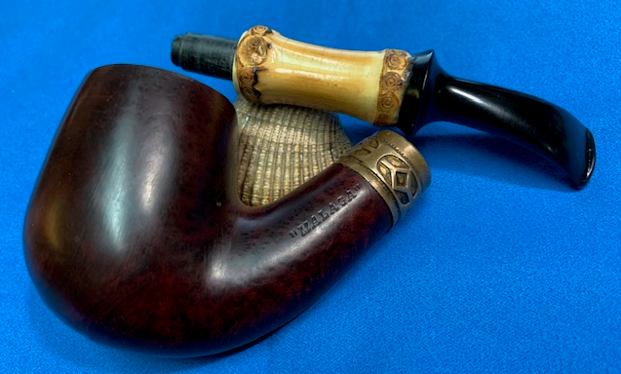
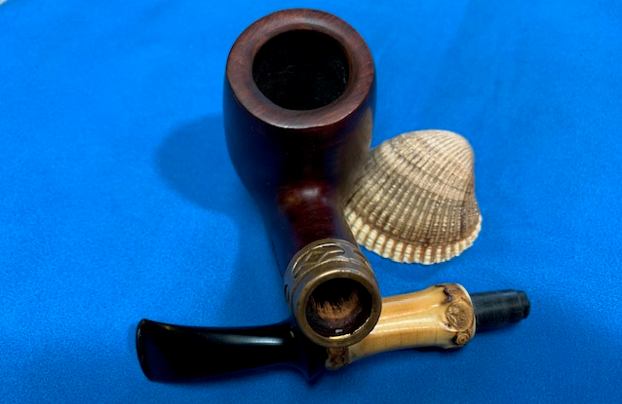
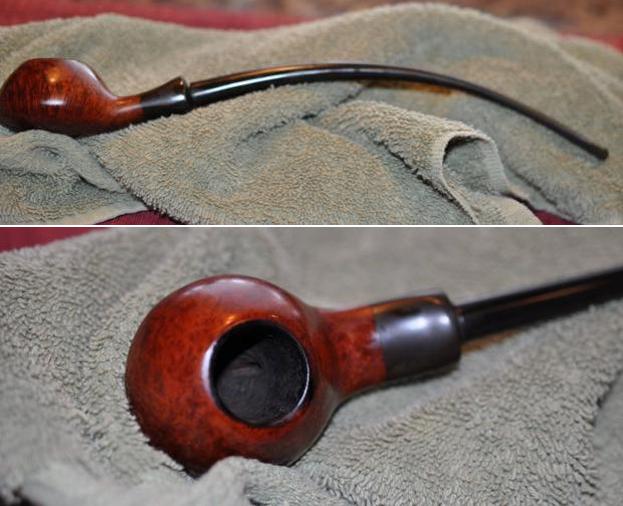
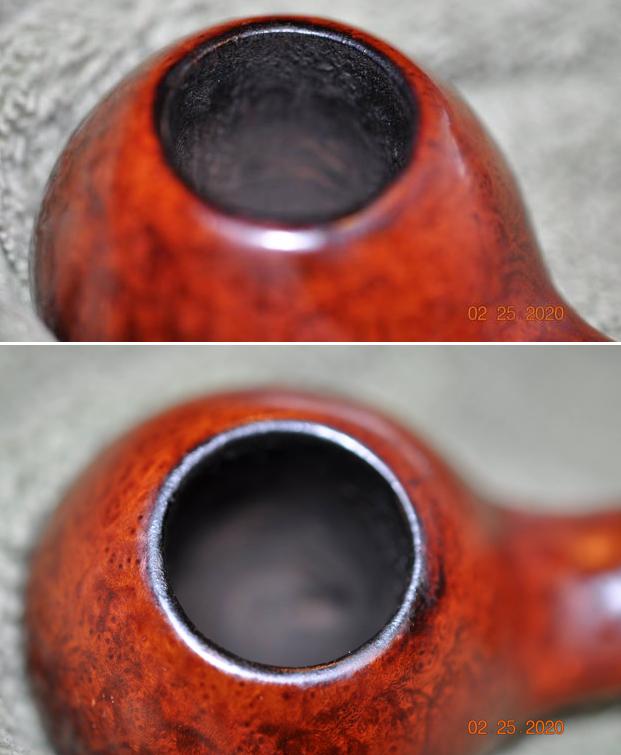
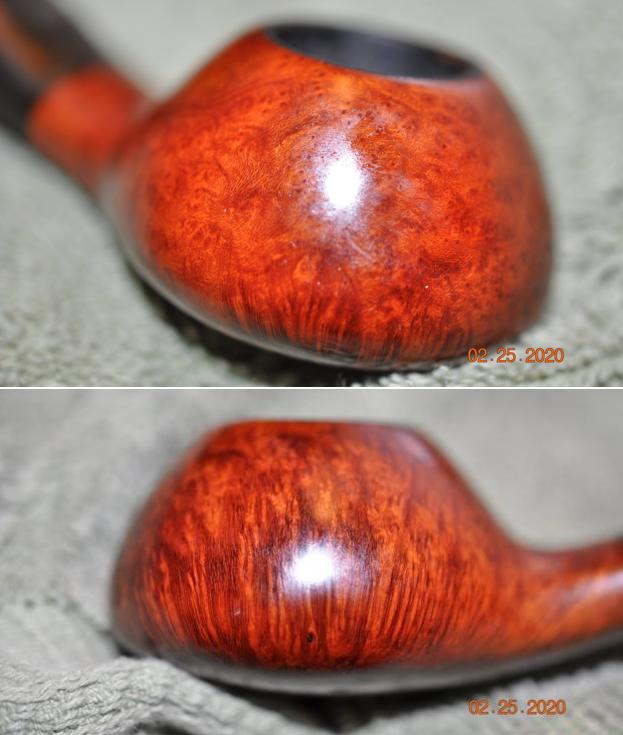
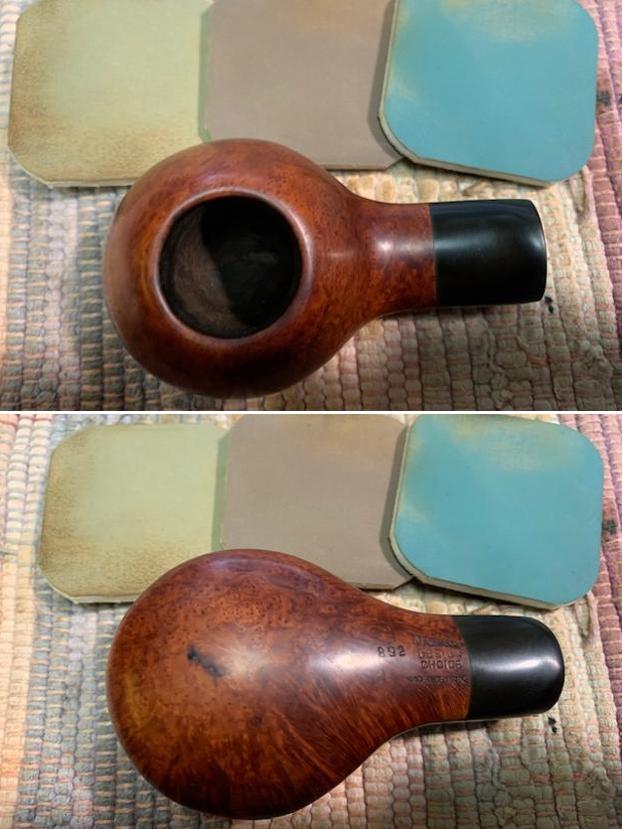
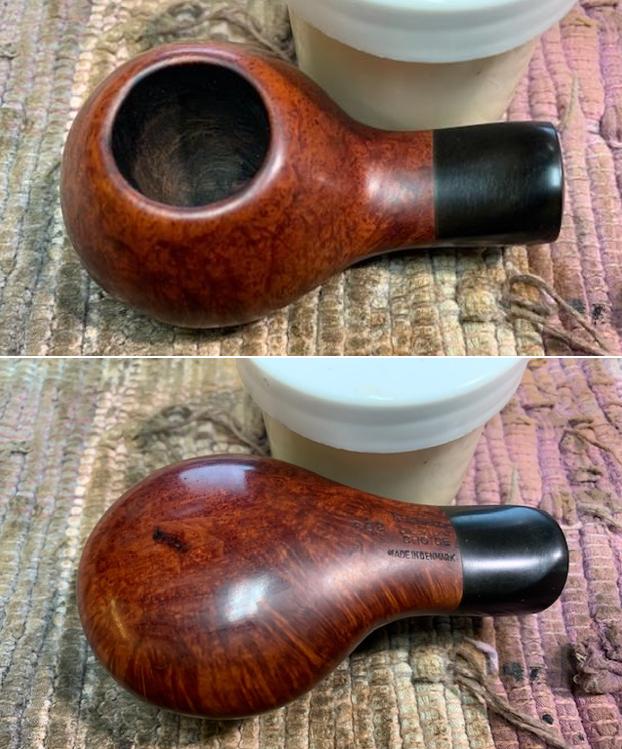
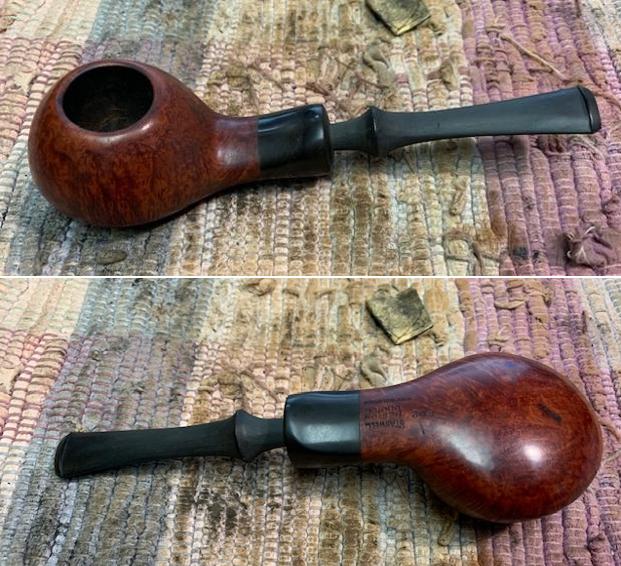
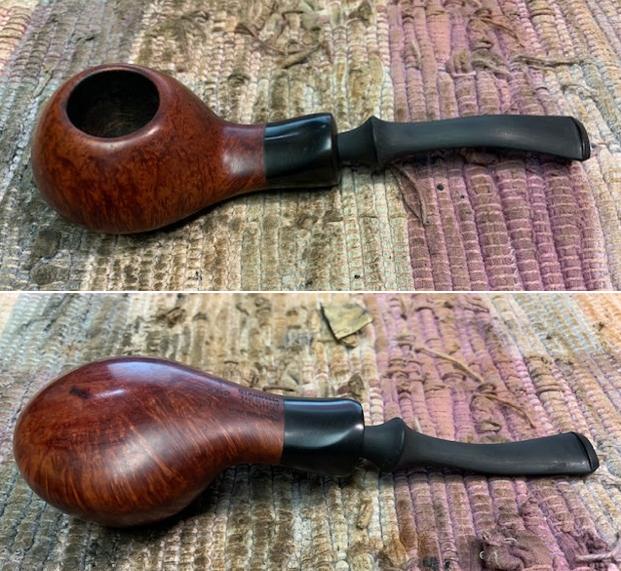
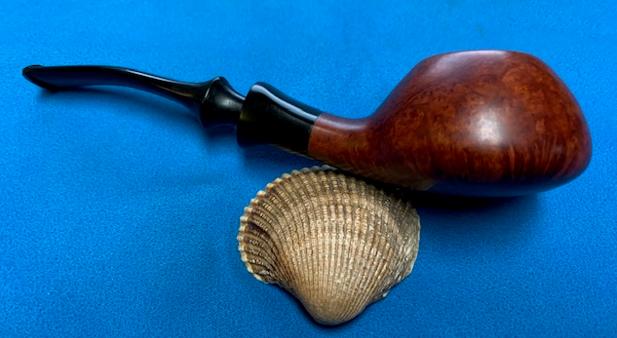
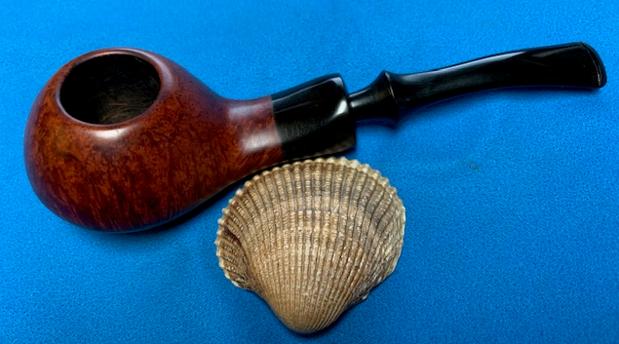
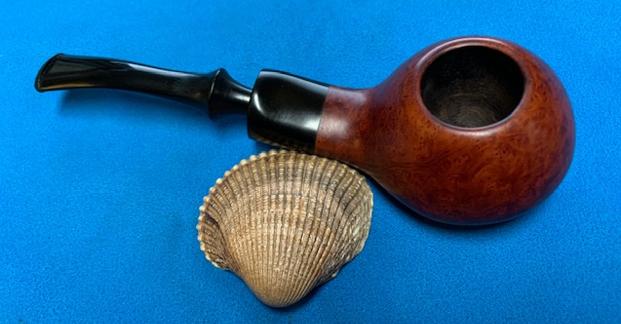
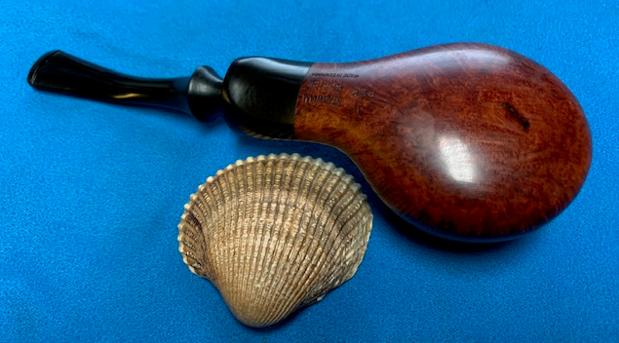
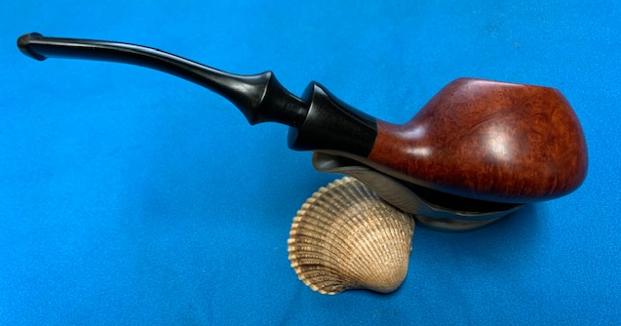
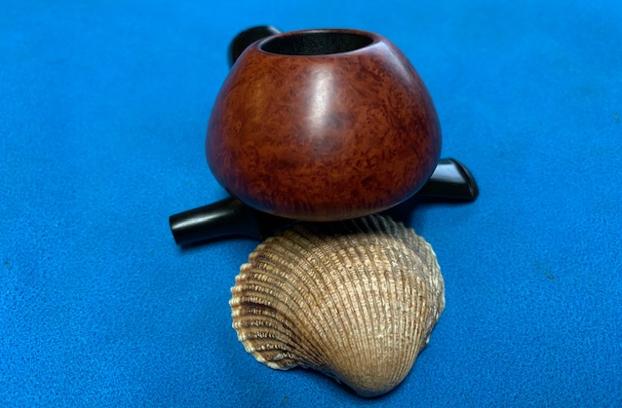
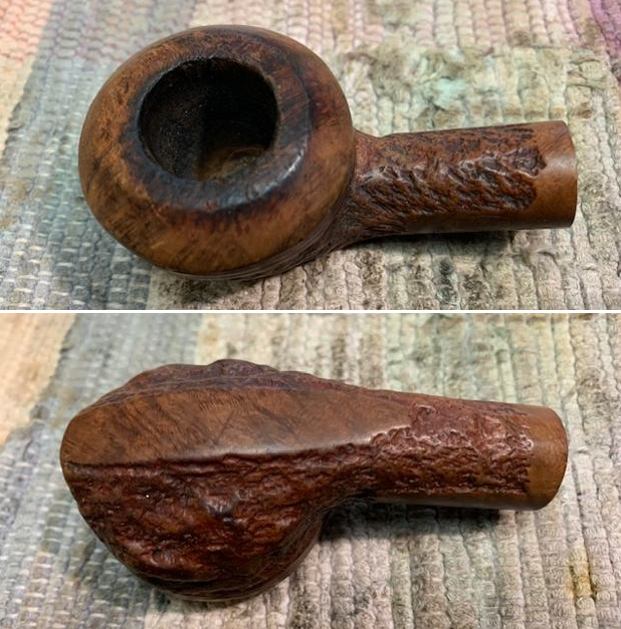
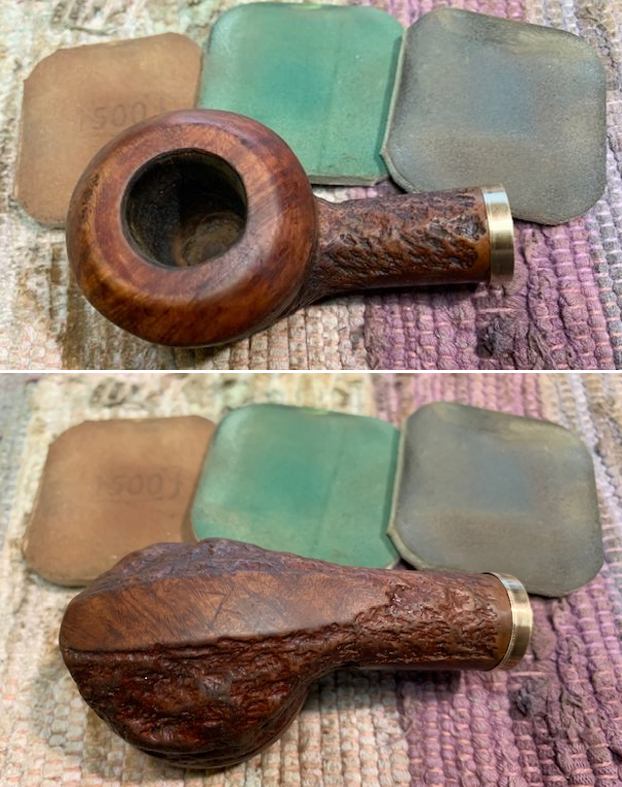
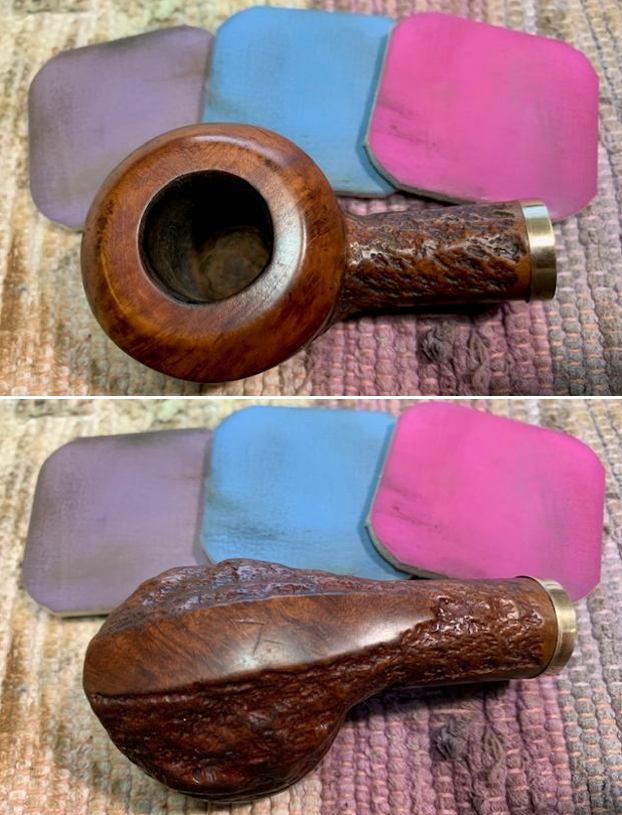
I think I must be on a bit of a roll with restemming some of the bowls I have collected over the years. I decided to do yet another one that has been here for a very long time. The pipe I chose to work on next is a lovely Bullmoose rusticated stummel with a smooth rim top and twin rings around the cap of the bowl. The bowl looked very good. The rustication while not deep was quite nice and an interesting texture. The rim top was a bit rough with nicks and dings in the rim top and wear on the front edge of the cap. There were also burn marks and darkening on the outer edge of the cap. The interior of the bowl was clean and there were not any chips, cracks or checking on the walls. The finish was dull and bit and tired but still quite redeemable. The stamping on the pipe was clear and readable in smooth panels on the shank. On the left side it read Weber in a circle [over] Custom Made. On the right it read Imported Briar. I took some photos of the bowl before I started to work on it. 
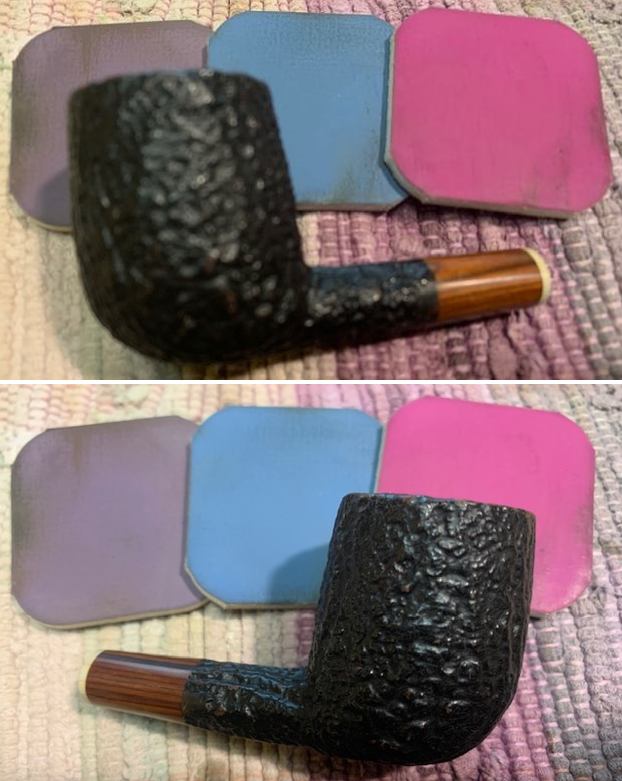
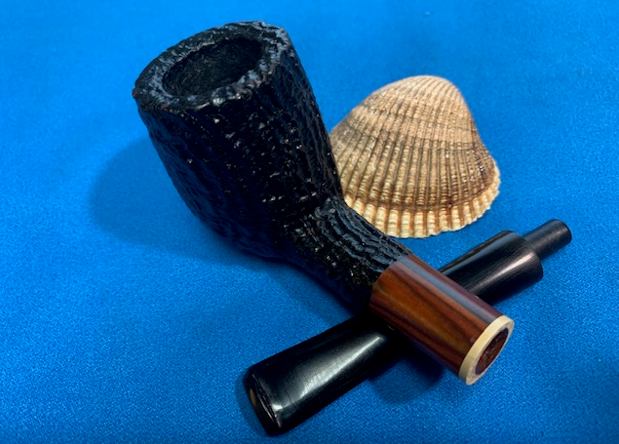
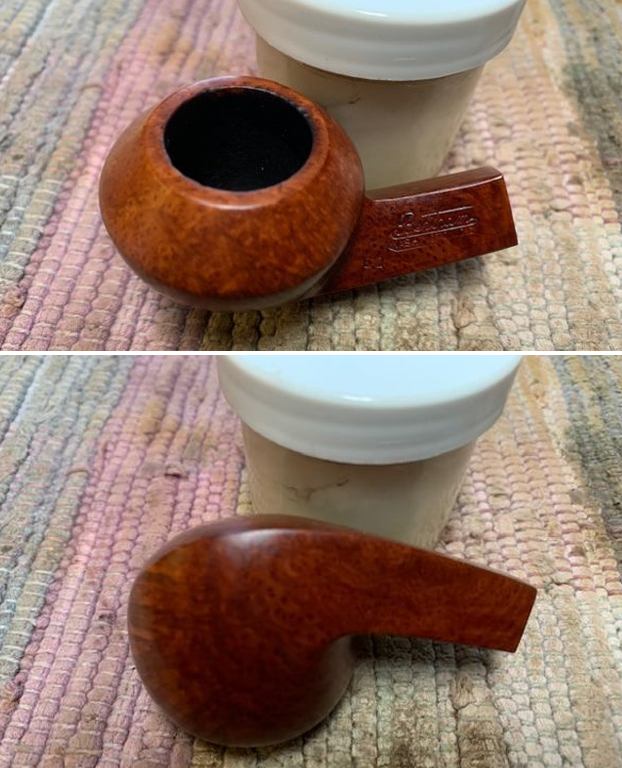
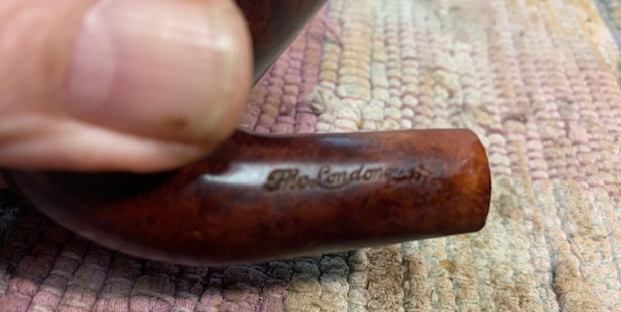
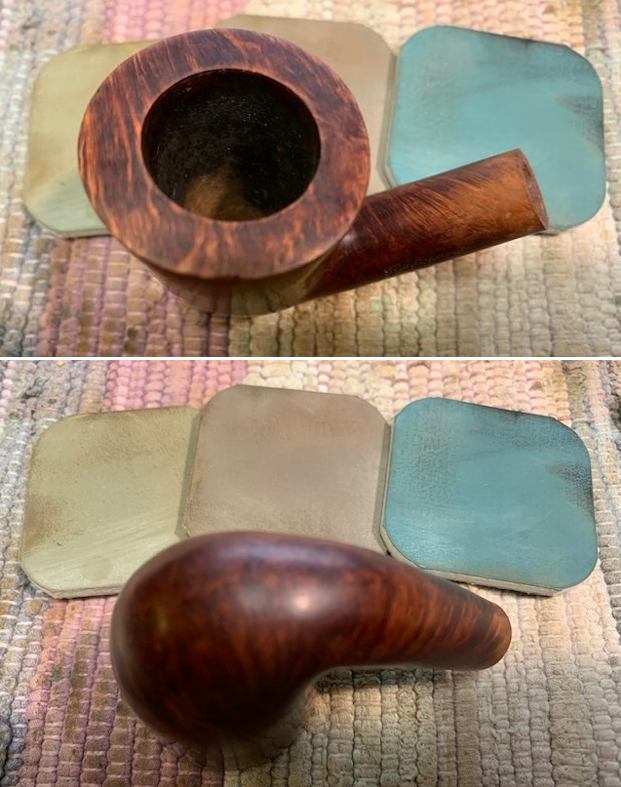
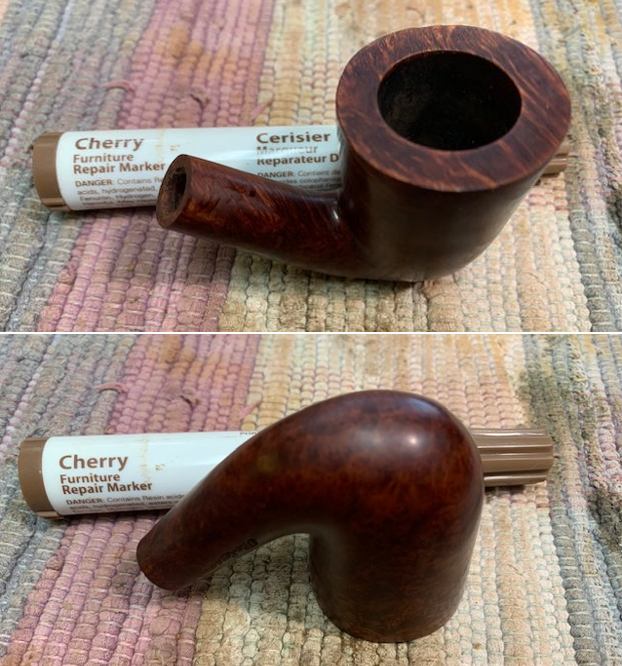
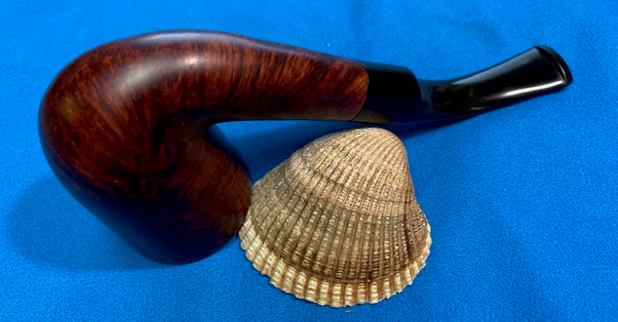
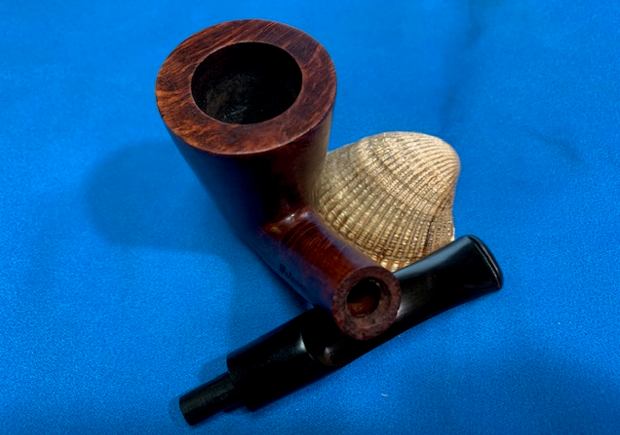
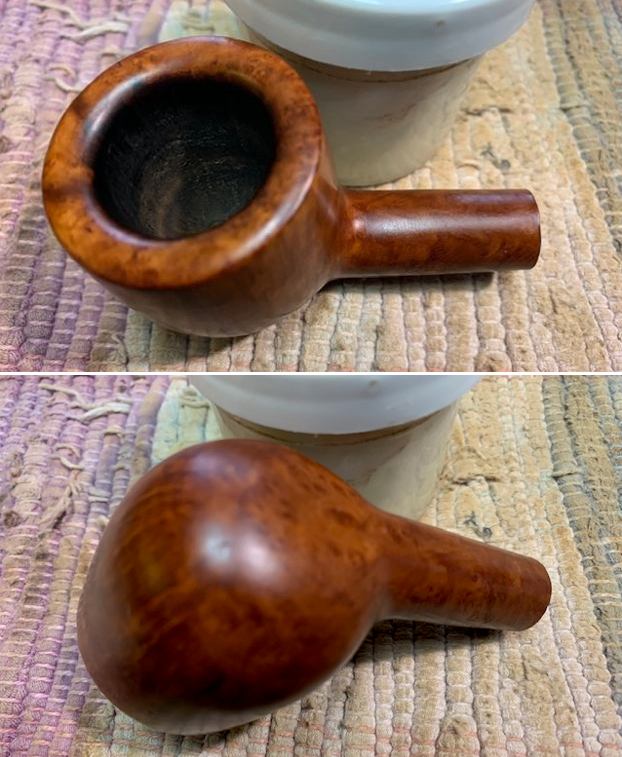
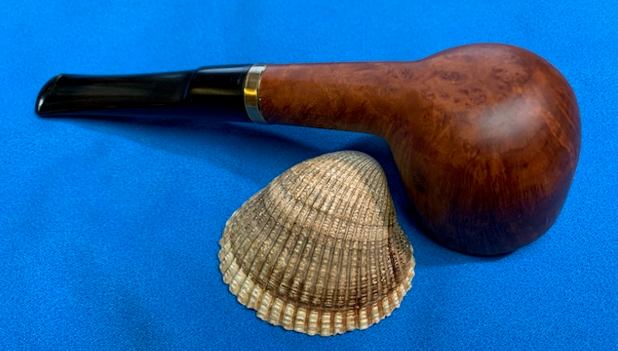
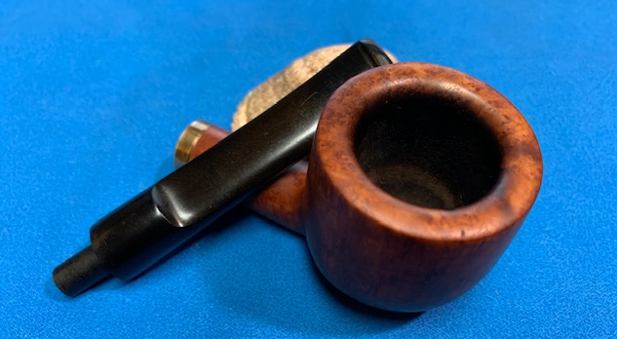
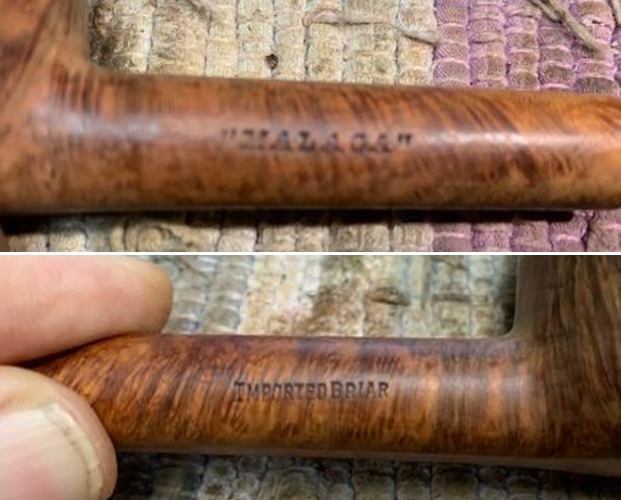
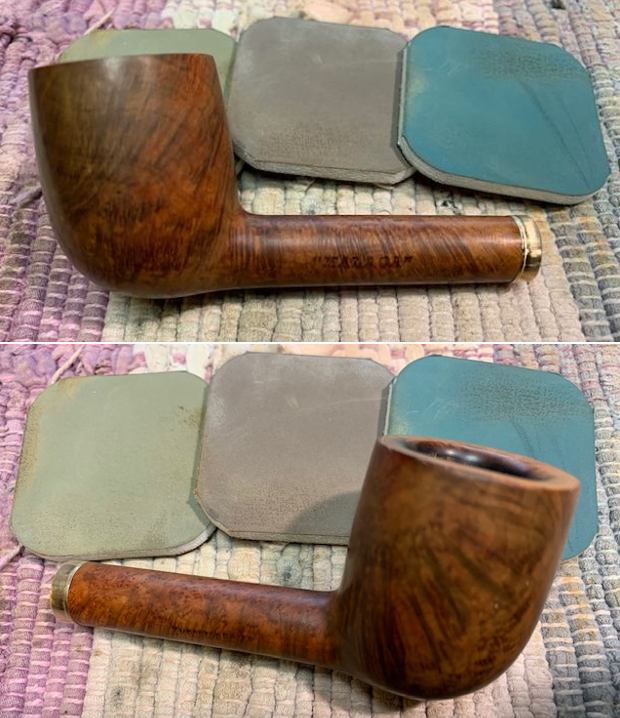
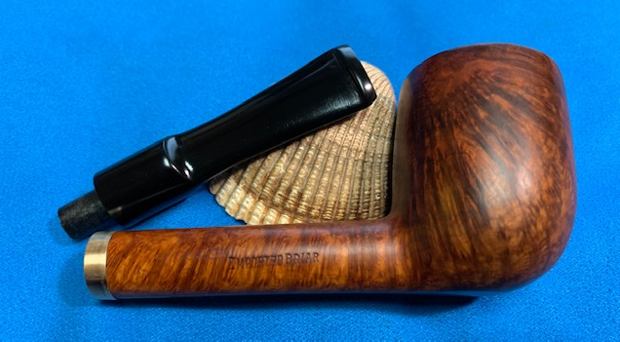
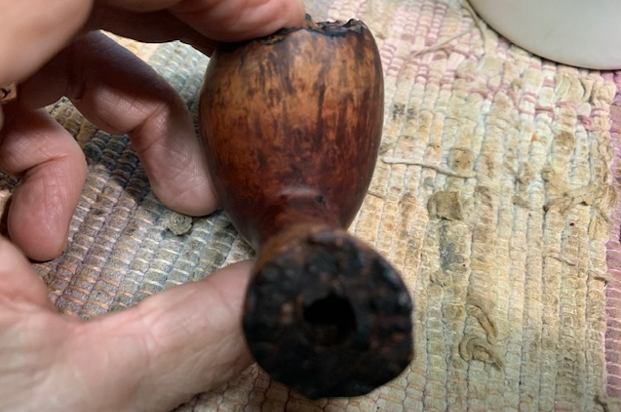
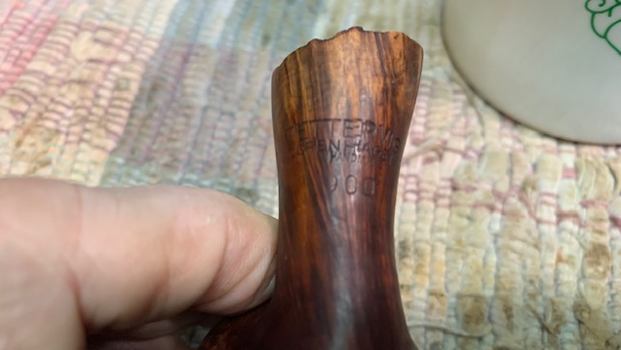
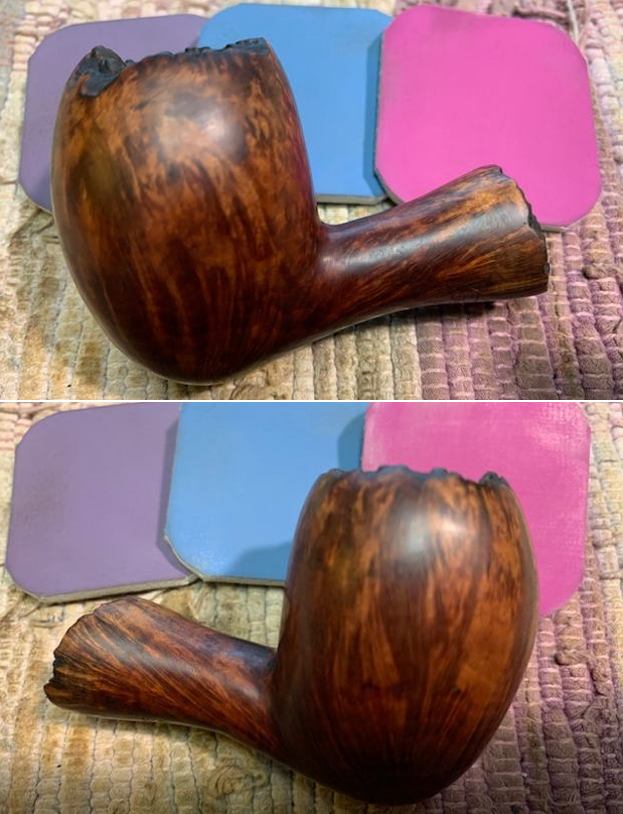
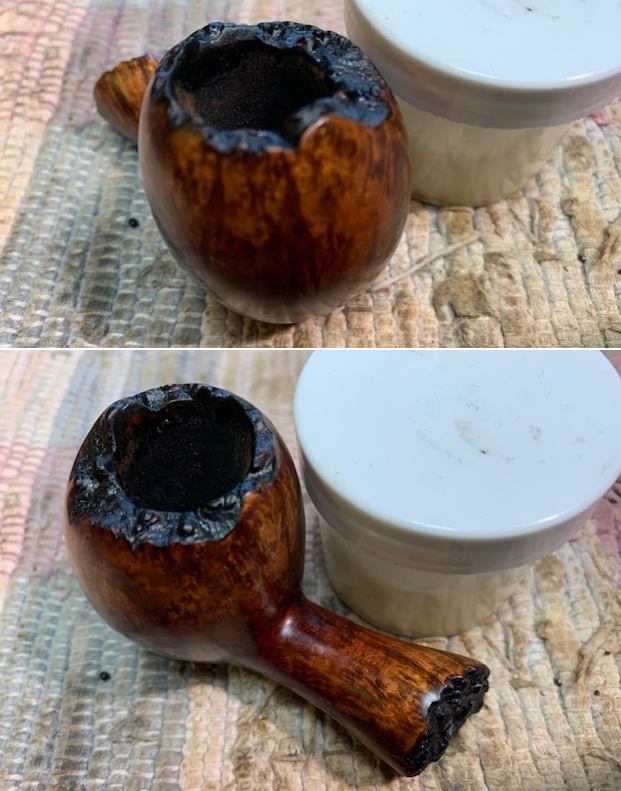
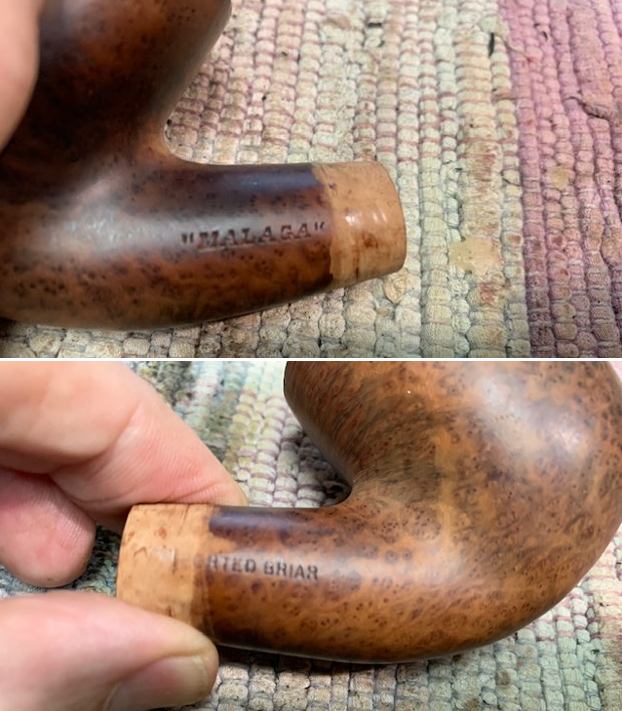
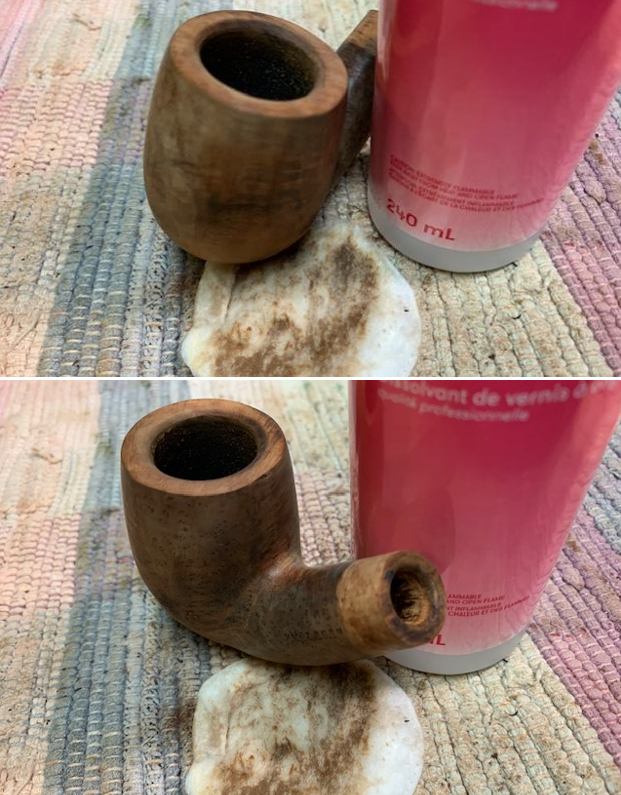
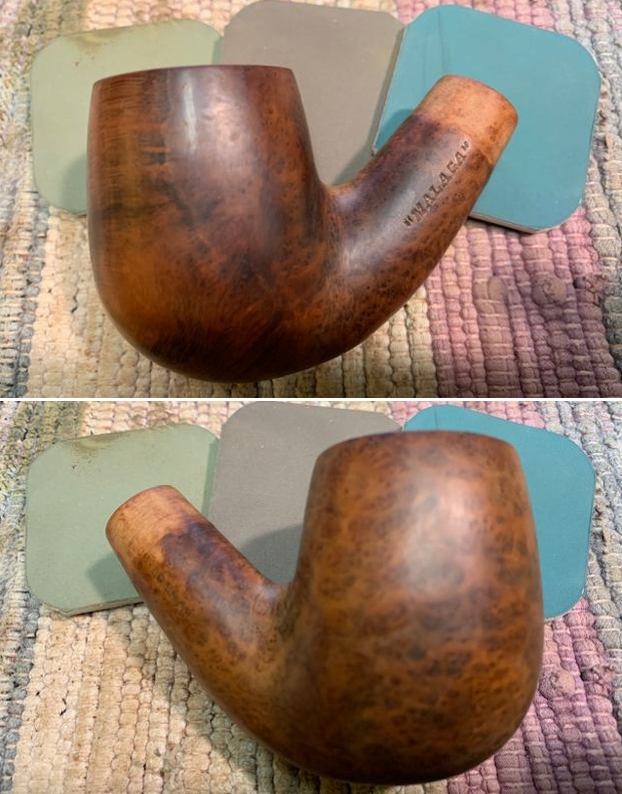
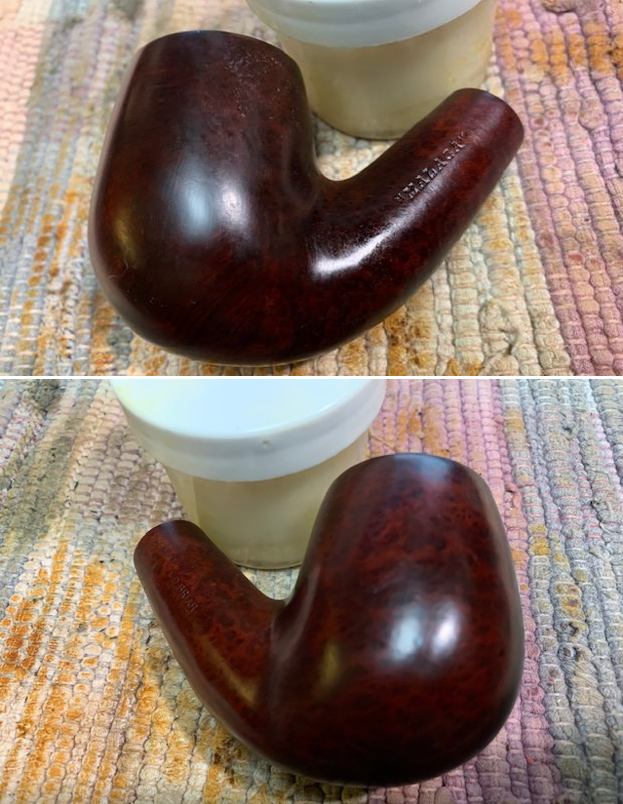
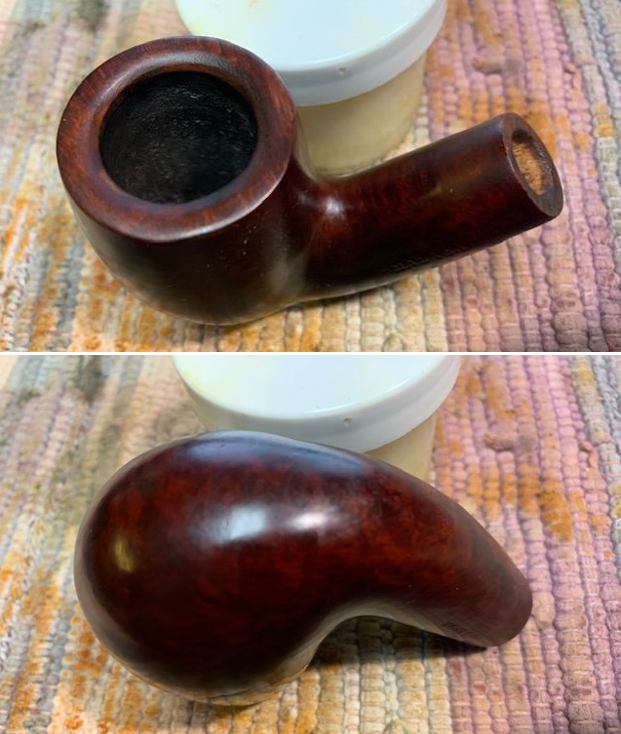
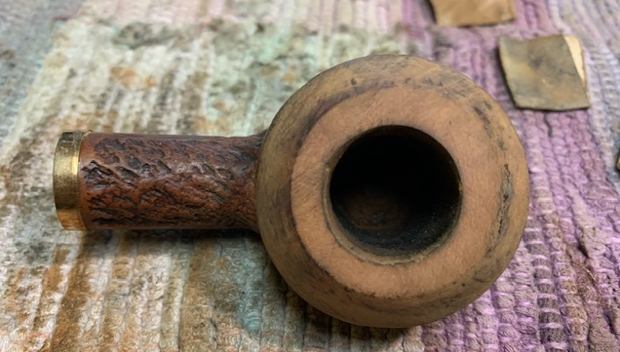
 I took a photo of the stamping on the left side of the shank. It reads as noted above and is clear and readable. (I forgot to take a photo of the Imported Briar stamp on the right side). You can also see some of the chips in the twin rings around the bowl – particularly on the cap edge.
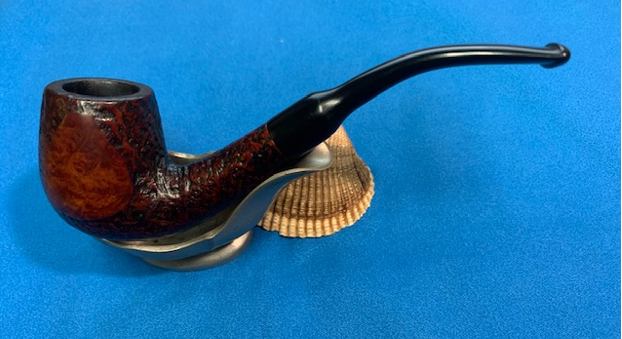
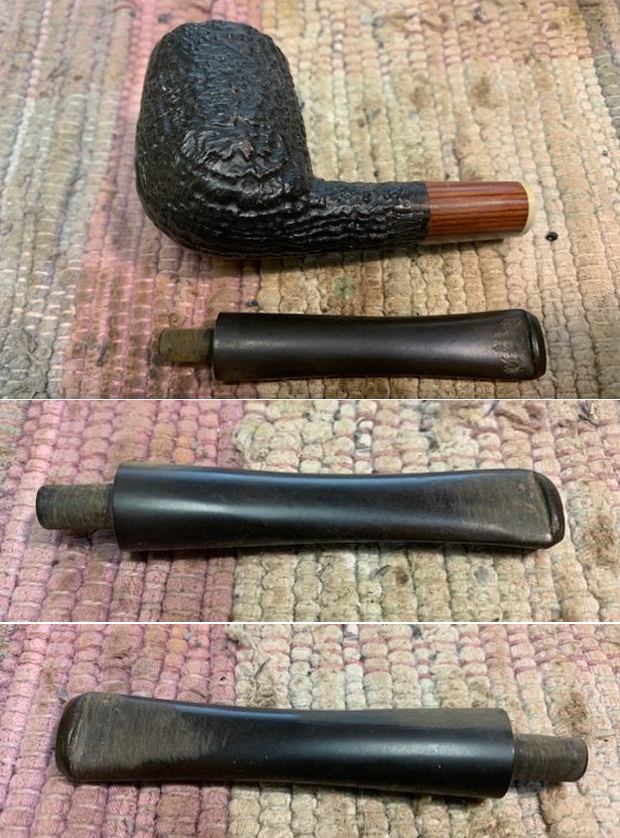
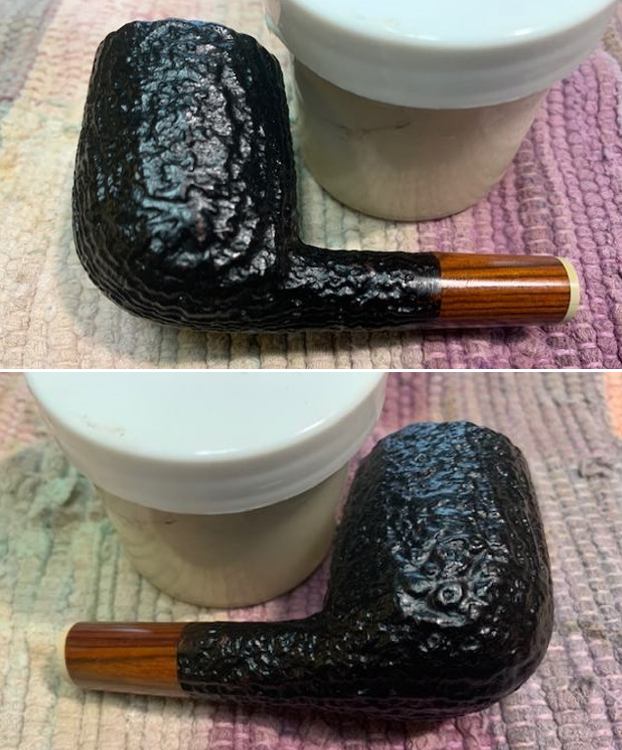
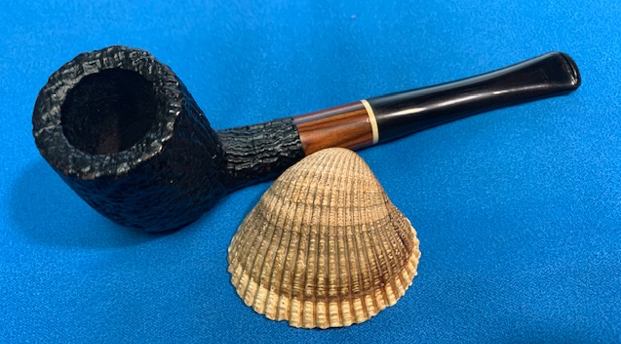
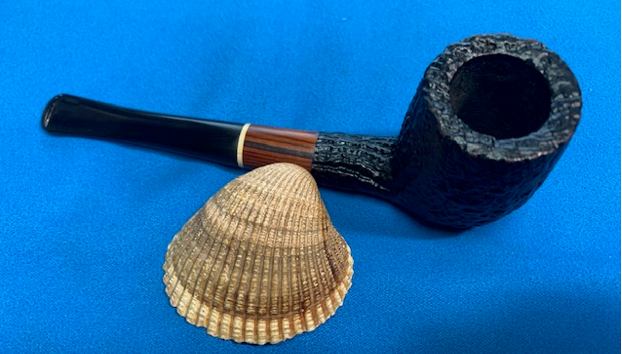
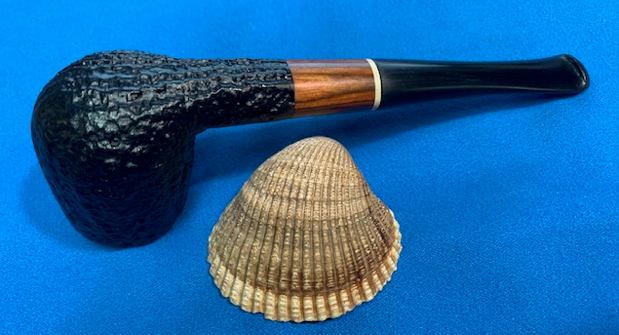
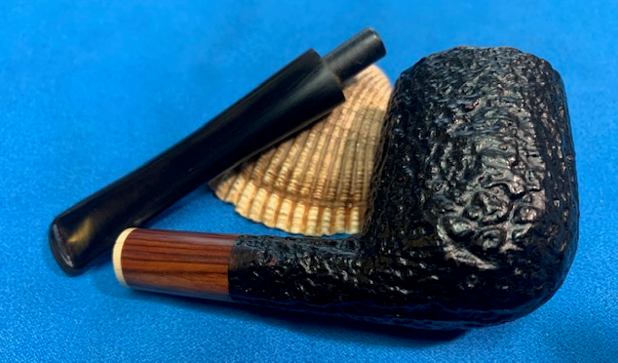
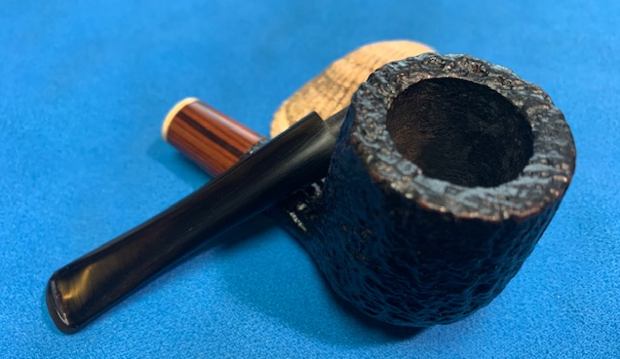
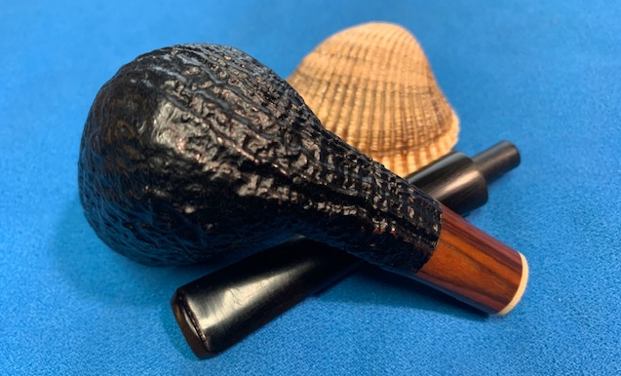
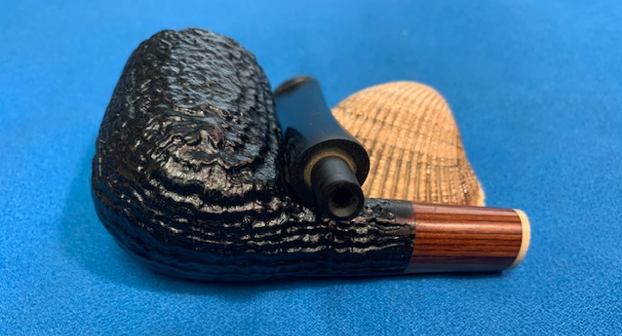
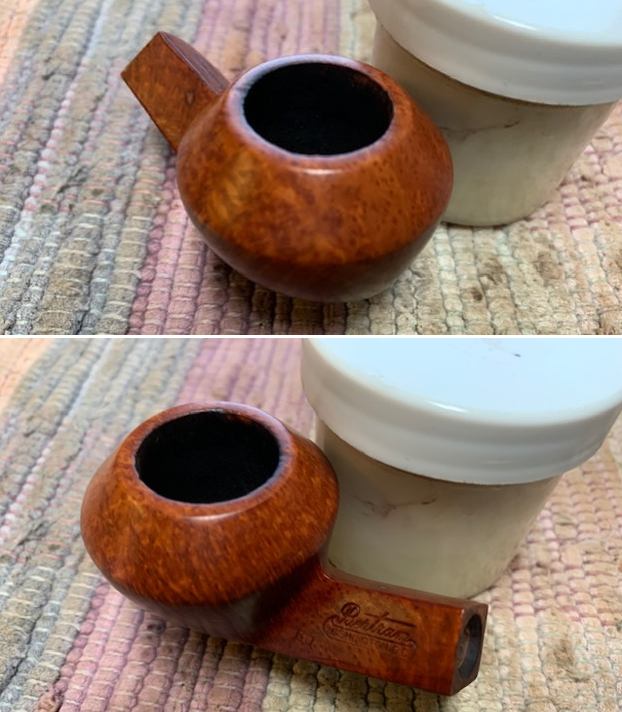
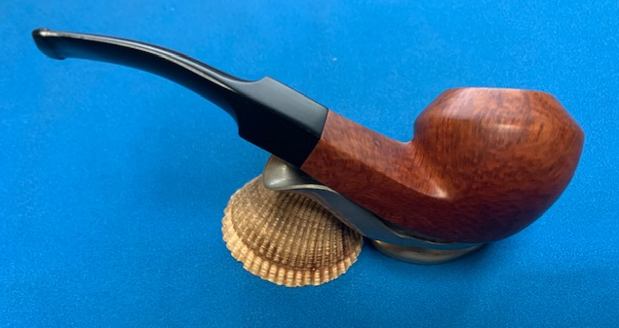
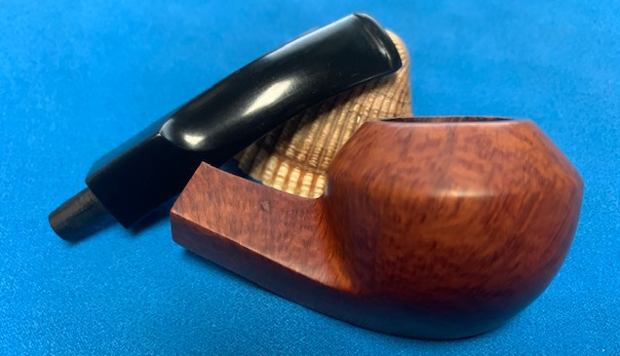
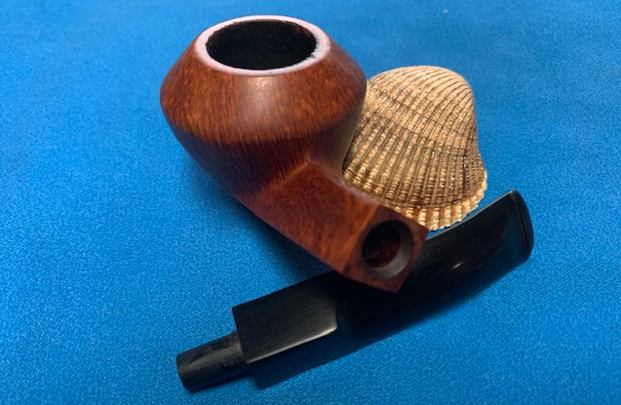
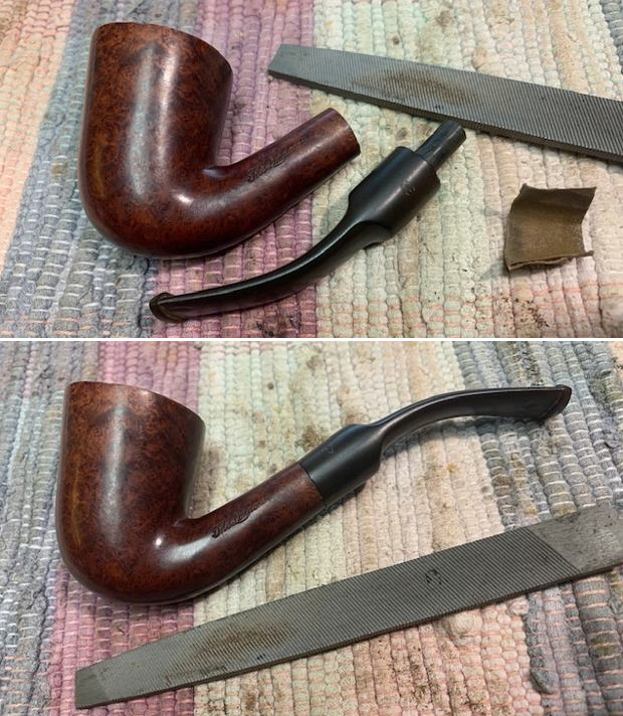
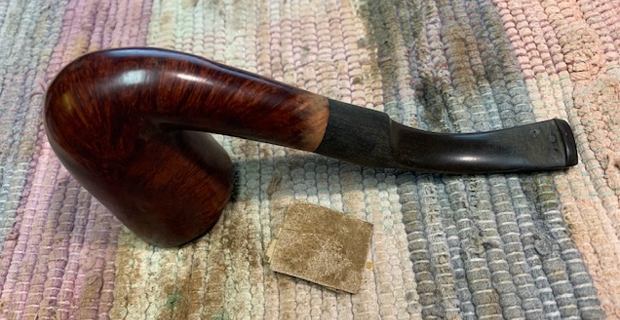
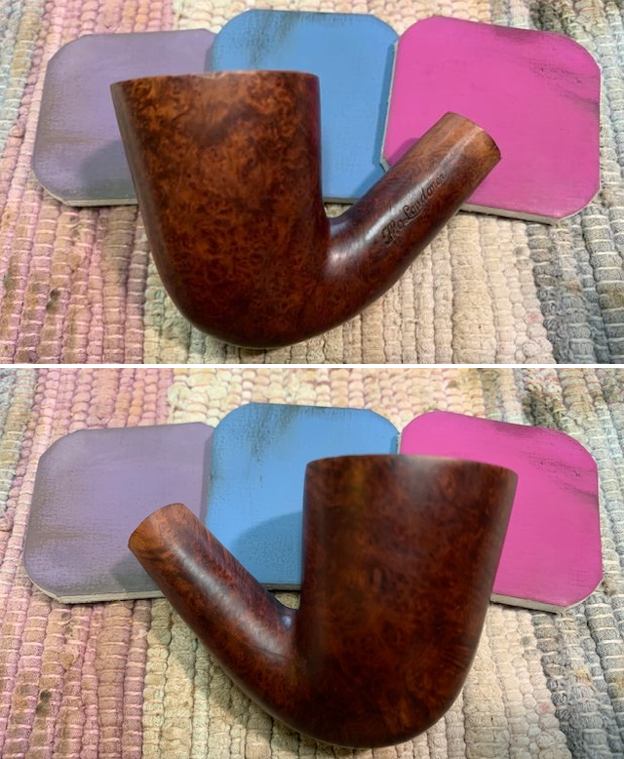
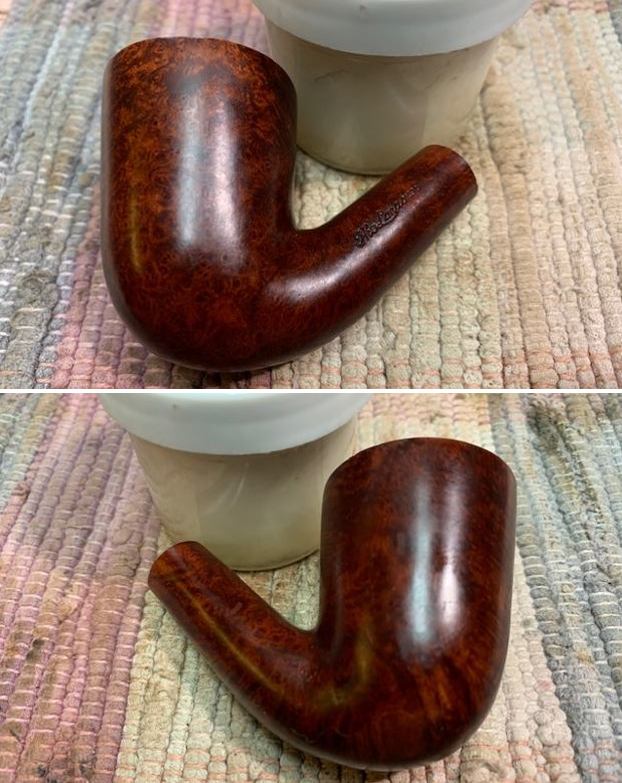
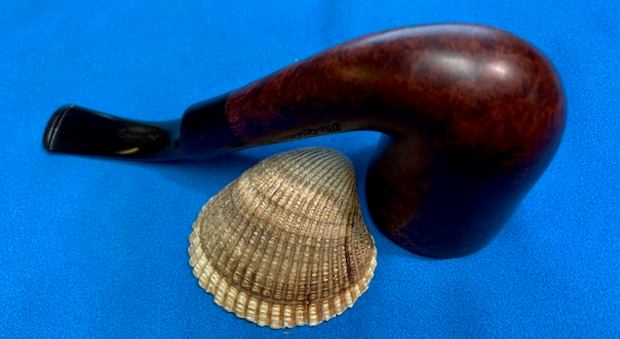
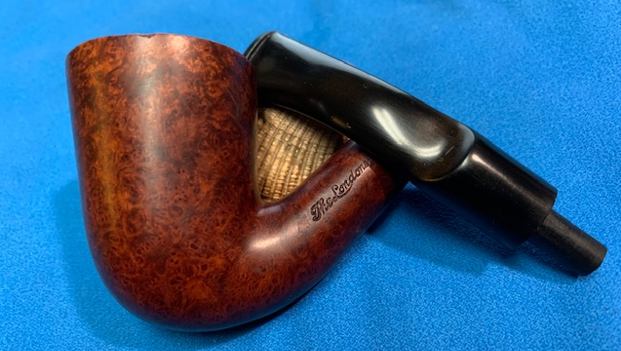
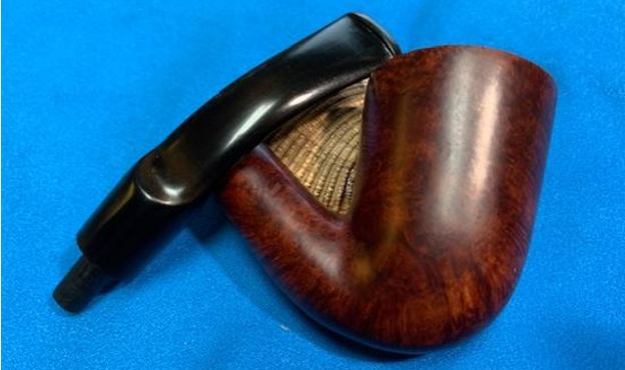
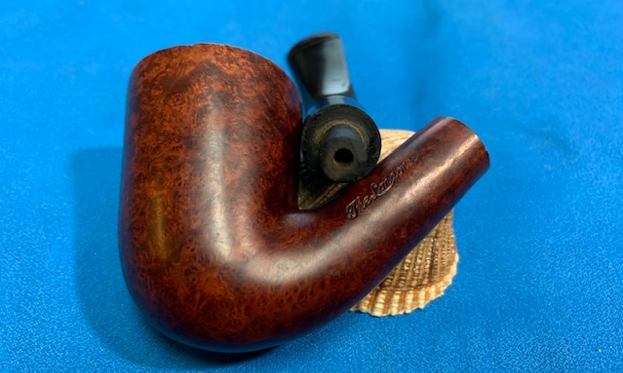
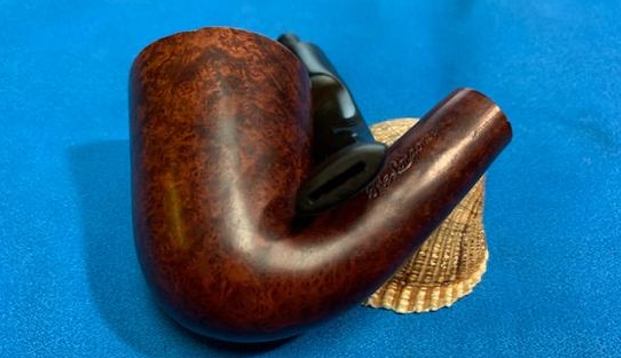
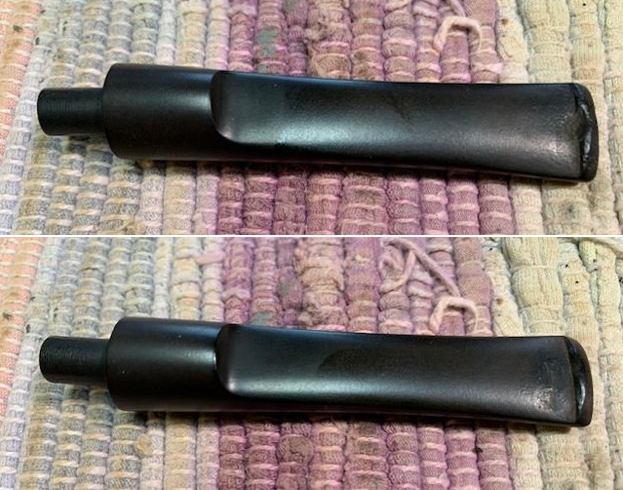
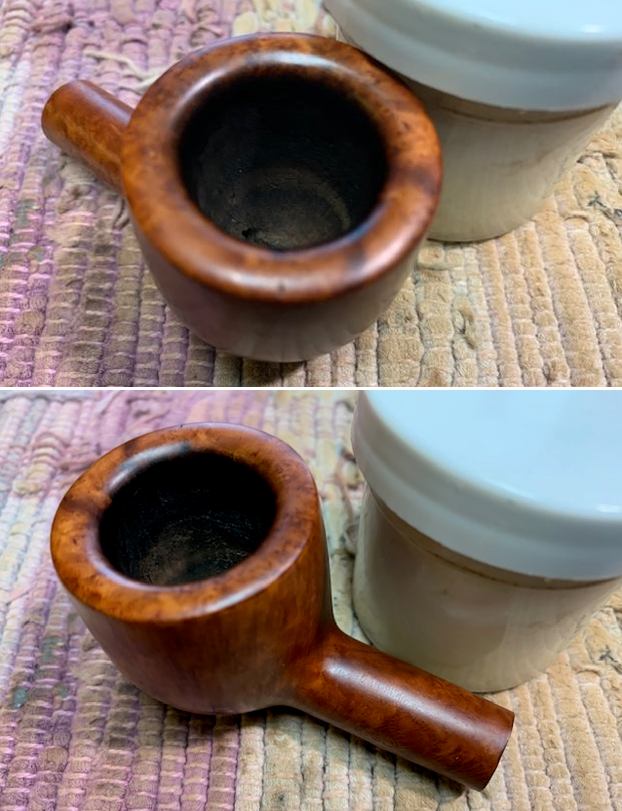
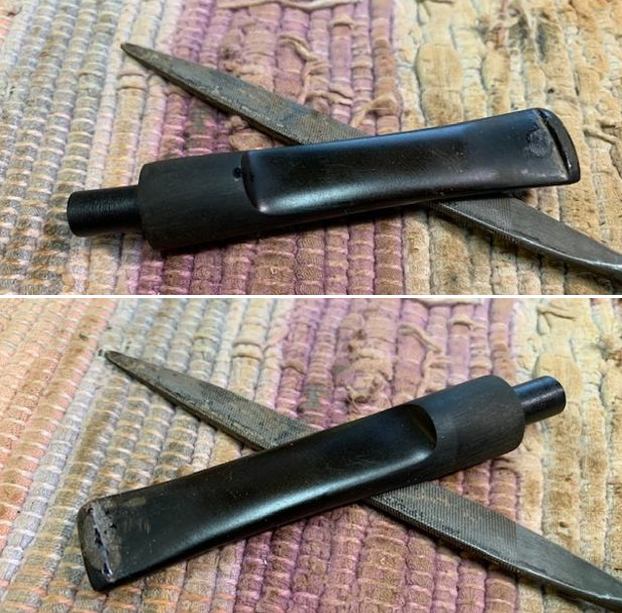
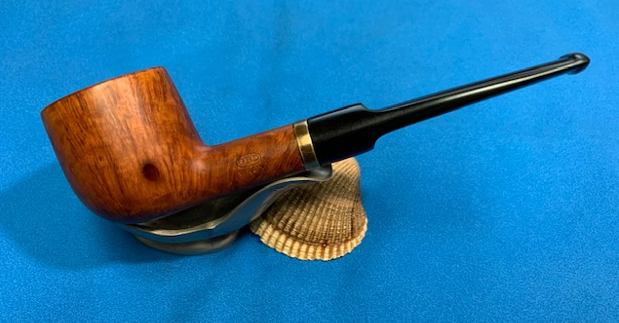
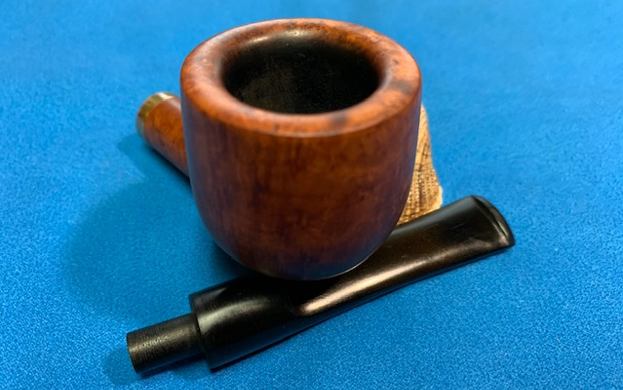
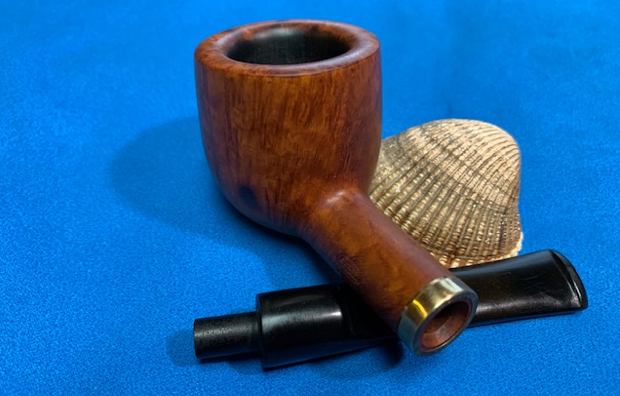
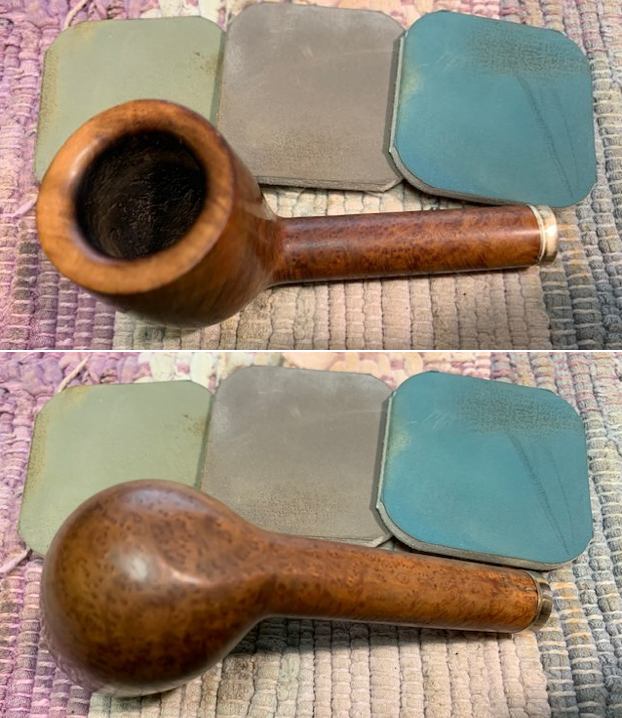
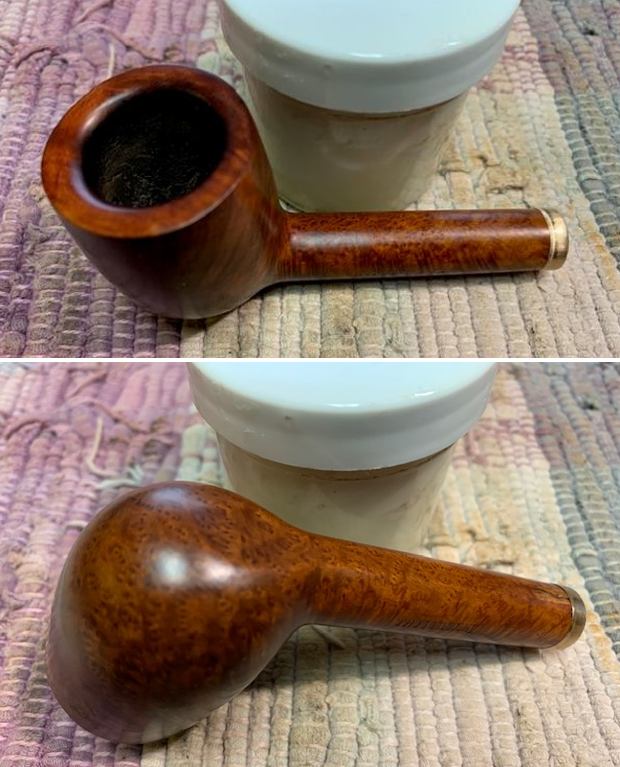
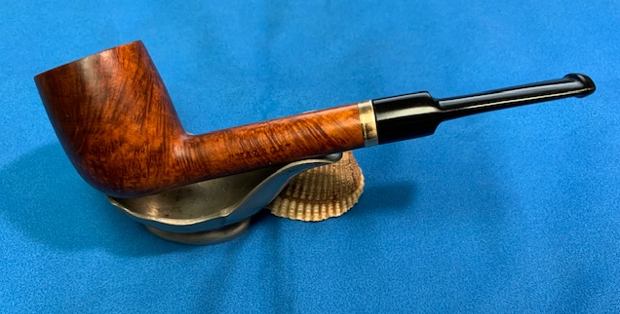
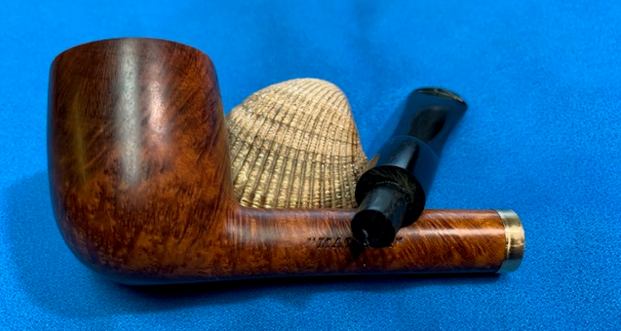
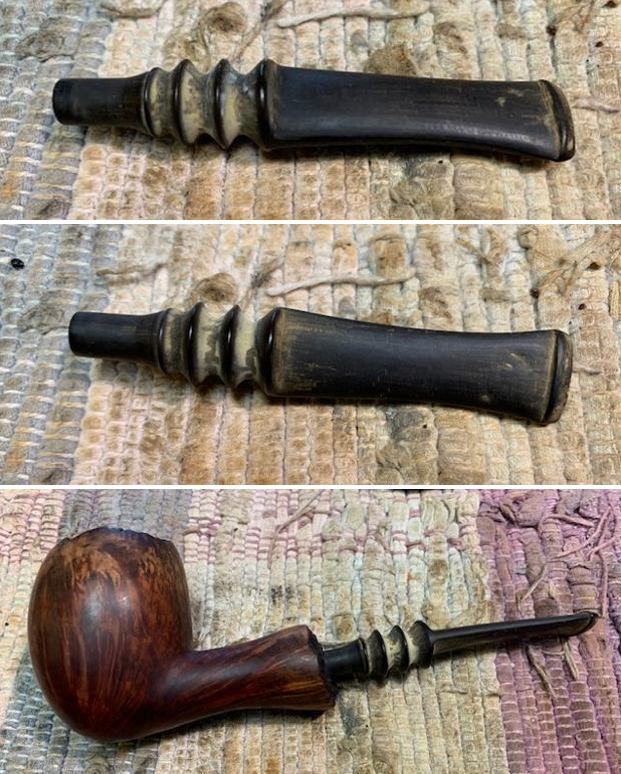
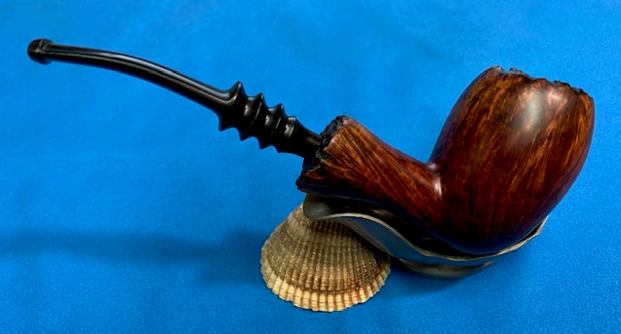
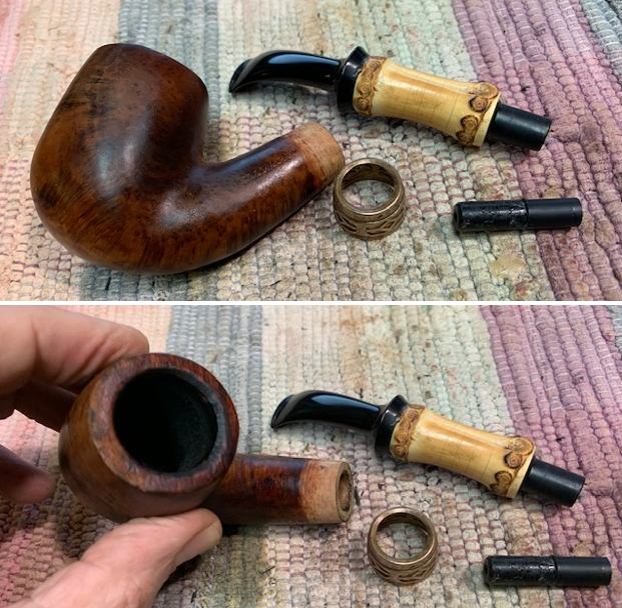
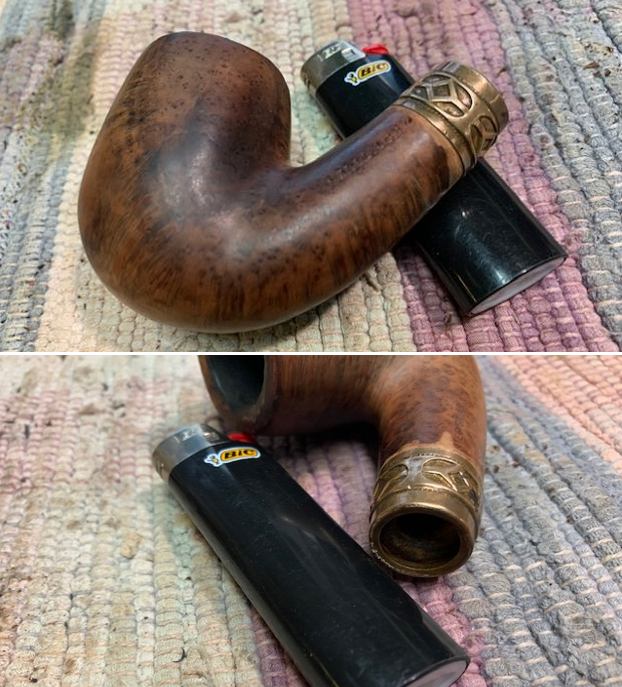
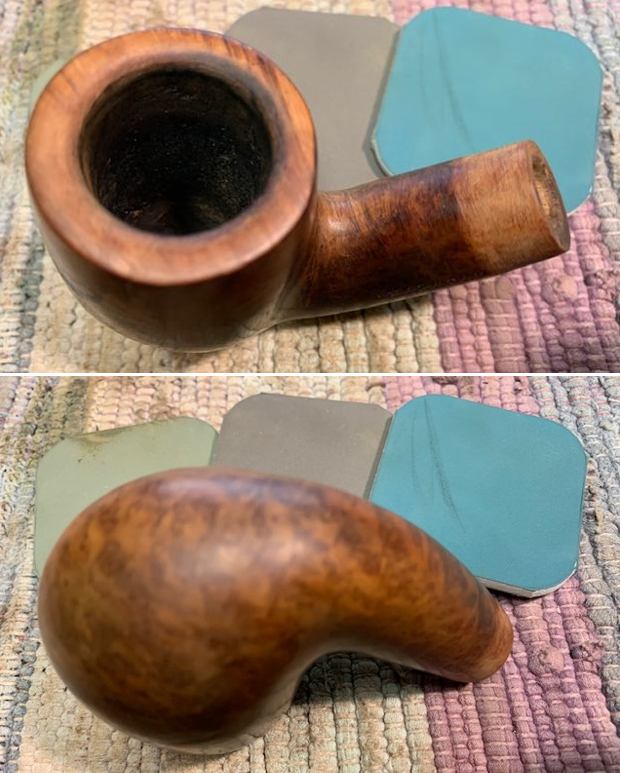
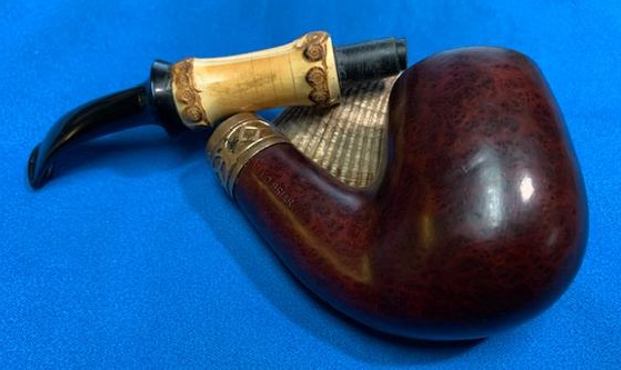
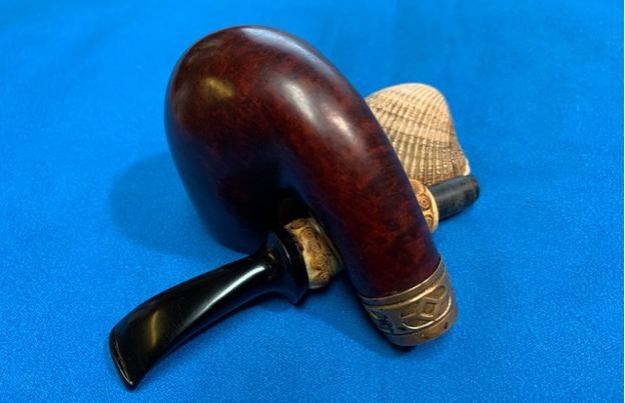
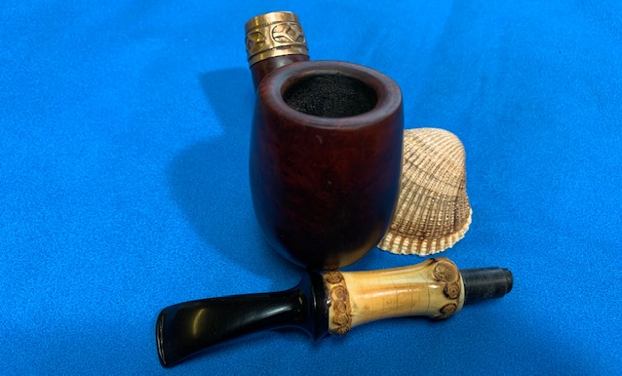
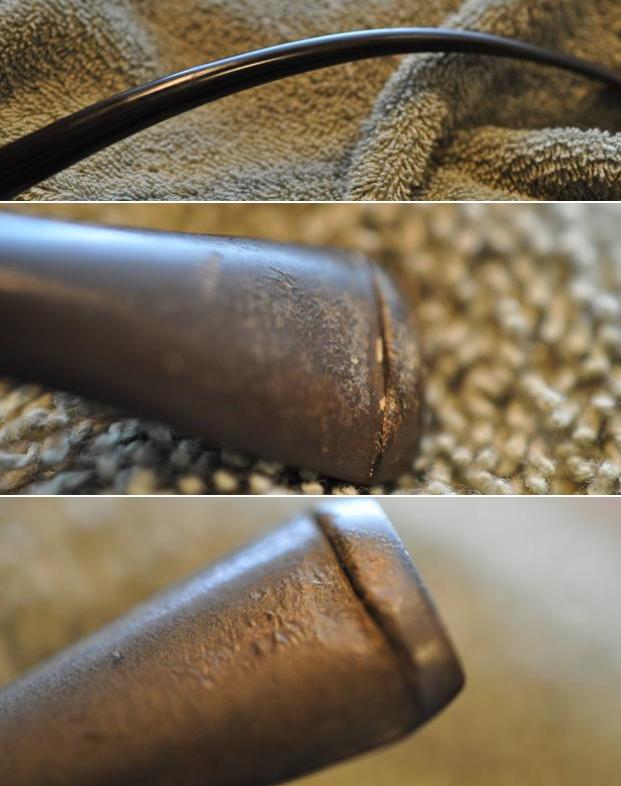
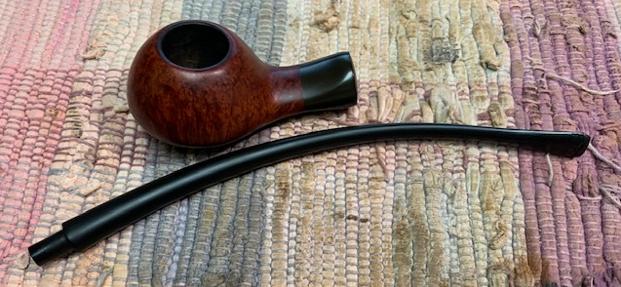
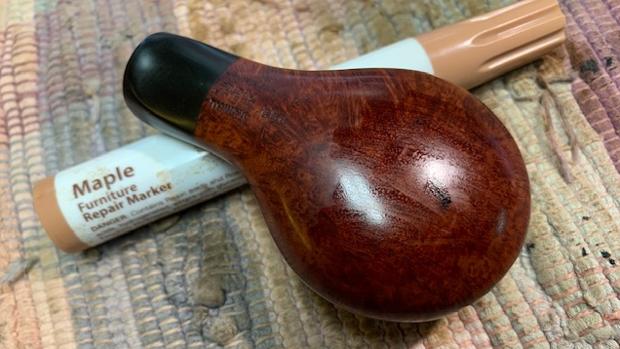
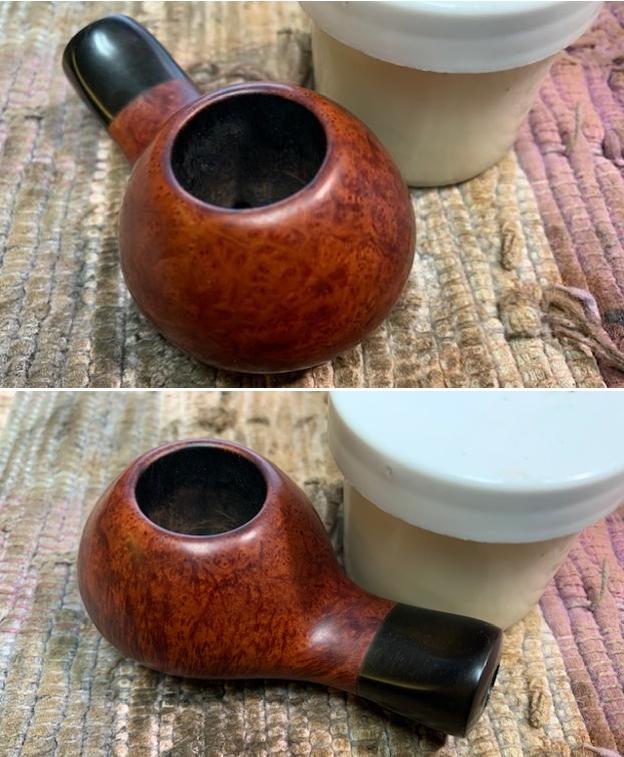
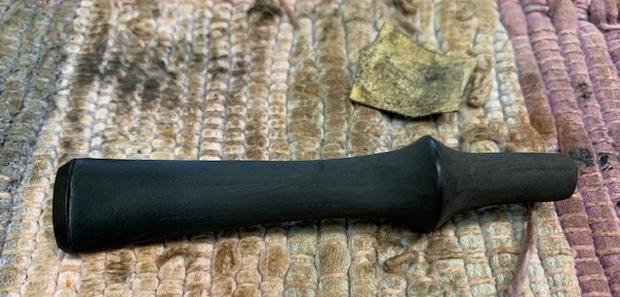
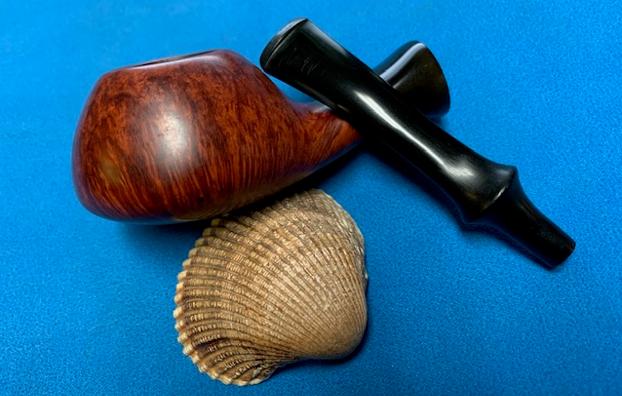
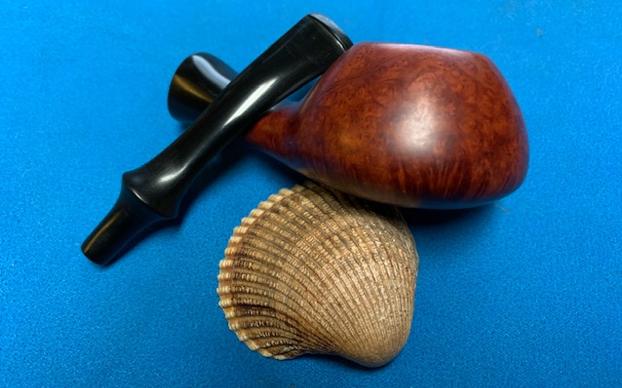
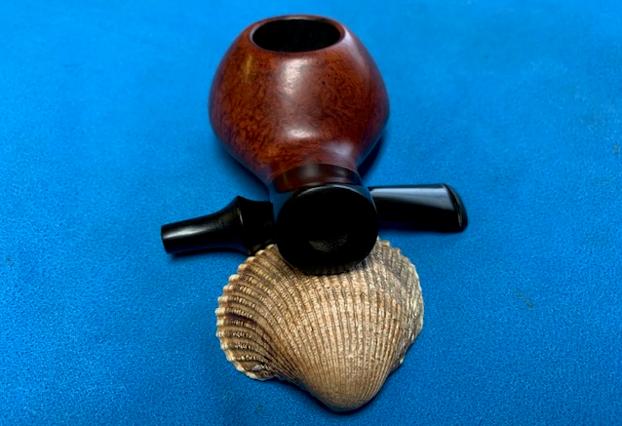
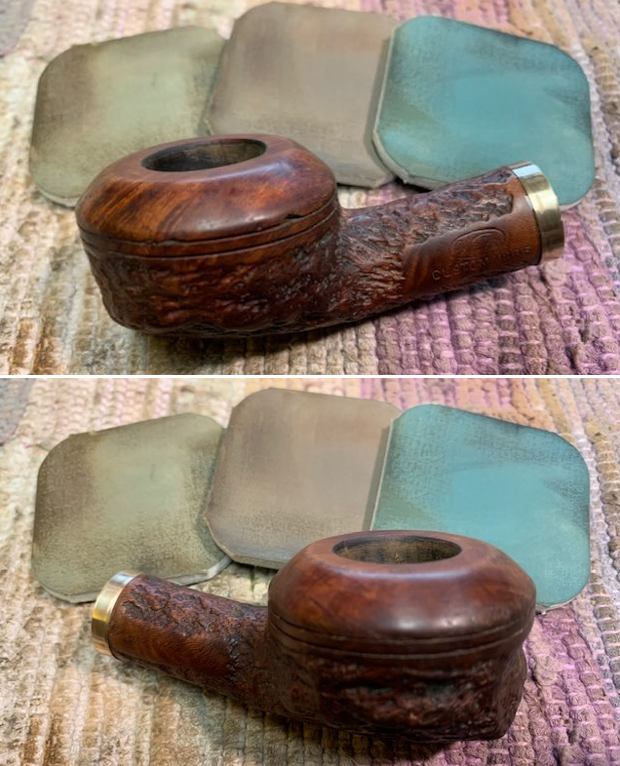
 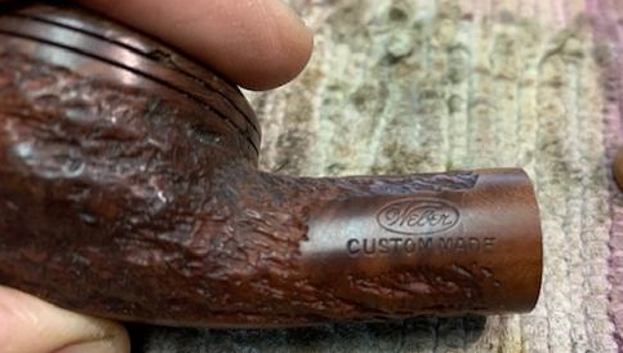 I went through some of stems and found this saddle style stem that was close to the right diameter but would need to have a tenon replacement. It has a few tooth marks and chatter near the button but it would clean up well. I took a photo of the bowl and stem together to show what the look would be once I fit the stem.
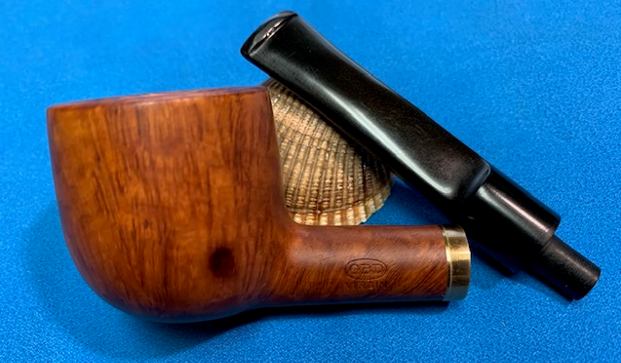
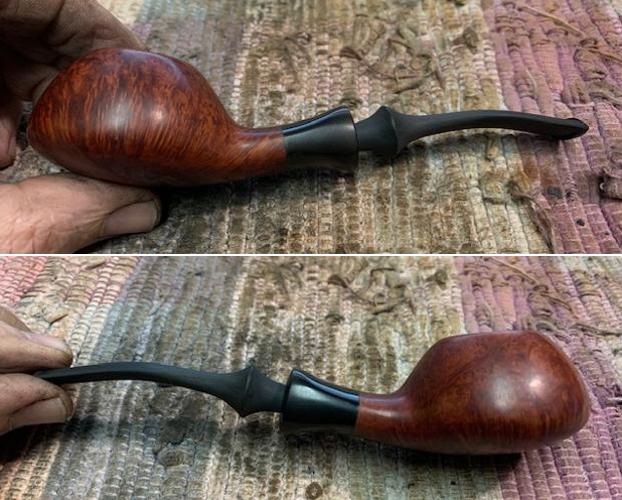
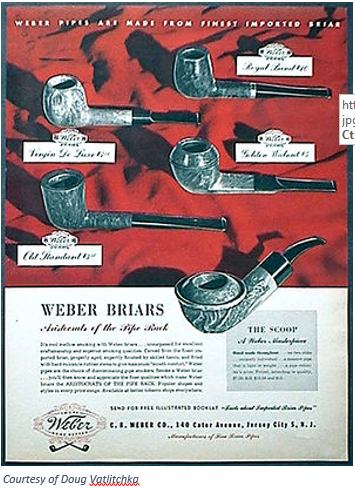
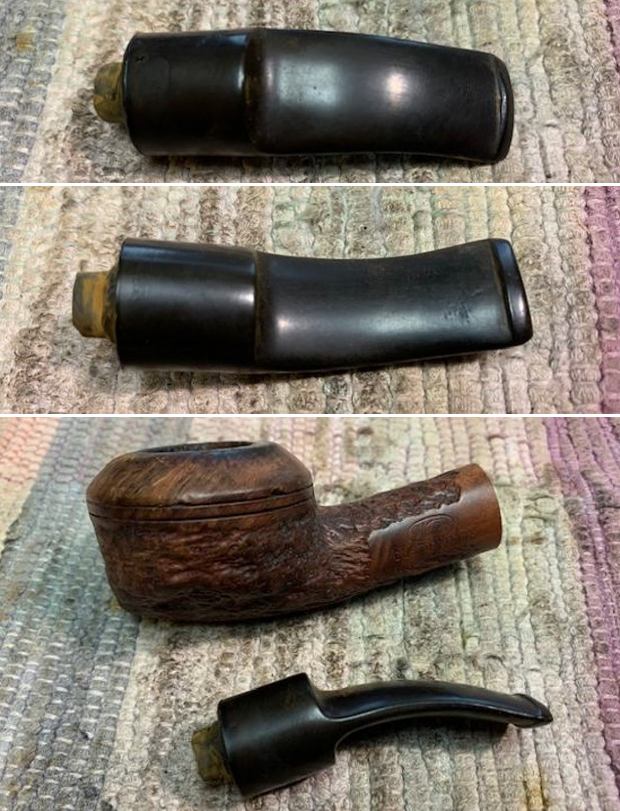 I worked on quite a few Weber pipes in the past but decided to have a look on Pipephil anyway (http://pipephil.eu/logos/en/logo-w2.html). I have included a screen capture of the information that was present there.
 I turned to Pipedia found that it gave significant amount of history and some advertising on the brand as well (https://pipedia.org/wiki/Weber_Pipe_Co.). I quote from the article below:
Carl B. Weber was a German from Bavaria. Aged 21 he emigrated to the USA in 1911. In 1938 he established Weber Briars Inc. in Jersey City, New Jersey. Later renamed in Weber Pipe Co.
 The firm grew to be one of the giants of American pipe industry focusing itself in the middle price and quality zone. Trademark: “Weber” in an oval. Beside that Weber – especially in the years after 1950 – was a most important supplier for private label pipes that went to an immense number of pipe shops. Alone in New York, exactly the same pipes were found at Wilke’s, Barclay Rex, Trinity East, Joe Strano’s Northampton Tobacconist in Ridgewood, Queens, Don-Lou in Bensonhurst, Brooklyn… Nearly all pipes for Wilke were unstained and many models, for example the “Wilke Danish Bent”, could hardly deny originating of Weber.
Among other well reputated pipe makers Anthony Passante[1] worked for Weber.
Weber Pipe Co. owned and manufactured Jobey pipes – when mainly sold in the USA by the Tinder Box from 1970’s – 80’s. In addition Jobey / Weber bought Danish freehands from Karl Erik (Ottendahl). These pipes were offered as Jobey Dansk. Ottendahl discontinued exports to the United States in 1987 and in the very same year – obviously only as a ghost brand – Jobey was transferred to Saint-Claude, France to be manufactured by Butz-Choquin.
Carl B. Weber is the author of the famous book “Weber’s Guide to Pipes and Pipe Smoking”.
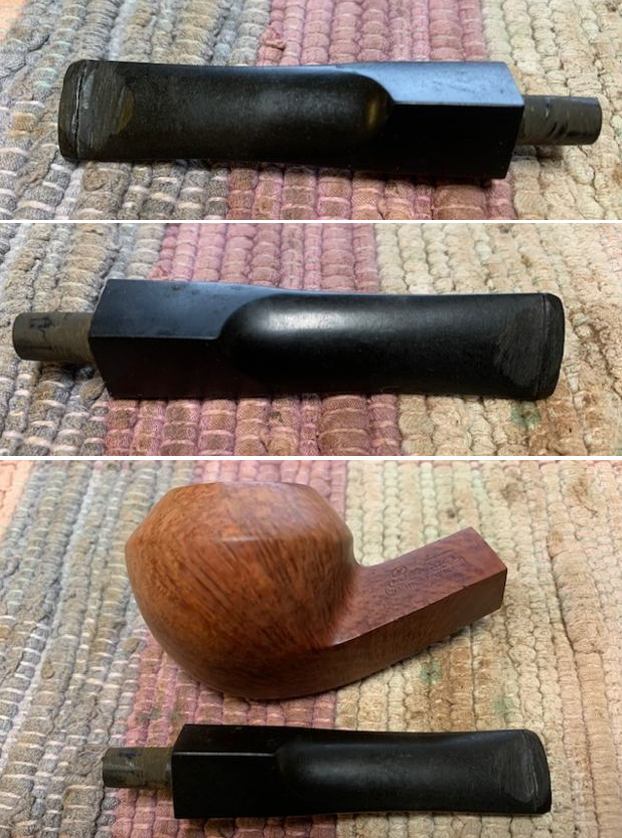
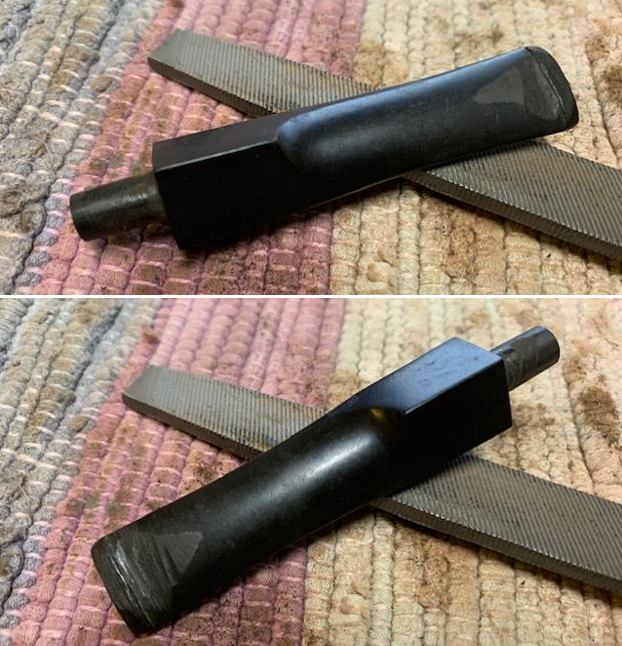
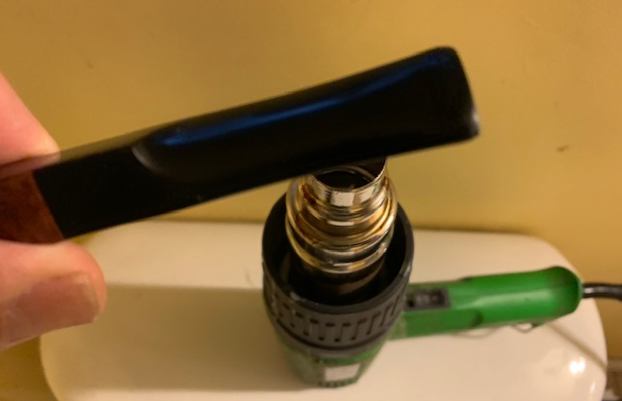
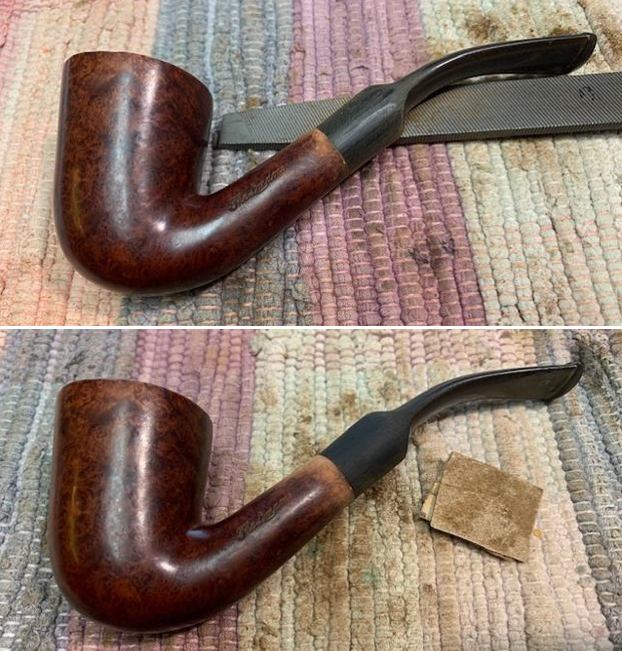
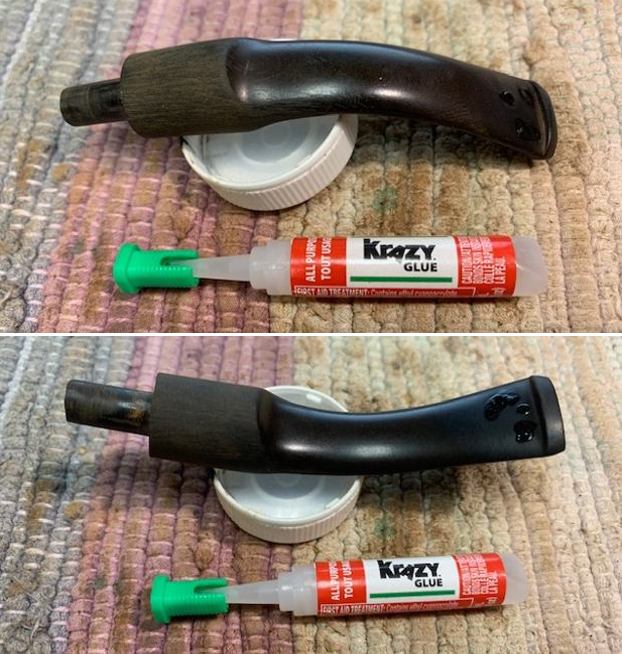
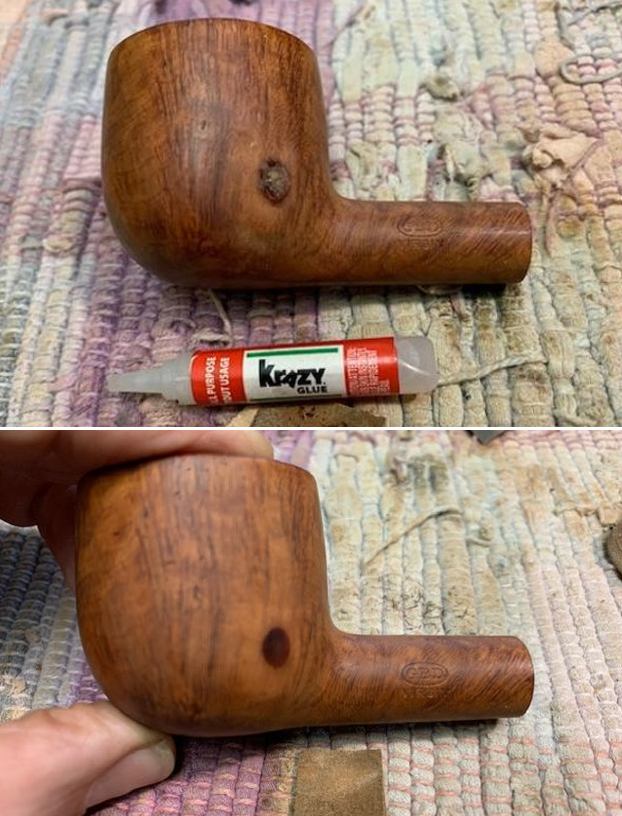
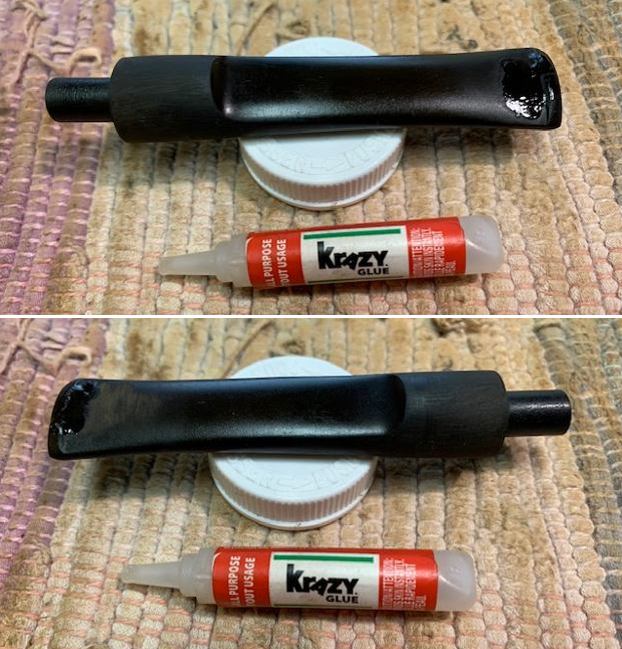
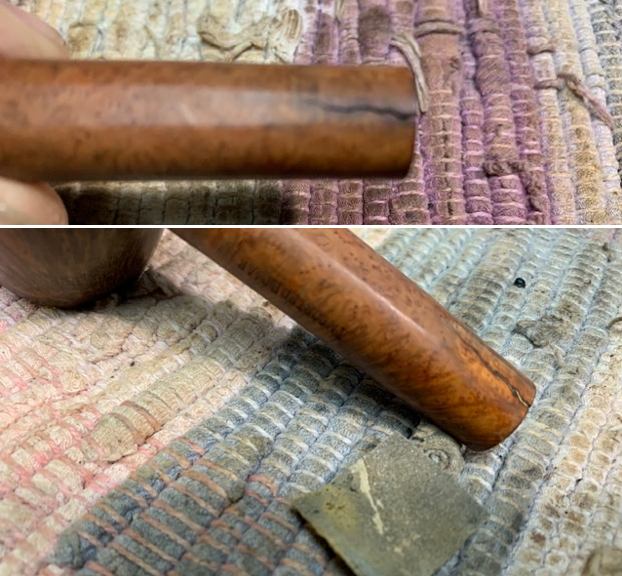
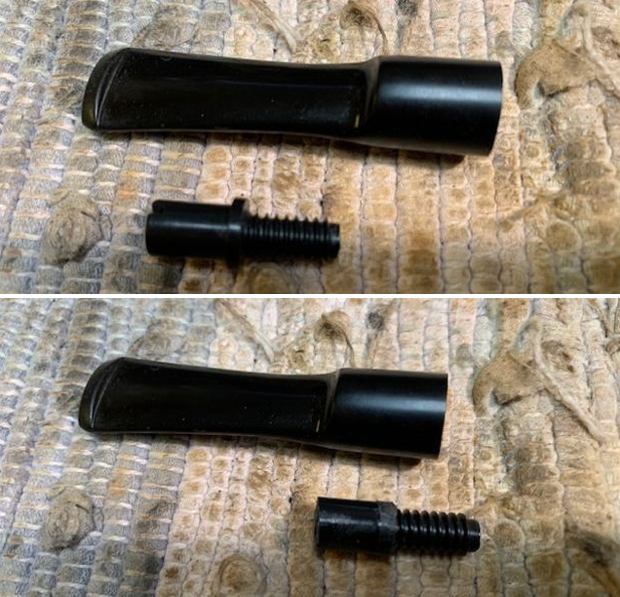
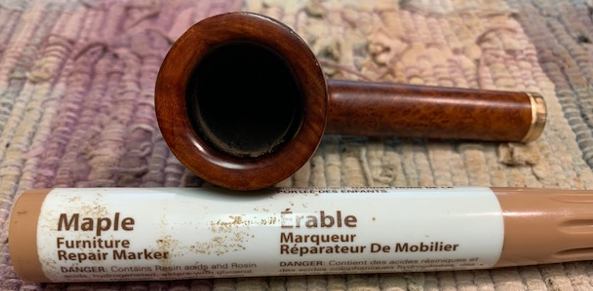
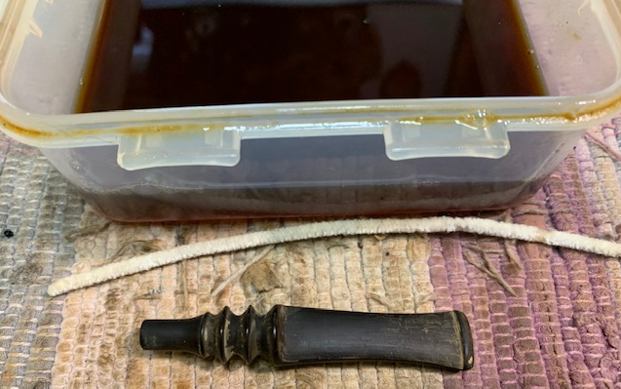
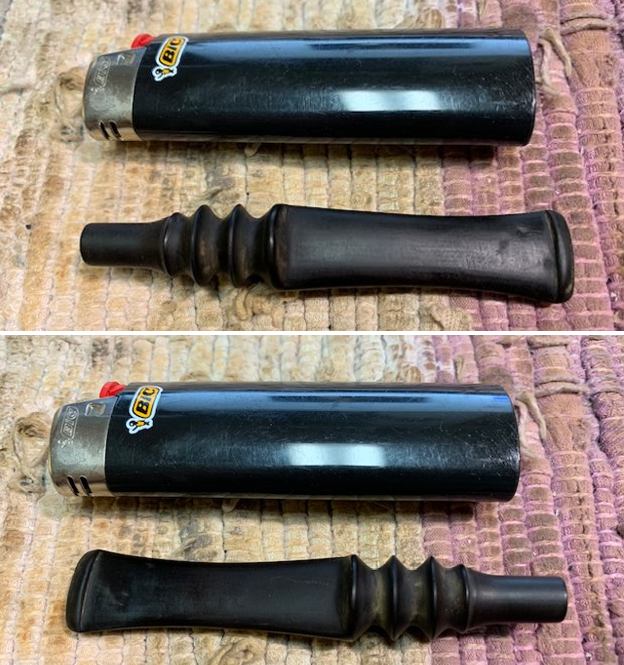
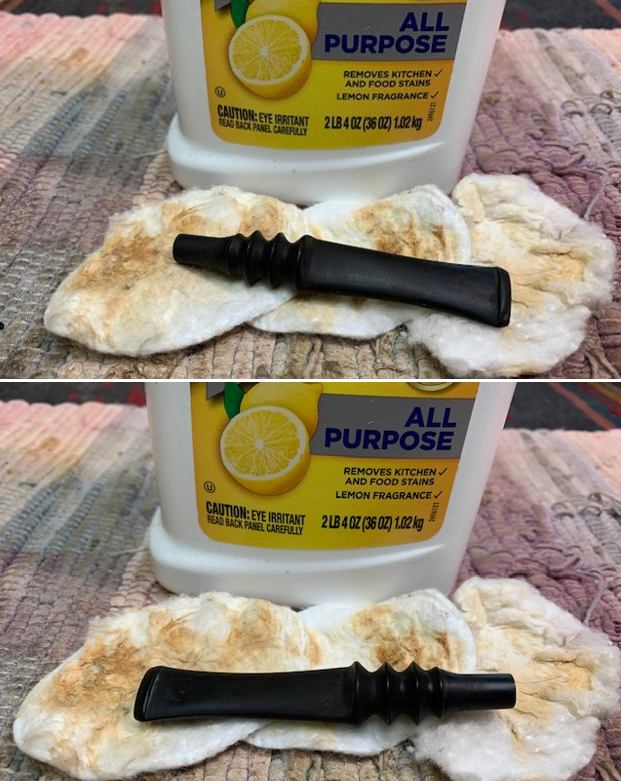
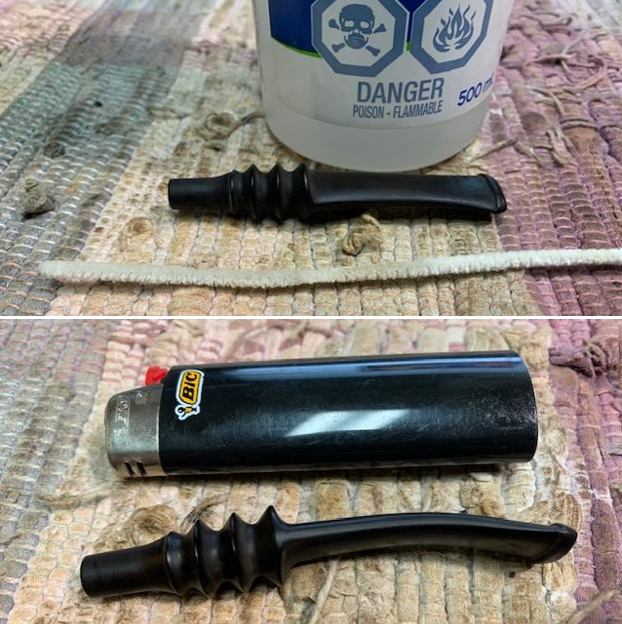
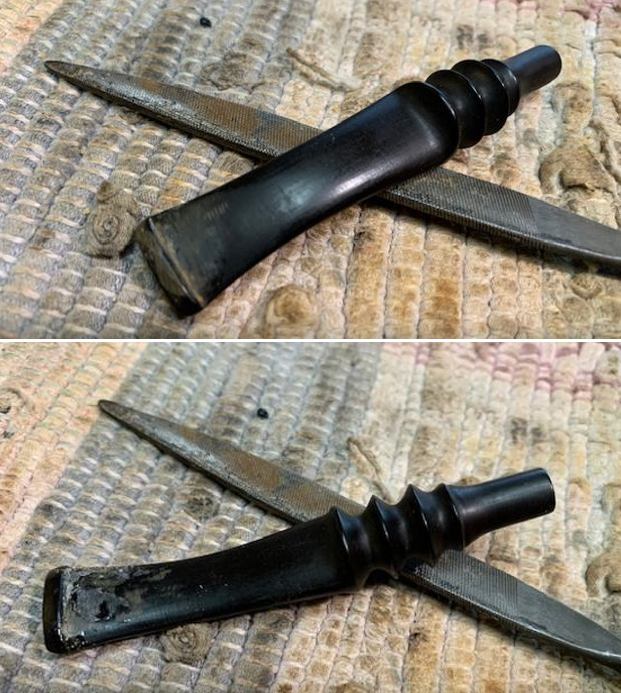
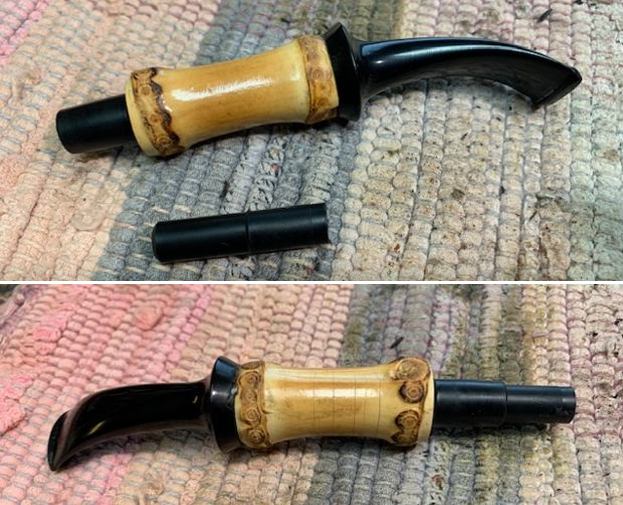
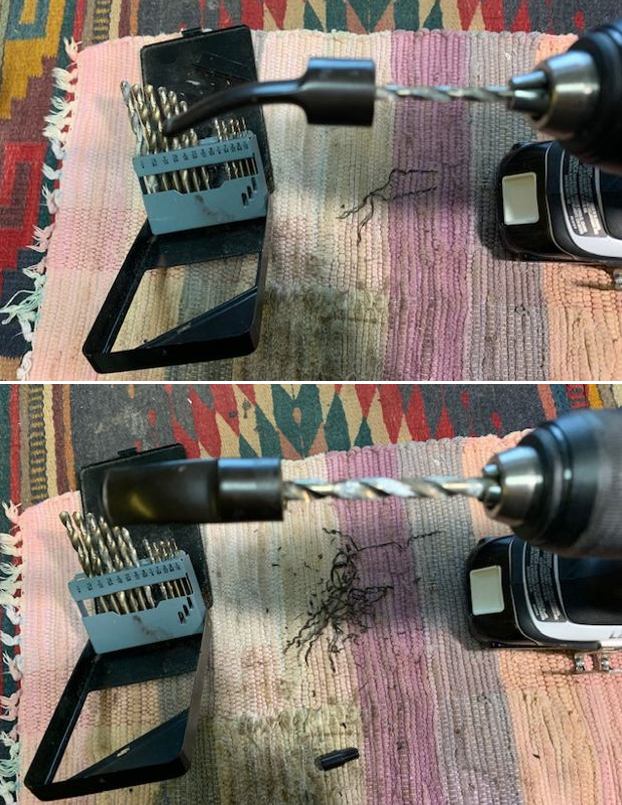
Armed with the confirmation about the maker of the pipe it was time to work on the pipe itself. I started my work on it by replacing the tenon on the stem. I flattened the short stubby tenon with a Dremel and sanding drum to make the surface flat. 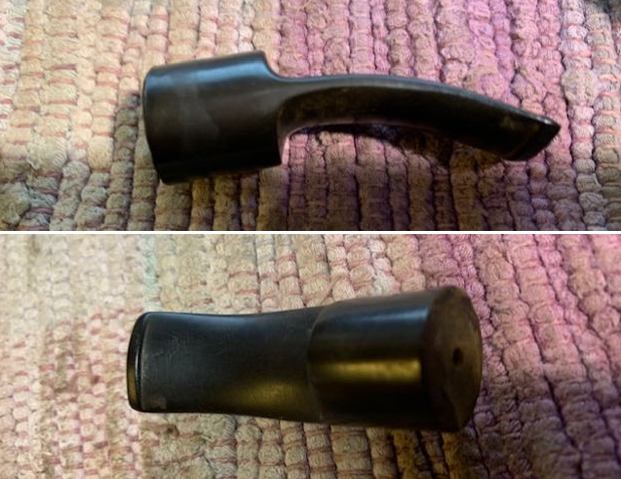 I found the proper replacement tenon in my box of tenons. I used a cordless drill and a series of bit to drill out the airway to receive the new tenon replacement.
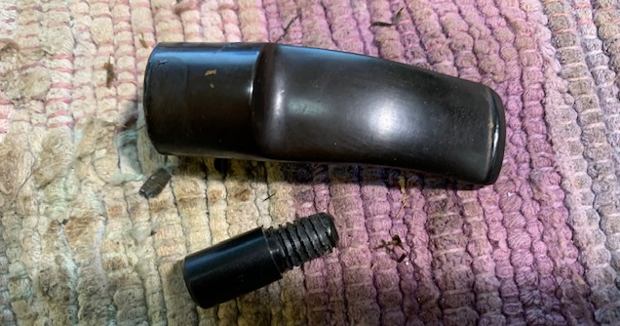
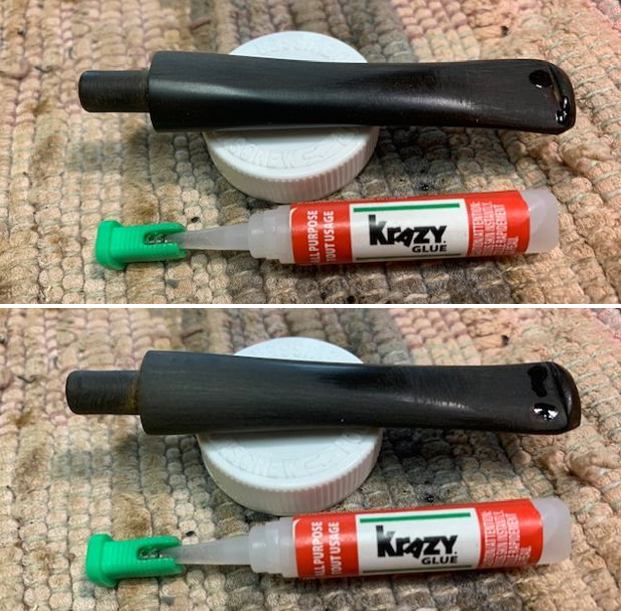
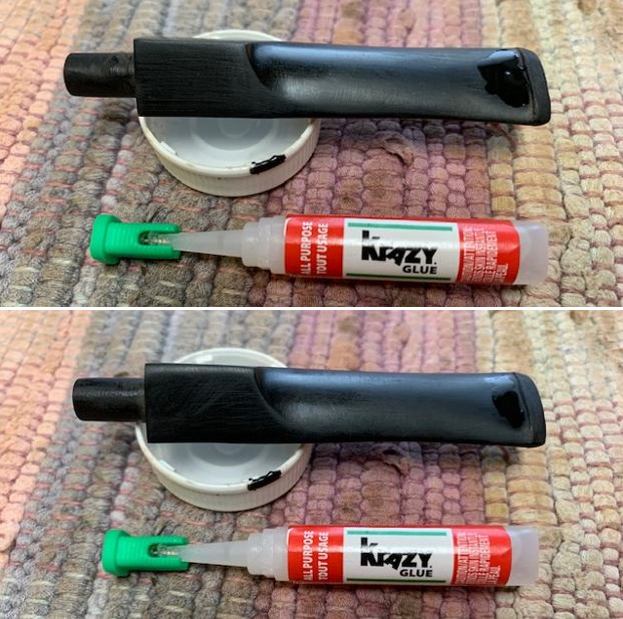
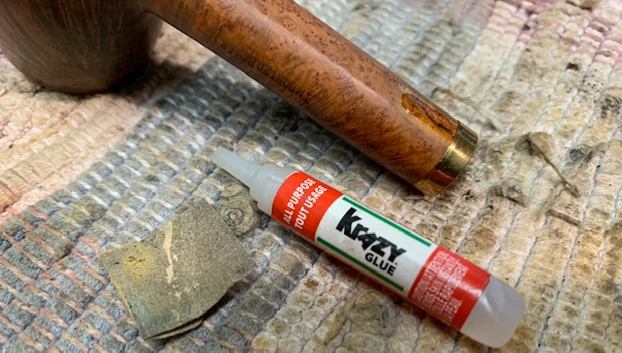
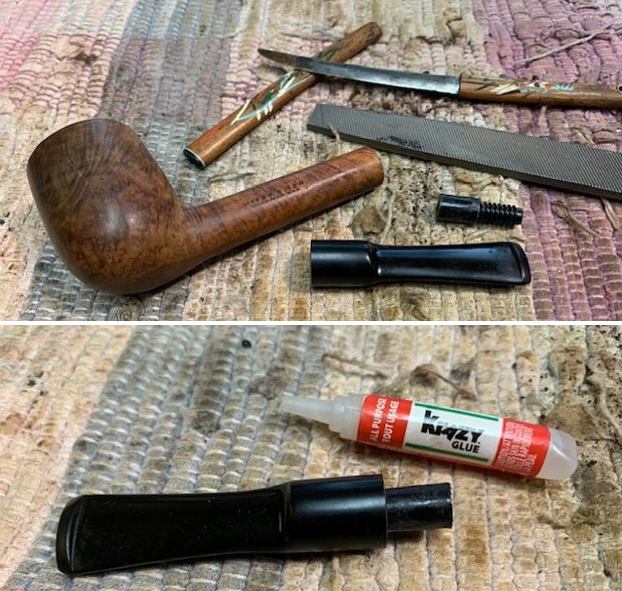
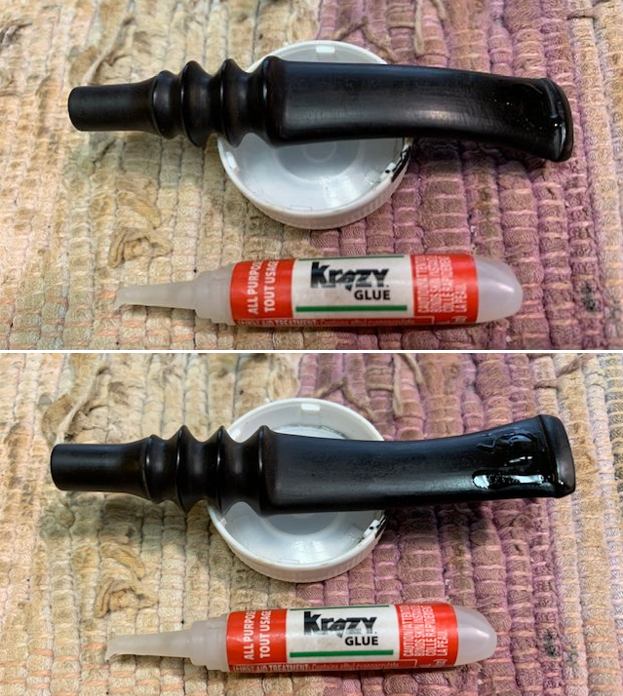
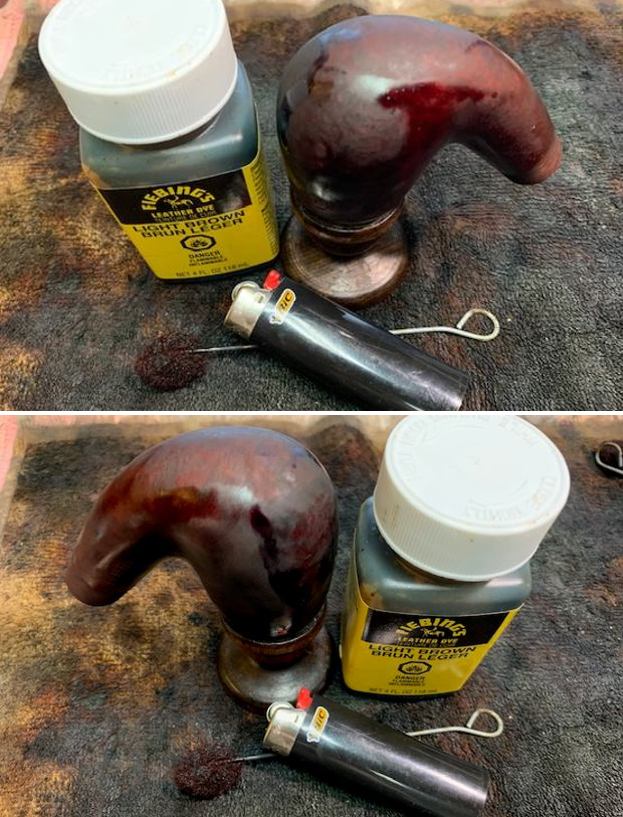
 I lined up the stem and tenon with the shank and then glued the tenon in the stem with clear CA glue. I set the stem aside to let the glue cure.
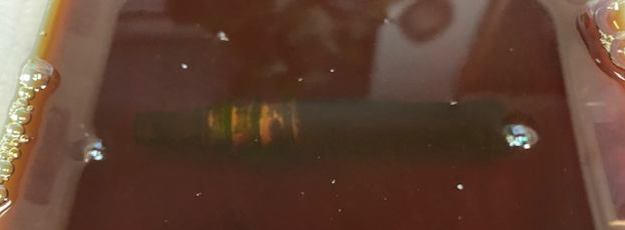
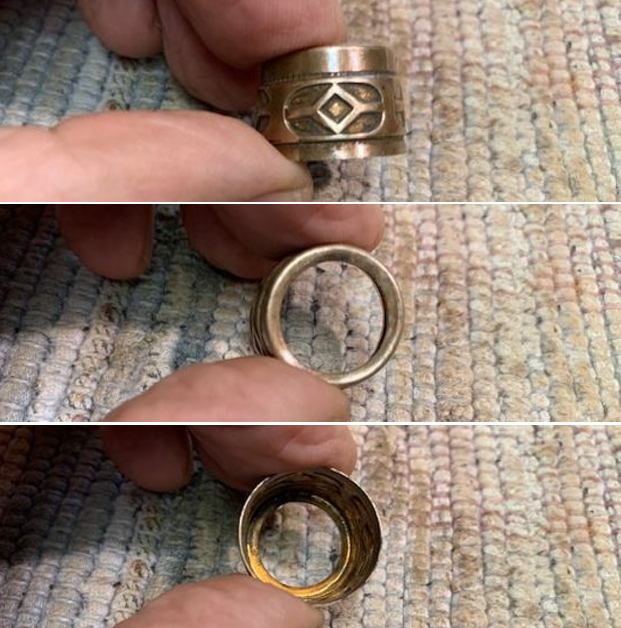
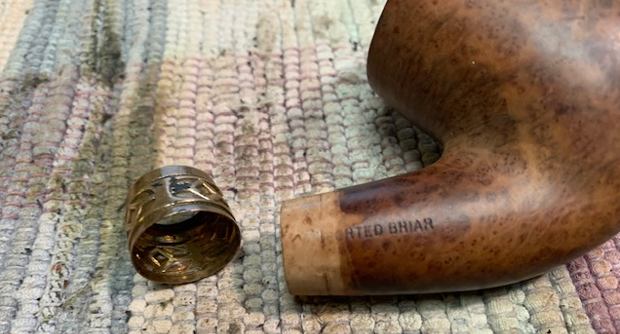
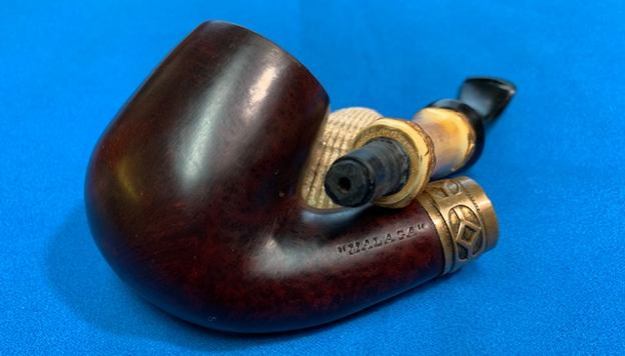
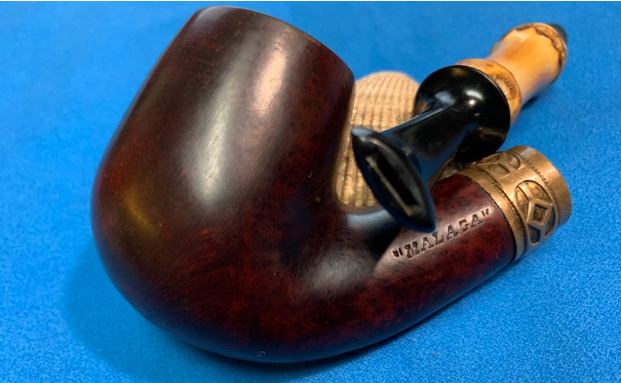
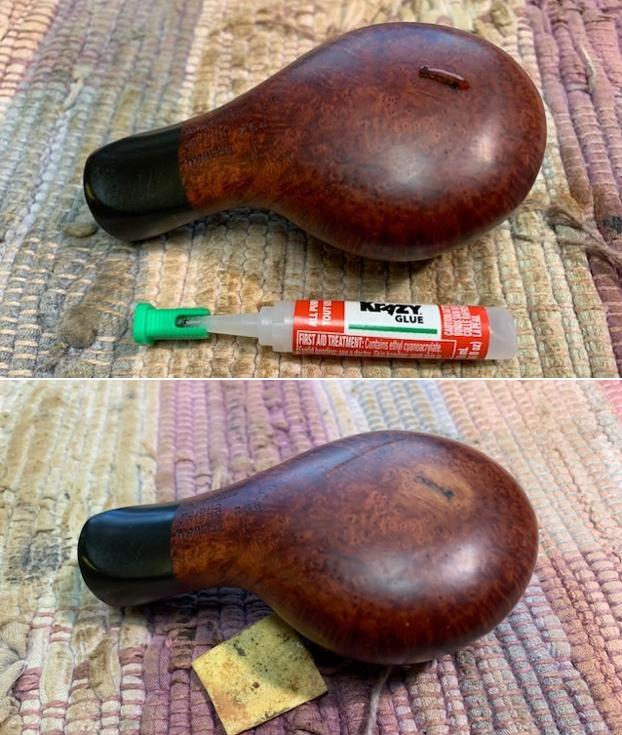
 I decided to put a decorative band on the shank of the pipe. It was not necessary but I liked the look of it. I used a dental spatula to spread the glue on the shank end. I pressed the brass band in place on the shank, wiped off the excess glue with a damp cloth and set it aside to dry.
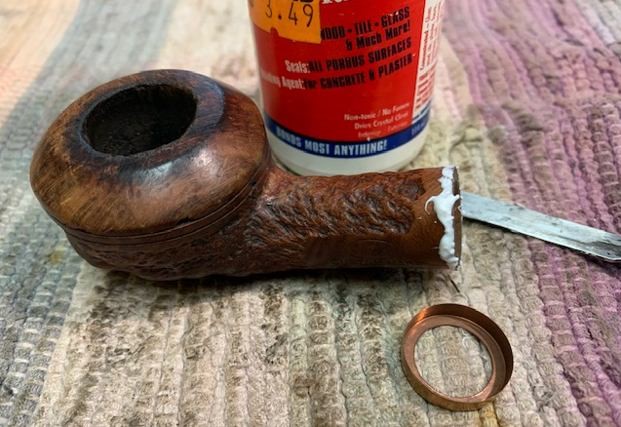

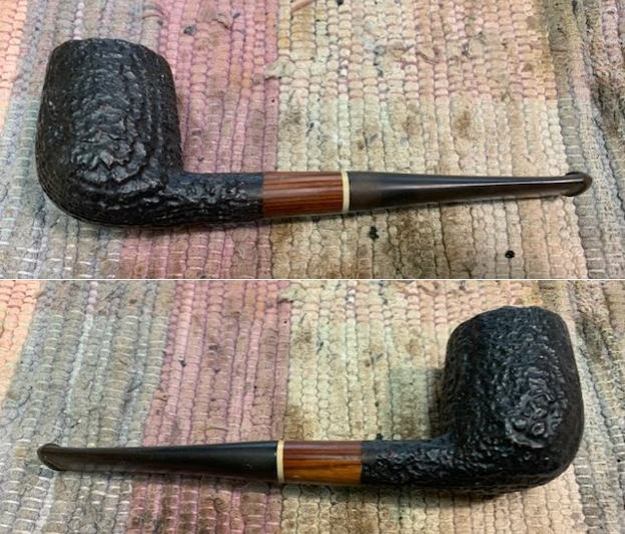
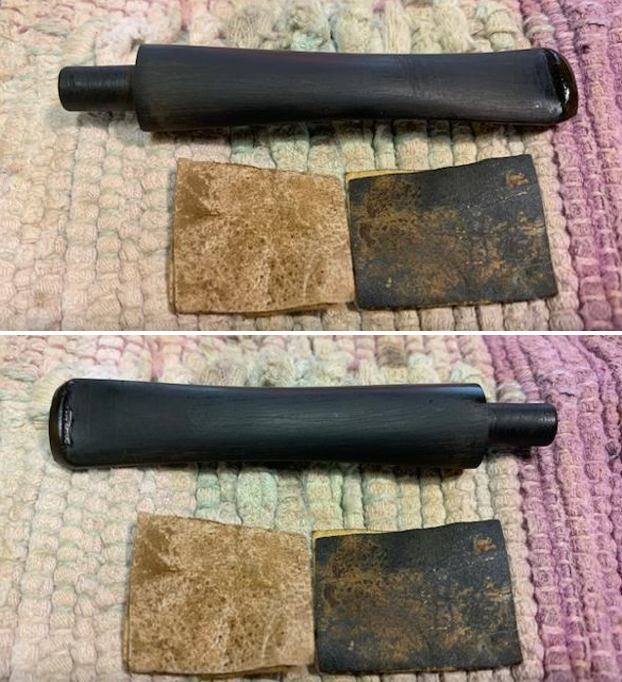
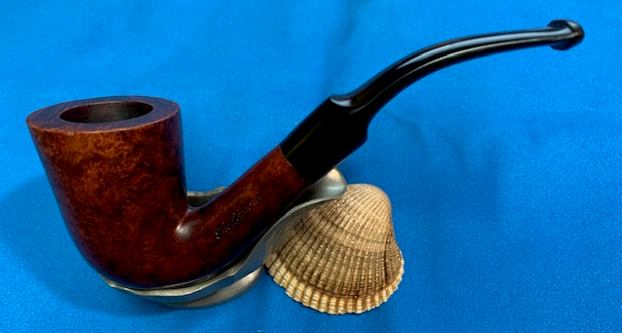
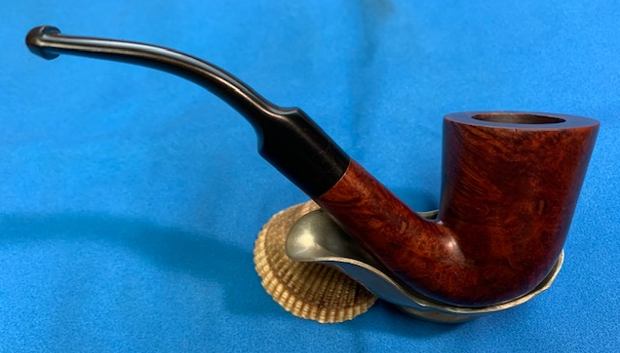
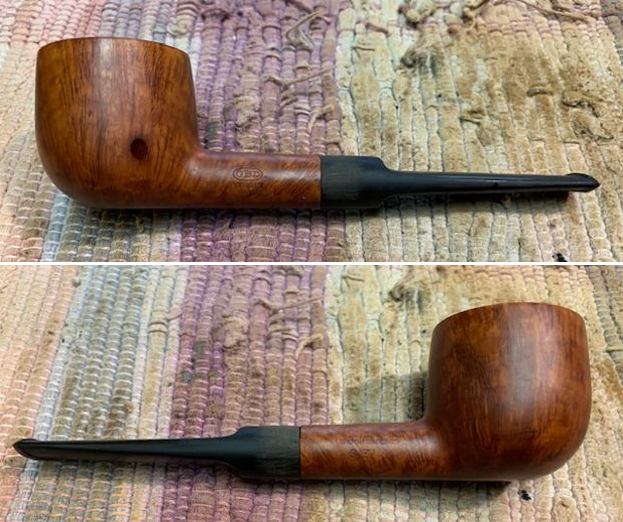
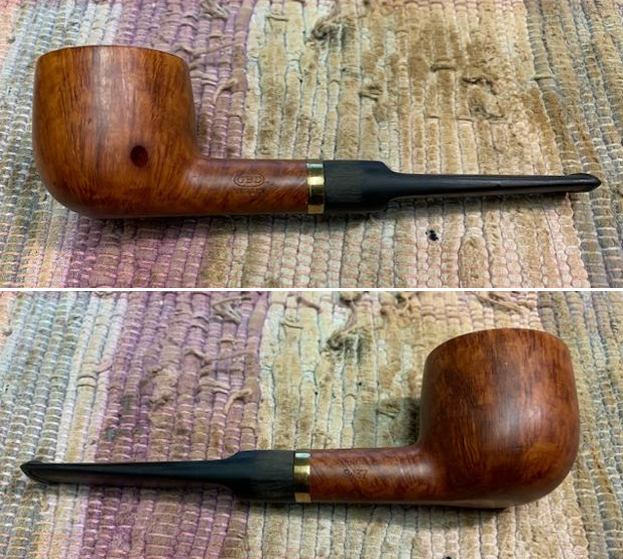
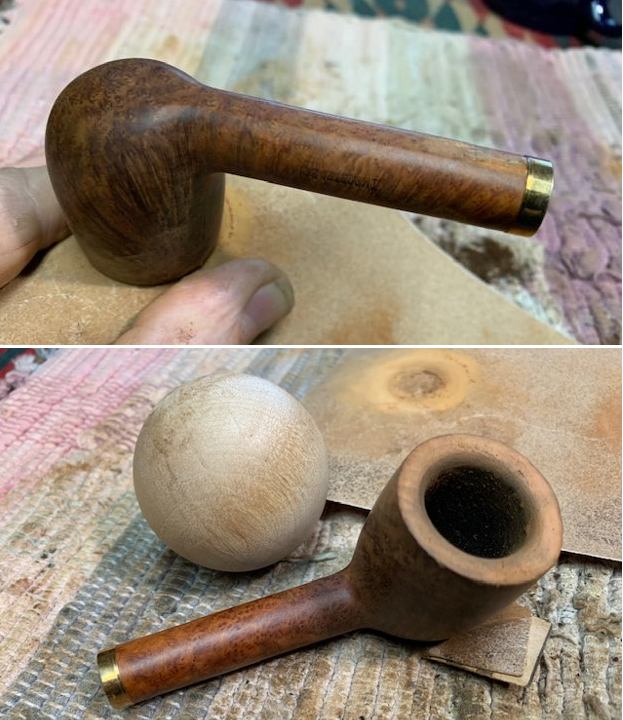
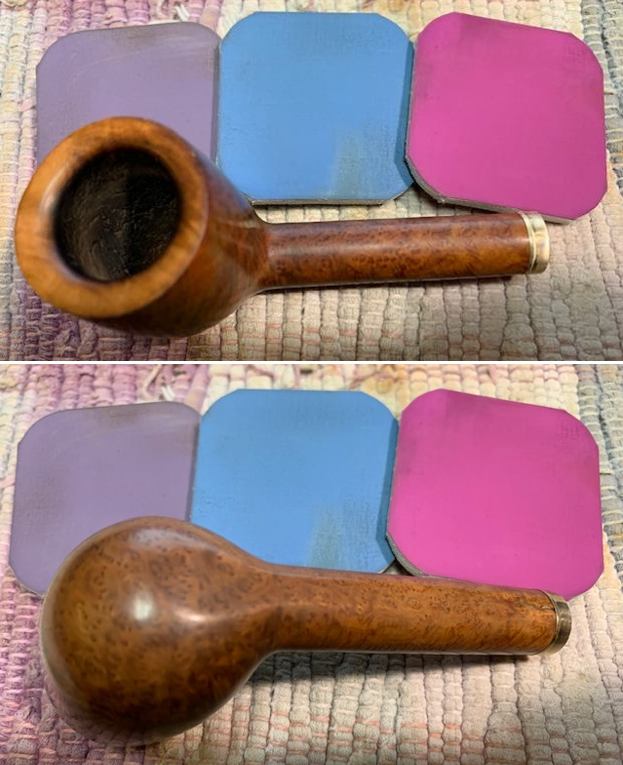
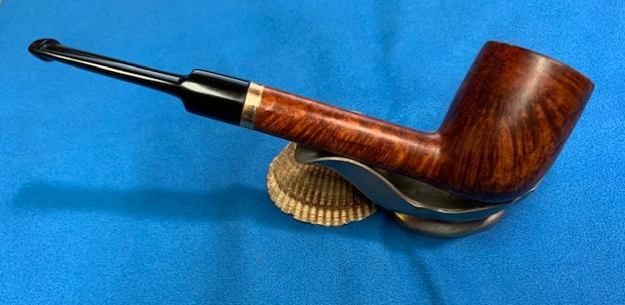
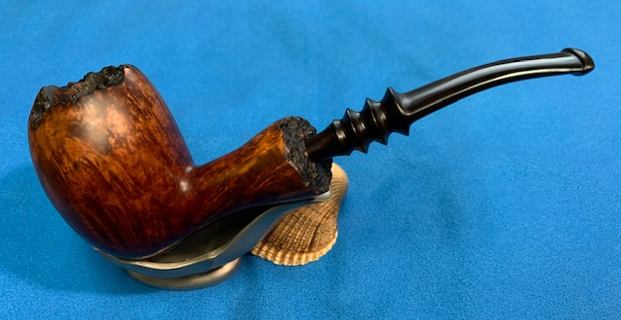
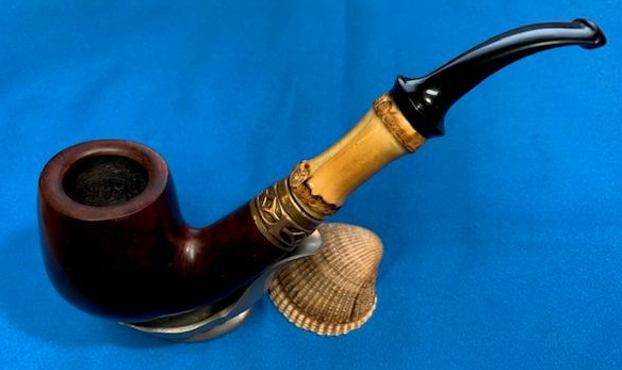
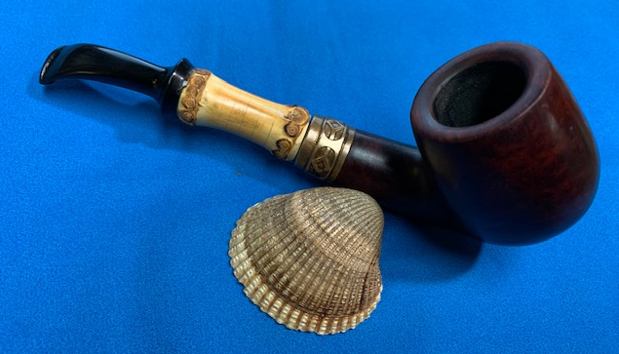
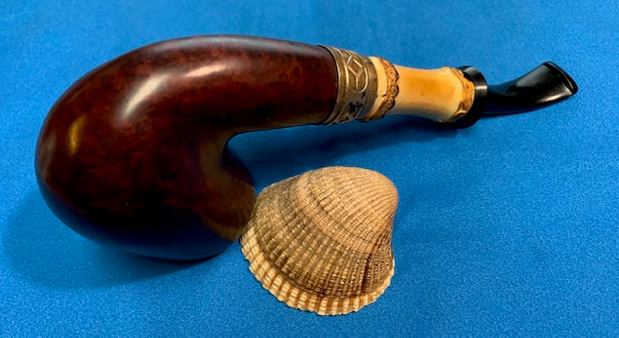
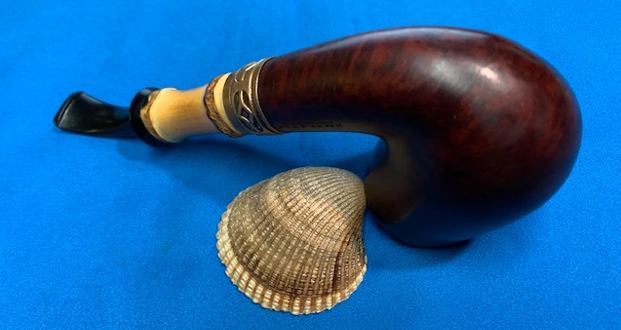
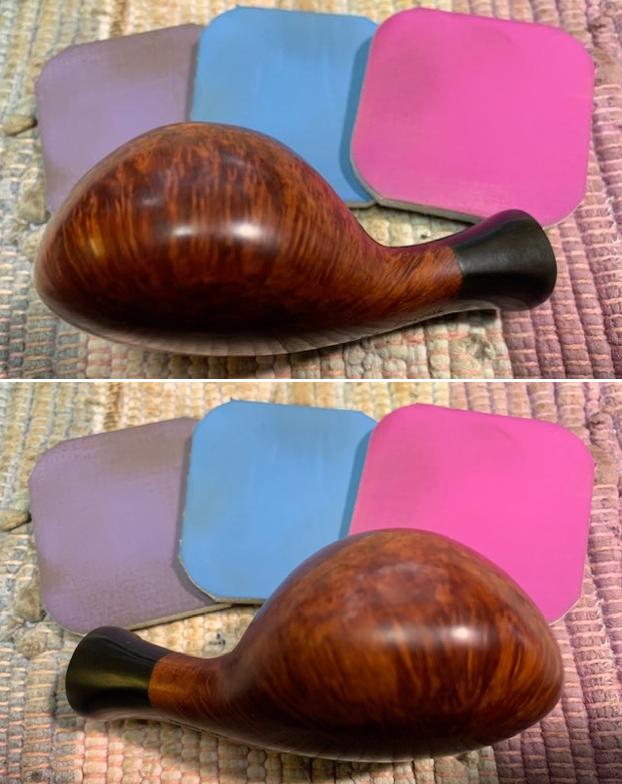
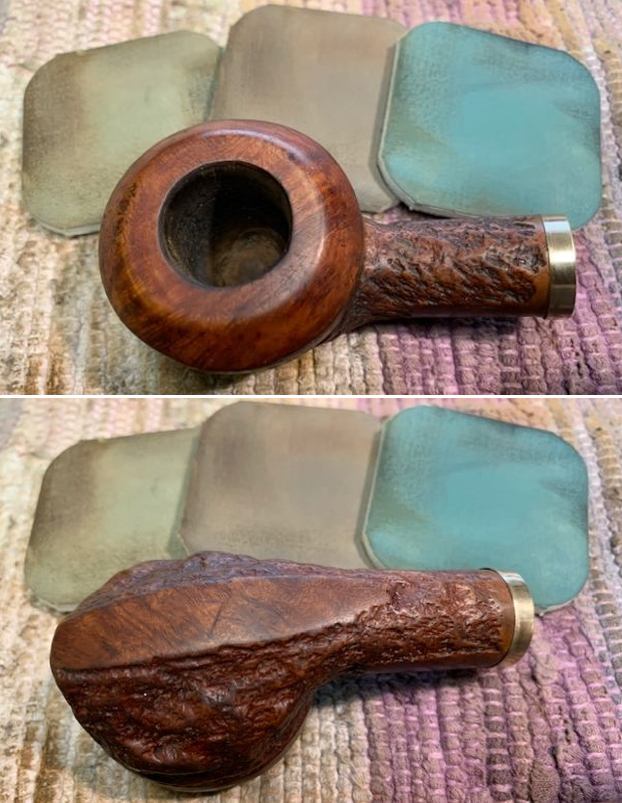
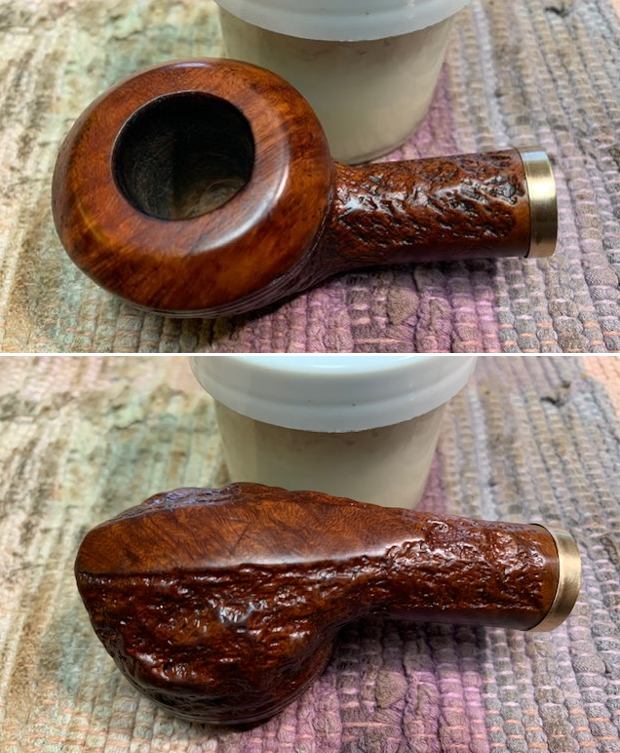
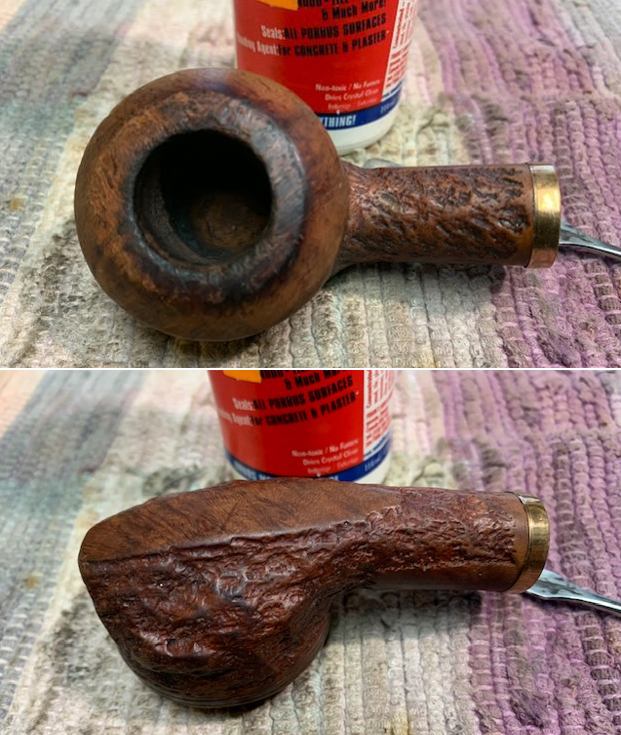 Once the glue on the band and the tenon cured I put the stem in place on the shank and took photos of the new look of the Weber. I have always liked Weber Golden Banded pipes so this brass band approximates that look. Still a lot of work to do on the fit of the stem and the clean up of the rim and top of the bowl.
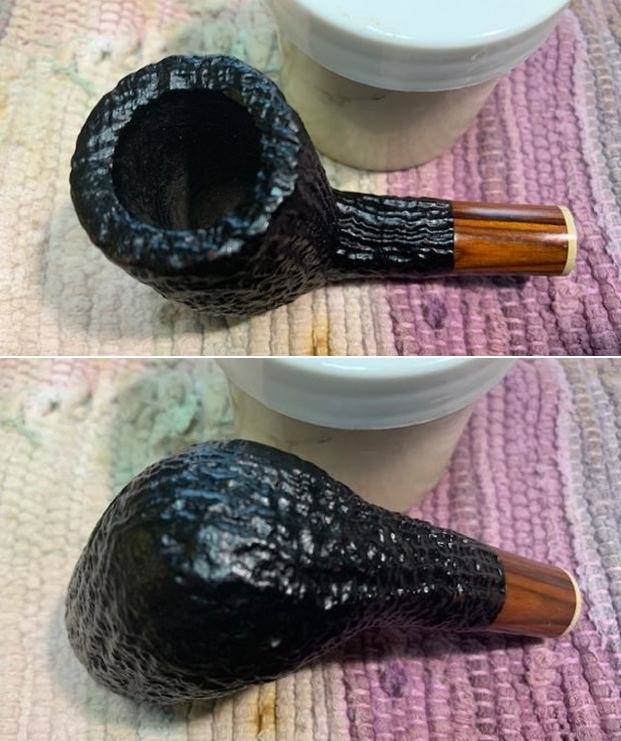
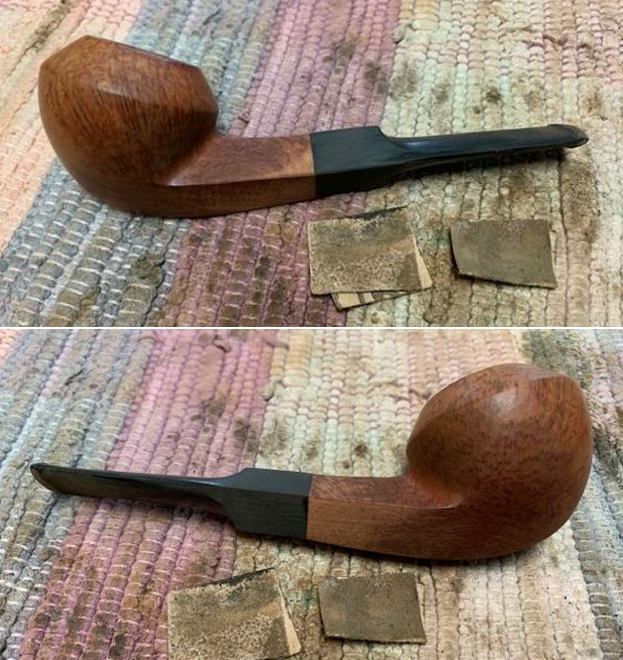
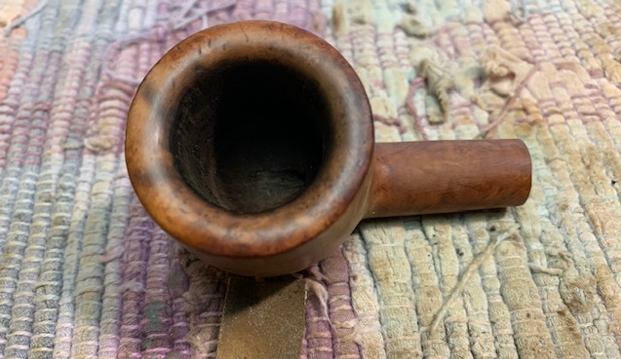
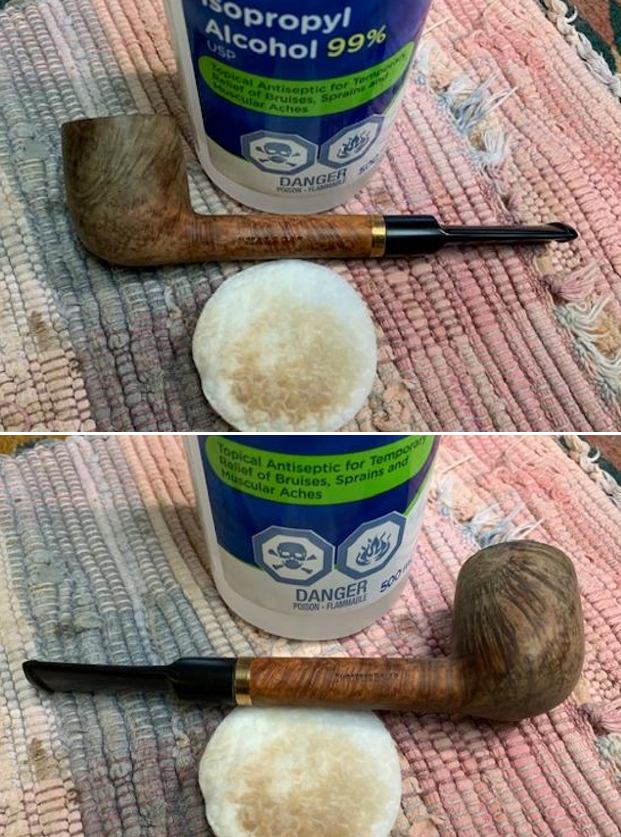
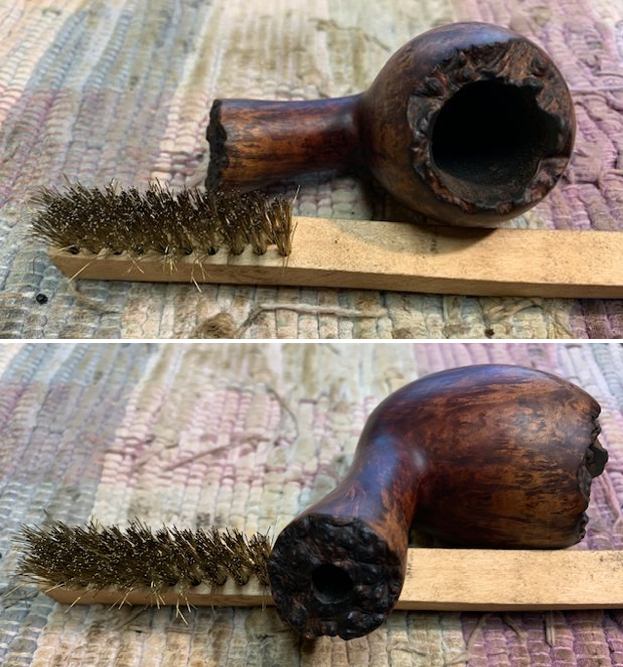
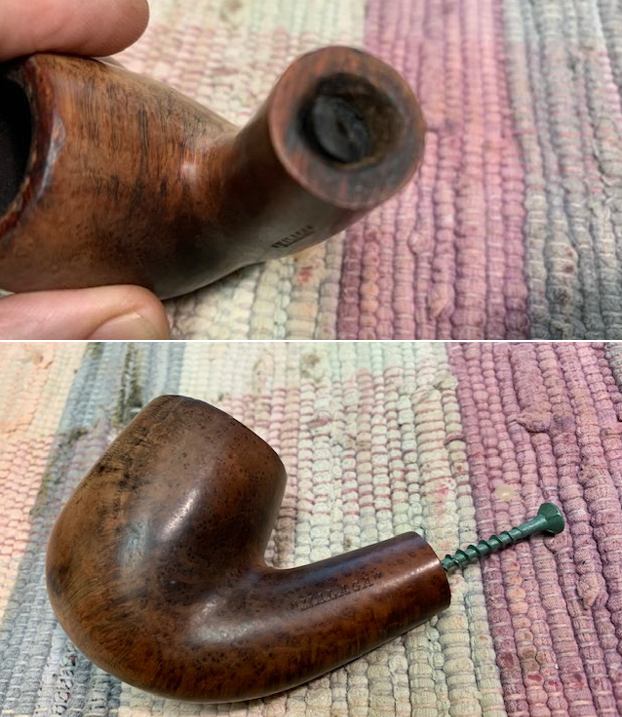
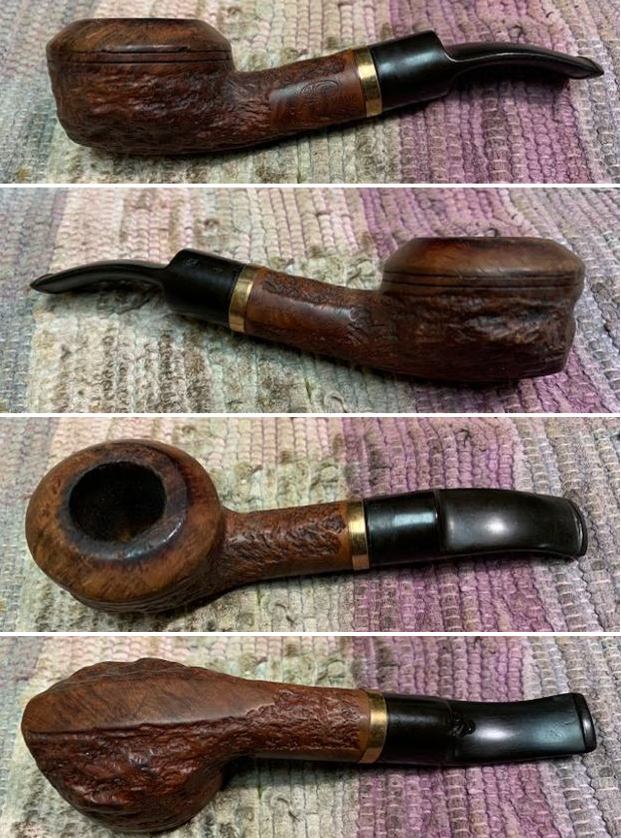 I removed the stem and turned my attention to the bowl of the pipe. I started the clean up of the rim by topping it on a topping board with 220 grit sandpaper. I rebuilt the outer edge with a little bit of CA glue and briar dust and then topped it again to smooth it out.
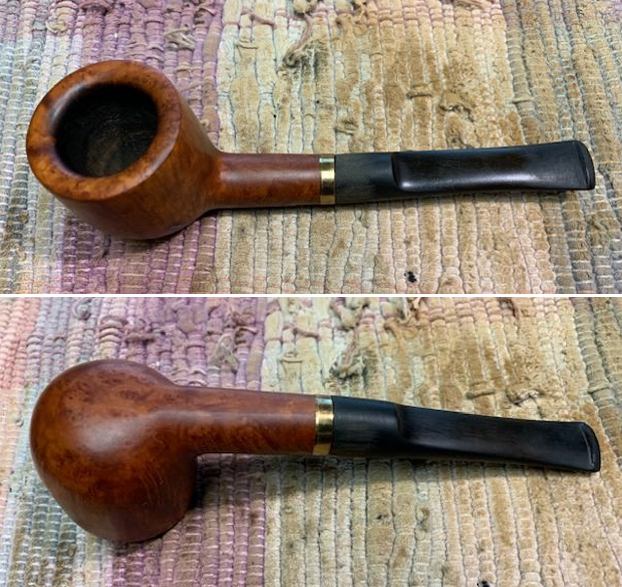
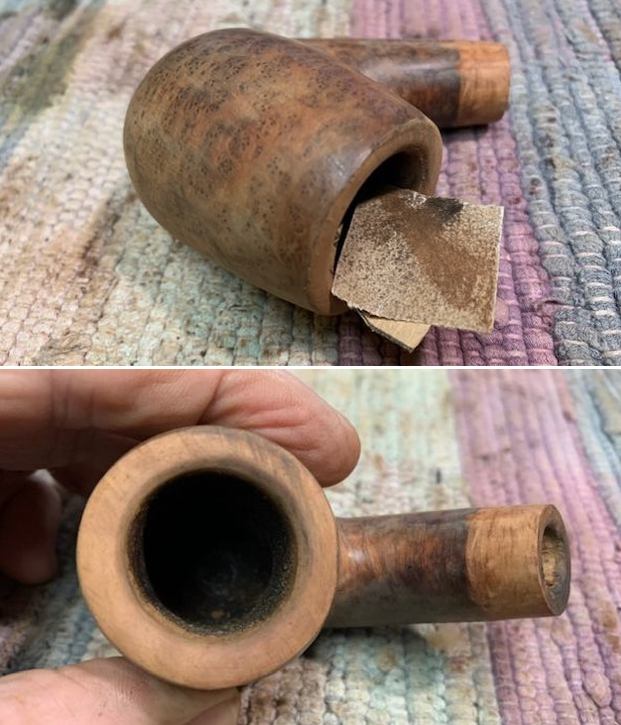
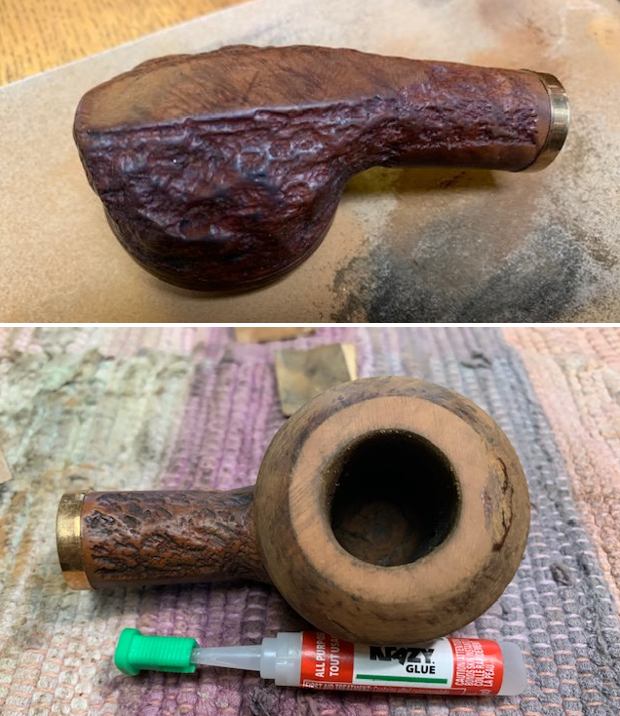
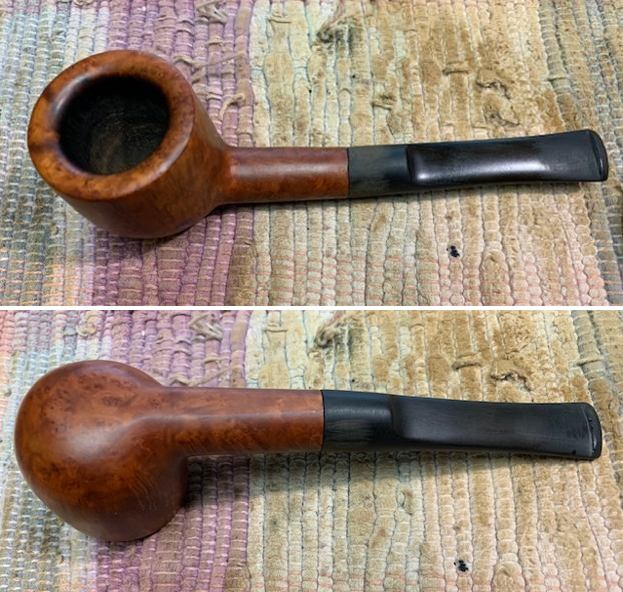
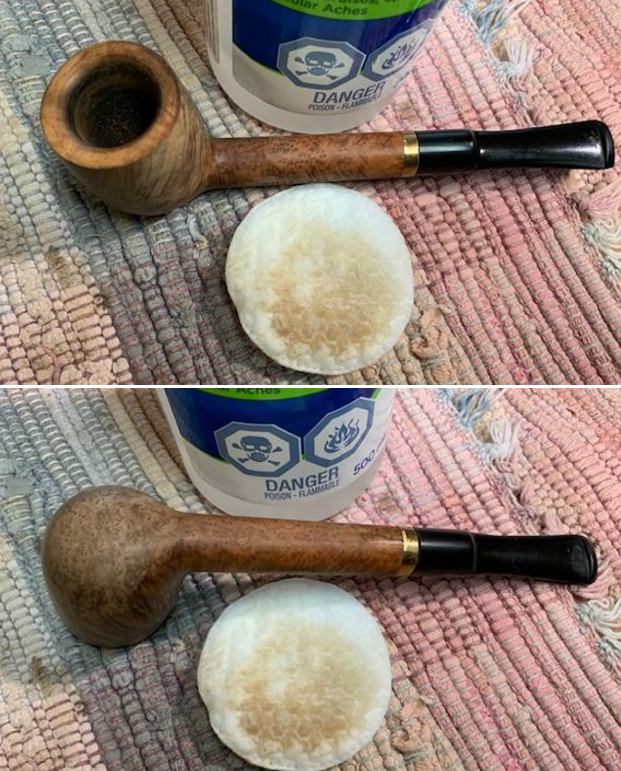
 I cleaned up the inner edge of the bowl and the cap of the rim with folded 220 grit sandpaper. It took some work but it looked much better when finished.
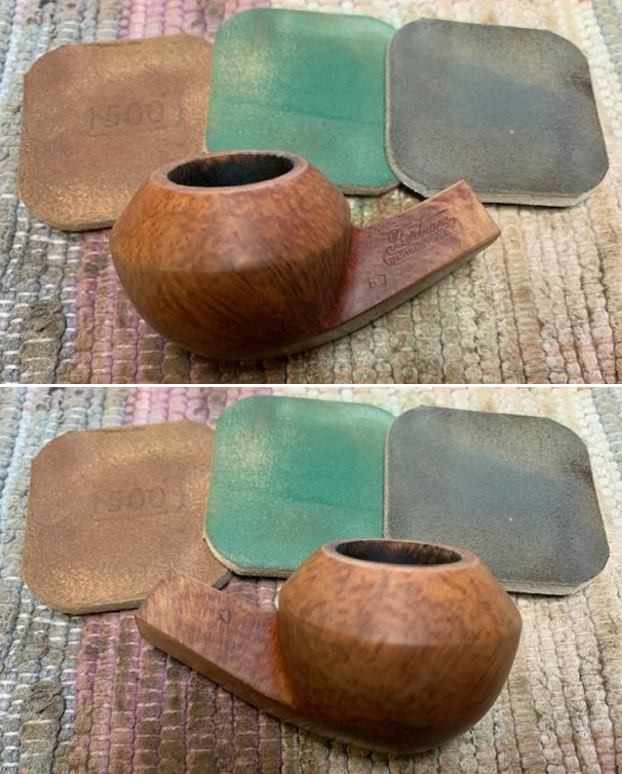
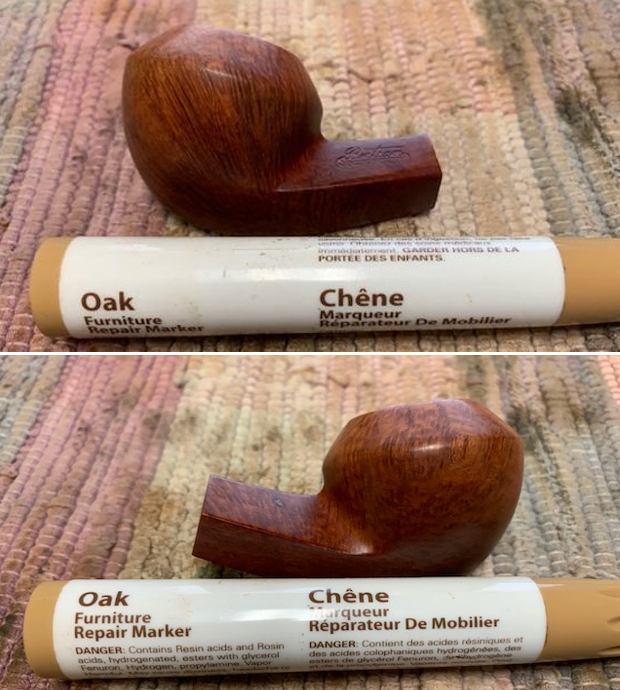
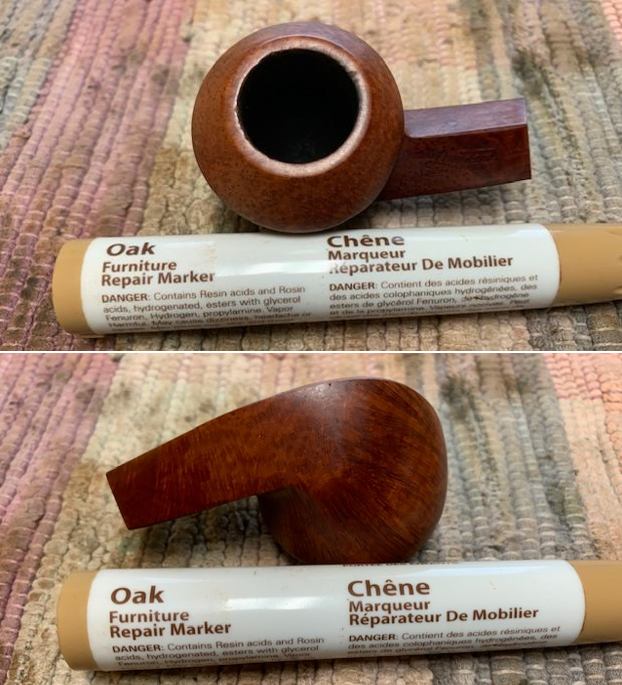
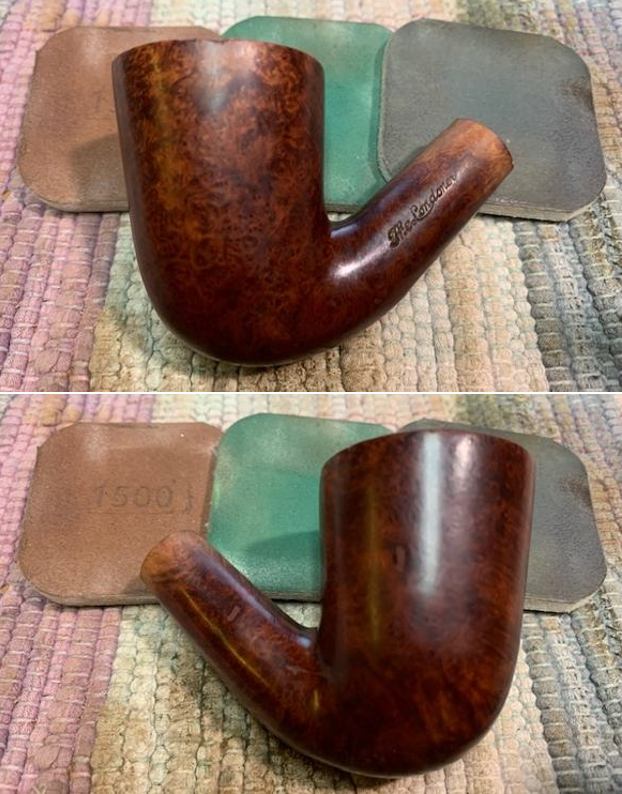
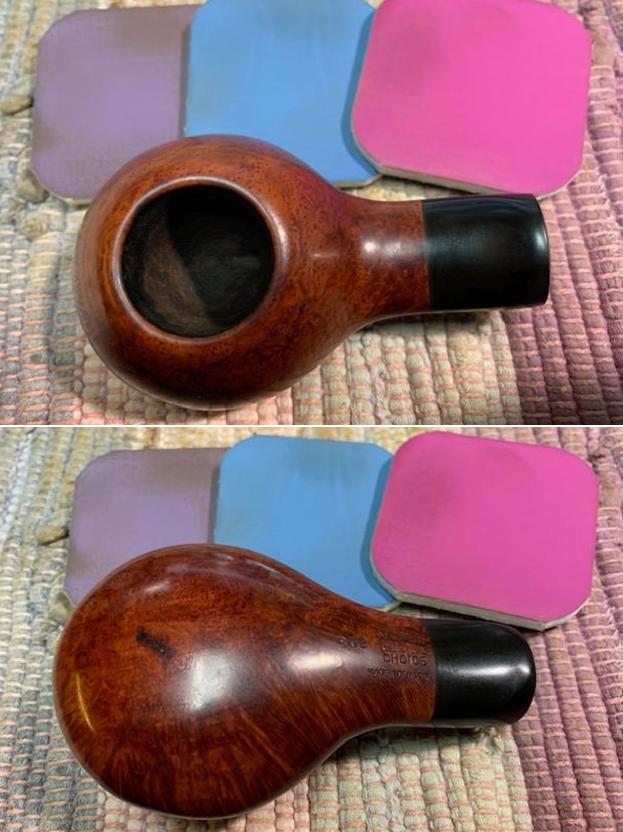
 I wiped off the rim cap and smoothed it with some 400 grit wet dry sandpaper. I wiped it down with a damp cloth. I stained it with an Oak stain pen to match the rest of the bowl and shank.
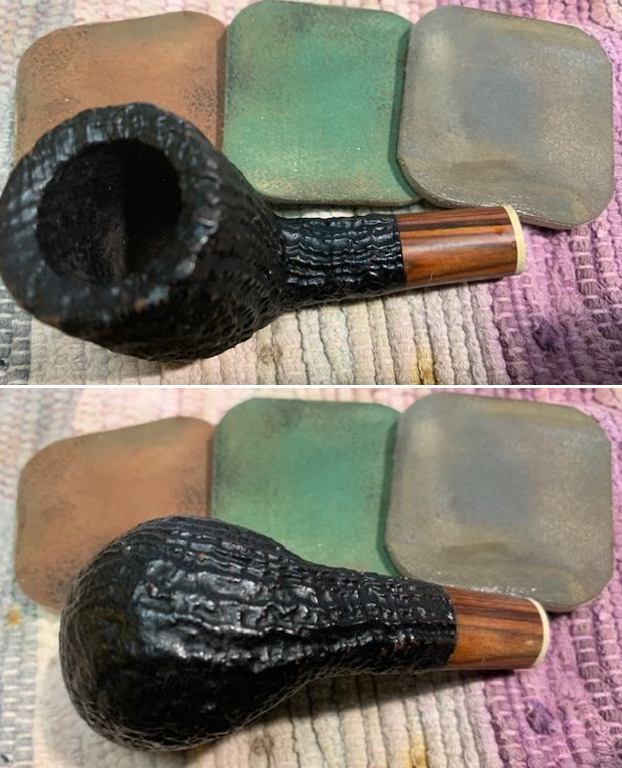
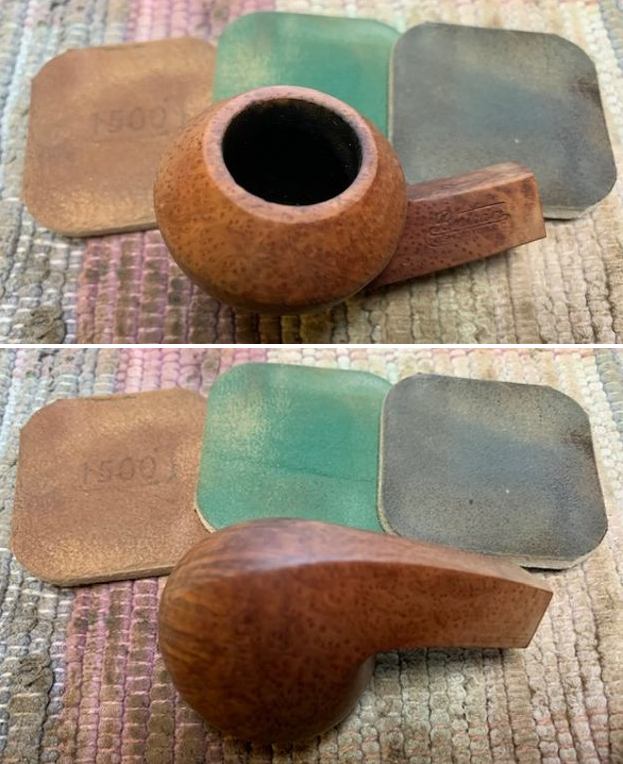
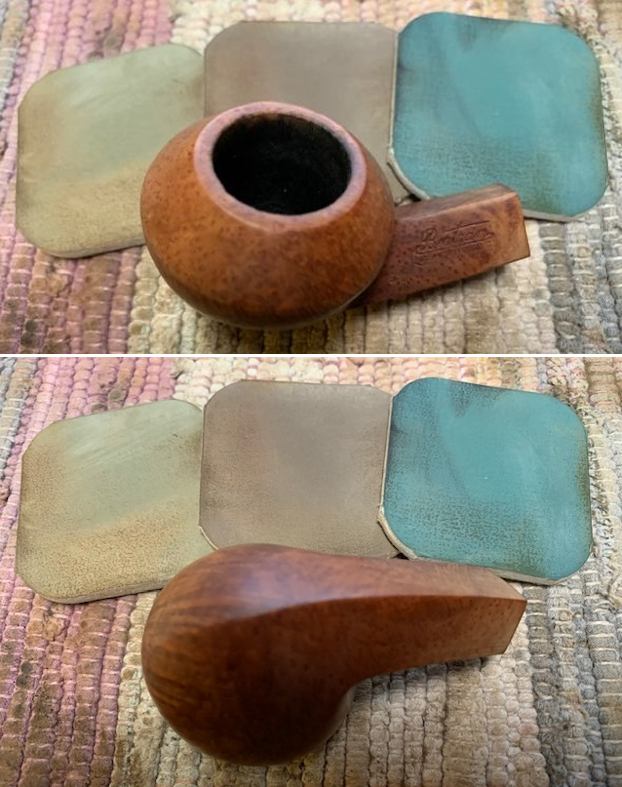
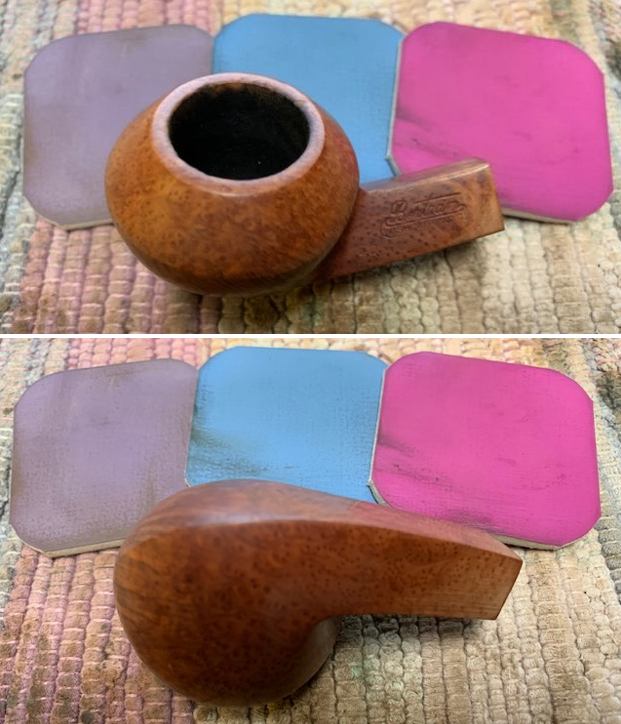
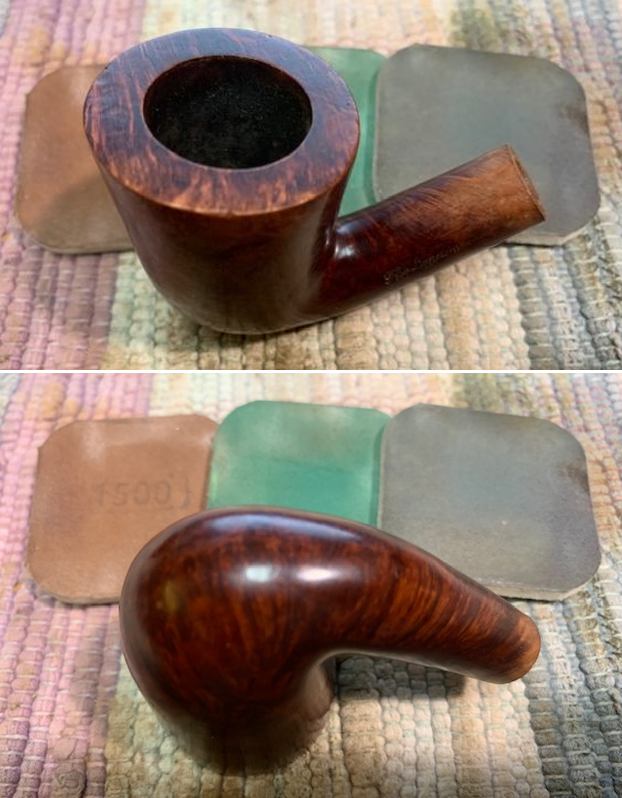
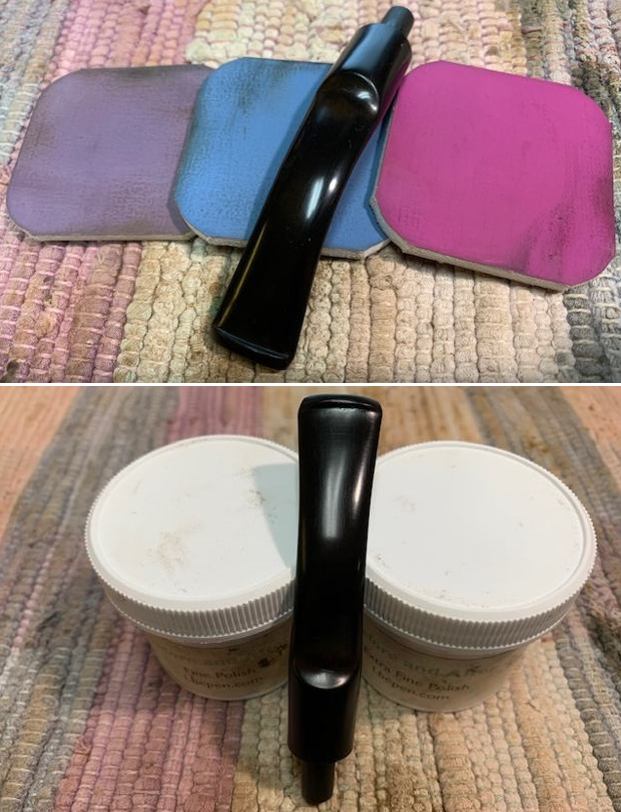
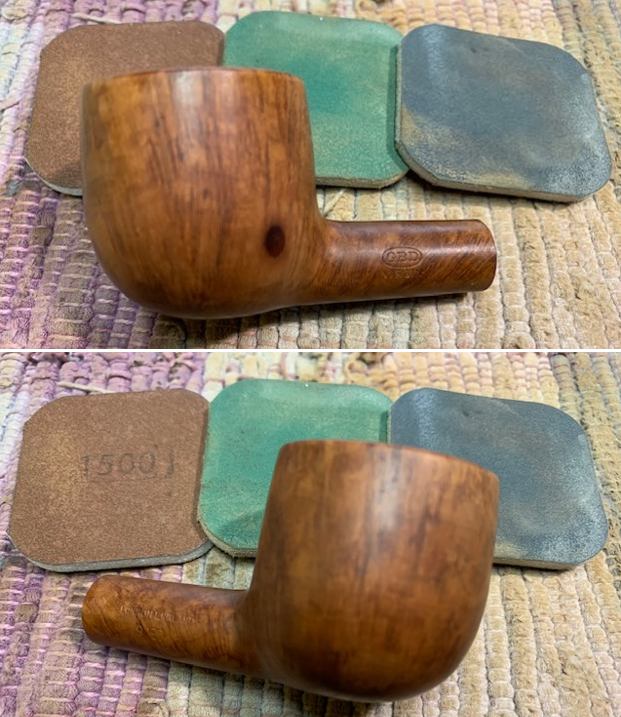
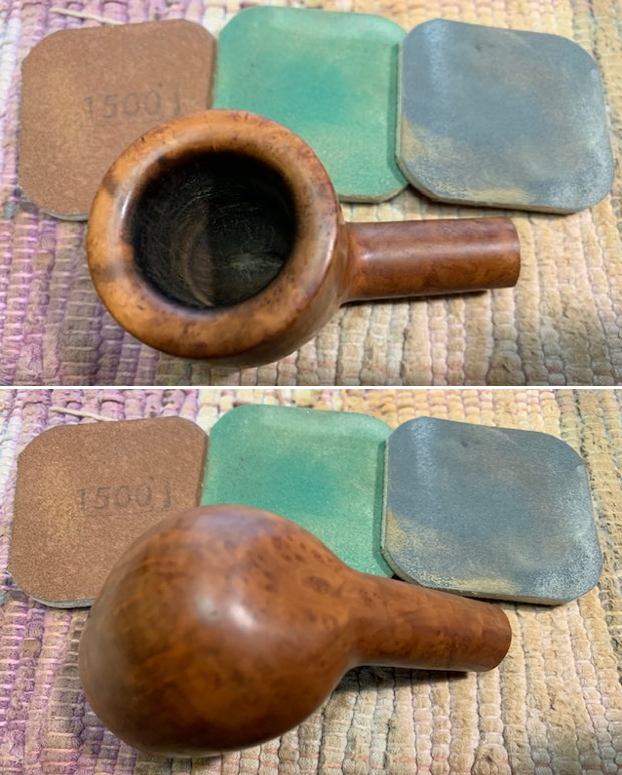
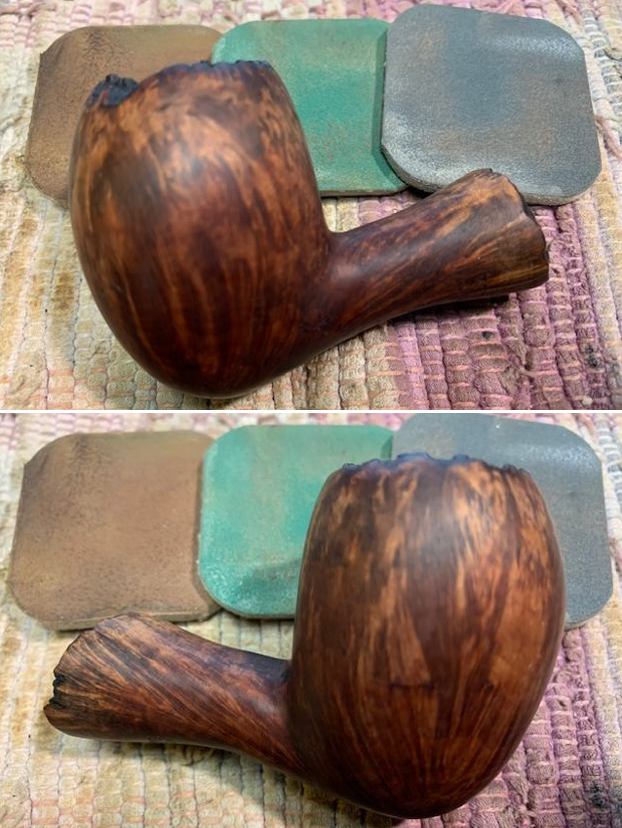
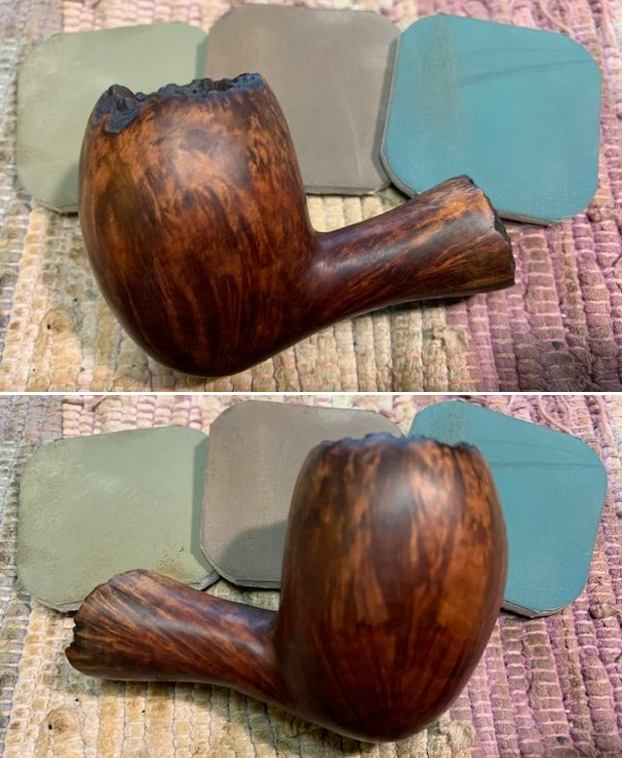
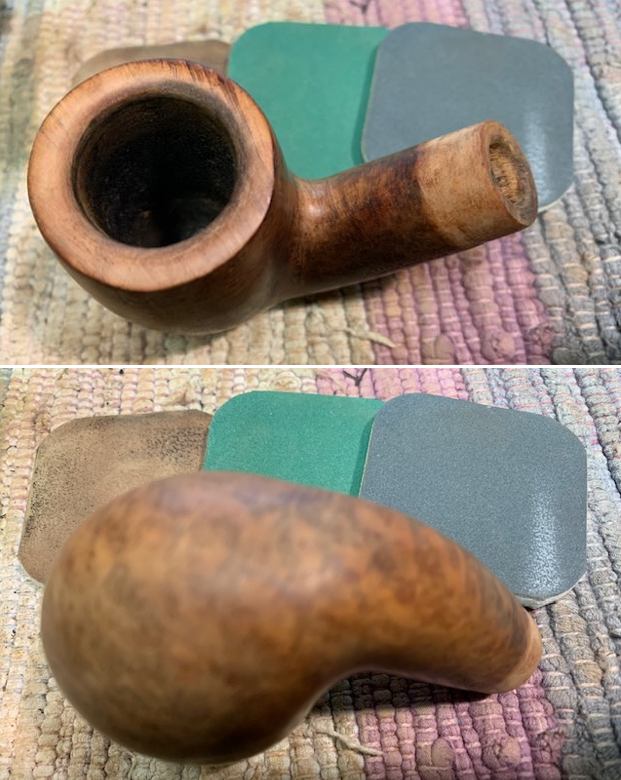
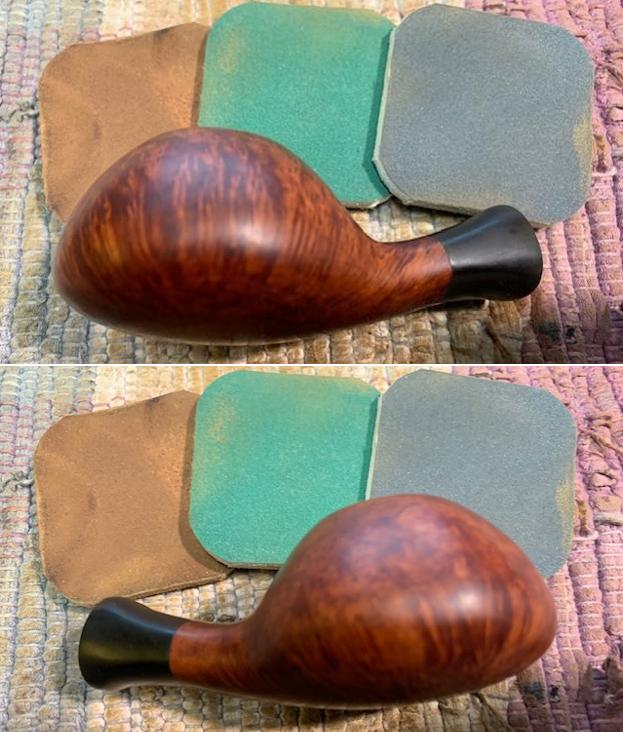
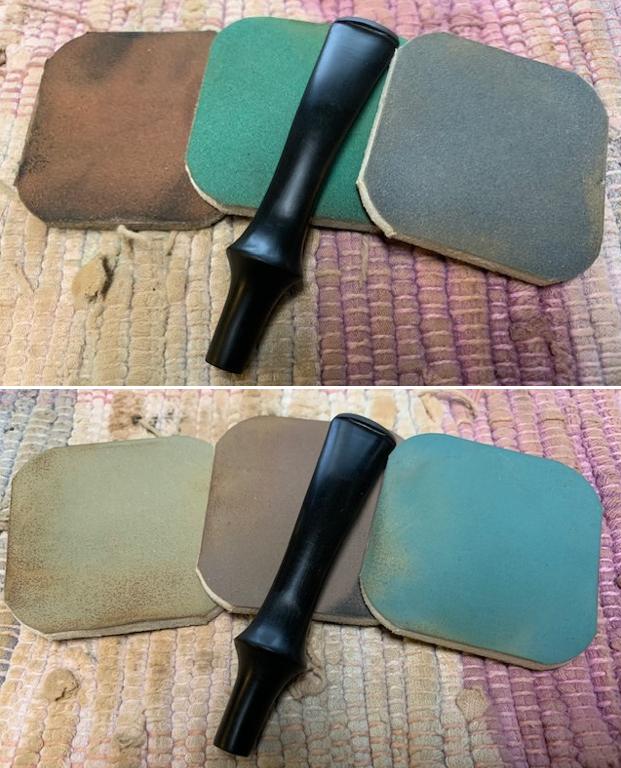
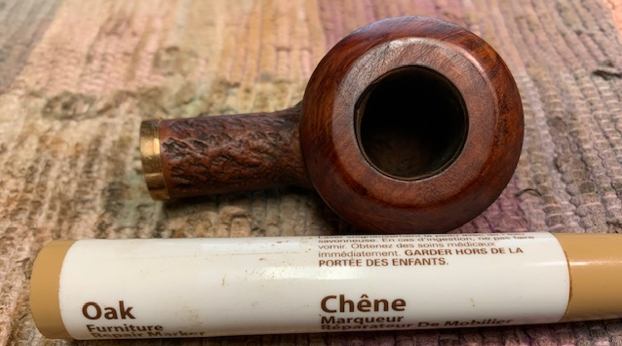 I polished the briar with micromesh sanding pads – dry sanding it with 1500-12000 grit pads. I wiped it down after each pad with a damp cloth. The briar began to take on a rich shine.
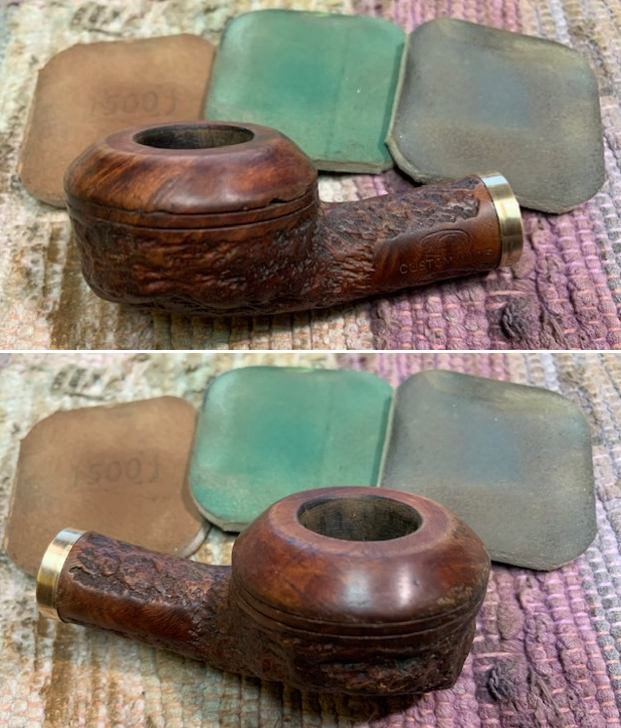
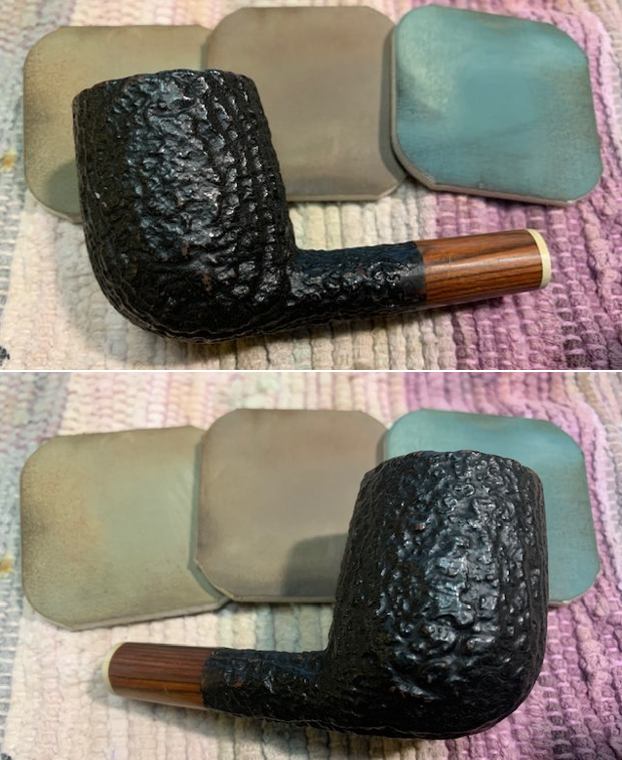
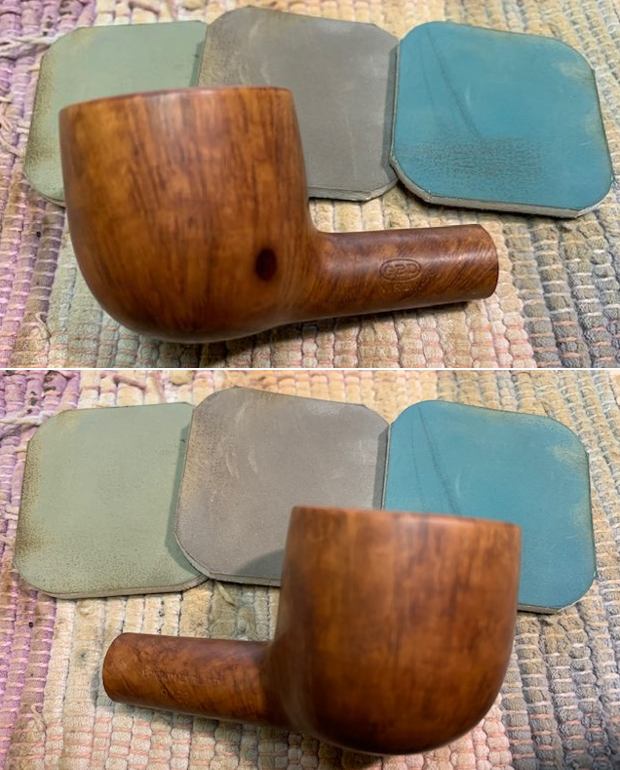
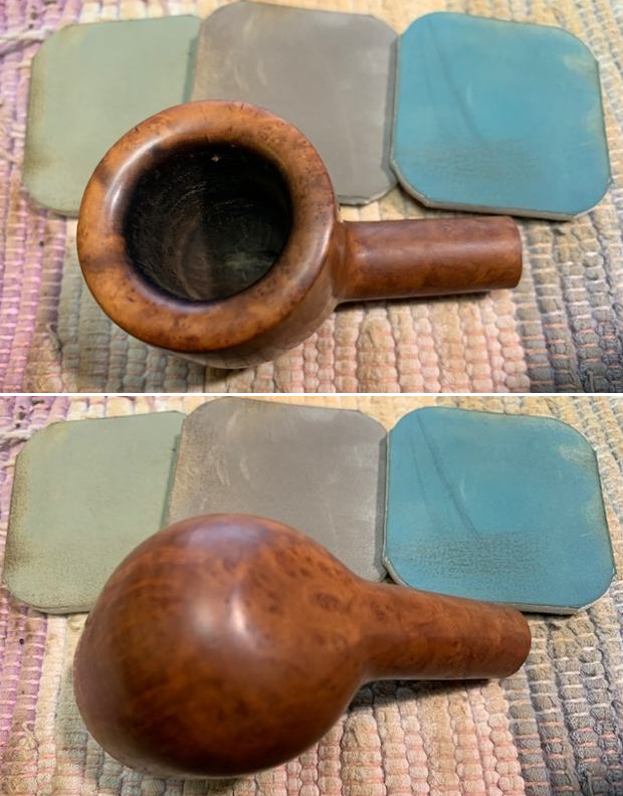
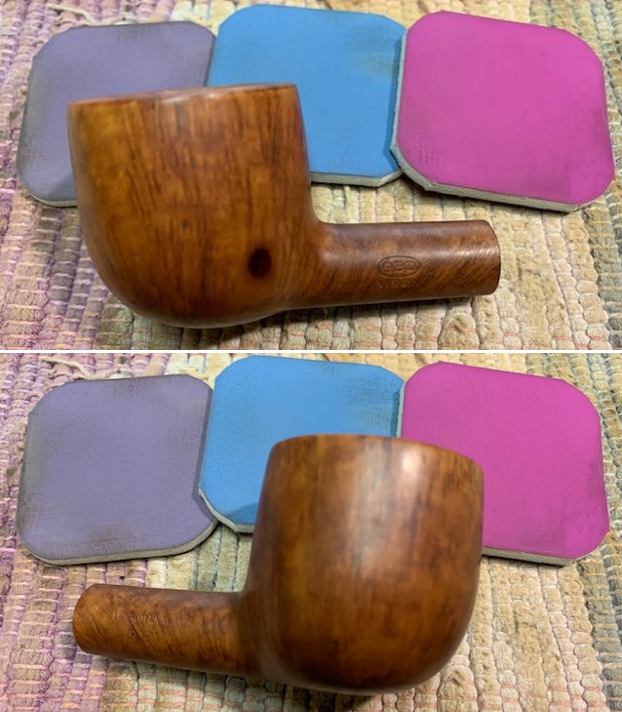
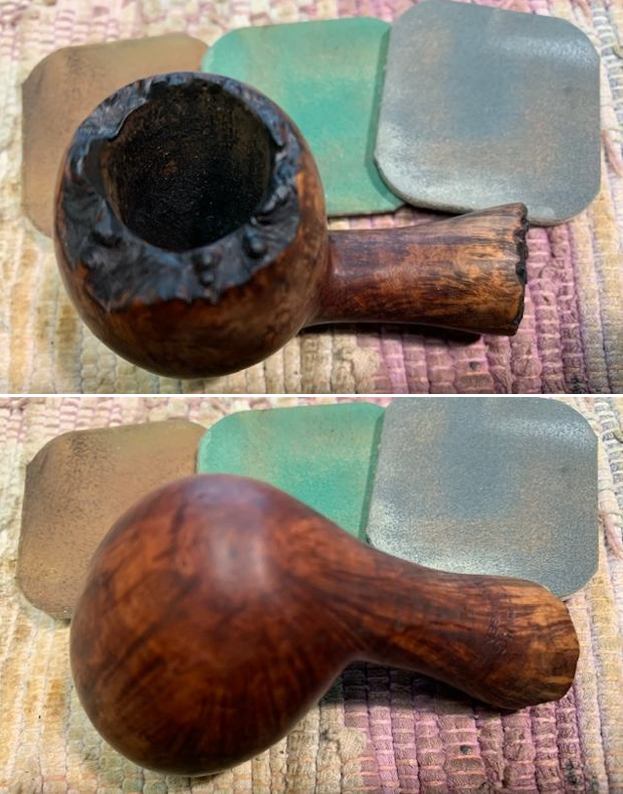
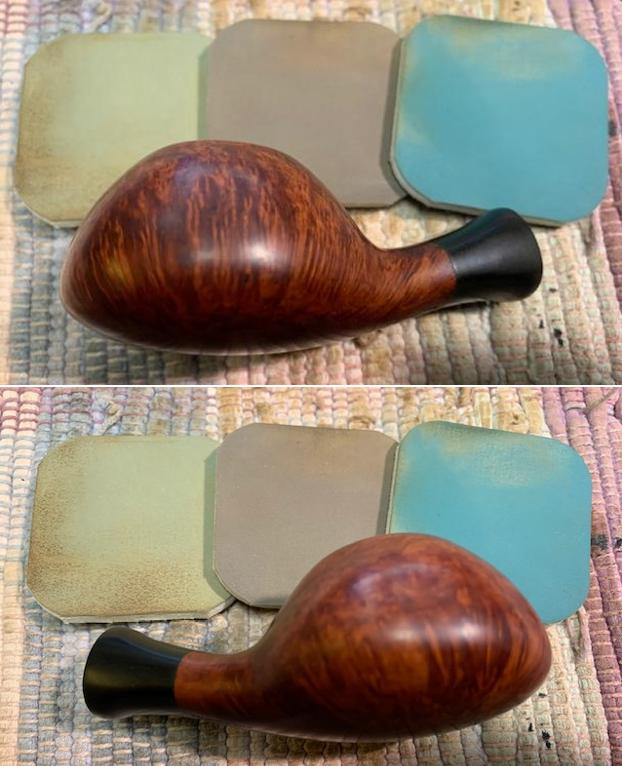
 I worked some Before & After Restoration Balm into the surface of the briar with my finger tips and a shoe brush to get into the valleys and crevices of the blast finish. The product is amazing and works to clean, enliven and protect the briar. I let it sit on the briar for 10 or more minutes and then buff it off with a soft cloth. It really makes the briar come alive and look quite rich.
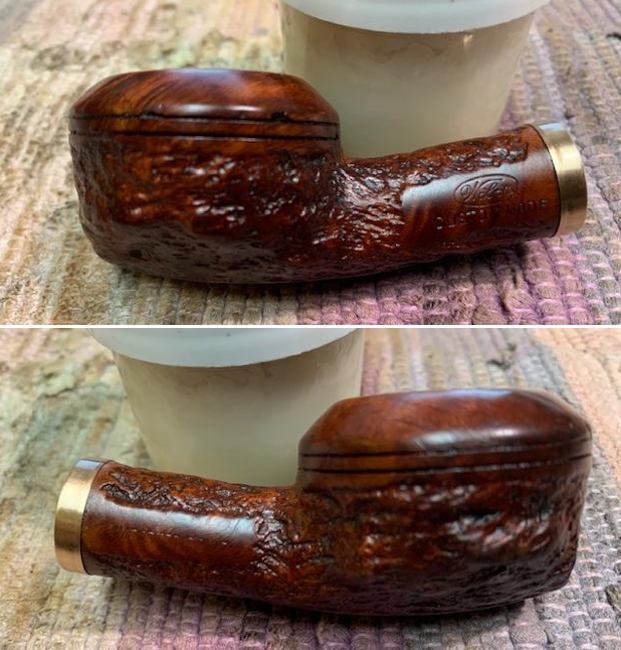
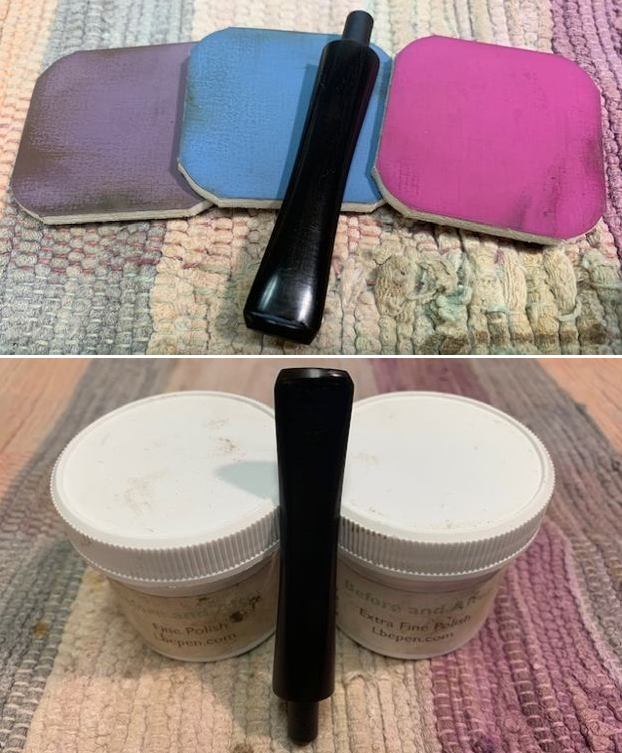
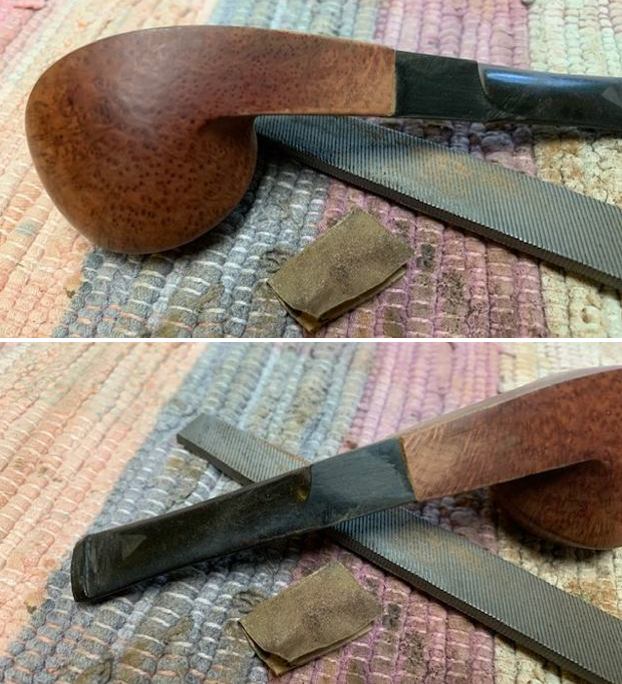
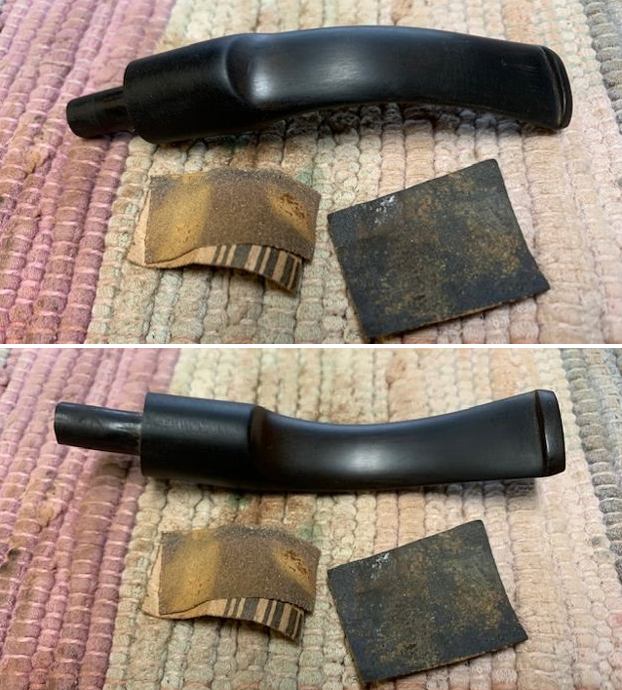
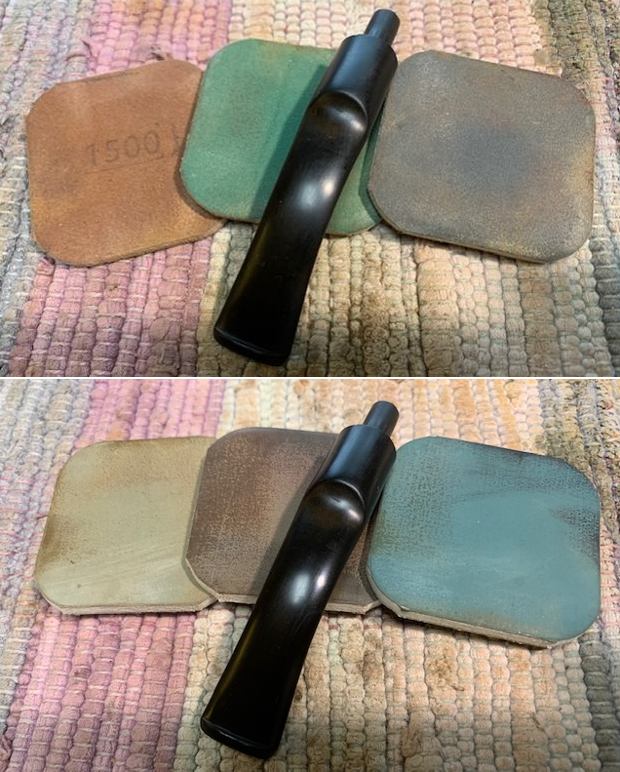
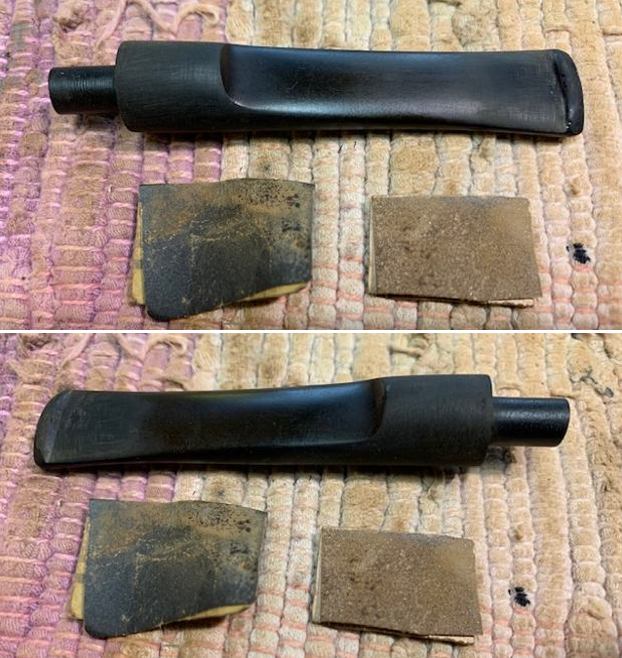
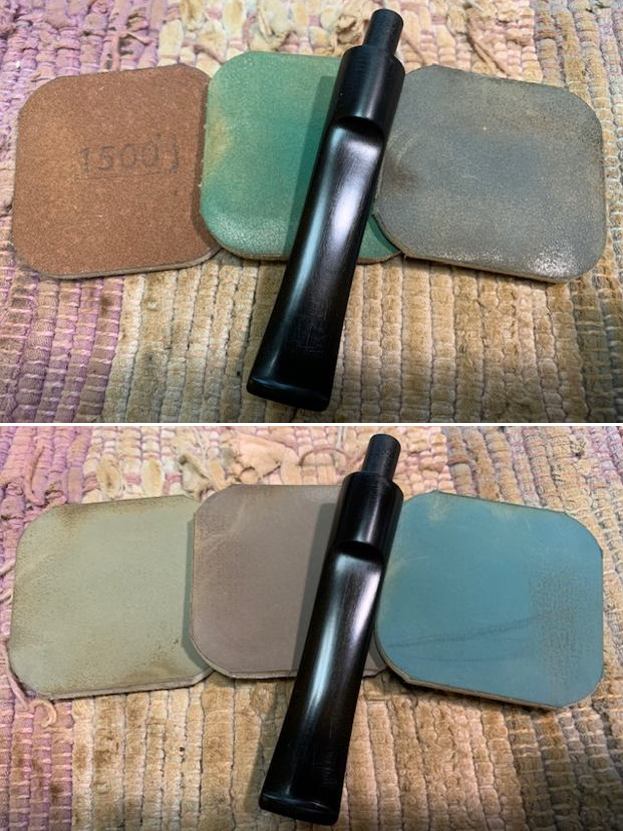
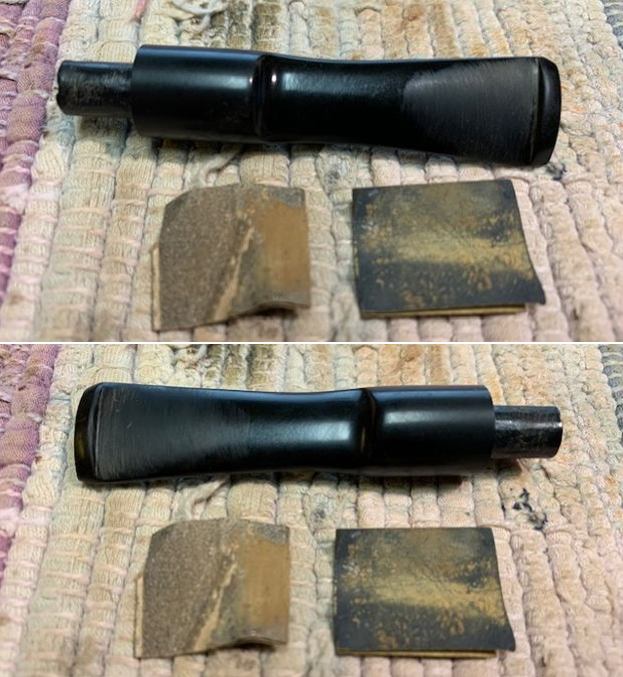
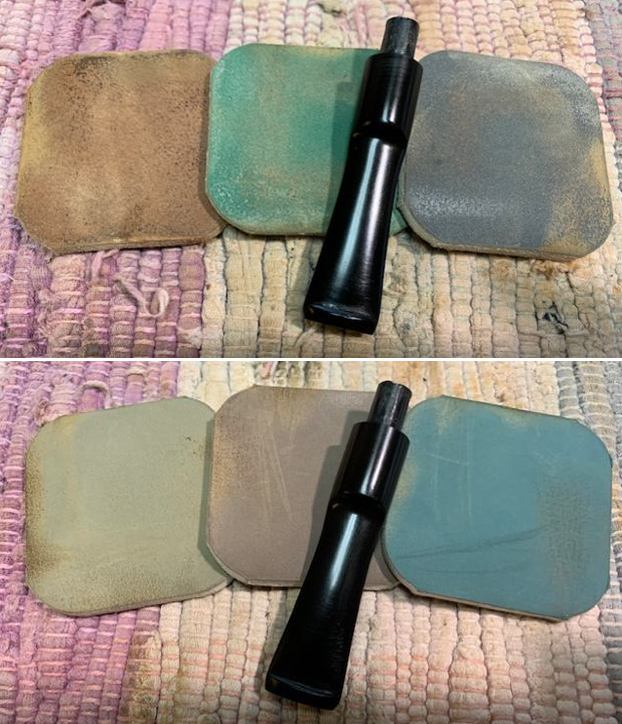
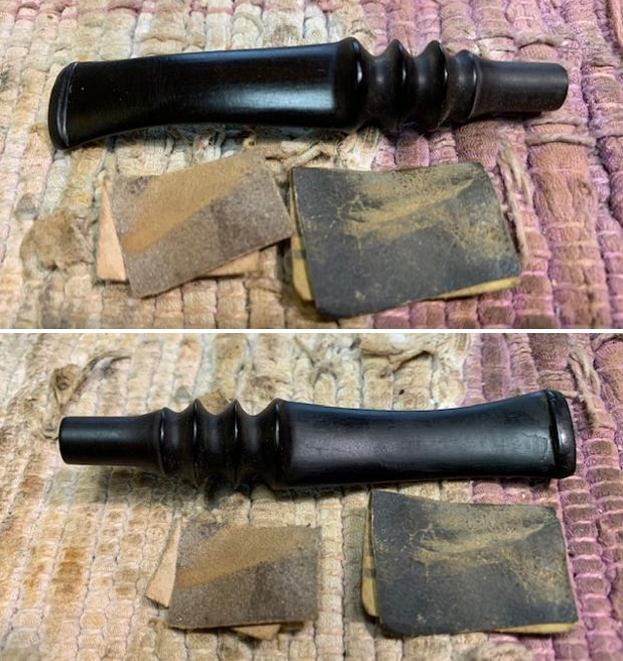
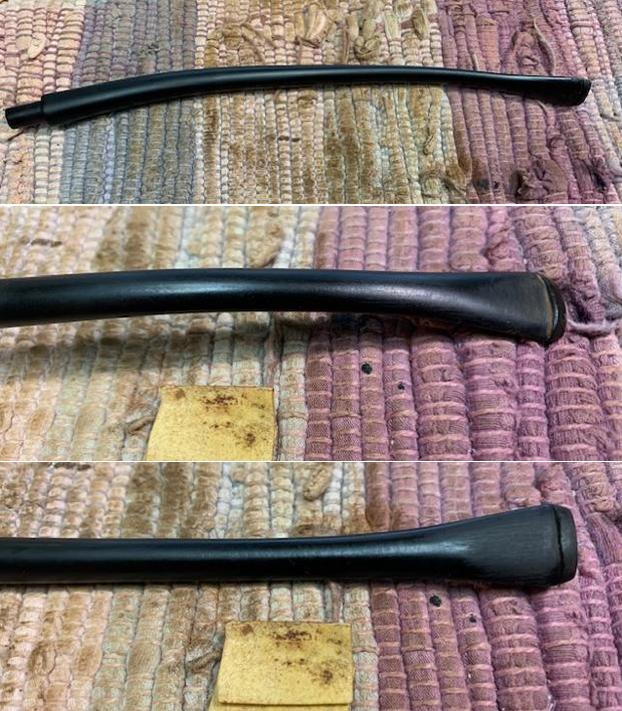
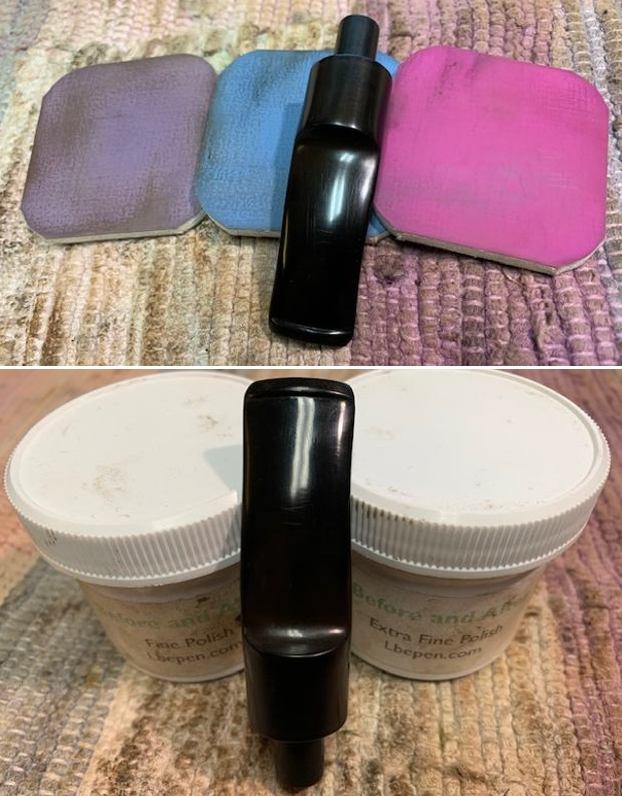
 I set the bowl aside and turned my attention to the stem. I sanded out the tooth chatter and the deep scratches on the saddle portion of the stem with 220 grit sandpaper. I started polishing the stem with 400 grit wet dry sandpaper.
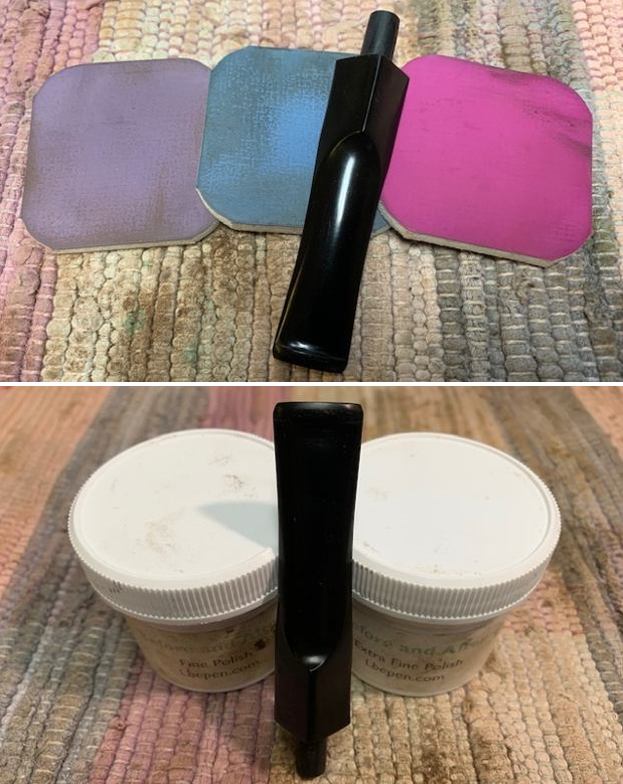
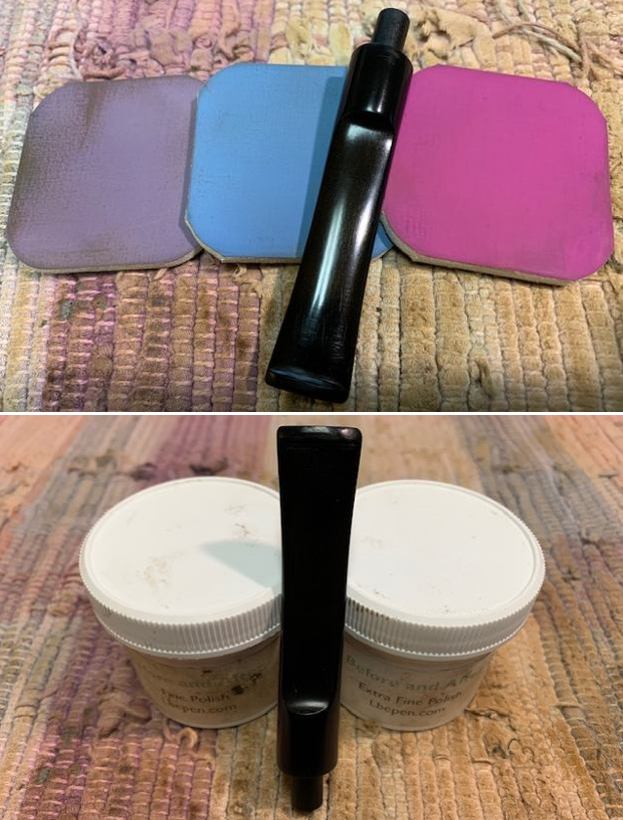
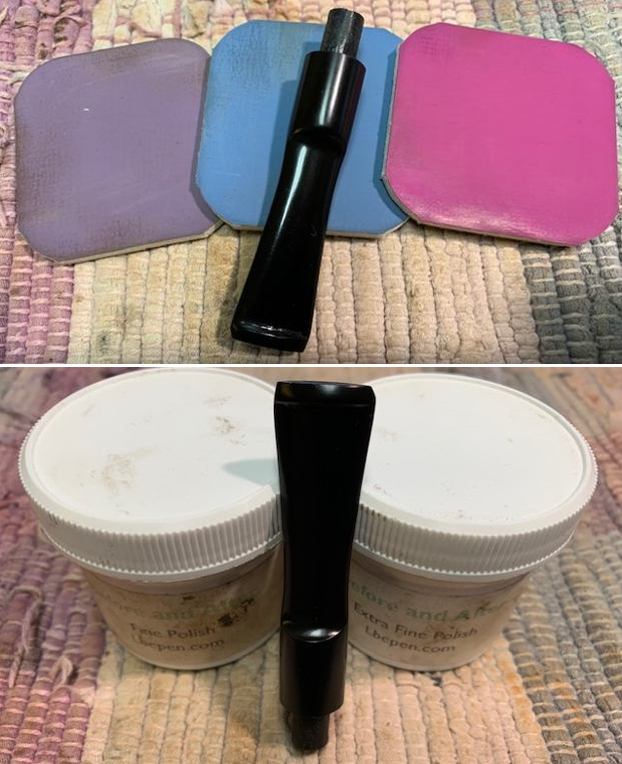
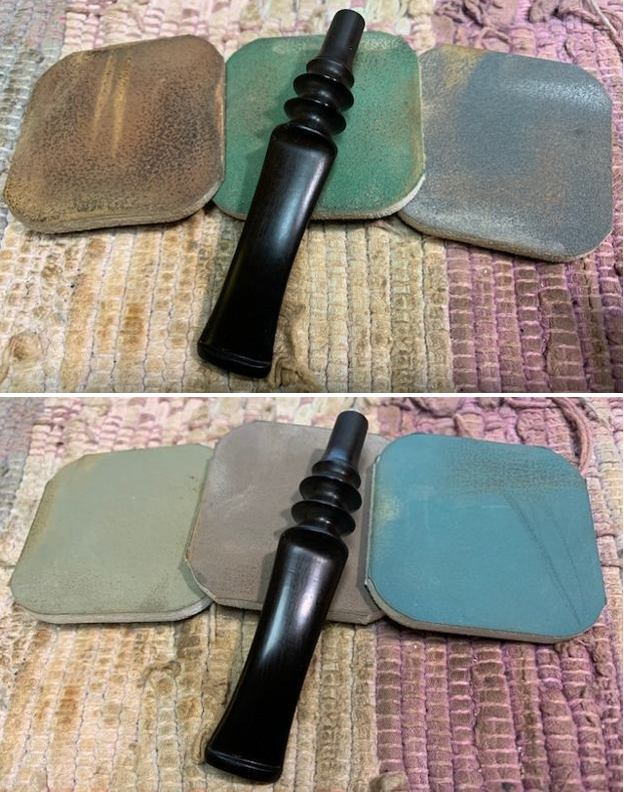
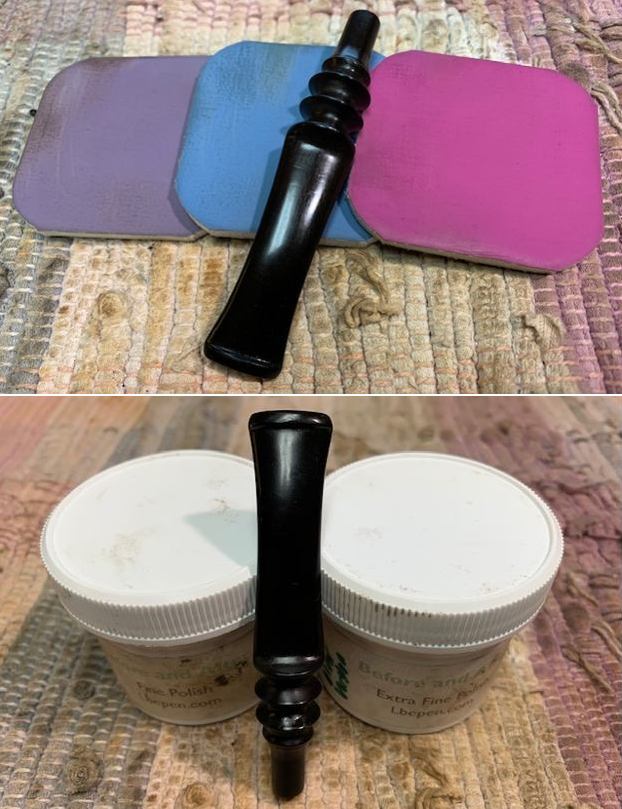
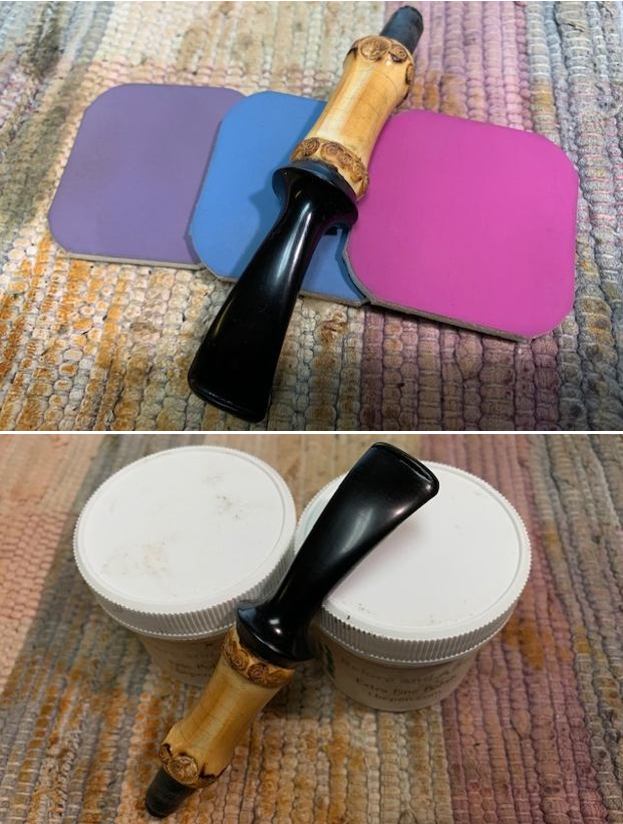
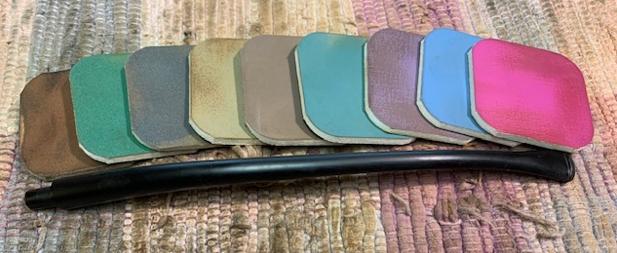
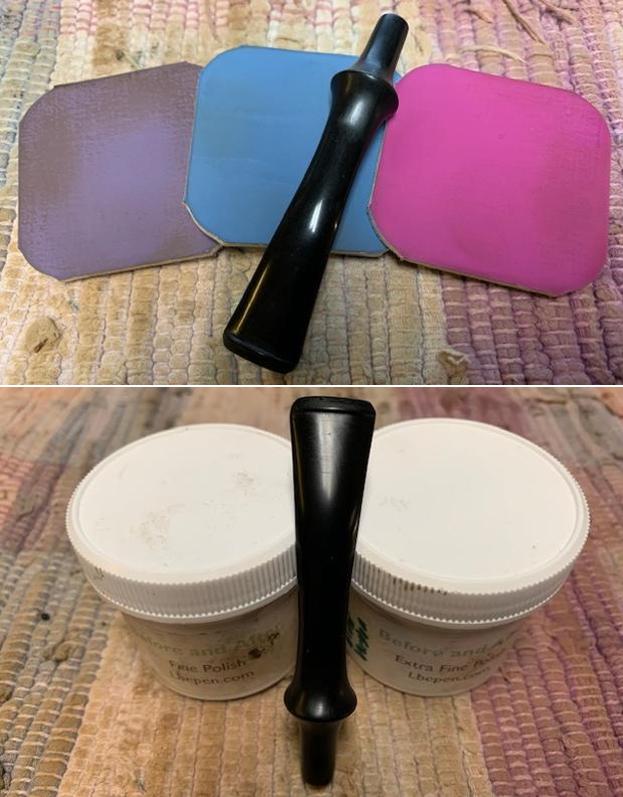
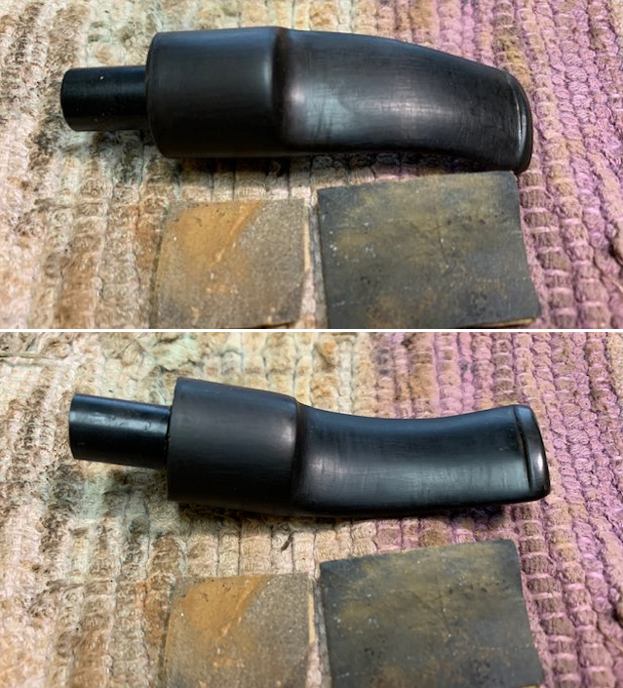 I polished the stem with micromesh sanding pads – dry sanding with 1500-12000 grit pads. I wiped the stem down after each pad with a cloth and Obsidian Oil. I finished the polishing with Before & After Pipe Stem Polish – both Fine and Extra Fine. I gave it a final coat of Obsidian Oil.
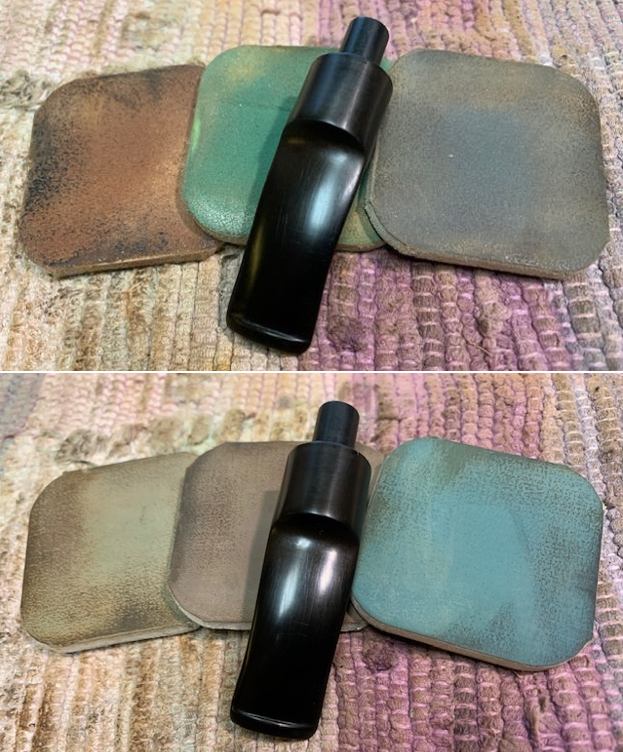
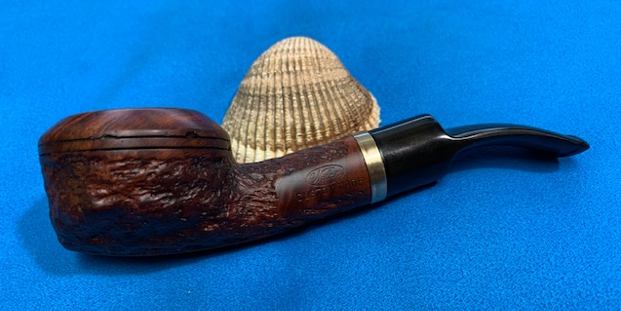
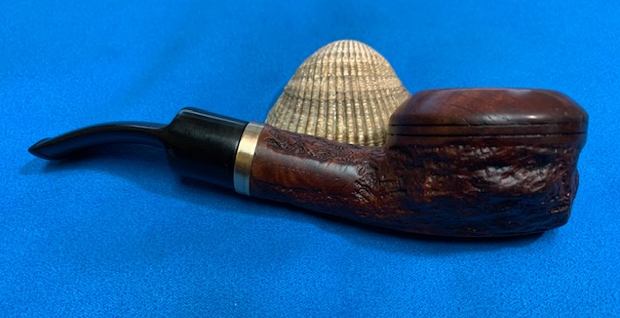
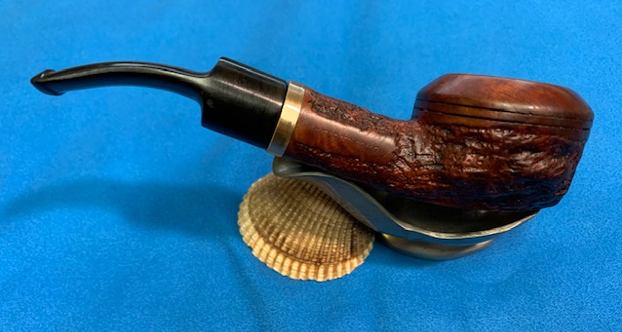
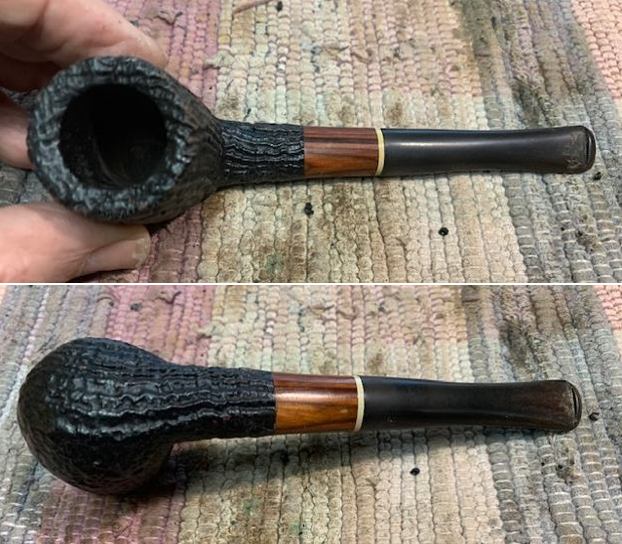
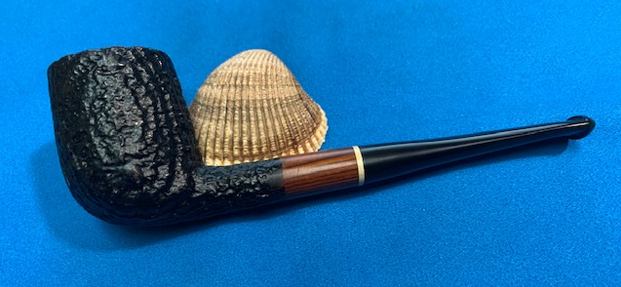
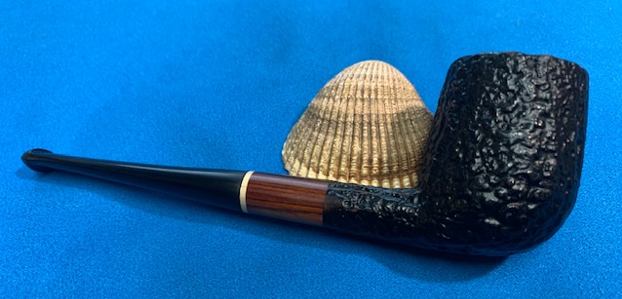
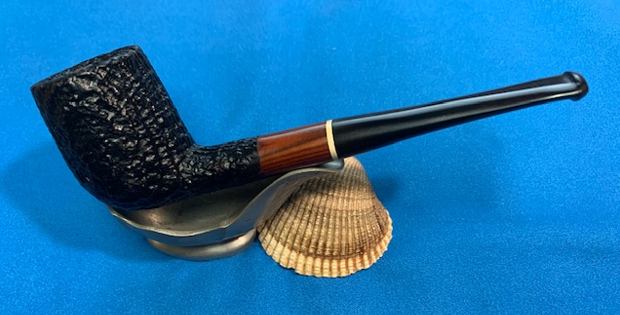
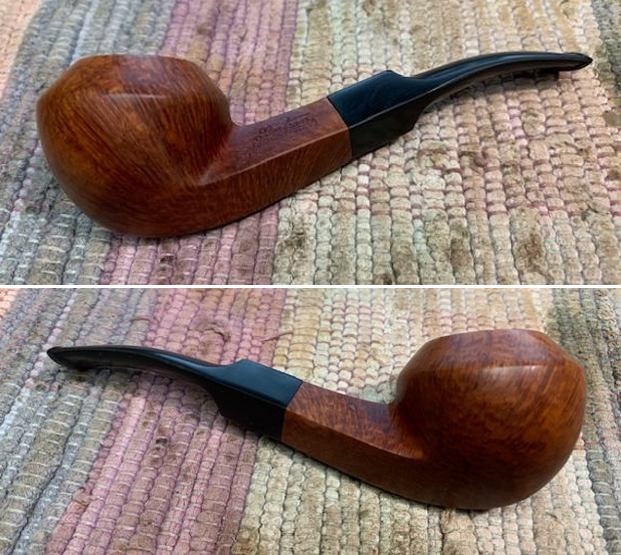
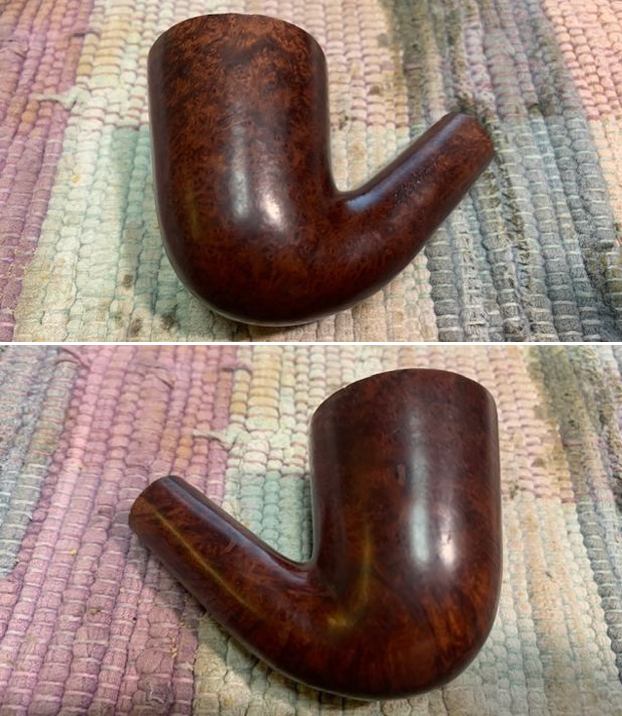
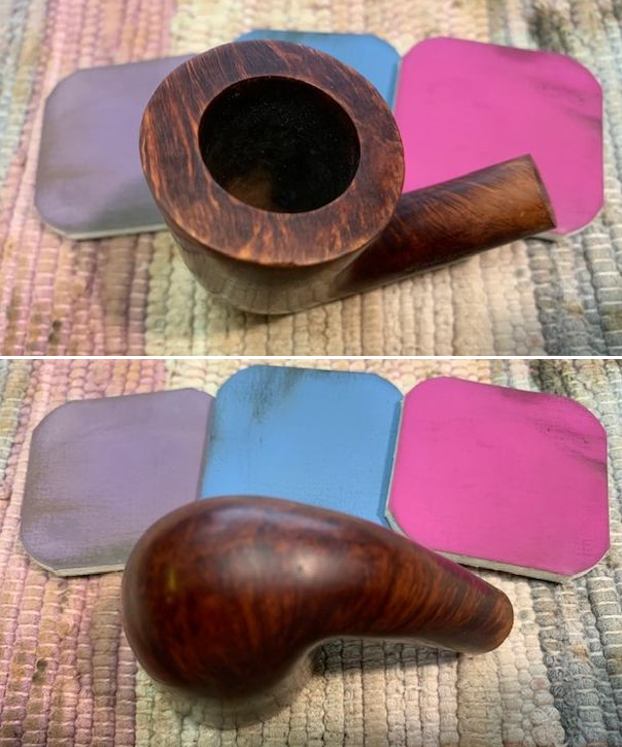
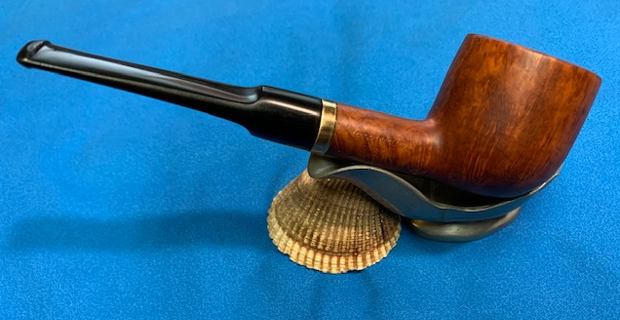
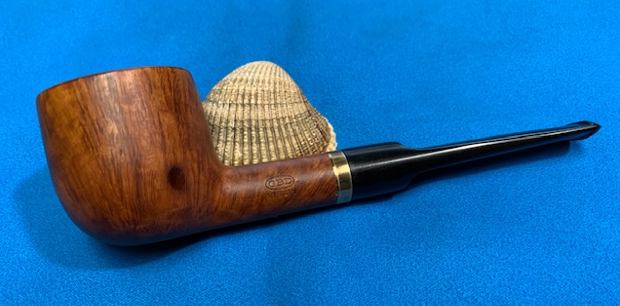
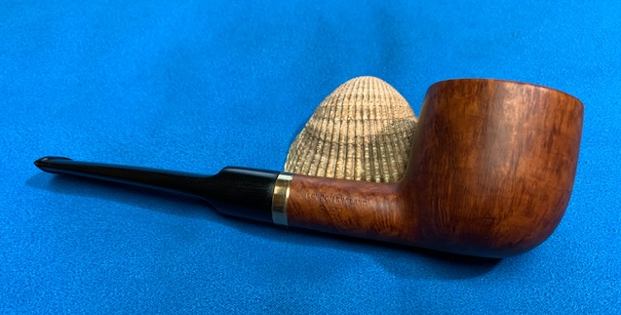
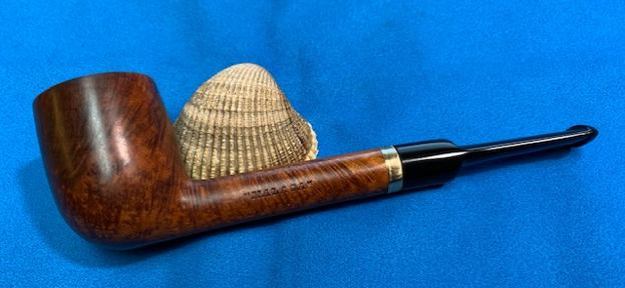
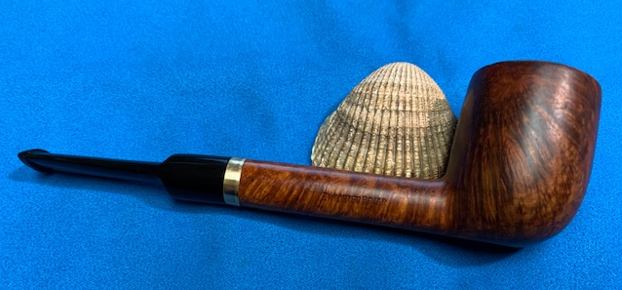
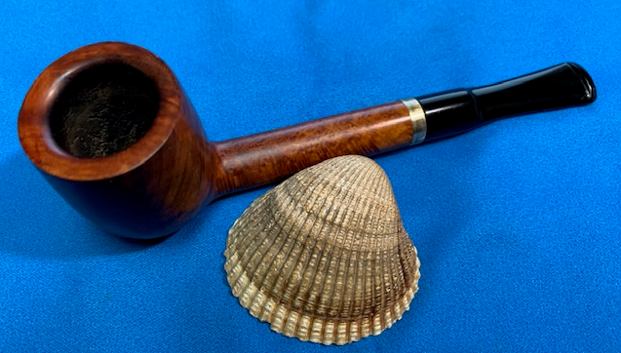
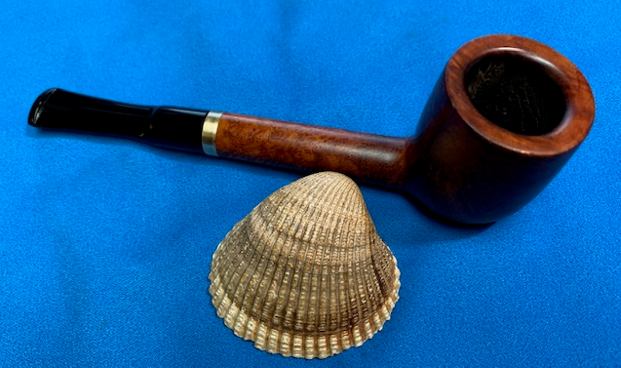
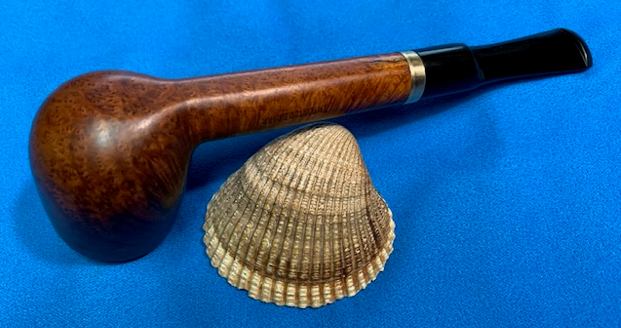
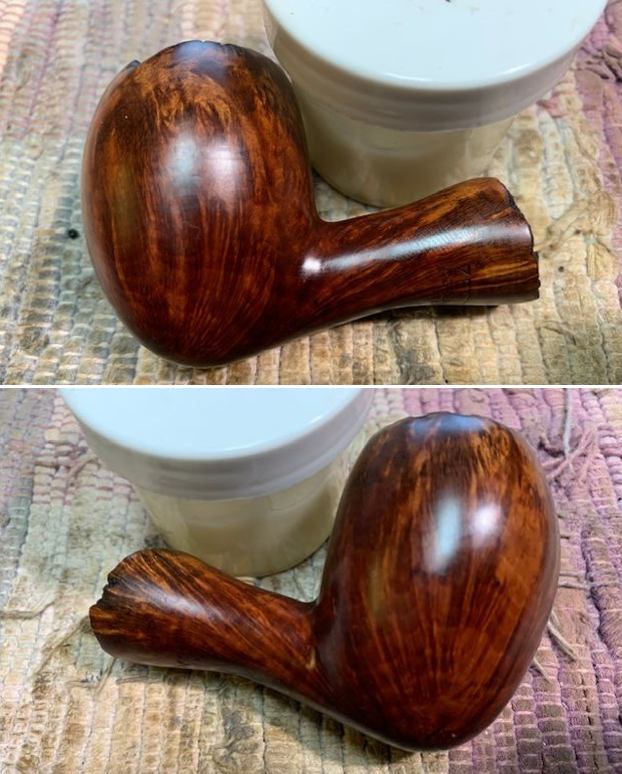
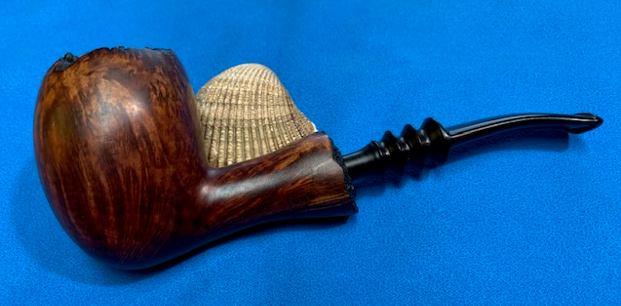
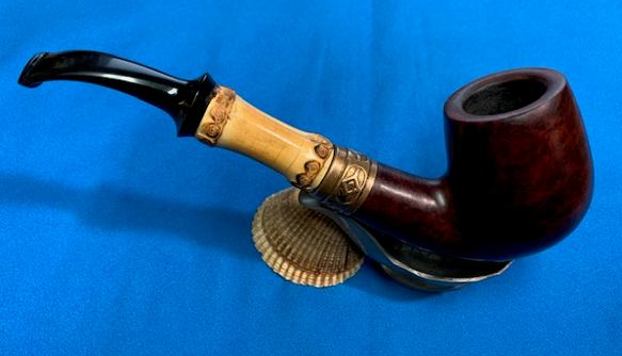
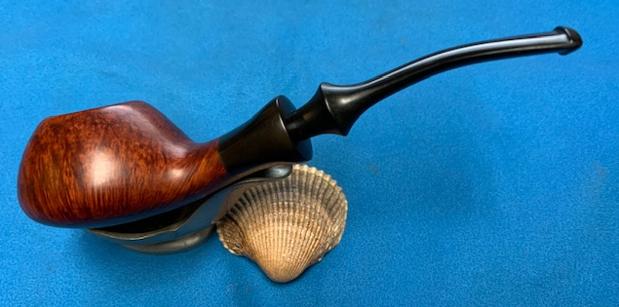
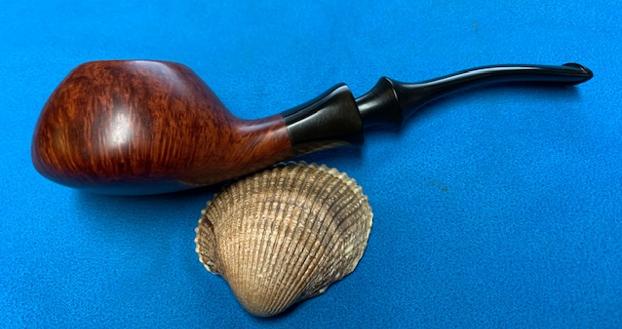
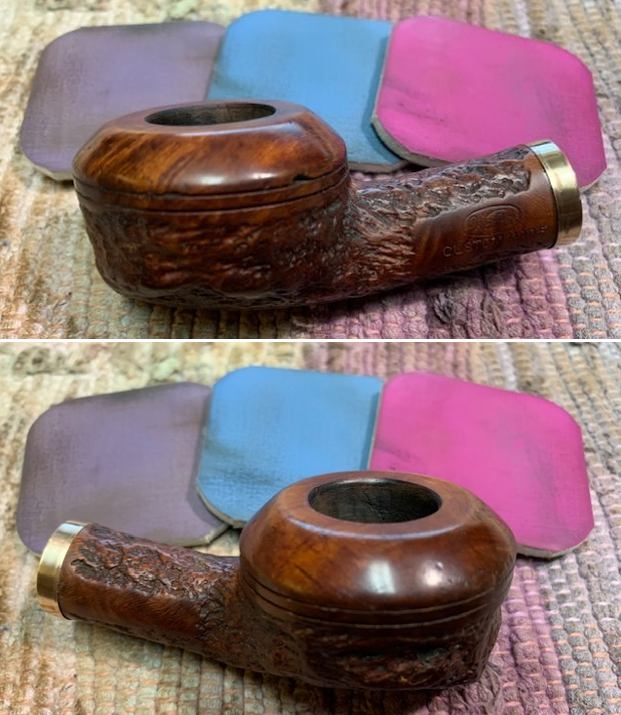
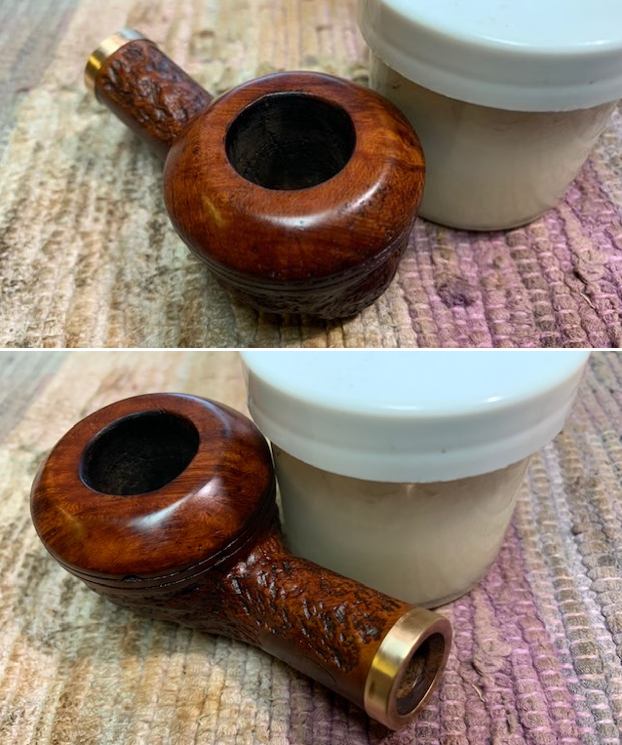
 I put the pipe together – the bowl with its new stem. This restored and restemmed Weber Custom Made Bullmoose (or Scoop) turned out to be a real beauty. I think the brass band and the chosen stem works well with it. The finish on the bowl came alive with the buffing. I used Blue Diamond on the buffing wheel on both the bowl and stem. I gave both multiple coats of carnauba wax on the wheel then buffed it with a clean buffing pad to raise the shine. I hand buffed it with a microfibre cloth to deepen the shine. The Weber Custom Made feels great in the hand. It is lightweight and the contrast in the browns of the briar, the gold of the band and the polished vulcanite stem with the popping grain on the mixed brown stained bowl is quite amazing. The dimensions of the pipe are Length:5 ½ inches, Height: 1 ½ inches, Outer diameter of the bowl: 1 ¾ inches, Chamber diameter: ¾ of an inch. The weight of the pipe is 1.62 ounces/46 grams. It really is a beauty. I will be putting it on the rebornpipes store in the American (US) Pipe Makers section shortly if you are interested in adding it to your collection. Thanks for walking through the restemming and the restoration with me. Cheers.