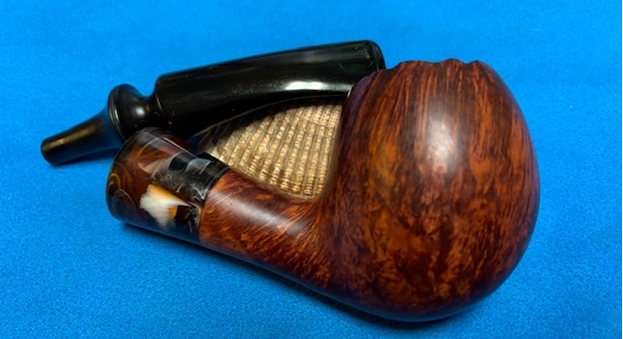
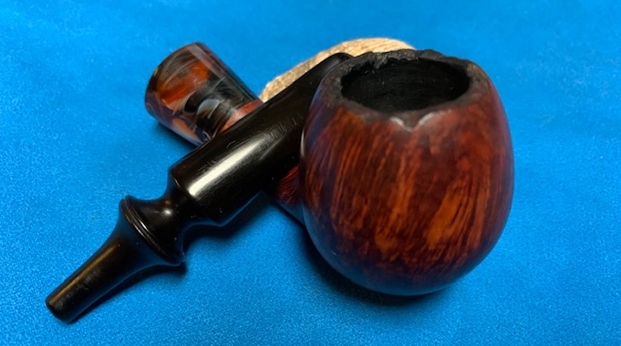
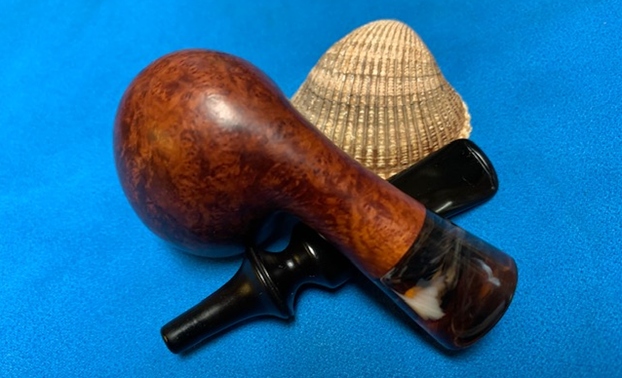
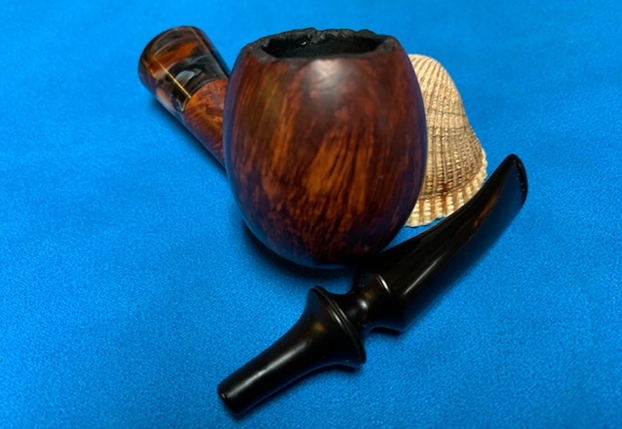
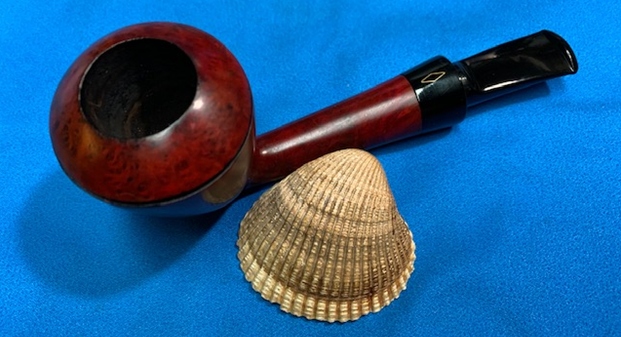
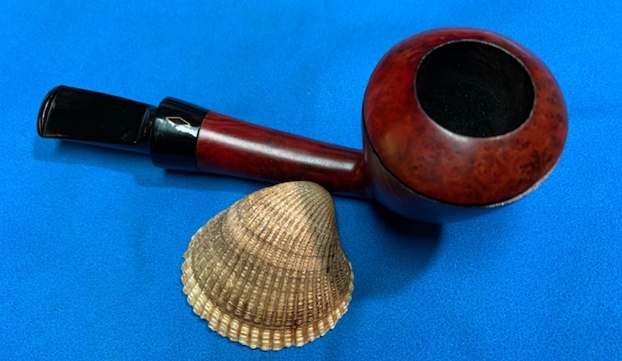
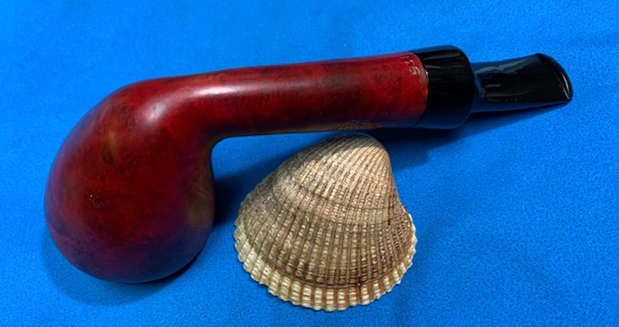
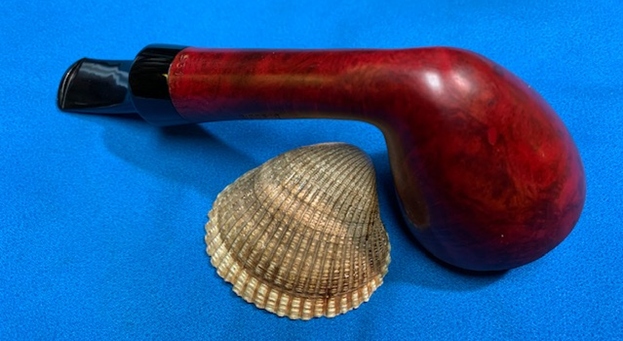
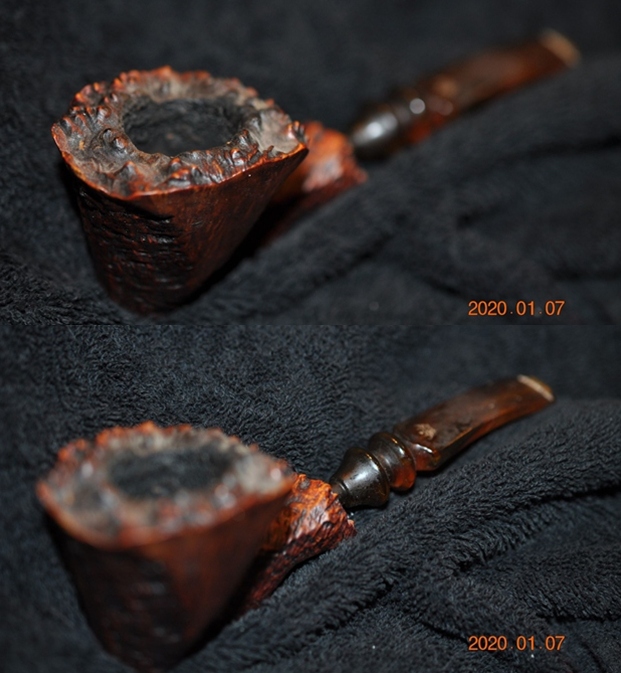
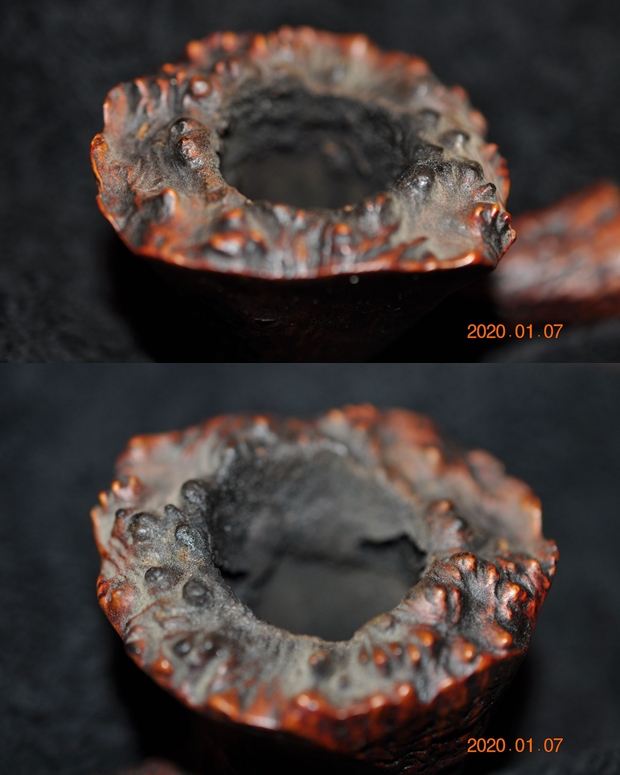
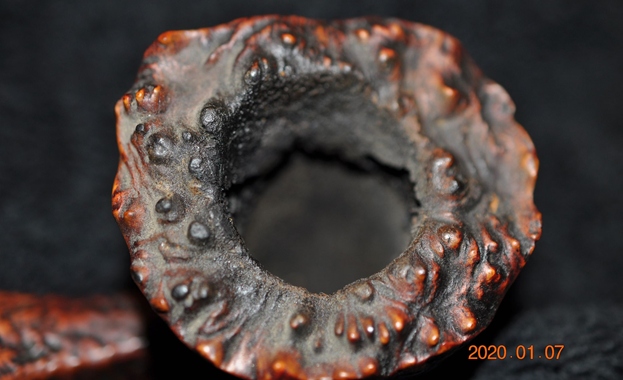
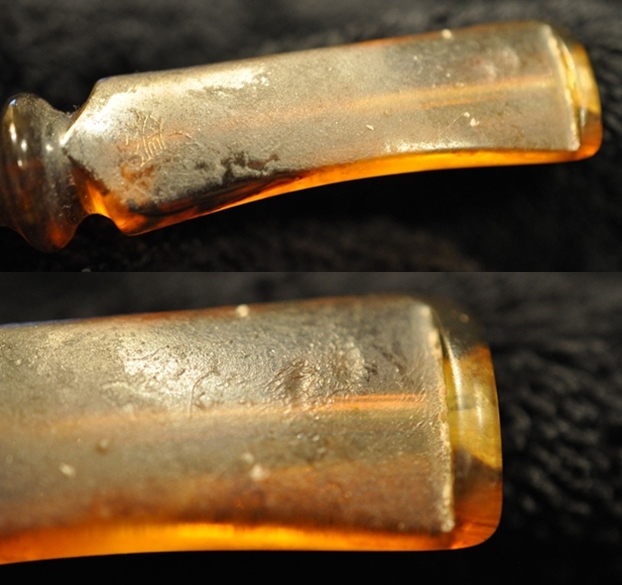
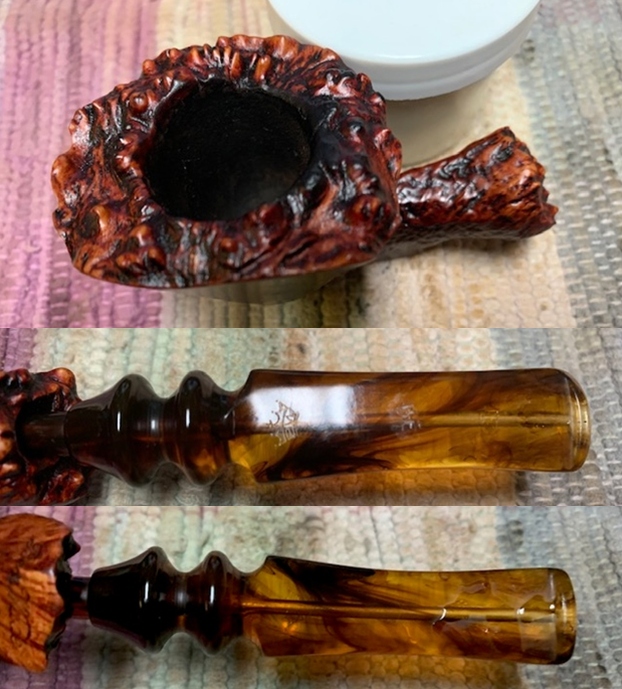
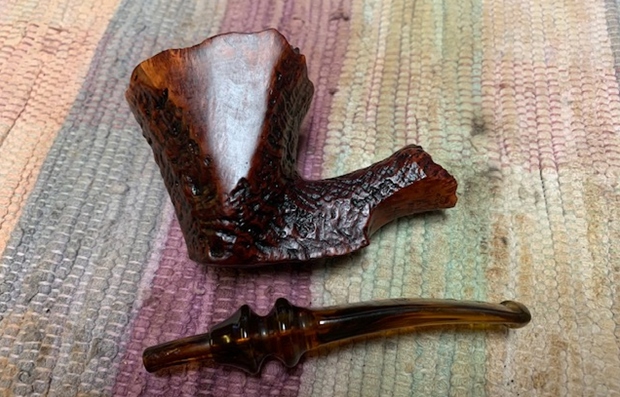
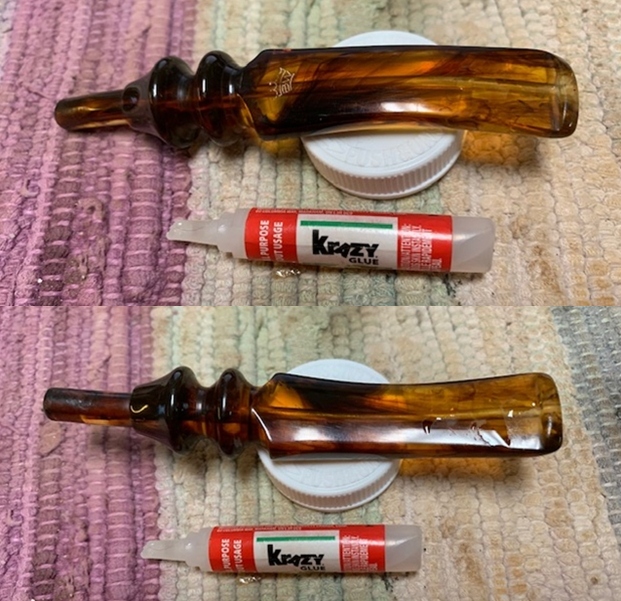
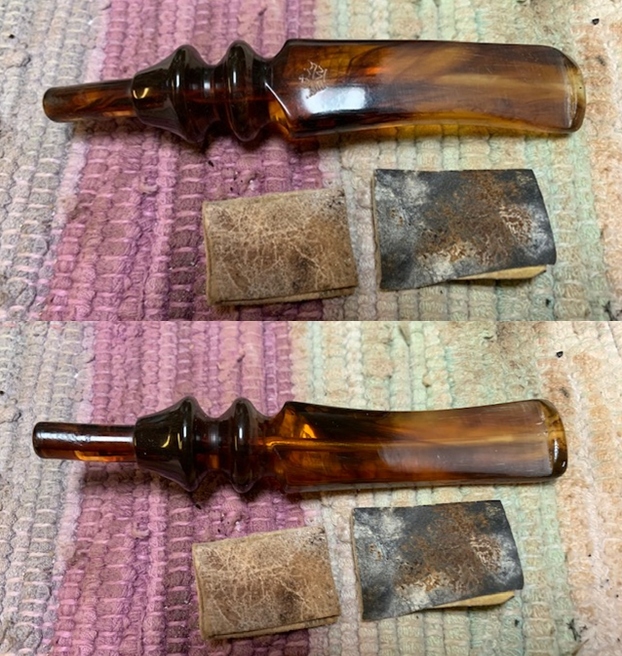
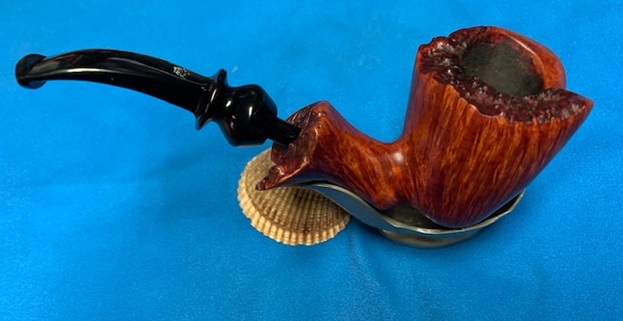
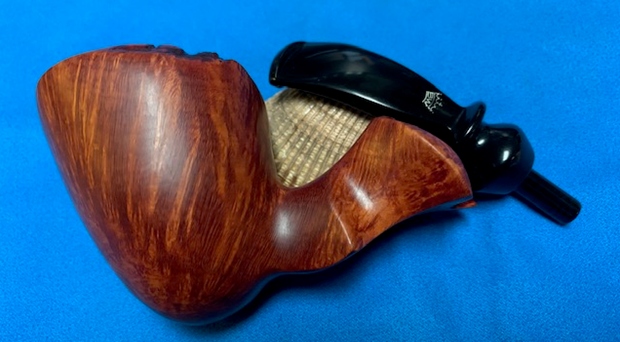
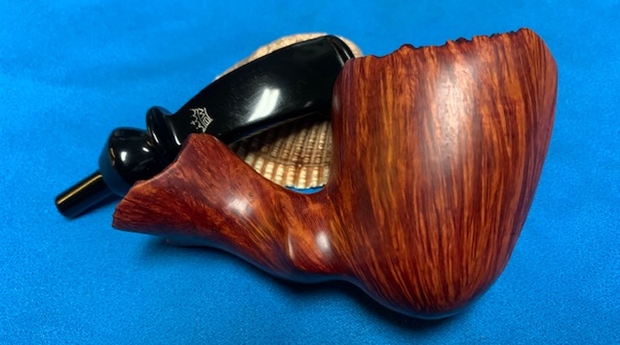
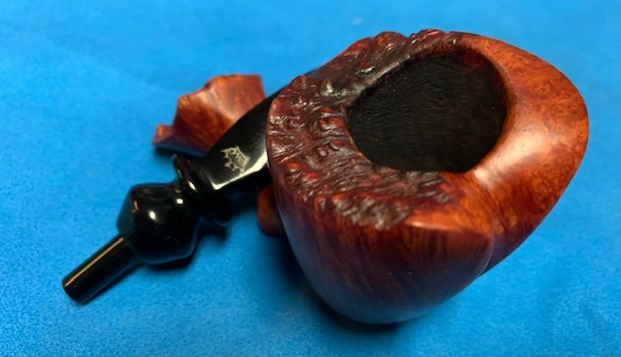
Tag Archives: bite marks

Restoring and Restemming an Asselta Freehand Egg


Blog by Steve Laug

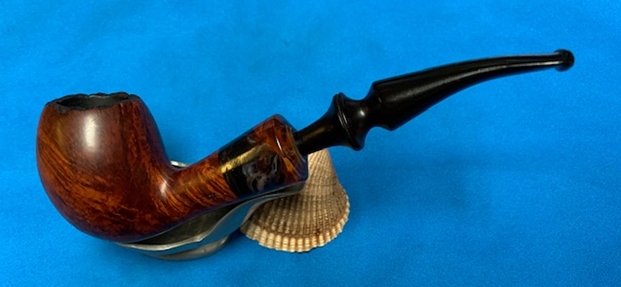
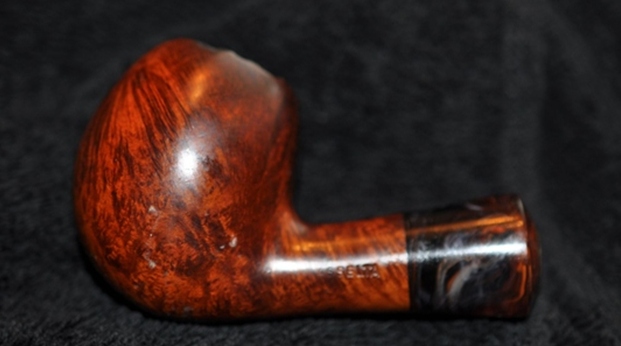
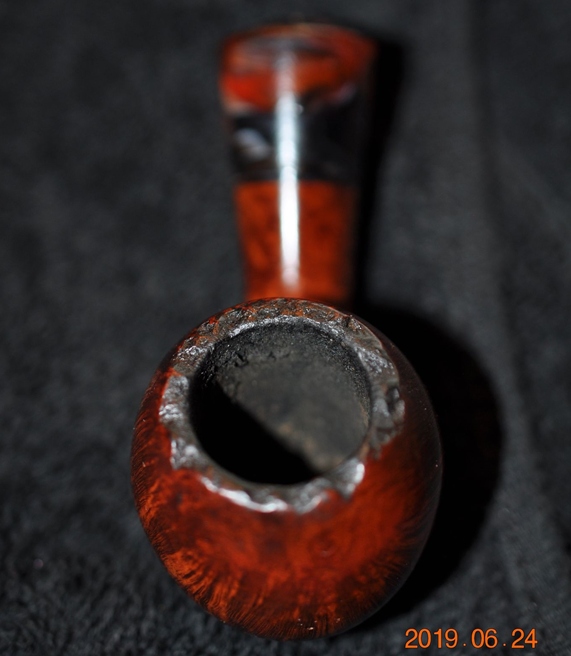
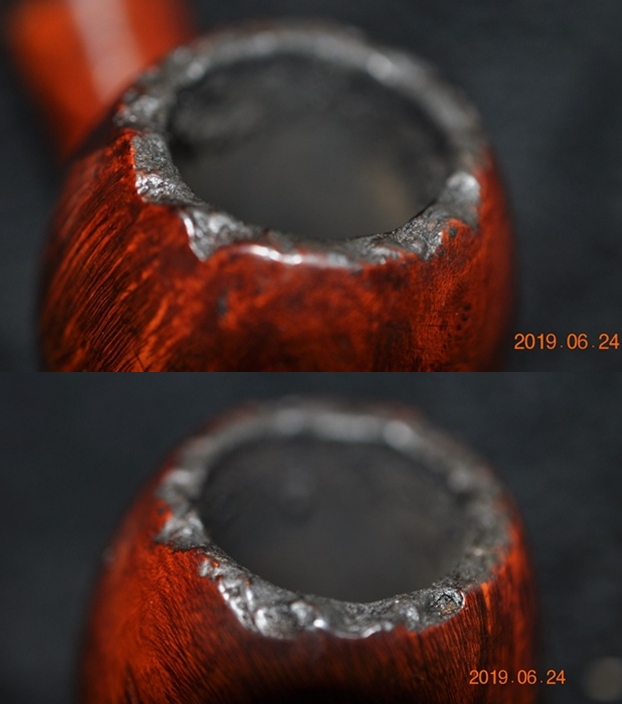
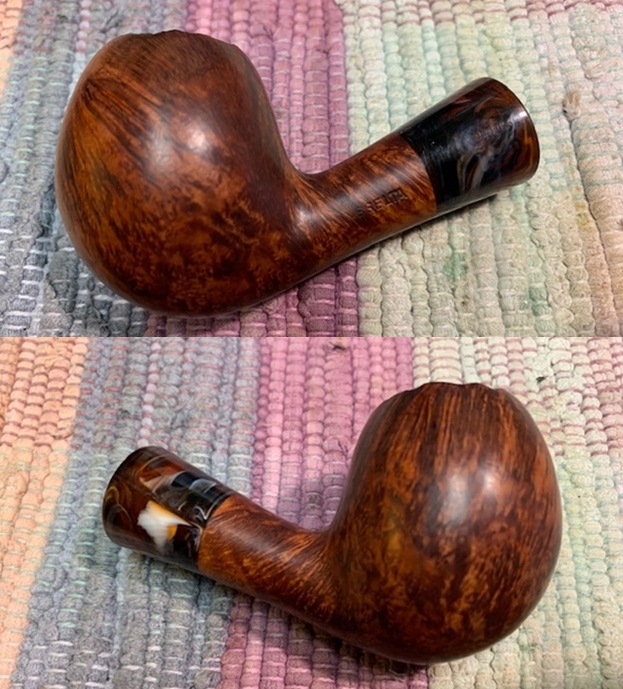
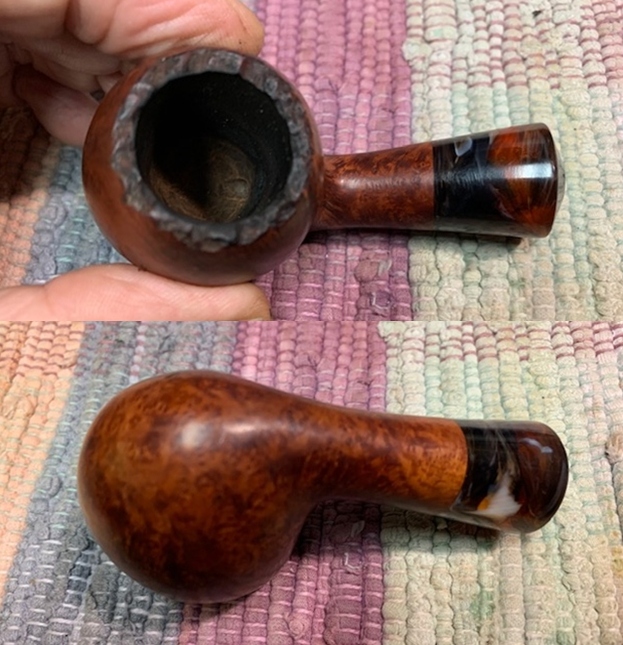
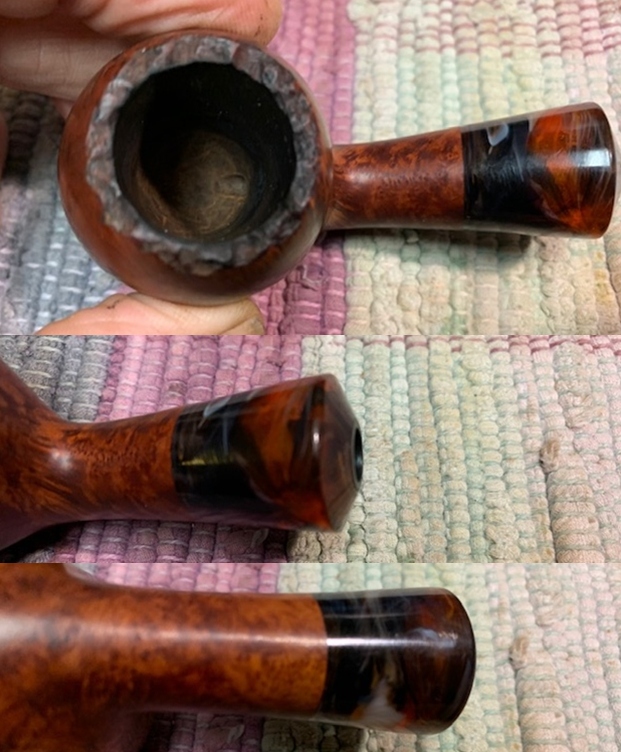
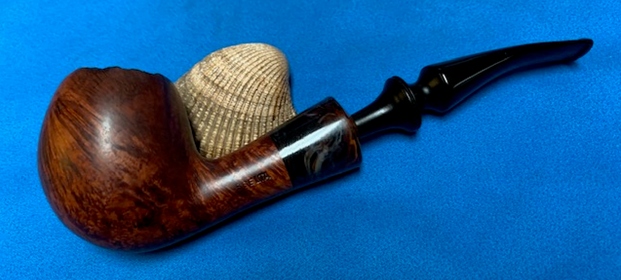
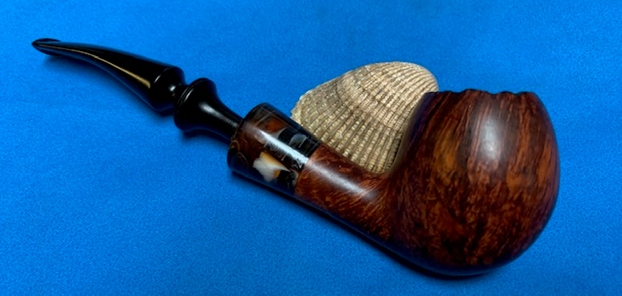
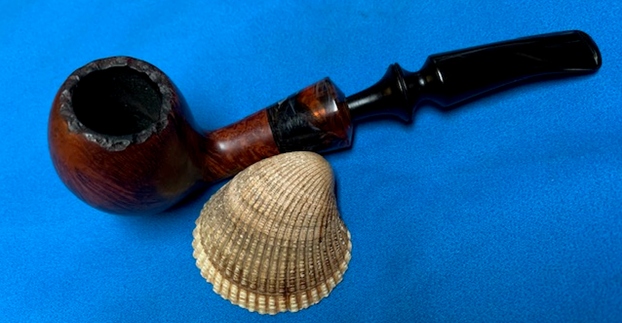
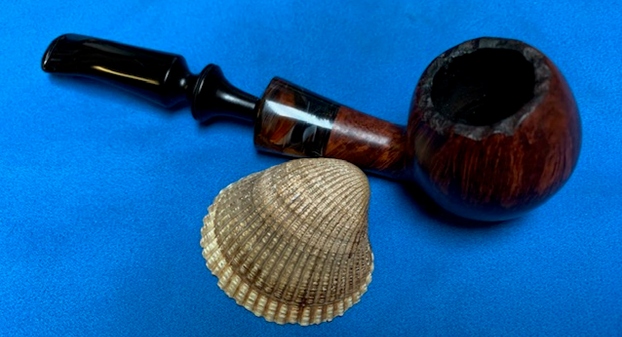
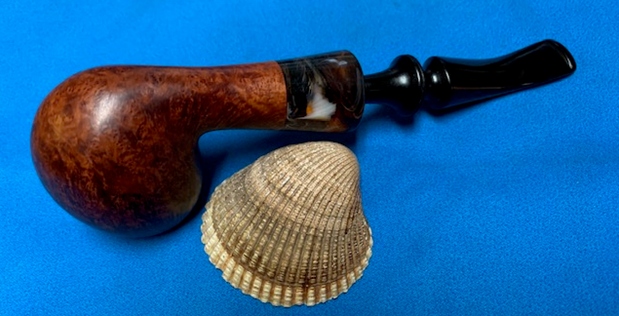
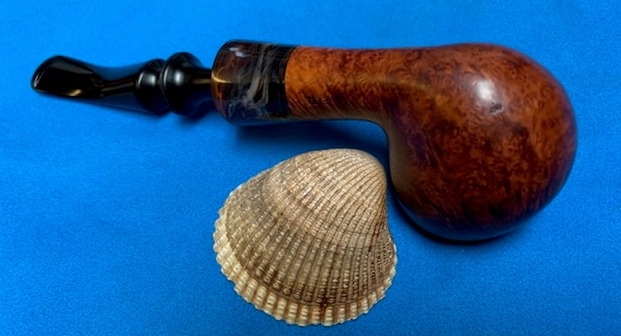
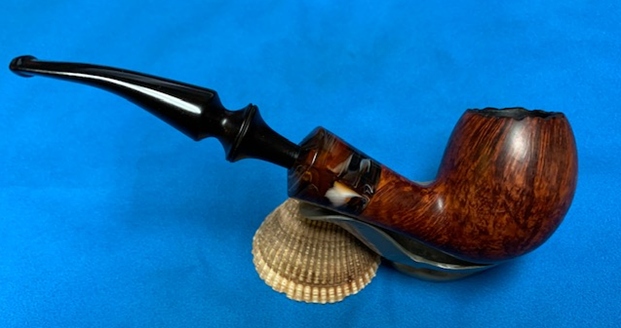
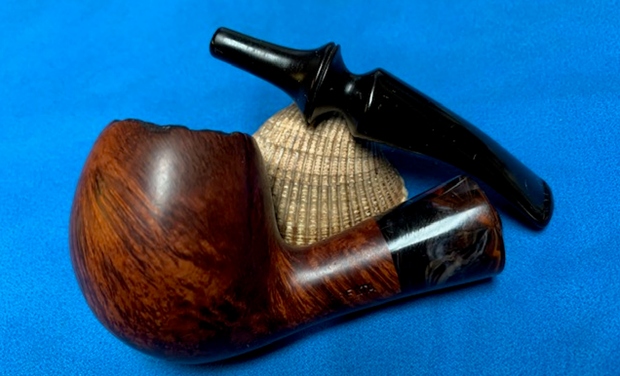
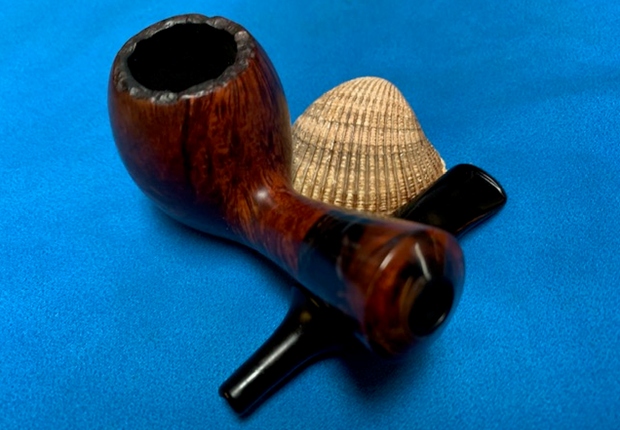
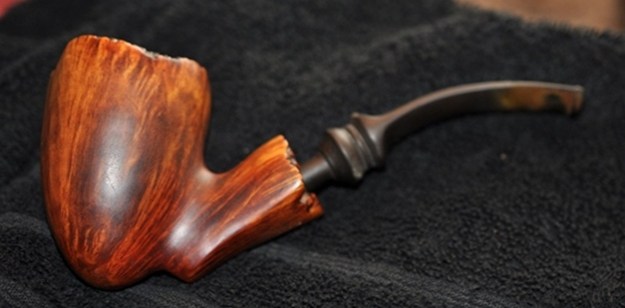
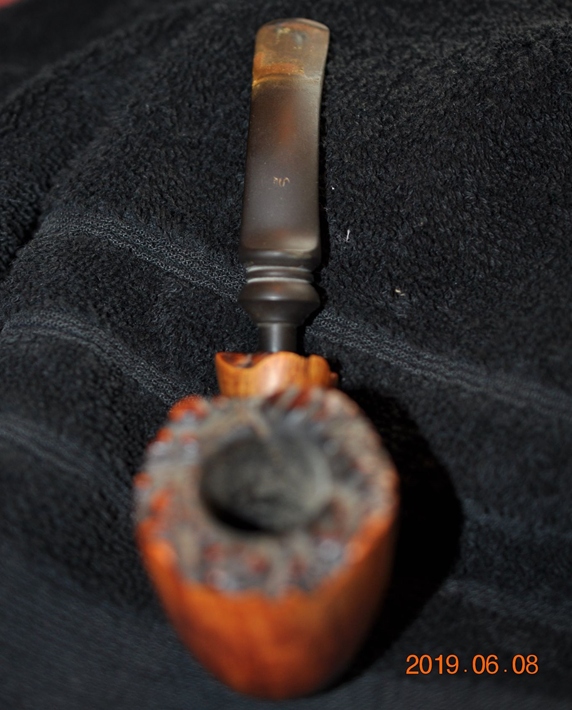
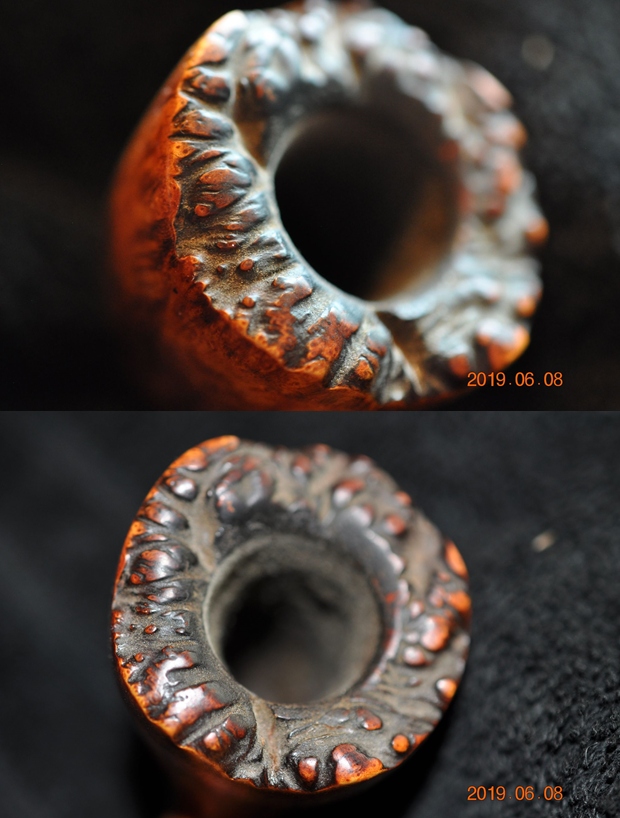
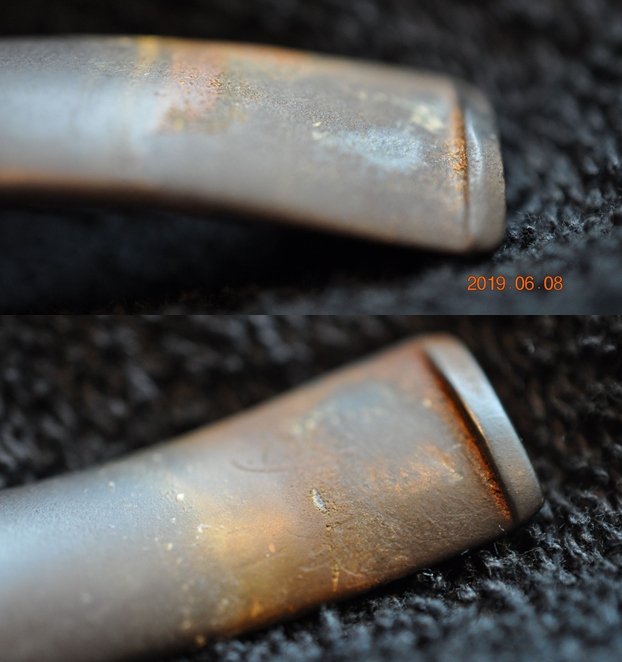
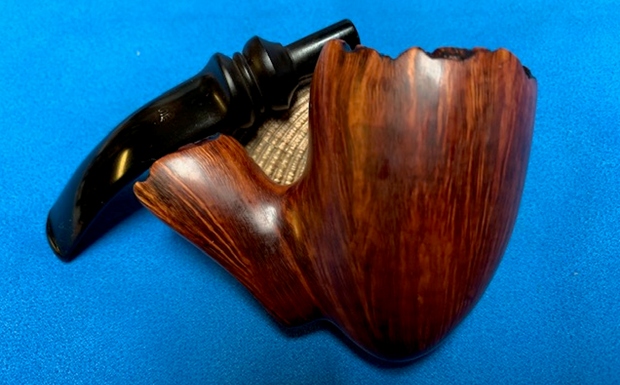
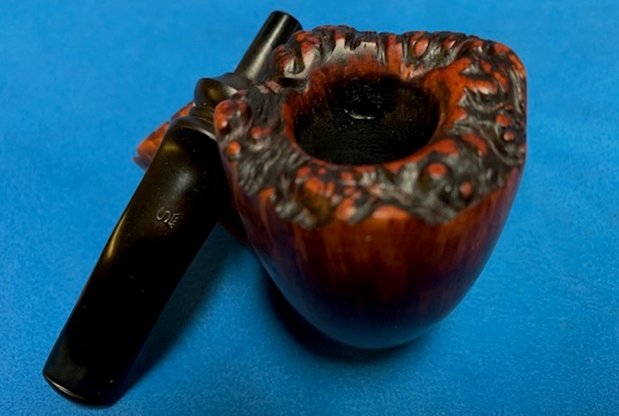
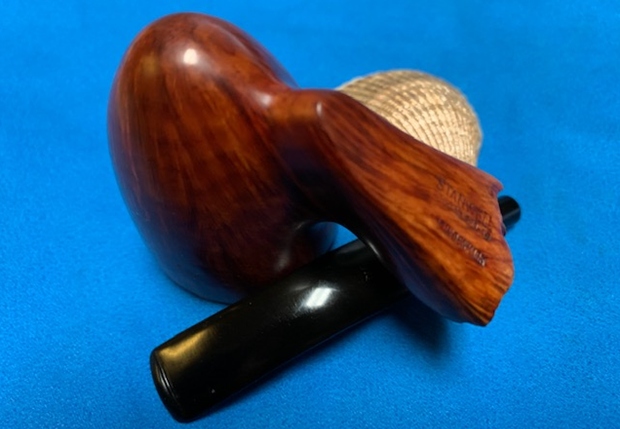
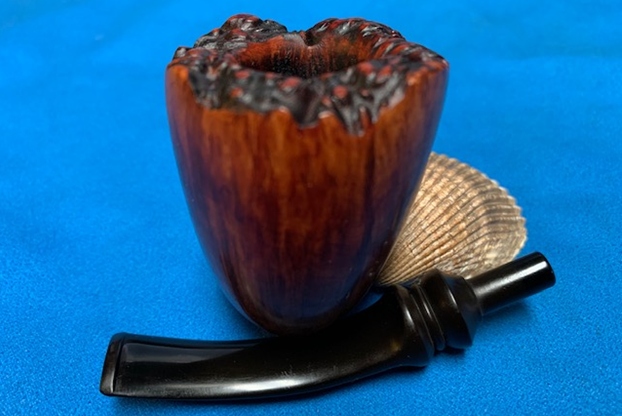
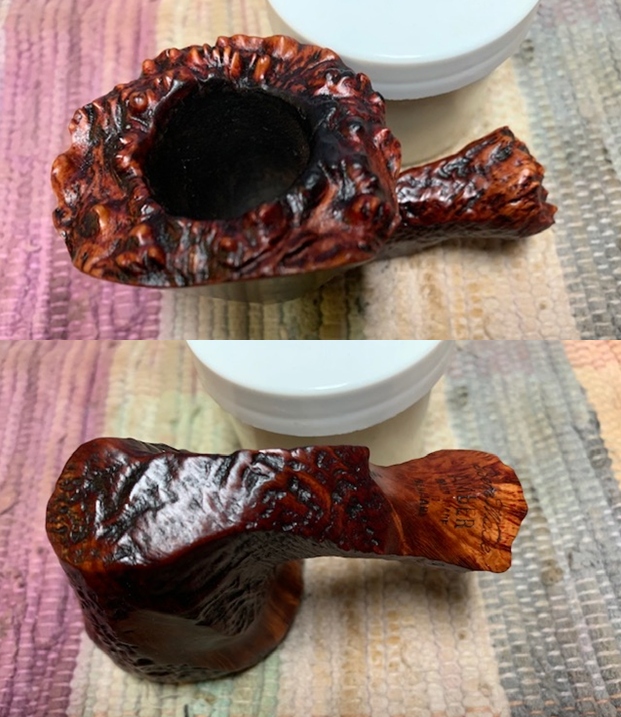
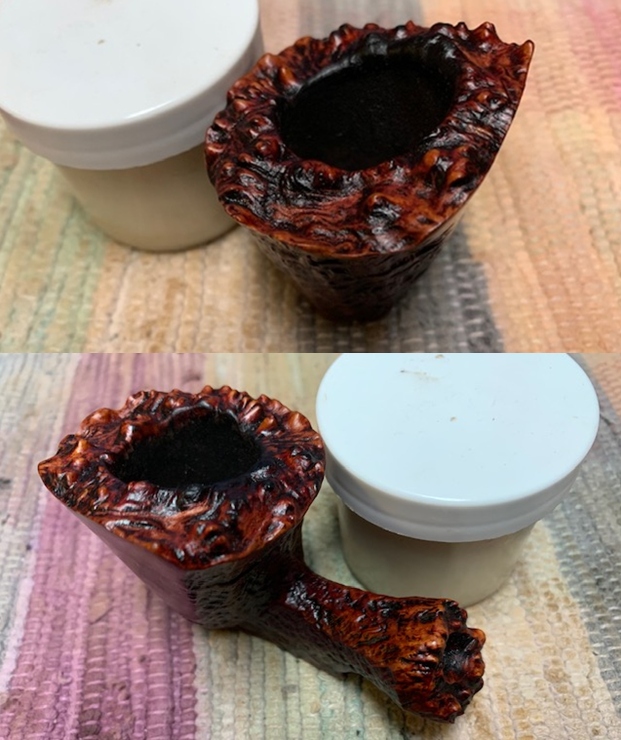
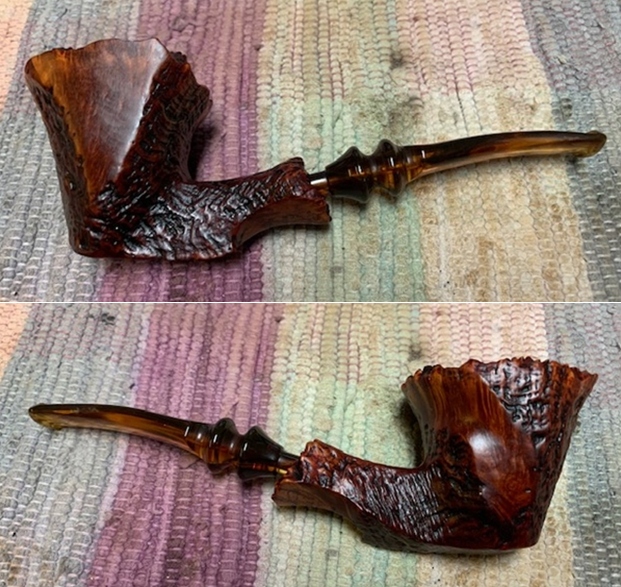
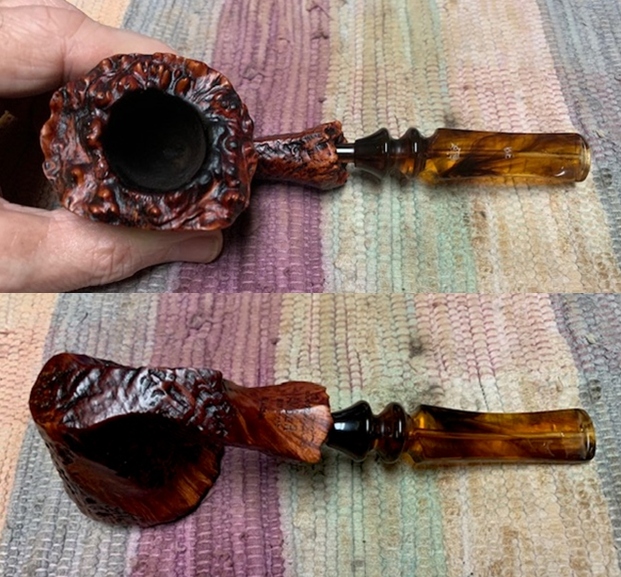
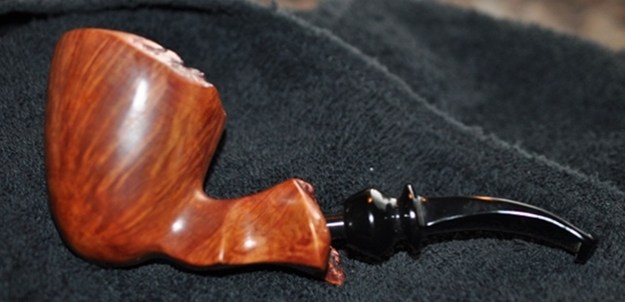
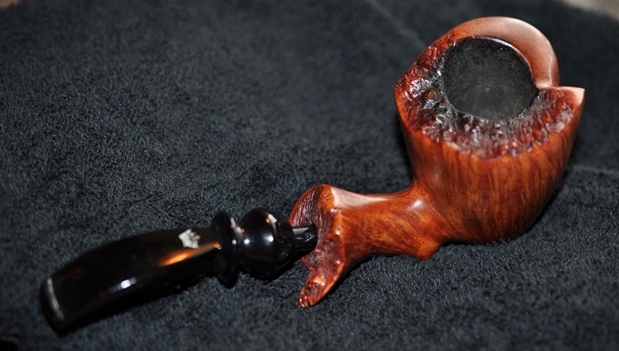
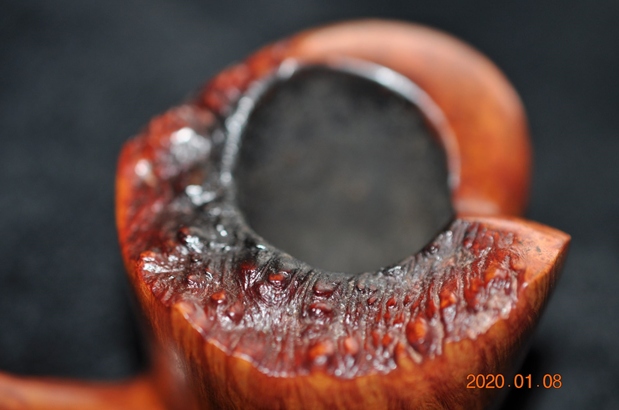
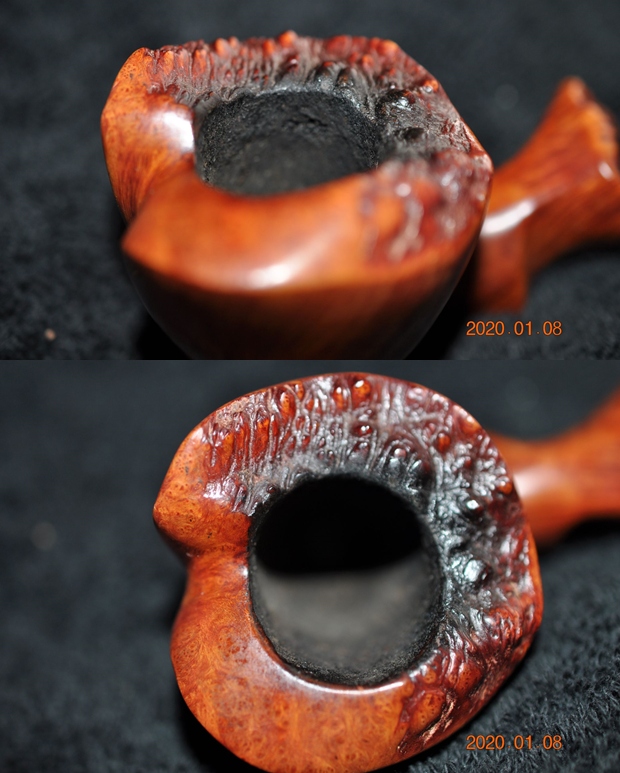
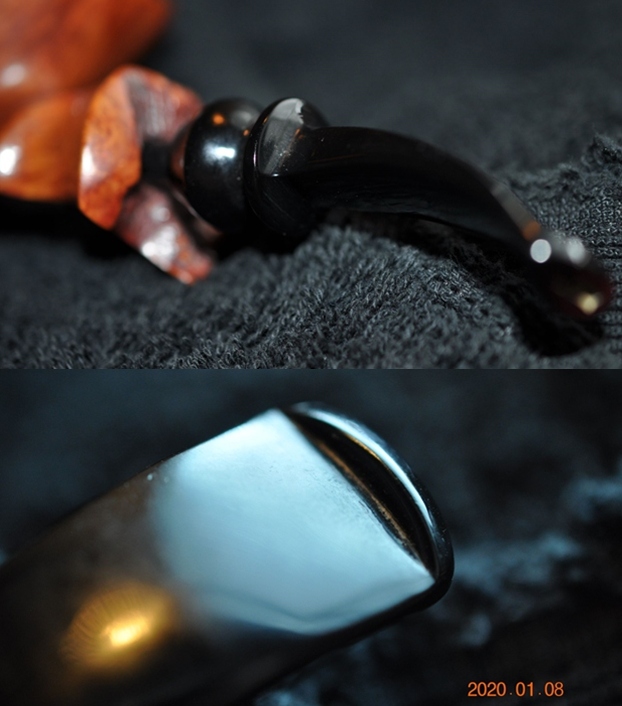
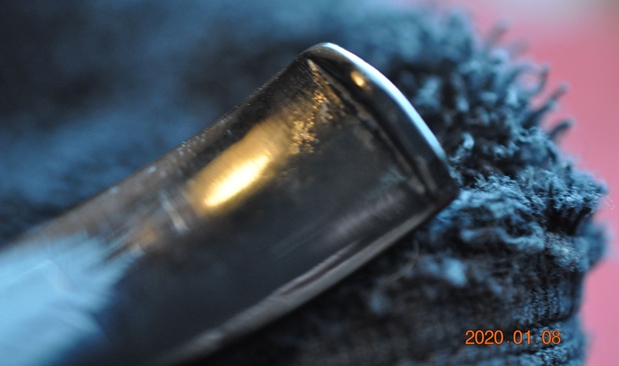
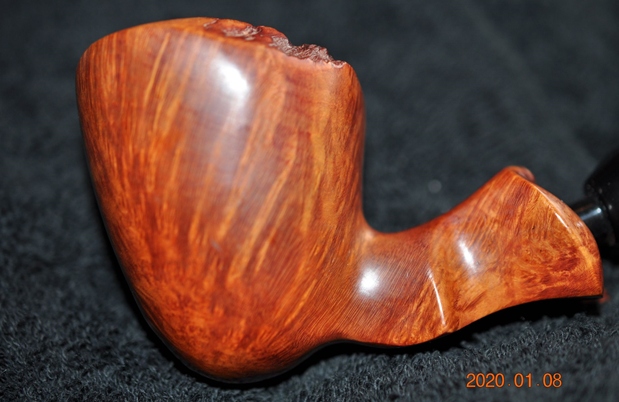
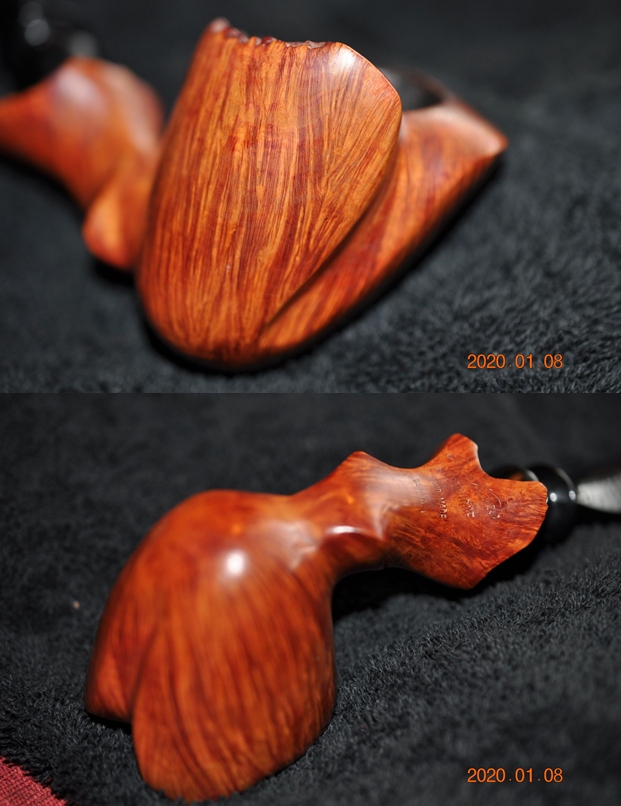
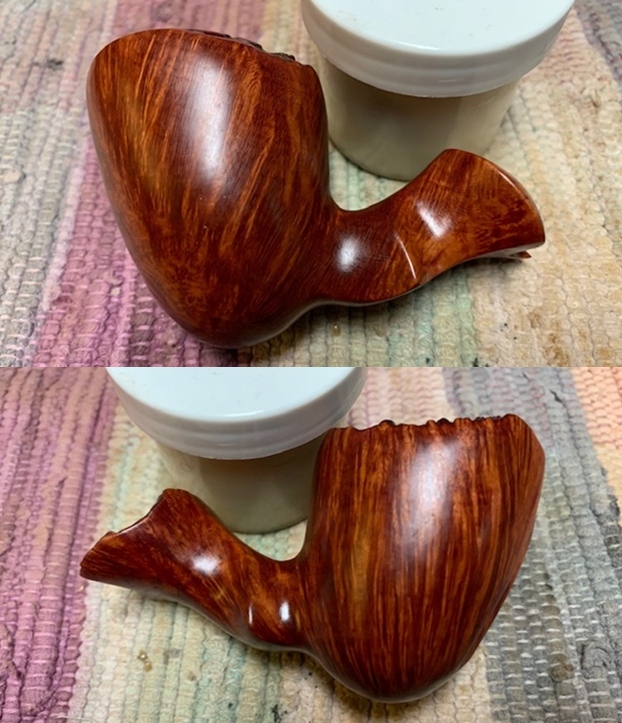
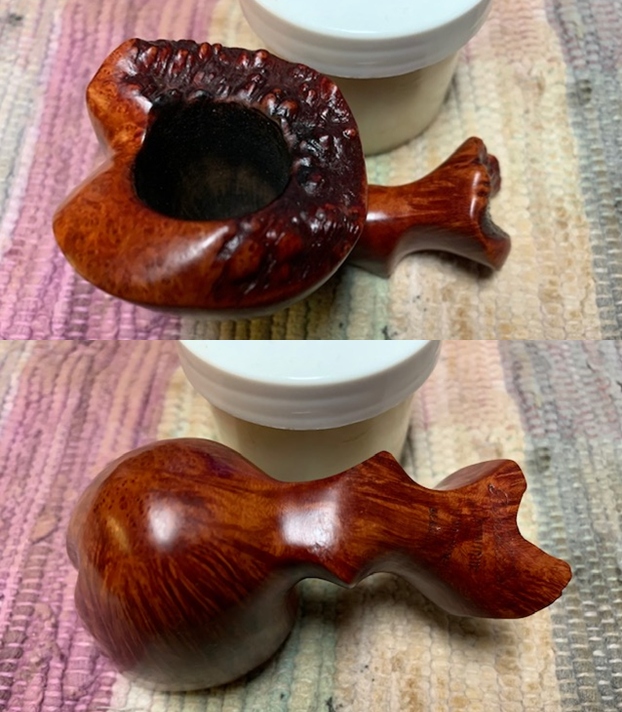
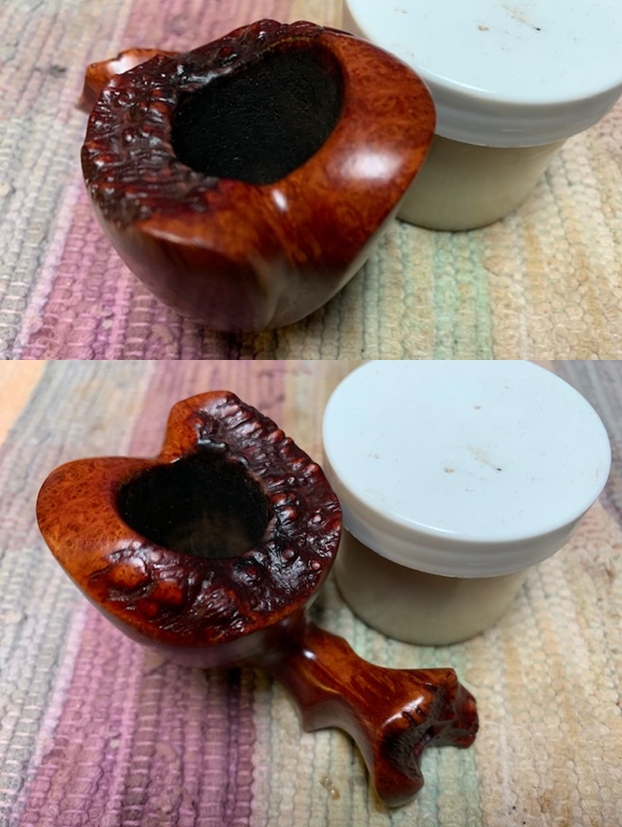
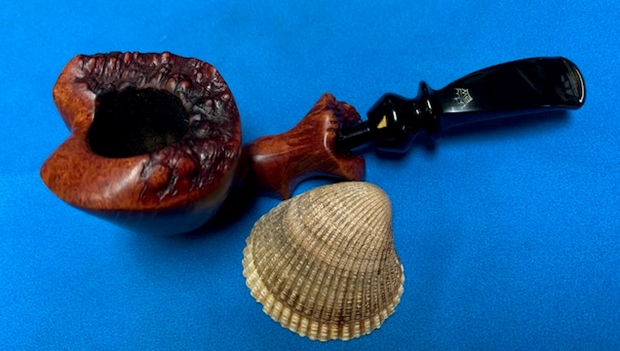
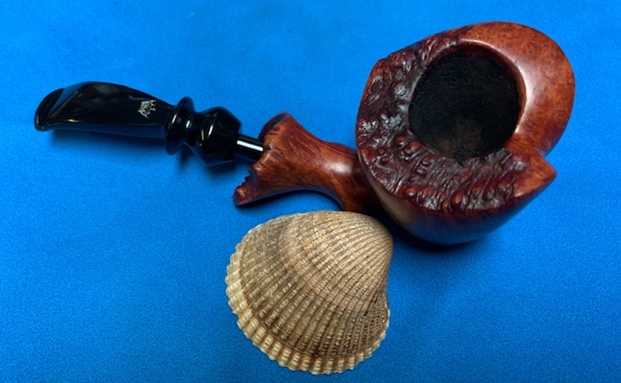
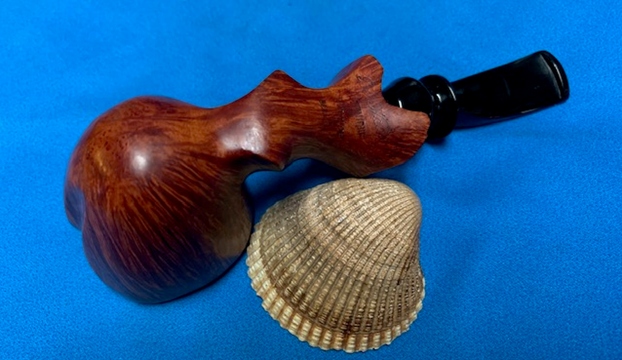
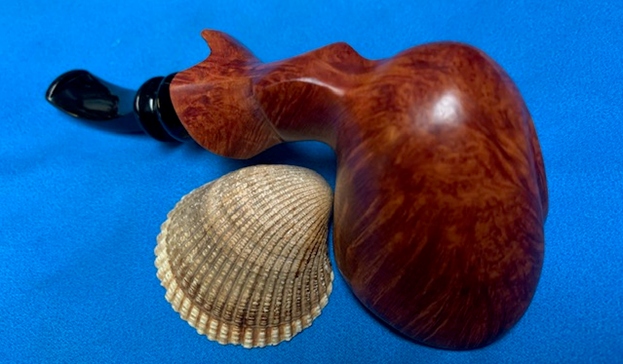
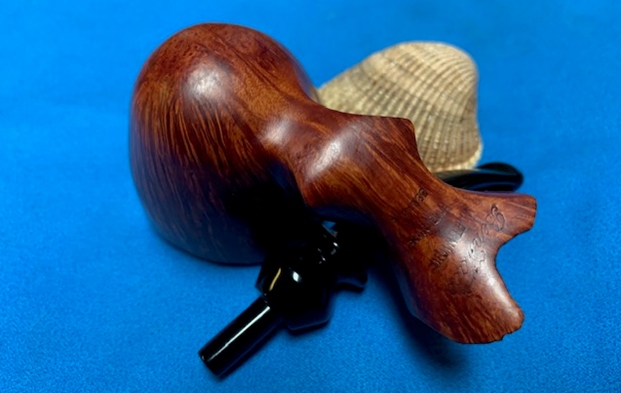
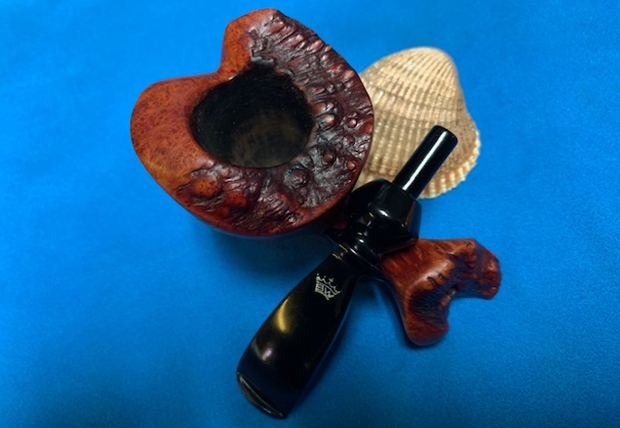
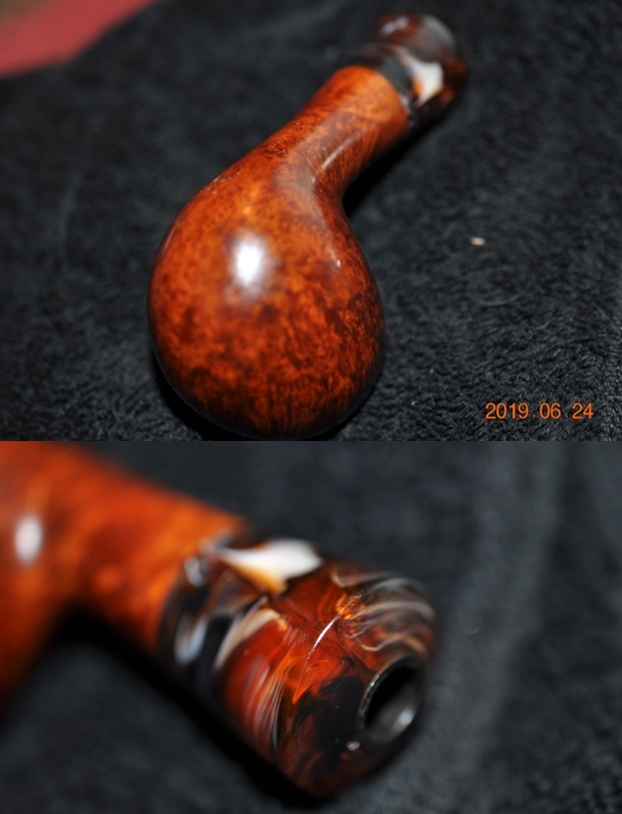
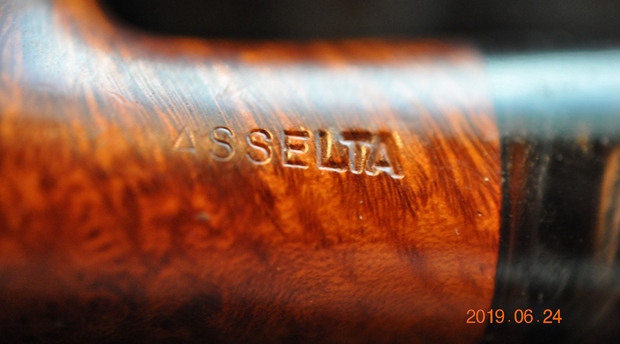
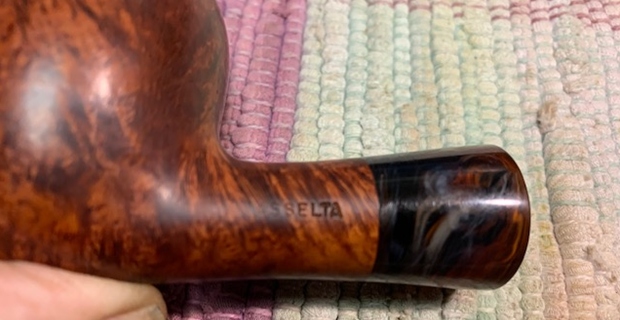
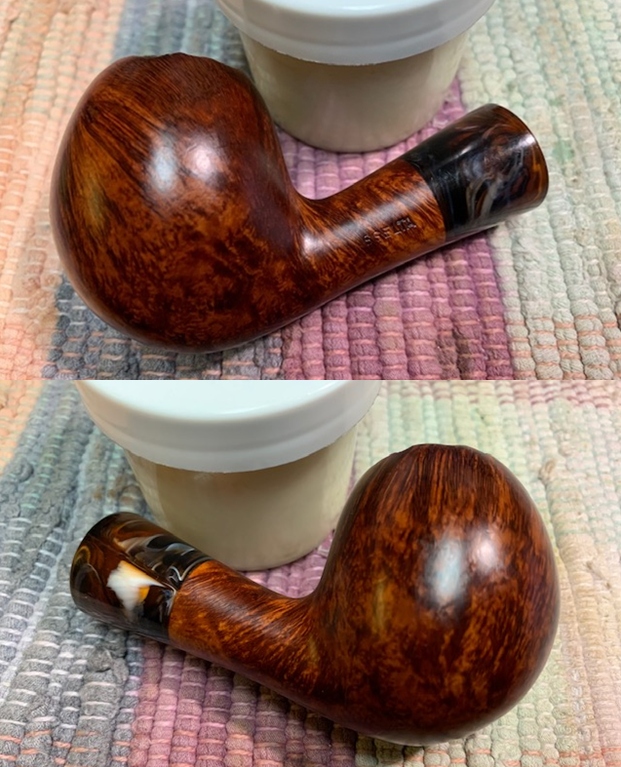
The next pipe came to us from an auction in Huntington Station, New York, USA and has been sitting here since mid-2019. I am finally getting to it. Even though the plateau rim top was dirty it had some charm showing through the grit and grime of the years. The grain around the bowl and shank were quite stunning under the grime. The acrylic shank extension was an incredible mixture of brown, orange and blue swirls. On the left side of the shank it was stamped Asselta. The pipe came to us without a stem so I would need to pick through what I have here and find a good option. The pipe is a smooth egg shape bowl with a plateau rim. The finish is filthy with dust and grit ground into the briar of the bowl and shank sides. The bowl had a thick cake and an overflow of lava on the top and inner edge of the rim obscuring the plateau. Jeff took some photos of the pipe to show its overall condition before he started his cleanup work. He took photos of the rim top and bowl to give a clear picture of the thickness of the cake and the lava and dust ground into the plateau rim top.   Jeff took photos of the sides and heel of the bowl and shank and the acrylic swirled shank extension to give a picture of what the briar around the pipe looked like.   He took a photo of the stamping on the shank. It reads as noted above and is clear and readable.    I turned to Pipedia and did a search for Asselta pipes. The search came with a link in the American Pipe Brands (https://pipedia.org/wiki/American_Pipe_Brands_%26_Makers_A_-_B). It appears that the pipe was potentially made in Long Island, New York, USA. Seeing how the pipe came to us from New York it had not traveled far in its life before we purchased it. Now it has traveled from New York to Idaho and then to Vancouver, Canada. Where its journey will end only time will tell.

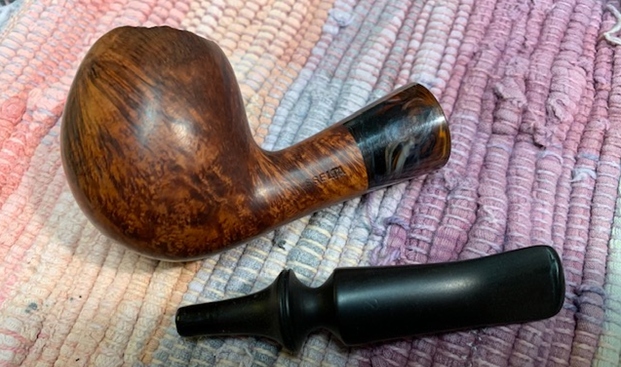
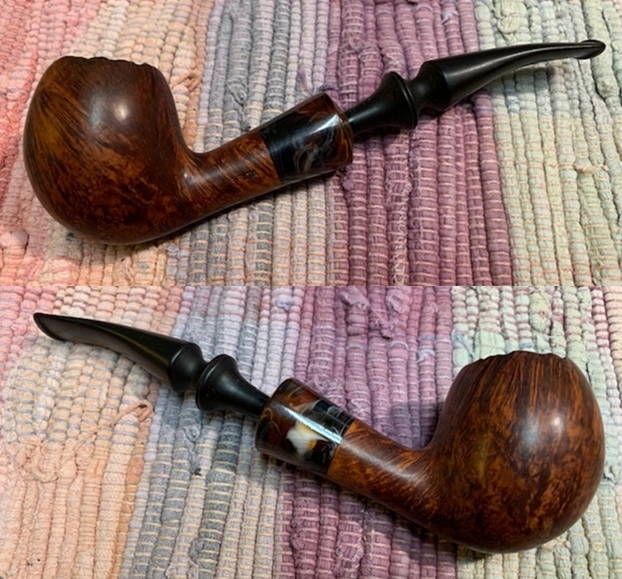
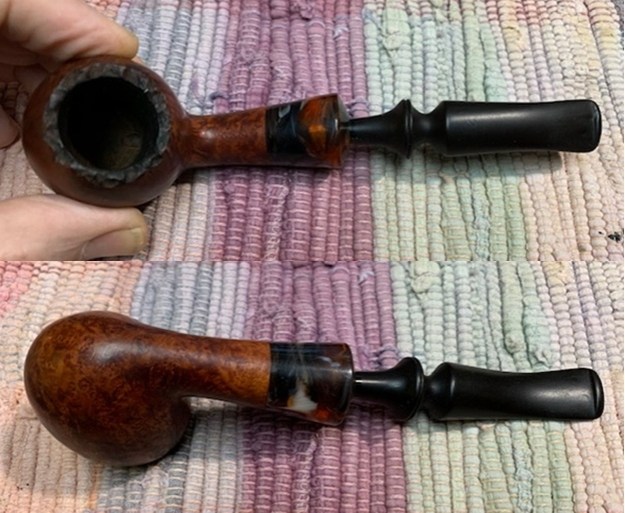
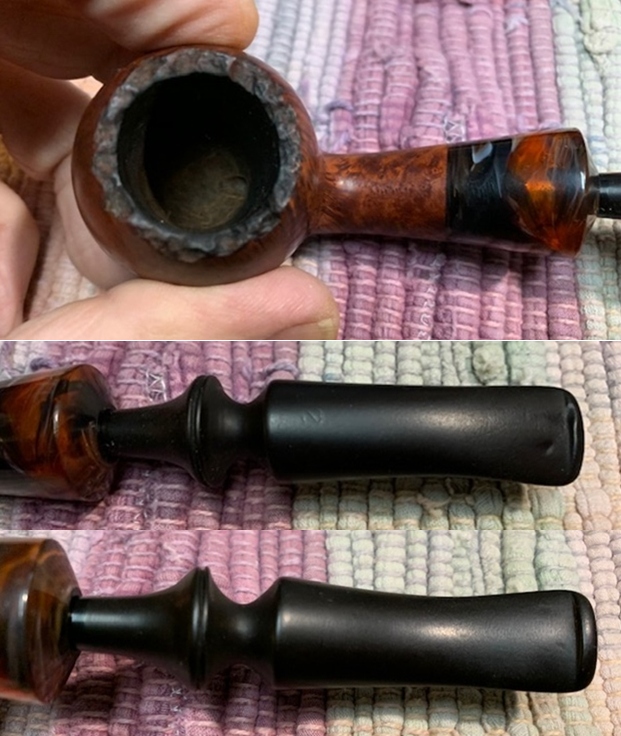
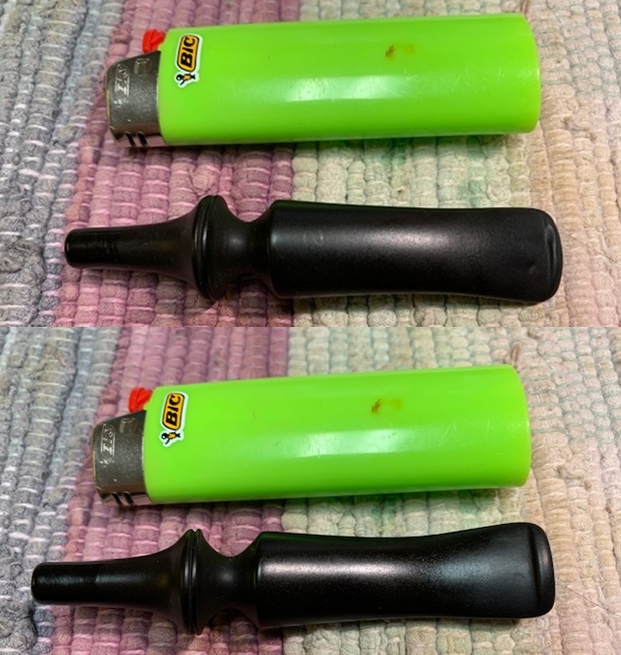
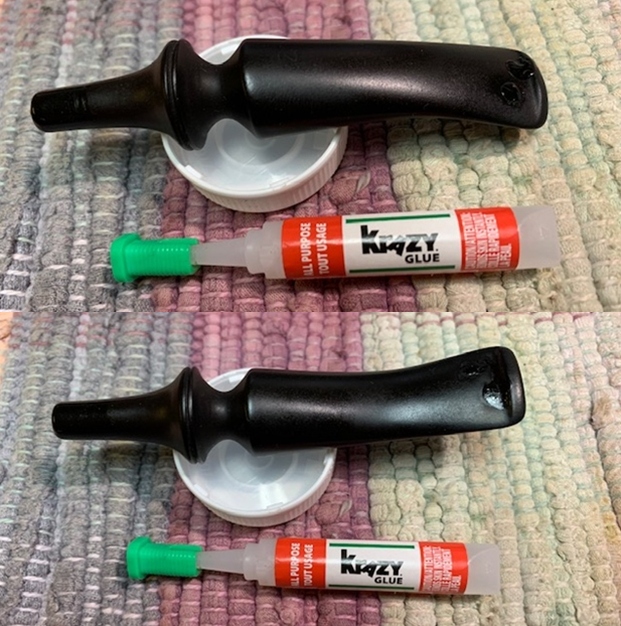
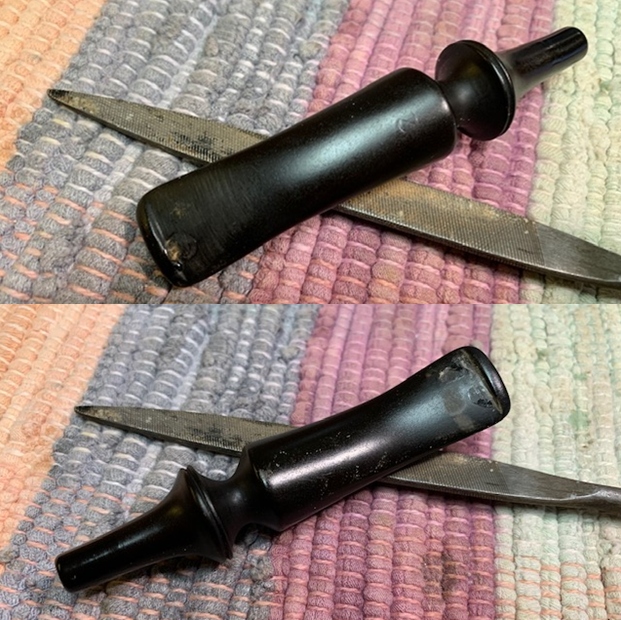
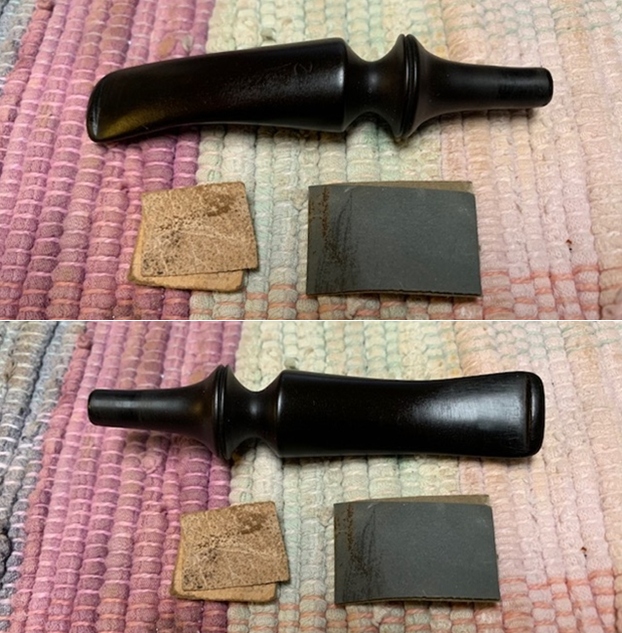
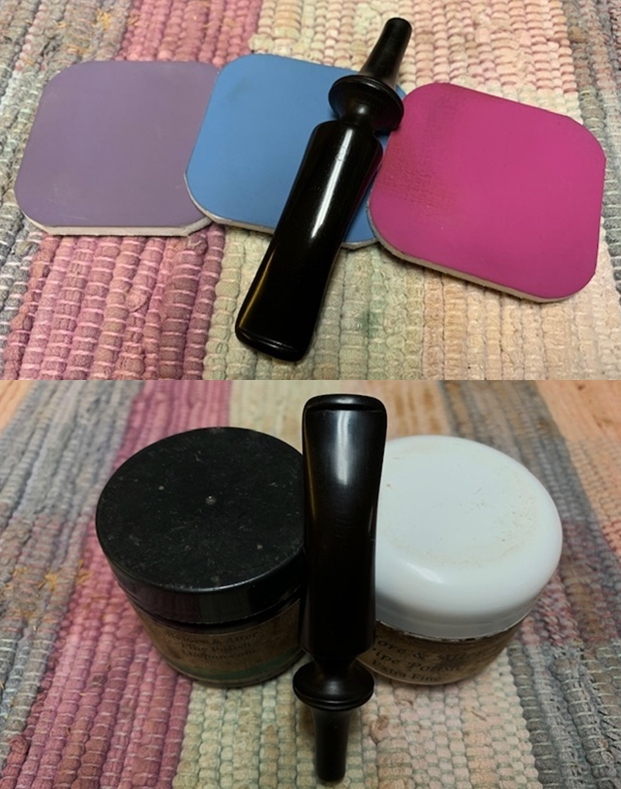
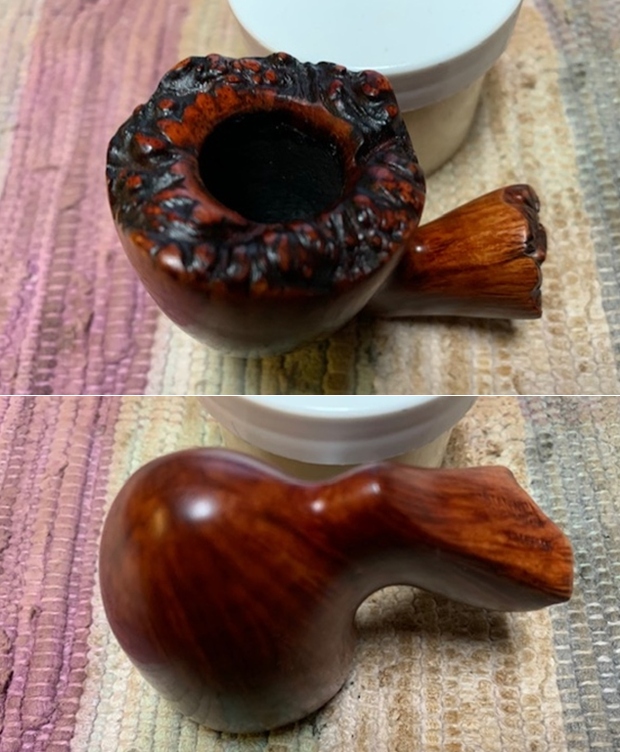
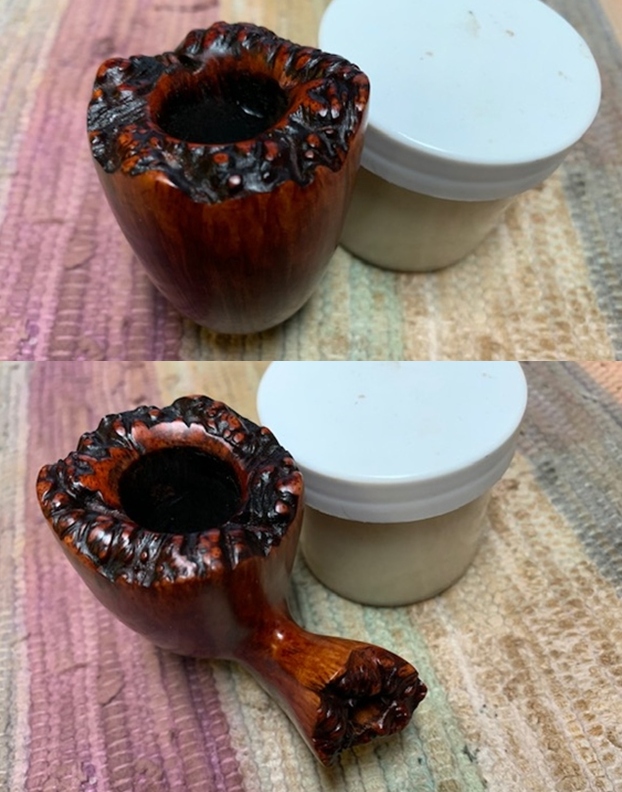
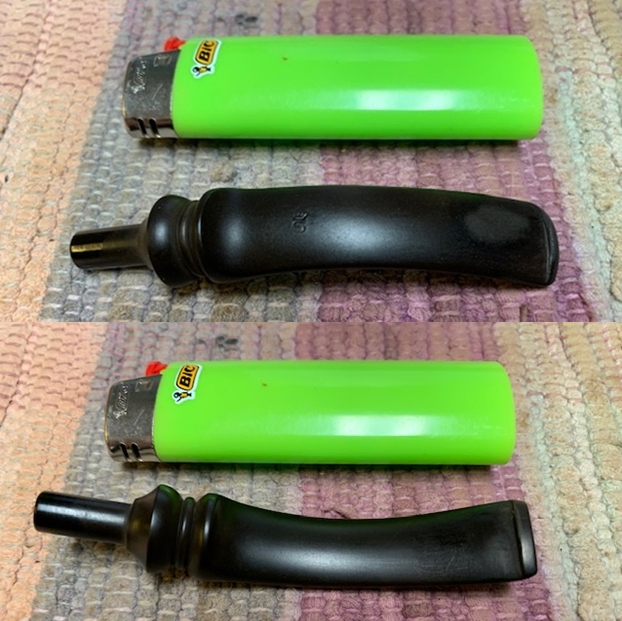
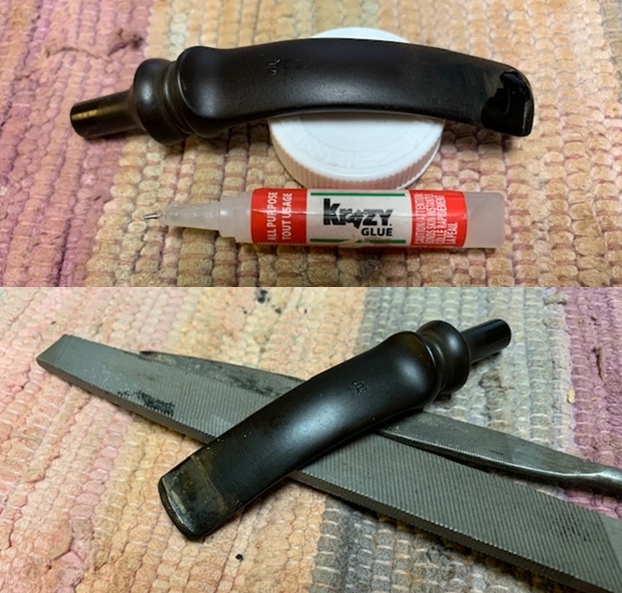
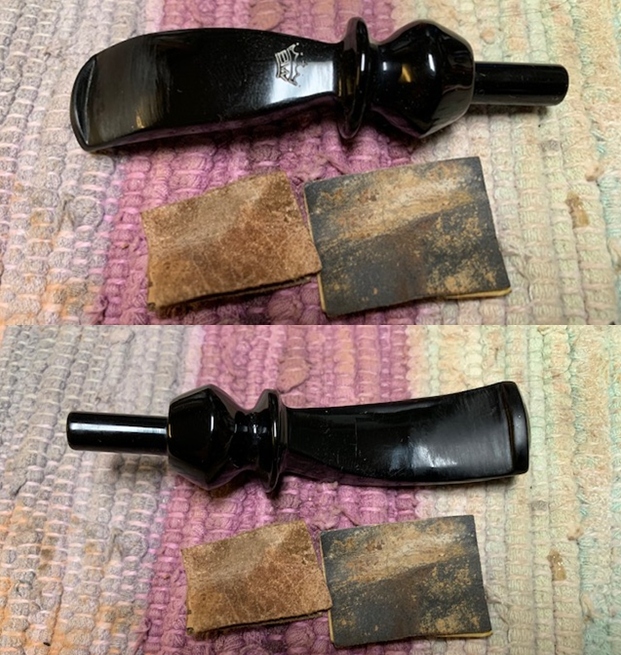
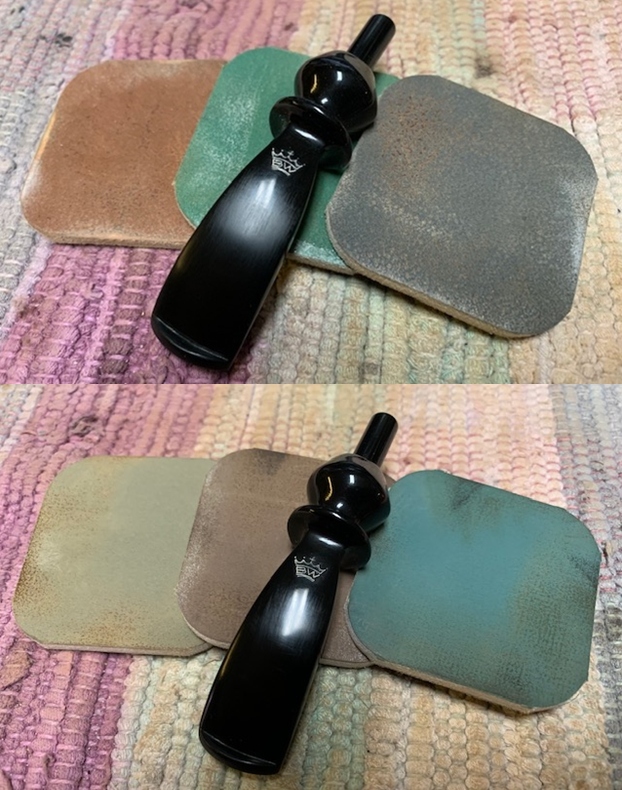
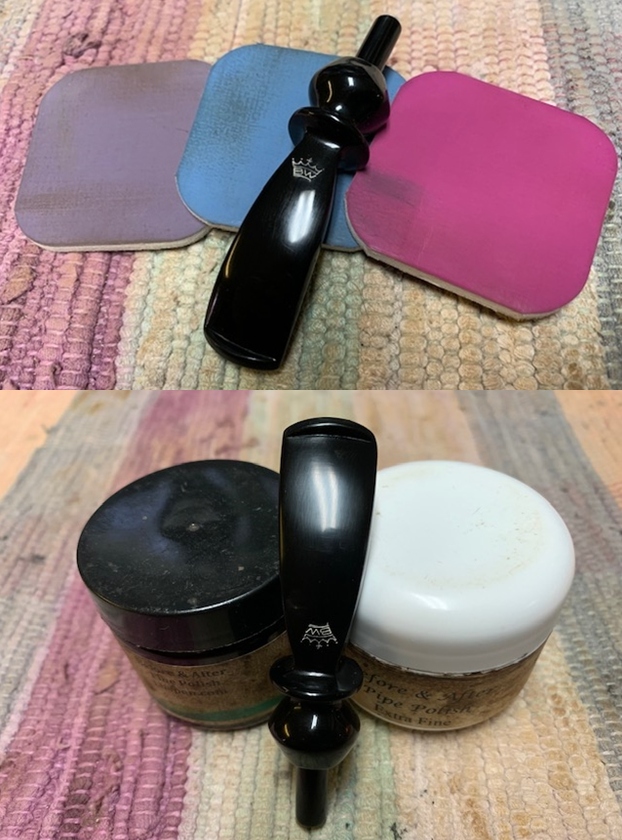
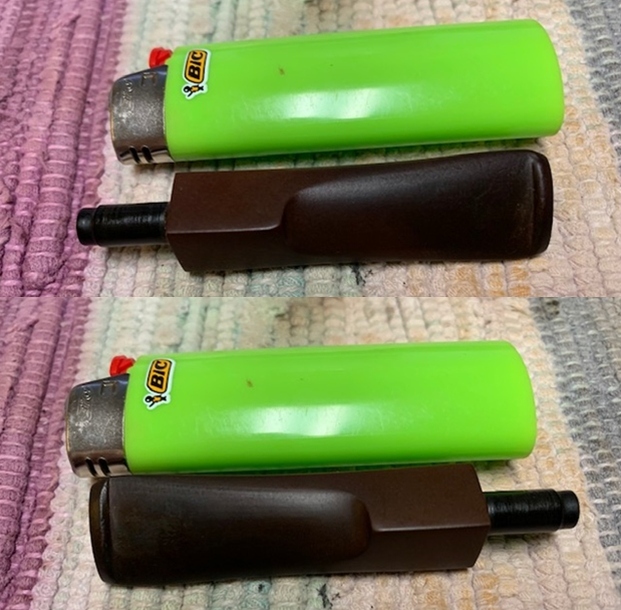
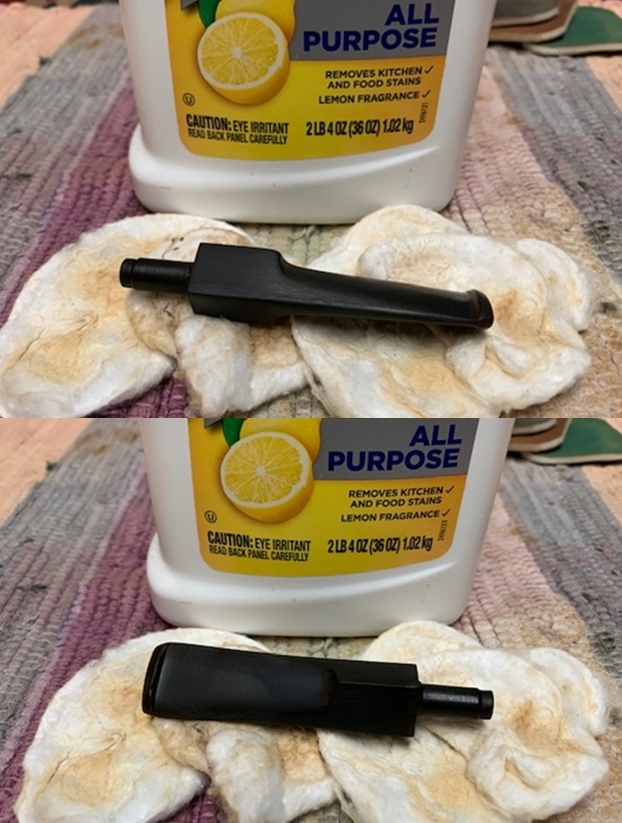
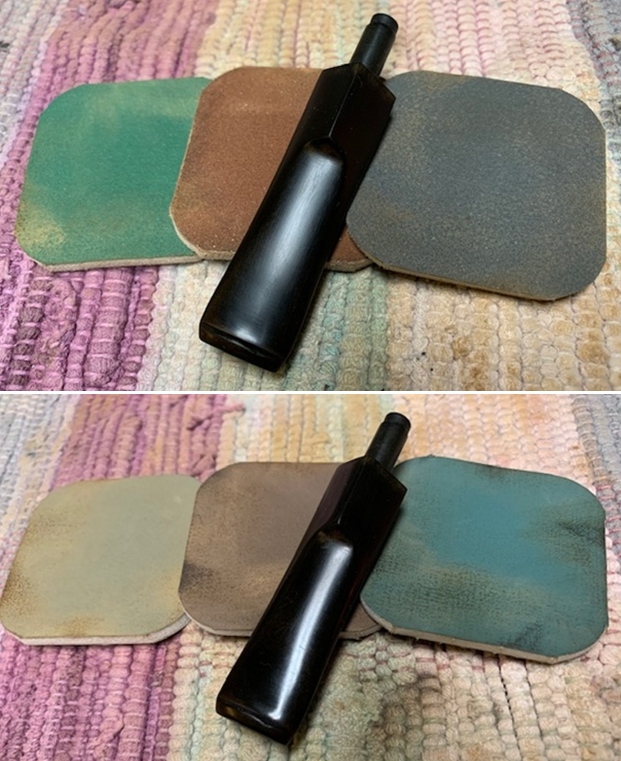
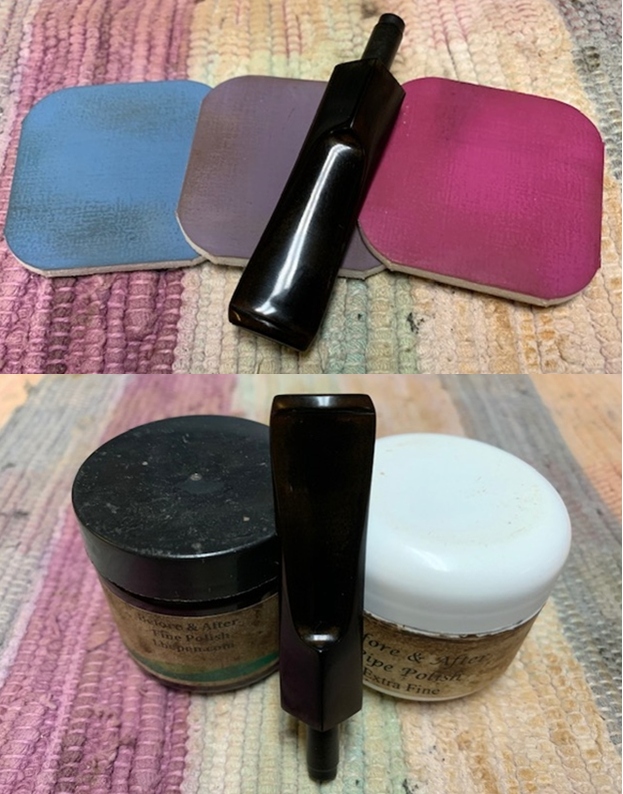
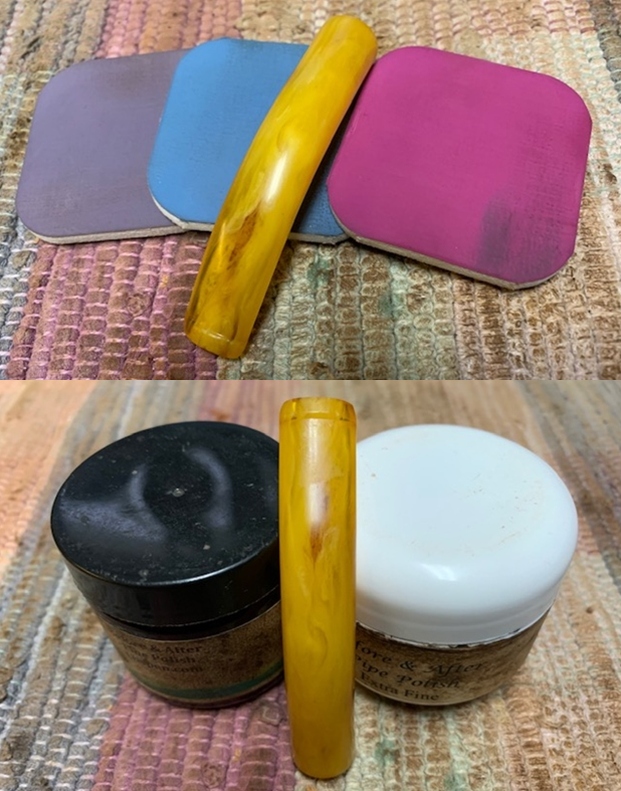
Now it was time to work on the pipe. Jeff had cleaned up the pipe with his usual penchant for thoroughness. He reamed the pipe with a PipNet Pipe Reamer and cleaned up the remnants with a Savinelli Fitsall Pipe Knife.  He scrubbed the bowl with undiluted Murphy’s Oil Soap with a tooth brush. He worked over the debris on the plateau rim top and was able to remove it. He rinsed it under running warm water to remove the soap and grime. He cleaned out the inside of the shank and the airway with alcohol, cotton swabs and pipe cleaners. I took photos of the pipe bowl once I received it. It really looked good.    The plateau rim top was very clean and the bowl was spotless. It was a good looking pipe. The swirled acrylic shank extension was beautiful.   I took a photo of the stamping on the left side of the shank. It was clear and read as noted above. I went through my assortment of stems and found one that really worked well with the shank extension and the bowl. It is going to be a great looking pipe. I put the stem in the shank and took photos of the new look of the bowl. I like the overall look that pipe had. Once I cleaned up and polished the stem it would look very good.  I took close up photos of the bowl and plateau rim top and the stem. I was going to need to remove the tooth marks but the stem was going to look very good. The bowl was in such good condition that I started my work on it by rubbing down with Before & After Restoration Balm. I worked it into the surface of the bowl sides and shank with my fingertips. I used a horsehair shoe brush to work it into plateau top. The product works to clean, enliven and protect the briar. I let the balm sit for 15 minutes and then buffed with a cotton cloth to raise the shine.   I set the bowl aside and turned my attention to the stem that I had picked out. I “painted” the surface of the stem with the flame of a lighter to lift the tooth marks. I was able to lift all of them on the top side and all but two on the underside. I filled them in with super glue and set it aside to cure. I used a file to flatten the repair on the stem and reshape the button. Once I had it reshaped and the repair flattened I sanded the stem with 220 grit sandpaper to remove the scratching and blending them into the surface. I began the polishing with 400 grit wet dry sandpaper. I polished the scratches out of the acrylic stem with micromesh sanding pads – 1500-12000 grit pads. I wiped it down with a damp cloth after each sanding pad. I used Before & After Pipe Polish – both Fine and Extra Fine to further polish the stem.     This smooth finish/plateau rim top Asselta Freehand Egg with a swirled acrylic shank extension is a great looking pipe. It is a pipe made in Long Island, New York but other than that the carver is a mystery to me. The replacement fancy, saddle vulcanite stem works well and goes nicely with the extension and the briar. I put the stem back on the bowl and buffed the pipe with Blue Diamond on the buffing wheel using a light touch on the briar. I gave the bowl and the stem multiple coats of carnauba wax on the buffing wheel and followed that by buffing the entire pipe with a clean buffing pad. I hand buffed the pipe with a microfiber cloth to deepen the shine. The finished Asselta Freehand Egg fits nicely in the hand and feels great. Give the finished pipe a look in the photos below. The dimensions of the pipe are Length: 6 ¼ inches, Height: 2 inches, Outside diameter of the bowl: 1 ¼ inches, Chamber diameter: ¾ of an inch. The weight of the pipe is 53grams/1.87oz. I will be adding it to the rebornpipes store shortly in the American Pipe Makers Section. Thanks for reading this blog and my reflections on the pipe while I worked on it. There are many more to come!

Recommissioning Another Barontini Aldo Velani Trio of Italy – A Classic Billiard


Blog by Dal Stanton

The Aldo Velani Trio Classic Billiard now on the worktable represents the 6th of 7 pipes Daniel commissioned from the For “Pipe Dreamers” Only! collection.  It also represents the second Aldo Velani Trio Daniel included in his trove of 7.  I acquired 4 Aldo Velani Trios in 2018 in what I have called the St. Louis Lot of 26 that my son, Josiah, found in an antique shop. The original 4 Velanis are pictured below.The  Bent Apple and Rusticated Volcano have already found homes with new stewards. The Pot on the bottom is waiting for the Billiard to be completed to join Daniel’s commissioned pipes all which benefit the Daughters of Bulgaria – women and girls who have been trafficked and sexually exploited.   This is a classy line up of pipes!  Looking at their current restored states:   With the Classic Billiard next, some pictures provide a closer look.  The nomenclature on the left shank side is cursive script, ‘Aldo Velani’ [over] ‘TRIO’.  On the shank underside, the COM, ‘ITALY’ is followed by the shape number ‘52’.  As I noted with the Pot, when I first looked at the logo it was difficult to figure out but found in Pipedia’s Aldo Velani article, an example and details of the stamping on an original Aldo Velani box (courtesy of Doug Valitchka).  The stamp depicts a pipe as the front leg of the ‘A’ for Aldo and the back leg of the ‘A’ forms the front riser of the ‘V’ of Velani.  Again, I repeat the previous research here:  The article cited from Pipedia provides helpful information understanding the provenance of the Aldo Velani Trio line:

Most Aldo Velani pipes are made in Livorno, Italy, for the USA market by Cesare Barontini. They were previously imported by Lane Limited. Lane spokesman Frank Blews once described Velani’s stylish, intrinsically Italian designs as “Billiards with more ball, bulldogs with more jaw.” The name “Aldo Velani” is actually fictional.

Another Barontini 2nd is named “Cesare”.

I learn two interesting things from this information.  First, Aldo Velani is a faux name that does not describe an Italian pipe house but a specific line of pipes.  Secondly, the Aldo Velani is made by the Casare Barontini name based in Livorno, Italy.   Further information is available cross referencing to Casare Barontini in Pipedia:

In 1890 Turildo Barontini opened a factory for the production of briar. In 1925 his son Bruno began to produce the first pipes. Cesare Barontini, son of Bruno, started direction of the factory in 1955, and still runs it together with his daughters Barbara and Silvia.

Sub-brands & Seconds: Aldo Velani. Cesare, L’artigiana, Stuart, Cortina

Additional information is found in Pipephil’s site.  Aldo Velani line was produced primarily for export.  The stem stamping on the Aldo Velani line had different variations provided by Pipephil:Looking now to the condition of the Aldo Velani Trio Billiard, much like his Apple and Pot brothers, the chamber has a thick cake which needs cleaning.  The lava crusted on the rim too, is thick.  This will need cleaning.  The stummel with the ruby/burgundy is soiled and generally in good shape.  I’m hopeful of keeping the hues consistent between the Pot and Billiard now on the table.  The clear acrylic stem, like the Aldo Velani Trio Apple, is soiled and has some tooth chatter.  There is one tooth compression on the lower bit which was the same on the other Aldo Velani Trio pipes – forensics pointing to a sole steward passing these pipes on.  The clear acrylic always gives a pause to ask the question about whether it is the earlier acrylic known as Perspex, on older GBD pipes.  This stem is not Perspex and therefore alcohol may be used to clean without concerns of the material crazing.  The airway does have a burgundy coloring, so after cleaning, it should still be burgundy but more translucent. I take a picture of the starting point of the clear acrylic stem. To start the airway’s cleaning process, I put the entire stem into a soak of lemon juice to help soften the oils in the airway.  As a natural acidic cleaning agent, I use lemon juice when working on Perspex stems.  I decide to experiment to see how it works on the Aldo Velani stem.  I assure you; the stem is in the lemon juice!While the stem is soaking in the juice, I begin the cleaning process of the chamber and rim.  I’m hopeful that there will be no heating issues with this Aldo Velani Billiard as was the case with his brother, the Pot.  The rim is capped with a thick lava flow crust.  The cake in the chamber is thick and I take a picture to show the starting point.To begin the reaming of the chamber, starting with the smallest of 4 blade heads provided by the Pipnet Reaming Kit, I use 2 blade heads.  Next, I transition to scraping the chamber wall using the Savinelli Fitsall tool and finish by sanding the chamber with 240 grade sanding paper wrapped around a Sharpie Pen.   After wiping the chamber with a cotton pad to remove carbon dust residue, an inspection of the chamber reveals healthy briar ready to go again. Looking to the rim, using the edge of my Winchester pocketknife, I carefully scrape the crusted carbon.  I avoid gouging the briar by pulling the edge over the surface rather than pushing the blade.  Next, using undiluted Murphy’s Oil Soap and starting with a cotton pad, the ruby/burgundy external surface is scrubbed.  I also employ a brass wire brush to work on the rim.  After scrubbing the bowl and rim, I take the stummel to the sink and continue the cleaning using warm water to rinse the Murphy’s Soap.  Using shank brushes, I then work on the internal mortise chamber with anti-oil liquid dishwashing soap.  This helps to break down the tars and oils which have built up through use.  After a thorough rinsing, the stummel is transitioned back to the worktable.  After the cleaning, the rim shows some bald spots where raw briar is exposed.  I’ll need to address these, but the challenge will be to match and blend the stummel ruby/burgundy and the rim contour so that it doesn’t draw attention.I also find a small fill needing attention in the crook of the bowl and shank.  It is not too noticeable.The cleaning continues with the internals using cotton buds and pipe cleaners dipped in isopropyl 99%.  After some effort, the cleaners and buds emerge lighter.  The job is done, and I move on.I continue with the stummel and take another look at the rim.  I had to do some work on rim of the Aldo Velani Trio Pot that I just completed.  I saved the dye mixture I used to color the rim and I’ll use that dye mixture on the Billiard’s rim.  The hue will be consistent between the two restorations of the same colored pipes.  I take another picture of the Billiard’s rim, which is not in bad of shape as was the Pot’s, but the finish on the rim is thin at places and uneven. First, I apply the 1500 grade micromesh pad to clean the rim.This is followed by applying the full battery of micromesh pads to smooth the rim surface.As I mentioned above, I saved the dye mixture that I used to restore the Aldo Velani Pot, in my last restoration project.  After testing and some experimentation, I used a mixture with the base of Fiebing’s Oxblood Leather Dye with a few drops of Fiebing’s Black Leather Dye to deepen the hue.  It worked well on the Pot so I’m hopeful the Billiard will be just as happy! I apply several applications of the dye mixture with a cotton bud until the rim seems to be fully colored.I take another look at the fill I found earlier at the crook of the shank/bowl union.  While I have the dye on the worktable, I apply some of the mixture on the fill to see if it would help camouflage the area. Unfortunately, it didn’t.  Next, a red Sharpie Pen is used to attempt to blend the fill in.  After touching up the fill, the Sharpie has helped somewhat but the fill is still somewhat visible.  The reality of the challenge of this seemingly small repair is that to remove fully it would require refinishing the entire stummel.  Yet, desiring to preserve the original ruby/burgundy finish so that it matches the Aldo Velani Pot also in Daniel’s Trove of 7 commissioned pipes, creates the necessity of leaving small imperfections in the original finish.  If I attempt a spot repair by sanding and then refinishing, I’m afraid the result would be to draw even more attention to it!  I’ll be satisfied at this point with the Sharpie repair.Putting the stummel aside and turning now to the clear acrylic stem, the stem has been waiting in a lemon juice soak.  Using lemon juice allowed the natural acidic hopefully to help clean the airway of staining.  The original stem airway has a burgundy coloring.  I fish the stem out of the lemon juice.  The airway continues to be darkened.  We’ll see if the lemon soak had any benefit.Using bristled and smooth pipe cleaners, I use isopropyl 99% to clean the airway.  Using smaller diameter shank brushes also helped to clear the staining from the airway.  As I work, I can see the cloudiness dissipate and more of a translucent airway emerges.  It looks much better now, and I move on!Looking now more closely at the upper and lower bit, there is tooth chatter on both and the lower also has a small tooth compression.  Using 240 sanding paper, the tooth chatter and tooth compression are easily sanded and dispatched.    After inspecting the entire stem, I can find no scratching in the acrylic stem other than the bit sanding to repair the tooth chatter. With most of the stem in pristine condition, there is no need to sand the entire stem.  I will focus the sanding with 600 grade paper on the bit and then apply 0000 grade steel wool to the entire stem.  Therefore, using 600 grade paper the bit area is wet sanded.  Following this I apply 0000 steel wool to entire stem.Transitioning now to micromesh pads, the stem is wet sanded with pads 1500 to 2400 followed by dry sanding with pads 3200 to 4000 and 6000 to 12000.  Even though it really doesn’t protect the acrylic stem from oxidation, I like applying Obsidian Oil to condition it.  The stem looks great. To shine the gold nickel shank ring, I use Tarn-X Tarnish Remover which gives the metal a new spark of life. I apply some of the Tarn-X to a cotton pad and rub it into the ring, making sure I get it into the crevasse between the two ring risers.  I also am careful to keep the cleaner off the briar which would probably leech the dye.  After applying the Tarnish Remover, I wipe/rinse the fluid off with a cotton pad wet with water.  I then buff up the ring with a cotton cloth.  It looks great – the bling factor is increased with the ring!Next, after reuniting stem and stummel, a cotton buffing wheel is mounted on the Dremel and the speed is set to about 40% full power.  I then apply Blue Diamond to the pipe avoiding the ring – this would create a black gunk that could stain the briar surface.  After applying the Blue Diamond over the entire pipe, the pipe is given a buffing with a felt cloth to remove the residual compound dust before applying the wax.The unique Aldo Velani stem stamping needs refreshing to augment the classy look of this Billiard.Using European Gold Rub ‘n Buff metallic paint, I use a pointed cotton bud to paint over the stem stamping. Once thoroughly covered, I wait only a few moments because the paint sets up very quickly.  I then use the side of the pointed cotton bud to scrape excess paint.  I then flip the bud to the clean end and wipe/buff up the remaining excess to sharpen the stamping.  The results are nice – it looks great!Next, another cotton cloth buffing wheel is mounted onto the Dremel.  Remaining at the same speed, carnauba wax is applied to the stem and stummel.  After applying the carnauba, the pipe is given a rigorous hand buffing to remove excess wax and to raise the shine.I’m pleased with the results of this second of the Aldo Velani Trio pipes that Daniel commissioned.  The ruby-burgundy finish initially draws one’s attention and then the clear, glass-like acrylic stem.  Finishing the ensemble is the golden double-bumped shank ring joining stem and stummel to present this classic Billiard after-dinner pipe.  Both Aldo Velani brothers that Daniel commissioned, this Billiard and the Pot, will provide great fellowship with one’s favorite blend and adult beverage.  Daniel has the first opportunity to claim the Aldo Velani Trio Billiard in The Pipe Steward Store which benefits the Daughters of Bulgaria.  Thank you for joining me!

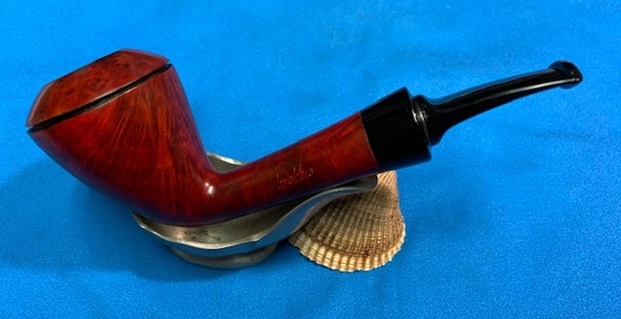
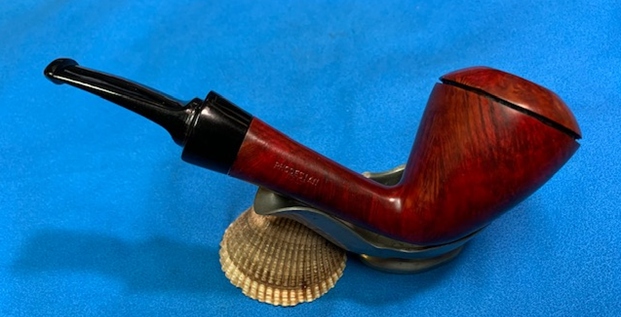
Wow what a mess this Brebbia 931 Rhodesian was – but what a beauty was born out of it


Blog by Steve Laug

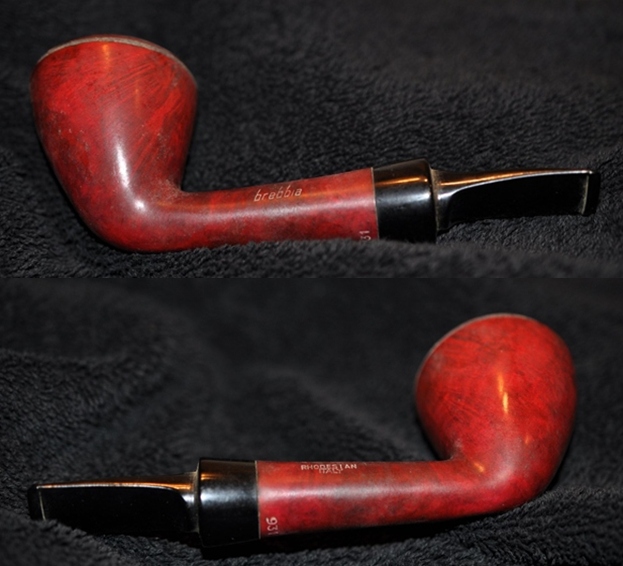
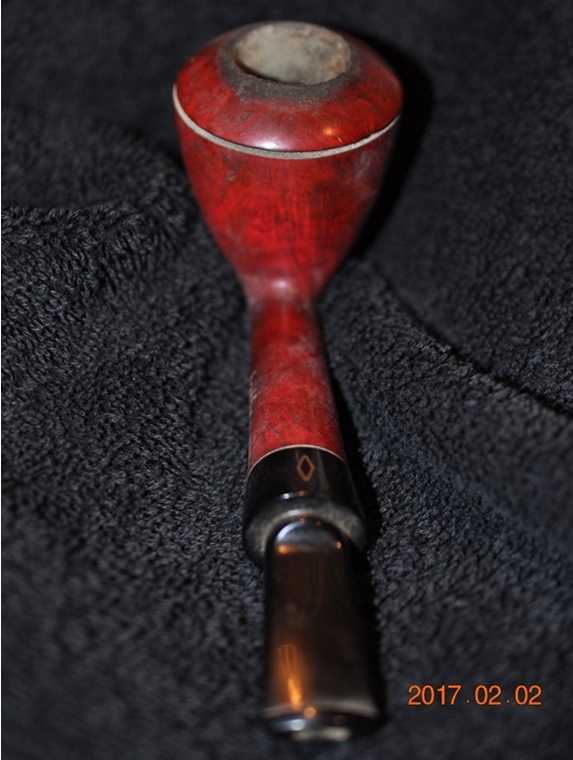
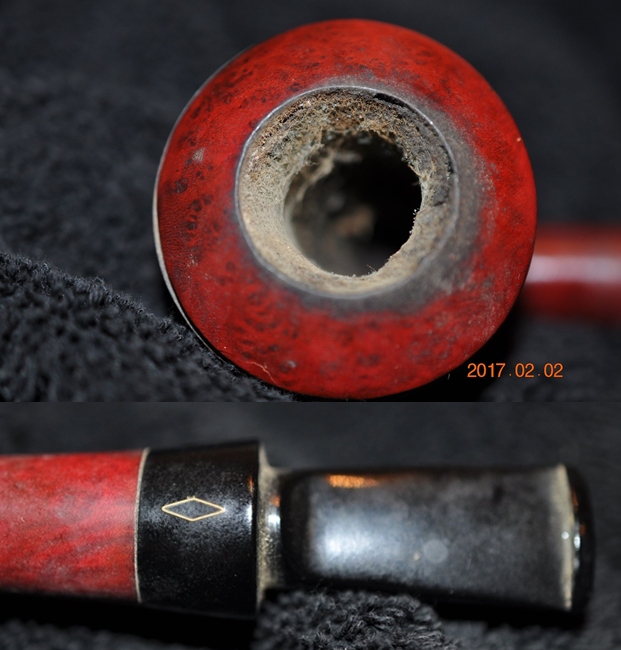
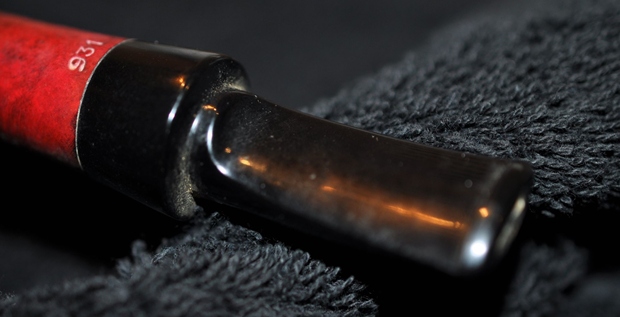
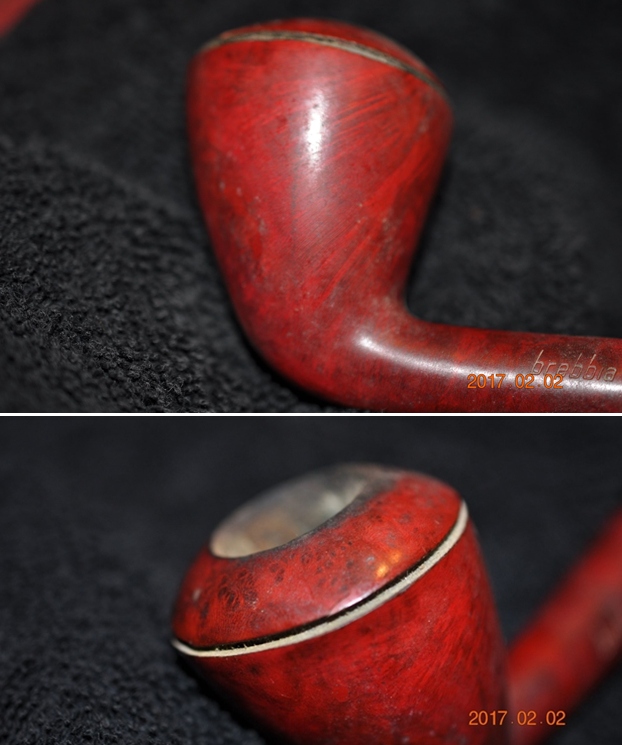
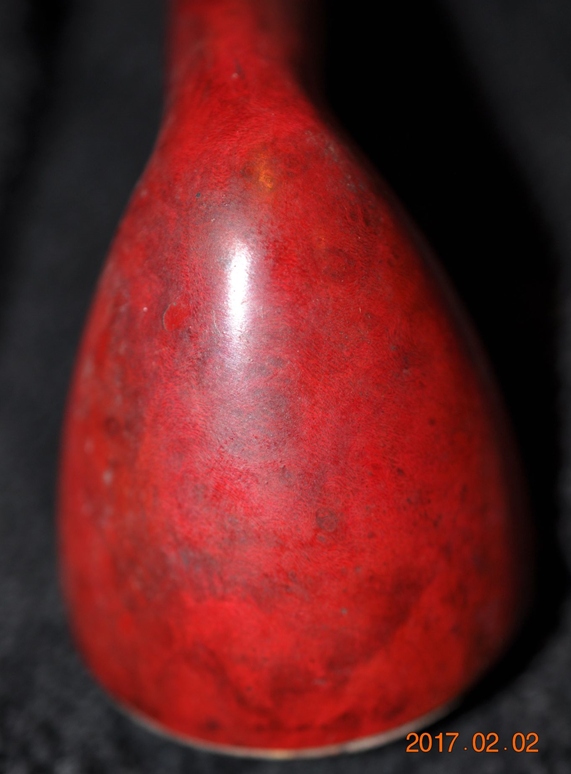
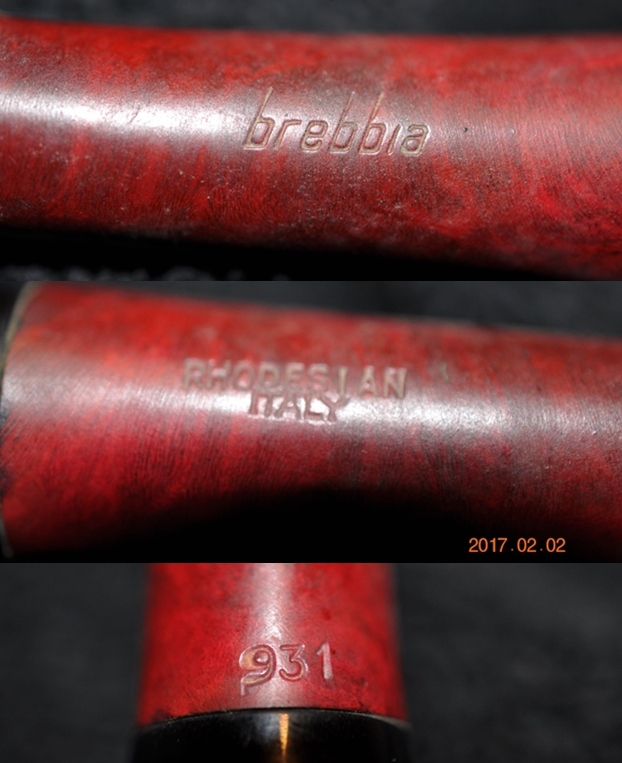
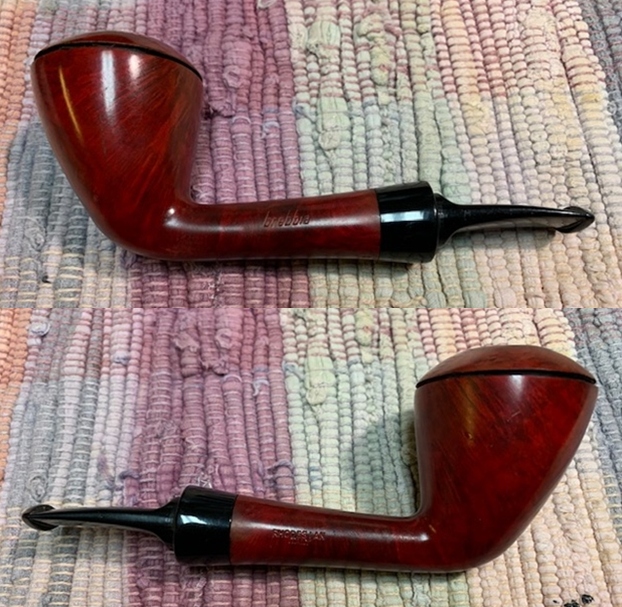
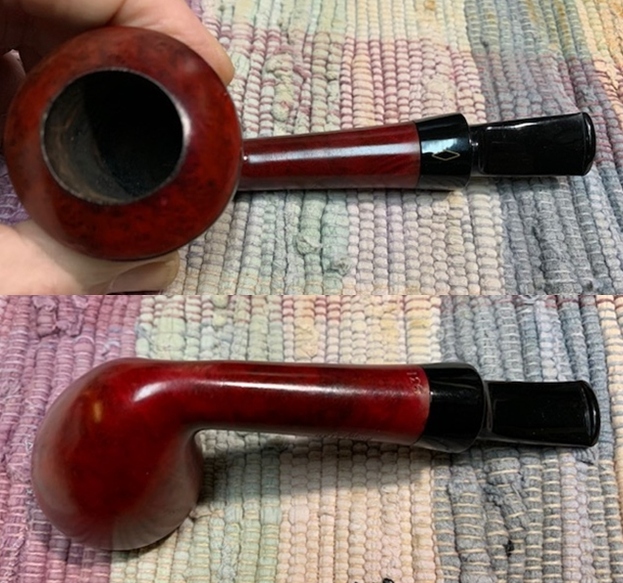
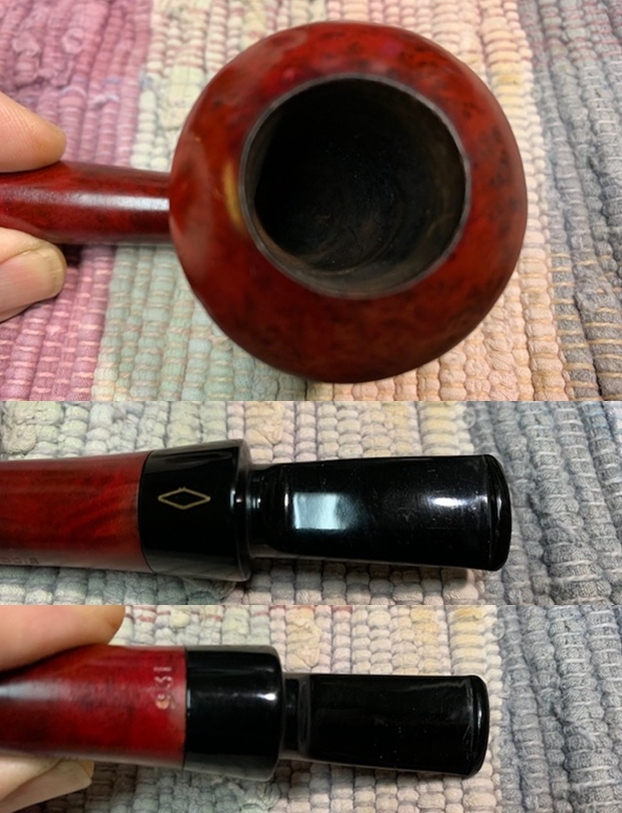
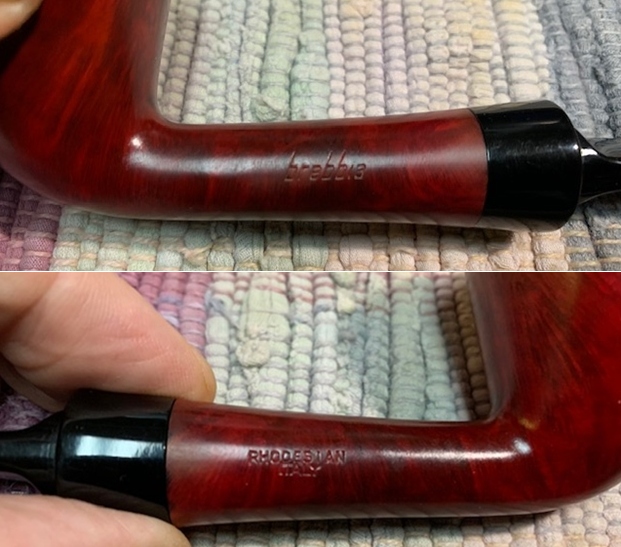
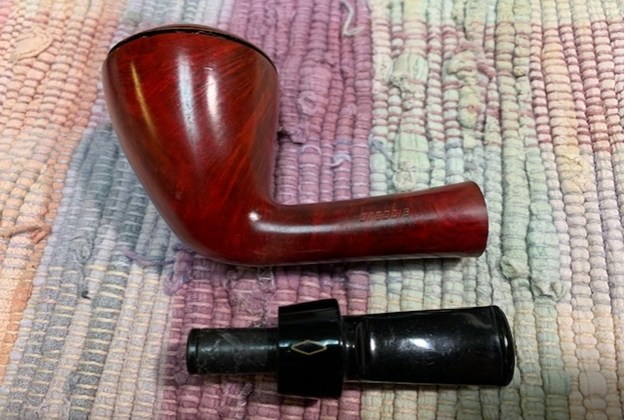
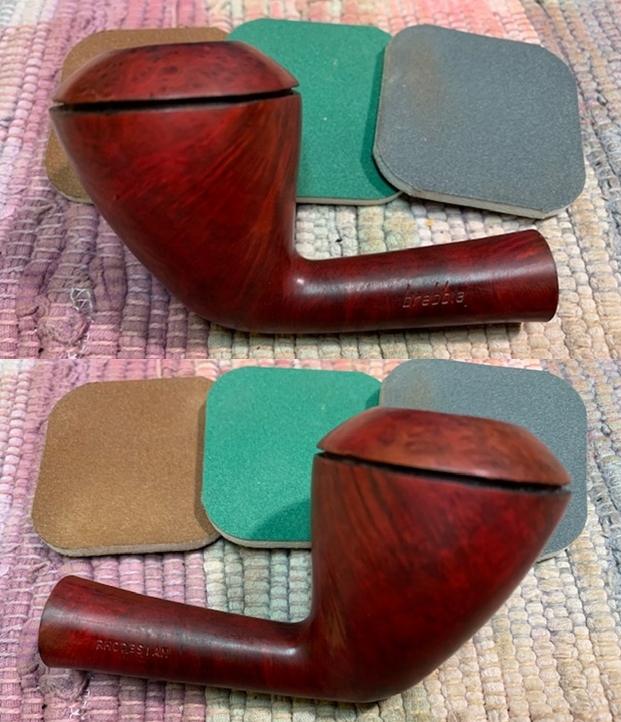
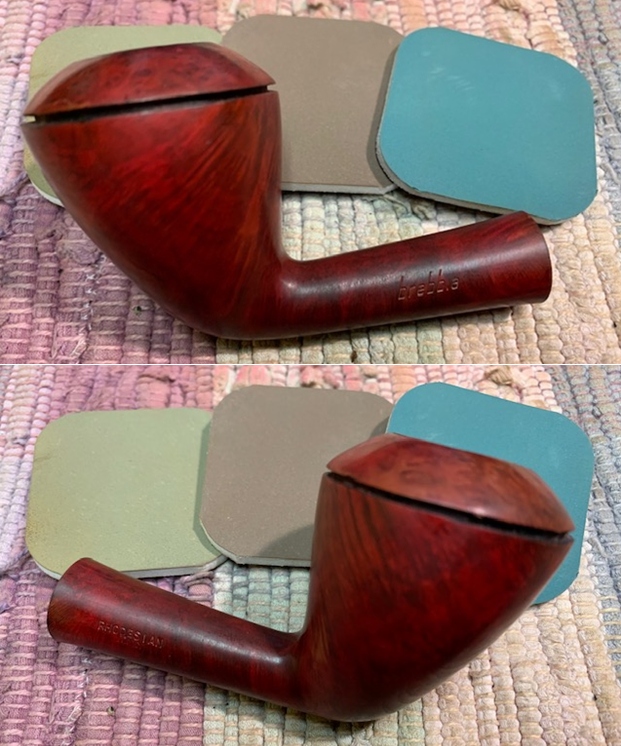
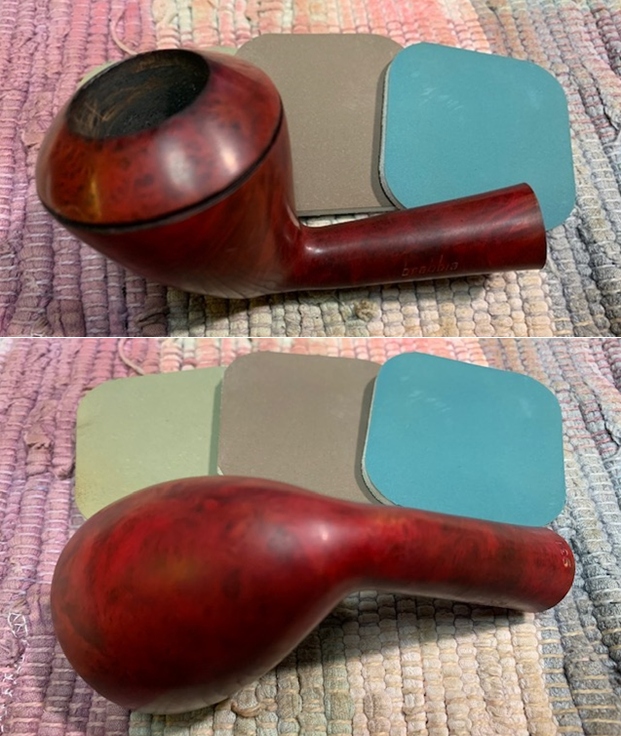
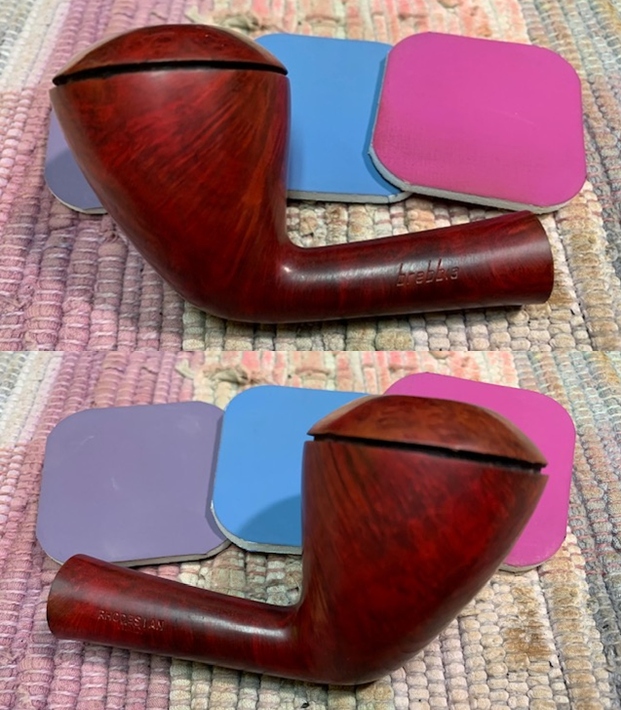
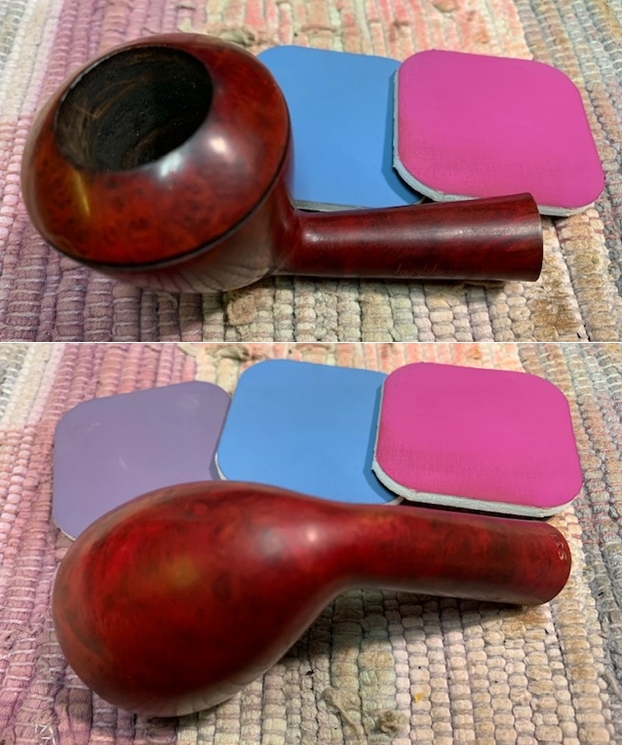
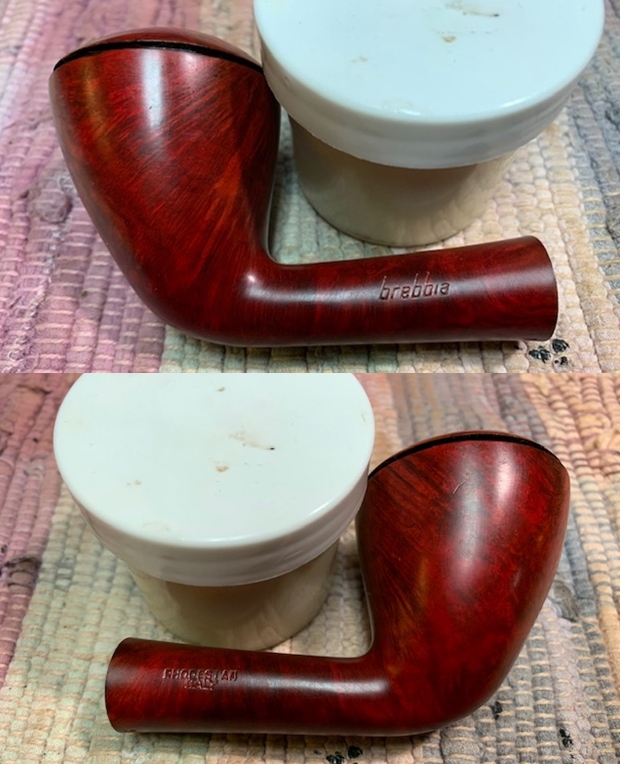
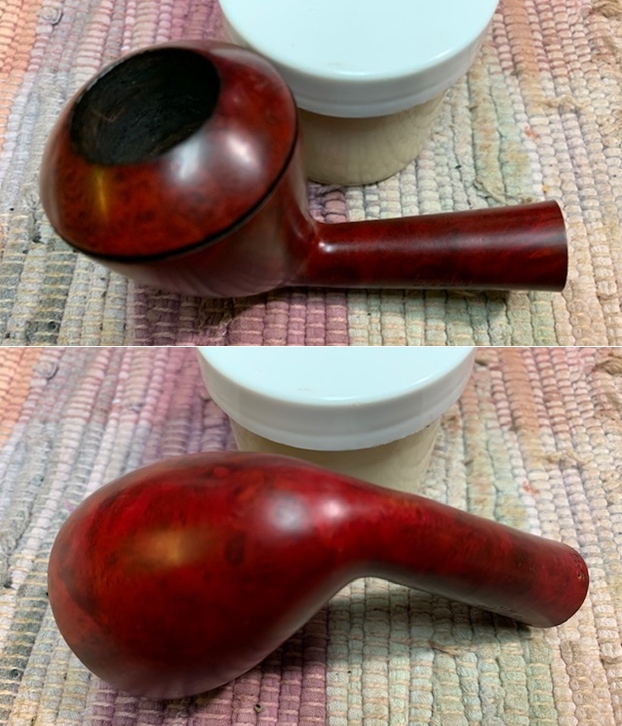
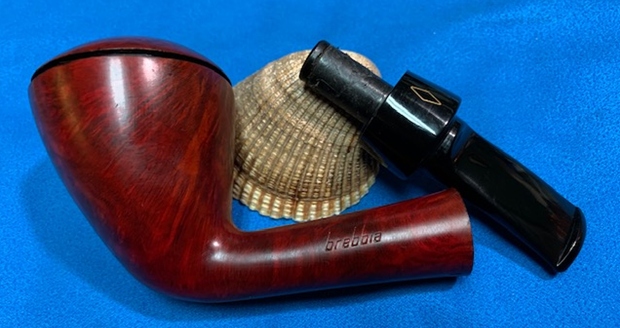
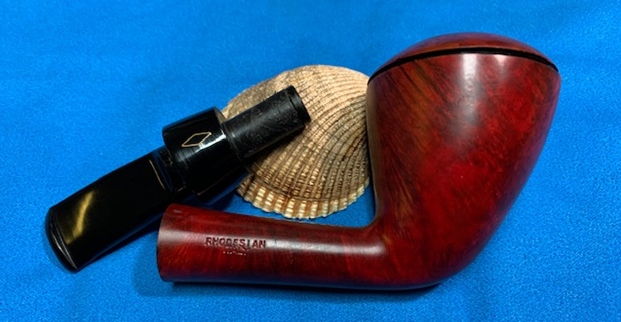
The next pipe came to us off EBay in 2017 from Poughkeepsie, New York, USA so it has been sitting here for a while. Even though the finish was dirty and worn it had some charm showing through the grit and grime of the years. On the left side of the shank it was stamped brebbia and on the right side it was stamped Rhodesian [over] Italy. On the underside of the shank was the shape number 931. The saddle stem also had the Brebbia gold diamond logo on the top of the saddle. The pipe is a long shank, tall Rhodesian. The fancy saddle stem would fit the shape well and matched the broadening of the flair on the shank end! The finish is filthy with grime and oil ground into the briar of the bowl and shank sides. The bowl had an incredibly thick cake. It was hard to know what the inner edge looked like under all of the thick buildup. The cap on the rim with the single line going around the circumference of the bowl was an interesting touch. It was a very thin Rhodesian cap on a broadly flared bowl. The stem was an acrylic saddle stem that was filthy and calcified with tooth marks and chatter on both sides ahead of the button. Jeff took some photos of the pipe to show its overall condition before he started his cleanup work. He took a photo of the rim top and bowl to give a clear picture of the thickness of the cake and the lava and dust ground into the rim top. It is one thick cake that has a lot of tobacco debris missed in with it. He also took photos of the top and underside of the stem to show the chatter and tooth marks. The stem really was a mess.   Jeff took photos of the sides and heel of the bowl to give a picture of what the briar around the pipe looked like. He took a photo of the stamping on the shank. It reads as noted above and is clear and readable. I turned to Pipephil’s site (http://www.pipephil.eu/logos/en/logo-brebbia.html) to the section on Brebbia. The first screen capture below gives a brief history of the brand and some photos of the principals of the company. It is fascinating to me that it was founded by Enea Buzzi and Achille Savinelli in 1947. They split and Buzzi kept the factory and created the MPB Brand – Maniffatura Pipe Brebbia. In 1968 it was shortened to Brebbia. There was nothing on the specific pipe but it is a fascinating read.I turned to Pipedia (https://pipedia.org/wiki/Brebbia) and found a bit more information on the brand. There was still no details on the  Rhodesian line. It is well worth a read. Now it was time to work on the pipe.
Jeff had cleaned up the pipe with his usual penchant for thoroughness. He reamed the pipe with a PipNet Pipe Reamer and cleaned up the remnants with a Savinelli Fitsall Pipe Knife.  He scrubbed the bowl with undiluted Murphy’s Oil Soap with a tooth brush. He worked over the debris on the rim top and was able to remove it. He rinsed it under running warm water to remove the soap and grime. He cleaned out the inside of the shank and the airway in the stem with alcohol, cotton swabs and pipe cleaners. He soaked the stem in Before & After Pipe Stem Deoxidizer and rinsed it off with warm water. He scrubbed the stem with Soft Scrub and cotton pads to remove remaining oxidation on the ferrule and the stem. He rinsed it with warm water and dried it off. I took photos of the pipe once I received it. It really looked good. The rim top and the inner edge of the rim looked very good. I was surprise that there was no damage to the briar. The stem had some small scratches but otherwise looked very good.  I took a photo of the stamping on the sides of the shank. It was clear and read as noted above. I removed the stem and took a photo of the pipe to give a sense of the whole. The pipe has an acrylic saddle stem. At this point I also noted that the stem had an adapter in the tenon that was removable. The pipe could thus be smoked either as a filter pipe or as a regular pipe.I polished the briar with the full array of micromesh sanding pads – 1500-12000 grit pads. I wiped the bowl down after each pad with a damp cloth to remove the sanding dust. I rubbed the bowl and shank down with Before & After Restoration Balm. I worked it into the surface of the bowl sides and shank with my fingertips. I used a horsehair shoe brush to work it into ring around the rim cap. The product works to clean, enliven and protect the briar. I let the balm sit for 15 minutes and then buffed with a cotton cloth to raise the shine.   I polished the scratches out of the acrylic stem with micromesh sanding pads – 1500-12000 grit pads. I wiped it down with a damp cloth after each sanding pad. I used Before & After Pipe Polish – both Fine and Extra Fine to further polish the stem.  The Delrin tenon was a bit odd in that it seemed to be peeling a bit. To remove all of the peeling parts would loosen the tenon. This Italian take on a Rhodesian by Brebbia is a real beauty. It is combined with a flared acrylic saddle stem that makes it a great looking pipe. It is a far cry from the pipe that we started with now that it has been restored. I put the stem back on the bowl and buffed the pipe with Blue Diamond on the buffing wheel using a light touch on the briar. I gave the bowl and the stem multiple coats of carnauba wax on the buffing wheel and followed that by buffing the entire pipe with a clean buffing pad. I hand buffed the pipe with a microfiber cloth to deepen the shine. The finished Brebbia Rhodesian 931 fits nicely in the hand and feels great. Give the finished pipe a look in the photos below. The dimensions of the pipe are Length: 5 ½ inches, Height: 2 ¼ inches, Outside diameter of the bowl: 2 inches, Chamber diameter: ¾ of an inch. The weight of the pipe is 53grams/1.87oz. I will be adding it to the rebornpipes store shortly in the Italian Pipe Makers Section. Thanks for reading this blog and my reflections on the pipe while I worked on it. There are many more to come!
 

Breathing Life into a 1960 Dunhill Bruyere 251 Group 3 Billiard


Blog by Steve Laug

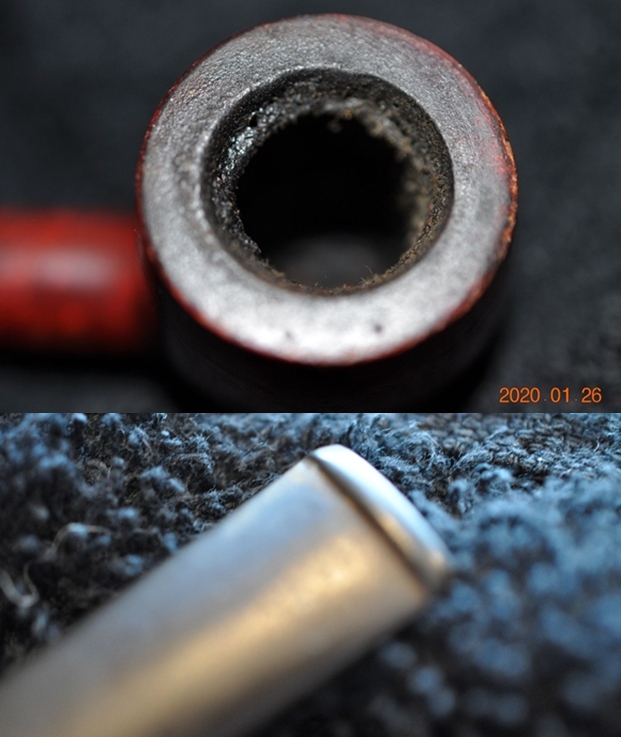
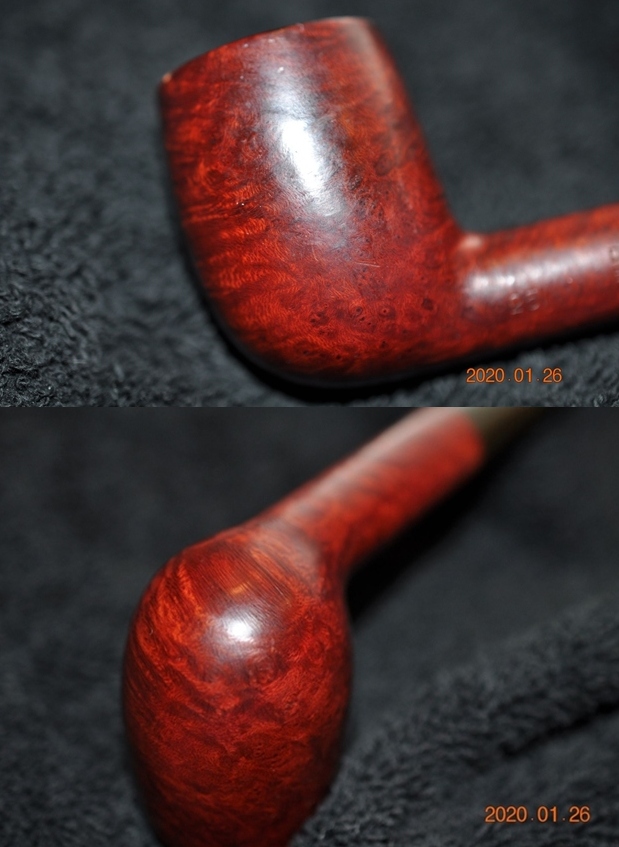
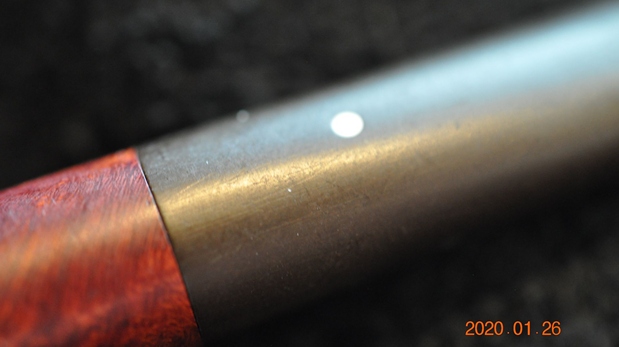
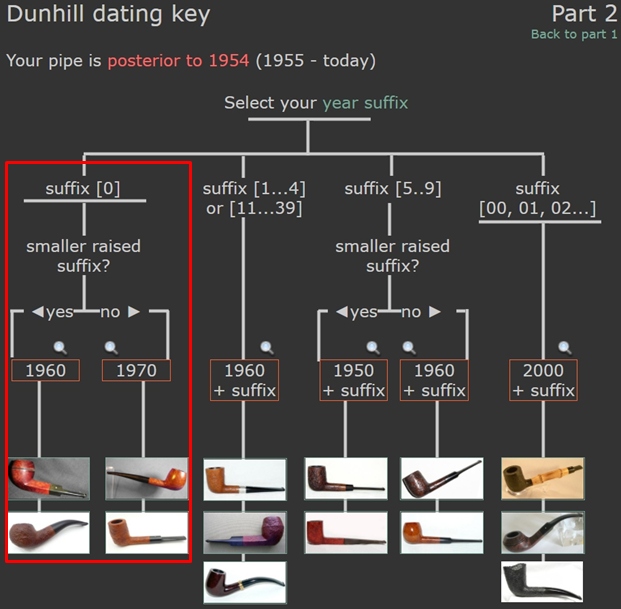
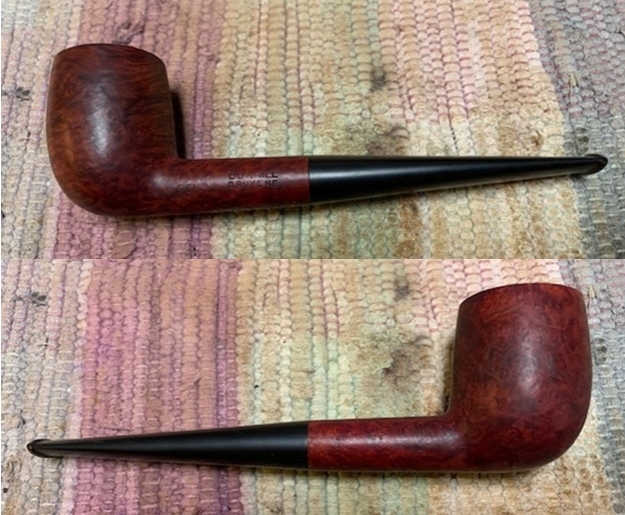
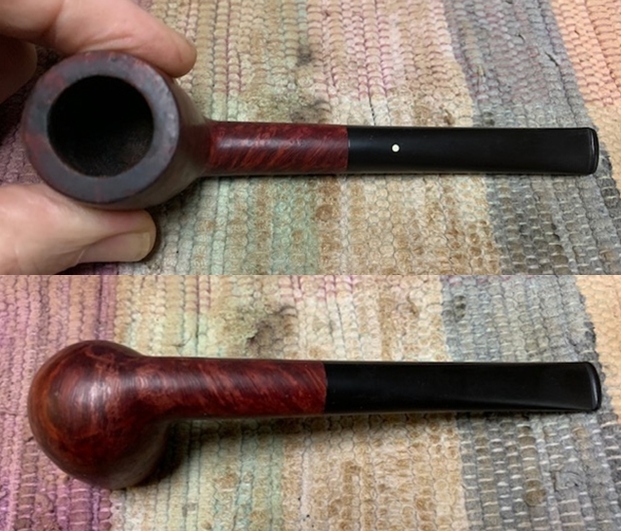
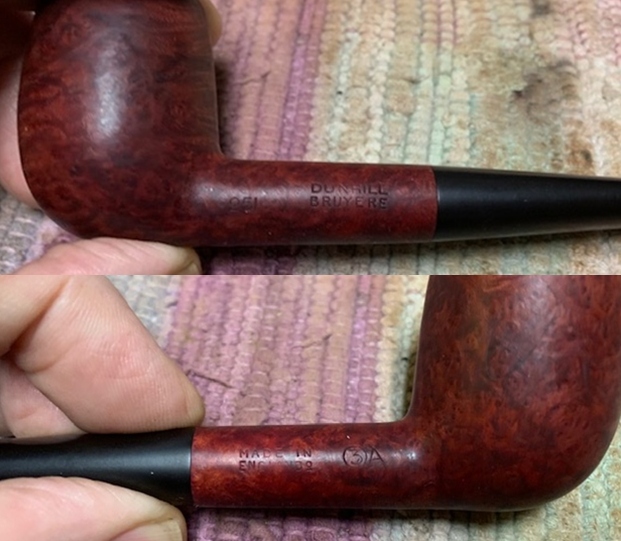
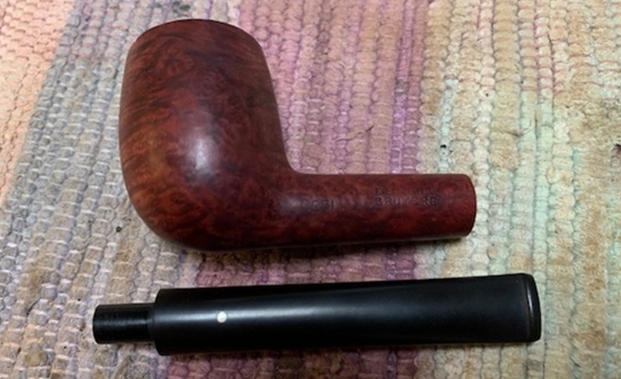
The next pipe on the table came to us in a group of pipes that we purchased from an Antique Mall on the Oregon Coast, Oregon, USA. It is a Dunhill Bruyere Straight Billiard that is in good condition. It is stamped both sides of the shank. On the left side it is stamped with the shape number 251 followed by Dunhill [over] Bruyere. On the right side it is stamped with 3 in a circle followed by A for Bruyere next to the bowl. That is followed by Made in [over] England0. Interpreting that stamp it is as follows: The 251 is the shape for a straight billiard. The Dunhill Bruyere is the finish which is corroborated the A at the end of the stamping. The 0 following the D of England gives the date the pipe was made and identifies it as 1960. The stamping is clear and readable. The age of the pipe and the oils in the finish has given the pipe a rich reddish brown finish. There is also some amazing grain that the shape follows well. The finish was dirty with dust ground into the surface of the bowl and shank. There was a thick cake in the bowl and tobacco debris stuck to the walls of the bowl. The rim top showed darkening and some lava on the surface. The vulcanite taper stem was oxidized, calcified and had light tooth marks and chatter ahead of the button on both sides.  Jeff took photos of the pipe to show what it looked like before he started working on it.  He took photos of the bowl and rim top to show the thickness of the cake and the darkening and lava overflow on the rim top. There were also nicks around the outer edge of the bowl. The photos of the stem show the oxidation, calcification and tooth marks and chatter on the surface on both sides.  The photos of the sides and heel of the bowl show the great grain on the pipe. It is a beauty under the grime and dust.   The stamping on the underside of the shank is shown in the photos below. It looks very good and readable. It reads as noted and explained above. The fourth photo shows the white spot on the stem.   I turned to Pipedia’s section on Dunhill Root Briar Pipes to get a bit of background on the Dunhill finishes (https://pipedia.org/wiki/Dunhill#Root_Briar). I quote:

Bruyere

The original finish produced (usually made using Calabrian briar), and a big part of developing and marketing the brand. It was the only finish from 1910 until 1917. A dark reddish-brown stain. Before the 1950s, there were three possible finishes for Dunhill pipes. The Bruyere was a smooth finish with a deep red stain, obtained through two coats, a brown understain followed by a deep red.

There was a link on the above site to a section specifically written regarding the Bruyere finish (https://pipedia.org/wiki/Dunhill_Bruyere). I turned there and have included the information from that short article below.

Initially, made from over century-old briar burls, classified by a “B” (denoted highest quality pipe); “DR” (denoted straight-grained) and an “A” (denoted first quality), until early 1915. After that, they became a high-end subset to the Dunhill ‘Bruyere’. The DR and B pipes, a limited production, they should be distinguished as hand-cut in London from burls as opposed to the Bruyere line which was generally finished from French turned bowls until 1917, when the Calabrian briar started to be used, but not completely. Only in 1920 Dunhill took the final step in its pipe making operation and began sourcing and cutting all of its own bowls, proudly announcing thereafter that “no French briar was employed”.

Bruyere pipes were usually made using Calabrian briar, a very dense and hardy briar that has a modest grain but does very well with the deep red stain.

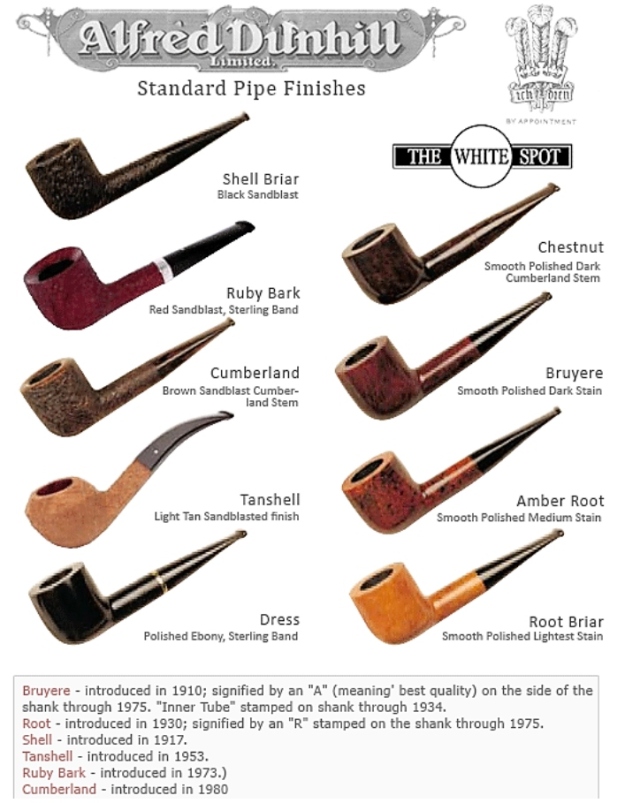
“Before the 1950s, there were three possible finishes for Dunhill pipes. The Bruyere was a smooth finish with a deep red stain, obtained through two coats, a brown understain followed by a deep red. The Shell finish was the original sandblast with a near-black stain (though the degree to which it is truly black has varied over the years). Lastly, the Root finish was smooth also but with a light brown finish. Early Dunhill used different briars with different stains, resulting in more distinct and identifiable creations… Over the years, to these traditional styles were added four new finishes: Cumberland, Dress, Chestnut and Amber Root, plus some now-defunct finishes, such as County, Russet and Red Bark.”

There was also a link to a catalogue page that gave examples and dates that the various finishes were introduced (https://pipedia.org/wiki/File:Dunnypipescatalog-1.png). I turned to Pipephil’s dating guide to show how I arrived at the date of manufacture for this pipe (http://www.pipephil.eu/logos/en/dunhill/cledat-en1a.html). I am including the chart that is provided there for the dating a pipe. I have drawn a red box around the section. Since the pipe I am working on has a suffix 0 that is raised superscript it points to the 1960 line on the chart below.I now knew that I was working on a Bruyere that came out in 1960. The shape of the pipe was one of many Billiards that Dunhill put out and that the #251 was a normal billiard shape with a taper stem.

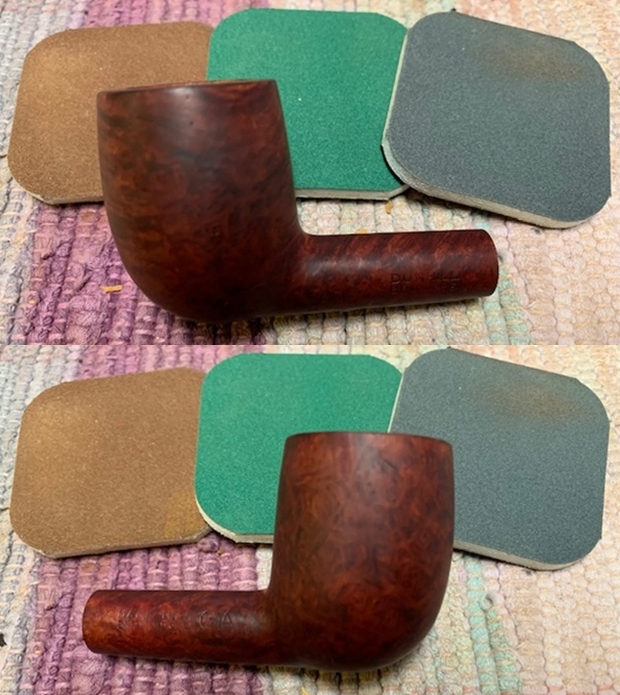
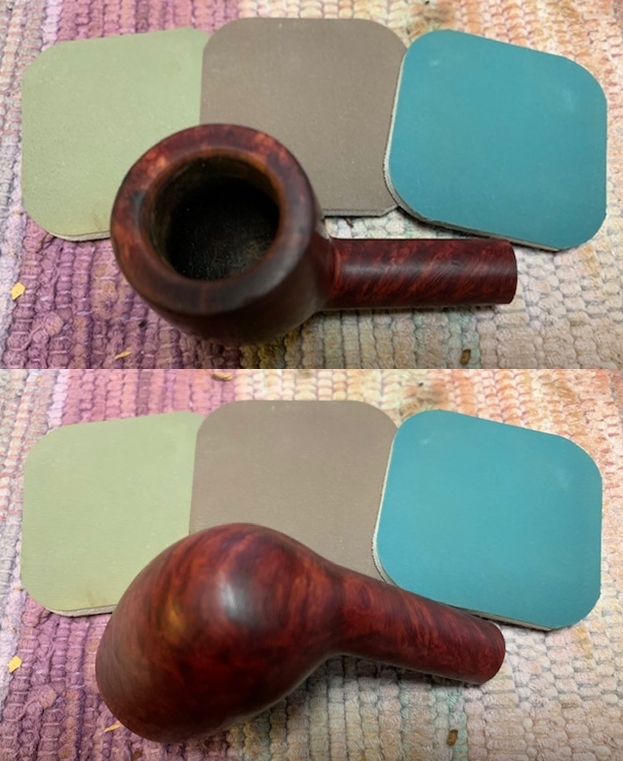
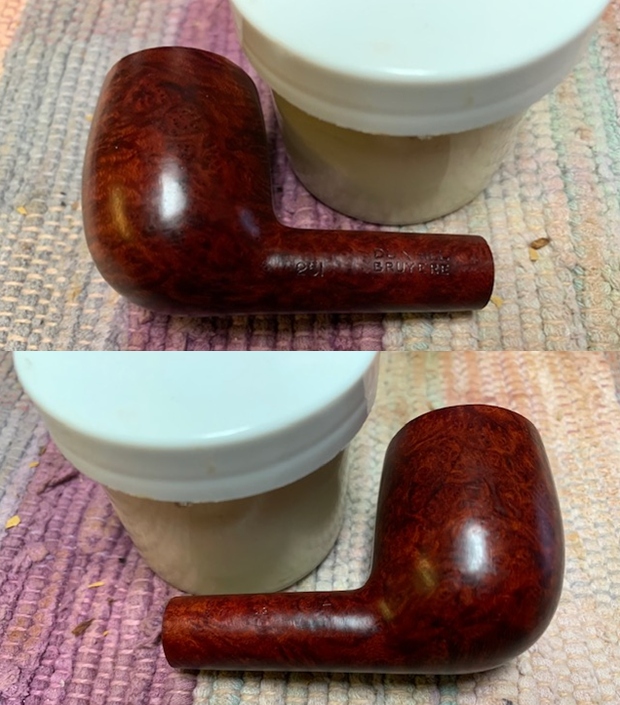
I turned to work on the pipe itself. Jeff had carried out his usual thorough cleanup of the pipe. He had reamed it with a PipNet reamer to remove the cake and cleaned the reaming up with a Savinelli Fitsall Pipe Knife. He scrubbed the internals of the bowl and stem with alcohol, cotton swabs and pipe cleaners. He scrubbed the externals with undiluted Murphy’s Oil Soap and rinsed the bowl off with running water. He soaked the stem in Before & After Deoxidizer and once it had soaked rinsed it off with warm water to remove the residual solution. He dried it off and scrubbed it down with Soft Scrub All-Purpose cleaner to remove any oxidation that was still on the stem. The pipe looked very clean when I received it. I took a photo of the rim top to show the condition. You can see the darkening on the rim top. It is roughened and slightly out of round. The stem came out looking quite good. There are light tooth marks and chatter on both sides near the button but the oxidation was gone.  I took photos of the sides of the shank to show the stamping. It is clear and readable as noted above.  I removed the stem from the shank and took a photo of the pipe parts to show what I was working with. It is a nice looking pipe.I decided to start the restoration on this one by working on the damage on the inner edge of the bowl. It had darkening and some damage to the edge. There were burn and reaming damage marks on the edge from a previous pipeman. I worked it over with a folded piece of 220 grit sandpaper to give the edge a light bevel and remove and minimize the damage on the edge. When I finished with it, the bowl and the rim top looked much better. I polished the rim top and bowl with micromesh sanding pads – dry sanding with 1500-12000 grit sanding pads. I wiped the bowl down with a damp cloth after each sanding pad. The briar began to take on a shine.   With the repair completed I rubbed the briar down with Before & After Restoration Balm. I worked it into the briar with my fingertips. The product works to clean, enliven and preserve the briar. I let it sit for 15 minutes while I worked on the stem. After the time passed I buffed it with a cotton cloth to deepen the shine. The briar really comes alive with the balm.   I set the bowl aside and turned my attention to the stem. I polished the vulcanite with micromesh sanding pads – 1500-12000 grit pads. I wiped it down with Obsidian Oil after each sanding pad. I used Before & After Pipe Polish – both Fine and Extra Fine to further polish the stem.   This Dunhill Bruyere 251 Group 3 Billiard from 1960 is a beautiful looking piece of briar that has a shape that follows grain. It is a great looking pipe that came out looking even better after the cleanup. The Bruyere is an early finish that Dunhill specialized in making. The finish on the pipe is in excellent condition. The red and brown stain on the bowl works well to highlight the grain. The polished black vulcanite taper stem adds to the mix. With the grime gone from the finish and the bowl it was a beauty and is eye-catching. I put the stem back on the bowl and buffed the pipe with Blue Diamond on the buffing wheel being careful to not buff the stamping. I gave the bowl and the stem multiple coats of carnauba wax on the buffing wheel and followed that by buffing it with a clean buffing pad. I hand buffed the pipe with a microfiber cloth to deepen the shine. The finished Bruyere 251 Billiard is quite nice and feels great in the hand. Give the finished pipe a look in the photos below. I can only tell you that like the other pipes I am working that it is much prettier in person than the photos capture. The dimensions of the pipe are Length: 5 ½ inches, Height: 1 ¾ inches, Outside diameter of the bowl: 1 ¼ inches, Chamber diameter: ¾ of an inch. The weight of the pipe is 29grams/1.02oz. It will soon be added to the British Pipe Makers section on the rebornpipes store. Thanks for walking through the restoration with me as I worked over another beautiful pipe. Remember we are not pipe owners; we are pipemen and women who hold our pipes in trust until they pass on into the trust of the next generation.

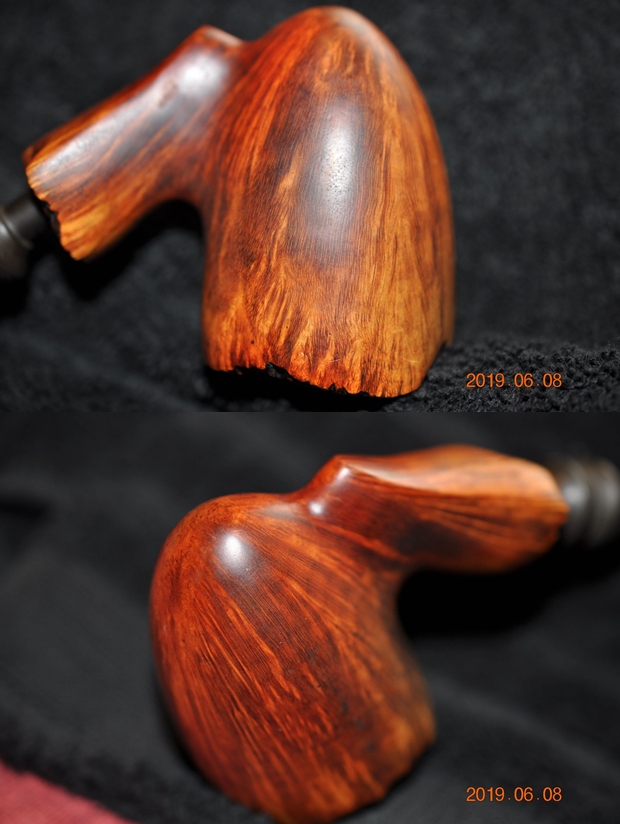
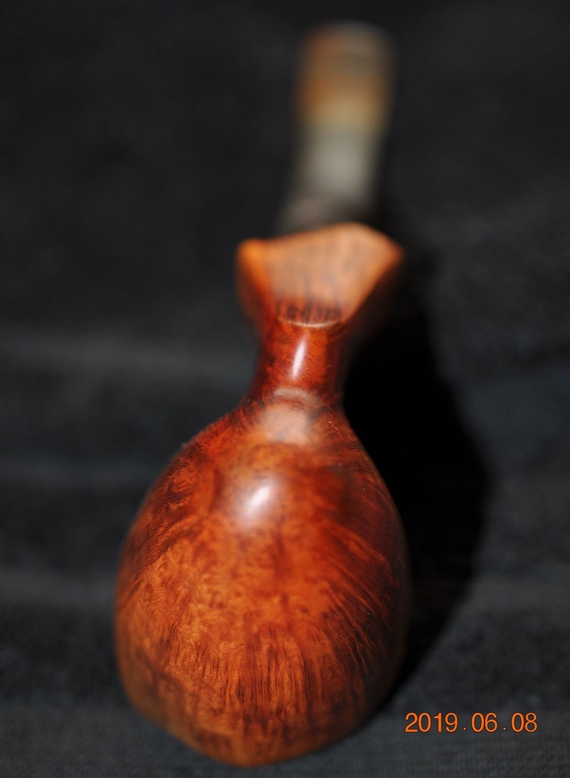
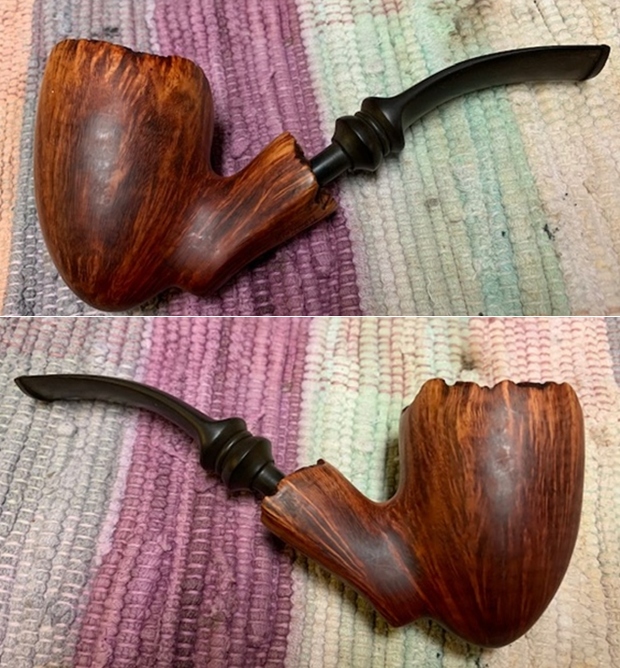
Look at the grain on this Stanwell Regd No. 969-48 Freehand


Blog by Steve Laug

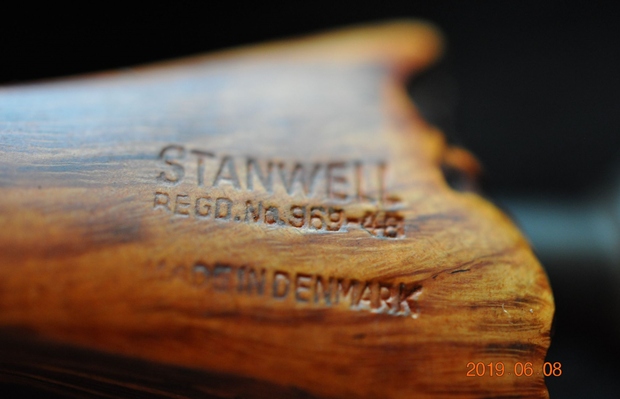
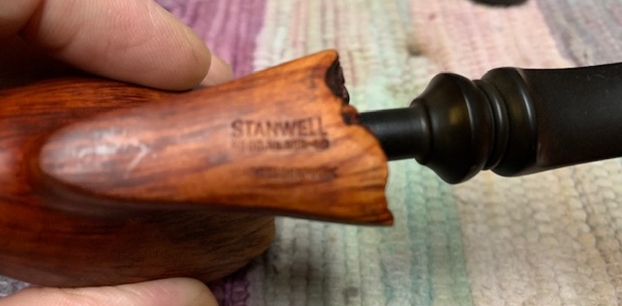
I woke up to the sound of something large jumping on the roof next to our bedroom window around 4:30am this morning. That gave me an early start at the work bench. I have to tell you that on days like today I miss my old supervisor Spencer who would greet me no matter what time and beg for a treat… strange to not have him here. Ah well time to work. The next pipe on the table came to us in a group of pipes that we picked up from an Antique Store in Montana, USA in mid-2019 so it has been sitting here for a while. Even though the finish was a dirty and worn it had some amazing grain showing through the grit and grime of the years. On the underside of the shank it was stamped Stanwell [over] Regd. No. 969-48 [over] Made in Denmark. The pipe is a freehand and there is no shape number stamped on it at all. The finish is filthy with grime and oil ground into the briar of the bowl and shank sides. The bowl had a thick cake and there was an overflow of lava on the rim top filling in the plateau and inner bevel of the rim. The stem was a fancy turned vulcanite stem that fit snugly in the ferrule. It had the Stanwell Crown S faintly stamped on the topside of the saddle stem. The vulcanite was oxidized, calcified and had tooth marks and chatter on both sides ahead of the button. Jeff took some photos of the pipe to show its overall condition before he started his cleanup work. He took photos of the rim top and bowl to give a clear picture of the thickness of the cake and the lava and dust ground into the plateau finish of the rim top. There is dust and debris stuck to the walls of the bowl clearly visible in the photos. He also took photos of the top and underside of the stem to show the chatter and tooth marks. Otherwise the stem is quite clean. Jeff took photos of the sides and heel of the bowl to give a picture of what the briar around the pipe looked like. There are a lot of angles on this pipe and there is some stunning grain under the grime.    He took a photo of the stamping on the shank. It reads as noted above and is clear and readable. I turned first to Pipephil’s site to get a quick idea of when this pipe was made by reference to the Regd. No. on the underside of the shank (http://www.pipephil.eu/logos/en/logo-stanwell.html). I quote what I found there.

The “Regd. No.” stamping discontinued in late 1960s to very early 1970s.

I also turned to Pipedia’s article on Stanwell but it did not add any further information. It is a great read in terms of the history of the brand (https://pipedia.org/wiki/Stanwell).

With that information in hand I knew what I was dealing with in terms of the stamping and the age of this pipe. I knew from the information from Pipephil that the Regd. No. stamping was discontinued in the late 60s to very early in the 70s. Now it was time to work on the pipe.

Jeff had cleaned up the pipe with his usual penchant for thoroughness. He reamed the pipe with a PipNet Pipe Reamer and cleaned up the remnants with a Savinelli Fitsall Pipe Knife.  He scrubbed the bowl with undiluted Murphy’s Oil Soap with a tooth brush. He worked over the debris on the rim top and was able to remove it. He rinsed it under running warm water to remove the soap and grime. He cleaned out the inside of the shank and the airway in the stem with alcohol, cotton swabs and pipe cleaners. He soaked the stem in Before & After Pipe Stem Deoxidizer and rinsed it off with warm water. He scrubbed the stem with Soft Scrub and cotton pads to remove remaining oxidation on the ferrule and the stem. He rinsed it with warm water and dried it off. I took photos of the pipe once I received it. It really looked good.  The rim top and the inner edge of the rim looked very good after the cleaning. It had a few small tooth marks and chatter on both sides near the button.  I took a photo of the stamping on the underside of the shank. It was clear and read as noted above. I removed the stem and took a photo of the pipe to give a sense of the whole. The stem is fancy turned vulcanite. I polished the bowl and the smooth portions on the rim top with micromesh sanding pads – dry sanding with 1500-12000 grit pads and wiping it down after each pad with a damp cloth.  The bowl had lightened around the top edge and on the shank end. I touched up the stain on the bowl with a Maple stain pen.    I rubbed the bowl and shank down with Before & After Restoration Balm. I worked it into the surface of the bowl sides and shank with my fingertips. I used a horsehair shoe brush to work it into the plateau on the rim top and shank end.. The product works to clean, enliven and protect the briar. I let the balm sit for 15 minutes and then buffed with a cotton cloth to raise the shine. I “painted” the stem surface on both sides with the flame of a lighter to lift the tooth marks. I was able to lift all of them on the underside of the stem but two of them on the topside remained. I filled them in with clear super glue. Once the repairs cured I reshaped the button with a rasp and a file. I smoothed out the repairs further with 220 grit sandpaper. I started the polishing with 400 grit wet dry sandpaper. I touched up the faint stamping on the top of the stem. It was a Stanwell Crown S logo. Parts of it were faint but I was able to get some of the stamping to show up with the Rub’n Buff Antique Gold.    I polished the vulcanite stem with micromesh sanding pads – 1500-12000 grit pads. I wiped it down with a damp cloth after each sanding pad. I used Before & After Pipe Polish – both Fine and Extra Fine to further polish the stem.  This beautiful Stanwell Regd. No. 969-48 Freehand with a fancy, turned vulcanite stem is a great looking pipe now that it has been restored. I put the stem back on the bowl and carefully buffed the pipe with Blue Diamond on the buffing wheel using a light touch on the briar. I gave the bowl and the stem multiple coats of carnauba wax on the buffing wheel and followed that by buffing the entire pipe with a clean buffing pad. I hand buffed the pipe with a microfiber cloth to deepen the shine. The finished Stanwell Danish Freehand fits nicely in the hand and feels great. Give the finished pipe a look in the photos below. The dimensions of the pipe are Length: 6 inches, Height: 2 ½ inches, Outside diameter of the bowl: 1 ¾ inches, Chamber diameter: ¾ of an inch. The weight of the pipe is 54grams/1.90oz. I will be adding it to the rebornpipes store shortly in the Danish Pipe Makers Section. Thanks for reading this blog and my reflections on the pipe while I worked on it. There are many more to come!
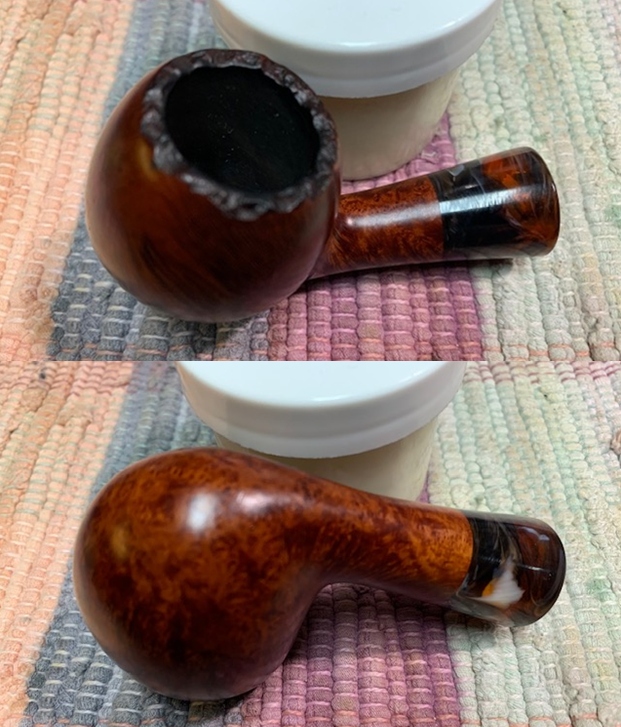


Restoring a Mixed Finish Soren Hand Carved Pedestal Freehand


Blog by Steve Laug

The next pipe on the table came to us in a group of pipes that we picked up from an auction in 2018 in Wilkes Barre, Pennsylvania, USA. It has a mixed sandblast and smooth finish that was a bit dull and lifeless. It showed promise under the grit and grime of the years. On the underside of the shank it was clearly stamped Soren [over] Hand Carved [over] Made in Denmark. When I received it from Jeff somehow the bowl and stem had separated and I had the bowl in hand but no idea what stem fit the shank. I tried a variety of stems that I had but not one of them fit well.

Jeff had cleaned up the pipe with his usual penchant for thoroughness. He reamed the pipe with a PipNet Pipe Reamer and cleaned up the remnants with a Savinelli Fitsall Pipe Knife.  He scrubbed the bowl with undiluted Murphy’s Oil Soap with a tooth brush. He worked over the debris in the plateau on the rim top and shank end and was able to remove it. He rinsed it under running warm water to remove the soap and grime. He cleaned out the inside of the shank and the airway in the stem with alcohol, cotton swabs and pipe cleaners. When I took it out of the box it did not have a stem in the shank. I wrote Jeff and sent him photos of the bowl and asked him if he had photos that showed what the stem looked like. Jeff did a bit of hunting on his hard drive and found the pictures of the pipe with the stem that it had when he started his work. He sent me the following photos of the pipe. The pipe was very dirty with grime and grit ground into the sides of the sandblast and the rim top. The bowl had a thick cake and an overflow of lava on the rim top that obscured the edges of the rim and the plateau finish. To me the stem just did not look like the right one for this kind of freehand pipe. It looked like a replacement stem that was just stuck in the shank. Now I had to see if I could find it in the boxes that he sent. That would be a bit of a treasure hunt. He took photos of the rim top and bowl to give a clear picture of the thickness of the cake and the lava on the plateau finish of the rim top. There is dust and debris stuck to the walls of the bowl clearly visible in the photos. He also took photos of the top and underside of the stem that came with it to show the chatter and tooth marks. Jeff took a photo of the sides and heel of the bowl to give a picture of what the sandblast on the briar looked like. The pedestal on the heel of the bowl is a unique feature of this pipe.He took photos of the stamping on the shank. It reads as noted above and is clear and readable. I found the stem that was pictured above in the photos in one of the bags of stems that I had put together in the bottom of one of the boxes. I took photos of the stem to give an idea of the appearance. Jeff had done a great job cleaning it. The tenon was very short and stubby and there were casting marks on the side of the stem blade. I put the stem on the bowl and took a photo of the stem that Jeff had sent with the pipe. I have worked on quite a few Soren pipes over the years and turned to one of the blogs that I wrote  on another interesting Soren Freehand Sitter (https://rebornpipes.com/2020/02/26/this-interesting-soren-hand-carved-freehand-turned-out-to-be-more-work-than-expected/). I quote from that blog below.

I looked up the brand on Pipephil (http://www.pipephil.eu/logos/en/logo-s10.html) and found that the brand was carved by Søren Refbjerg Rasmussen. Pipes that he made for the European market were mostly stamped “Refbjerg” while those made for the US market were stamped “Soren”. Thus I knew that one I was working on was imported into the US market.

I decided to set the stem aside and see what I could find in my cans of stems here. I found an interesting turned stem that had a lot of potential. It had some oxidation, calcification and deep tooth marks on the surface. The tenon was a perfect fit in the shank so I would just need to clean it up and repair the tooth marks. Here are some photos of the stem as it looked before I worked on it.   I put the stem on the pipe and took some photos of the look of the “new” stem on the bowl. I think that with some work this was the right stem for the pipe.  I took a close up photo of the bowl and the stem to give an idea of what I had to work with. The bowl was very clean and it would polish up nicely. There was still some darkening in the plateau on the back side of the bowl that would need to be dealt with. The stem photos show the oxidation, calcification and deep tooth marks on both sides near the damaged button surface. It was badly damaged but showed a lot of promise. I removed the stem from the shank and dropped in a bath of Briarville’s Pipe Stem Deoxidizer to soak while I worked on the bowl. I figured the soak would bring the oxidation to the surface and clean the surface so that I could do the repairs to the stem surface once it was clean.While the stem soaked in the deoxidizer I worked on the bowl. I scrubbed the rim top with a brass bristle brush to remove the darkening and deep grime. Once it was finished it looked much better. I stained it black with a black stain pen. I used the wire brush again to clean up some of the high spots leaving the stain in the grooves. I also lightly sanded the rim top with a 1500 grit micromesh sanding pad to further highlight the high spots. I like the look of the rim at this point though with more polishing and Balm it would come alive. I polished the smooth portions of the bowl sides with micromesh sanding pads – dry sanding with 1500-12000 grit sanding pads. I wiped the bowl down with a damp cloth after each pad. With the smooth portion of the briar polished I rubbed the bowl and shank down with Before & After Restoration Balm. I worked it into the surface of the bowl sides and shank with my fingertips and into the plateau rim top and sandblast with a horsehair shoe brush. The product works to clean, enliven and protect the briar. I let the Balm sit for 15 minutes and then buffed with a cotton cloth to raise the shine. While the Balm did its work I worked on the “new stem”. I set the bowl aside and turned my attention to the stem. I removed it from the Deoxidizer bath and rubbed it down with a coarse cloth to dry it out. It had brought oxidation to the surface and made it easier to deal with but it had not removed it. The good news for me was that it had done a great job removing it from the tooth marks. I “painted” the surface of the vulcanite with the flame of a lighter to lift the dents as much as possible. I was able to lift them significantly. I filled in the remaining divots with black super glue. I chose to use black glue this time just in case there were some remaining spots of oxidation in the tooth marks. The black would take care of that. Once the repairs had hardened I scrubbed the remaining oxidation in all of the grooves of the fancy stem with Soft Scrub all purpose cleaner. I was able to get into the grooves with the product and the cotton pads that I used to scrub it. It was beginning to look better.   I cleaned out the stem with alcohol and pipe cleaners to remove the tars and the debris that was loosened by the deoxidizer bath.I smoothed out the repairs and recut the button edges with a rasp and a file. The stem was taking shape.  I smoothed out the remaining repair marks and the file marks with 220 grit sandpaper. I started the polishing with 400 grit wet dry sandpaper. I polished the vulcanite stem with micromesh sanding pads – 1500-12000 grit pads. I wiped it down with a damp cloth after each sanding pad. I used Before & After Pipe Polish – both Fine and Extra Fine to further polish the stem.  This beautiful Soren Hand Carved Pedestal Freehand with a fancy, turned vulcanite replacement stem is a great looking pipe now that it has been restored. I put the stem back on the bowl and carefully buffed the pipe with Blue Diamond on the buffing wheel using a light touch on the briar. I gave the bowl and the stem multiple coats of carnauba wax on the buffing wheel and followed that by buffing the entire pipe with a clean buffing pad. I hand buffed the pipe with a microfiber cloth to deepen the shine. The finished Soren Hand Carved fits nicely in the hand and feels great. Give the finished pipe a look in the photos below. The dimensions of the pipe are Length: 6 ½ inches, Height: 2 ½ inches, Outside diameter of the bowl: 1 ¾ inches, Chamber diameter: 7/8 of an inch. The weight of the pipe is 72grams/2.54oz. I will be adding it to the rebornpipes online store in the Danish Pipemakers section. If you are interested in adding this pipe to your collection send me a message or an email. Thanks for reading this blog and my reflections on the pipe while I worked on it. There are many more to come!

Restoring a Mixed Finish Ben Wade Amber Freehand Sitter


Blog by Steve Laug

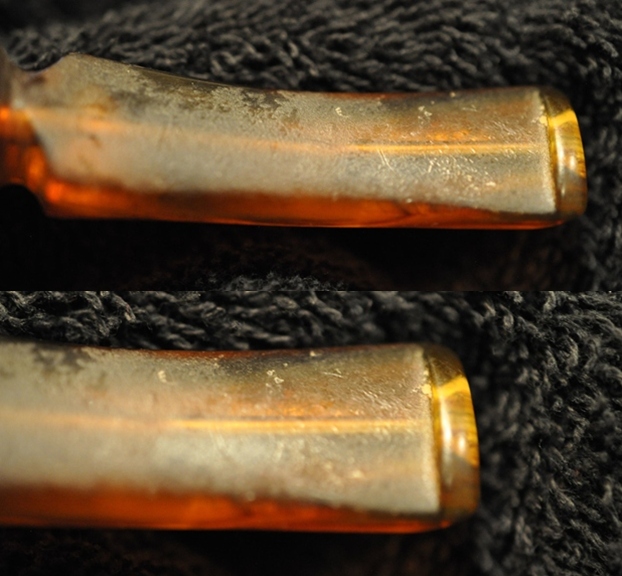
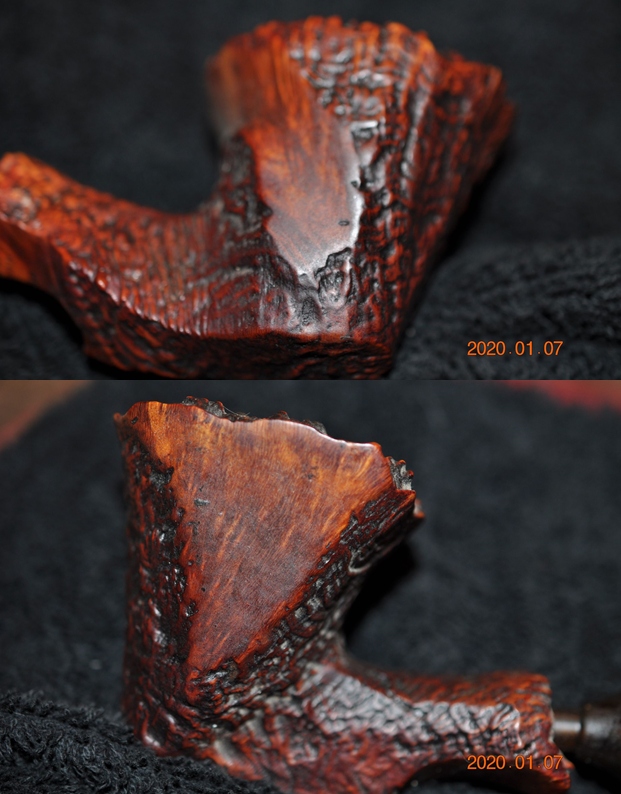
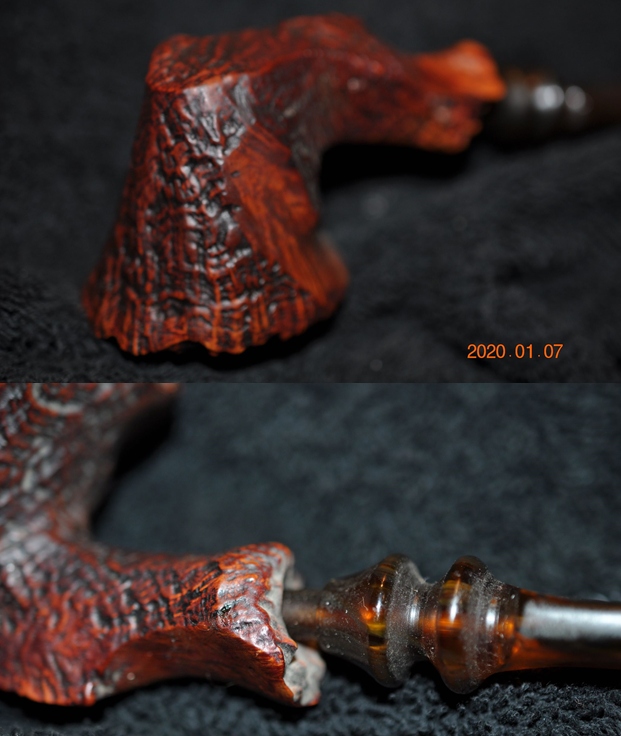
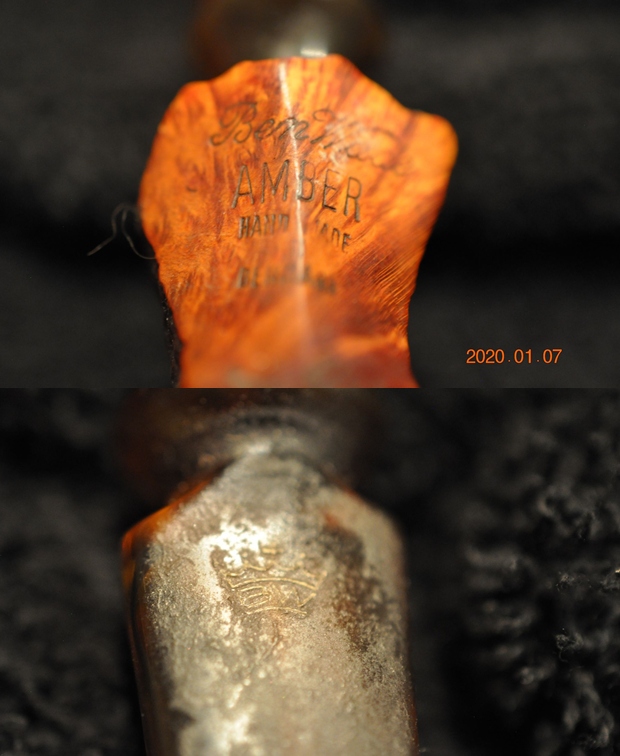
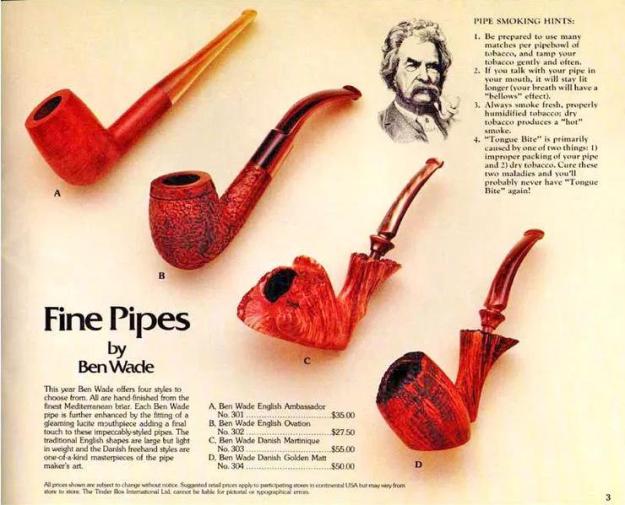
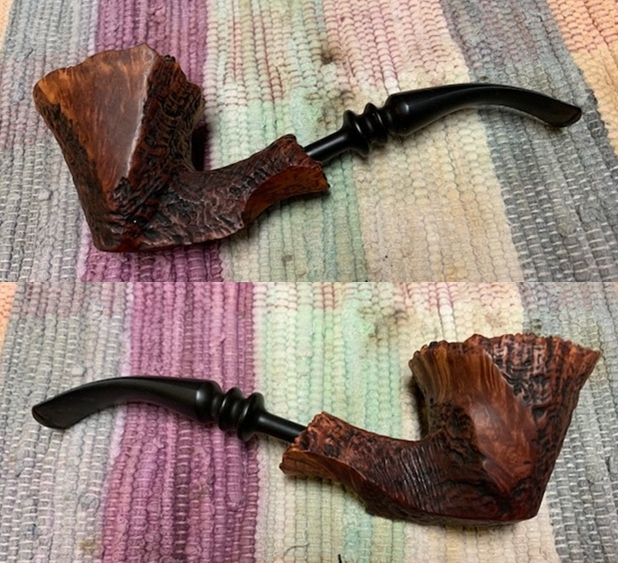
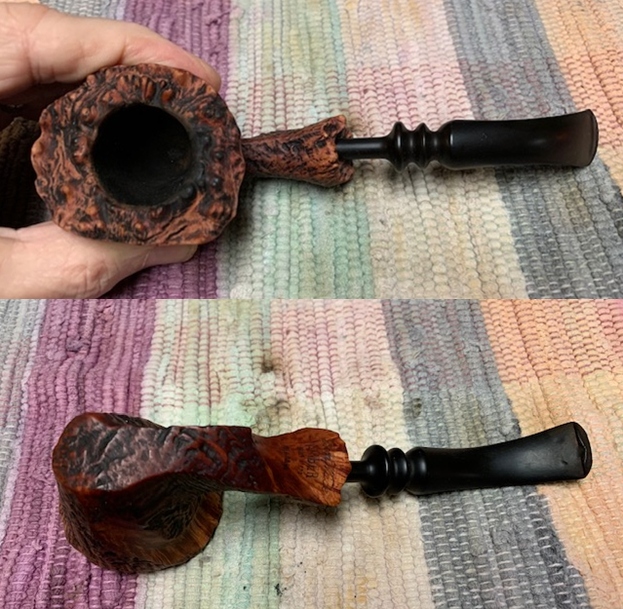
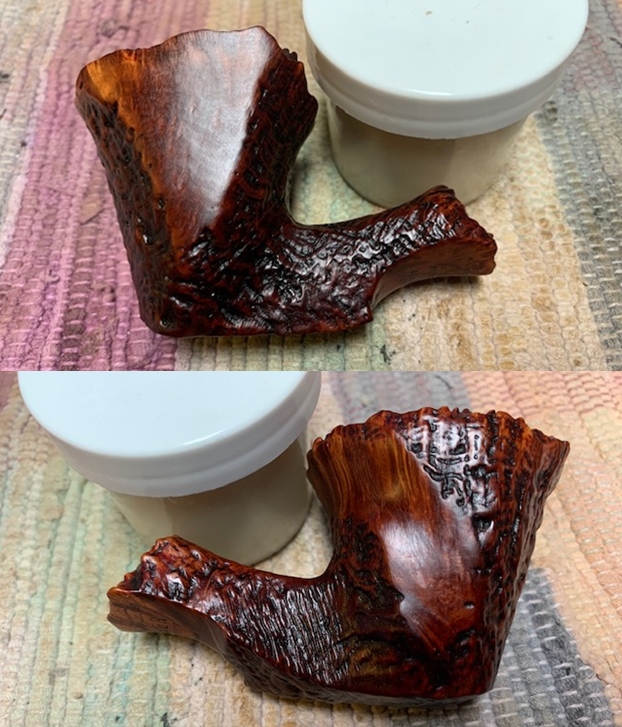
The next pipe on the table came to us in a group of pipes that we picked up from a fellow in Los Angeles, California, USA. Even though the mixed sandblast and smooth finish was a bit dull and lifeless it showed promise under the grit and grime of the years. On the underside of the shank it was clearly stamped Ben Wade in script [over] Amber [over] Hand Made [over] In [over] Denmark. The finish is filthy with grime, dust and oil ground into both the sandblast finish and the smooth briar of the bowl and shank sides. The bowl had a thick cake that overflowed in lava on the plateau rim top filling in some of the grooves and valleys of the finish. The same was true of the plateau on the shank end. It had a lot of dust and debris in the grooves. The acrylic stem was dirty but the Ben Wade Crown logo was in good condition. The pipe had some tooth marks and chatter on both sides ahead of the button. Jeff took some photos of the pipe to show its overall condition before he started his cleanup work. He took photos of the rim top and bowl to give a clear picture of the thickness of the cake and the lava on the plateau finish of the rim top. There is dust and debris stuck to the walls of the bowl clearly visible in the photos. He also took photos of the top and underside of the stem to show the chatter and tooth marks. Otherwise the stem is quite clean.  Jeff took photos of the sides and heel of the bowl to give a picture of what the briar around the pipe looked like. There are a lot of angles on this pipe and there is some stunning grain under the grime.    He took photos of the stamping on the shank. It reads as noted above and is clear and readable. The stem also is stamped with a gold Ben Wade Crown Logo.I remembered that the Preben Holm pipes were marketed under the Ben Wade label in the US and imported through Lane Ltd. I turned to Pipedia and read the listing on the brand to refresh my memory and flesh out the knowledge of the brand (https://pipedia.org/wiki/Ben_Wade). I have included a photo from that site that was taken from a Tinderbox advertisement.I quote the portion of the article that summarizes the Danish period of the history of the brand:

Young Copenhagen master pipemaker Preben Holm had made a meteoric career heading a pipe manufacture employing 45 people at the age of 22! But around the turn of 1970/71 he was in major financial difficulties. His US distributor, Snug Harbour Ltd. in New York City, left him in the lurch. Holm had three unpaid invoices on his desk and another large shipment was ready for the USA, when Snug Harbour’s manager told him on the phone that there was no money at all on the account to pay him.

So the Dane went to New York for an almost desperate search for a new distribution partner. He made contacts with Lane Ltd. and met Herman G. Lane in February 1971. Lane Ltd. had no interest in Holm’s serial pipes produced at that time but so much the more in the hand-carved freehands because the hype for Danish freehands and fancies in the States was still on its way to the climax then. The meeting resulted in an agreement to start a cooperation. Lane insisted to improve the quality considerably and in return he assured to be able to sell essentially larger quantities.

Holm went back home to work on new samples with all-new designs and altered finishes for Lane. Both, Lane and Holm, agreed that it would be unwise to sell the pipes under Preben Holm’s name as long as Snug Harbour had a considerable stock of Preben Holm pipes and might sell them pipes at very low prices just to bring in some money.

So on Mr. Lane’s proposal it was determined to use the name Ben Wade belonging to Lane Ltd. Lane spent considerable amounts of money for advertising the new brand in the big magazines– the centerpiece being whole-page ads showing a very exclusive Seven Day’s Set.

The cooperation with Lane Ltd. proved to be an eminent business success for both partners. Within a very short time Ben Wade Handmade Denmark sold in much larger quantities and at higher prices than they had ever dreamed of. And the hype these freehands and fancy pipes caused went on unbroken long after Herman G. Lane deceased. Preben Holm – obviously much more brilliant in pipe making than in pipe business – was in major troubles again in 1986 and had to sack most of his staff. The Ben Wade production was significantly lowered but continued until his untimely death in June of 1989.

Up to now Preben Holm made Ben Wade pipes are cult and highly sought for on the estate markets.

With that information my initial thoughts were confirmed. This pipe was a Preben Holm made Freehand distributed in the US by Lane Ltd under the name Ben Wade. The freehand rage occurred in the late 70s and the pipes were made until Preben’s death in 1989. My guess would be that this pipe was made sometime during that time period and potentially in the late 70s.

Jeff had cleaned up the pipe with his usual penchant for thoroughness. He reamed the pipe with a PipNet Pipe Reamer and cleaned up the remnants with a Savinelli Fitsall Pipe Knife.  He scrubbed the bowl with undiluted Murphy’s Oil Soap with a tooth brush. He worked over the debris in the plateau on the rim top and shank end and was able to remove it. He rinsed it under running warm water to remove the soap and grime. He cleaned out the inside of the shank and the airway in the stem with alcohol, cotton swabs and pipe cleaners. When I took it out of the box it had the following black stem in the shank. I had not seen the photos above so I did not have a clue it was the wrong stem. Jeff had soaked this stem in Before & After Deoxidizer to remove the oxidation. He scrubbed the stem with Soft Scrub and cotton pads to remove the debris and oils on the stem. He rinsed it with warm water and dried it off. I took photos of the pipe with the stem it had in the box.  It really looked good. I set the stem aside and turned my attention to the bowl. I rubbed the bowl and shank down with Before & After Restoration Balm. I worked it into the surface of the bowl sides and shank with my fingertips and into the plateau rim top with a horsehair shoe brush. The product works to clean, enliven and protect the briar. I let the balm sit for 15 minutes and then buffed with a cotton cloth to raise the shine. While the Balm did its work I went to look for the stem that is showing the photos above that Jeff sent to me.   I found the stem on another pipe in the bottom of the box. It was exactly the stem that Jeff had shown in the photos above of the pipe when he received it. I put it in the shank and took photos of the amber coloured tortoise shell stem in the Ben Wade Amber bowl. It looked really good.   The rim top had some darkening on the back of the bowl. The inner edge of the rim looked very good with slight darkening. I took photos of it after I had worked the Balm into the finish. The stem surface looked very good with a few small tooth marks and chatter on both sides near the button. Unfortunately I forgot to take photos of the stem before I filled in the marks on both sides with clear super glue.      I removed the stem and took a photo of the pipe to give a sense of the whole. The stem is turned fancy acrylic. I set the bowl aside and turned to work on the stem. I filled in the tooth marks with clear super glue. Once they cured and hardened I smoothed out the repairs on the surface of the acrylic with 220 grit sandpaper and started the polishing of the stem with 400 grit wet dry sandpaper.   I polished the vulcanite stem with micromesh sanding pads – 1500-12000 grit pads. I wiped it down with a damp cloth after each sanding pad. I used Before & After Pipe Polish – both Fine and Extra Fine to further polish the stem.  This beautiful Ben Wade Amber Freehand Sitter with a fancy, turned acrylic stem is a great looking pipe now that it has been restored. I put the stem back on the bowl and carefully buffed the pipe with Blue Diamond on the buffing wheel using a light touch on the briar. I gave the bowl and the stem multiple coats of carnauba wax on the buffing wheel and followed that by buffing the entire pipe with a clean buffing pad. I hand buffed the pipe with a microfiber cloth to deepen the shine. The finished Amber Freehand fits nicely in the hand and feels great. Give the finished pipe a look in the photos below. The dimensions of the pipe are Length: 6 ½ inches, Height: 2 ½ inches, Outside diameter of the bowl: 2 inches, Chamber diameter: 1 inch. The weight of the pipe is 62grams/2.19oz.If you are interested in adding this pipe to your collection send me a message or an email. Thanks for reading this blog and my reflections on the pipe while I worked on it. There are many more to come!
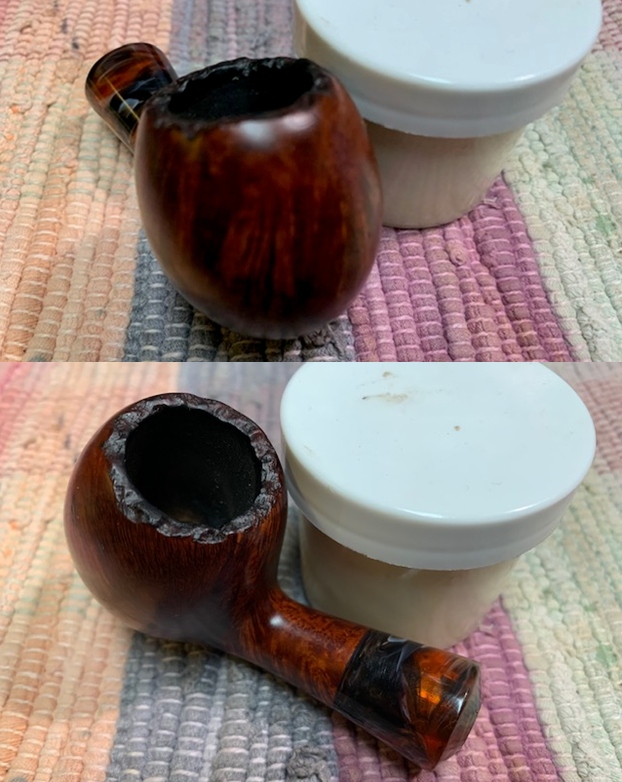
 

Restoring a Gorgeous Ben Wade Martinique Freehand Sitter


Blog by Steve Laug

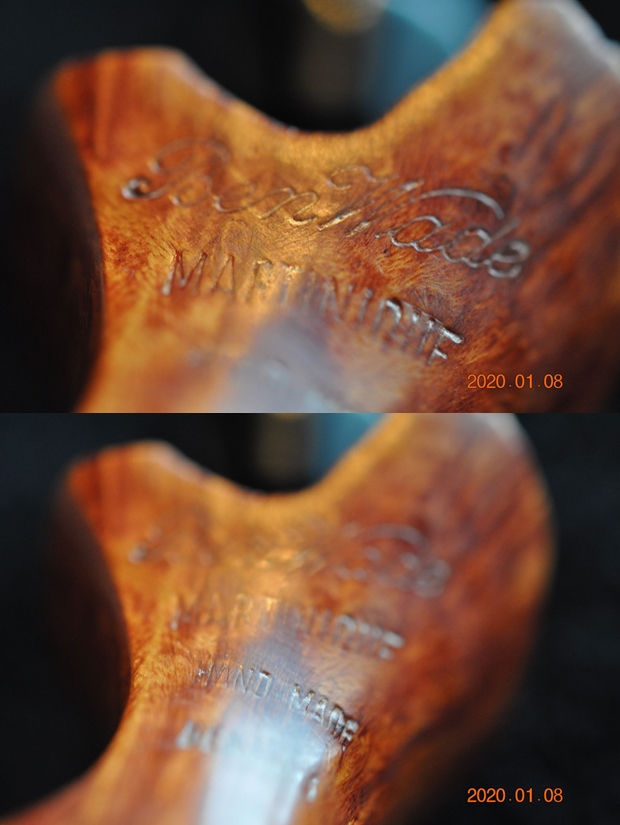
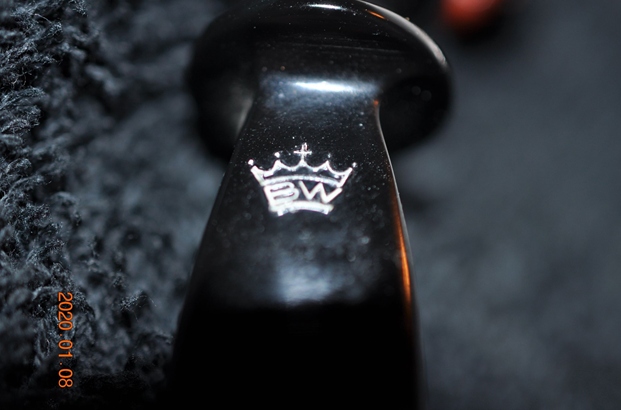
The next pipe on the table came to us in a group of pipes that we picked up from a fellow in Los Angeles, California, USA. Even though the finish was a bit dull and lifeless it showed promise under the grit and grime of the years. On the underside of the shank it was clearly stamped Ben Wade in script [over] Martinique [over] Hand Made [over] In [over] Denmark. The finish is filthy with grime and oil ground into the smooth briar of the bowl and shank sides. The bowl had a moderate cake that overflowed in lava on the plateau rim top filling in some of the grooves and valleys of the finish. The same was true of the plateau on the shank end. It had a lot of dust and debris in the grooves. The acrylic stem was dirty but the Ben Wade Crown logo was in good condition. The pipe had some tooth marks and chatter on both sides ahead of the button. Jeff took some photos of the pipe to show its overall condition before he started his cleanup work. He took photos of the rim top and bowl to give a clear picture of the thickness of the cake and the lava on the plateau finish of the rim top. There is dust and debris stuck to the walls of the bowl clearly visible in the photos. He also took photos of the top and underside of the stem to show the chatter and tooth marks. Otherwise the stem is quite clean.     Jeff took photos of the sides and heel of the bowl to give a picture of what the briar around the pipe looked like. There are a lot of angles on this pipe and there is some stunning grain under the grime.    He took photos of the stamping on the shank. It reads as noted above and is clear and readable. I remembered that the Preben Holm pipes were marketed under the Ben Wade label in the US and imported through Lane Ltd. I turned to Pipedia and read the listing on the brand to refresh my memory and flesh out the knowledge of the brand (https://pipedia.org/wiki/Ben_Wade). I have included a photo from that site that was taken from a Tinderbox advertisement.

I quote the portion of the article that summarizes the Danish period of the history of the brand:

Young Copenhagen master pipemaker Preben Holm had made a meteoric career heading a pipe manufacture employing 45 people at the age of 22! But around the turn of 1970/71 he was in major financial difficulties. His US distributor, Snug Harbour Ltd. in New York City, left him in the lurch. Holm had three unpaid invoices on his desk and another large shipment was ready for the USA, when Snug Harbour’s manager told him on the phone that there was no money at all on the account to pay him.

So the Dane went to New York for an almost desperate search for a new distribution partner. He made contacts with Lane Ltd. and met Herman G. Lane in February 1971. Lane Ltd. had no interest in Holm’s serial pipes produced at that time but so much the more in the hand-carved freehands because the hype for Danish freehands and fancies in the States was still on its way to the climax then. The meeting resulted in an agreement to start a cooperation. Lane insisted to improve the quality considerably and in return he assured to be able to sell essentially larger quantities.

Holm went back home to work on new samples with all-new designs and altered finishes for Lane. Both, Lane and Holm, agreed that it would be unwise to sell the pipes under Preben Holm’s name as long as Snug Harbour had a considerable stock of Preben Holm pipes and might sell them pipes at very low prices just to bring in some money.

So on Mr. Lane’s proposal it was determined to use the name Ben Wade belonging to Lane Ltd. Lane spent considerable amounts of money for advertising the new brand in the big magazines– the centerpiece being whole-page ads showing a very exclusive Seven Day’s Set.

The cooperation with Lane Ltd. proved to be an eminent business success for both partners. Within a very short time Ben Wade Handmade Denmark sold in much larger quantities and at higher prices than they had ever dreamed of. And the hype these freehands and fancy pipes caused went on unbroken long after Herman G. Lane deceased. Preben Holm – obviously much more brilliant in pipe making than in pipe business – was in major troubles again in 1986 and had to sack most of his staff. The Ben Wade production was significantly lowered but continued until his untimely death in June of 1989.

Up to now Preben Holm made Ben Wade pipes are cult and highly sought for on the estate markets.

With that information my initial thoughts were confirmed. This pipe was a Preben Holm made Freehand distributed in the US by Lane Ltd under the name Ben Wade. The freehand rage occurred in the late 70s and the pipes were made until Preben’s death in 1989. My guess would be that this pipe was made sometime during that time period and potentially in the late 70s.

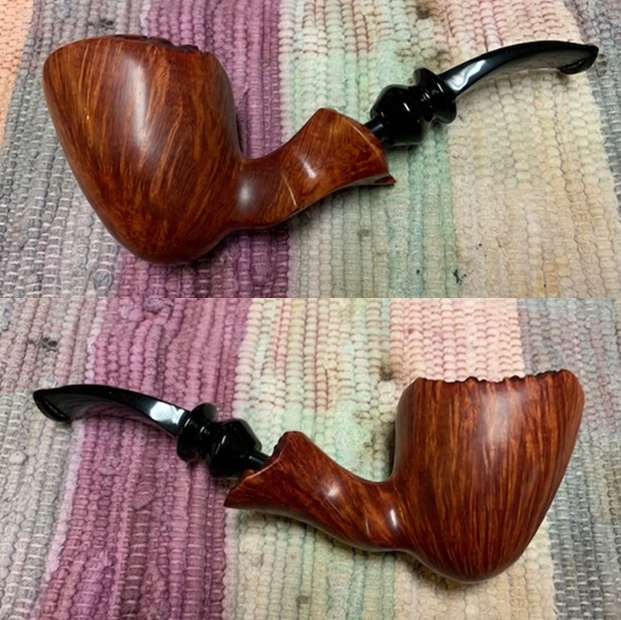
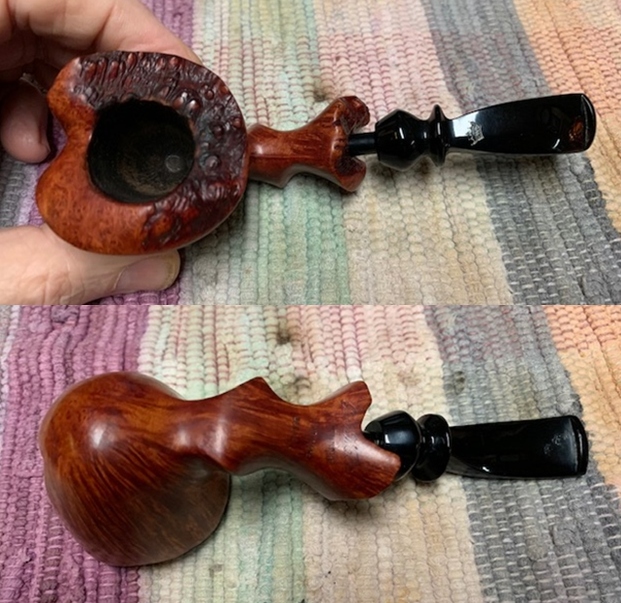
Jeff had cleaned up the pipe with his usual penchant for thoroughness. He reamed the pipe with a PipNet Pipe Reamer and cleaned up the remnants with a Savinelli Fitsall Pipe Knife.  He scrubbed the bowl with undiluted Murphy’s Oil Soap with a tooth brush. He worked over the debris in the plateau on the rim top and shank end and was able to remove it. He rinsed it under running warm water to remove the soap and grime. He cleaned out the inside of the shank and the airway in the stem with alcohol, cotton swabs and pipe cleaners. He scrubbed the stem with Soft Scrub and cotton pads to remove the debris and oils on the stem. He rinsed it with warm water and dried it off. I took photos of the pipe once I received it.  It really looked good. The rim top had some darkening on the back of the bowl. The inner edge of the rim looked very good with slight darkening. The stem surface looked very good with a few small tooth marks and chatter on both sides near the button.    I took a photo of the stamping on the underside of the shank. It read clearly as noted above. I removed the stem and took a photo of the pipe to give a sense of the whole. The stem is turned fancy acrylic. I polished the bowl and the smooth portions on the rim top with micromesh sanding pads – dry sanding with 1500-12000 grit pads and wiping it down after each pad with a damp cloth.  I rubbed the bowl and shank down with Before & After Restoration Balm. I worked it into the surface of the bowl sides and shank with my fingertips and into the plateau rim top with a horsehair shoe brush. The product works to clean, enliven and protect the briar. I let the balm sit for 15 minutes and then buffed with a cotton cloth to raise the shine.   I set the bowl aside and turned to work on the stem. I sanded out the tooth marks from the surface of the acrylic with 220 grit sandpaper and started the polishing of the stem with 400 grit wet dry sandpaper.   I polished the vulcanite stem with micromesh sanding pads – 1500-12000 grit pads. I wiped it down with a damp cloth after each sanding pad. I used Before & After Pipe Polish – both Fine and Extra Fine to further polish the stem.  This beautiful Ben Wade Martinique Freehand Sitter with a fancy, turned acrylic stem is a great looking pipe now that it has been restored. I put the stem back on the bowl and carefully buffed the pipe with Blue Diamond on the buffing wheel using a light touch on the briar. I gave the bowl and the stem multiple coats of carnauba wax on the buffing wheel and followed that by buffing the entire pipe with a clean buffing pad. I hand buffed the pipe with a microfiber cloth to deepen the shine. The finished Martinique Freehand fits nicely in the hand and feels great. Give the finished pipe a look in the photos below. The dimensions of the pipe are Length: 6 inches, Height: 2 ½ inches, Outside diameter of the bowl: 2 inches, Chamber diameter: 1 inch. The weight of the pipe is 71grams/2.50oz.If you are interested in adding this pipe to your collection send me a message or an email. Thanks for reading this blog and my reflections on the pipe while I worked on it. There are many more to come!

This long shank Bulldog really came out looking amazing


Blog by Steve Laug

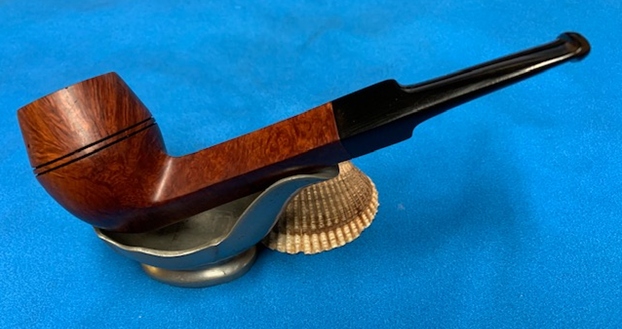
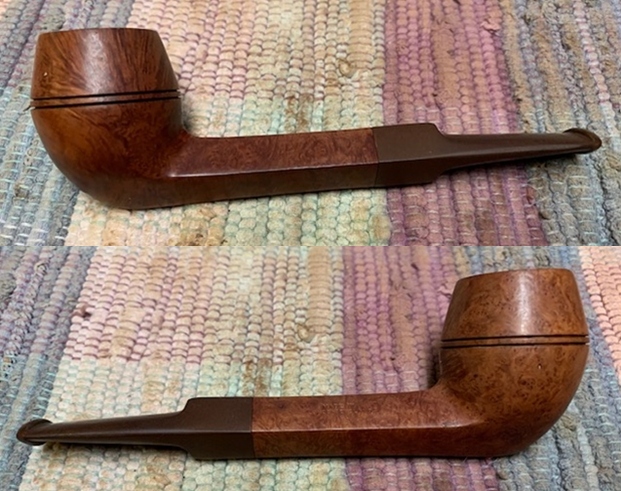
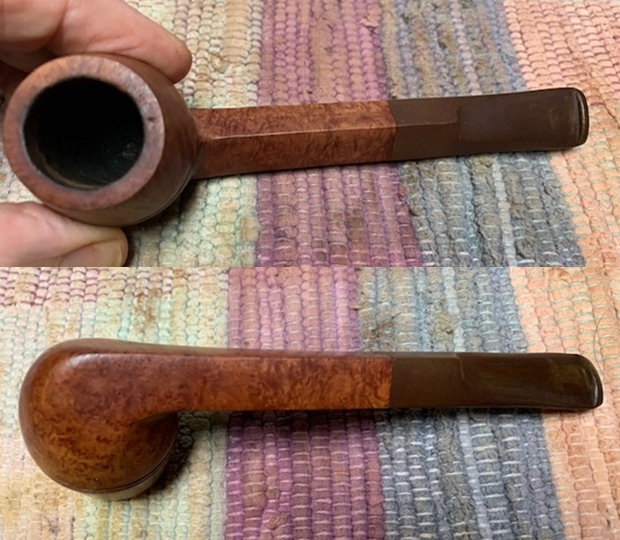
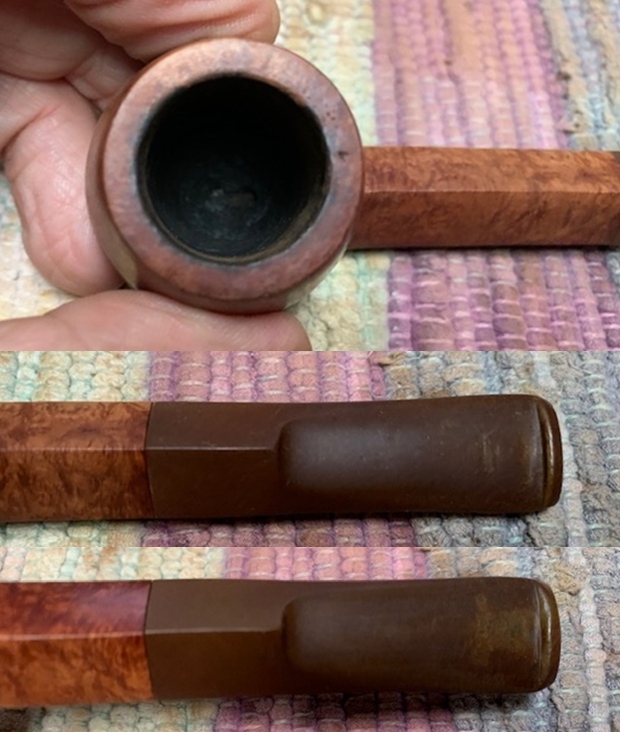
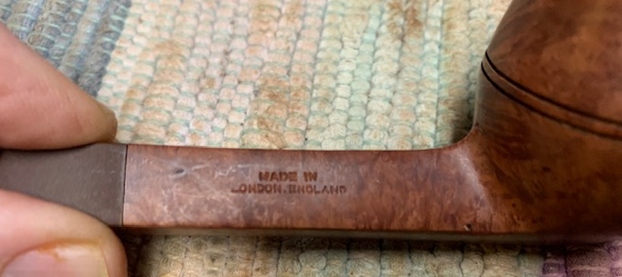
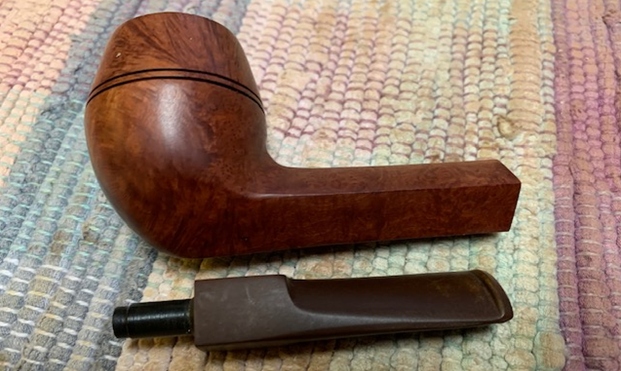
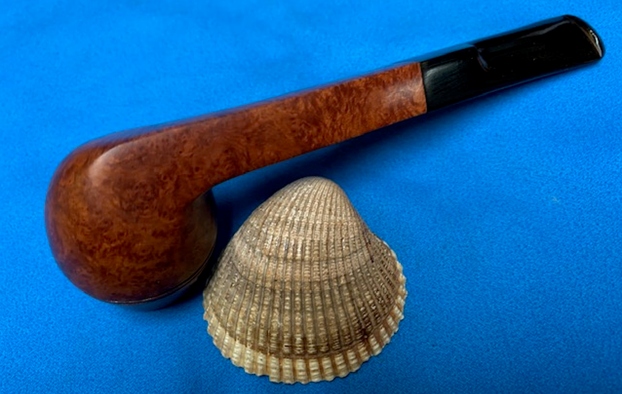
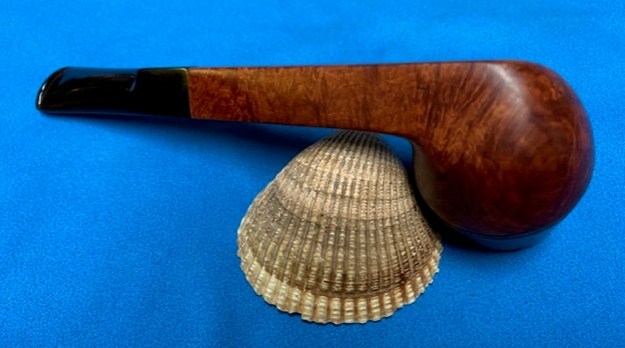
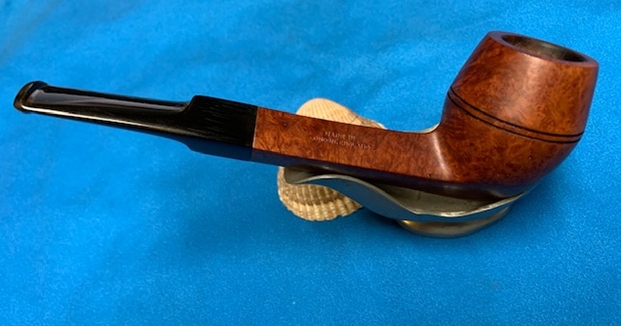
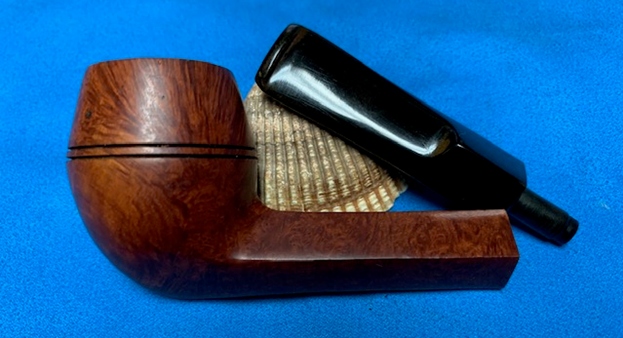
The next pipe on the work table is one that came to us from a pipe hunt that Jeff or I did and we cannot remember where and when we picked it up. Our memory is that it has been sitting around for a while waiting to be restored. It does not have and stamping on the left side of the shank. On the right side it reads Made In [over] London, England. The vulcanite saddle stem has no identifying marks that help with identification. The pipe has an interesting mix of grain – swirls, birdseye and cross grain around the bowl and long shank. When the pipe arrived here it was very clean. Jeff had done his usual thorough job in removing all of the cake in the bowl and the lava on the rim top. He had reamed the bowl with a PipNet Pipe Reamer and cleaned up the remnants with a Savinelli Fitsall Pipe Knife. He took the cake back to bare briar so we could check the walls for damage. He scrubbed the exterior of the bowl with Murphy’s Oil Soap and a tooth brush to remove the grime on the bowl and rim and was able to remove the lava and dirt. He cleaned out the interior of the bowl and shank with pipe cleaners, cotton swabs and alcohol until they came out clean. He cleaned the stem with Soft Scrub to remove the grime on the exterior and cleaned out the airway with alcohol, cotton swabs and pipe cleaners. I took photos of the pipe before I started my part of the work. I took photos of the rim top and the stem. The photo of the rim top shows how clean the bowl looks and some of the damage to the inner edge of the bowl. There is also a small sand pit in the middle of the rim top at the back of the bowl. The stem still had some oxidation that would need to be worked on. The photos also show the tooth marks and chatter on both sides at the button. I took photos of the stamping on the left side of the shank. The stamping is clear and reads as noted above. I removed the stem from the shank and took a photo of the parts to give an idea of the flow and form of the pipe. It is a nice looking Bulldog. The pipe reminded me of another long shank Bulldog I had restored previously so I turned to the blog about that restoration and reread the article. That pipe had been stamped ROTA’S, Made in London, England and was a Bulldog (https://rebornpipes.com/2020/04/20/restoring-a-bit-of-a-mystery-rotas-made-in-london-england-long-shank-bulldog/). I have included a photo of the finished sandblast pipe below.When I worked on above ROTA’S Pipe I recalled thinking that it reminded me of another pipe. I quote what I wrote in that blog below.

While I was working on the pipe there was something about the shape, particularly the cap above the twin rings and the way the bottom of the bowl flowed into the diamond shank that reminded me of some GBD Bulldogs that I had worked on. I searched online for long shank GBD Bulldogs and found the one that I was thinking about. The link led me to a pipe on the site smokingpipes.com – a GBD Celebrity 268 Bulldog. I am including both the link and a picture below (https://www.smokingpipes.com/pipes/estate/england/moreinfo.cfm?product_id=141918). While the GBD has a slightly shorter shank on it you can see the similarity to the Rota’s pipe and the no name Made in London England pipe on the table now. There is certainly a possibility that both pipes came from the GBD factory in London. However the mystery still remains cloaked in uncertainty.

Now it was time to work on the pipe itself. I used a folded piece of 220 grit sandpaper to clean up the damaged inner edge of the rim. I cleaned up the edge and removed the damaged briar on that portion of the bowl. Once I finished it looked much better than when I started. I polished the bowl and rim top with micromesh sanding pads – wet sanding with 1500-12000 grit pads and wiping the briar down with a damp cloth after each sanding pad.  I rubbed the bowl down with Before & After Restoration Balm. I worked it into the surface of the briar with my fingertips to clean, enliven and protect it. I let the balm sit for 15 minutes and then buffed with a cotton cloth to raise the shine.   I set the bowl aside and turned my attention to the stem. I “painted” the surface of the stem with the flame of a Bic lighter to lift the tooth marks on the surface of both sides. It worked very well and I would be able to buff the remnants out with micromesh. I scrubbed the stem with Soft Scrub All Purpose Cleaner and cotton pads to remove the remaining oxidation in the vulcanite.  I polished the vulcanite with micromesh sanding pads – 1500-12000 grit pads. I wiped it down with a damp cloth after each sanding pad. I used Before & After Pipe Polish – both Fine and Extra Fine to further polish the stem.     Once again I am the part of the restoration that I always look forward to – the moment when all the pieces are put back together. I put the Made in London, England Long Shank Bulldog back together and buffed the bowl and stem with Blue Diamond on the buffing wheel. I gave the bowl and the stem multiple coats of carnauba wax. I buffed the pipe with a clean buffing pad to raise the shine. I hand buffed it with a microfiber cloth to deepen the shine. It is fun to see what the polished bowl looks like with the rich brown stains around the bowl. The black vulcanite saddle stem stands out as a shiny black contrast to the colours of the bowl. It is a light weight pipe that could be clenched and smoked while doing other things. Have a look at it with the photos below. The dimensions of the pipe are Length: 5 ¾ inches, Height: 2 inches, Outside diameter of the bowl: 1 ¼ inches, Chamber diameter: ¾ of an inch. The weight of the pipe is 38grams/1.34oz. This one will soon be on the rebornpipes online store in the British Pipe Makers section. Thanks to each of you who are reading this blog. Remember we are not pipe owners; we are pipemen and women who hold our pipes in trust until they pass on into the trust of the next generation.
New Birth for a Paul Fischer Meerschaum Bent Billiard


Blog by Steve Laug

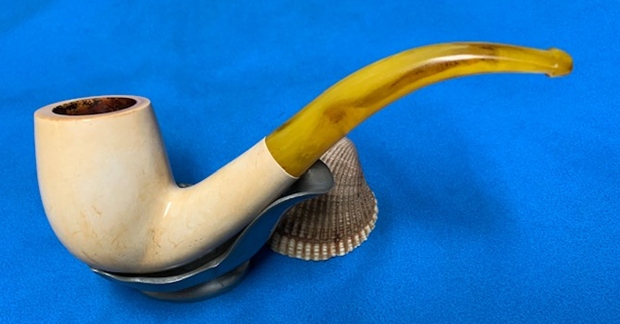
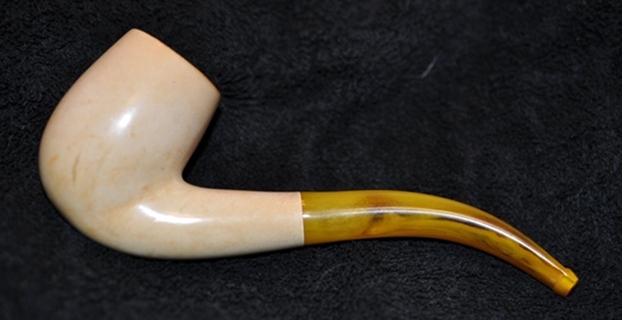
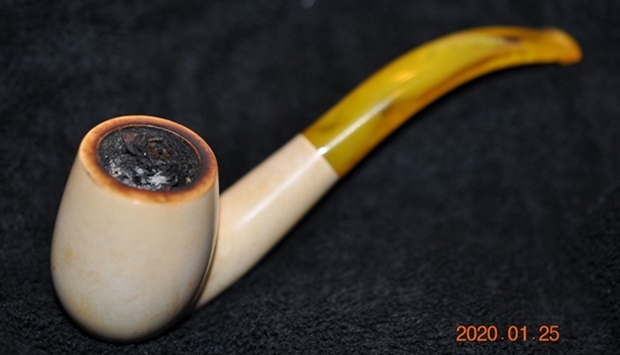
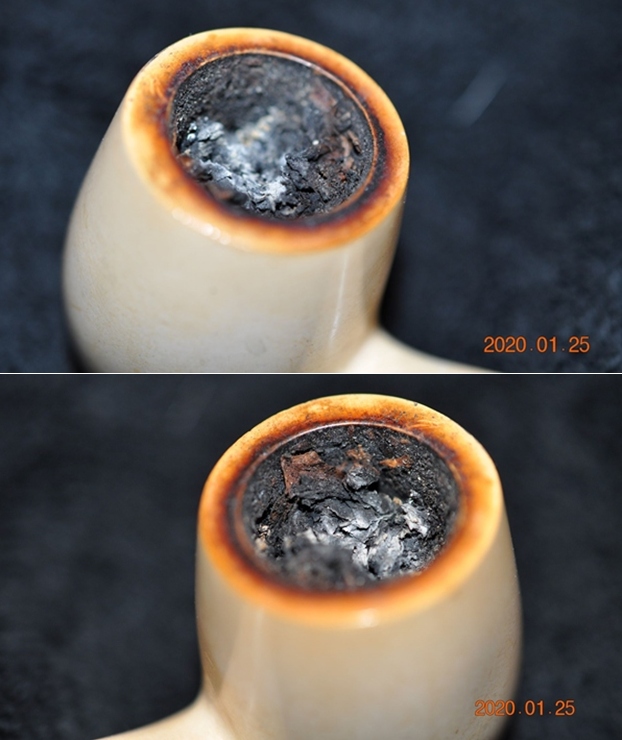
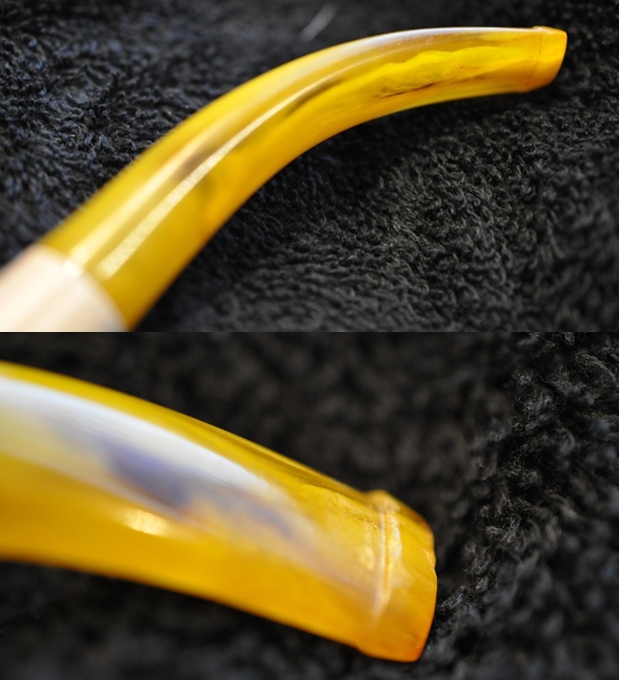
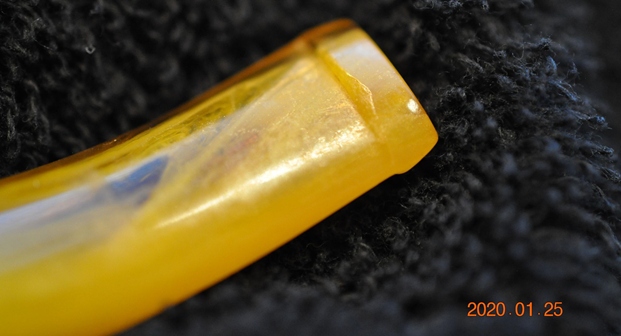
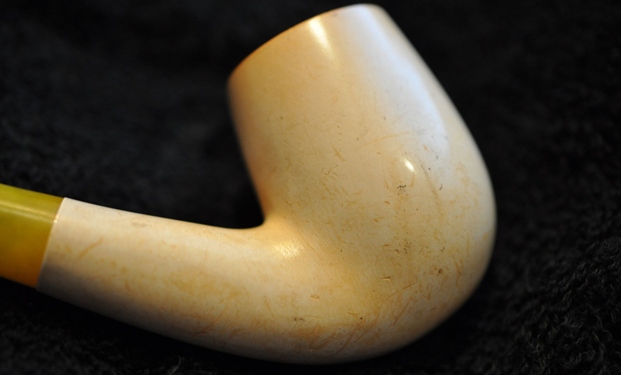
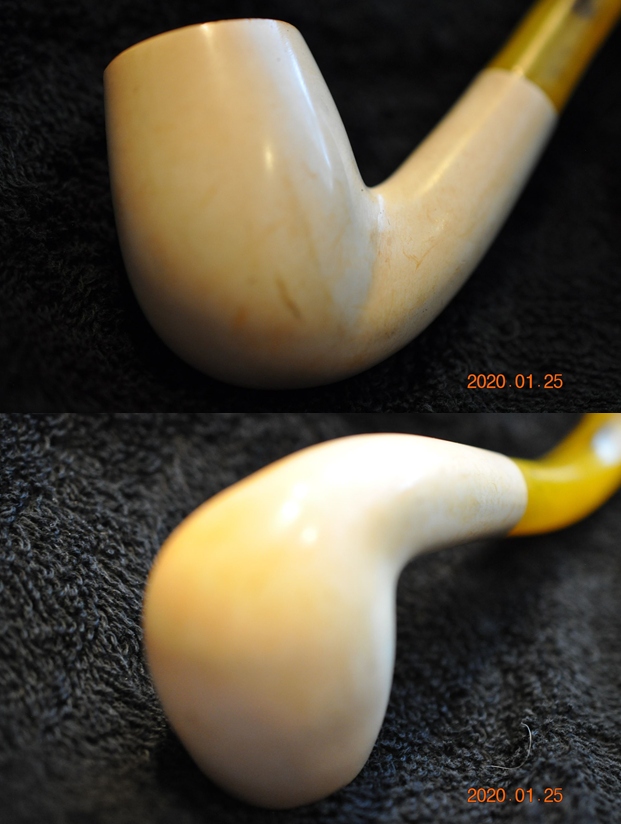
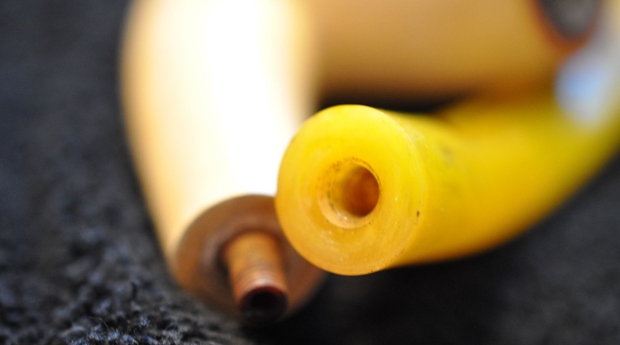
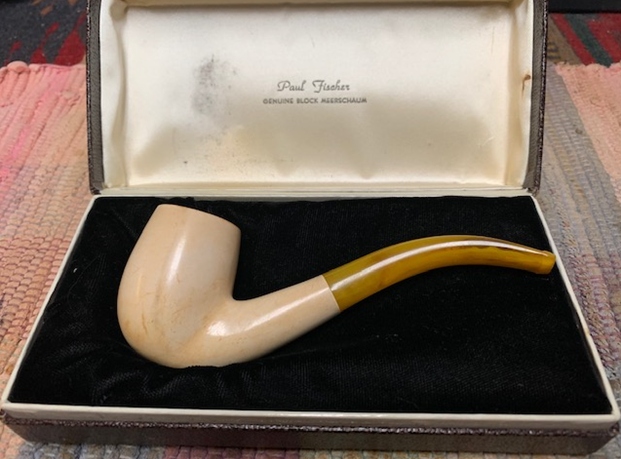
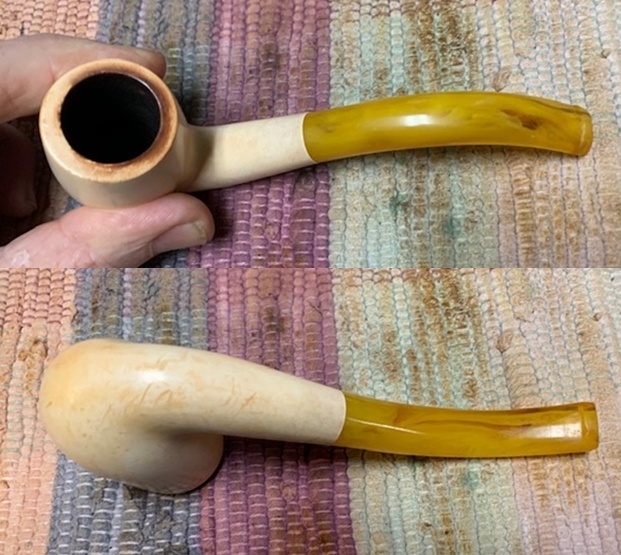
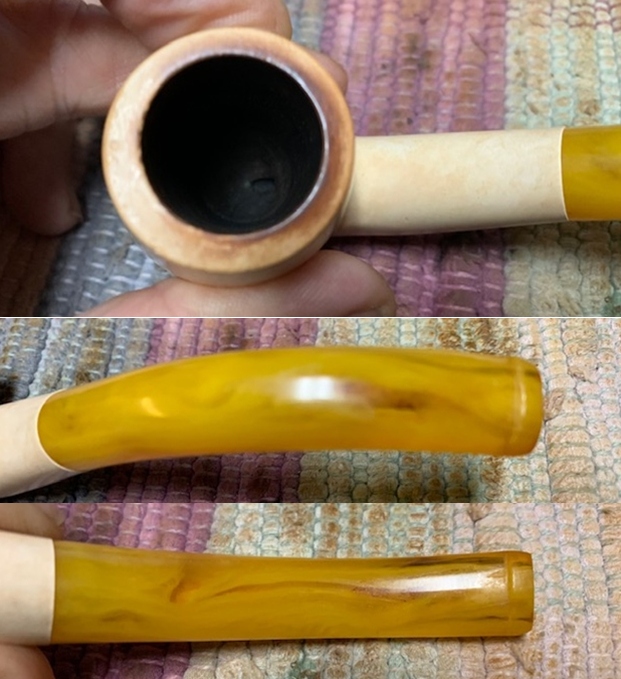
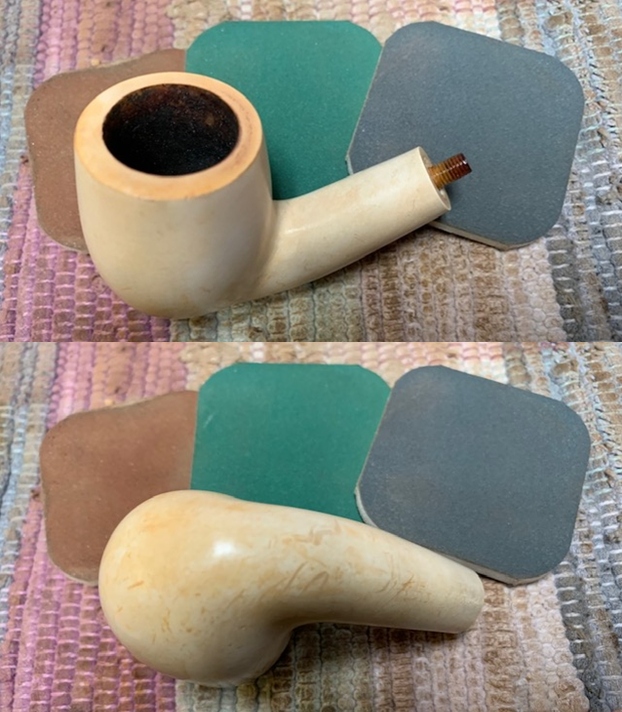
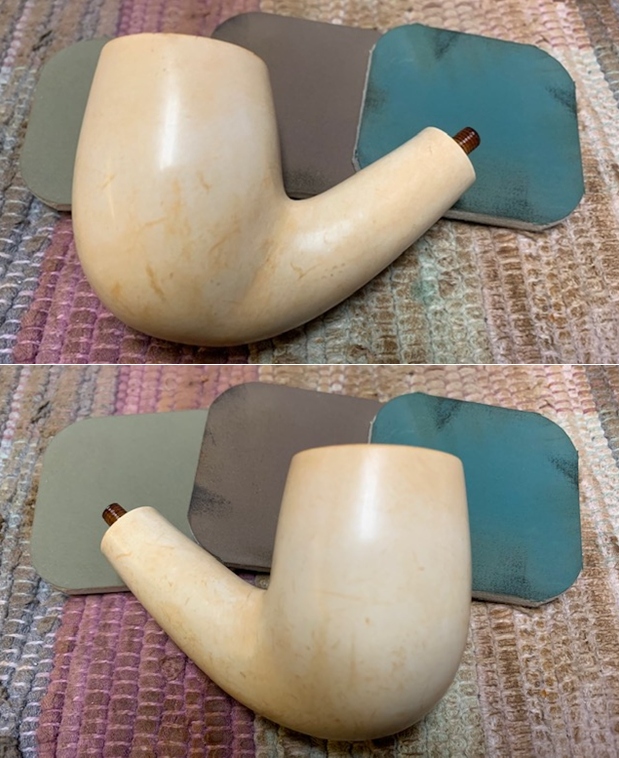
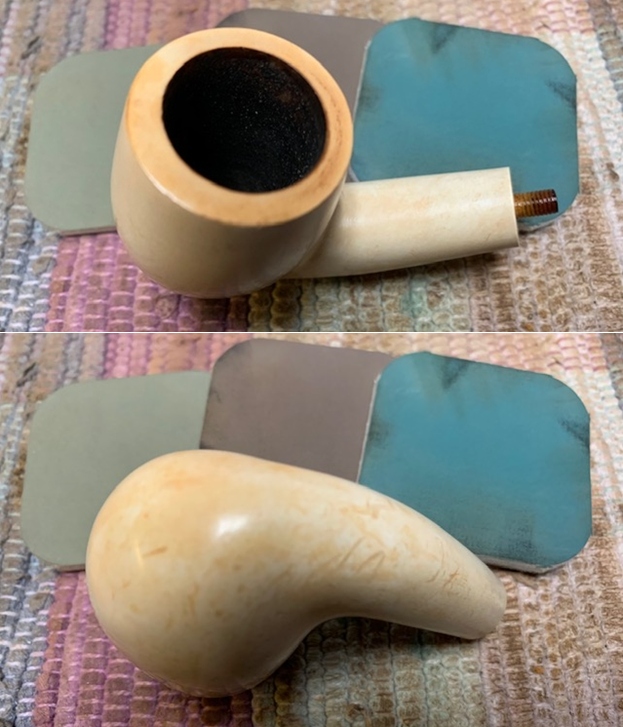
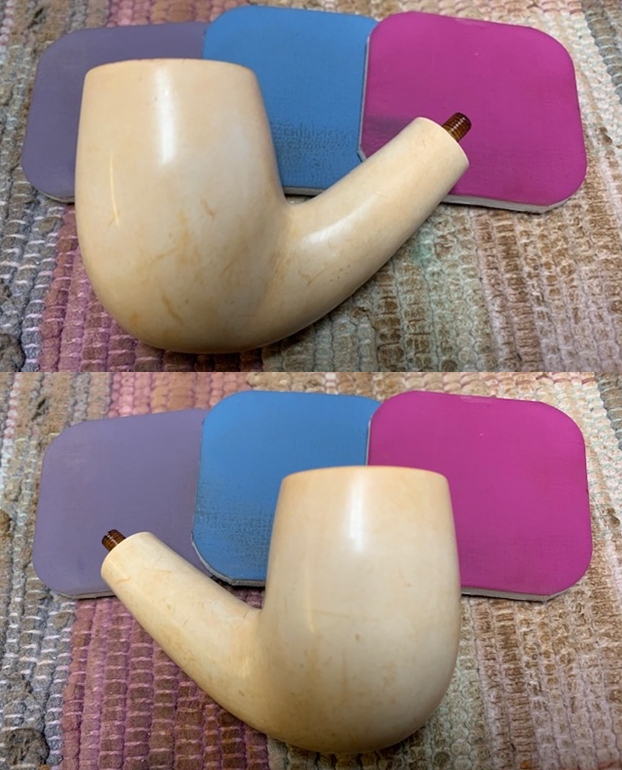
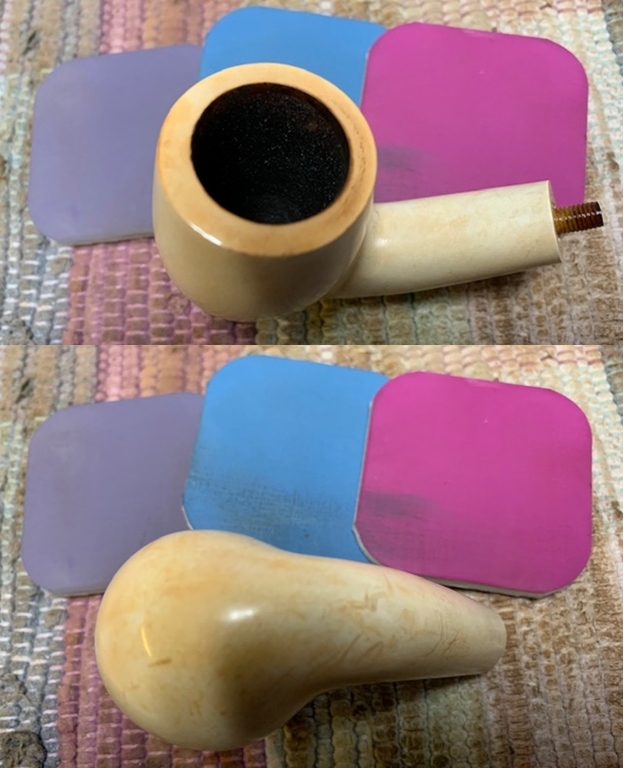
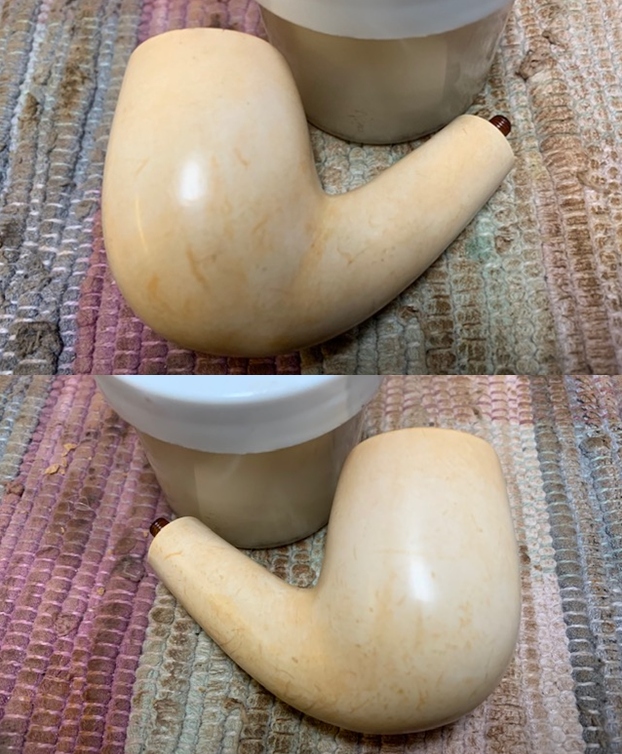
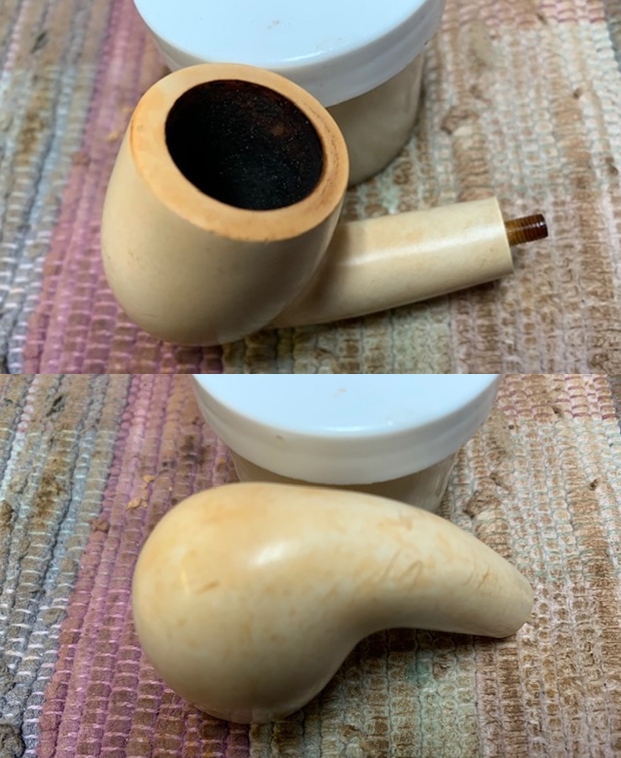
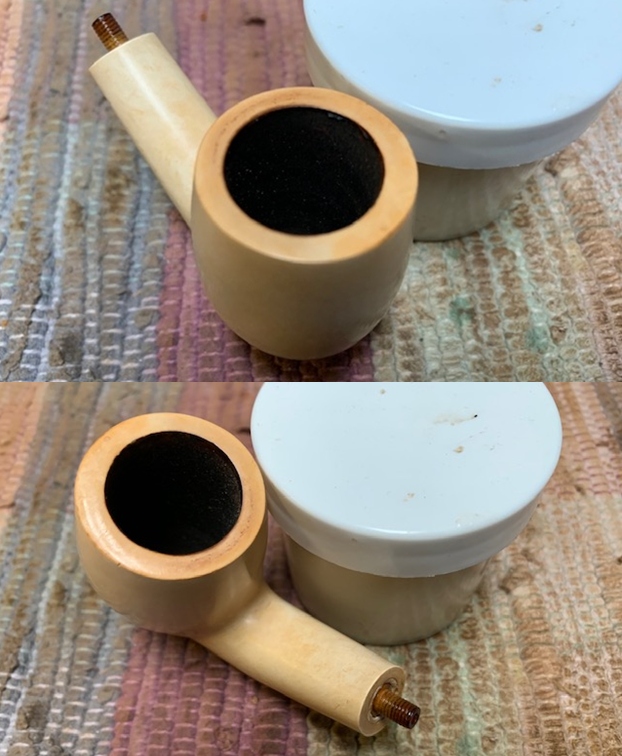
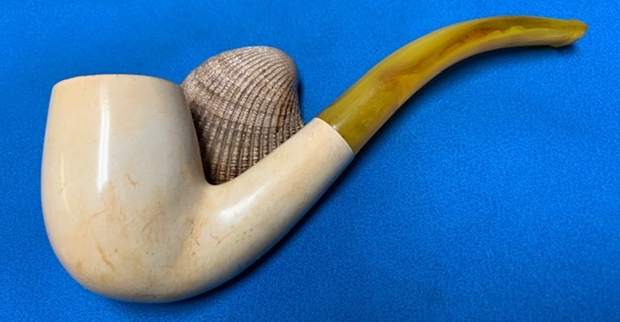
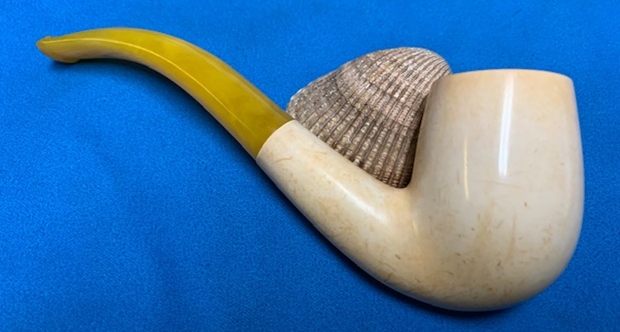
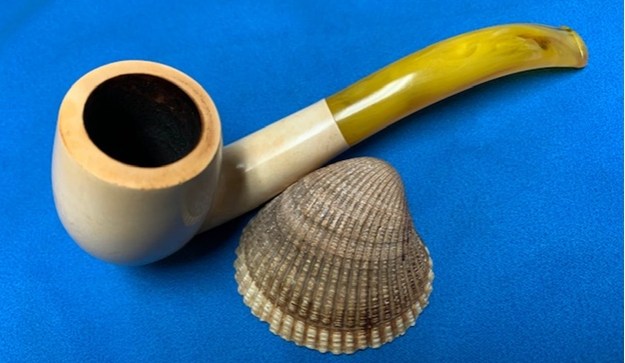
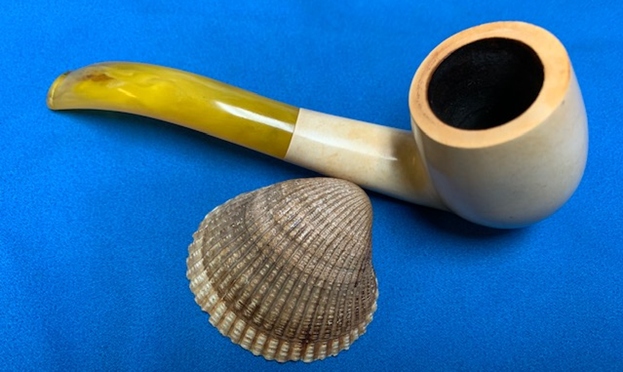
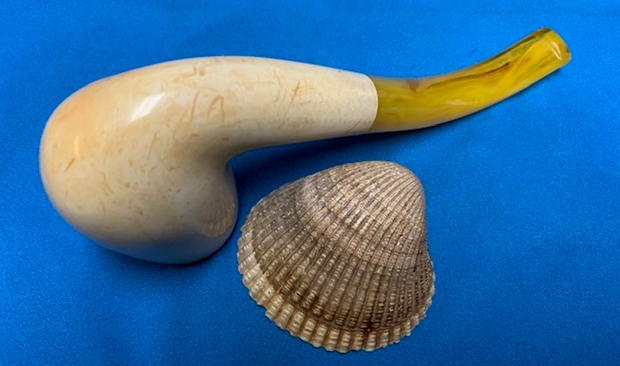
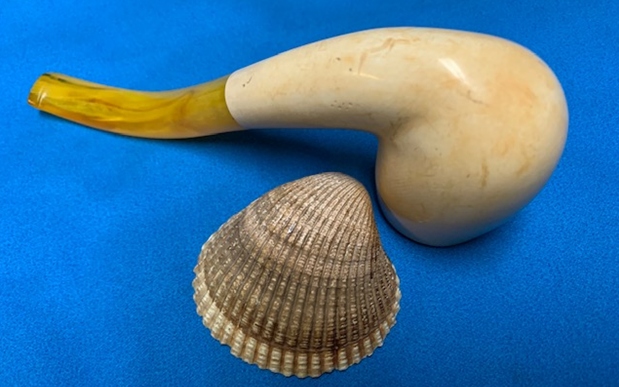
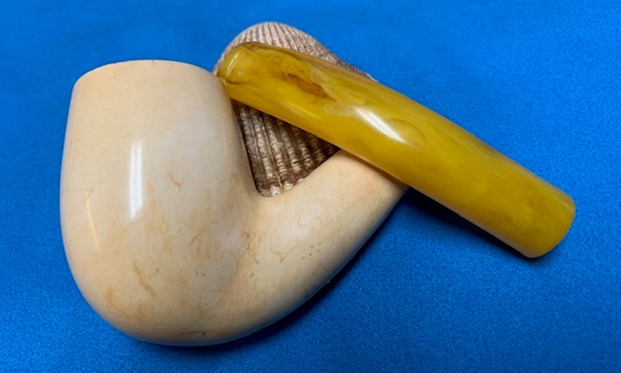
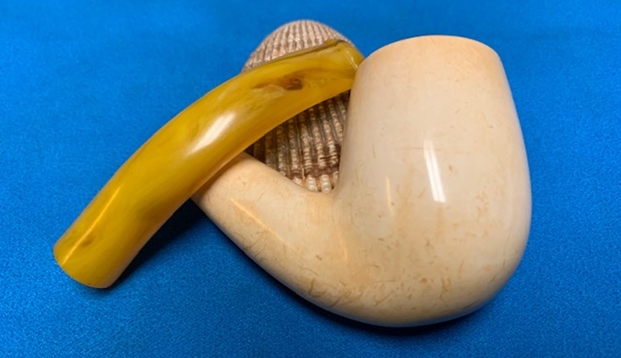
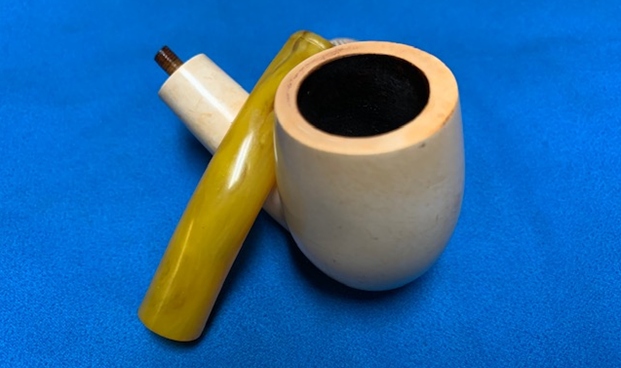
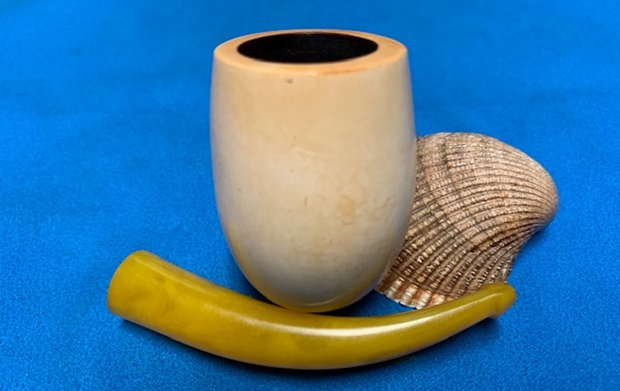
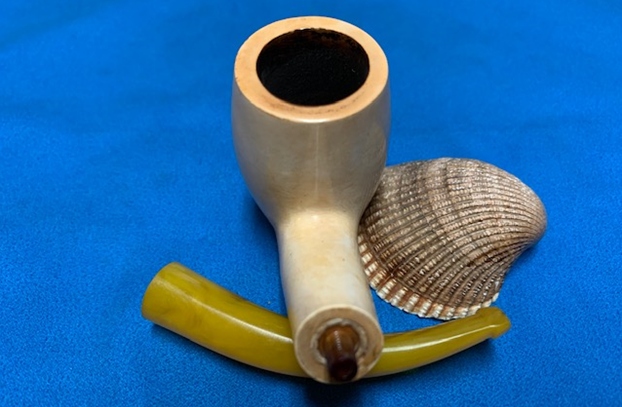
The next pipe on the work table came to us from a group of pipes that we purchased from a fellow in Los Angeles, California, USA. Between us we pick up quite a few pipes for restoration. I try to work them into the restoration queue so that I can keep them moving. This next one is a cased Meerschaum. The case is stamped on the inside and reads Paul Fischer Genuine Block Meerschaum. The stamping on the satin lining was readable and clear. The exterior of the cardboard case was covered in a marbled brown vinyl and in worn condition with just a few nicks around the edges. The meerschaum was dirty but underneath the grime was a nicely developing patina on the smooth bowl. The bowl was caked and filled with tobacco as if it was laid down mid smoke. There was a light overflowing lava coat on the back side of the rimtop. The edges looked to be in good condition. The amber coloured acrylic stem was dirty and had light tooth chatter and marks on the top and underside near the button. There were also scratches in the surface of the stem. It did not have any identifying stamps. The alignment and fit to the shank is very good. It had promise but it was very dirty. Jeff took some photos of the pipe before he started the cleanup work. He took a photo of the rim top and bowl to give a clear picture of the condition of the bowl and rim top. You can see the half smoked bowl of tobacco that is left in chamber. You can also see the lava on the rim top. He also took photos of the top and underside of the stem to show the nicks, scratching, chatter and tooth marks.  Jeff took photos of the sides and heel of the bowl to give a picture of what the meerschaum looked like around the pipe. The finish is showing some patina developing around the bowl. He unscrewed the stem from the shank to show the inset threaded metal tenon in the shank end.I turned to Pipedia and looked up the information on the site (https://pipedia.org/wiki/Fisher). I quote from there.

From Pipes, Artisans and Trademarks, by José Manuel Lopes’ – Paul Fischer was a well-known Austrian meerschaum pipe artisan who settled in downtown Manhattan, New York, and took American citizenship. Symbol: F. See Ed Burak who worked with Paul for 6 years in the 1960s.

On Smokingpipes.com there was a Paul Fischer meerschaum for sale and Bear Graves did the write up (https://www.smokingpipes.com/pipes/estate/italy/moreinfo.cfm?product_id=52153). I have included it below for the information it gives.

I know that it’s not all that often that we see a carved meerschaum in the American estate section, but there was a time when Turkey had little issue with exporting the material, nor carvers from other countries working with the same. Paul Fischer made meerschaums for Kaywoodie and (if memory serves) Ed Burak did some work for Mr. Fisher, early in his career.

Paresh Deshpande did some work on a Kaywoodie Meerschaum and included some helpful information on dating this pipe (https://rebornpipes.com/tag/kaywoodie-meerschaum-pipes/). I include the pertinent section below.

Kaywoodie Block Meerschaums were made from 1938 to the mid 1960’s. The meerschaum pipe business by Kaywoodie was revitalized when Paul Fischer was hired and emigrated from Austria to run the meerschaum pipe department. Kaywoodie meerschaums were available in earlier years but not as prominently as when Paul Fischer came on board. He left in 1960 to make meerschaums under his own name. We continued to make them for several years after he left until we could no longer import meerschaum from Turkey”. (http://www.brothersofbriar.com/t21079-kaywoodie-block-meerschaum)

Given that information I knew that the pipe was made by Paul Fischer and Austrian immigrant to the US. When he first came he worked for Kaywoodie and then in 1960 left to make pipes under his own name. So I know that the pipe I am working on is at least made after 1960.

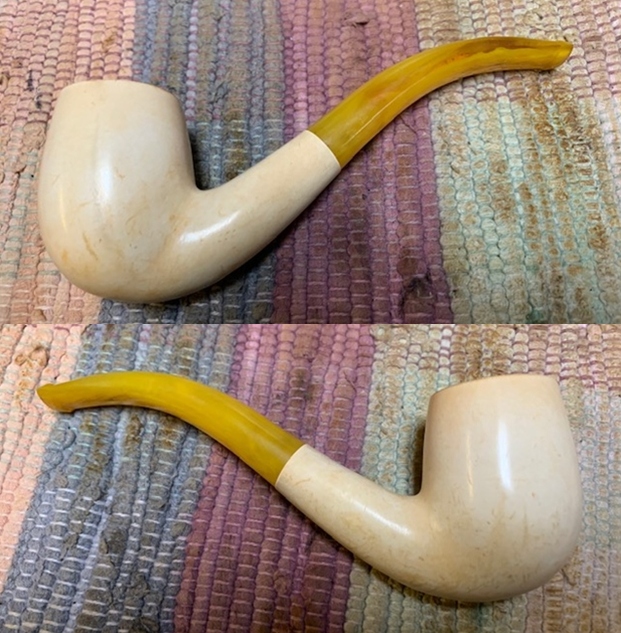
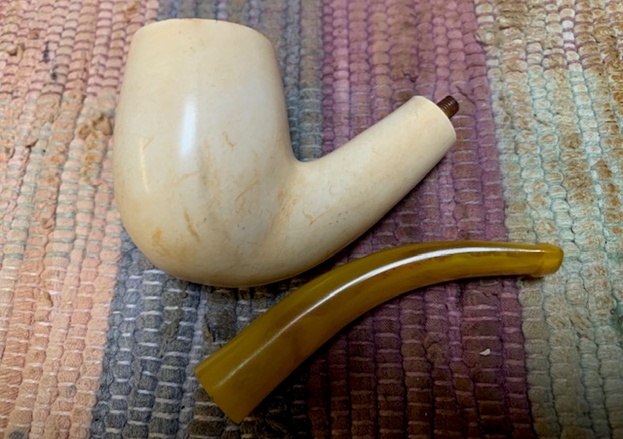
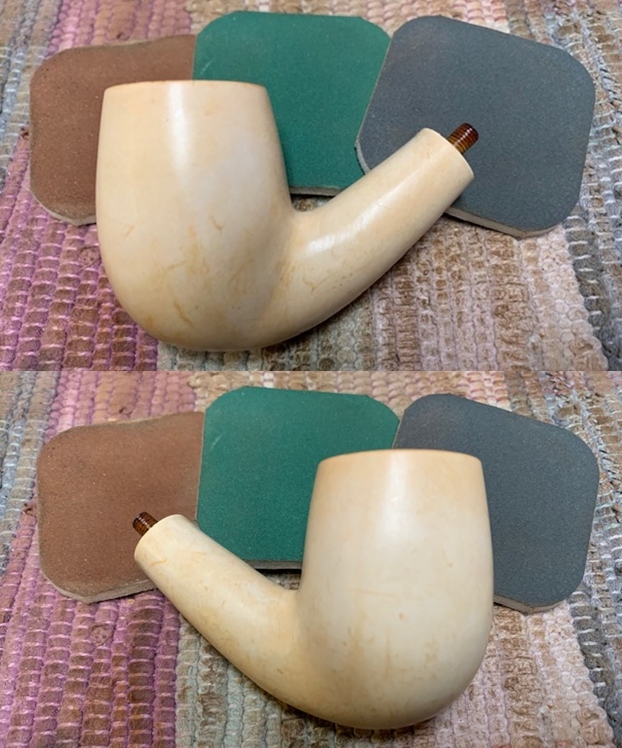
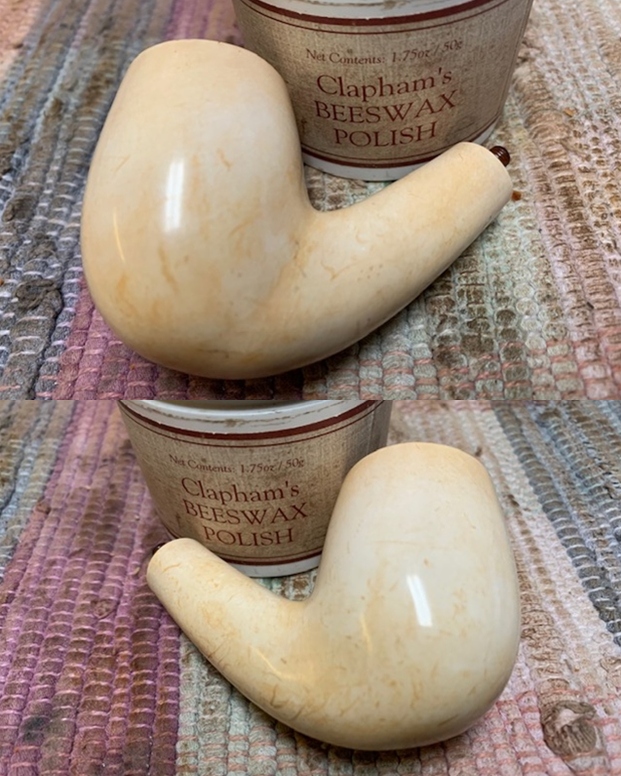
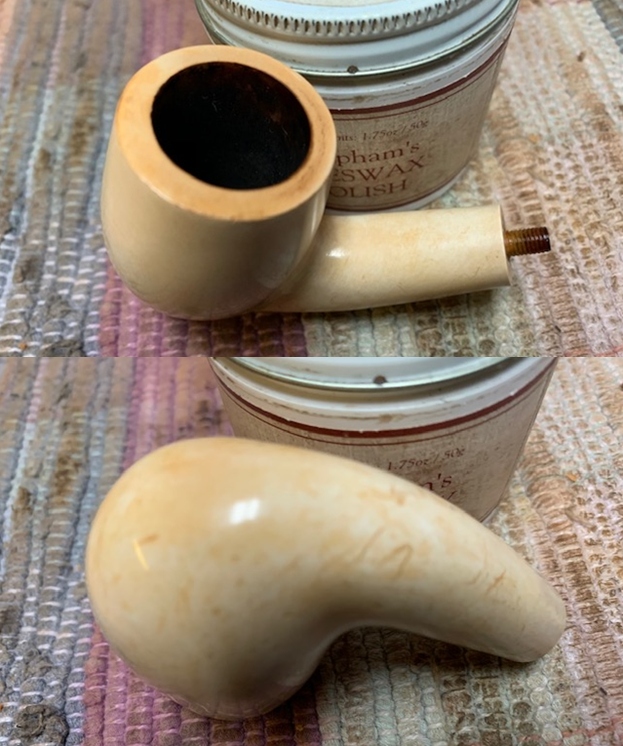
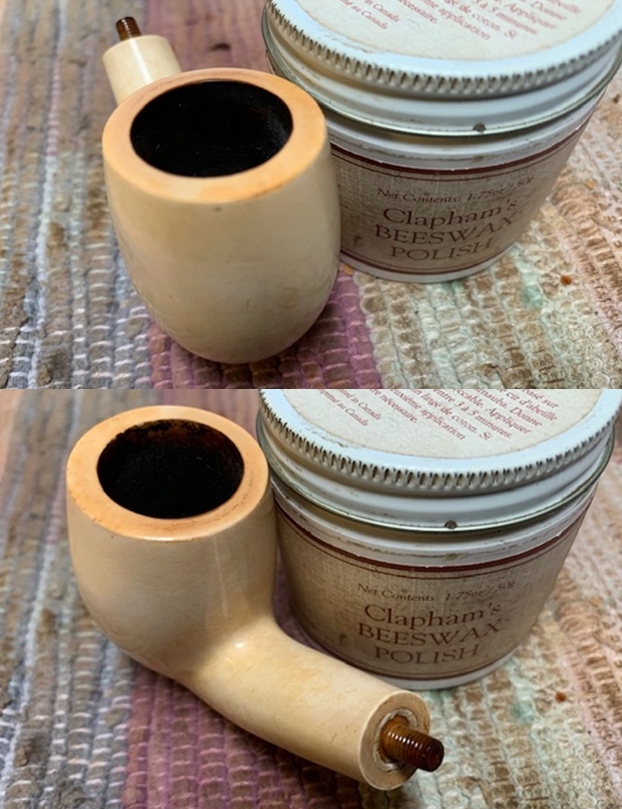
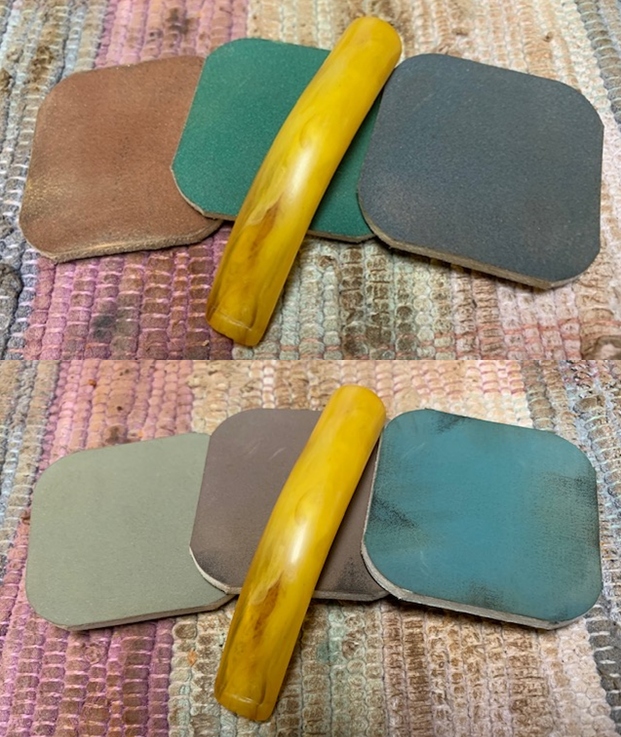
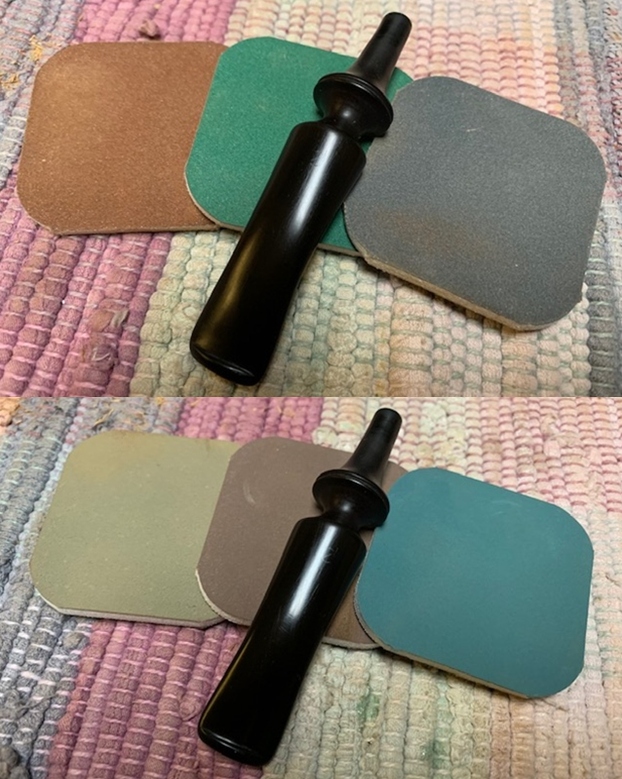
Jeff had cleaned up the pipe with his usual penchant for thoroughness. He carefully cleaned out the unsmoked and smoked tobacco and reamed the pipe with a PipNet Pipe Reamer and cleaned up the remnants with a Savinelli Fitsall Pipe Knife.  He scrubbed the bowl with undiluted Murphy’s Oil Soap with a tooth brush. He rinsed it under running warm water to remove the soap and grime. He cleaned out the inside of the shank and the airway in the stem with alcohol, cotton swabs and pipe cleaners. He scrubbed the stem with the Murphy’s Oil Soap and rinsed it under running water. I took photos of the pipe once I received it. It looked pretty good.  The bowl and rim top cleaned up really well with the lava coat removed from the back rim top. The edges looked very good and there was slight darkening on the back top side. The stem surface had some light tooth marks and chatter on both sides near the button.      I took the stem off the pipe and took a photo of the pipe as a whole. You can get a clear picture of the pipe from the photo below.  I polished the bowl and shank with 1500-12000 grit micromesh sanding pads and wiping it down after each sanding pad with a damp cloth to remove the sanding dust and debris.   Even though this was a meerschaum pipe I have learned that Before & After Restoration Balm works really well on it as well. I worked it into the surface of the bowl sides and shank with my fingertips. The product works to clean, enliven and protect the meerschaum. I let the balm sit for 10 minutes and then buffed with a cotton cloth to raise the shine.     It was time to wax the meerschaum now. I rubbed the bowl and shank down with a coat of Clapham’s Beeswax Polish. I heated the meerschaum and worked it into the surface of the bowl, shank and rim. I let the wax sit for a little while and then buffed with a clean buffing wheel to raise the shine and bring a shine to meerschaum. It is a nice looking pipe.  I polished the amber acrylic stem with micromesh sanding pads – 1500-12000 grit pads. I wiped it down with a damp cloth after each sanding pad. I used Before & After Pipe Polish – both Fine and Extra Fine to further polish the stem. This smooth Block Meerschaum Bent Billiard, carved by Paul Fischer with an amber coloured acrylic taper stem is a great looking pipe. I gave the stem multiple coats of carnauba wax on the buffing wheel and followed that by buffing the entire pipe with a clean buffing pad. I hand buffed the pipe with a microfiber cloth to deepen the shine. The finished Paul Fischer Meerschaum Bent Billiard fits nicely in the hand and feels great. Give the finished pipe a look in the photos below. The dimensions of the pipe are Length: 5 ½ inches, Height: 2 inches, Outside diameter of the bowl: 1 ¼ inches, Chamber diameter: ¾ of an inch. The weight of the pipe is 48gr/1.66oz. If you are interested in adding this pipe to your collection send me a message or an email. I will be adding it to the rebornpipes store shortly in the Meerschaum Pipes – CALABASHES, SMOOTH & FIGURALS. Thanks for reading this blog and my reflections on the pipe while I worked on it. There are many more to come!