Blog by Steve Laug
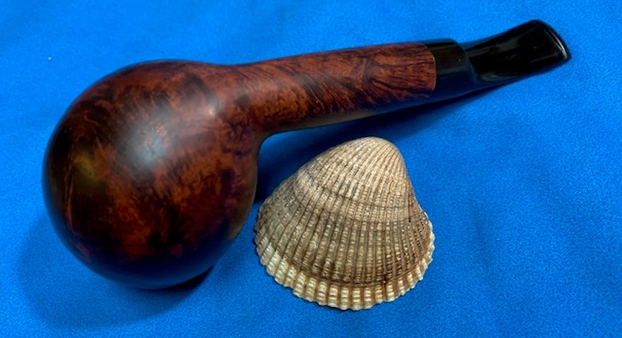
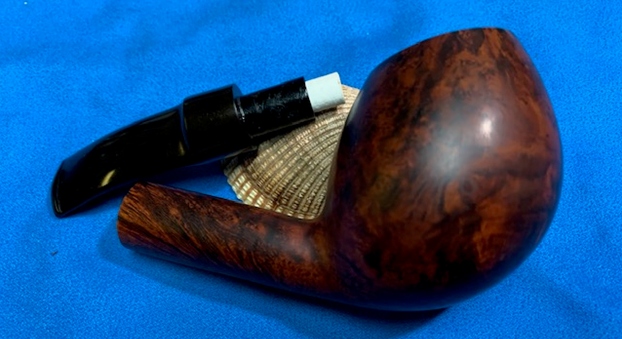
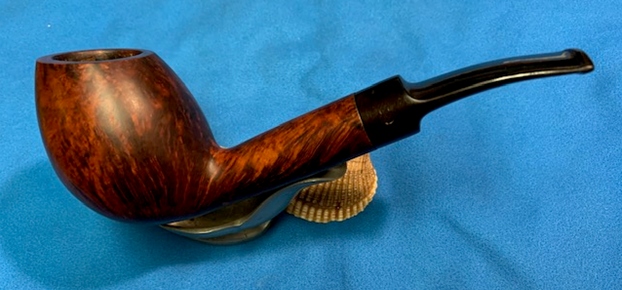
The next pipe came to us from a lot of pipes that Jeff and I purchased from a fellow in Los Angeles, California, USA. It is canted egg shape pipe that is quite large in the hand. Even though it was dirty it had some charm showing through the grit and grime of the years. The grain around the bowl and shank were quite stunning under the grime. On the underside of the shank it was stamped Bjarne [over] Hand-Carved [over] Made in Denmark. The finish is filthy with dust and grit ground into the briar of the bowl and shank sides. The bowl had a light cake and no overflow of lava on the top and inner edge of the rim. It was surprisingly clean inside the bowl other than being just dusty. The stem is calcified, oxidized and had tooth marks and chatter on both sides near the button. It was a filter pipe and came to us without a filter in the shank. The interior of the stem and shank were quite dirty with tars and oils. Jeff took some photos of the pipe to show its overall condition before he started his cleanup work. 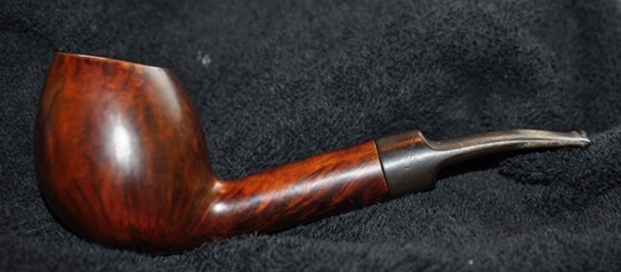
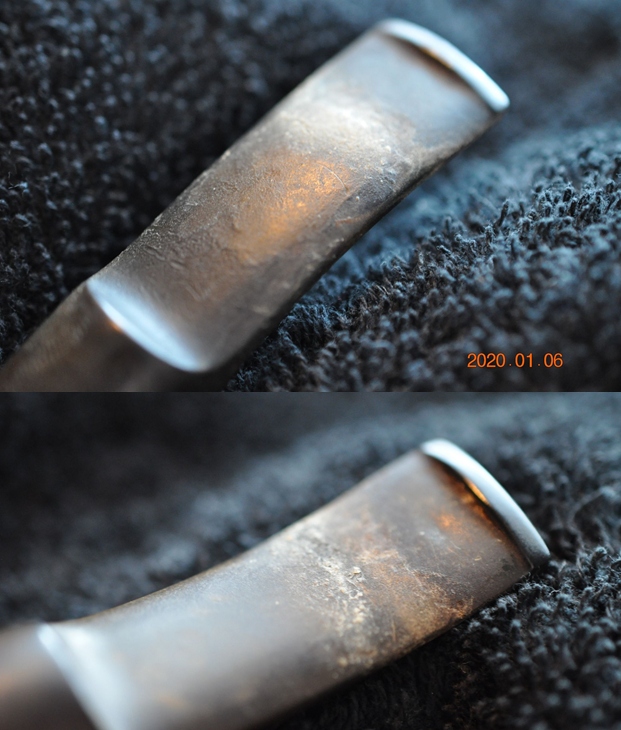
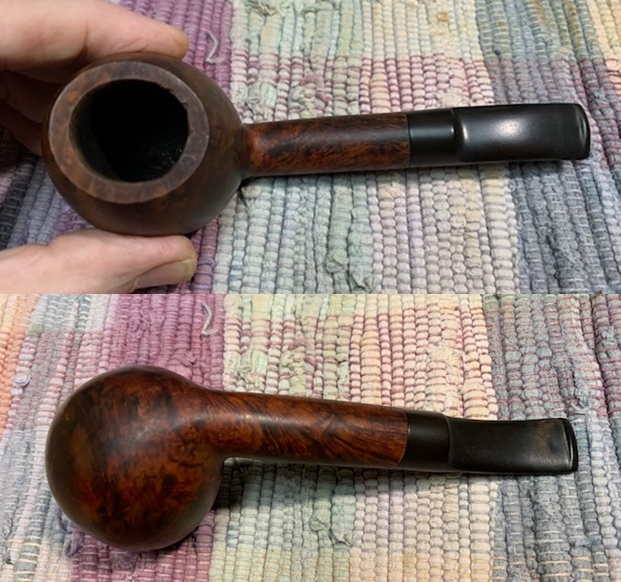
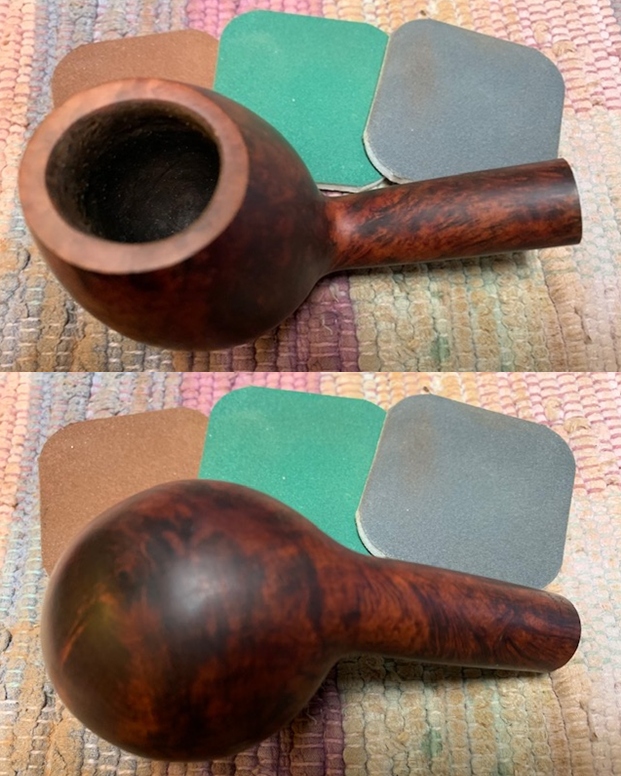
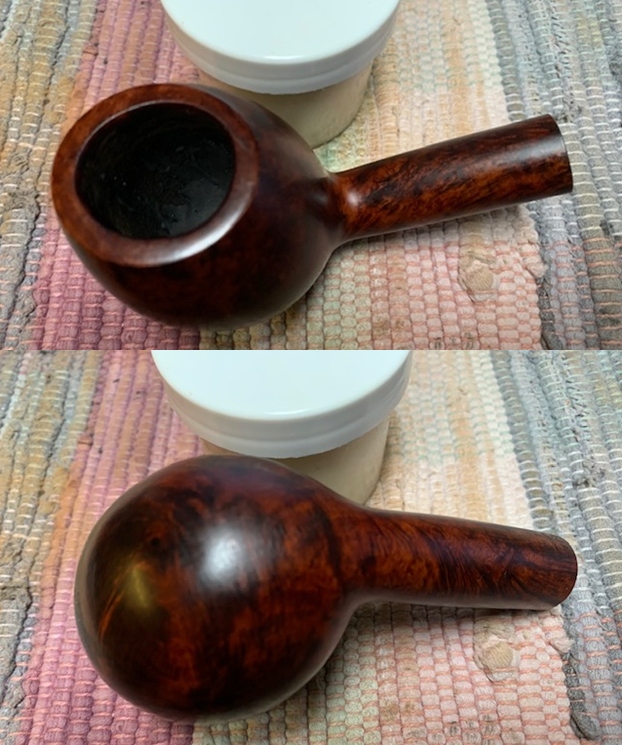
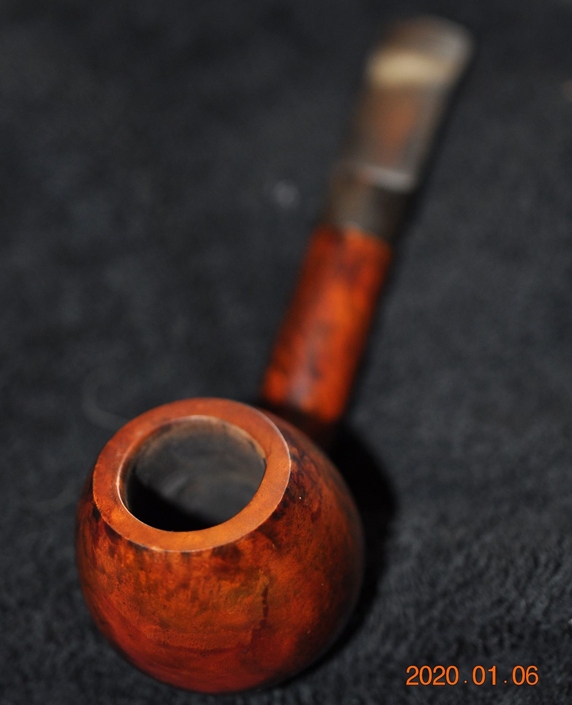 He took photos of the rim top and bowl to give a clear picture of the good the pipe bowl looked inside. The rim was quite clean but the inner edge was out of round on backside. It was not burned but appeared to have been caused when it was reamed sometime in its history. The photos show the contrast of the bowl’s general condition with the wear and tear on the saddle stem surface.
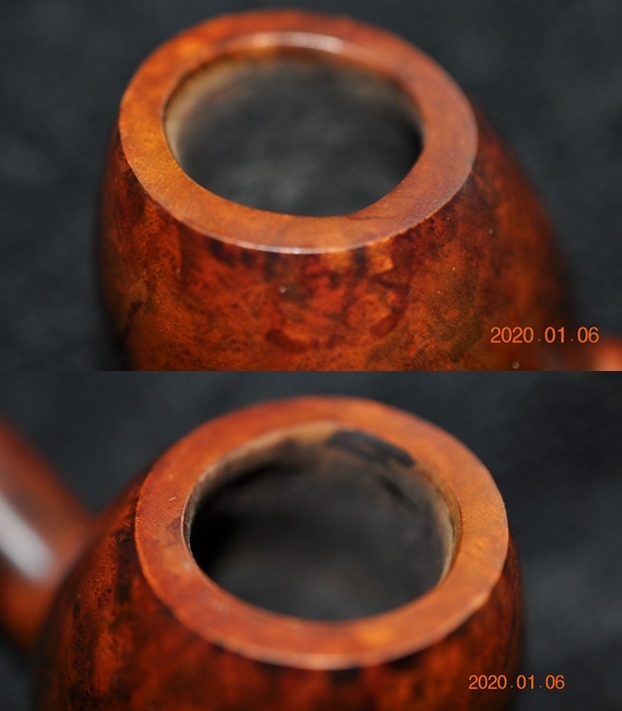
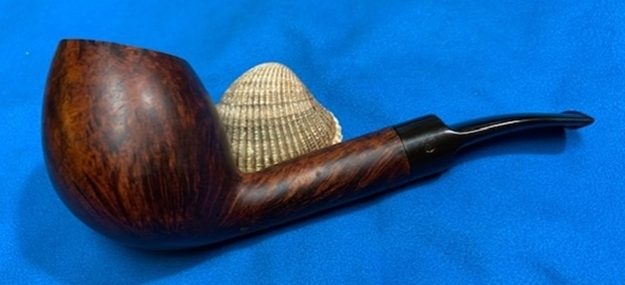
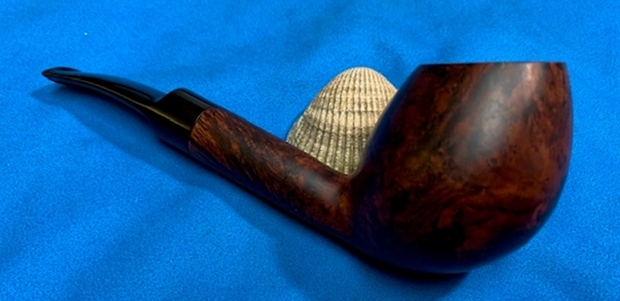
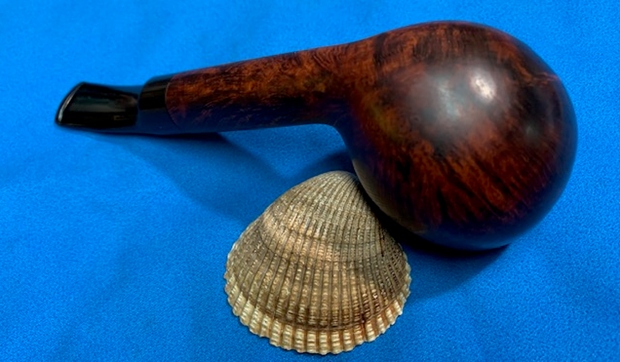
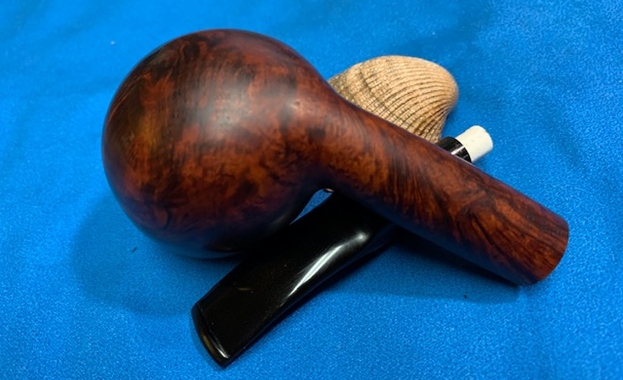
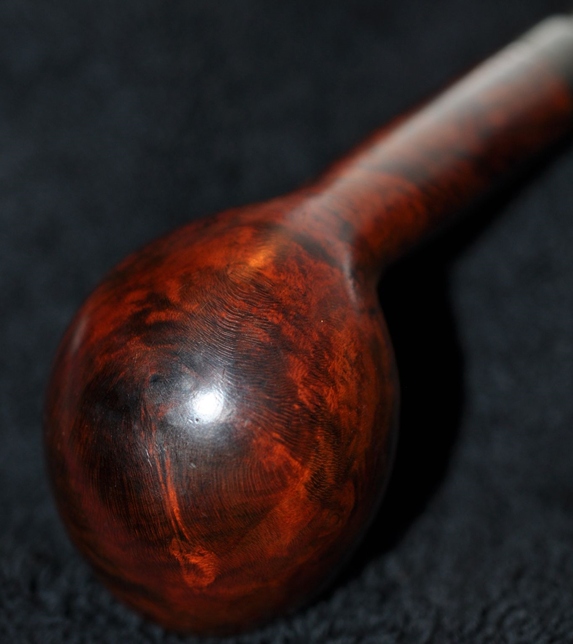
 Jeff took photos of the sides and heel of the bowl and shank to give a picture of what the briar around the pipe looked like.
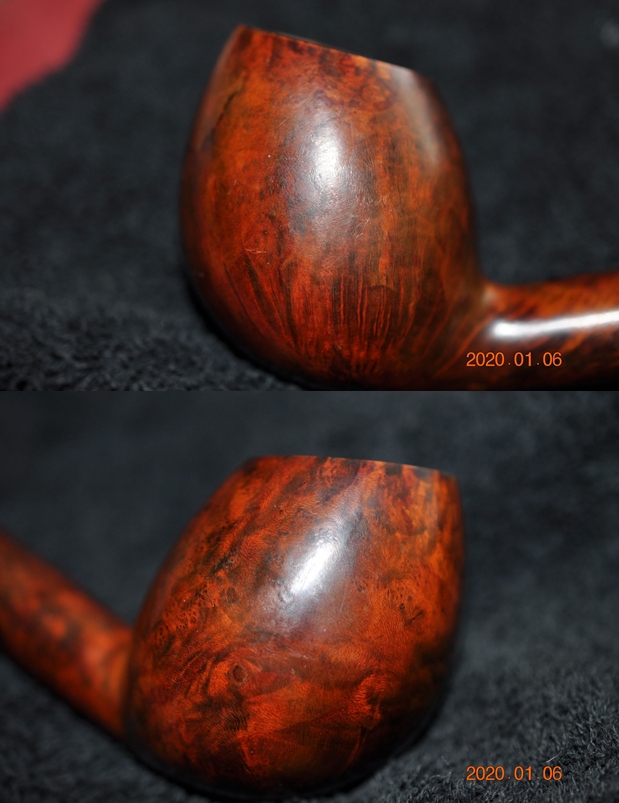
 He took a photo of the stamping on the shank. It reads as noted above and is clear and readable.
 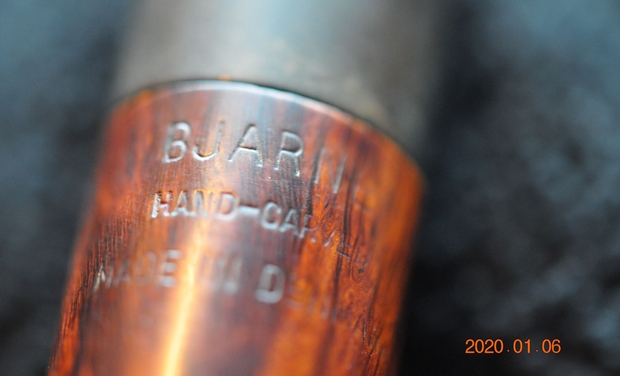 I turned to my favourite go to sites on the background of brands. The first is Pipephil’s site (http://www.pipephil.eu/logos/en/logo-b5.html). There I looked up the Bjarne brand. I have copied the pertinent information below.
Bjarne Nielsen (1941 – † 2008) distributed his own “Bjarne” brand and pipes carved by Danish pipemakers (Mogens Johansen, Tonni Nielsen or Ph. Vigen). High grade pipes were stamped “Bjarne Nielsen” without any logo on the mouthpiece and graded A, B, C and D. Bjarne second brand: Viking.
I have included a screen capture of the section on the brand below.  I turned to Pipedia and looked up the brand for a bit more information on the pipes that were stamped like the one that I am working on (https://pipedia.org/wiki/Bjarne). It is a great history of the brand and a good read. Toward the end of the article I found what I was looking for. I quote:
Among the pipemakers that worked for Bjarne were Johs (for the lower priced high volume pieces), and makers like Ph. Vigen, Ole Bandholm and Tonni Nielsen for high grade pieces. The cheaper line was stamped “Bjarne” while the highest grades were stamped “Bjarne Nielsen” (never with the pipemakers’ name) and graded, from highest to lowest, by the letters: AX, A, B, C, D, E, F, G, H, I, and J.
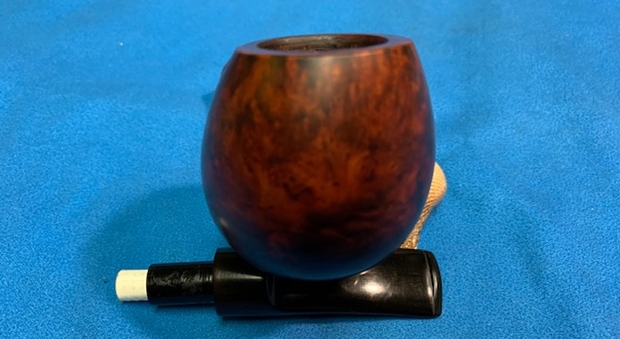
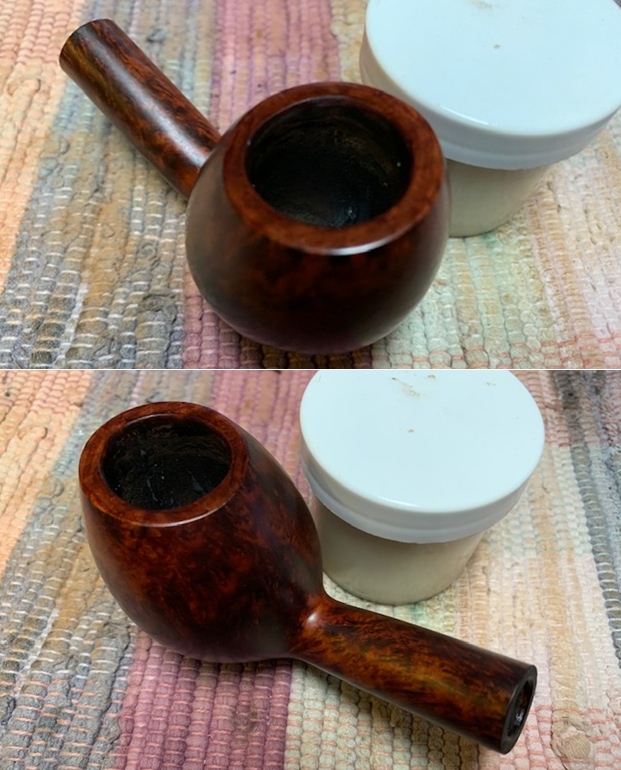
Now I knew that I was dealing with the cheaper line of pipe made by the company. It was stamped Bjarne while the higher grade pipes were stamped Bjarne Nielsen with a grade stamp. Now it was time to work on the pipe. Jeff had cleaned up the pipe with his usual penchant for thoroughness. He reamed the pipe with a PipNet Pipe Reamer and cleaned up the remnants with a Savinelli Fitsall Pipe Knife. He scrubbed the bowl with undiluted Murphy’s Oil Soap with a tooth brush. He worked over the debris on the plateau rim top and was able to remove it. He rinsed it under running warm water to remove the soap and grime. He cleaned out the inside of the shank and the airway with alcohol, cotton swabs and pipe cleaners. I took photos of the pipe bowl once I received it. It really looked good. 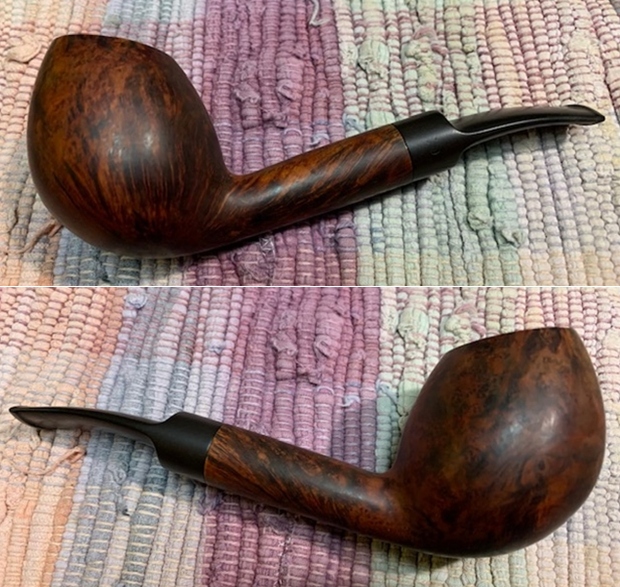
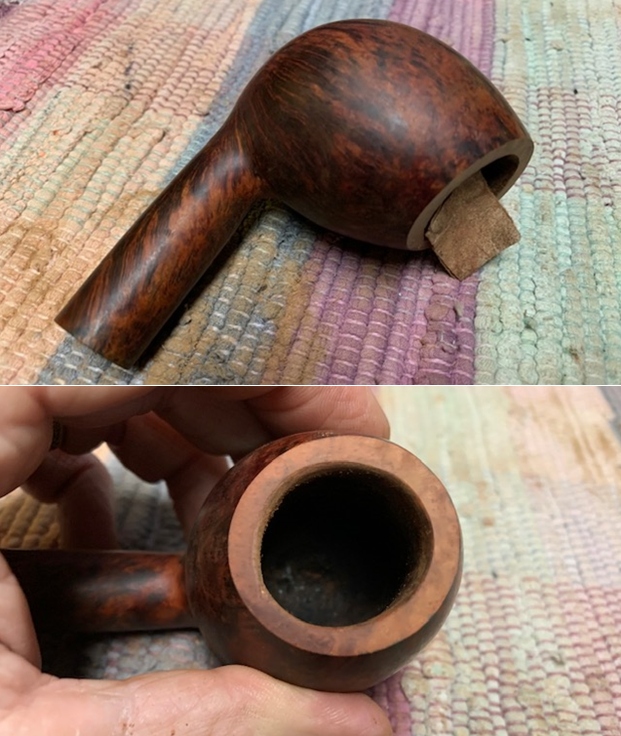
 The bowl had been over reamed to the point that there was a pit in the bottom of the bowl. There was a trough from the airway to the front of the bowl and large dip mid bowl. It makes the bottom of the bowl quite thin. There were chips out of the rim top and the bowl was out of round. The stem looks really quite good. There were some light tooth marks and chatter on both sides near the button.
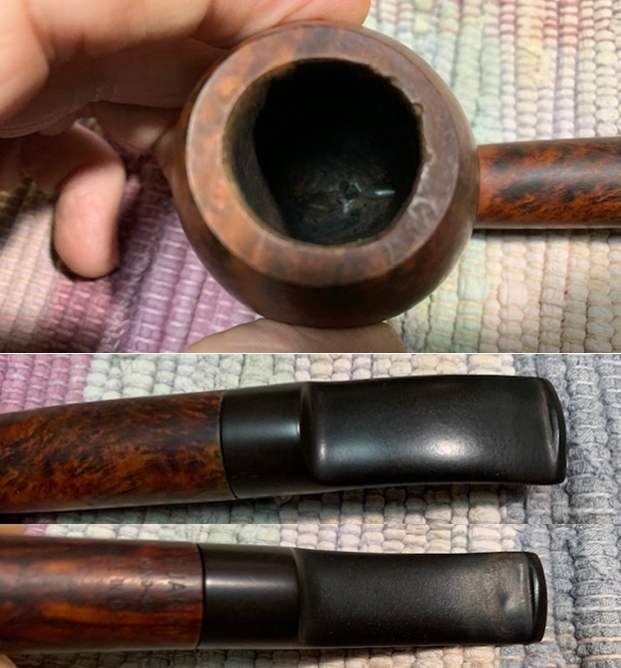 I took a photo of the stamping on the underside of the shank. It was clear and read as noted above.
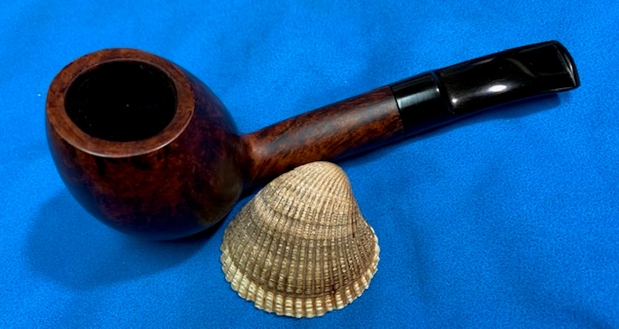
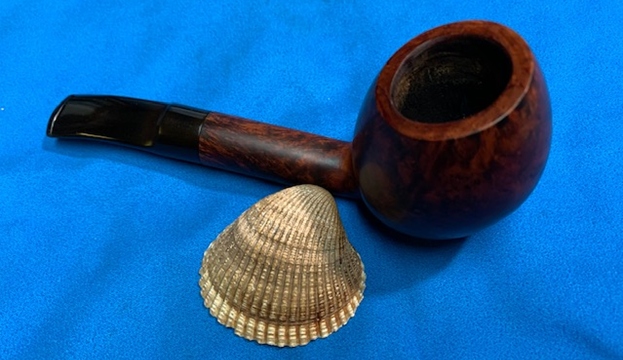
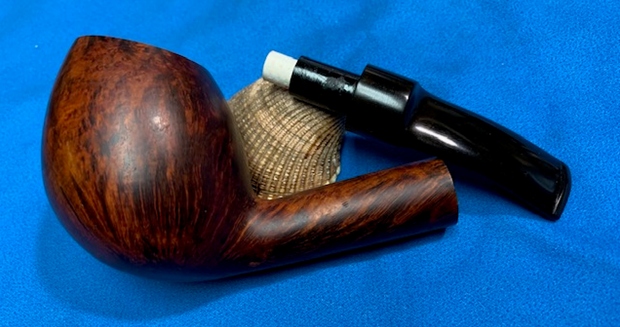
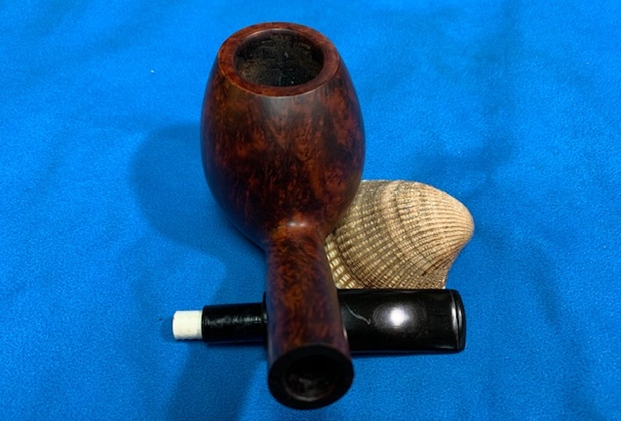
 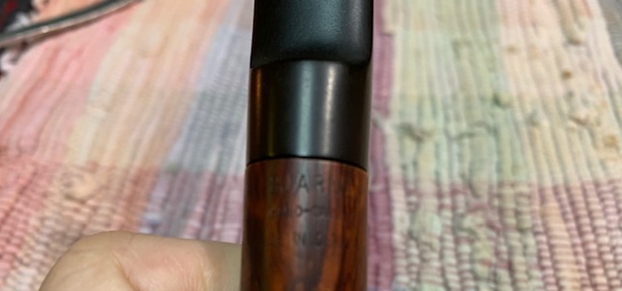 I took the stem off the shank and took a picture of the pipe to give a sense of its overall look. It is going to be a great looking pipe once the restoration is finished.
 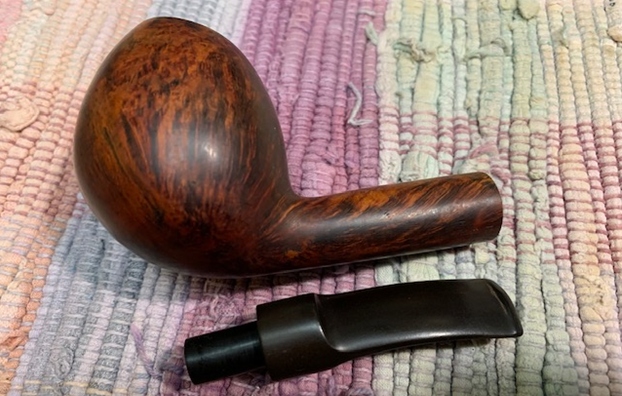 I decided to begin my work on the pipe by dealing with the damage to the rim top and inner edge of the bowl. I topped the bowl on a topping board with 220 grit sandpaper. I took of the damage and removed the chips from the rim top. I used a folded piece of 220 grit sandpaper to reshape the inner edge of the bowl. I gave it a light bevel to deal with the damage to the edge of the bowl. When I was finished it looked a lot better than when I started.
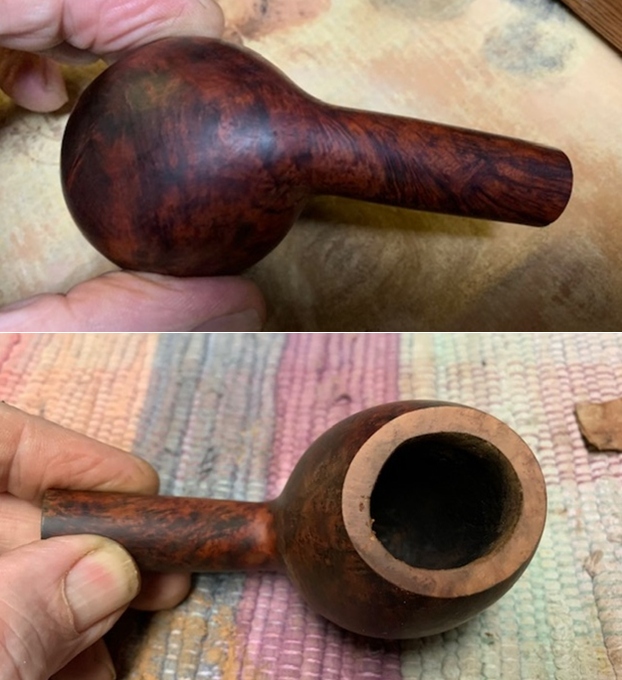
 The next item on the agenda was the surprise mess on the bottom of the bowl. The bowl had a trough from the entry of the airway to the front of the bowl and a pit mid bowl that made the bowl bottom dangerously thin. I mixed up a batch of JB Weld and filled in both the trough and the pit in the bowl bottom. I used a folded pipe cleaner to press it into the bottom and set it aside to cure.
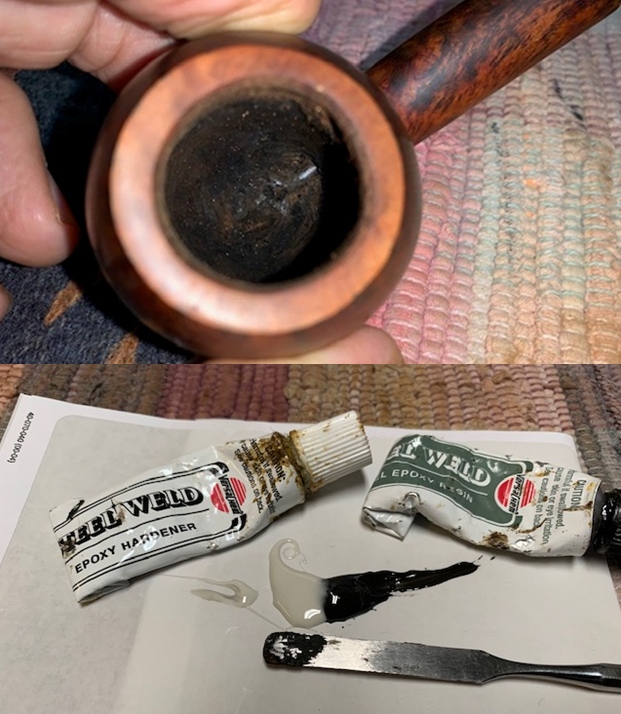
 I polished the briar with micromesh sanding pads – dry sanding with 1500-12000 grit pads. I wiped it down after each sanding pad to remove the sanding dust.
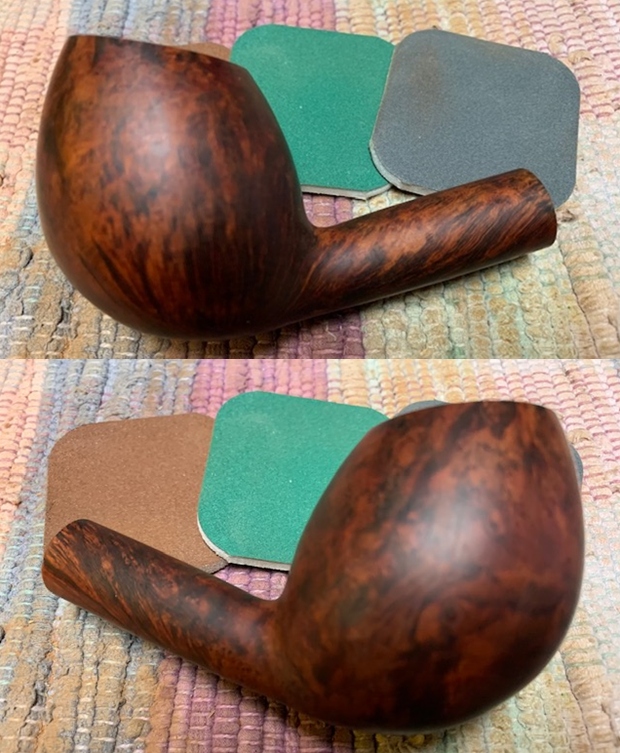

 I stained the top of the rim with a mix of Walnut and Maple Stain pens and was able to match the surrounding briar perfectly. Once it is buffed it will be very nice.
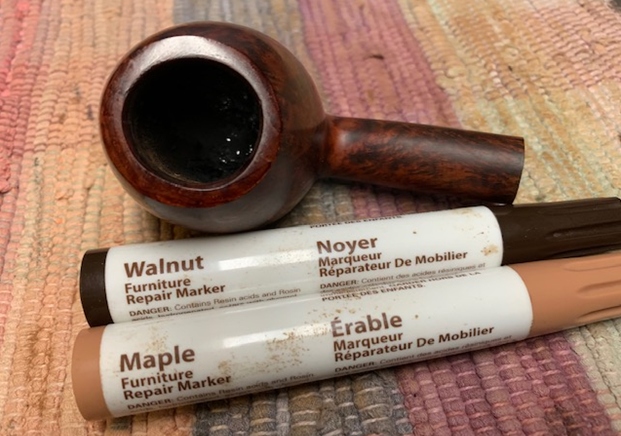 I rubbed the bowl down with Before & After Restoration Balm. I worked it into the surface of the bowl sides and shank with my fingertips. The product works to clean, enliven and protect the briar. I let the balm sit for 15 minutes and then buffed with a cotton cloth to raise the shine.
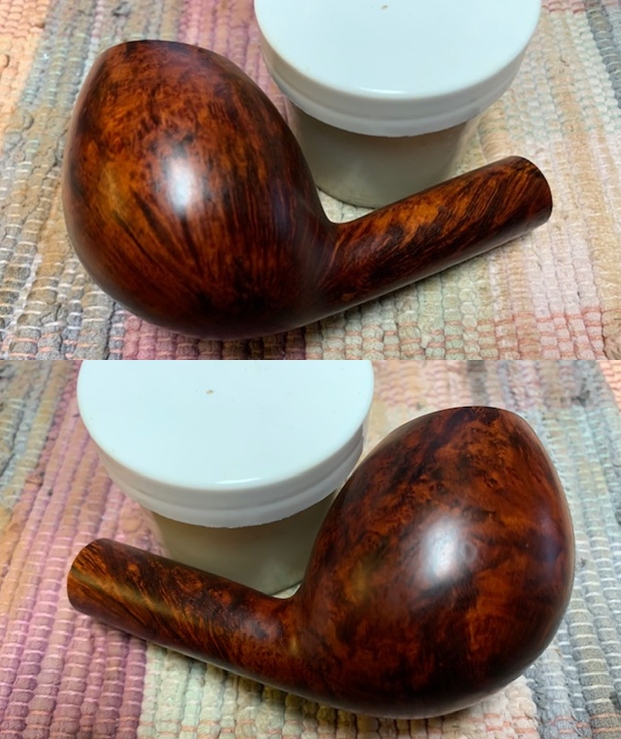
 I set the bowl aside and turned my attention to the stem that I had picked out. I “painted” the surface of the stem with the flame of a lighter to lift the tooth marks. I was able to lift all of them on the top side and all but one on the underside. I filled them in with super glue and set it aside to cure.
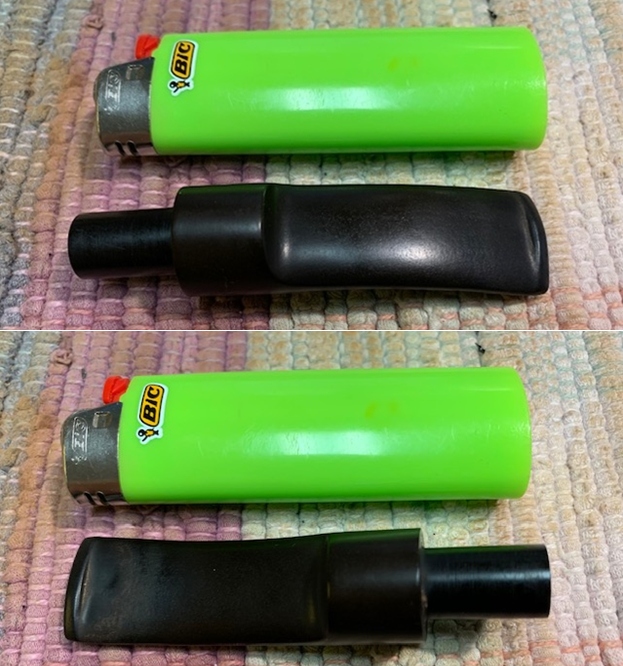
 I used a file to flatten the repair on the stem and reshape the button. Once I had it reshaped and the repair flattened I sanded the stem with 220 grit sandpaper to remove the scratching and blending them into the surface. I began the polishing with 400 grit wet dry sandpaper.
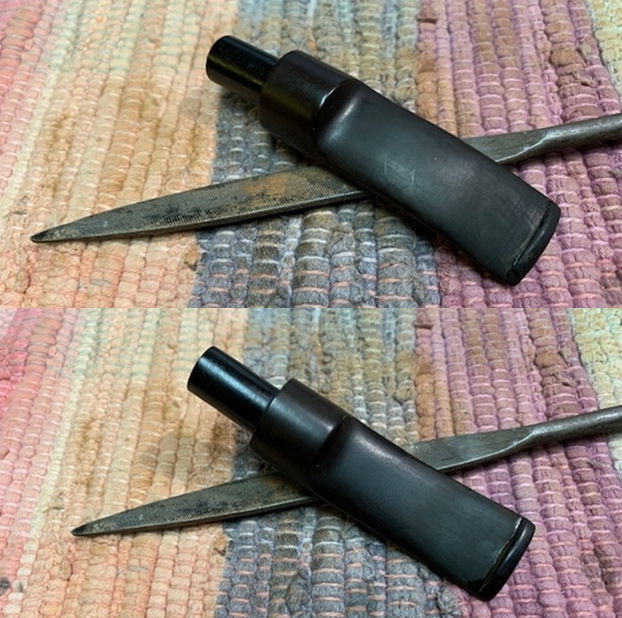
 The stamping on the left side of the saddle stem was faint but I touched up what remained with Rub’n Buff Antique Gold. I rubbed it into the stamping and used a tooth pick to work it into the stamp. I buffed it off with a cotton pad.
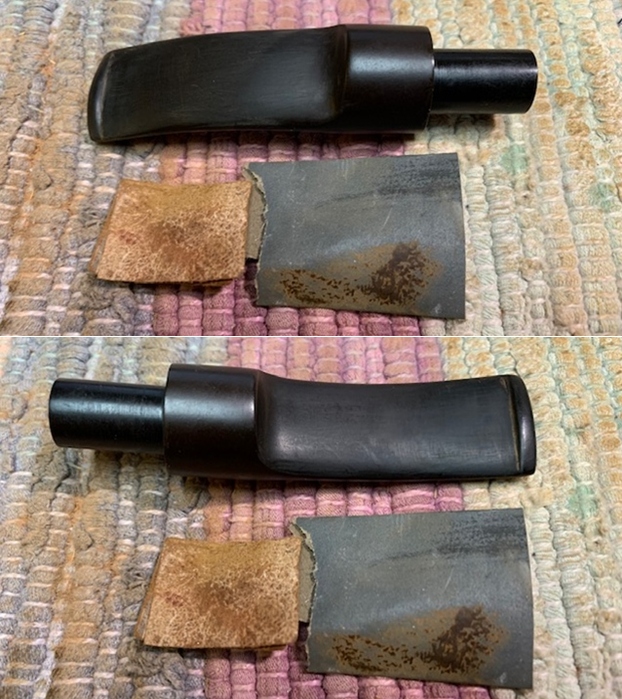
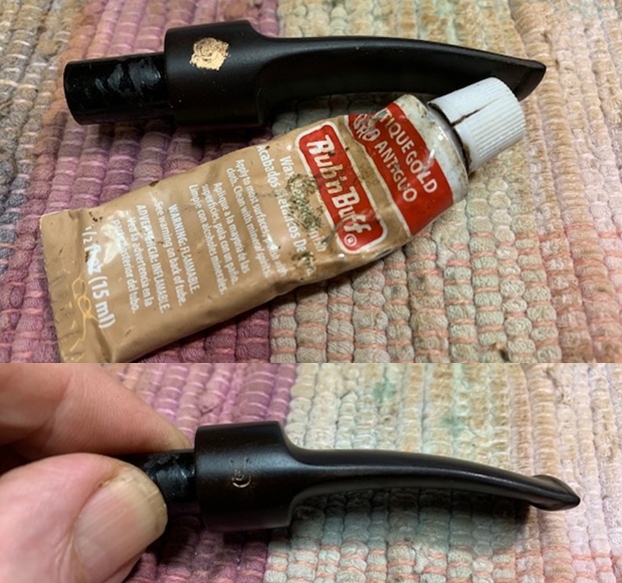 I polished the scratches out of the stem with micromesh sanding pads – 1500-12000 grit pads. I wiped it down with a damp cloth after each sanding pad. I used Before & After Pipe Polish – both Fine and Extra Fine to further polish the stem.
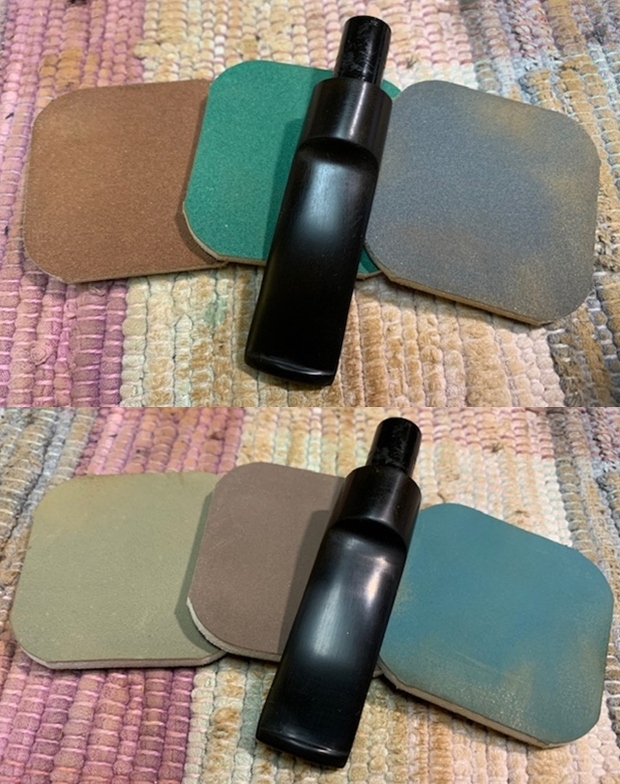
 The stem and shank were made for a 9MM filter so I took out a box of Vauen Dr. Perl Filters and fit one into the end of the stem. It fit perfectly in both the stem and the shank.
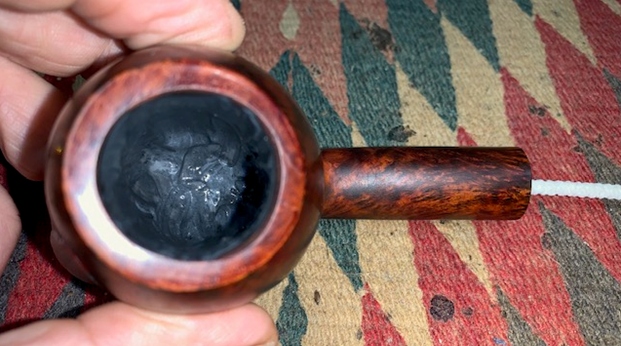
 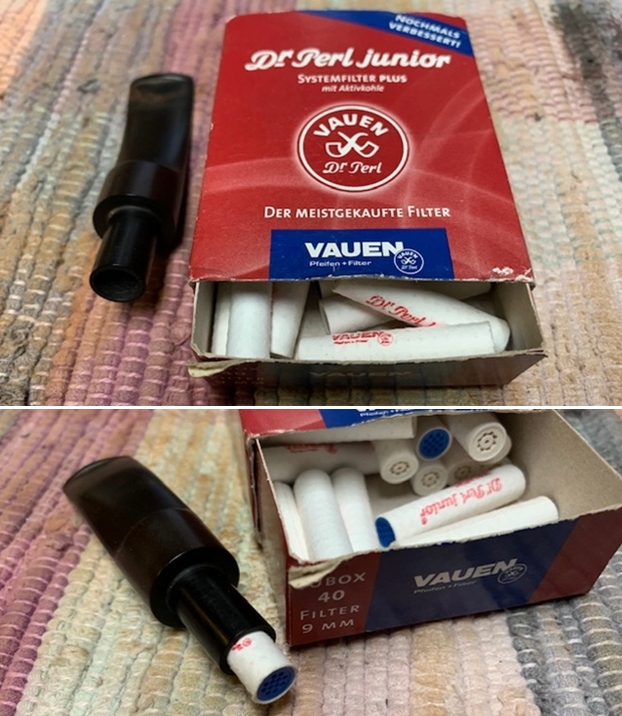 Once the repair in the bowl bottom cured I mixed a bowl of sour cream and charcoal powder to protect the bowl and facilitate breaking it in the first few smokes. I put a pipe cleaner in the airway into the bowl and used a folded pipe cleaner to paint the walls and bottom of the bowl with the mixture. I set the bowl aside to let the mixture harden and cure. Once the bowl coating dries it is neutral and leaves behind no taste that affects the flavour of the tobacco.
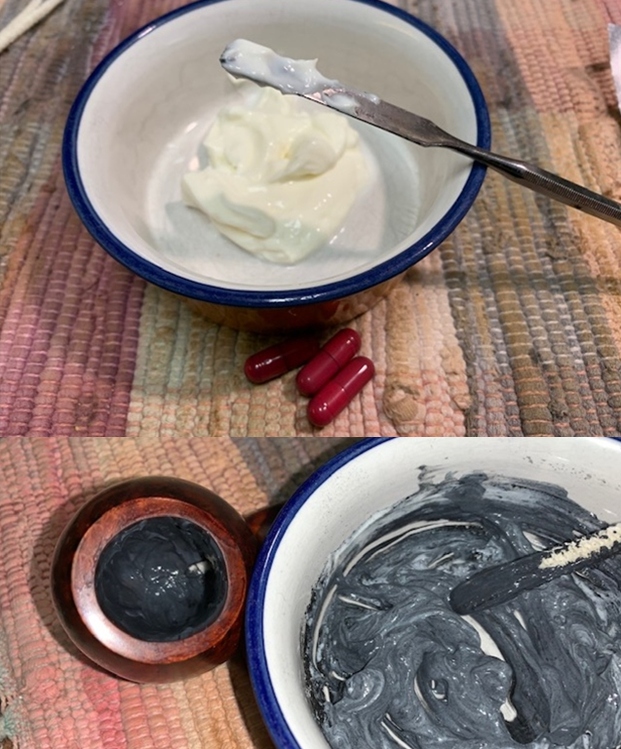
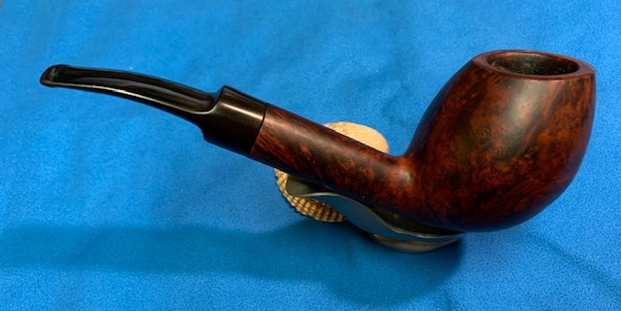
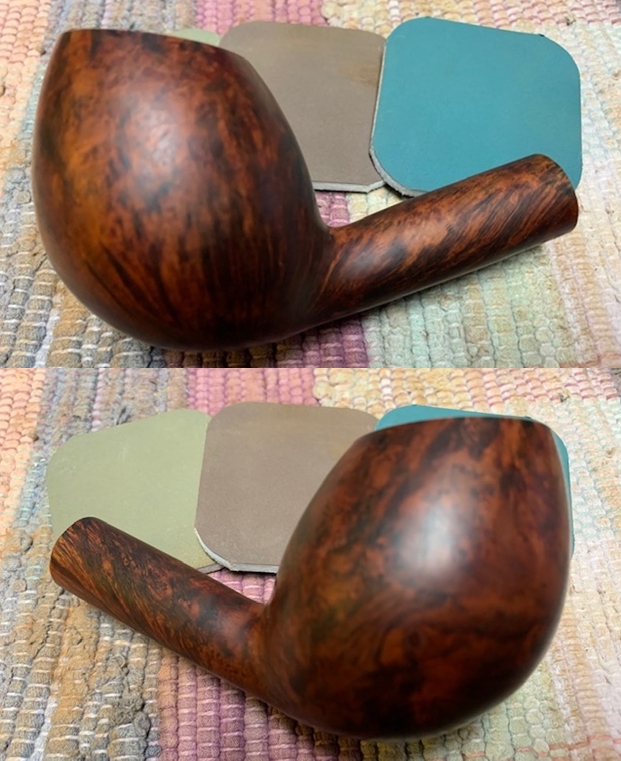
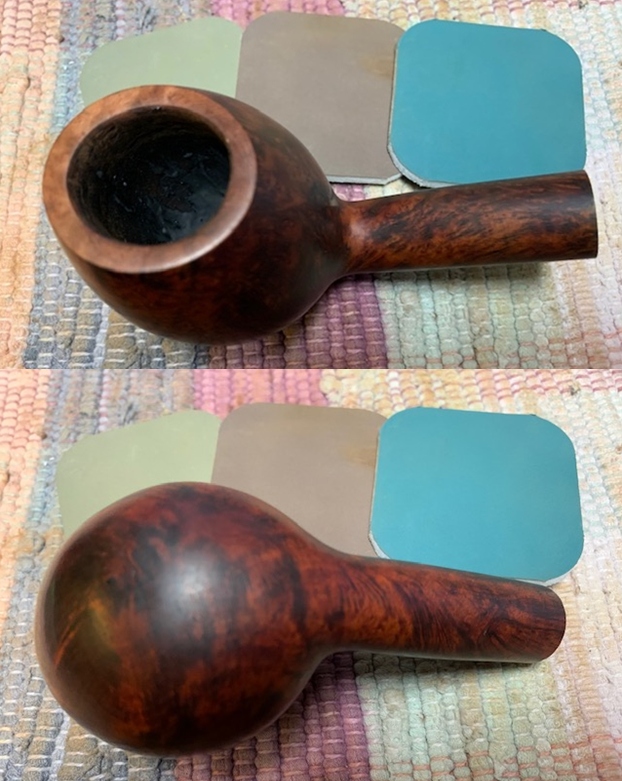
 This smooth finished Bjarne Hand-Carved Canted Egg is a great looking pipe. It is a pipe made in Denmark. The fancy, saddle vulcanite stem that is drilled for a 9mm filter works well and goes nicely with the reds of briar. I put the stem back on the bowl and buffed the pipe with Blue Diamond on the buffing wheel using a light touch on the briar. I gave the bowl and the stem multiple coats of carnauba wax on the buffing wheel and followed that by buffing the entire pipe with a clean buffing pad. I hand buffed the pipe with a microfiber cloth to deepen the shine. The finished Bjarne Canted Egg fits nicely in the hand and feels great. Give the finished pipe a look in the photos below. The dimensions of the pipe are Length: 6 ½ inches, Height: 2 ¼ inches, Outside diameter of the bowl: 1 ½ inches, Chamber diameter: 7/8 of an inch. The weight of the pipe is 74grams/2.61oz. I will be adding it to the rebornpipes store shortly in the Danish Pipe Makers Section. Thanks for reading this blog and my reflections on the pipe while I worked on it. There are many more to come!