Blog by Dal Stanton
There is no other way to describe this Canadian – a Nightmare. I created the ‘For “Pipe Dreamers” ONLY!’ section on ThePipeSteward site to encourage people to see the hidden potential of a sad, neglected pipe BEFORE the restoration process. So much of life and relationships we have are shaped by our ability to see what people can become and treat them in this manner. Jim saw The Lumberman and commissioned him along with a very attractive Butz Choquin Supermate Panel. In corresponding with Jim, I learned that he’s from Pennsylvania and an engineer by trade working at Pennsylvania State University as a research staff assistant writing software for all kinds of research efforts. What interested me also was that he, like me, enjoys working with his hands – models, woodworking and Jim has his own shop where he works. He also builds dioramas – models representing a scene with three-dimensional figures, usually in miniature or as a large-scale museum exhibit (had to look this up!). In his initial email, Jim assessed The Lumberman that he said he wanted me to restore:
I realize that restoring the Canadian is going to be quite a tall order — it’s former owner seeming to have smoked it hard and hung it up wet — but I can’t help but look at the hints of cross-grain on the shank and think that there is still a solid pipe left underneath all of that dirty exterior.
My response to Jim was a bit more realistic and, let me be honest, skeptical(!):
Oh my. The Lumberman is in bad shape. I showed my wife the pipe and that someone had requested to restore it and her response was, ‘Why?’ Your description is an understatement. He needs a lot of TLC. The shank chip will probably need to be planed off to reseat the stem/tenon – losing about 1/16 inch of the shank length – doable. The rim is an ICU inhabitant. There’s no pretty way to deal with this. I would clean the chamber to make sure all the briar is exposed. I would then build up the rim as much as possible with briar dust putty and then sand/top it down until it looked acceptable. Honestly, Jim, I can’t say how much top I’ll need to remove from the bowl – as little as possible, but he’s not in good shape. I understand what you see in the grain underneath the years of dirt and grime. Without a doubt, you are awarded the Pipe Dreamer of the Year award! It’s difficult for me to put an estimate on it at this point because it will definitely qualify as a resurrection and not a restoration. I’m game if you are game. I love the challenge and with this guy, I’m not sure how I’ll value him, but the same applies. If you’re not satisfied, you’re not obligated to purchase. As I said before, the sale of these pipes benefit the Daughters of Bulgaria and I appreciate your desire to support that.
The ’Nightmare’ Canadian that Jim commissioned will be a challenge! Here are pictures of The Lumberman before he reached my worktable as I took pictures to post in the ‘For “Pipe Dreamers” ONLY!’ online collection:


 The nomenclature found on the left flank of the long Canadian shank is THE [over an arched] LUMBERMAN. Not until later, after starting the research, did I discover that on the shank’s right side is stamped, SPECIAL.
 I acquired The Lumberman in what I have called, ‘The Lot of 66’ which has produced many pipes for new stewards benefiting the Daughters of Bulgaria. Honestly, in every ‘lot’ purchase, there are always pipes that are considered ‘throw aways’ and this pipe was included in that category! Doing a quick search in Pipephil.eu, I find The Lumberman Special listed as a Comoy’s second. Here is the panel:
 The ‘The Lumberman’ lettering is identical to the Canadian on my worktable. What is distinctly different is that the SPECIAL stamping is not joined as in the example above. The pipe on my table has the stamping separated on the right shank side. Another difference is the COM – the example is stamped ‘Made in London England’. I find no COM on our pipe, nor do I find the same three bar stem logo shown, which is also on other Comoy’s second brands. A quick look at Pipedia’s Comoy’s article confirms that The Lumberman Special is a Comoy’s second. Also included is a picture (Second examples, details, and nomenclature, courtesy Doug Valitchka) of a pristine example – a very attractive pipe. This example of The Lumberman also seems to be without the three bar stem logo.
 Looking at the example of this pipe in pristine condition above and then gazing at the ‘Nightmare’ version on my table now, lets me know that this will be a grand challenge! Yet, there’s absolutely nothing to lose. This pipe was done. He was no longer the object of anyone’s love or attention. Now, with the challenge to see what it can become with some TLC (OK, LOTS of TLC) makes me thankful for the challenge Jim has made possible. My approach generally will be to clean, patch and sand. The chamber and the rim are the most daunting challenges. I’ll be surprised if I don’t find heating issues in the chamber after clearing away the thick cake. The rim is a total mess – charring has deteriorated most of the rim. The chamber wall has eroded, and the rim plane is wobbled and uneven. The outer edge of the rim is chipped and gouged. The bowl is full of scratches and a few fills here and there with pitting as well. A huge chip has taken almost a quarter of the shank facing. The good news is that the Canadian short stem has heavy oxidation and nominal tooth and clamping compressions on the upper and lower bit. I add a few more pictures now from my worktable complimenting the pictures above.

 To begin the restoration (or, resurrection?) of this Comoy’s The Lumberman Special, after cleaning the airway with a pipe cleaner wetted with isopropyl 95%, the stem joins other stems in the queue for a soak in Mark Hoover’s product (ibepen.com) Before & After Deoxidizer to address the thick, scaly oxidation. I just communicated with Mark to order more Deoxidizer and Restoration Balm which I’ll pick up on a trip to the US I will be leaving for soon. I leave the stem in the soak for a few hours. I include pictures from above to mark the starting point.

 After soaking for a few hours, I fish the stem out and run a pipe cleaner through the airway to remove the liquid. I then wipe the oxidation off the stem using a cotton pad wetted with isopropyl 95%.
  The B&A Deoxidizer has done a good job removing oxidation. Paraffin oil is then applied to the stem to revitalize and hydrate the vulcanite. I put the stem on the side to absorb the oil.
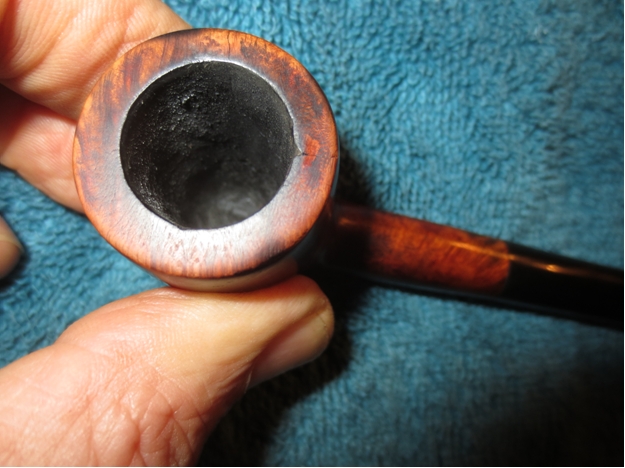
 The starting point for working on the hurting stummel is simple cleaning to unmask as much as possible the plethora of issues underneath the cake in the chamber and the grime on the stummel surface. To clear the chamber of cake, the Pipnet Reaming kit is used. I take a picture of the chamber to mark the starting point. Not a happy view!
 After putting paper towel down to save on clean up, using the smallest of the Pipnet blade heads I go to work. I use 2 of the 4 blade heads available to me and then transition to using the Savinelli Fitsall Tool to scrape the chamber walls further. Finally, I finish by sanding the chamber with 240 grade paper wrapped around a Sharpie Pen and then wipe the chamber with a cotton pad wetted with alcohol to clear the carbon dust.
 The inspection of the now cleaned chamber shows the chamber wall proper to be in great condition! This indeed was good news. The briar is healthy and now it has a fresh start.
 Next, using undiluted Murphy’s Oil Soap the rim and external briar surface is cleaned using a cotton pad. A brass wire brush also proves useful in cleaning the charred rim. After cleaning the surface, the stummel is transferred to the kitchen sink where it is rinsed in warm water and using wired shank brushes and anti-oil dish soap, I clean the internal mortise and airway.
  After rinsing thoroughly, I bring the stummel back to the worktable and clean the internals further using pipe cleaners and cotton buds dipped in isopropyl 95%. I use a dental spoon to scrape the sides of the mortise as well as using shank brushes to work on the long Canadian shank.
  After a good bit of effort, progress has been made and since the hour is late, I will continue the cleaning using kosher salt and isopropyl 95% to soak through the night. This methodology not only continues the internal cleaning but freshens the pipe for a new steward. First, a cotton ball is pulled and twisted to form a wick that is used to push down the mortise and airway to serve as a ‘wick’ to draw out the residual tars and oils. Using a stiff wire, the cotton wick is guided down the airway and after the stummel is placed in an egg carton to provide stability. I then fill the bowl with kosher salt, which leaves no aftertaste unlike iodized salt. Using a large eyedropper, I fill the bowl with isopropyl 95% until it surfaces over the salt. With the longer Canadian shank, it takes longer for the alcohol to seep into the longer airway. After topping it off with alcohol one last time, I turn out the lights and call it a day.
 The next morning, the salt is mildly soiled showing that it did its job through the night. When I tug on the cotton wick, unfortunately, it doesn’t come out whole. I must employ the use of a dental probe and tweezers to pull the remainder out. Finally, I was able to push the rest through to the bowl with the help of the pointed needle file.
 To be sure the internals are finally cleaned, I deploy a few more pipe cleaners and cotton buds wetted with isopropyl 95% to clean up any residue. After a short time, it is apparent that things look good and I move on.
 With the internal cleaning completed, my attention shifts now to the primary issue – the rim re-build. From the picture below looking down on the rim, the remnants of the rim top are at 4 to 5 o’clock and at 9 to 1 o’clock. These surfaces give me an idea of where the rim was and provide a target for a re-built rim – at least in an ideal world. The inner rim edge is out of round from charring and…, who knows. One thing for sure, this Canadian was loved and used, but rode into the ground!
  Looking now from the side, from both directions, the uneven plane is evident. The challenge is how to save as much briar as possible off the top of the bowl to have a flat plane? To top it until this happens will turn the Canadian into a long shank Pot!
  My path forward, after considering the options, is to start with a very minimal topping to even out the remaining rim plane to see more clearly the areas that will be targeted for patching. The default option is to lose briar through topping, but I will seek to build the rim up with the patch material – briar dust putty, and top, shape and sand the rebuilt rim until it has a semblance of normality! At least, this is the hope. I take out the chopping board which becomes my topping board after placing a sheet of 240 grade paper on it. The goal is to lightly top to establish the boundaries.
 Instead of rotating the first round, I drag the stummel across the board. I do this because I want to stay on top of the remnant rim surface and not dip down into the damaged areas which will be softer. Keeping the pressure on the high wood was easier this way. The result shows the emerging boundaries.
 Next, this time, after rotating the stummel a few more times on the board, I come to the place of diminishing returns for topping. I’ll apply briar dust putty to the damaged areas – on the rim and along the internal and external edges to fill in the gaps. It will require a lot of patching, but the patch areas will provide the excess for sanding and shaping.
 The next area to prep for briar dust patch material is the large chip of the shank facing. I insert a drill bit into the mortise which forms the boundary for the patch. I’ll apply a bit of petroleum jelly to the bit to assure the briar putty patch will not stick to the bit. Earlier, when communicating with Jim, my thinking was that I would simply plane the facing to remove the damage. With this always being an option, my thinking now is to start with a patch, sand and shape – go from this point with the value on keeping as much briar as possible.
 The final prep area is a few small pits on the stummel surface that have old fill material in them. I dig the old material out with a dental probe which will be refilled with briar putty.
 I clean all the patch areas with a cotton pad and alcohol in preparation for applying the briar putty.
 Using BSI Maxi Cure Extra Thick CA glue, I mix it with briar dust to form the putty. I use a plastic disc as a mixing palette and place Scotch Tape on that simply to aid in cleaning. I’m not sure if I can apply patch to the 3 areas in one batch, but I’ll start with the rim – the largest project. I place a pile of briar dust on the palette and then a larger dollop of Extra Thick CA glue next to it.
 Using a toothpick, I gradually mix the briar dust into the glue until it thickens. When it reaches the viscosity of molasses, I use the toothpick to apply the putty to the rim allowing for excess to be sanded and shaped later. What the following pictures show is that I was only able to address the rim patching with the first batch of briar dust putty. As I applied the briar dust putty to the rim, I went in stages using an accelerator to quicken the curing and to hold the putty in place.

 I mix another batch of briar dust putty on the palette and again apply the putty to the shank facing and the pits. As before, the use of an accelerator quickens the curing and holds the patch material in place.

 With a little nudge and twist the bit comes out easily with the help of some petroleum jelly. The mortise circumference looks good though the patch needs to be sanded and shaped.
 The obvious next step is a lot of filing and sanding. I start with filing. I use both a flat and half circle pointed needle files to work on the excess putty. I start with the rim by first filing down on the rim top to flatten the plane. The pictures chronicle the progress.
 With the top rough filing completed, I move to the outer edge of the rim.
 The repairs are starting to show some promise! Now to the inner rim edge. This is critical in seeking to establish an even circumference. I start with the slow approach of filing to get it right. I finish up by loading a sanding drum onto the Dremel and fine-tune the edge and to smooth the transitions in the chamber from the patch material to the chamber wall. I don’t want to leave ridges.

 Wow! I showed this finished rough of the rim to my wife and she said with lessening skepticism that this pipe might just come back to life!
 Next, I quickly dispatch the two small fills under one glob of putty patch with the flat needle file.
 Finally, the filing is almost finished. The flat needle file also goes to work on the shank facing and on the outer edge. I’m very careful with filing the shank facing because too much removed can offset the proper seating of the tenon and create gaps between shank and stem.
  I also use the half-rounded needle file to create the sharp bevel on the edge of the mortise which accommodates the tenon’s base.
 After filing, I join the stem with the stummel to see how well the stem seats. With some gaps, I do a bit more filing and finally I have the fit as good as I can get it. It looks good!
 Now, back to the rim. To even the rim, I take the stummel back to the topping board with 240 grade paper and give the stummel a few more rotations. This helps blend the filing.
 The speckling of the putty patches is expected. I’ll address this later when applying stain to the stummel which should take care of the contrast. I want to smooth the inner and outer edges of the rim by applying a bevel. For the internal bevel, a hard bevel is the aim so a hard surface is used behind the 240 grade paper to provide a uniform edge.
 The internal bevel looks great.
 In addition to the internal bevel, I do a light sanding of the external rim edge simply to soften the edge and to remove any nicks and cuts.
 Next, I take the stummel back to the topping board covered now with 600 grade paper and rotate the stummel several times.
 Using both 240 and 600 grade papers, I sand both patches – the two fills and the shank facing.
 Now, to address the cuts, nicks and small pits of the very worn stummel surface, I’m hopeful that sanding sponges will be adequate to clean and smooth the briar surface so that I won’t need to employ more coarse sanding papers. I take the first 2 pictures to mark the start for comparison.
  I use first the coarse grade sponge followed by medium and light grades. I’m careful throughout to guard the nomenclature on both sides of the shank. Wow! The grain underneath the old dark finish starts to make an appearance!
 On a roll, I continue the stummel sanding with the full regimen of 9 micromesh pads. To begin, using pads 1500 to 2400, wet sanding is employed. Following this, I dry sand using pads 3200 to 4000 and 6000 to 12000. I’m amazed at the emergence of very nice grain – a horizontal grain on the fore of the bowl with large swirls of bird’s eye grain occupying the flanks. Nice!
 There is no question regarding the next step. Applying Fiebing’s Dark Brown Leather Dye to the stummel should do a good job of masking the rather large patches on the rim and shank facing. Another benefit of using dye is to utilize the technique I’ve developed with the use of the Dremel using felt cloth buffing wheels to bring out the grain in striking ways. I assemble the desktop staining station.
 After wiping the stummel down with a cotton pad wetted with alcohol to clean the surface, I heat the stummel with the use of a hot air gun. This step is important as it expands the briar grain as the bowl heats, and this helps the wood to be more receptive to the dye.
 After the stummel is warmed, I use a folded over pipe cleaner to apply the dye which I’ve poured into a shot glass. As I paint sections of the stummel with the dye-saturated pipe cleaner, I immediately ‘flame’ the dye with the lit candle. This immediately combusts the alcohol in the aniline dye leaving behind the hue. I work over the entire stummel thoroughly by applying dye and firing until the surface is fully covered. I then put the stummel aside to ‘rest’ for several hours – till tomorrow in this case. This ‘resting’ helps the dye to set more securely in the briar with less chance of the dye coming off on the hands of the new steward who fires the pipe up for the inauguration.
 With the newly stained bowl ‘resting’ I turn to the stem. I take a closer look at the upper and lower bit. There are bite compressions on both sides that need to be addressed.
 I first use the heating method. Using a Bic lighter, I paint the upper and lower bit with flame to heat the vulcanite. As the vulcanite heats it expands and hopefully the compressions will expand to the original condition – or closer to it. The flame method did help but the compressions are still visible but lessened.
 Next, I utilize a flat needle file to freshen the button and with 240 paper sand out the compressions.
 Following the 240 sanding, with the help of a plastic disk to prevent shouldering, I wet sand the entire stem with 600 grade paper and follow with 000 grade steel wool.
 Next, the full set of nine micromesh pads are used. With pads 1500 to 2400, wet sanding is applied. Then dry sanding with pads 3200 to 4000 and 6000 to 12000. Between each set of 3 pads, Obsidian Oil is applied to rejuvenate the vulcanite. I like the pop of newly micromeshed stems!
 The morning has come, and the dye has set in the grain of the Comoy’s The Lumberman. Time to ‘unwrap’ the crusted shell that now encases the pipe. To do this, a felt cloth buffing wheel is mounted on the Dremel with the speed reduced to the lowest. The decreases the heating factor of the rougher felt material.
  To unwrap I use Tripoli compound applying it with the felt wheel methodically over the stummel surface. The felt buffing wheel needs purging often to remove the ‘crust’ buildup. I take a picture to show the unwrapping process which reveals a beautiful grain underneath! – and yes, during the staining and unwrapping process I wear surgical gloves! After completing the stummel proper with the felt wheel, I briefly change to a cotton cloth wheel to reach into the crook of the bowl and shank junction with Tripoli which the felt wheel was not able to reach.
 After the unwrapping process is completed, a very light wipe with a cotton pad wetted with alcohol helps to blend the newly stained surface. With the aniline dye, if I wanted to lighten the finish, I could have applied more wiping. This I do not do because I’m liking the dark brown finish very much and how well it is masking the repairs!
 With the Tripoli completed, another cotton cloth buffing wheel is mounted onto the Dremel, the speed is increased to about 40% full power, and after reuniting the Canadian stem and stummel, Blue Diamond compound is applied to the entire pipe.
 To clean the surface of leftover compound dust, which tends to cake up, I give the pipe a buffing with a felt cloth preparing the surface for the application of wax.
 After replacing the cotton buffing wheel used for applying Blue Diamond, another is mounted dedicated to the application of carnauba wax. With the speed remaining the same at about 40% full power, carnauba wax is applied to both stem and stummel. After completed, using a microfiber cloth, the shine is raised through a rigorous buffing.
 One more step and this Comoy’s The Lumberman Special will be completed. To provide a ‘cake-starter’ for the new chamber and to provide a buffer for the patch repair work, which is on the upper rim level, a layer of a mixture of natural, non-flavored Bulgarian yogurt and charcoal dust does the job. This mixture hardens like a rock providing a surface to start a new protective layer of carbon cake. The thickness of this cake should be no more than the thickness of a US dime to provide optimal performance. After placing a dollop of yogurt in a small Chinese rice cup, some charcoal dust is added until it thickens somewhat – not running off the pipe nail. After pushing a pipe cleaner through the draft hole to protect it from being blocked, using the pipe nail as a trowel, I very carefully apply the mixture evenly over the chamber walls – avoiding drippage on the freshly waxed external surface! It looks good!

 I am amazed. I initially described this sorry pipe as a Nightmare without any expectations that it could again be described as hedging on pristine. Yet, that is exactly what I am seeing – a very attractive Comoy’s The Lumberman Special Canadian. What are also amazing to witness, even if I’m watching the work of my own hands, are the step by step logical, mechanical and artistic processes woven together toward certain micro outcomes resulting in a restored pipe. Yet, this pipe wasn’t restored, but resurrected to be sure. The rim repair, both with the fills and the reconstruction of a round presentation, is satisfying to behold. The grain now revealed from underneath the grime and years of use is striking. Jim commissioned the ‘Nightmare’ from the ‘For “Pipe Dreamers” ONLY! collection and that itself was pretty amazing that he could see the potential. As the commissioner, Jim will have the first opportunity to claim the Comoy’s The Lumberman Special from The Pipe Steward Store benefiting the Daughters of Bulgaria – women and girls who have been trafficked and sexually exploited. Lest we forget, I start with a few ‘before’ pictures. Thanks for joining me!


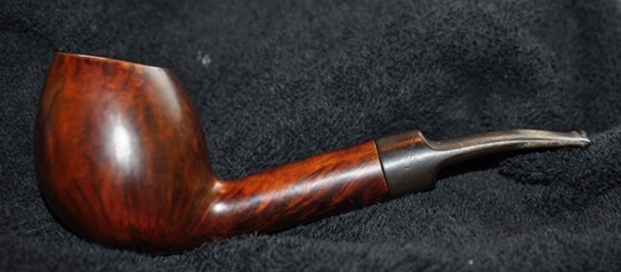
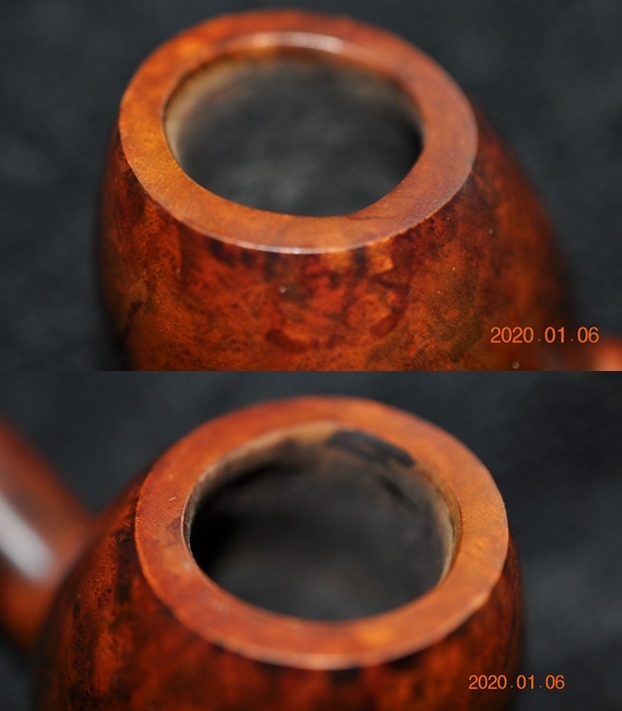
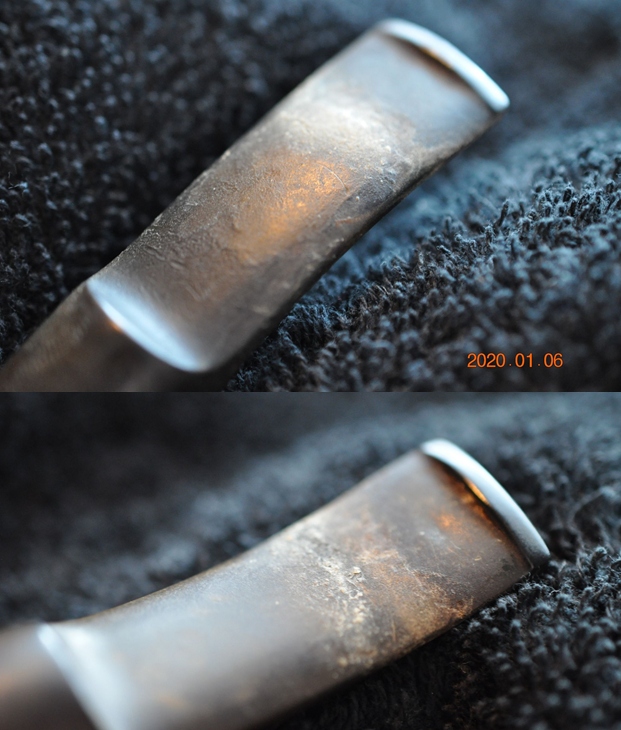
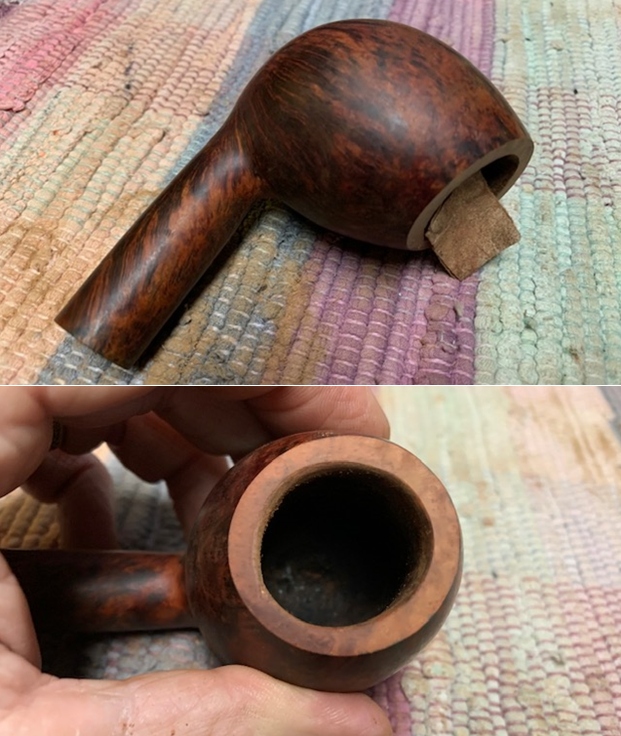
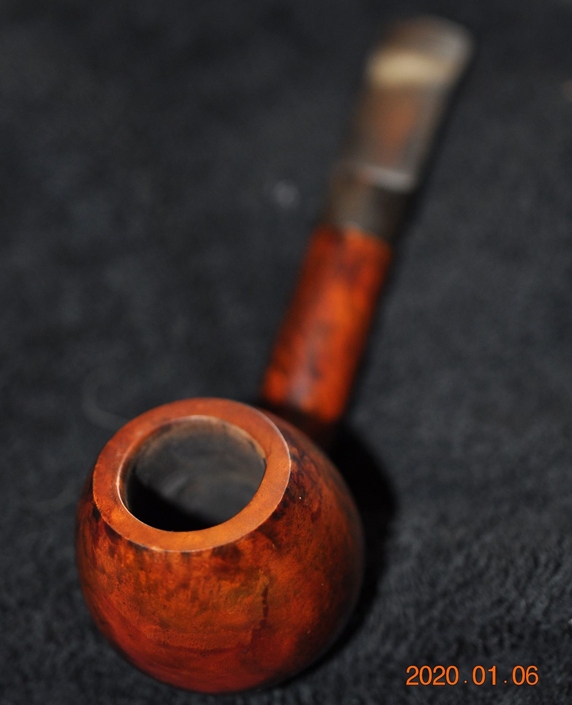 He took photos of the rim top and bowl to give a clear picture of the good the pipe bowl looked inside. The rim was quite clean but the inner edge was out of round on backside. It was not burned but appeared to have been caused when it was reamed sometime in its history. The photos show the contrast of the bowl’s general condition with the wear and tear on the saddle stem surface.
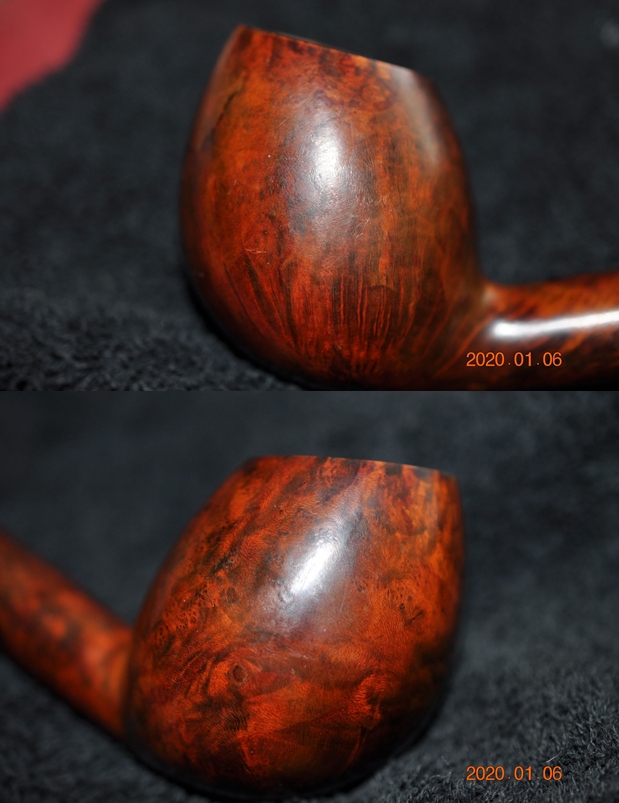
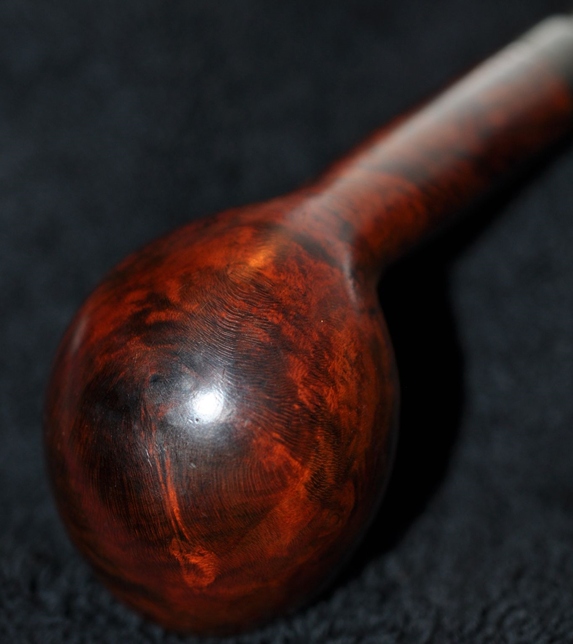
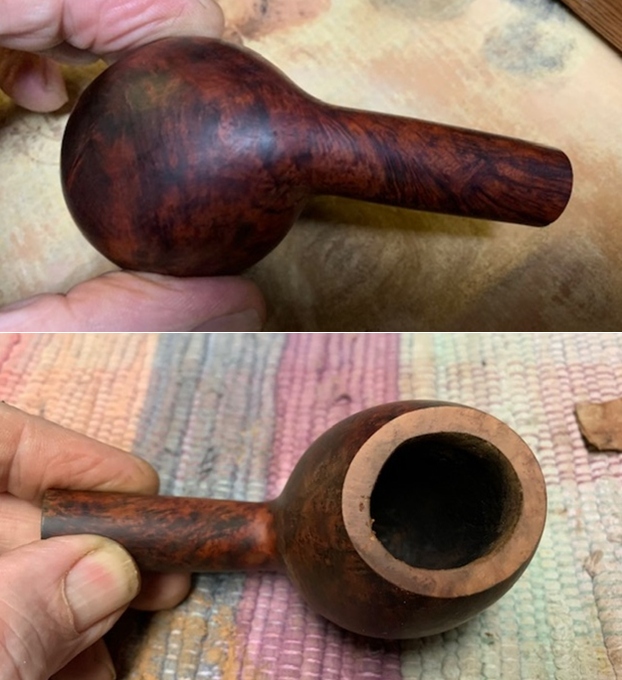
 Jeff took photos of the sides and heel of the bowl and shank to give a picture of what the briar around the pipe looked like.
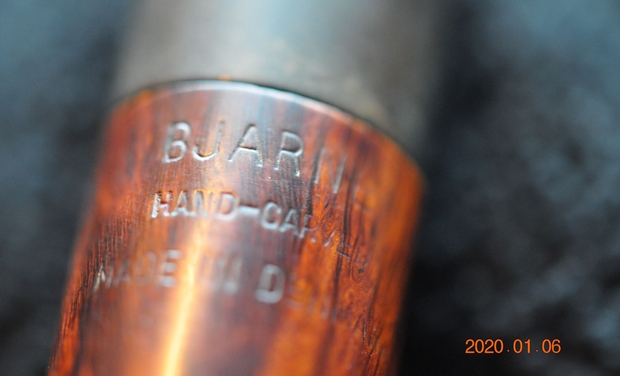
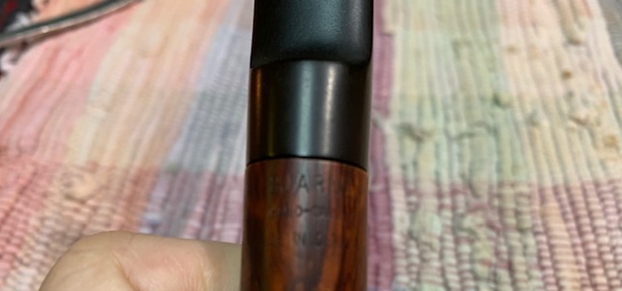
 He took a photo of the stamping on the shank. It reads as noted above and is clear and readable.
  I turned to my favourite go to sites on the background of brands. The first is Pipephil’s site (http://www.pipephil.eu/logos/en/logo-b5.html). There I looked up the Bjarne brand. I have copied the pertinent information below.
 I turned to Pipedia and looked up the brand for a bit more information on the pipes that were stamped like the one that I am working on (https://pipedia.org/wiki/Bjarne). It is a great history of the brand and a good read. Toward the end of the article I found what I was looking for. I quote:
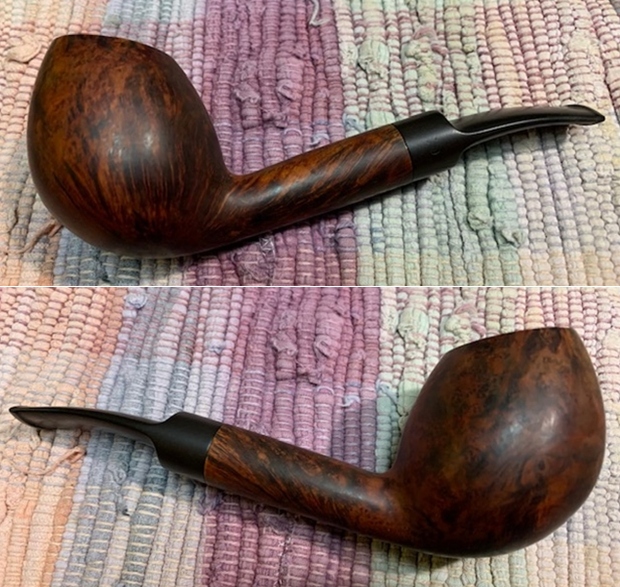
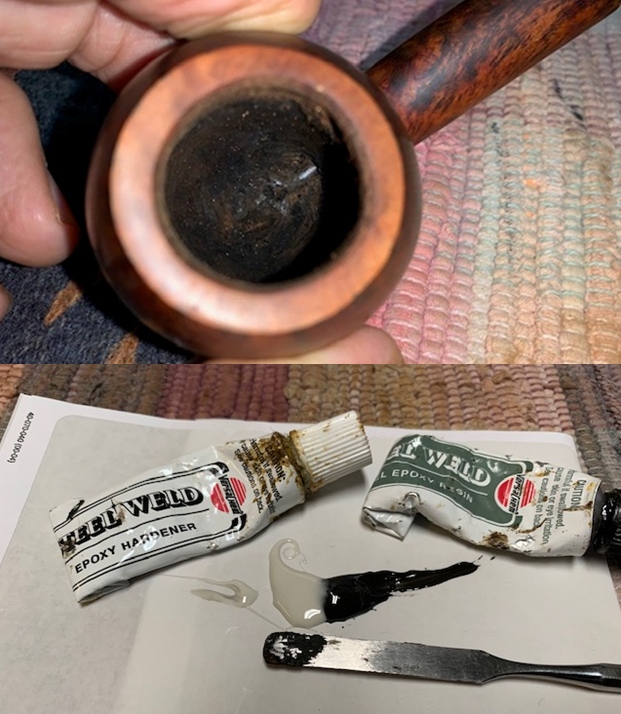
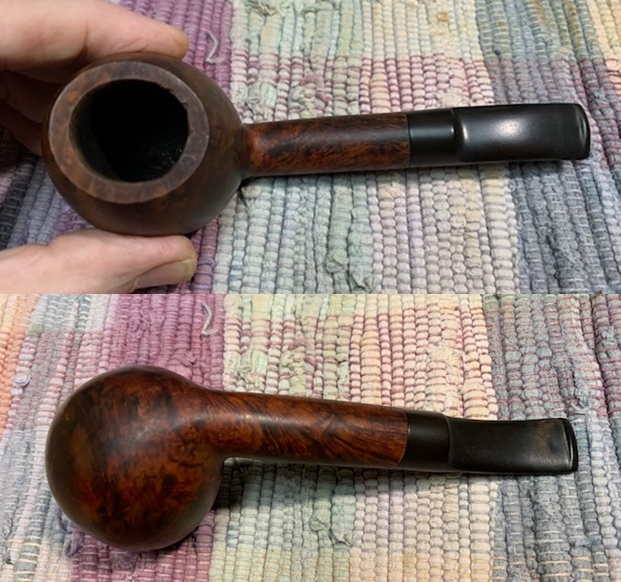 The bowl had been over reamed to the point that there was a pit in the bottom of the bowl. There was a trough from the airway to the front of the bowl and large dip mid bowl. It makes the bottom of the bowl quite thin. There were chips out of the rim top and the bowl was out of round. The stem looks really quite good. There were some light tooth marks and chatter on both sides near the button.
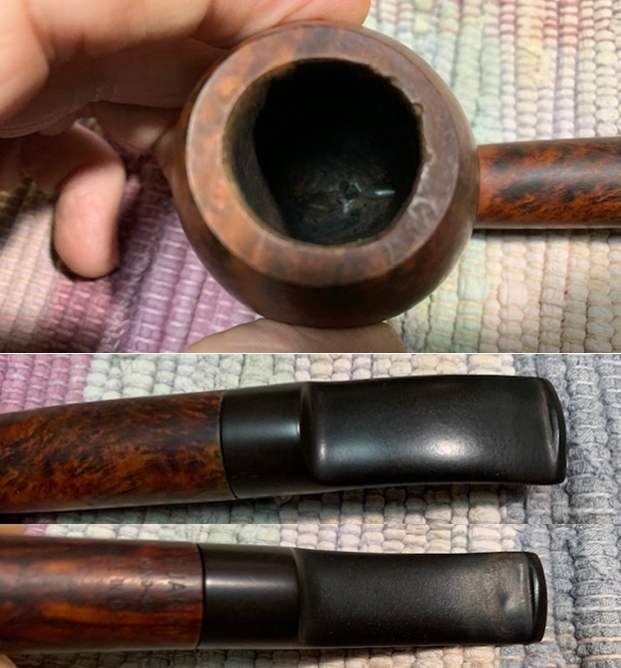 I took a photo of the stamping on the underside of the shank. It was clear and read as noted above.
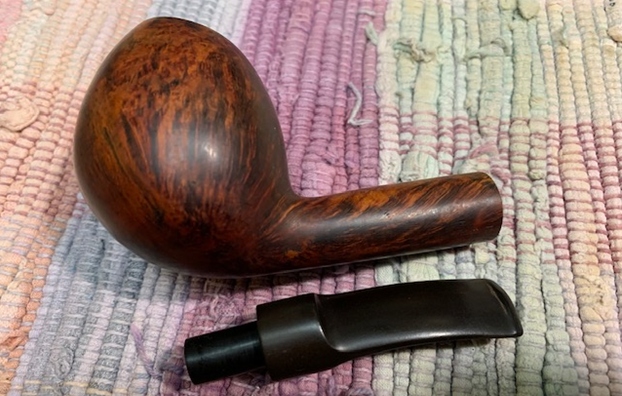
  I took the stem off the shank and took a picture of the pipe to give a sense of its overall look. It is going to be a great looking pipe once the restoration is finished.
  I decided to begin my work on the pipe by dealing with the damage to the rim top and inner edge of the bowl. I topped the bowl on a topping board with 220 grit sandpaper. I took of the damage and removed the chips from the rim top. I used a folded piece of 220 grit sandpaper to reshape the inner edge of the bowl. I gave it a light bevel to deal with the damage to the edge of the bowl. When I was finished it looked a lot better than when I started.
 The next item on the agenda was the surprise mess on the bottom of the bowl. The bowl had a trough from the entry of the airway to the front of the bowl and a pit mid bowl that made the bowl bottom dangerously thin. I mixed up a batch of JB Weld and filled in both the trough and the pit in the bowl bottom. I used a folded pipe cleaner to press it into the bottom and set it aside to cure.
 I polished the briar with micromesh sanding pads – dry sanding with 1500-12000 grit pads. I wiped it down after each sanding pad to remove the sanding dust.
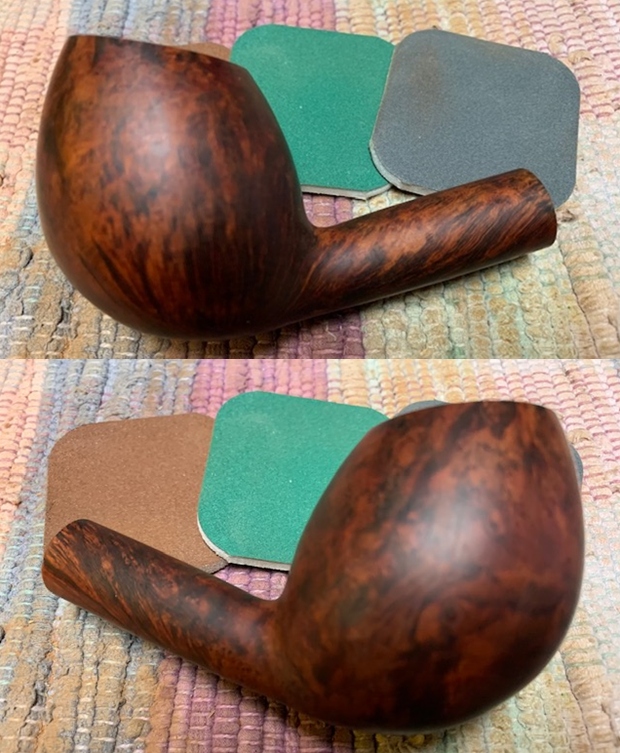
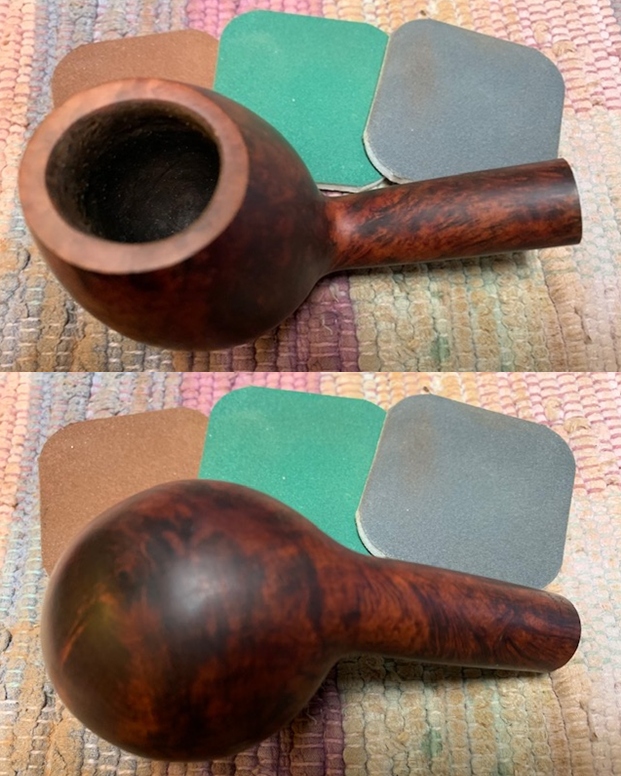
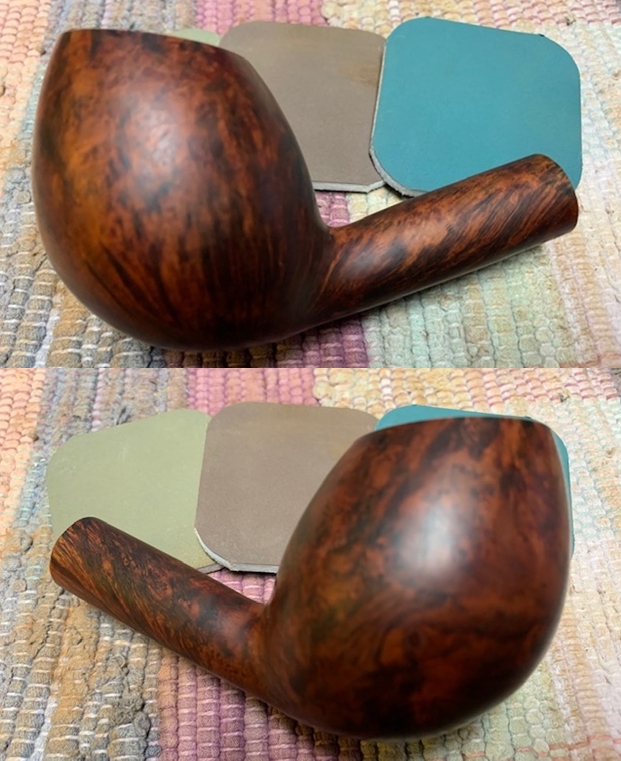
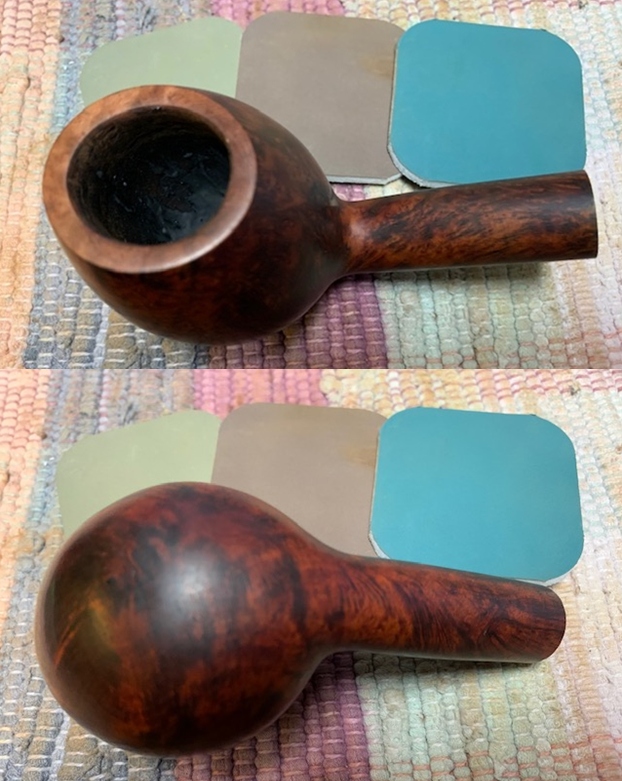
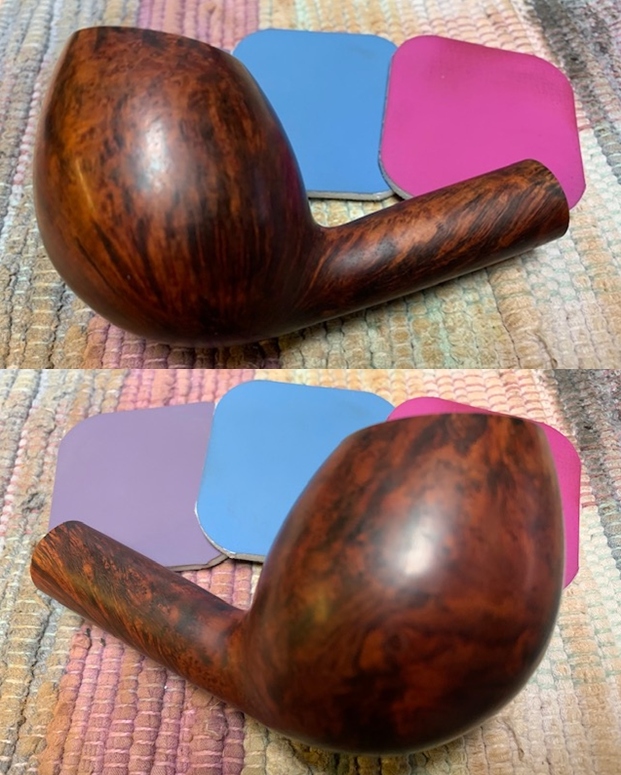
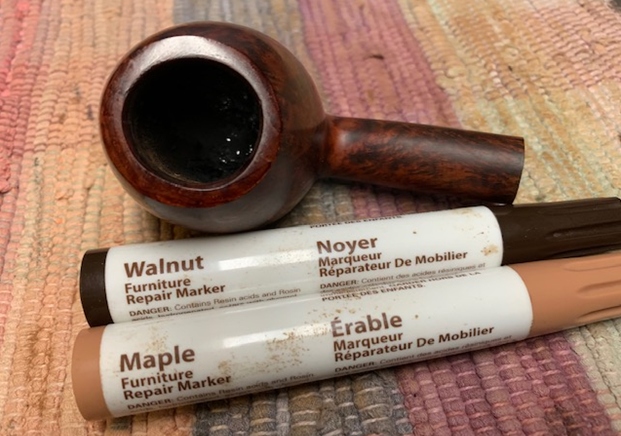
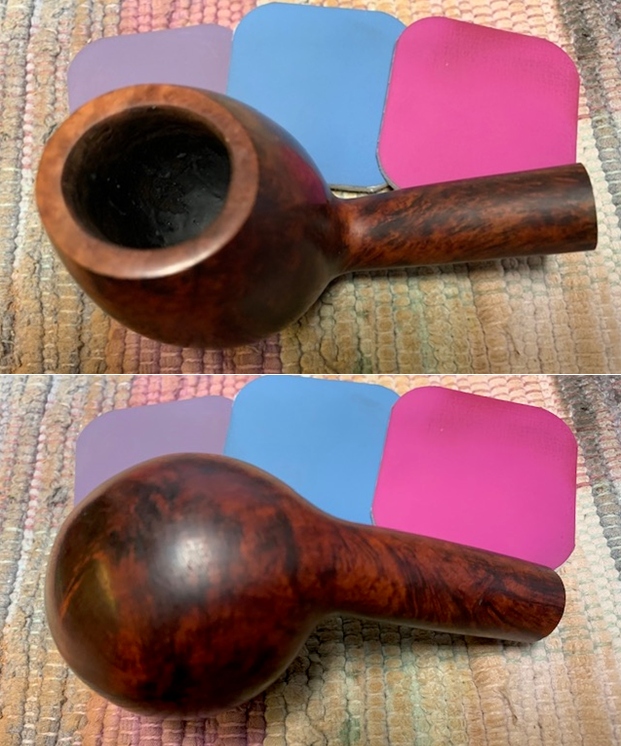 I stained the top of the rim with a mix of Walnut and Maple Stain pens and was able to match the surrounding briar perfectly. Once it is buffed it will be very nice.
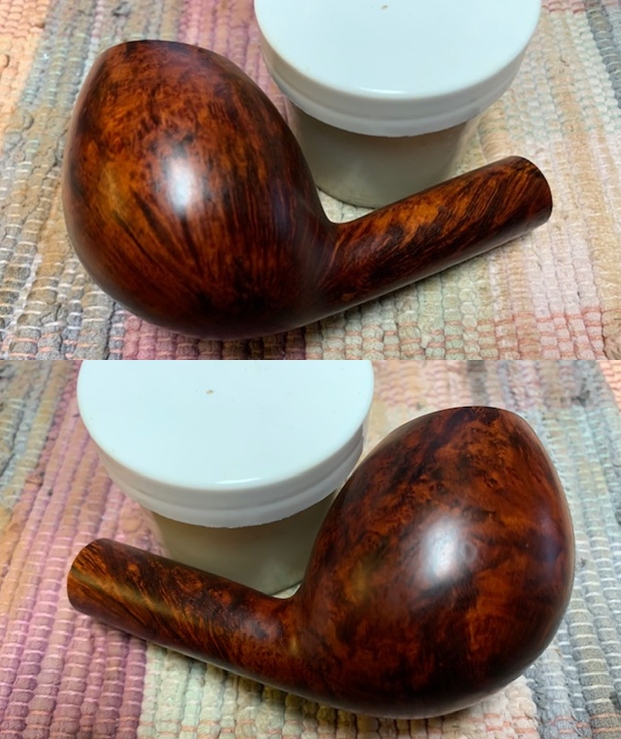
 I rubbed the bowl down with Before & After Restoration Balm. I worked it into the surface of the bowl sides and shank with my fingertips. The product works to clean, enliven and protect the briar. I let the balm sit for 15 minutes and then buffed with a cotton cloth to raise the shine.
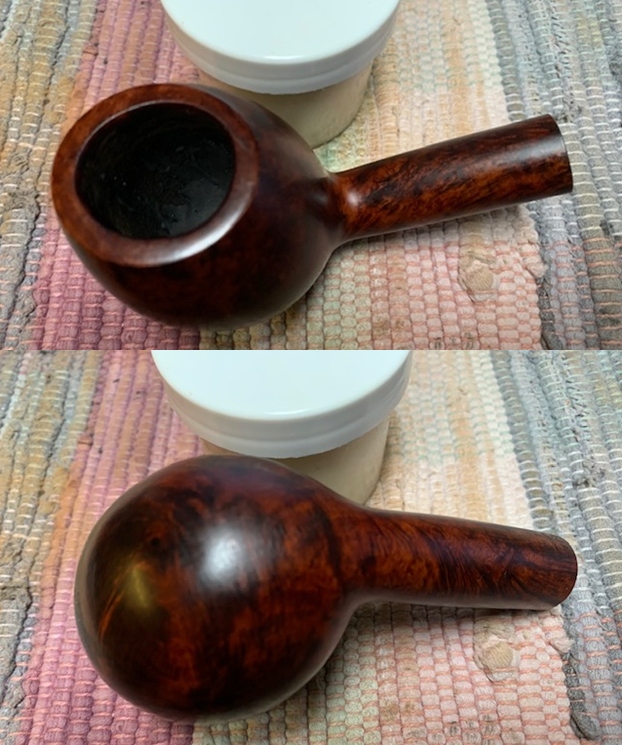
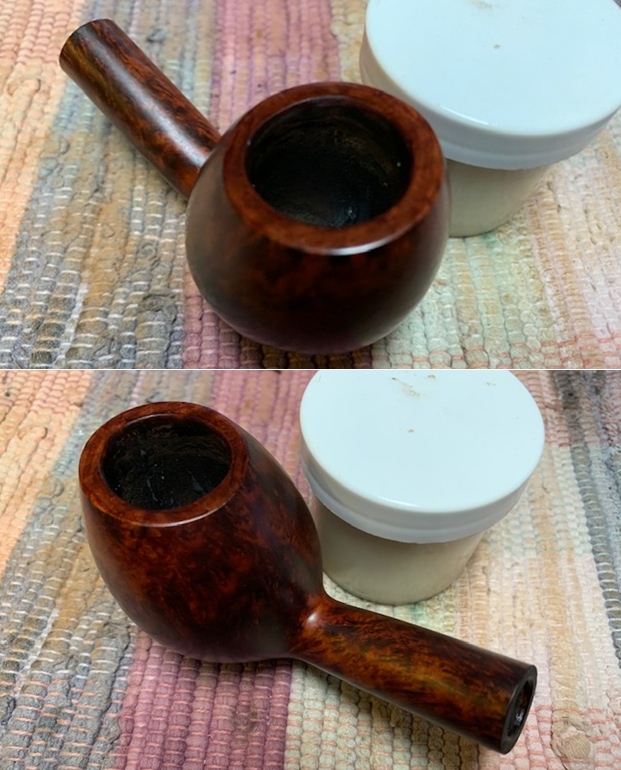 I set the bowl aside and turned my attention to the stem that I had picked out. I “painted” the surface of the stem with the flame of a lighter to lift the tooth marks. I was able to lift all of them on the top side and all but one on the underside. I filled them in with super glue and set it aside to cure.
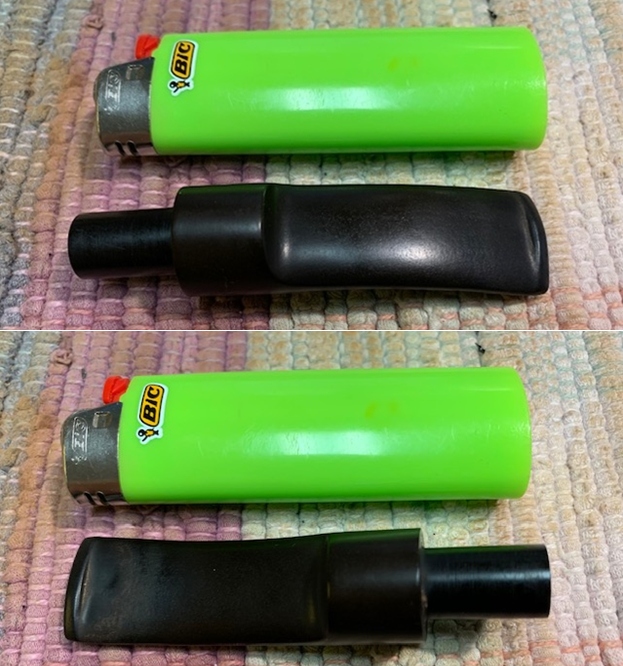
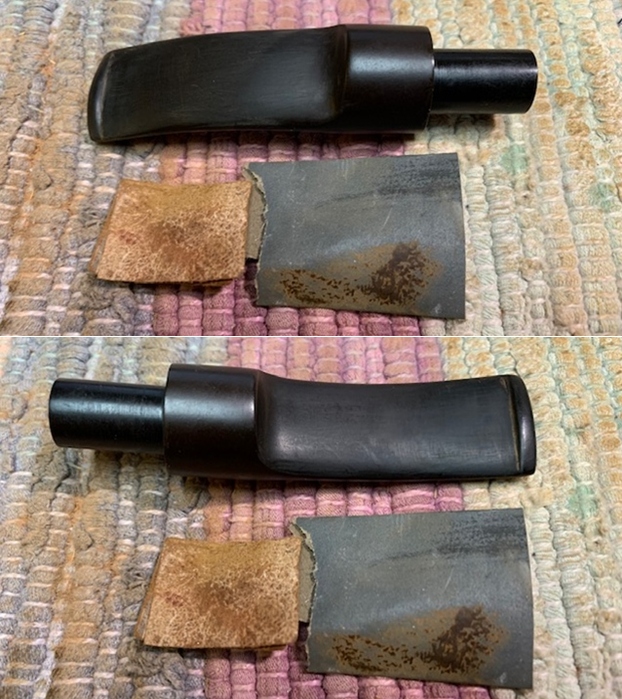
 I used a file to flatten the repair on the stem and reshape the button. Once I had it reshaped and the repair flattened I sanded the stem with 220 grit sandpaper to remove the scratching and blending them into the surface. I began the polishing with 400 grit wet dry sandpaper.
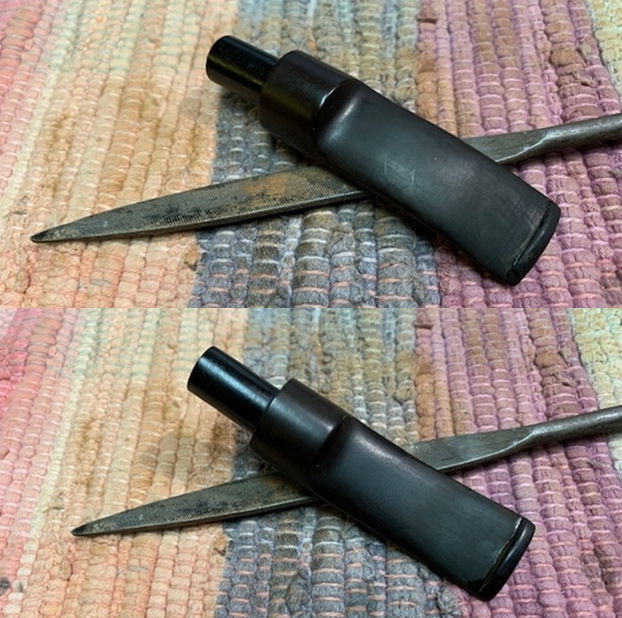
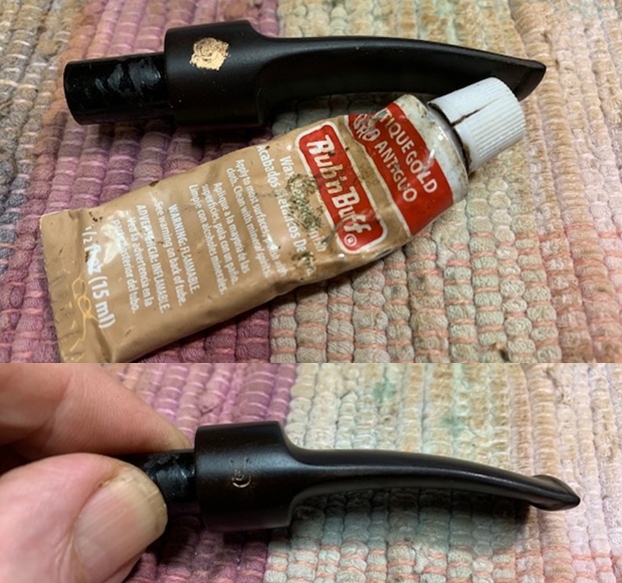
 The stamping on the left side of the saddle stem was faint but I touched up what remained with Rub’n Buff Antique Gold. I rubbed it into the stamping and used a tooth pick to work it into the stamp. I buffed it off with a cotton pad.
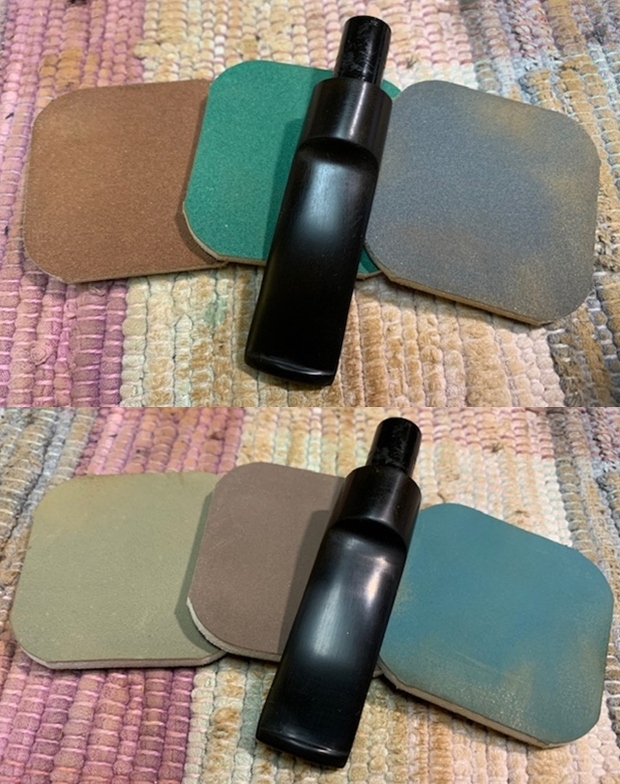
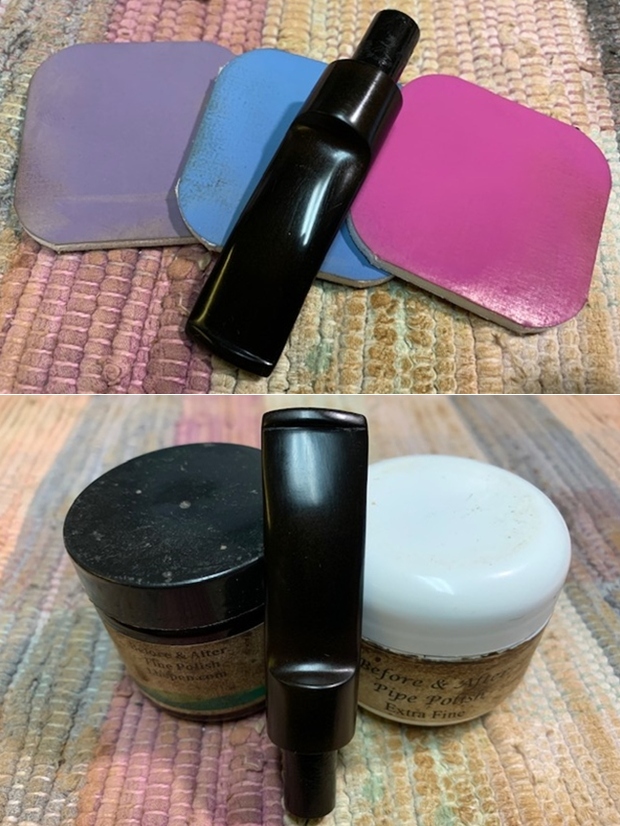
 I polished the scratches out of the stem with micromesh sanding pads – 1500-12000 grit pads. I wiped it down with a damp cloth after each sanding pad. I used Before & After Pipe Polish – both Fine and Extra Fine to further polish the stem.
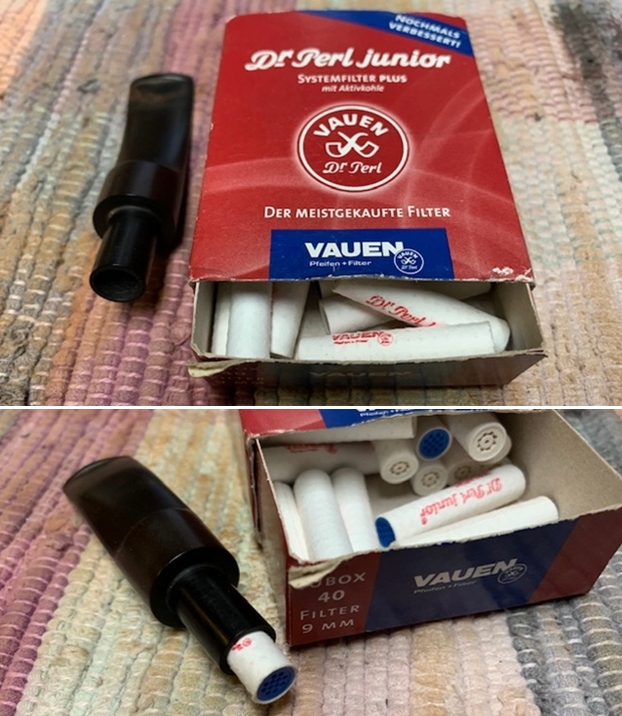
 The stem and shank were made for a 9MM filter so I took out a box of Vauen Dr. Perl Filters and fit one into the end of the stem. It fit perfectly in both the stem and the shank.
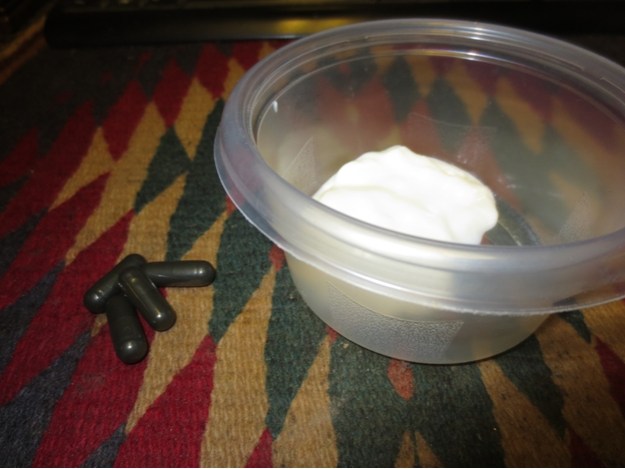
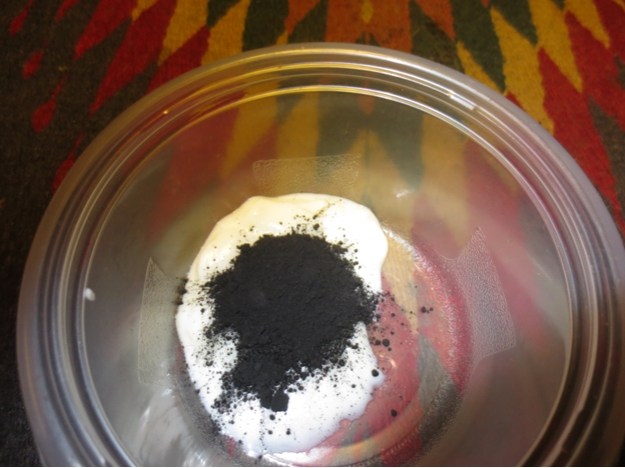
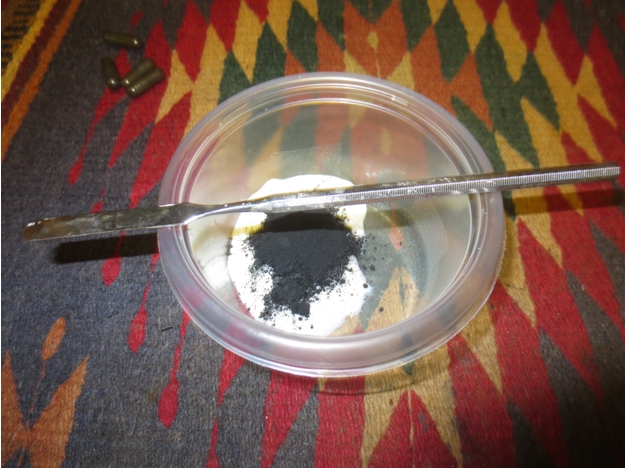
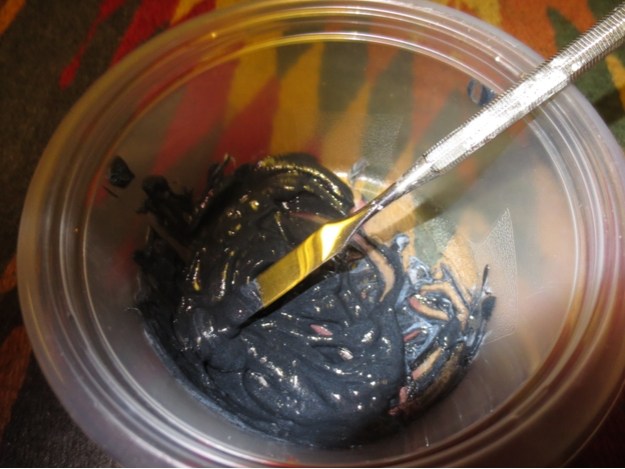
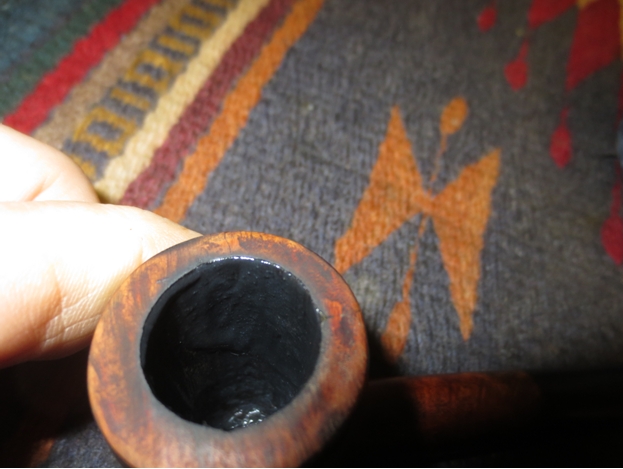
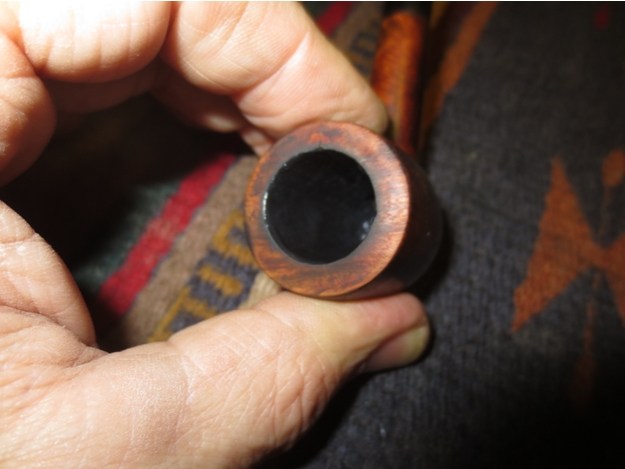
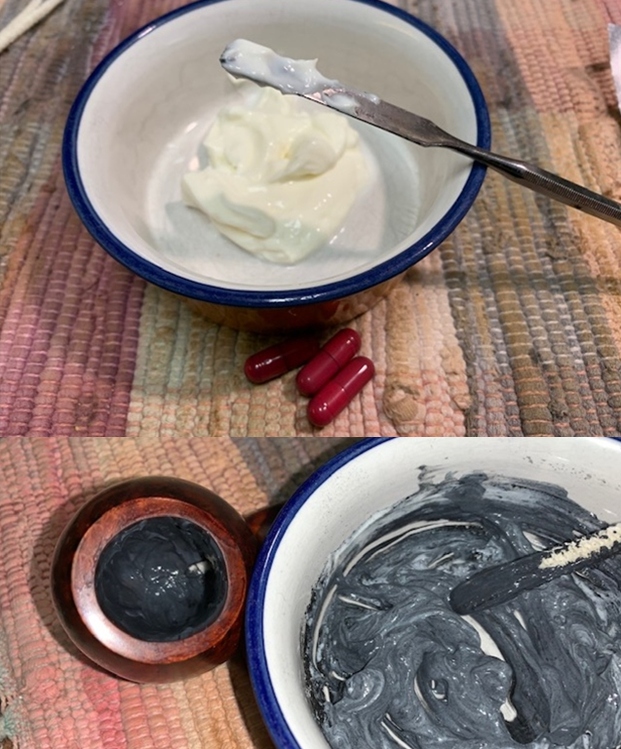
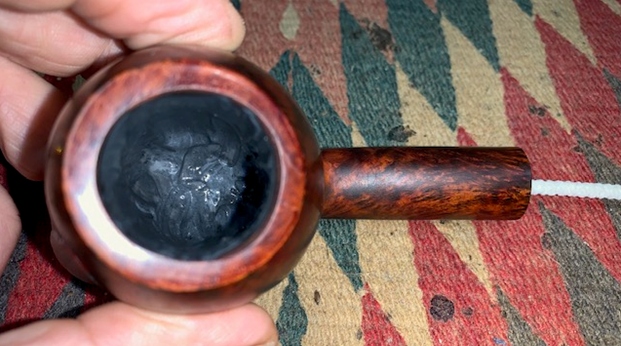
  Once the repair in the bowl bottom cured I mixed a bowl of sour cream and charcoal powder to protect the bowl and facilitate breaking it in the first few smokes. I put a pipe cleaner in the airway into the bowl and used a folded pipe cleaner to paint the walls and bottom of the bowl with the mixture. I set the bowl aside to let the mixture harden and cure. Once the bowl coating dries it is neutral and leaves behind no taste that affects the flavour of the tobacco.
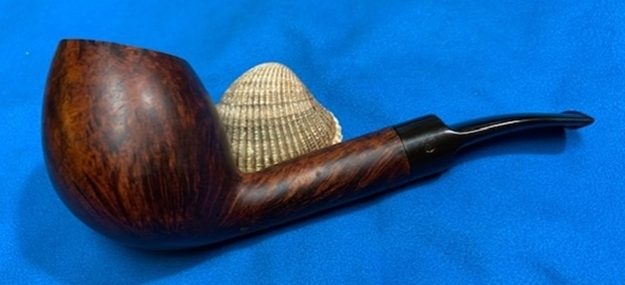
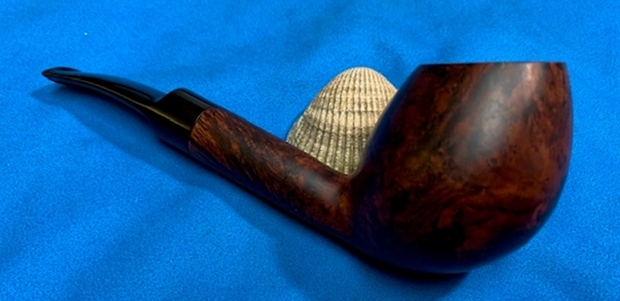
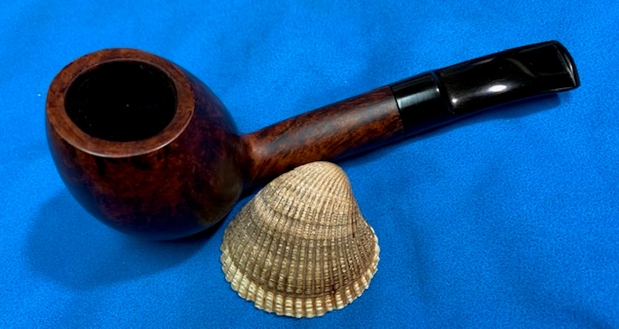
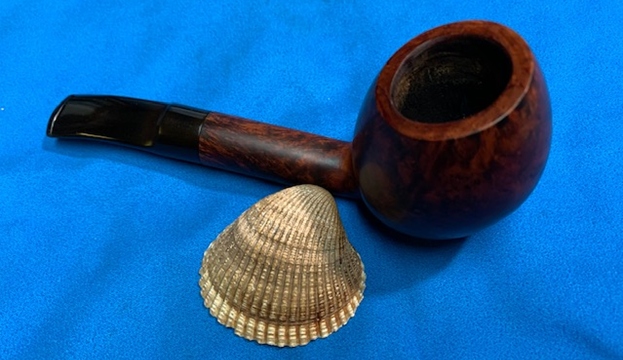
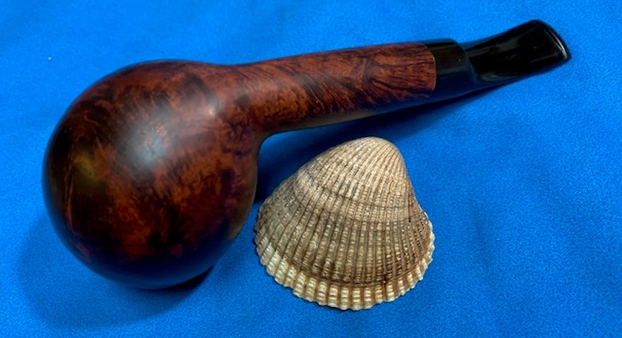
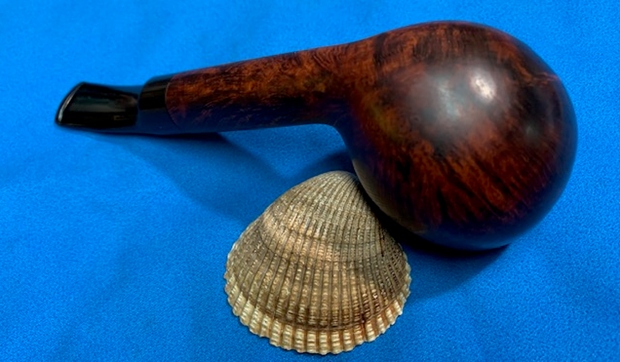
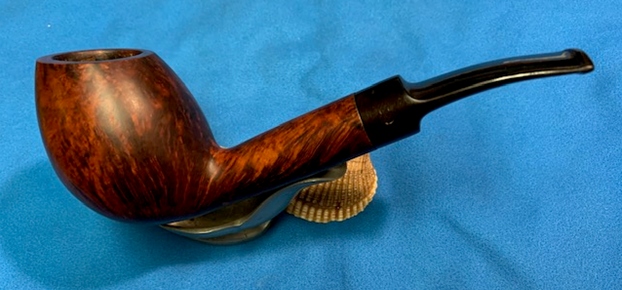
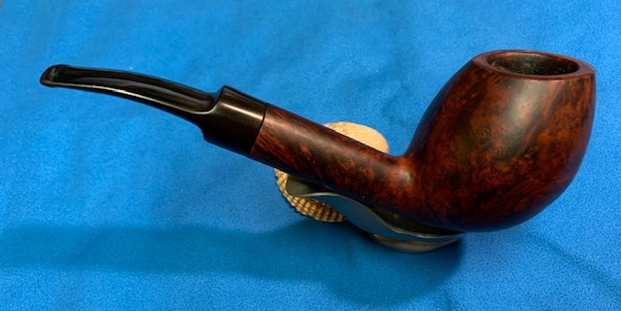
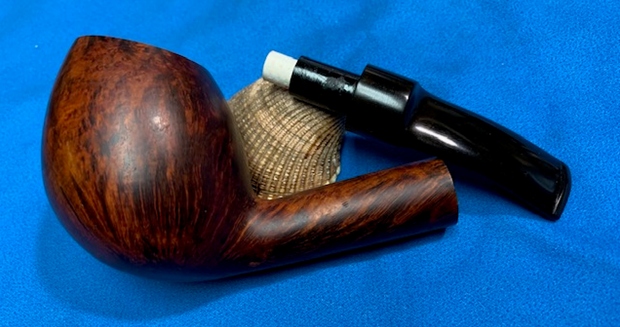
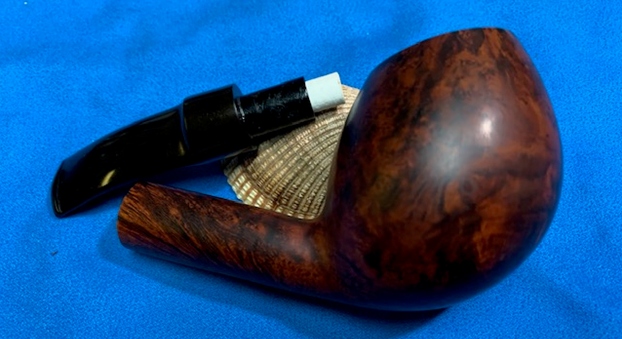
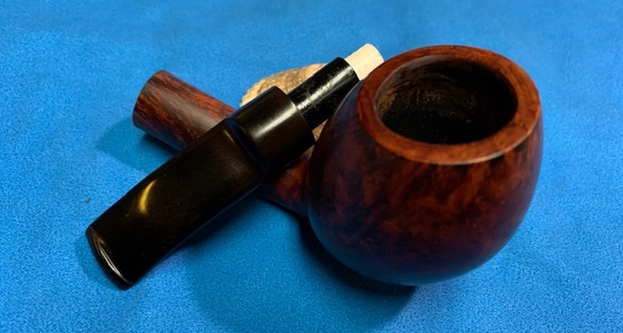
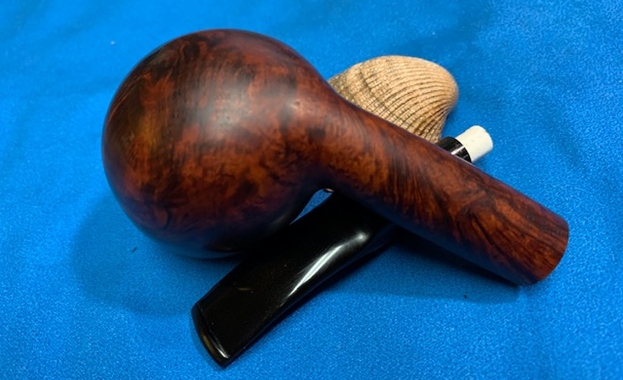
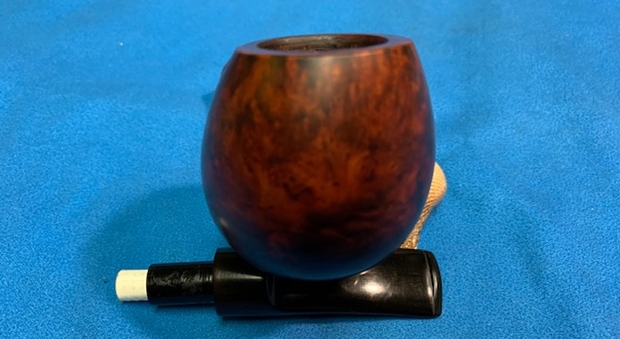
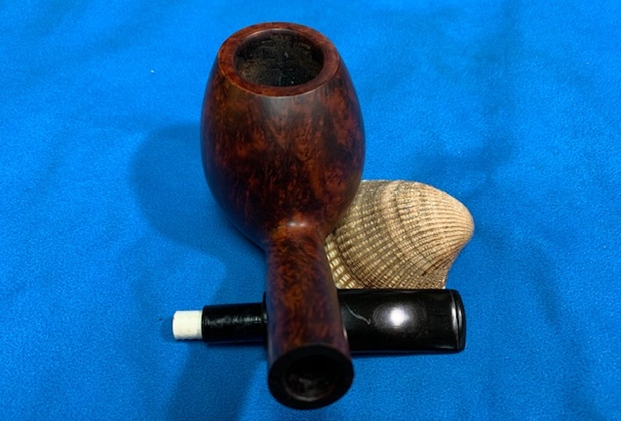
 This smooth finished Bjarne Hand-Carved Canted Egg is a great looking pipe. It is a pipe made in Denmark. The fancy, saddle vulcanite stem that is drilled for a 9mm filter works well and goes nicely with the reds of briar. I put the stem back on the bowl and buffed the pipe with Blue Diamond on the buffing wheel using a light touch on the briar. I gave the bowl and the stem multiple coats of carnauba wax on the buffing wheel and followed that by buffing the entire pipe with a clean buffing pad. I hand buffed the pipe with a microfiber cloth to deepen the shine. The finished Bjarne Canted Egg fits nicely in the hand and feels great. Give the finished pipe a look in the photos below. The dimensions of the pipe are Length: 6 ½ inches, Height: 2 ¼ inches, Outside diameter of the bowl: 1 ½ inches, Chamber diameter: 7/8 of an inch. The weight of the pipe is 74grams/2.61oz. I will be adding it to the rebornpipes store shortly in the Danish Pipe Makers Section. Thanks for reading this blog and my reflections on the pipe while I worked on it. There are many more to come!