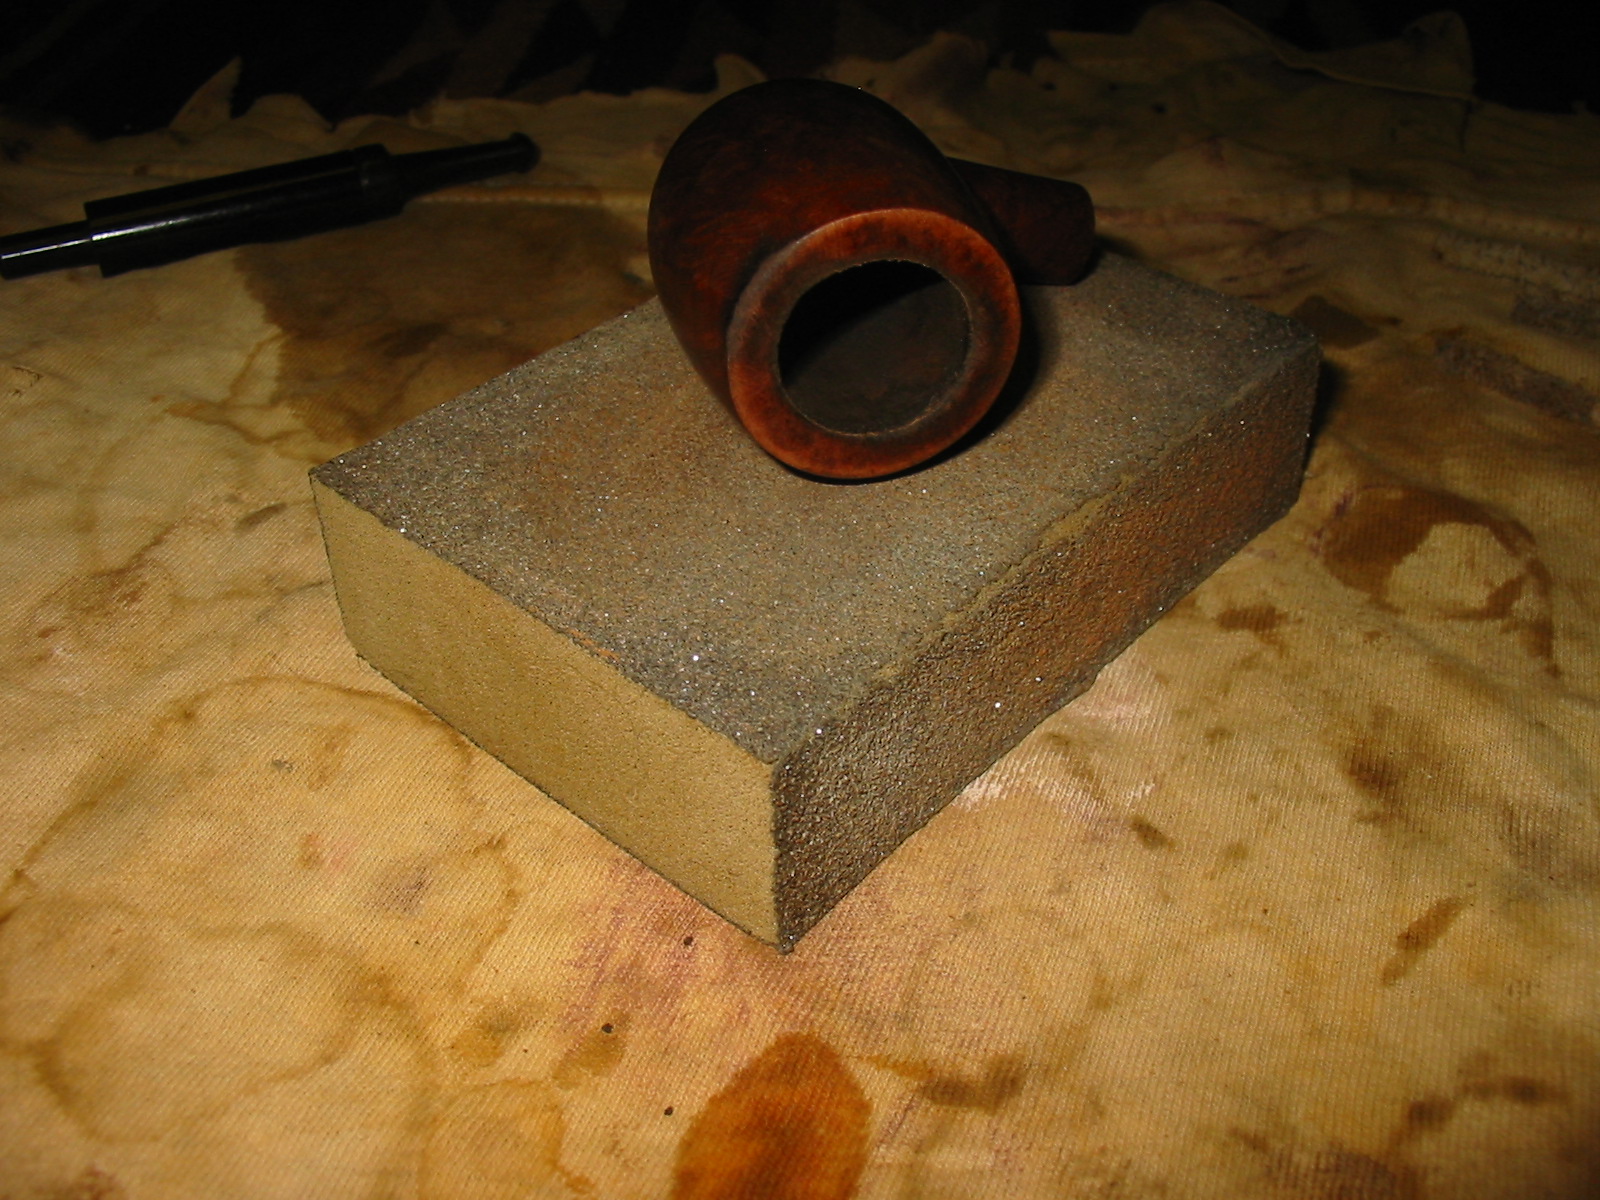
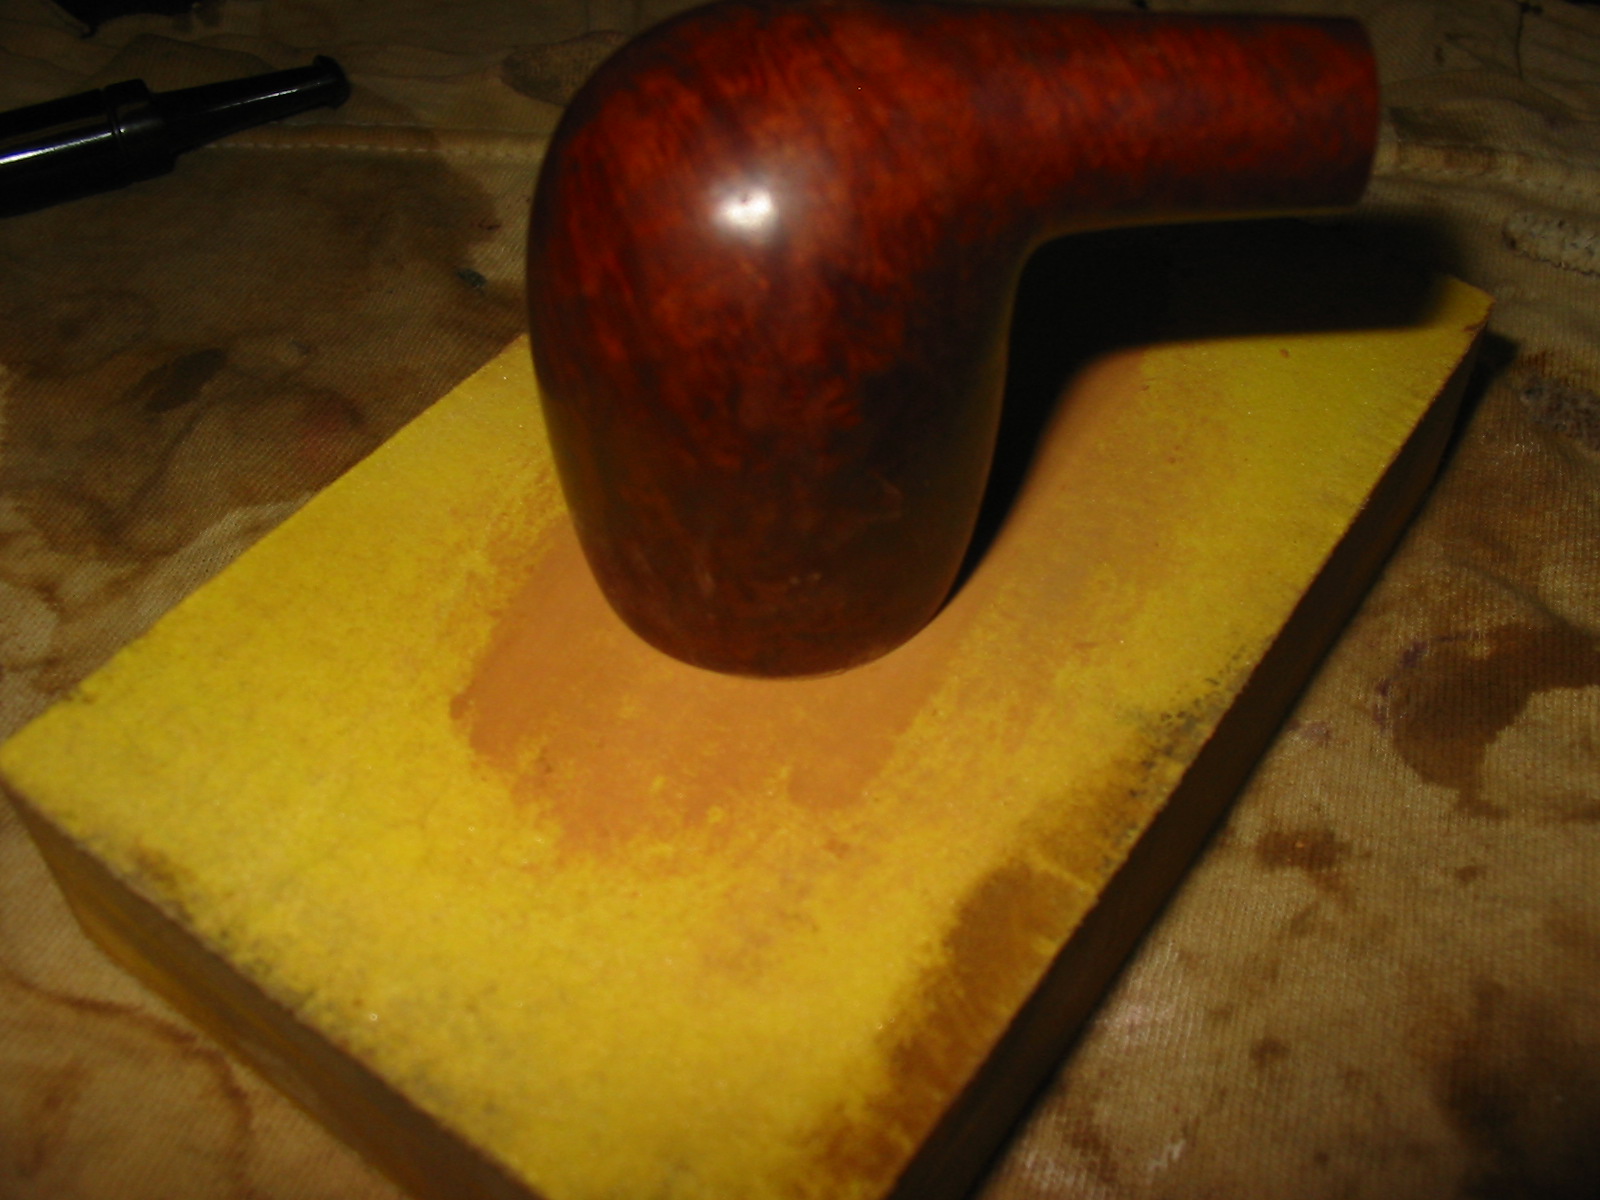
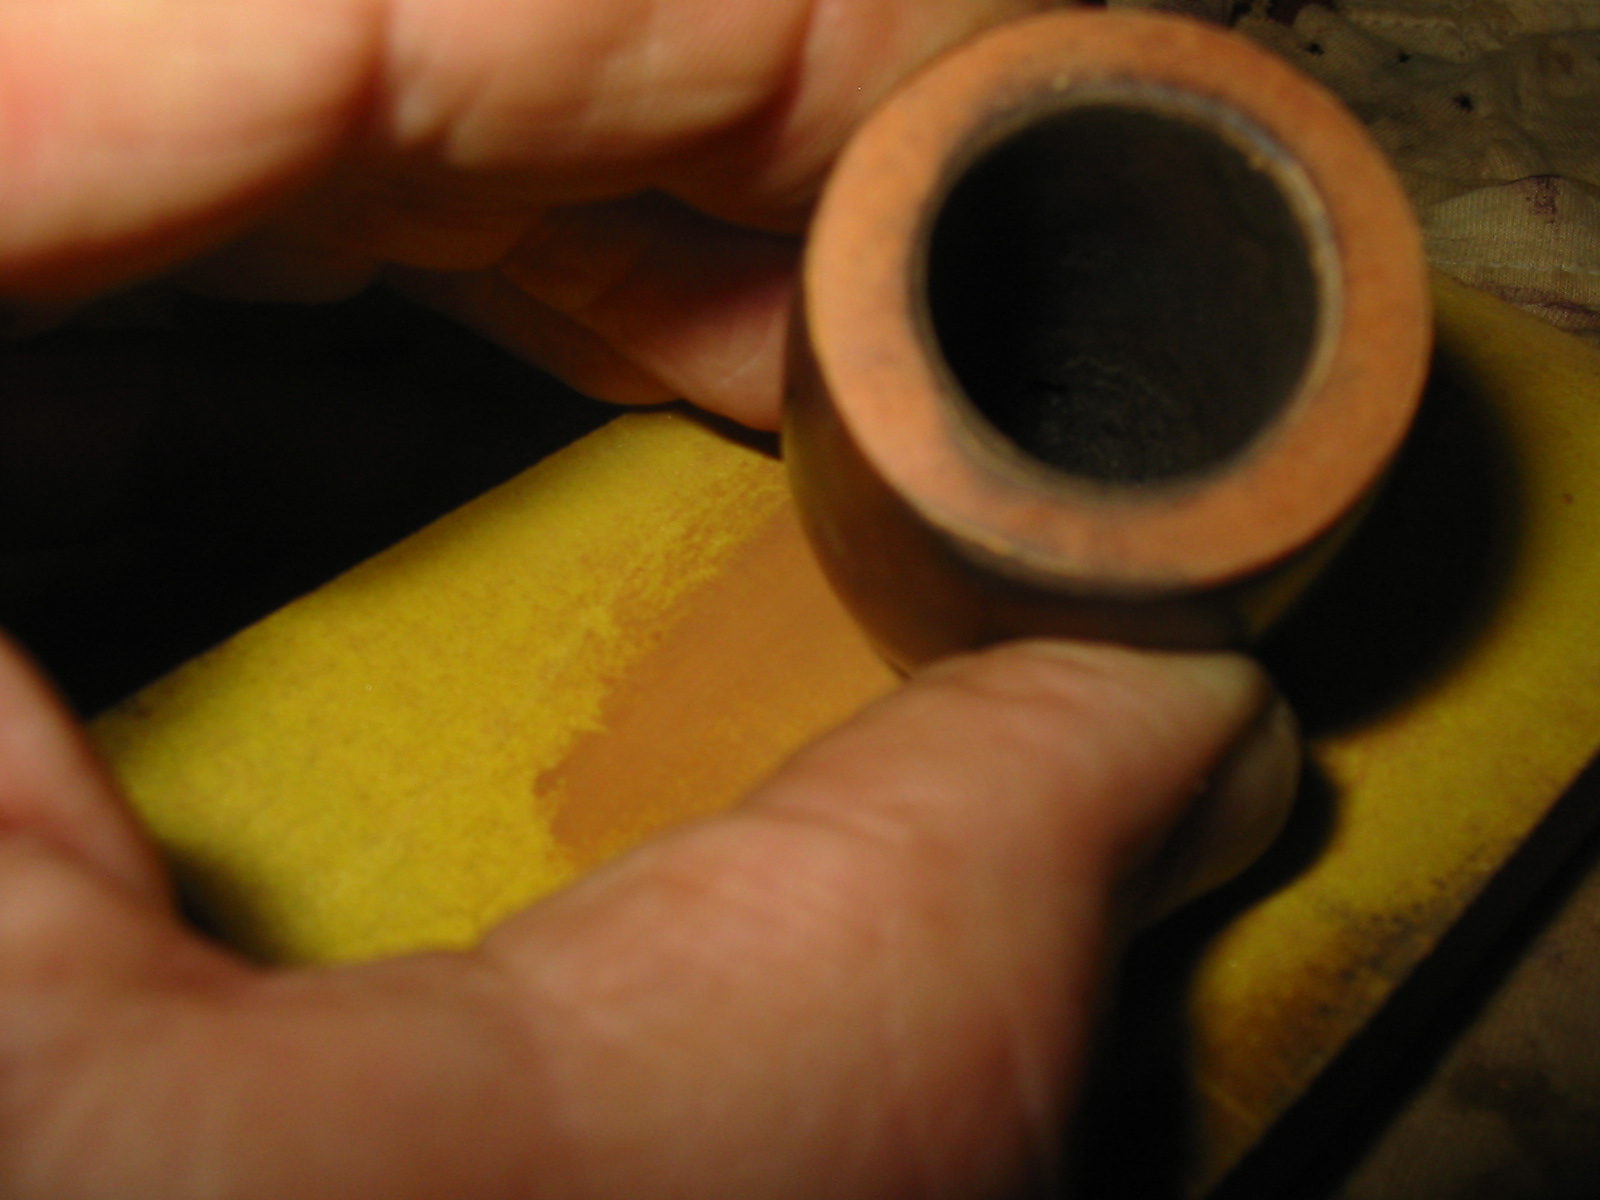
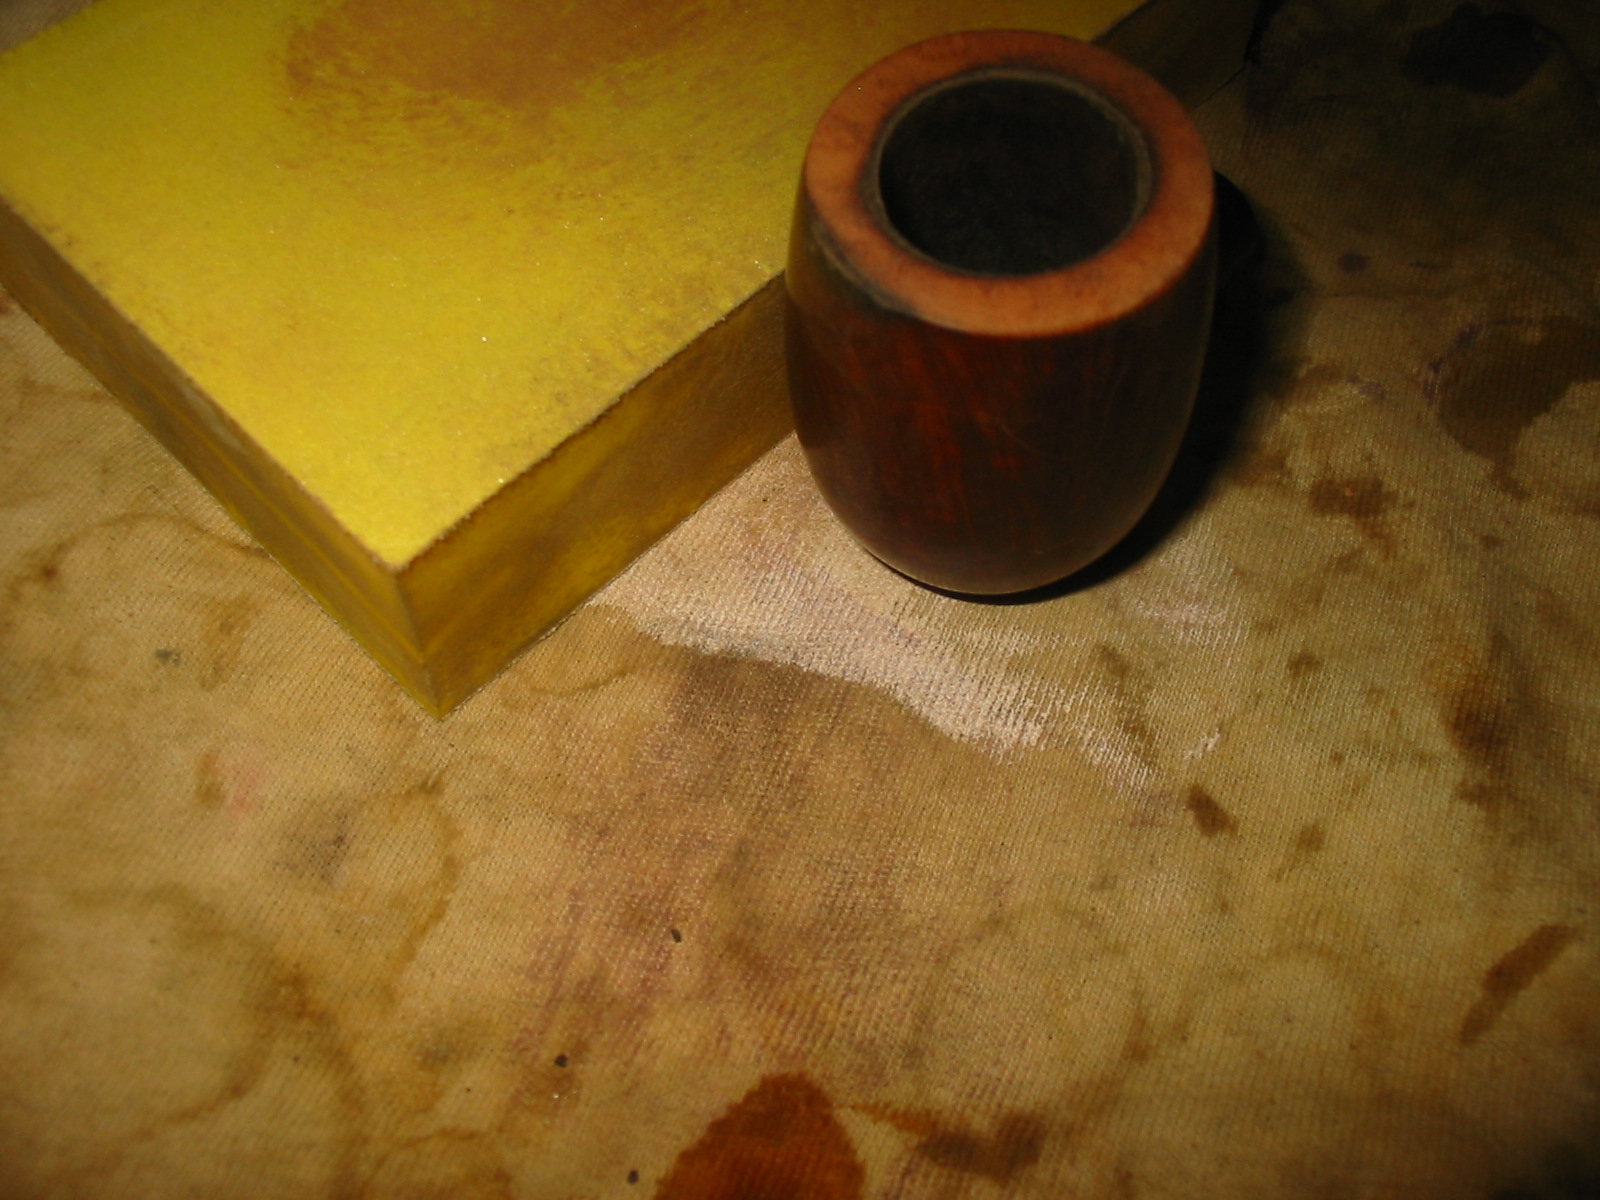
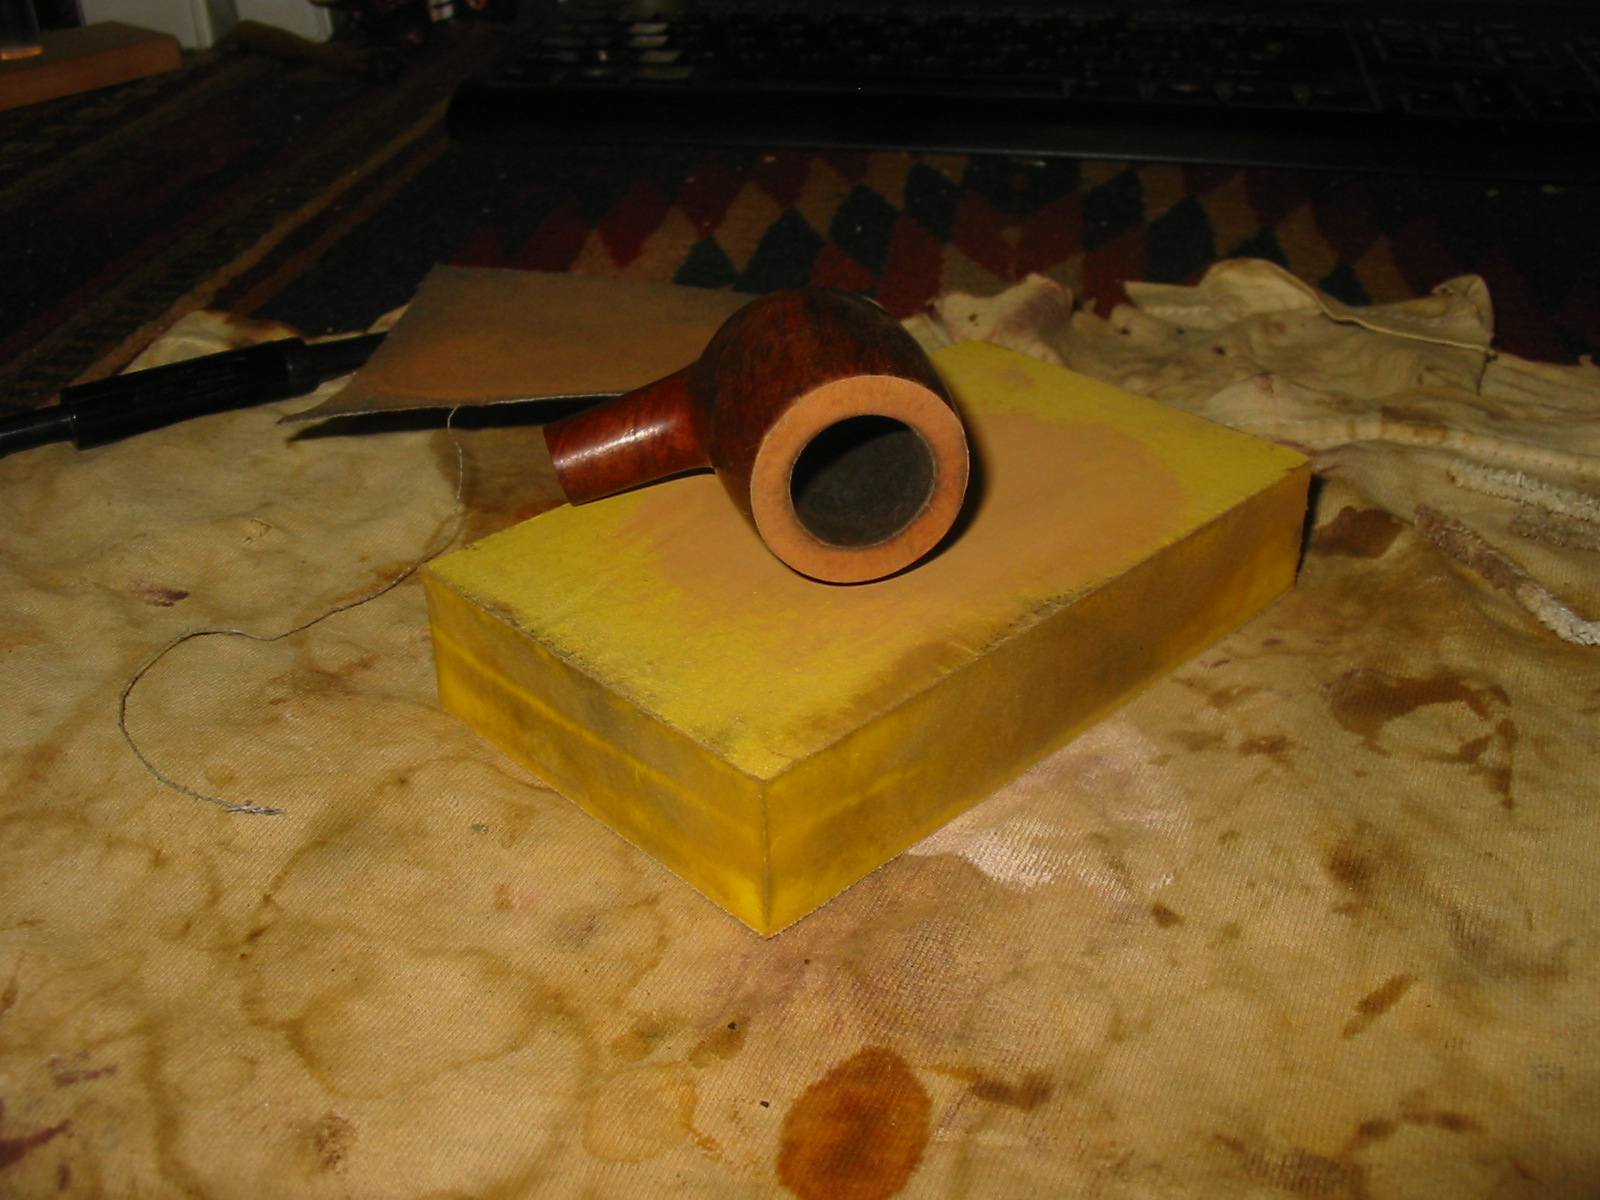
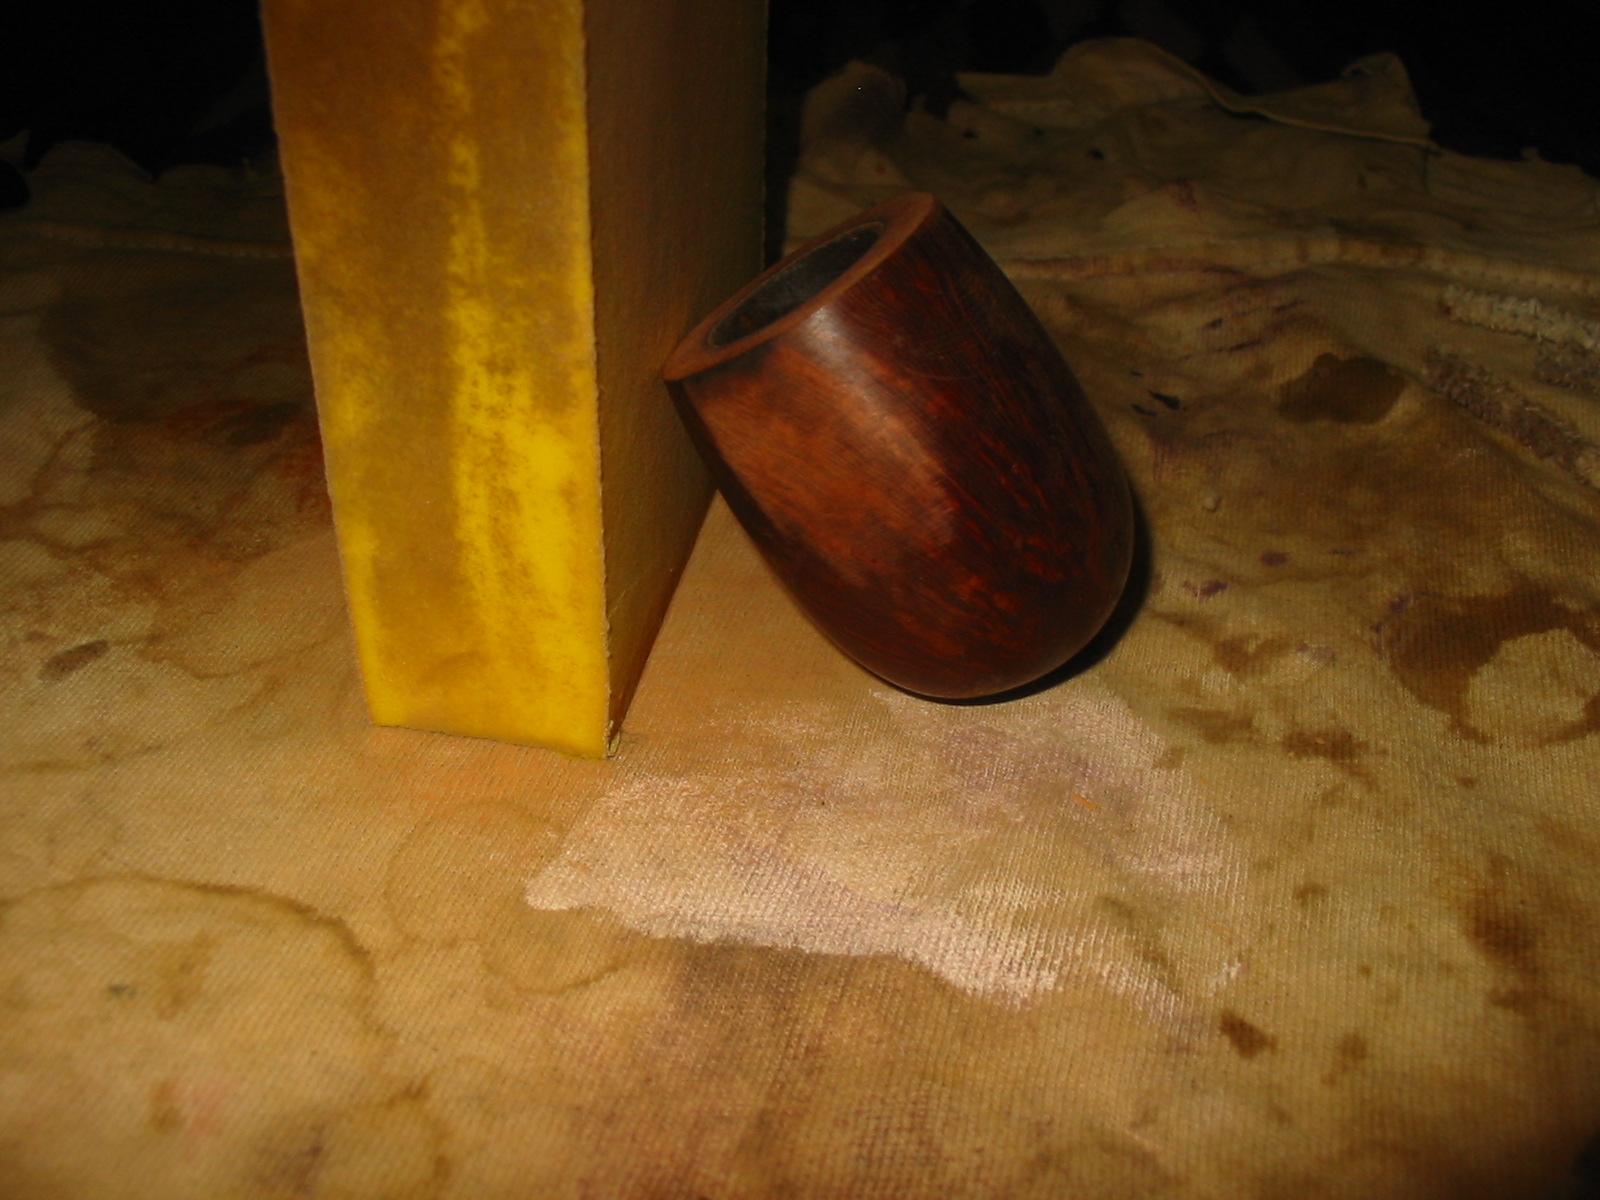
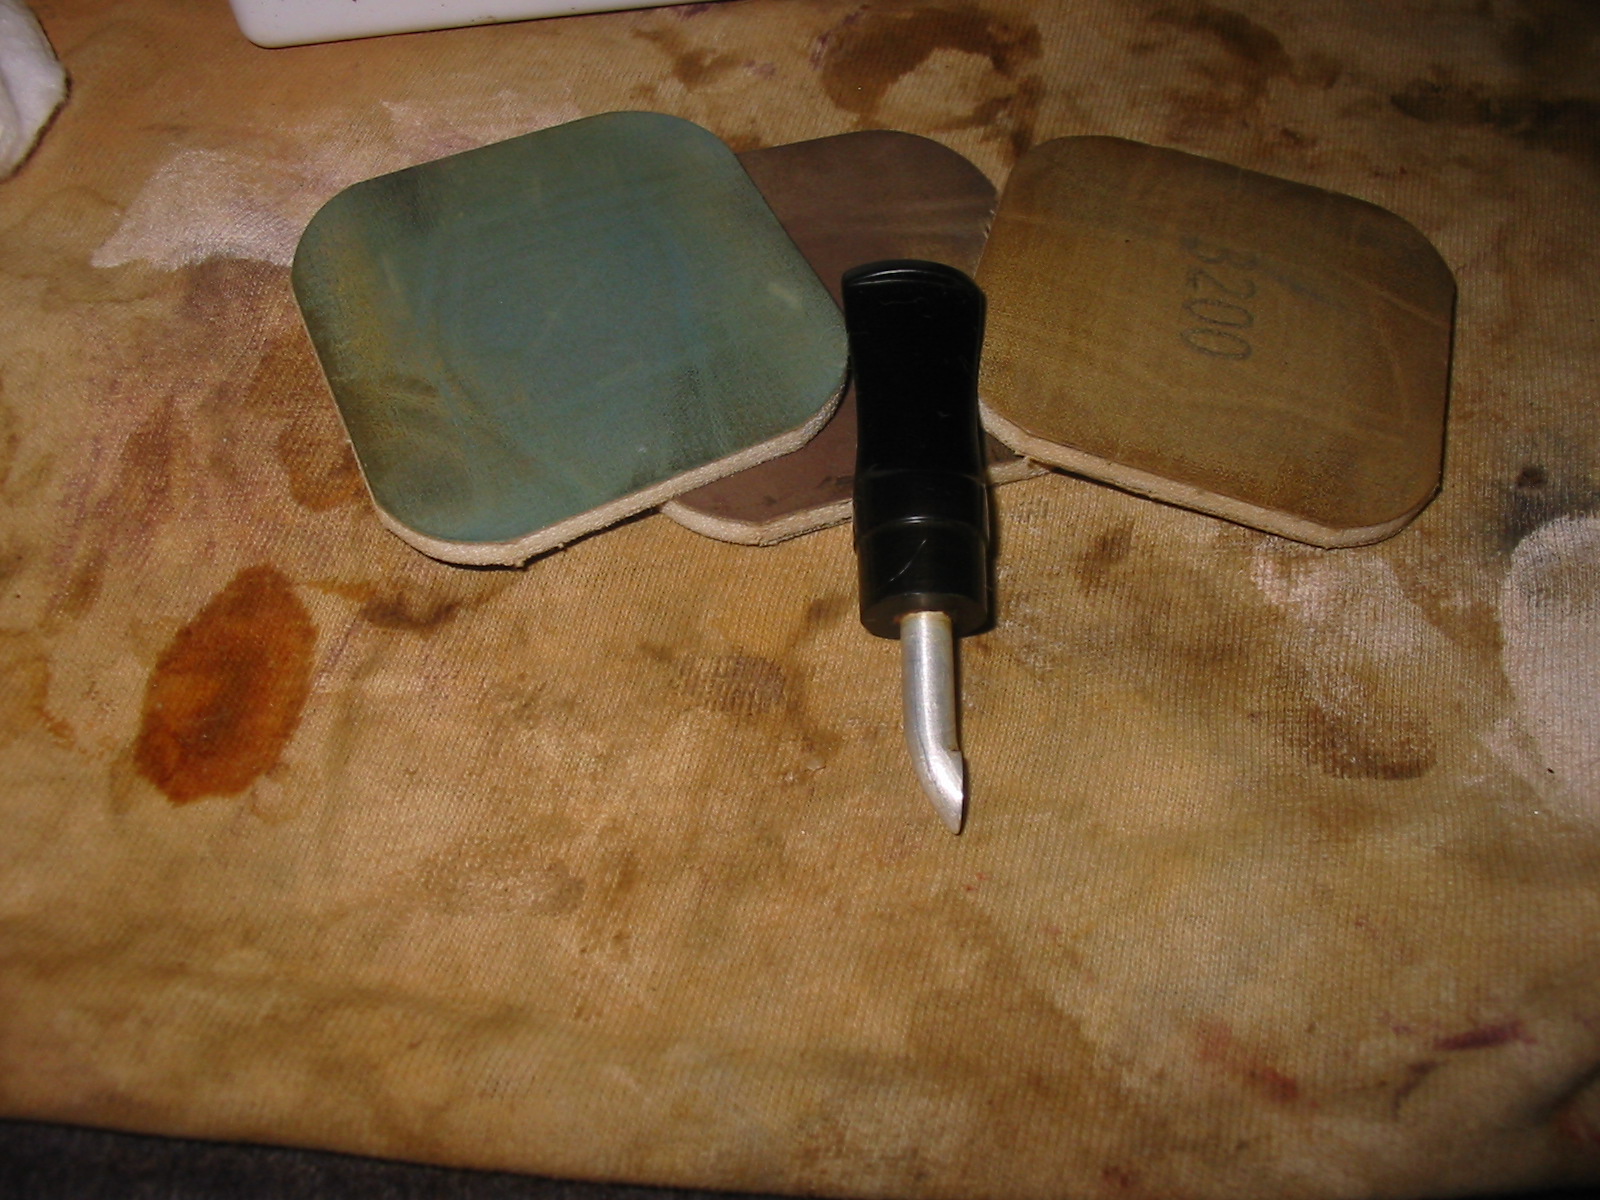
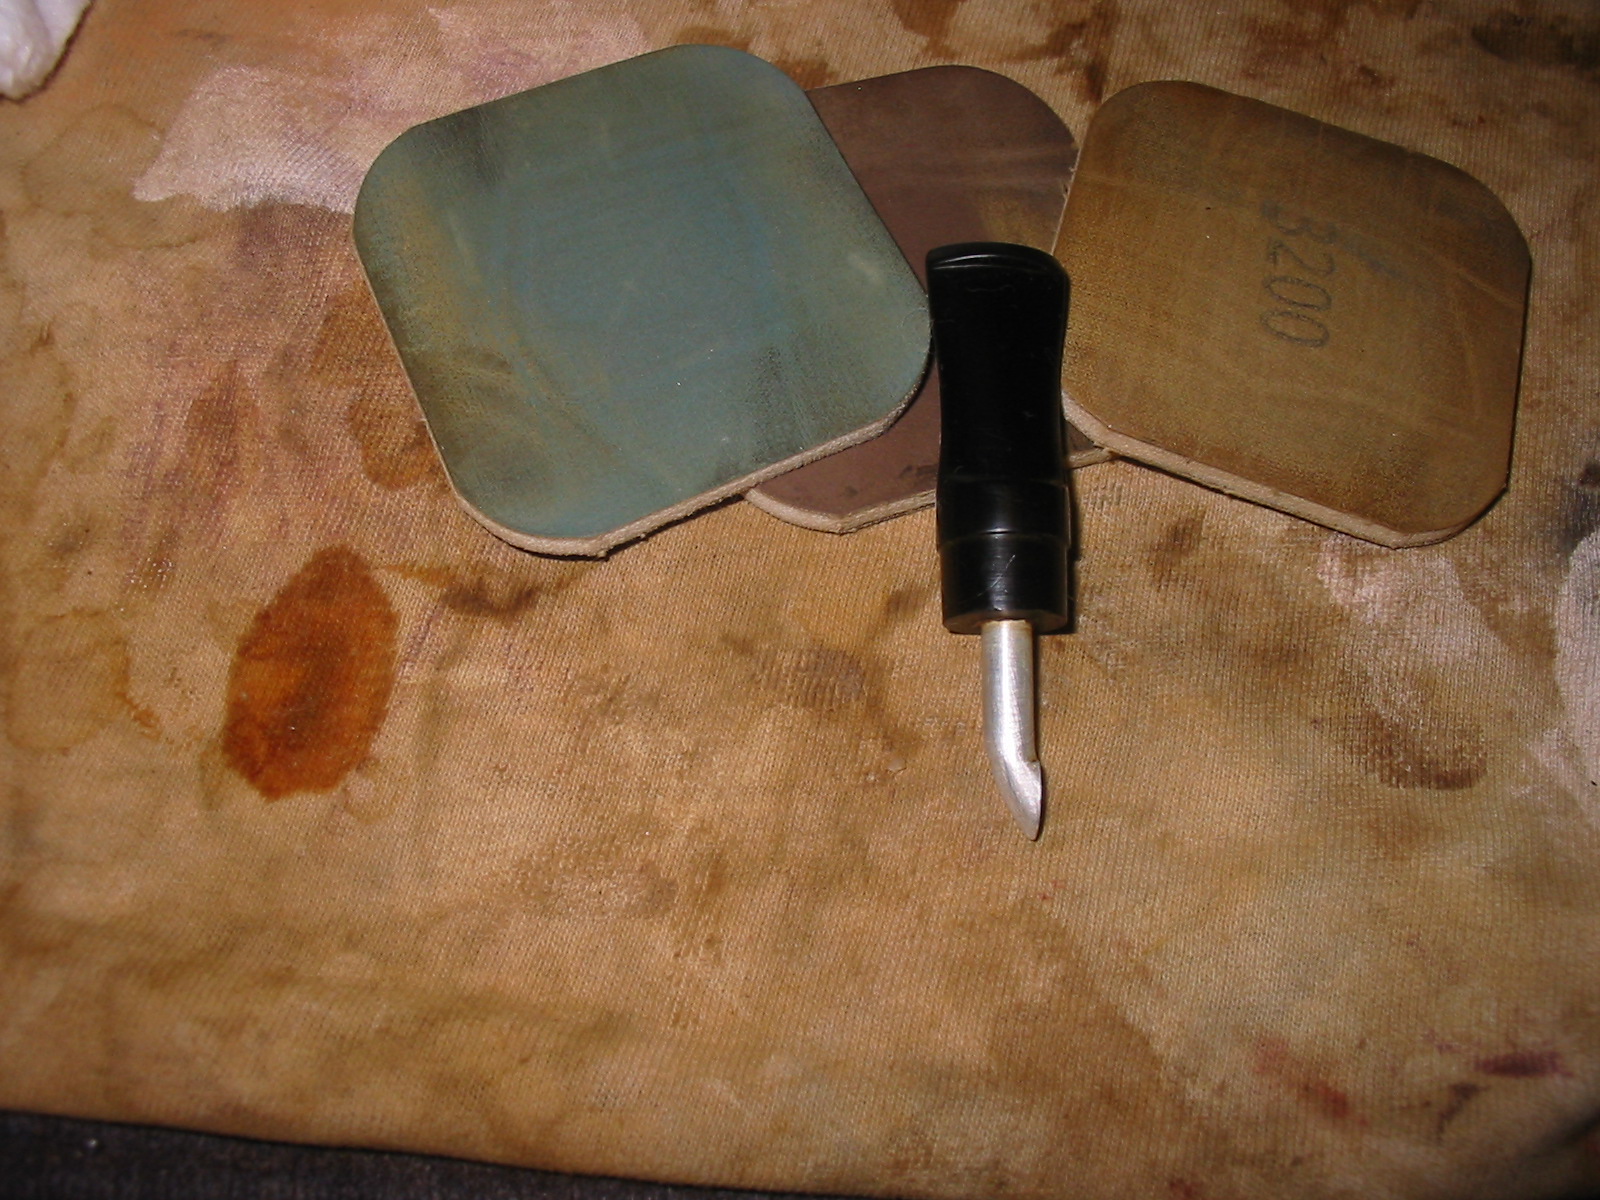
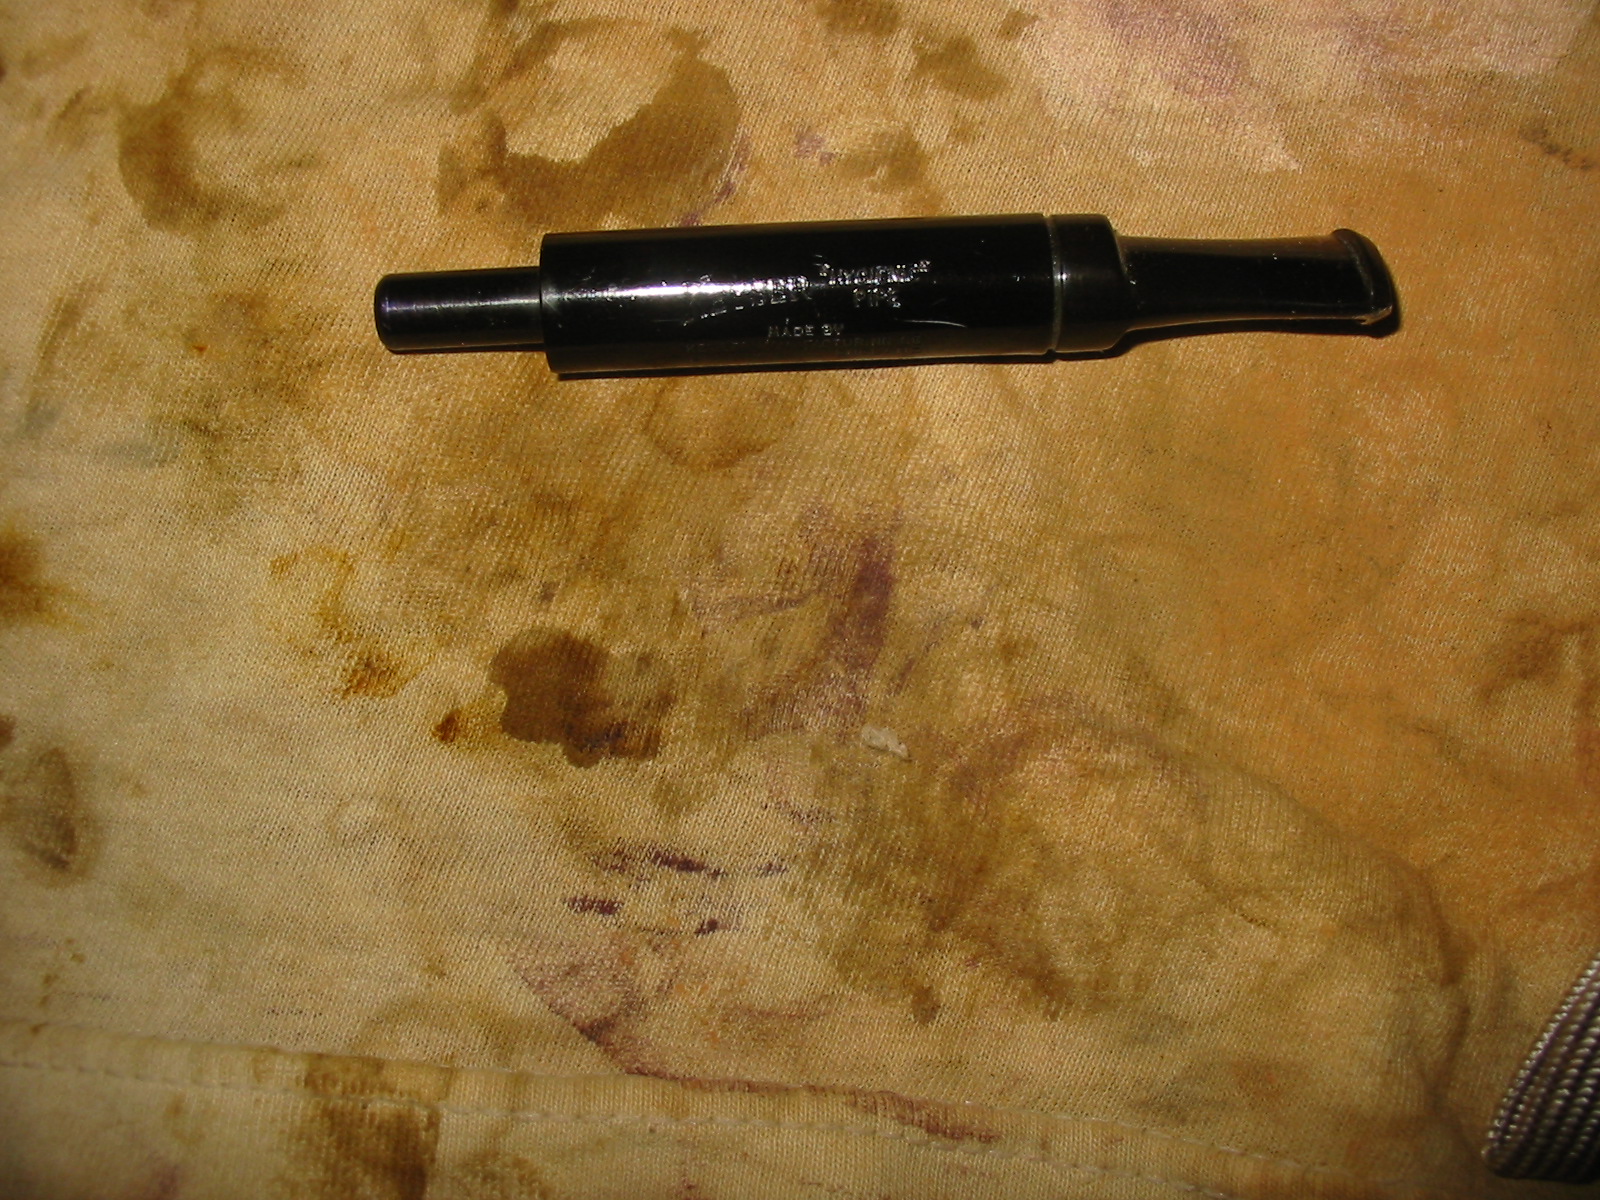
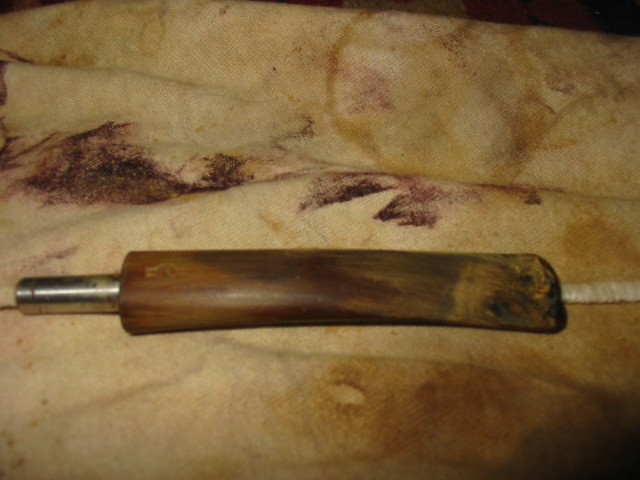
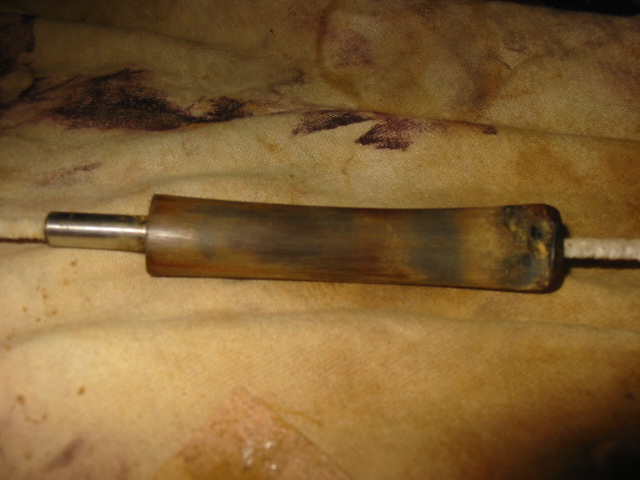
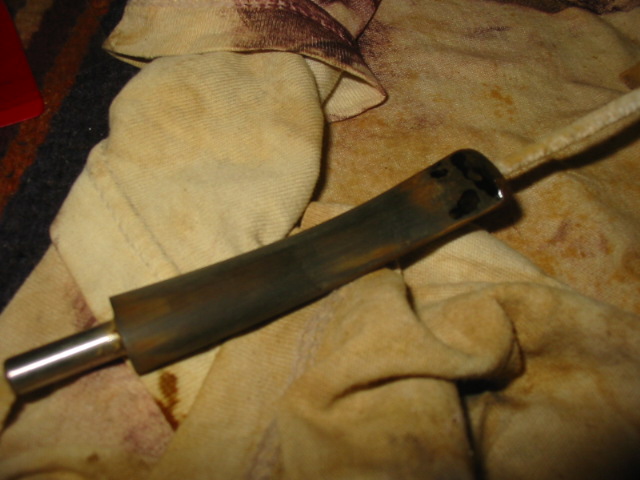
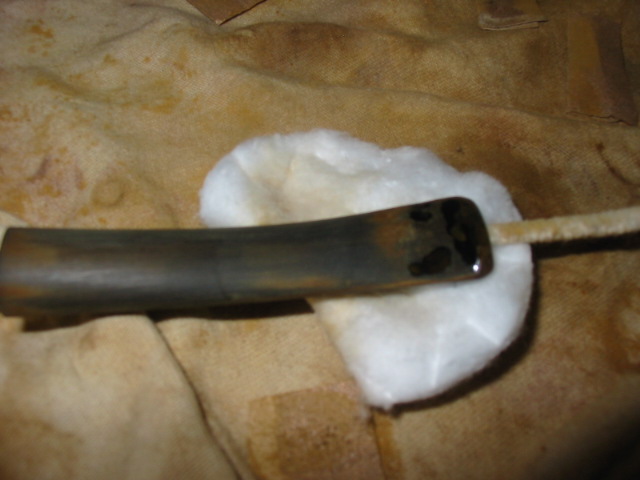
Tag Archives: waxing

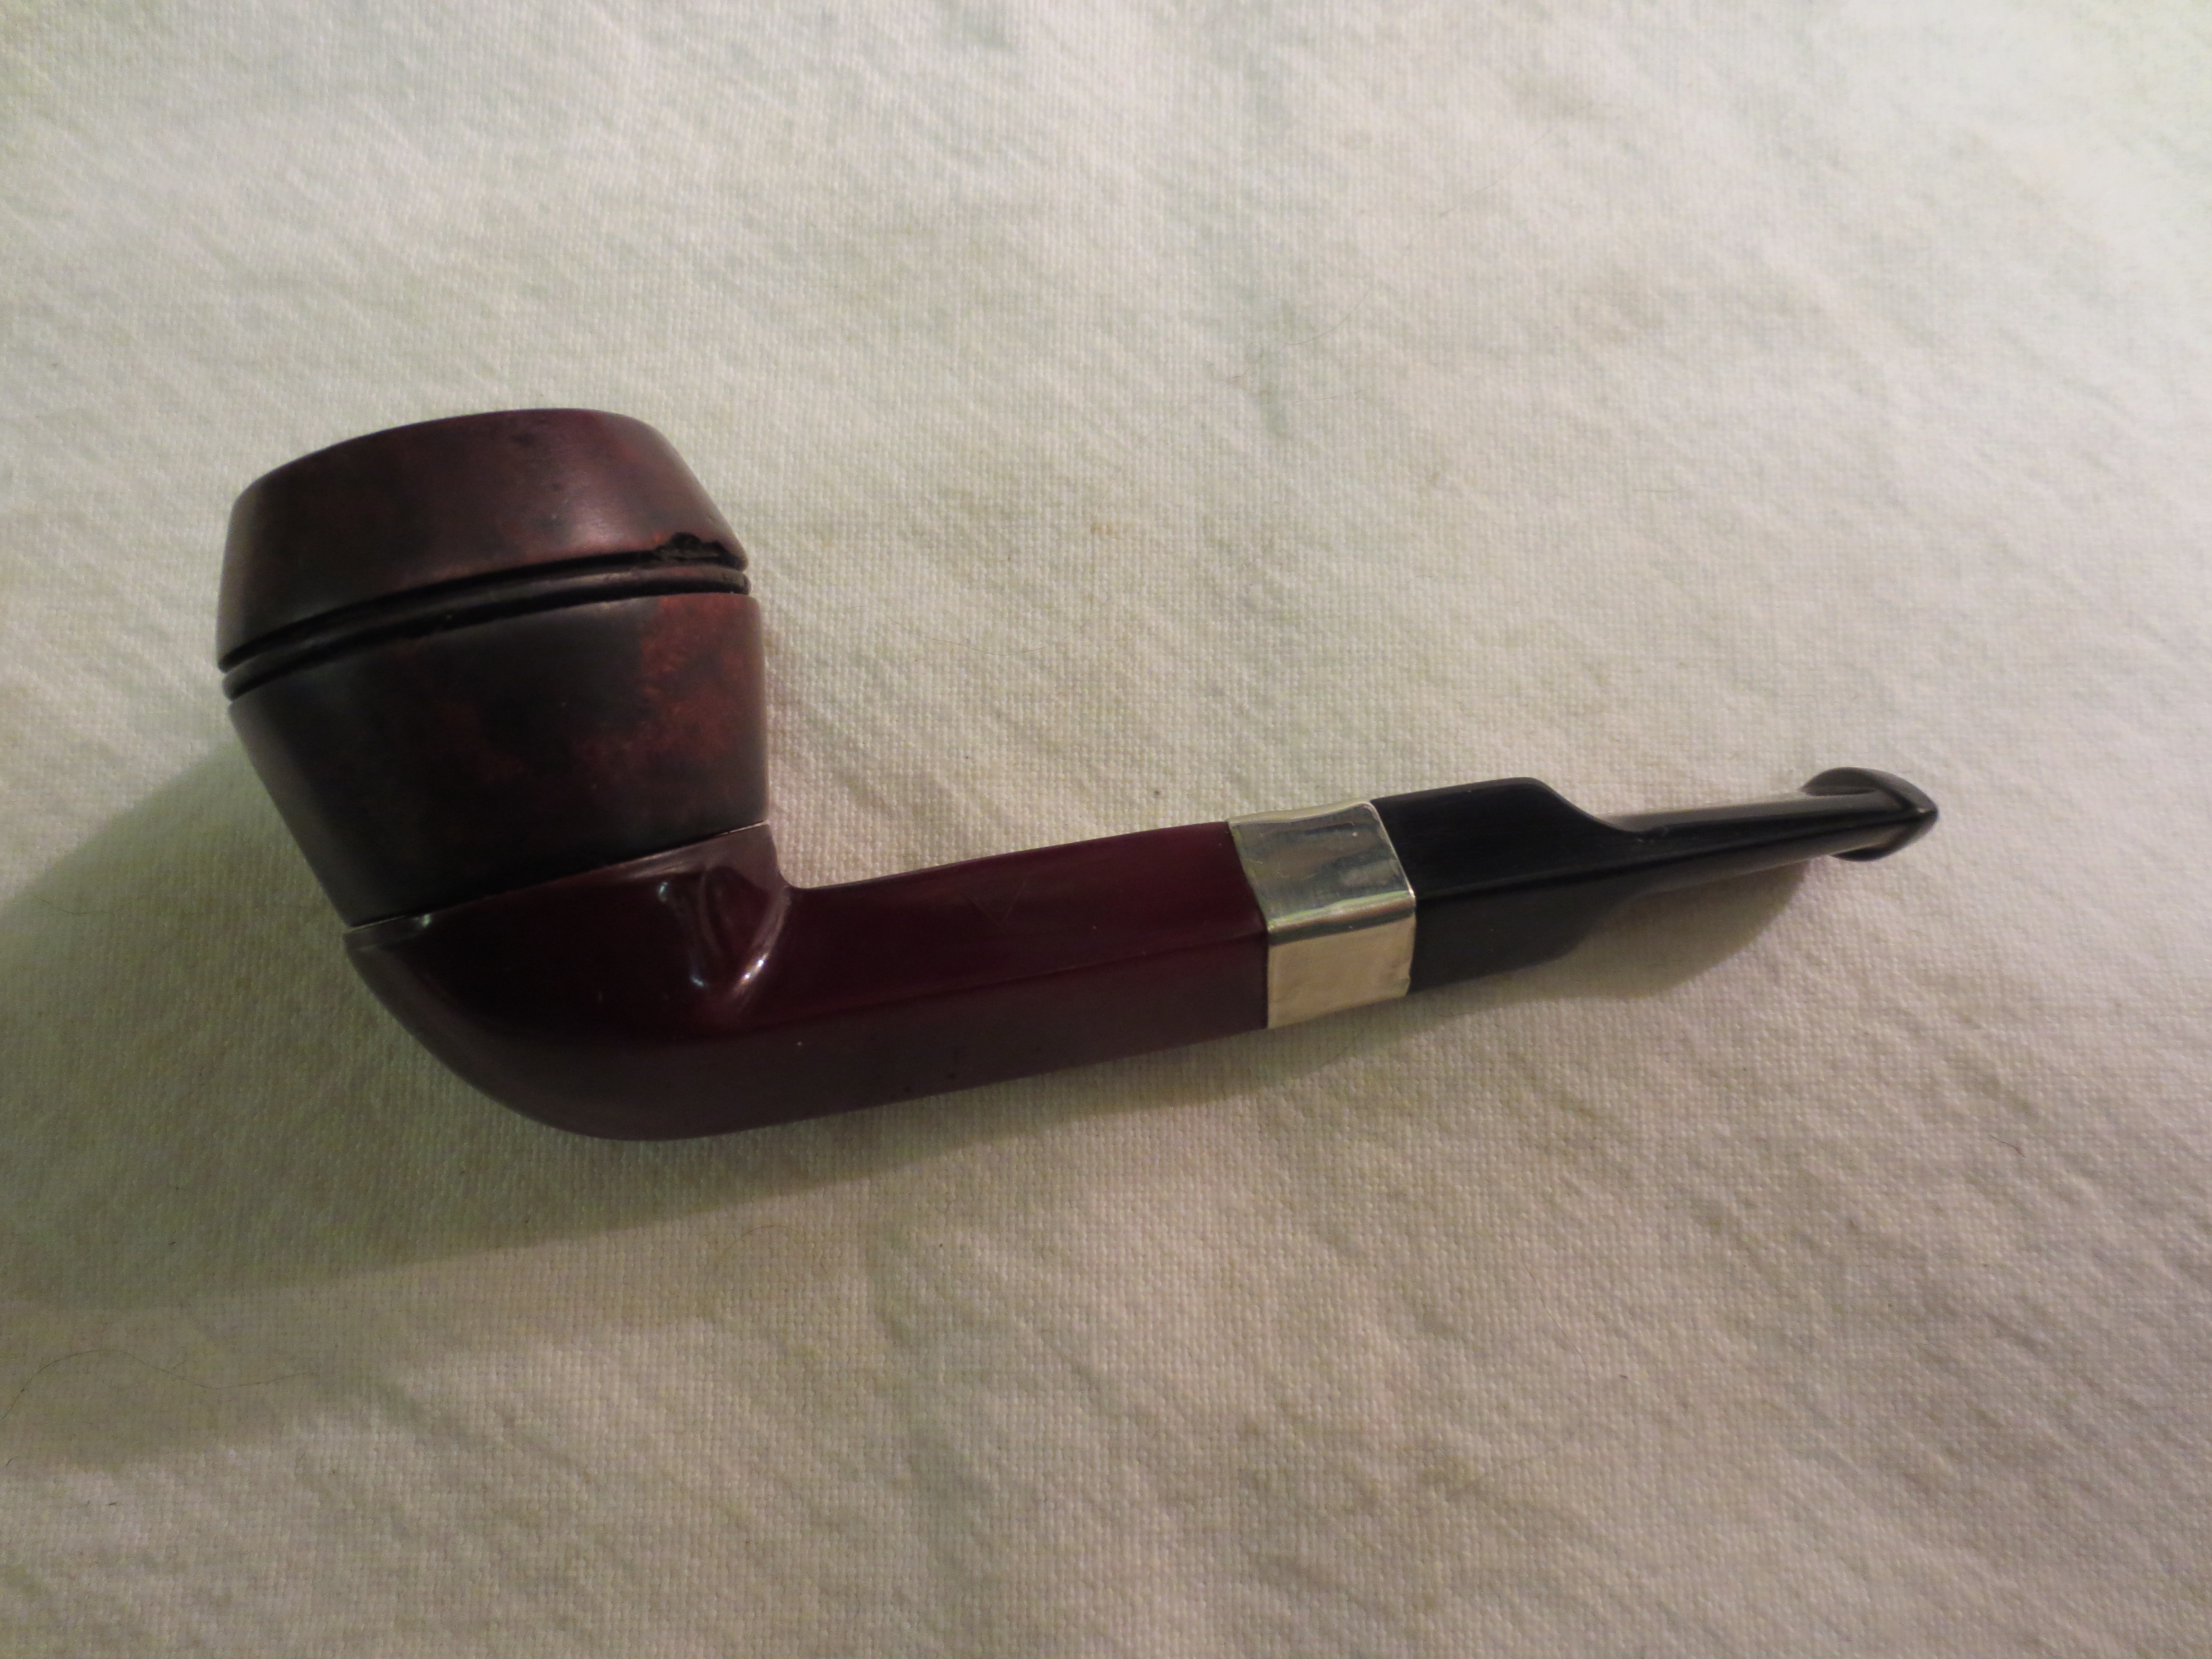
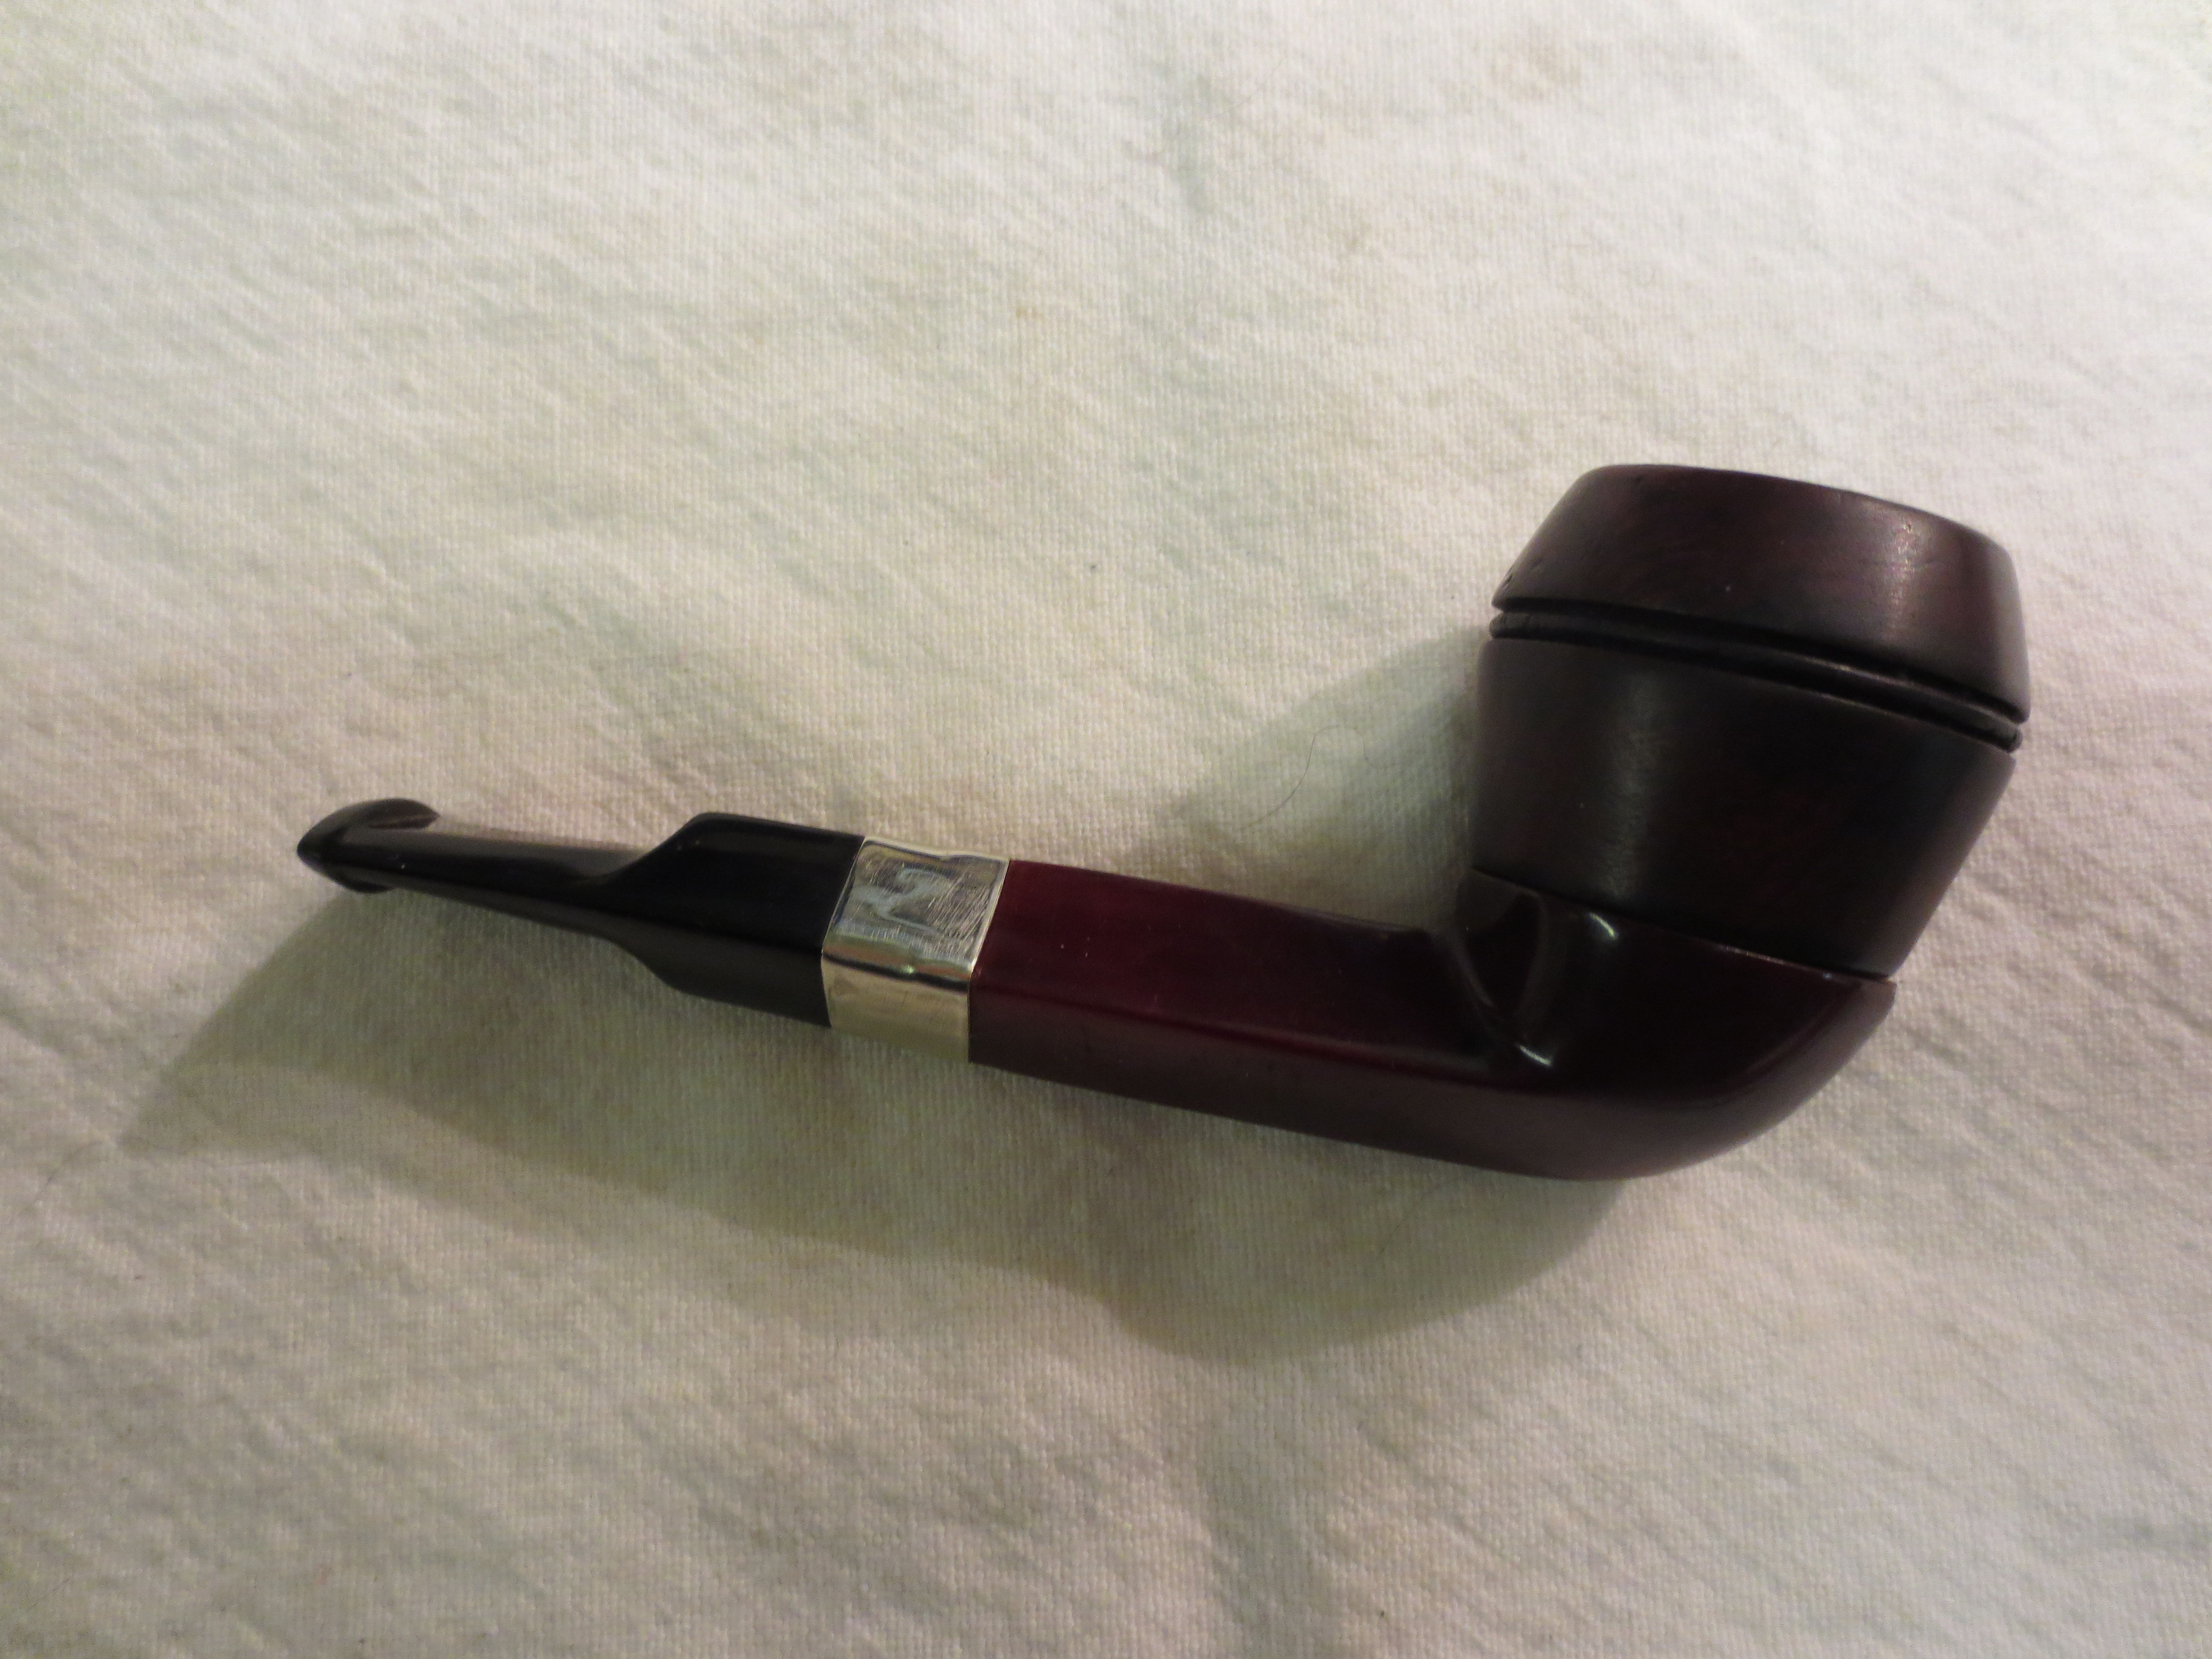
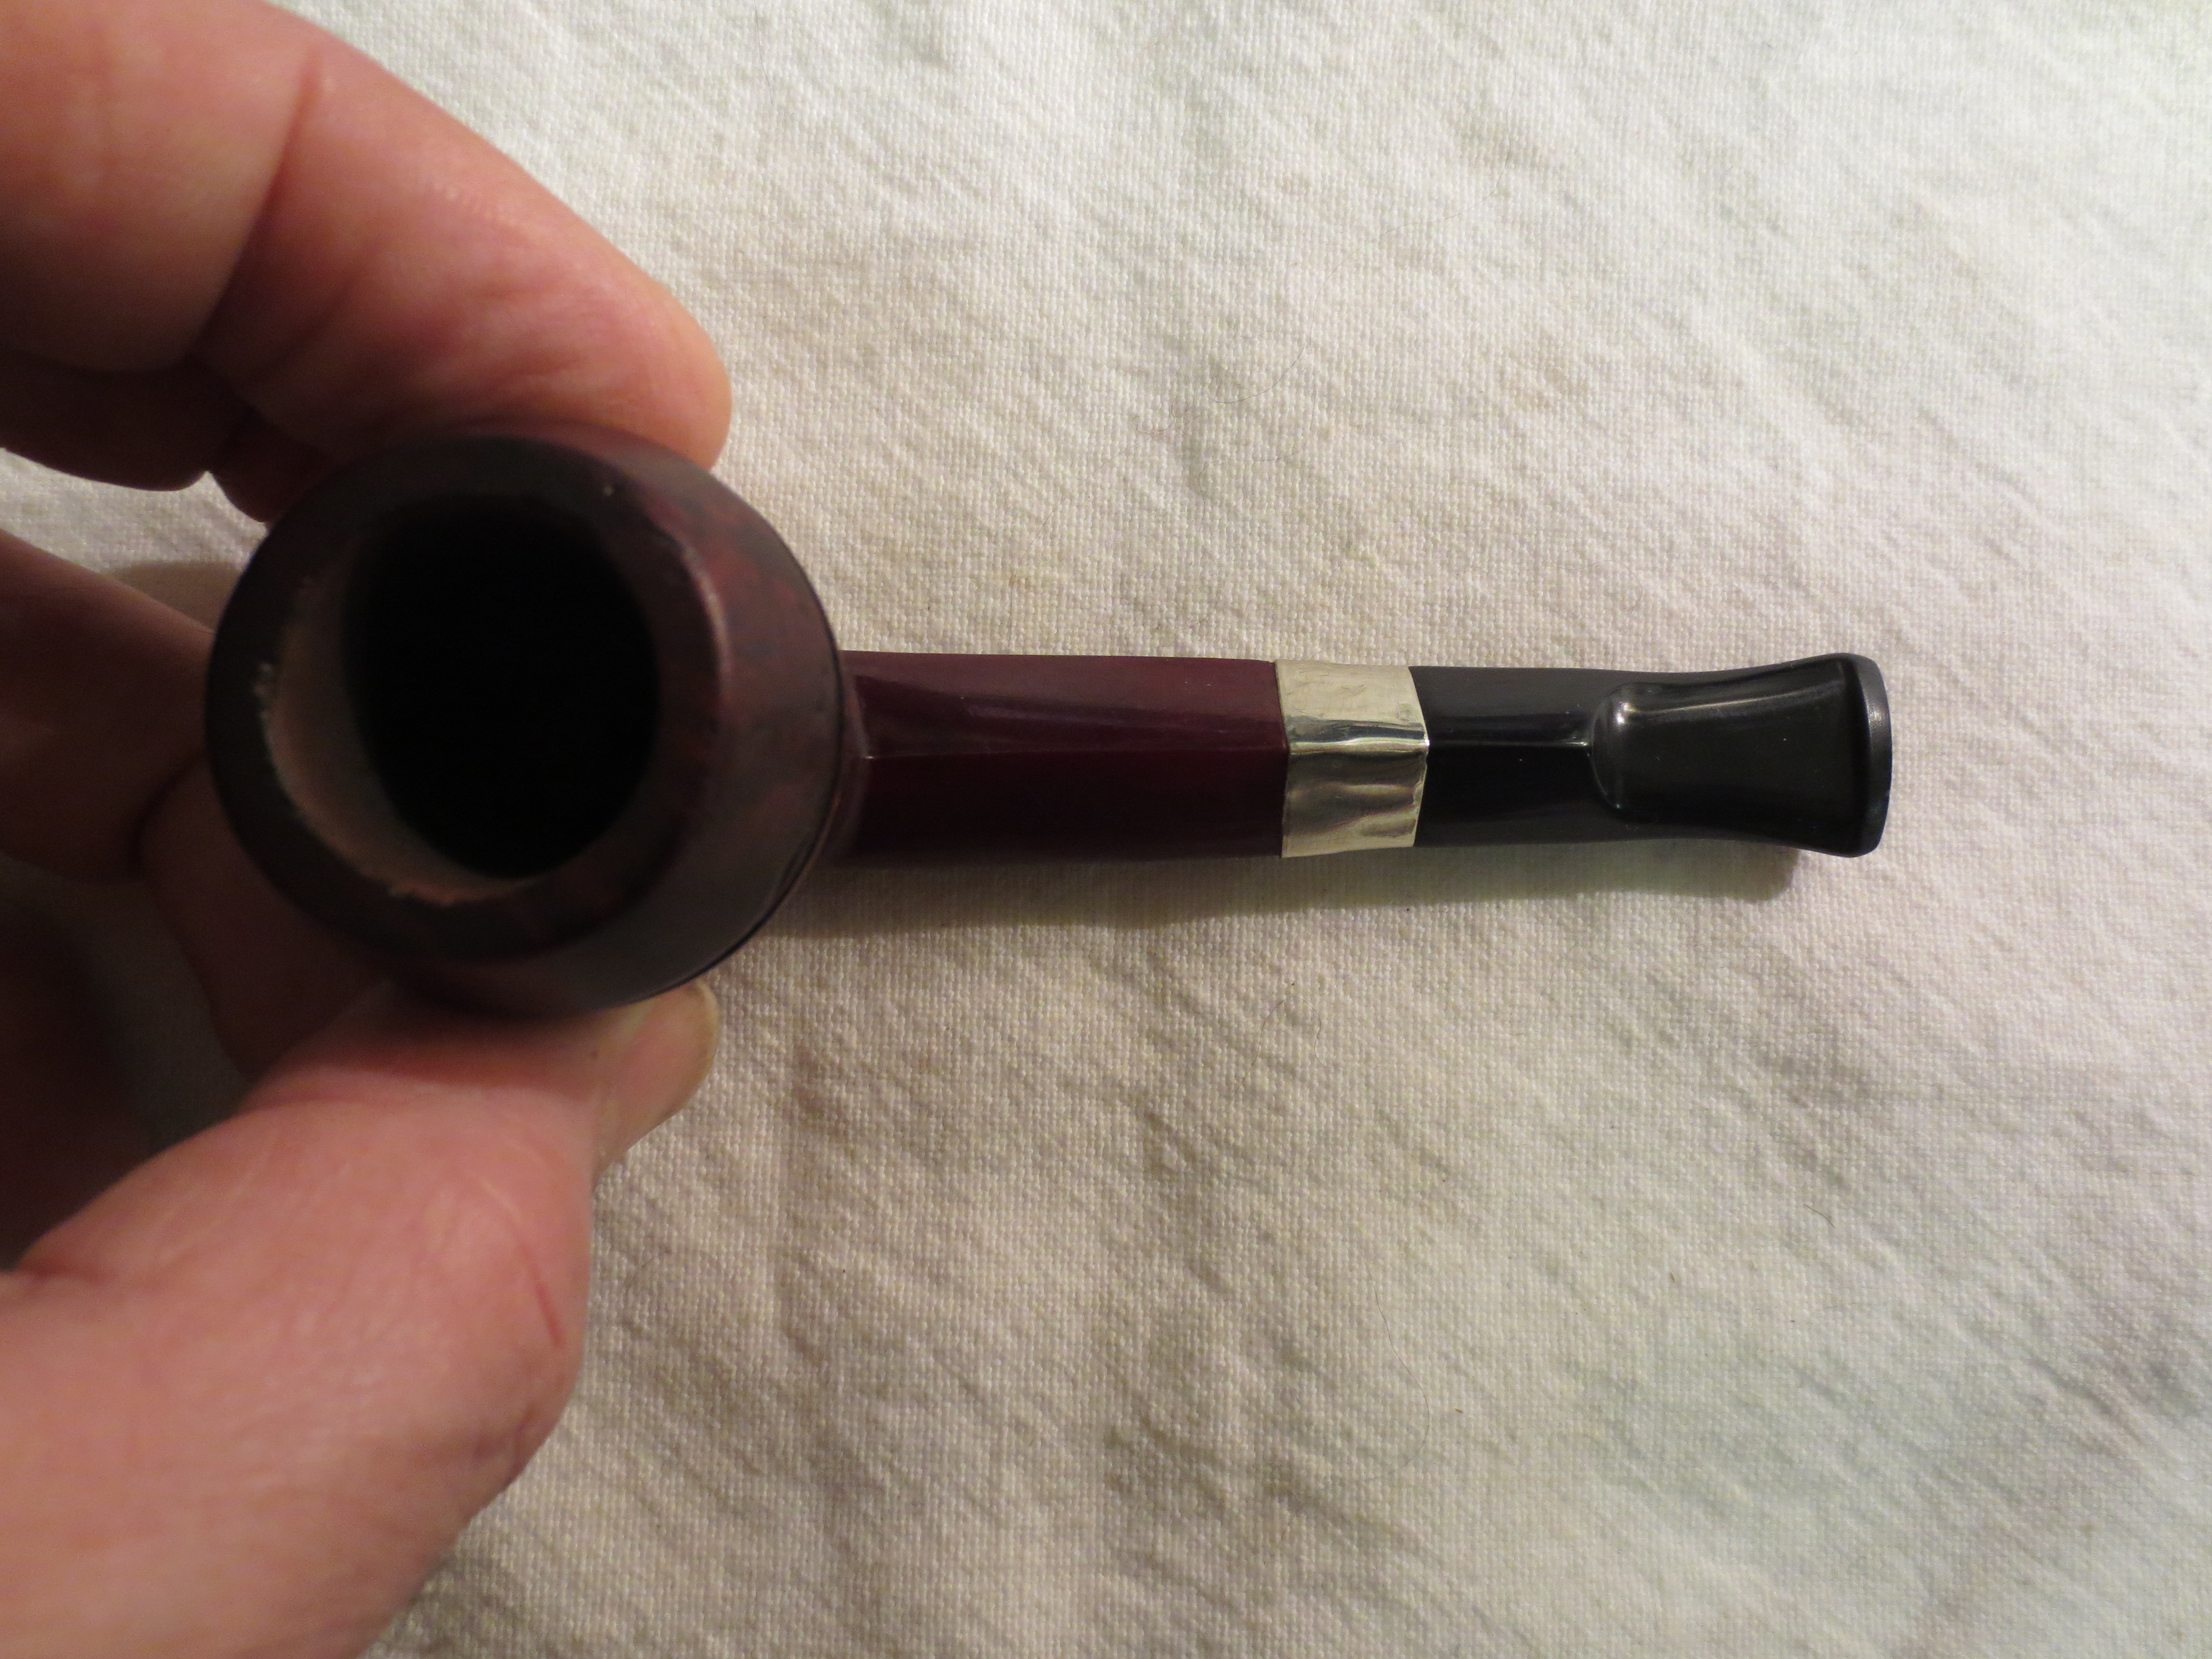
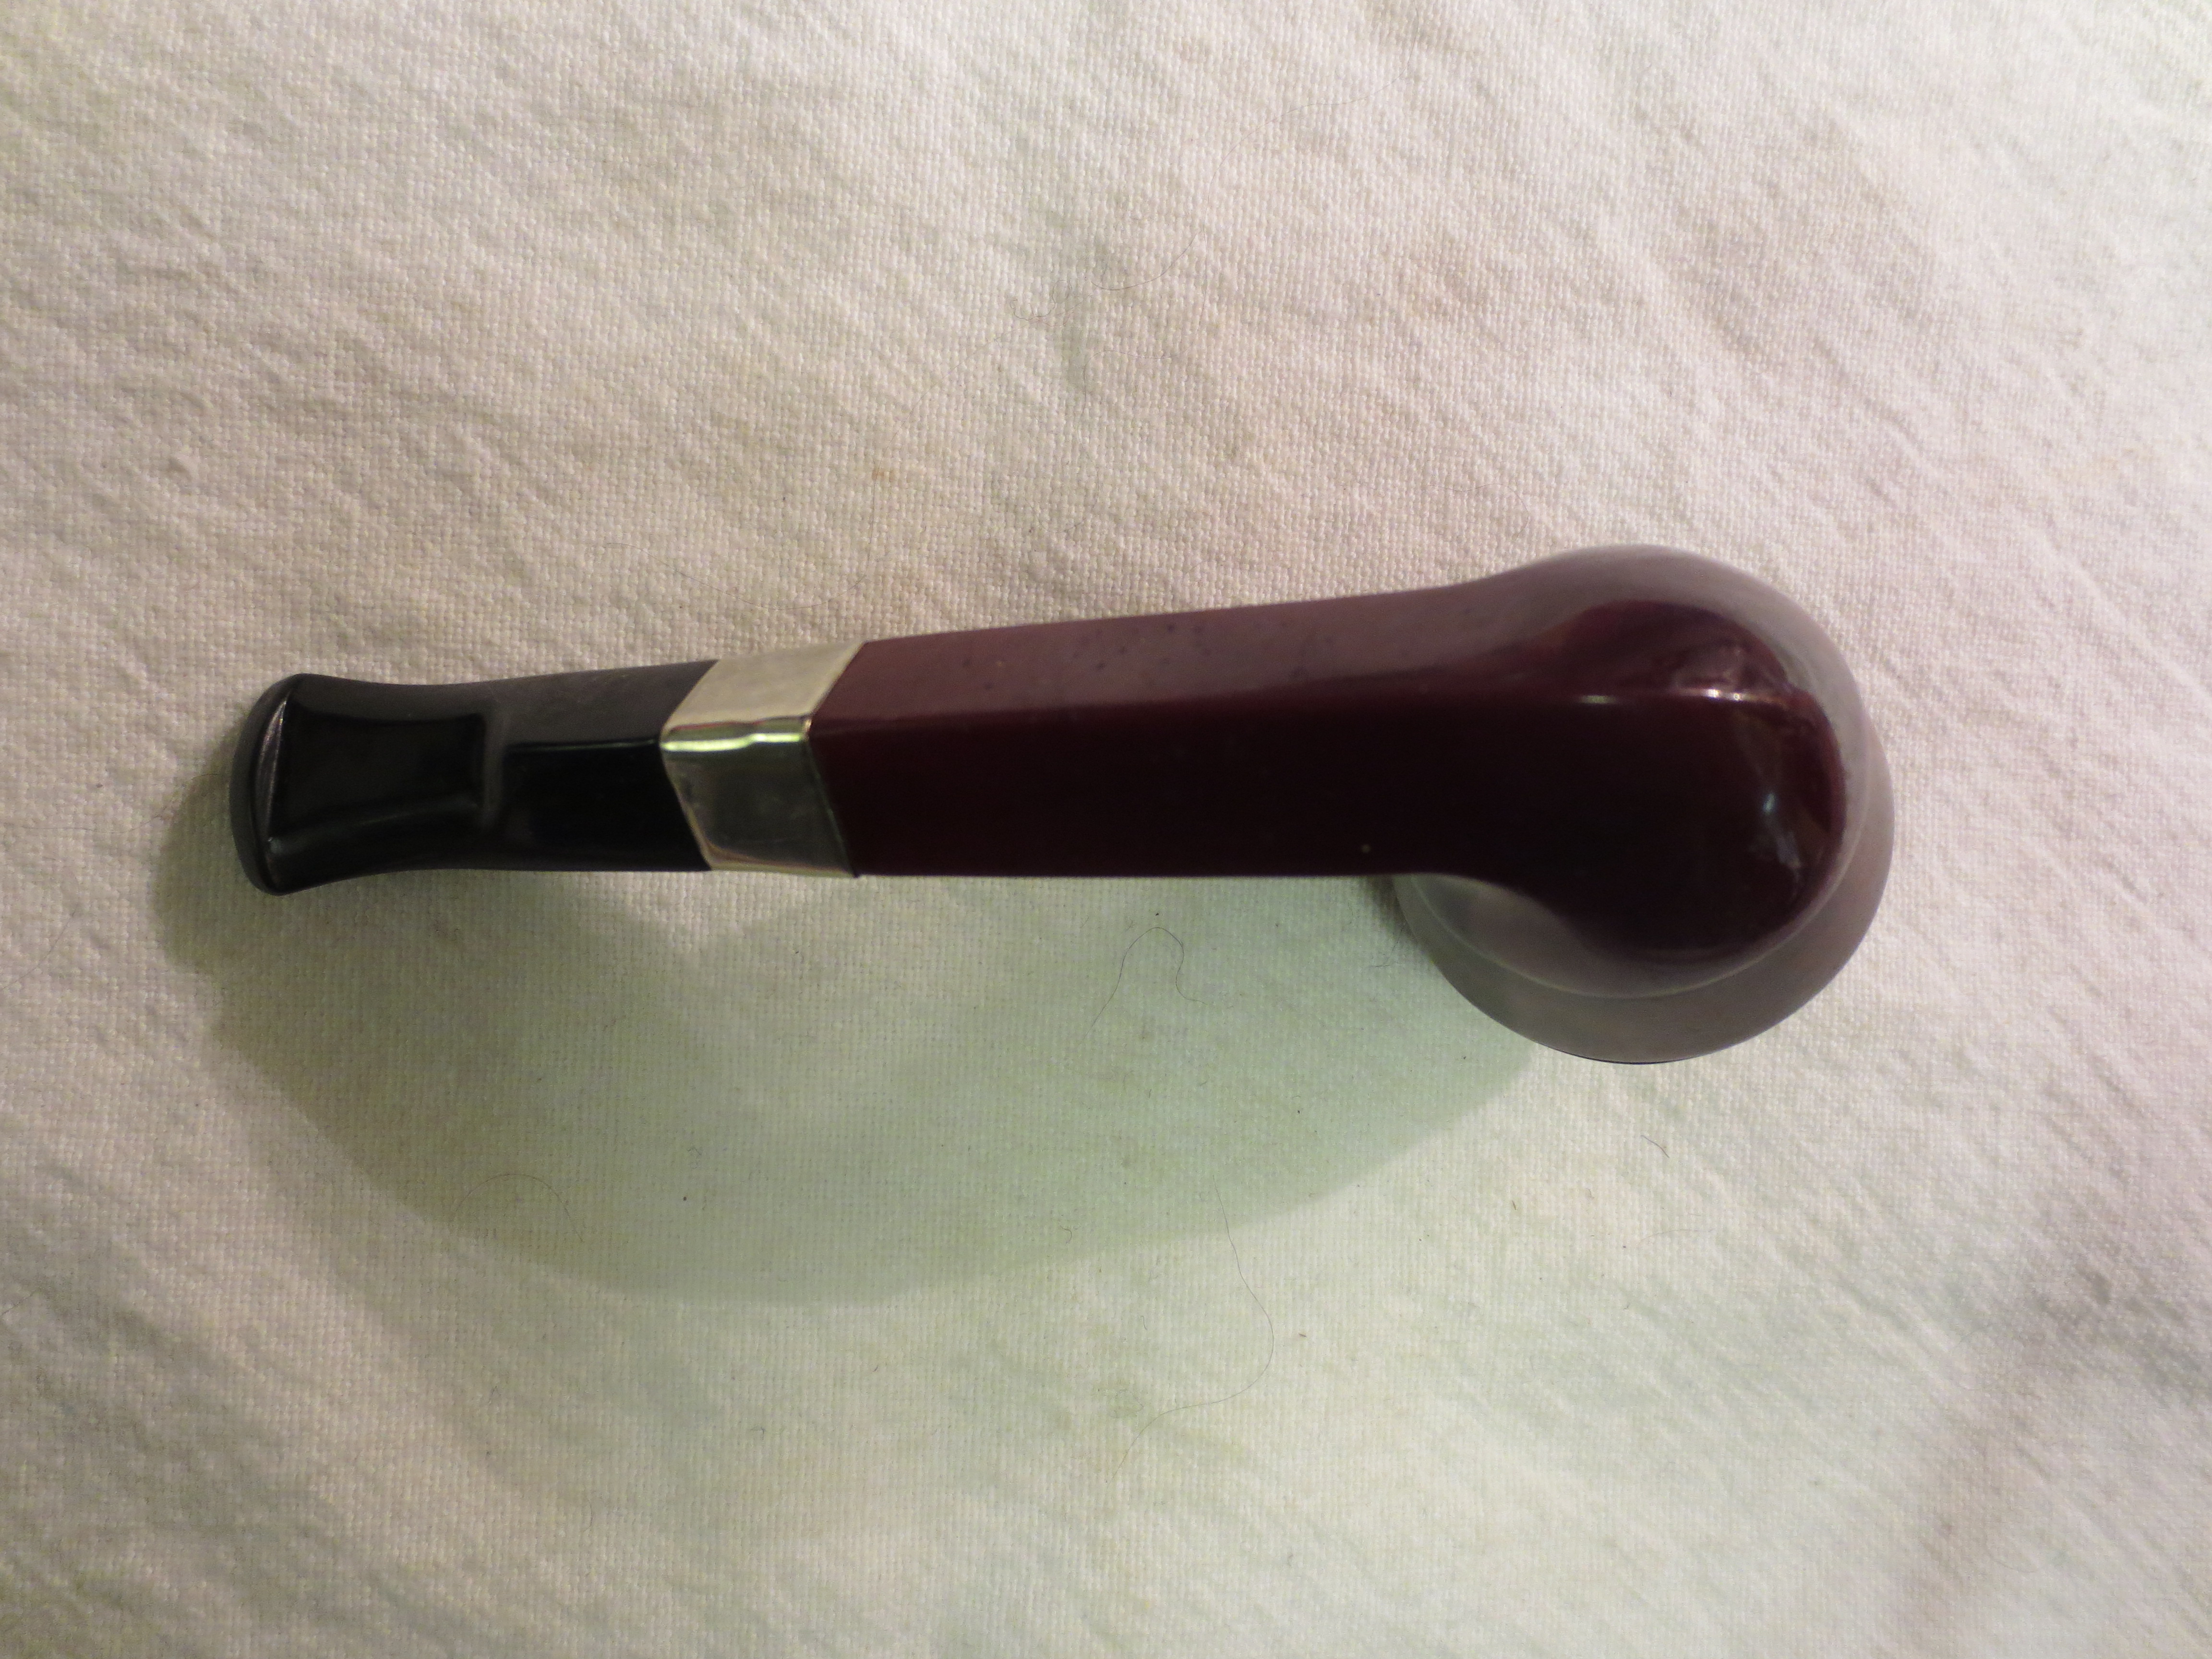
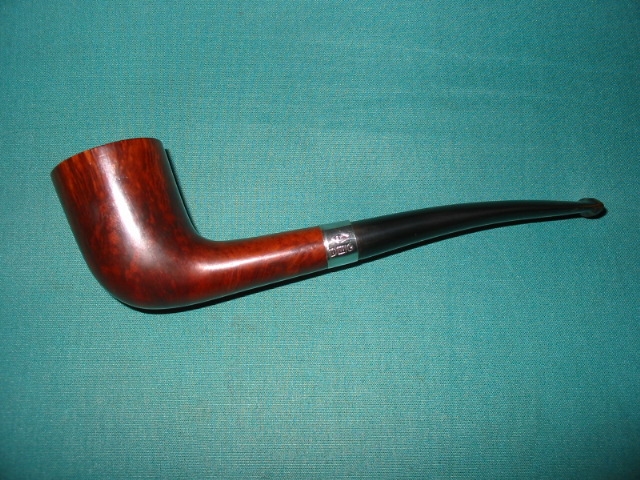
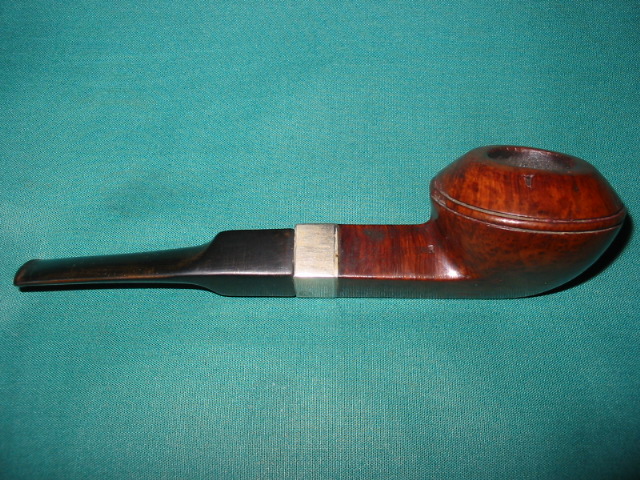
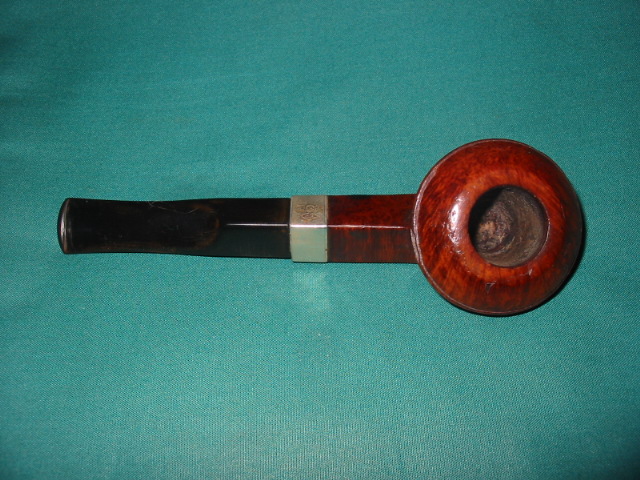
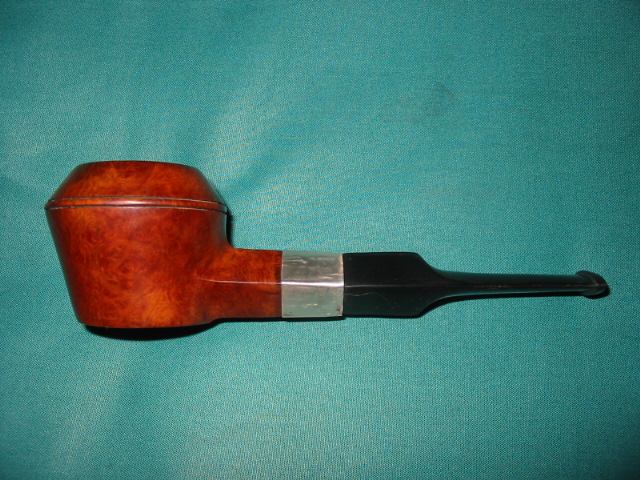
GBD Oval-Shank Pot “Seventy-Six” Restoration


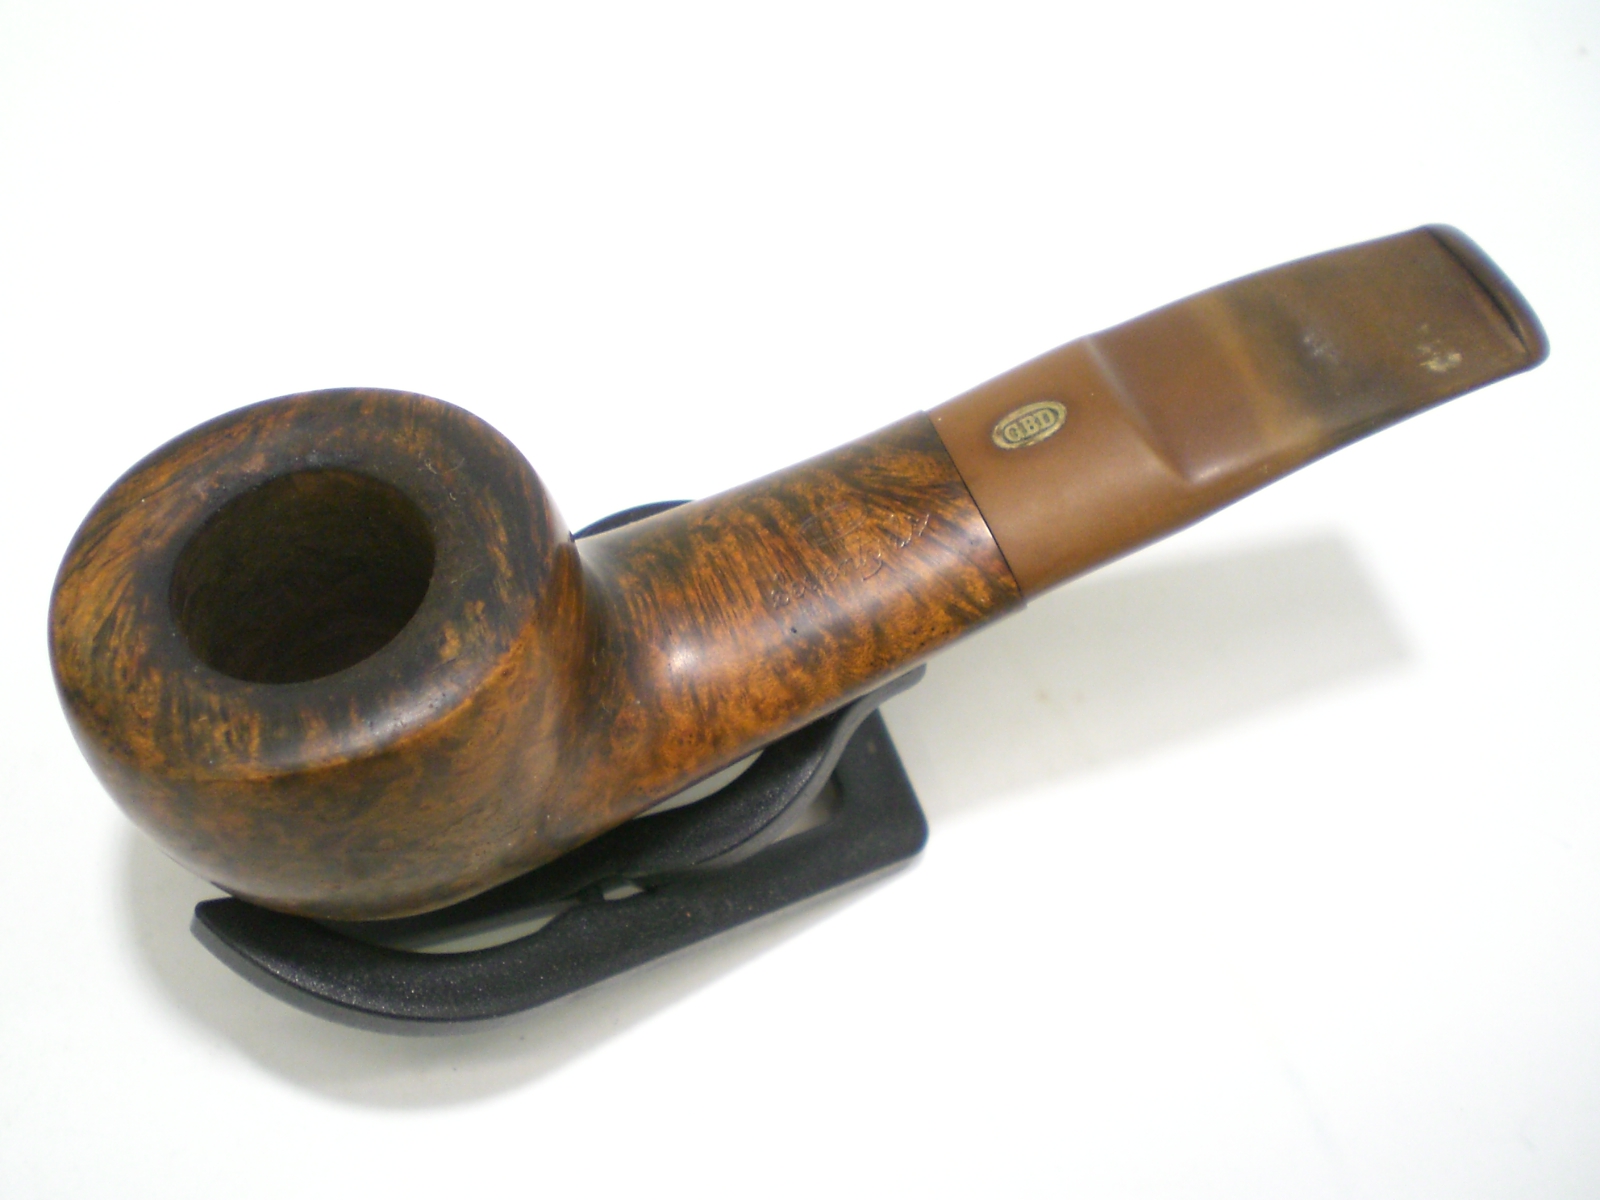
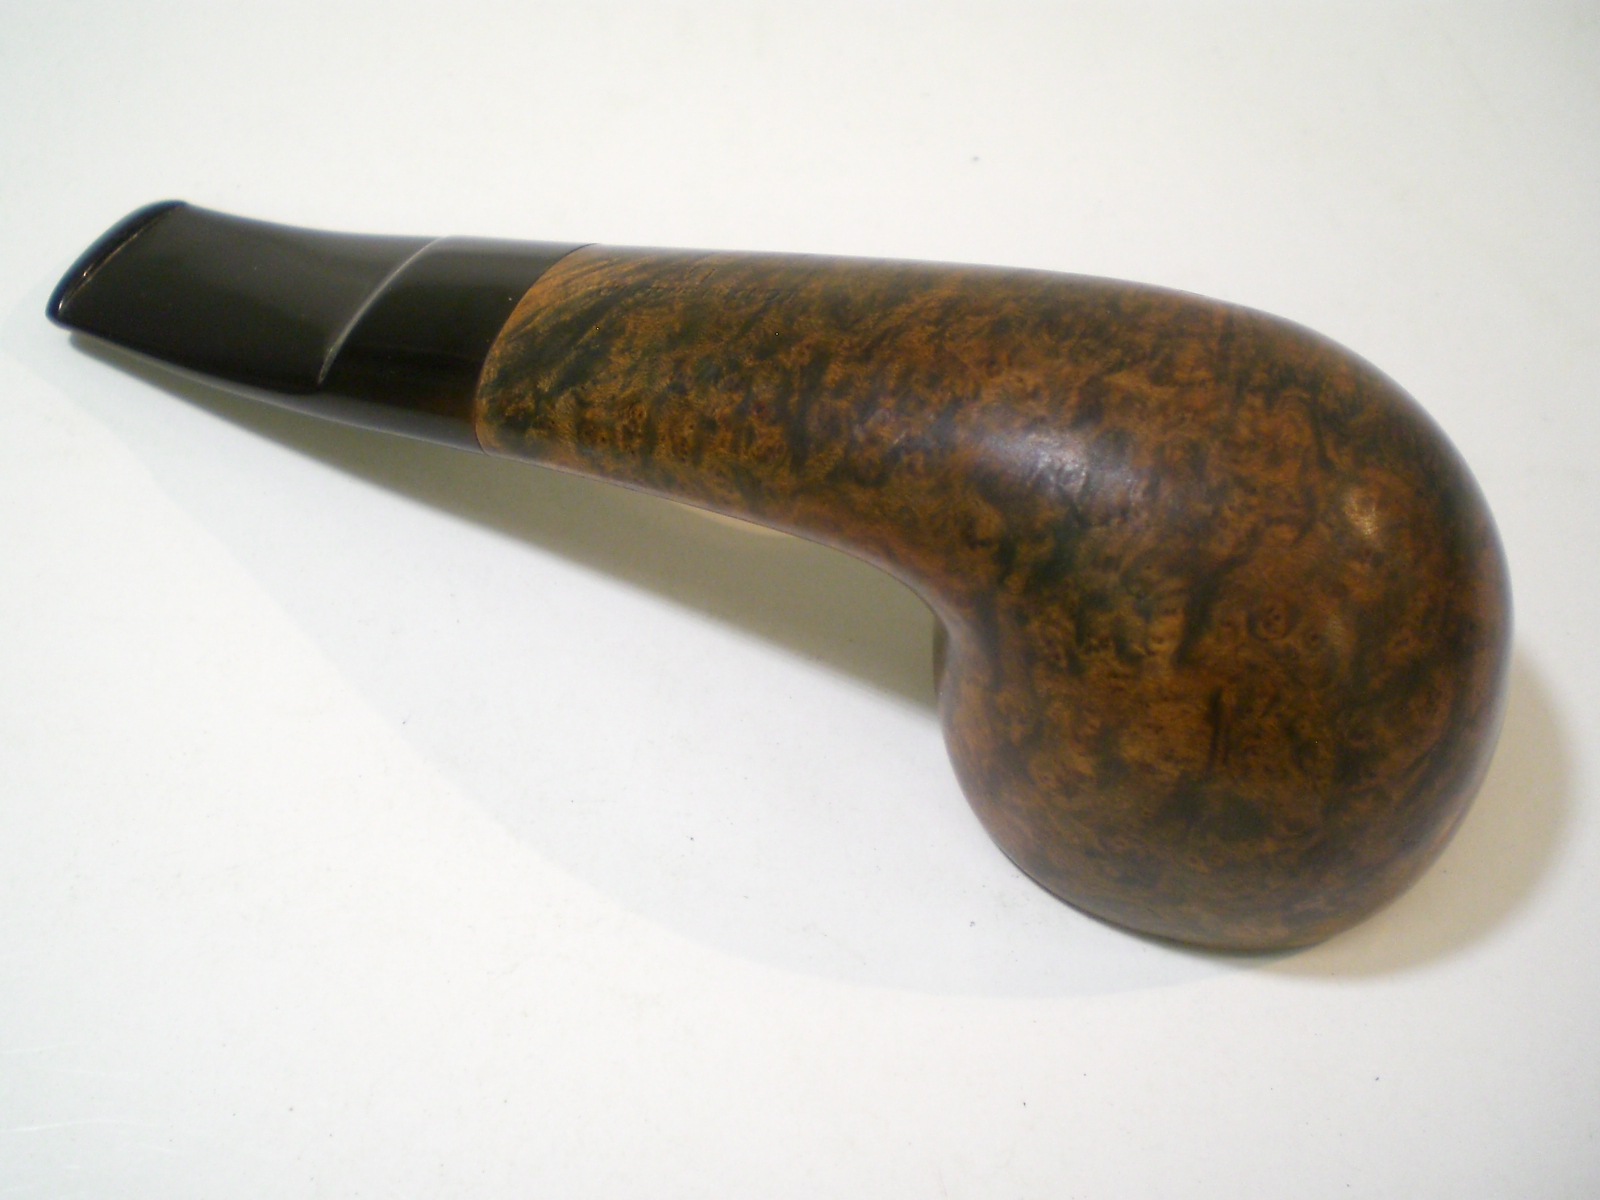
In 1976 GBD introduced a series called the “Seventy-Six” to commemorate the United States Bicentennial.  I was in Sophomore in high school during 1976 and the year-long celebration had a big impact on me.  The Seventy-Six model remained in the GBD catalog until 1981.  From the 1976 Catalog:

“The GBD “Seventy-Six” is our contribution to the Bicentennial celebrations.  We have really pushed out the boats for “the colonies” in launching this new series that will be remembered by its proud owner long after the celebrations are forgotten.”

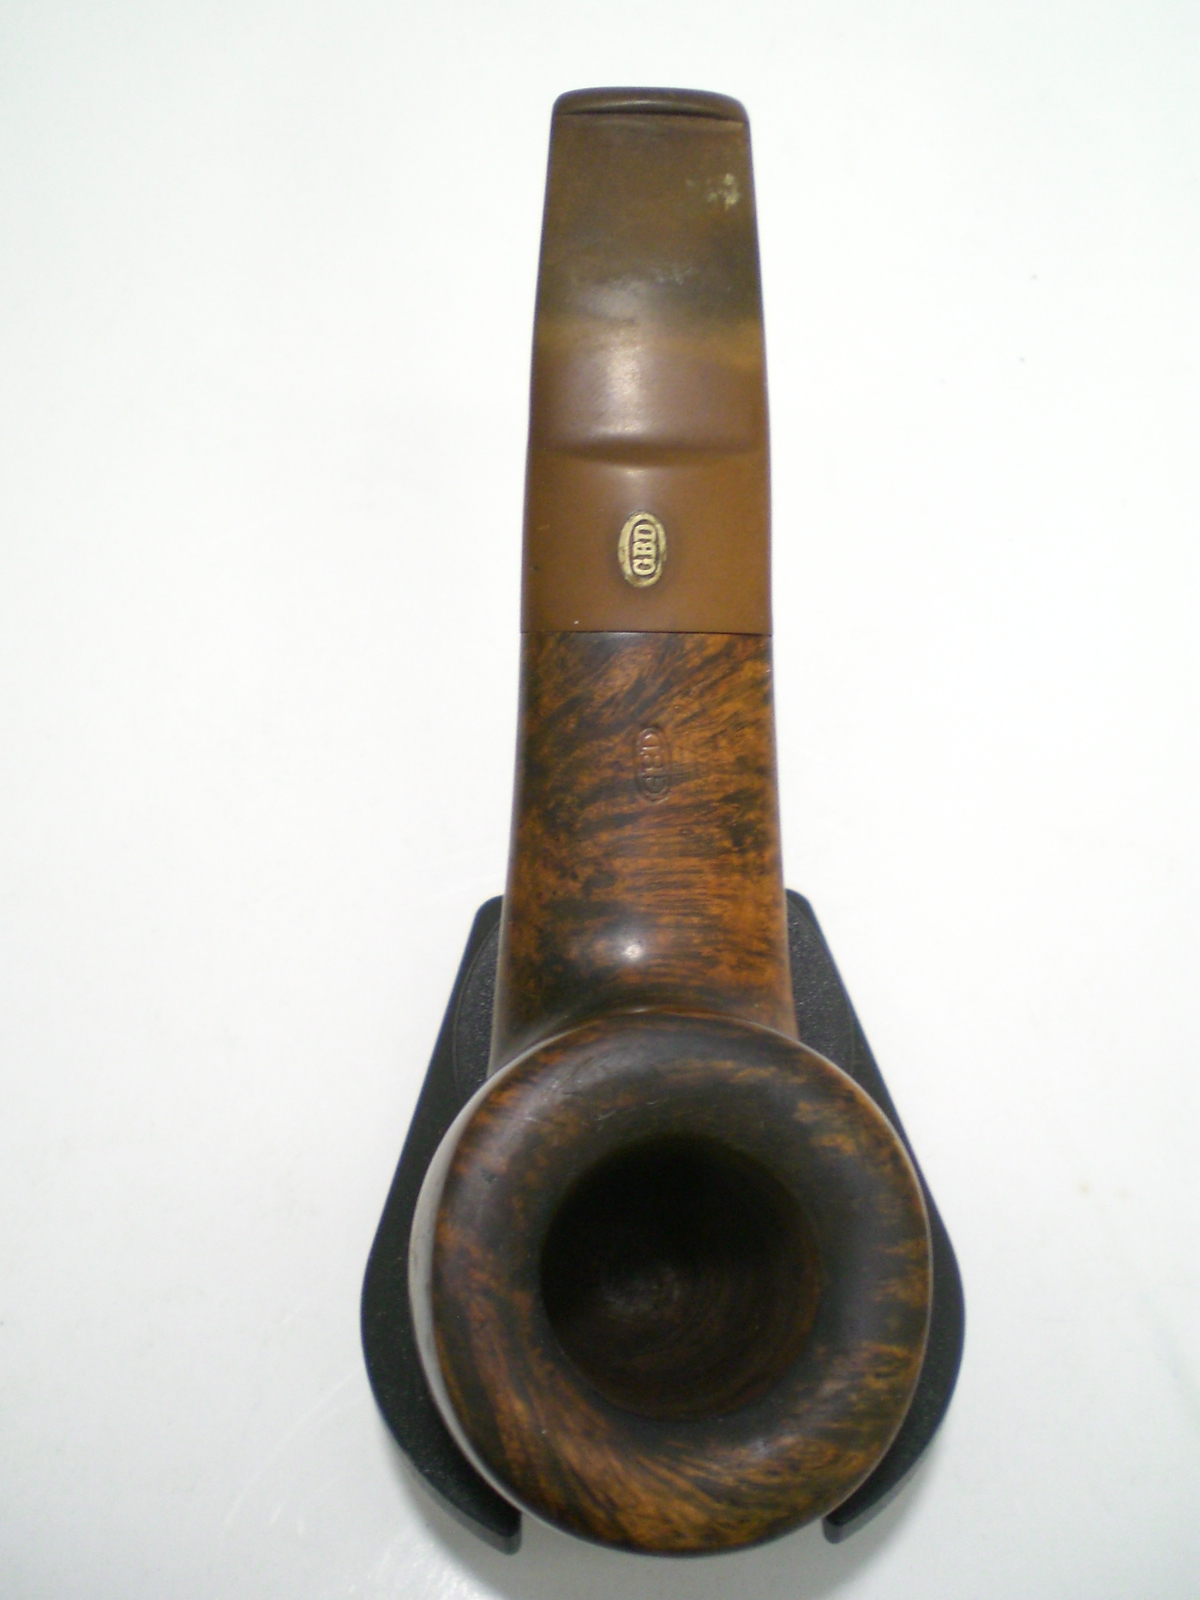
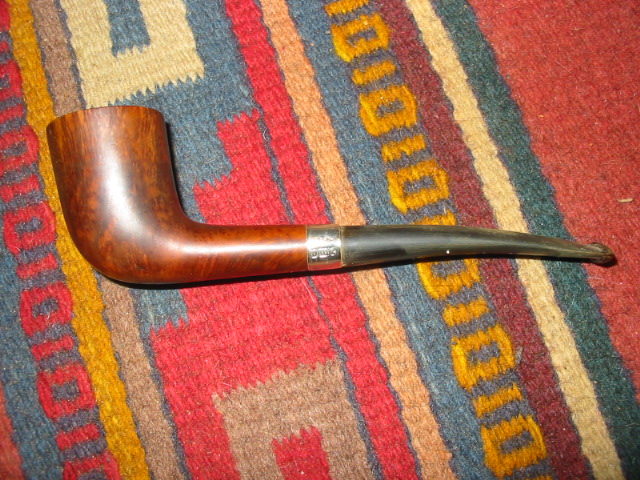
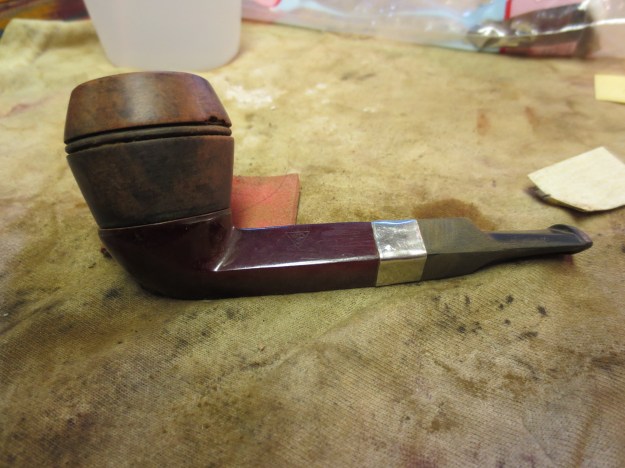
My first “Seventy-Six” model was a 1976 Coloussus and I’ve since added three more, including this Shape 1353.  I would call this a banker, but in a Smokers Haven sales ad, it is referred to as a “bent oval-shank pot”.

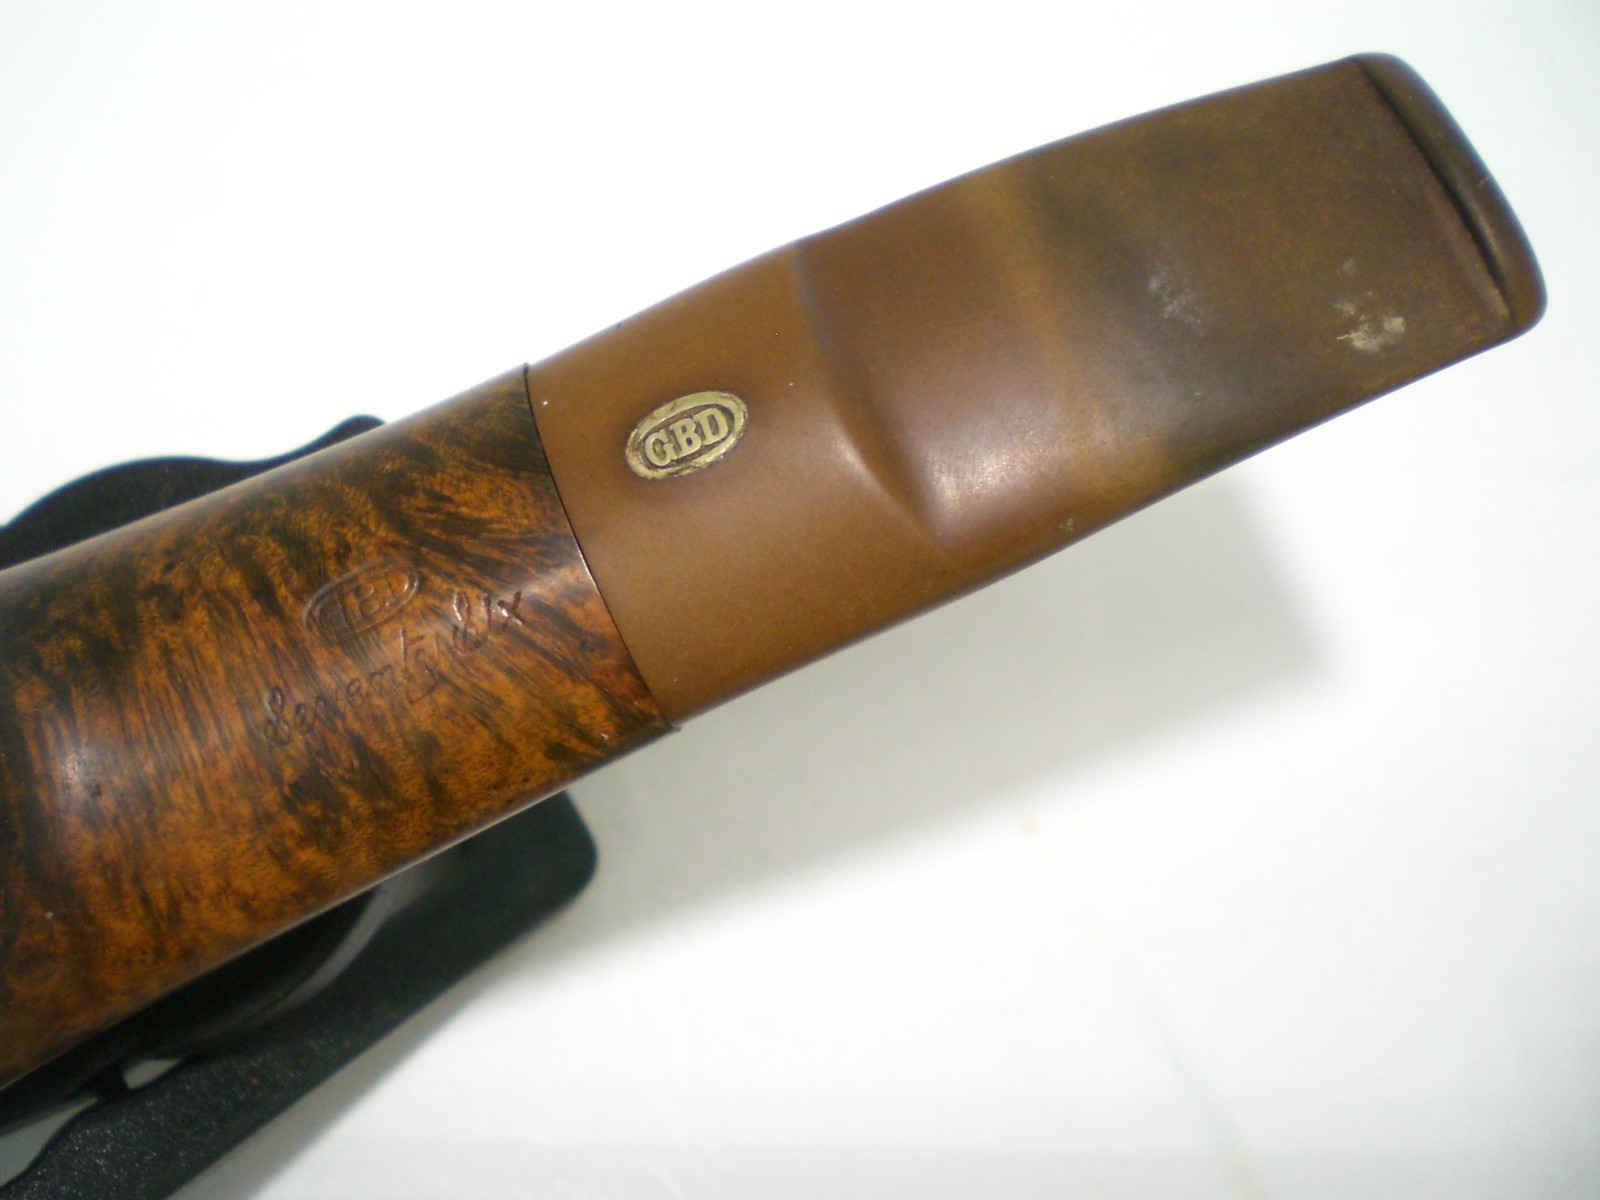
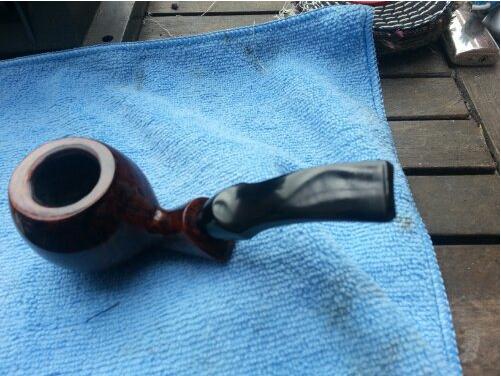
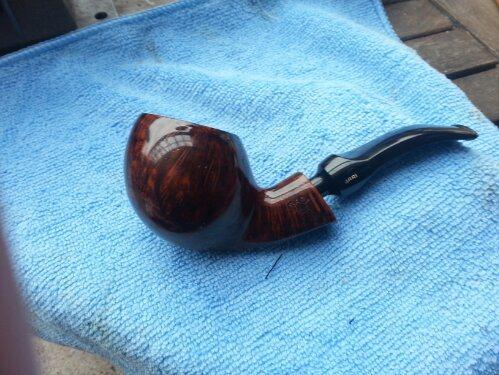
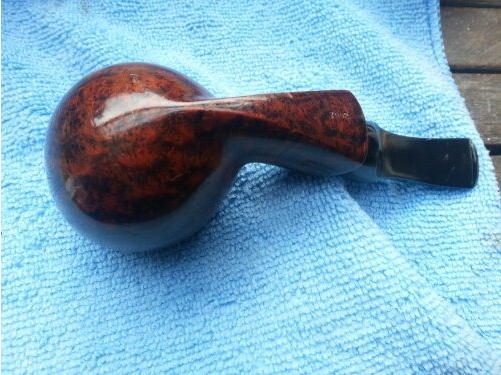
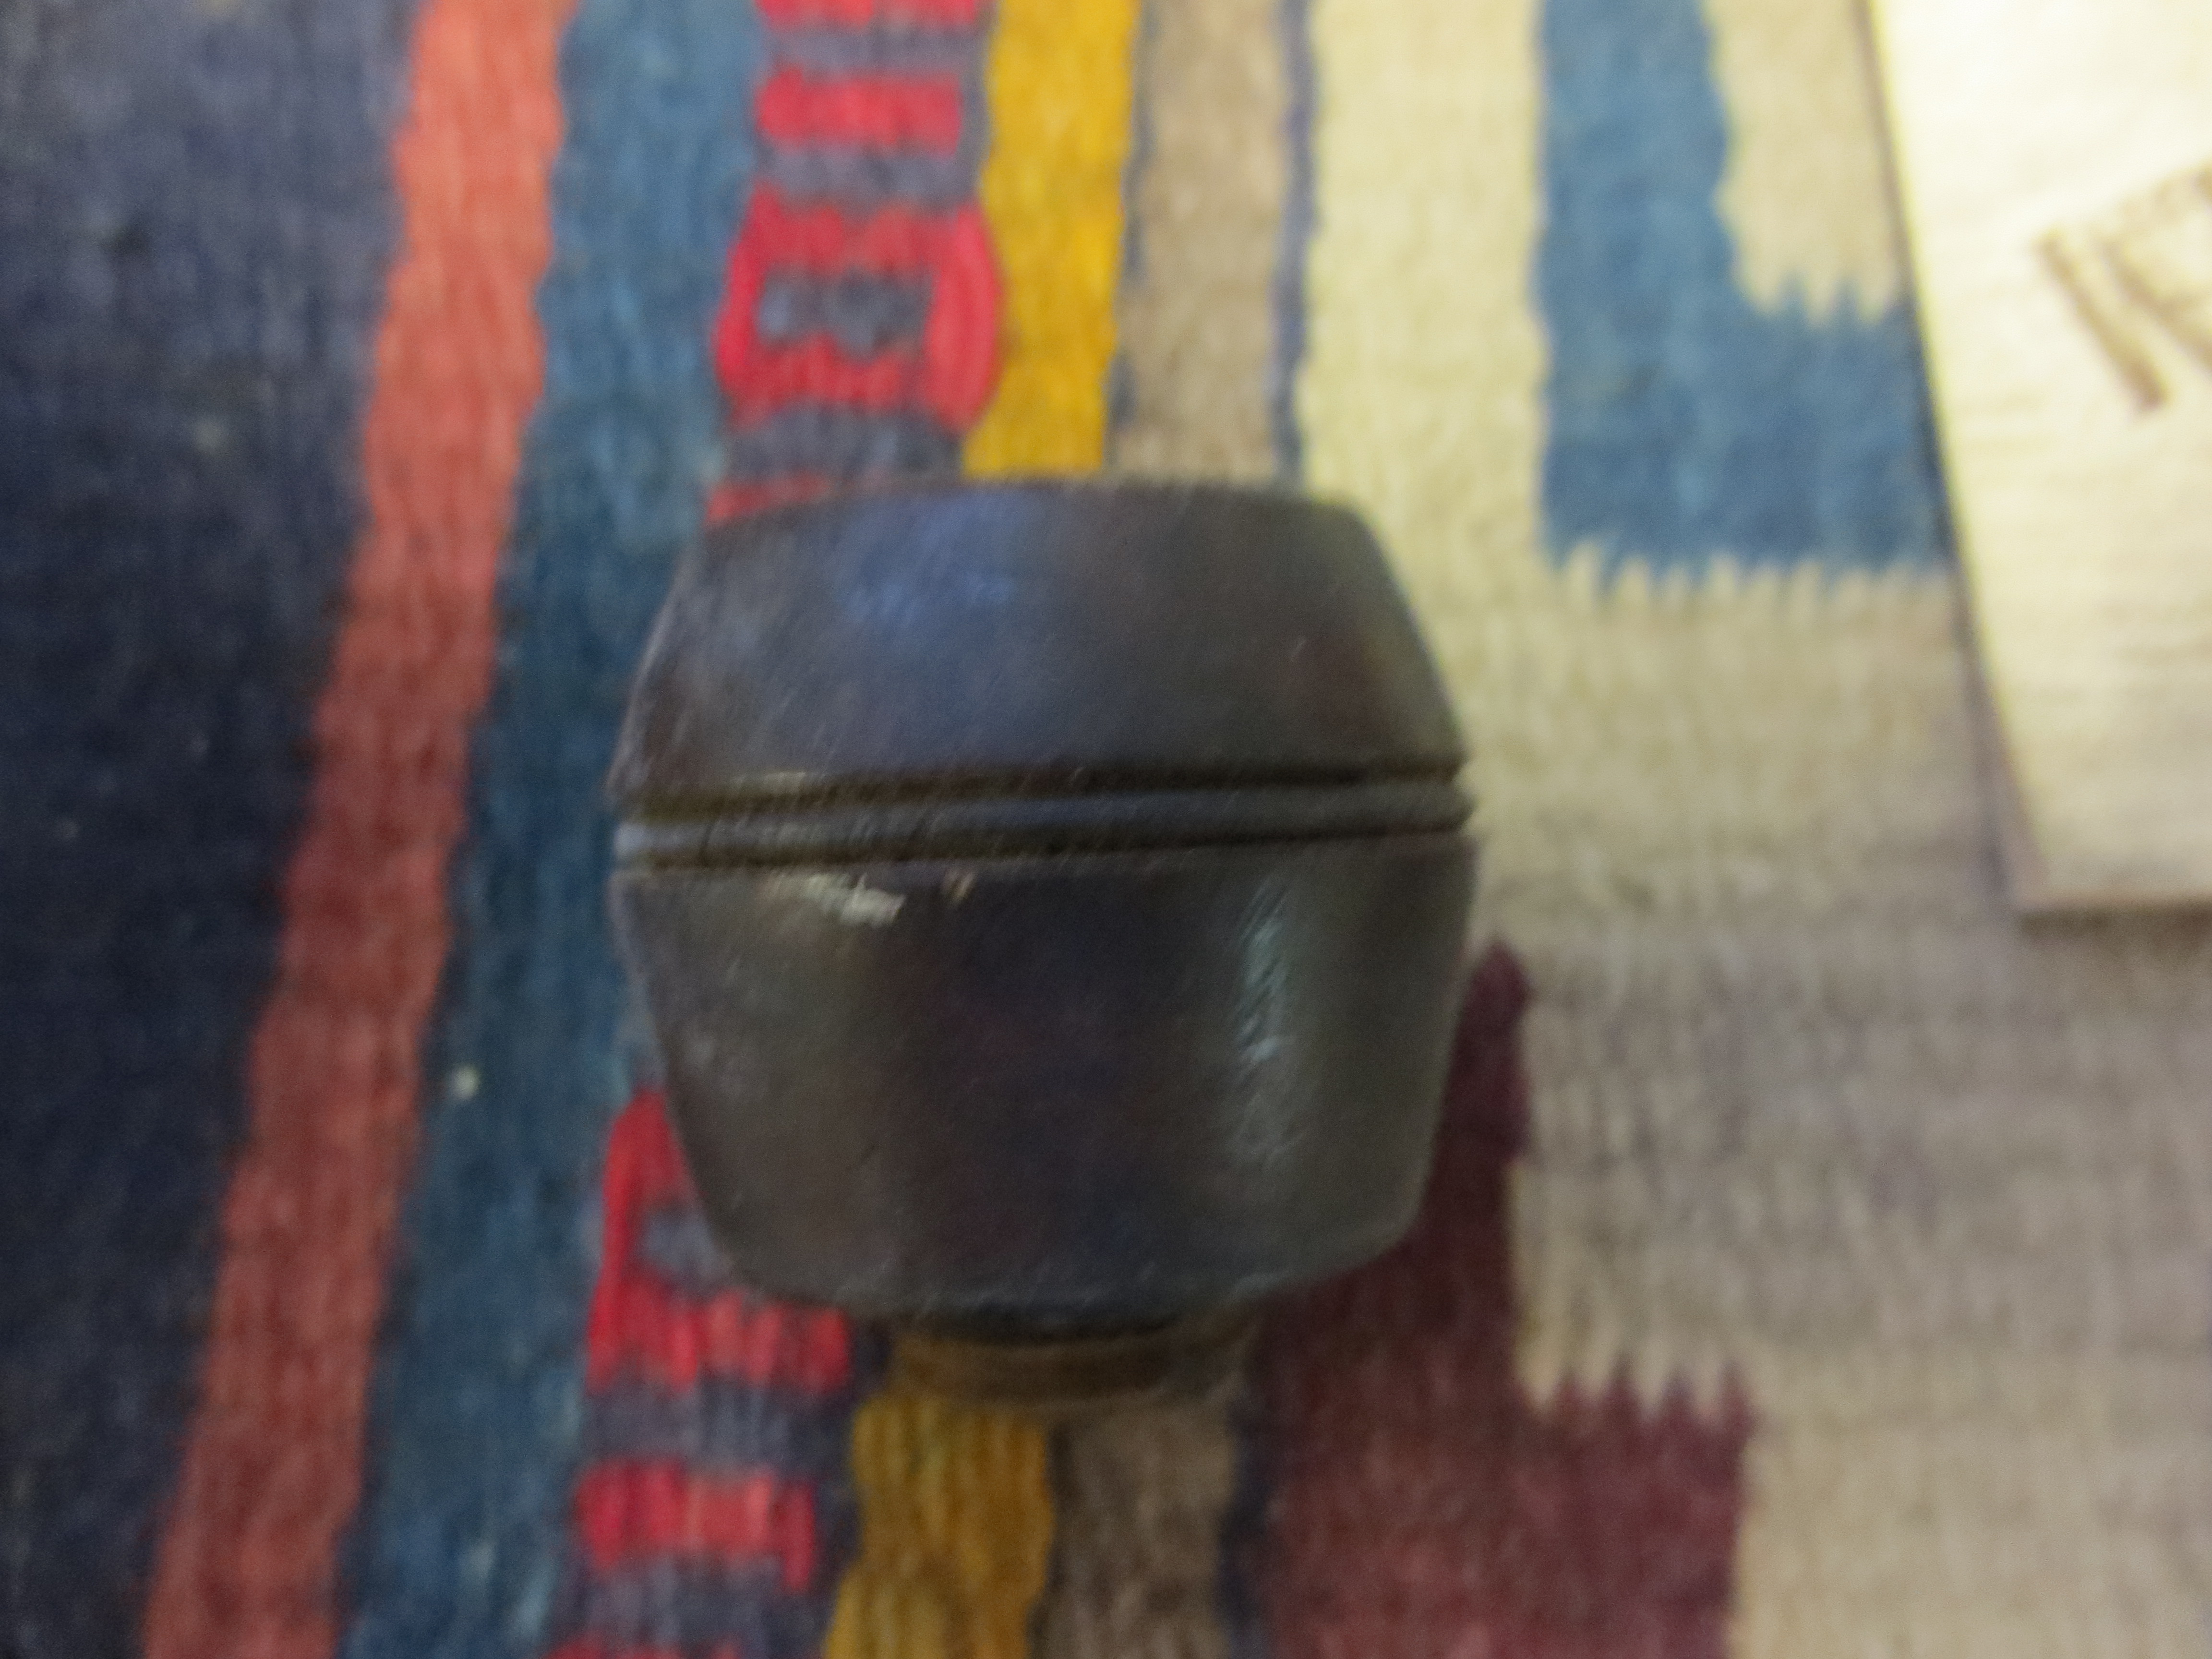
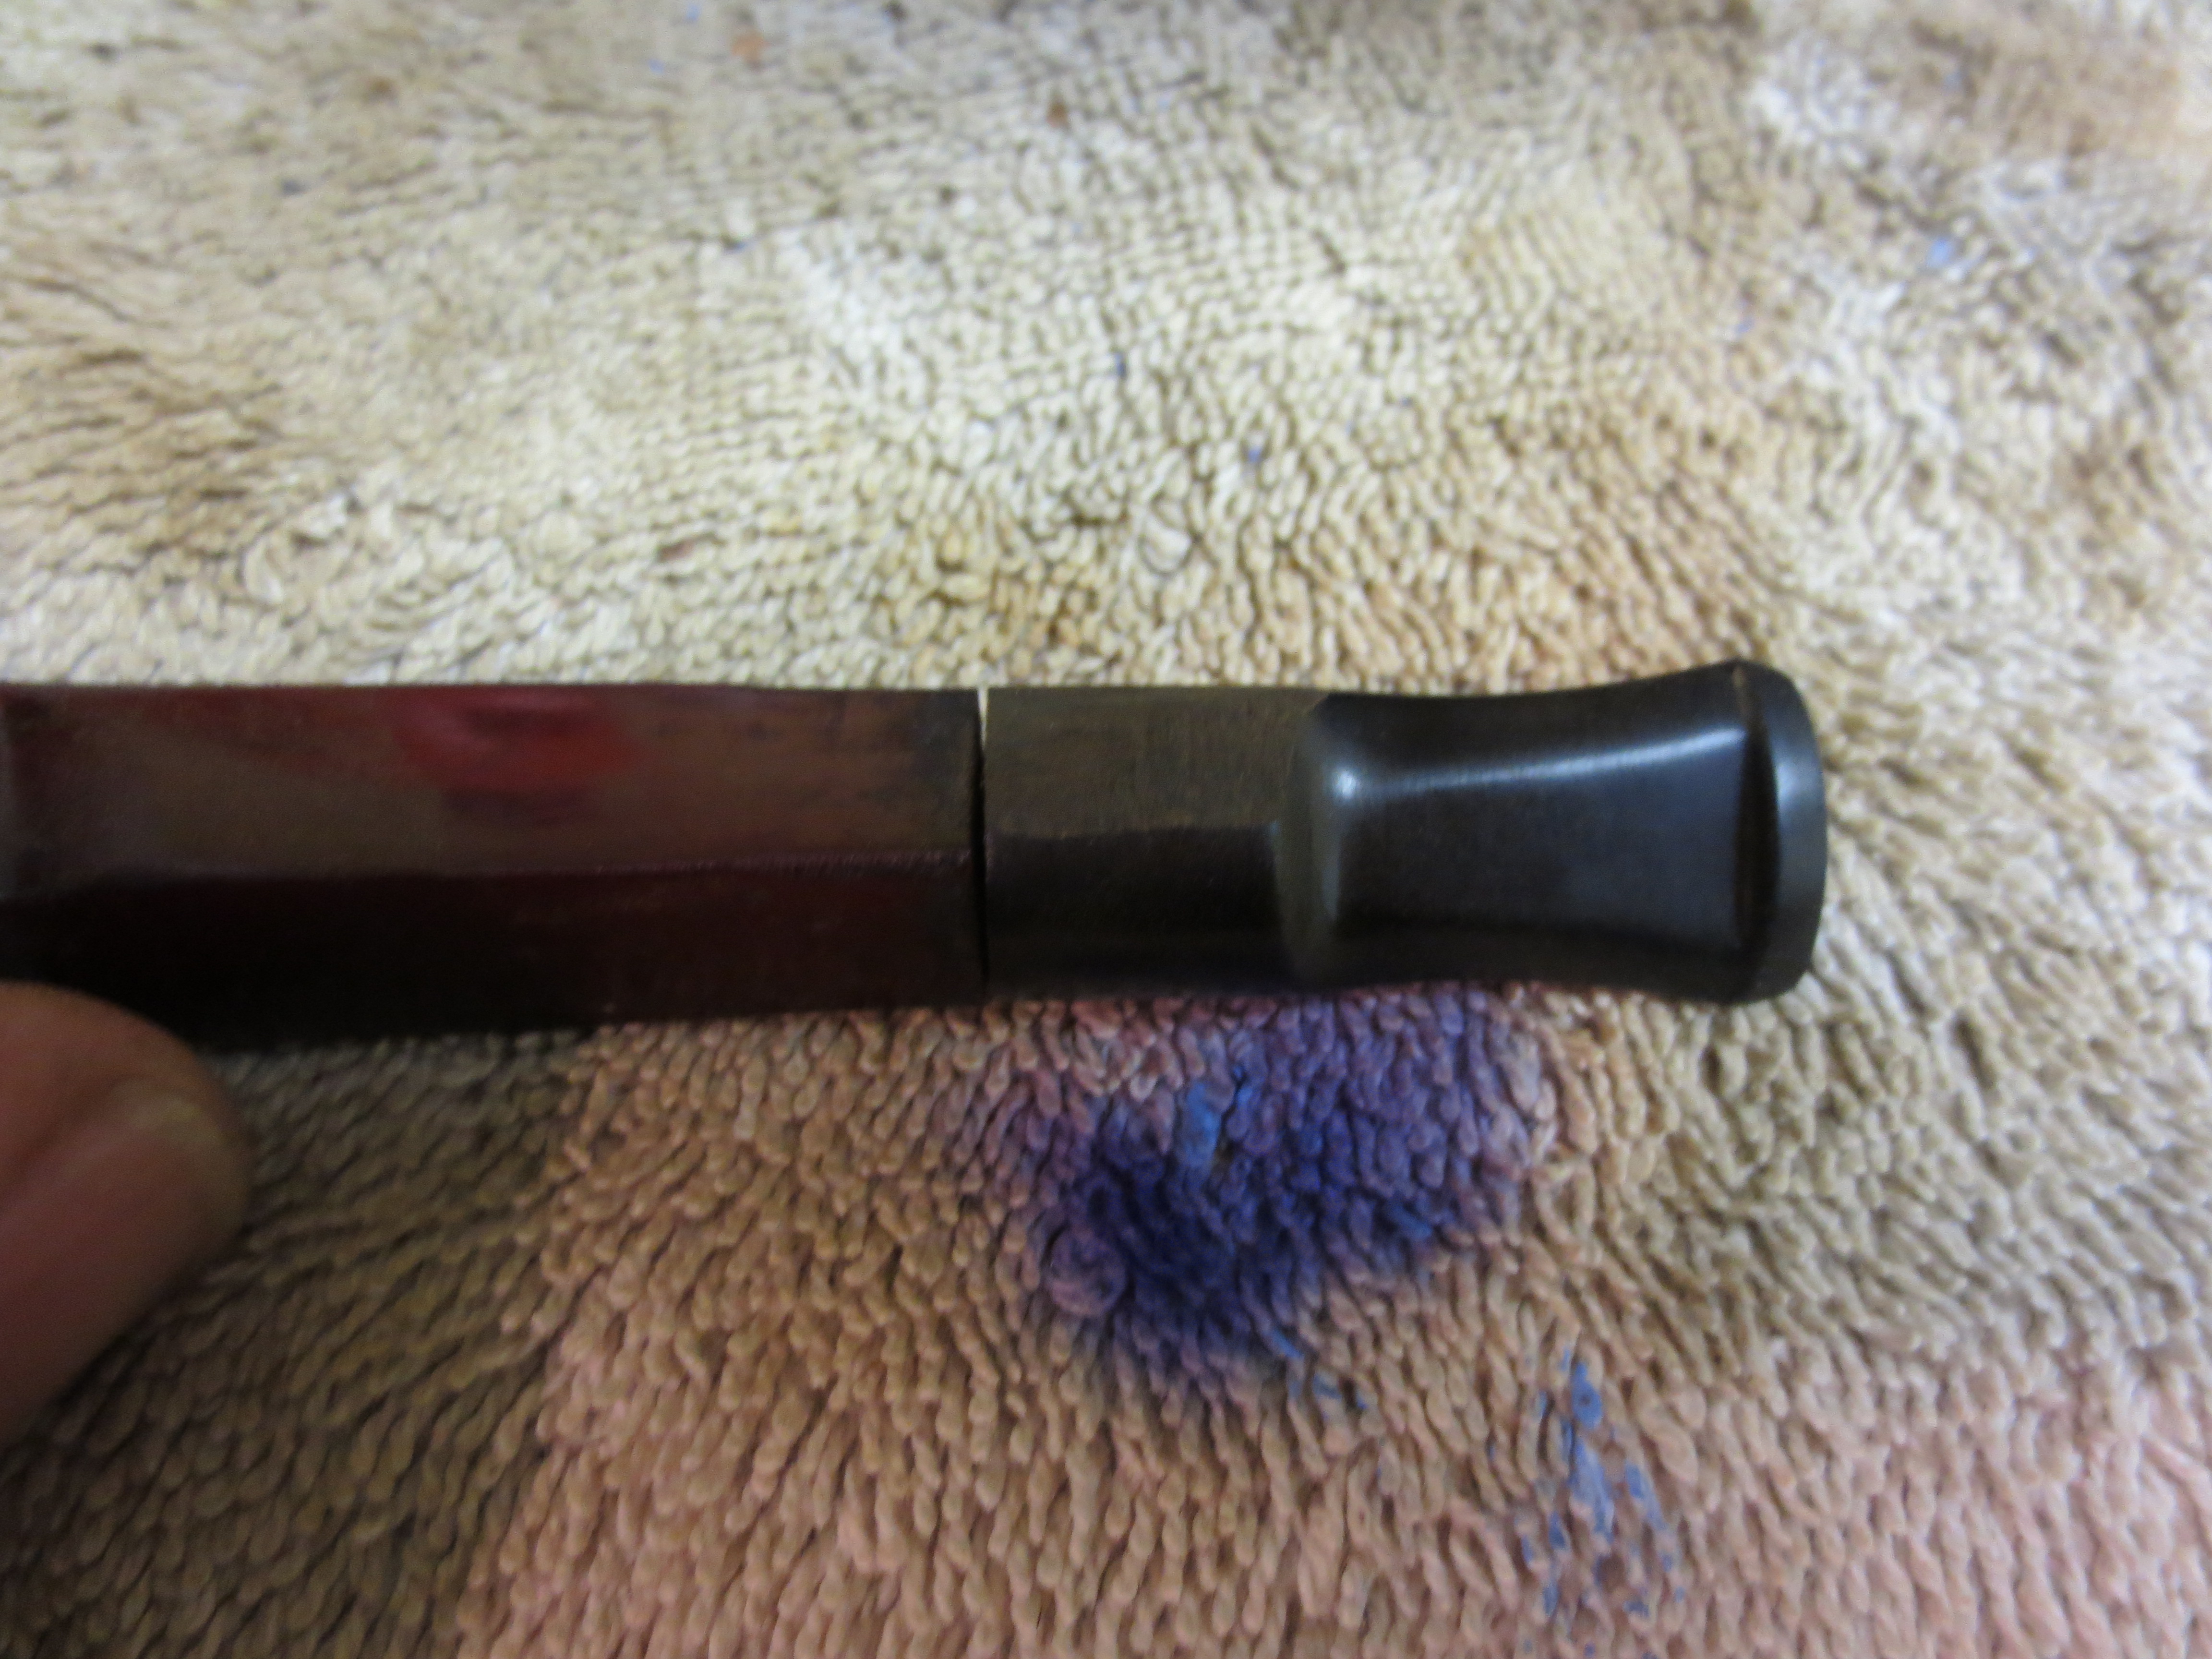
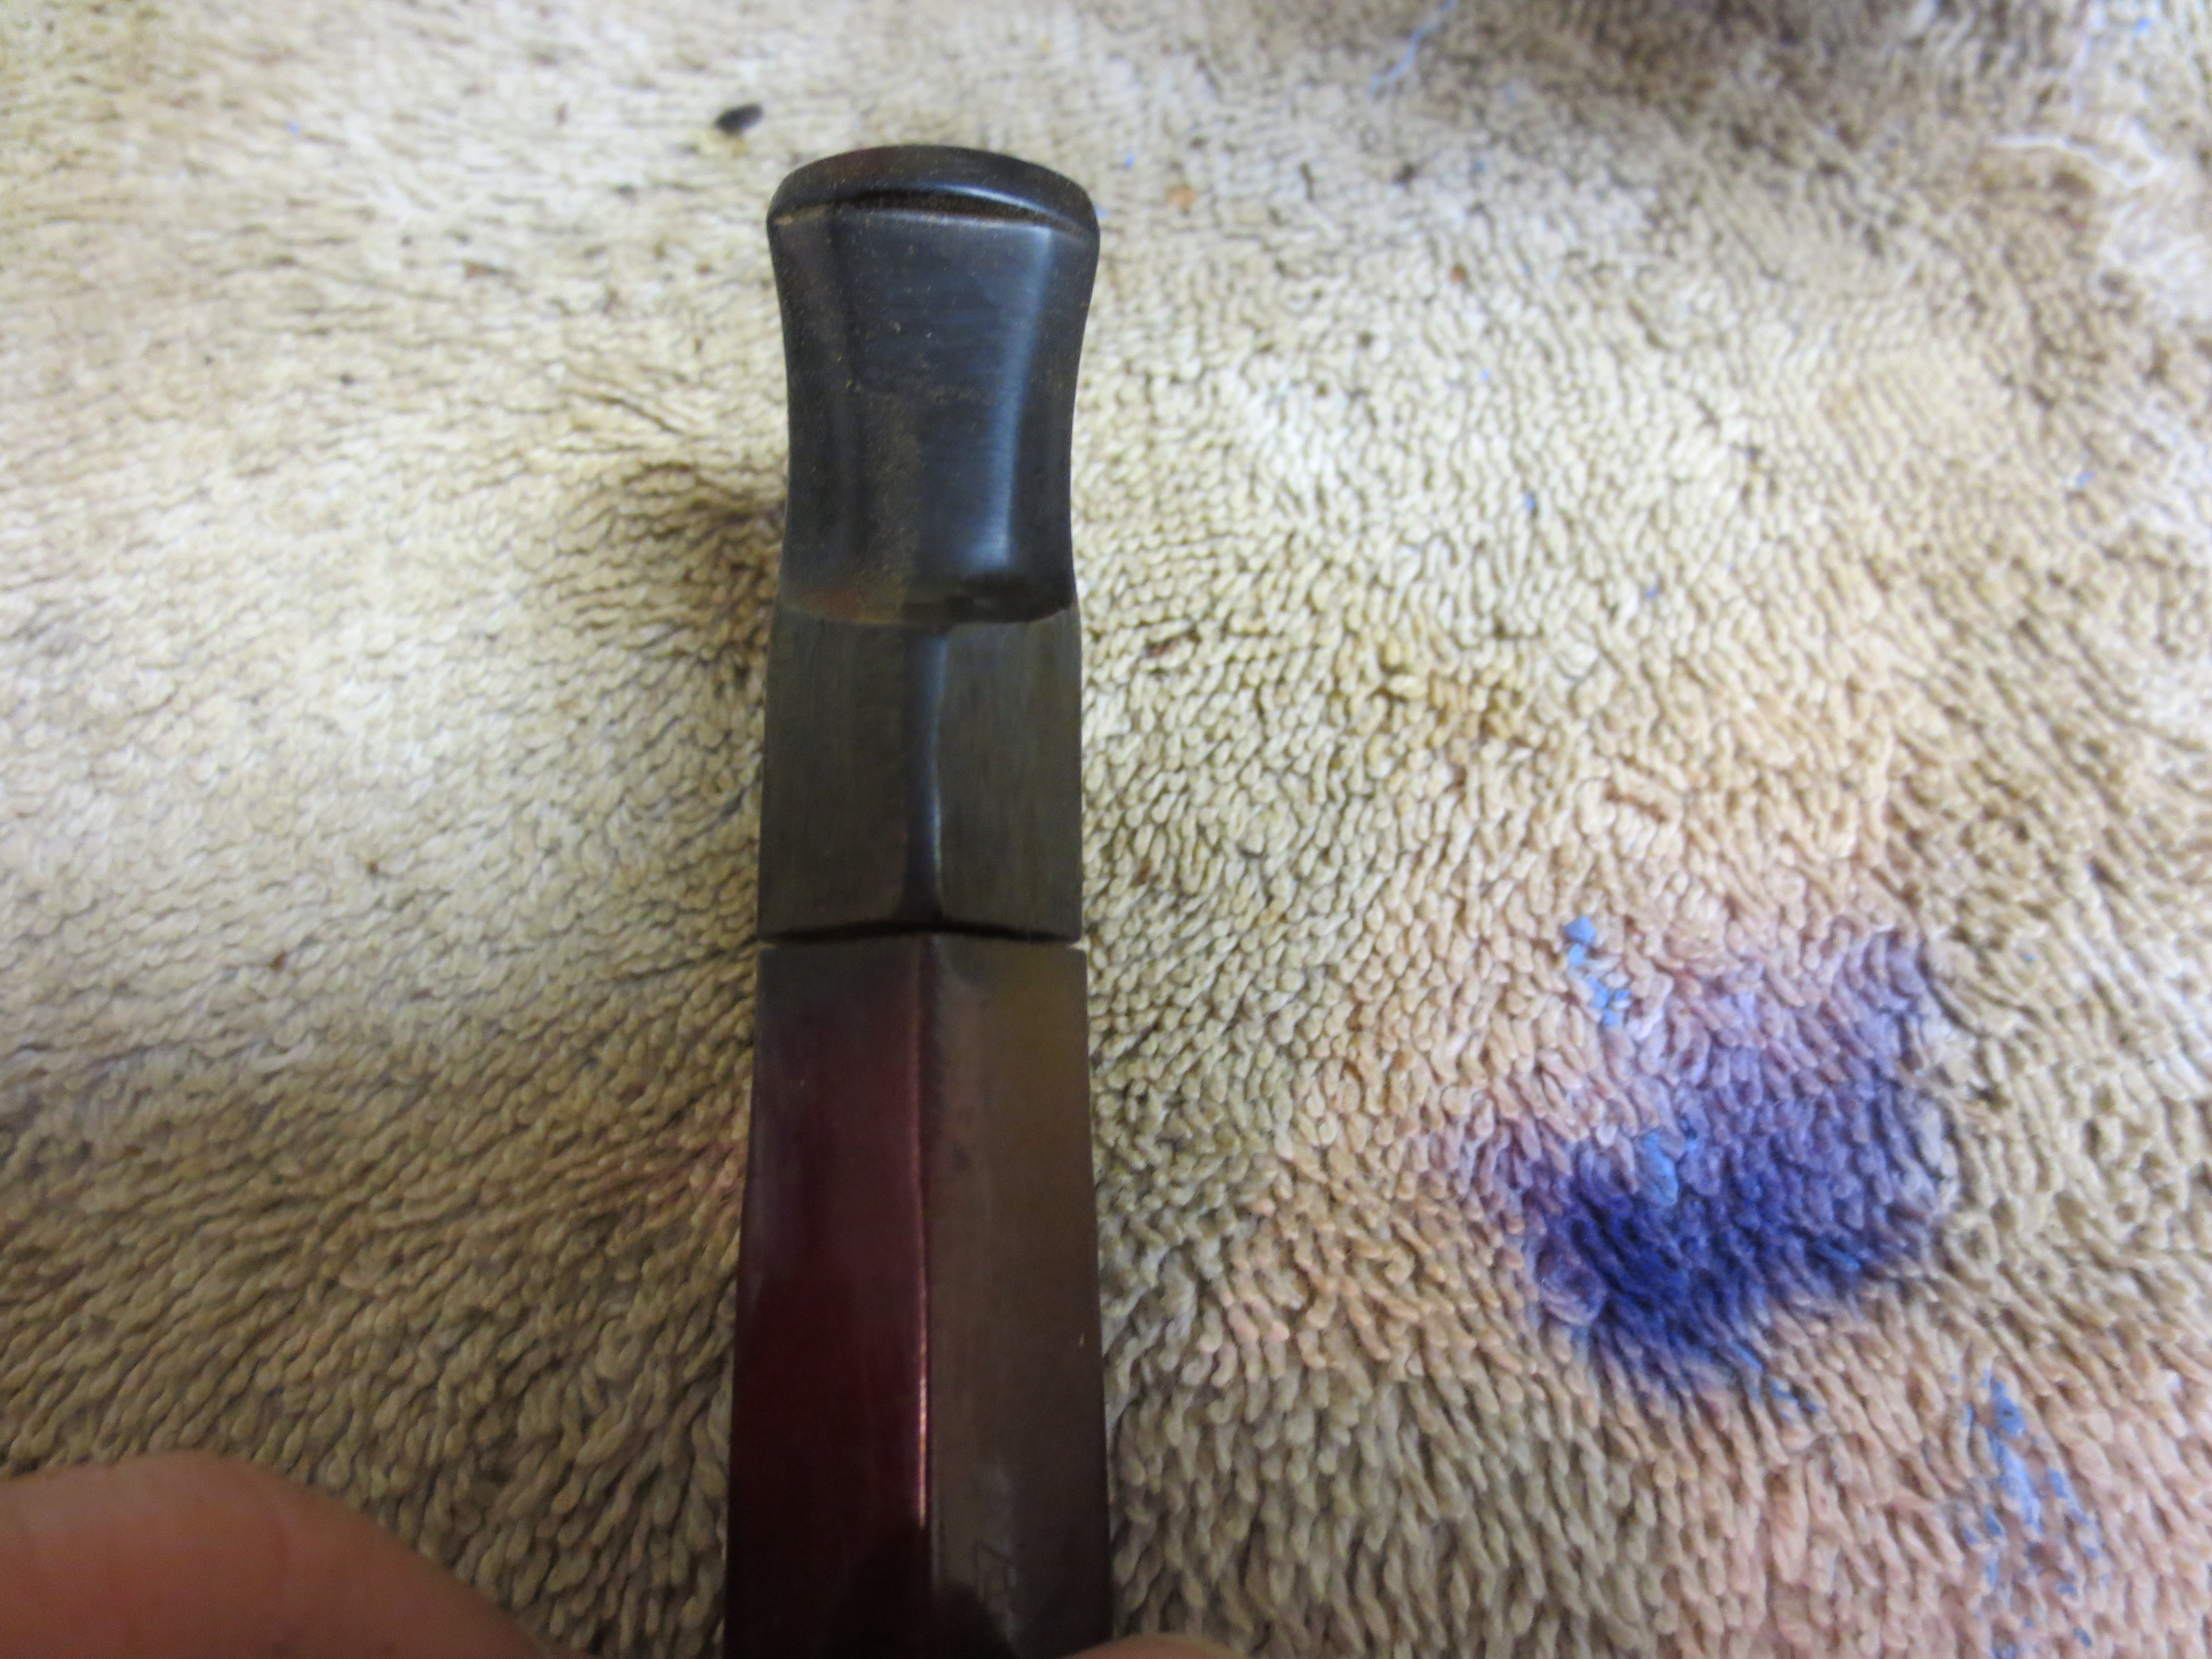
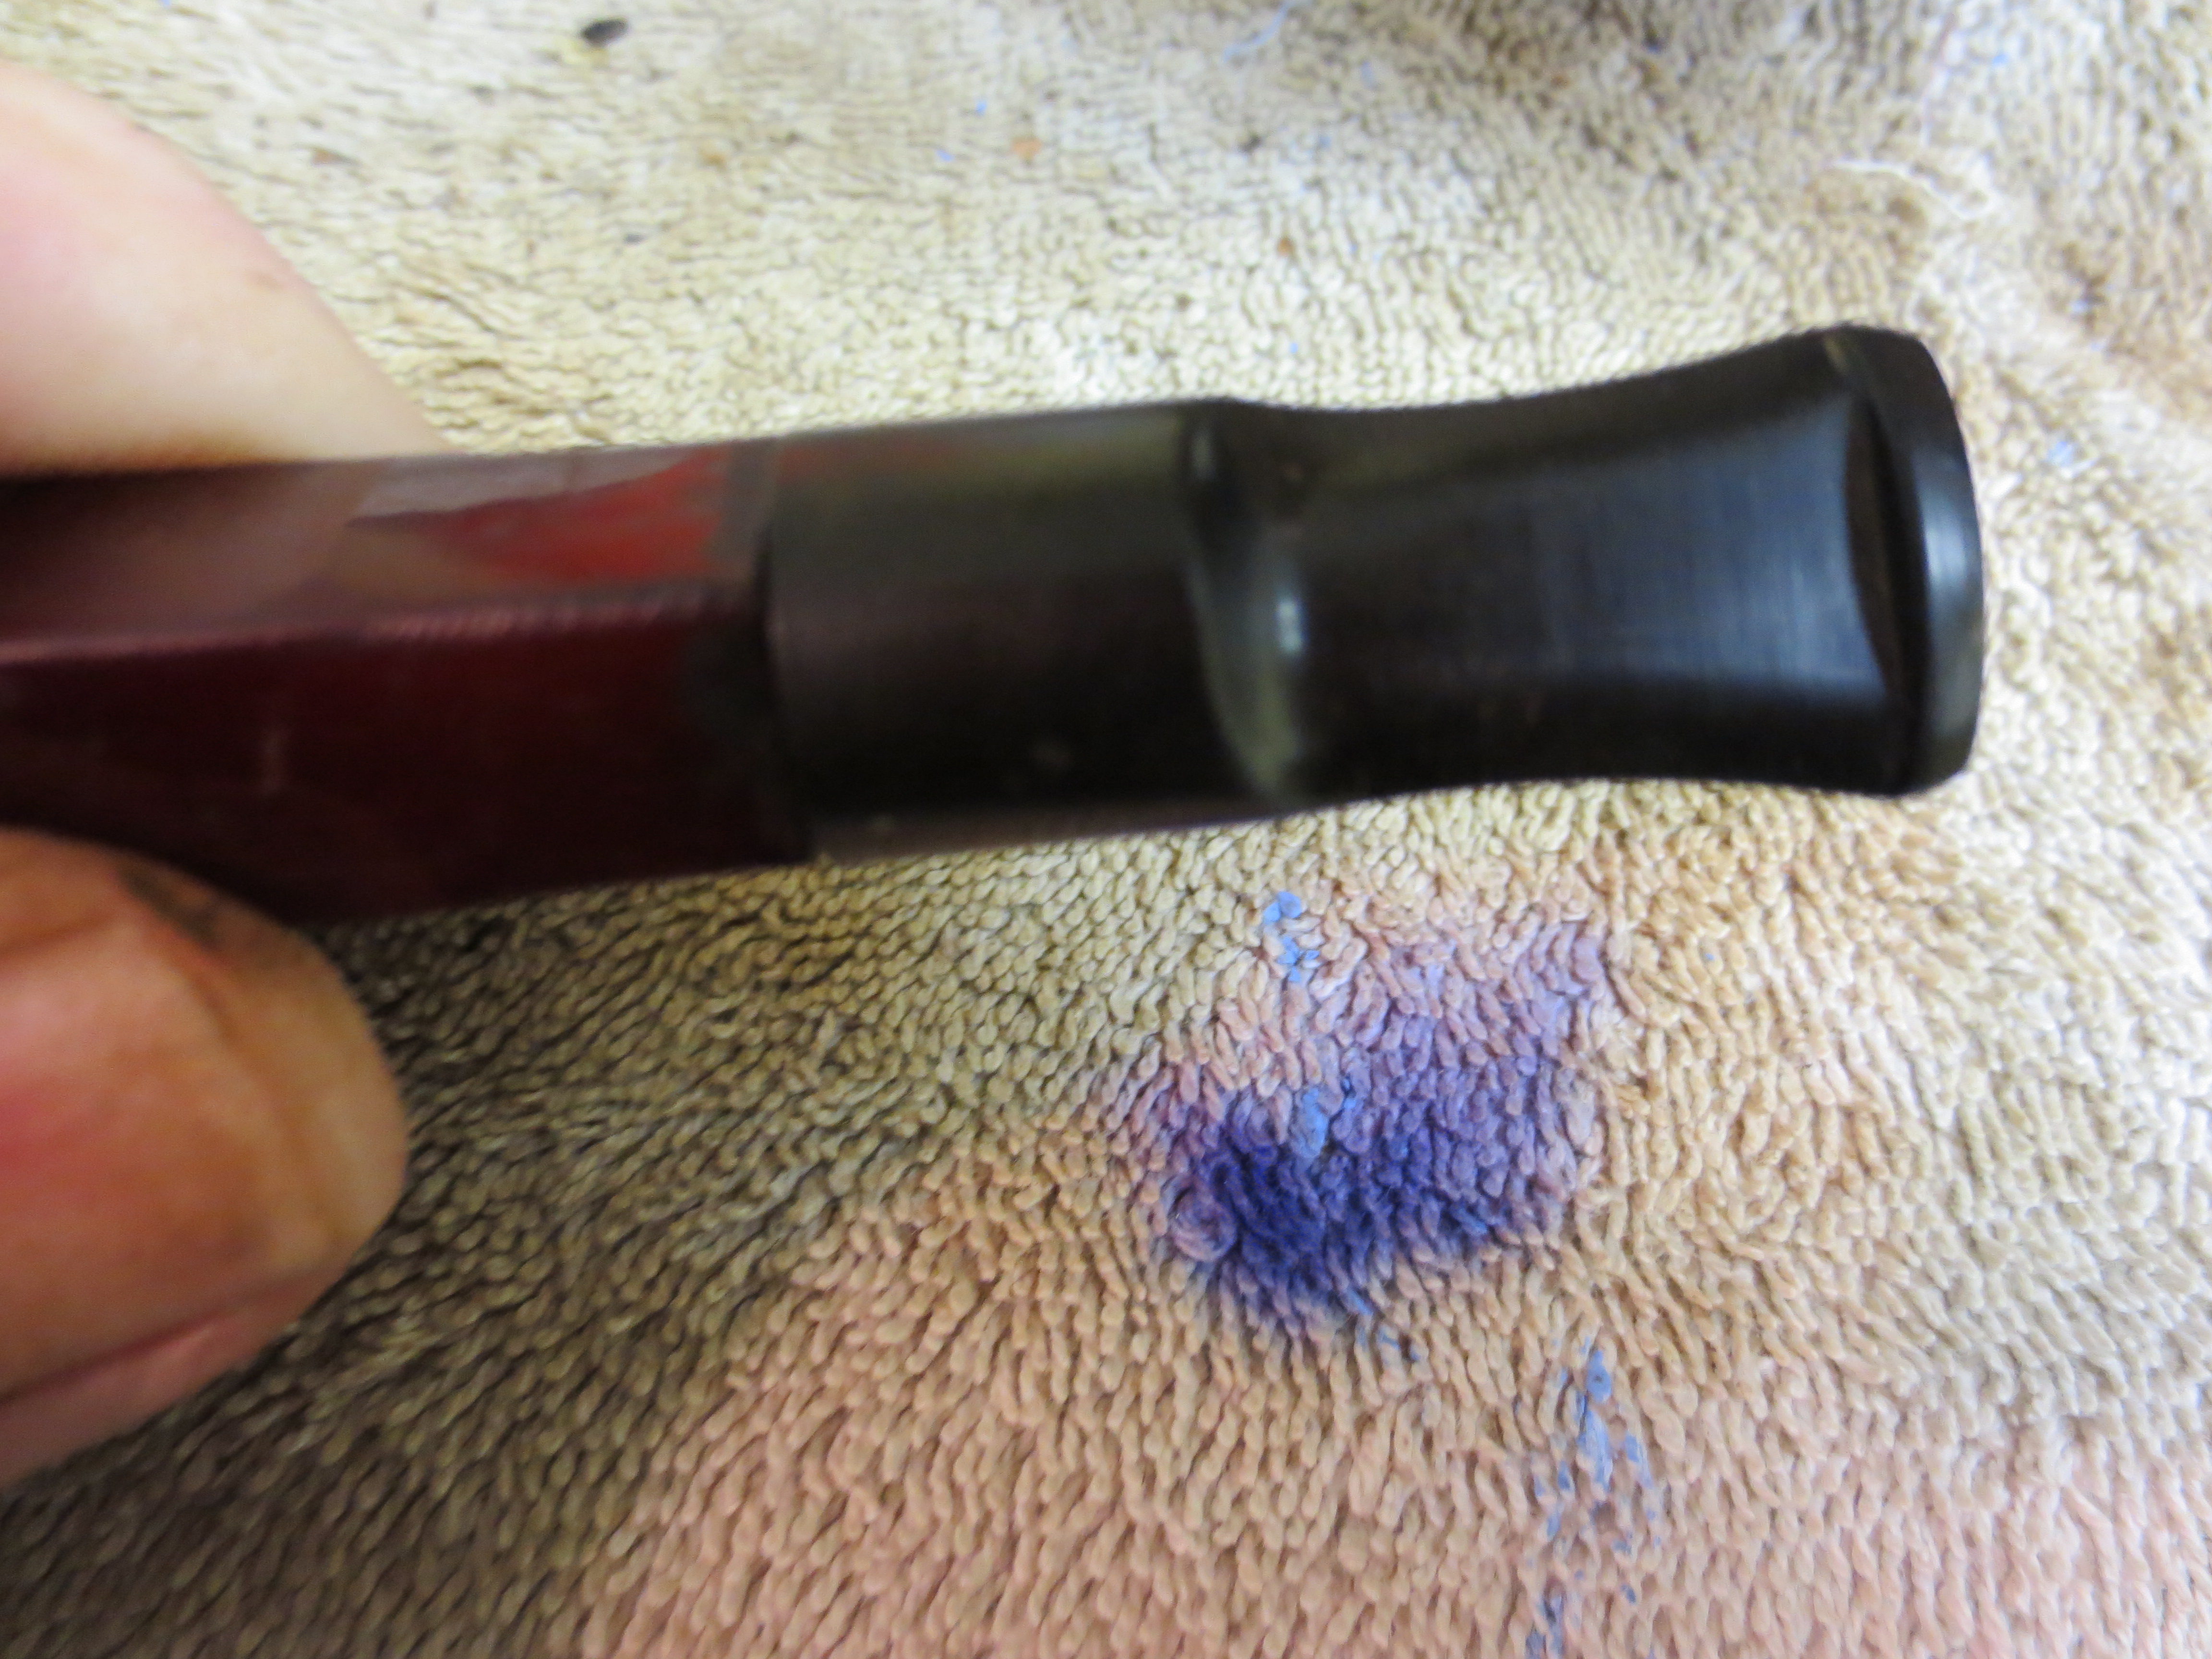
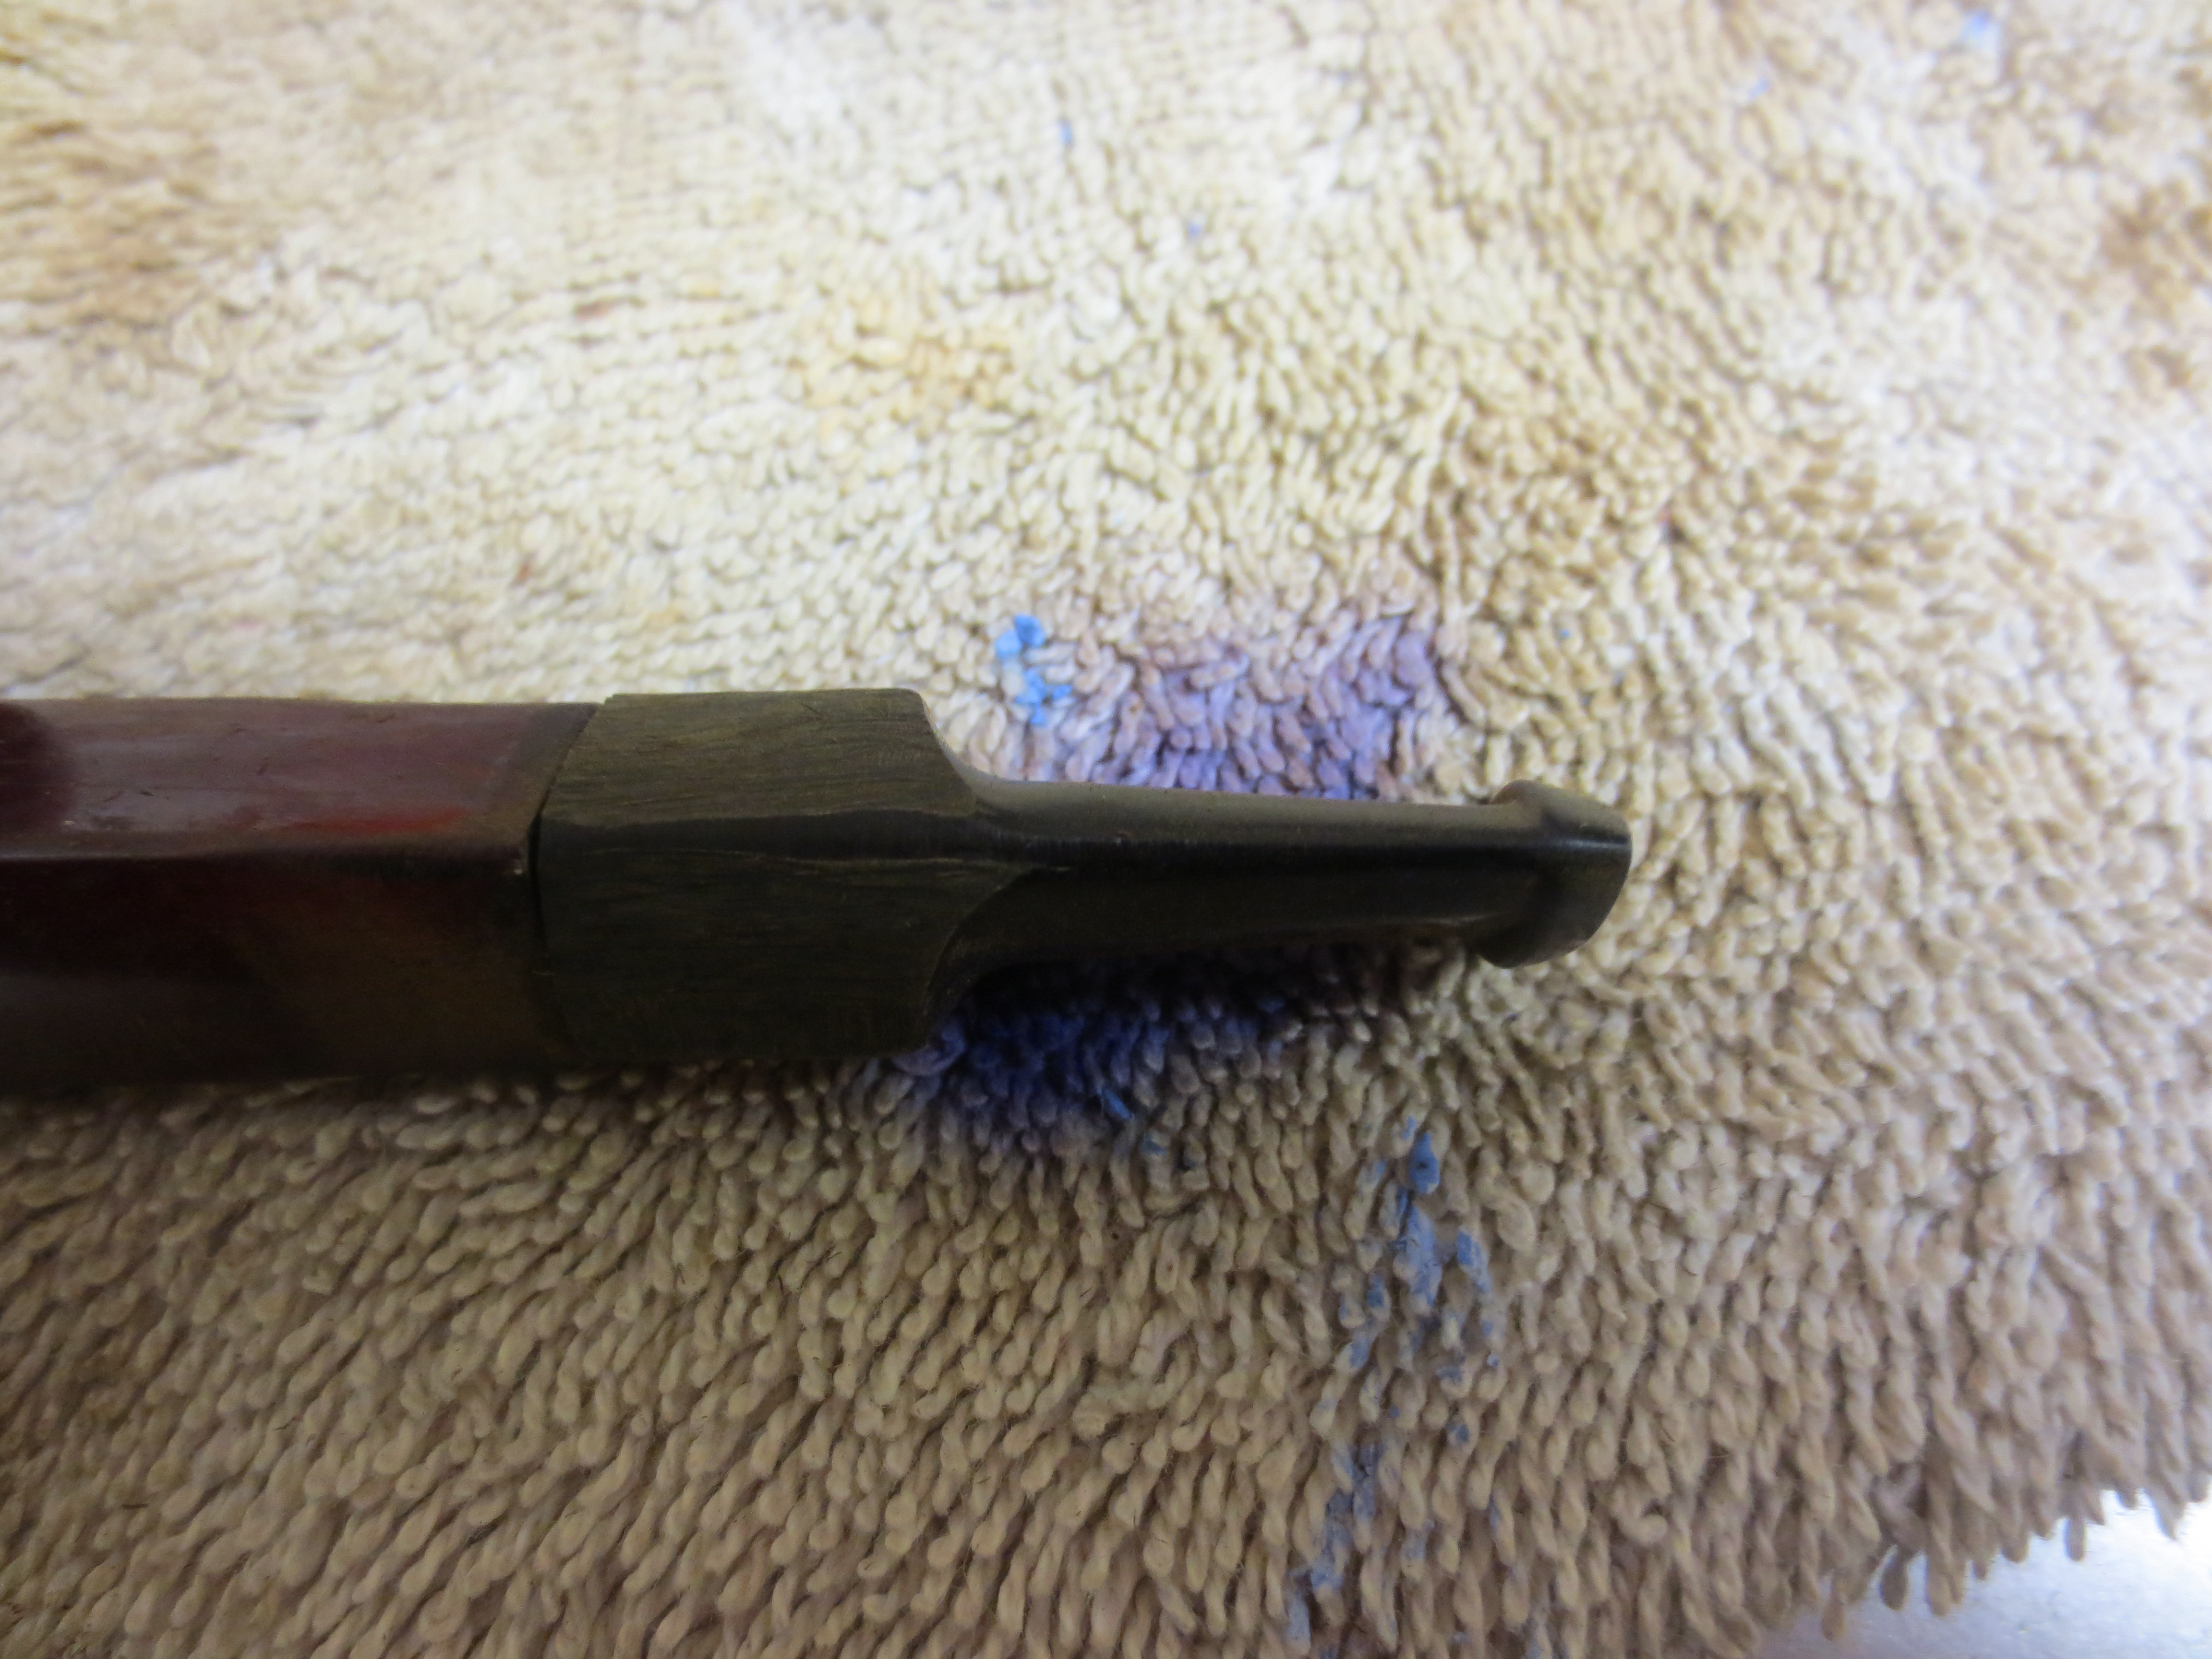
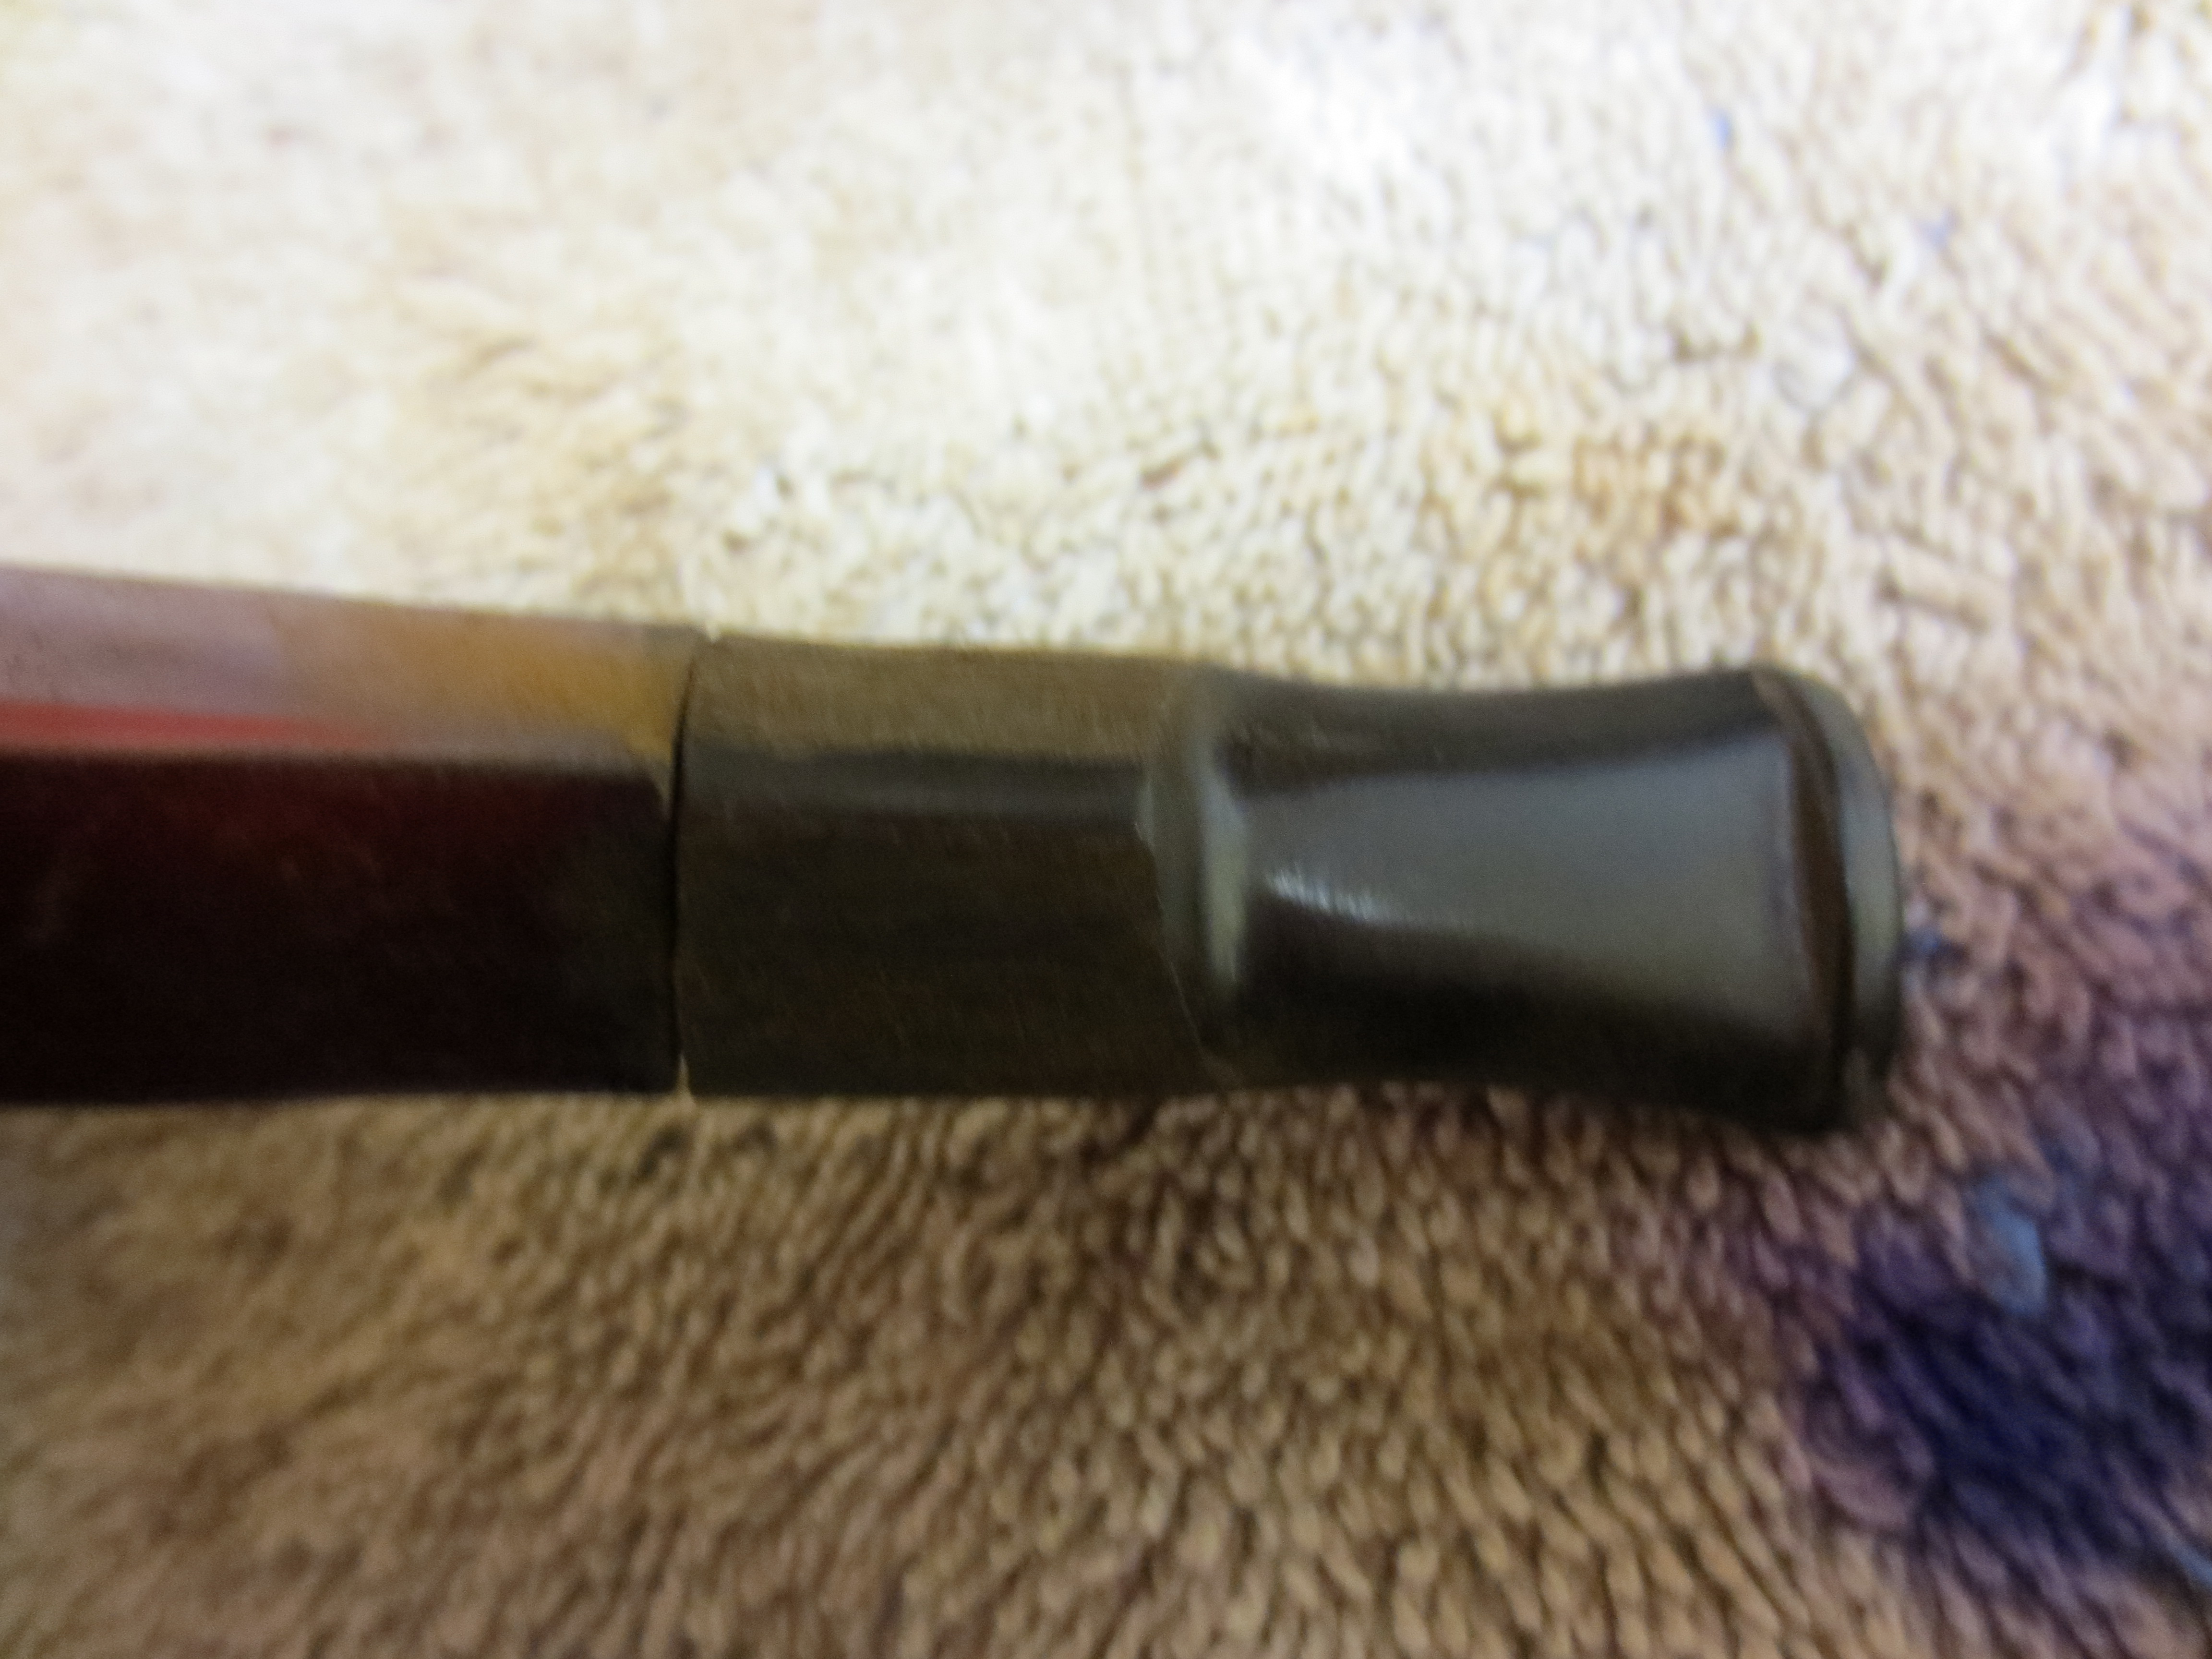
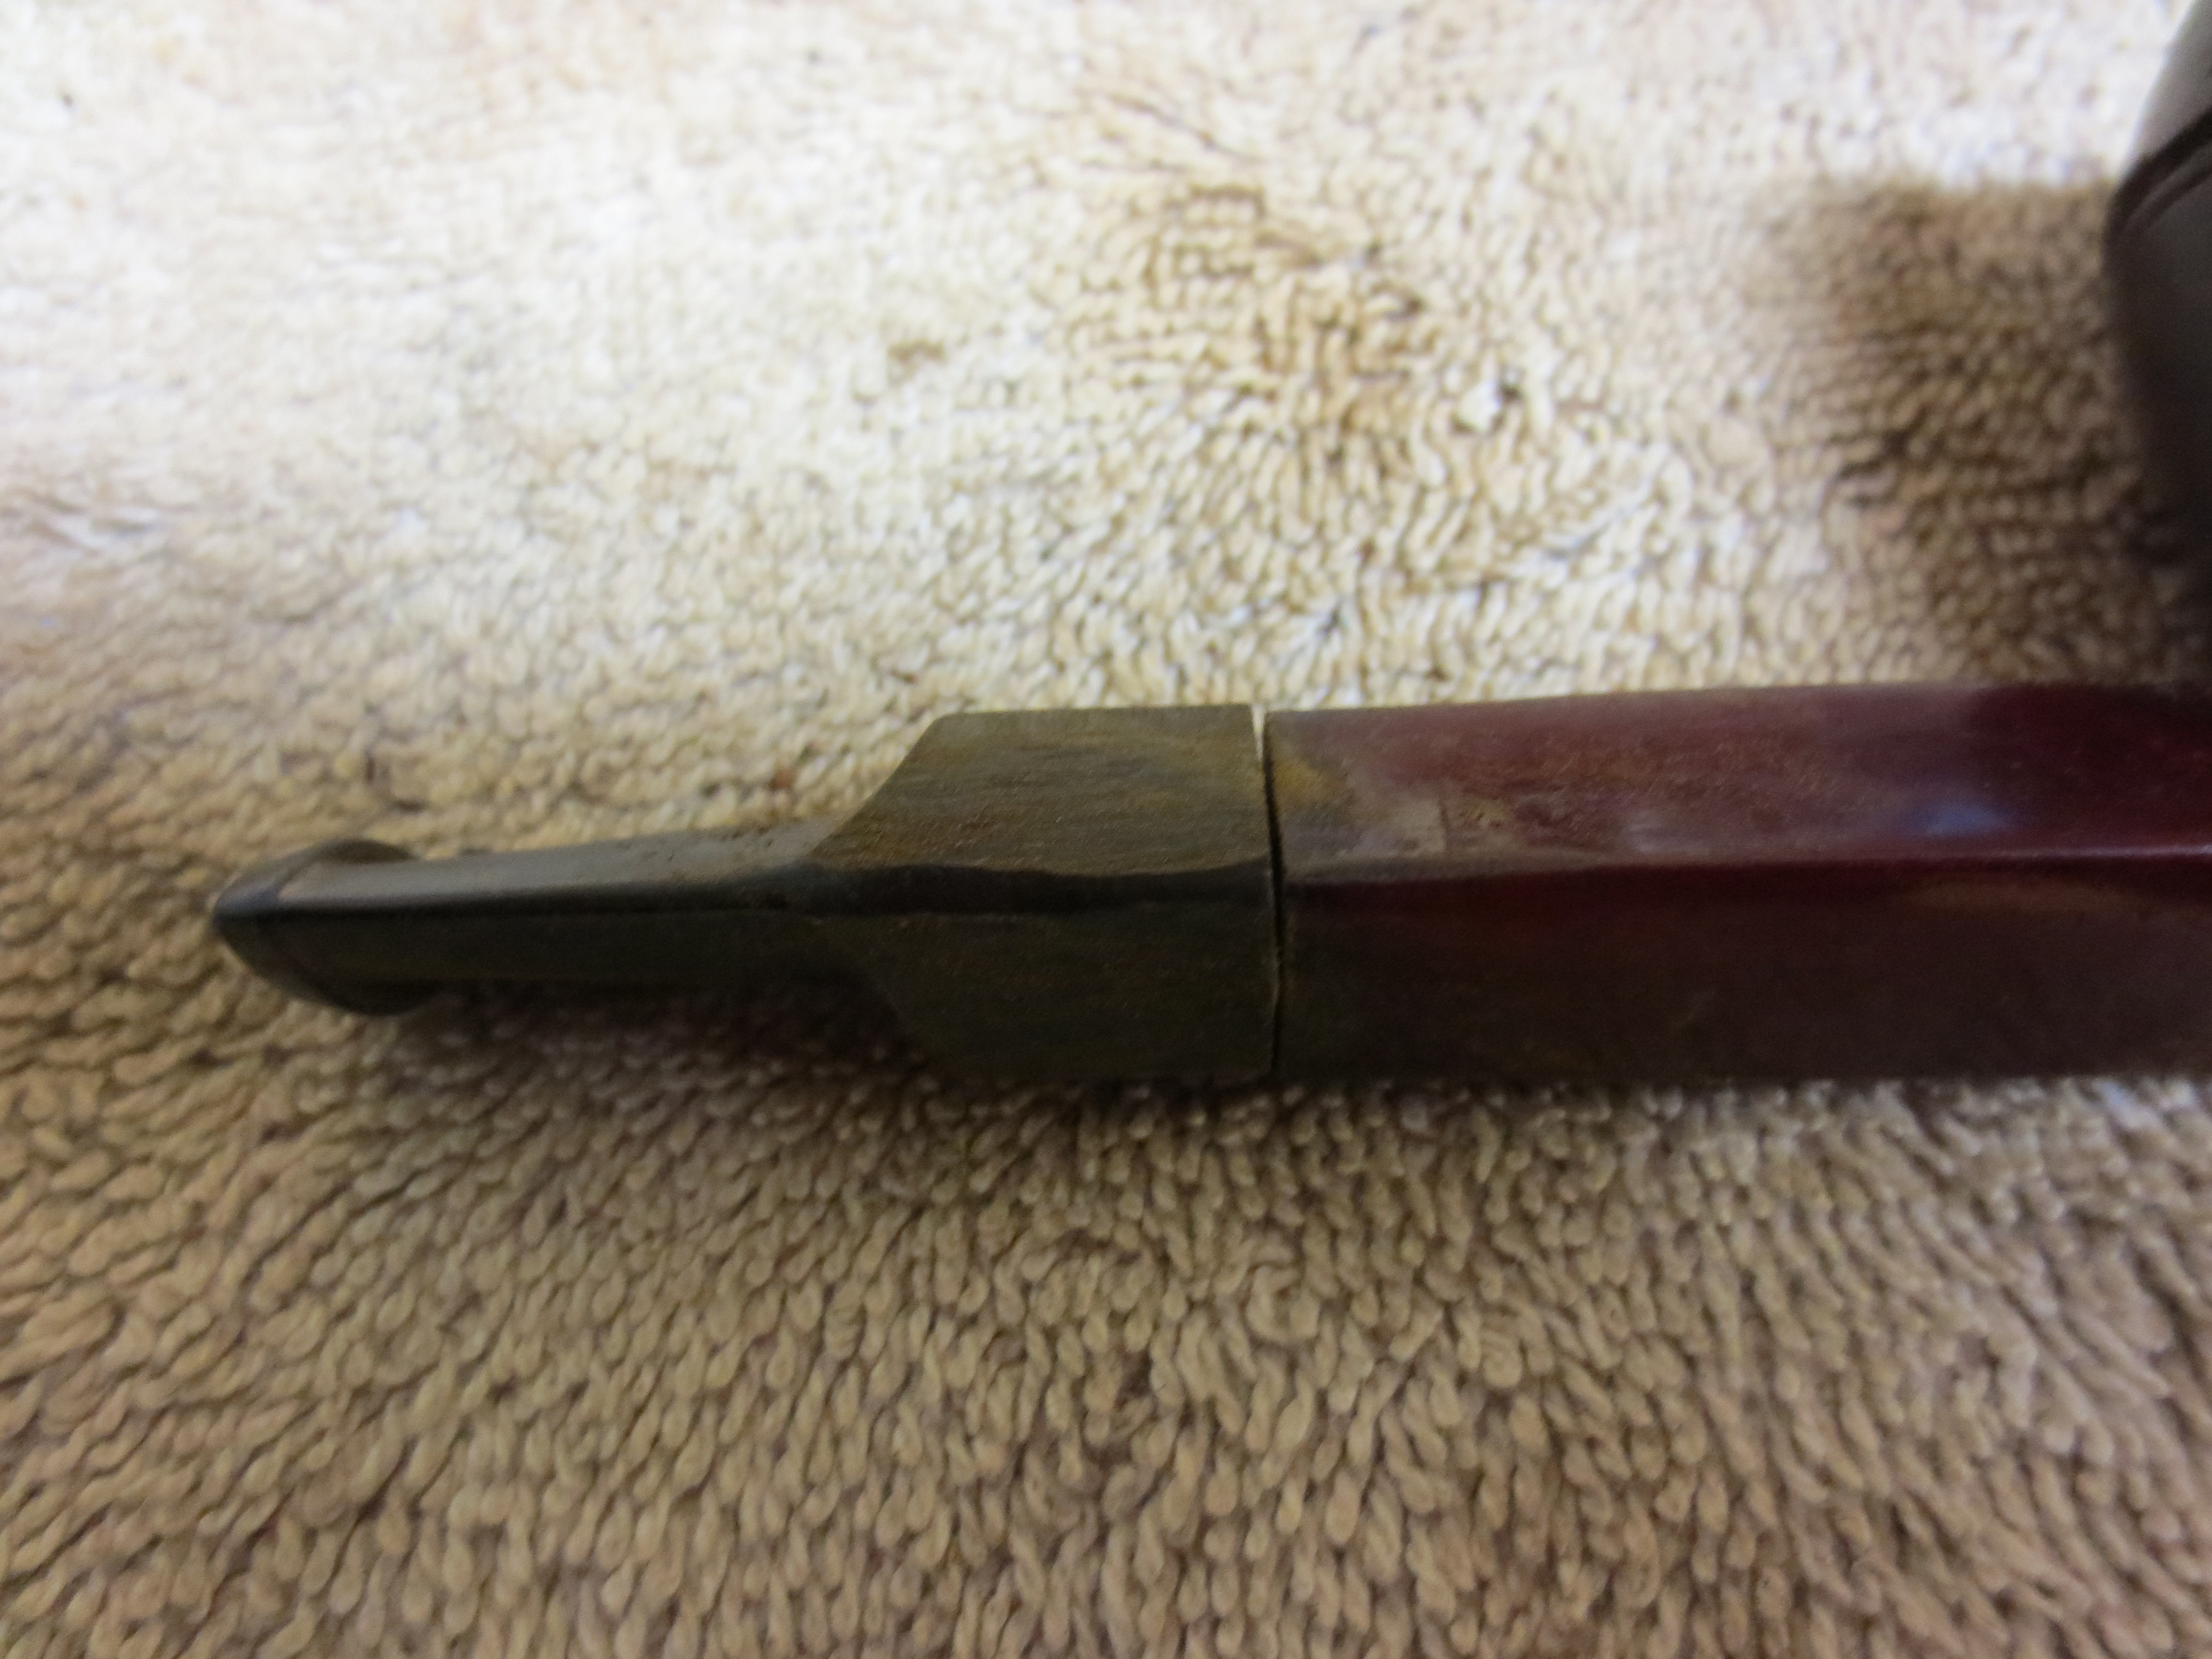
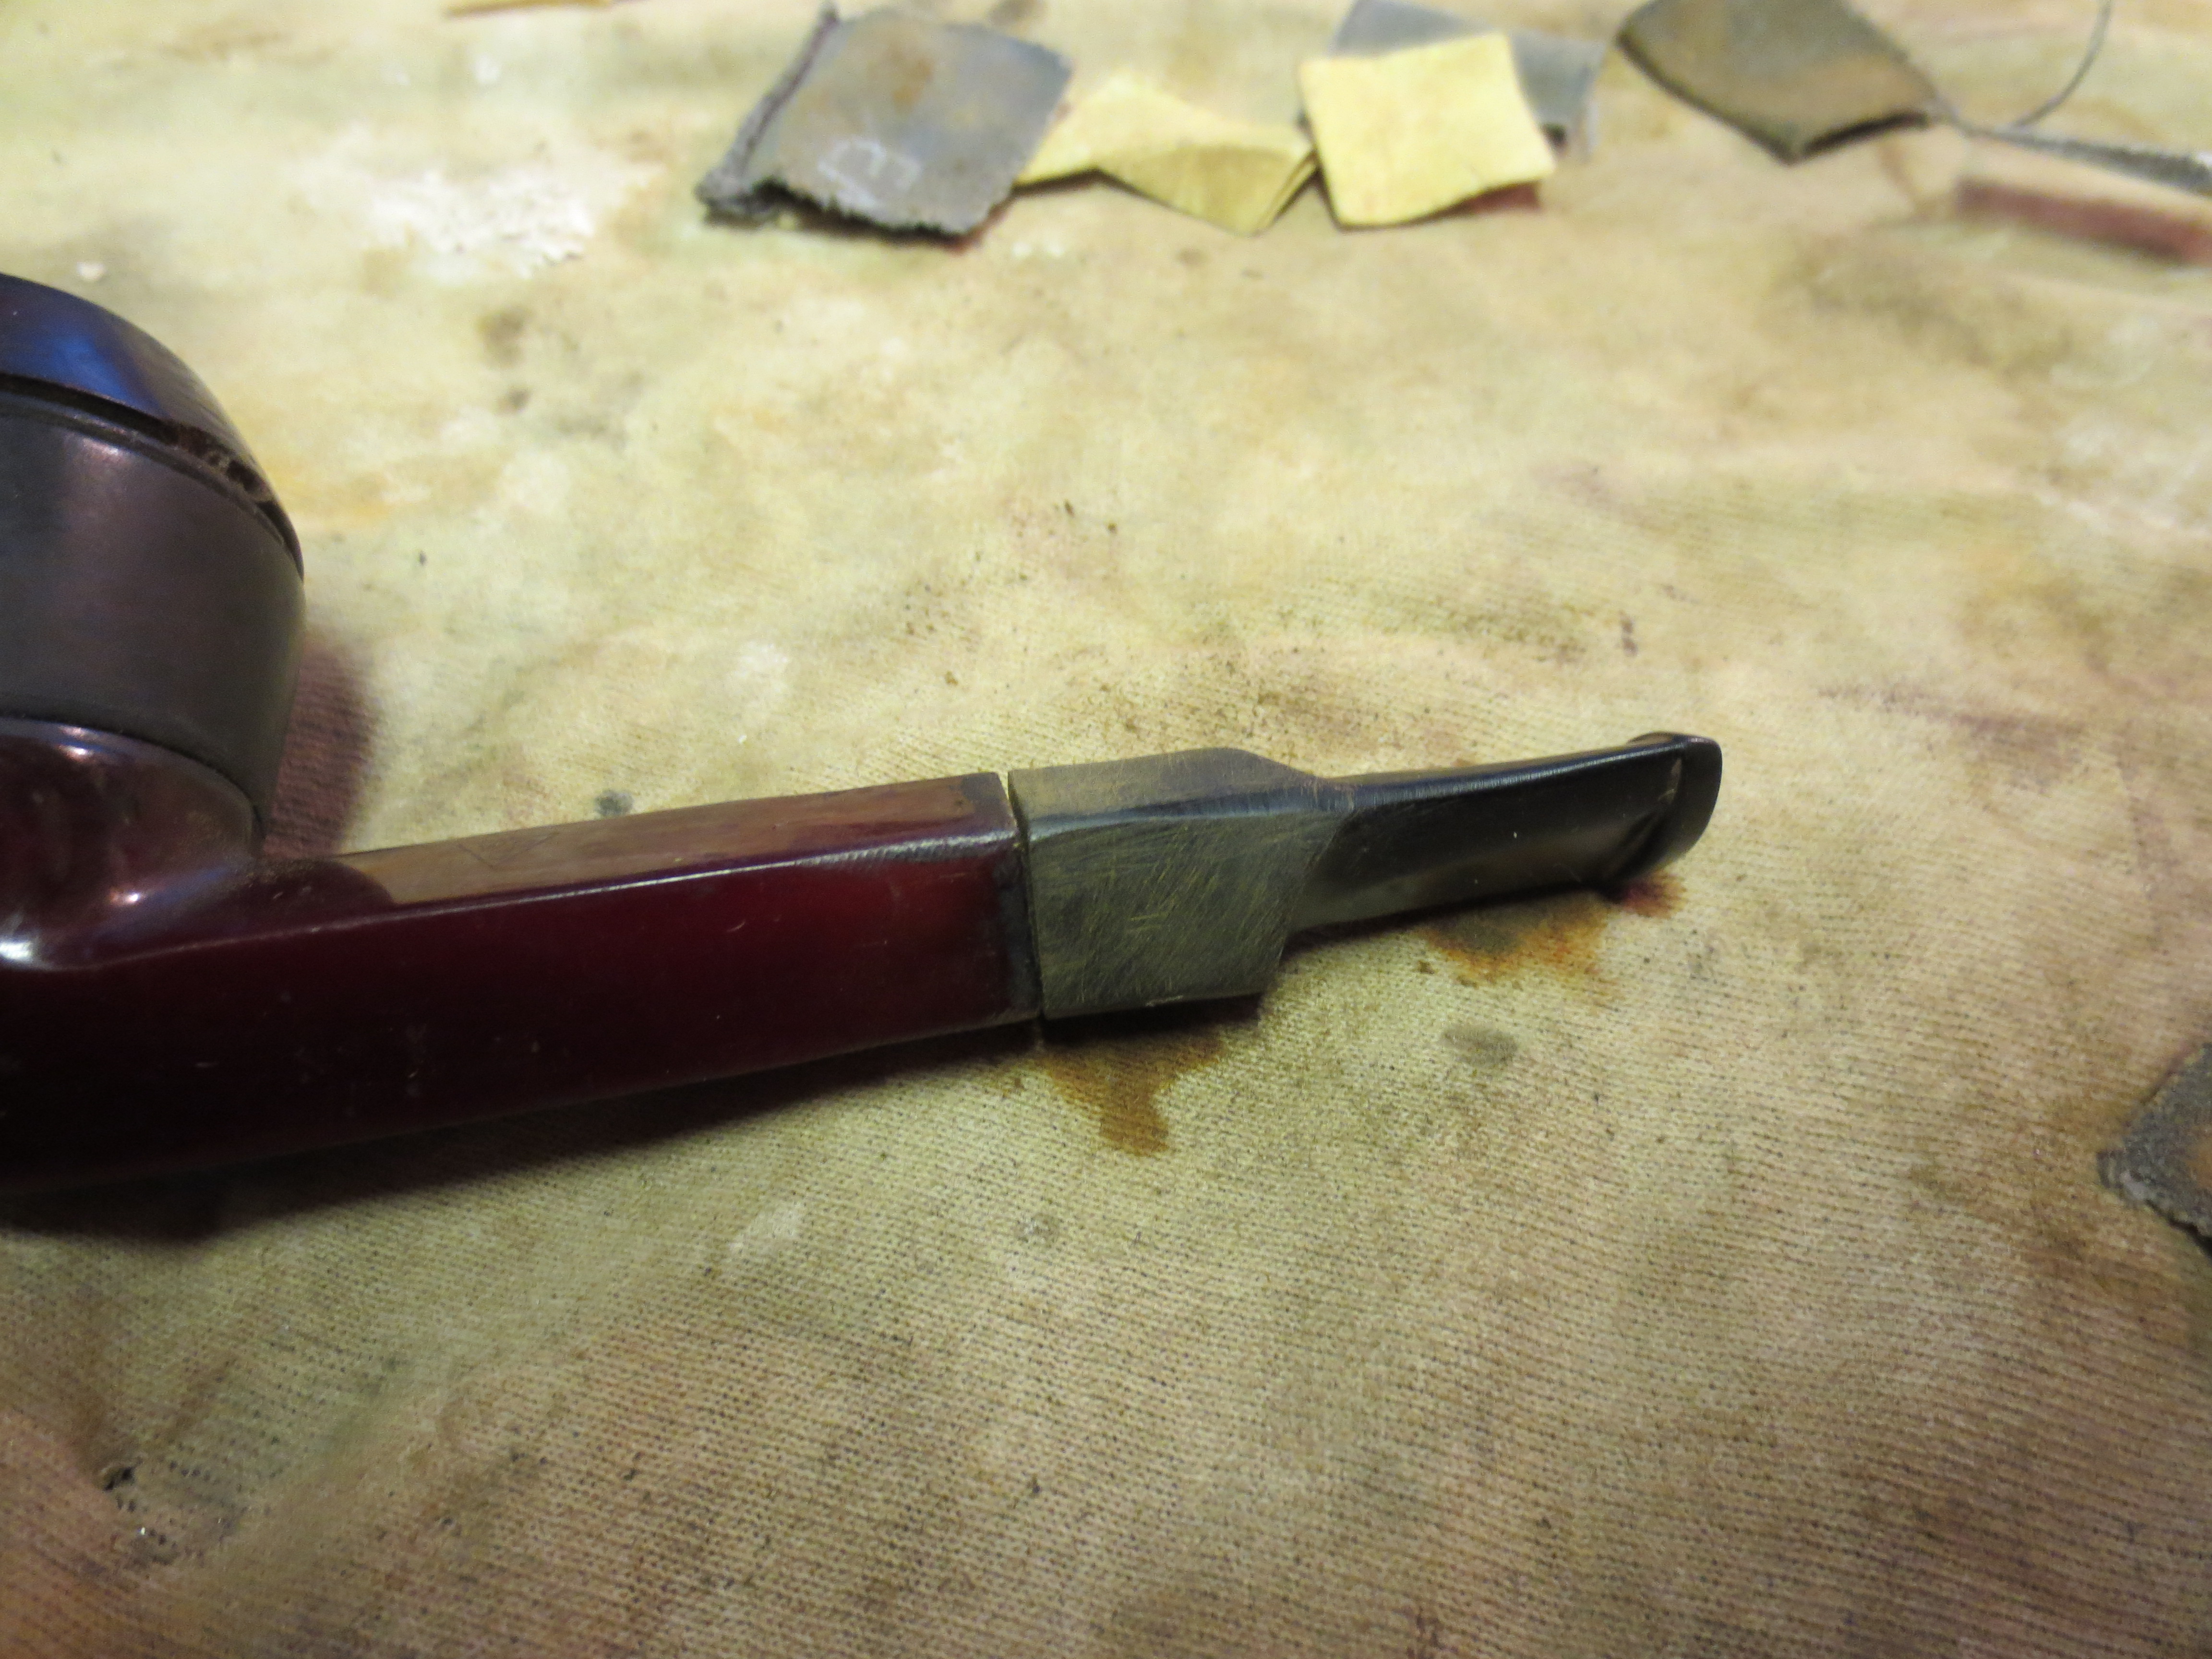
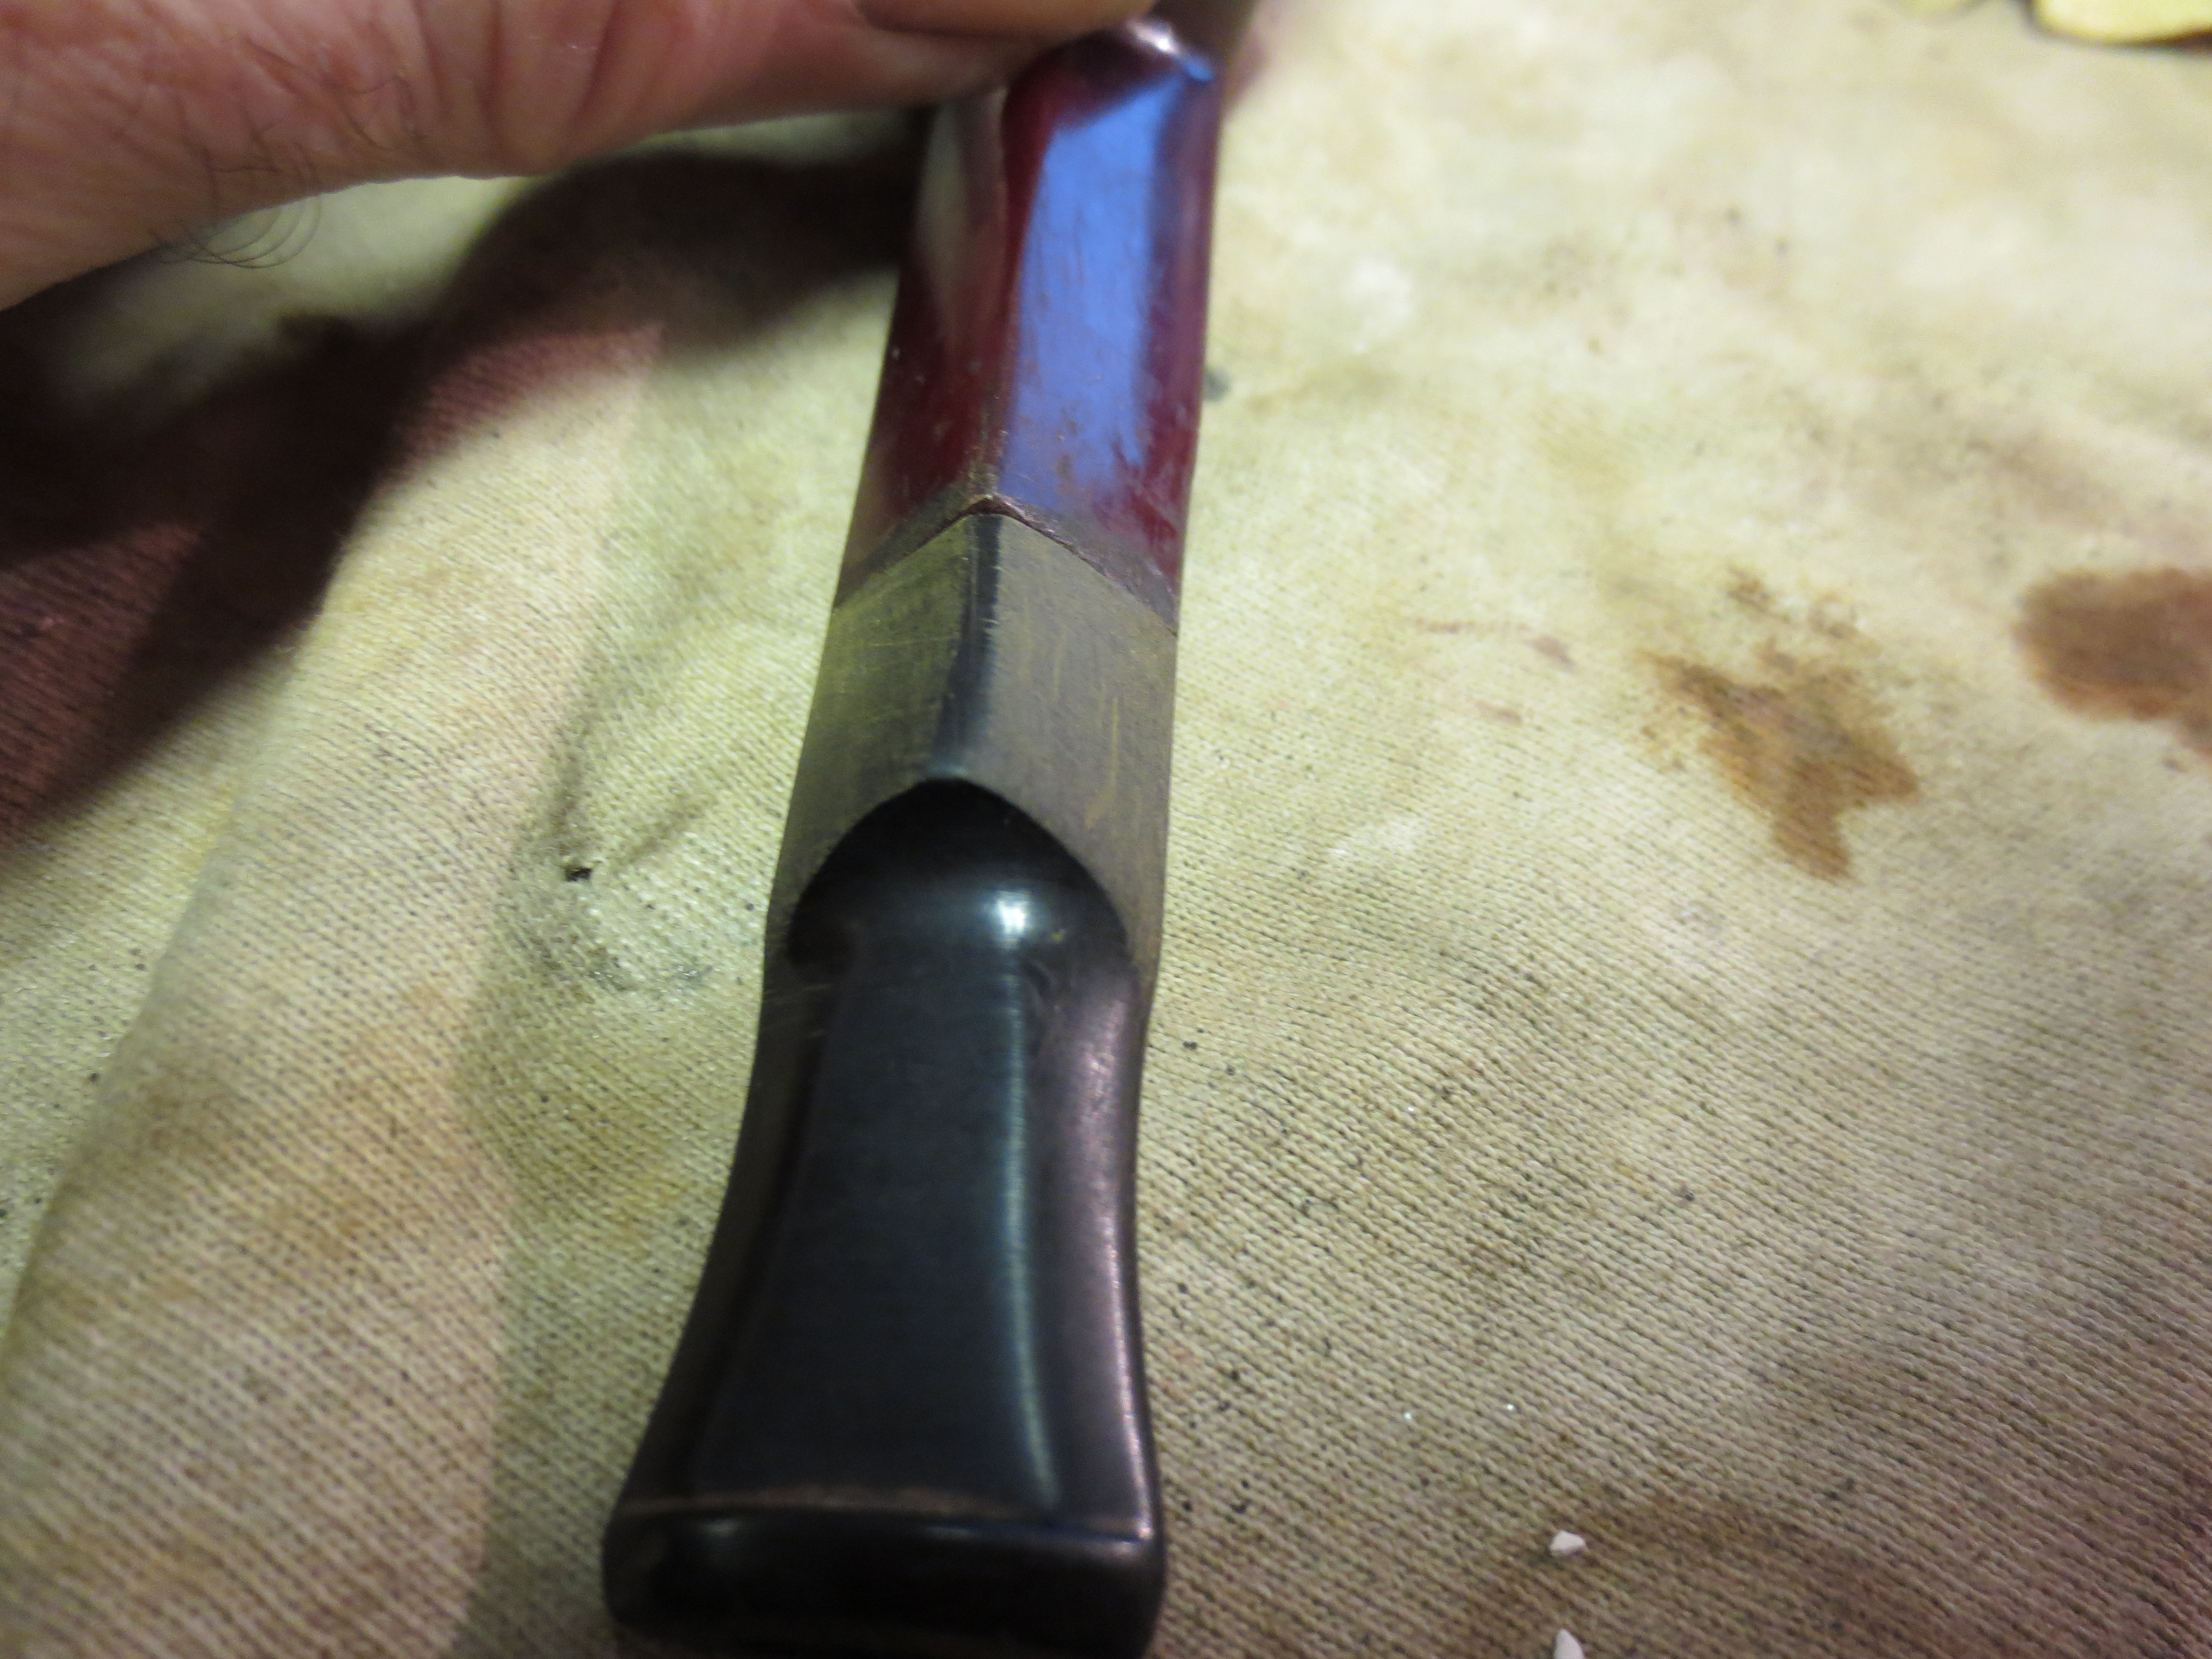
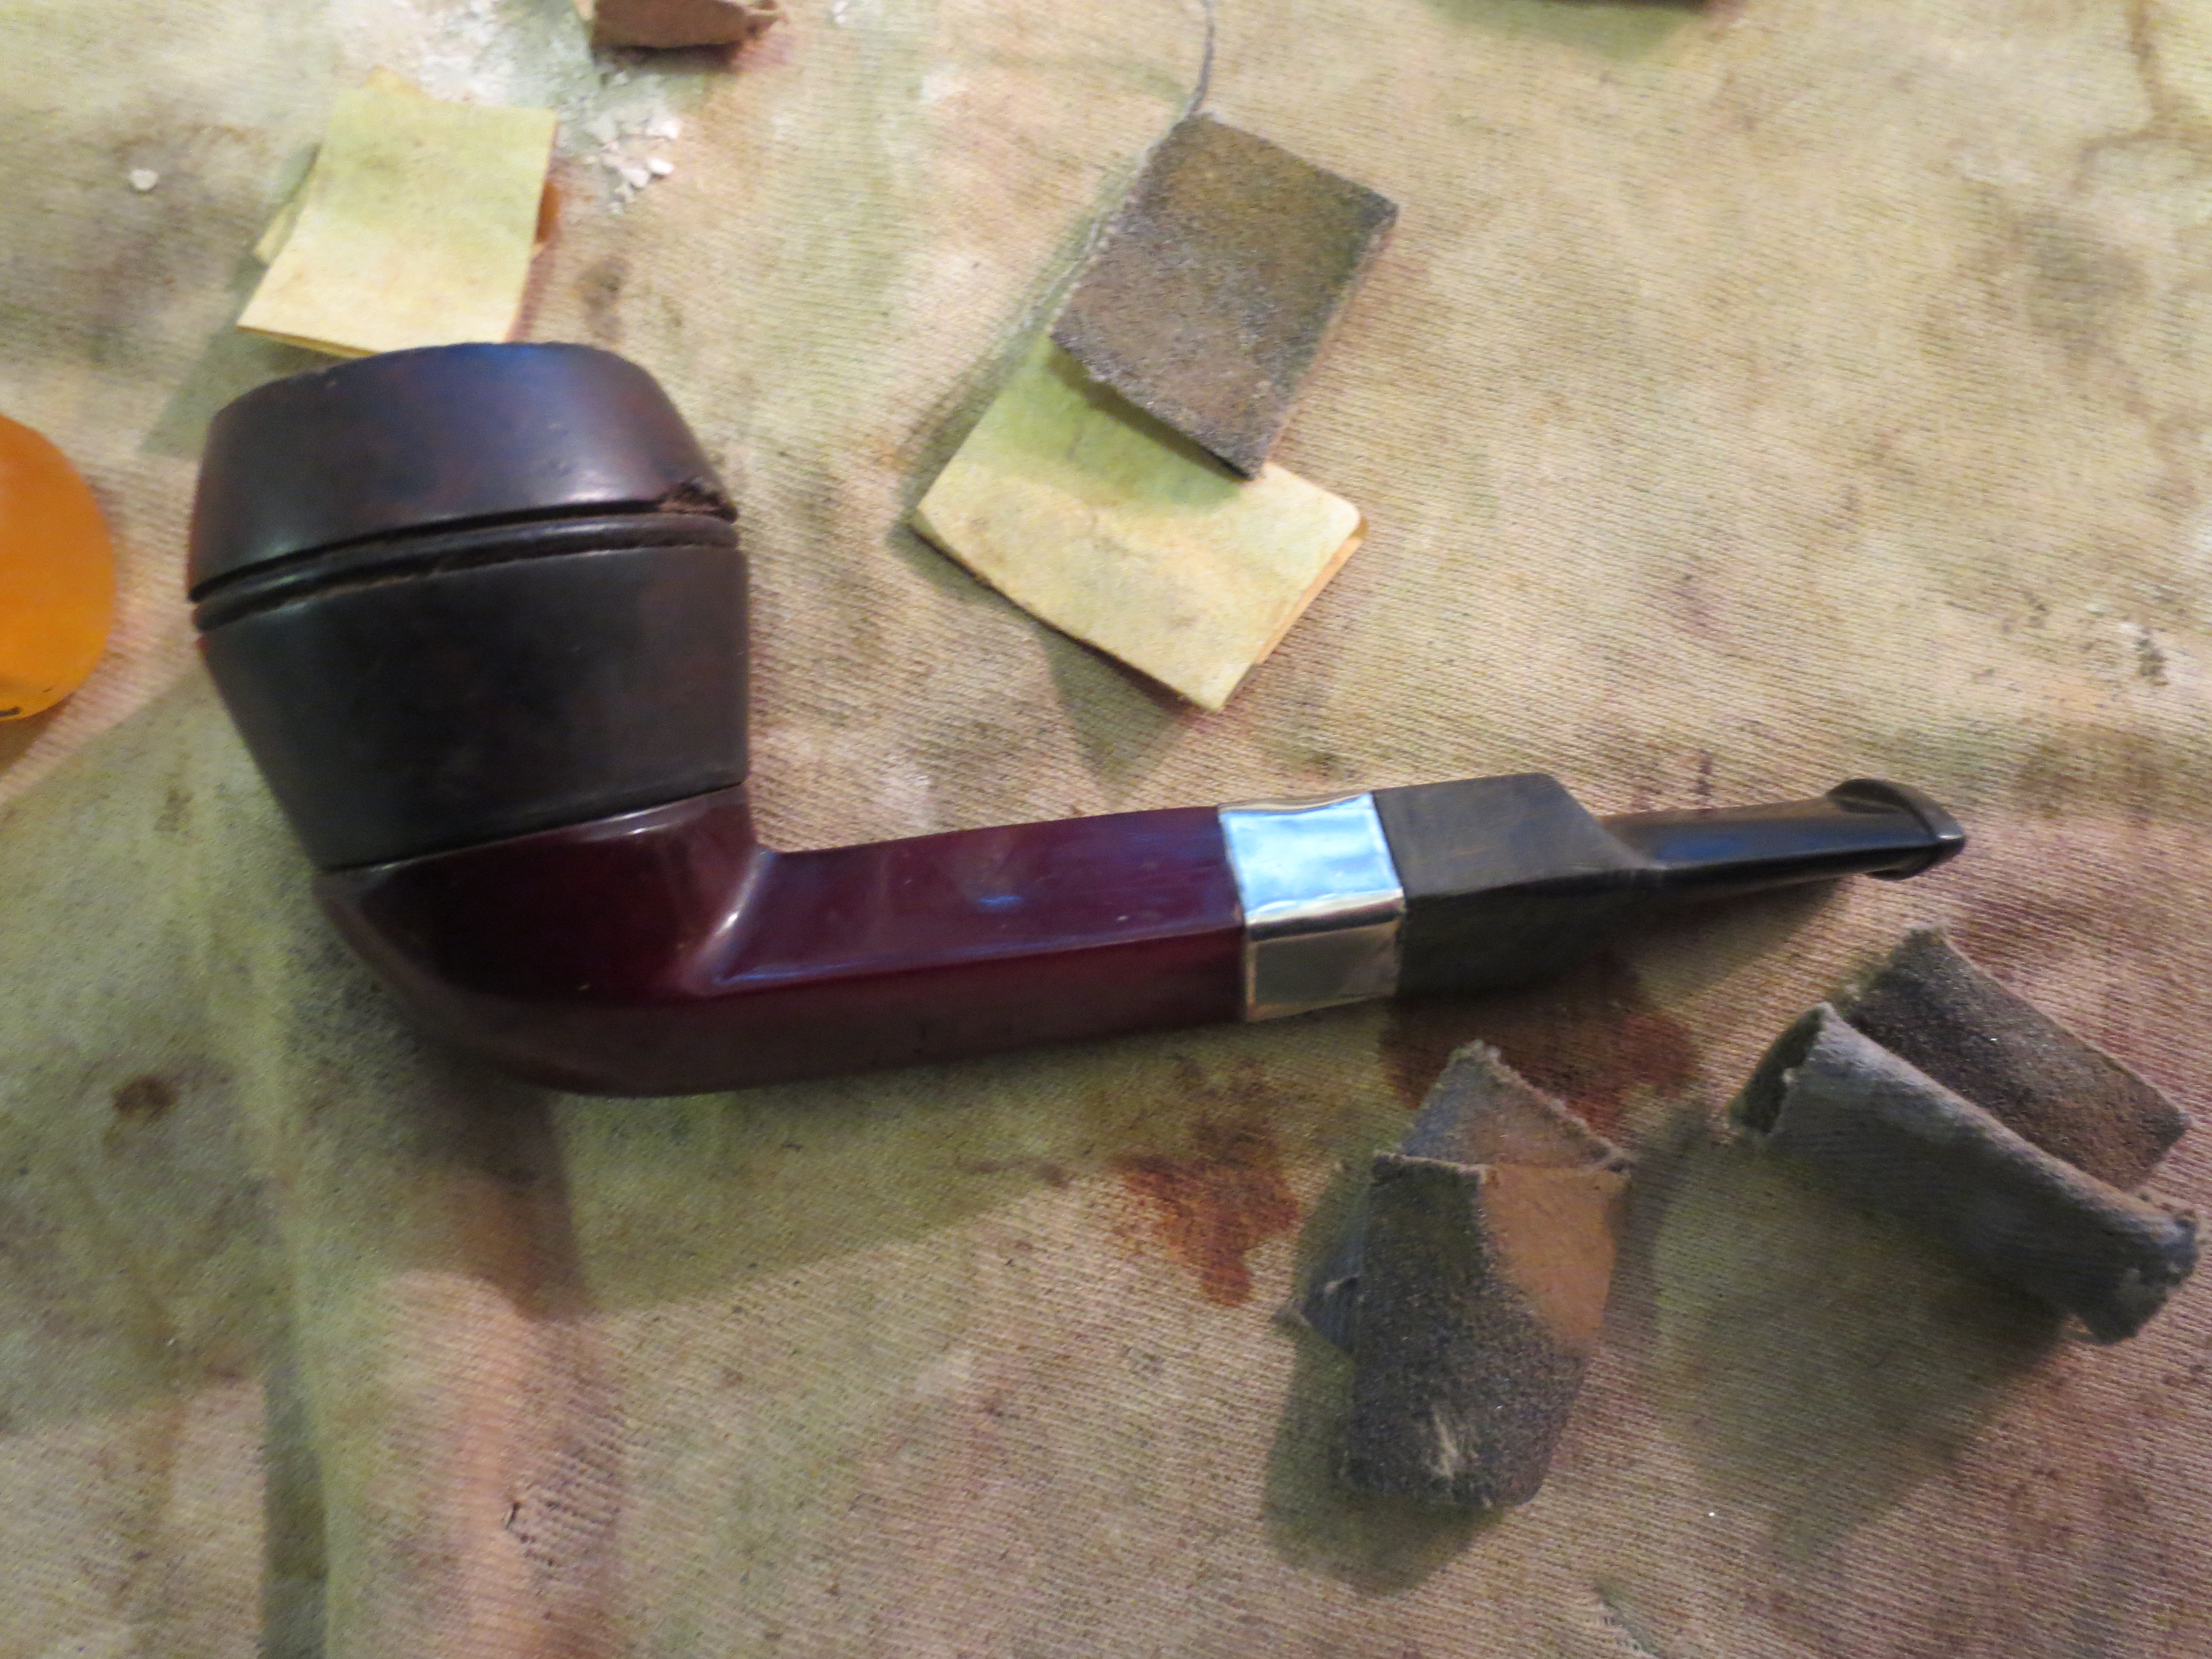
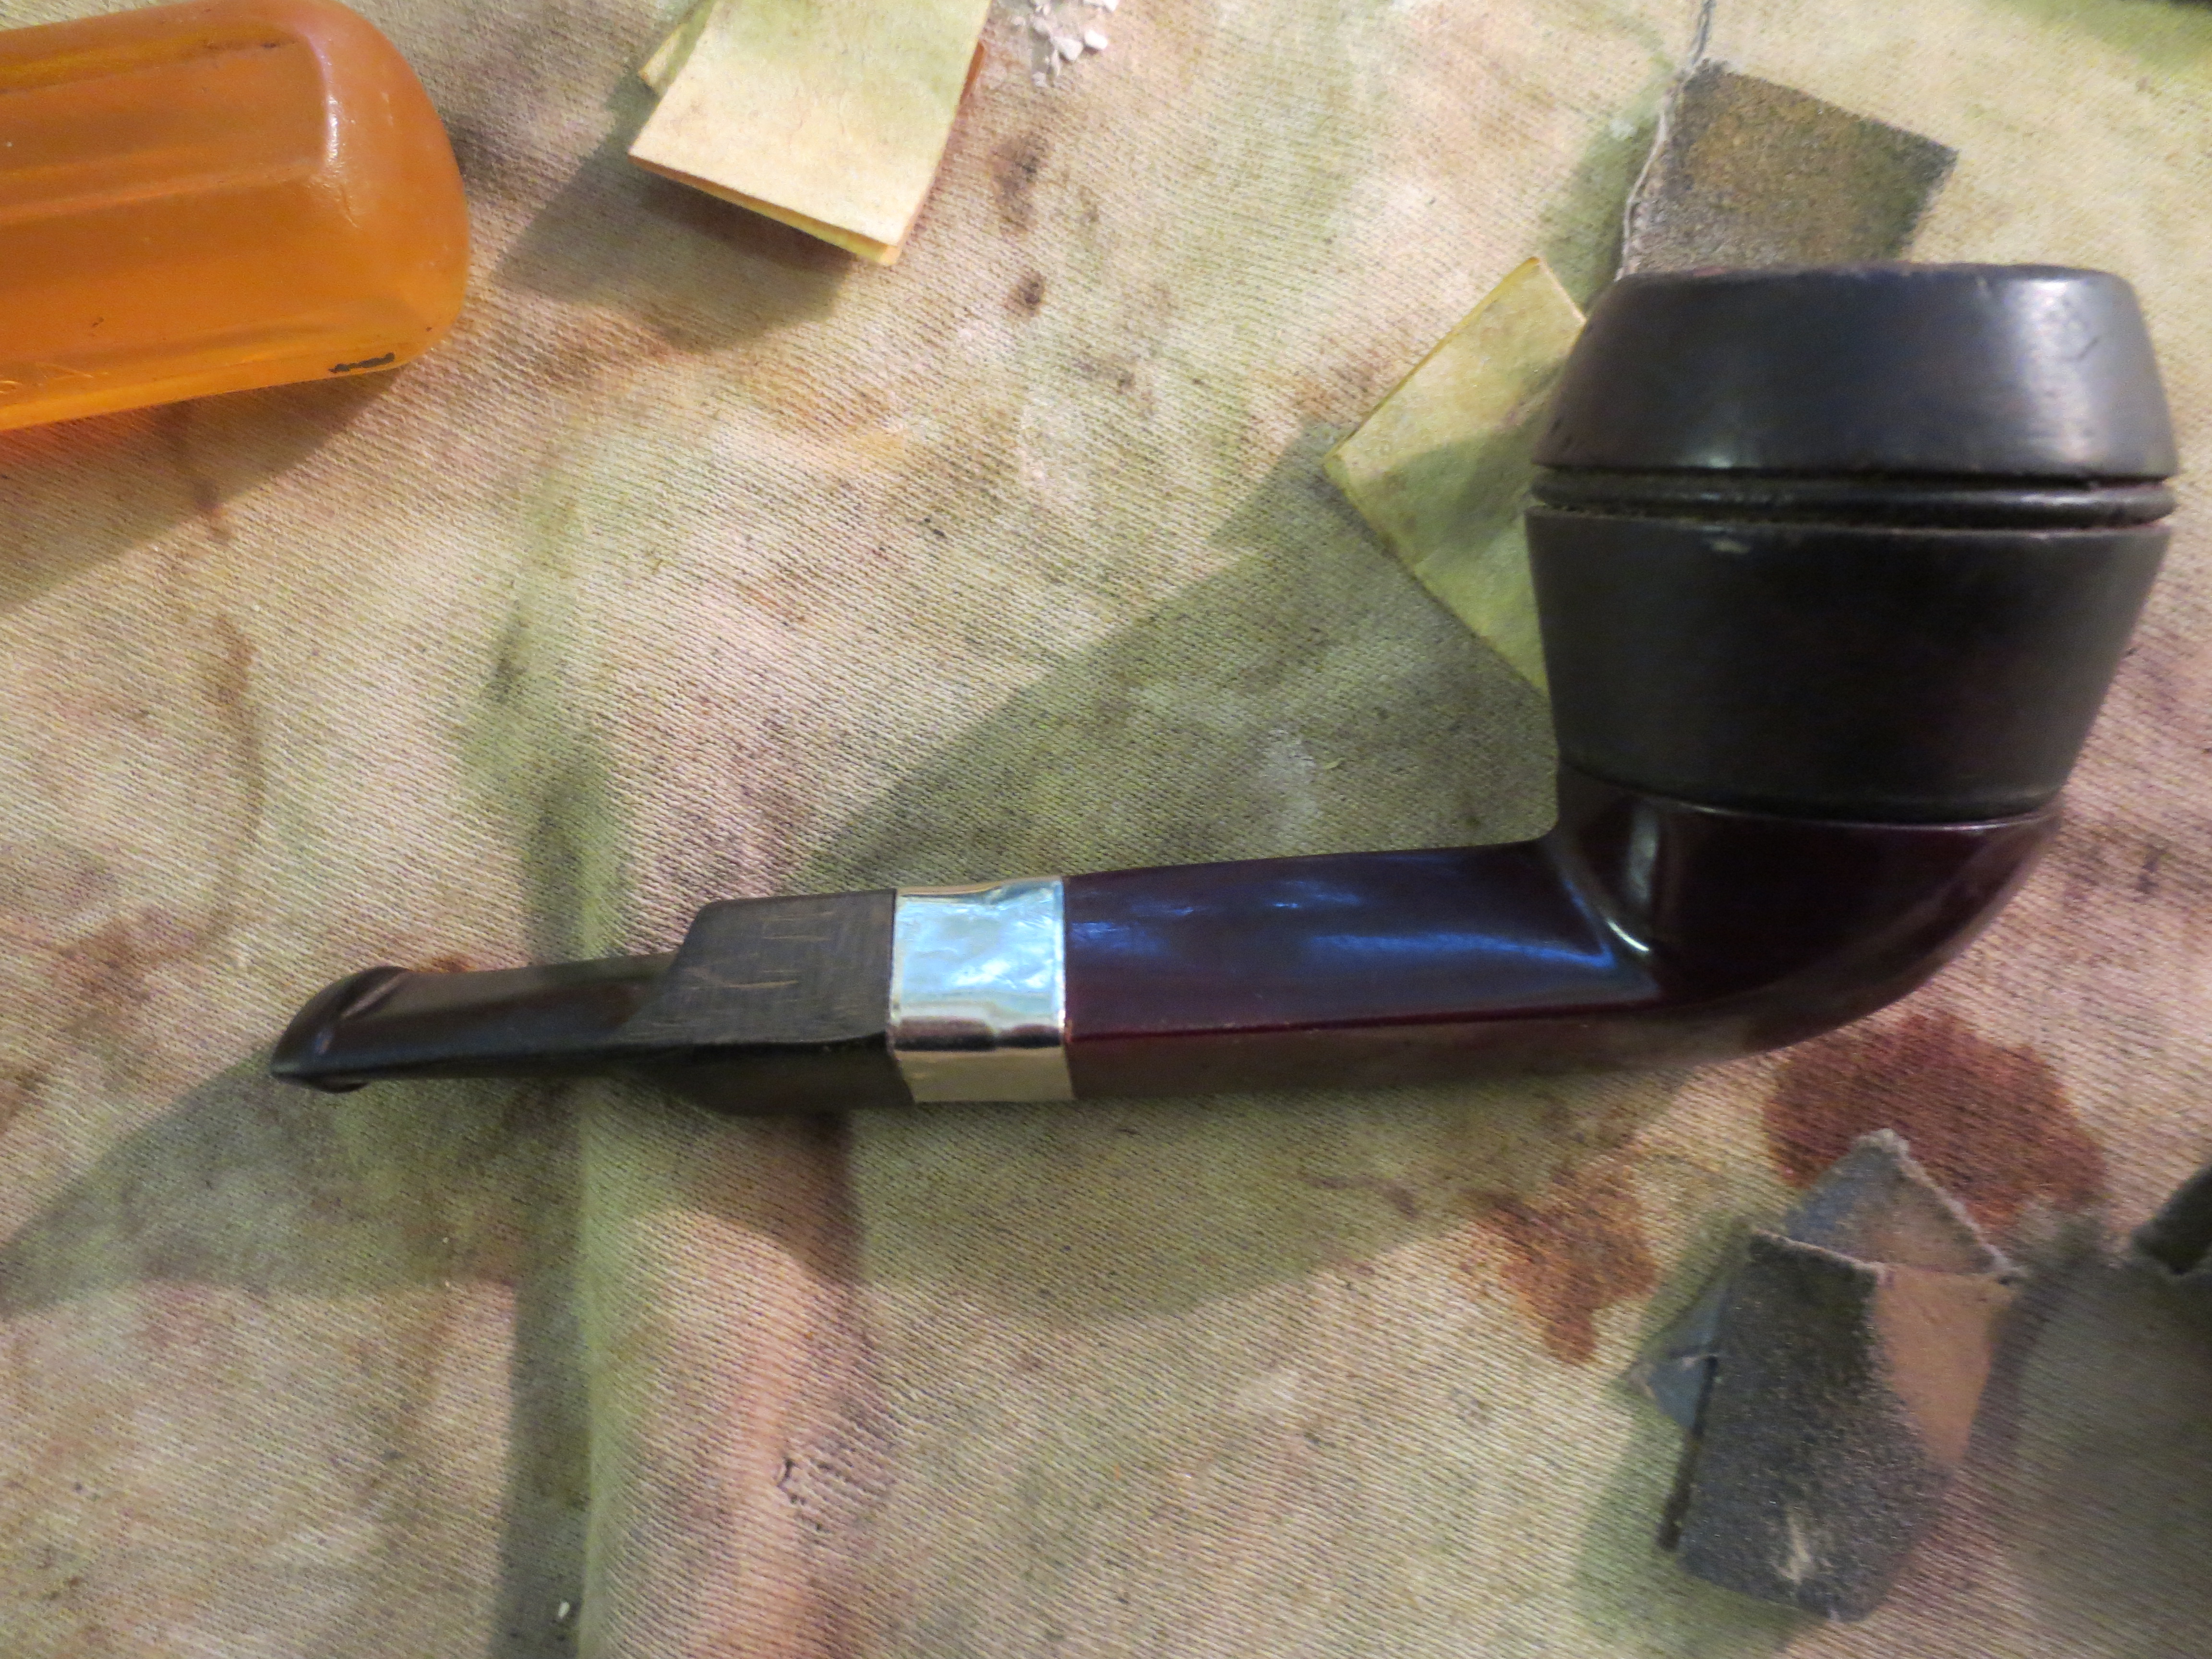
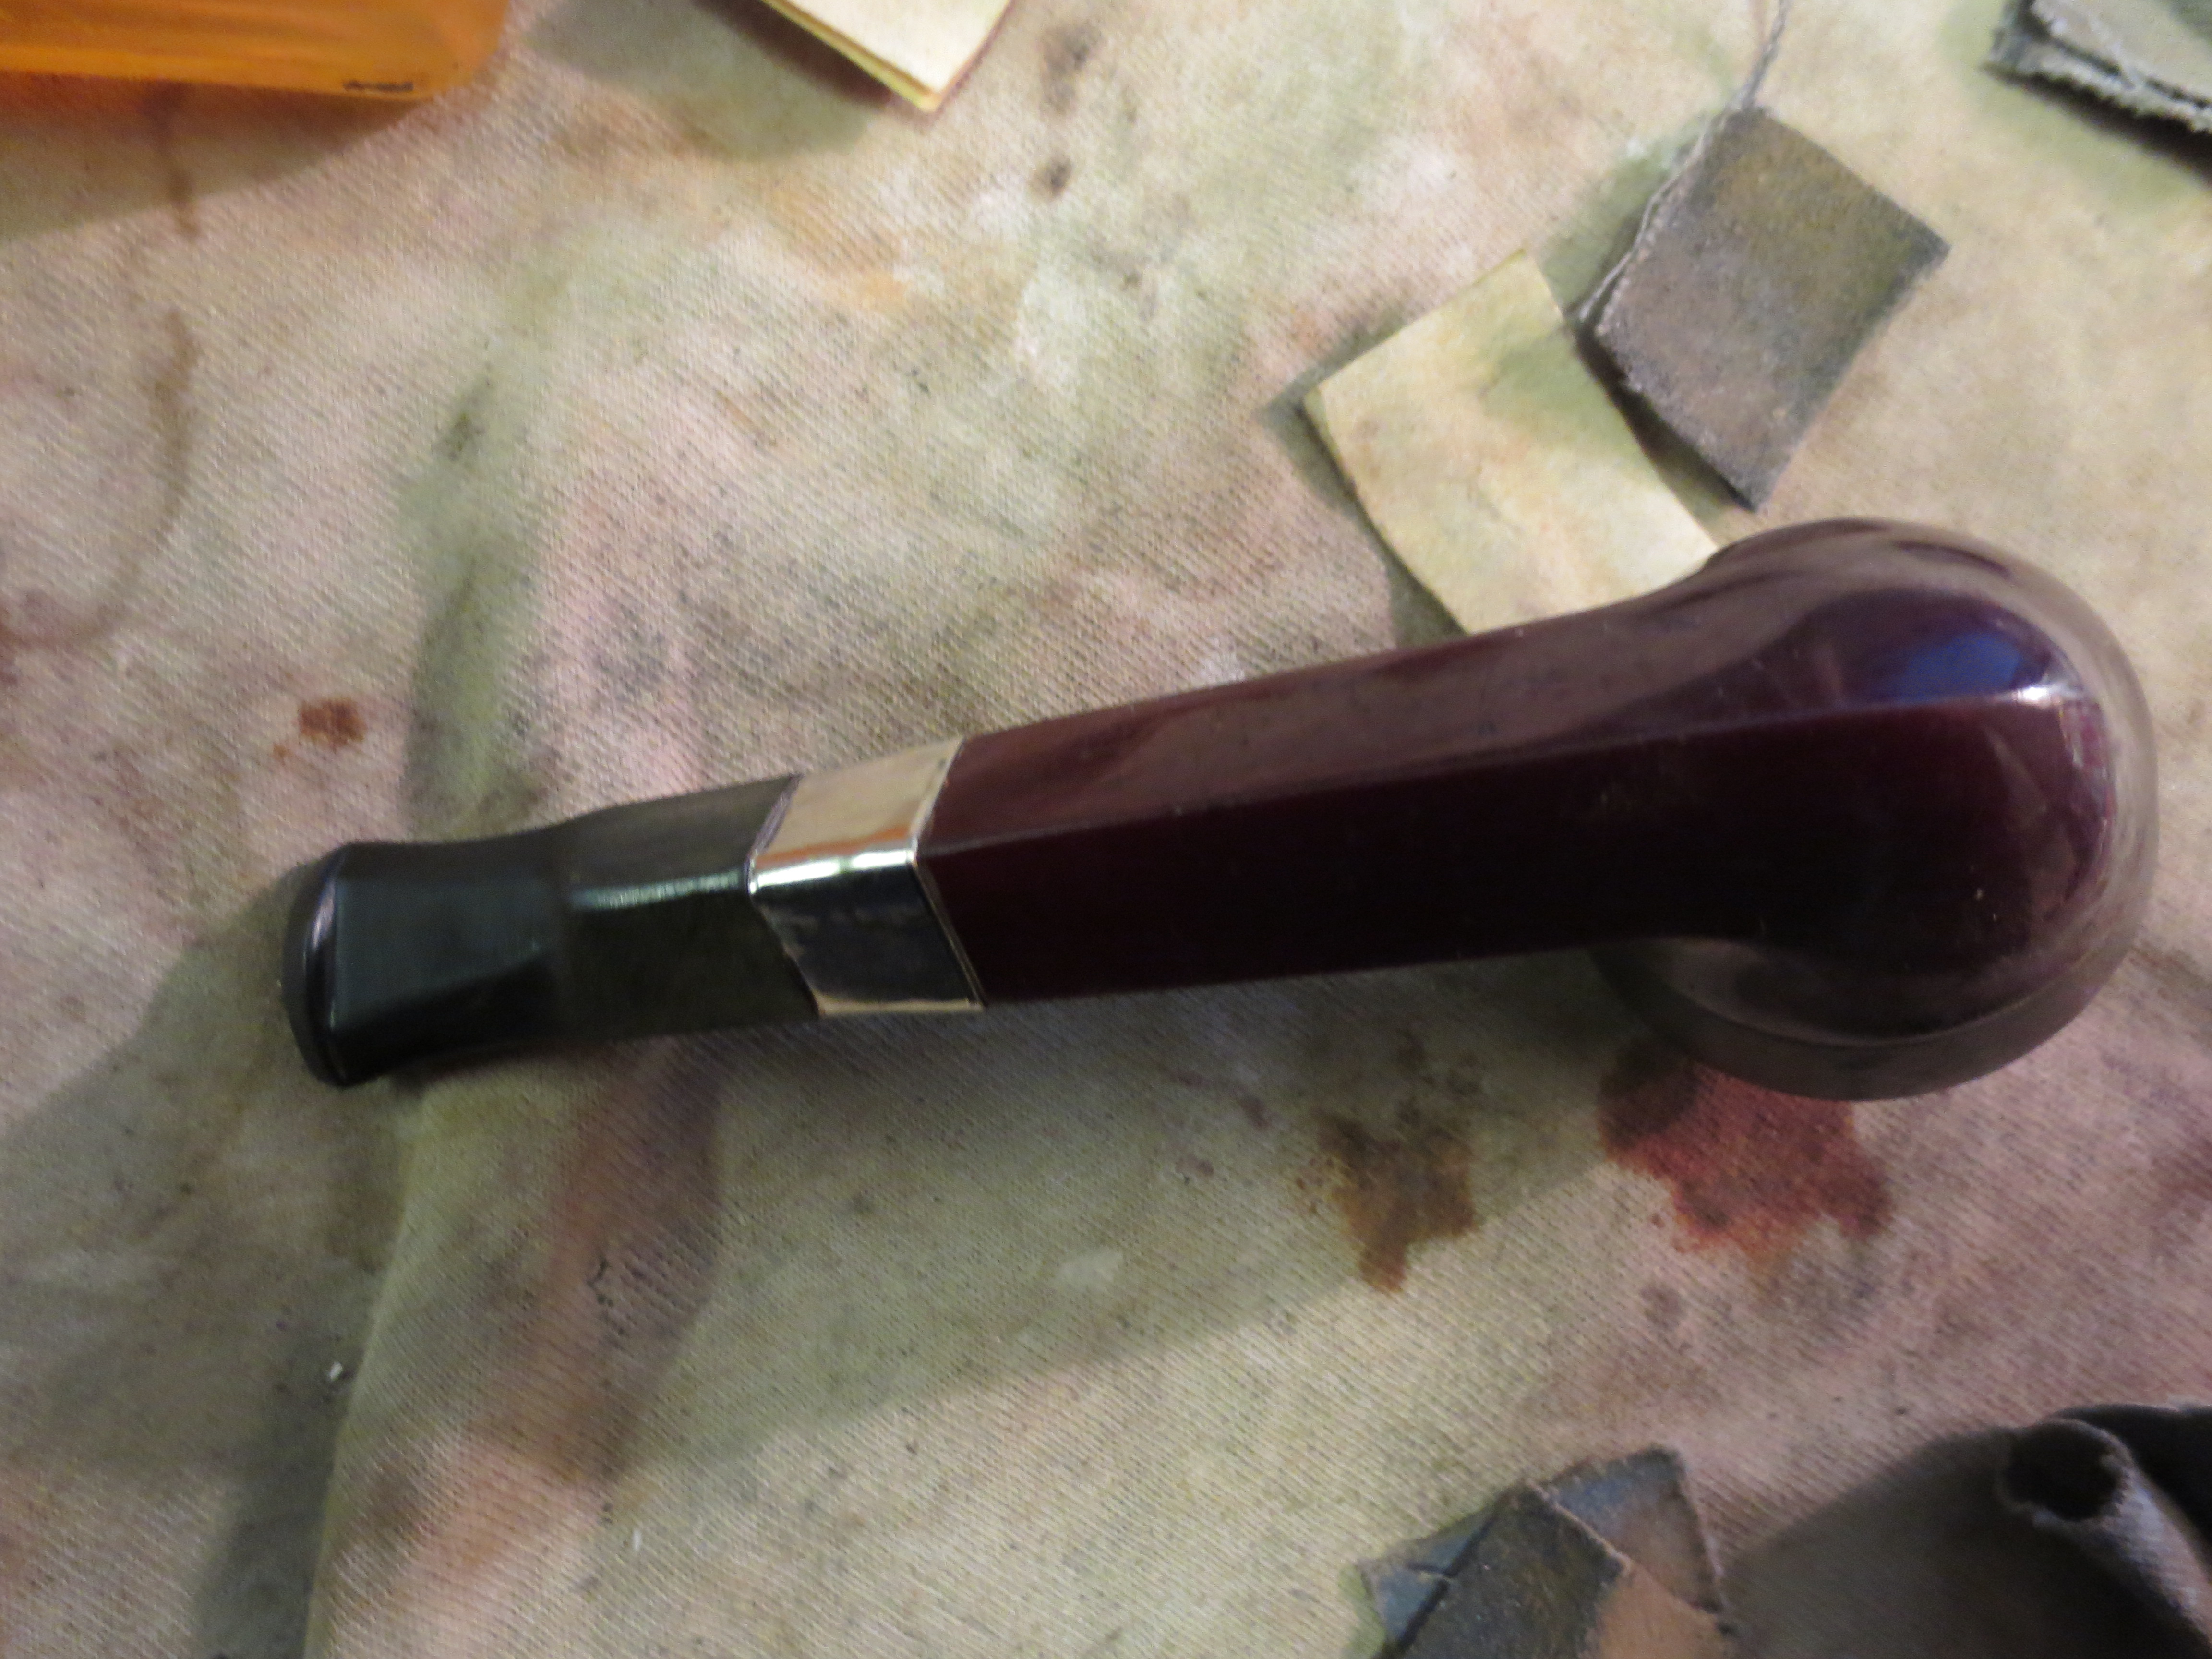
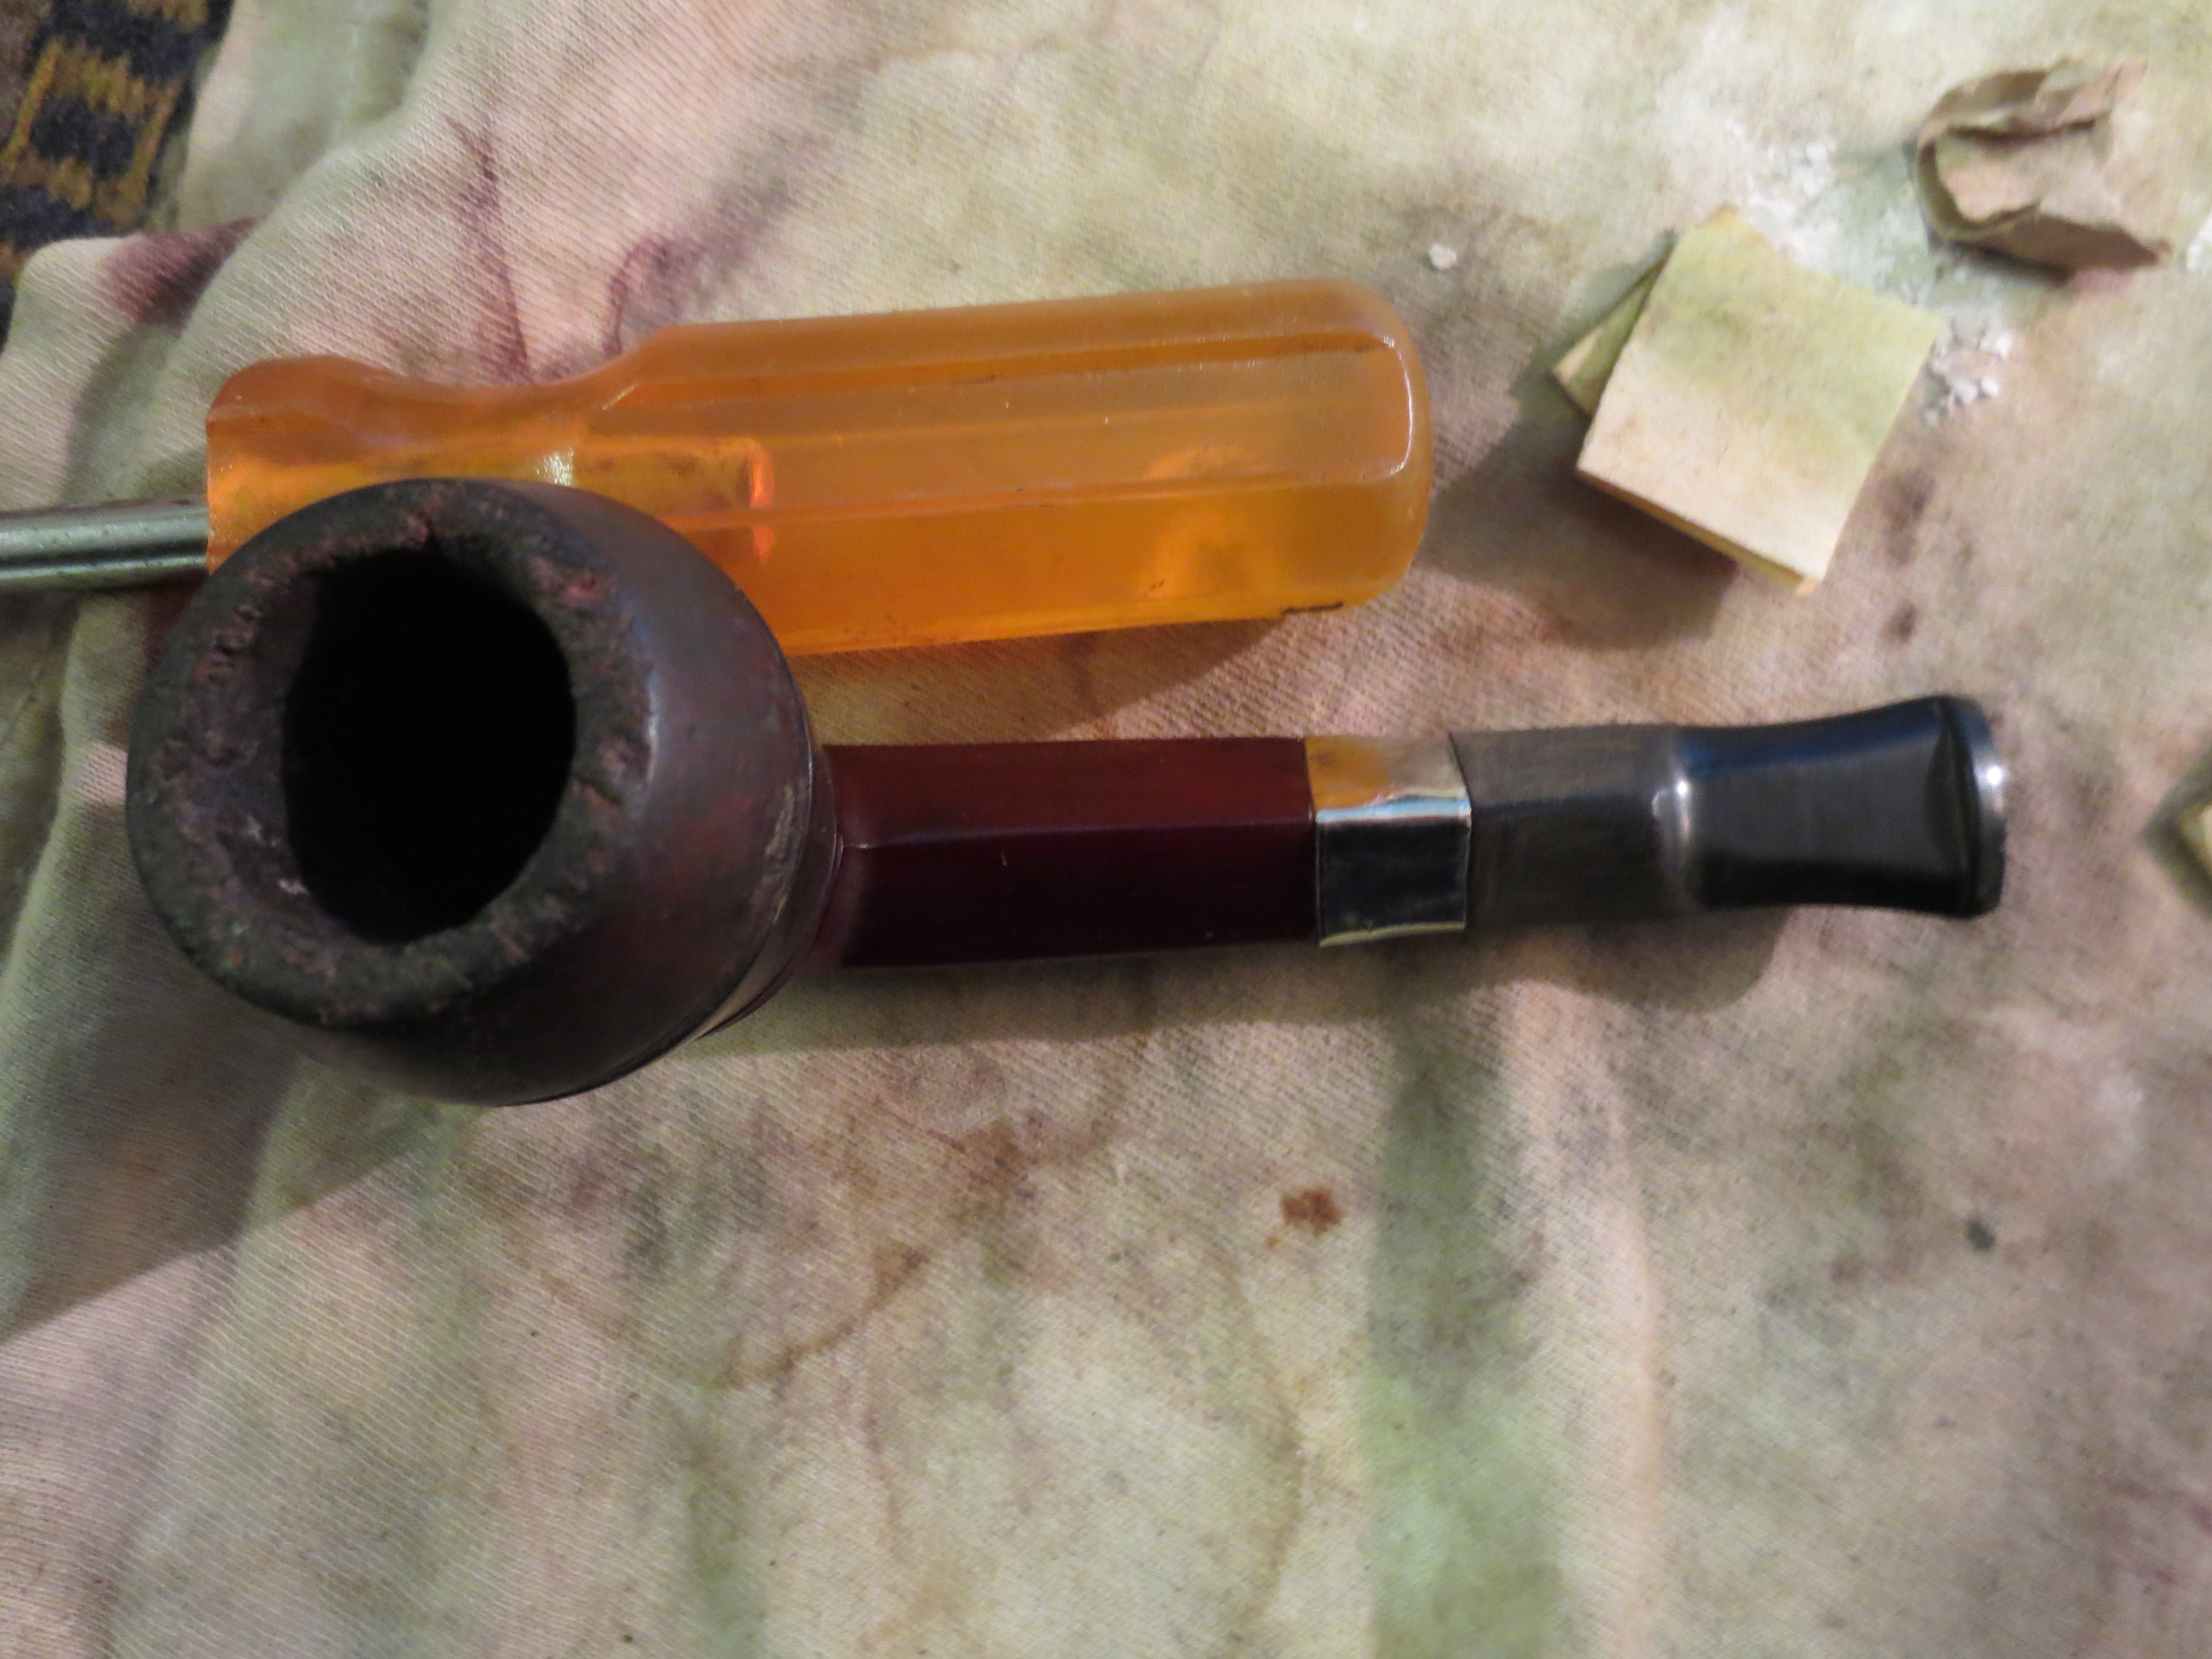
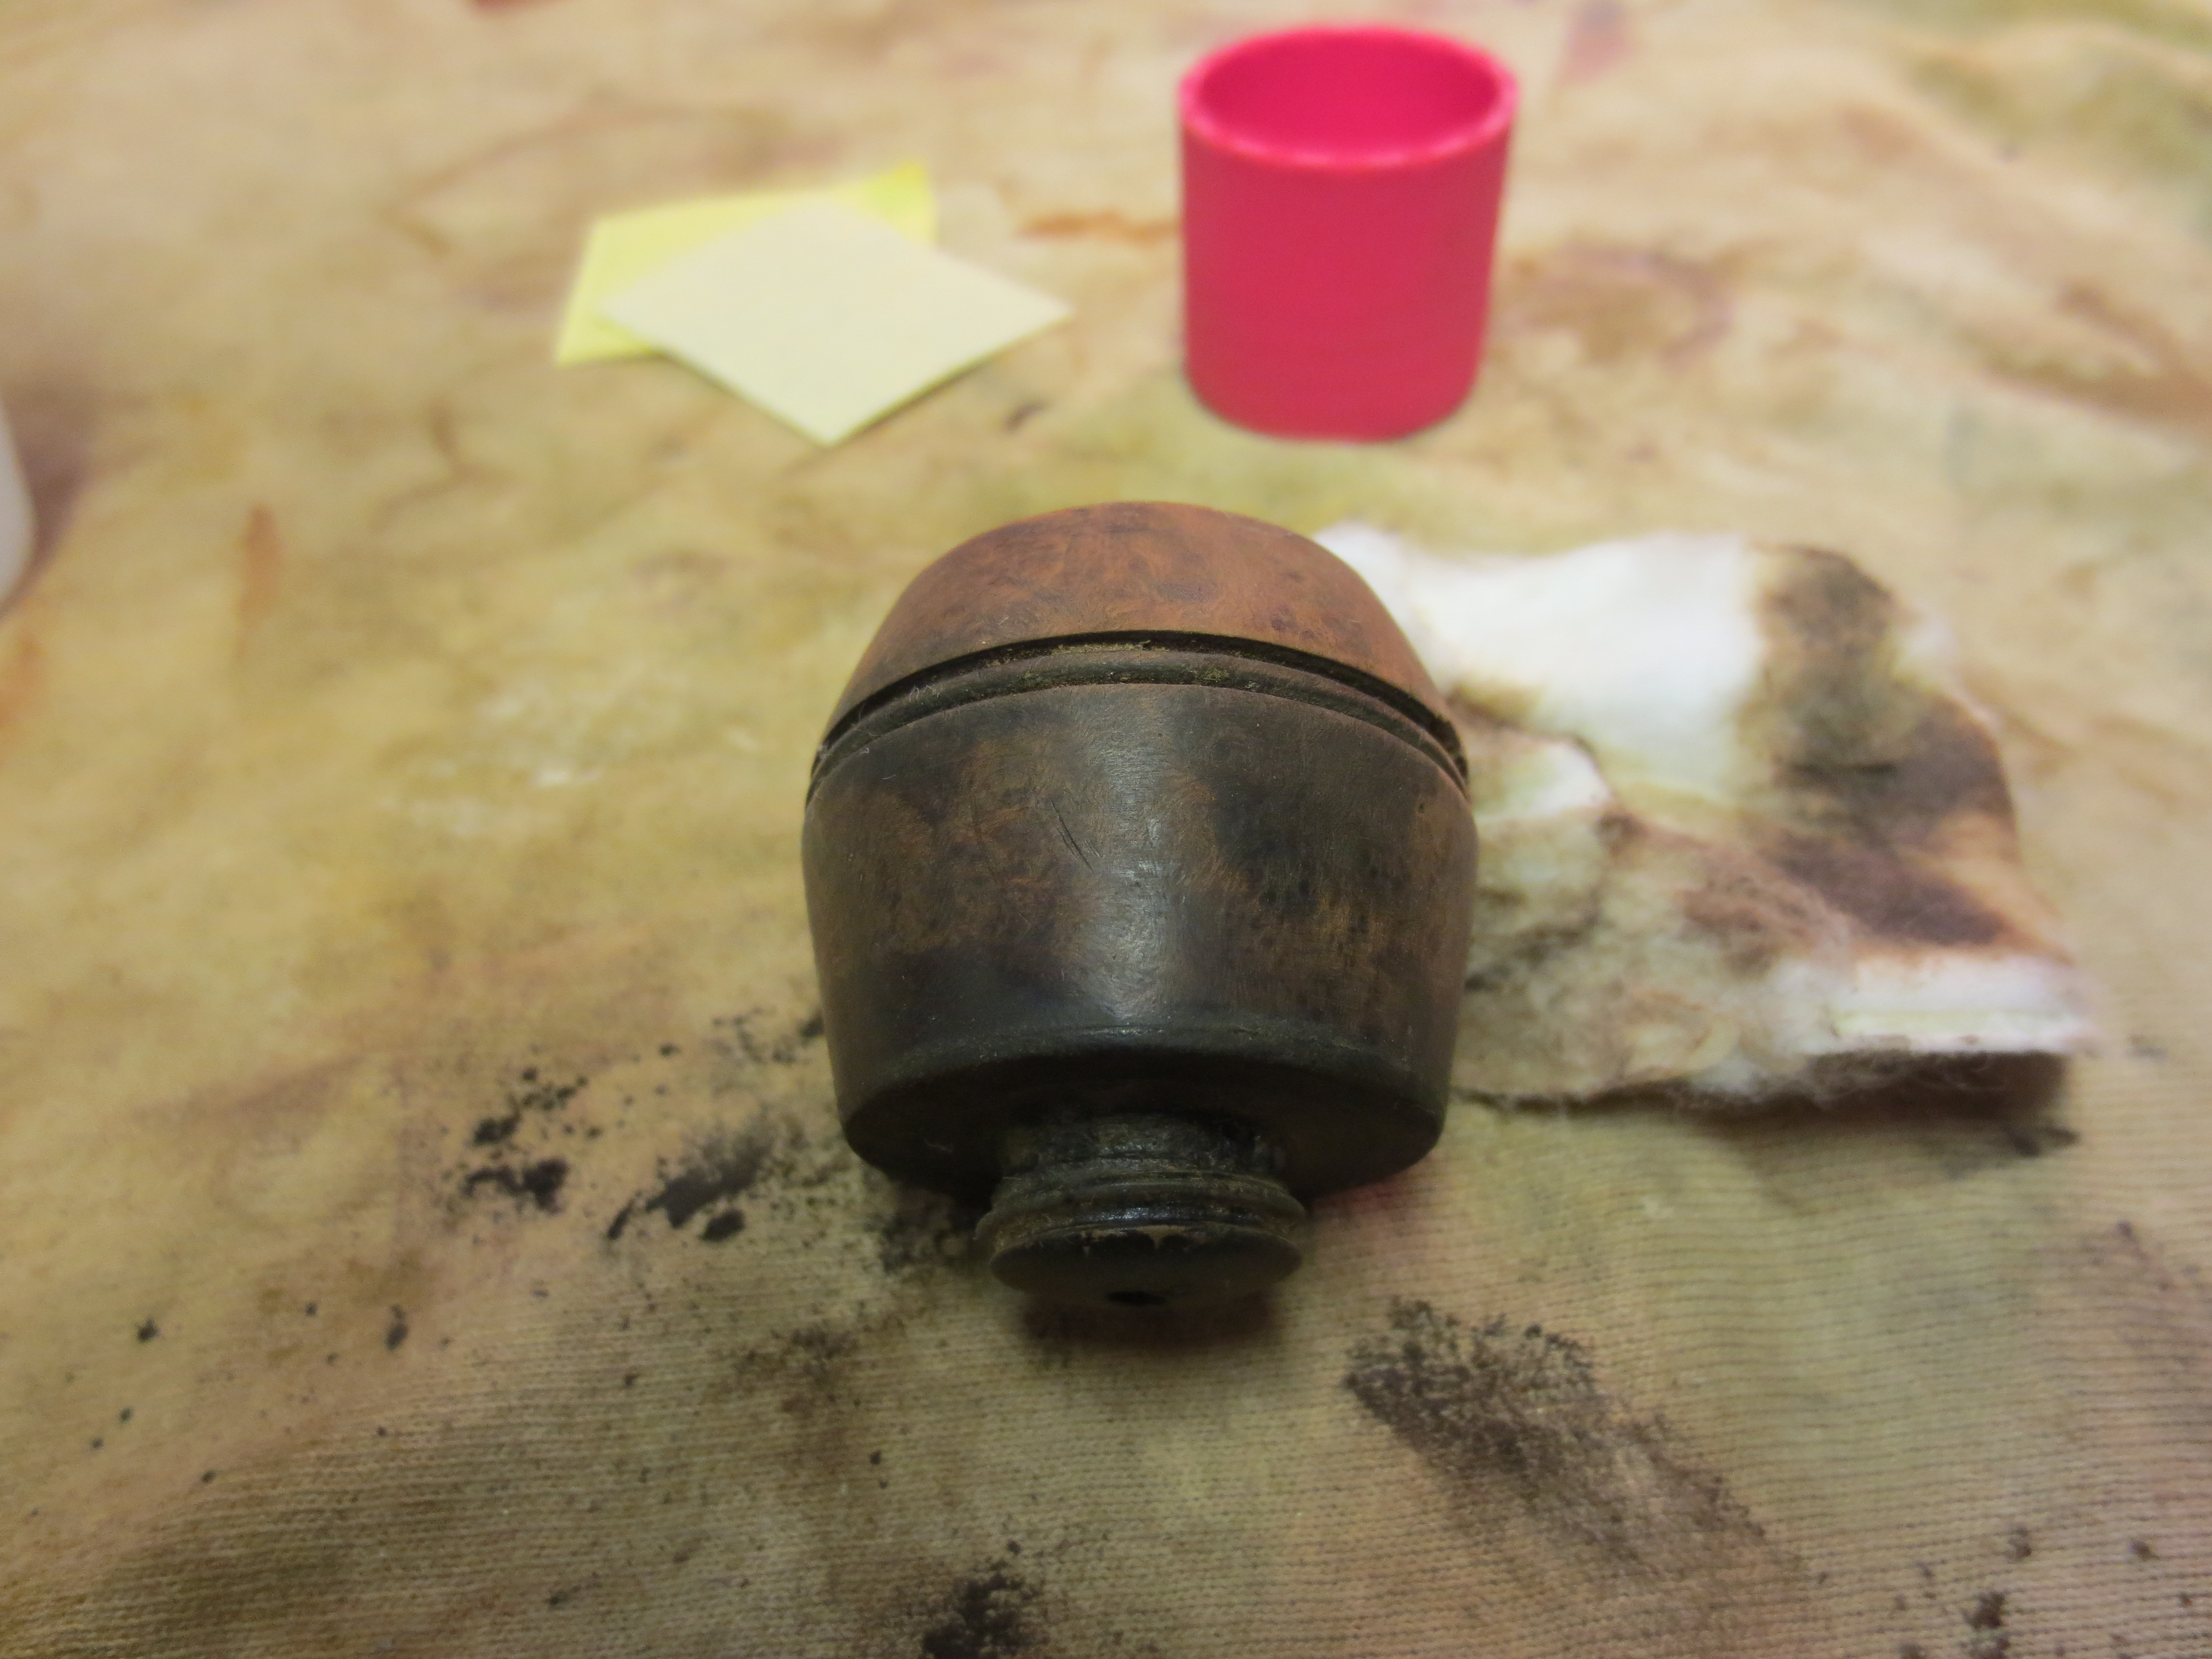
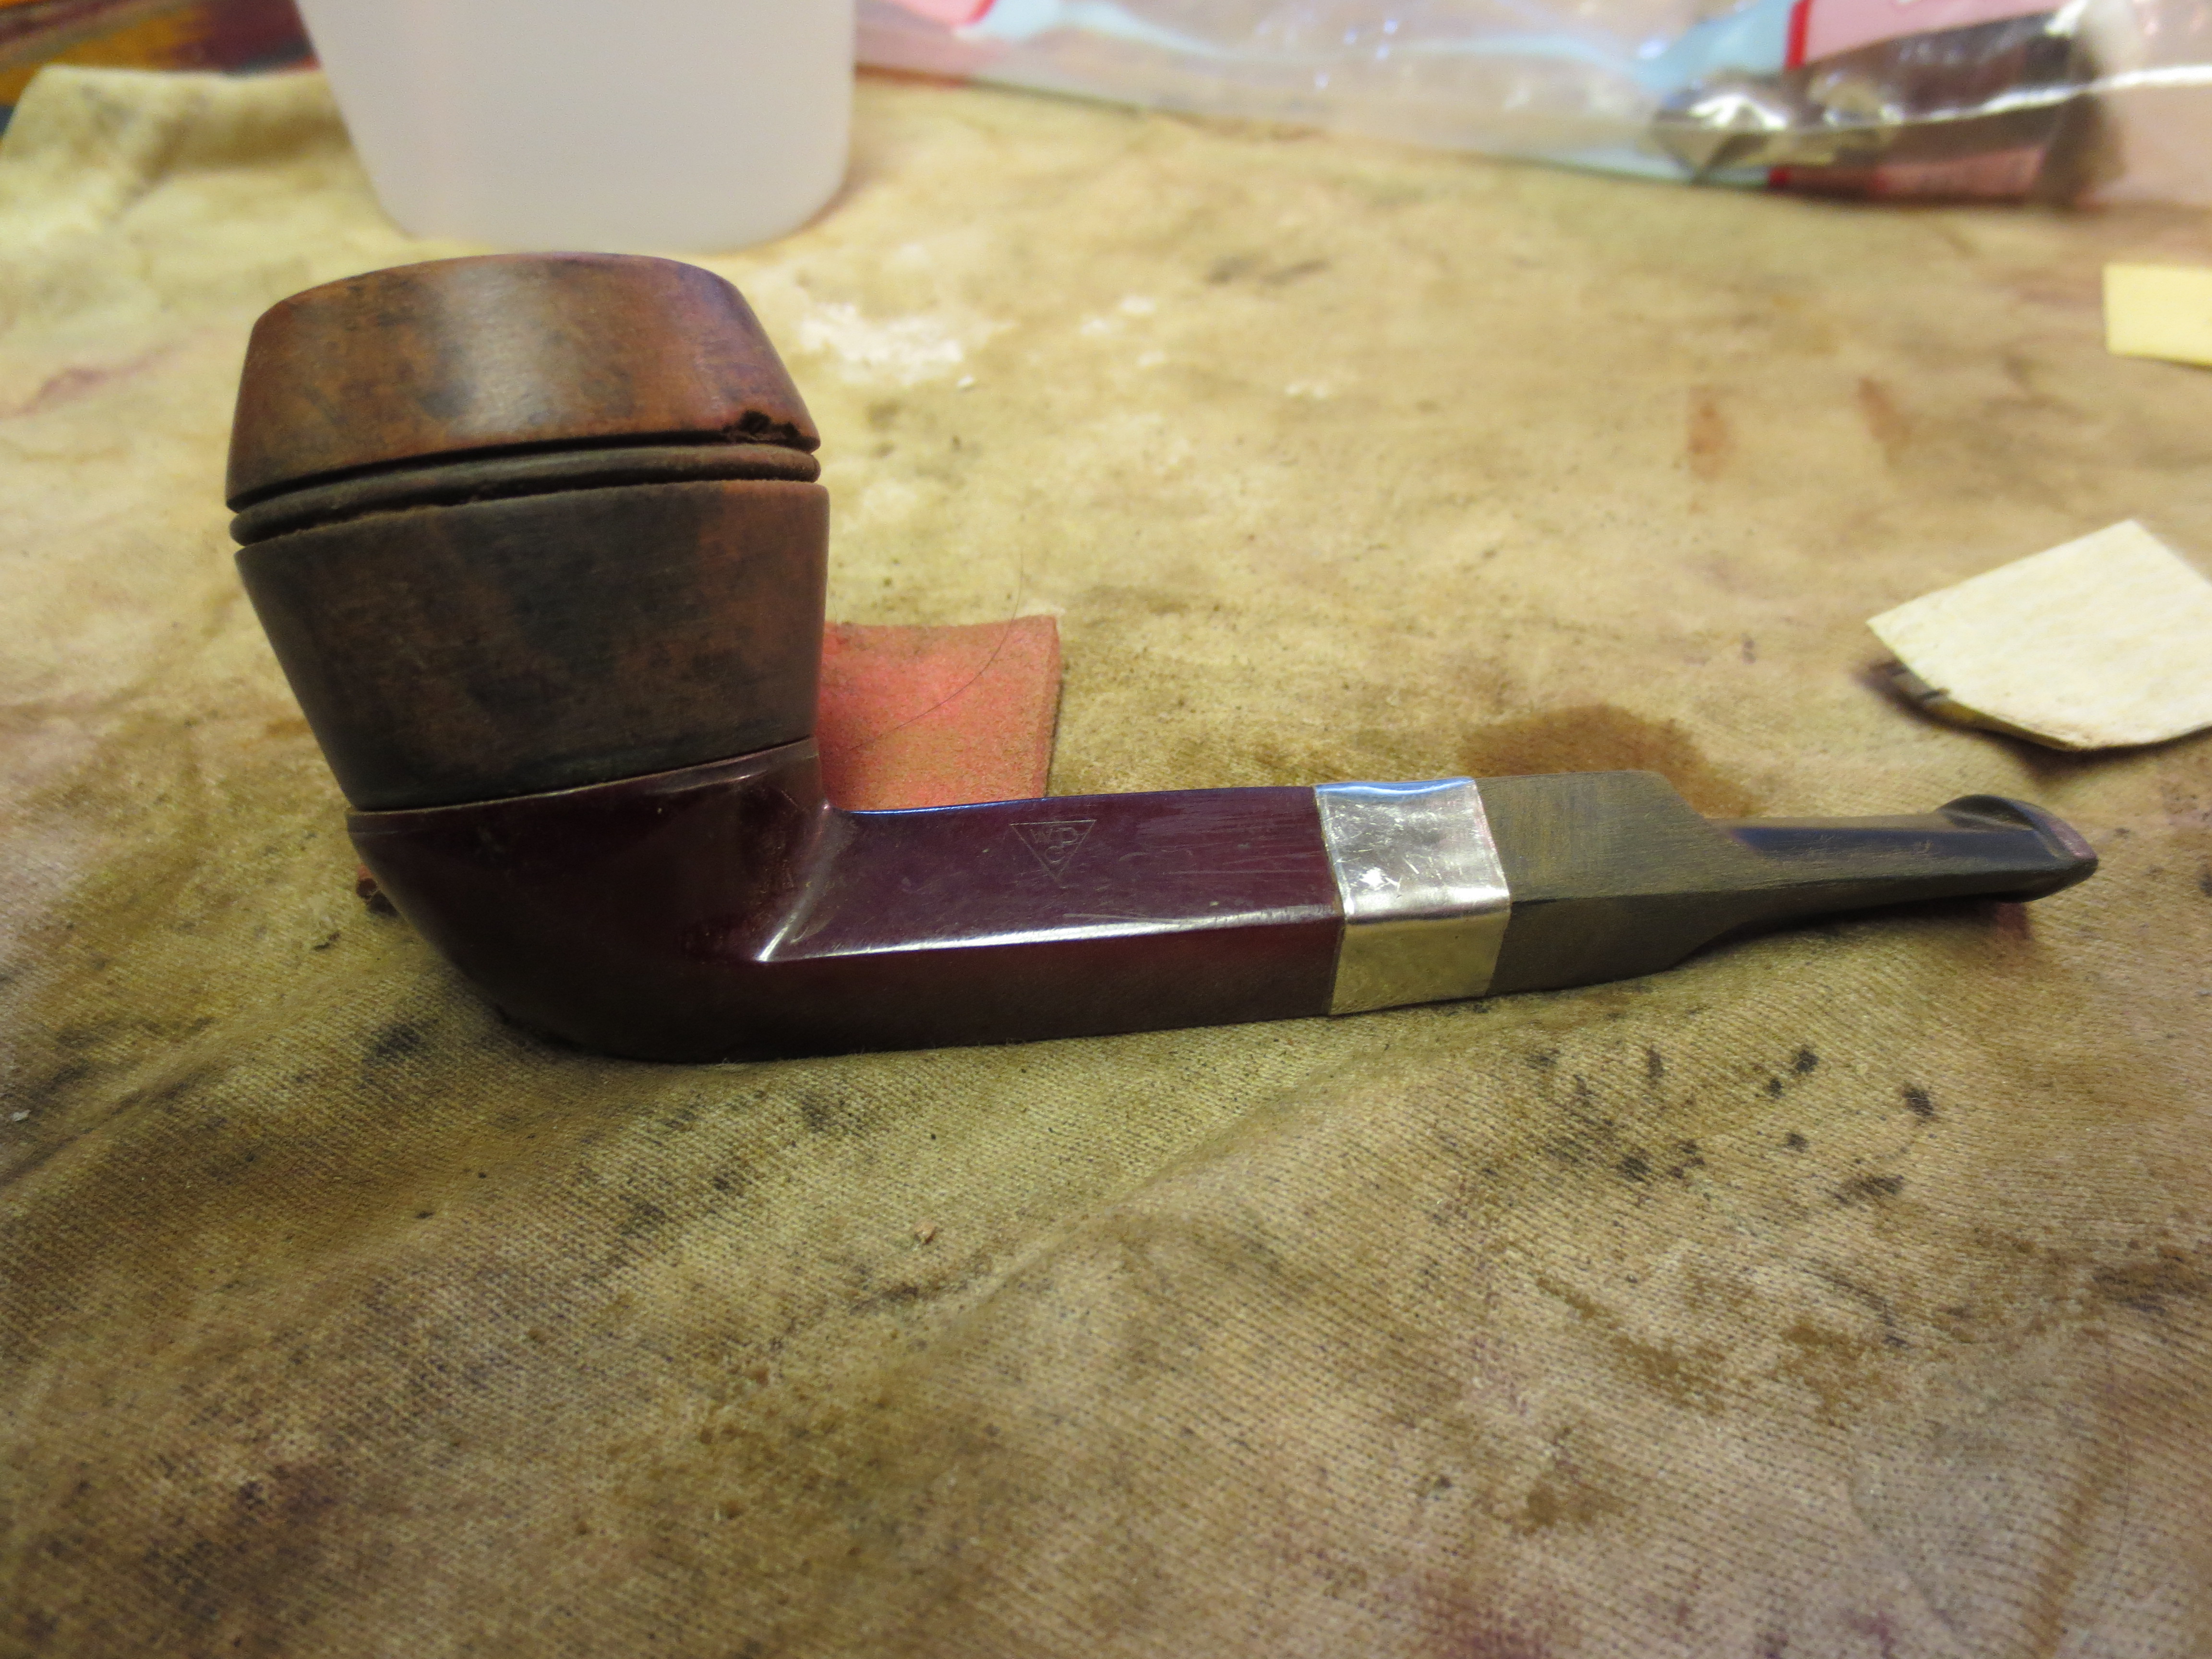
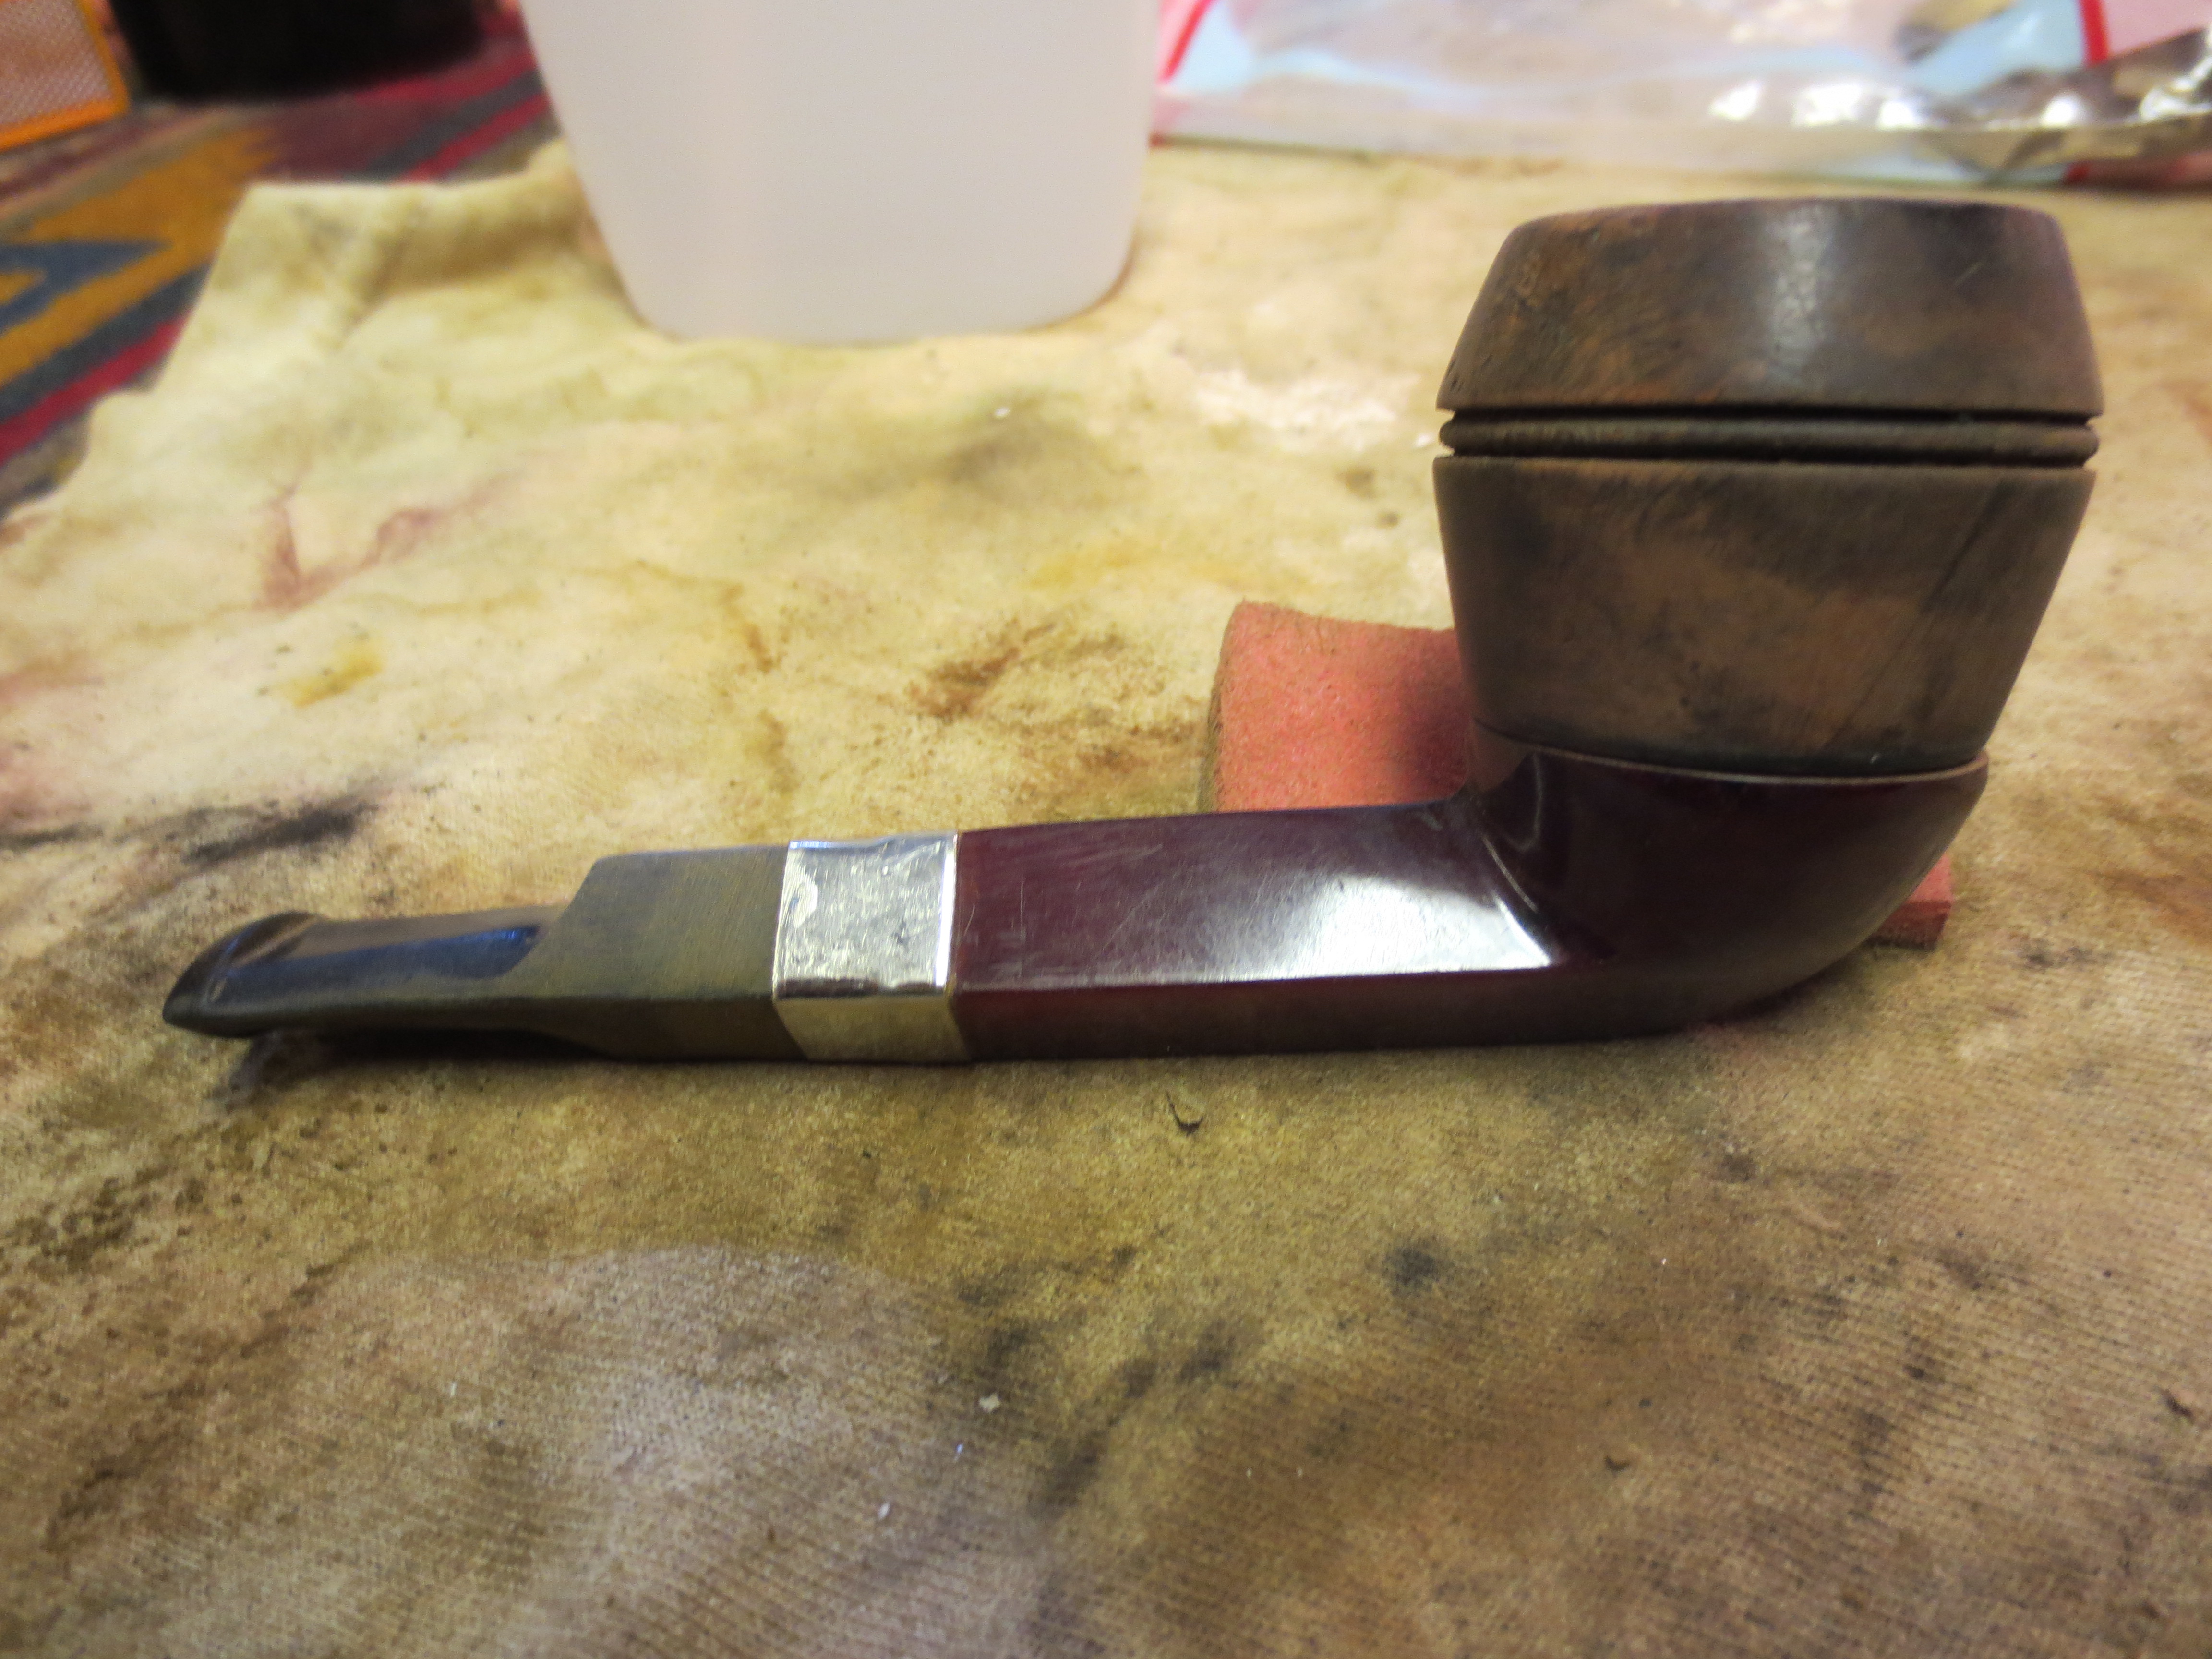
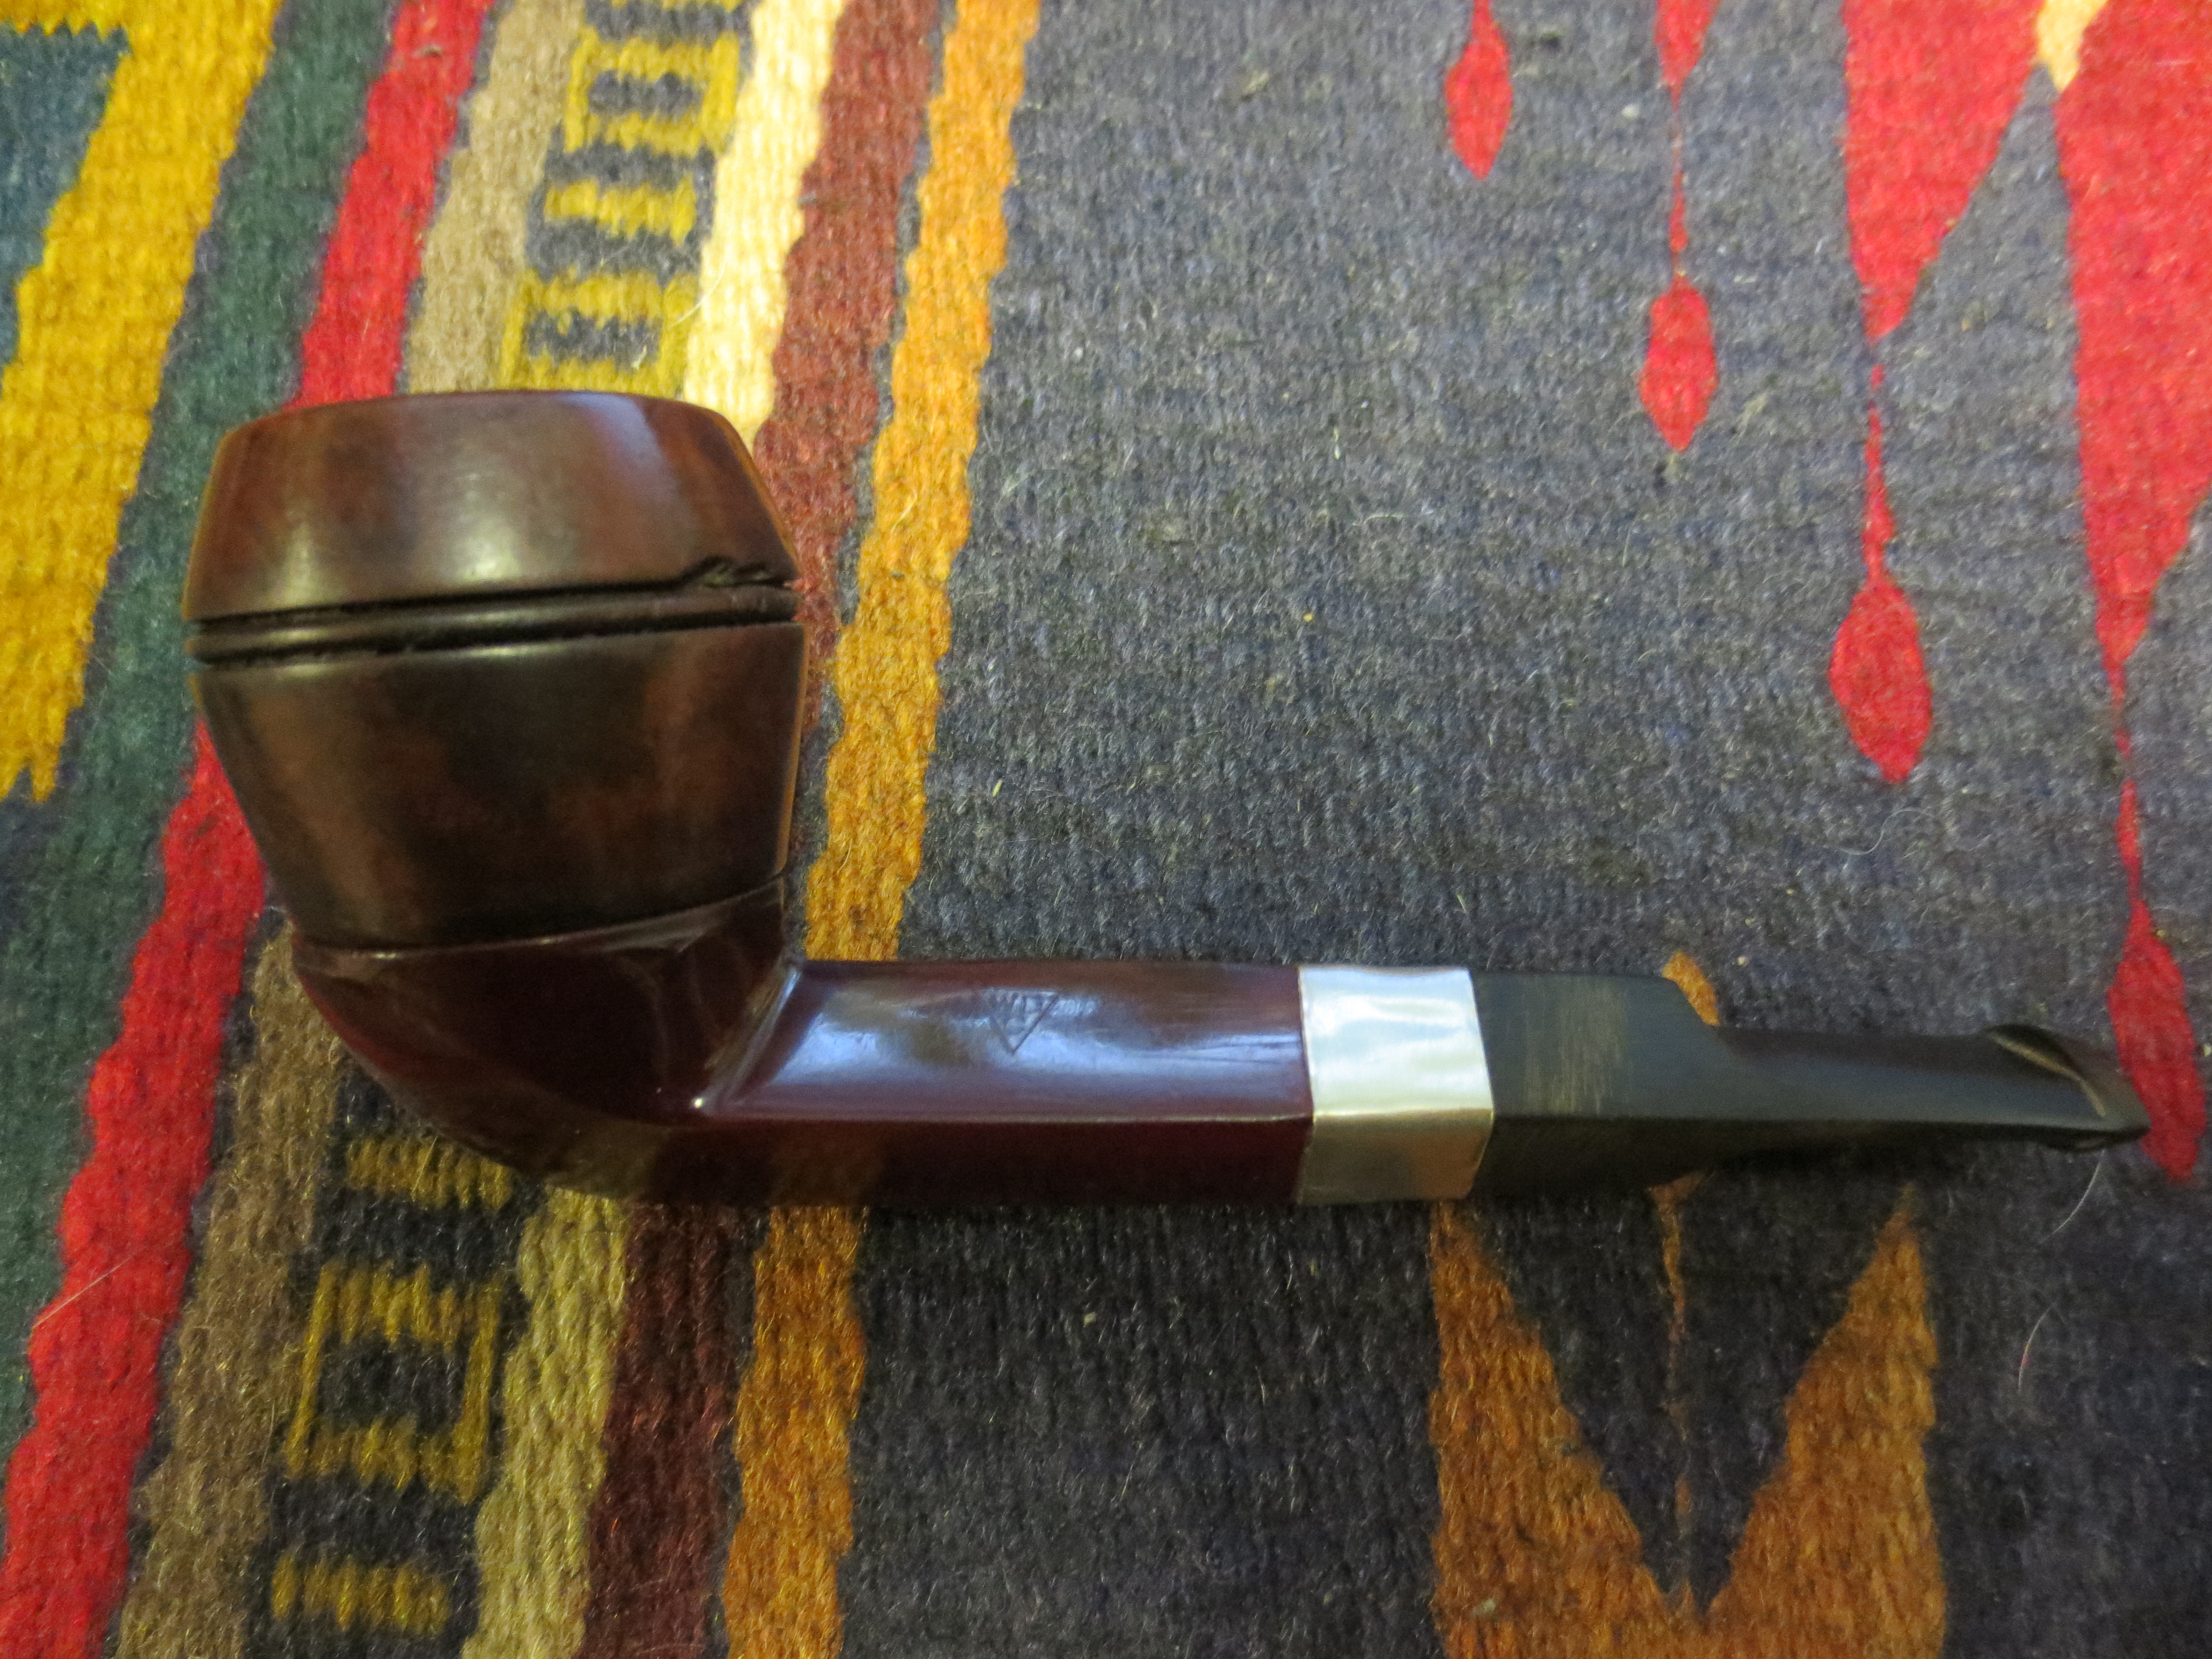
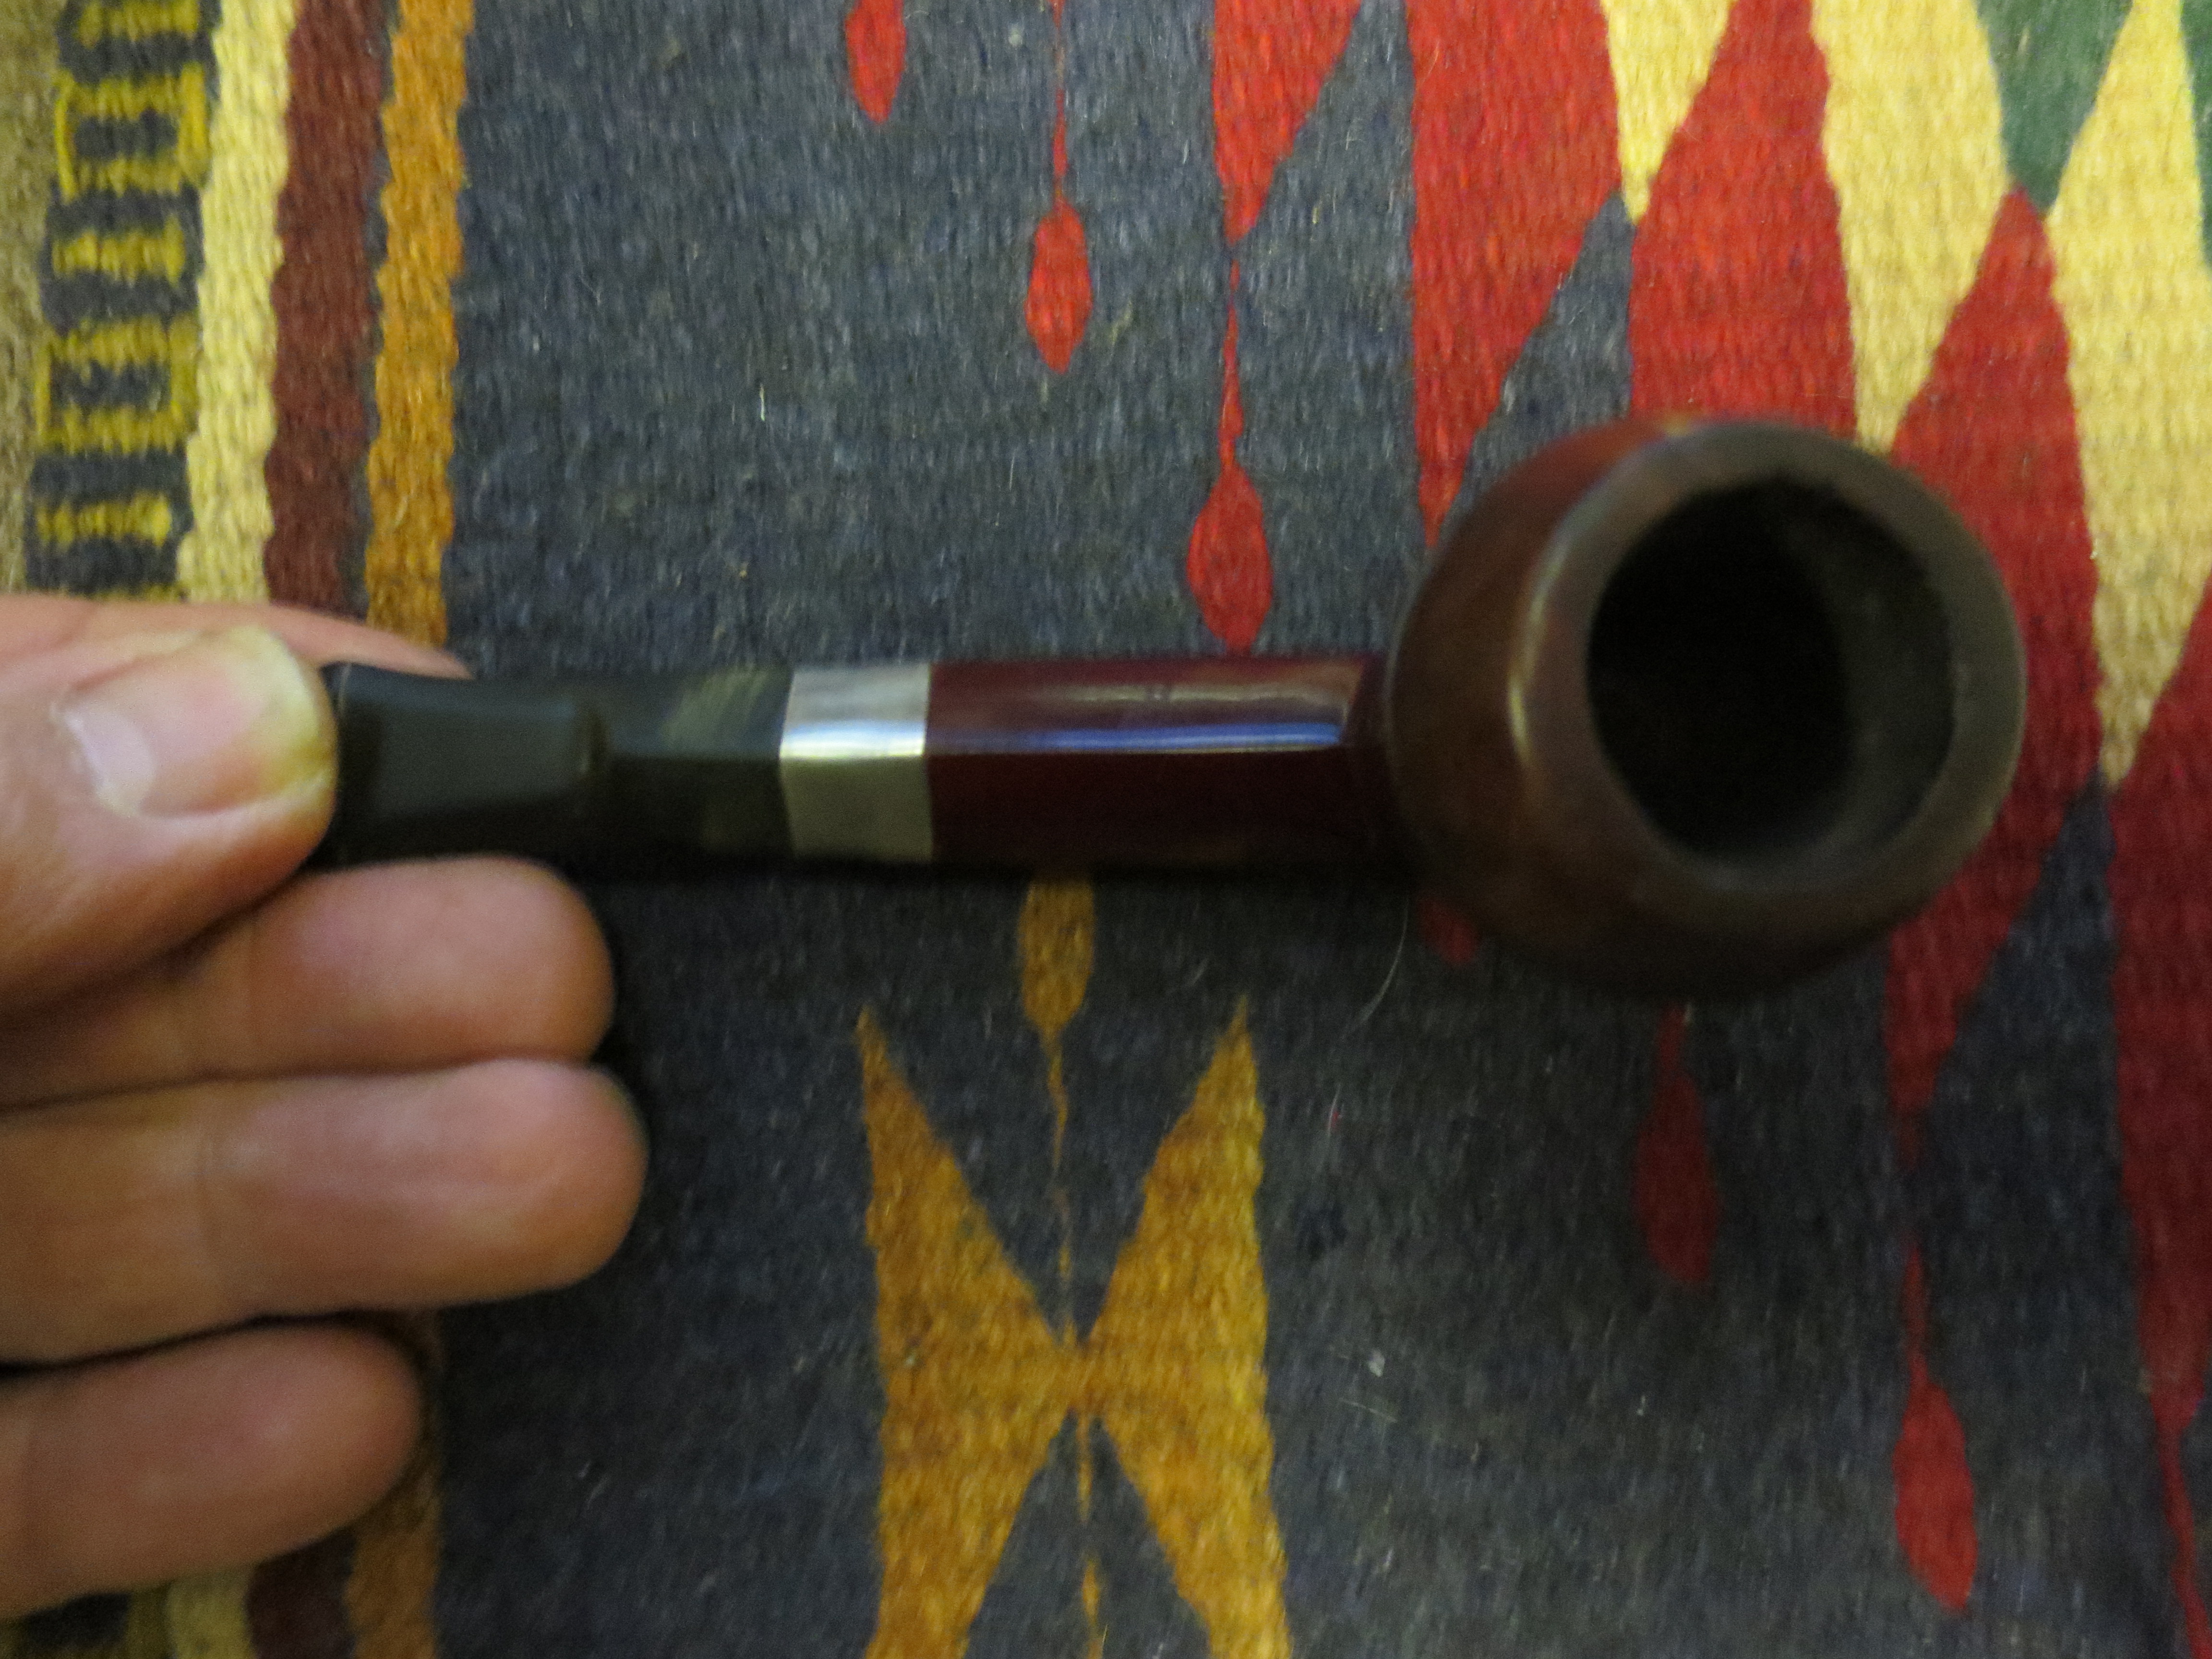
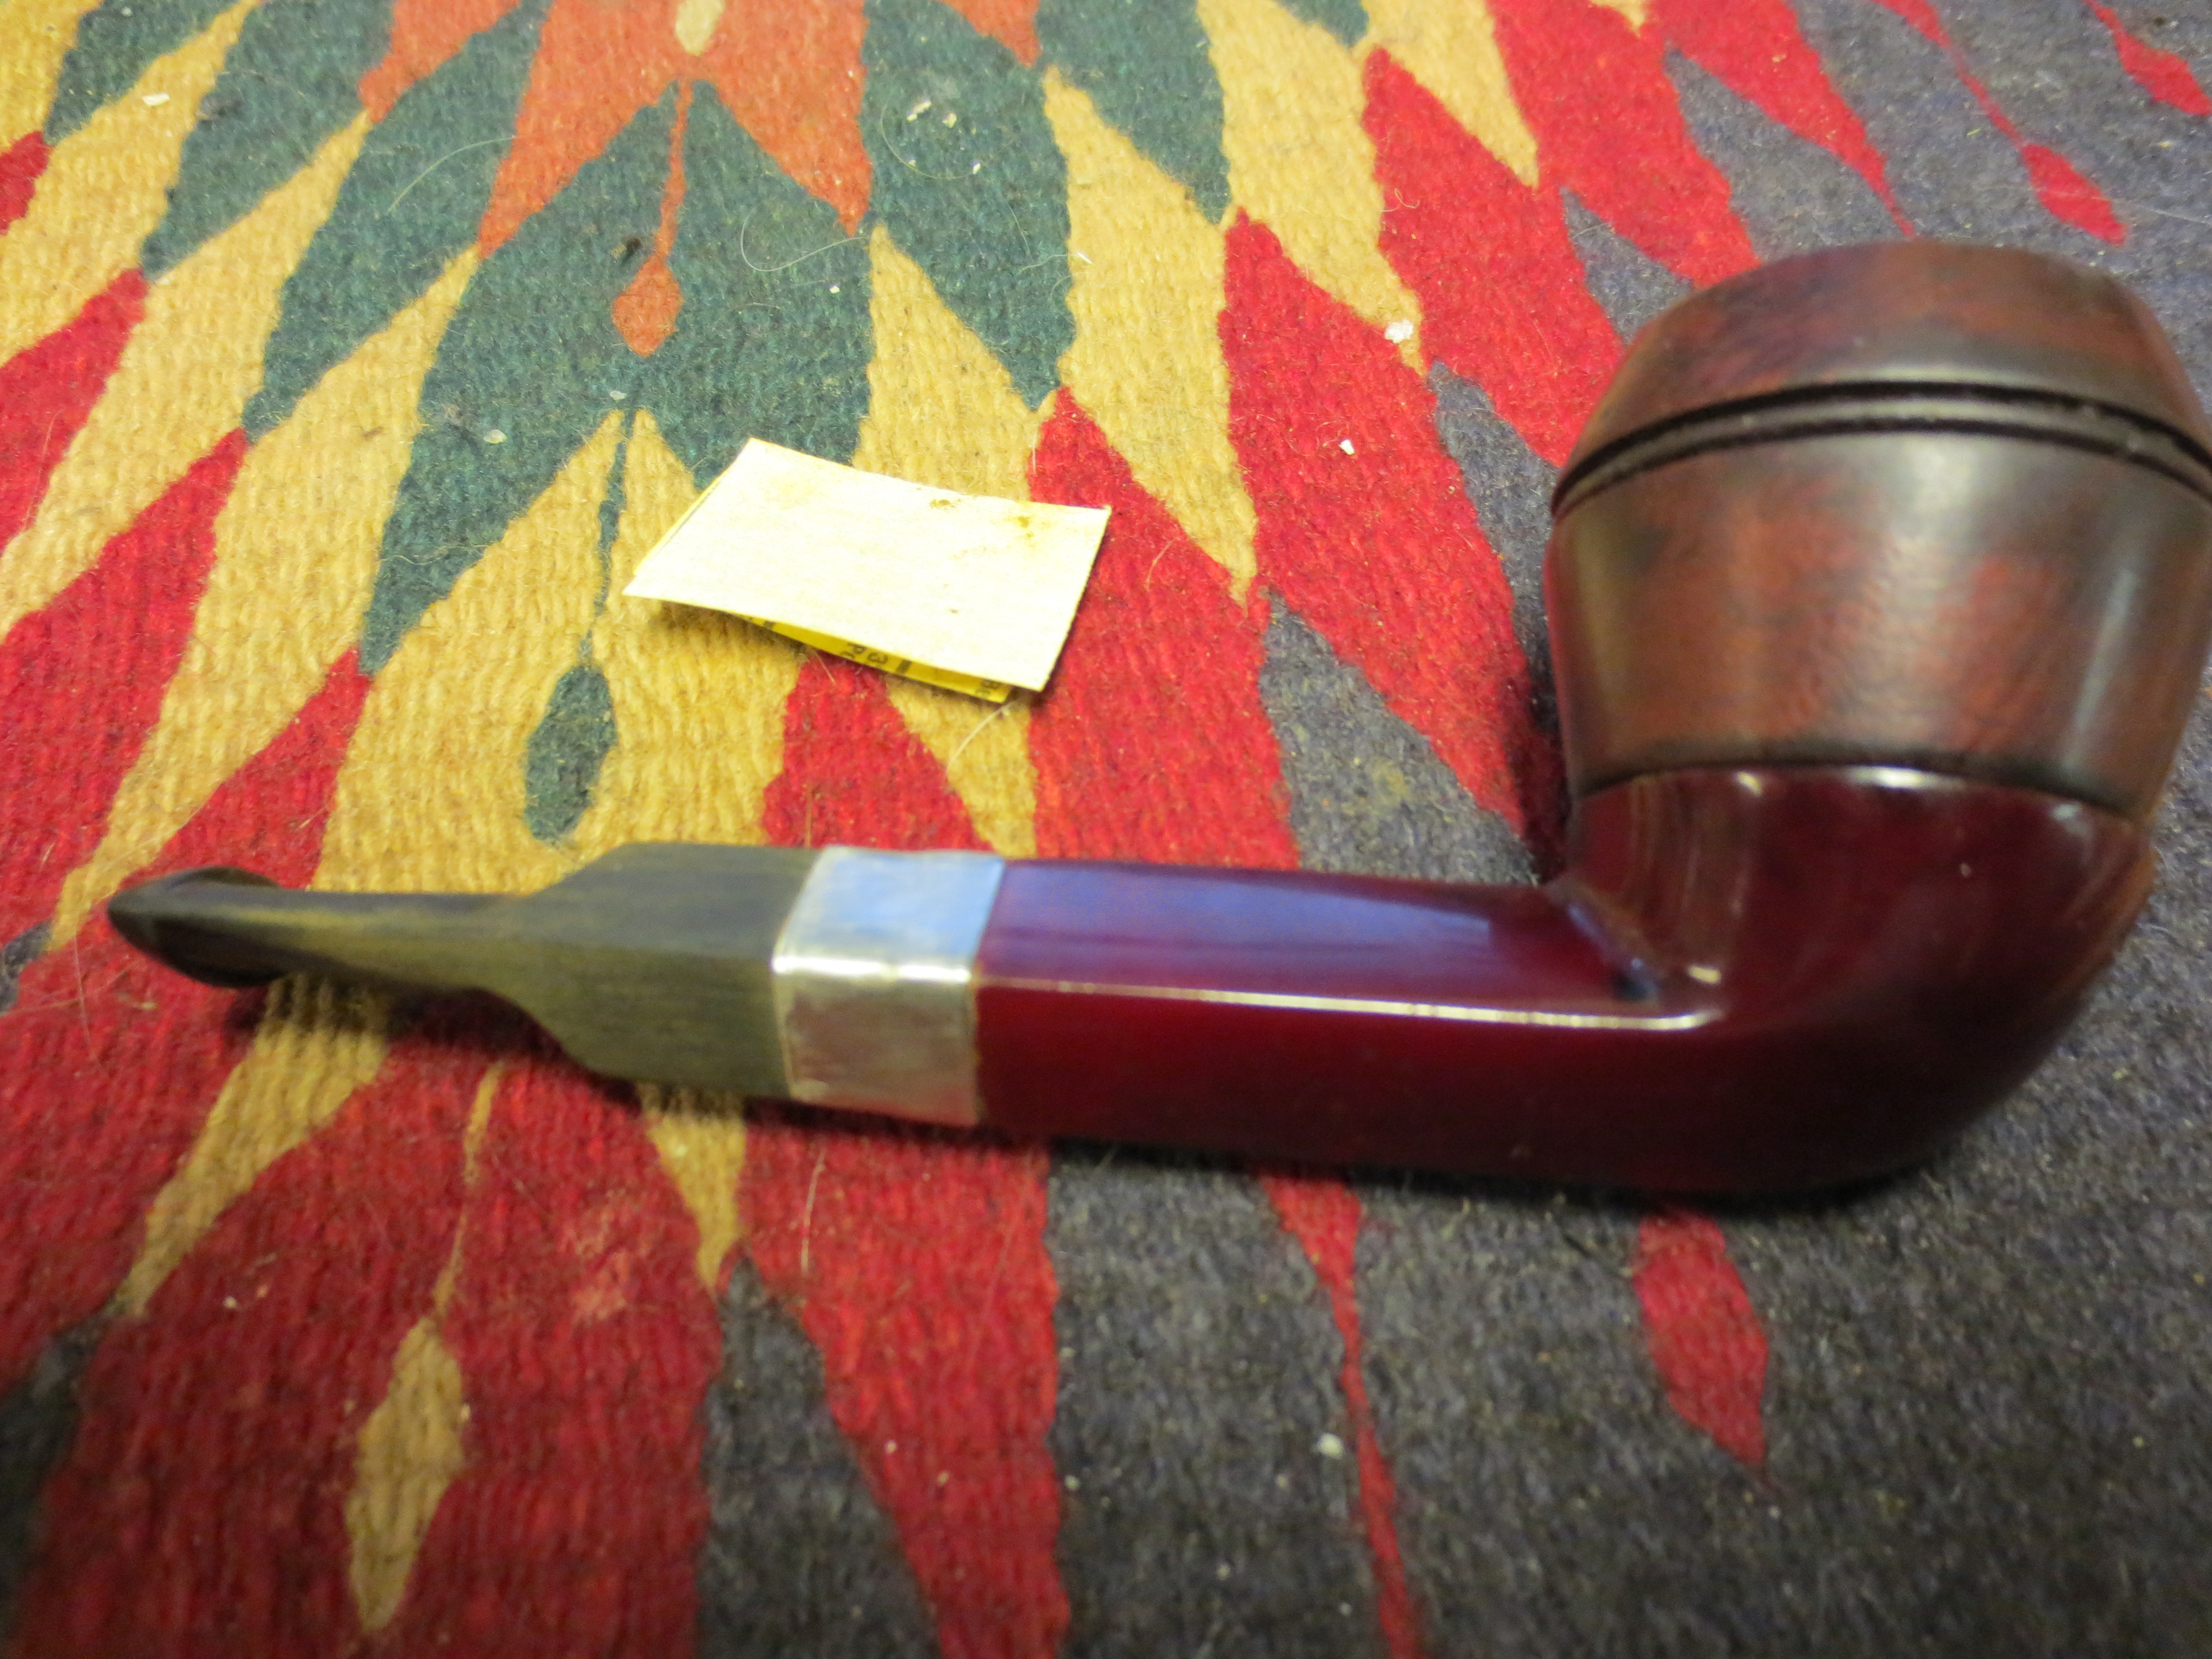
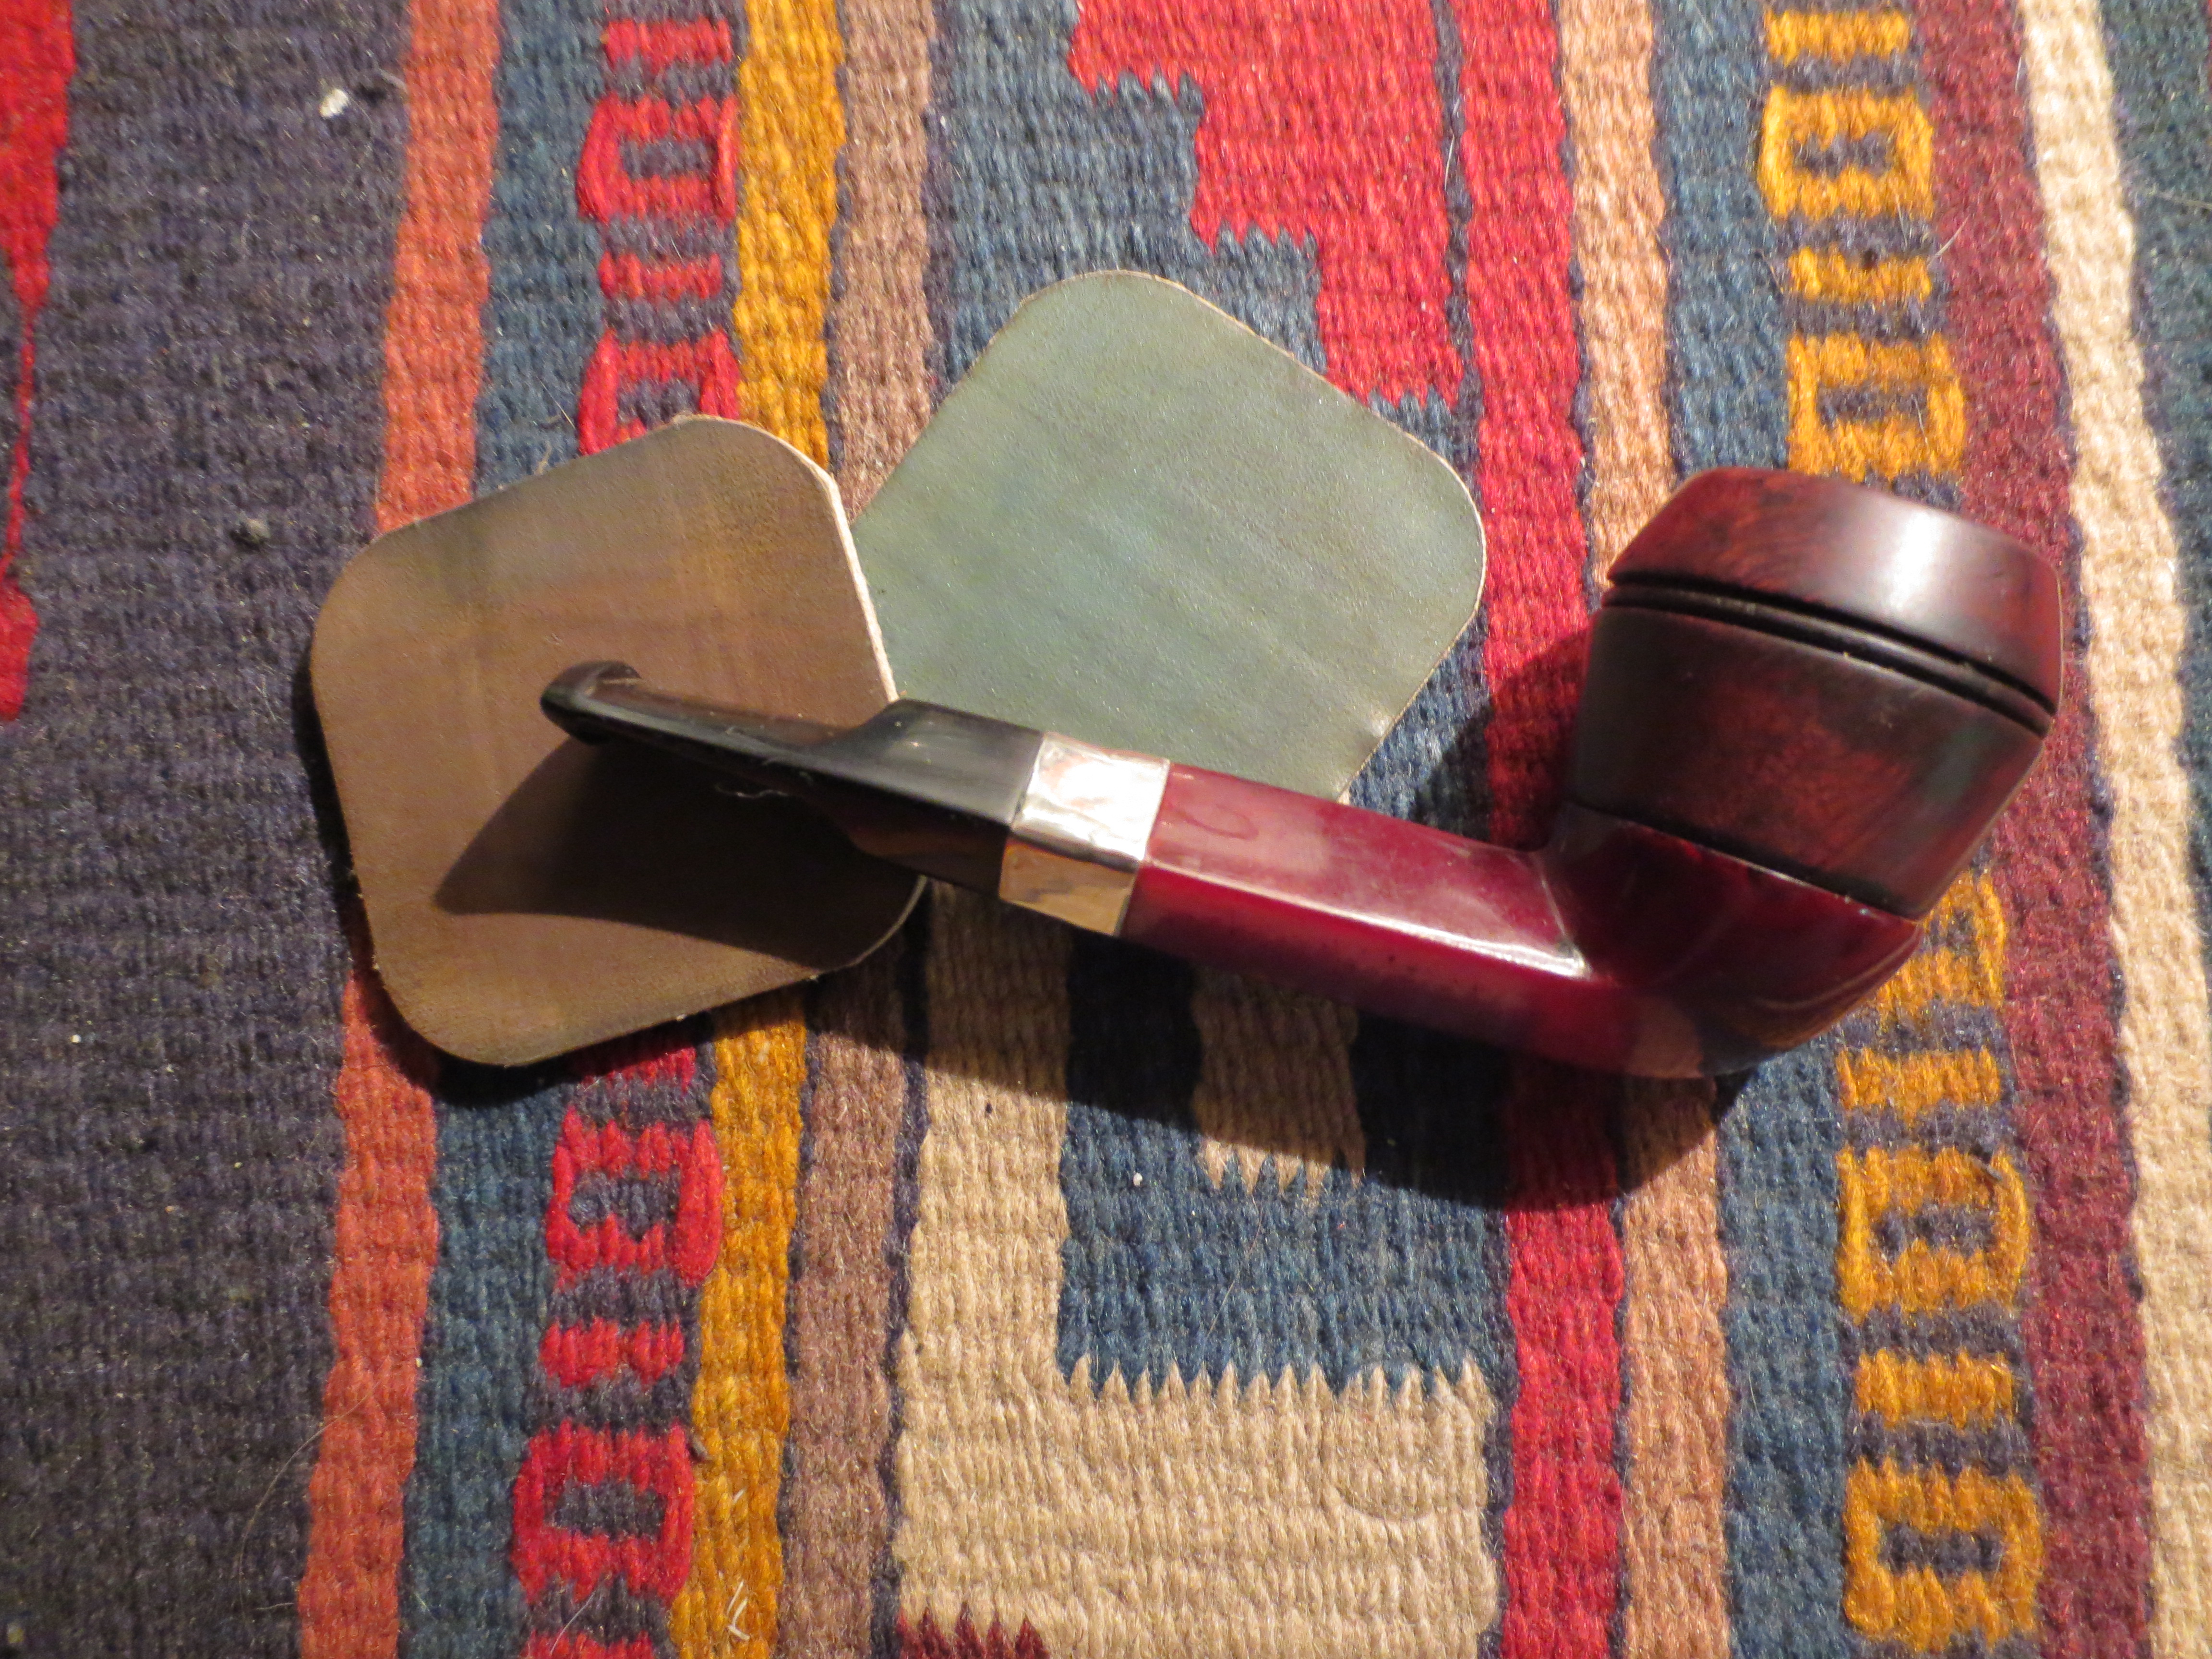
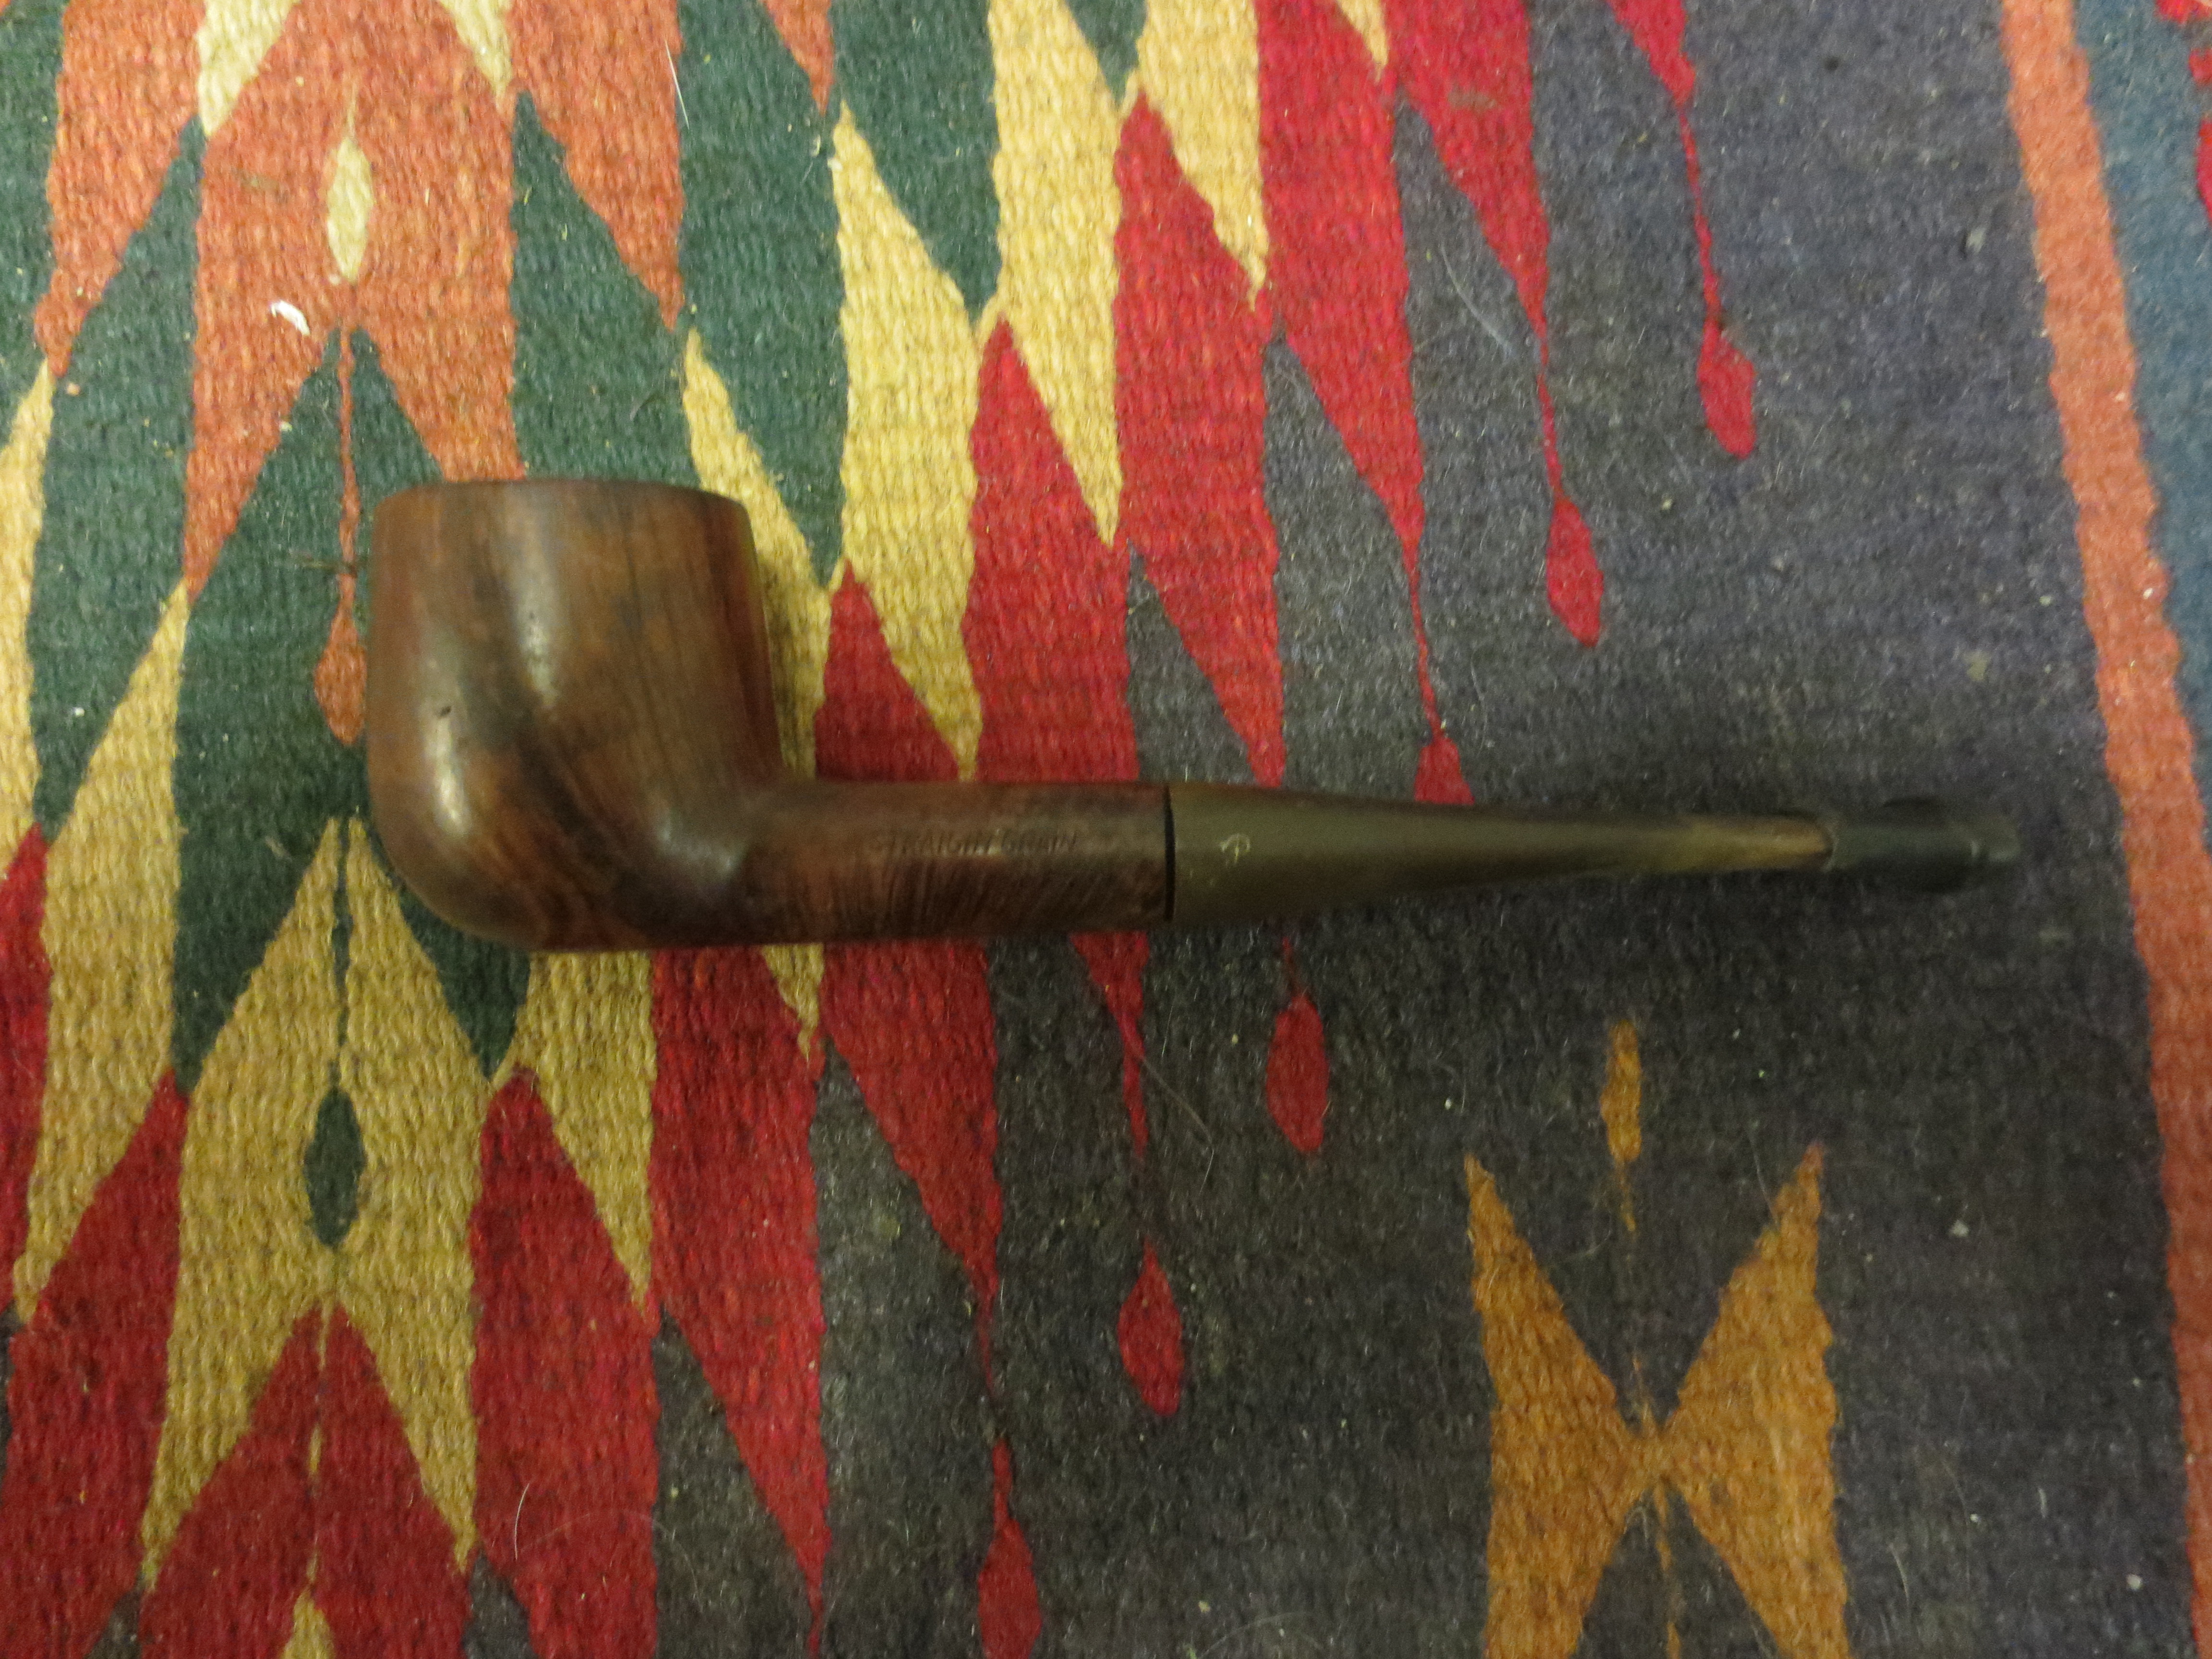
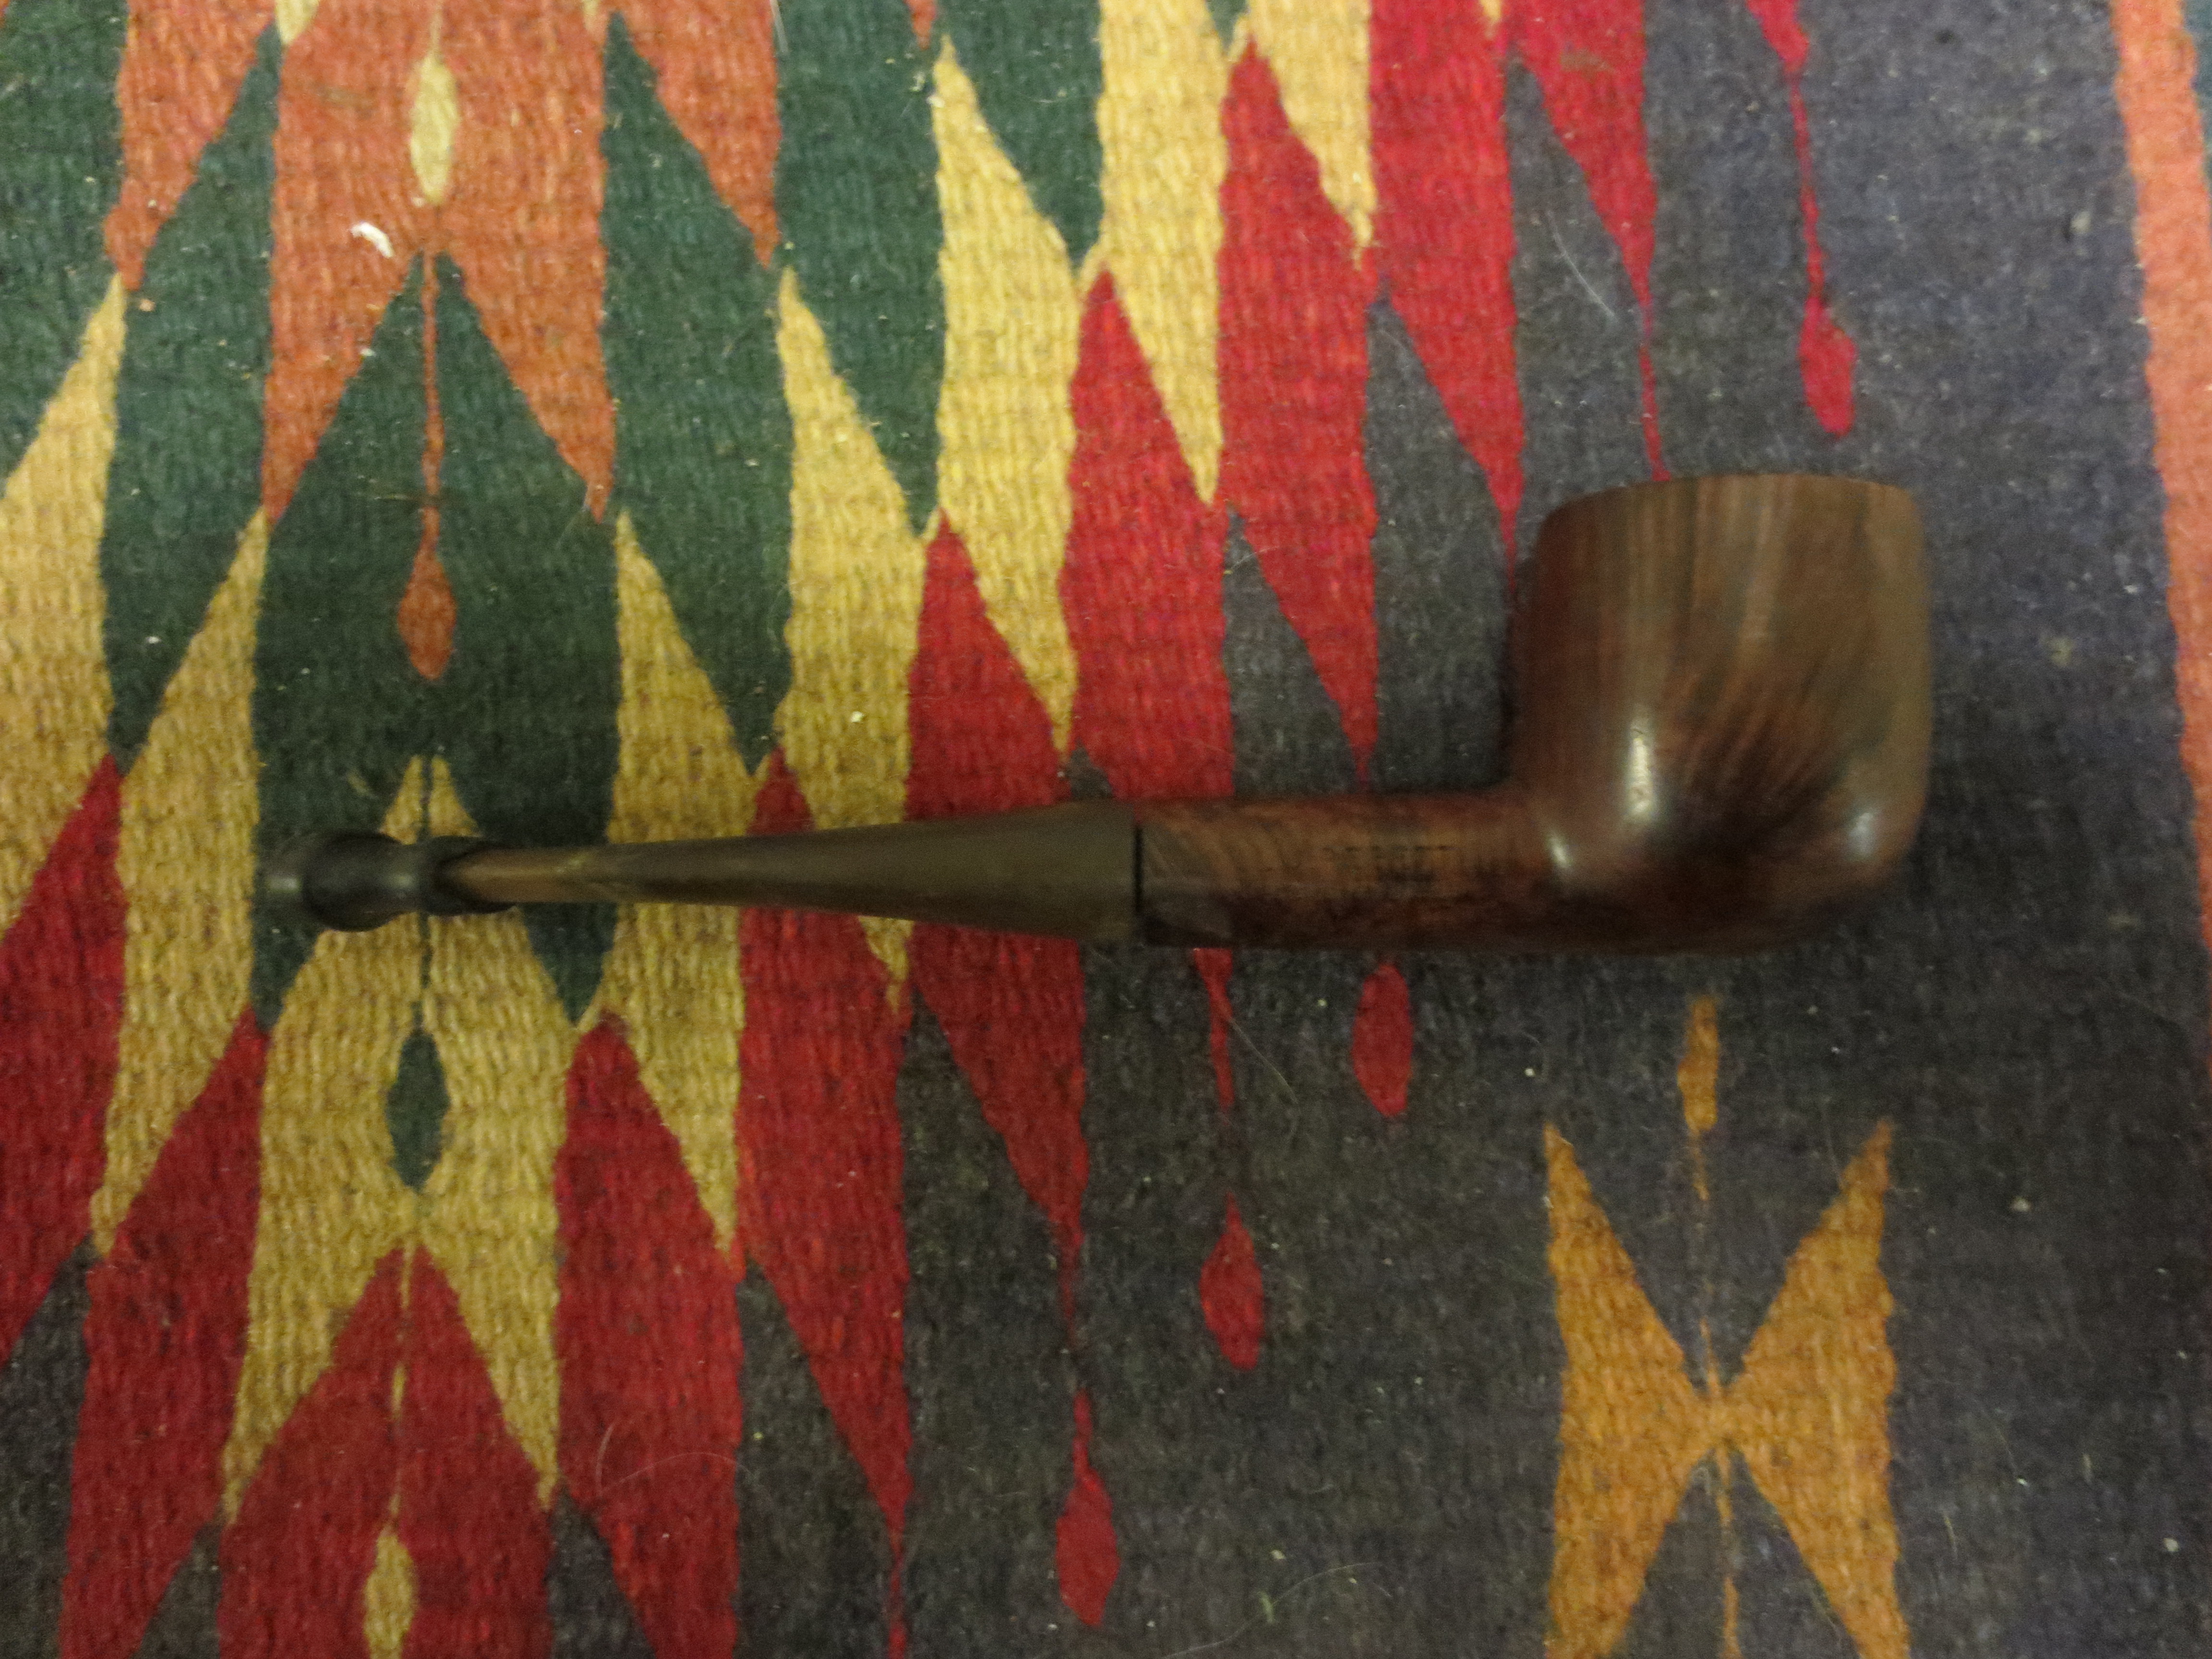
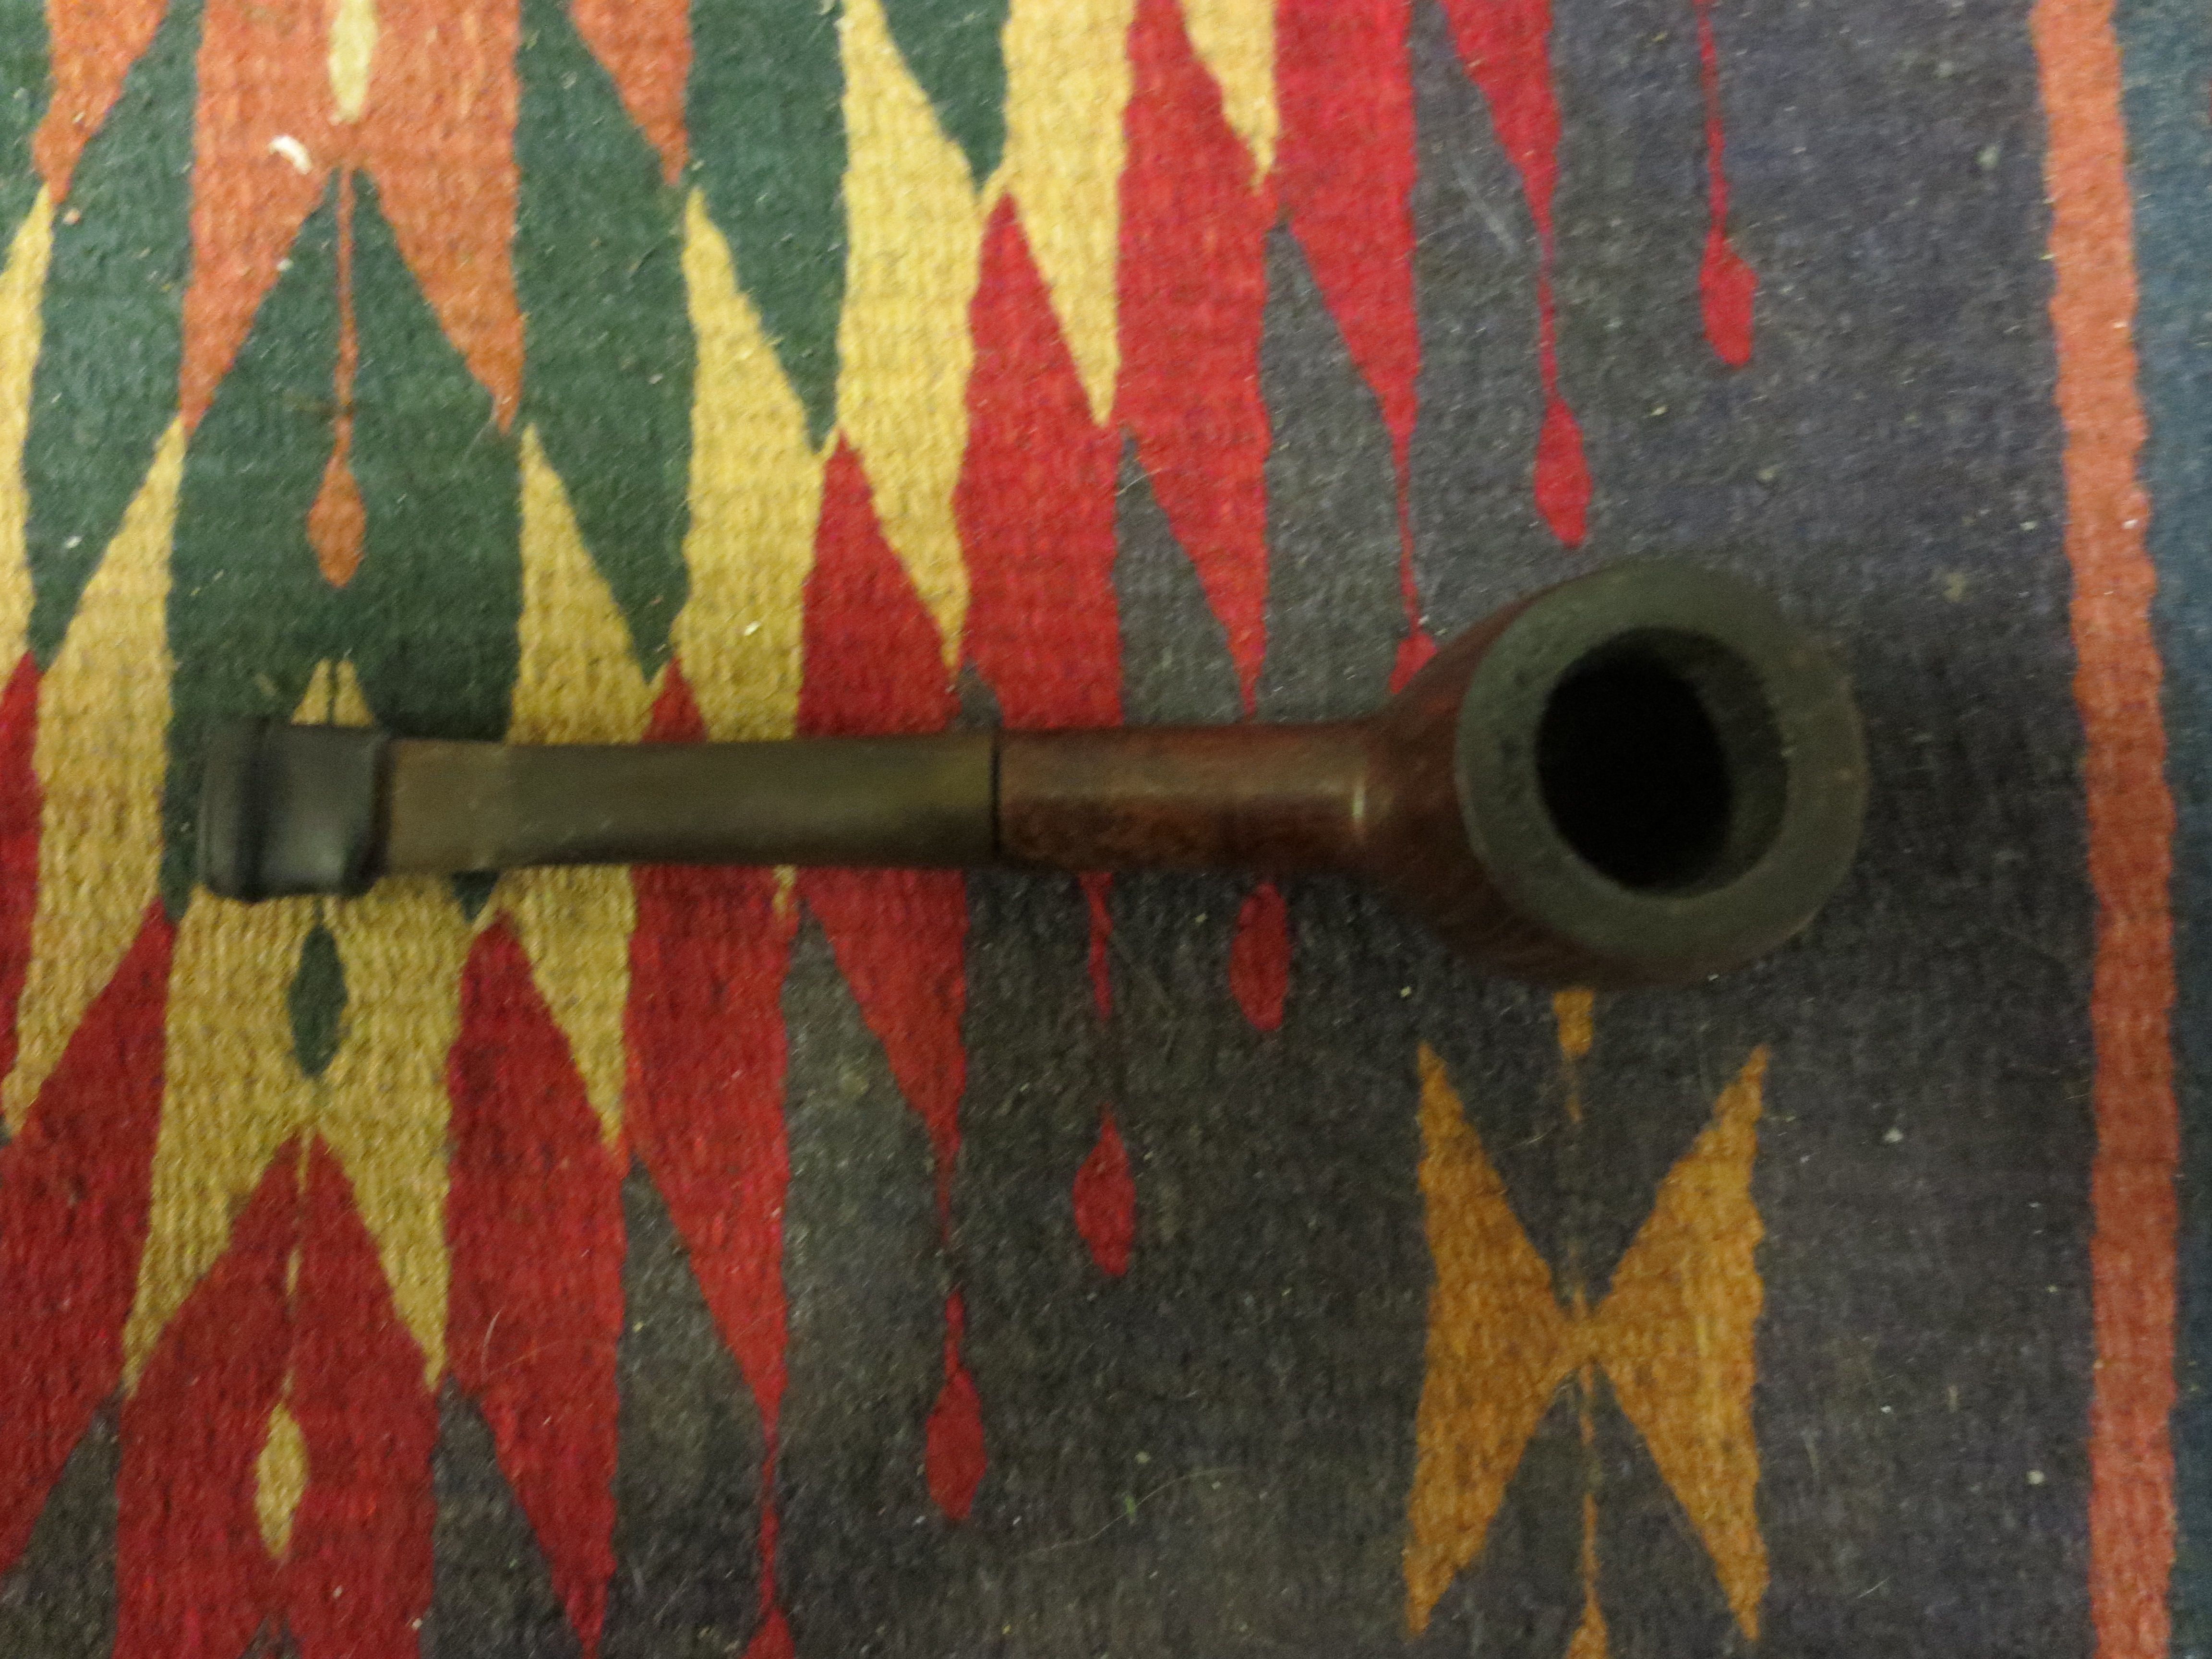
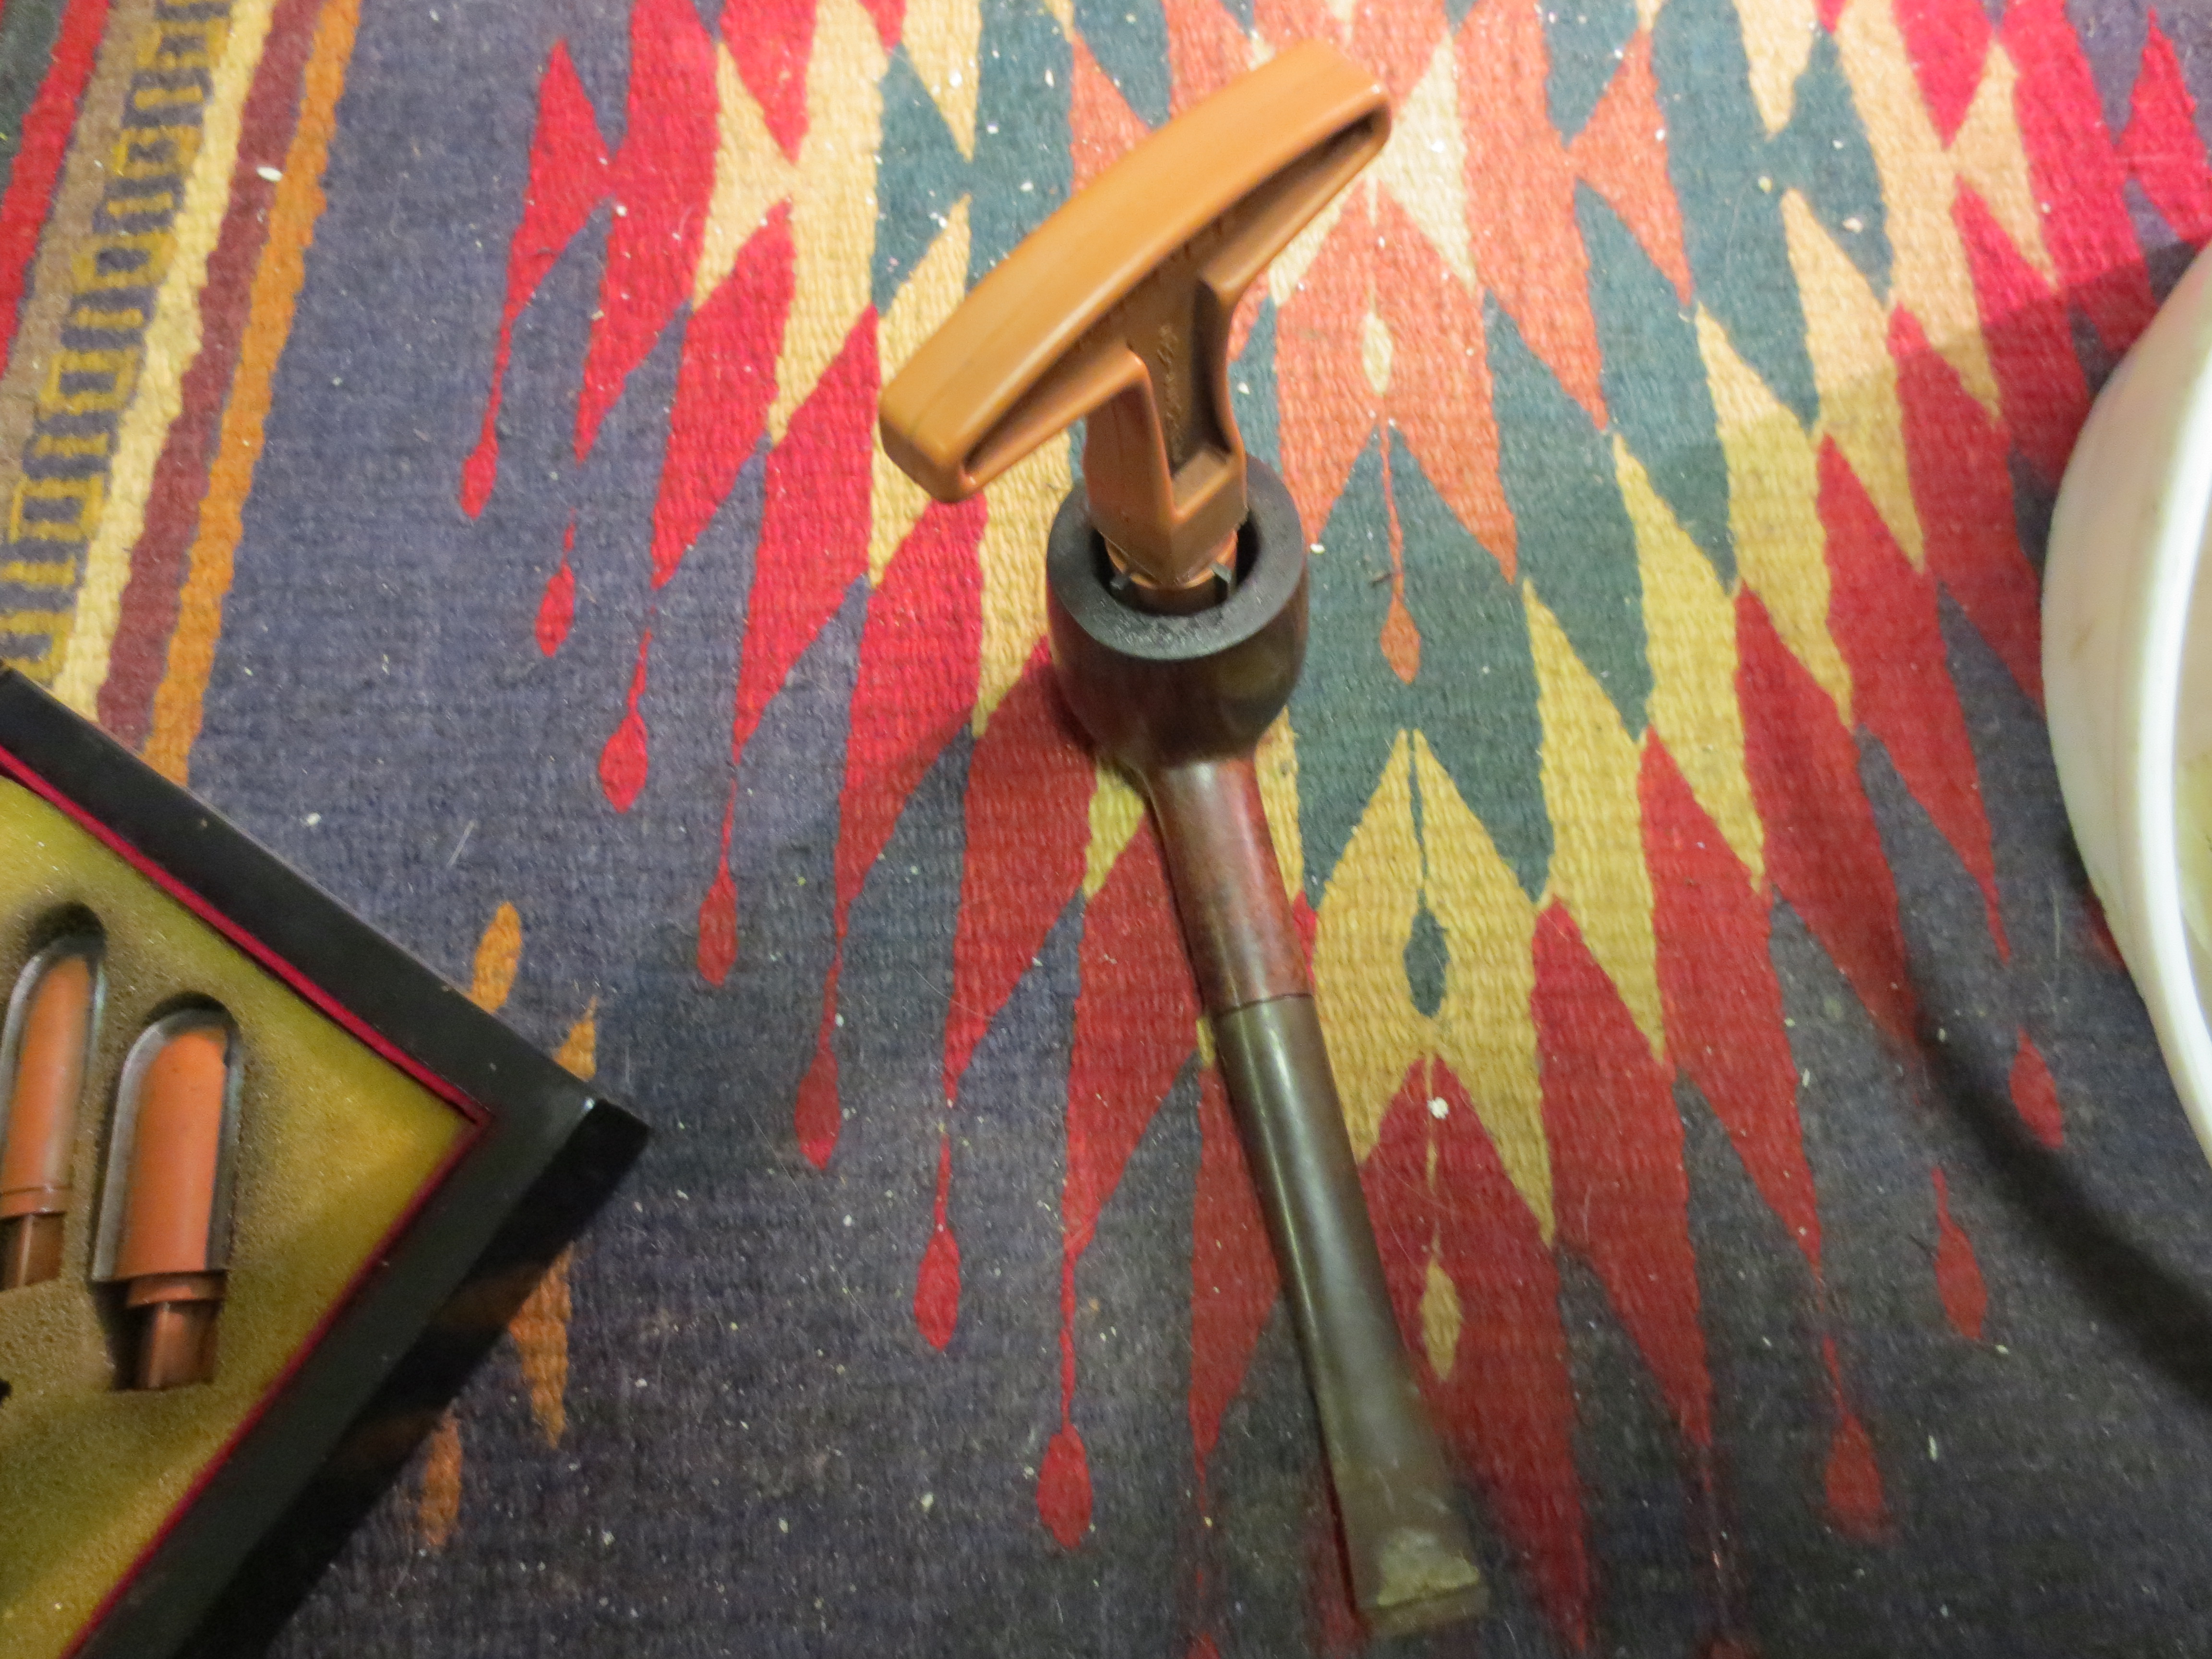
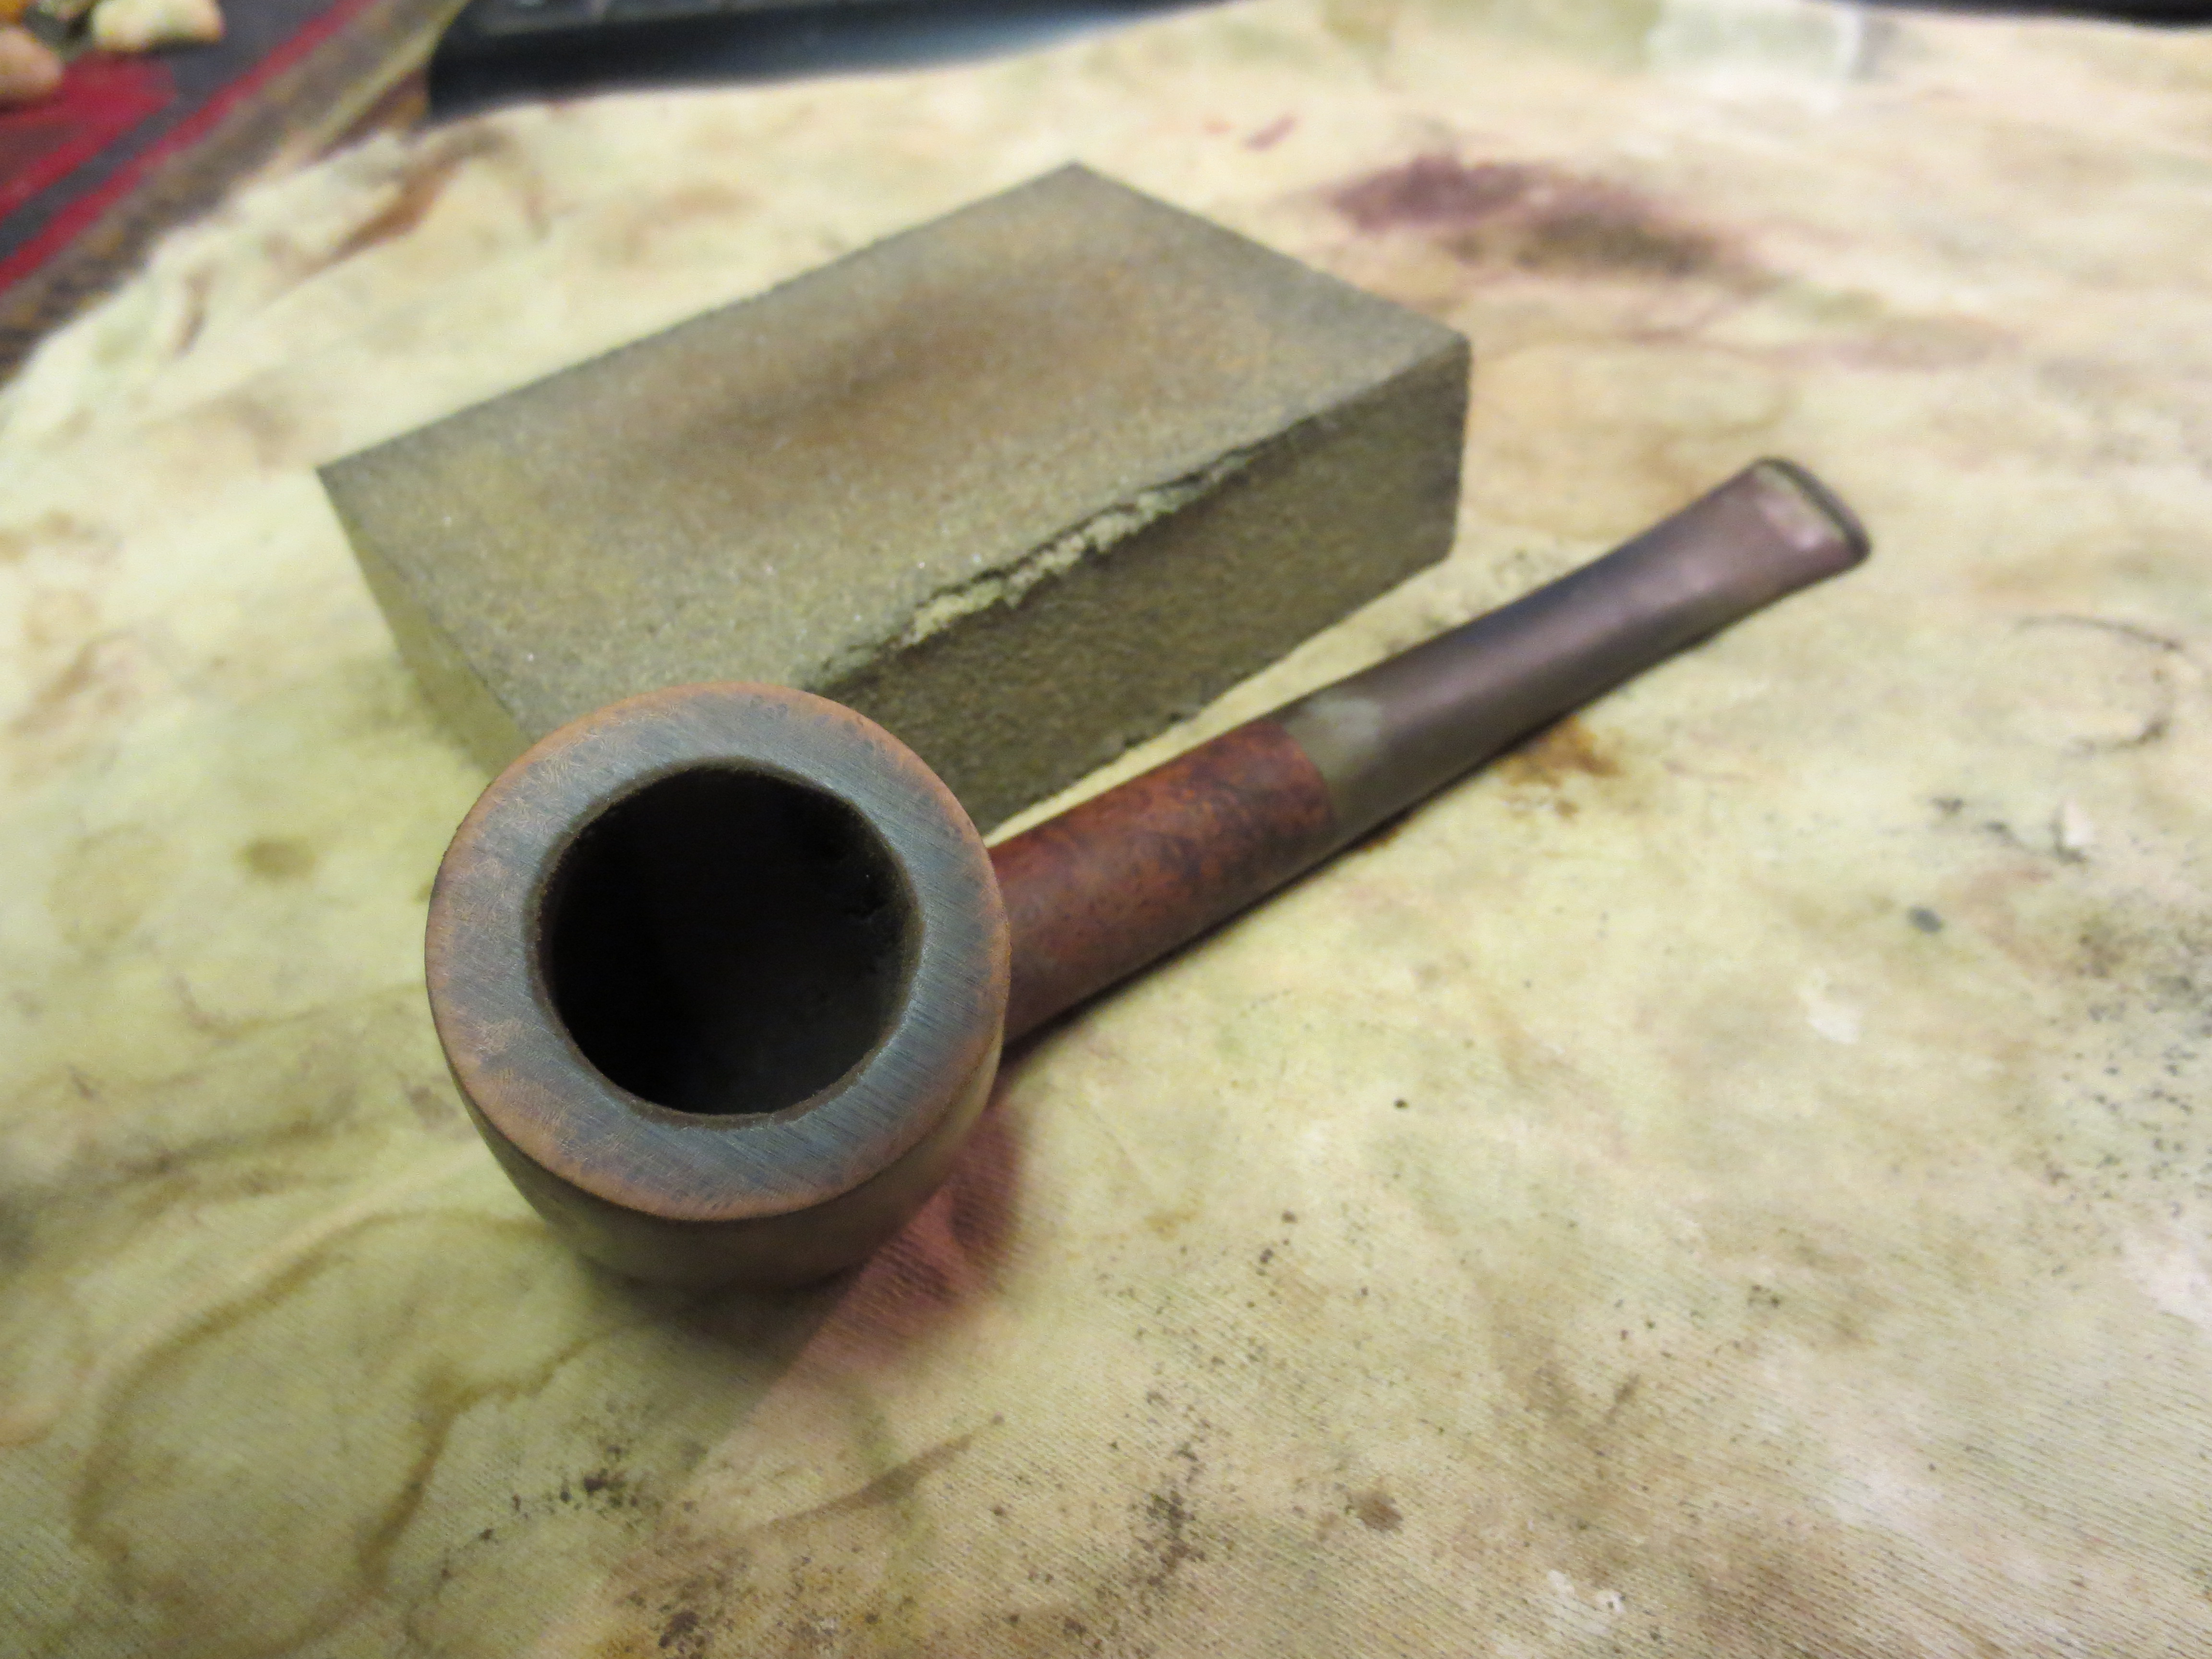
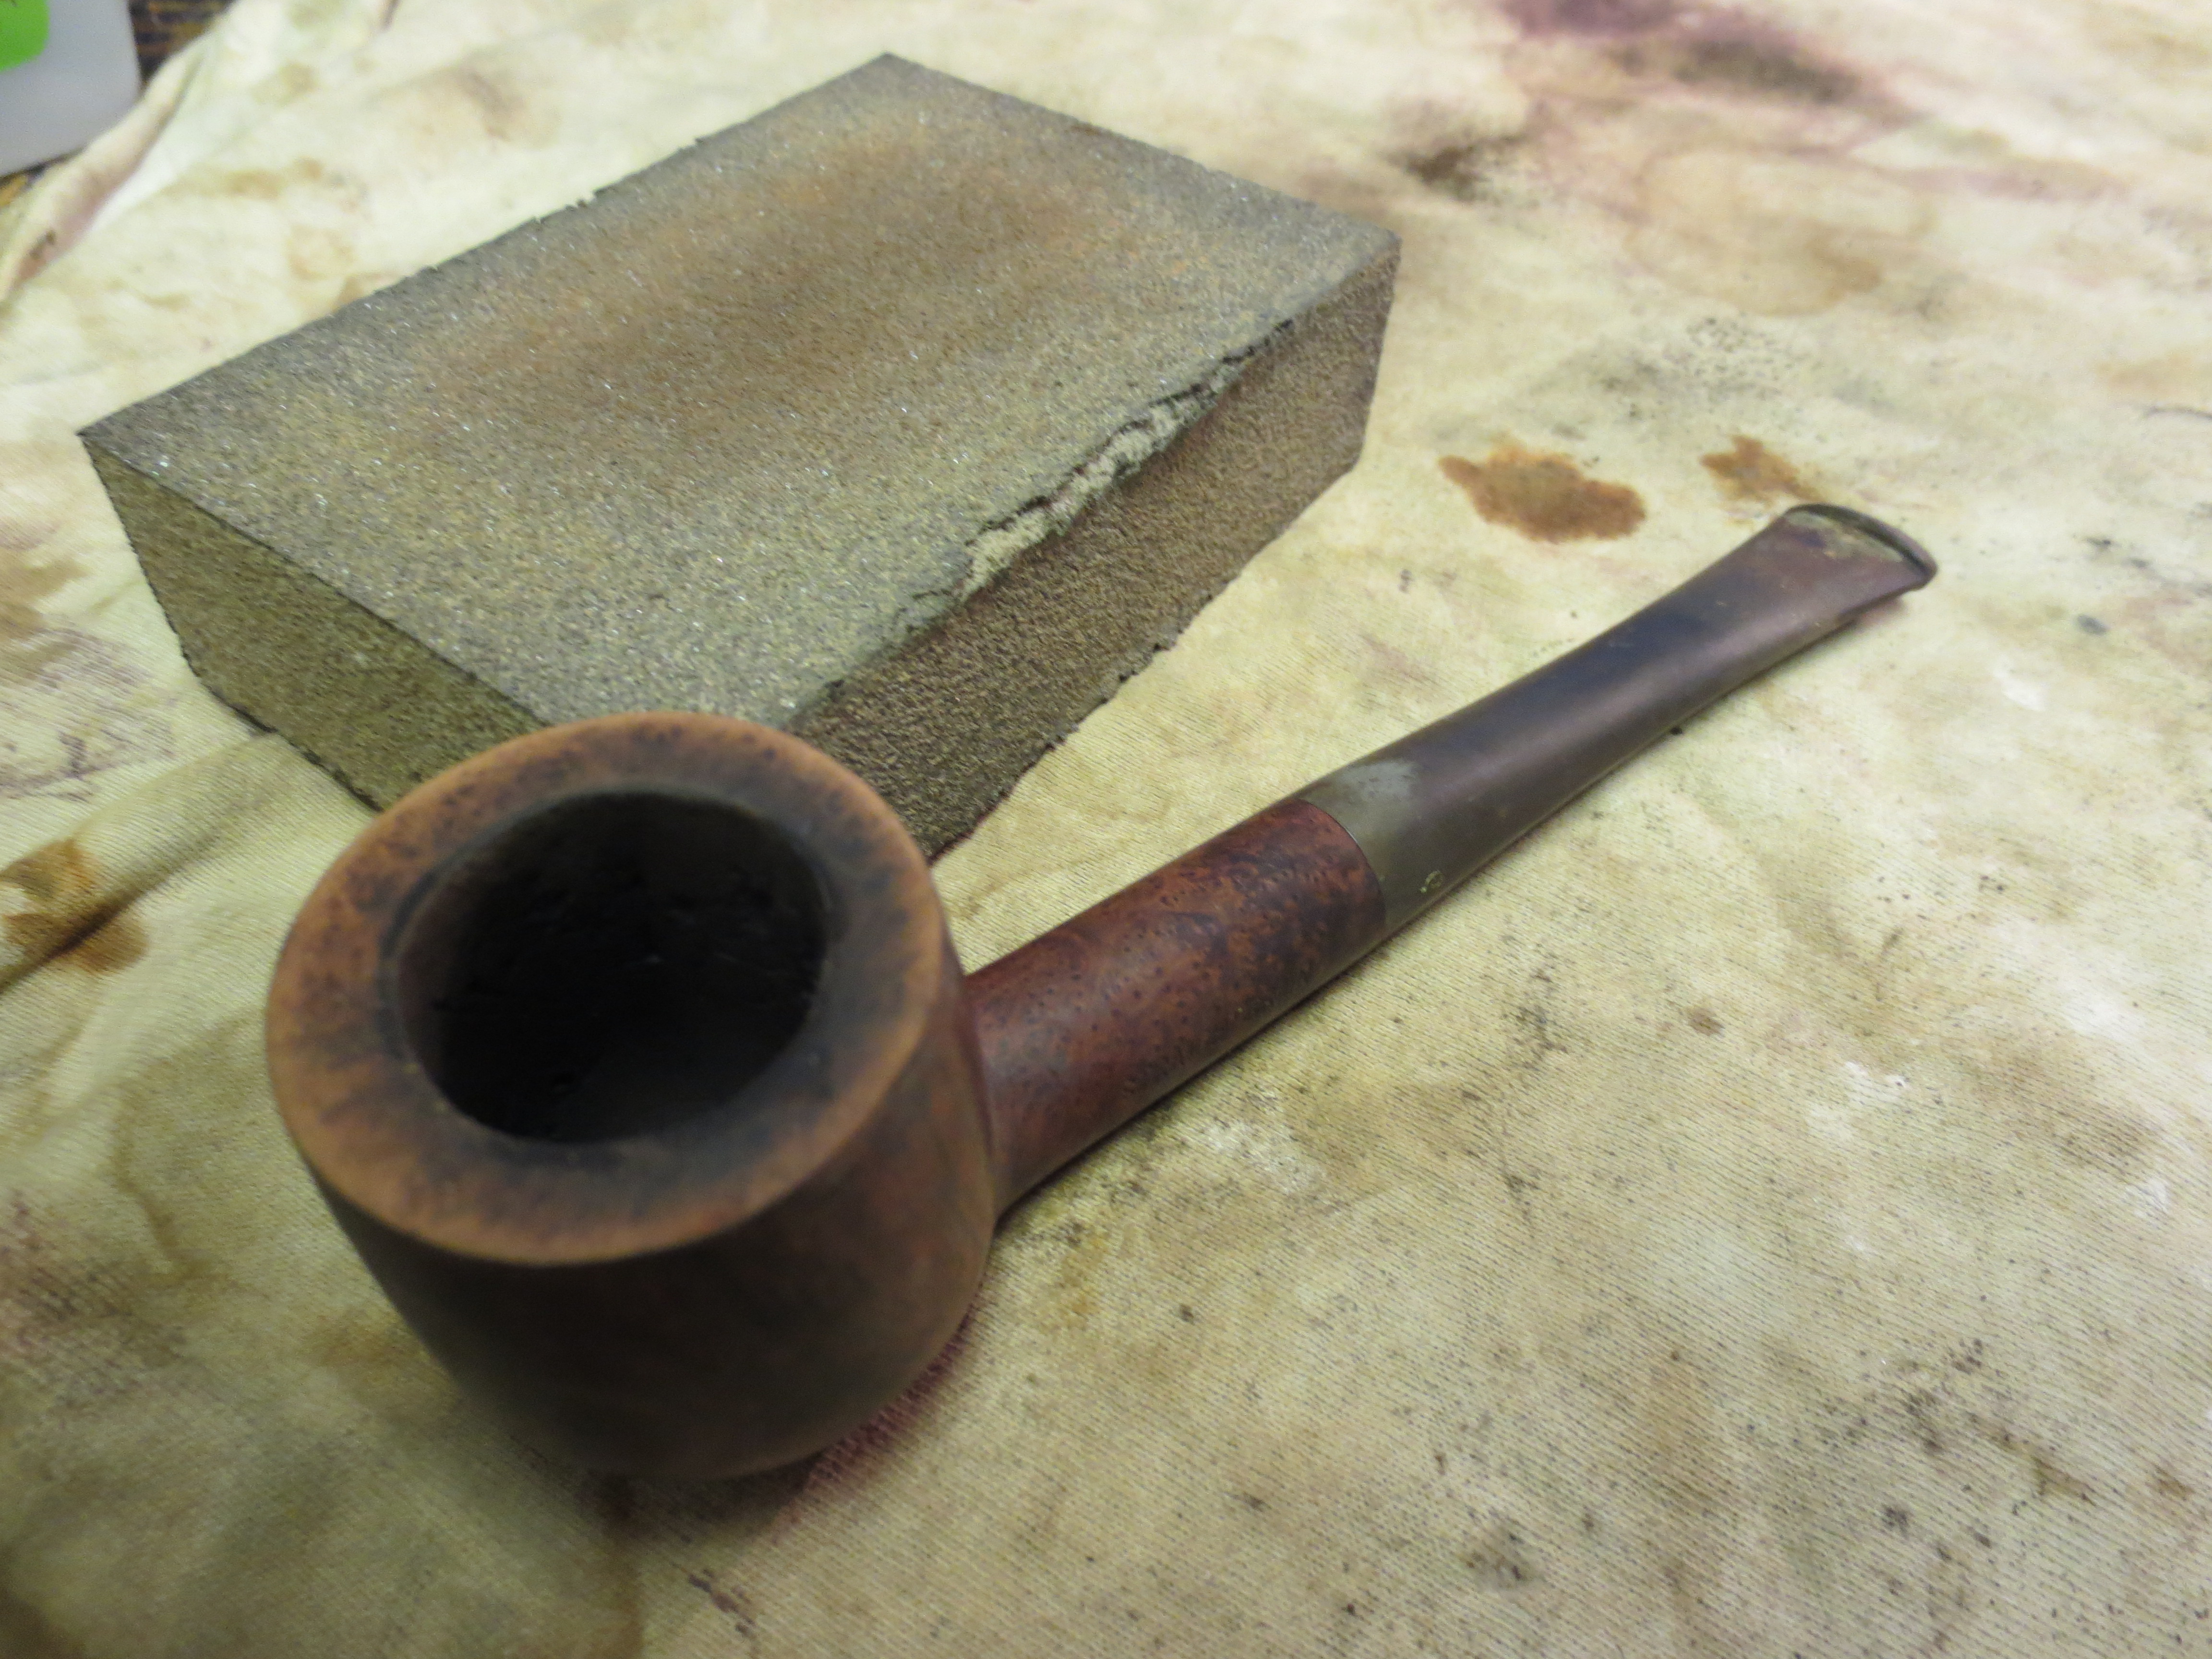
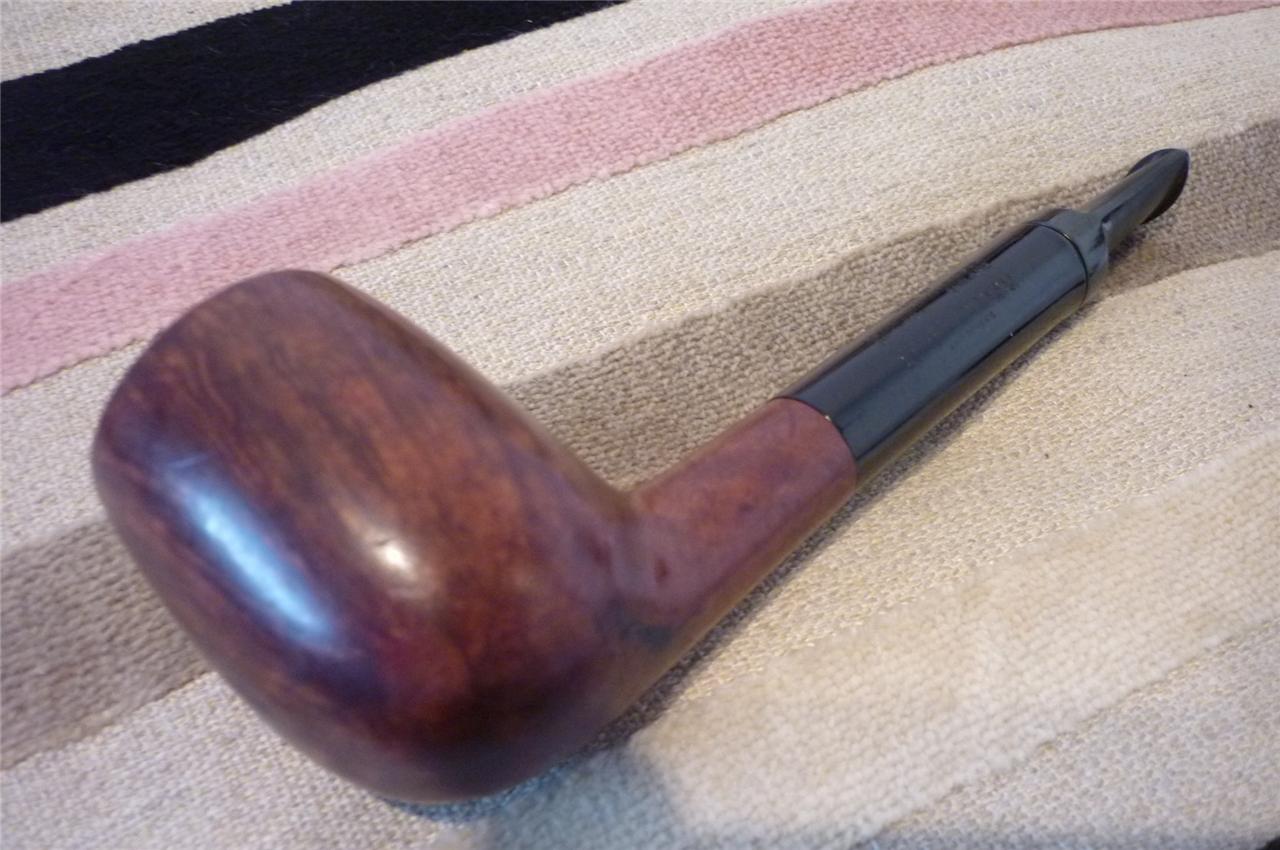
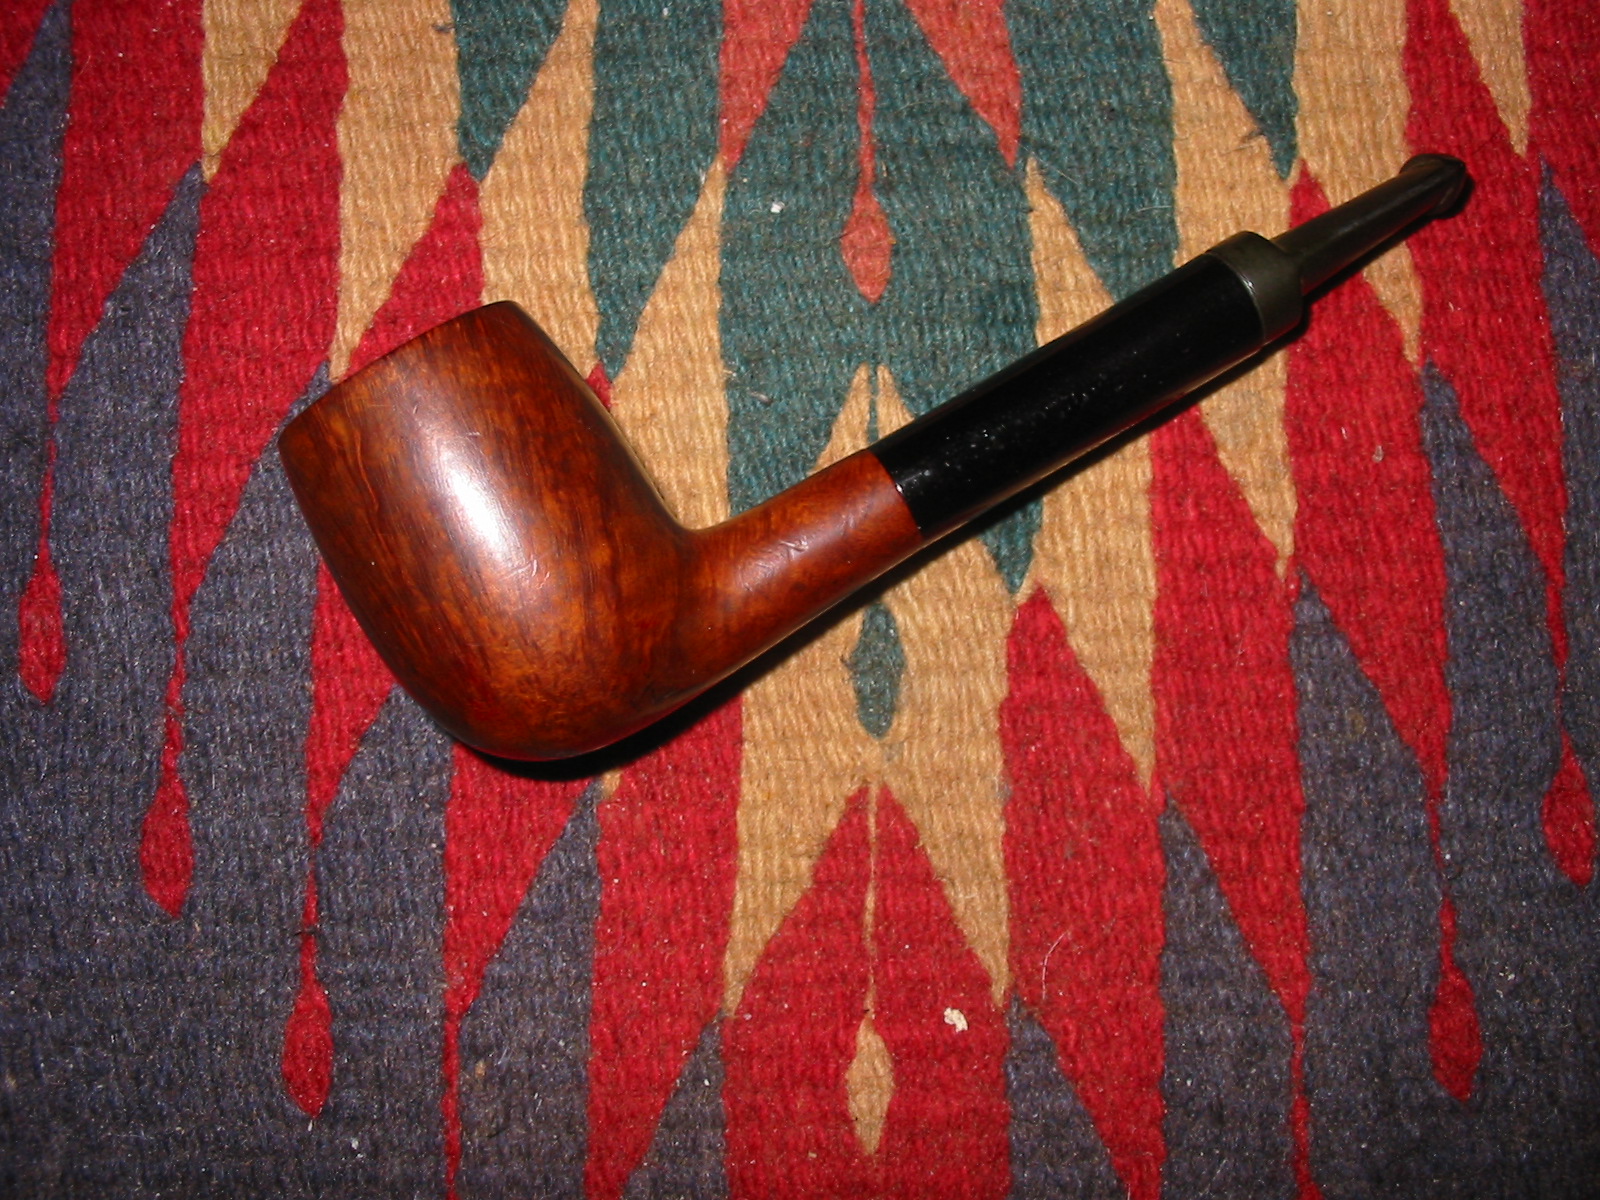
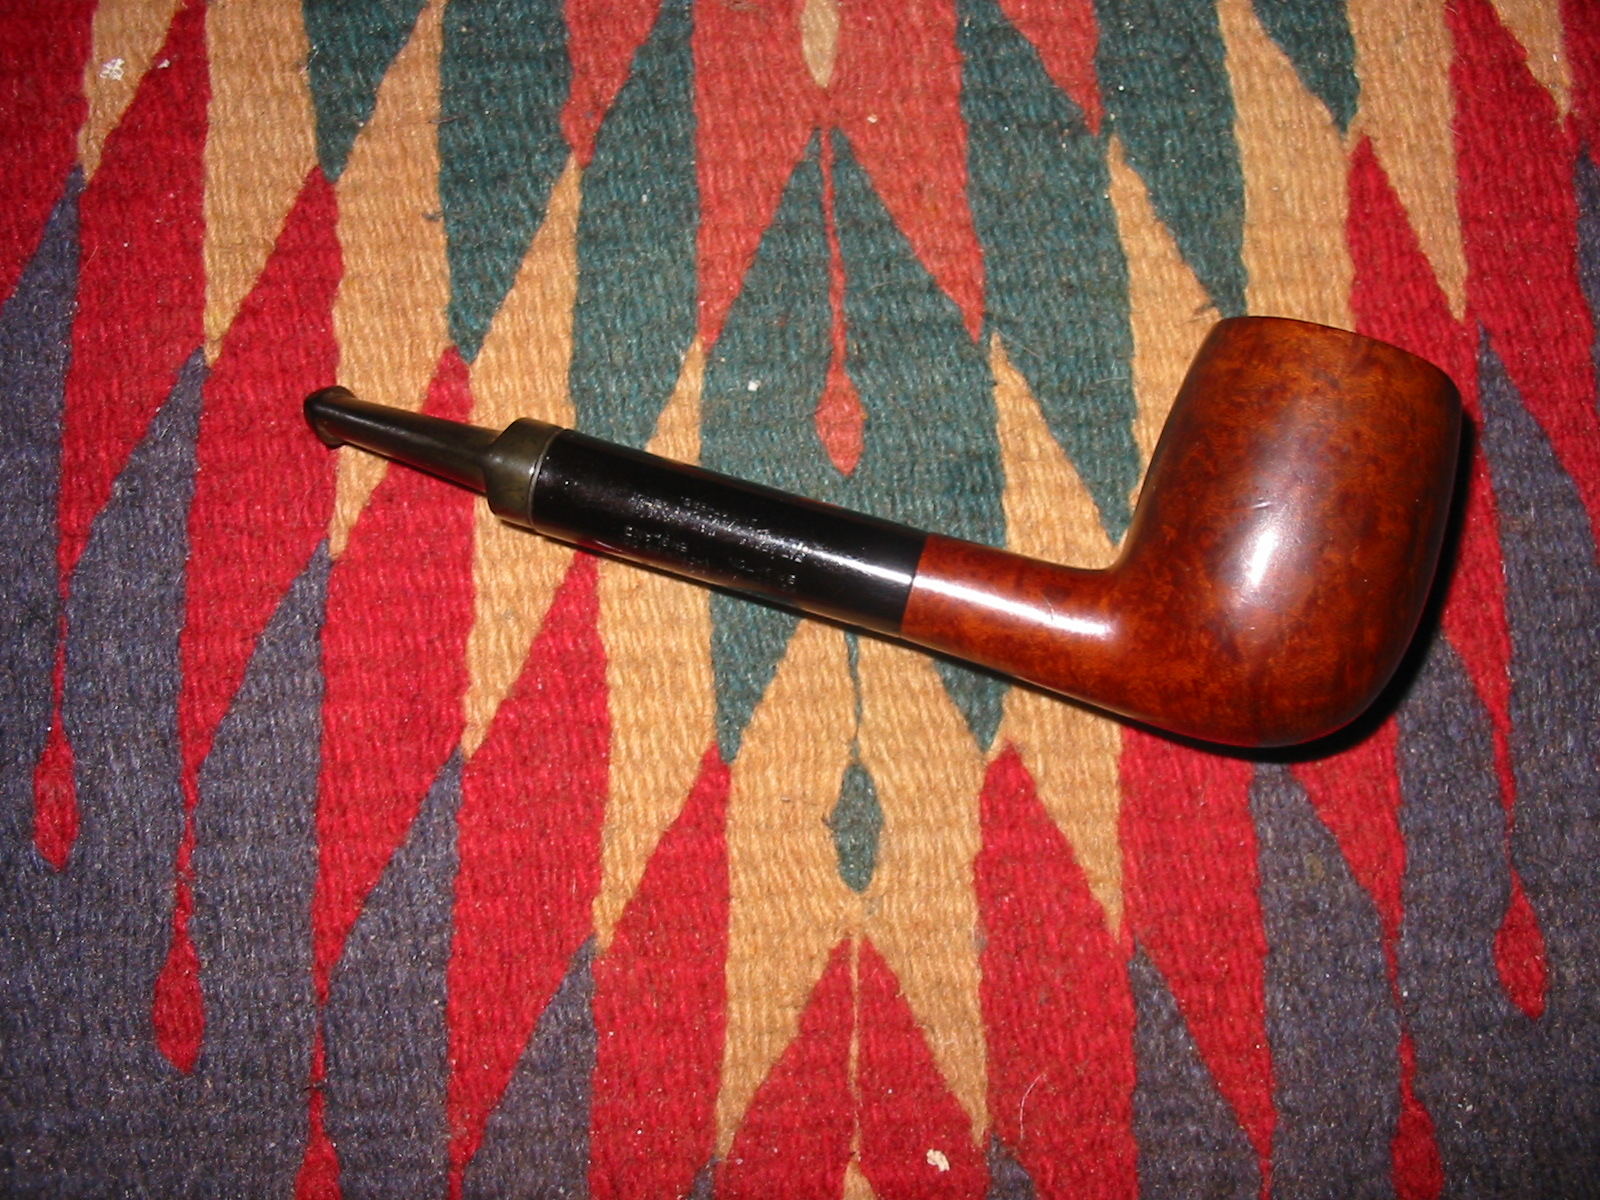
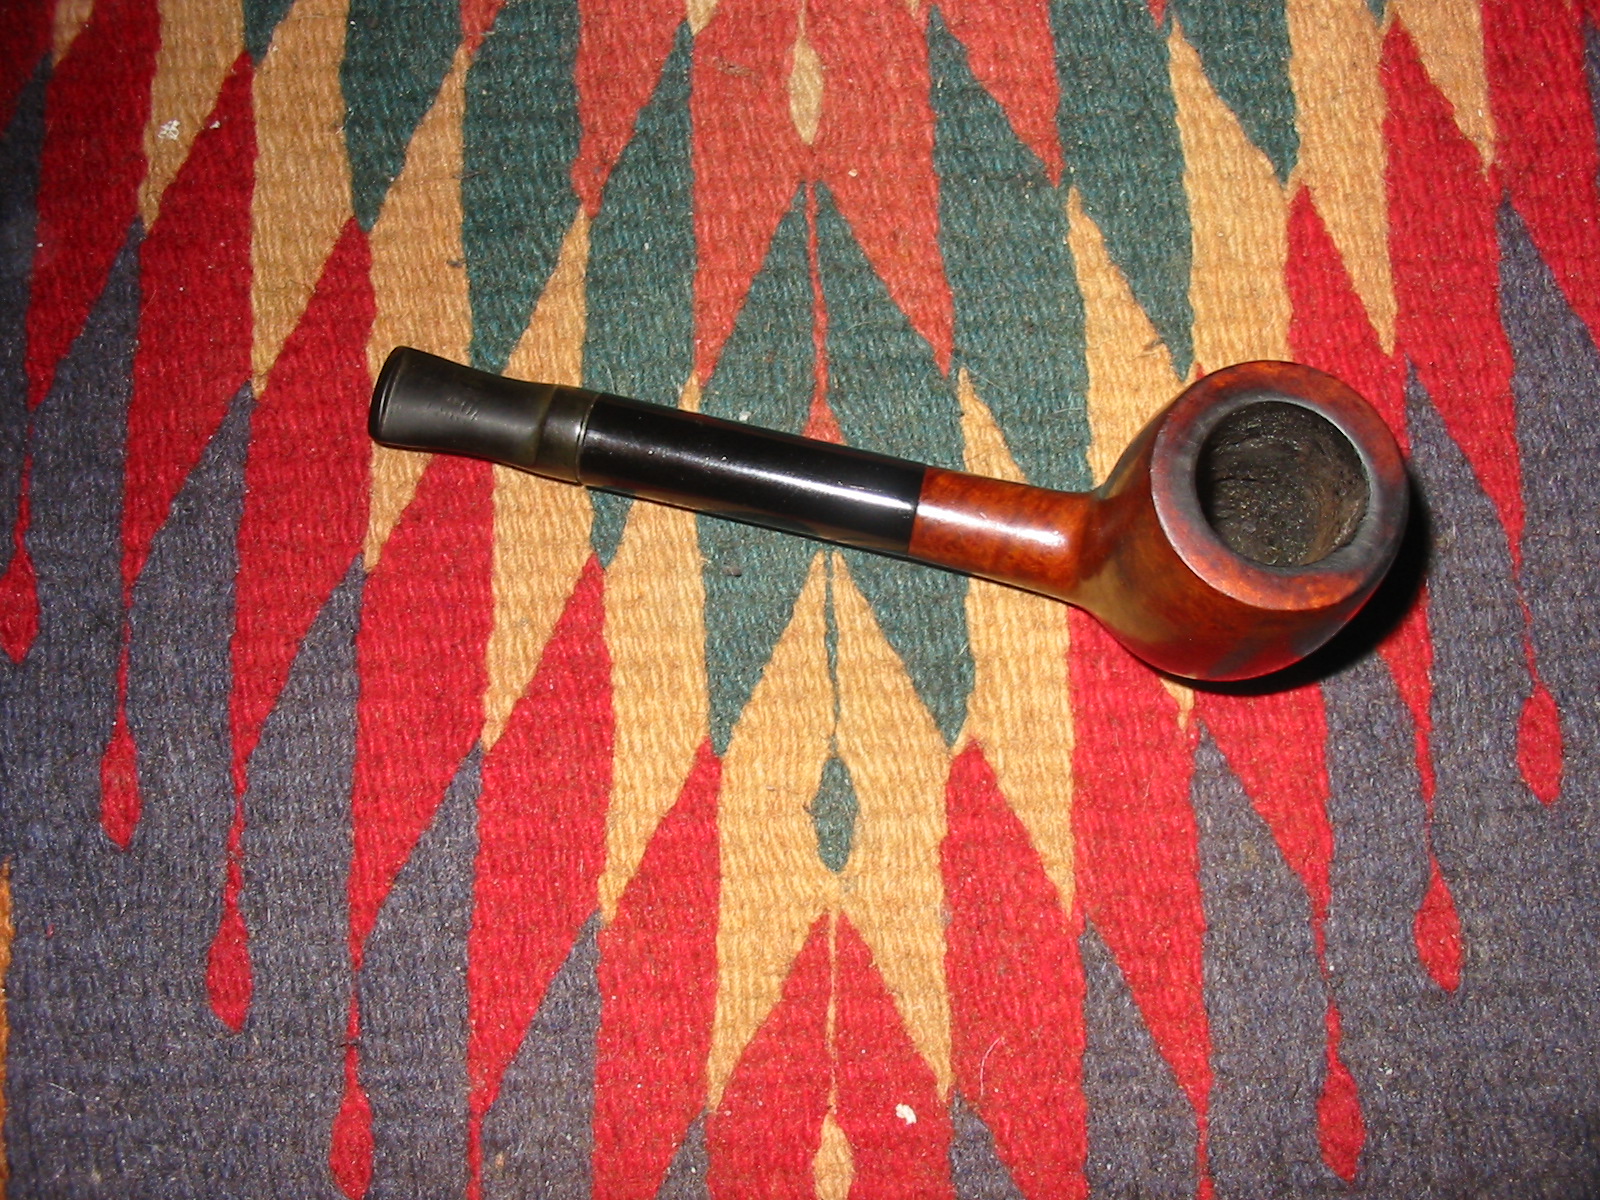
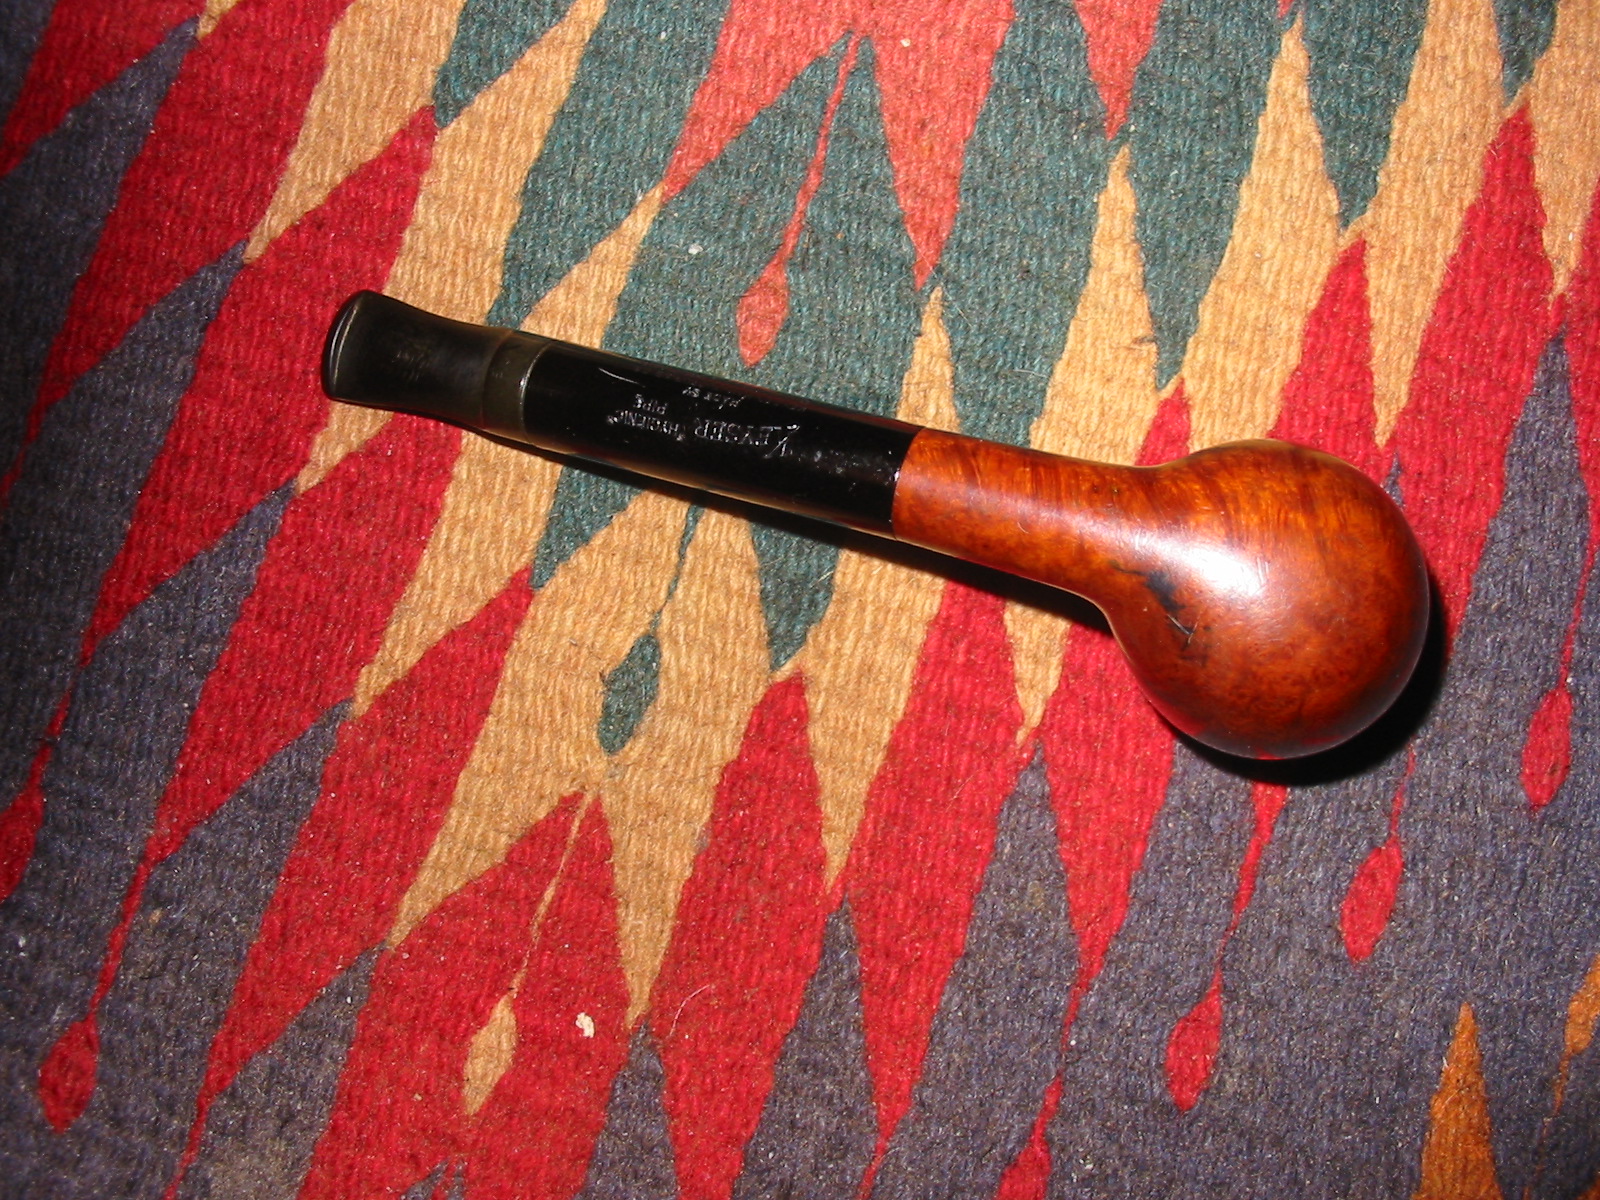
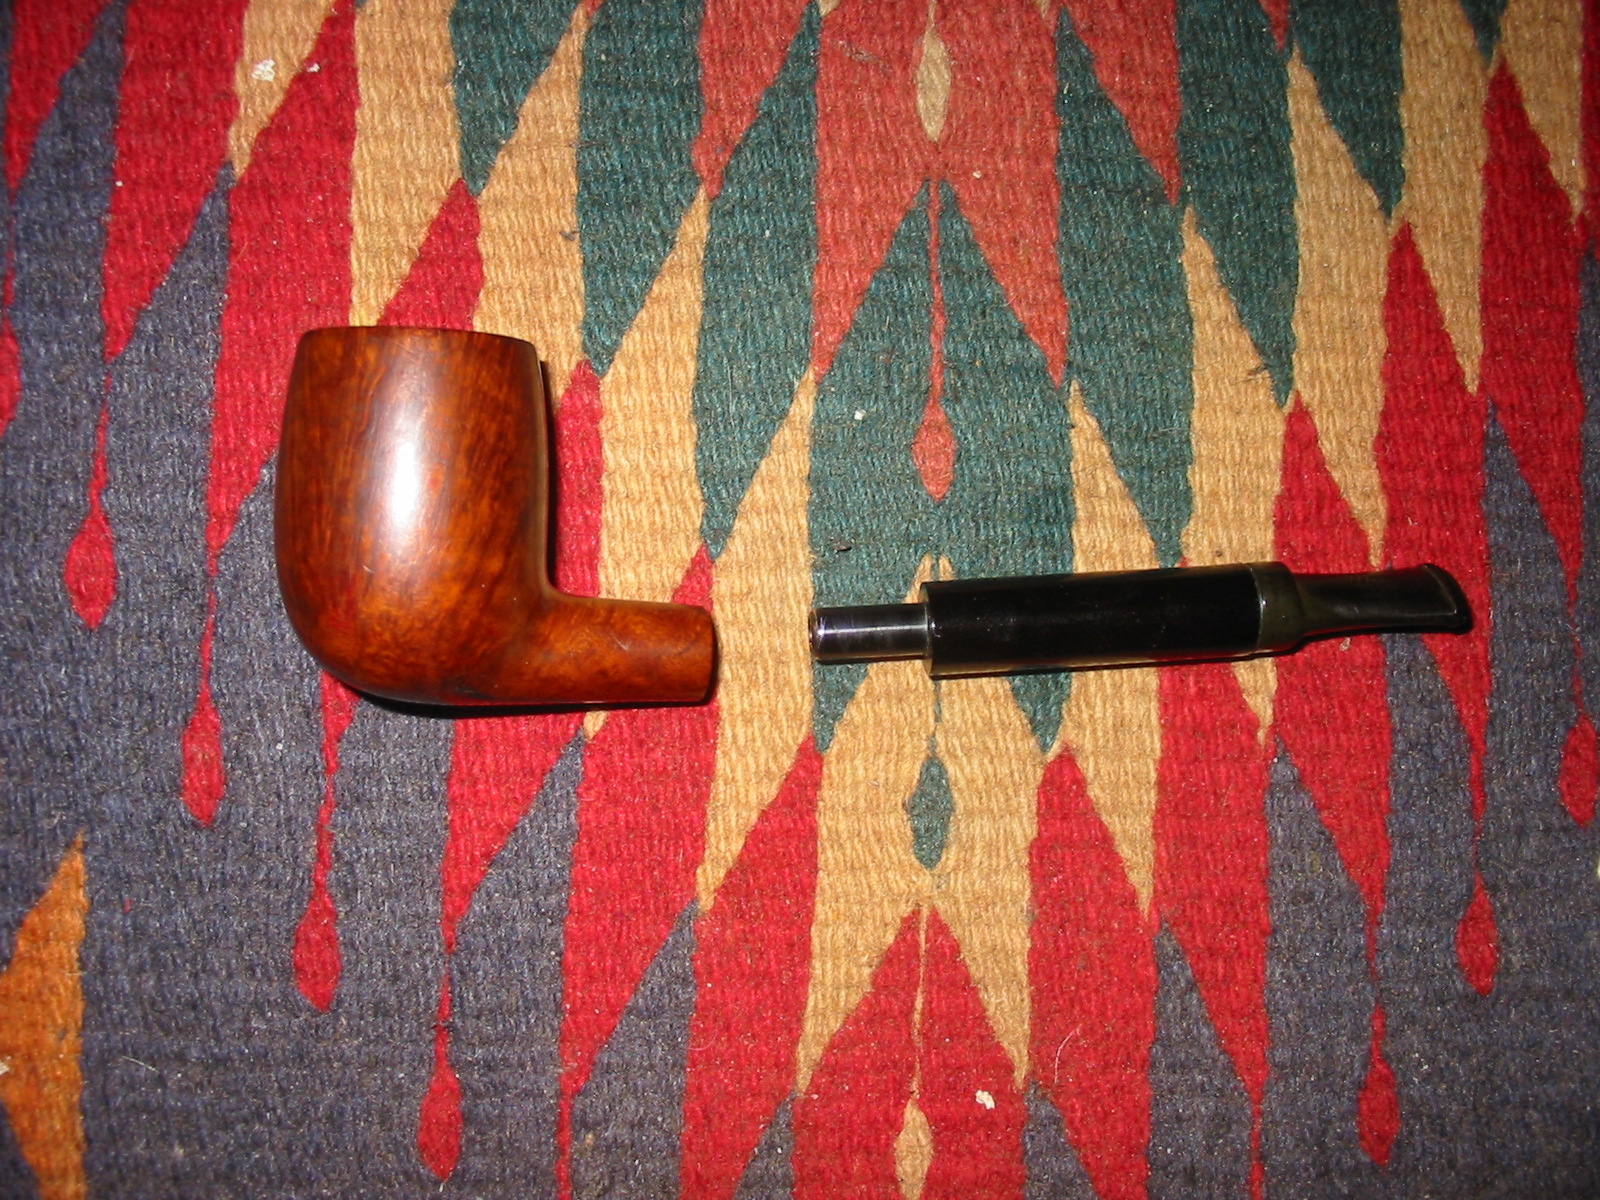
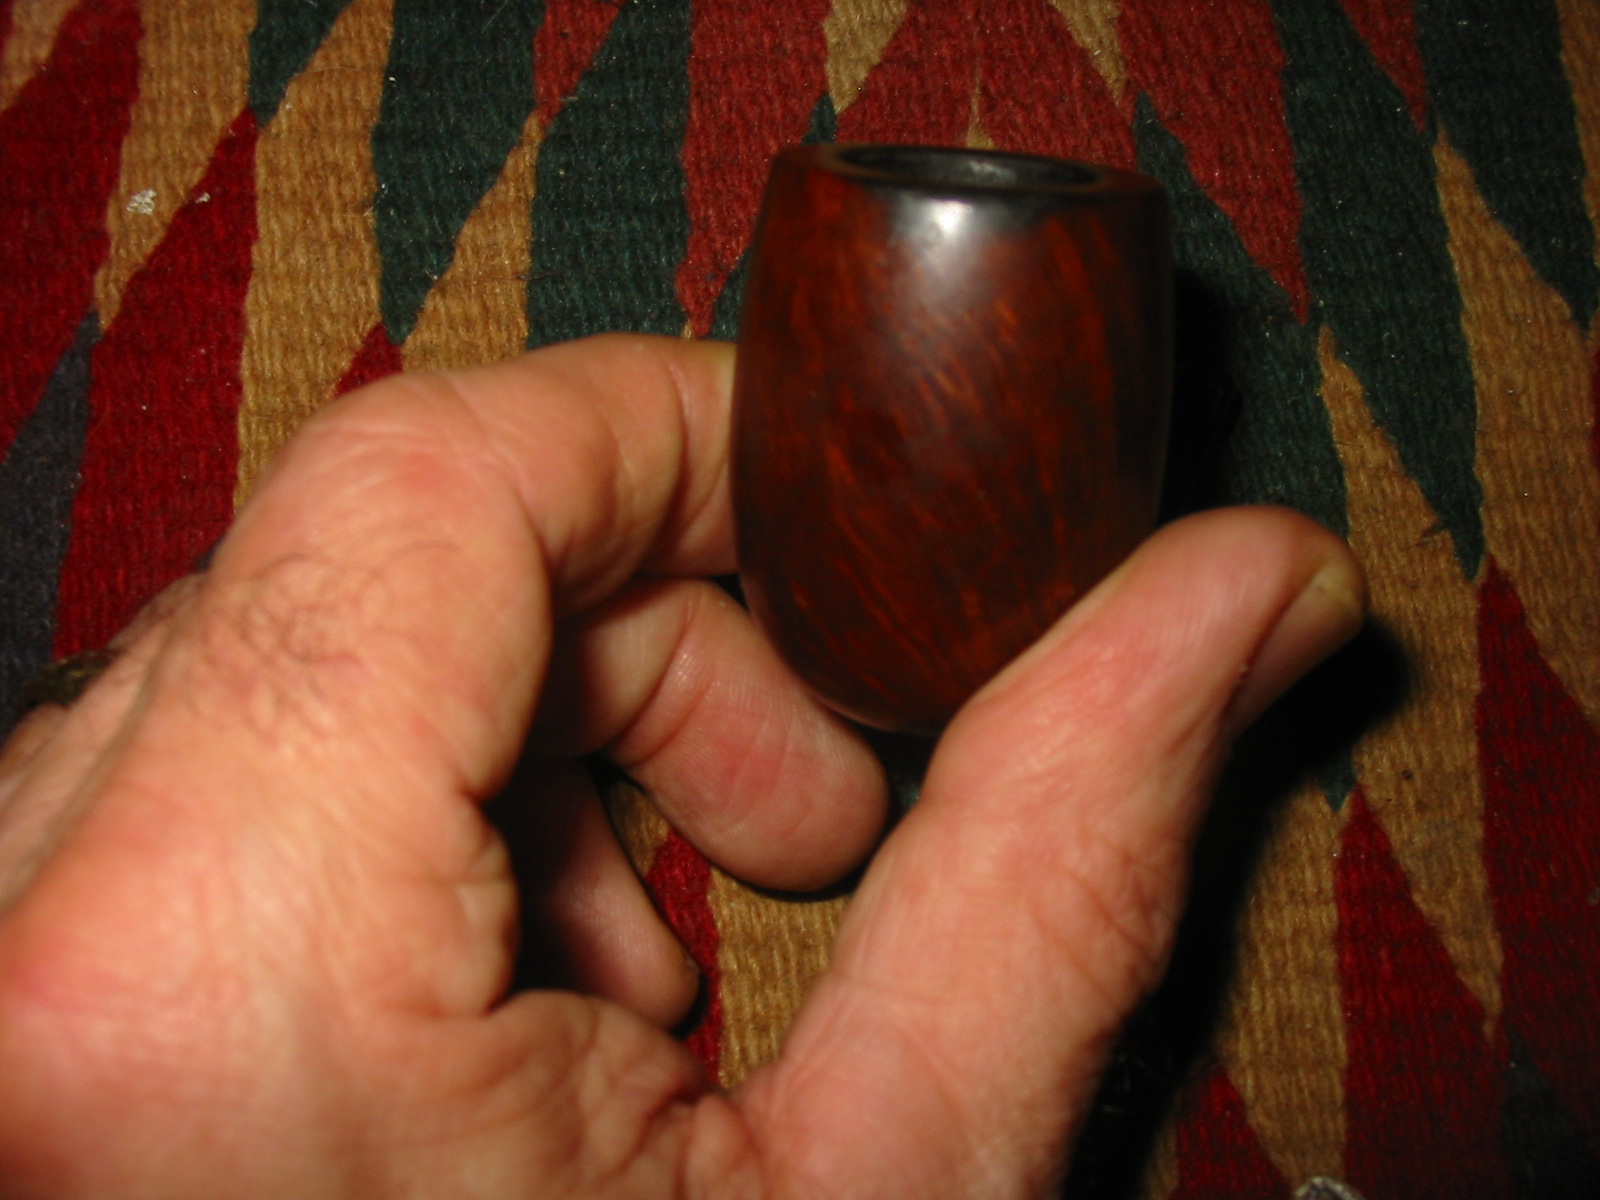
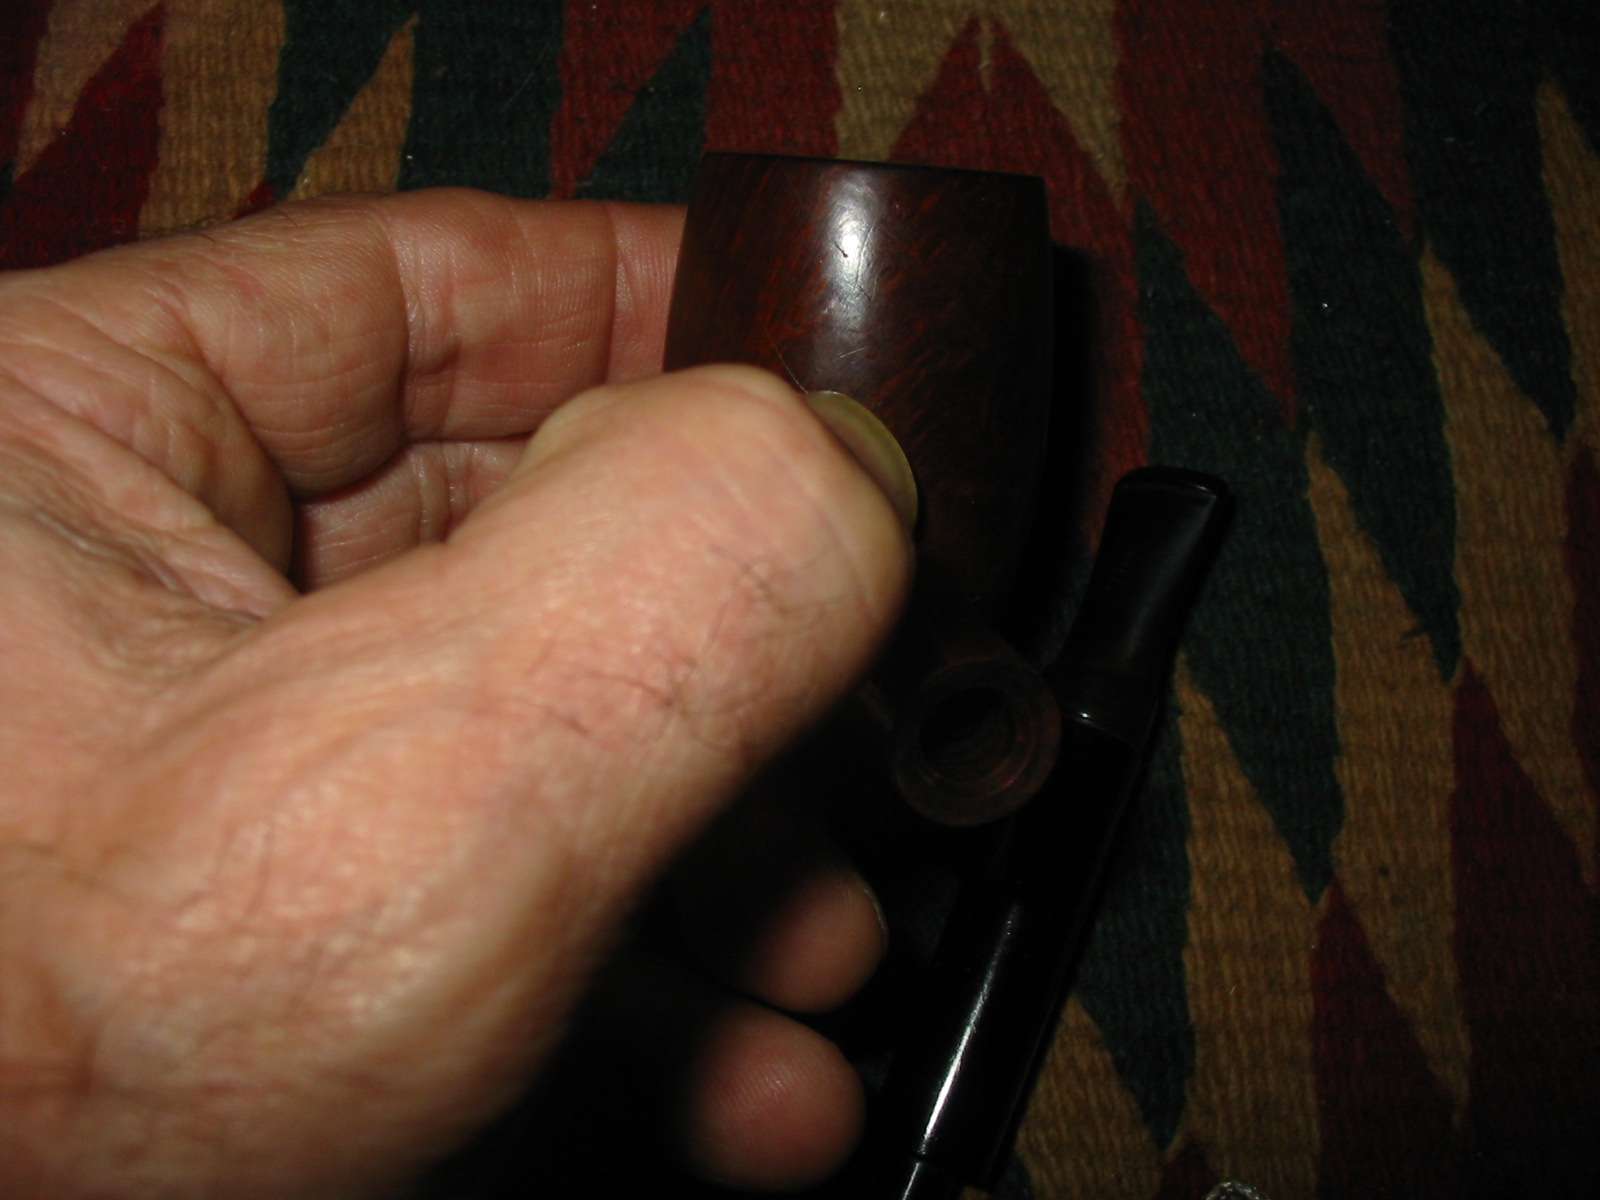
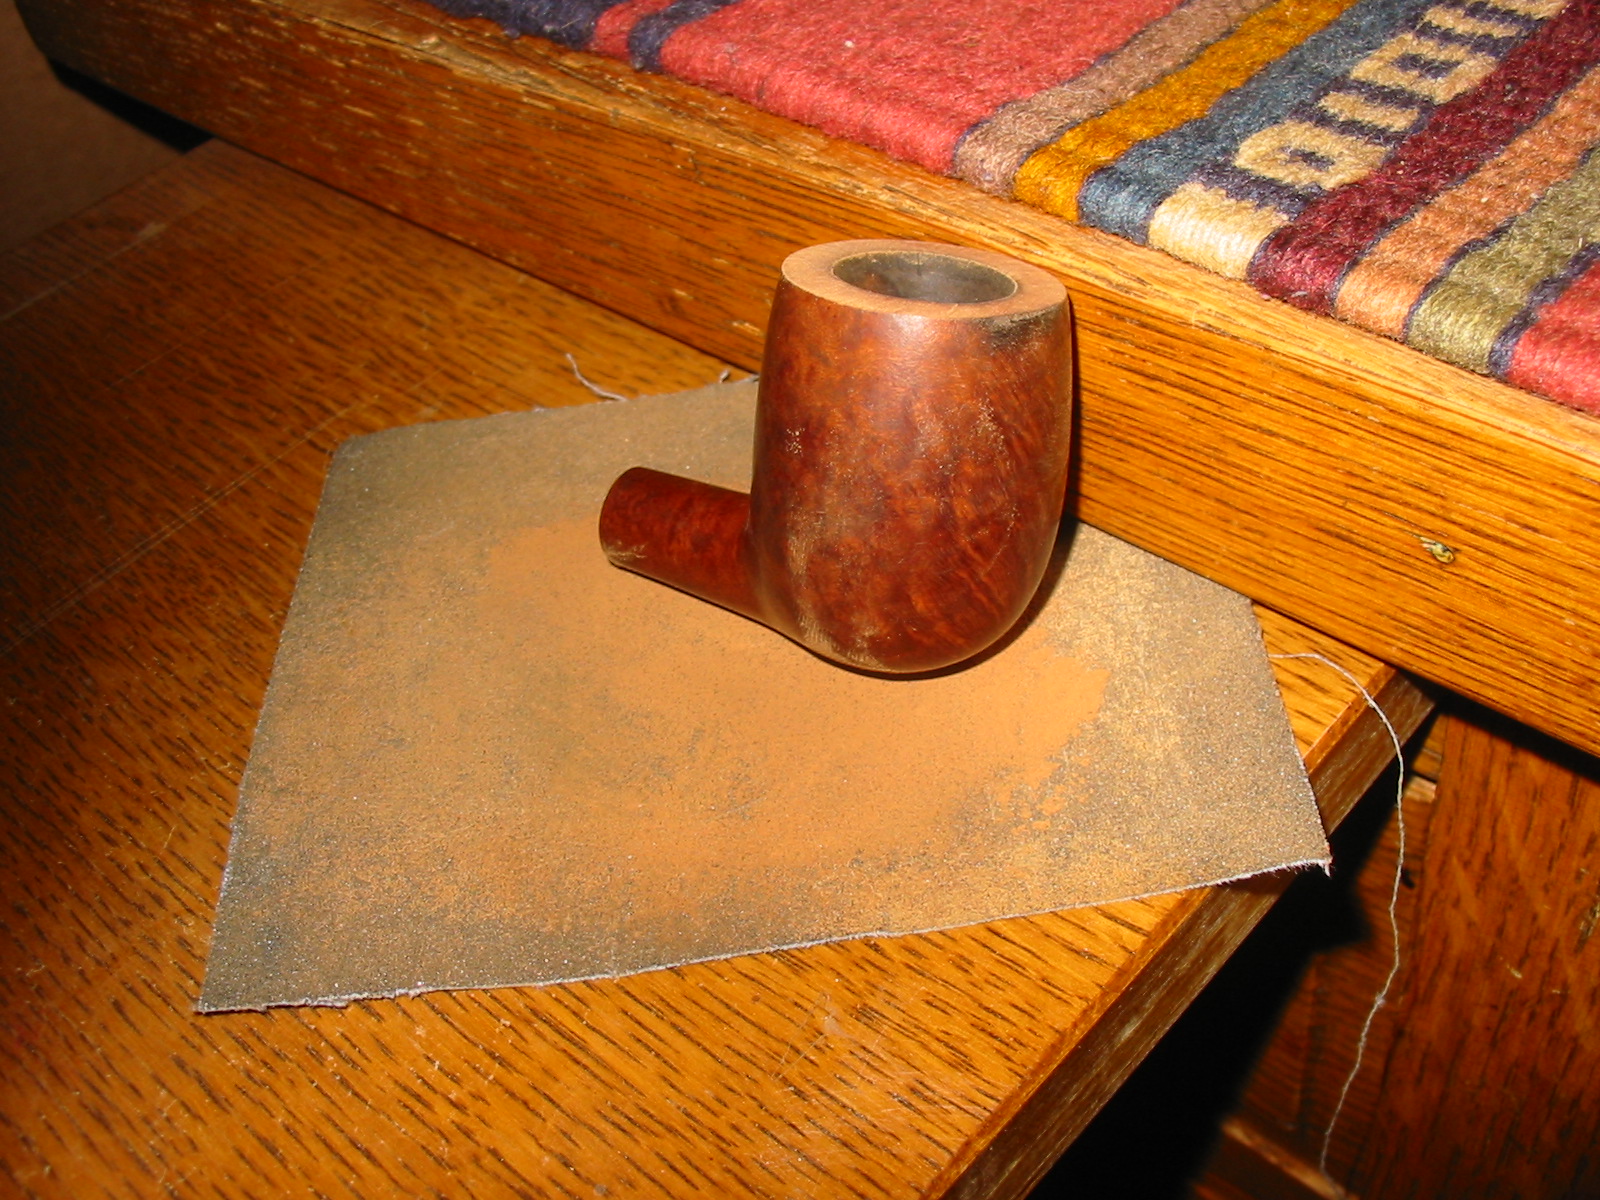
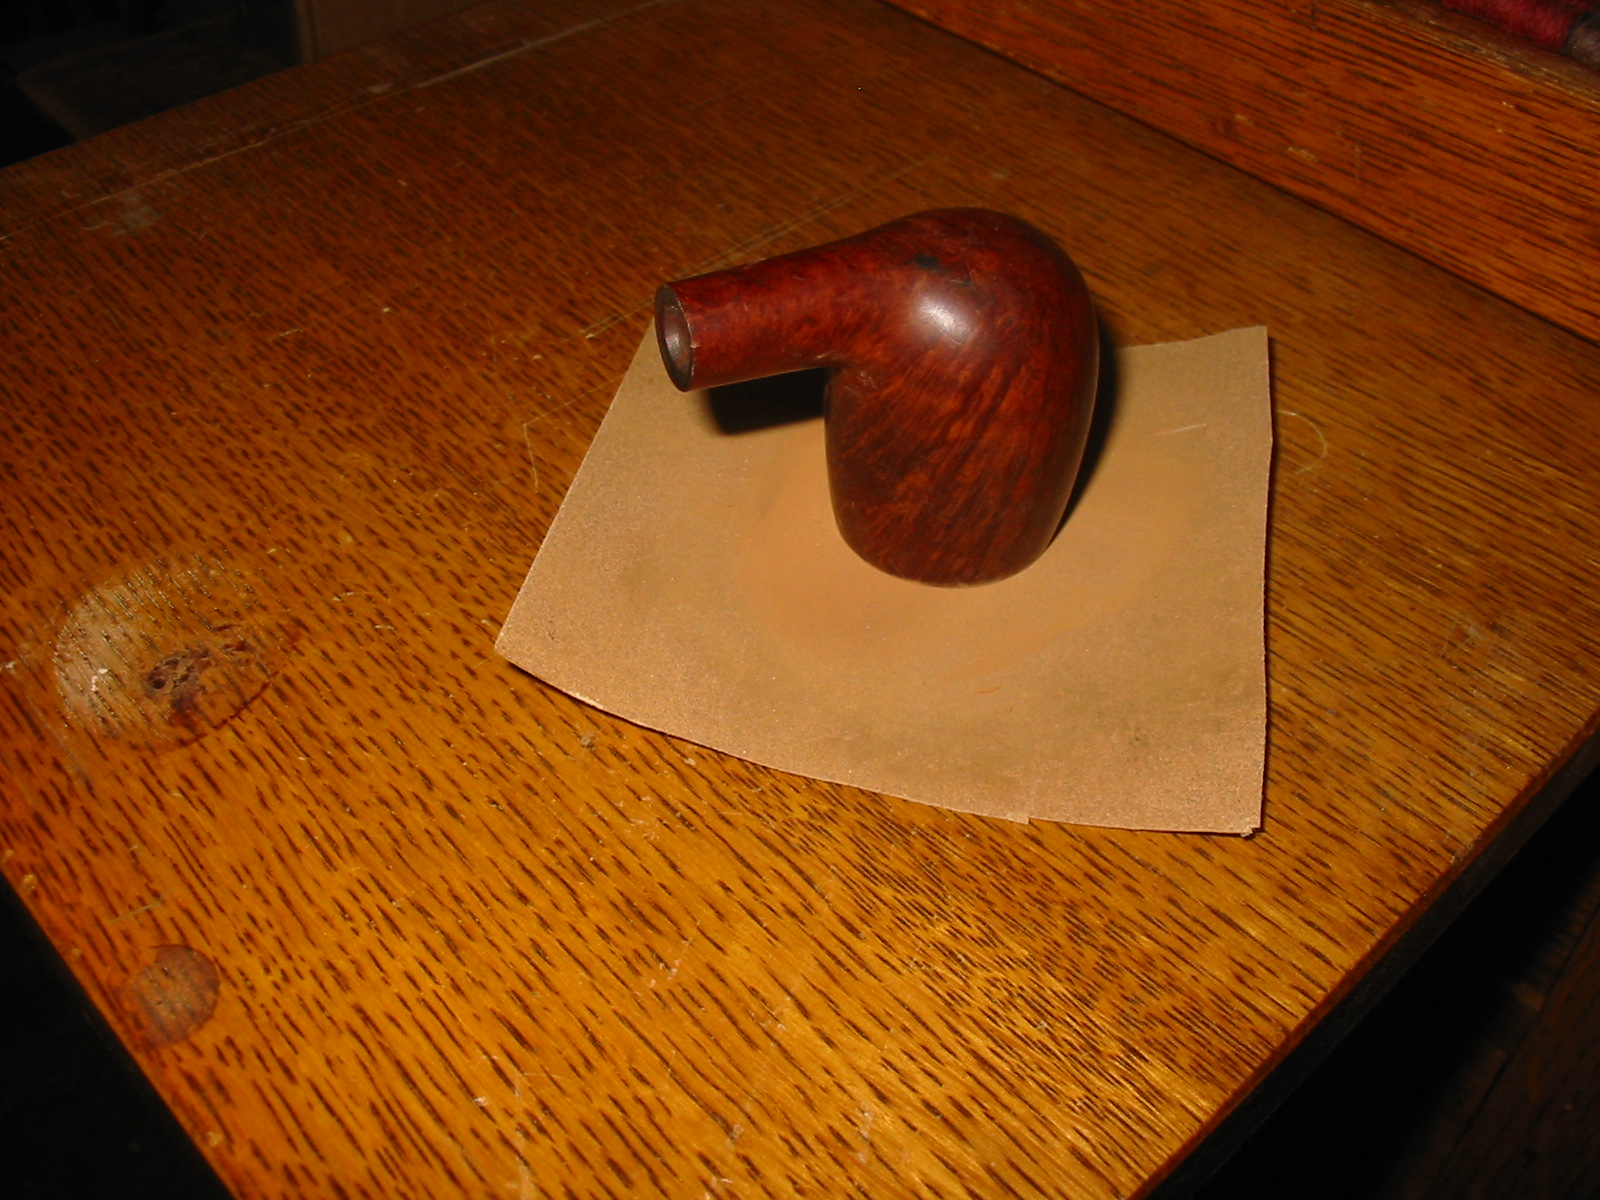
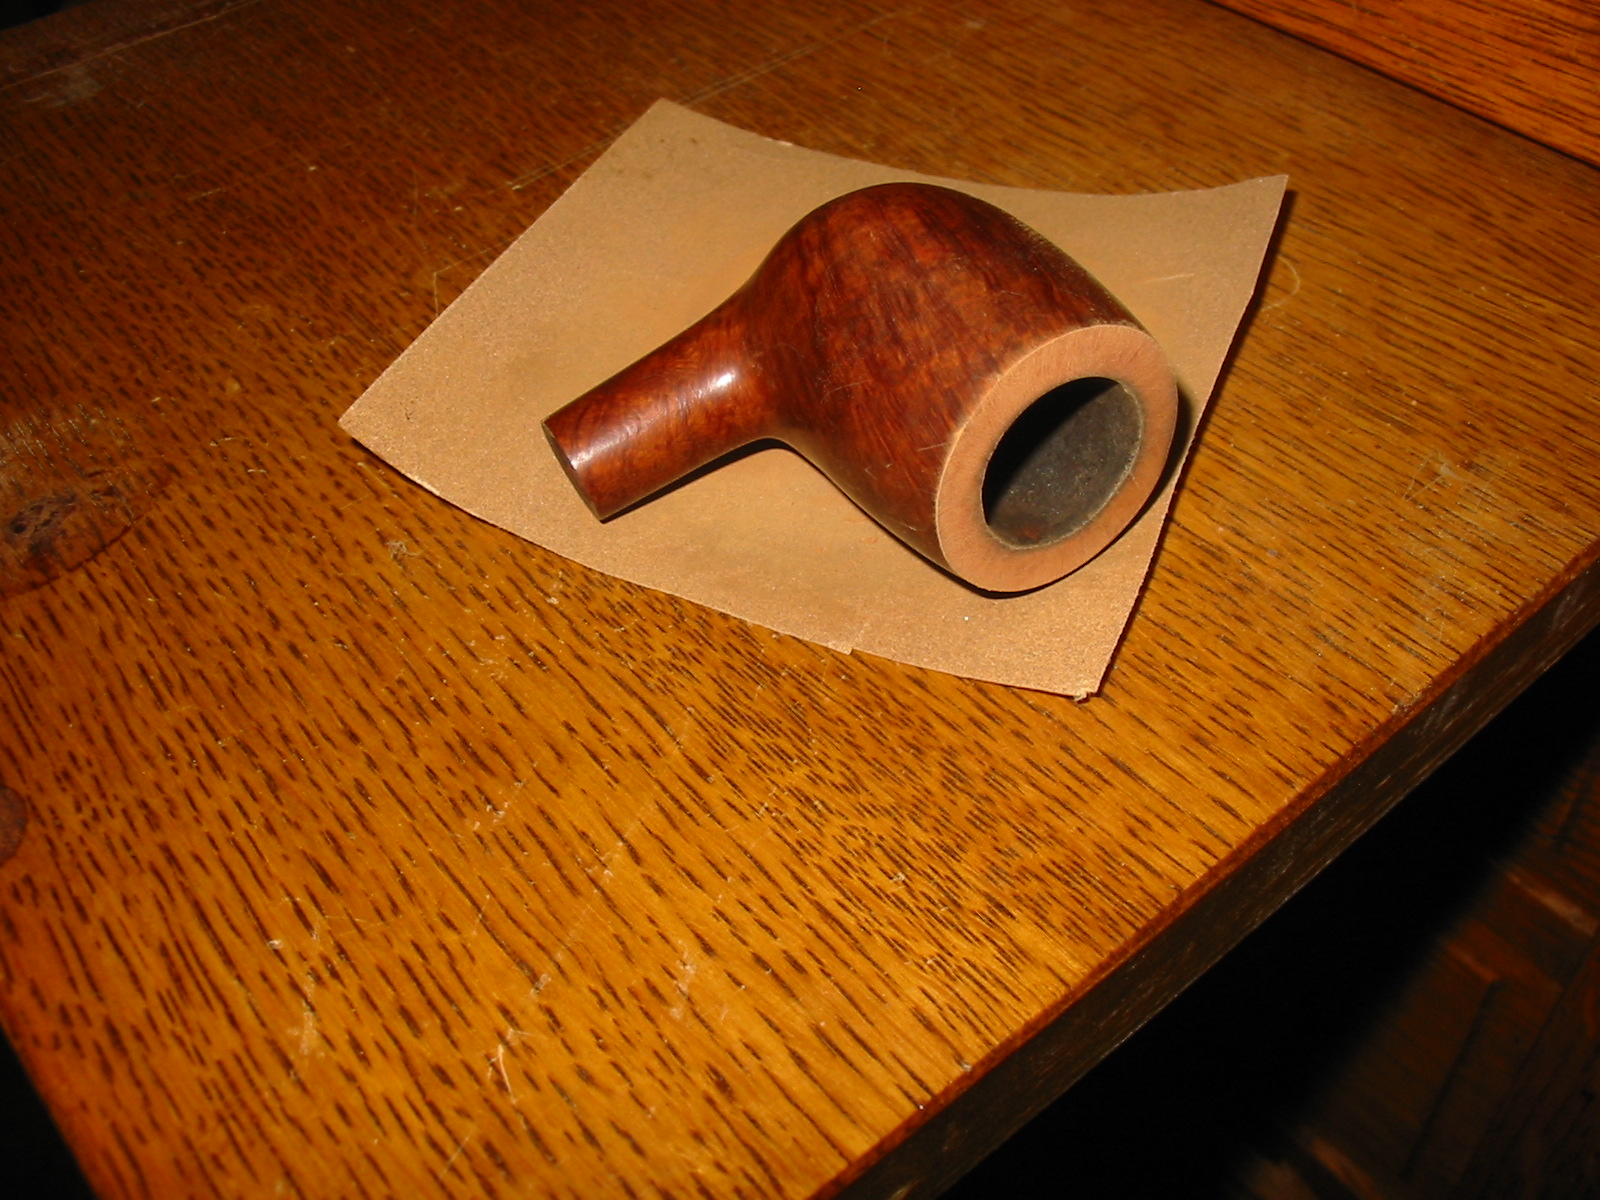
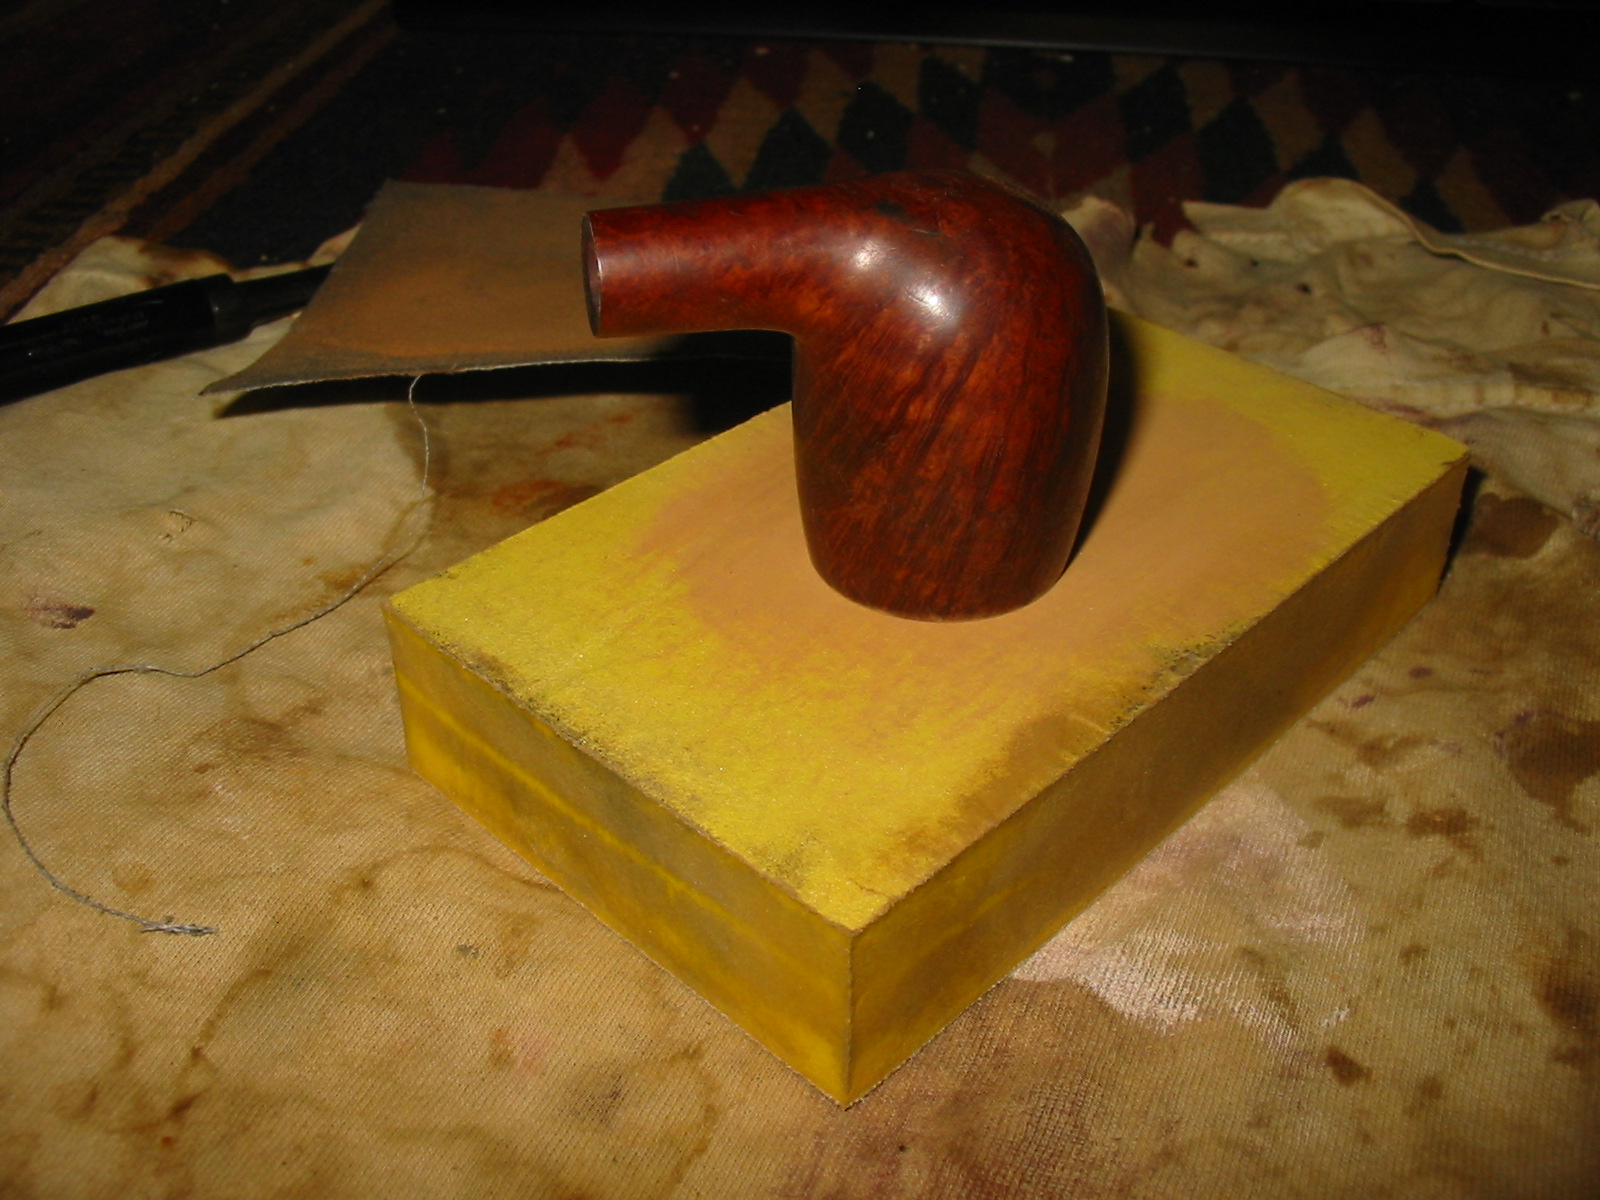
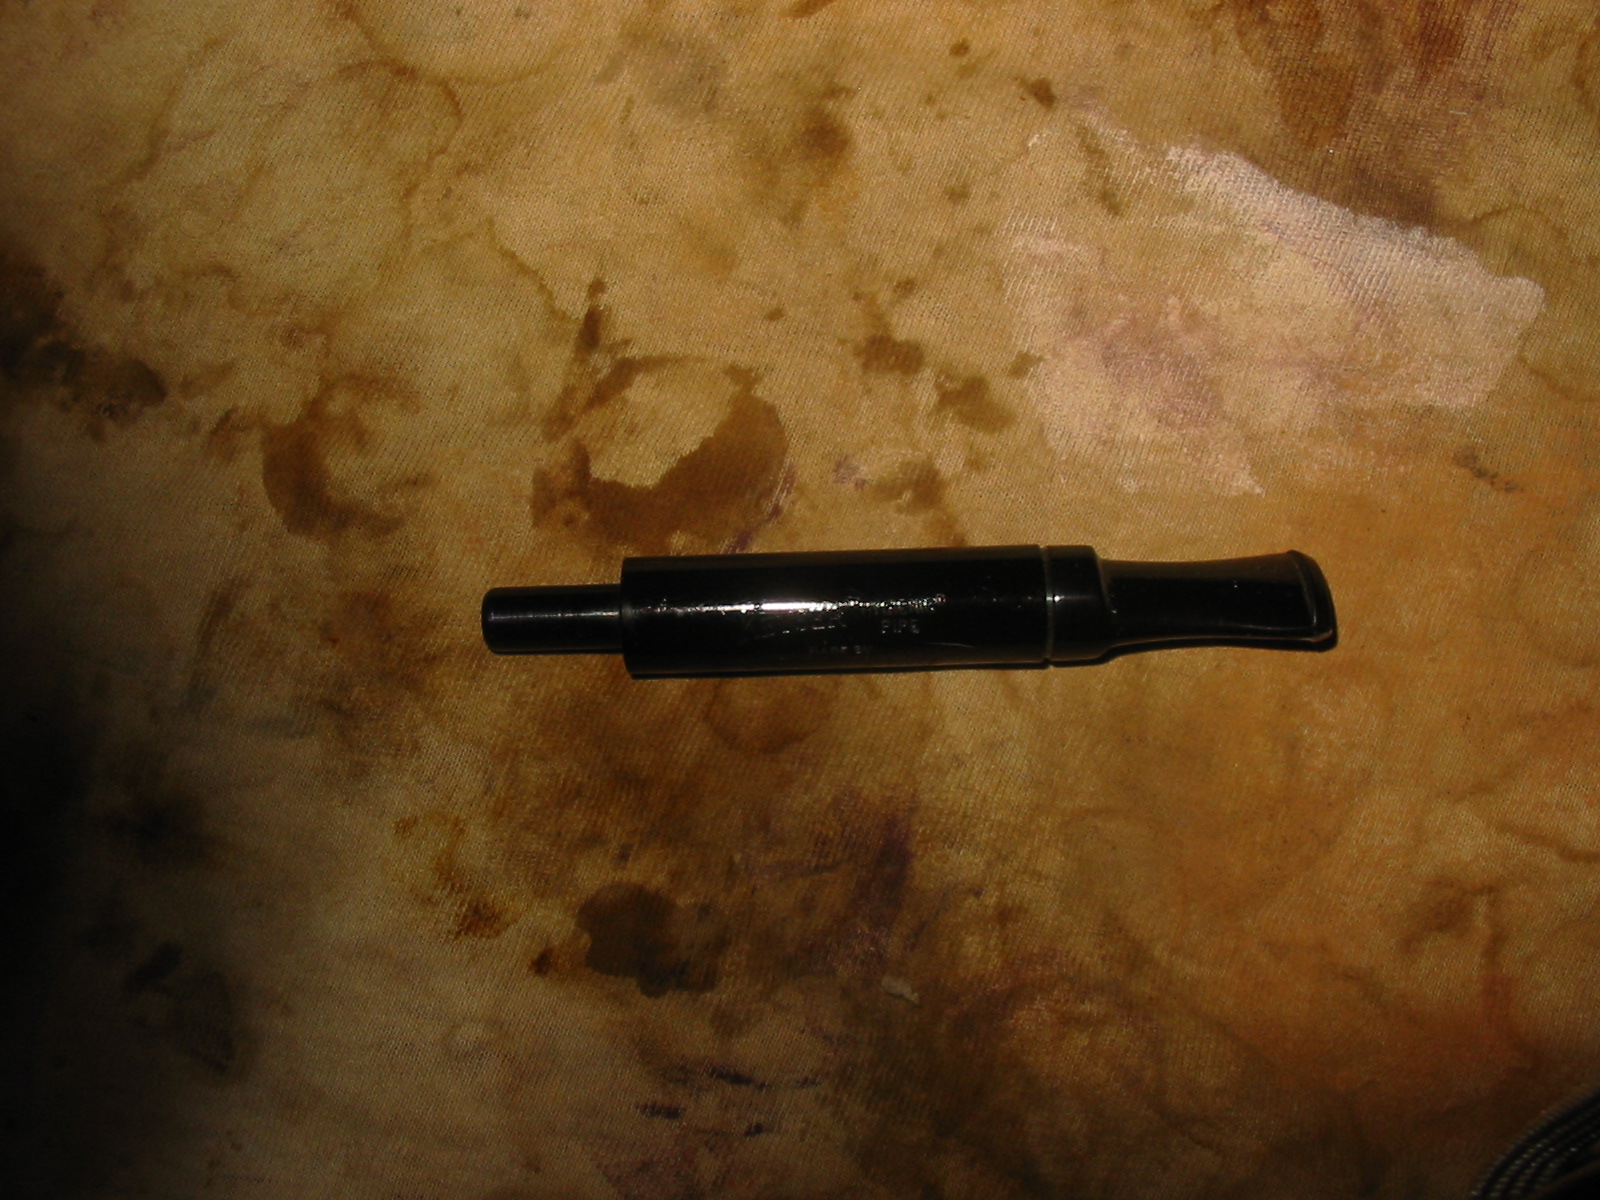
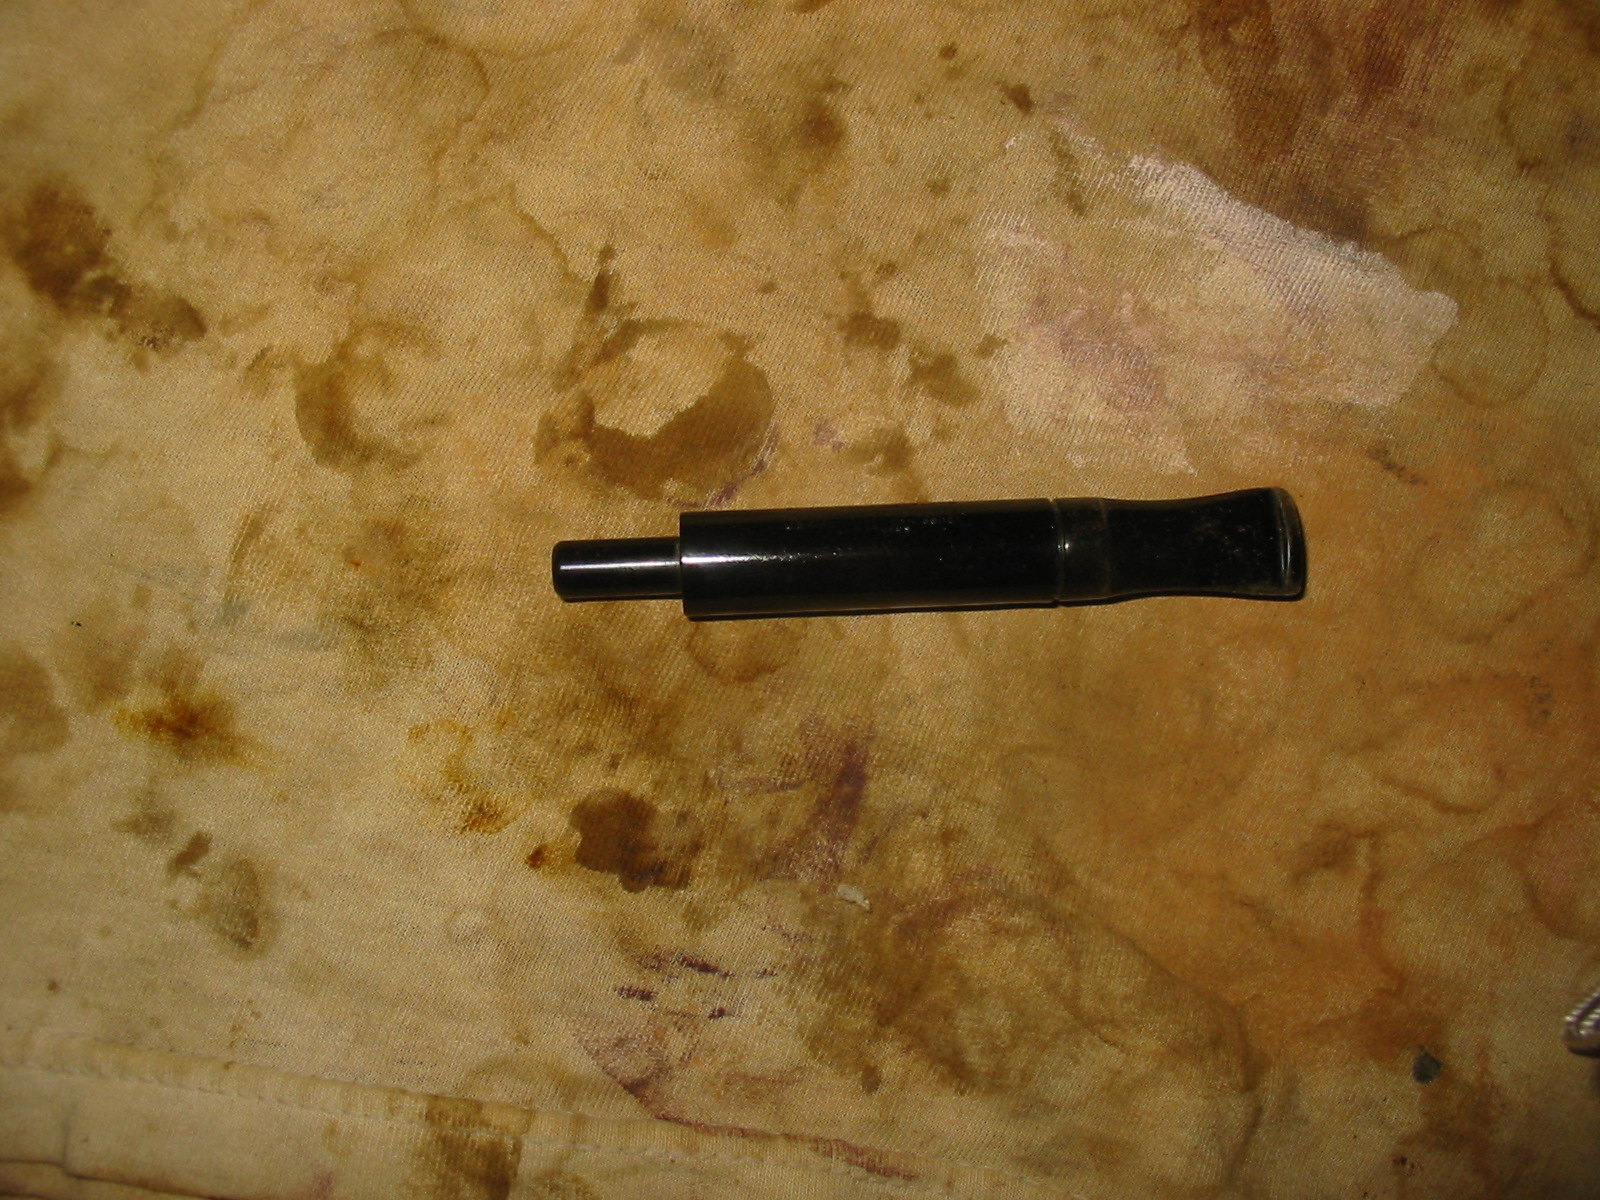
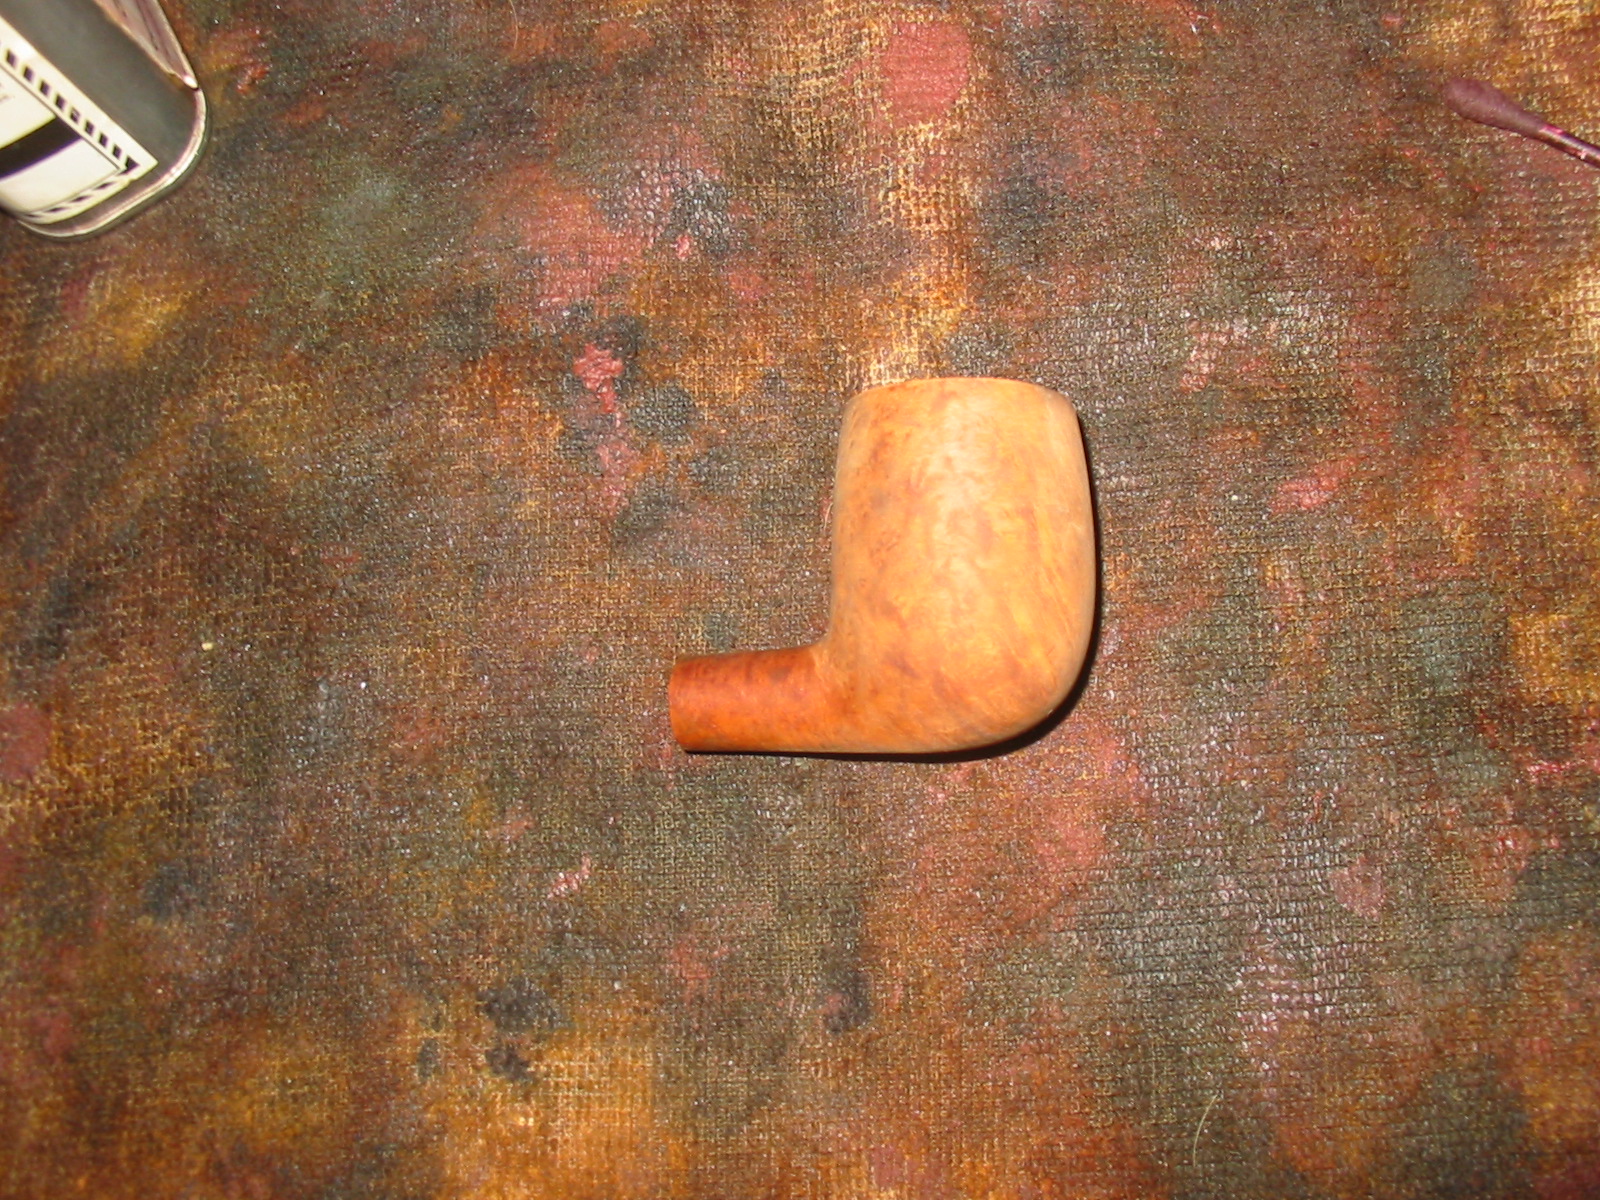
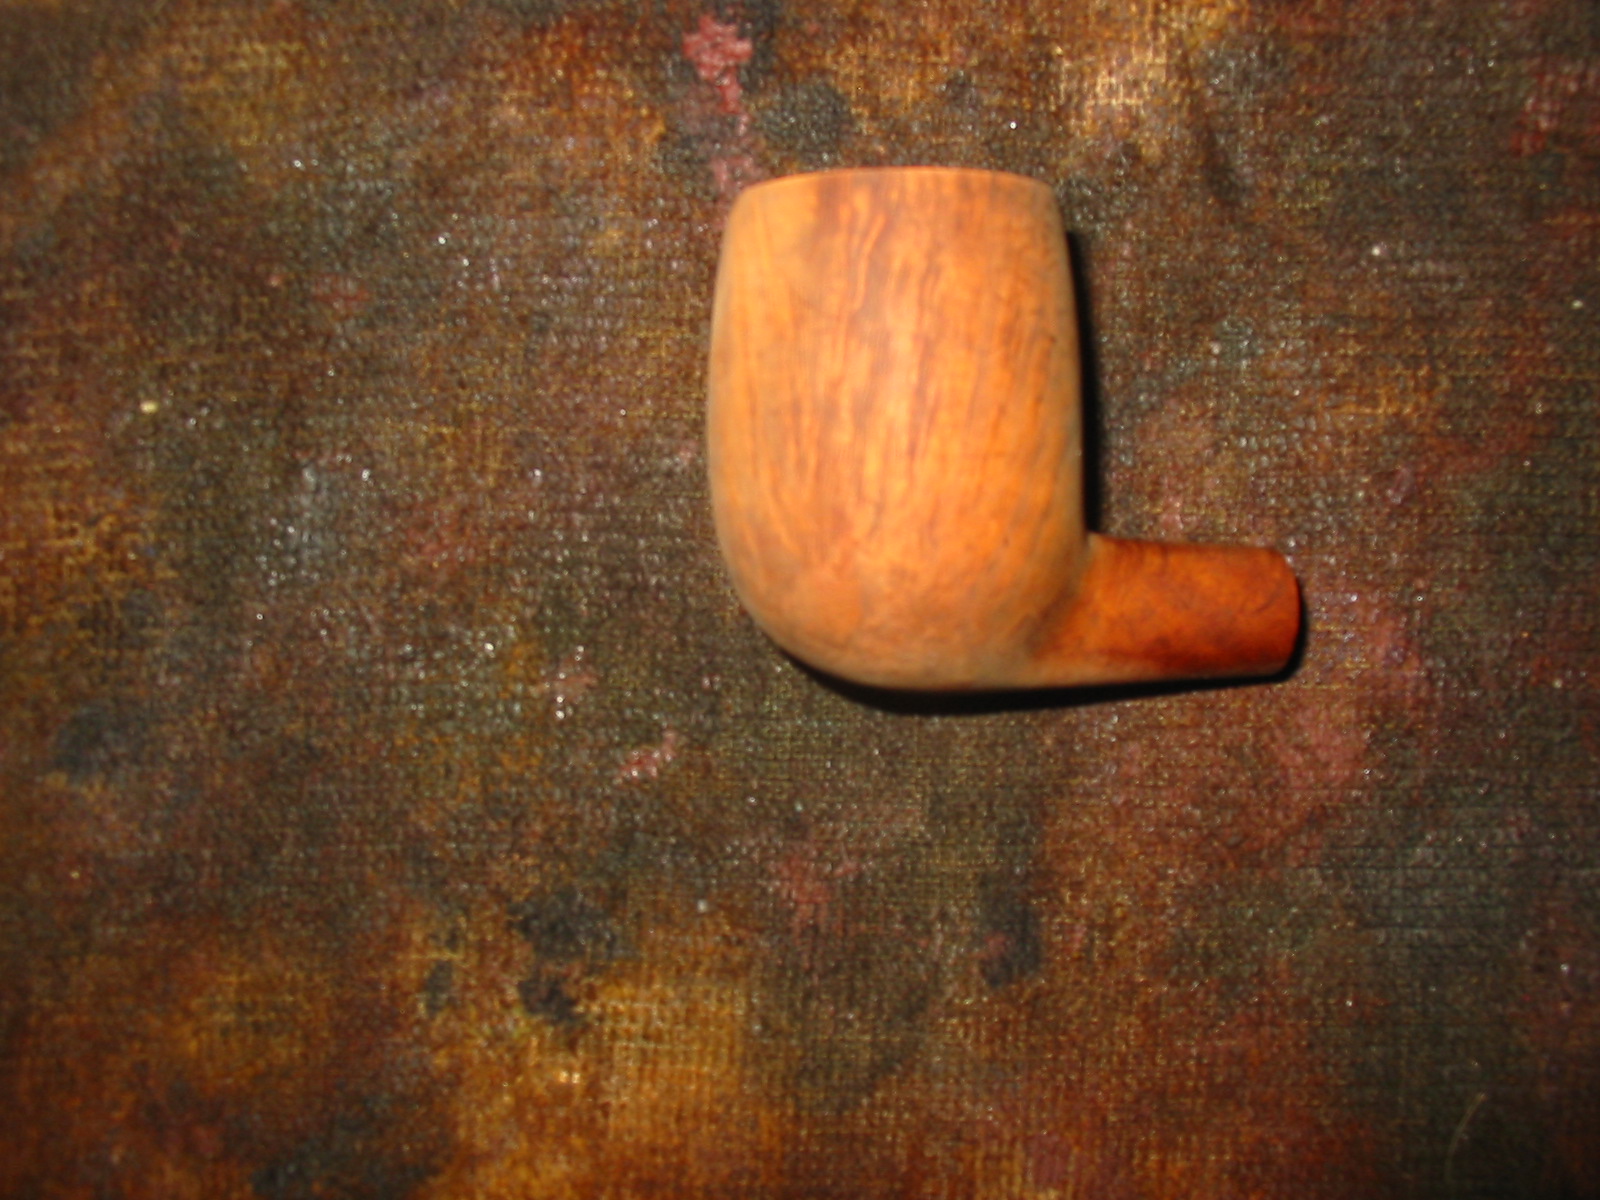
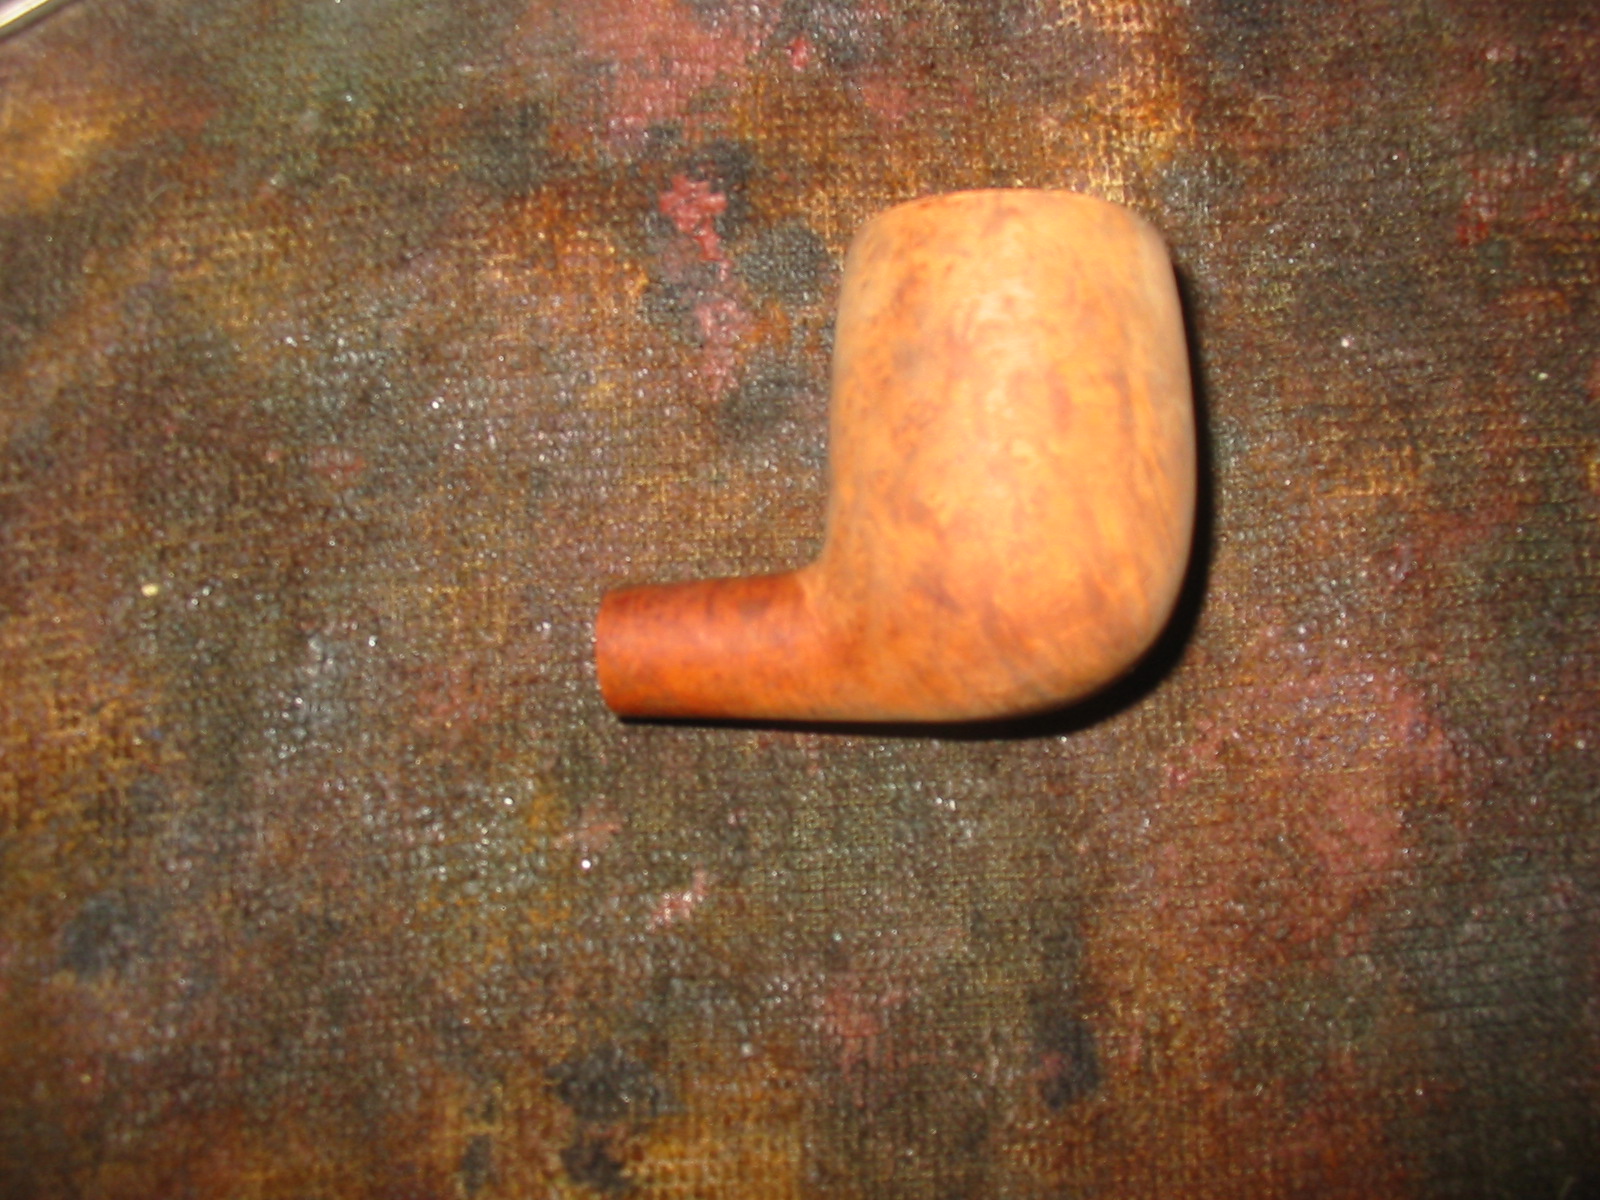
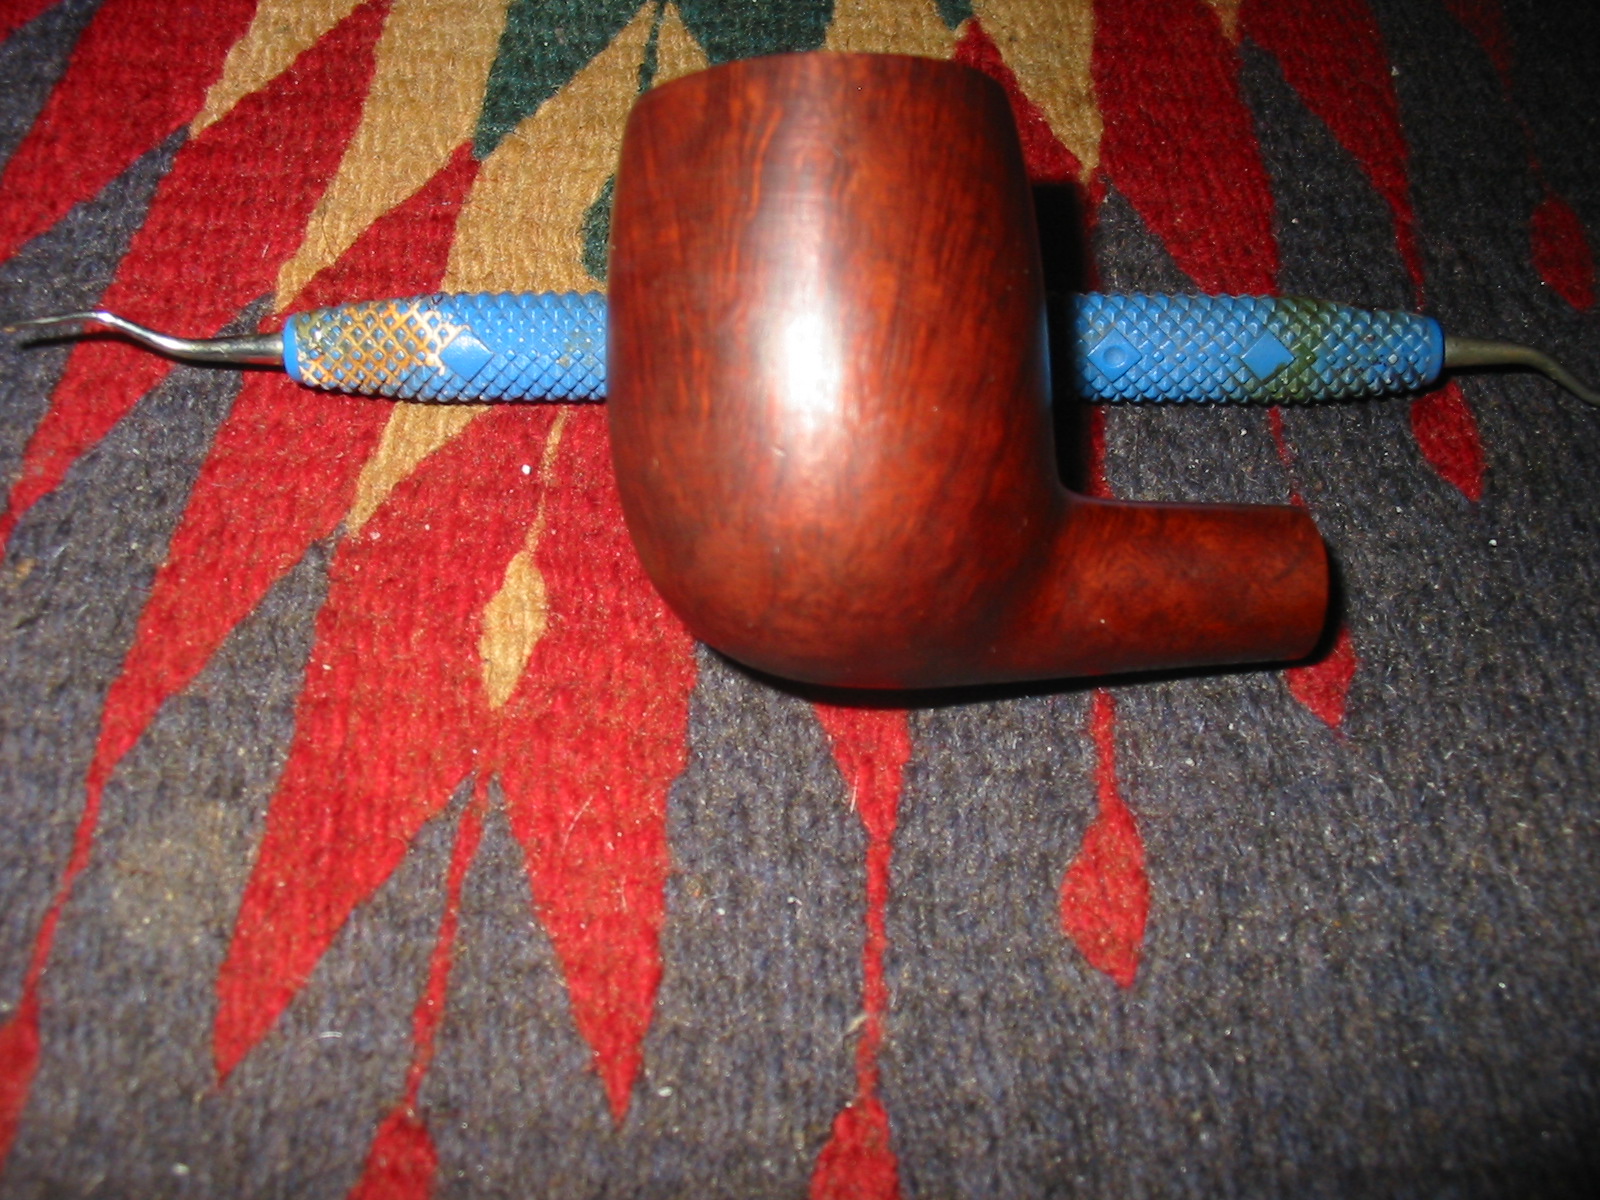
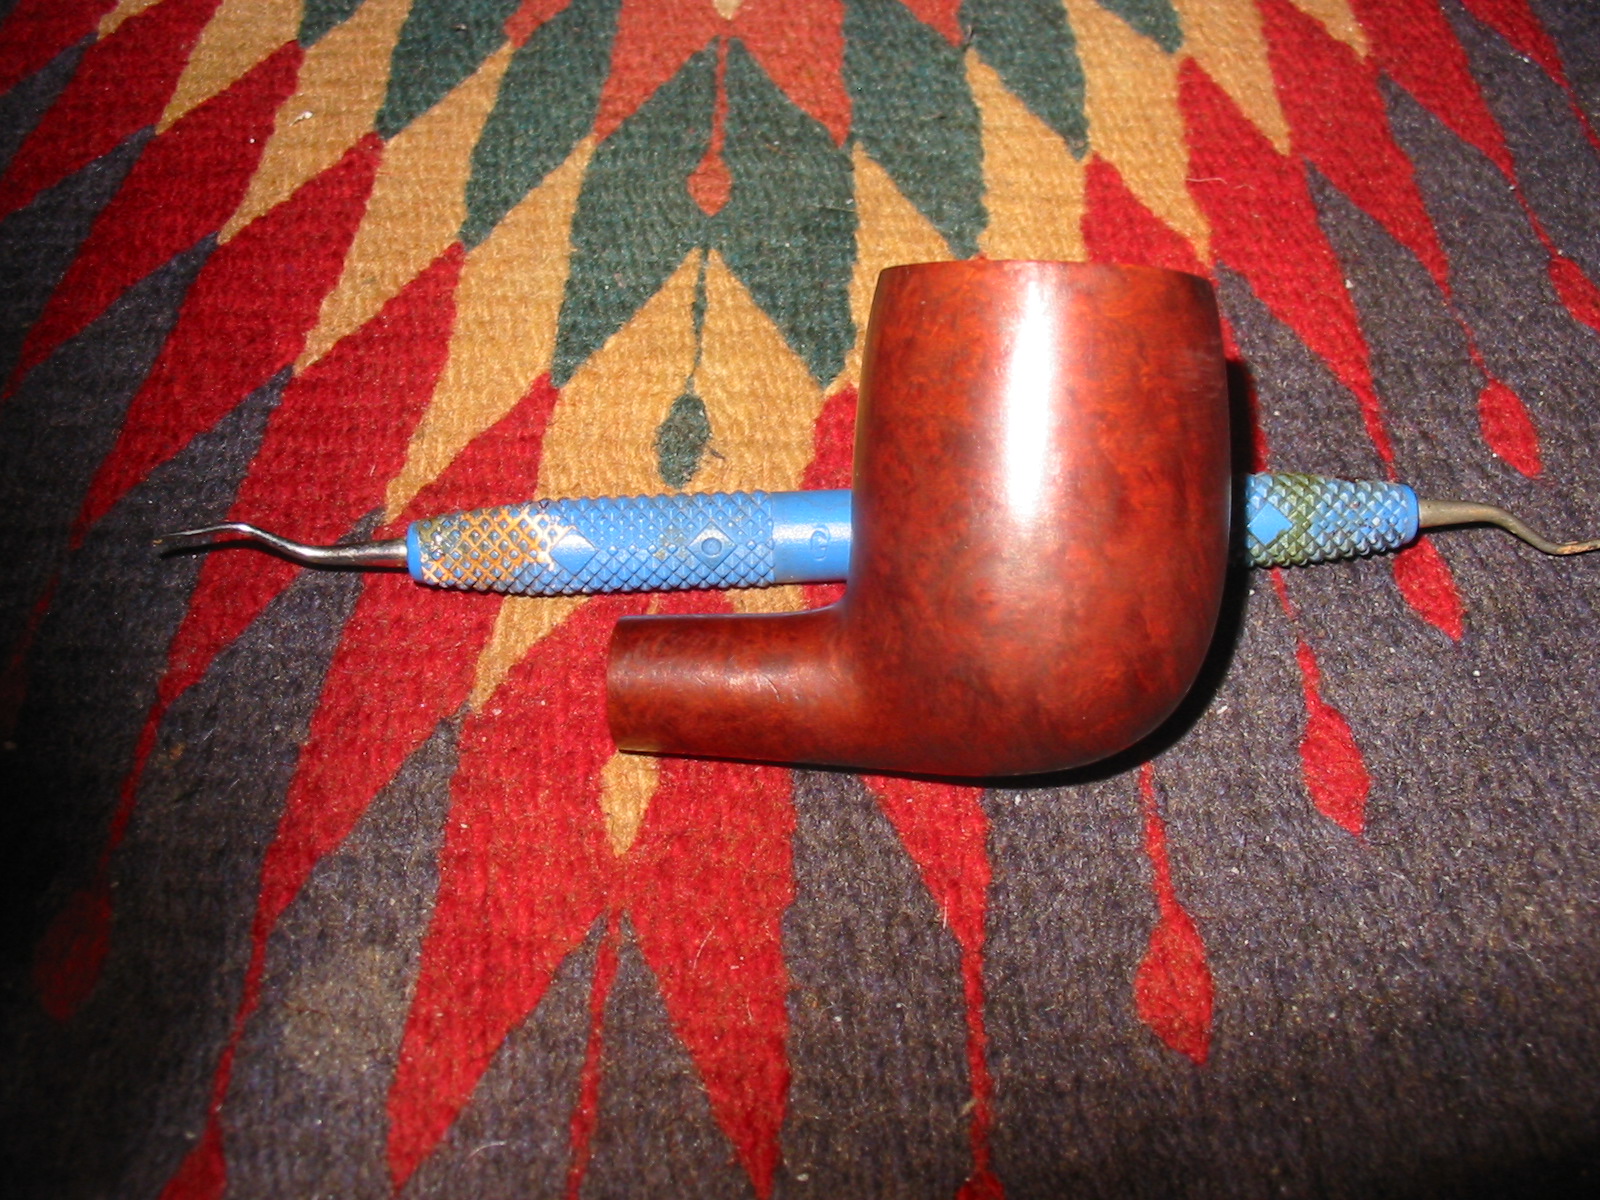
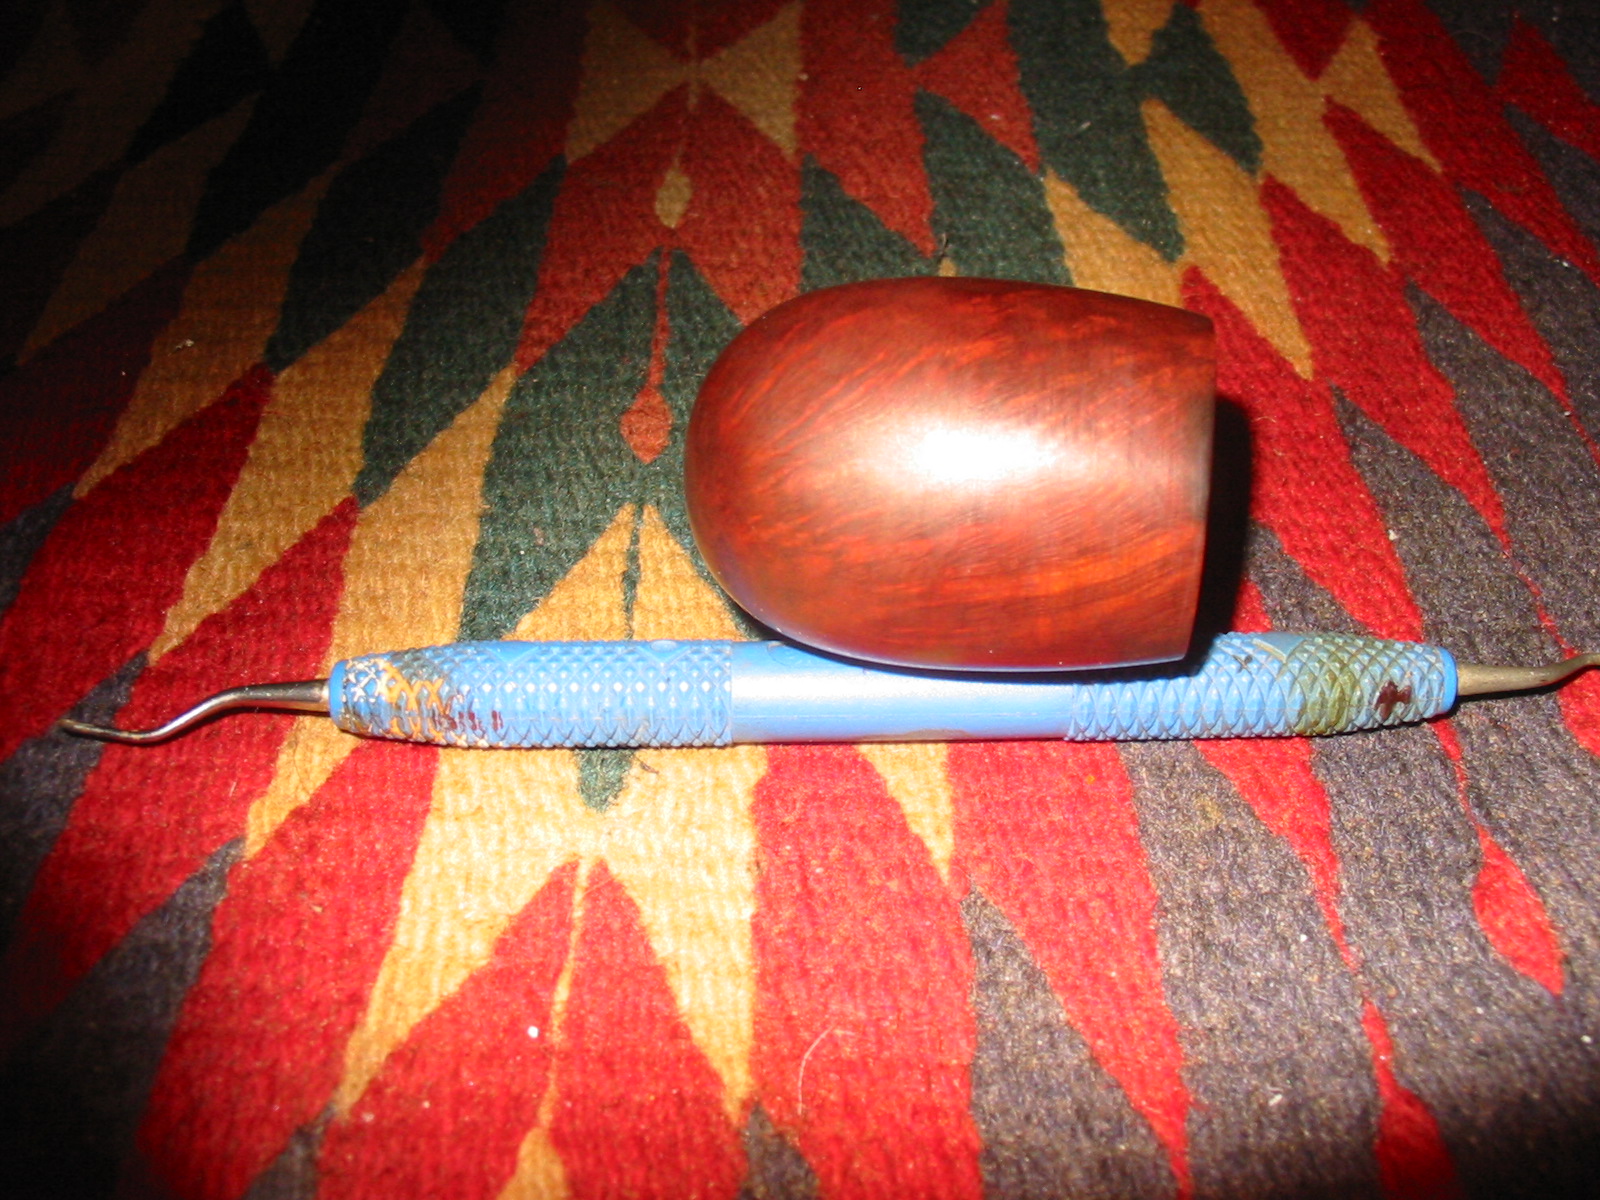
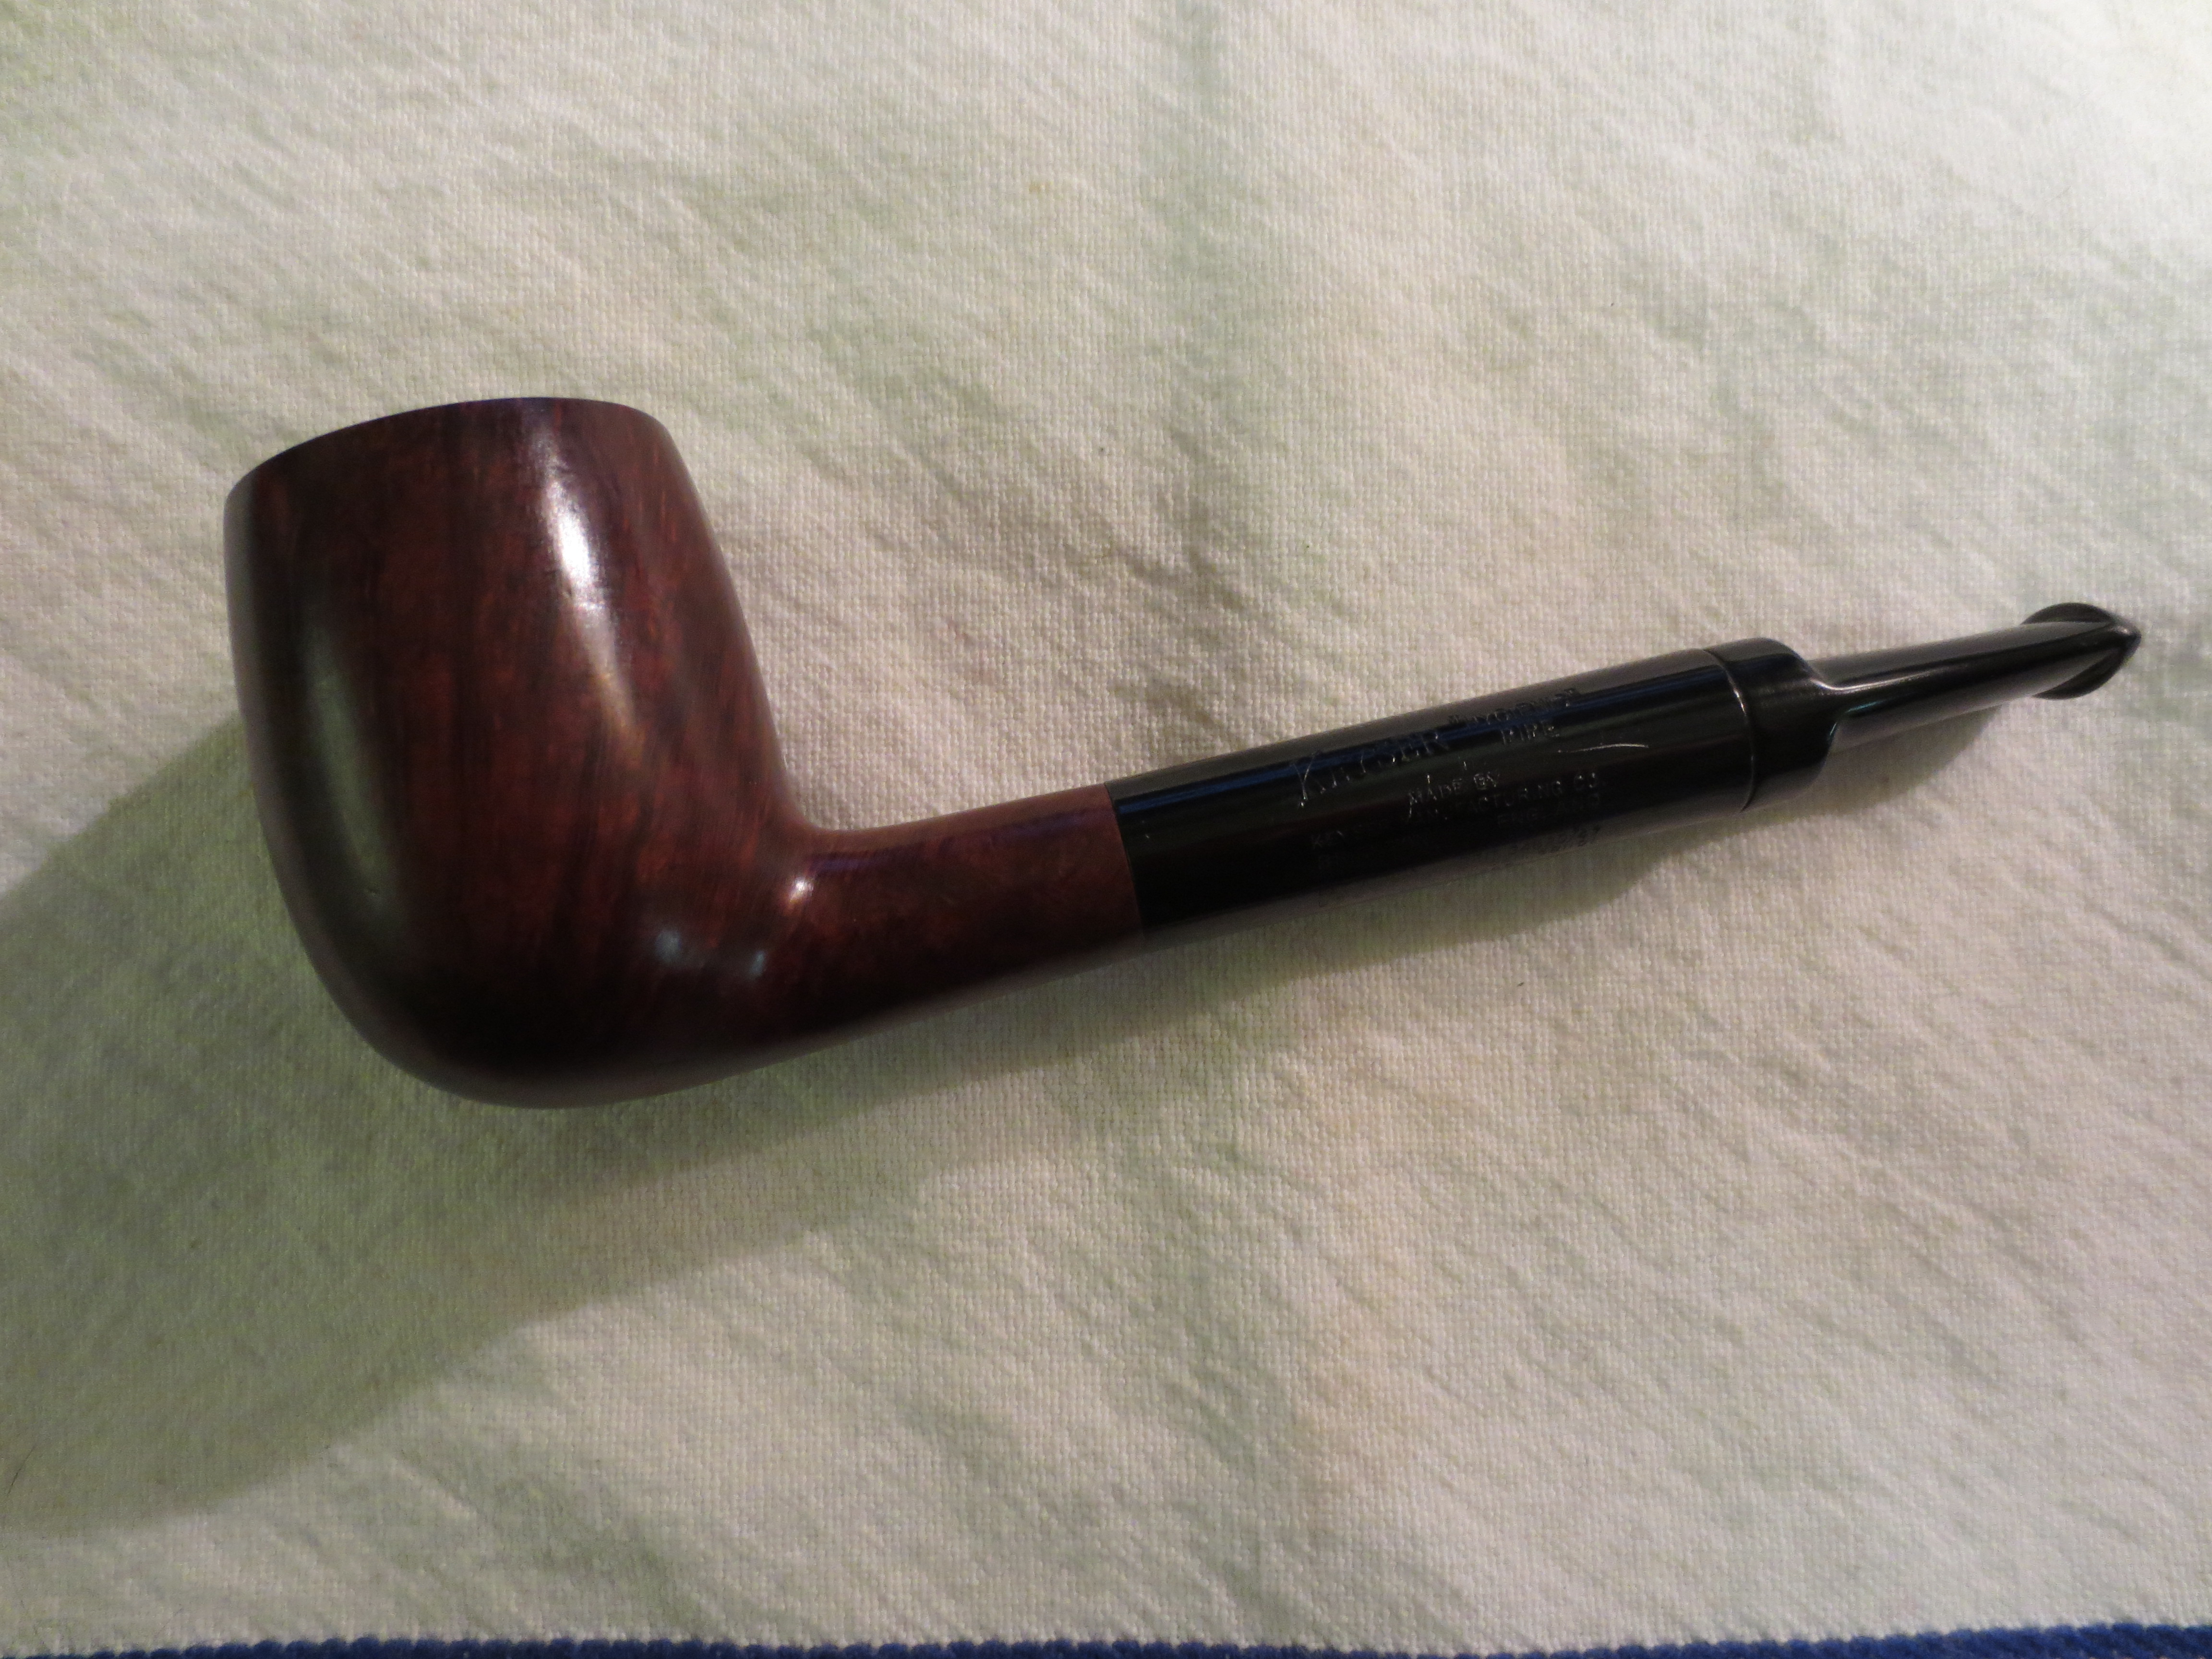
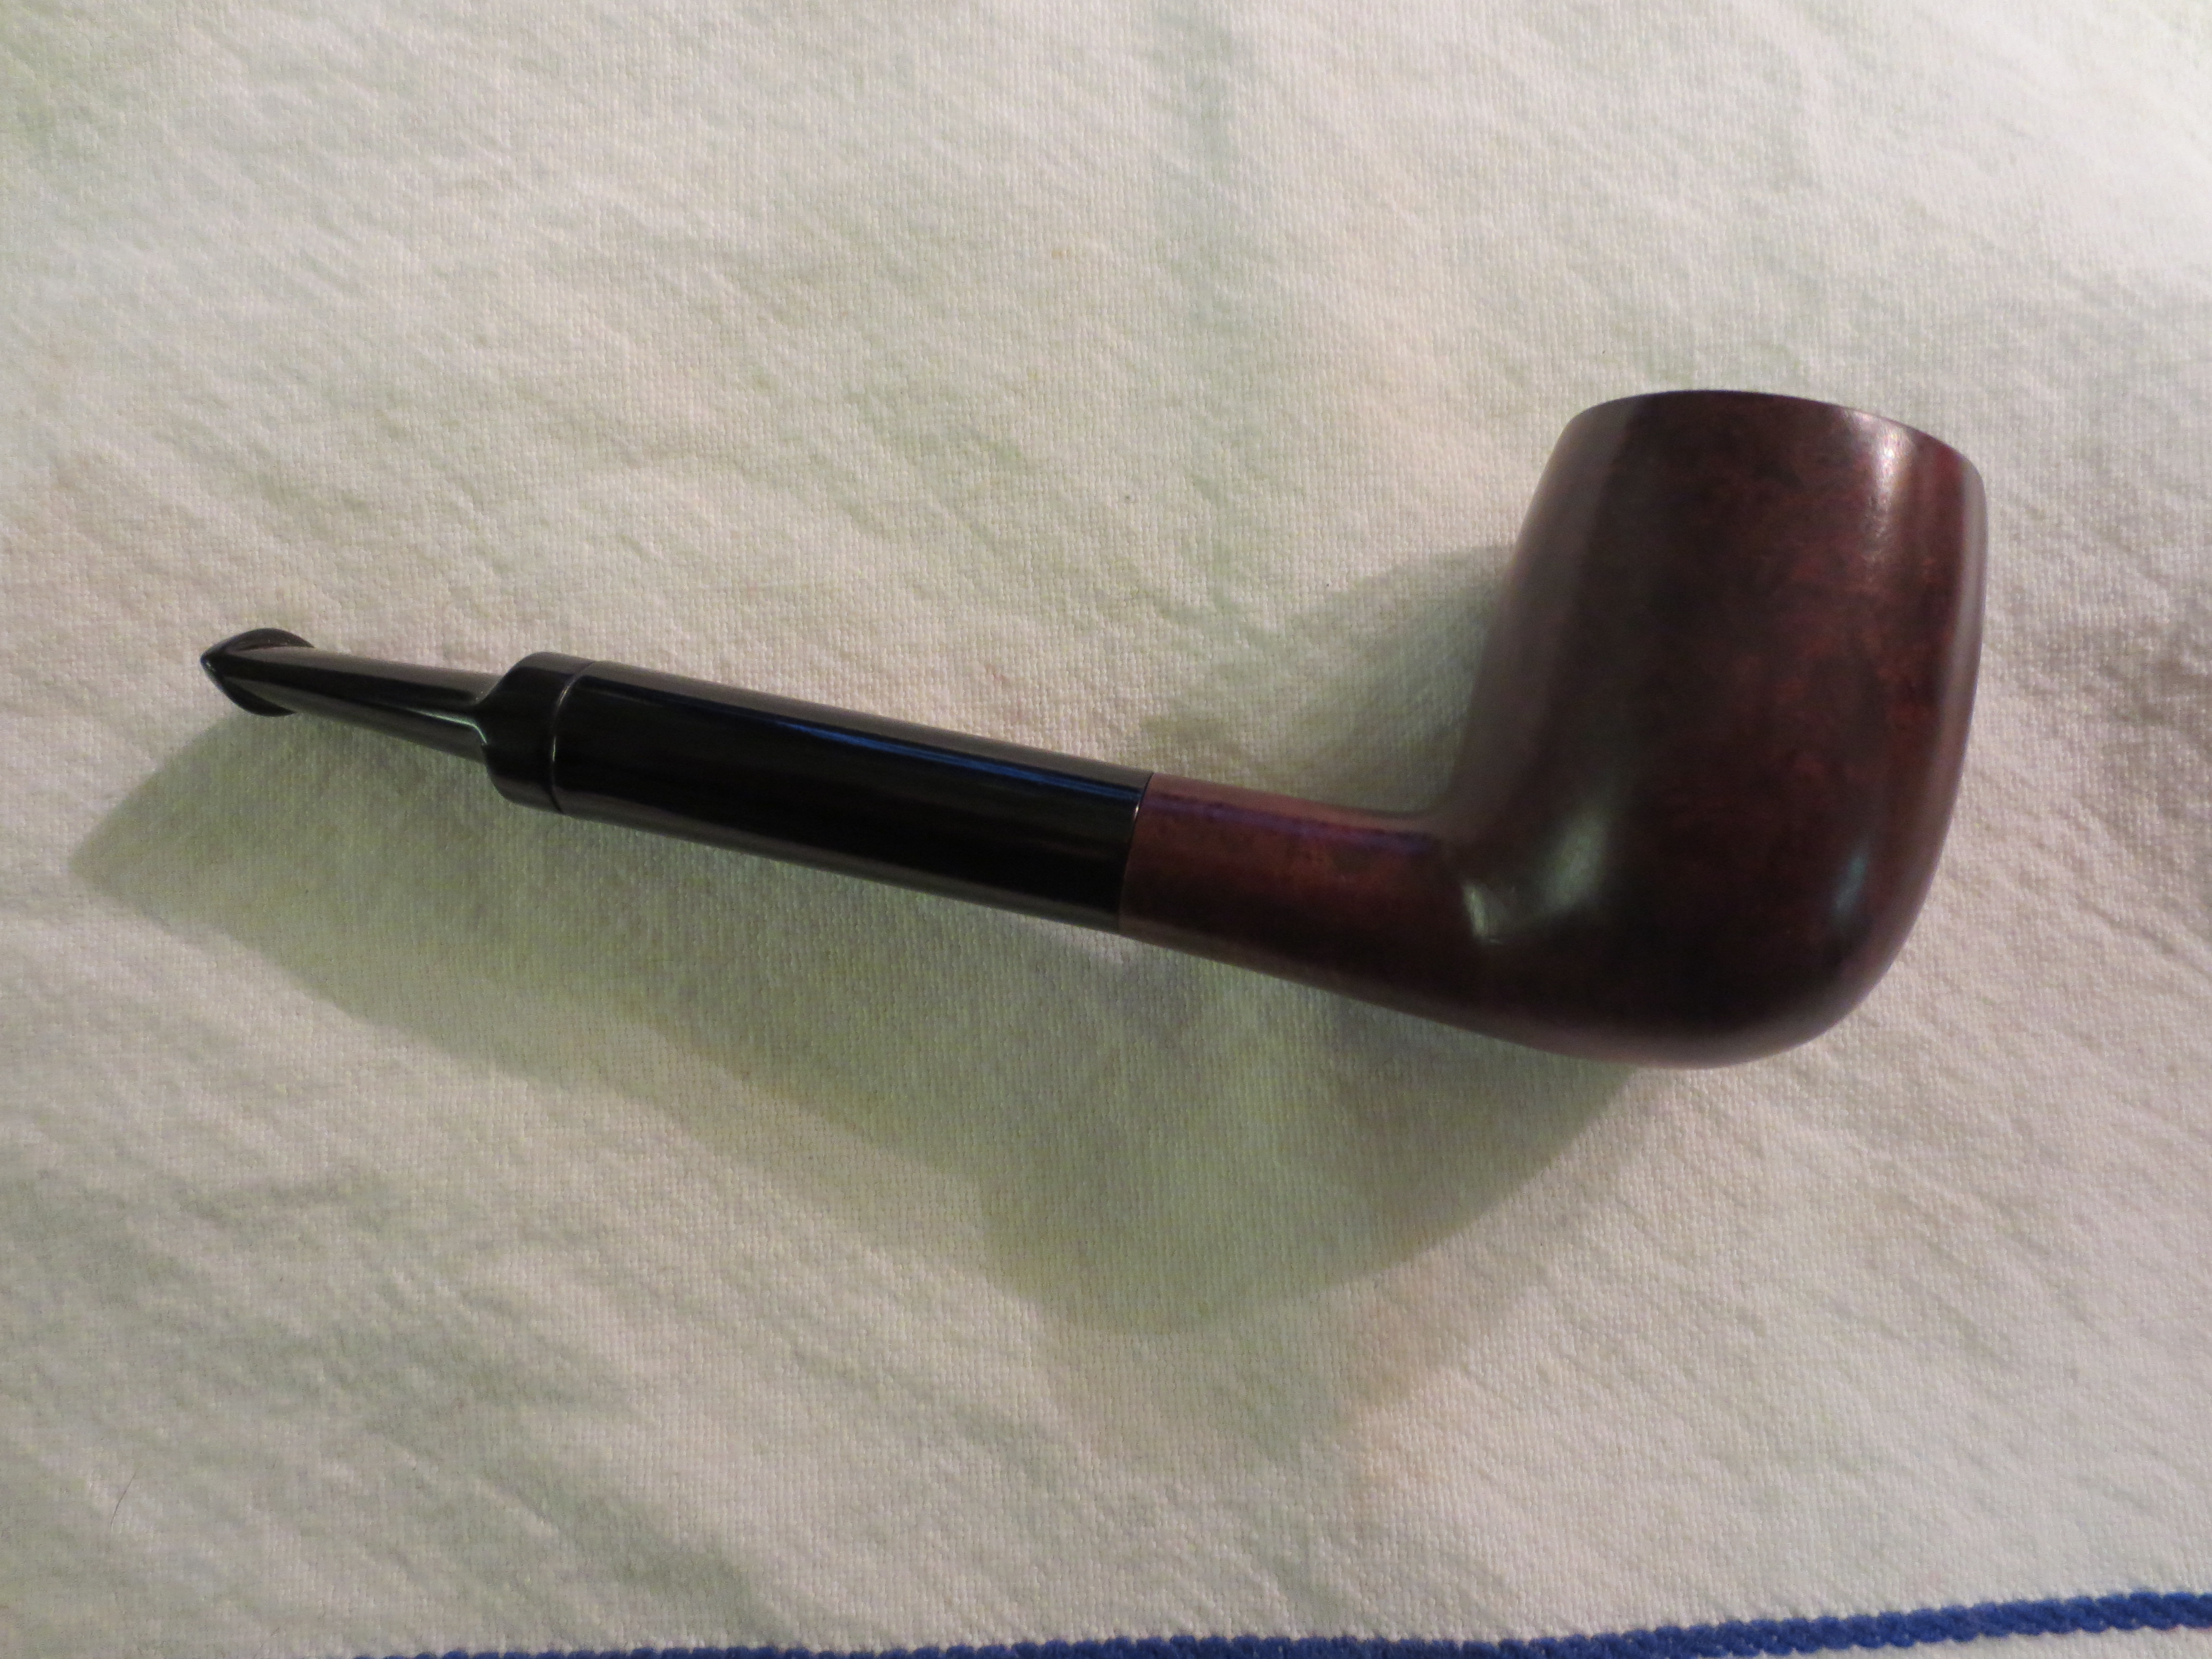
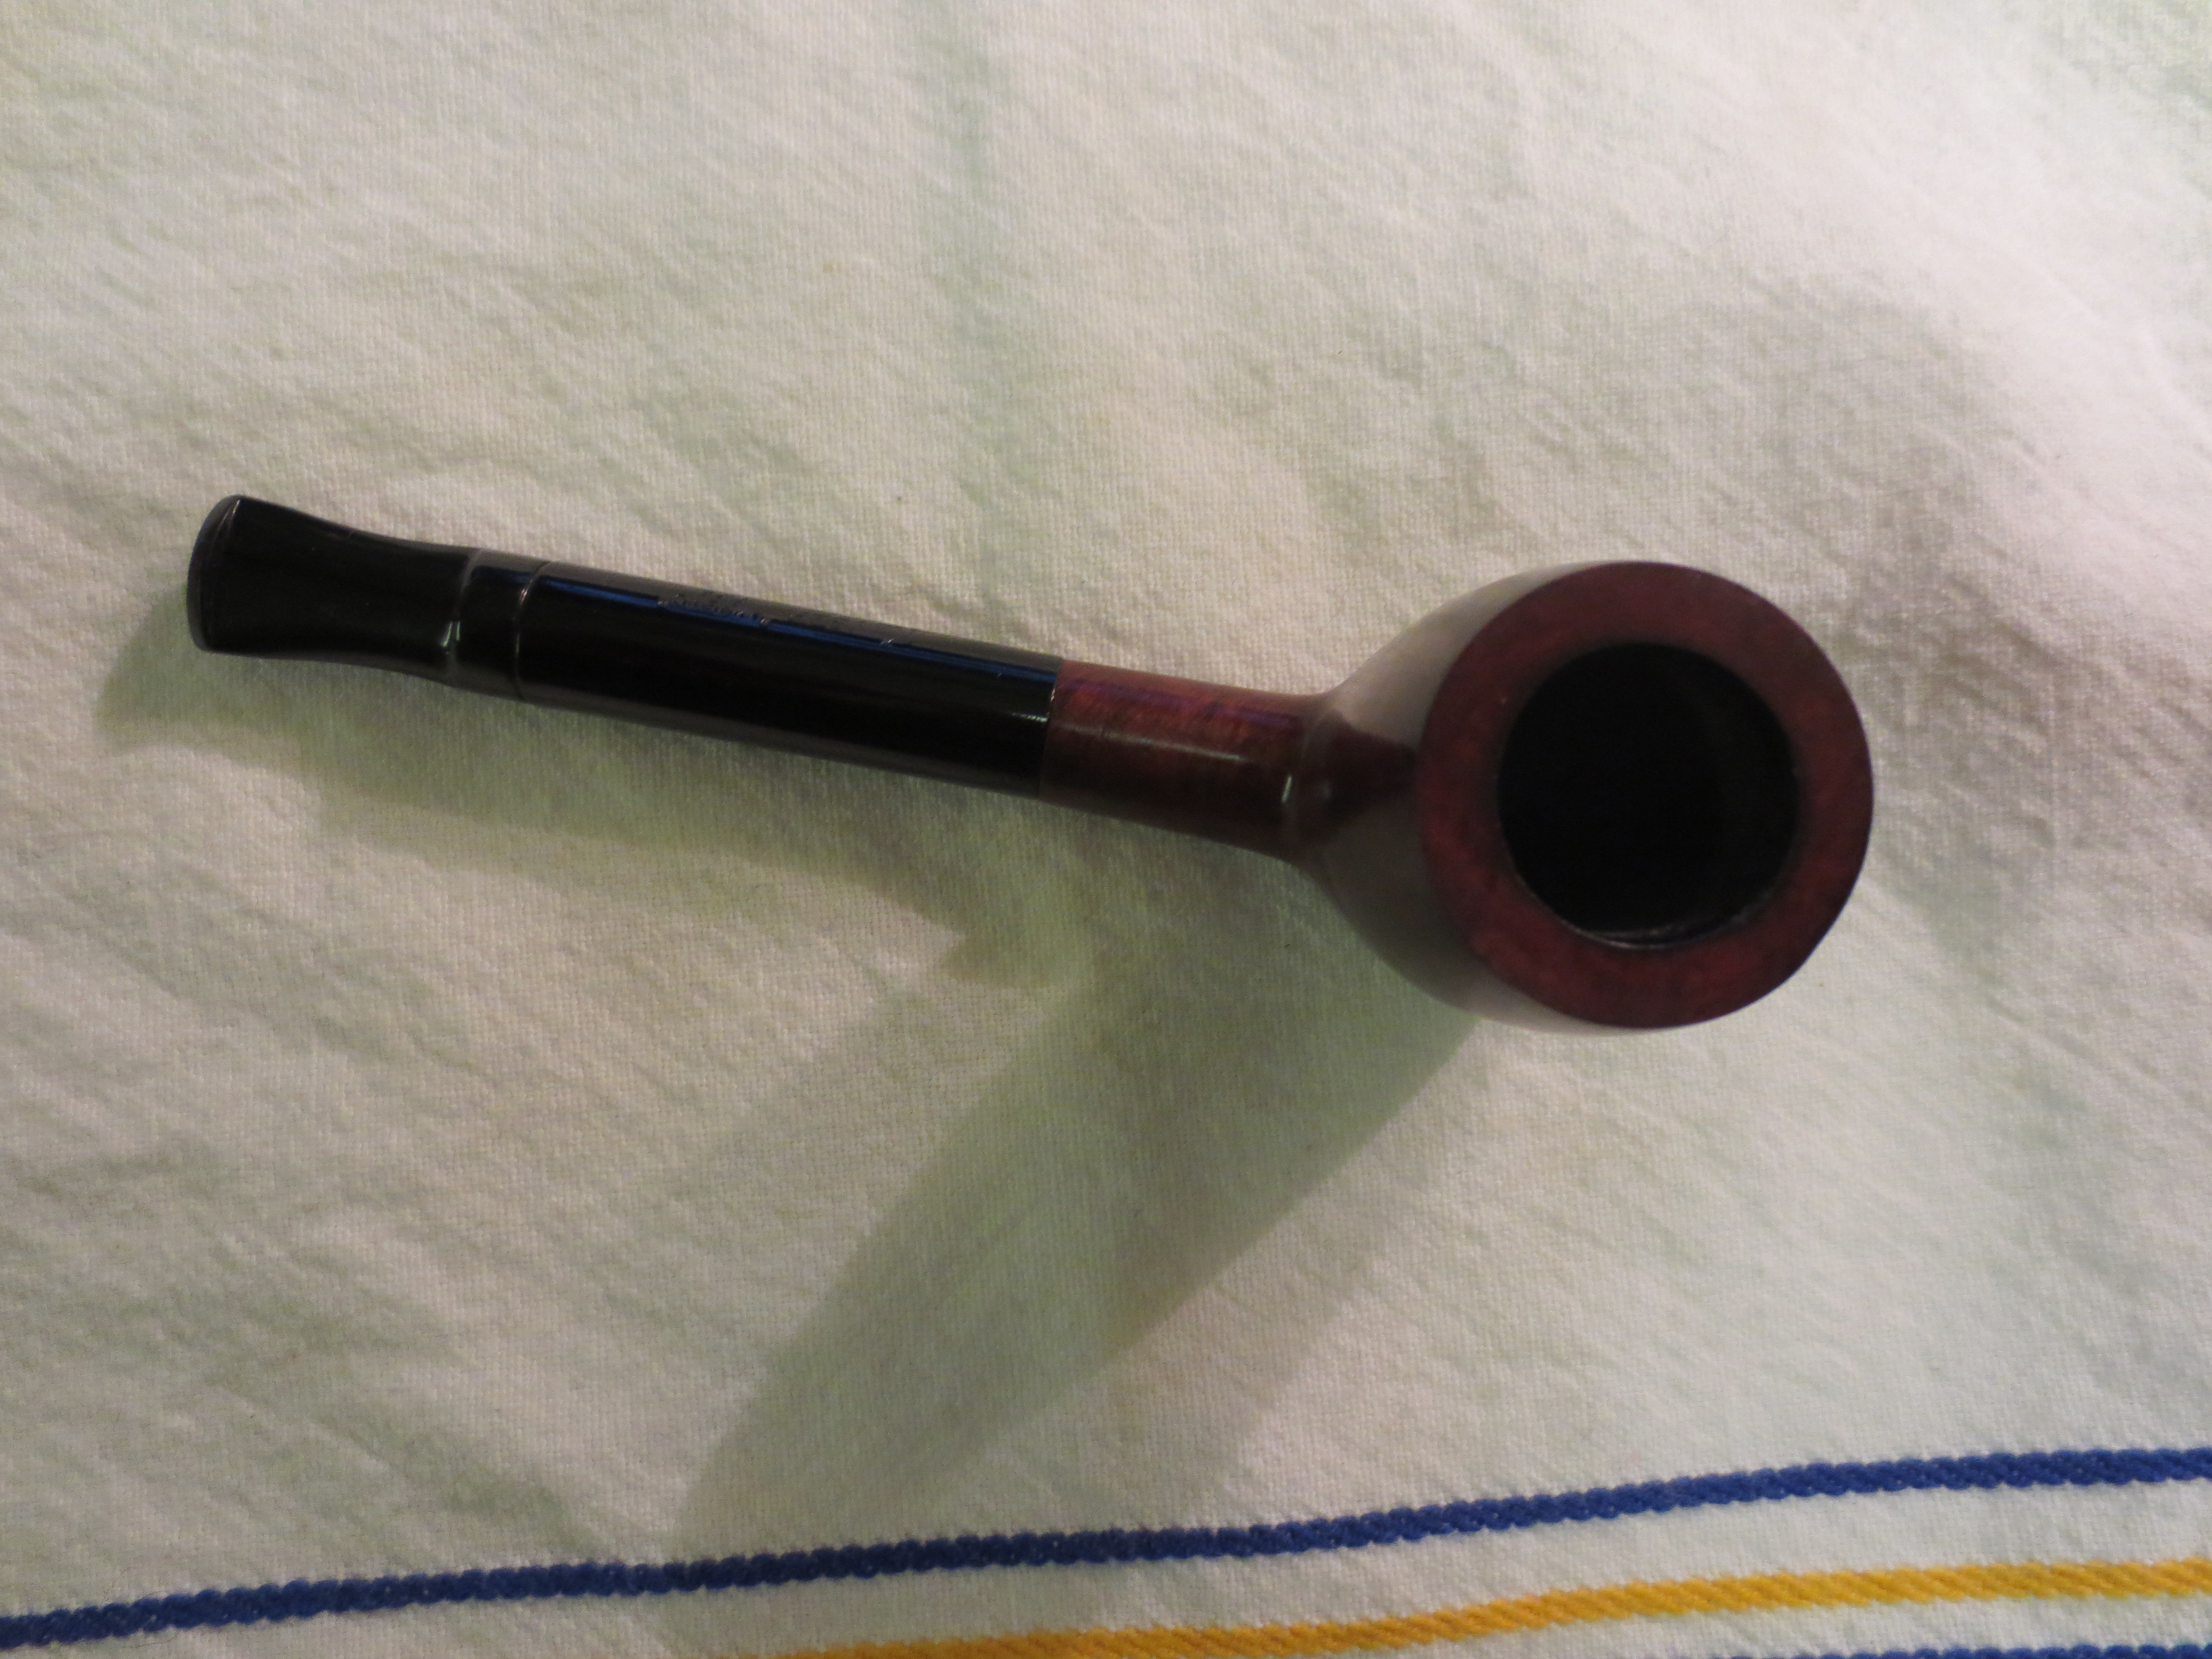
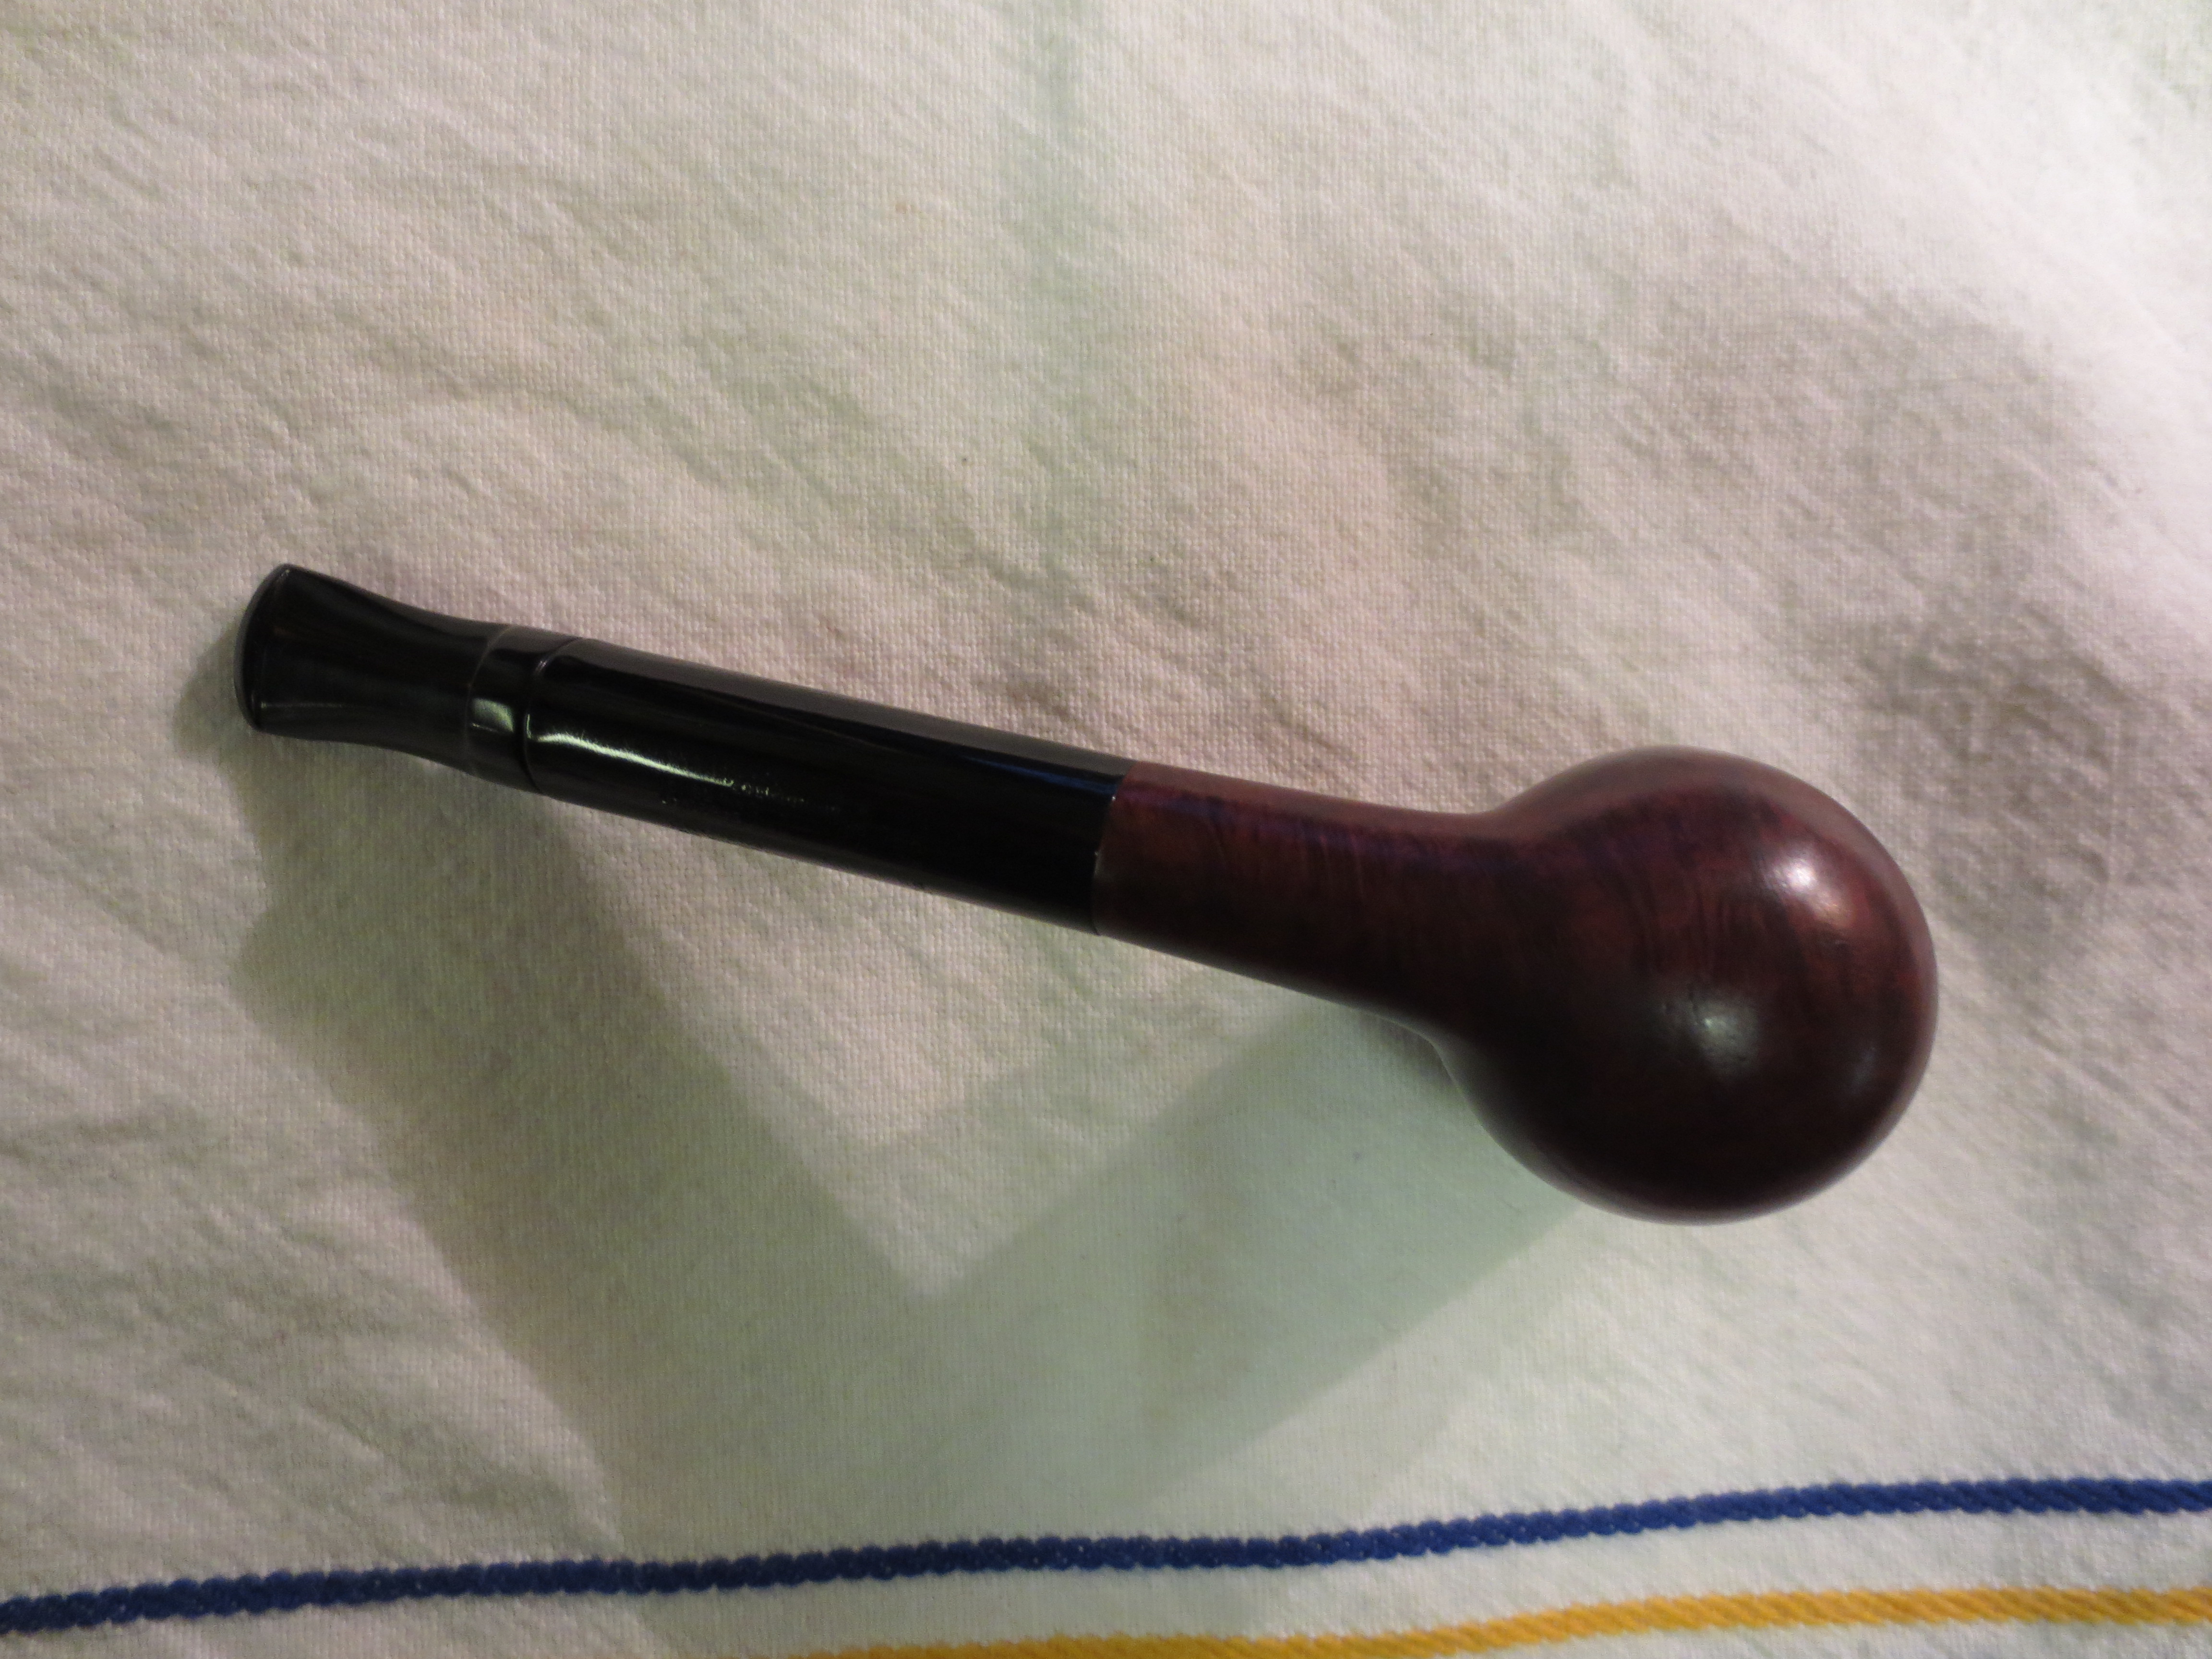
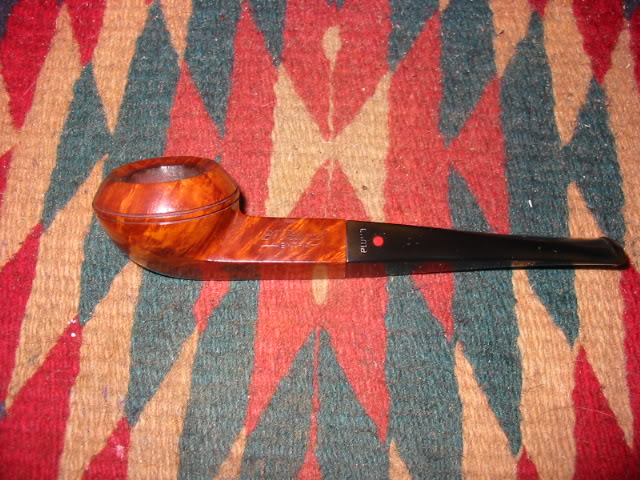
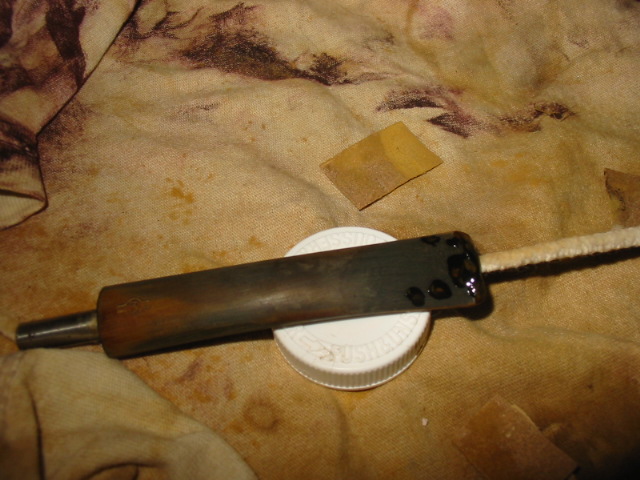
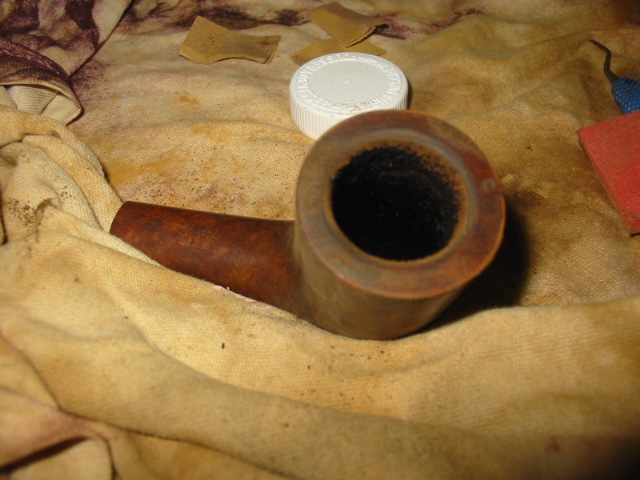
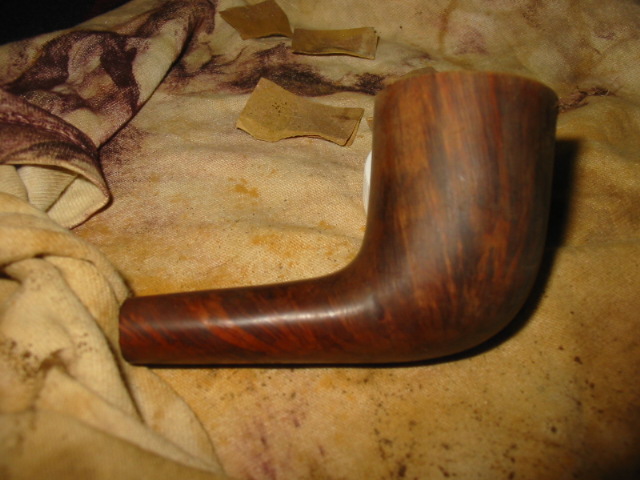
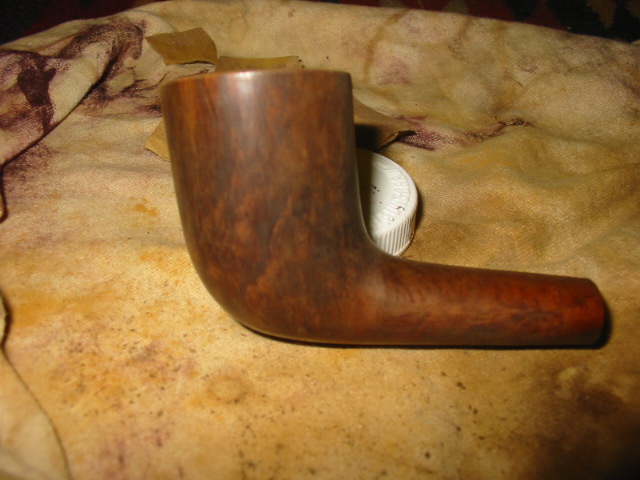
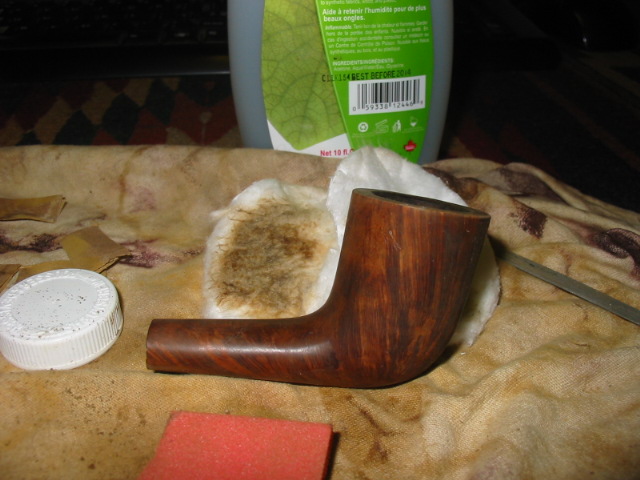
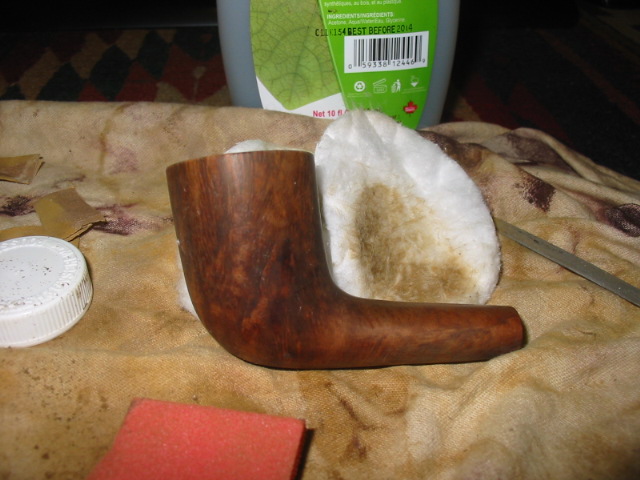
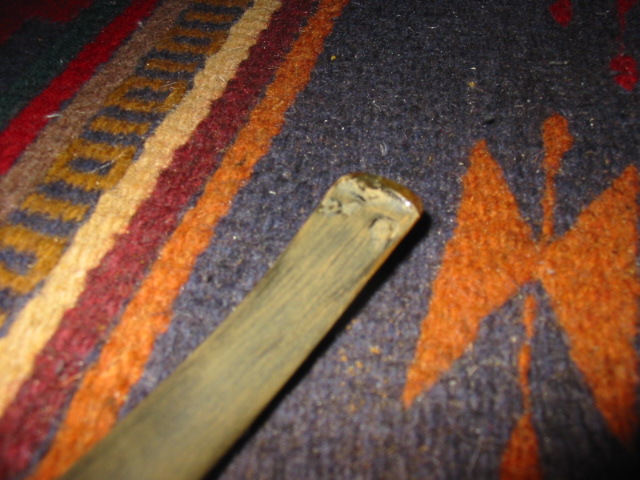
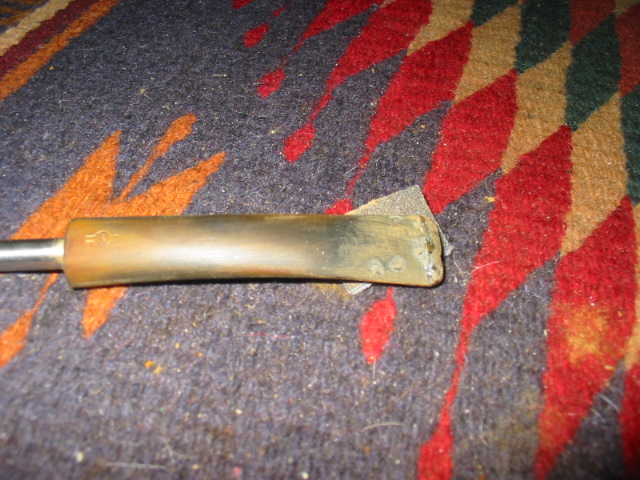
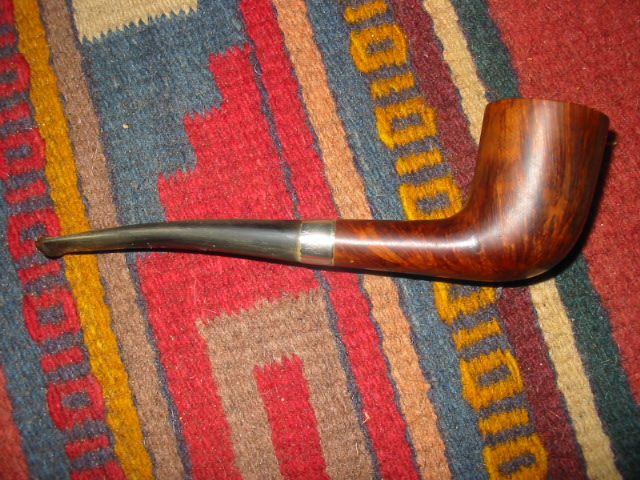
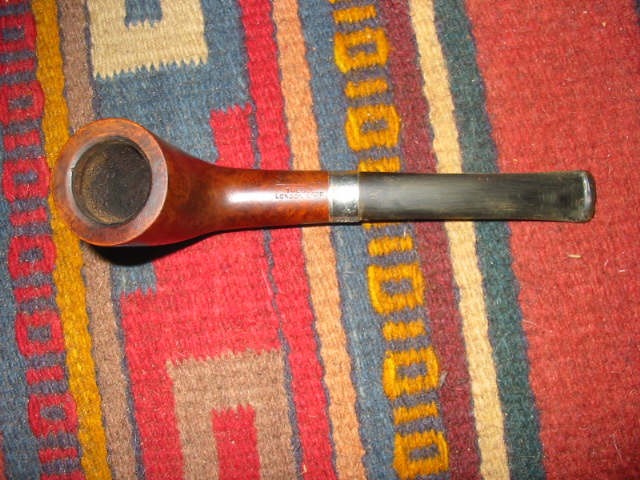
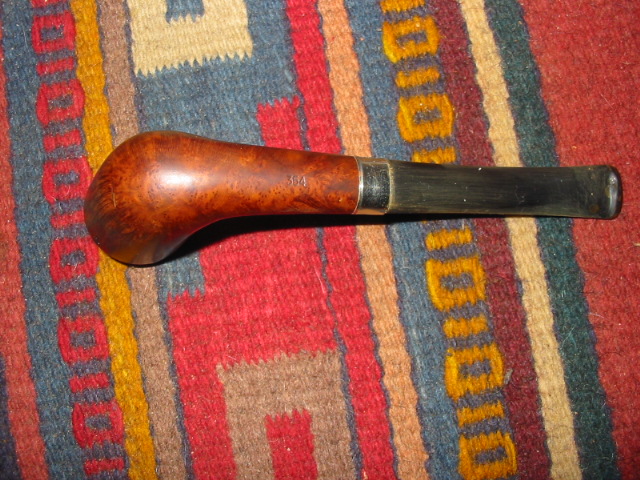
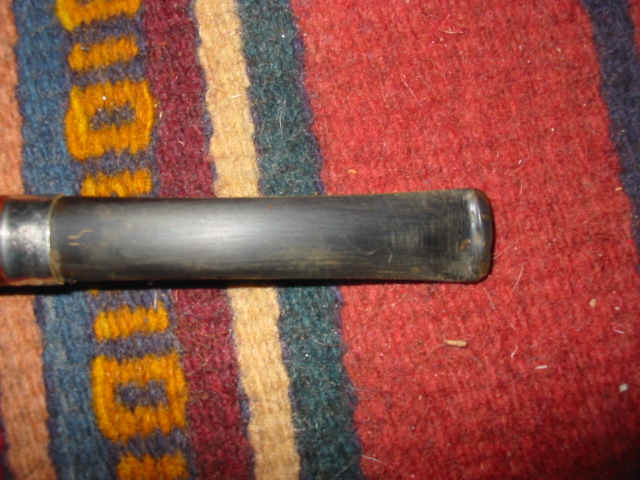
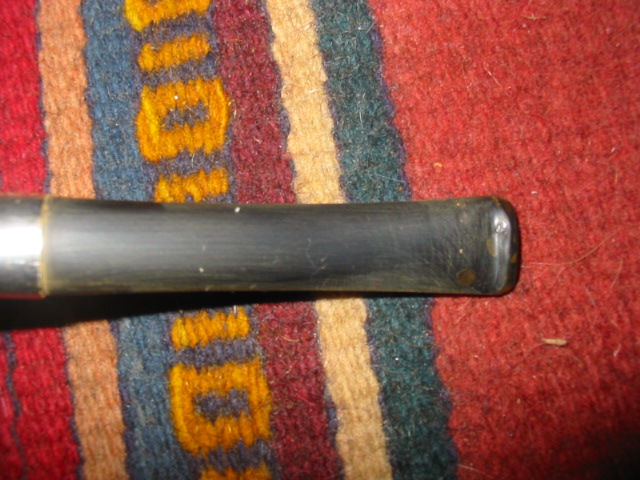
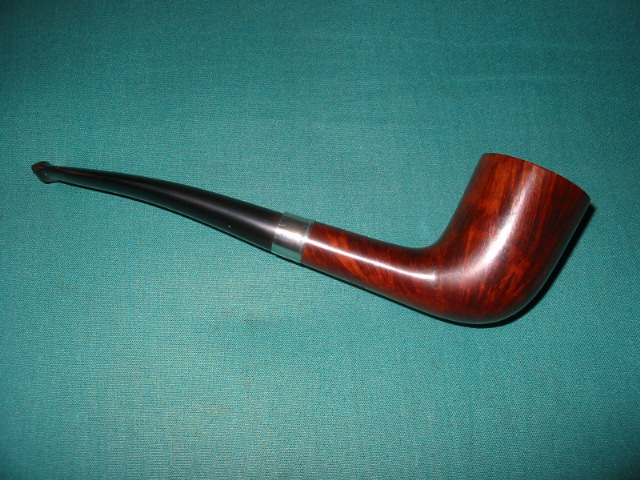
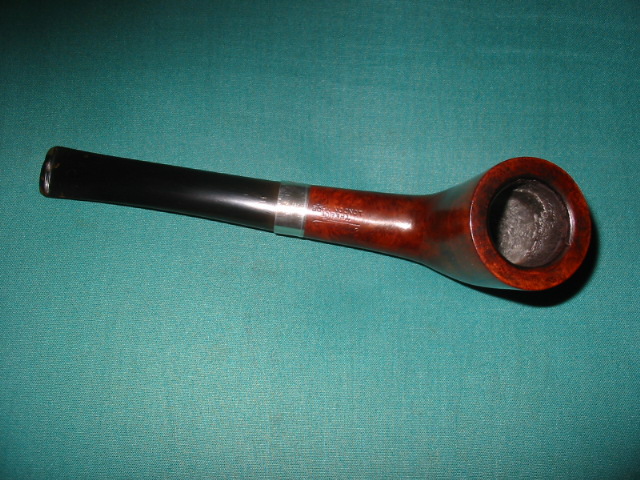
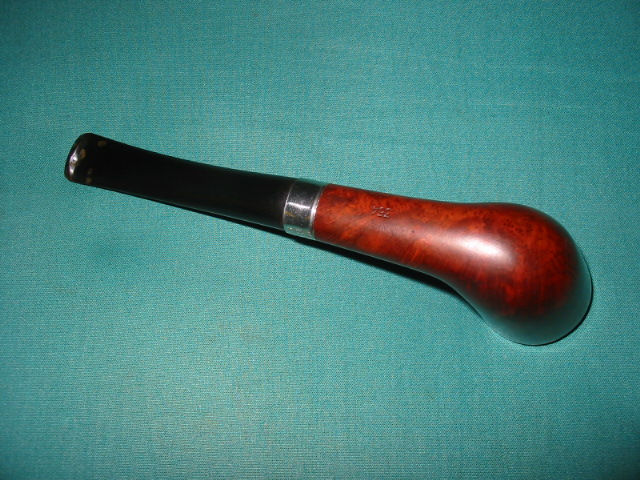
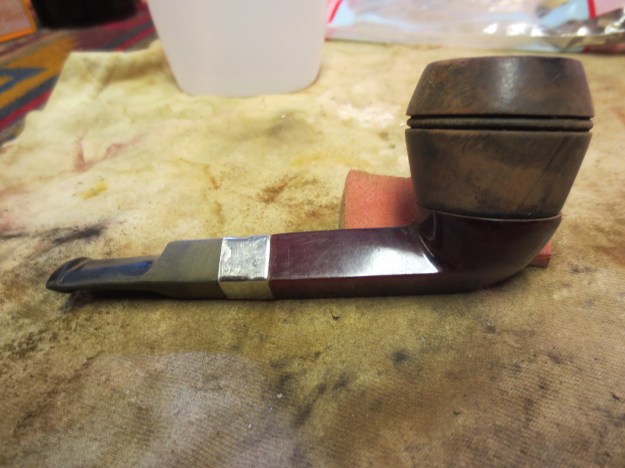
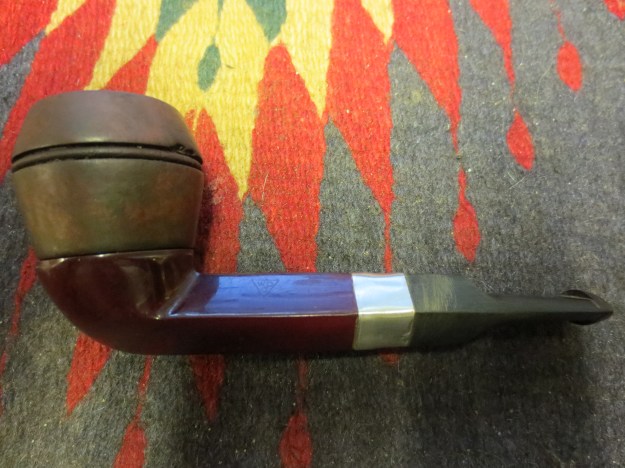
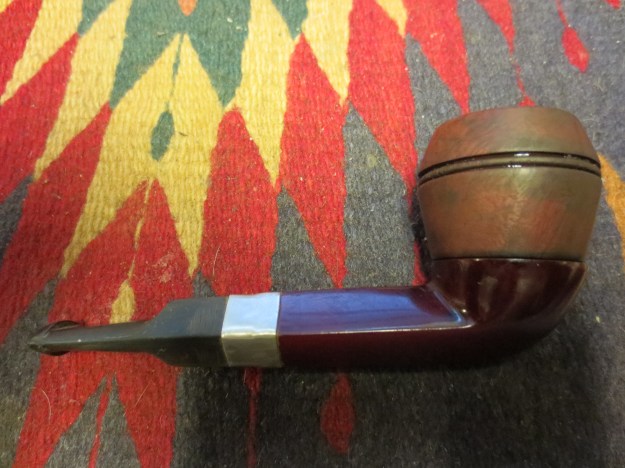
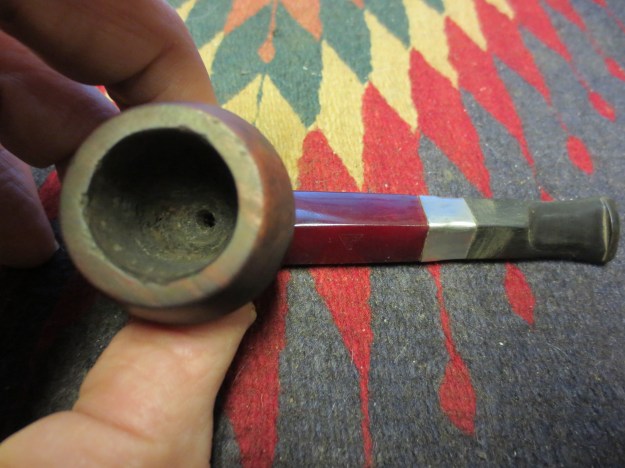
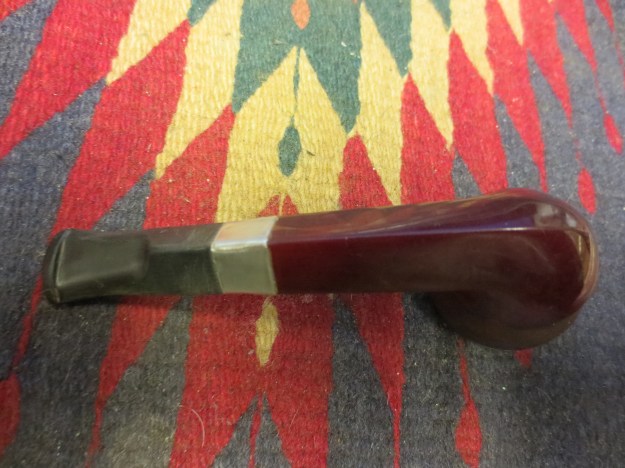
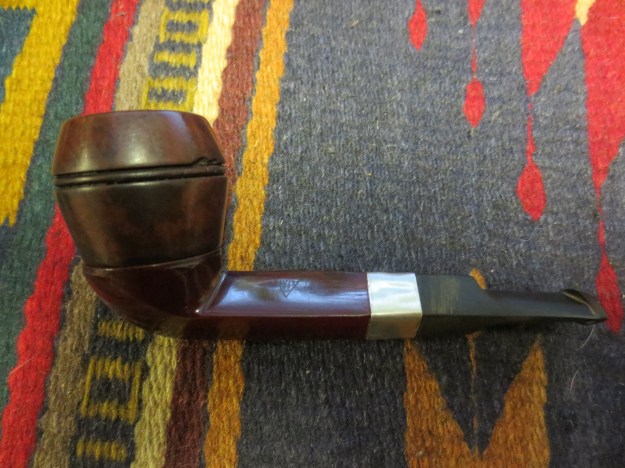
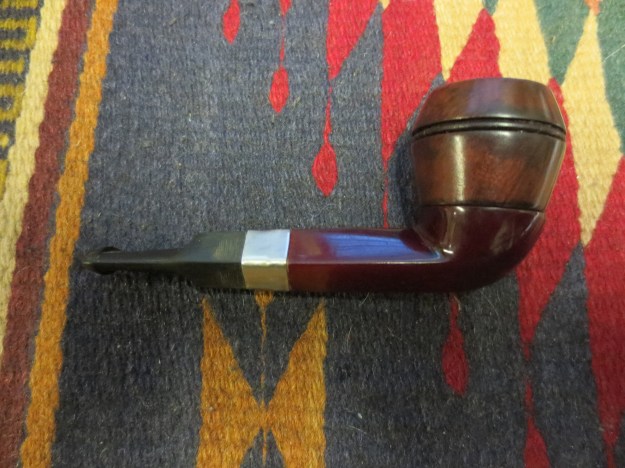
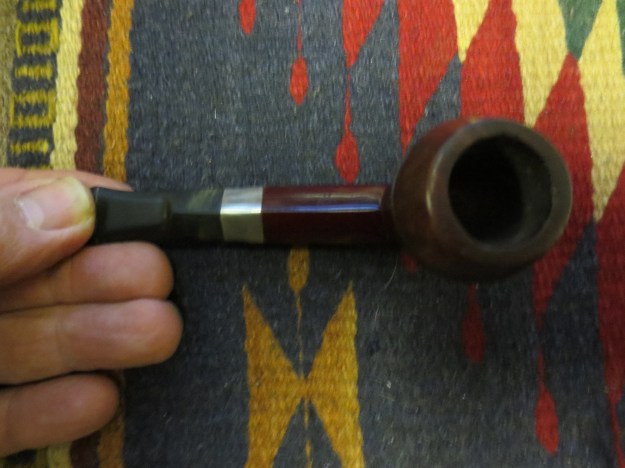
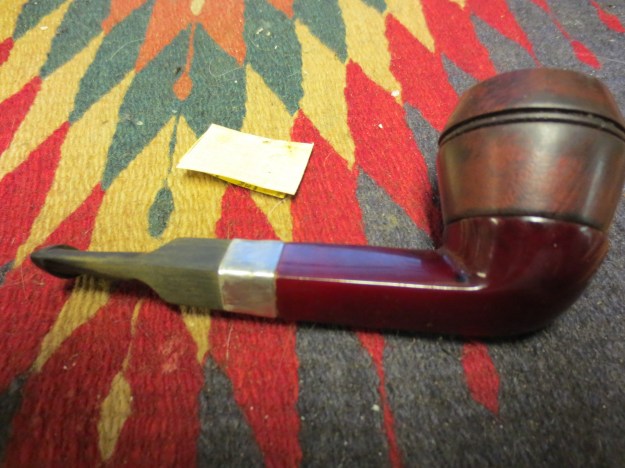
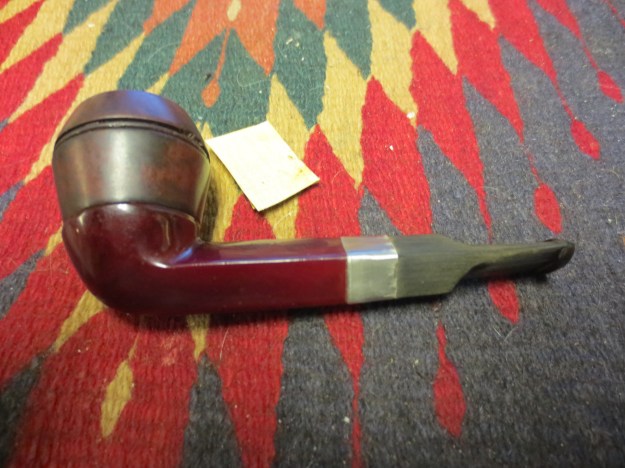
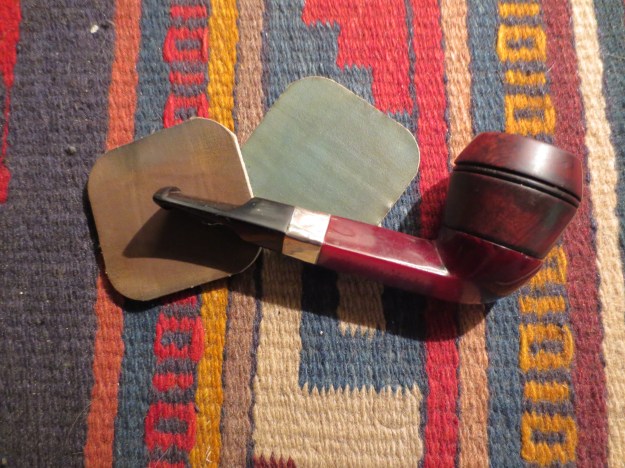
The pipe was in decent shape, with a moderate coating tars on the bowl top, along with a few nicks and dents.  The stem, while heavily oxidized still had the brass rondell.  The rondell along with the “London, England” stamp indicated a pre-Cadogan era GBD.  The stem was also free of any serious teeth marks.  Several of the nicks were very noticeable and I wasn’t sure they could be removed or hidden easily.

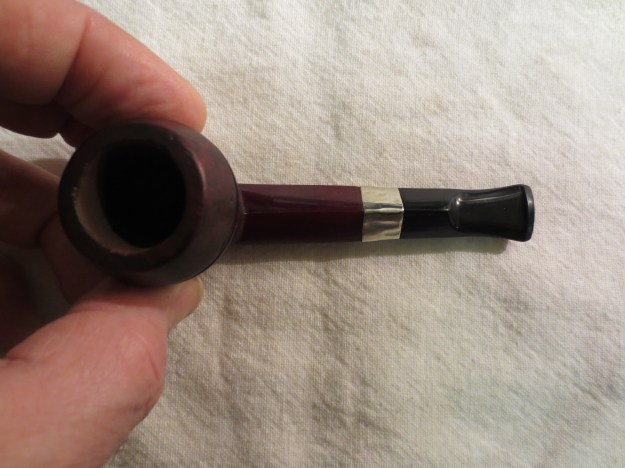
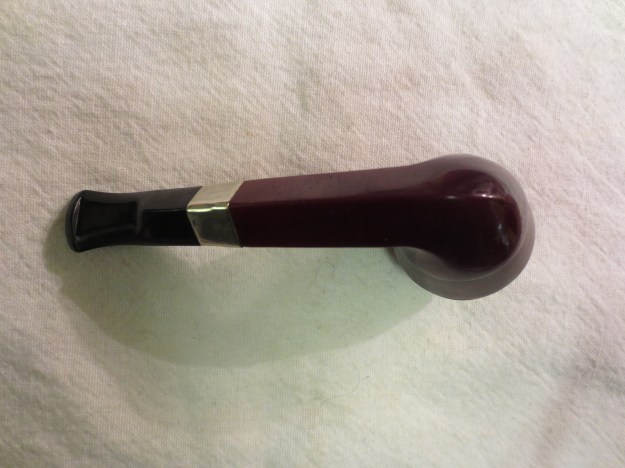
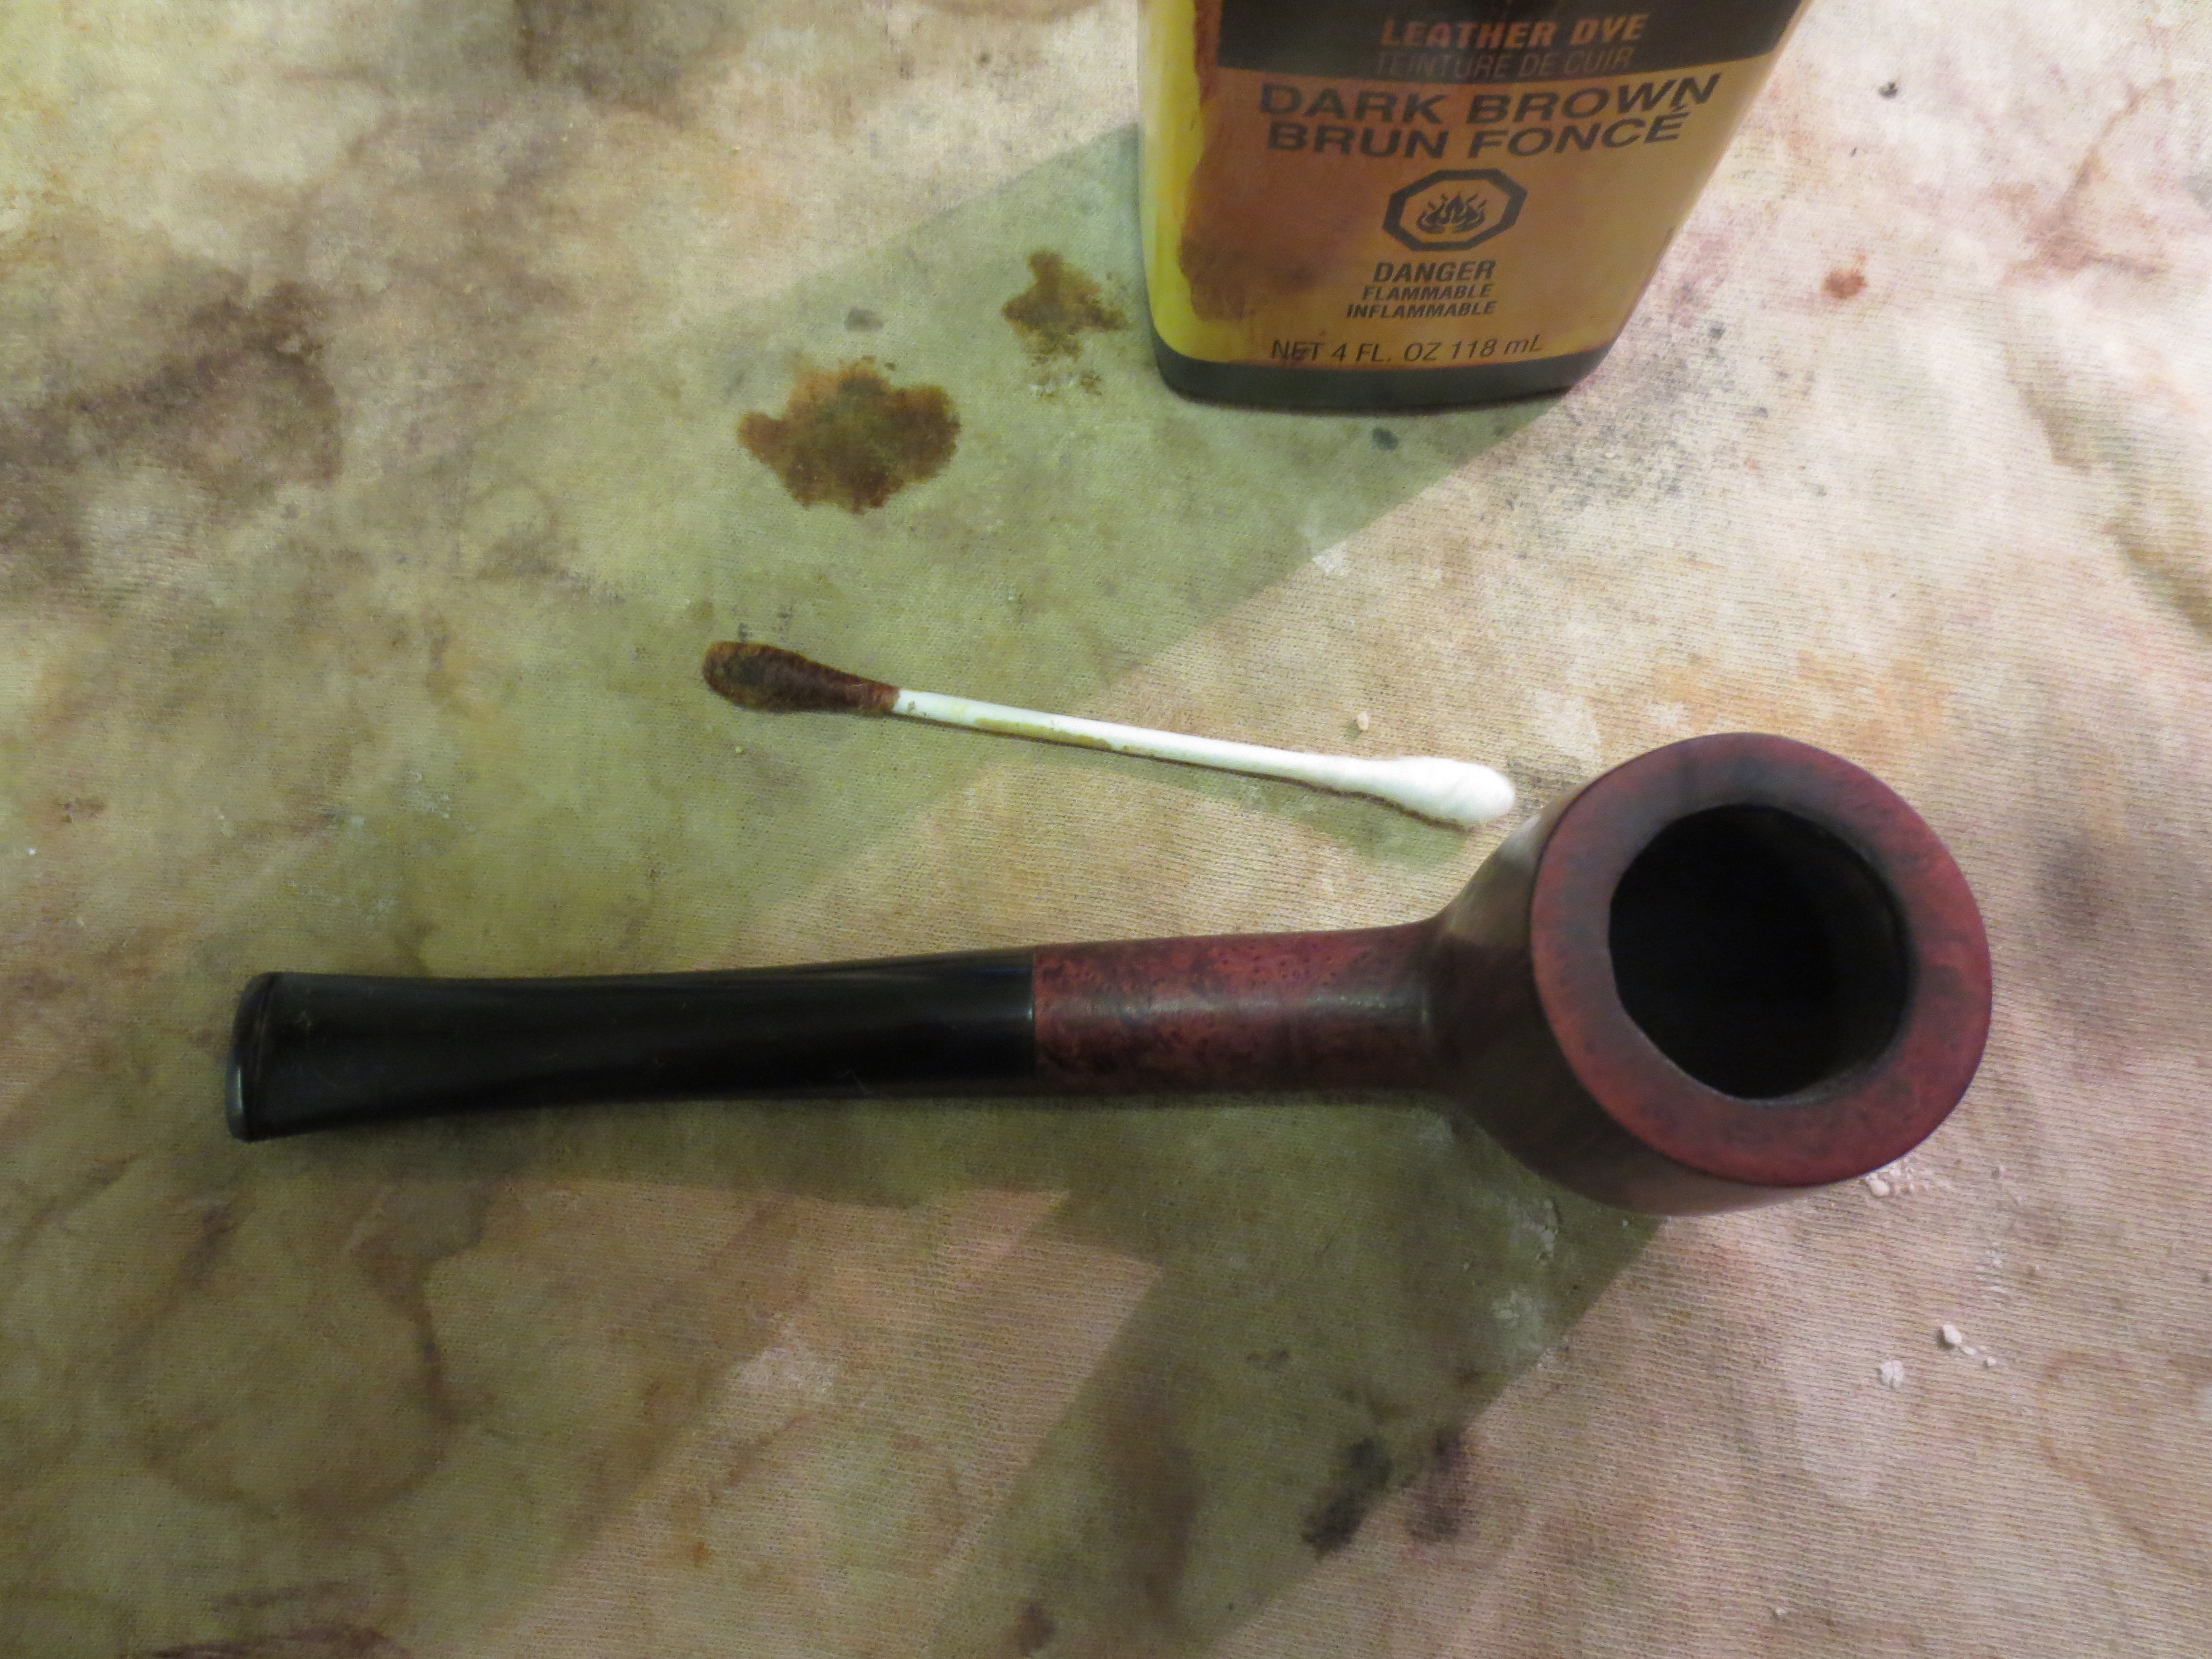
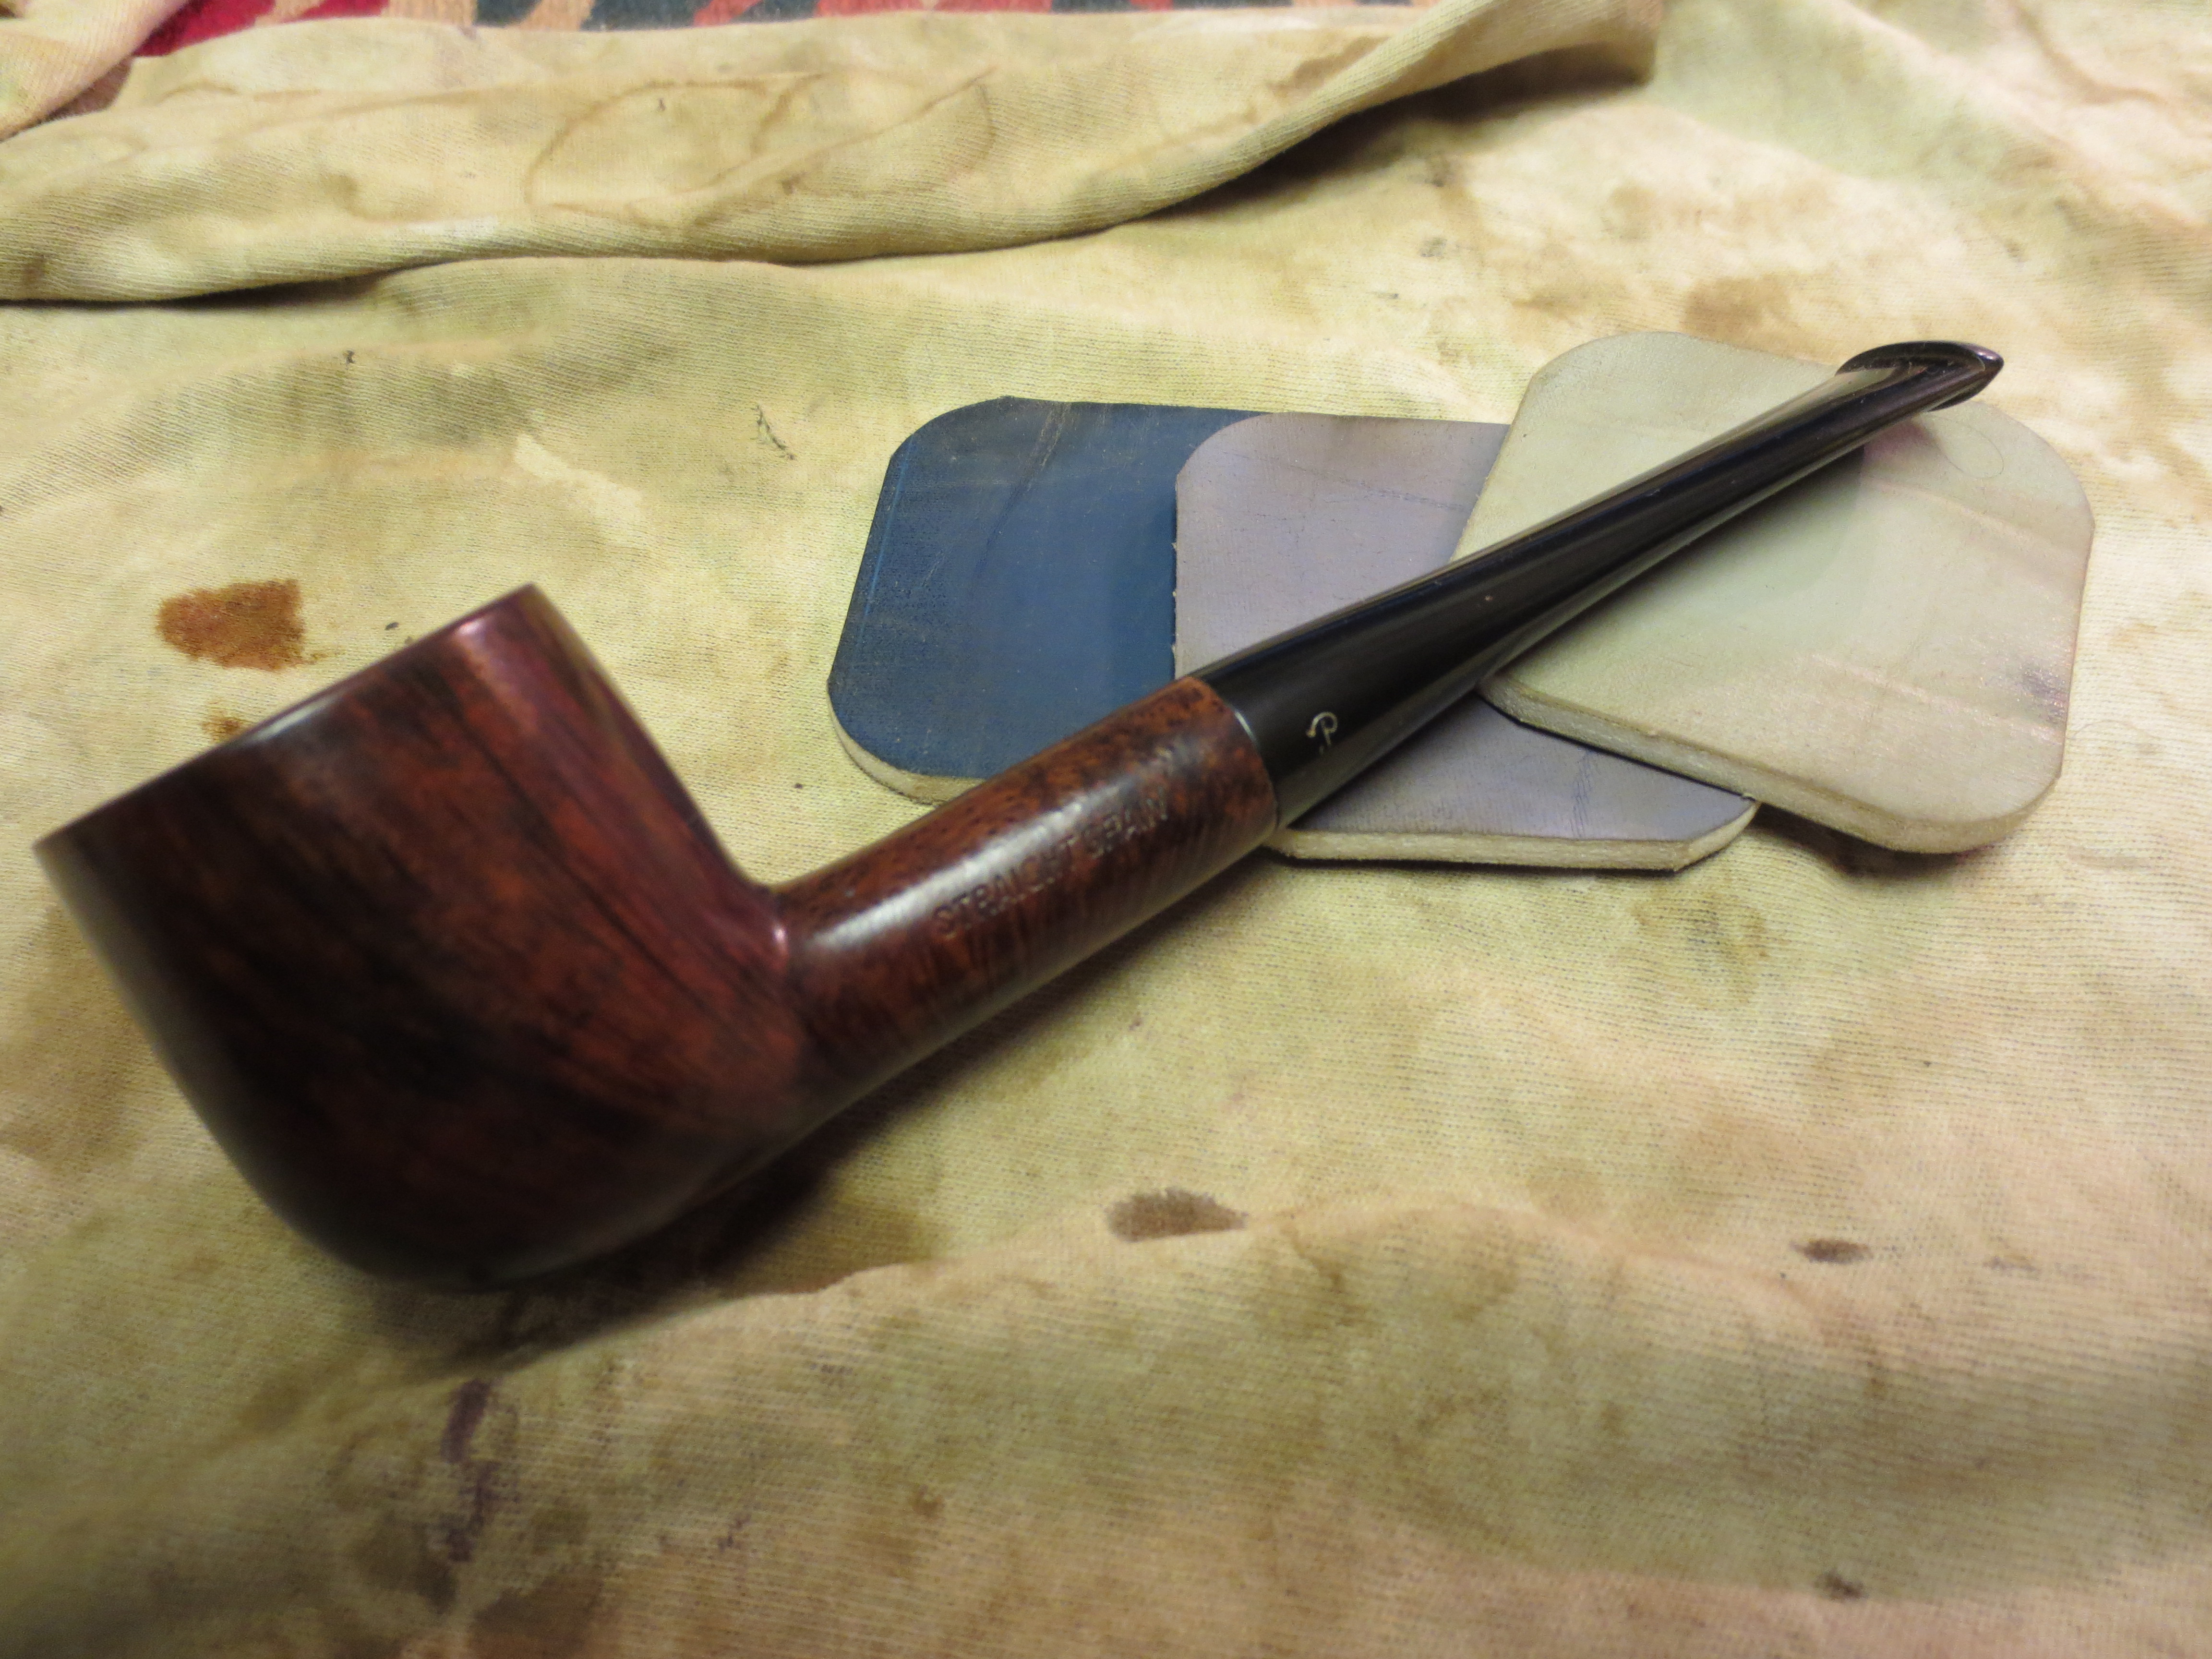
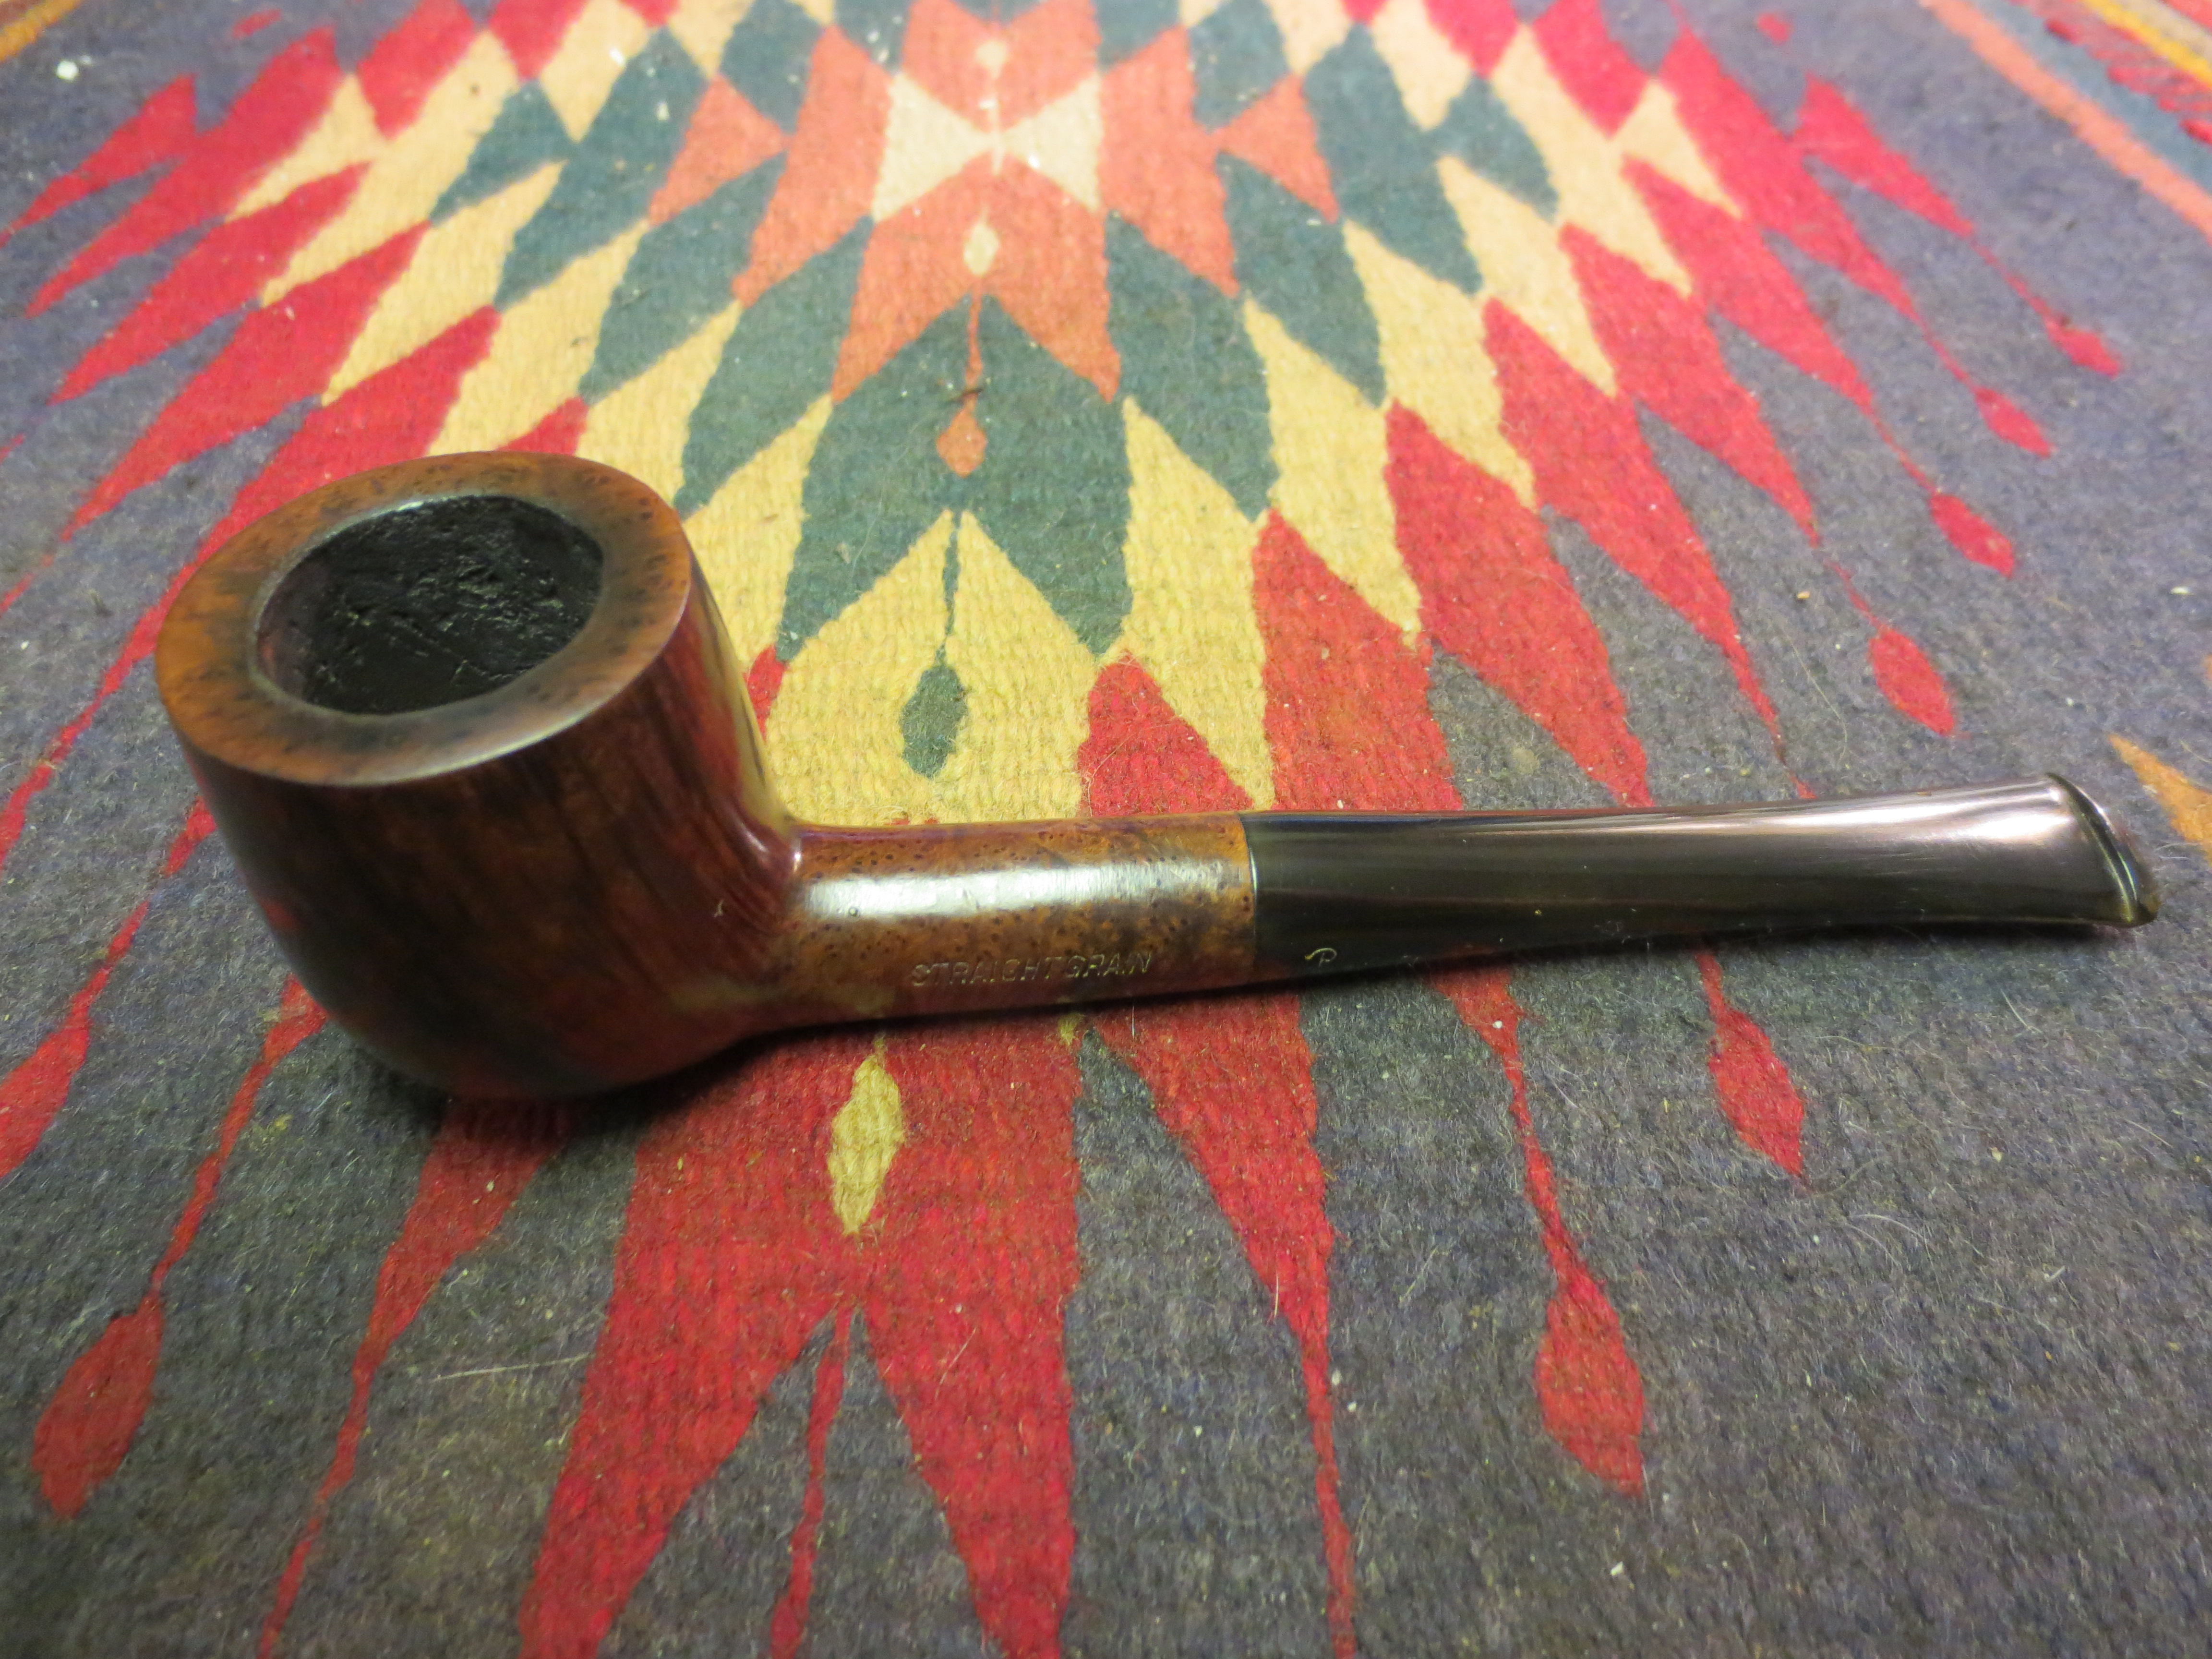
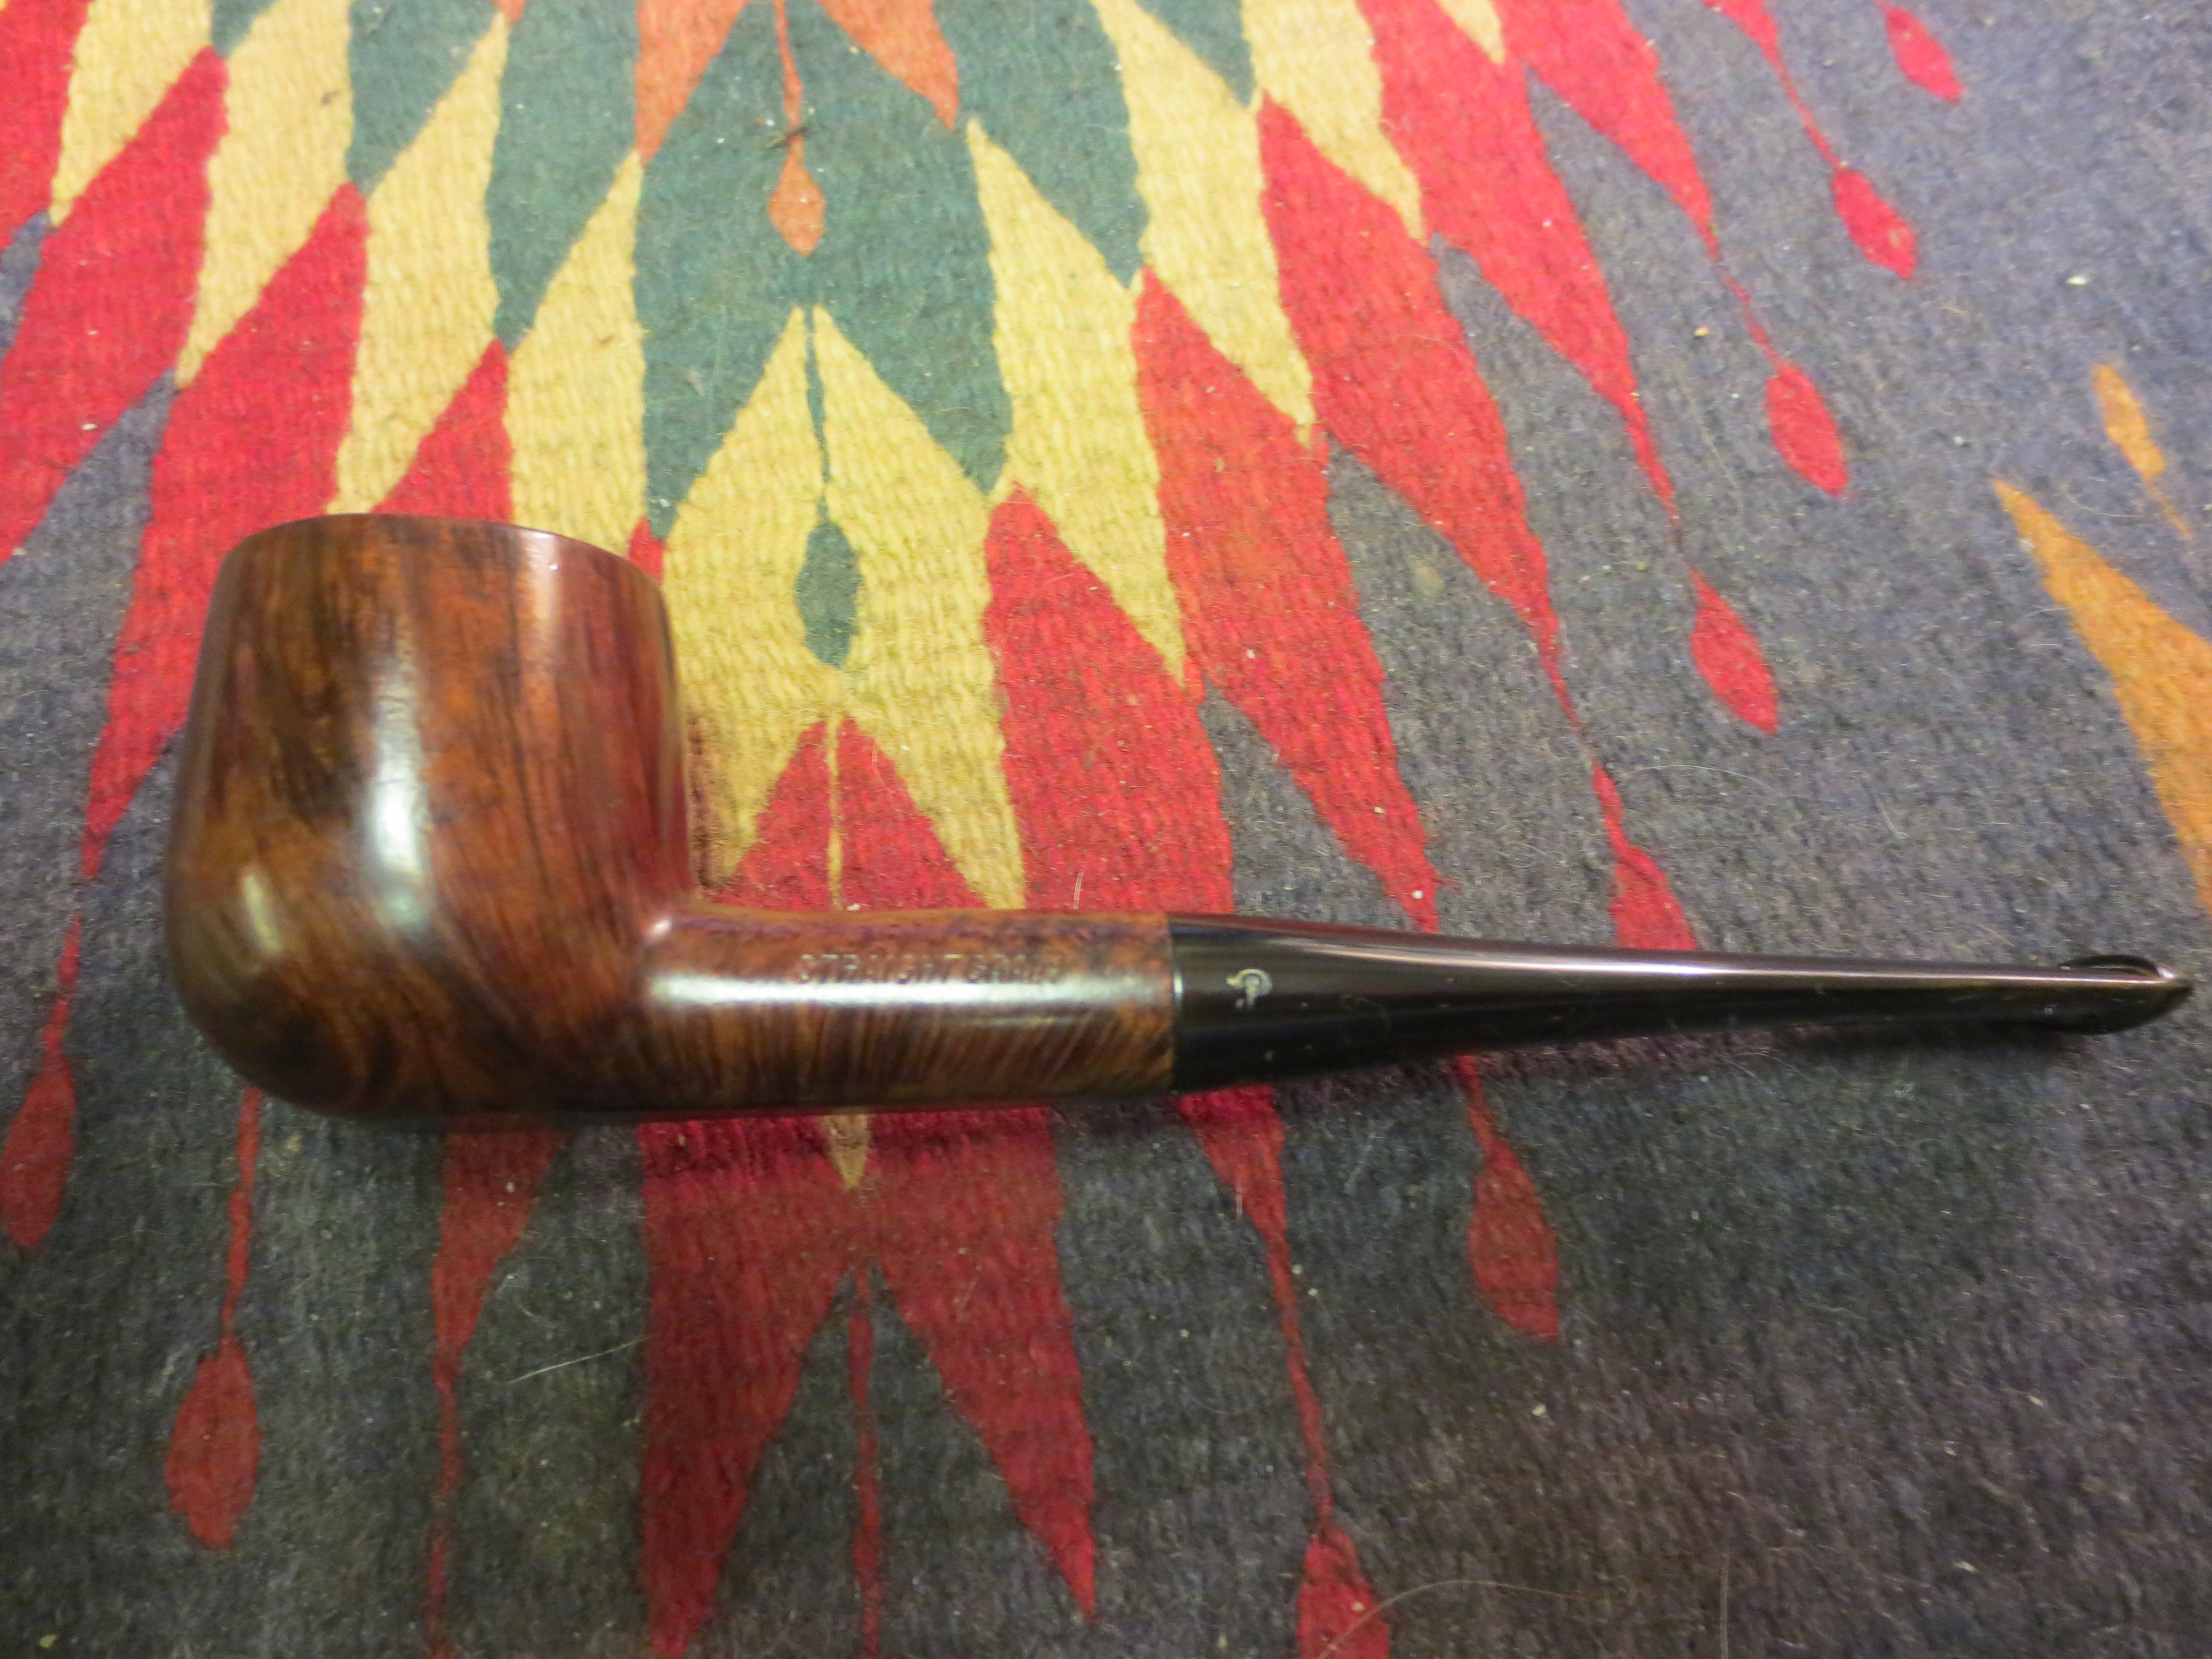
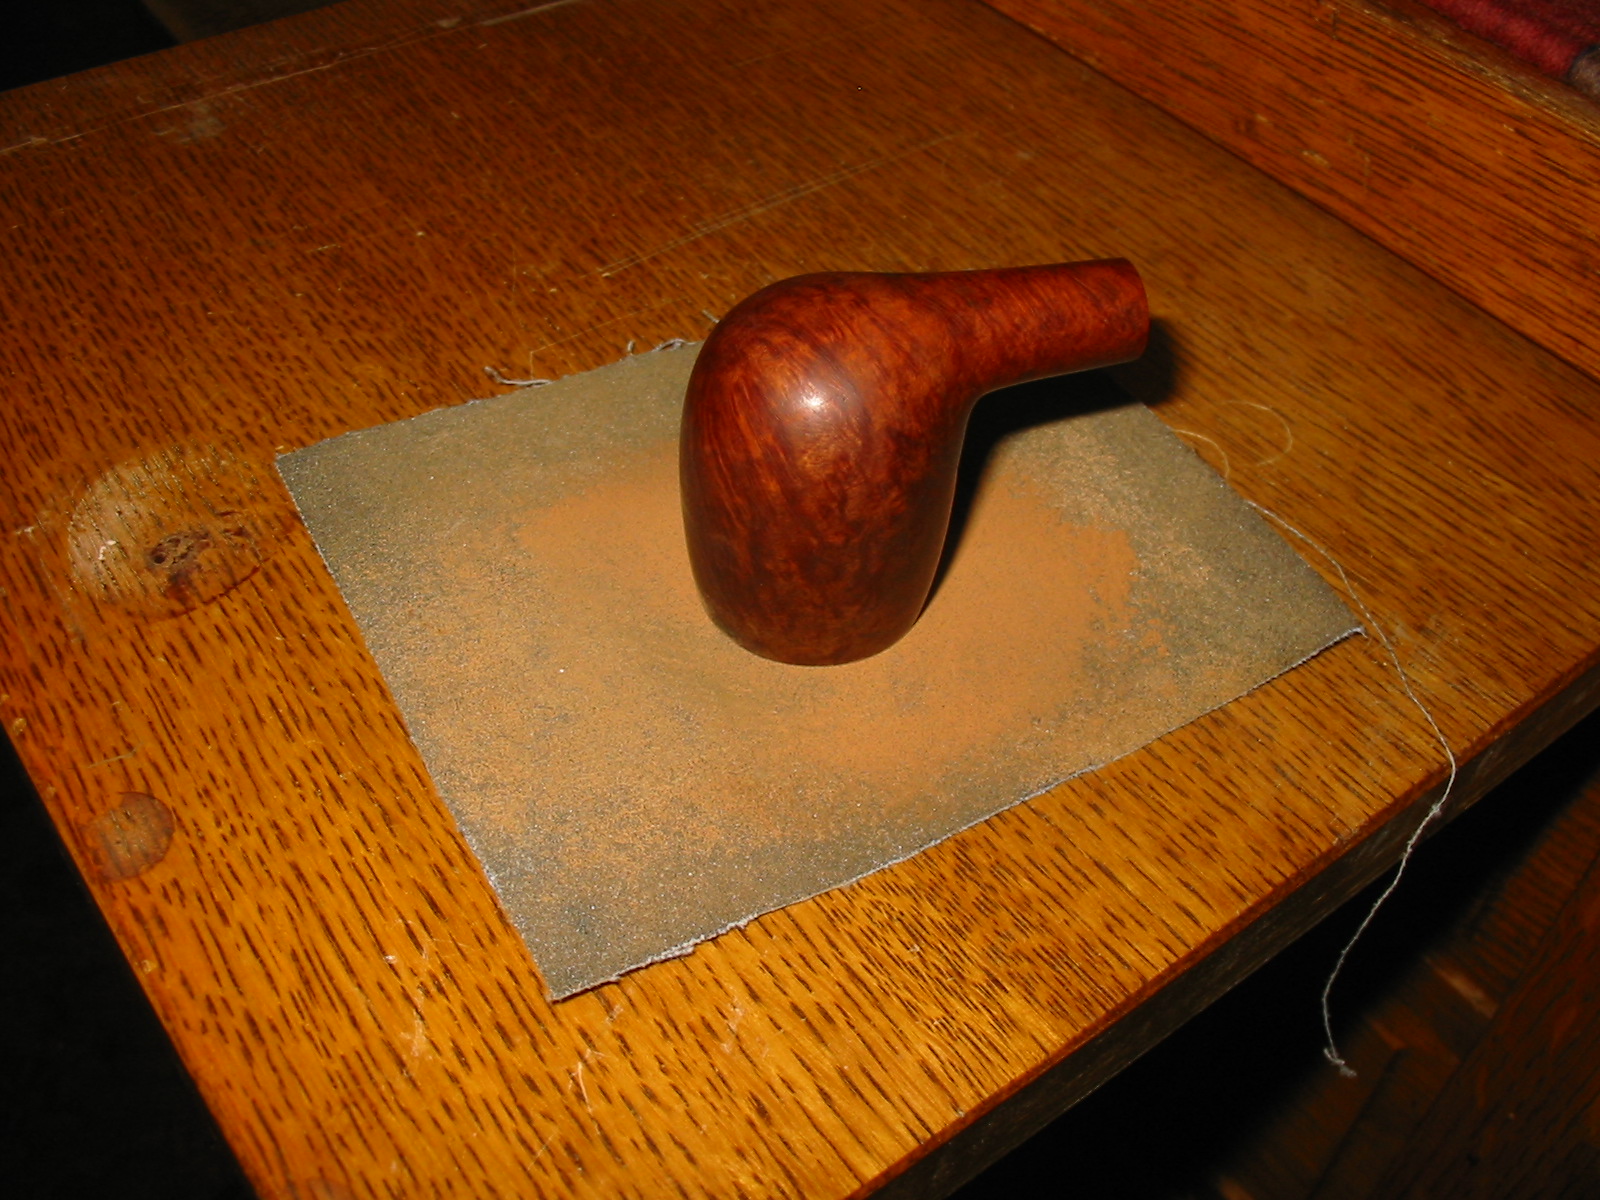
GBD_1353_76_Before GBD_1353_76_Before (1) GBD_1353_76_Before (2) GBD_1353_76_Before (3)

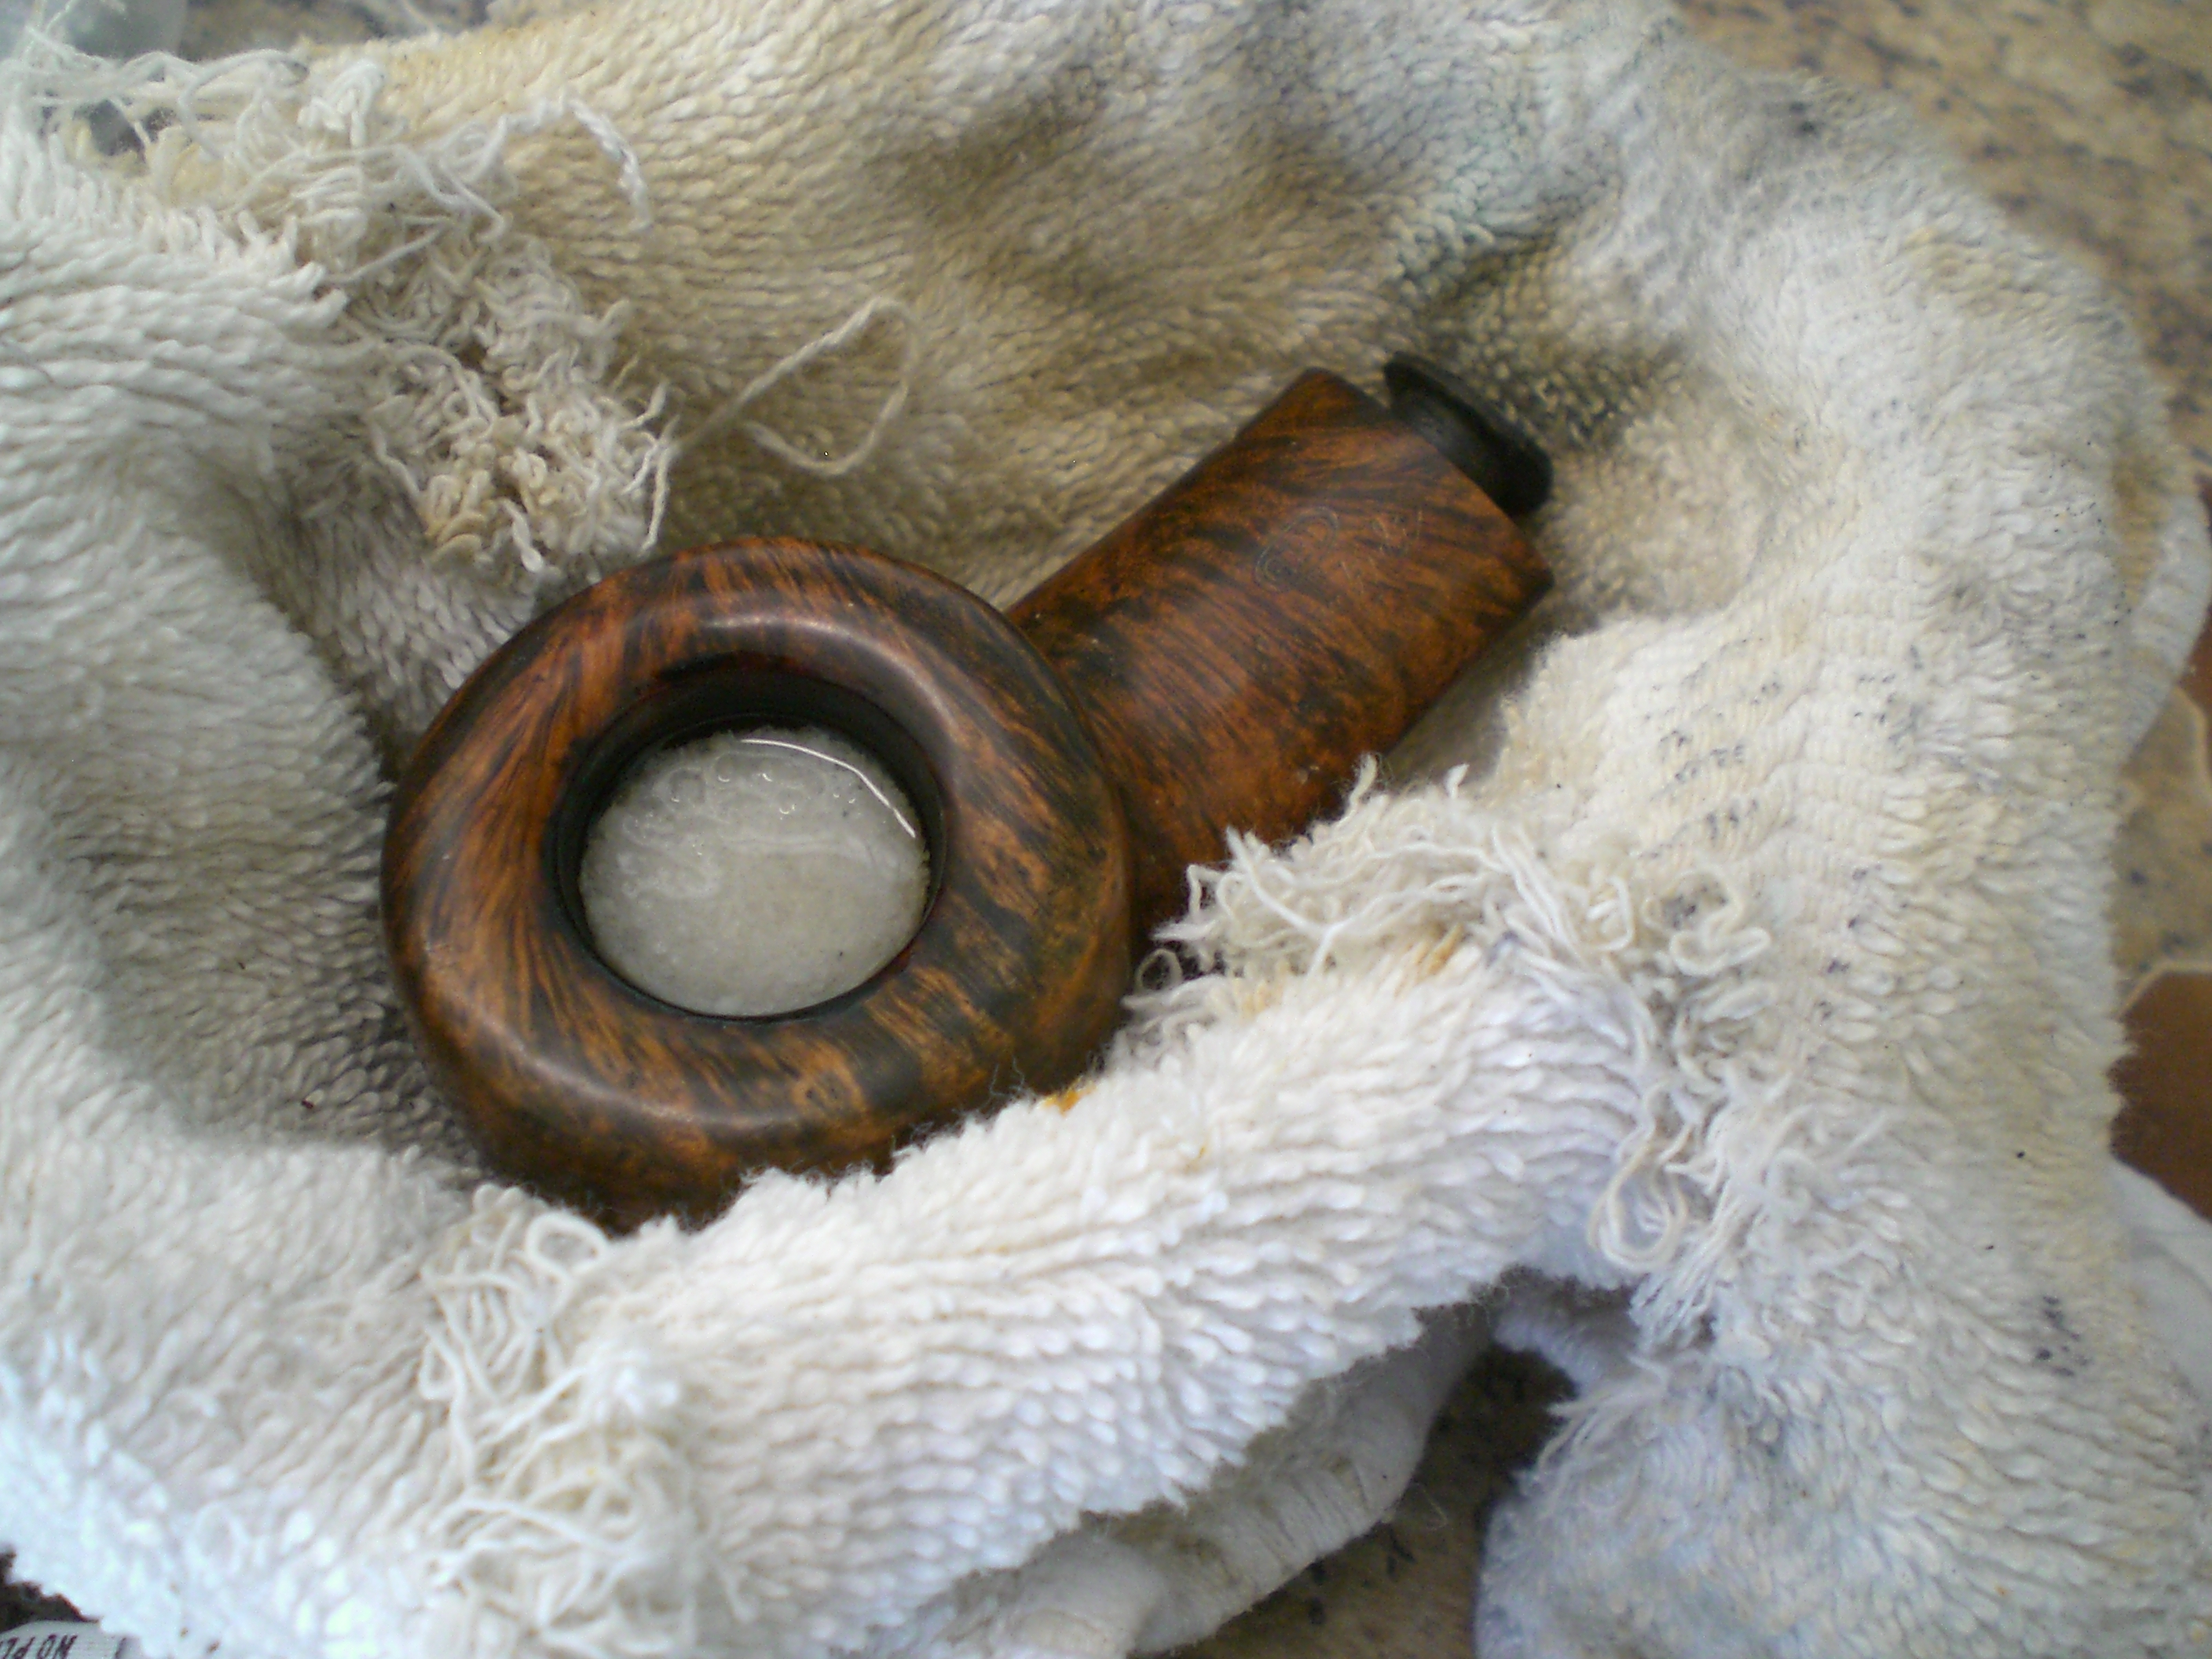
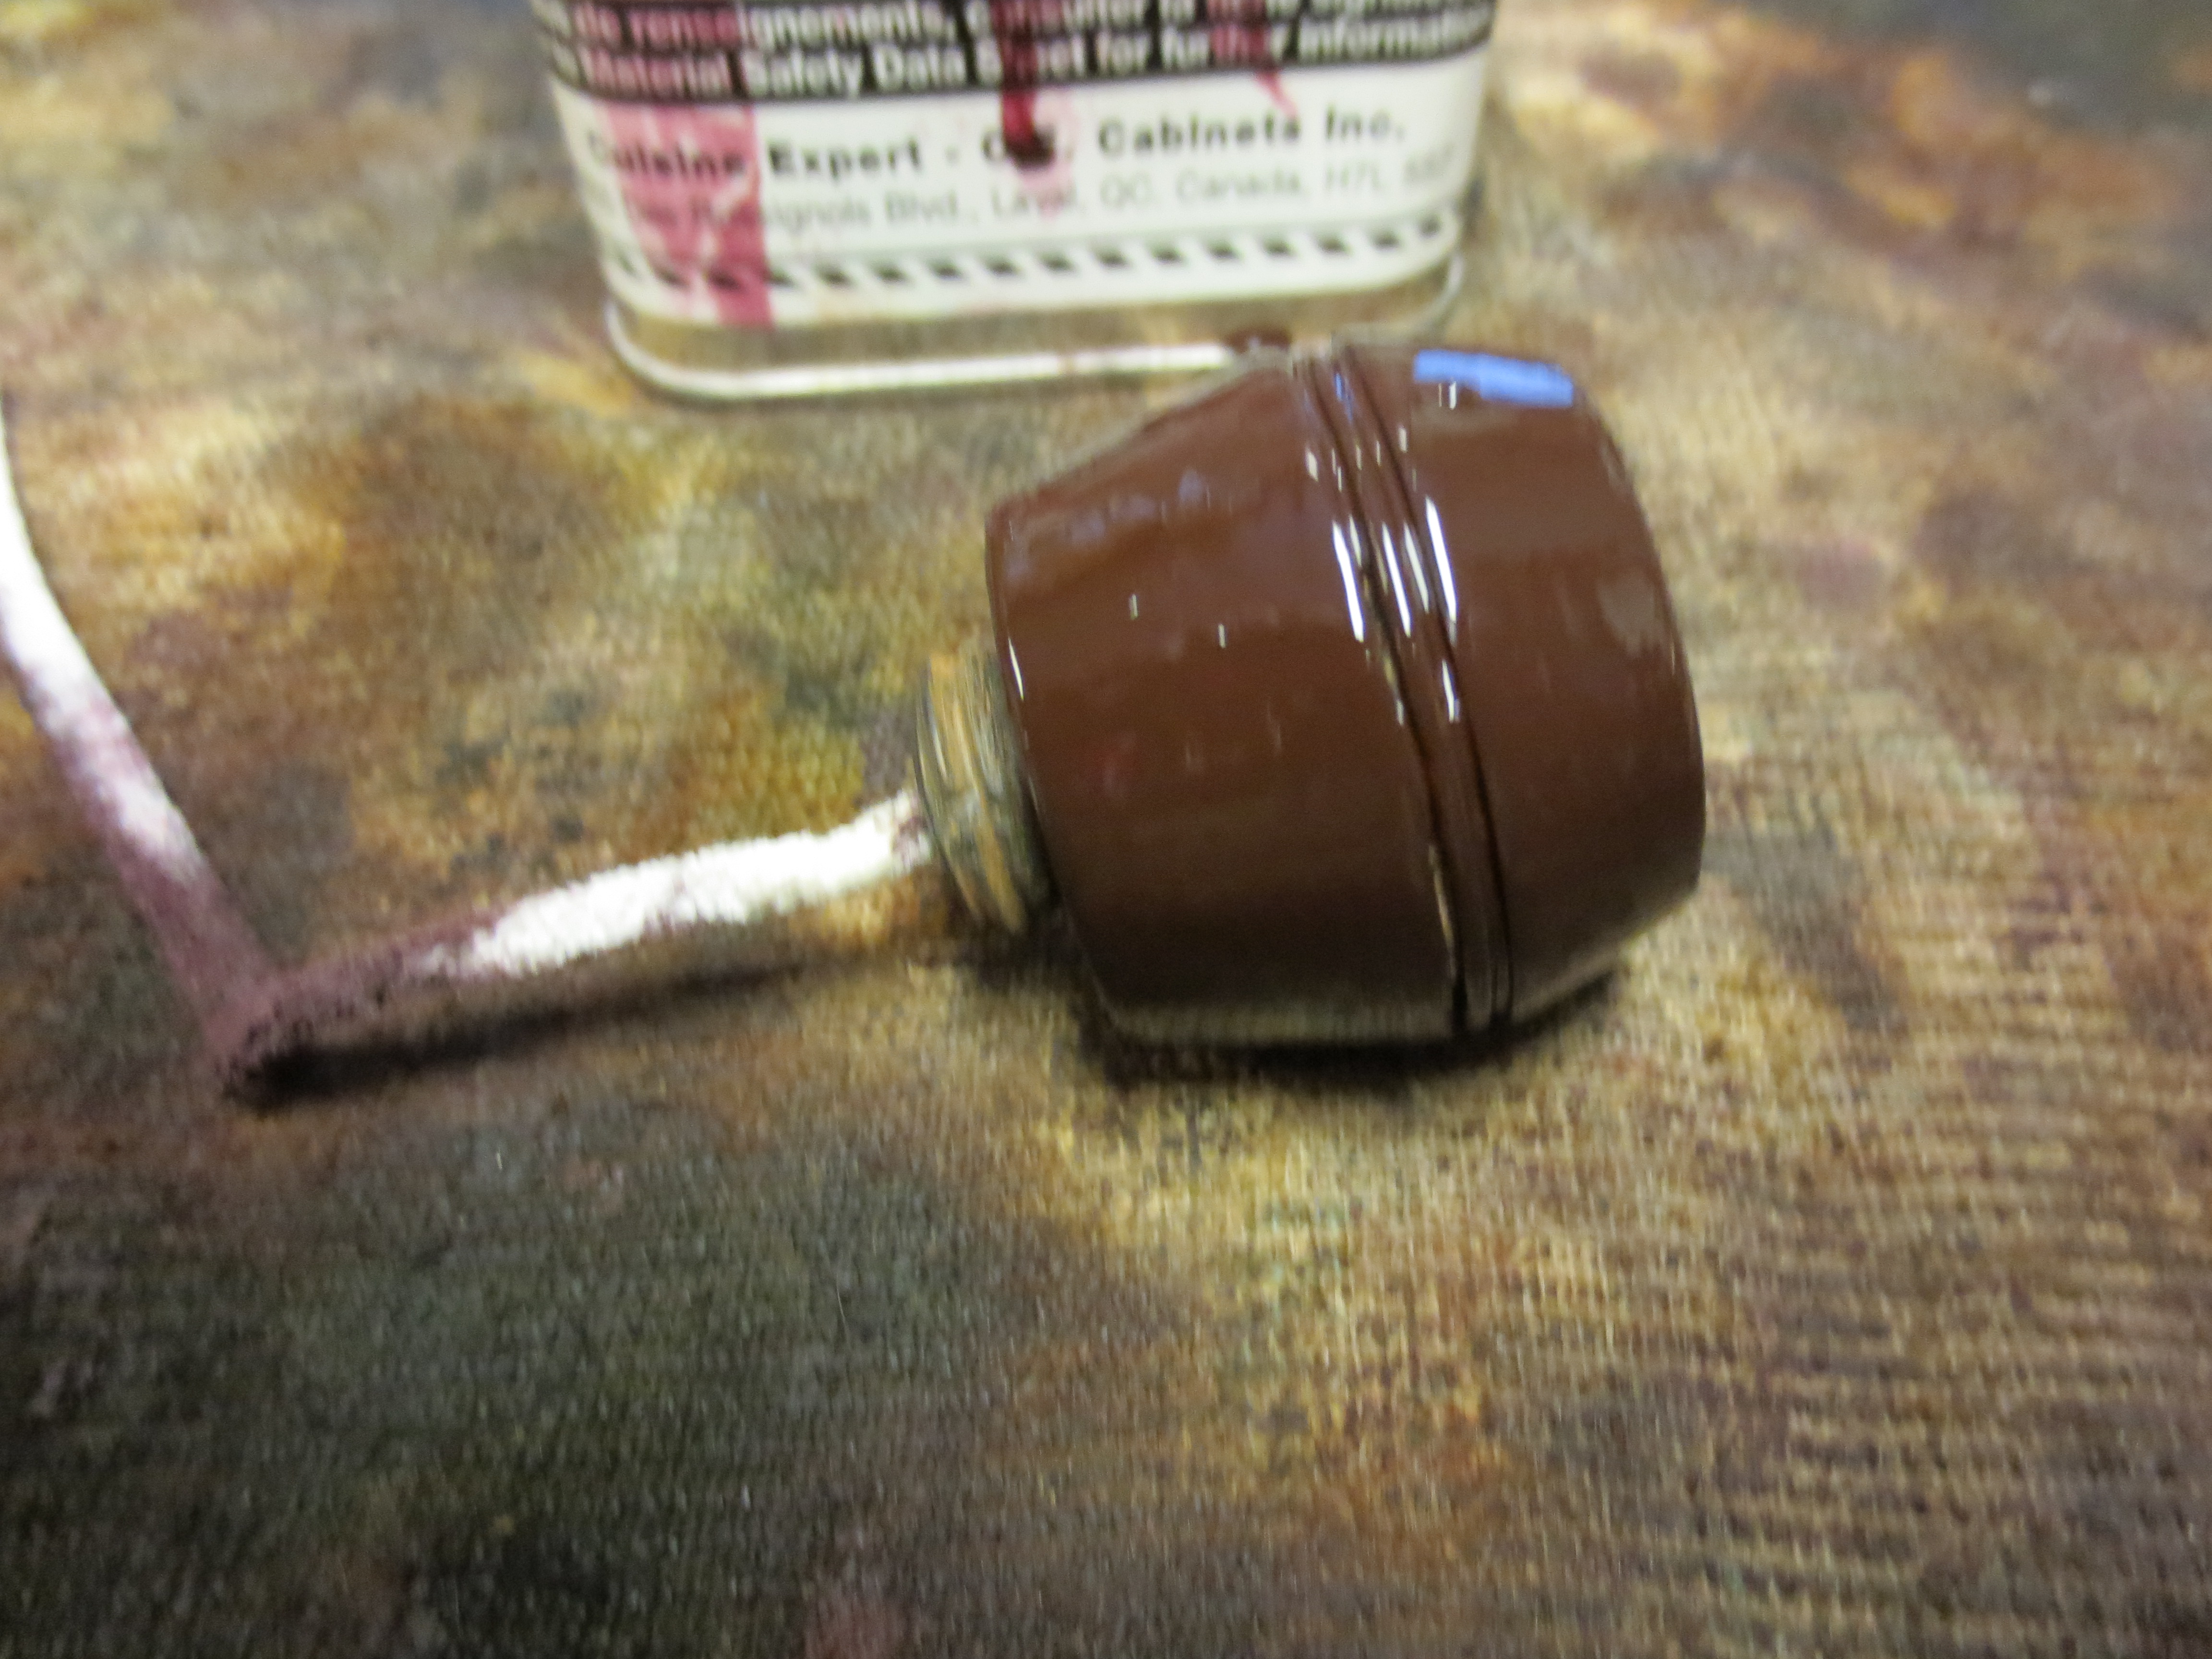
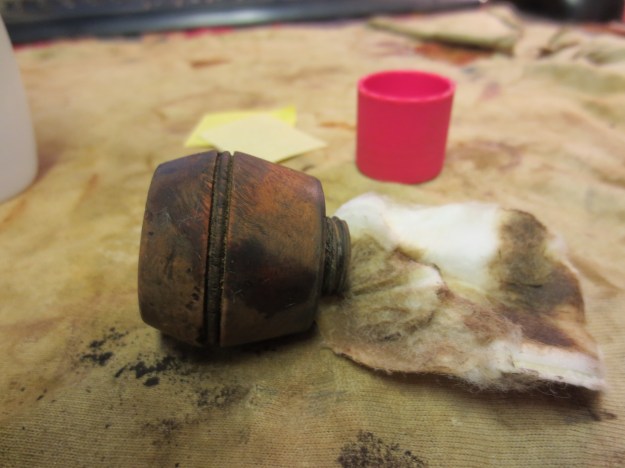
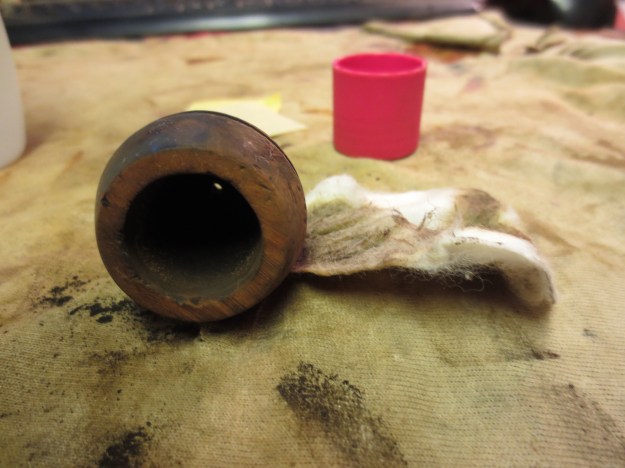
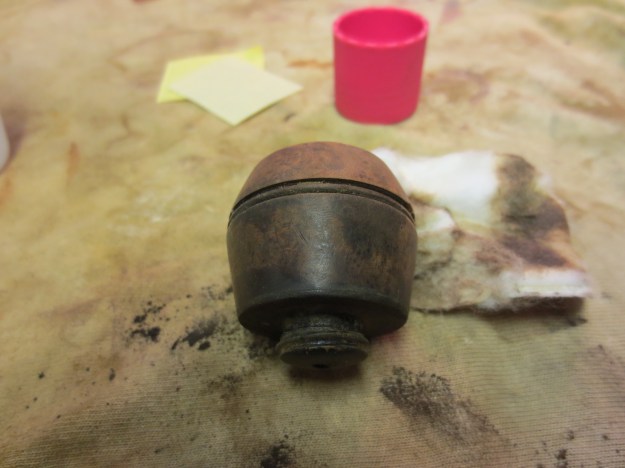
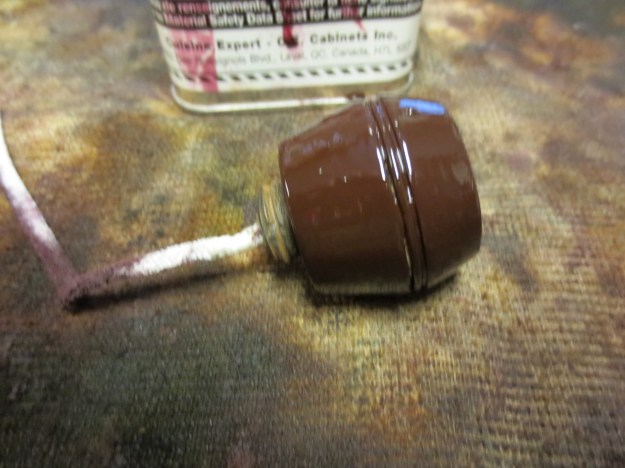
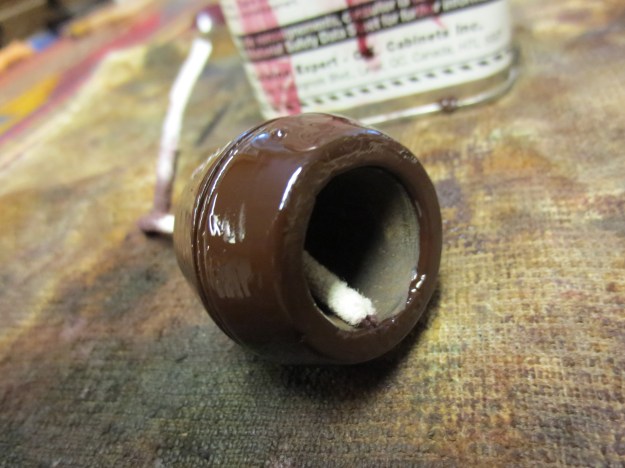
I reamed the bowl and soaked it for six hours with some Everclear and sea salt.  Prior to soaking, I buffed the pipe lightly with some Tripoli and White diamond followed by a buff with carnuba wax.  I like to leave the wax on the pipe during the soaking process in the event some alcohol is splashed on the briar bowl top and I believe the wax gives it some protection from lifting the stain.  While the bowl was soaking, the stem was also soaked in a mild solution of Oxy-clean.  I put a dab of grease on the brass rondell.  The oxidation was so heavy, part of the rondell was obscured and at first I thought it was just worn heavily.   That turned out not to be the case.

GBD_1353_76_Restore (13) GBD_1353_76_Restore (5)

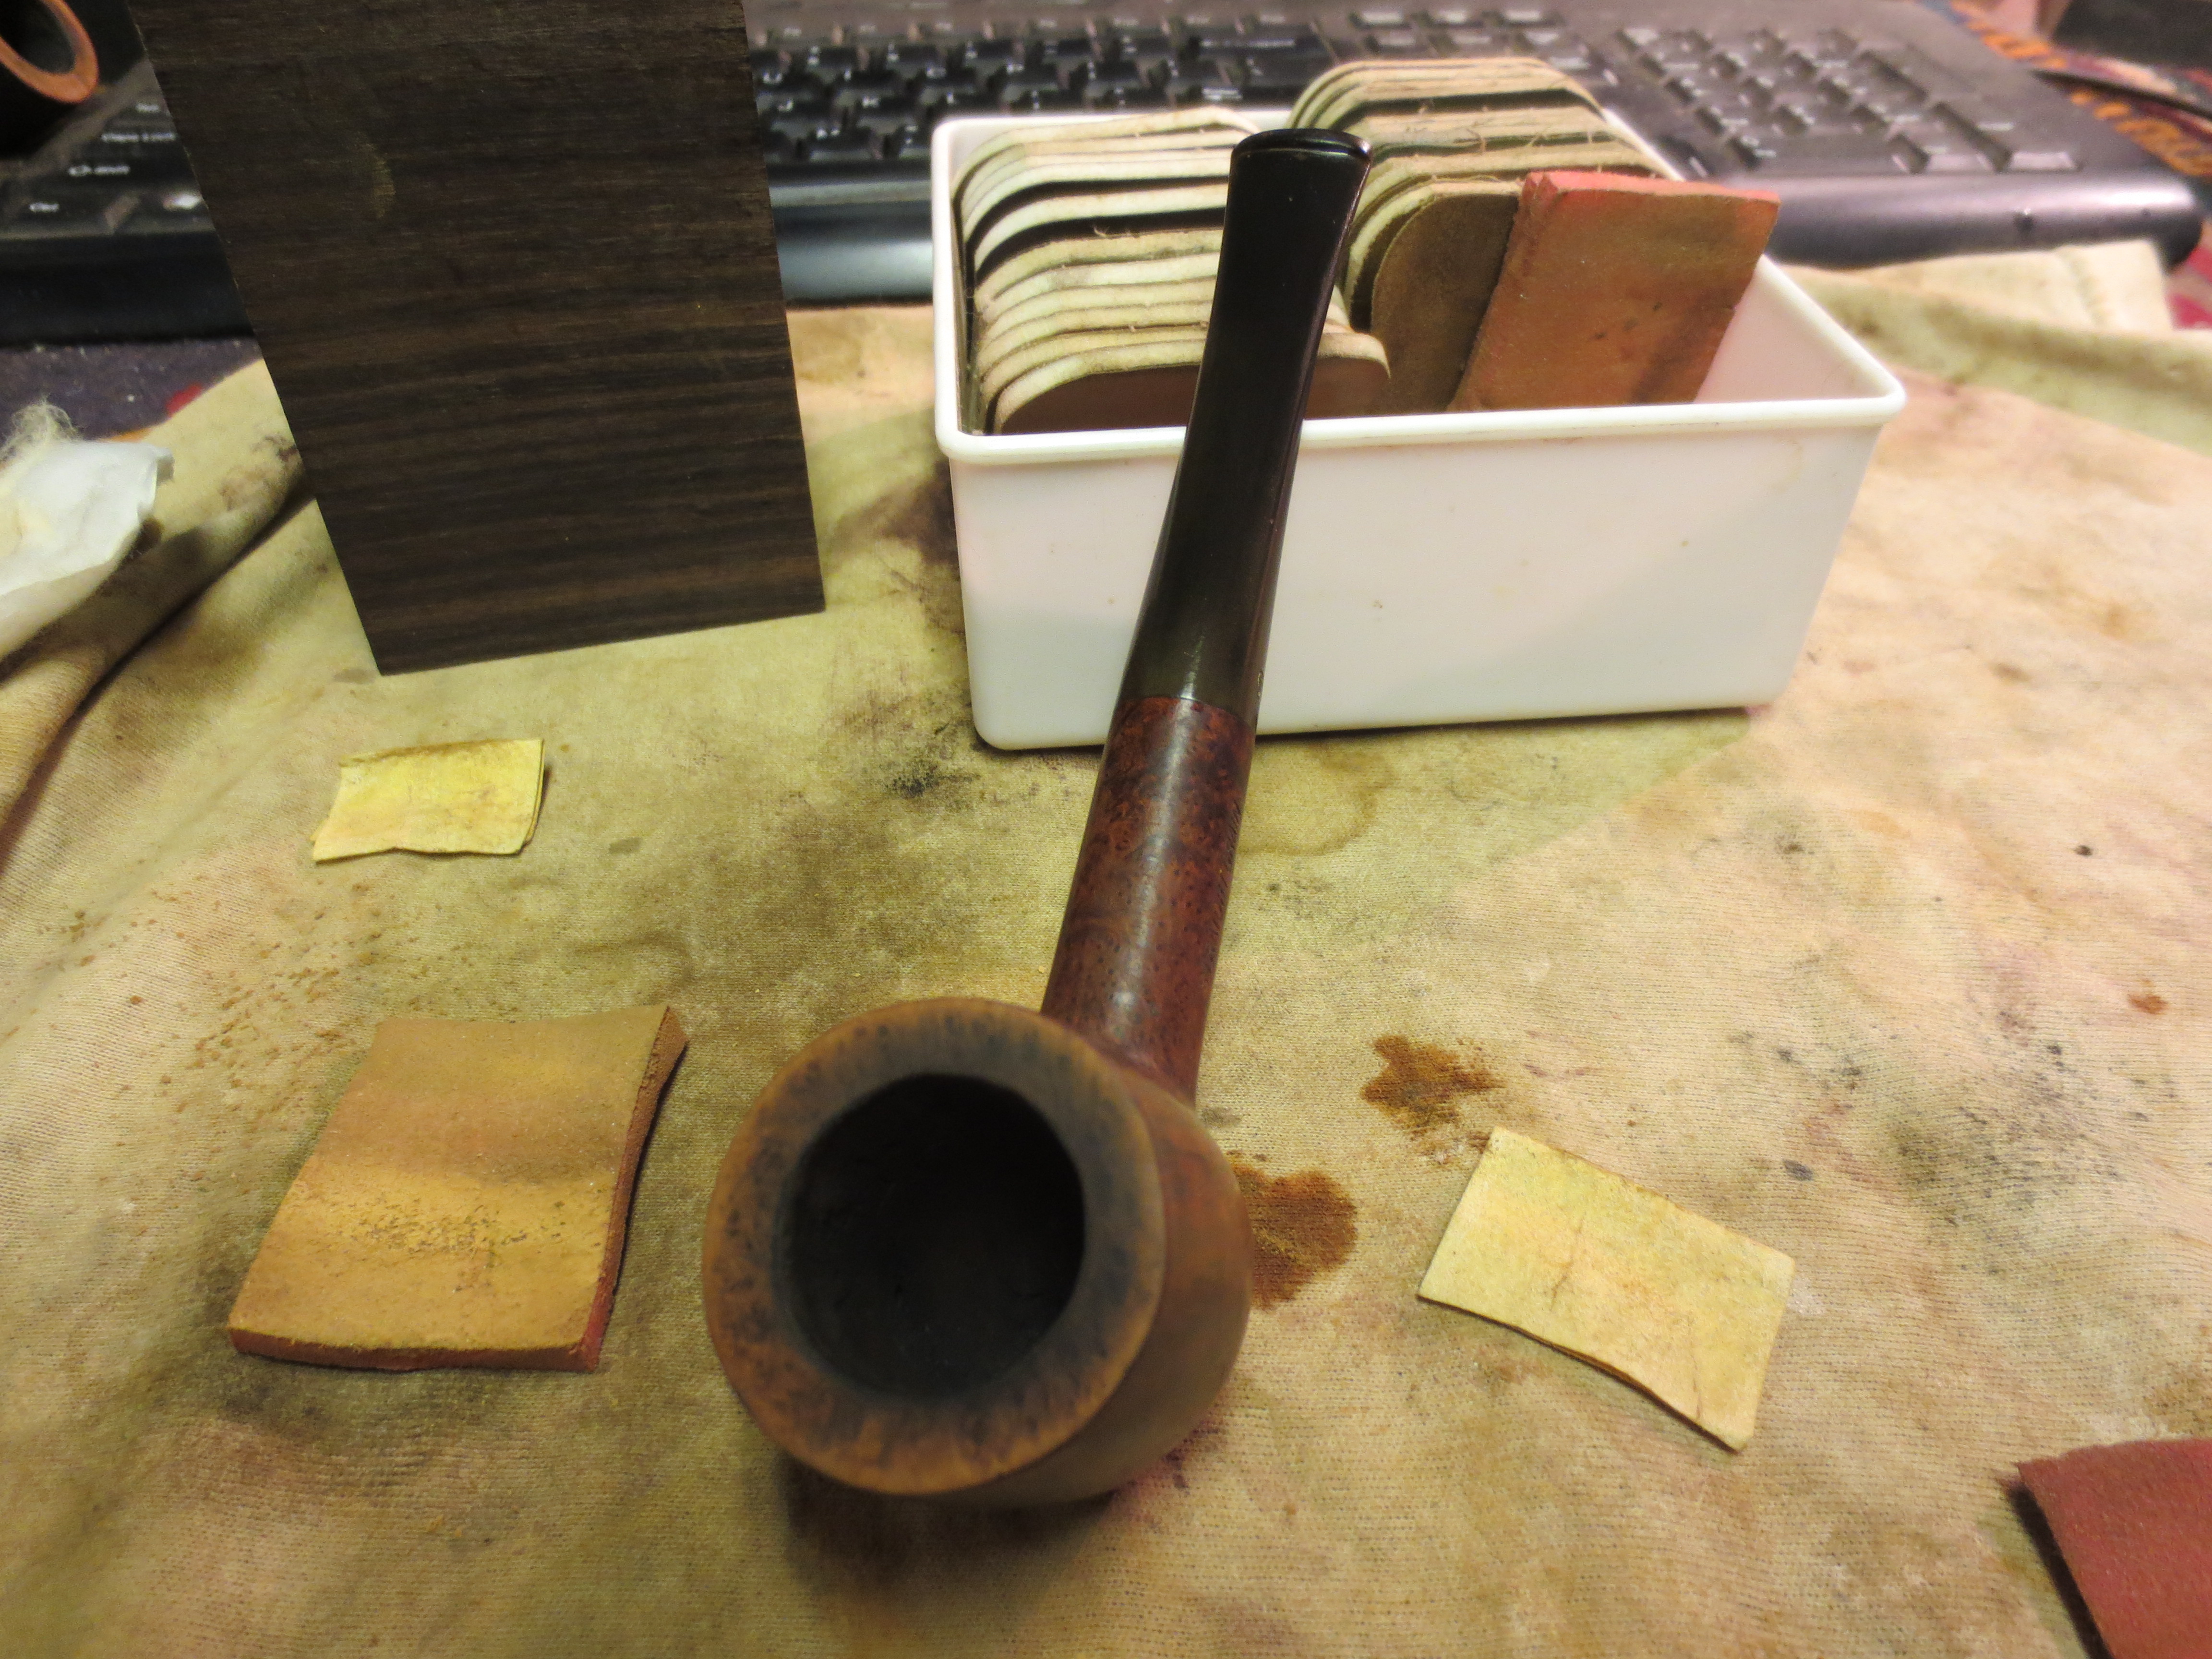
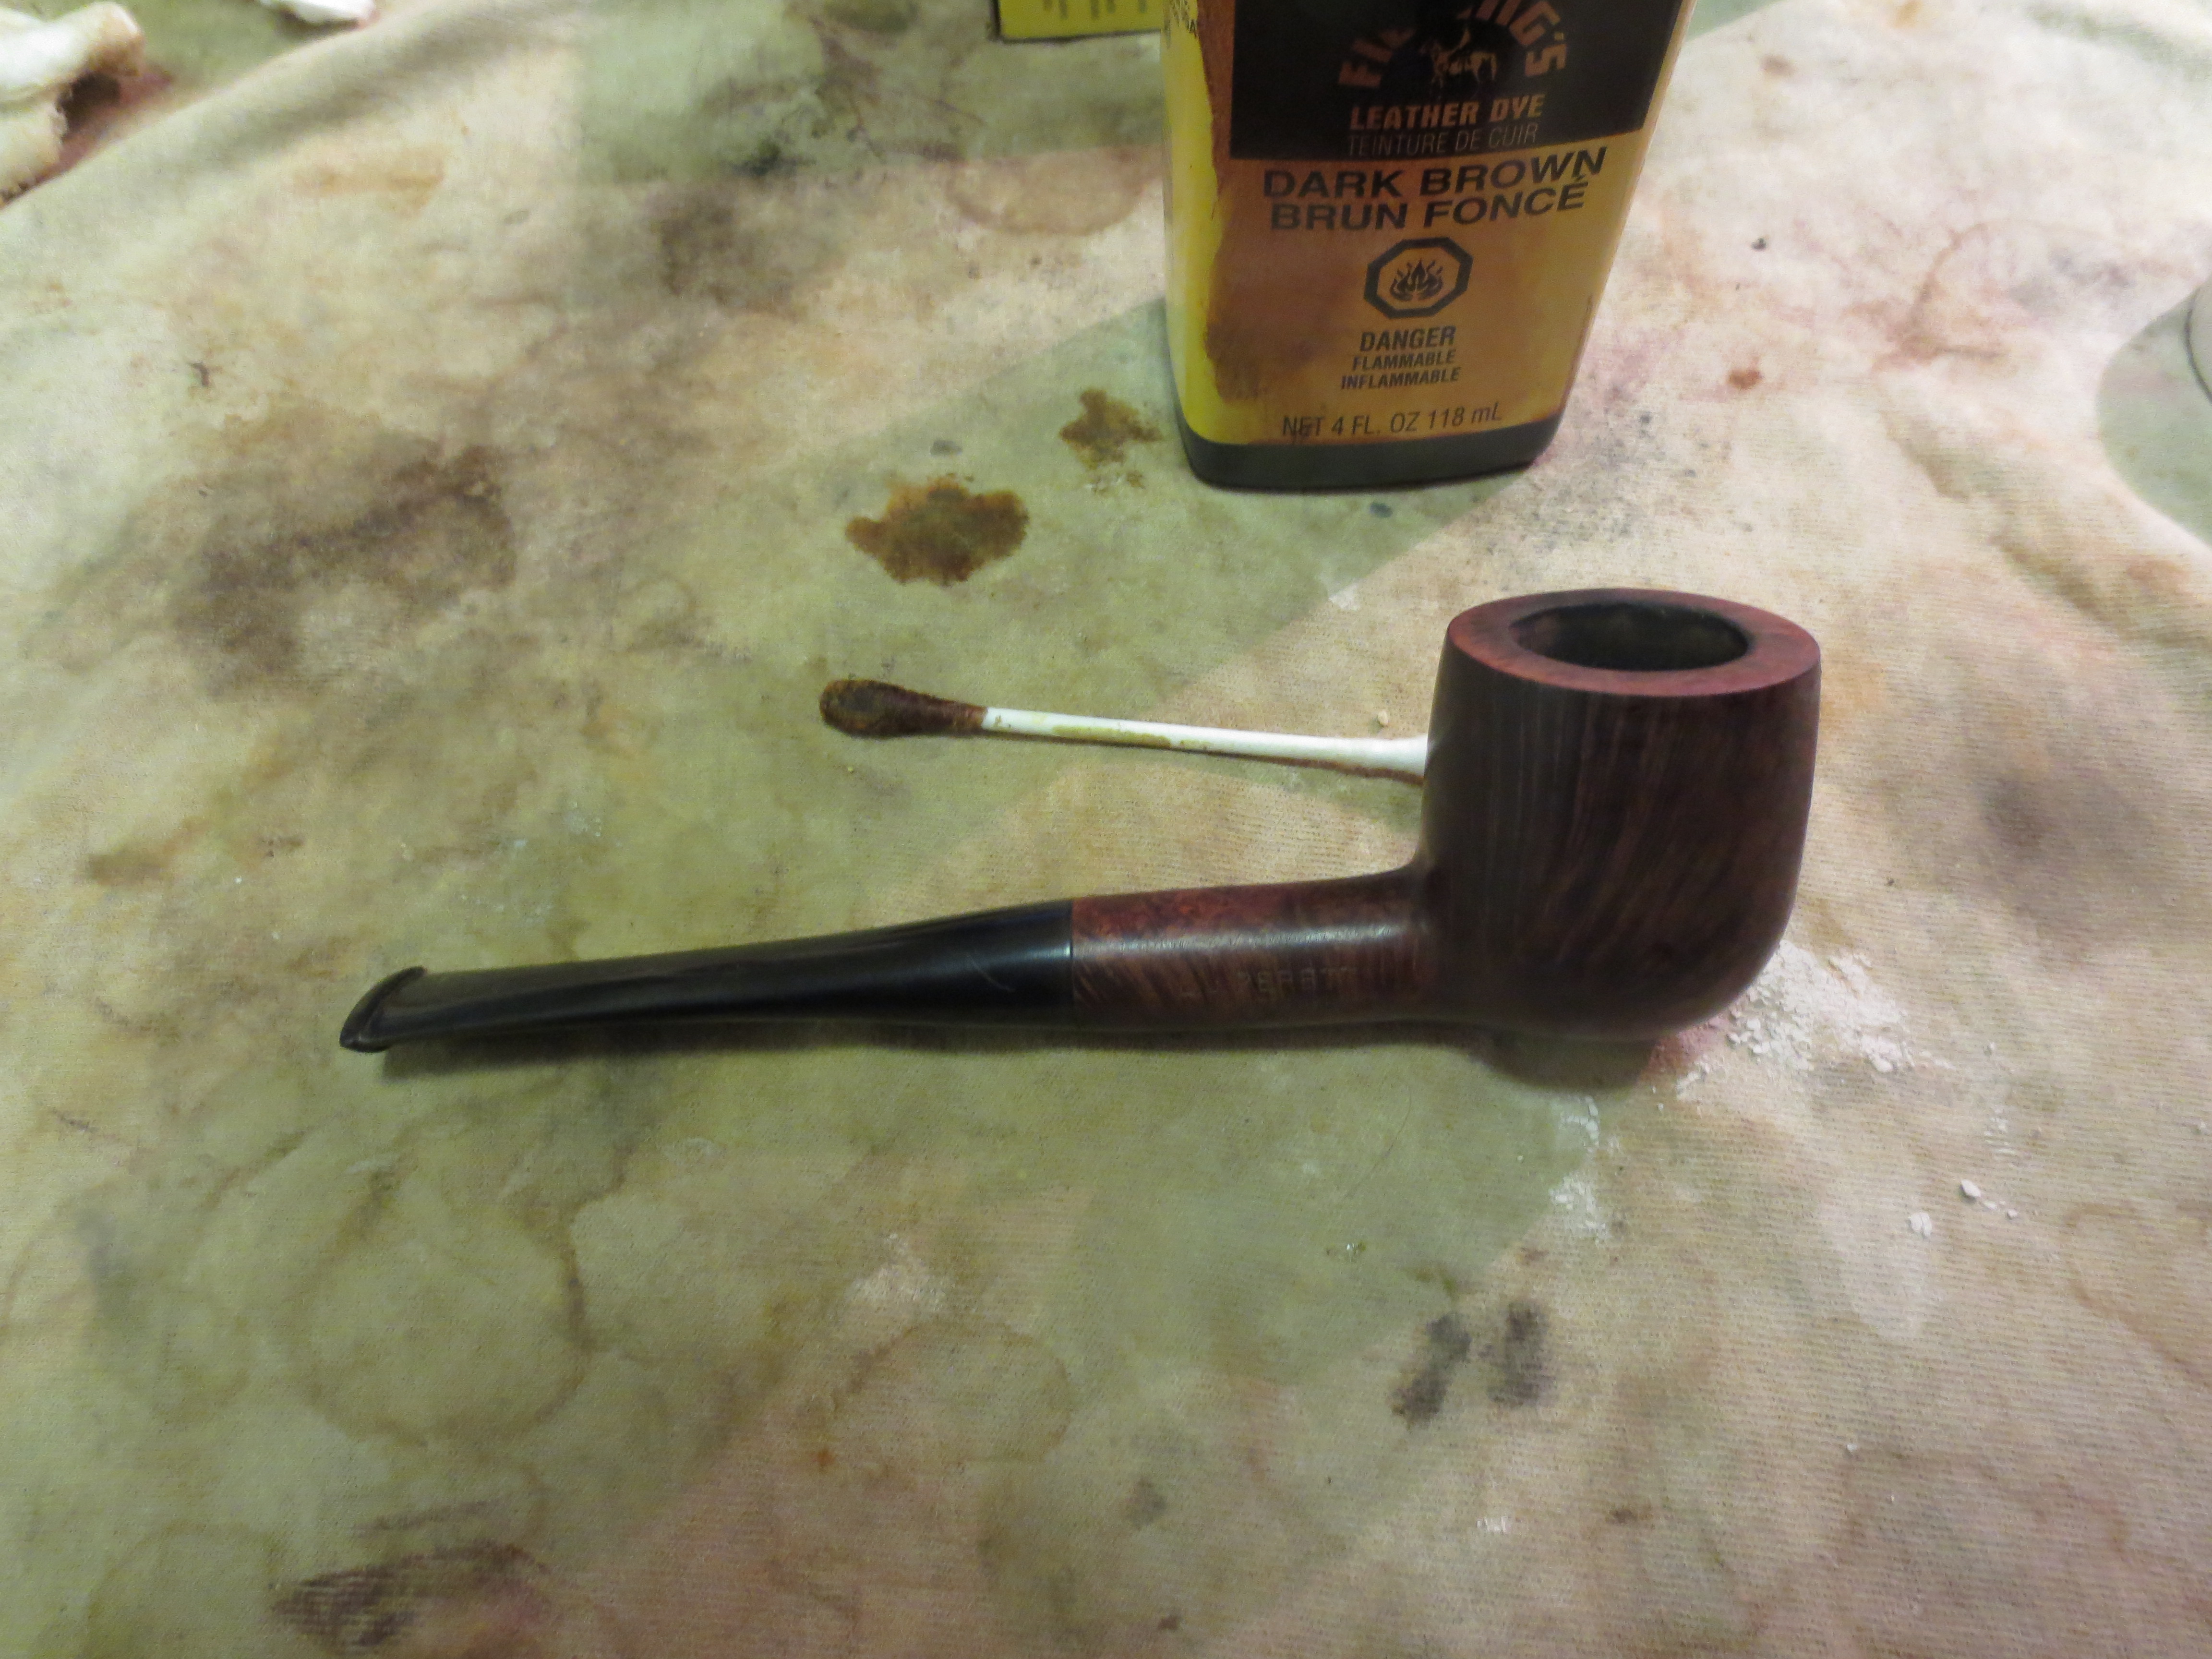
After the bowl was soaked, I emptied the salt and alcohol solution.   I heated a kitchen knife with a torch and applied that to the dents with a wet towel.  The steam generated allows the dents to pop back out most of the time.  In this case, the dents did spring back to shape and I was able to reduce the depth of some of the nicks.  Next I buffed the briar bowl again, using separate wheels of Tripoli, White Diamond and several coats of carnuba wax.  I was able to diminish all of the nicks, in particular the one on the right side of the oval stem.

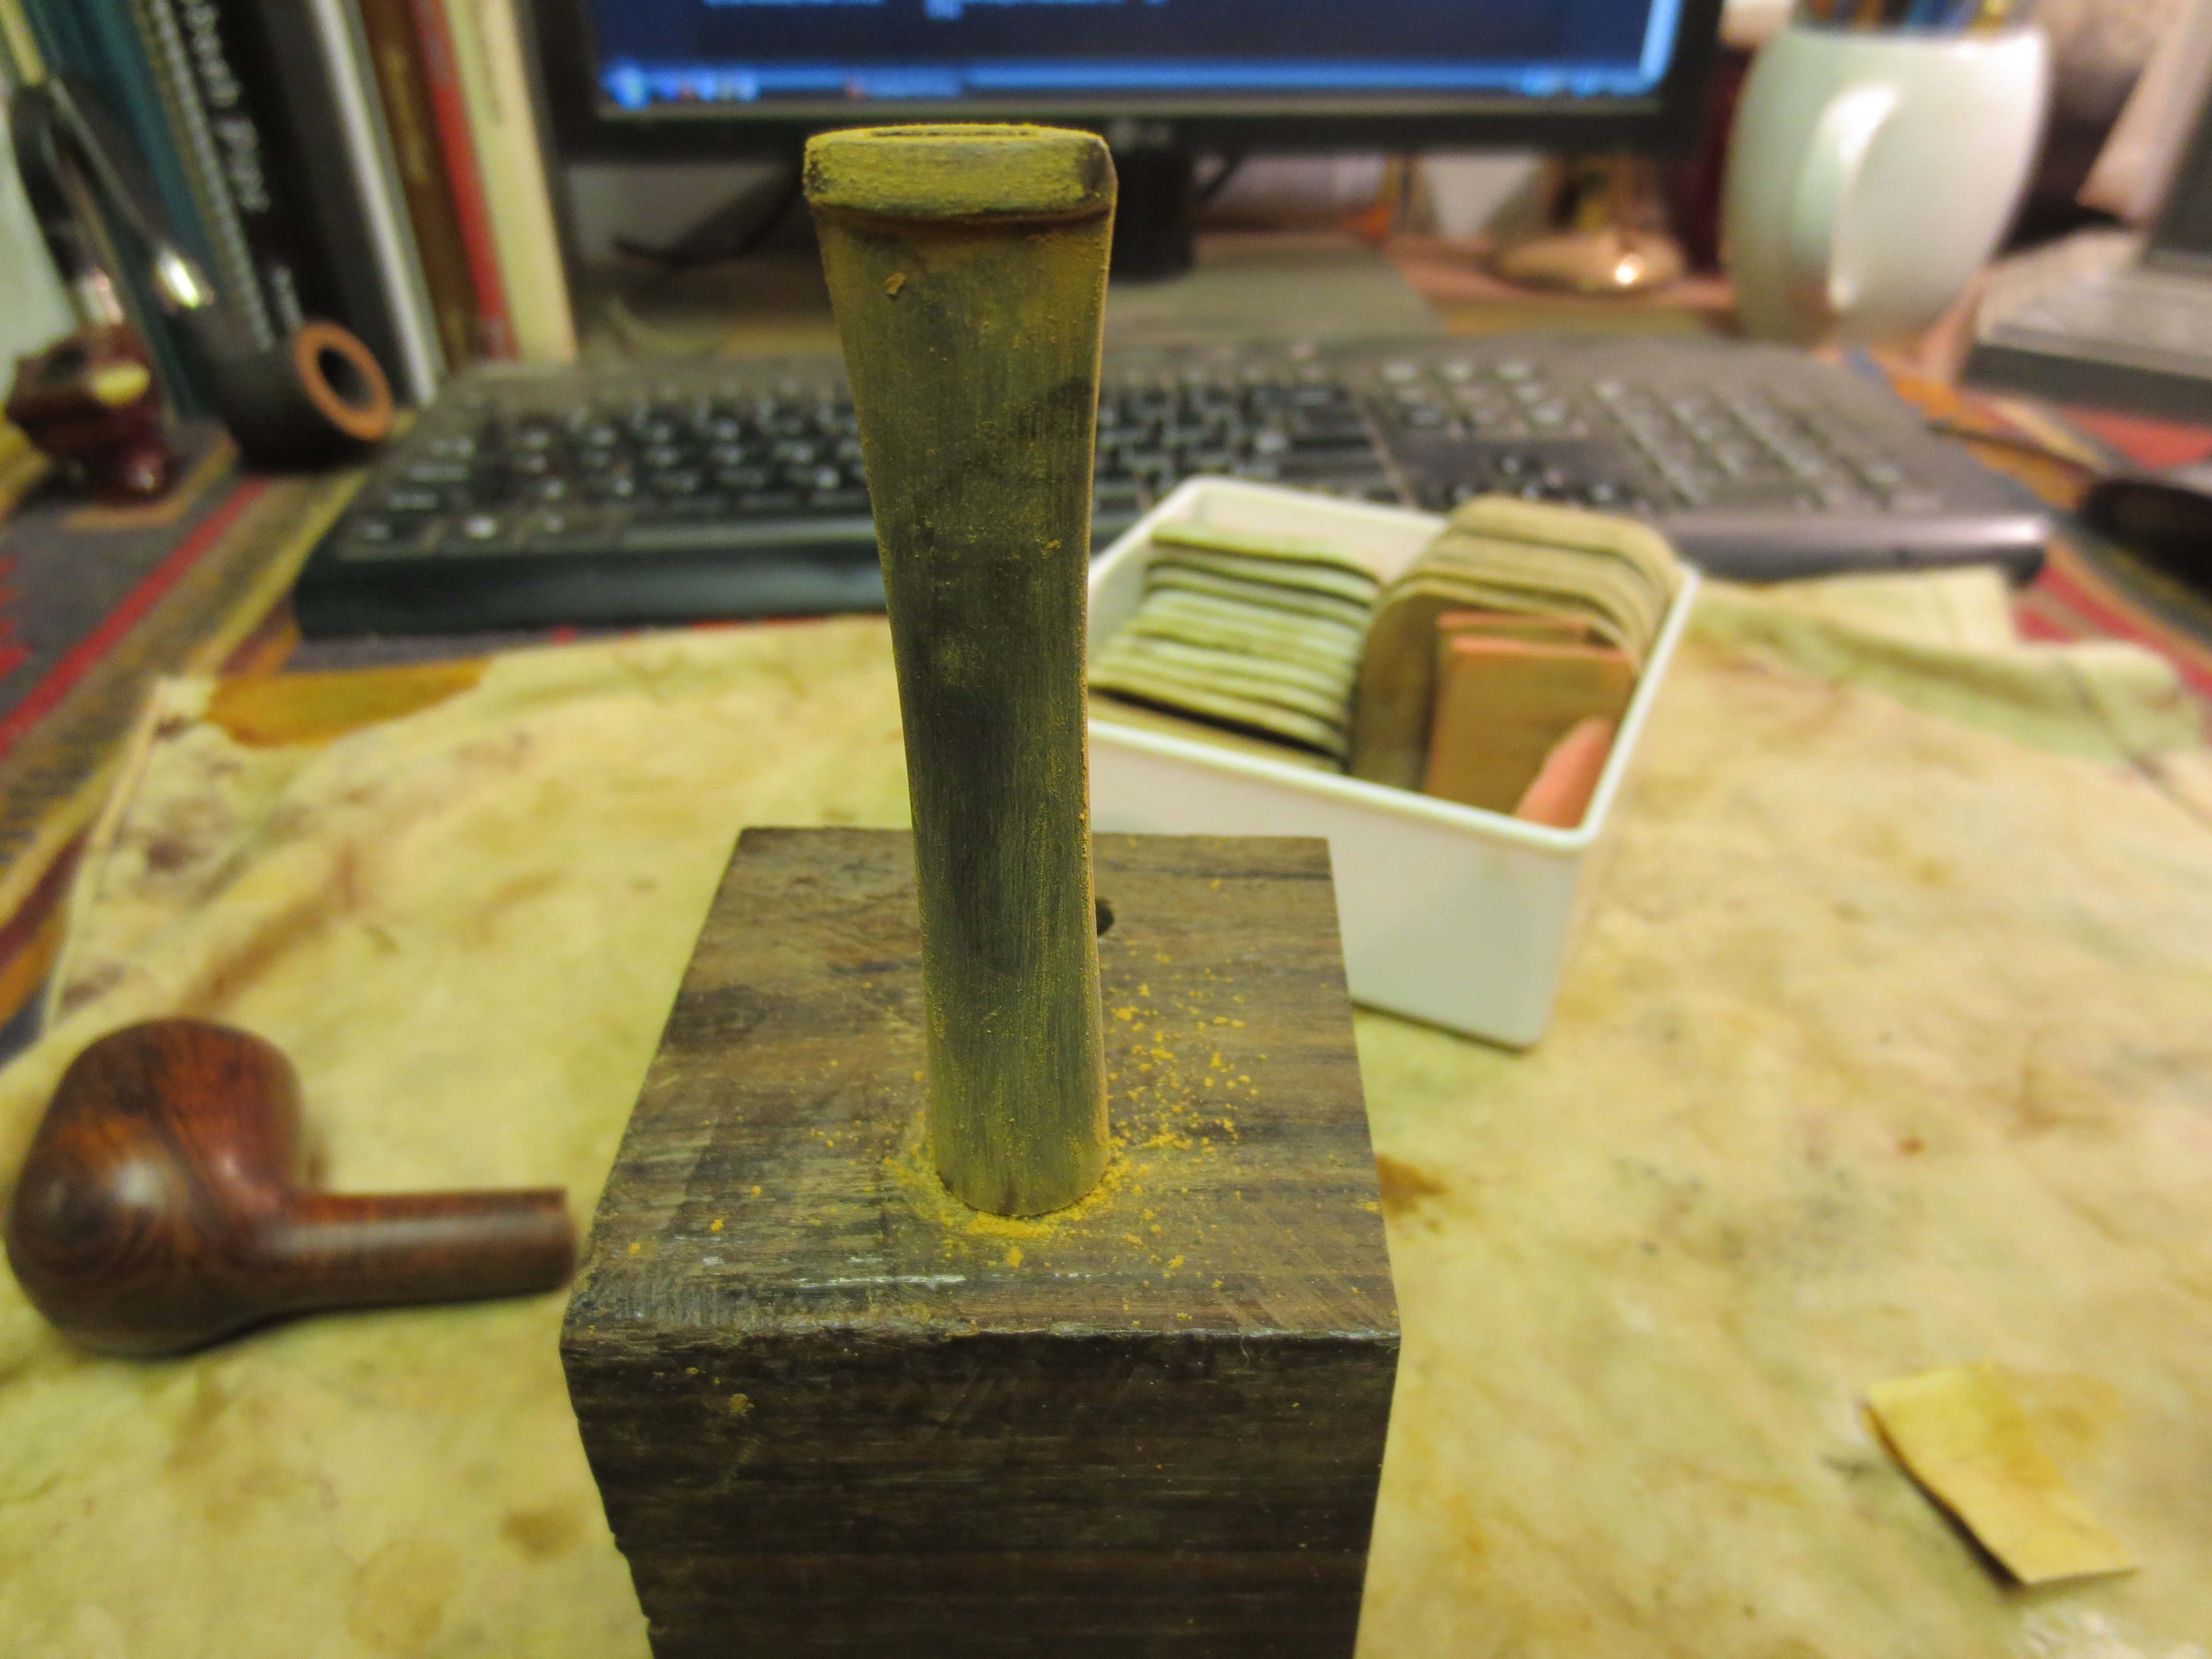
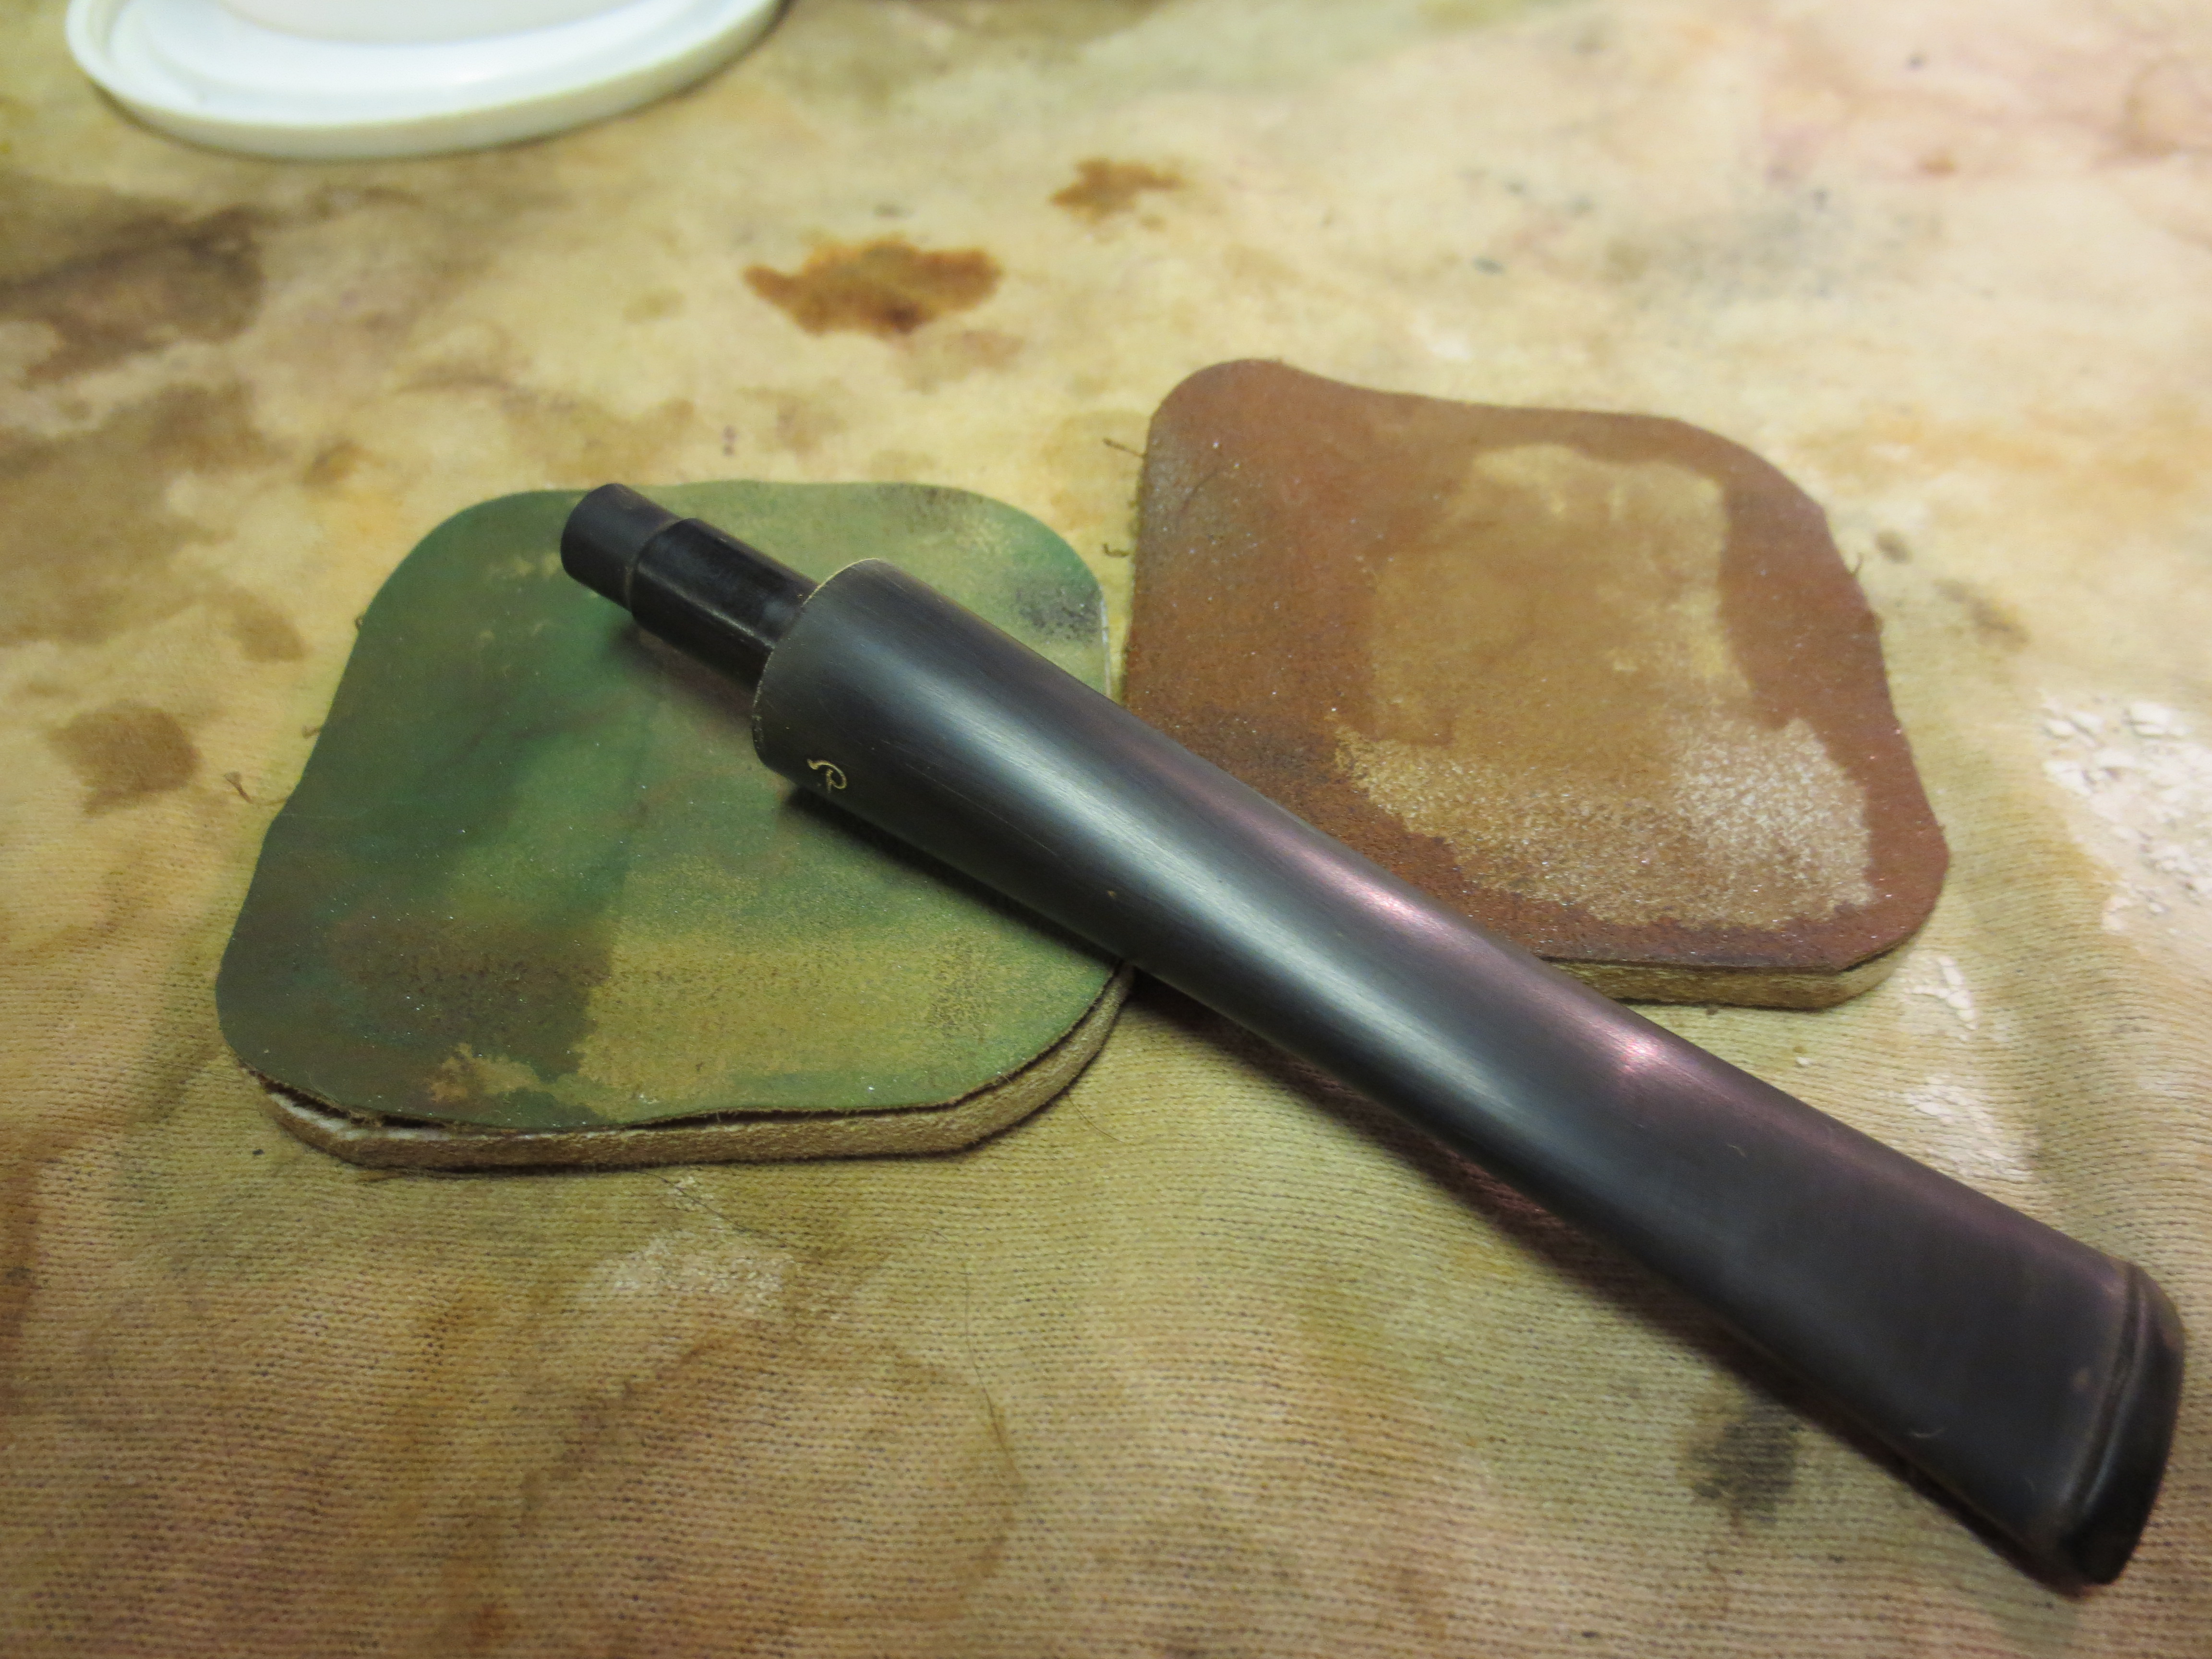
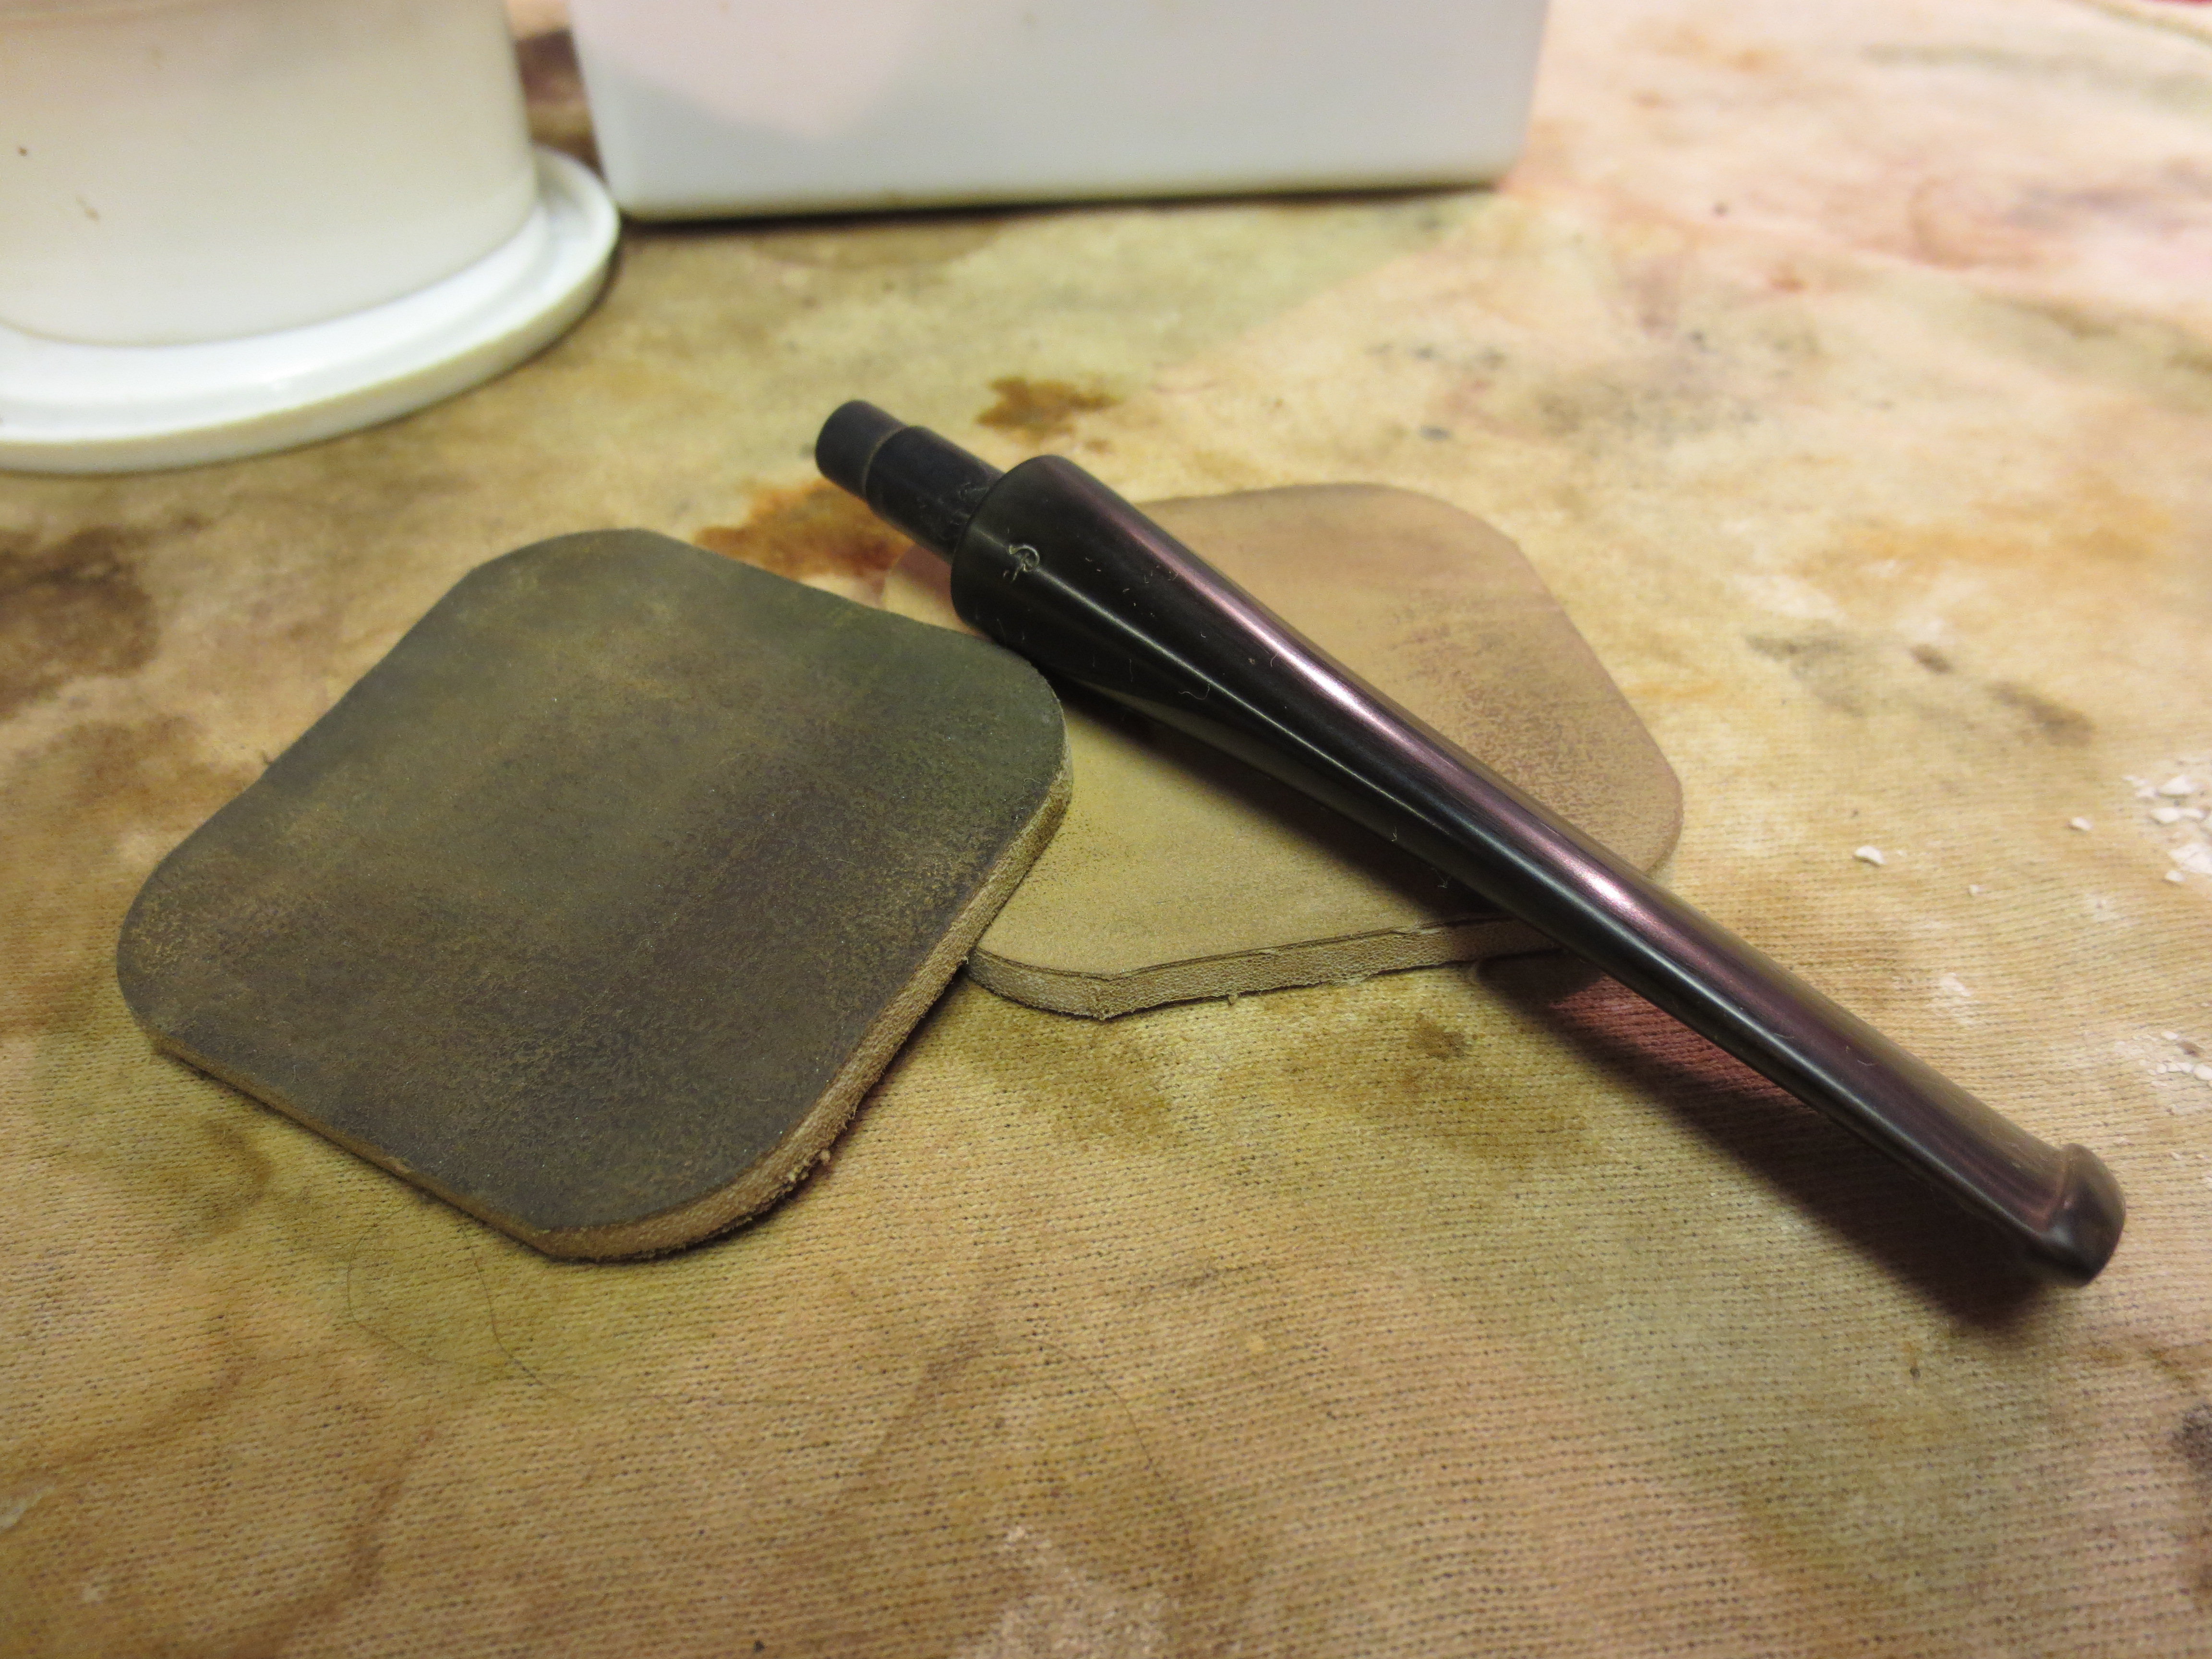
Next I went to work on the stem, which I re-attached to the bowl in order not to round off the crisp edge.  I removed the oxidation with 1500 grade wet paper (dipped in my oxy-clean solution) followed by 2000 grade paper.  Next I moved to the Micromesh sheets, using 8000 and finally 12000 grade paper.  I then buffed the stem with white diamond and Blue Magic brand plastic polish.

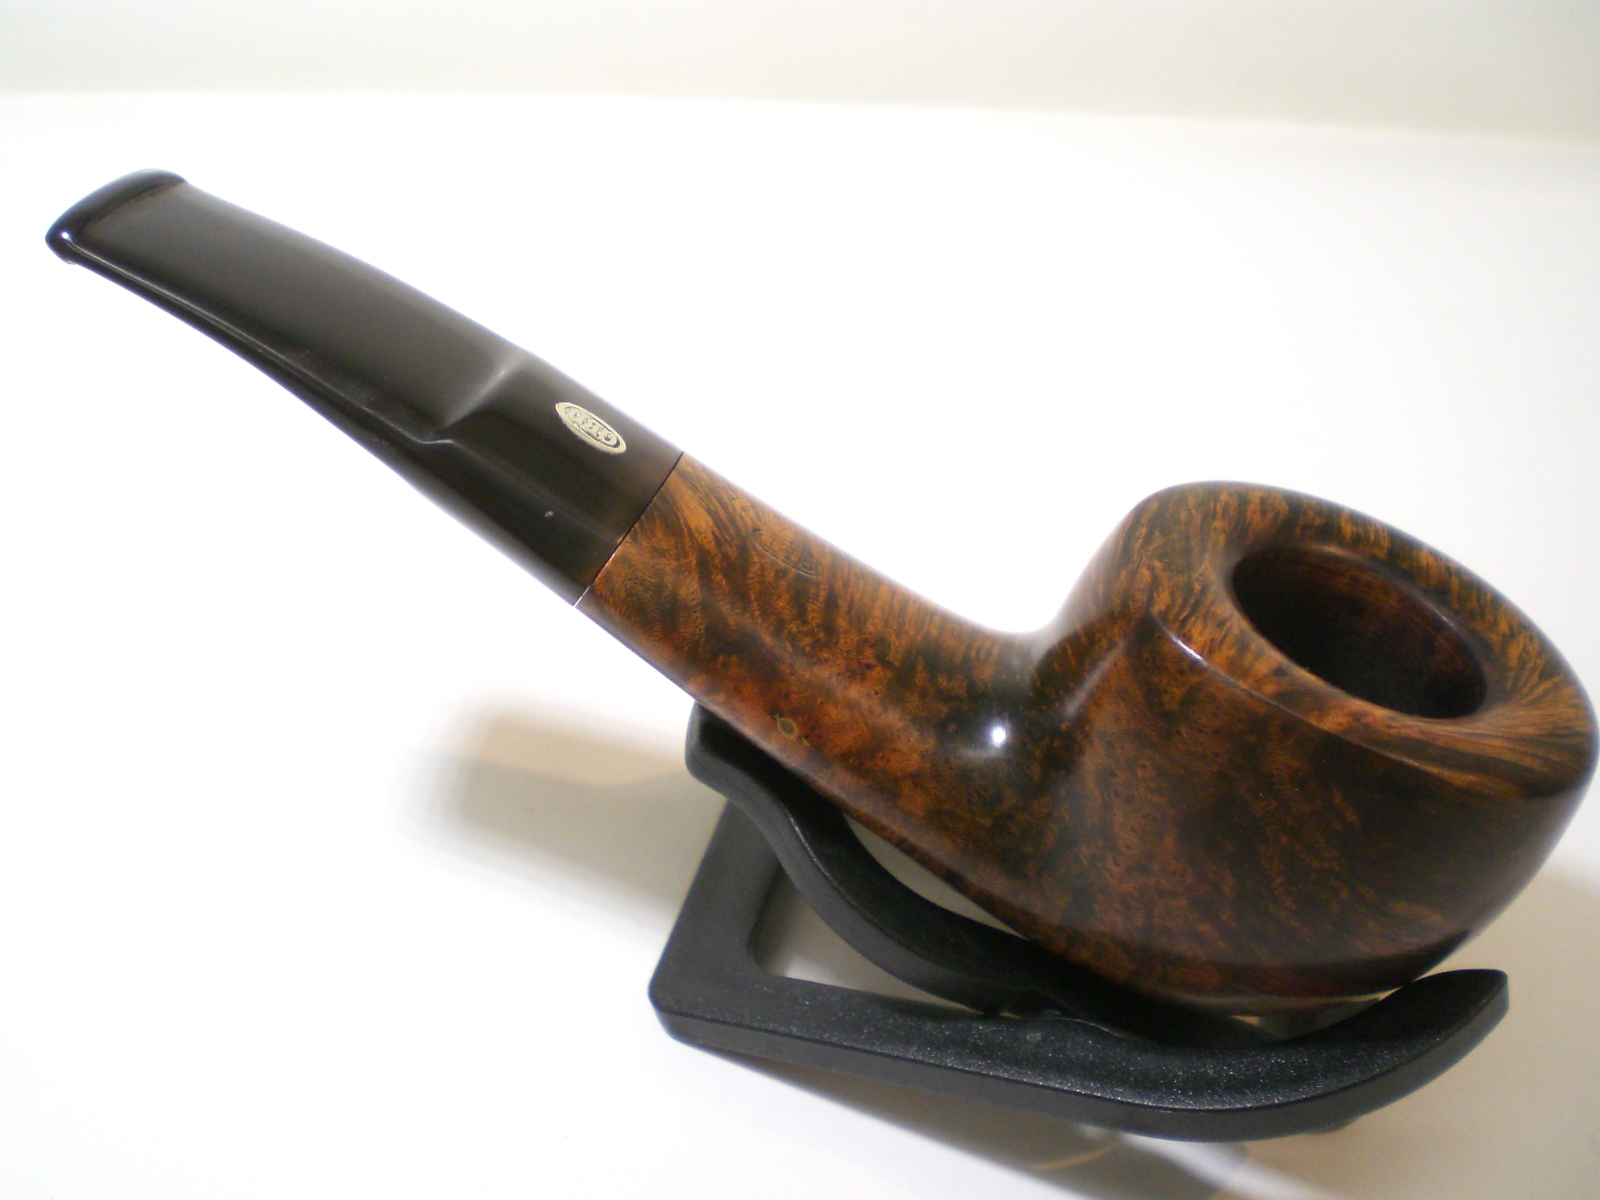
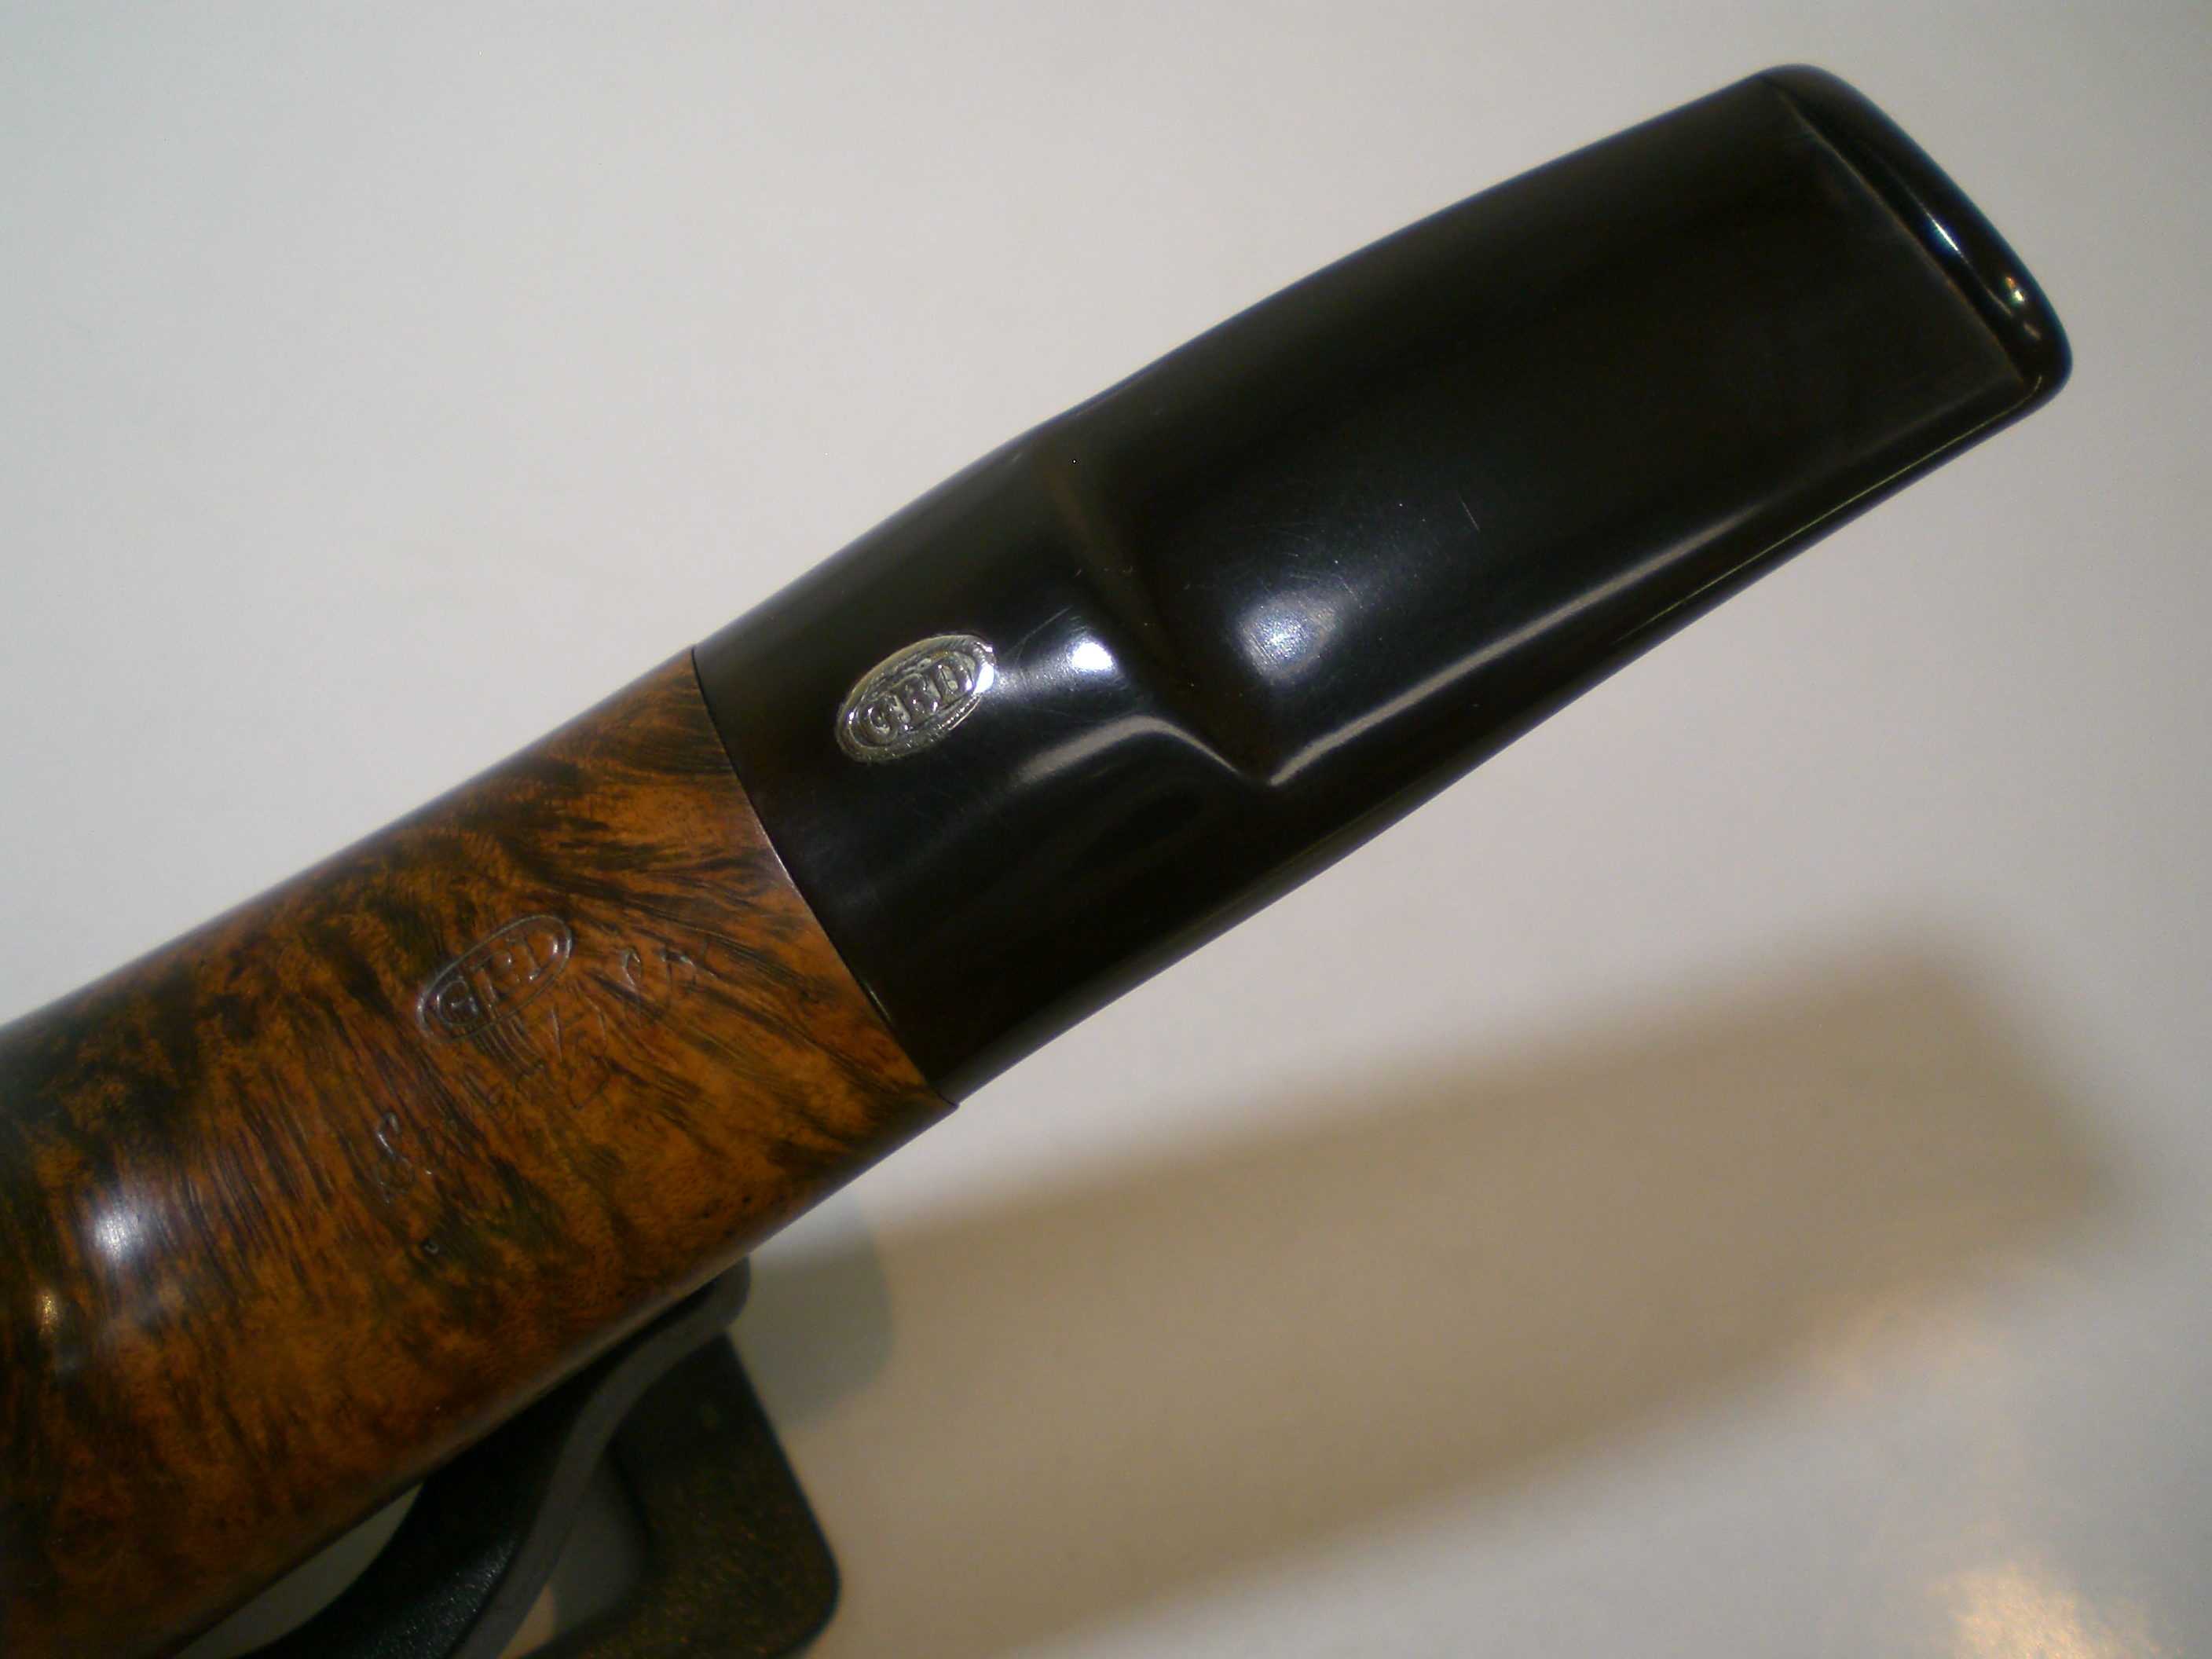
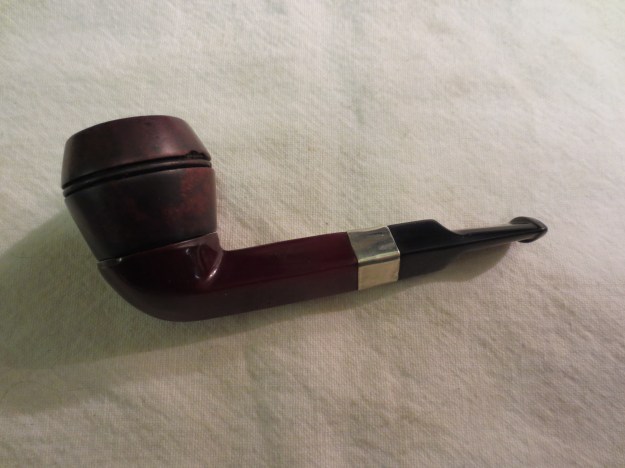
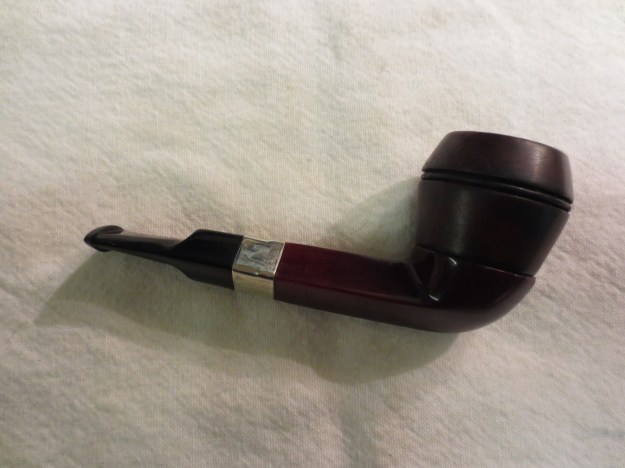
A wire bristle brush dipped in Everclear was used to clean the shank.  It took approximately 25 swabs with the bristle cleaner until the brush came out clean.    I’ll let the briar dry out for a few days before smoking the pipe.   Below are some pictures of the finished pipe.

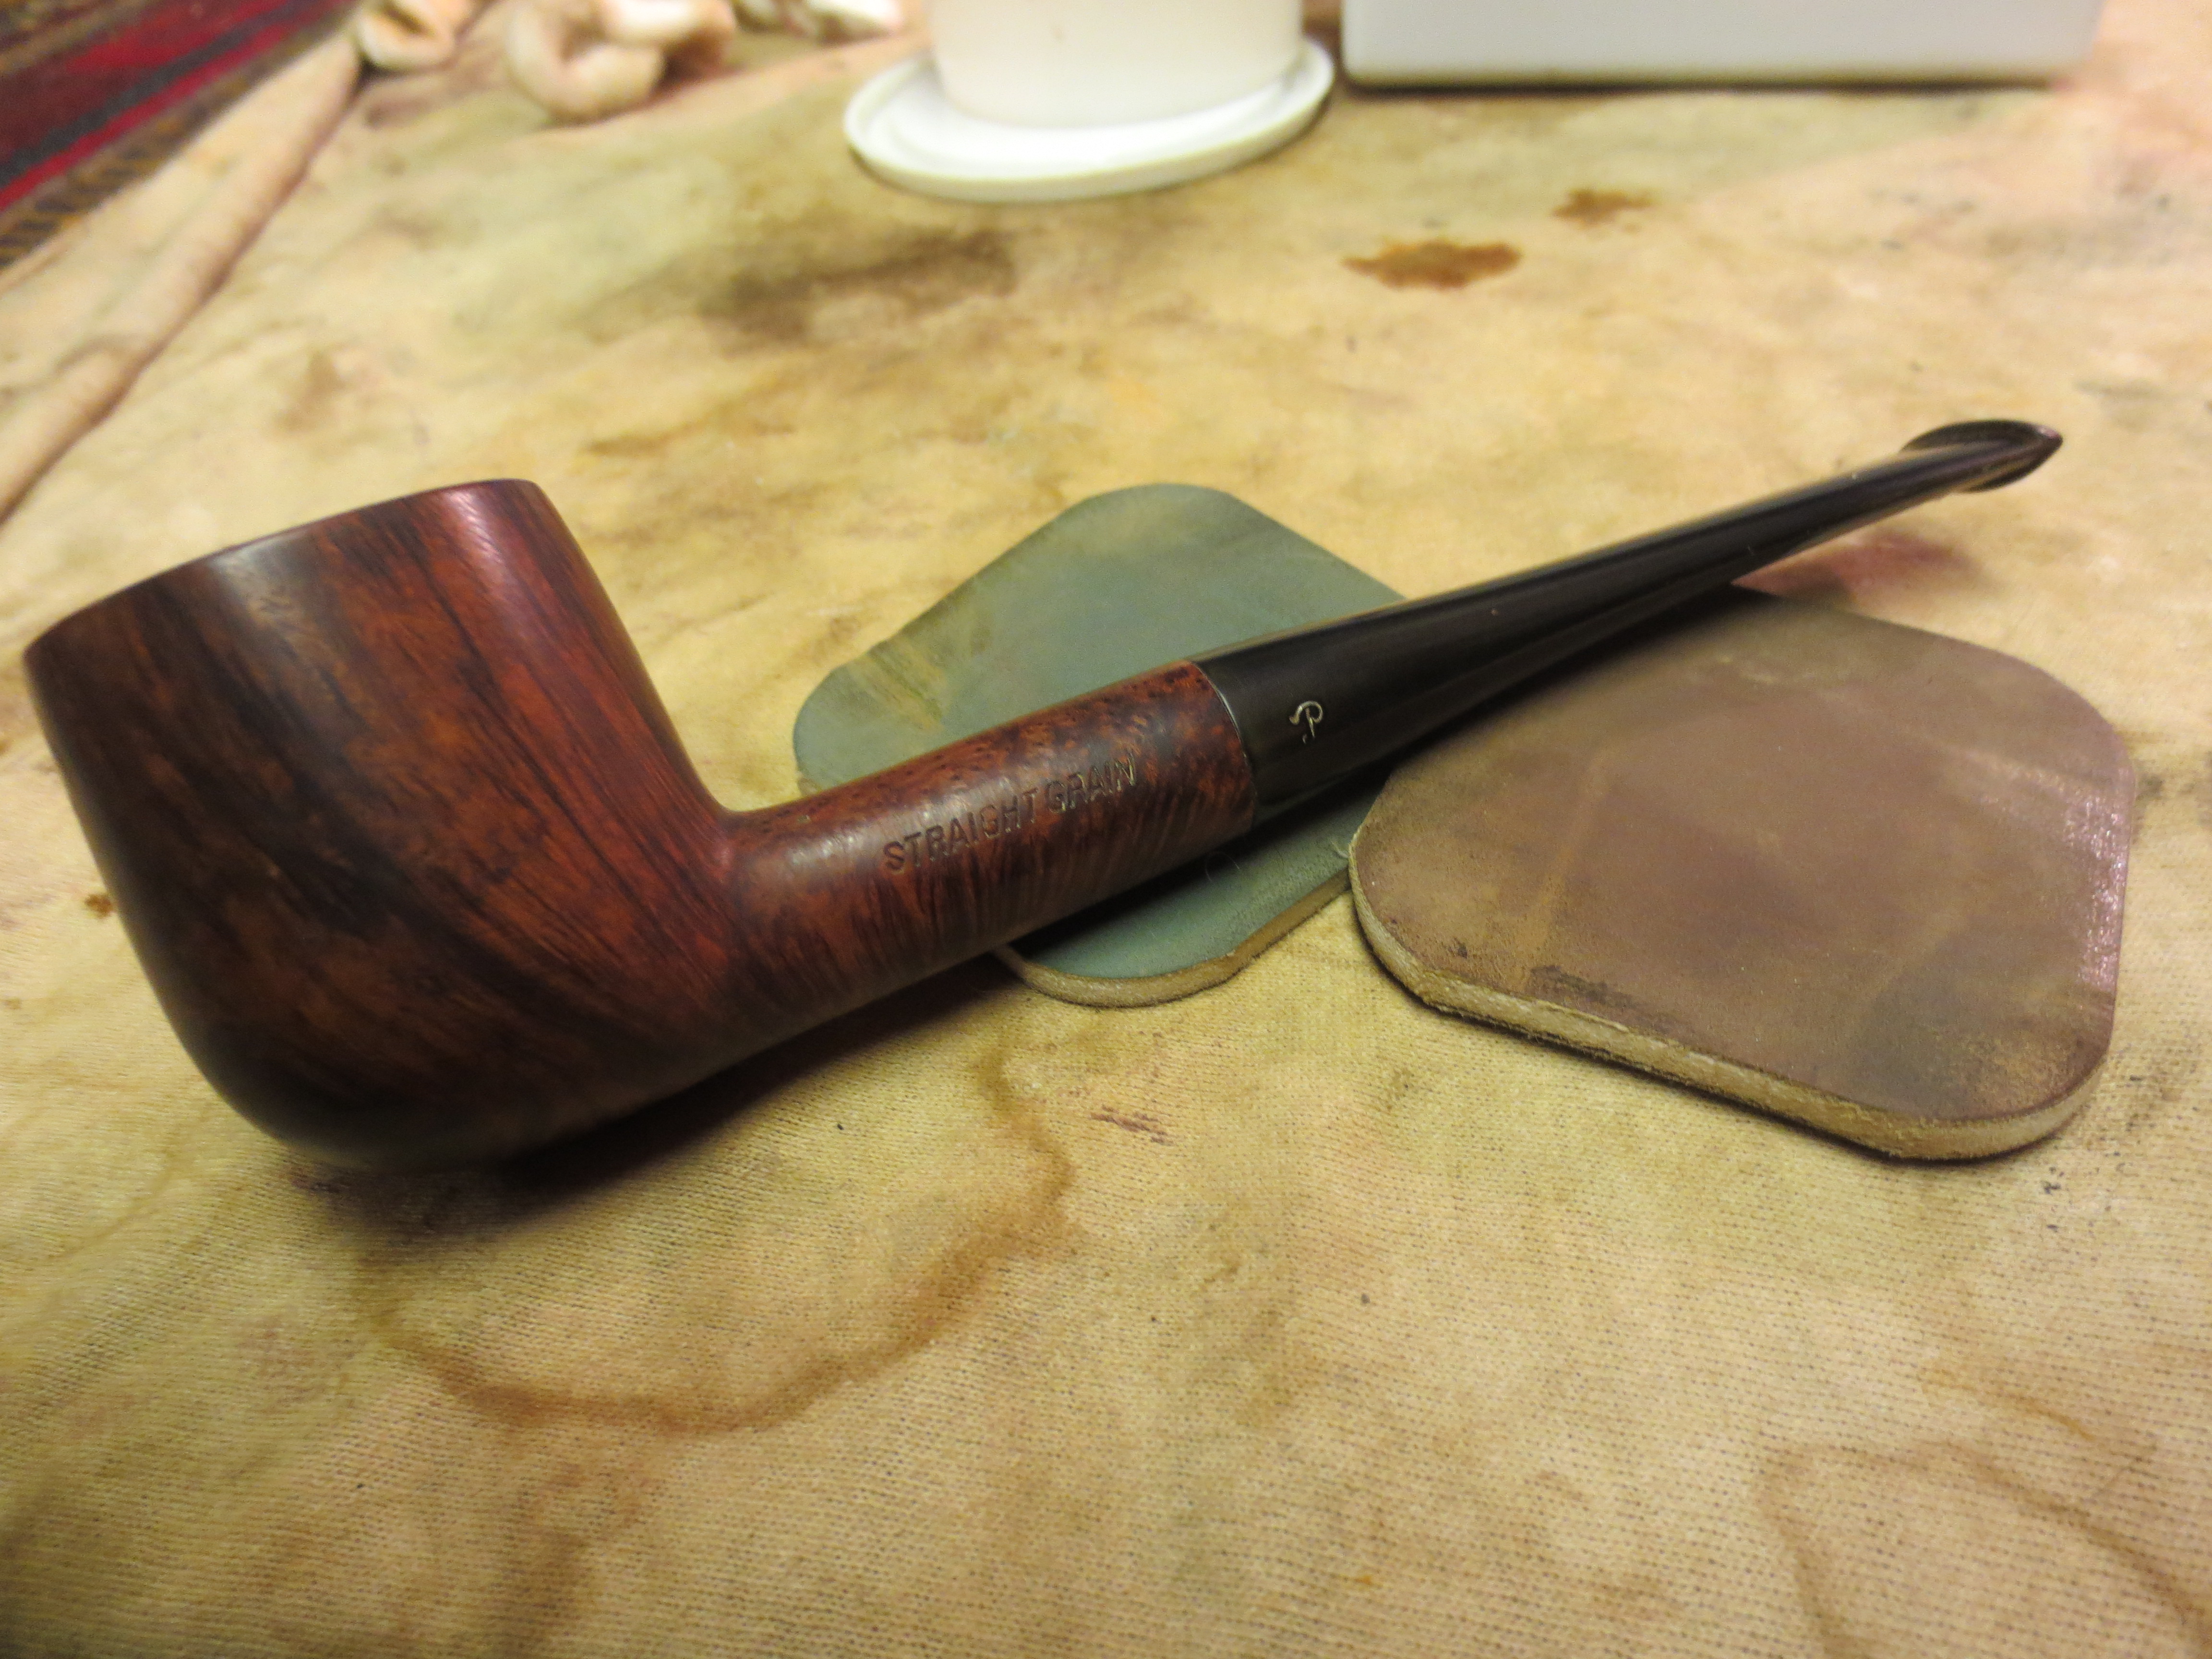
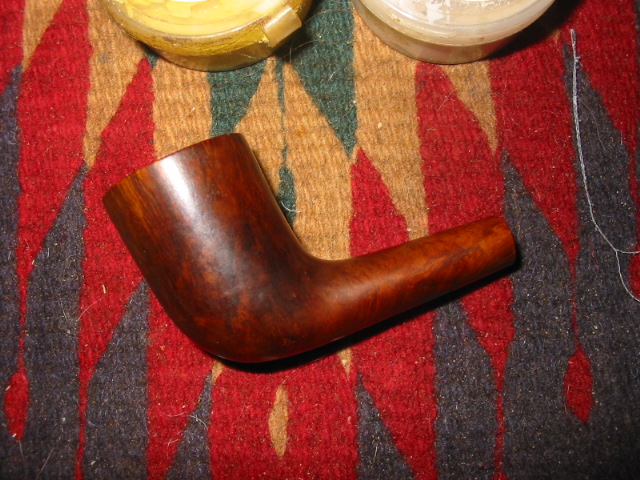
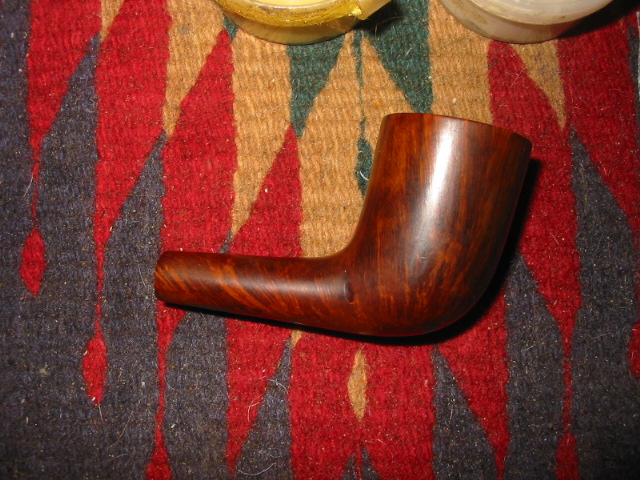
GBD_1353_Gallery2 GBD_1353_Finished (1) GBD_1353_Finished2 (3) GBD_1353_Finished (3) GBD_1353_Finished (5) GBD_1353_Finished (4)

GBD Midnight 9456


Blog by Greg Wolford

The last few months have been extremely busy for me. It is amazing how much a disabled, non-working person can be obligated to do; I think I had more “free time” when I was working full time in the car business! Ah, but I digress …

By chance, I found myself today with no obligations, no chores, no appointments, just a day to myself. Unfortunately it also stormed badly which flared up my arthritic joints but I was able, finally, to get to a project, if only a simple one.

I picked up this GBD Midnight about two weeks ago. It was a fair price and an interesting pipe to me; all of the Midnight models I had seen before had acrylic stems and this one had vulcanite. Some later research led me to believe that there were at least two productions of this line: the first with vulcanite stems shortly after the merger and another some time later with acrylic stems.

Although I forgot to take “before” photos the seller’s were quite accurate except for the oxidation was a bit more than I anticipated: it wasn’t thick or heavy but was even, all over brown. The seller said he had only smoked it a few times over the years and didn’t like it; he prefers a 9 mm filter pipe. He said there were a few tooth dents but not bad ones and that he had cleaned it; these things were accurate, if he meant cleaned the inside.

The too had a fair amount if tar build up but not thick. The stummel was dirty but not in bad shape at all. And the dents were mild as be had said.

I began with an alcohol soaked pad, wiping down the stummel, paying extra attention to the rim’s build up. It didn’t take a lot to get it cleaned up and the rim smoothed out. I then reamed the bowl, which needed it but wasn’t badly caked. I set the stummel aside and began to work on the stem.

I started by rubbing the entire stem well with Back-to-Black, which removed a lot of oxidation. Then I took some automotive rubbing compound and cotton pads and polished away almost all of the remaining oxidation. After the rubbing compound I took the stem to the heat gun to raise the dents. They came up pretty well but not completely. But they were now slight enough I decided to not sand them smooth; I wanted to finish this pipe and write this blog tonight, those things and the small dents left made this decision for me easy. I did wet sand the stem with 400 grit wet/dry paper to remove the last of the oxidation and the few scratches I saw.

I reassembled the pipe and went to the buffing wheel. I like to buff the shank-stem union together so as to keep a nice fit. I began with black buffing compound, about an 800-grit I believe. After the union was buffed I took the stem and stummel apart and buffed each piece. I moved onto brown tripoli, then white diamond doing the same process.

I had a small deviation at the end of the white diamond buffing: the wheel grabbed the stummel and bounced it off my table. It left two dents, the bounce across the garage, that totally irritated me. I then had to steam the the dents out; thankfully the dents weren’t bad and came out. I went back to the white diamond and re-buffed the stummel.

I reassembled the pipe and gave it several coats of carnauba wax, buffed it on a soft, clean wheel and, finally, hand buffed it wearing a pair of linen gloves I bought just for that purpose.

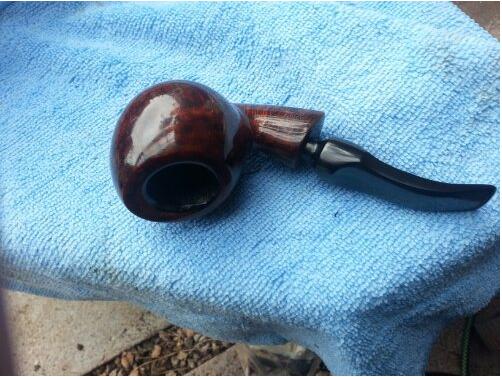
The pipe came out quite well I think. After cleaning and buffing it is a bit lighter on color, which I am very happy with; the grain, especially the Birdseye on the front of the bowl really pops now.

Hopefully the frantic pace of life will slow some over the coming weeks; I have many more wonderful old pipes that are patiently awaiting being brought back to life. And I am anxious to do the work an share it with you.

20130613-222006.jpg

20130613-222015.jpg

20130613-222023.jpg

20130613-222030.jpg

20130613-222040.jpg

20130613-222049.jpg

20130613-222056.jpg

20130613-222105.jpg

20130613-222111.jpg

20130613-222119.jpg

20130613-222126.jpg

20130613-222132.jpg

A Renewed WDC Bakelite and Briar Pipe Restemmed


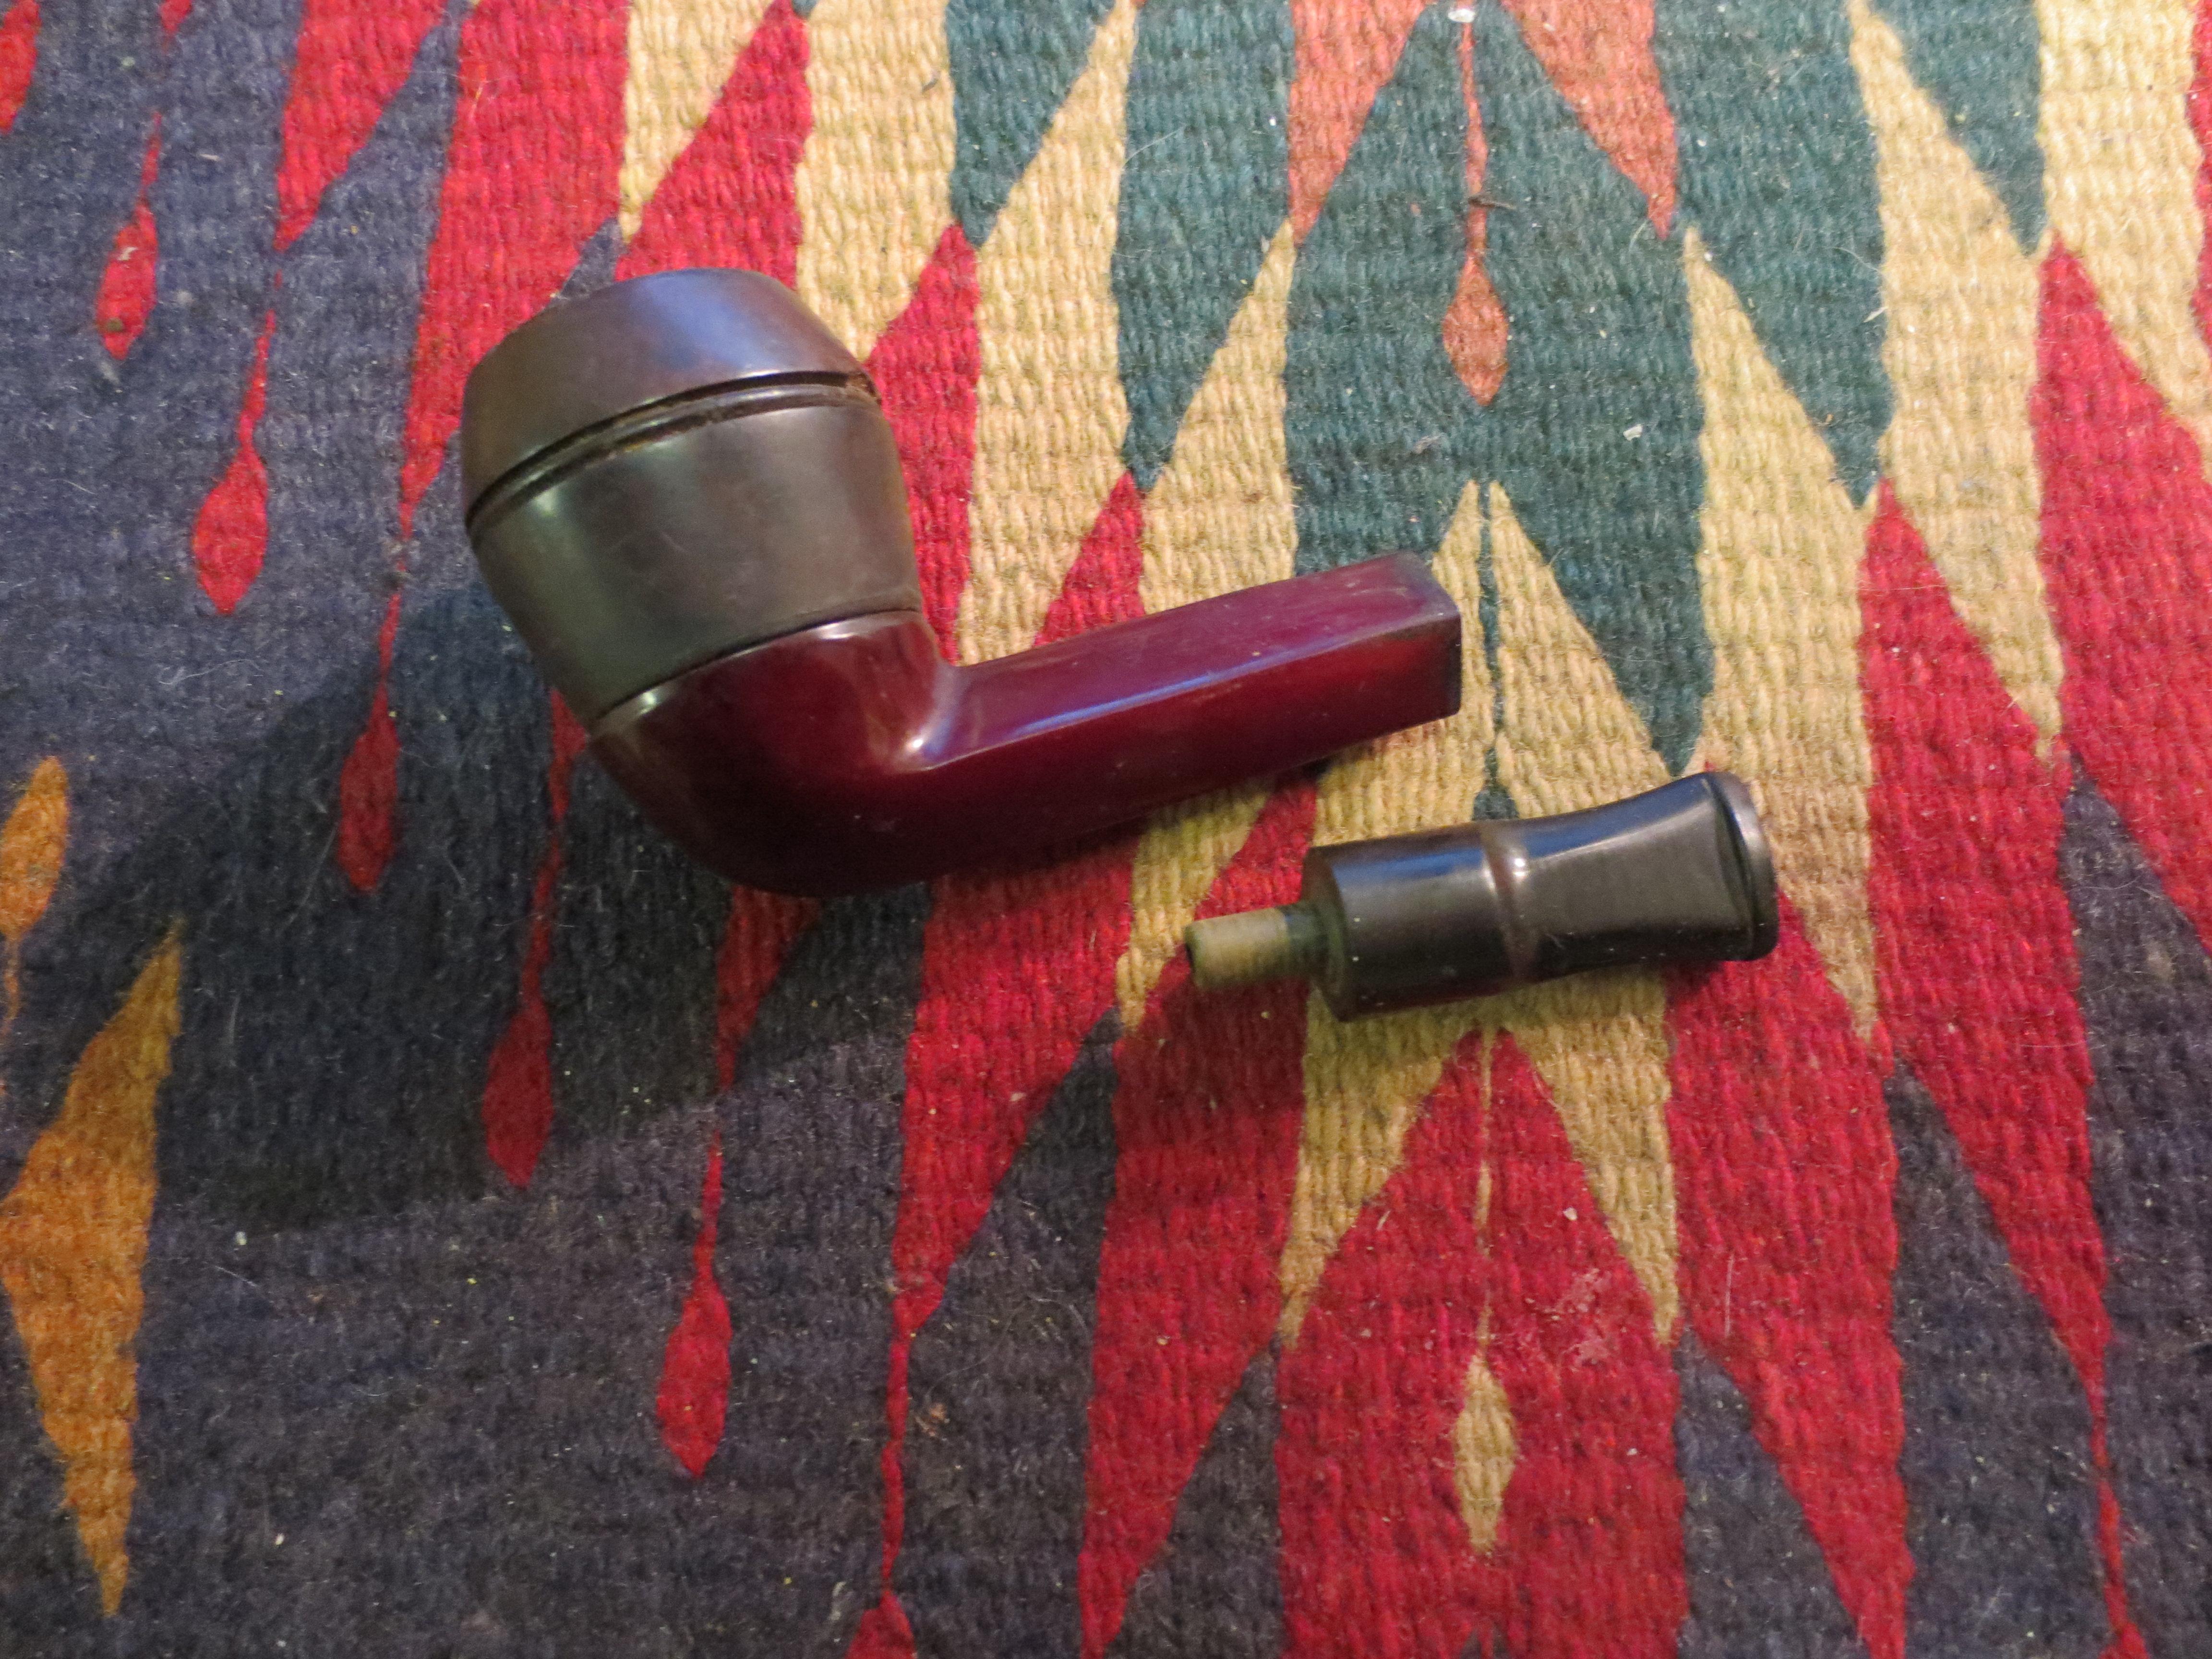
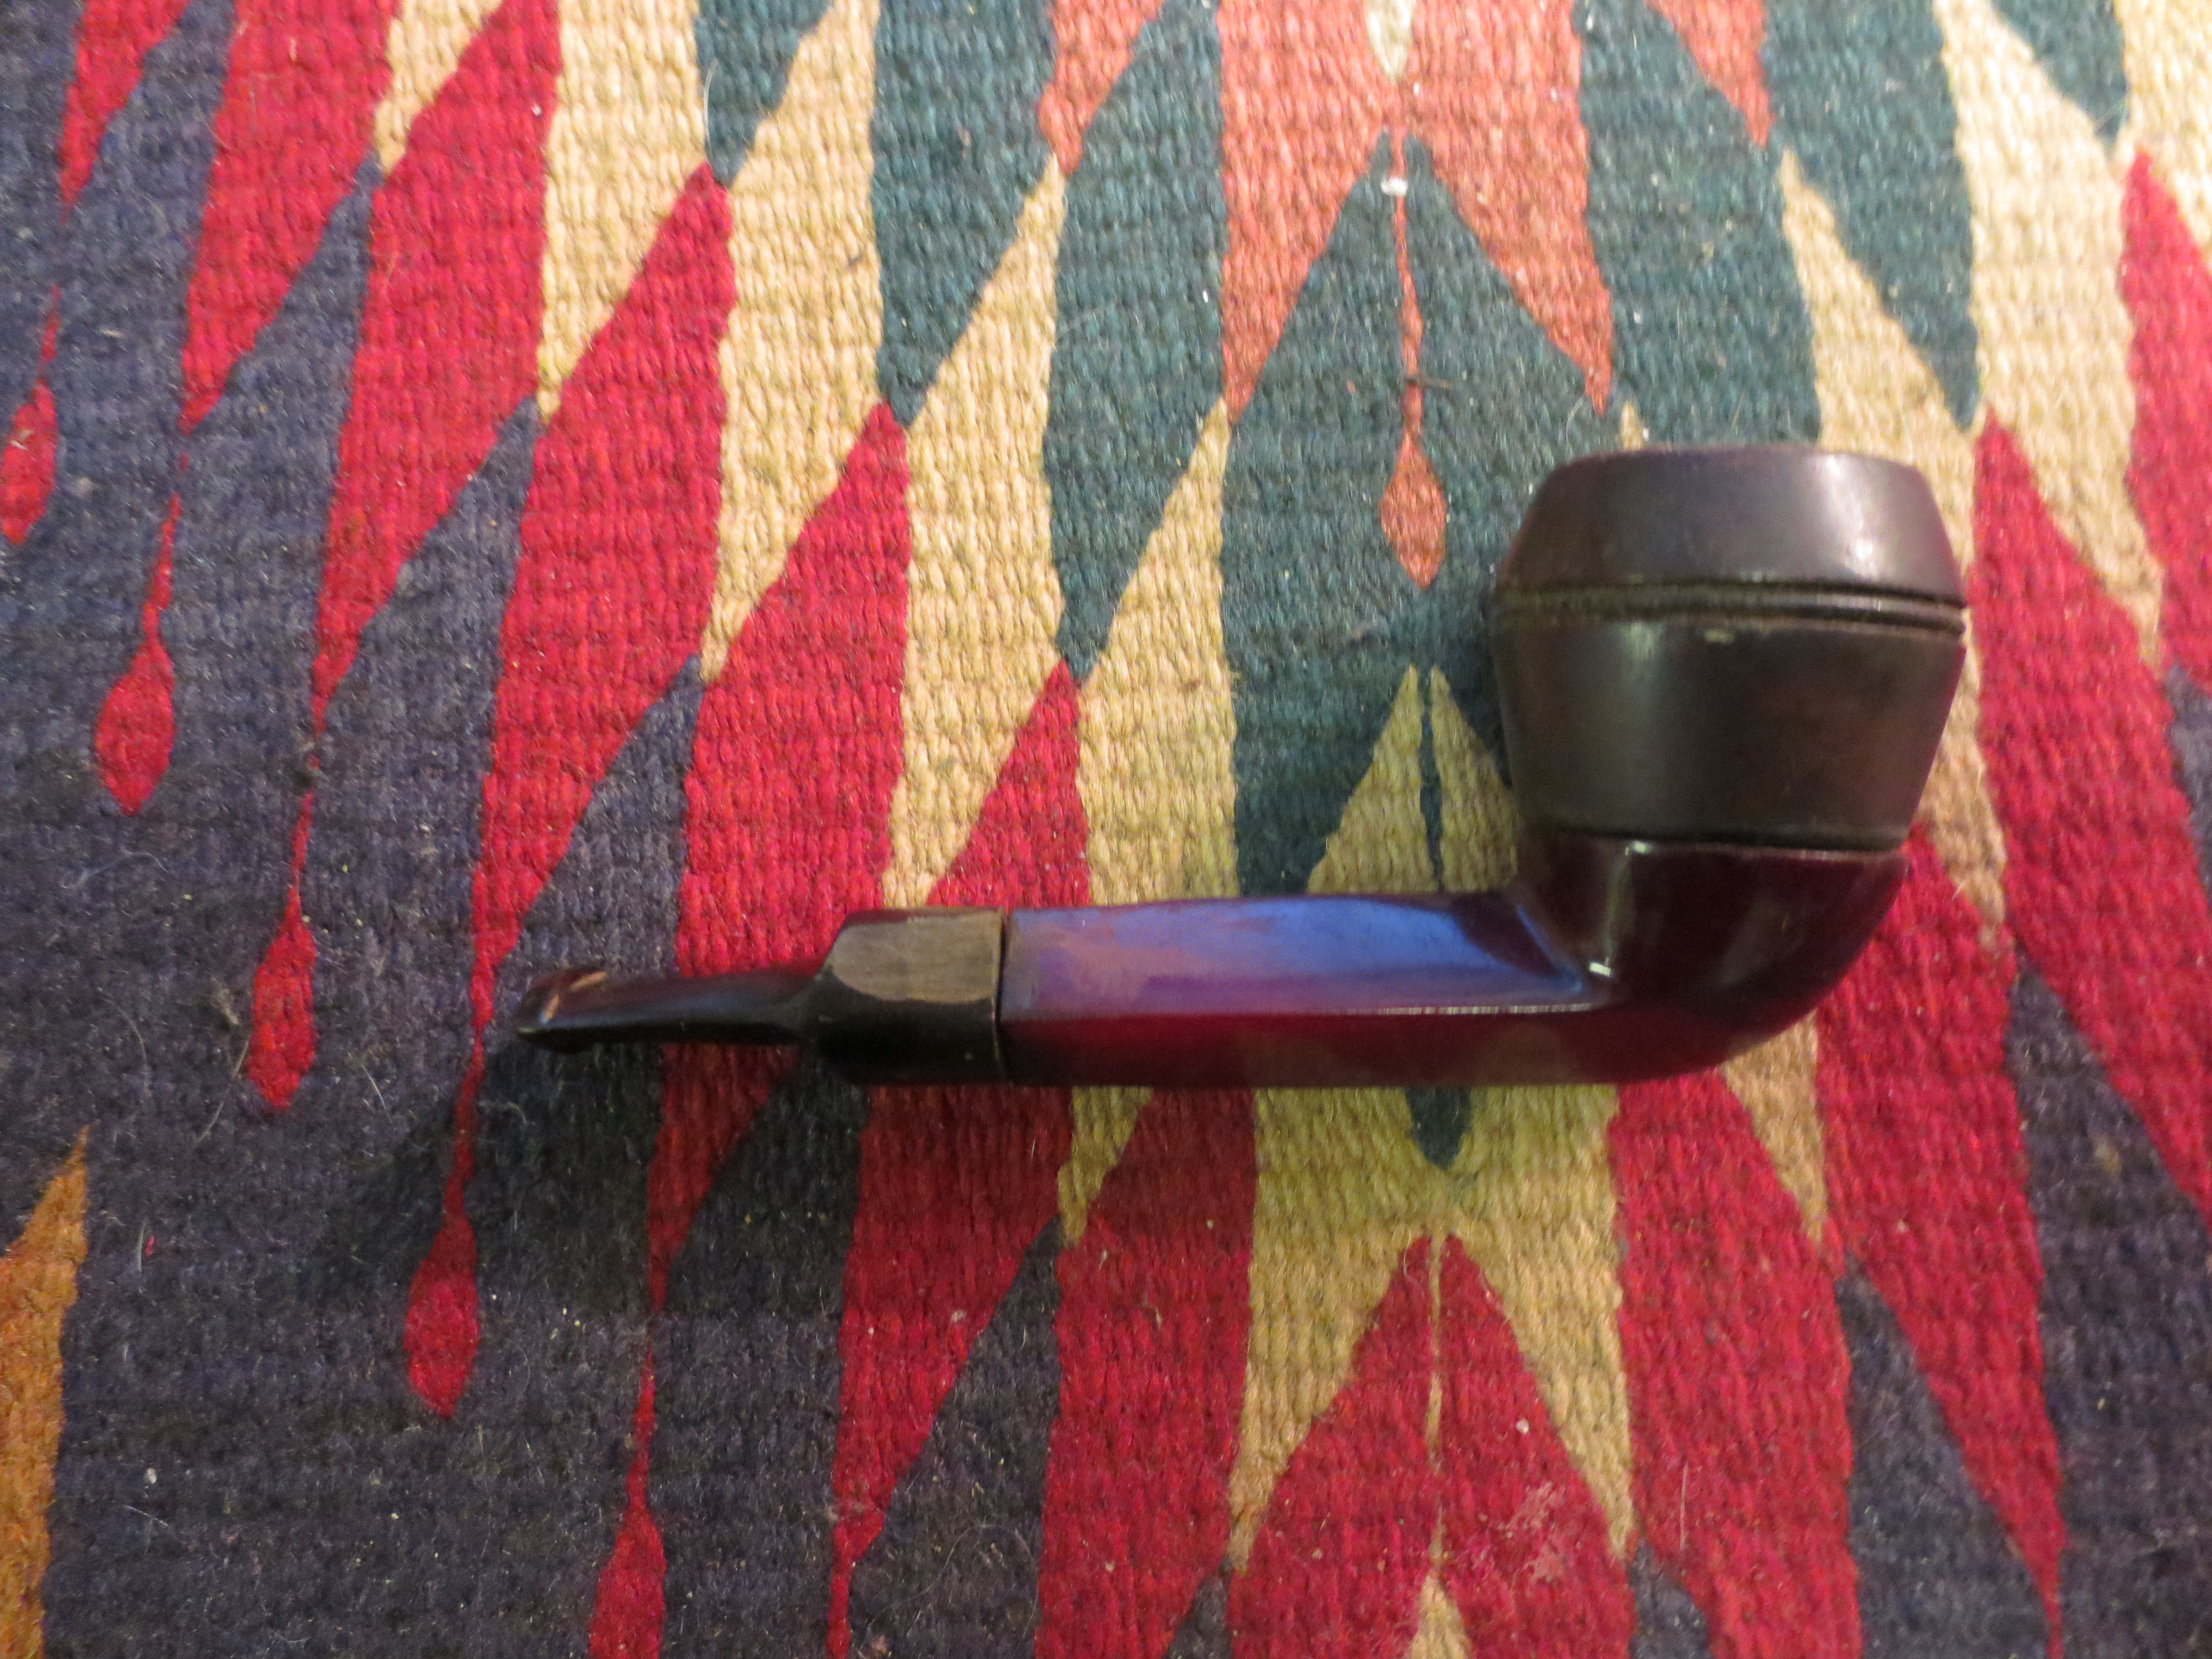
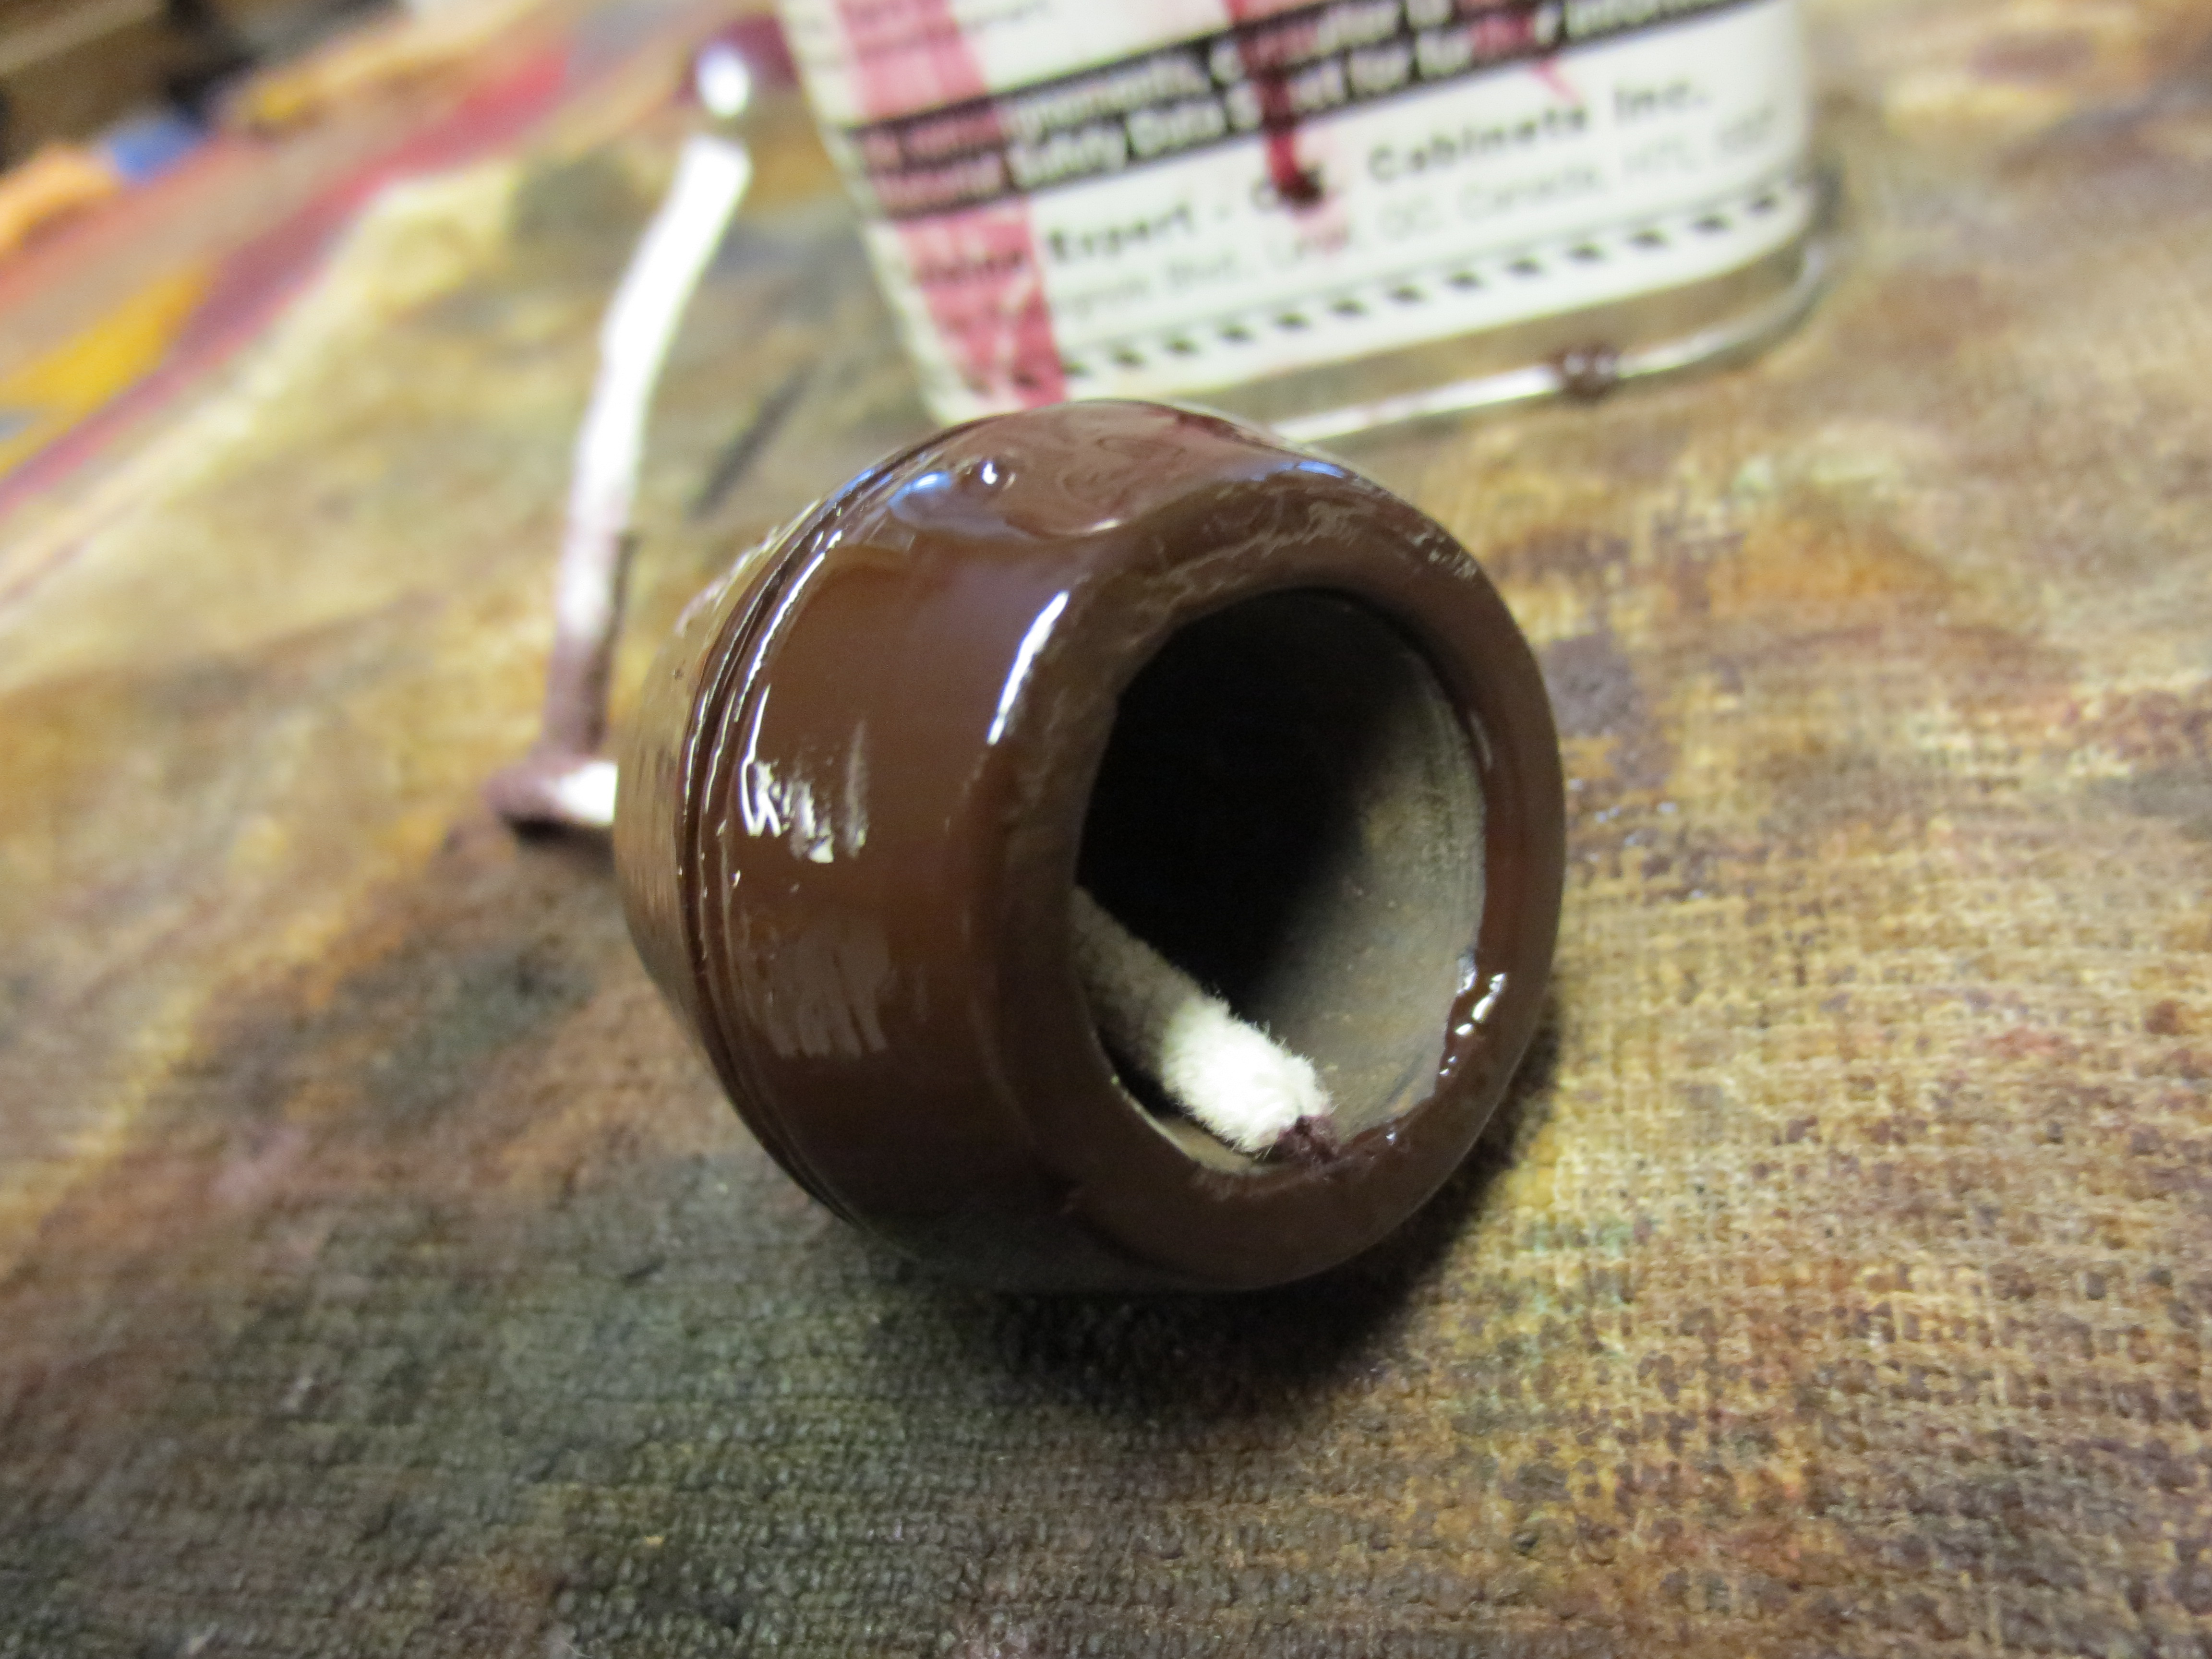
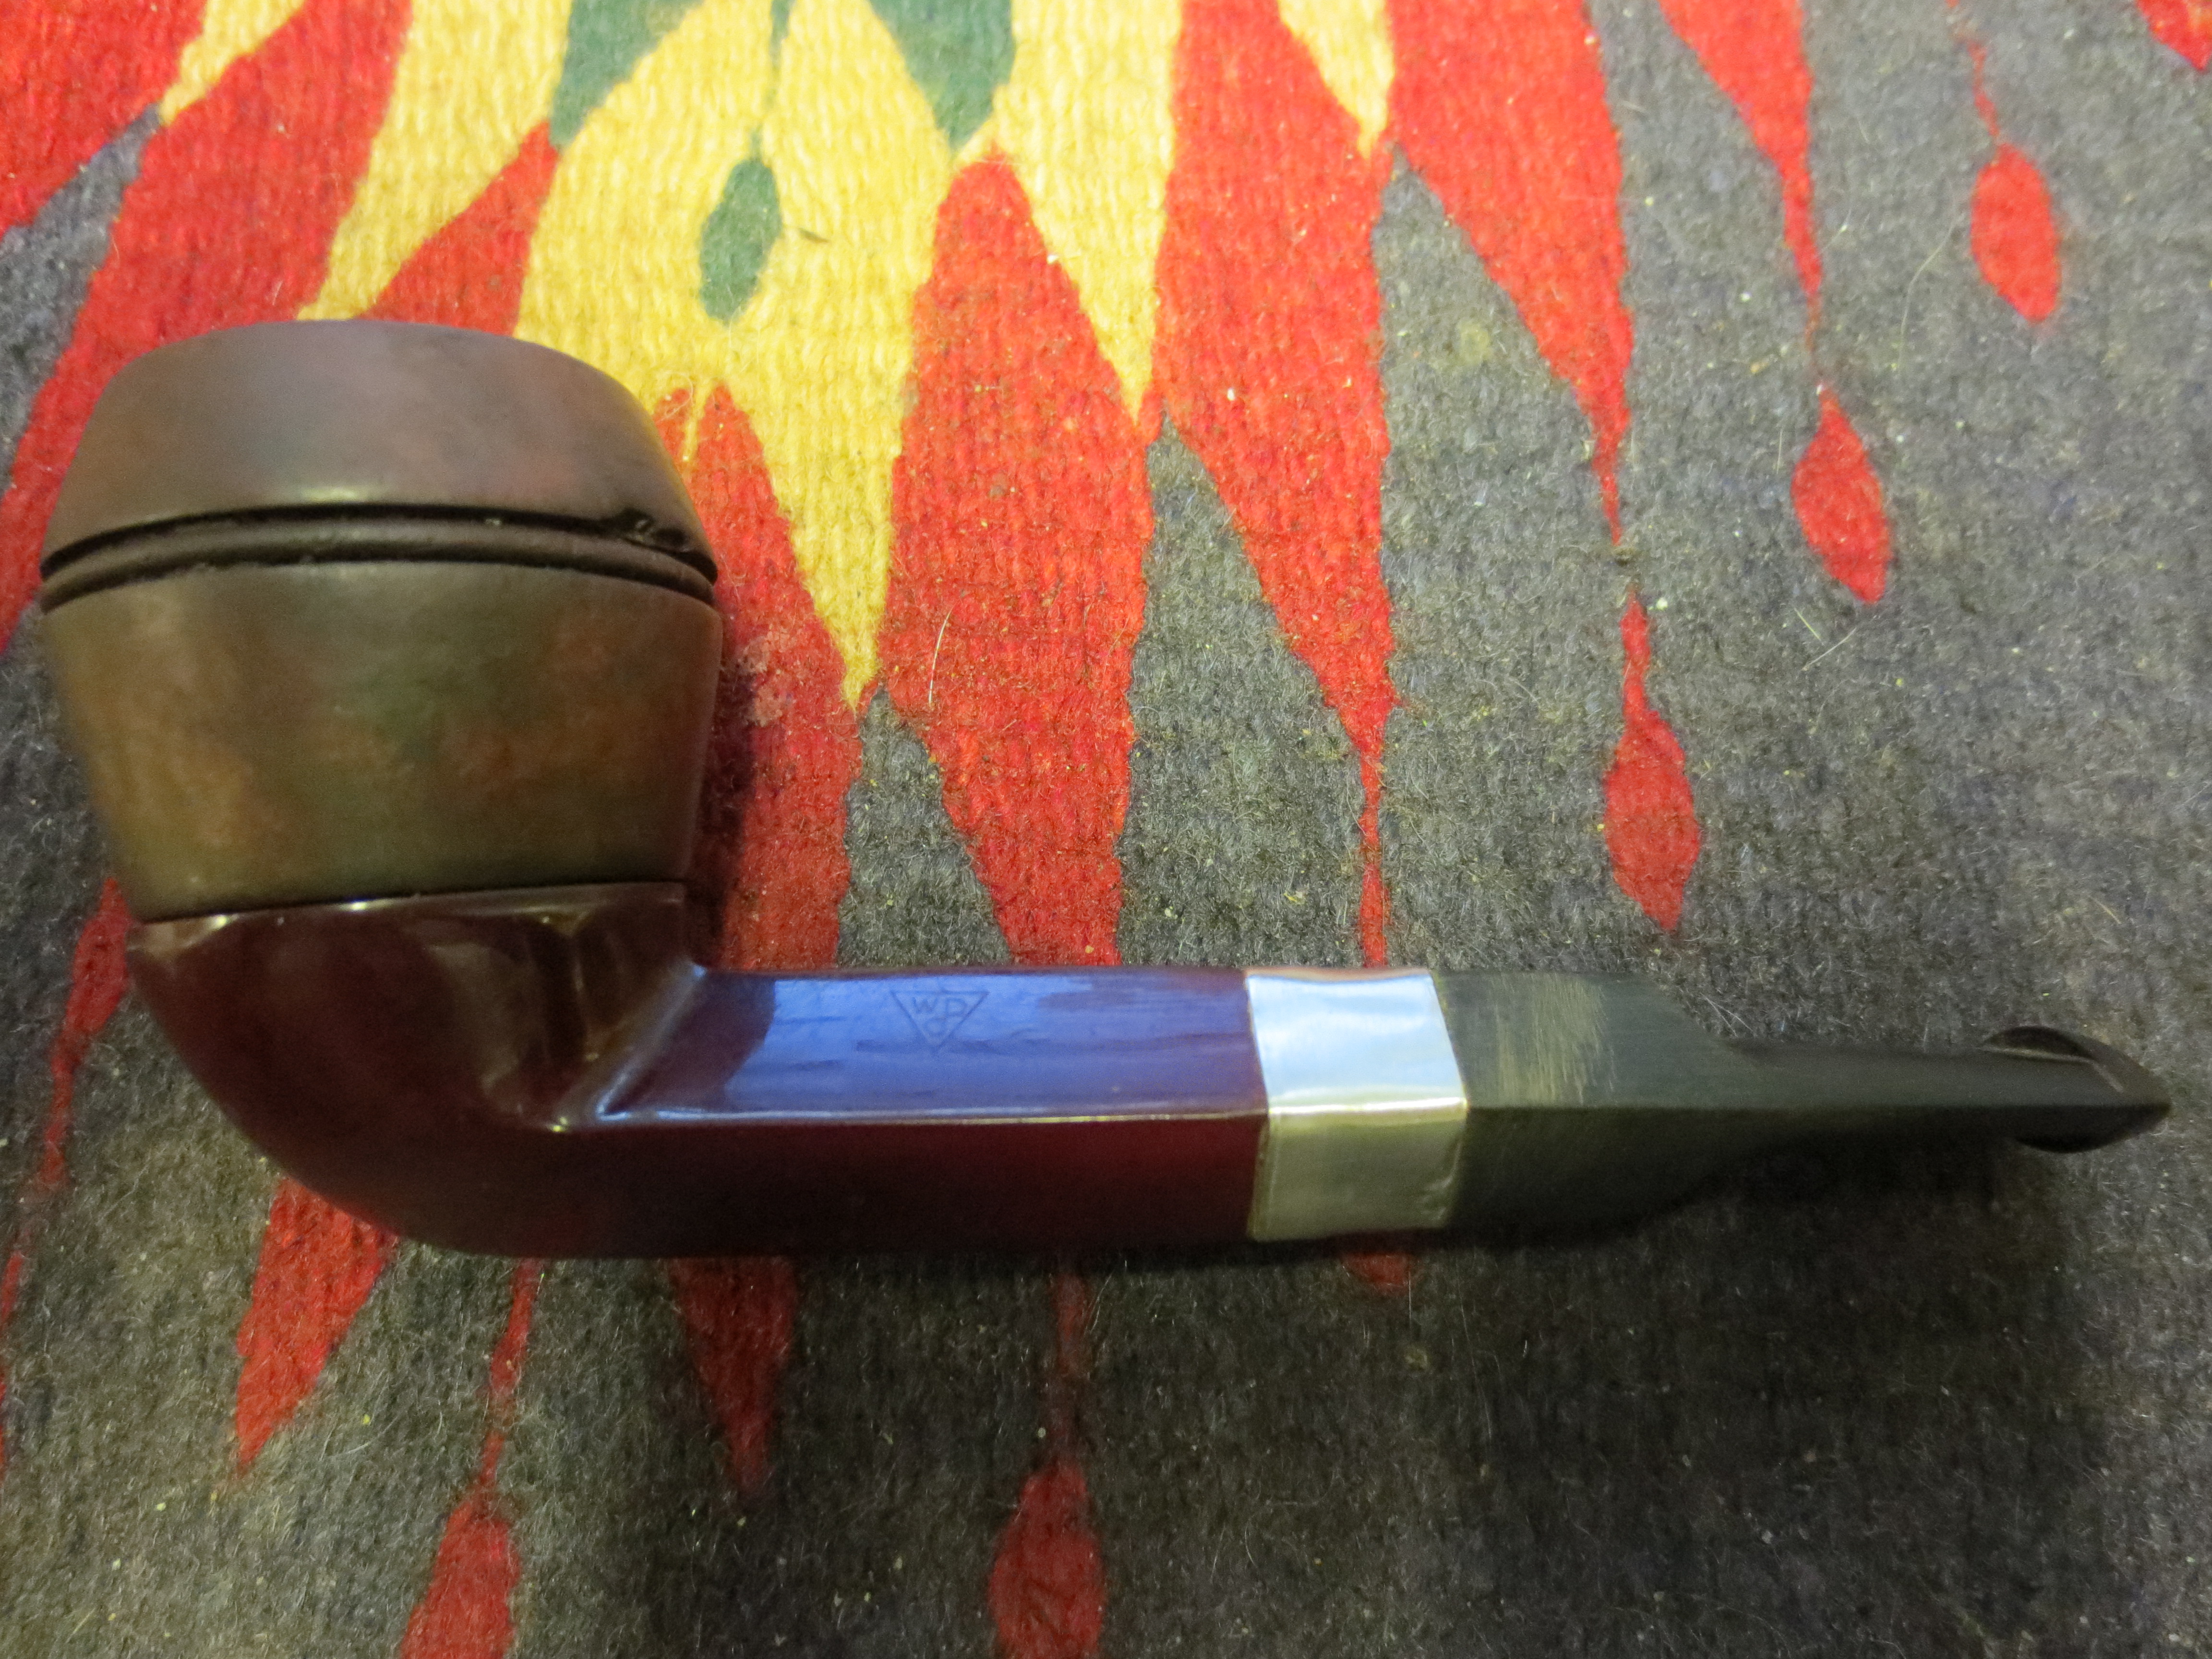
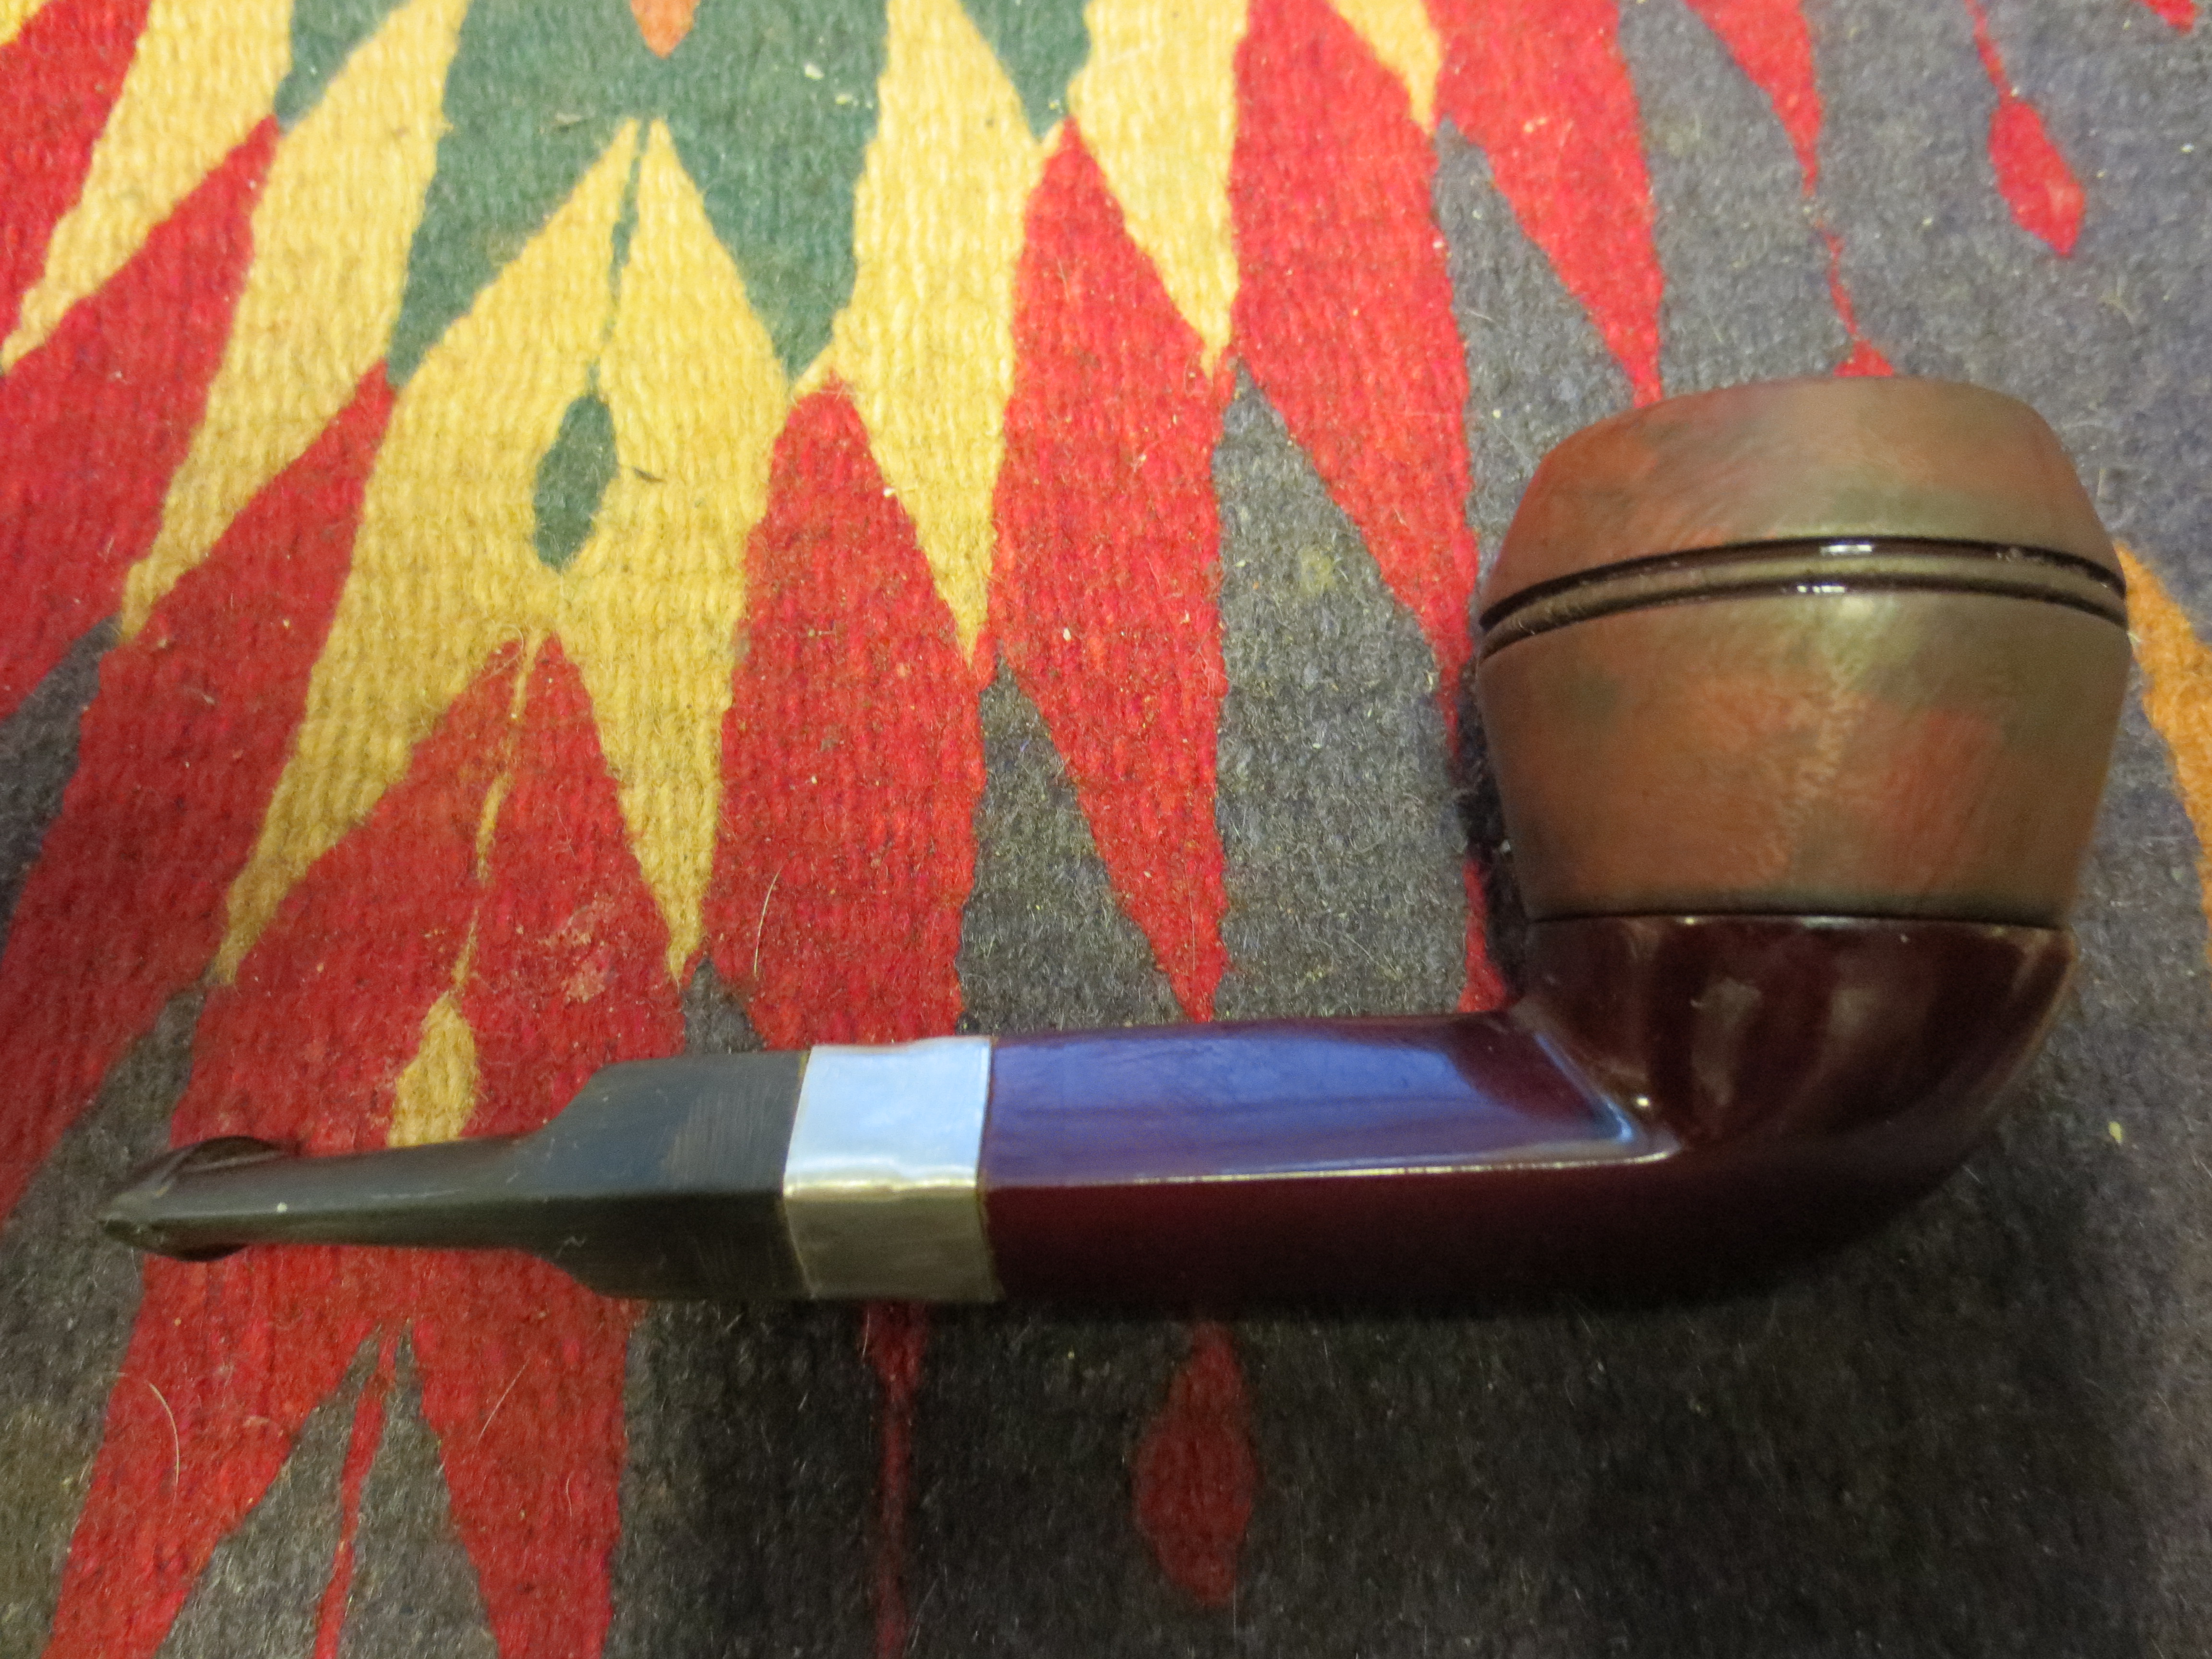
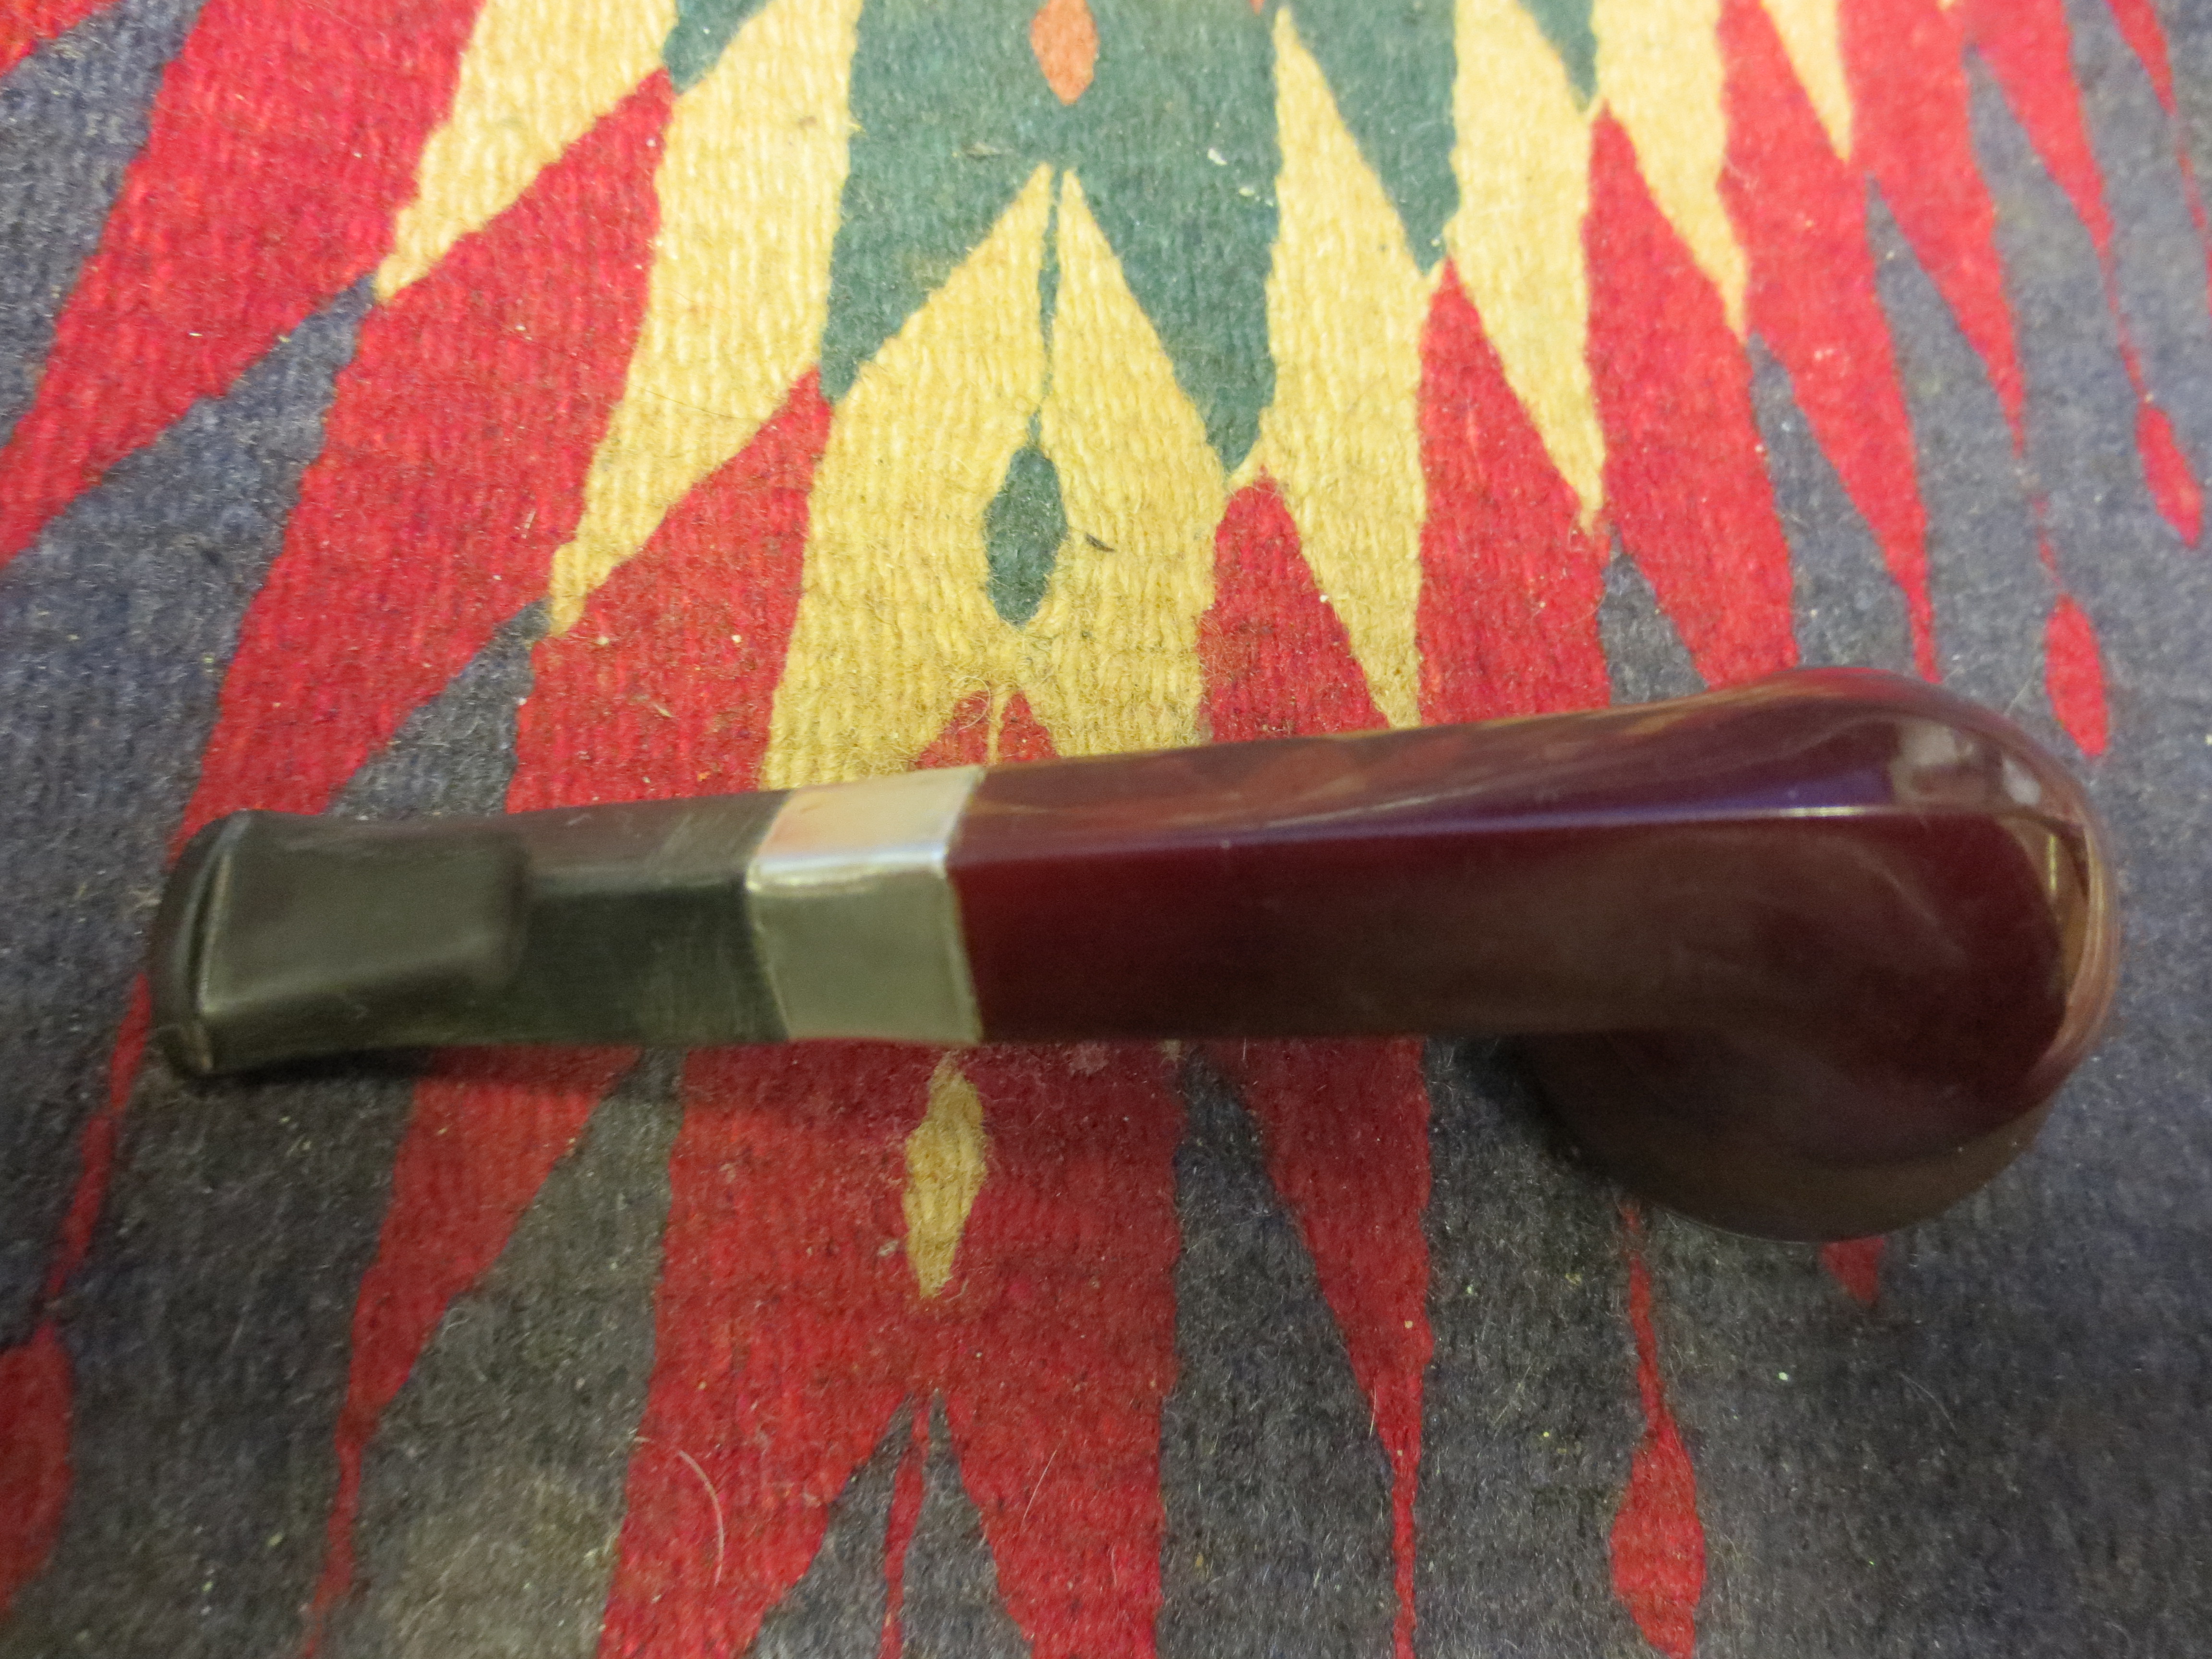
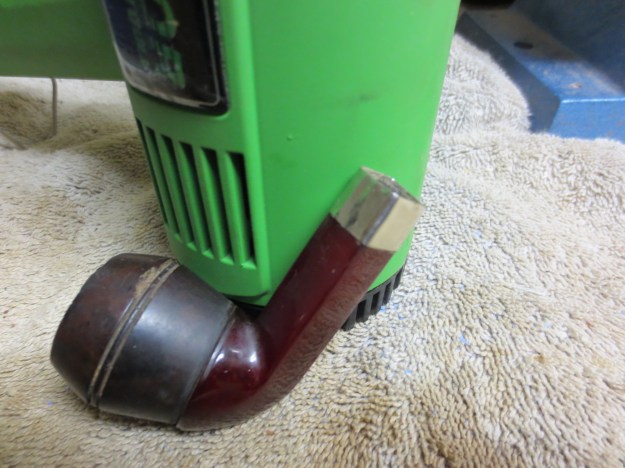
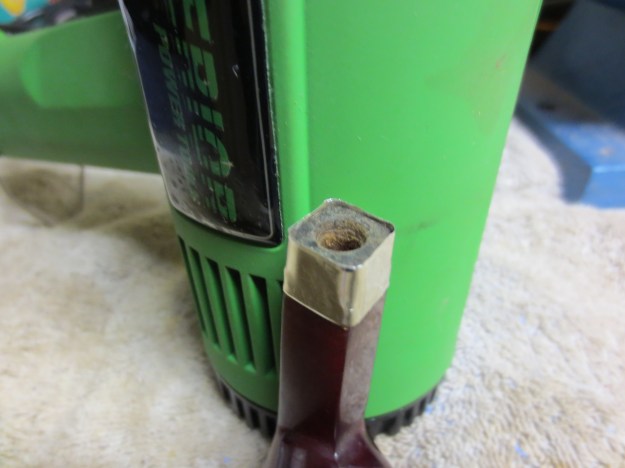
I received the Bakelite bowl base in a lot that I picked up on EBay. At first glance I figured I would trash it and not worry about working on it at all. However, I tend to be drawn to working on things that others would throw away so I decided to see what I could do with it. The two bowls pictured below are threaded and both fit the base. The Dublin like bowl, once on the base, was too narrow for the base but the bulldog bowl fit well. It was packed with a cake and there were chips out of the double line band around the bowl. The bowl rim was damaged and the finish was absolutely shot with dark black stains in the briar all around the bowl where the thumb and fingers held the bowl. The Bakelite shank had the WDC in a diamond stamped on it. The ornate band that usually adorned the shank as well as the metal washer like band on the top of the bowl base was missing. The shank had a broken metal tenon stuck deep within it. The surface had scratches in it but none of them were too deep.
Bakelite bowl base and two potential bowls before beginning the process of refurbishing.

Bakelite bowl base and two potential bowls before beginning the process of refurbishing.


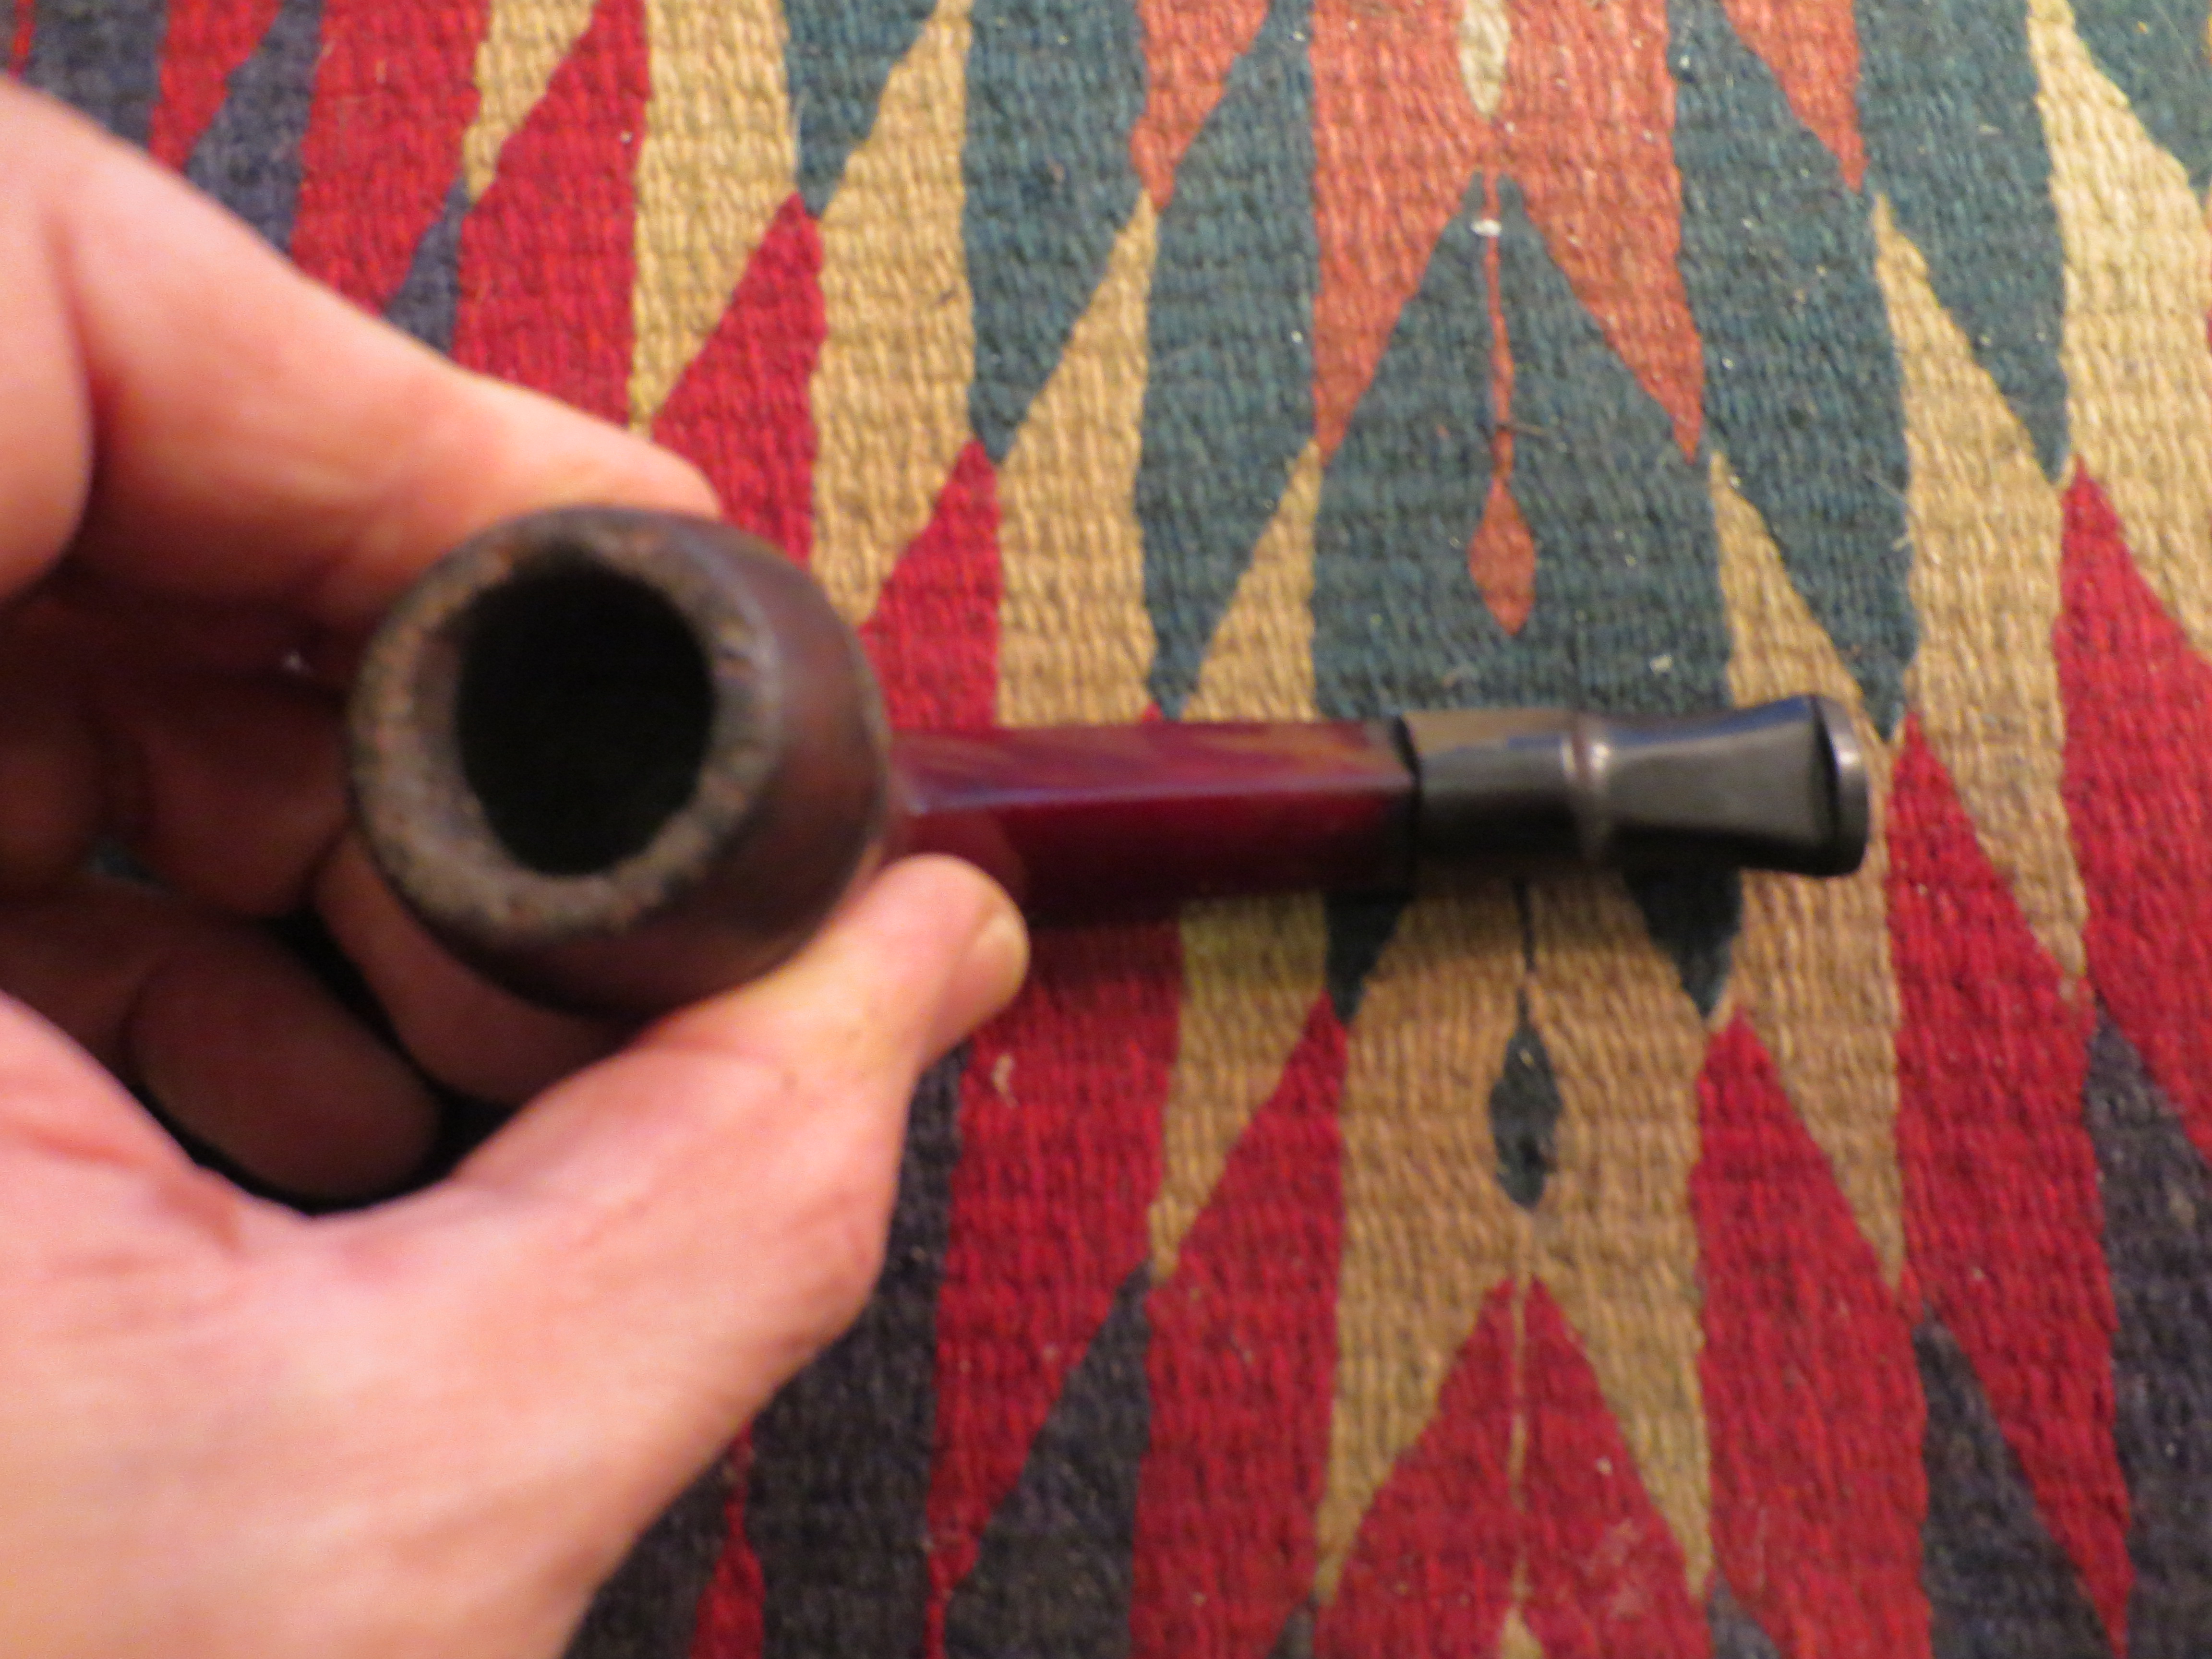
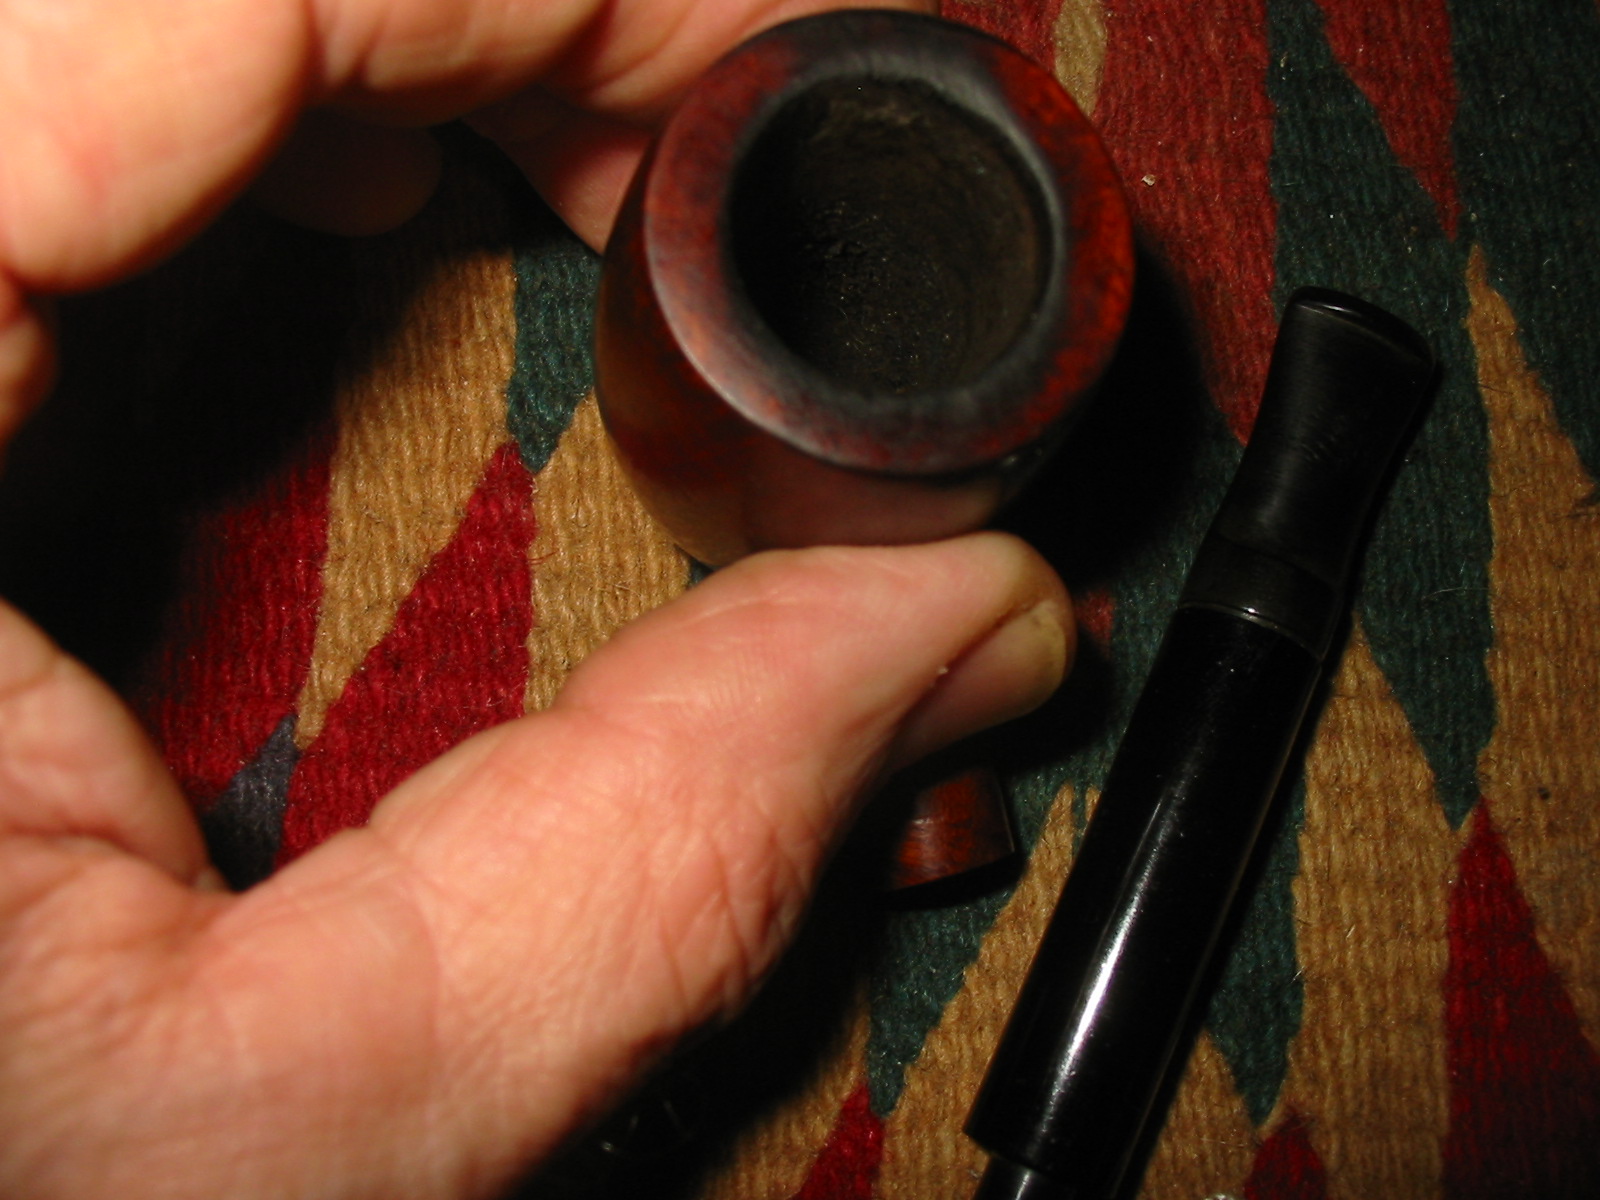
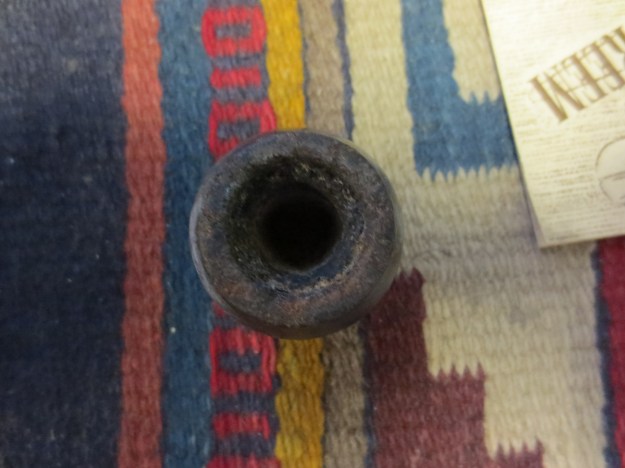
The bowl is pictured below. You can see the thickness of the cake and the rough surface of the rim where a previous owner had damaged it when emptying the bowl. The second photo shows the exterior damage and the finish on the pipe. I reamed the bowl to clean out the cake. I decided to take it back to bare wood and start over with the cake. I checked the bowl for cracks and damage but surprisingly there were none to be found. Eventually I would top the bowl.
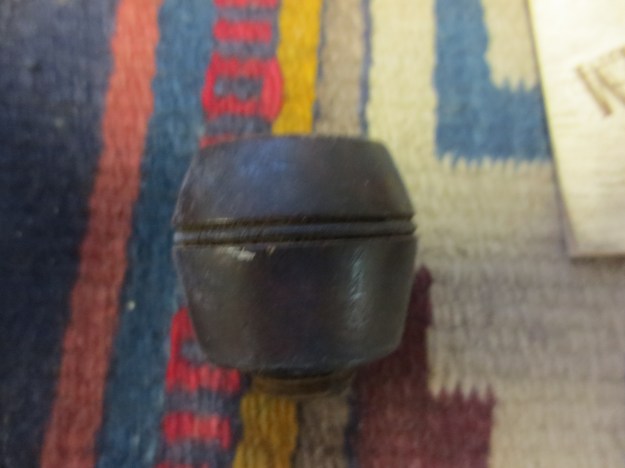
SIde view of the bowl before refurbishing.
SIde view of the bowl before refurbishing.

Top view of the unreamed pipe bowl showing its condition before cleaning

Top view of the unreamed pipe bowl showing its condition before cleaning


I wiped the bowl down with acetone on a cotton pad, used a dental pick to clean out the grooves and screwed bowl on the base to get an idea how the pipe would look. I also wiped down the bowl base with Everclear to clean off the grime and buildup on that surface. I went through my can of stems in search of a diamond shaped stem that would finish out the look of the pipe. I came up empty-handed so I chose a round stem of the right diameter and length that I could shape to fit the shank. I drilled out the shank to remove the metal tenon and also to open the diameter of the mortise. The original stem had been a screw on one and the metal mortise and the metal tenon were firmly welded together so the drill was the only way to remove it. I opened it as wide as possible while still leaving enough material on the shank to maintain strength. I turned the tenon with the PIMO tenon turning tool and then a Dremel to bring it to the correct size for the new shank. The next two photos show the stem and the fit of the stem to the shank.
WDC base in need of a diamond shaped stem. Necessity is the mother of invention. I used a round Lovat stem.

WDC base in need of a diamond shaped stem. Necessity is the mother of invention. I used a round Lovat stem.


I turned the tenon to fit the mortise and then inserted the stem against the shank.

I turned the tenon to fit the mortise and then inserted the stem against the shank.


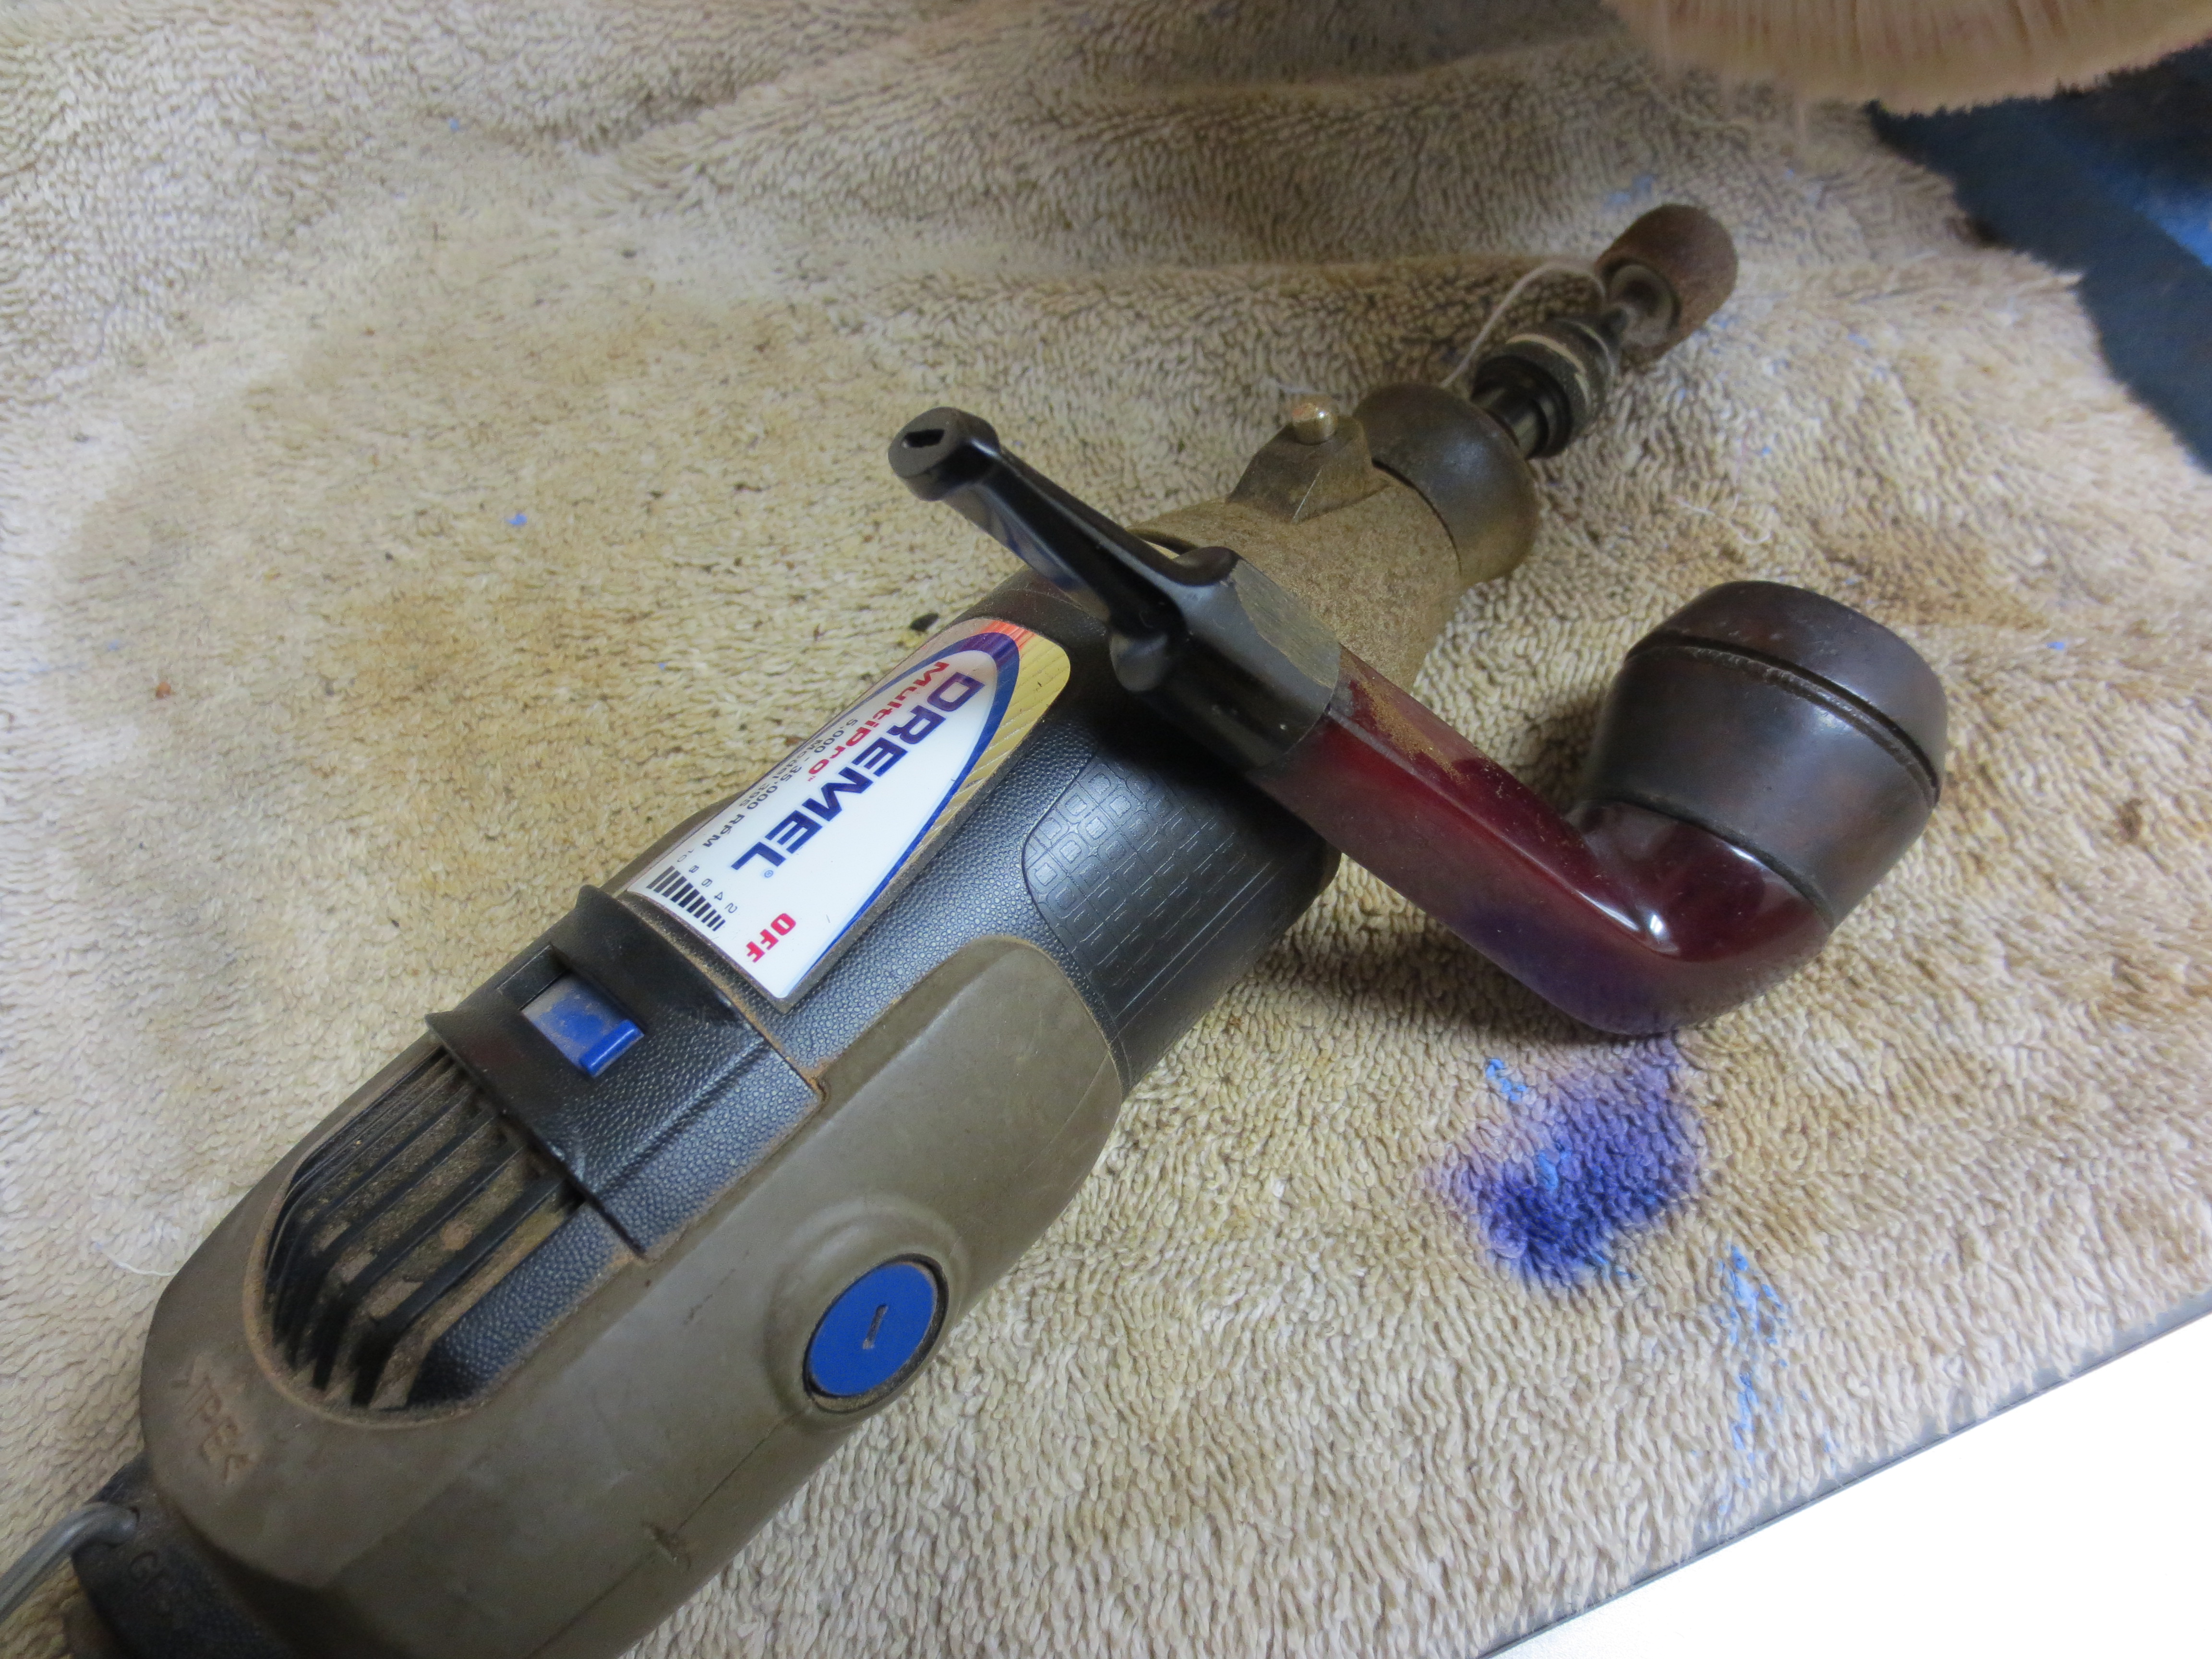
Now I needed to shape the stem and remove material to transform the round saddle bit to a diamond saddle bit. I used a Dremel to cut the basic shape in the stem. I proceeded from side to side with the stem on the shank to make sure to match the angles of the shank. I wrote a post on the process for the blog and posted that earlier. You can read about the details of that process on this link https://rebornpipes.wordpress.com/2013/04/15/shaping-a-diamond-shaped-stem-from-a-round-one/ The next eleven photos give a quick look at the shaping work on the stem. It took time and I had to be careful to not damage the shank when I was using the Dremel and sanding drum on the stem.
Figure 3 I used a Dremel to shape the stem to match the diamond angles of the shank. I worked on one side at a time.

Figure 3 I used a Dremel to shape the stem to match the diamond angles of the shank. I worked on one side at a time.

Figure 4 Pipe resting against the Dremel with a sanding drum. Shaping progressed quite quickly. This picture shows one side beginning to take shape.

Figure 4 Pipe resting against the Dremel with a sanding drum. Shaping progressed quite quickly. This picture shows one side beginning to take shape.

5 Top view of the shank. Both sides of the round stem are beginning to take on the shape of the shank.

5 Top view of the shank. Both sides of the round stem are beginning to take on the shape of the shank.

Figure 6 Top view after more shaping with the Dremel.

Figure 6 Top view after more shaping with the Dremel.

Figure 7 Bottom view before the Dremel did its work.

Figure 7 Bottom view before the Dremel did its work.

Figure 8 Left side view after the first side has begun to take shape.

Figure 8 Left side view after the first side has begun to take shape.

Figure 9 Bottom view after both sides have begun to take shape.

Figure 9 Bottom view after both sides have begun to take shape.

Figure 10 Right side view of the stem after it began to take shape.

Figure 10 Right side view of the stem after it began to take shape.

Figure 11 Back to the worktable and the hand sanding.

Figure 11 Back to the worktable and the hand sanding.

Figure 12 Hand sanding continues.

Figure 12 Hand sanding continues.

Figure 13 Hand sanding continues.

Figure 13 Hand sanding continues.


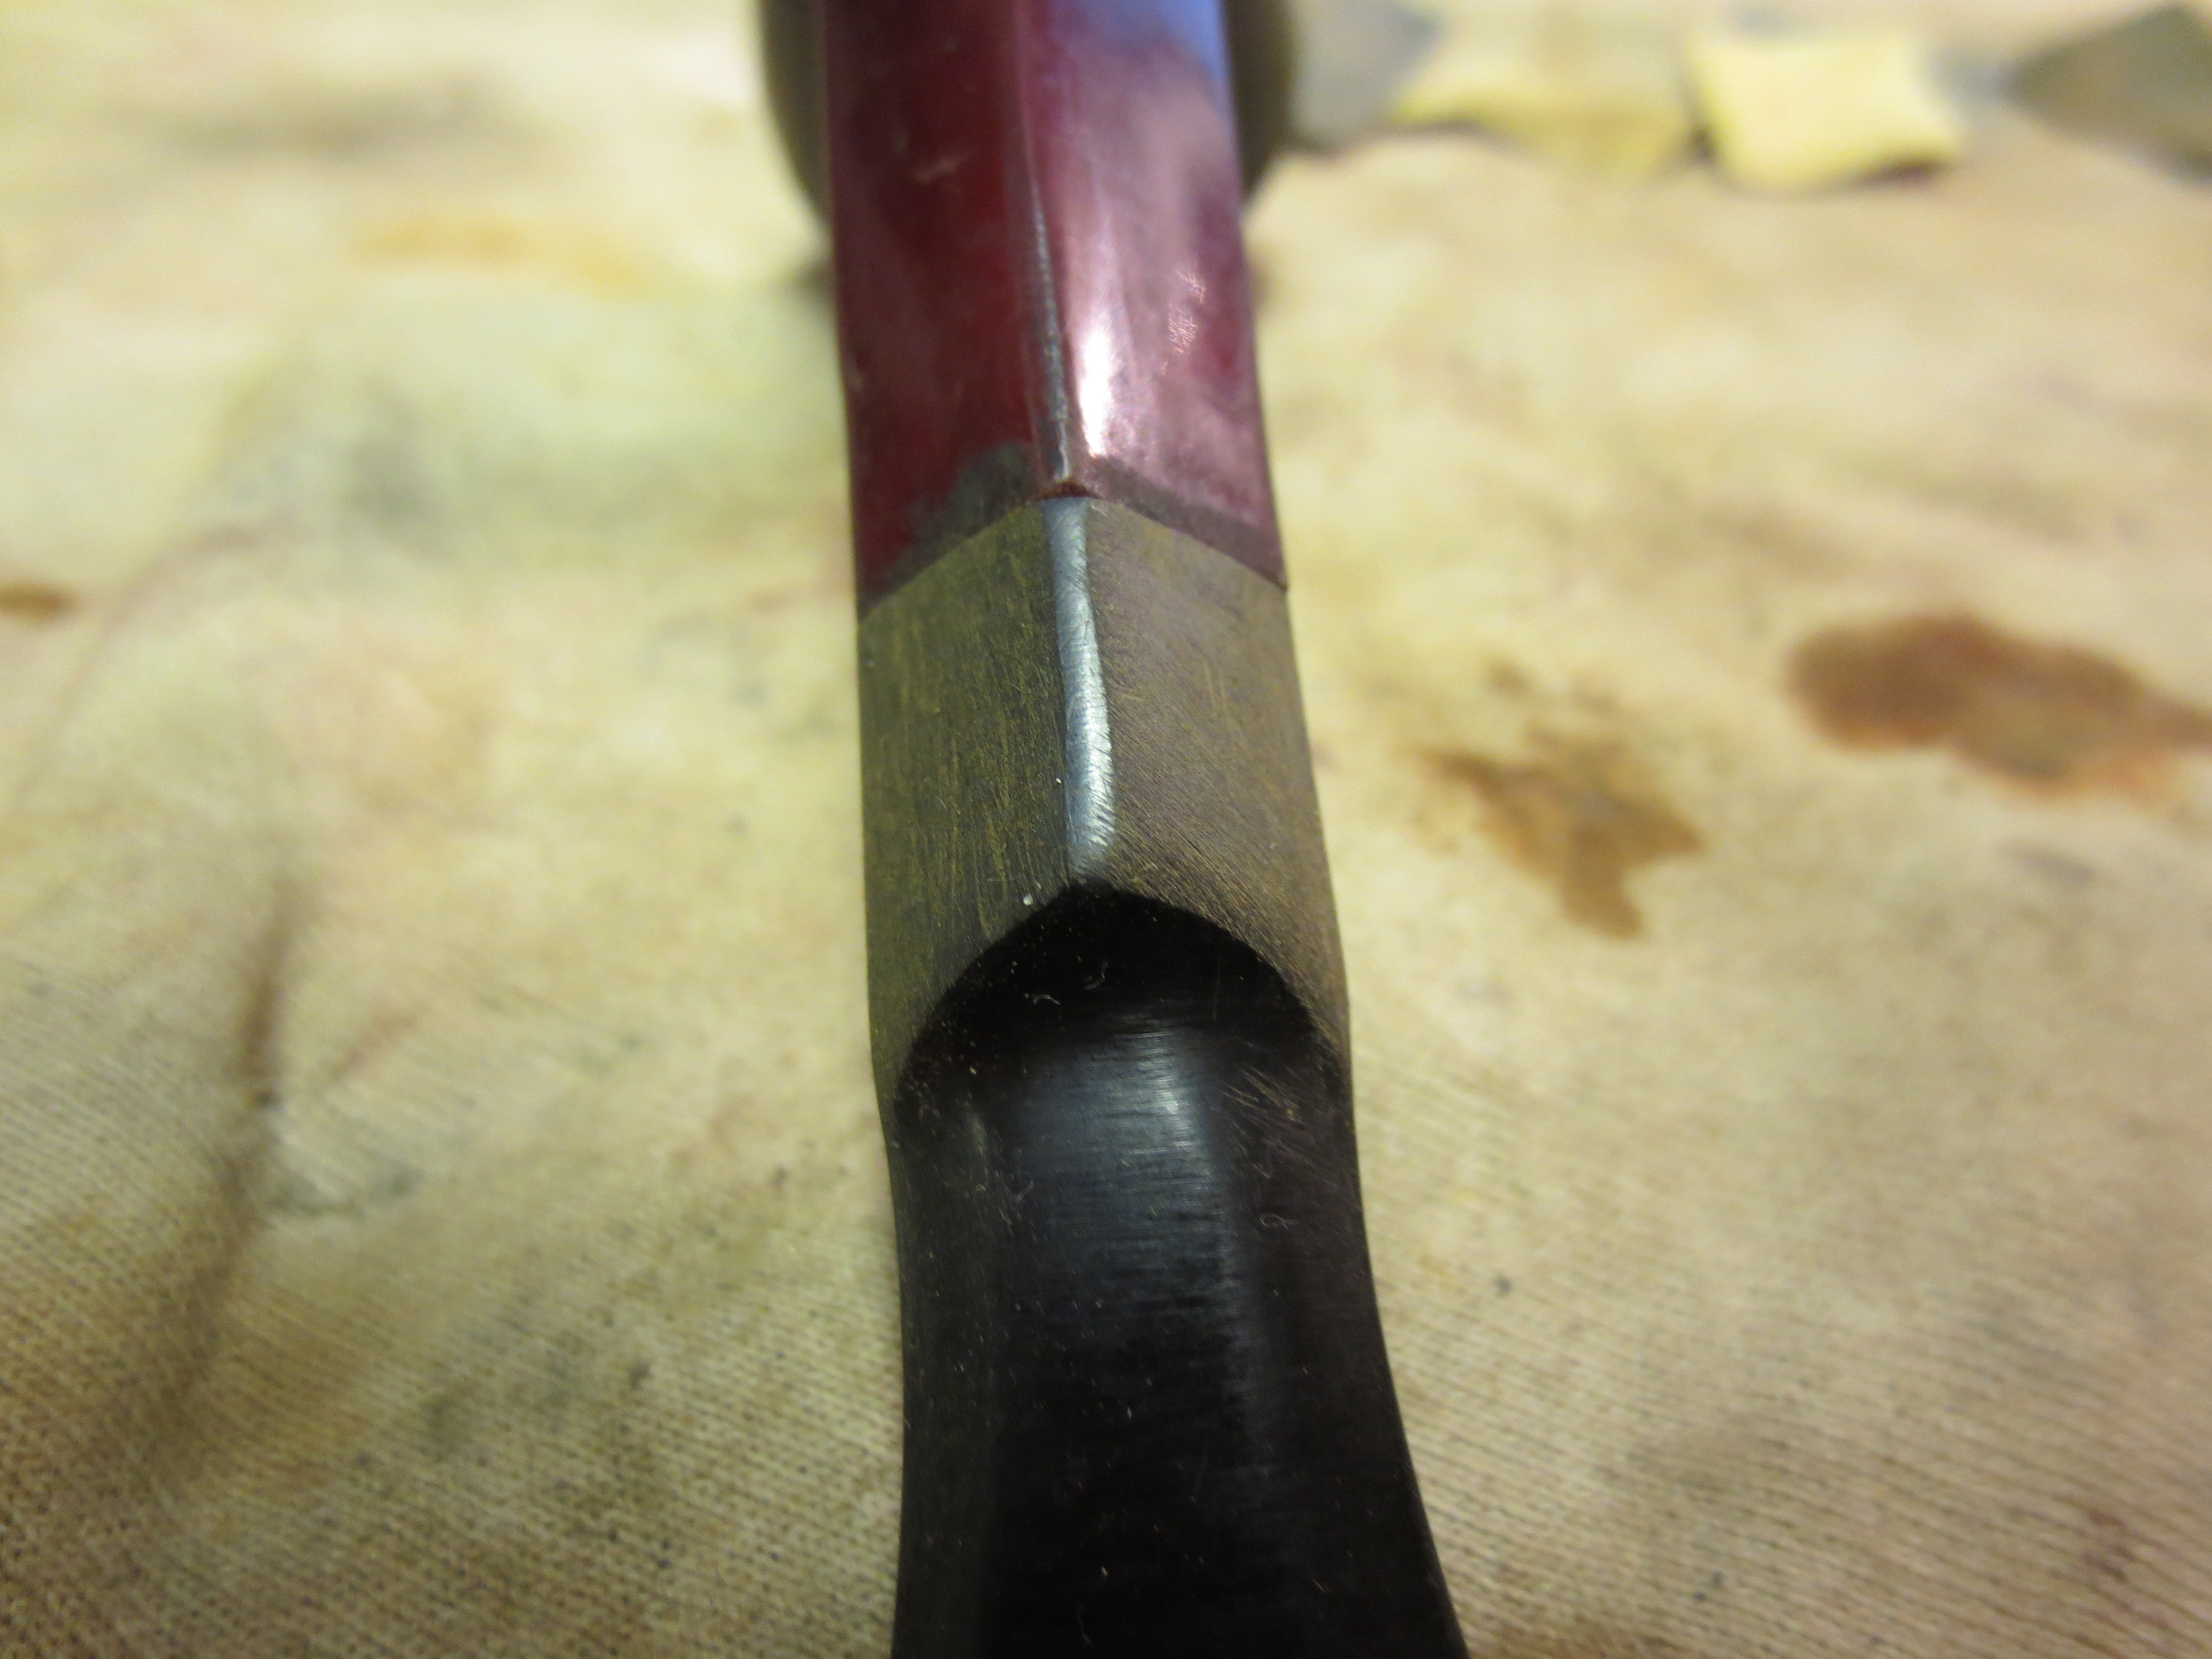
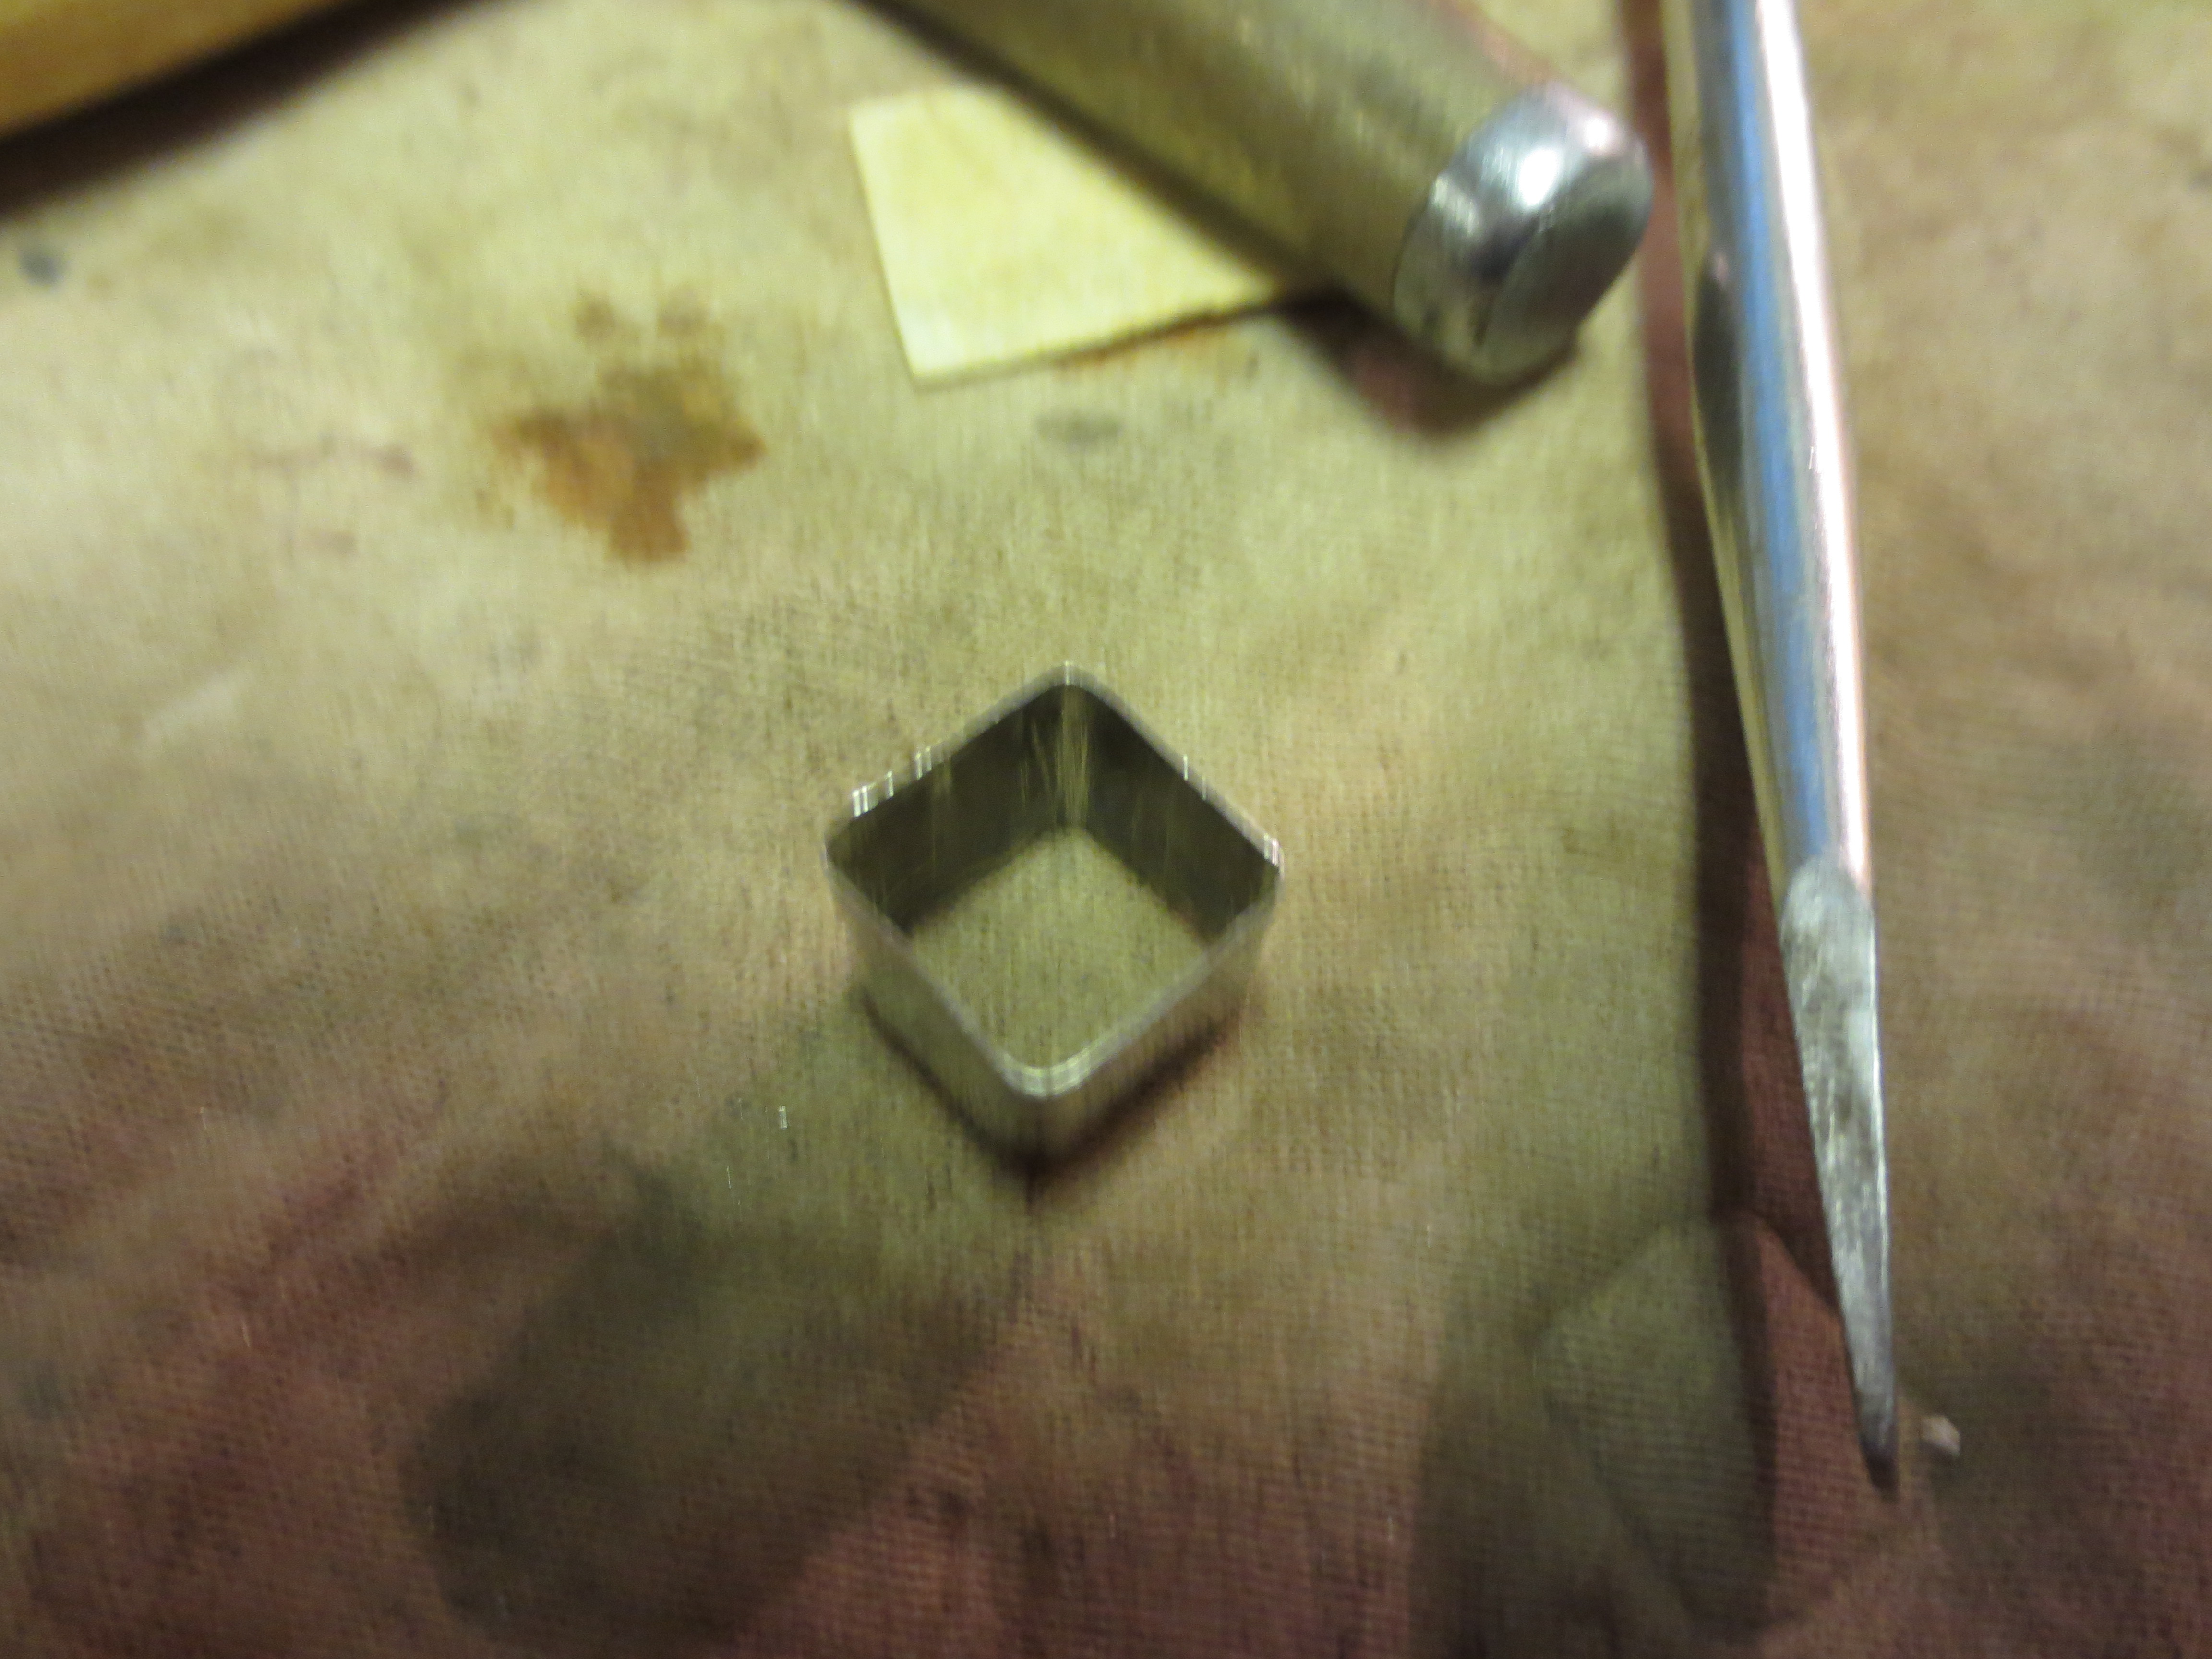
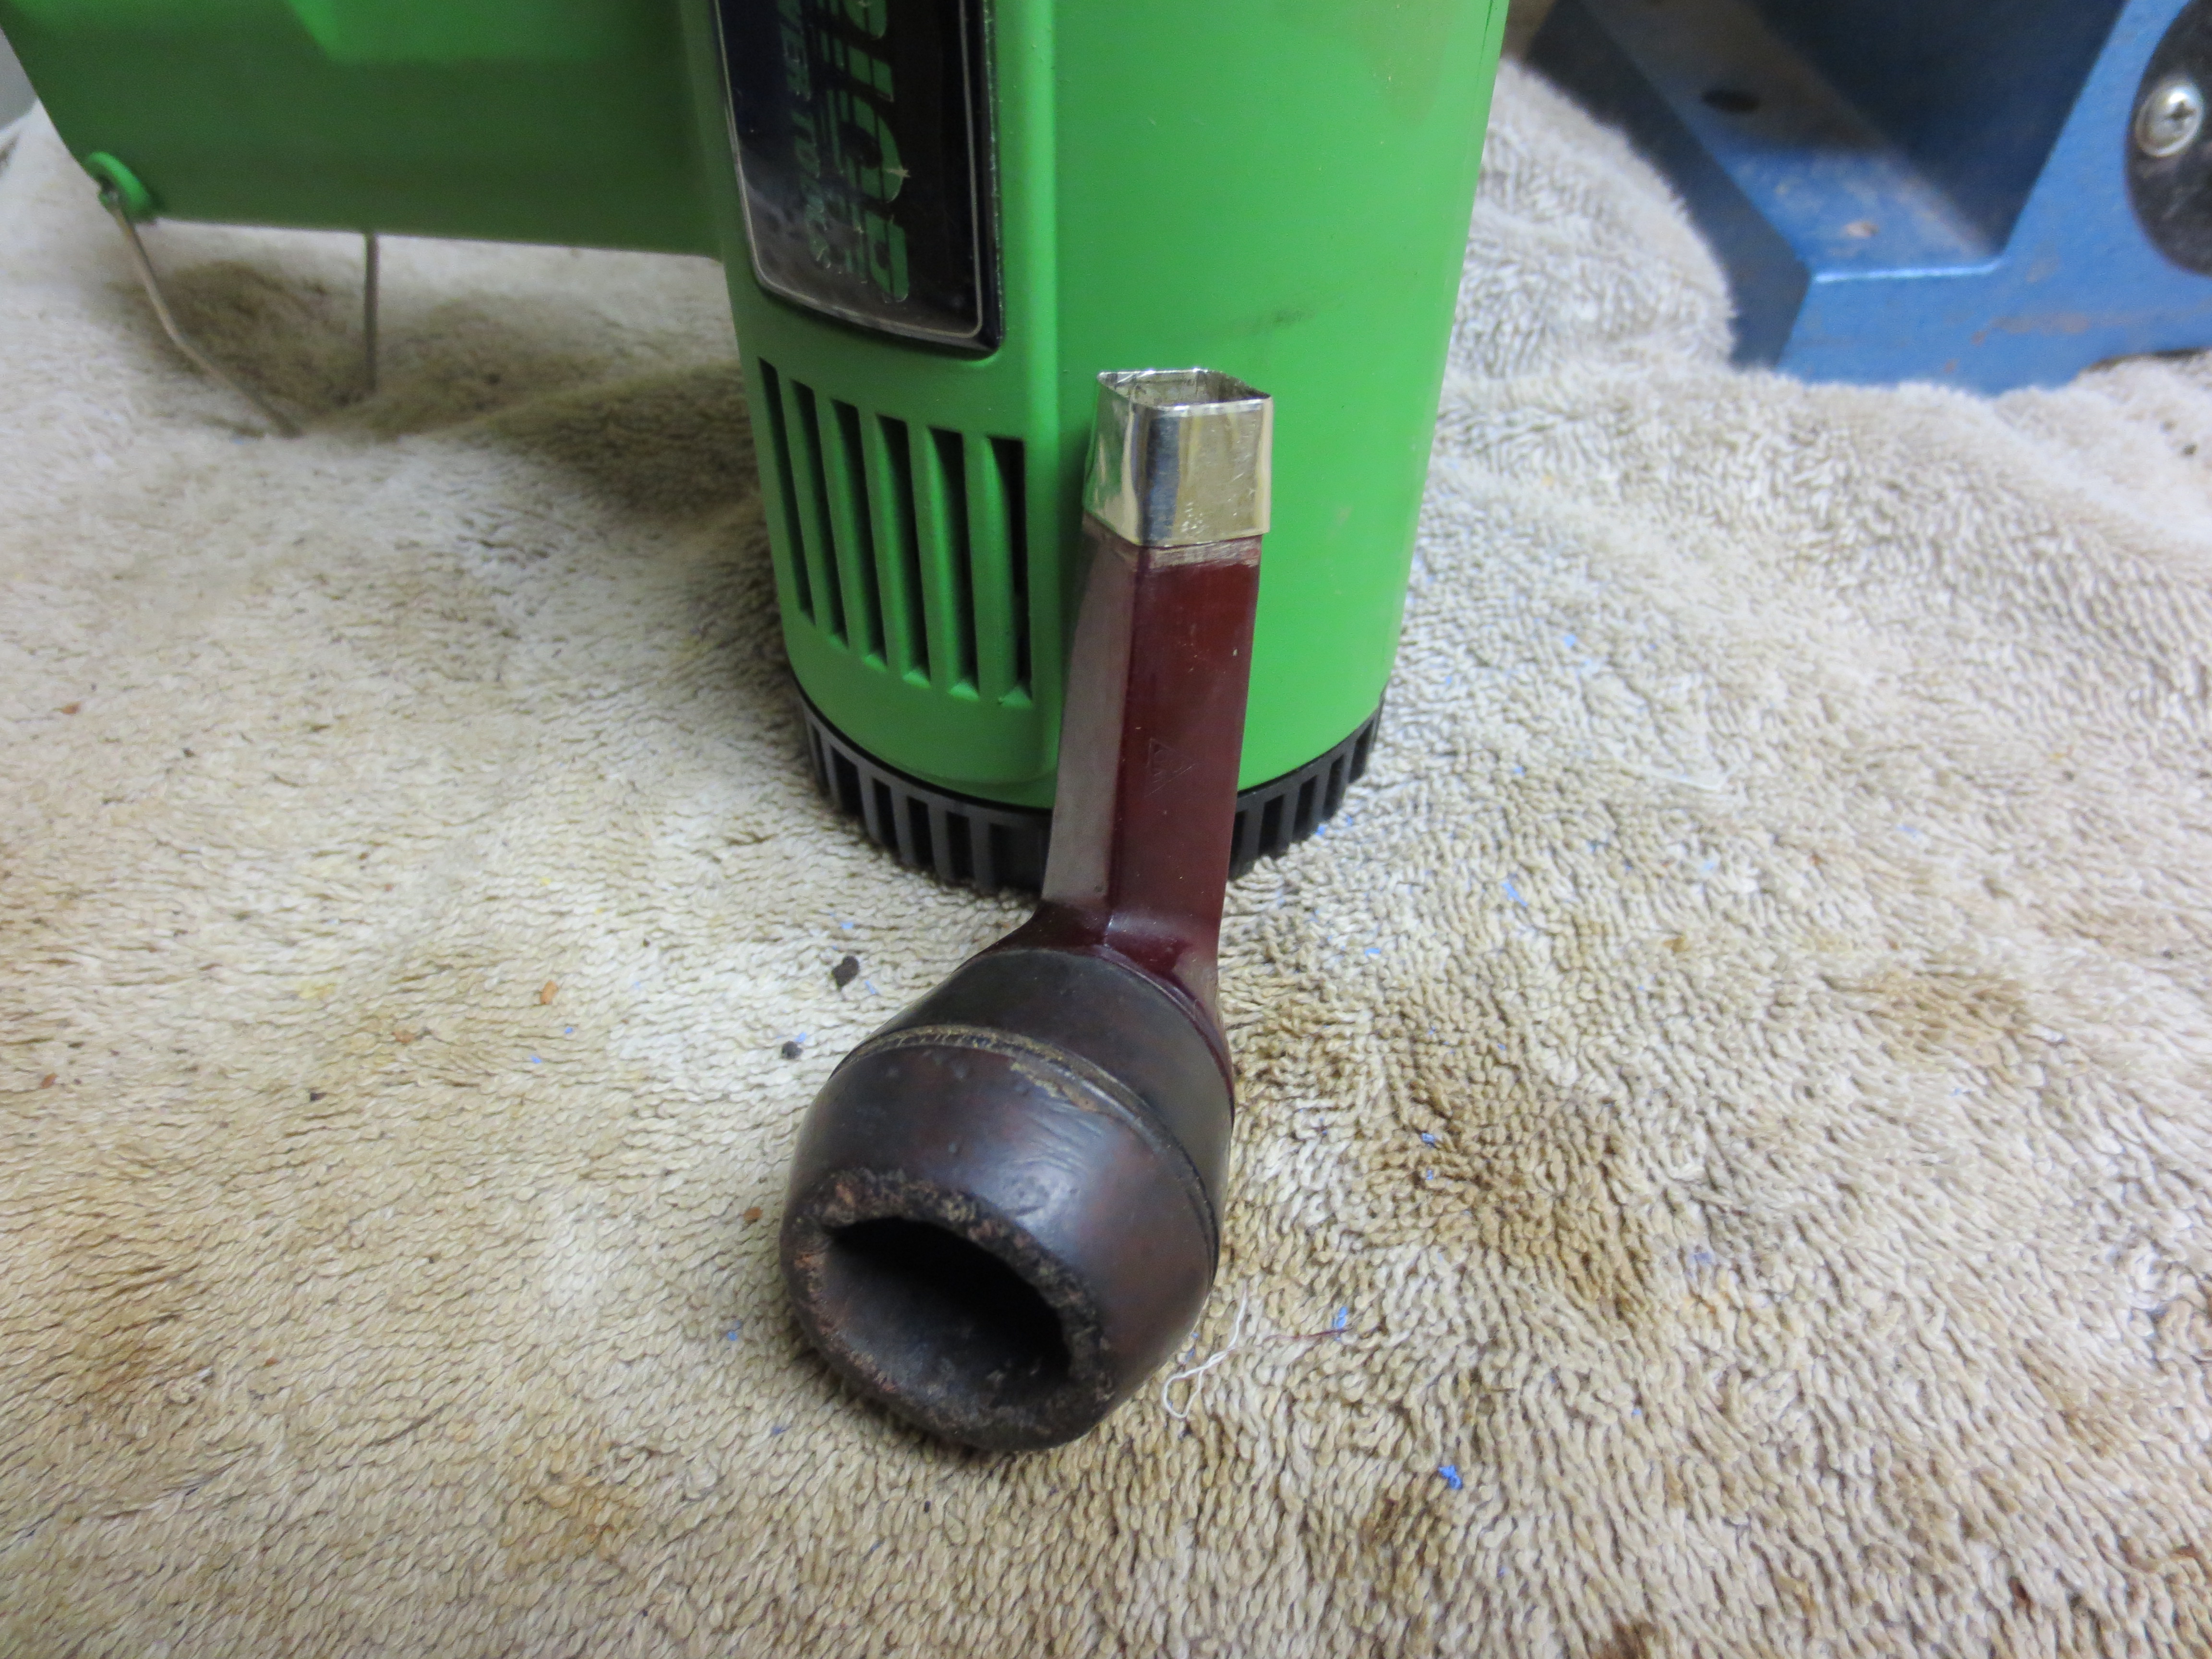
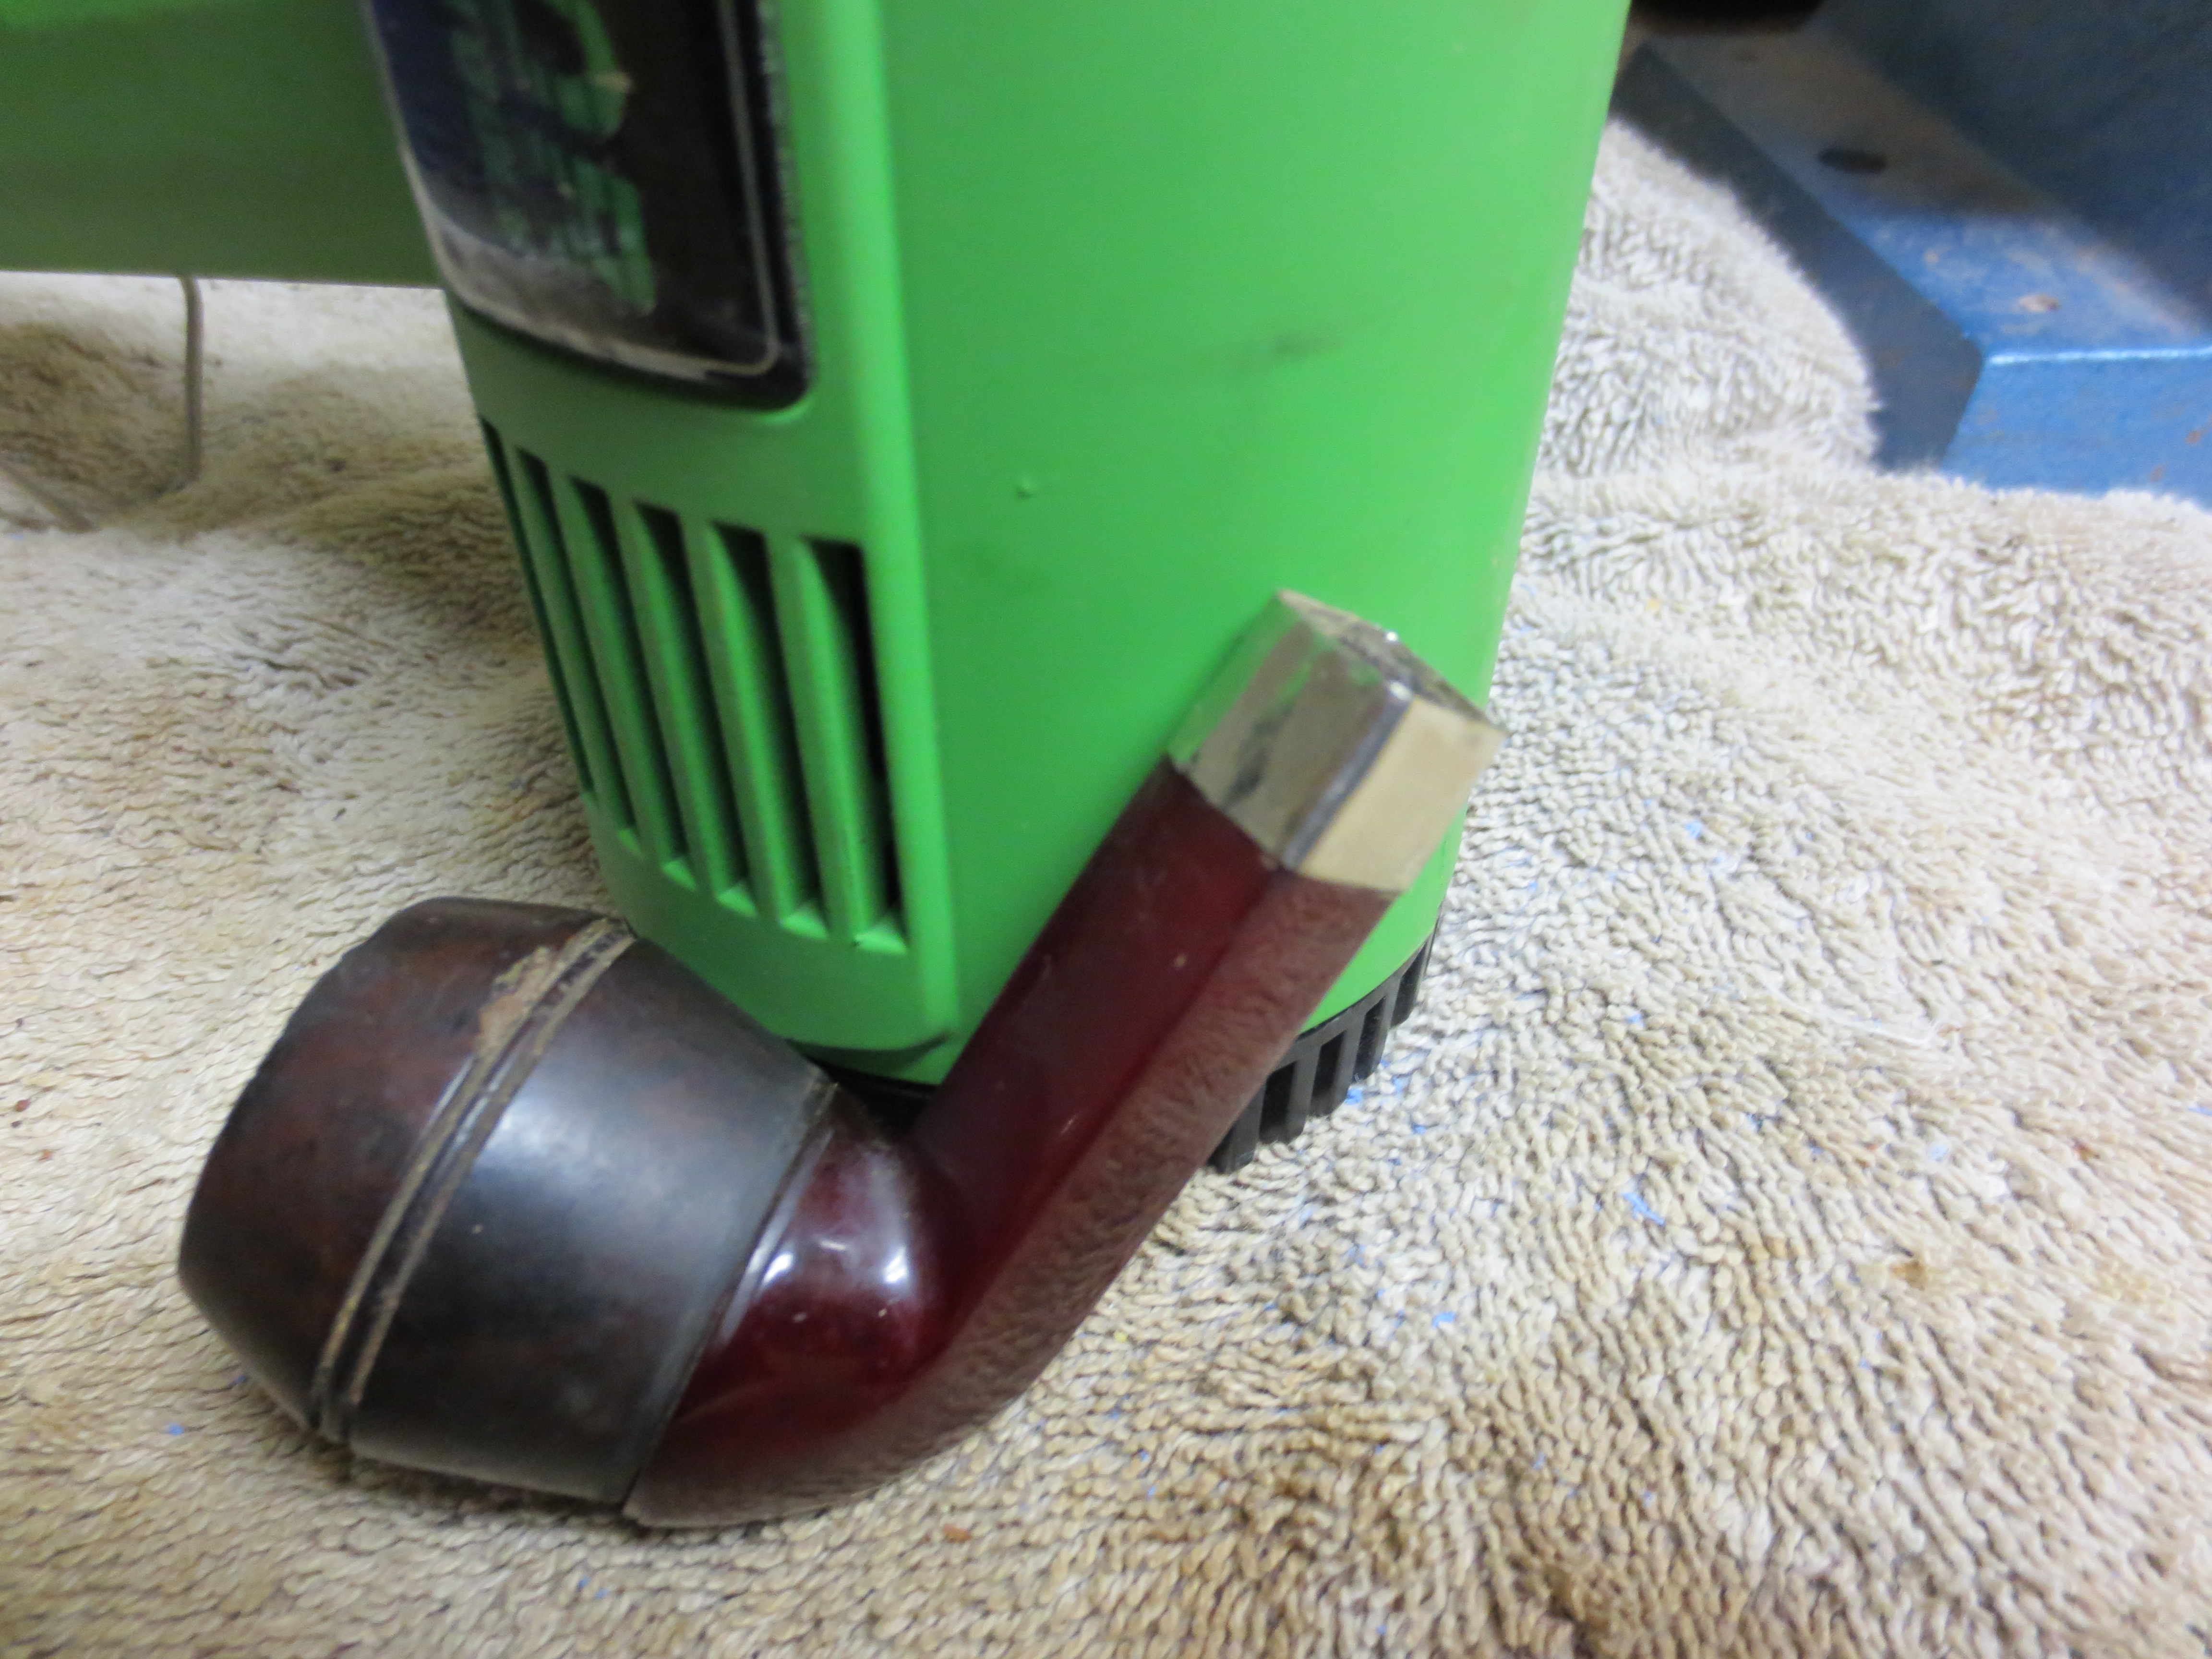
The original shank had sported an ornate band and the stain in the Bakelite showed the marks of the band. I did not have any ornate bands in my collection of bands so I chose instead to band it with a nickel band. I shaped the band to fit, beginning with a round band. This took a bit of fussing to get the shape and fit correct. I have written that process up in detail in a previous blog post as well. You can read about the process at this link https://rebornpipes.wordpress.com/2013/04/15/shaping-a-round-metal-band-to-fit-a-square-or-diamond-shank/ Once the band was shaped correctly I heated it with a heat gun until it was pliable and then pressure fit it on the shank of the pipe. The next series of five photos show the process I used to pressure fit the band on the shank. Once it was in place I carefully used my furniture hammer to flatten the band against the shank.
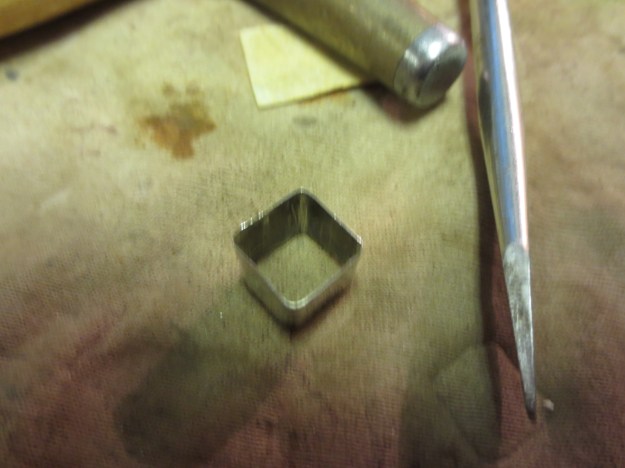
The square is done
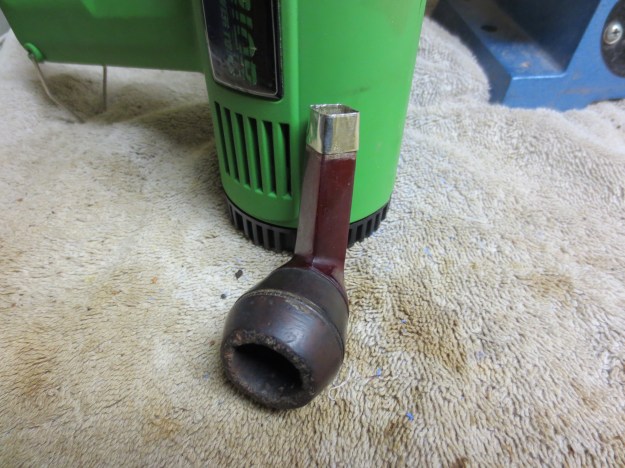
The square is done

Fitting a nickel band on the shank
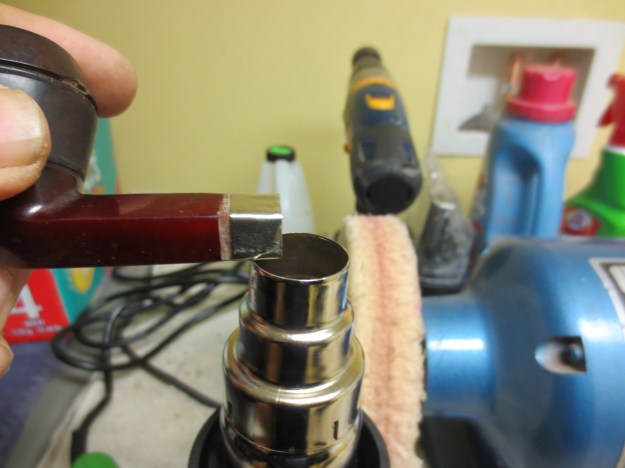
Fitting a nickel band on the shank
Fitting a nickel band on the shank

Fitting a nickel band on the shank

Nickel band fitted on the shank
Nickel band fitted on the shank

Nickel band fitted on the shank

Nickel band fitted on the shank


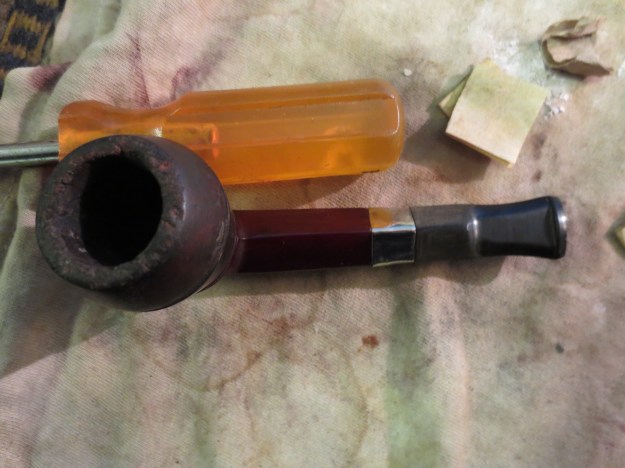
The next series of four photos show the newly shaped stem in place on the banded pipe. There was still a lot of work to do on the pipe including cleaning the internals and reworking the bowl and rim but the overall look of the “new” pipe is intriguing.
New band and stem in place.
New band and stem in place.

New band and stem in place
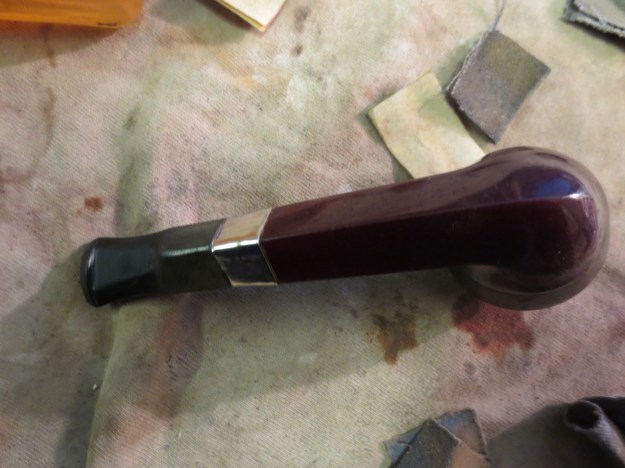
New band and stem in place

Bottom view of the newly banded and stemmed pipe
Bottom view of the newly banded and stemmed pipe

Top view of the new band and stem

Top view of the new band and stem


I have included one photo below to give you an idea of the shape of the new stem. I remove a lot of vulcanite to get it from its original round shape to the diamond shape pictured below. The fit and the angles match the shank perfectly. These older pipes are tricky to fit a diamond stem on because none of the sides of the diamond are the same dimensions. Each one is just slightly different so you have to do the fitting work with the stem in place on the shank.
View from the tenon end of the diamond stem at this point in the process.

View from the tenon end of the diamond stem at this point in the process.


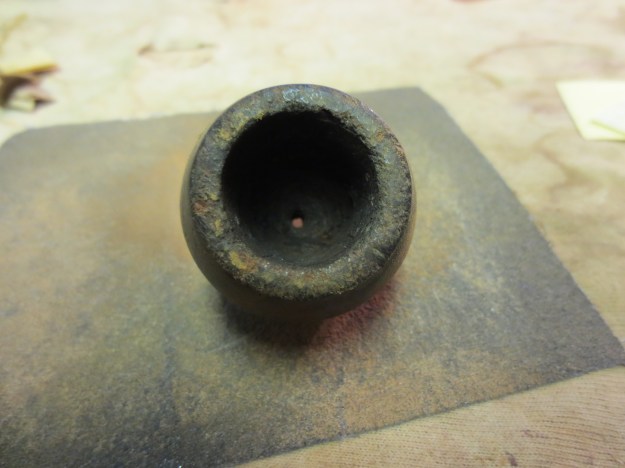
With the stem fitting correctly it was time to tackle the bowl. I set up my board and emery paper so that I could top the bowl. The first photo shows the set up. The second photo shows the state of the bowl rim when I started the process.
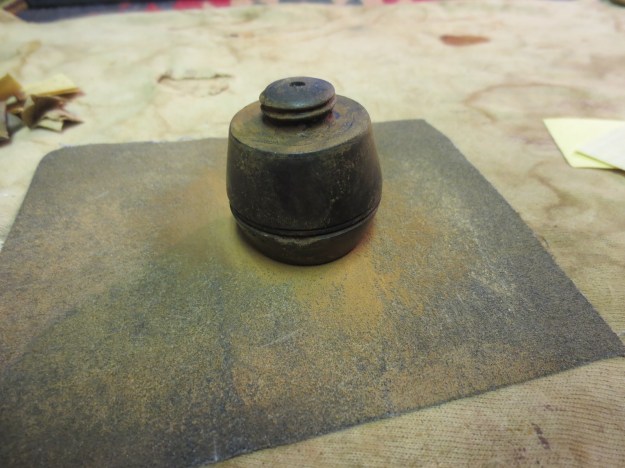
Set up for topping the bowl
Set up for topping the bowl

Reamed and ready to top

Reamed and ready to top


Once I had it topped I decided to wipe it down with acetone on a cotton pad to remove the finish and the grime from the topping. The next three photos show the clean bowl and the topped bowl. The finish work would take some time but the bowl was ready to move on to the next stage of rejuvenation.
Wiping down the bowl with acetone
Wiping down the bowl with acetone

Wiping down the newly topped rim with acetone
Wiping down the newly topped rim with acetone

Wiping down the bowl with acetone

Wiping down the bowl with acetone


I sanded the bowl with 240 and 320 grit sandpaper and finished sanding with a fine grit sanding sponge. The next two photos show the cleaned and prepped bowl ready for staining. The dark oil stains on the sides of the bowl would not come out. I wiped the bowl down with repeated washings of acetone and the surface was clean. I also sanded the stem with the sanding sponge while I worked on the bowl.
Bowl sanded, in place and ready to stain.
Bowl sanded, in place and ready to stain.

Bowl in place, sanded and ready to stain.

Bowl in place, sanded and ready to stain.


I decided to restain this old timer with an opaque oxblood aniline based stain. I wanted the opacity so that the dark stains would be minimized beneath the new stain and would eventually be blended in through smoking the pipe. I applied the stain and then flamed it. After flaming I hand buffed it to remove the excess stain. I also used a cotton pad and a dental pick to clean out the grooves on the bowl.
Stained with oxblood stain.
Stained with oxblood stain.

Stained with oxblood stain.

Stained with oxblood stain.


The next series of four photos shows the hand buffed bowl in place on the pipe base. The finish was matte at this point and still needed to be taken to the buffer to raise the shine. The third photo shows the rim. The surface is smooth but there is still damage to the inner edge of the rim. I chose to leave that without reworking it too much. I did not want to change the roundness of the inner bowl and decided that I could live with the nicks in the inner edge.
Left side of the pipe with a hand buff on the newly stained bowl.
Left side of the pipe with a hand buff on the newly stained bowl.

Right side of the newly stained bowl with a hand buffed surface.
Right side of the newly stained bowl with a hand buffed surface.

Top view of the hand buffed newly stained bowl.
Top view of the hand buffed newly stained bowl.

View of the underside of the bowl and Bakelite bowl base.

View of the underside of the bowl and Bakelite bowl base.


The next three photos show the pipe after I had buffed it with White Diamond. The bowl shines and the dark marks around the bowl show faintly beneath the finish but add a flair of character to the old pipe.
Buffed with White Diamond
Buffed with White Diamond
Buffed with White Diamond

Buffed with White Diamond

Buffed with White Diamond

Buffed with White Diamond


The next series of three photos are included to give an idea of the polishing process that went into bringing the stem work to completion. Again I invite you to read the post mentioned above on the transformation of a round saddle stem to a diamond shaped one to understand the full work that the shaping took to bring it to this place.
Stem sanded with 320 grit sandpaper
Stem sanded with 320 grit sandpaper
IMG_1021

Stem sanded with 320 grit sandpaper

IMG_1022

Stem sanded with micromesh sanding pads


Once I had finished polishing the stem with the various grades of micromesh from 1500-12,000 grit I took the pipe to the buffer once again and buffer the entirety with White Diamond and then gave it multiple coats of carnauba wax to protect it and to give it a deep shine. The next series of four photos show the finished pipe. It is ready to load up with a favourite tobacco and be gently sipped in the solitude of an afternoon on the porch.
IMG_1032

IMG_1033

IMG_1034

IMG_1035

LJ Perretti Straight Grain Rejuvenated


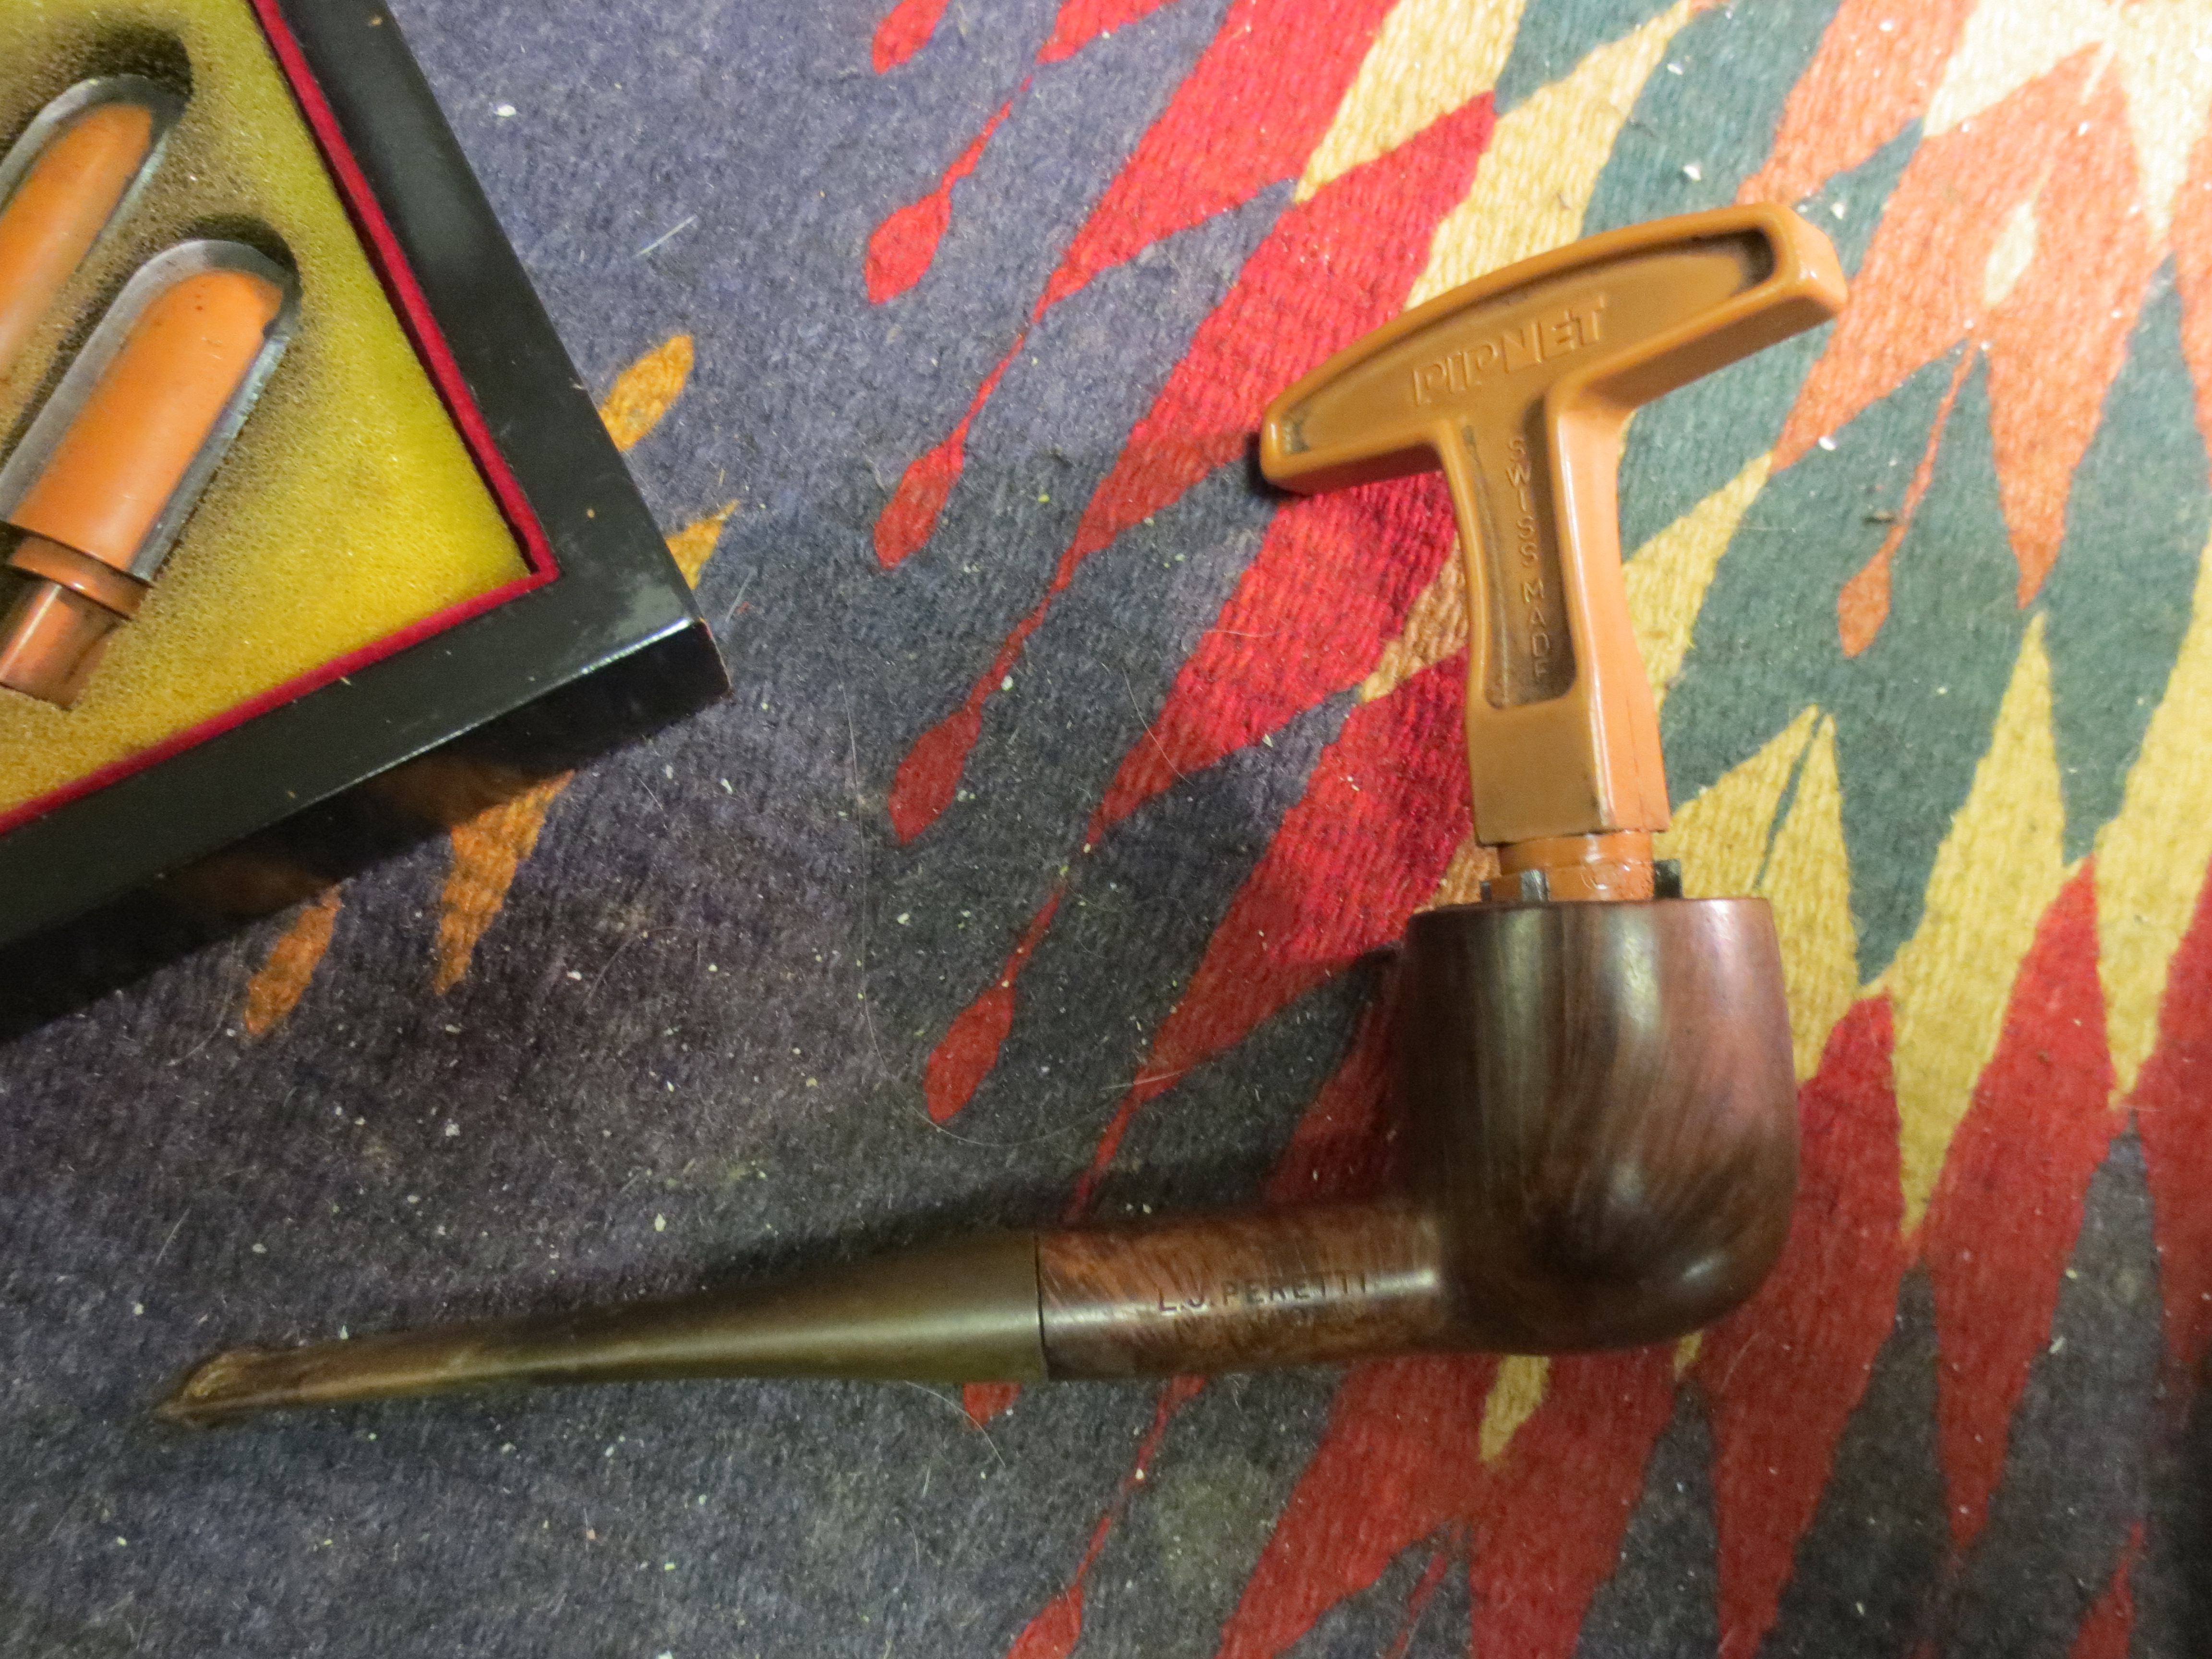
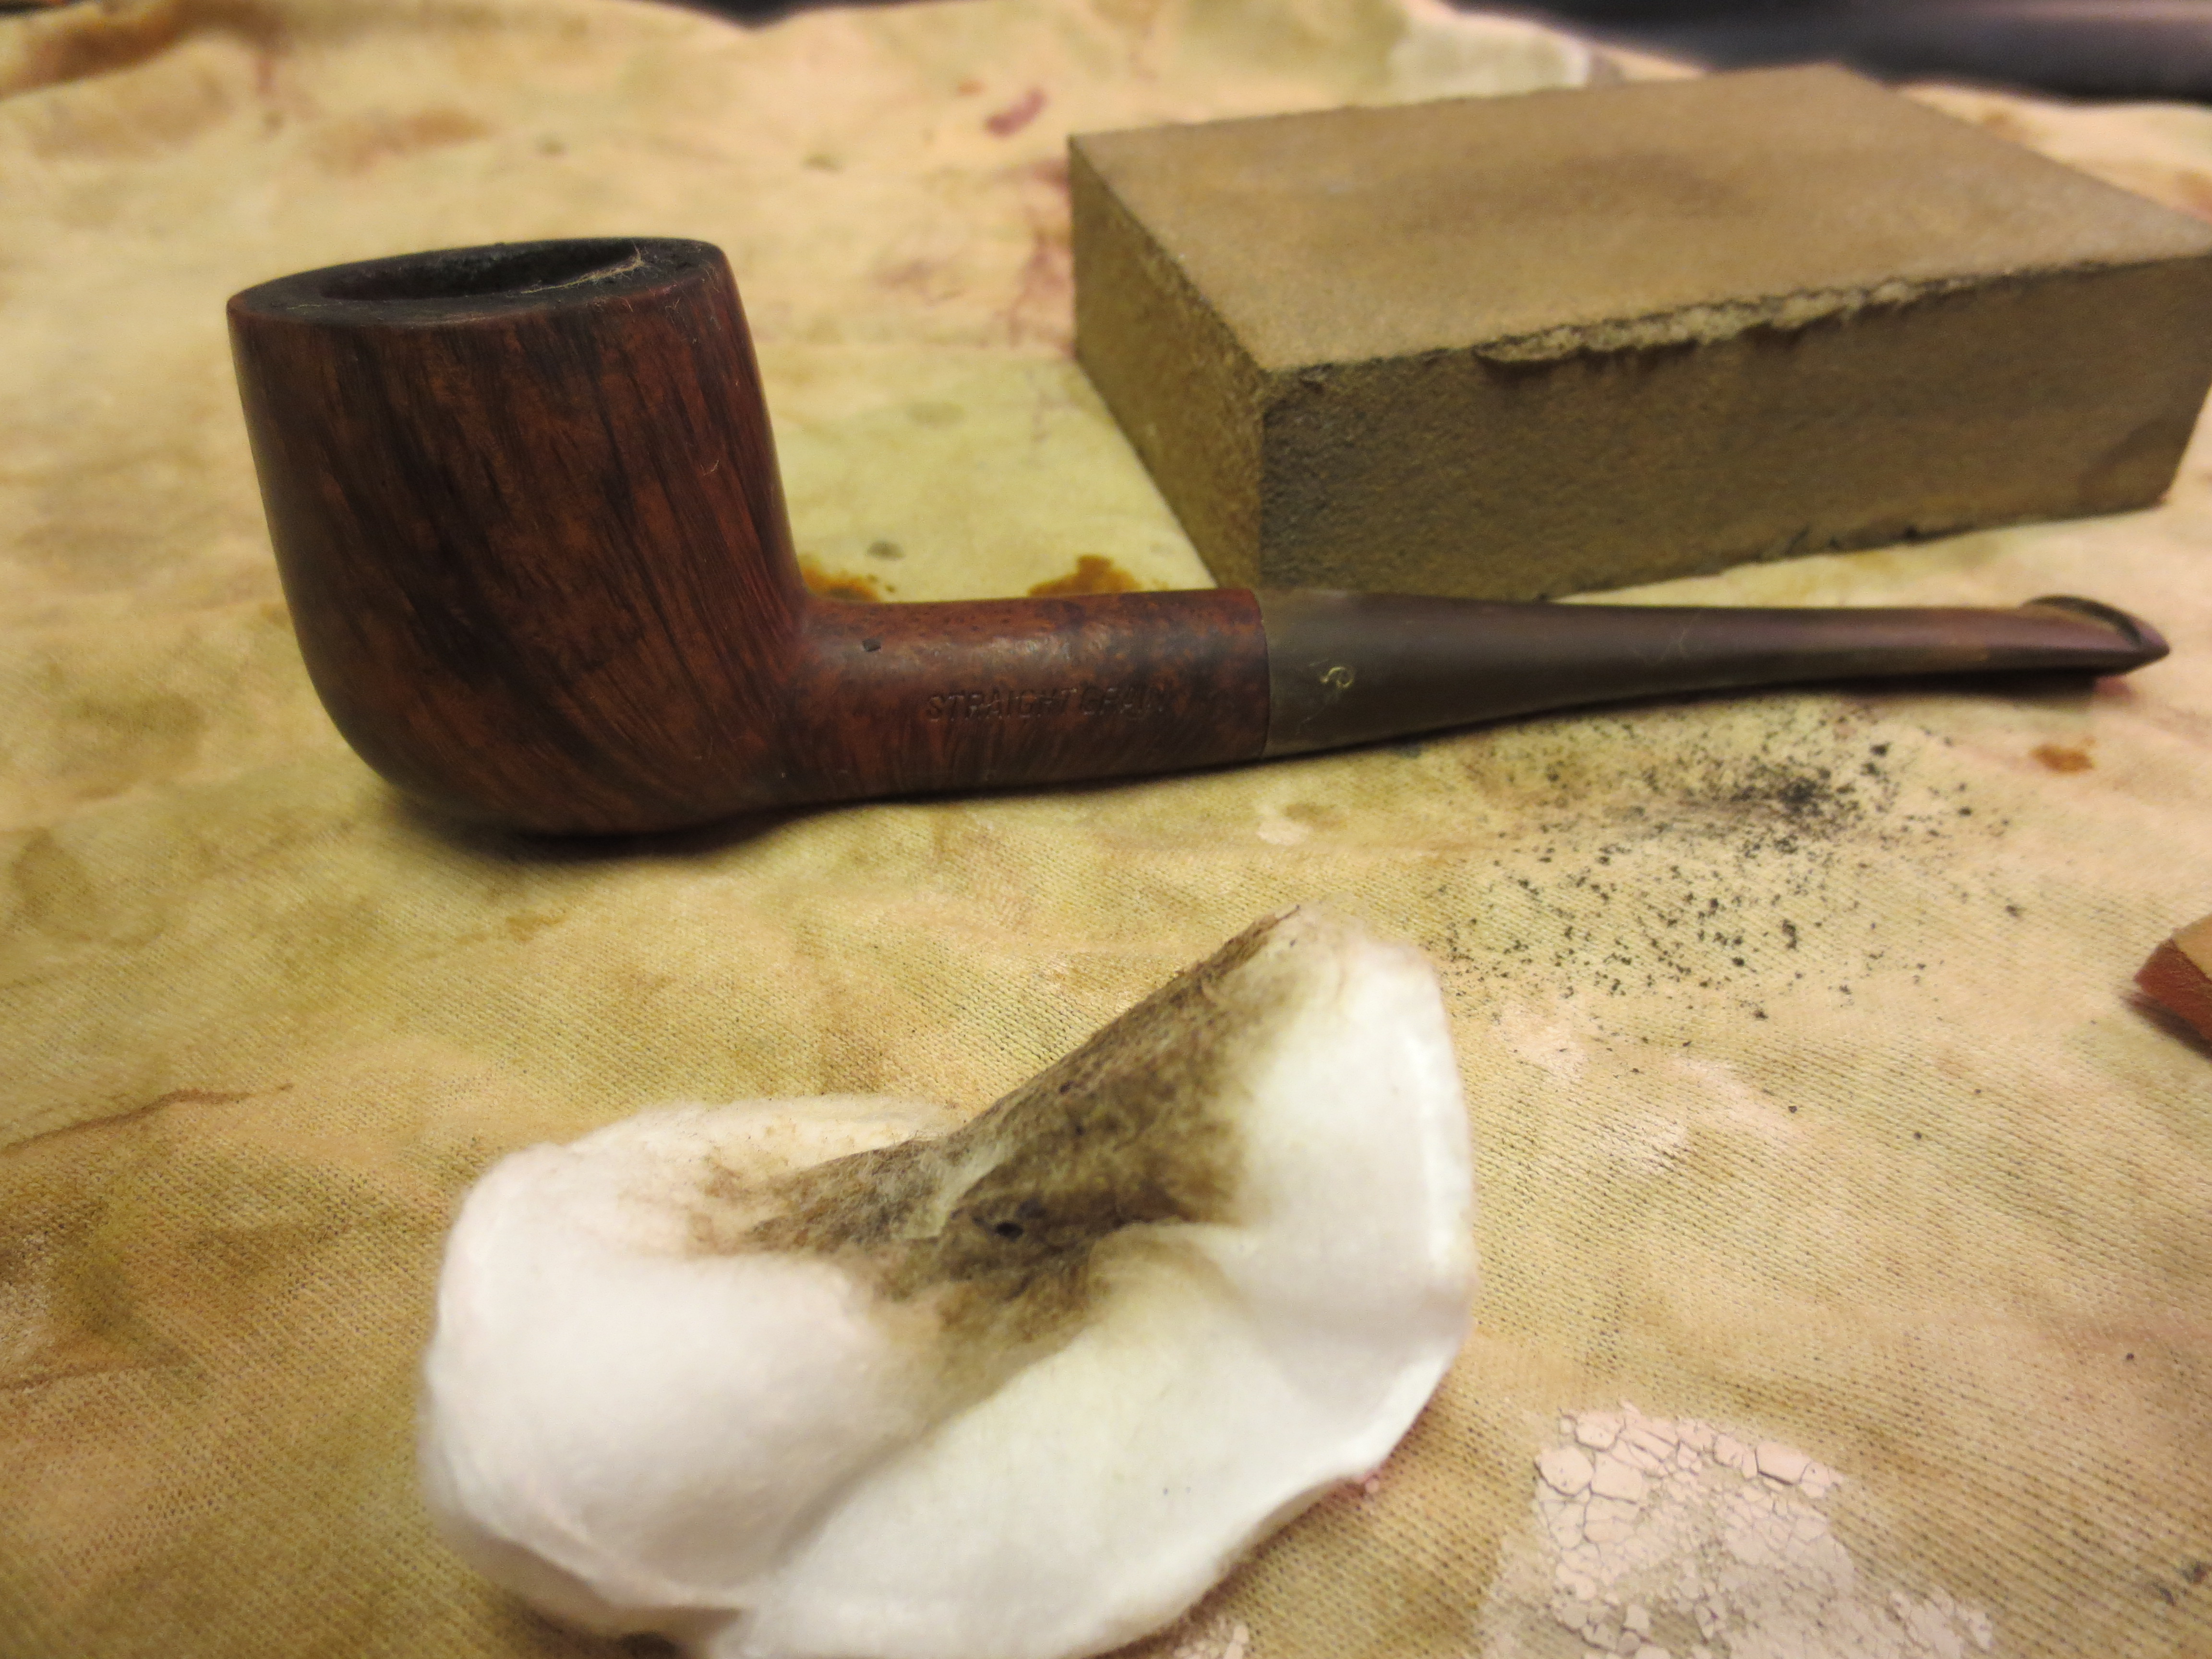
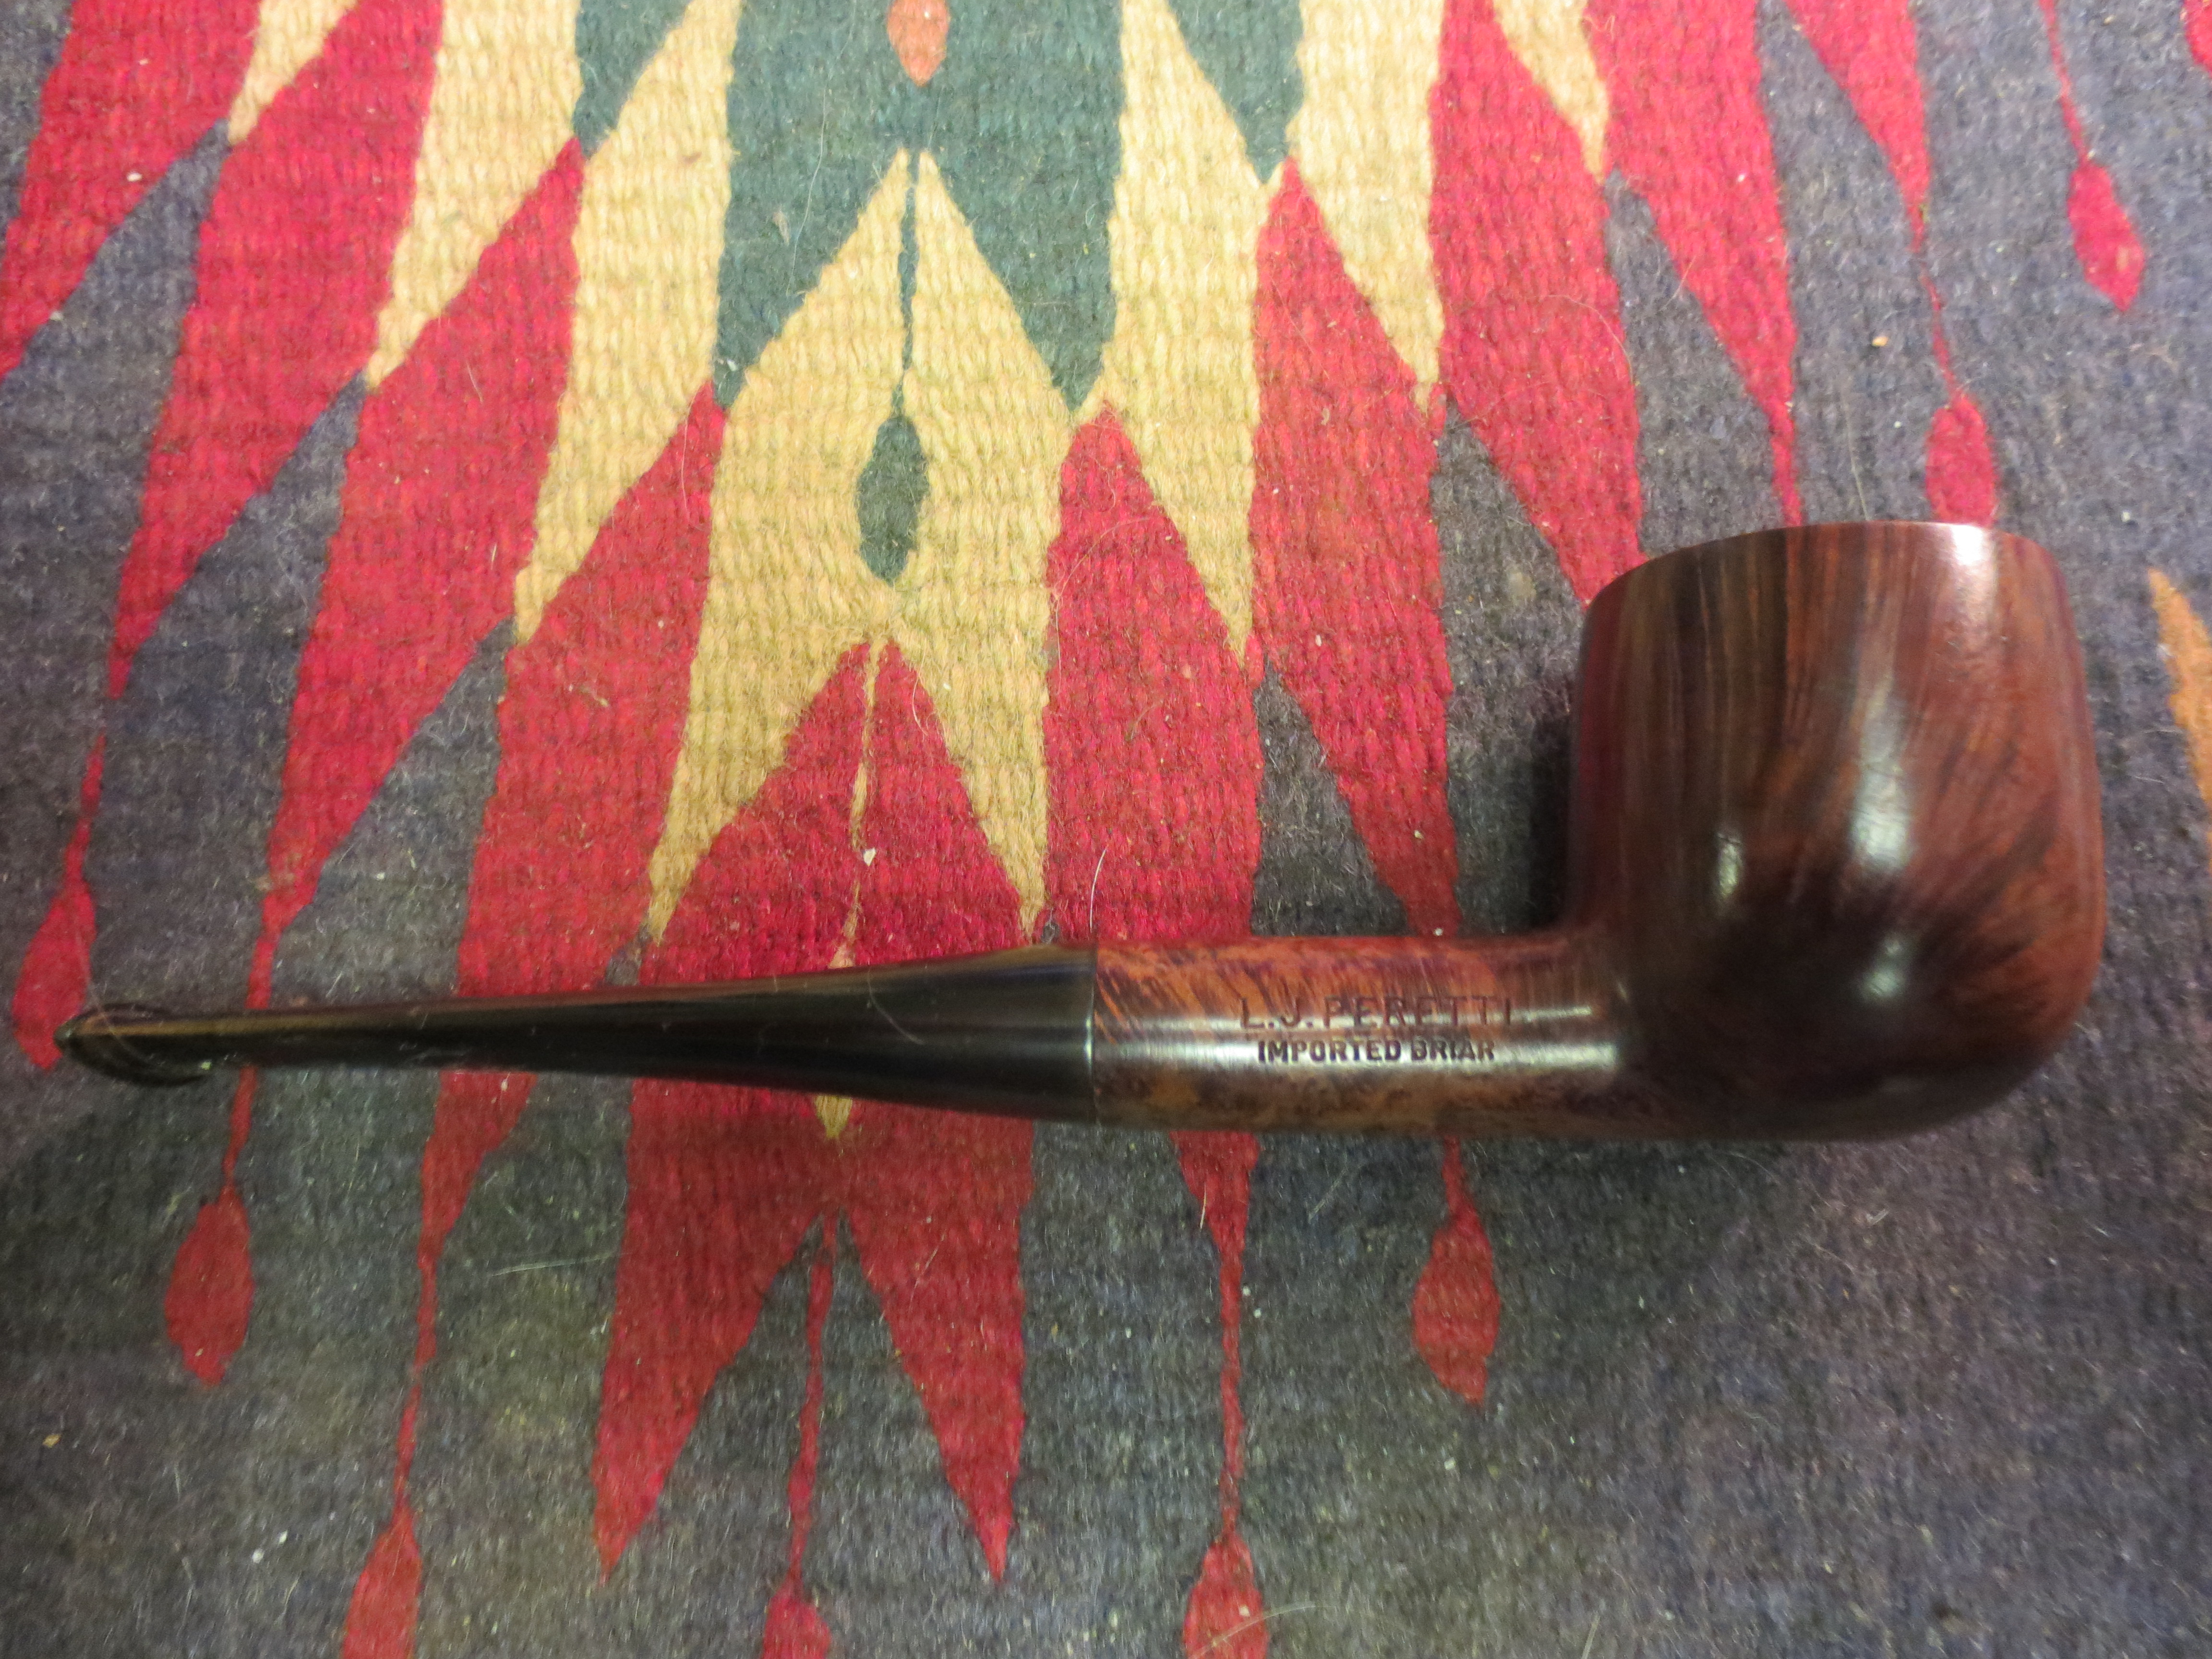
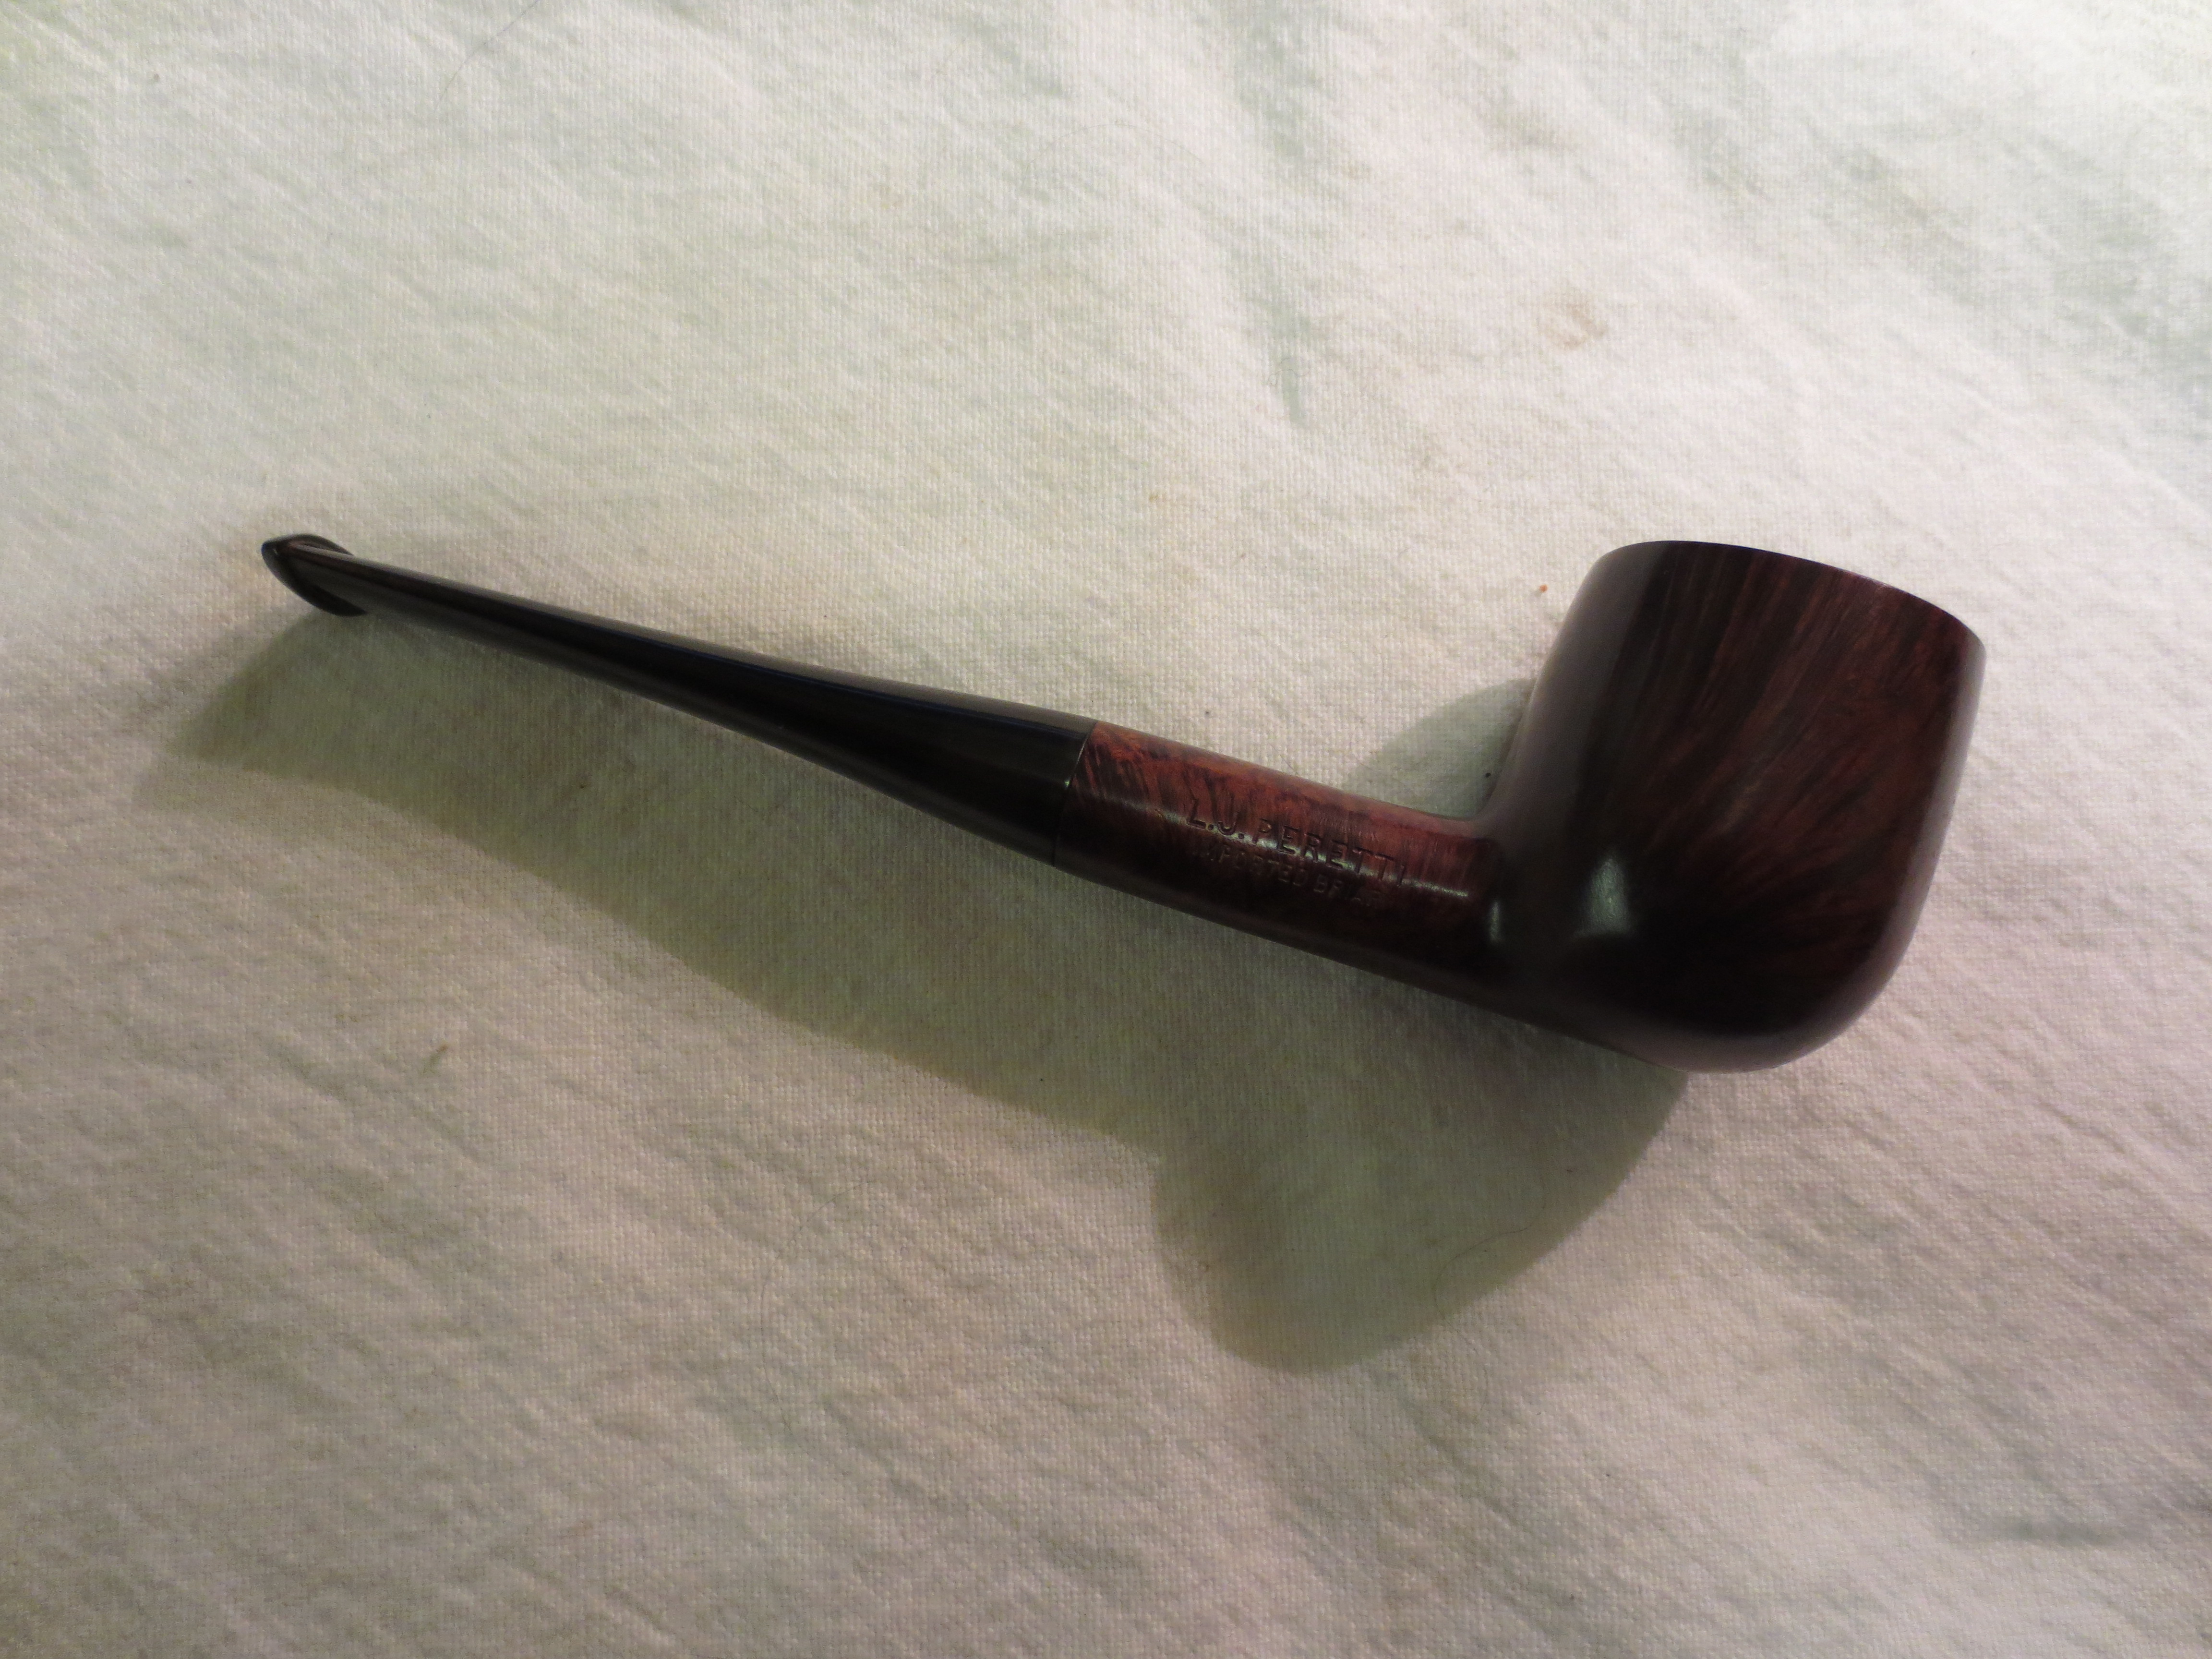
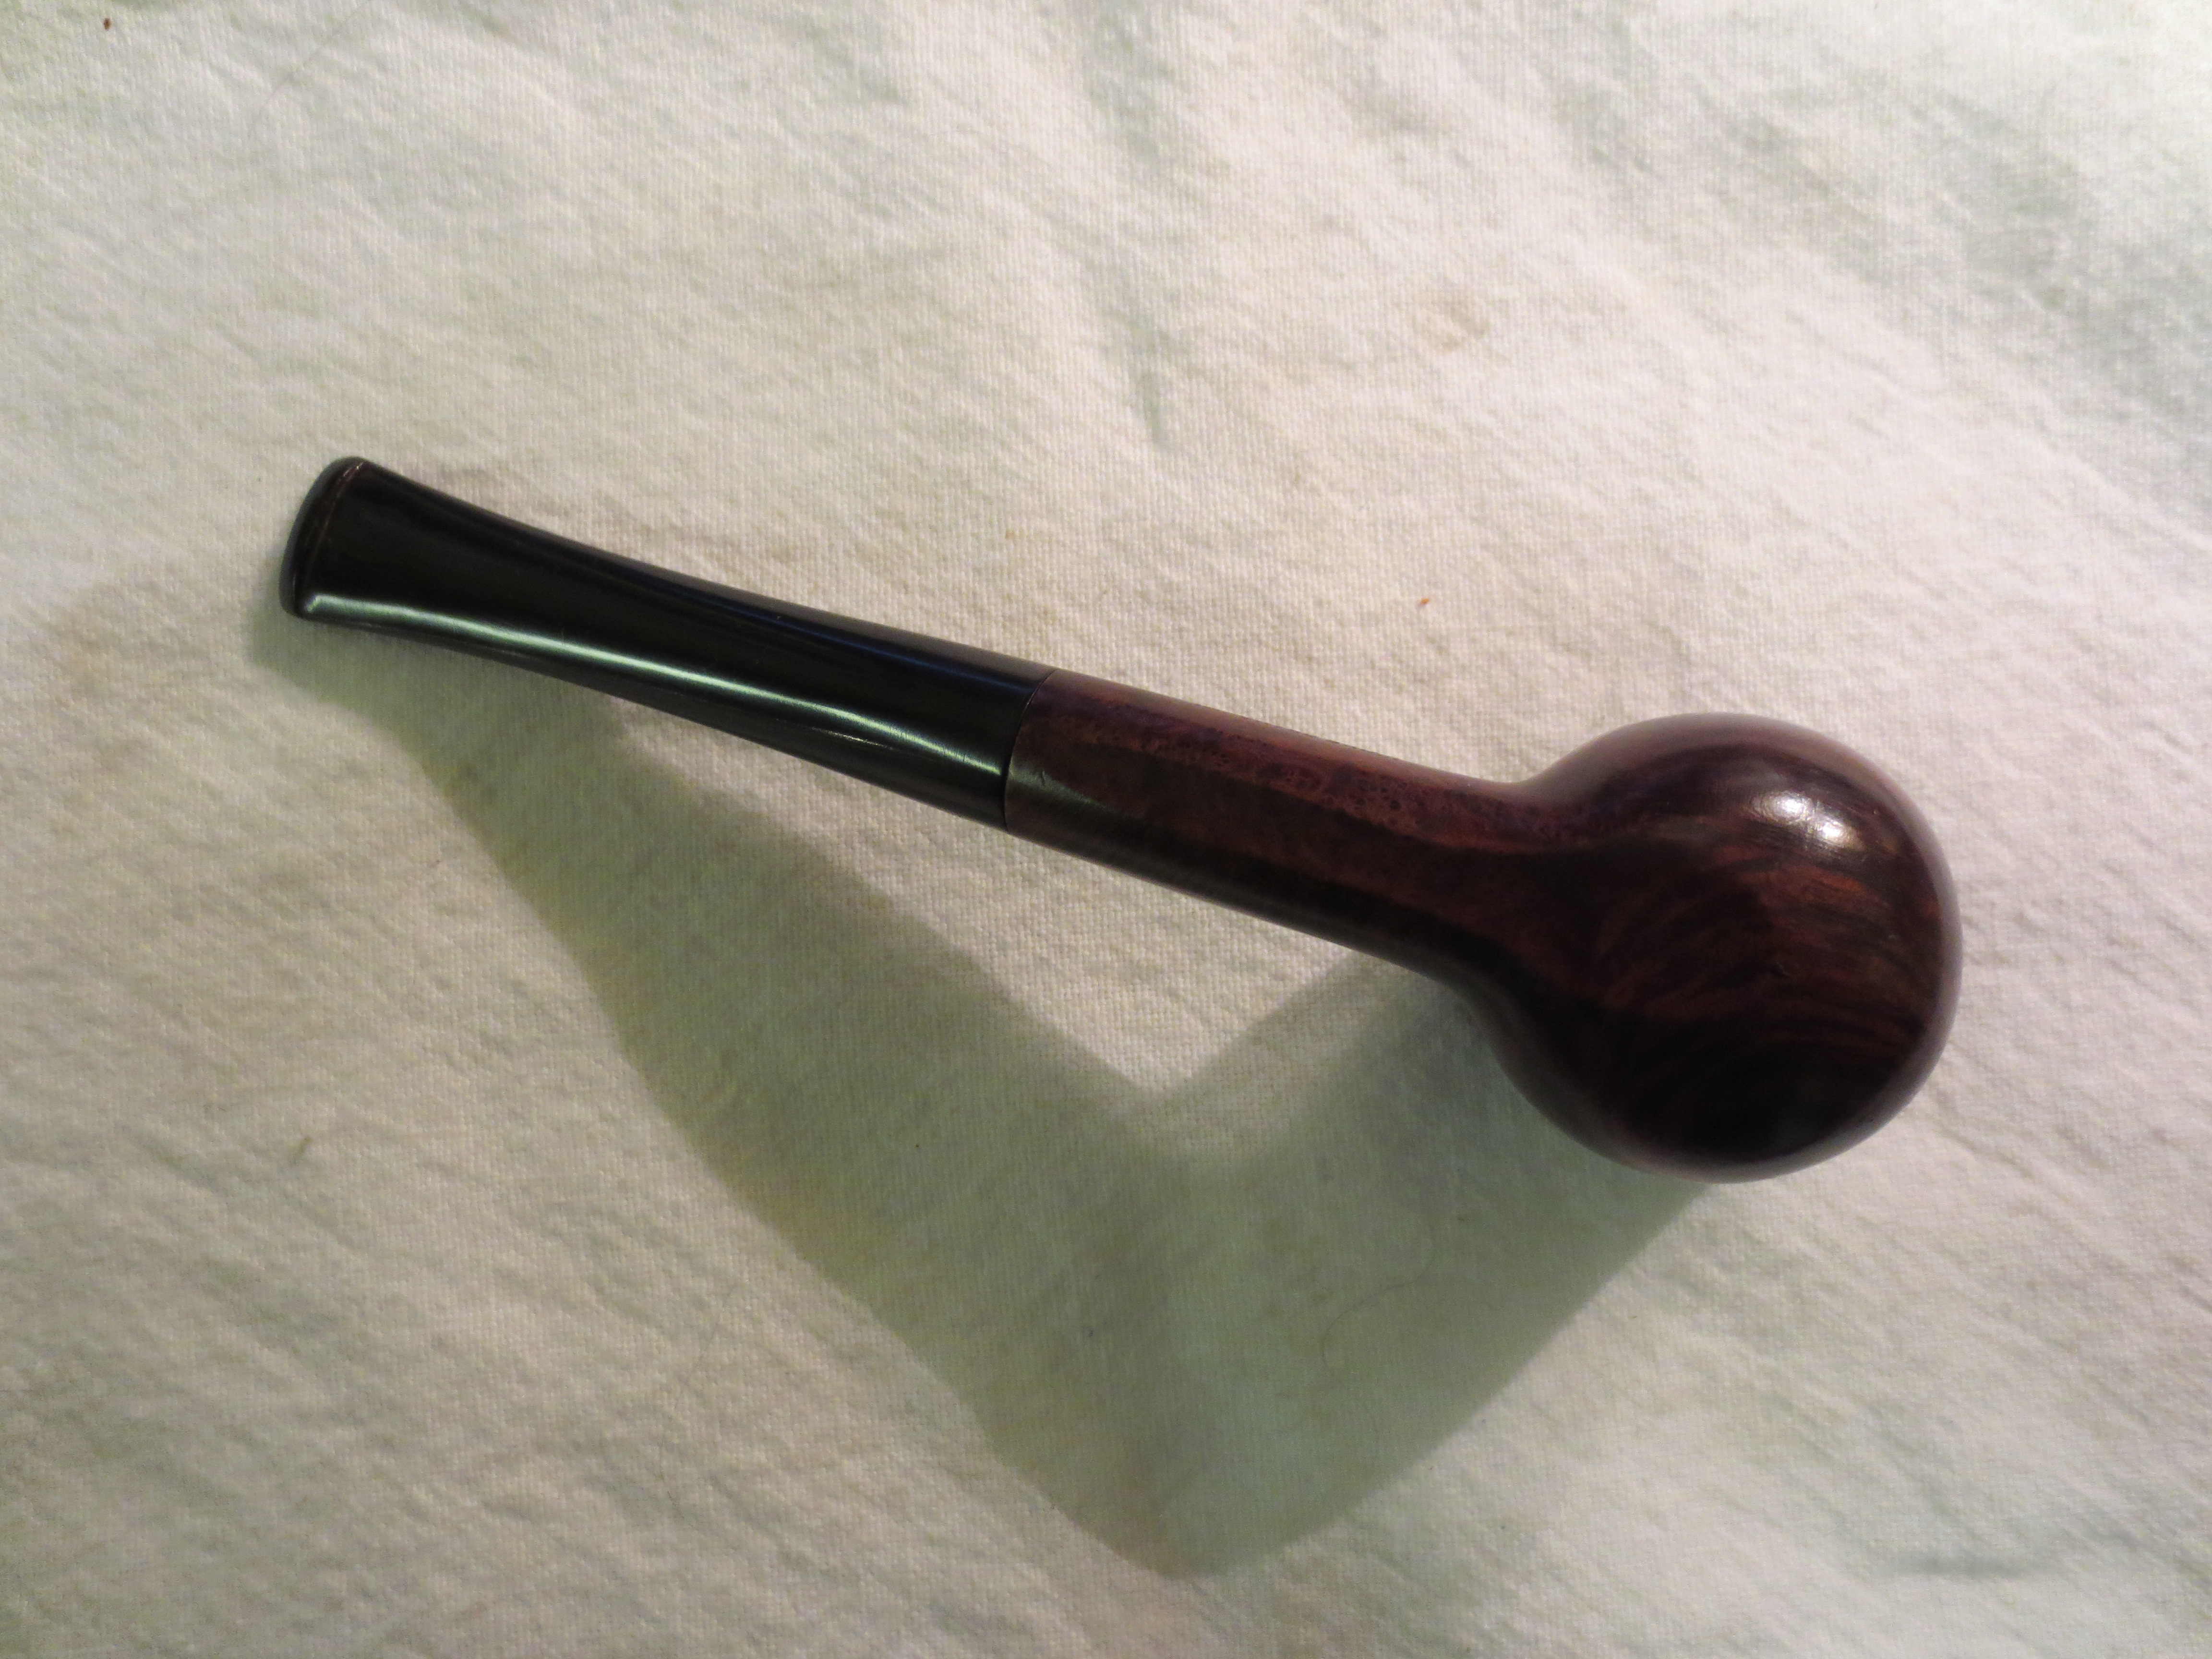
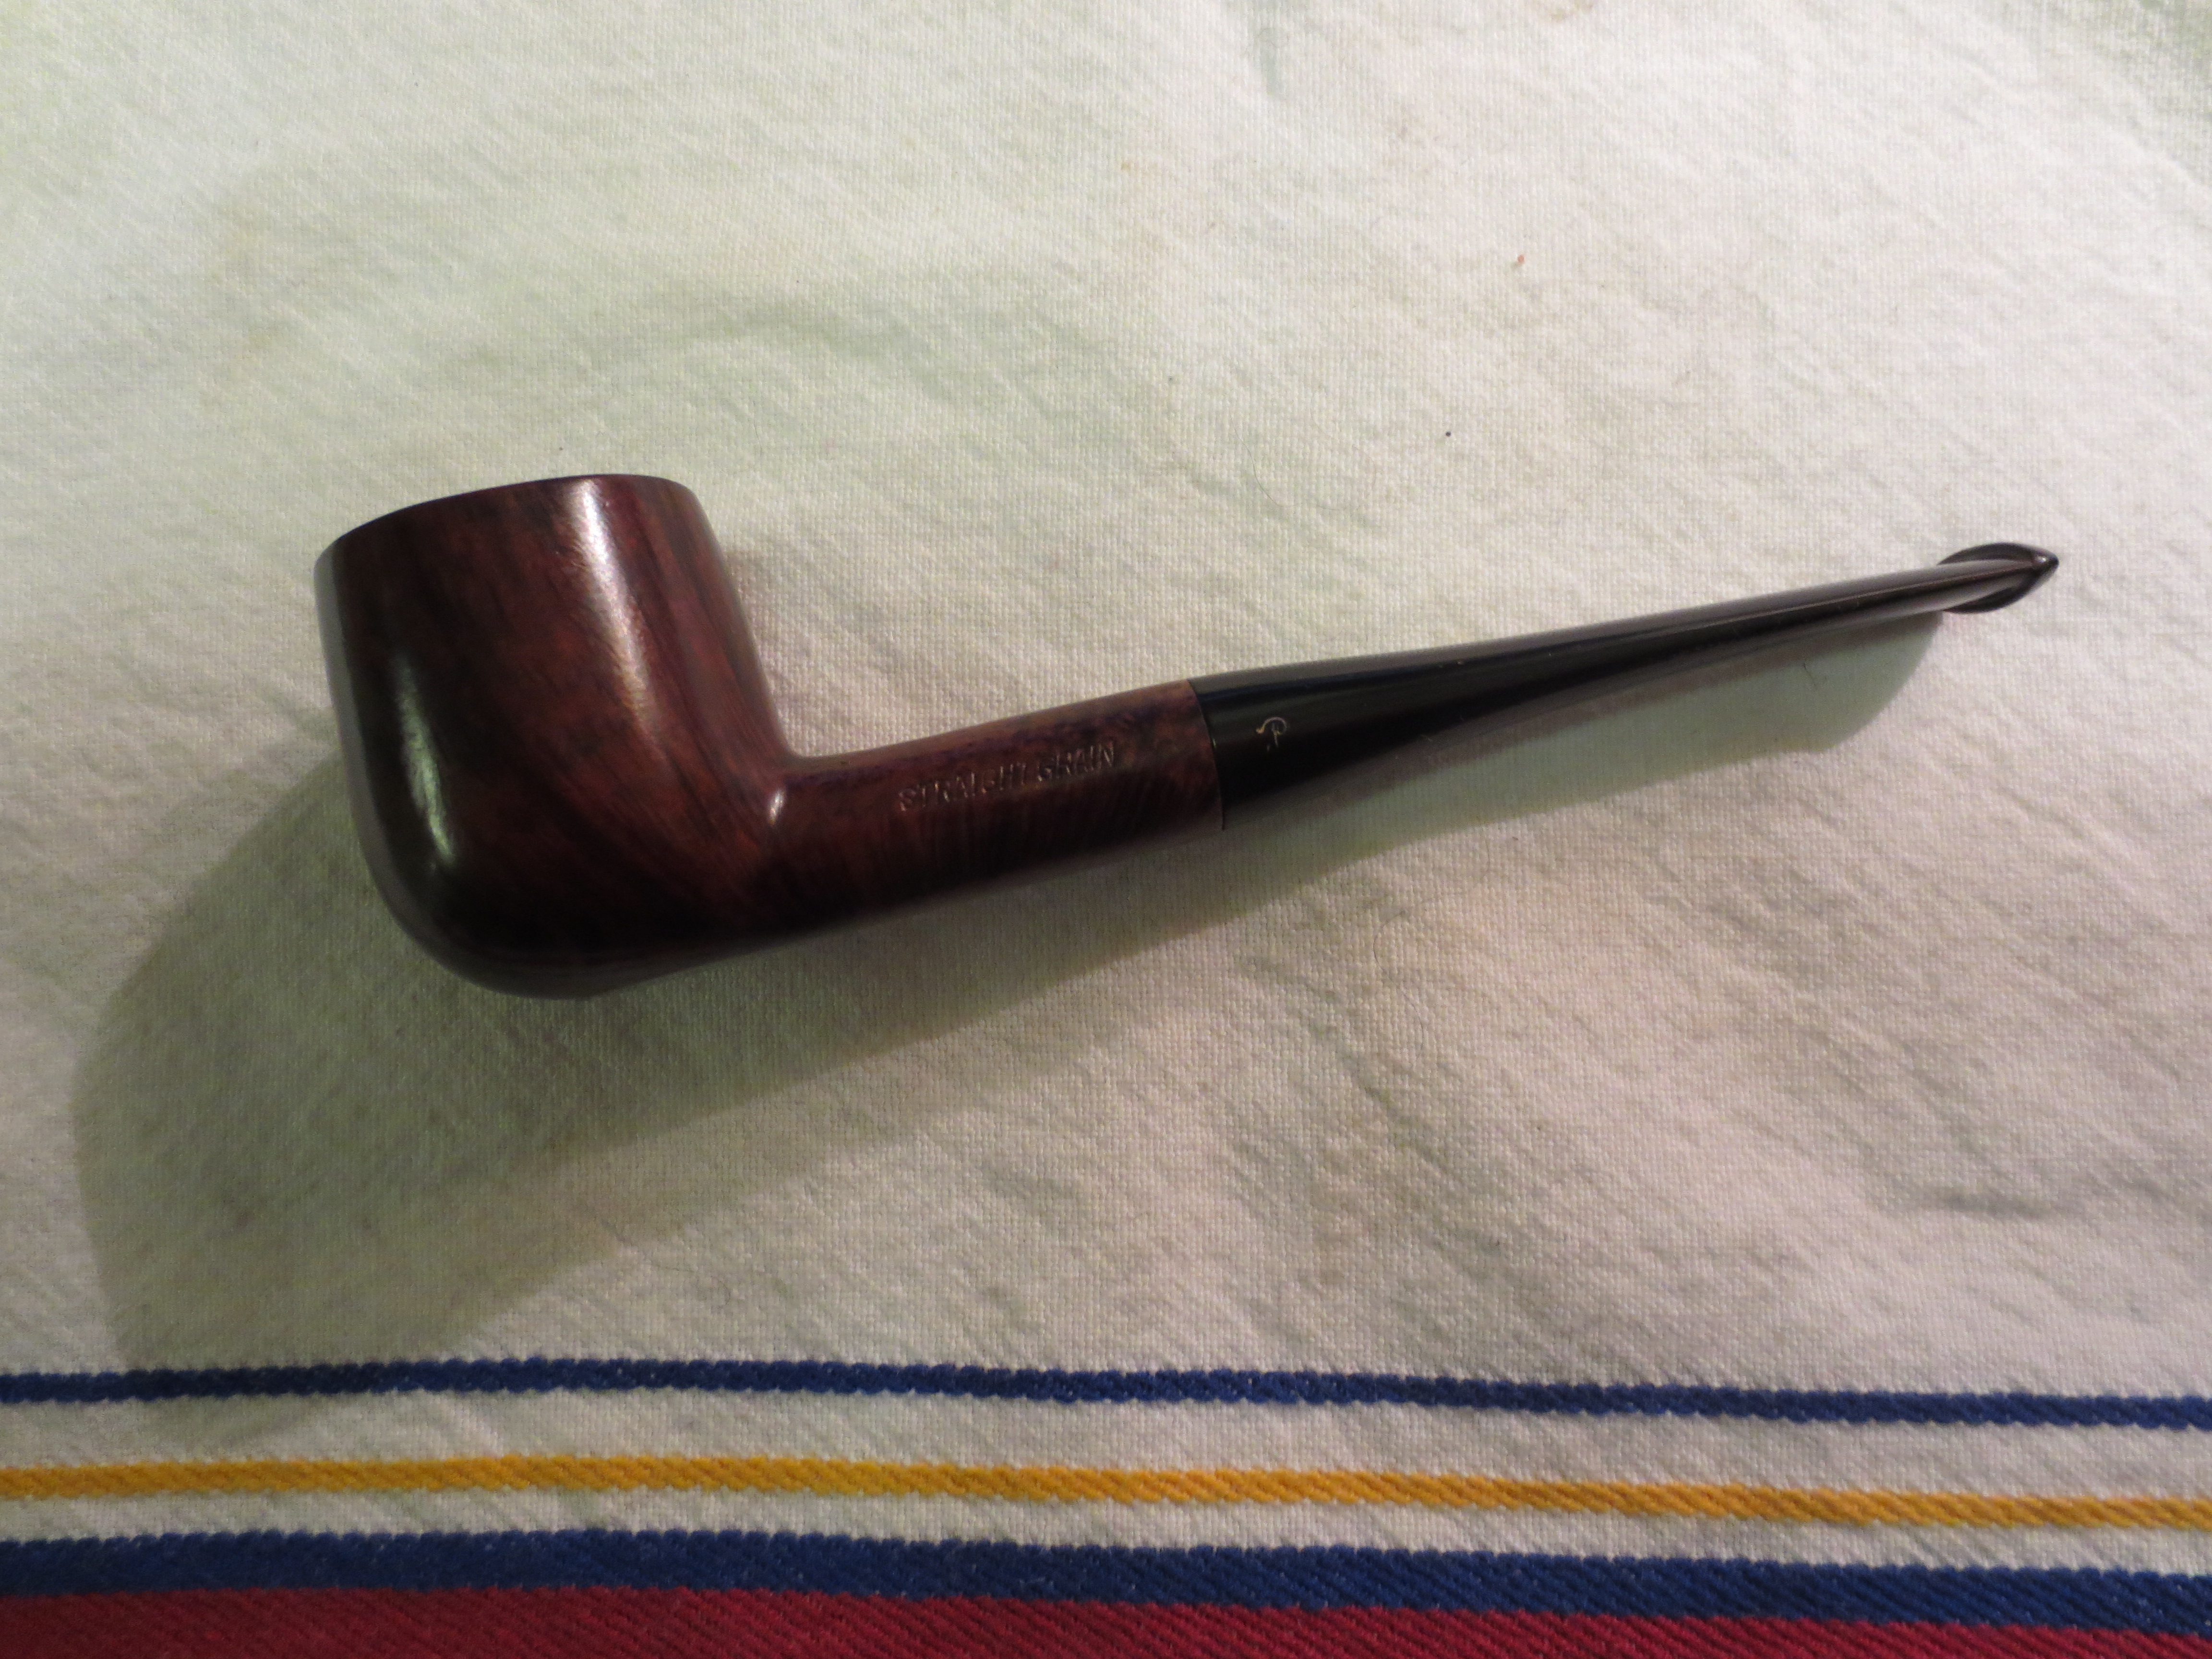
I picked up a seven pipe lot on EBay all because there were at least two of the pipes that were stamped LJ Perretti. One of them is the little pot/billiard pictured in this article. I say pot/billiard because the proportion of the bowl and shank more accurately fit a billiard but the height of the bowl is more like a pot. Ah well whatever it is it showed promise even in the seller’s photos on EBay. I bid and won. There is another Perretti that I will write about as I rework it but this one is stamped L.J. PERRETTI over IMPORTED BRIAR on the right side. It is stamped Straight Grain on the left side of the shank. The grain is quite nice and there are no fills in the briar that are visible. It was a dirty pipe – the finish was darkened and grit and oils were ground into the outside of the bowl. The rim had a serious cake of lava on it and the bowl was packed with a cake. The inside of the shank was so dirty and gritty that the stem would not sit all the way in the mortise. The stem was oxidized and had a rubber softy bit guard that was stuck on the stem. There was a cursive P on the left side of the stem. The Perretti pipes are shop pipes that may have been made by a variety of carvers or by Robert Perretti himself. These are old enough that they may well be done by Perretti. The stamping on the side of the shank that says Imported Briar seems to point to the pipe being American made. The first series of three photos shows the state of the pipe when I took it to my work table.
IMG_0895

IMG_0896

IMG_0897
I cut off the rubber softie bit guard with a knife and peeled it free of the stem. I reamed the bowl with a PipNet pipe reamer to remove the buildup of carbon. I cleaned out the stem and the shank with pipe cleaners and Everclear until the pipe cleaners came out as clean as they went in. It never ceases to amaze me how many pipe cleaners it takes to clean out the inside of the pipe and stem. Once the internals were clean the stem fit into the shank with no interference.
IMG_0901

IMG_0902
I wiped won the outside of the bowl with acetone on a cotton pad (Photo 1 below). I wiped down the rim with acetone as well and then decided to lightly top the bowl (Photos 2 – 5). I used a medium grit sanding sponge to top the bowl on this one. I just wanted to remove the carbon build up on the rim and leave as much of the stain intact as I could. Once finished I wiped it a second time with acetone. I also used the drill bit from the Kleen Reem reamer to clean out the airway from the mortise to the bowl. I recleaned the shank with pipe cleaners and Everclear afterwards (Photo 6 below).
IMG_0903

IMG_0904

IMG_0905

IMG_0906

IMG_0907

IMG_0908
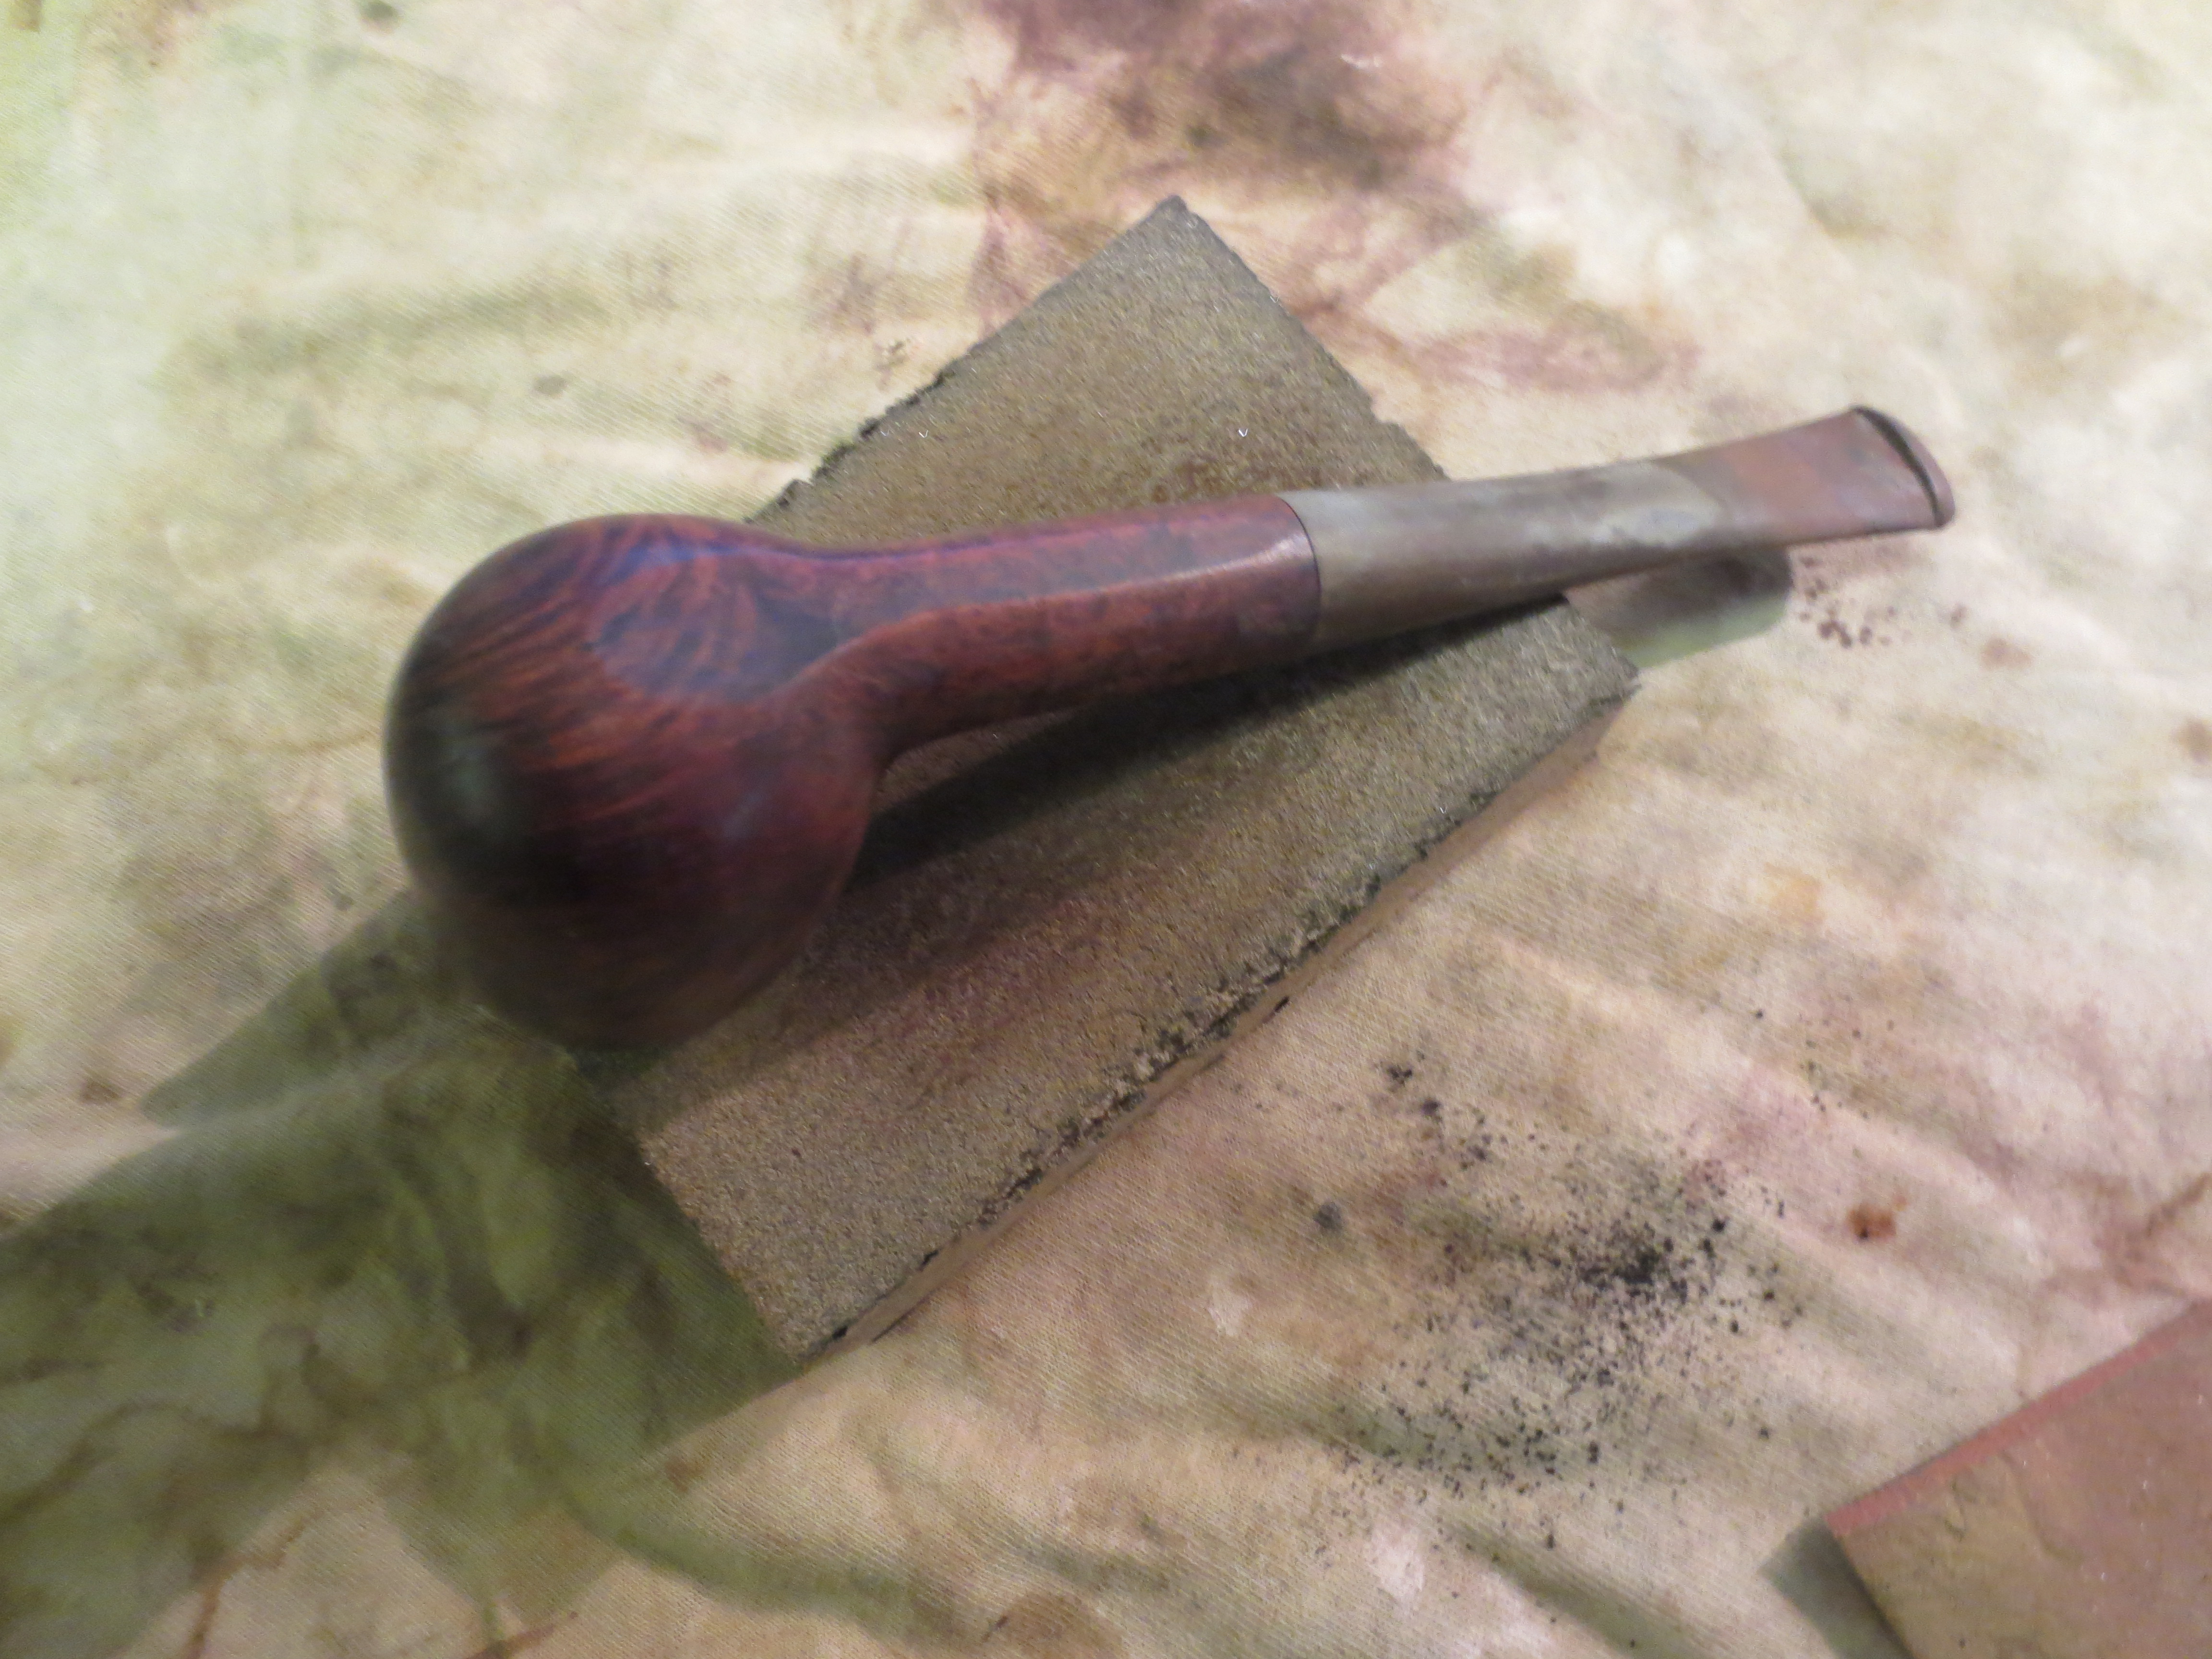
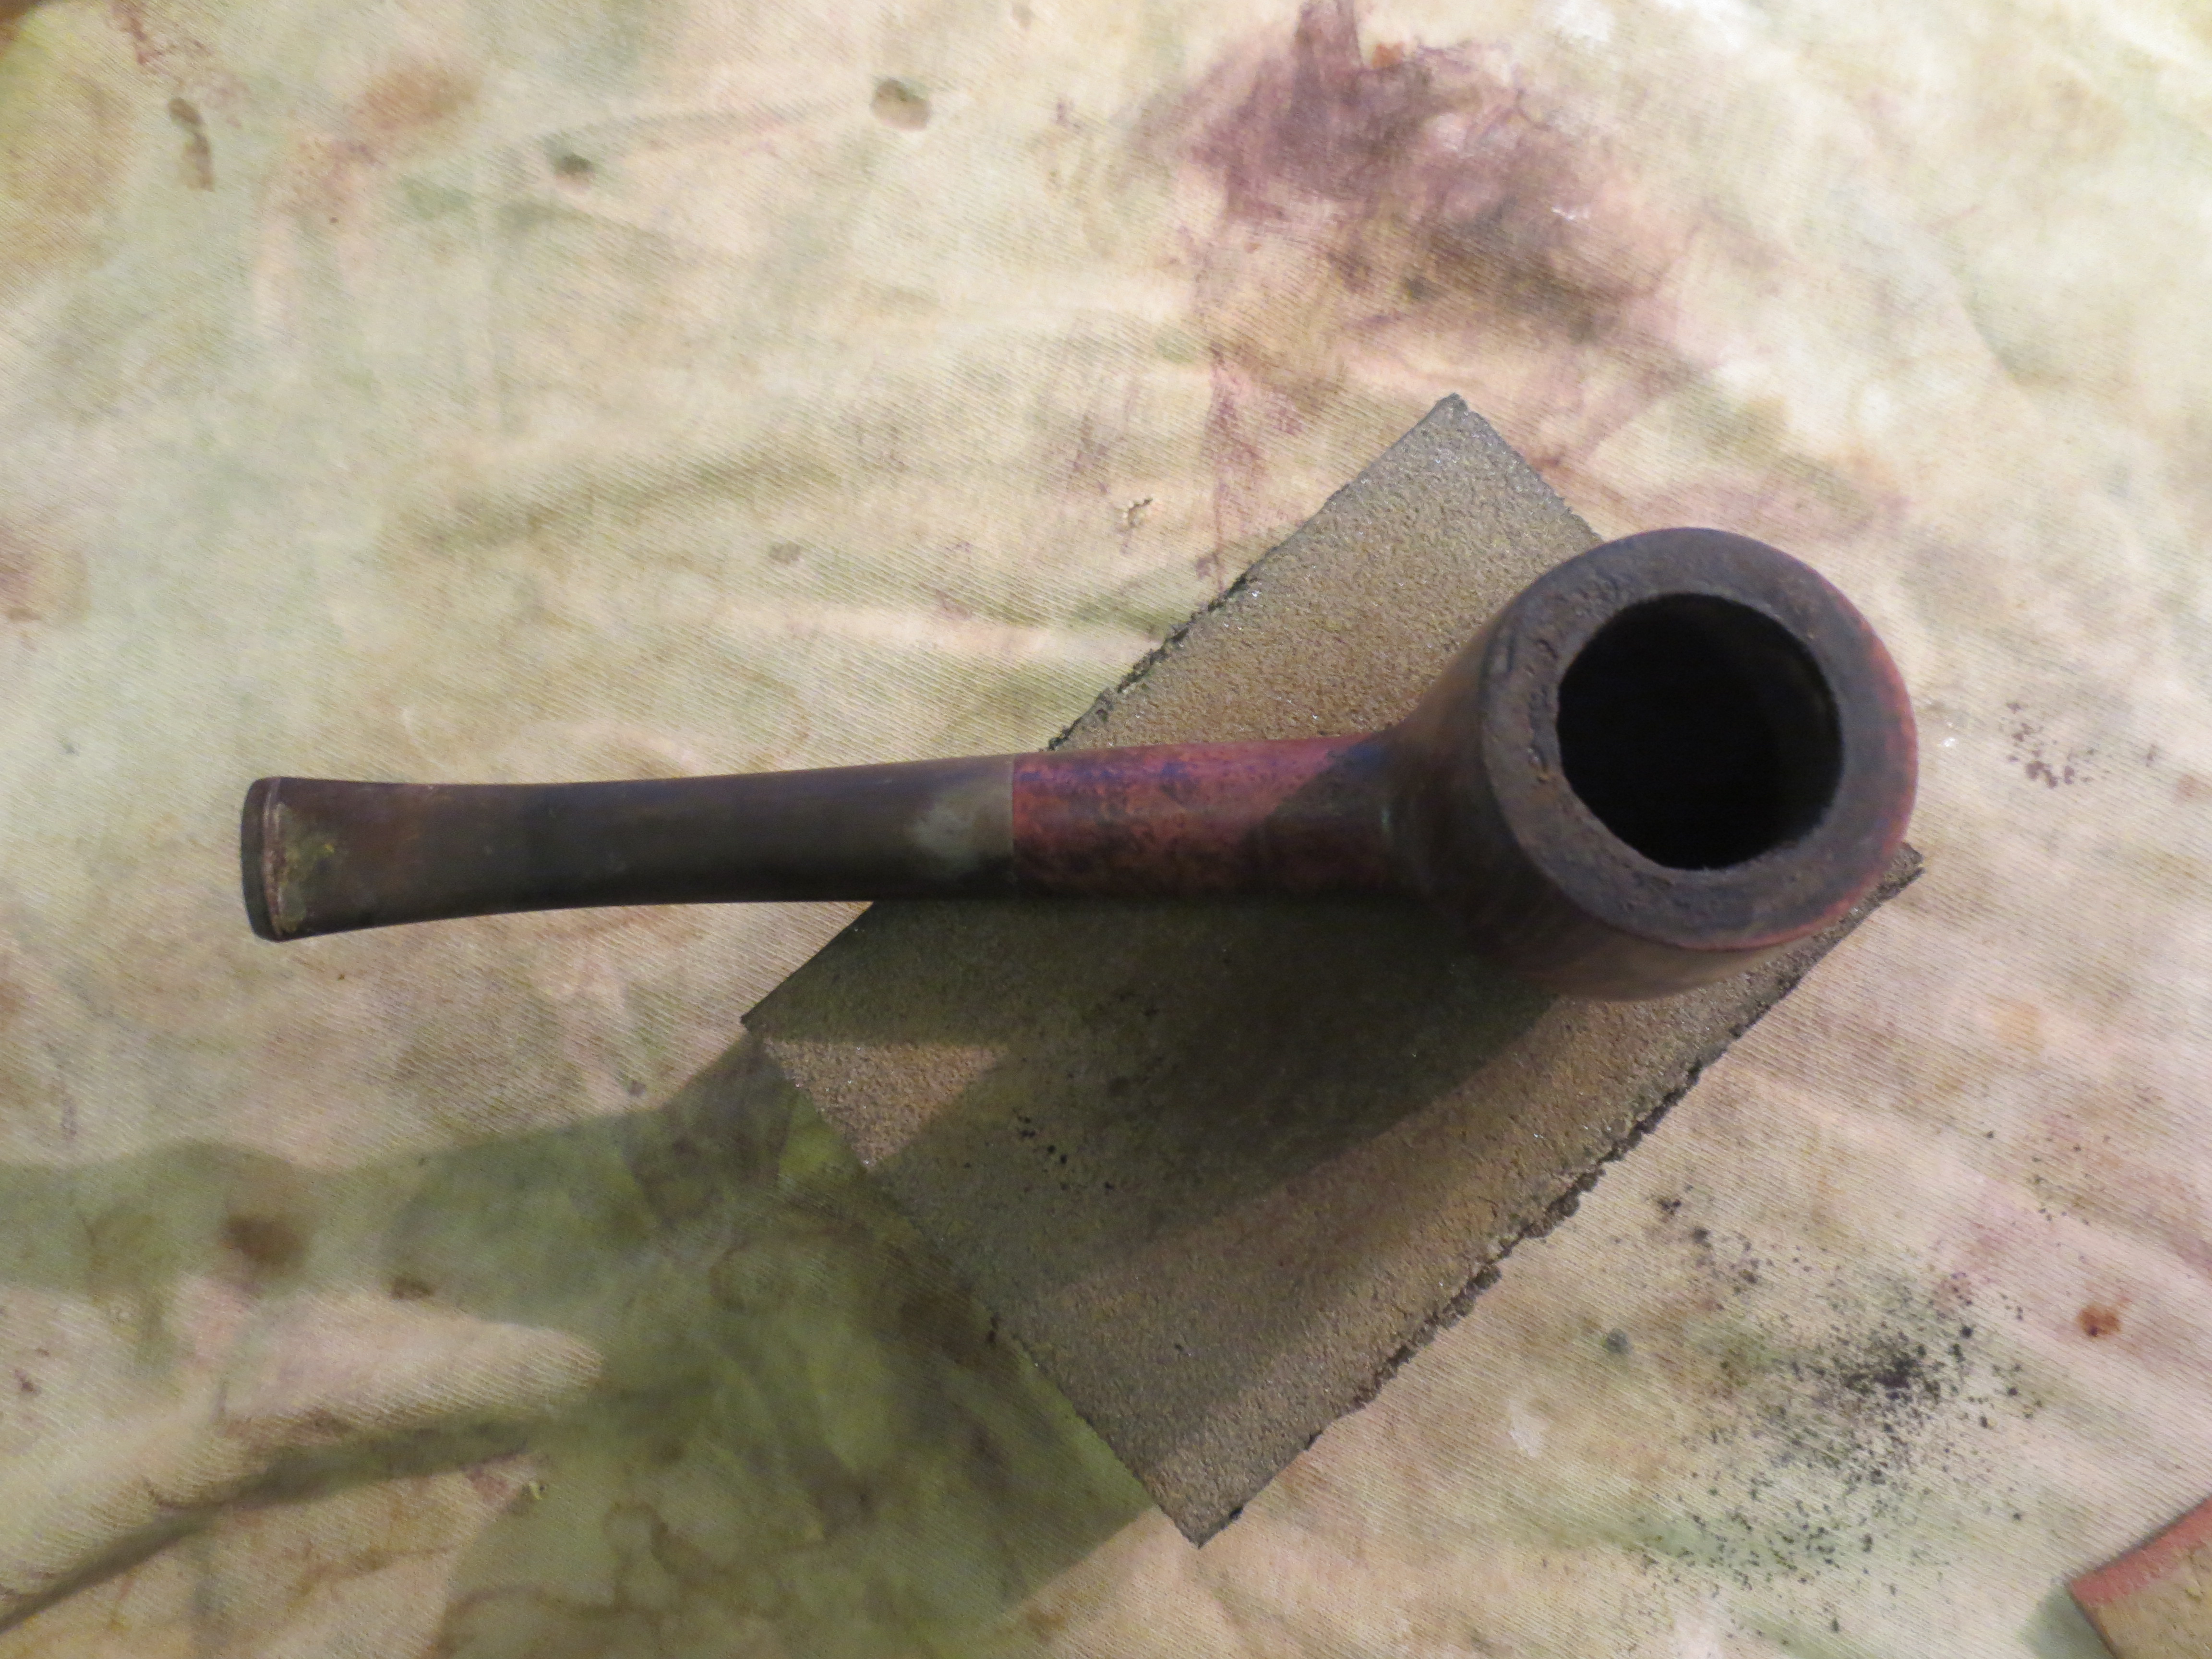
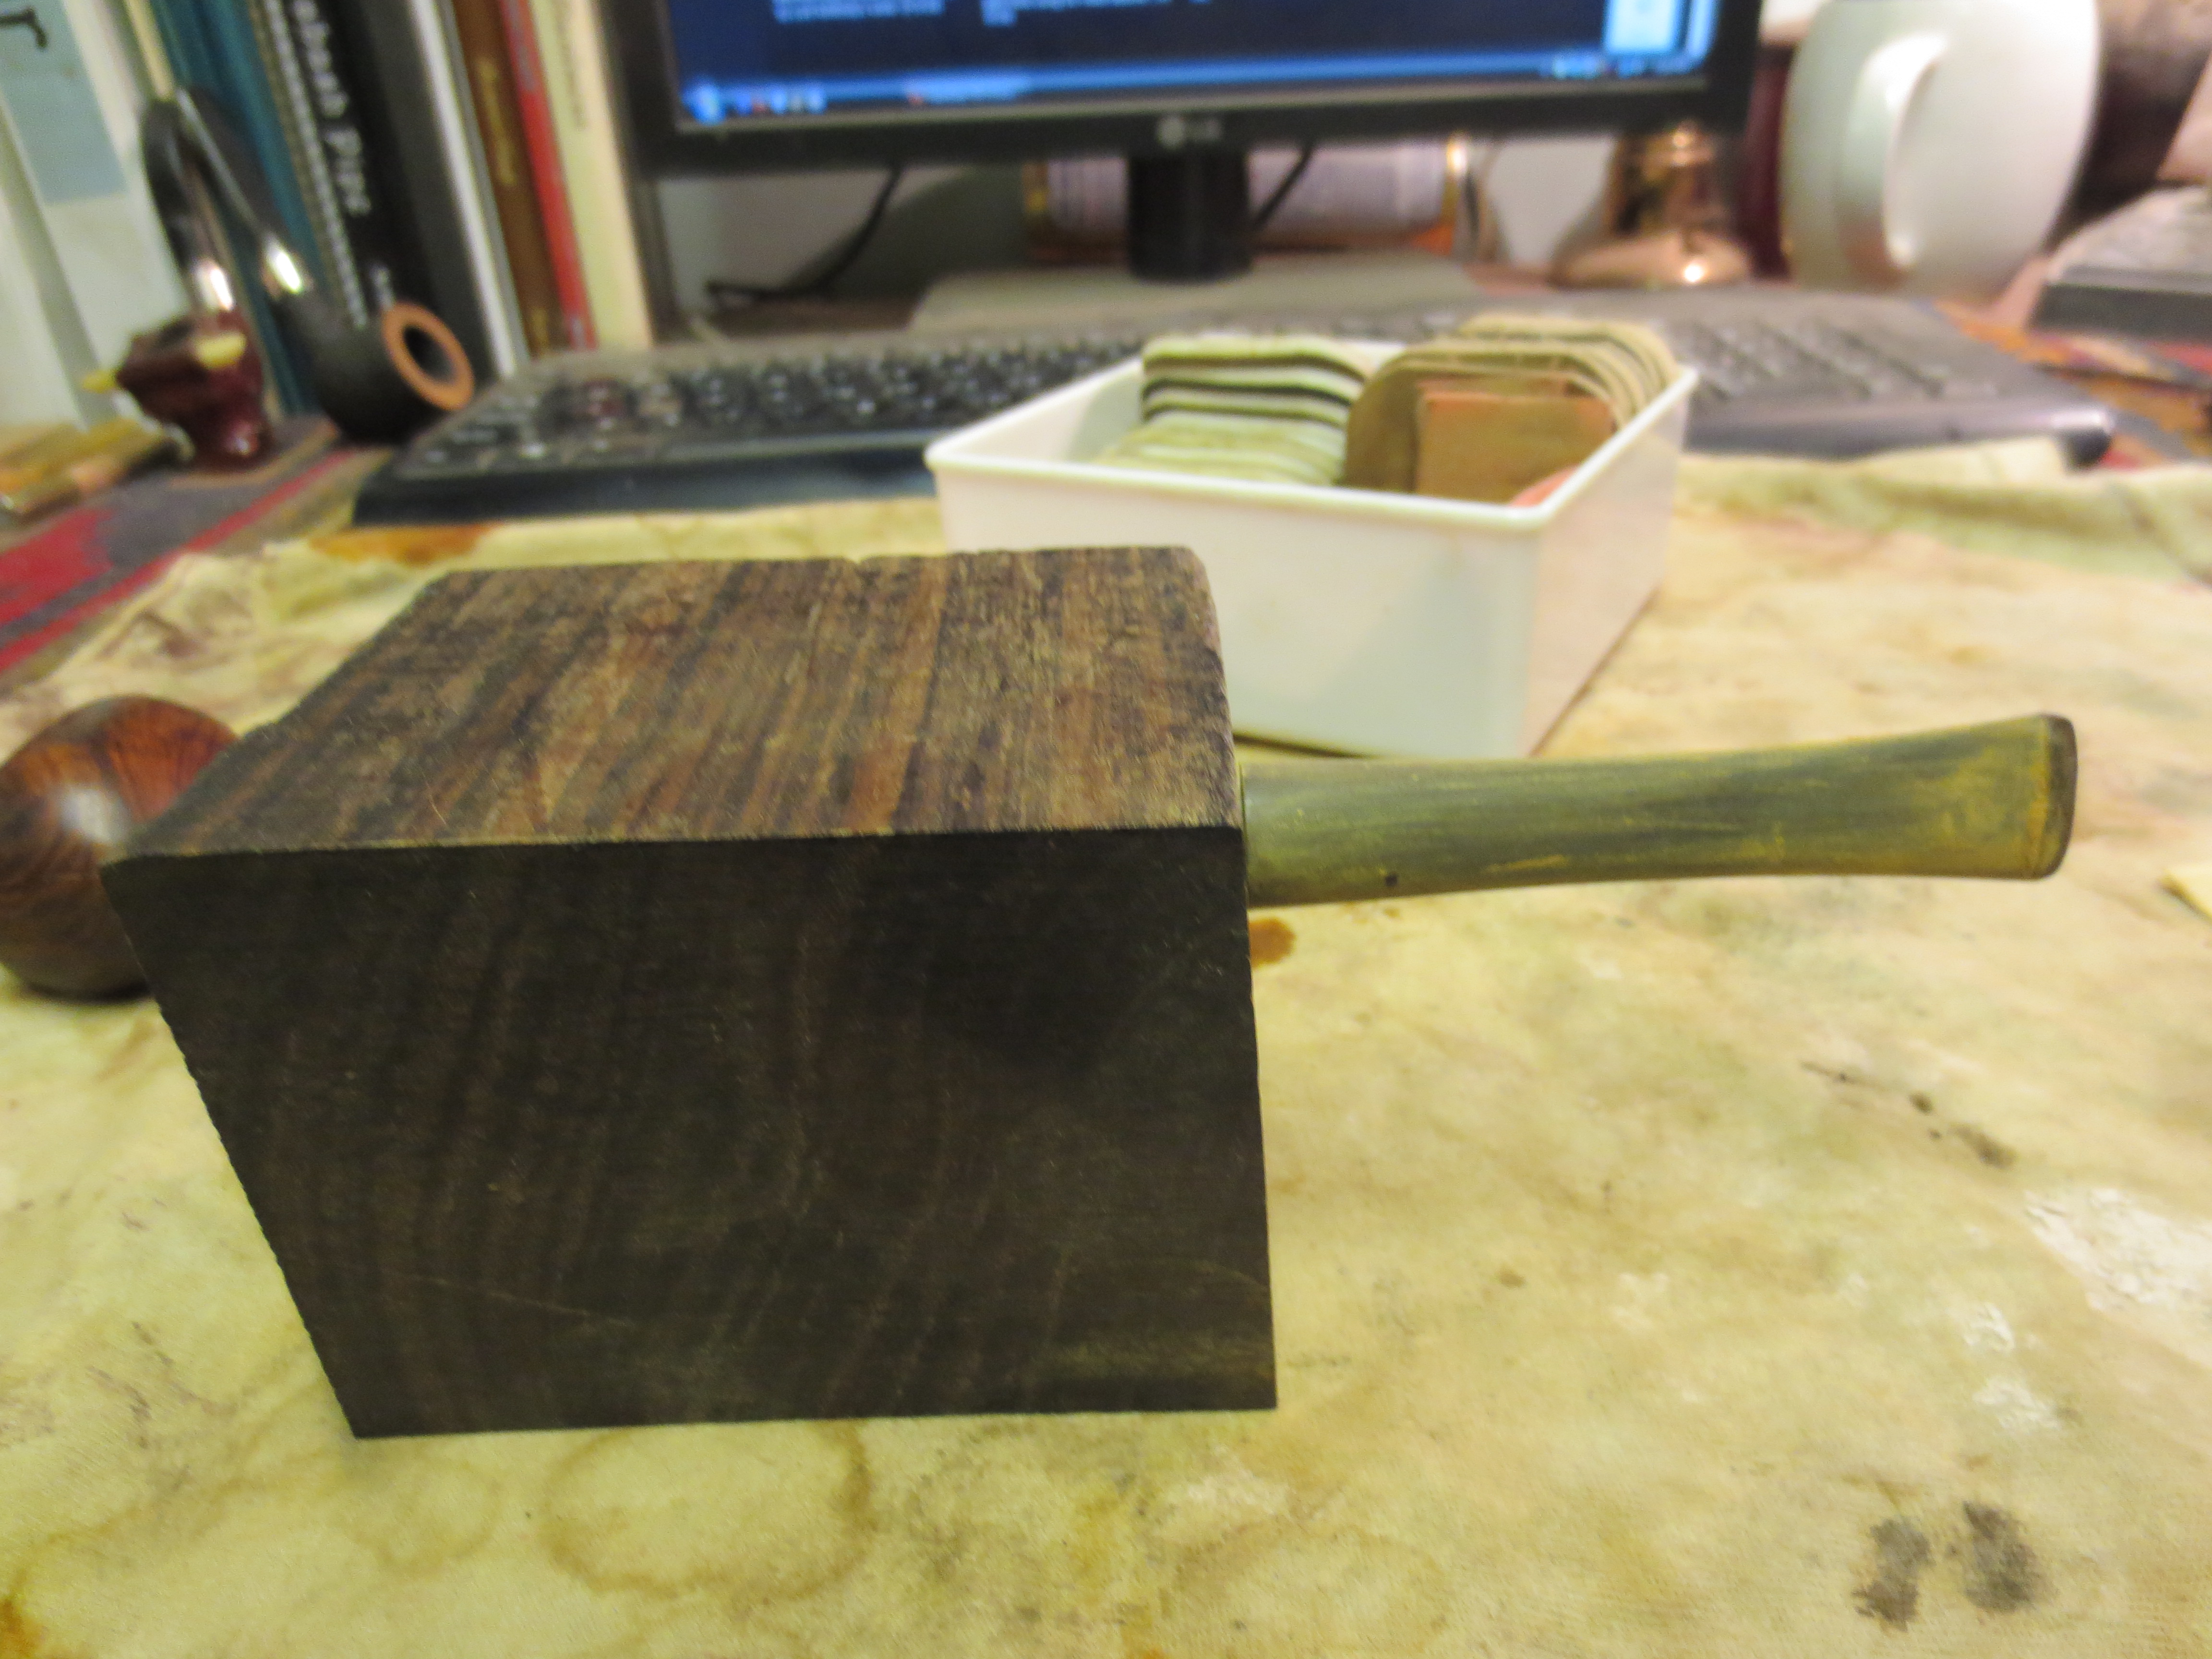
I set the bowl aside and then worked on the stem. I inserted it in the ebony block that I drilled as a mortise to work on the oxidation. I sanded it with 320 grit sandpaper to break up the oxidation and remove the calcium buildup that was under the softee bit. There were also some tooth chatter and marks that needed to be worked out. These were not deep so all I did was sand them with the 320 grit sandpaper. The next two photos show the work on the stem.
IMG_0909

IMG_0910
I reinserted the stem on the pipe and then continued to work on the stem and clean up the oxidation. I sanded around the edge of the stem/shank junction. I used 320 grit sandpaper and a medium grit sanding sponge.
IMG_0911
I wet sanded the stem with 1500 and 1800 grit micromesh sanding pads. I dry sanded with 2400-12,000 grit micromesh sanding pads. The next three photos show the progress of the sanding with the pads. I selected three to show the progress but could easily have shown the lot. The main idea is to show the development of the shine on the stem. I finished sanding with 12,000 grit and then wiped the stem down with Obsidian Oil and buffed it by hand with some carnauba wax.
IMG_0912

IMG_0913

IMG_0914
I restained the pipe with dark brown aniline stain thinned 2:1 with isopropyl alcohol. I flamed the stain and then restained it and reflamed it. I applied a third coat of the stain to the rim and flamed that again as well (Photos 1 & 2 below). I then sanded the bowl and the stem with the 6000, 8000 and 12,000 grit micromesh sanding pads (Photo 3 below) and then took it to the buffer and buffed it with White Diamond (Photos 4 – 6).
IMG_0915

IMG_0916

IMG_0917

IMG_0918

IMG_0919

IMG_0920
I finished by buffing the pipe with multiple coats of carnauba wax and then polished with a soft flannel buff on the buffer. The final series of four photos below show the finished pipe.
IMG_0922

IMG_0925

IMG_0921

IMG_0923

Restoring a Unique Edition of the Keyser Hygienic System Pipe


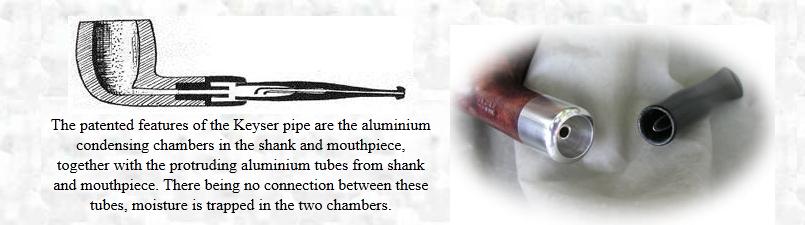
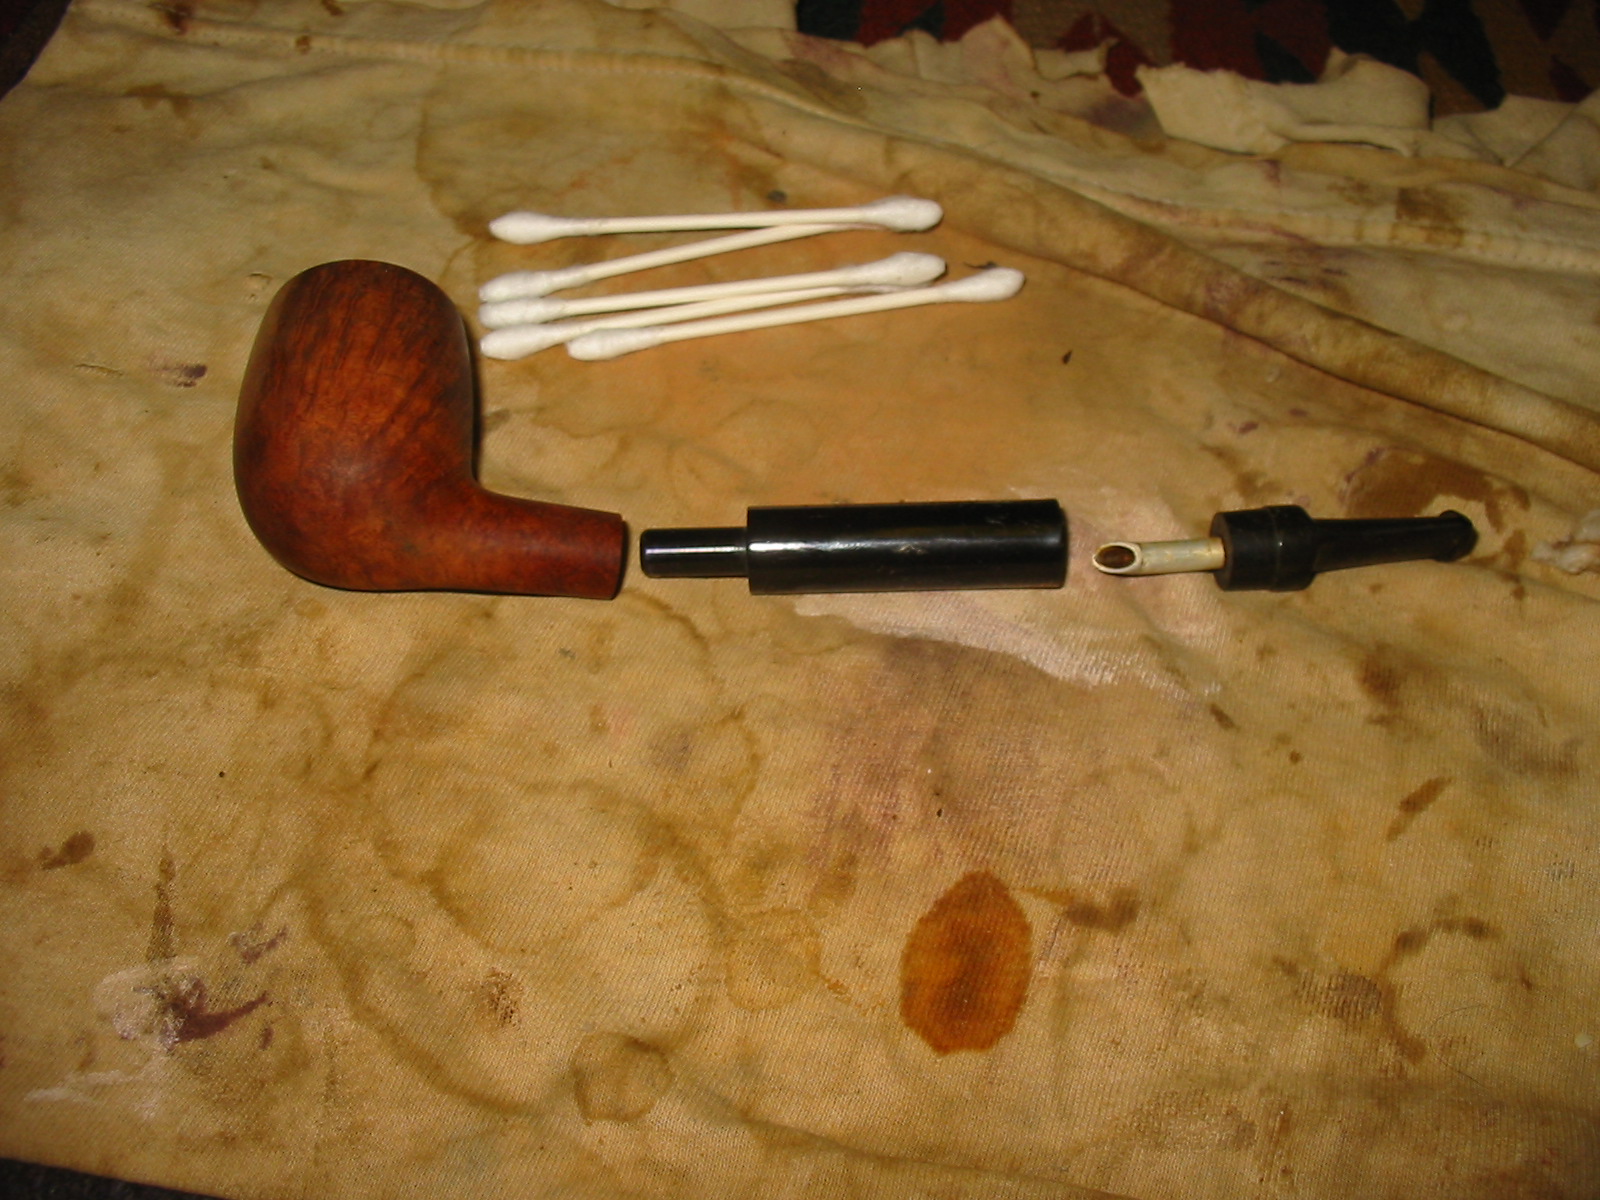
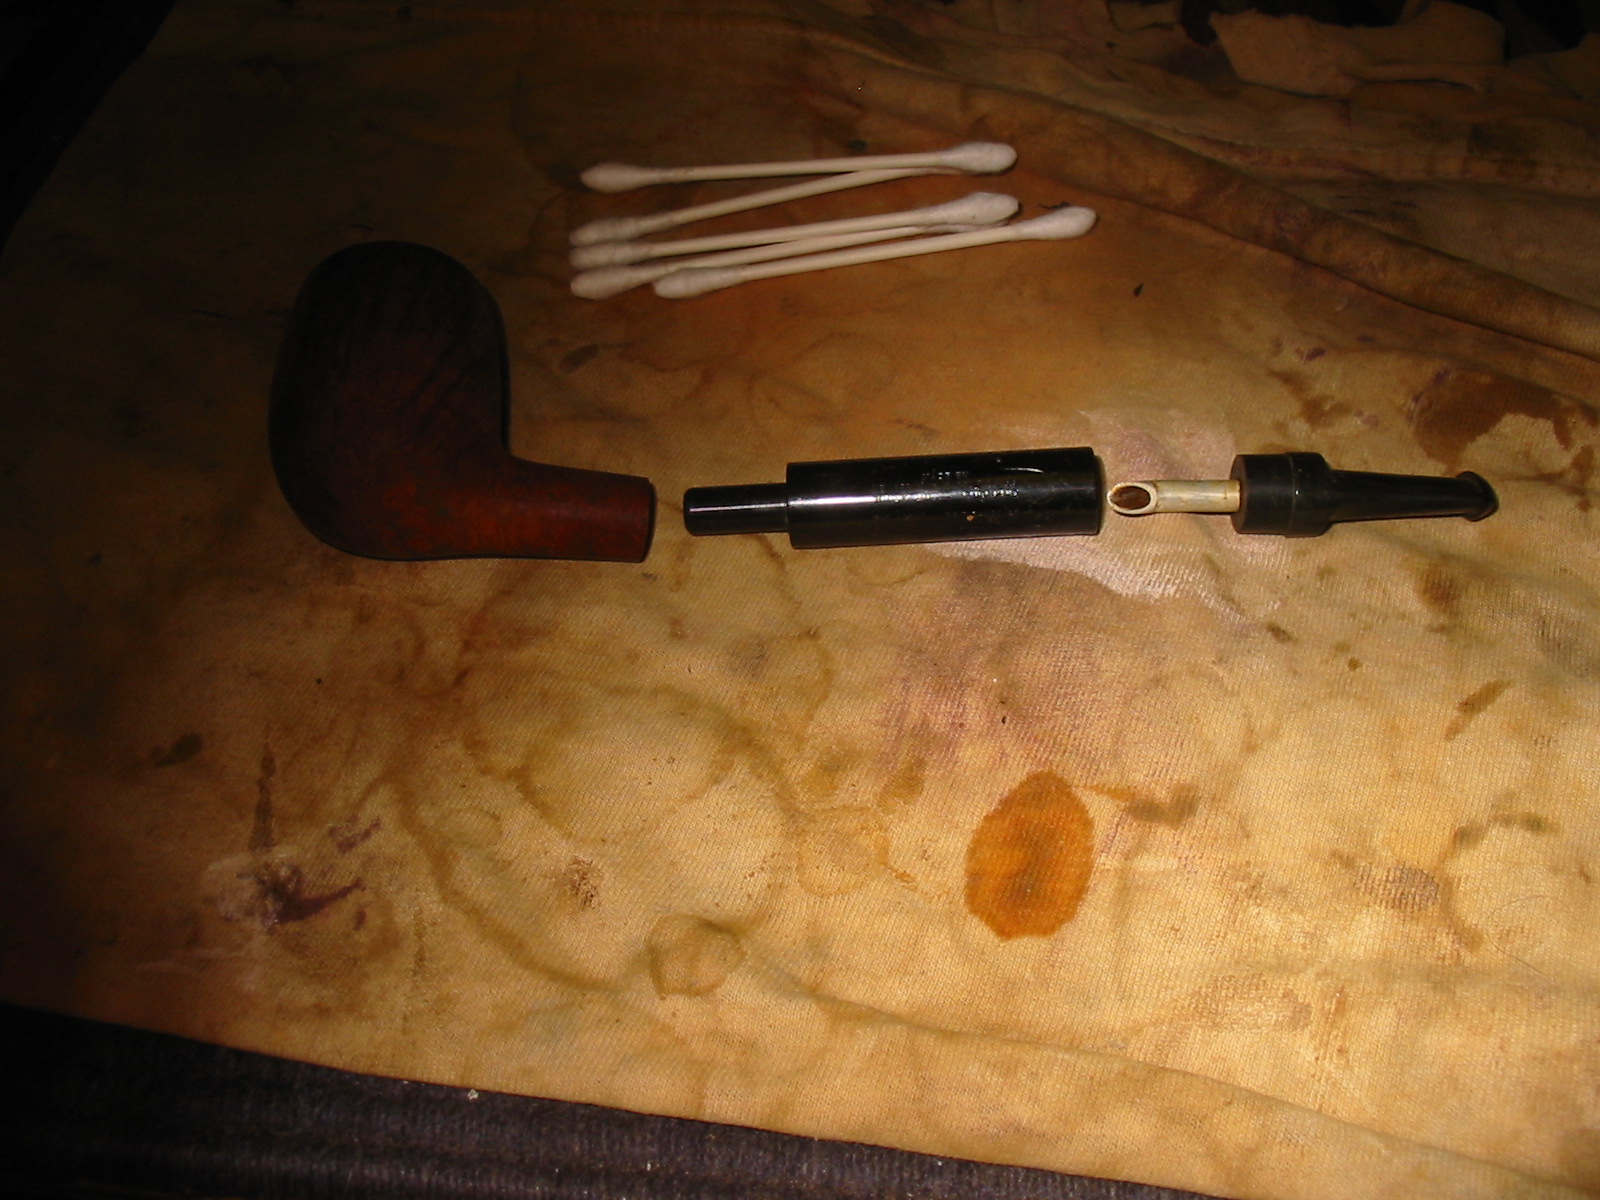
I picked up this Keyser Hygienic on EBay because it caught my eye. I have three other Keyser Hygienic pipes and they are all very similar in terms of the system. They are briar bowls and shanks with an aluminum mortise with a tube in the centre running to the airway in the bowl. This is matched with a military mount stem with a tube with a down turn on it that fits into the airway in the mortise. The swirling smoke rolls around the inside of the mortise where the moisture in the smoke condenses on the sides of the aluminum mortise. The cooled air is drawn into the down turned tube in the stem and it delivers a cool, dry smoke. The system is fairly straightforward and simple. The genius of the design is that any stem fits any pipe of the same size. Replacement stems are easily purchased and all that is necessary is the size of the pipe and the replacement will be a ready fit.
Keyser Pipes
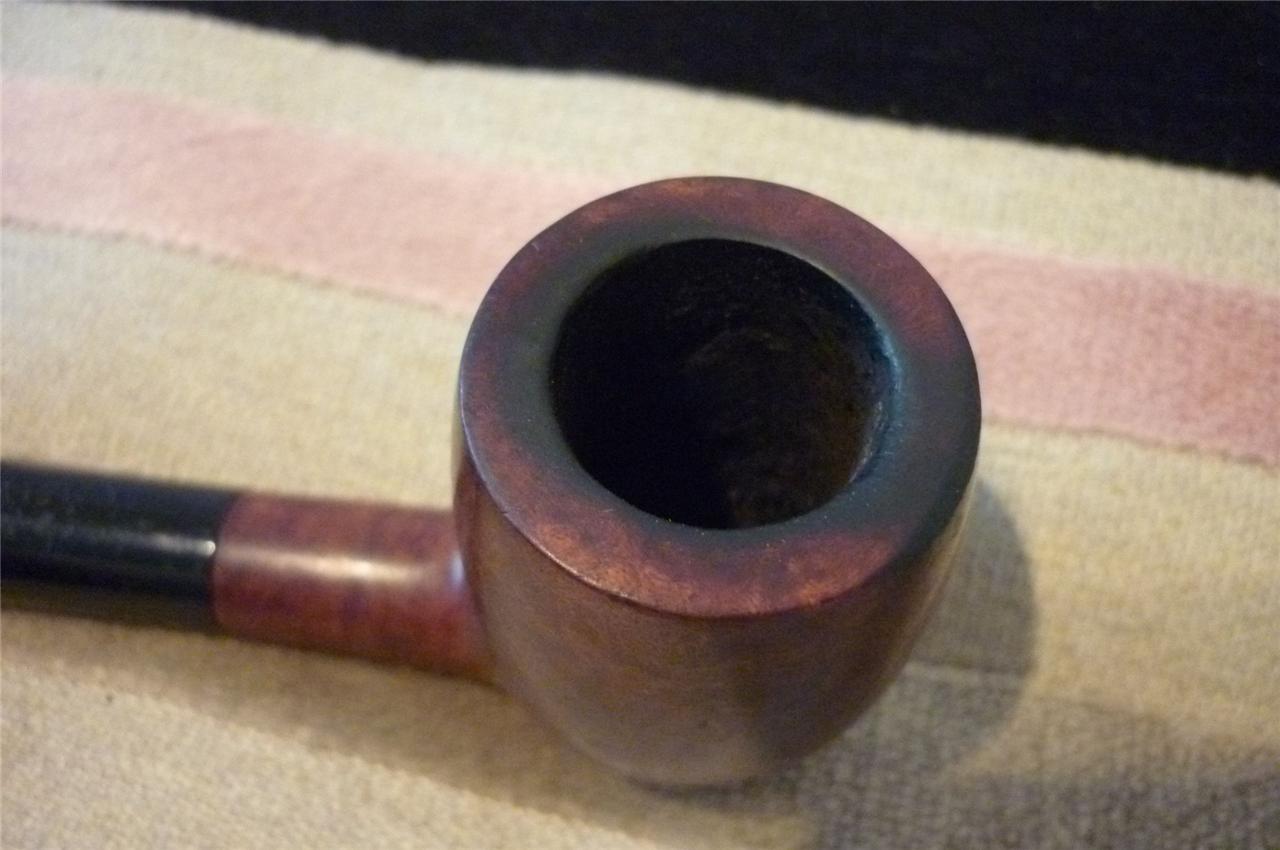
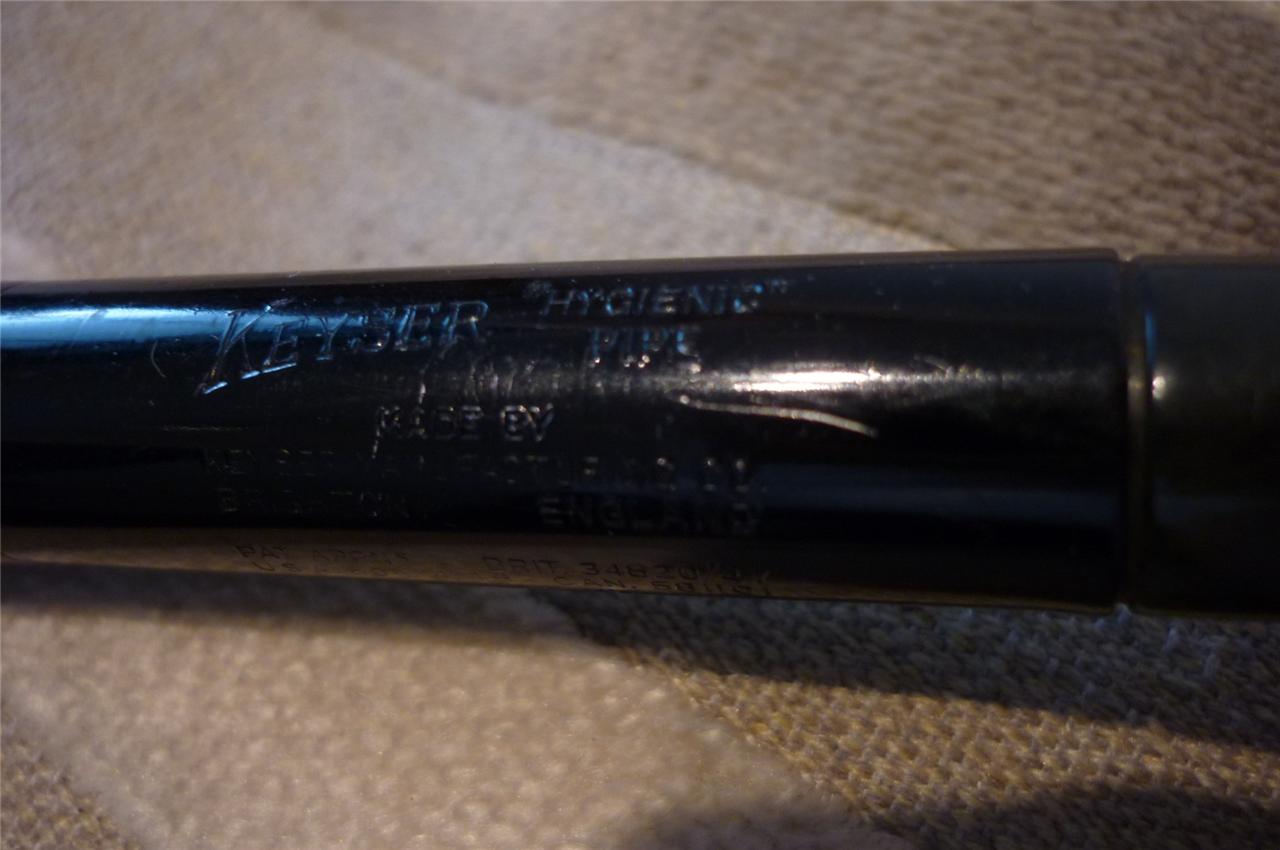
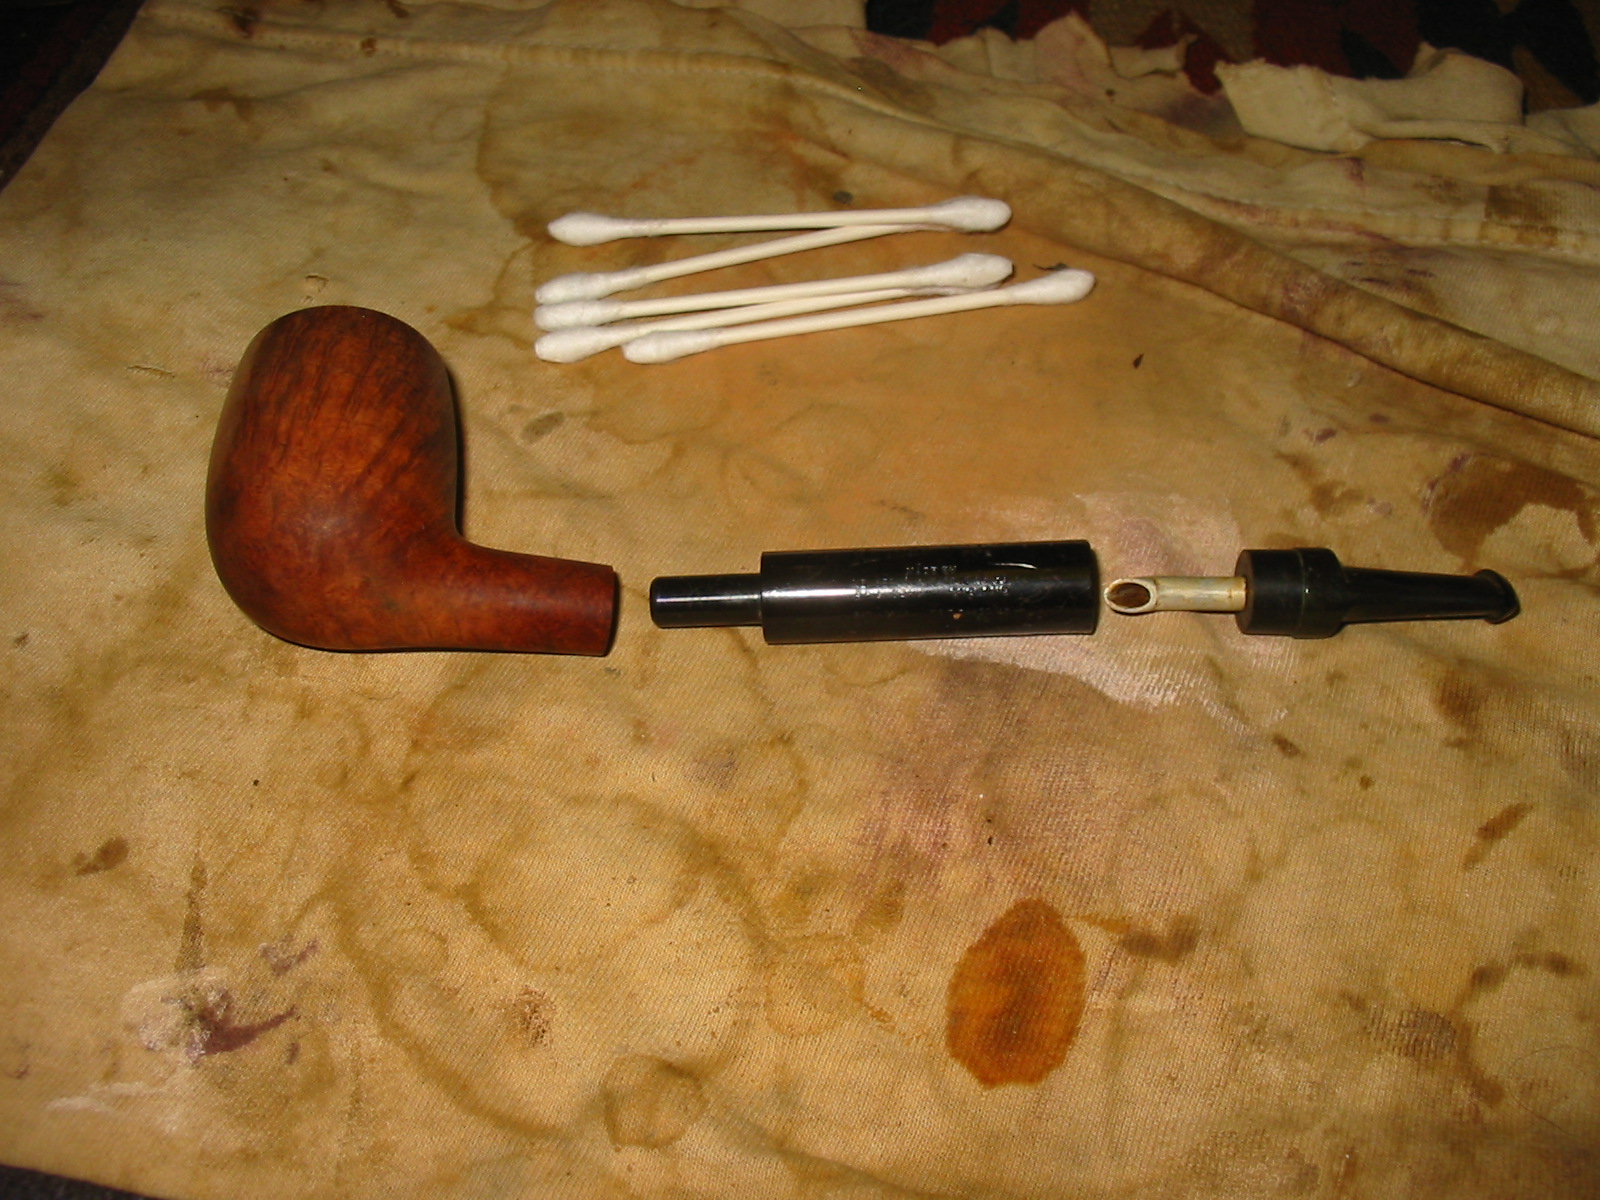
But this new Keyser was unique in all ways. The system design seems like a prototype of the original or maybe a step toward the ones that I have. It is composed of a short shanked briar bowl and a metal tube that has a normal vulcanite tenon. This sits in the shortened shank. Inside the tube is a second tube that extends ¾ of the way up the barrel. The inner tube is the extension of the airway in the tenon. The stem is a short pressure fit stem with a shoulder that allows it to ride on the end of the outer tube. On the end of the stem is a down turned short tube that draws air in to the mouth piece from the condensing chamber of the tube. It is a fascinating design. It is that uniqueness that caught my eye – that and the stamping/engraving on the outer tube which reads as follows:

KEYSER HYGIENIC PIPE
Made By
Keyser Manufacturing Co.
Brighton England
Pat Appns Brit 34B20/47
US 6067474/48
Can 581101

The next series of seven pictures shows the pipe as it appeared in the EBay webpage. The seller did a great job describing the current state of the pipe and the areas of concern. The seller notes some of the scratches on the outer tube and the darkening of the rim. He also noted the tooth chatter and scratch marks on both the top and underside of the stem.
Keyser1

Keyser2

Keyser3

Keyser4

Keyser5

Keyser6

Keyser7
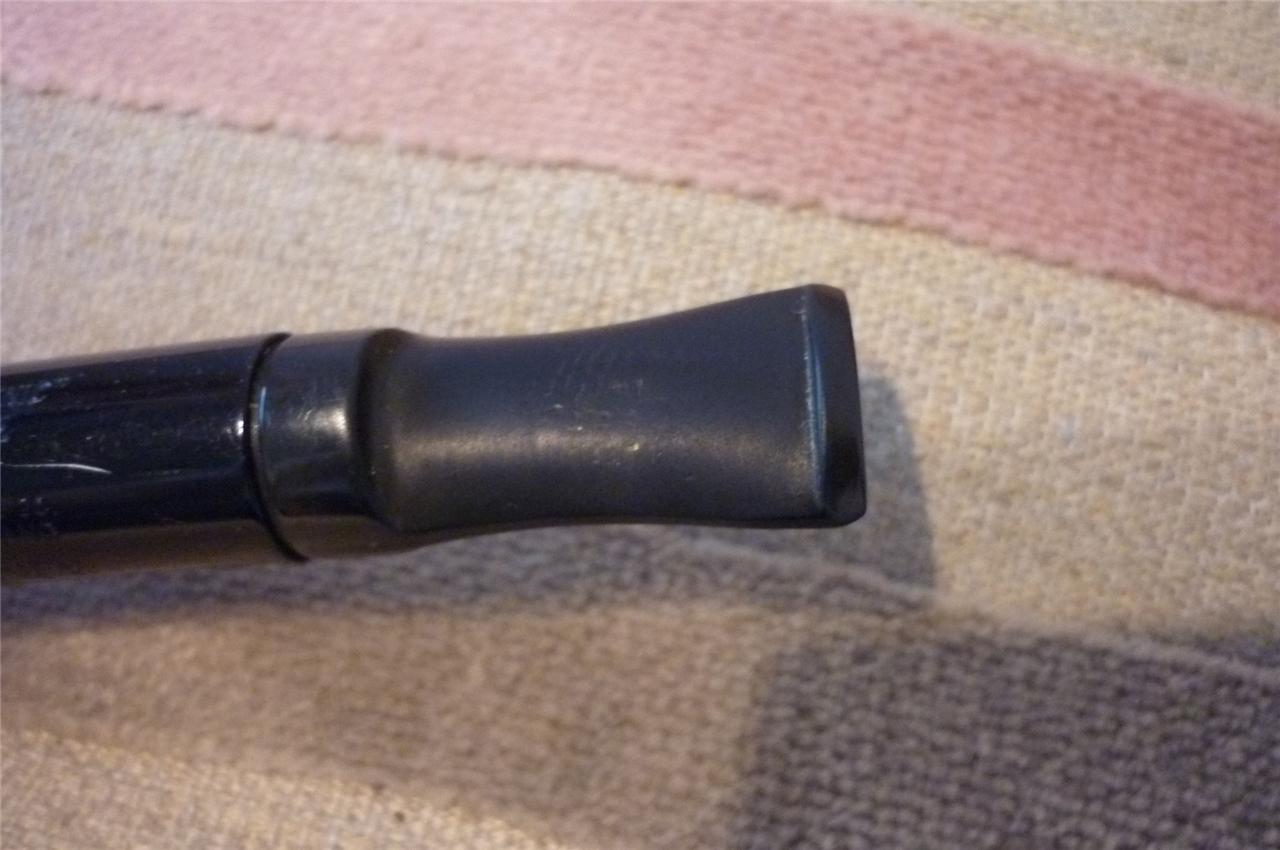
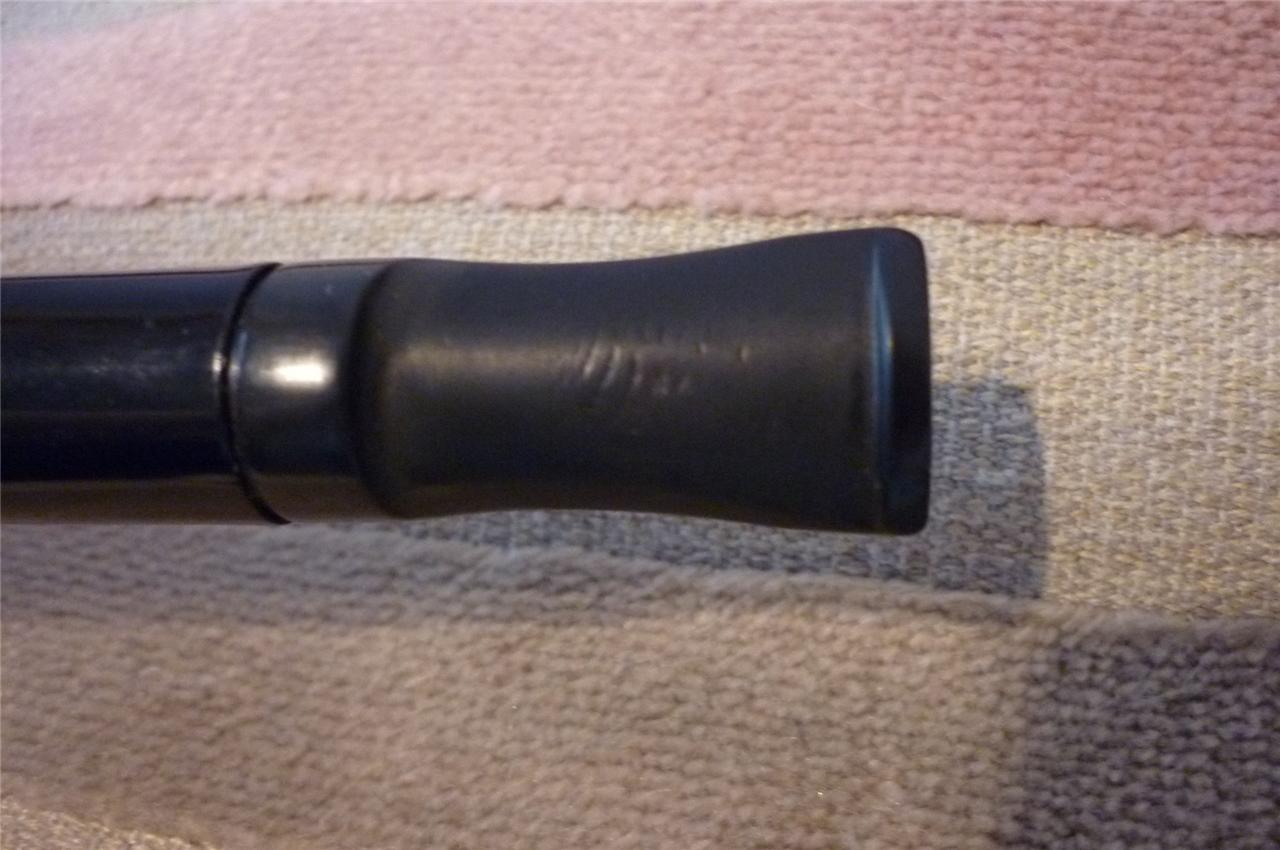
When the pipe arrived I unpacked it and examined it. There were indeed tooth chatter/marks on both the top and bottom of the stem. There was a cigarette burn mark on the bottom of the shank where it meets the bowl. It was not a deep burn and there was no charred wood just a dark mark. The rim itself also had some issues. While the surface was not charred there was a burned area on the front inside of the bowl and on the front outside of the bowl. It looked to be damage from a lighter used in the same place repeatedly over time. The remainder of the finish was in pretty good shape but the entire pipe would need to be stripped in order to address the burn marks on the rim and the side of the shank. The inside of the bowl and shank were very clean. The pipe had not been reamed but there was a light cake that smelled like an aromatic. The barrel was tight on the shank but I carefully was able to remove it. The vulcanite tenon on the end of the barrel was undamaged but the airway was closed in with tars. The way the tenon was attached to the barrel was interesting. The end of the barrel was bonded to a circular plug of vulcanite with the tenon an integral piece of the part. The stem was frozen in the barrel and could not be removed. The button on the stem was unmarked and the tooth marks were actually mid stem on the top and bottom sides. The vulcanite stem was oxidized and would need to be cleaned. The next four photos show the items that I have pointed out in this paragraph.
IMG_0507

IMG_0508

IMG_0509

IMG_0510
I was able to remove the barrel and tenon from the shank of the pipe by carefully twisting the barrel free of the shank. I always hold tightly to the shank with one hand right next to the shank and then twist with the other hand. I try to maintain equal pressure on all points so that the shank is not strained or cracked in the process. The next photo shows the tenon on the barrel. It is almost the same length as the shank and the airway is lined up very closely to the airway in the bottom of the bowl. I cleaned out the mortise with cotton swabs and Everclear and found that it was quite clean. I also cleaned out the barrel from both ends but was not able to get a pipe cleaner to go all the way through the pipe from button to tenon.
IMG_0511
The next three photos show the front of the bowl and the extent of the burn marks on the front outside of the bowl and the front inside of the rim. These were two areas that would need to be worked over to minimize the burn marks on the finished pipe.
IMG_0512

IMG_0513

IMG_0514
I used my PipNet reamer to ream out the soft aromatic cake in the bowl and then recleaned the shank and the inside of the bowl with pipe cleaners and Everclear to remove the carbon dust that came from the reaming process (Photo 1 below). I wiped down the outside of the bowl and shank with a cotton pad and acetone to remove the finish on the pipe (Photo 2 below).
IMG_0515

IMG_0516
The next series of fourteen photos show the topping of the bowl to remove the burned area on the inside of the rim and the front outside edge. The burn had rounded the outside edge and made it appear out of round when looking at it from the top. I wanted to top the bowl enough to bring the top view back into round, minimize the wood damage in both spots and clean up the sharp edge of the bowl. I used two different sanding sponges – medium grit (black coloured sponge) and a fine grit sponge (yellow coloured sponge) both pictured below to start the process. I went on to use medium grit emery paper on the hard board to further top the bowl and ended with 320 grit sandpaper on the board. I polished the finish of the topped pipe bowl with the fine grit yellow sanding sponge. I also worked on the burned area that extended down the front of the bowl with the two sanding sponges.
IMG_0517

IMG_0518

IMG_0519

IMG_0524

IMG_0525

IMG_0526

IMG_0528

IMG_0529

IMG_0530

IMG_0531

IMG_0532

IMG_0533

IMG_0534

IMG_0535

IMG_0536
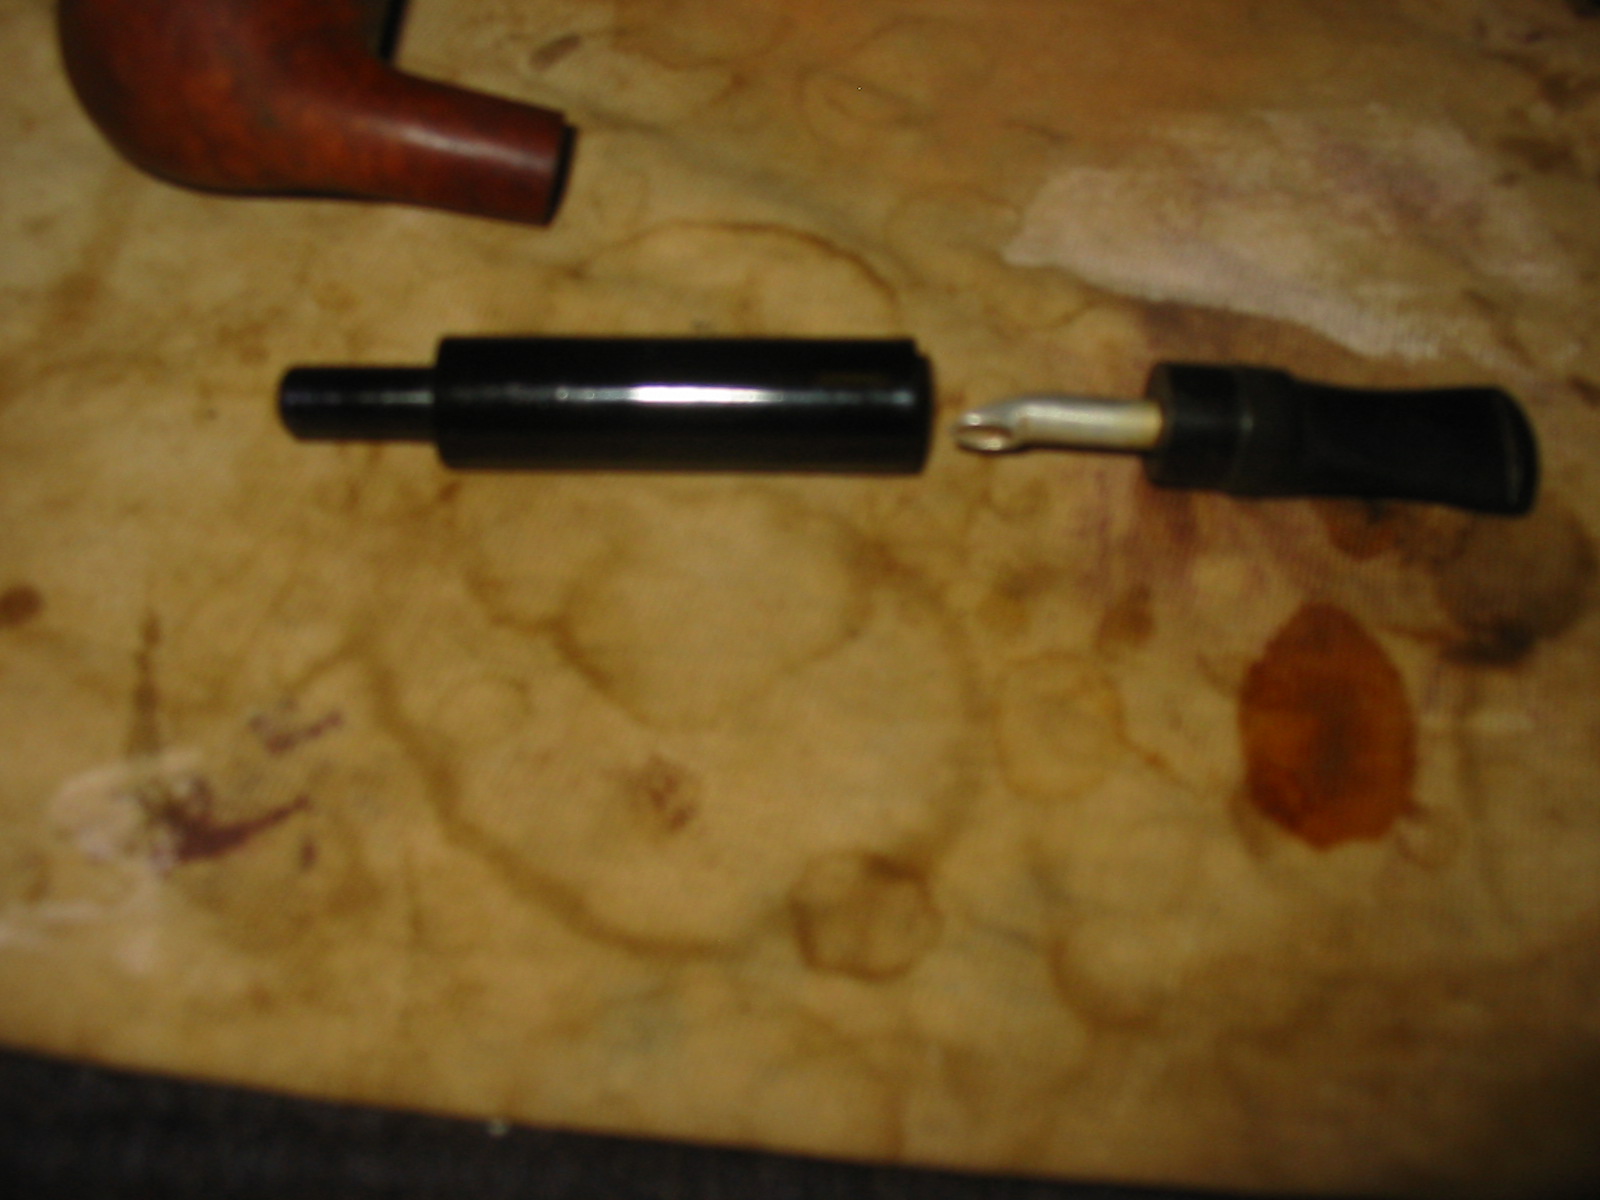
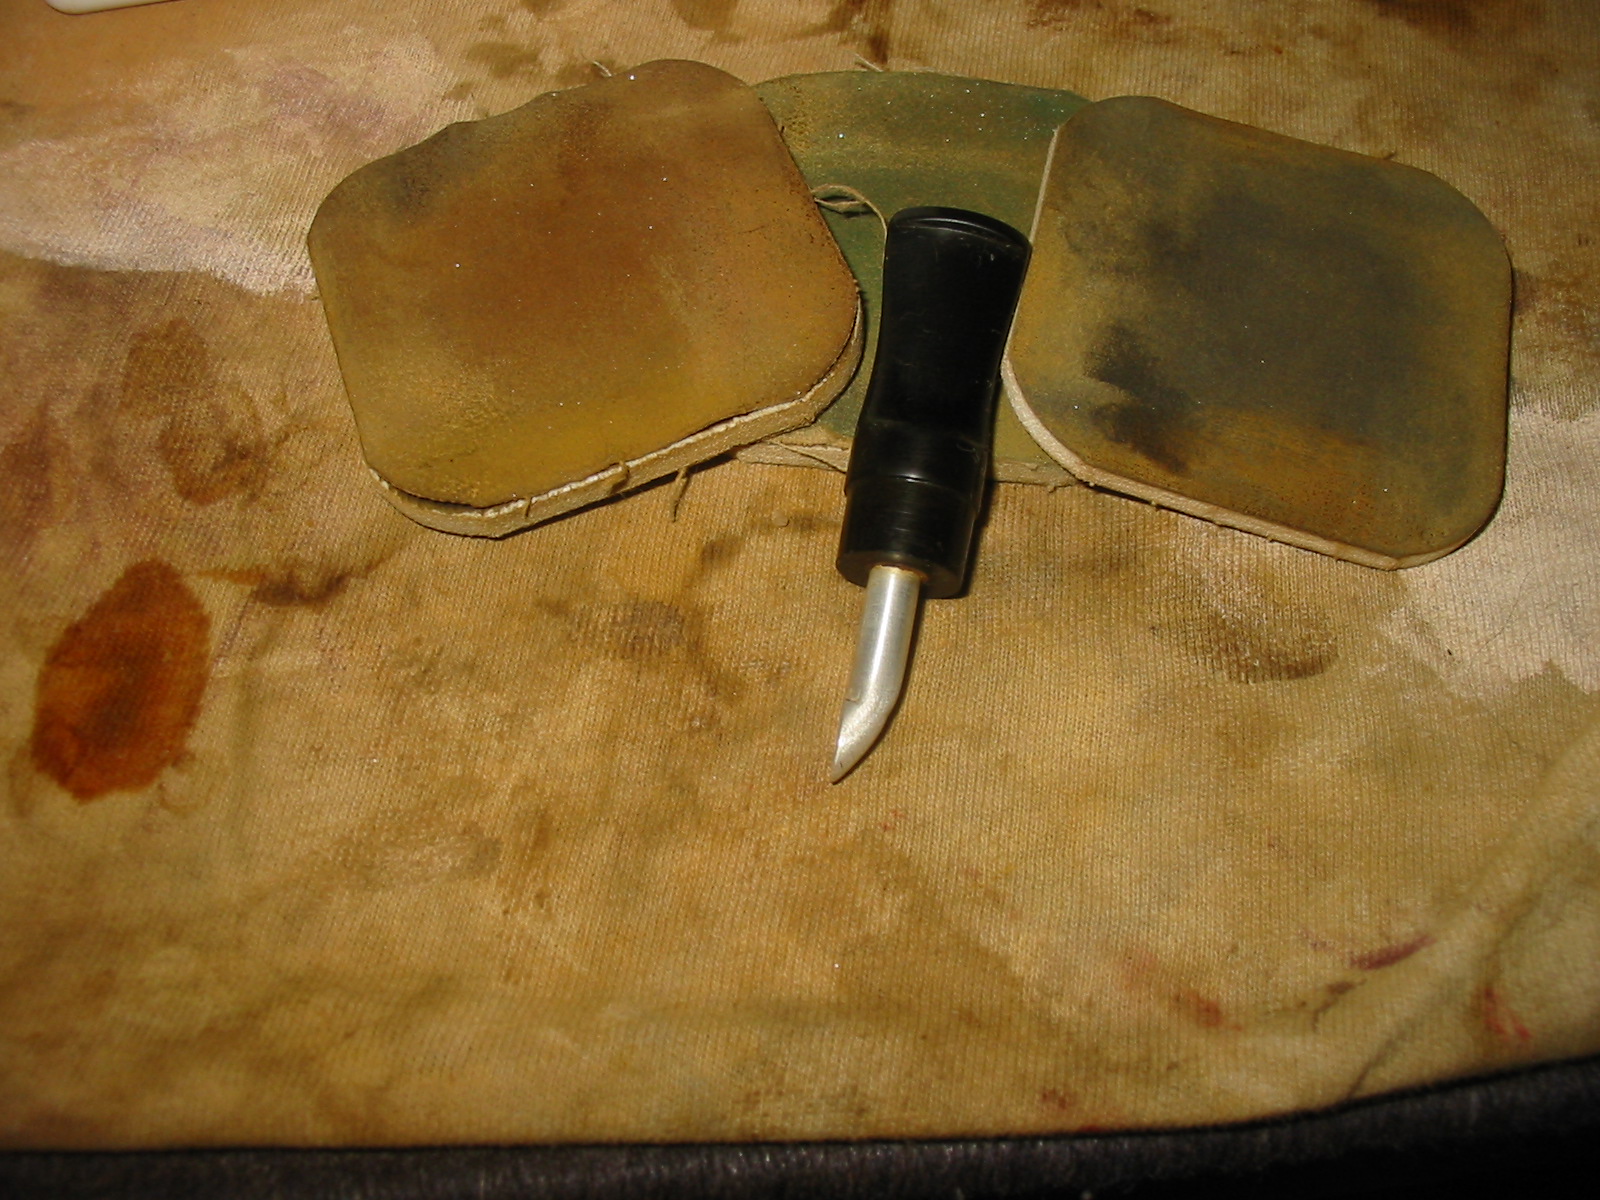
While I was working on the bowl I put the barrel and stem unit in the freezer to try to break loose the stuck stem. I have found that the varying contraction time of the metal and vulcanite will often loosen the stem. Once it was in the freezer for 30 minutes I could easily remove the stem and give the inside of the barrel and the stem a thorough cleaning with pipe cleaners and cotton swabs dipped in Everclear. I cleaned them until both came out clear. The next five photos show the broken down stem and the tube on the end of the stem that I was talking about above. There is one photo of the barrel but it is too dark to see the inner tube.
IMG_0537

IMG_0538

IMG_0539

IMG_0542

IMG_0543
Once the stem and barrel was clean it was time to deal with the tooth marks and chatter on the stem itself. I sanded the top and the bottom with 320 grit sandpaper to remove the marks and the chatter. None of them were too deep. They were more of a ripple like effect on the surface of the vulcanite. I sanded them flat to the surface of the stem and then went on to sand the stem with micromesh sanding pads from 1500-12,000 grits. The next four photos show the progress of the shine.
IMG_0544

IMG_0545

IMG_0546

IMG_0547
After shining the stem with the micromesh I took it to the buffer and buffed the stem with White Diamond and then rubbed it down with Obsidian Oil and finished it with a coat of carnauba wax. I put the stem back in the barrel and lined up the stem with the stamping on the side of the barrel. I gave the entire barrel and stem another coat of carnauba wax and hand buffed them. The next three photos show the assembled barrel and stem unit polished and ready to put on the bowl once it was restained and ready.
IMG_0548

IMG_0549

IMG_0550
I sanded and resanded the bowl with fine grit sanding sponges and then sanded it with micromesh sanding pads from 1500-3200 grit. I wiped it down with acetone between sandings and again when I was finished to prepare it for staining. The next three photos show the prepared pipe ready for staining. The burn mark on the bottom of the shank is gone with very little sanding and no change to the shank surface itself. The one on the front of the is minimized and the one on the rim is also virtually gone. The bowl is ready for a new finish coat.
IMG_0551

IMG_0552

IMG_0553
I restained the bowl with an oxblood aniline stain, flamed it and restained and reflamed it. I rubbed it down with a cotton terry cloth to smooth out the stain and then took it to the buffer. I always buff with my thumb in the bowl to ensure that the buffer does not grab the bowl from my hand and launch it against the wall. I rotate it slowly in my hand and with a light touch buff the shank. I am careful not to apply too much pressure and round the shoulders on the shank. I normally do not buff with the stem off the bowl but in this case I did not want to risk buffing off the black paint on the barrel so I chance the buffing on the bowl alone. The next three photos show the buffed bowl before polishing.
IMG_0554

IMG_0555

IMG_0556
I reassembled the pipe and then hand buffed it with multiple coats of carnauba wax and polished it with a shoe brush. The stem and bowl have a great shine and the bowl has some beautiful grain on it. I look forward to smoking this one and comparing it with my other Keyser Hygienic pipes. The final four photos below show the finished pipe. I have yet to do the research on the patent information on the barrel but I am hoping to find out a bit of history on this piece.
IMG_0723

IMG_0724

IMG_0725

IMG_0726
From the photo of the bottom of the bowl and shank above you can see that the burn mark there is eliminated in its entirety. Also in the photo of the rim above and the one of the front of the bowl below you can see that the burn mark is gone and what remains is blended into the stain.
IMG_0728

This little Dr. Plumb Bulldog is a beauty


Blog by Steve Laug

This little pipe came to me via a friend in Germany. I finished cleaning up what has turned out to be a very nice squat straight bulldog that is stamped Dr. Plumb Extra on one side and 13 D.R.G.M. on the other. I have been familiar with Dr. Plumb pipes for quite a while and love the fact that they were a GBD seconds line. In fact they often share the same numbering system for shapes. This little guy had some serious issues when I took it under my wing. It needed a bit of work. The bowl was scorched along the front outer edge of the rim as it looked to have been lit with a torch lighter. The finish was shot and not only faded and washed out but also pitted and darkened along the bowl sides. The stem was oxidized and a bit chewed on the end. The stinger apparatus was dark and filled with tars and hardened tobacco oils.

My friend had started removing the burn mark and the bowl angles were slightly out or line. I finished removing the scorched briar and reworked the angles on all the outer edges of the bowl to keep the perspective and rim correct. I gave a ream and clean to remove any of the remaining cake and the sanding dust that had become embedded in the cracks in the cake. I put the bowl in the alcohol bath and then worked on the stem.

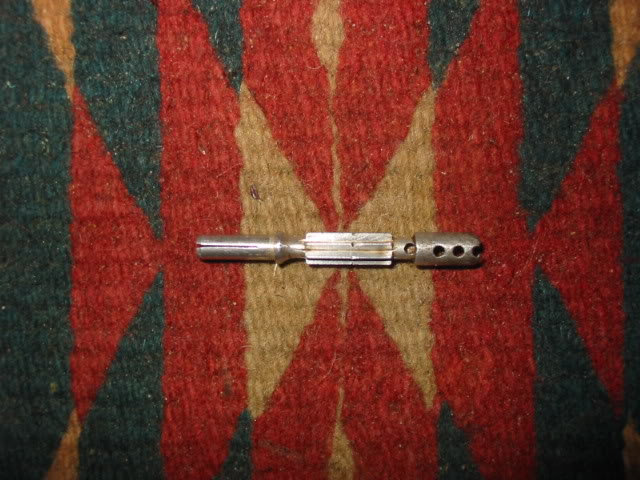
The pipe had the strangest stinger contraption I have ever seen that extends into the bottom of the bowl. It almost looks like a motorcycle exhaust pipe. I have inserted a few pictures of the stinger and fit in the bowl. I removed the stinger and placed in a small bowl of alcohol to soak. The stem was badly oxidized – not the brown oxidation that sat on the surface but a deep oxidation that left the stem a deep brown under the surface. I had been soaking the stem in Oxyclean while I worked on the burn on the rim of the bowl so that when I removed it from the water the oxidation had been brought to the surface. I used my buffer to remove the surface oxidation that had softened. I use Tripoli at this stage and work the stem carefully on the buffer to avoid rounding the shoulders on the stem. Then I sanded it with 240 grit sandpaper until it was matte black and clean. I then sanded it with 400 and 600 grit wet dry sandpaper and water to remove the scratches. I finished the stem by sanding with the micromesh pads 1500-6000 grit until the stem had a sheen to it. ImageImage

I then took the bowl out of the alcohol bath and dried it off. I sanded it with the 1800-2400 grit micromesh pads until the surface was free of scratches and grooves and was smooth. Then I refinished it with an oxblood aniline stain to bring out the red highlights in the briar. I put the stem back on the pipe and took it to the buffer to buff with White Diamond. Once finished I gave the whole pipe several coats of carnauba wax. ImageImageImage

Reworking an Imperial Treble Zulu – Stainless Steel Tenon


I picked up this older Imperial Tobacco Co pipe – a Zulu shape number 354. The shape number makes me wonder if the pipe was made by Comoy’s. Maybe someone here knows for sure. The number is missing on the Comoy’s shape number chart on Pipedia. The pipe is interesting to me for several reasons. It is the third in a group of three pipes by Imperial that came to me in an EBay lot. The first two were Two-Points and this one a Treble. I had not heard or seen this line before these came my way. The other reason is that several pipes in this lot had stainless steel tenons! The Treble has one and at first I thought it was original – the stem did not fit well as the tenon was stuck in the bowl and the stem would not seat all the way to the shank. The bowl was in pretty nasty shape. With lots of darkening and the grain virtually obscured under dirt. The rim was caked and tarred. The bowl was full of broken cake and cobwebs. The stem was gnawed with deep bite marks, the button destroyed and the tenon stuck in the shank.

I was able to remove the tenon from shank with a big pair of channel locks and some serious twisting and turning. I filed the end of the tenon and cut grooves in it so that the epoxy would have something to bite into when I pushed it into the stem. I then slid a pipe cleaner into the stem and threaded the tenon on the cleaner. When I got down to the stem I mixed some epoxy (two part mix) and painted it on the tenon. I let it set for a few moments and then pushed it into the stem. I wiped off the excess around the stem and tenon junction. I set it aside and worked on the bowl. ImageImage

I reamed the bowl and cleaned both it and the shank. Then I used a fine grit sanding pad that I have here to work on the lava on the top of the bowl. Once that was done I wiped down the bowl with isopropyl alcohol to remove the grime and the finish. The next photos show the bowl after the initial cleanup. From there I put it in the alcohol bath and went back to work on the stem. ImageImageImage

The next series of two photos show the bite marks on the stem and the state of the button. The bite marks were very deep and some were actually cuts in the stem material rather than just dents. I used my heat gun to raise the dents as much as possible but honestly they did not come up very much at all. This one would be a bit of a challenge. I used sanded the stem around the button and the dents with 240 grit sandpaper to get the oxidation off that area. I was going to use the superglue to repair these bite marks and needed a clean surface to work with. Once I had sanded the area clean I used a dental pick to pick away the brown left in the dents. I wanted to clean out the dents as much as possible and roughen the surface in the dent for a good bond with the glue. The first picture shows the top of the stem, the second shows the bottom. ImageImage

Once they were clean and ready I washed the area down with some isopropyl alcohol to remove any remaining sanding dust. Then I put drops of superglue in the holes on the underside of the stem first. Once they were dry I did the same with the dents on the top side of the stem. The three photos below show the glue in place – they appear as shiny black spots in the photos.ImageImageImage

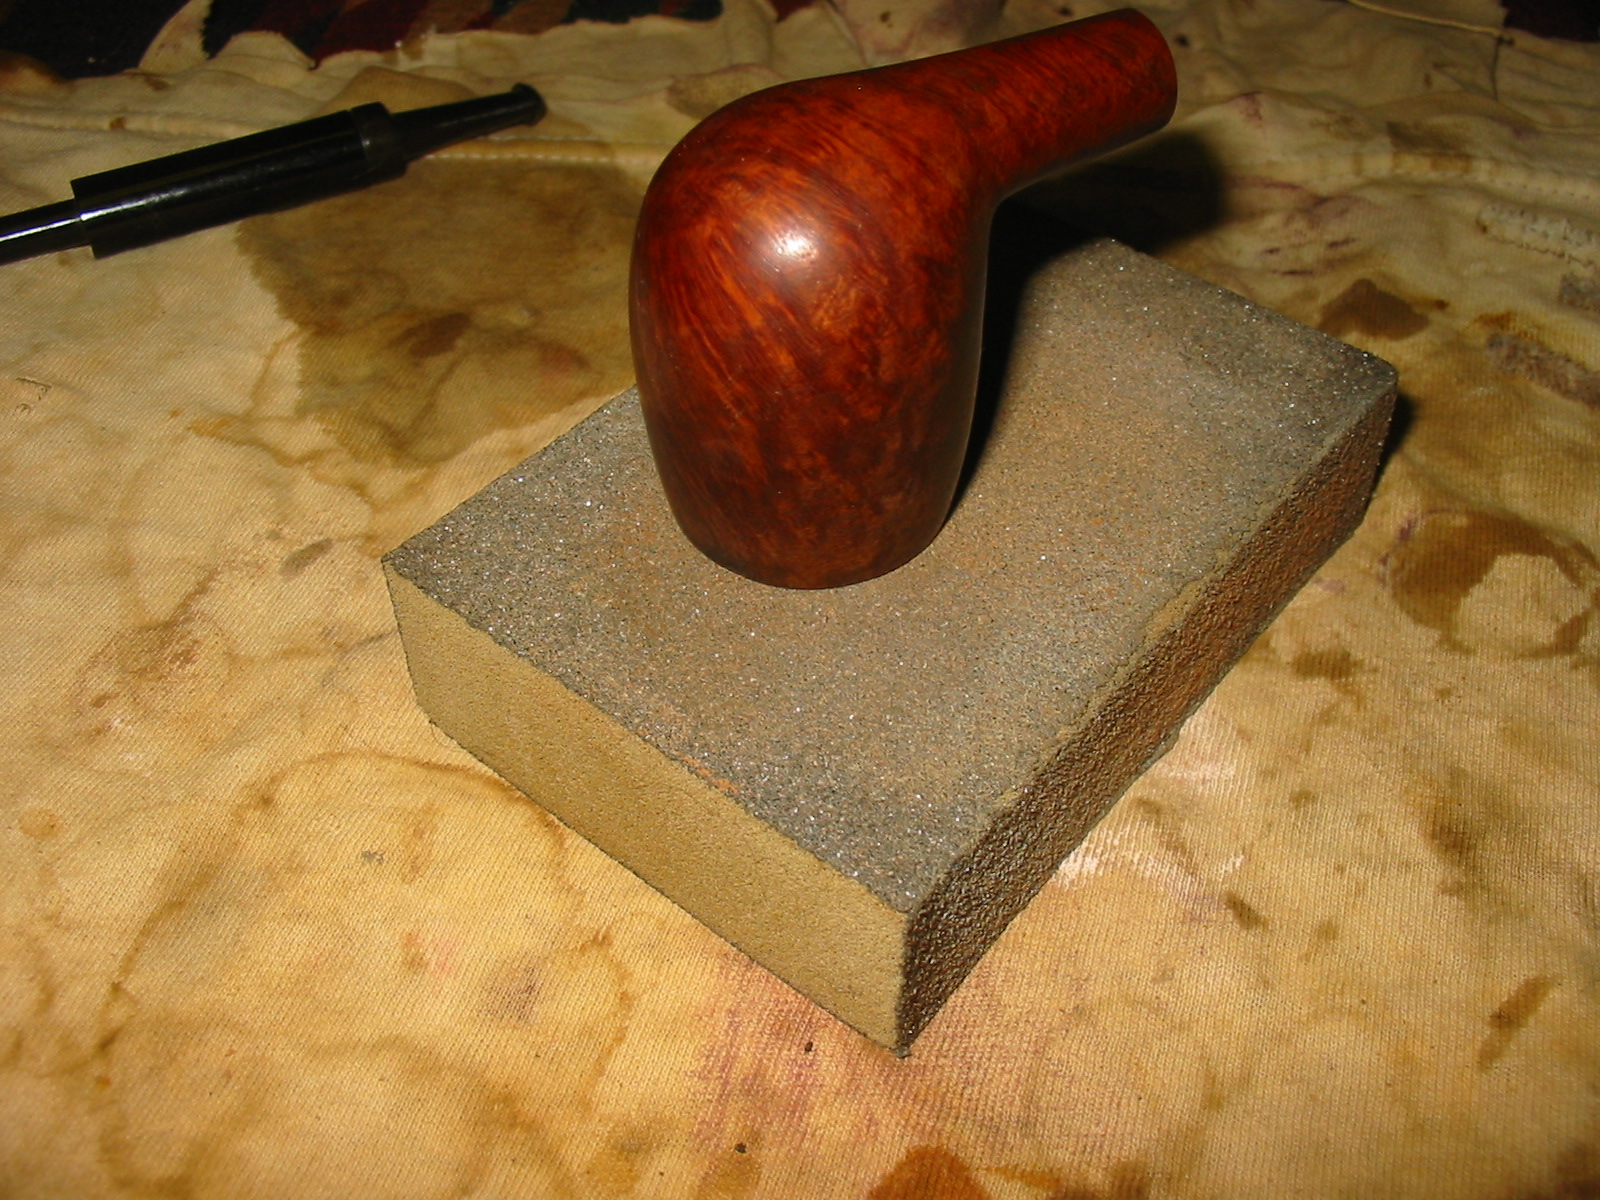
I set the pipe stem aside to thoroughly dry and took the bowl out of the alcohol bath. I dried it off and then sanded the top of the bowl with the fine grit sanding pads that I have. The top is showing some nice grain and the tars are coming off nicely. ImageImageImage

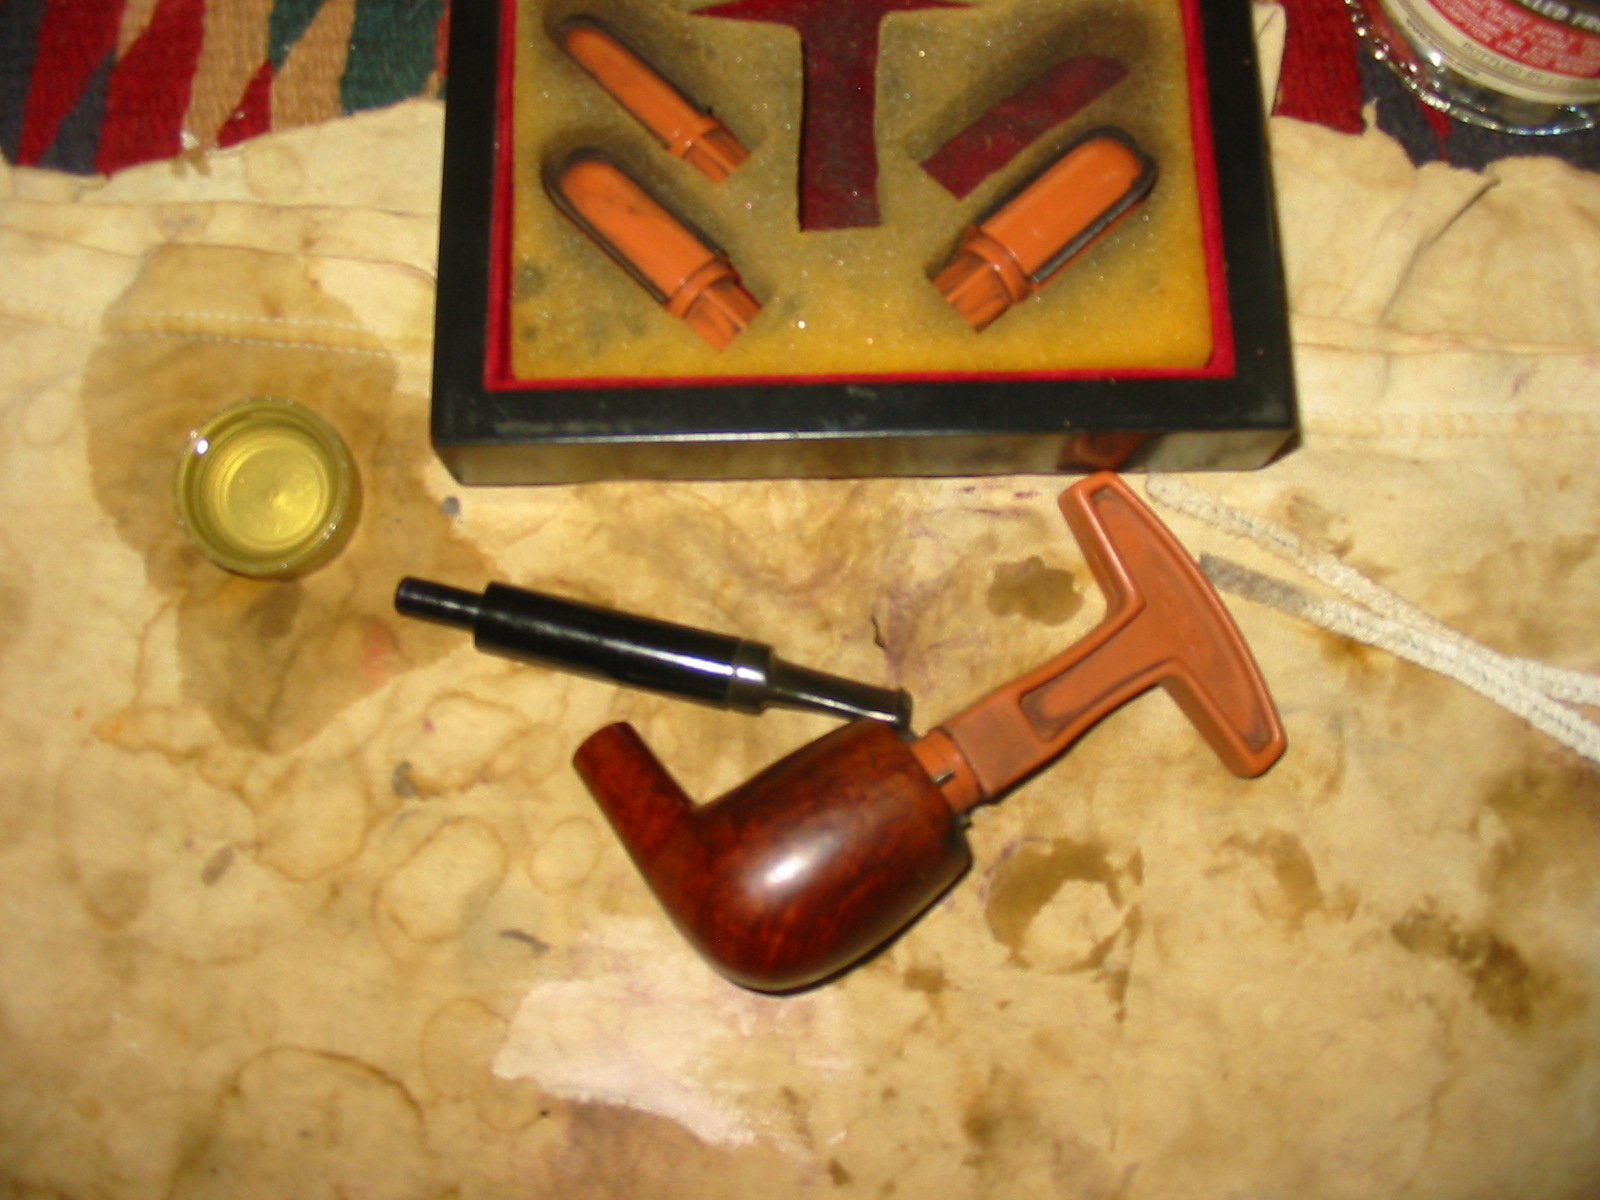
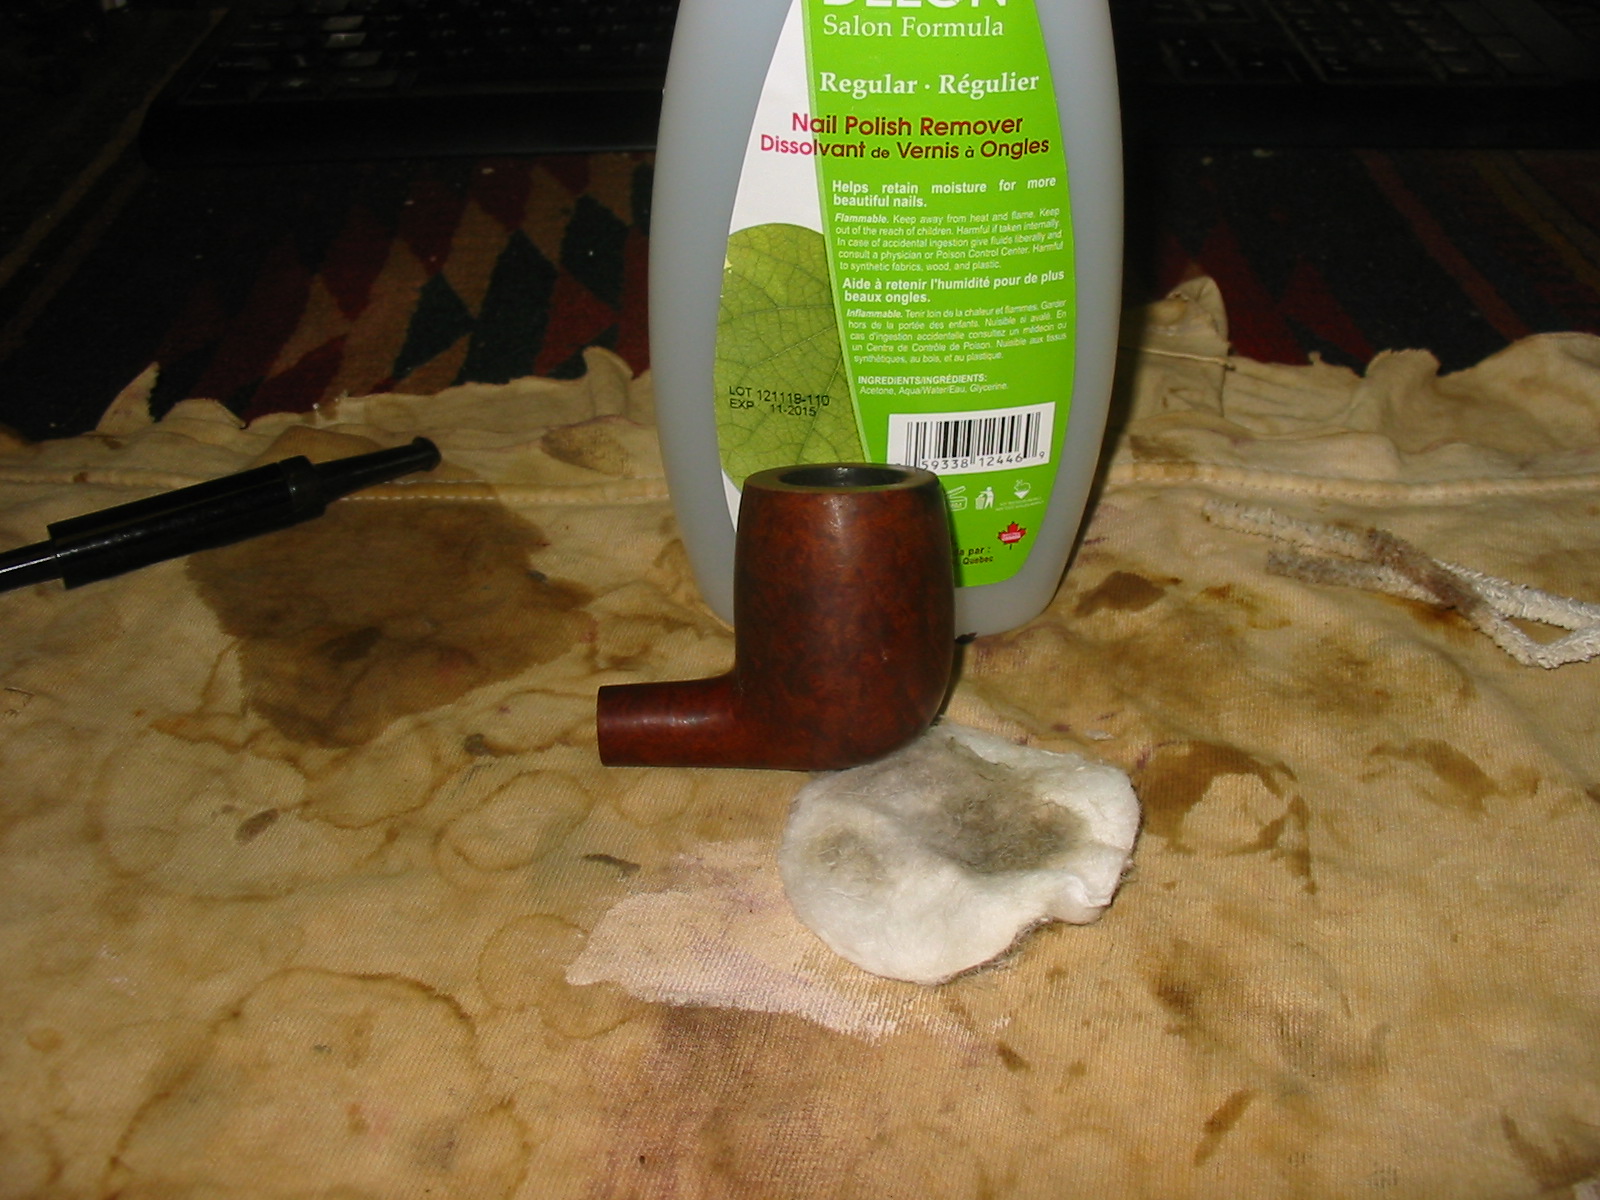
I wiped down the bowl and rim with acetone (fingernail polish remover) to remove the remaining finish and grime. The white cotton pads in the background of the next three photos show what still remained on the bowl after the alcohol wash. I wanted to get the bowl down to bare briar so that I could refinish it and then give it a new coat of stain. My goal was to highlight the beautiful grain on this one. ImageImageImage

I guess I must get a bit bored doing the same thing or something, because I went back to the stem to sand the patches that I had made. I used emery cloth to get the patches even with the surface of the stem. The next series of three photos show the progress on cleaning up the stem and evening out the stem surface. The patches are beginning to fade and blend into the stem. ImageImageImage

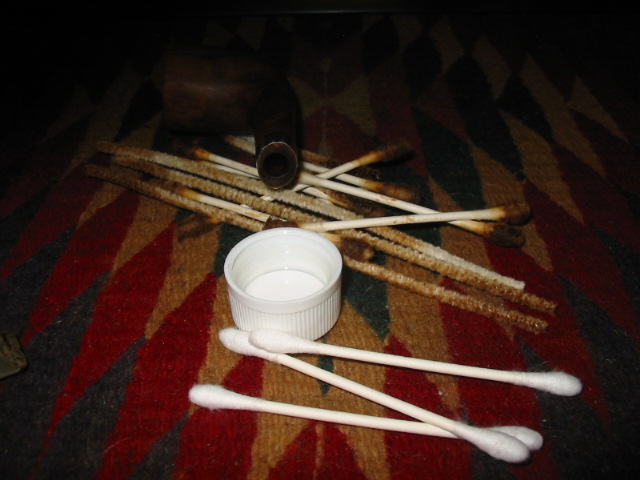
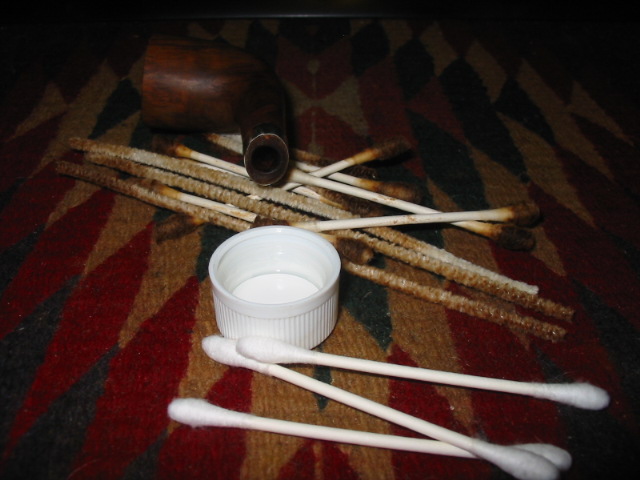
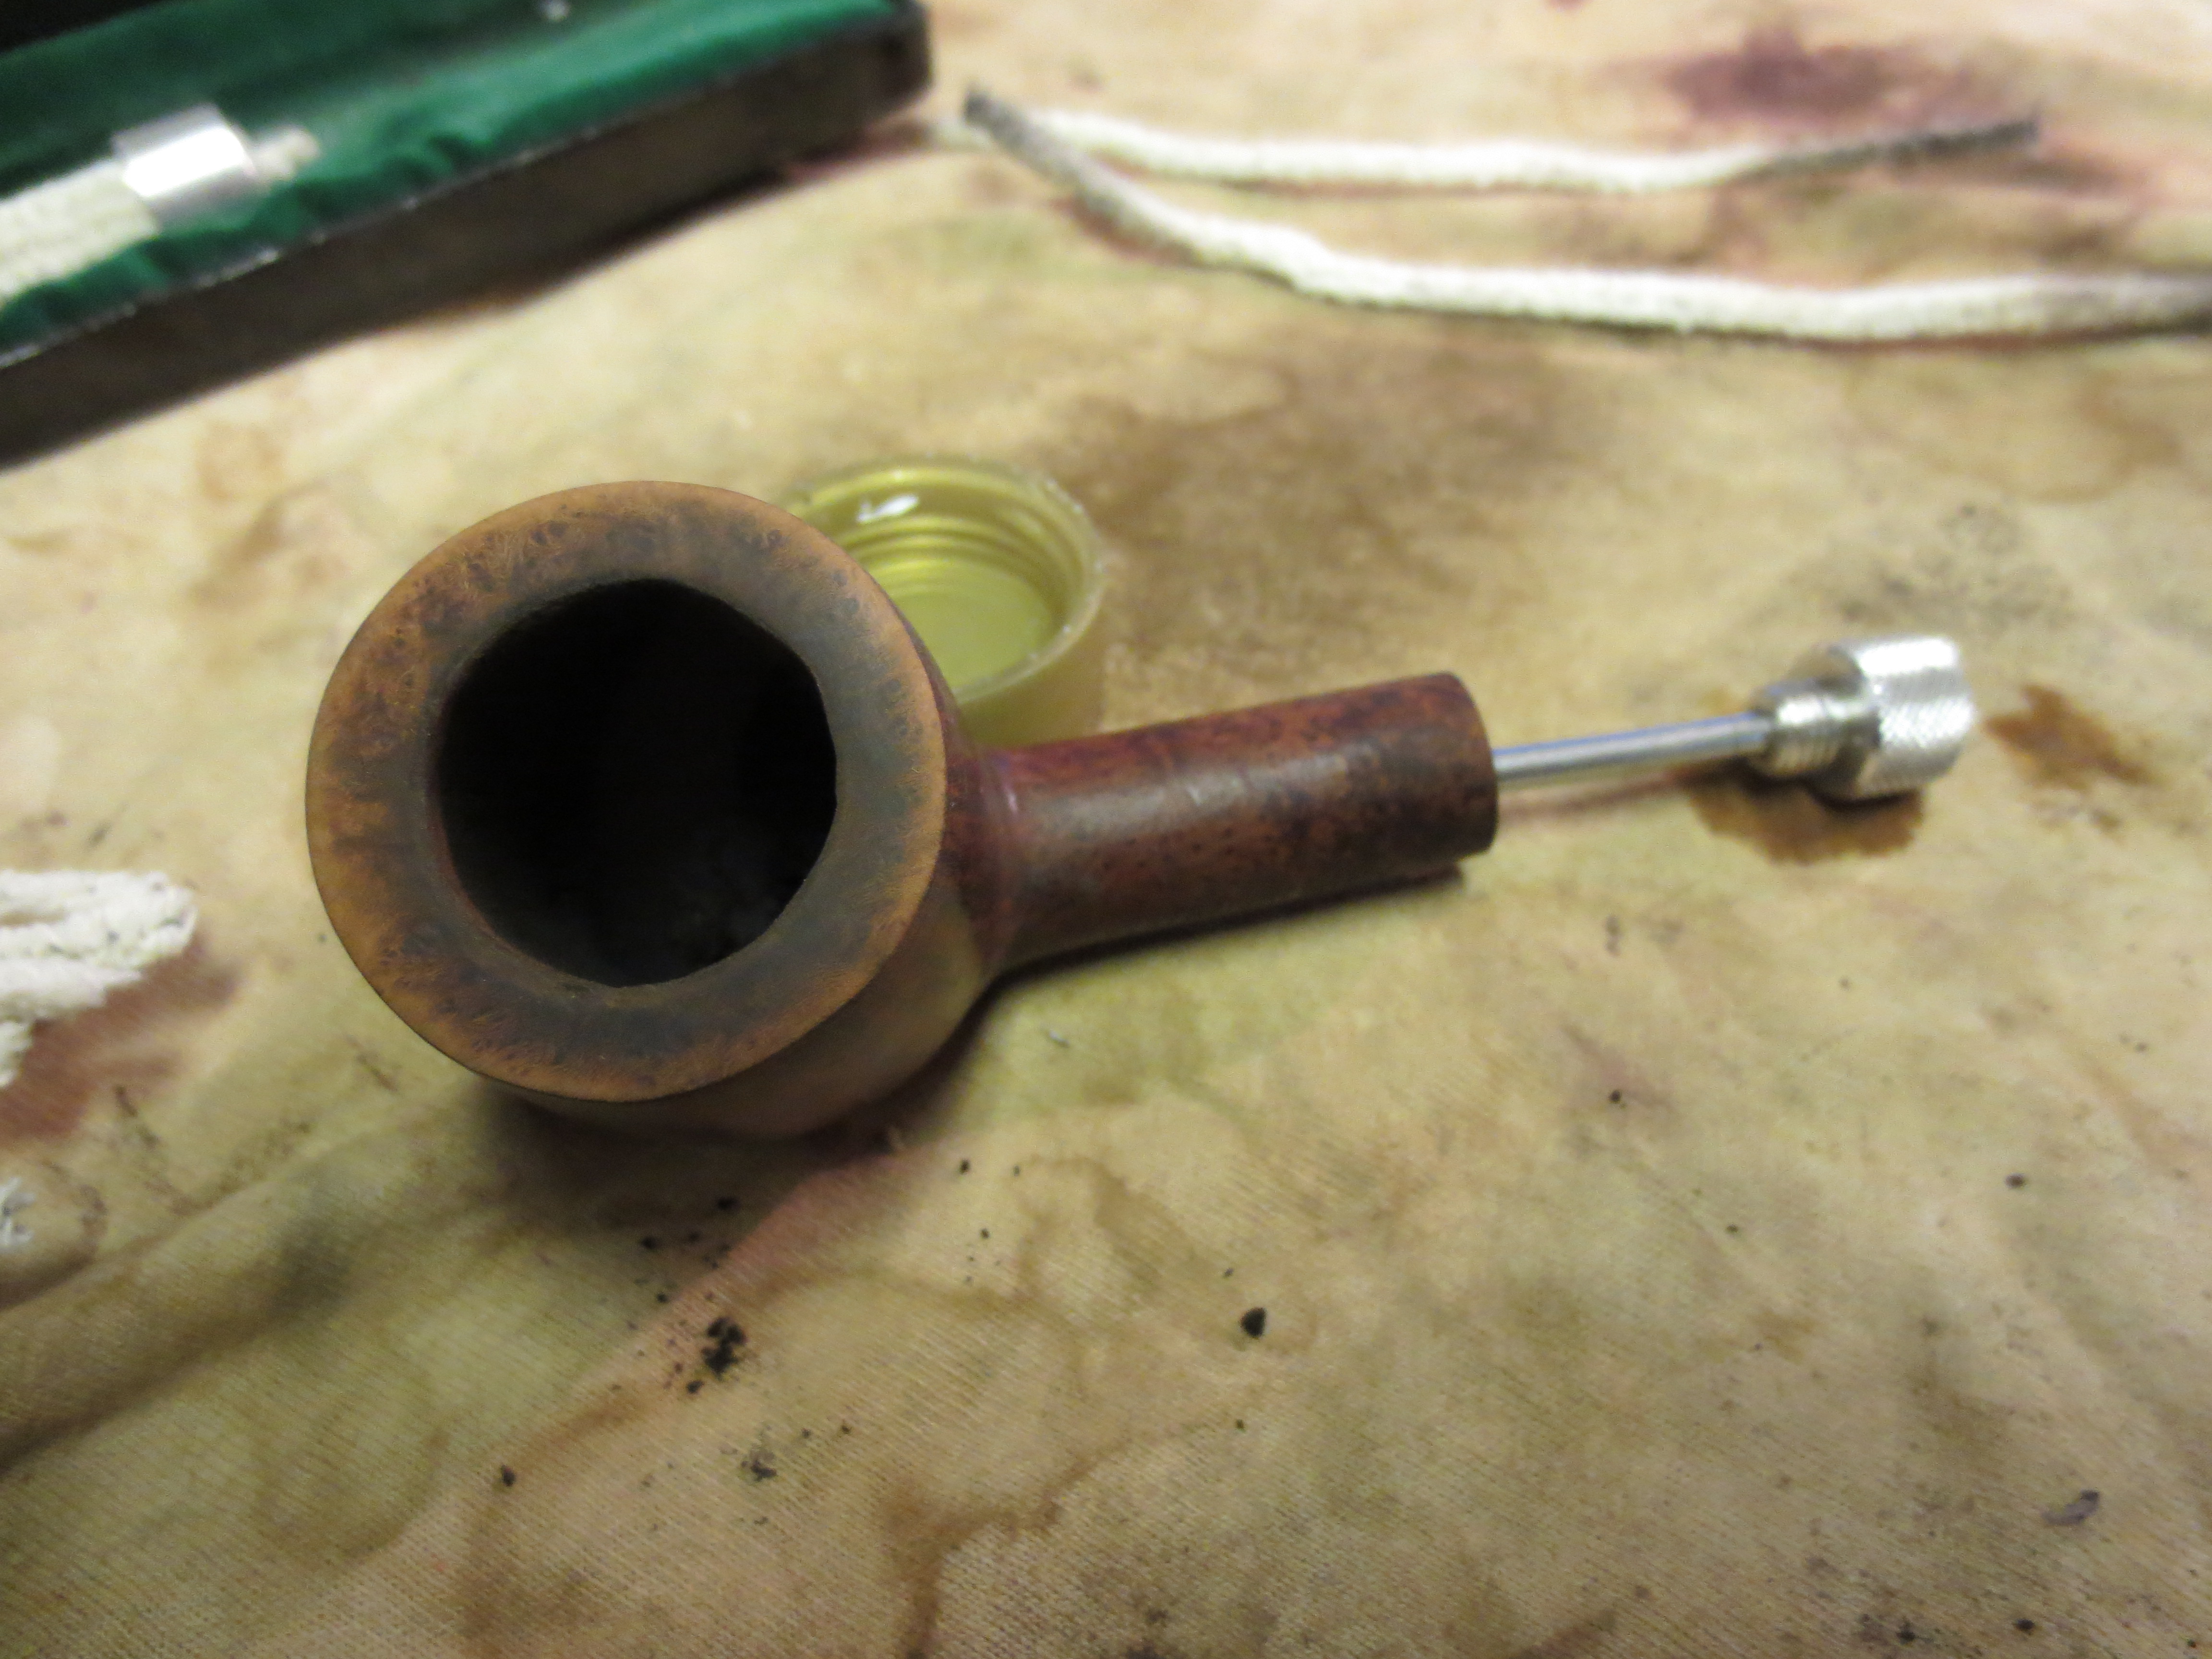
After sanding the stem I cleaned out the stem and the shank. It was a dirty process. The first picture below shows just a few of the many pipe cleaners and cotton swabs. I dip them in the cap filled with isopropyl that is pictured in the photos and swab out the stem and shank with them. ImageImage

I reinserted the stem in the shank and wiped the entirety down with an alcohol soaked cotton pad. I wanted to see where I was at with the stem and the bowl. You will notice the addition of a band in the photos below. Once I refit the stem I could see that the stainless tenon was indeed a replacement and that it was misdrilled – it was set in the stem too high making the match at the tenon impossible. I decided to work on the shank rather than pull the tenon, redrill the hole in the stem and reinsert a bigger tenon. I could still do that should I desire. I sanded the shank a little to reduce the gap between the stem and shank. Then I pressure fit a band on it to guide the stem to the proper fit. It worked well actually and the stem lines up nicely now. ImageImageImageImage

I took the next two photos to show the state of the stem patches at this point in the repair process. You can see that they are virtually invisible on the top of the stem and just slightly visible on the underside. At this point I continued to sand the stem and work at the area around the button to redefine it and to blend in the patches. I used a fine grit sanding pad and an extra fine grit pad to remove the scratches and to make the button area more defined. I then worked over the stem with the usual list of micromesh pads from 1500-6000 grit. ImageImage

I restained the bowl with an oxblood stain and buffed the entirety with White Diamond and then gave the pipe several coats of carnauba wax and buffed with a soft flannel buff to bring out the shine to the pipe. You can see from the profile shots that the button is more clearly defined and the flow of the stem looks correct from the bowl to the button. The patches on the stem have blended quite well and though still visible if you look closely are smooth and black. ImageImageImageImage

Refurbished Mastercraft Bulldog


Another old timer, a Mastercraft Bulldog was in my box of bowls without stems. The squat shape of this little bulldog caught my eye.

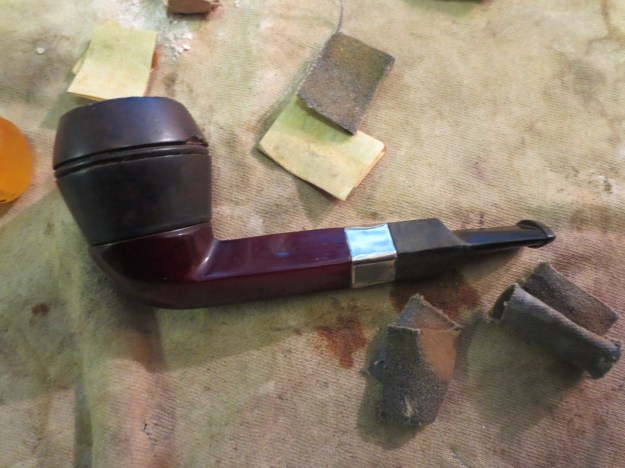
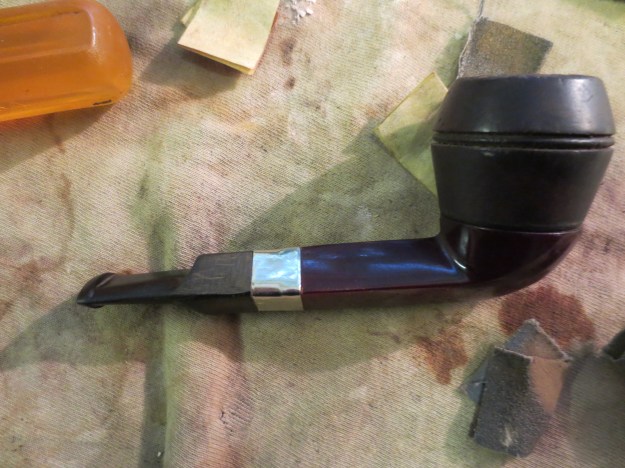
The bowl pretty rough looking. The finish was gone and the top had been used as a hammer so it was badly dented and the roughening of the wood left a lot of splintering edges. It was also badly caked and still had a remnant of tobacco left in the bowl. Since it was missing its stem I have no idea when the bowl and tobacco got separated from the stem. I have a coffee can in which I keep a wide range of stems that I have picked up and another can of stem blanks that need to be shaped and fit to the new pipe. For this pipe I found an old stem in the can that was a perfect fit once I removed the old stinger type insert. The stem was badly oxidized virtually brown. There were no tooth marks on the stem and no dents that needed to be repaired.

I reamed and cleaned the bowl and shank until the pipe cleaners came white. I use 99% isopropyl alcohol for doing this as I find that it works well and evaporates quickly leaving no residual tastse. The top had been hammered so much that the bowl had to be topped so that it would be smooth again. The trick with this one was not to remove too much of the top and thus change the angles of the bulldog shape. So I removed enough to give me a smooth surface to work with but not enough to change the shape. Once it was topped and sanded I put it in the alcohol bath and left it while I worked on cleaning up the stem.

I had soaked the stem in a mixture of Oxyclean to soften the oxidation and prepare it for the sanding that would be necessary to clean it. Once I remove it from the soak I buffed it with Tripoli to remove the oxidation that had softened and then sanded it with 240 grit sandpaper. Once I had removed the brown surface I used 400 and 600 grit wet dry sandpaper to continue the smoothing and polishing process. I finished the stem with the micromesh pads from 1500 – 6000 grit. Then I set it aside to wait until I had finished bowl and polish the entirety on the buffer.

I took the bowl out of the alcohol bath and sanded it with the micromesh pads to remove the surface scratches and remaining marks in the bowl surface. I steamed out the dents with a damp cloth and a hot knife and then sanded them smooth again. I restained this bowl with a Medium Brown stain. I flamed it to set the stain, inserted the stem and then took it to the buffer and buffed it with White Diamond to polish it. The entirety was then given several coats of carnauba wax. This one found a new home with someone who loved the shape and it is providing a great smoke for them. ImageImageImage

Refurbished and Restemmed this interestingly shaped no name pipe


I refurbished this interestingly shaped no name pot/rhodesian/bulldog (?) or you name it shape. I was drawn to it and liked the look of it when I found it in my box of pipes and bowls that I have gathered for refurbishing. It is a box I have that at one point held over 300 pipes that needed work but is slowly shrinking even though I add to it each time I go scavenging. I am pretty much incorrigible about picking up estate pipes and hunting for them. I am getting more picky over the years as to what I want to work on but I pick up ones that will be a challenge to me or that I like the brand or the shape.

This one was truly a mess. I forgot to take pictures of what it looked like when I took it out of the box but I will describe it to you. In many ways it was no different than most of the others that I work on. The bowl was caked to the point of barely holding any tobacco any longer. It was a tarry mess on the rim and running down the sides of the bowl. There were dents and deep “wounds” in the briar of the rim. It also was without a stem. The silver band on the shank was badly beat up and to be honest the pipe was downright ugly. But in its ugliness I saw something that drew me to pick it up and see what I could do with it. So I took it to my work table and it became a project that took me two days.

I did what I call field dressing the pipe the first day. That includes reaming the bowl and cleaning out the grit and grime from the shank and bowl. I washed the bowl down with acetone to remove the overflow from the bowl and rim on the outside of the bowl. I also removed the dirt and grease marking on the bowl. Once it was clean I fit a stem for it. It has a diamond shank, and those have always been a challenge for me to make a proper fit. I find that on these old timers what appears to be a diamond with equal sides never truly is equal. Each side on this one had a different measurement. I used a blank that I had here and shaped it to fit. It is difficult to get each side correct and maintain the shape to fit the shank. I cut the tenon with my Pimo tenon turner and worked the shape for a long time to make it flow with the shank. It took a long time because I would get one side perfect only to lose a bit of the angle on the next side. I finally was able to get the angles right and fit the stem to the shank well. In the finished photos you can get a bit of an idea of the work involved in that.

I then removed the silver band and put the bowl in the alcohol bath while I tried to straighten and smooth out the silver band. I got a lot of the wrinkles and dents out of it but a few still remained even after my work.  I set it aside to reinstall on the shank once it was restained and turned my attention to sanding and polishing the stem. I used 400 and 600 grit wet dry sandpaper as usual to remove the scratches and marks left by the shaping. I then use my normal regimen of 1500-6000 grit micromesh to bring a shine to the stem. When I had it finished and ready for the buffer I put it aside and went back to the bowl.

I removed the bowl from the bath and sanded it with the usual variety of sand papers and micromesh pads. Then I restained it with a cherry stain that I use on some of the older pipes as I have found that it brings out the old colours from the briar and really looks good. I then sanded again with micromesh and put the stem on it before taking it to the buffer to polish it with White Diamond. Once that was finished I gave the bowl and stem several coats of carnauba wax.

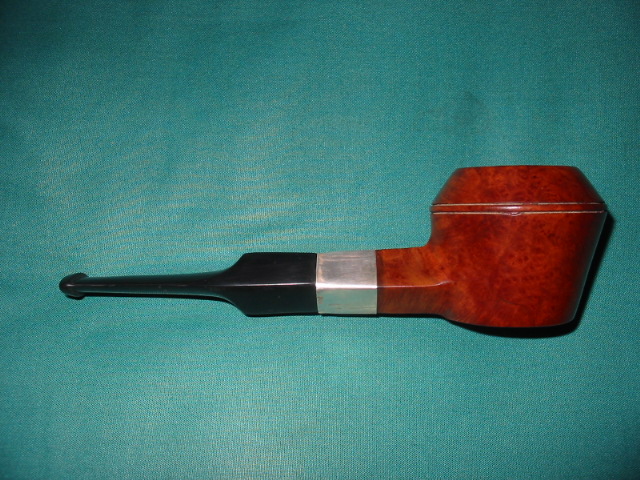
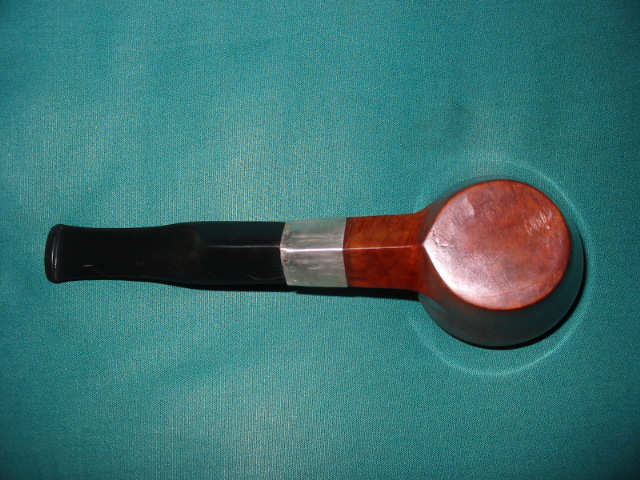
There are no stamping or marking on it all. But the unusual shape continues to attract me in an odd way. It is 6 inches long, bowl height is 2 inches. The chamber diameter is 1 inch and the chamber depth is1 1/4 inches. The rim is chamfered and clean. Anyone have a name for the shape??
ImageImageImageImage