Blog by Steve Laug
Not long ago I received a message on the blog from a pipeman in Alberta regarding an older Brigham pipe that he had that was in great shape and had a long hairline crack in the shank from the bottom of the left side up through the stamping into the middle of “i” in Brigham. It caused the stem to be loose and he was worried about it continuing to crack across the rest of the shank. I was pretty certain it could be fixed but would need to be banded. The pipe is stamped Brigham over Can. Pat. 372982 on the left side of the shank and shape number 117 on the flattened underside of the shank near the bowl/shank junction. He sent me the following three photos to show the position of the crack in the shank. He circled them in red to make them clear. He took photos of the side of the shank against a green and a black background to make the crack very visible. He also sent an end shot to show the crack from that vantage point. Almost incidentally he also did made the patent number also visible in his photos.

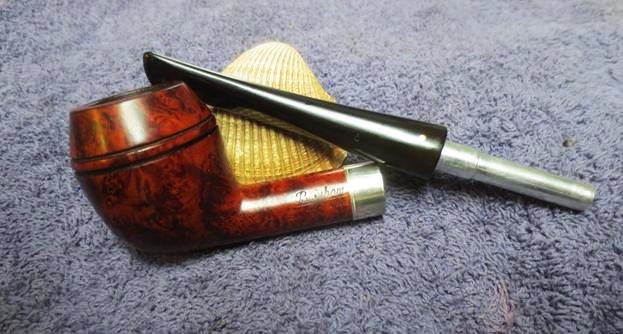
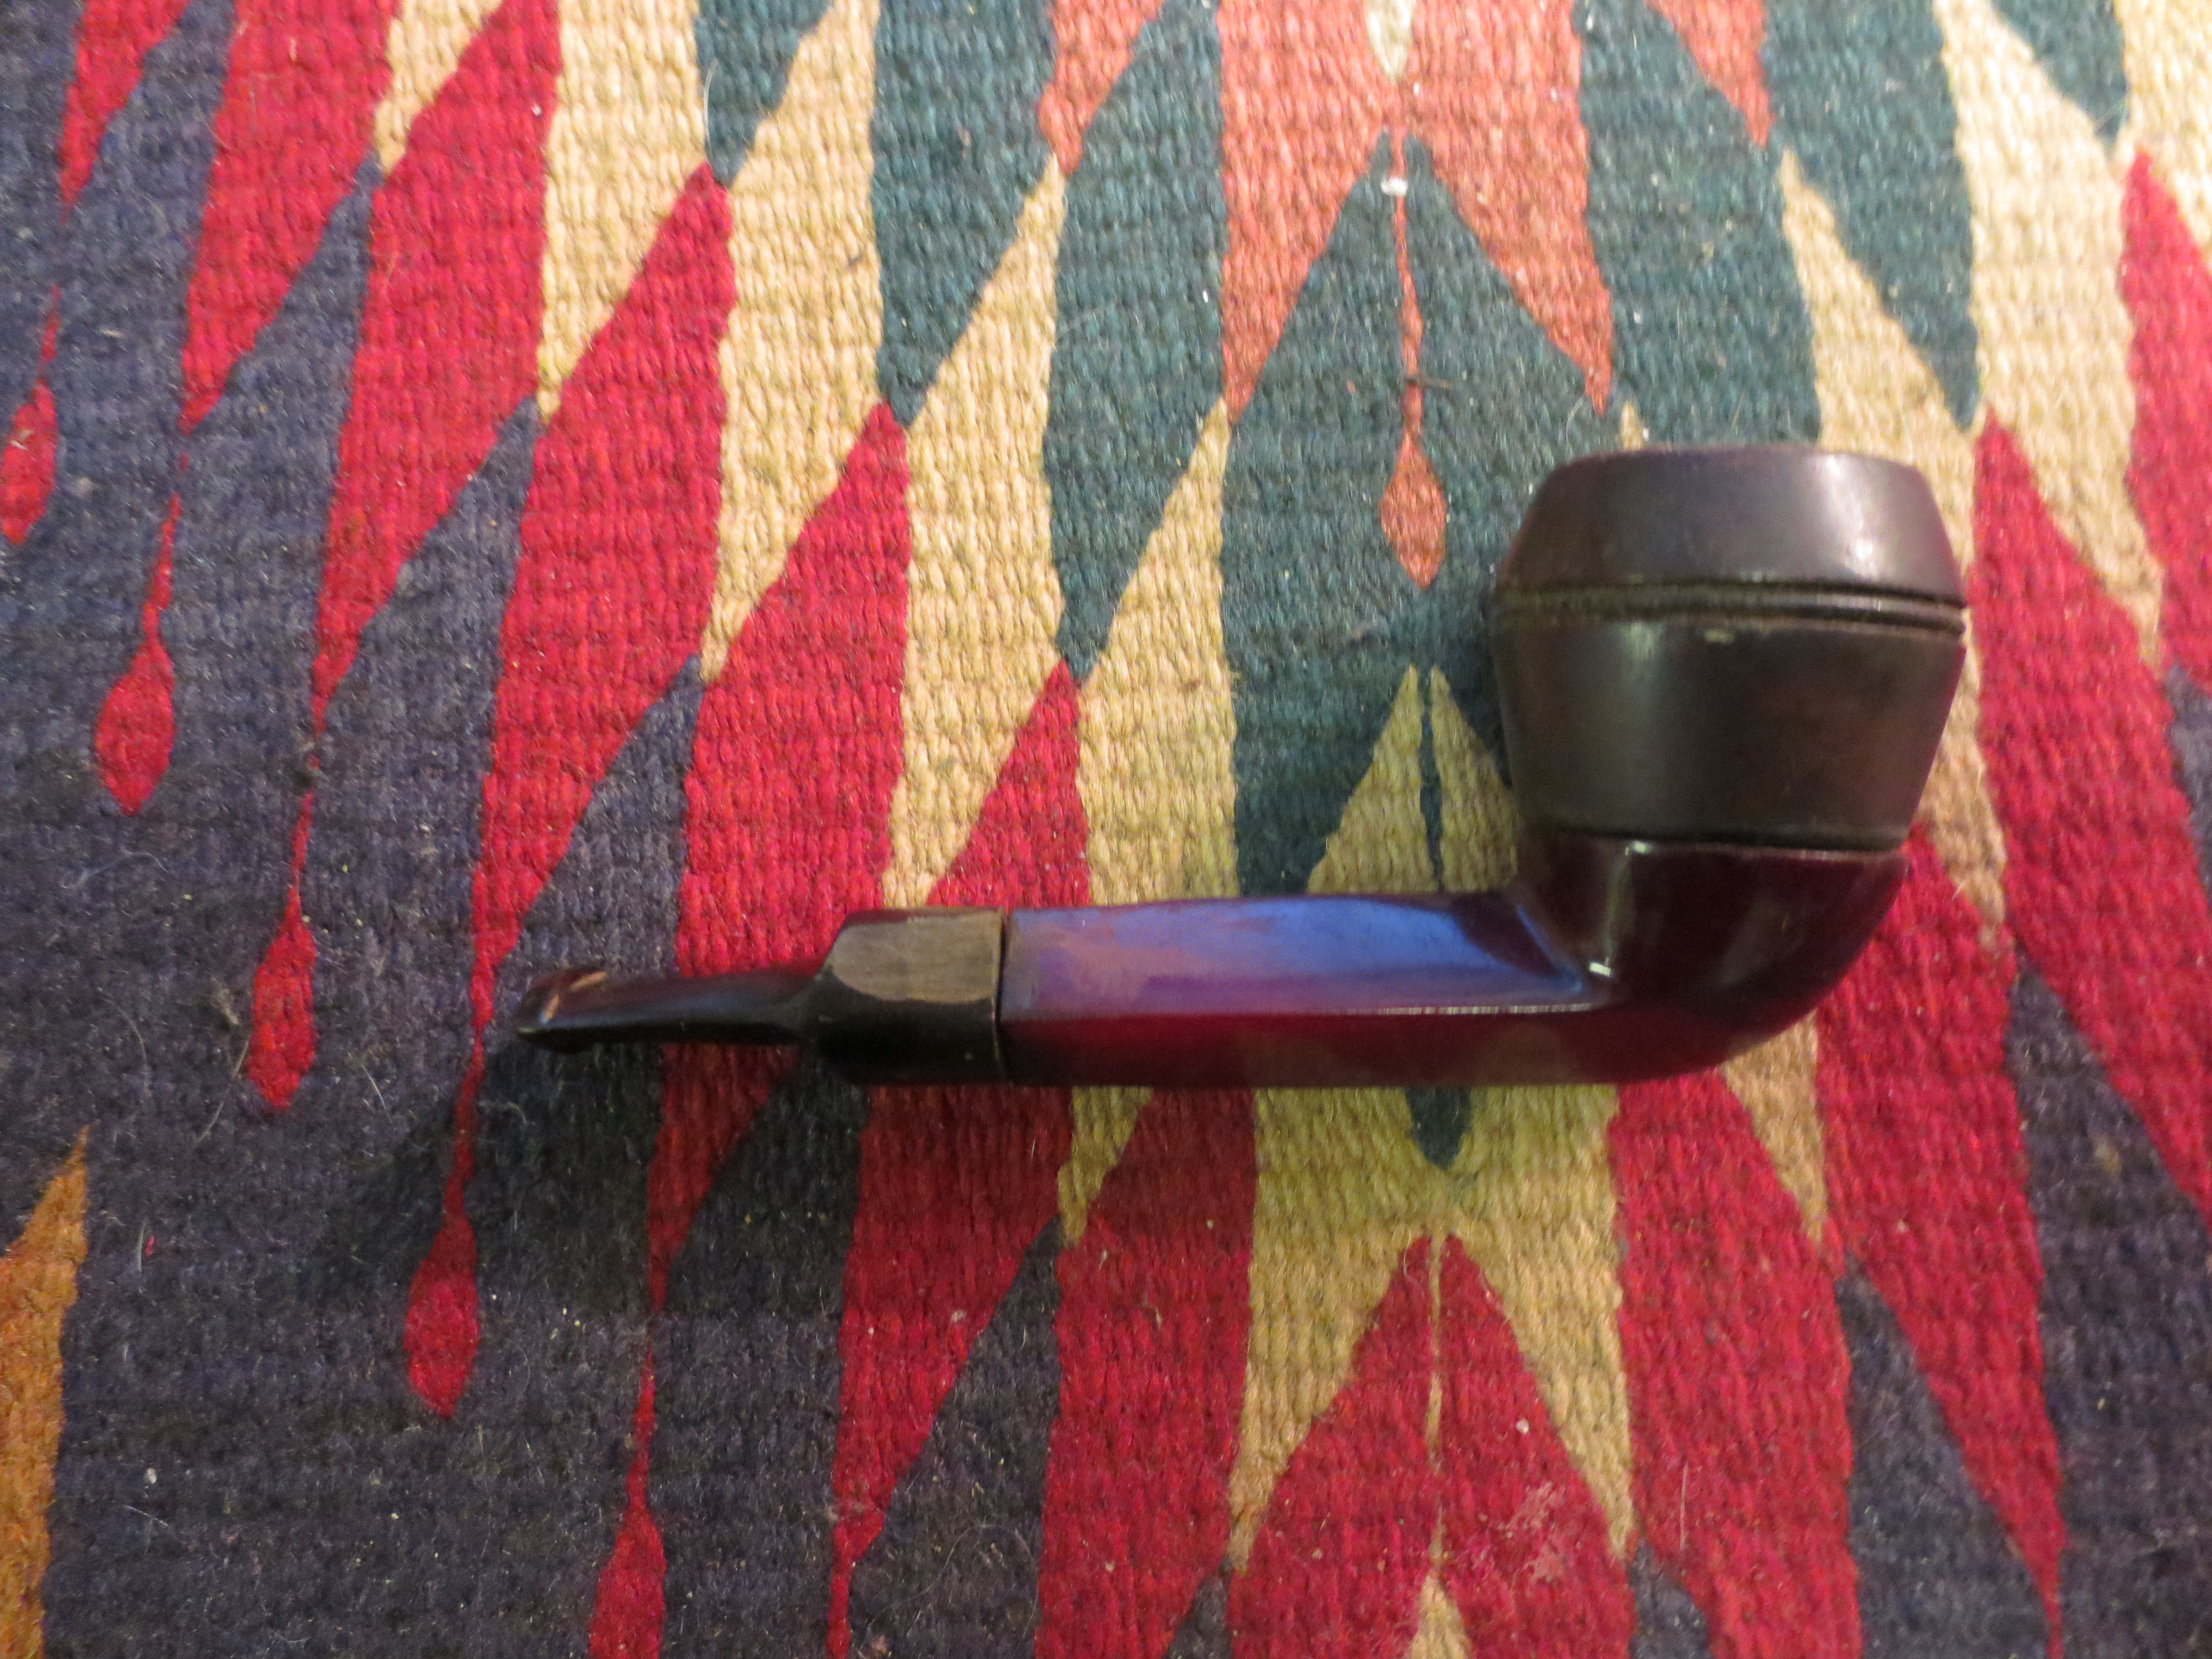
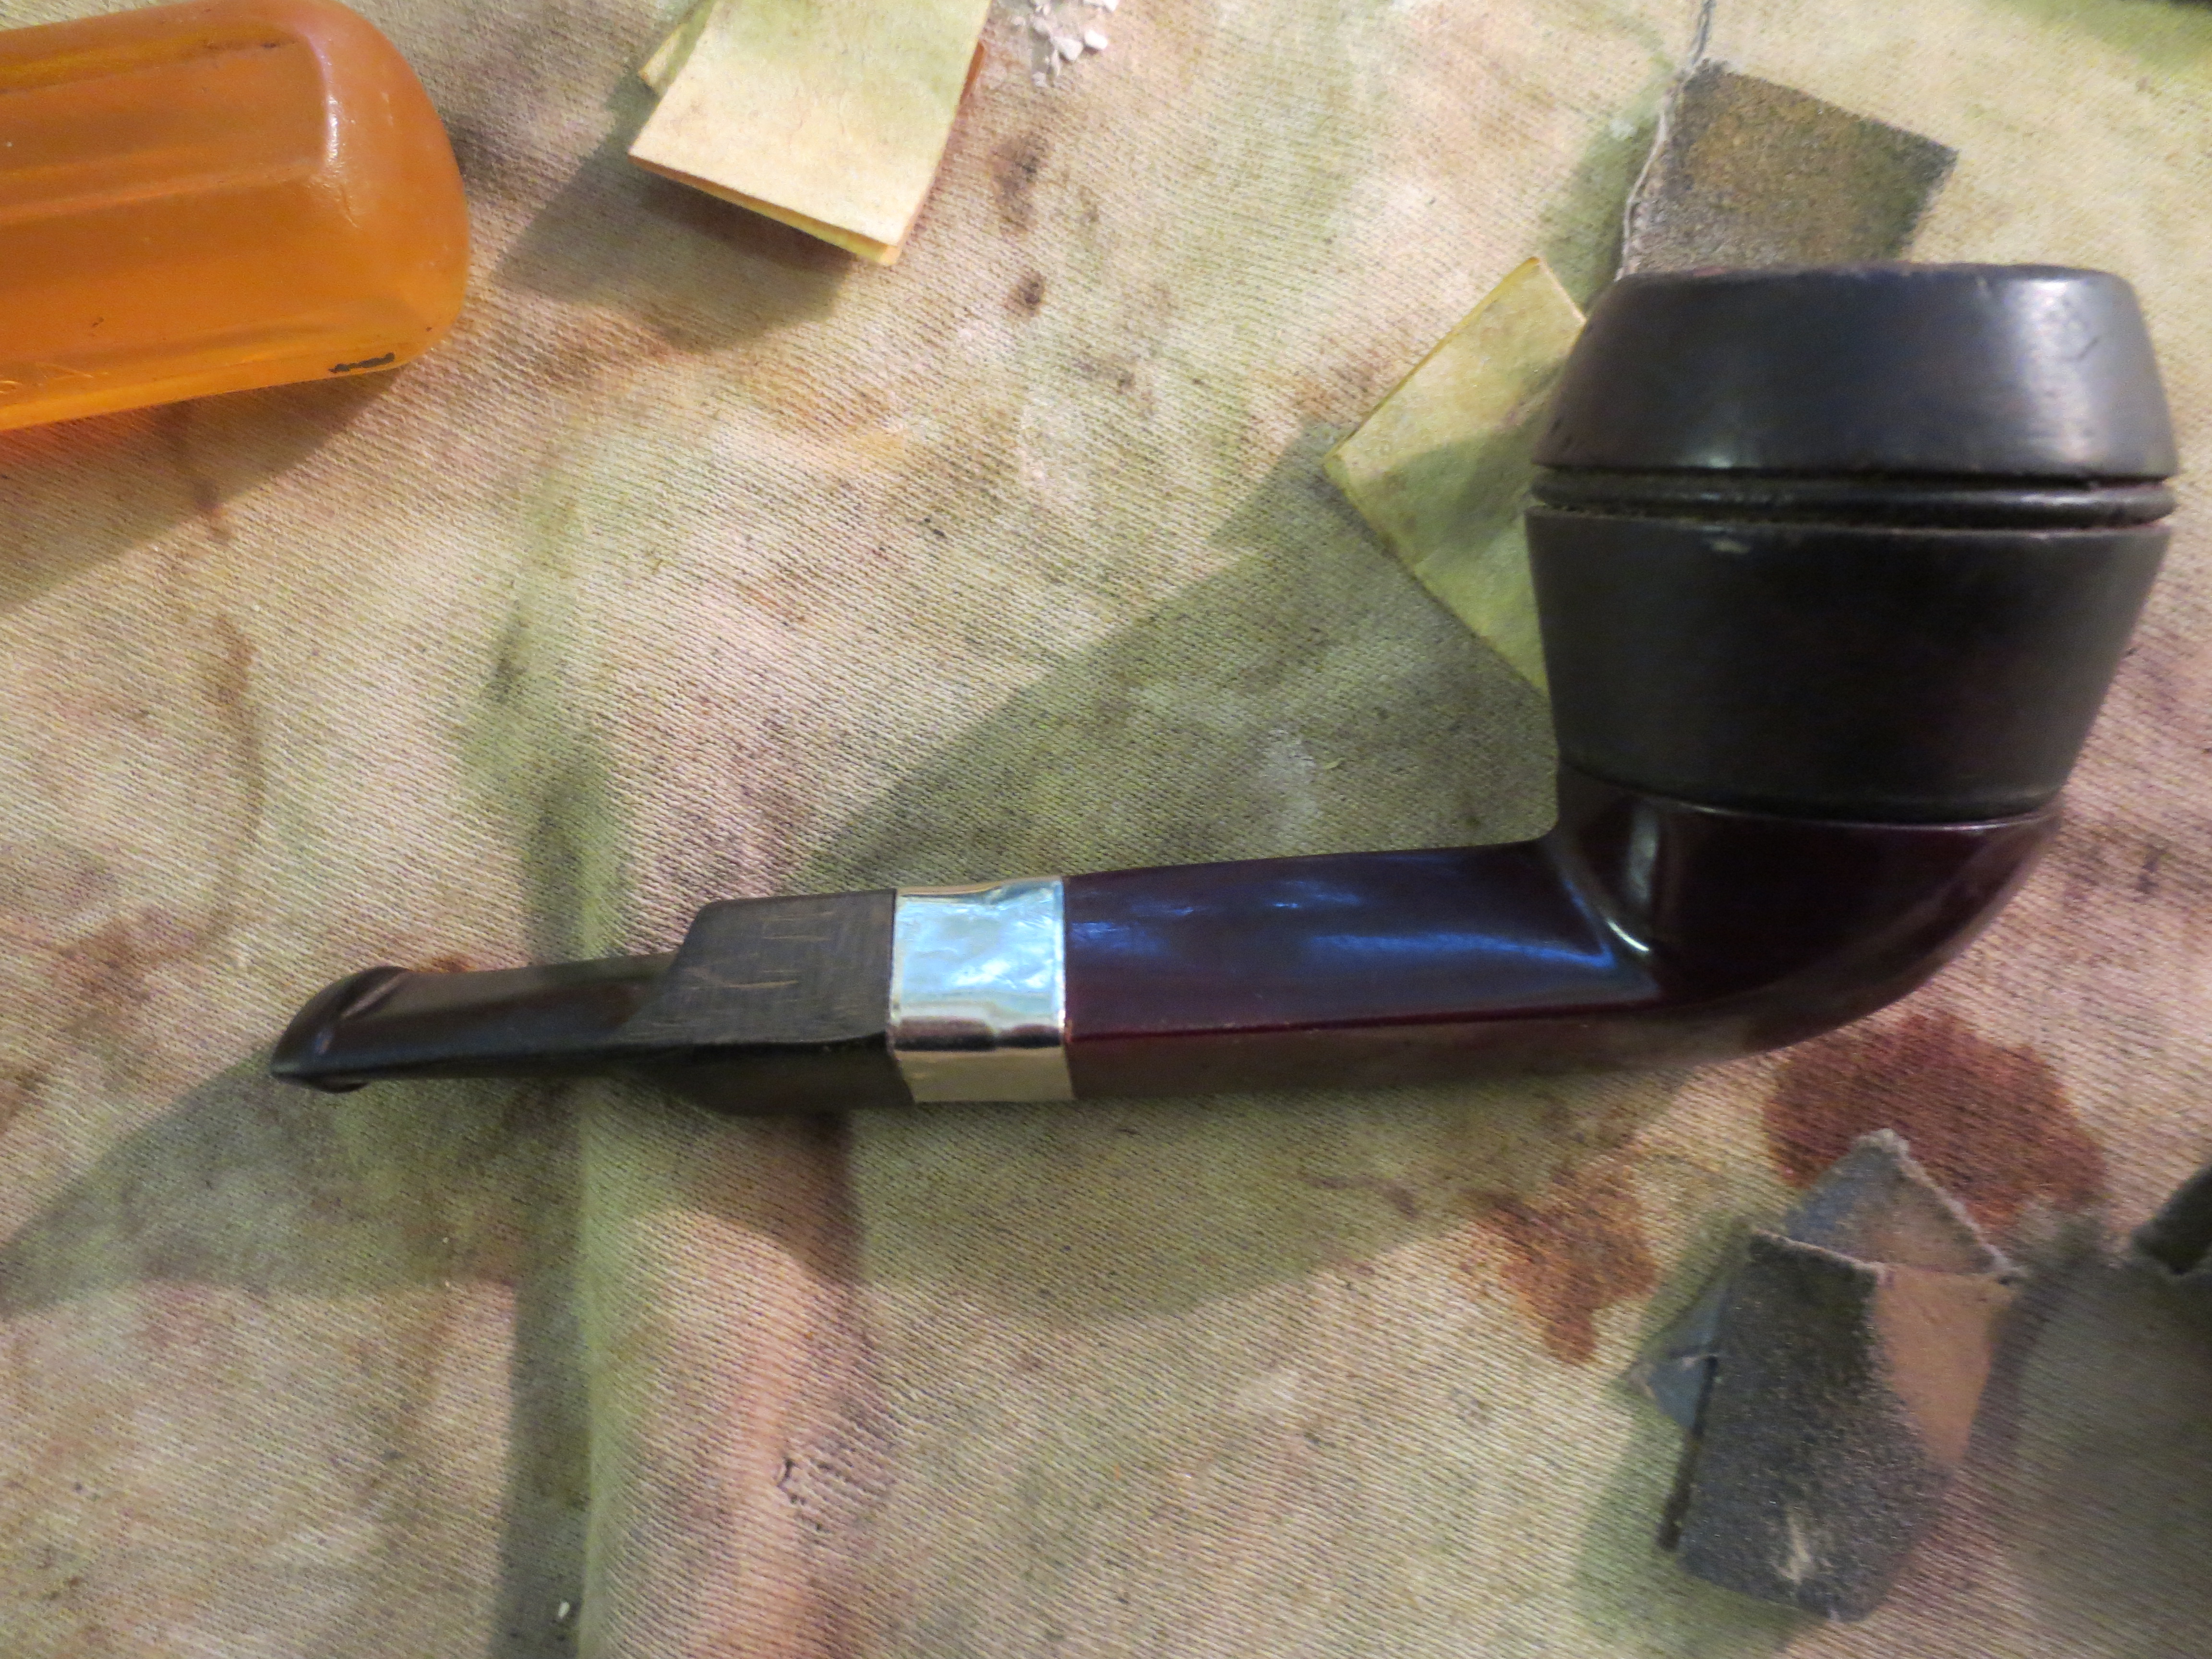
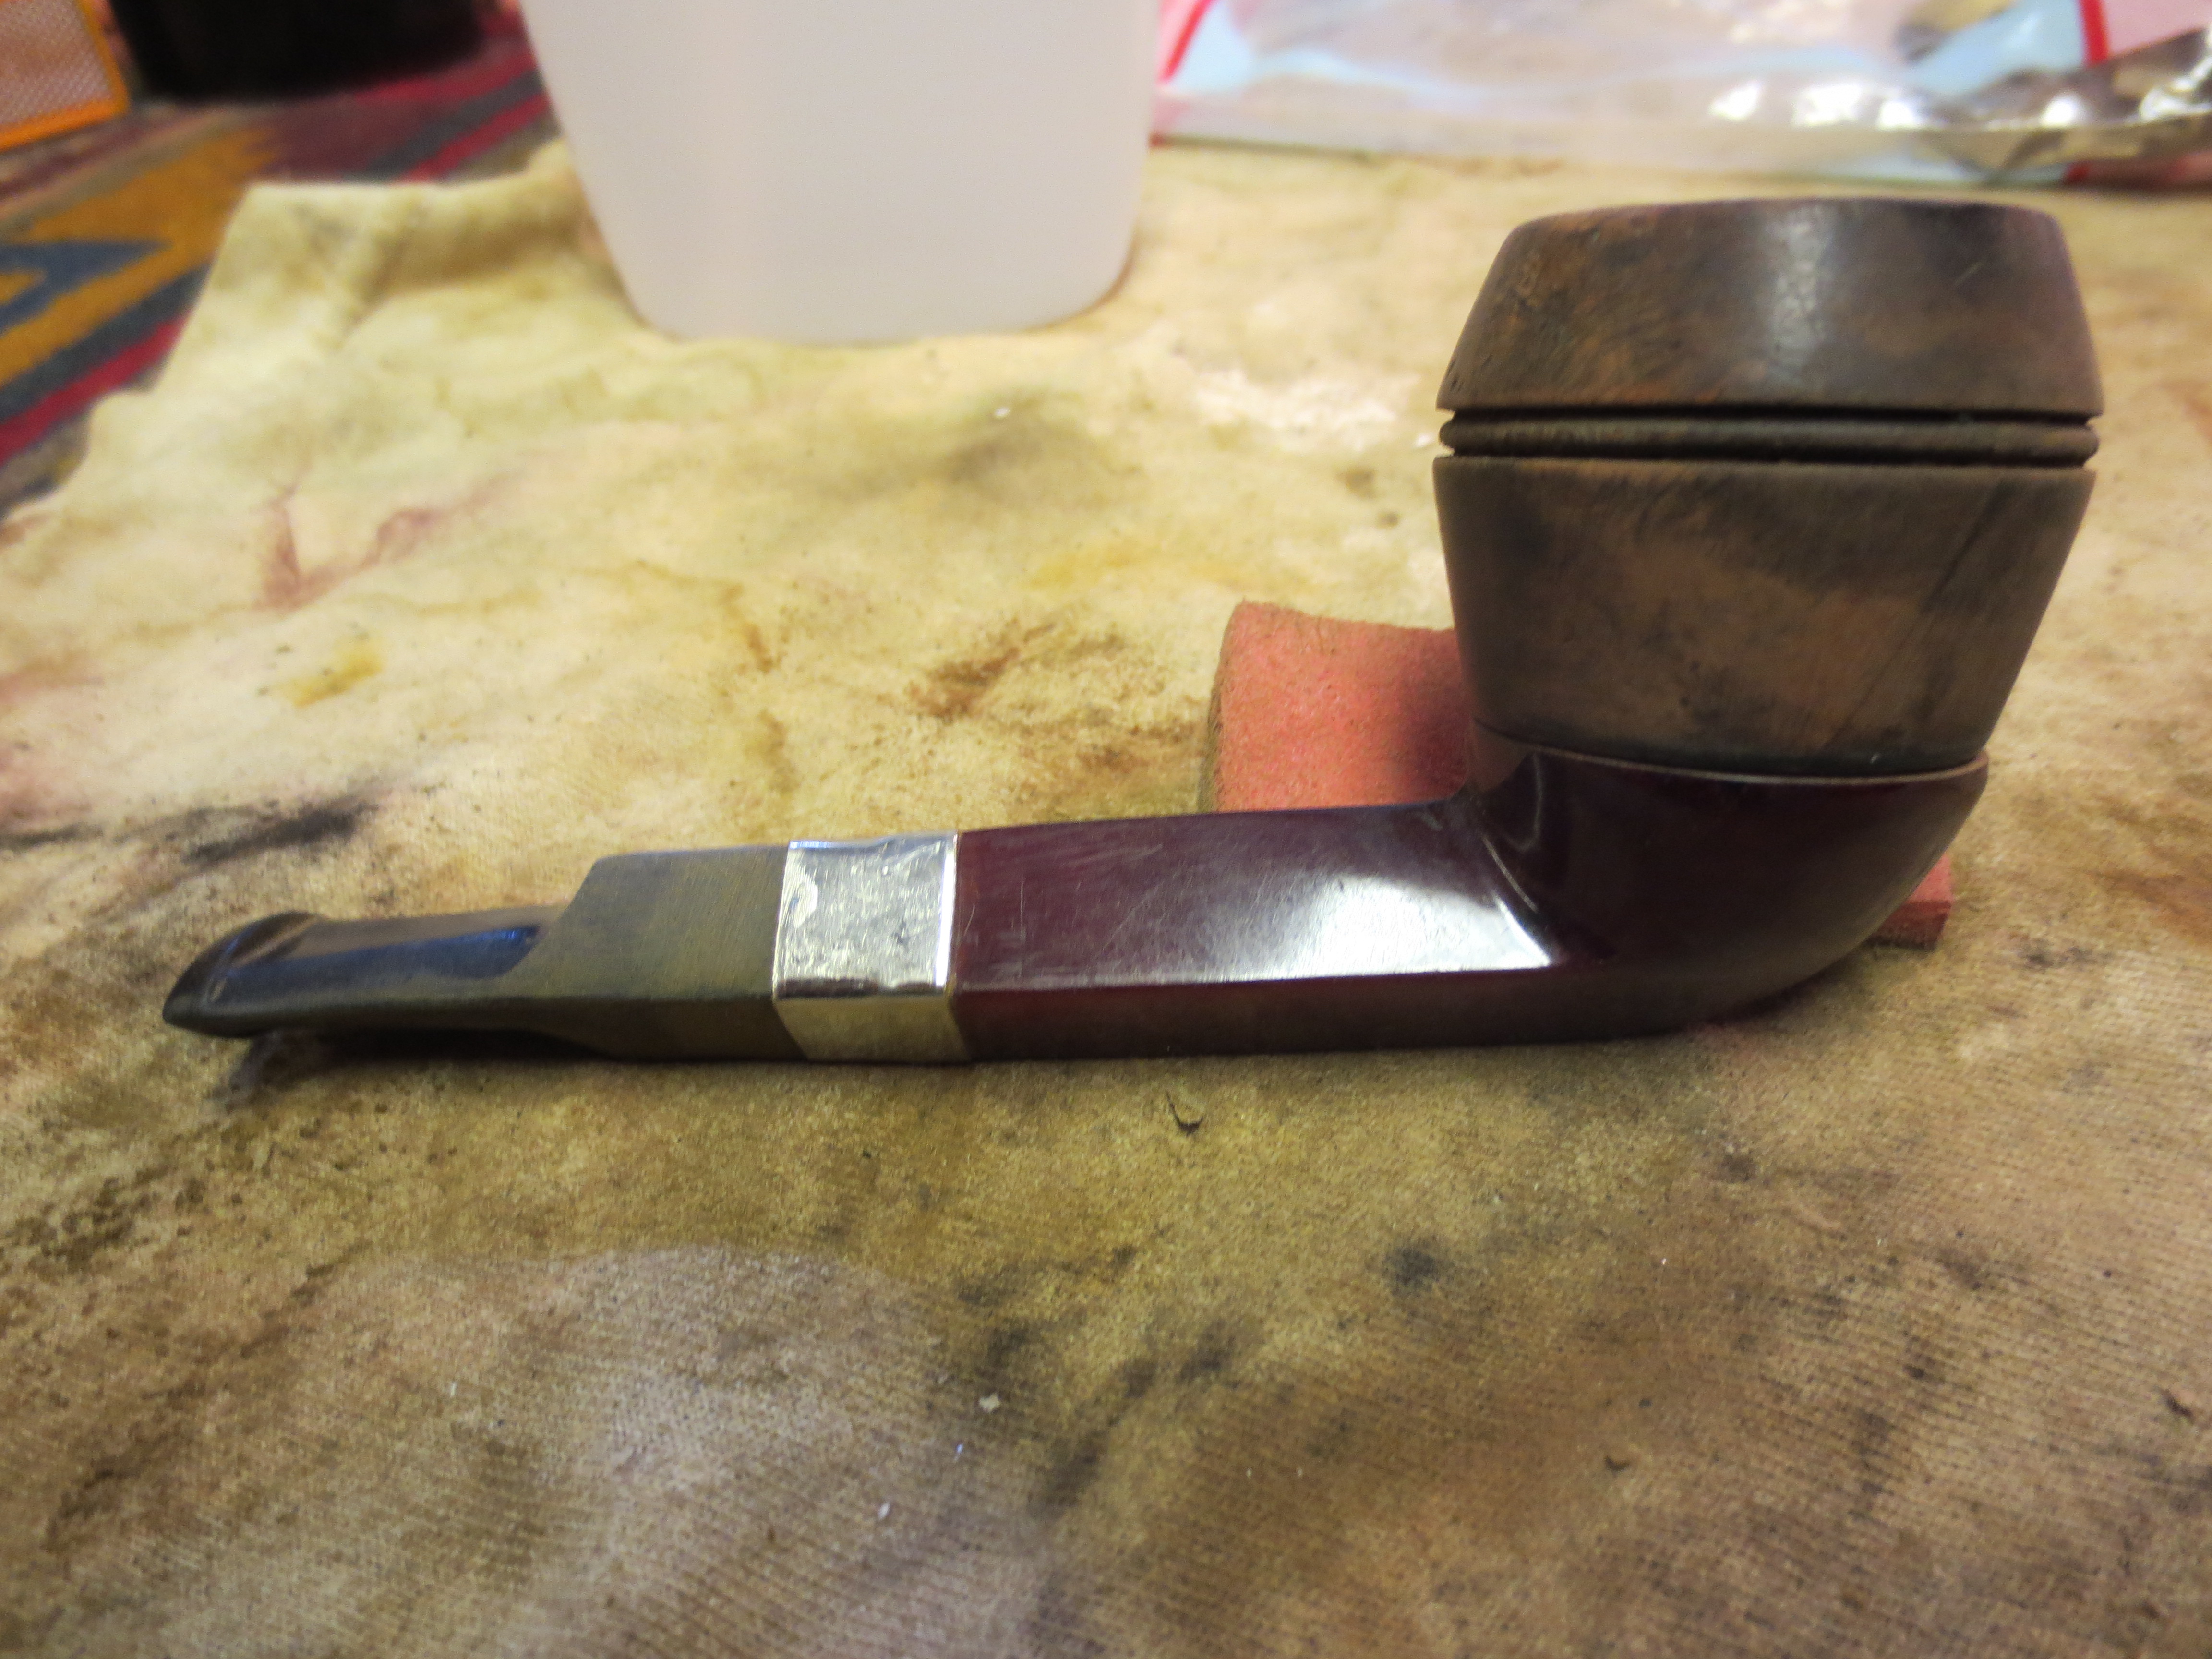
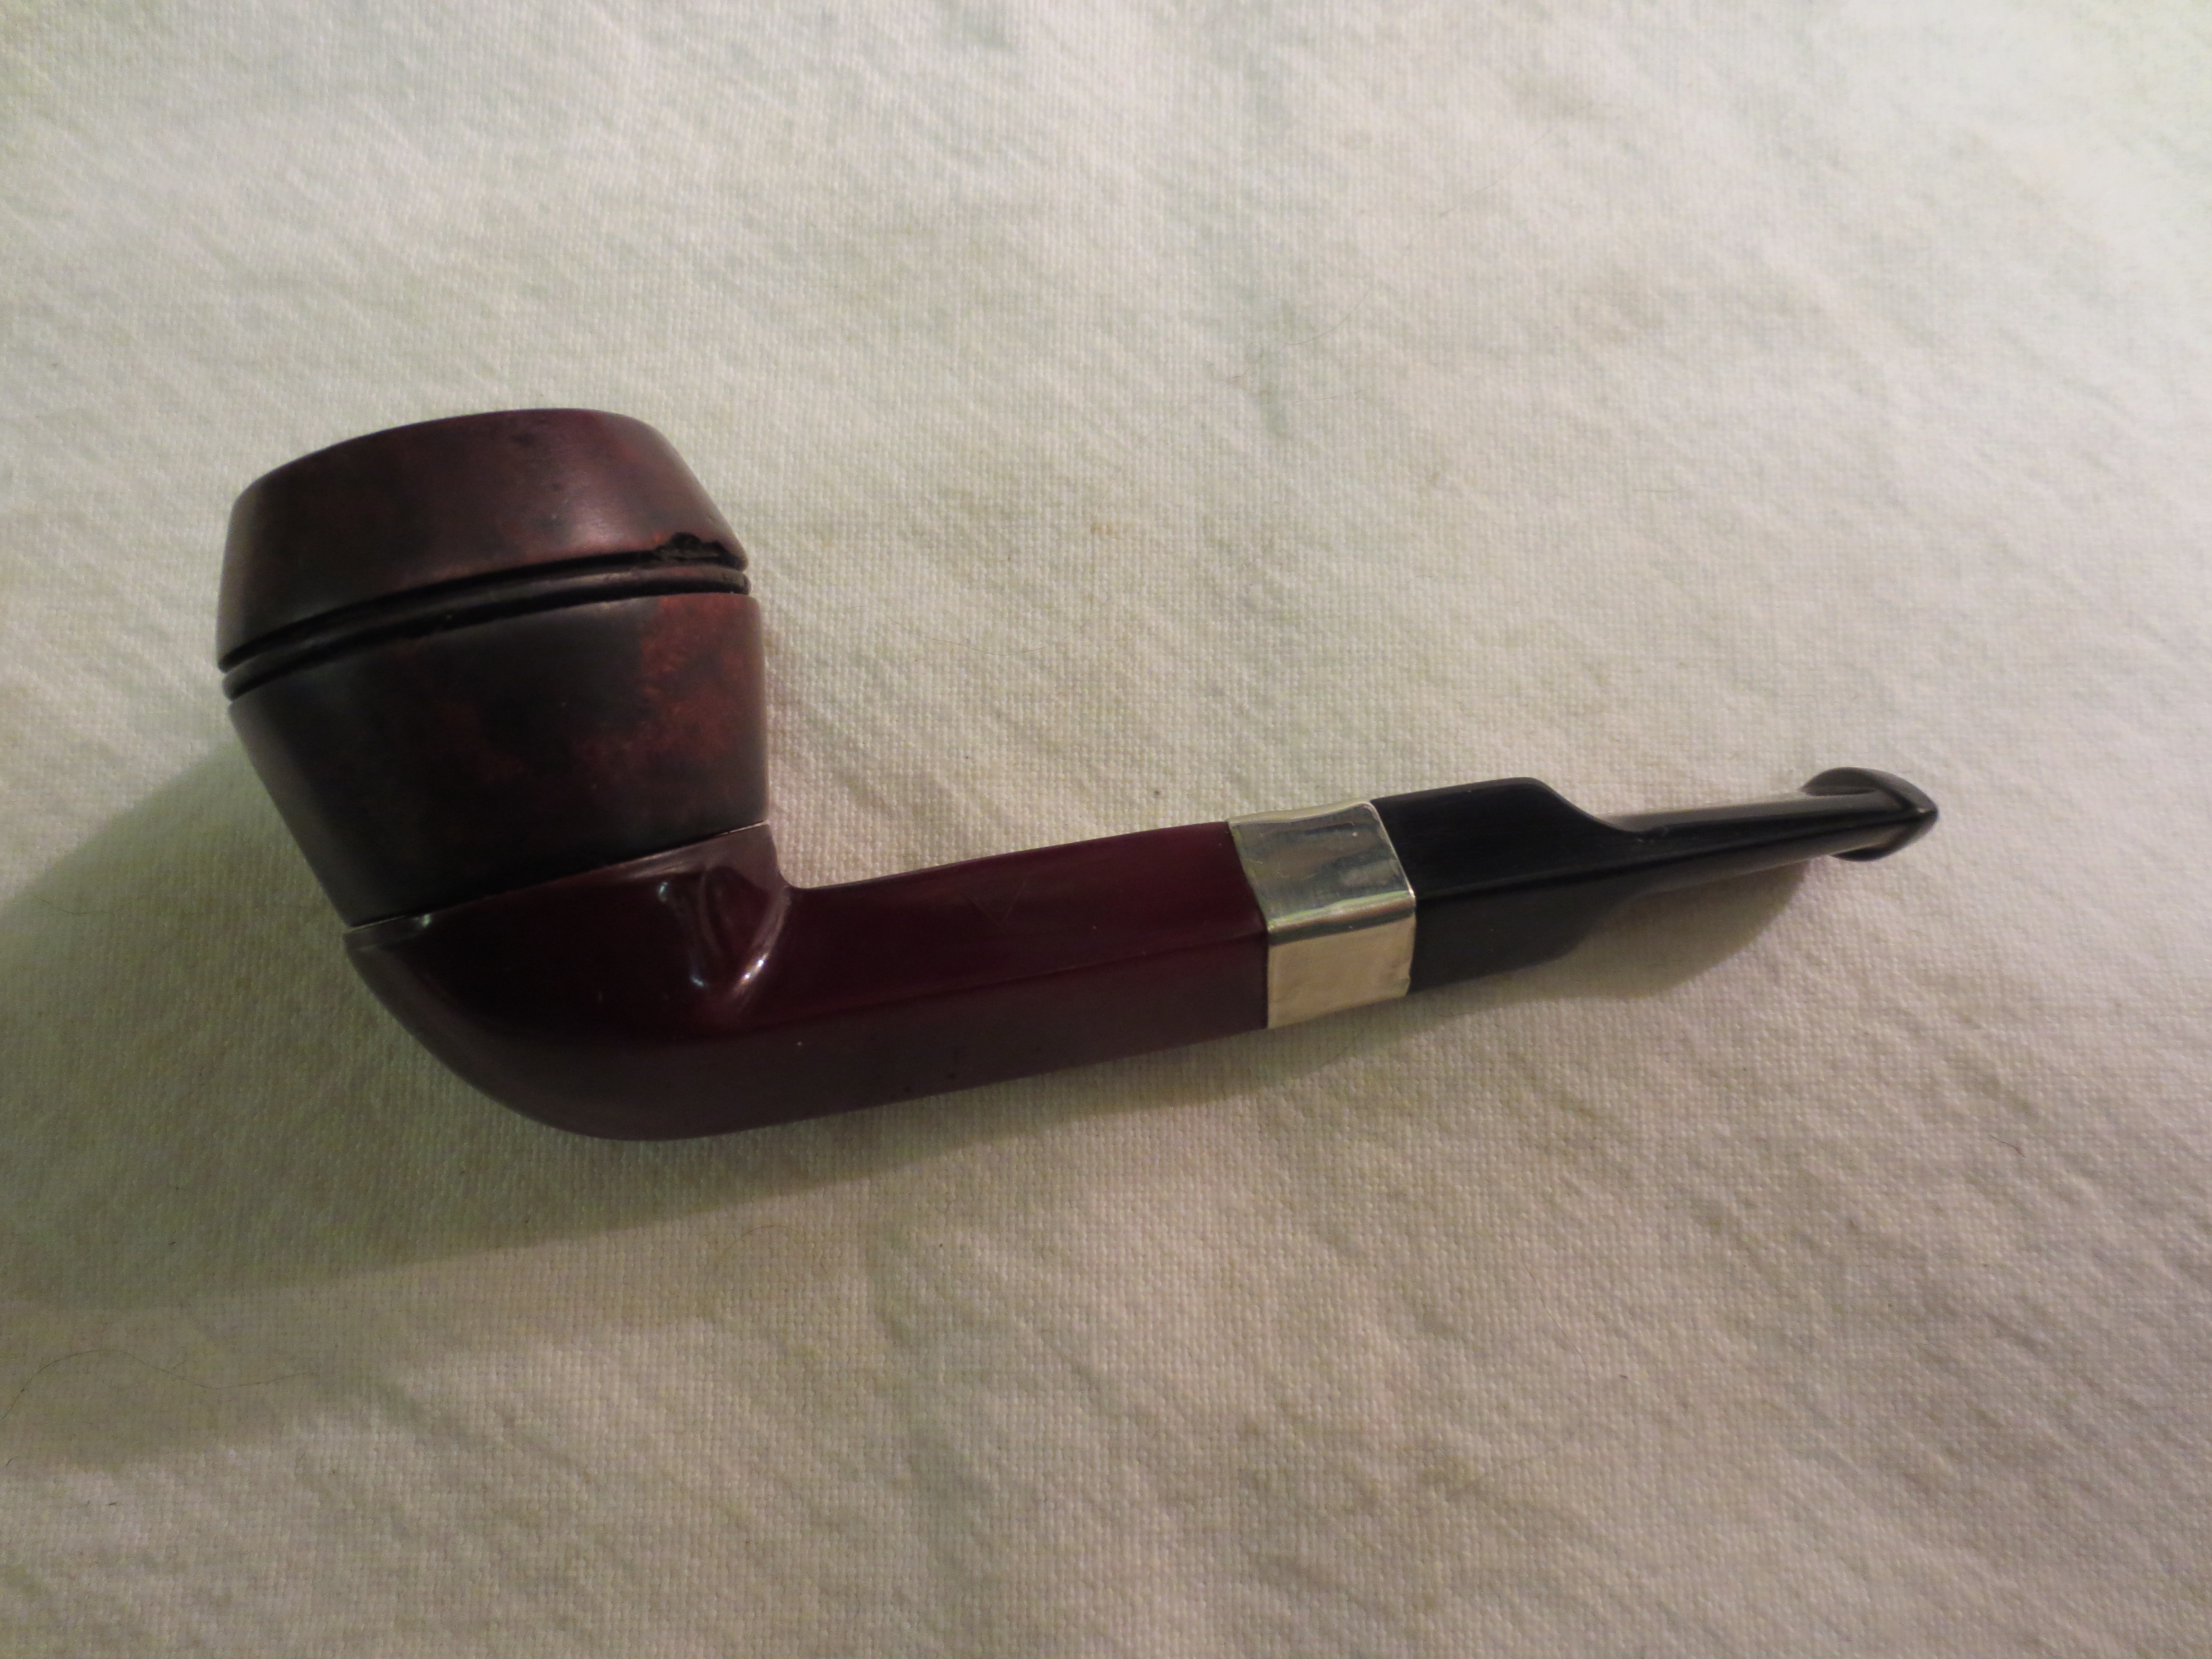
 I wrote Charles Lemon of Dadspipes as he is my go to source for all things Brigham and asked him about the pipe. He said that the patent stamp dates it between 1938-1955. Based on it being a one dot and a smooth finish, he said it was probably closer to 38 than 55. He also said that the shape 17 (or in this case 117) is what Brigham called a round Bulldog. I took photos of the pipe when I took it out of the box. It was well restored and very clean. The finish was in great shape. The stamping was very clear with a little wear at the middle of the Brigham stamp. The single brass dot on the stem side was clear. The vulcanite stem looked very clean and polished. There was a little rounding to the side of the stem at the stem/shank union but it was really pretty clean. There were some small tooth dents in the stem but the stem looked good. The rim top was clean and the entire pipe was clean and ready to smoke.
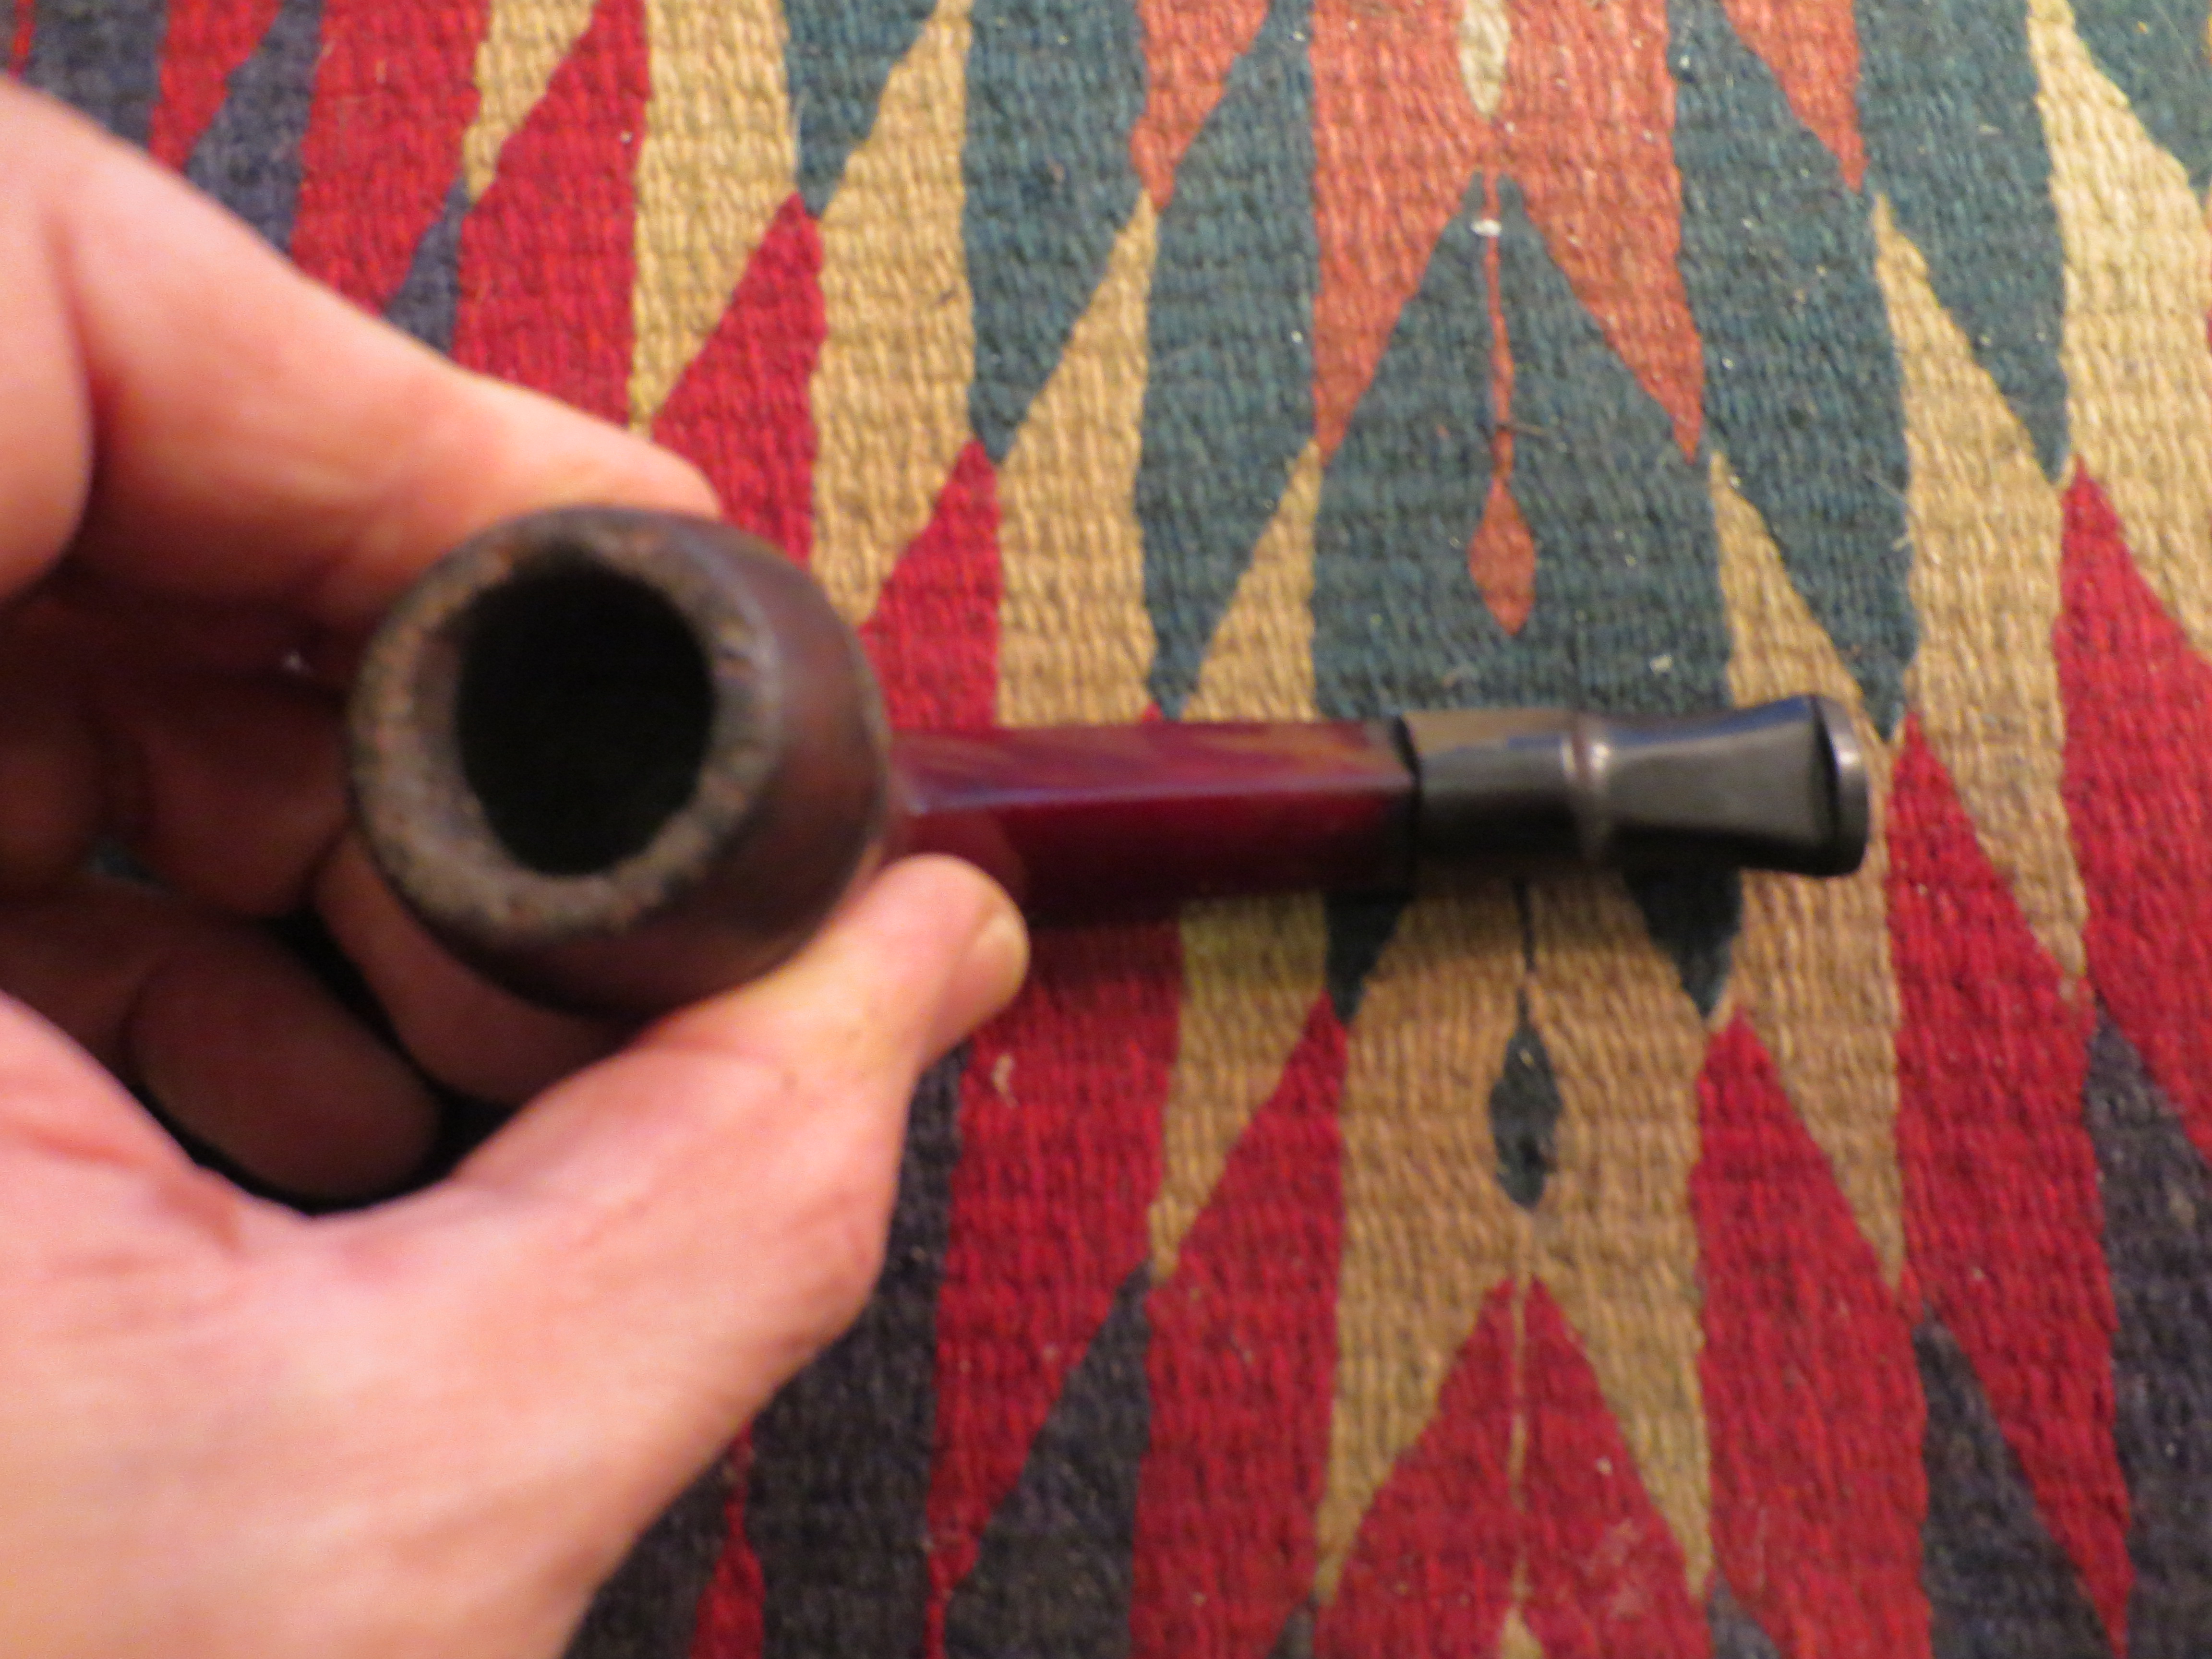
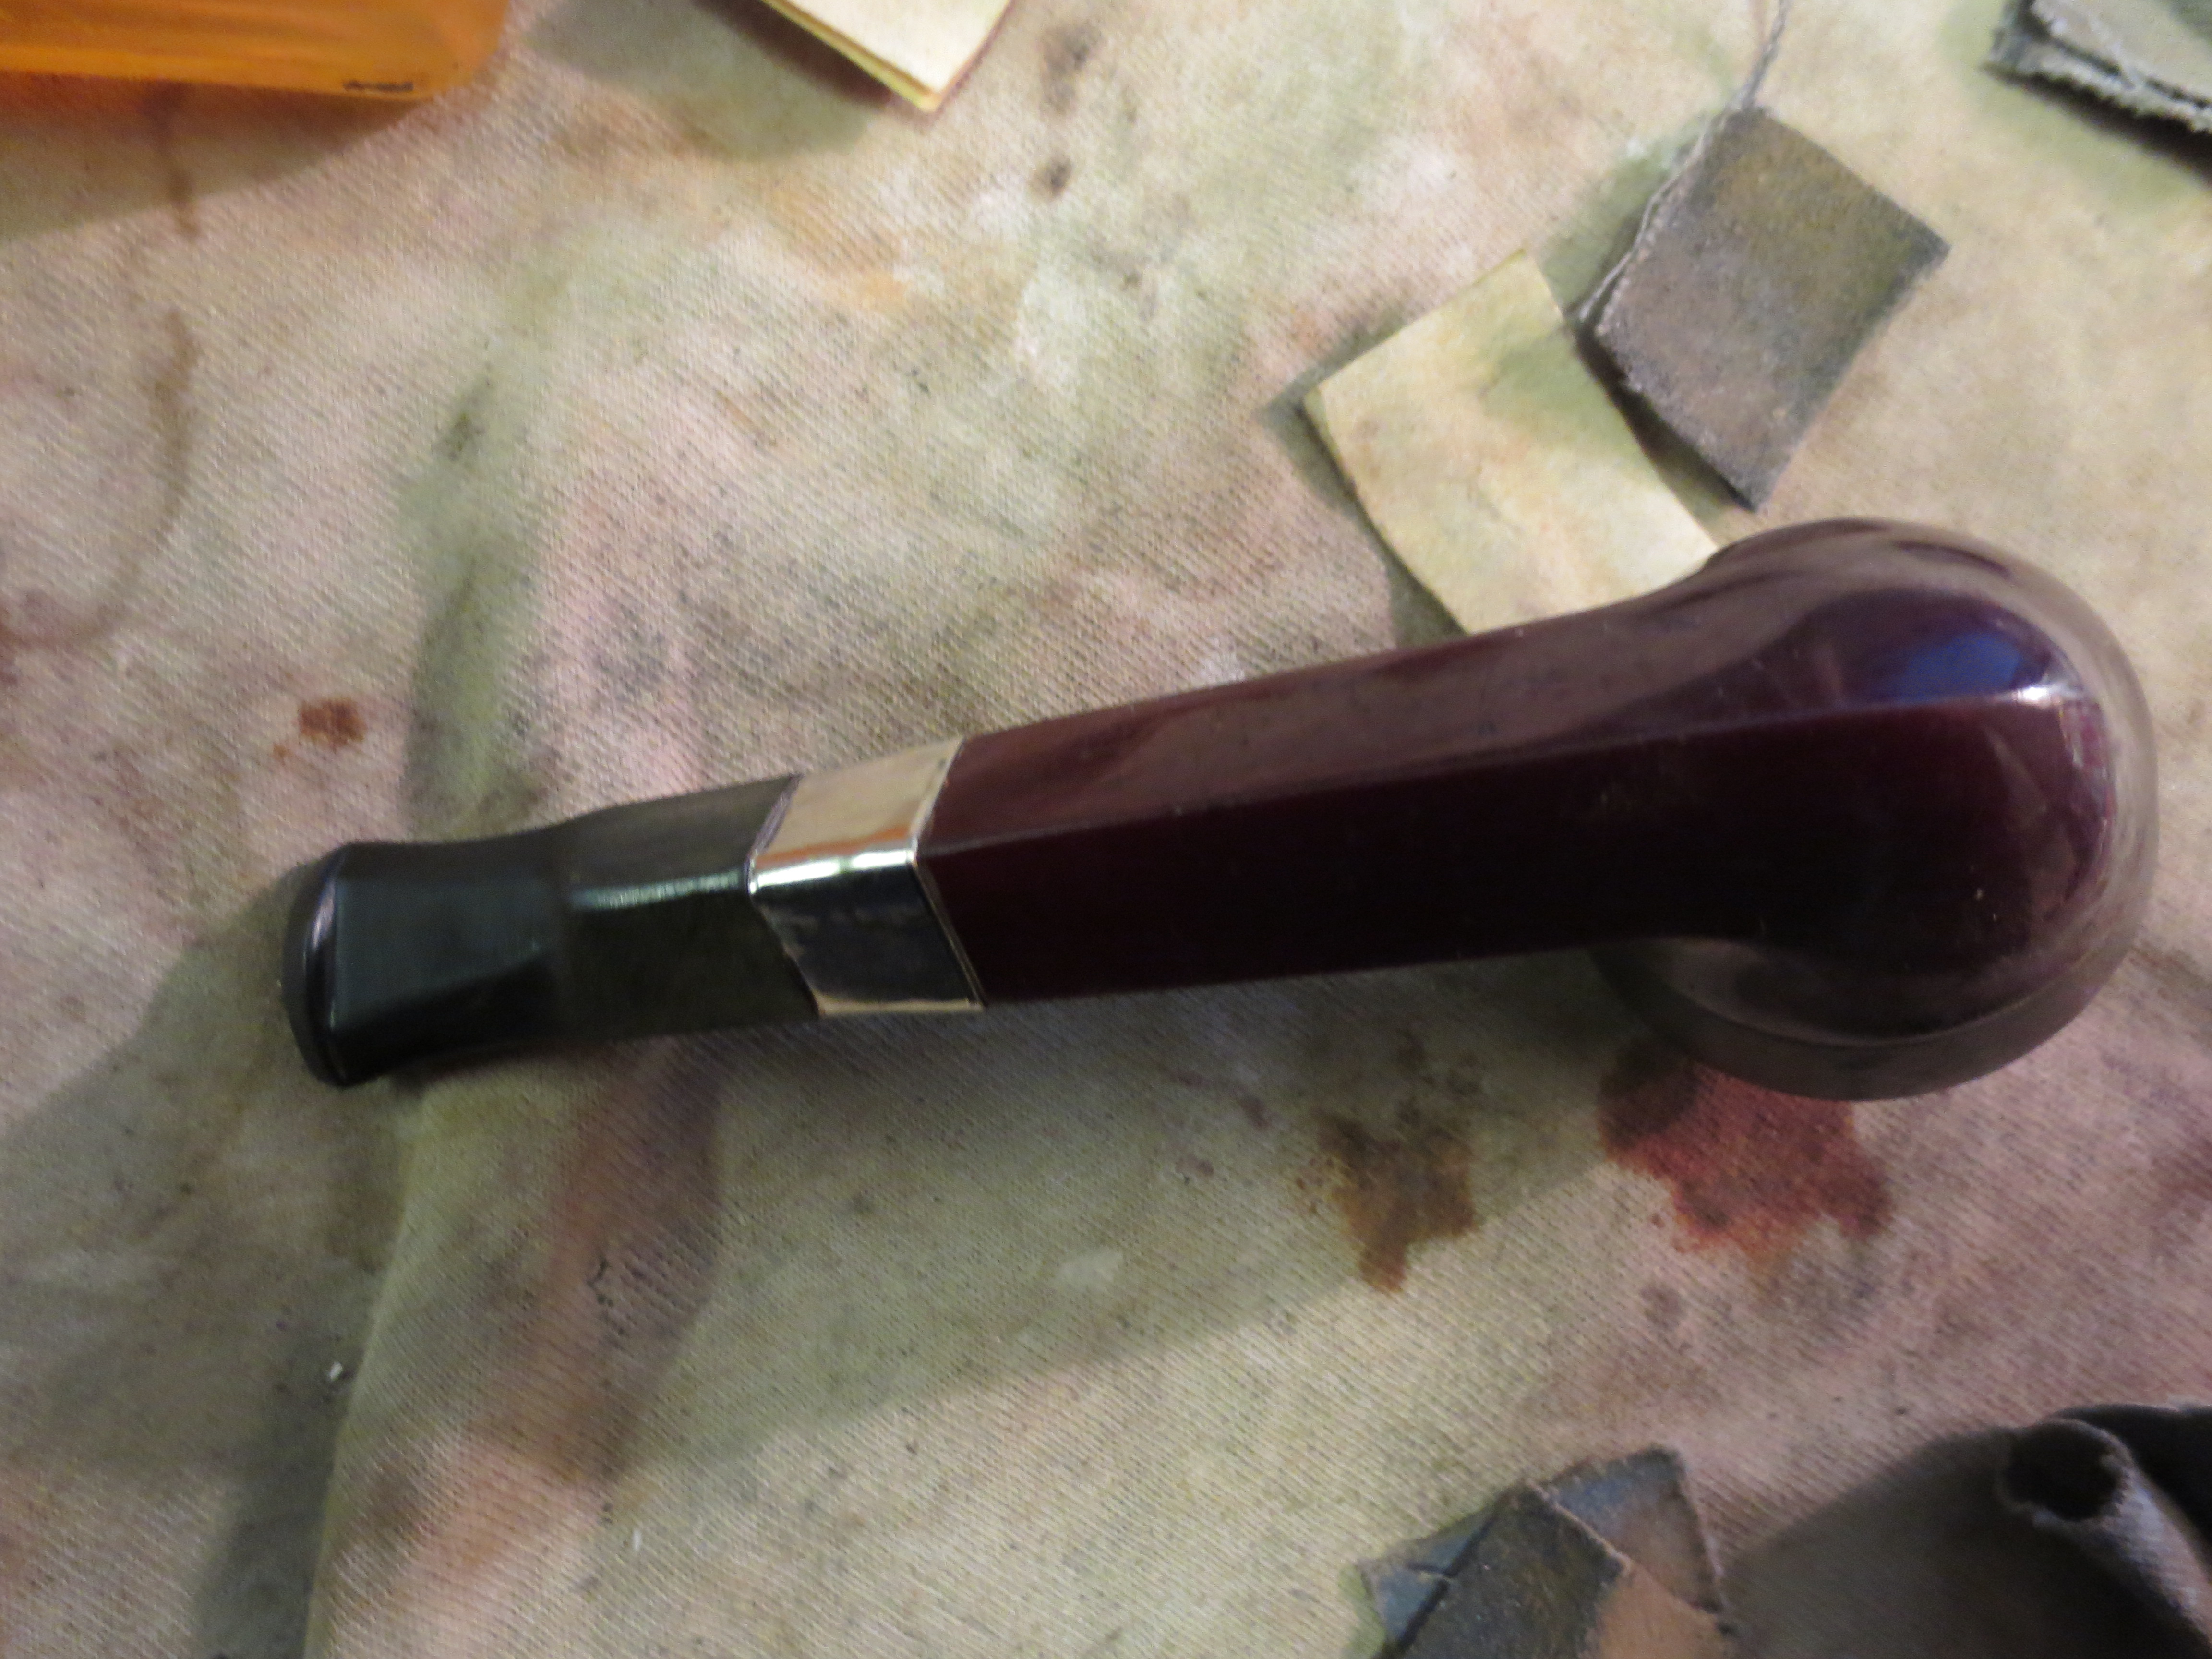
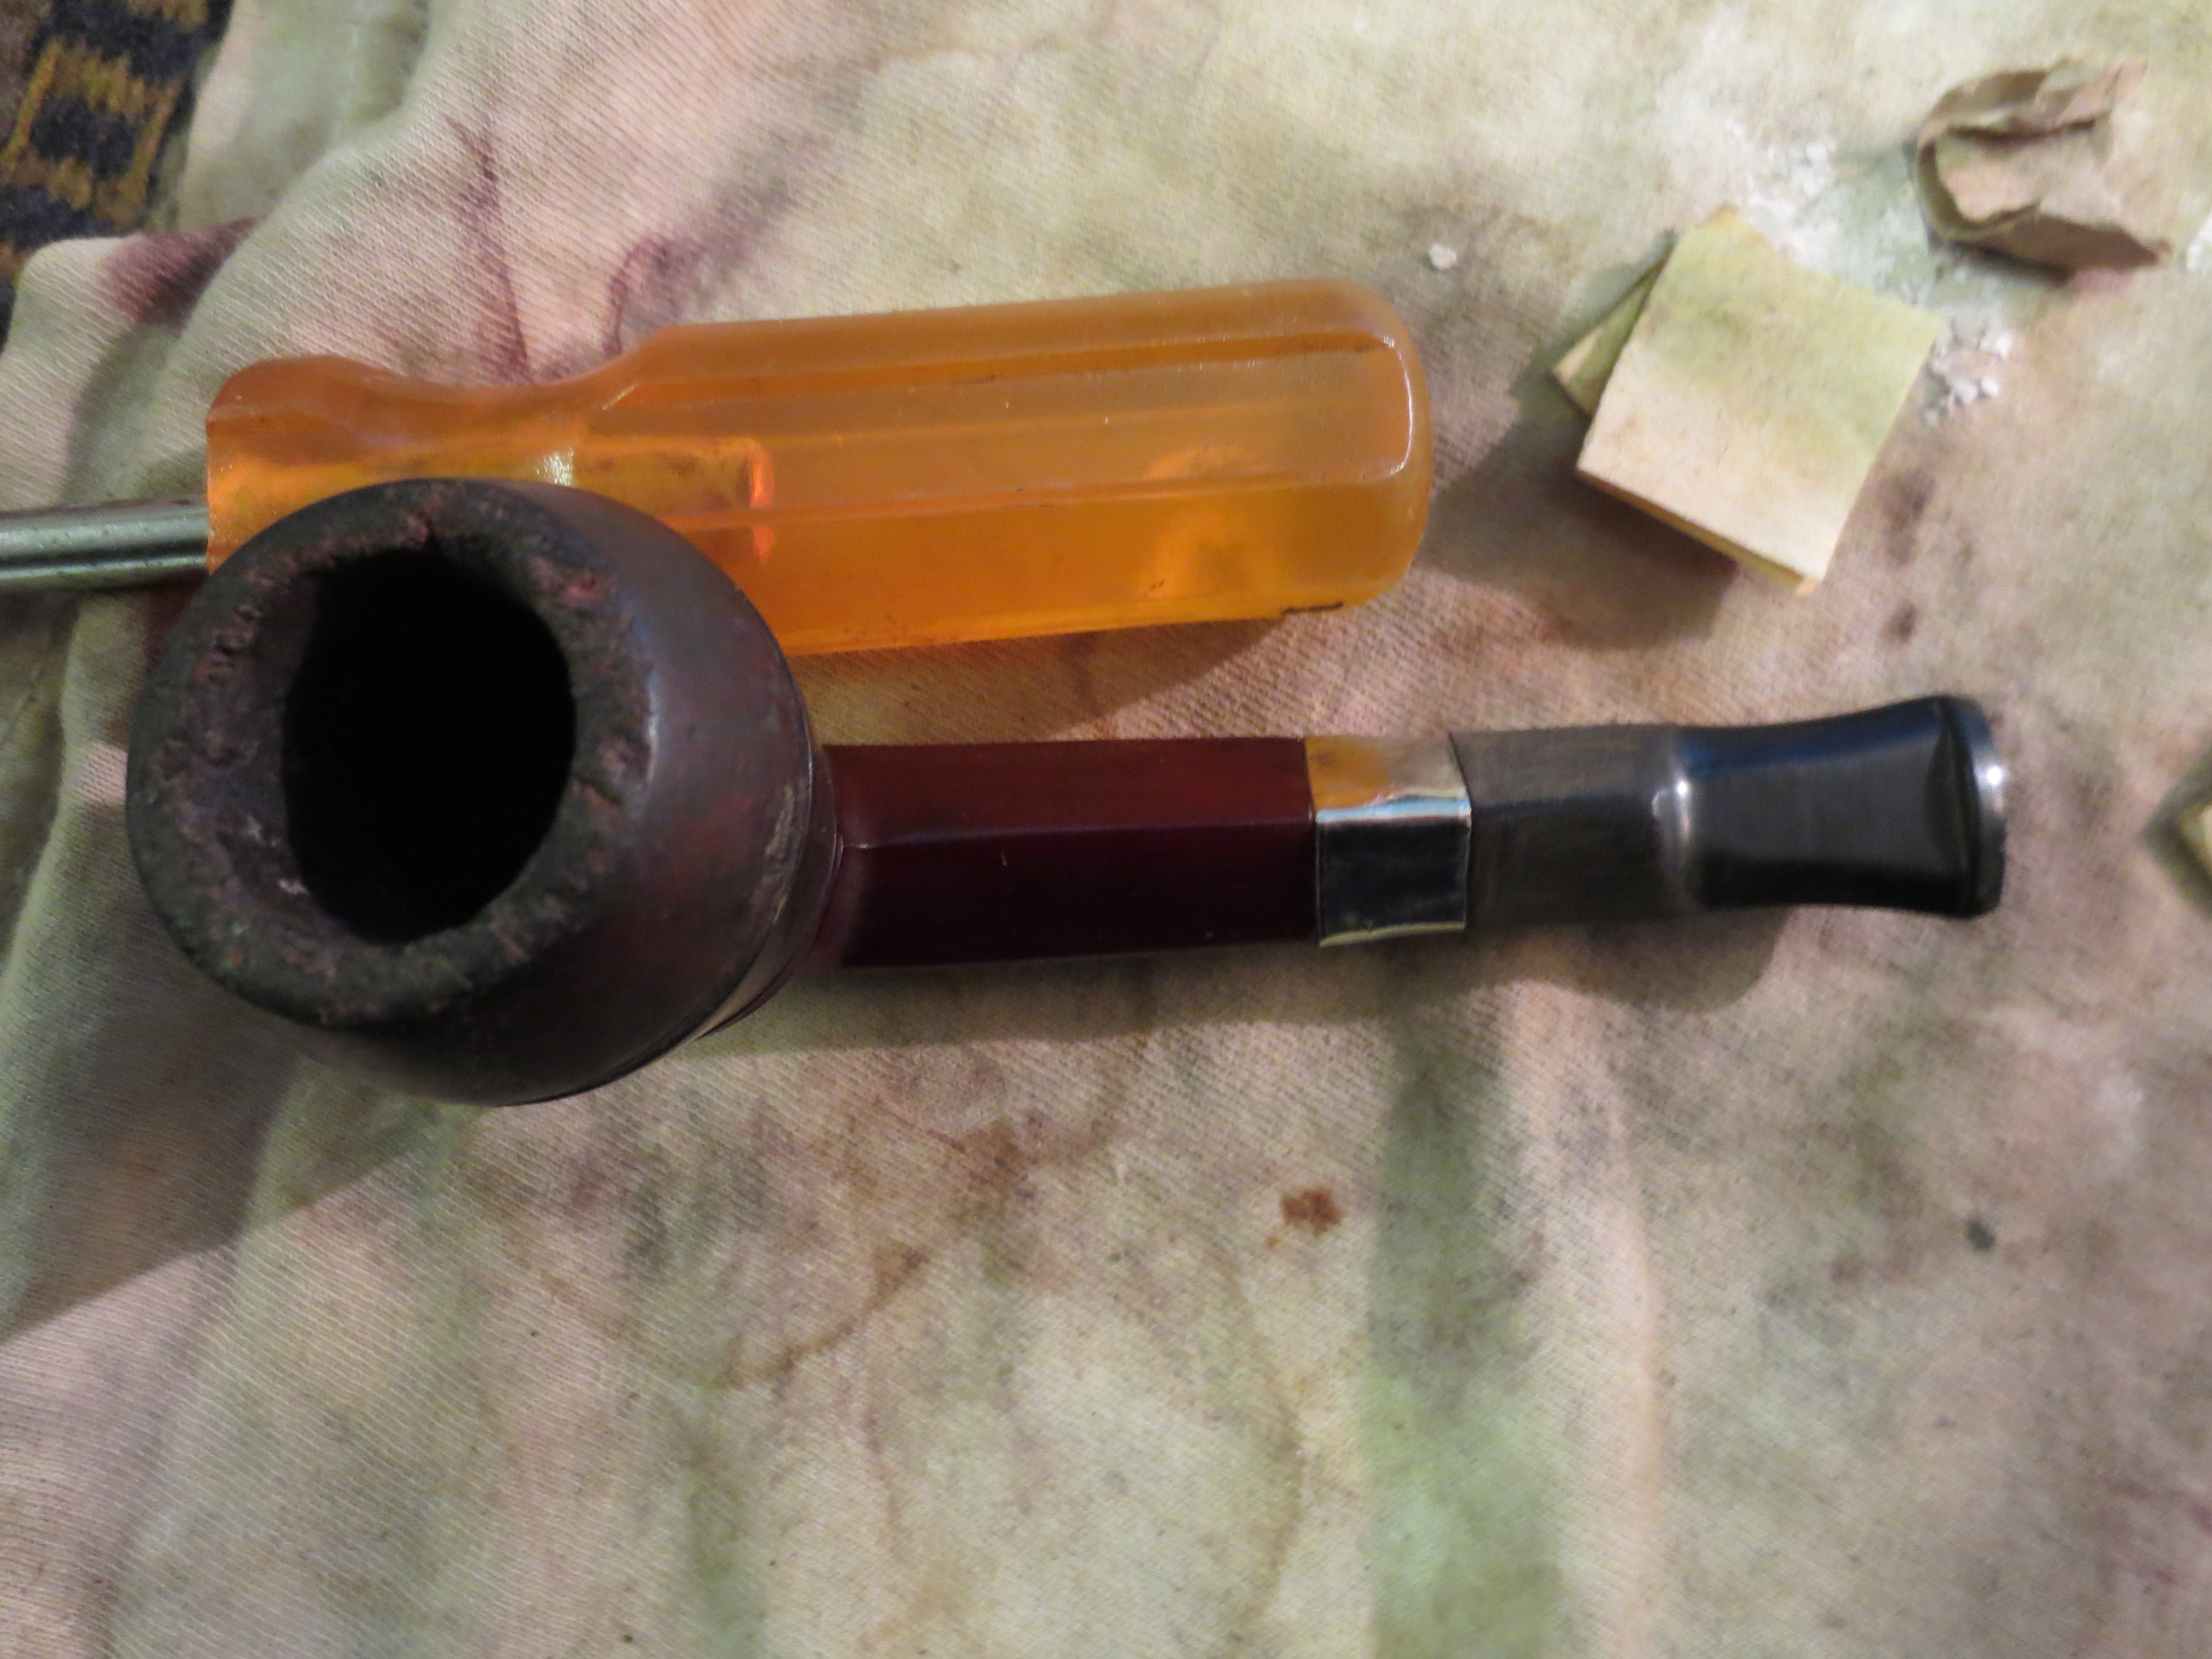
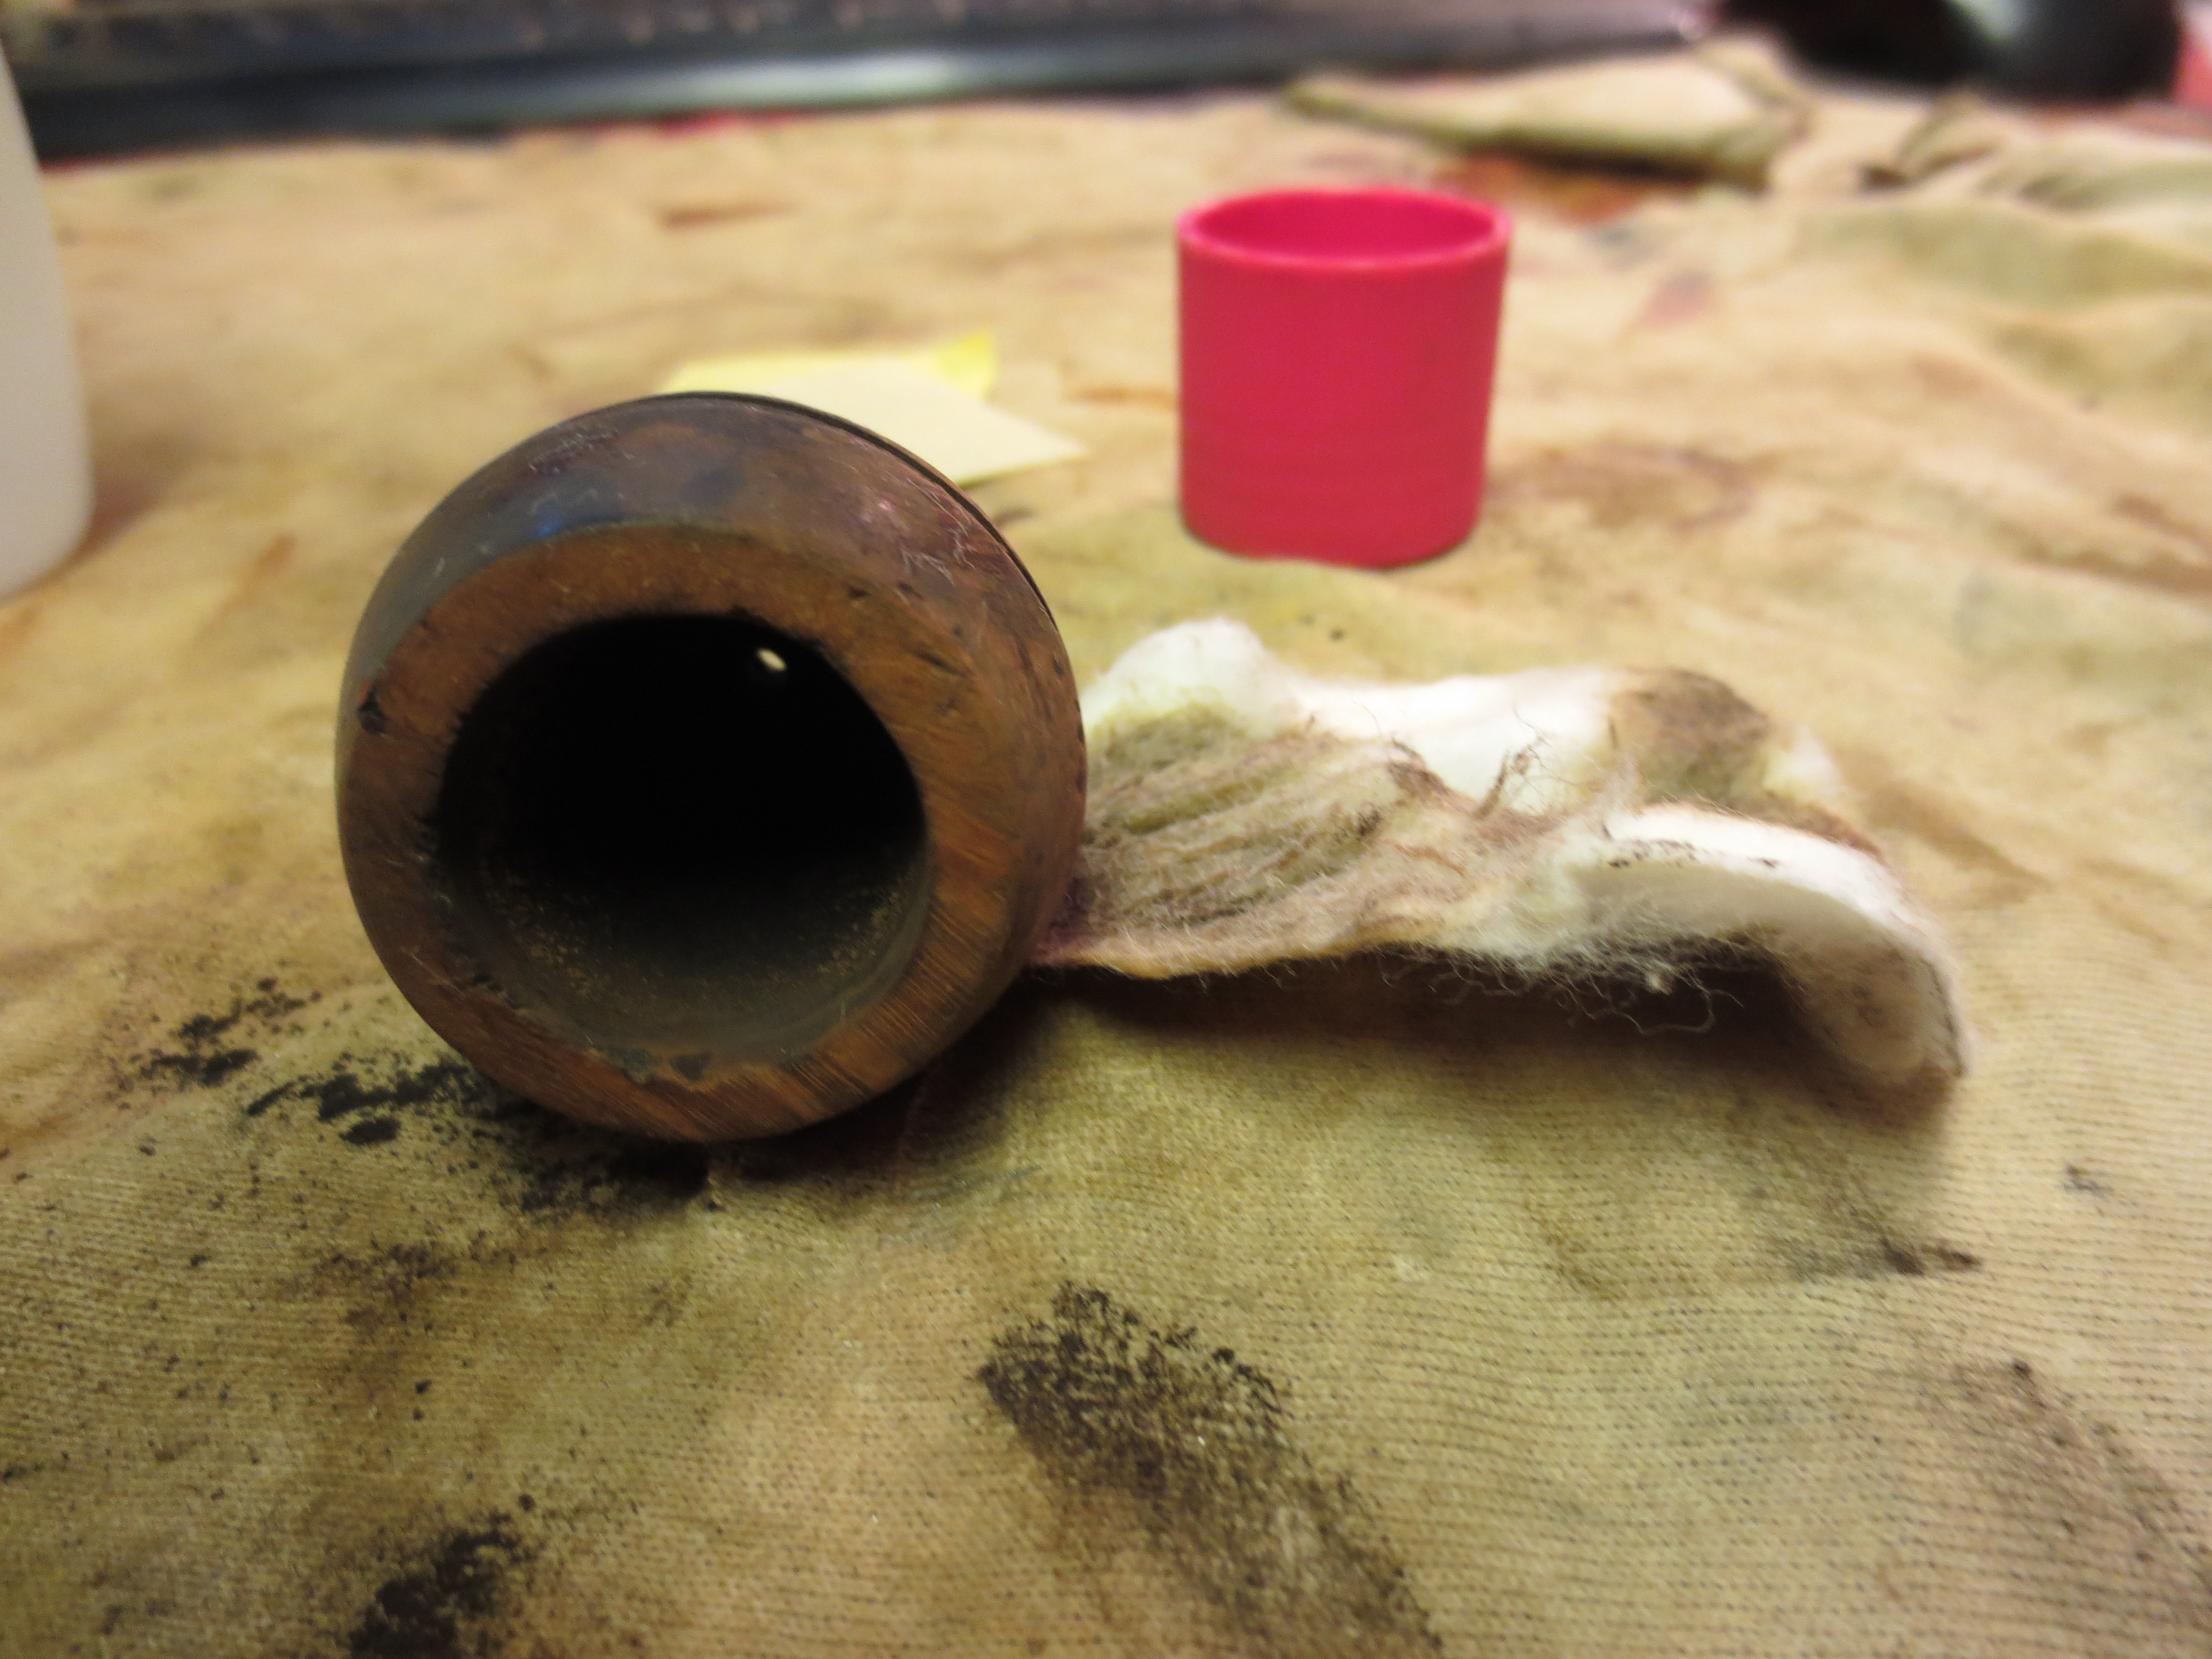
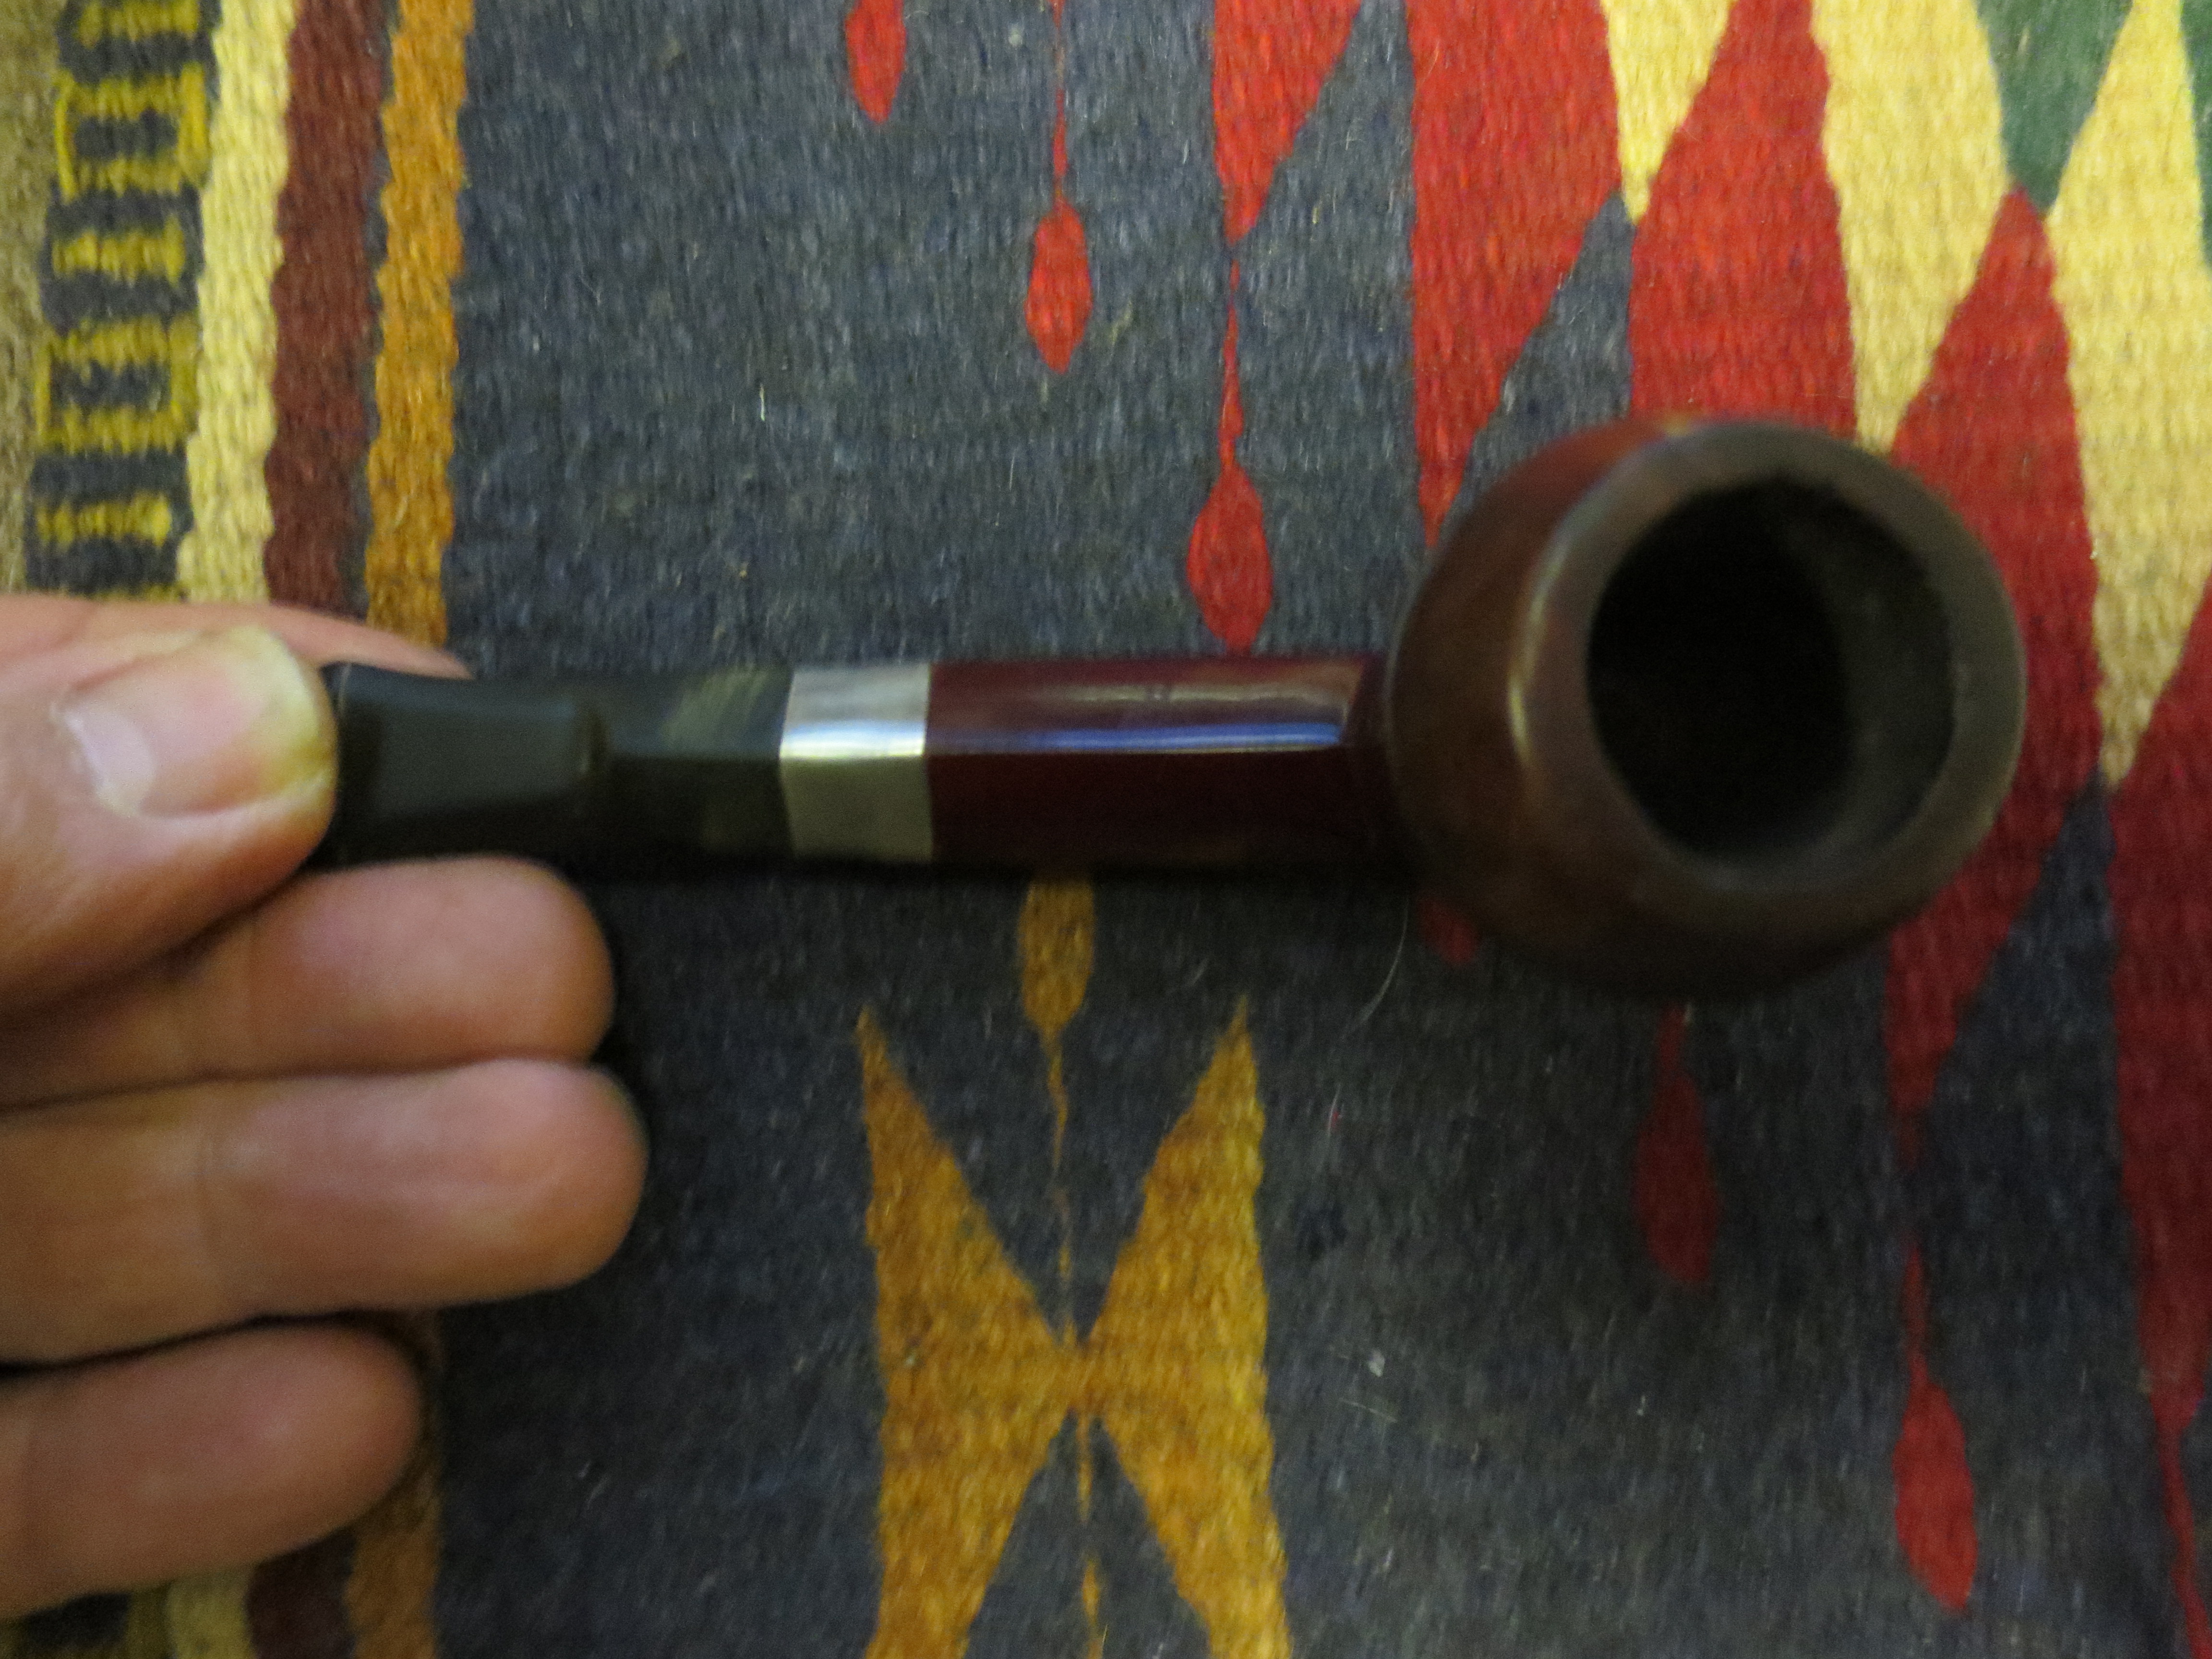
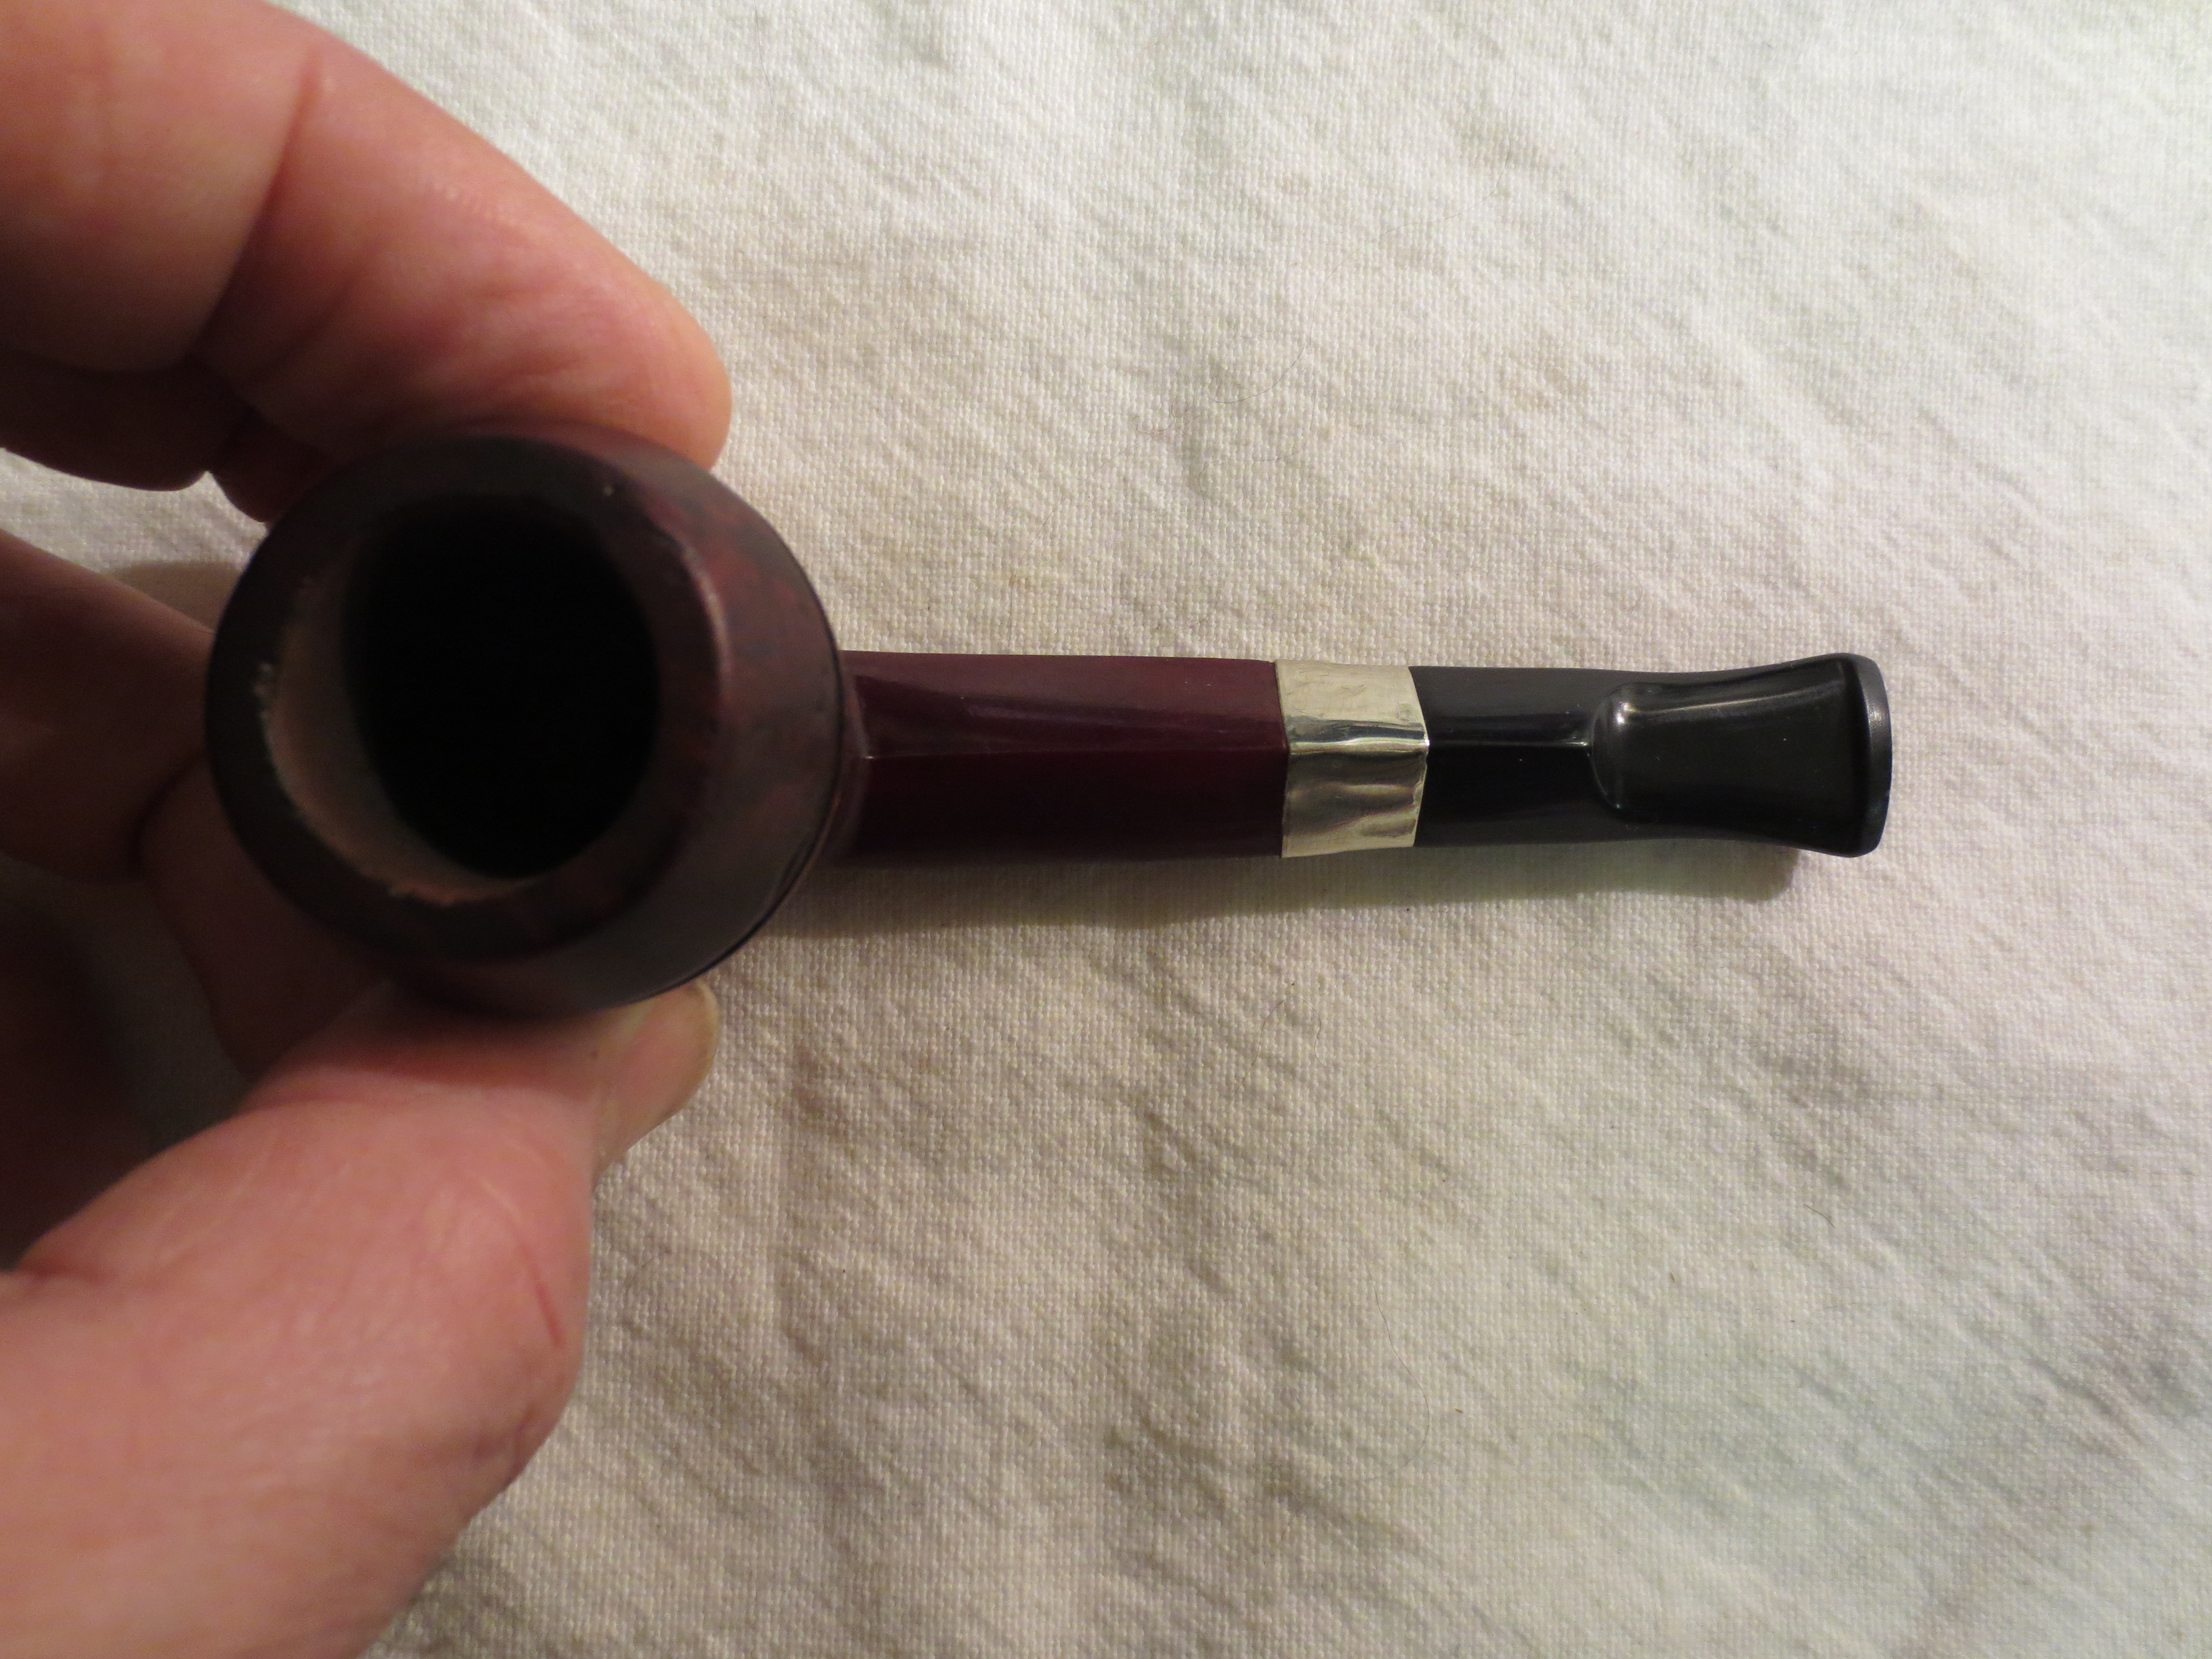
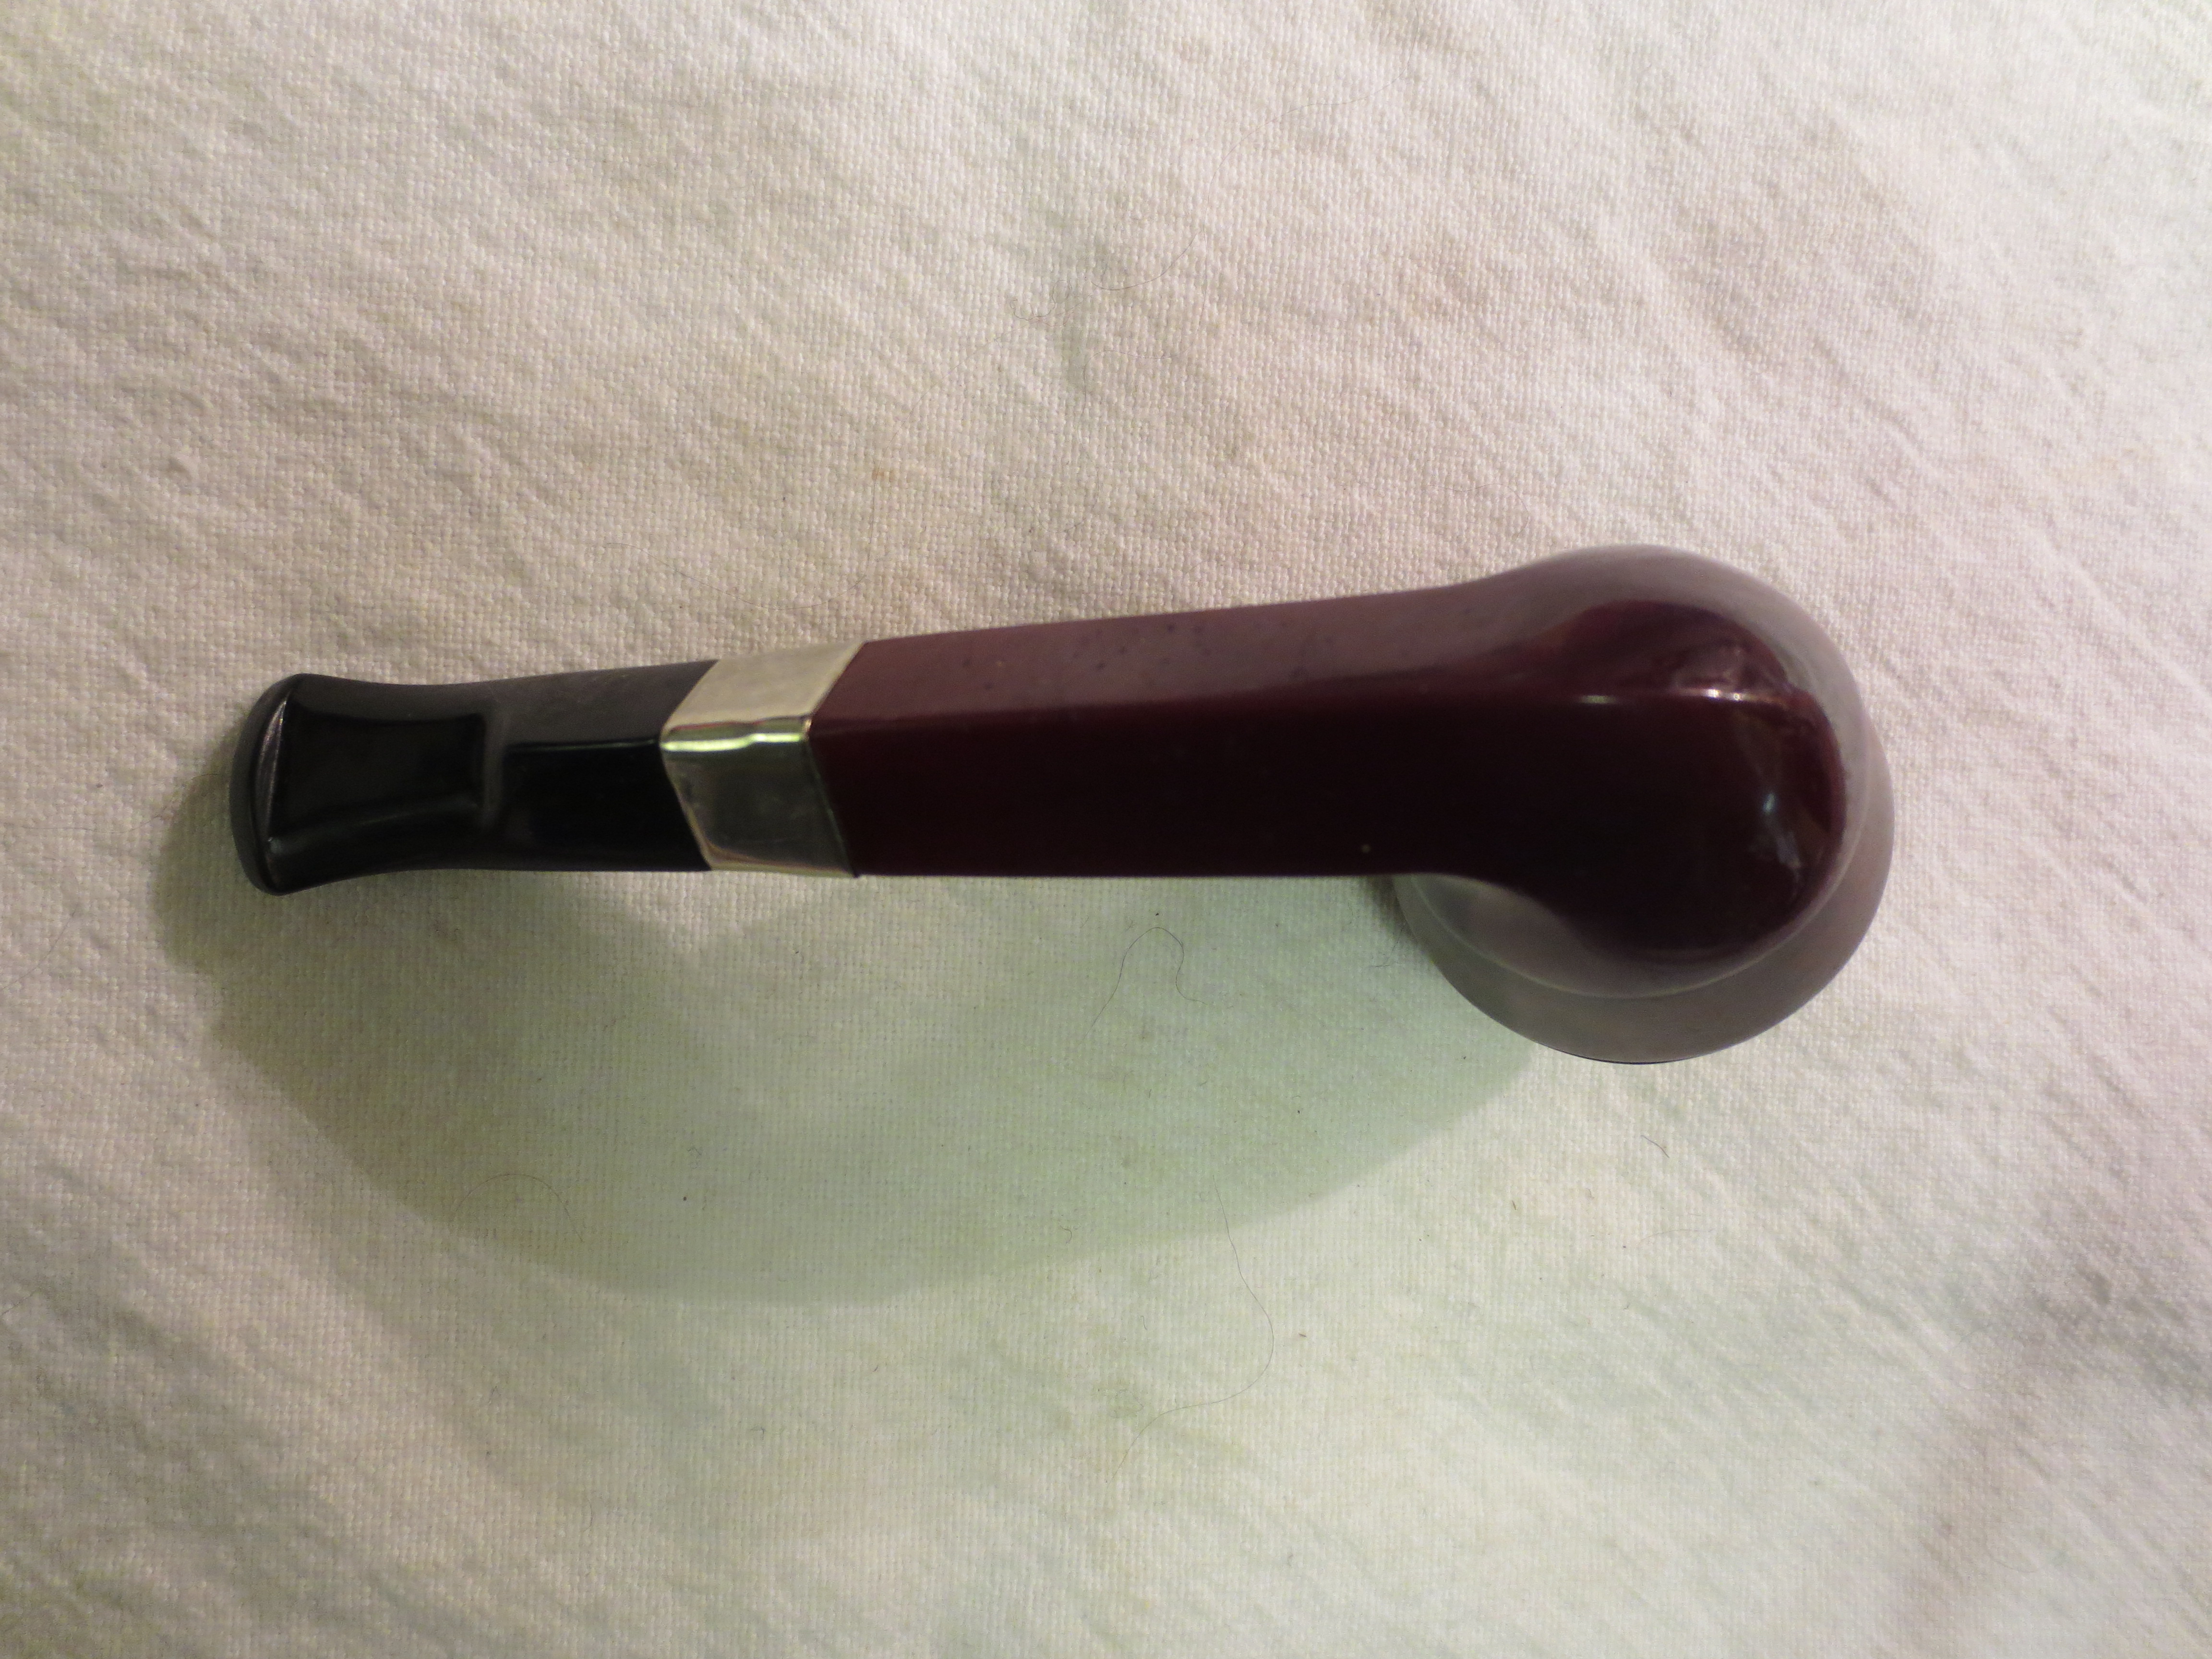
 I took photos of the bowl/rim top and the stem to show the condition it was in when it arrived. It really looks good. You can see the damaged areas on the inside edge of the rim and the marks on the stem but it still is very nice.
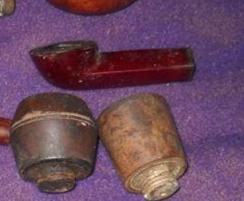
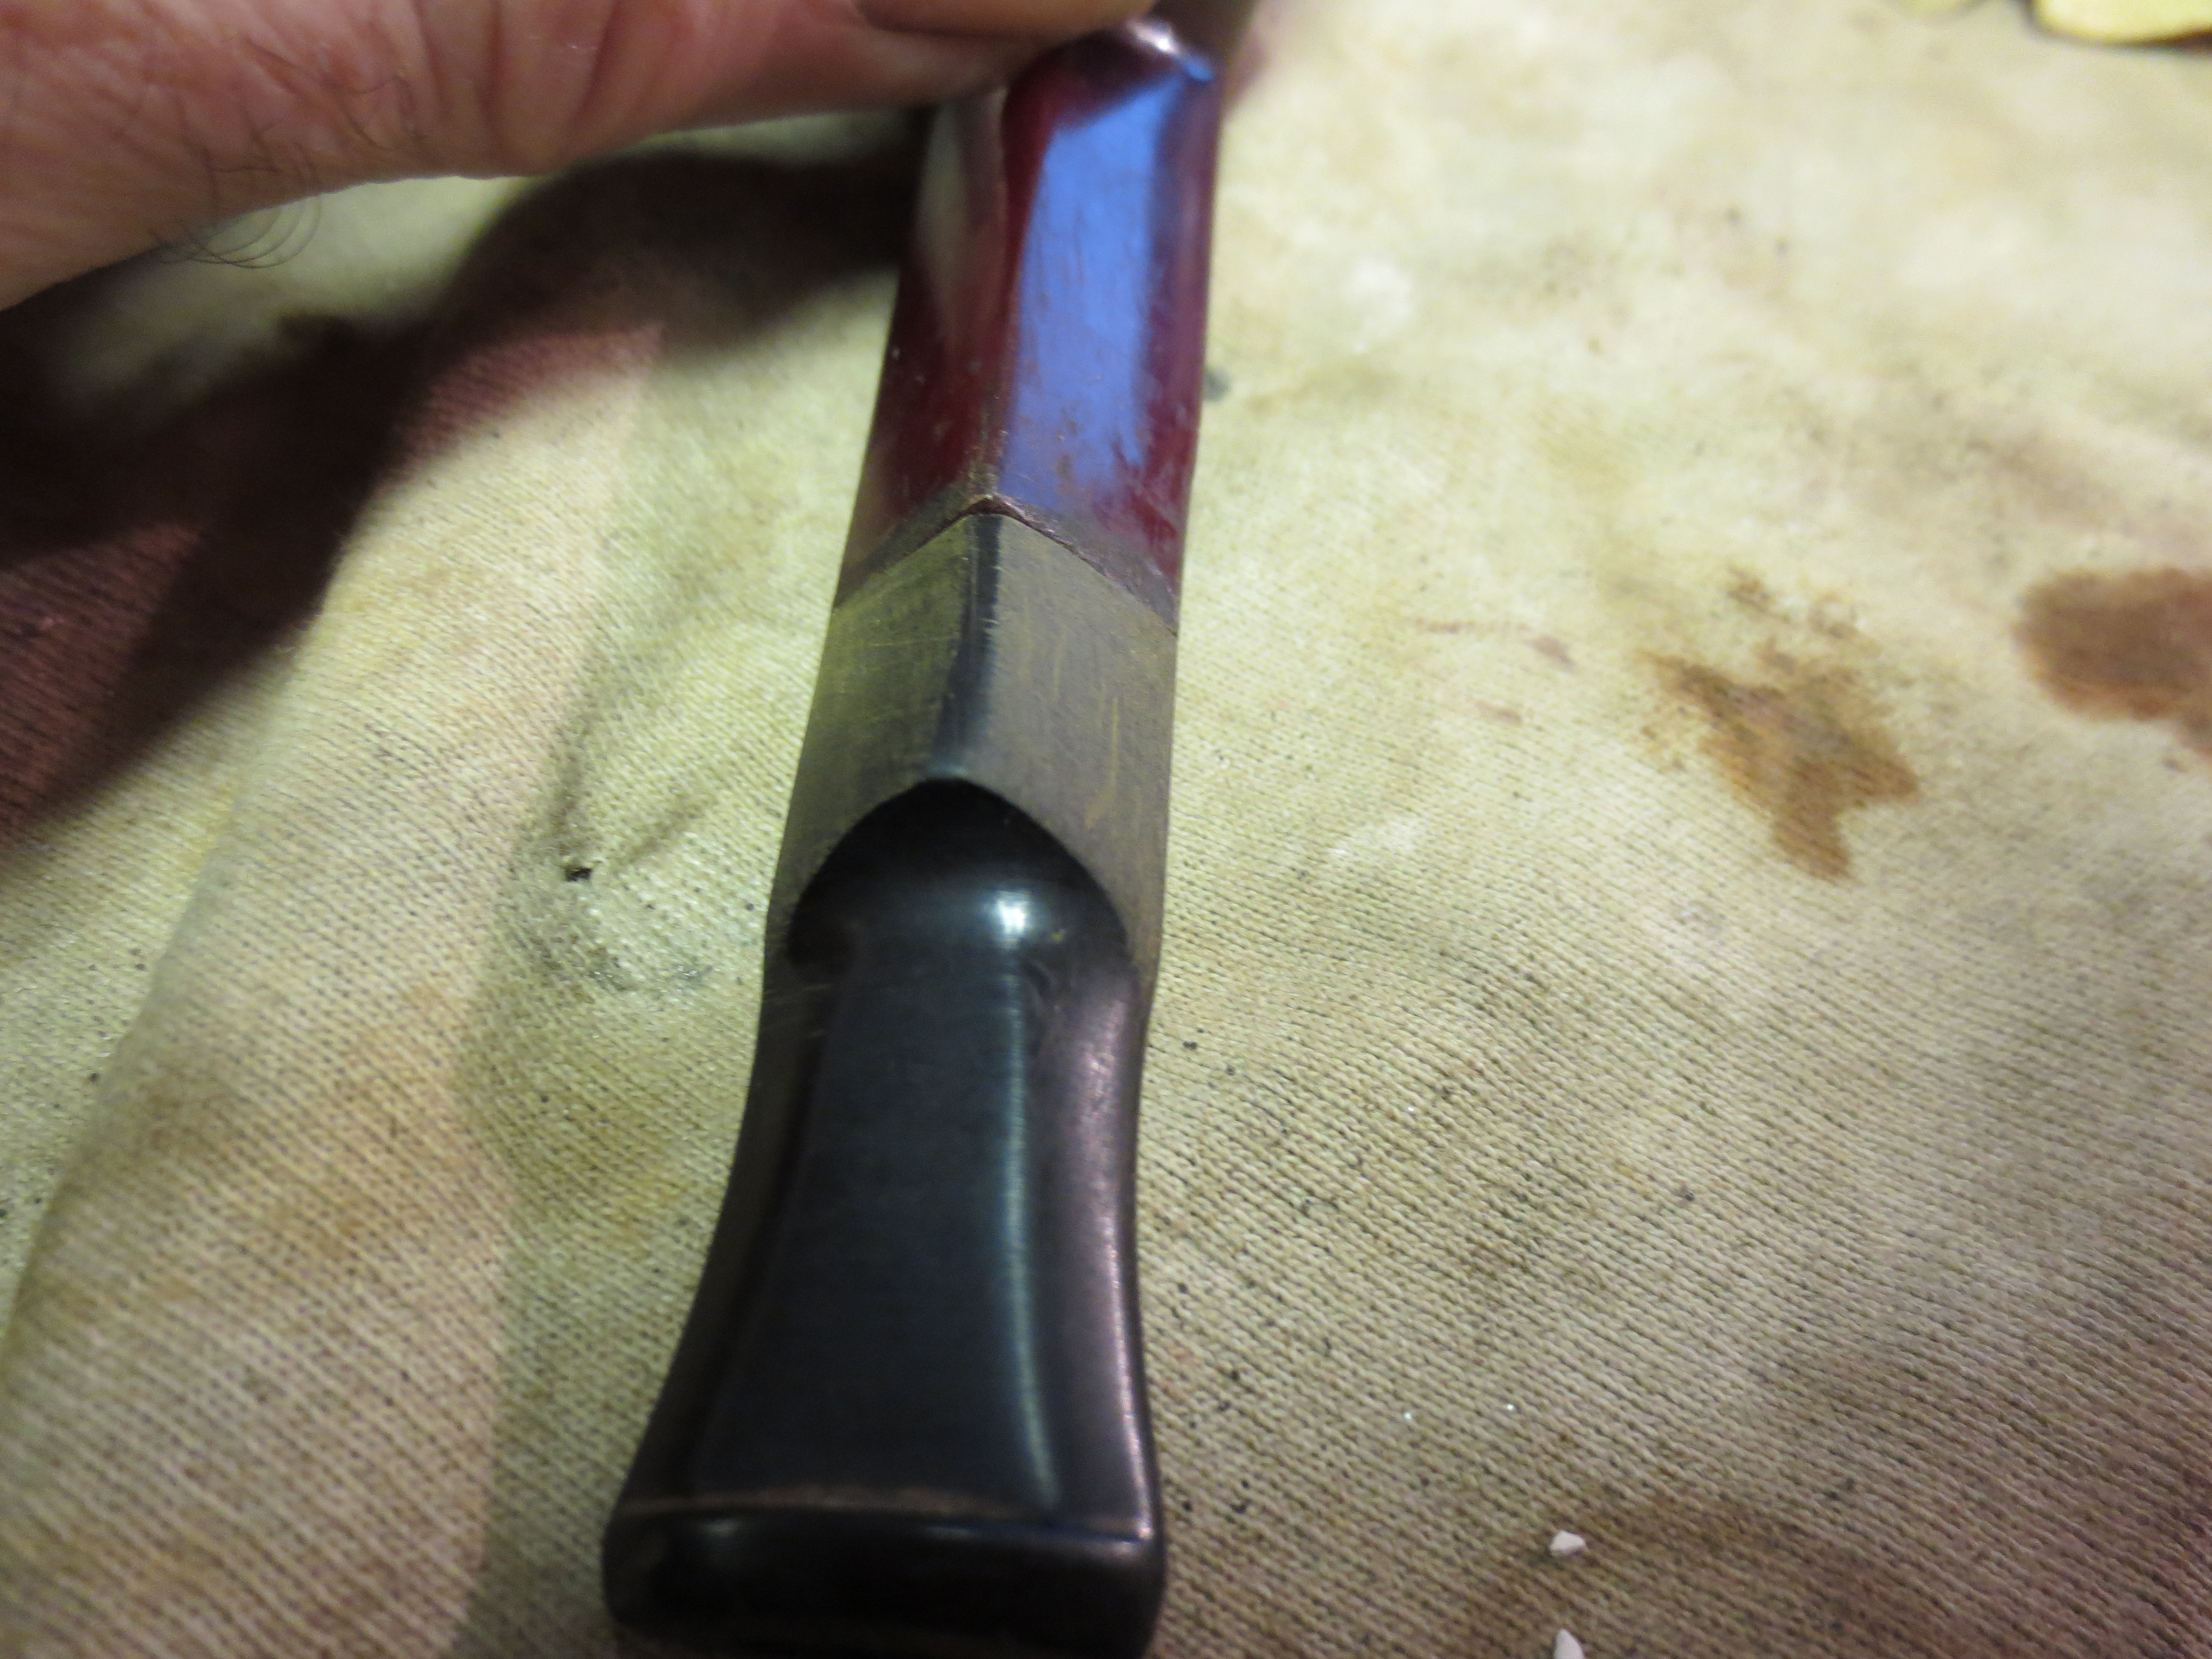
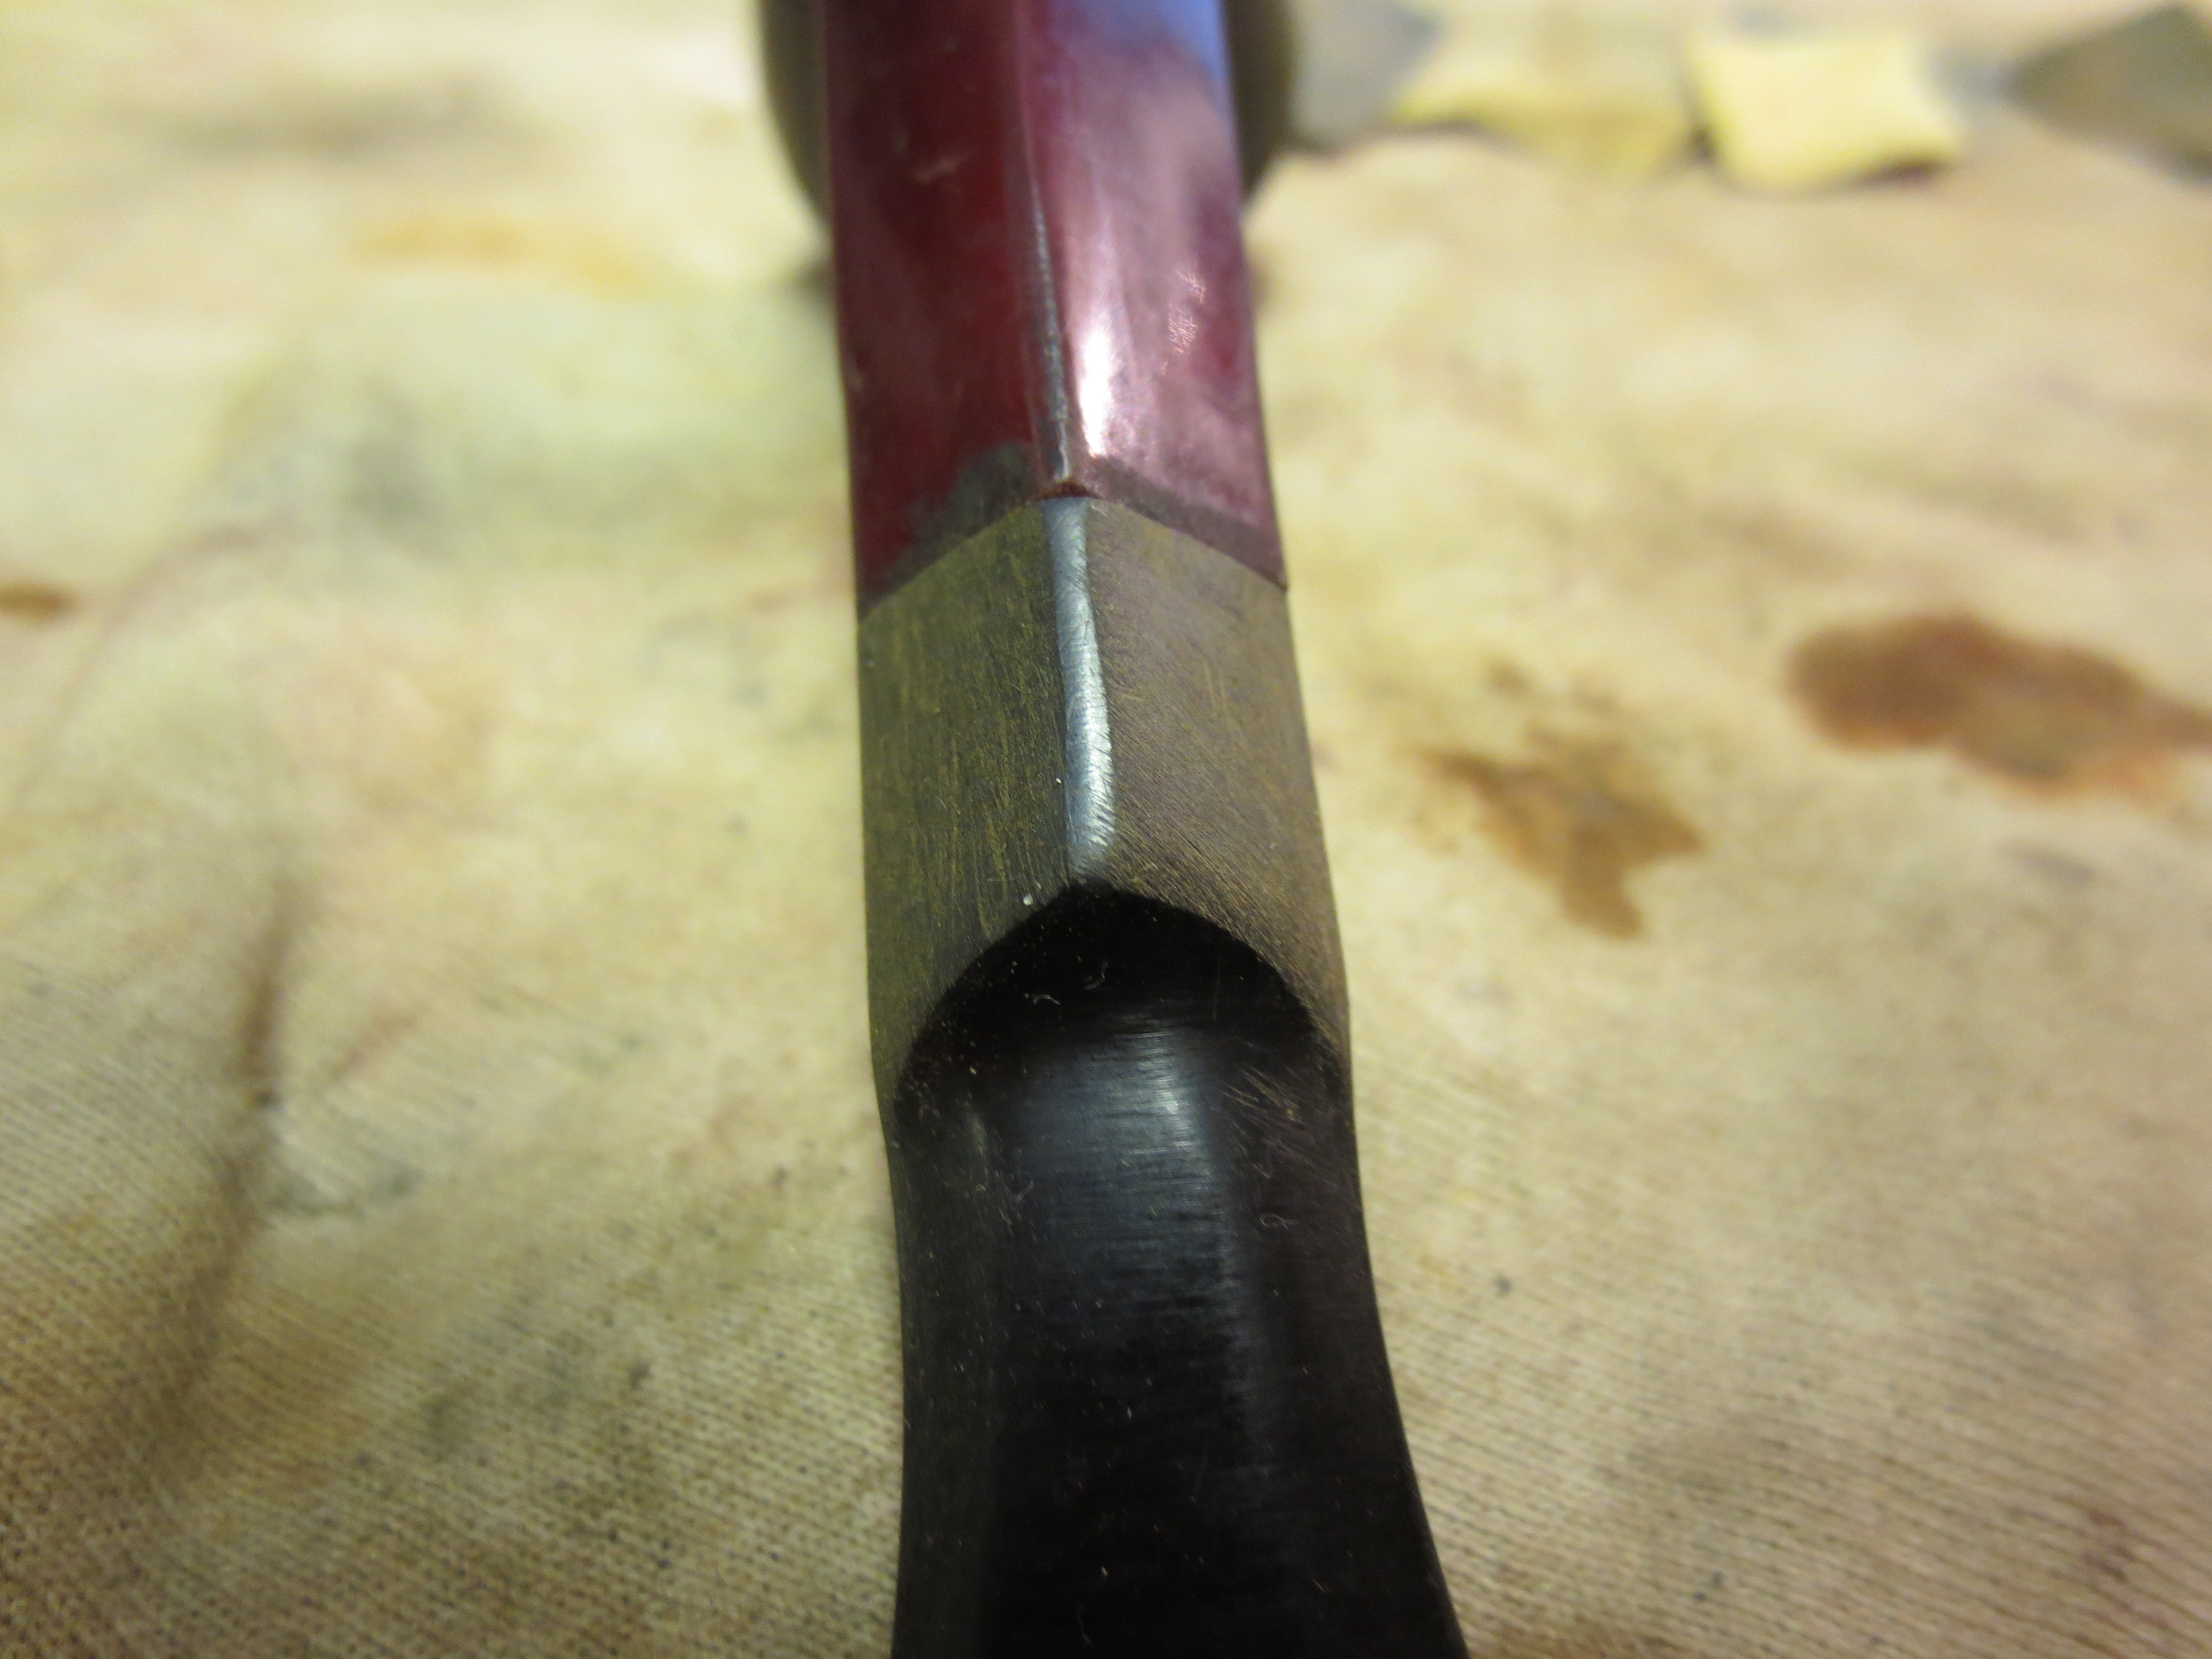
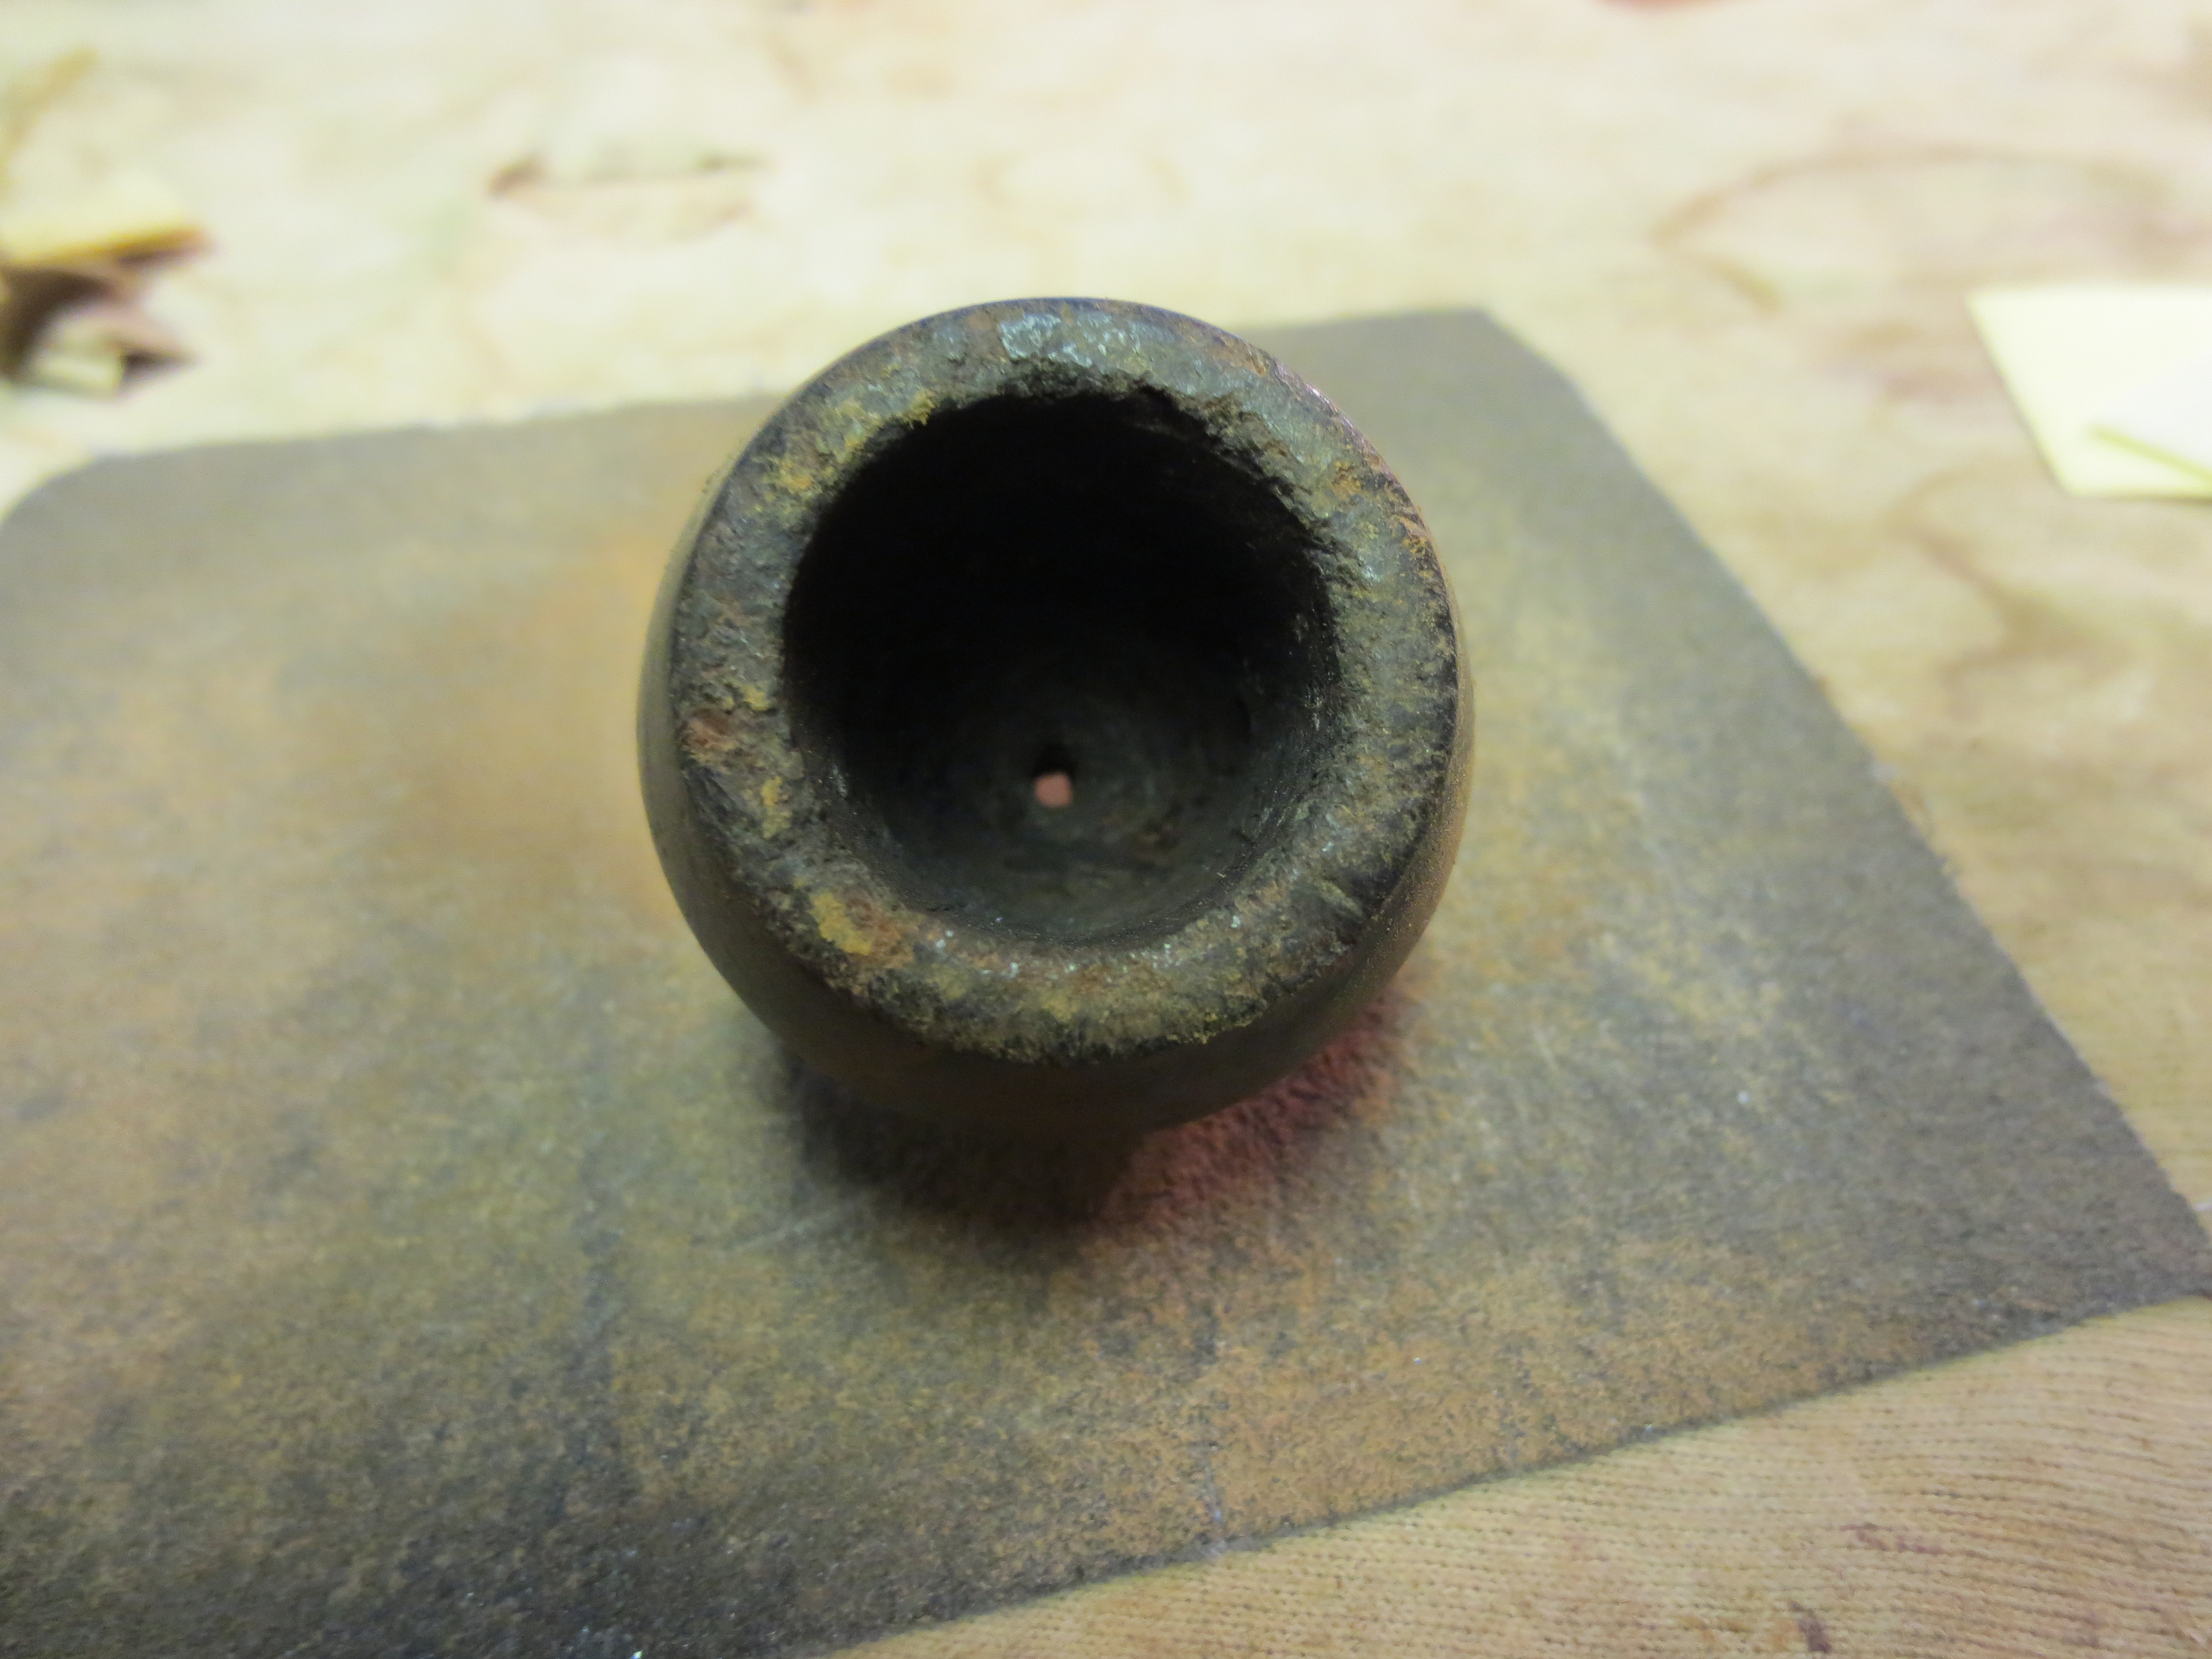
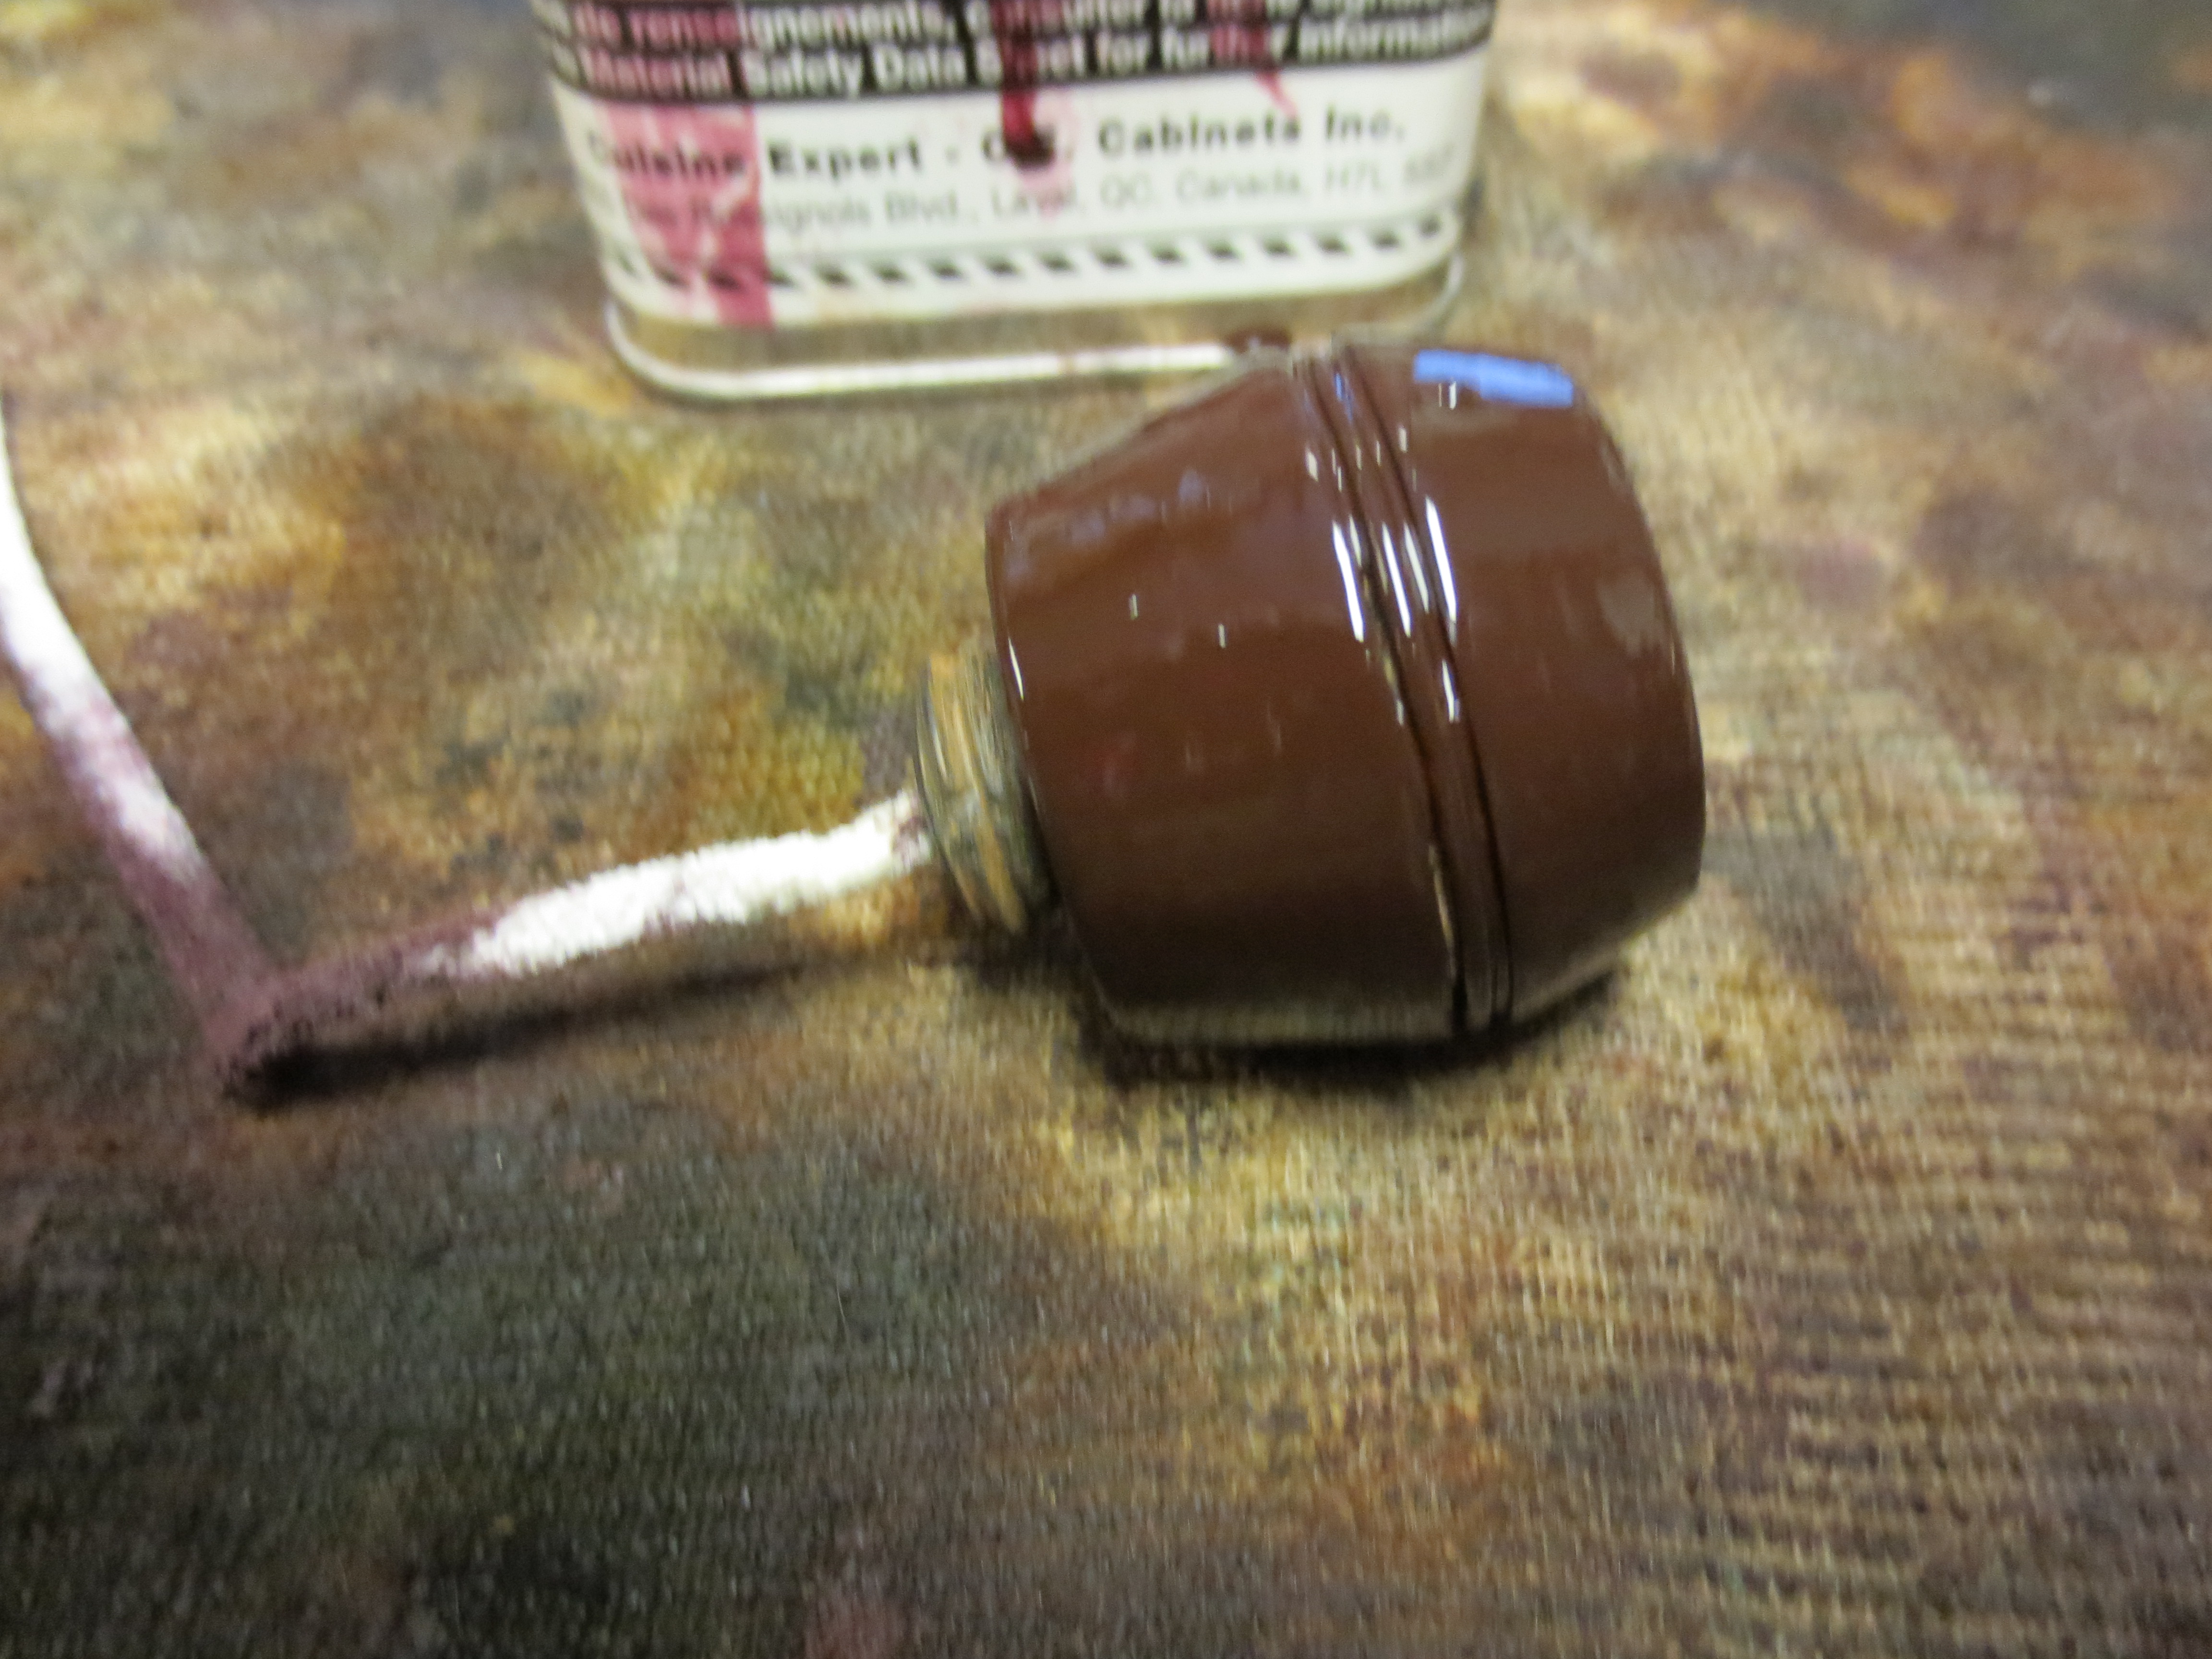
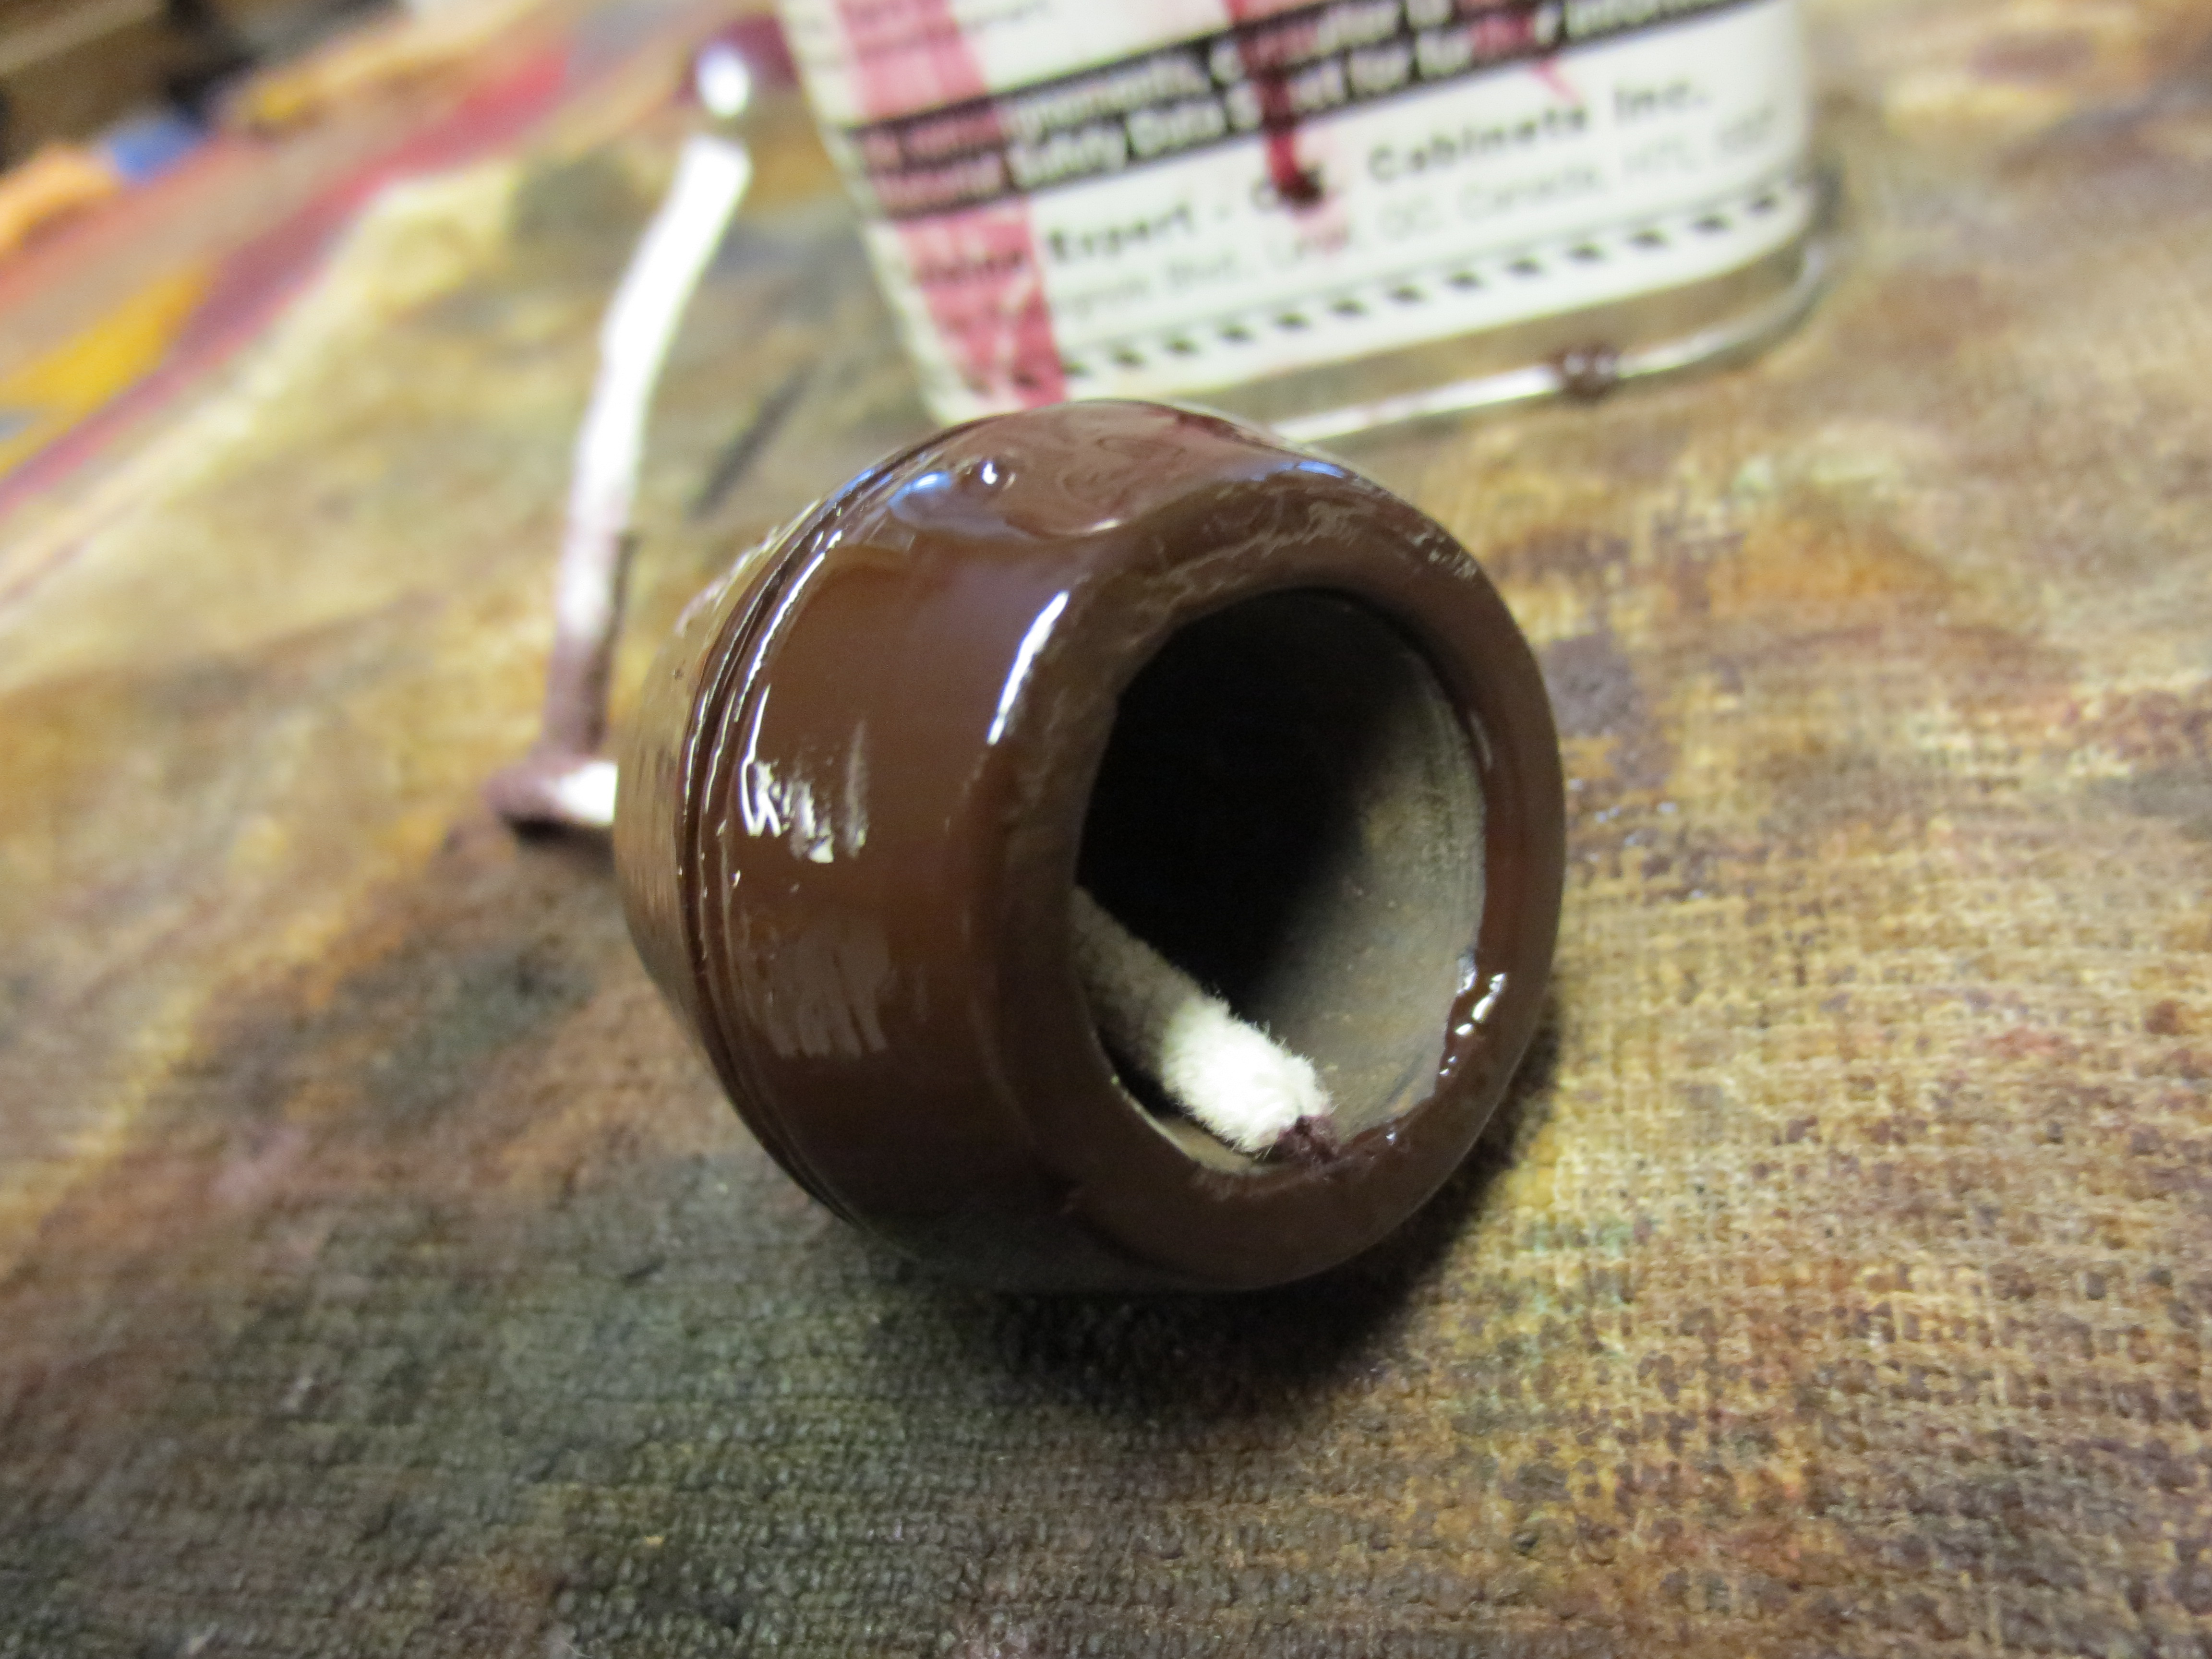
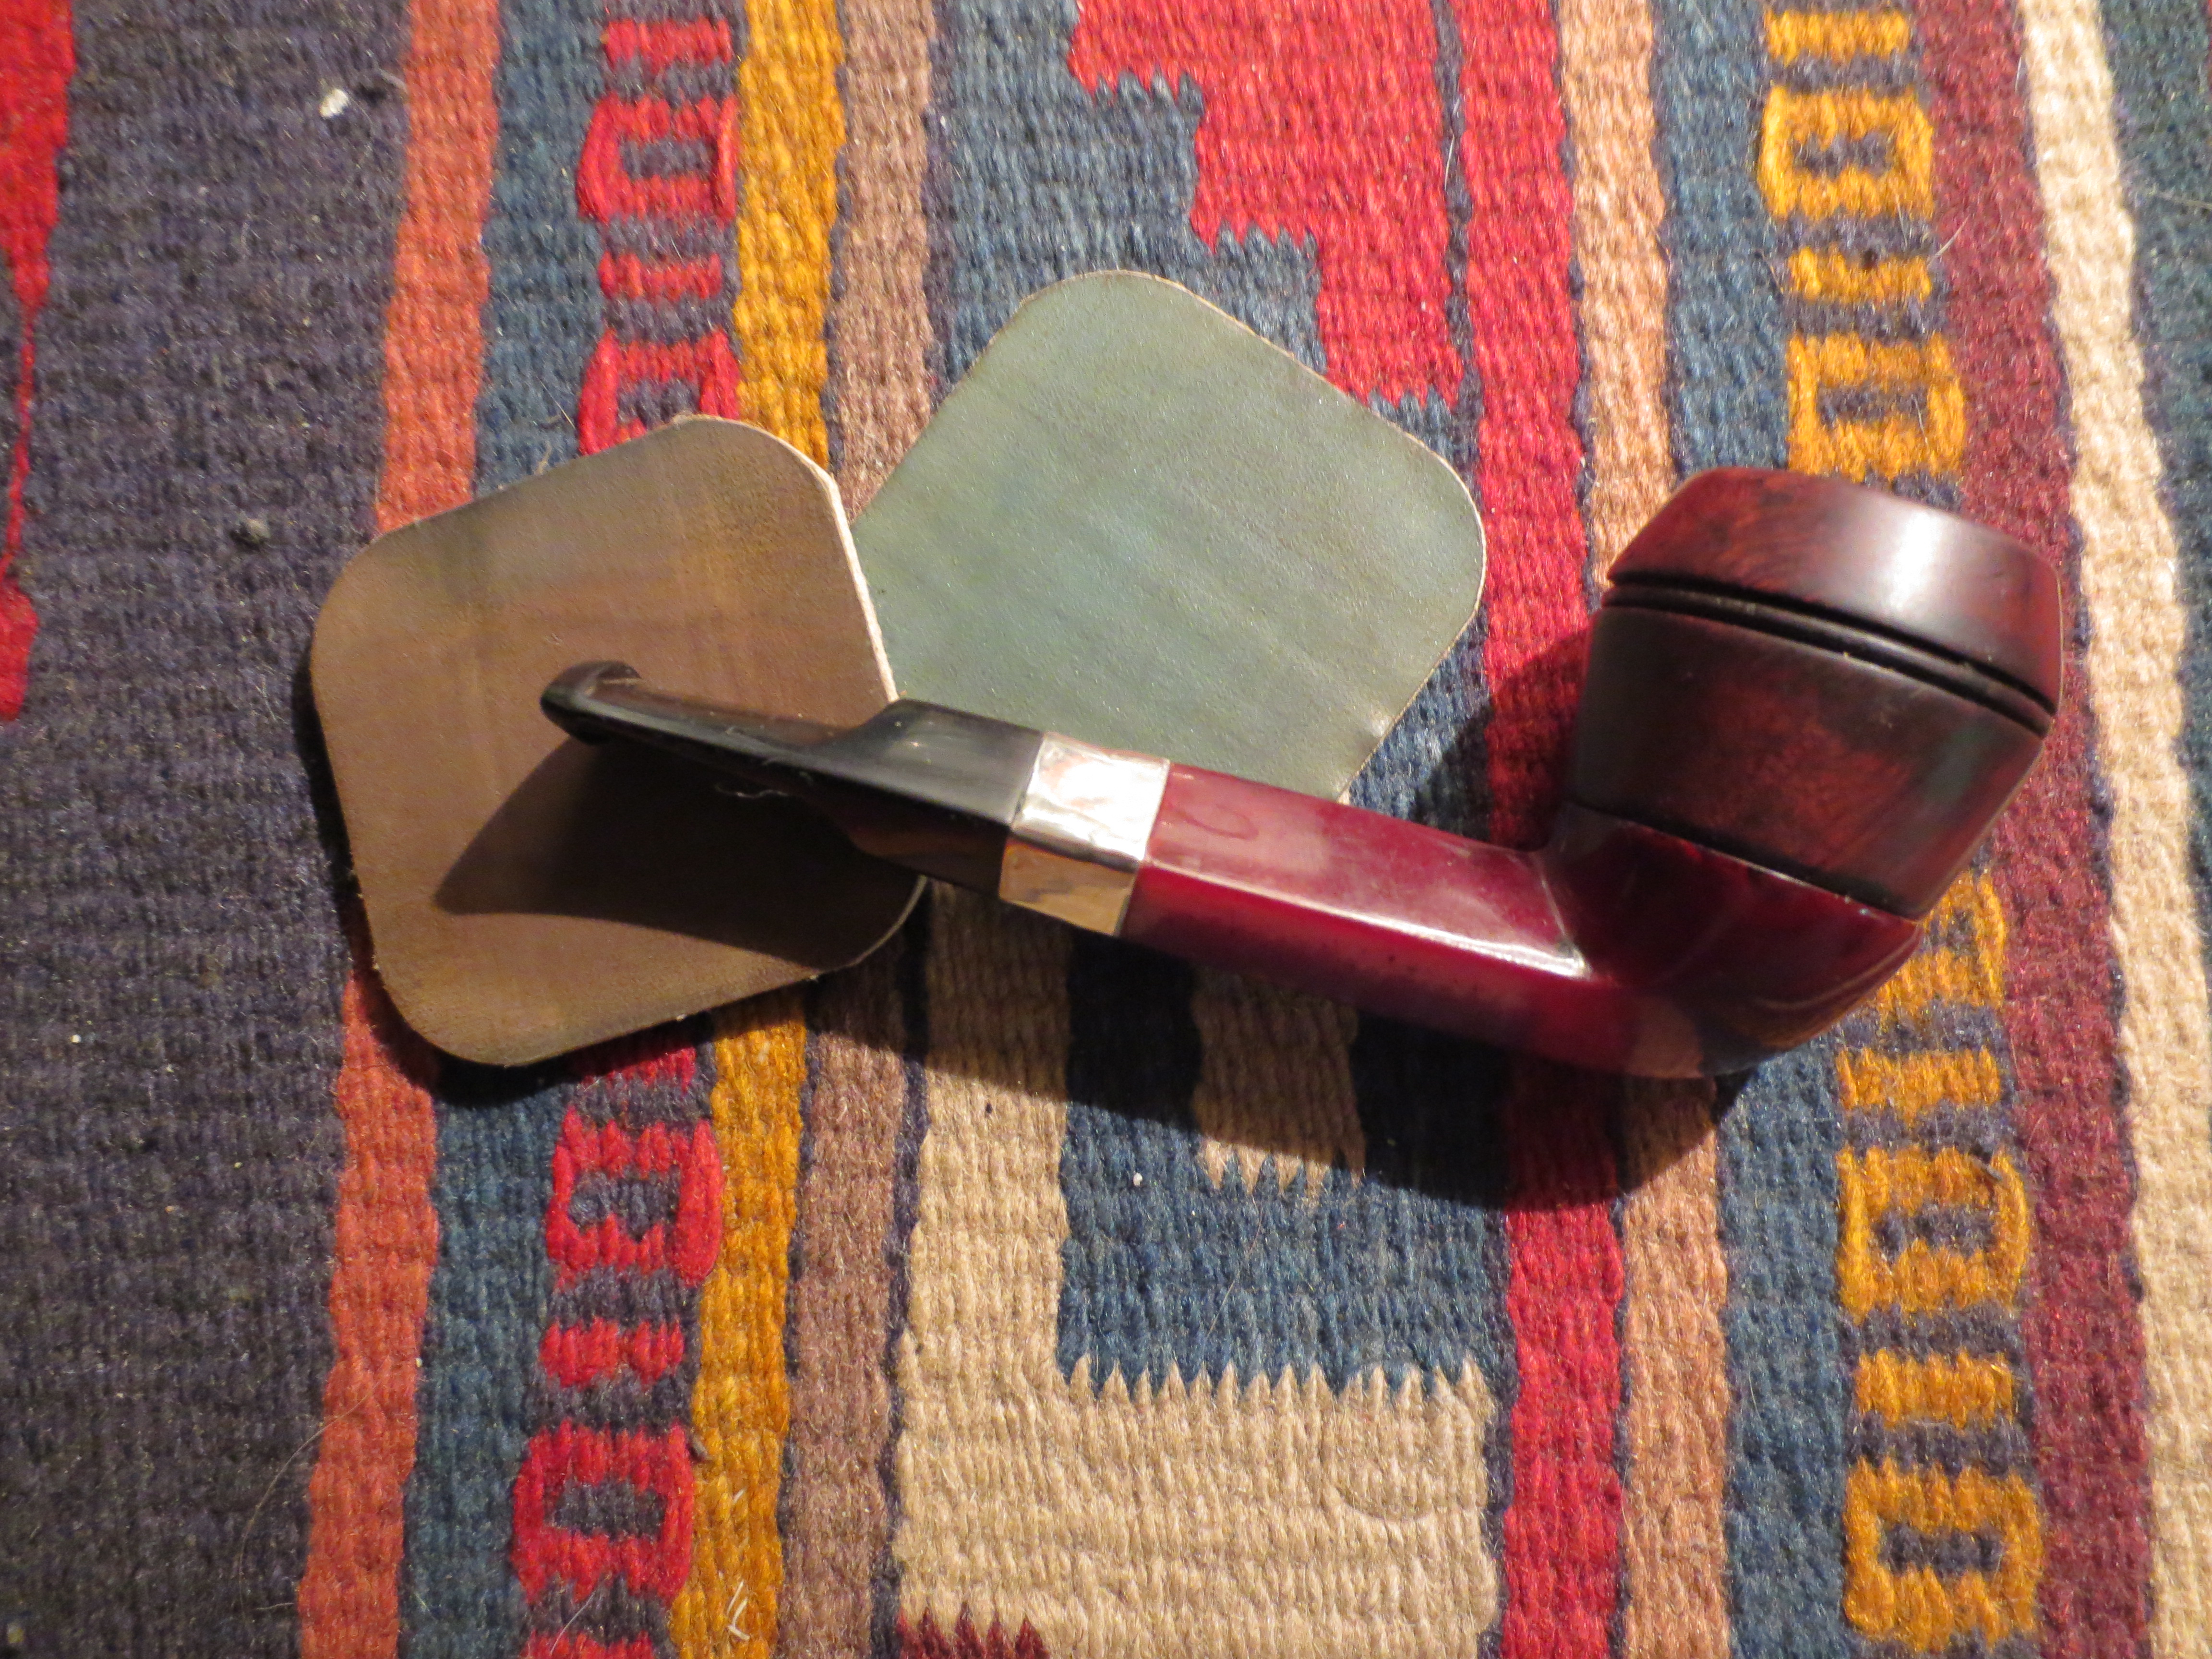
 I took two photos to show the crack as it appeared without a lens. The first shows the end of the shank. It is on the lower left side of the photo. The second shows it on the side of the shank. I circled them in red to highlight the location.
 Looking it over in a bright light with a lens I knew that I would need to drill a small hole at the end of the crack. The hard thing was that the end of the crack was in the letter “i” on Brigham. I would also need to band the shank to keep it from splitting and fortify the shank when the stem was inserted. I took a band that was the right diameter for the shank out of my box of bands.
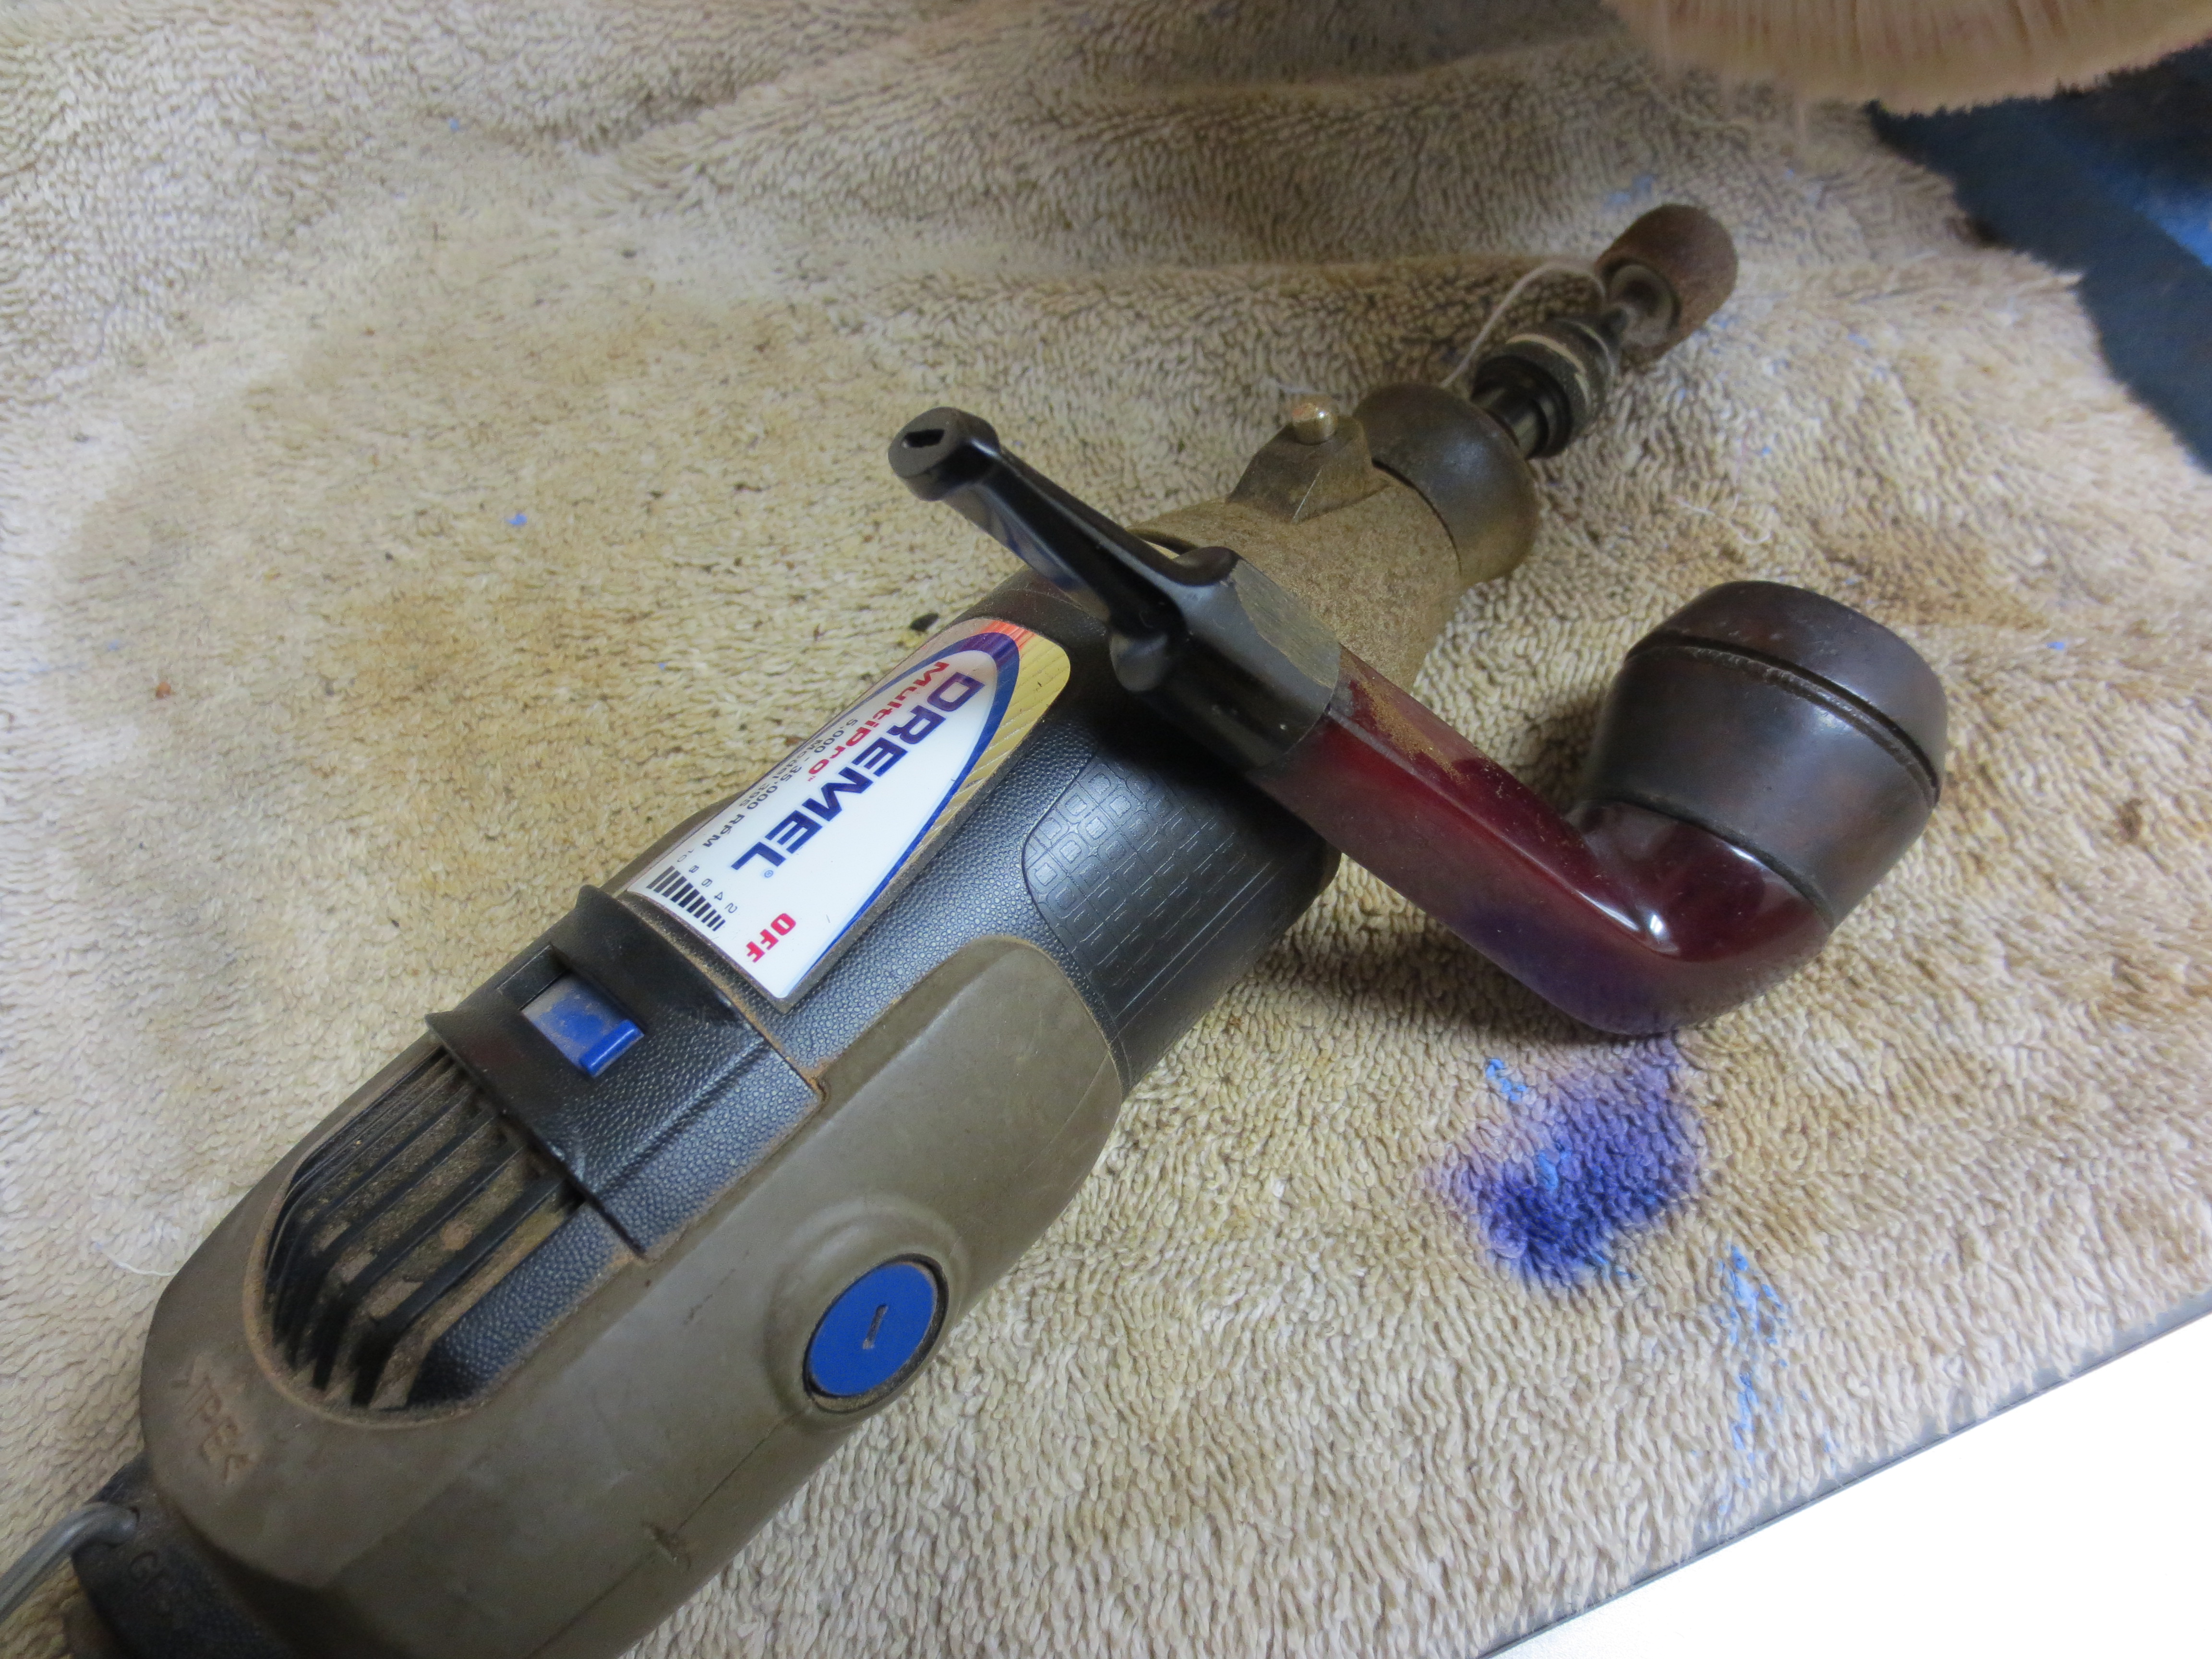
 I used the end of a small screw, pressed into the end of the crack to mark the pilot hole for the drill. I inserted a tiny microdrill bit in the chuck of my Dremel and set the speed to 5. I started the drill and slowly drilled the hole in the middle of the letter to stop the crack from spreading further.
 I used the tip of a dental pick to place a small drop of Krazy Glue (CA) in the hole I had drilled in the shank. It was a tiny hole so it did not take too much glue to fill in the hole. I put a tiny drop of glue on the crack that was going to be covered by the band and pressed it together to bind the crack and seal it.
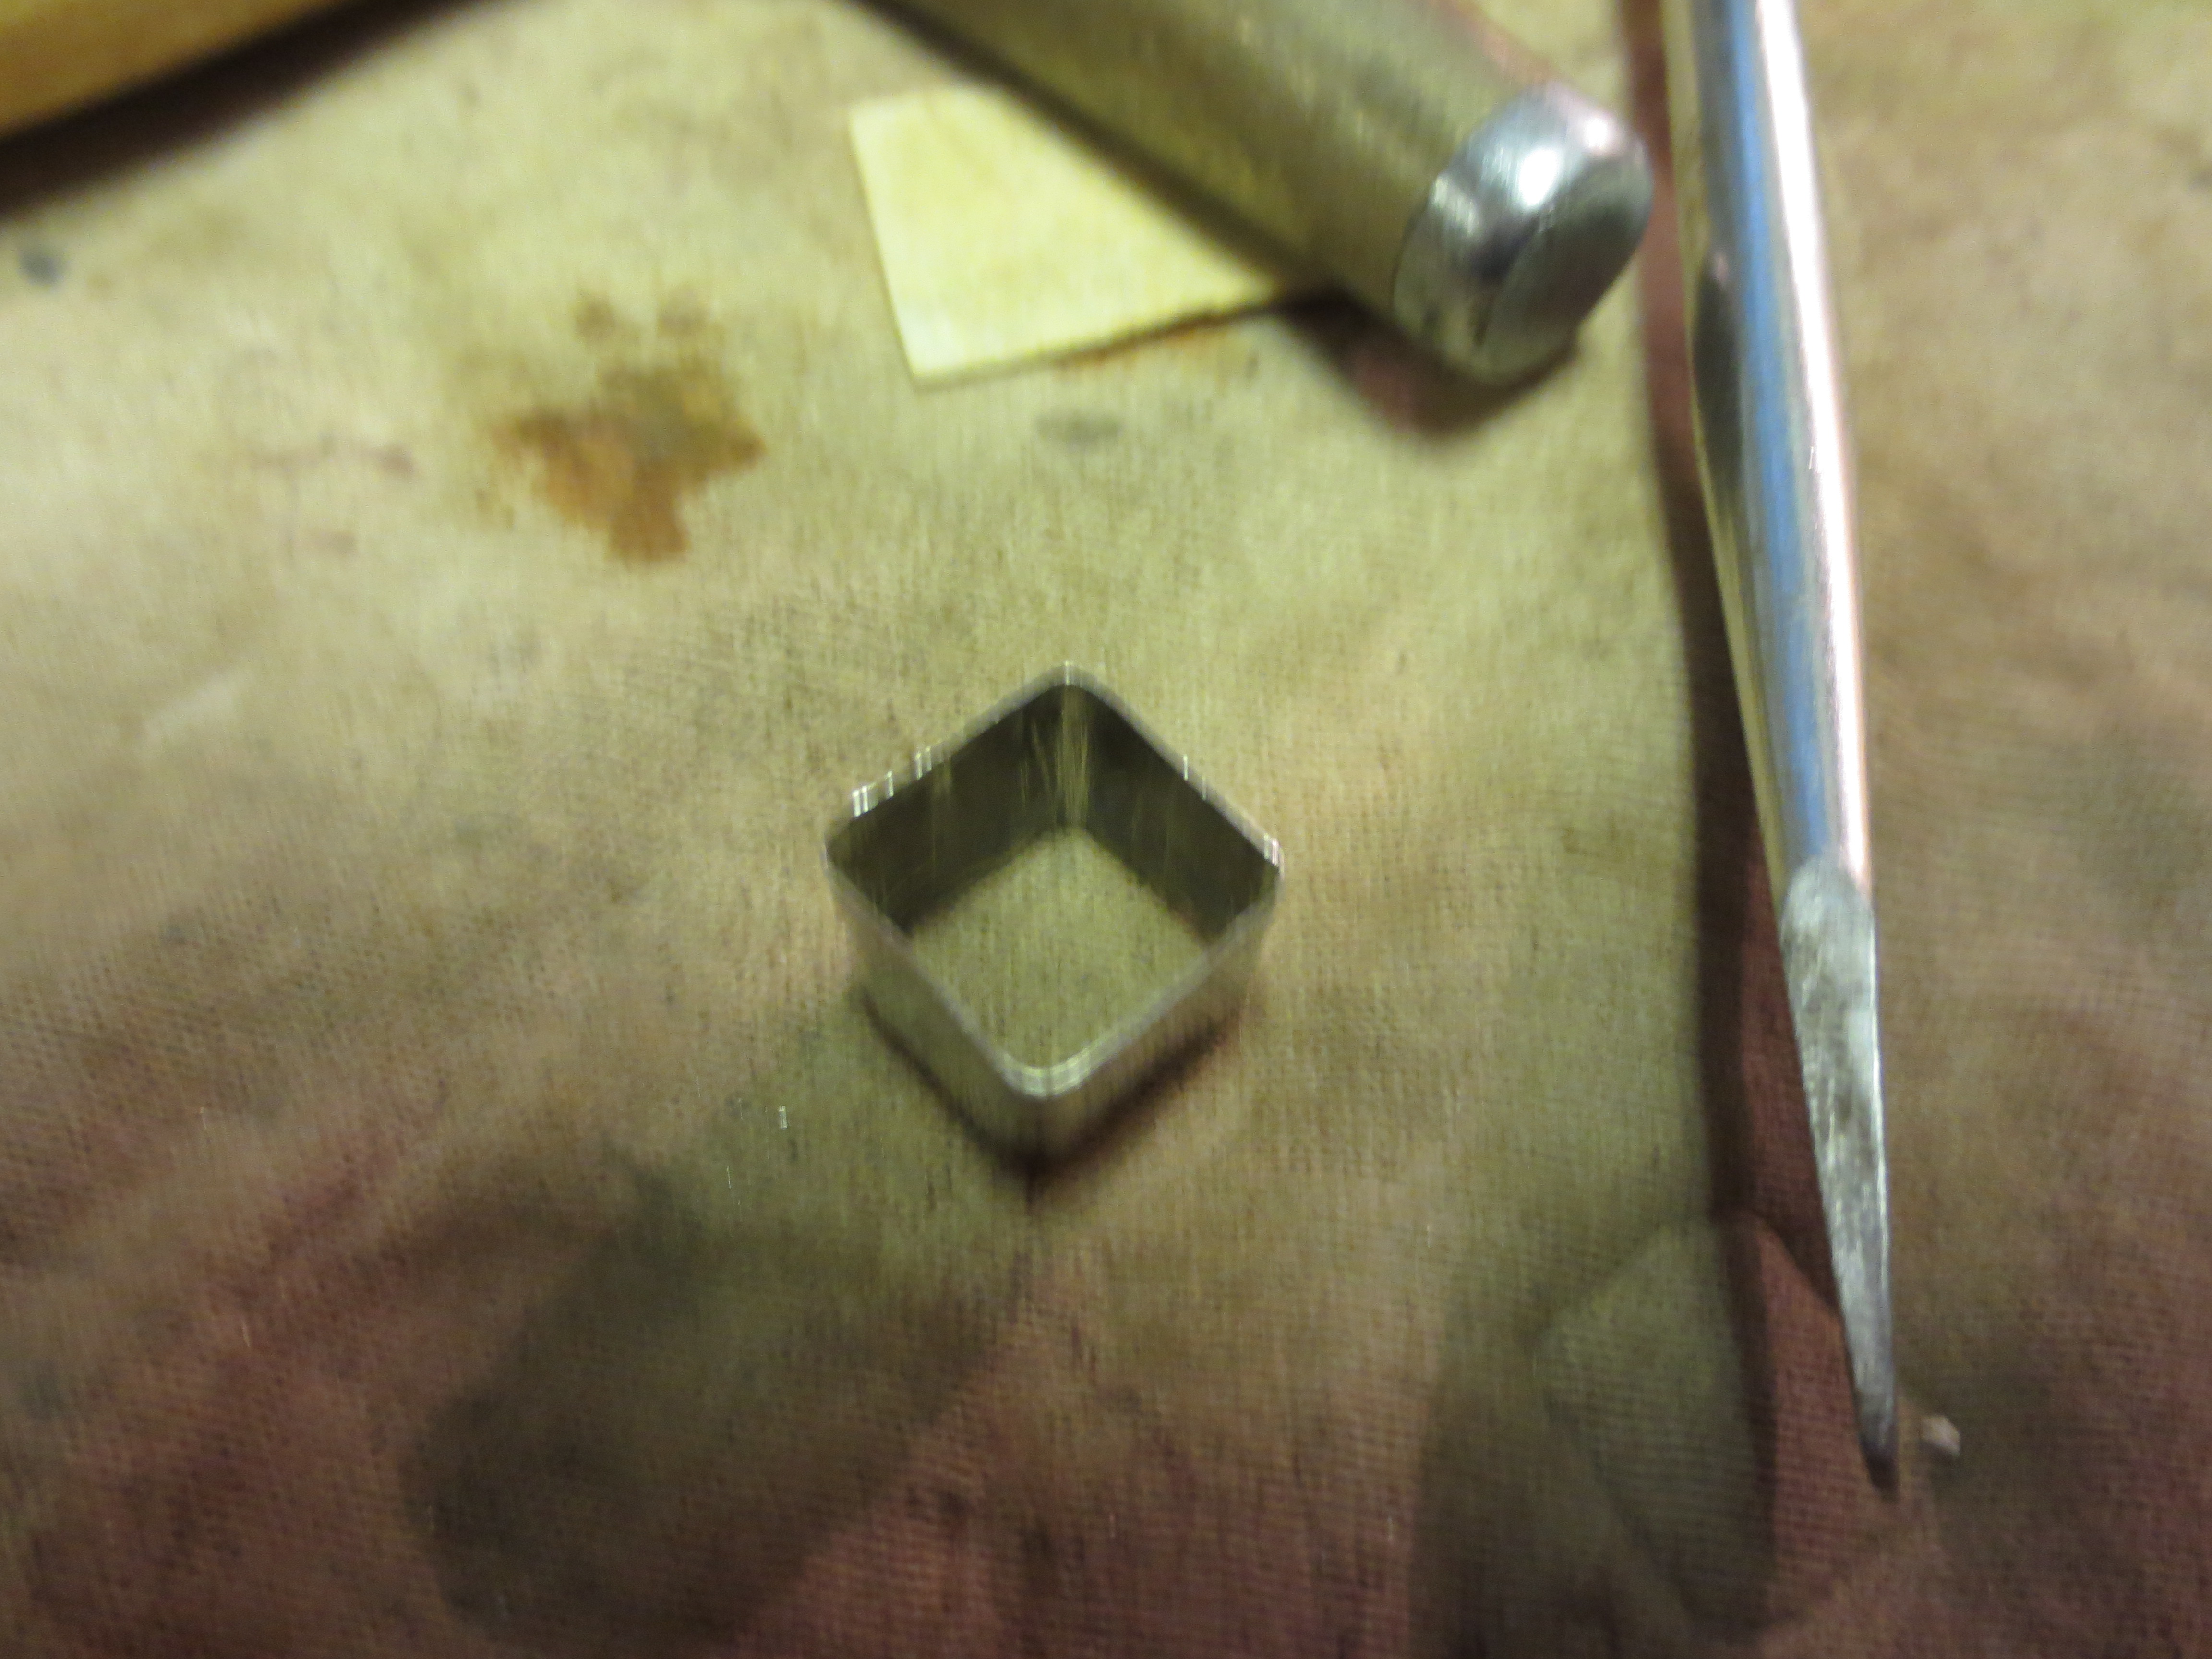
 I used a very small sanding stick to spot sand the repair on the shank. I was able to smooth out the repair without damaging the surrounding letters on the stamping. I put a little all-purpose glue on the surface of the shank that would be covered by the band and pressed the band in place. I pressed it far enough onto the shank to provide the strengthening of the shank but did not cover up any of the stamping on the side of the shank. I used the Dremel and sanding drum to sand the excess length of the band back until it extended just beyond the end of the shank. I topped the band edge with the topping board to smooth it out. I used micromesh sanding pads to smooth out the sharp edge of the band and to polish the band.
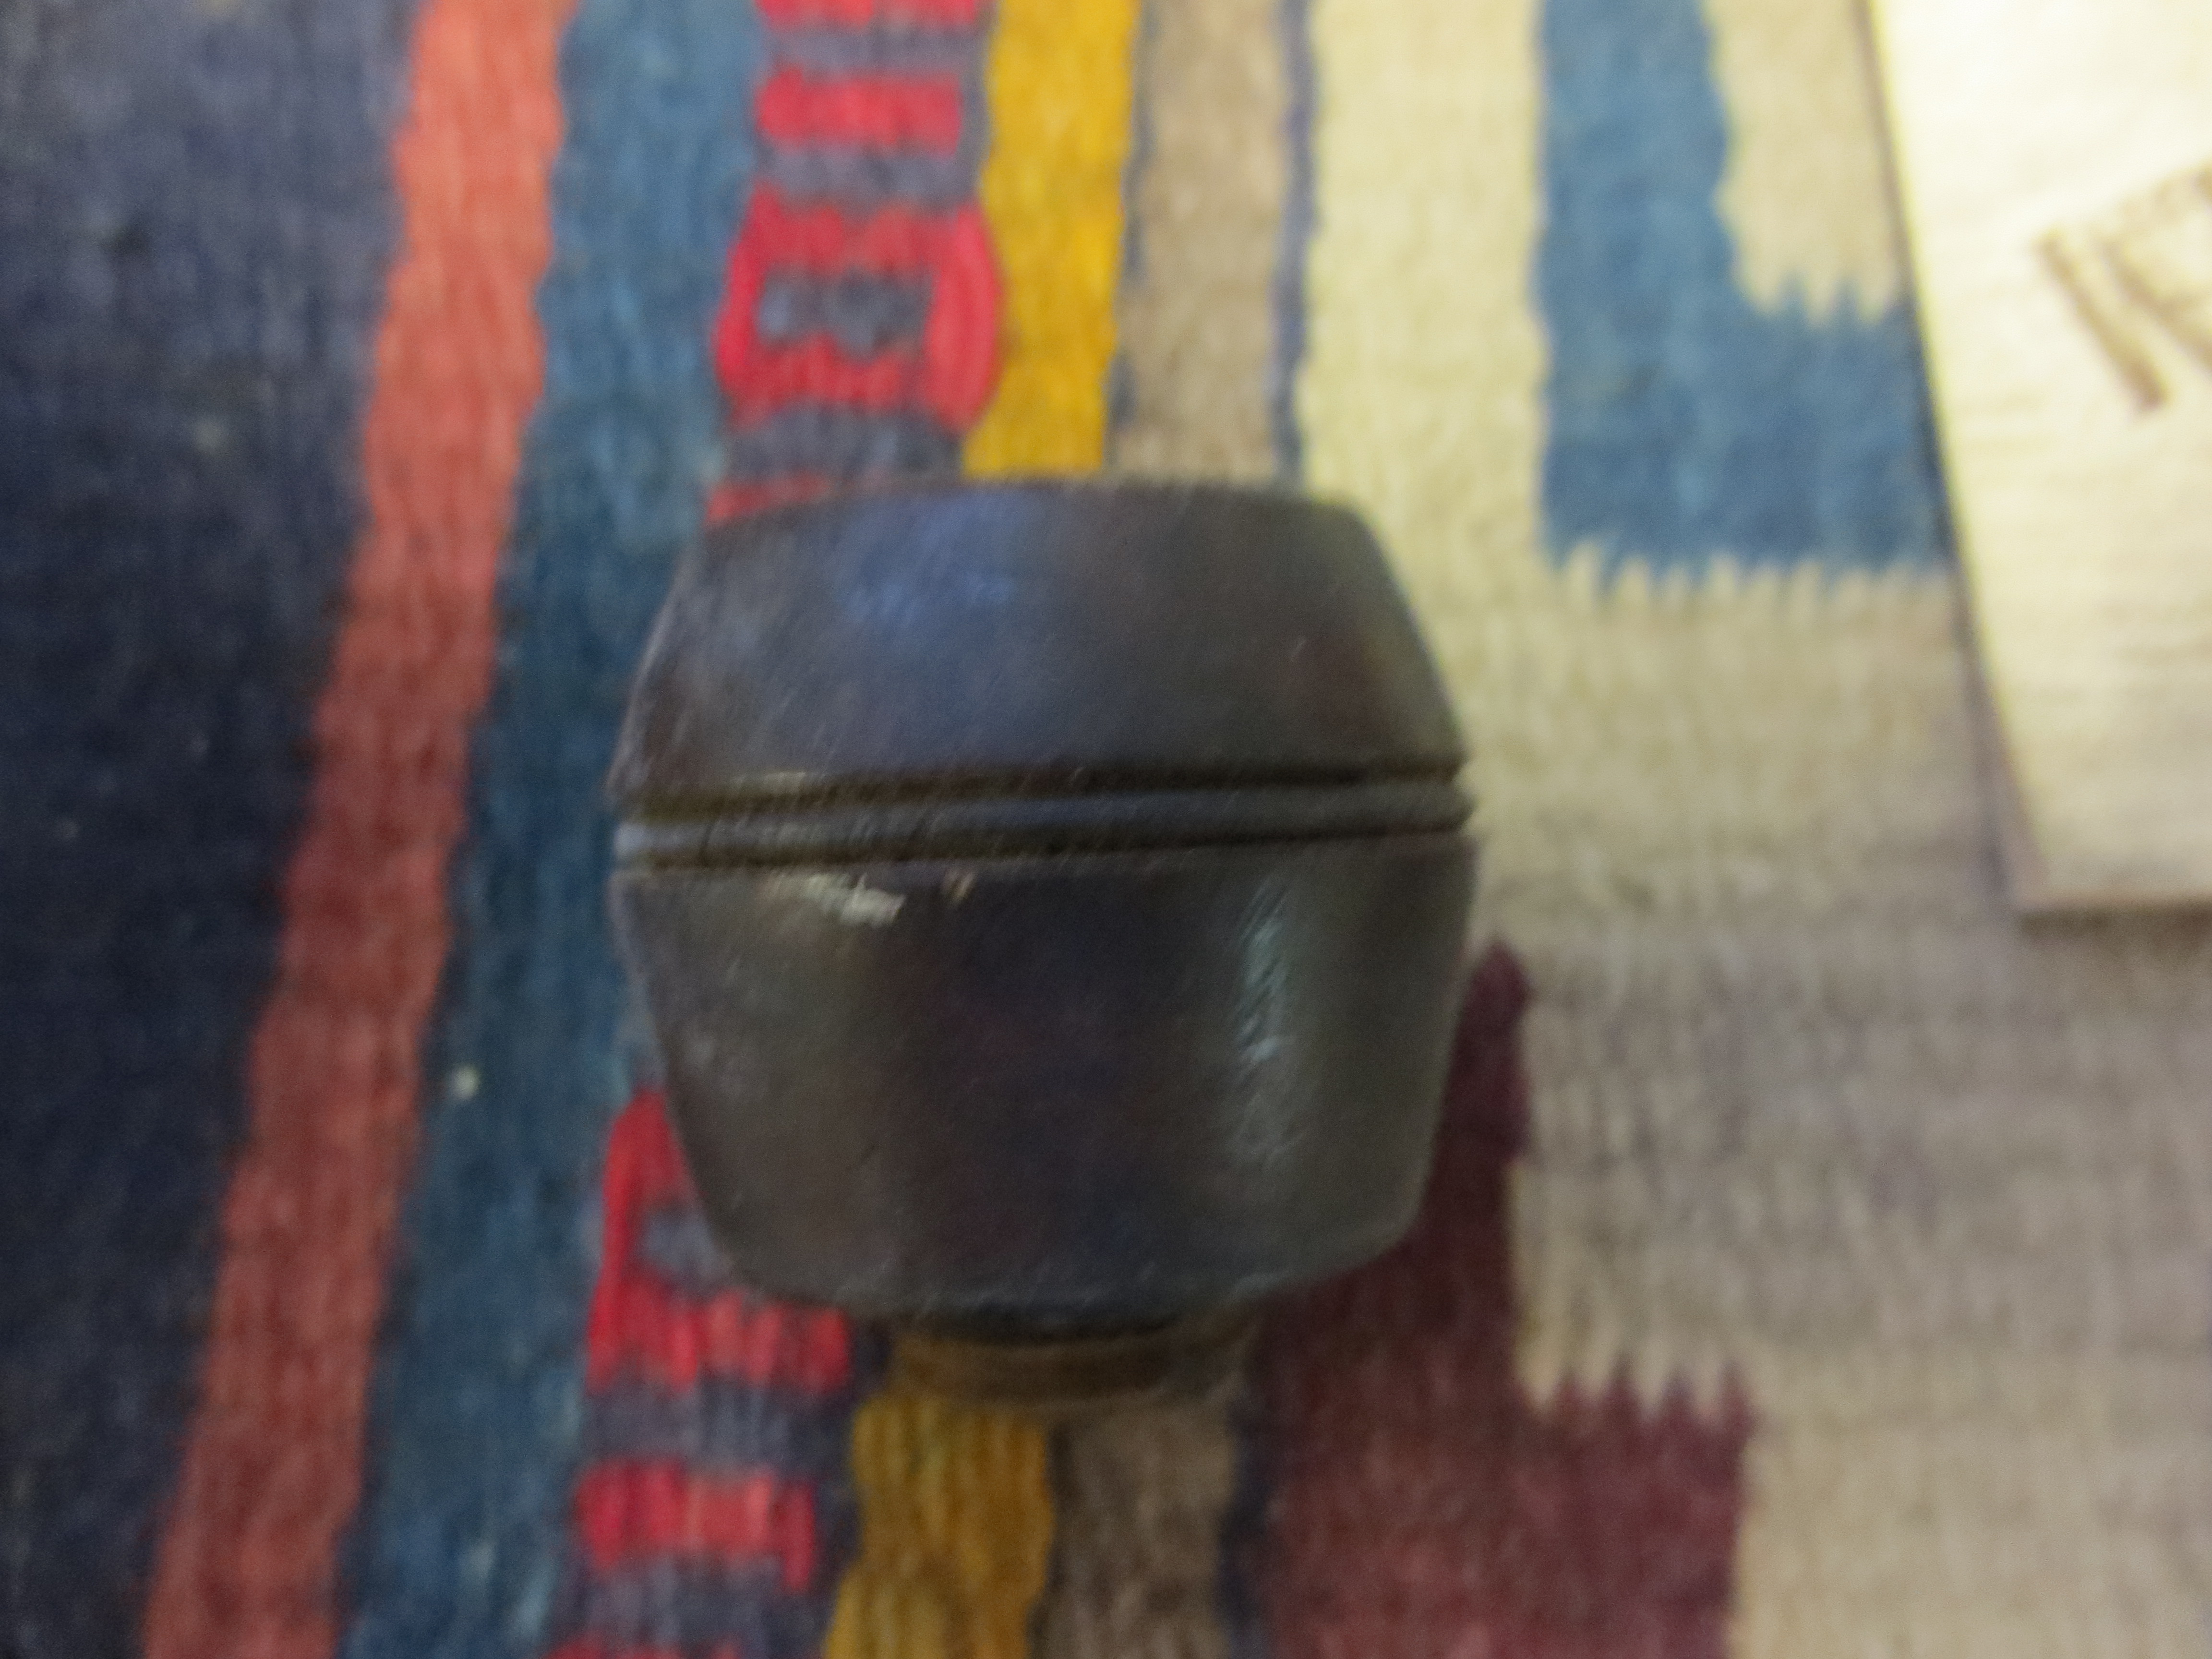
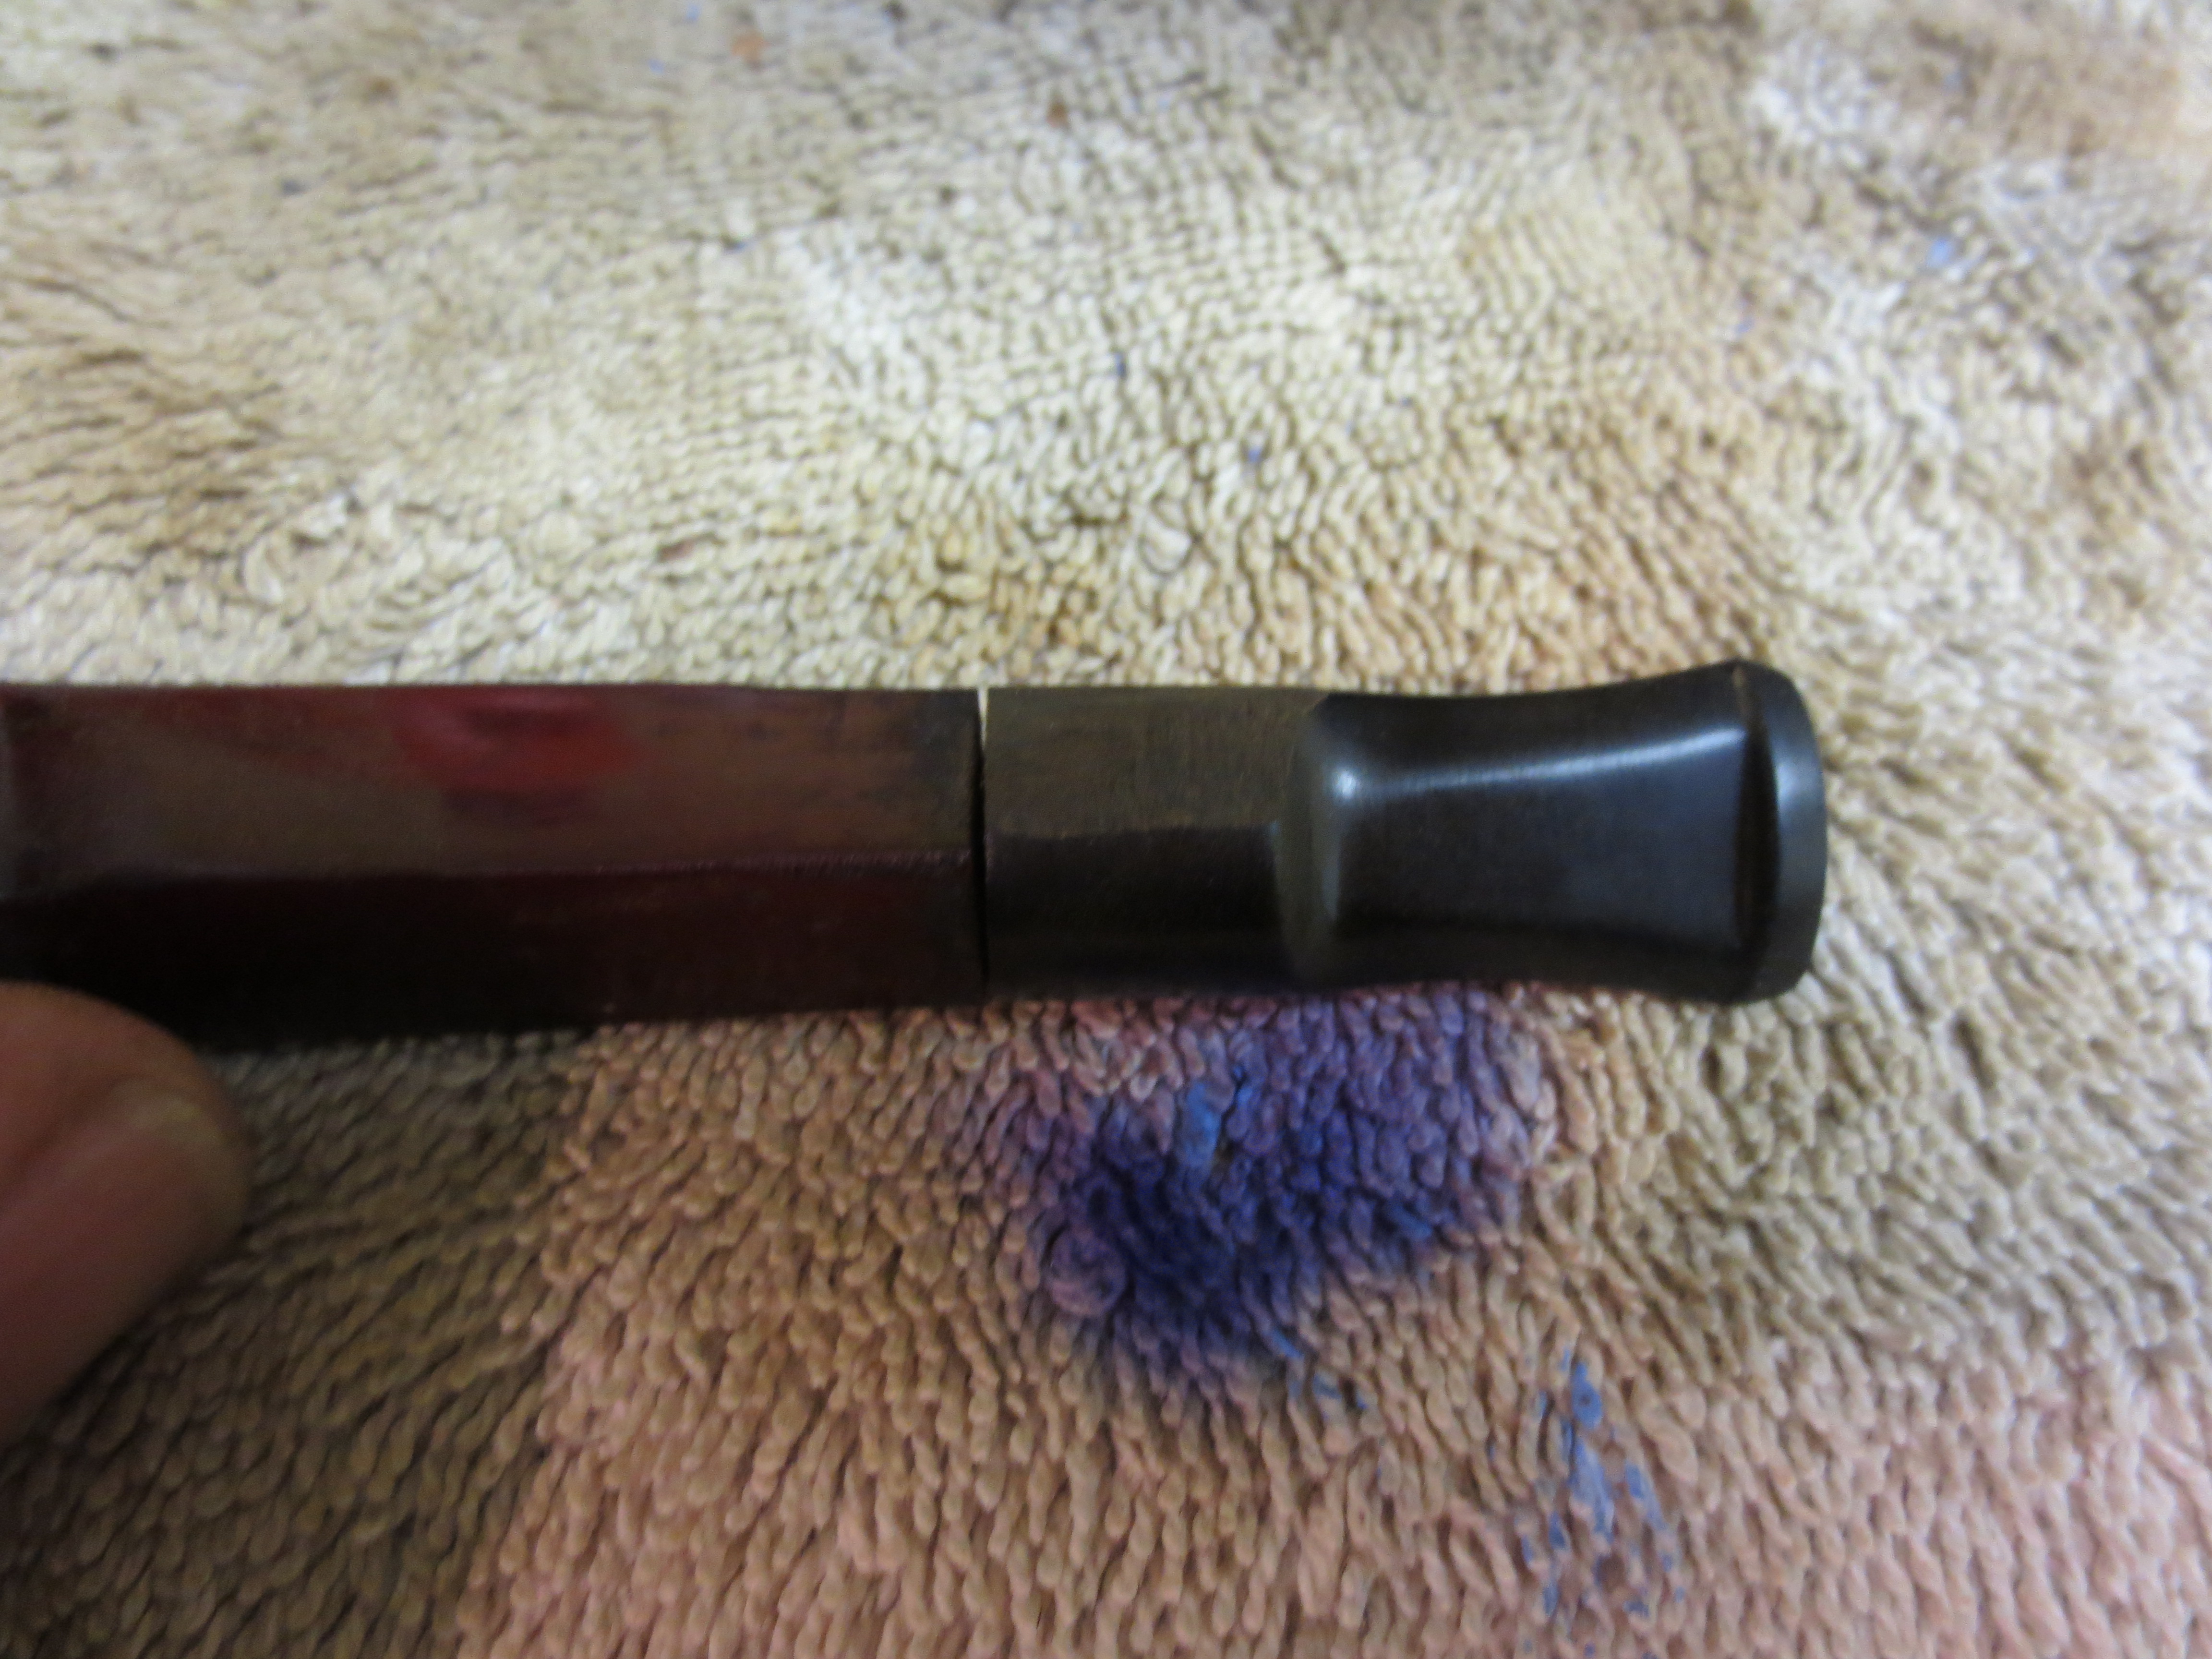
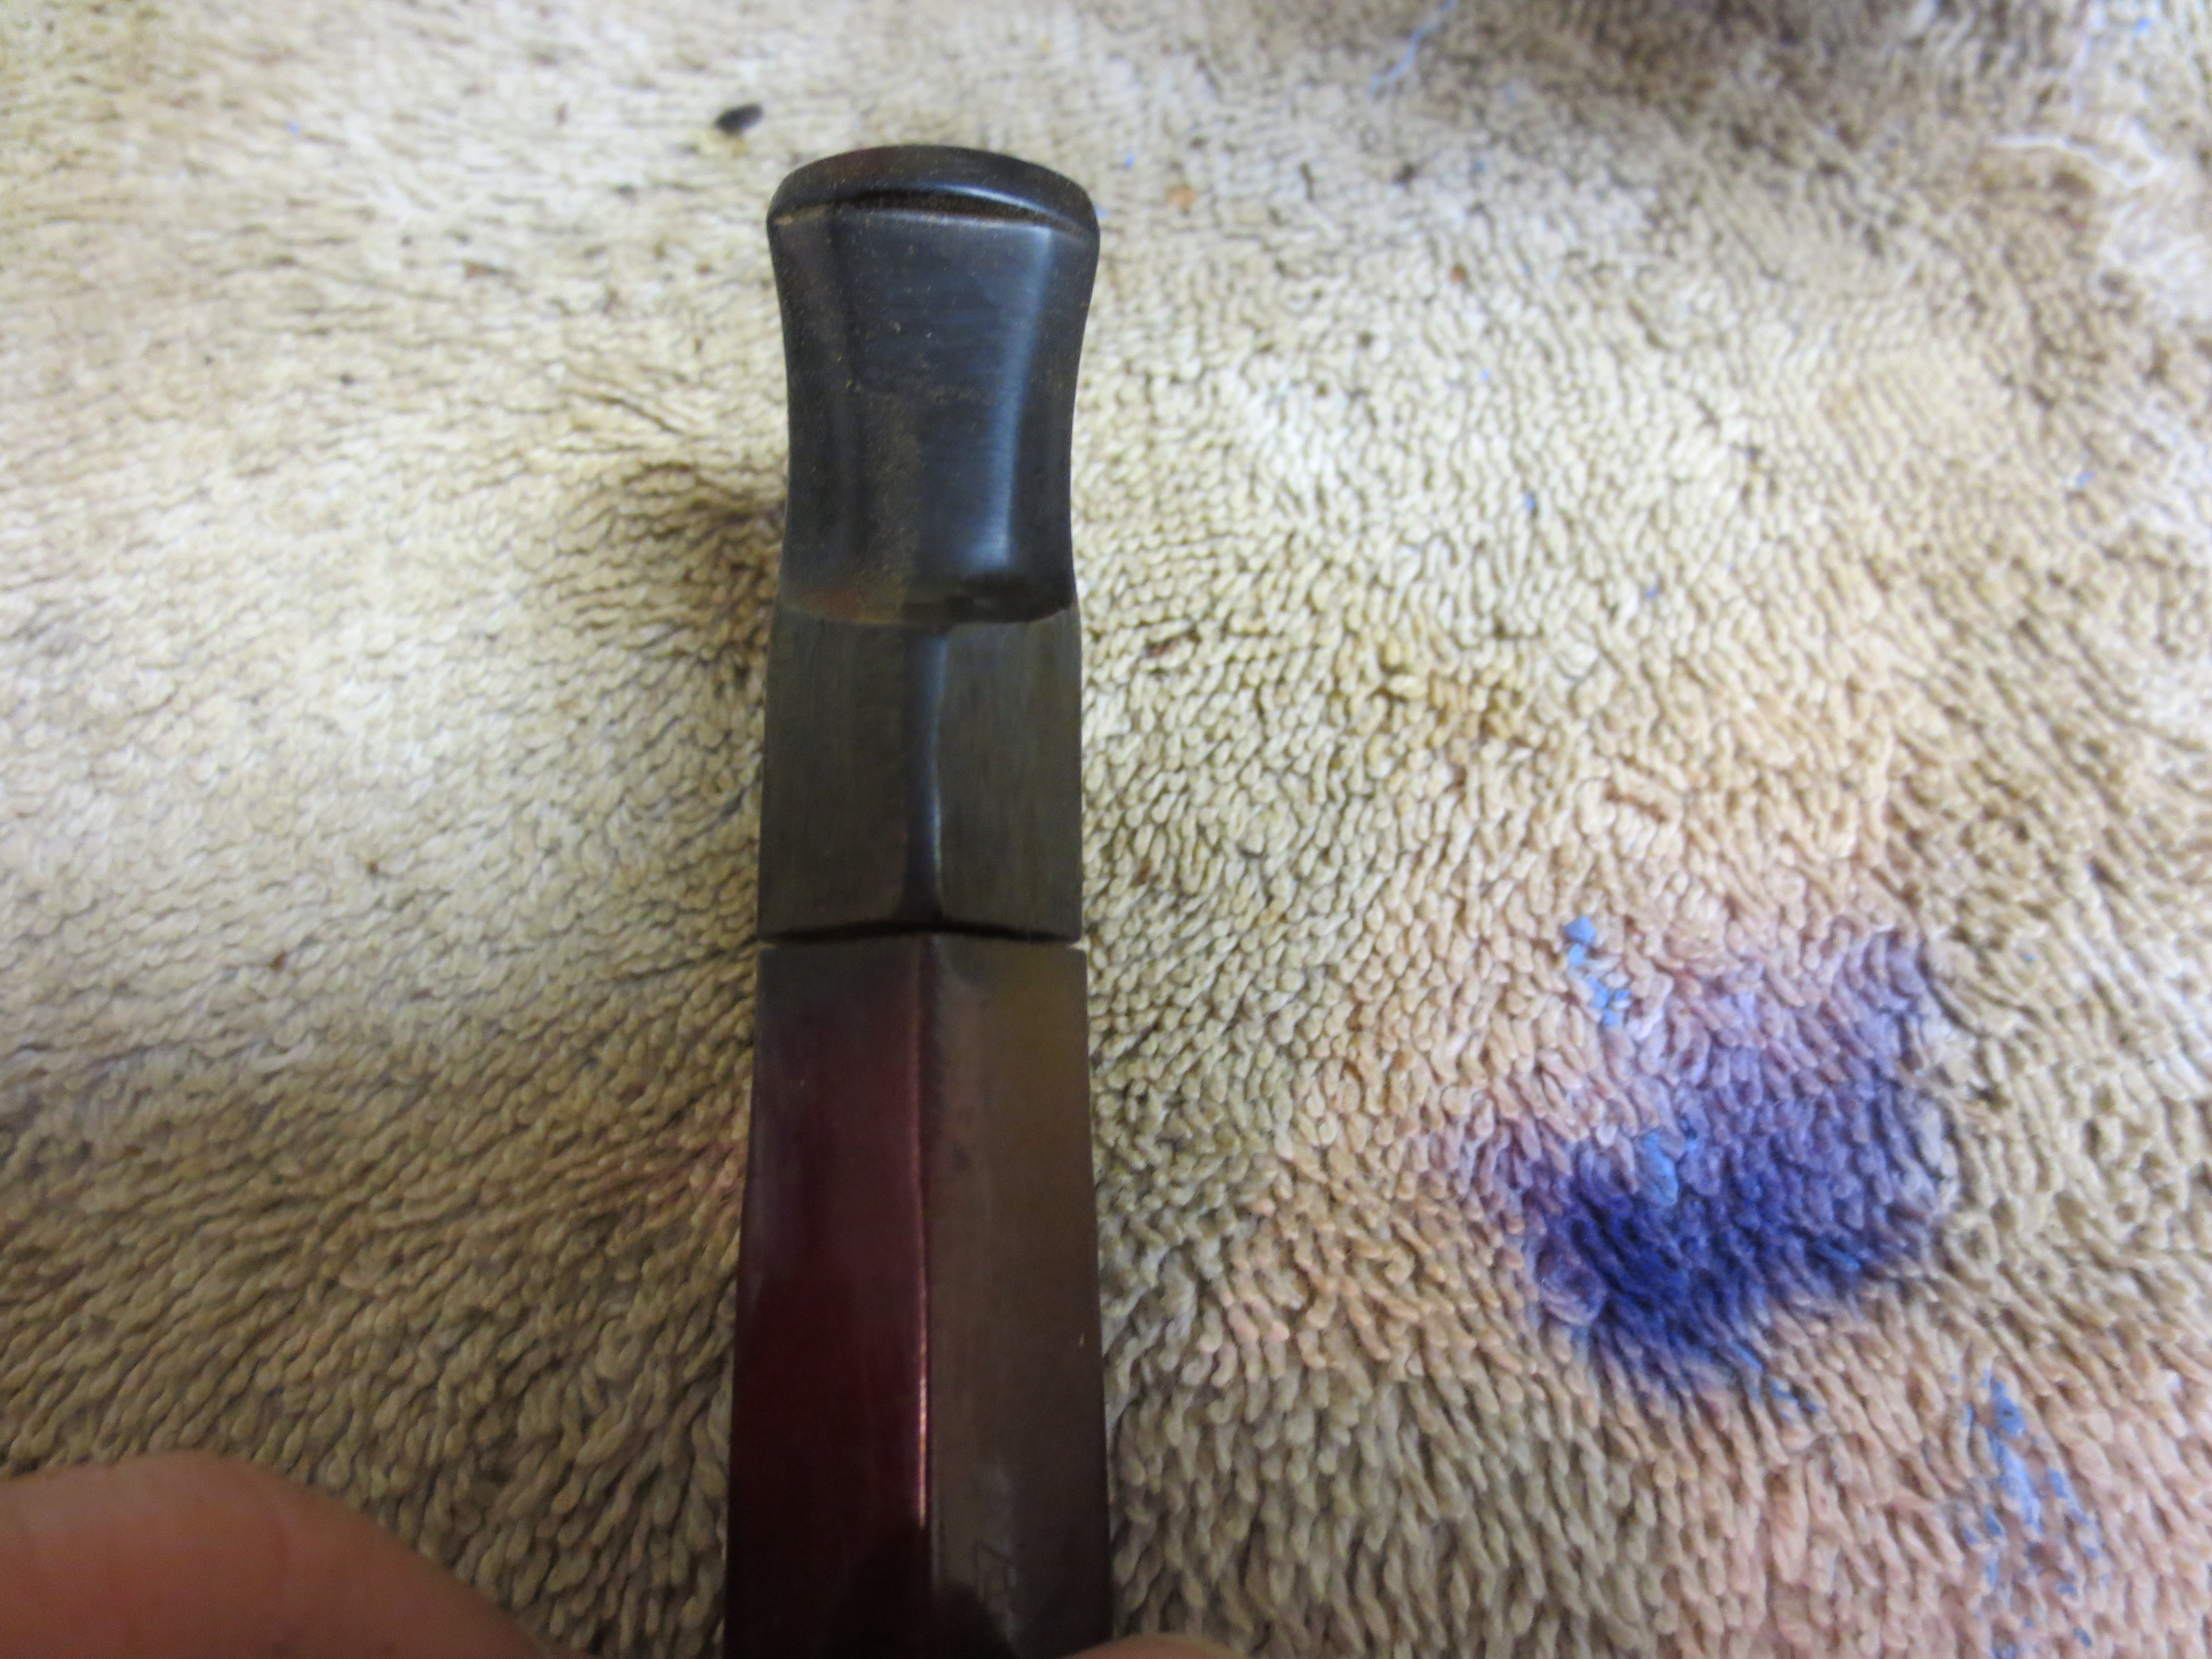
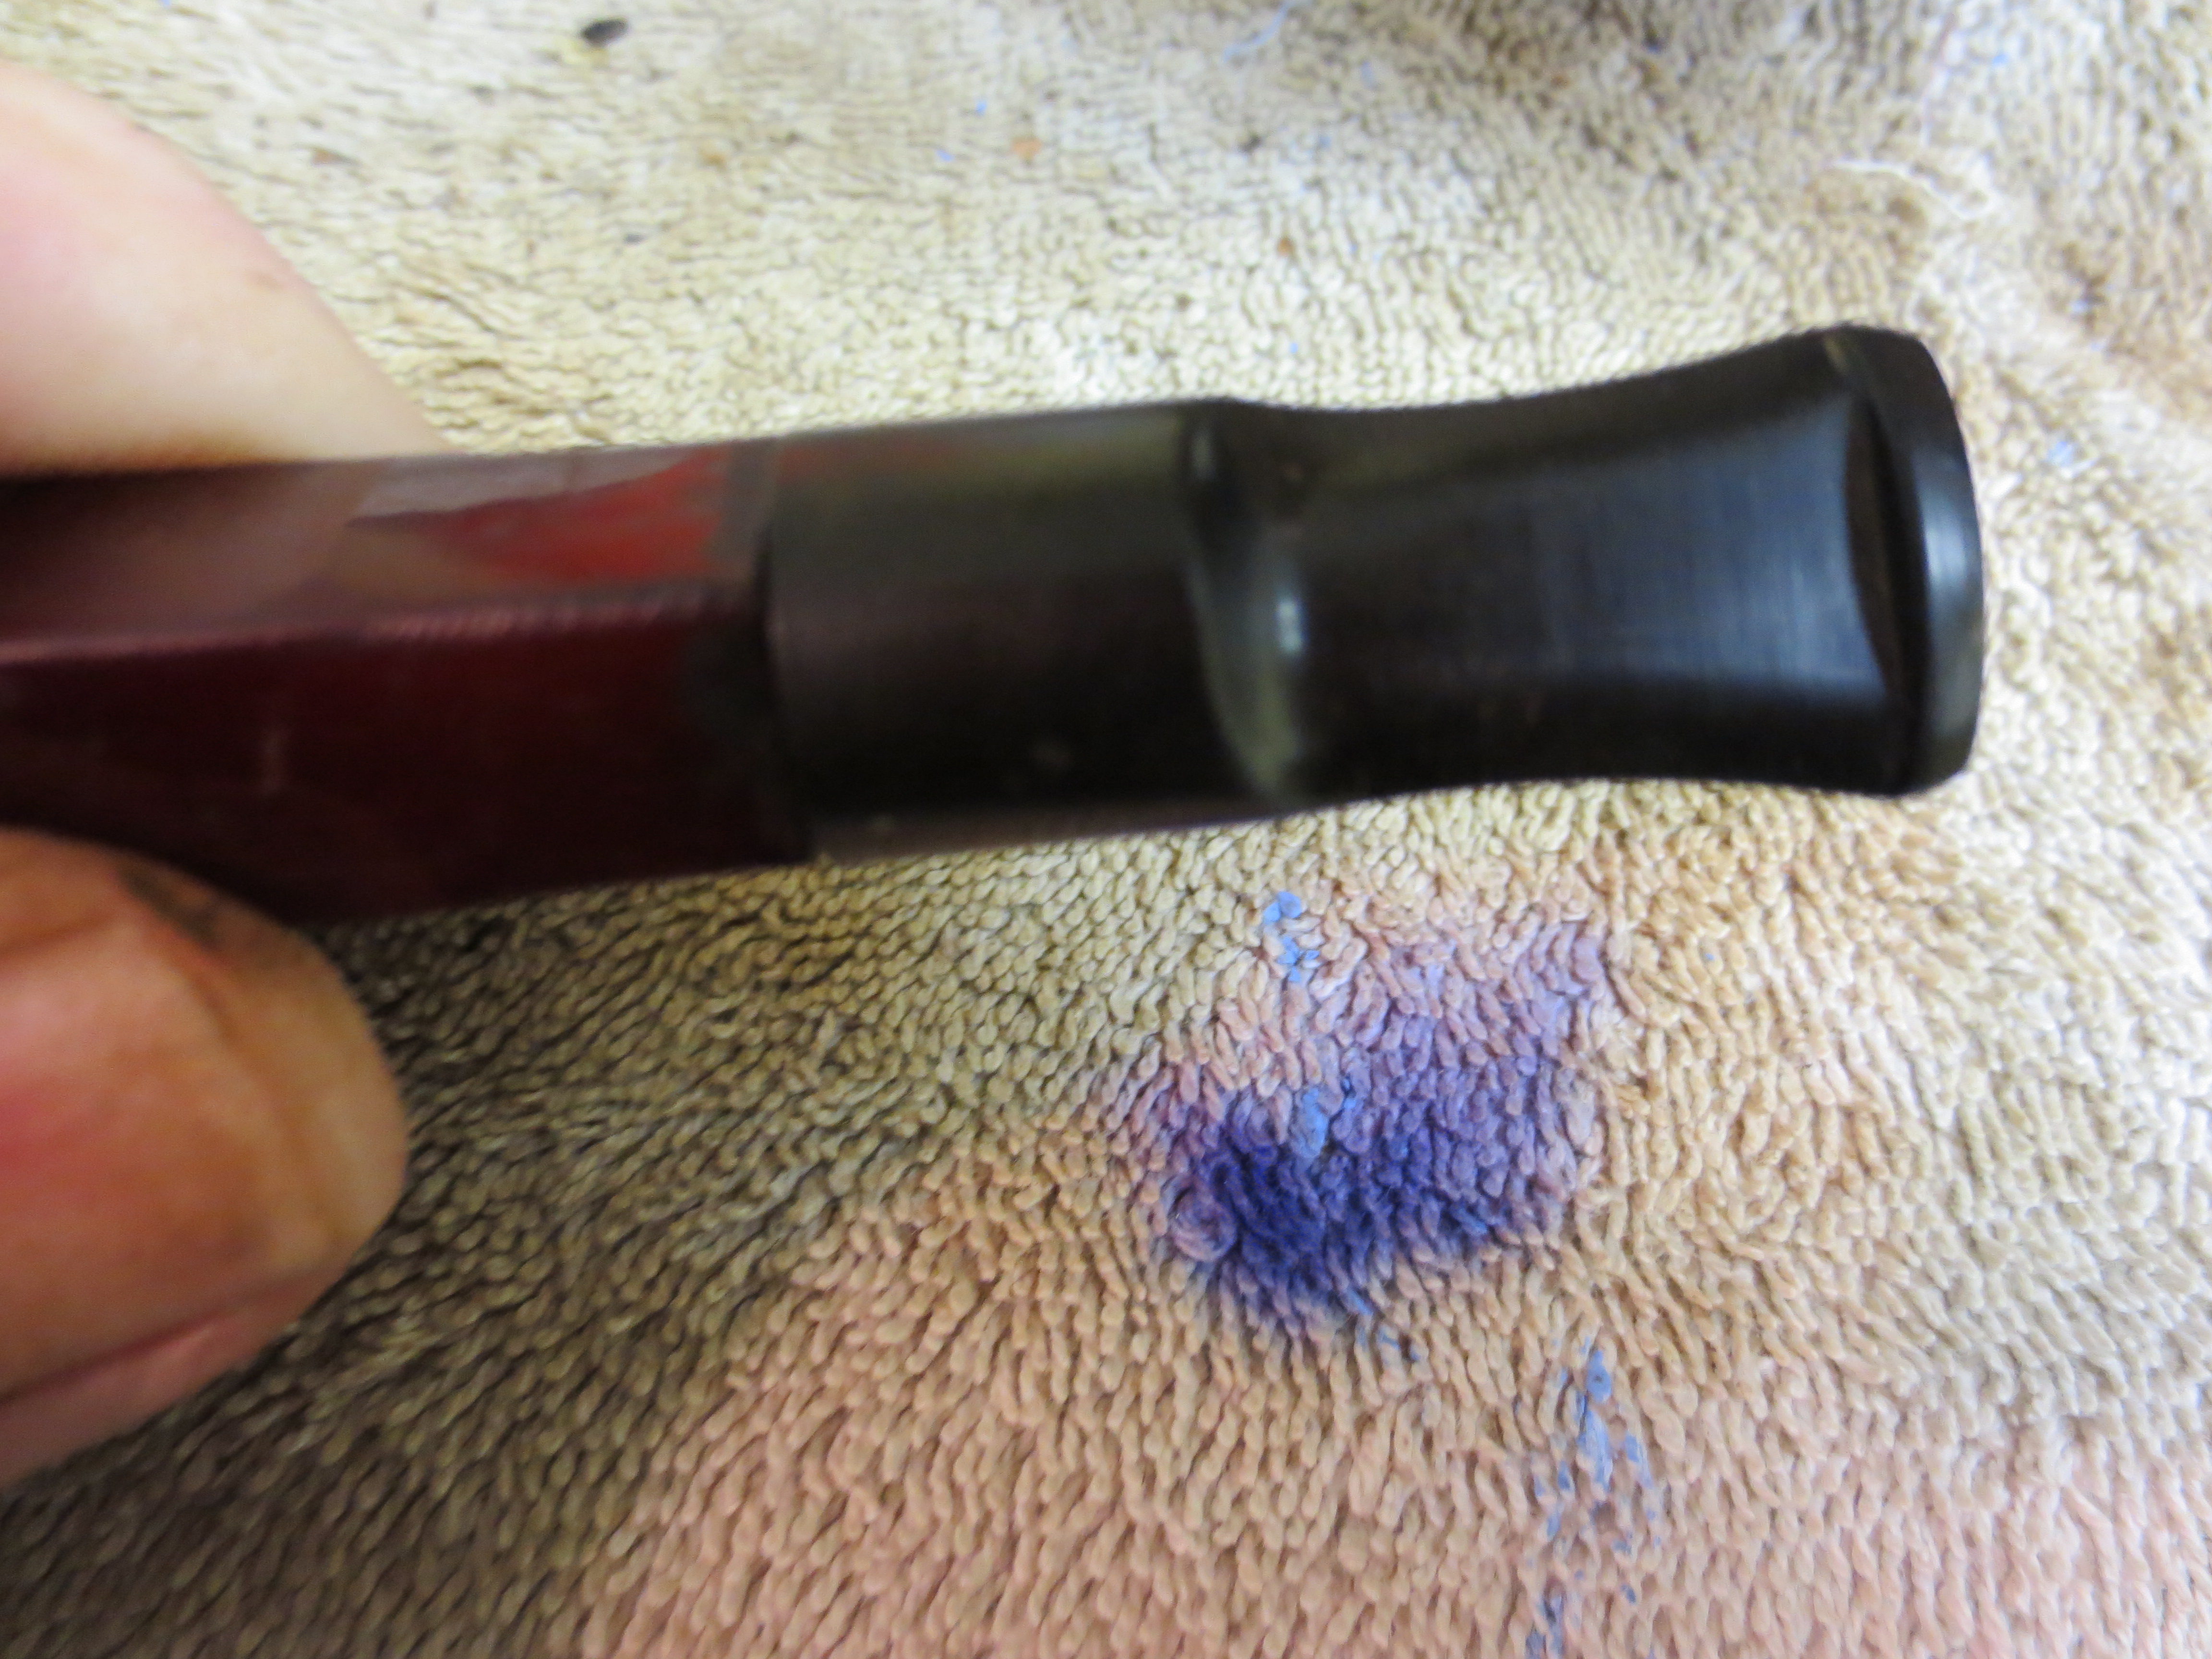
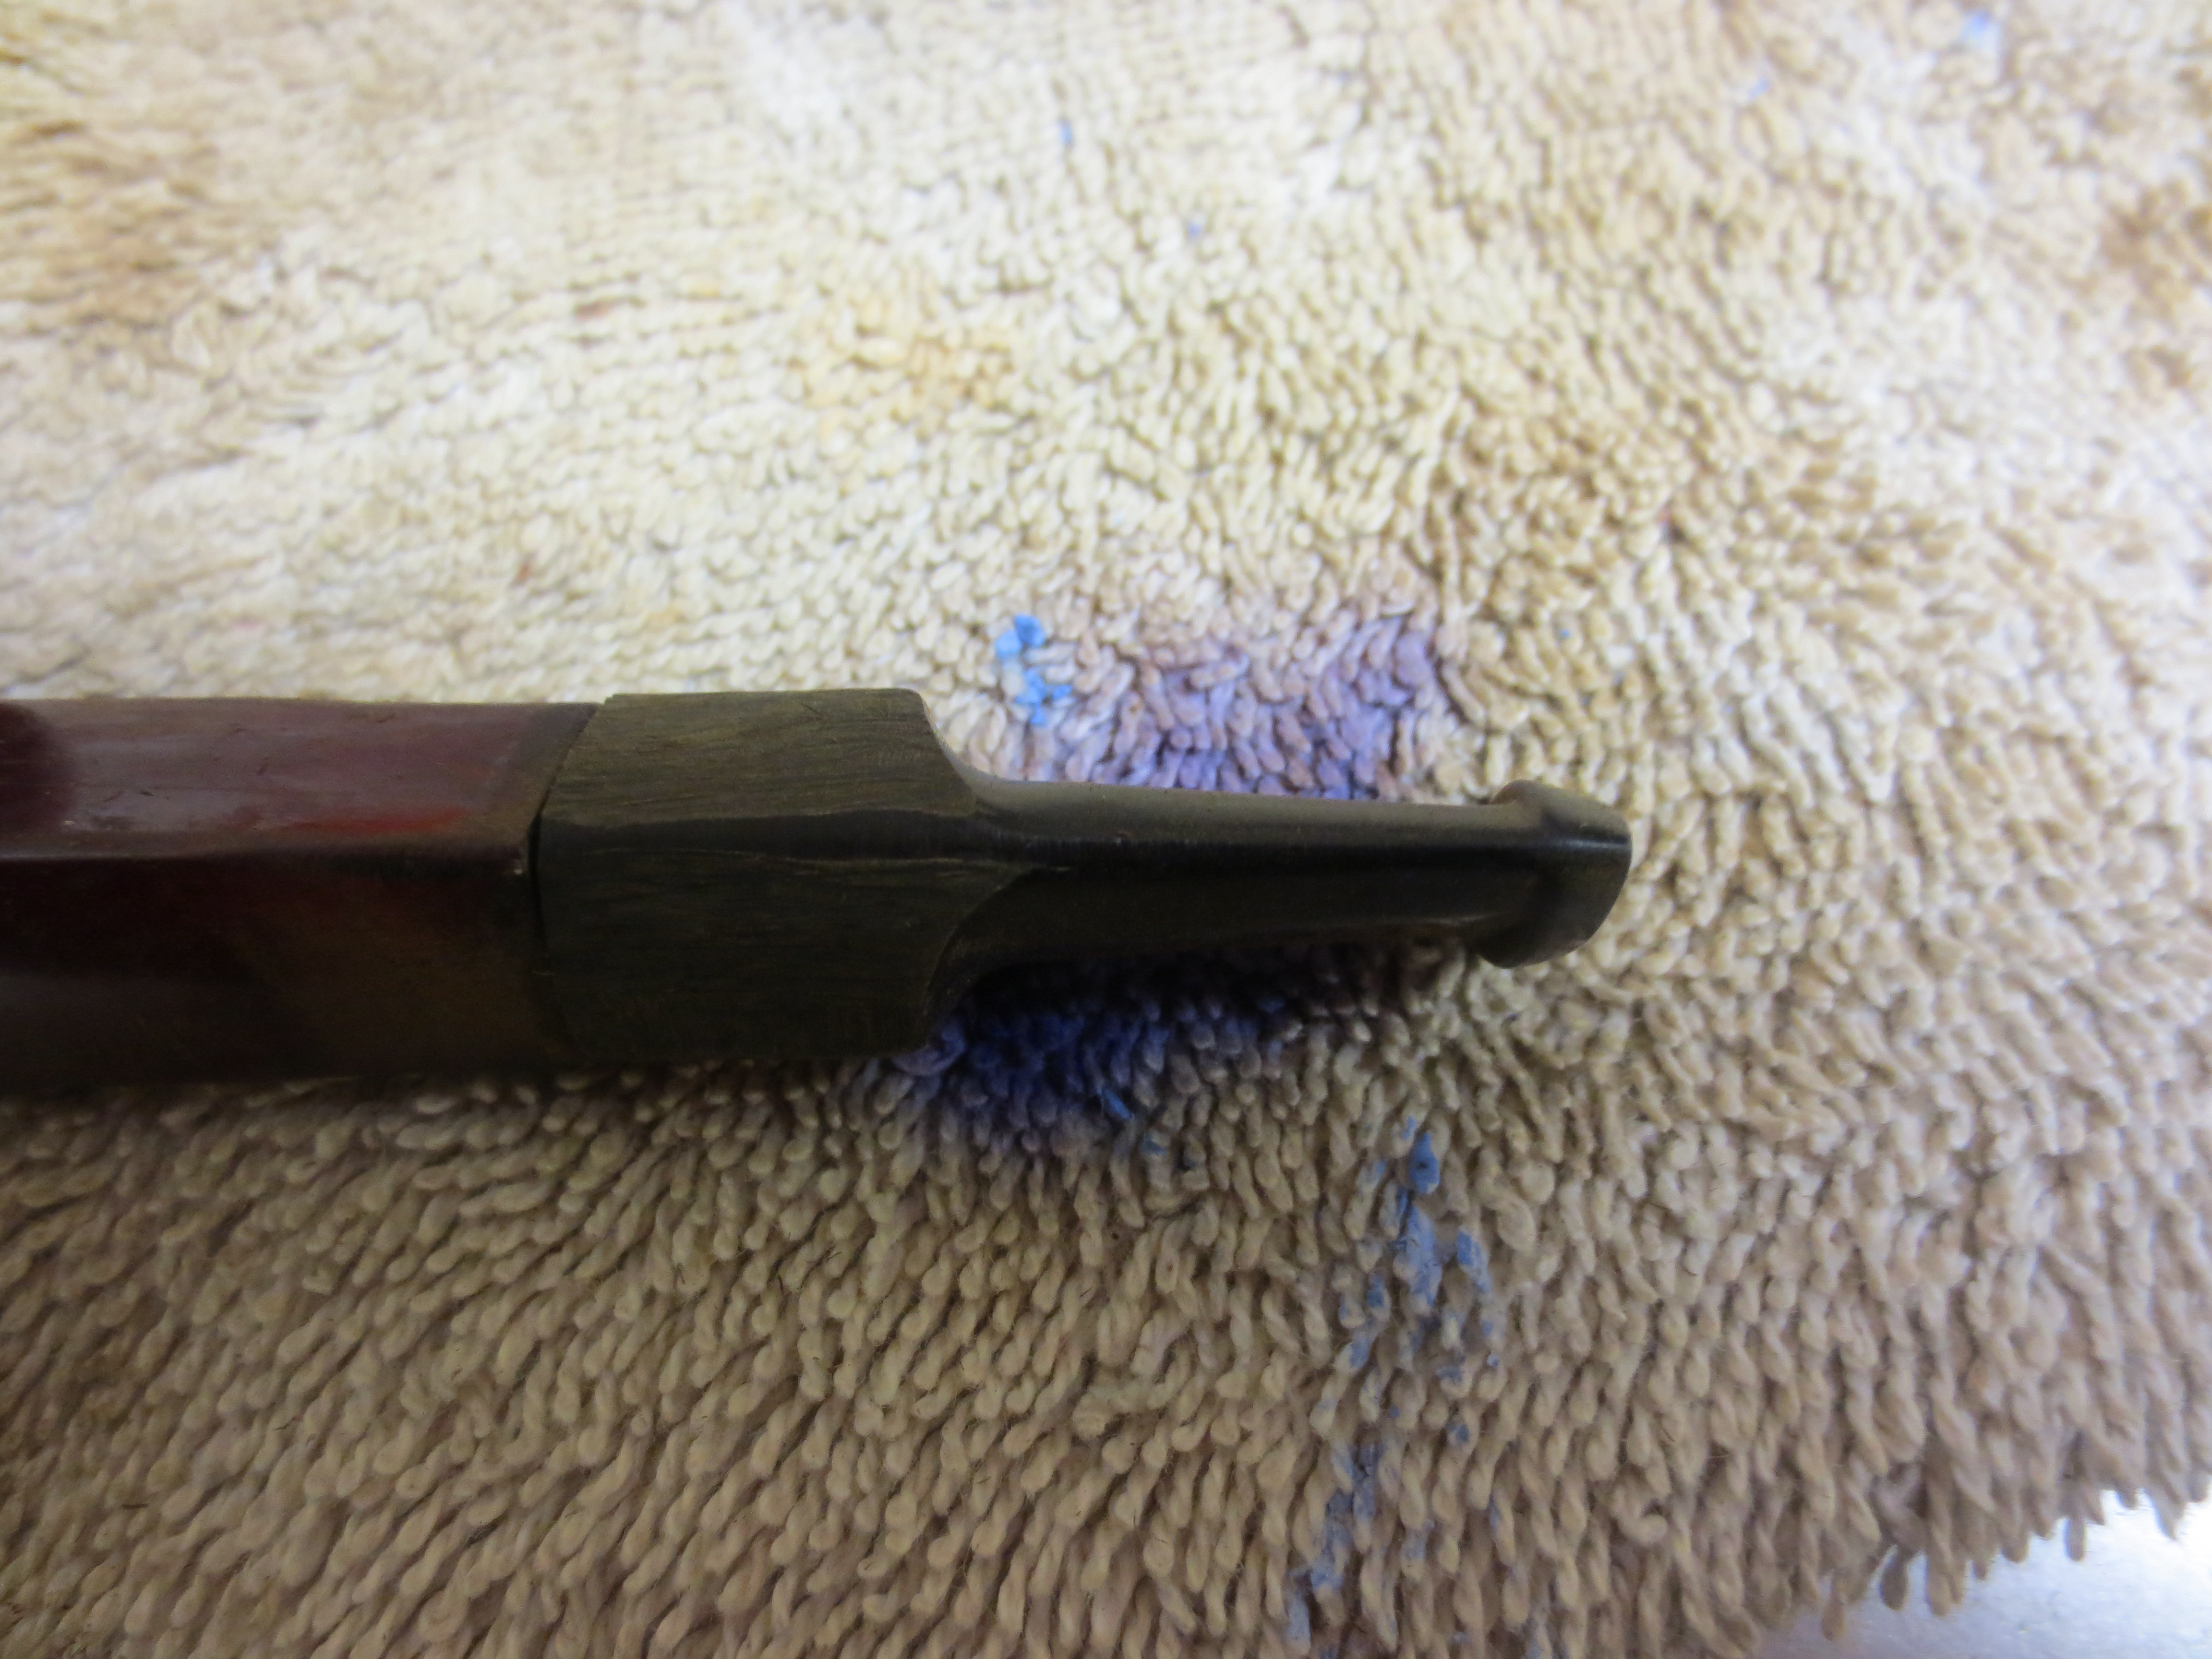
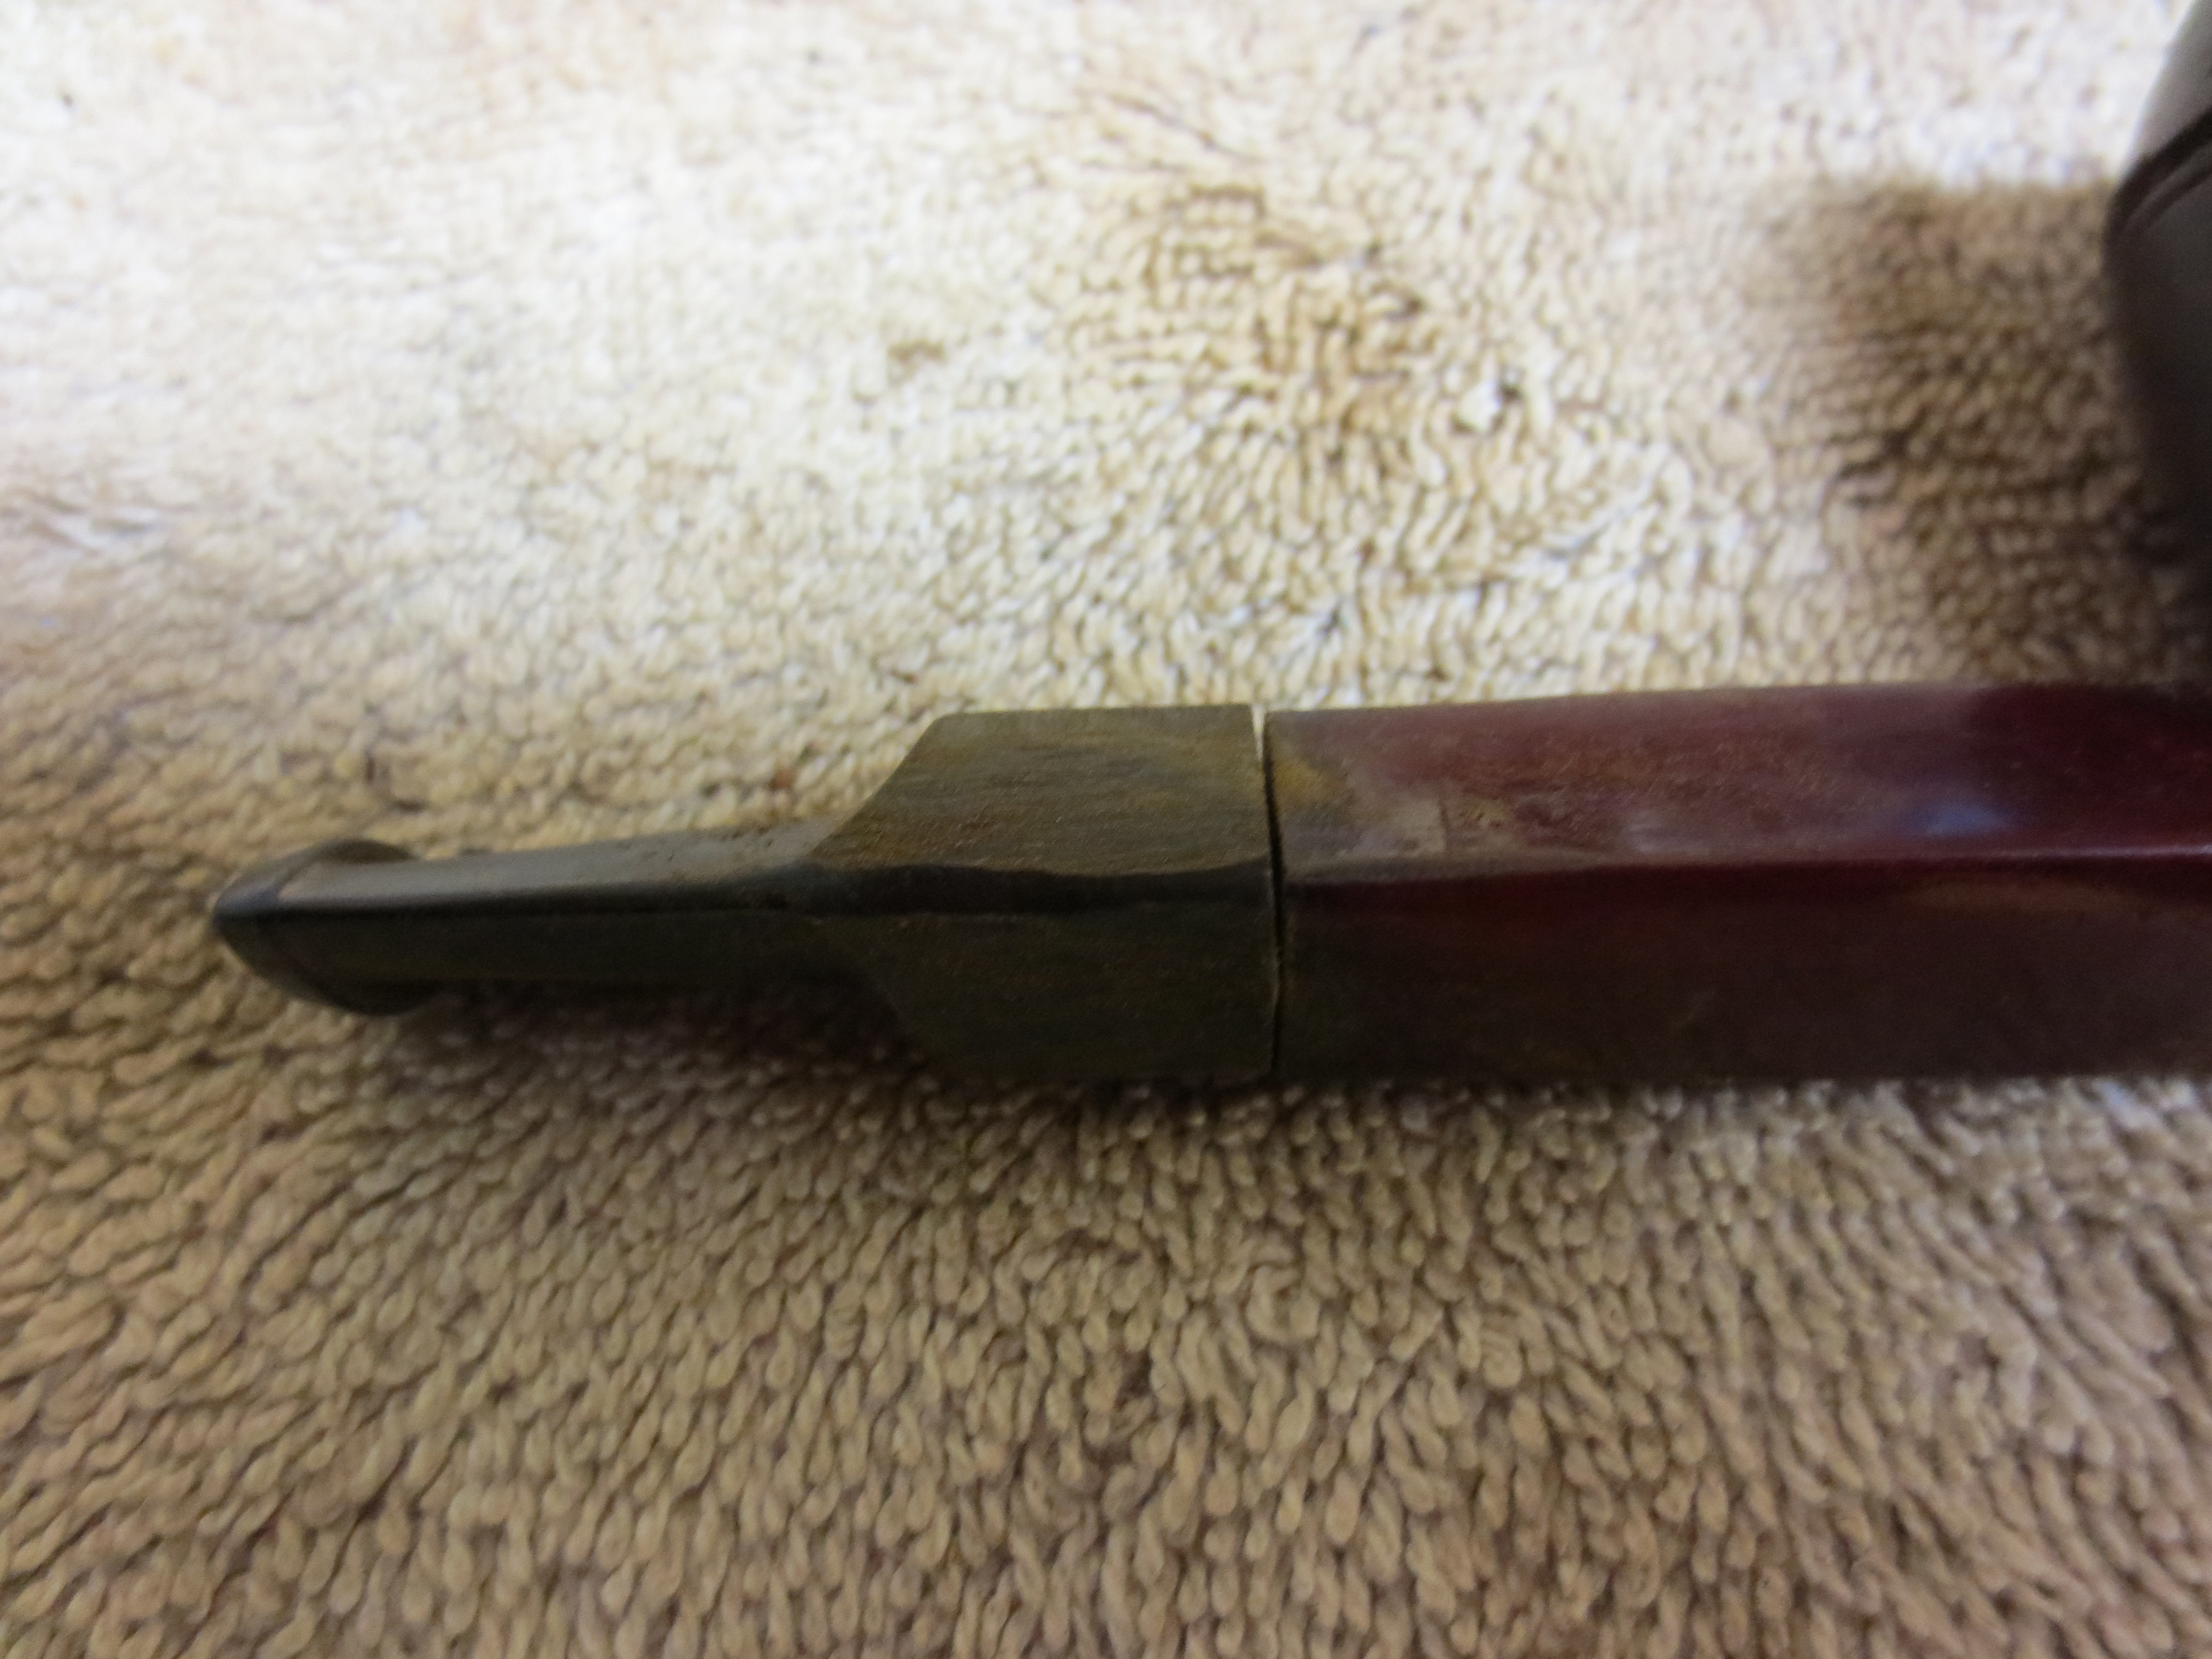
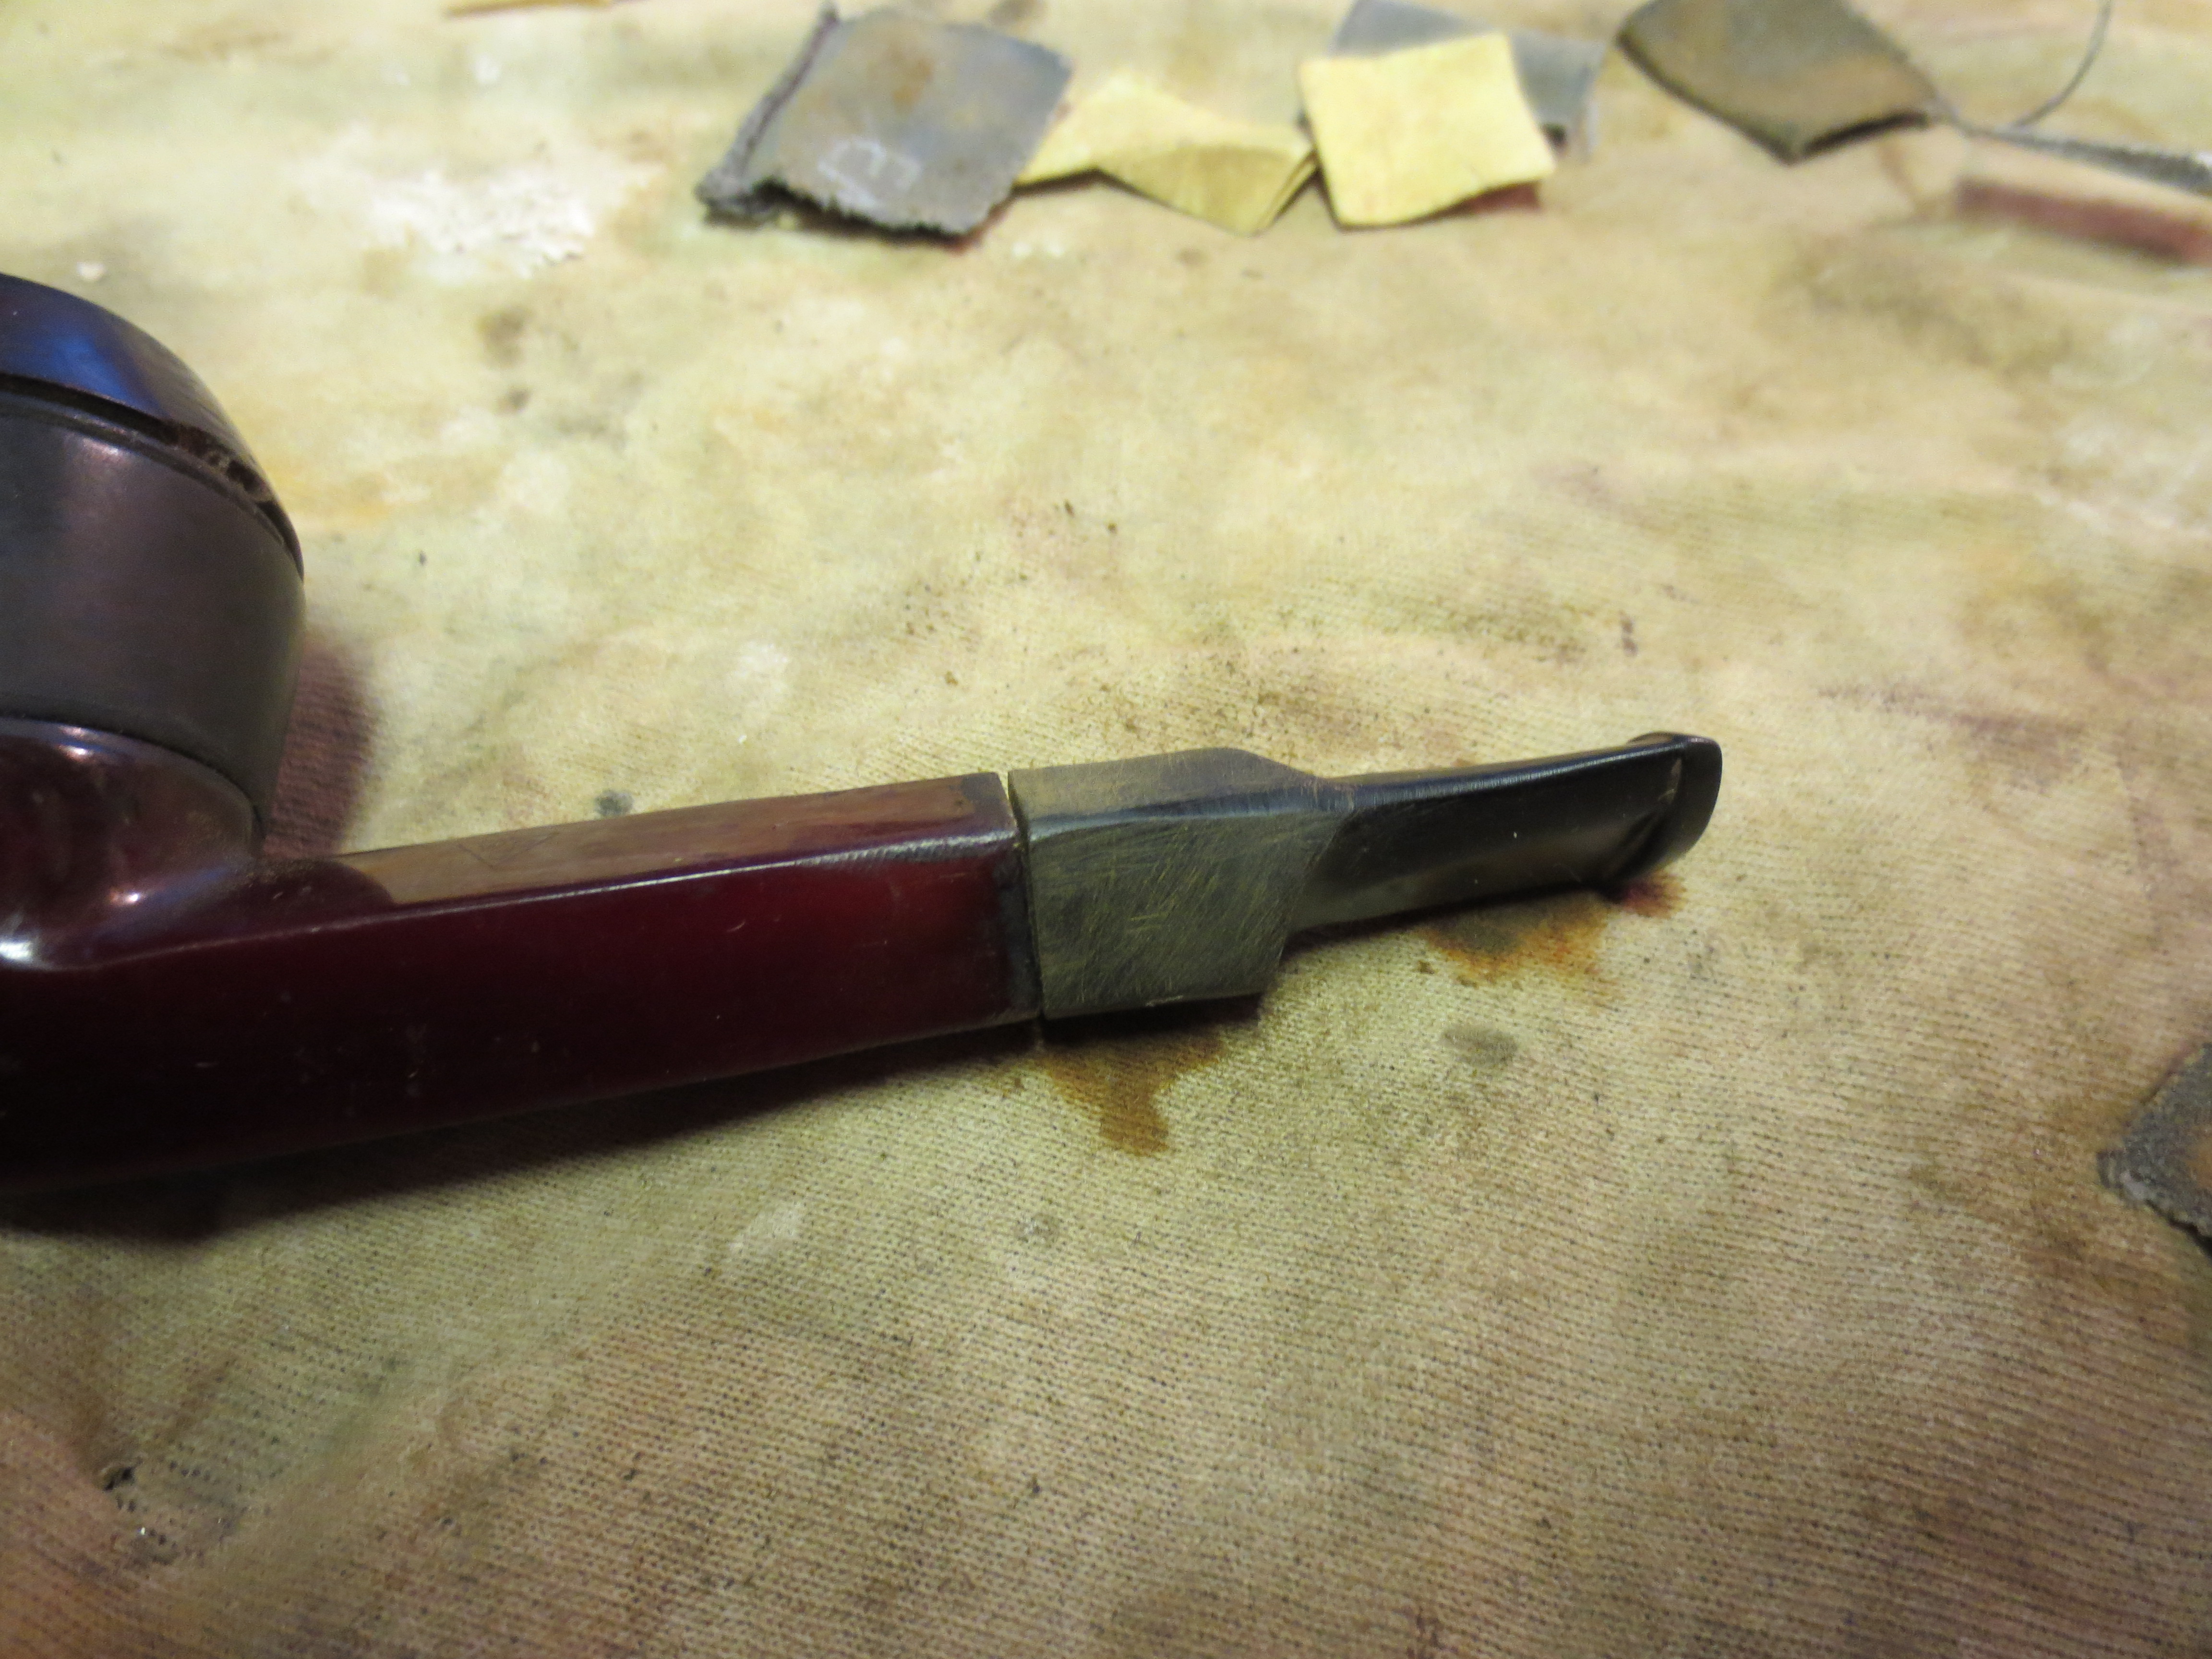
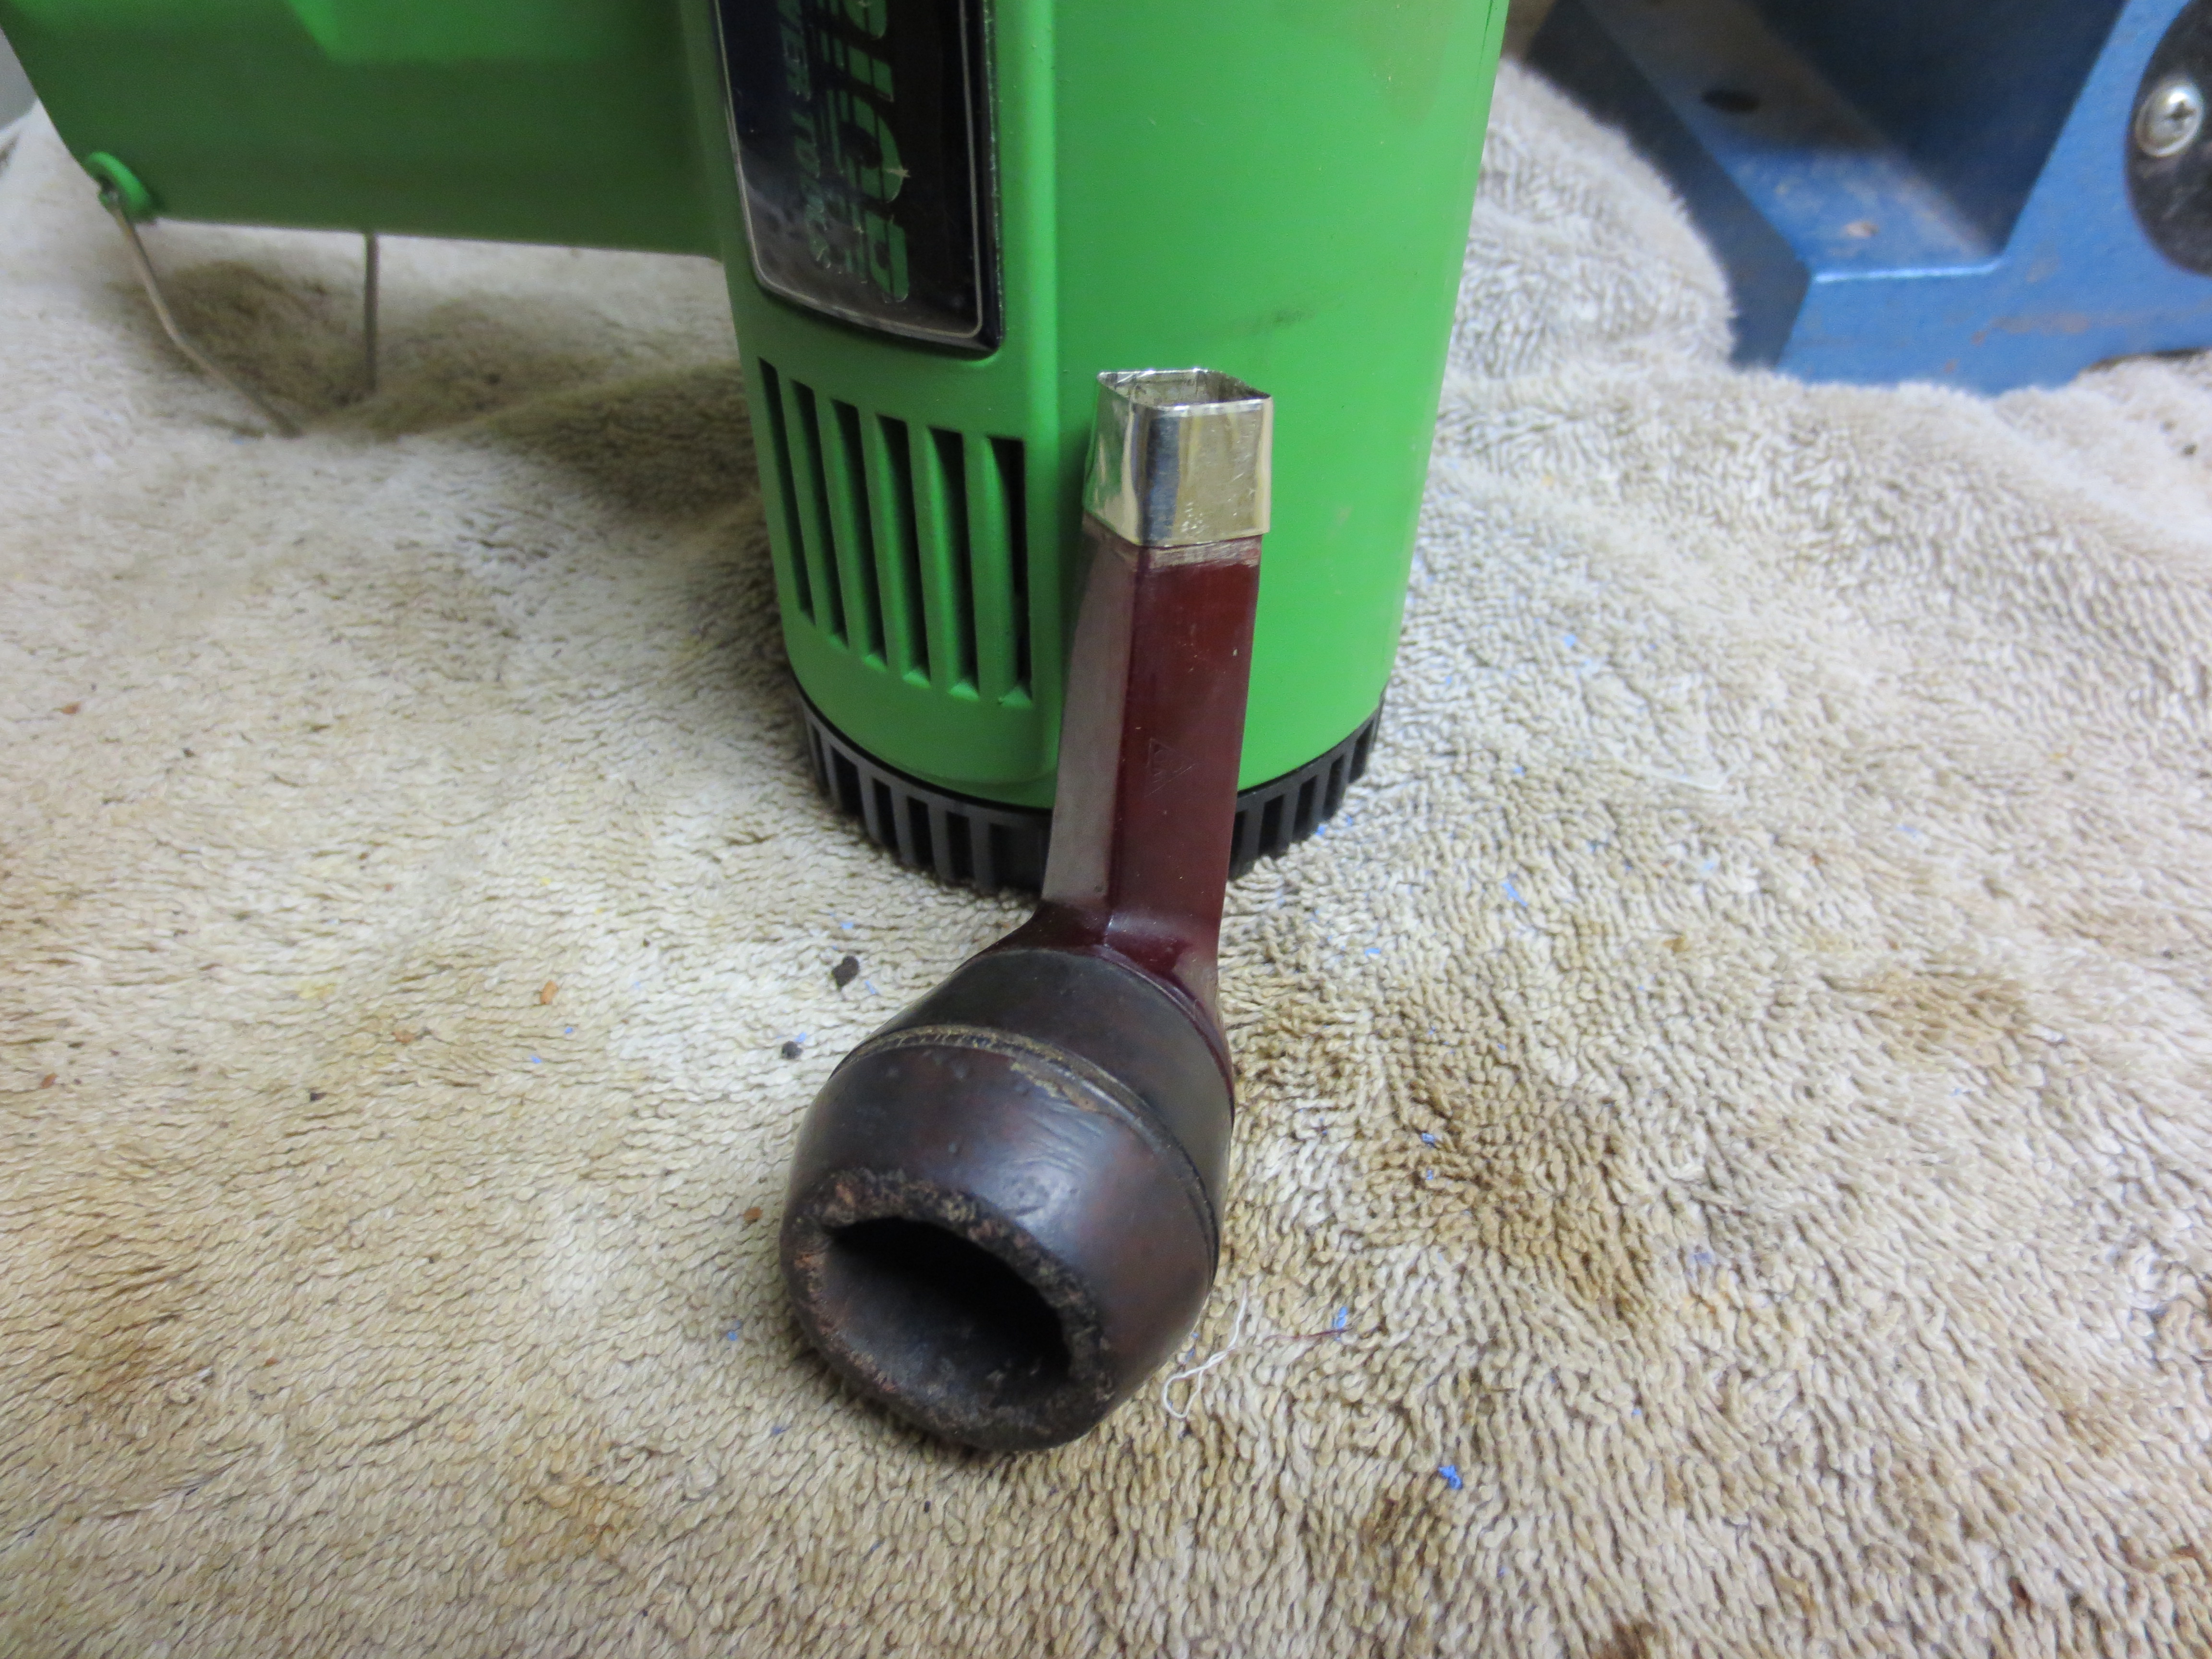
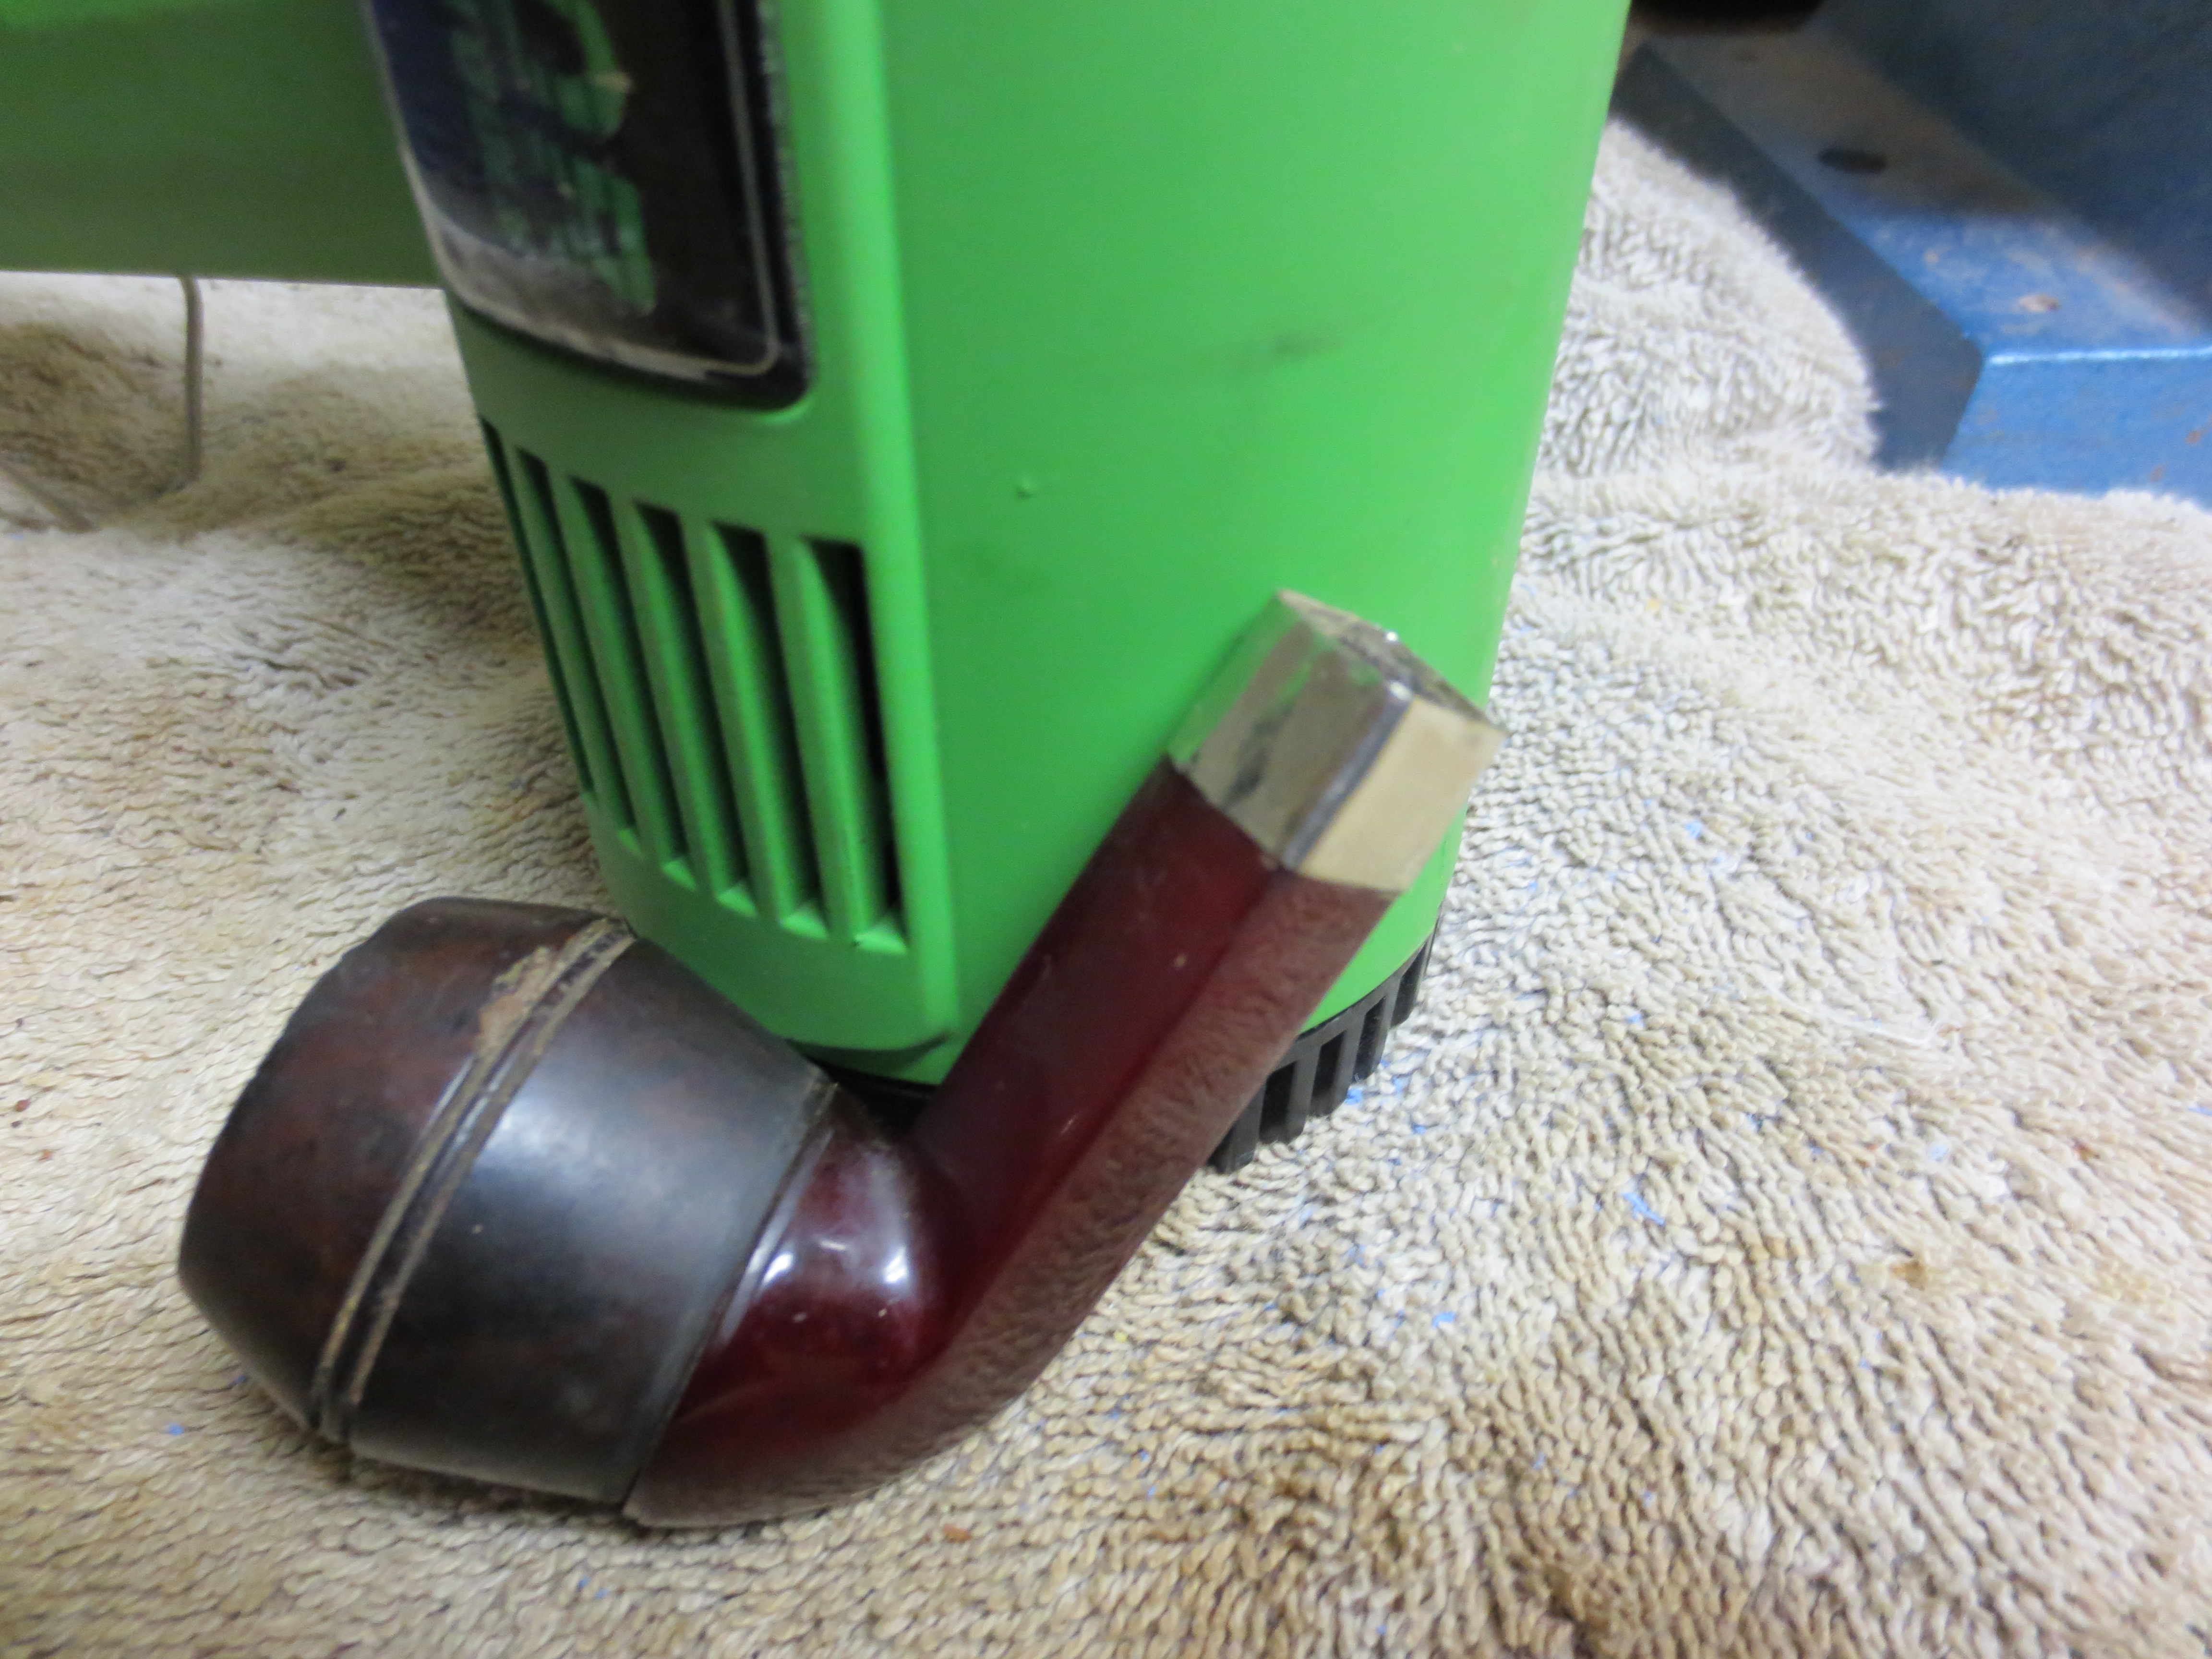
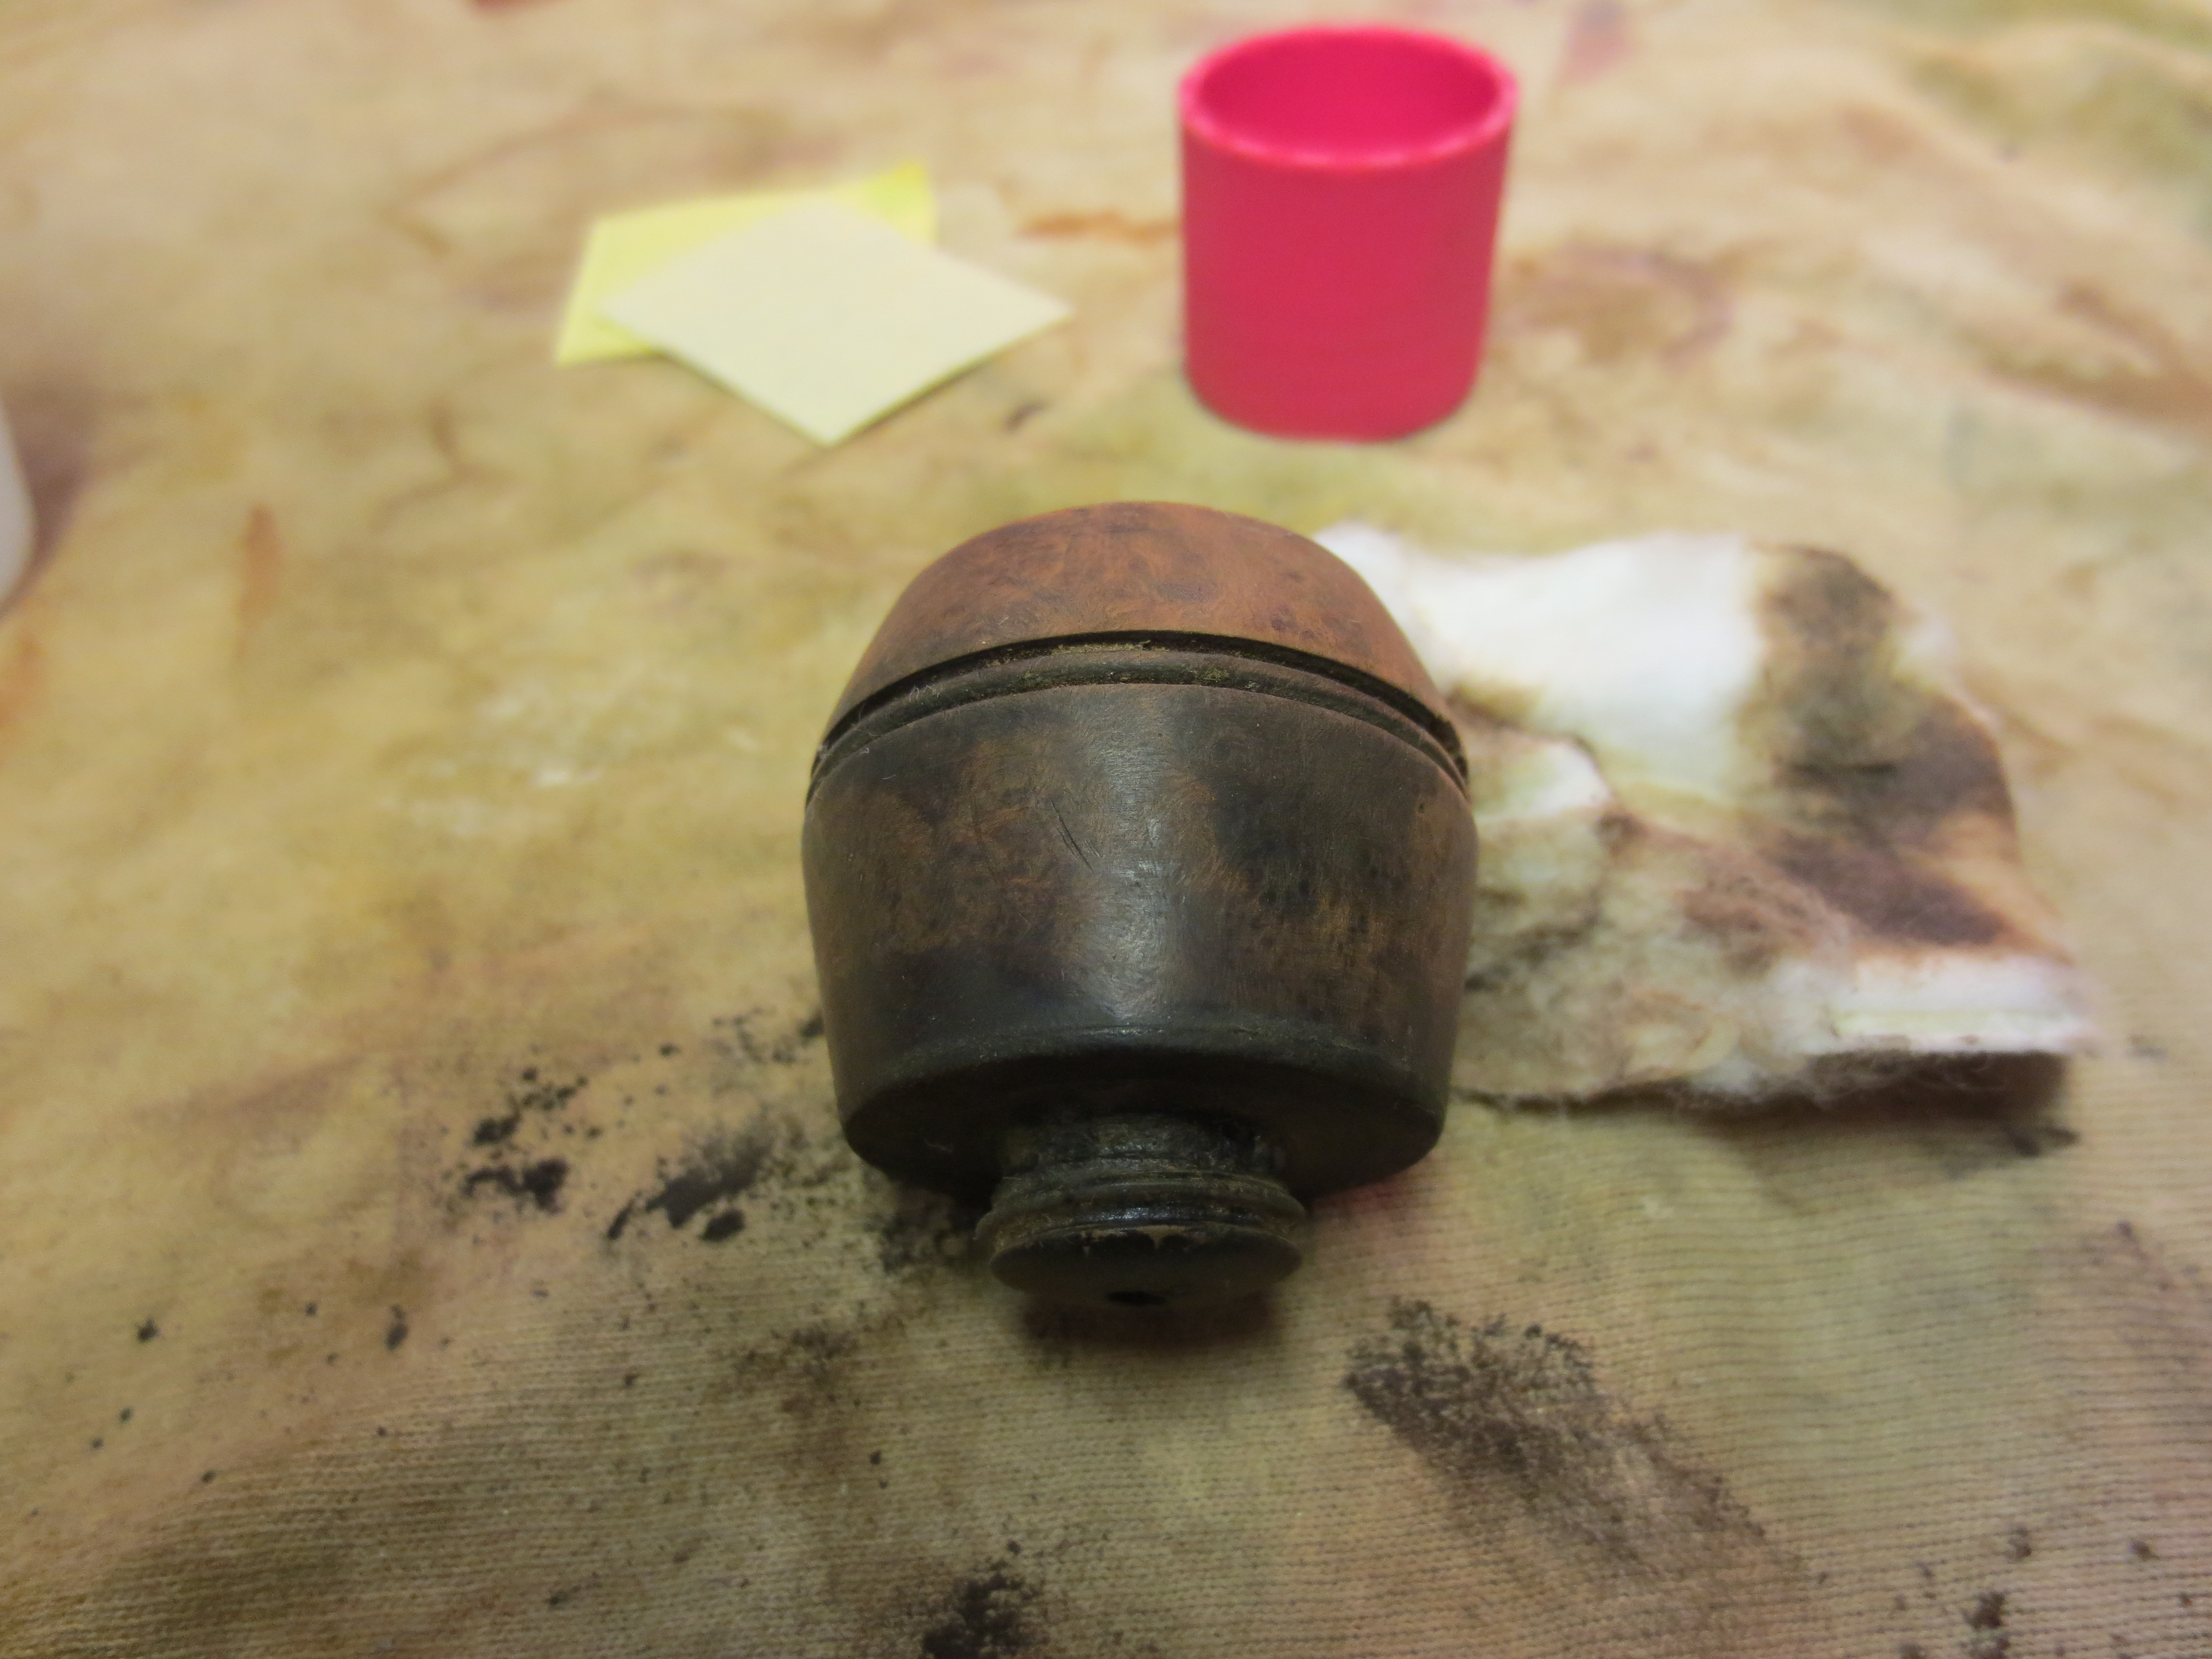
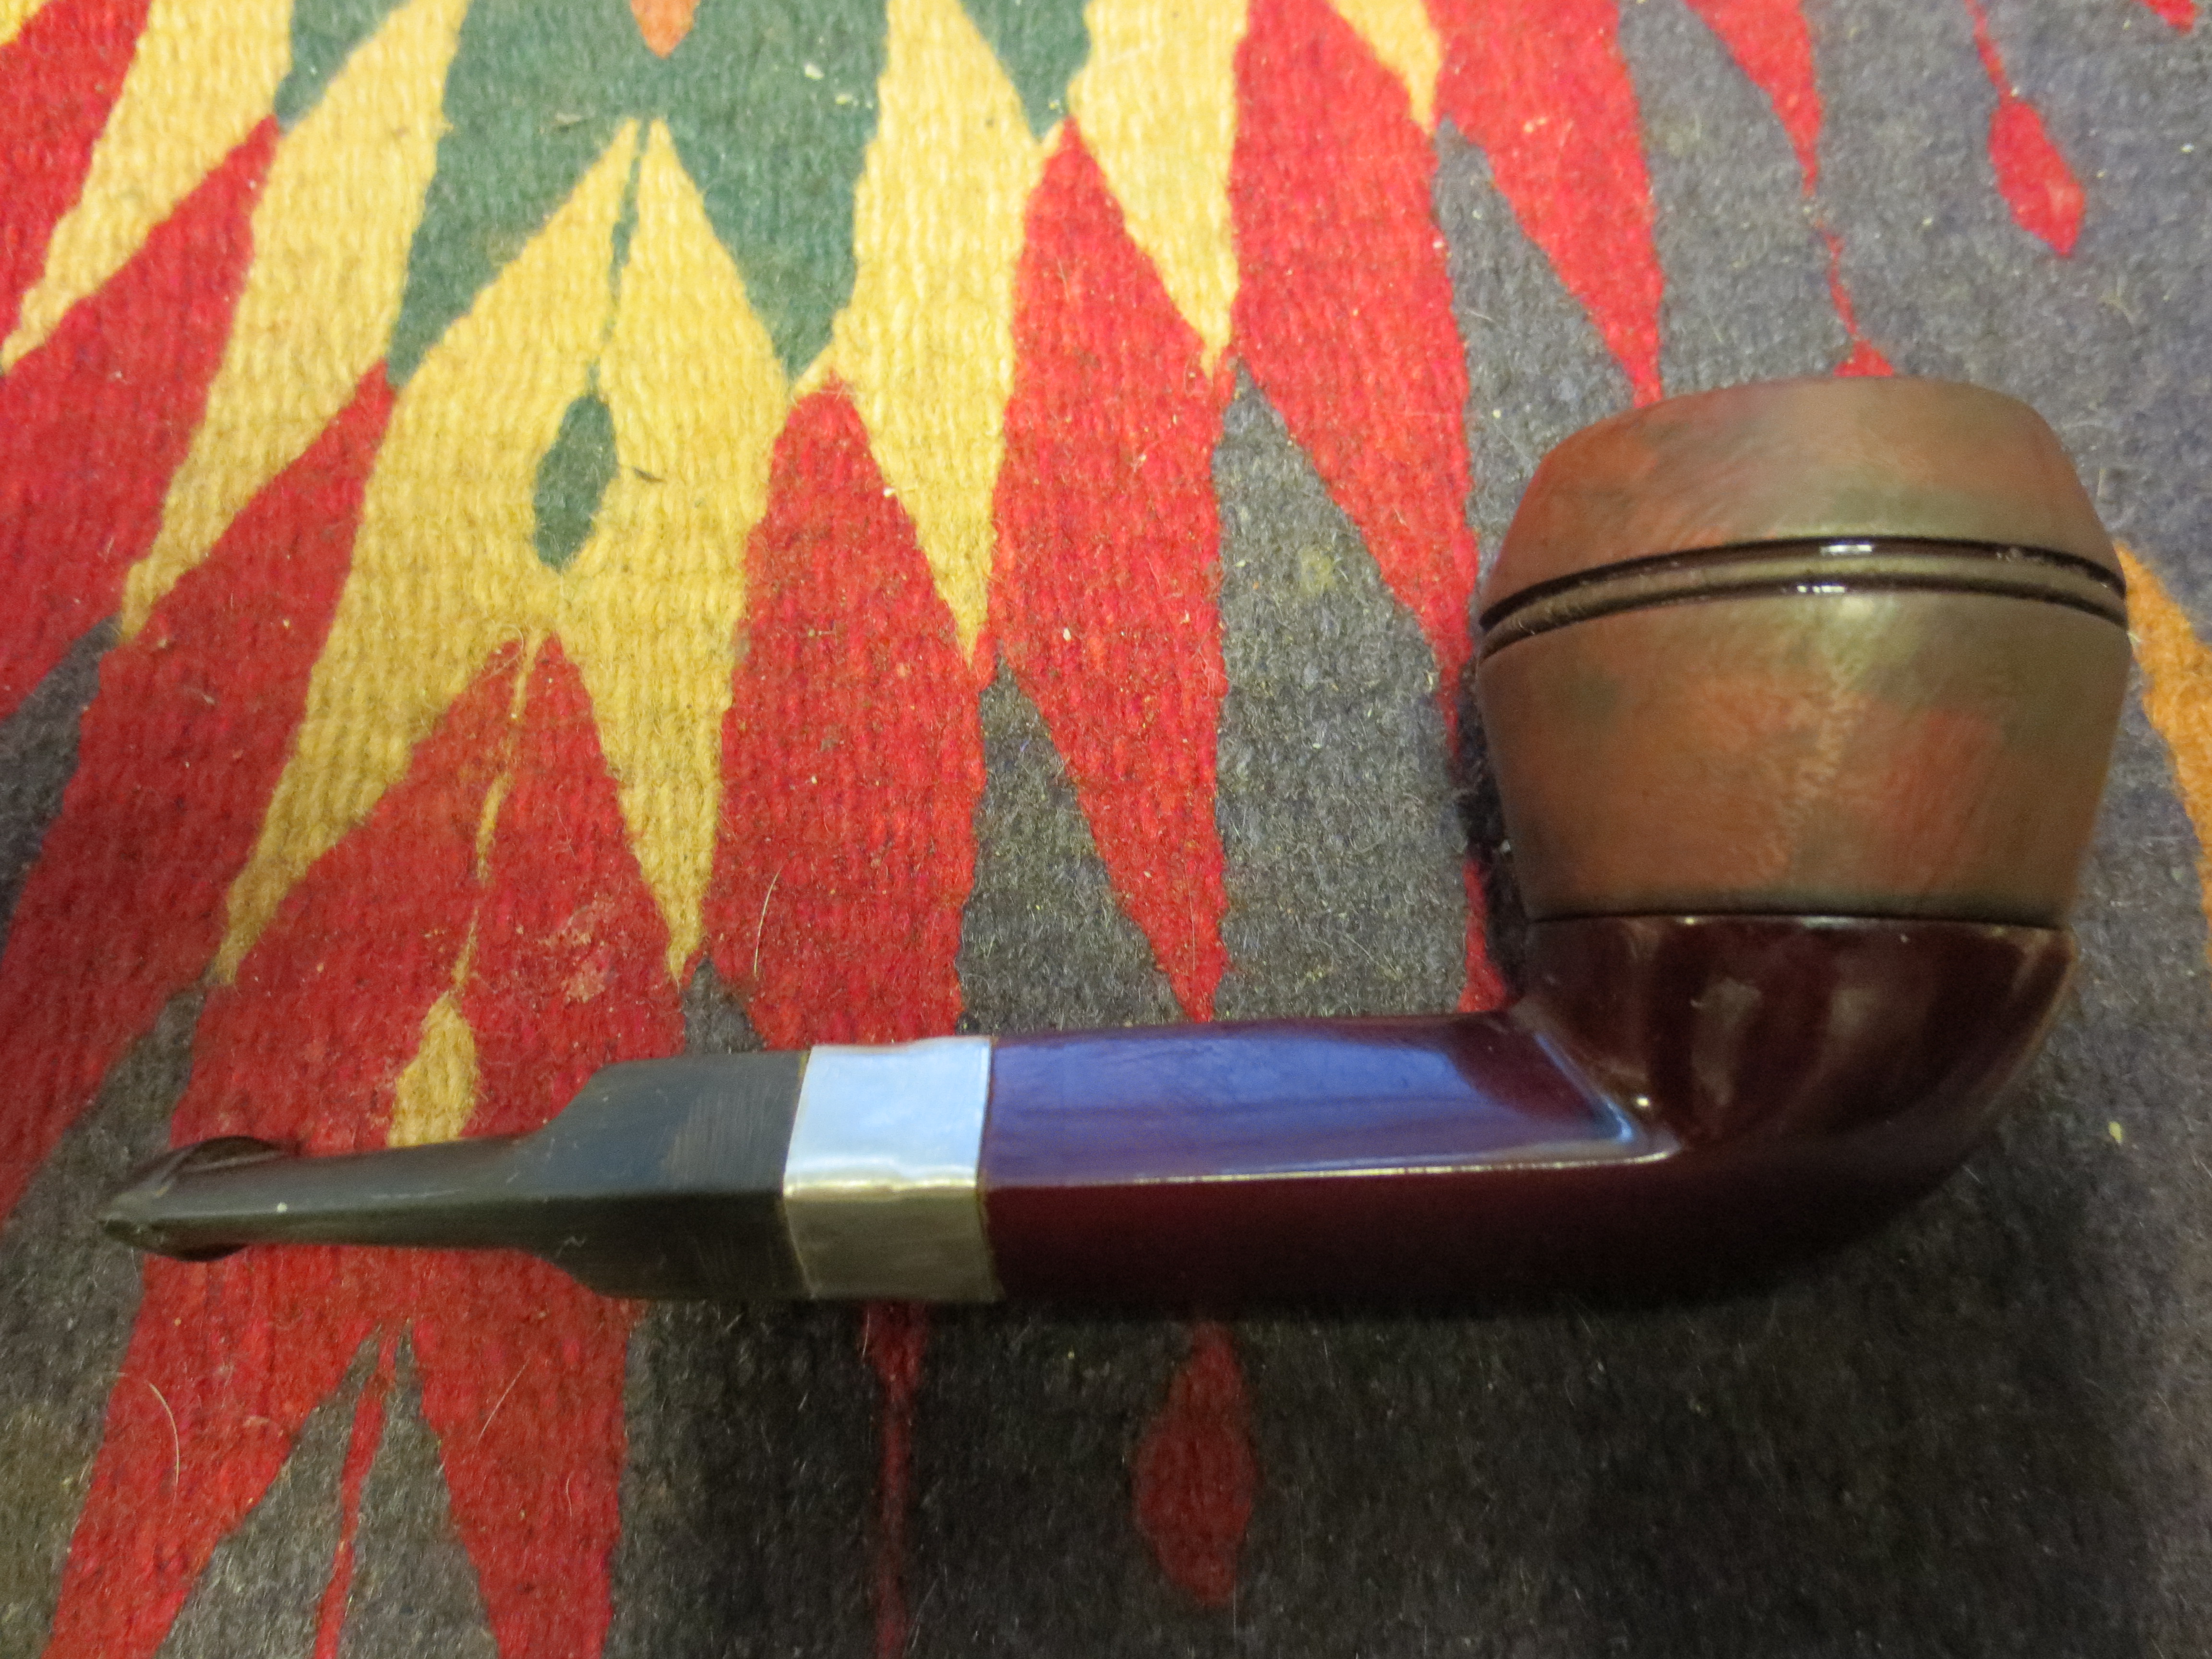
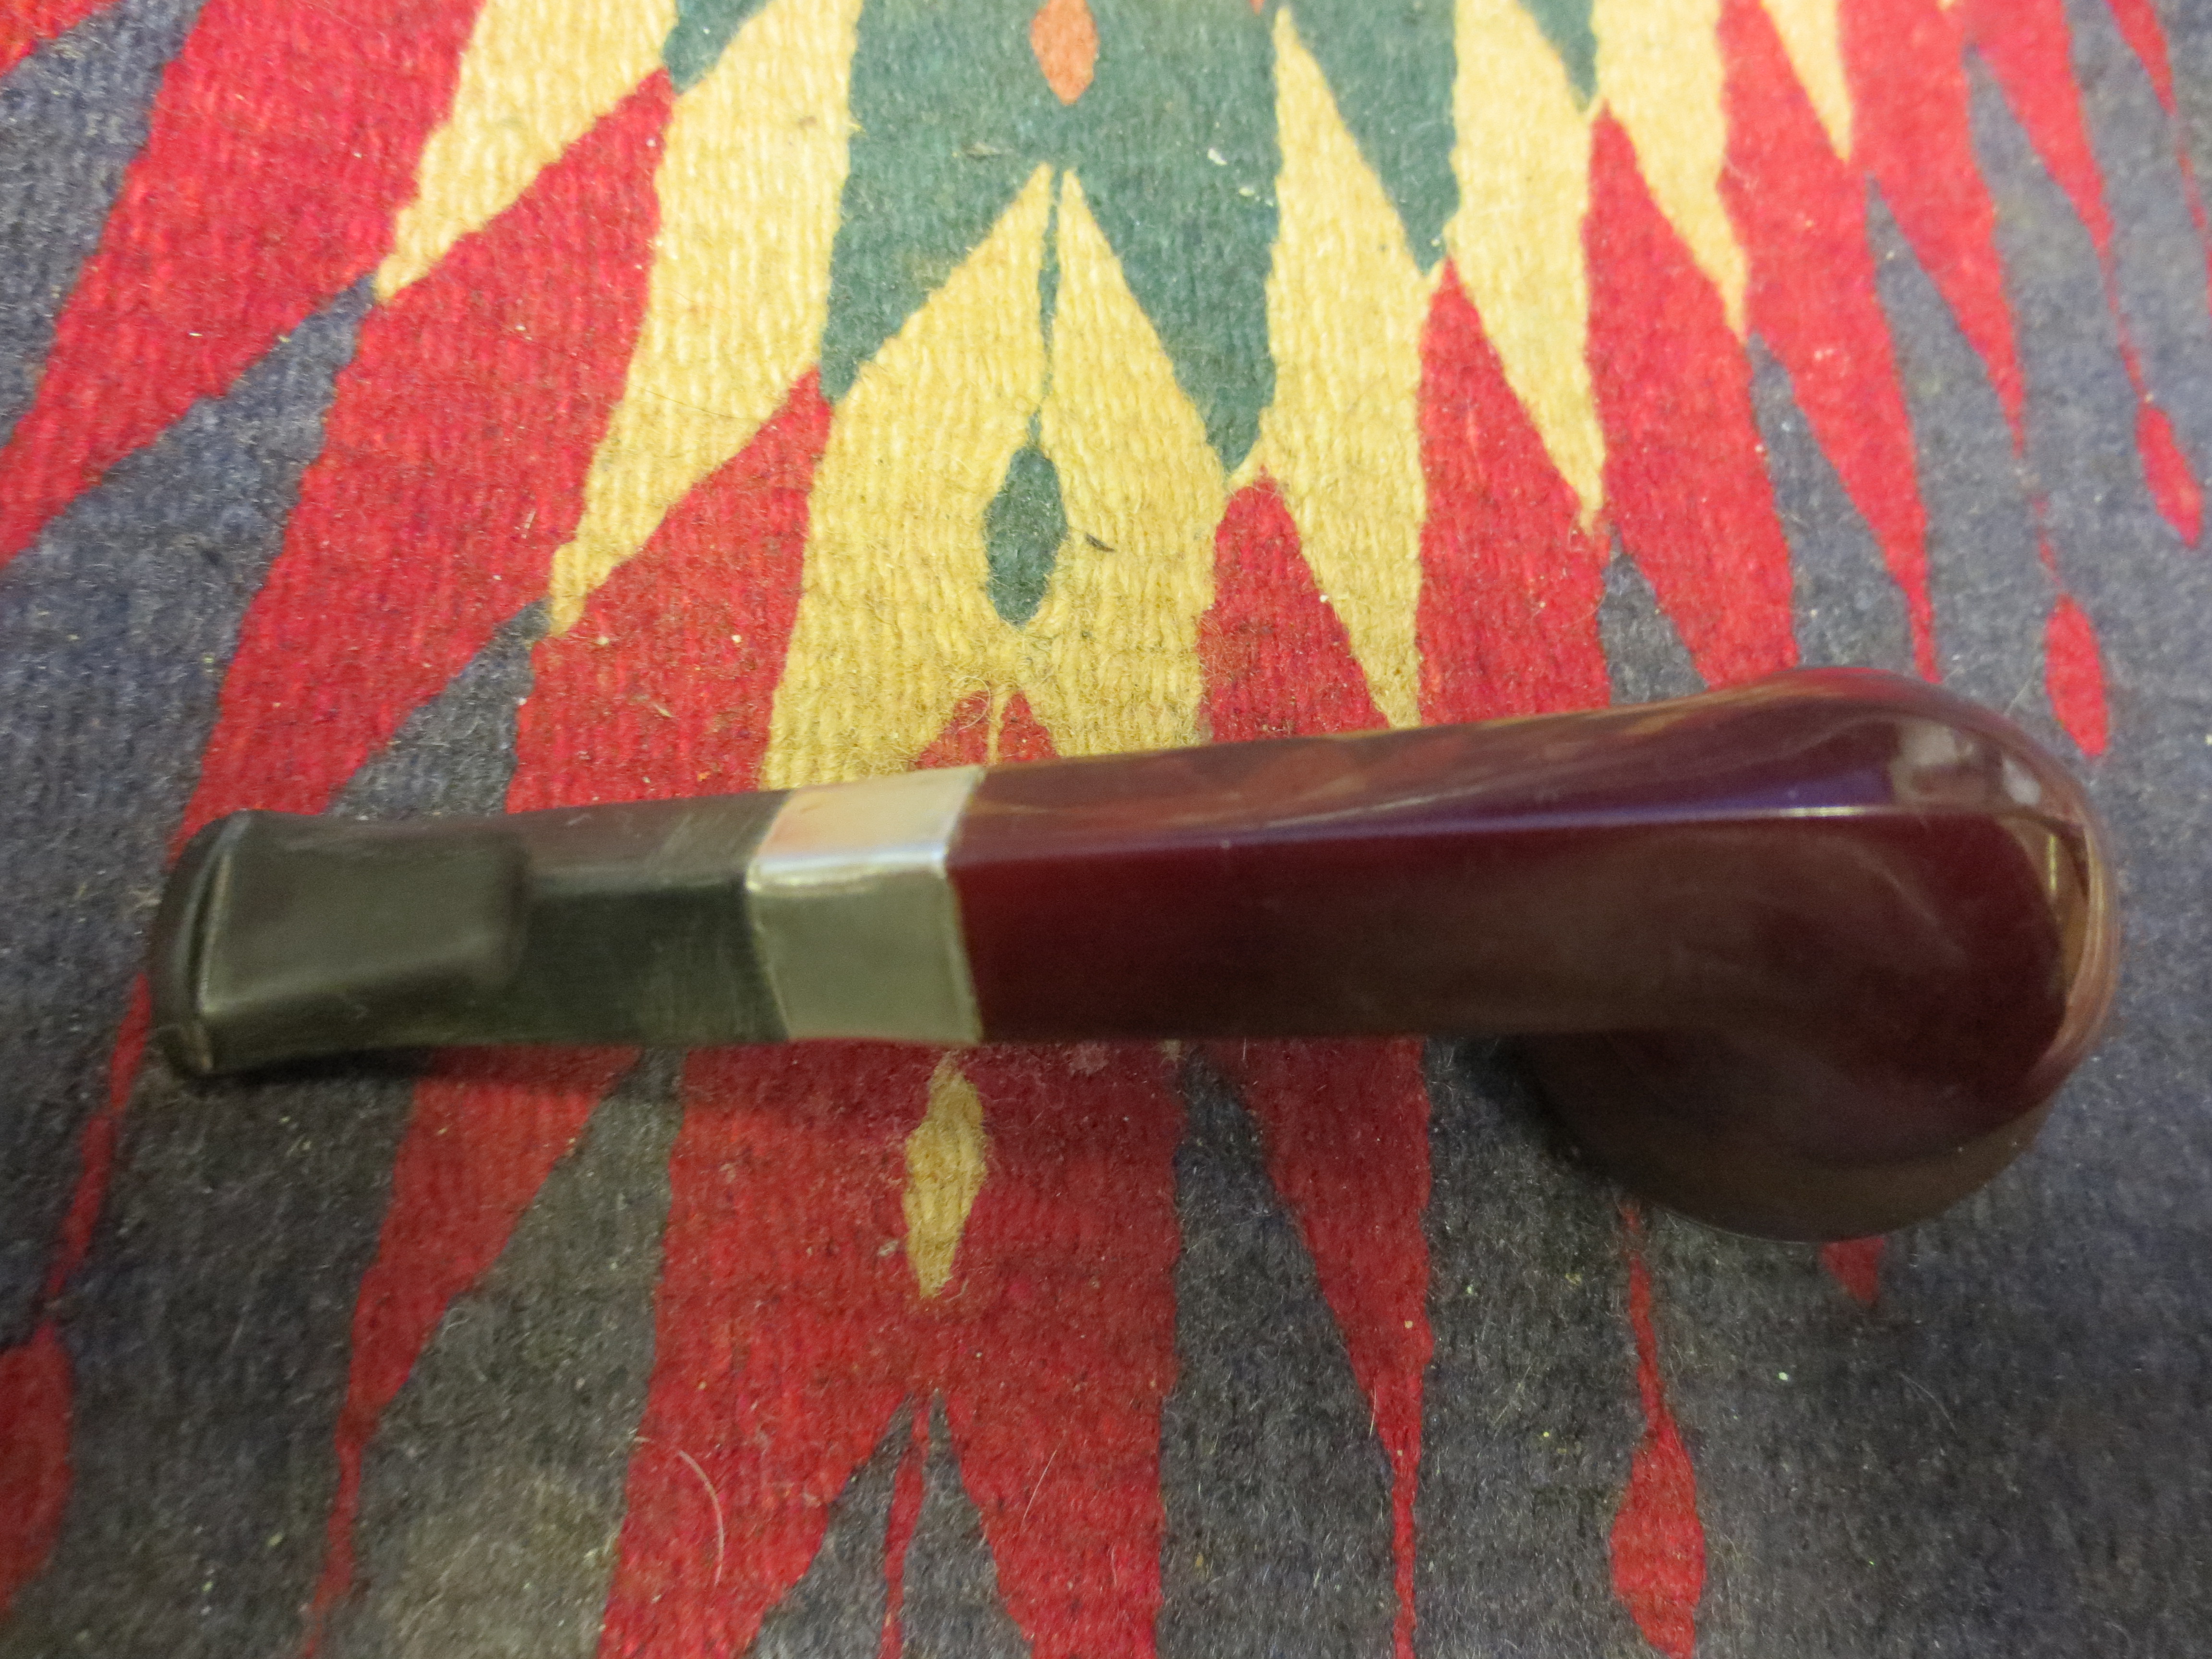
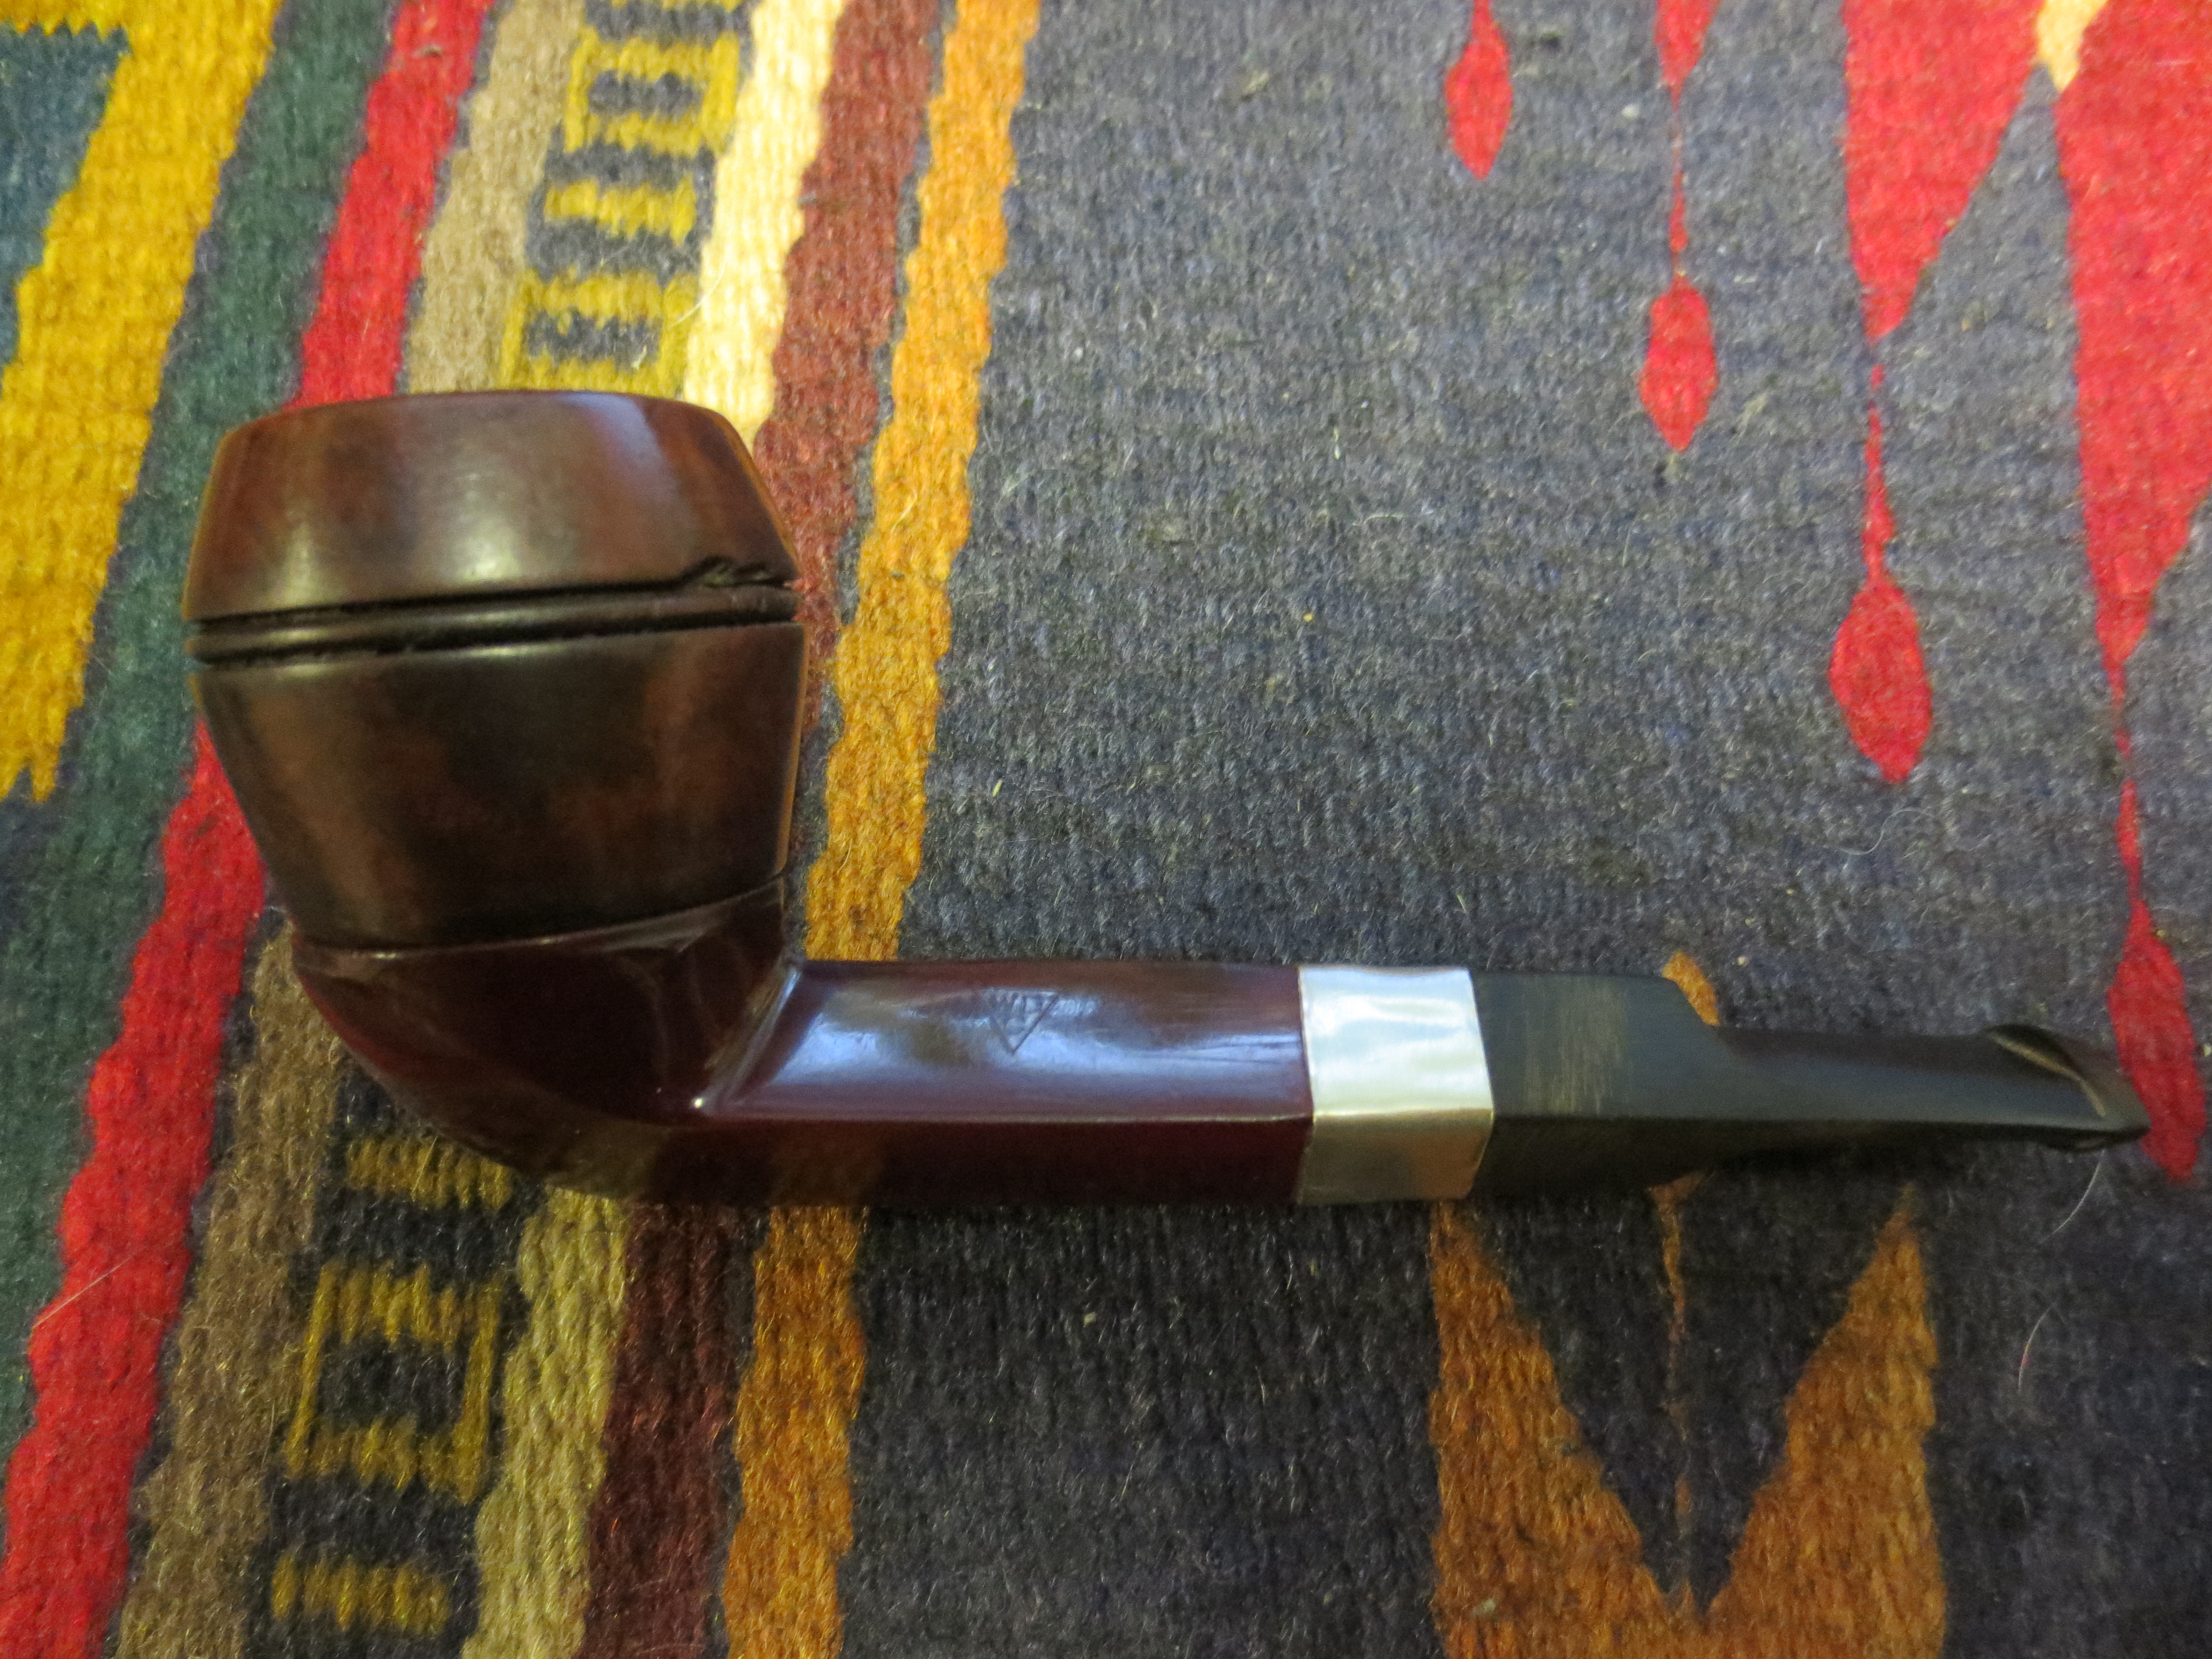
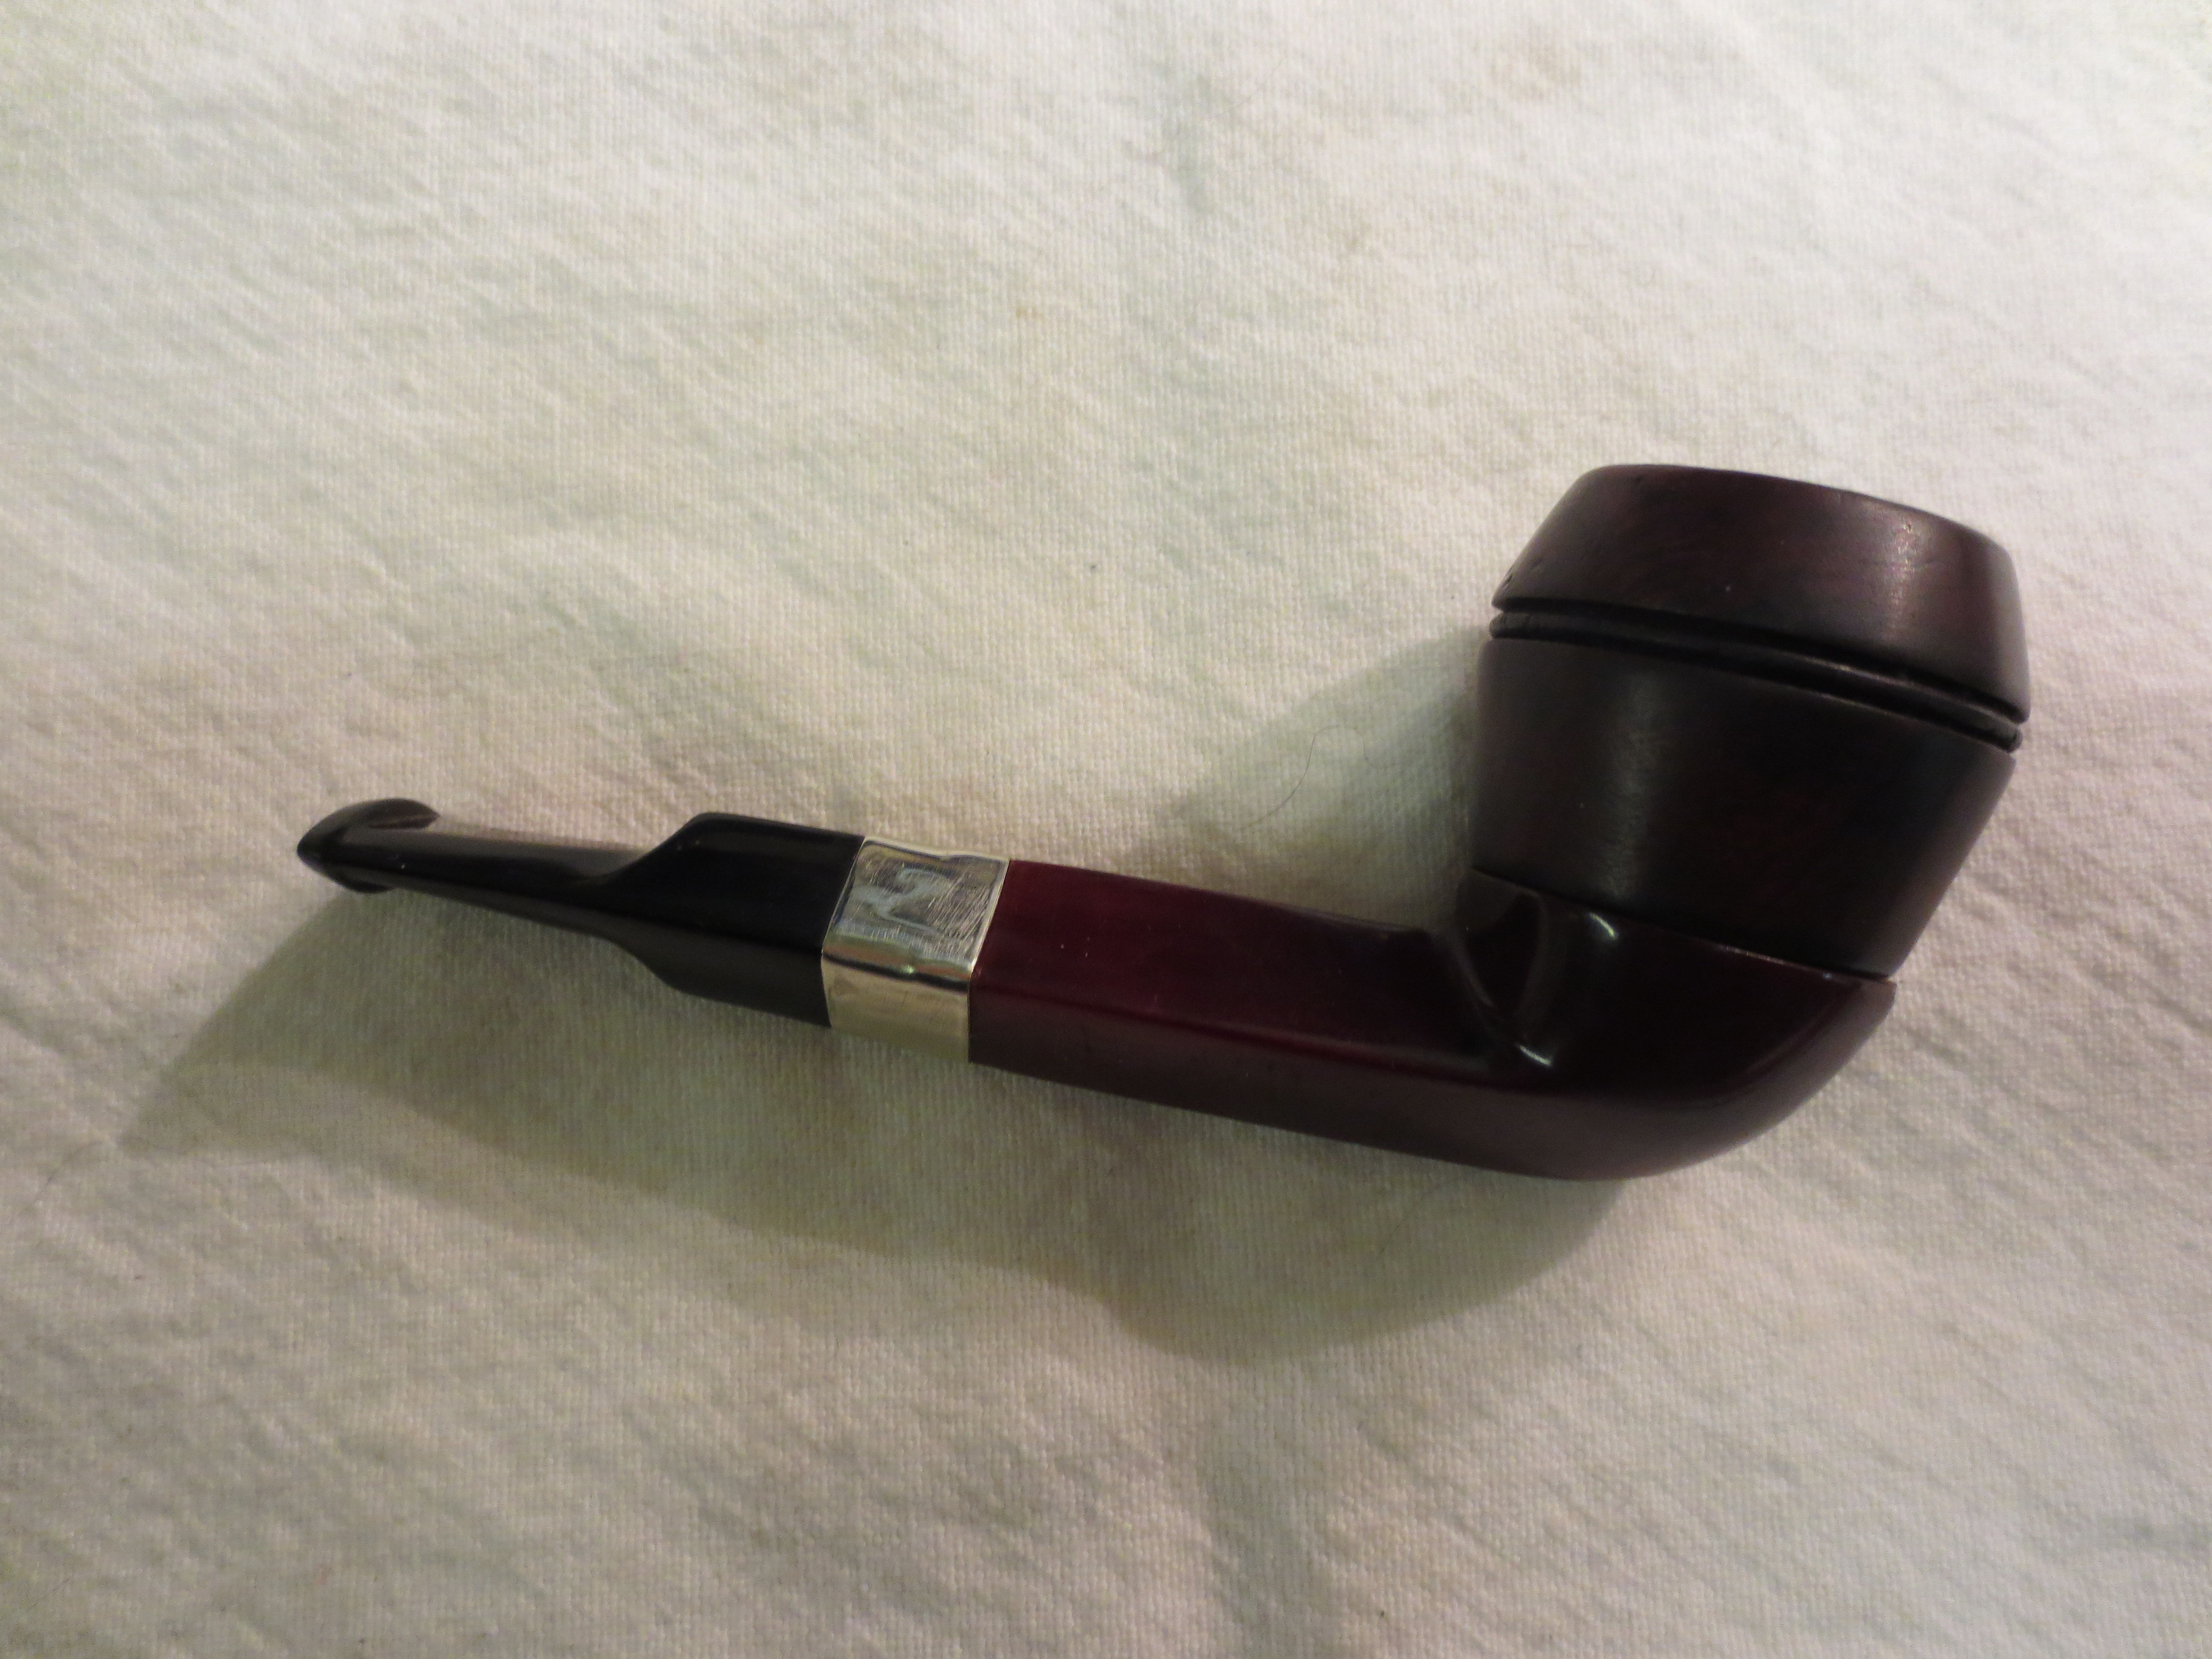
 I took a photo of the shank end and repair after the band had been pressed in place. The crack on the shank end is invisible now. The crack on the shank side and up into the Brigham stamp is pressed tightly together making it less visible.
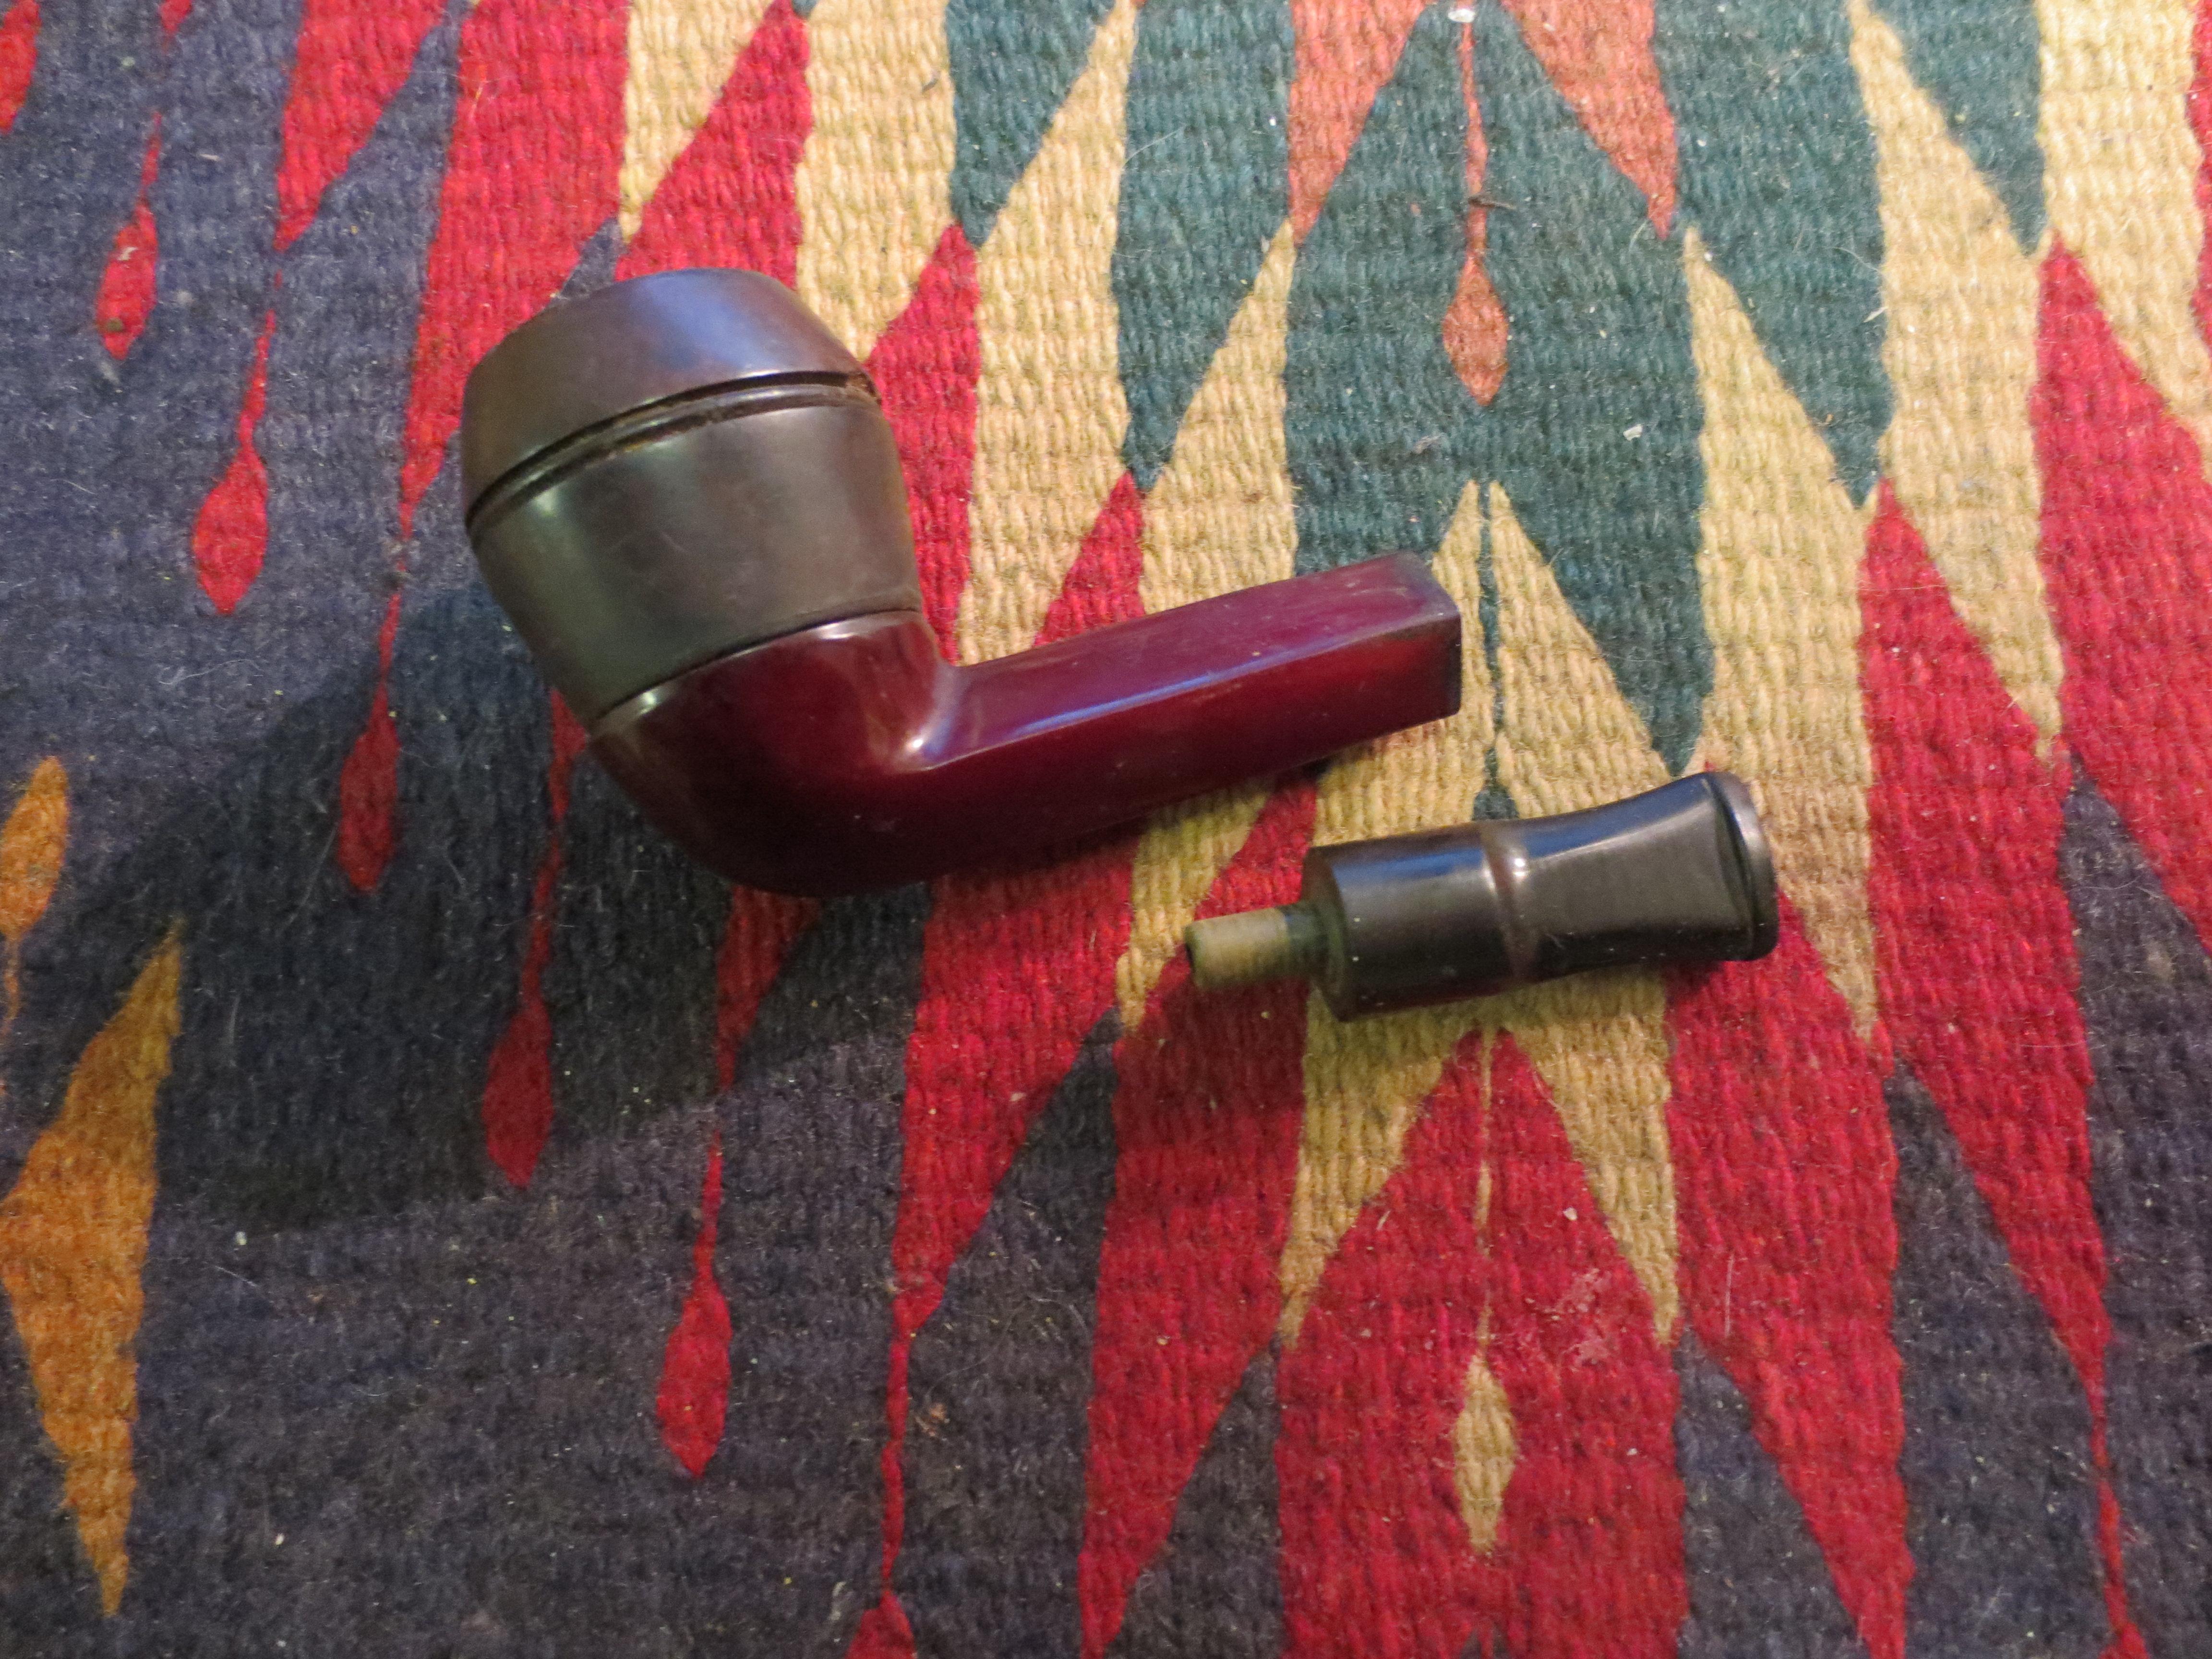
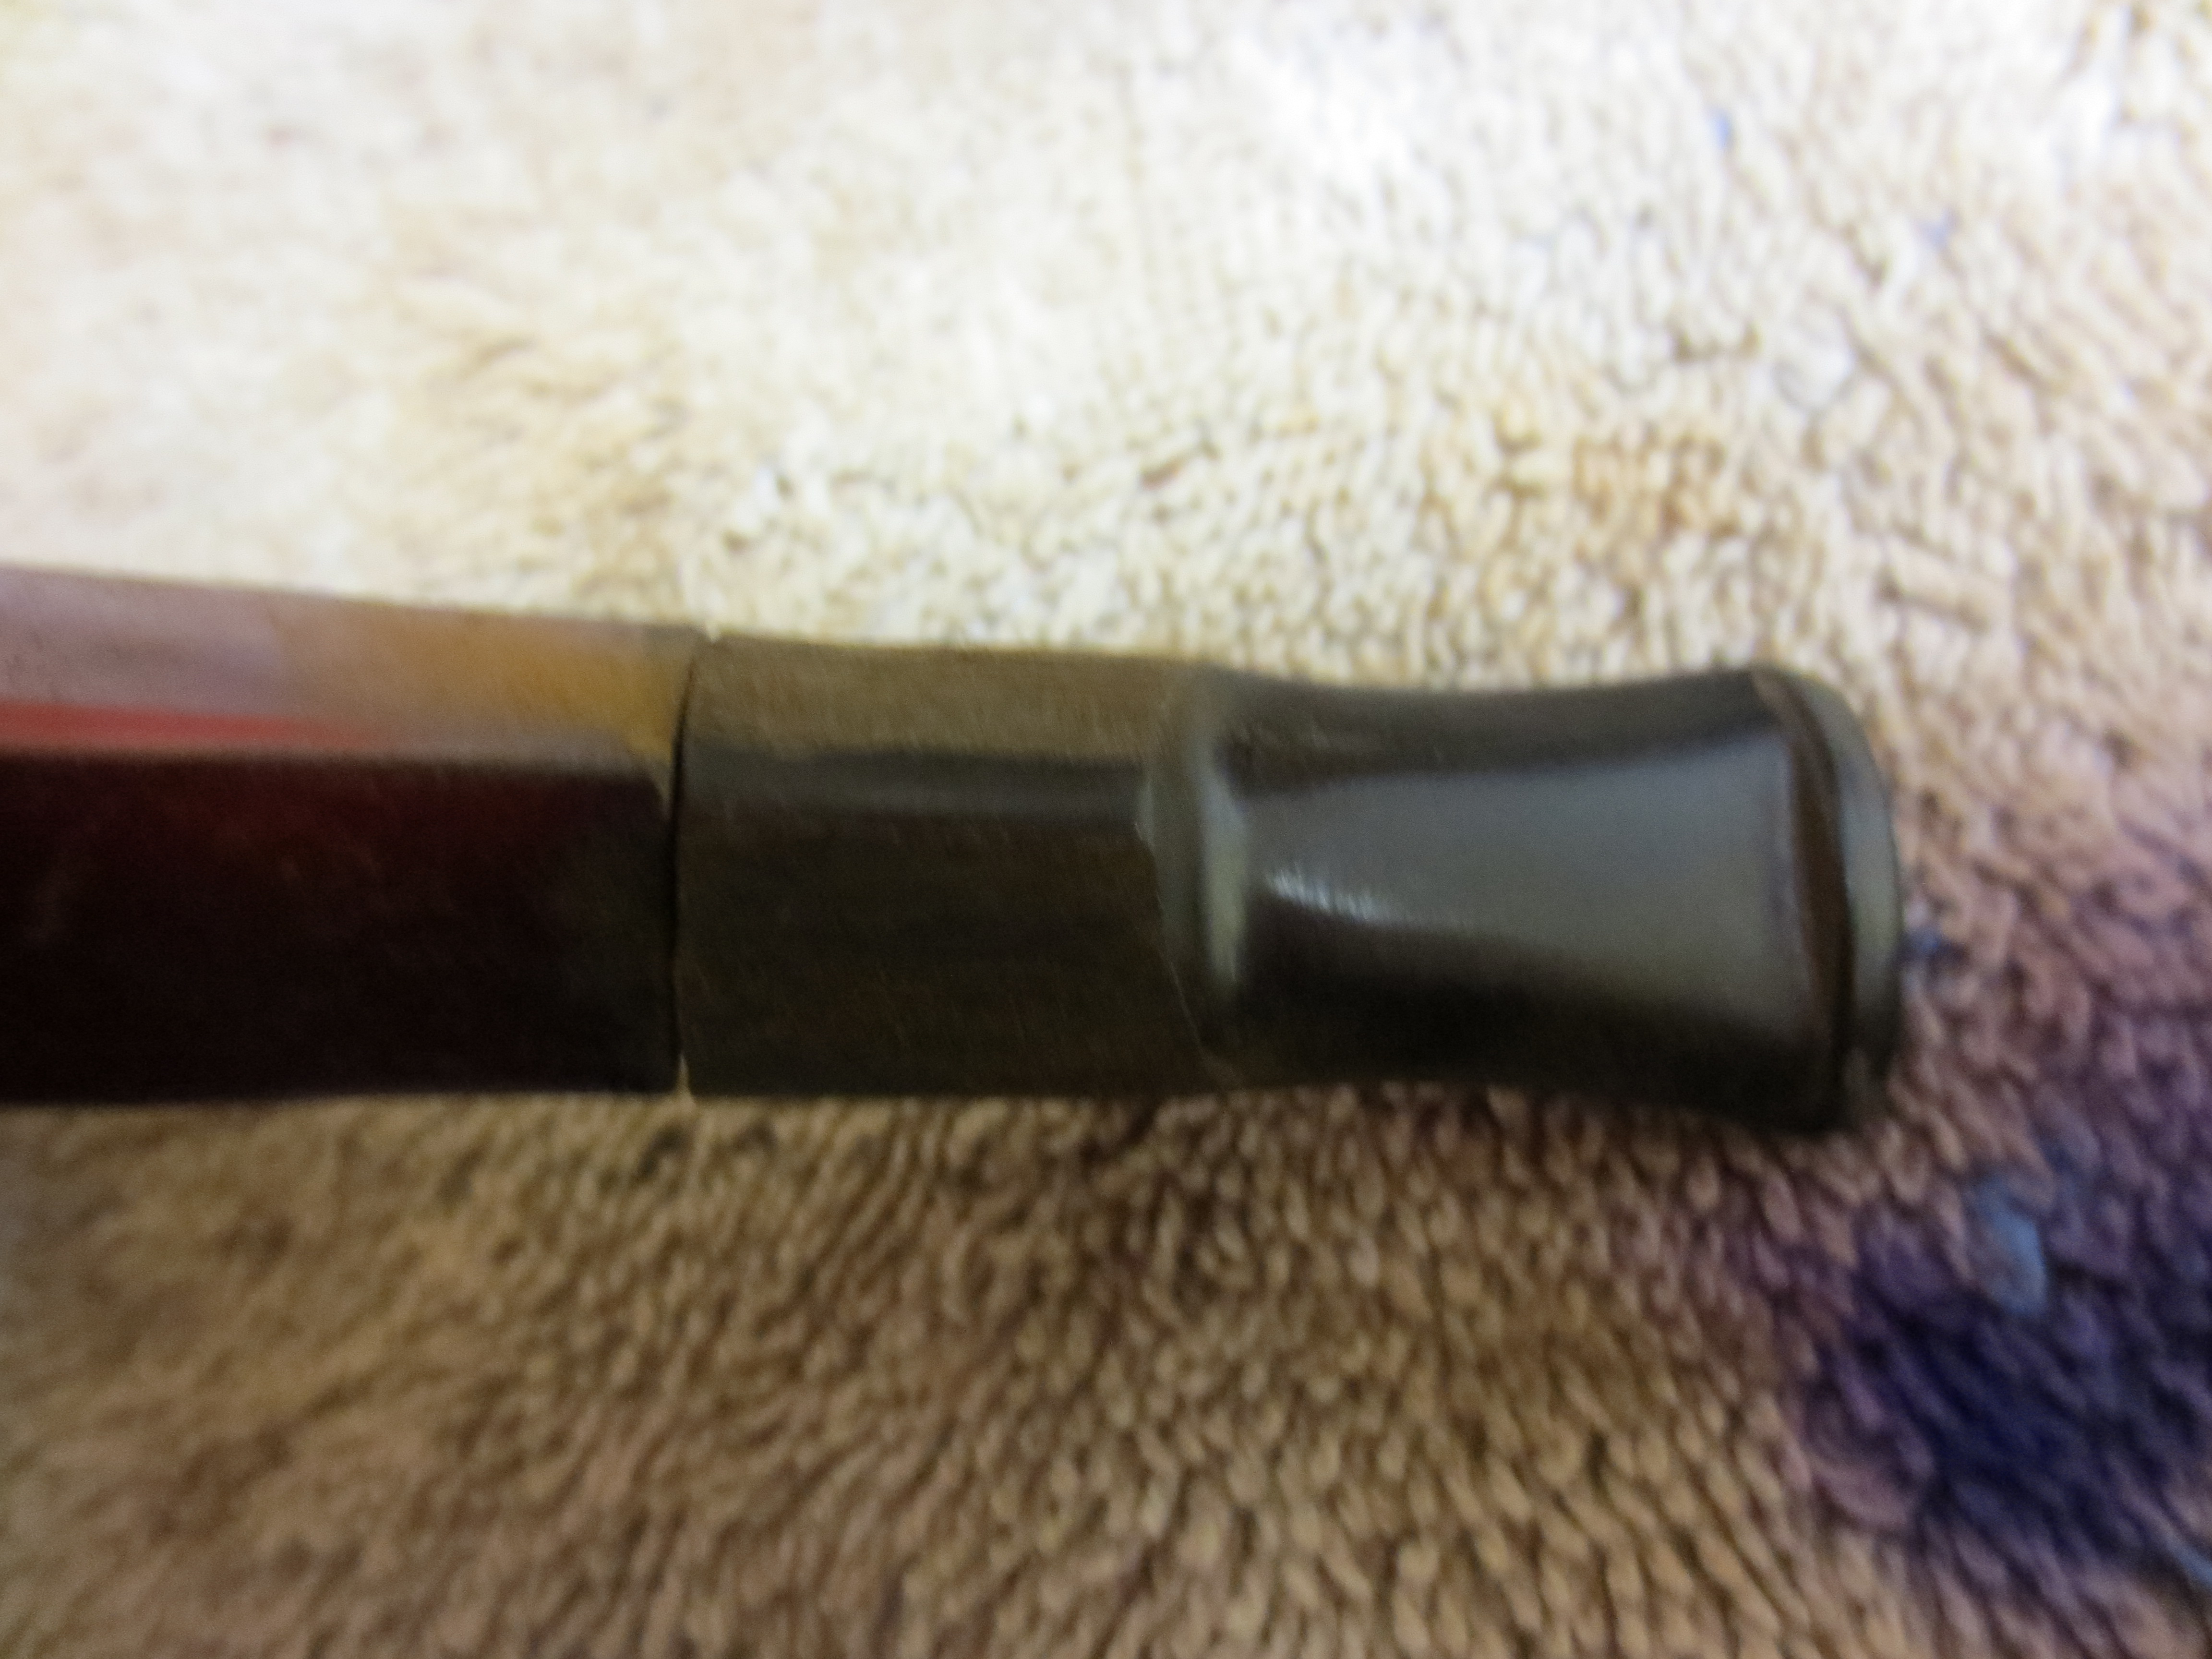
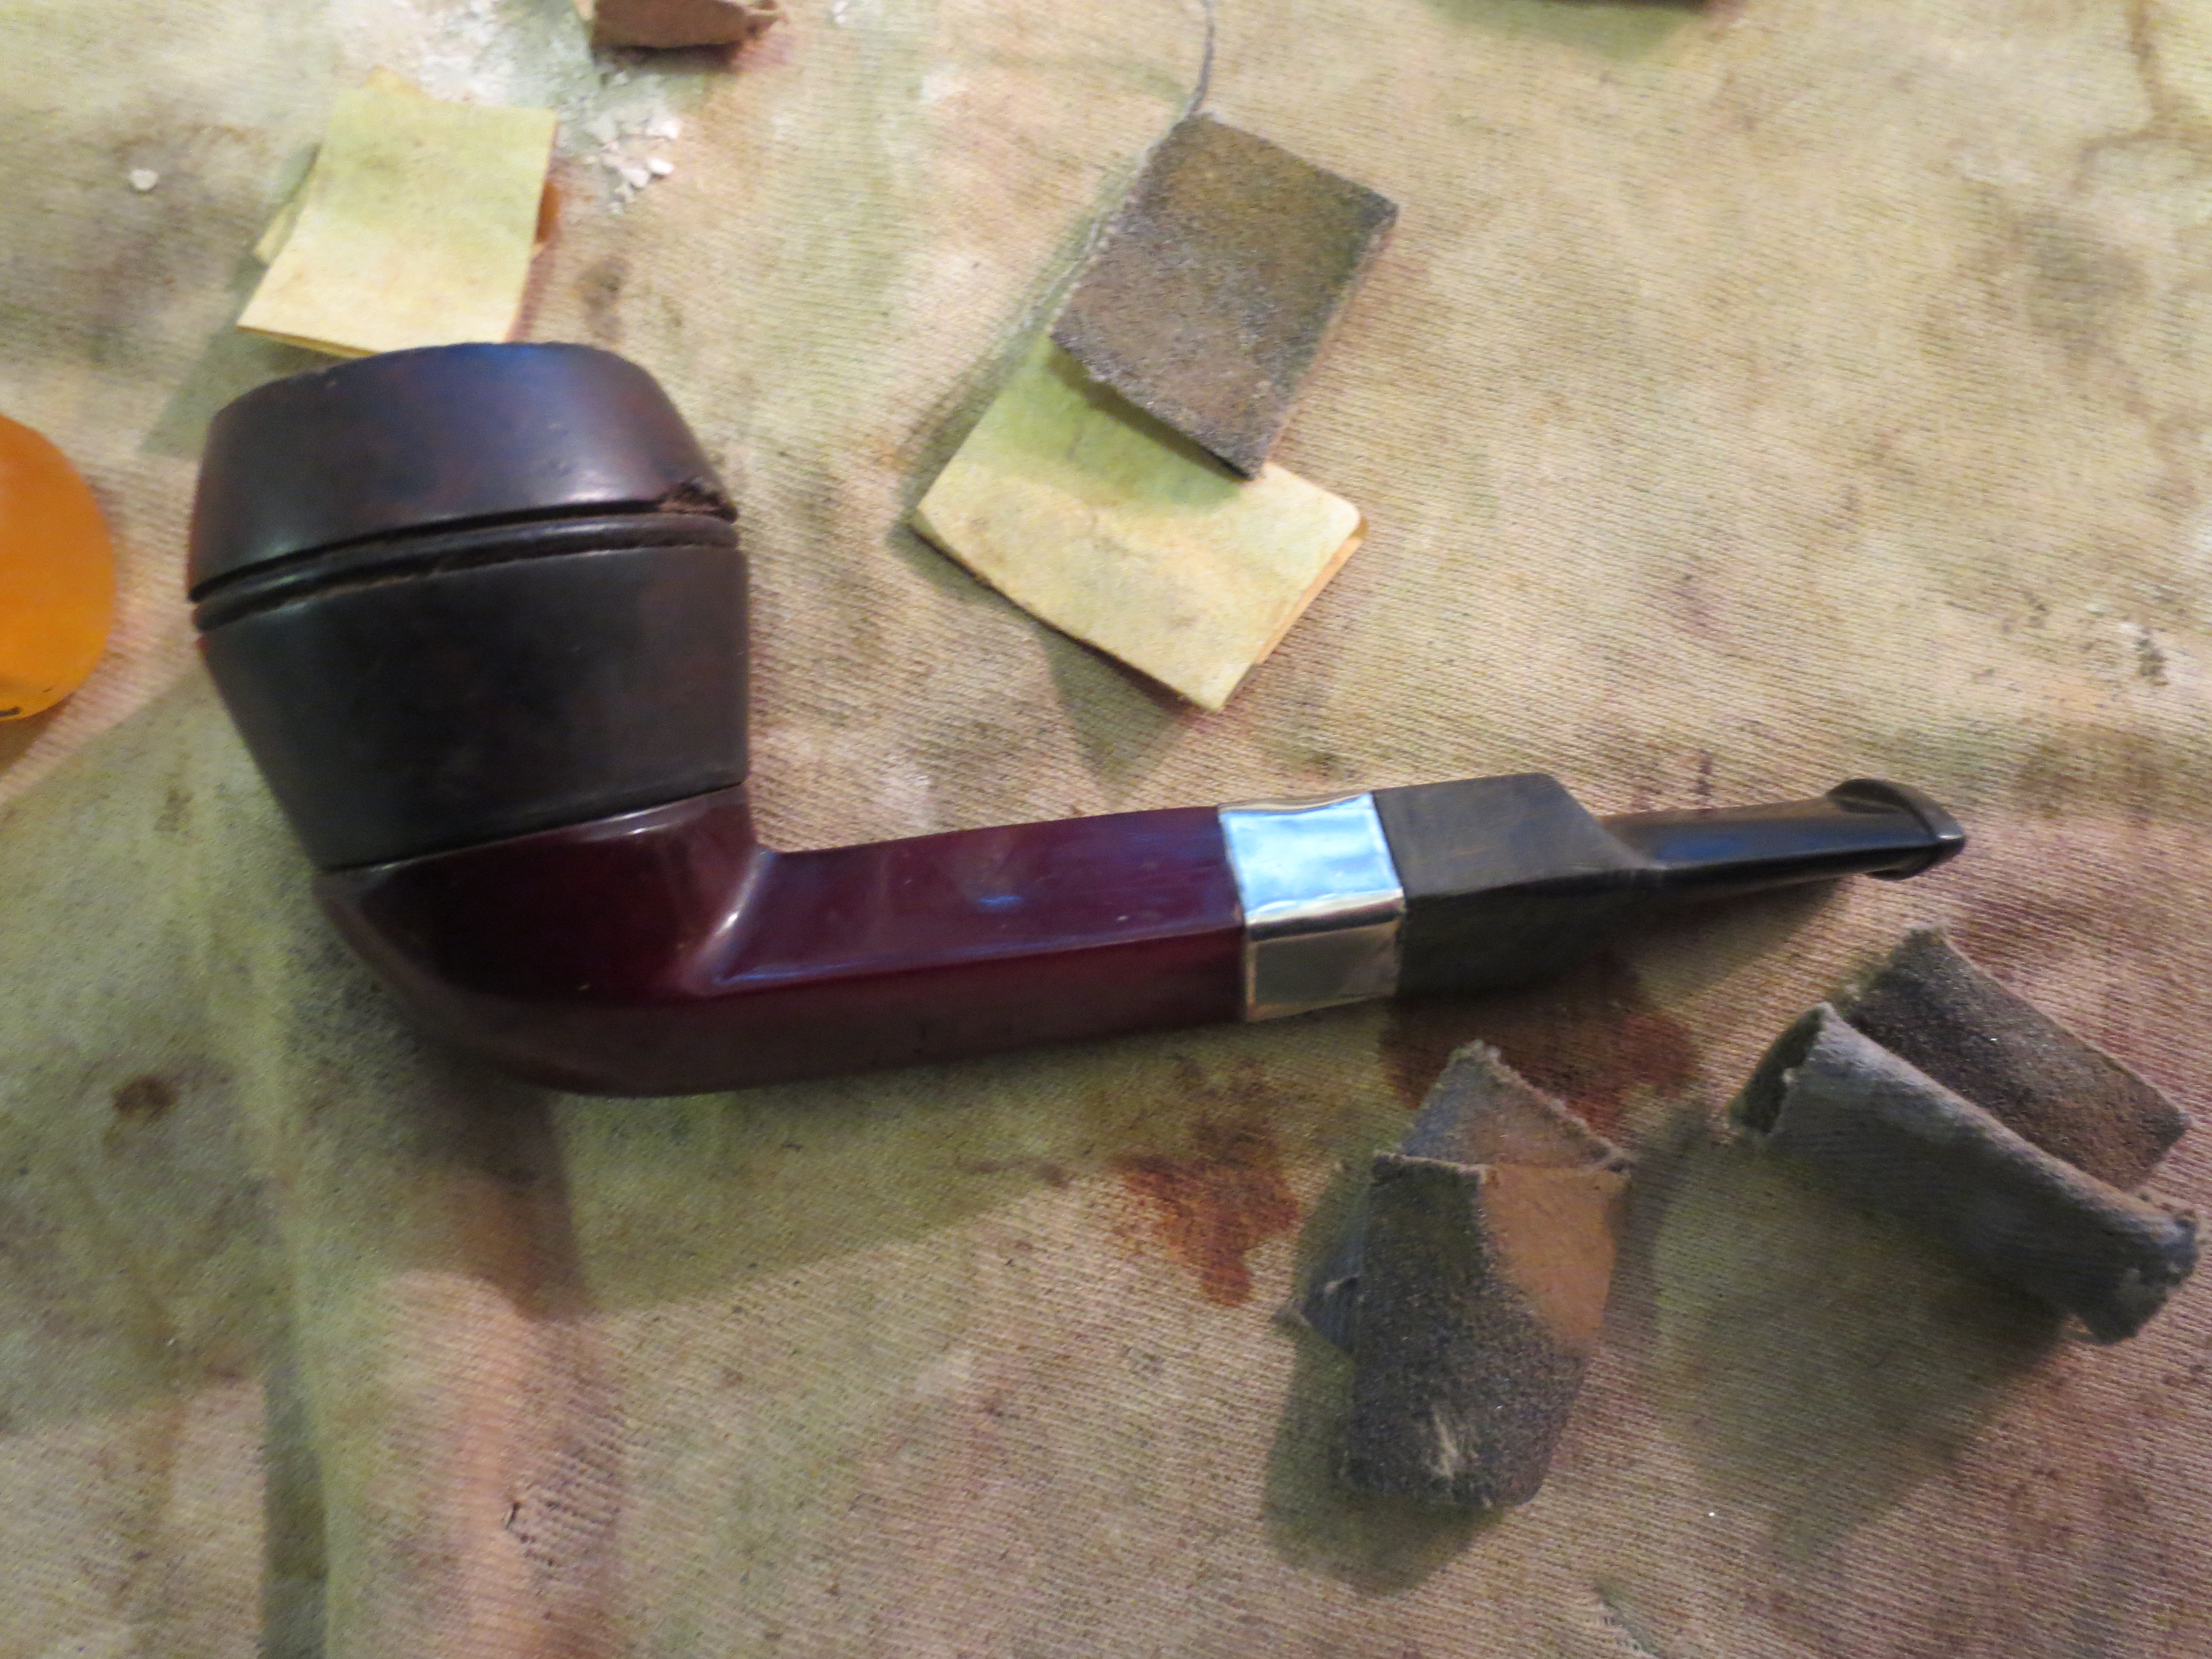
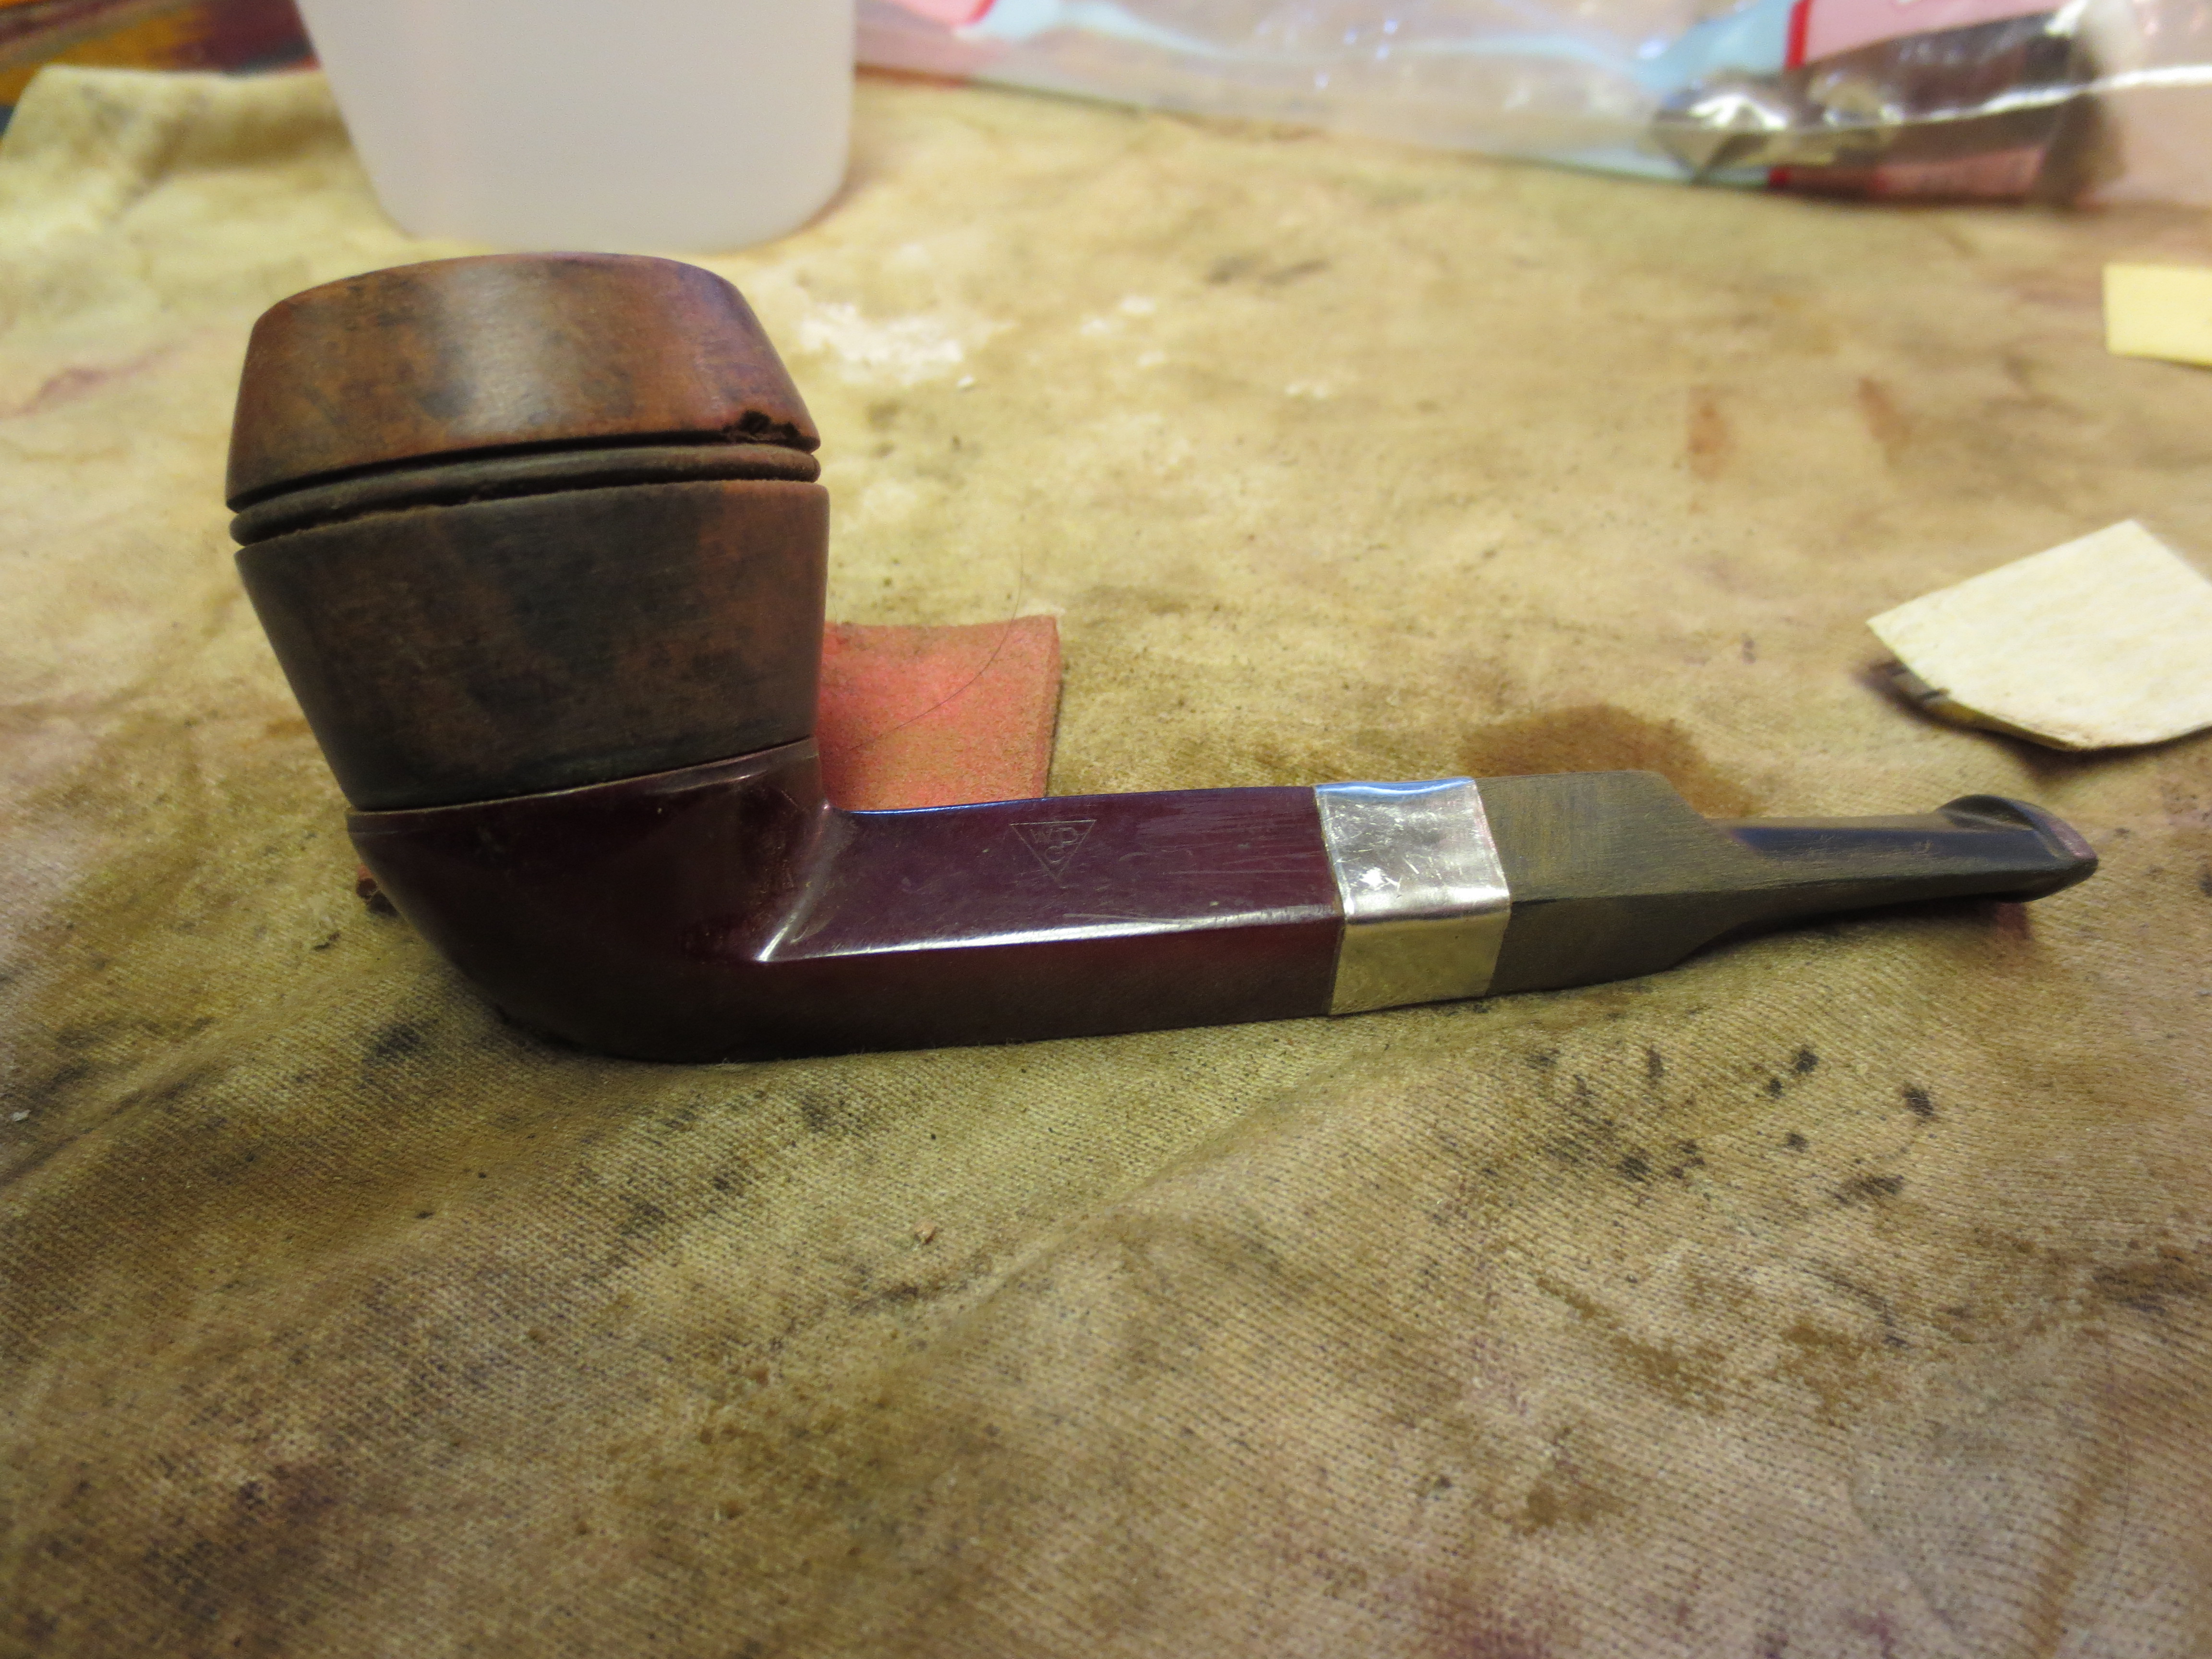
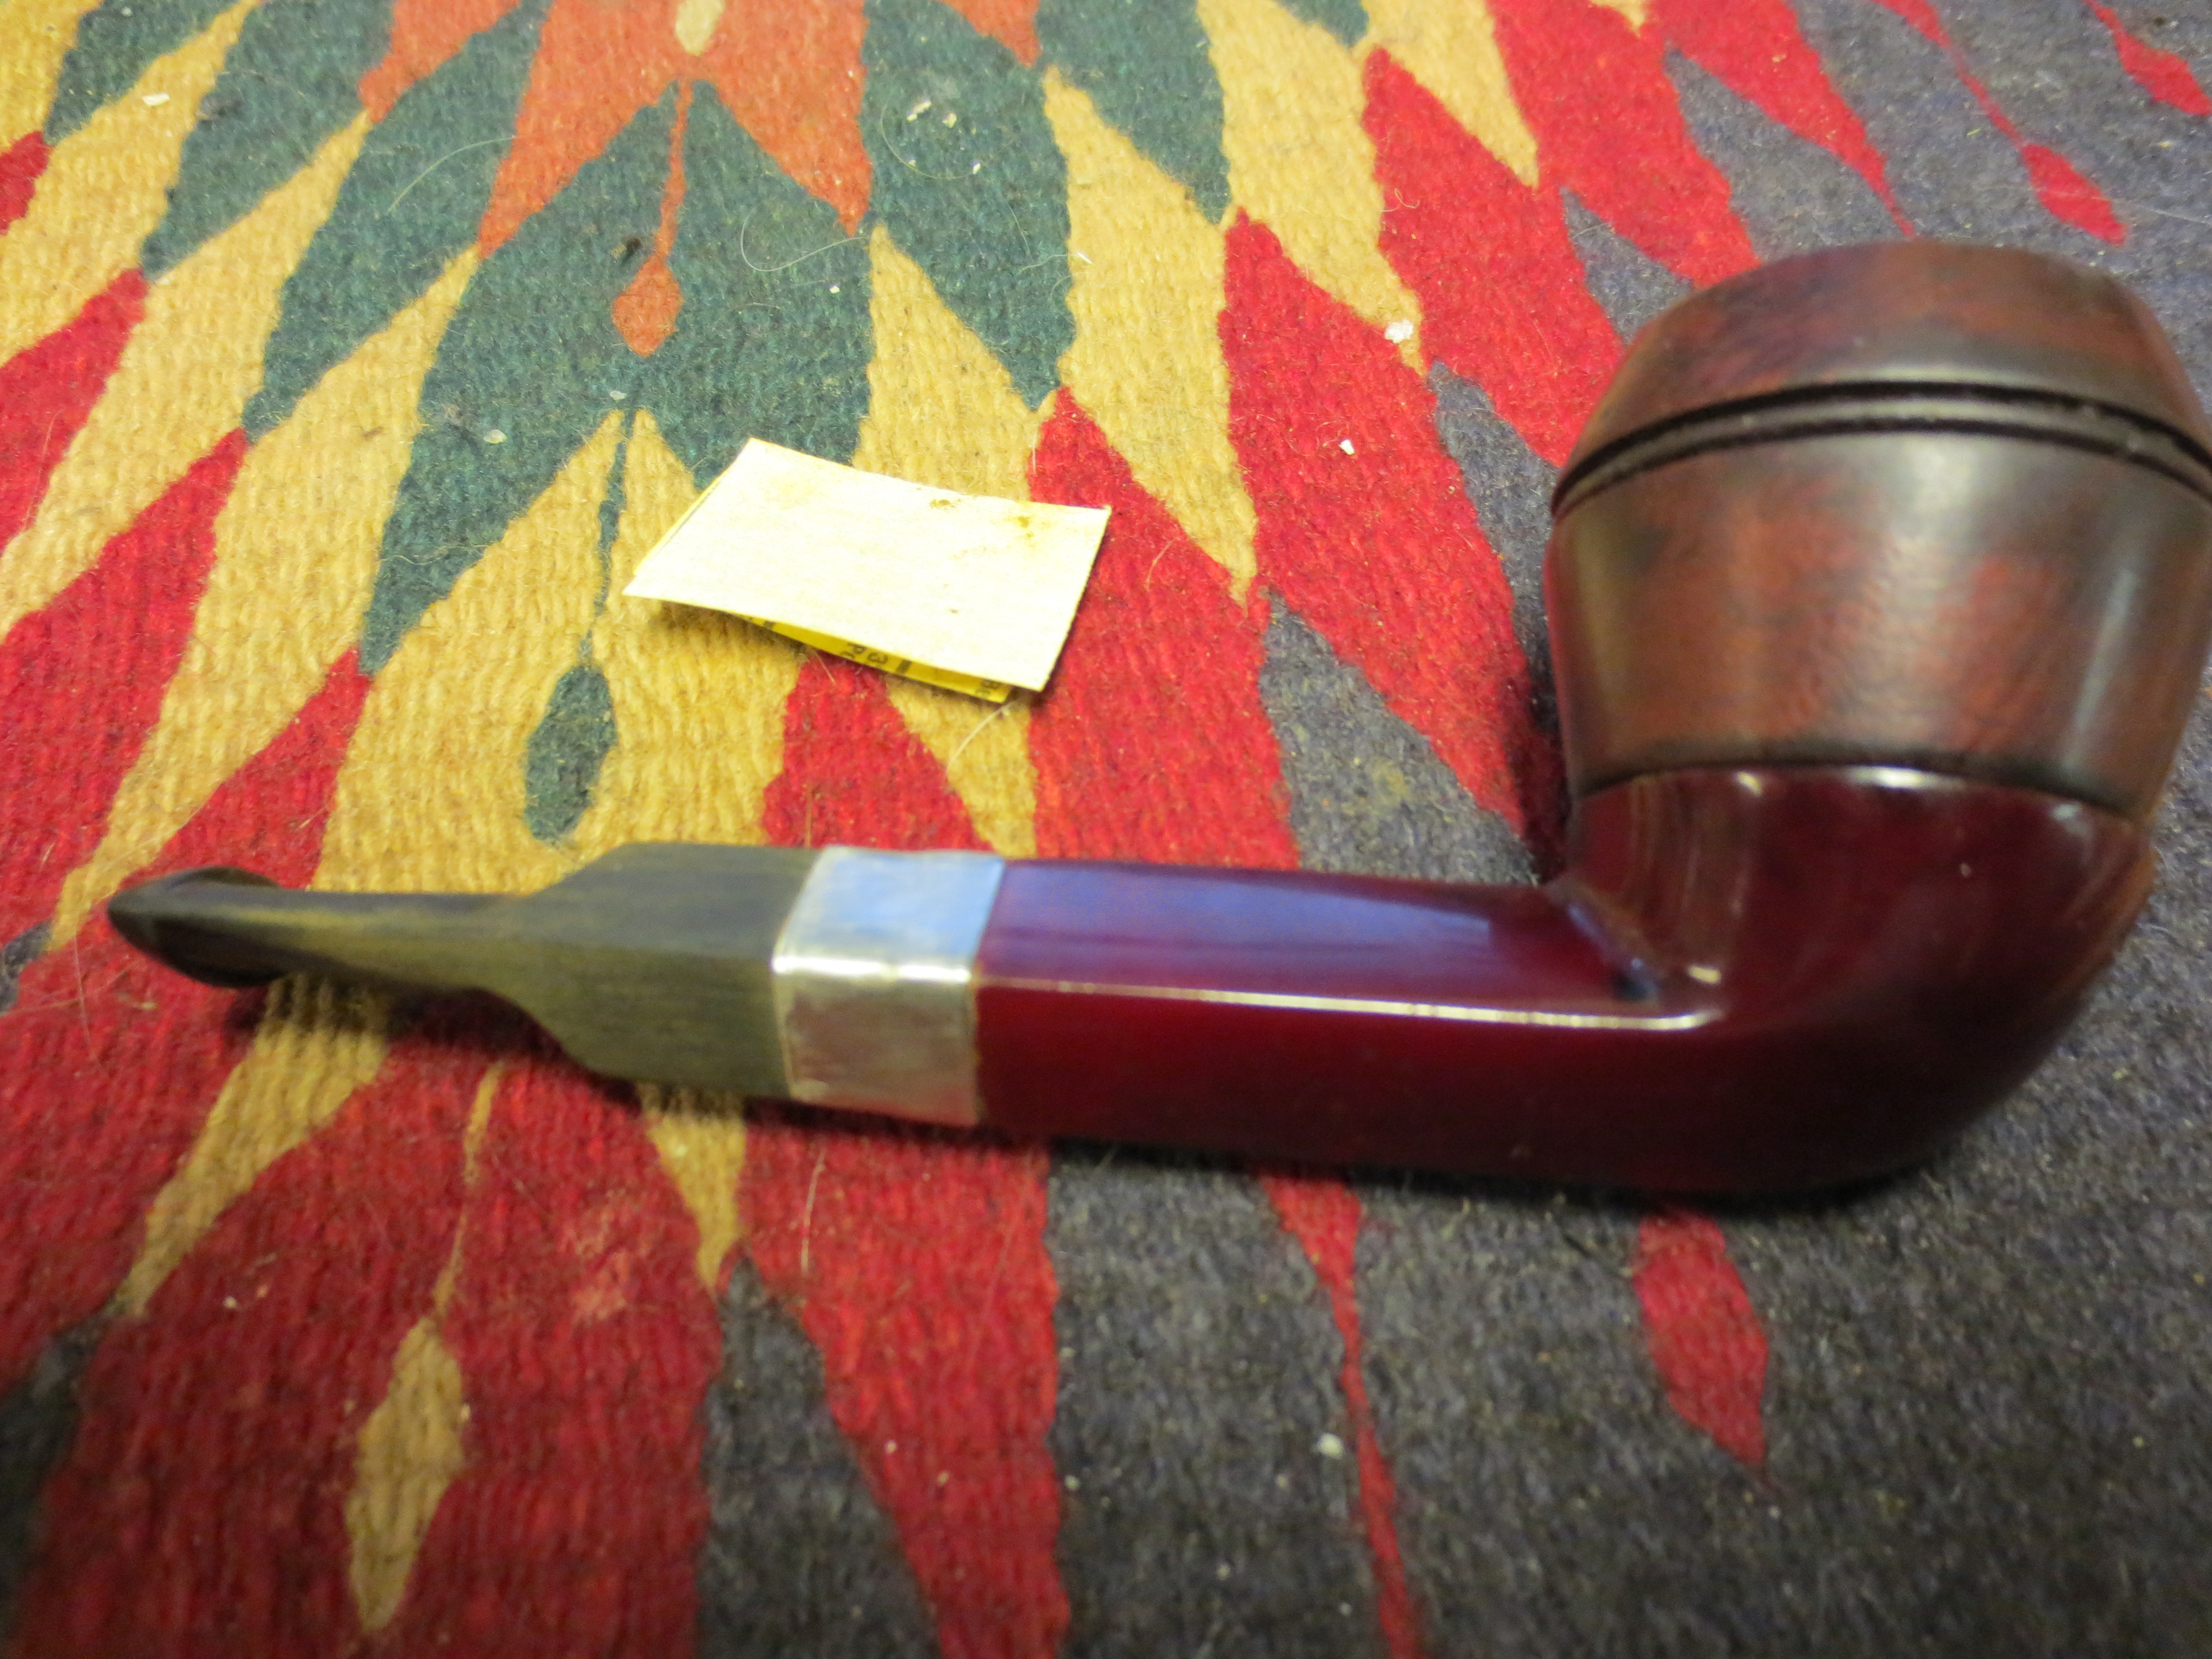
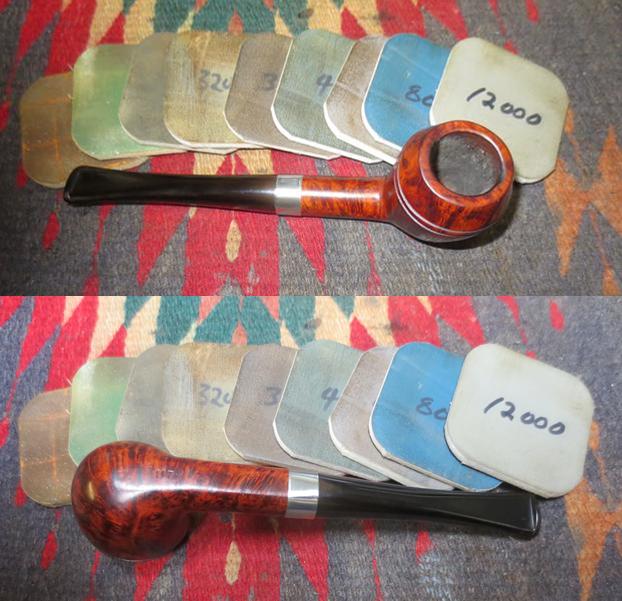
 The repair was finished. The stem now fit snug in the shank. The new band on the shank looked really good and dressed up the pipe. I polished the pipe on the buffing wheel using Blue Diamond to remove scratches on the bowl, shank, band and stem. I gave the bowl and stem multiple coats of carnauba wax and buffed the pipe with a clean buffing pad to raise the shine. I hand buffed it with a microfiber cloth to deepen the shine. The finished pipe is shown in the photos below. It looks better than it did in the beginning. The pipe is finished and I will be sending it back to Alberta a little later this week. I am hoping the pipeman there enjoys it. Thanks for looking.