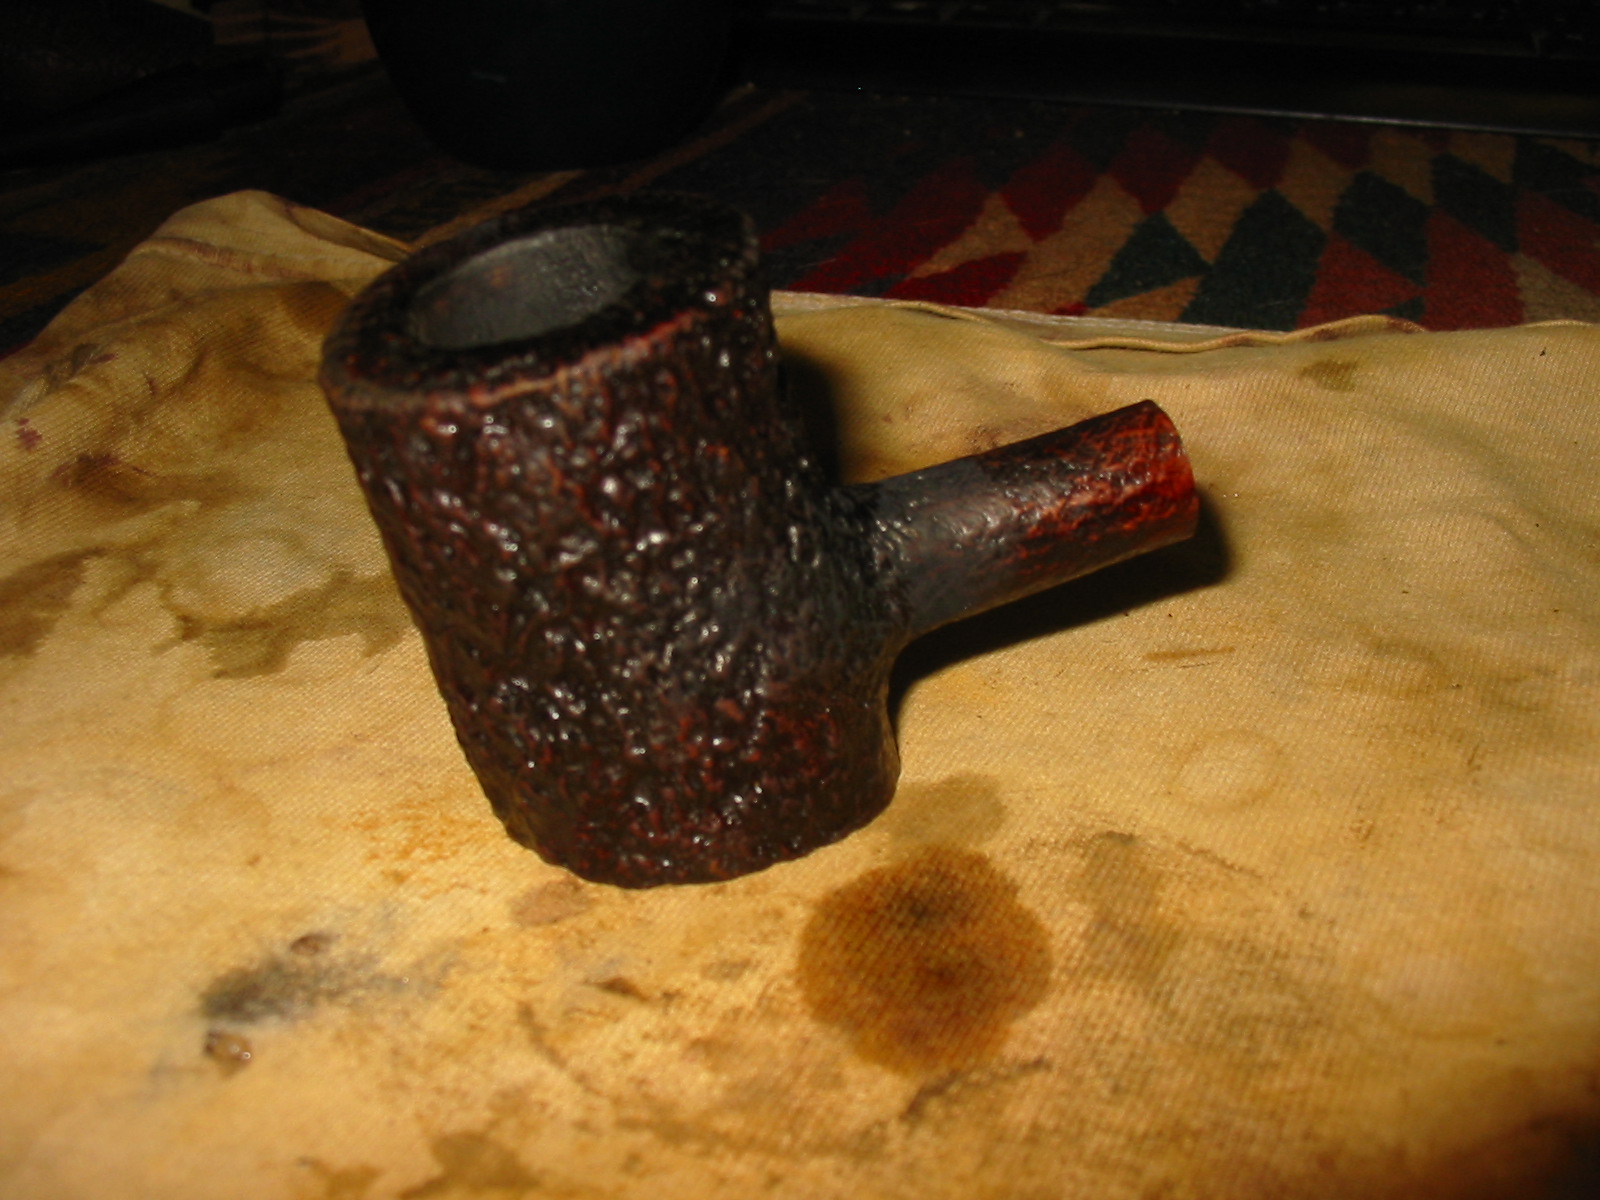
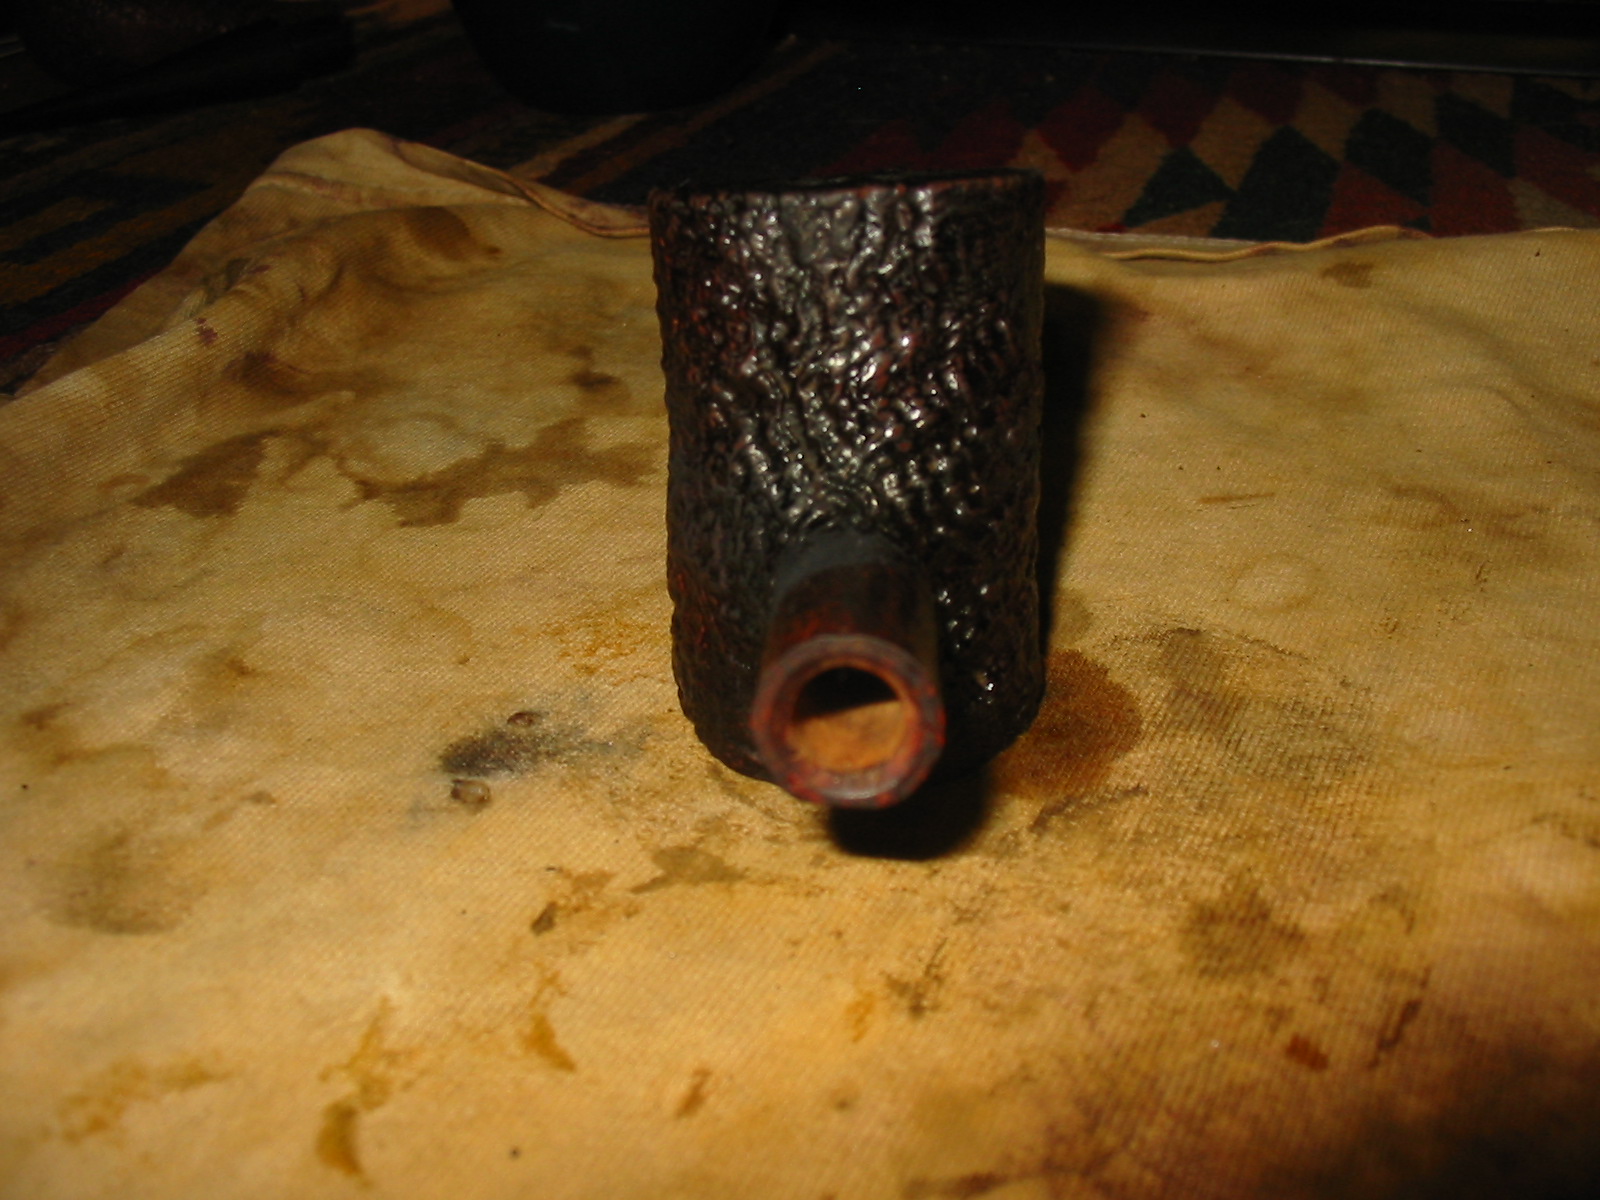
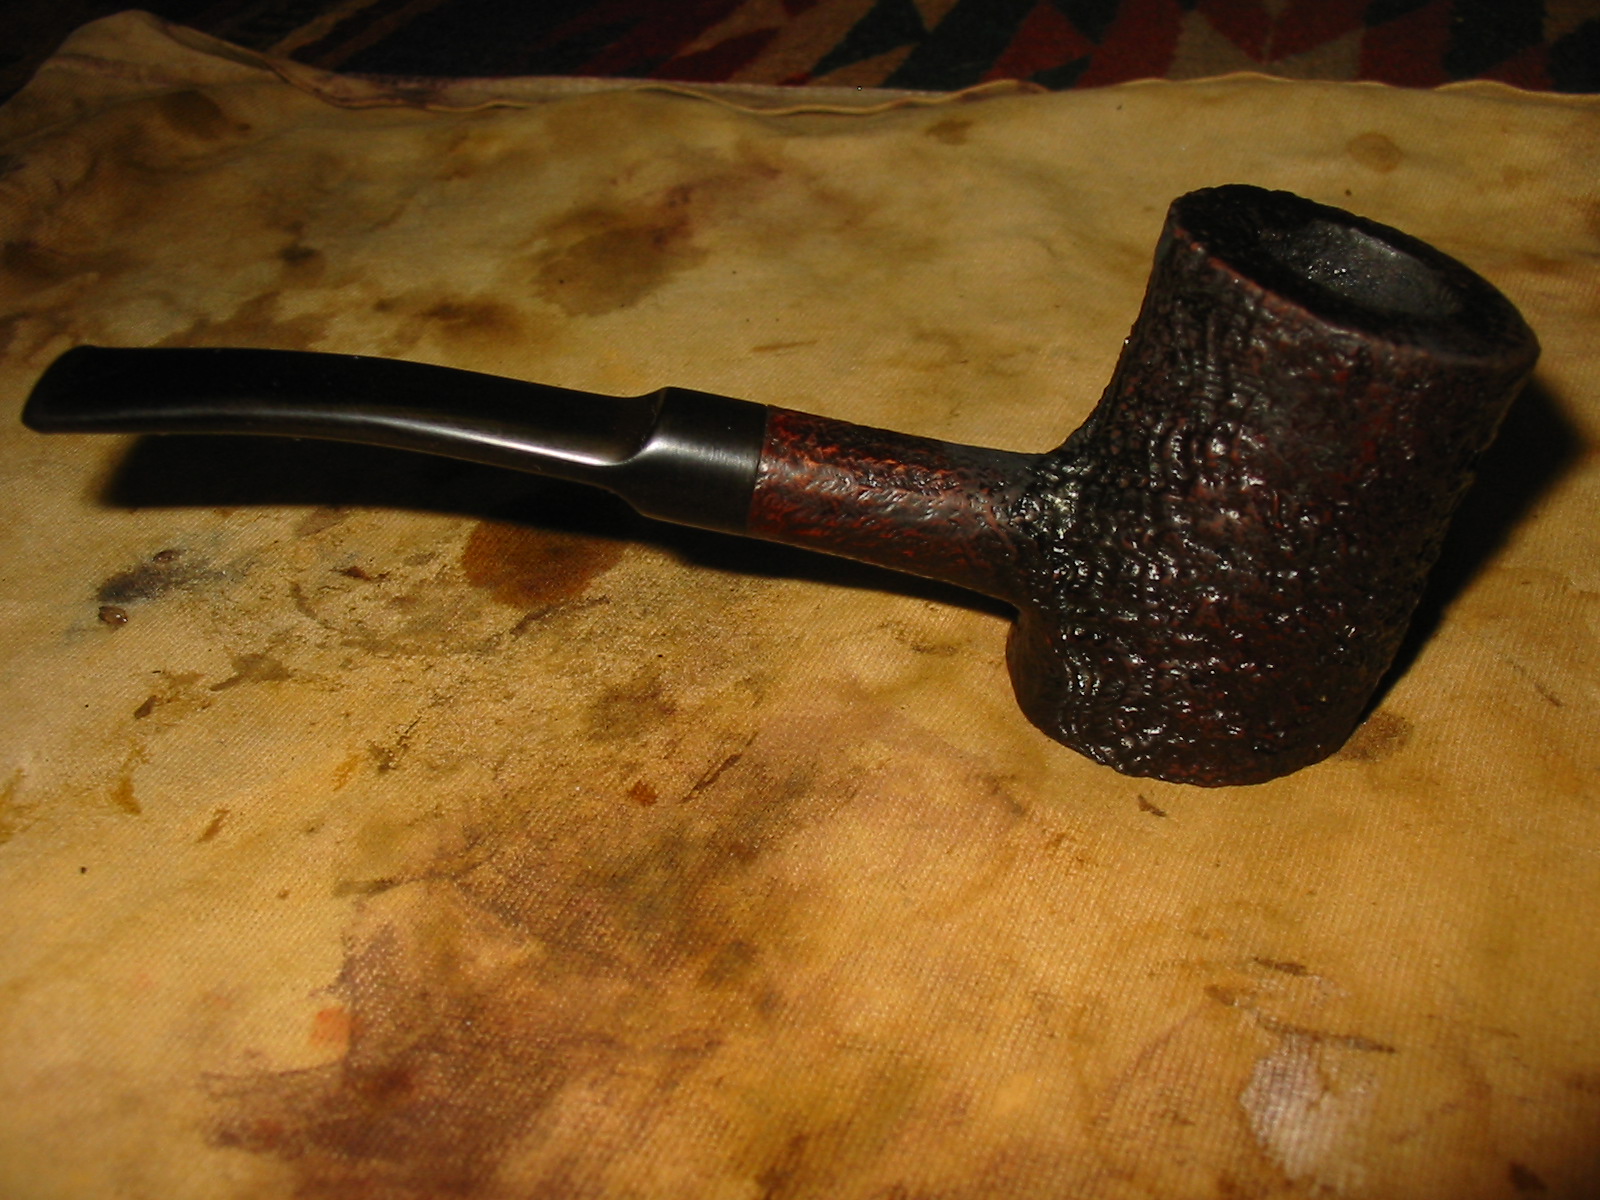
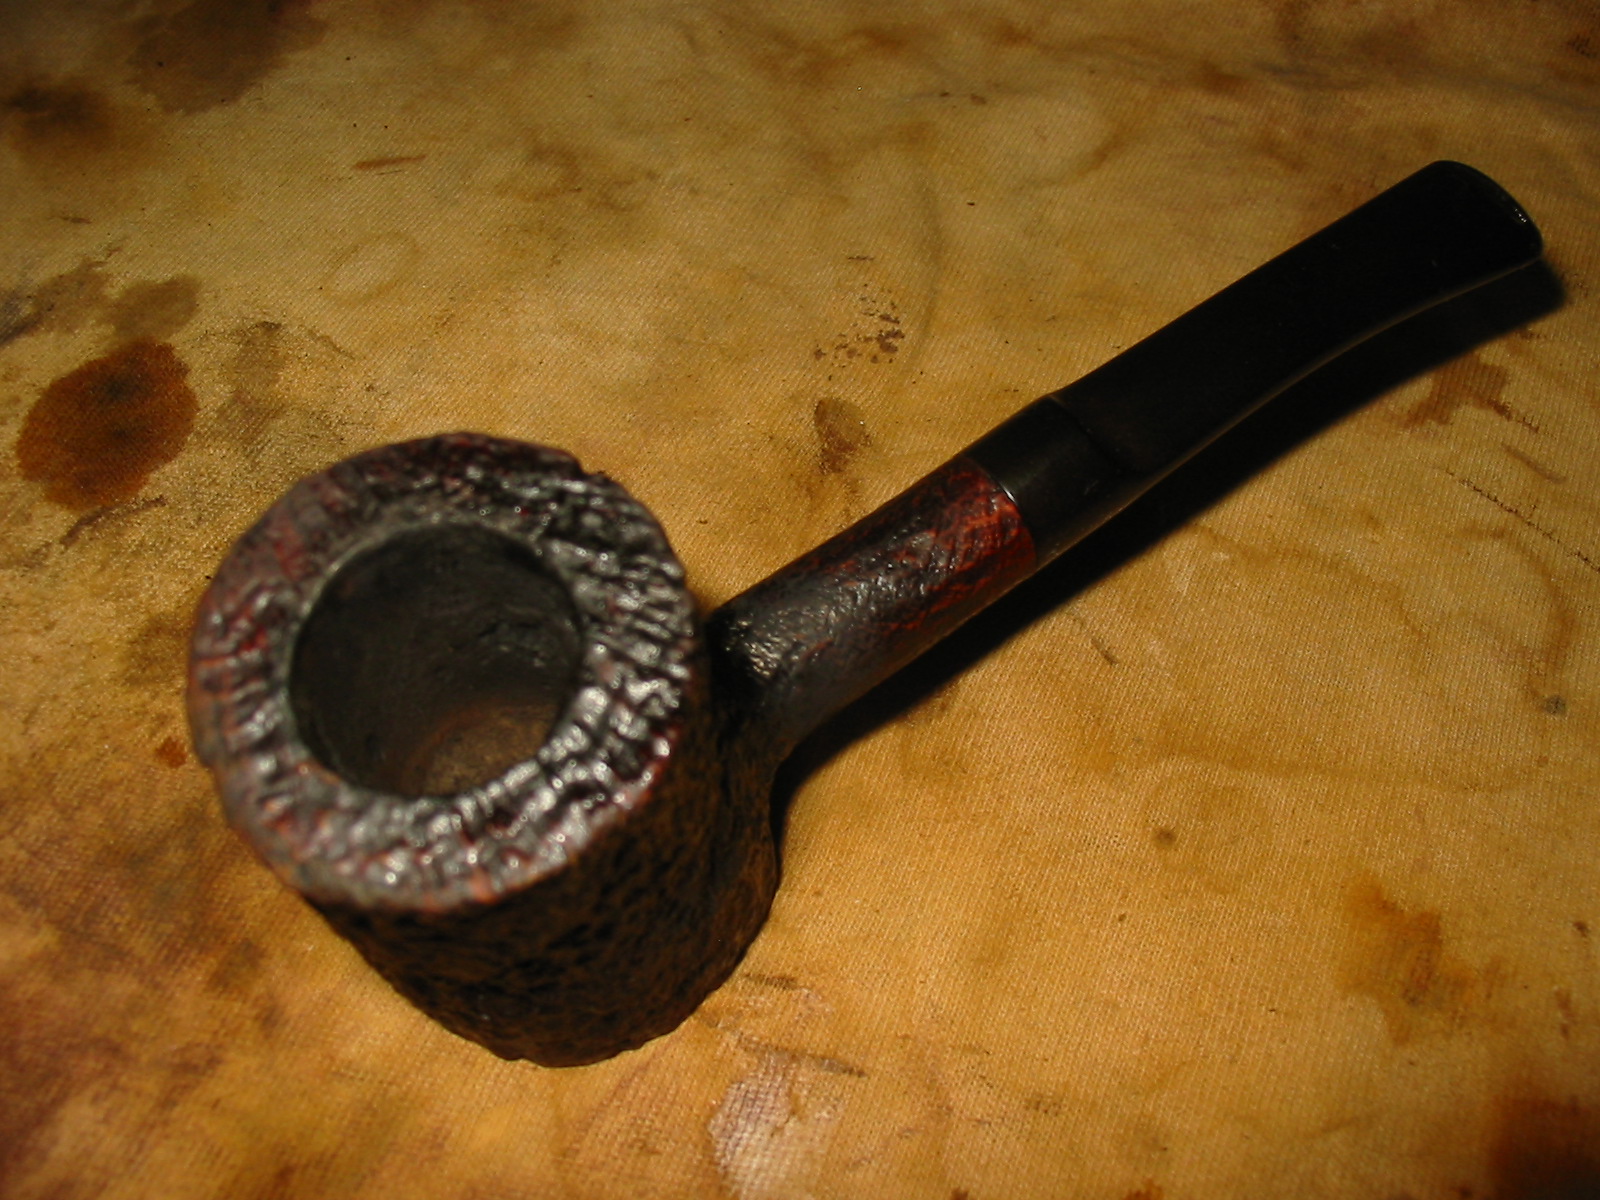
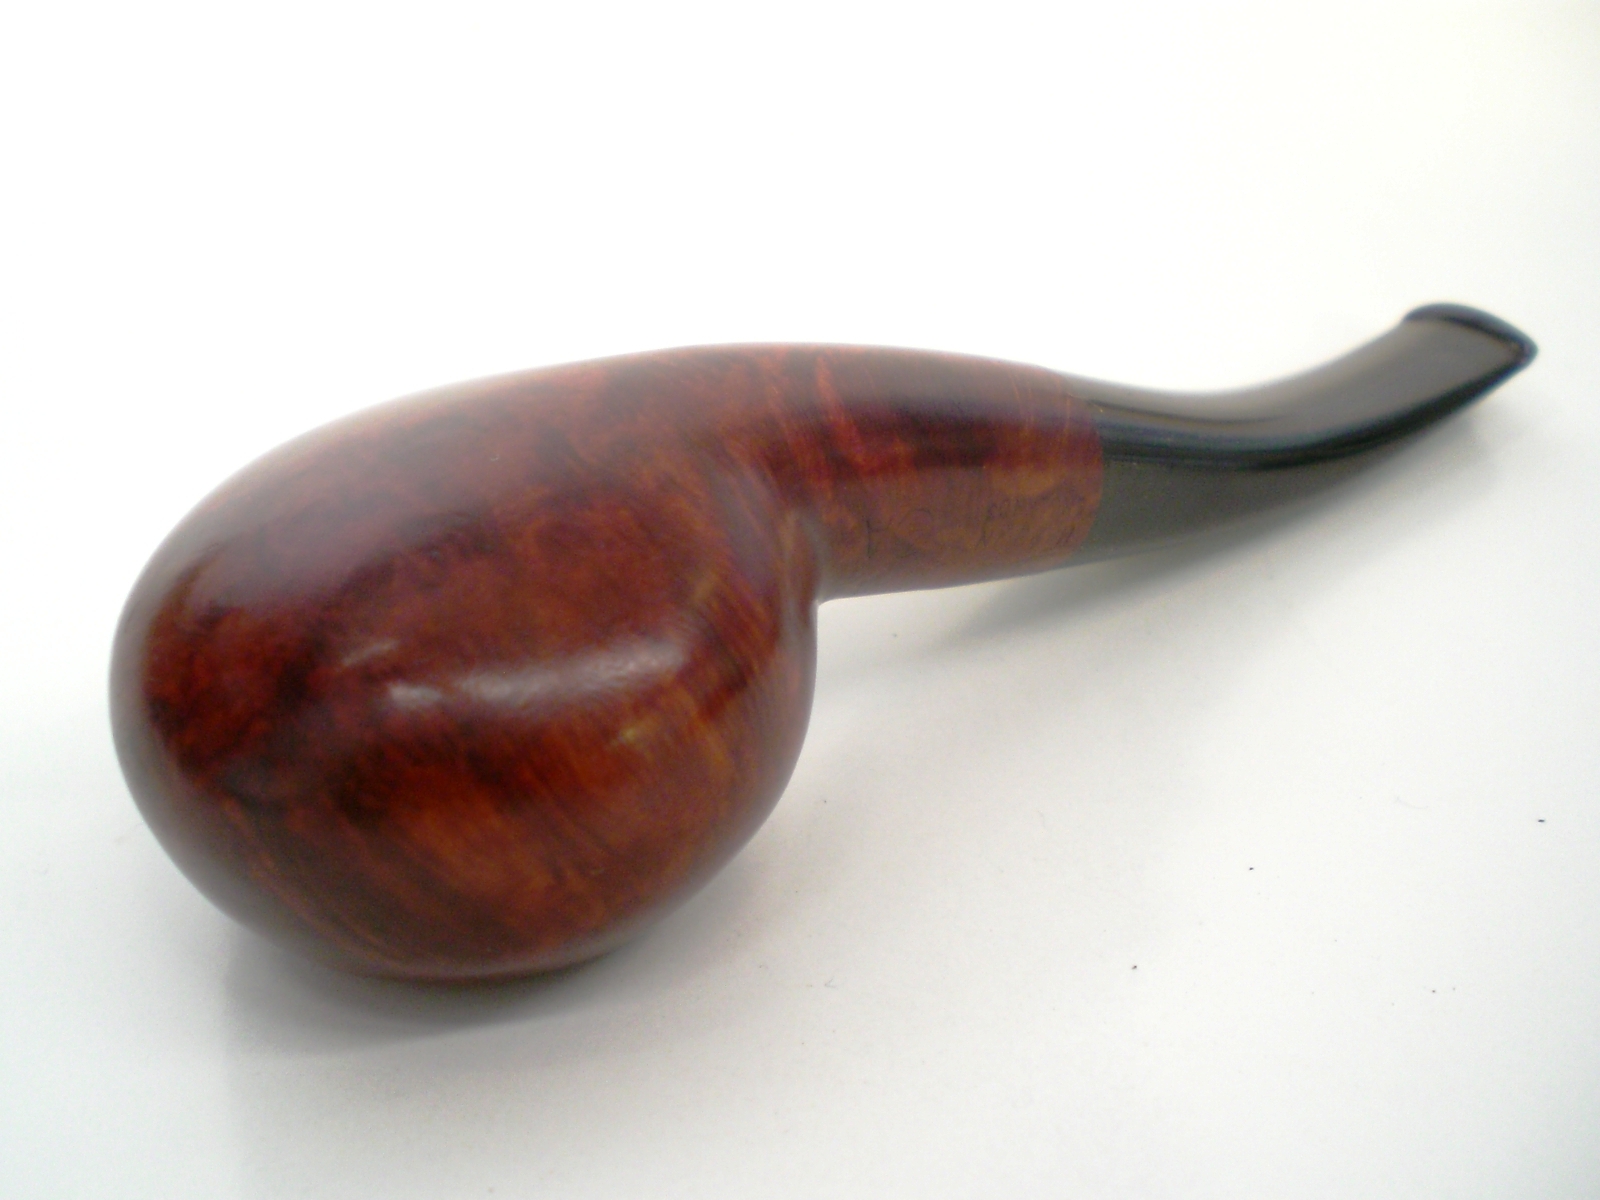
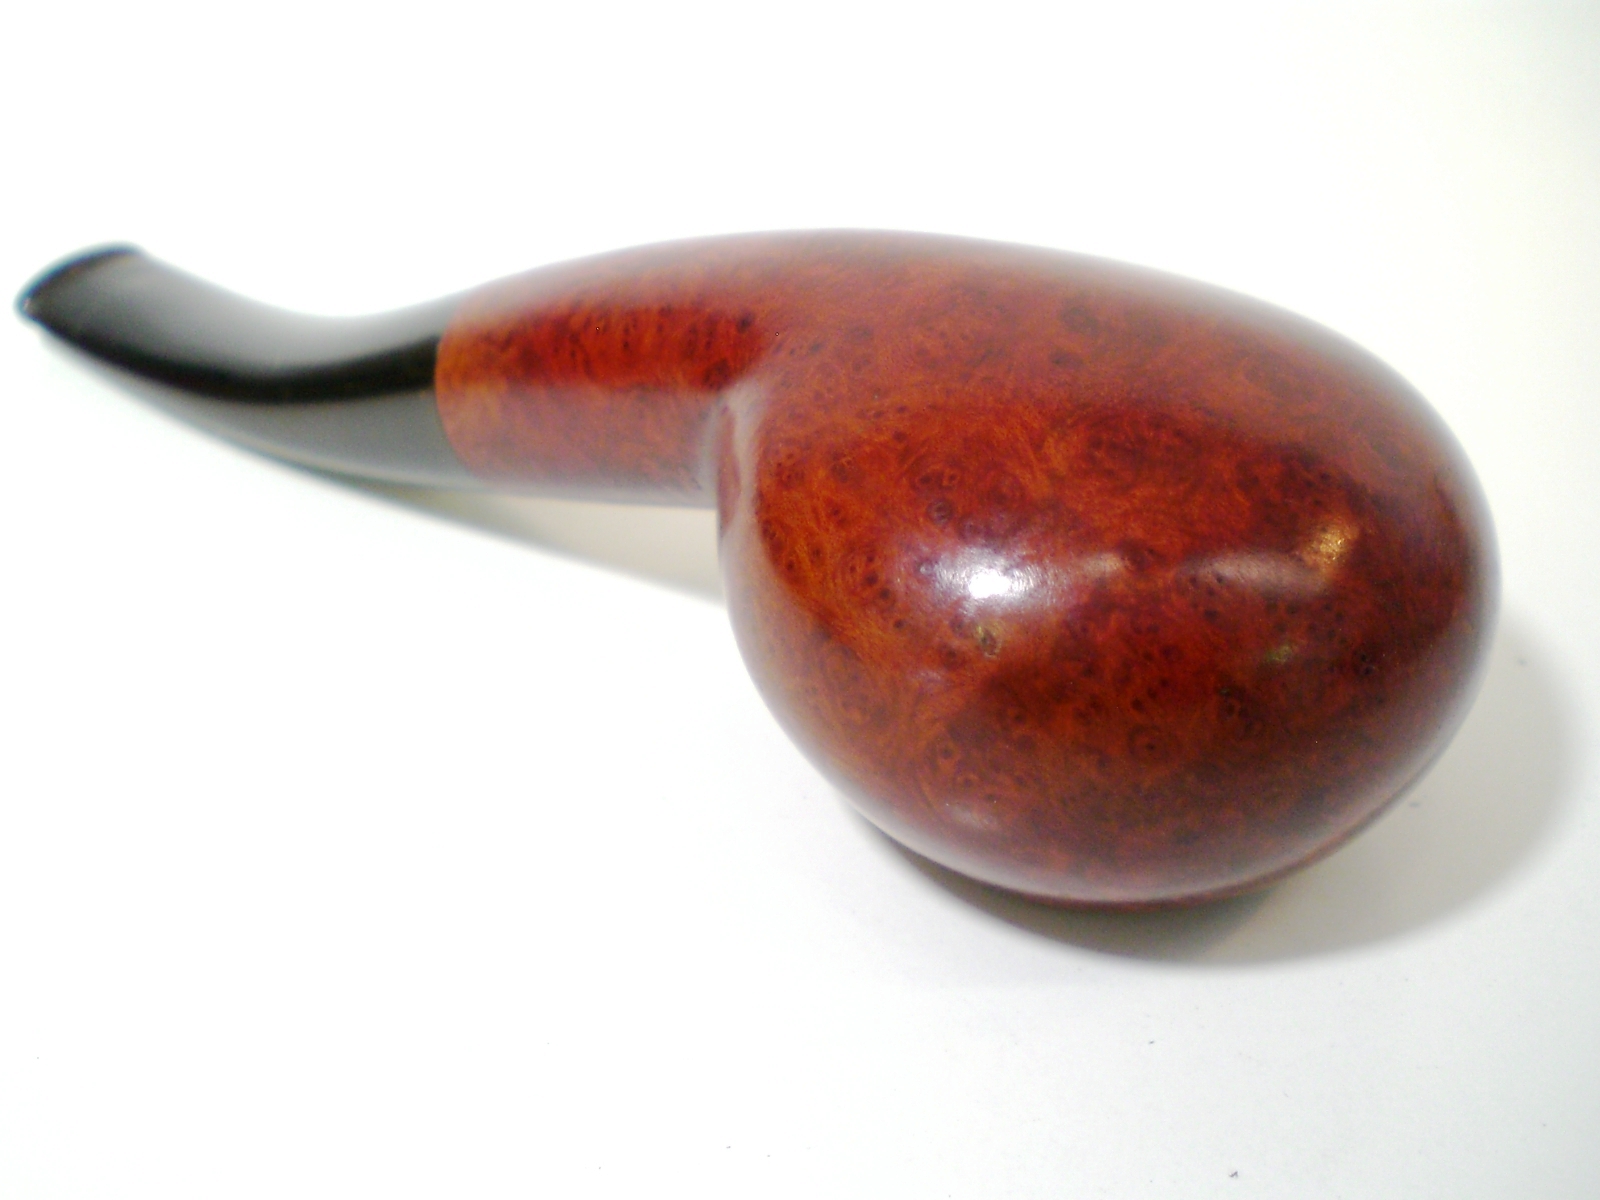
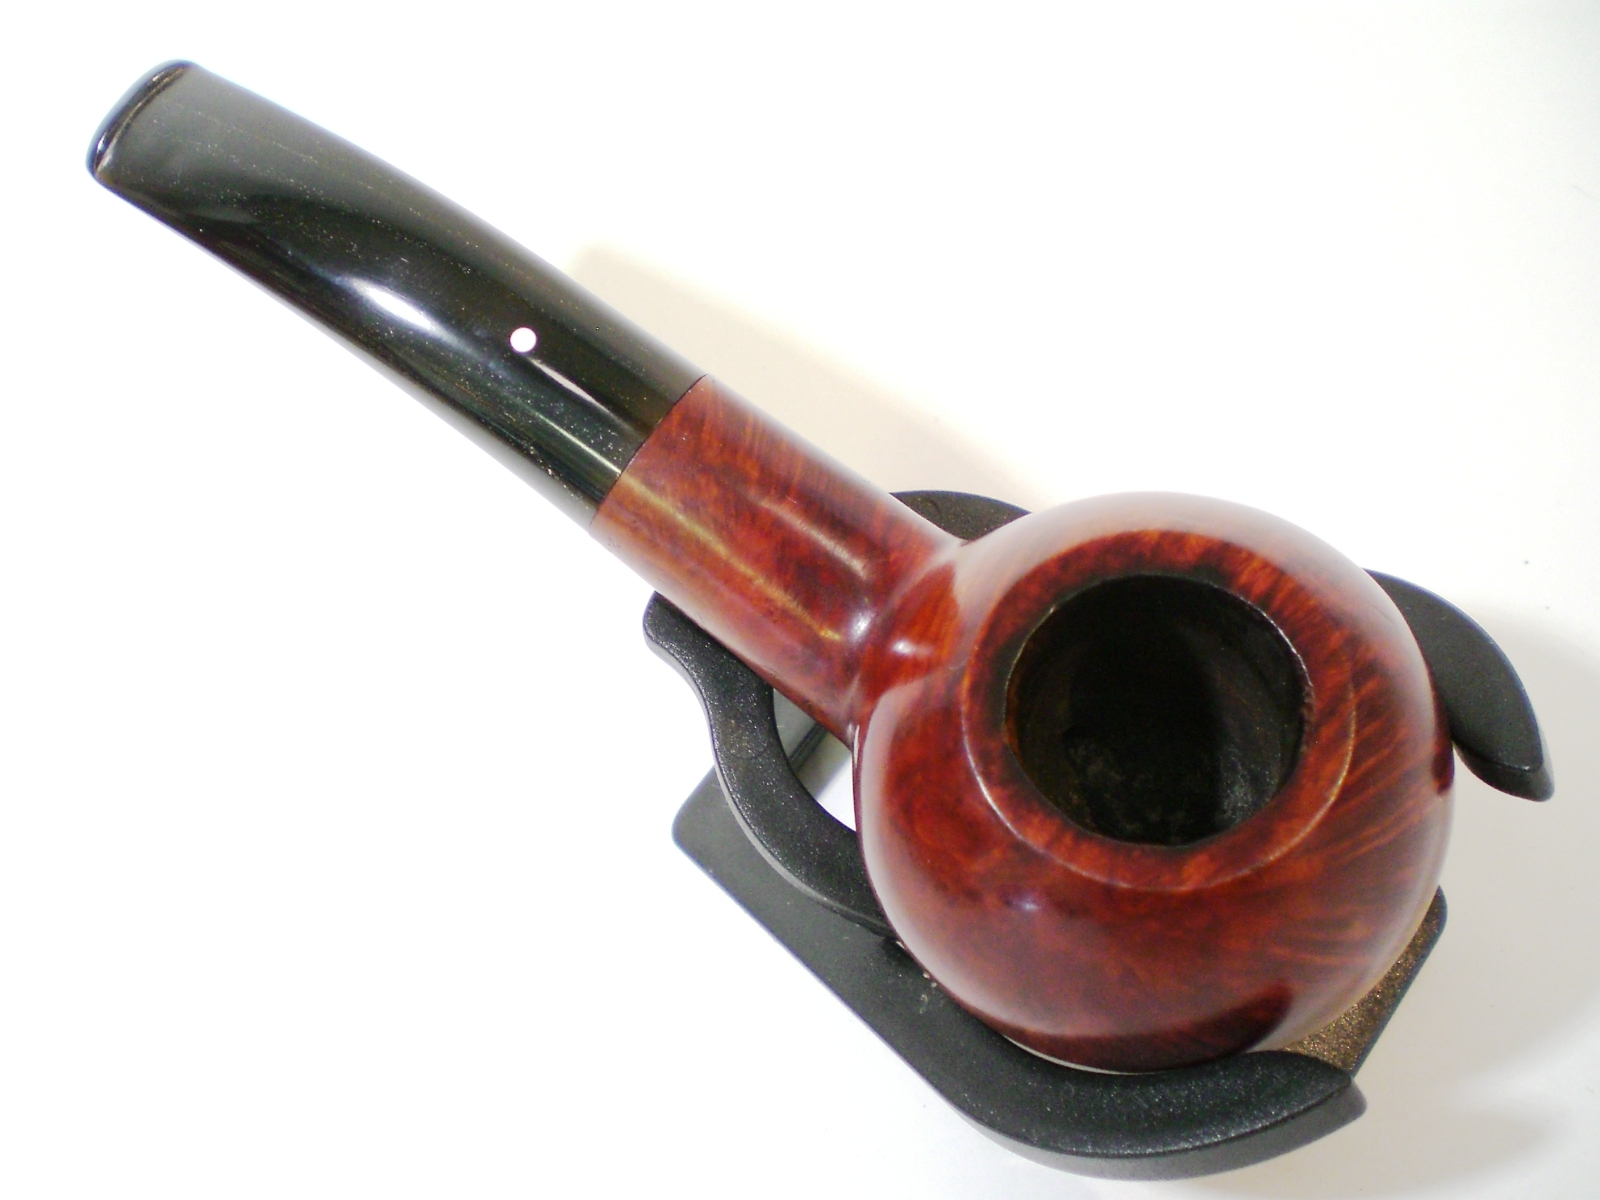
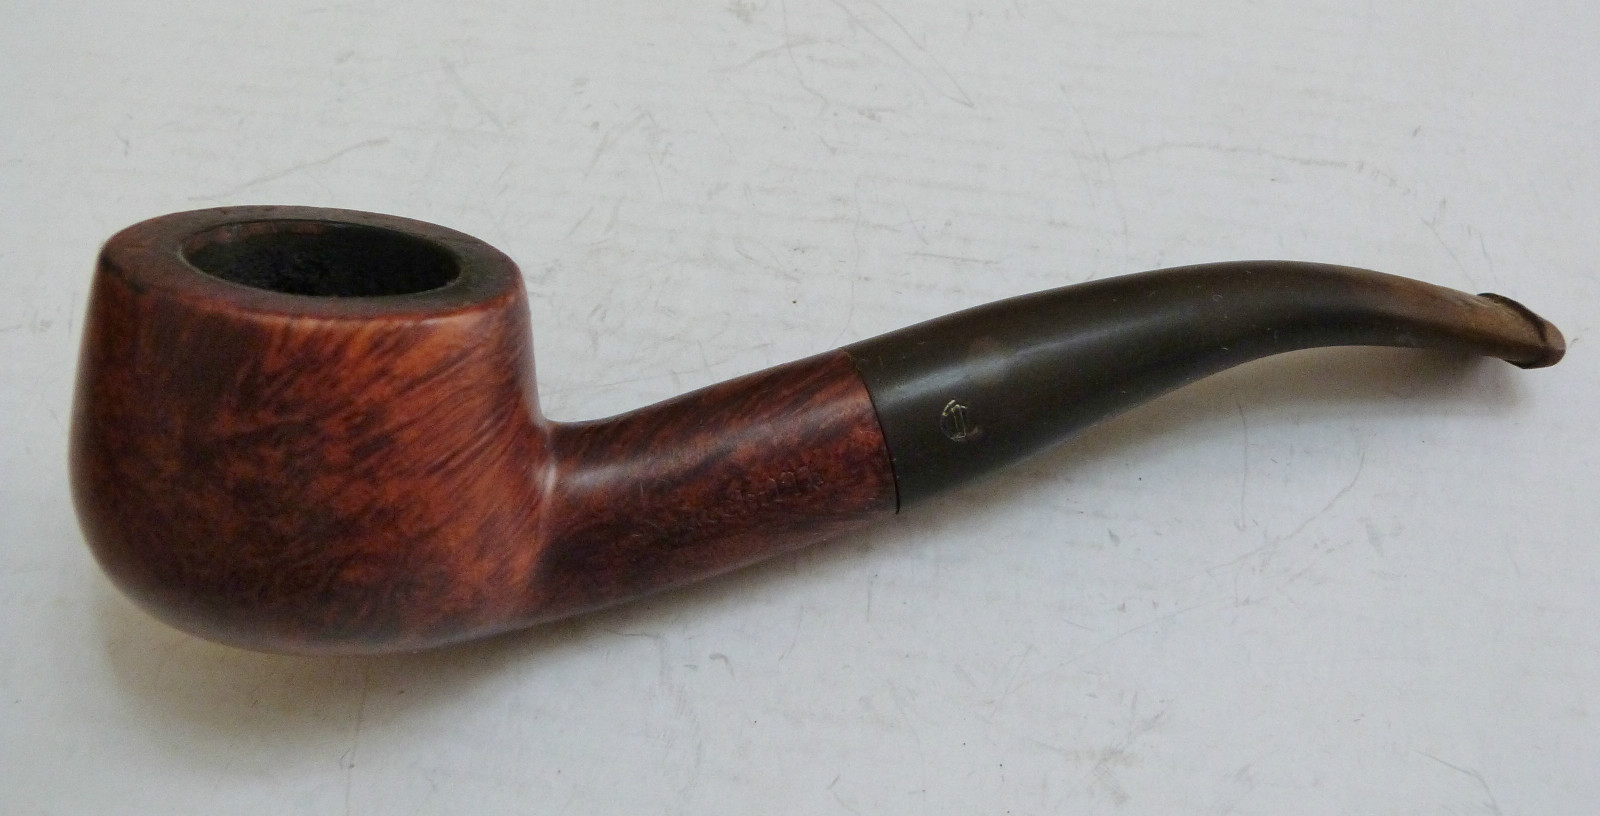
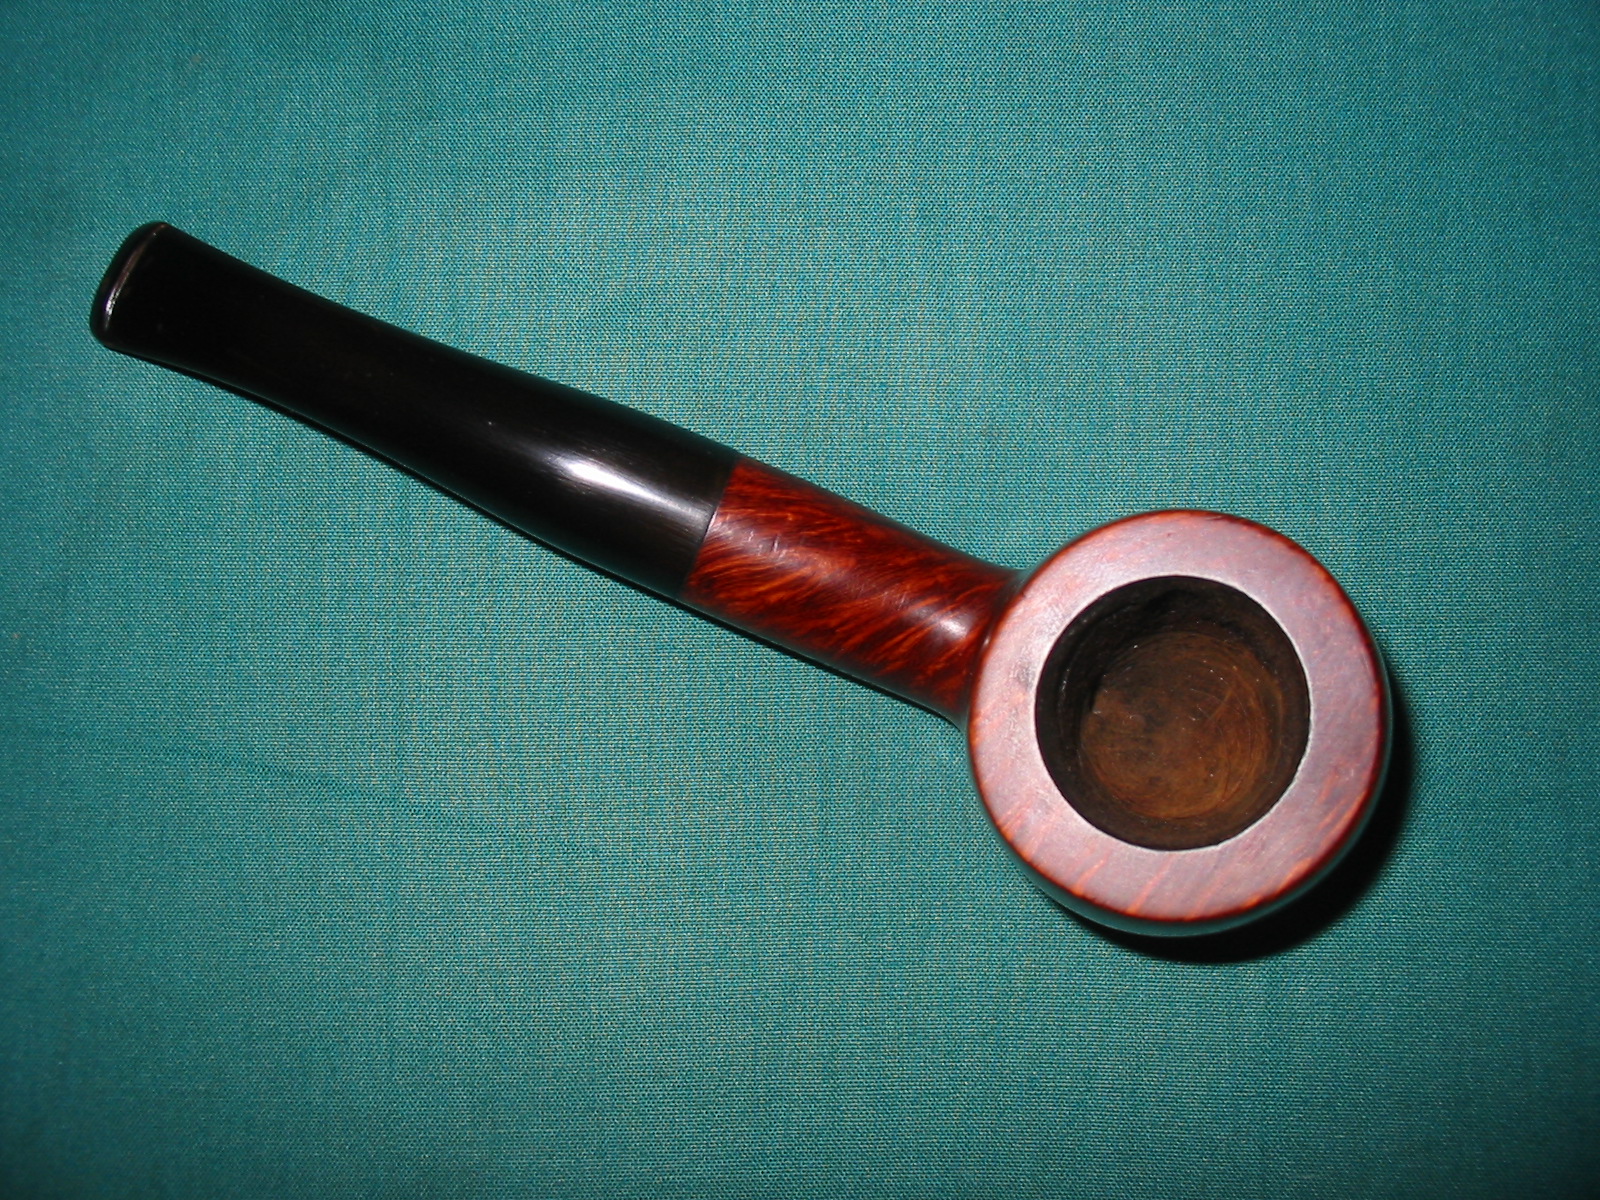
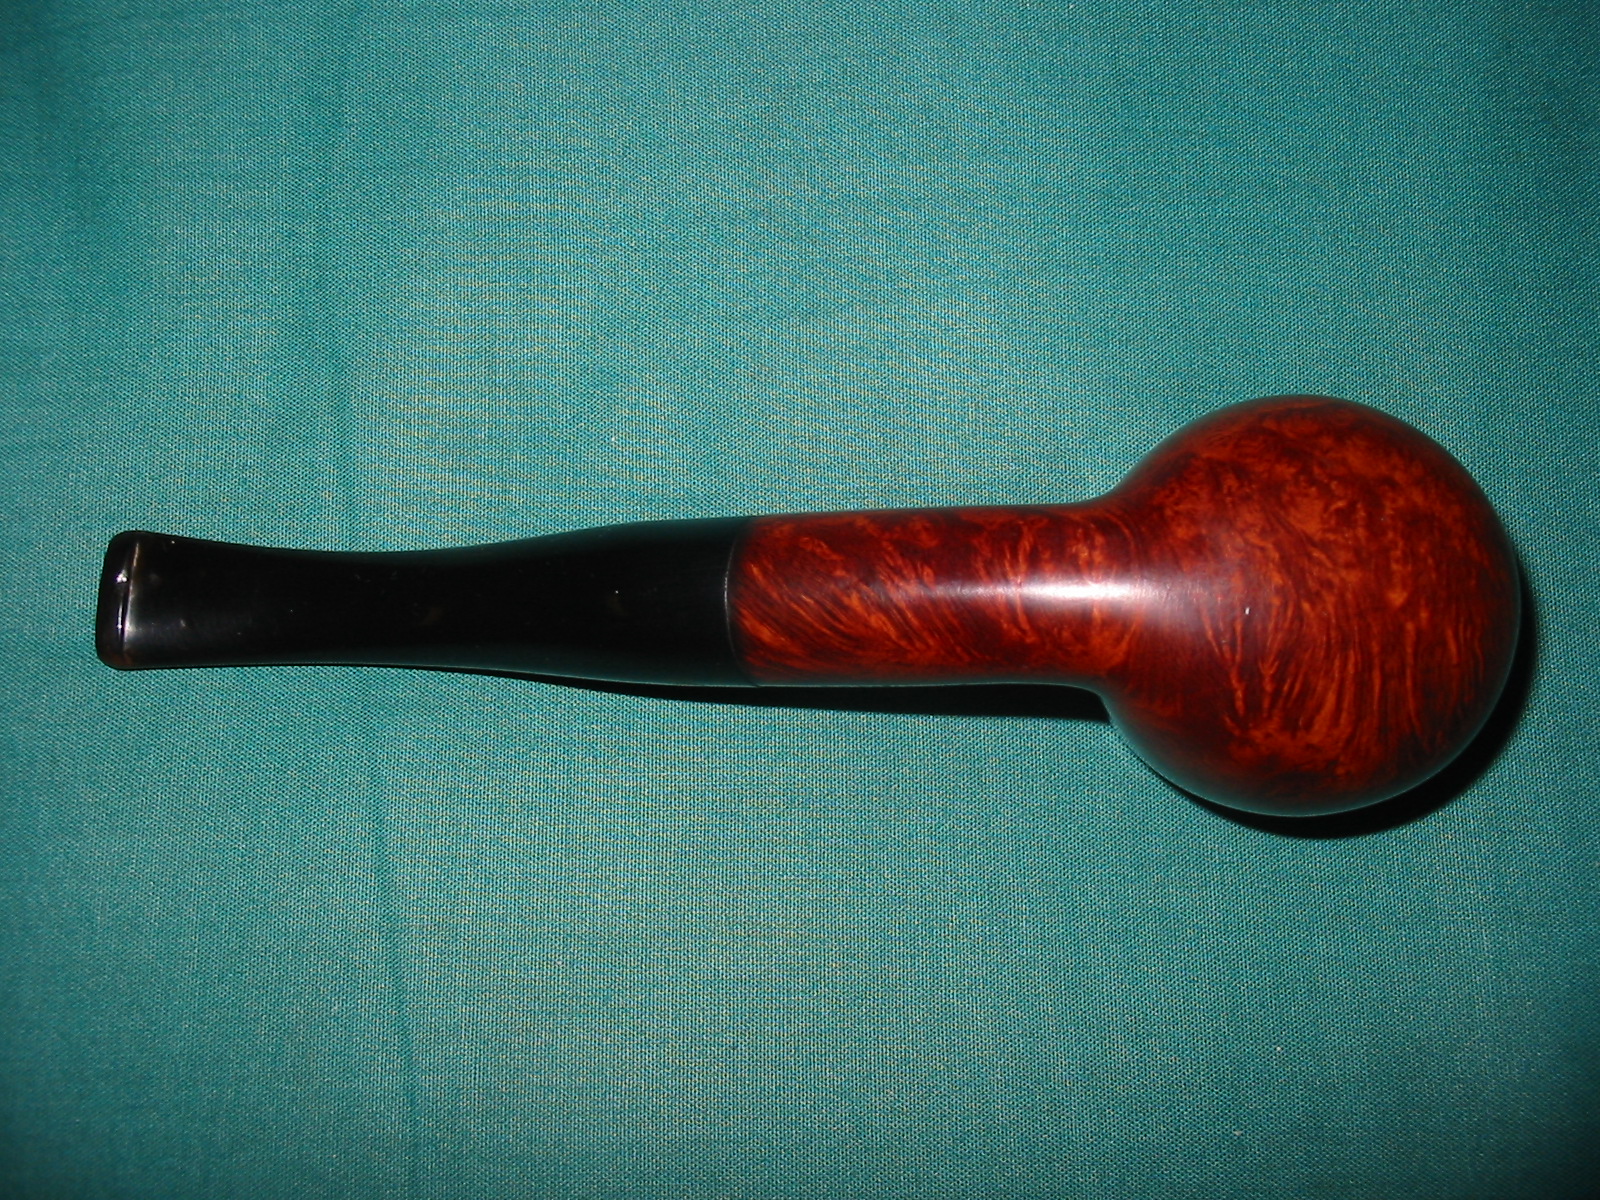
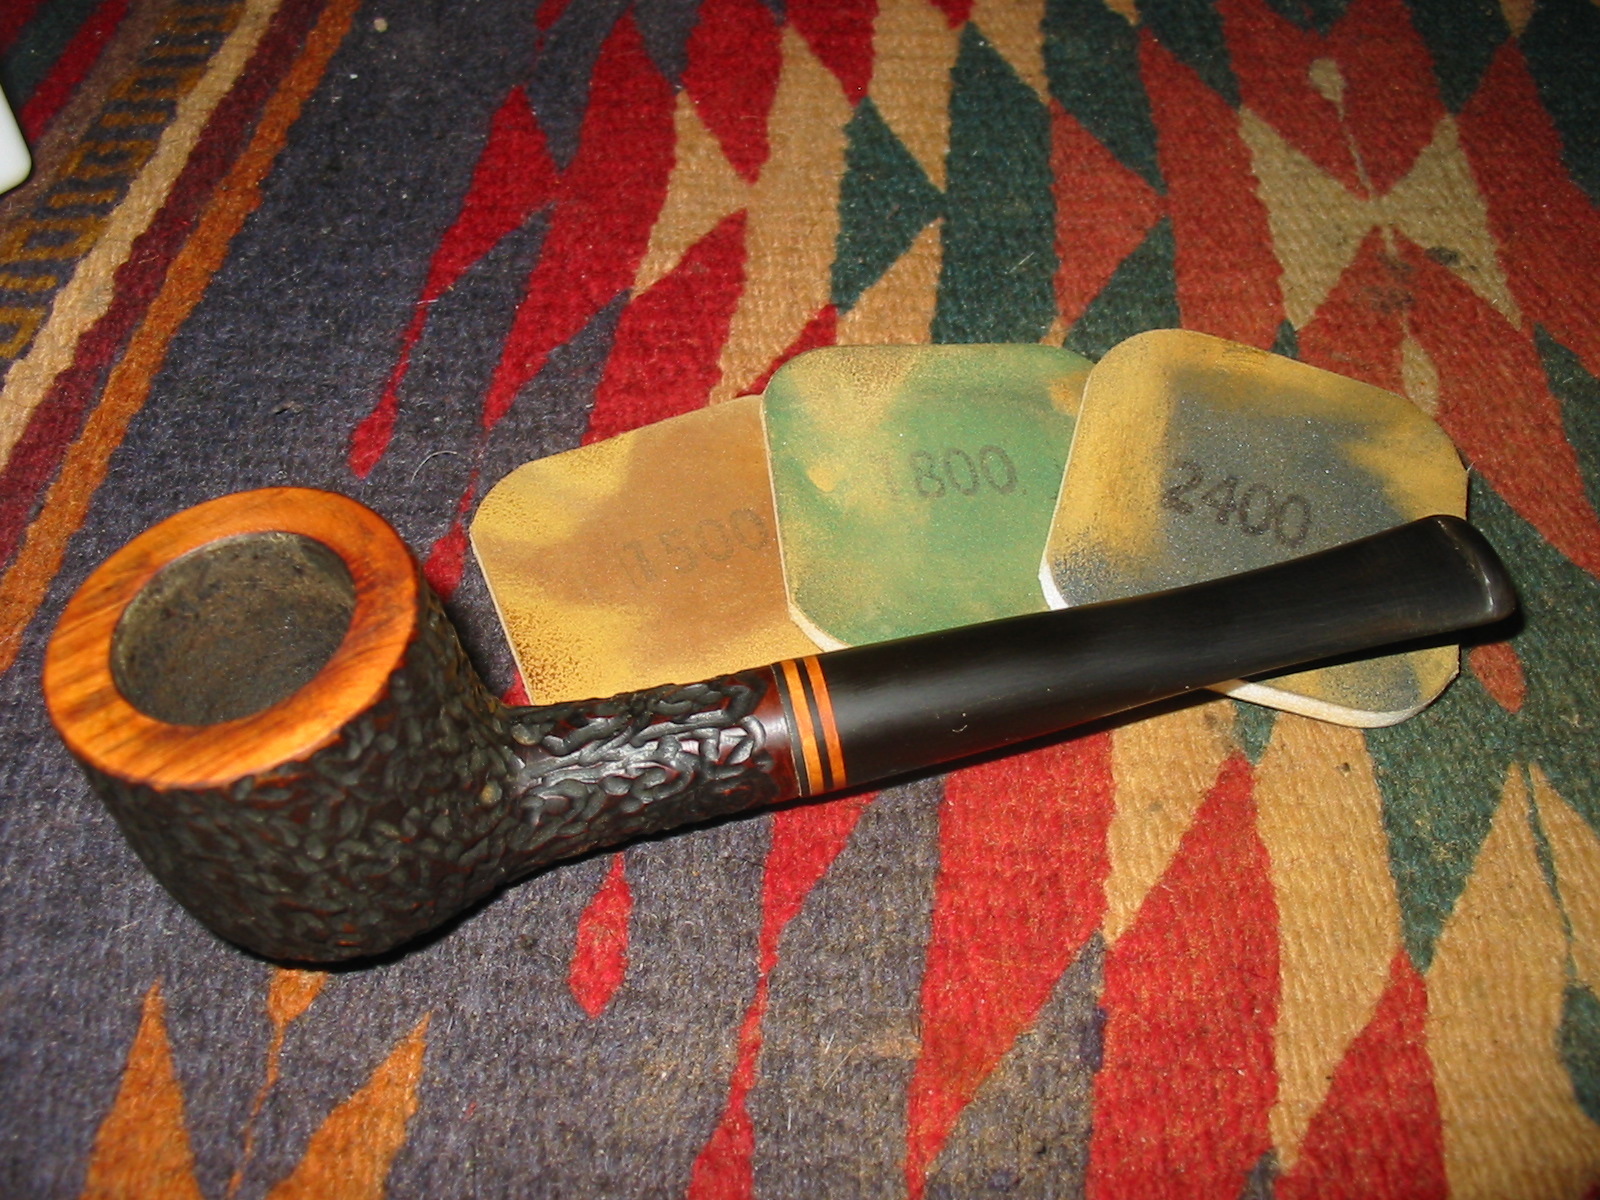
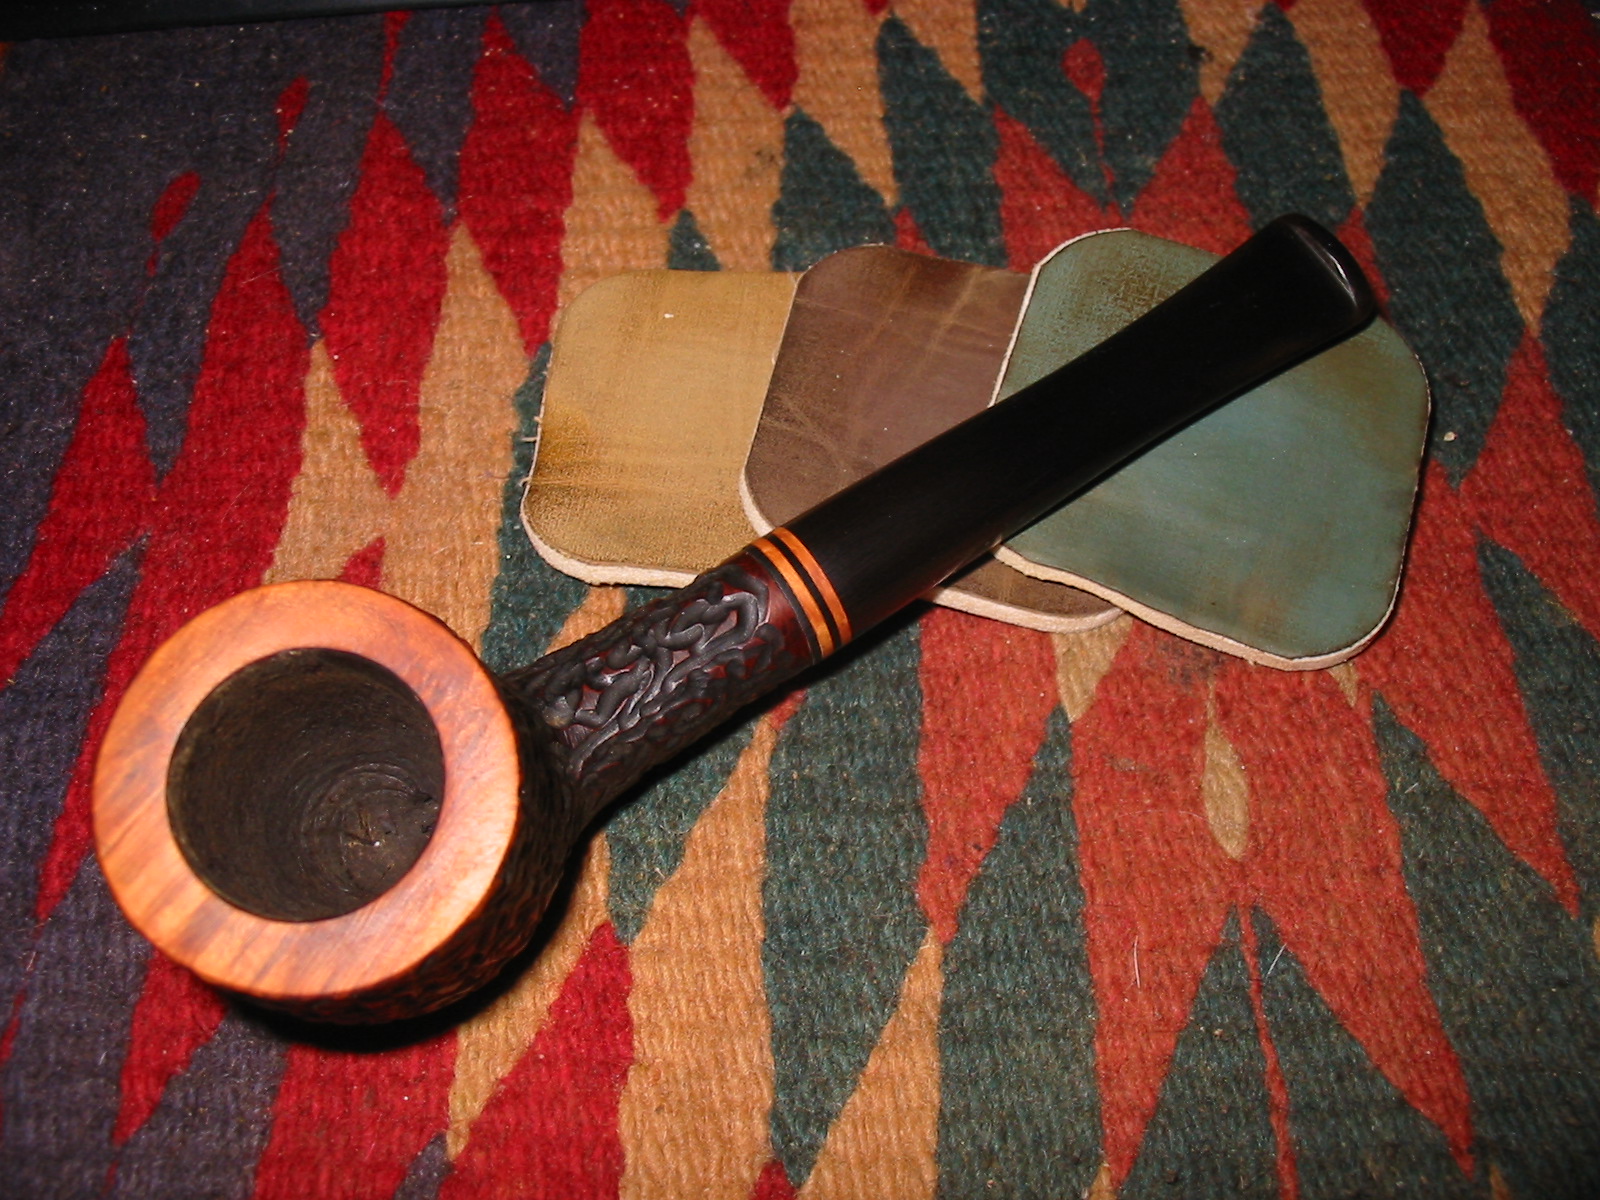
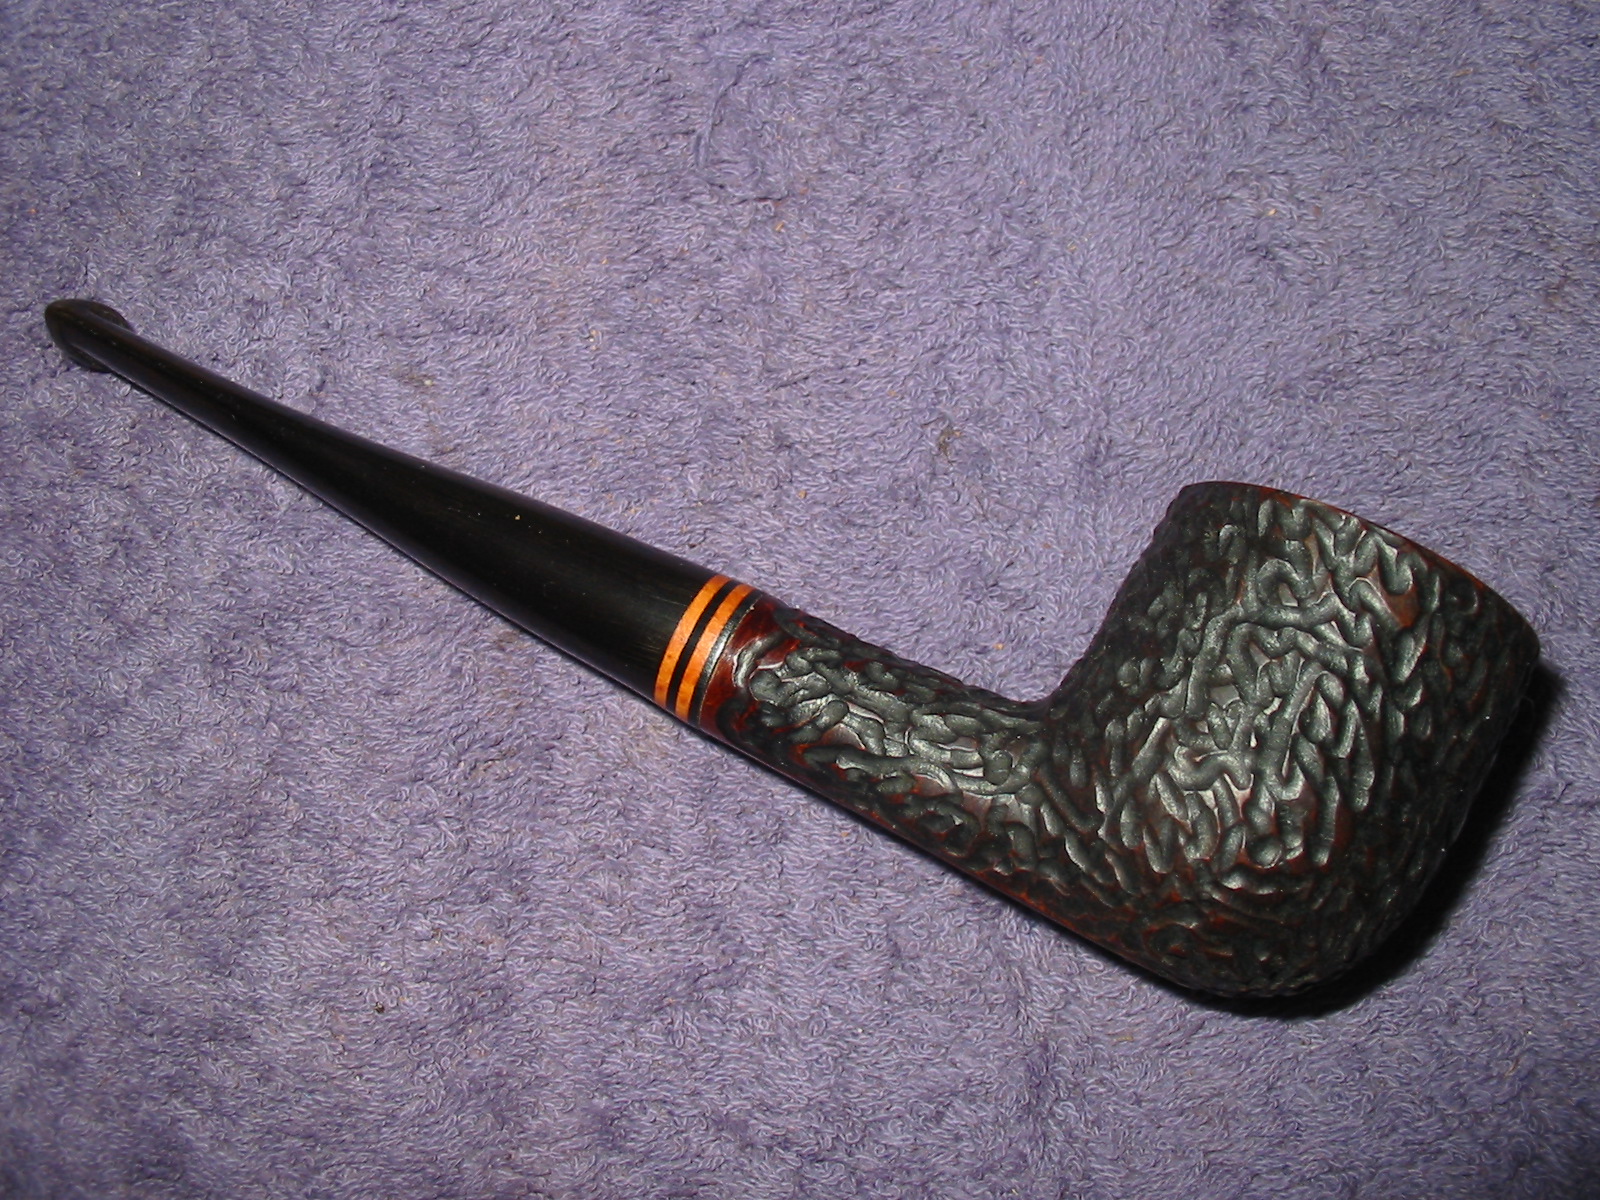
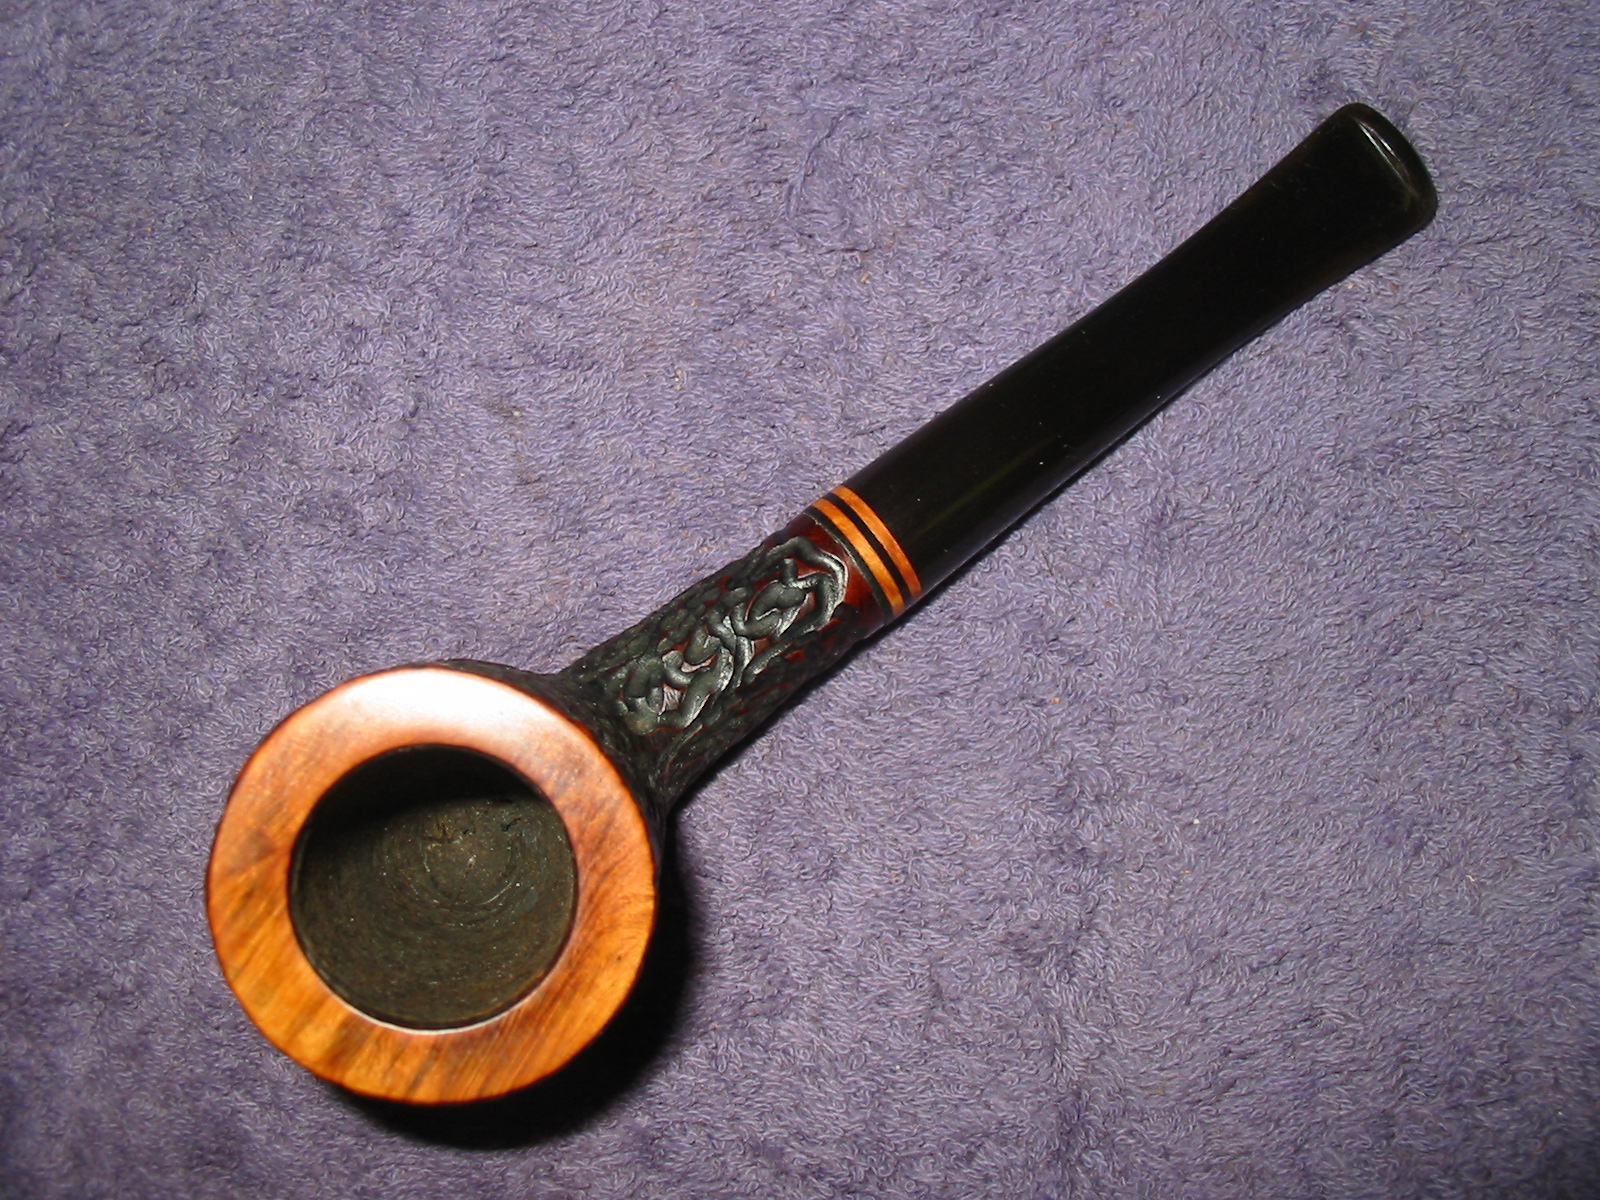
Tag Archives: waxing

Refurbed a Tanganyika Meerschaum Prince


Blog by Steve Laug

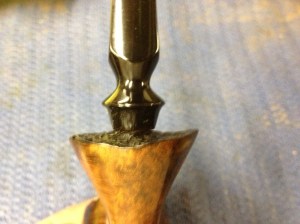
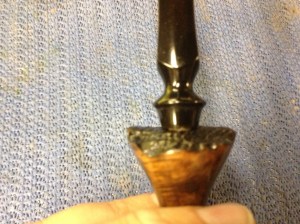
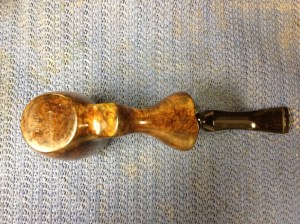
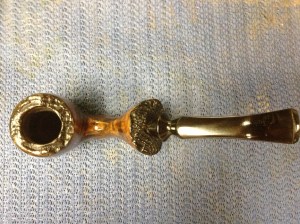
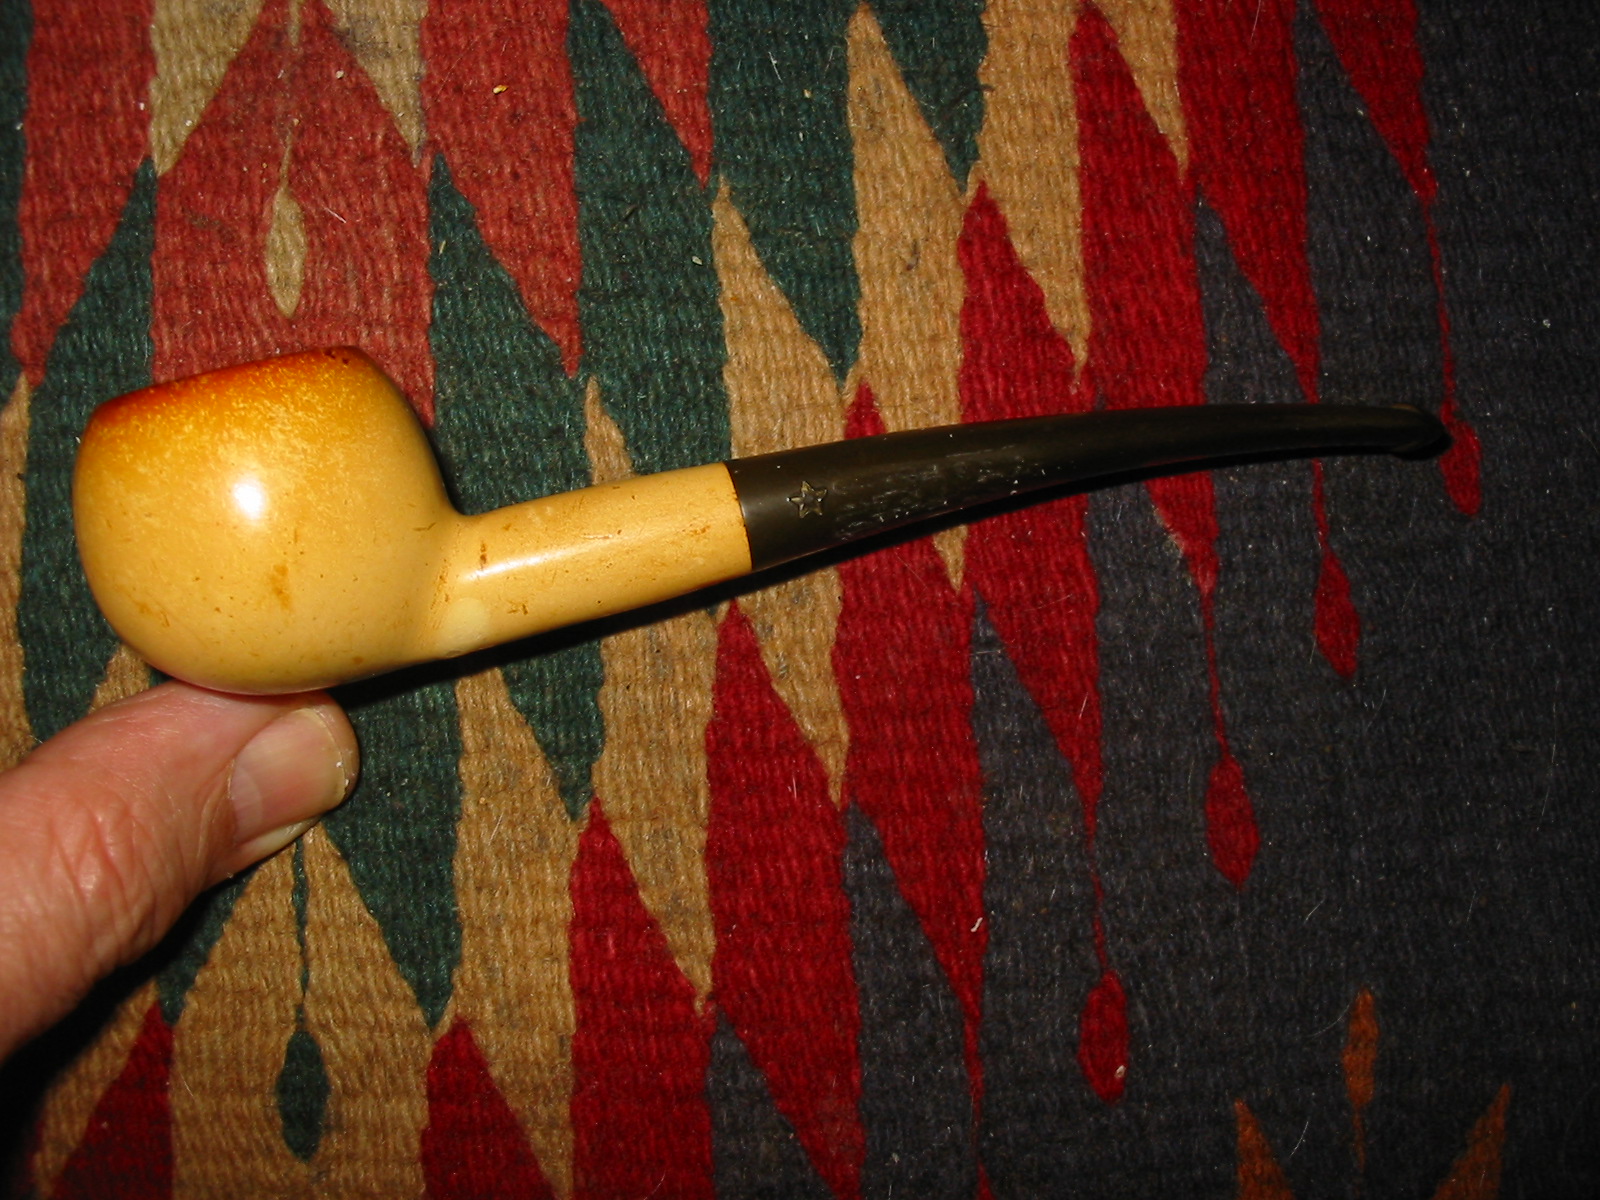
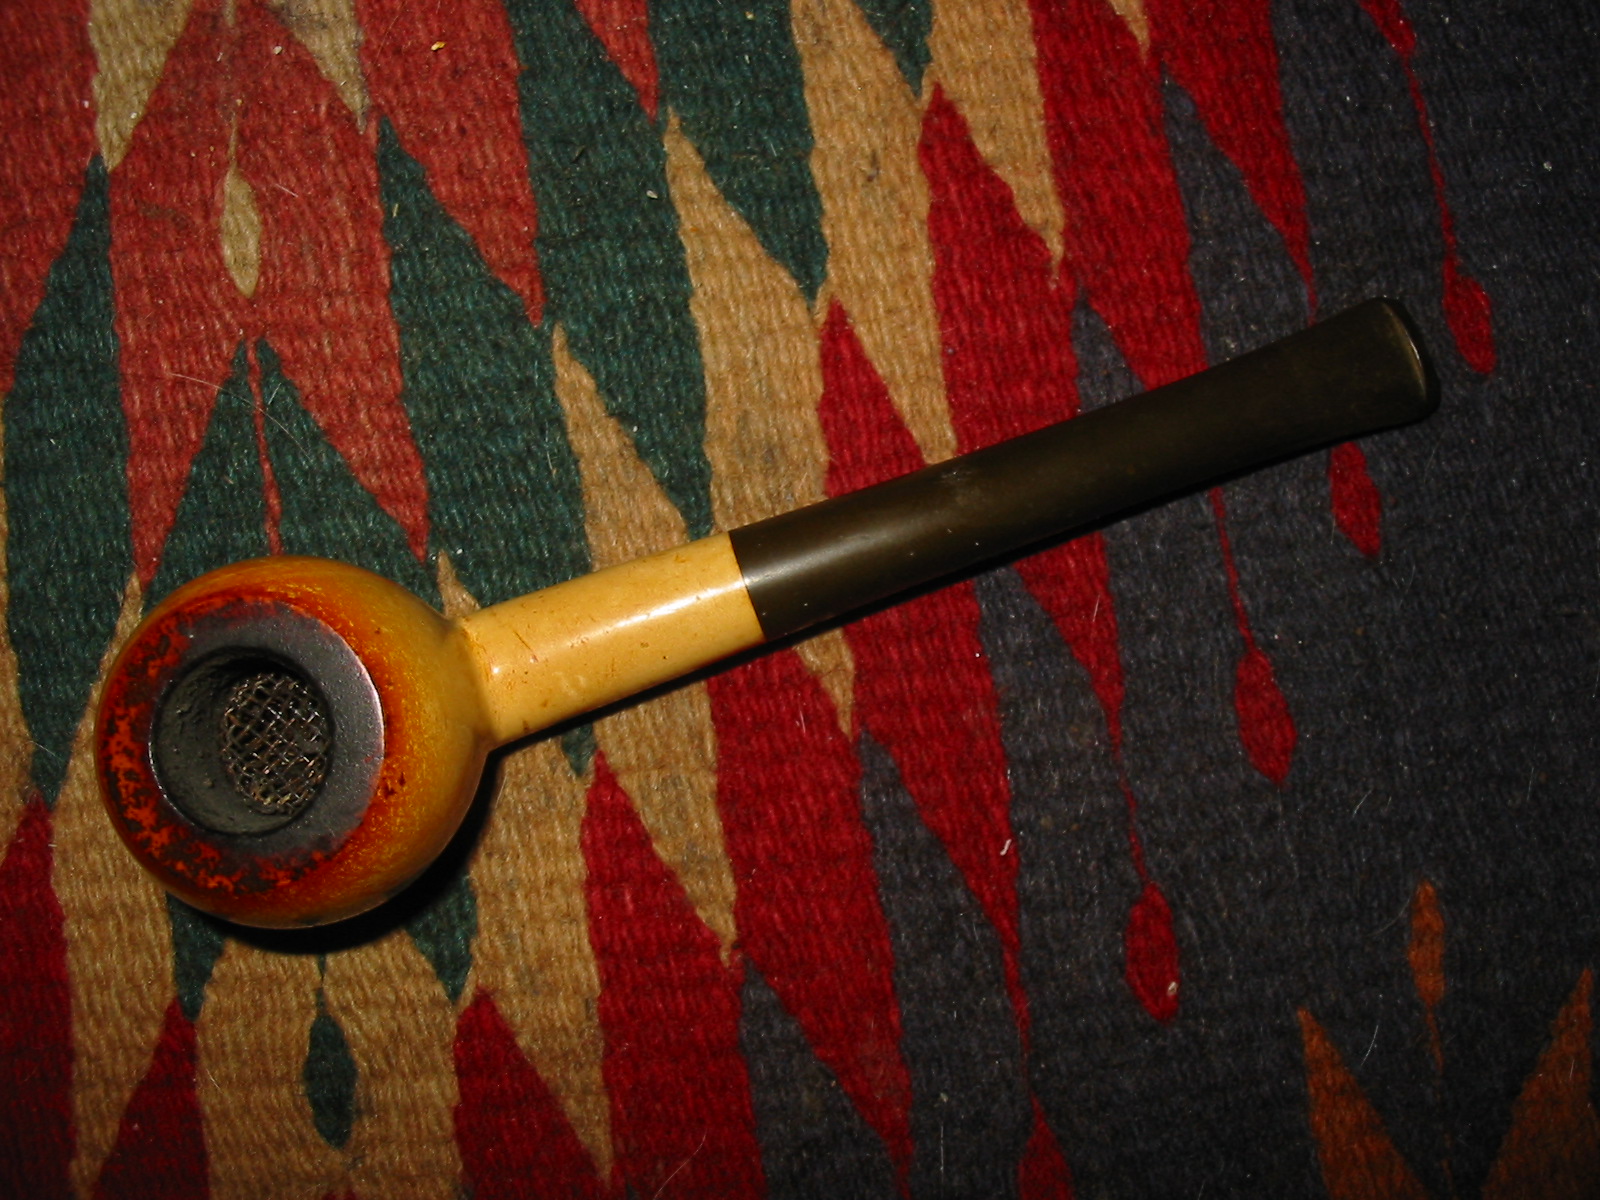
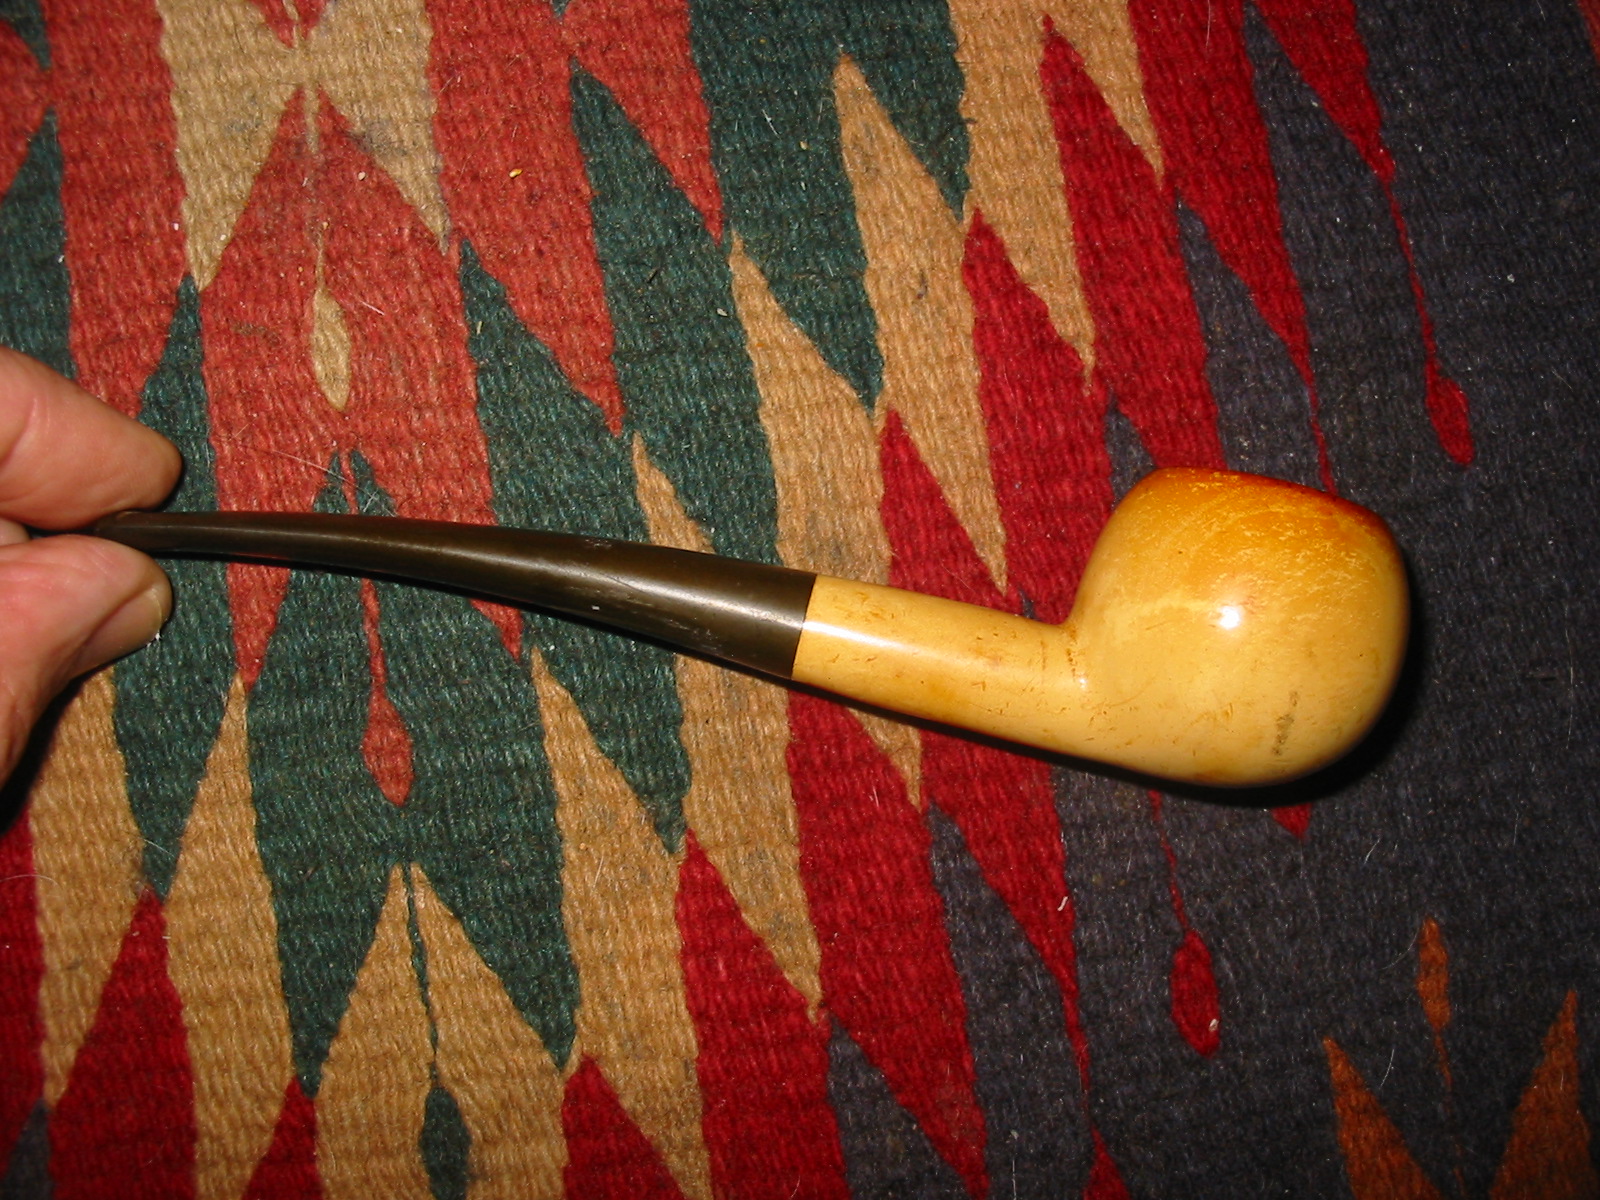
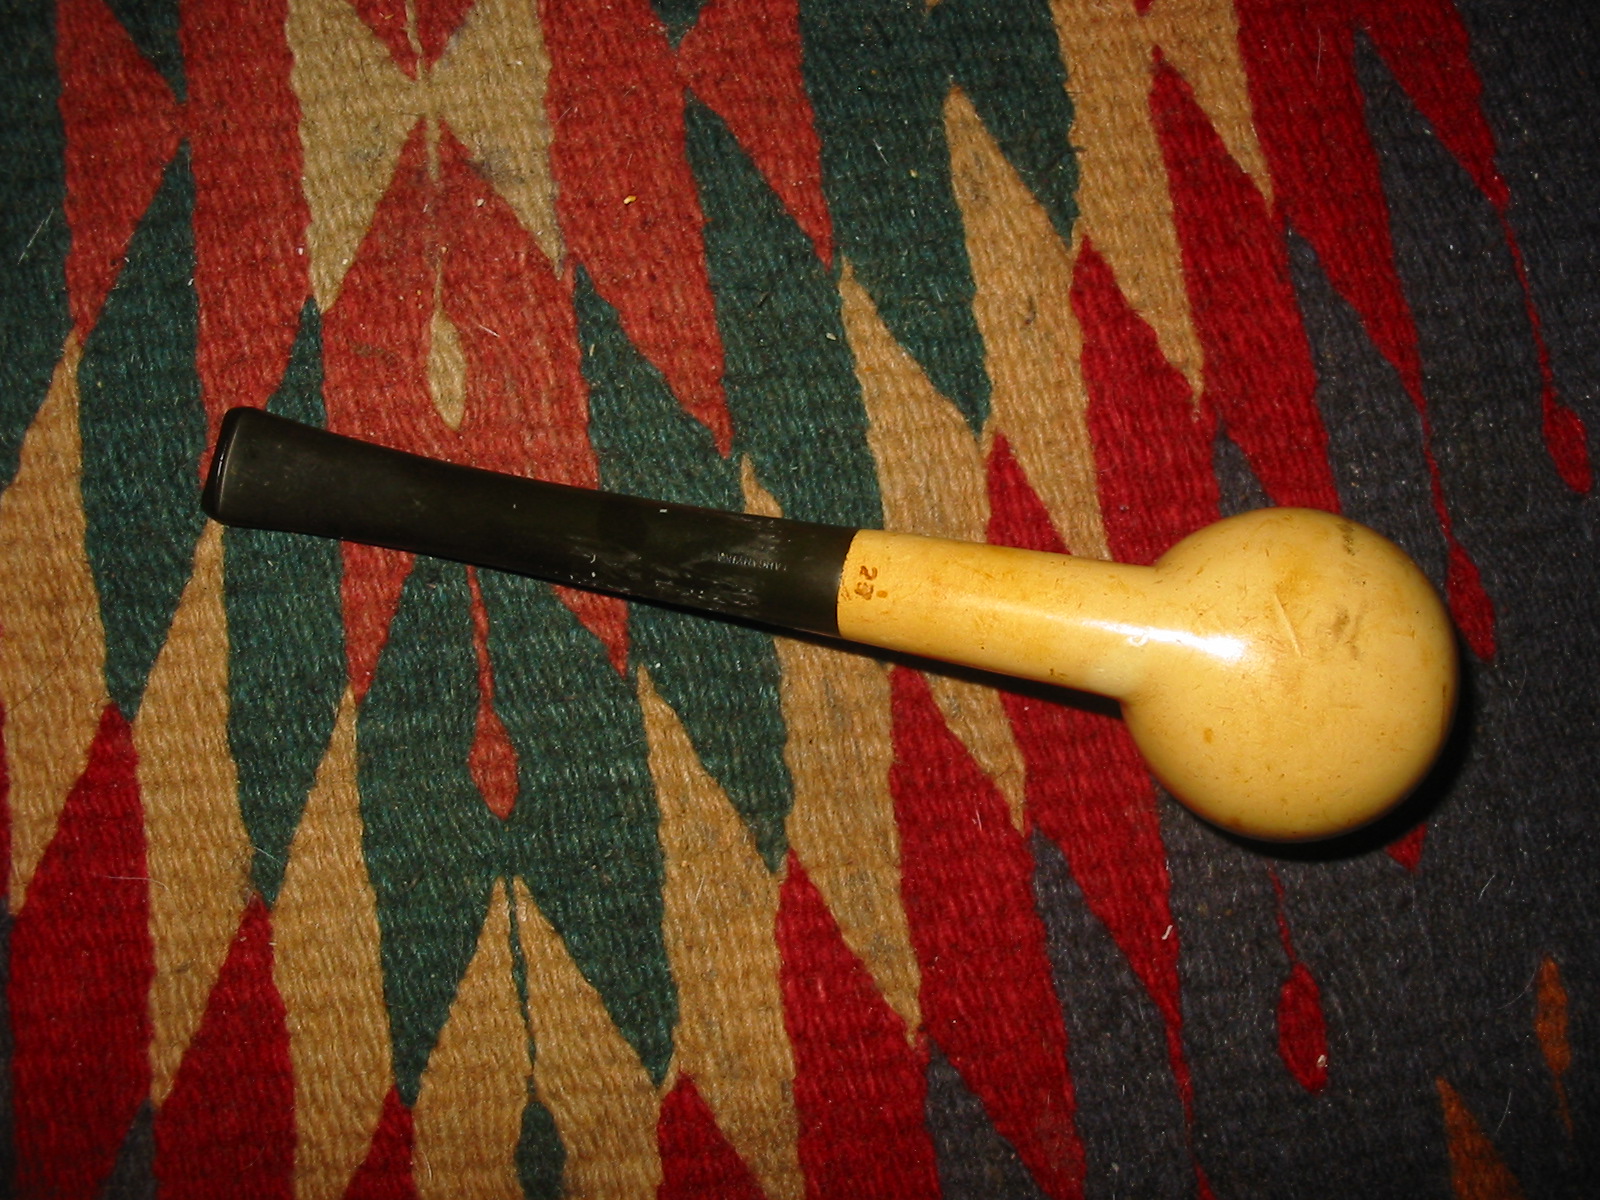
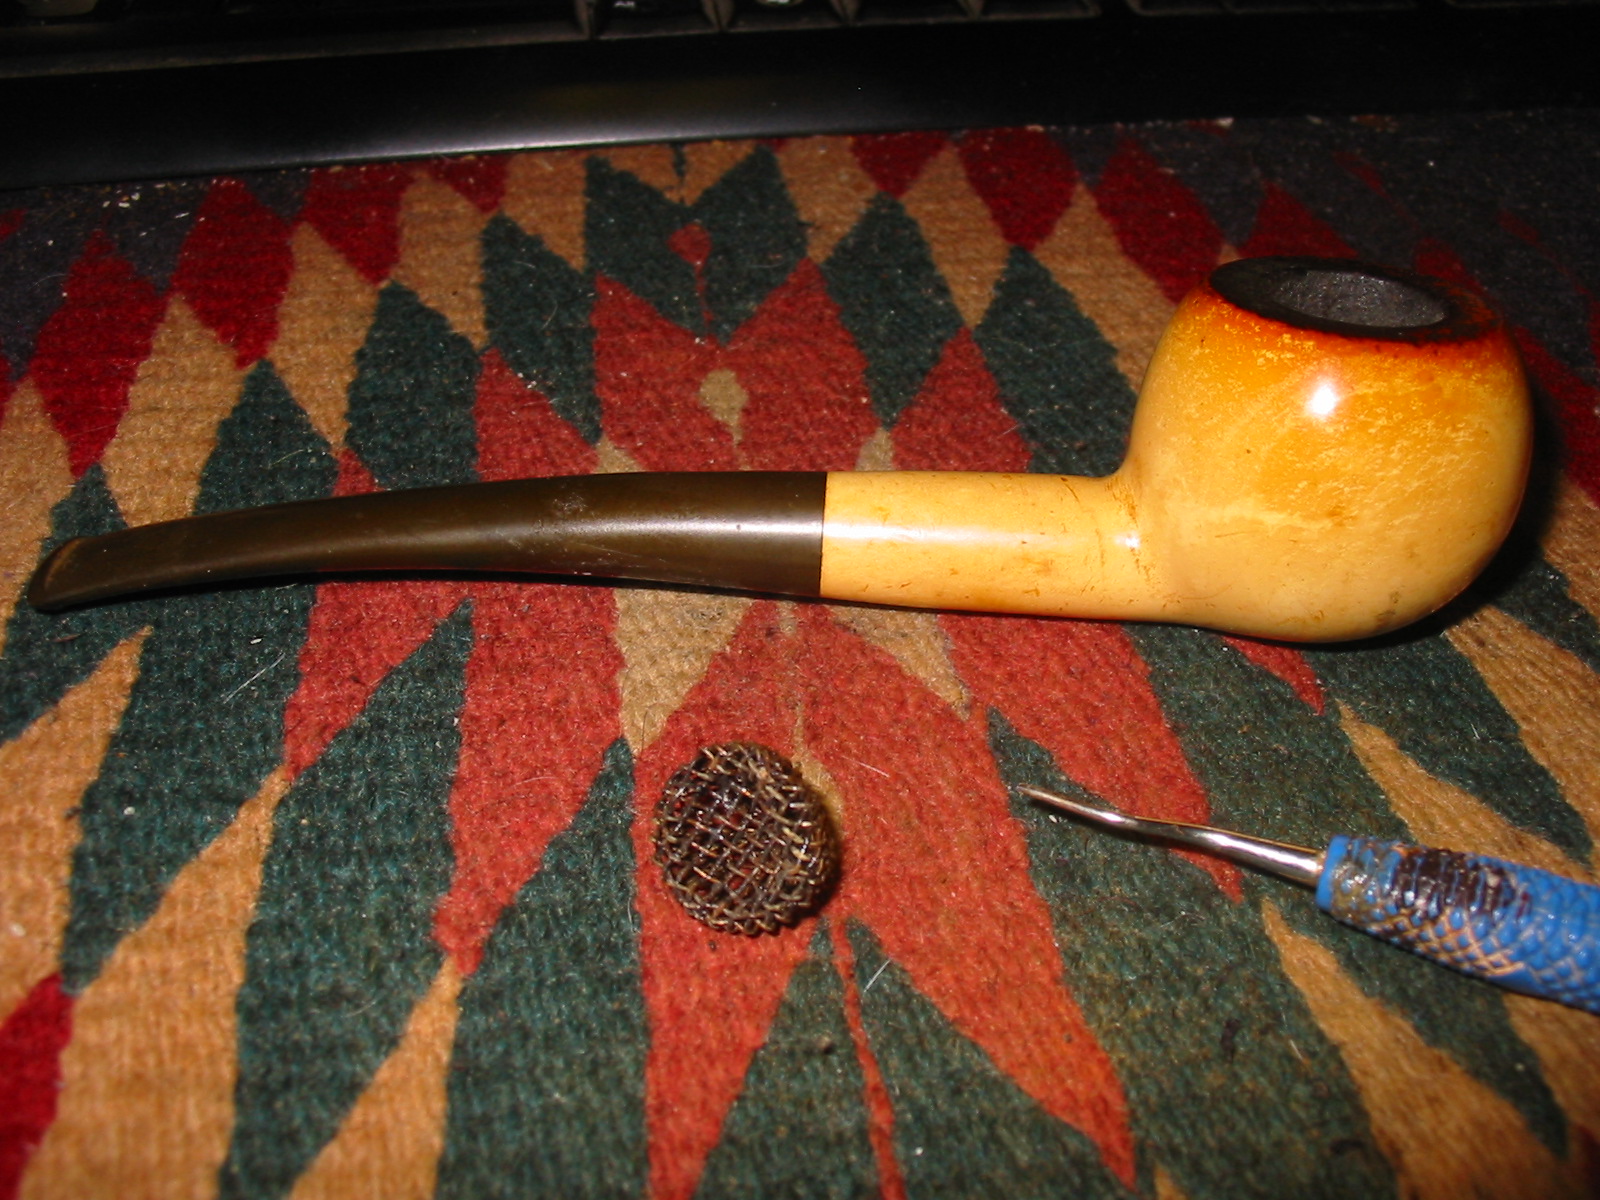
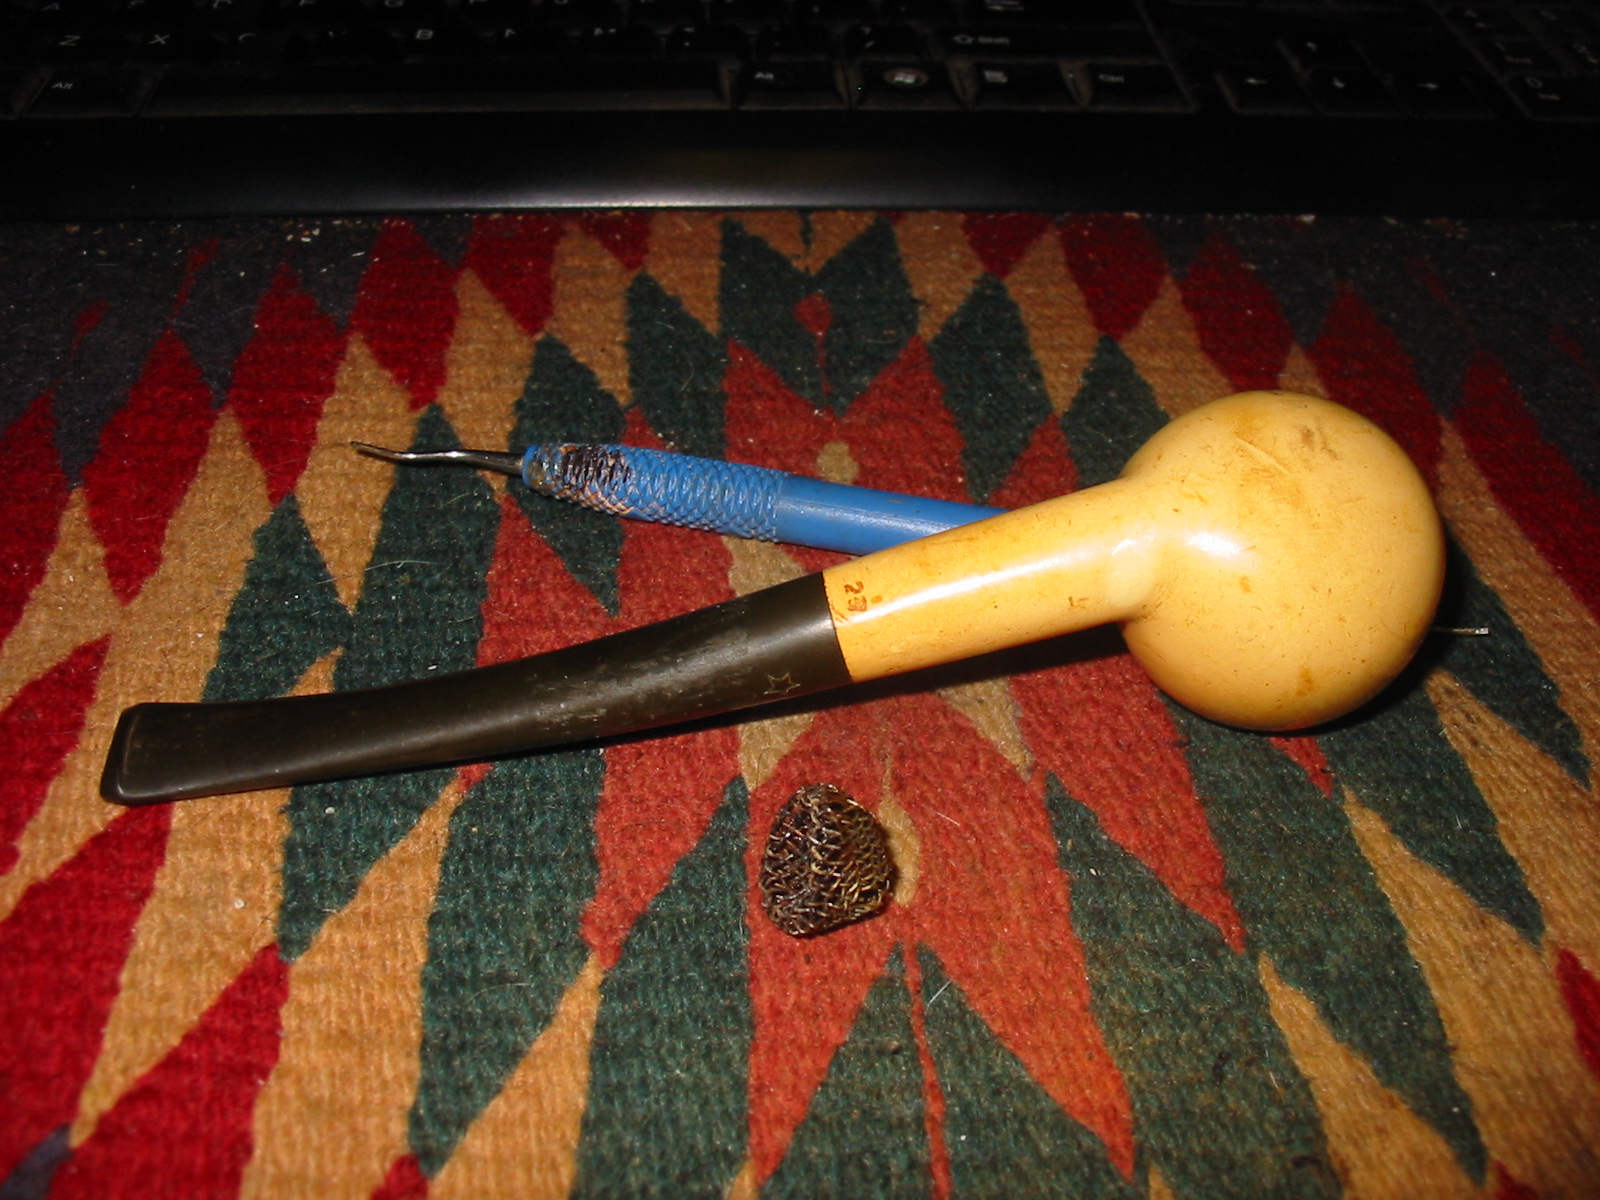
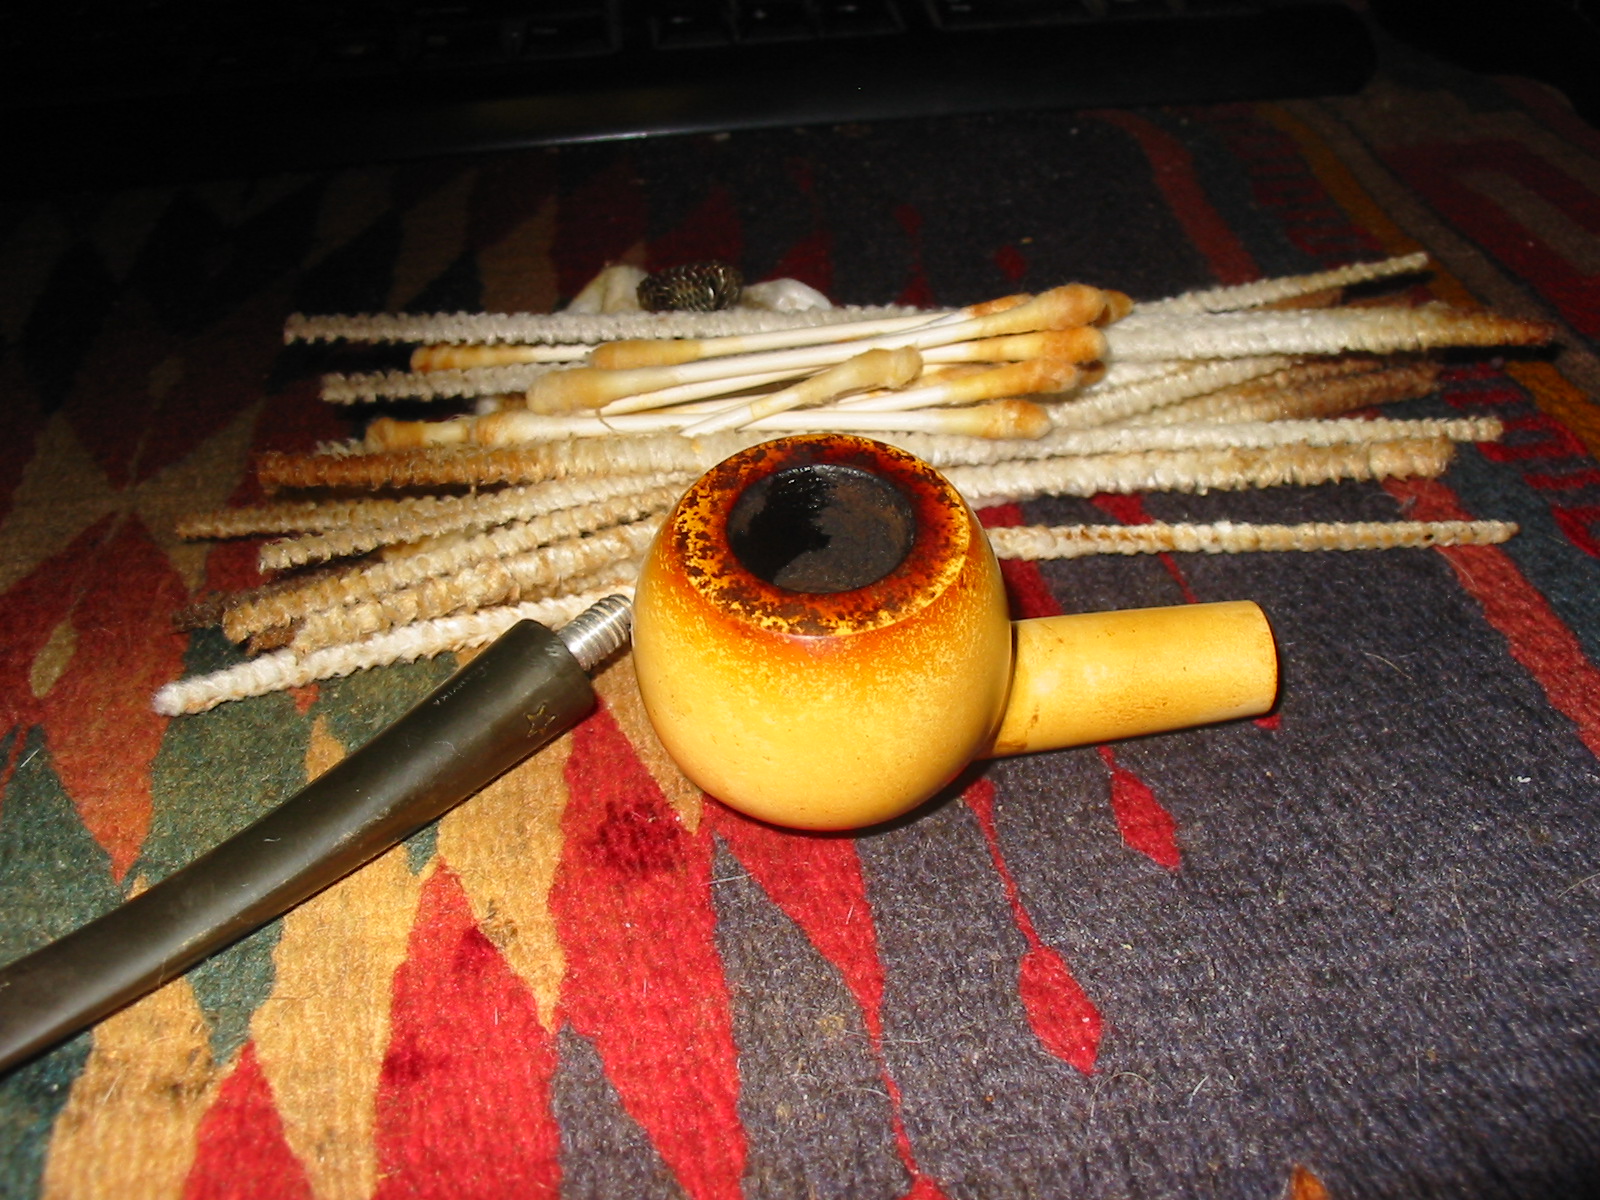
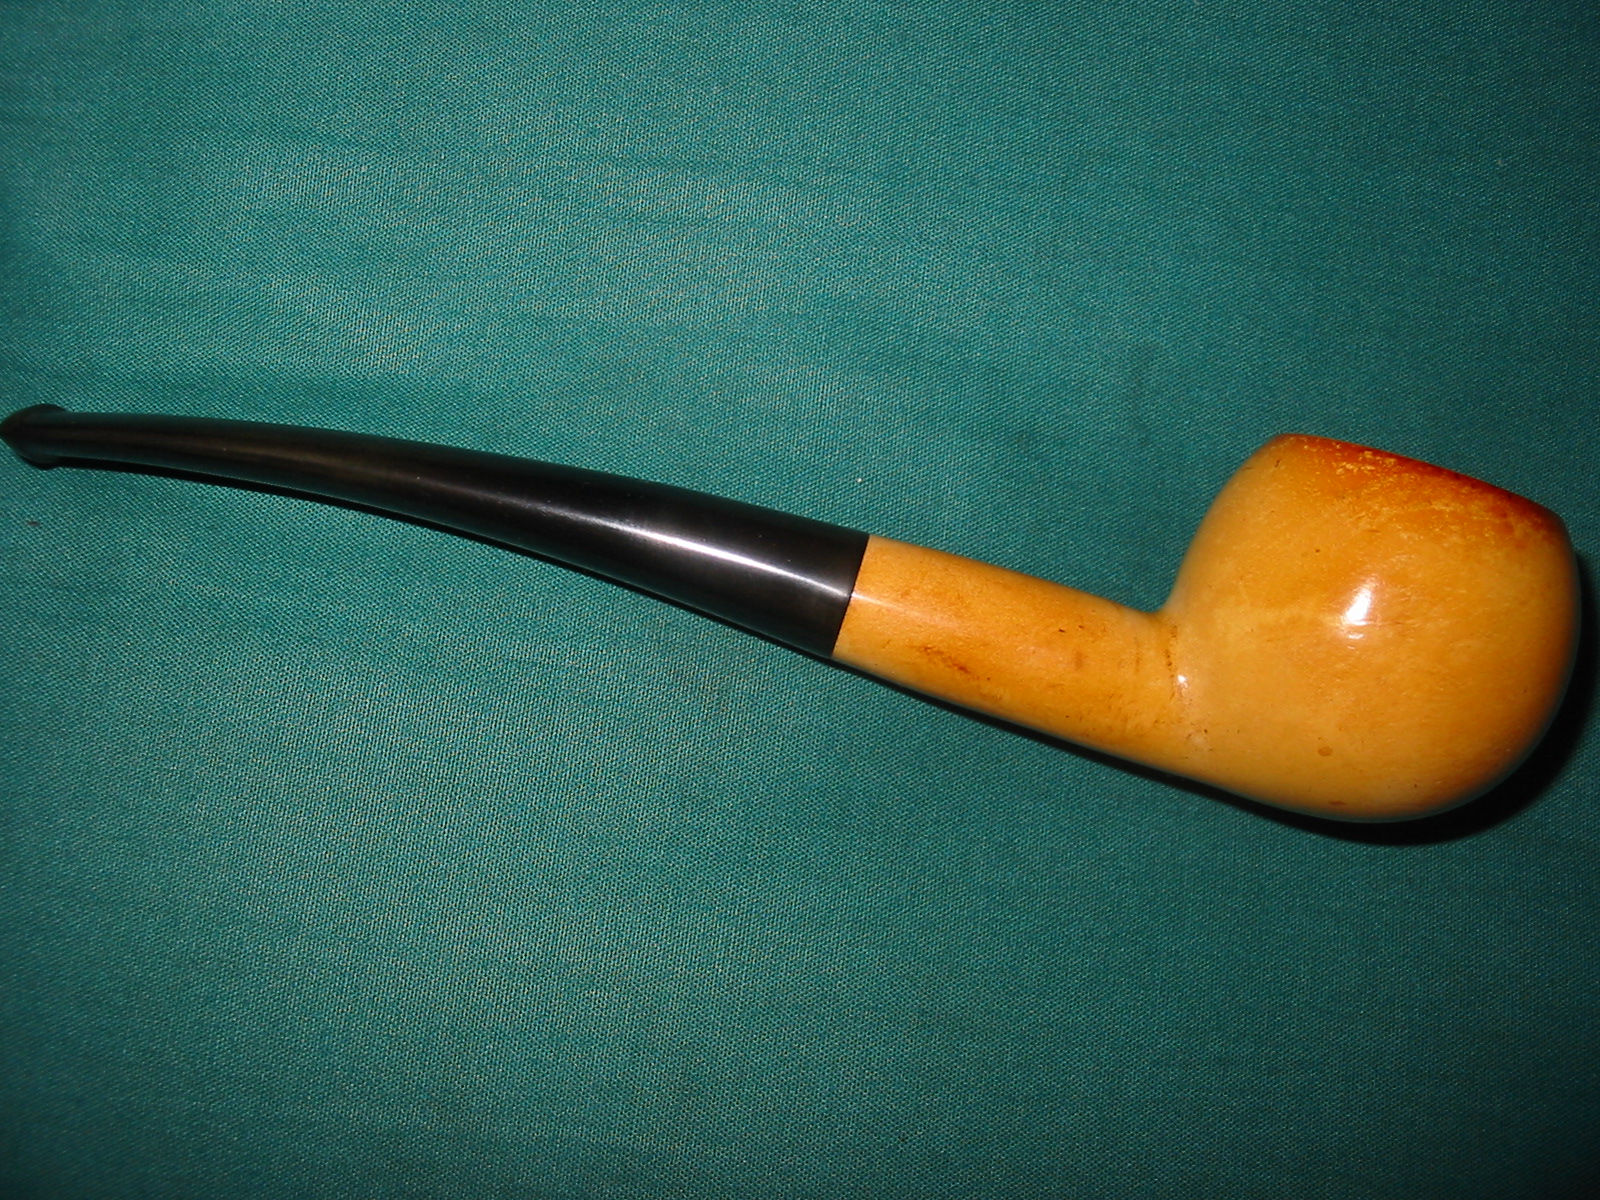
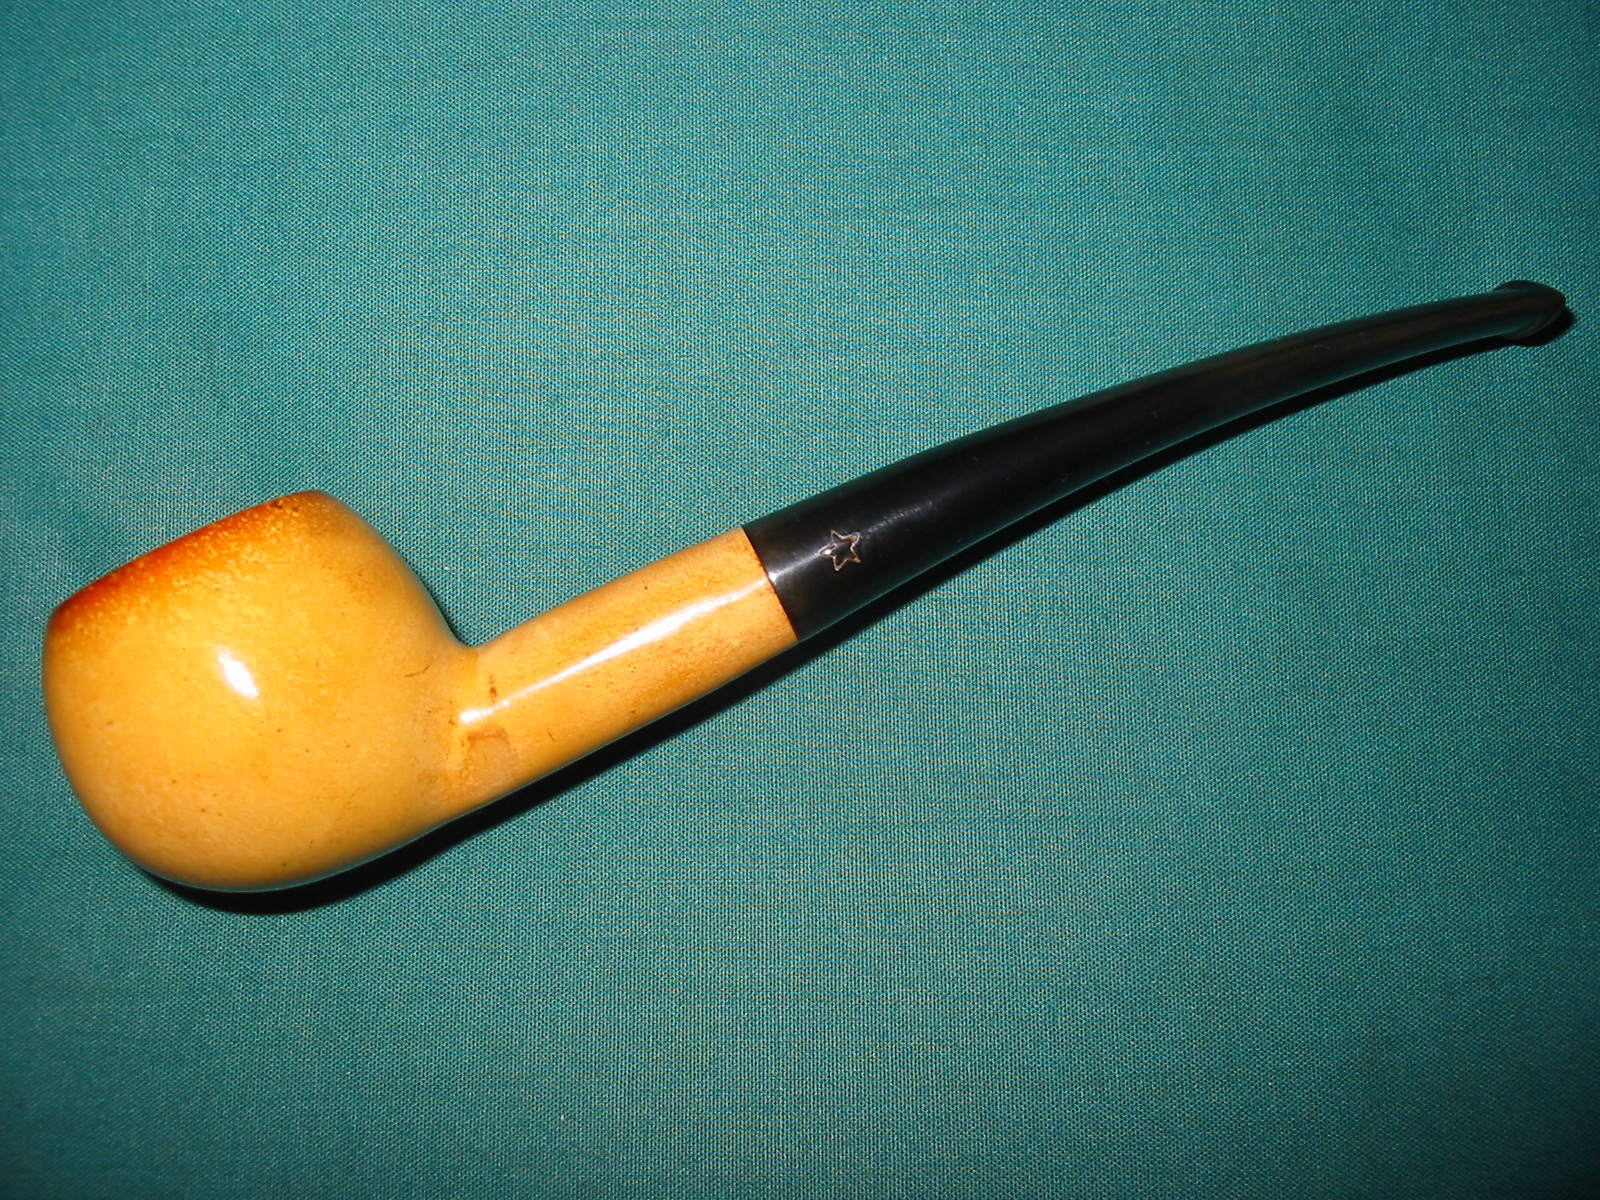
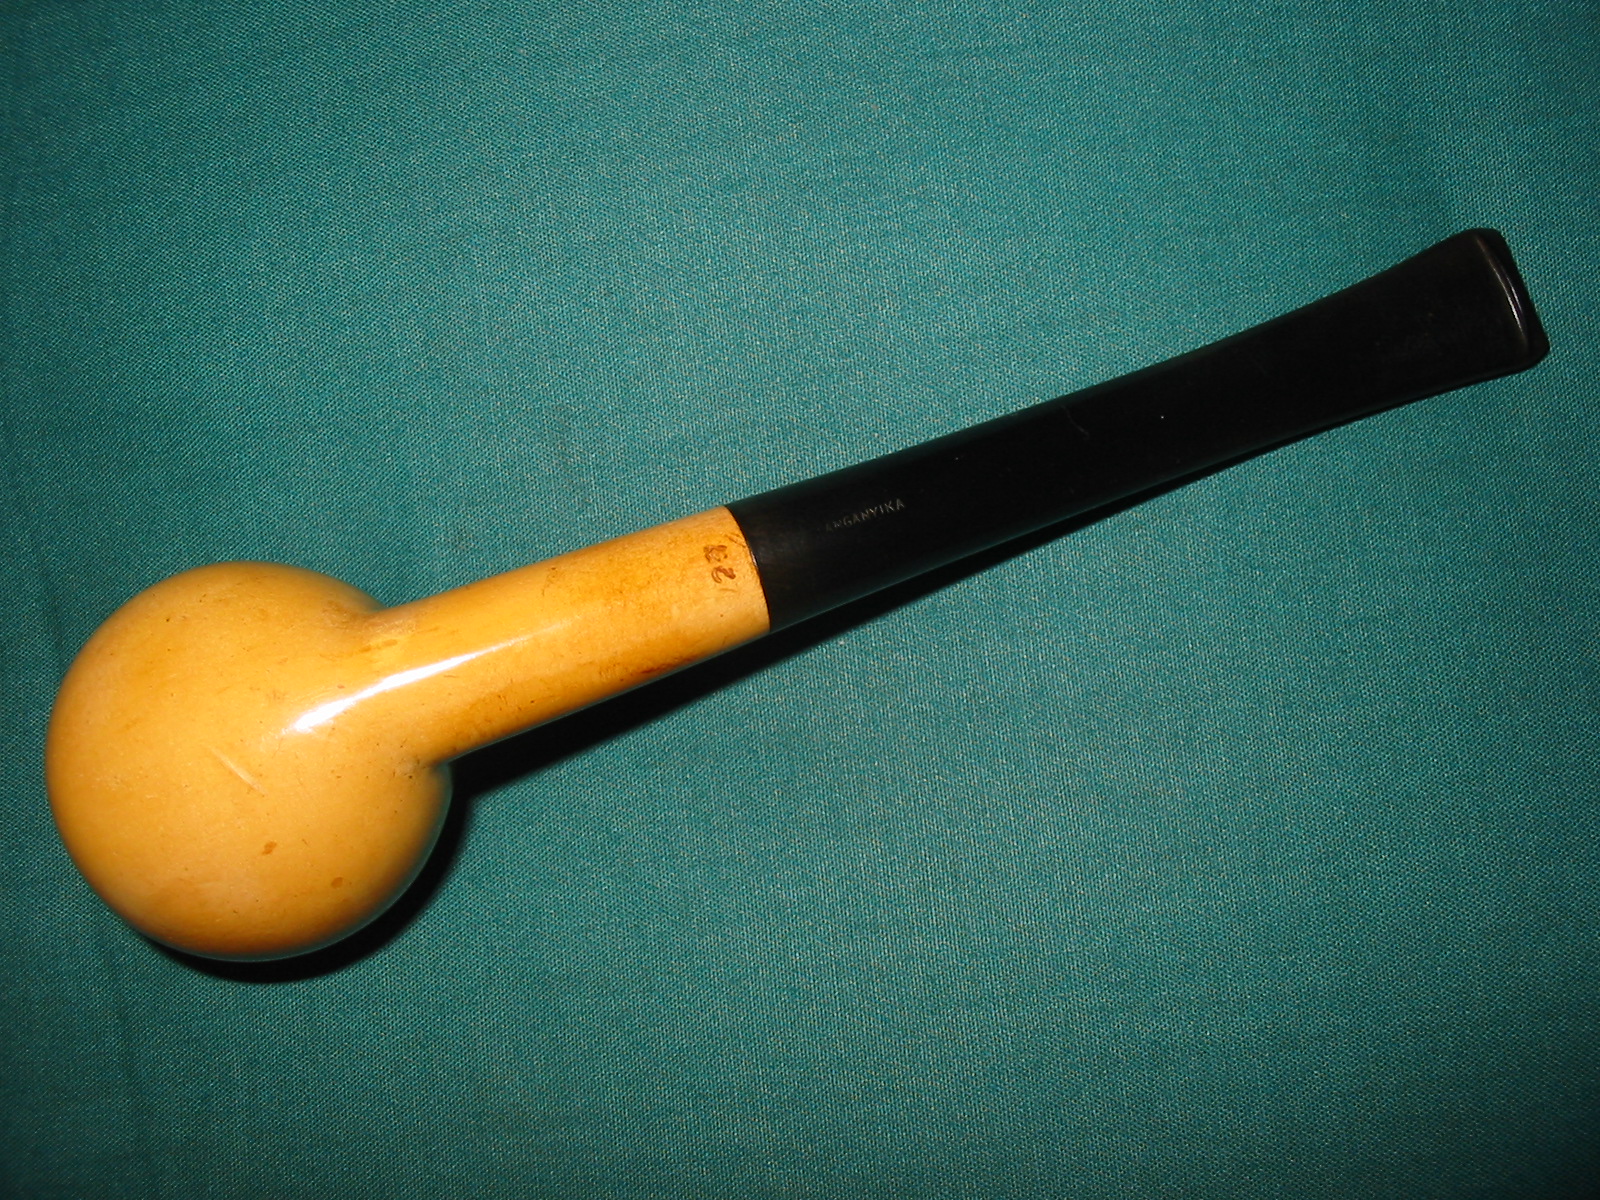
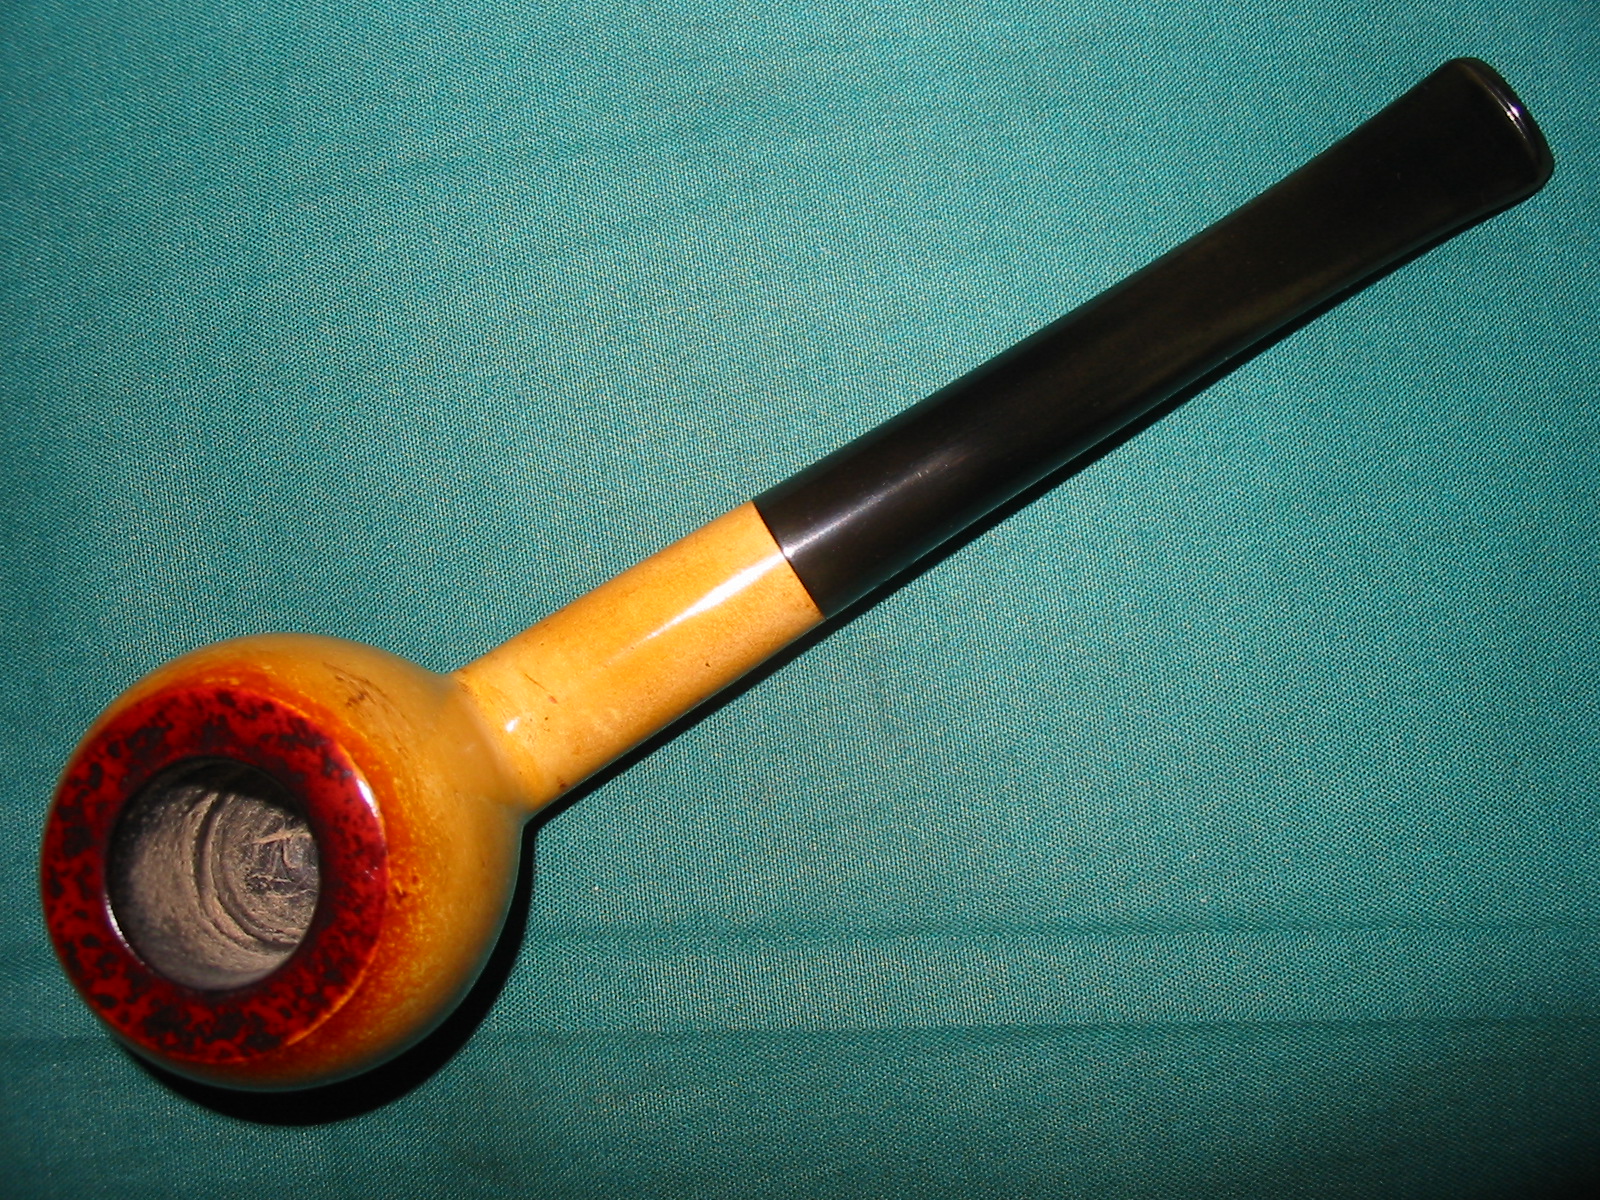
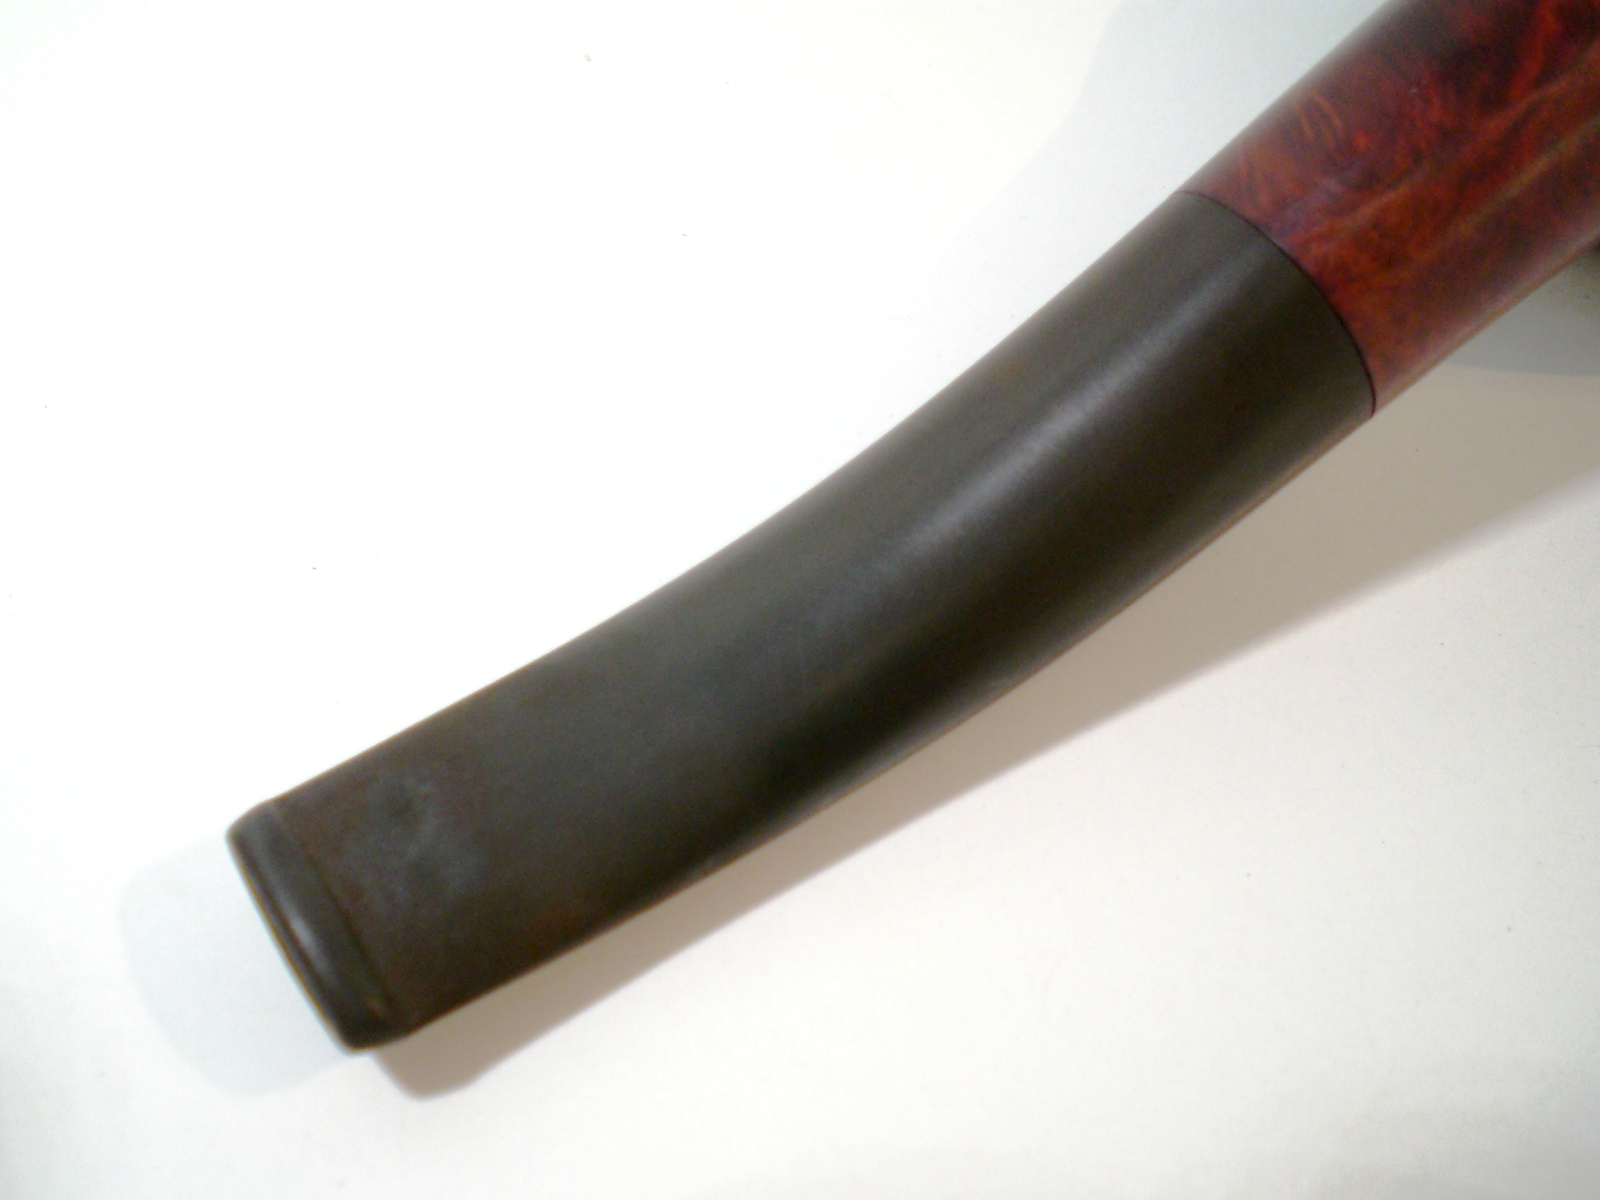
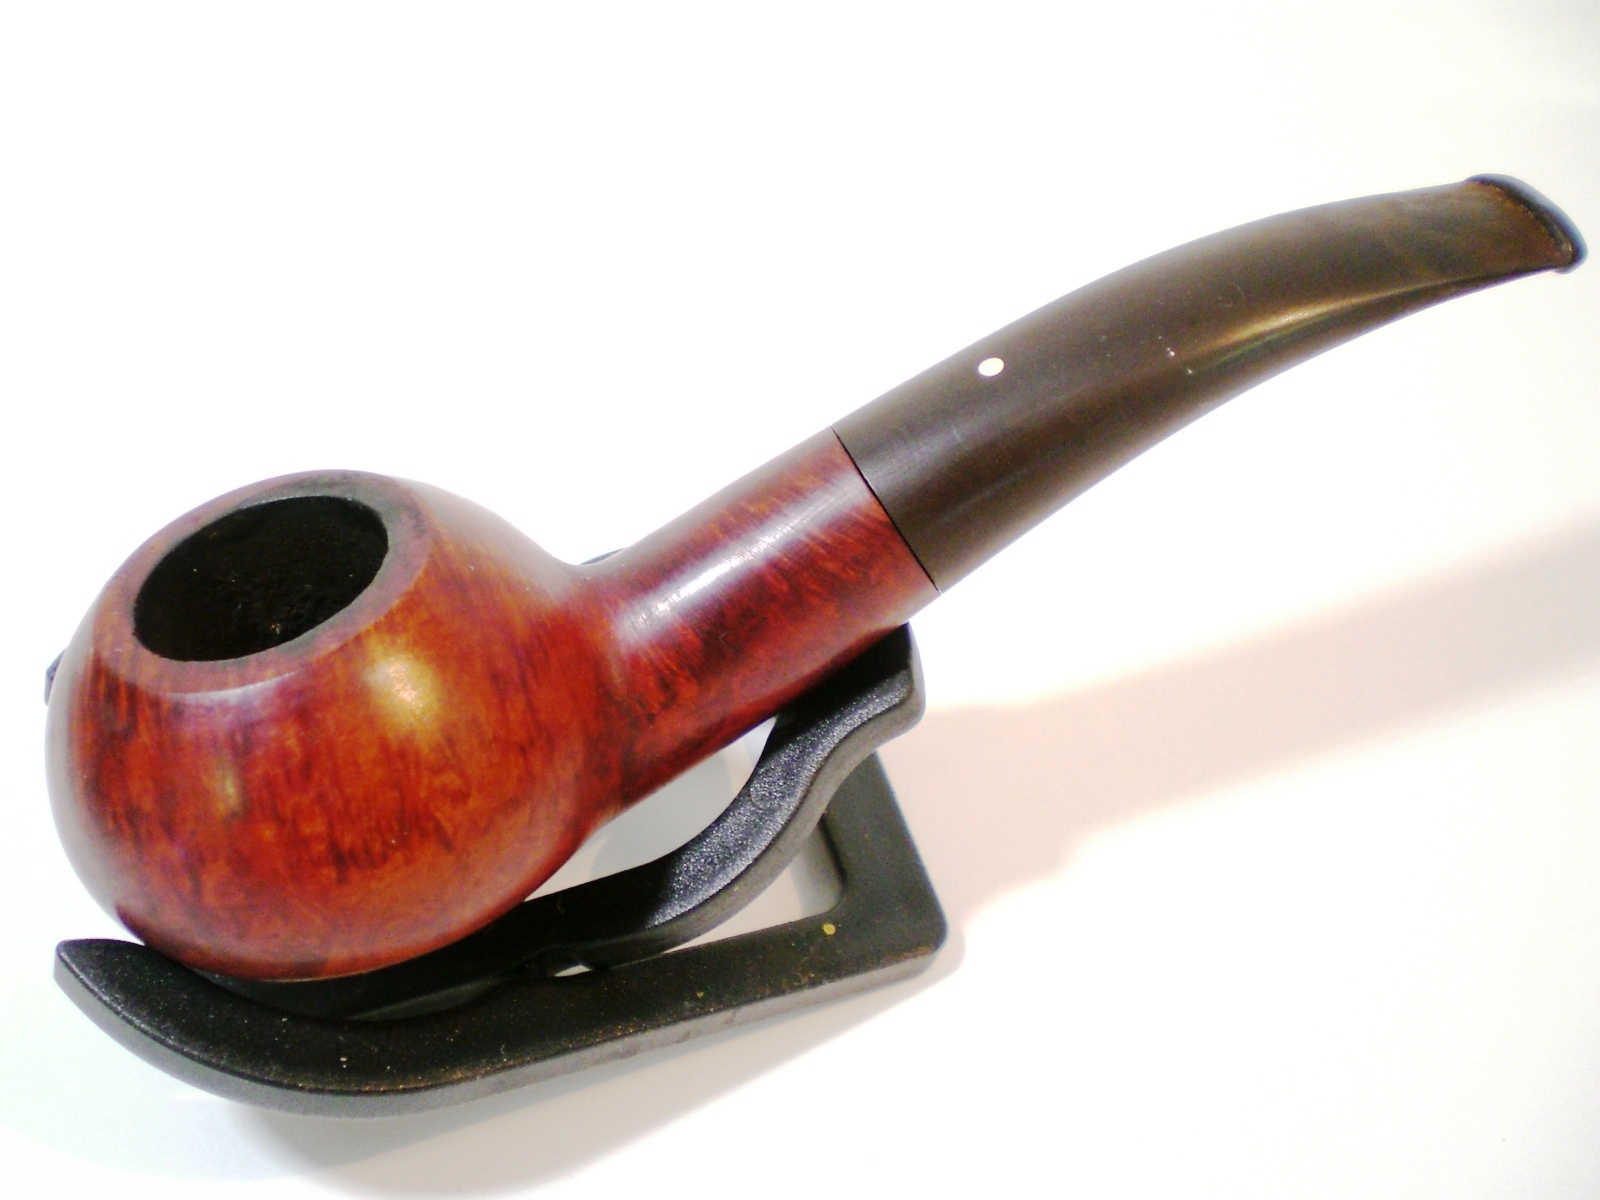
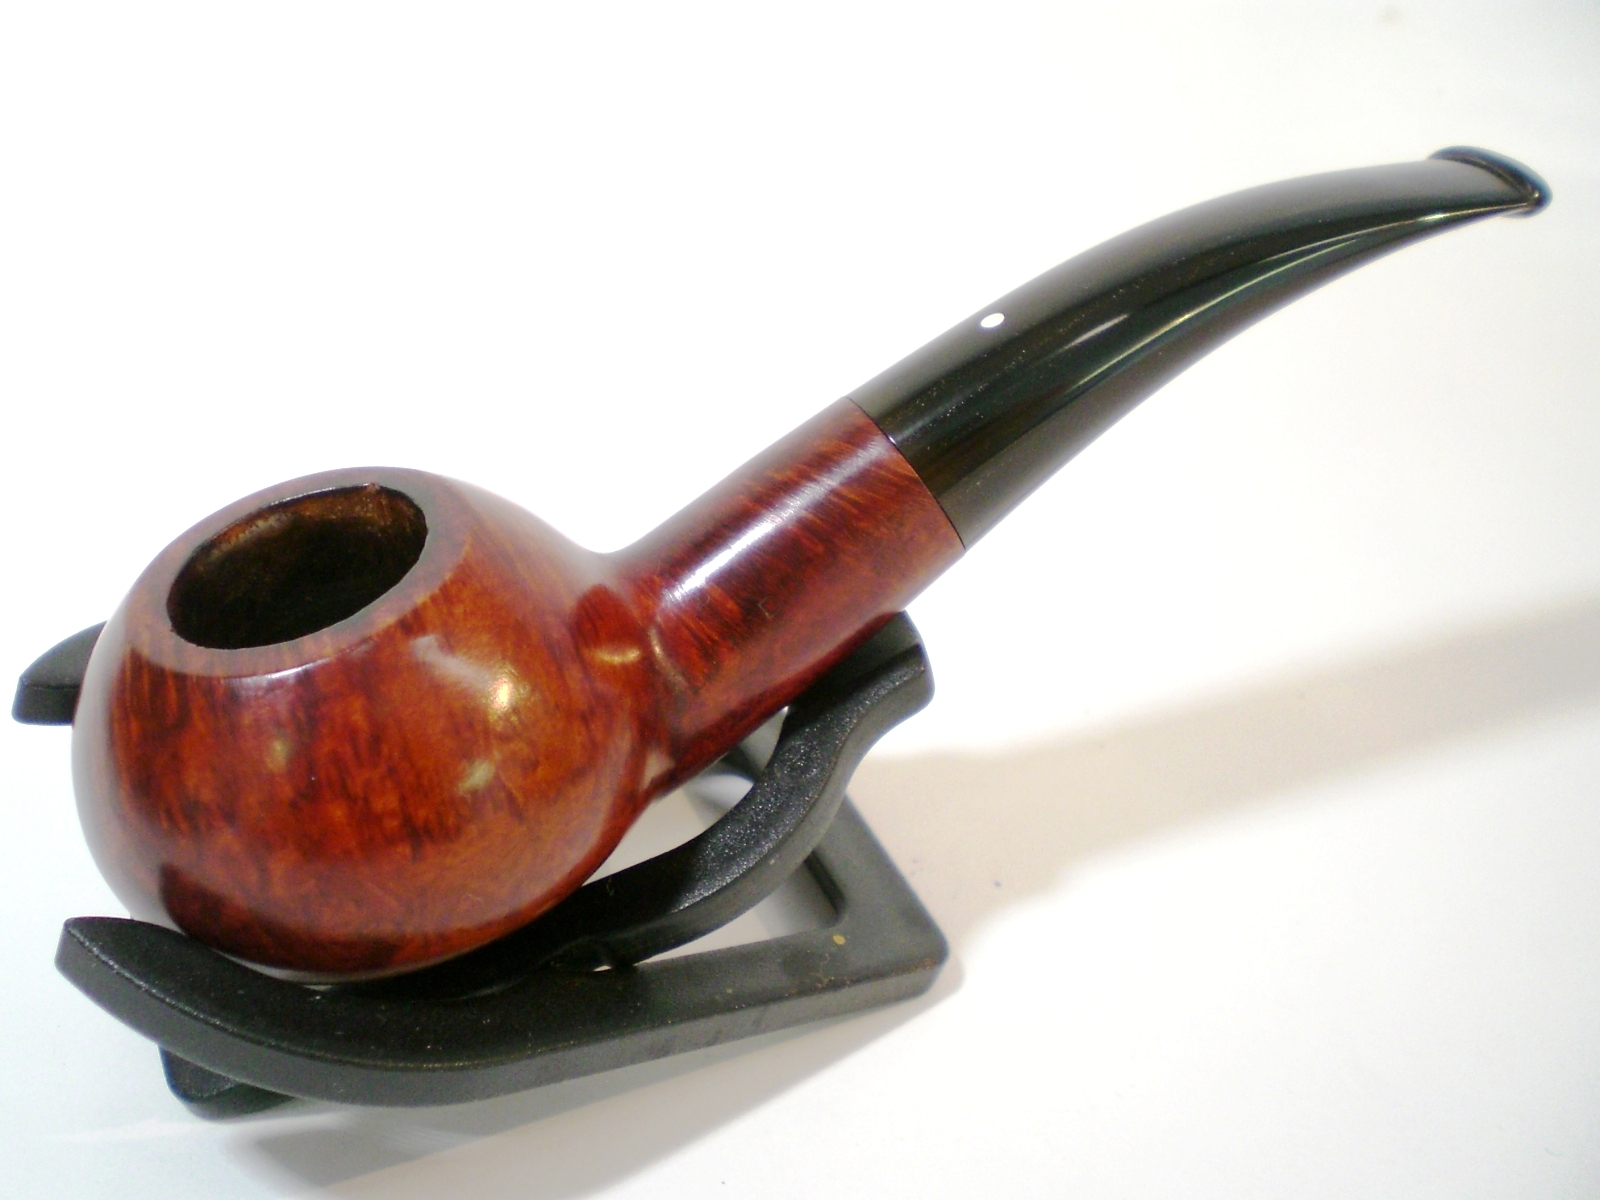
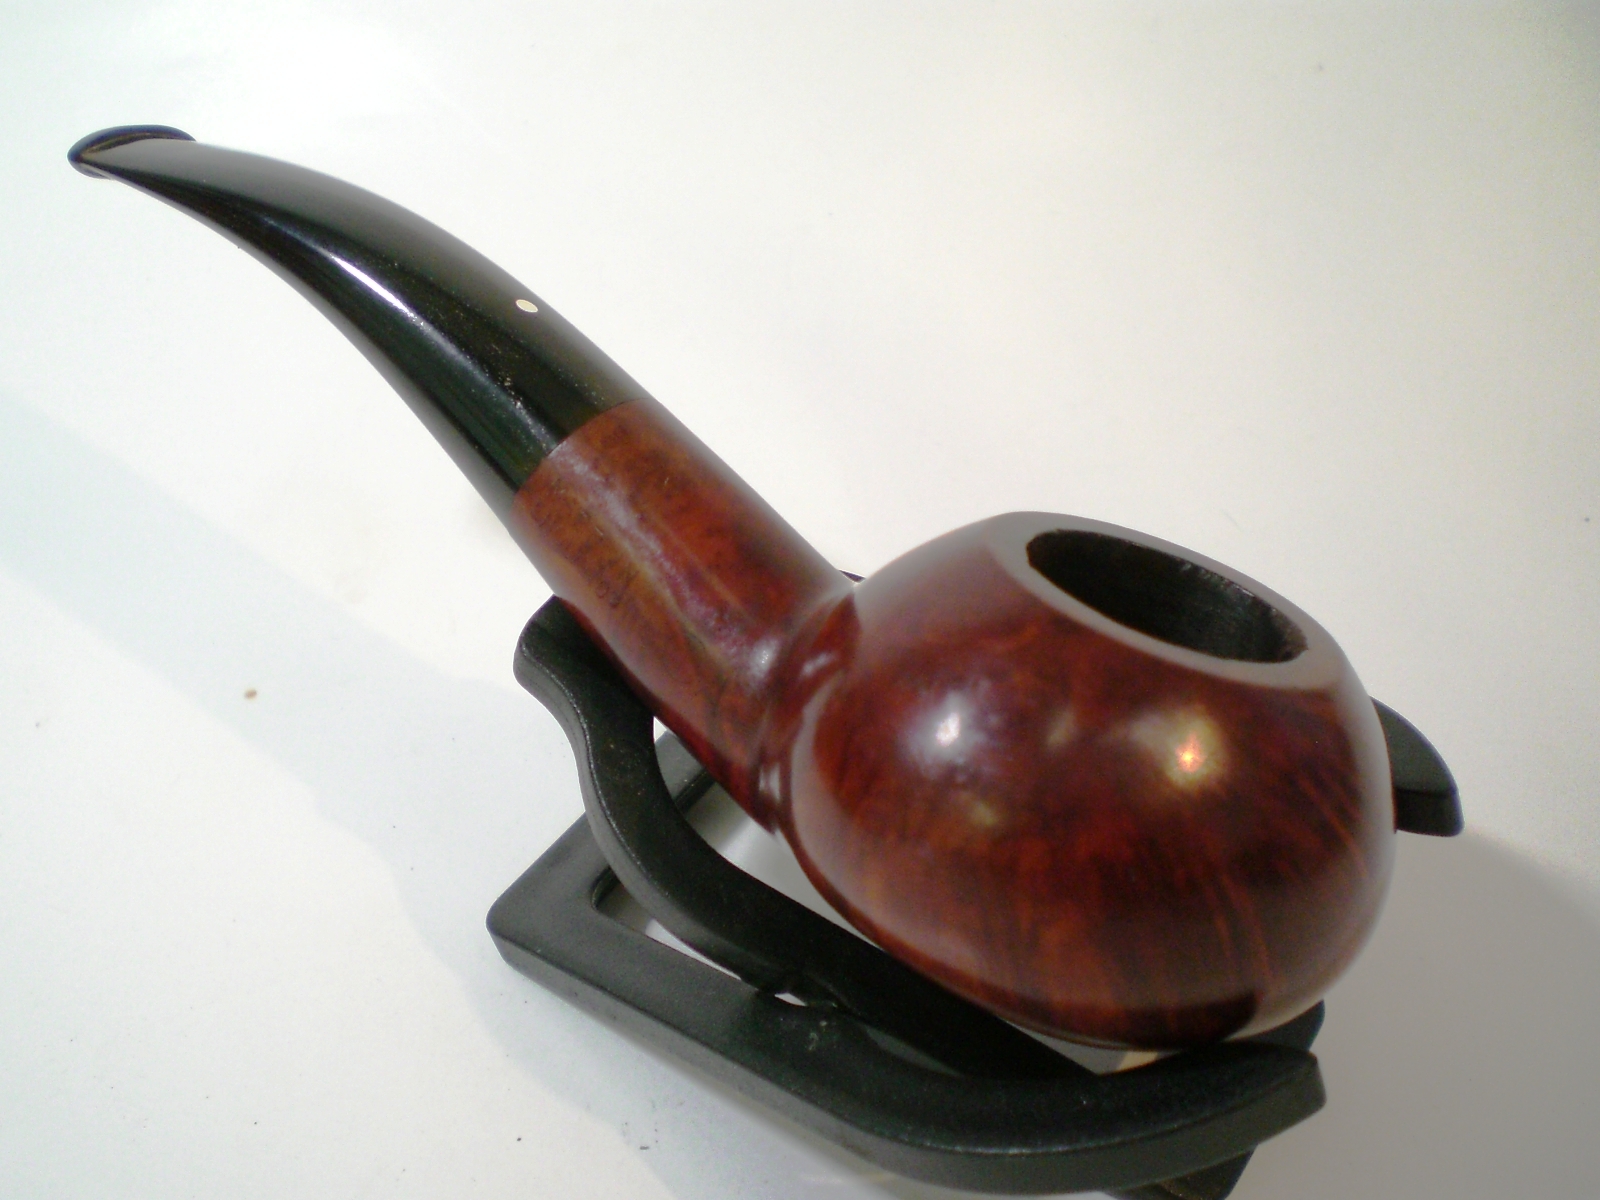
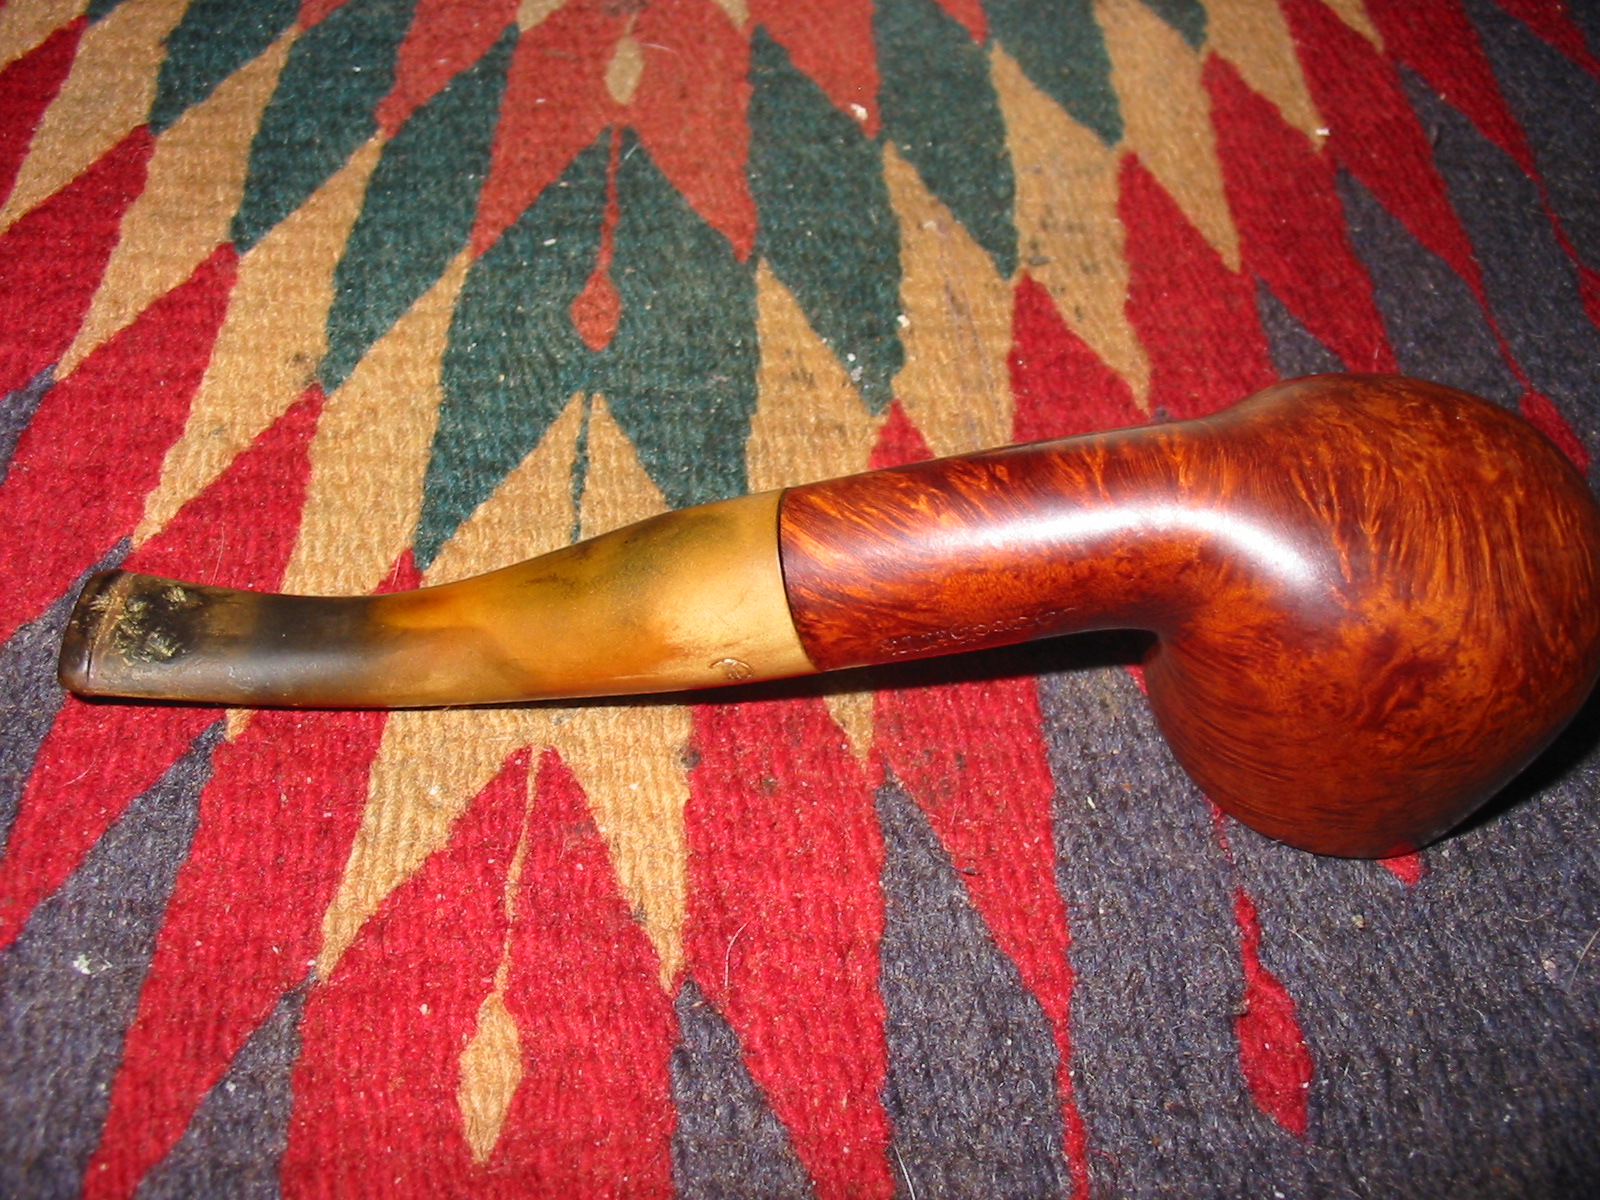
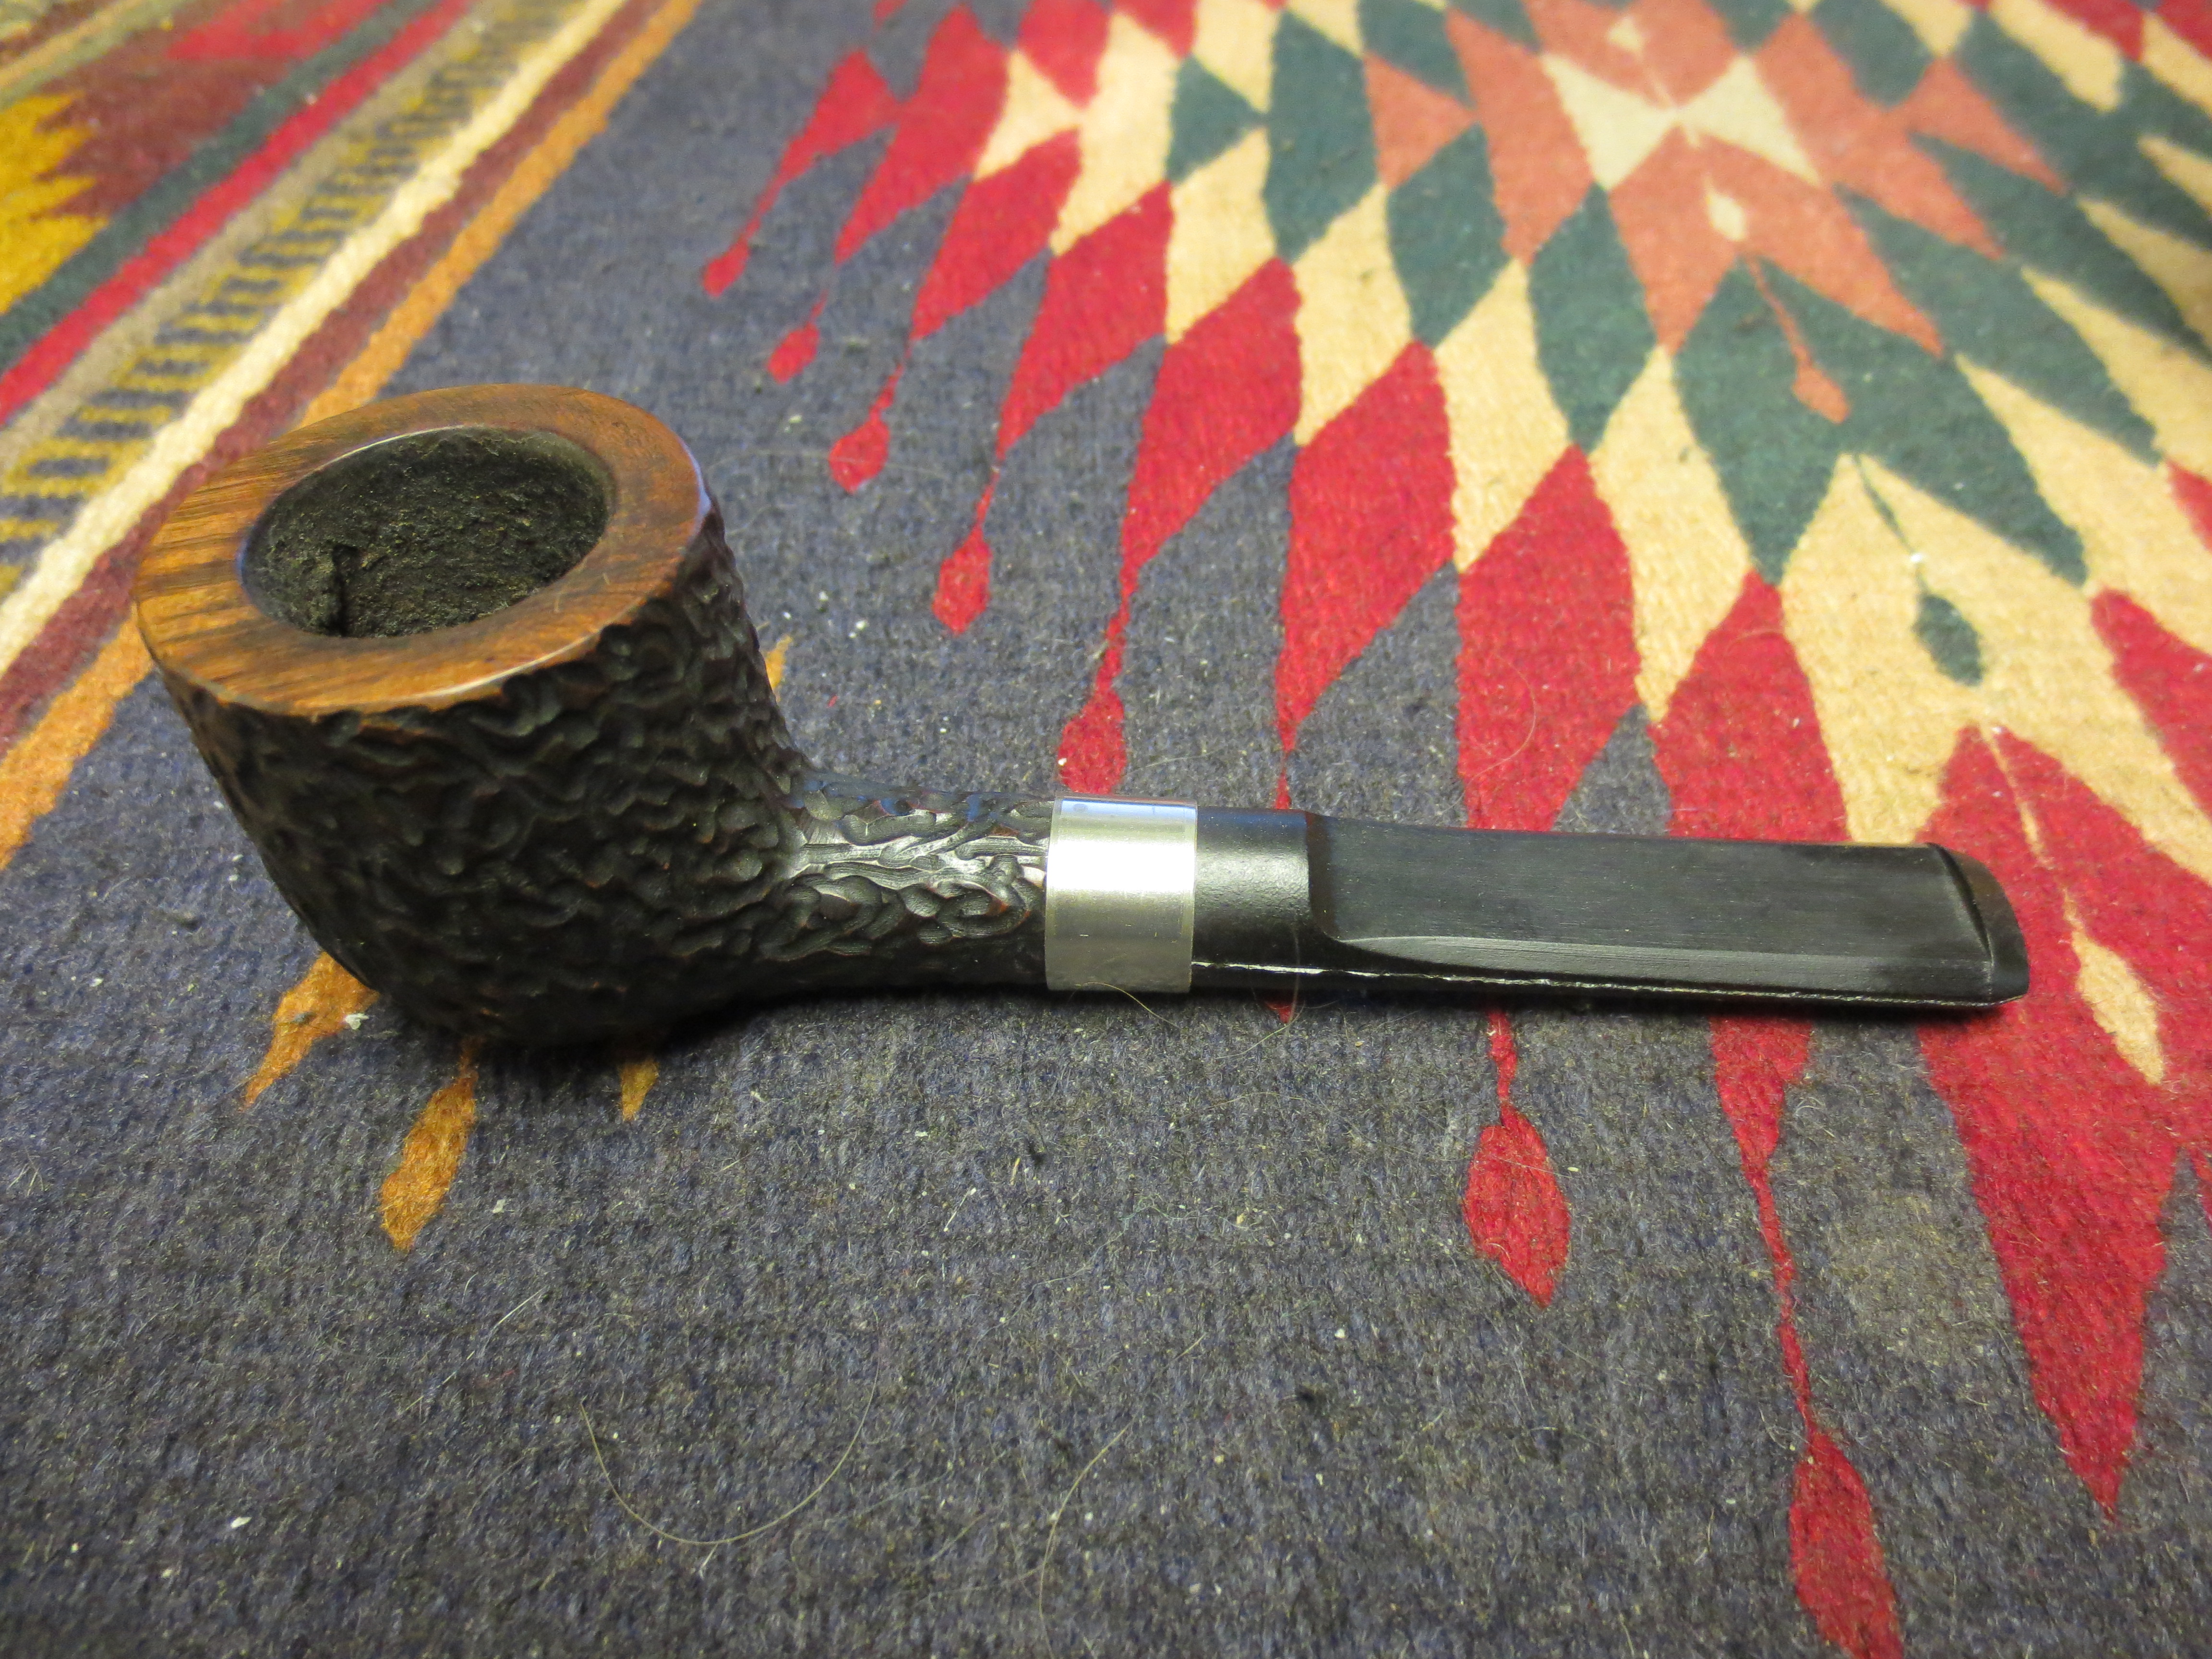
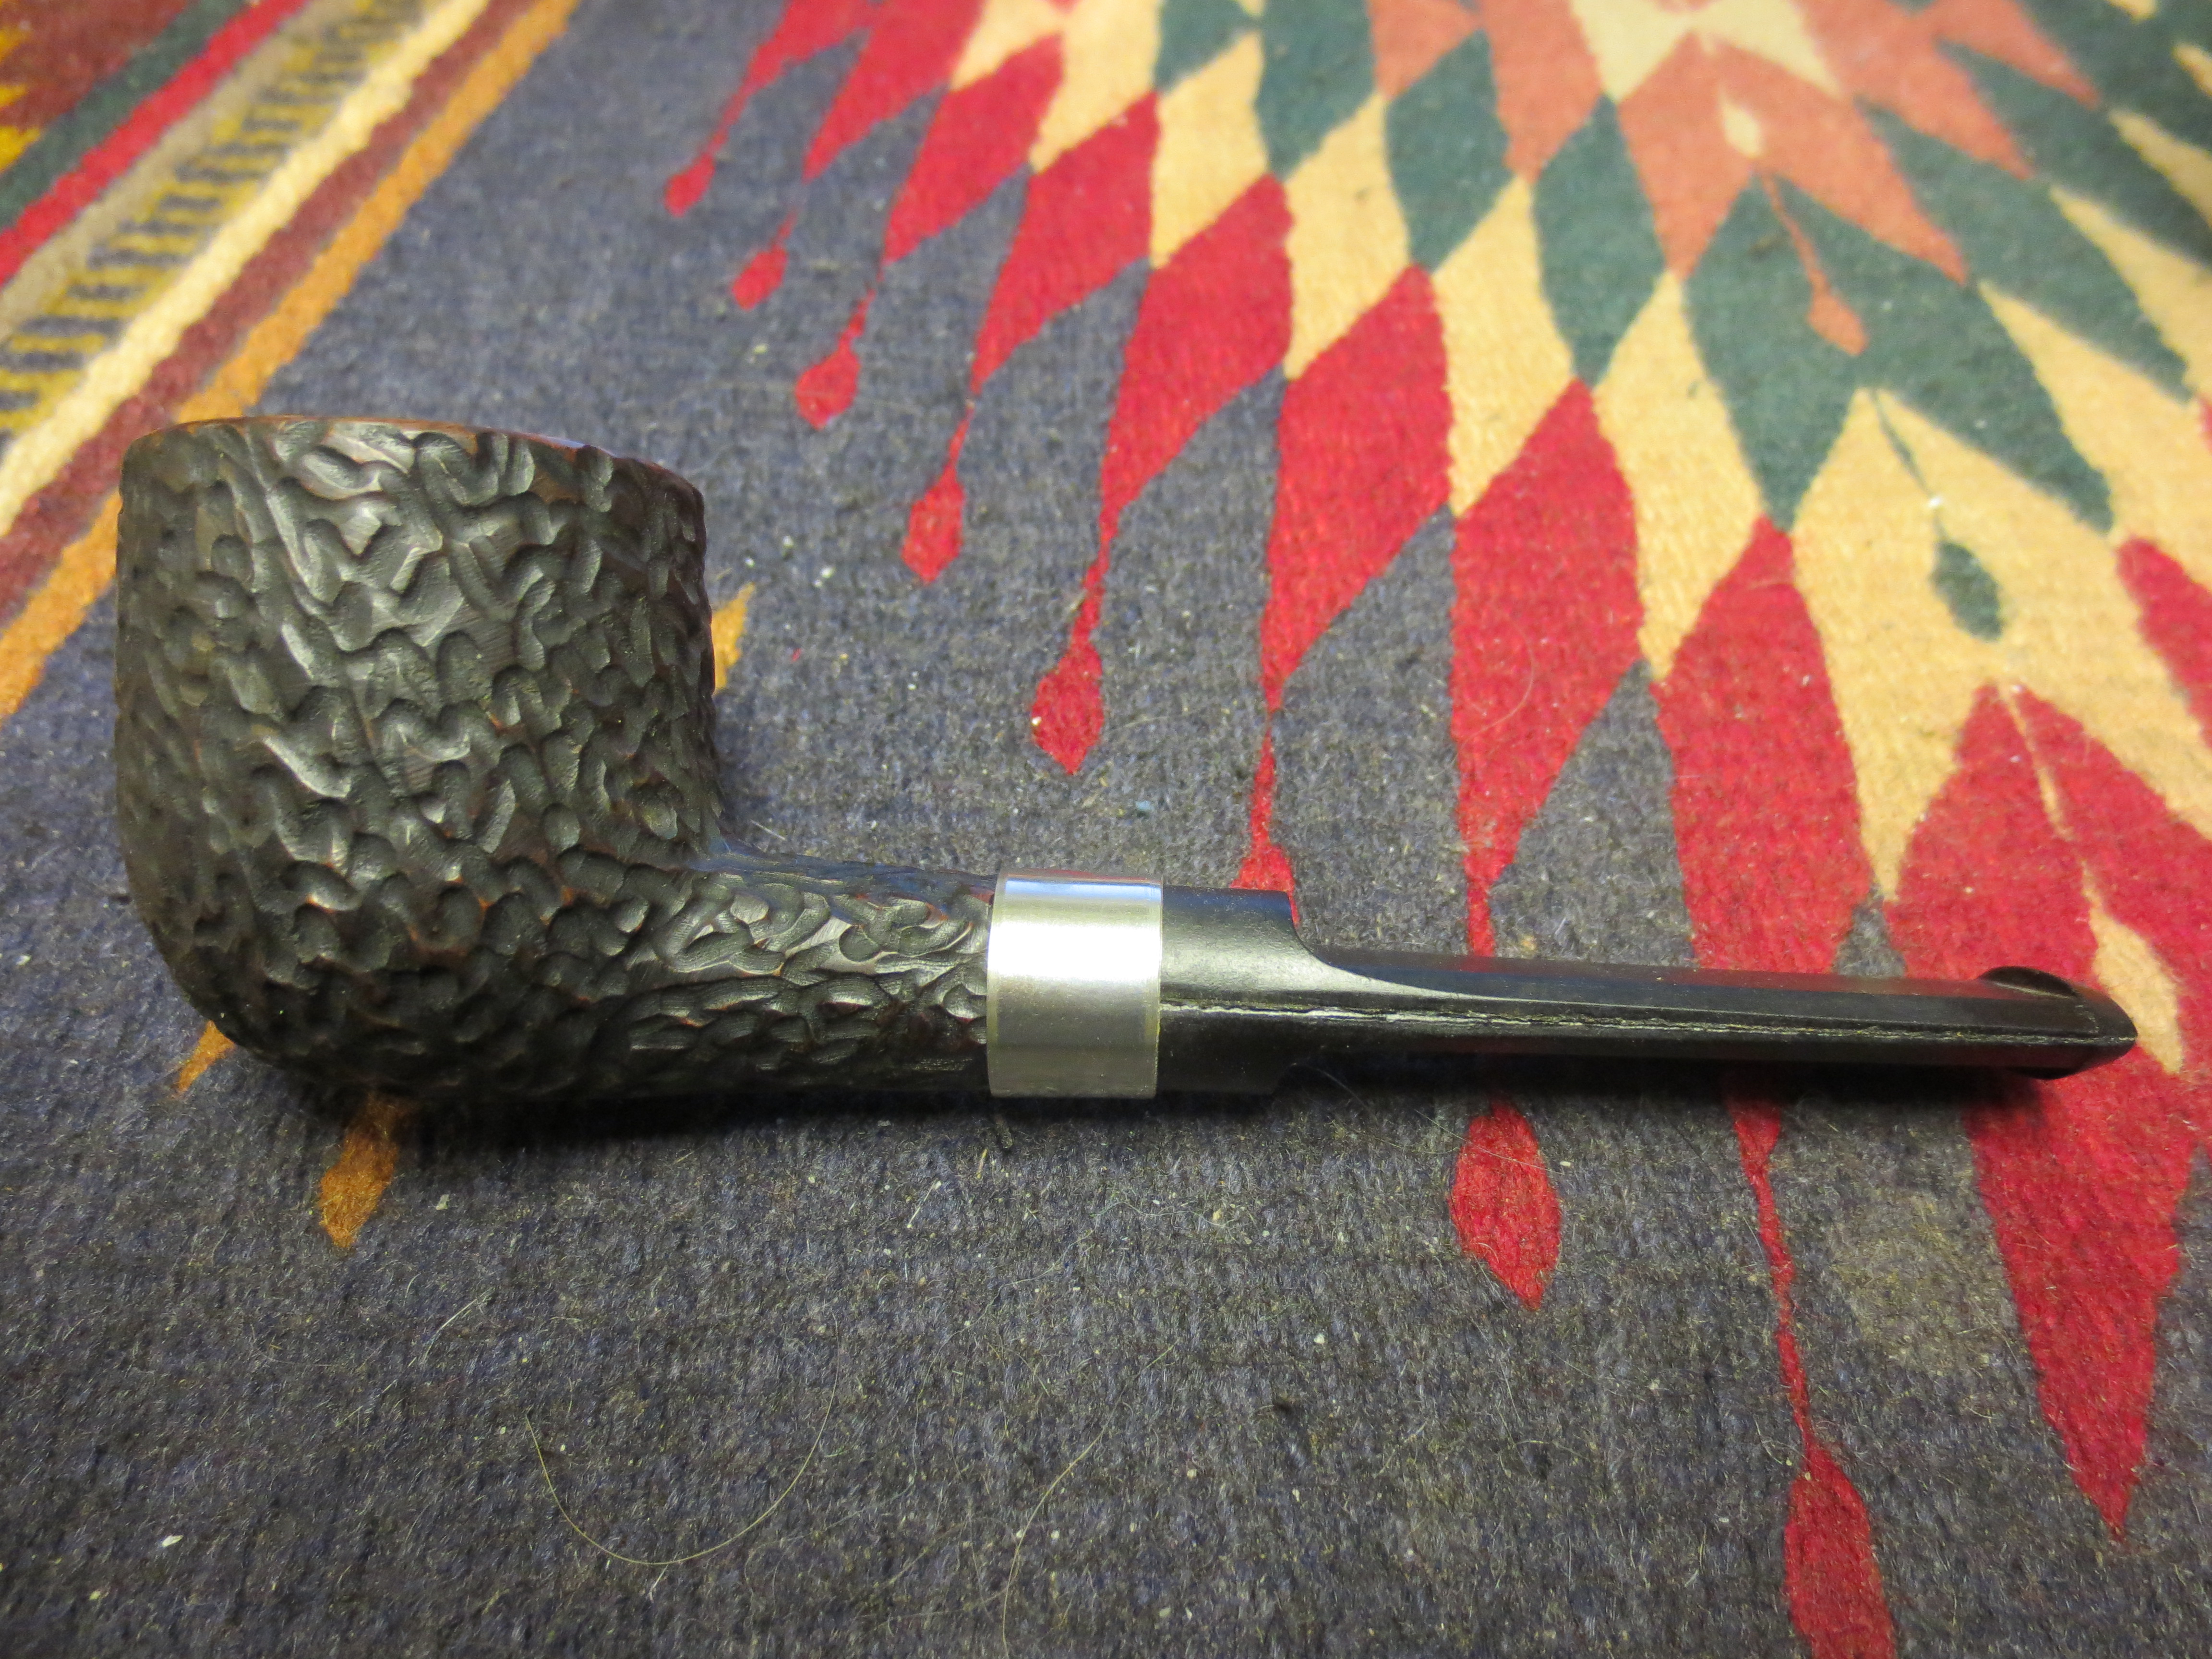
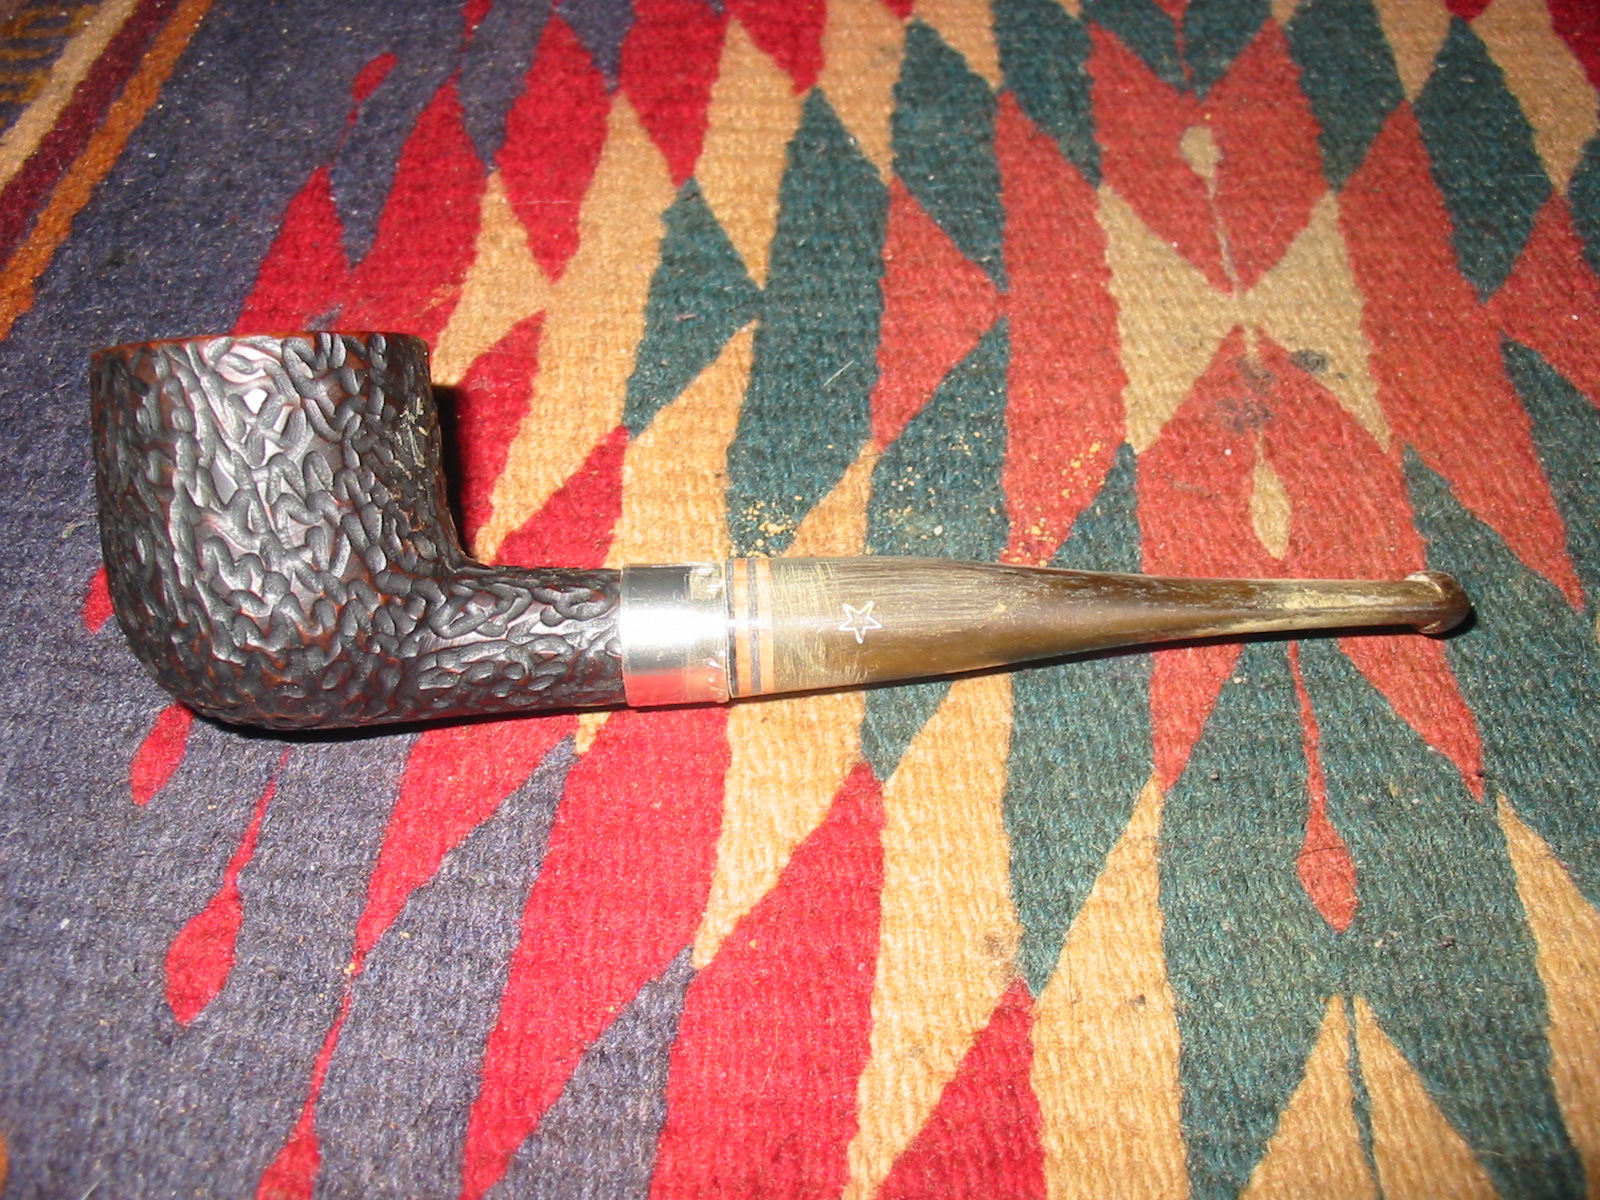
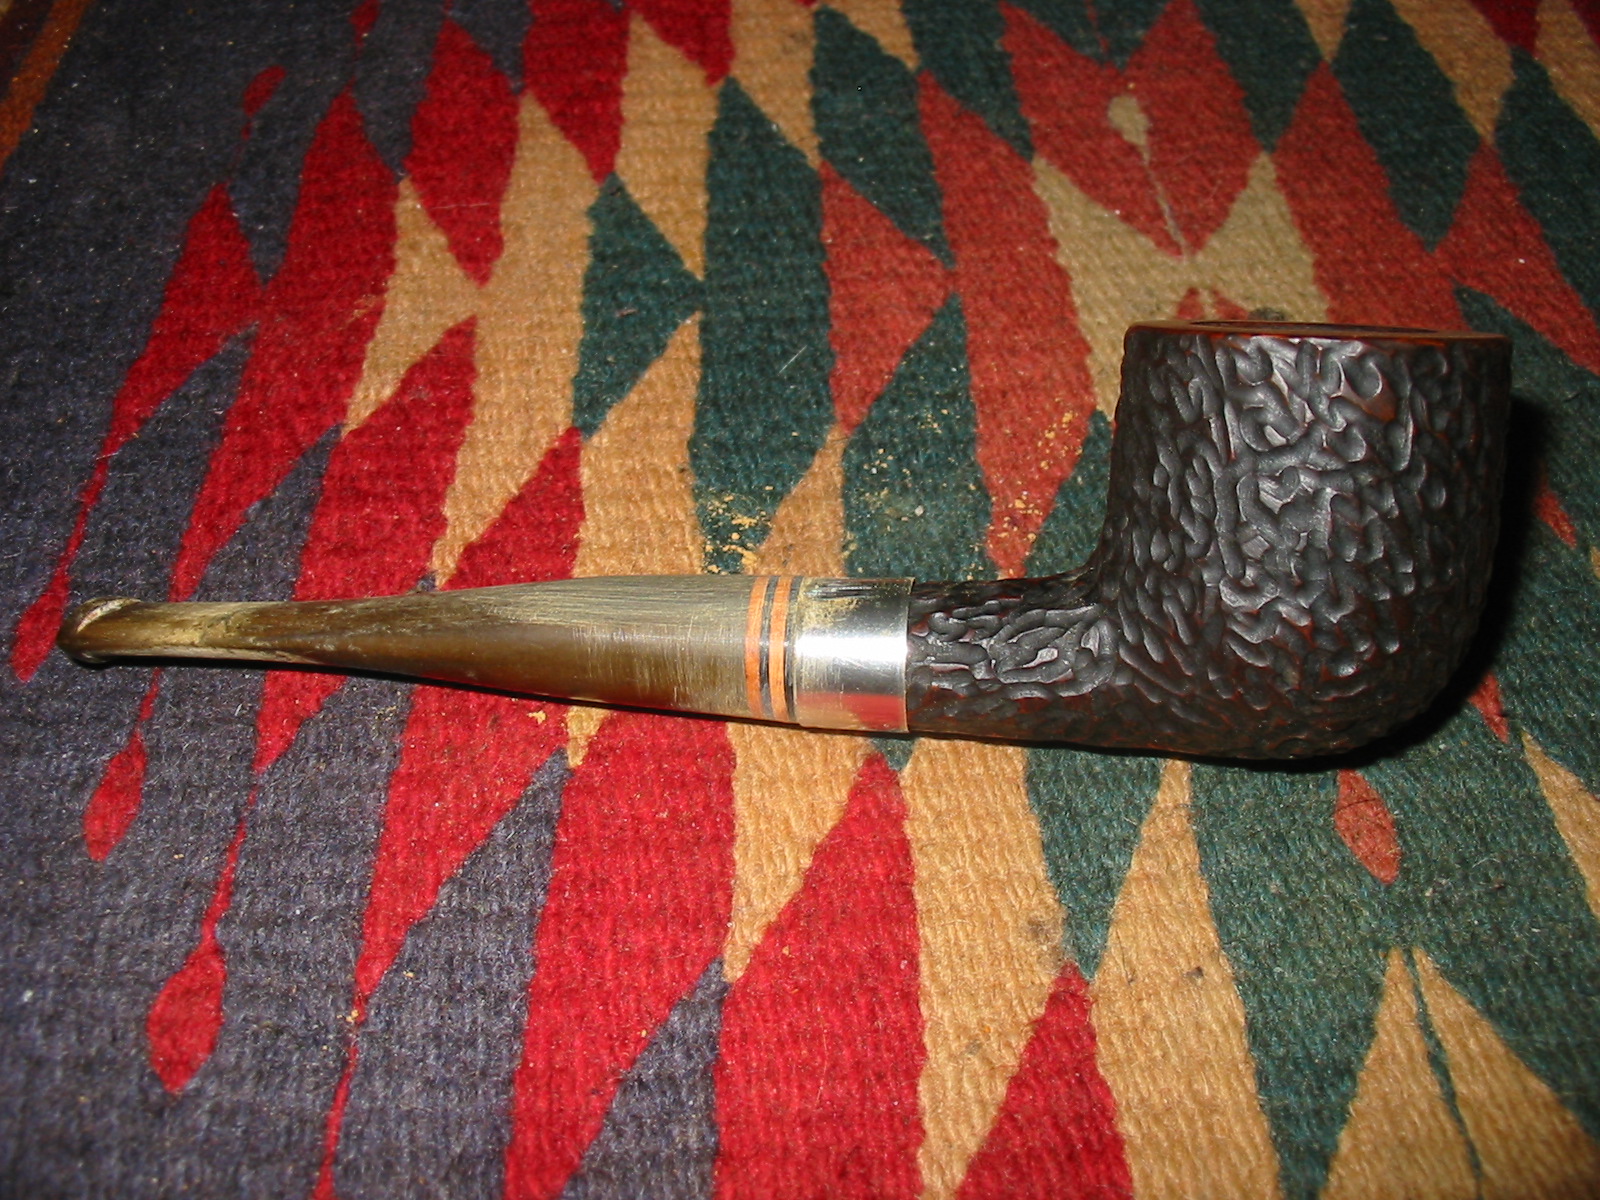
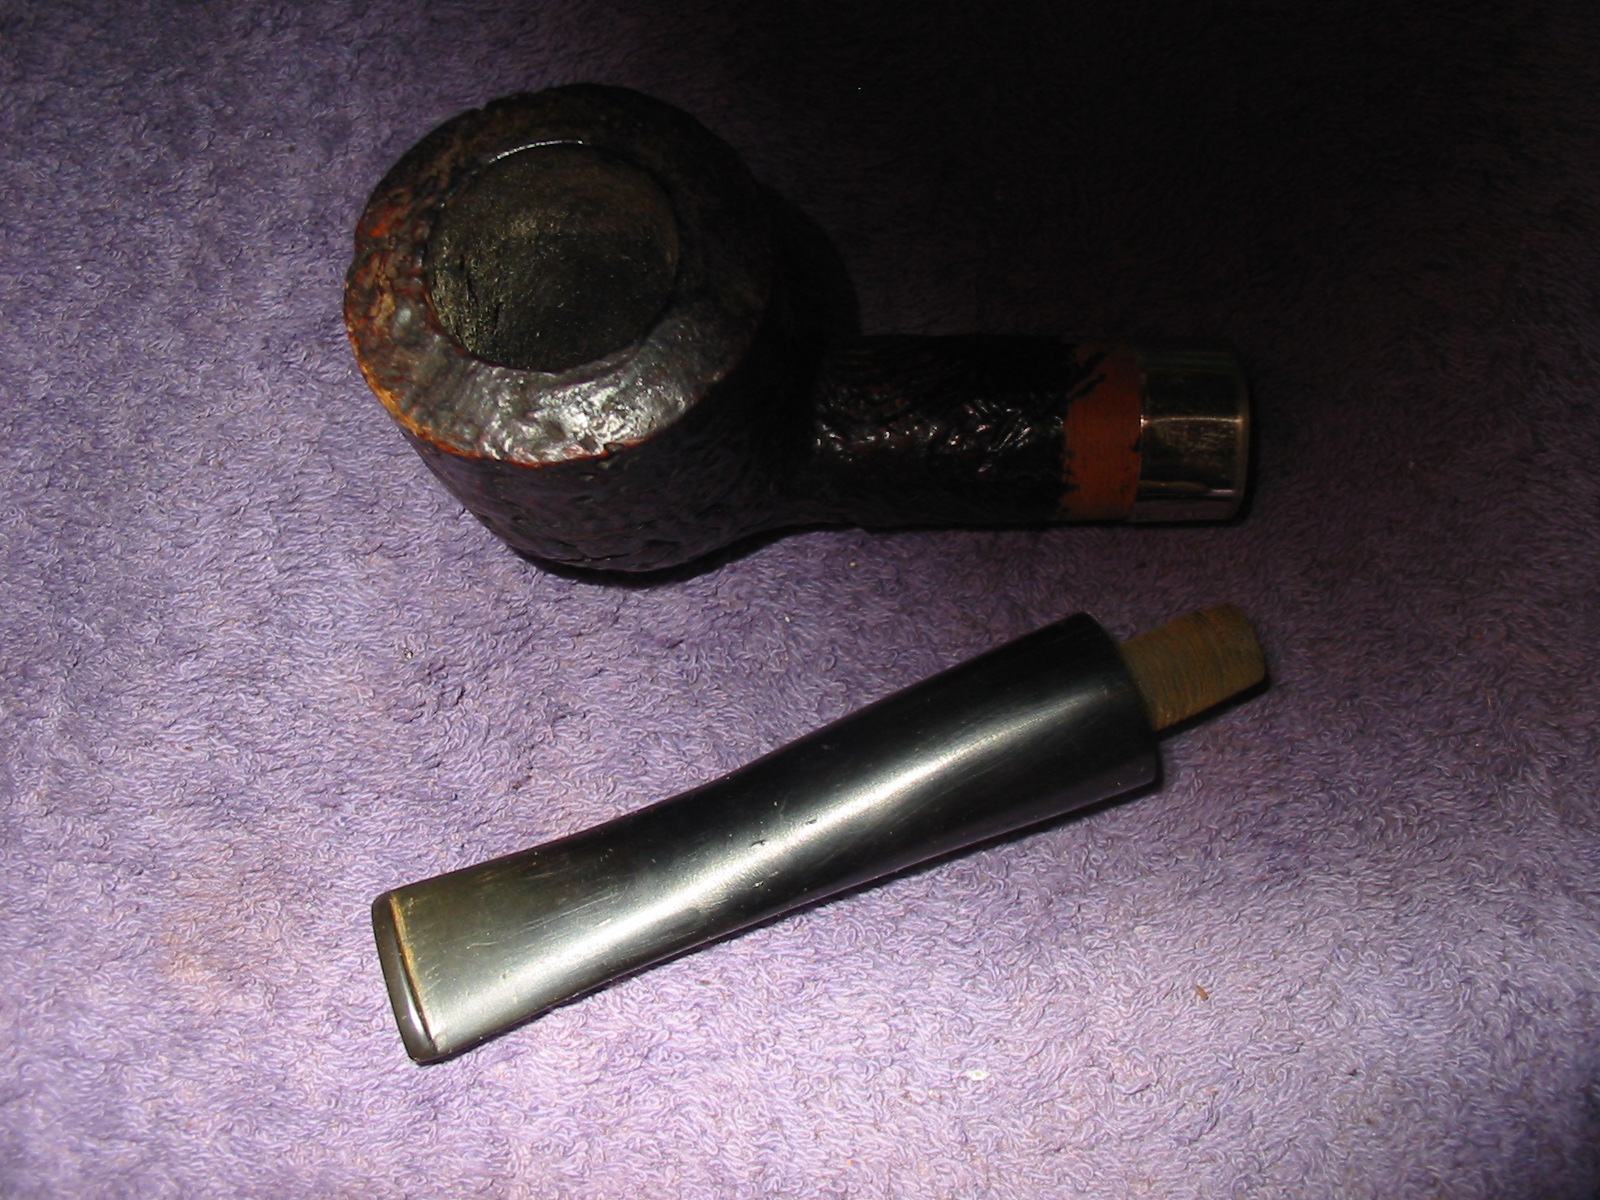
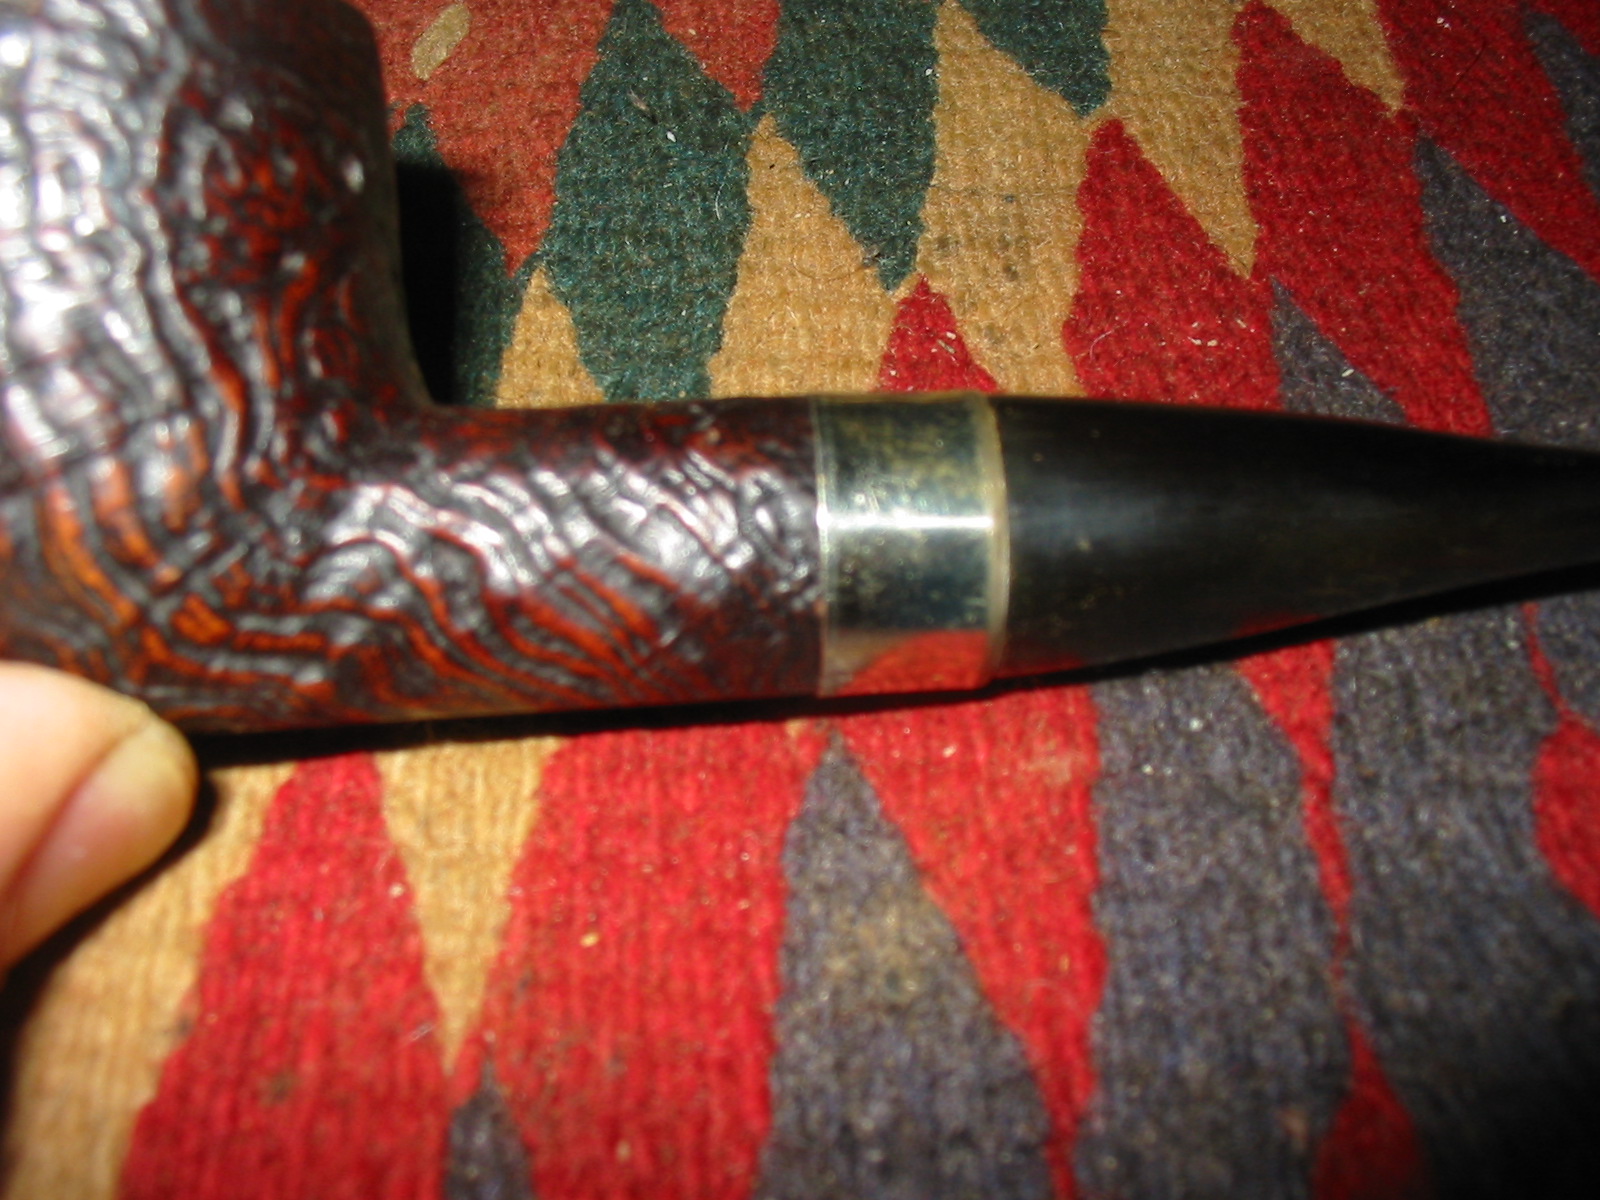
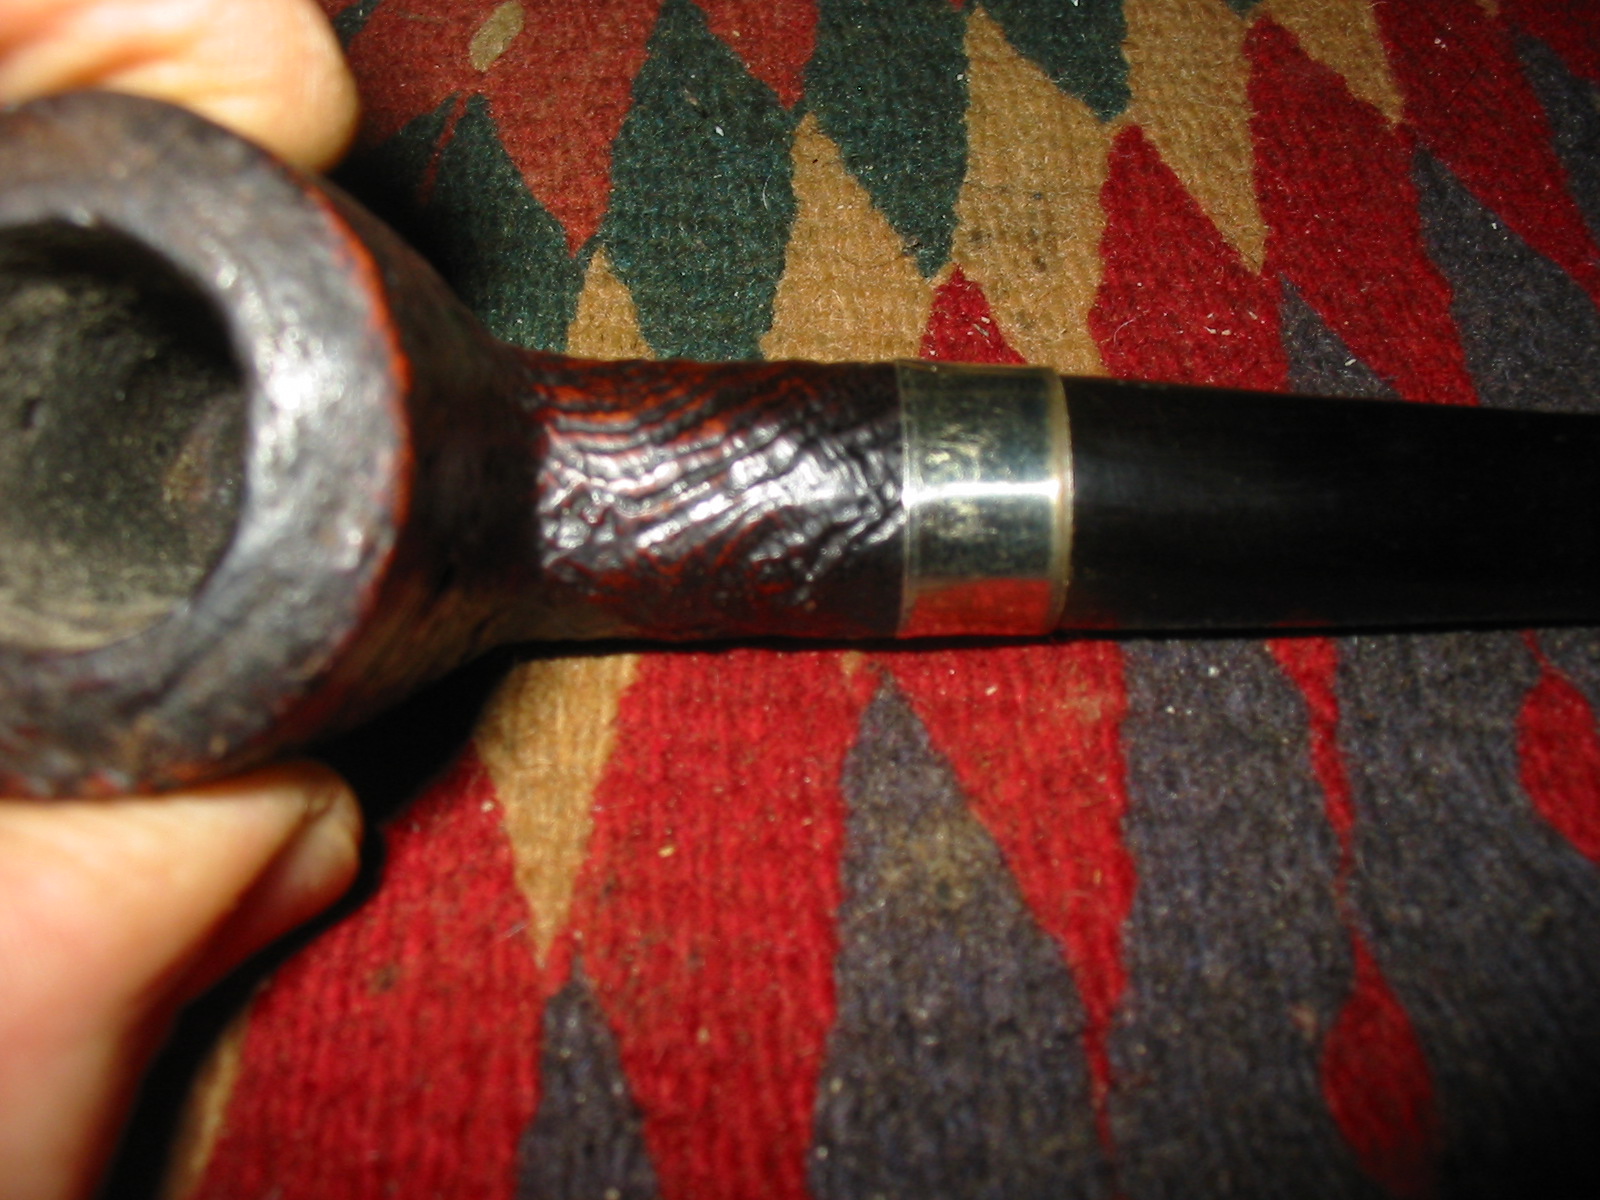
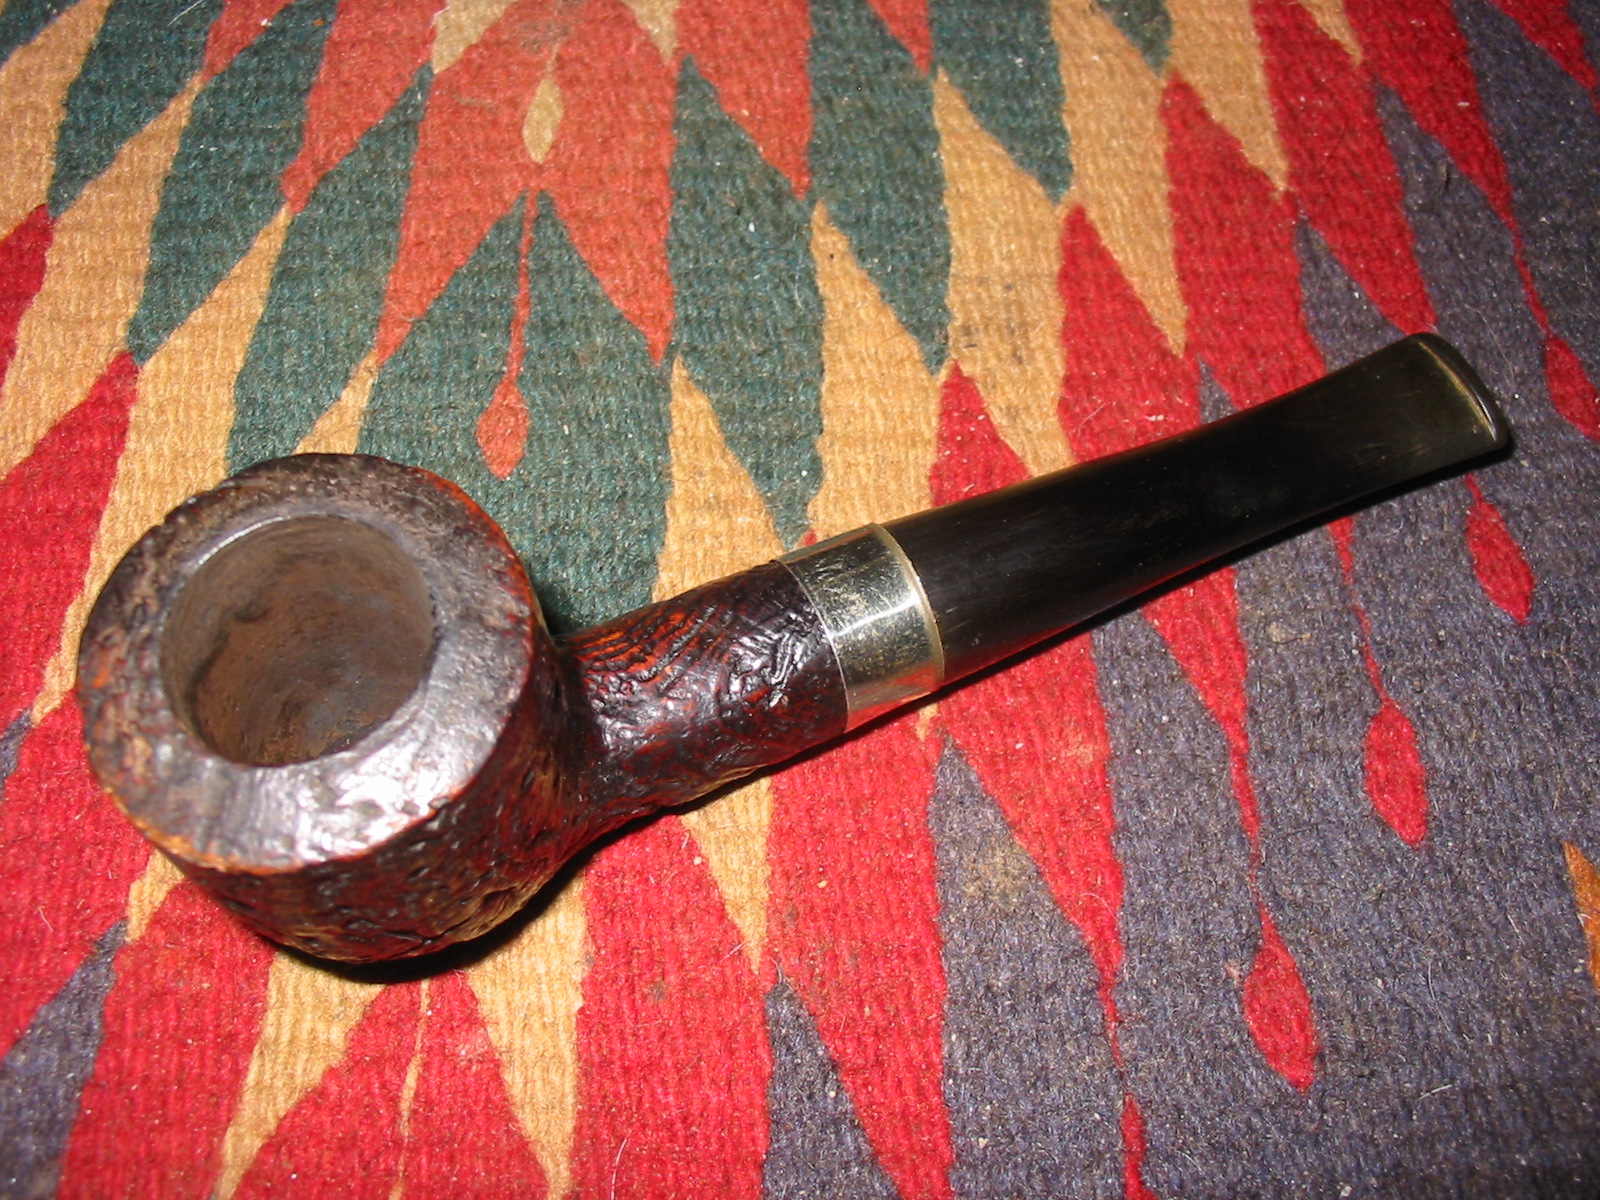
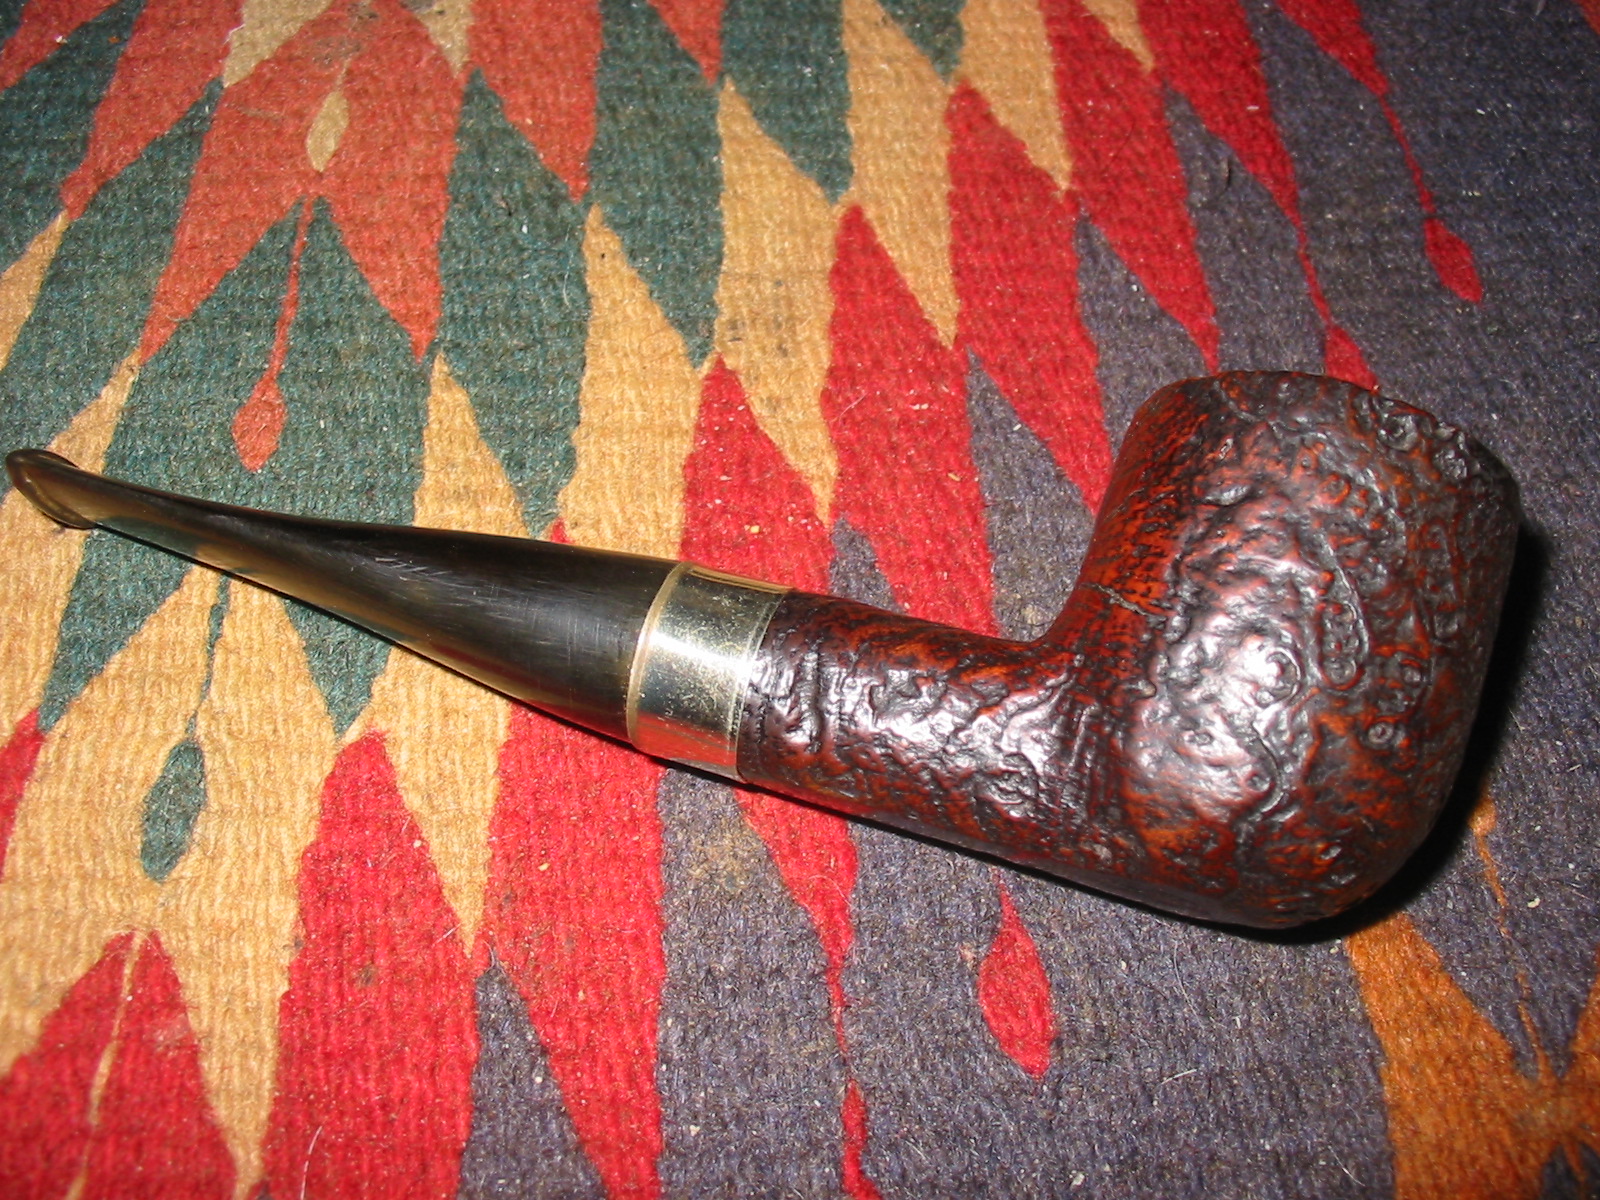
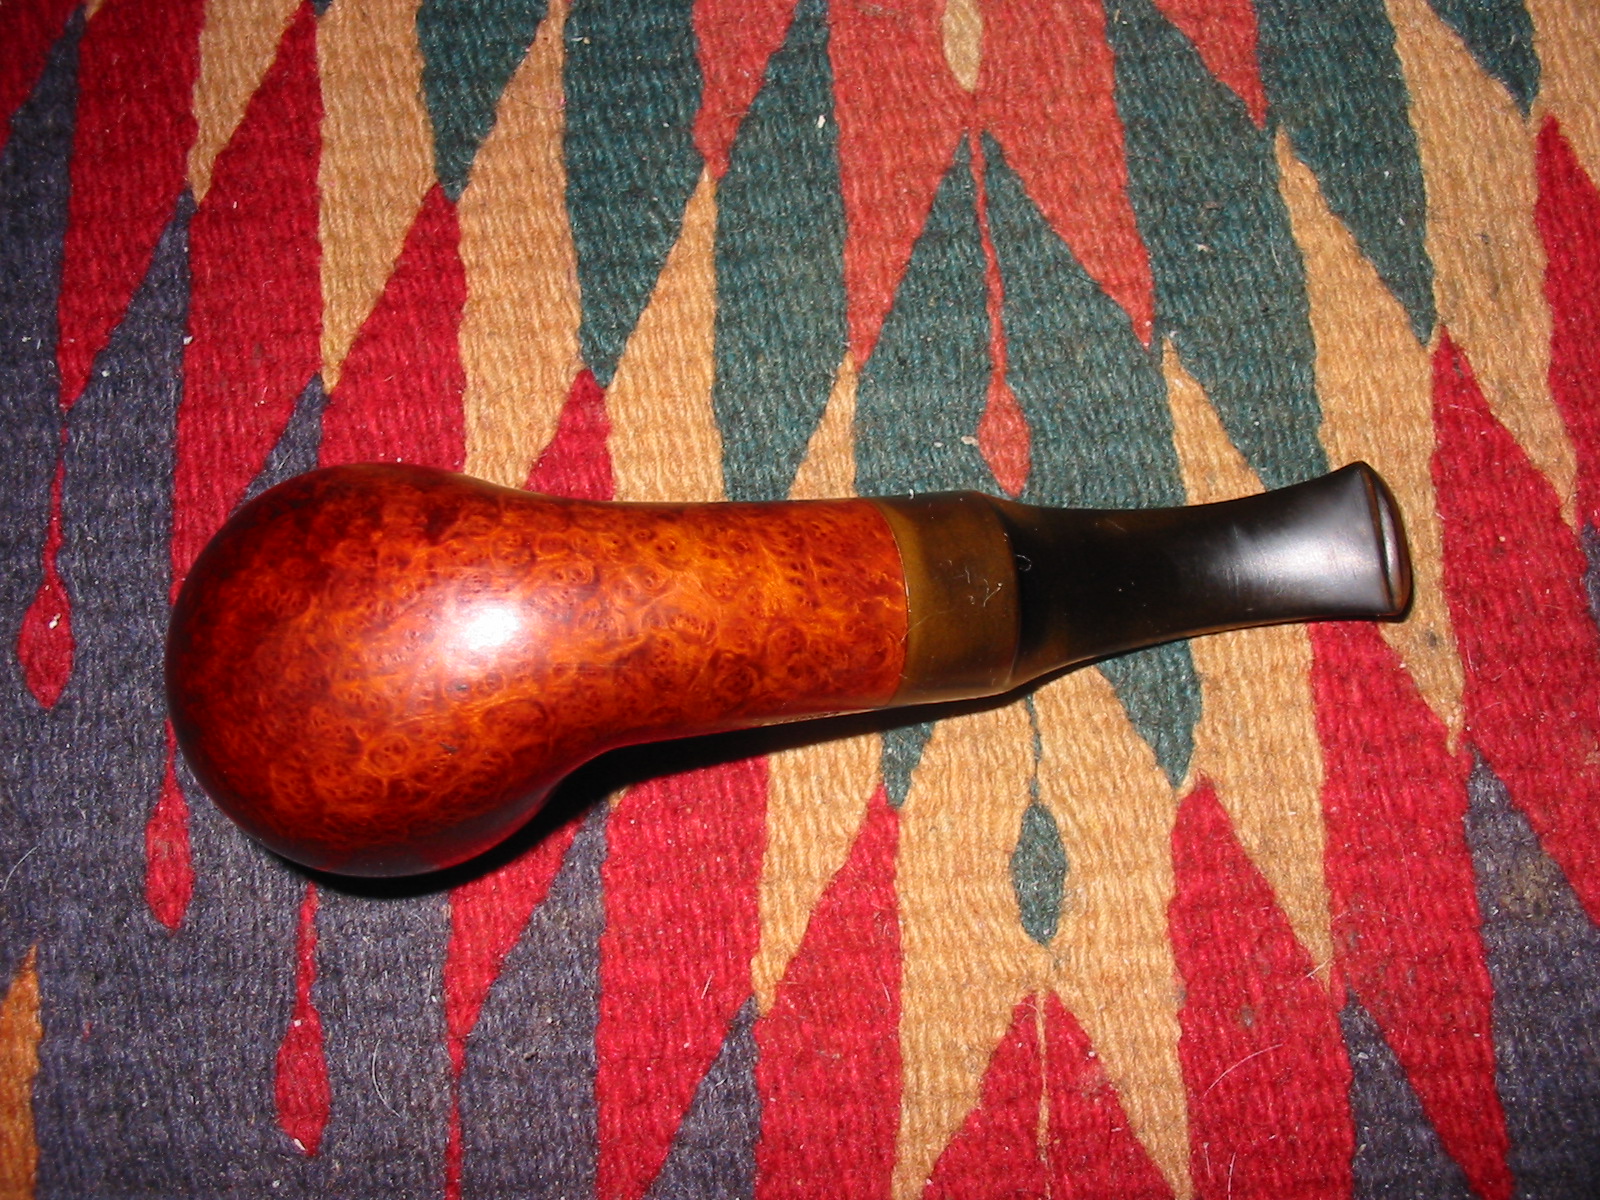
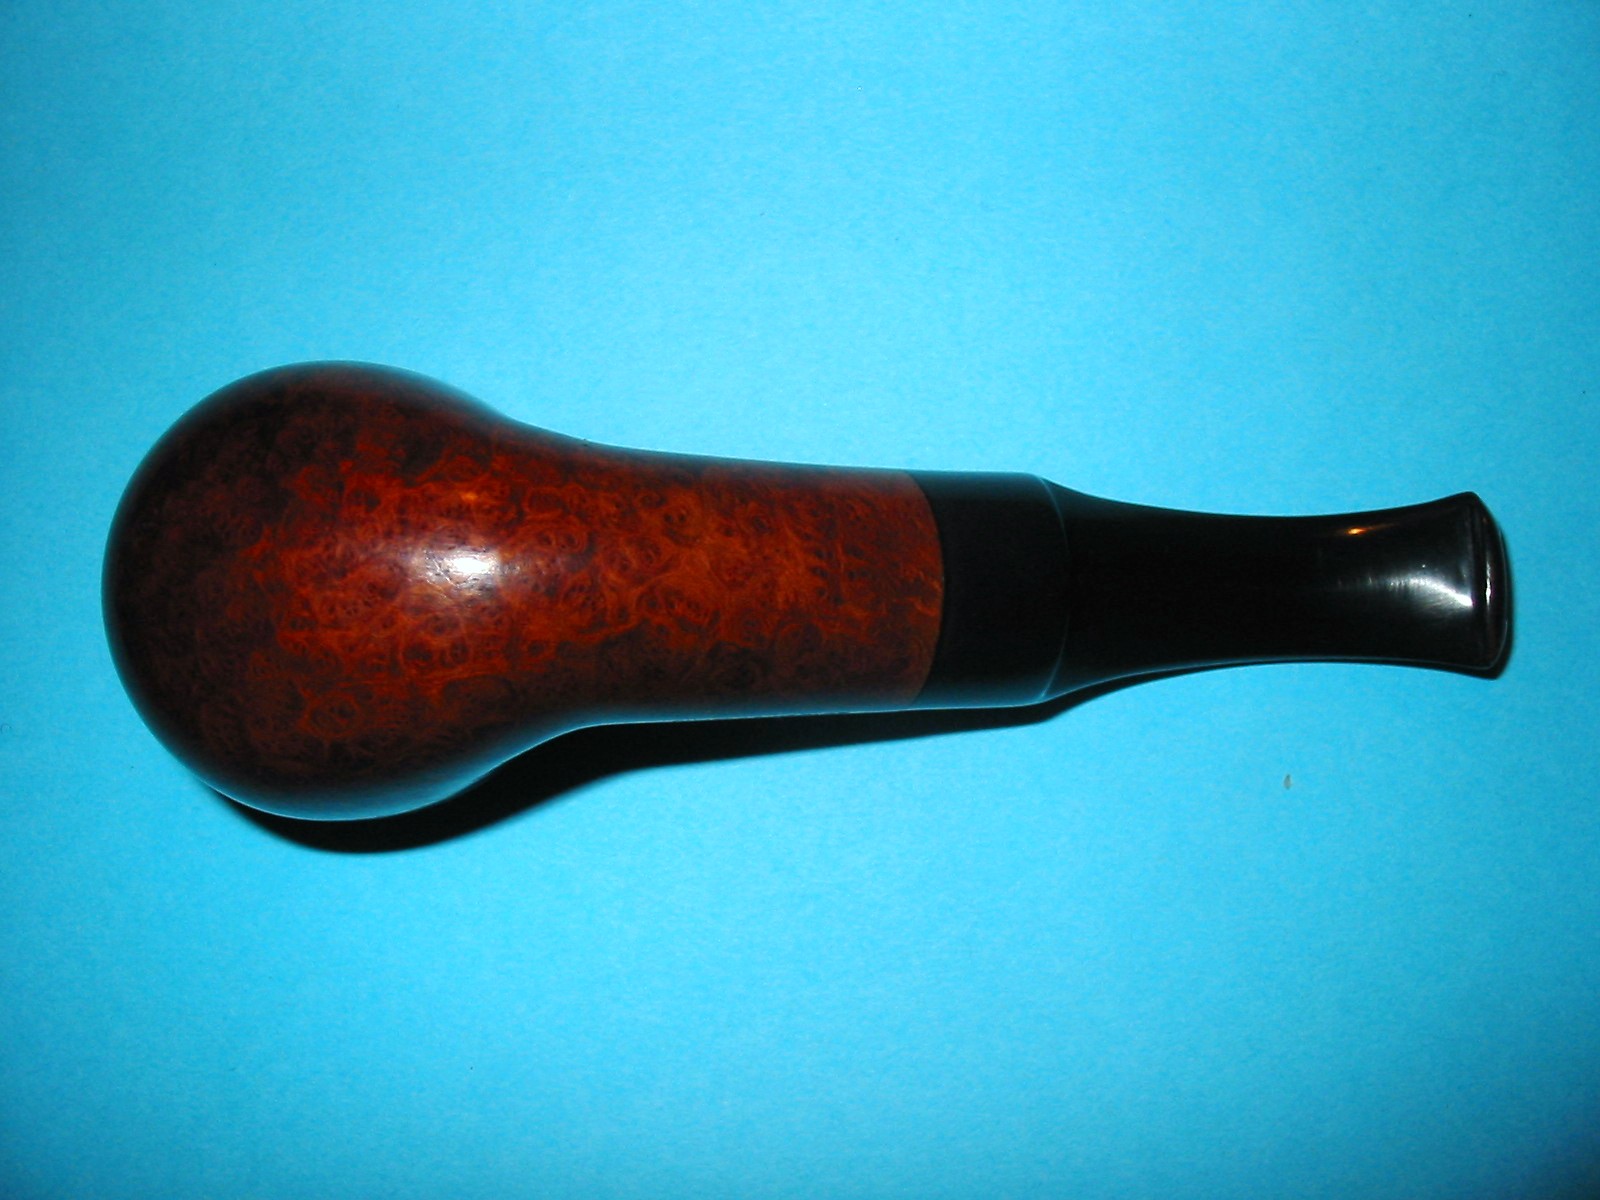
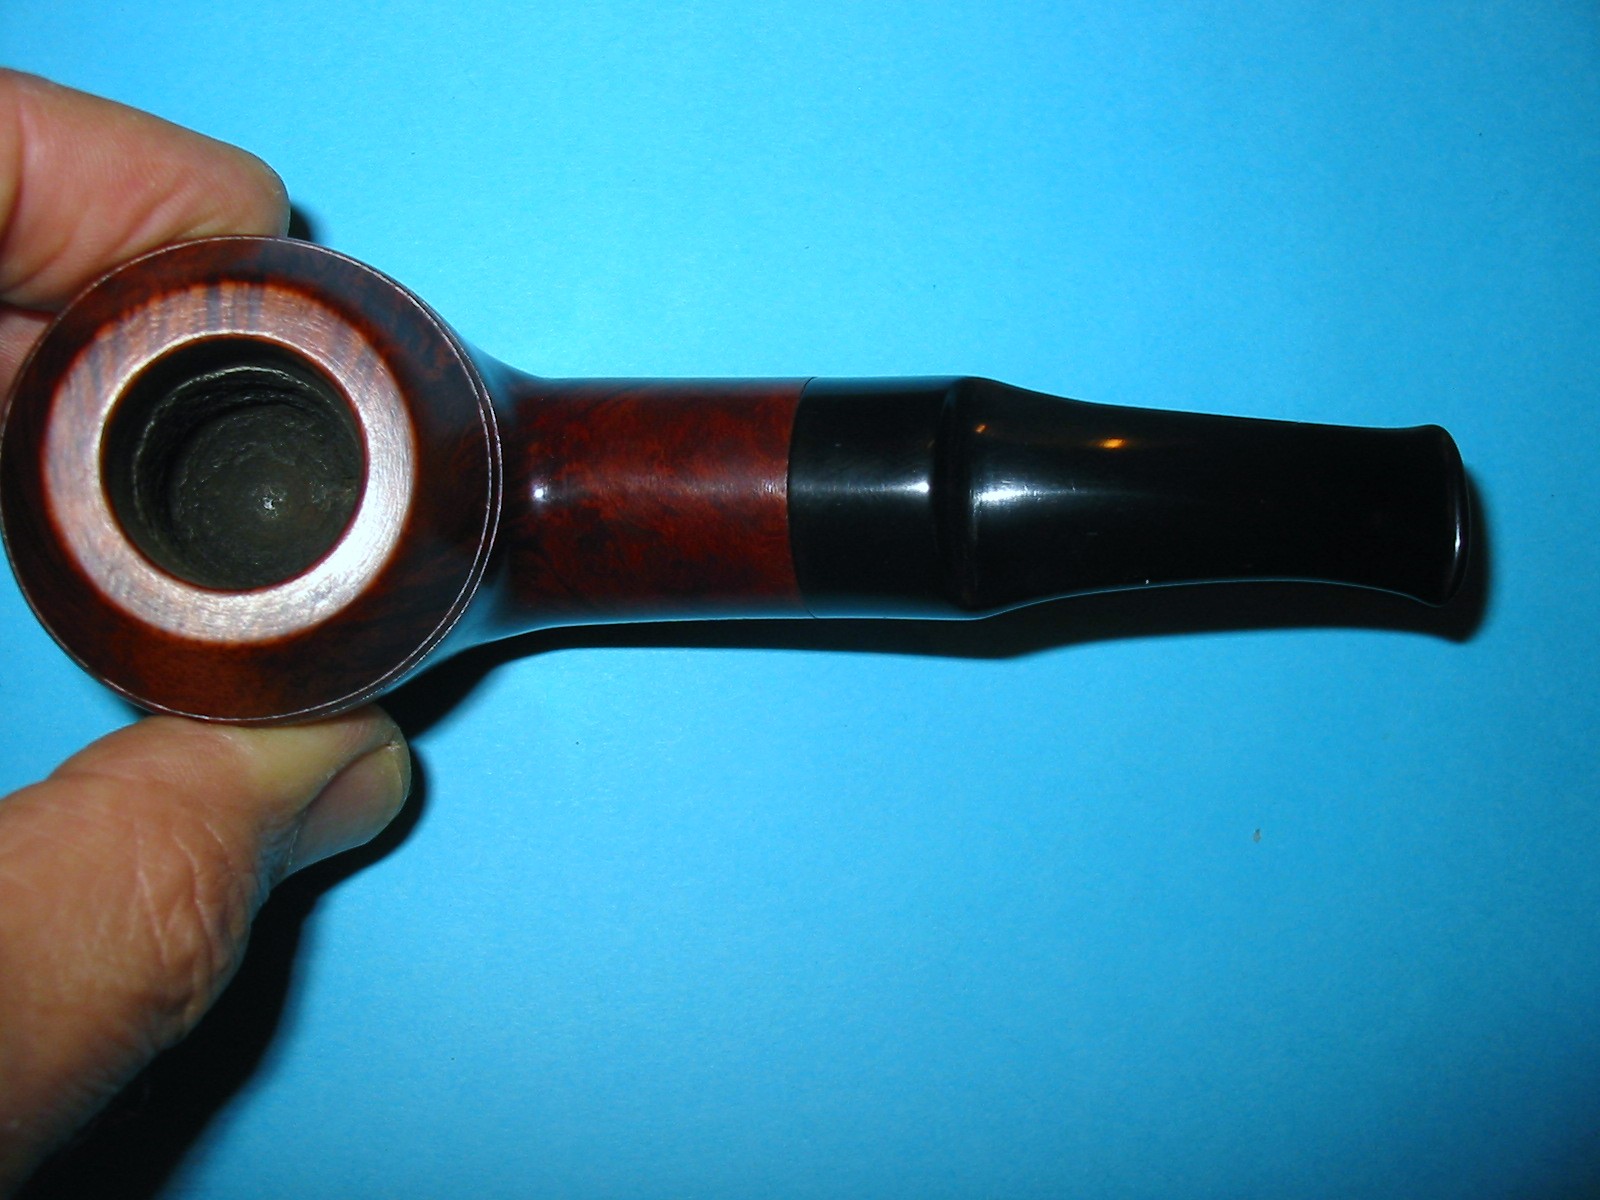
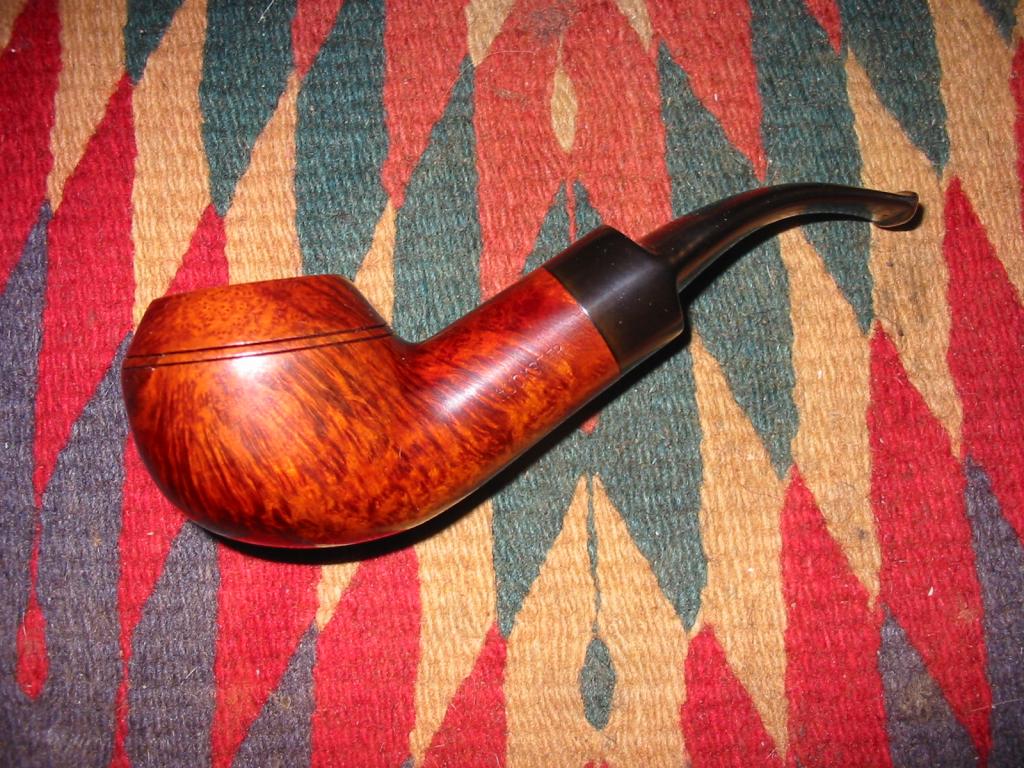
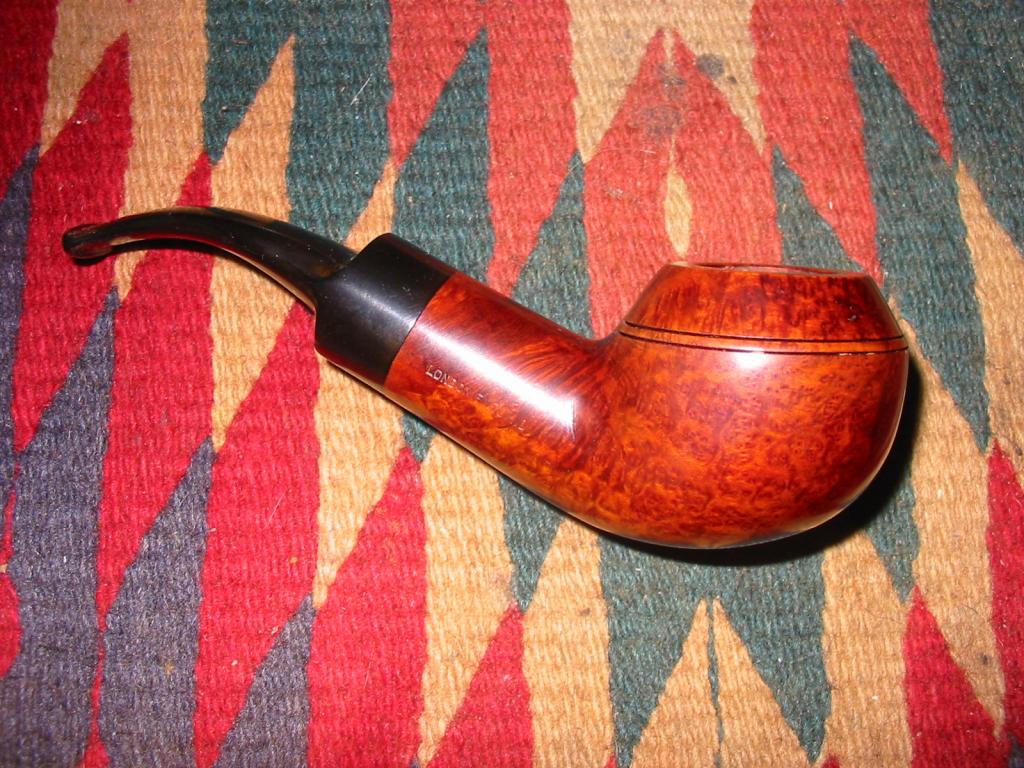
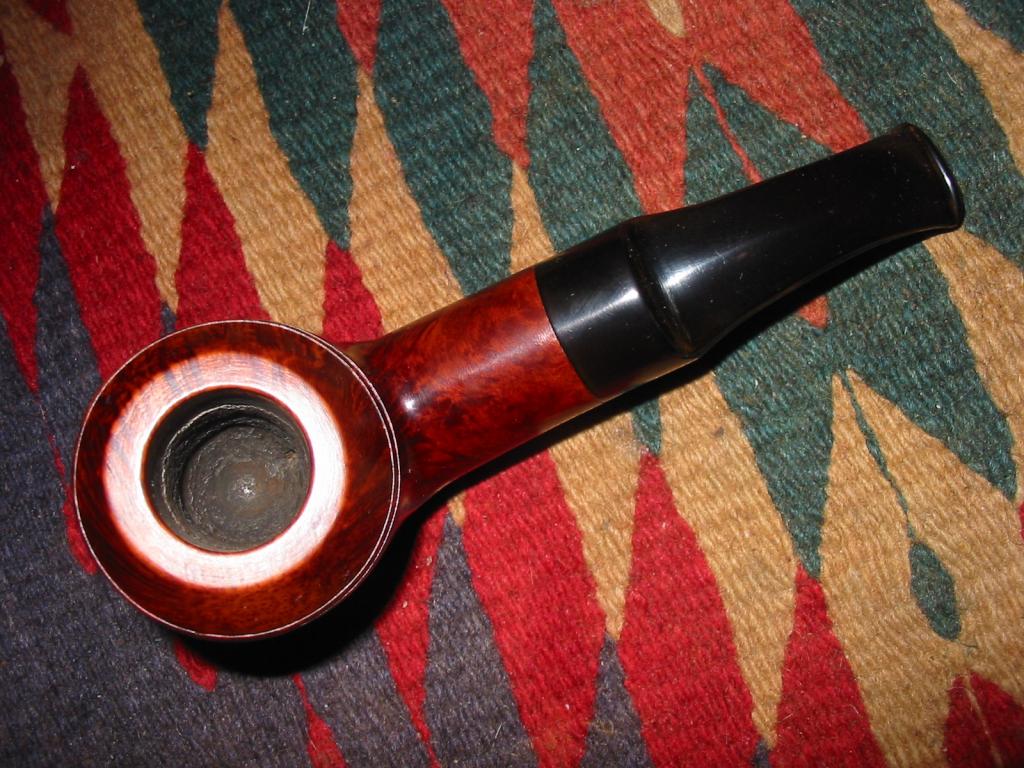
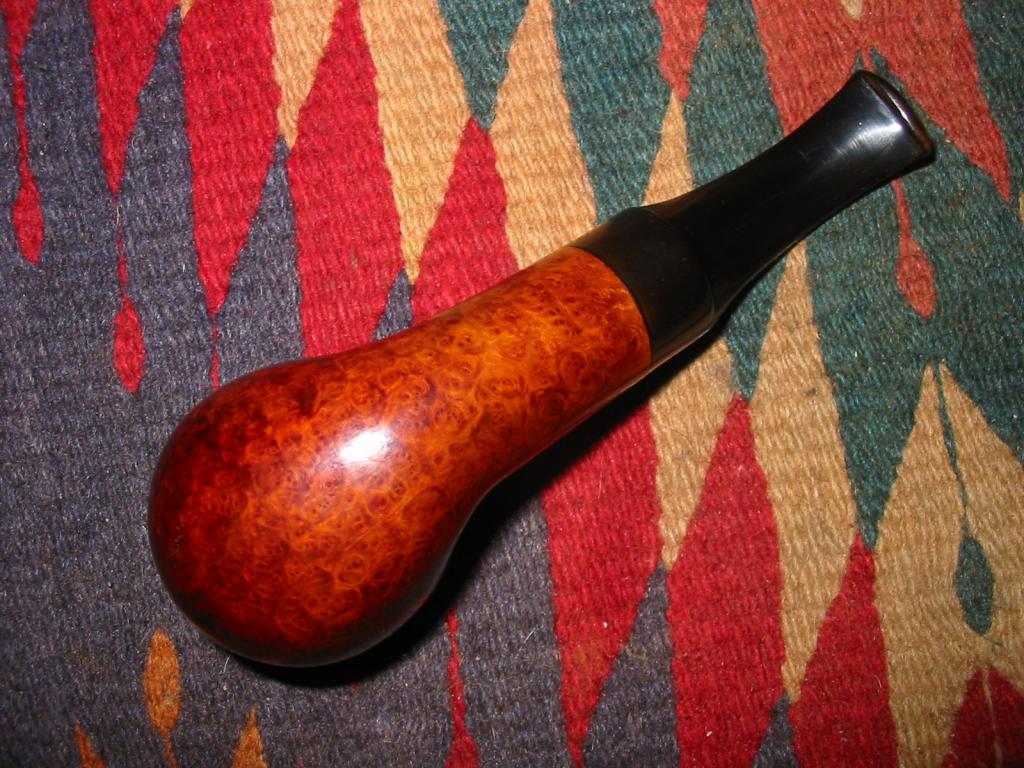
This morning I got around to cleaning up another one of the pipes I found on my trip – a little Tanganyika Meerschaum prince. The stampings on the pipe were simple, only a shape number that looked like a 27 on the underside of the shank and the block letters Tanganyika on the underside of the stem. The star logo on the left side of the stem is different from the typical elephant, giraffe or running man, which have come to be associated with Tanganyika Meerschaums. I wanted to see what I could find out about the little pipe so I did a search on Pipedia and was able to find some information on the pipes made from Meerschaum that was mined there. The following is a synopsis of the article found there.

Kiko, meaning “pipe” in Swahili-Kiswahili to English translation, is probably the best known of the various brands of meerschaum pipes from there. In East Africa Meerschaum is found in Tanganyika, once known as German East Africa, and since 1964 part of the United Republic of Tanzania. The main deposit comes from the Amboseli basin surrounding the Lake Amboseli. Tanganyika Meerschaum is normally stained in shades of brown, black and yellow, and is considered to be inferior to Meerschaum from Turkey. Even though, the raw material is mined by the Tanganyika Meerschaum Corporation and to a large extent used for pipe making. Uncounted pipe makers throughout the world were supplied with Amboseli Meerschaum, preferentially used for Meerschaum lined briars or leather-clad pipes. In Tanganyika the Kilimanjaro Pipe Company Ltd. produced the following brands: Caveman, Countryman (Elephant logo), Kiko (Elephant logo), Kikob (Elephant logo), Kilimanjaro (Rhinoceros logo), Kudu (Giraffe Logo), Makonde (Rhinoceros logo), Merlin (Flying bird or Antelope logo), Sportsman (Elephant logo), Tembo, Townsman, Twiga (Giraffe Logo), White elephant (Elephant logo)

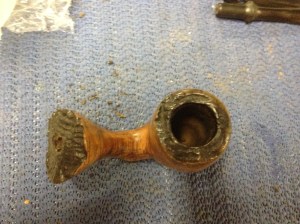
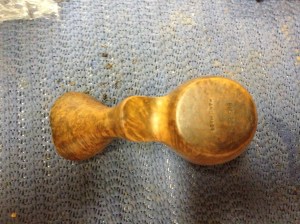
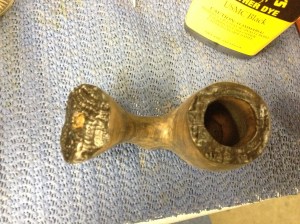
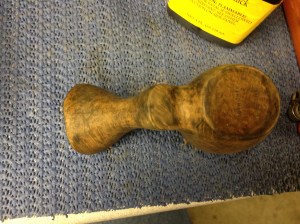
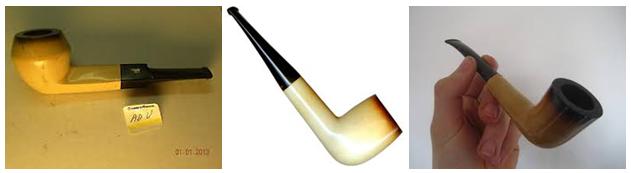
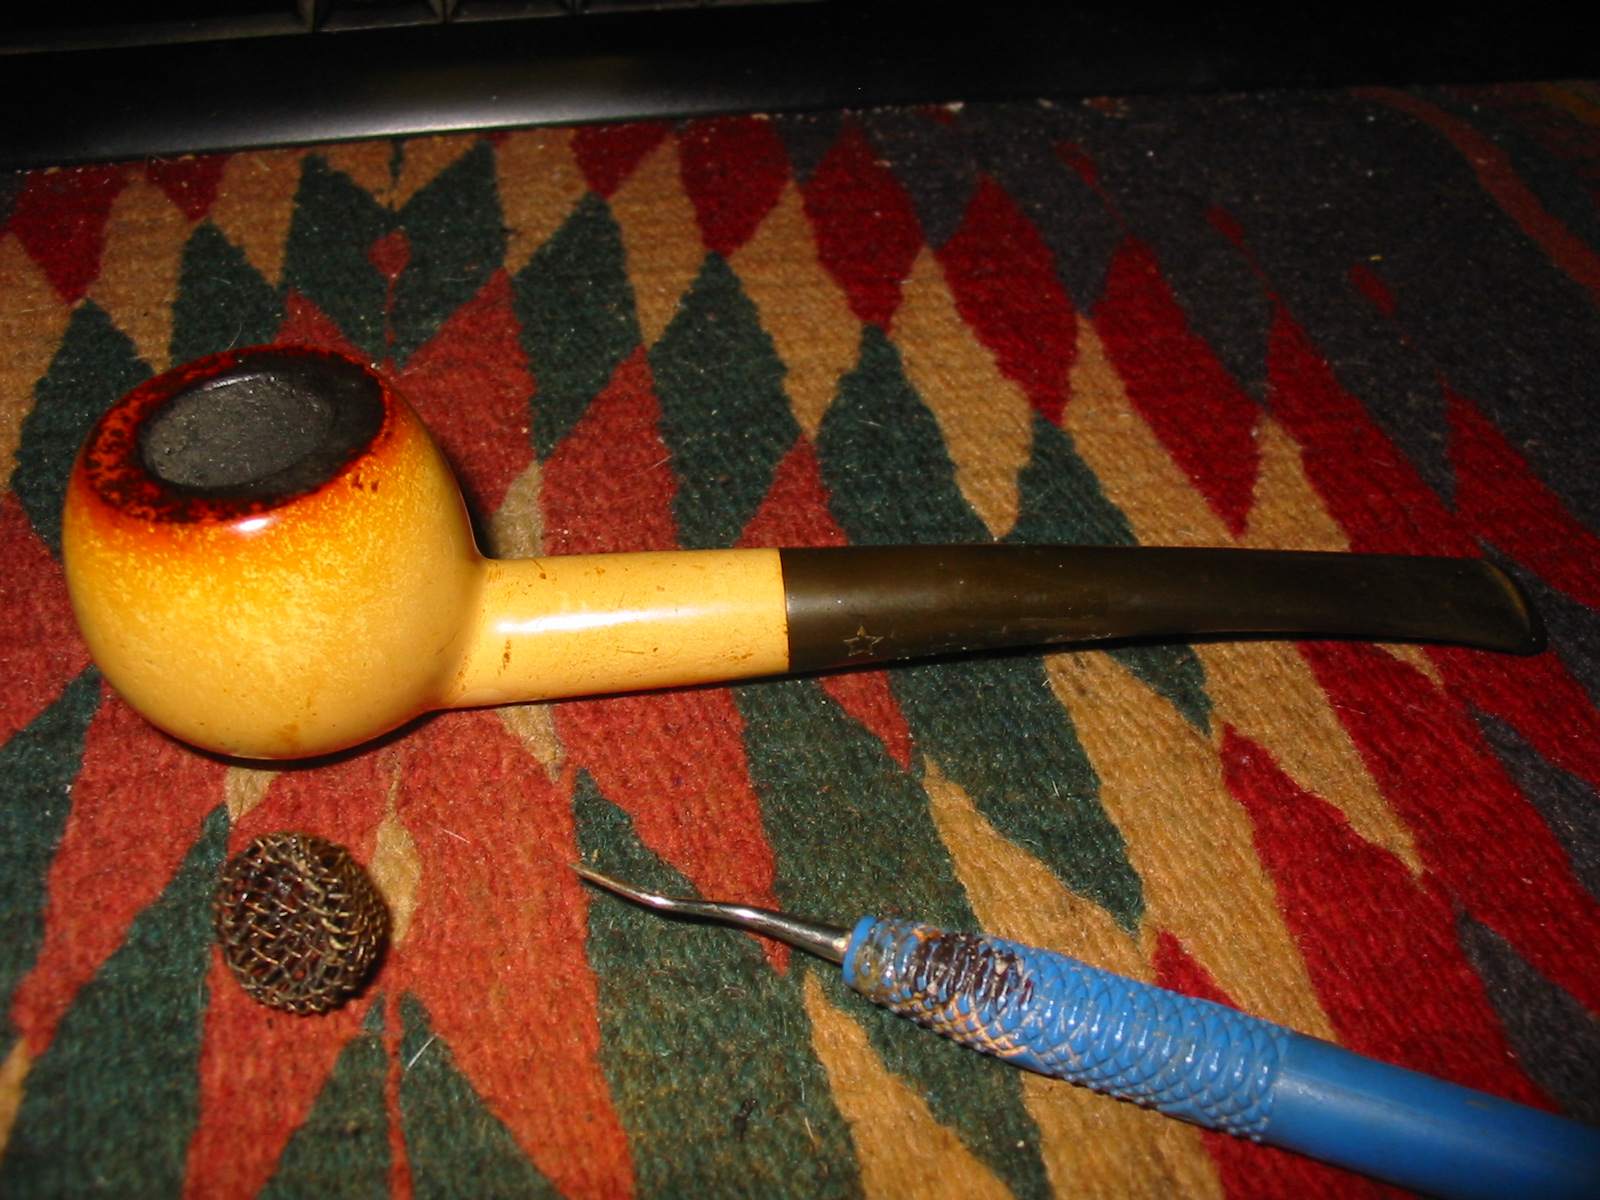
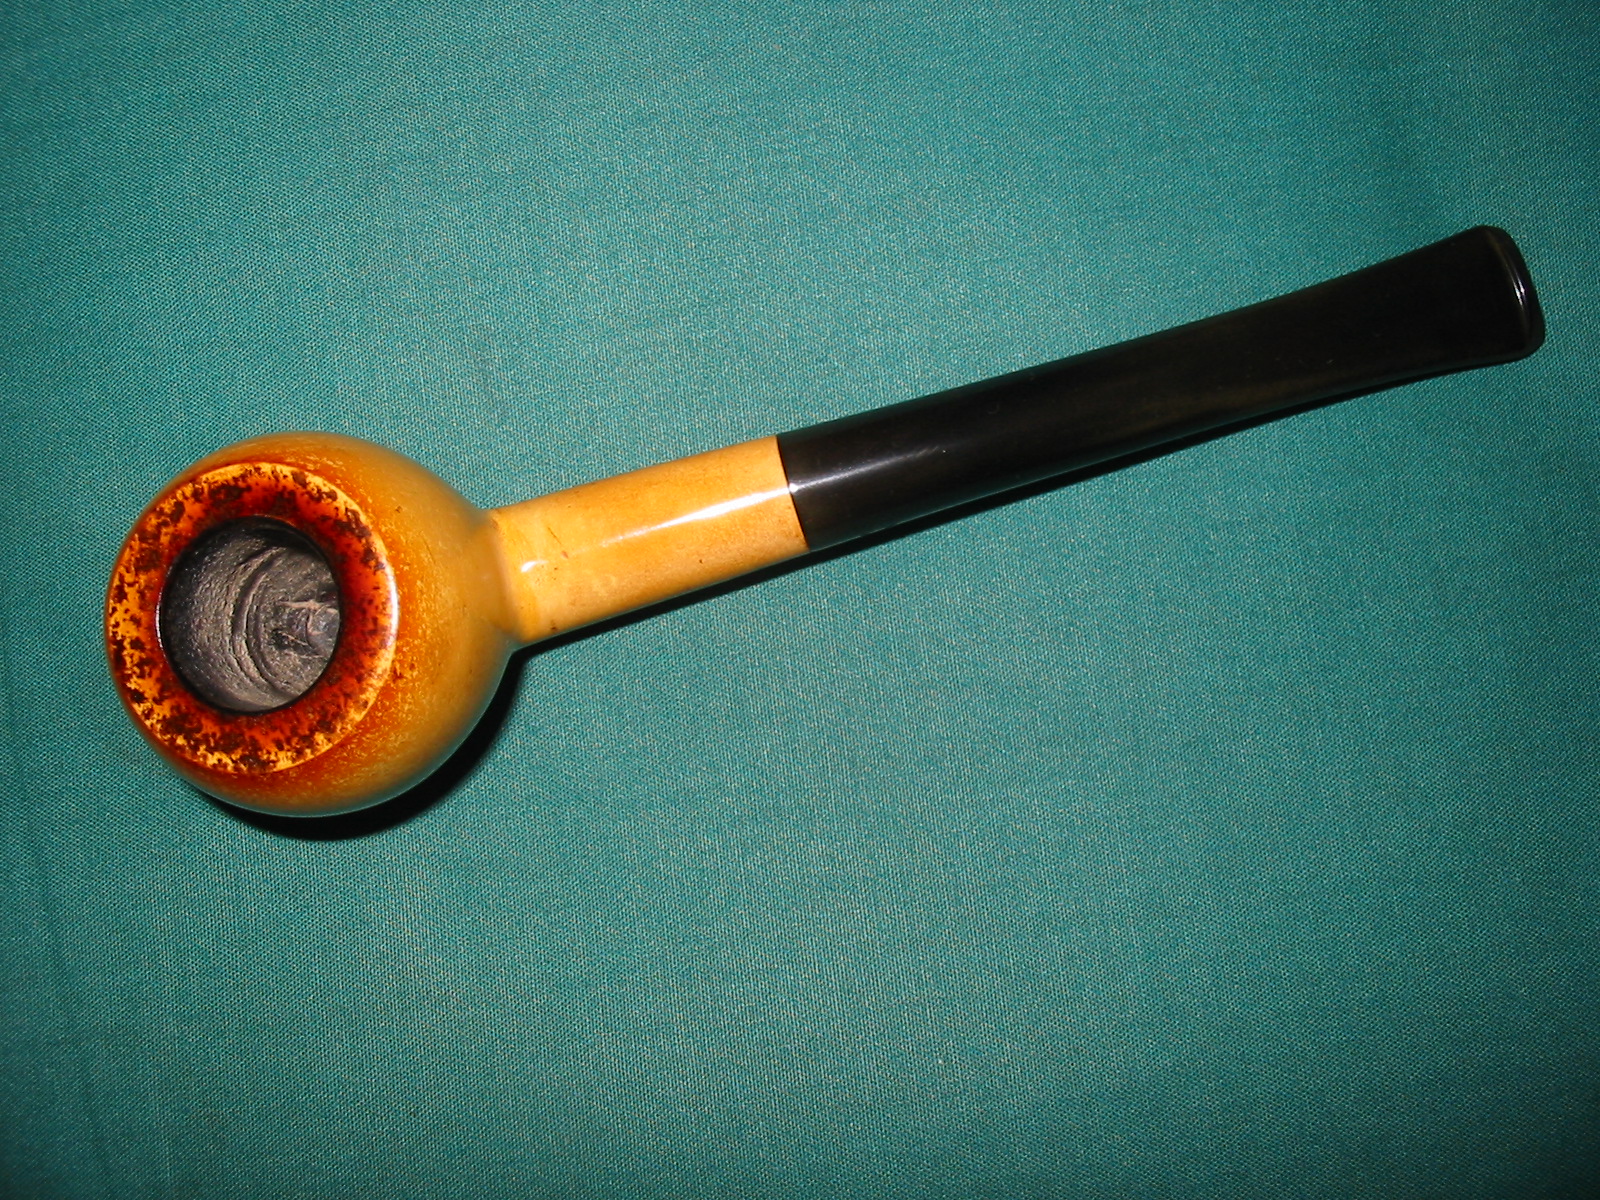
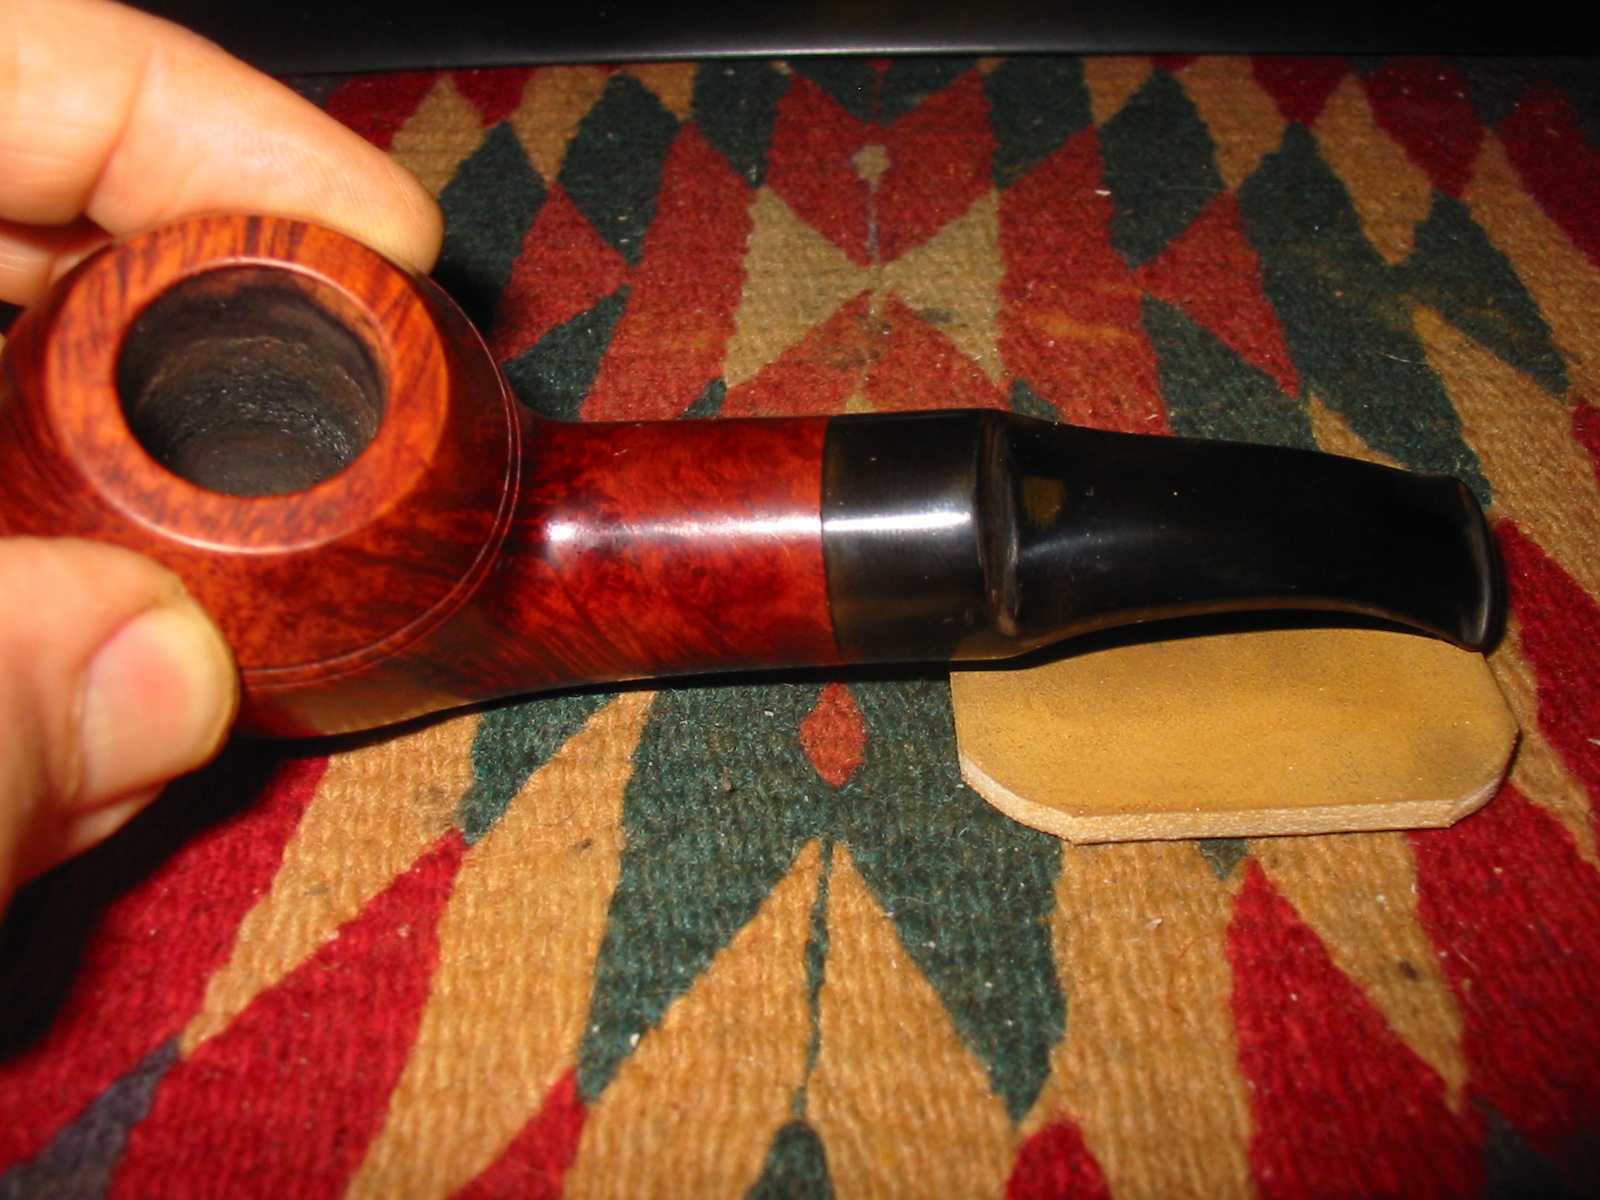
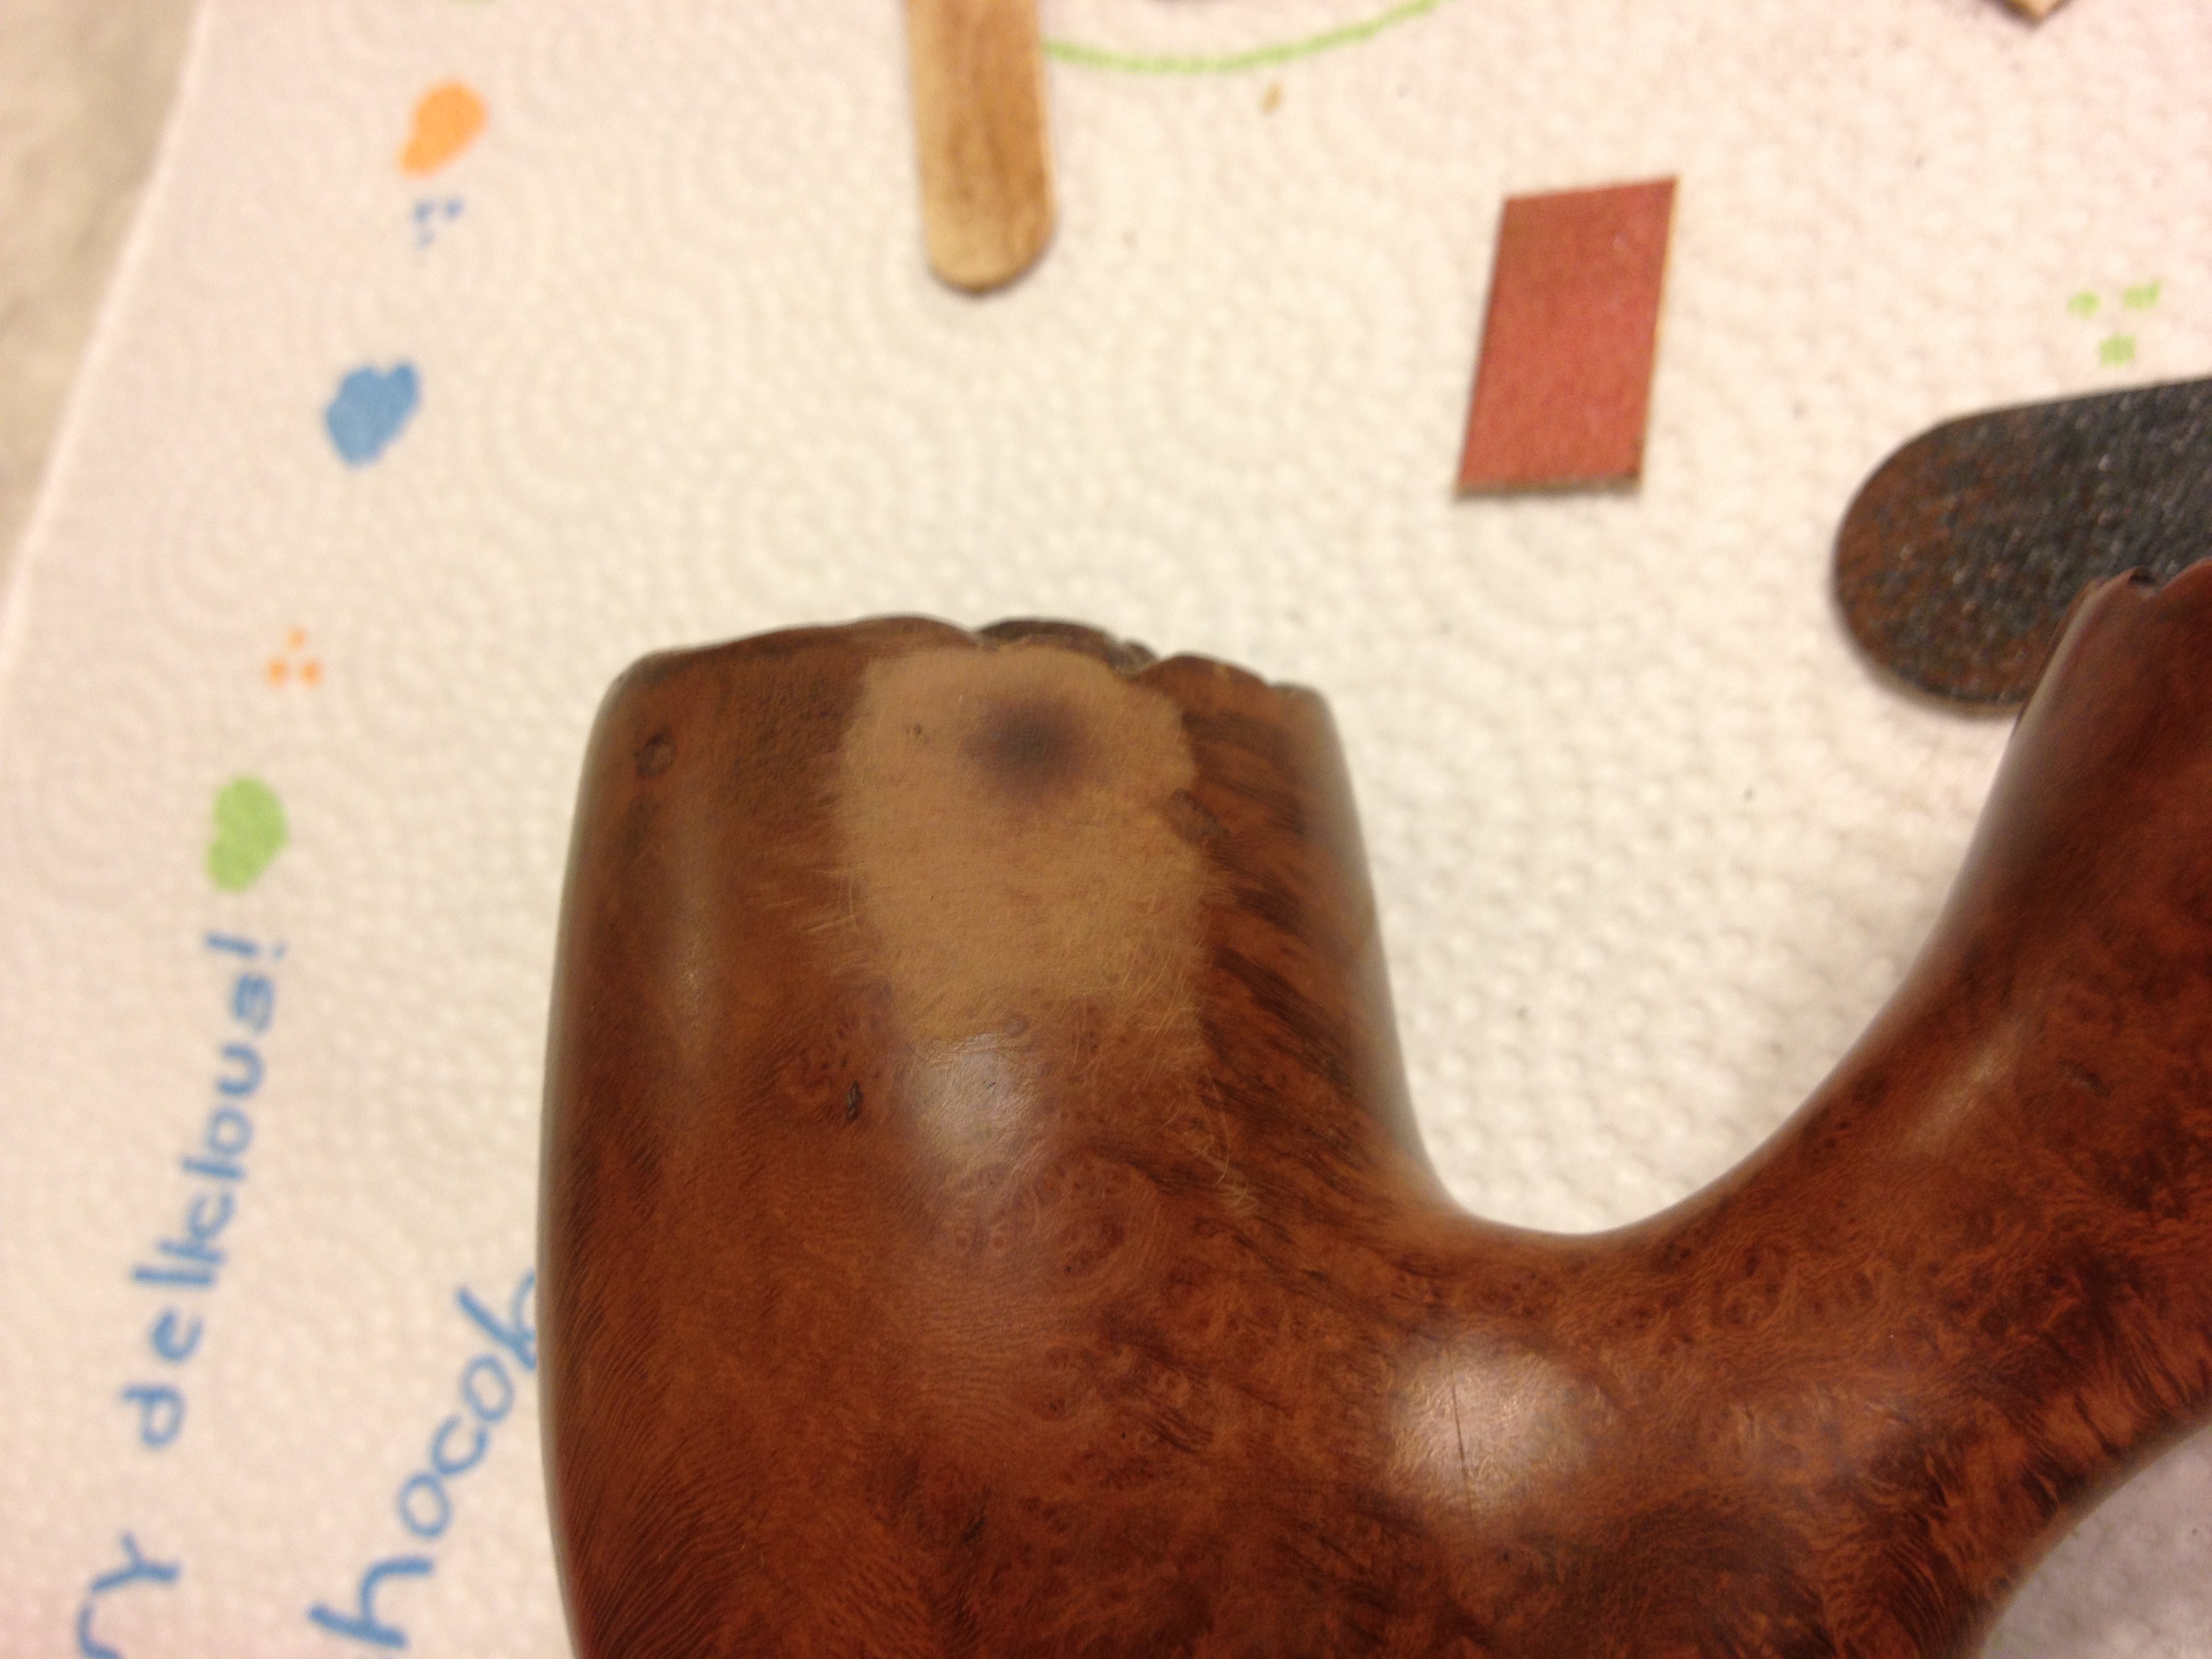
This little prince I had was dirty and there was a screen contraption in the bottom of the bowl. It did not smell of anything other than strong Lakeland style tobacco so I am guessing this was a contraption to keep the bowl from getting moist in the bottom. Not sure about that however. The exterior was dirty and had sticky gum on it from the sales label. The rim top and down the top edges of the bowl had been darkened prior to smoking to give it a classic aged look like the pictures below.
Kiko meers

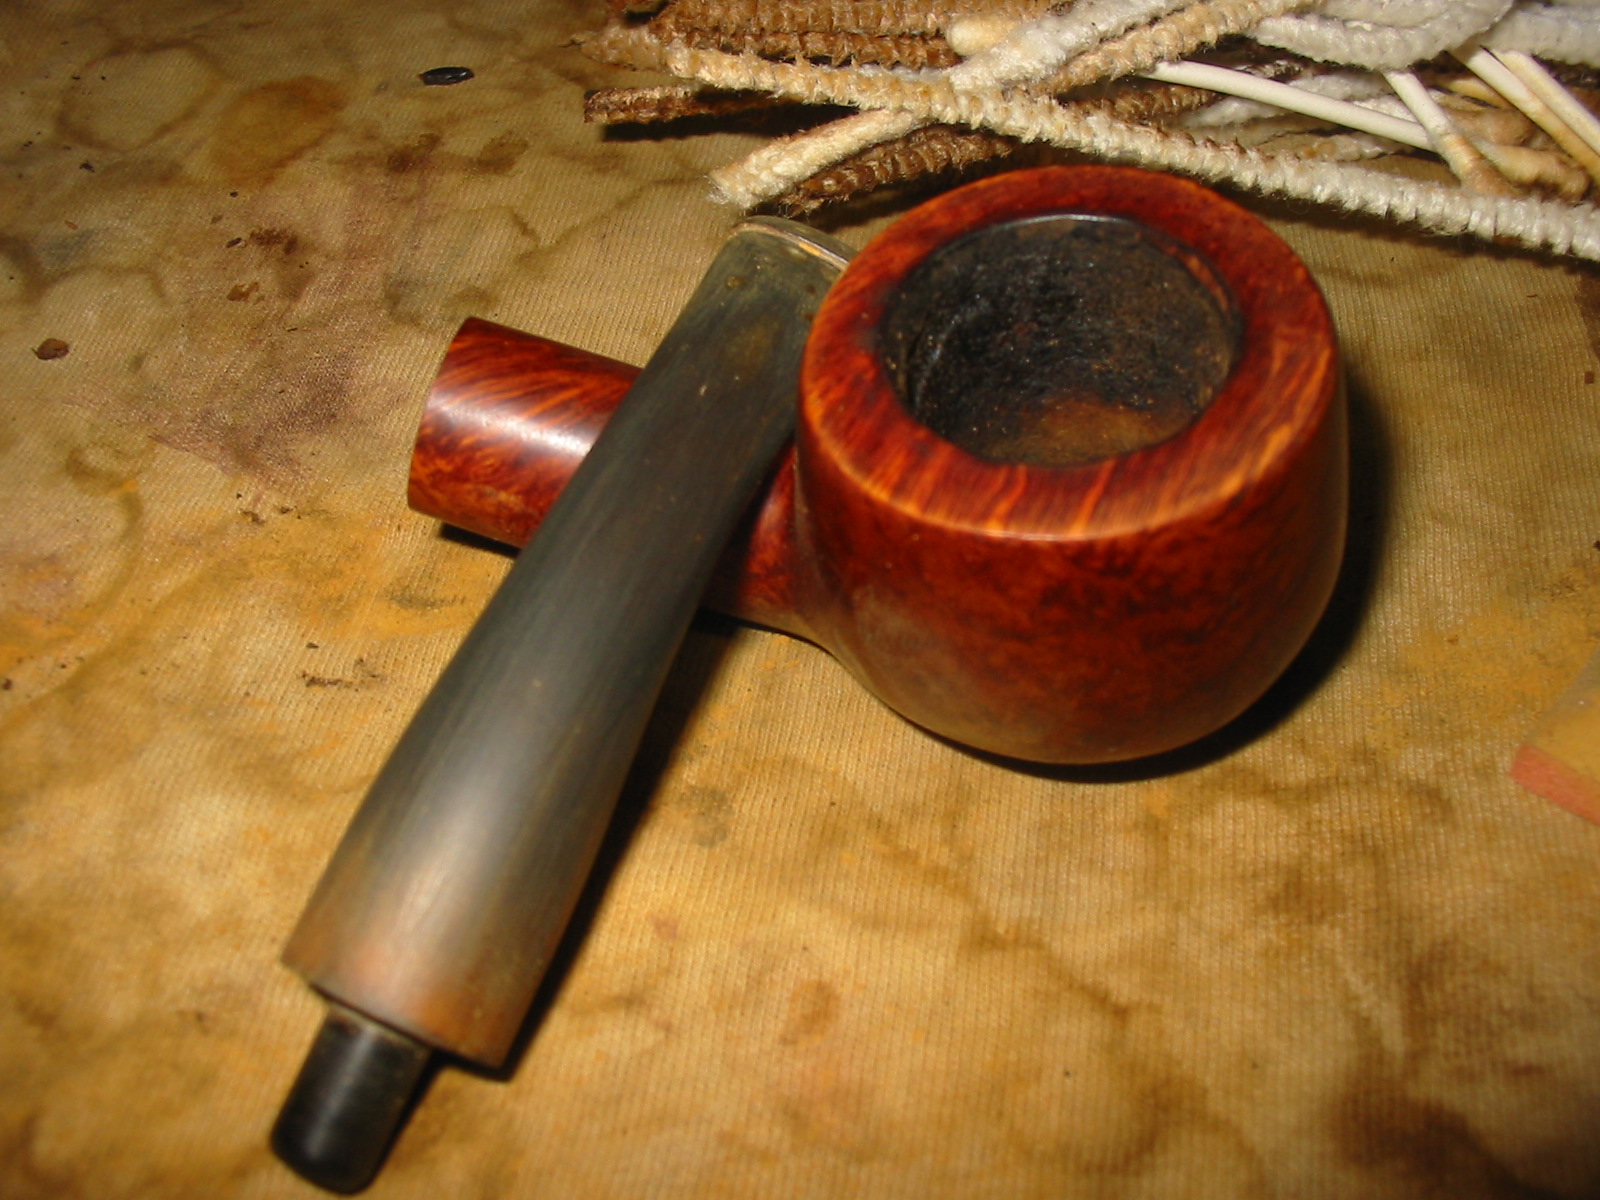
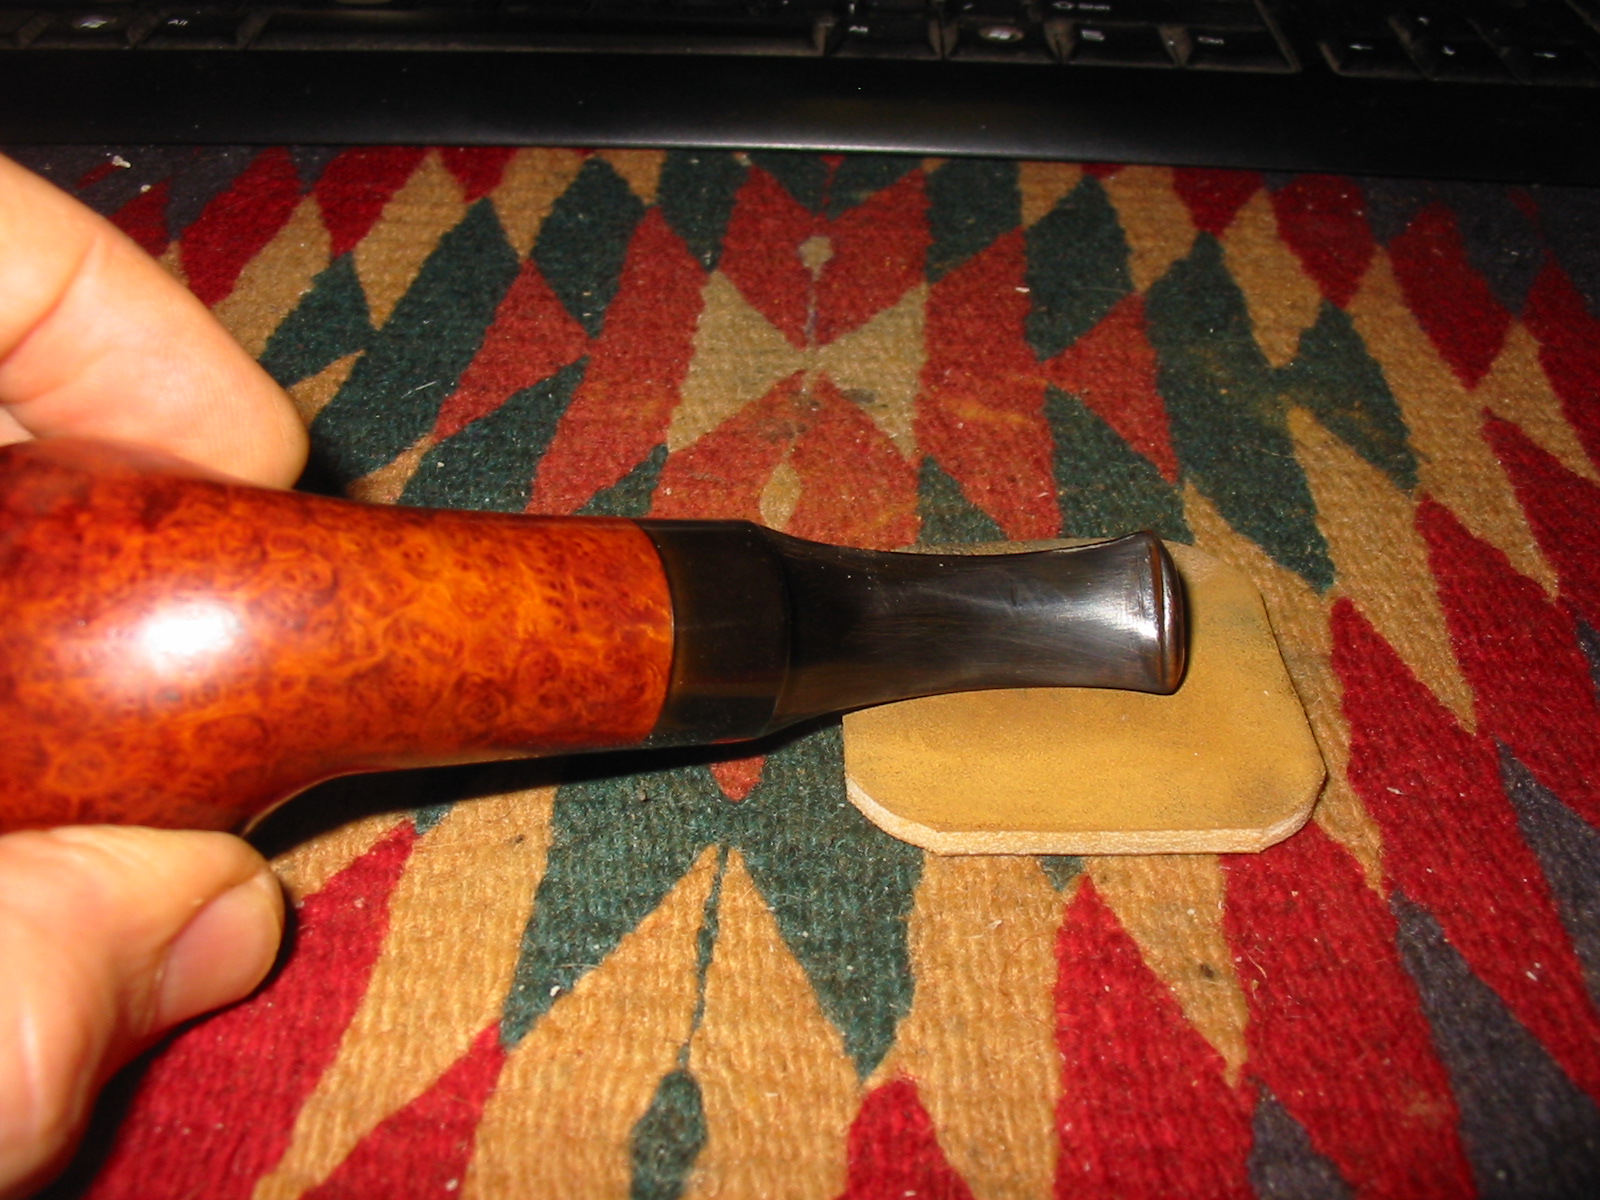
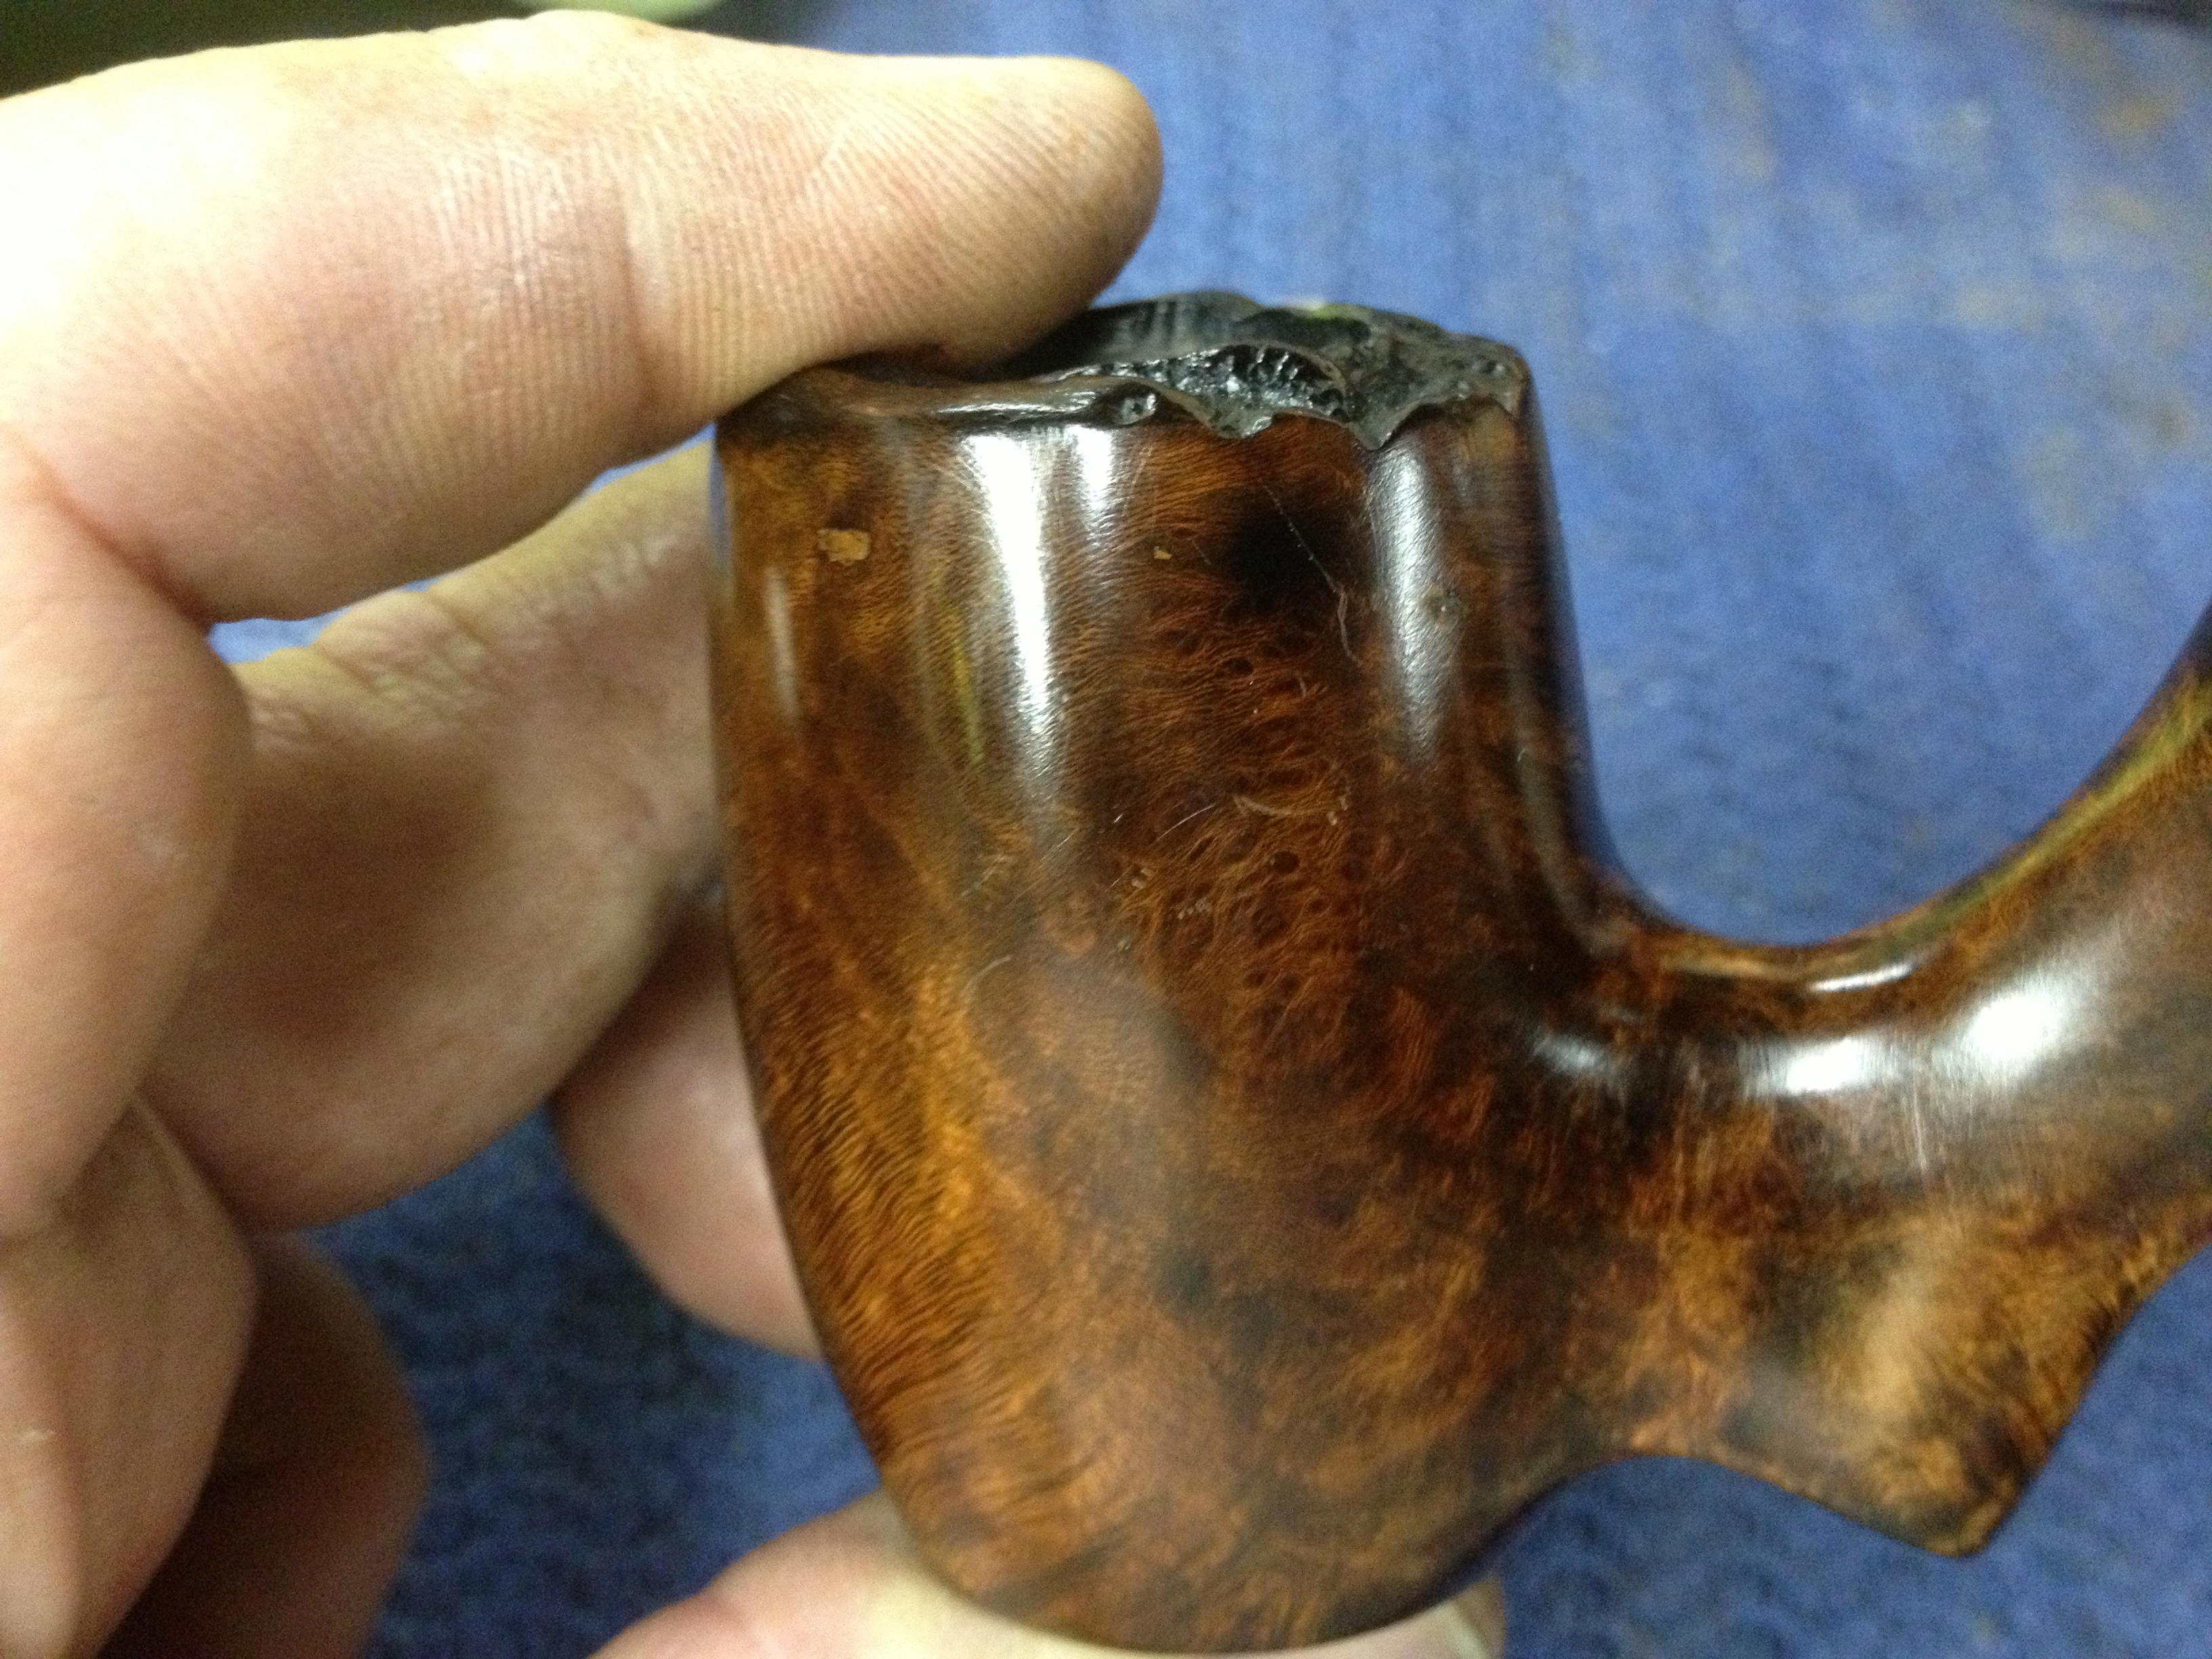
The top of the rim was darkened as were the edges when it left the factory. In this case they were spotty and uneven. The bowl had a slight build up of cake. The shank was dirty with tars but smelled strongly of tobacco. The stem was slightly oxidized and also very dirty inside and out. The metal screw in tenon was dirty and had tarry buildup on the threads. The stem was slightly overturned.
IMG_1879

IMG_1880

IMG_1882

IMG_1883

I used a dental pick to pry the screen ball from the bottom of the bowl. It had been squashed into shape and the top indented to mirror the bottom of the bowl. The side of the screen had been opened toward the airway in the bowl bottom as well to facilitate smoke getting through. I wiped down the exterior of the bowl with alcohol dampened cotton pad to remove the grime and the buildup of gum on the stem and the bowl.
IMG_2031

IMG_2032

IMG_2034

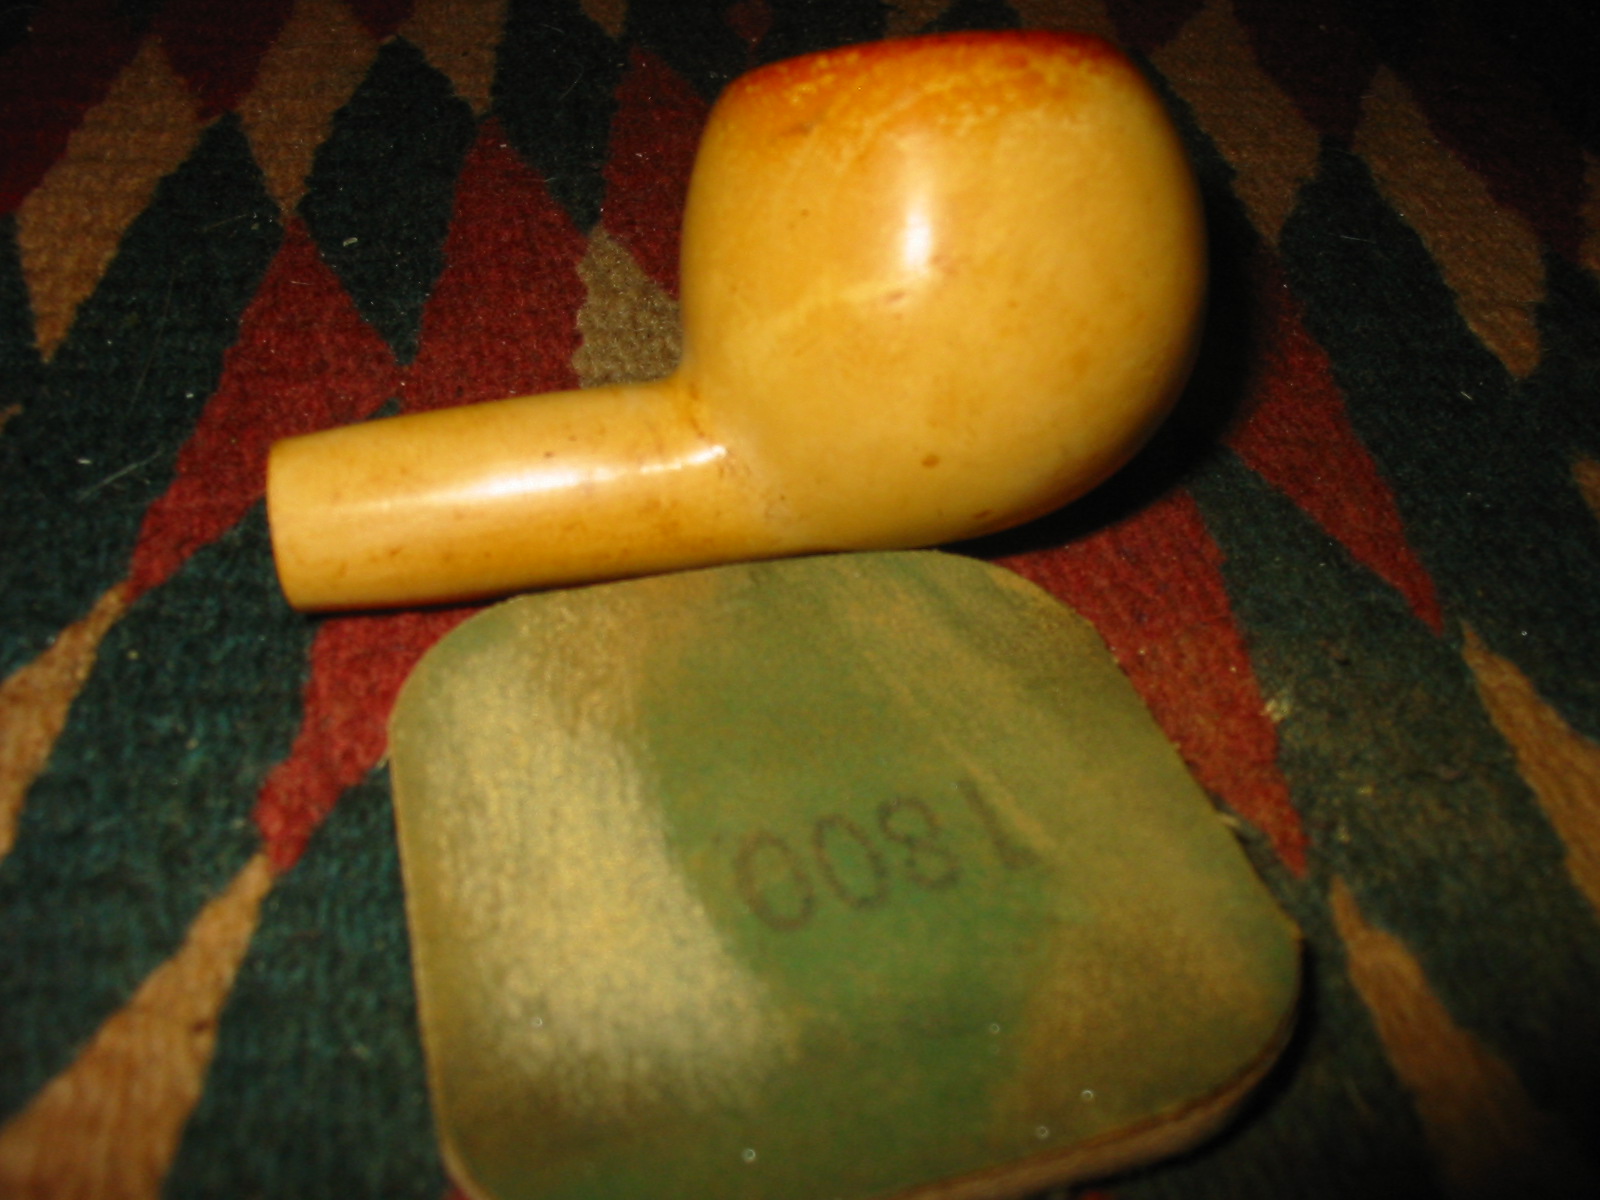
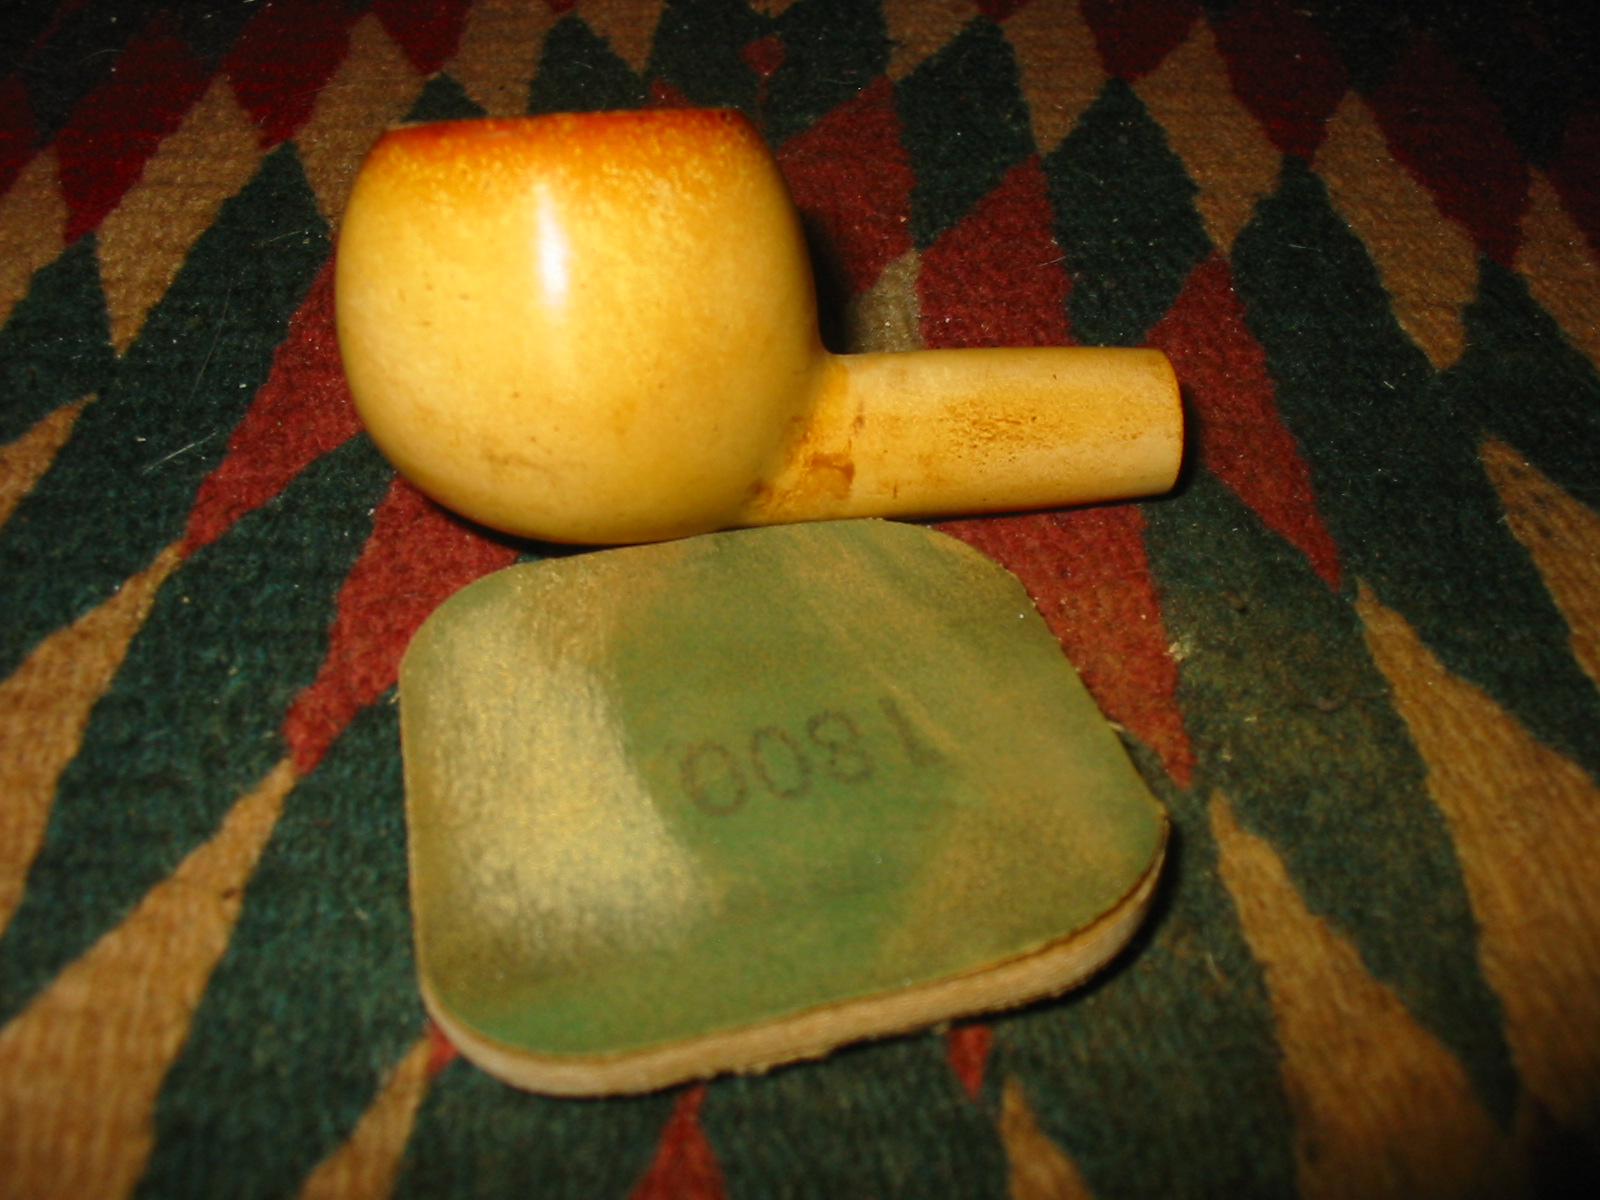
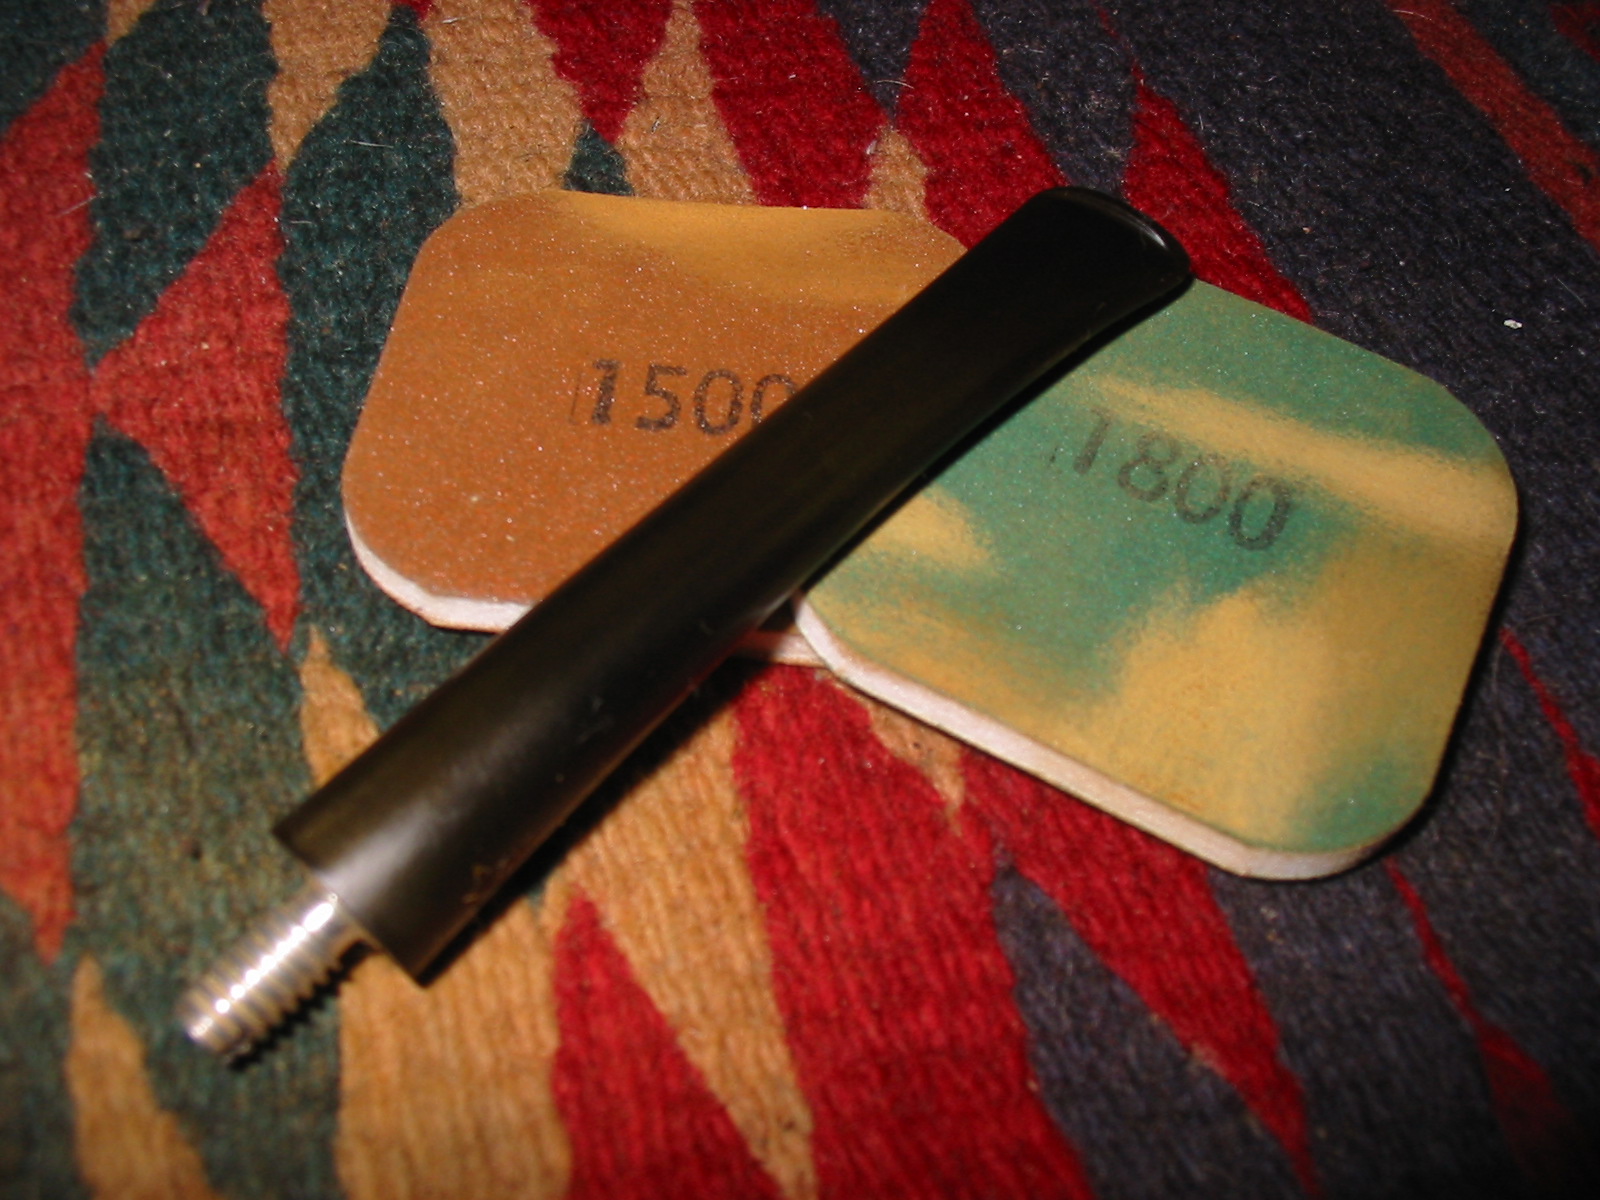
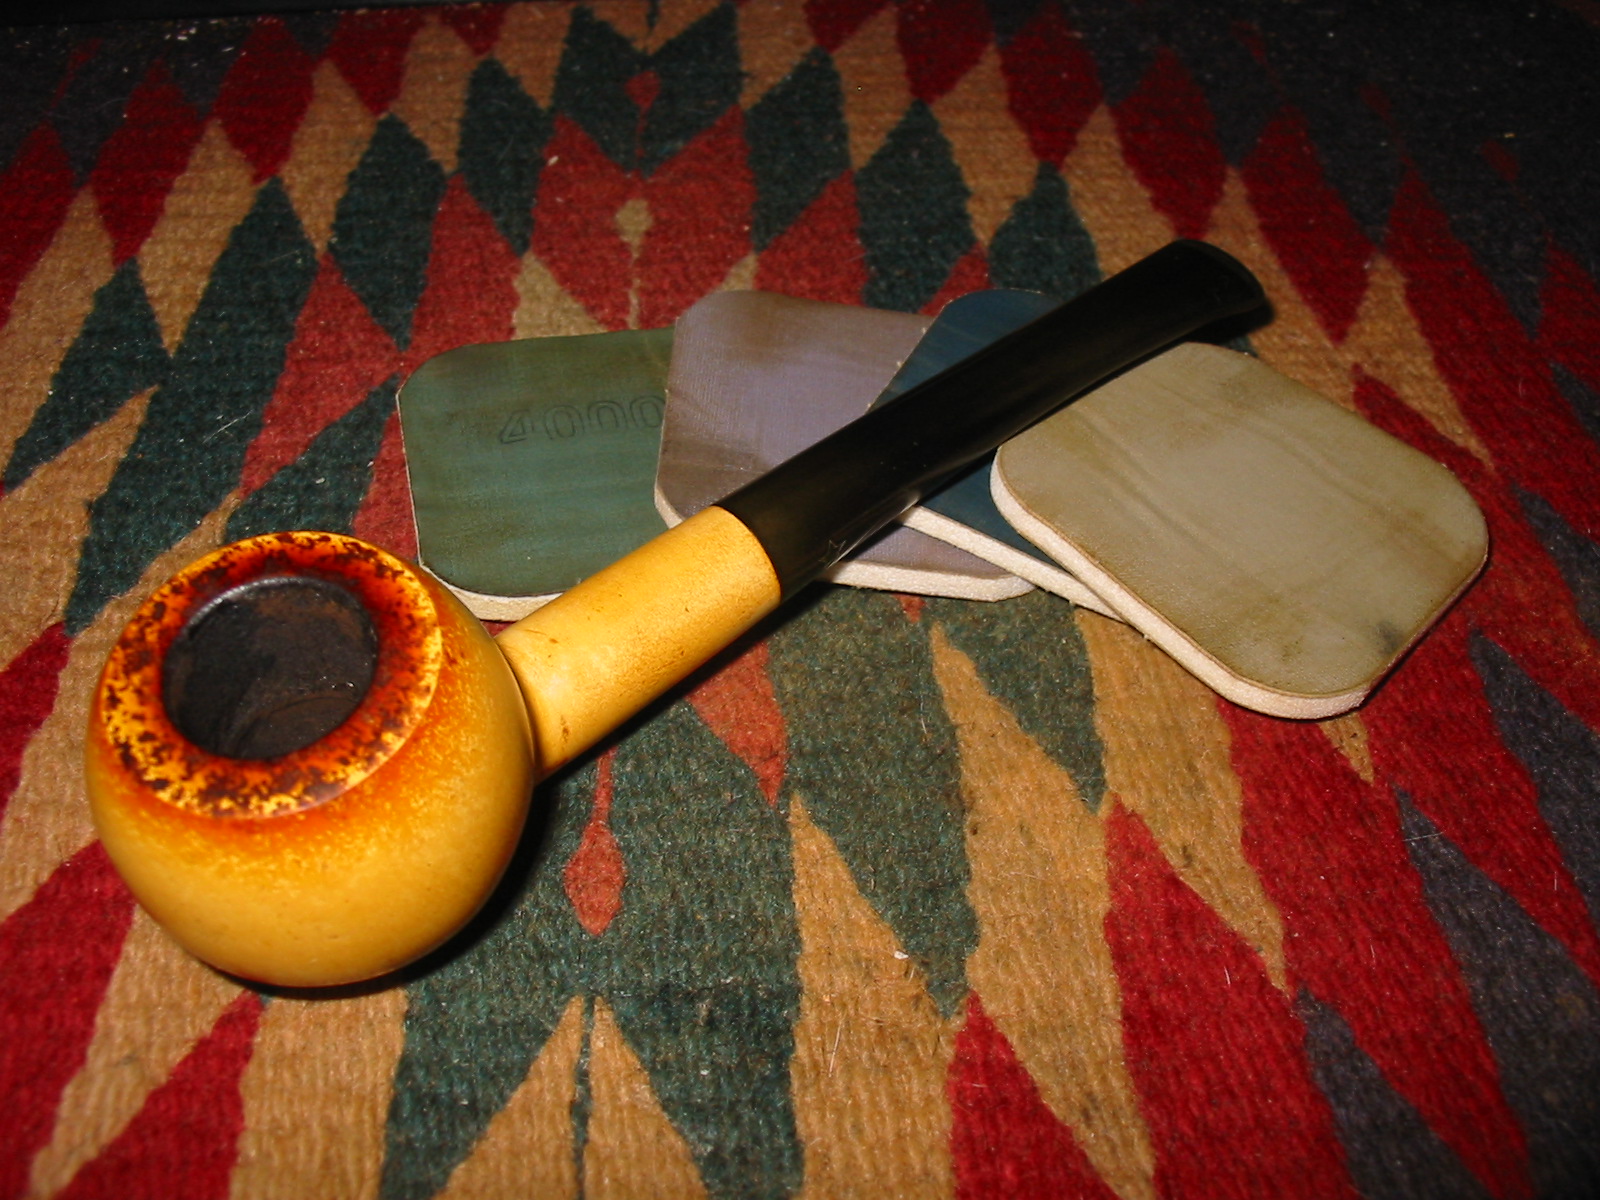
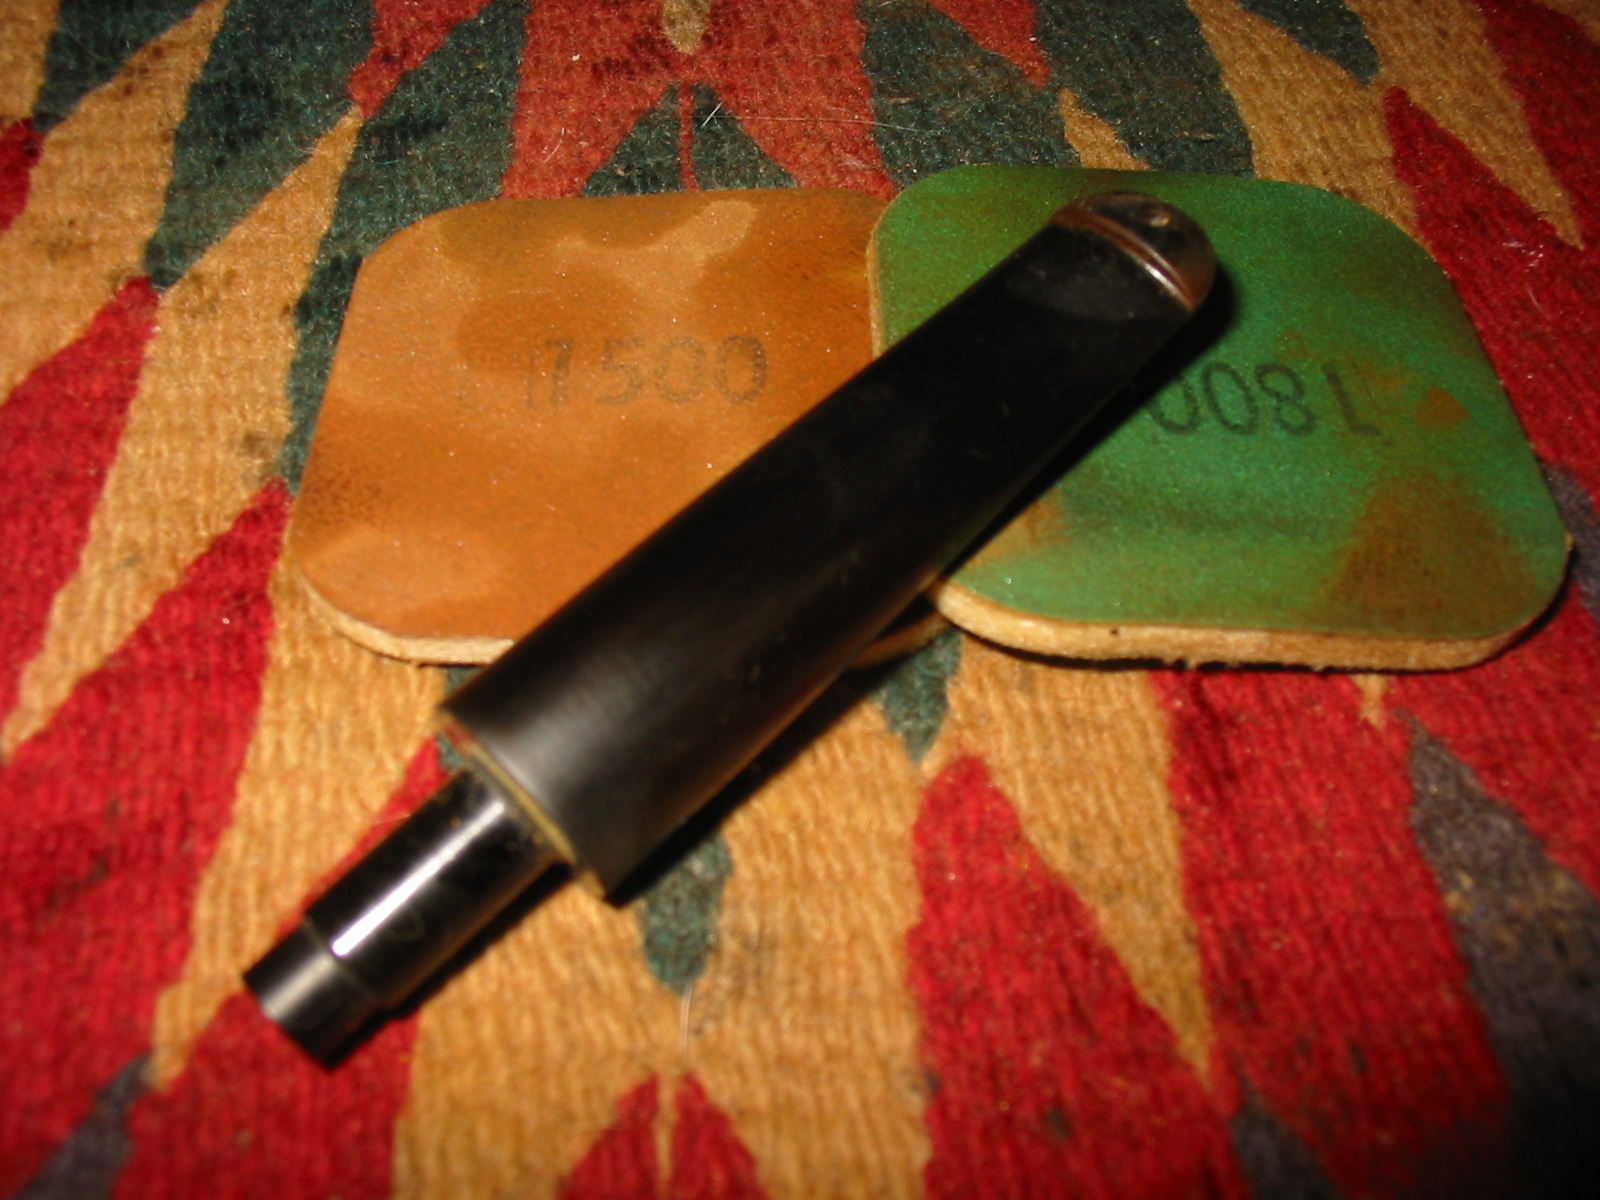
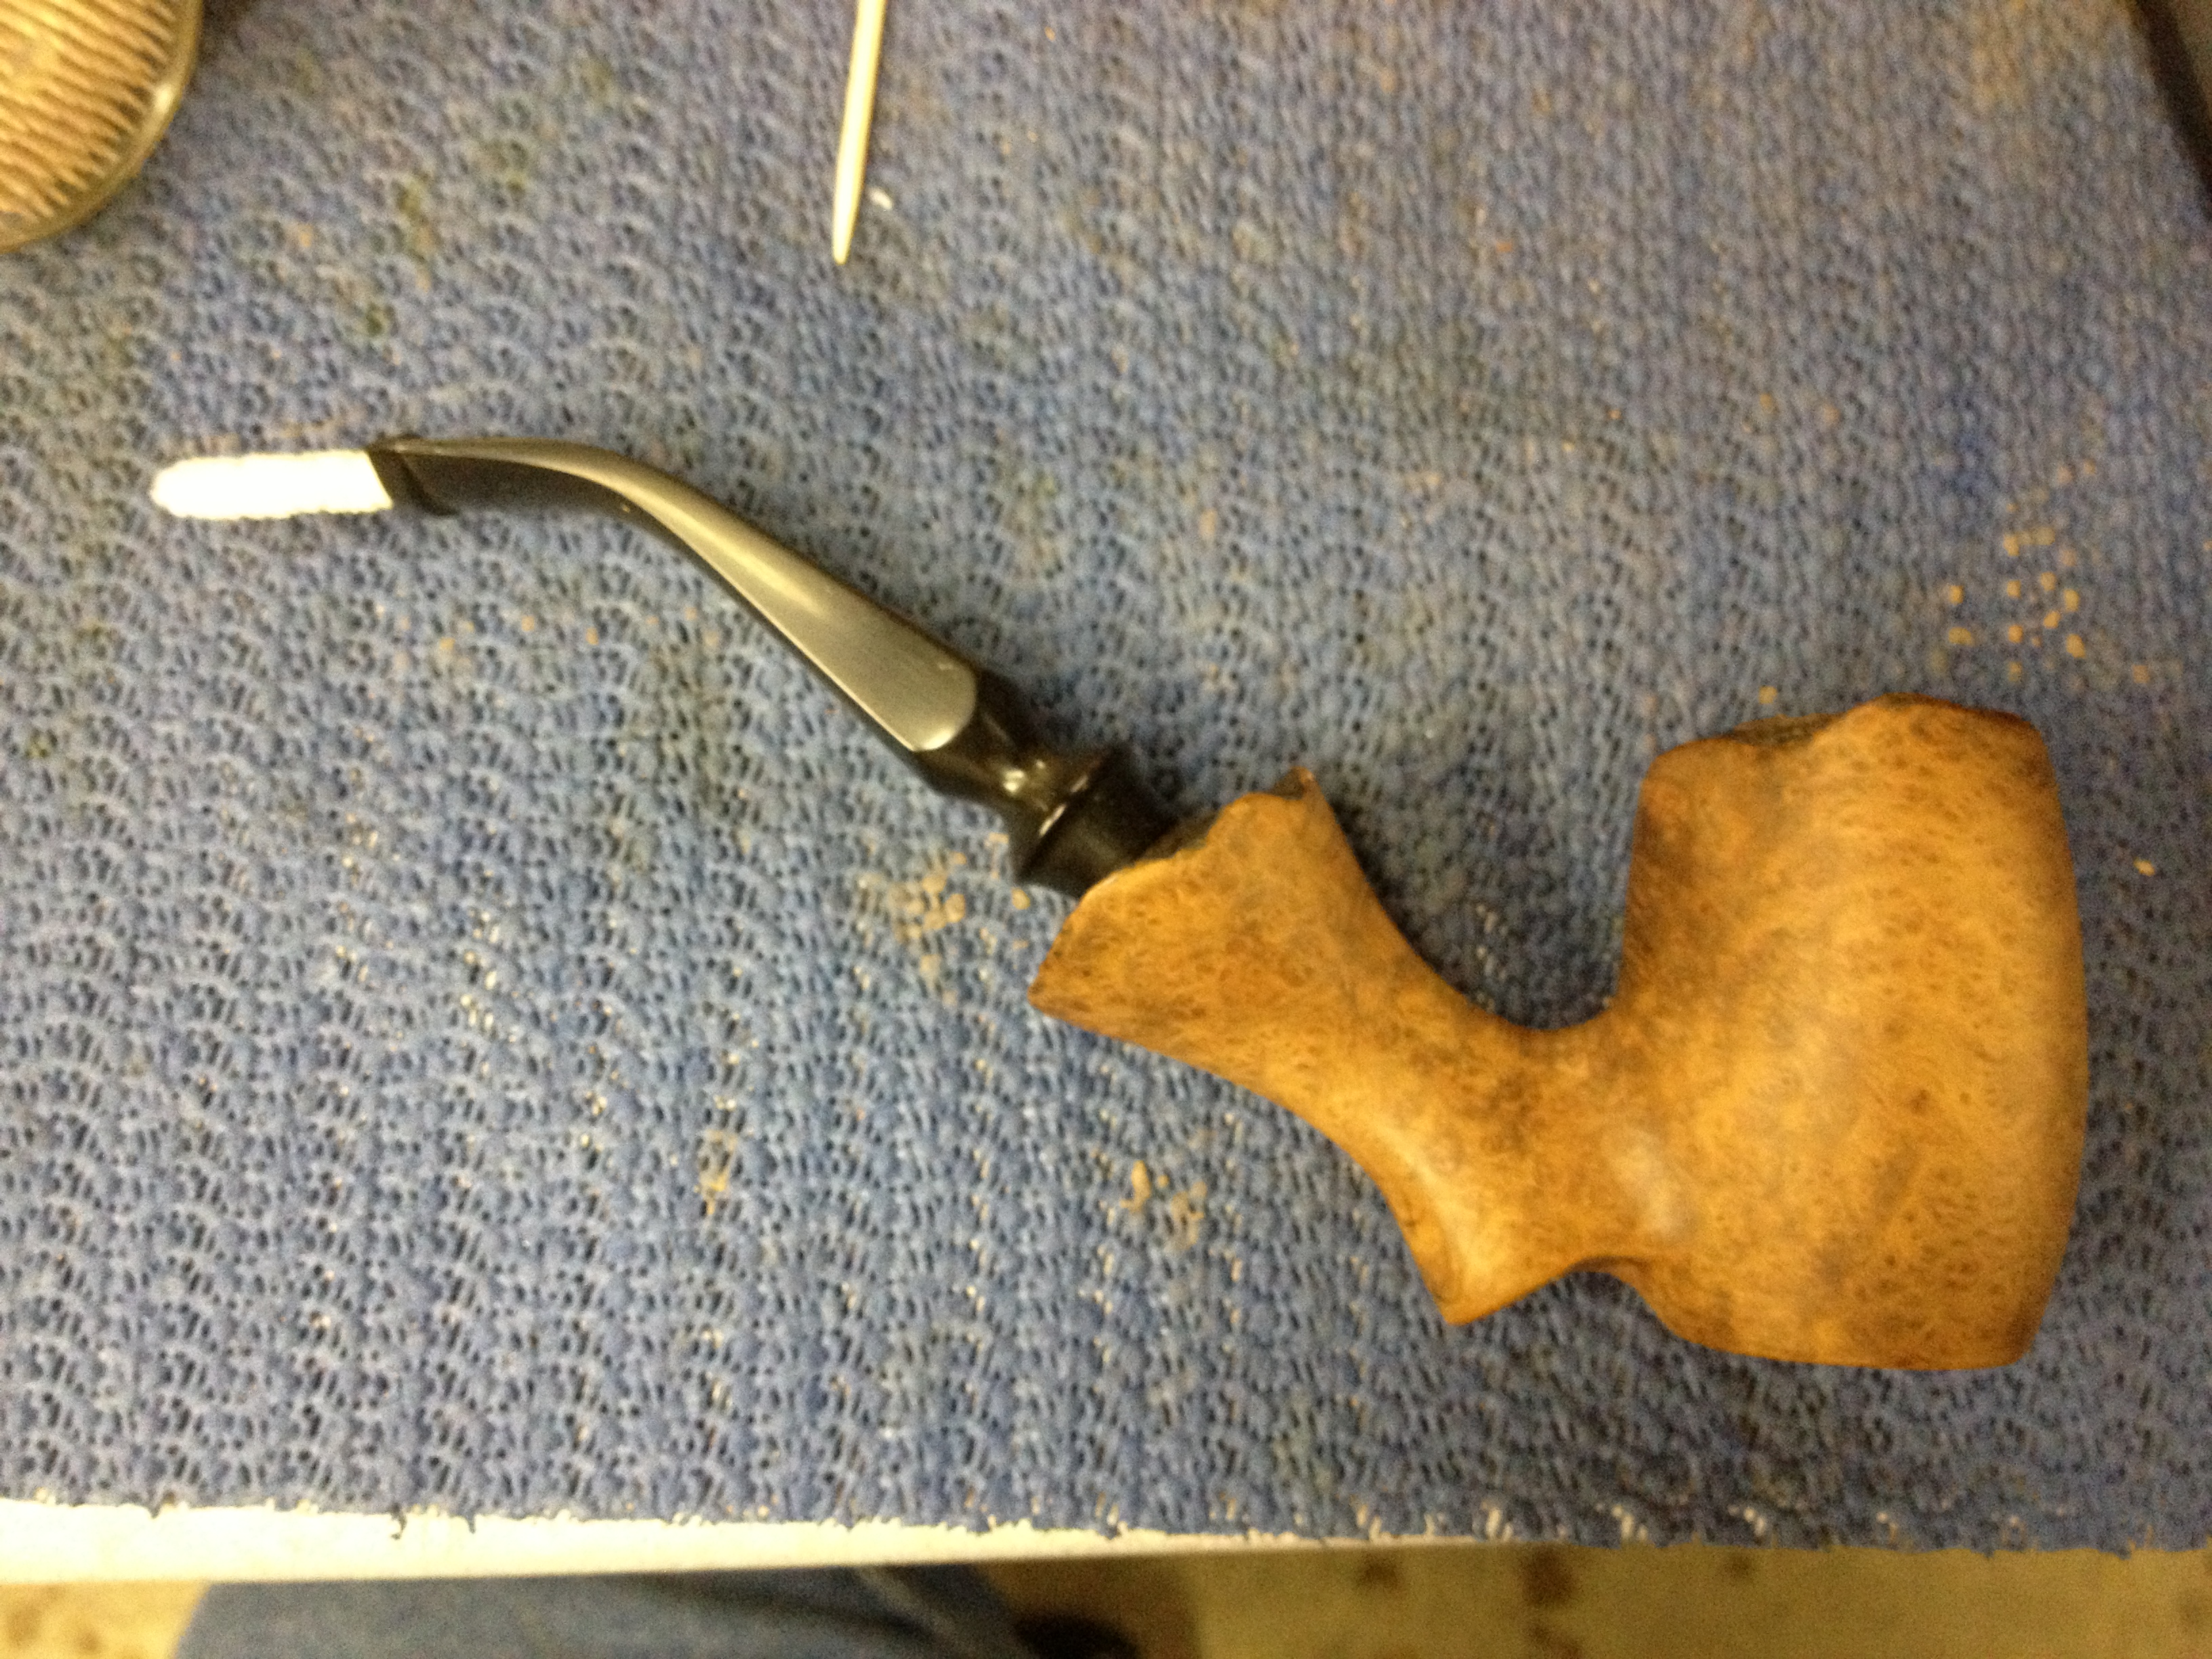
I sanded the meerschaum bowl with 1500 and 1800 grit micromesh sanding pads and then buffed the bowl with Tripoli and White Diamond to get a shine on the meerschaum.
IMG_2035

IMG_2036

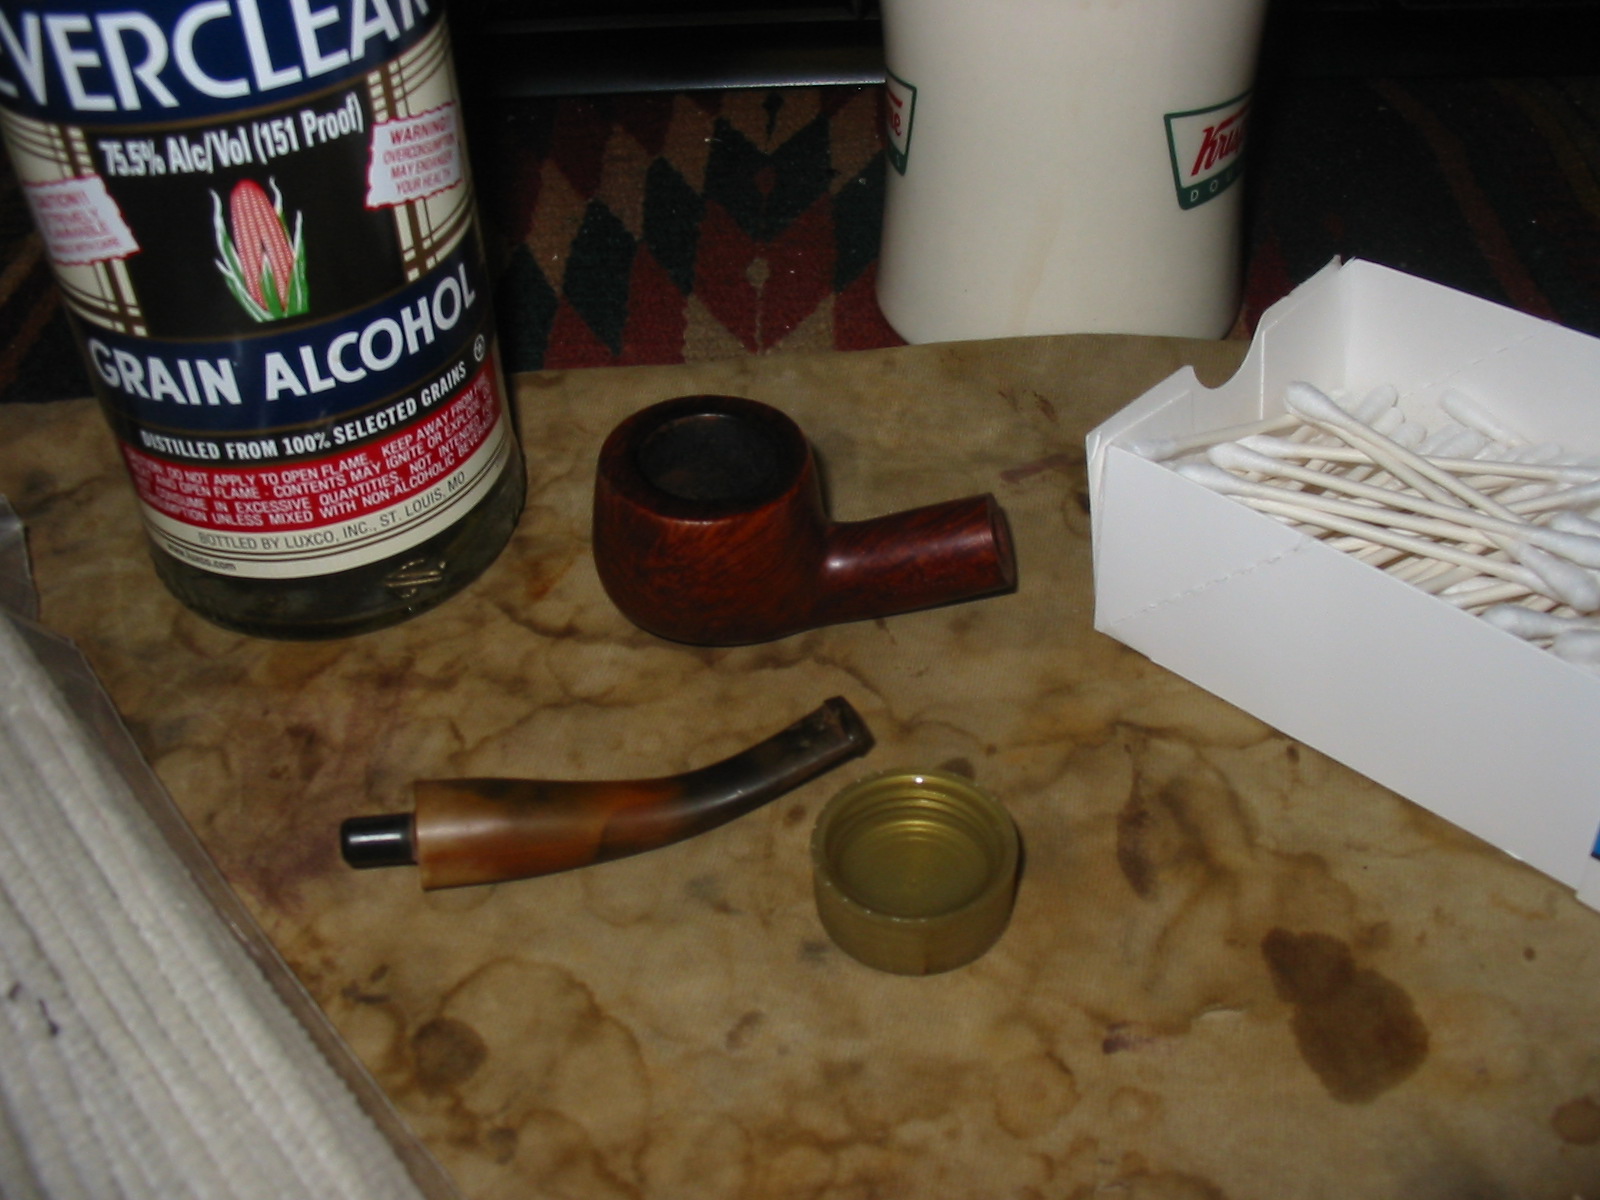
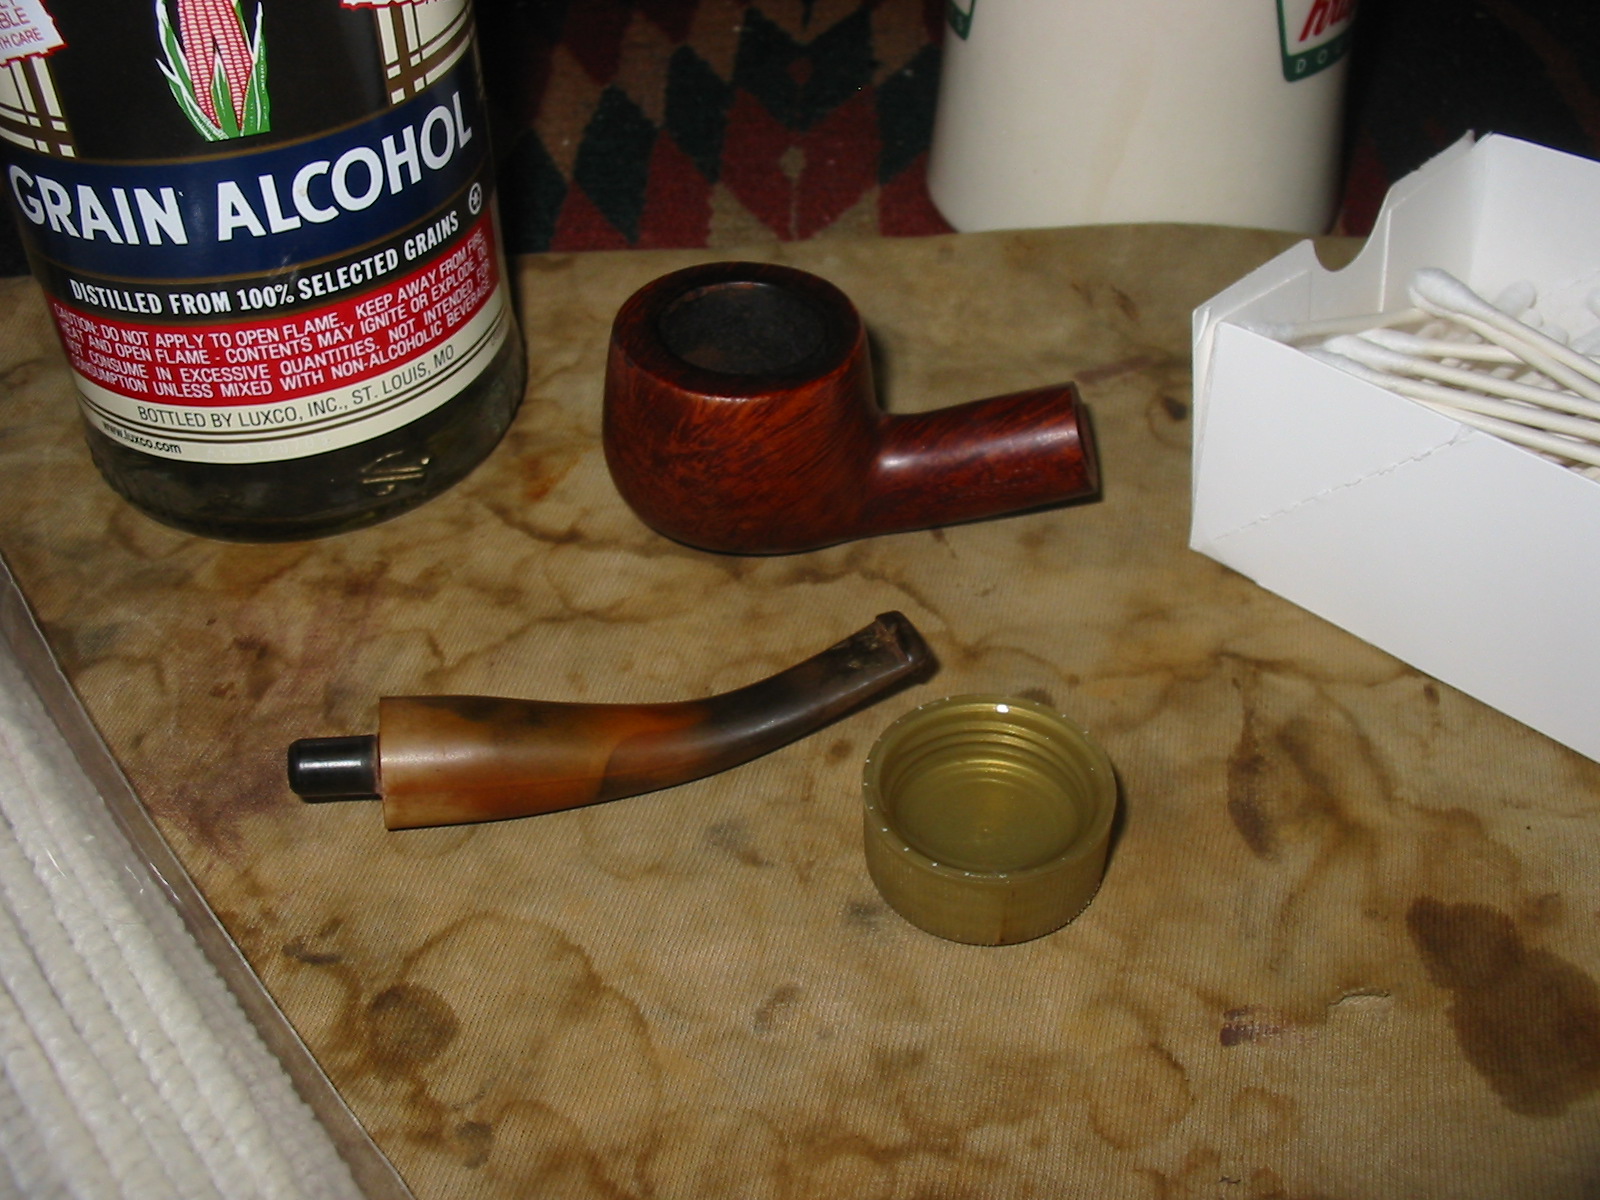
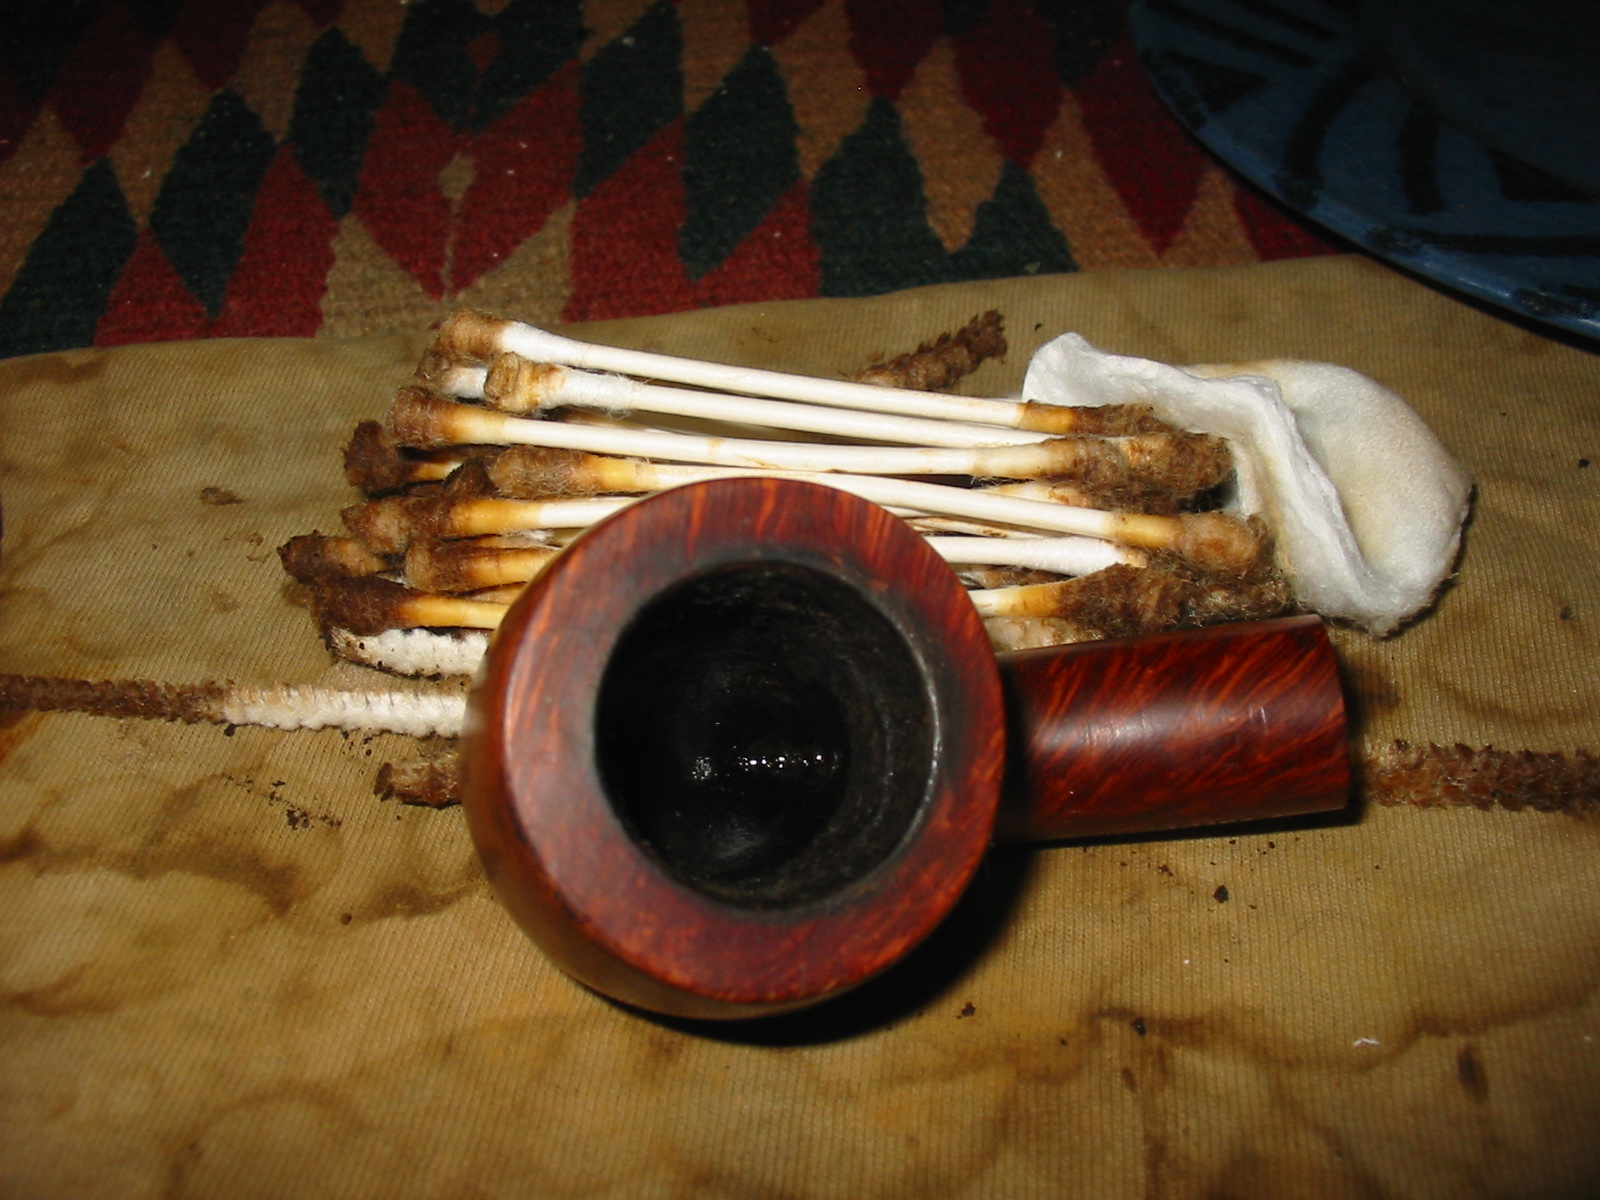
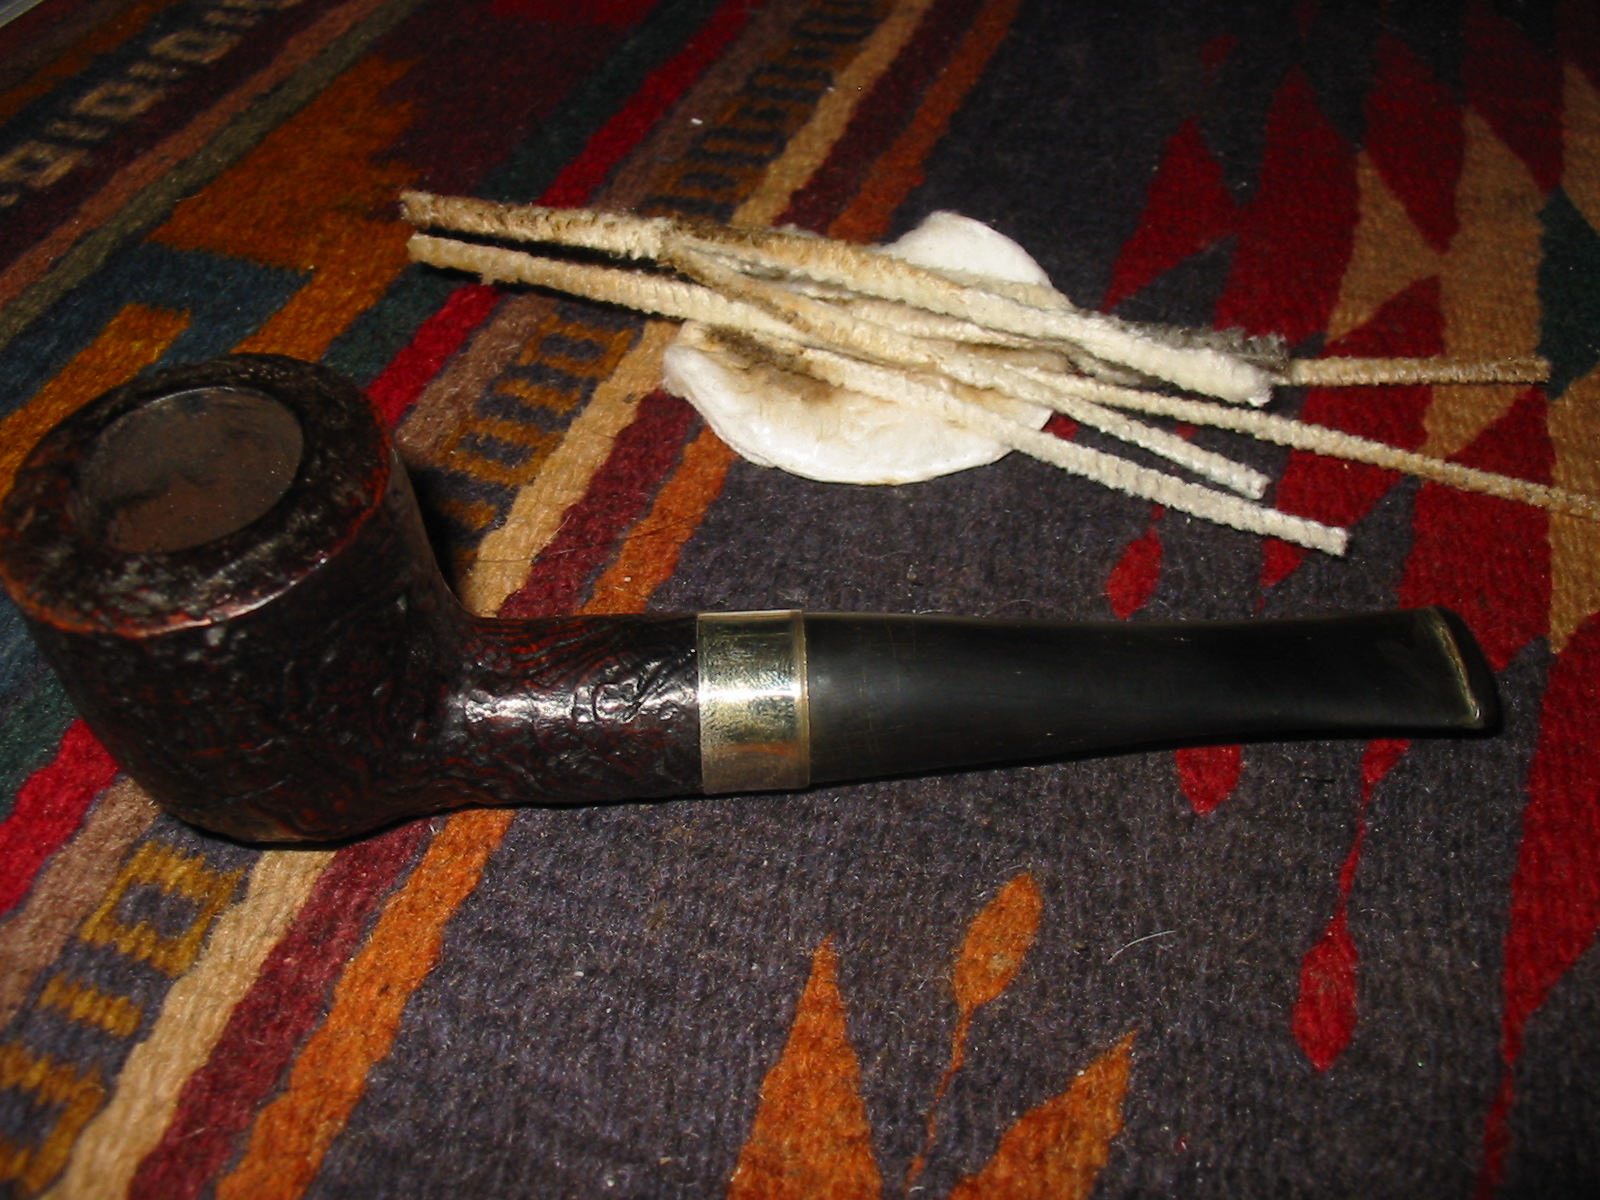
I cleaned out the shank and the bowl as well as the stem with pipe cleaners and cotton swabs dipped in Everclear. I kept cleaning until the pipe cleaners came out clean and unstained.
IMG_2037

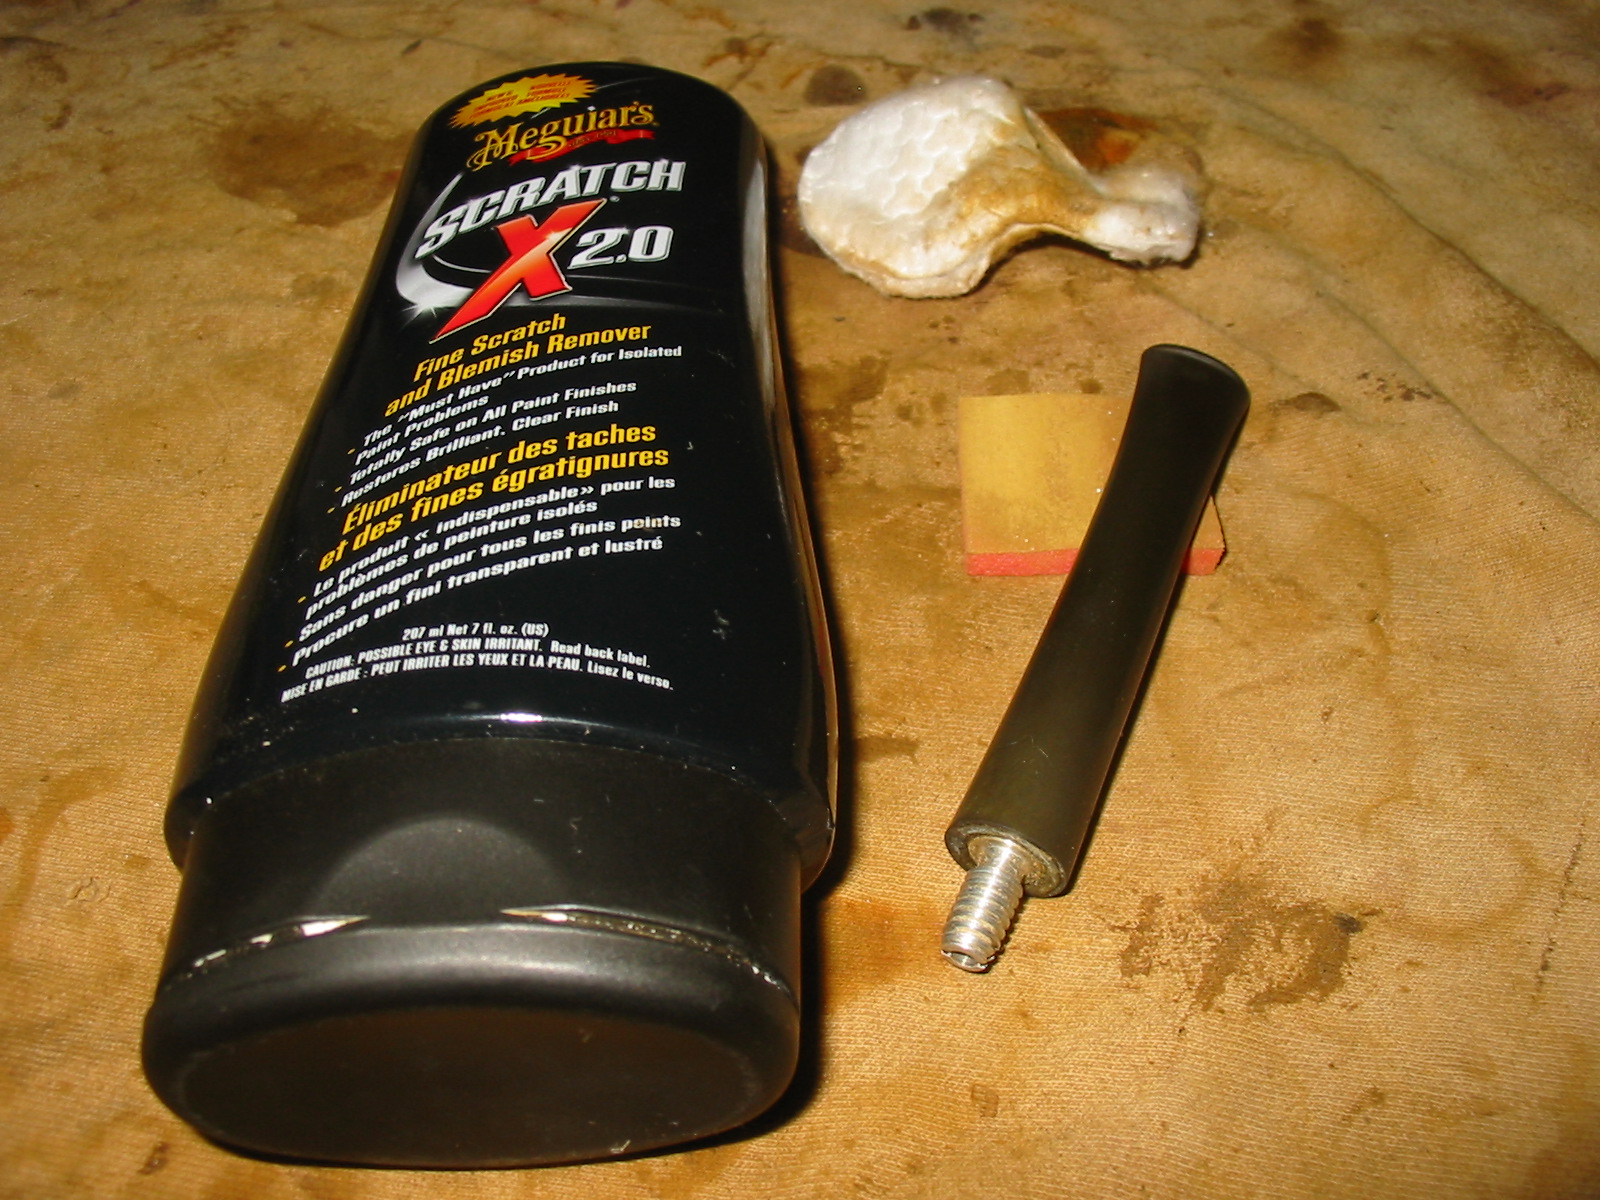
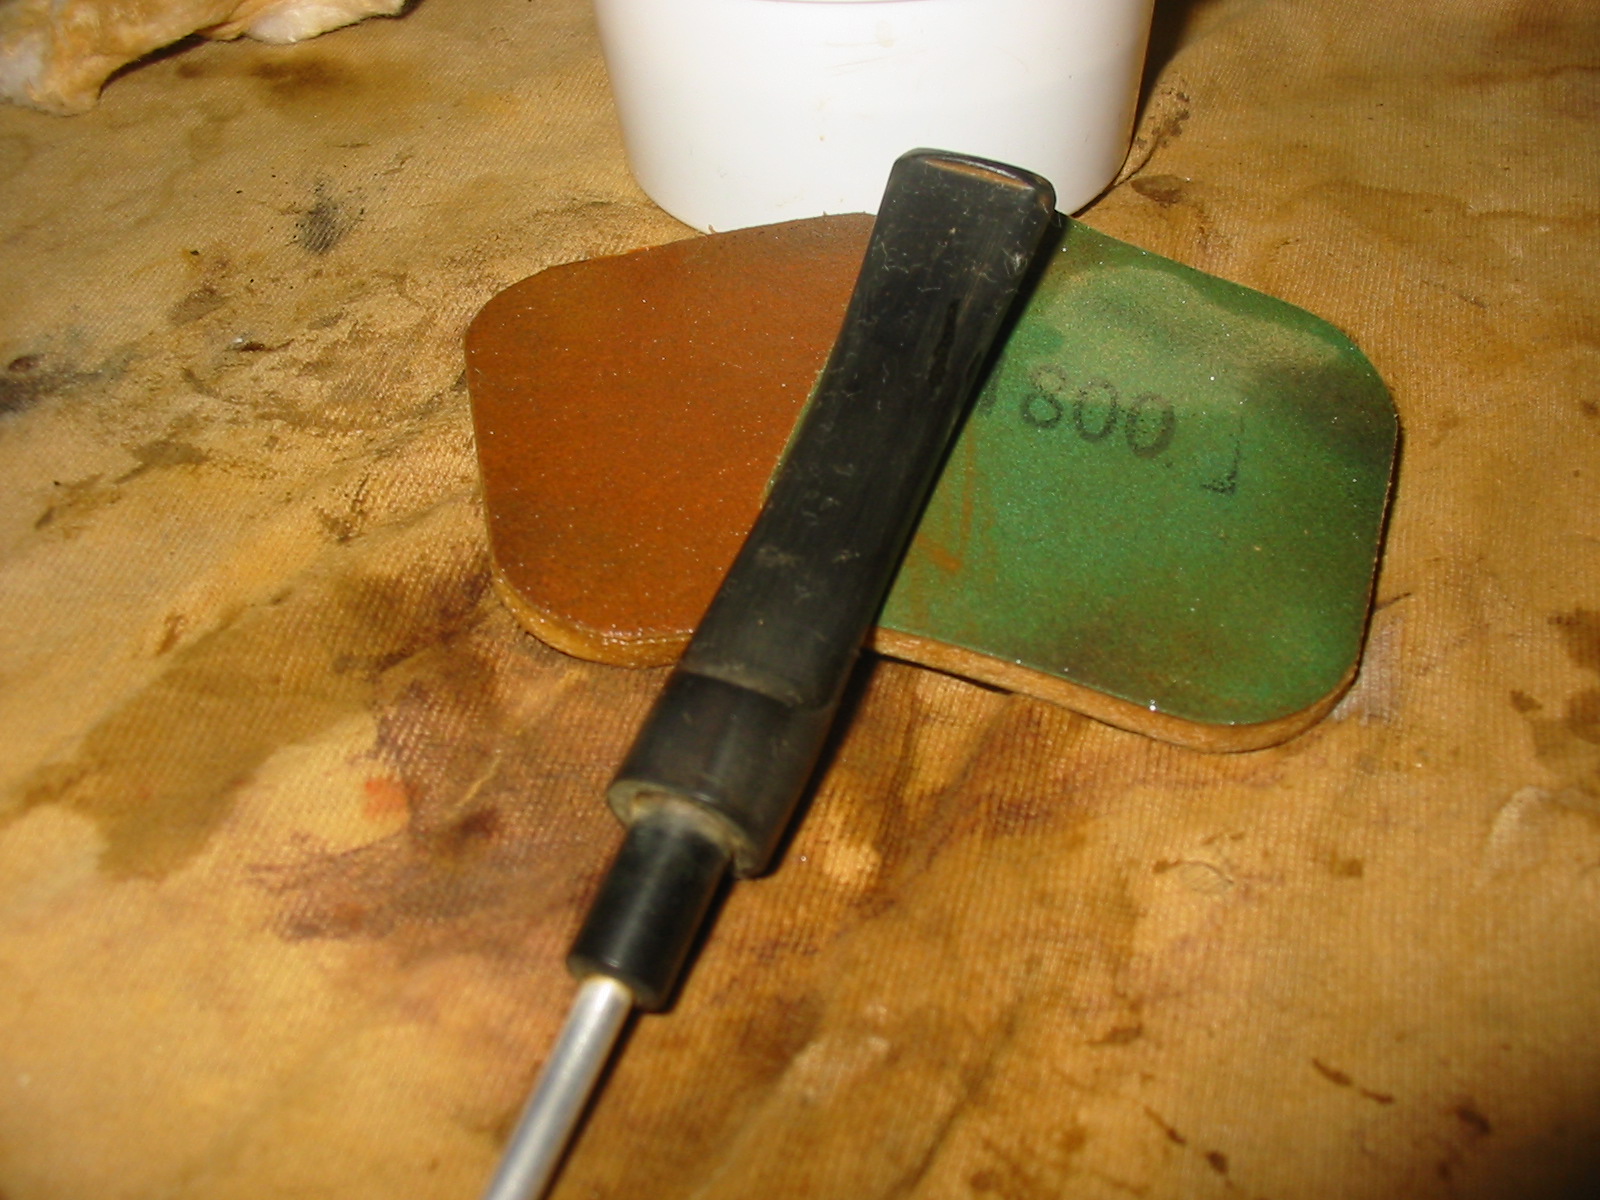
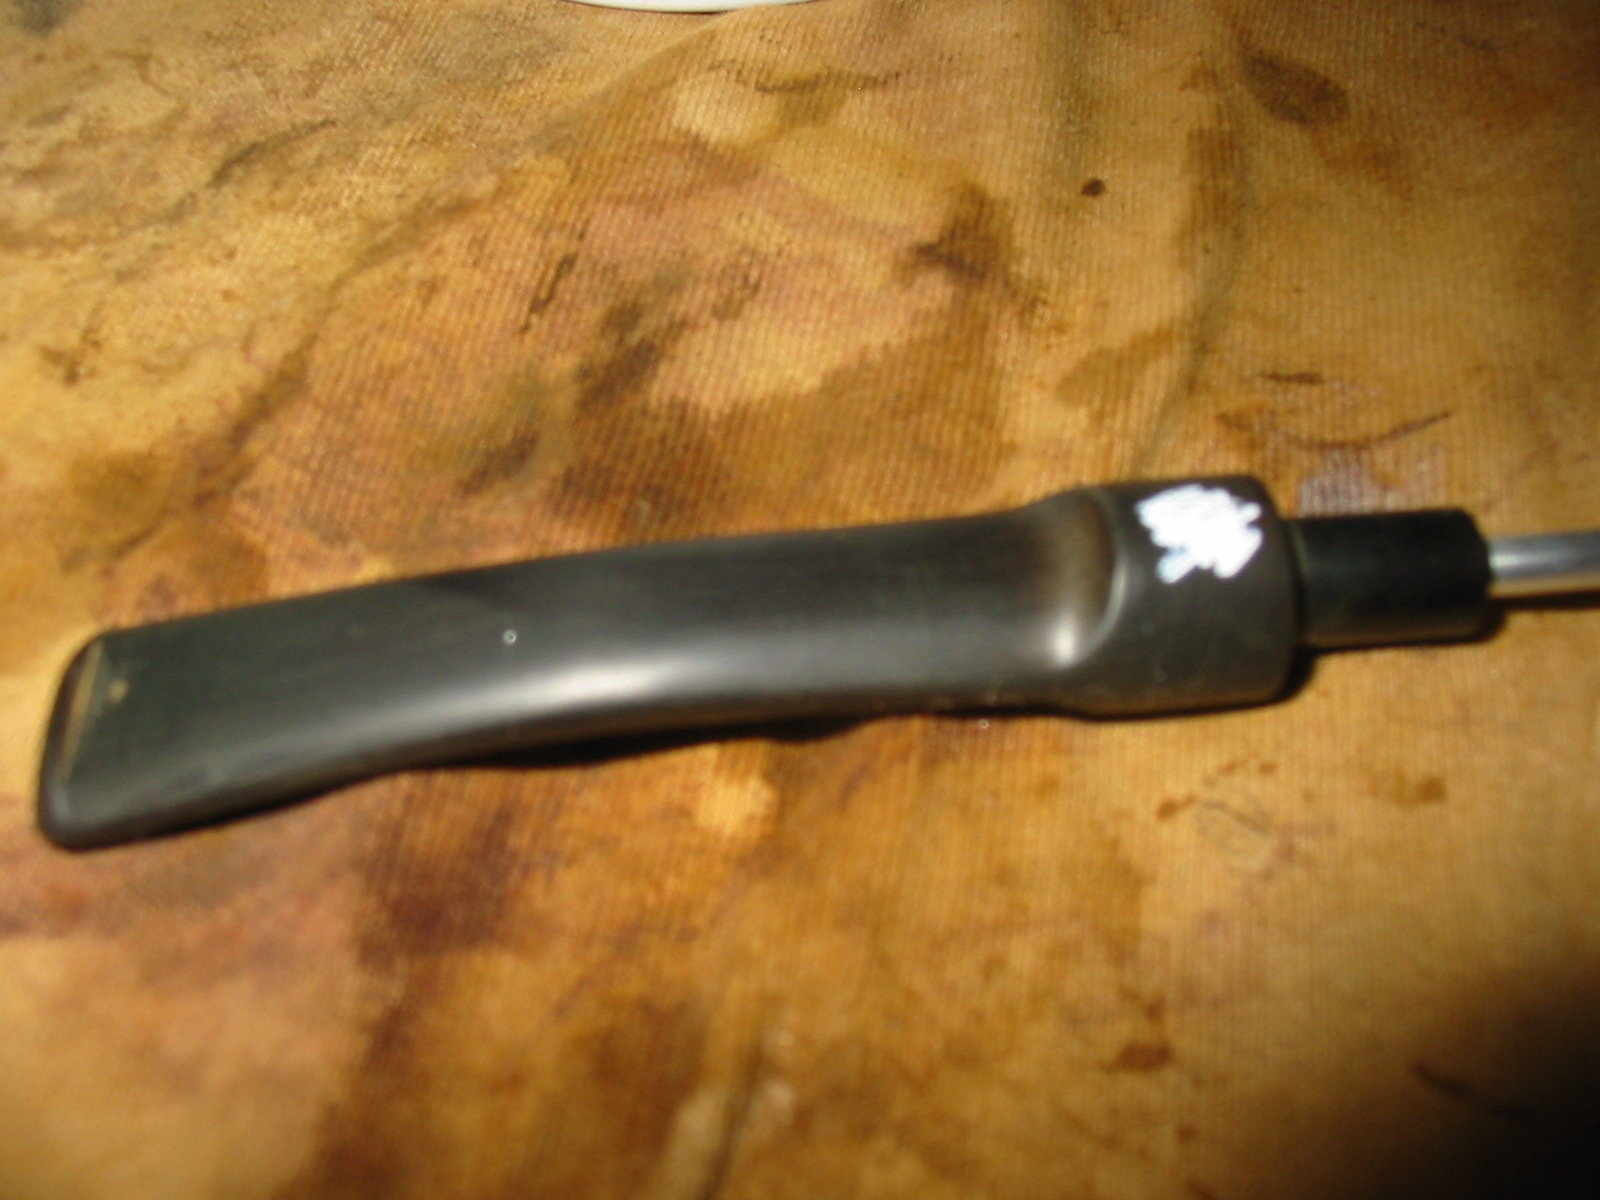
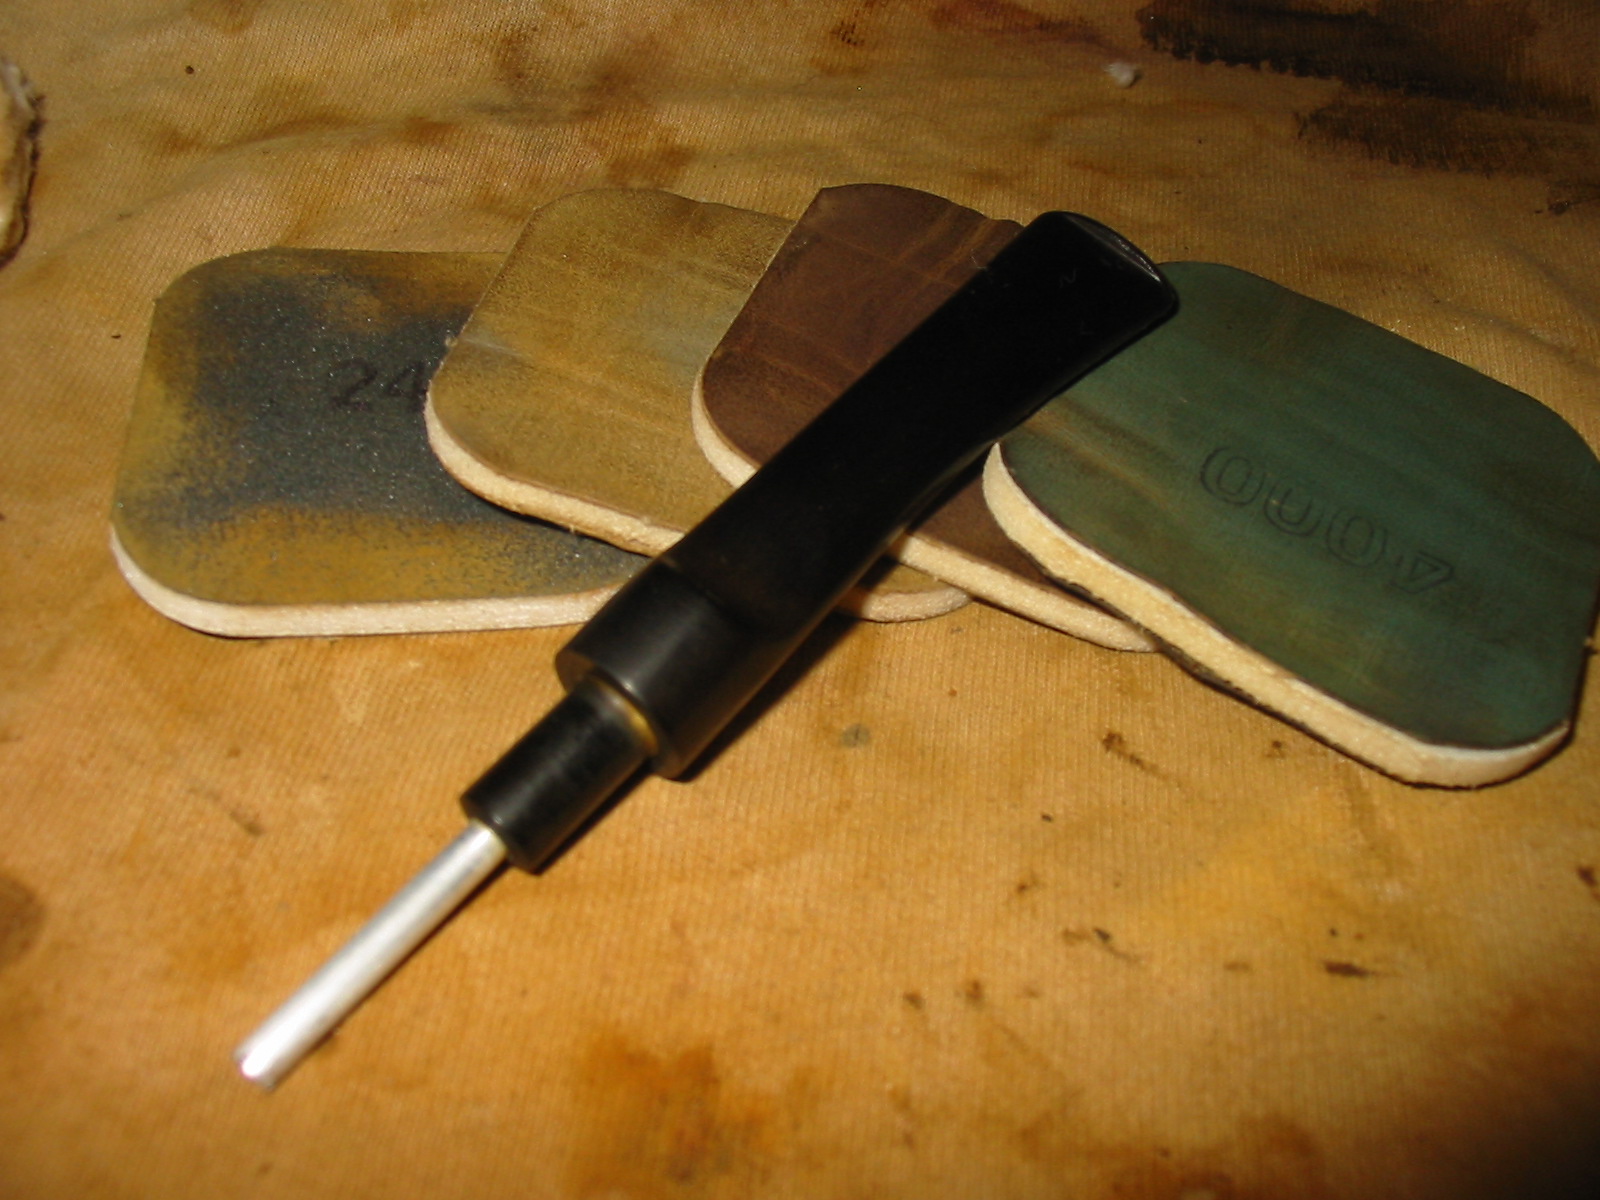
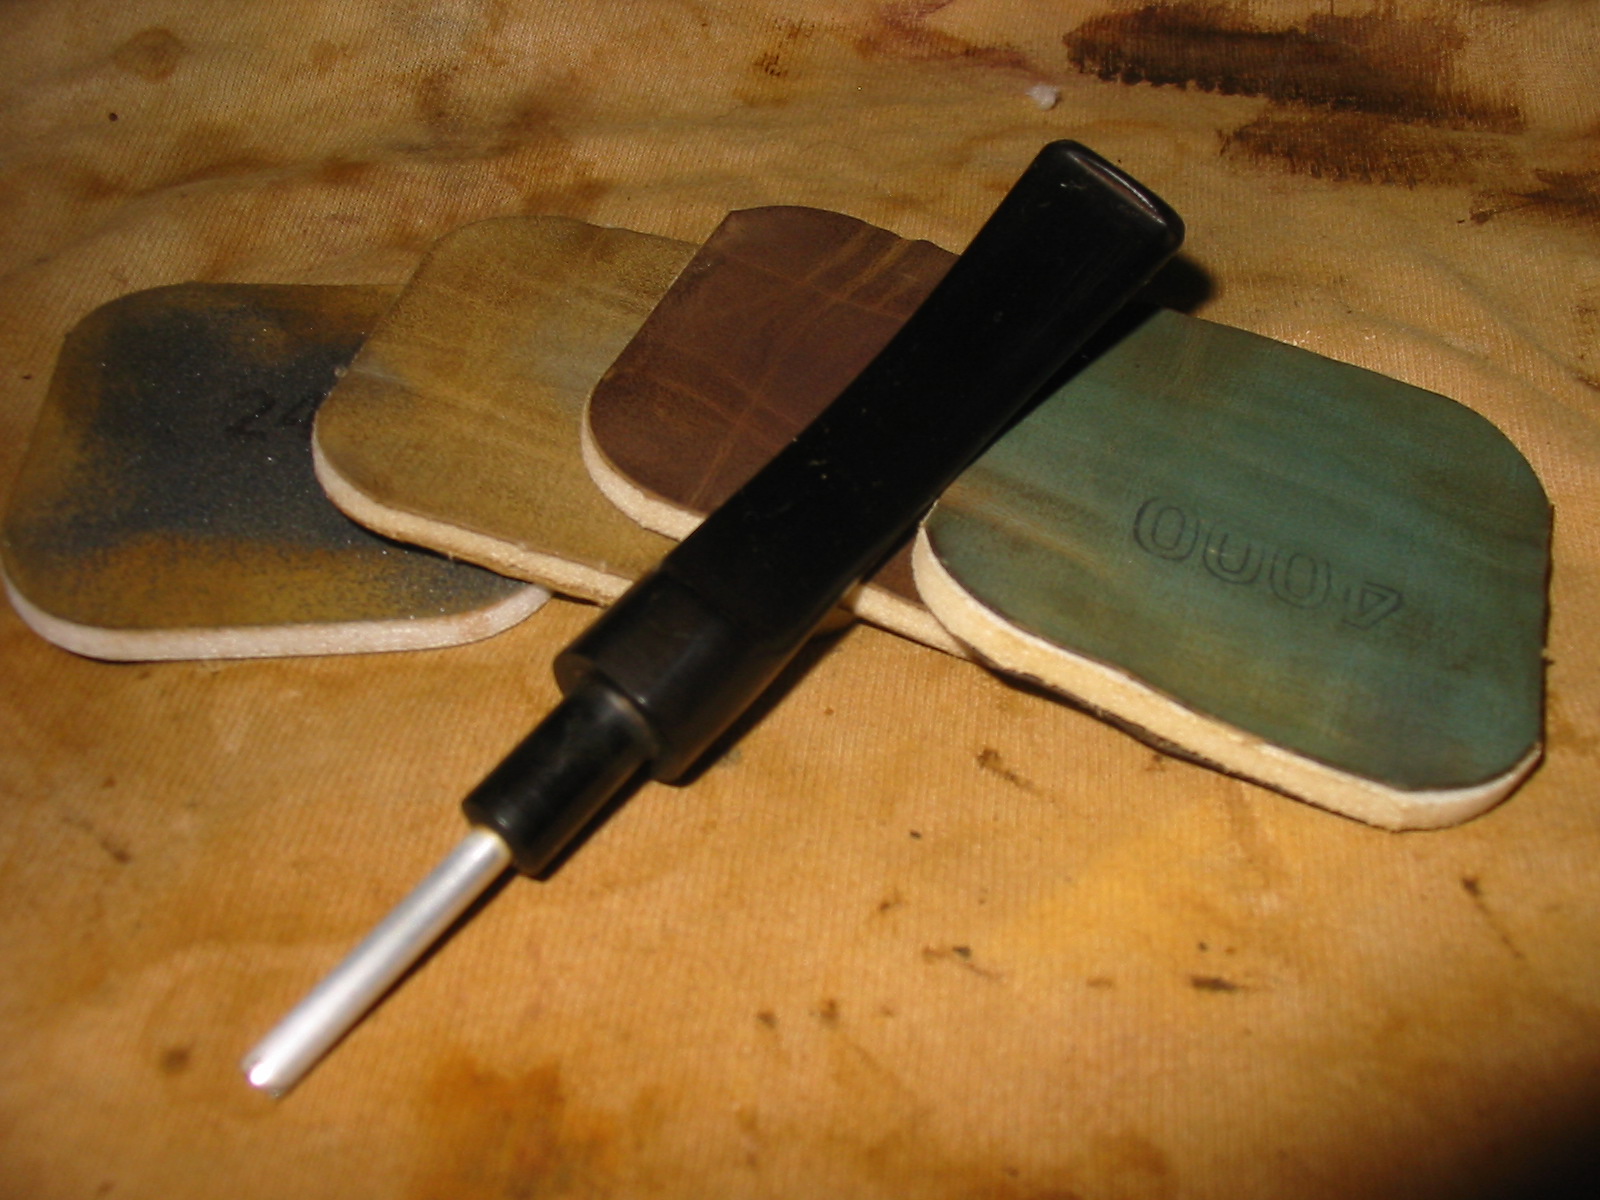
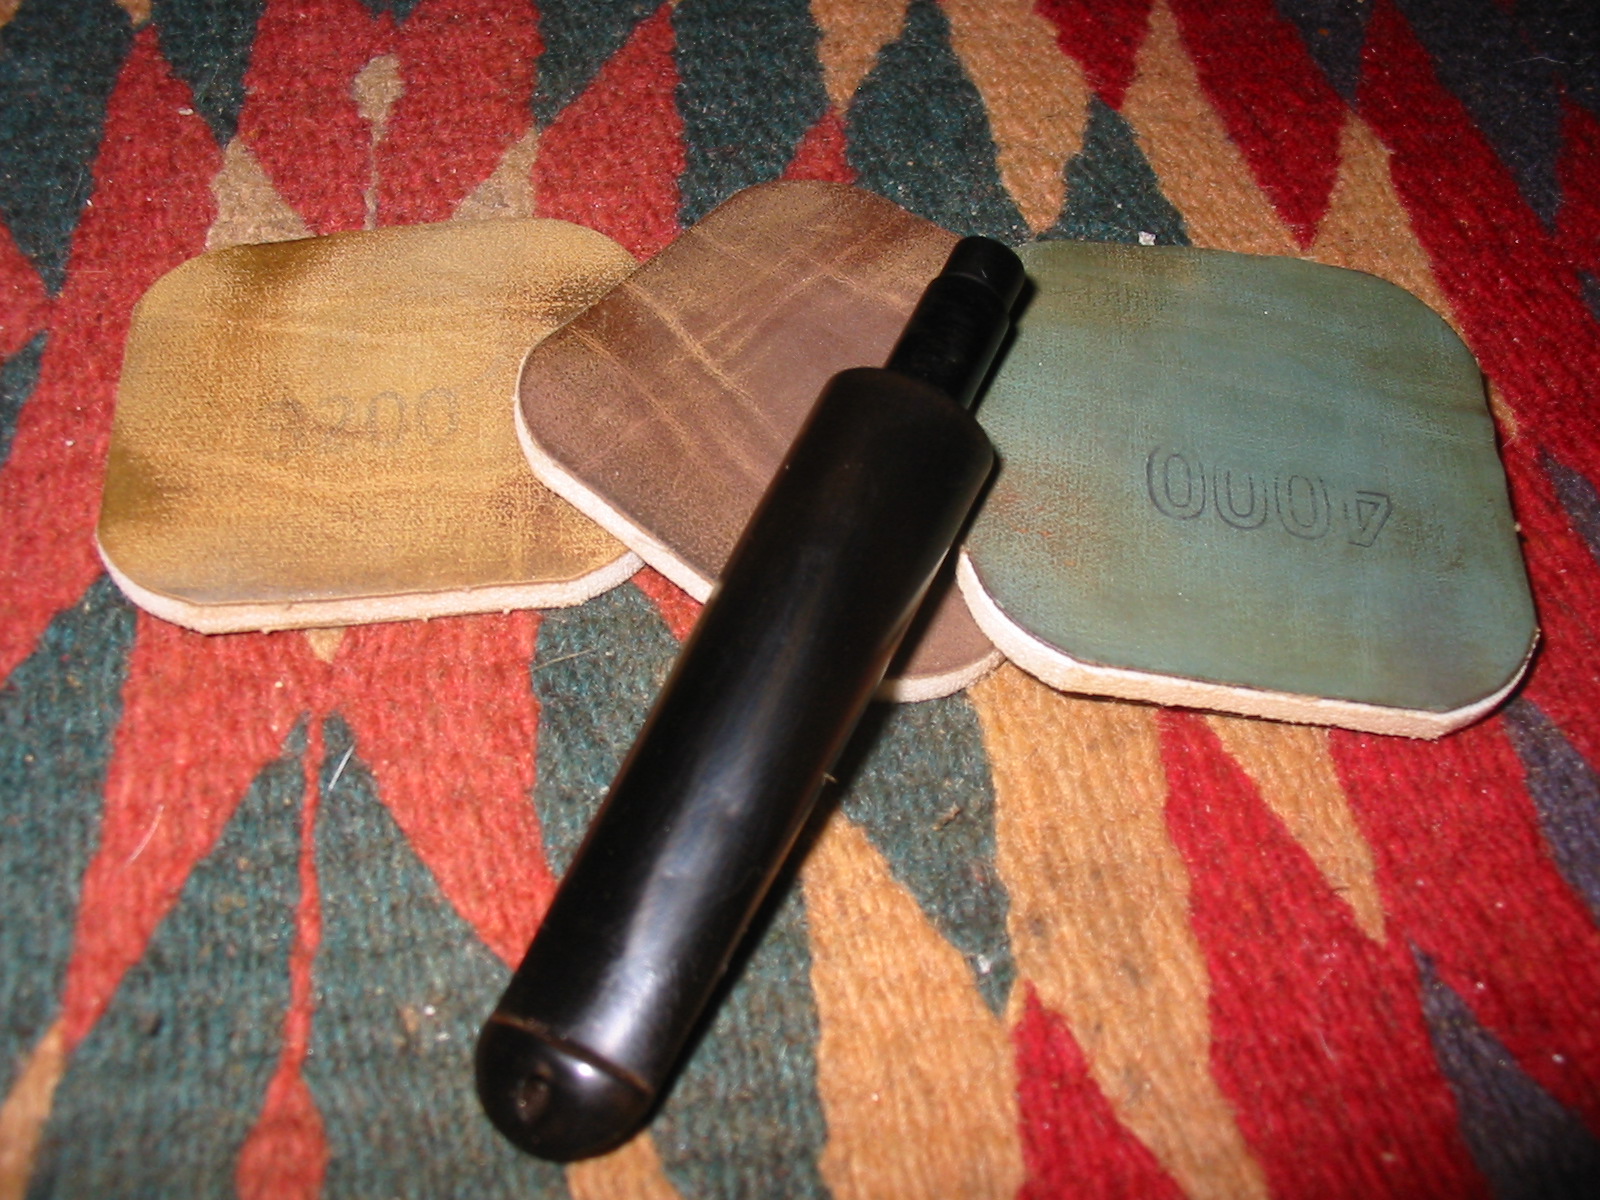
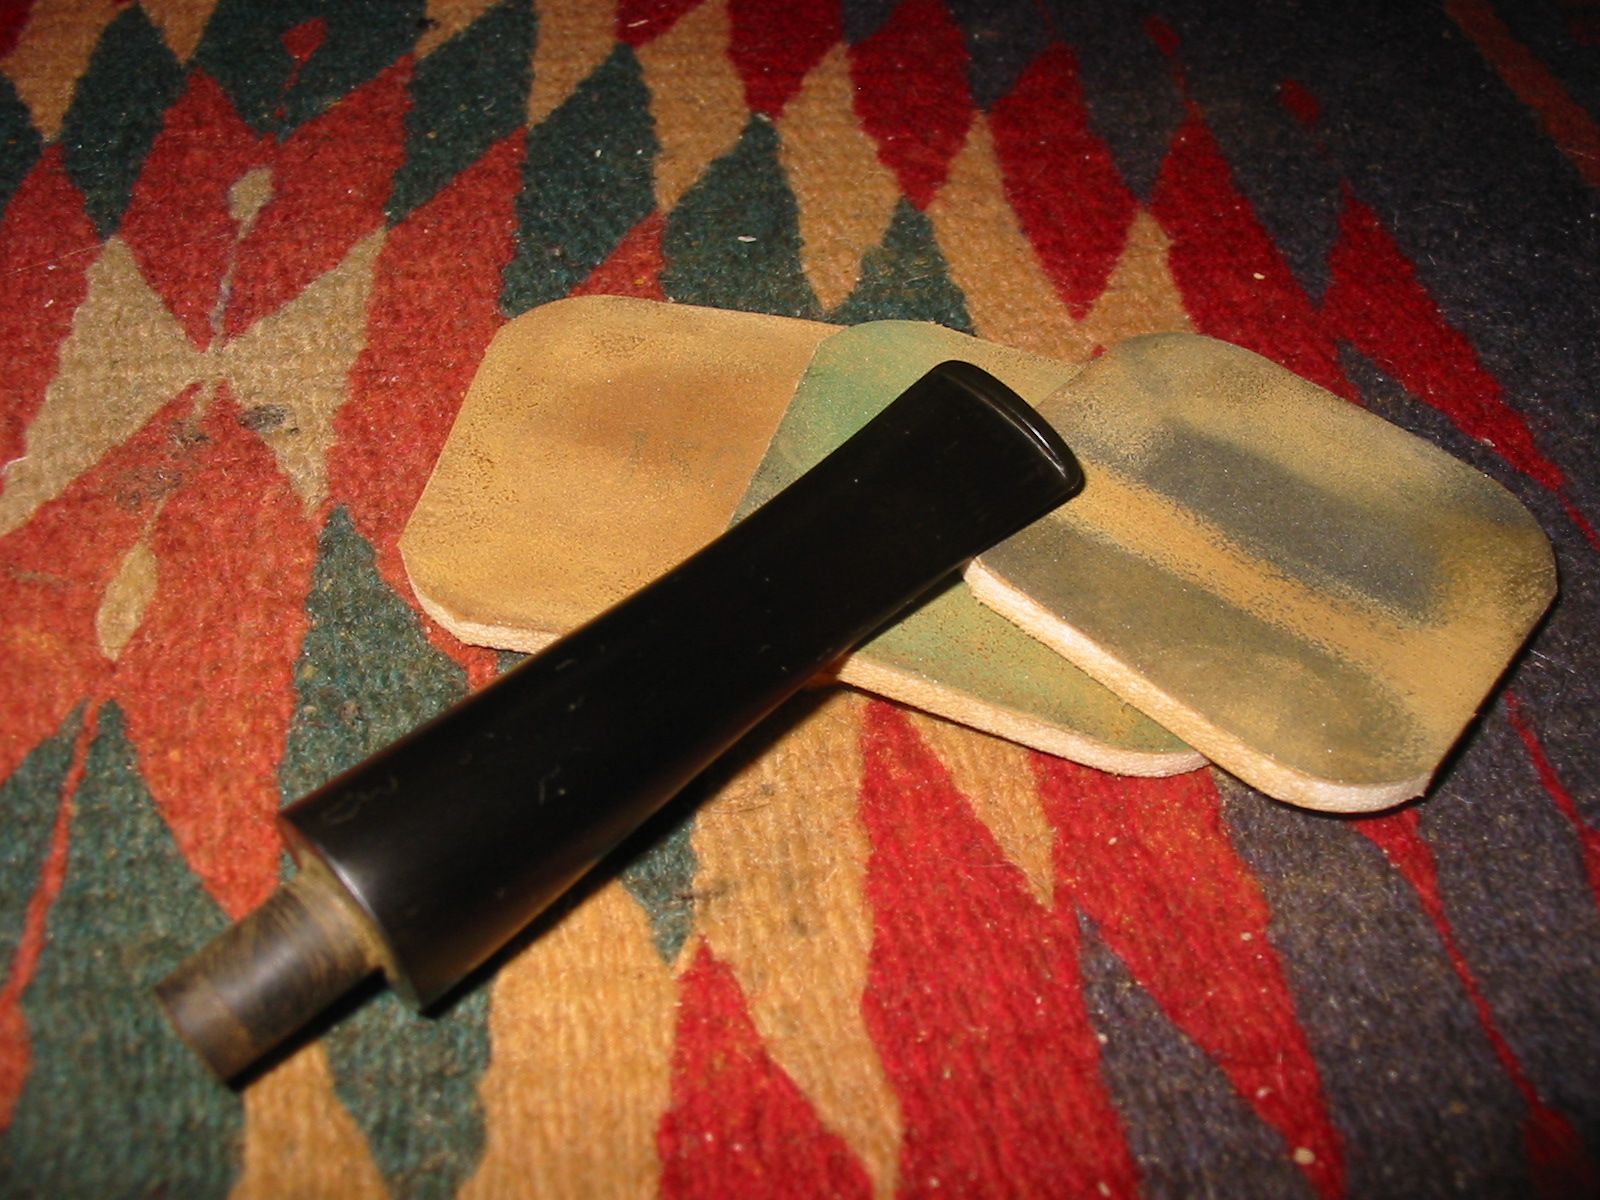
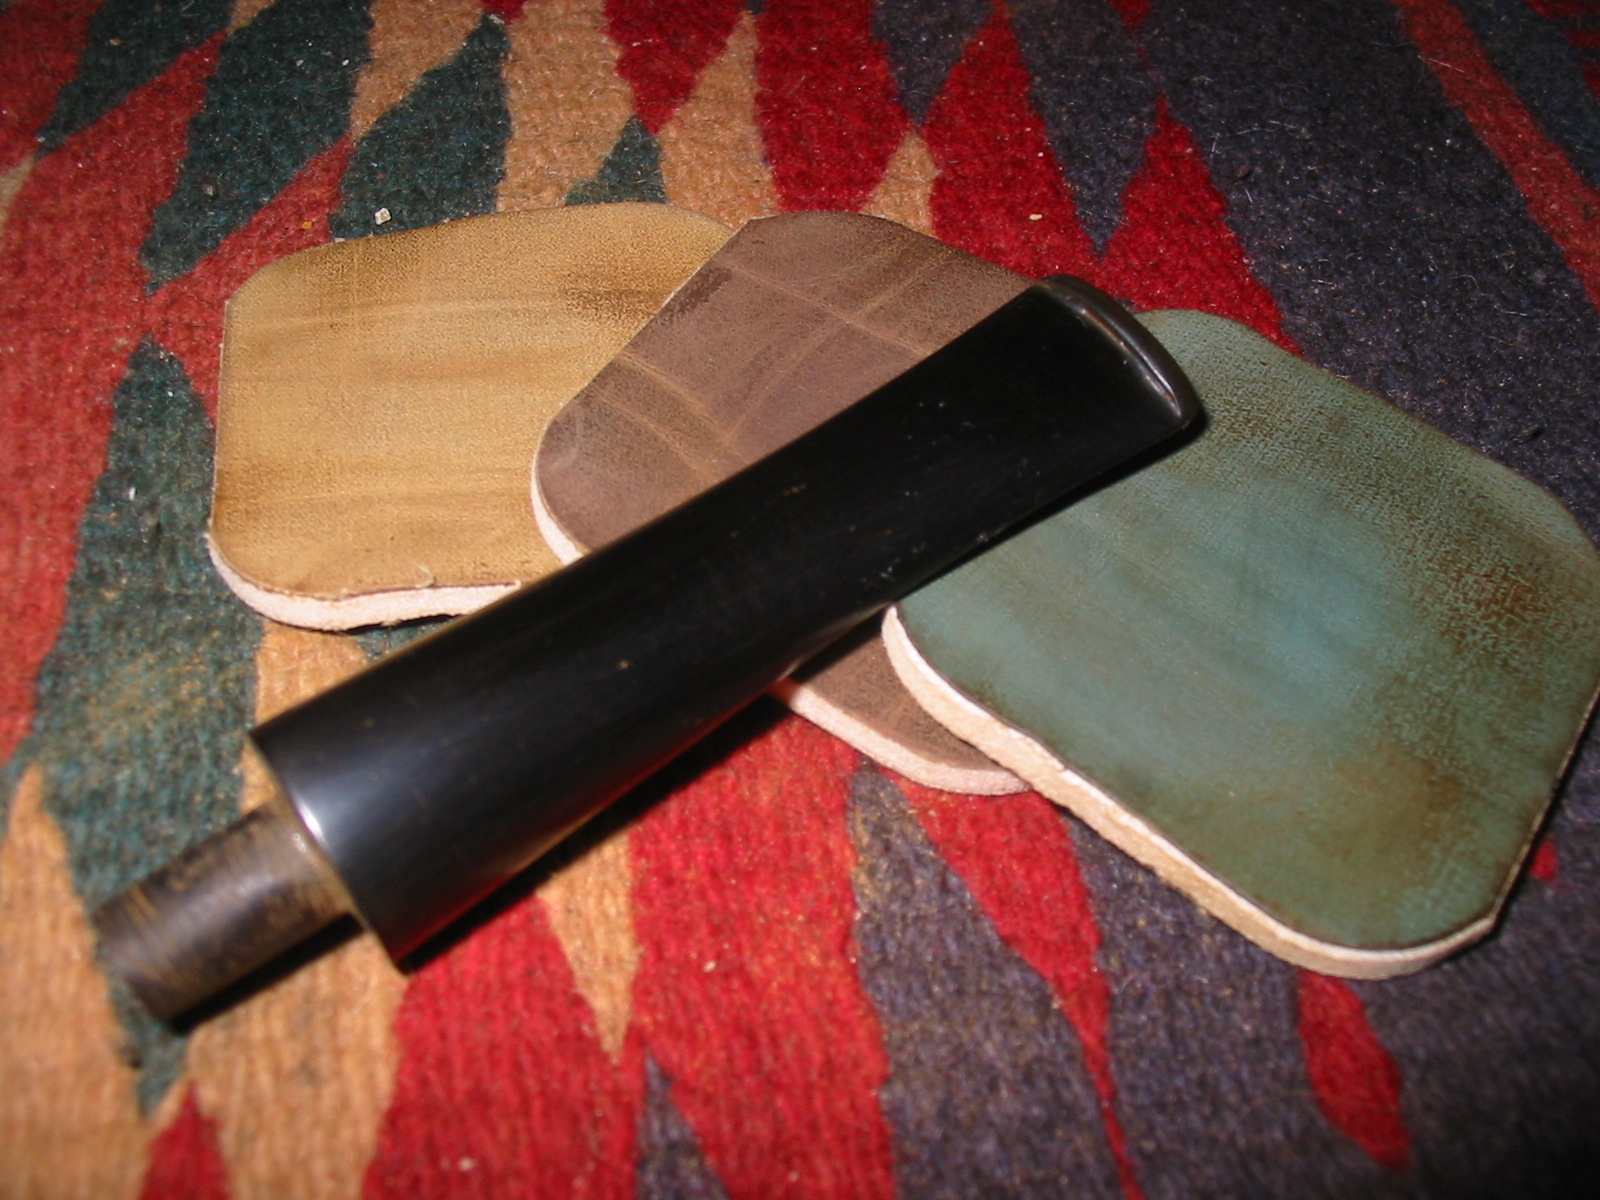
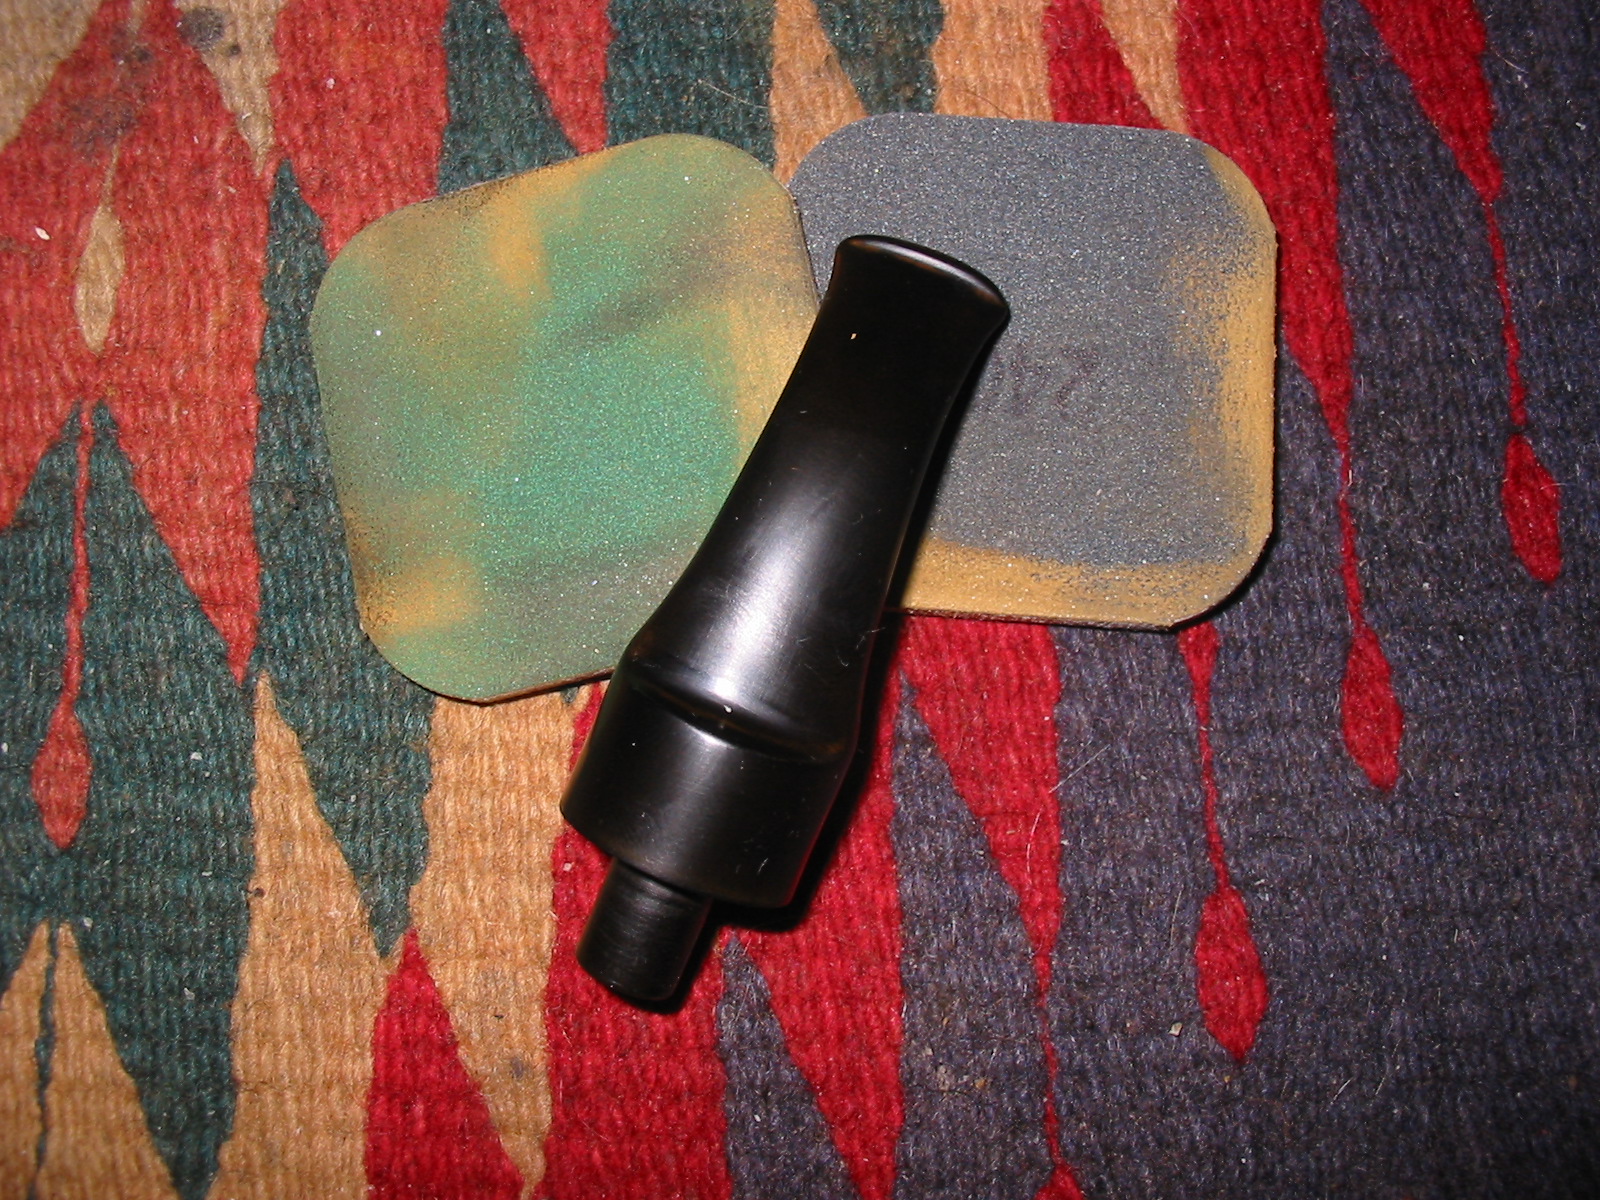
Once finished with the inside I sanded the outside of the stem with a medium grit sanding sponge and then wipe it down with Meguair’s Scratch X2.0 on a cotton pad. Then I sanded the stem with micromesh sanding pads from 1500 – 12,000 grit. I wet sanded the stem with the 1500-2400 grits and then dry sanded with the remaining grits.
IMG_2038

IMG_2040

IMG_2042

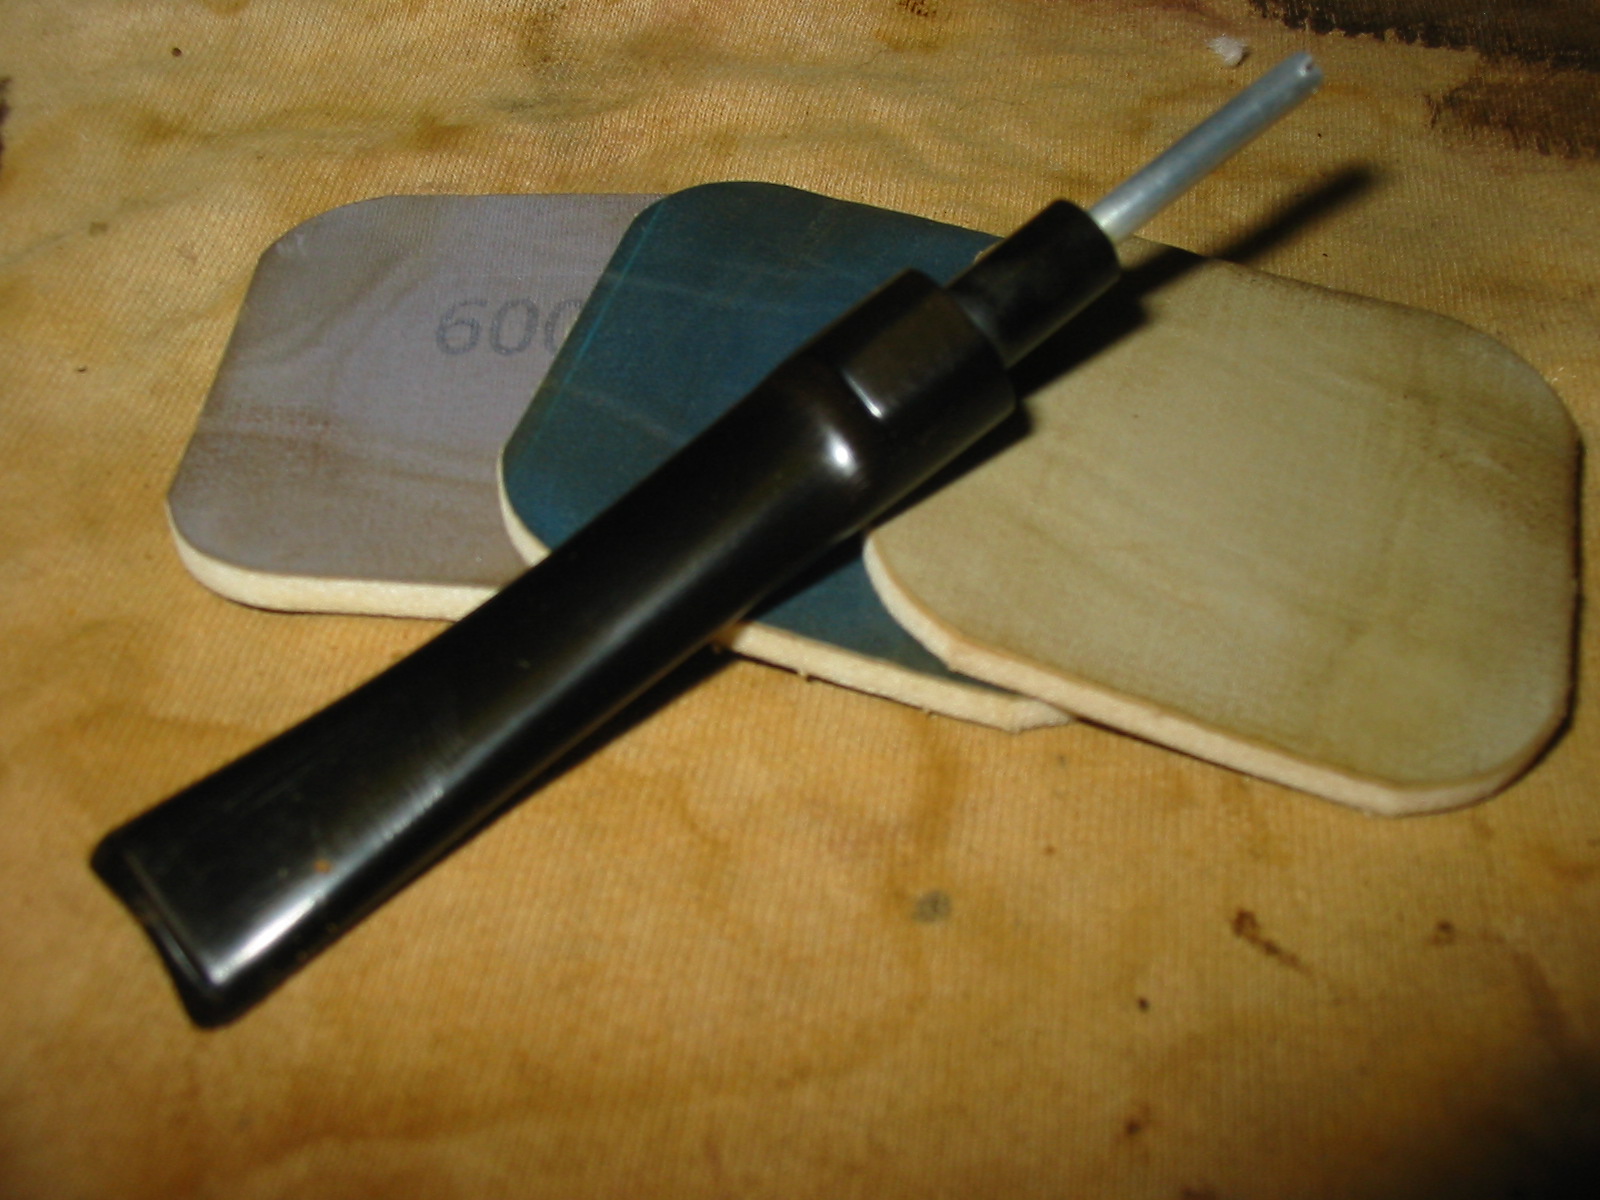
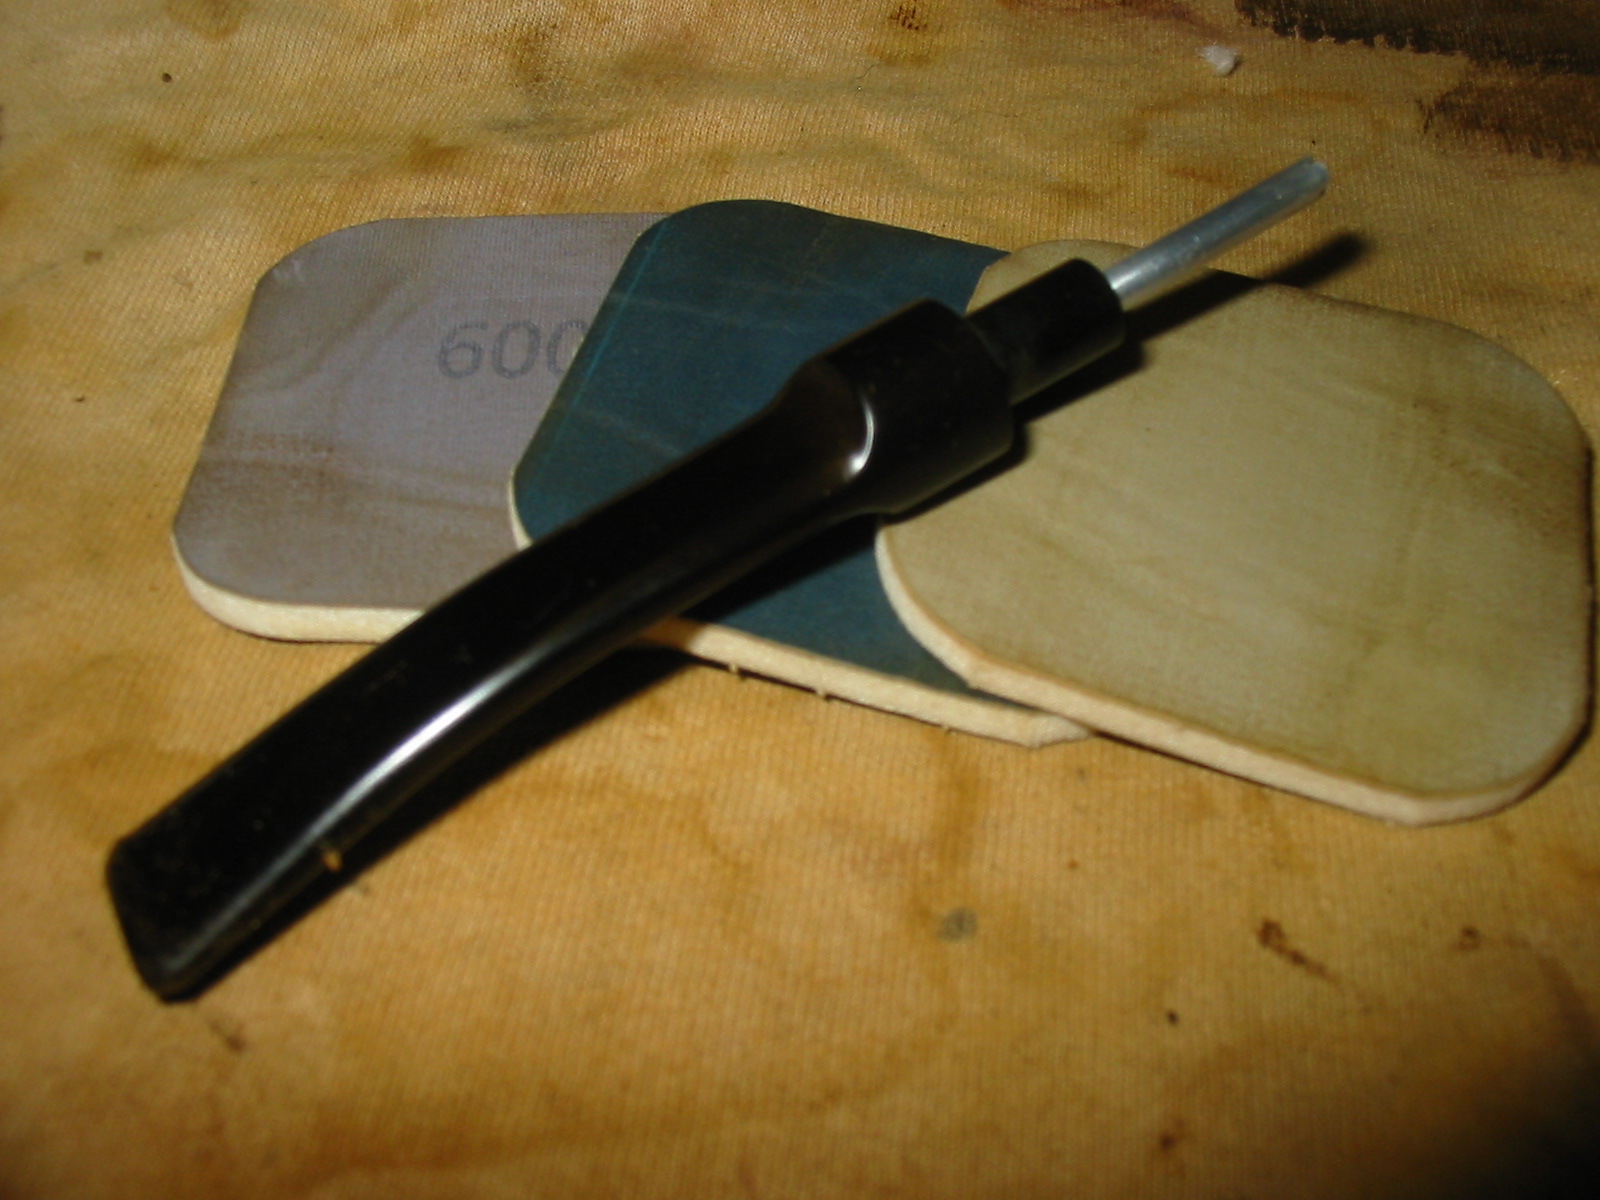
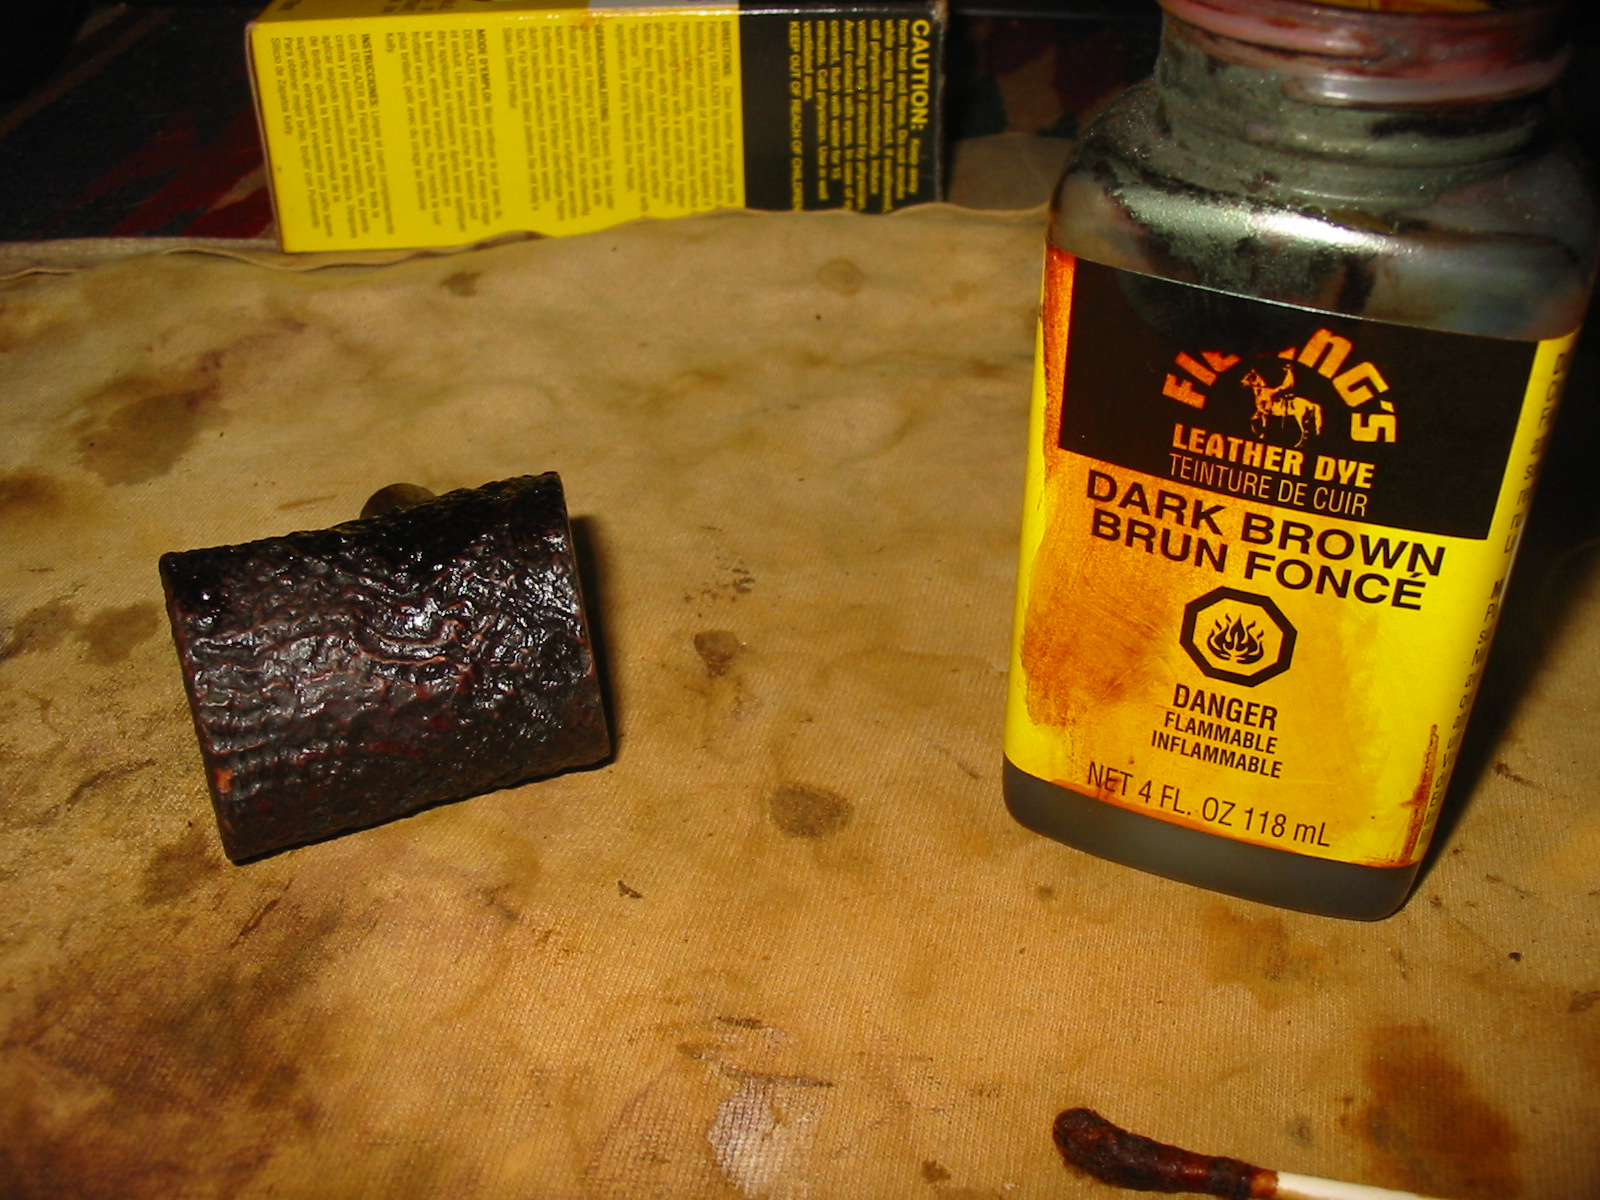
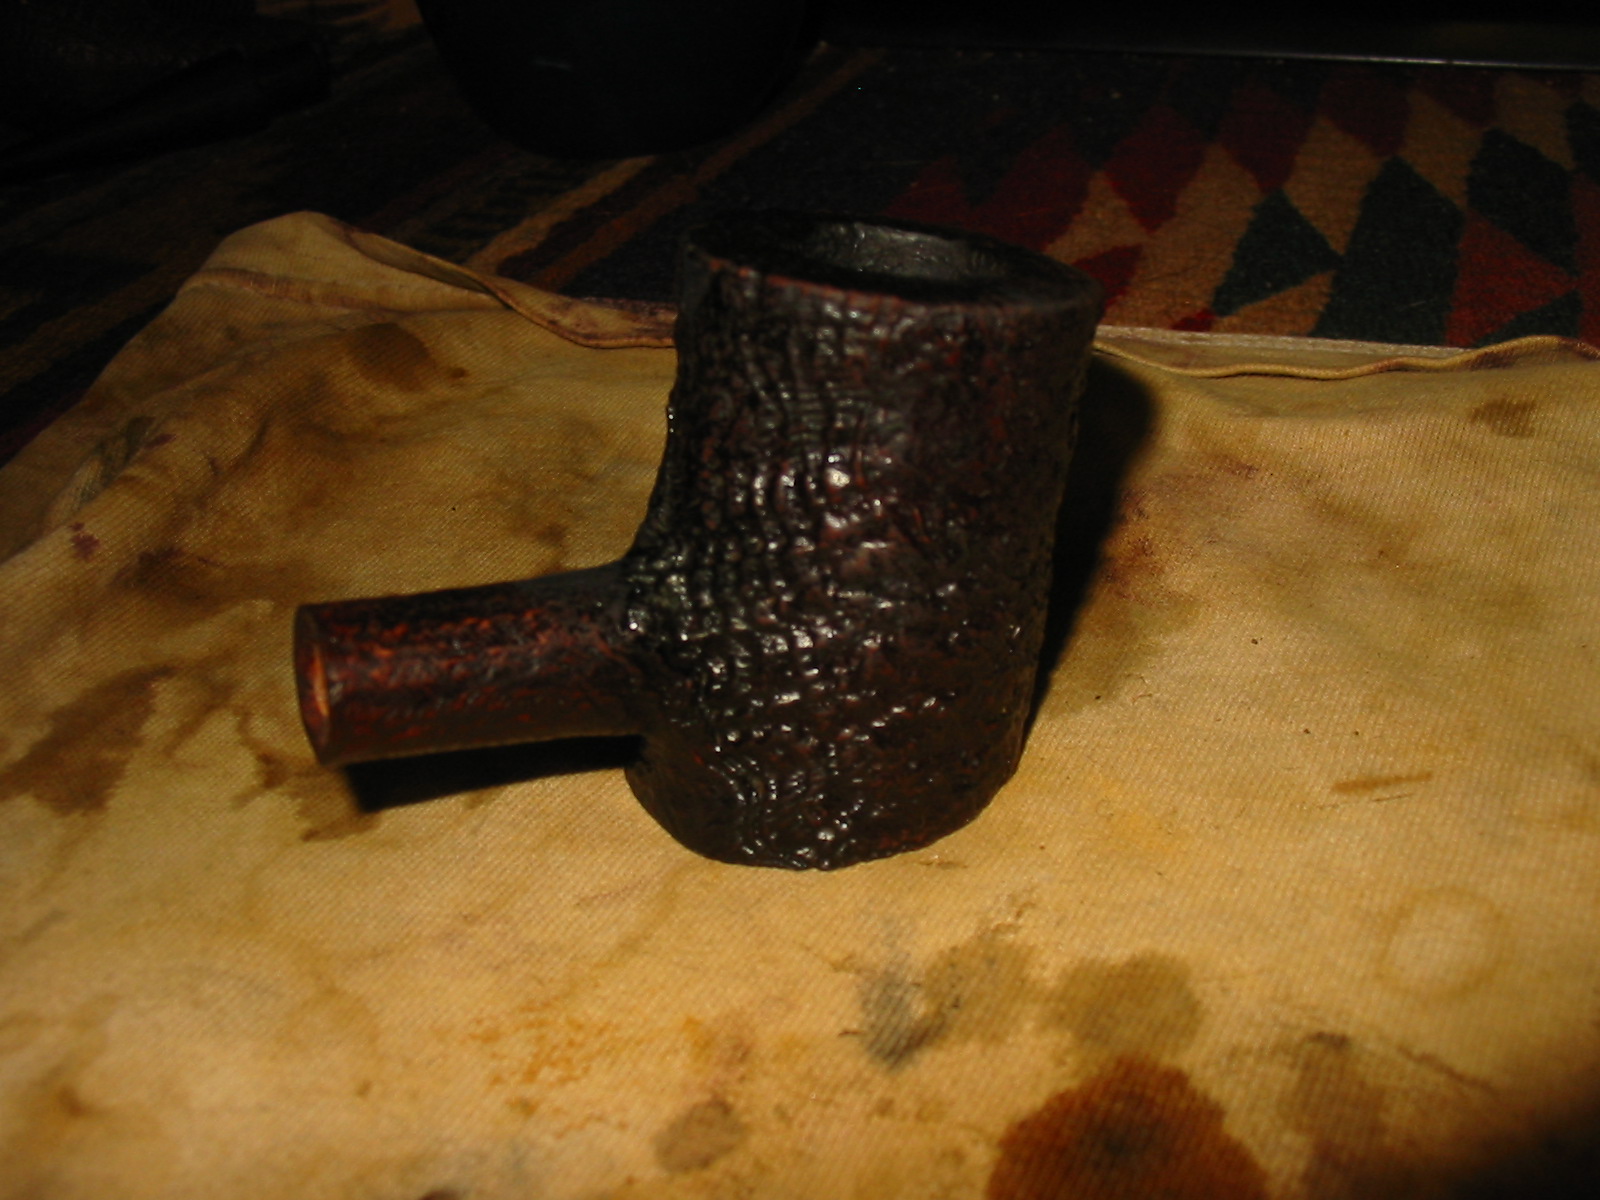
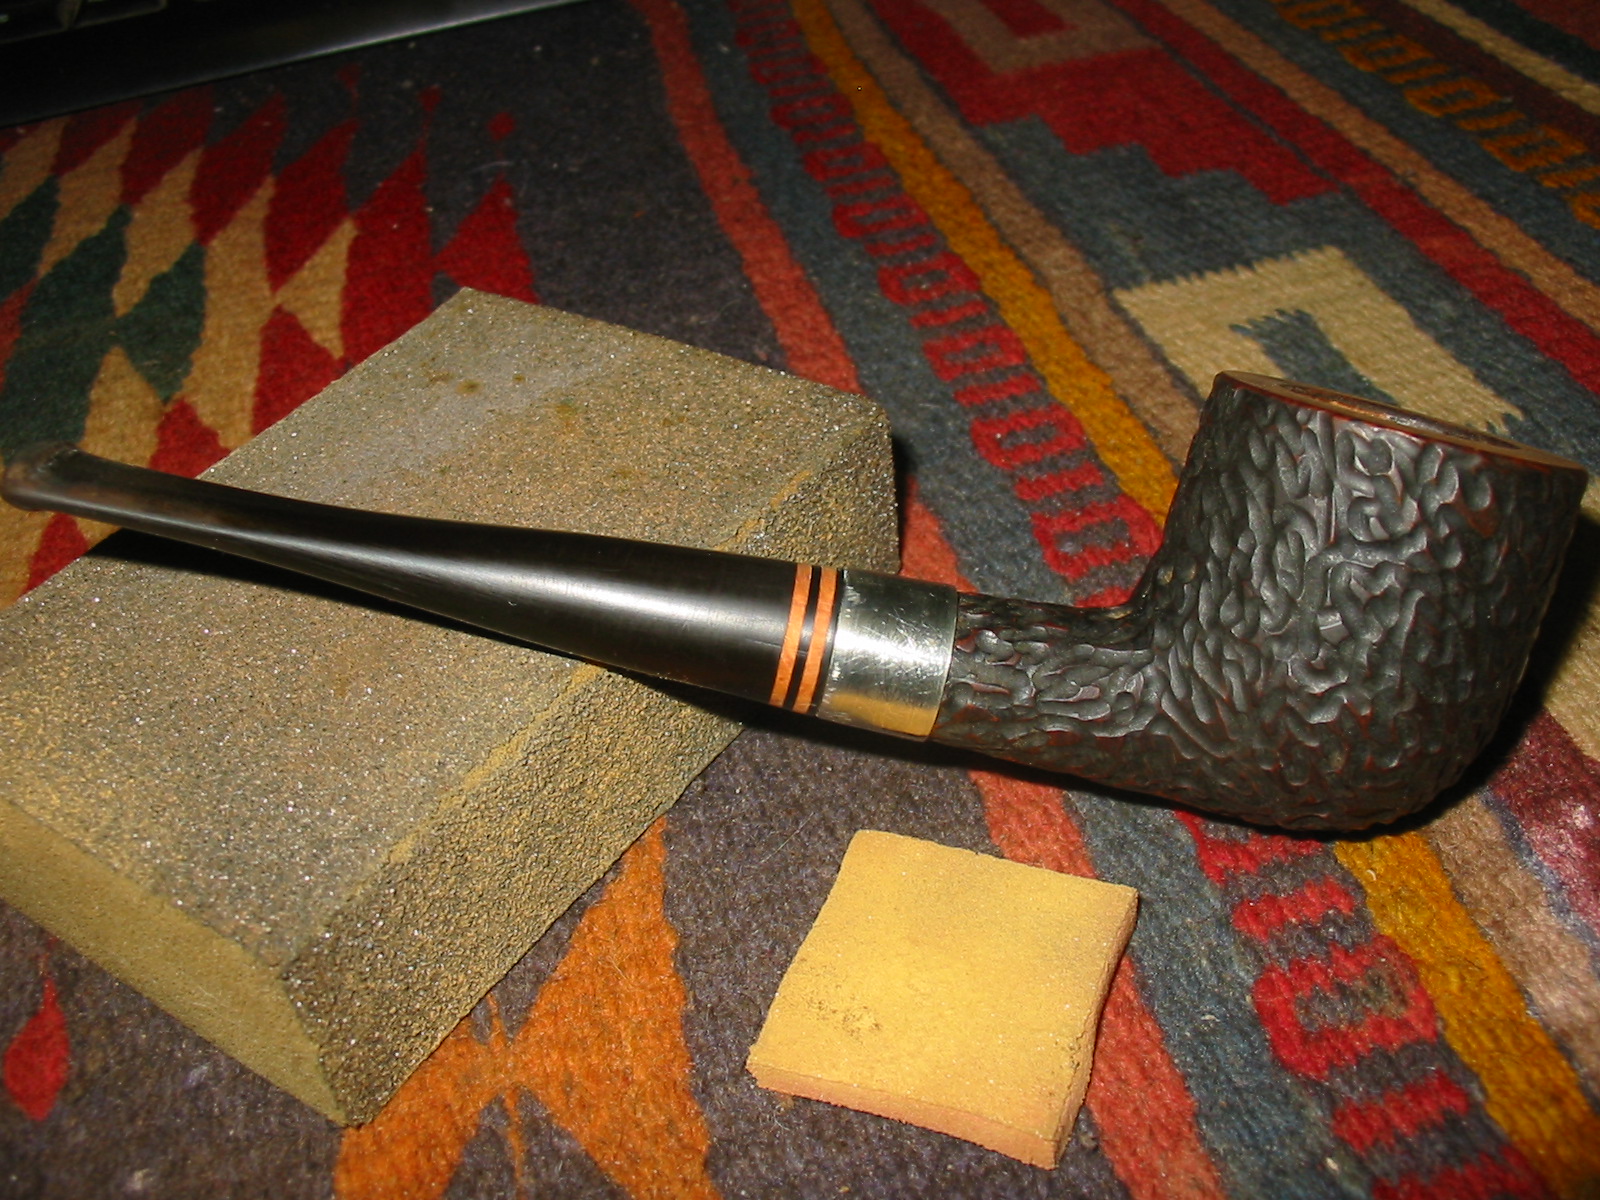
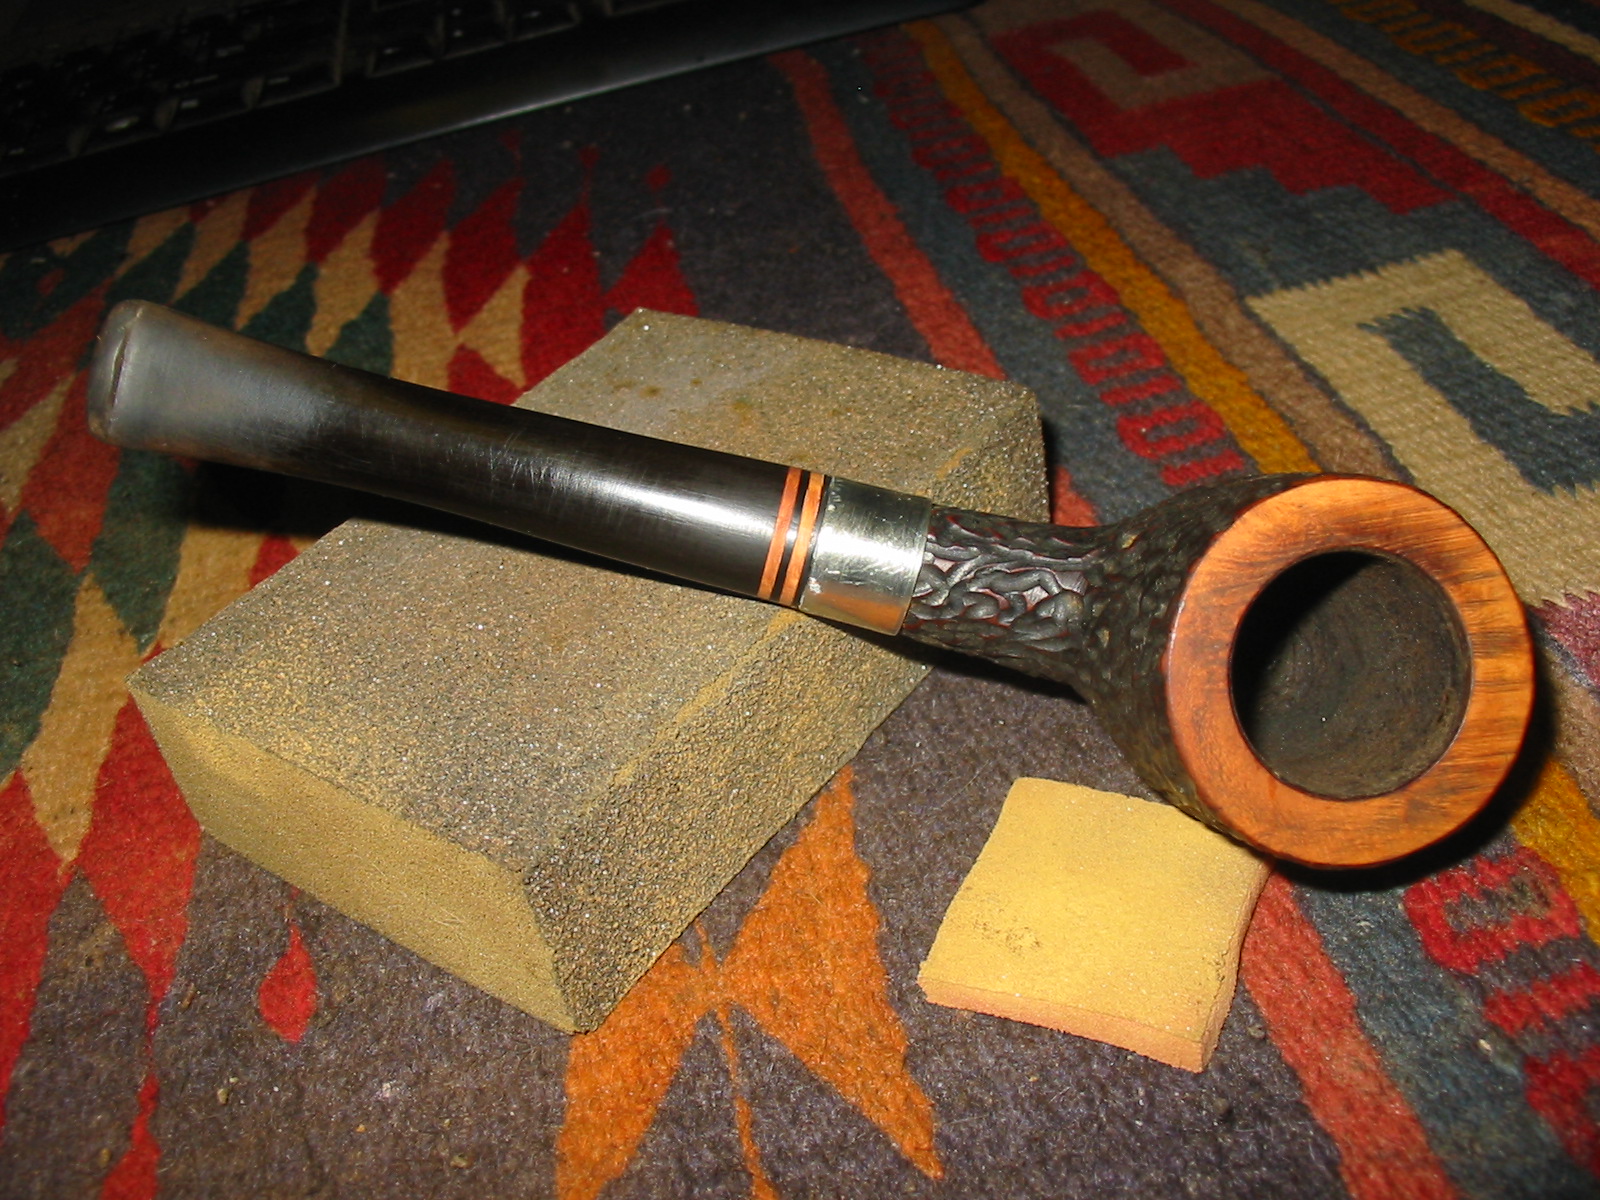
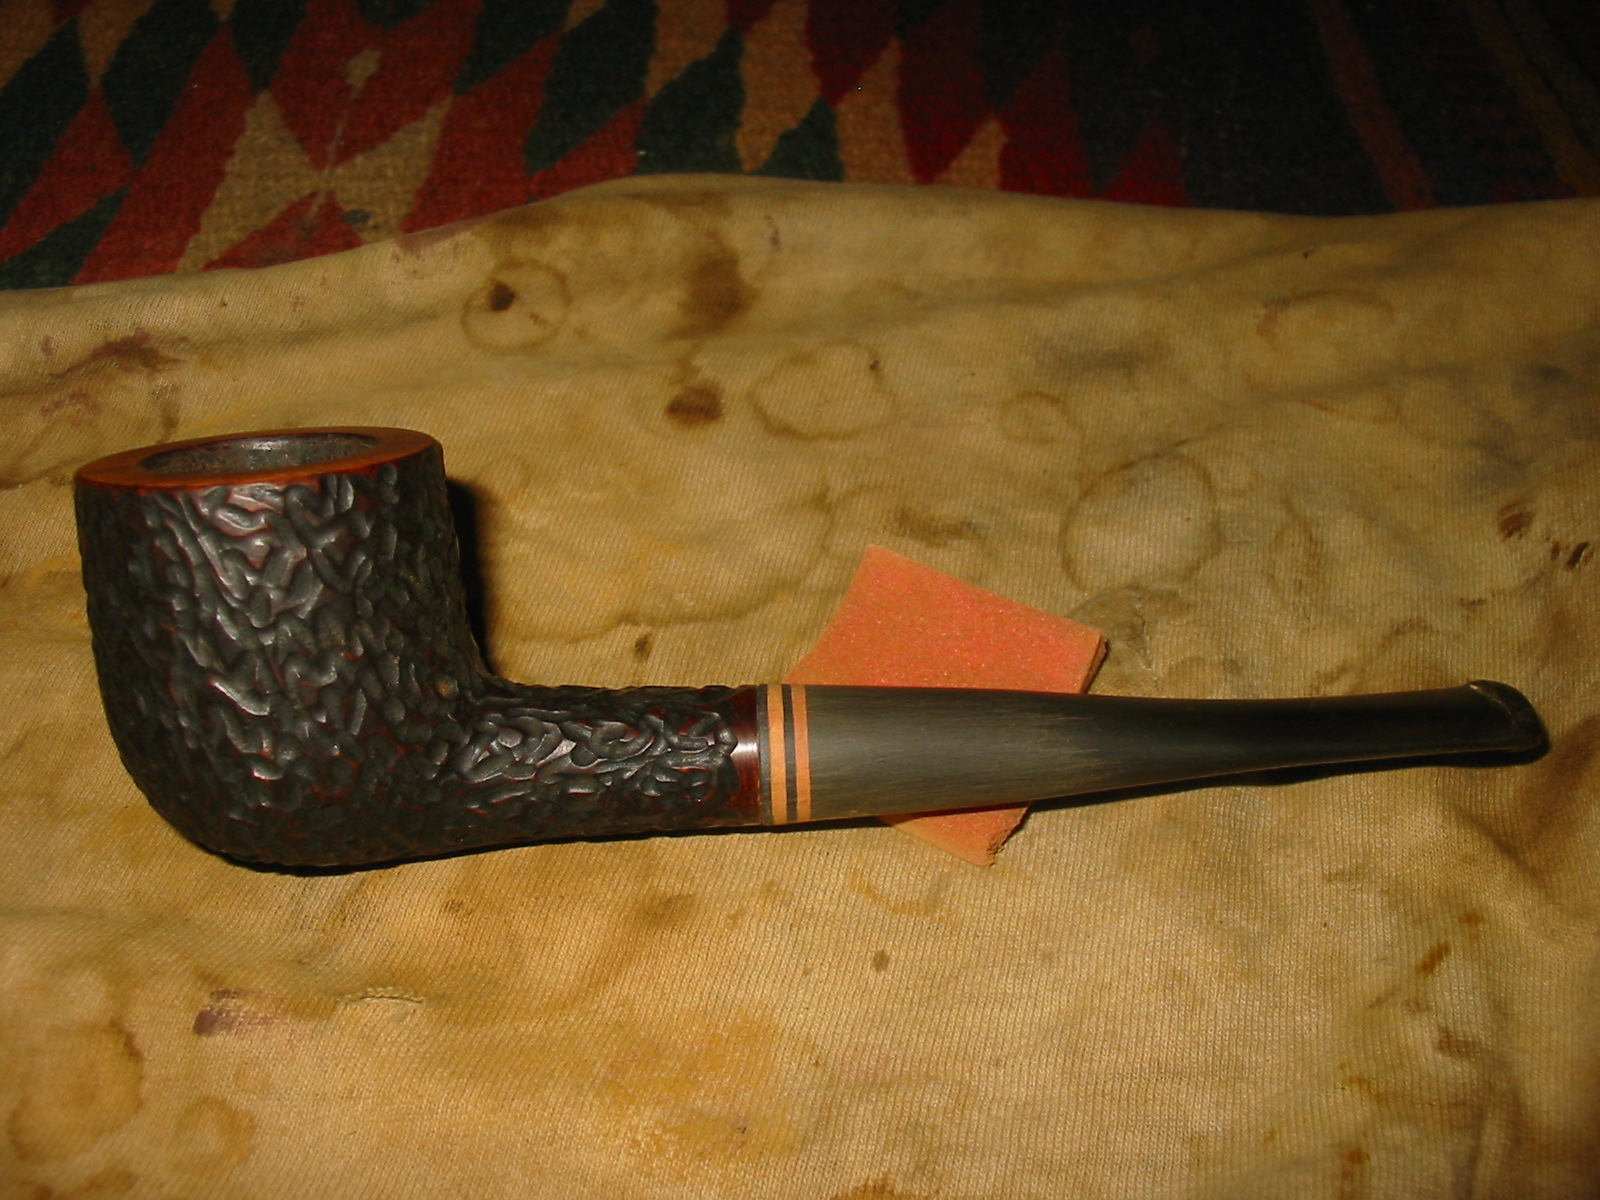
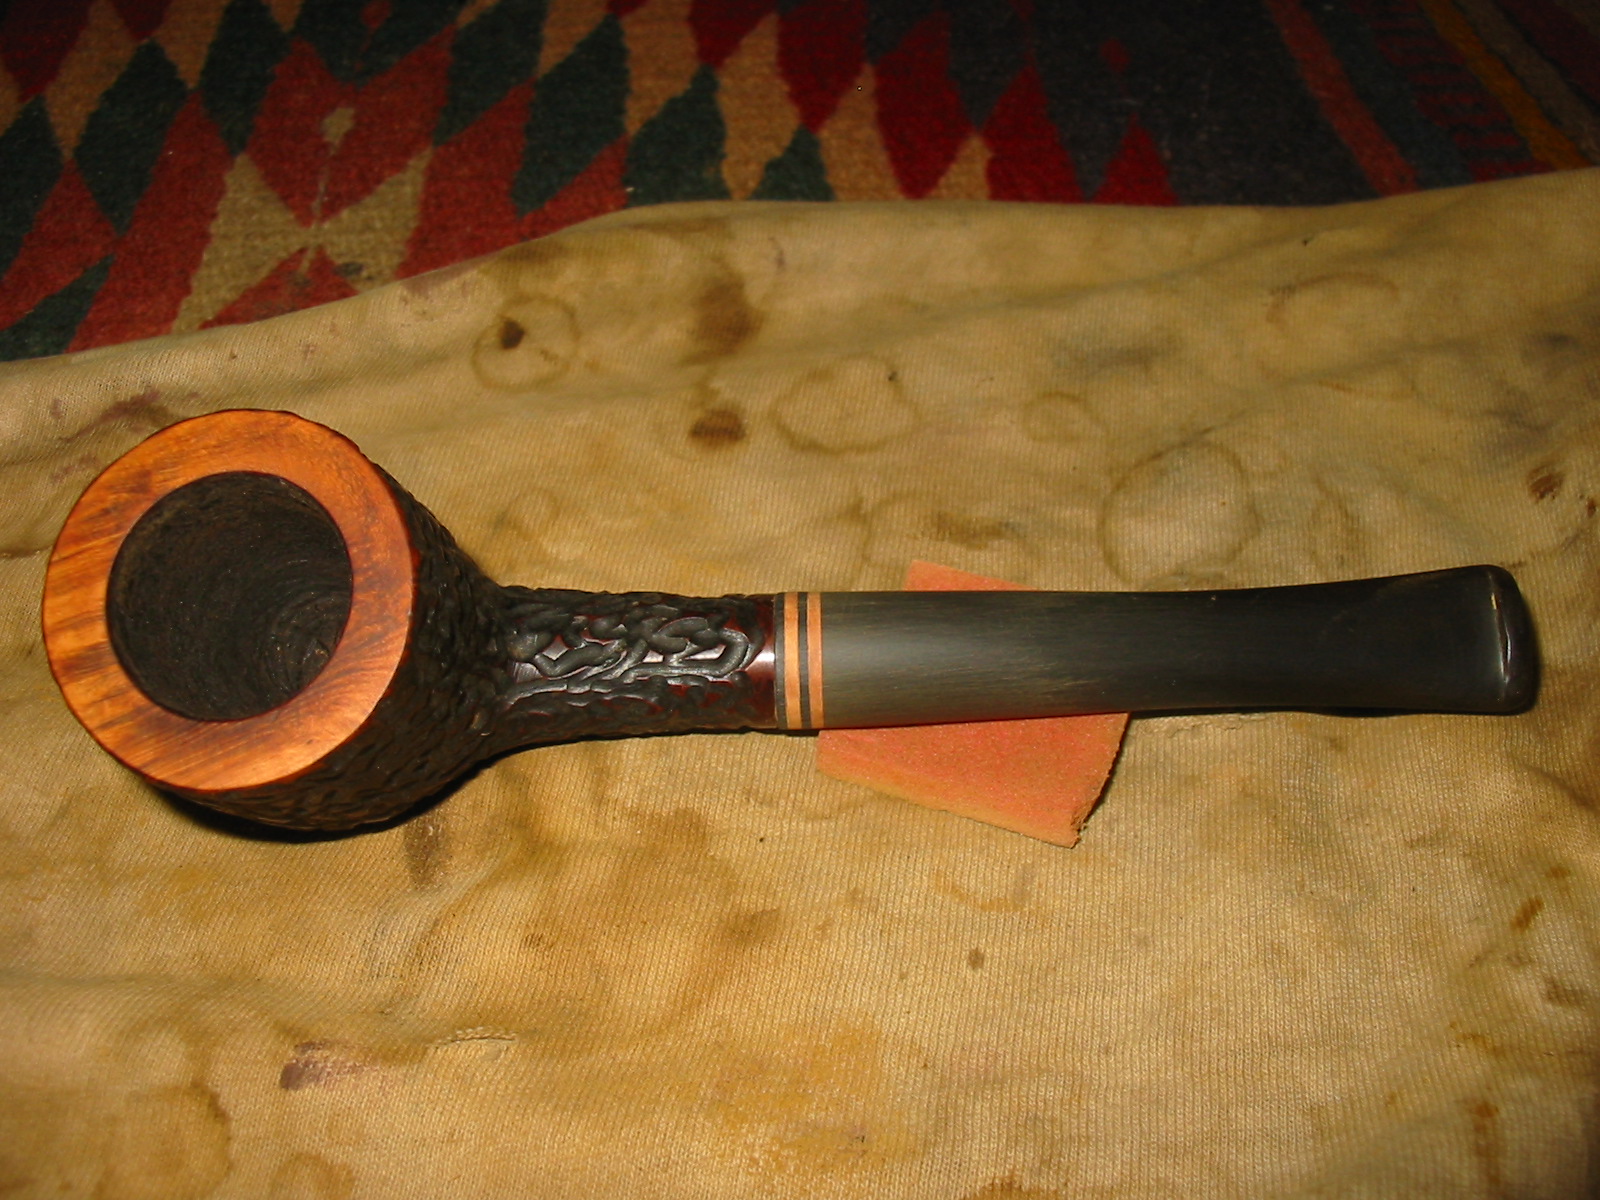
I then buffed the stem and bowl with White Diamond on the buffing wheel. The four pictures below show the finished pipe. In the fifth picture, I decided to sand the rim down some more before finishing and then stained it with a dark brown aniline stain to get the darkened look back to the pipe edges and rim. When I had finished that I flamed it and restained until it was as dark as I could get it and then I buffed it again with White Diamond and coated the stem with carnauba wax and the bowl with a beeswax mixture.
IMG_2043

IMG_2044

IMG_2045

IMG_2046

IMG_2047

Parker Super Briar Bark Cherrywood Restored


Blog by Steve Laug

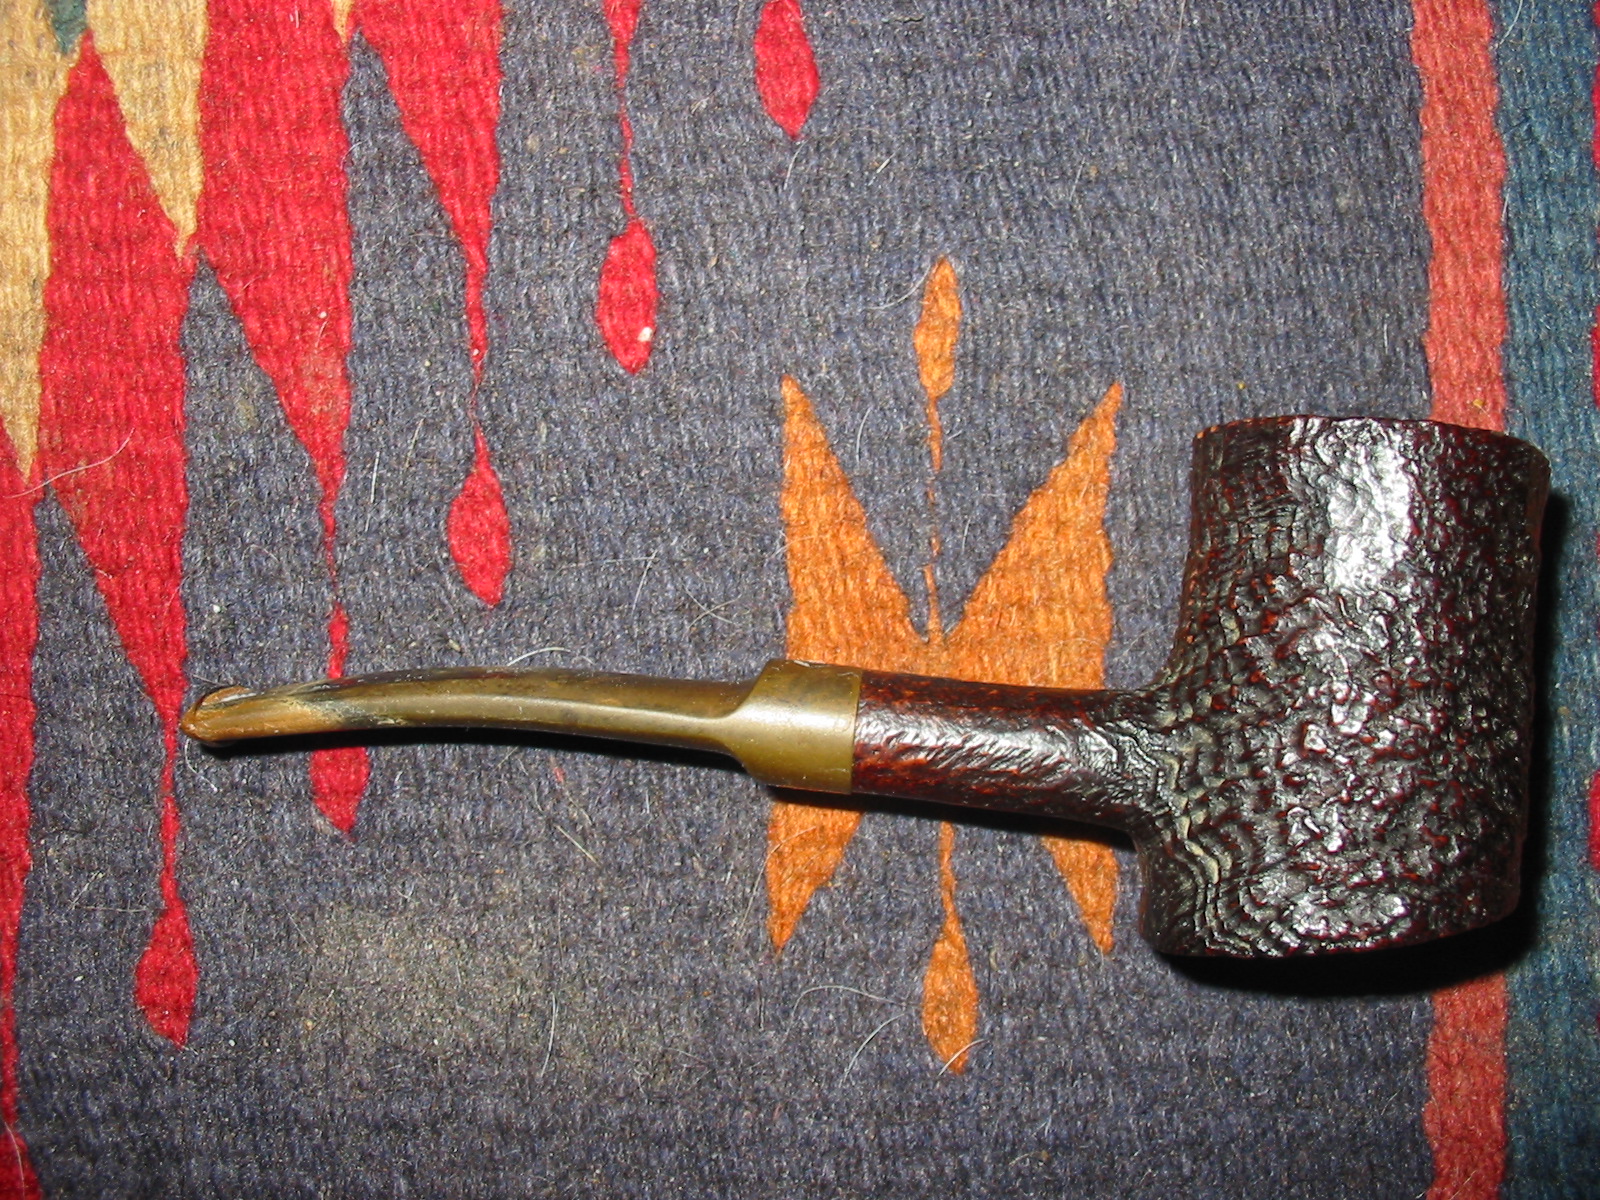
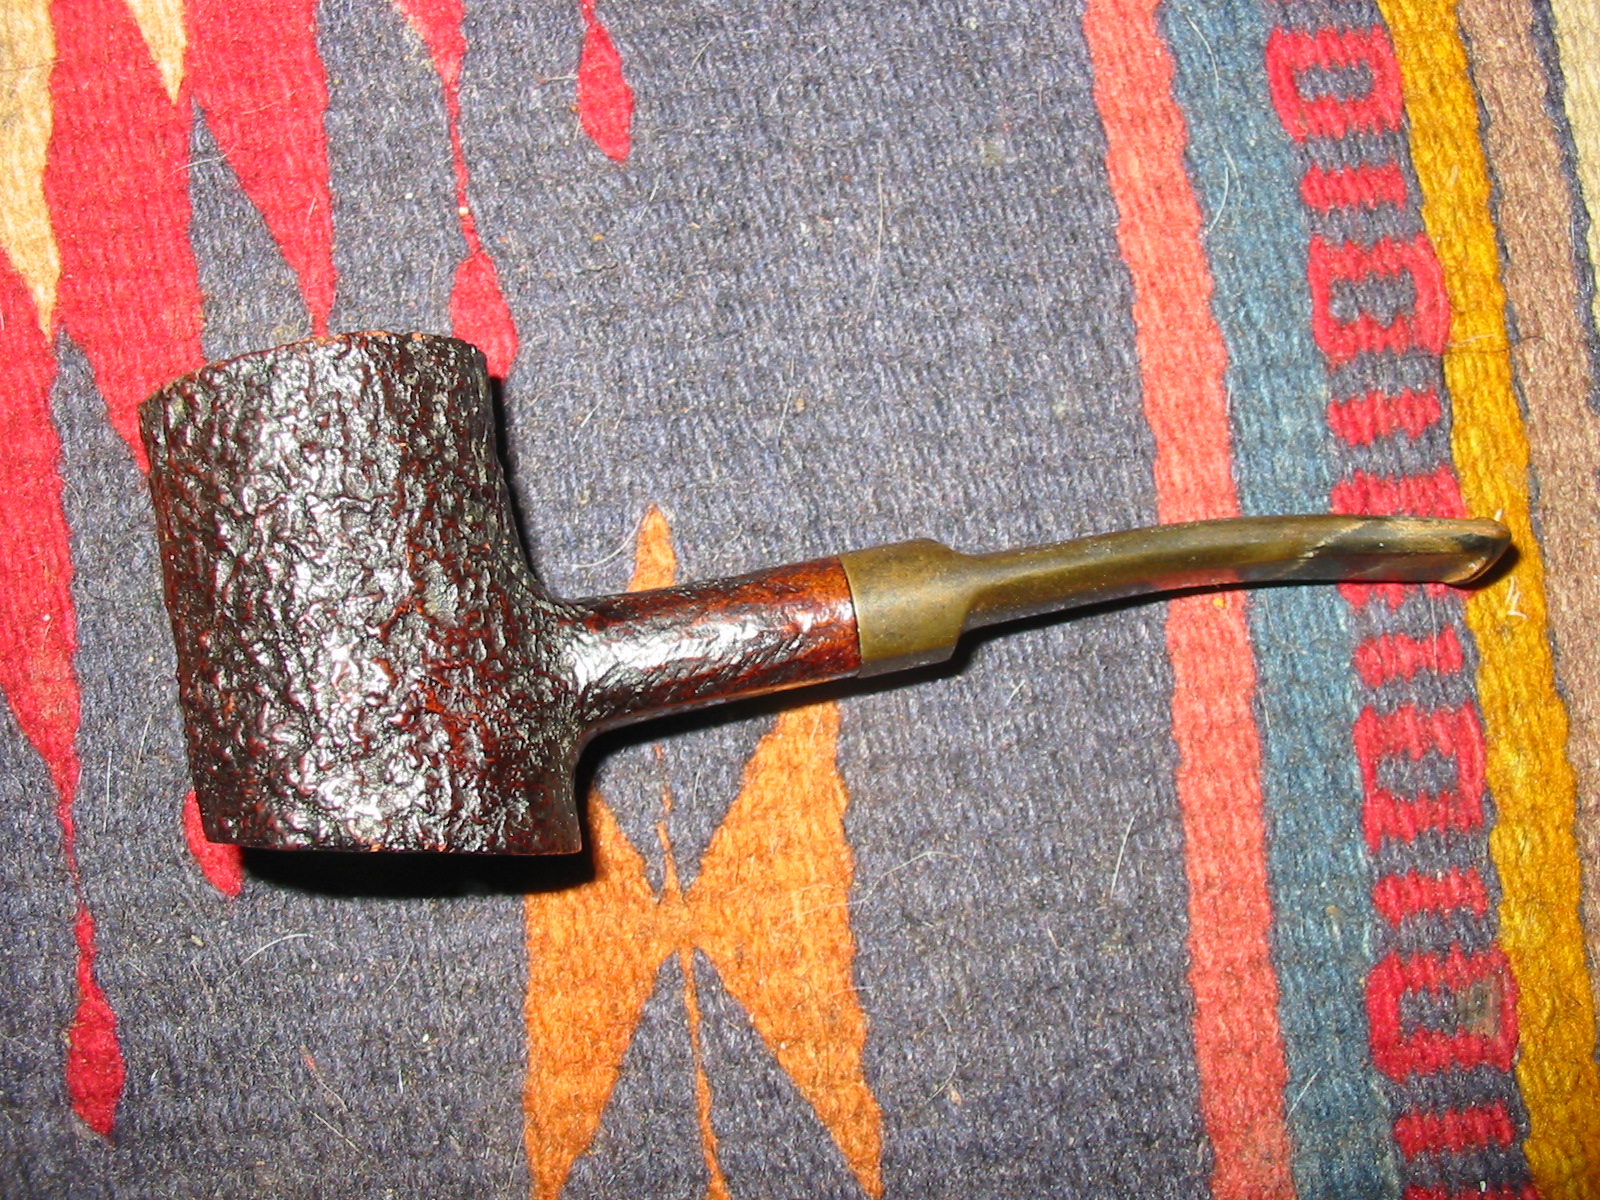
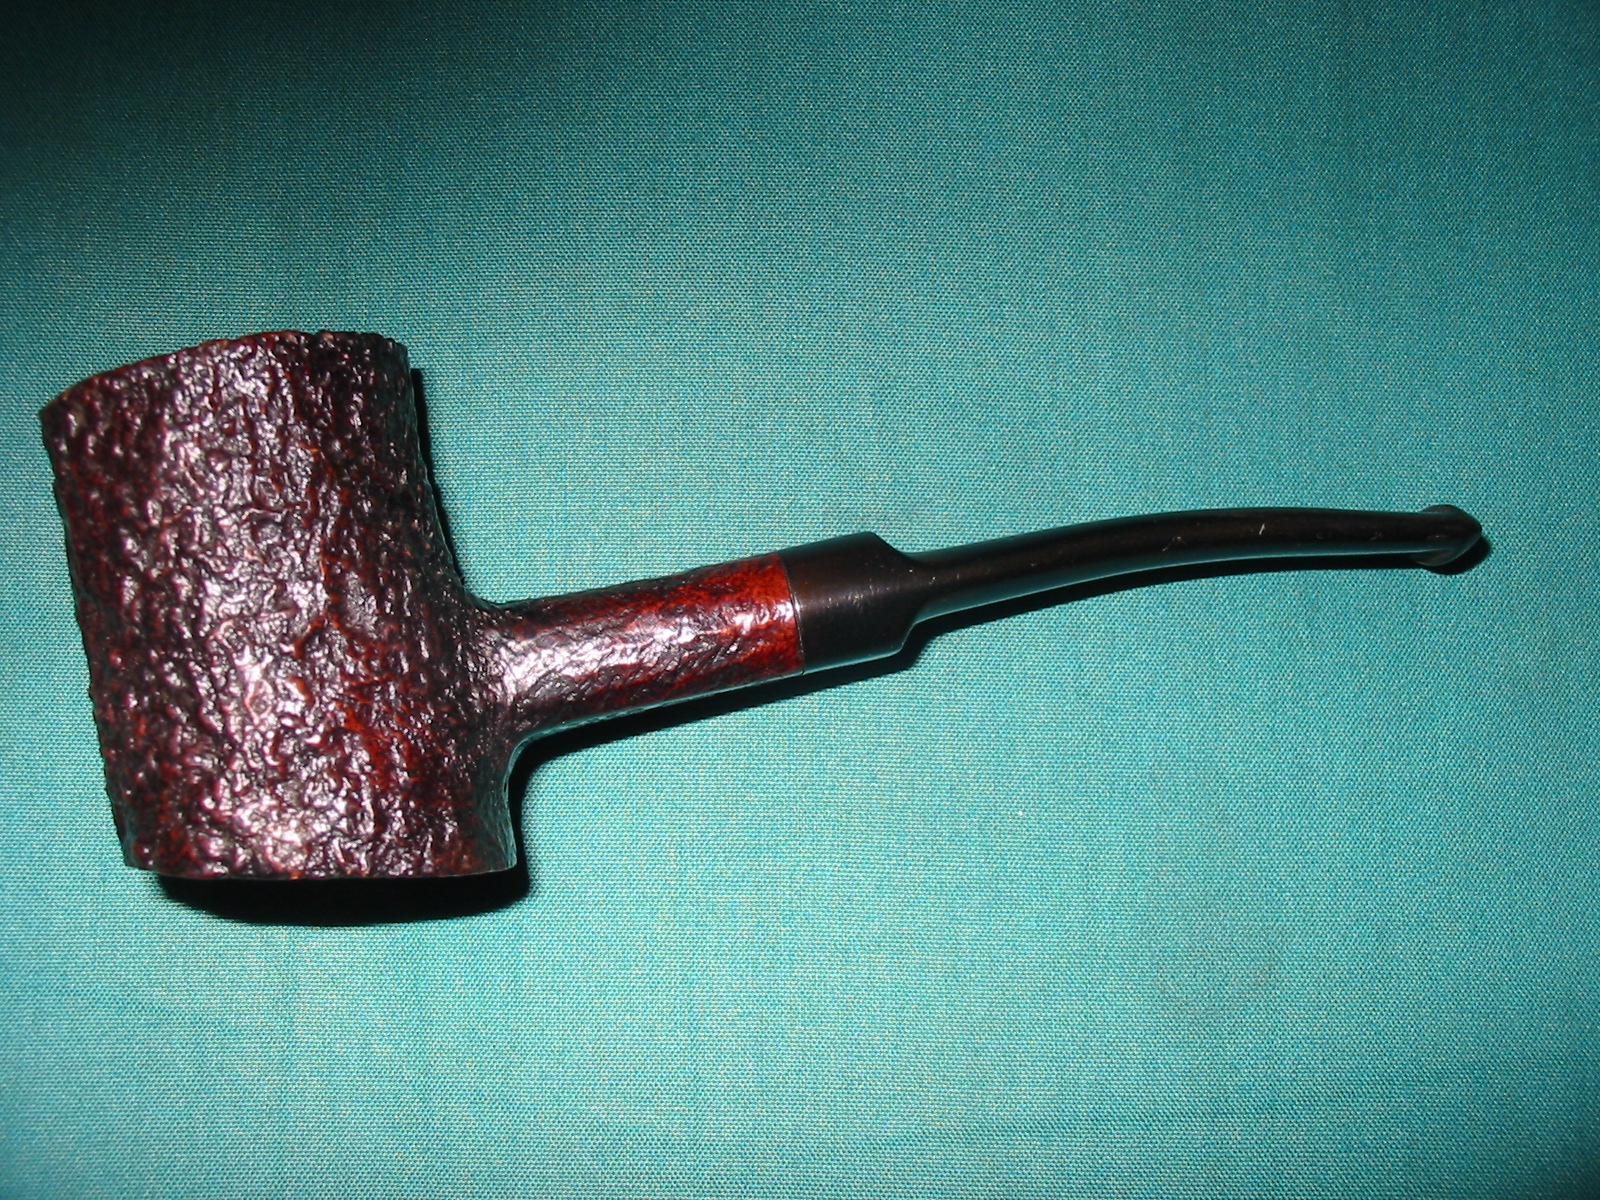
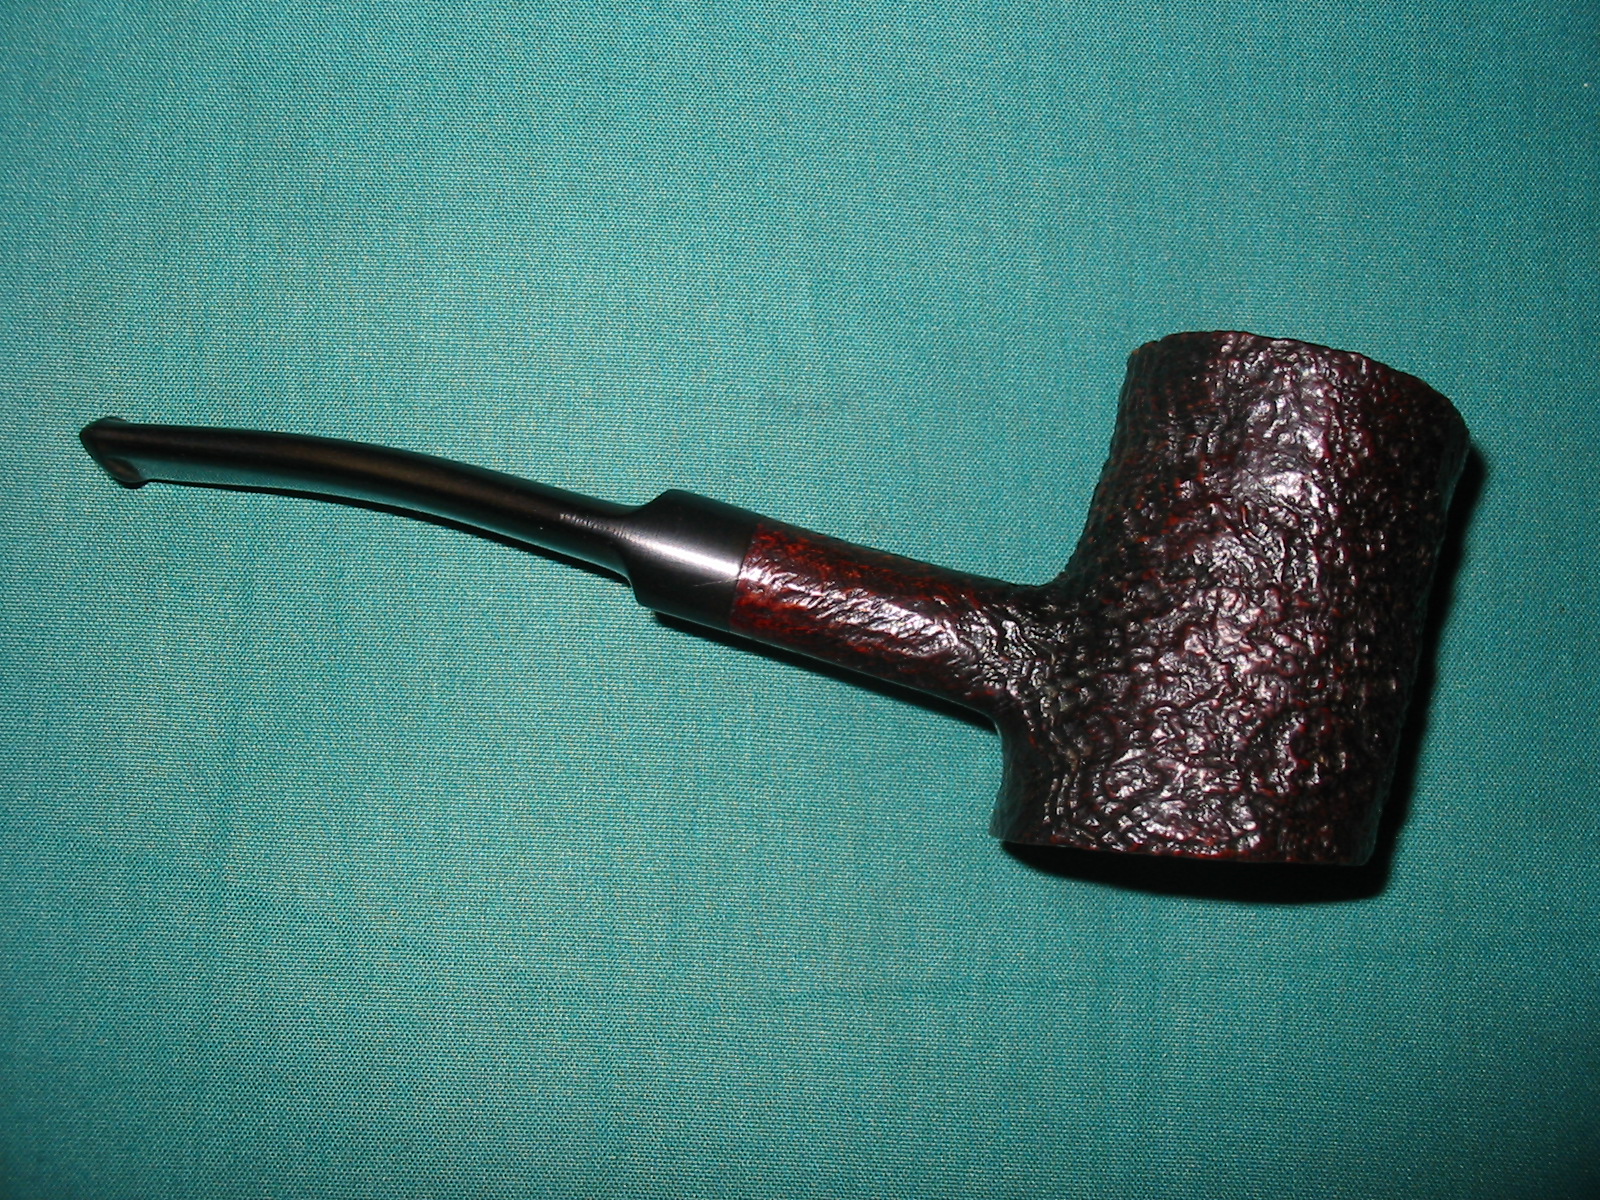
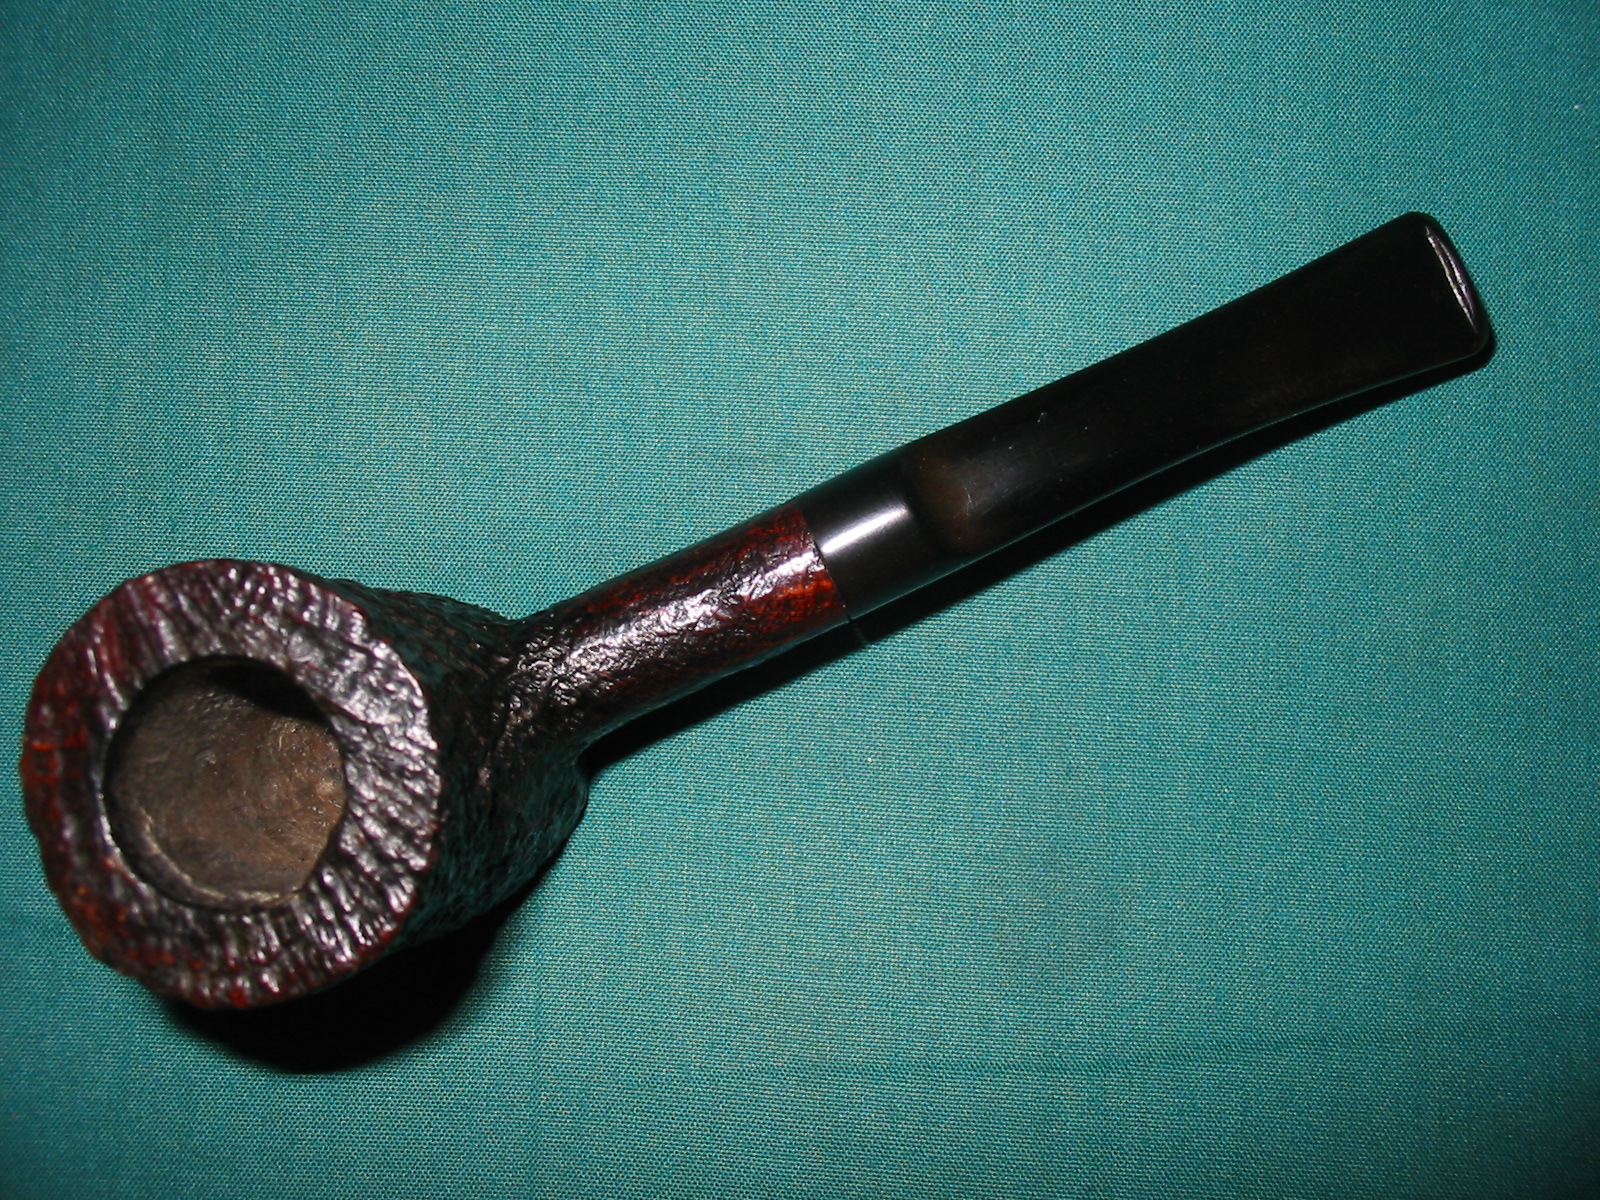
The first of the latest lot I picked up on my trip to Northern Alberta was brought to the work bench this afternoon. I decided to work on little Parker Super Briar Bark Cherrywood. It is stamped on the underside of the shank Parker over Super in a diamond over Briar Bark. Next to that is Made in London England with both a size number – 4 – and a shape number – 283.
IMG_1862

The bowl had a lot of cake build up in the bowl and had some nicks in the briar around the outer edge of the rim. The finish was dirty with grime in the deep crevices of the sandblast on the outside of the bowl and a buildup of tars on the top of the rim. The stem was oxidized and had some tooth damage on both the top and bottom sides near the button. The Parker logo “P” in a diamond was partly visible on top of the stem. It was merely a painted on logo and not stamped in the vulcanite so it would be hard to clean and leave in place.
IMG_1863

IMG_1864

IMG_1865

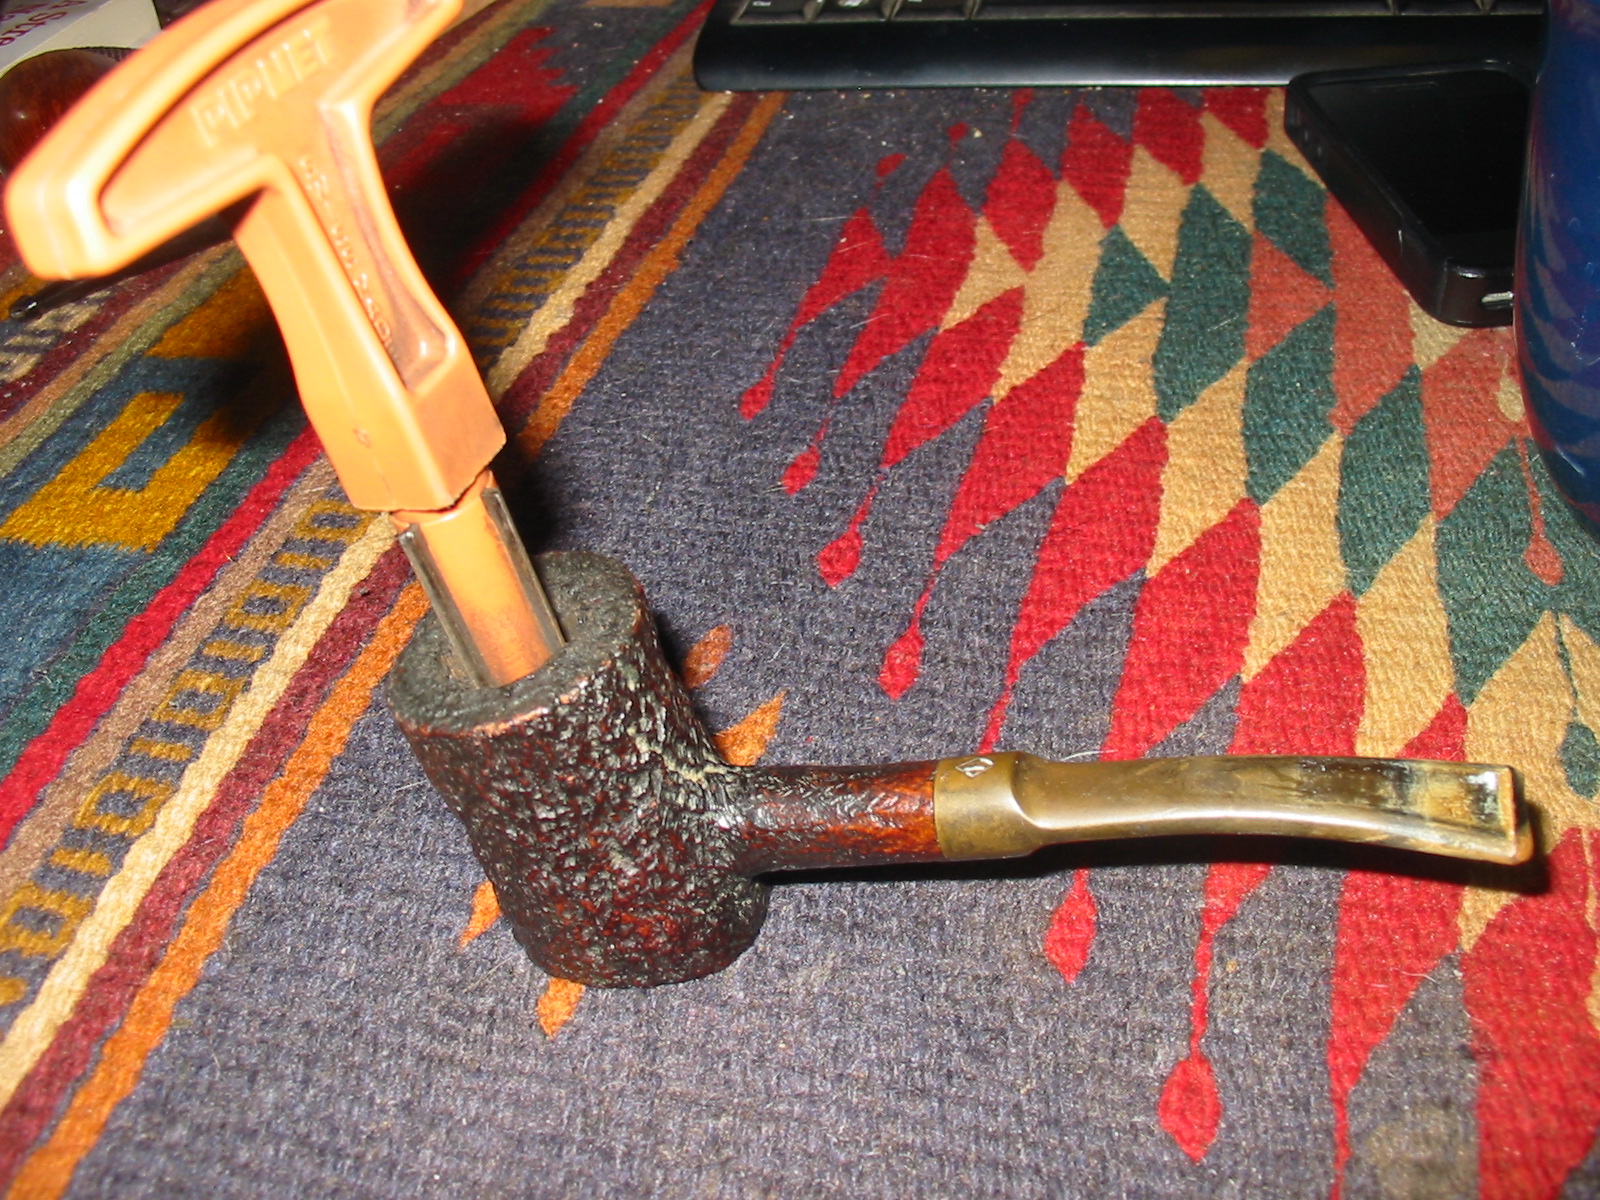
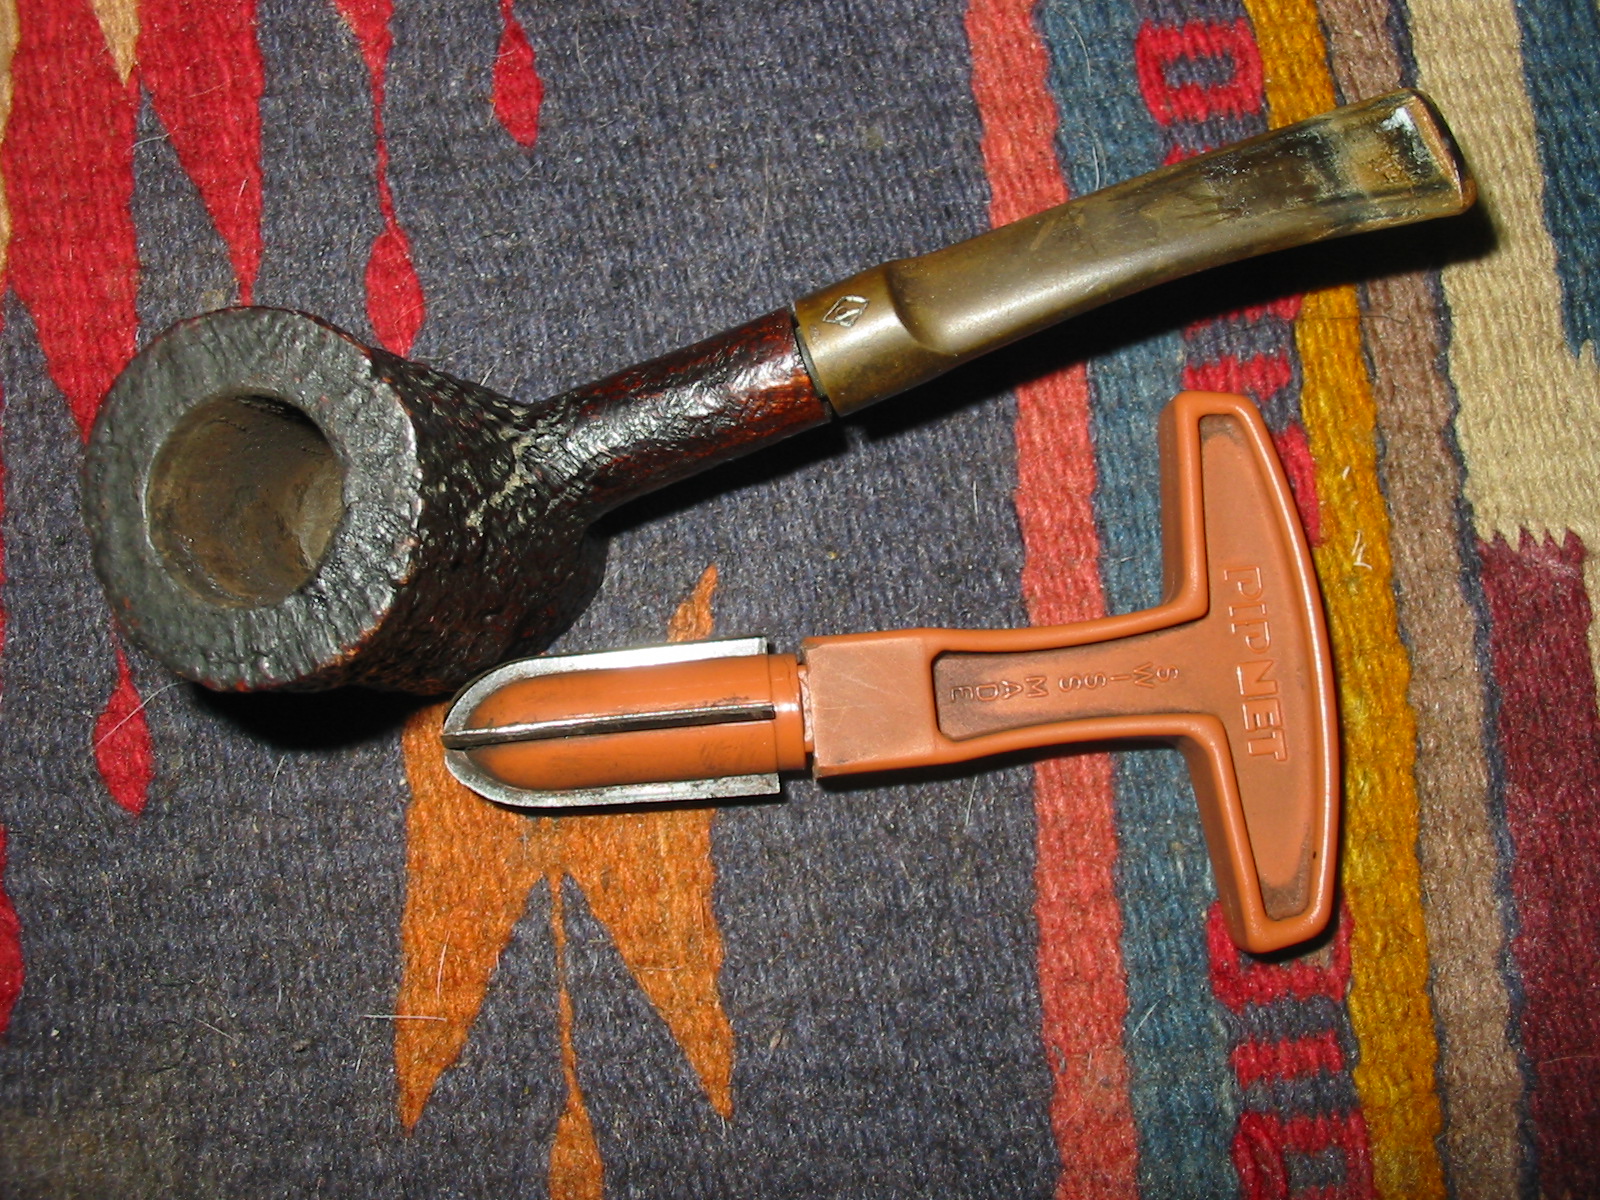
I reamed the bowl with a PipNet pipe reamer – a T handle and different cutting heads. The smallest diameter cutting head trimmed back the cake to a thin coat. I dumped the carbon buildup in the rubbish and then cleaned out the bowl with a cotton swab dipped in Everclear to remove any leftover loose carbon.
IMG_1946

IMG_1947

I removed the stem and found that the pipe had an inner tube like the Dunhill Inner Tube that was used as a method of keeping the shank clean from tar buildup.
IMG_1948

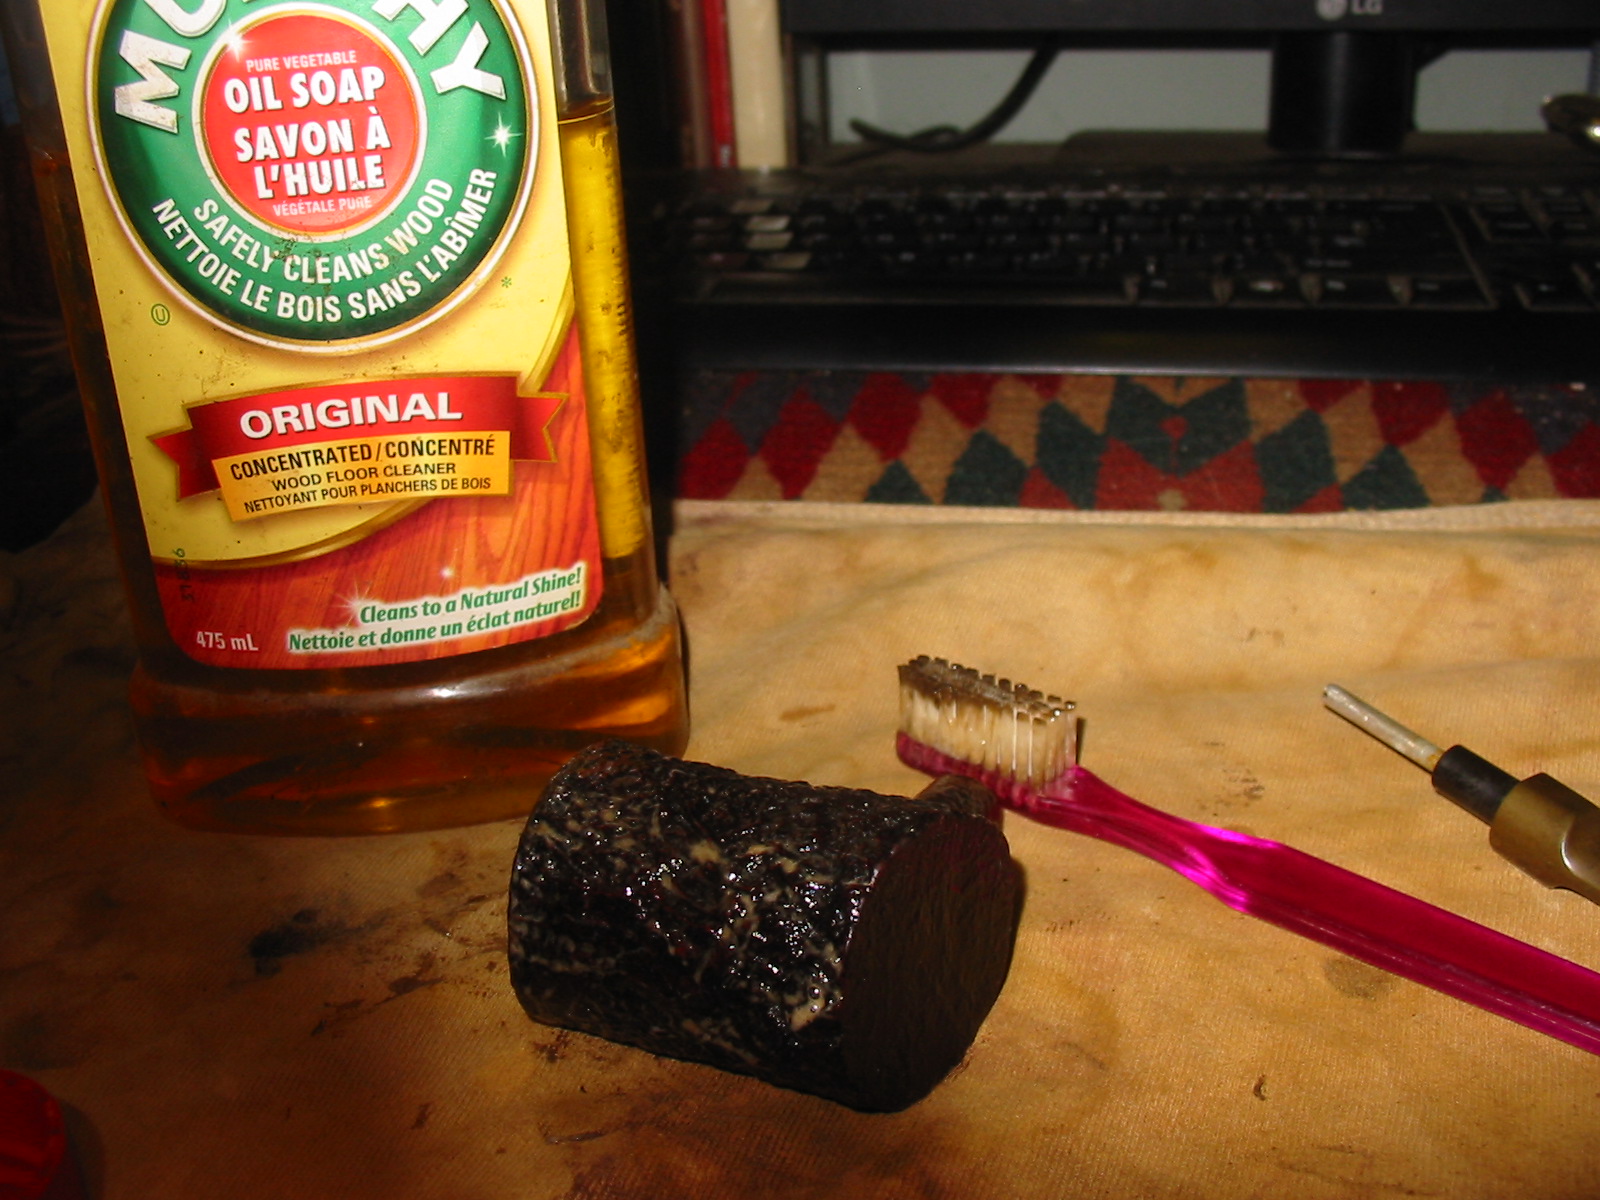
I scrubbed the surface of the bowl and shank with a soft bristle tooth brush and undiluted Murphy’s Oil Soap. I scrubbed it until the soap was dirty and then rinsed it off under warm running water and patted it dry. I kept the water out of the bowl and the shank as I did not want those areas wet.
IMG_1949

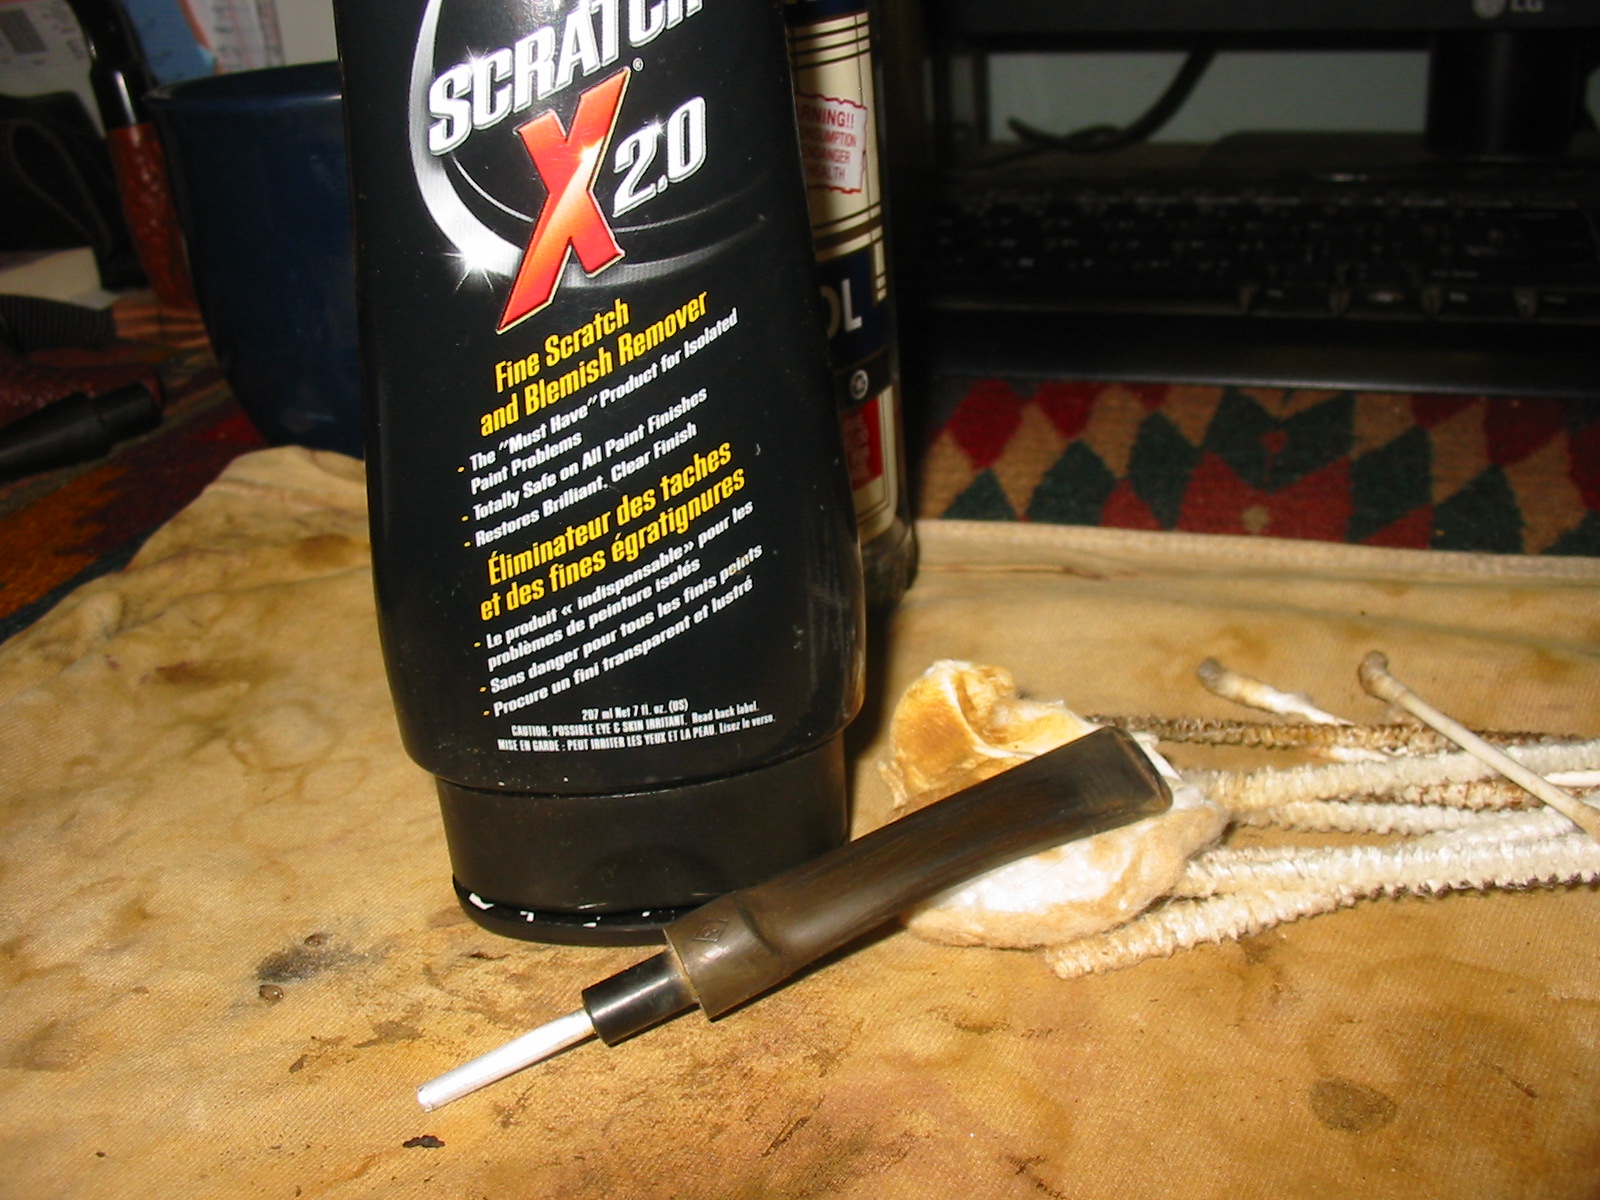
I cleaned out the shank and the bowl with pipe cleaners and cotton swabs and pipe cleaners dipped in Everclear. Once the inside was clean I worked on the oxidized stem. I sanded it with 220 grit sandpaper to break up the calcium buildup around the button area and to also minimize the tooth marks on the top and the bottom side of the stem. After the initial sanding I scrubbed the surface of the stem with Meguiar’s Scratch X2.0 to remove the surface oxidation and to soften the oxidation deep in the stem.
IMG_1950

IMG_1951

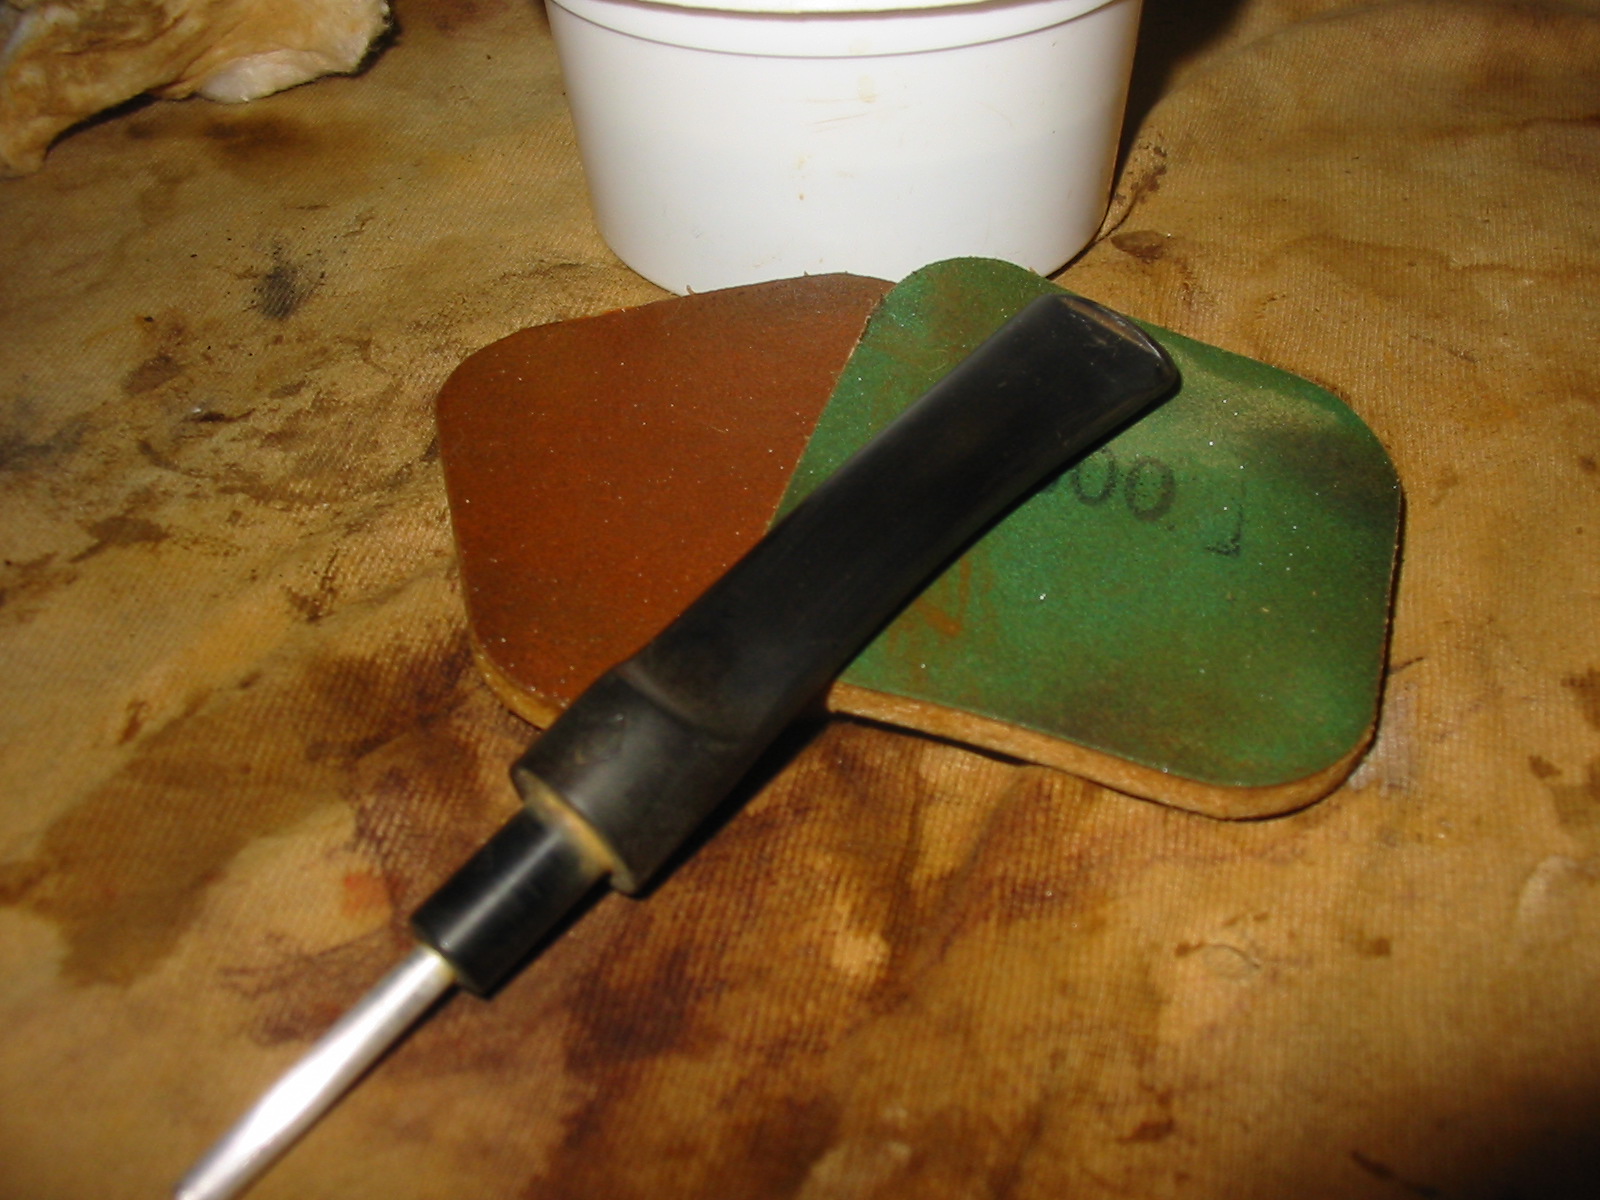
I scrubbed the inside of the stem with pipe cleaners and Everclear and used 0000 steel wool on the aluminum inner tube. I sanded the stem with micromesh sanding pads from 1500-12,000 grit. I wet sanded with the 1500 and the 1800 grit and afterward applied some white out to the area of the logo. I decided to try and build it up a bit. The logo appeared to be stamped in the stem but as I looked at it I could see that it was a painted on logo. In the polishing of the stem I sacrificed the logo. I dry sanded with the remaining grits of micromesh from 2400-12,000.
IMG_1952

IMG_1953

IMG_1954

IMG_1956

IMG_1957

IMG_1959

IMG_1960

When the sanding was completed I gave the stem a rub down with Obsidian Oil and let it soak into the vulcanite. I buffed it with a soft cloth and gave the stem a coating of carnauba wax by hand. I restained the bowl with a dark brown stain that had been diluted with one part alcohol to one part stain. I wanted to cover some of the nicks in the outer rim and some of the light spots on the shank that showed wear and tear. I applied it with a cotton swab and then flamed it with a lighter. I reapplied the stain and reflamed it until I had the colour match I was looking for.
IMG_1961

IMG_1962

IMG_1963

IMG_1964

I reinserted the stem and gave the bowl and the stem a coat of Halcyon II wax and hand buffed it with a soft cotton cloth and a shoe brush.
IMG_1965

IMG_1966

IMG_1967

To finish the pipe I buffed the stem with White Diamond and lightly buffed the bowl with the same. After the buffing I gave it a light coat of carnauba wax and buffed it with a clean flannel buff. The finished pipe is pictured below and awaits its inaugural smoke.
IMG_1968

IMG_1969

IMG_1970

IMG_1971

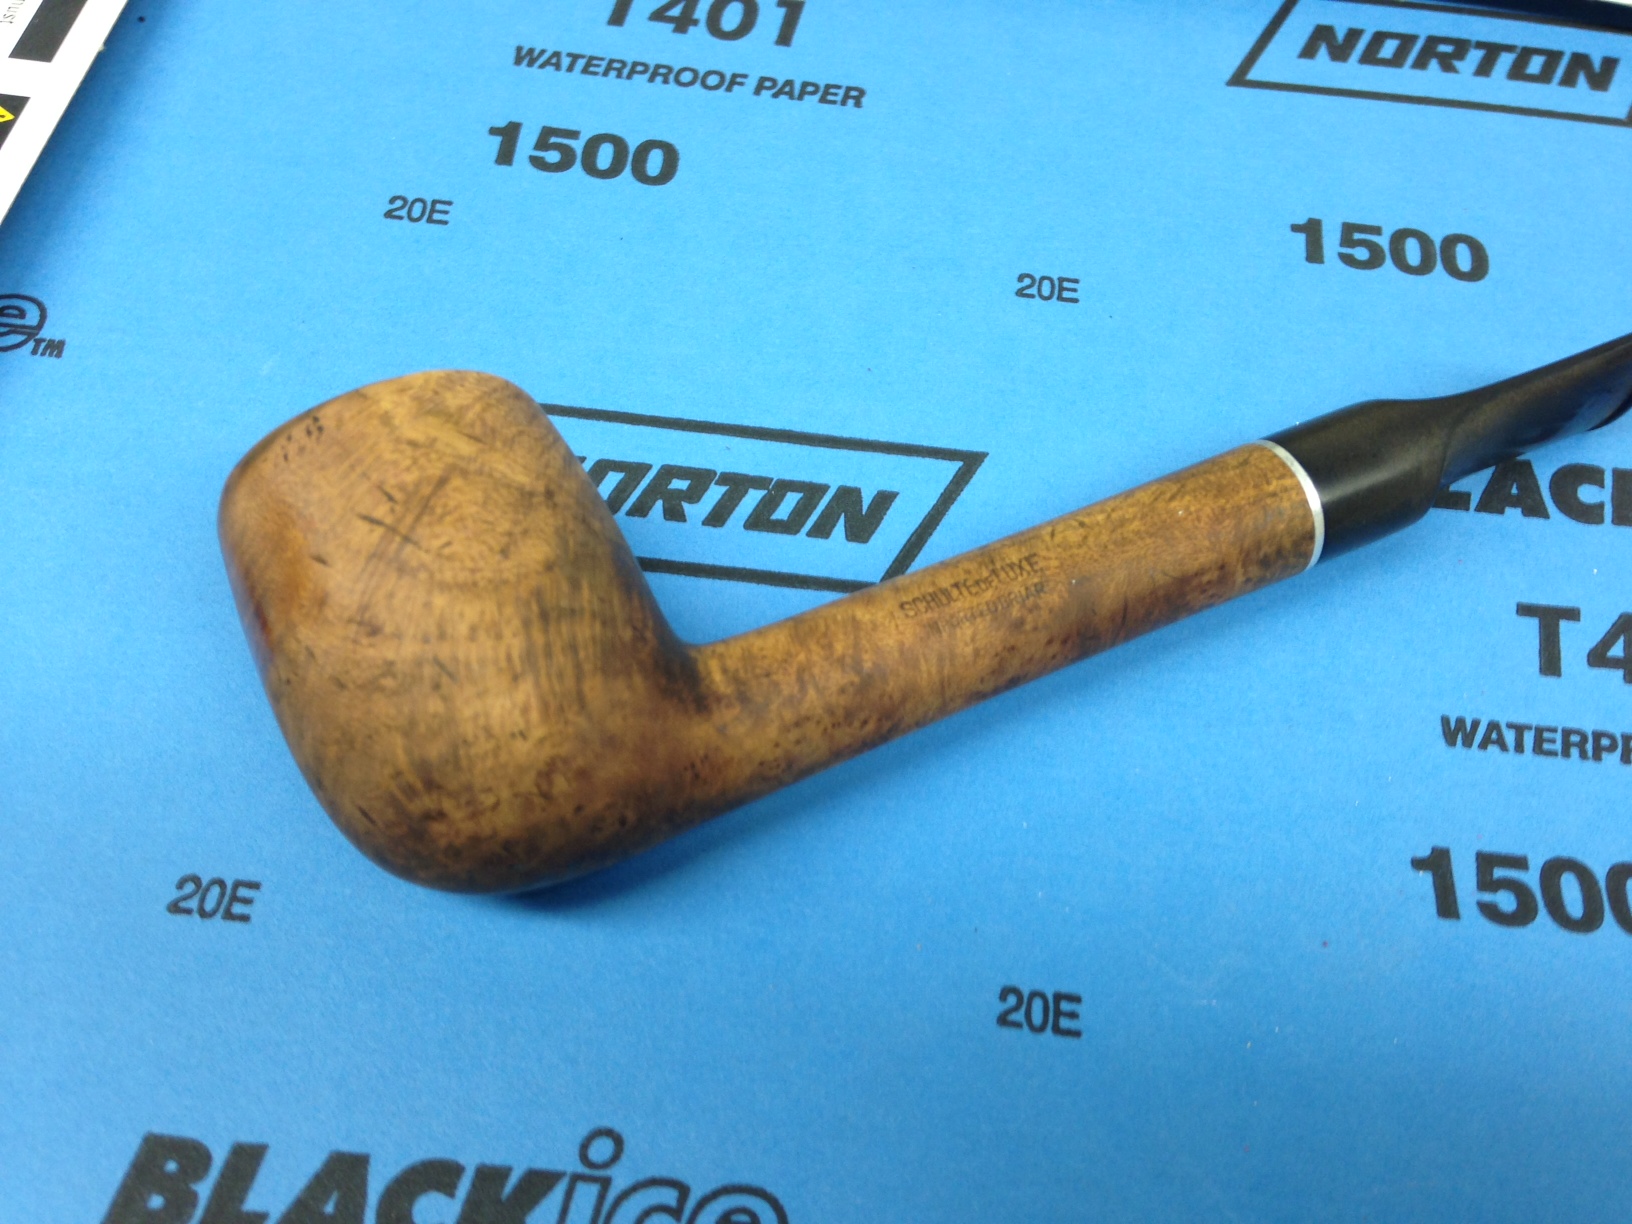
A Schulte deLuxe Reborn – by Joey Bruce


Blog by Joey Bruce

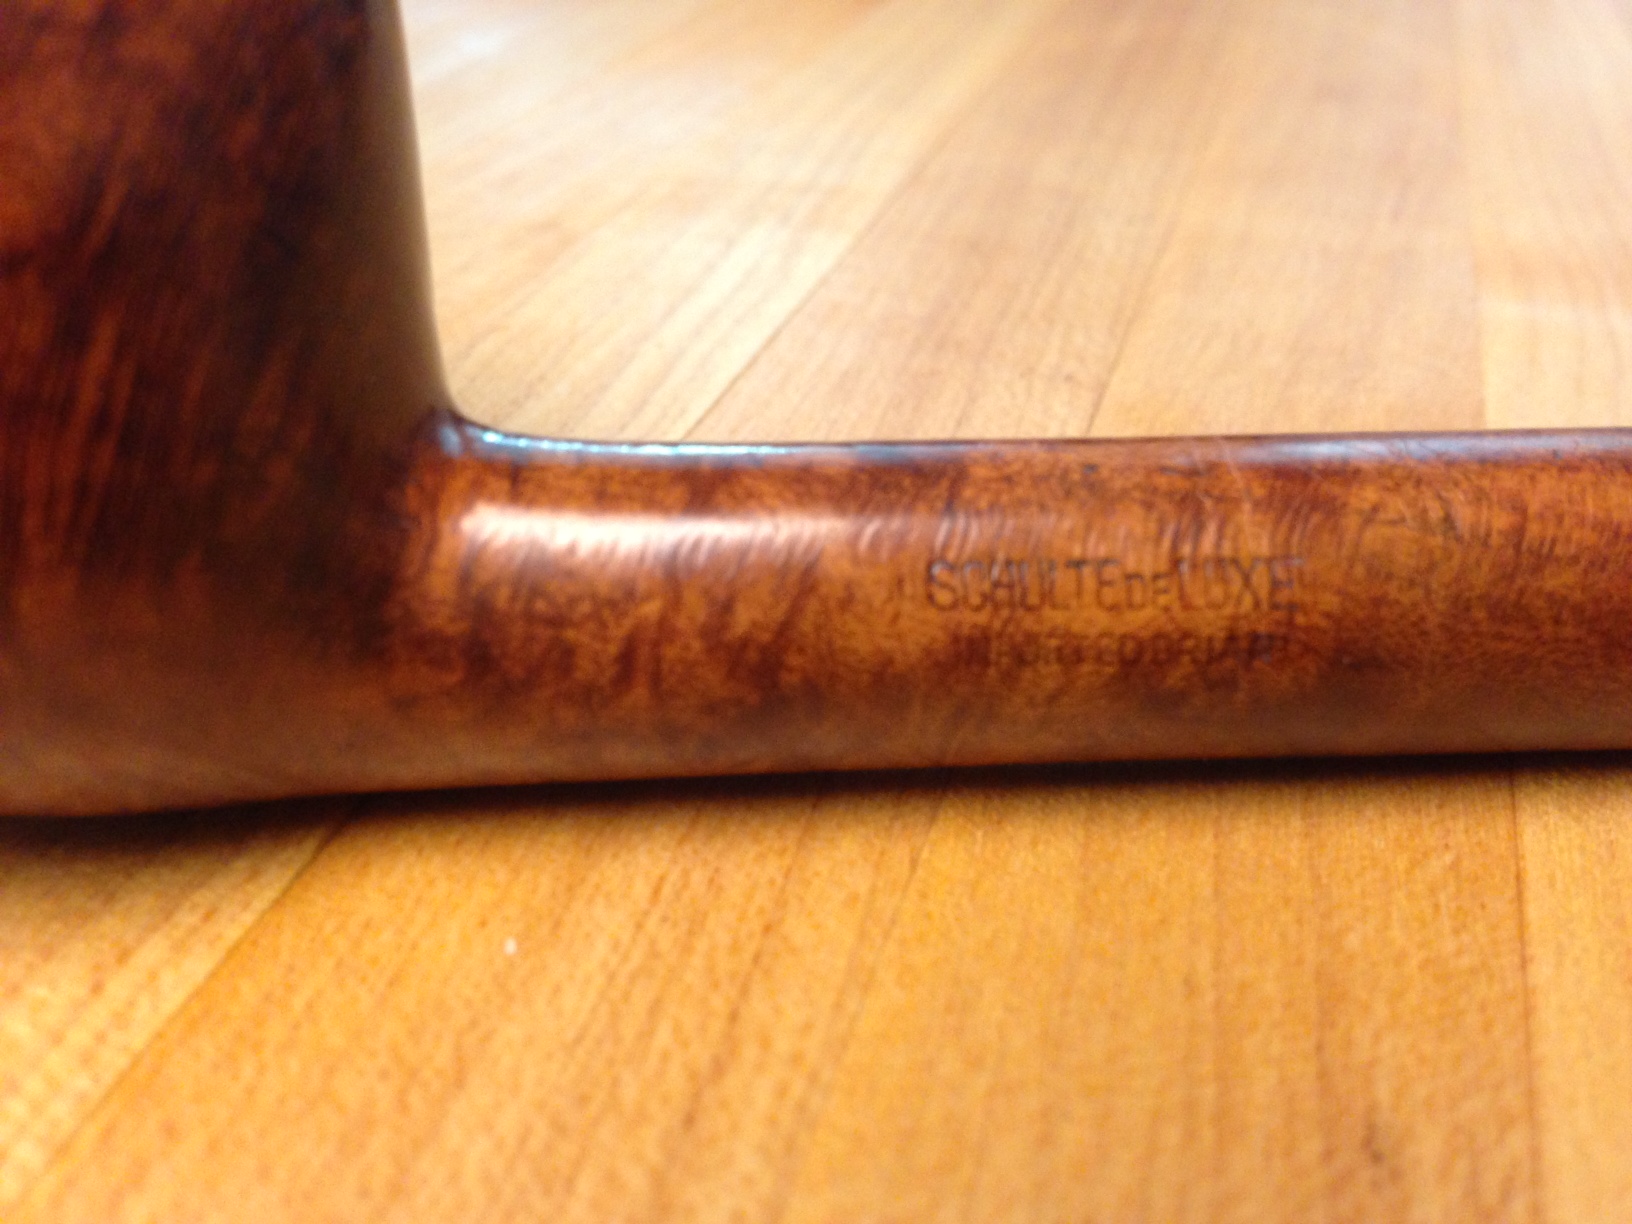
Joey has been a reader of the blog for a while now. Then about a month ago now I received and email from him with some questions on an old pipe he had picked up. It turned out to be a WDC bulldog that was in rough shape. We exchanged a few emails and over the course of reworking that old-timer I could see that Joey was hooked on this hobby! I invited him to do a write-up on some of his work and post it here for others to be encouraged and challenged. Last evening he sent me this article on an old Schulte deLuxe that through his efforts had been reborn. What follows is his article and photos. Thank you Joey for taking the time to write this up and send a copy to me. It is great to have you posting on the blog as a writer. Enjoy his work readers.

Hello all. Just dipping my toes into the pipe refurbishing world. I’ve been reading the posts here obsessively for a while now and couldn’t resist trying it for myself. I’ve always loved restoring things whether it’s, old bikes, cars or motorcycles. All the way to obscure things like pens and sewing machines. So it was a natural move into this. Hopefully I won’t bore you. At the very least you’ll be able to see the difference between and amateur like me and the real deal like Steve and Greg.

I recently bought a few estate pipes off eBay. Most were in such great shape they didn’t need anything more than a spit shine. A few I used as practice. Trying out different techniques I’ve read here and see what I like the best. This weekend I went to a flea market and grabbed a bunch of old cheapos that were laying in a box for a few bucks. Figured I’d get more practice and this time actually take pictures.

Schulte1

Schulte3

I grabbed the Schulte deLuxe first as that one seemed like it would be the easiest. First I soaked the stem in an Oxy Clean and water solution (no real ratio. Just about half a tbs to 3/4 water. But really just guessed) to bring out the oxidation. Then I wet sanded it with 1500 grit sandpaper (all I had. Would have been easier to work my way up to that but I just went with what was here) until all the oxidation was removed. After a little elbow grease I took it over to the polishing wheel (Ryobi bench grinder with two 6″ polishing wheels) and hit it up with some red rouge. Working it back and forth until it had a nice smooth shine. Then moved to the other wheel with Eastwood Supply’s version of White Diamond. Working it with a much gentler touch. Wiped off the residue and voila. Better than new.

Schulte2

Schulte4

Schulte5

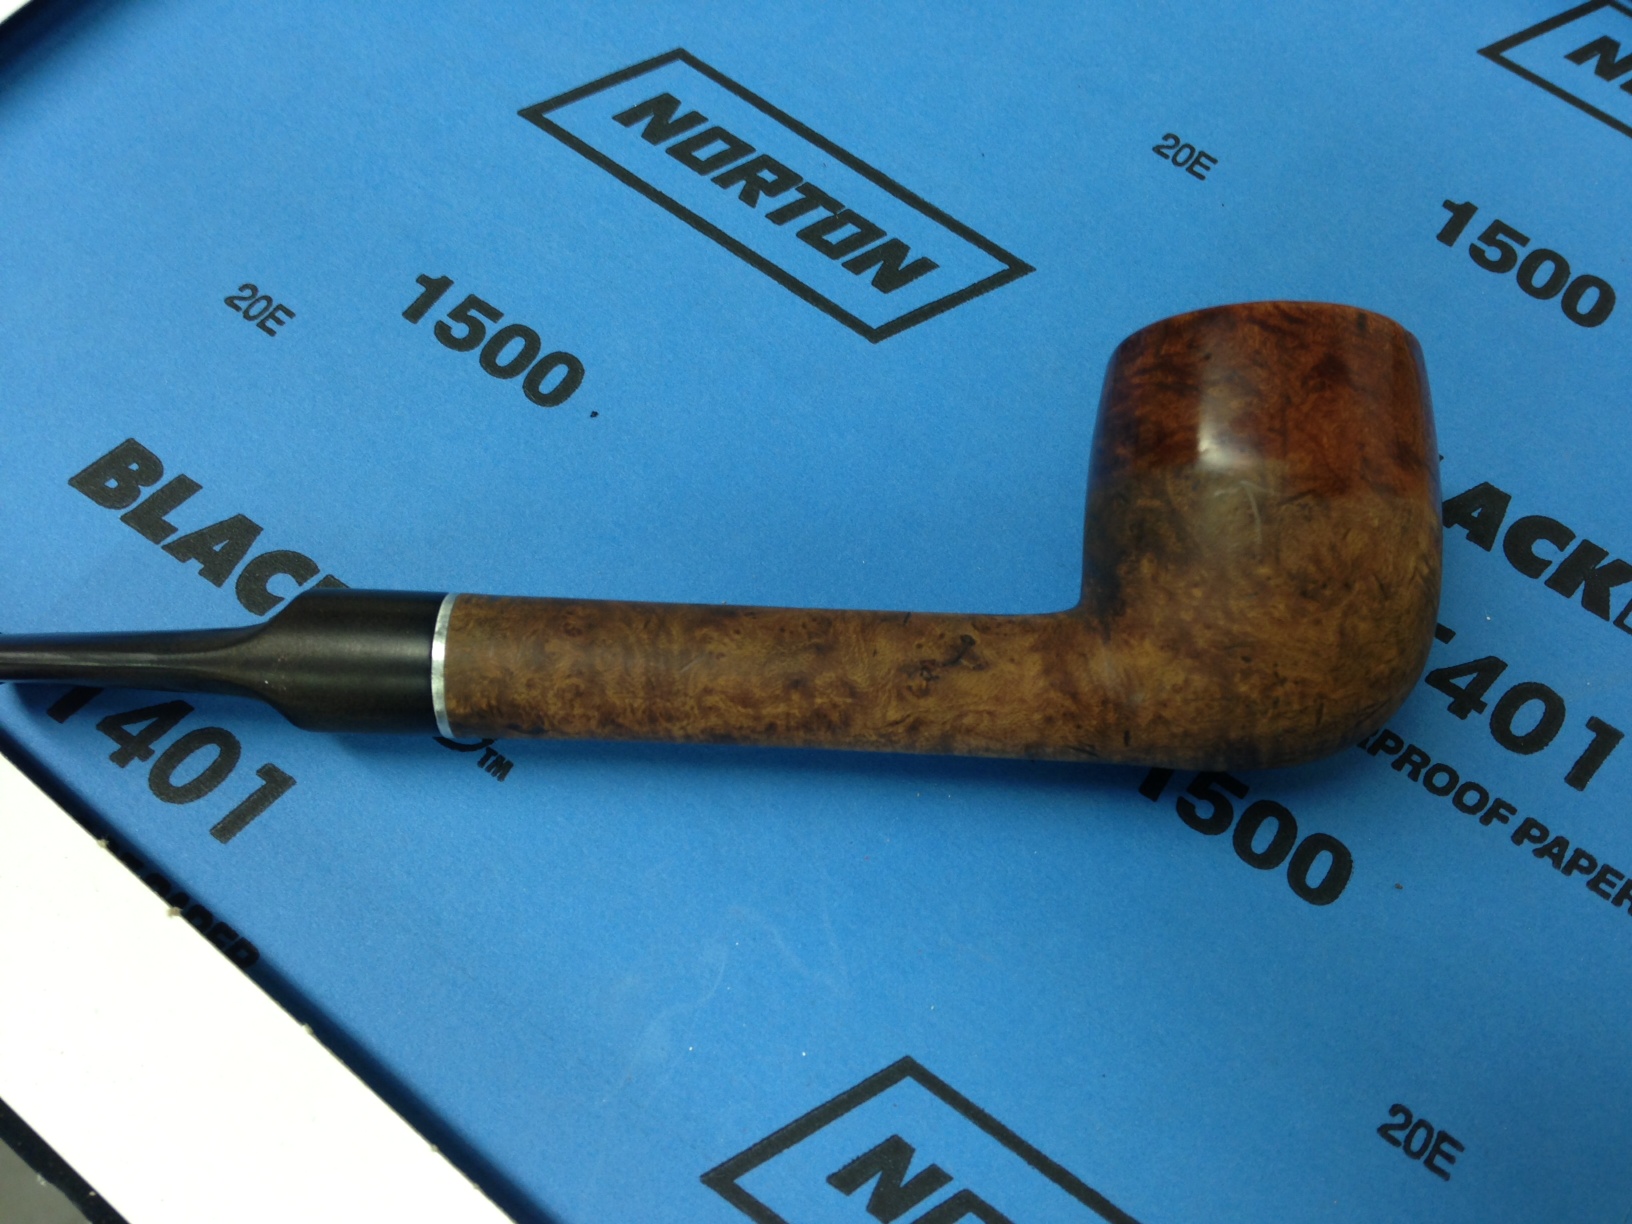
I moved onto the bowl. This time I decided to try wet sanding the bowl just to see what would happen. I hypothesized that a quick wet sand might just remove the grit and grime. Turns out it quickly moved right past that and into the stain. I probably won’t do that again unless the bowl needs serious work but it was worth a shot. Wet sanding did work well on the top of the bowl to remove the tar. Much quicker than the spit shine method.

Schulte6

Schulte7

You can see how one turn on the bowl with the red rouge turns the wet sand into a nice shine. Probably my favorite part of this whole thing is when you break it all down to its base and start to rebuild it.

Schulte8

Schulte11

Schulte10

Schulte9

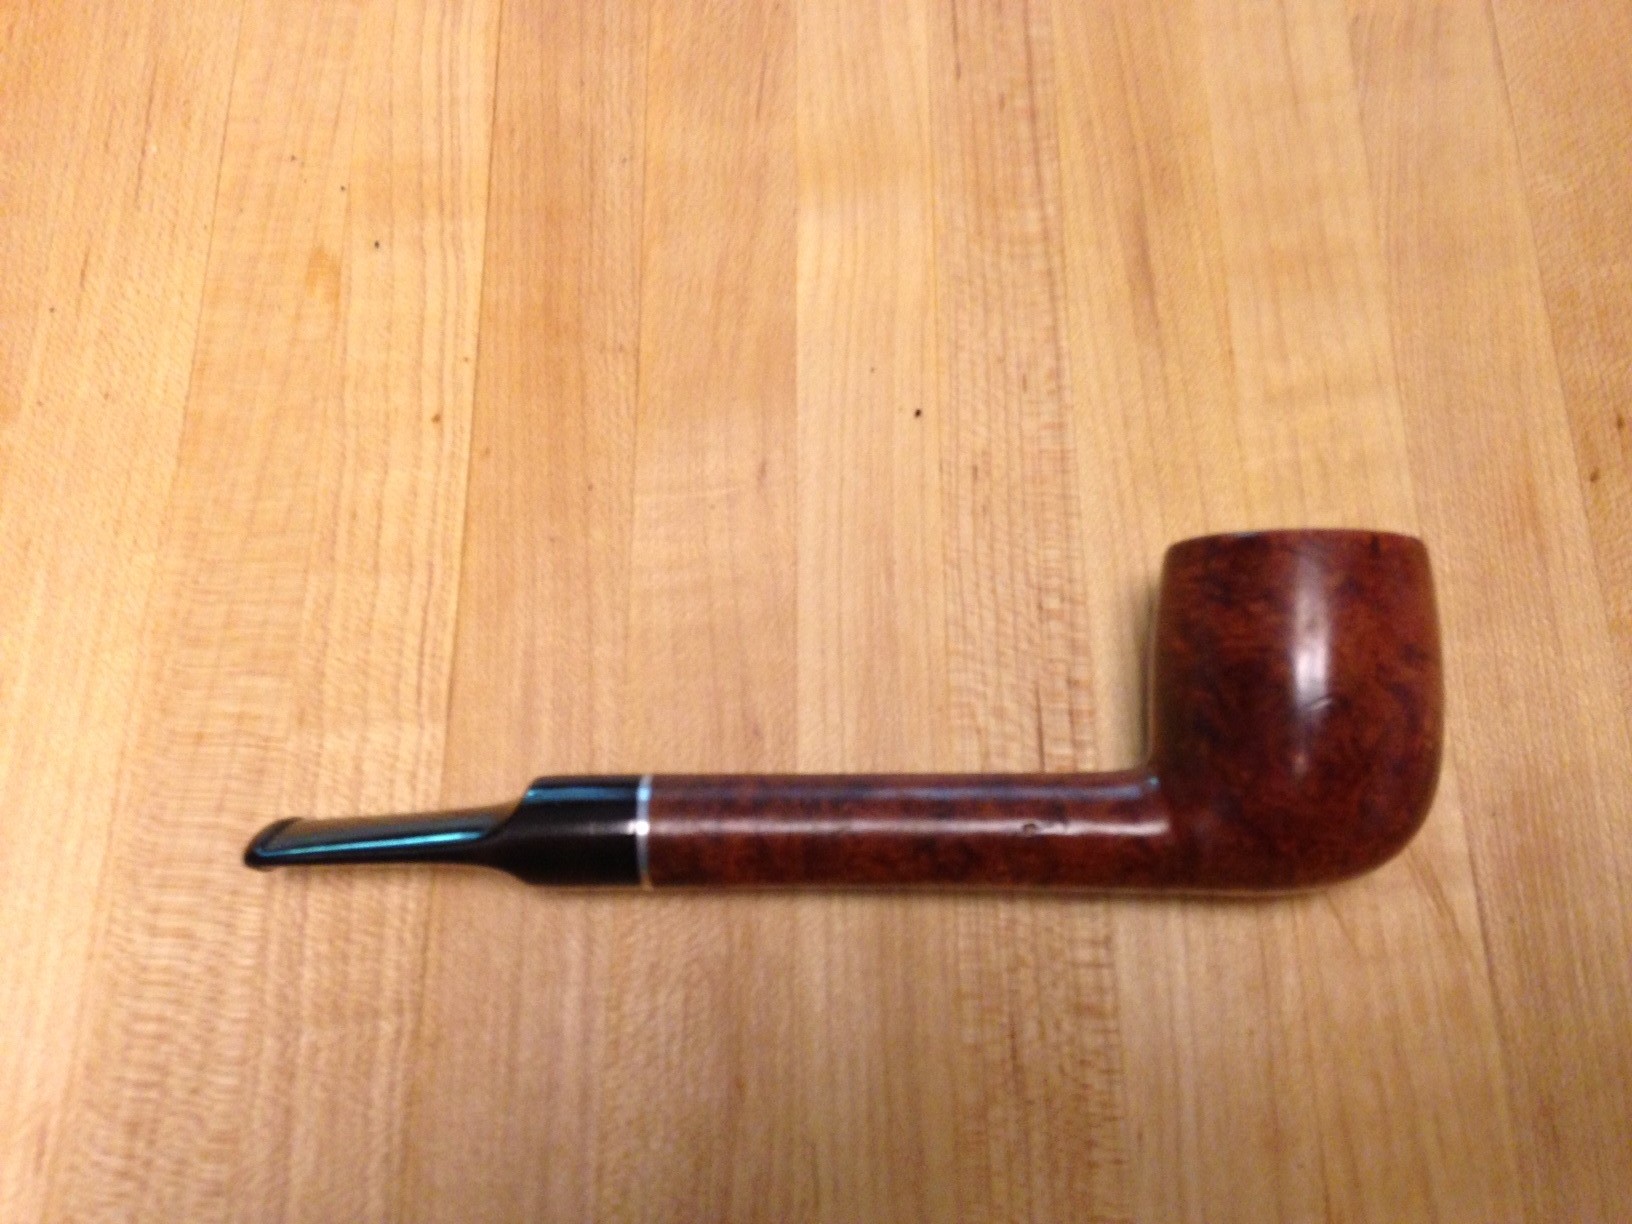
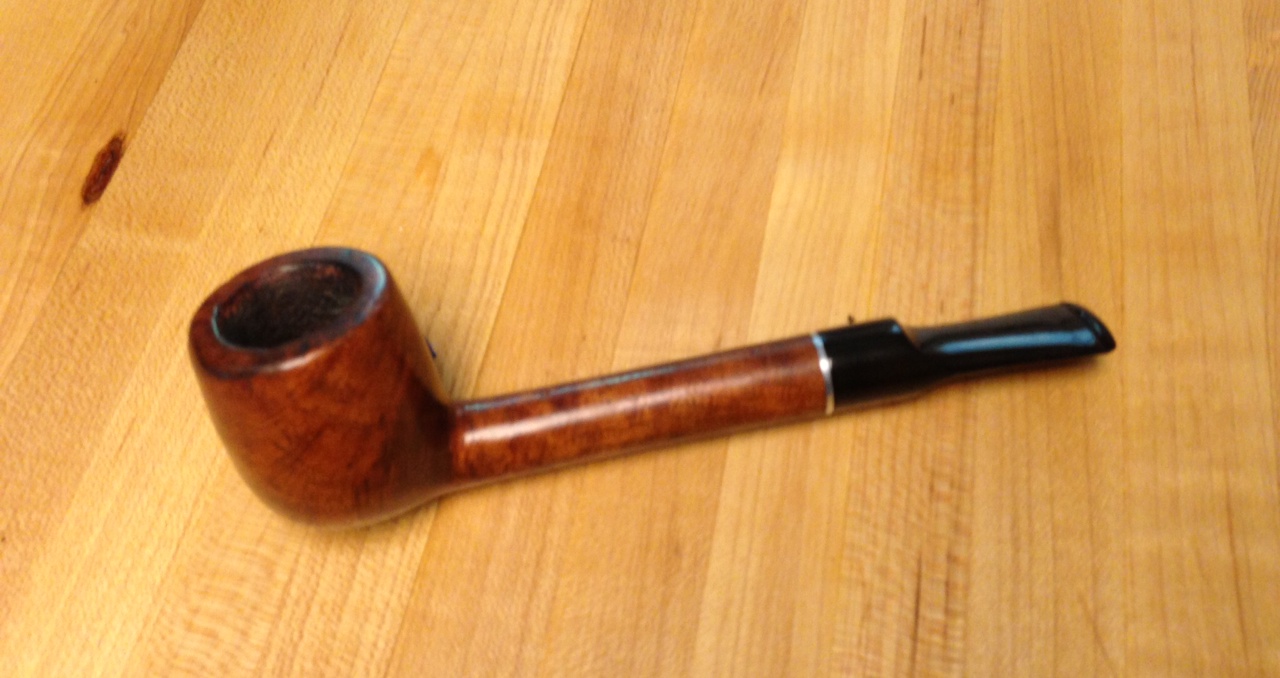
I did the same to the bowl as I did to the stem. Took about an hour on the wheel for both. And I’m pretty happy with how it turned out. I have yet to polish them with any wax to keep the shine up. I just haven’t picked any carnauba wax up and I’ve noticed the super bright shine dulls after a few days so I’ll be sure to grab some wax ASAP.

If you’re reading still thanks and I hope this helps anyone who is just getting started.

Cheers.

’63 Dunhill 552 Restoration


Blog by Al Jones

I found this 1963 Dunhill shape 552 on Ebay last week. The auction ended early in the week at an odd time and it went largely unnoticed. It looked to be in pretty decent shape, but with some bite marks on the bottom of the stem. It is a Group 4 pipe in Bruyere finish (A = Bruyere) At first, I thought it was a Rhodesian, then later thought it looked more like a tomato. Neill Archer Roan commented that it had some Diplomat DNA.

The pipe was delivered today. It was pretty much as pictured, but I also discovered it is a 6 mm filter pipe. The briar was in great shape, with a little tar and rim darkening. There were no dings or bruises to deal with. The stem was also in decent shape and only lightly oxidized. There were a few light teeth marks on both sides of the stem, and all but one lifted out with some heat from a lighter flame.

Dunhill_522_Before (1)

Dunhill_522_Before (3)

Dunhill_522_Before

dunhill_rhodesian-5dunhill_rhodesian-4Dunhill_522_Before (2)

The bowl had a fairly thick cake and I reamed it with my Castleford bit set. The bowl was then soaked with Everclear and sea salt.

I polished the stem with some 800 grit wet paper, followed by 1500 and 2000 grade. Then I moved to the micromesh, 8000 and 12000 grades were used. I gave the stem a light buff (mounted to the briar) with some White Diamond. I have a bar of jewelers “Red” rouge on order and I’m curious to see how it compares to the White Diamond for finish work. The stem has some odd marks in the vulcanite, almost like an imperfection. I could not remove them by sanding or buffing.

I polished briar lightly with some 8000 grade micromesh, keeping away from the weak nomenclature. I then buffed the bowl, again lightly with White diamond and then several coats of carnuba wax.

After searching online for several days, I couldn’t find out much about this shape. I found only one other shape 552, a shell finish pipe sold at an Ebay auction in 2007. The 552 is also not on any Dunhill shape chart (Loring, etc.). On the SmokersForums.uk in the “Streets of London” social group, one member there, dmcmtk (Dave) said he has a shape 556 from 1963. He had heard Dunhill was experimenting with shape variations at this time and perhaps my 552 was part of that experimentation. I have emails out to several Dunhill collectors, but haven’t yet received a reply. If you know anything about this shape number, please comment.

Here’s the finished pipe.

Dunhill_522_Finished_Gallery

Dunhill_522_Finished (3)

Dunhill_522_Finished (4)

Dunhill_522_Finished (5)

Dunhill_522_Finished (1)

Dunhill_522_Finished (2)

Churchill’s Bent Pot


Blog by Steve Laug

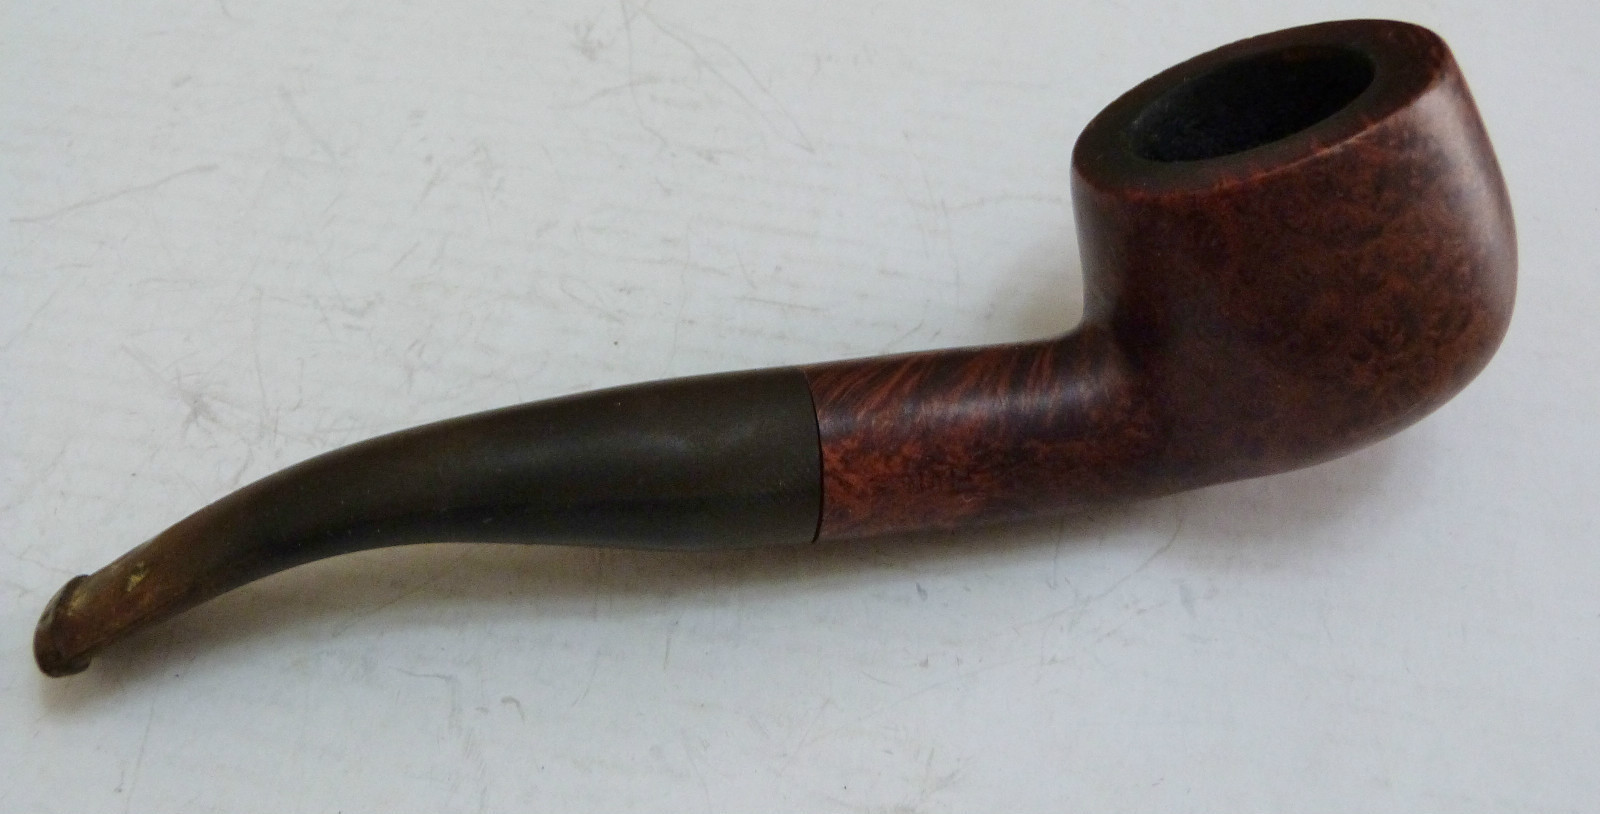
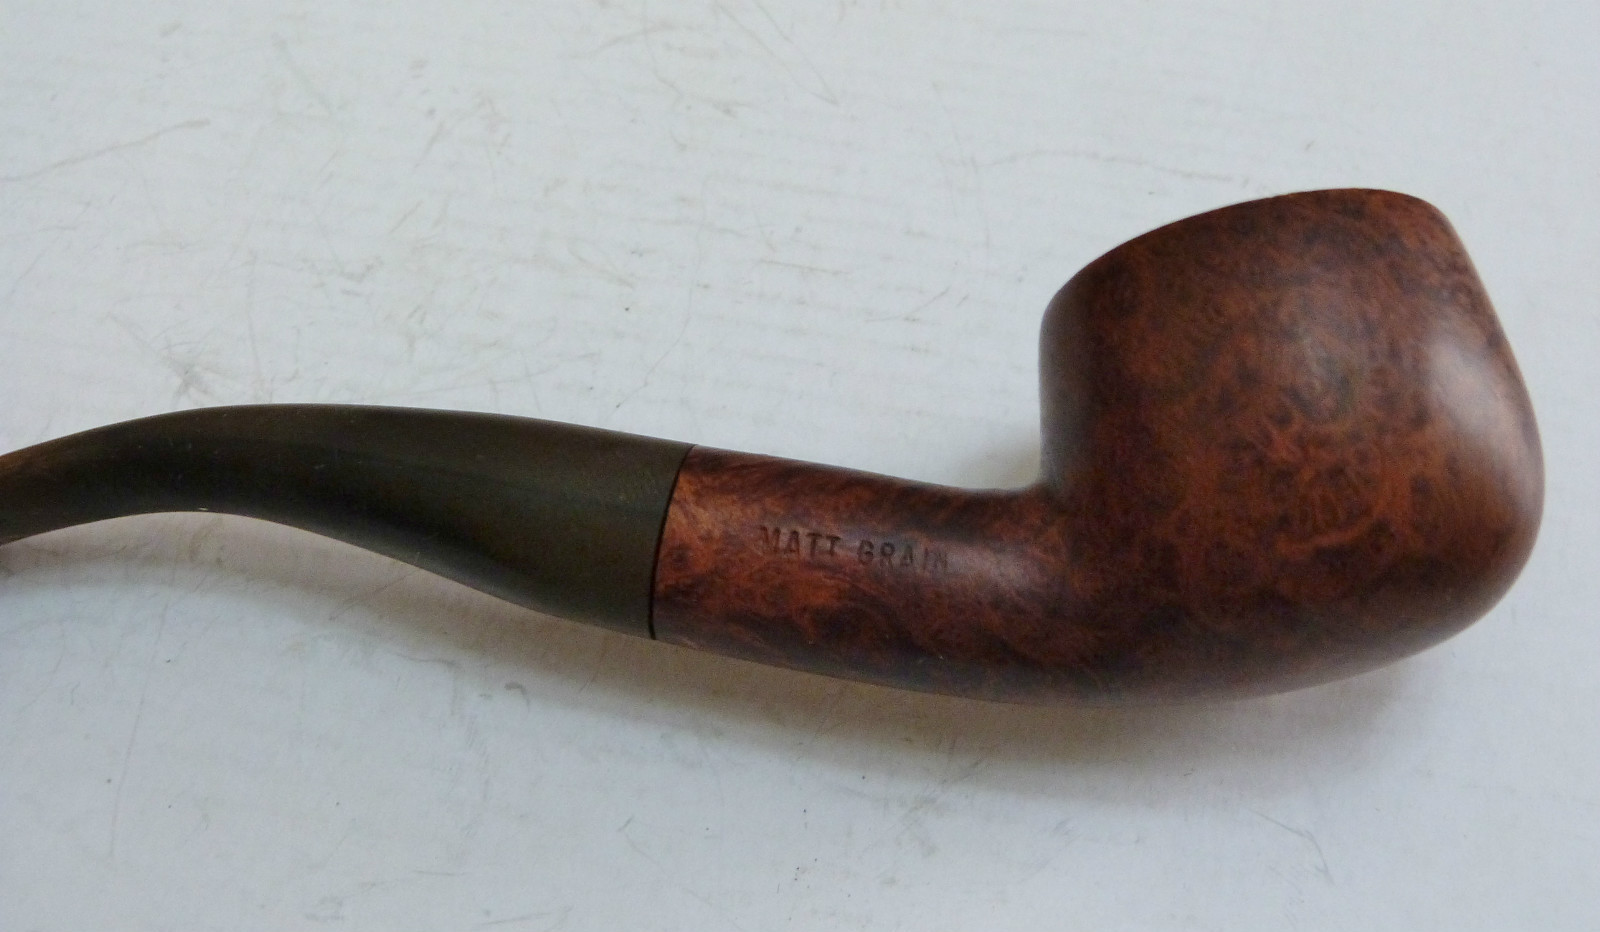
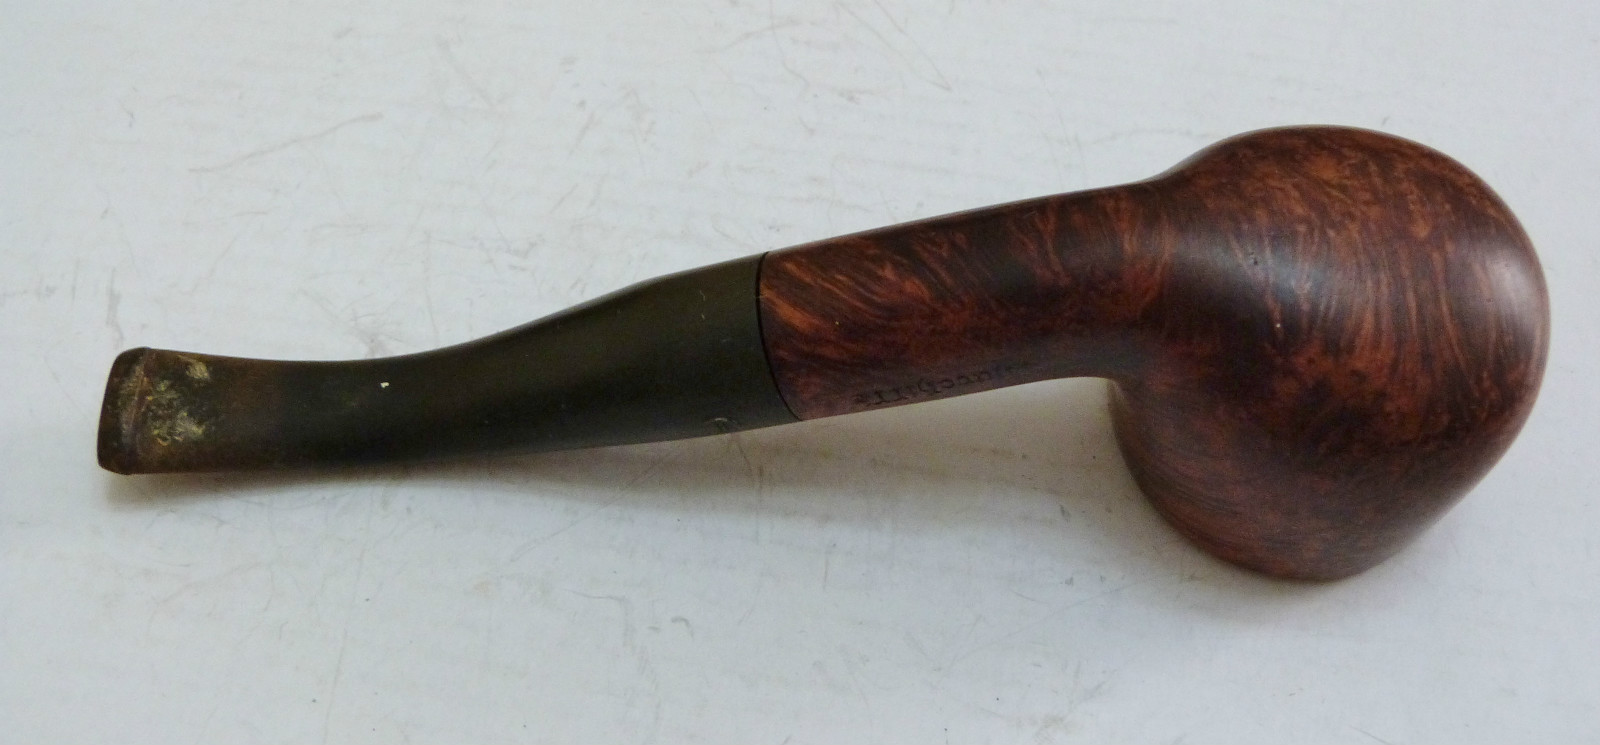
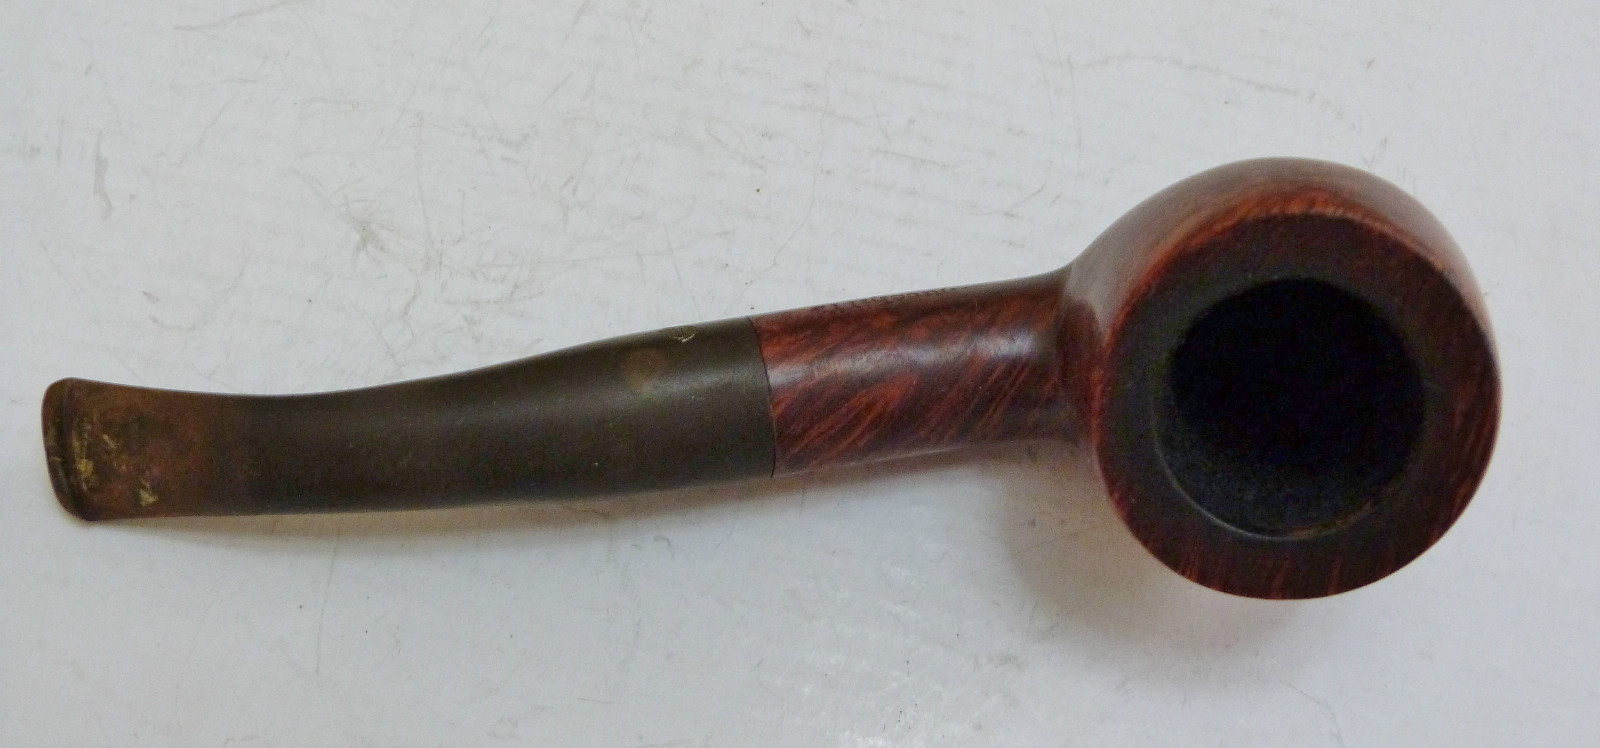
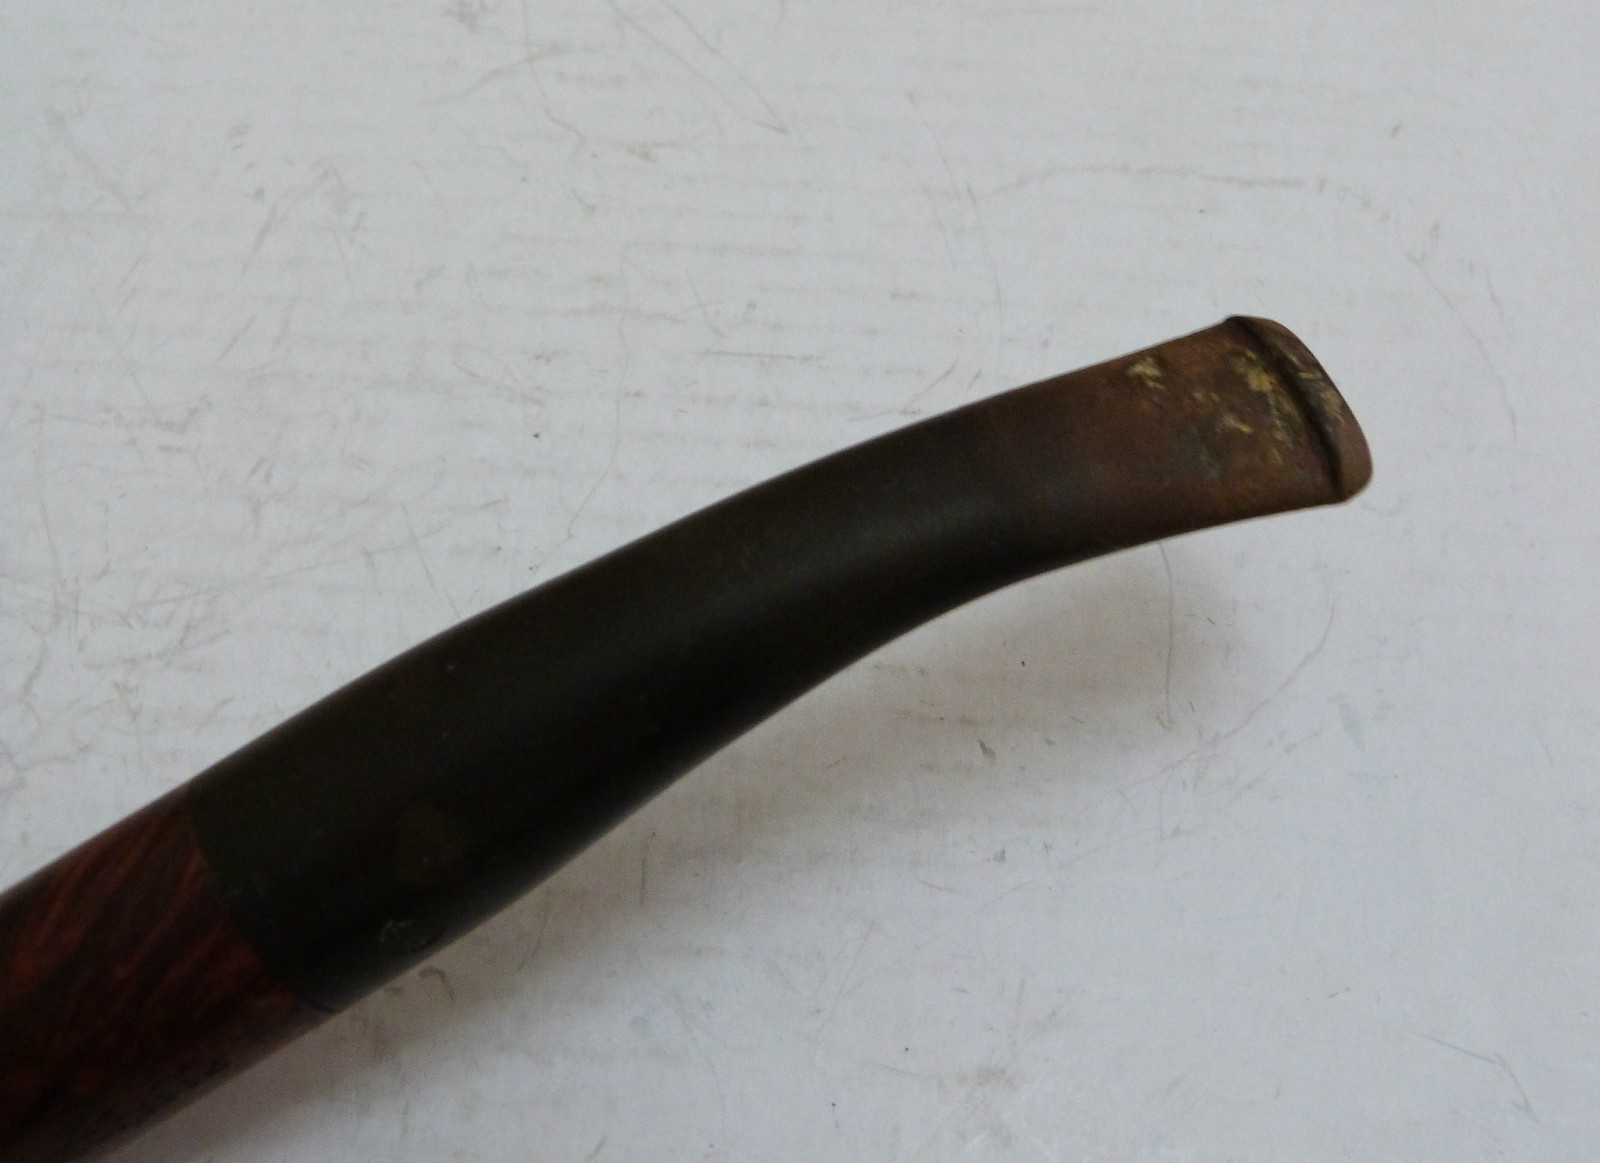
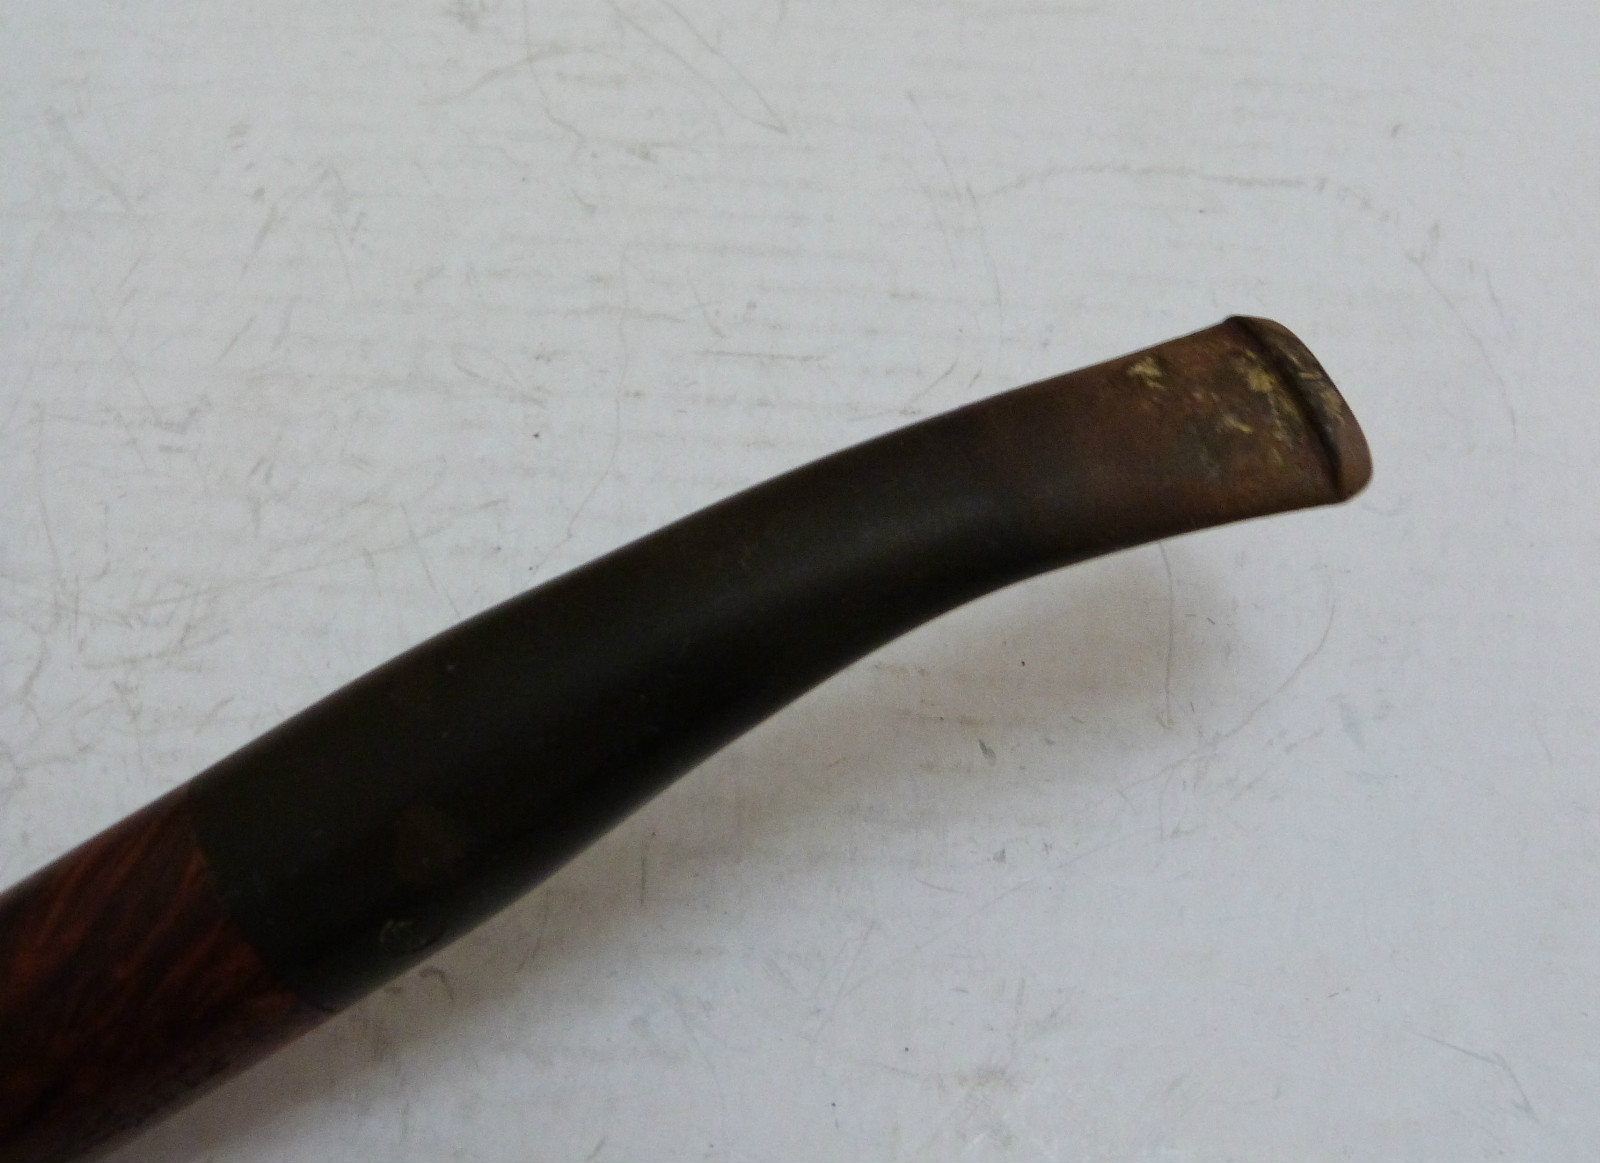
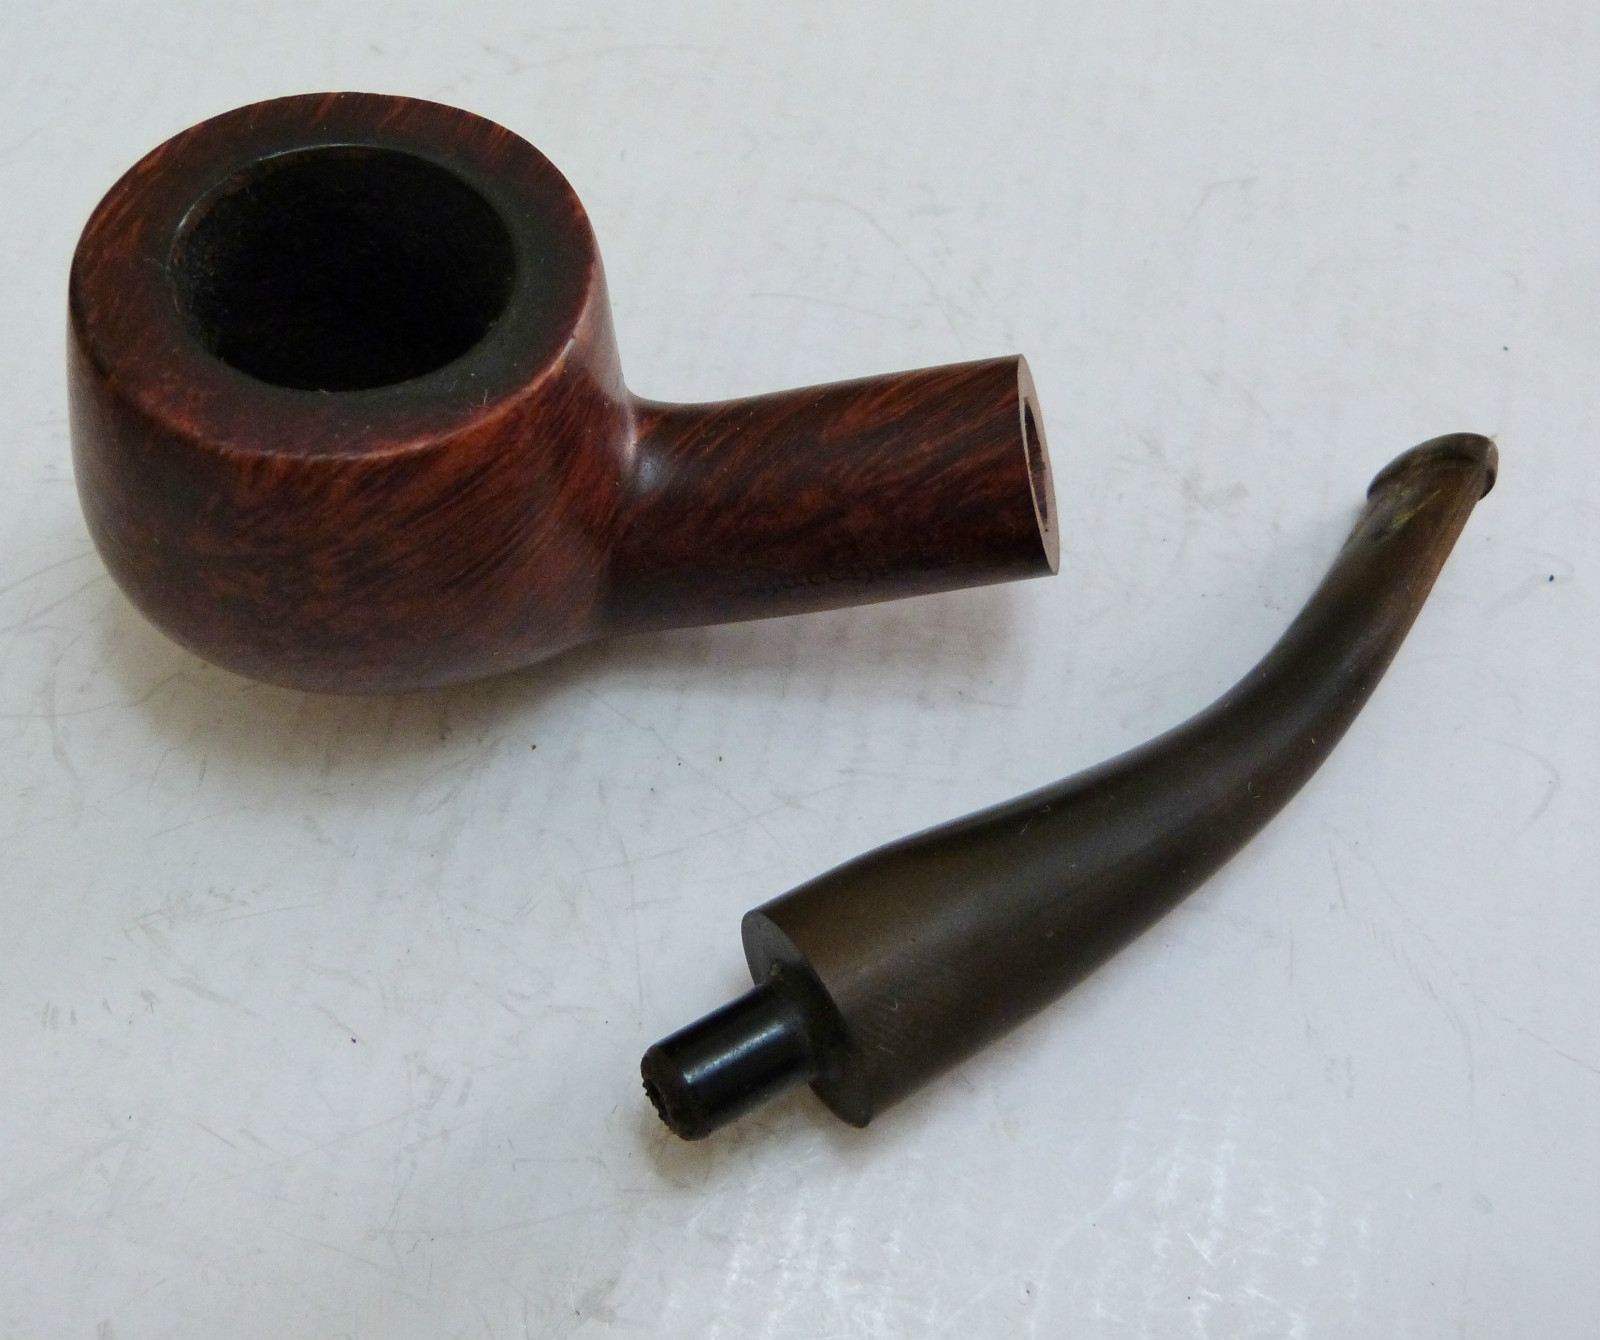
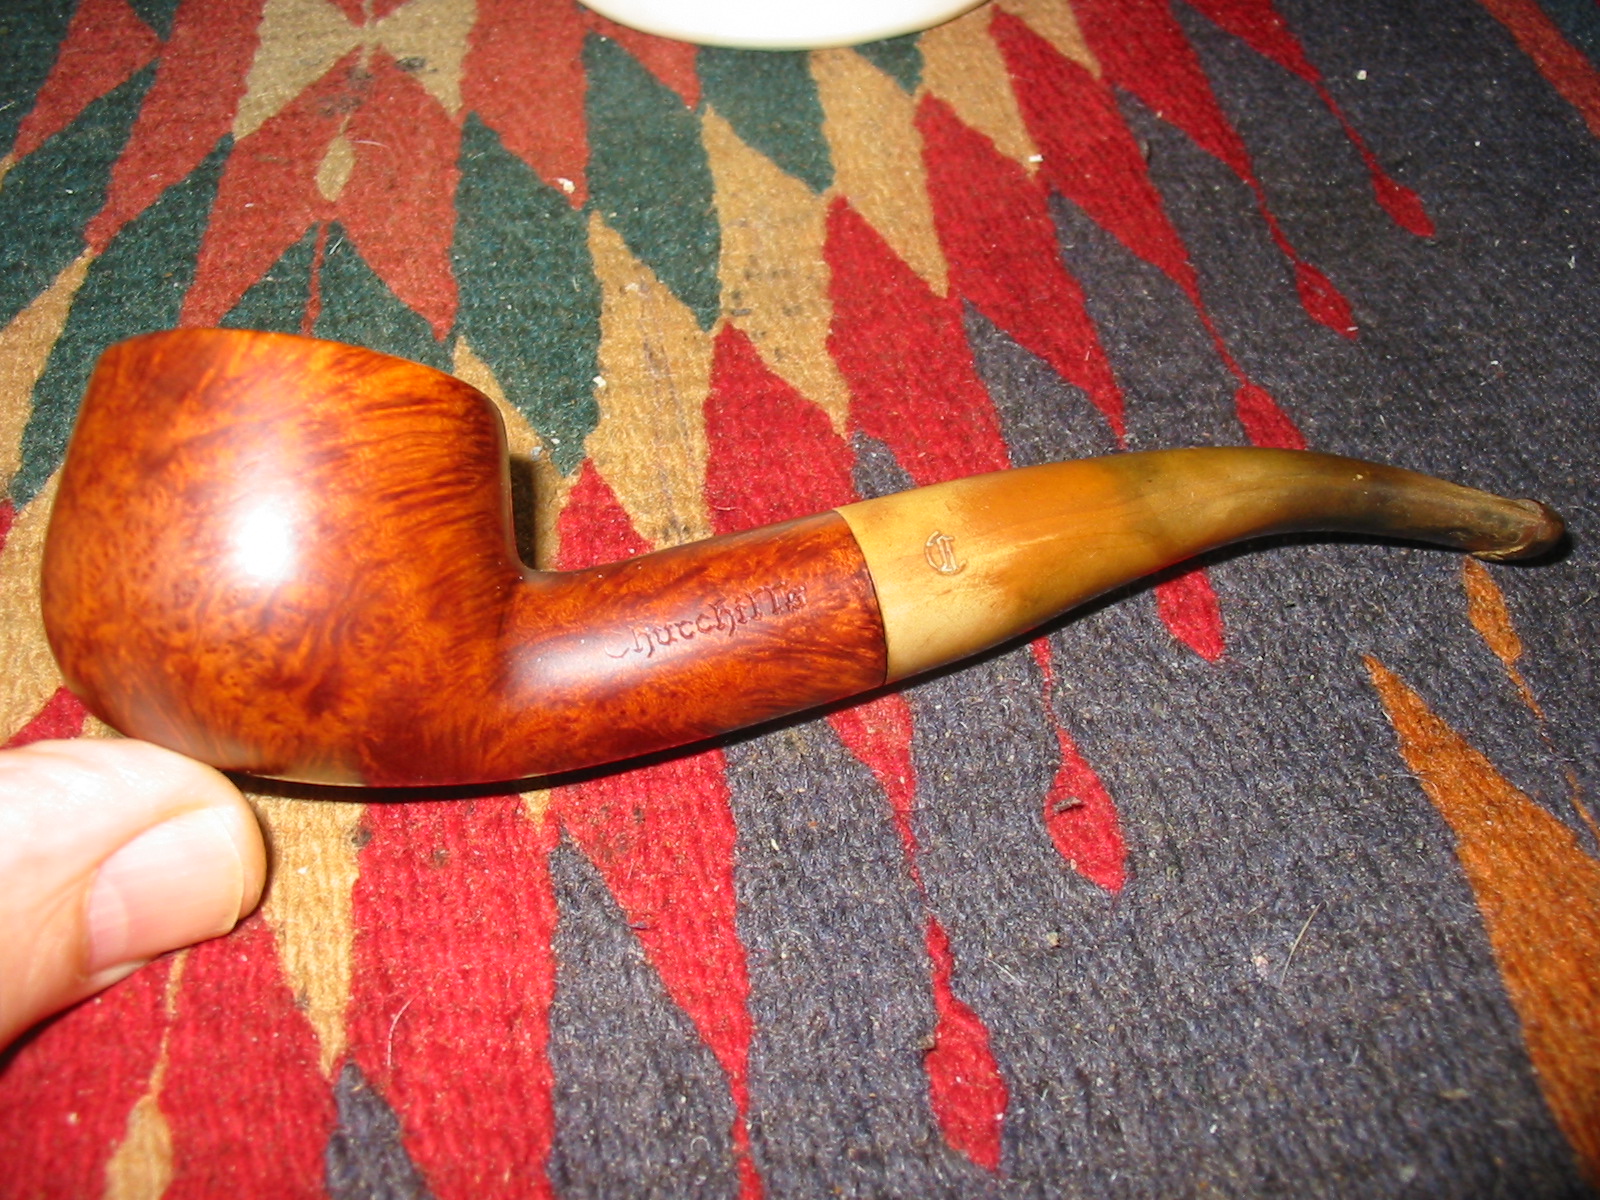
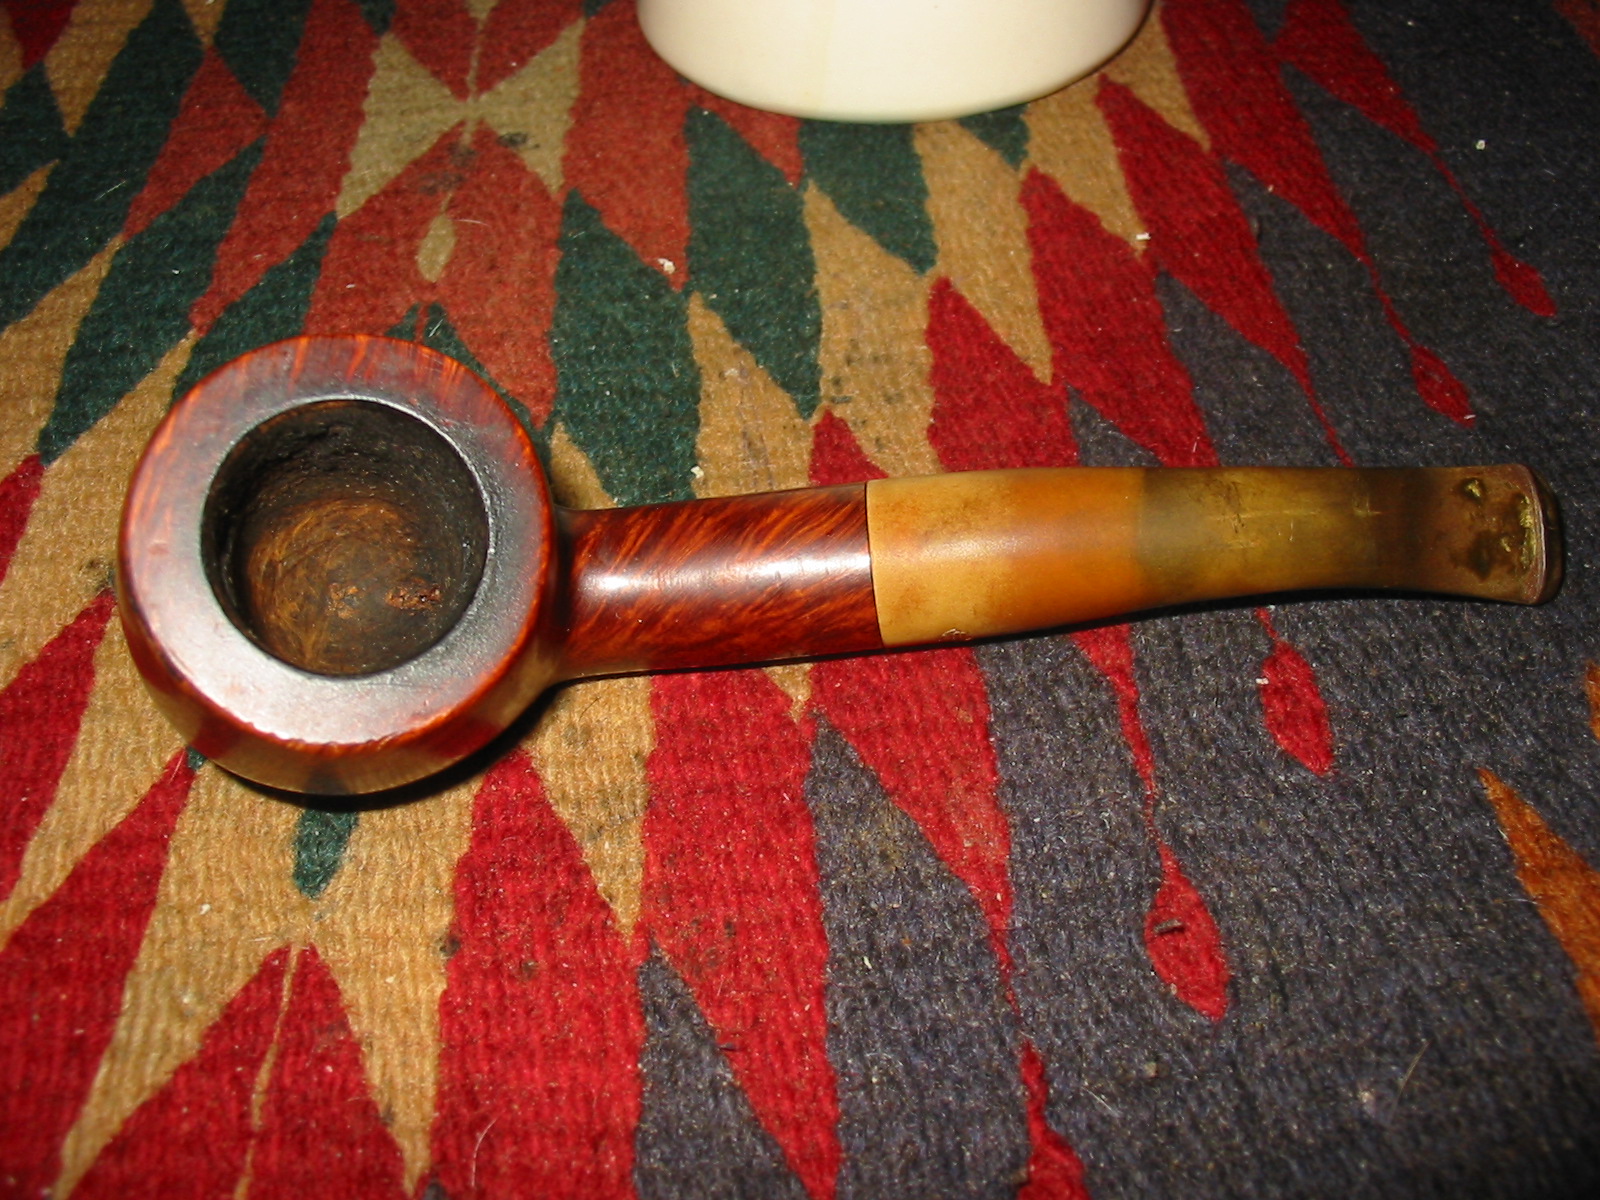
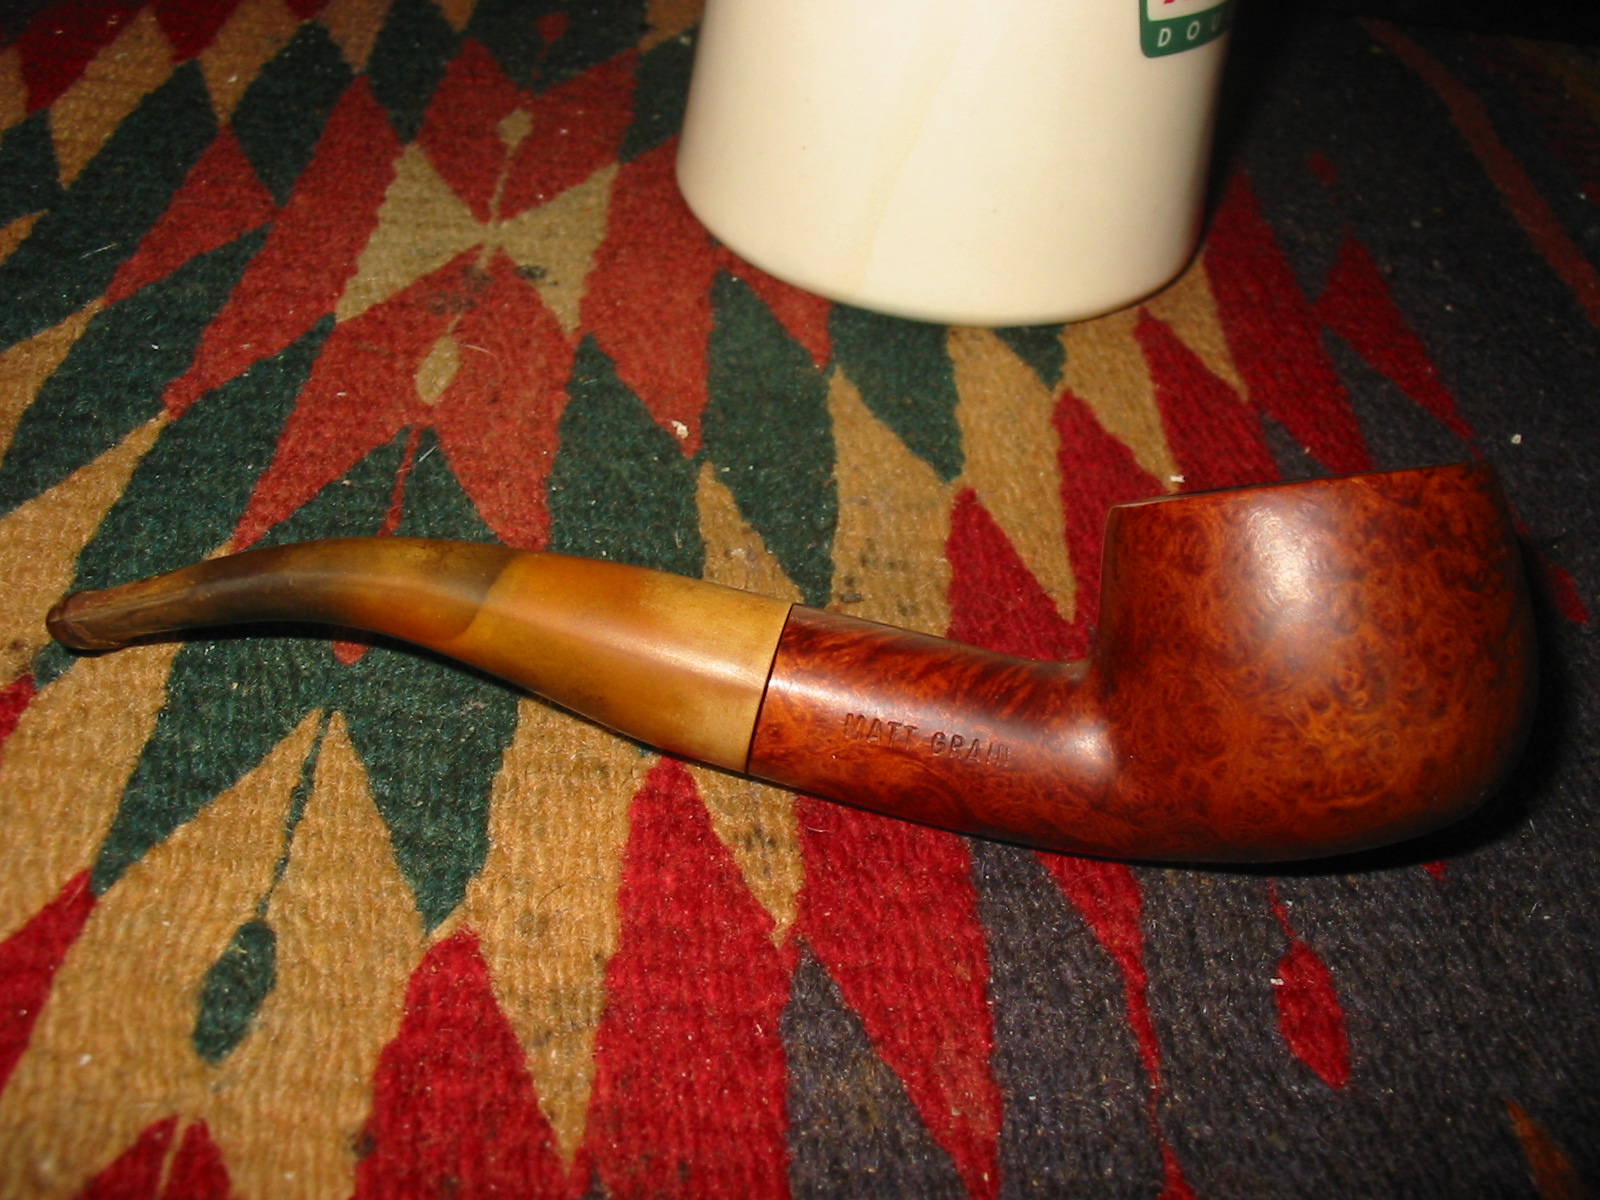
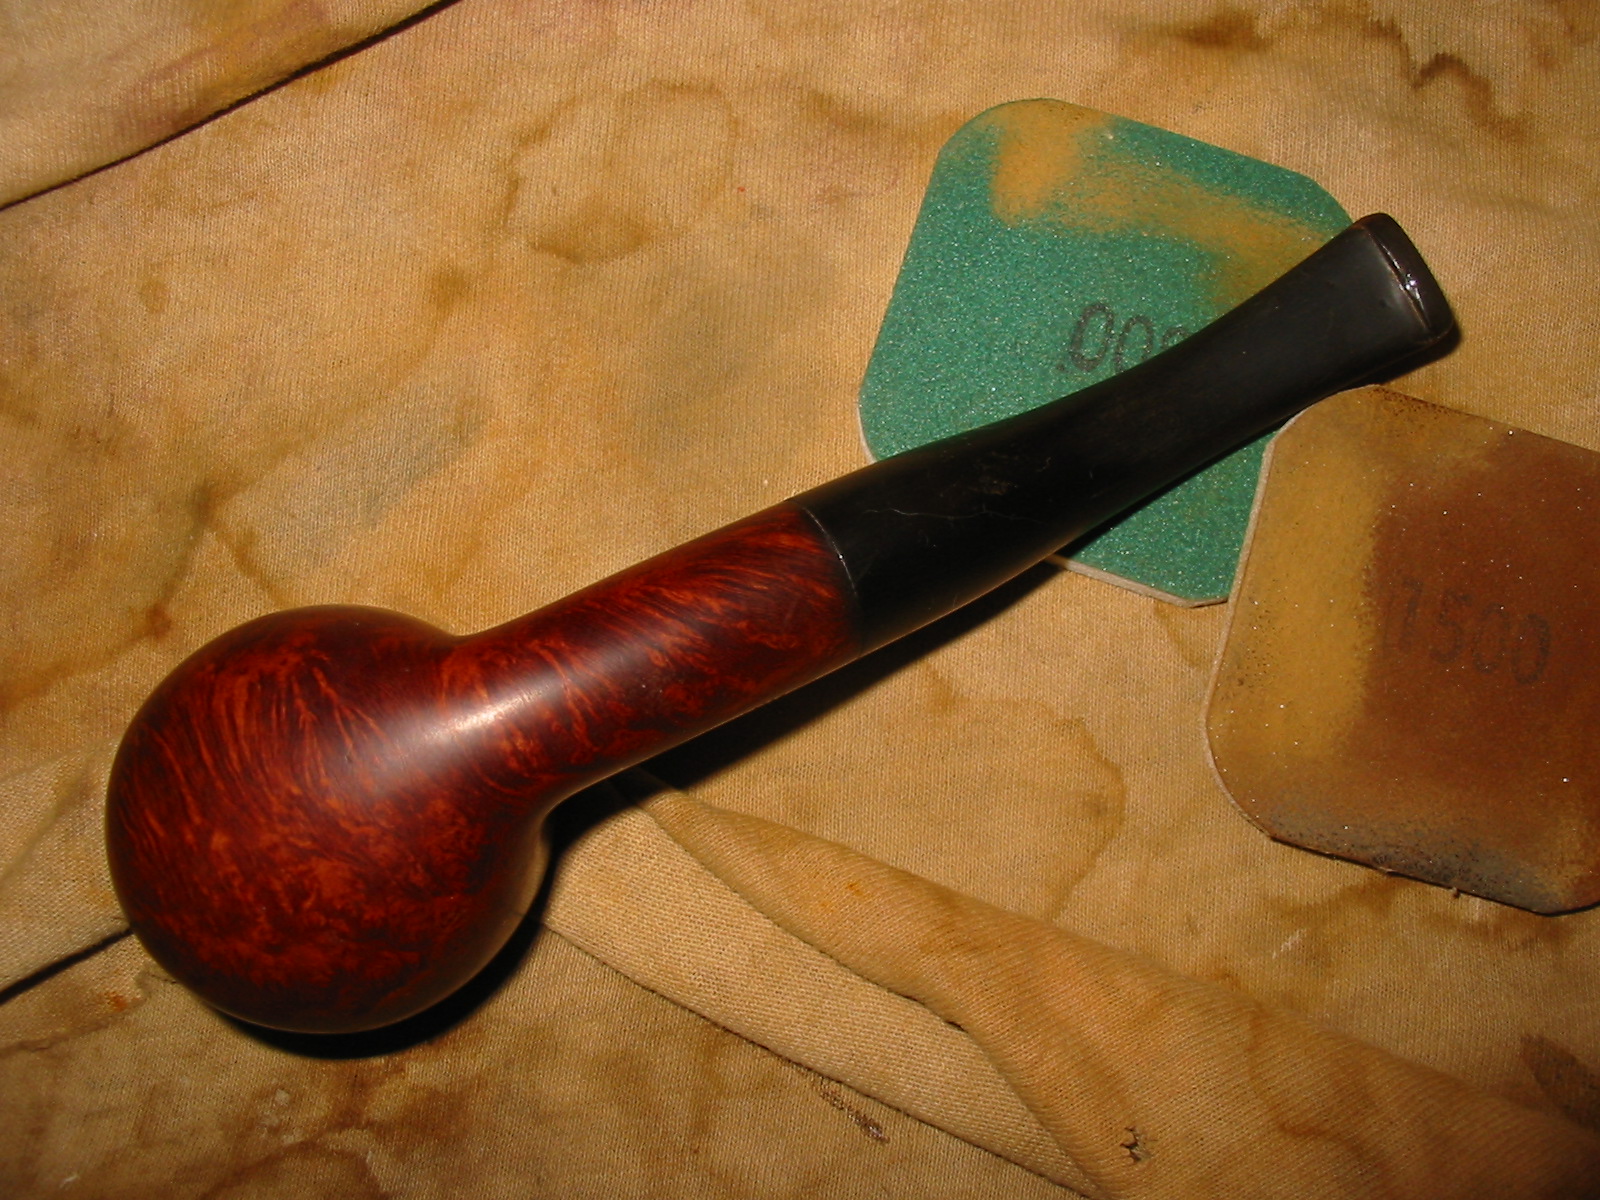
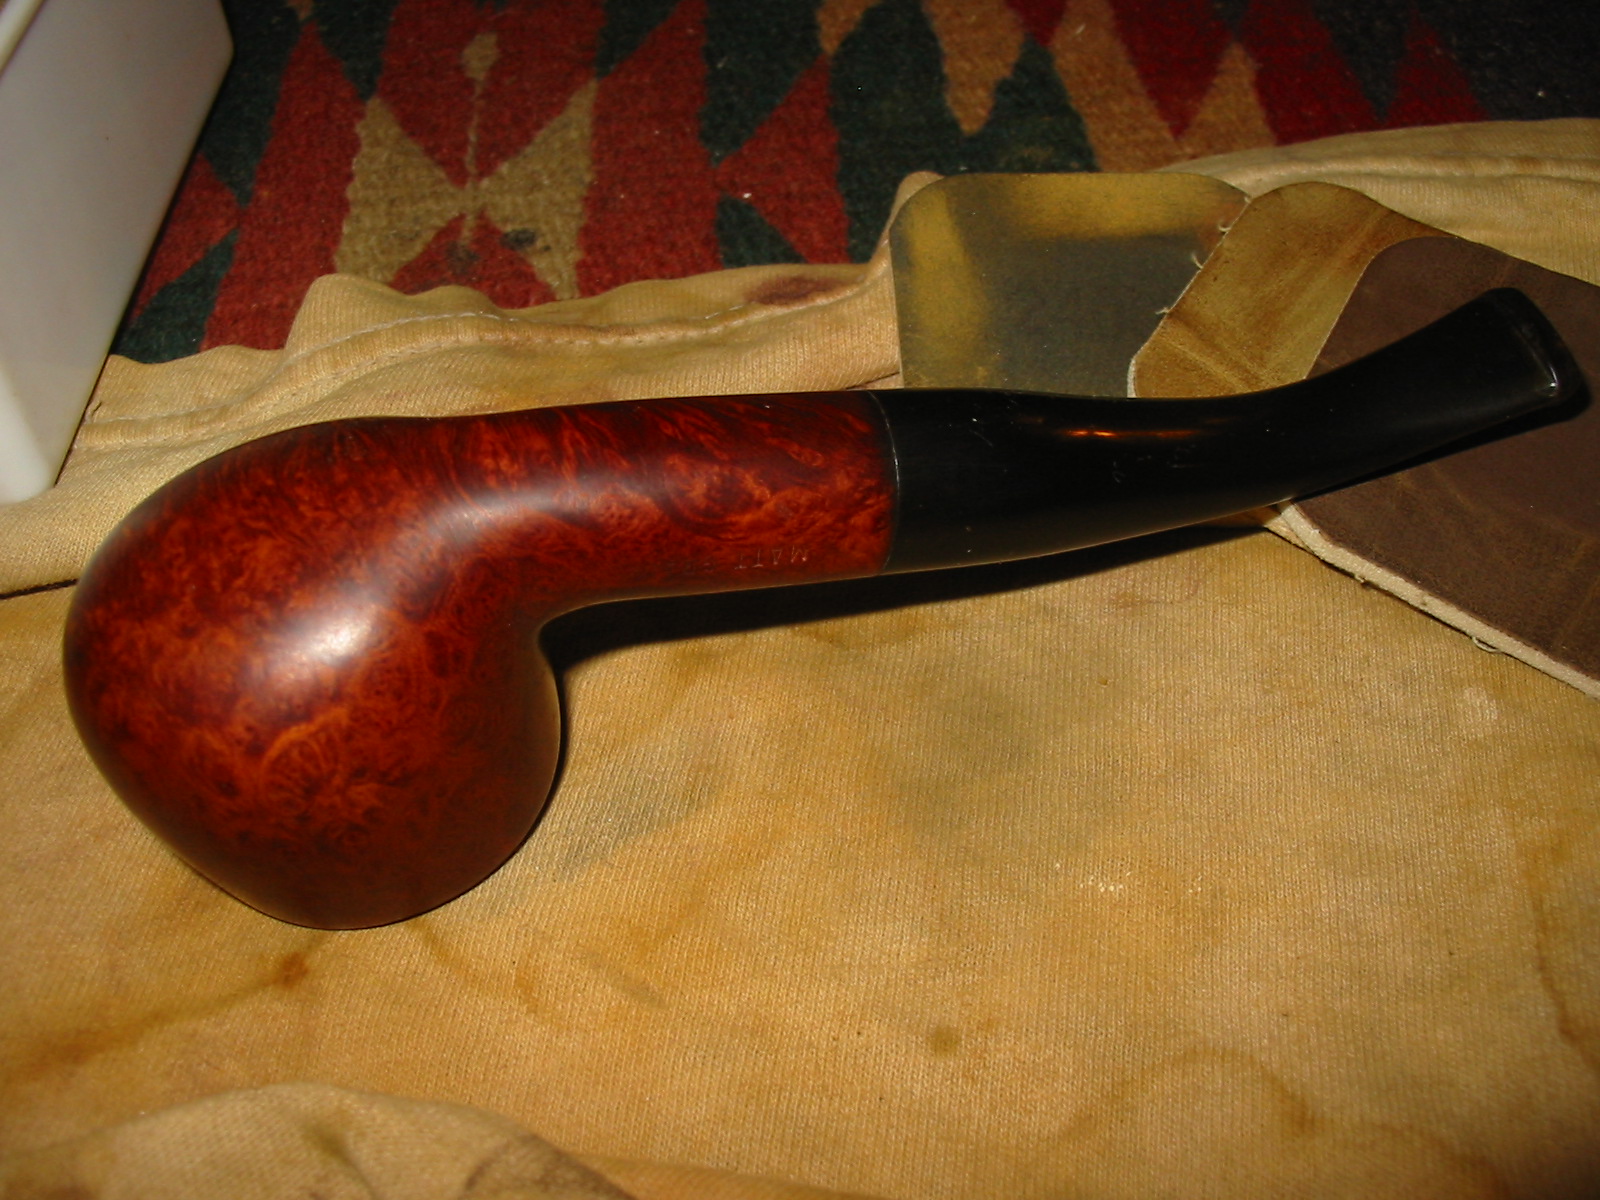
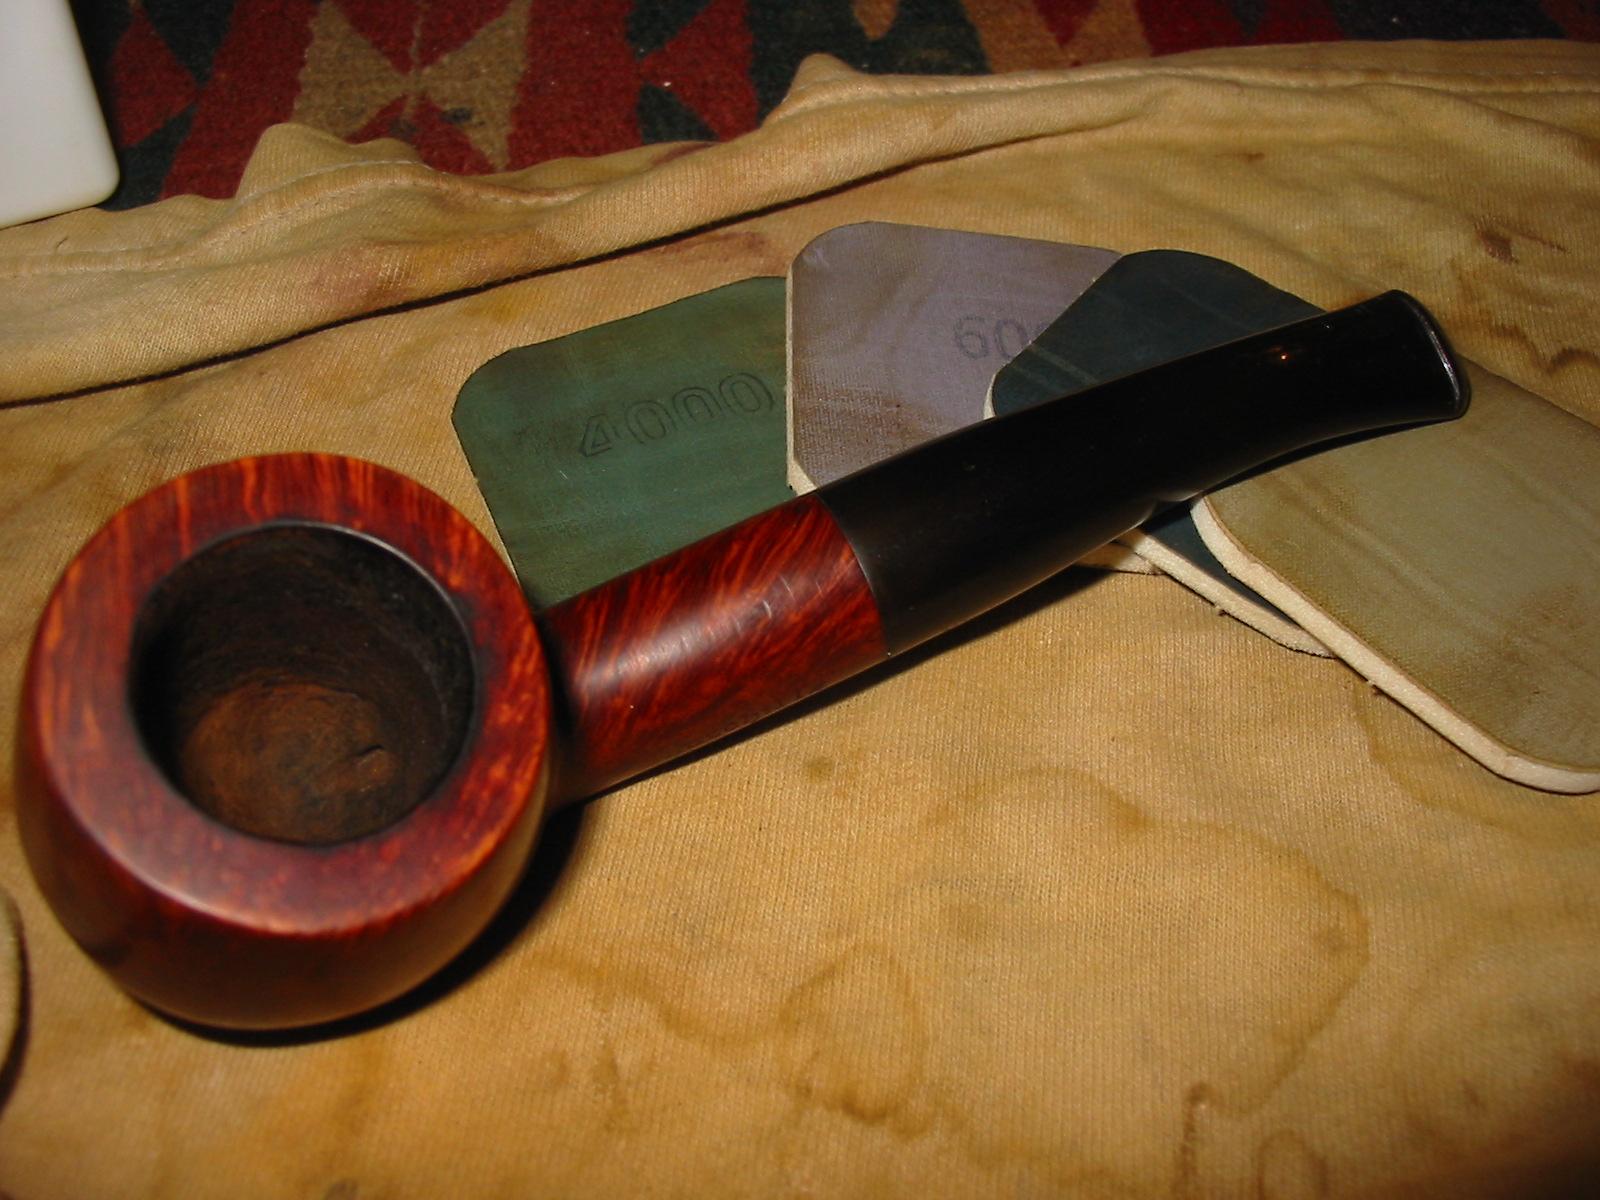
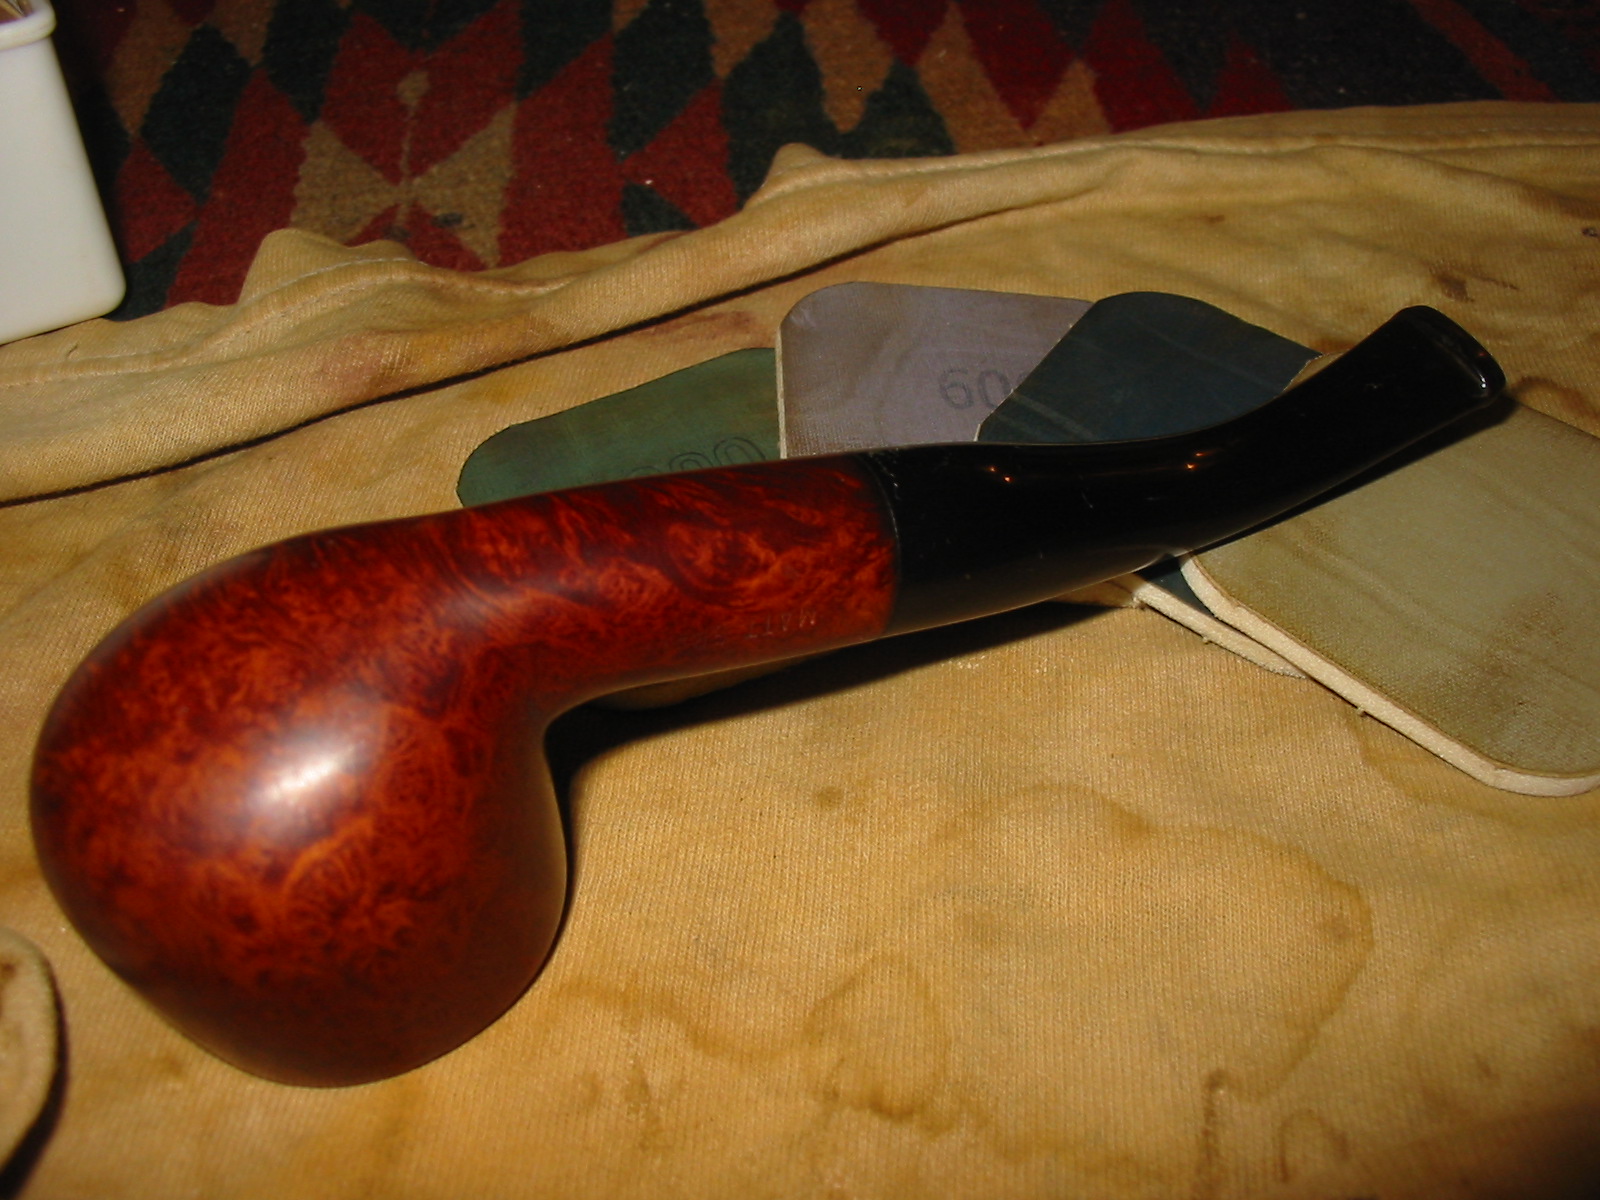
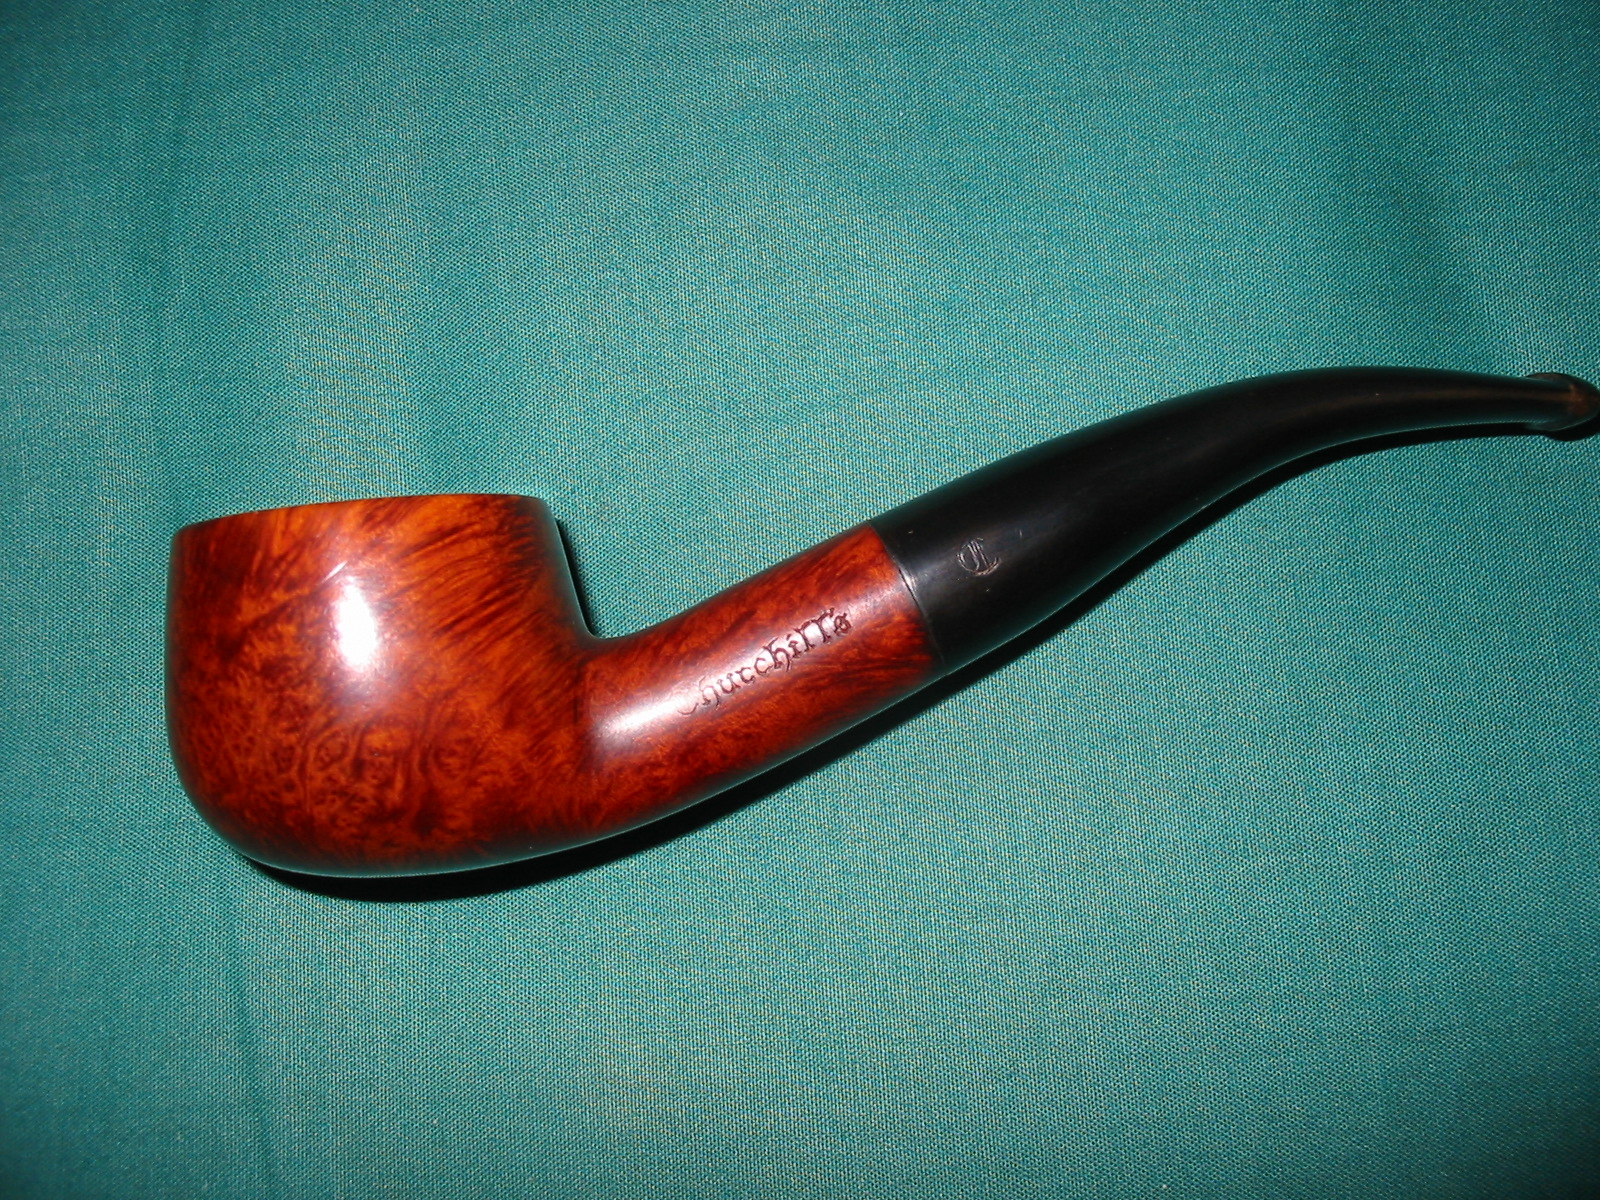
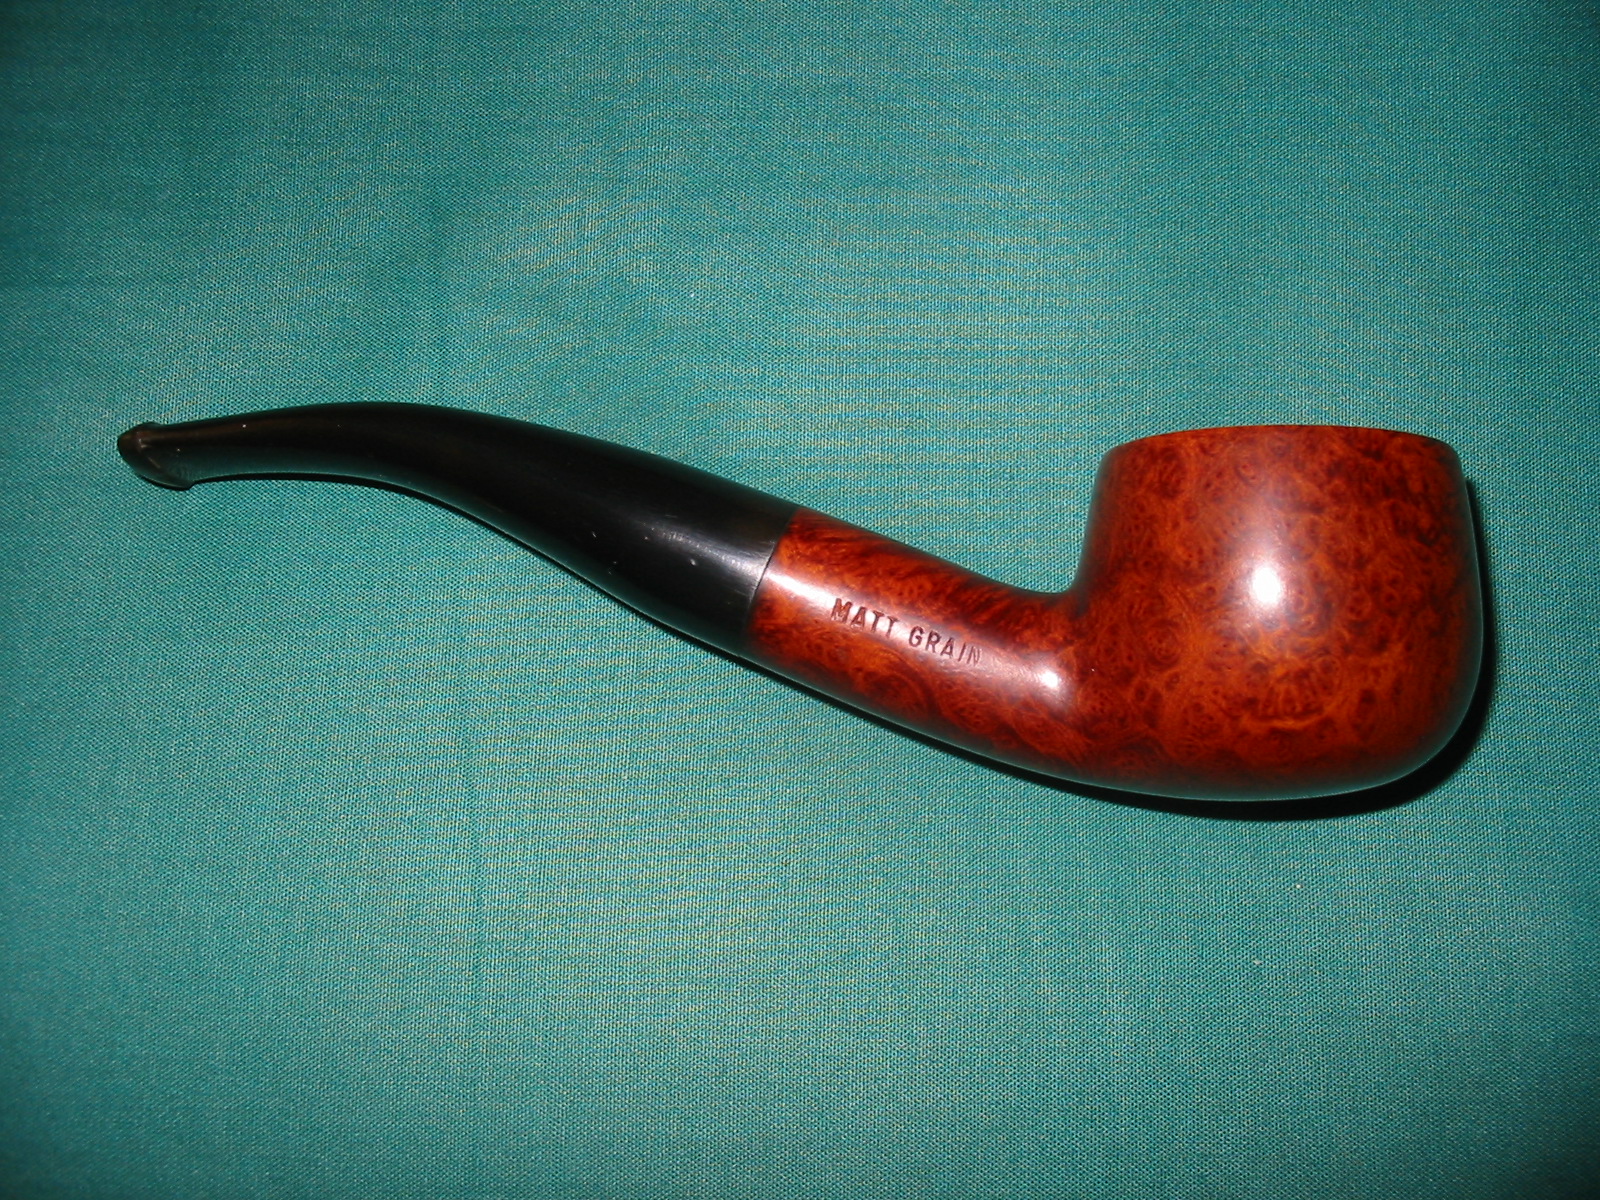
I saw this pipe come up on Ebay and love the shape. Some have called it a bent pot but I am not sure that the name captures the shape but I will call it that nonetheless. Churchill’s was not a brand I was familiar with but it looked very good. The stamping on the pipe is very simple on the left side of the shank it is stamped Churchill’s and on the right side it is stamped Matt Grain. The bowl had been reamed back by the seller before shipping and was well done. No damage to the roundness of the bowl. The inside of the shank was filled with chips of carbon from the reaming and they were stuck in the tar in the shank. The buildup was enough that the stem did not seat in the mortise and there was a gap in the fit of the stem and shank. The rim had some tarry buildup. The stem sat at an angle to the shank as if the tenon was bent slightly. There were three deep tooth marks on the top and the bottom of the stem near the button. The oxidation was present but not heavy at this point. The stem was also plugged with tars and the airflow was very constricted. There was an old English style C stamped on the stem. The first nine photos below were provided by the Ebay seller.

Churchill 1

Churchill 2

Churchill 3

Churchill 4

Churchill 5

Churchill 6

Churchill 7

Churchill 8

Churchill 10

Logo NEW Logo 2012 Small

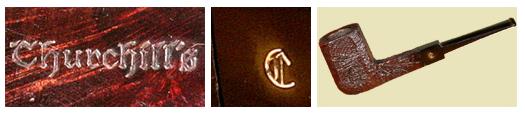
I am fairly certain that the pipe came from Churchill’s Tobacco Shop in Norwich, England. I found the following information on the Pipes and Logos website http://pipephil.eu/logos/en/logo-c4.html On the site there is a small paragraph which I have copied as follows: “Churchill’s Tobacco shop is situated in St Andrew’s Street at the corner of Bridewell Alley in Norwich, England. The shop was next to a church and at the bottom of two hills, and that’s how it became “Churchill’s”. Former manager: John Elvin (retired on May, 31 2008). Current owner (2008): Keith Garrard.” I have included these pictures from that website as they show the stamping on both the shank and stem that is identical to the pipe that I have just refurbished.

Church

According to the Churchill’s website it is the last remaining specialist tobacconist in Norwich, originally standing at 32 St Andrews Street for over 23 years. http://www.churchillsofnorwich.com/index.php?_a=viewDoc&docId=1 The site also notifies the shop’s clients that Keith Garrard, who had a wealth of knowledge and was an avid pipe and cigar smoker himself, passed away on 23rd March 2012. His wife Coral continues to maintain the business in his honor.

I decided to try to remedy the bent tenon on the pipe to begin with. I heated it in a cup of boiling water to try to adjust it and tighten the fit in the mortise. I was able to adjust the fit and get a good tight seat with no gap between the shank and the stem. However, in the process the water oxidized the stem badly. The four photos below show the adjusted fit of the stem and also clearly show the bite marks on the stem – top and bottom near the button.

IMG_1738

IMG_1739

IMG_1740

IMG_1741

I scrubbed the inside of the shank with Everclear and cotton swabs. I cleaned the airway with bristle pipe cleaners and then fluffy pipe cleaners. I continued to scrub it until the pipe cleaners and cotton swabs came out clean. I cleaned the rim of the bowl with saliva and a cotton pad until the grime was gone. It took a bit more than a cotton pad and saliva so I also used a very fine grit sanding block to knock off the remaining tar, being careful to not break the finish.IMG_1743

IMG_1744

IMG_1745

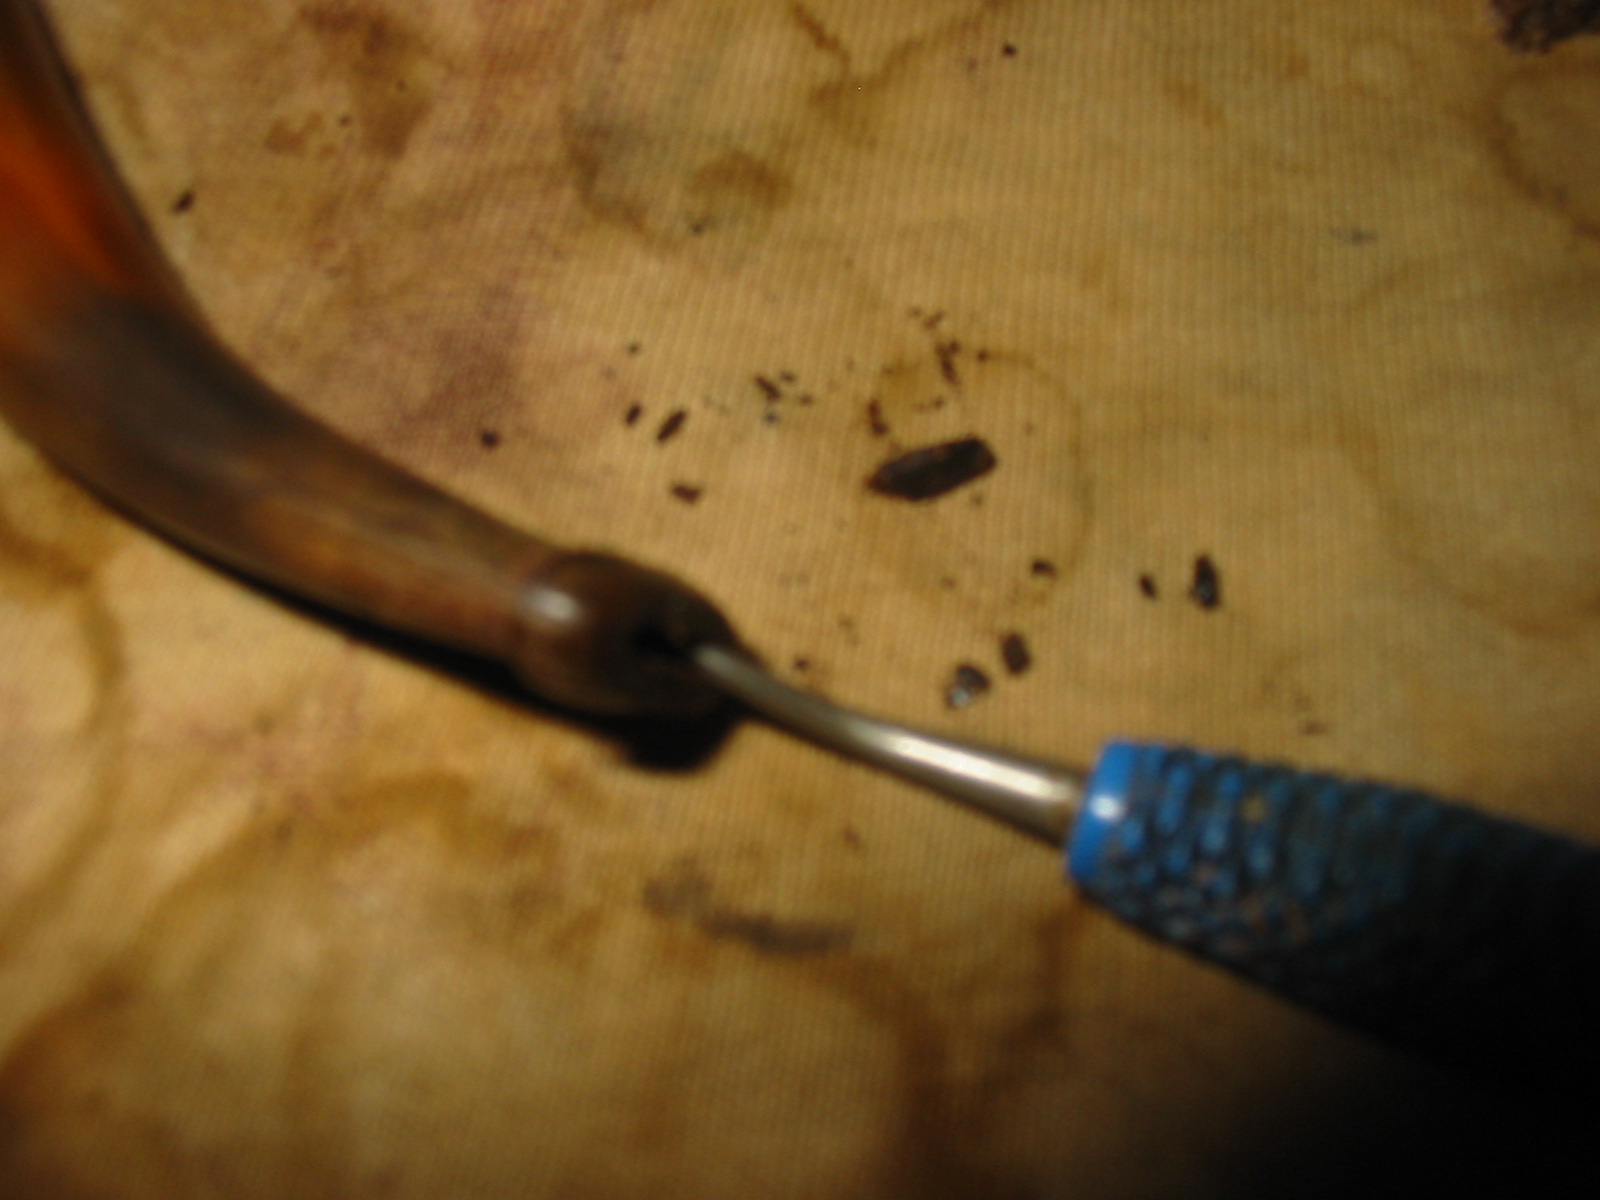
The stem took a bit of work as it was plugged with grit and tar. I used a dental pick to clean out the slot. To the right of the stem in the photo is some of tar and grit I picked out of the slot. I used a straightened end of the pick to clean deeply in the slot. I then used pipe cleaners soaked in Everclear and pushed them through the blockage. I also opened the slot with needle files to facilitate easy access with pipe cleaners. The slot was very narrow which also made the blockage hard to get at.

IMG_1746

I sanded the stem with 220 grit sandpaper to clean up the surface around the bite marks. In the next three photos the bite marks are visible. I heated them to lift them as much as possible. The bite marks on the top were less troublesome than the ones on the underside. Fortunately the stem was quite thick so that the tooth marks did not go all the way through the vulcanite.

IMG_1747

IMG_1748

IMG_1749

I picked the tooth marks clean with a dental pick and then used black super glue to patch the deep marks that remained. Once the glue had cured and was hard I sanded the patches with 220 grit sandpaper and then a medium grit sanding sponge to smooth out the surface and blend in the patch. The next three photos show the patch after it had been applied and after sanding.

IMG_1750

IMG_1752

IMG_1753

I sanded the stem with micromesh sanding pads from 1500-12,000 grit to finish removing the oxidation and the scratches left behind by the various sandpapers I used. The next series of photos show the progress of the shine after each group of sanding pads.

IMG_1755

IMG_1756

IMG_1757

IMG_1758

IMG_1761

IMG_1762

I wiped the stem down with Obsidian Oil and rubbed it into the surface of the stem. Once it had dried I rubbed it and polished it with a shoe brush before taking the pipe to the buffer. I buffed it with White Diamond and then carnauba wax. I gave it a polish with a clean flannel buffing wheel. The next four photos show the finished pipe. I really like the way the matte finish came alive. The grain really pops. This was an easy refurbish as the finish was in very good shape under the top layer of grime.

IMG_1770

IMG_1771

IMG_1772

IMG_1773

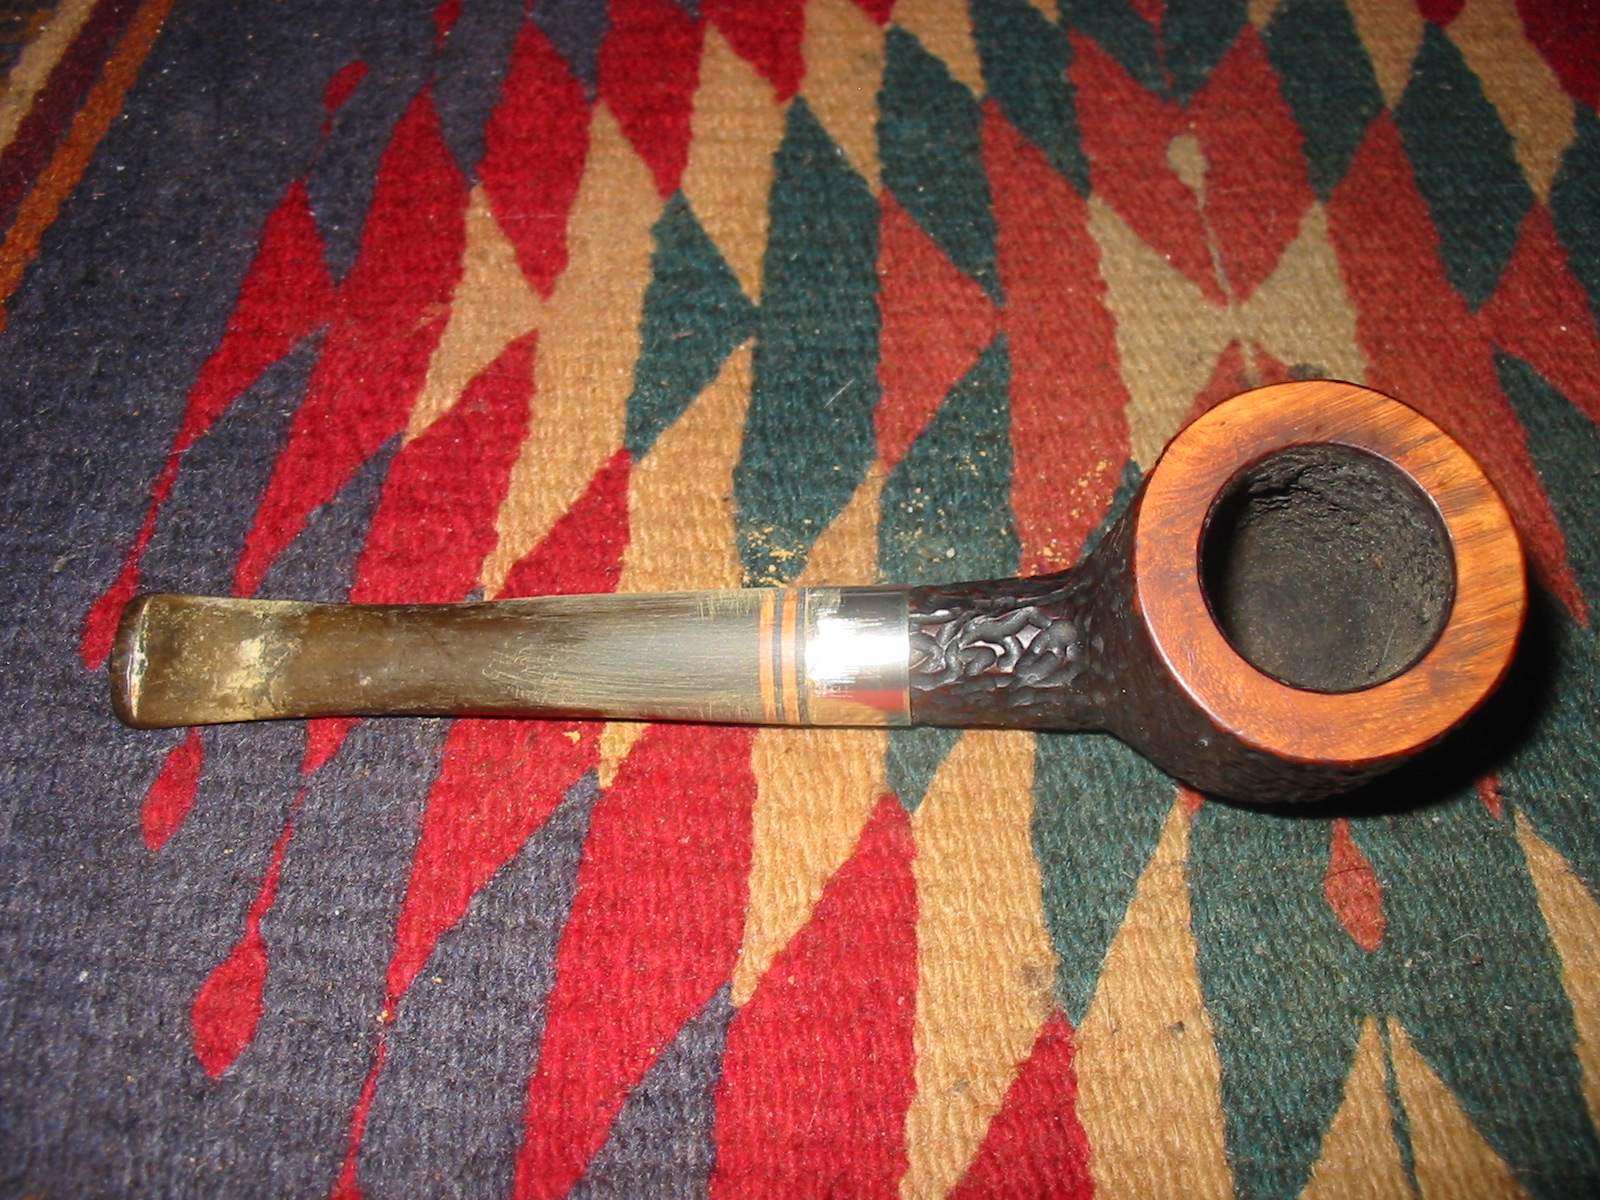
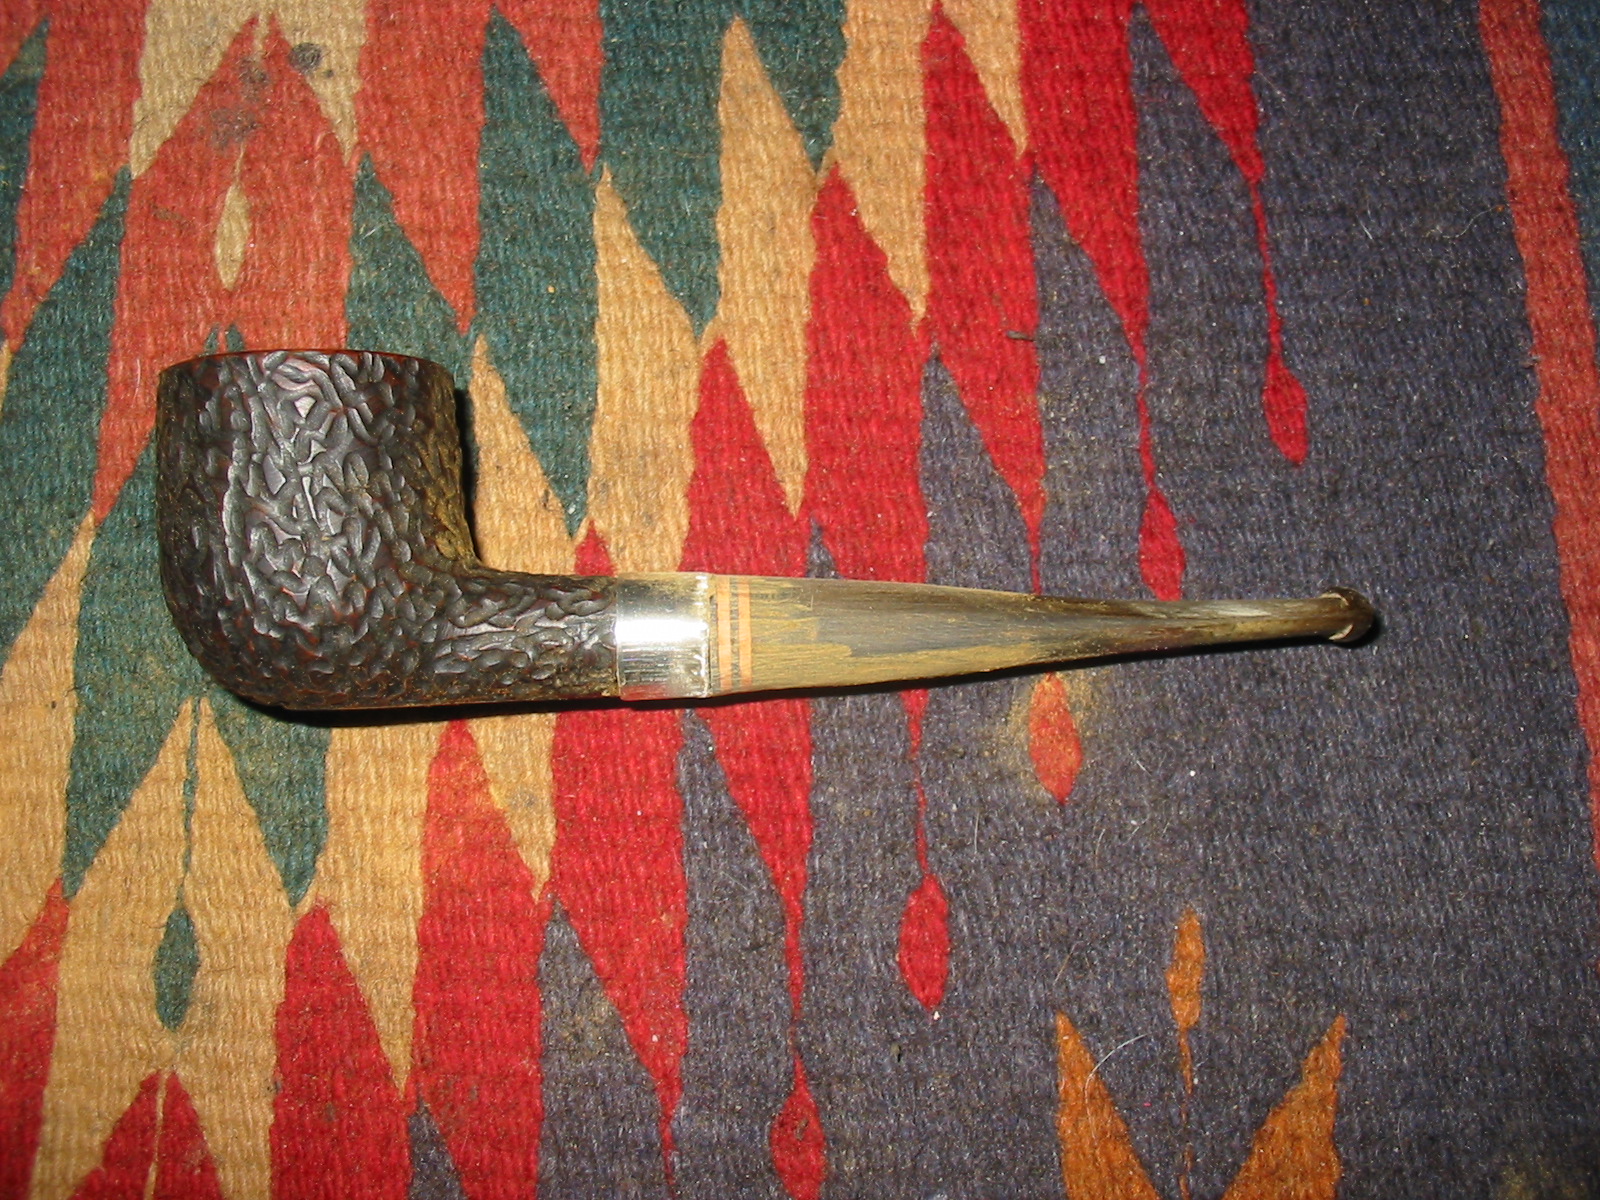
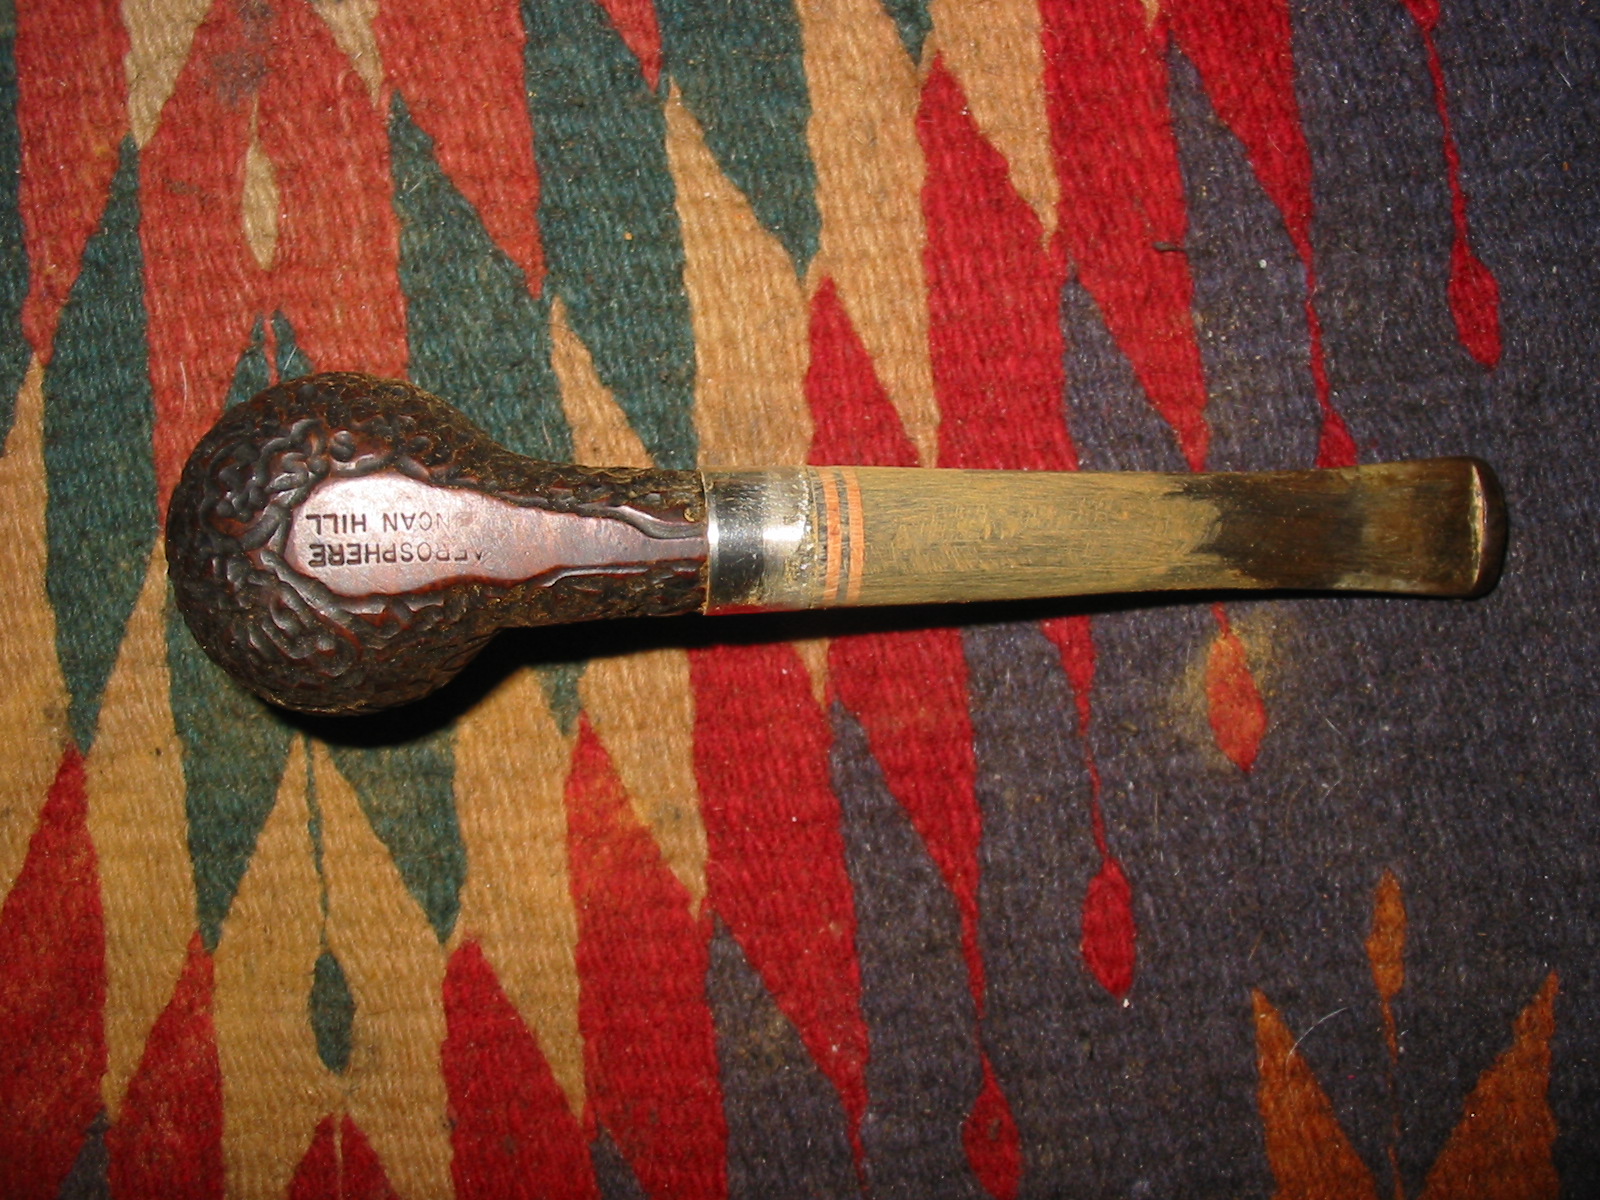
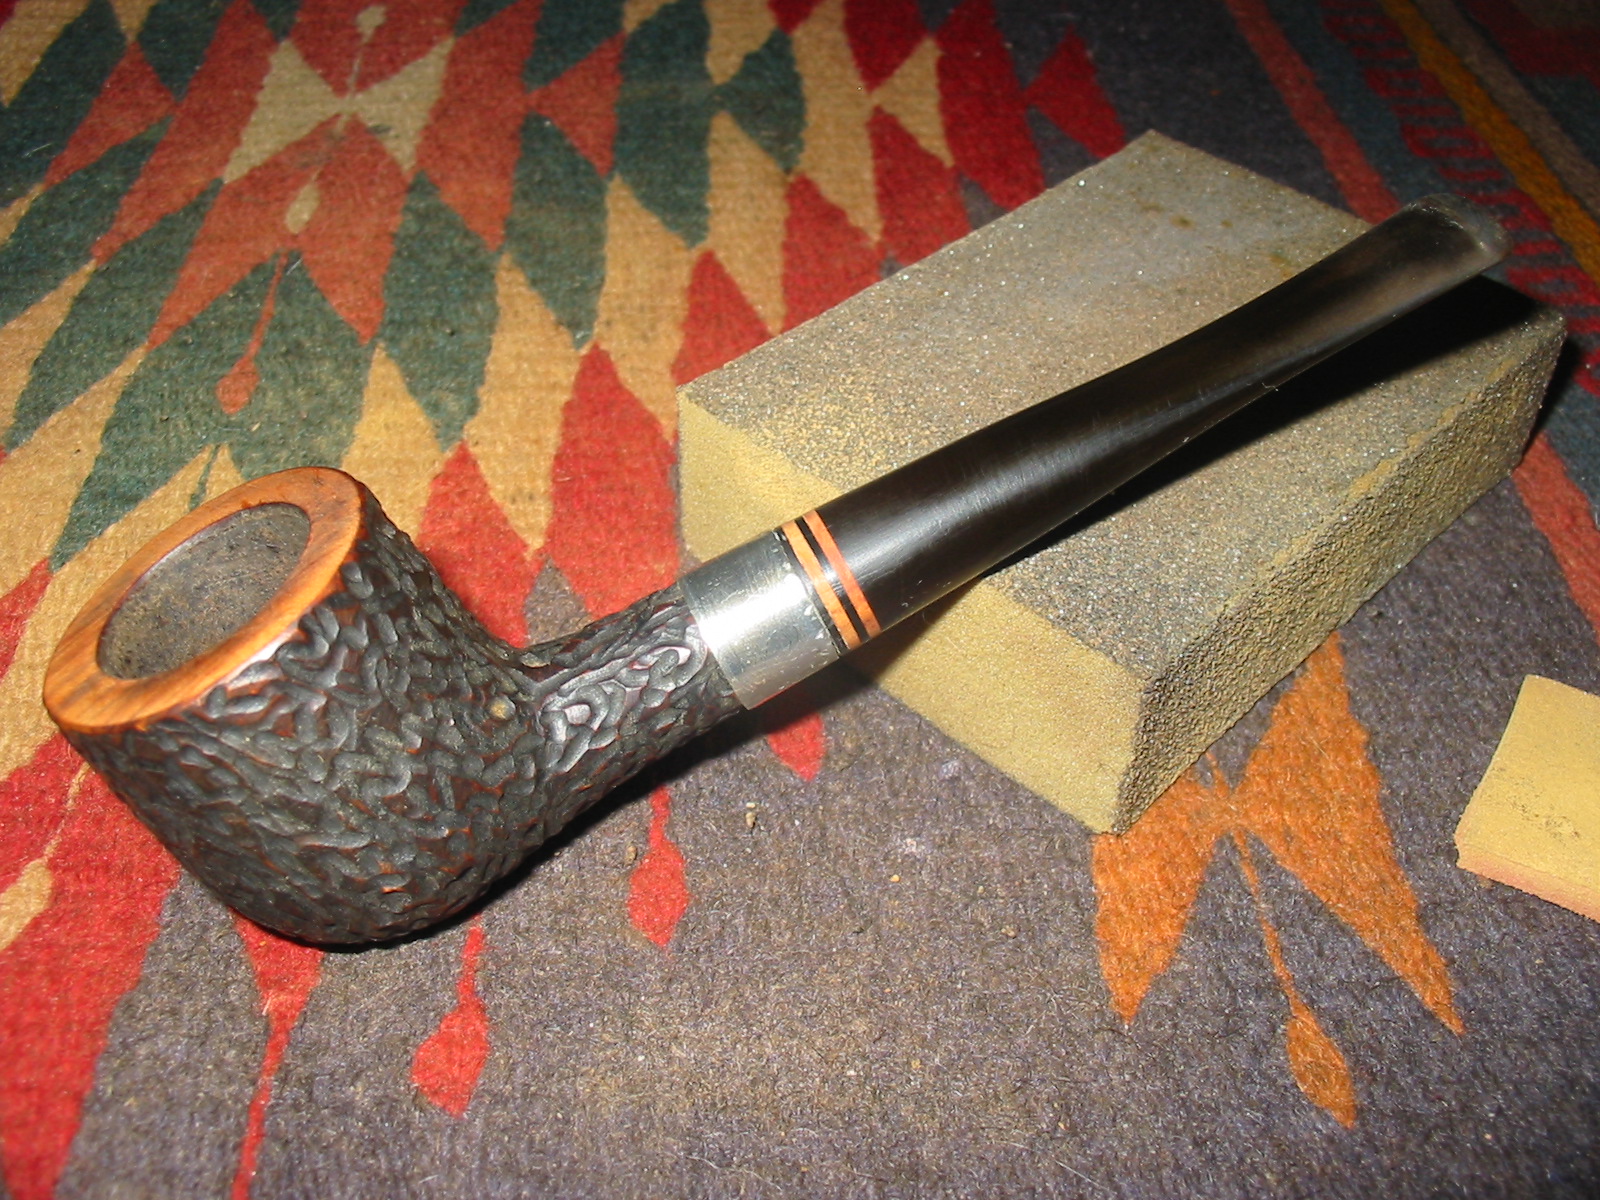
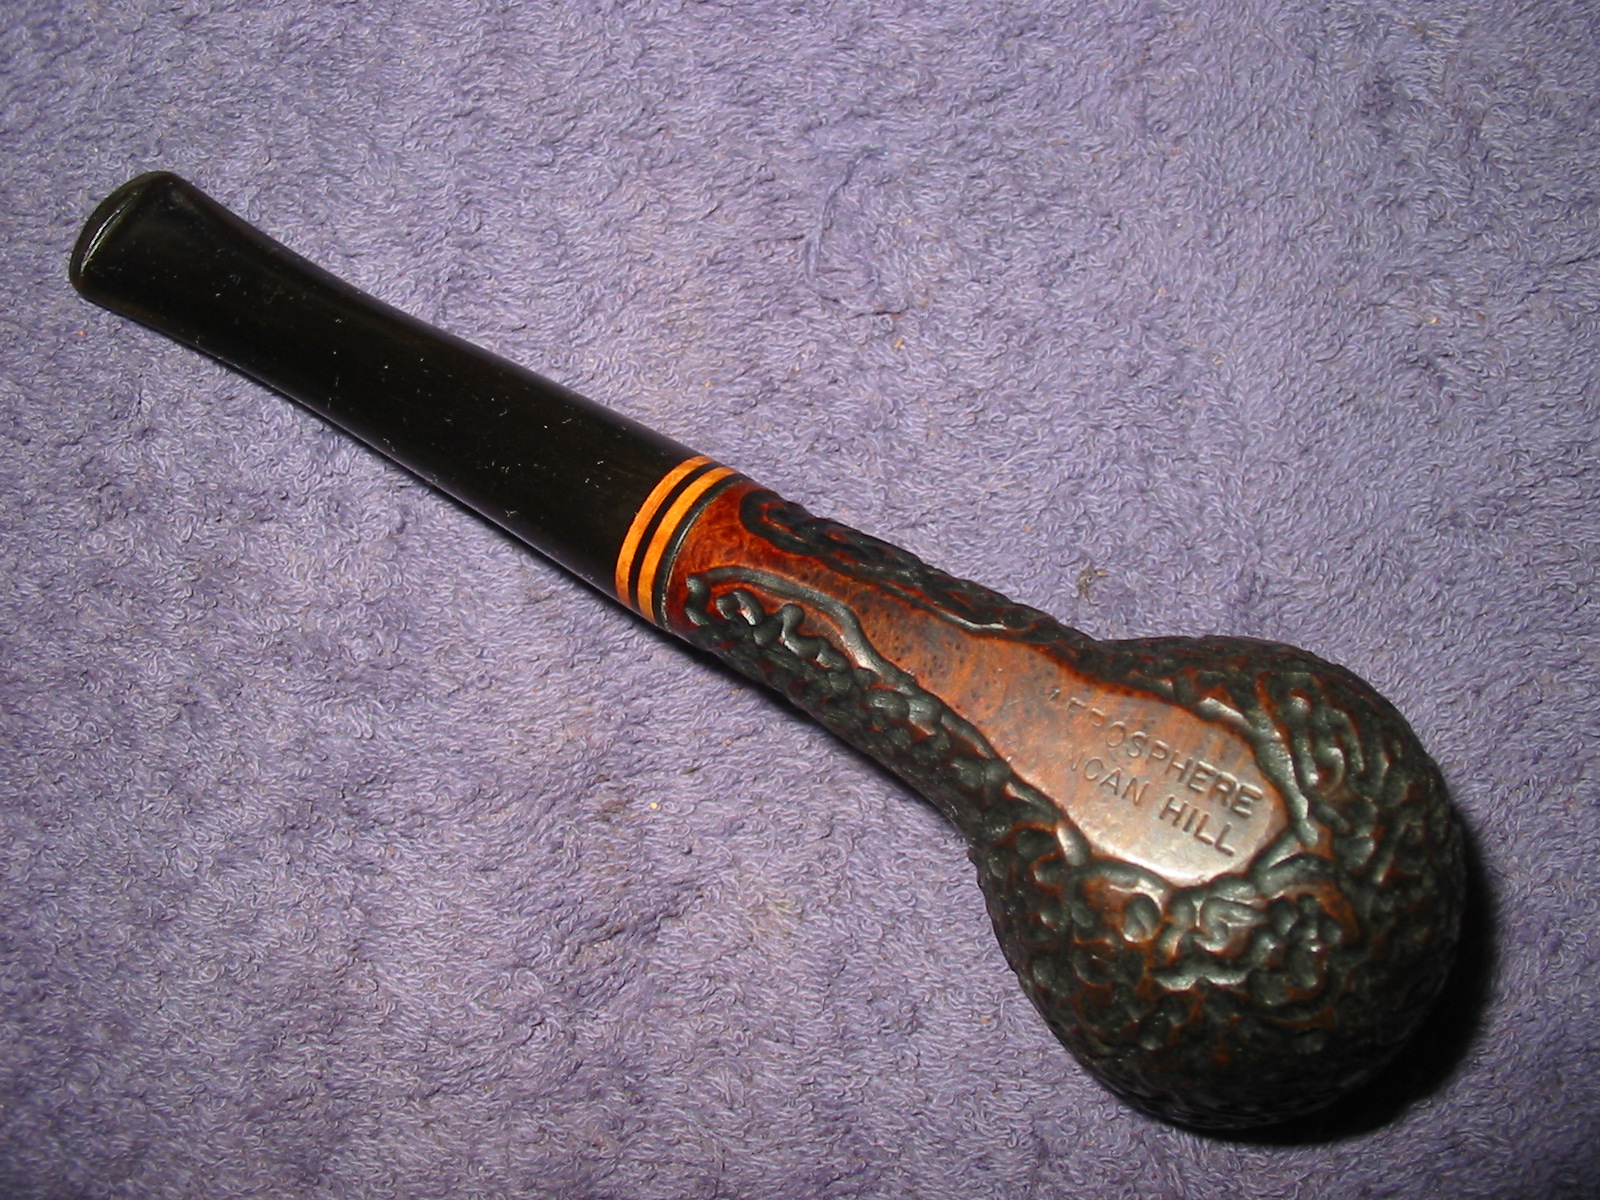
A New Look for a Duncan Hill Aerosphere


Blog by Steve Laug

Over the years I have owned and sold several Duncan Hill Aerosphere pipes. The system on the pipes and the thinness of the bit always made the airway too tight for me and the draught sluggish at best. I have repaired several of them over the years as well and never found one that really worked well for me. Then in one of the lots I picked up on Ebay that needed new stems there was a Duncan Hill Aerosphere bowl without a stem. It had a wide open airway and was in decent shape. The bowl had a light cake and the rim was tarred but not damage. The bowl was still round and obviously the pipe had not been smoked very much. I figured it was an opportunity to restem it with a standard stem and see what I could get from it.

I tried two different stems on the pipe. The first was a flat blade saddle stem blank. I turned the tenon with a PIMO tenon turning tool and fit it to the pipe. I decided to put a nickel band on the shank for cosmetic purposes as I thought it would look good with the saddle stem. There were two problems with this fitting. The rustication pattern on the Duncan Hill made a smooth fit of the band virtually impossible and the gap around the shank did not work for me. The second issue was that the stem itself was just a few millimeters’ smaller in diameter than the shank. It was not noticeable except with the band it was accentuated. I removed the band and tried the stem without the band and it did not work well. I abandoned that option and went back to my can of stems to see what else I could find that might work in terms of both diameter and length.

IMG_0730

IMG_0731

IMG_0732

For the second stem I found an older “pre-used” stem that worked in terms of length and diameter. I cleaned up the tenon and shortened it slightly and the fit was quite good. I left the band in place and tried to rusticate the band to match the bowl rustication. I heated it and used a scribing tool to carve it up to get the bowl finish look. I stopped that rustication process and worked on the stem fit. For some reason the stem taper on top and bottom did not match. With the fitting on the Duncan Hill bowl the angles at the top did not match the bottom. Reversing the stem made the stem fit even worse. The diameter needed slight adjustments to repair the taper and fit it well against the band.

IMG_1690

IMG_1691

IMG_1692

I used a Dremel to take off material on the stem to adjust the taper to match on both the top and the bottom. I also used the Dremel to clean up the fit at the shank/band. I tried to mark the band with the Dremel in the process as well. I used a scribing tip and still did not get much more of finish than I had with the hand scribing tip. I did not like the look so I took the stem back to the worktable and sanded it to remove the scratches left behind by the sanding drum.

IMG_1693

IMG_1694

IMG_1695

I sanded the stem with 220 grit sandpaper, a medium grit sanding sponge and a fine grit sanding block to clean up the fit and also remove the scratches. The more I looked at it the less I liked the band. The area around the stem shank union looked terrible and the scribing merely looked like scratches. It was awful looking. I decided at this point to remove the band from the shank. I heated the band and slipped it off the shank. I cleaned up the light marks left by the band on the shank with micromesh sanding pads.

IMG_1696

IMG_1697

IMG_1698

With the band off the pipe the tenon was too long for the stem to seat properly. This was not visible to me with the band in place. It felt tight but without the band there was a gap at the junction. I measured the tenon and found that I needed to remove some of the length on the tenon and also needed to countersink the mortise slightly. The countersink on the mortise is a slight bevel inward. I used a knife to bevel the inner edge of the mortise. Once the mortise was prepared and the tenon shortened to measure the stem fit tightly against the shank. I used 220 grit sandpaper and a medium grit sanding sponge to remove a little more of the diameter of the stem to clean up the junction. The two bands on the stem appear to be briar but are actually Cumberland/brindle inserts. I sanded the top of the bowl/rim and the colour matched the twin bands on the stem.

IMG_1699

IMG_1700

I sanded the stem with micromesh sanding pads from 1500-12,000 grit to remove the scratches on the vulcanite and polish the stem. I wet sanded with 1500-2400 grit micromesh pads and dry sanded with the remaining grits. Between 3600 and 4000 grit pads I polished the stem with Maguiars Scratch X2.0. It polished the stem considerably. I then finished sanding with the micromesh pads. While I sanded the stem with the micromesh I also sanded the rim to polish it. With each successive change of grit the rim and the twin bands on the stem began to truly match. The combination looked like it was factory designed to be a combination. I wiped the stem down with Obsidian Oil and set it aside for the evening. In the morning I rubbed the stem down and then waxed it with carnauba.

IMG_1701

IMG_1702

IMG_1703

I gave the bowl a several coats of Halcyon II wax and buffed it with a shoe brush to raise the shine. I buffed the stem with carnauba several time to raise the shine as well. I then buffed the pipe with a soft flannel buffing pad. The finished pipe is pictured below. The look of the Duncan Hill with the banded stem that matches the rim is a great combination. The improved draught of the pipe is exactly what I was aiming for. The Duncan Hill Aerosphere pipe re-enters life with a new level of service to the pipeman who ends up with it in their collection.

IMG_1708

IMG_1709

IMG_1710

IMG_1711

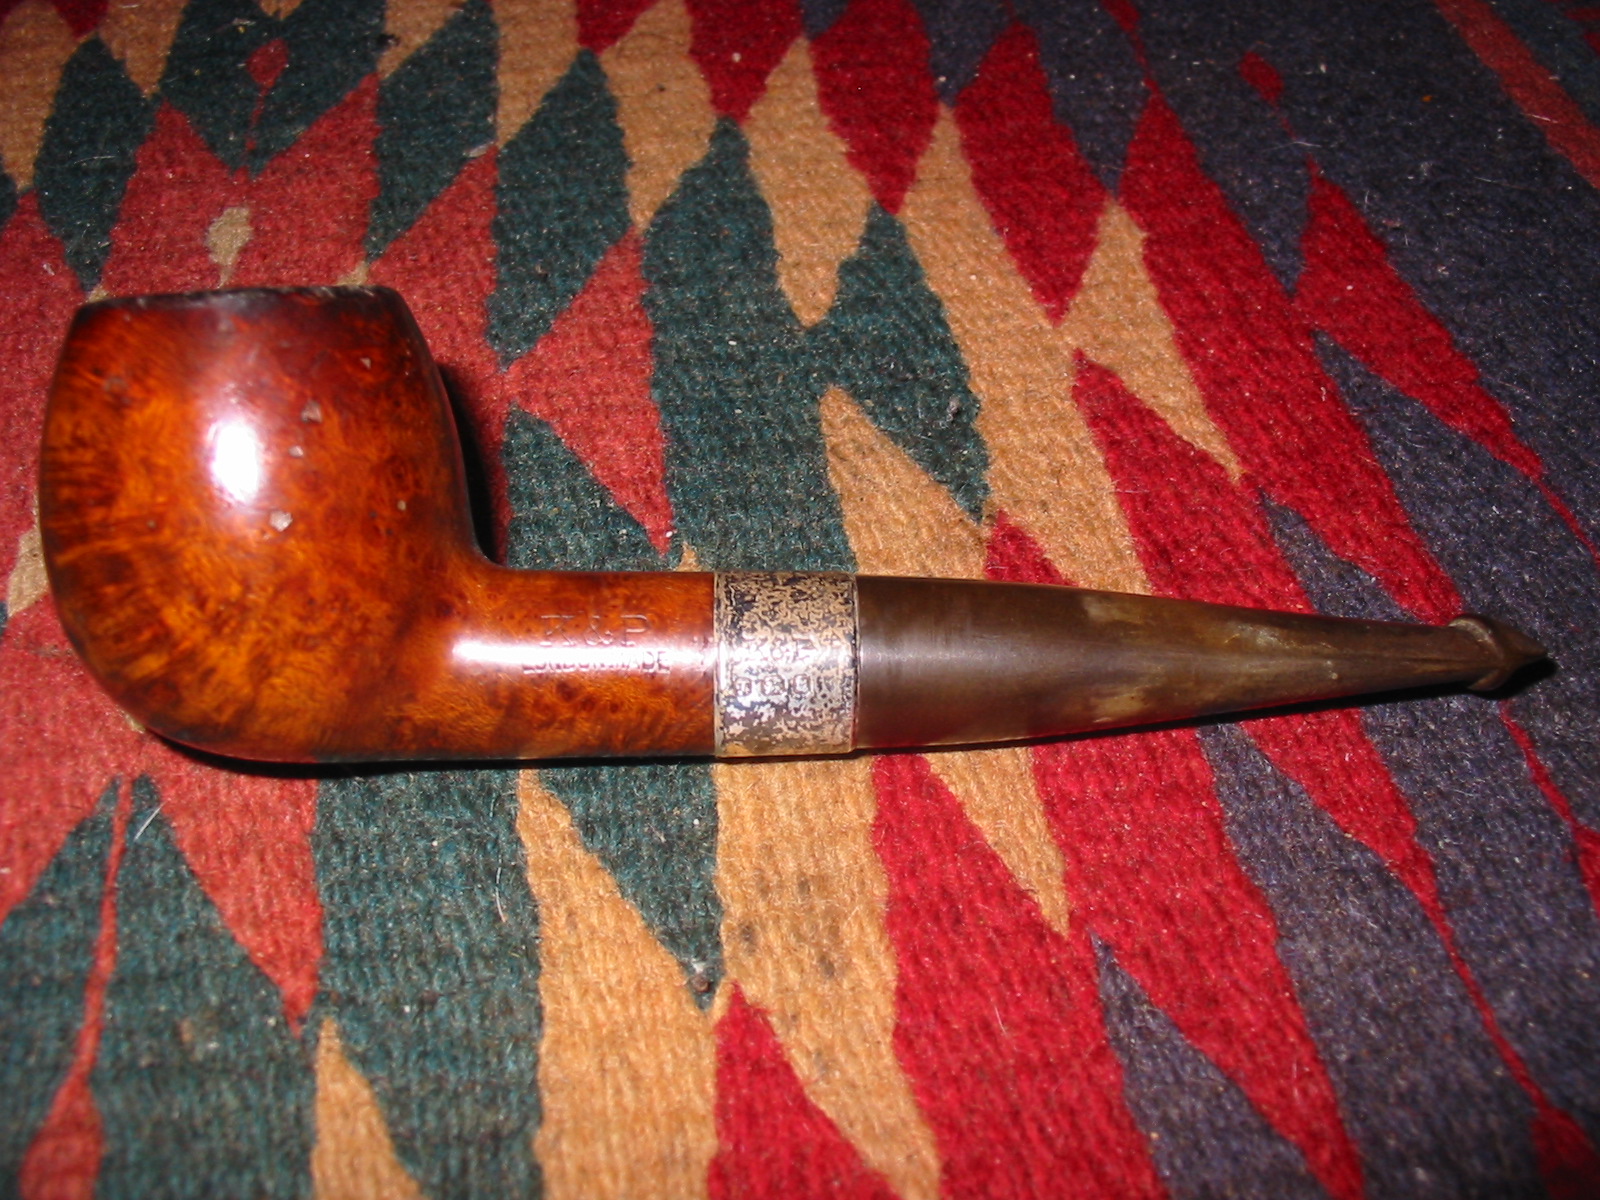
K&P London Made Found in a Bargain Shop


Blog by Steve Laug

Yesterday afternoon I went with my eldest daughter to Walmart here in Vancouver. Across the street is a bargain shop that sells lot of movie set items and other things that are collectible and antique. I have found quite a few good pipes there over the years. I went to the shop while she was in Walmart and looked over the lot they had this time. There were quite a few pipes in the case and most of them while interesting just did not capture my attention. Then I moved a few of them out of the way and underneath was this little P-lip apple. I could tell it was a Pete and an older one because of the thick shank and stem. I held it up to the light and my guess was confirmed. It was a Peterson. It was marked $28 and I offered $25 for it. They accepted the offer and I paid the bill and put the pipe in my pocket. I picked up my daughter and headed home to check it out.

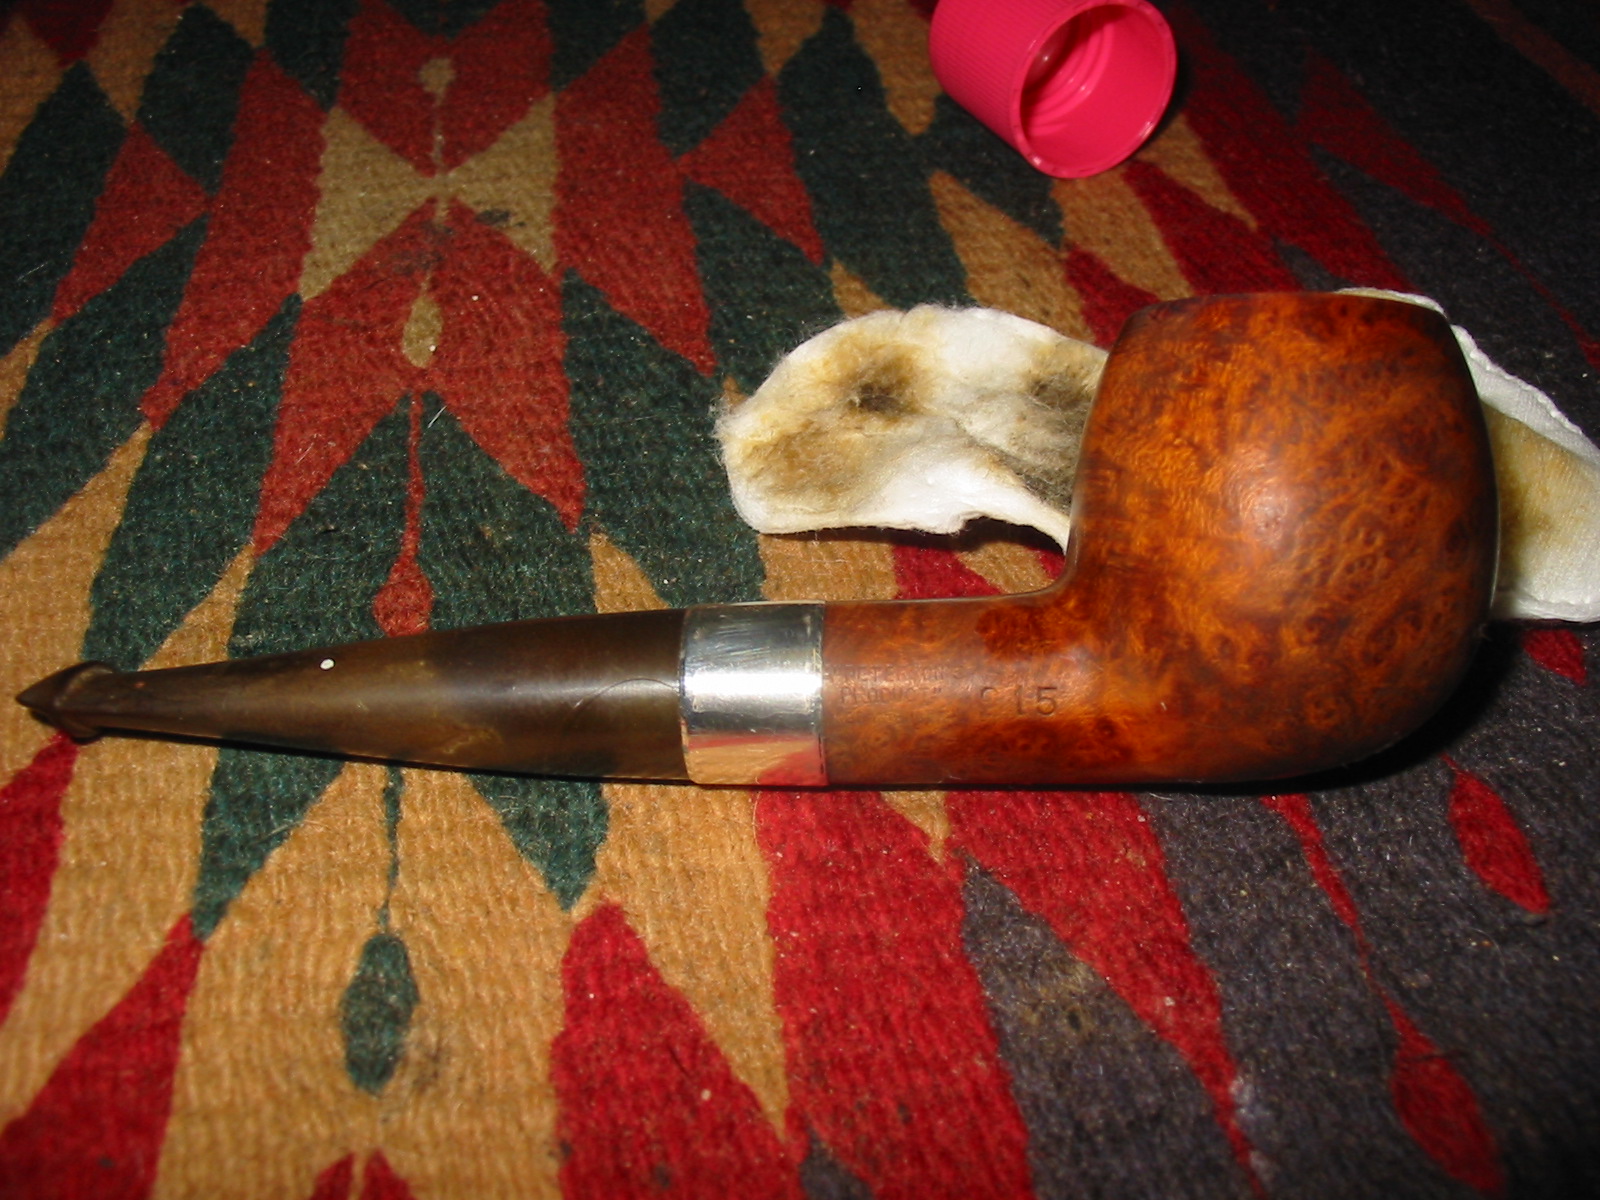
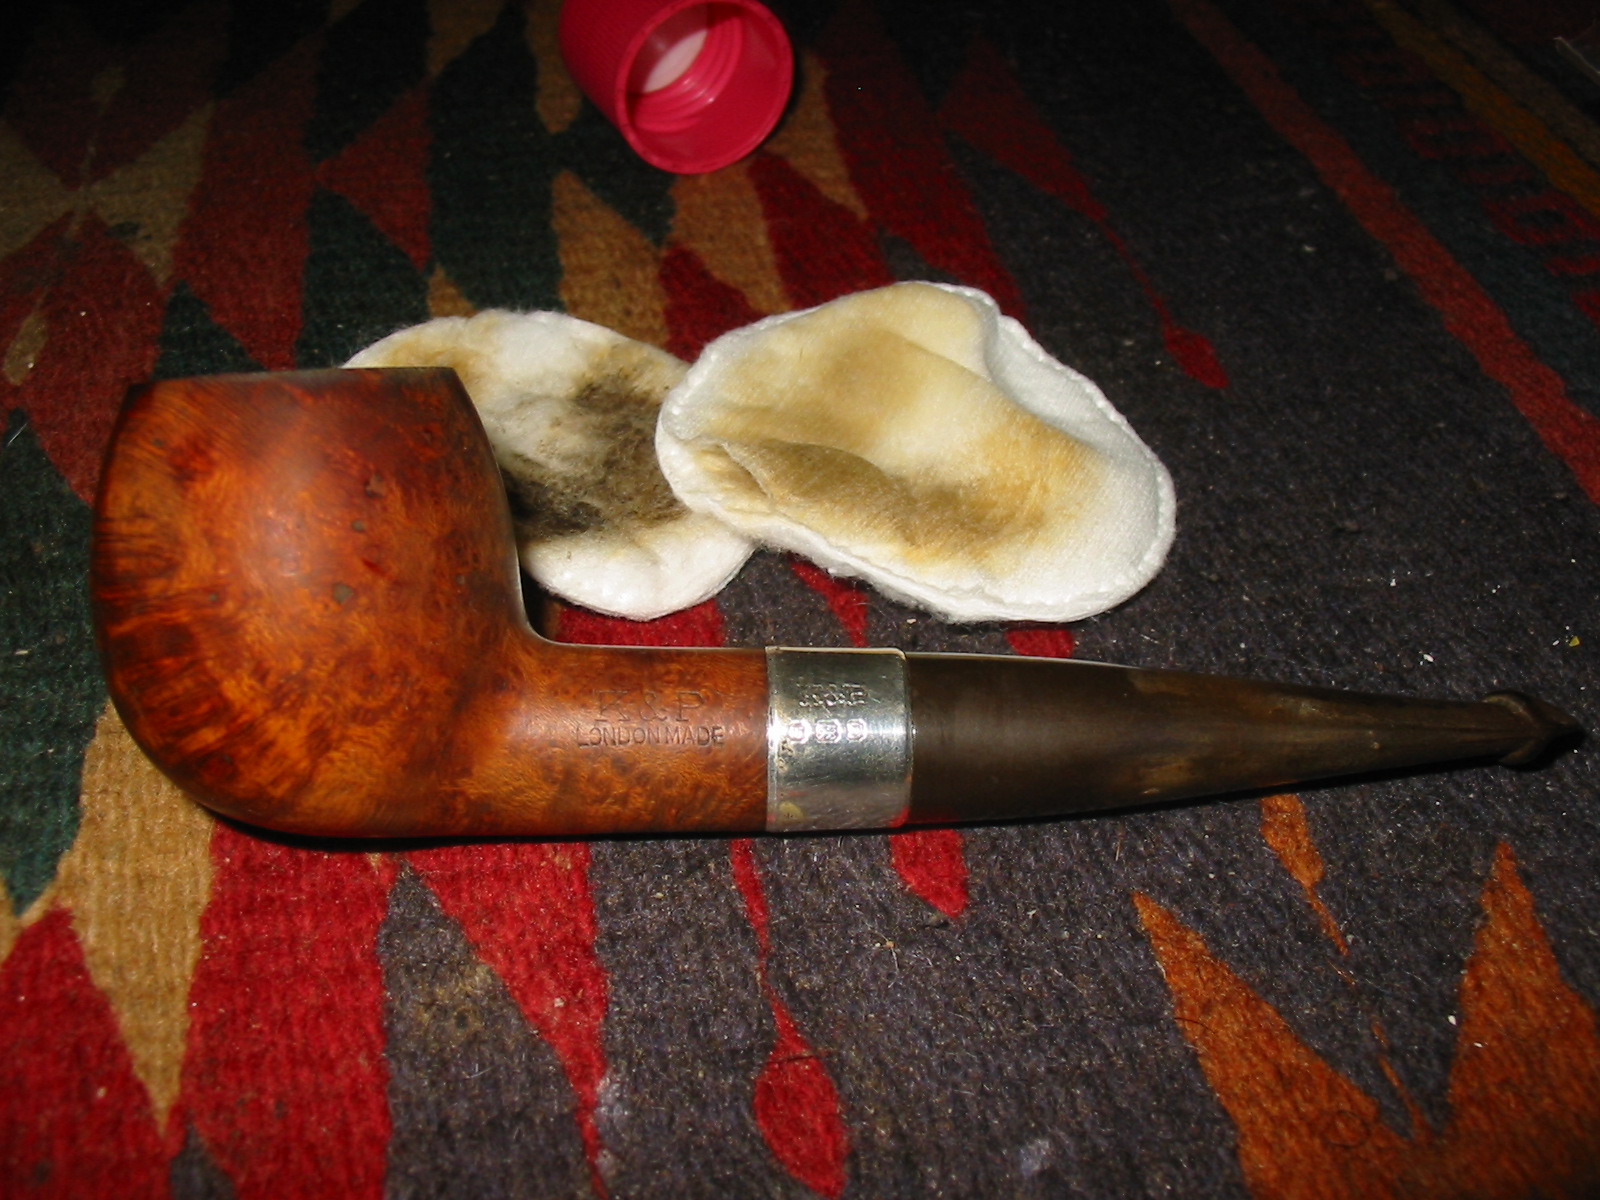
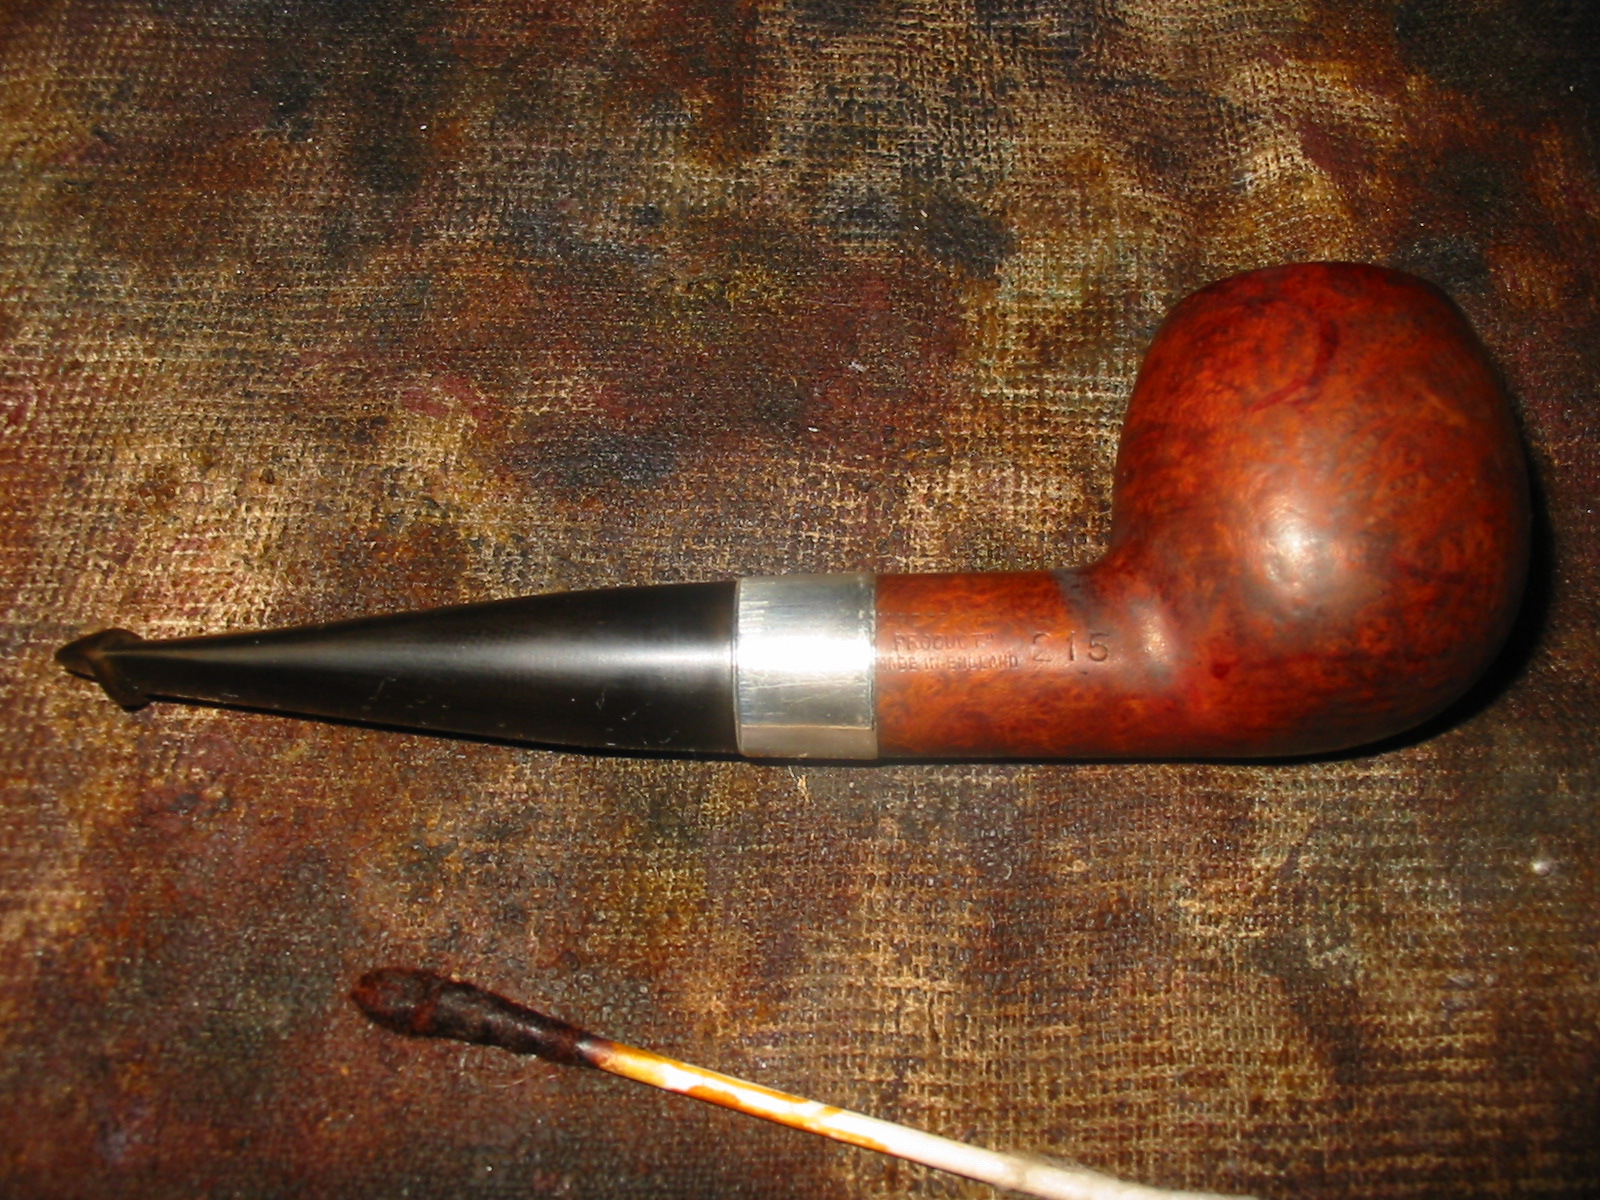
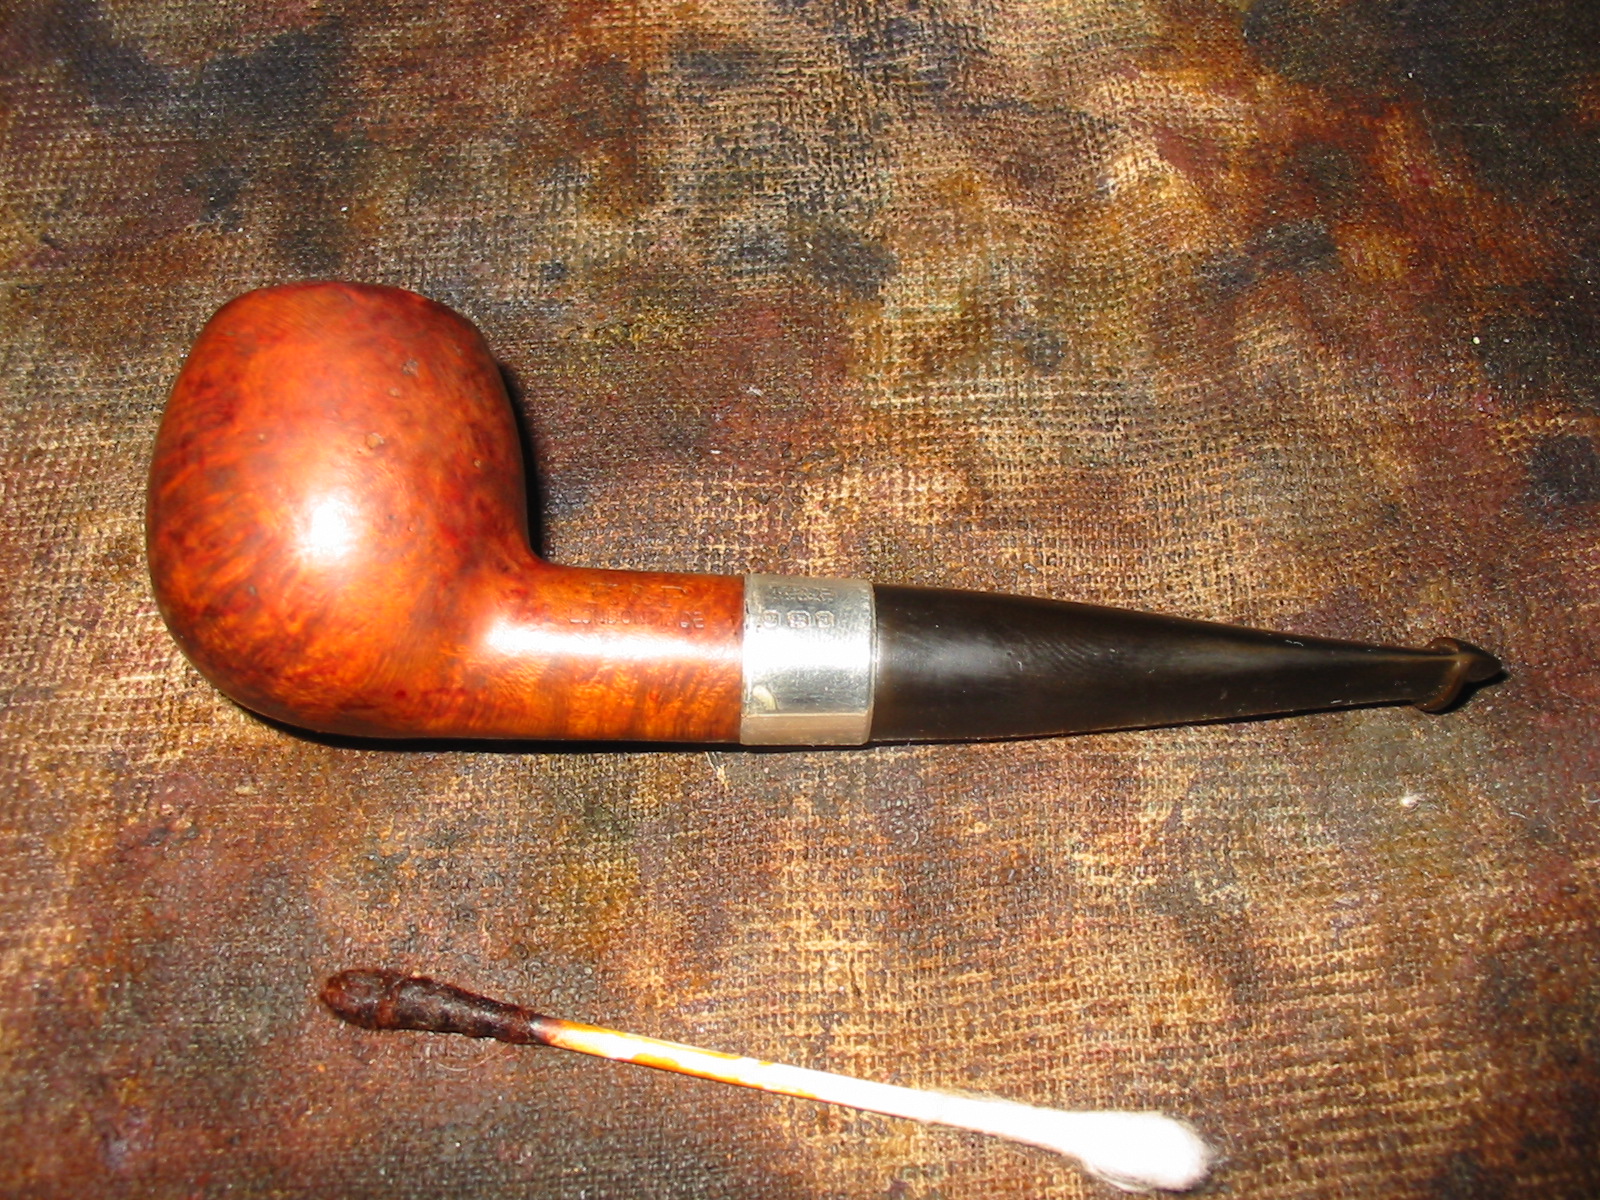
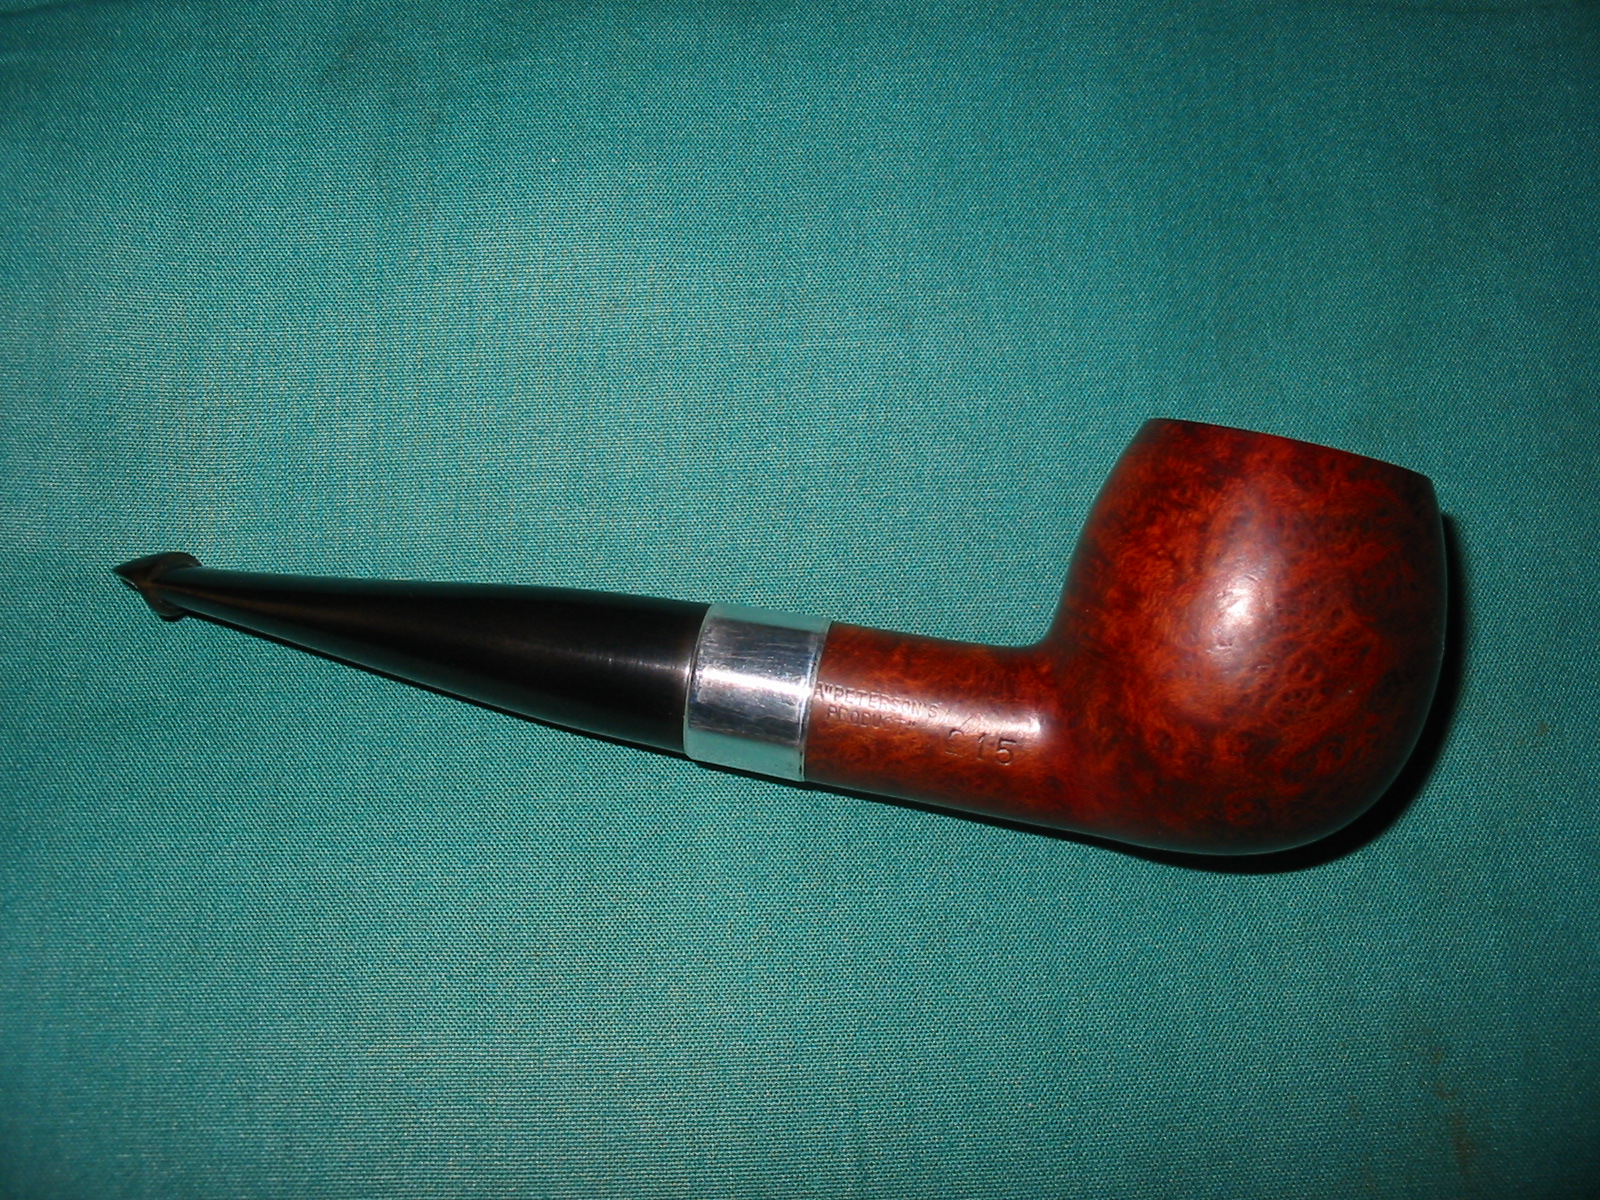
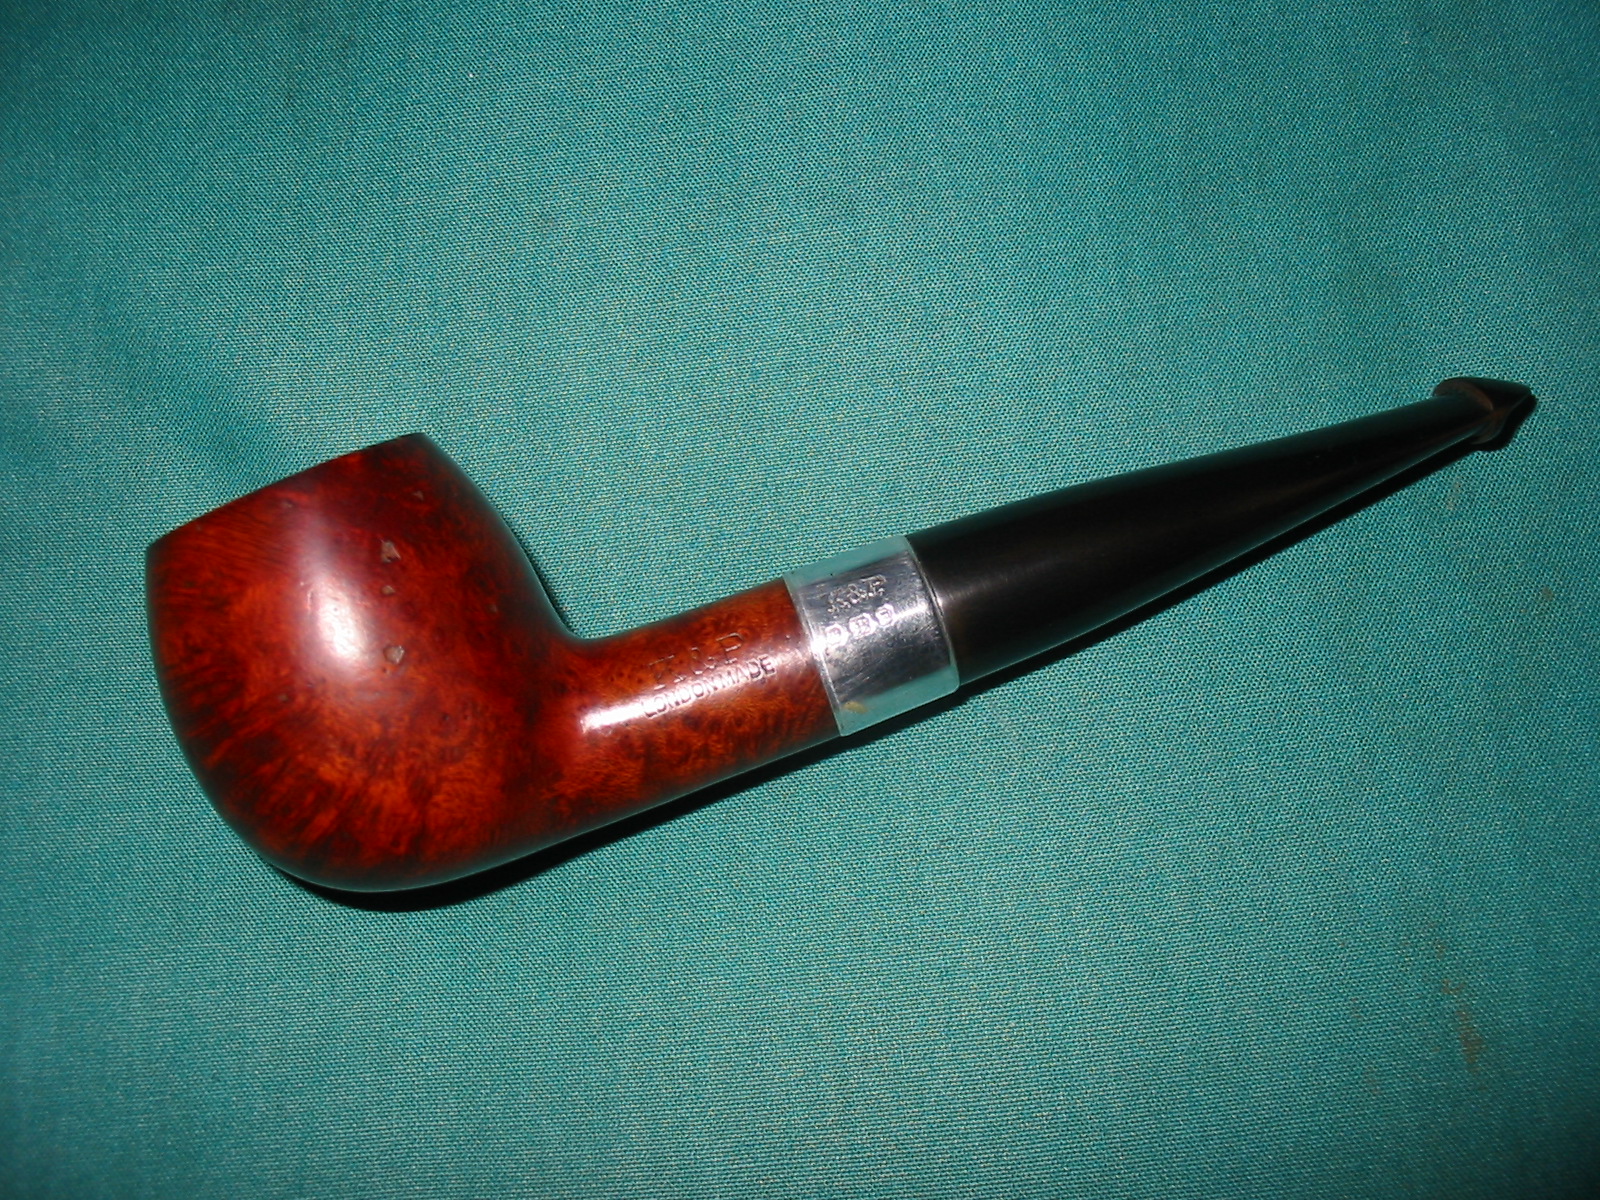
I wiped off the shank with a cotton pad dampened with saliva and found that it was stamped K&P LONDONMADE on the right side of the shank. On the left side it was stamped 215 and A “PETERSON’S PRODUCT” Made In London. So I had found an English made Peterson’s shape 215 pipe. The band was silver and was badly tarnished but I could see from the hallmarks that it was also stamped with English hallmarks. The first was an anchor which told me that the band was made in Birmingham. The second was a reclining lion which is the stamping for Sterling silver. The third mark was hard to see with the grime and tarnish but looked like an animal face in the cartouche. Closer examination would have to wait until I had cleaned up the tarnish.

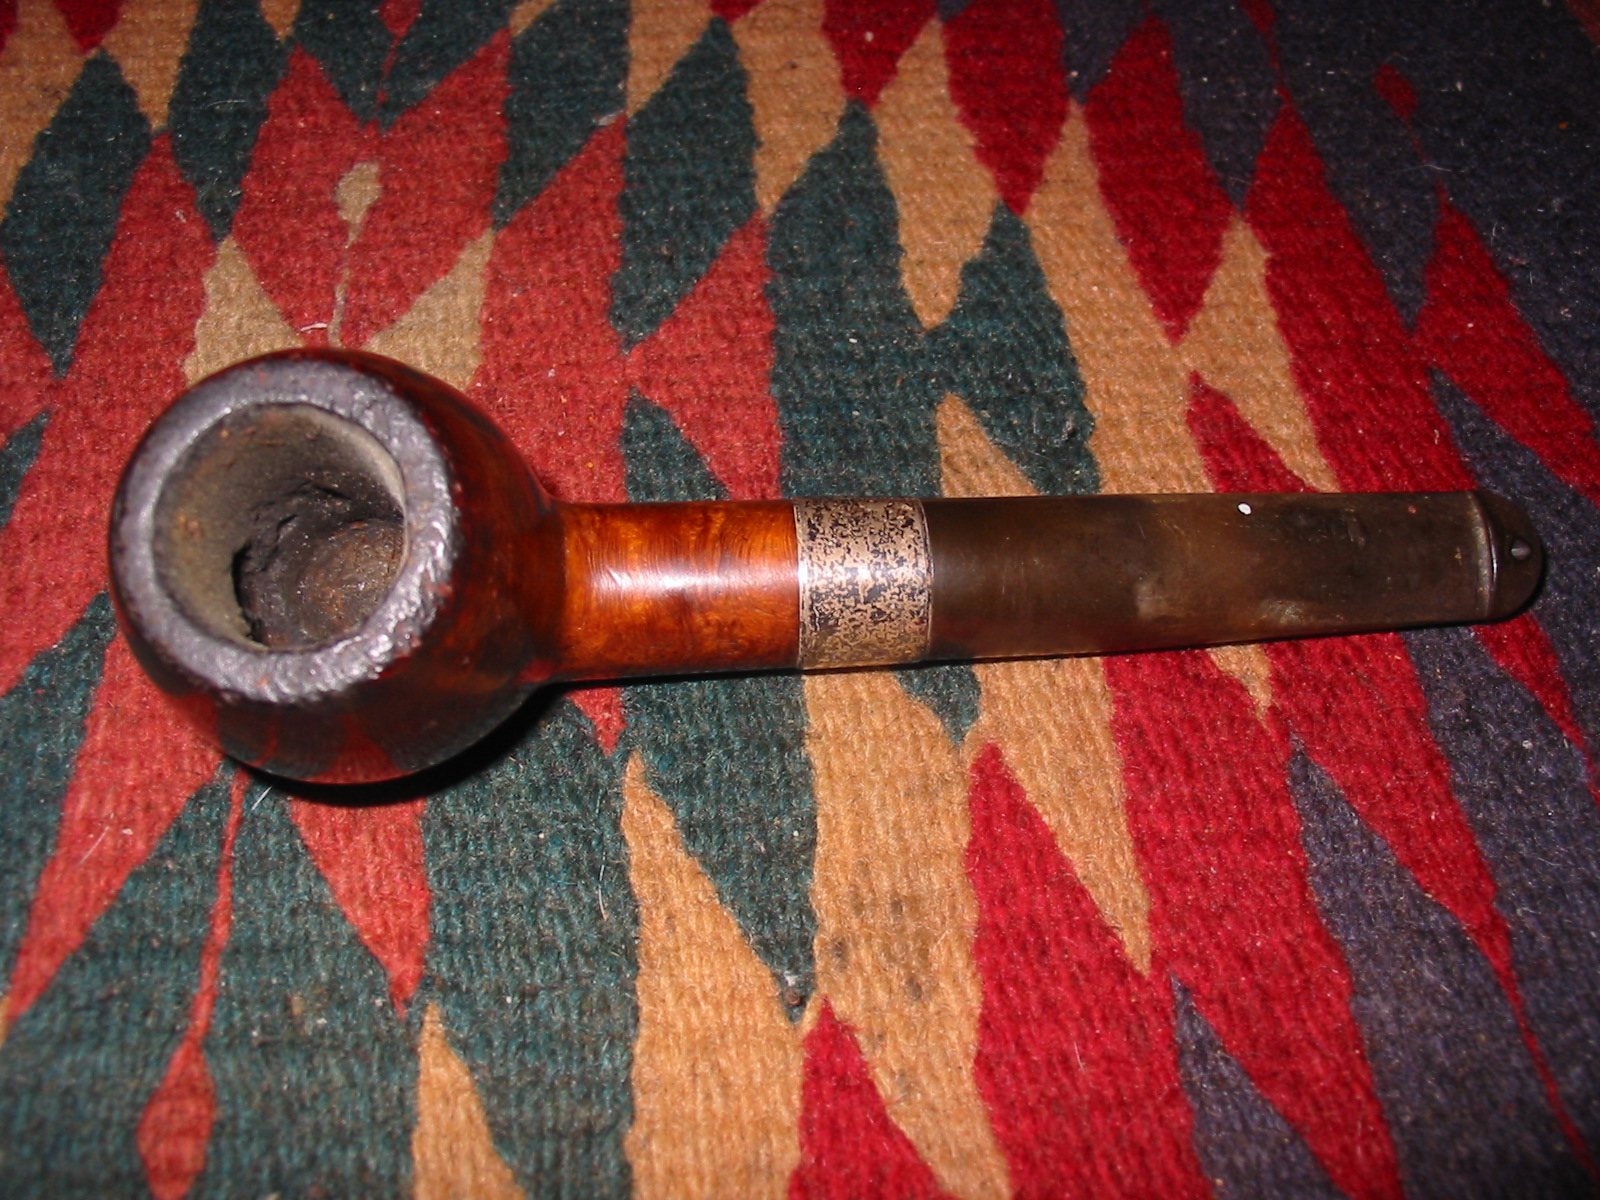
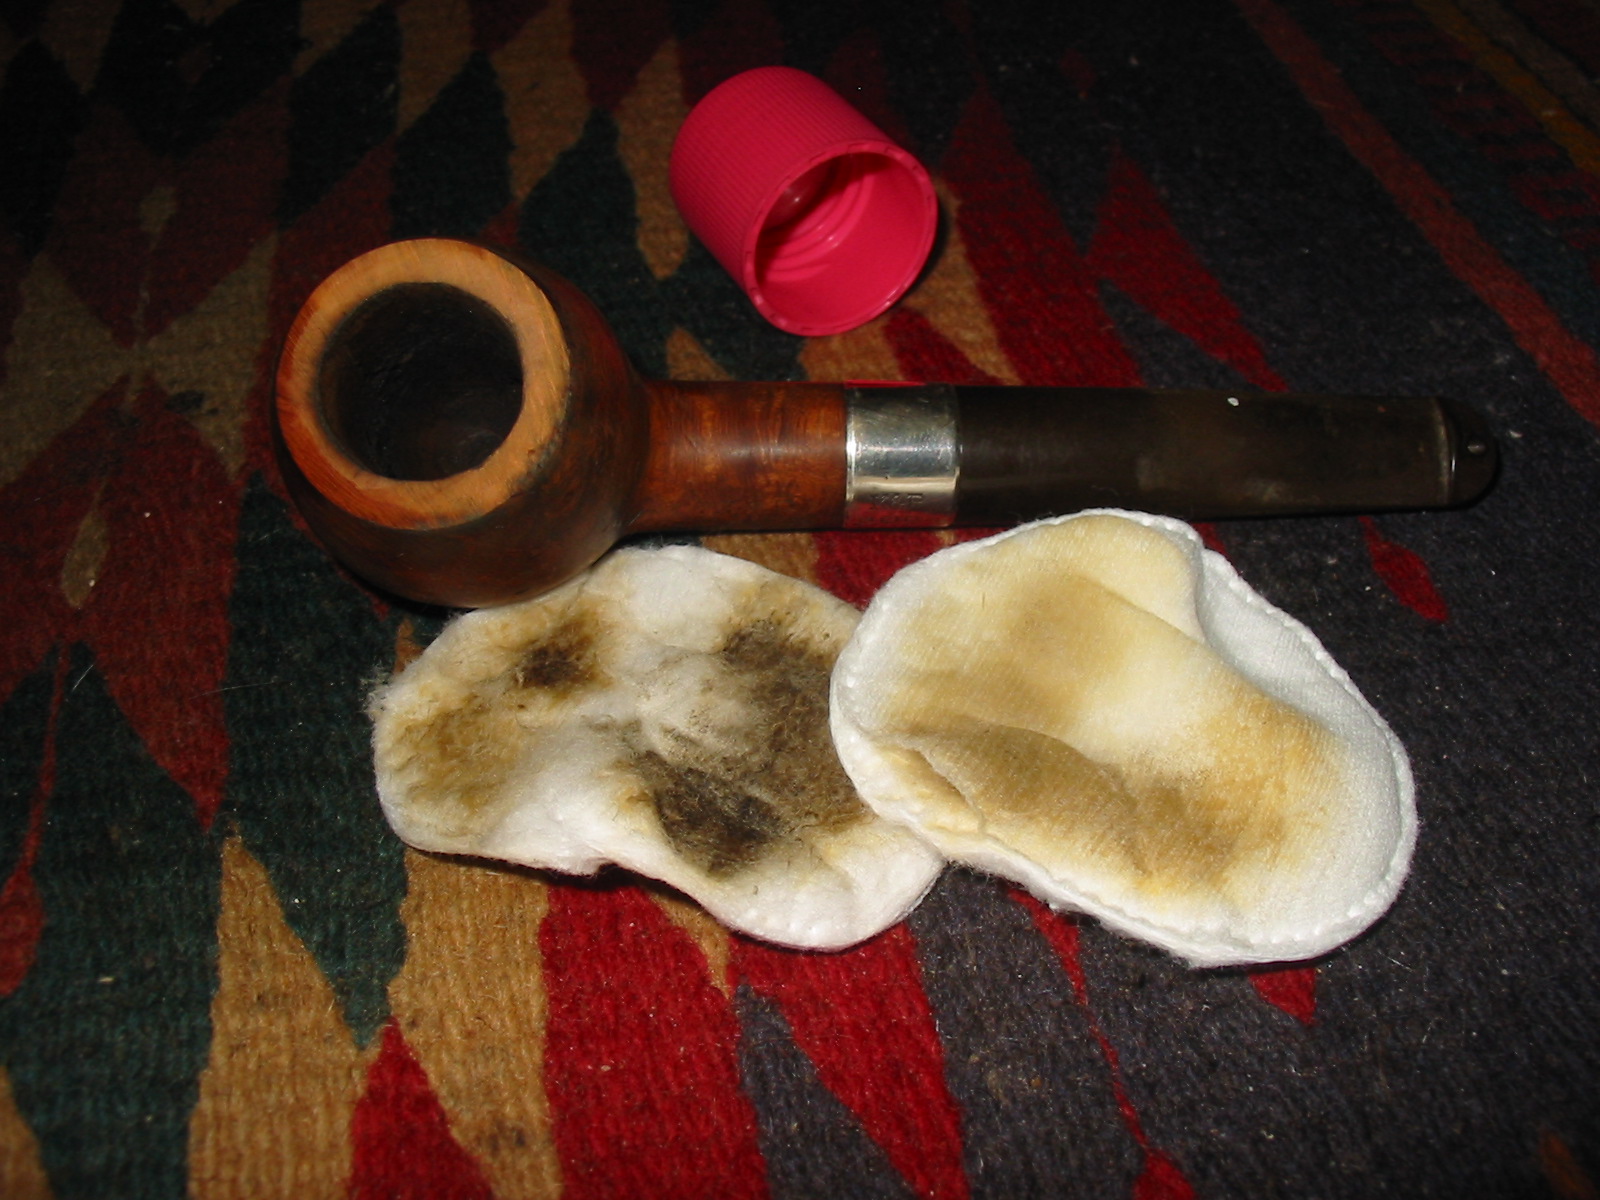
The pipe was in fair shape. The bowl had nicks in the sides in several places as well as a very rough rim. It looked as if it had been hammered about and was damaged. It would require topping to remedy that problem. The bowl had been reamed and was slightly out of round and then smoked again for some time – long enough to build up an uneven cake with most of the cake at the top of the bowl and the bottom of the bowl was bare wood. The silver band was loose and had turned about a quarter turn clockwise. The stem was very tight in the shank – which thankfully had kept the band in place on the pipe. The stem had many bite marks and tooth dents up the shaft from the button for about an inch. It looked as if the individual who had smoked it held it far back in his teeth. Both the underside and topside of the stem were damaged with tooth marks and a series of grooves from a tool. The button itself and the ledge on the underside were in very good shape. The round opening in the button was elongated from years of pipe cleaners.

I was able to carefully remove the stem and the inside of the shank was darkened with tars but not terribly dirty. The end of the tenon is stepped down and the fit in the shank was very snug. After cleaning the stem would fit well. There was no stamping on the oxidized stem and appeared to be no remnant of stamping. The oxidation on the stem was heavy at the shank stem union and also around the button on the top and bottom.

IMG_1664

IMG_1665

IMG_1666

IMG_1667

I wrote about the stamping to Mark Irwin who is my Peterson’s go to contact for information on Peterson pipes. He is a wealth of information that I have been unable to find in other places. He was on the road but sent me the following information. “…The “Peterson Product” indicates the pipe is a lower line. They began using this stamp in the 1930 catalog for their “K” pipes, but if it was this, you should’ve seen a “K” on it. There were several “200” series shapes, but the “215” is not in a catalog I have here. The London factory was much smaller than the Dublin, but I’ll have to ask Gary about the hallmarks, as I’m unfamiliar with the Brit system. Best my guess tonight is that the pipe dates anywhere from 1920-1940. I have photos of a thick-shanked and thick-stemmed straight apple hallmarked Dublin 1920–I can send you a .gif when I get home if this sounds like the pipe. If so, the shape itself goes back to at least that year.”

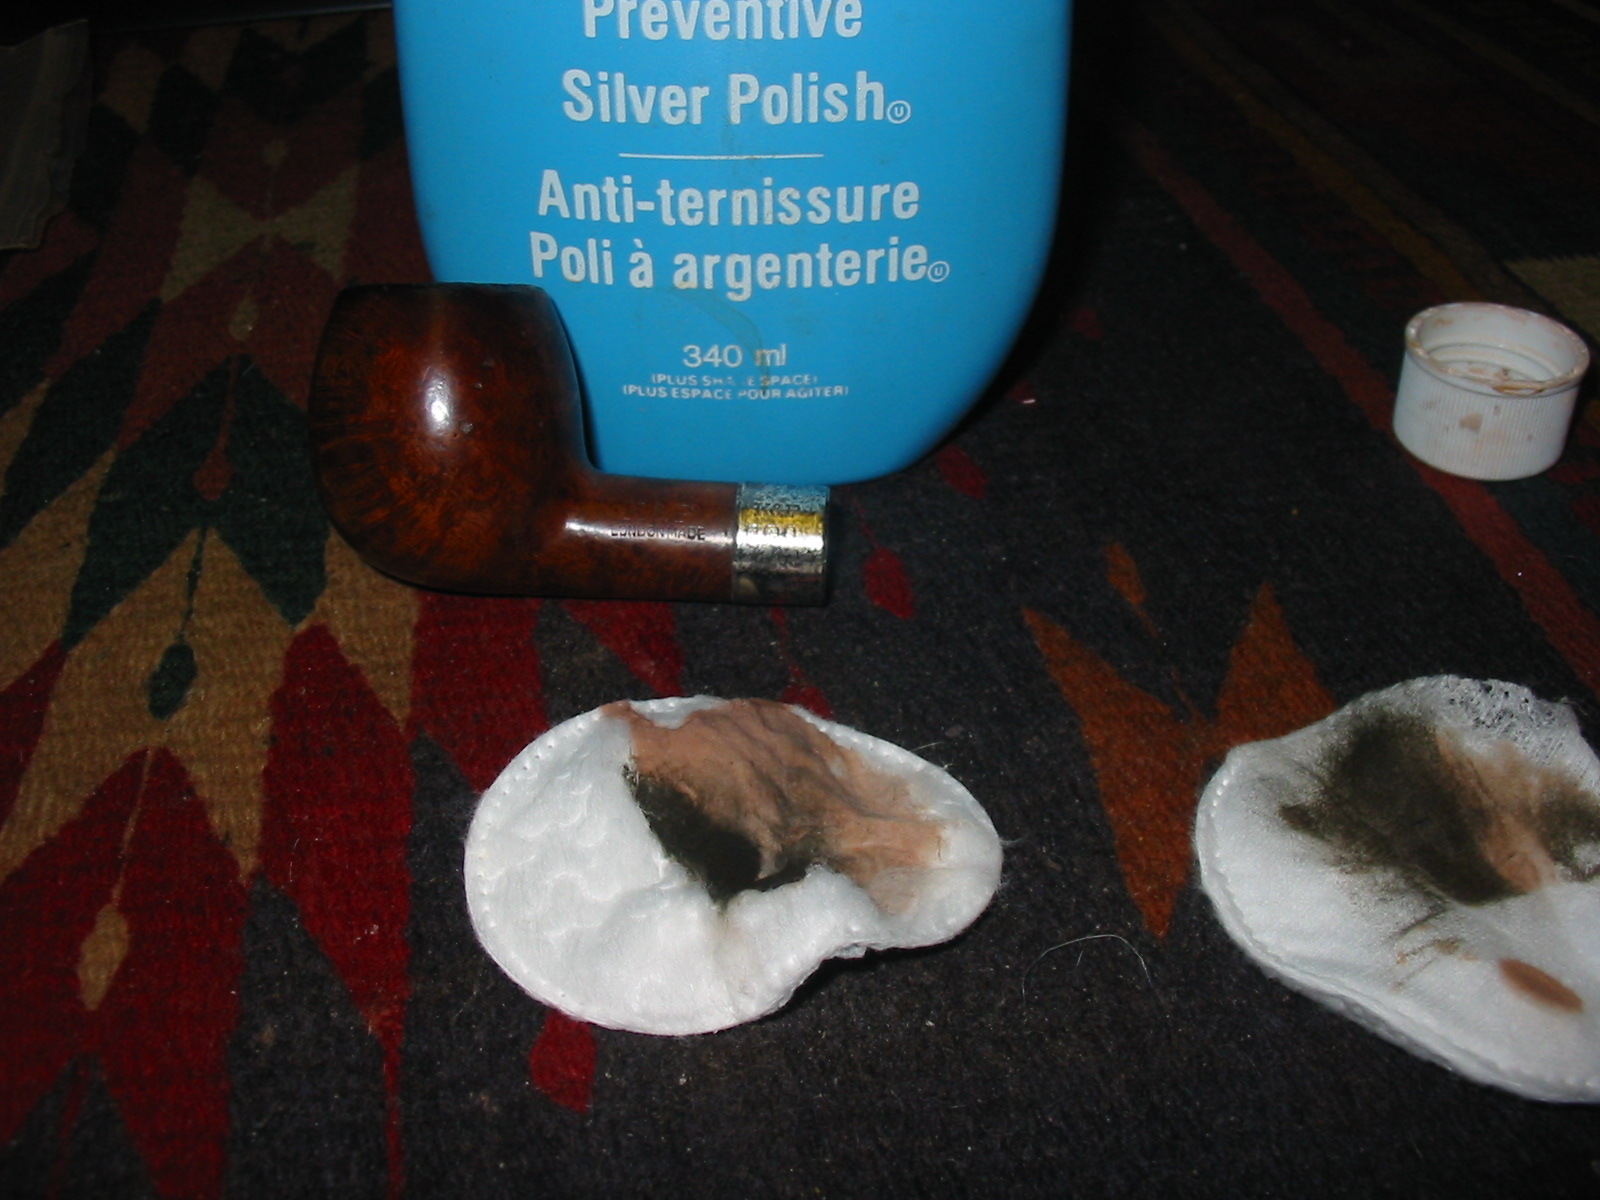
That was helpful information on the dating of the pipe. I sent Mark the photos last evening and then this morning received this reply concerning the pipe. “… Gorgeous! Yup, it’s the same shape as the photo I have, which means the shape itself goes back to at least 1920.” In the mean time I had cleaned up the band with silver polish and scrubbed it with a soft cotton pad. I reset it with white glue on the shank and examined the hallmarks under a bright light with a jewelers loop. It became clear that the last of the hallmarks was not an animal but rather a letter in the cartouche. It was well worn but from the outlines on the mark it appeared to be the letter “T” which dates the pipe to 1943.

IMG_1669

I reamed the bowl with a PipNet reamer using the smallest cutting head and the next size as well. I removed the cake back to the wood to even out the broken cake. I cleaned out the shank with cotton swabs to remove all the tars and oils in the shank. Once I had cleaned out the shank I also cleaned the stem with pipe cleaners. I used Everclear with cotton swabs on both. When it was finished I put the stem back in the shank and the fit was snug.

IMG_1670

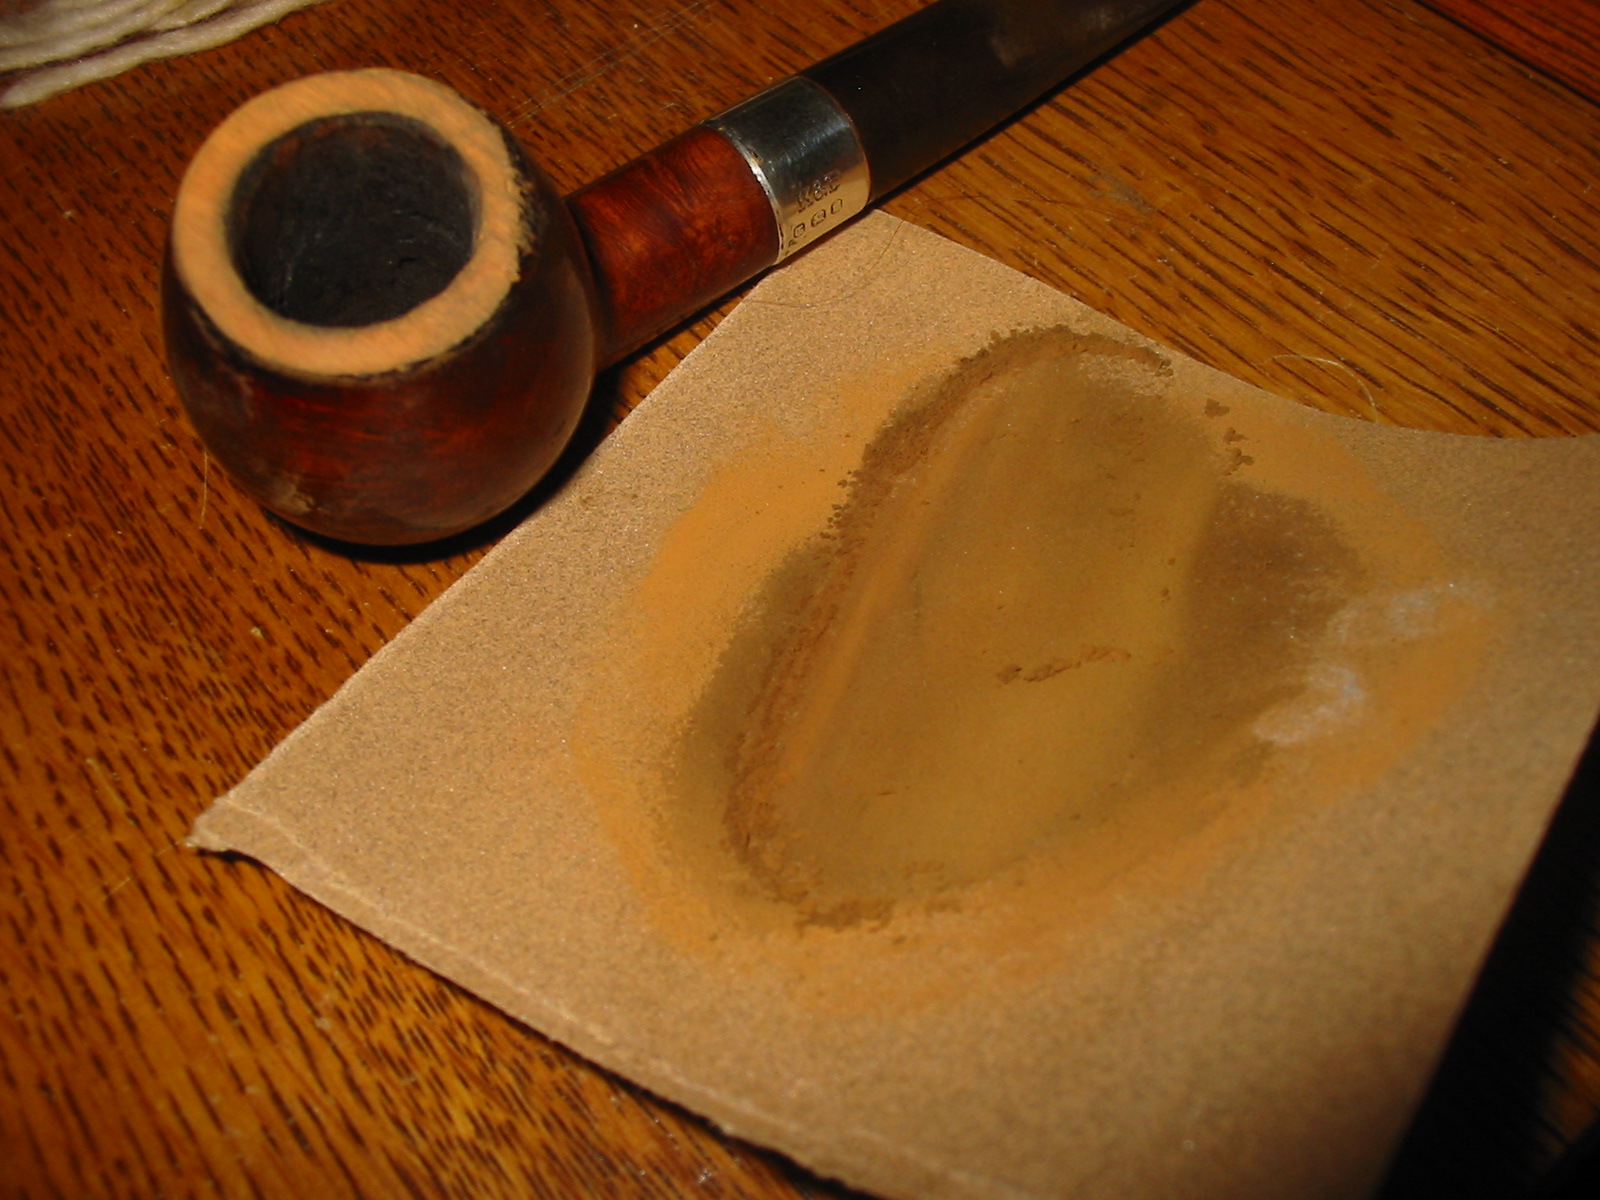
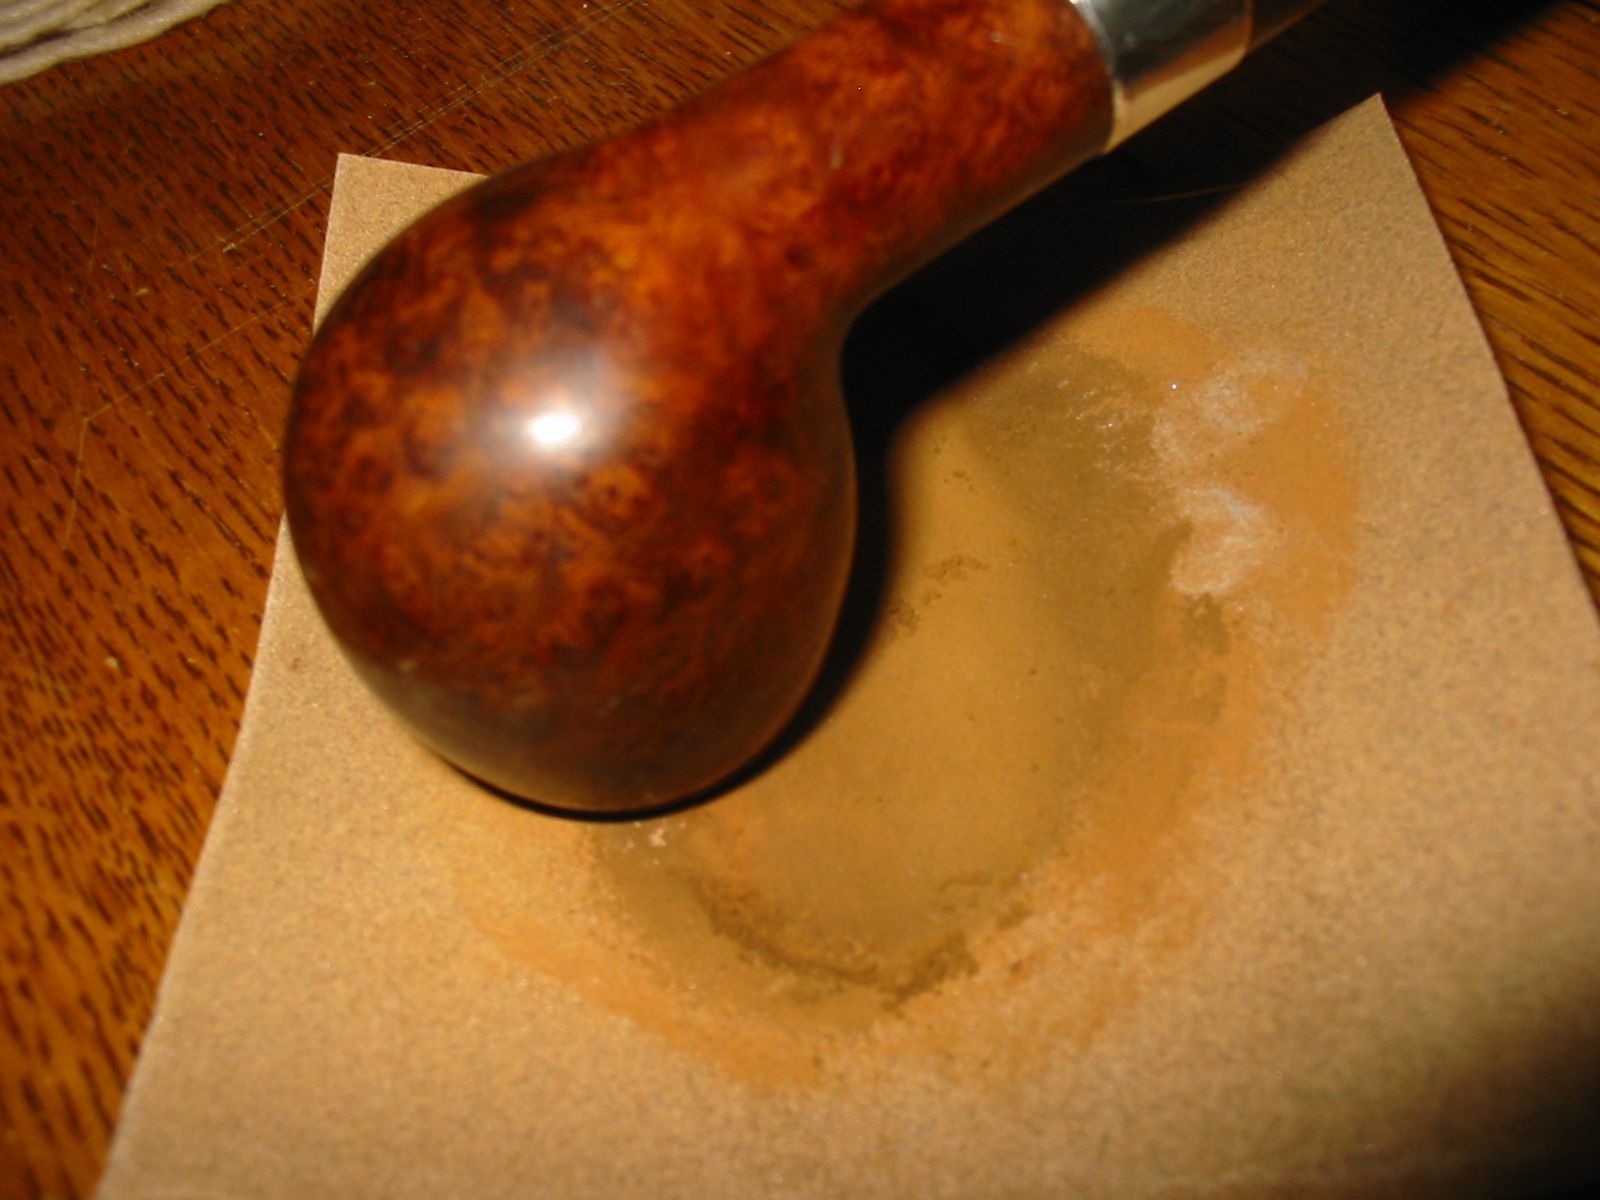
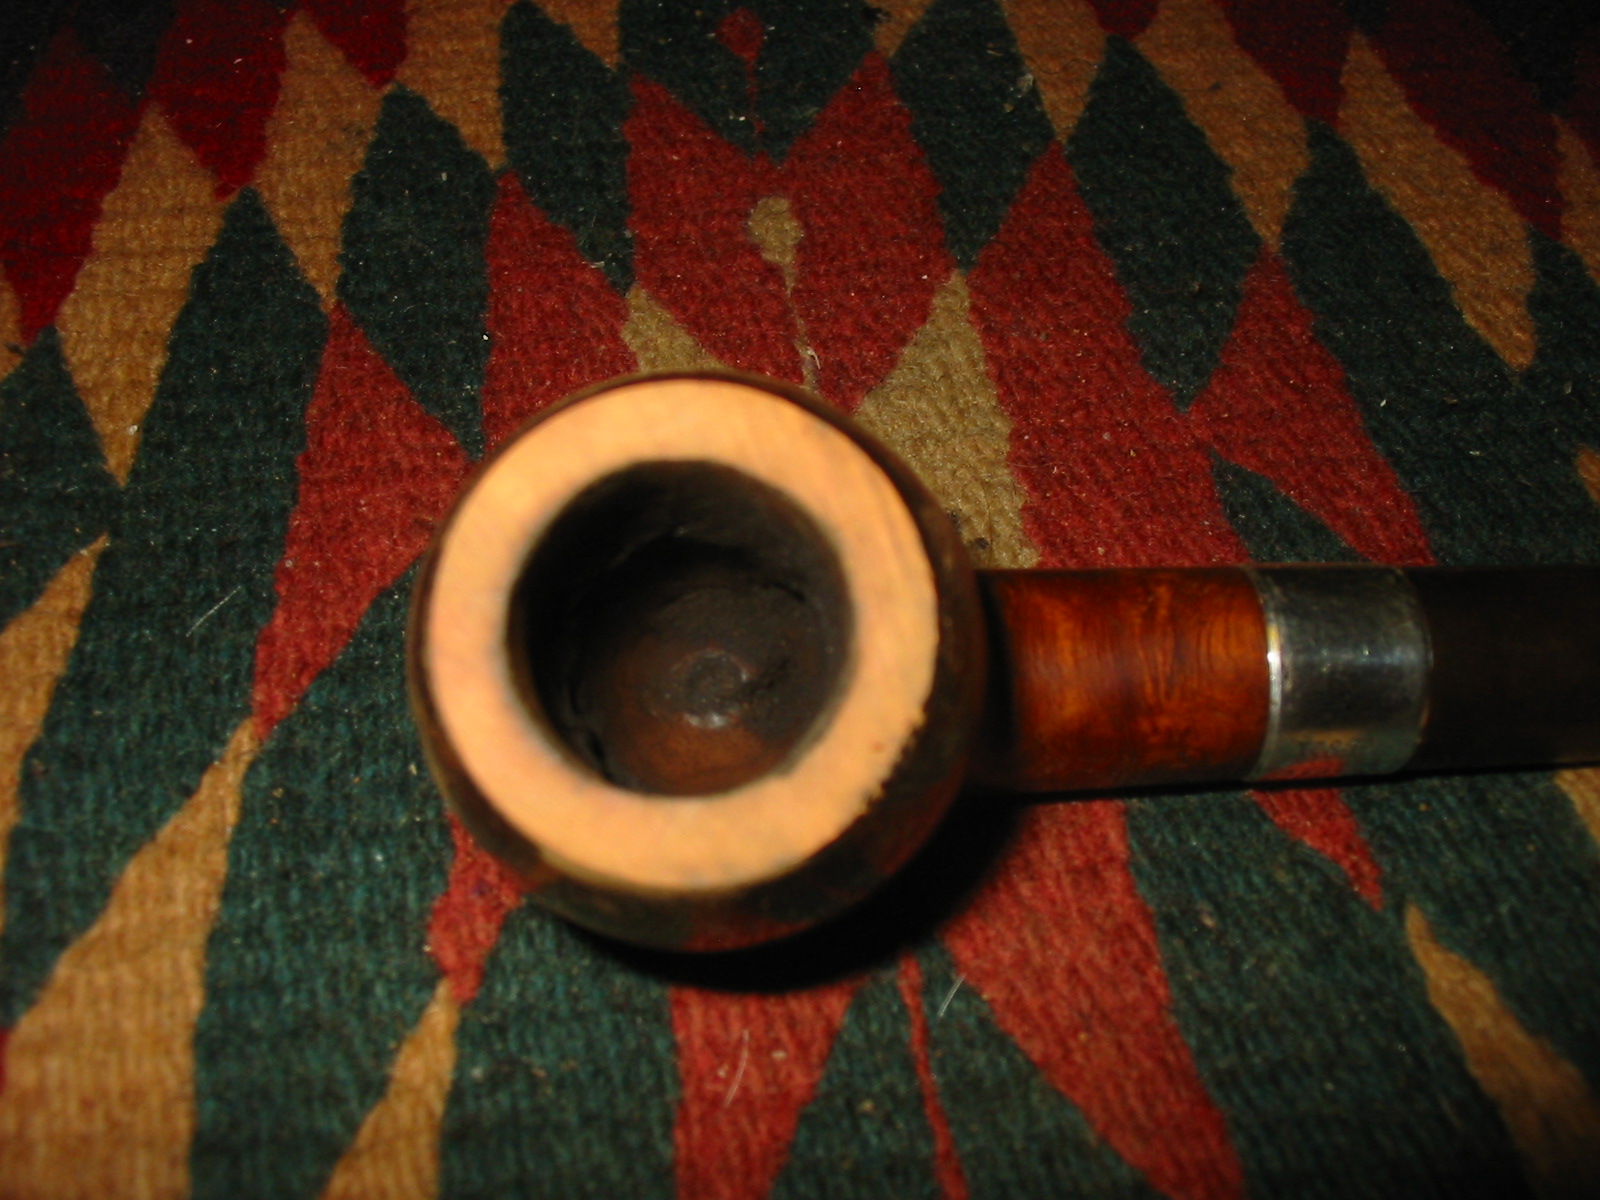
I topped the bowl with my usual method – 220 grit sandpaper on a flat board and turned the bowl clockwise as I pressed the rim into the sandpaper. I sanded the top until the damaged portion of the rim was removed. One side benefit of the process was that it also removed some of the damaged inner rim as well bringing the bowl back into round.

IMG_1671

IMG_1672

IMG_1673

To prepare the bowl for restaining I wiped it down with acetone on a cotton pad. I wanted to remove as much of the finish as possible so that I could more easily blend the new stain on the rim with the stain on the bowl. I have found that if I thin down the original stain on the bowl I can generally make a good match with the rim when I stain the entire pipe. The rim always takes several more coats of stain than the bowl but the match comes out very well. I wanted to end up with a stain colour that matched the original stain colour as much as possible. Between each coat of stain I flamed the stain to set it in the grain of the briar. The stain I used was an aniline stain in a dark brown that I thinned 2:1 with isopropyl alcohol. Once it was dry I hand buffed it with a shoe brush to blend the colours of the stain and give me a clear look at the stain to make sure it was evenly applied.

IMG_1674

IMG_1675

IMG_1676

IMG_1680

IMG_1681

IMG_1682

I set the bowl aside and worked on the stem. I sanded the stem with medium grit emery paper to remove the oxidation and also clean up the vulcanite around the tooth dents. Once clean, I heated the dents by passing the flame of a lighter across the tooth marks. The heat of the flame lifts the dents to the surface. The key is to keep the flame moving quickly and not allow it to sit in one place too long or the stem will burn. The first photo below shows the tooth marks on the top side of the stem. There were matching tooth marks on the underside. The second photo shows the stem after the heating with the flame. I sanded the stem with 220 grit sandpaper and also a fine grit sanding sponge to remove the scratches and remnants of the dents. I filled the two remaining dents with super glue, sanded the glue down to match the surface of the stem and then finished the sanding with micromesh sanding pads from 1500-12,000 grit (Photos 3 – 5).

IMG_1677

IMG_1678

IMG_1679

IMG_1683

IMG_1684

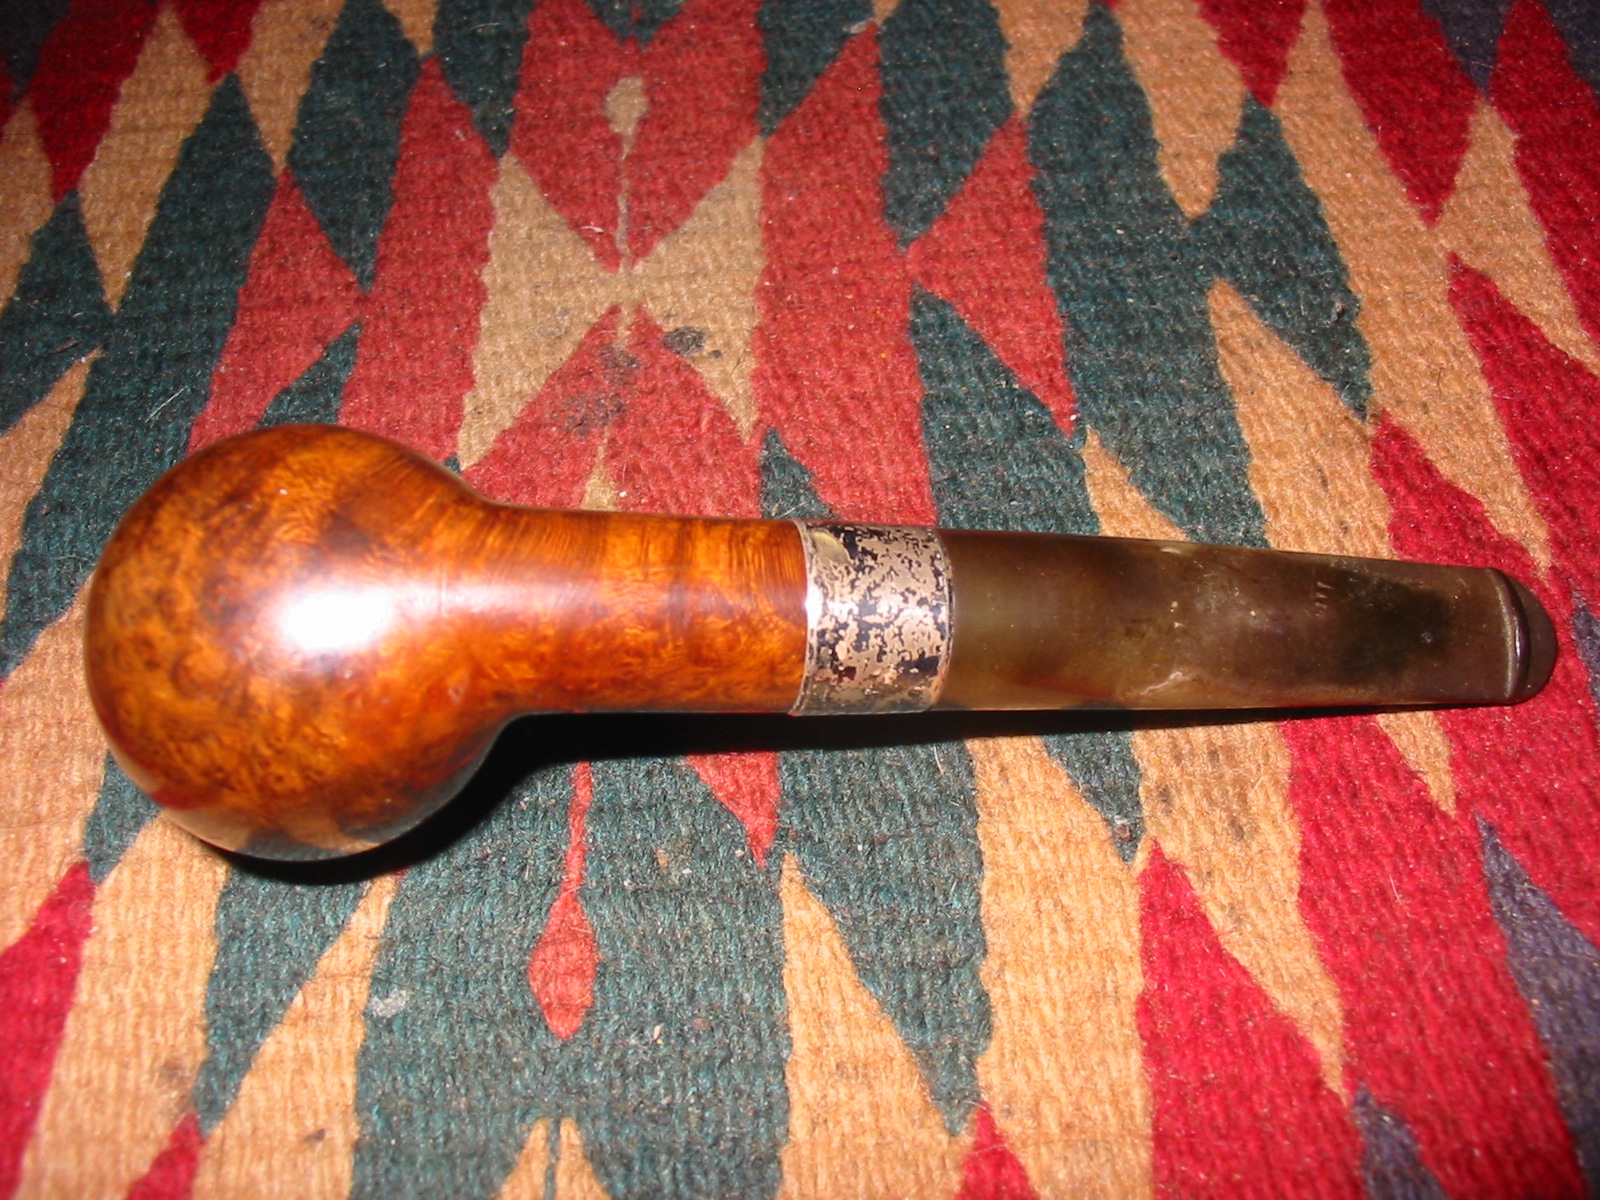
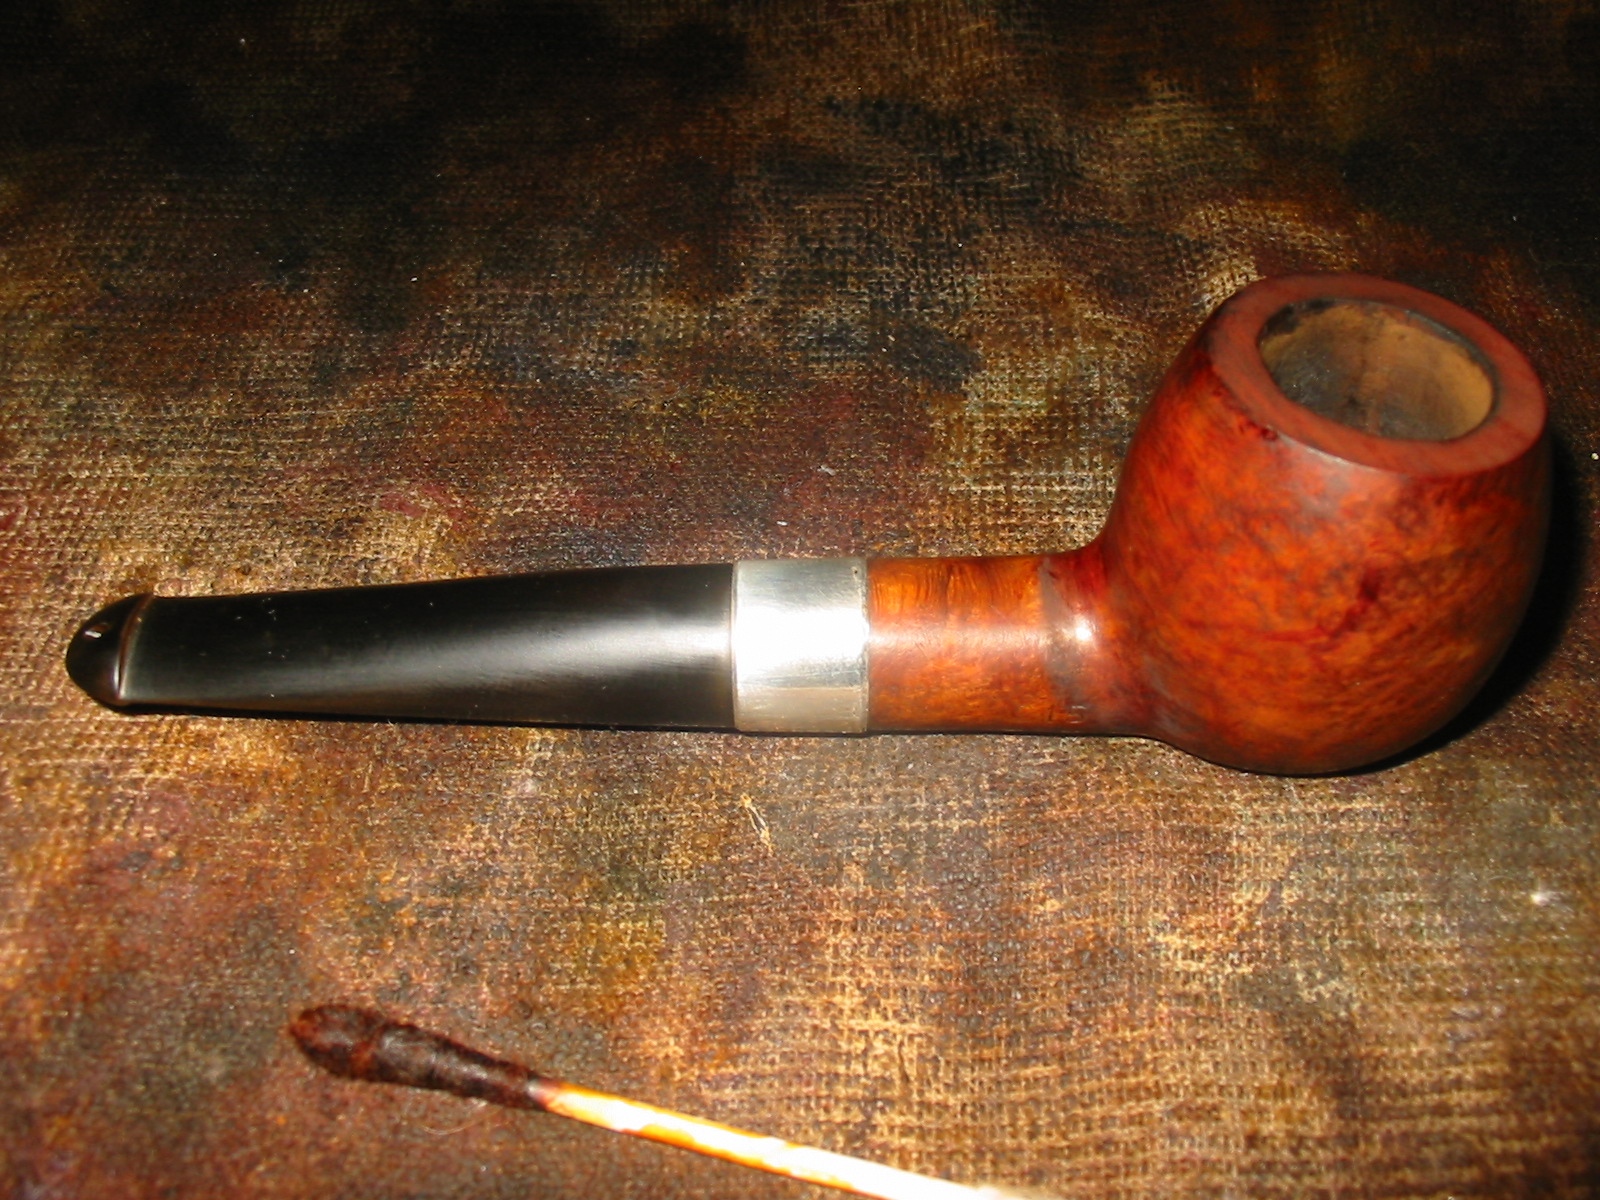
Once the stem was sanded with the 12,000 grit micromesh pad I wiped it down with Obsidian Oil and when dry rubbed it into the stem. I gave the stem several coats of wax and returned it to the bowl. I polished the silver band a final time and also waxed that. I buffed the pipe lightly with White Diamond and gave it multiple coats of carnauba wax and buffed it with a clean flannel buffing pad. The finished pipe is pictured below. It has some beautiful grain on it. There are also some flaws in the briar that I chose to leave as I find they add character to the pipe.

IMG_1685

IMG_1686

IMG_1688

IMG_1689

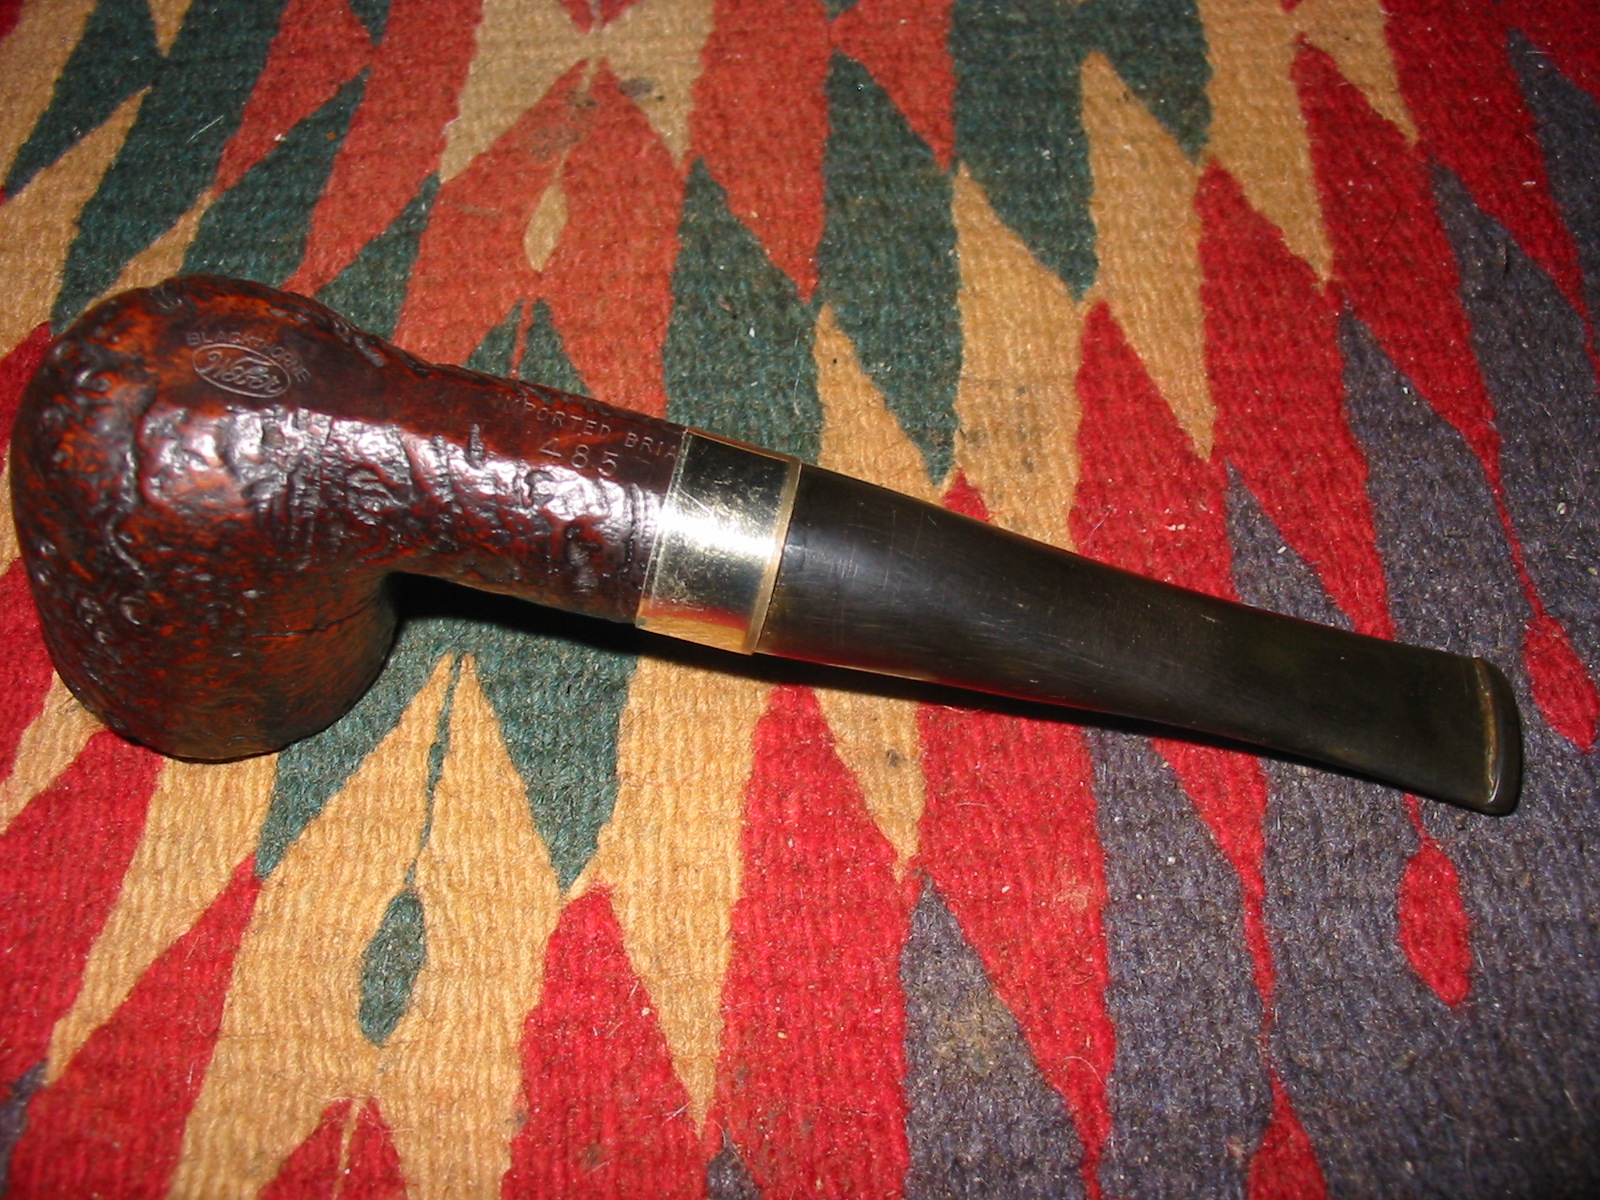
Banding and Restemming a Weber Blackthorne 485


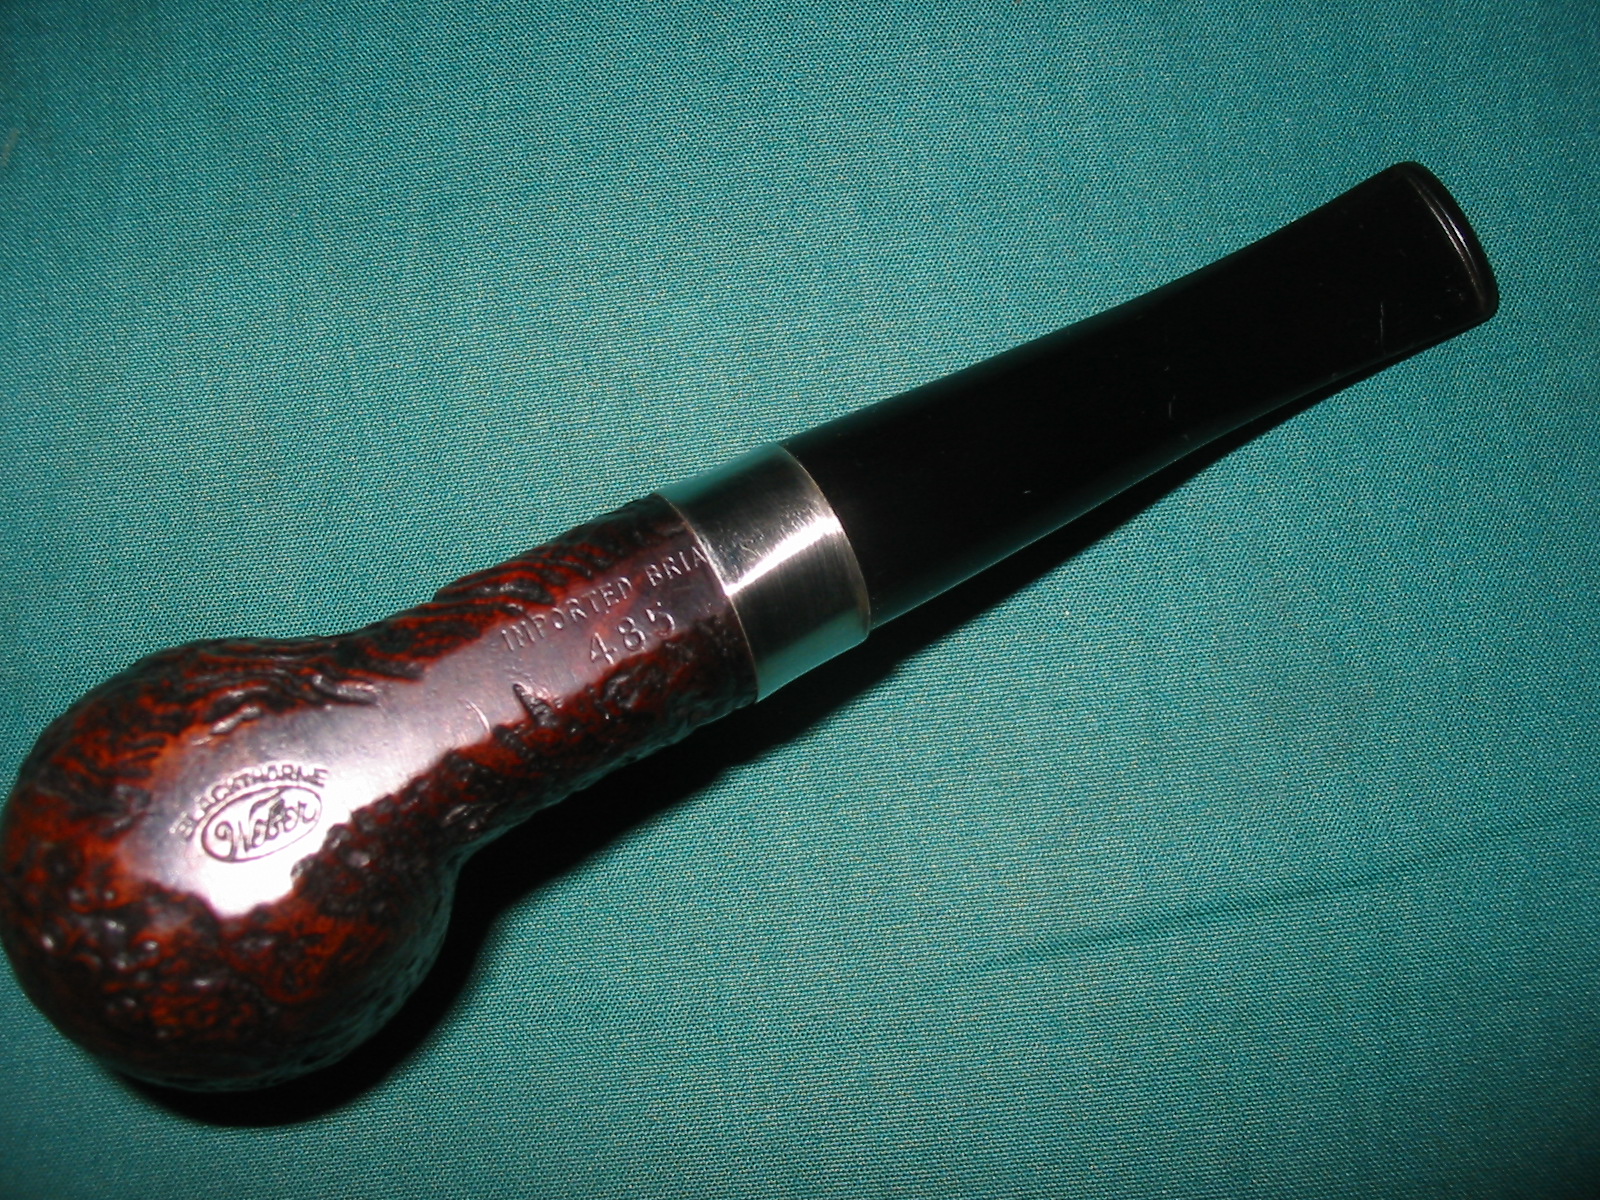
I just finished refurbishing the last of the EBay lot, the second pipe down in the centre column of the photo below. It is stamped Blackthorne over Weber in an oval and Imported Briar 485 on the underside of the shank. The Weber was probably the easiest pipe of the lot to restem and clean up. The bowl was lightly caked and the rim had a light buildup of tars on it. The blast is quite nice on the bowl and when I first saw it thought it might be a GBD Prehistoric. The rim is crowned upward from the bowl and also sandblasted. The bowl is stained with a dark brown and black contrast stain which leaves much of the black stain in the crevices of the bowl and the brown on the higher portions. The shank had some darkening from the end toward the bowl for about a ½ inch – like it had had a band on it at one point. There were no cracks in the shank so the band must have been cosmetic in function. The shank was thick and gave the pipe a chubby look. I am not sure whether to call the shape a chubby billiard or a pot. The inside of the shank was not terribly dirty would take little to clean up the pipe and ready it for a smoke.

bowls1

Weber

I searched through my box of stem and found one of a suitable diameter to fit the pipe. I had the perfect match but it was a bent so I heated it with the heat gun and straightened it out. I used the PIMO tenon turning tool to clean up the tenon and make it straight. In the picture below the tenon appears to have a slight conical shape to it. After turning it the tenon was a cylinder that fit well in the shank.

IMG_1513

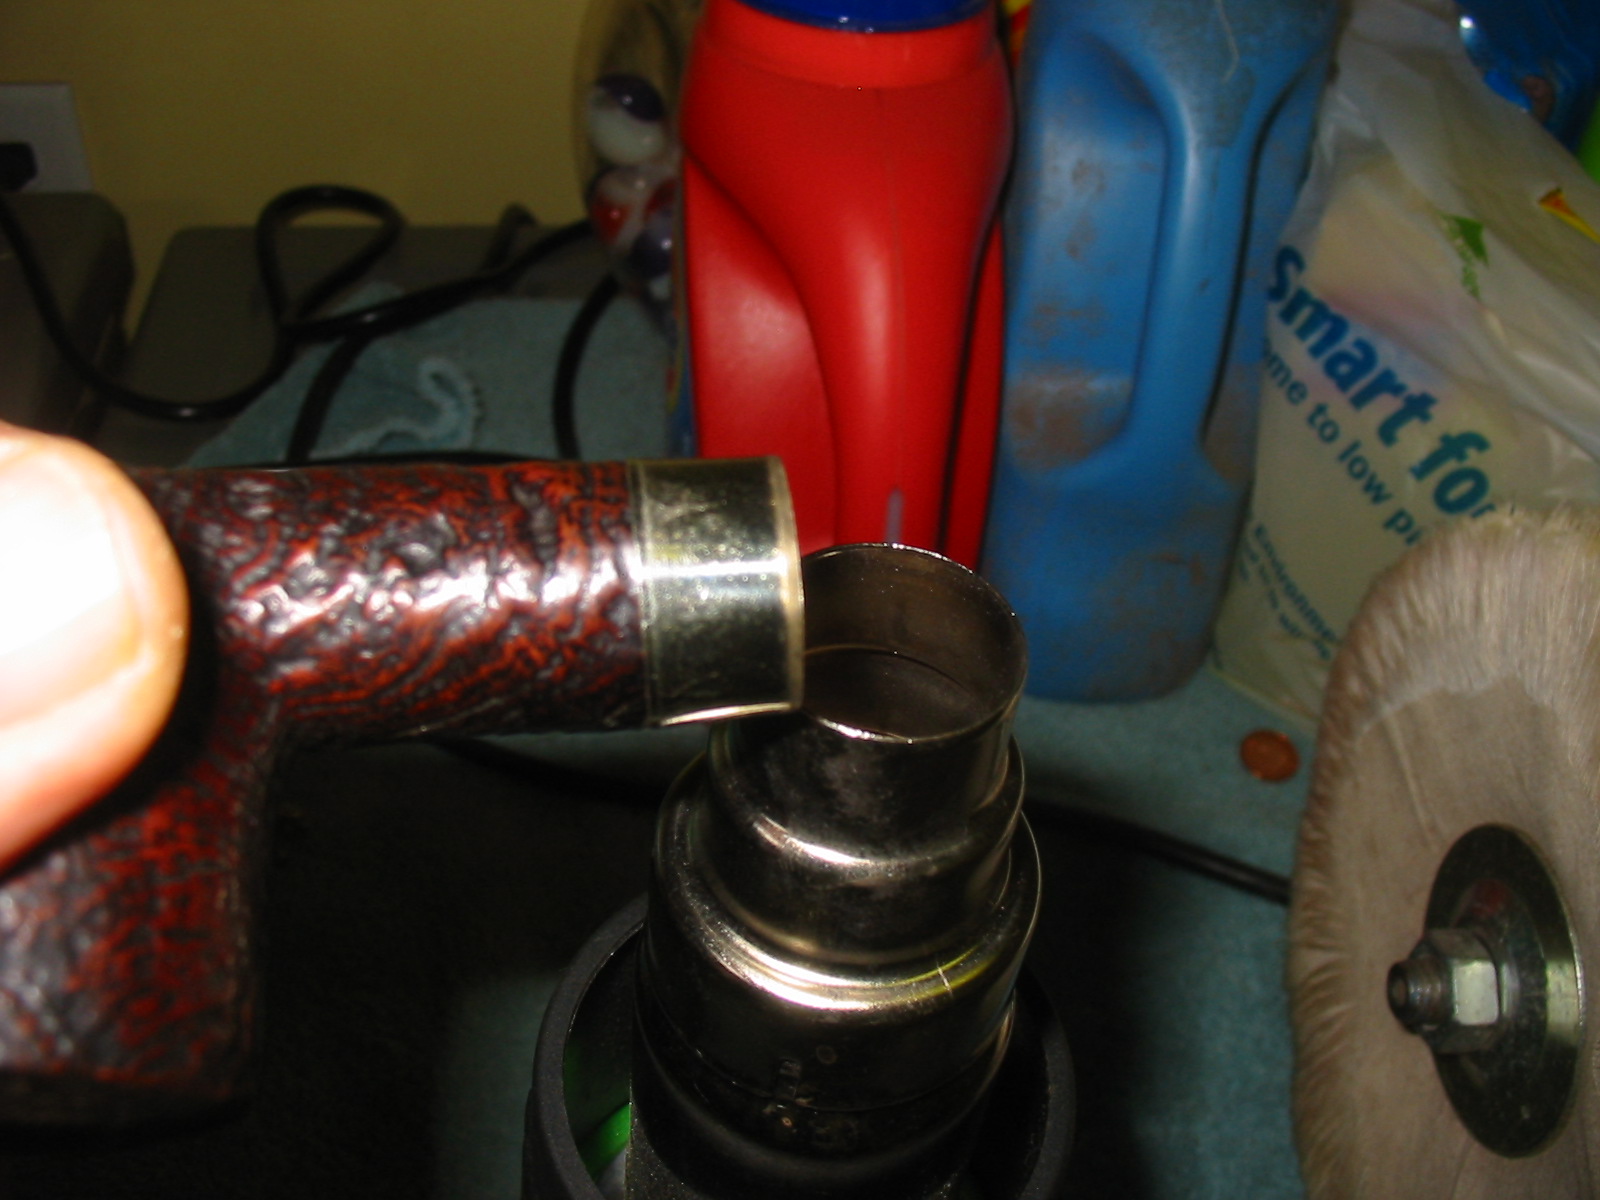
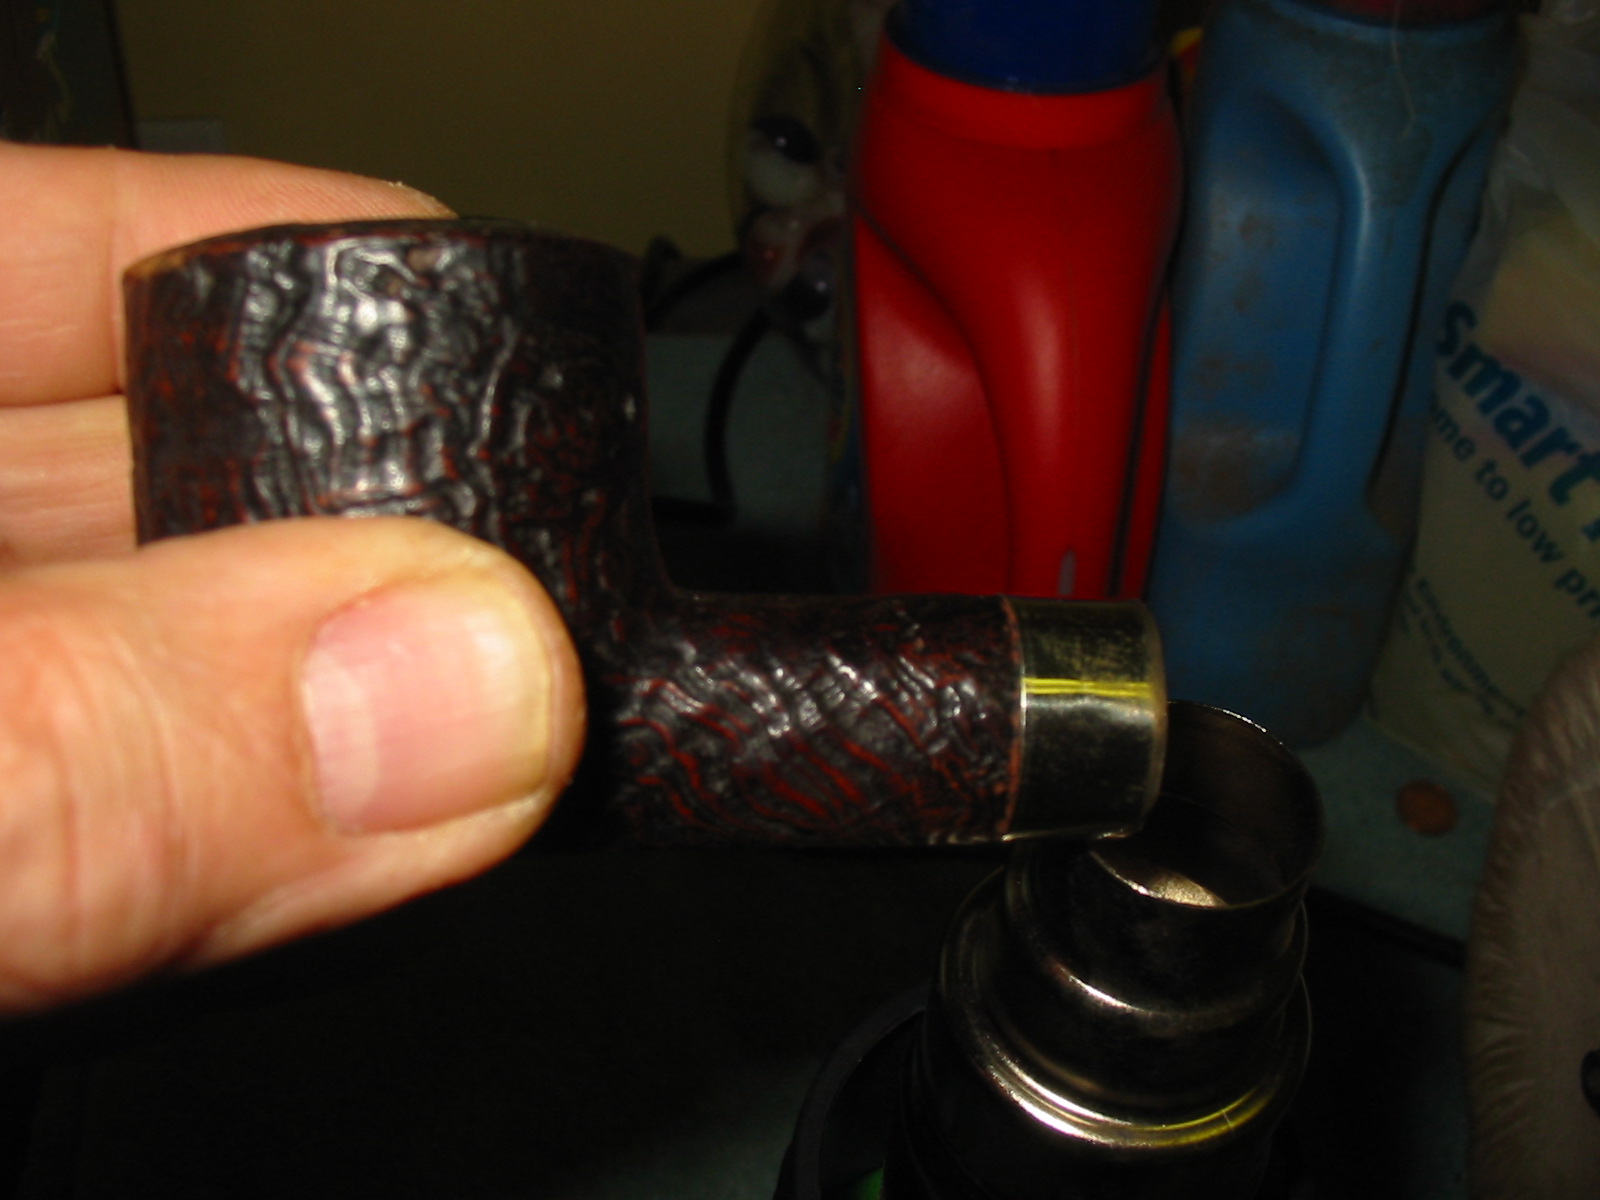
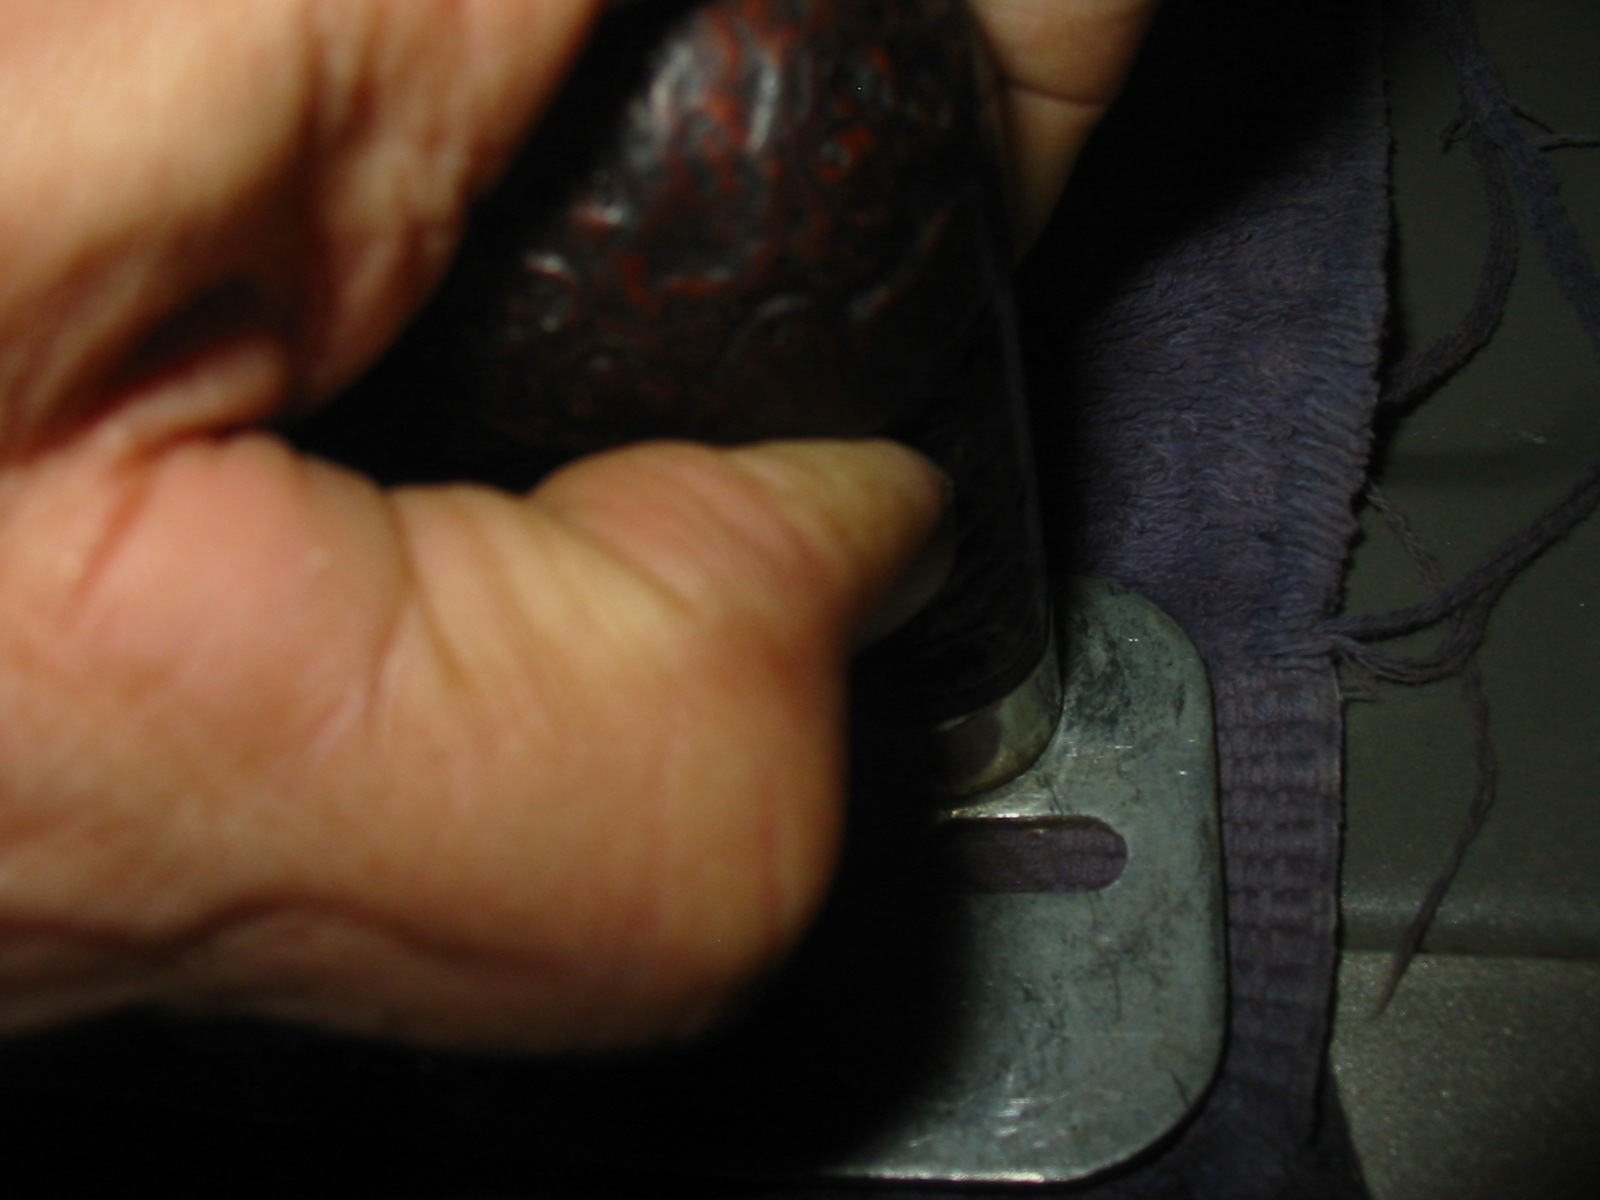
I took out a nickel band that would fit the shank and then used the Dremel to smooth out the portion of the shank that would have the band. I find that a band seats much better when the surface that it is pressed onto is smooth rather than blasted or rusticated. I slipped the band lightly on the end of the shank and heated it with the heat gun to expand the metal and make the band simpler to fit on the shank. I pressed it into place on a metal plate that I use for a flat surface to press bands.

IMG_1514

IMG_1515

IMG_1517

IMG_1518

IMG_1519

With the band in place on the shank the tenon needed a slight adjustment with sandpaper to fit well against the shank.

IMG_1520

IMG_1521

I reamed the pipe with a PipNet reamer and took the cake down to the briar. I scrubbed the top of the bowl with a cotton pad and Murphy’s Oil Soap to remove the buildup of tars. I gently wiped down the exterior of the bowl with the Oil Soap as well to remove the grime in the grooves and crevices of the finish.

IMG_1522

IMG_1523

IMG_1524

IMG_1525

I polished the bowl with Halcyon II wax and buffed it with a shoe brush. I cleaned out the shank and the bowl with pipe cleaners and Everclear and put the stem in place for the photo below. Once finished this will be a handsome pipe. I sanded the stem with micromesh sanding pads from 1500-12,000 grit to polish and remove any scratches left by the heating and straightening. I took the pipe to the buffer afterwards and buffed the stem with White Diamond and Blue polish to give it a shine.

IMG_1526

IMG_1527

IMG_1528

IMG_1529

I polished the nickel band with a silver tarnish polishing cloth and then waxed the stem with several coats of carnauba wax. I touched up the areas of the rim and the rim outer edge with a black permanent marker to cover some of the scratches in the finish of the bowl in those places. I buffed the pipe lightly on the buffer with White Diamond and gave the stem another coat of wax. The finished pipe is pictured below.

IMG_1534

IMG_1535

IMG_1536

IMG_1537

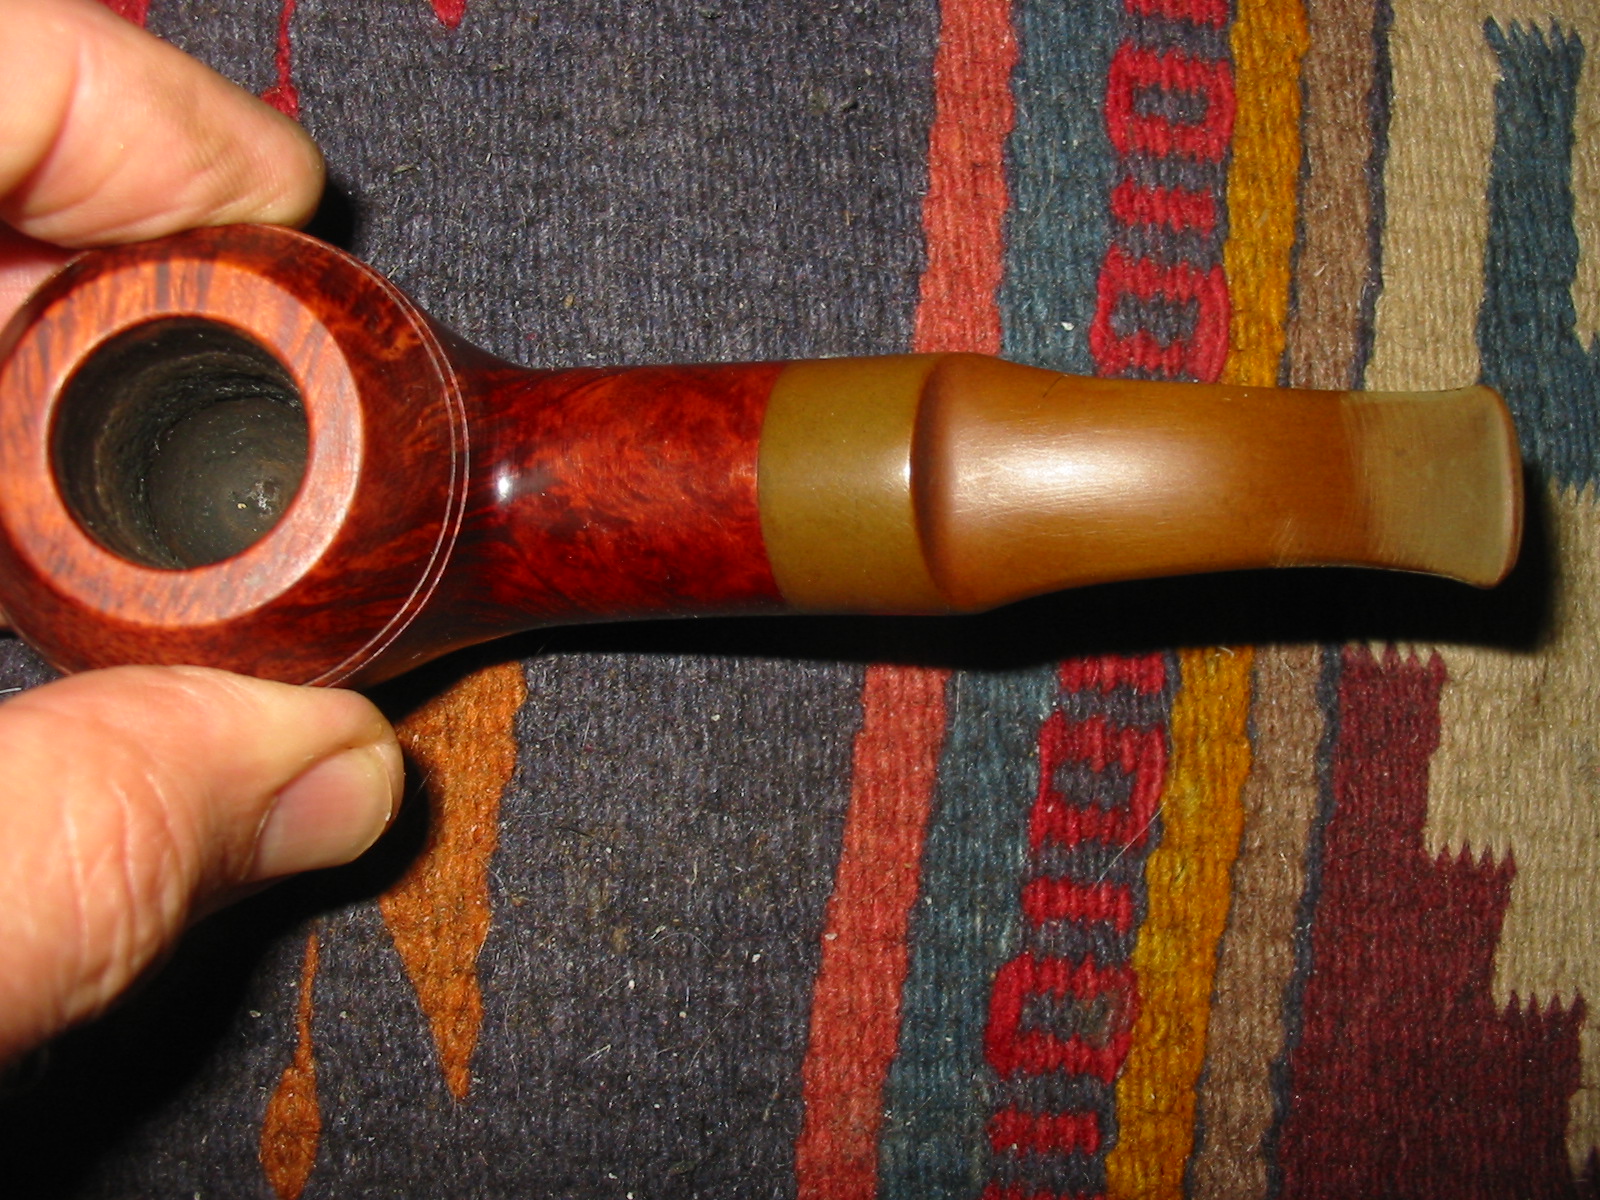
Reborn Huckster Pipe – Is It a GBD 9438?


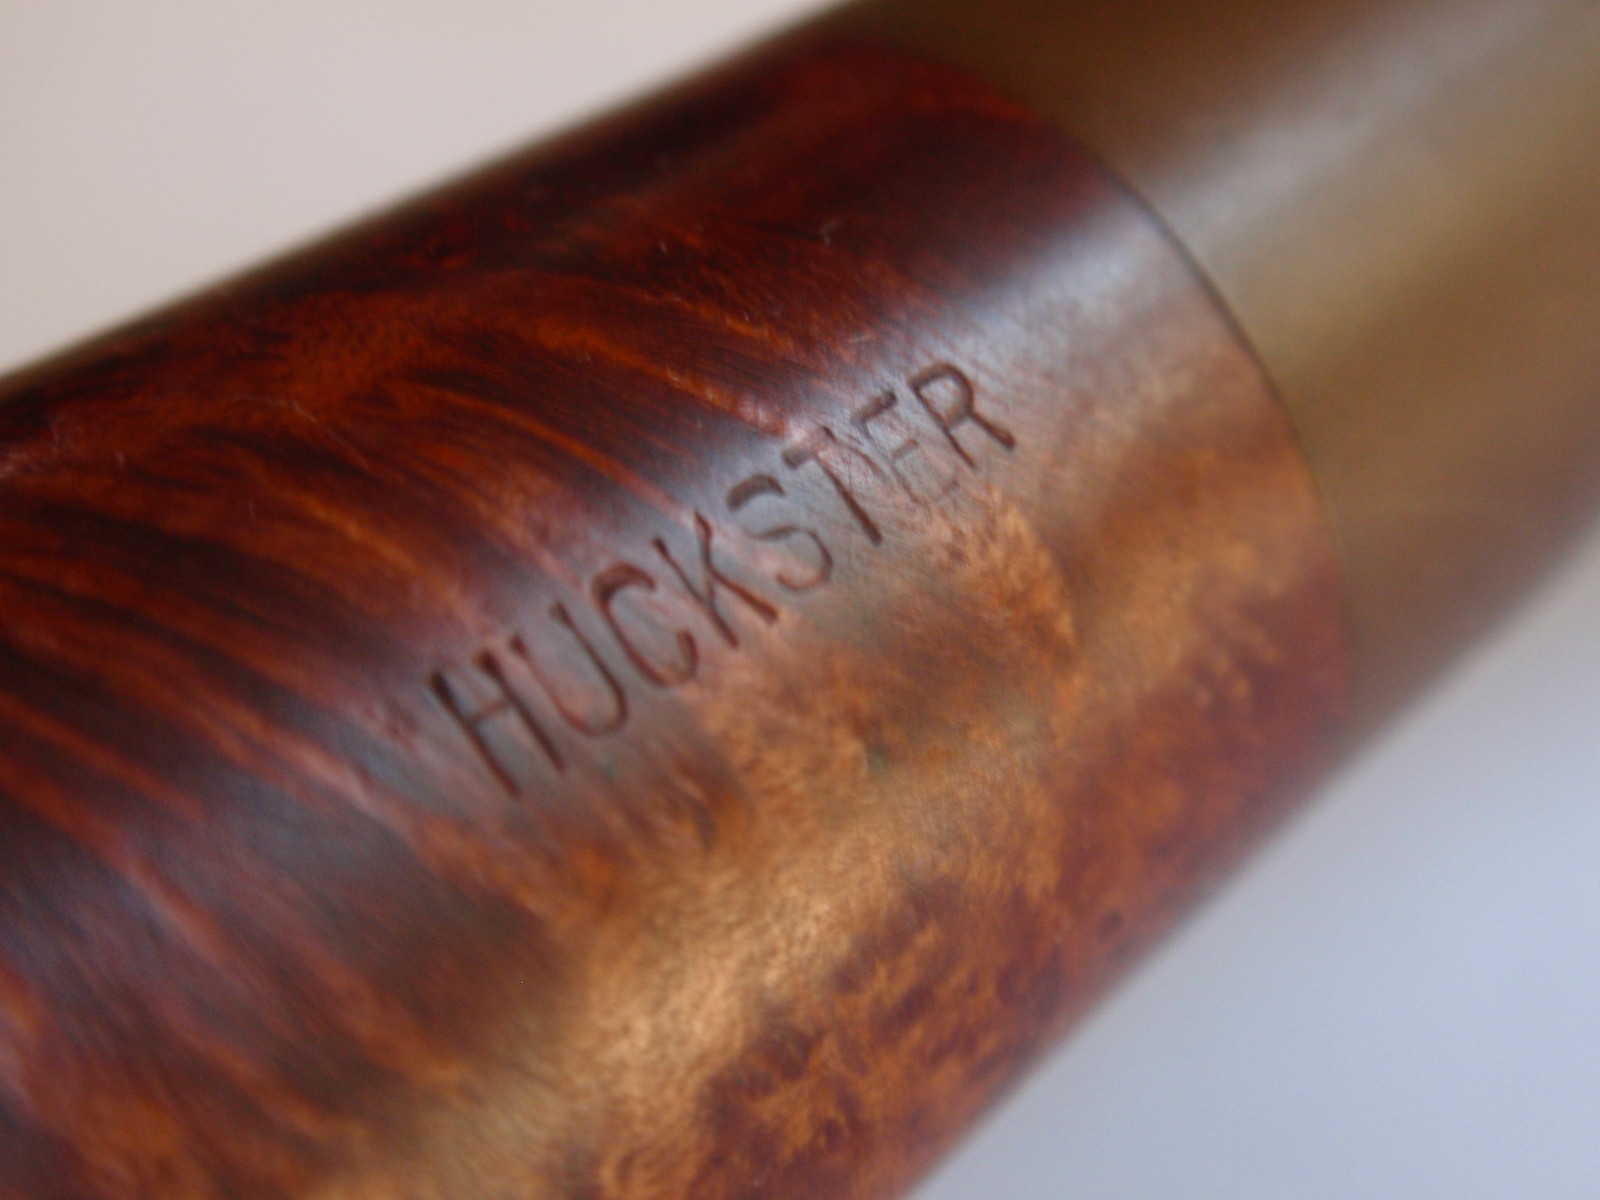
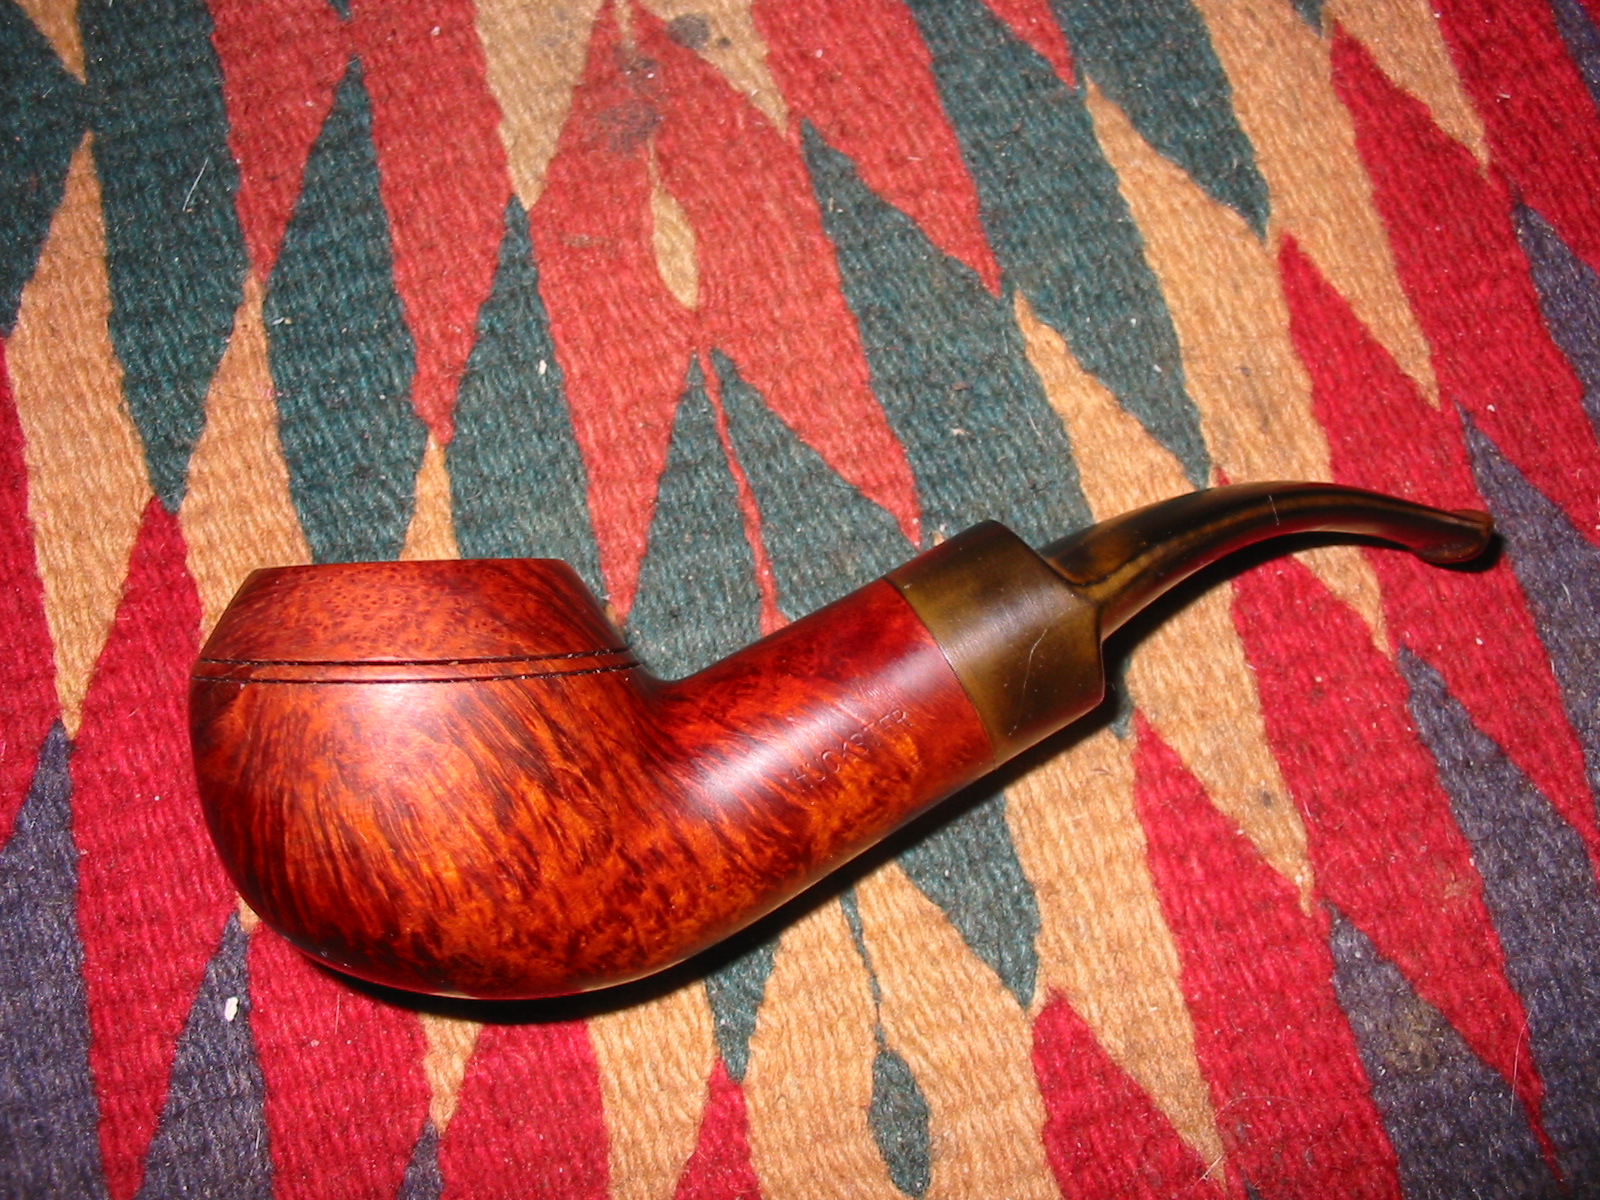
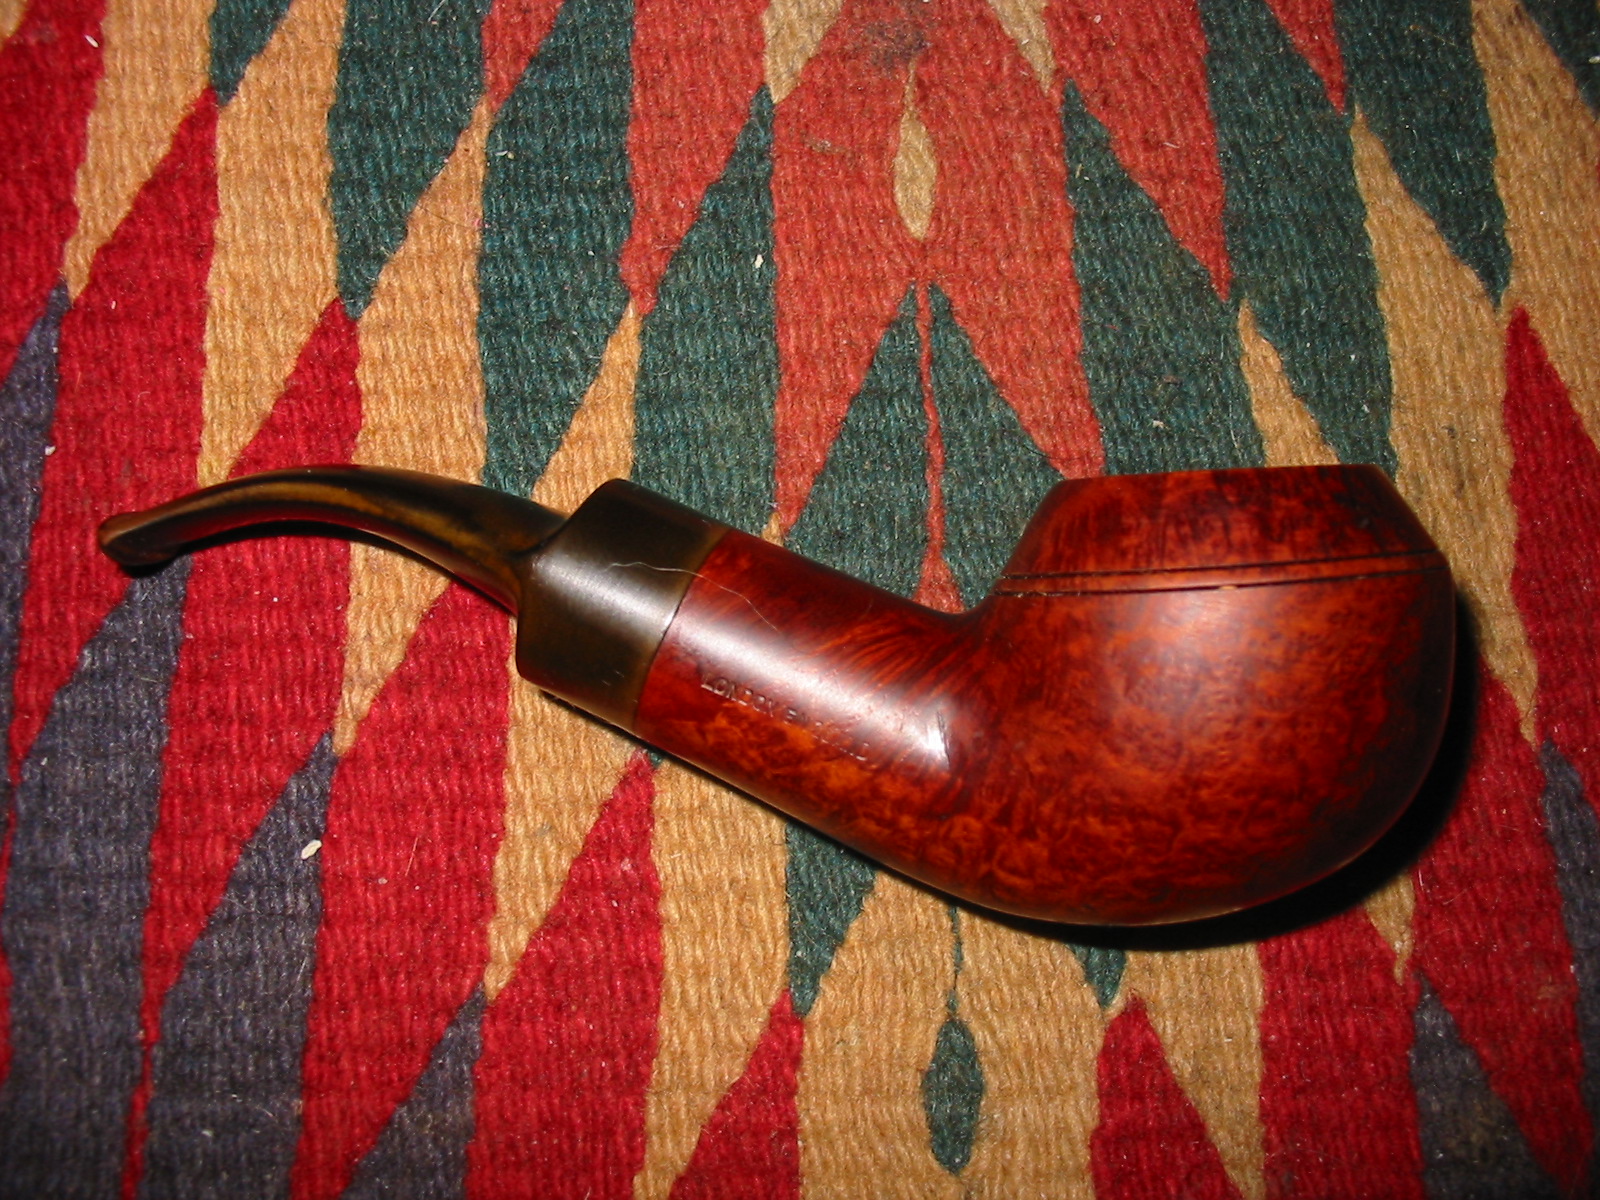
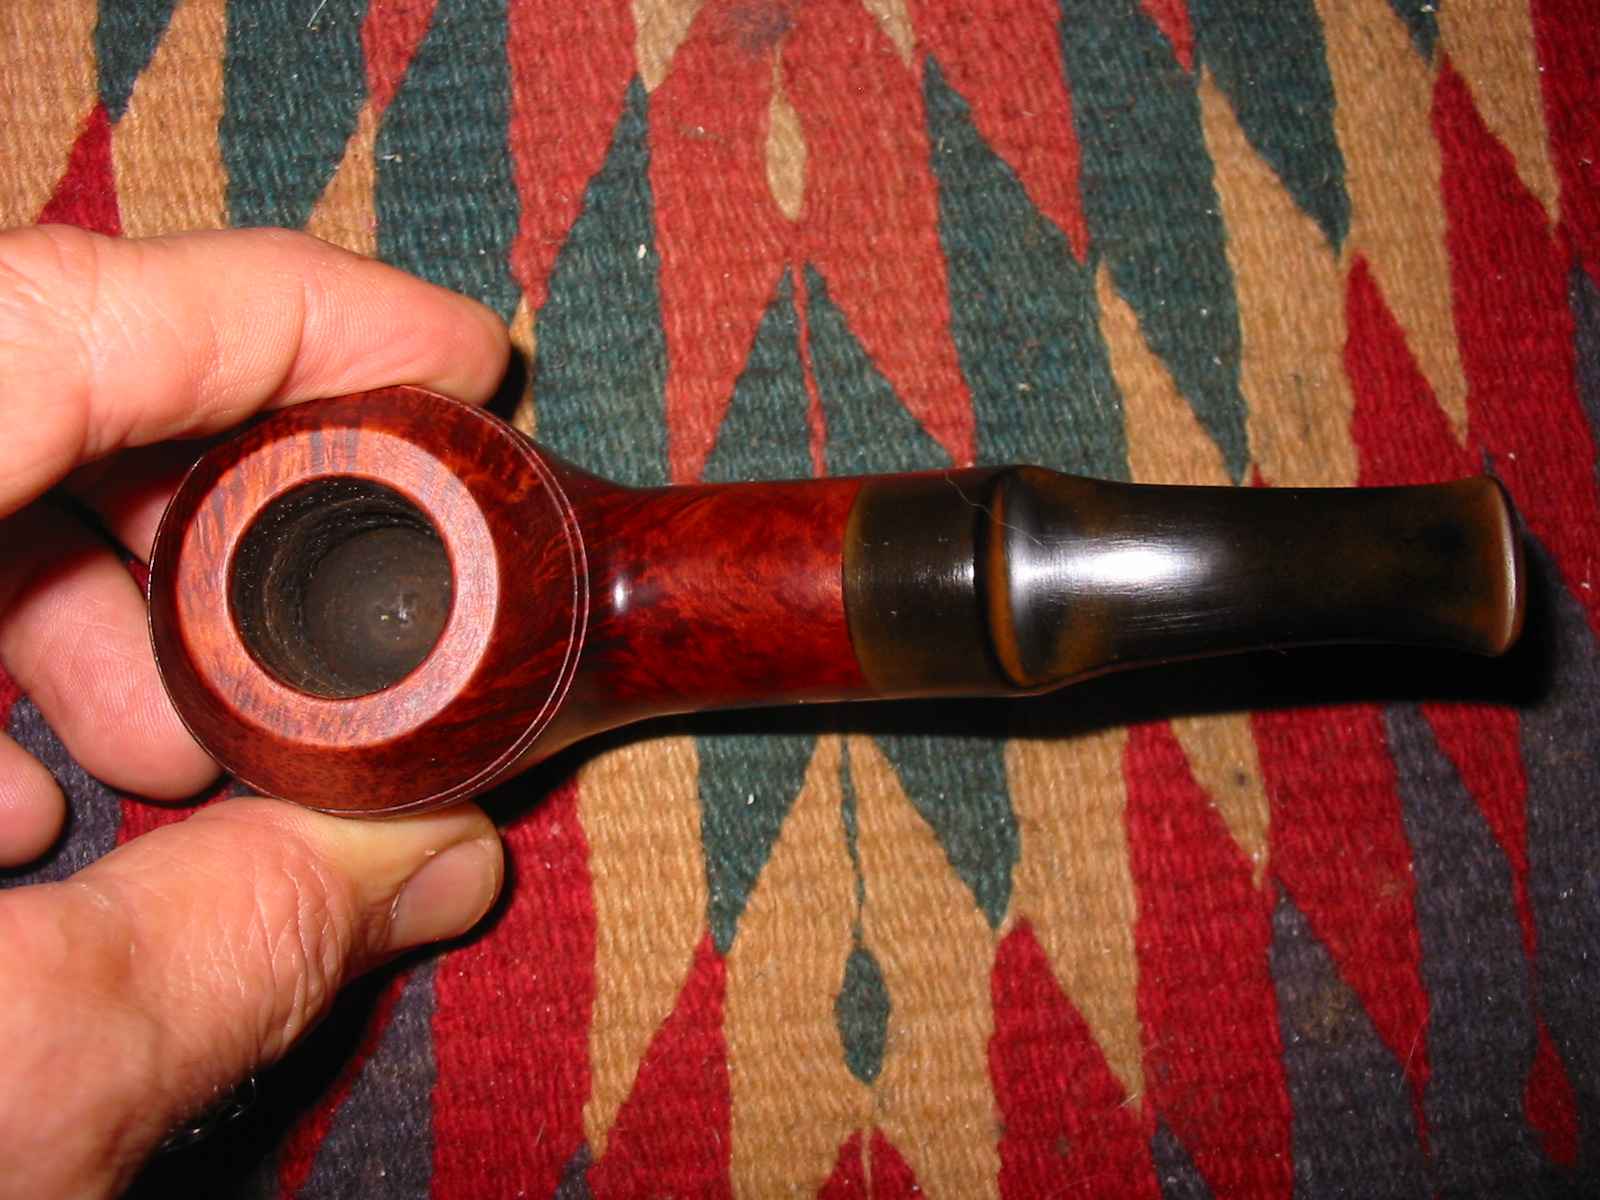
When I hear the word Huckster I think of an aggressive salesperson or a promoter, a snake oil salesman or someone not to be trusted. The definition from the dictionary is one who uses aggressive, showy, and sometimes devious methods to promote or sell a product. The stamping on this pipe is HUCKSTER on the left side of the shank. On the right side of the shank it is stamped LONDON ENGLAND. The pipe is clearly either made by GBD or by someone doing an amazing copy of the GBD 9438 shape. The shape is perfect in comparison with my GBDs of this shape number. I have been researching on the internet to see if I can find out who the pipe was made by/for and develop some background on it but so far I have found nothing.

Hukster5

The five pictures below were included in the EBay sale by the seller of the pipe. While they are out of focus they gave me a clear enough picture to place the bid. I was one of a few bidders on this one so I picked it up for a very good price in comparison to that of GBD 9438s. When it arrived I was happy to see that the seller’s photos actually were poor in comparison to the pipe that I held in my hand. The grain is extremely nice – the left side and the bottom of the shank and bowl have some beautiful birdseye grain. The right side has great flame grain. The front of the bowl has a bald spot with a well hidden fill in the grain (In the photos it is just above the lighter spot on the front of the bowl. There were a few dents that would need to be steamed out of the finish but the stain and finish was impeccable. The rim was unblemished with no burn marks. There were a few small sand pits in the bowl above the double rings. The bowl had a slight cake in the bottom half but the shank is clean and spotless with some raw briar that has not been stained with smoking. If it weren’t for the slight cake in the bottom of the bowl it would appear to be unsmoked. The stem was badly oxidized and did have one slight tooth dent on the underside near the button. I think that the seller must have cleaned up the pipe before selling as there were also scratches from sanding on the stem – top and bottom sides.

Hukster1

Hukster3

Hukster4

Hukster6

When it arrived I took the next four photos to show what the pipe looked like before I worked on it. My description above formulated by and large from the photos online was accurate though in fact the pipe was very clean.

IMG_1416

IMG_1417

IMG_1418

IMG_1419

The bowl did not require any work other than a quick cleaning of the shank – more by habit than necessity. The stem on the other hand required a lot of work. I sanded it with a medium grit sanding sponge to break up the oxidation. I also used the flame of a Bic lighter to paint the surface of the stem. The flame from the lighter also raised the slight tooth indent next to the button. This combination of methods removed a large portion of the oxidation as can be seen in the next four photos below.

IMG_1421

IMG_1422

IMG_1423

IMG_1424

I then sanded the stem with micromesh sanding pads. I wet sanded with 1500, 1800 and 2400 grit sanding pads. I wet the pad by dipping it in a bowl of water and then sand the stem with it. Once I had wet sanded with those grits of micromesh I followed by dry sanding with 3200-12,000 grit micromesh pads. The next series of five photos show the progress of the sanding. I took it to the buffer after the wet sanding and buffed it with Tripoli to get an idea of where I stood with the oxidation. I also ran the flame over the hard to get angles on the saddle and against the button to further remove hard to get oxidation.

IMG_1425

IMG_1426

IMG_1430

IMG_1431

IMG_1432

After I was finished sanding with the final grit of micromesh I rubbed the stem down with Obsidian Oil and once it was dry buffed it with White Diamond. I then buffed a final time with a blue plastic polishing bar. I gave the bowl and stem multiple coats of carnauba wax and buffed it with a soft, clean flannel buff to raise the shine on the bowl and stem. The next four photos show the finished pipe.

IMG_1455

IMG_1457

IMG_1458

IMG_1459

Here are a few more shots with a different background
Huckster1

Huckster2

Huckster3

Huckster4

Big Ben Freehand: Re-Stemmed and Reborn


Blog by Greg Wolford

This stummel was gifted to me by a friend from Louisiana. We met via one of the pipe smokers forums probably near a year ago and he recently sent me two stemless pipes, this one and one I have yet to get to, to restore. These are interesting pieces, in my opinion, because of their history, a little of which I will share with you before I get into the “meat and potatoes” of the work.

RJ, my friend, inherited a large quantity of pipes, near 100 if memory serves me. They were given to him by an aunt, I think it was, after her father passed away. Her father was Major in the US Army and served overseas in World War 2 (again, some of these details may be a tad off but they are close enough for our purposes). He was an avid pipe smoker and acquired many of his pipes while deployed overseas.

The Major’s wife was involved in a serious car accident many years ago. Her injuries were serious, leaving her with diminished mental, and to a lesser extent, physical capabilities. THe Major, as they affectionately called the man, took care of her himself after this accident. Sadly, the Major began to develop Alzheimer’s with dementia in his latter years, though he continued to care for his beloved wife; they were separated from their daughter, who gave the pipes to RJ, by miles, geographically.

The Major called his daughter the day after Valentine’s Day, 2005, and told her, quite confusedly, that her mother had gone missing. After much questioning, she called the police, local to her parents, and they dispatched a unit to the couple’s home. Shortening the story some, the Major had, in a state of mental confusion brought on by his disease, killed his wife. He was never found competent to stand trial for the killing of his wife 50-years. As far as I understand it, he was in a mental hospital for the rest of his life. A tragic story to be sure but an interesting one to go along with these unique pipes!

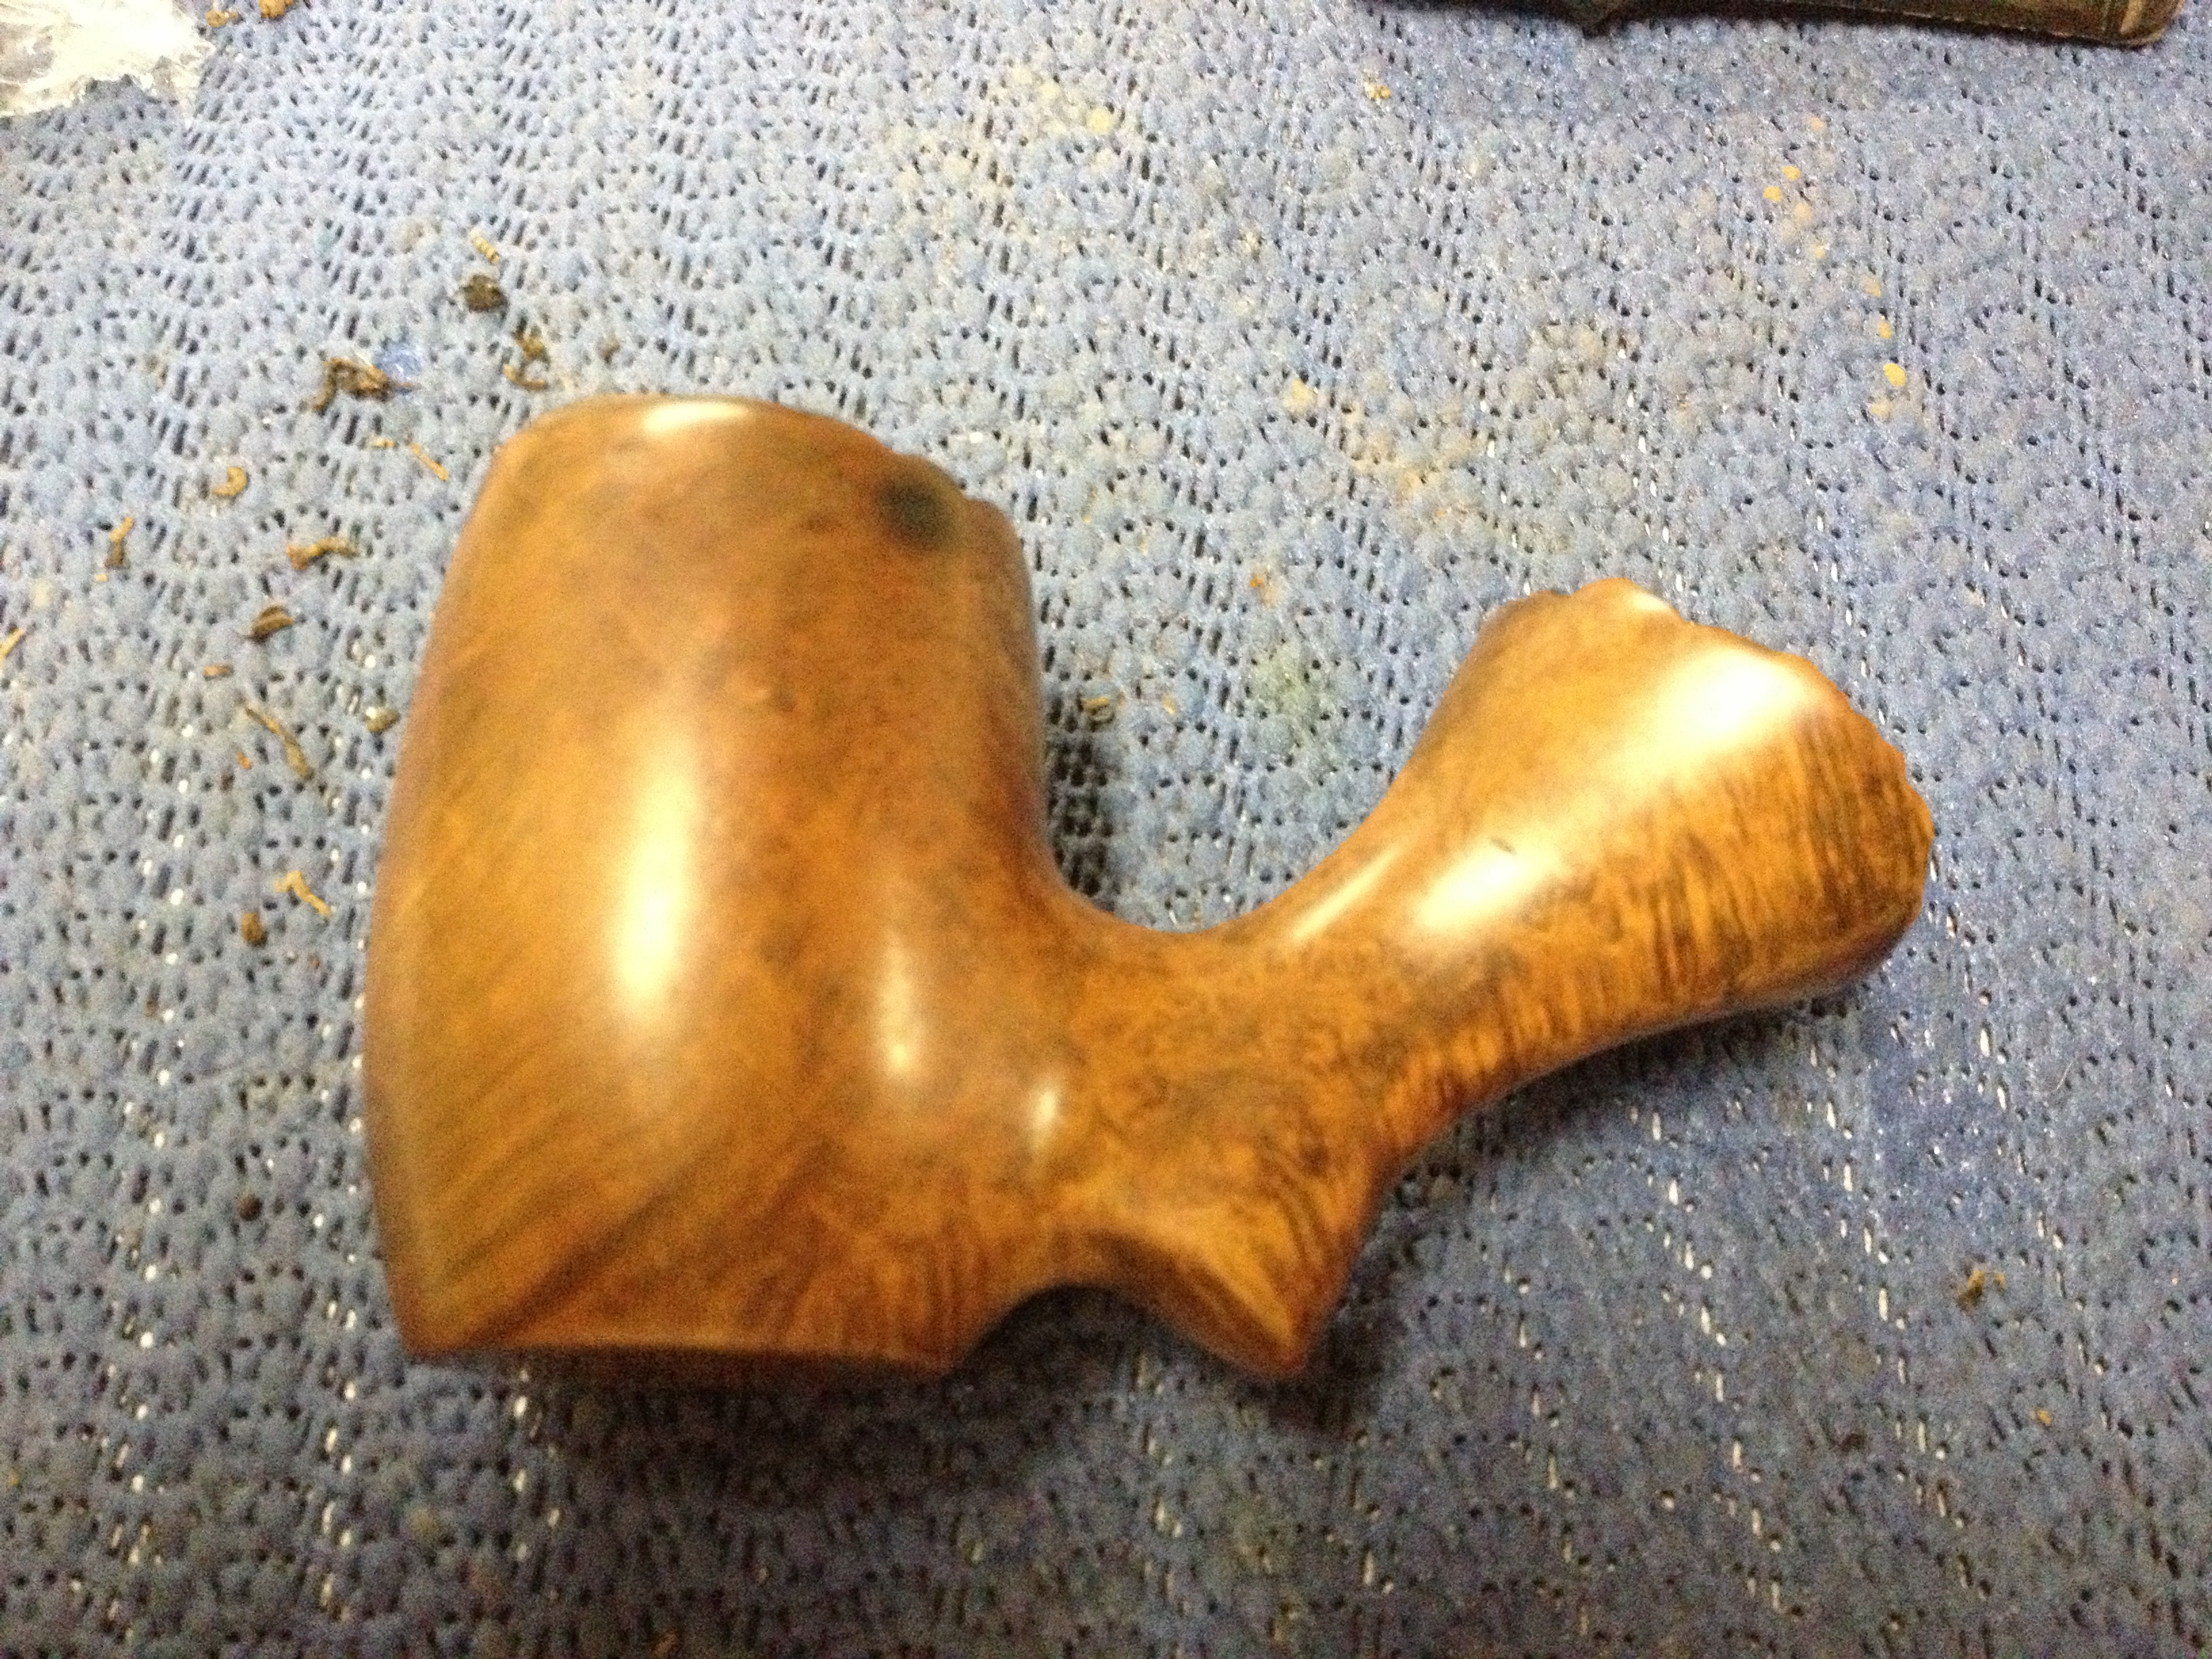
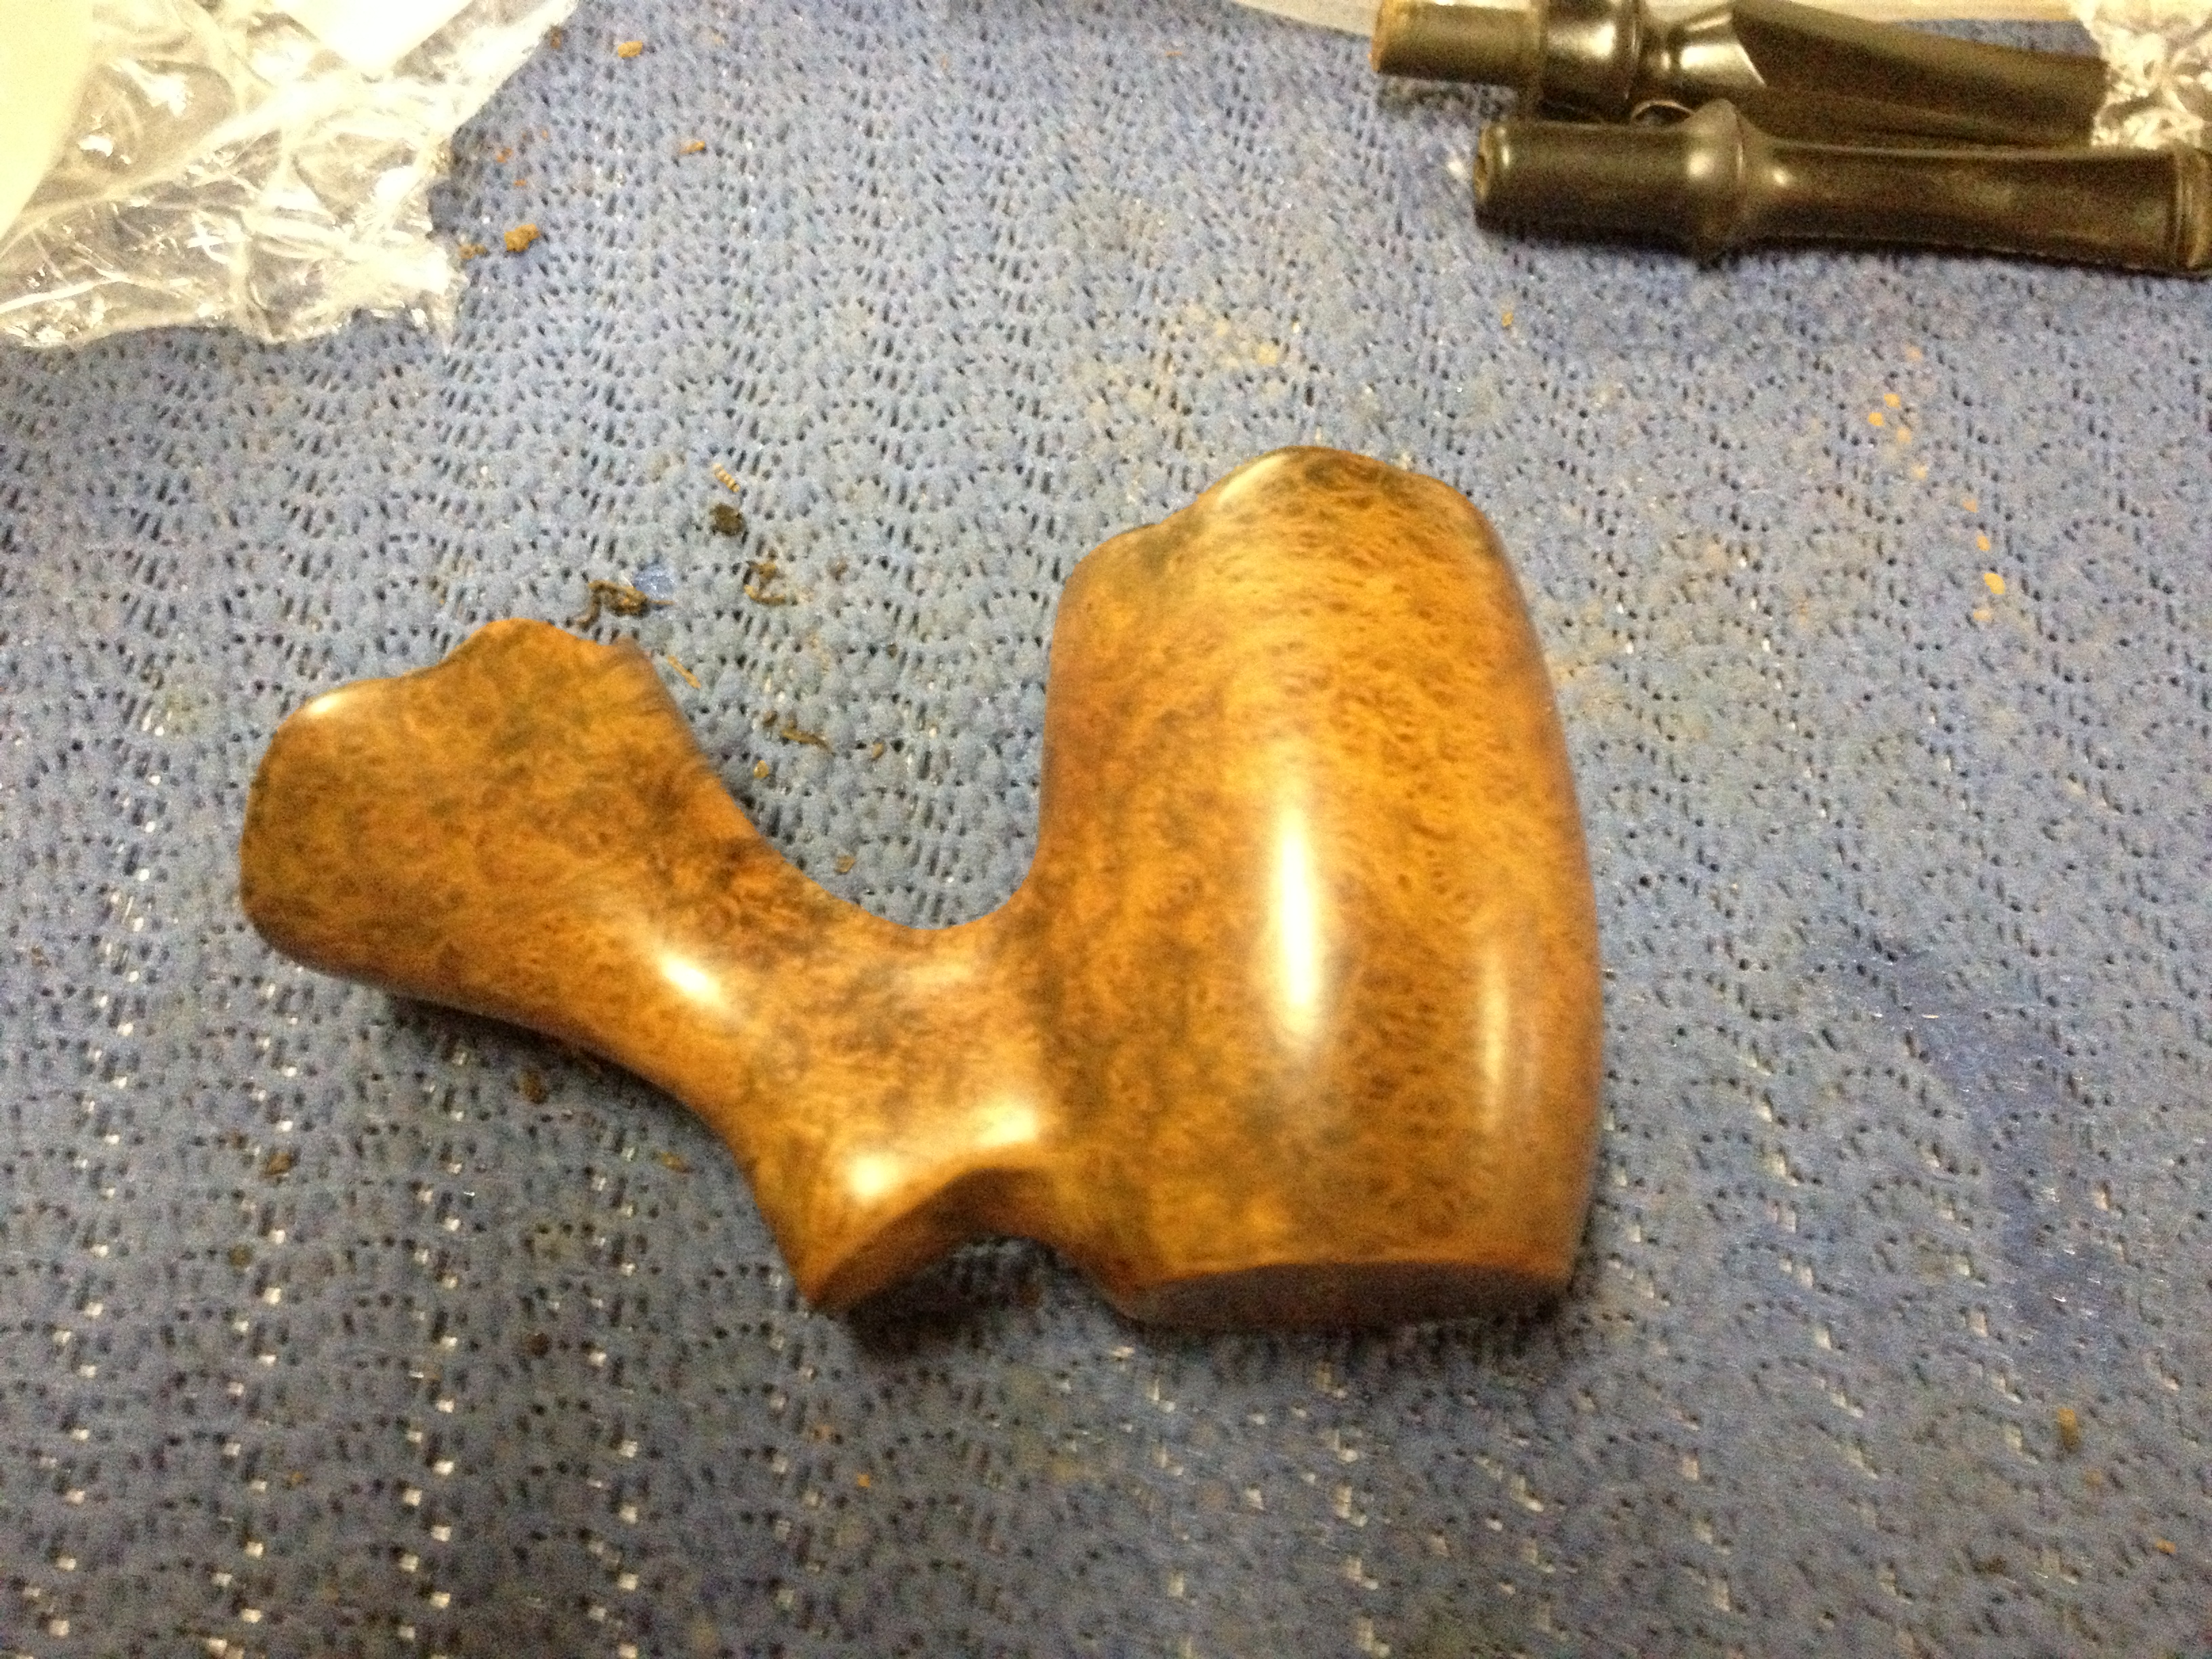
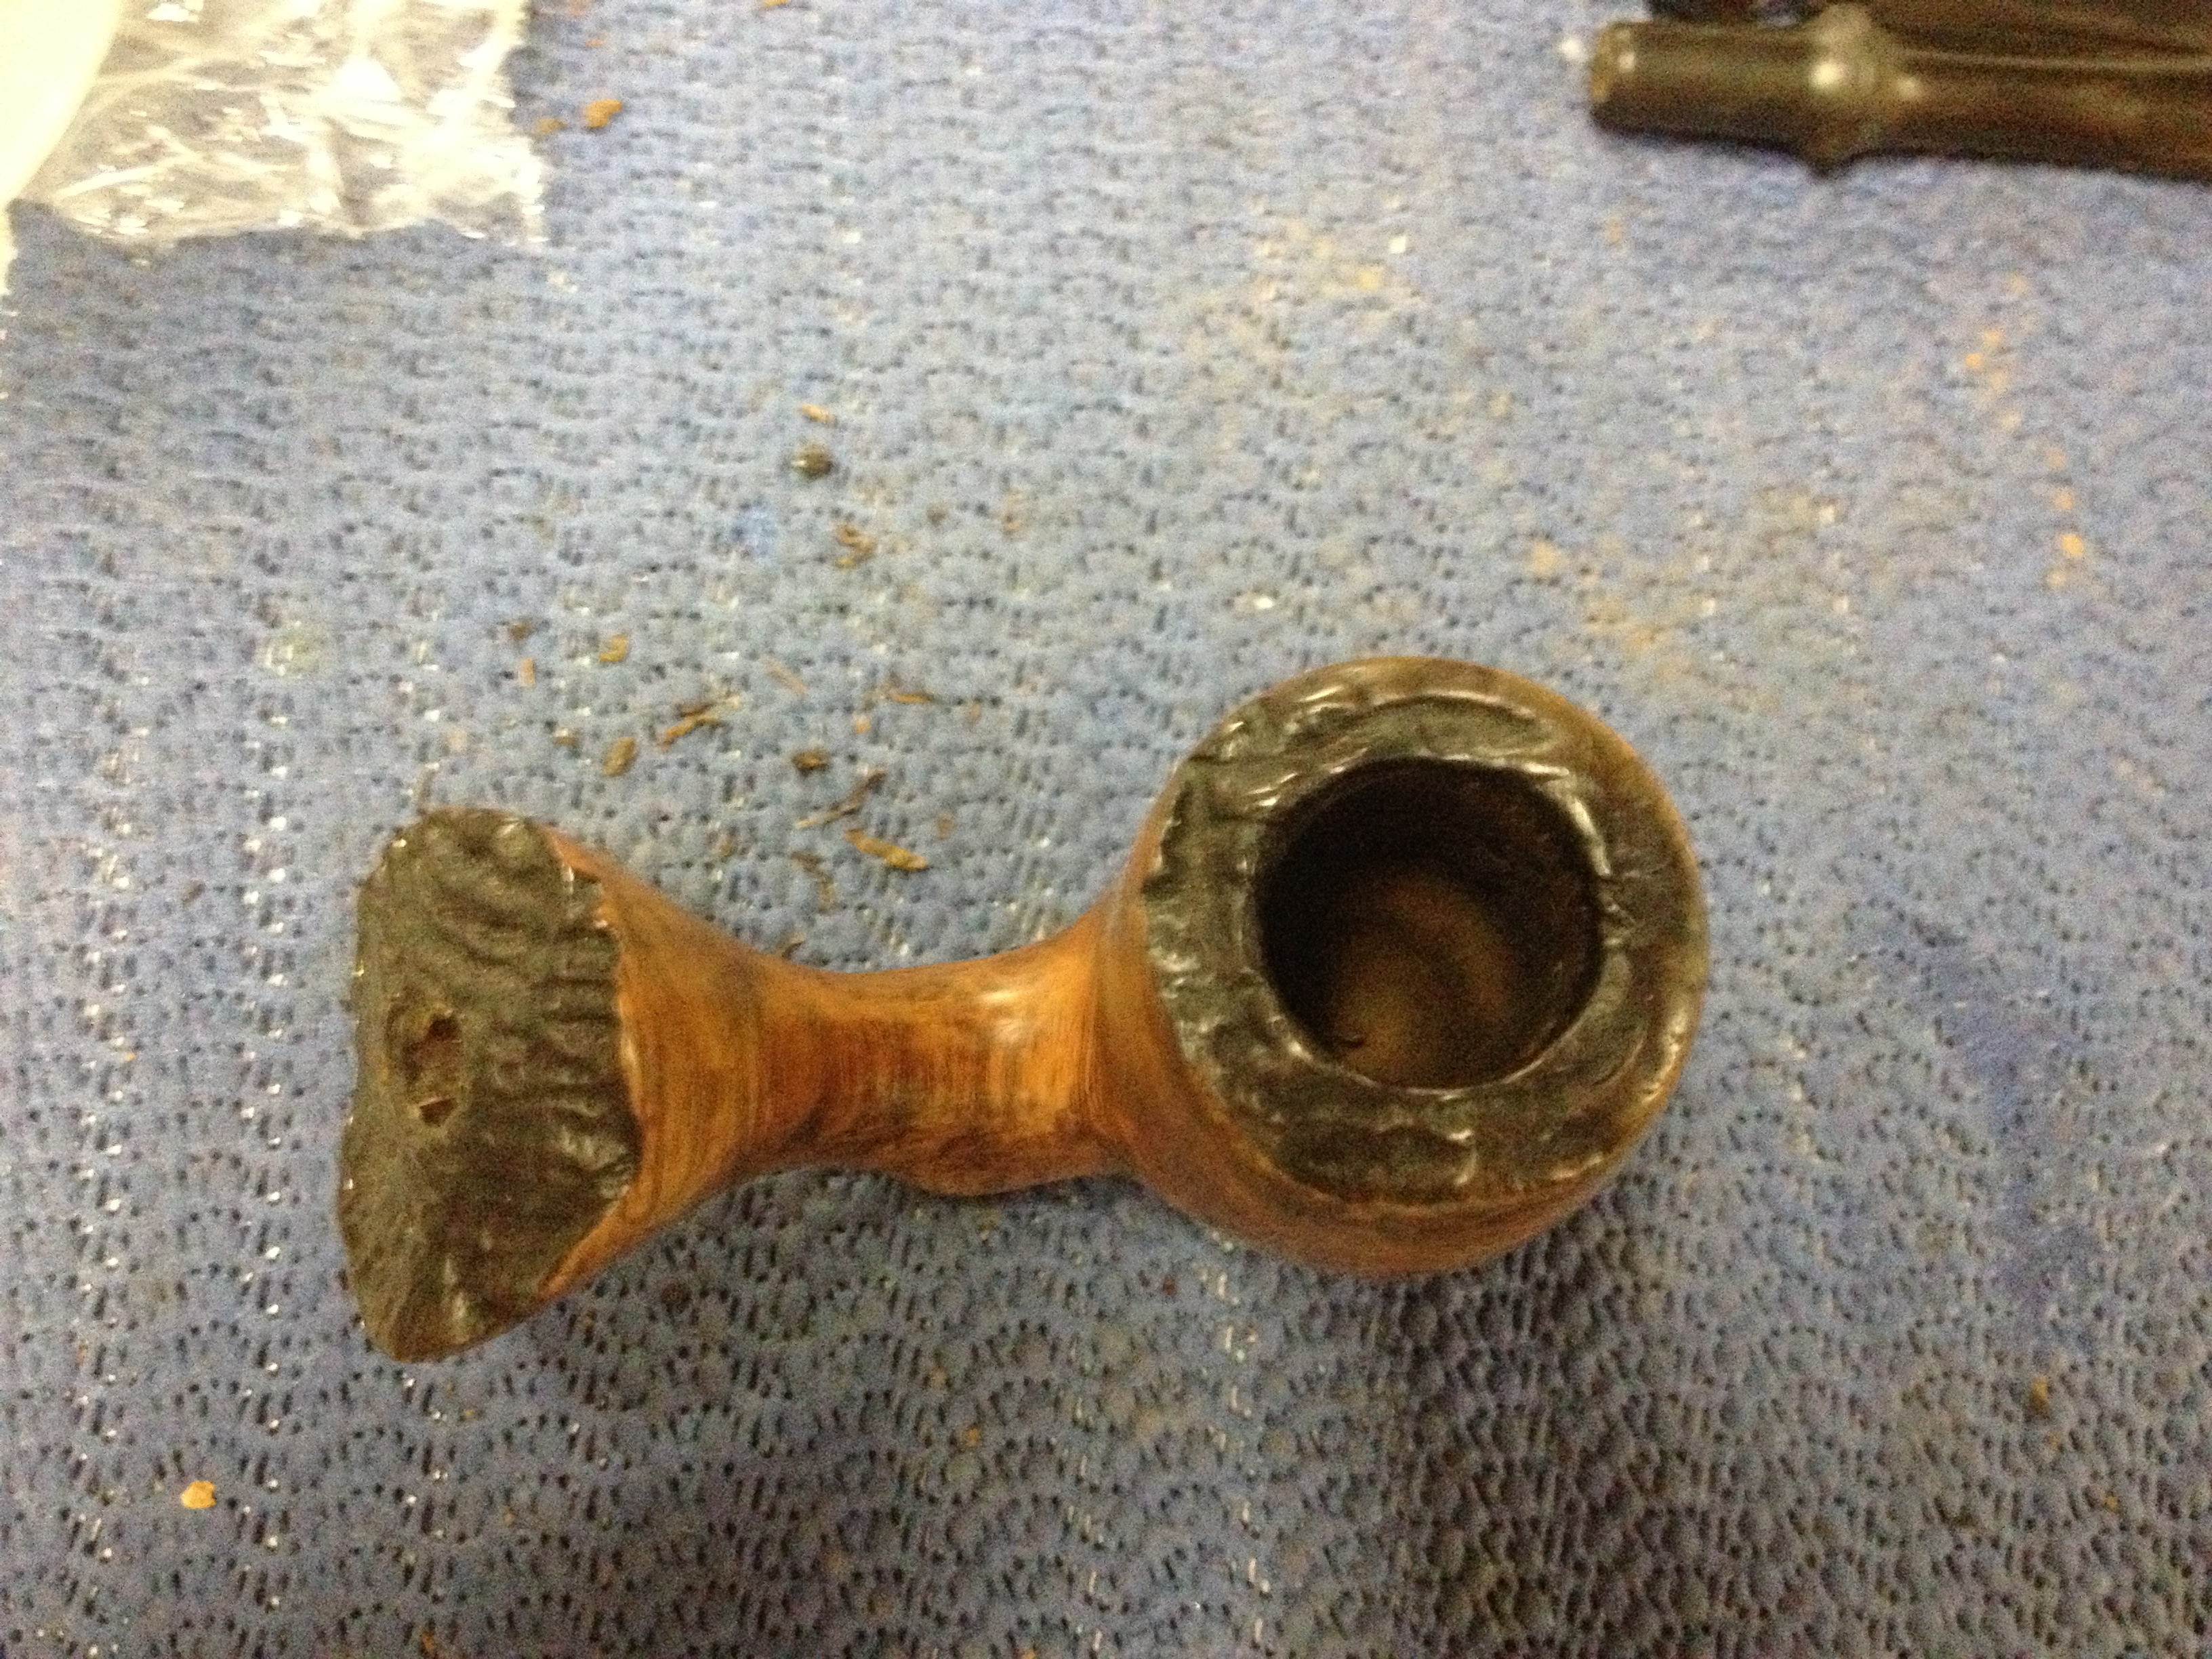
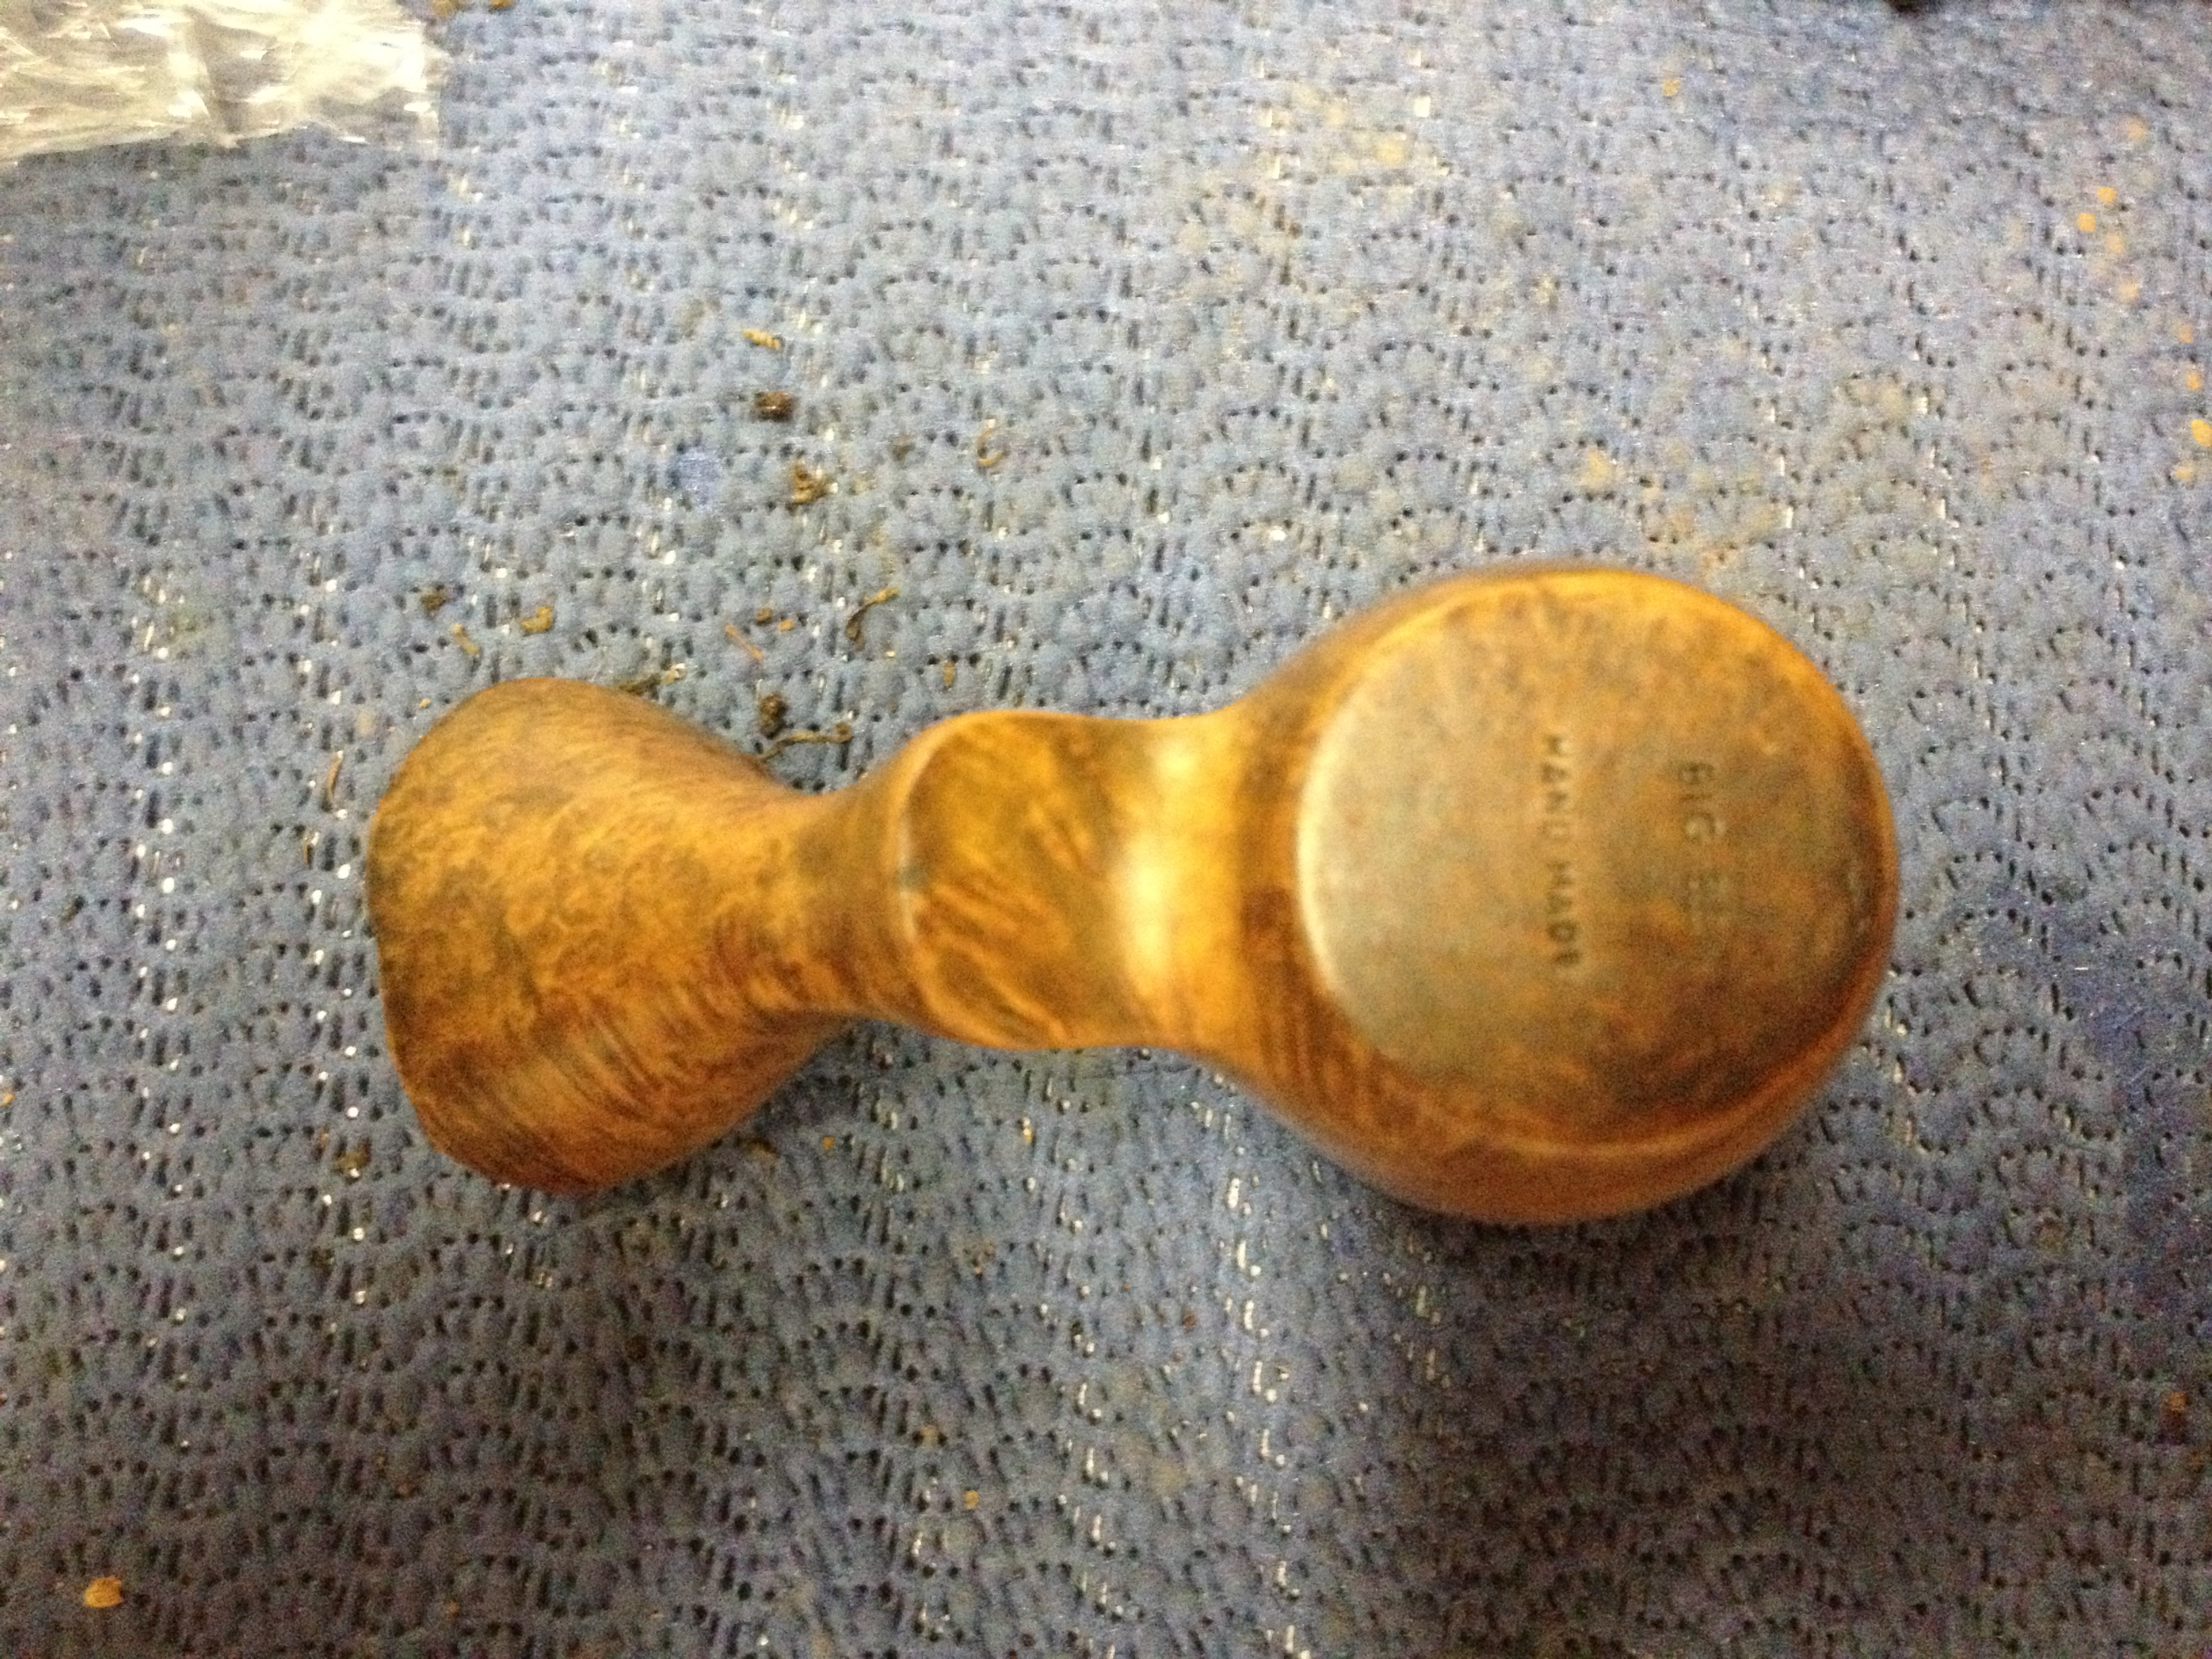
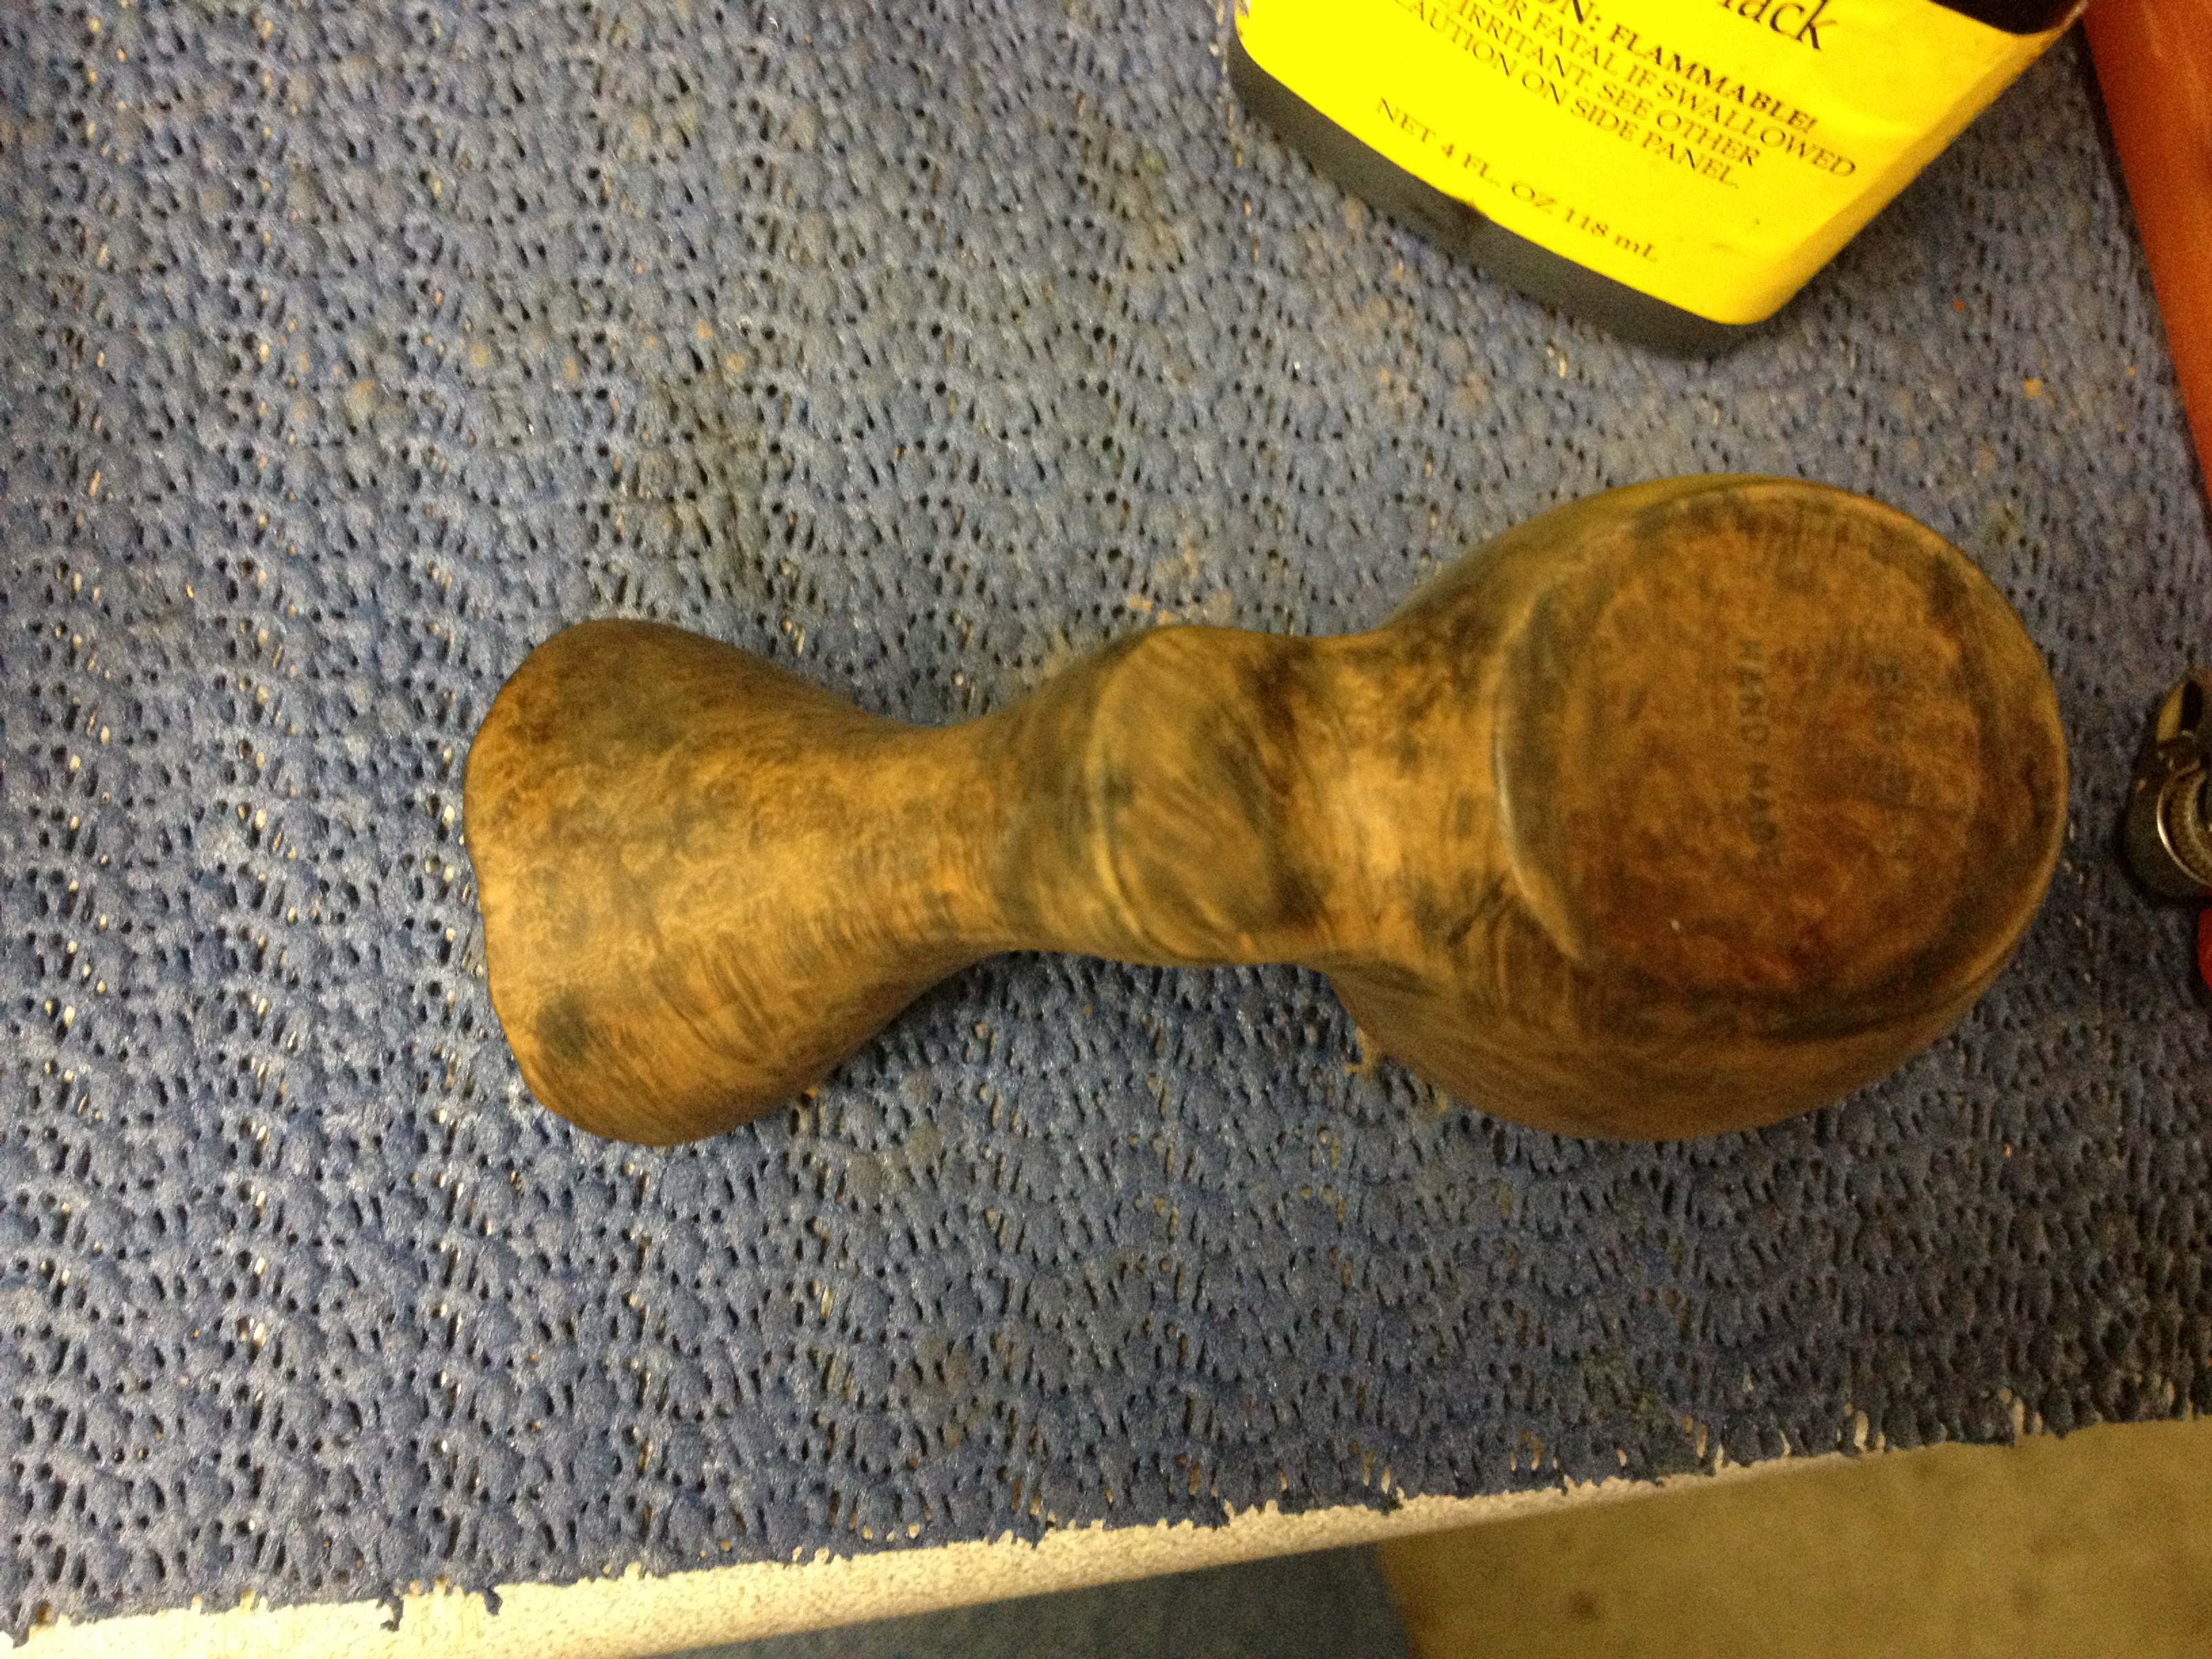
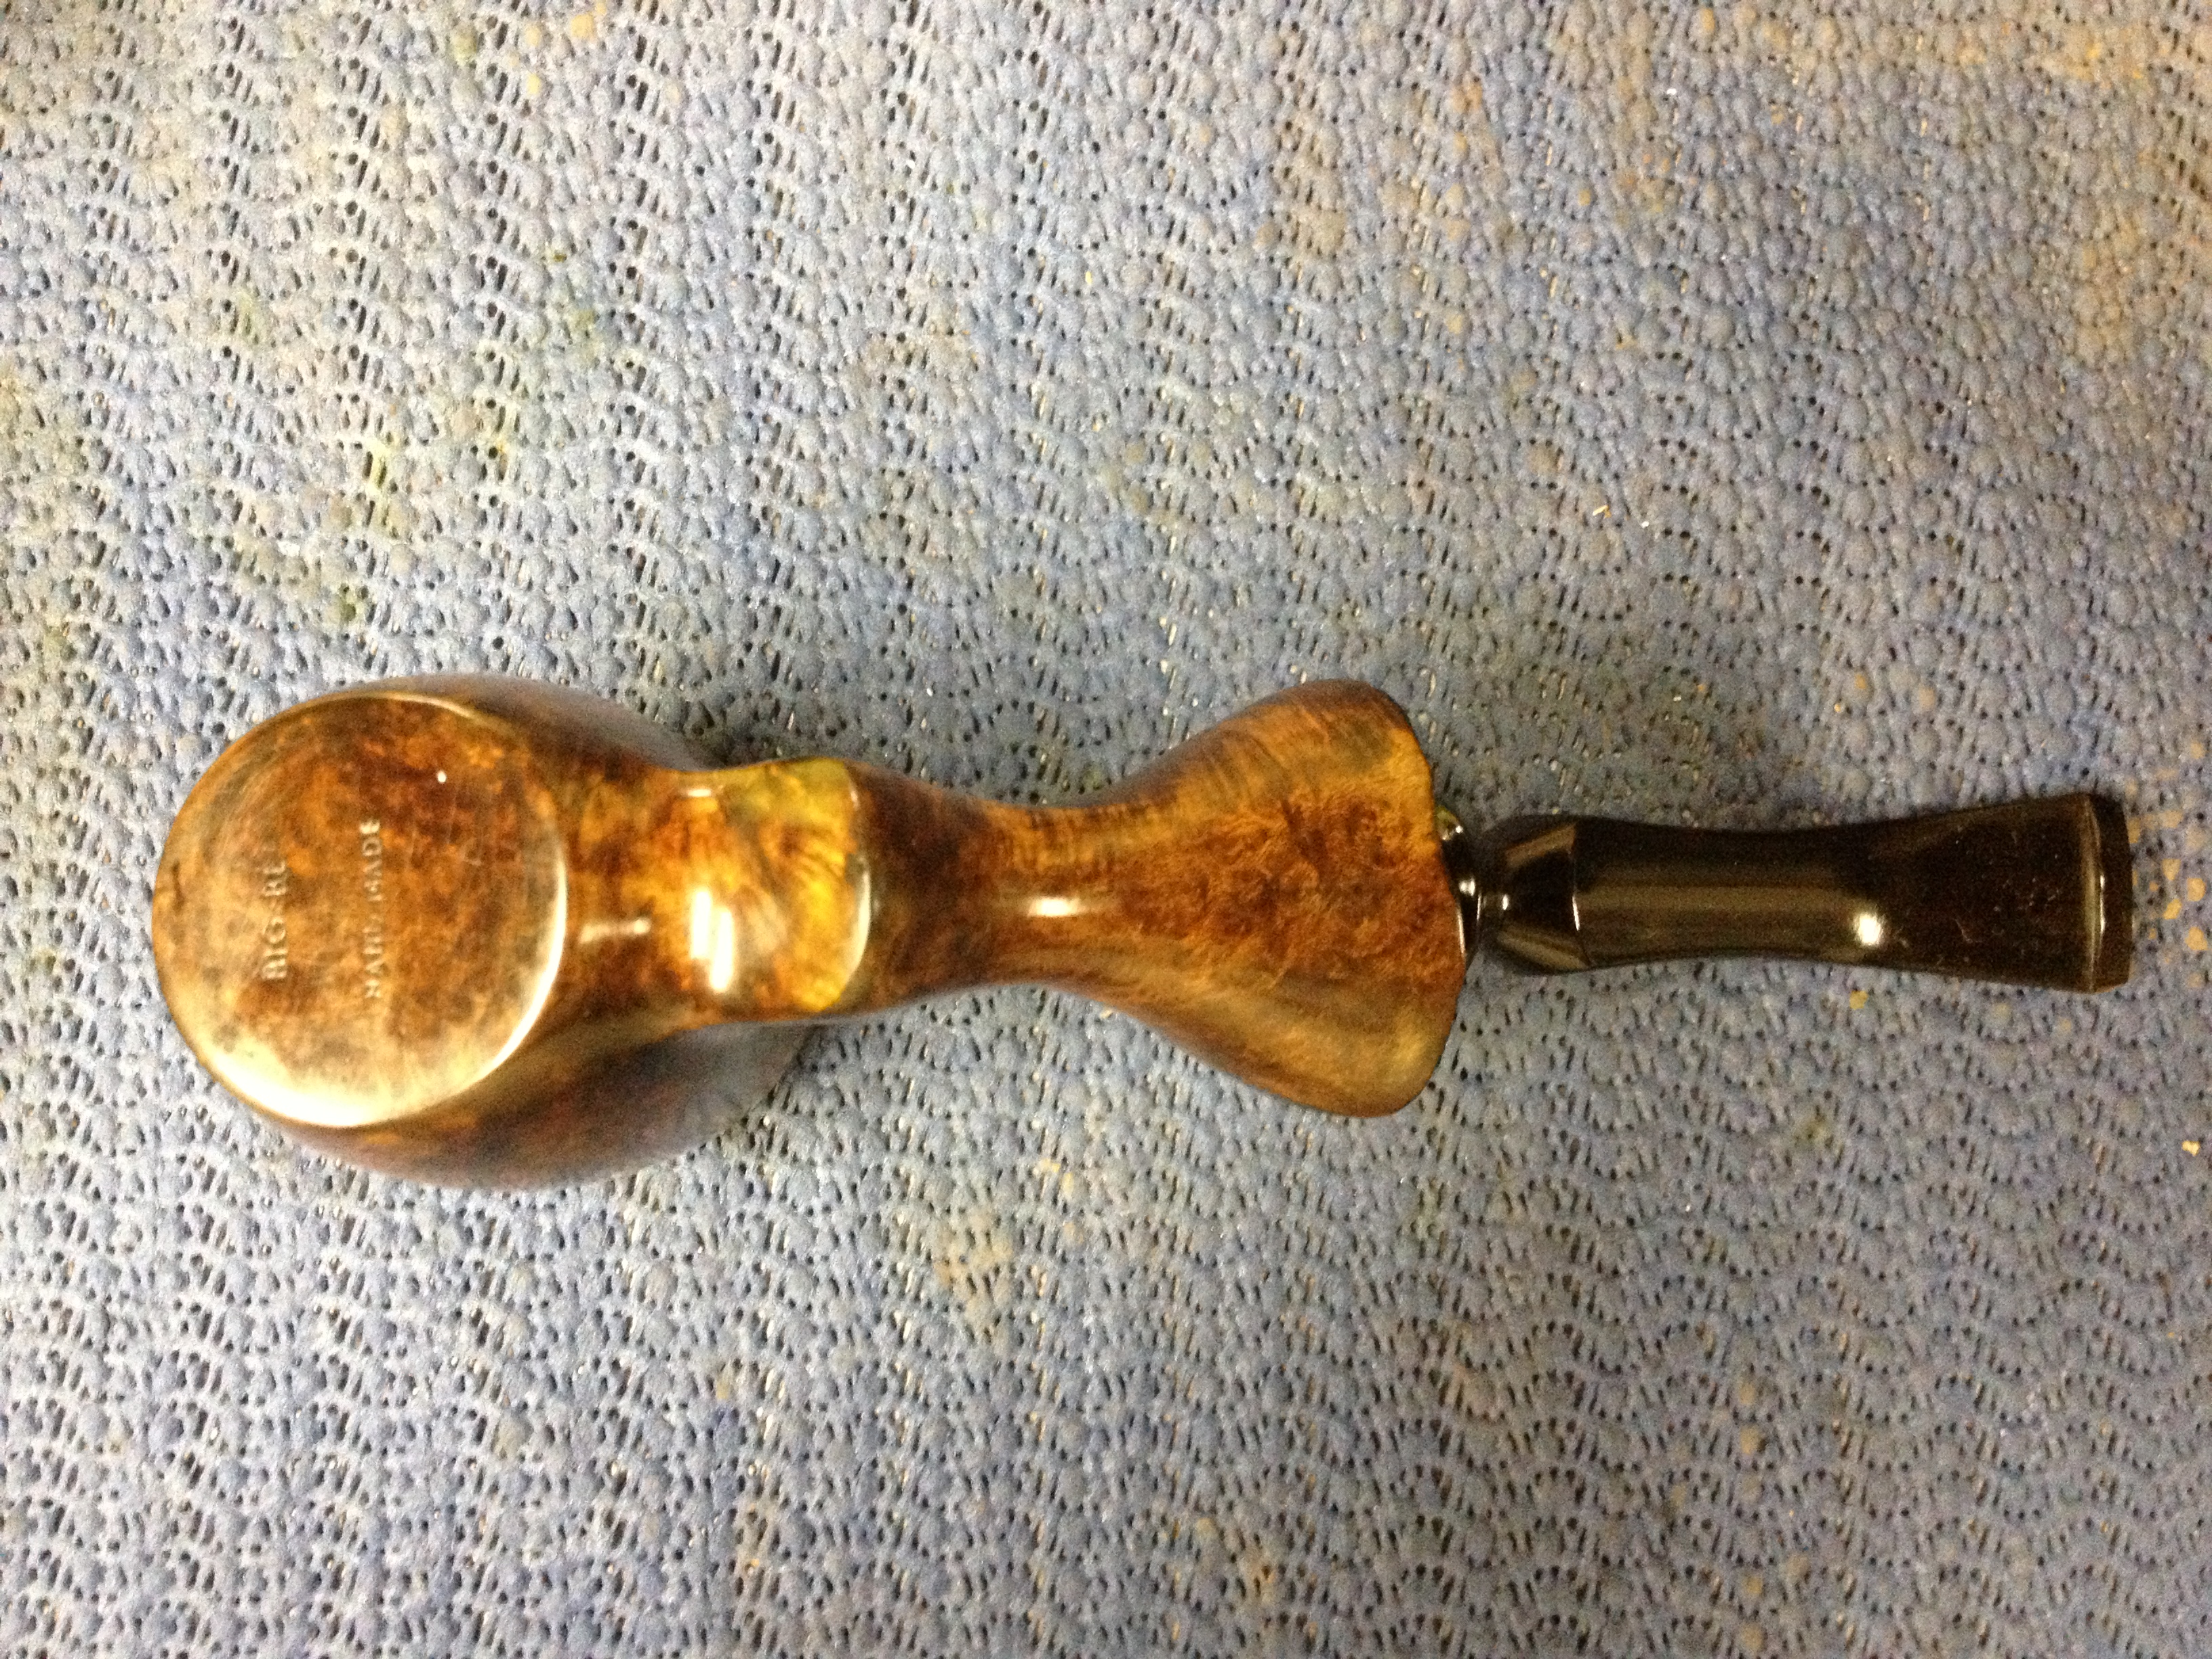
When the stummel arrived it was dull and dirty and, as I said, without a stem. The bottom of the pipe is stamped “Big-Ben” over “Handmade” and the stamping is pretty good overall. Doing a quick search on http://pipephil.eu, it seems that the Big-Ben brand is a brand of the Elbert Gubbels & Sons -Royal Dutch Pipe Factory. Here are a few photos of it before I began any work.
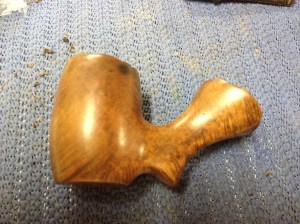
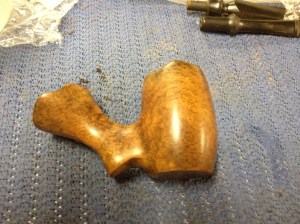
IMG_6726 IMG_6727 IMG_6728 IMG_6729

I actually began this restoration with the stem, finding the pipe a new one that is. I had planned on using an acrylic stem but changed my mind for a couple of reasons: I was turning my first tenon with my brand new Pipe Makers Emporium tenon turner and know that acrylic is more finicky than vulcanite and I thought, after looking at it, that the rubber stem would look better on this stummel.

The PME tenon tool is, by all accounts, essentially the same tool as the one offered by PIMO. I chose the PME tool because it was about $10 cheaper and they happened to have a couple of acrylic stems I liked on clearance for cheap. I plan on writing about my thoughts on the tool in a separate article.

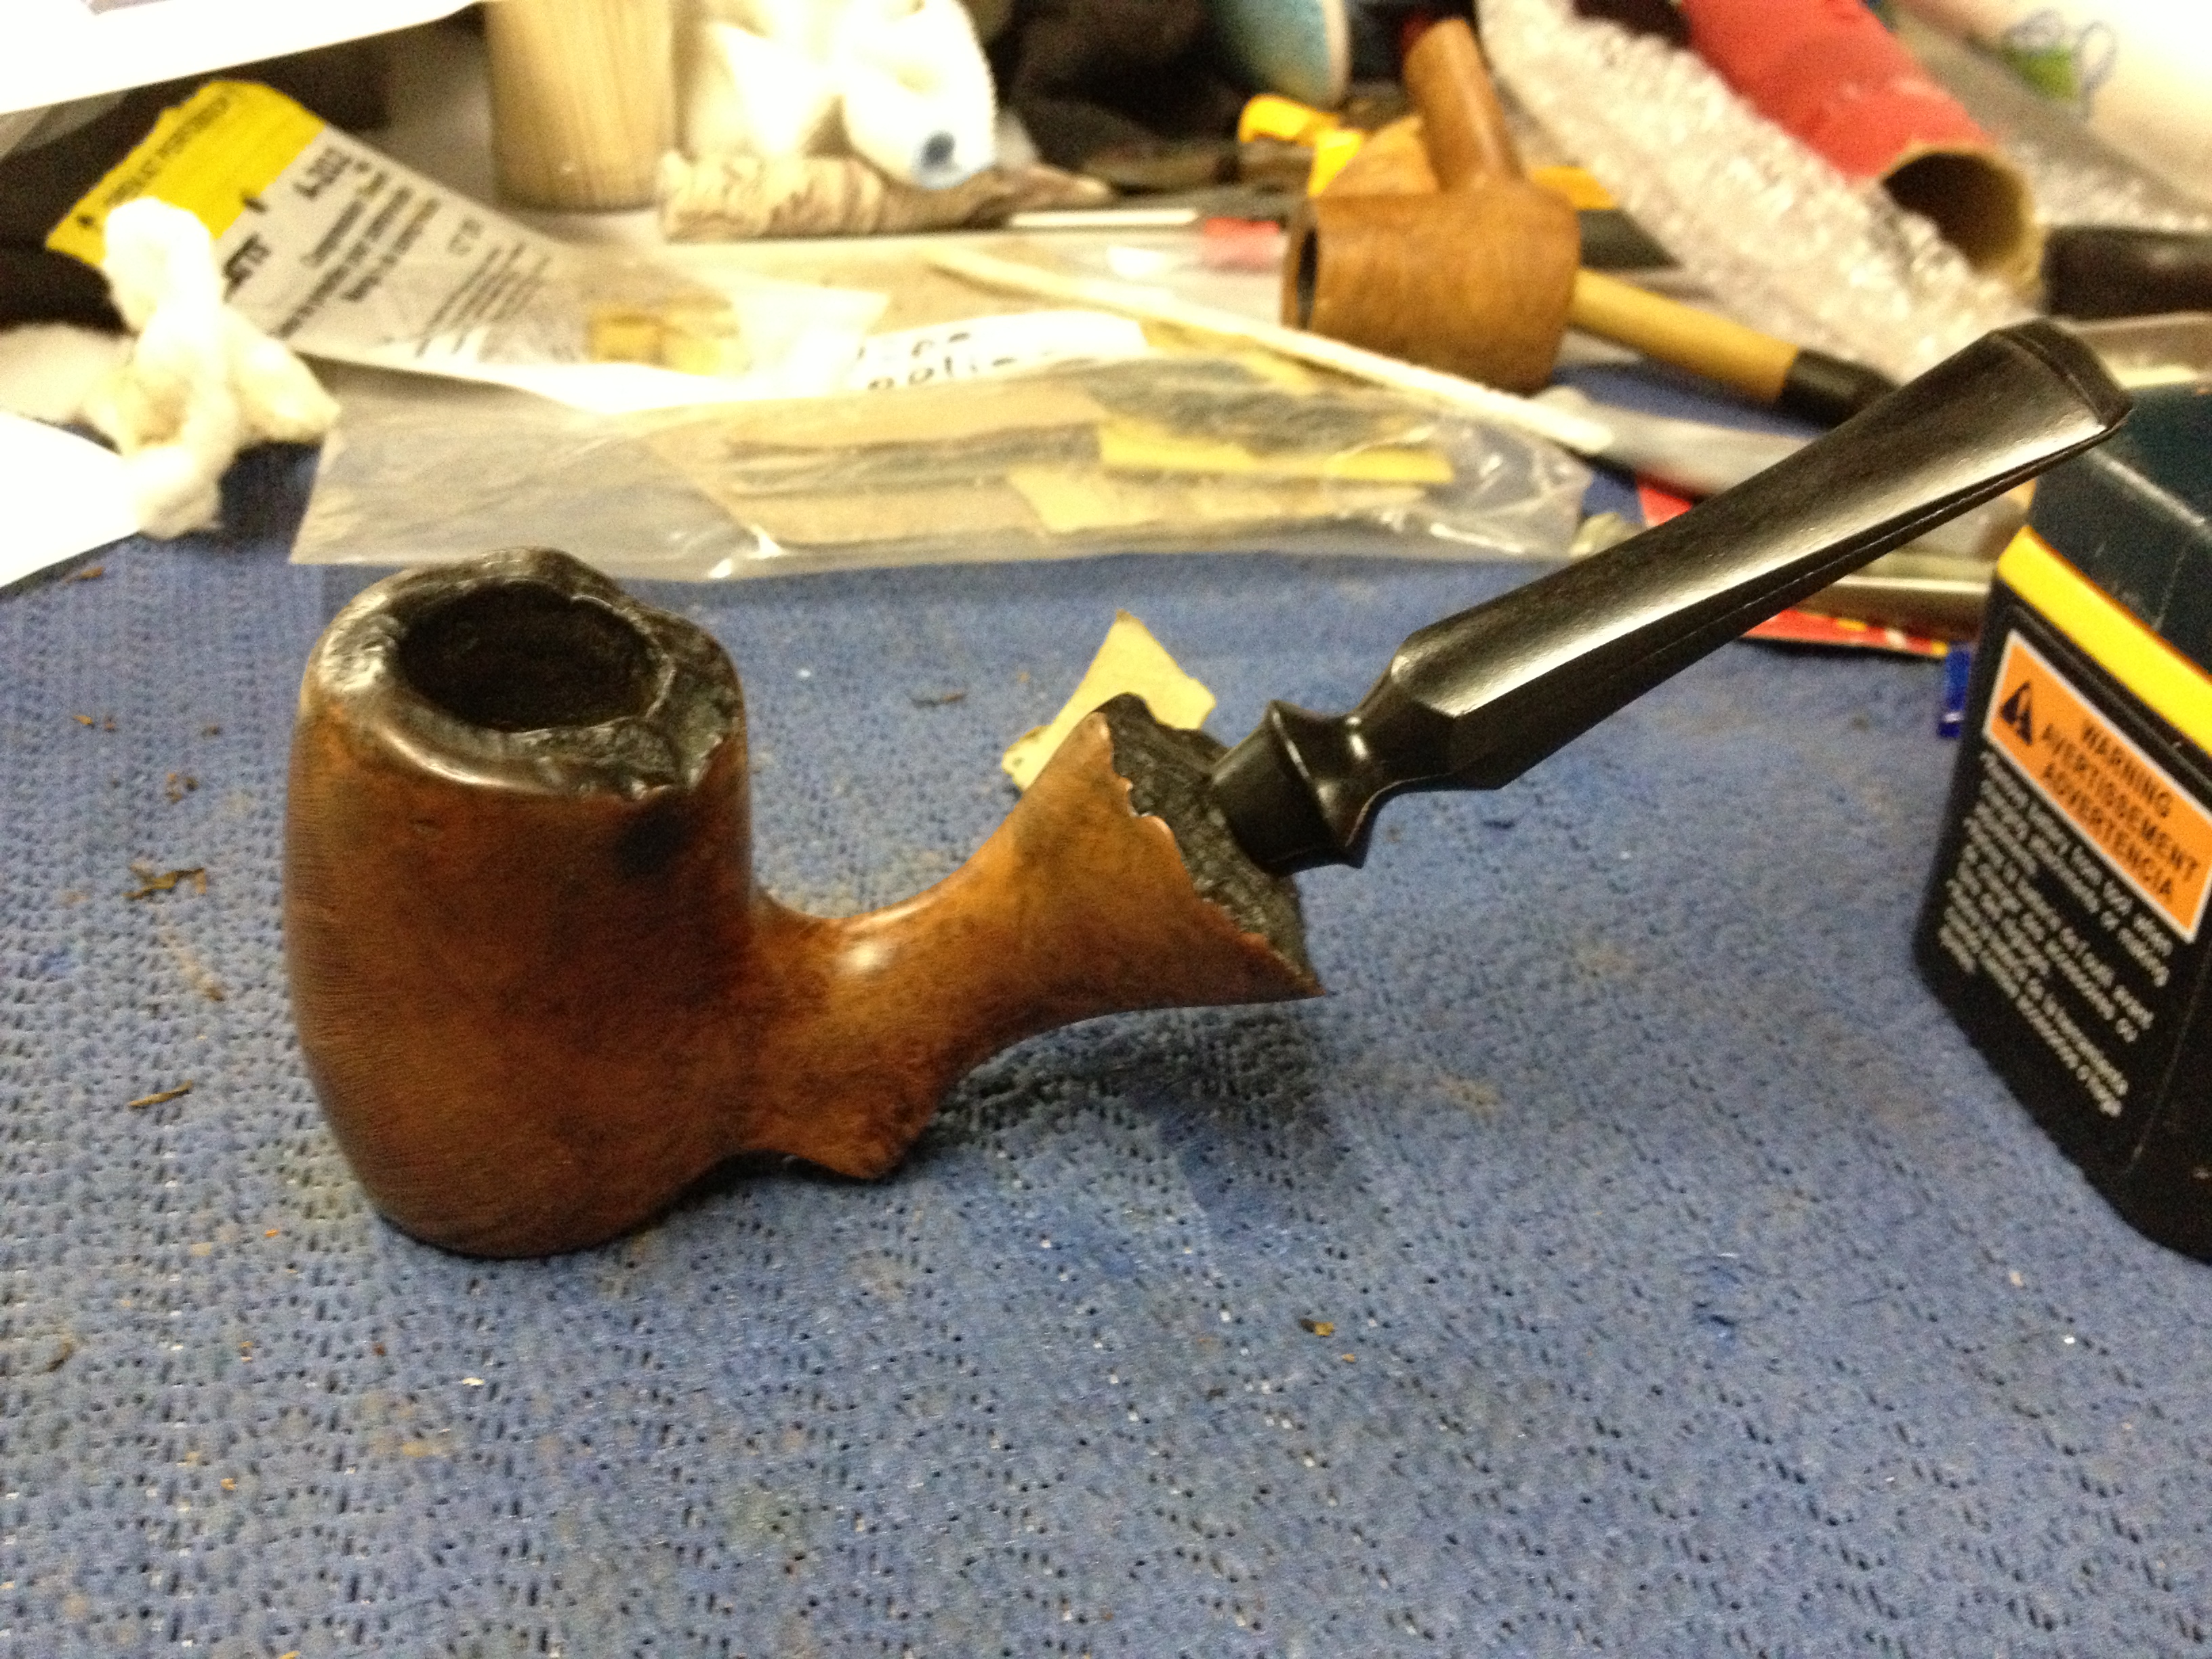
I choose a pre-formed Italian ebonite freehand-style stem for this stummel. To my eye it looked like it would be something very close to what the pipe would have originally had. I took my time turning the tenon down to fit since it was the first time I had done this and I didn’t have another stem like this one to use if I fouled up. After I got the tenon very close with the tool I hand sanded the tenon to get to the final fit; I know from reading Steve’s articles that it is easy to over-turn a tenon and you can’t put the material back on once it is gone! Here is a photo of the stem placed in the stummel after getting it fit:
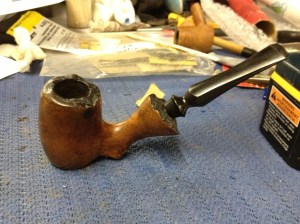
IMG_6717

I decided to not bend the stem until after I had sanded and polished it. In retrospect, I probably should have bent it before I did all the sanding; there are some very small “marks” on the stem where the bend is now that I had not anticipated. Next time I will bend after the initial sanding is done I think,

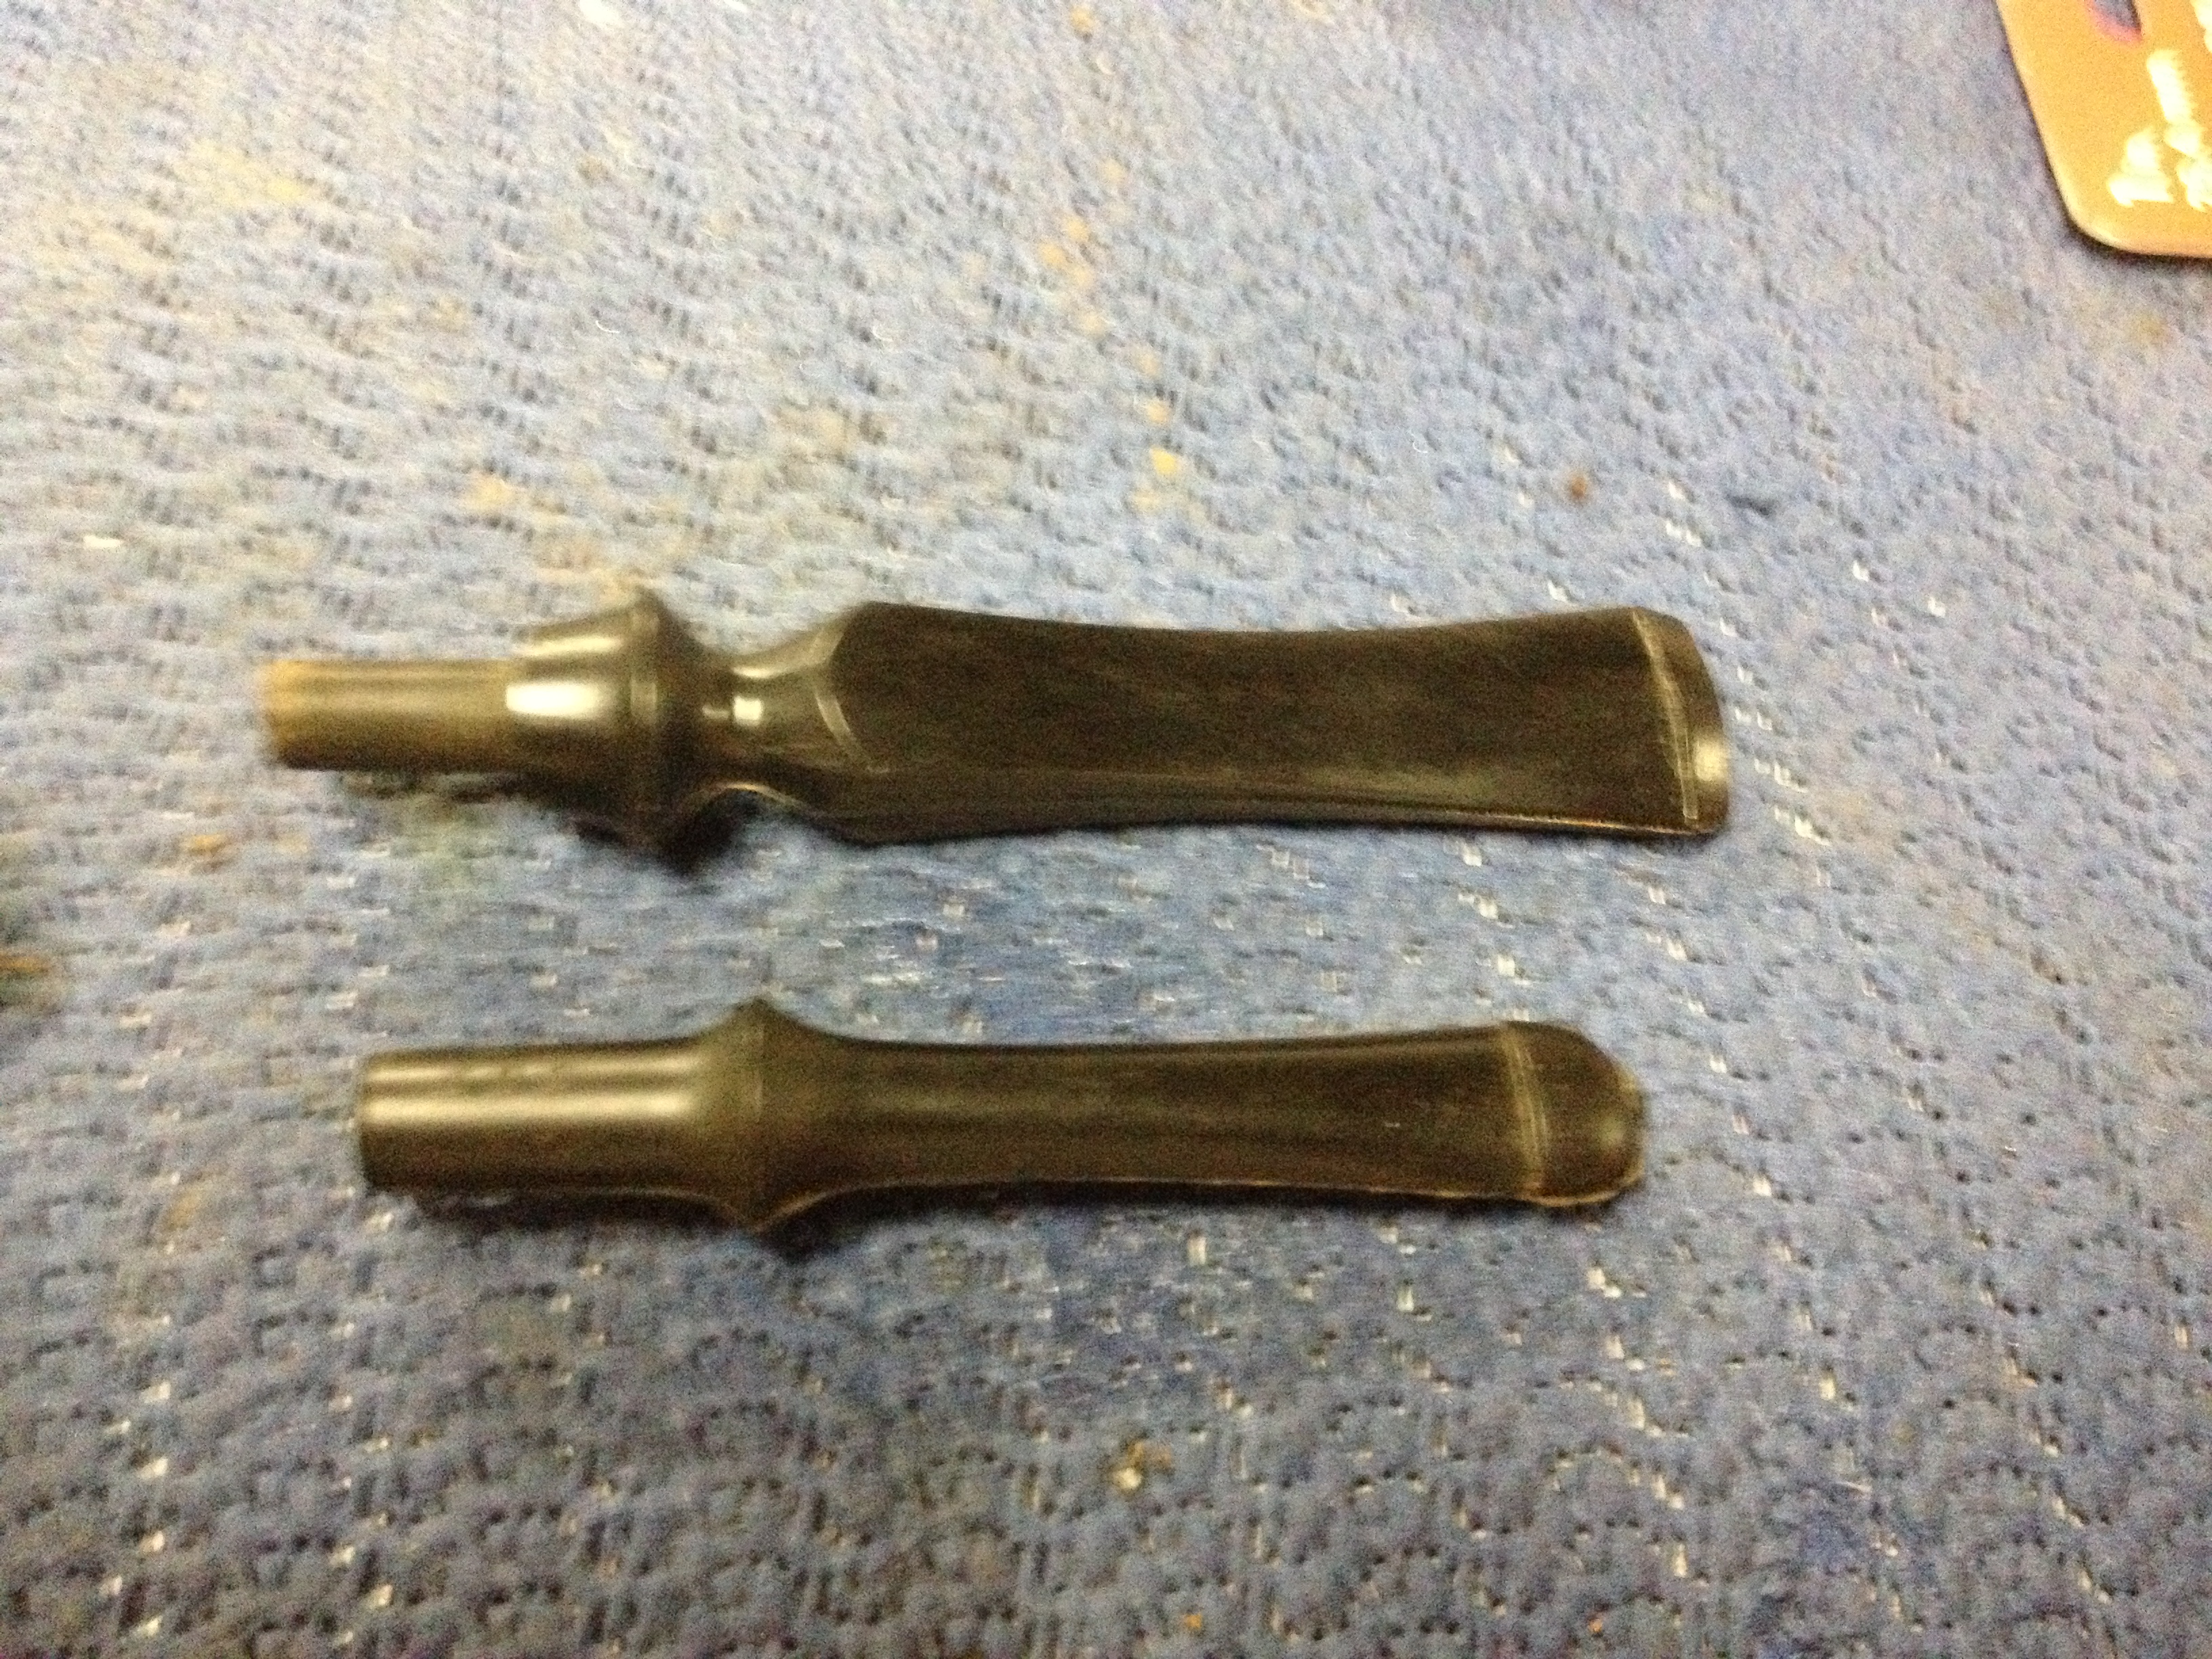
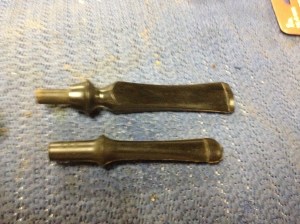
I began the sanding with 220 grit sandpaper to take out the casting/molding lines on the sides. I forgot to photograph the stem before I had started to sand it. This shows it early on and beside a smaller ebionite stem from the same lot to try to give you an idea of what the lines looked like from the start:
IMG_6725

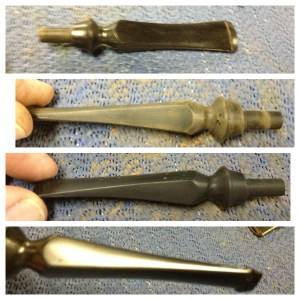
I sanded out the marks with 220 then 320 grit paper. The stem had some, but not many, small sots on it that made me decide to go head and use the 320 wet/dry paper on the entire stem. I progressed to 400 grit wet/dry and then micro mesh 1800 through 12000 (I also used the plastic polish several times between grits to make sure I wasn’t missing any scratches). Here is a progressive photo along the way from rough through 12000 grit micro mesh.
IMG_6736

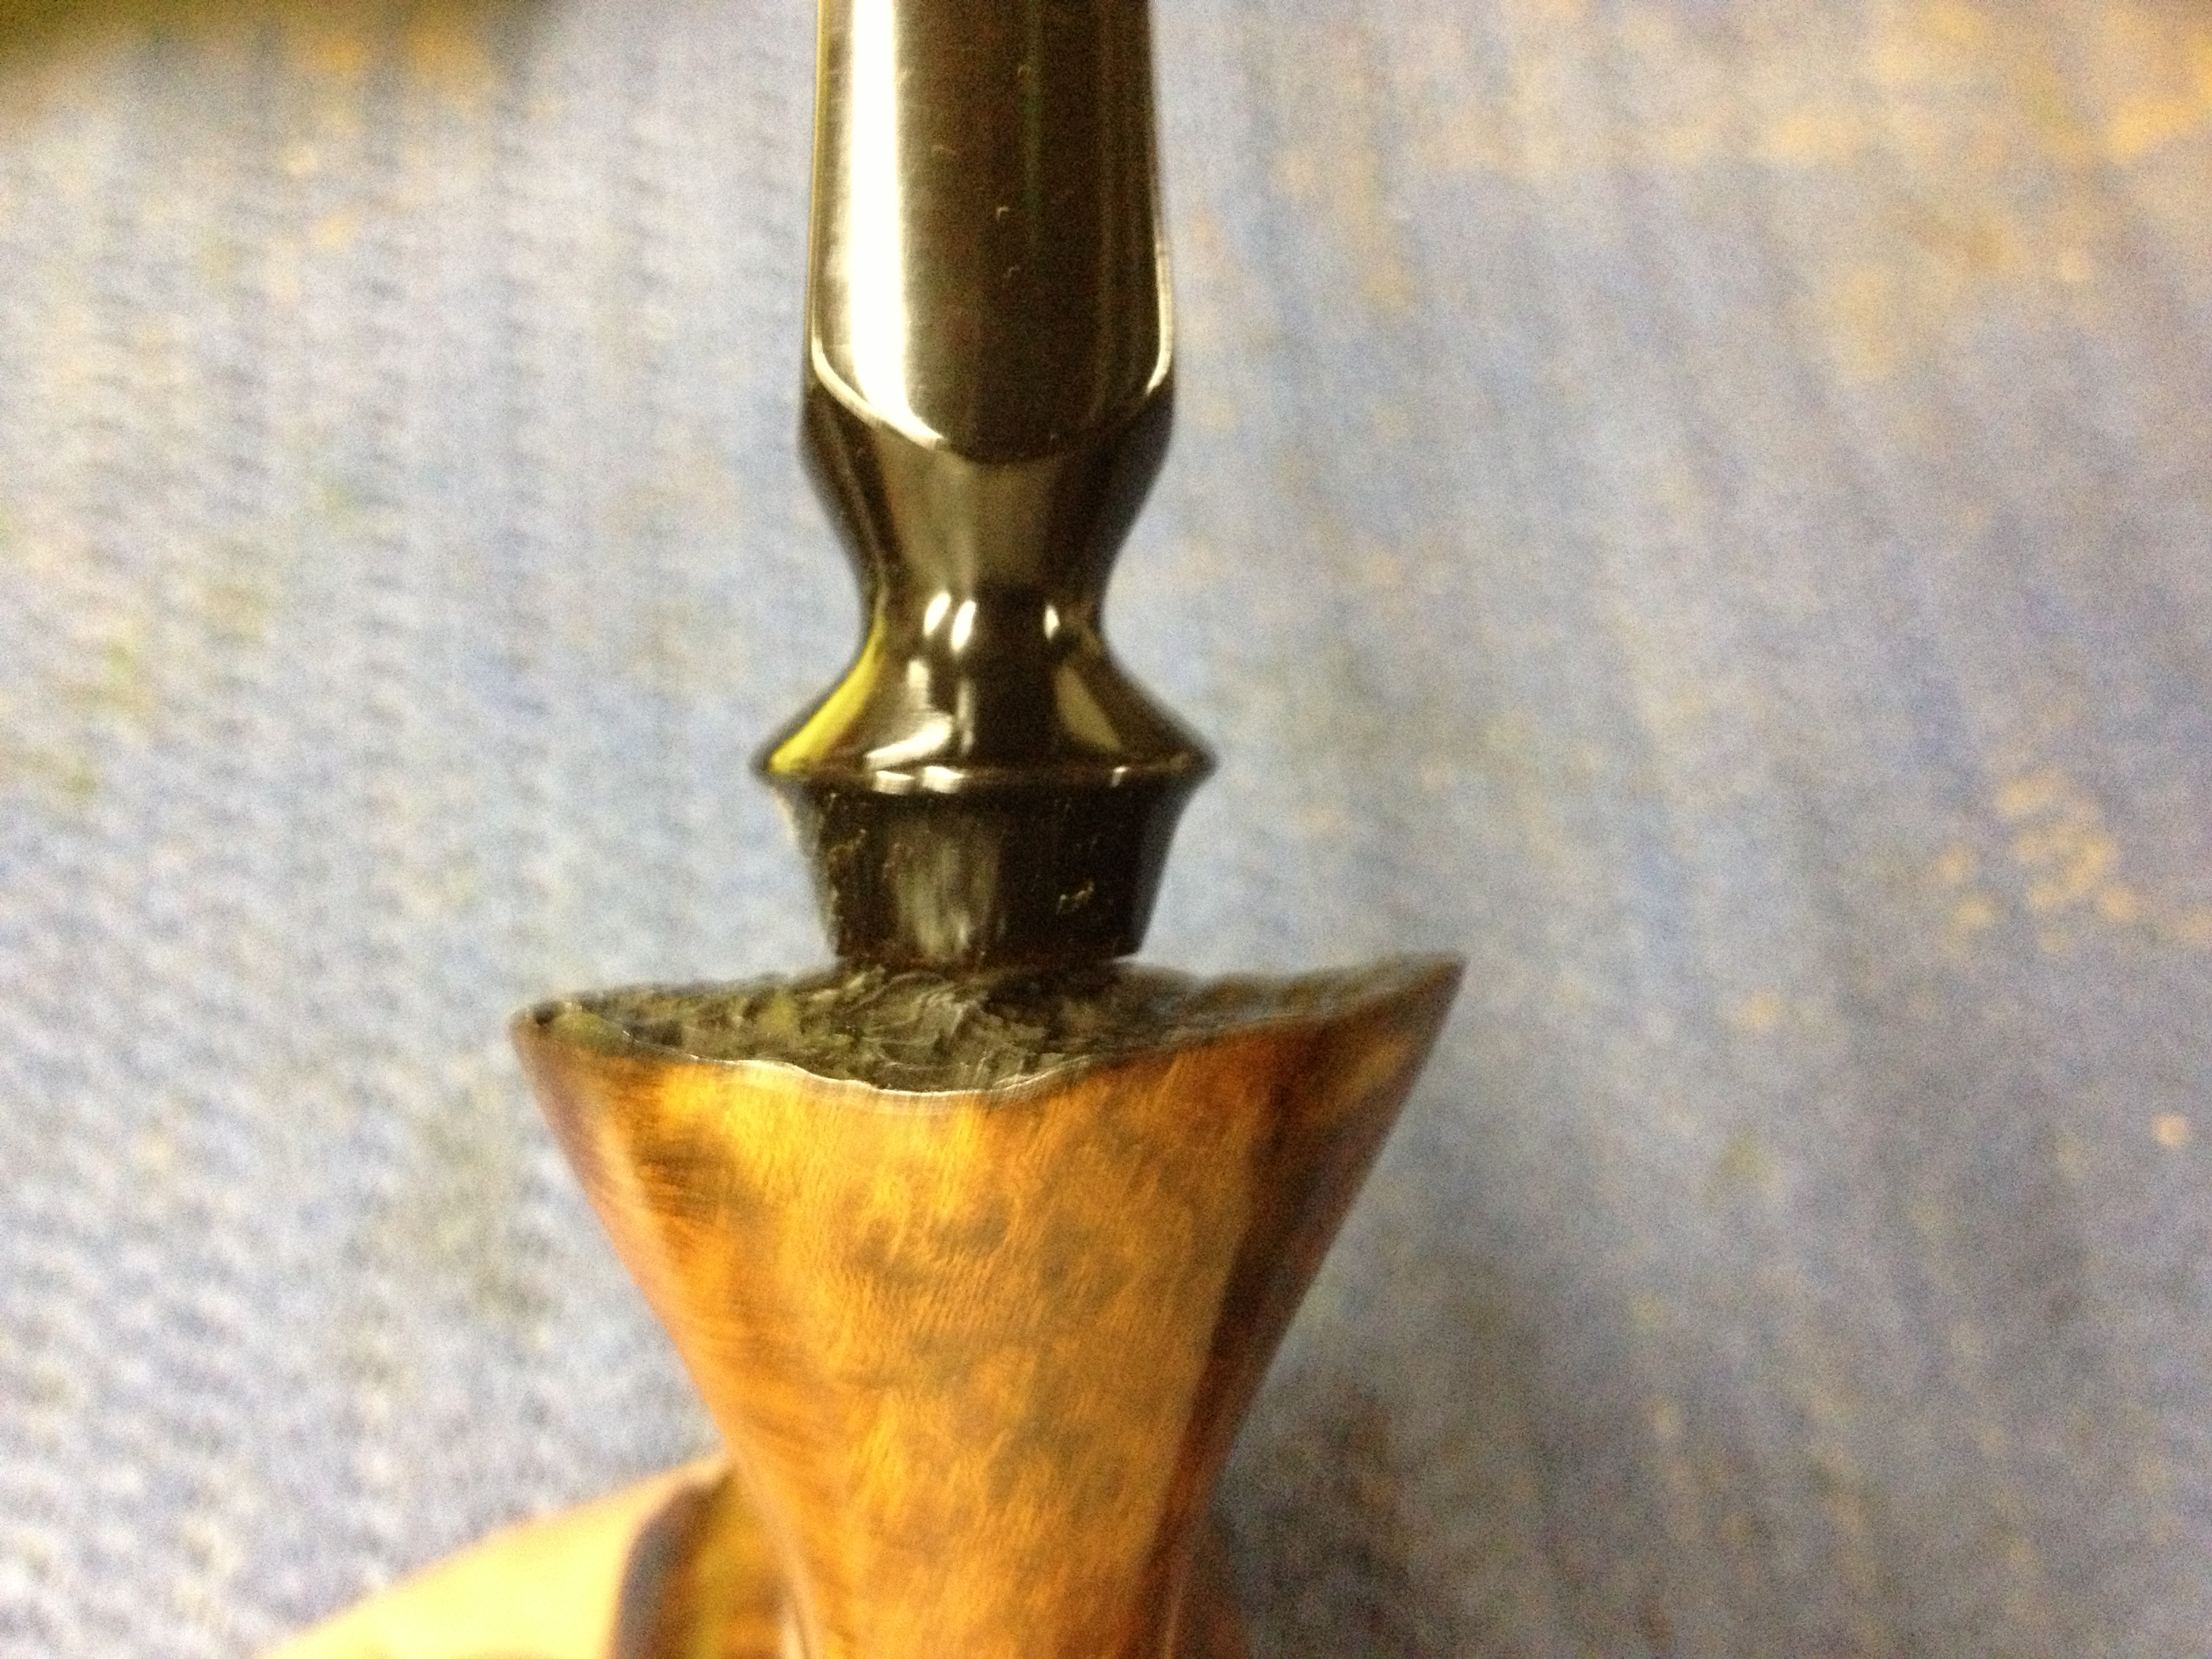
The stem didn’t fit flush at the top and bottom due to the angle of the shank so I had to do a considerable amount of file work to get it almost completely flush to the shank on the top and bottom. At this point I stopped working on the stem and turned my attention to the stummel.

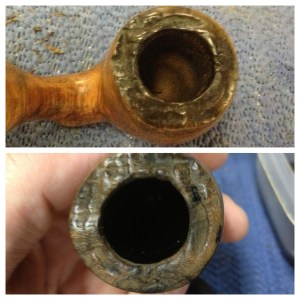
I wiped the pipe down with an alcohol soaked cotton pad. There was little wax left on the pipe and the wipe down removed what remained as well as some surface dirt. While the pipe was wet with the alcohol I could see there was a nice grain hiding under there, one that I hoped to bring out with a contrast stain. But first it would need an alcohol bath. So, I soaked the stummel a couple of in an alcohol bath. When I removed it I realized that the rim had a lot of build up on it; the rim, I thought, was stained black but that was just dirt, grime, and tar, and it was actually not stained black. I then scrubbed the rim with a brass bristle brush lightly to loosen the grime, with not a lot of success so I put the pipe back in the alcohol bath and left it overnight. The next afternoon I removed it from the bath and wiped it down then took it over another container of alcohol that I use for cleaning and dipped in my wire brush and started to scrub gently again. This time I saw much more removal of grime; the extra time in the alcohol has paid off in really softening the buildup. I switched to a toothbrush and scrubbed out all the remaining grime. I found that there were some rim char under there that the gunk had hidden. Below is a photo of before and after the 12-plus hour soak and scrubbing.
IMG_6754

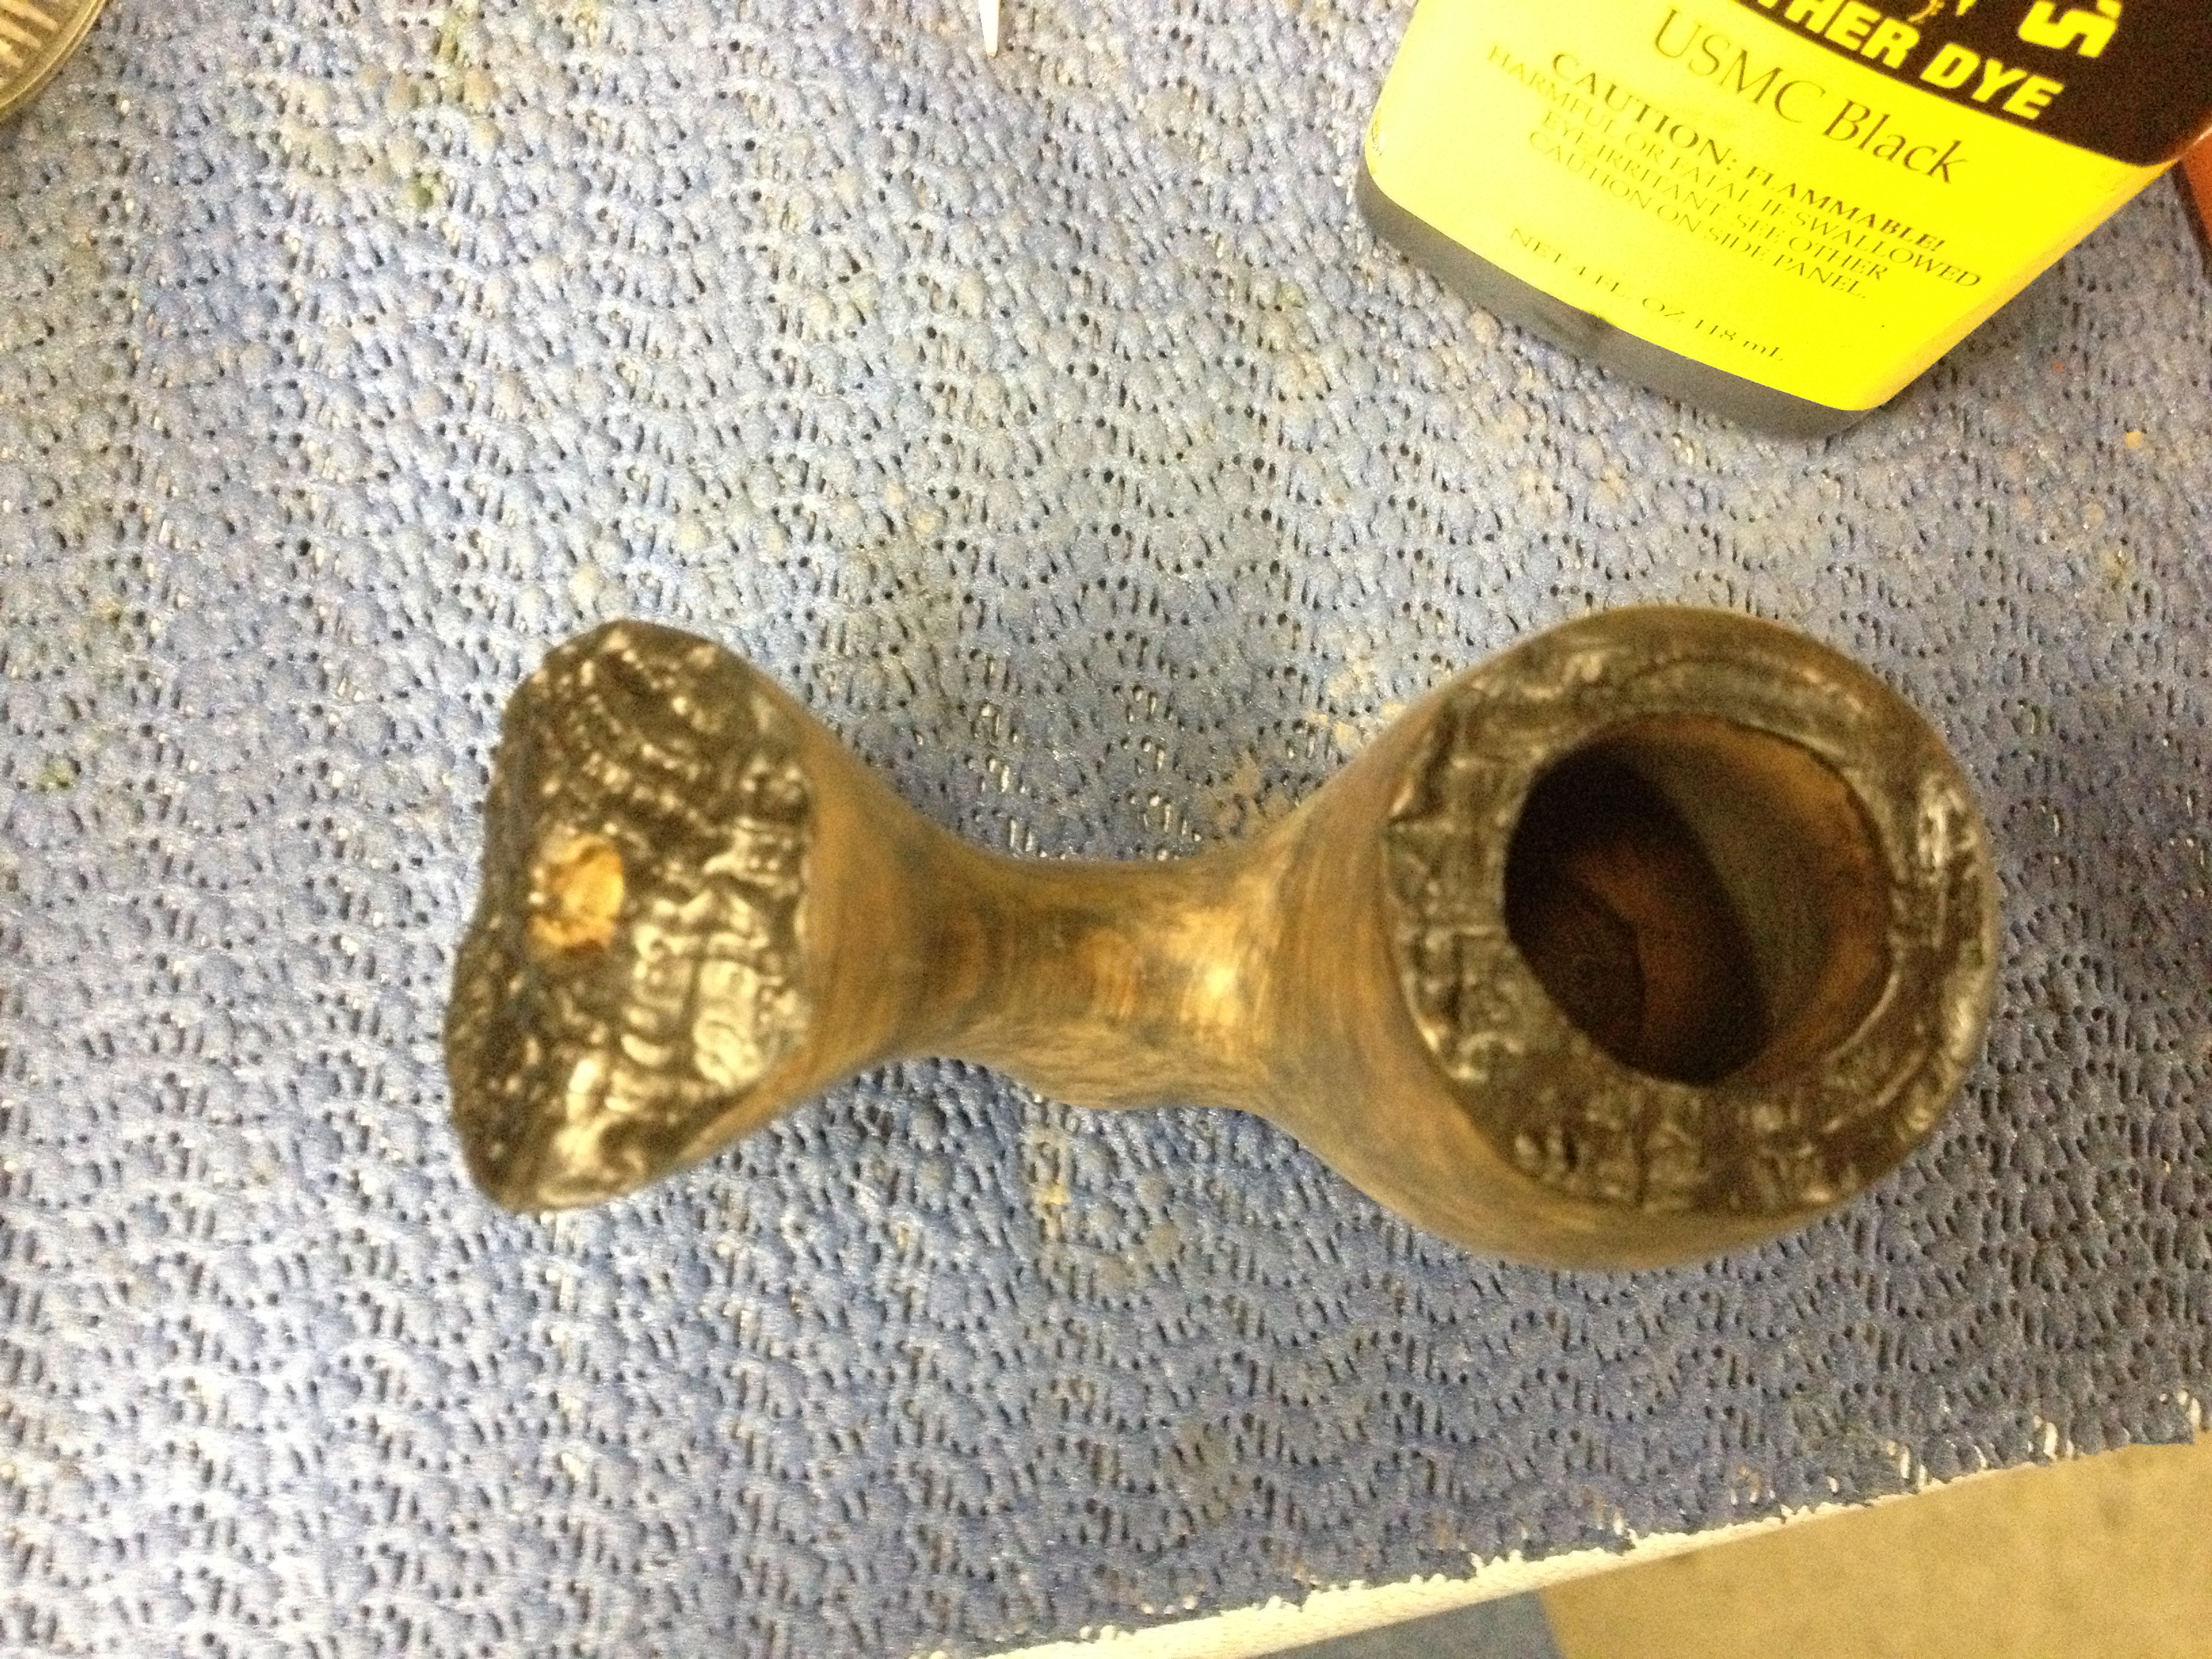
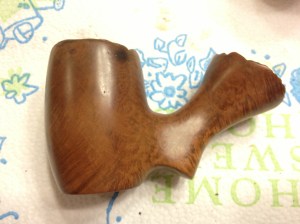
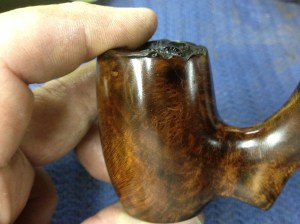
The charring made me decide that the rim would need to be stained black now. The large shank end was stained black so this would match and look good I was sure. But there was also a fairly large burn on the back, left side of the bowl that would have to be addressed. There were two fairly large fills near the burn but I didn’t plan on removing and/or refilling them; I planned on leaving them and seeing how they covered with the contrast stain. I had recently read a post suggesting that fills should be done with carbon dust, not briar dust, and super glue. The idea was that the pipe would darken over time with use and the black fills would blend in more naturally. I don’t know if that is a fact but I thought on this pipe I would stain the existing fills black and see how it ended up looking. Here are a few photos:
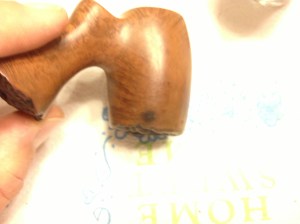
IMG_6766 IMG_6770

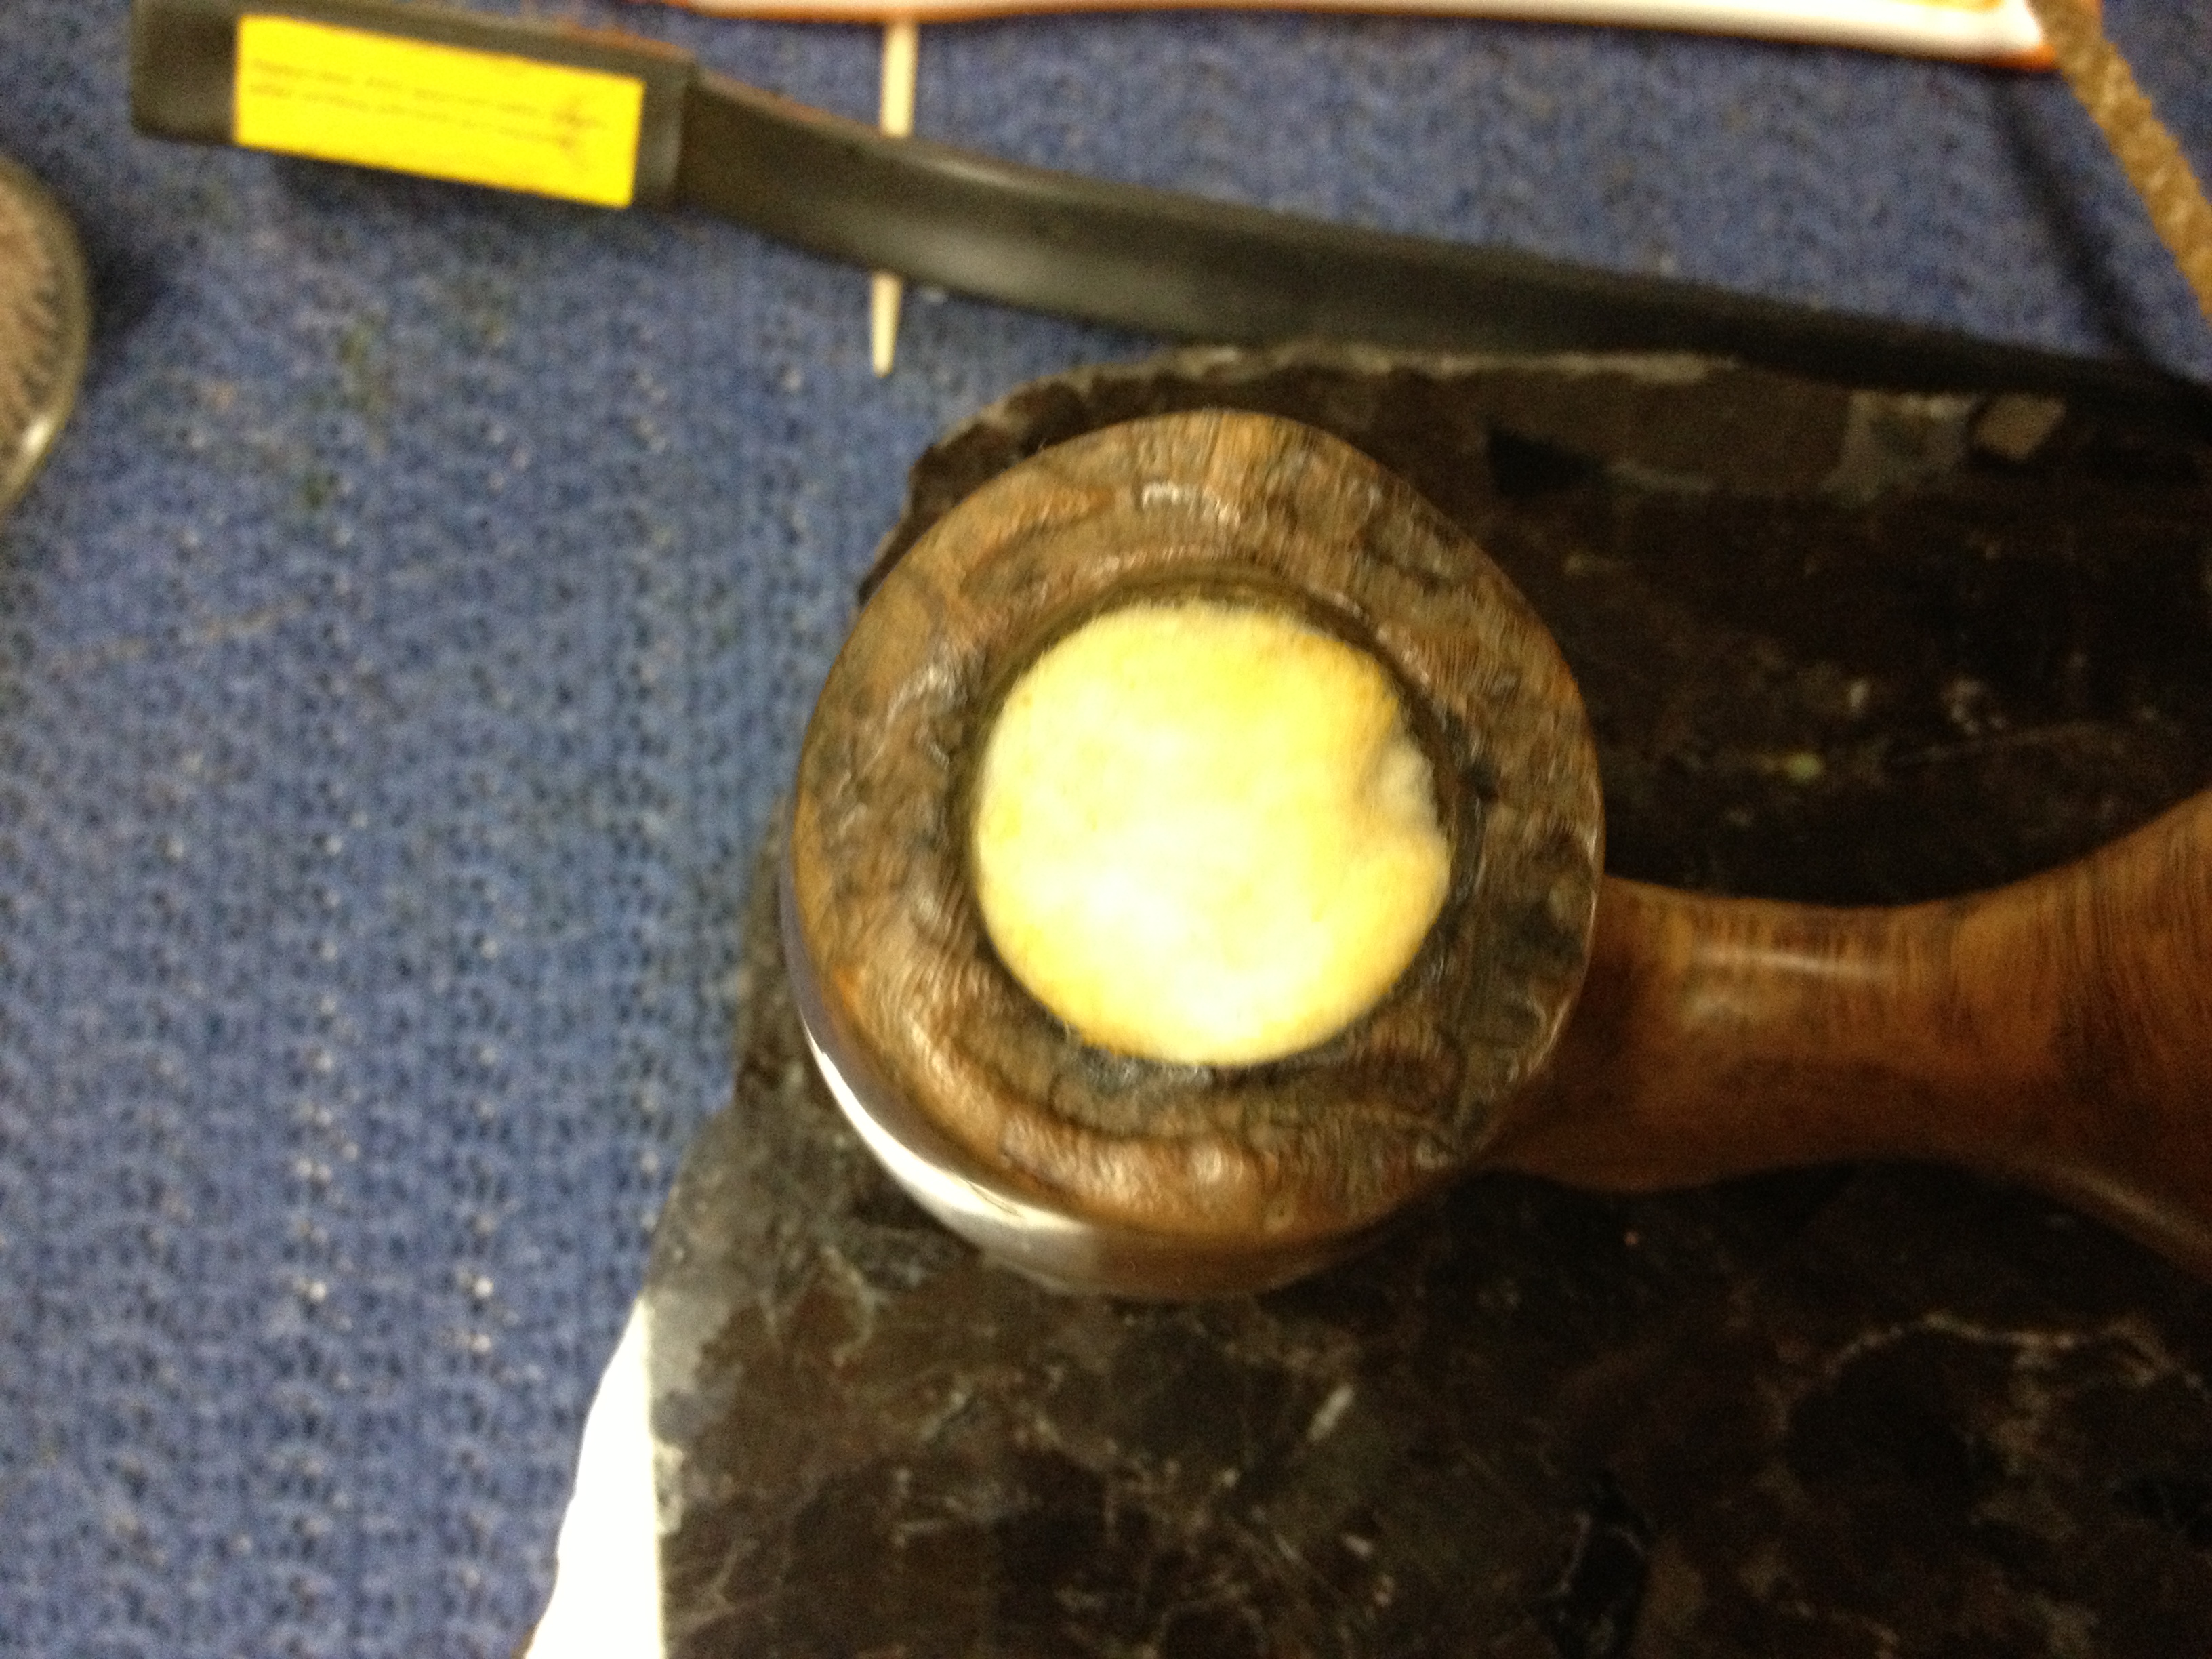
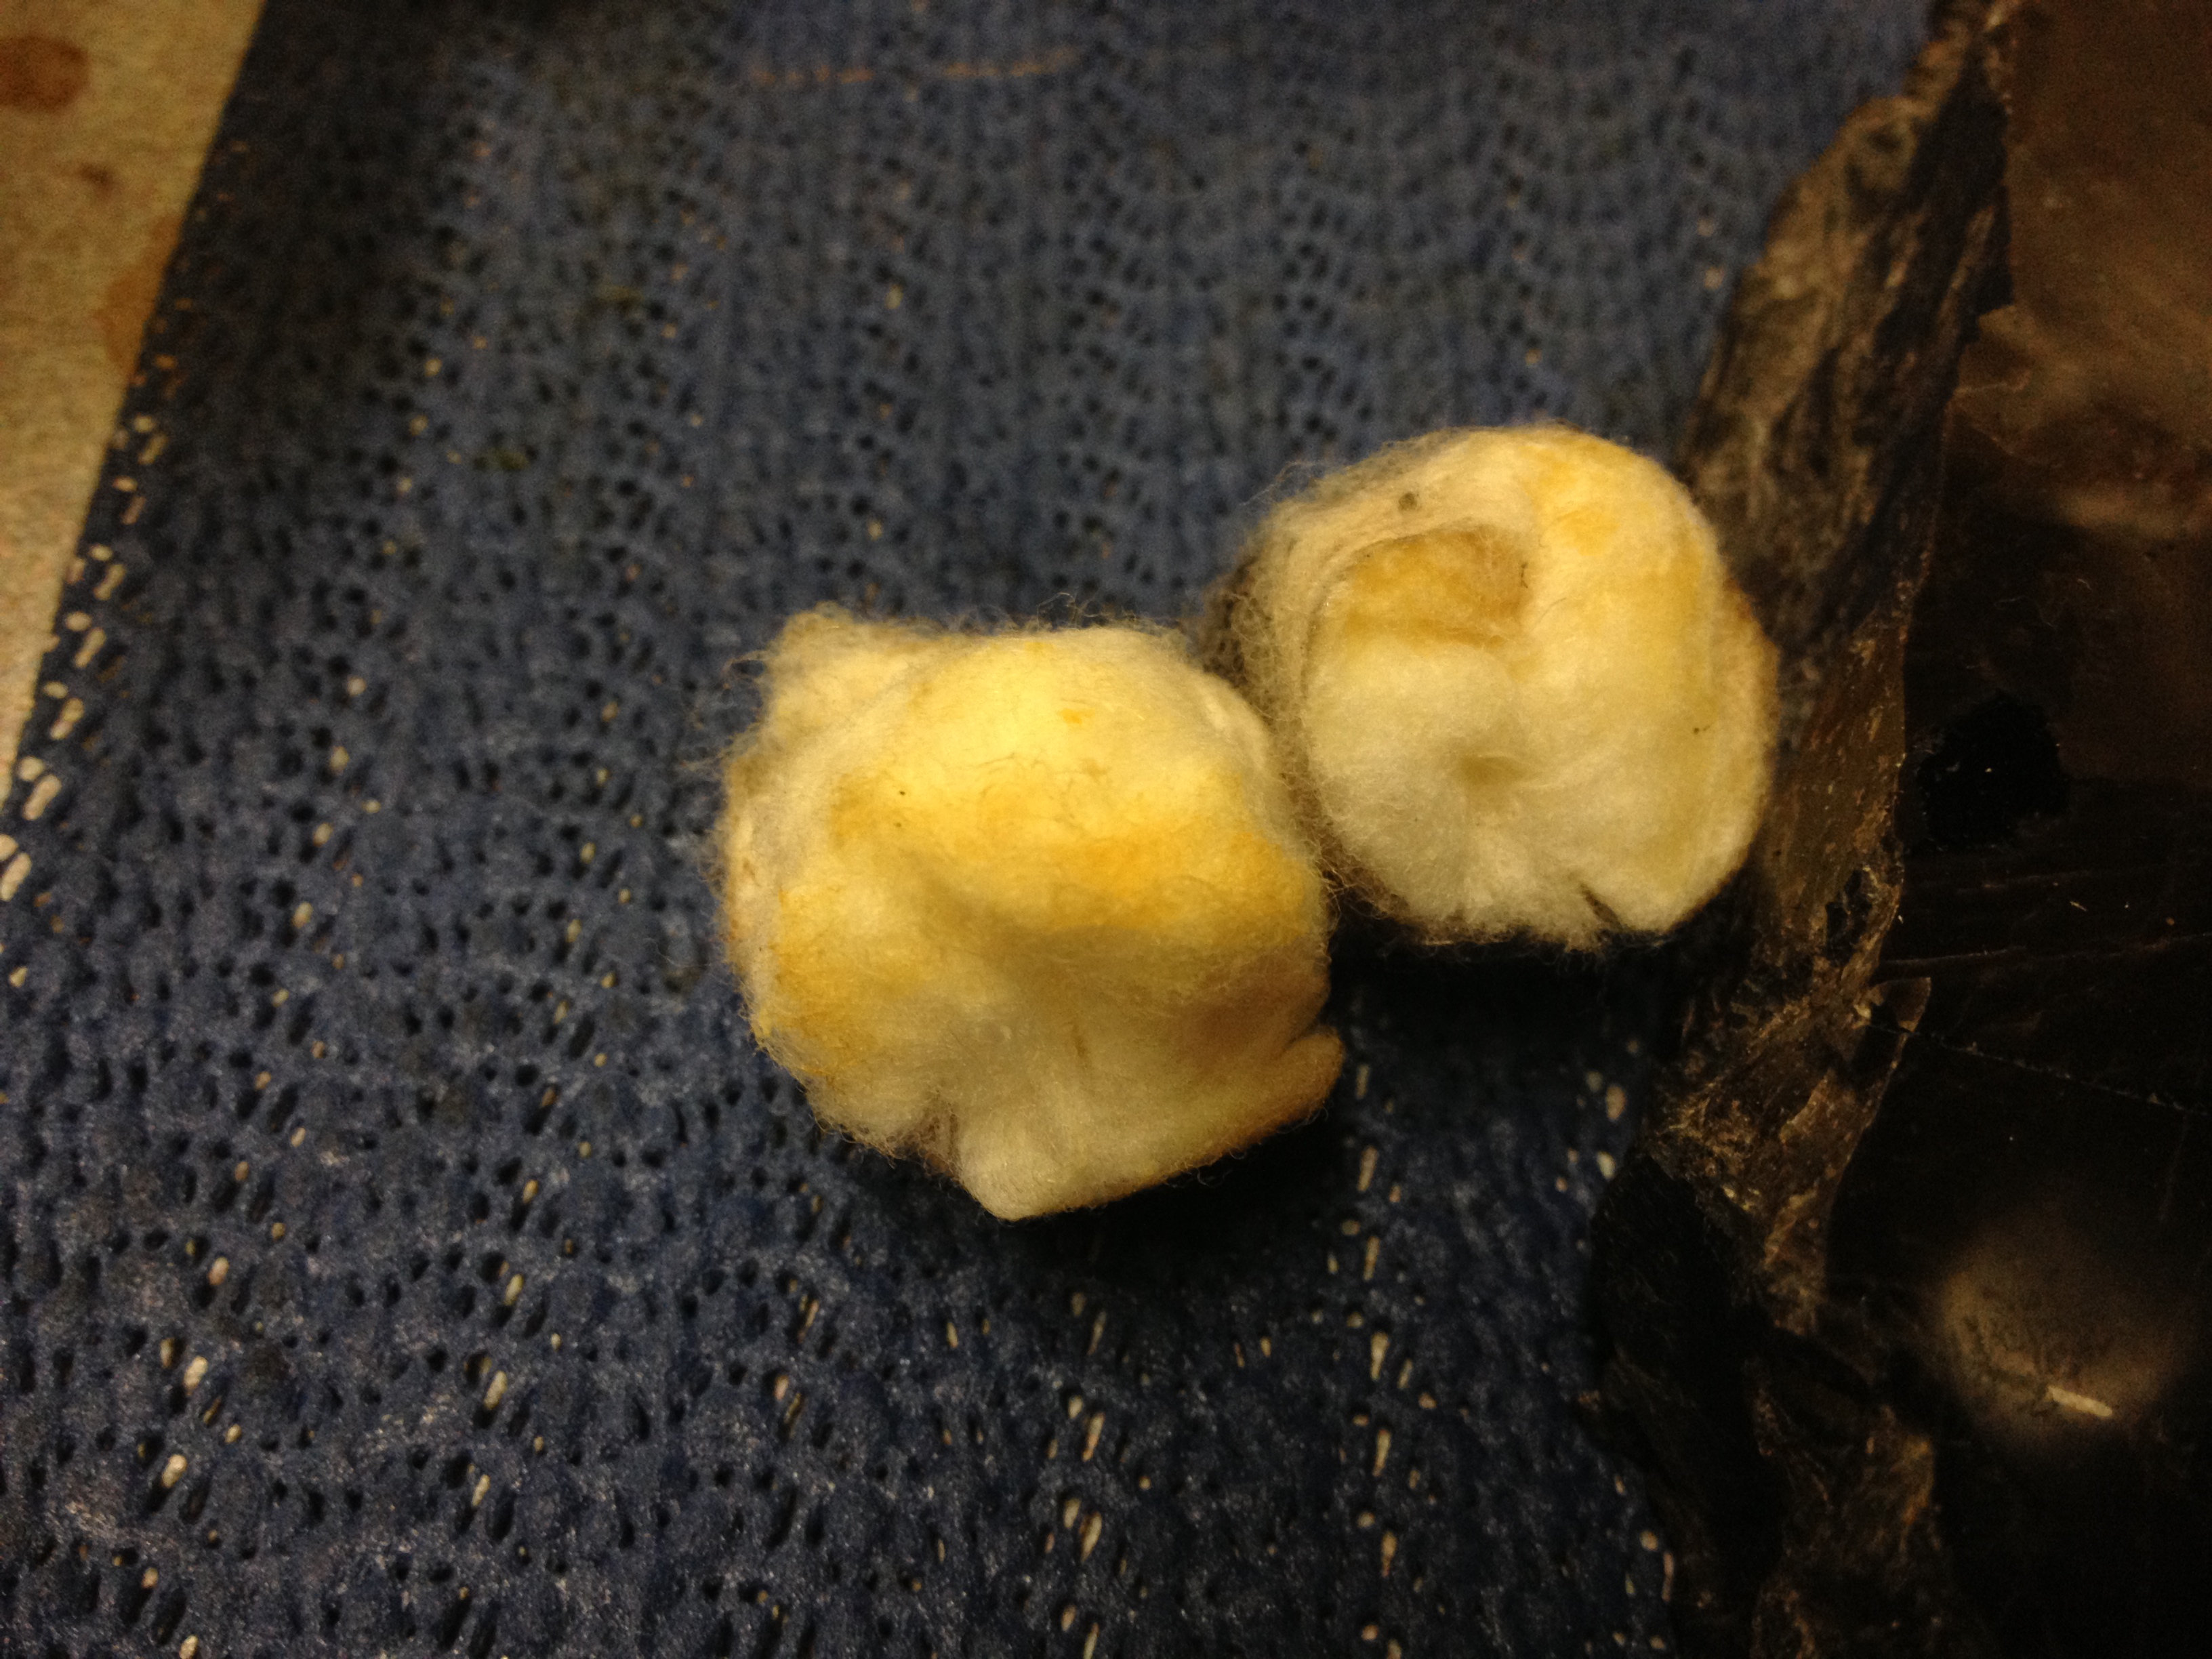
It was at this point that I decided to clean and ream the pipe. Knowing this pipe had more or less been in retirement for almost a decade, I expected it probably would be fairly dirty; I was right. The alcohol bath had softened the cake some, I suspect, and it was fairly thick and not very even so reaming was definitely in order. I used a Castleford reamer to do the job, using the second largest bit to ream the bowl; the two smaller sizes didn’t touch the cake in this large bowl. After reaming I began to clean the shank, which was terribly gunked up. I used the drill bit-tool on my Kleen-Reem to open up the shank, both with and without pipe cleaners on it. After many pipe cleaners, both on the drill bit and doubled over off of the bit, I finally decided that I needed to do an alcohol and cotton ball treatment; this is the same as a salt and alcohol treatment only you use cotton balls instead of salt. I put two large cotton balls in the bowl and, using an old medicine syringe, I filled the bowl with 91% isopropyl alcohol. Then I took the syringe and filled the shank; since this pipe is a sitter with such a large shank this idea worked very well and was quite easy to do. I topped off the bowl with a bit more alcohol and left it till morning. This is what the cotton balls looked like when I came back the next day:

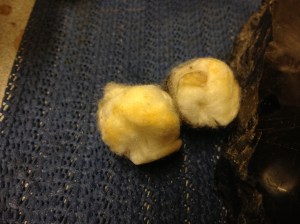
IMG_6764 IMG_6765

The photos don’t really show how much tar leached out into them; they were really quite brown. The shank was much cleaner now as I went back to it, only taking less than a dozen pipe cleaners to get it clean now.

Back to the burn on the bowl, I started out with some course emery boards to remove some of the charred area. I had three different grits, from a package I bought at the local dollar store, and I worked through all three grits on it. The burn mark was reduced in size a fair amount but would need more, which I planned on doing with sandpaper. I thought the emery boards would be a good way to keep the more coarse sanding confined to a smaller area and it seemed to work fairly well.
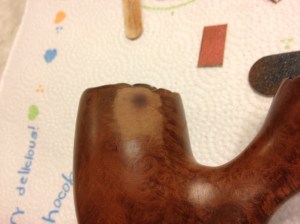
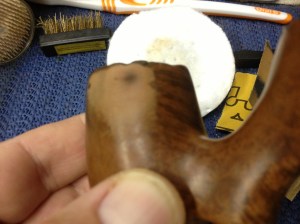
IMG_6774IMG_6775

From here I went to 220 grit paper and got out the biggest part of the burn, feathering out the sanding a little, too. I then went to 320 wet/dry paper and sanded the entire pipe, except for the bottom; I didn’t want to sand any where the nomenclature was if I could keep from it. I then moved up to 400 wet/dry paper, wiping ever so often with an alcohol pad to see how the pipe looked, making sure it was smooth and scratch free. After I got the pipe to where I thought it would be good I took it to the buffer and buffed it with black compound; I find that this buffing highlights any small scratches or dents that may have been missed during the sanding. Here is what the pipe looked like at this point:
IMG_6798

I saw one small scratch I had missed so I took the 400 grit paper to it and got that one out, along with lightening the burn mark a bit more. Now it was time to bend the stem.

I heated the stem with my heat gun on low until it was pliable, after putting a pipe cleaner in the stem to keep from closing off the airway accidentally. I had set up my maul as my bending guide on my table. I heated and bent it and eyeballed it; it wasn’t quite what I wanted. So, I heated it again and bent it a little more and looked it over carefully; now it was more to my liking:
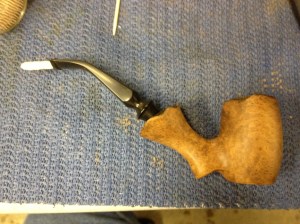
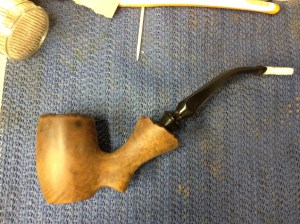
IMG_6784 IMG_6783

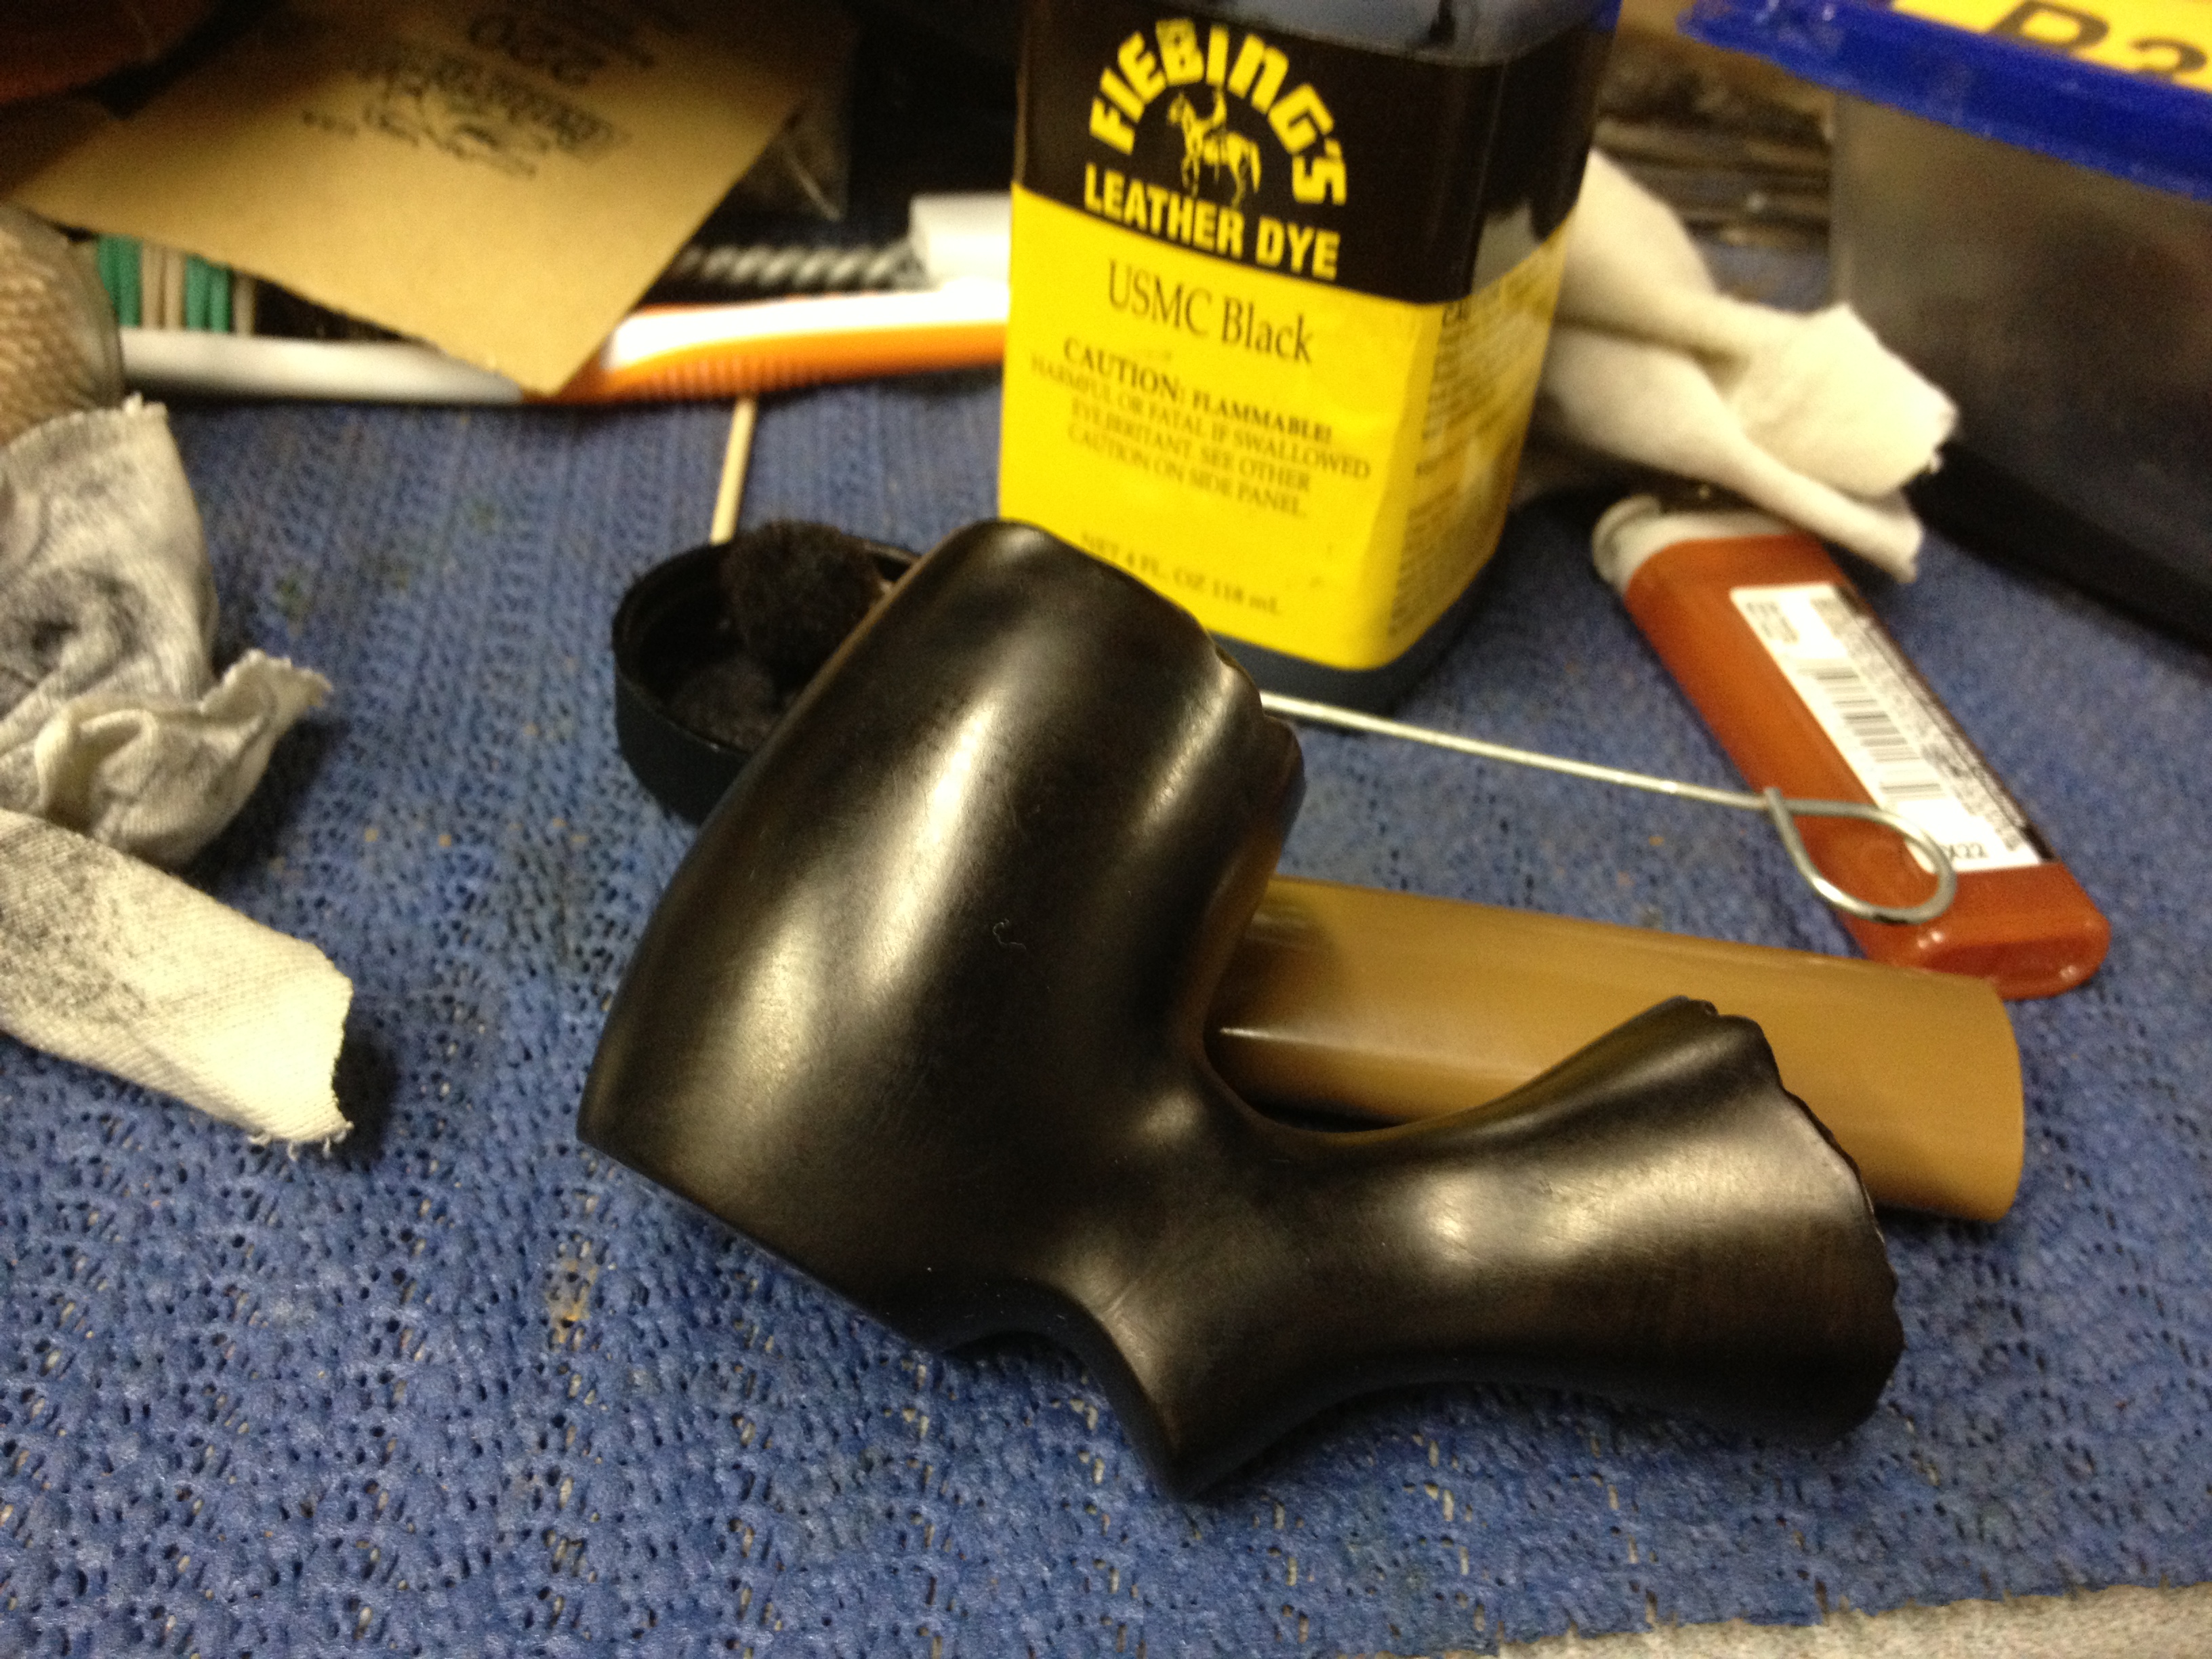
I used Fiebing’s USMC Black leather dye to the rim and shank end, since I knew these would need deeper penetration of color since they would remain black. I applied the stain, flamed it in and then repeated. I then heated up the stummel, setting the stem aside, to start the contrast staining. I got the stummel nice and warm, wearing leather gloves to protect my hand. I then applied the dye to the entire pipe, flamed and repeated. Next I hand buffed the pipe with an old cotton t-shirt leaving it at this point:
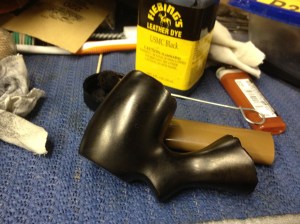
IMG_6788

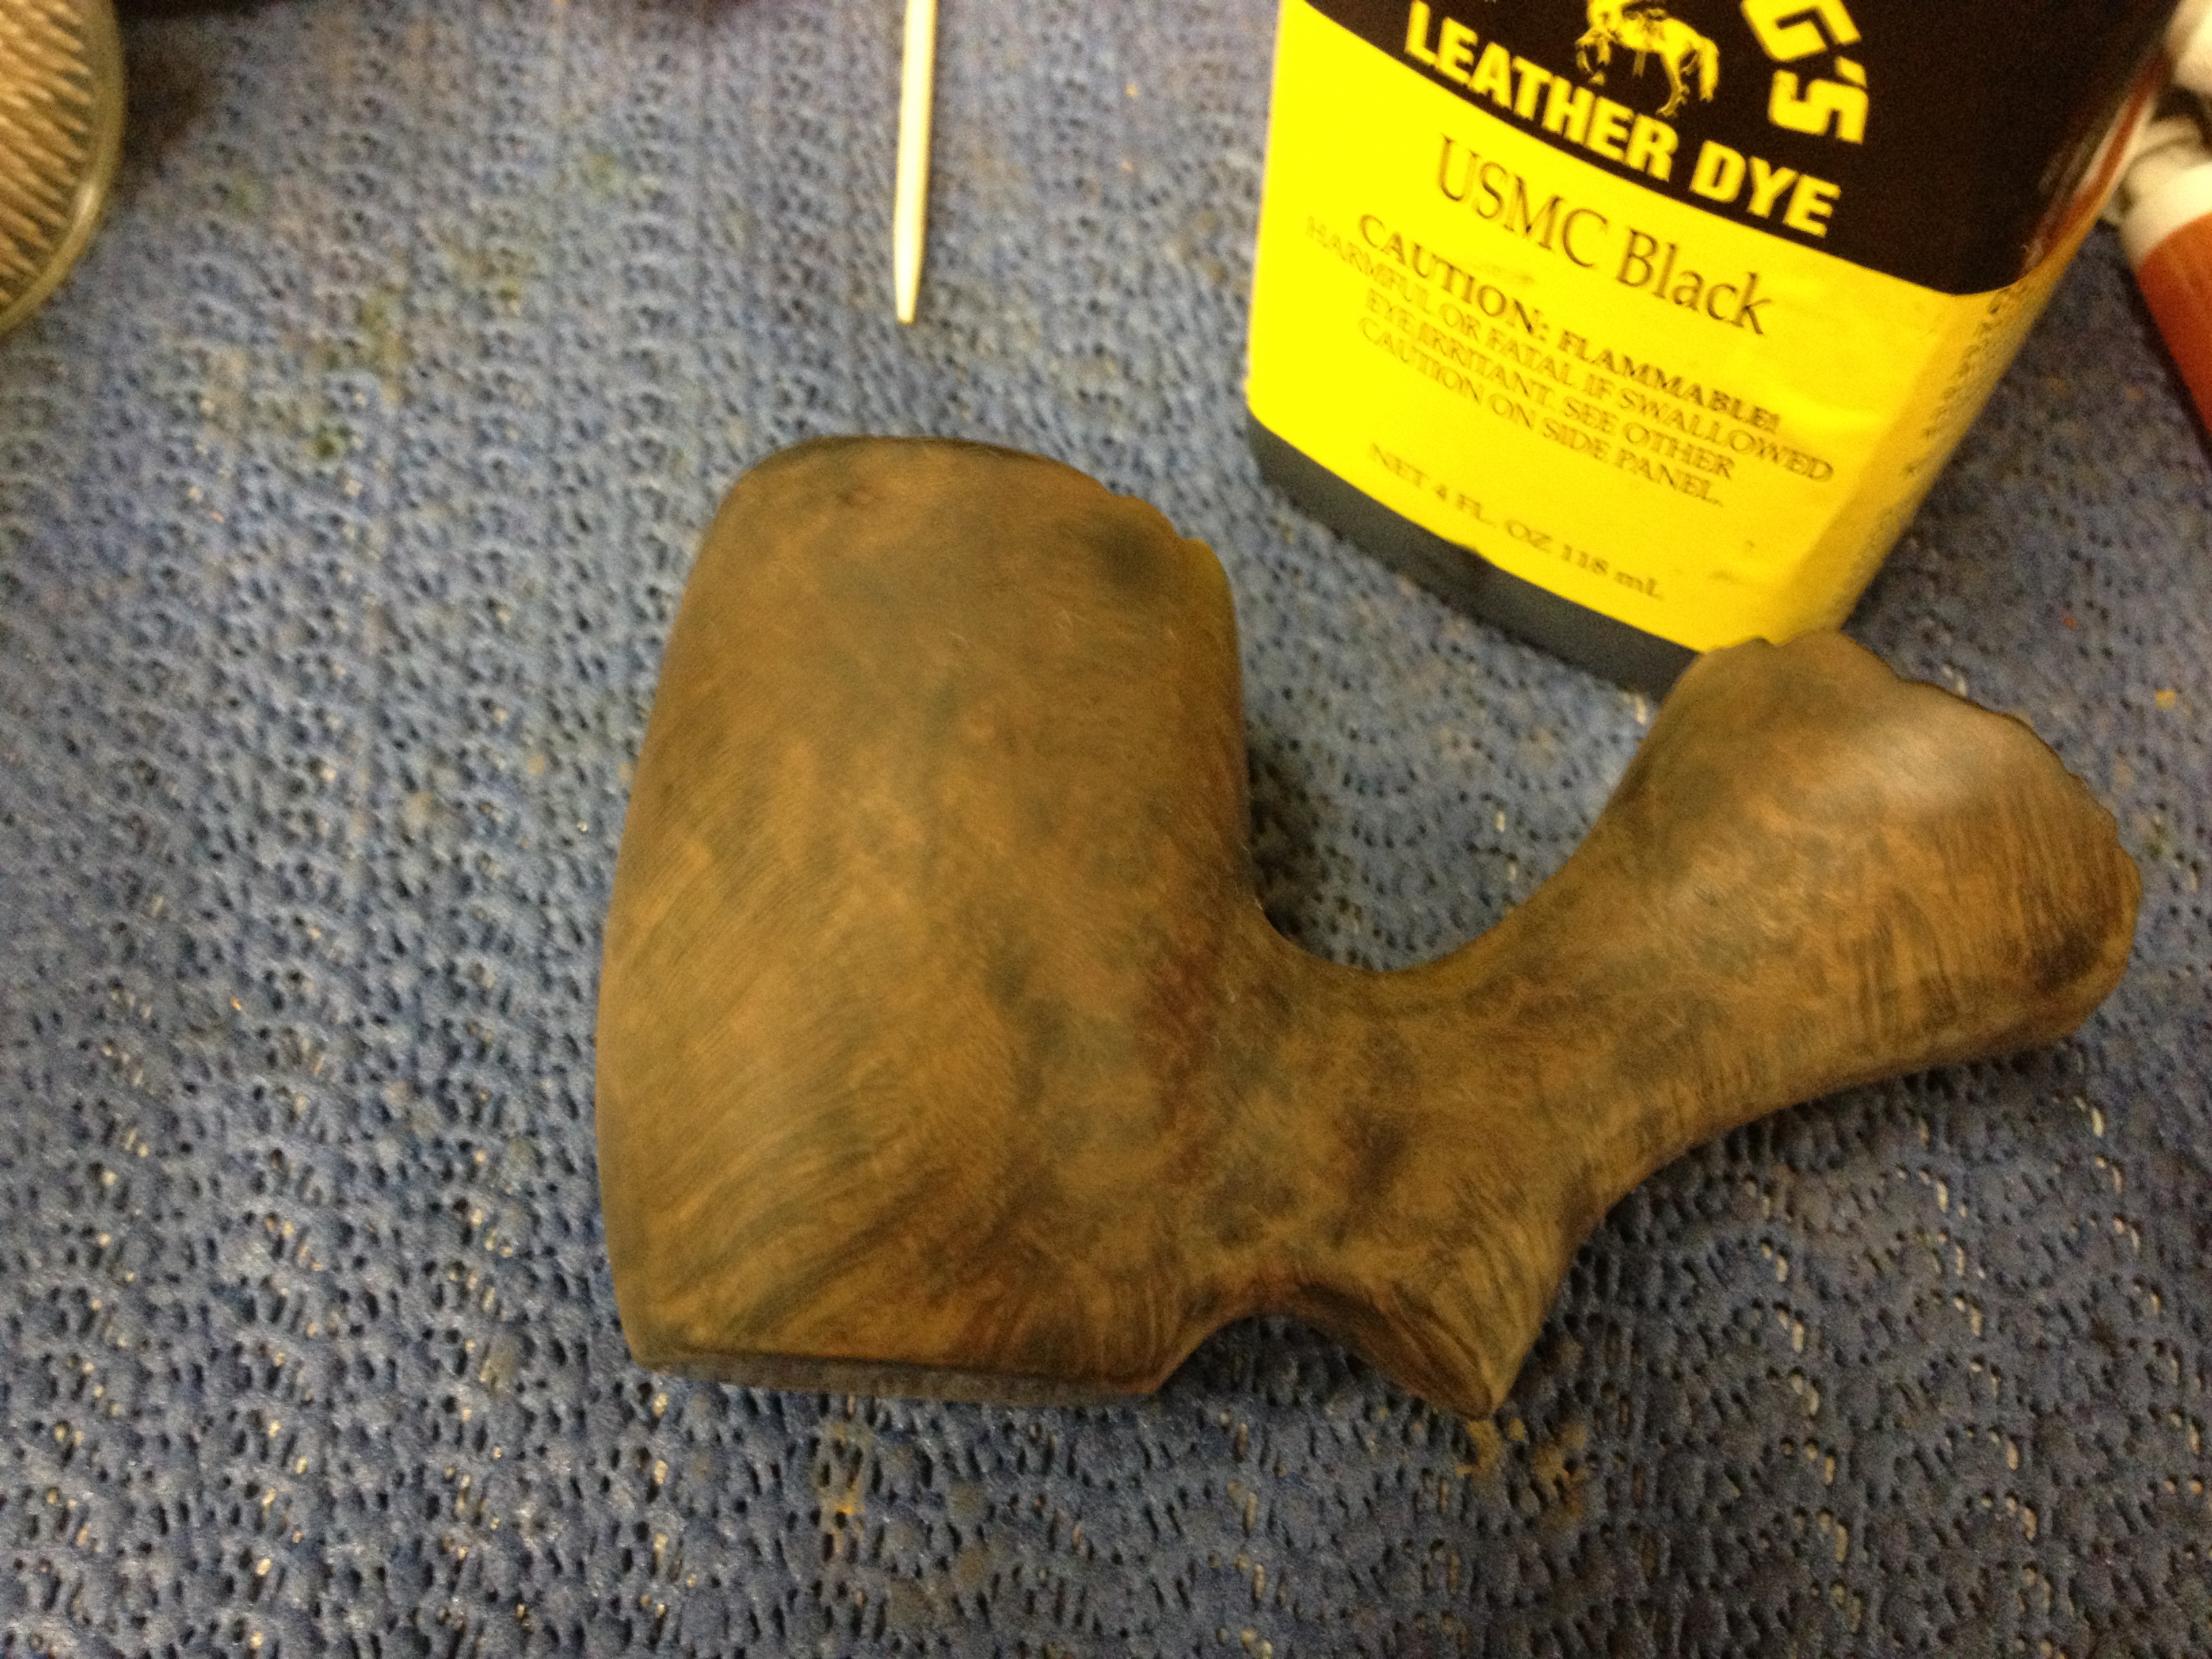
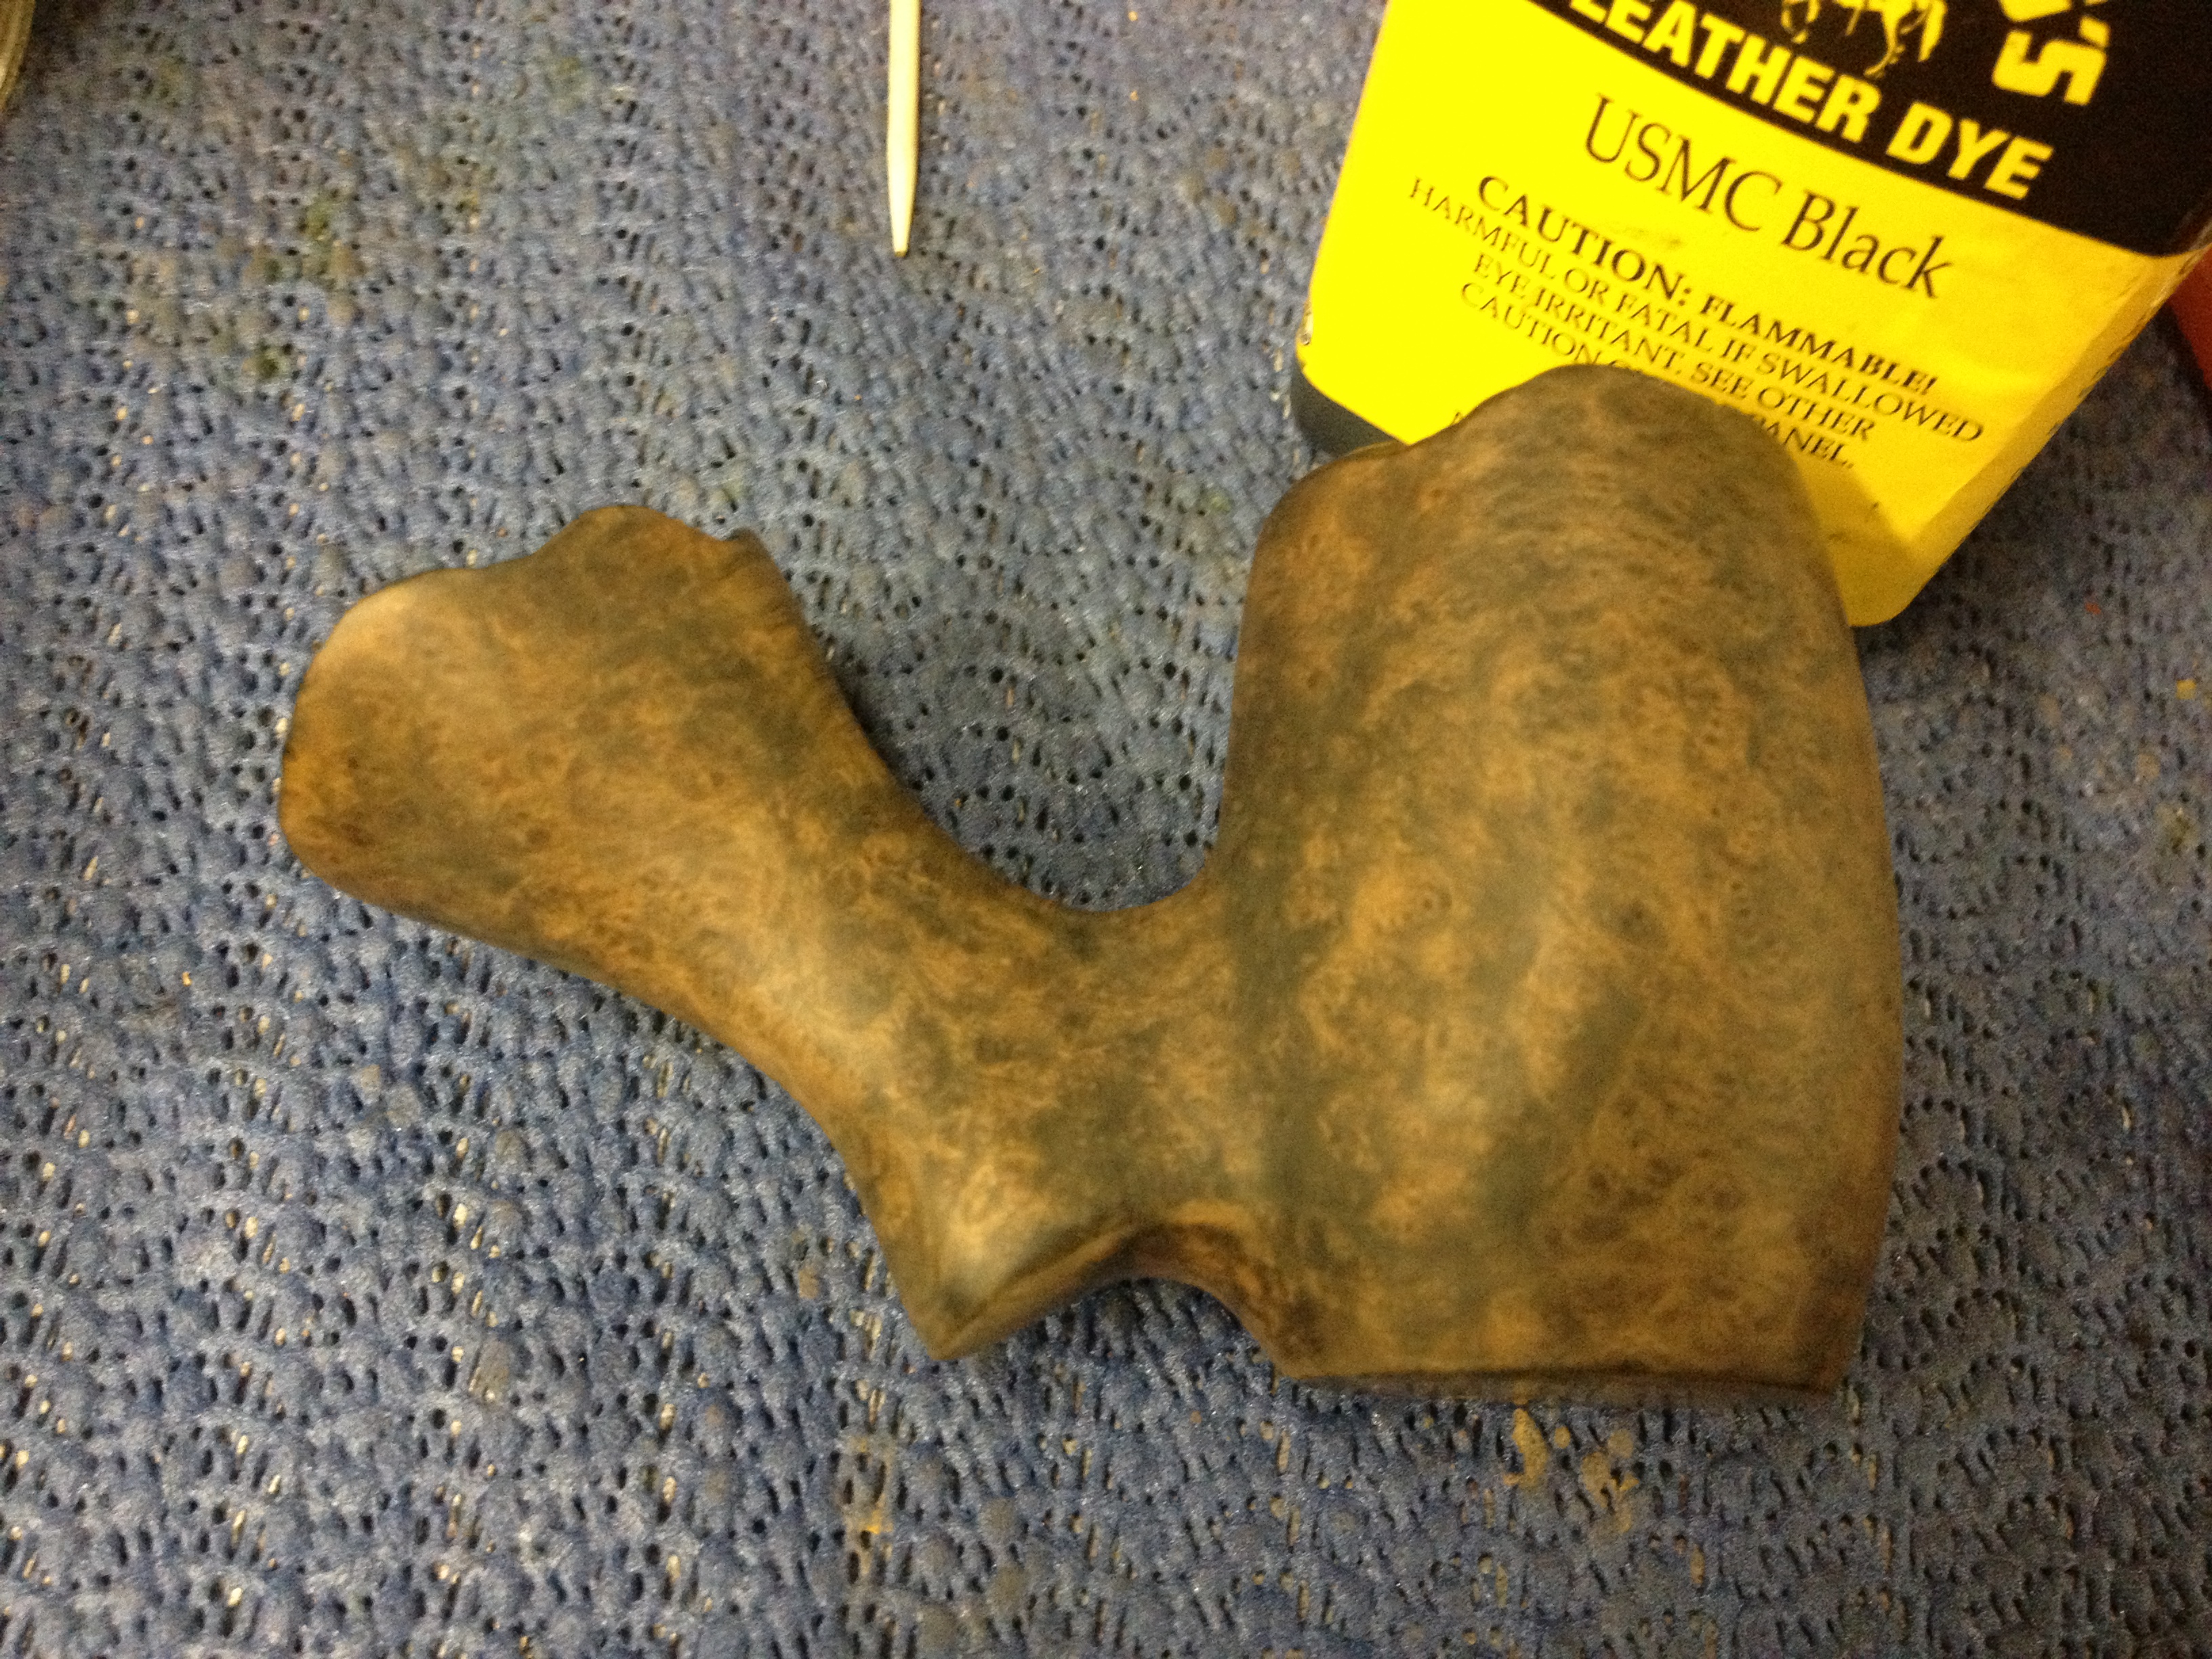
After the pipe had cooled for 10-15 minutes and was no longer warm I began to sand off the black; I wanted to remove the majority of the black but leave it in the grain areas as much as possible. I also wanted to try to blend in the burn as much as possible. I sanded and wiped it clean with a dry cotton pad until I thought I was getting close to where I wanted it to be; I didn’t want to use an alcohol pad until I had to in order to not lift any stain that I wanted left on the pipe. I think I sanded it over about three times before I wiped it with an alcohol pad. As the dust came off the alcohol wet pipe began to look more like what my mind’s eye had thought it would:
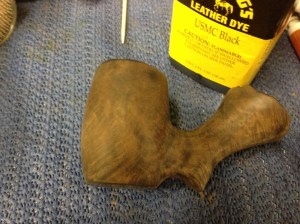
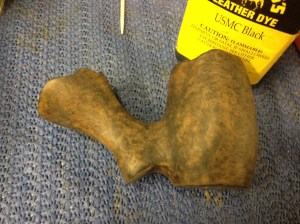
IMG_6789 IMG_6790IMG_6791 IMG_6792

Now I applied a brown stain that I had mixed up earlier for another project; to be honest, I don’t recall what color I used or what I diluted it to. I applied the stain, flamed and repeated. After buffing it off with the old t-shirt I realized it was too dark for what I had wanted so I took an alcohol pad to it and removed some stain. But it was still too dark so back to the 400 grit I went. I sanded it over, wiped with an alcohol pad, and repeated until I was happy with the color; I think it took about four cycles to get it where I left it. I then buffed it off with the t-shirt one last time before heading to the buffer.

I buffed the stummel with Tripoli and then the stummel and stem, separately due to the way this pipe is made, with white diamond. Both parts then got several coats of carnauba wax, buffed on a clean soft wheel and finally hand buffed with my flannel gloves; I don’t know the flannel glove-buff is needed but it seems it adds a little “something” though it may only be in my head. But since it only takes a few extra minutes, and gets any stray threads of the pipe that the wheel may have left, I almost always finish this way.

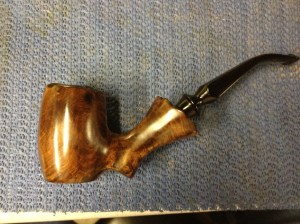
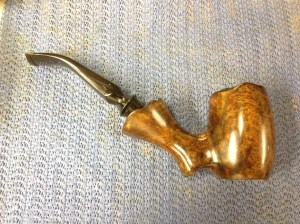
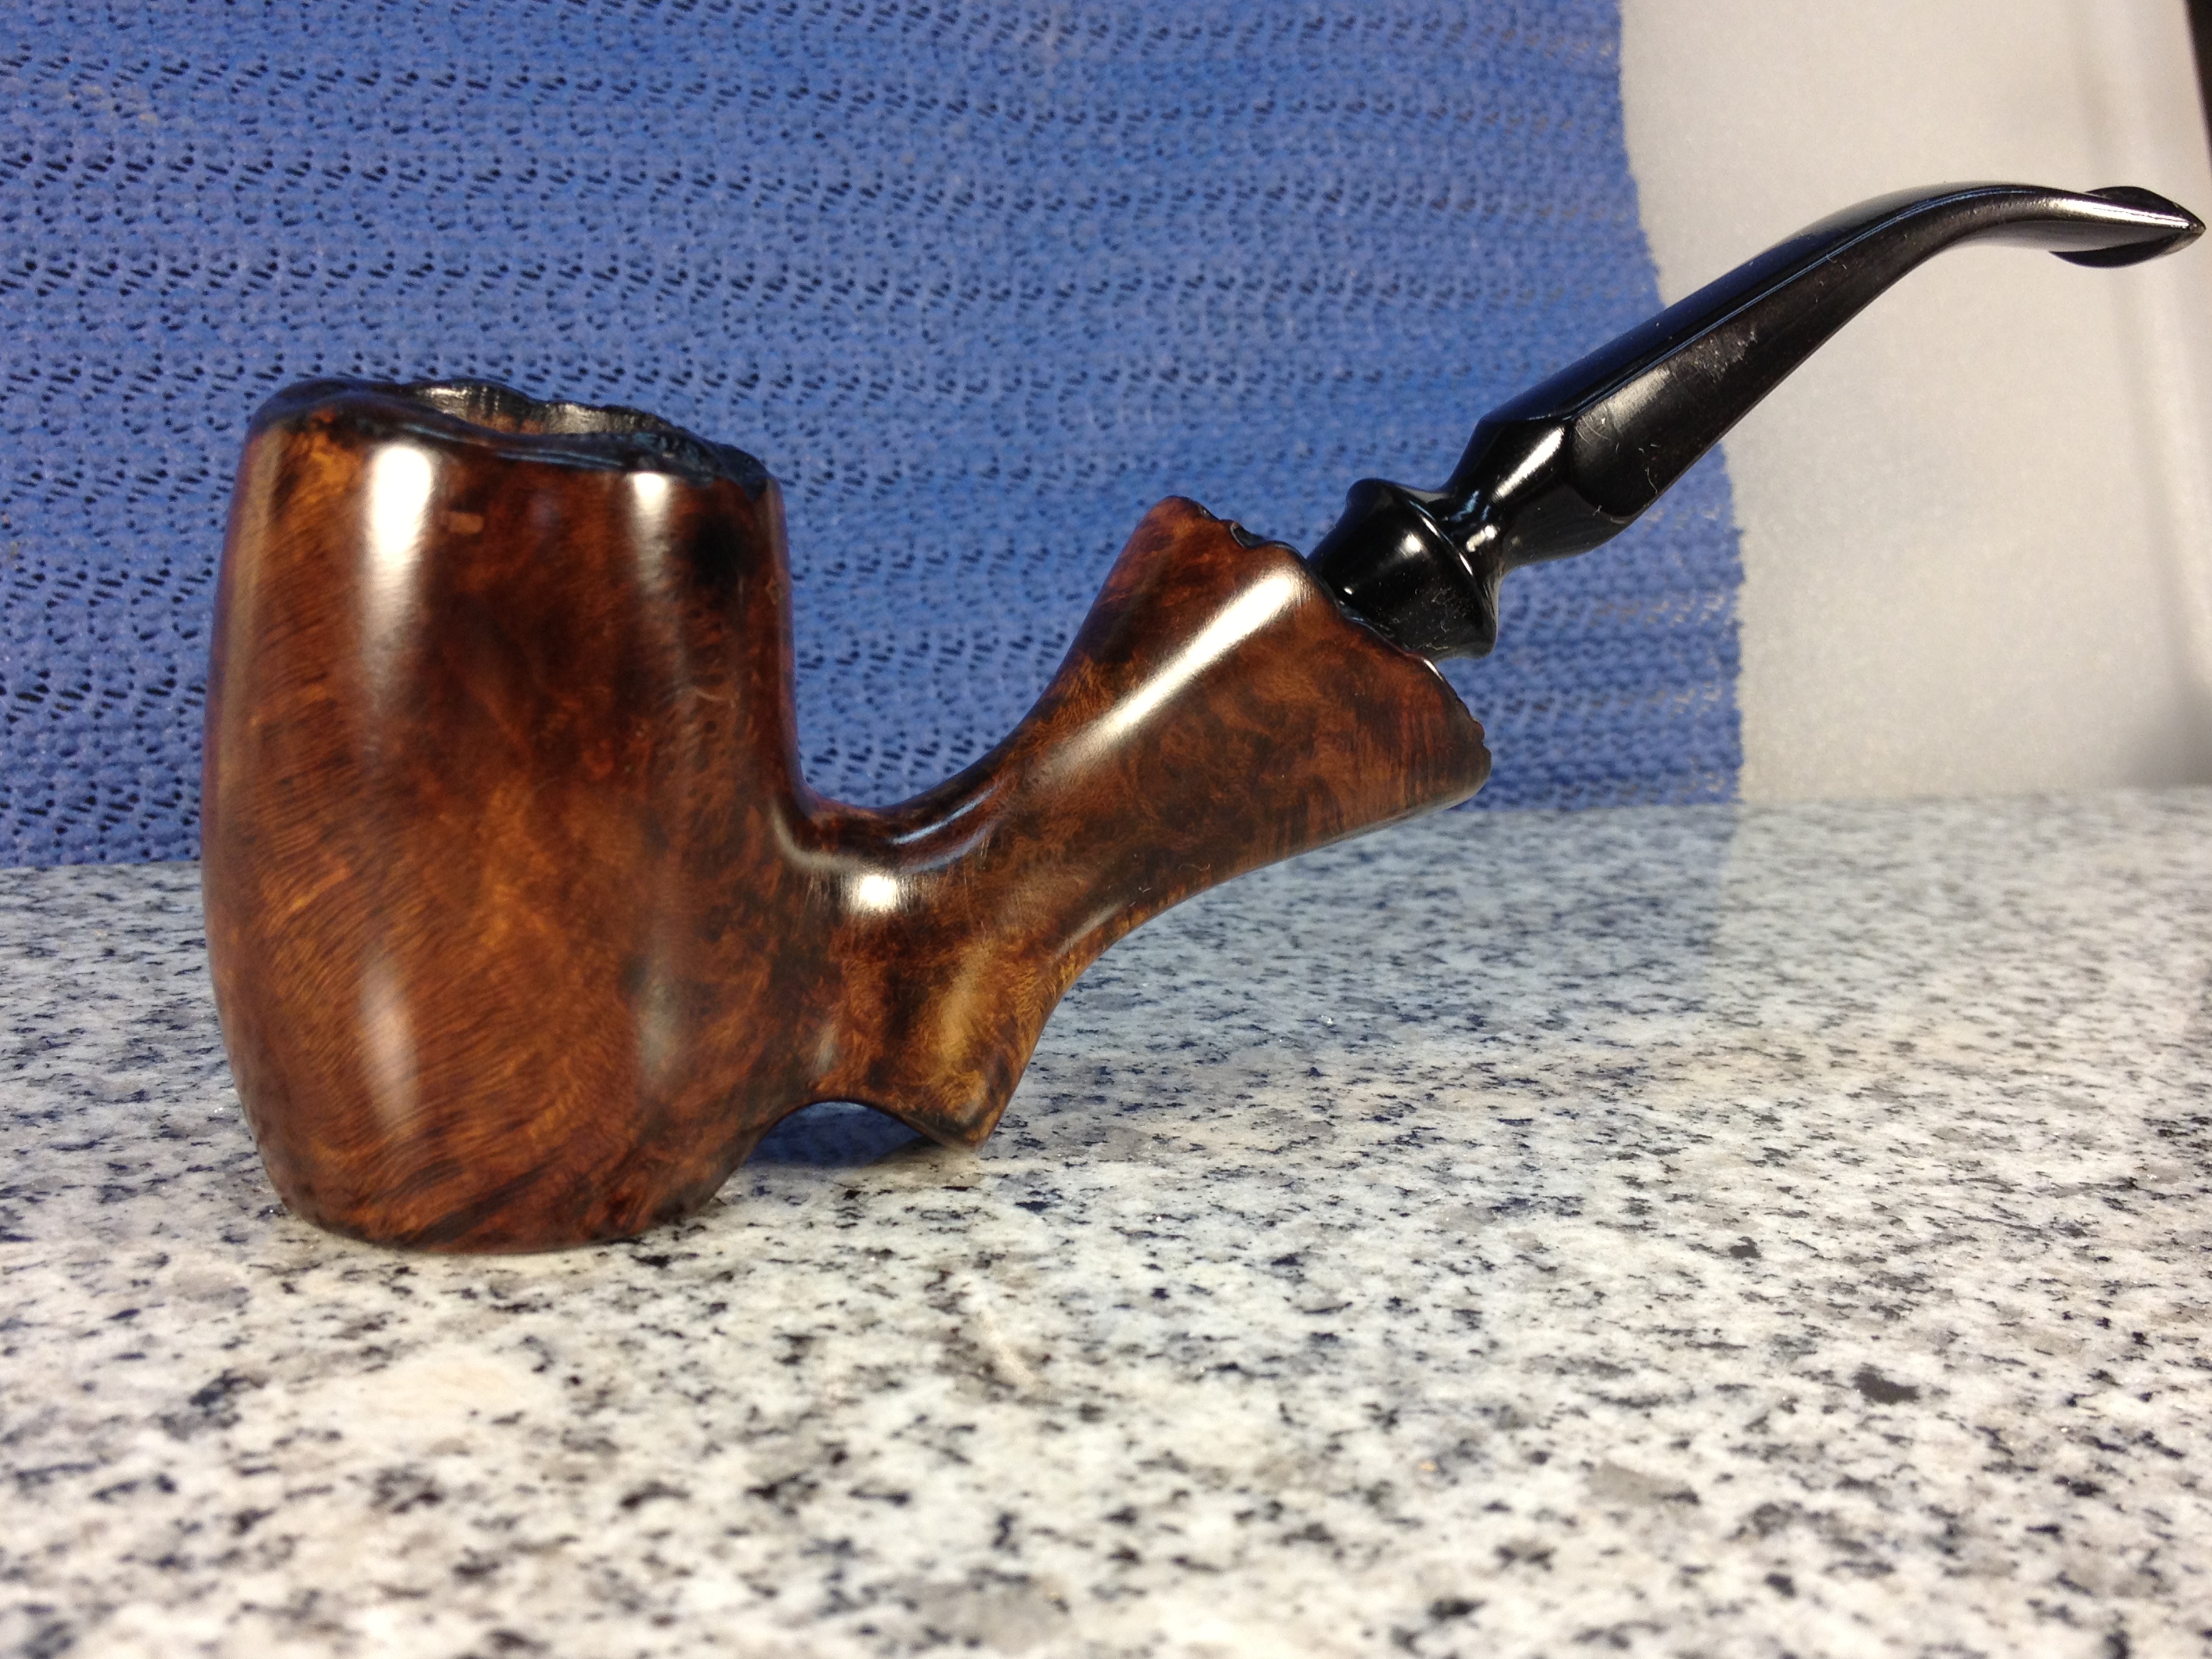
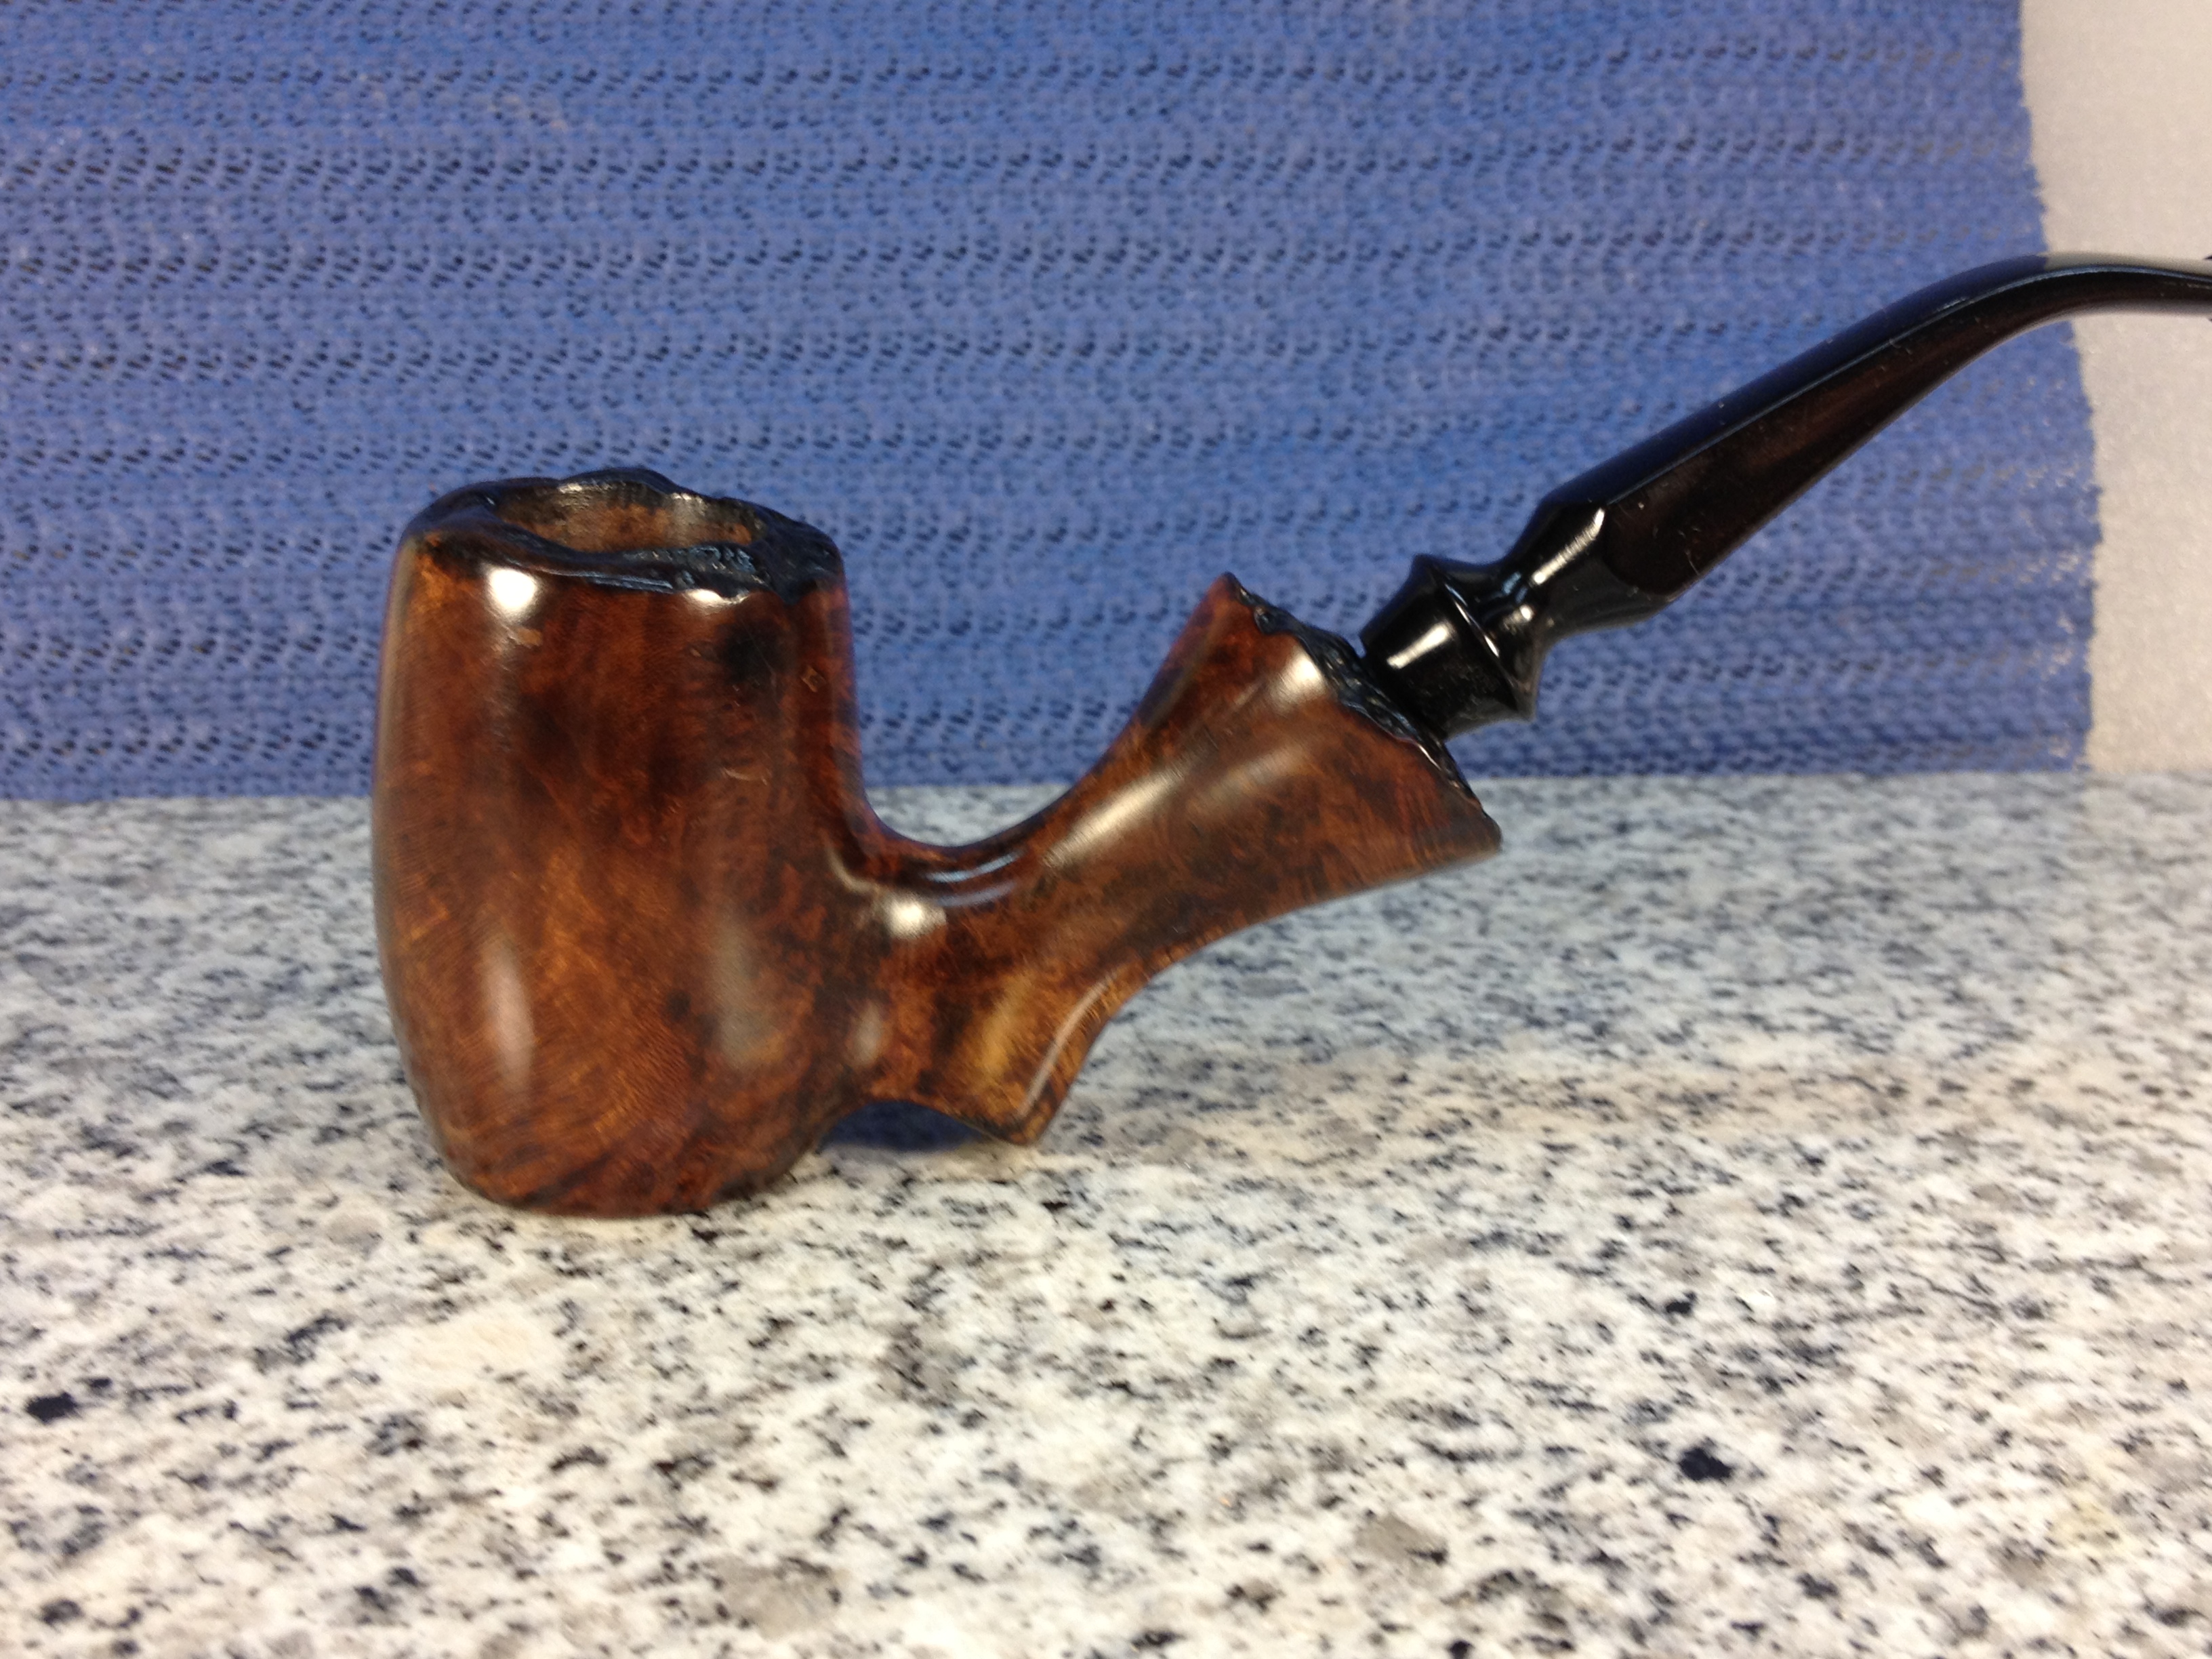
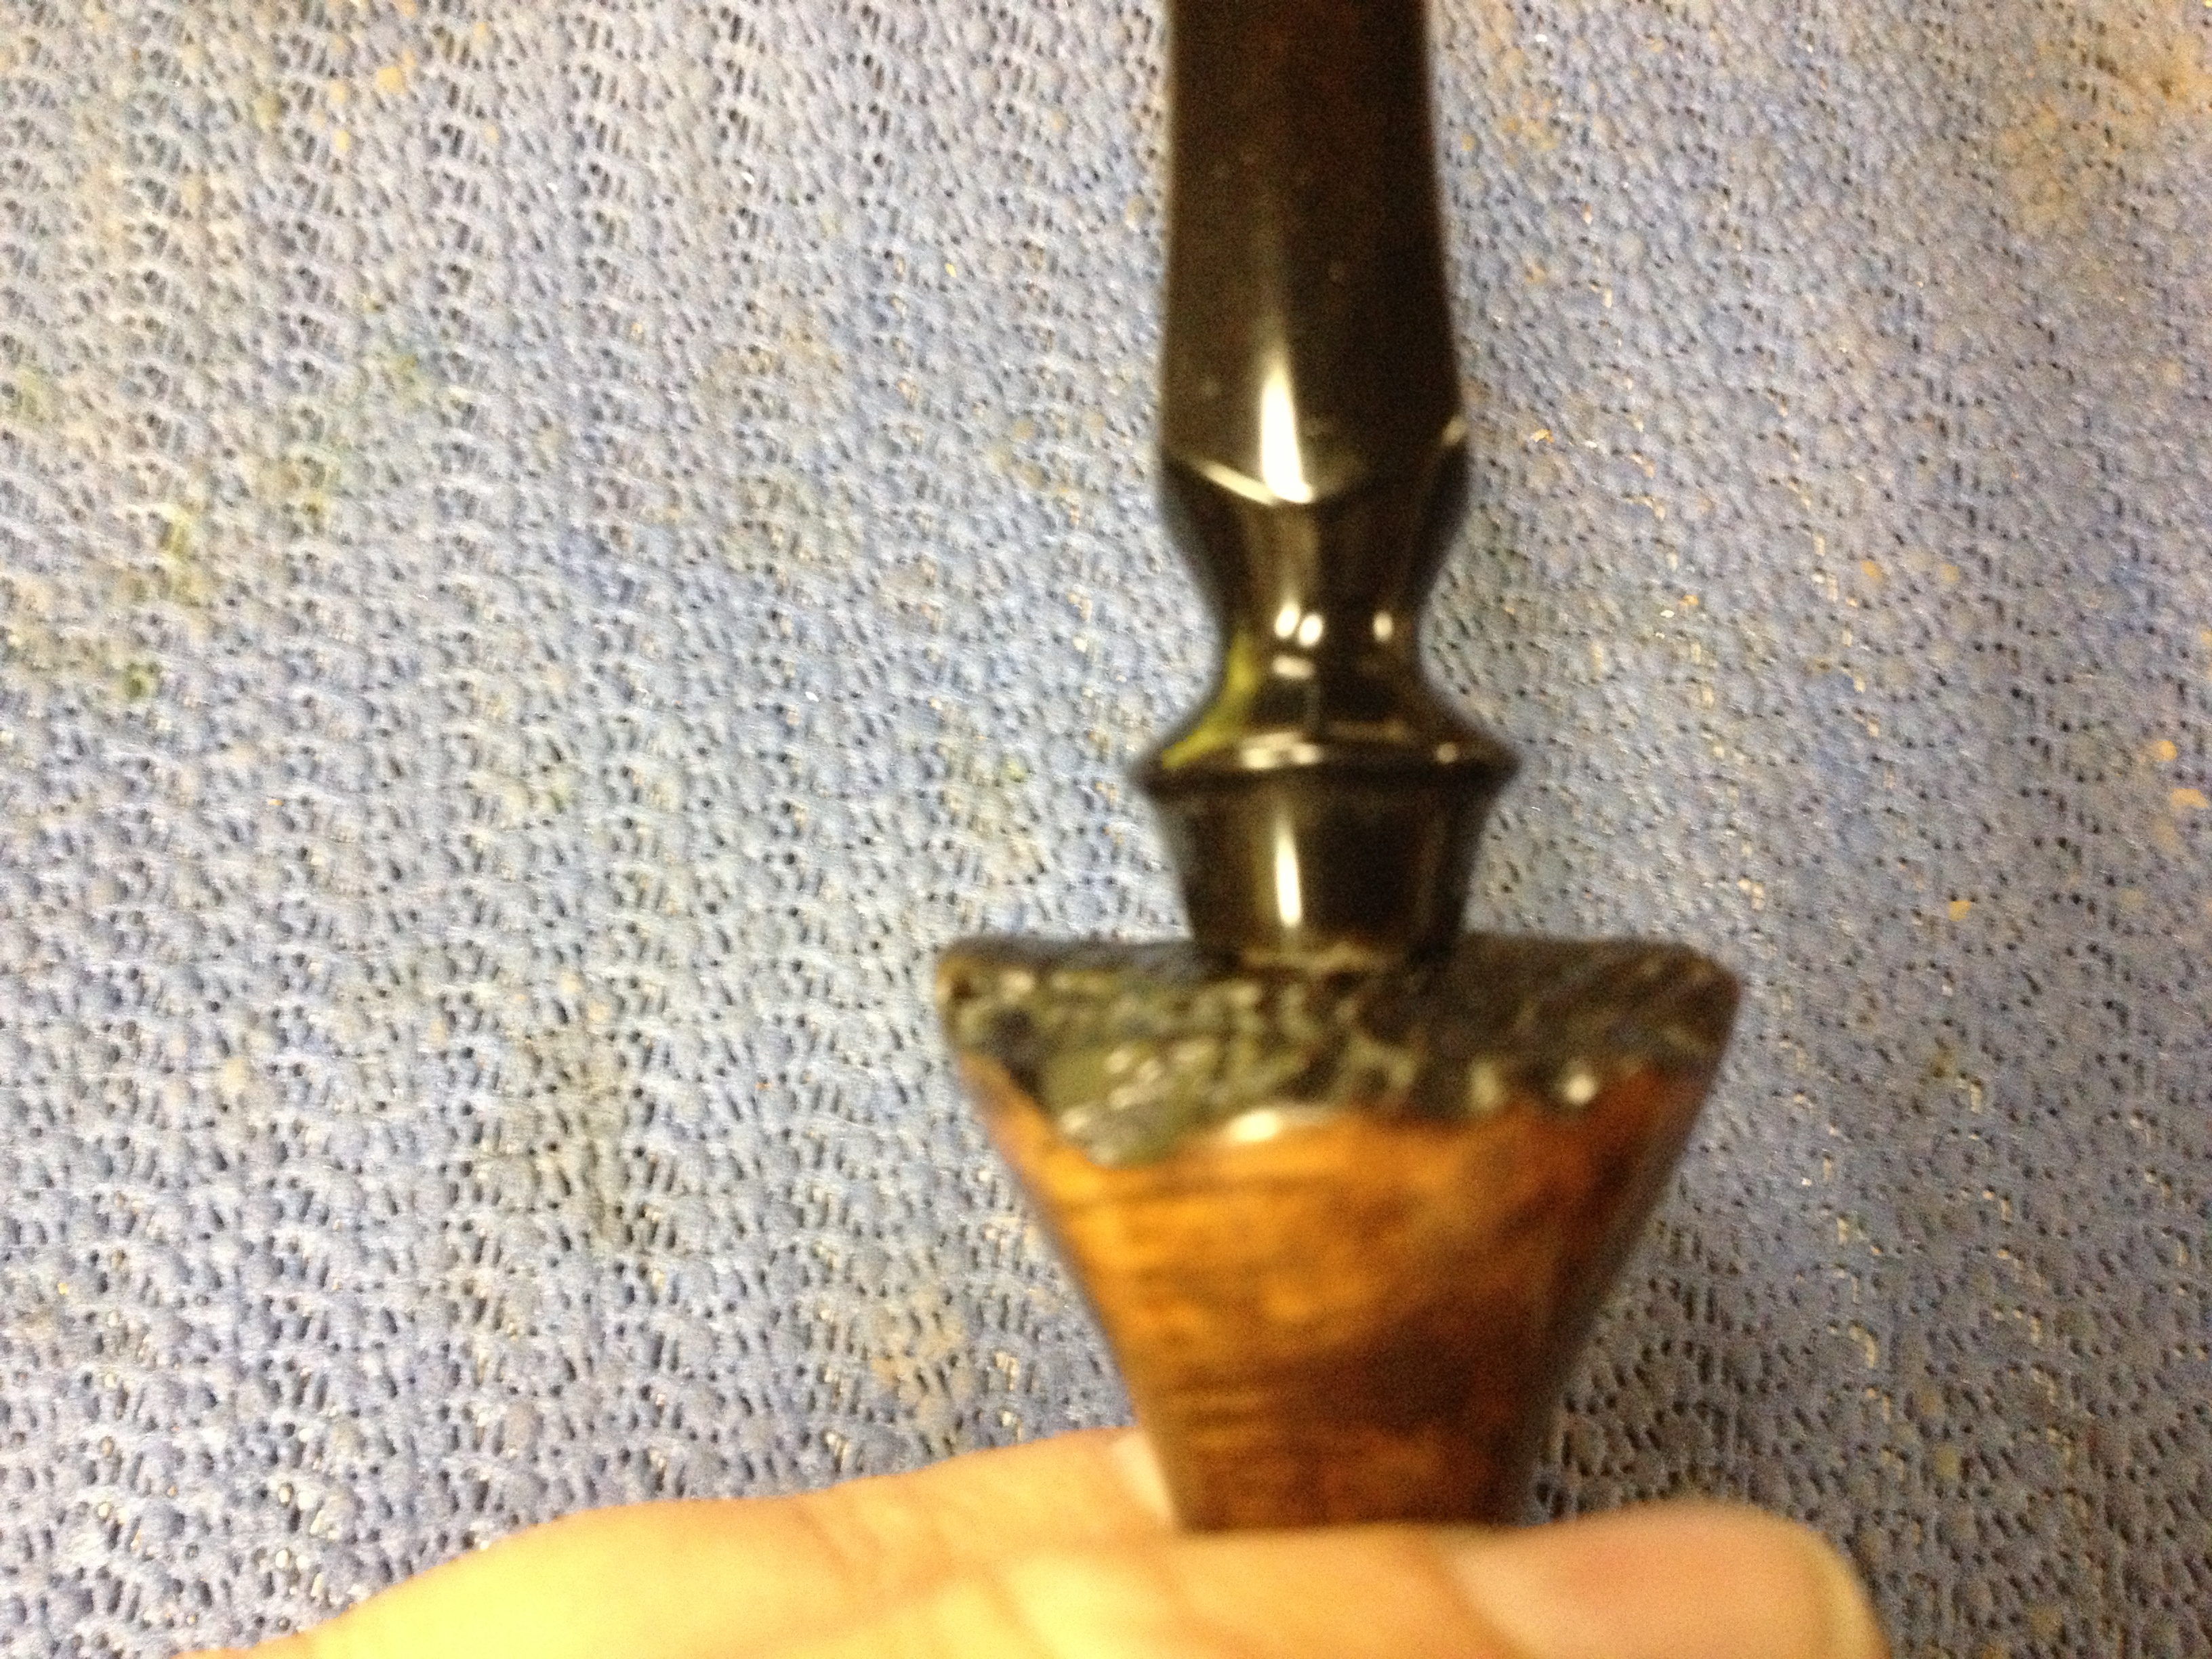
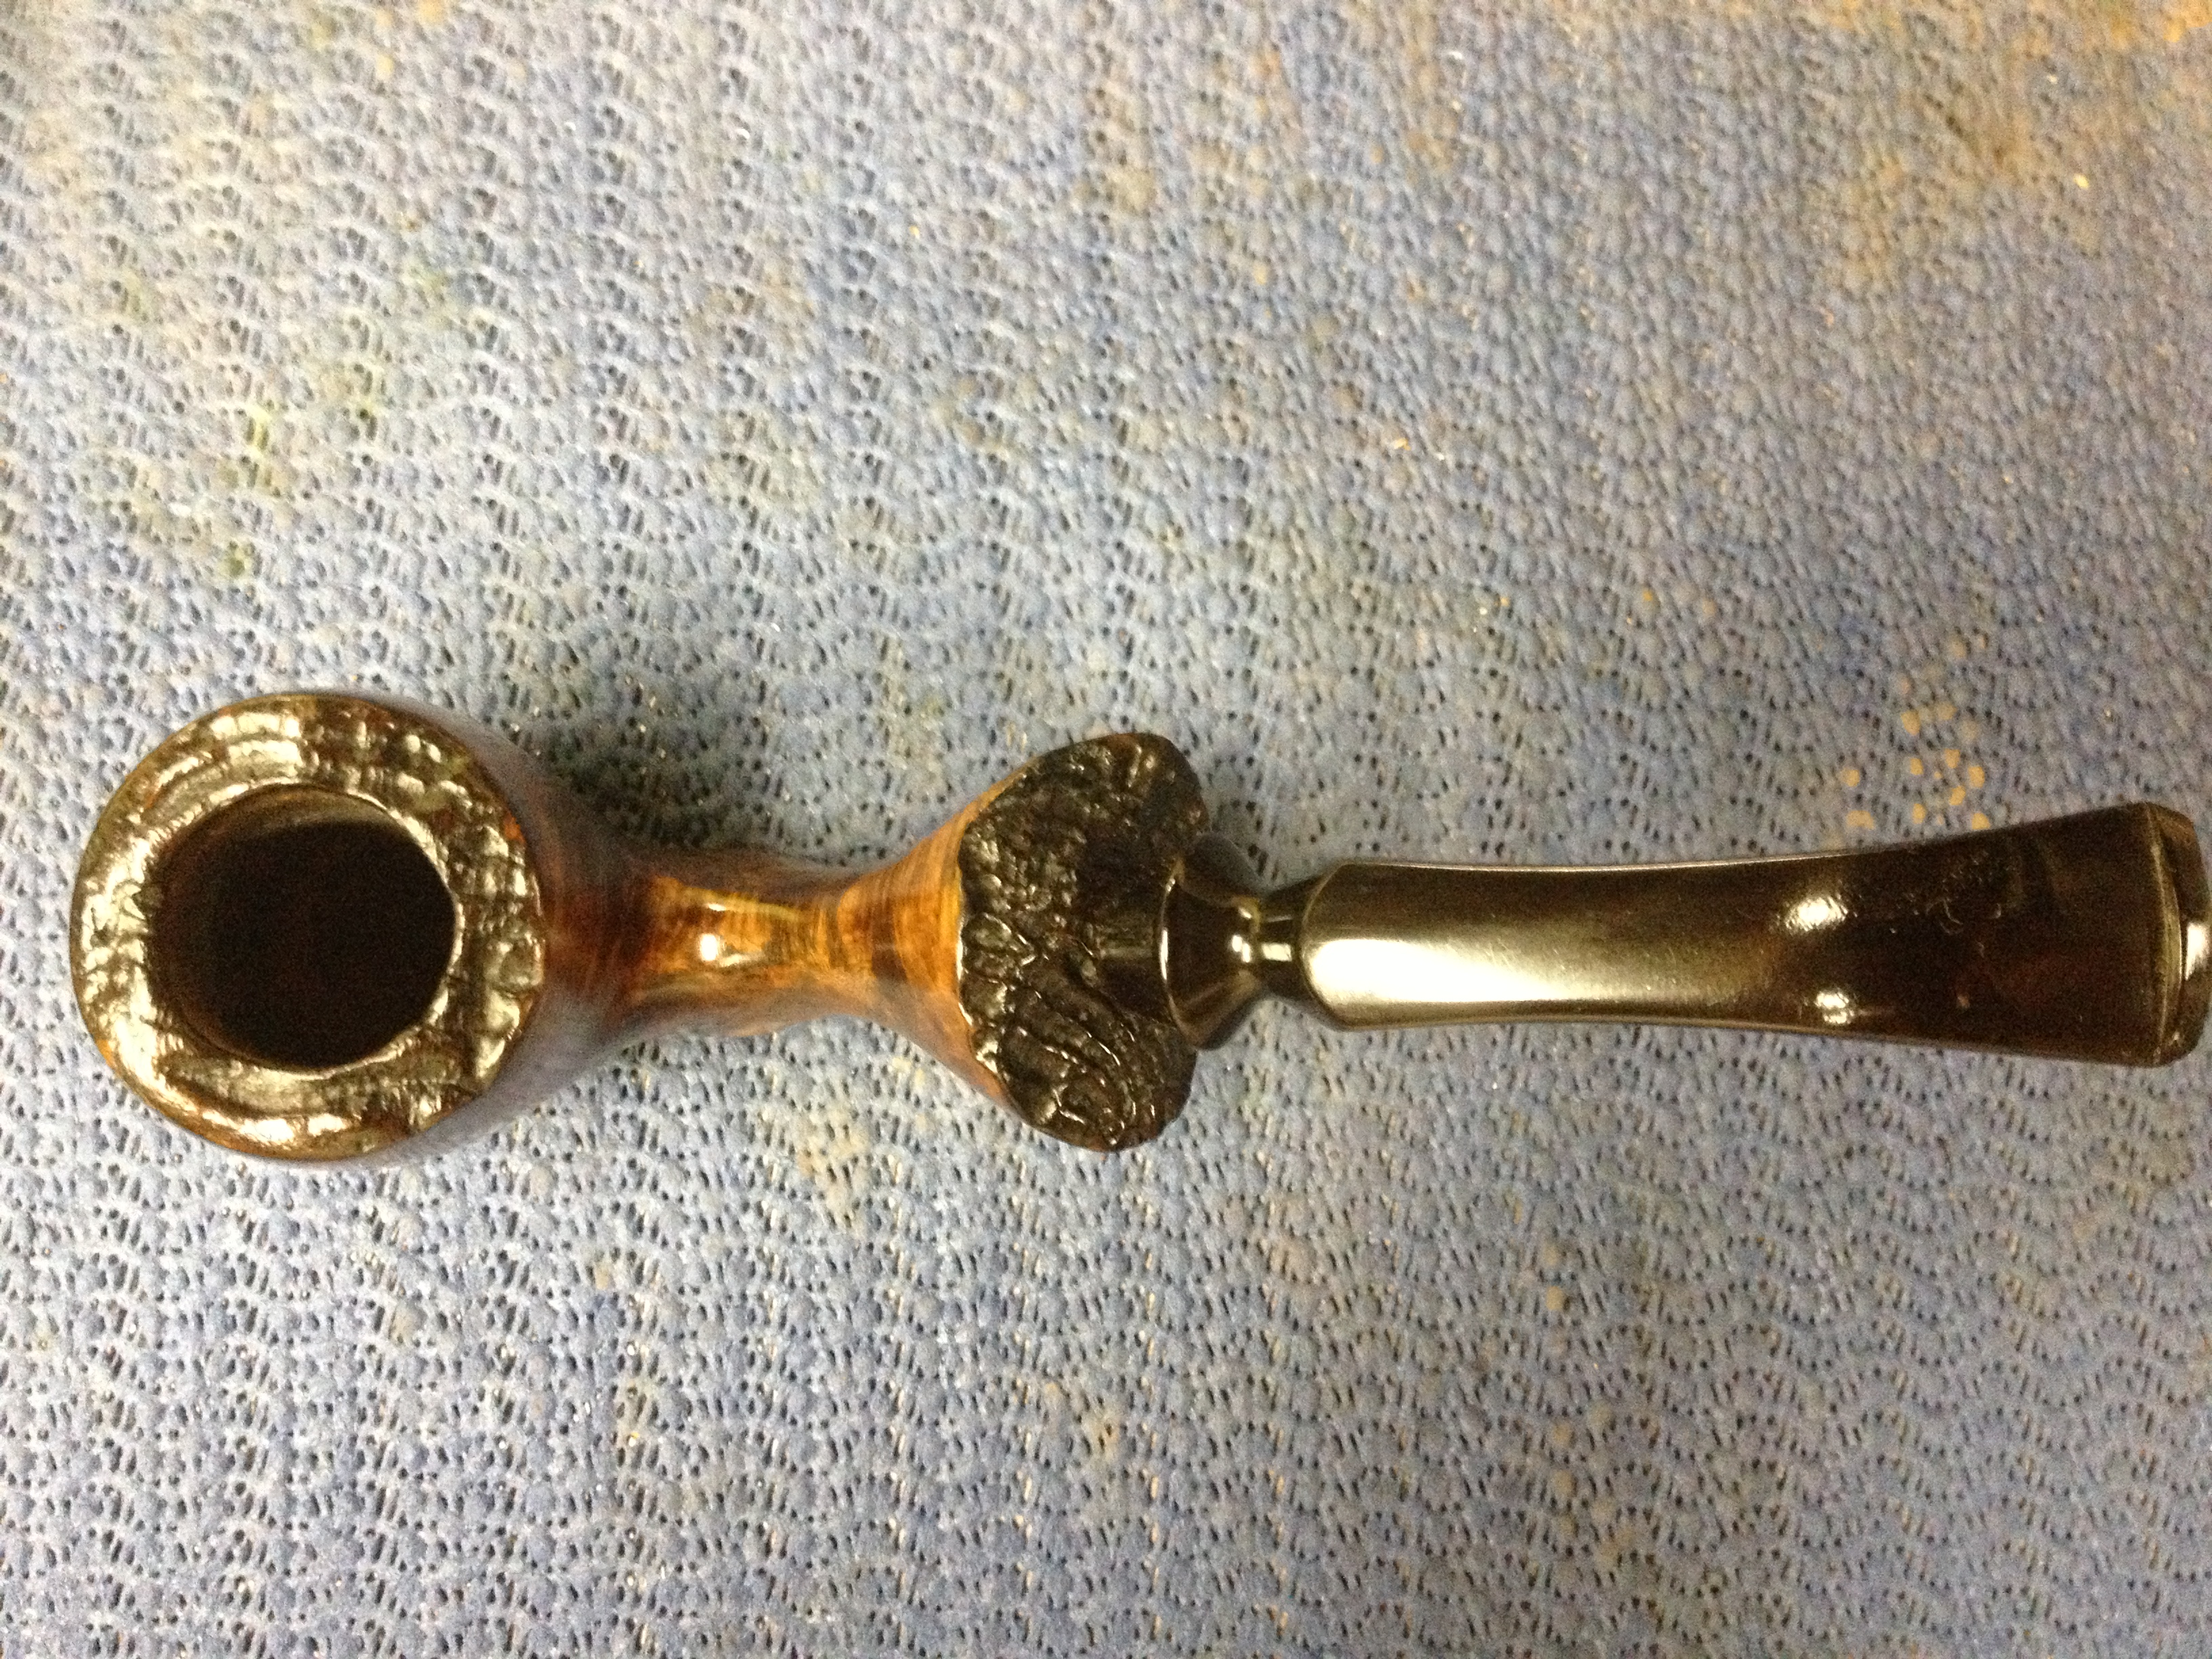
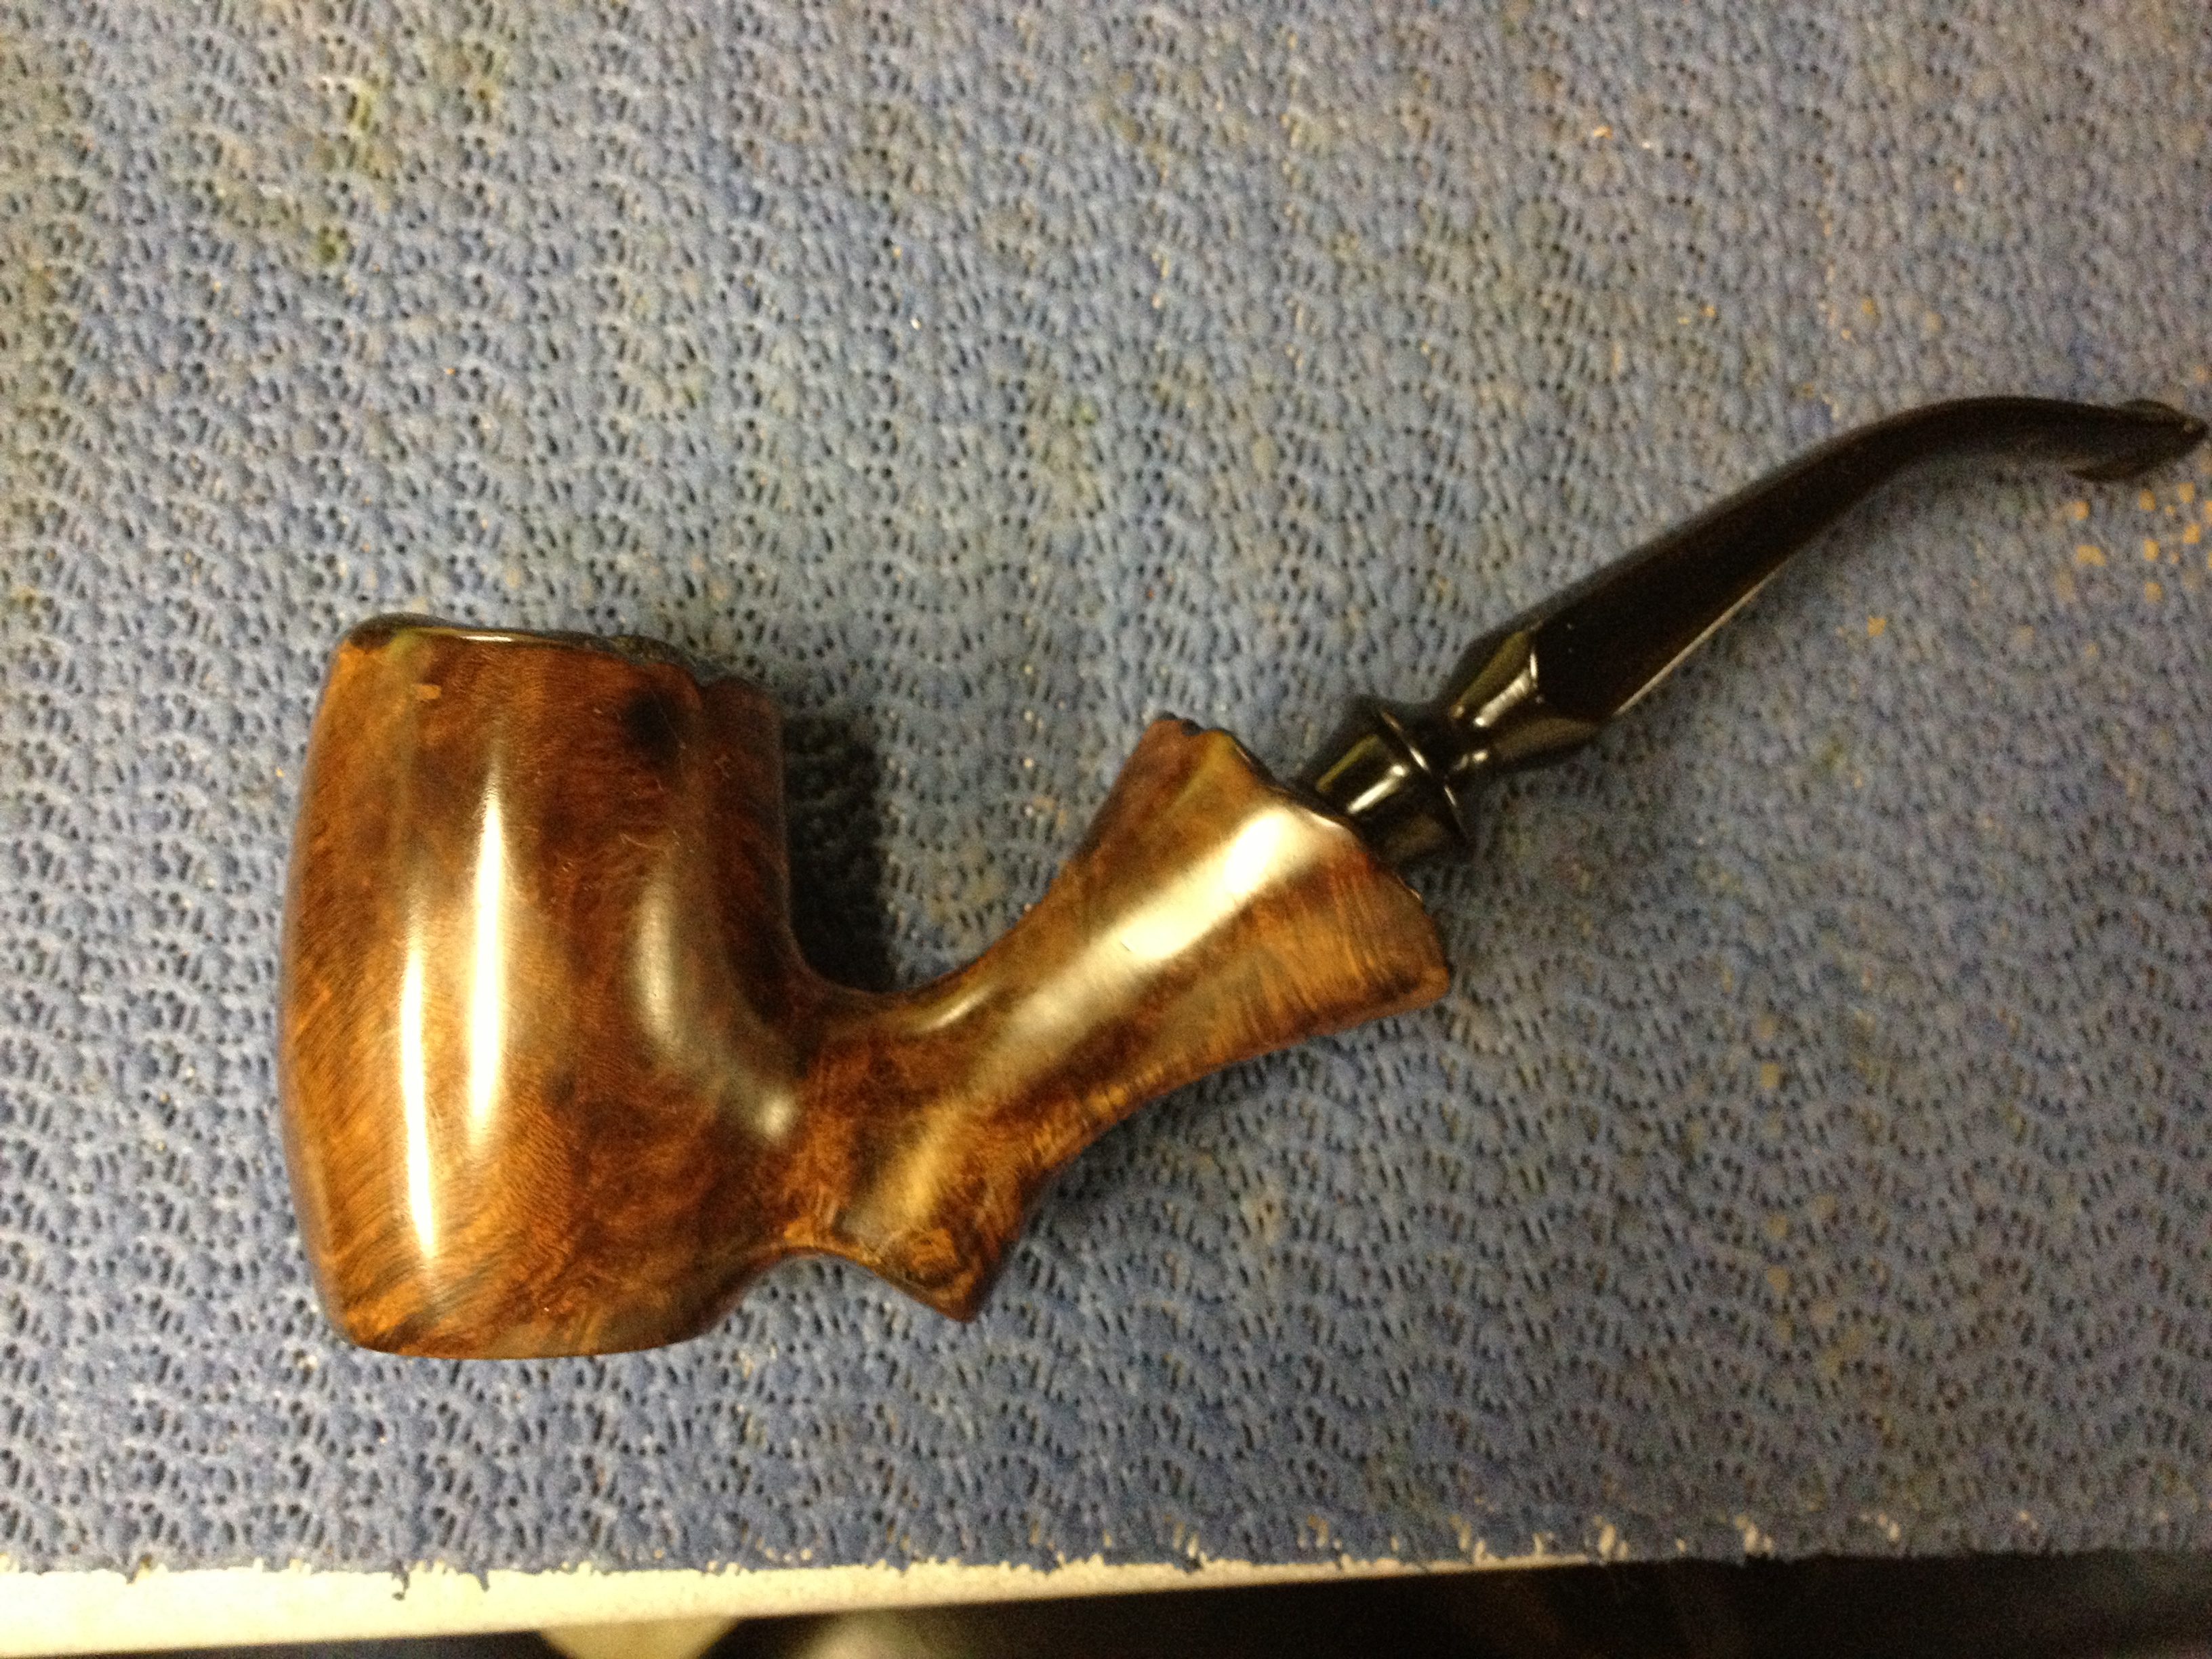
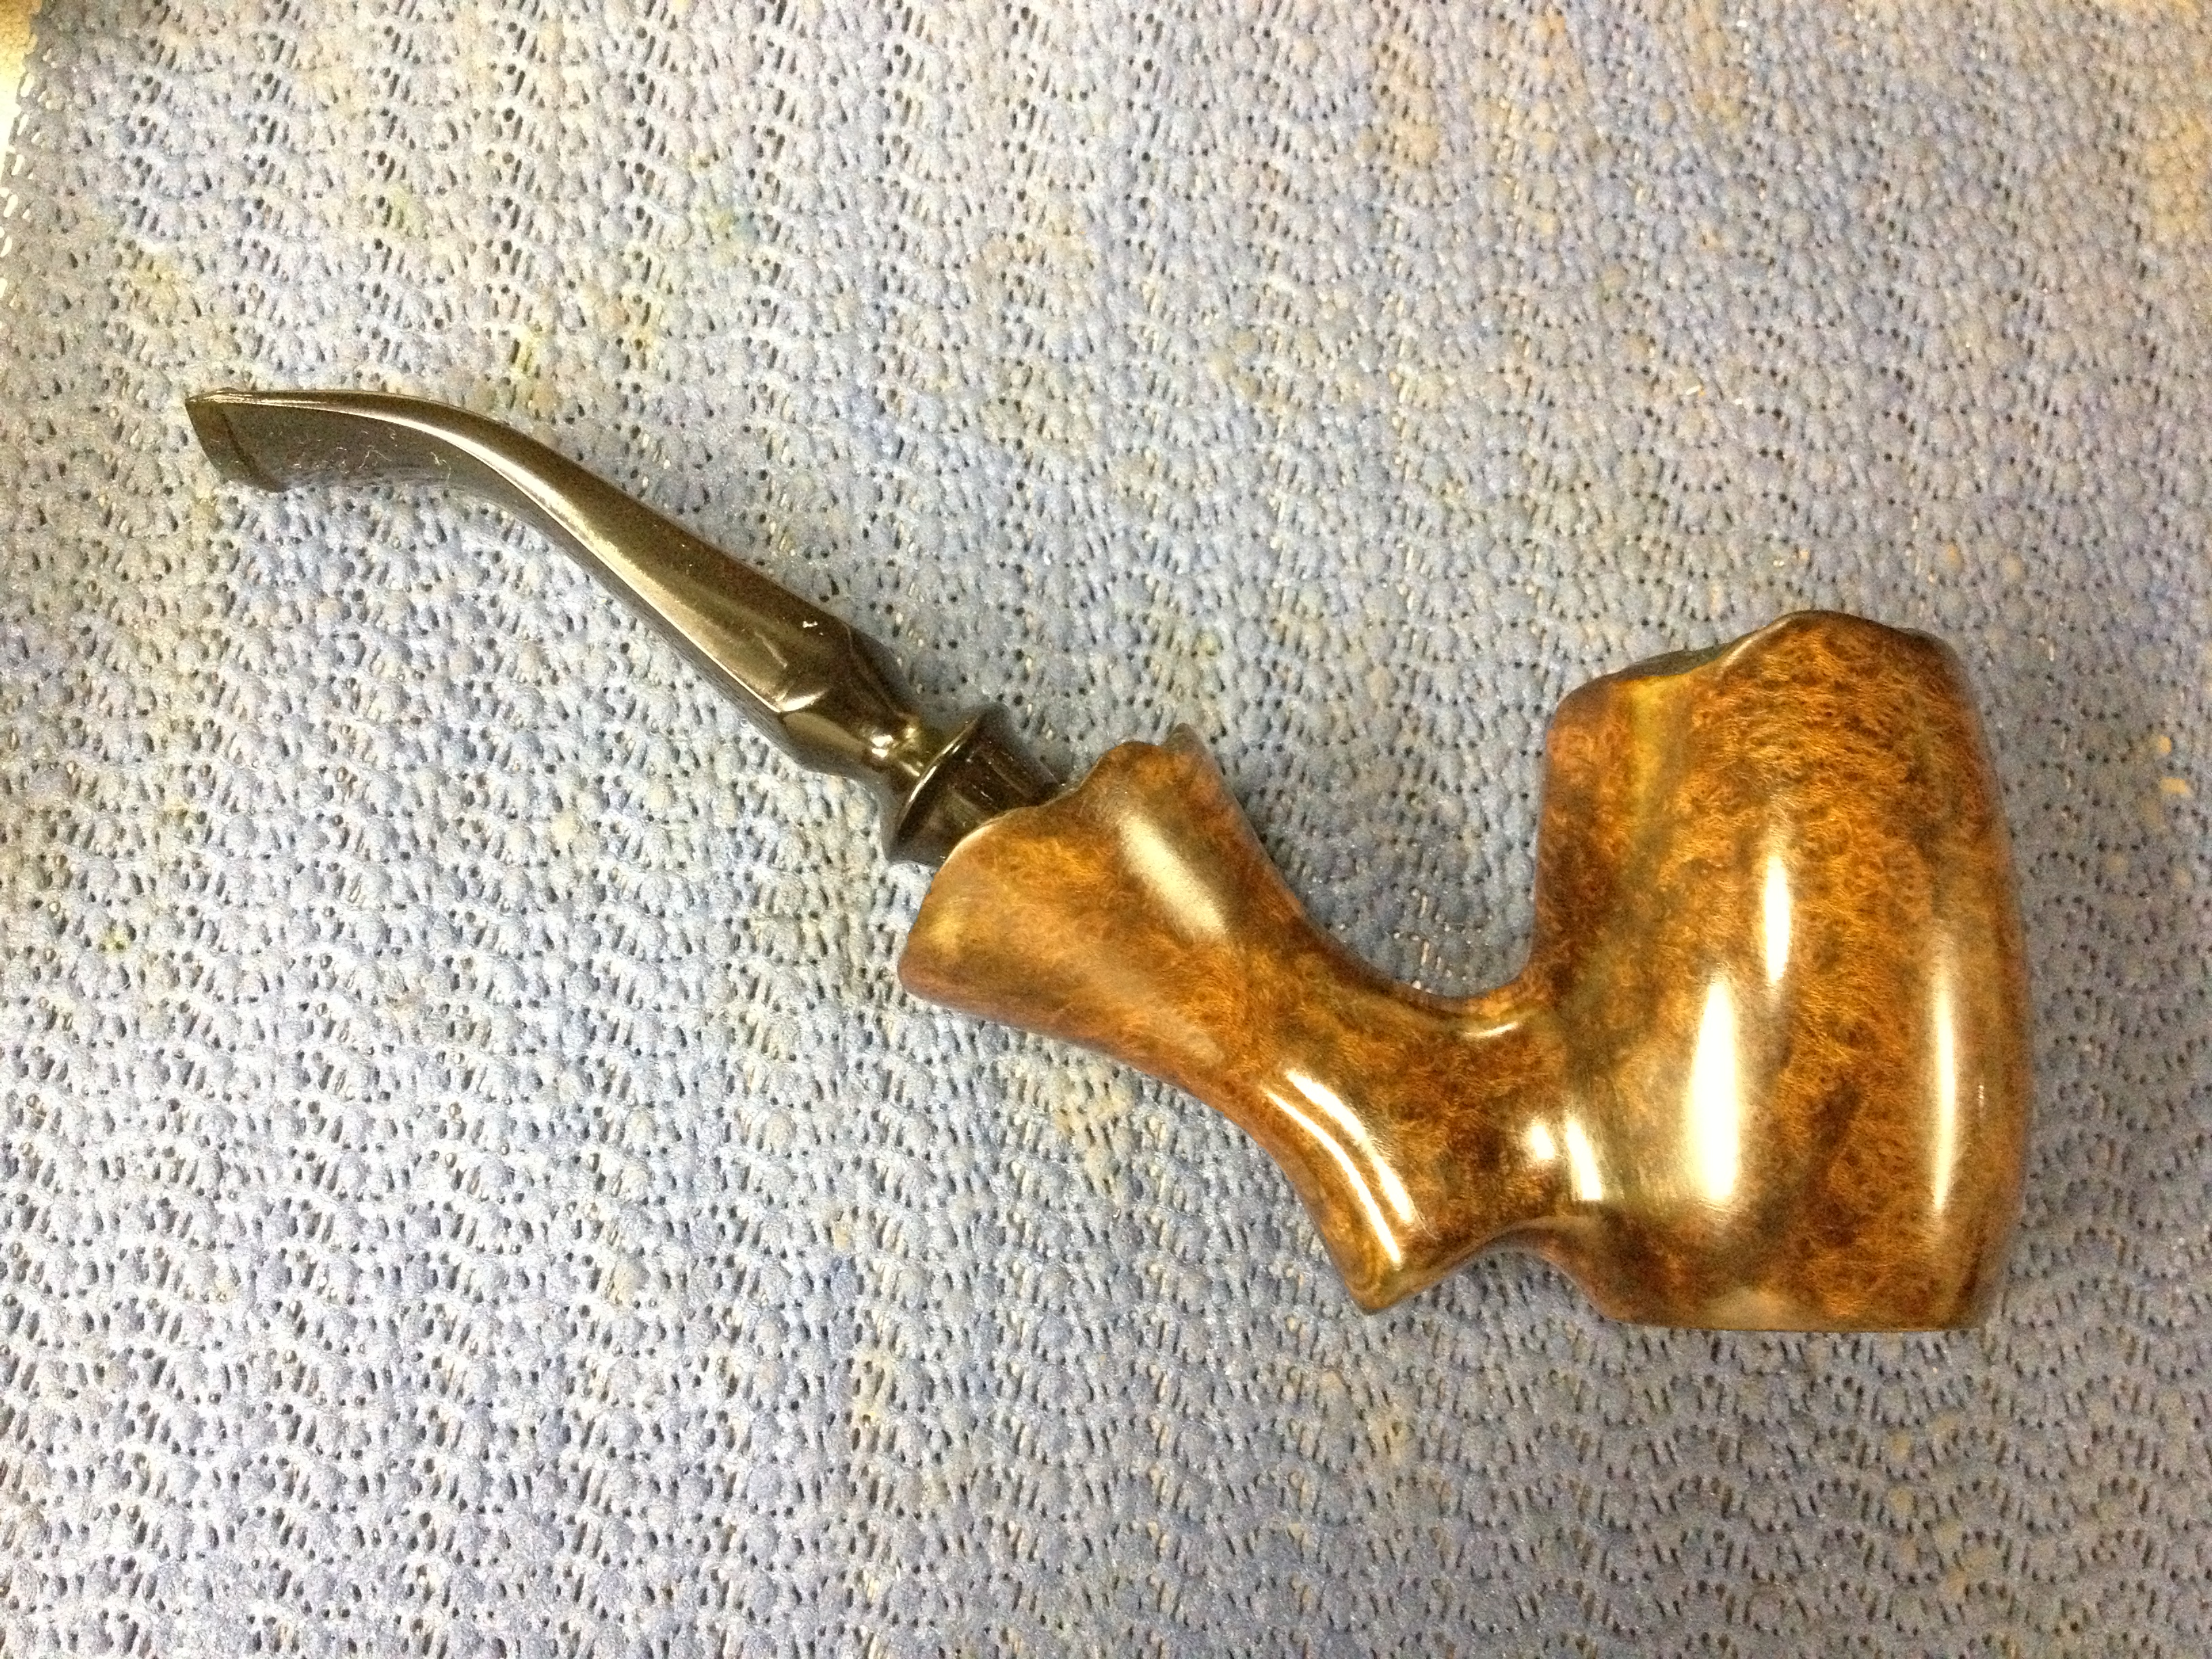
I am really happy with how this old pipe came out. The new stem was a success, both in fitting it and in the look, and I really like how the contrast staining came out. The rim looks much better now stained black with dye not tar. The fills didn’t hold the stain as well as I’d hoped but are much less noticeable now. And the and burn mark is almost invisible, which really pleases me. The only thing that I am not happy about, really confused about more than unhappy, is that the stem has loosened from the tight fit it had the day I turned it. I don’t know if the humidity (it had been extremely humid here the last two weeks), the alcohol soak, the extended time of separation for stem and stummel or what caused that. Hopefully a few days seated together and/or some use will remedy that. If not, I’ll likely heat and gently expand the tenon a tad to get the fit better. At any rate, here is the final result:
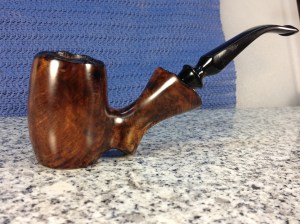
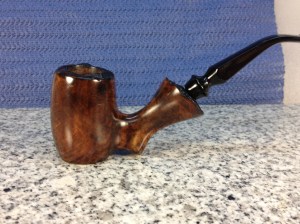
IMG_6802 IMG_6801 IMG_6800 IMG_6799 IMG_6796 IMG_6795 IMG_6794 IMG_6793