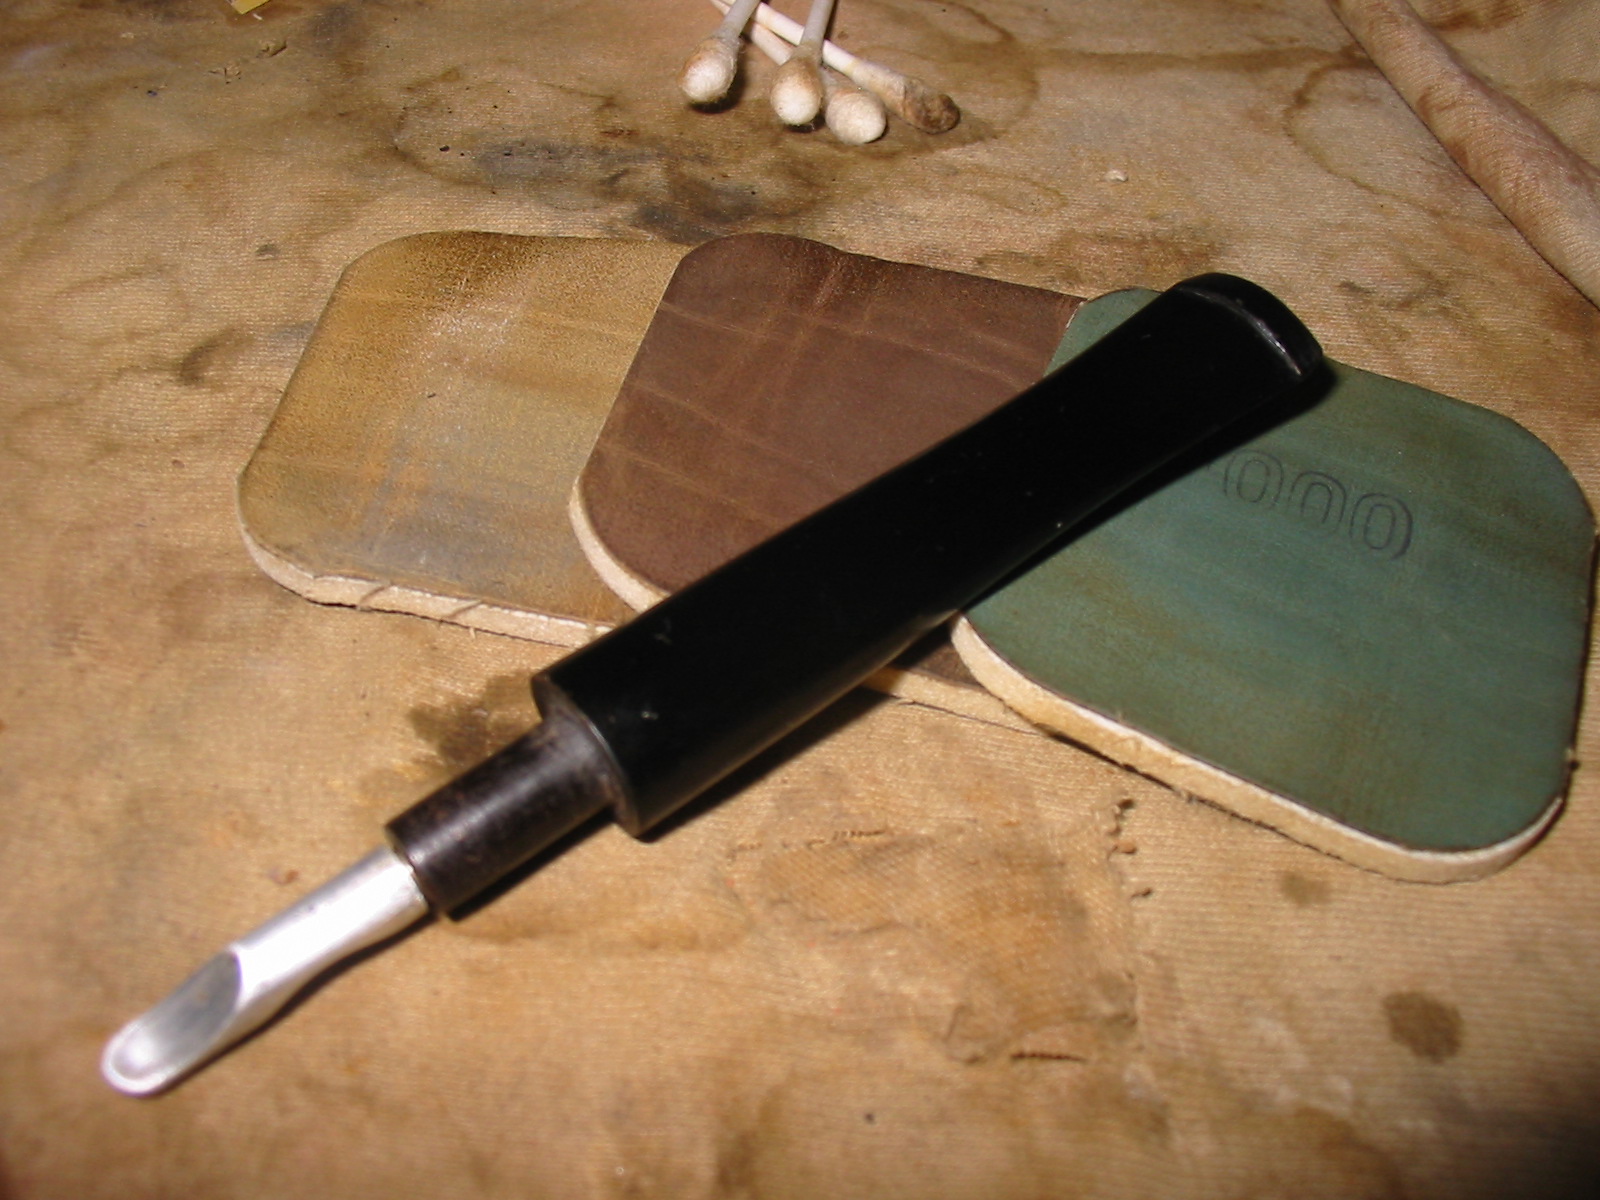
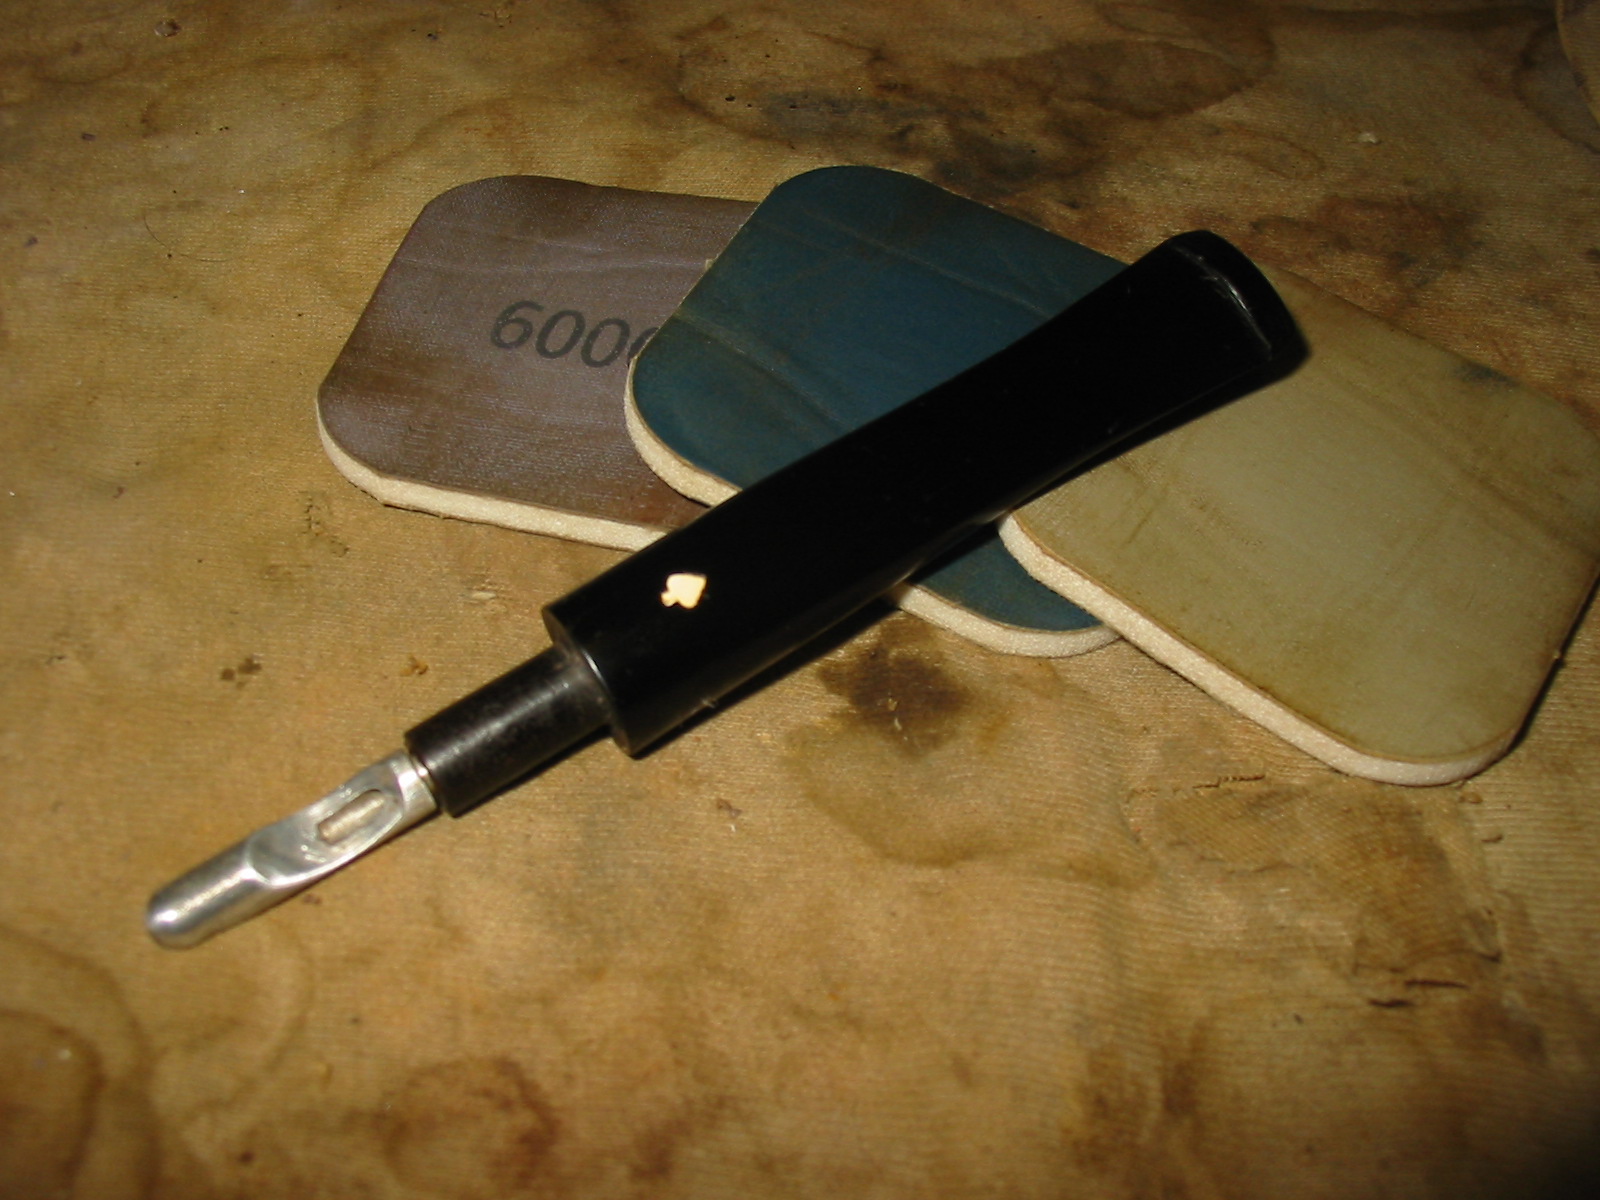
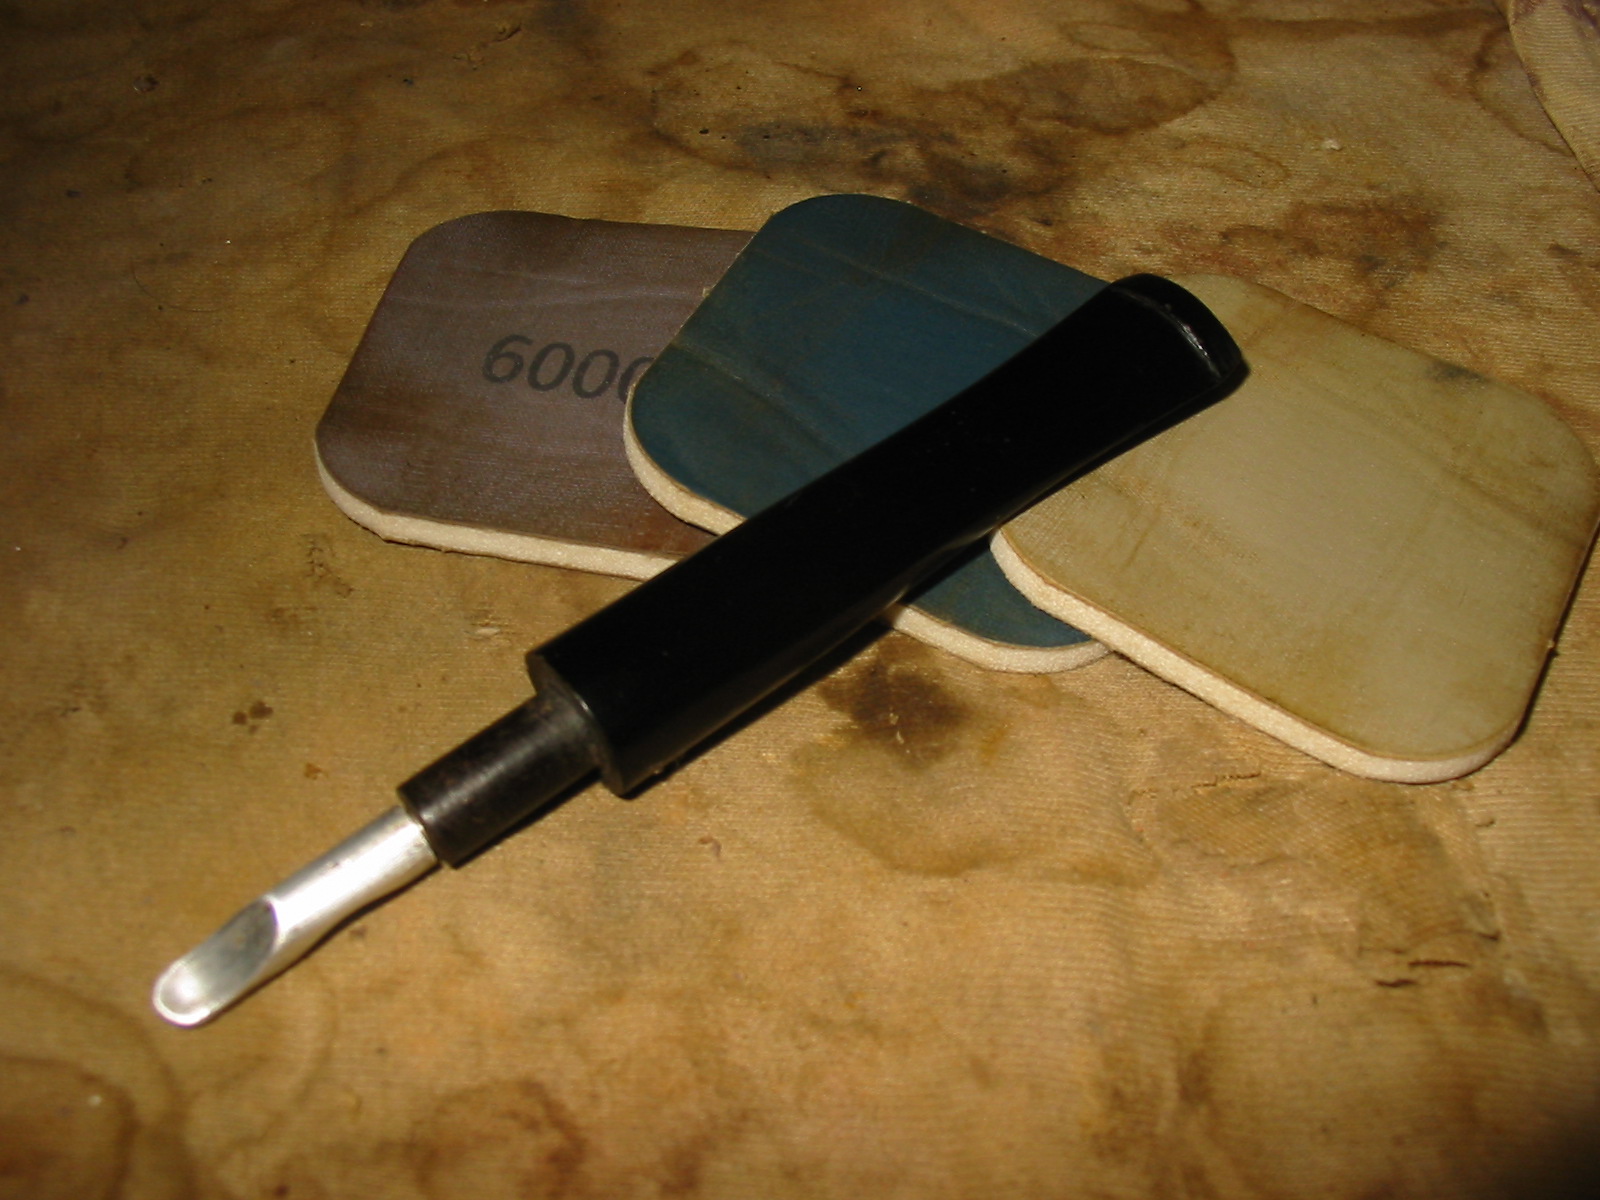
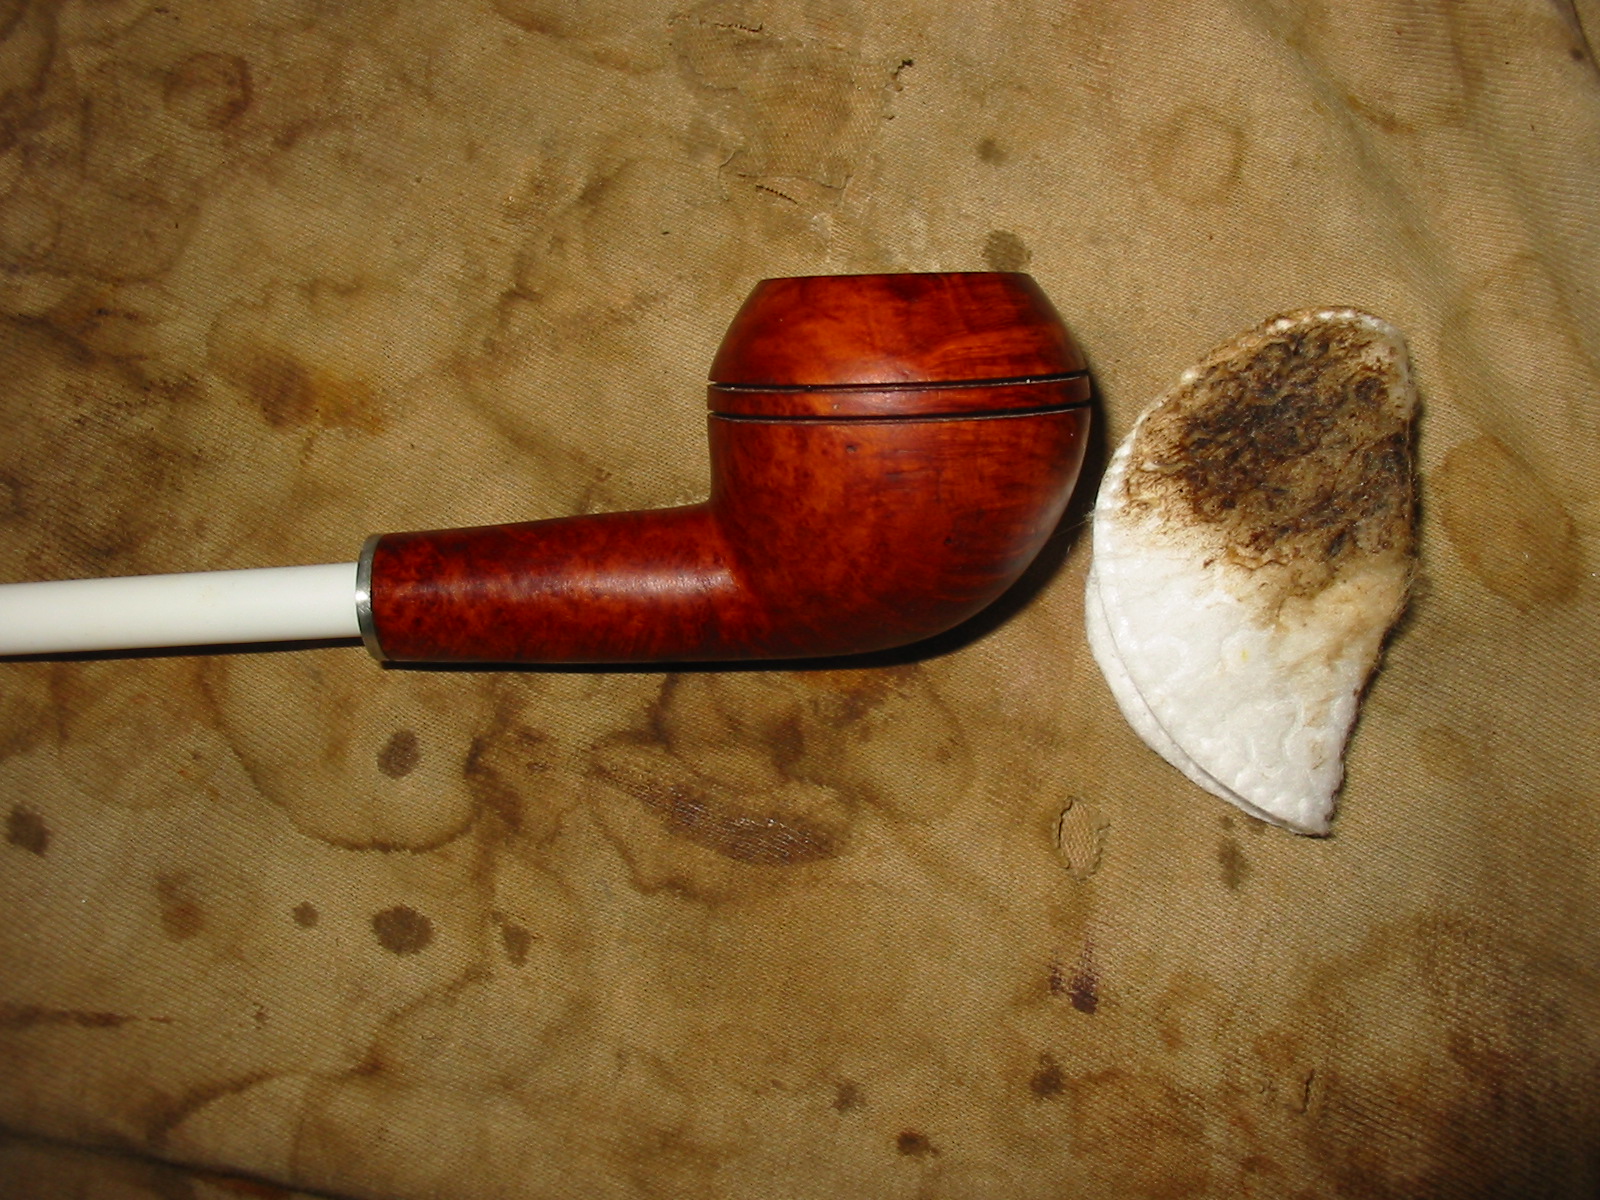
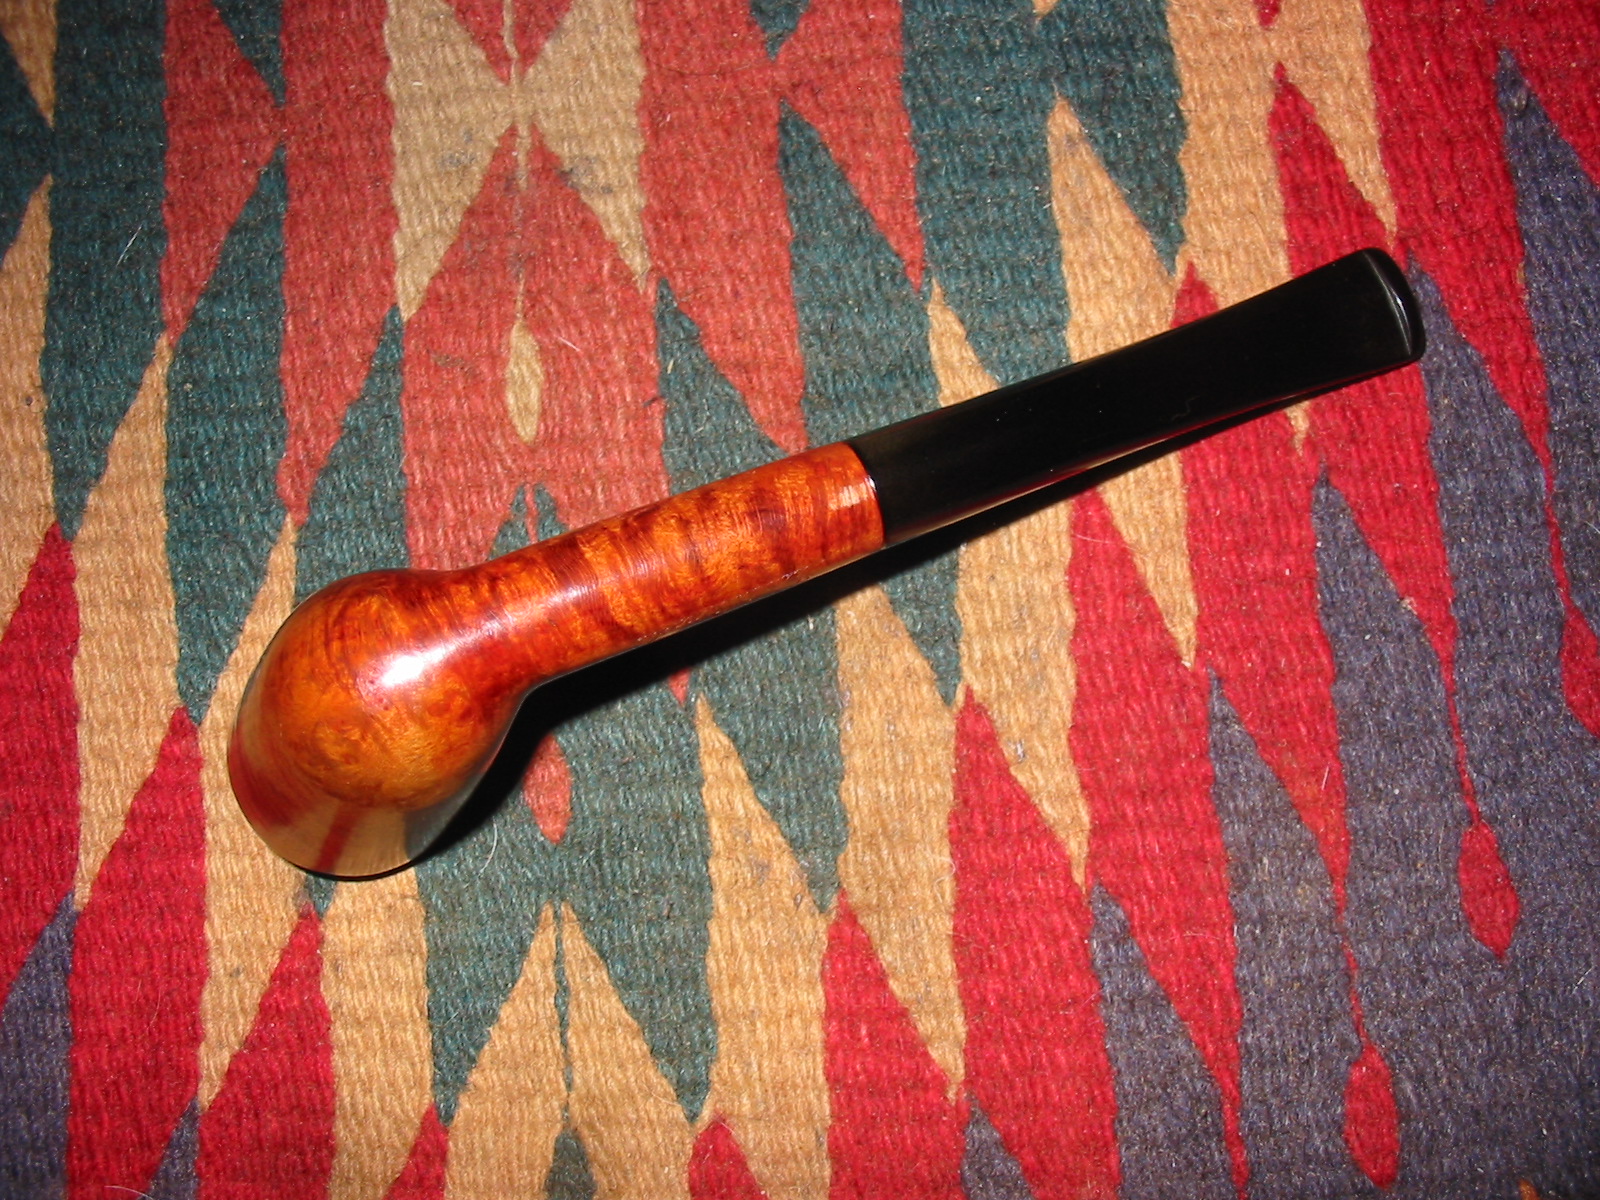
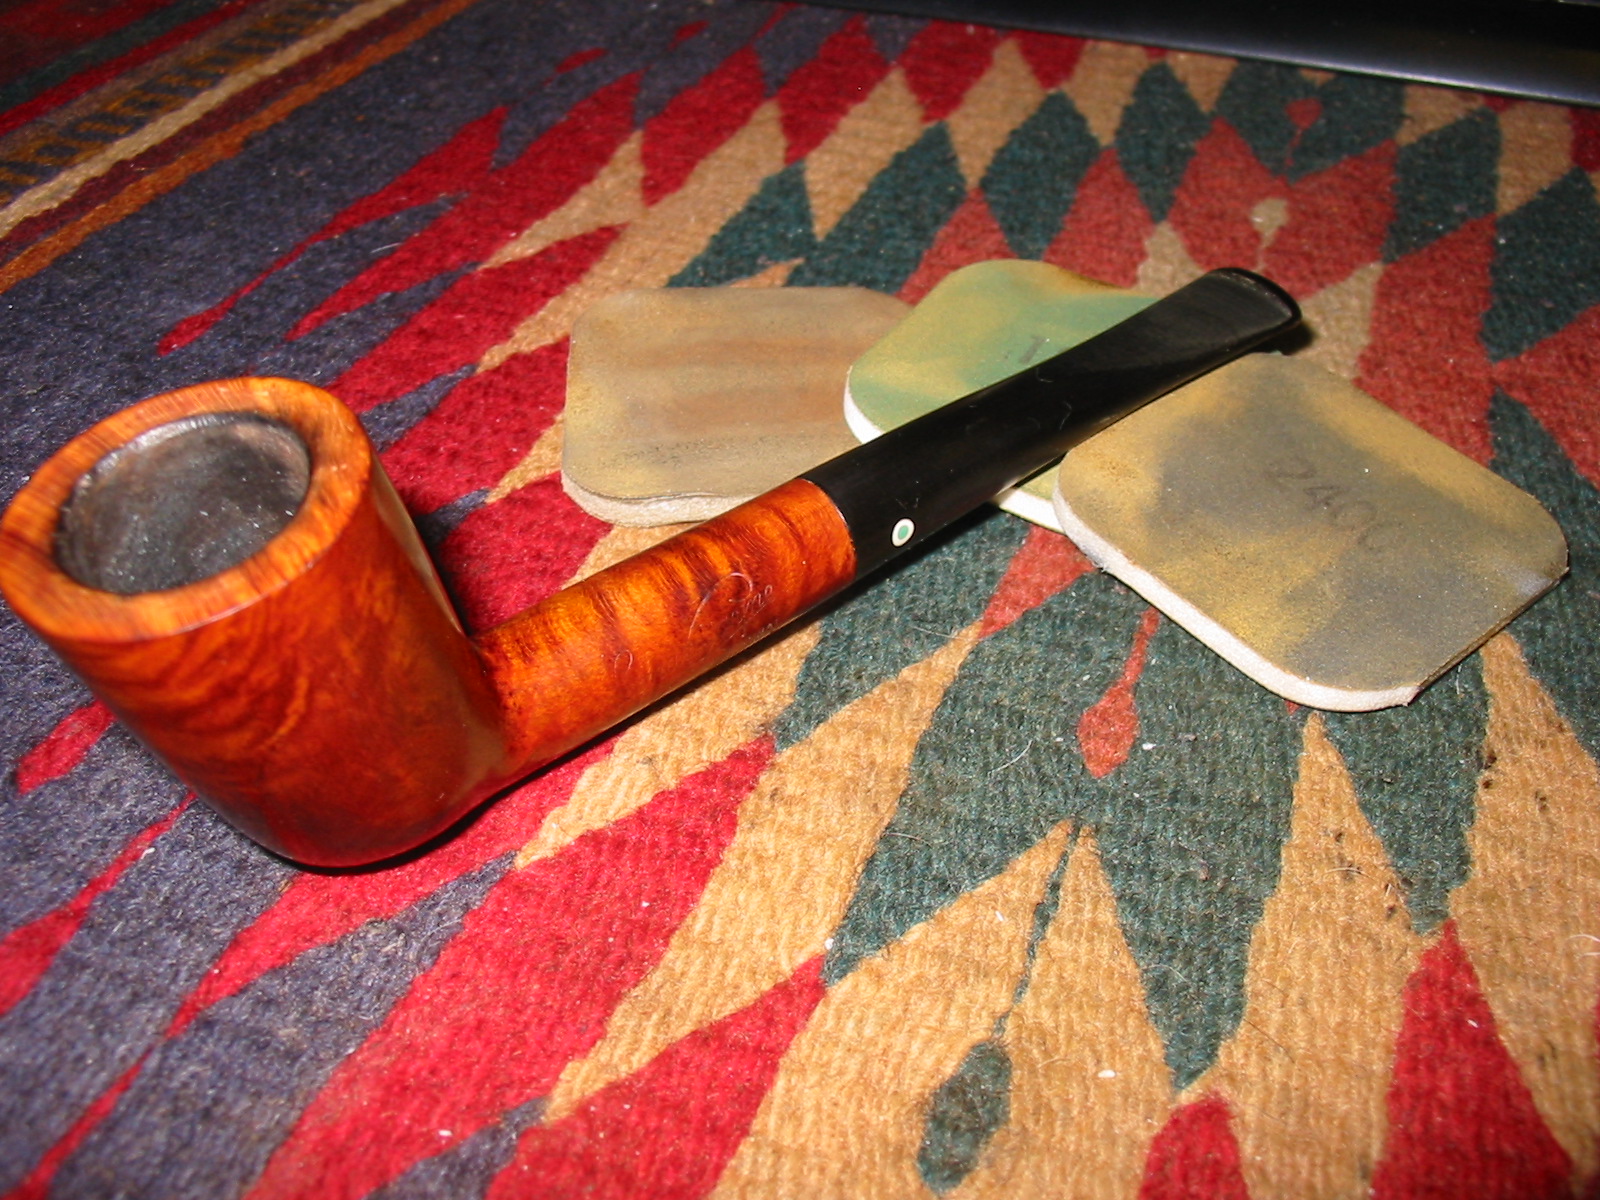
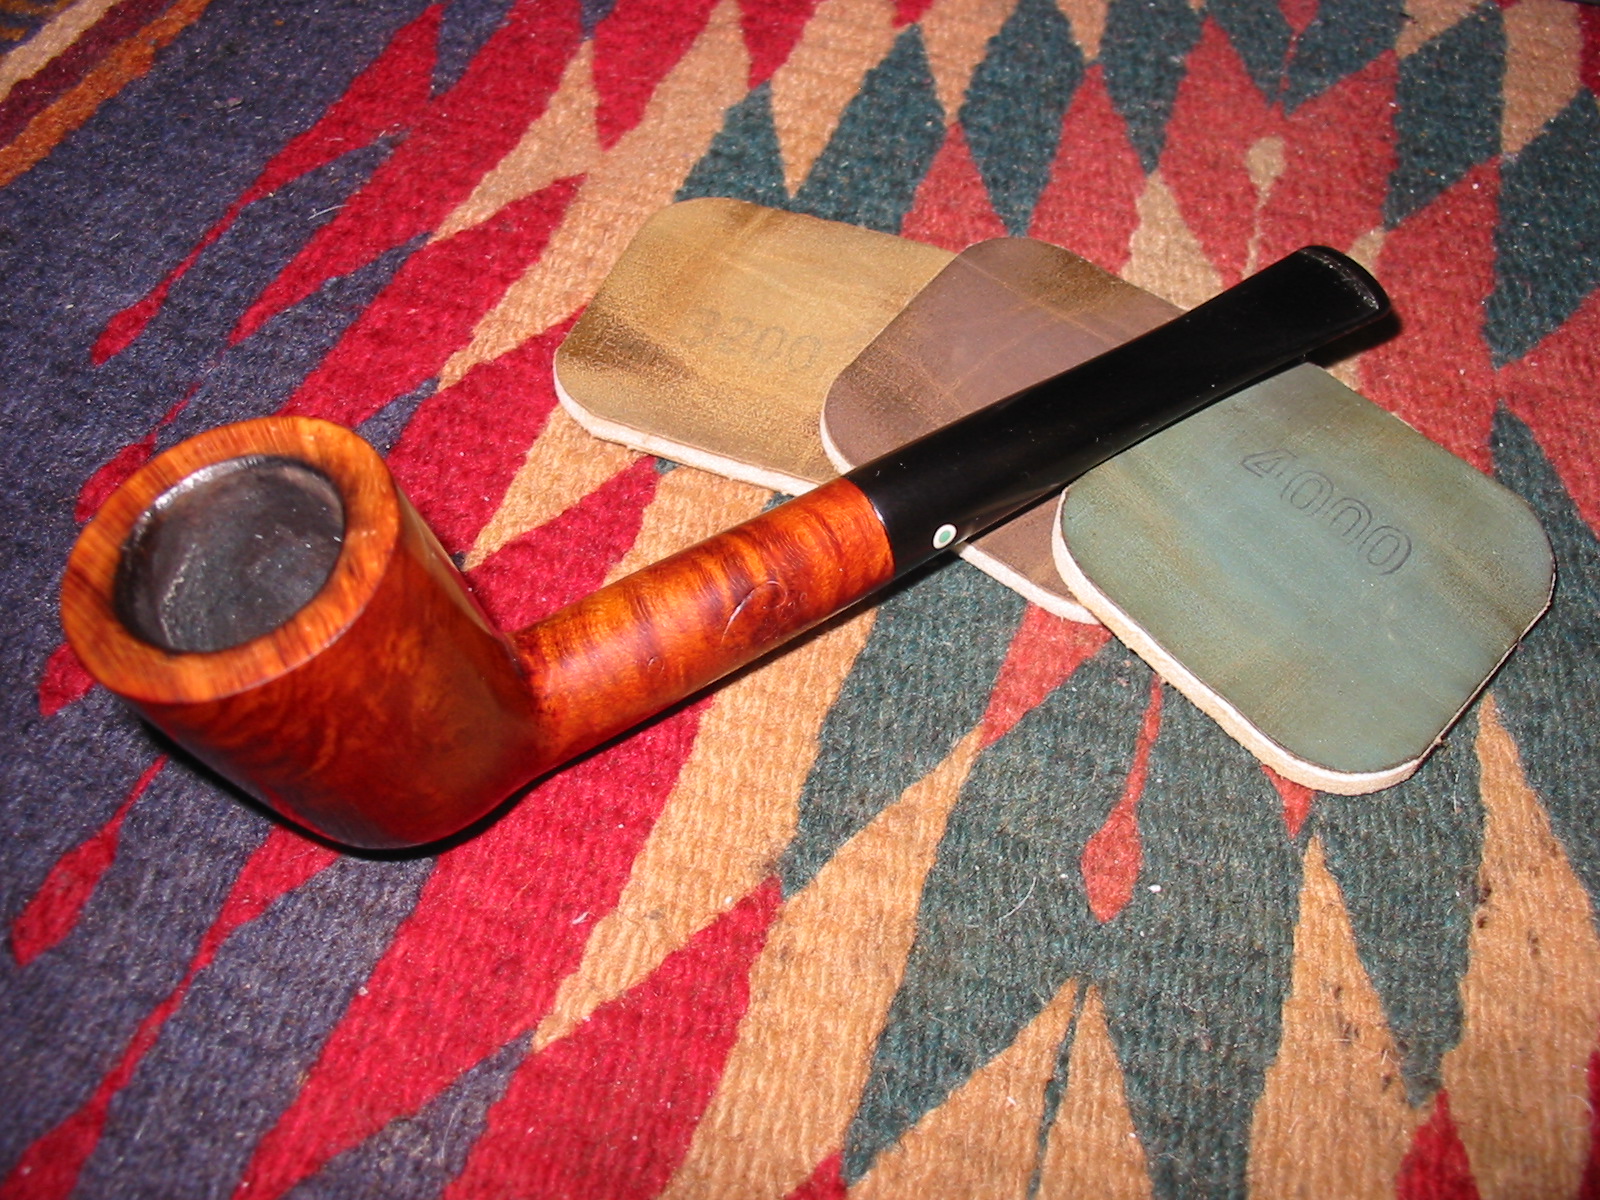
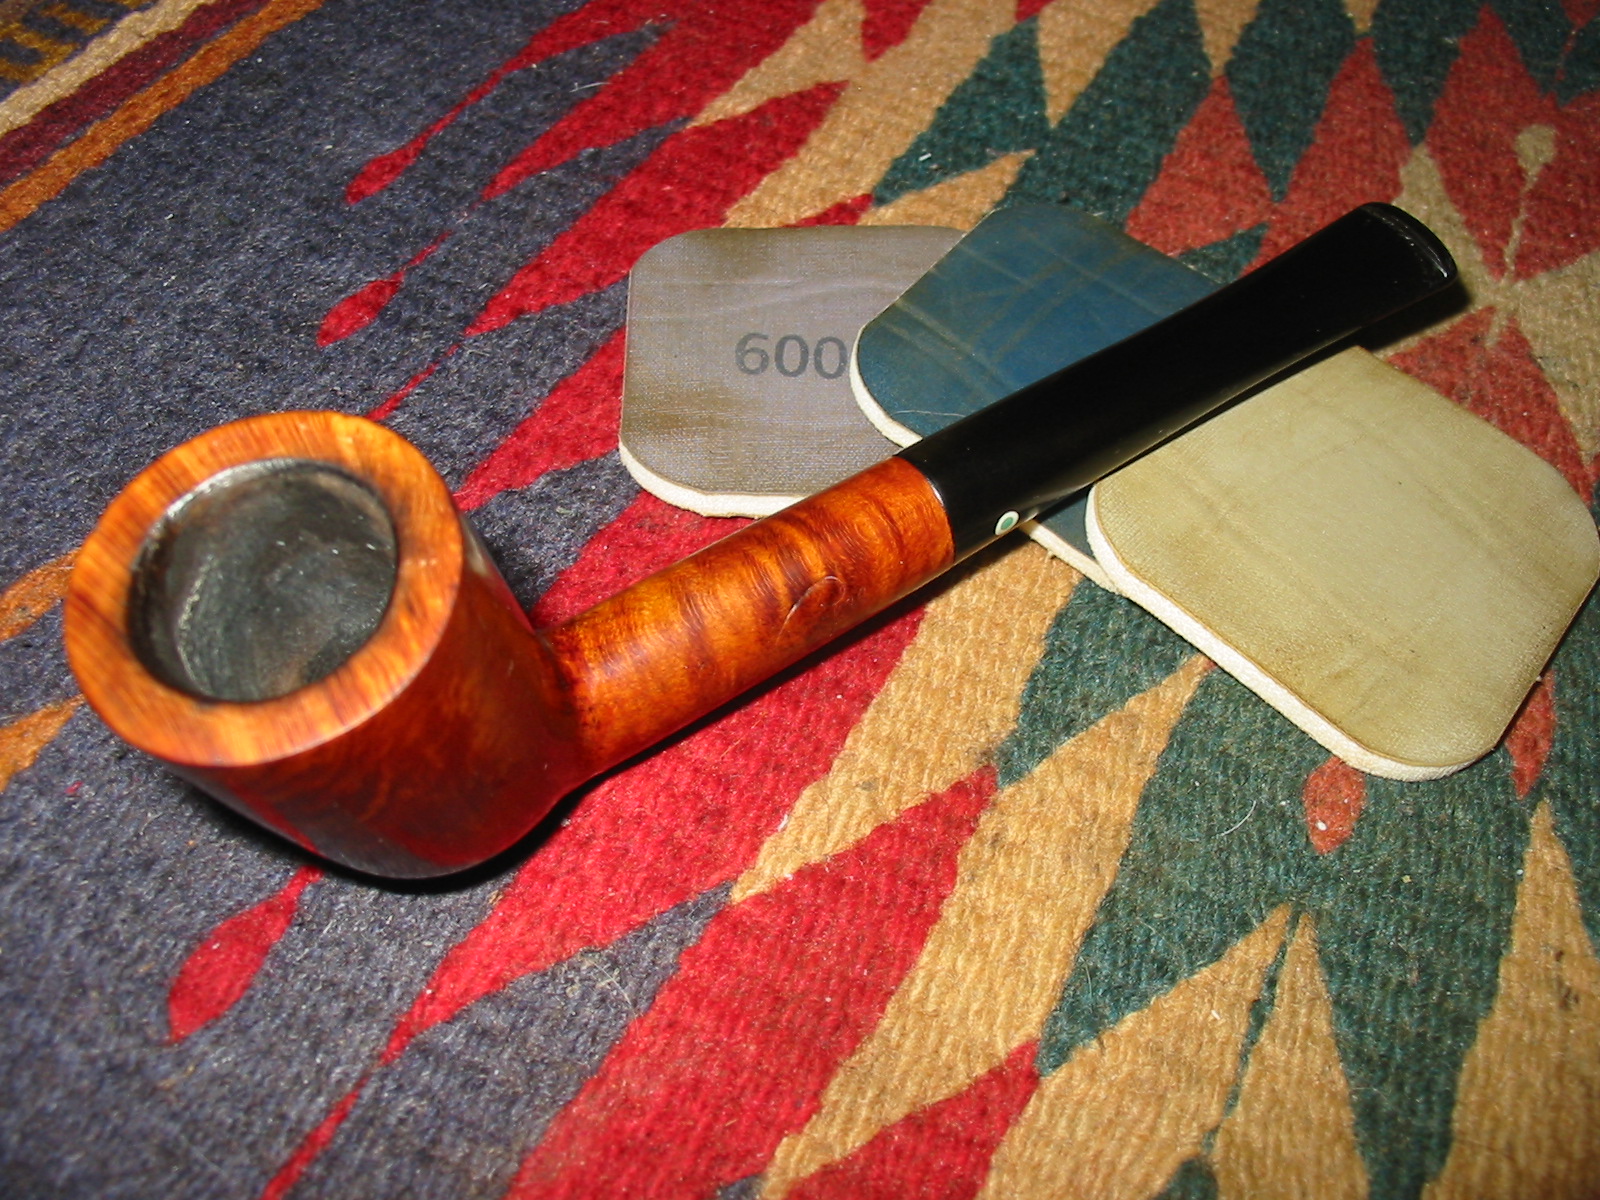
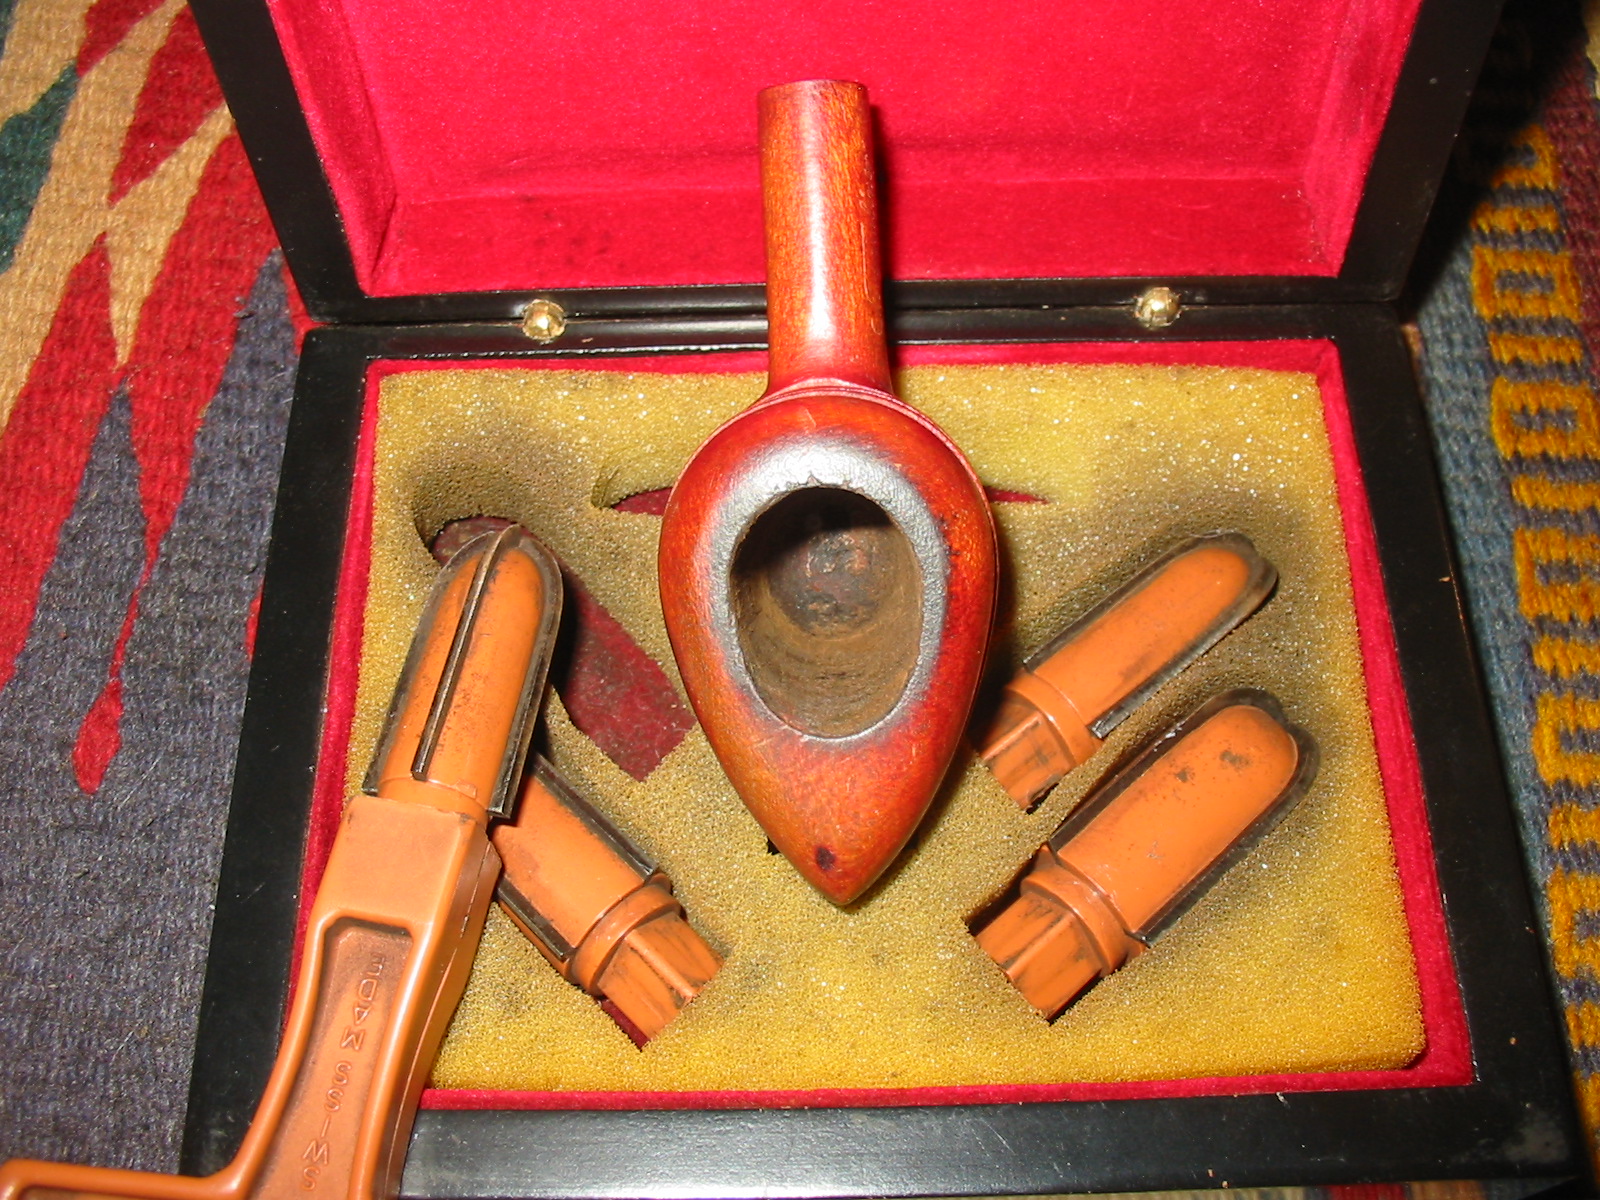
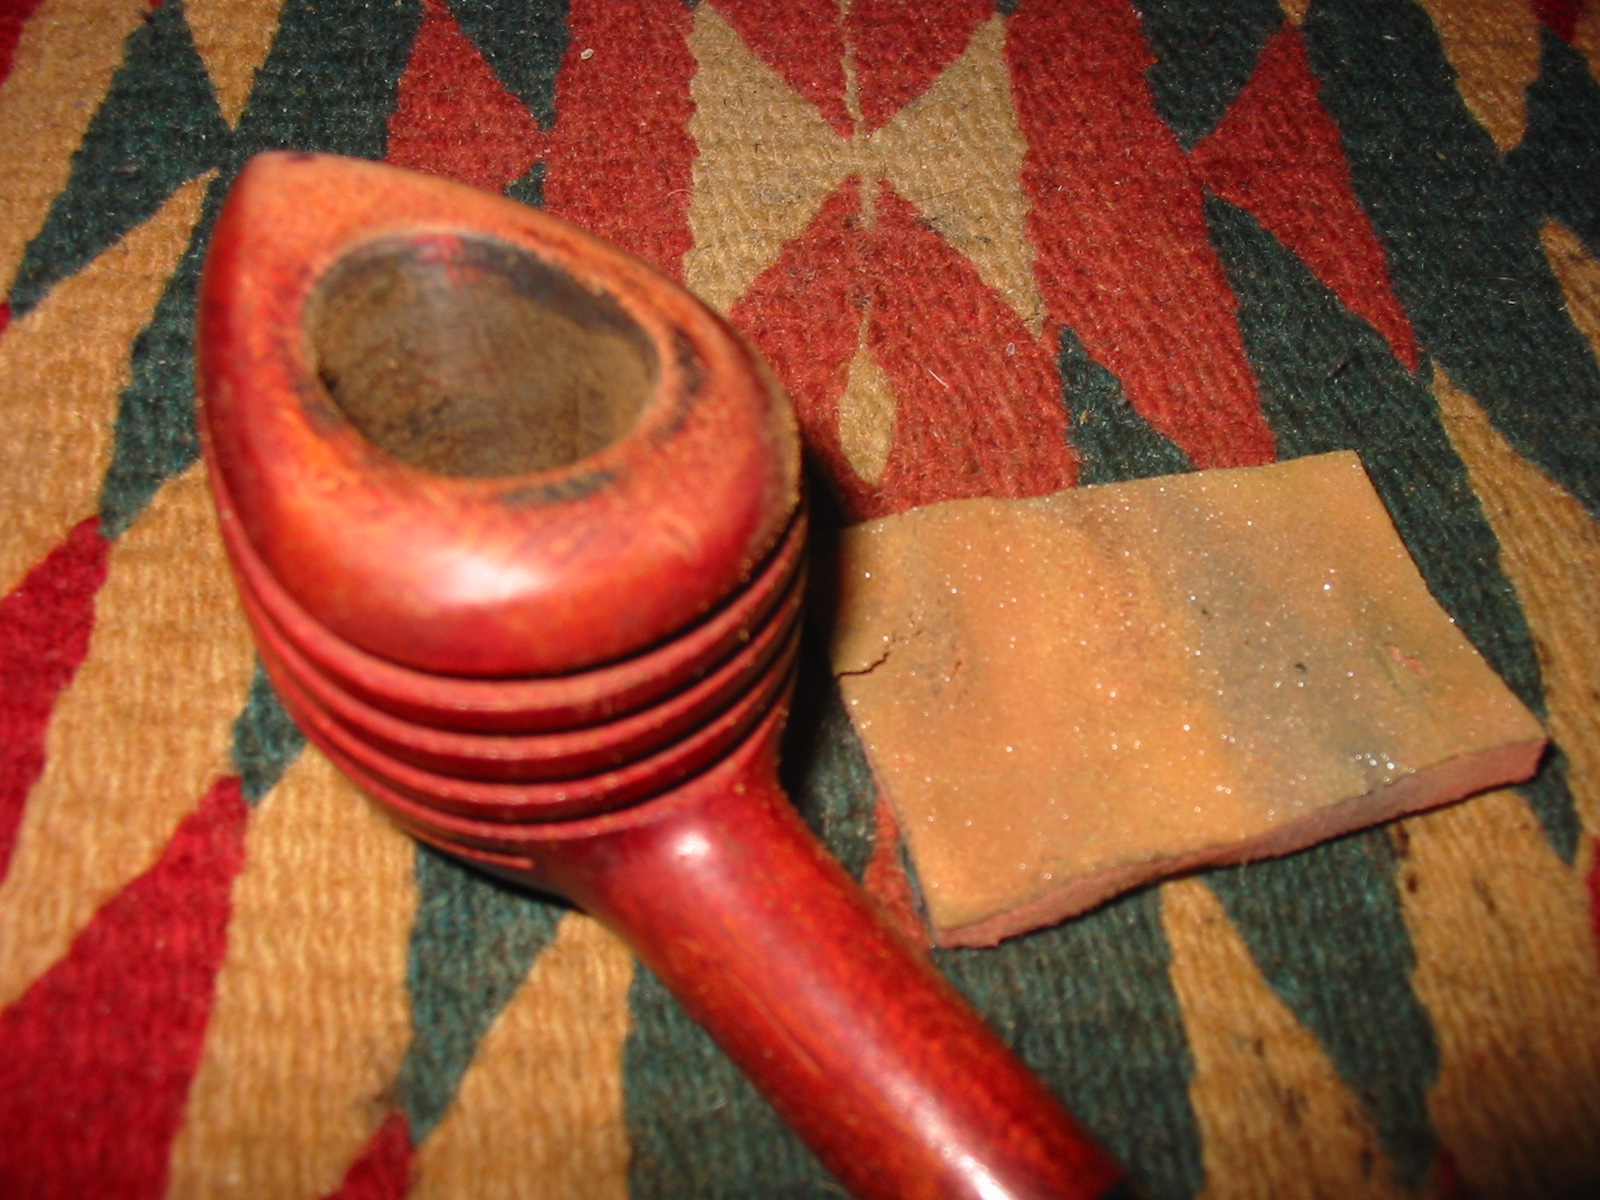
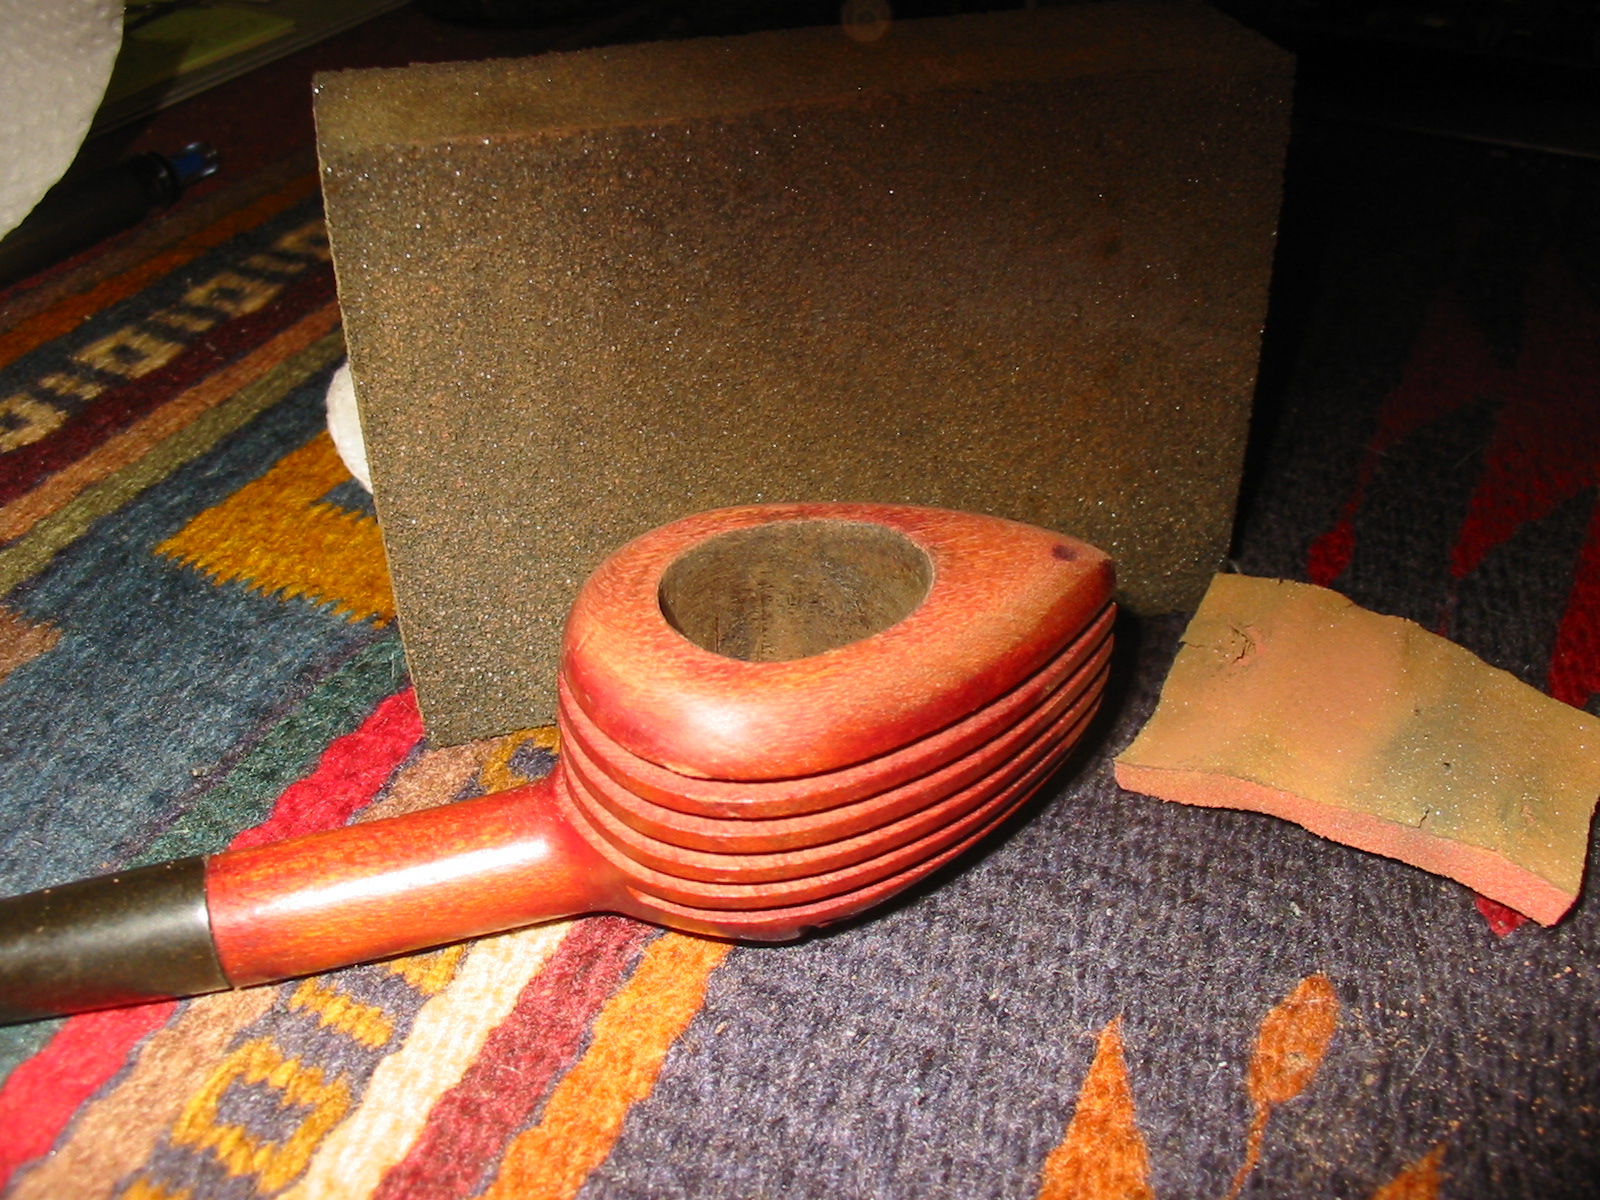
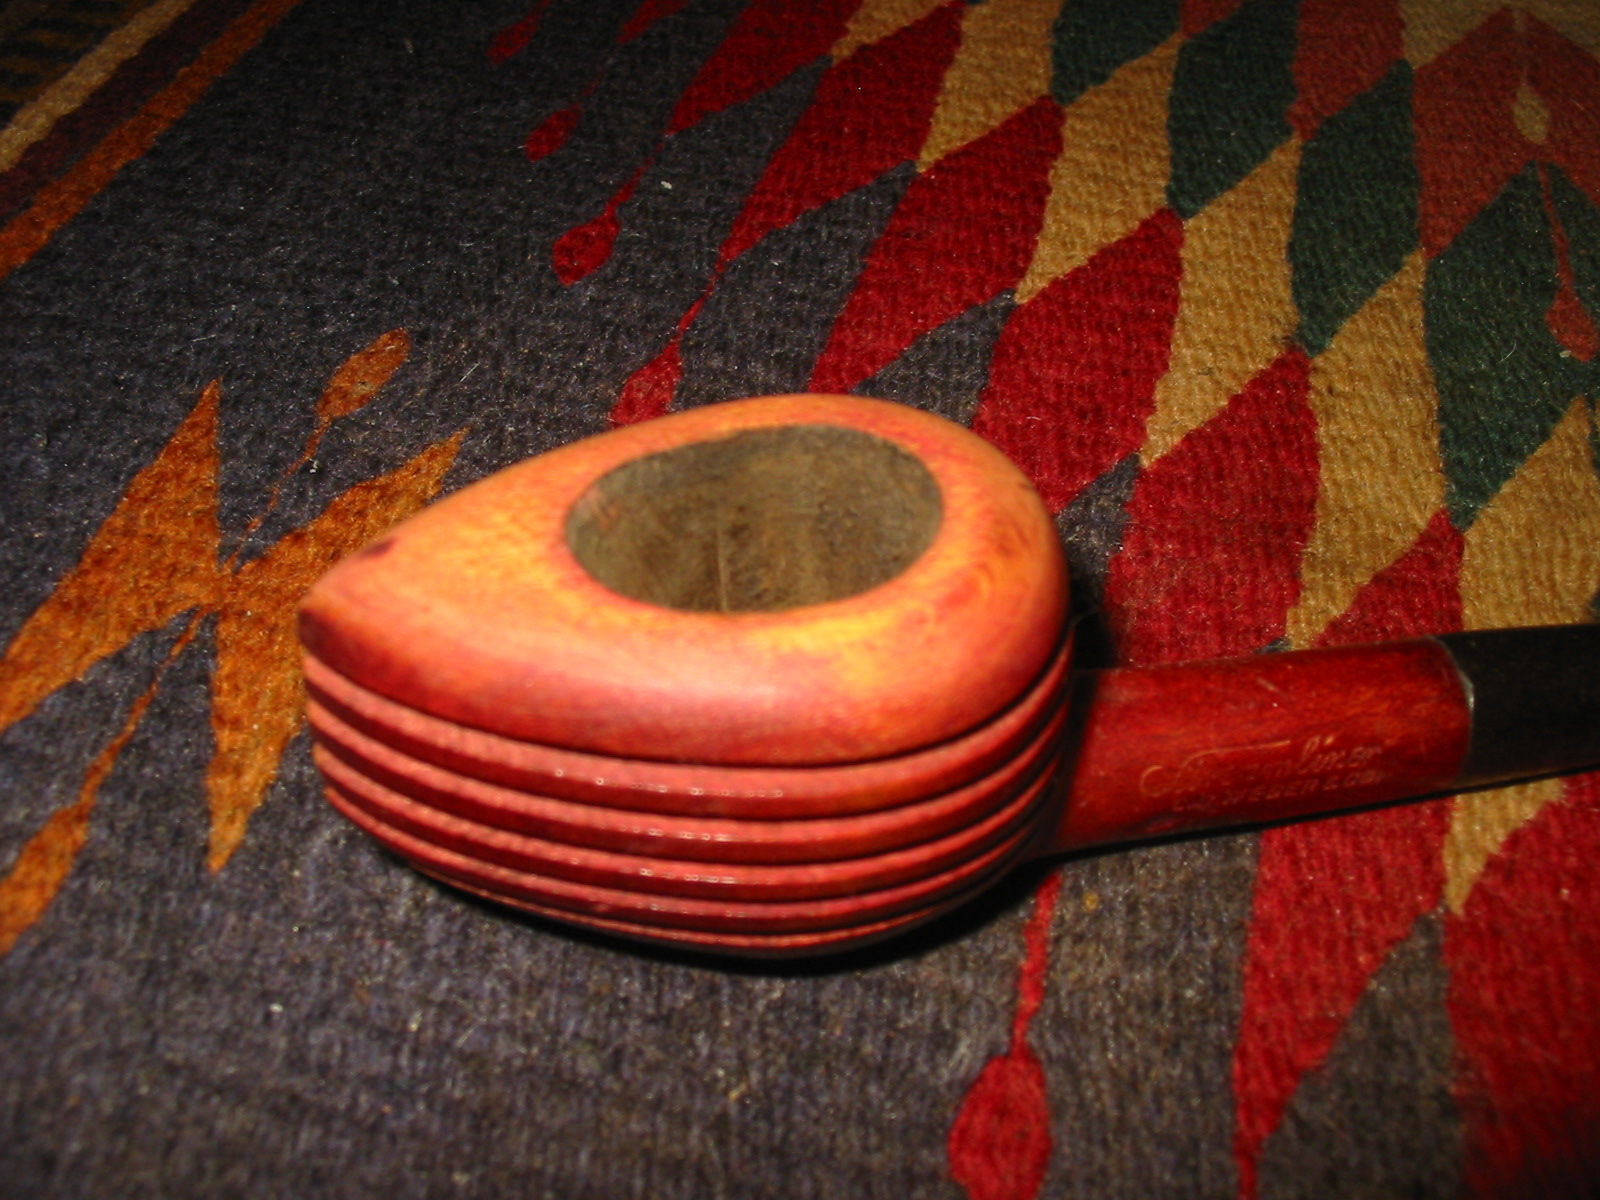
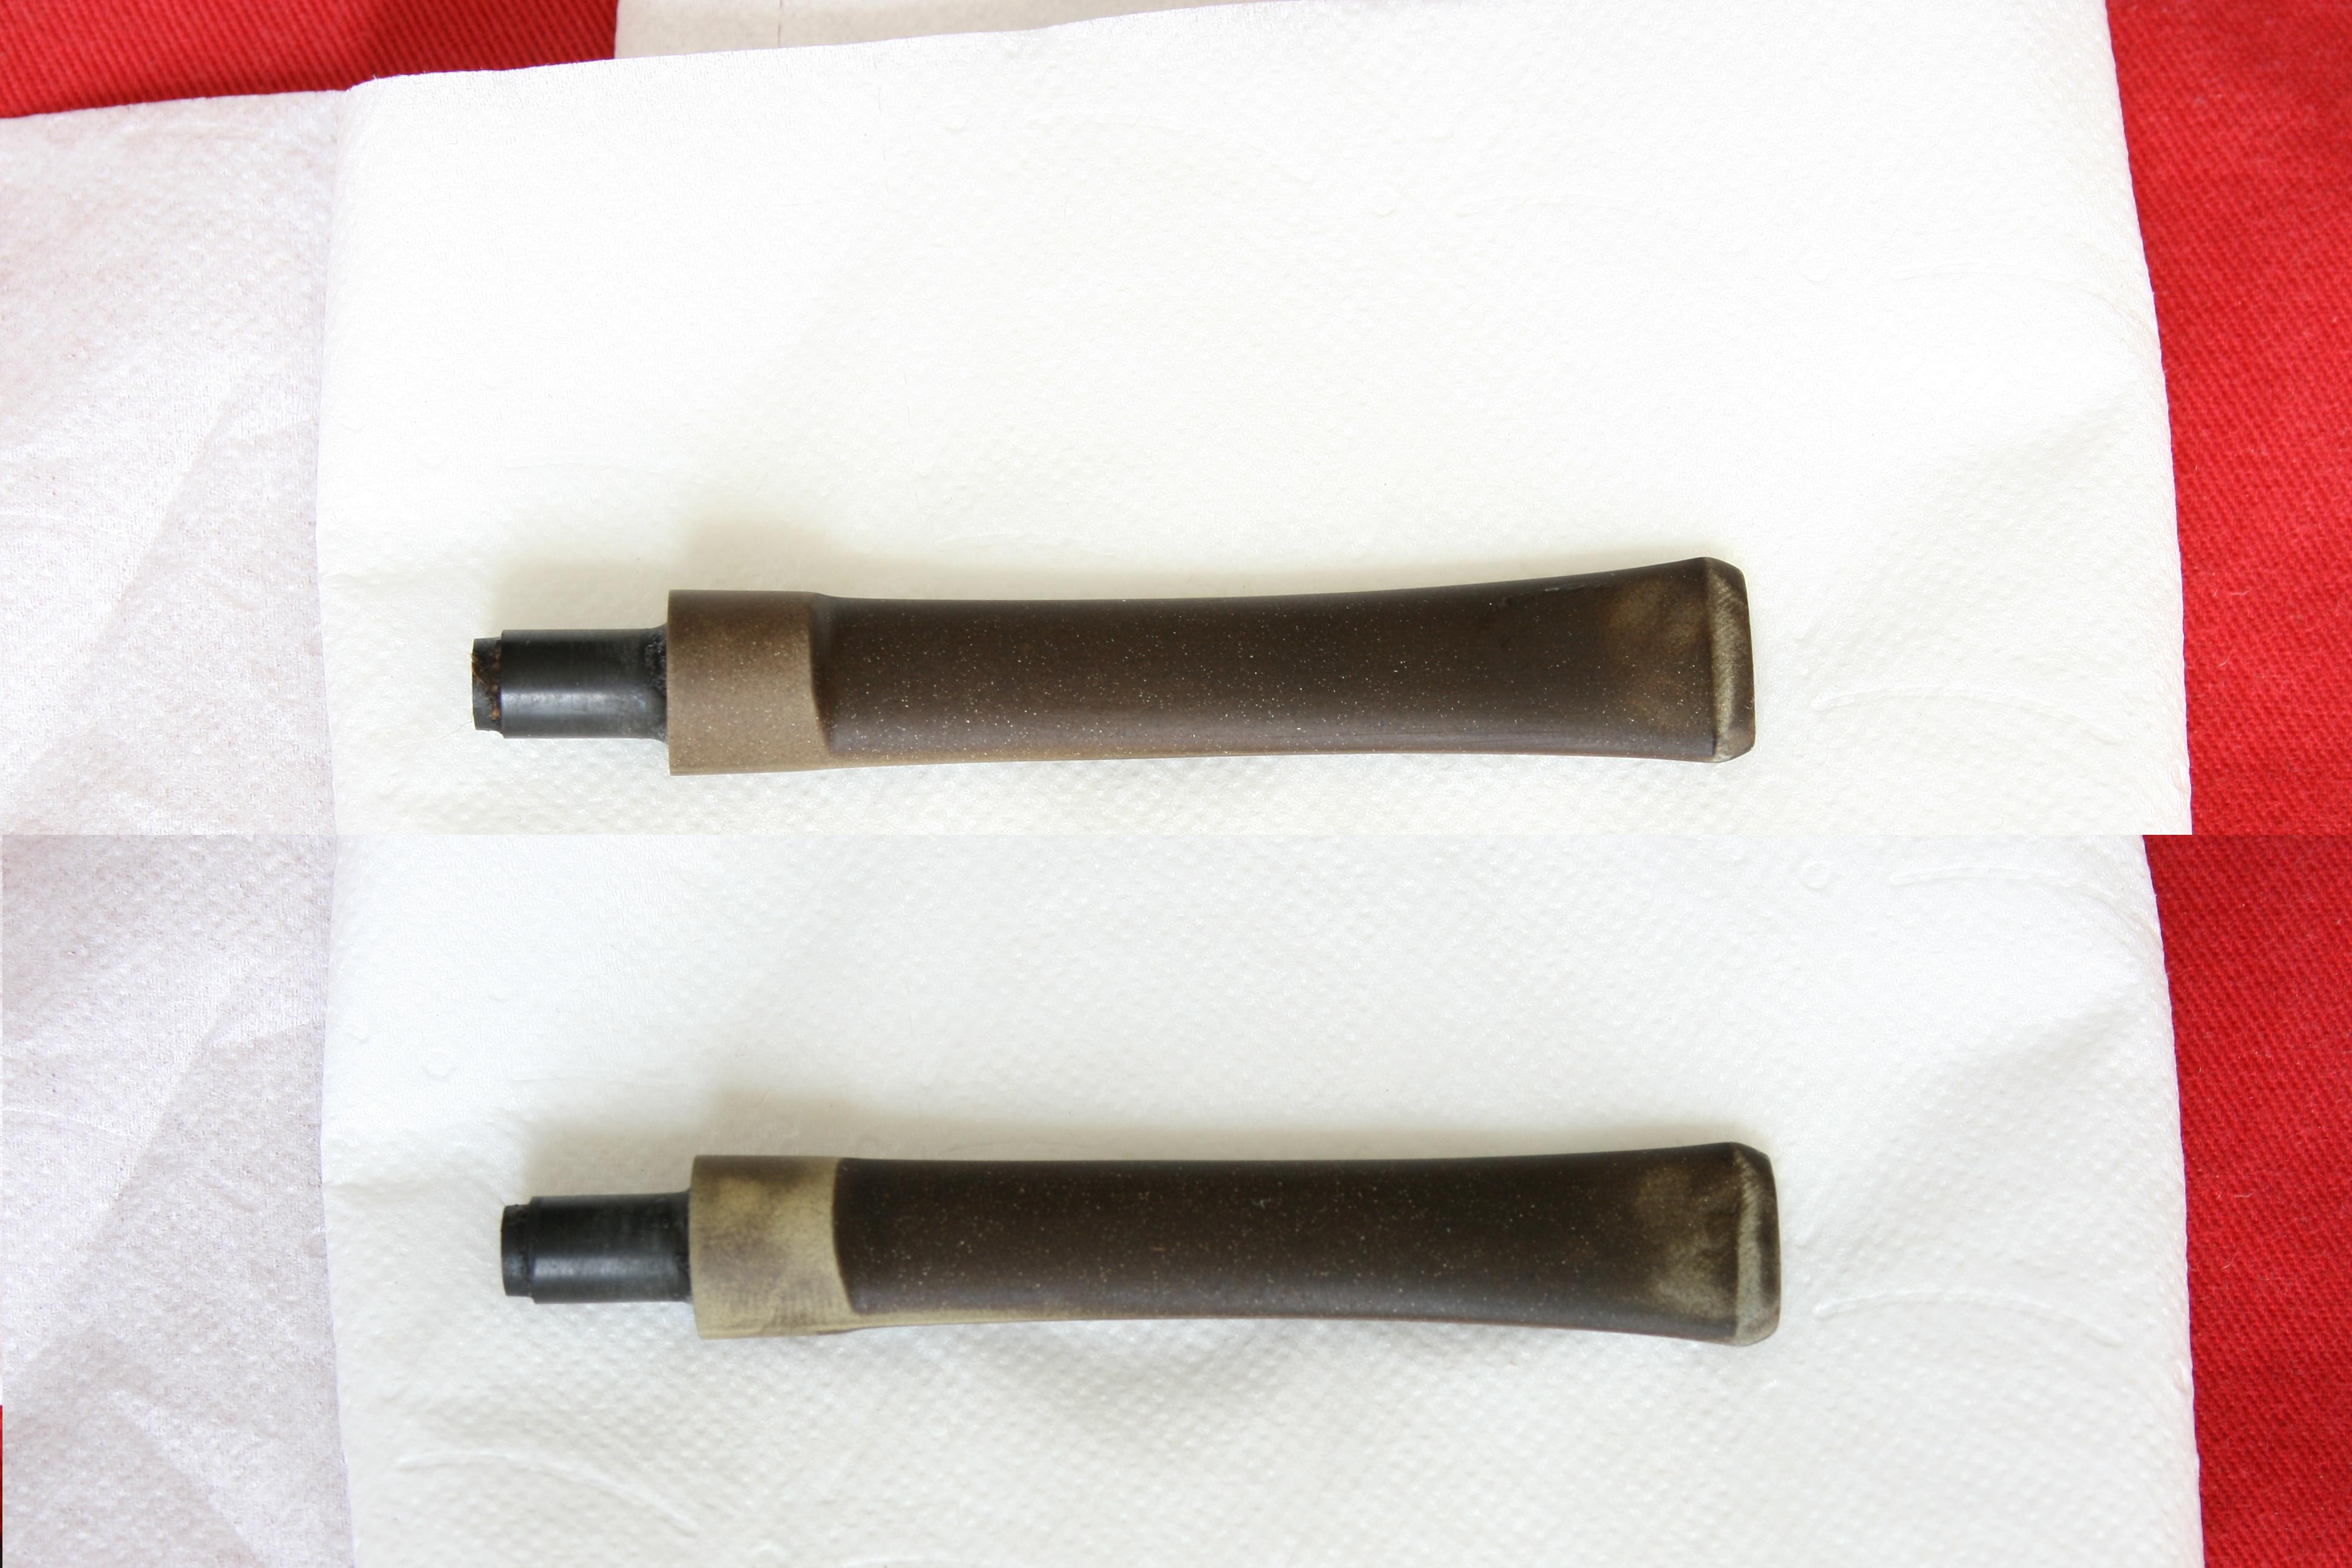
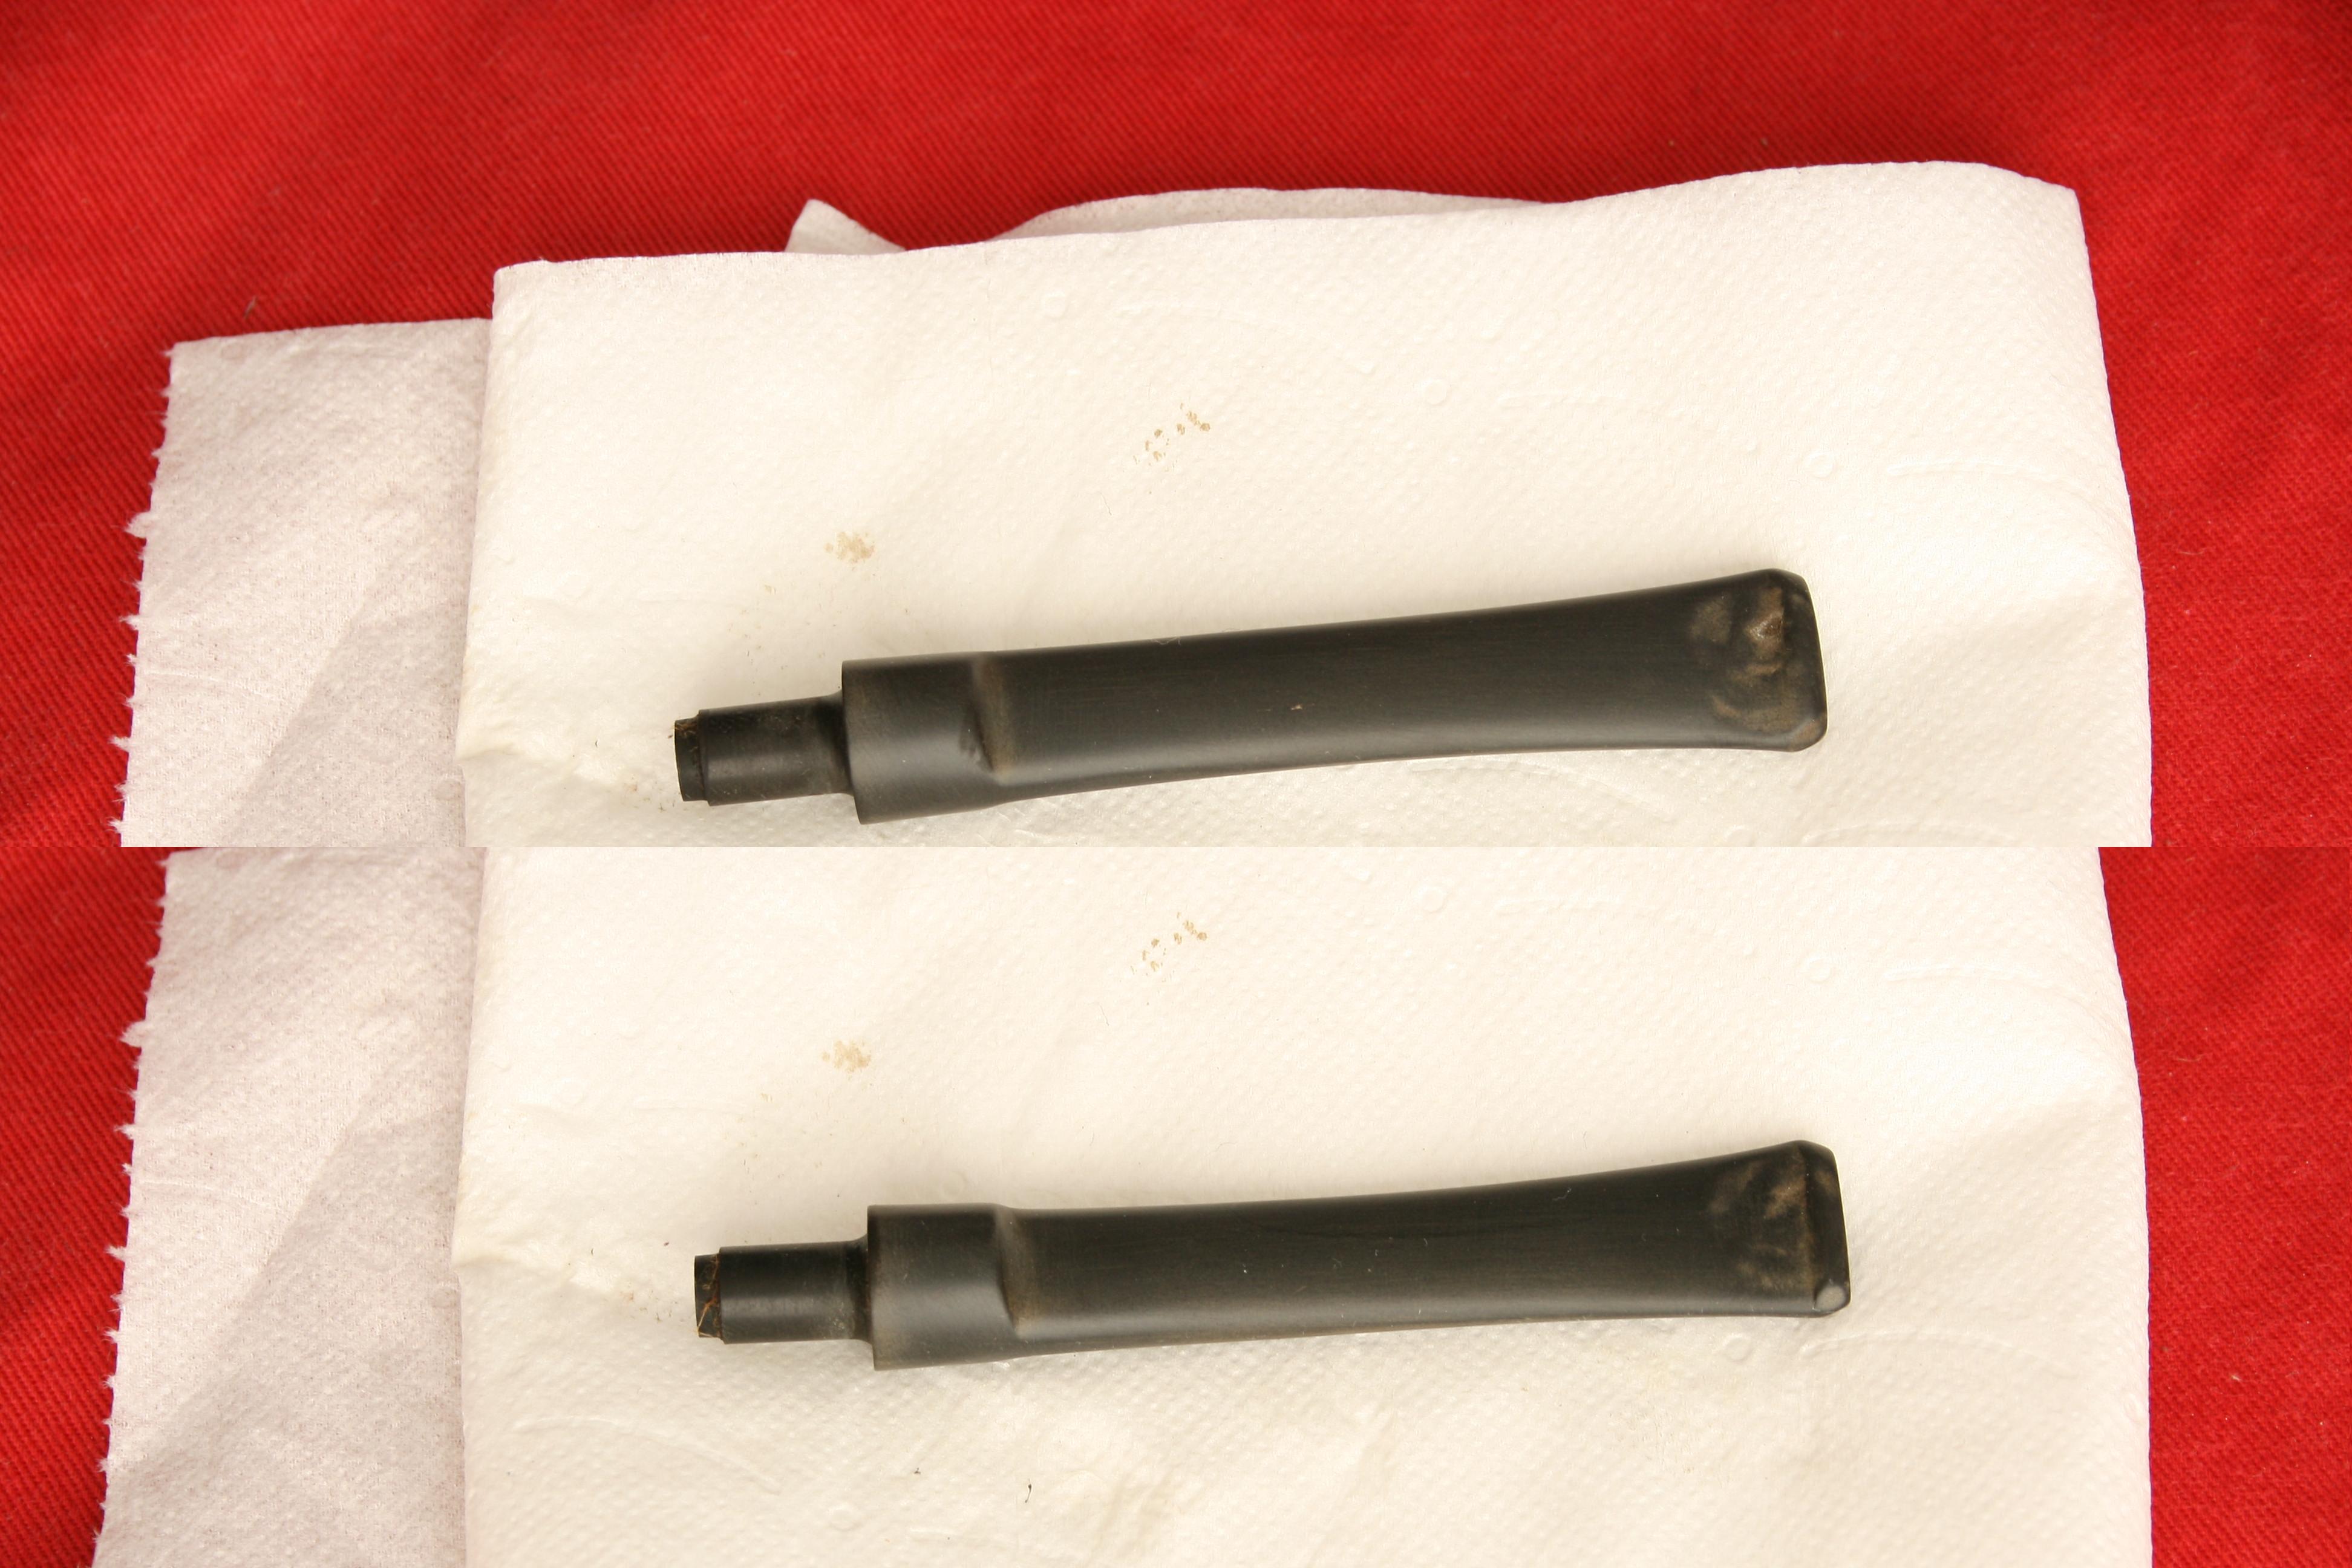
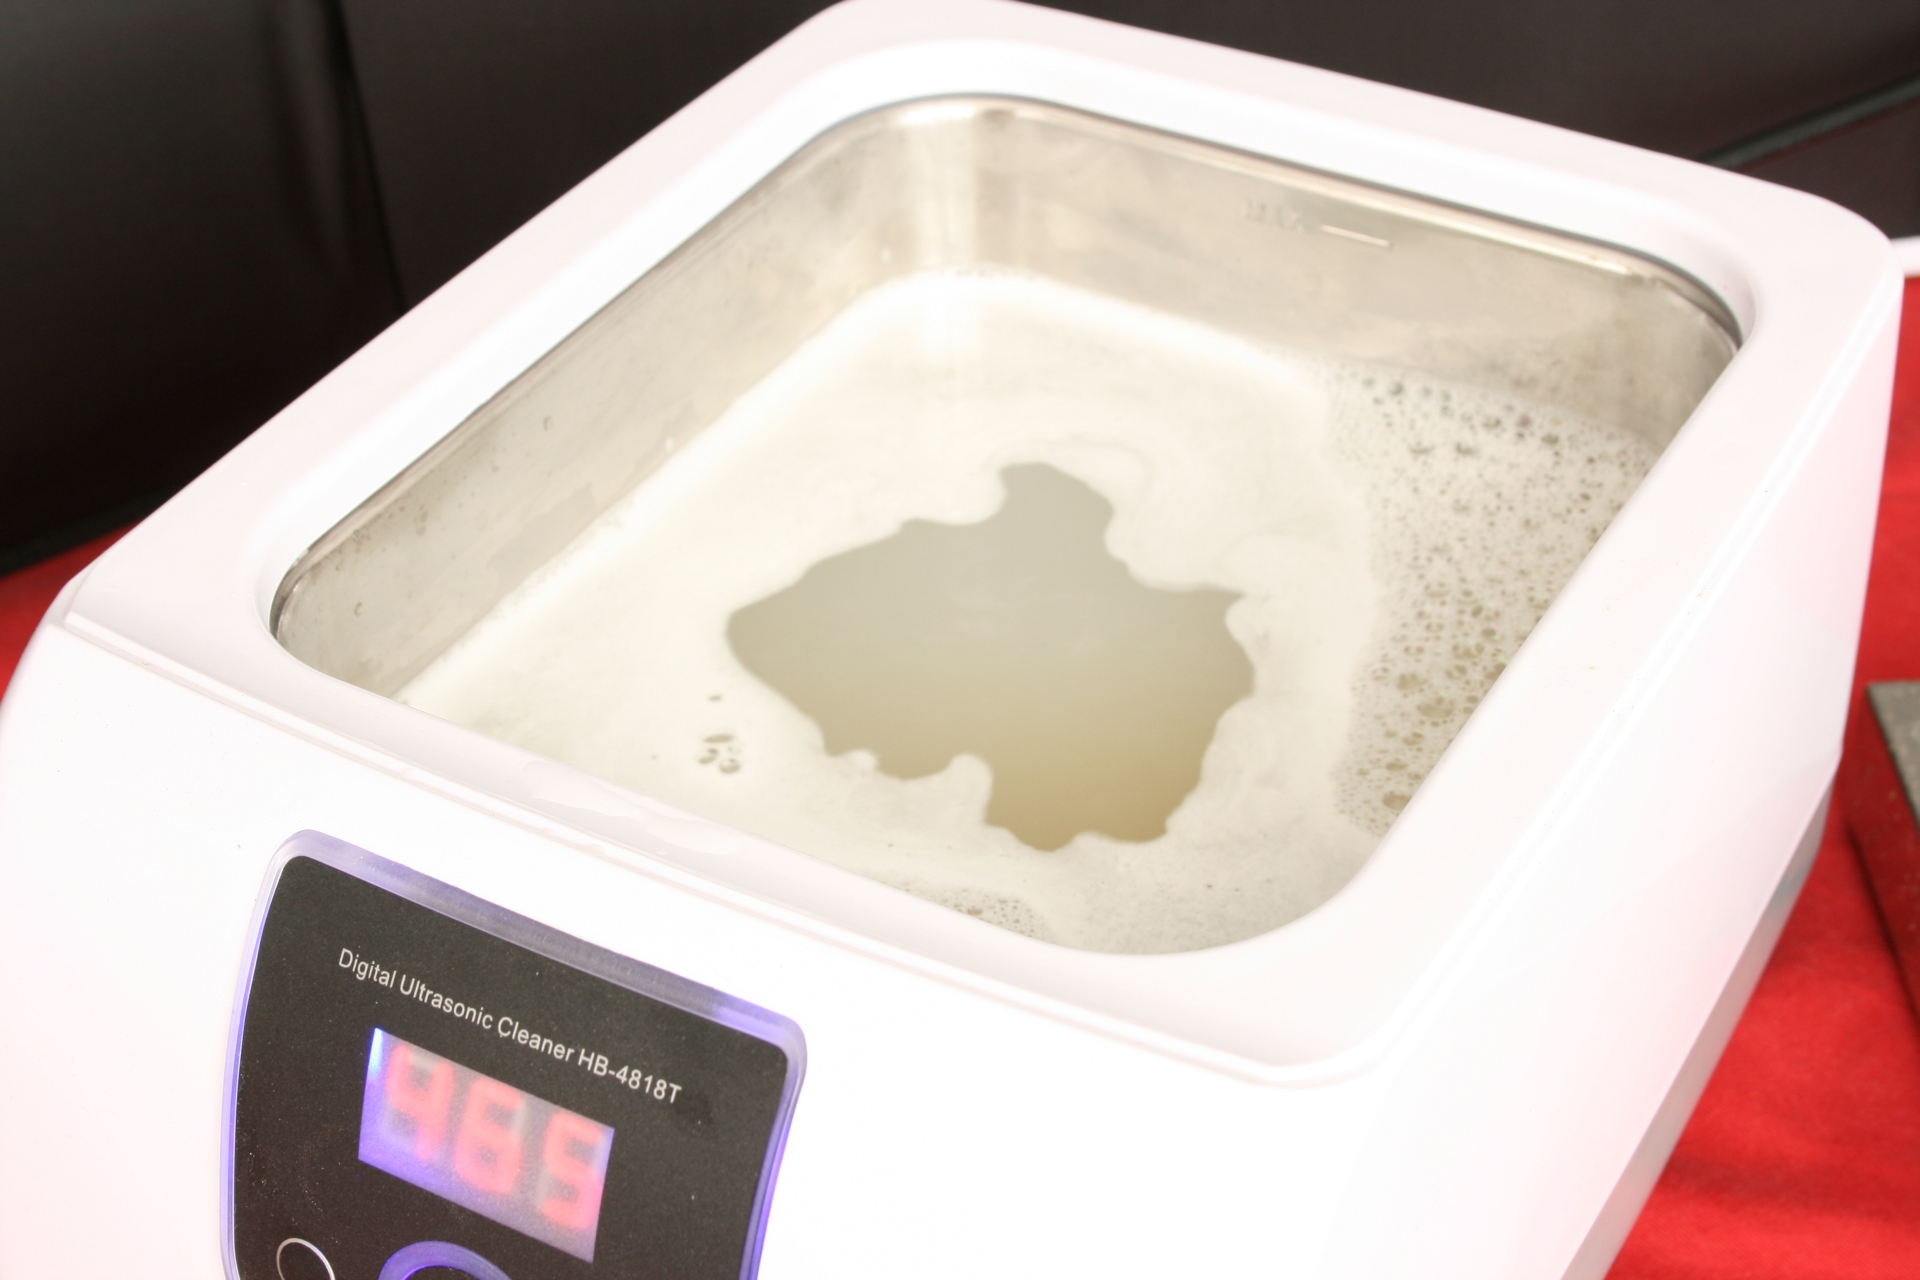
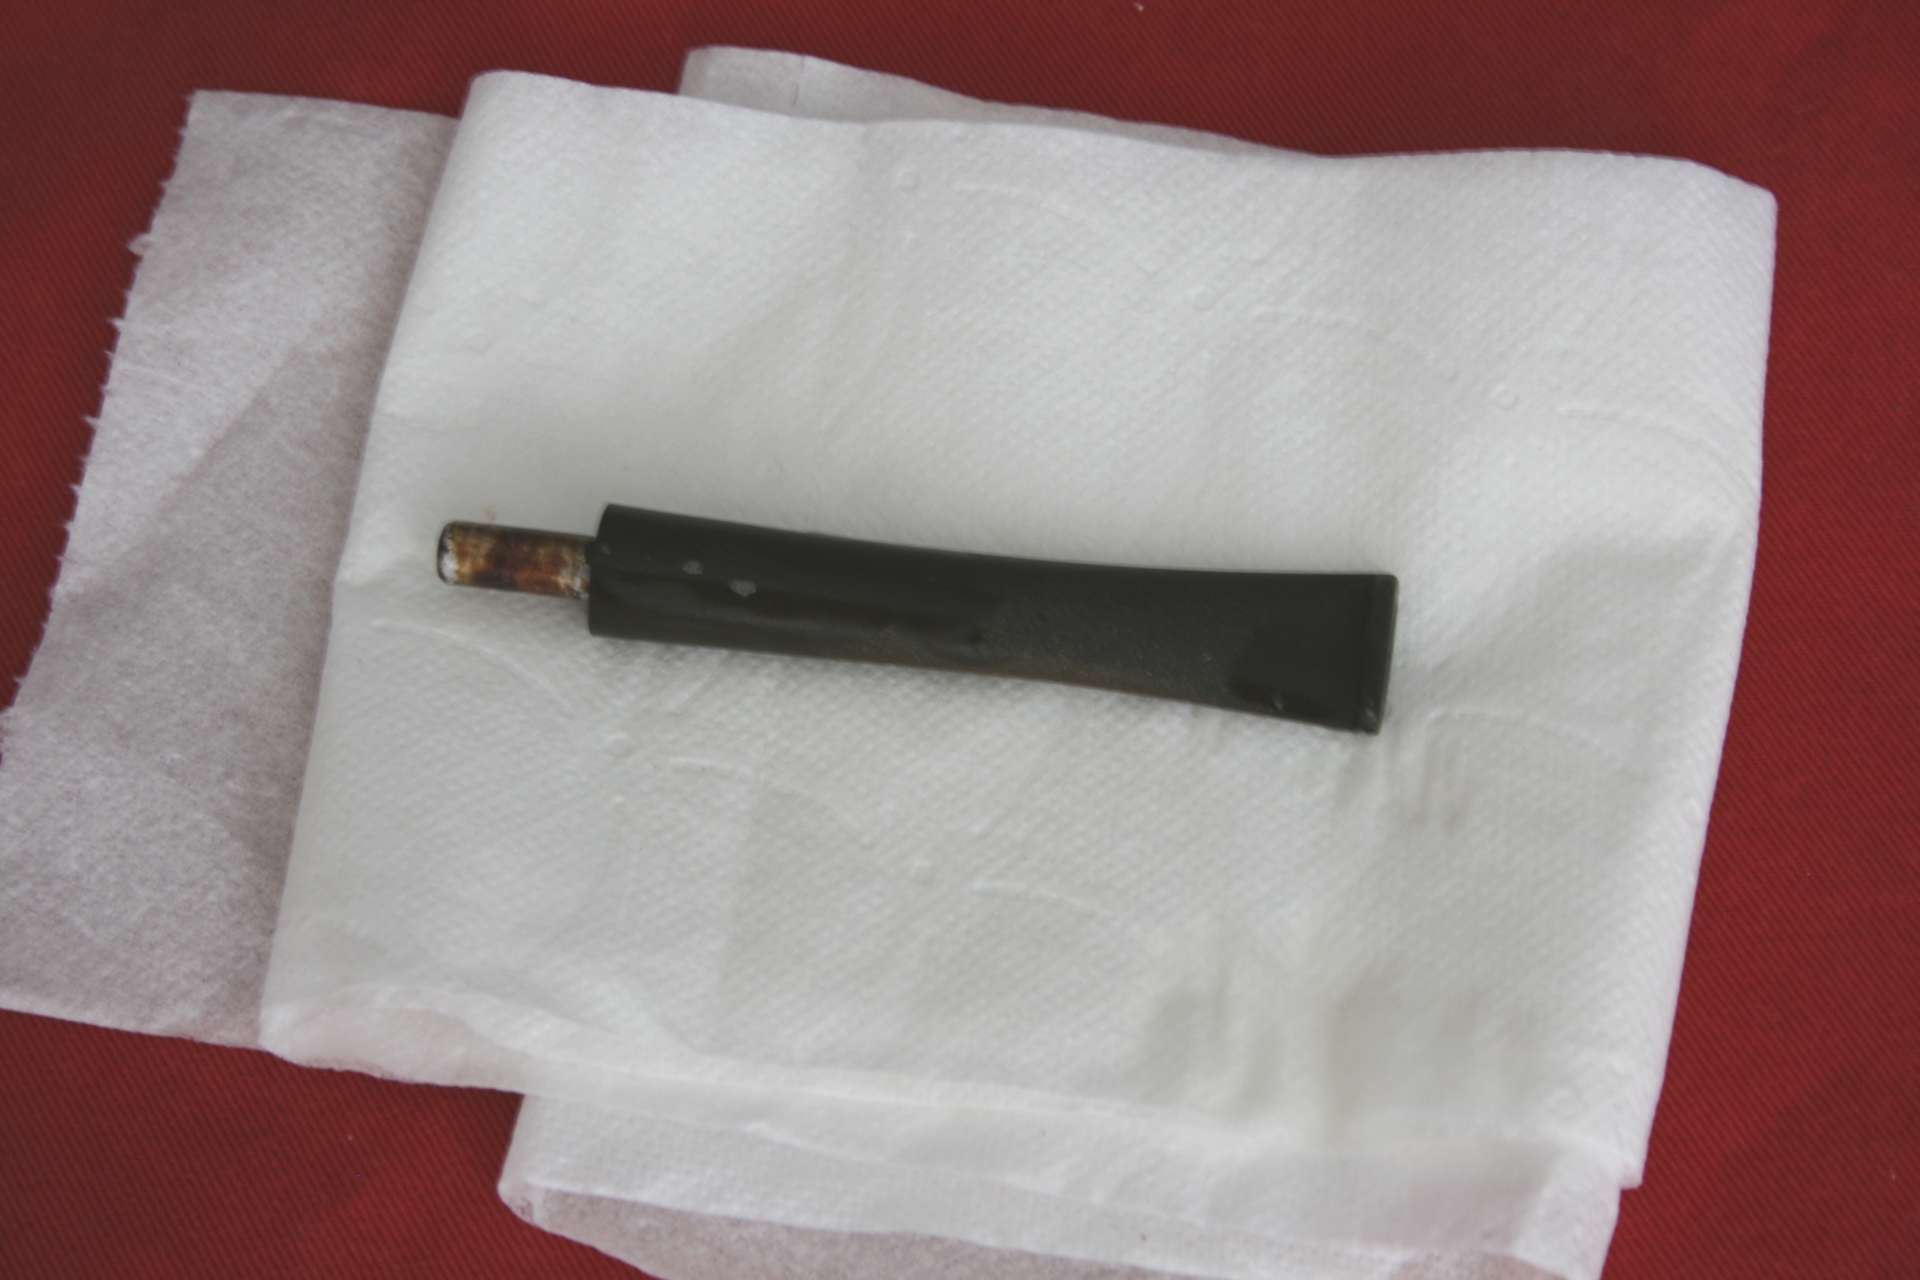
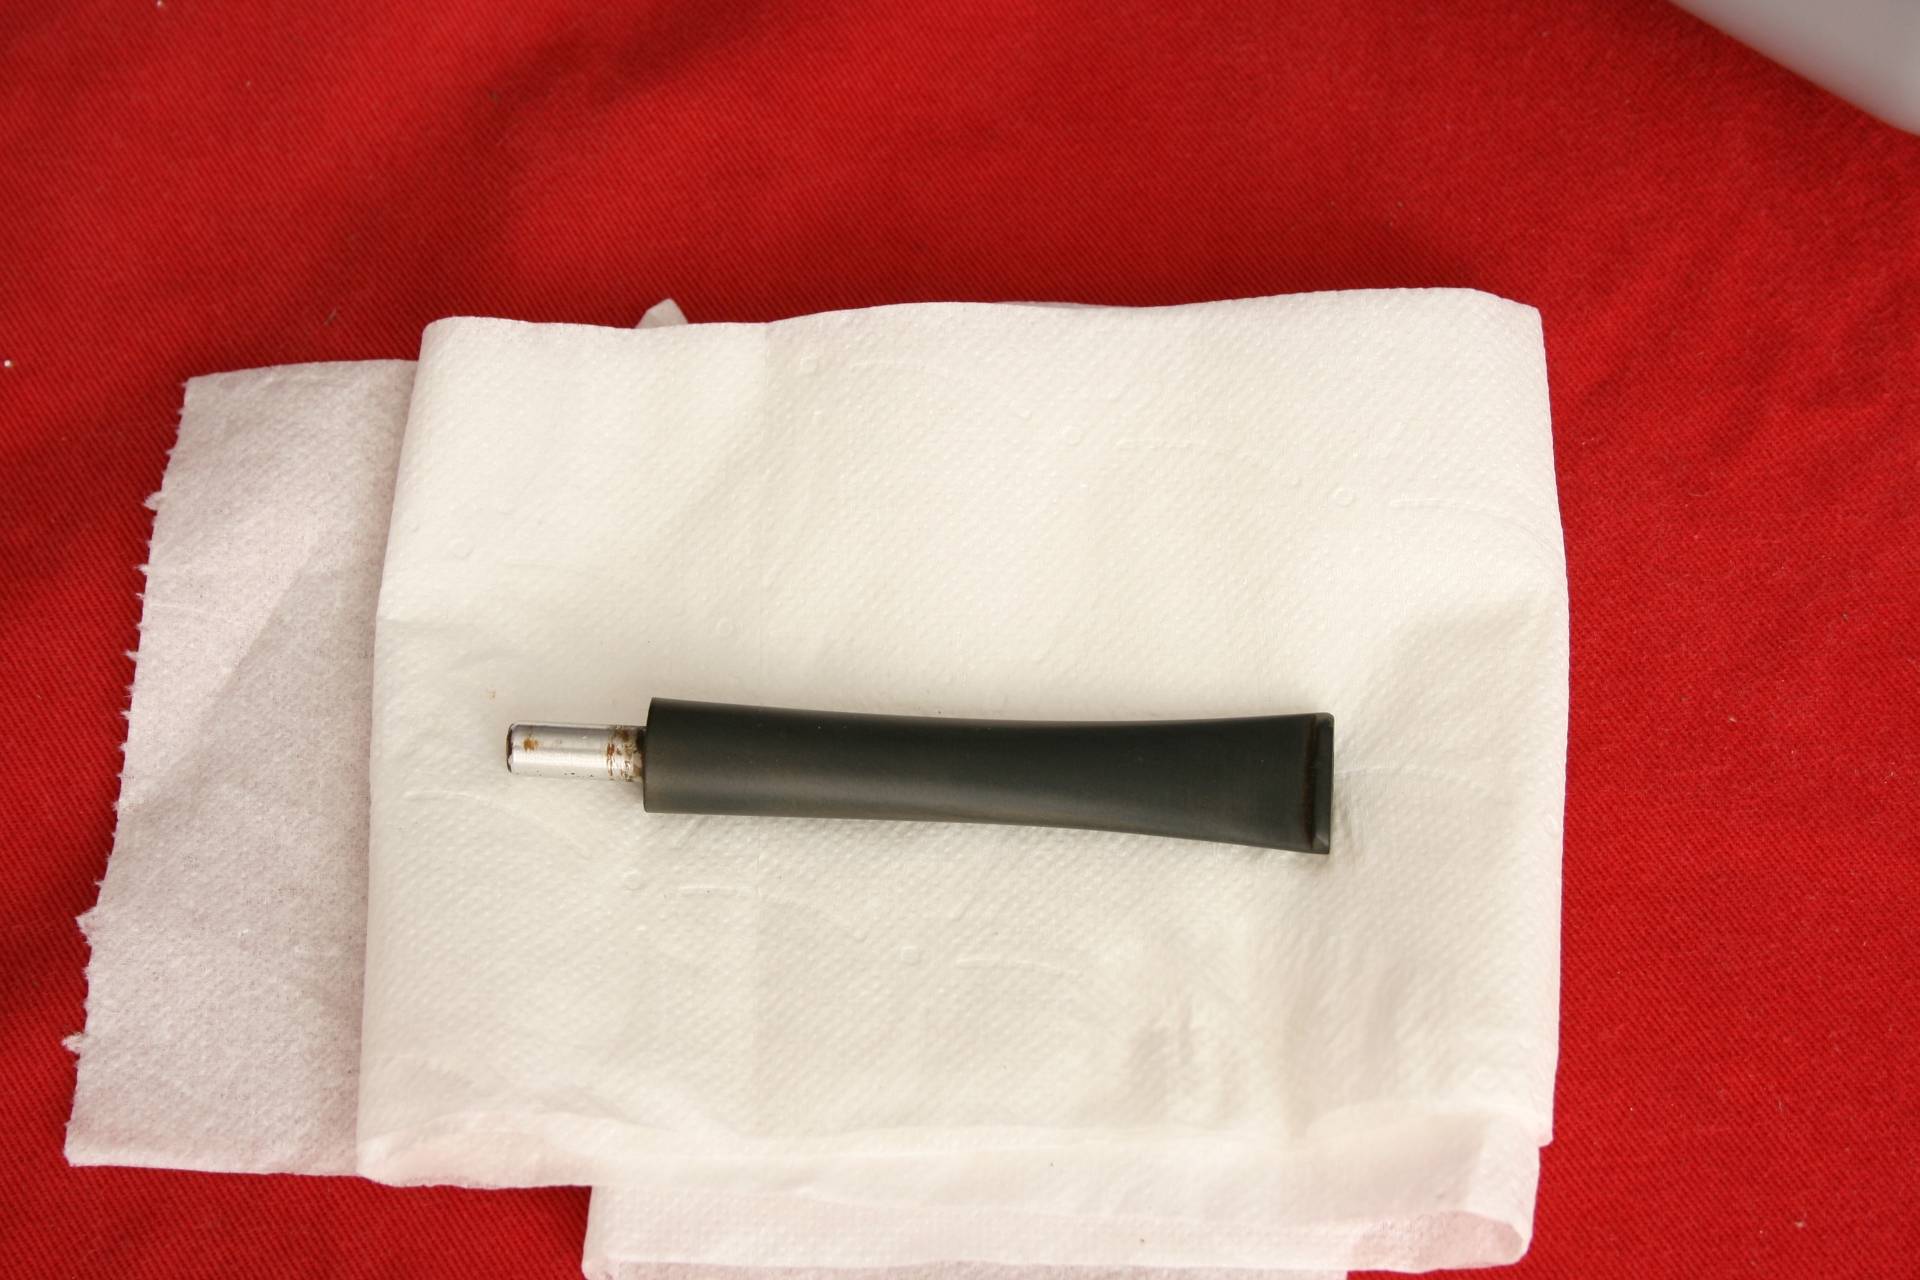
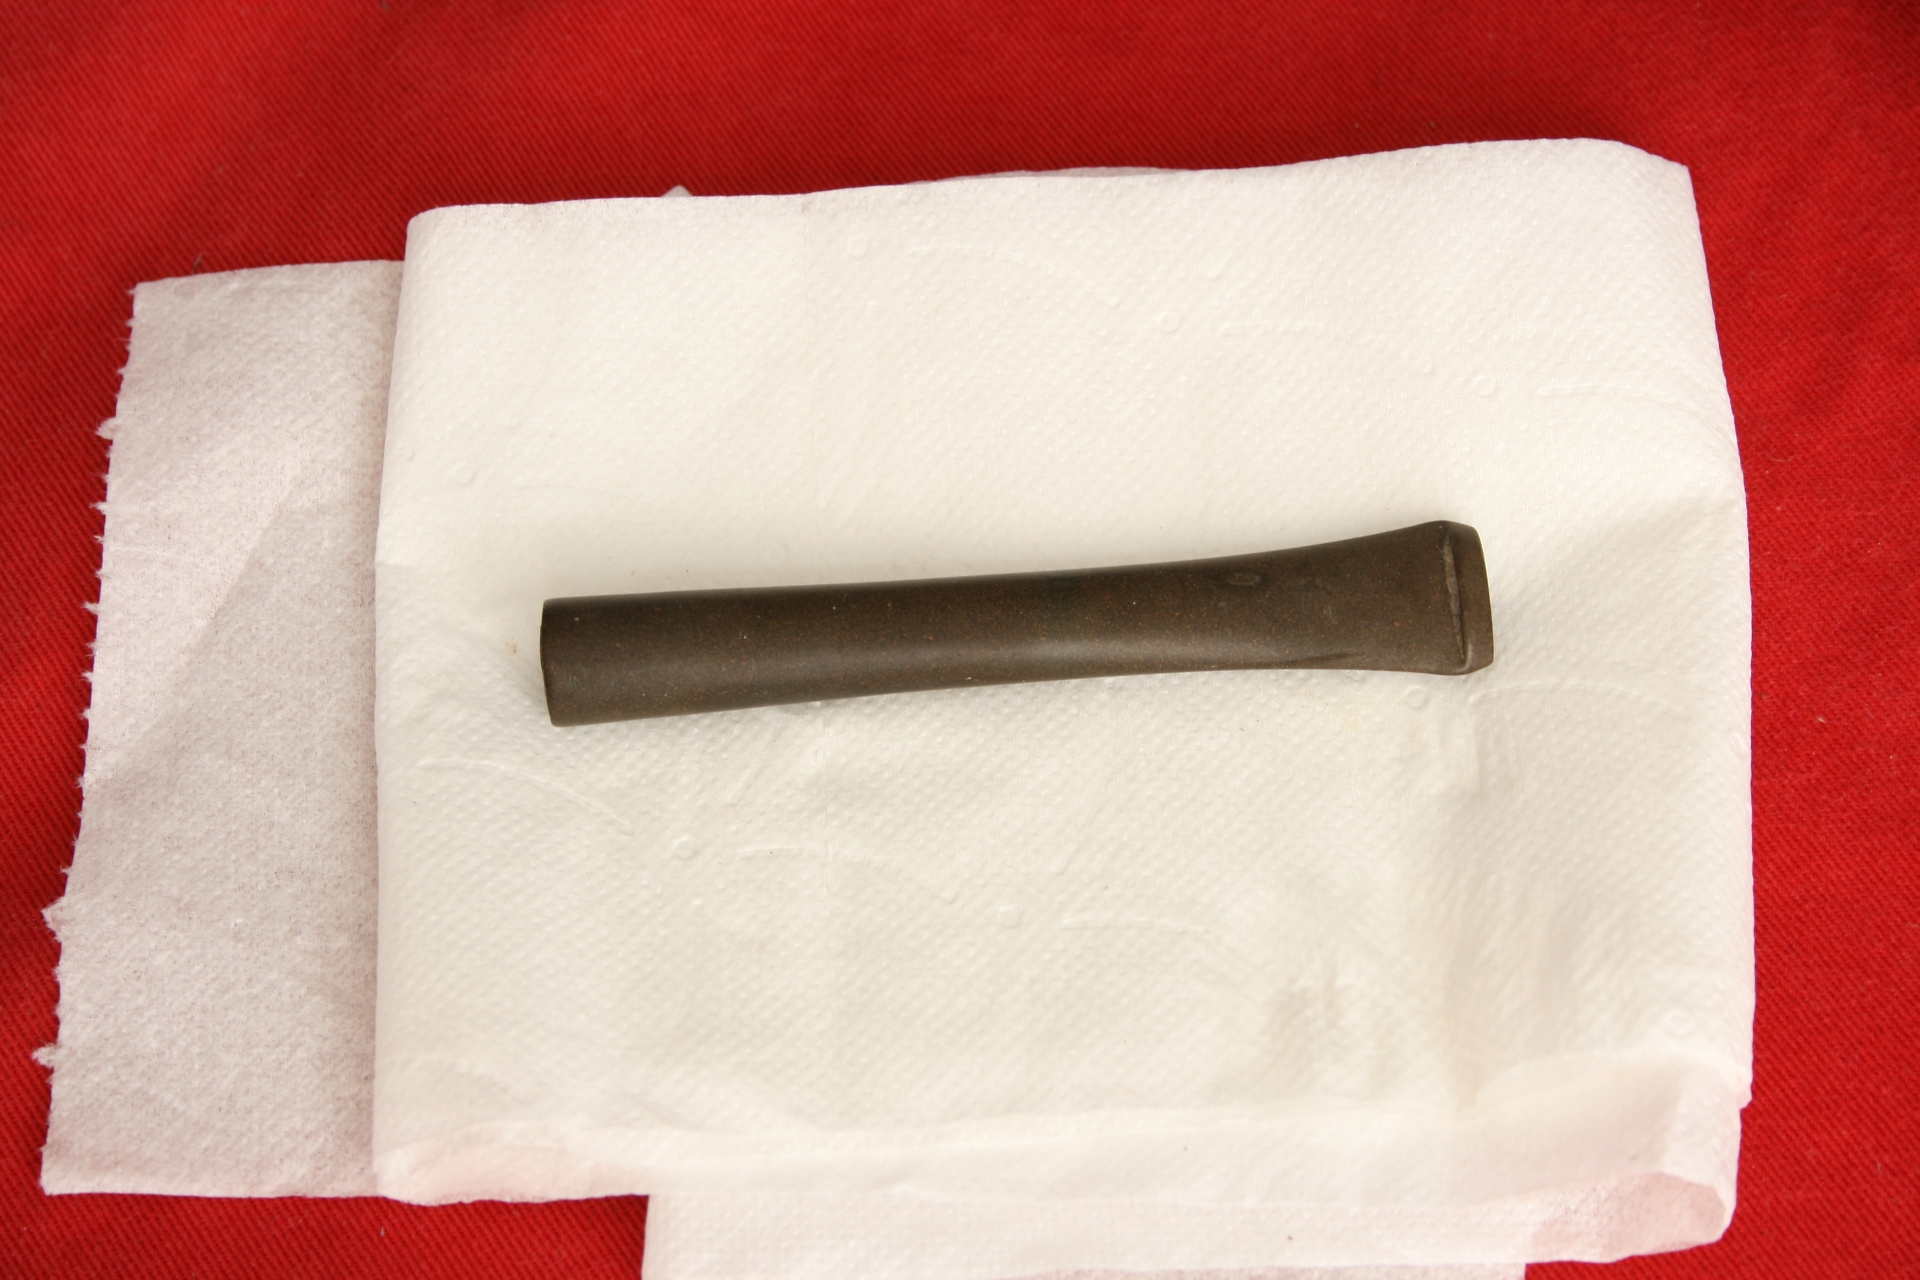
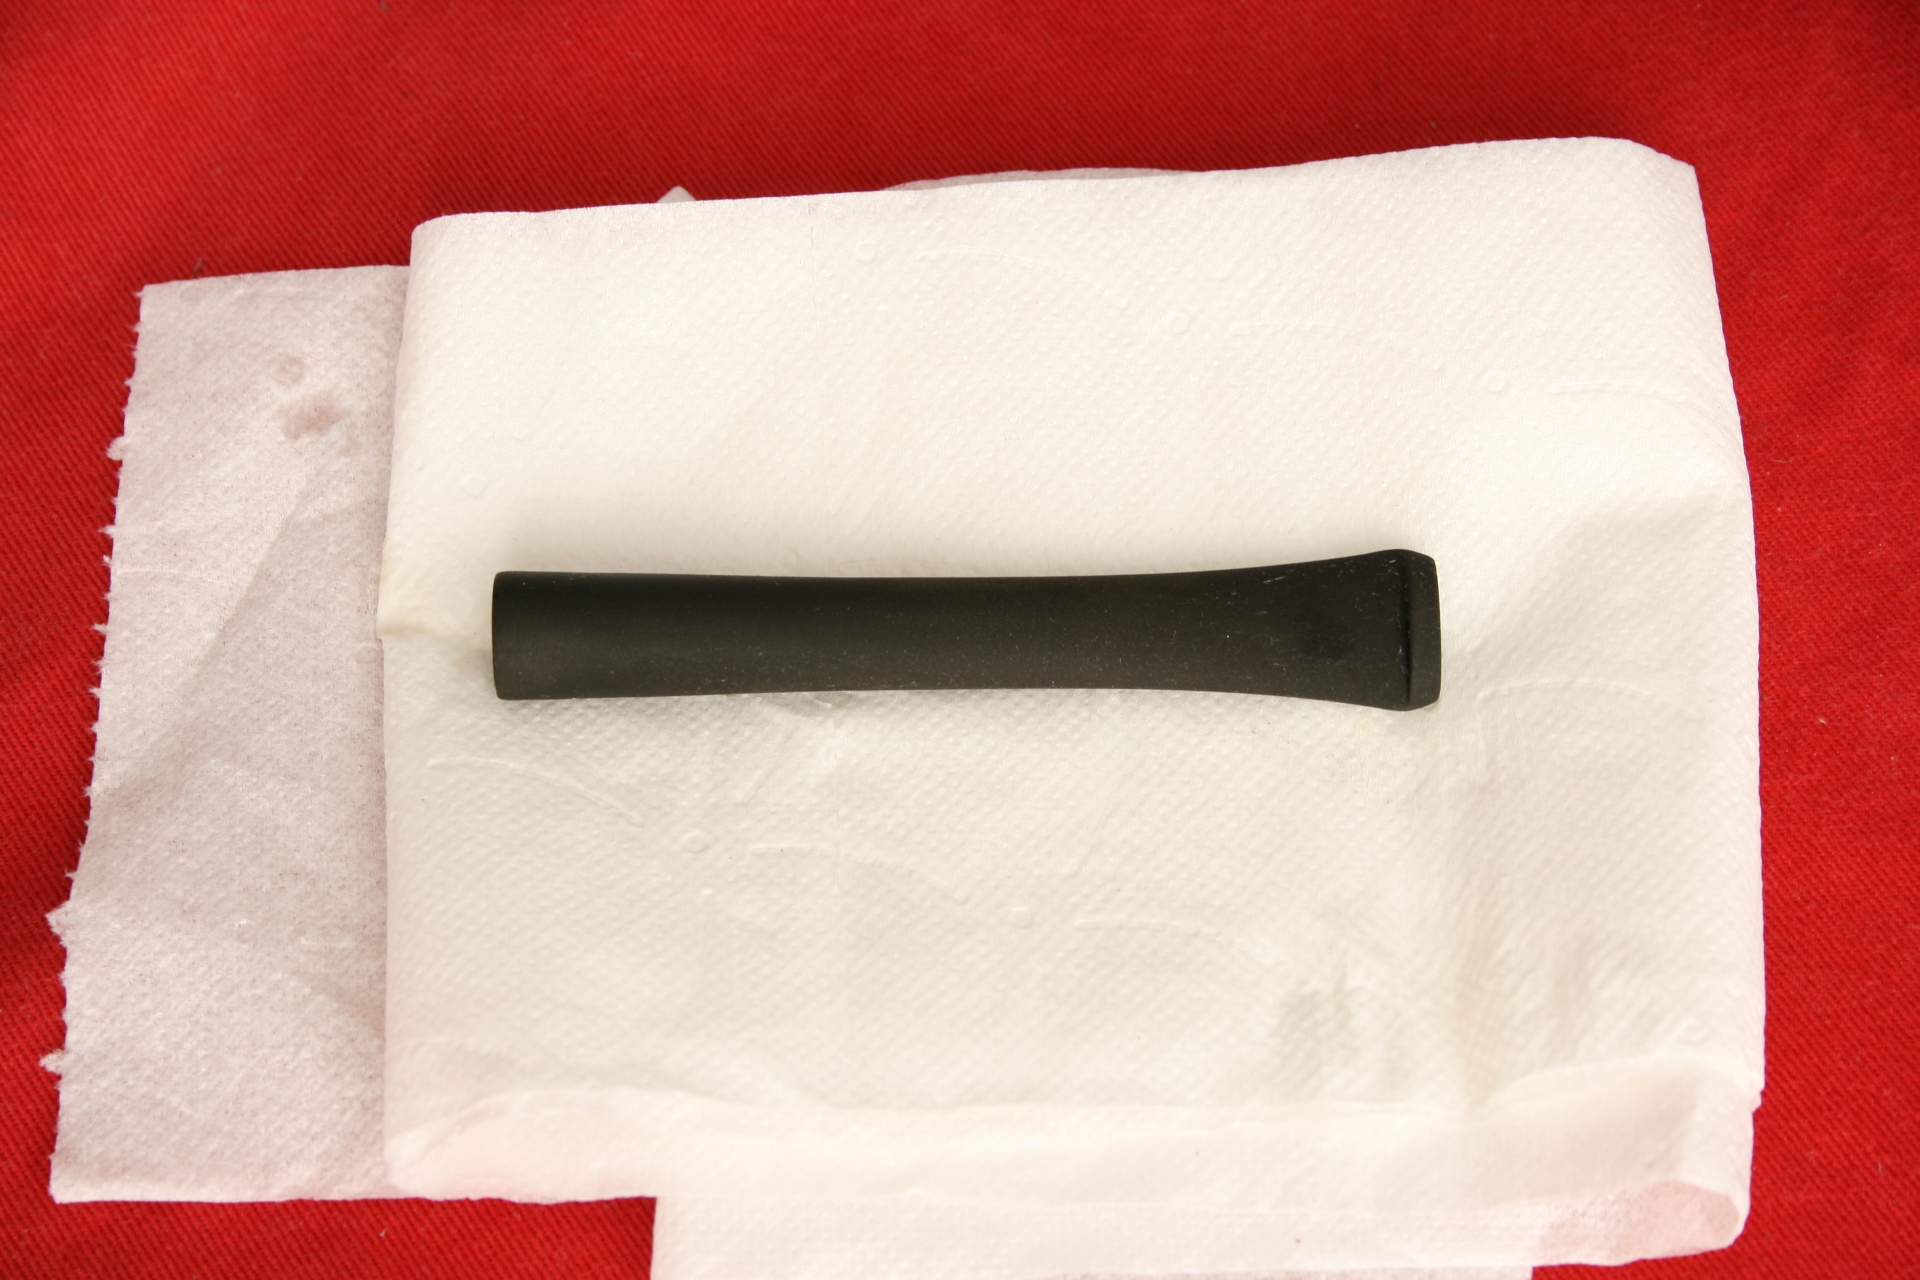
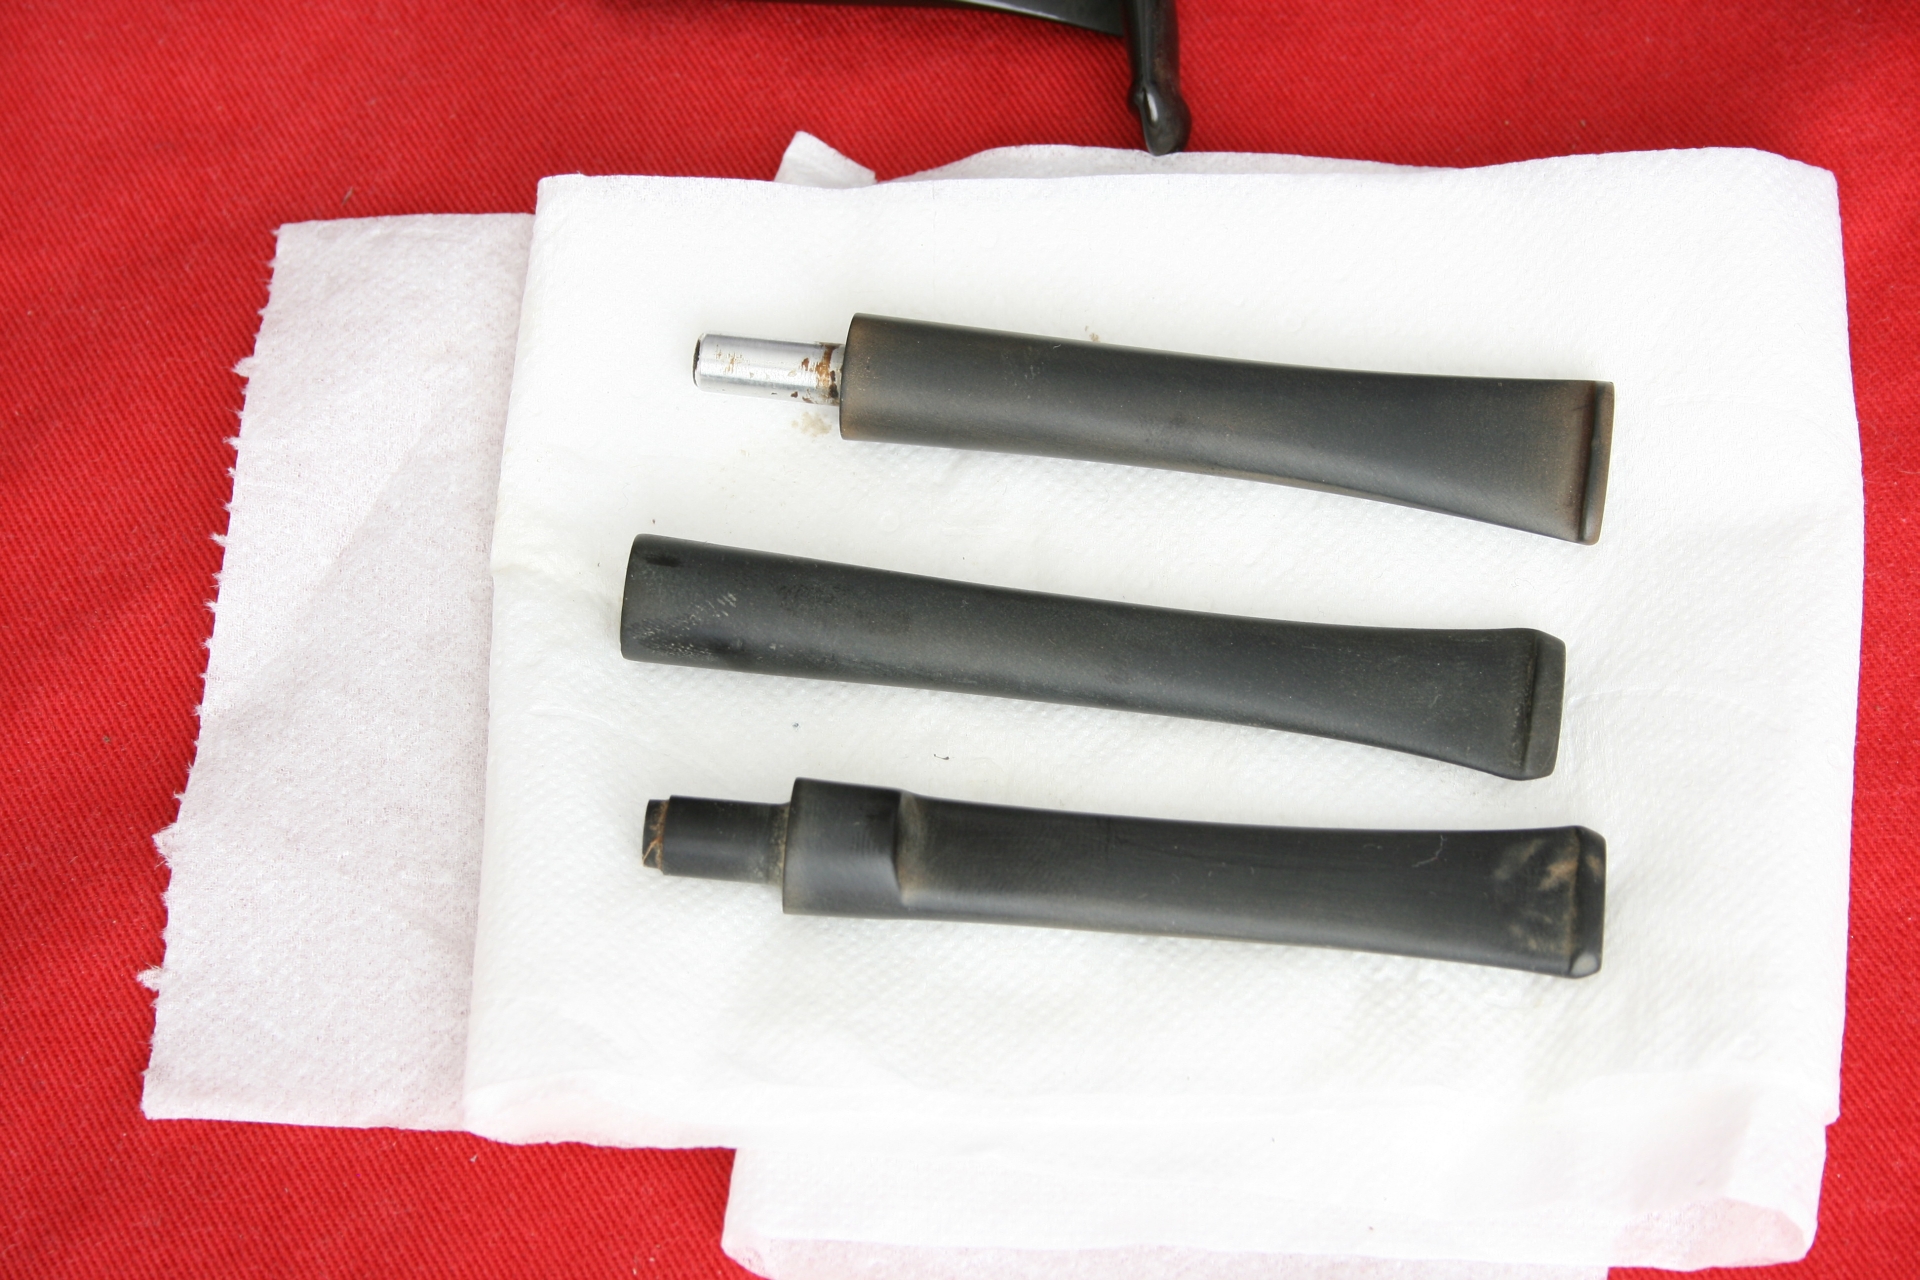
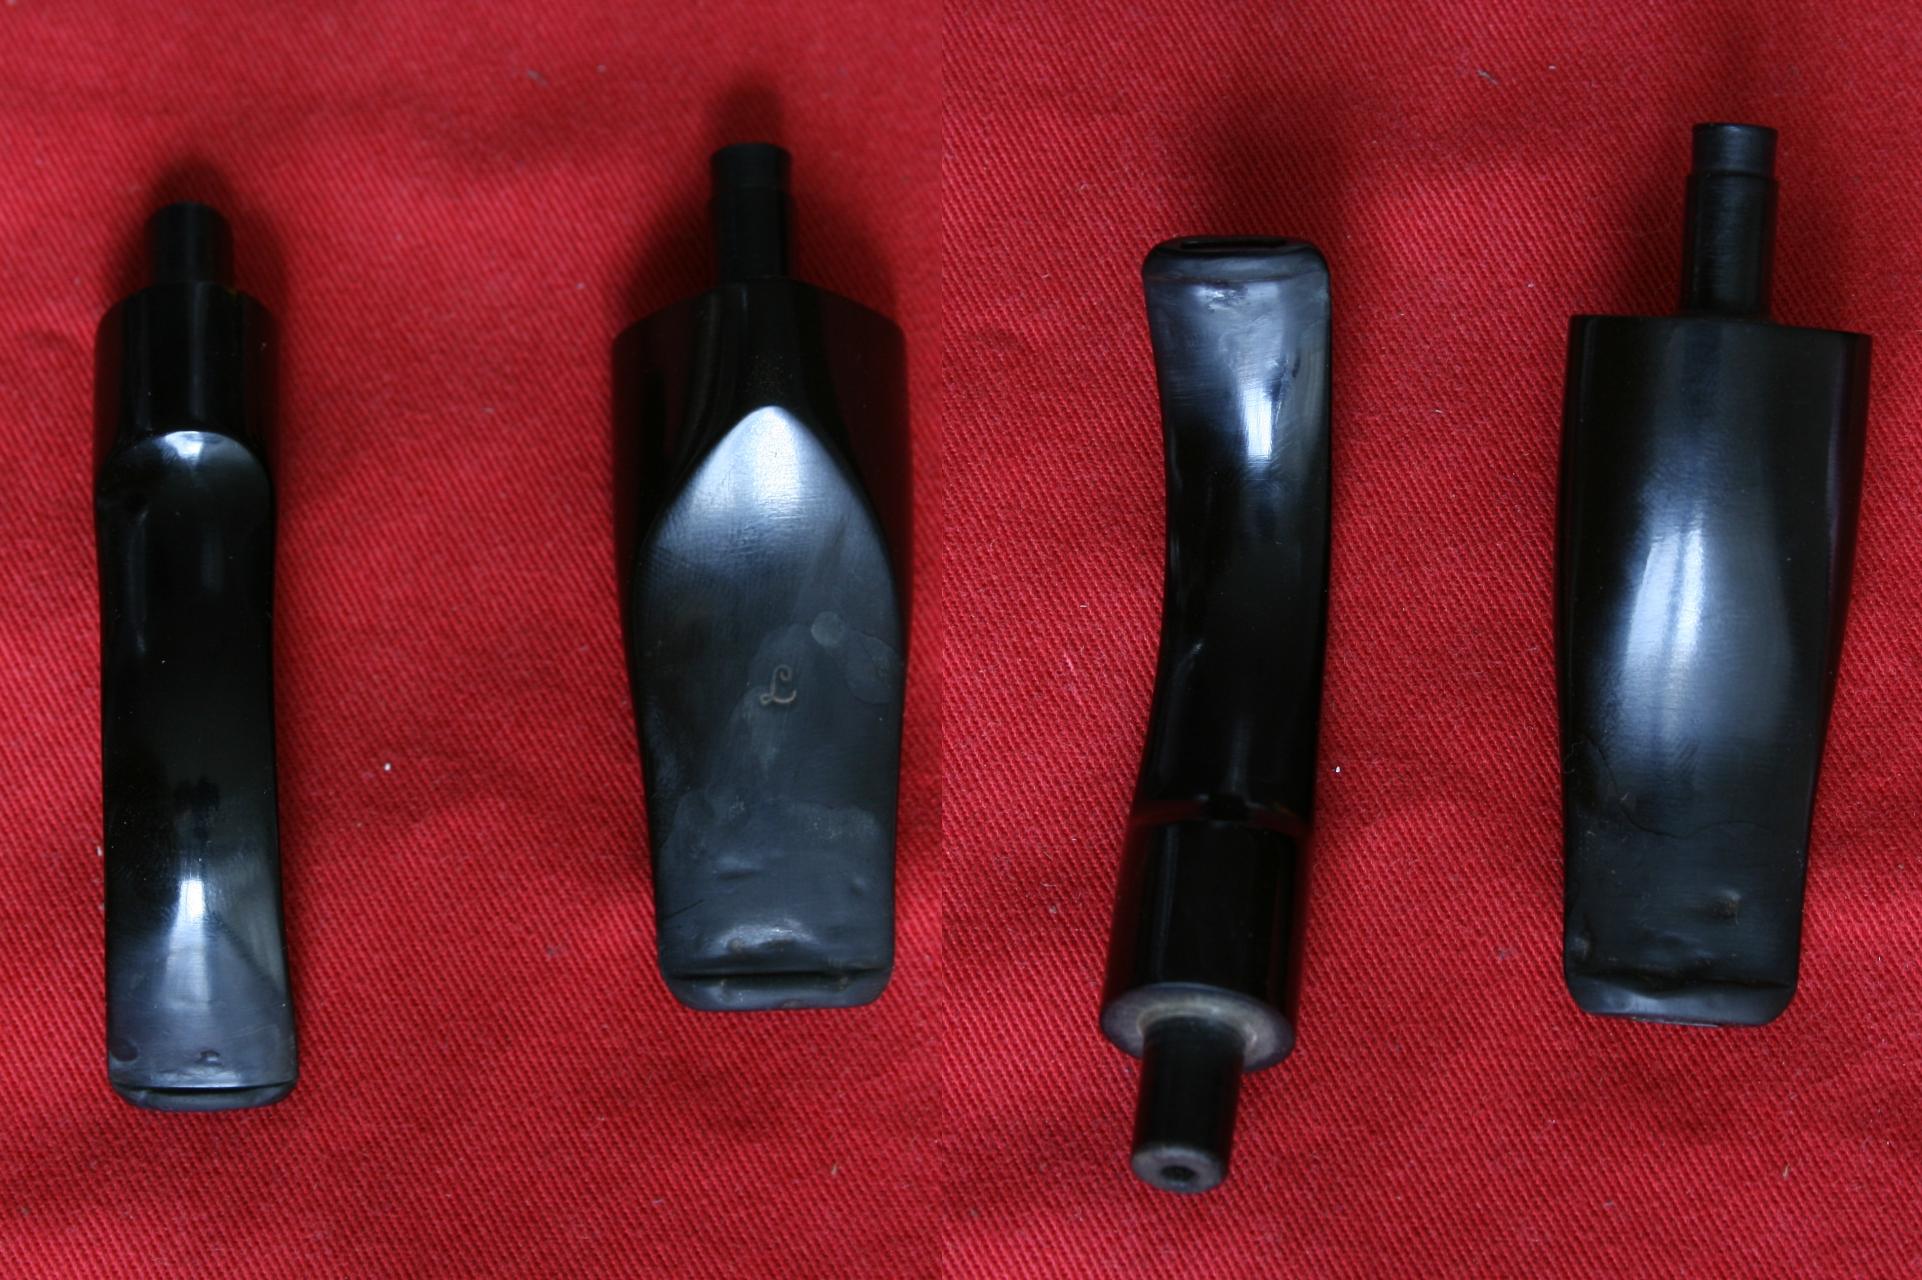
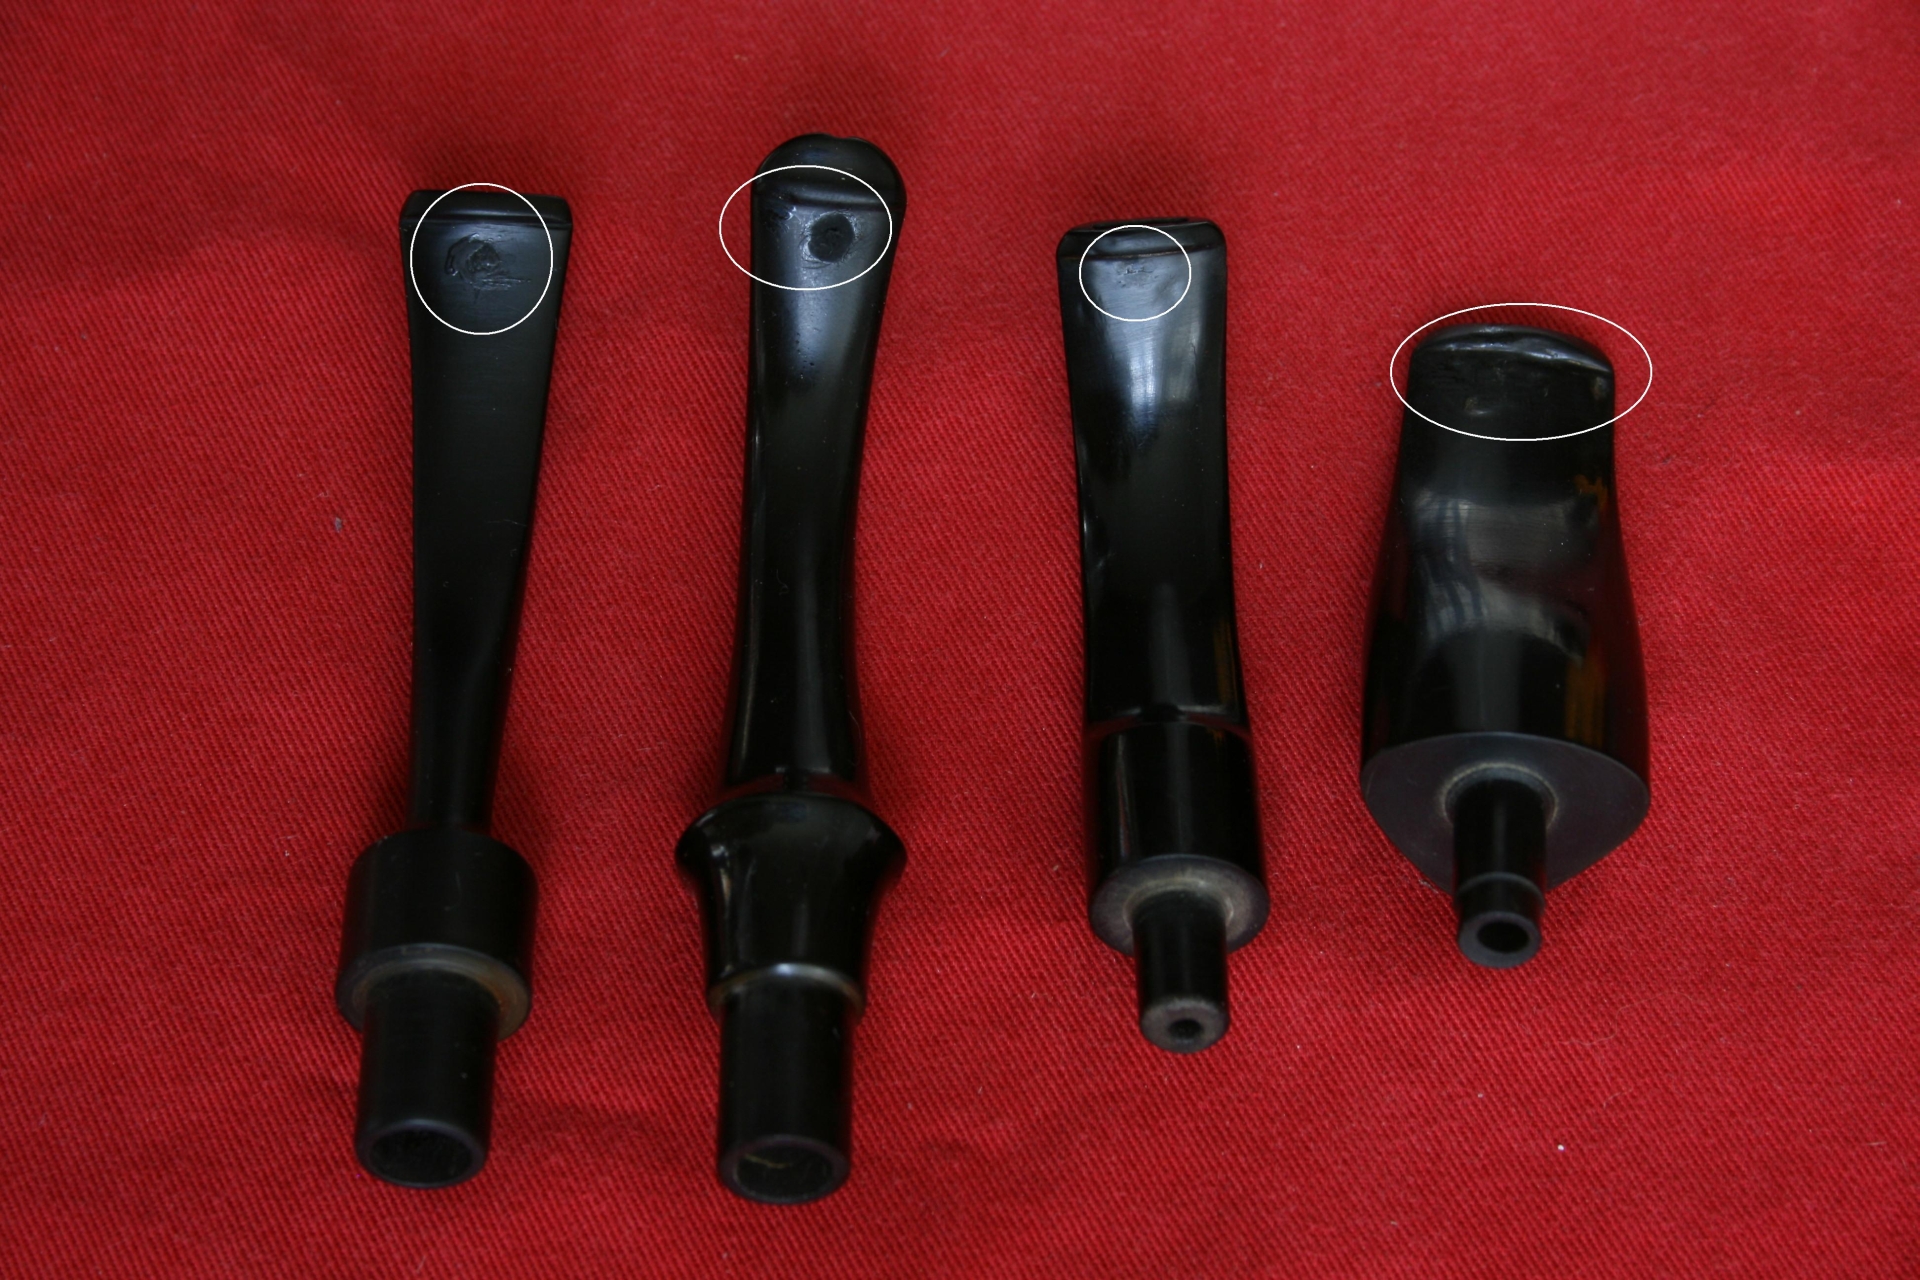
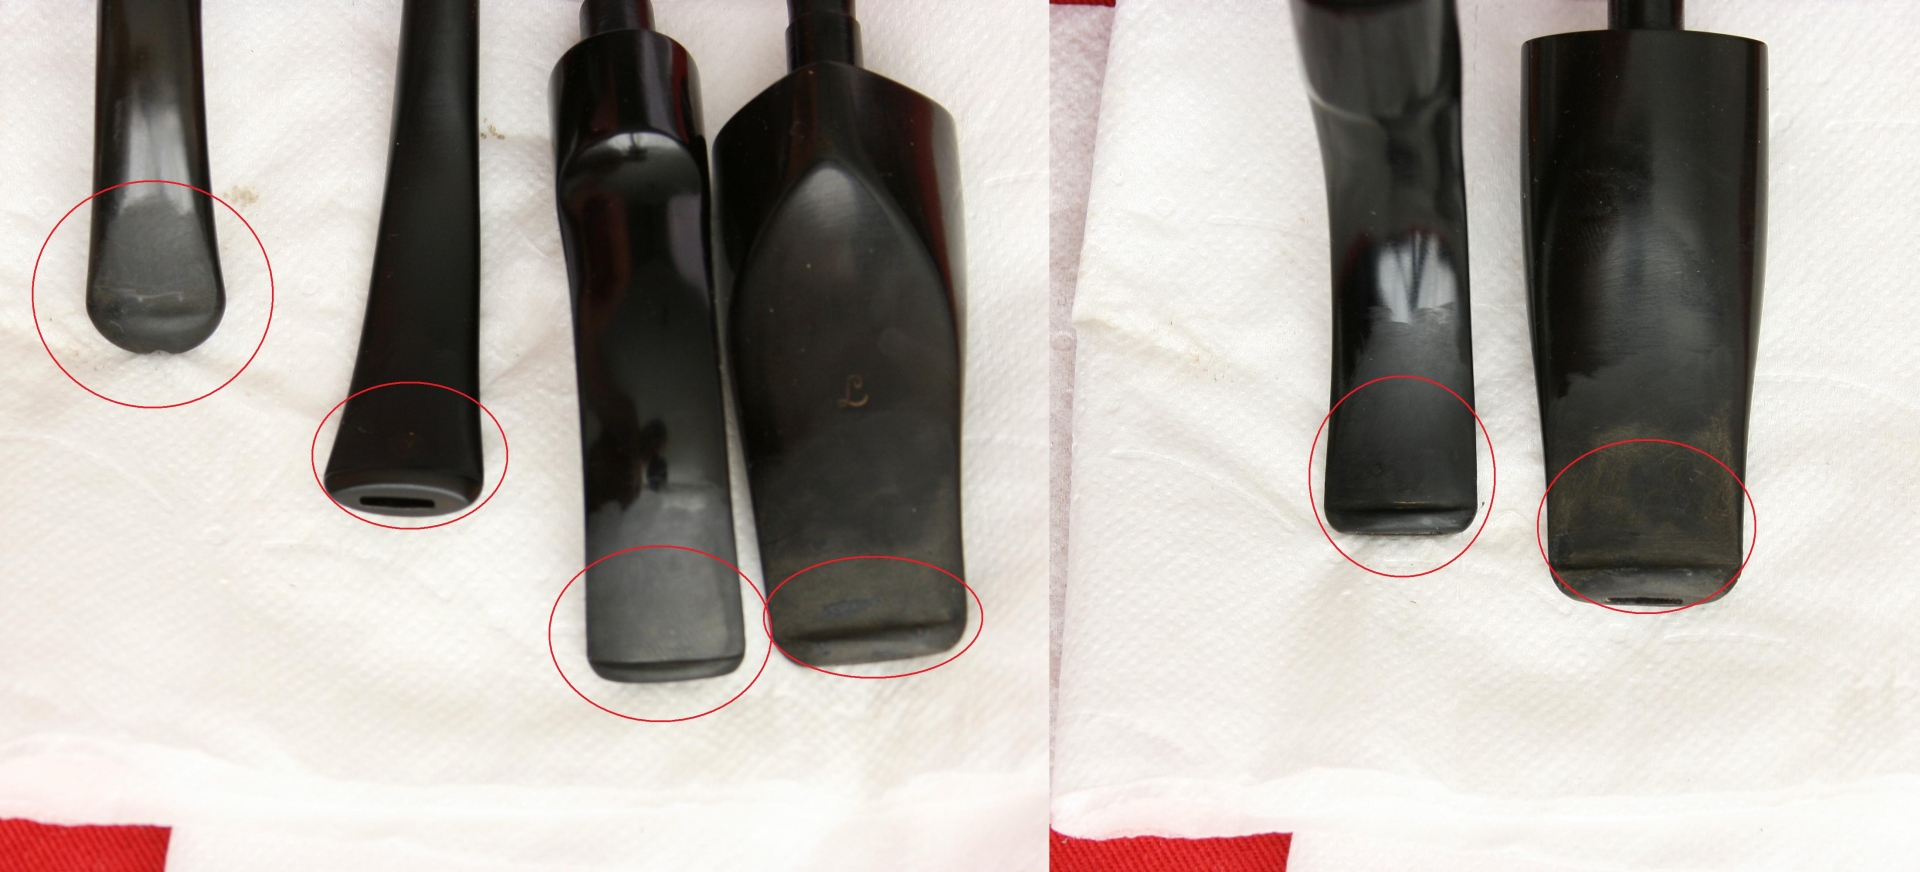
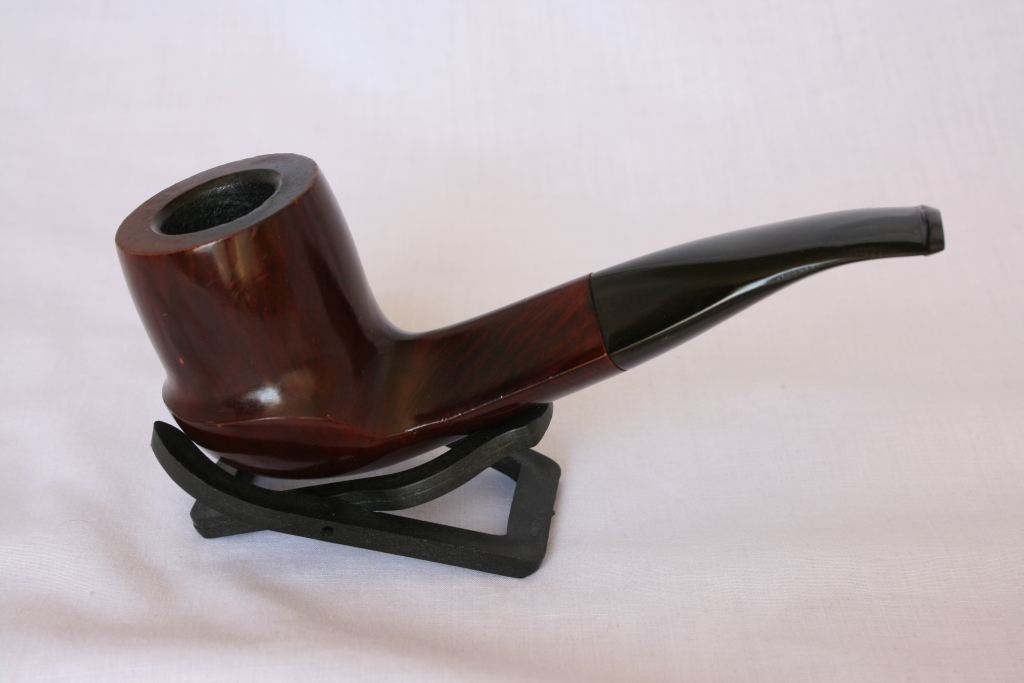
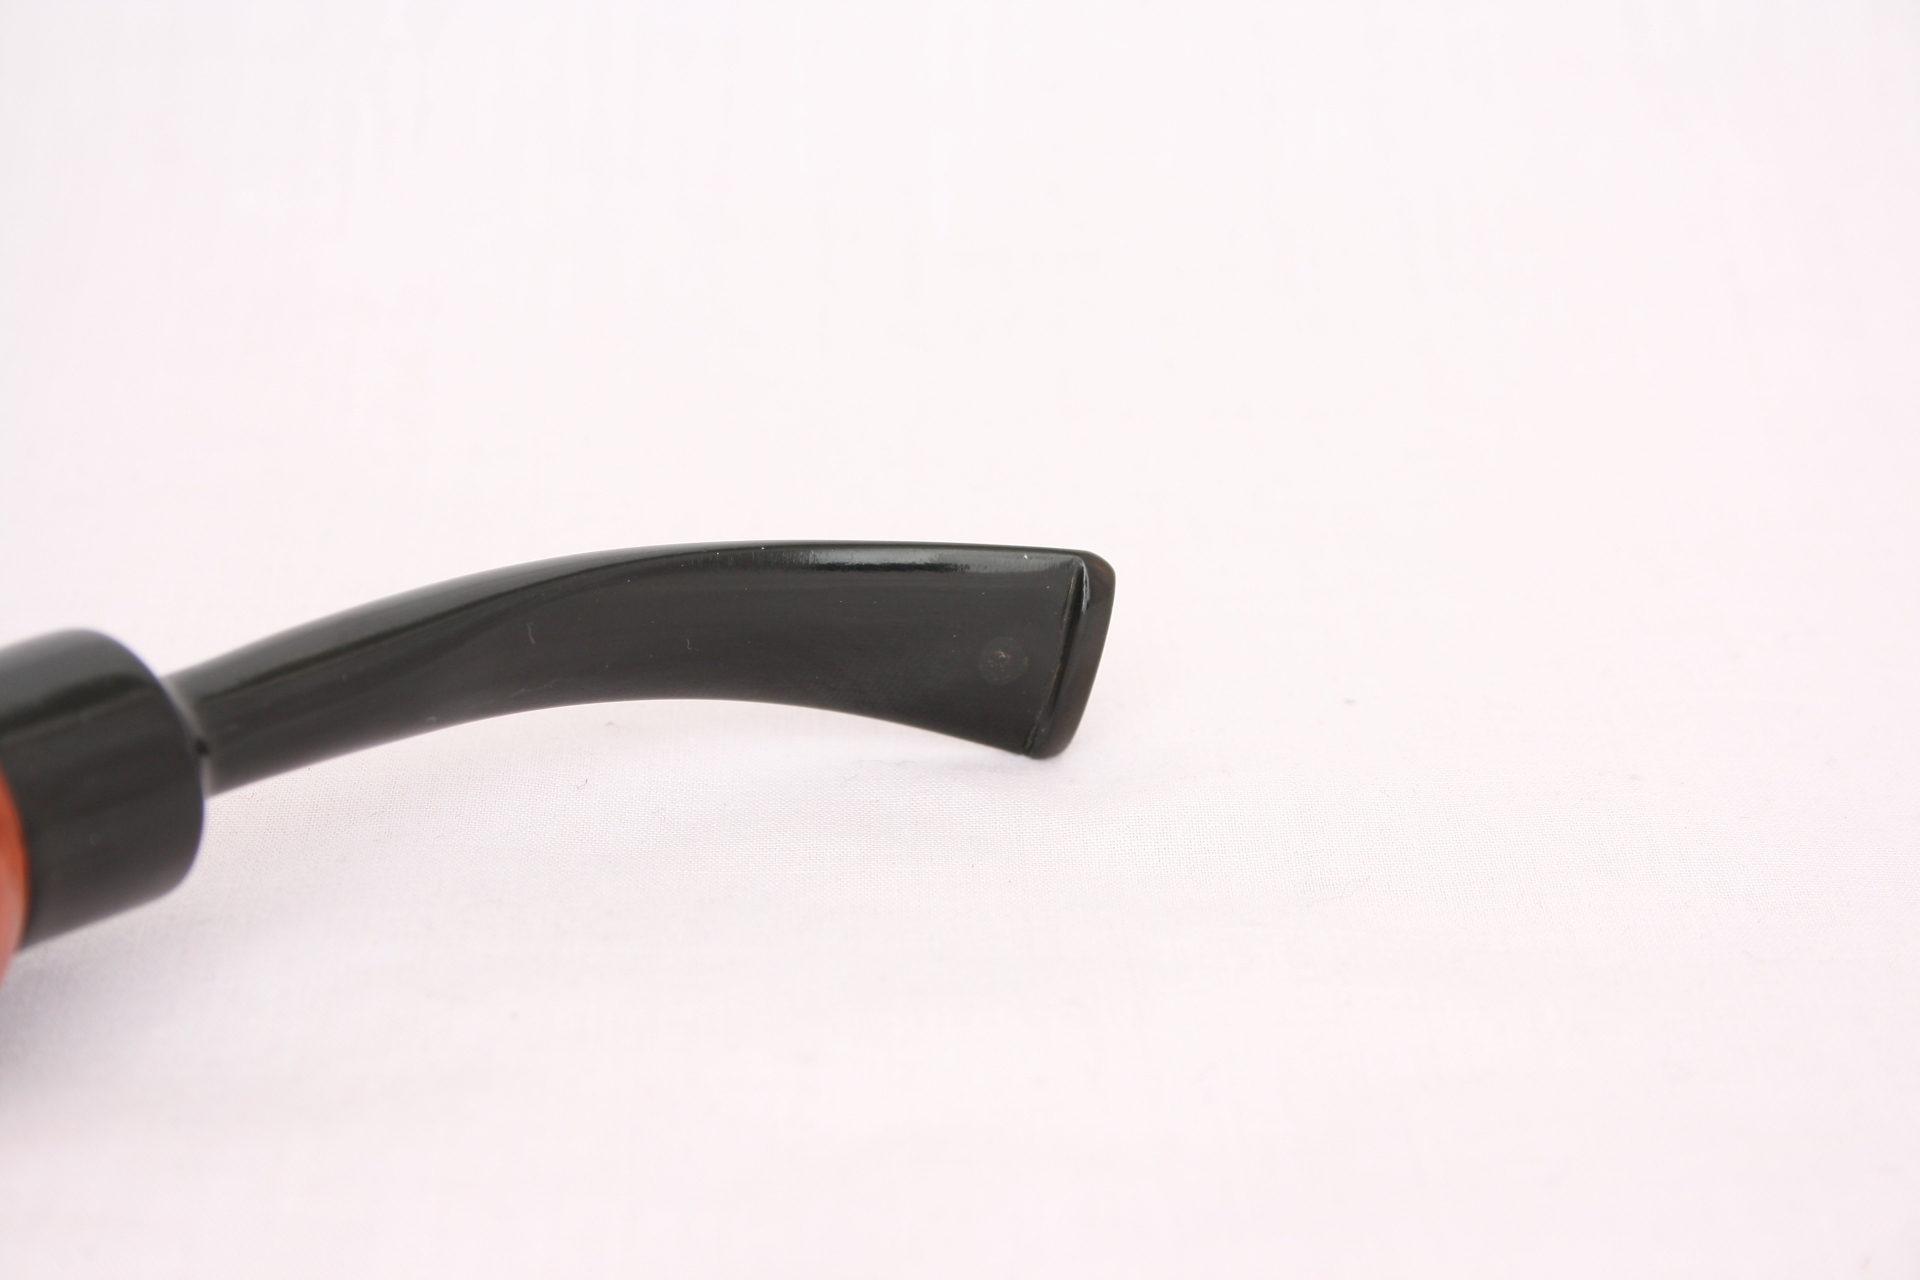
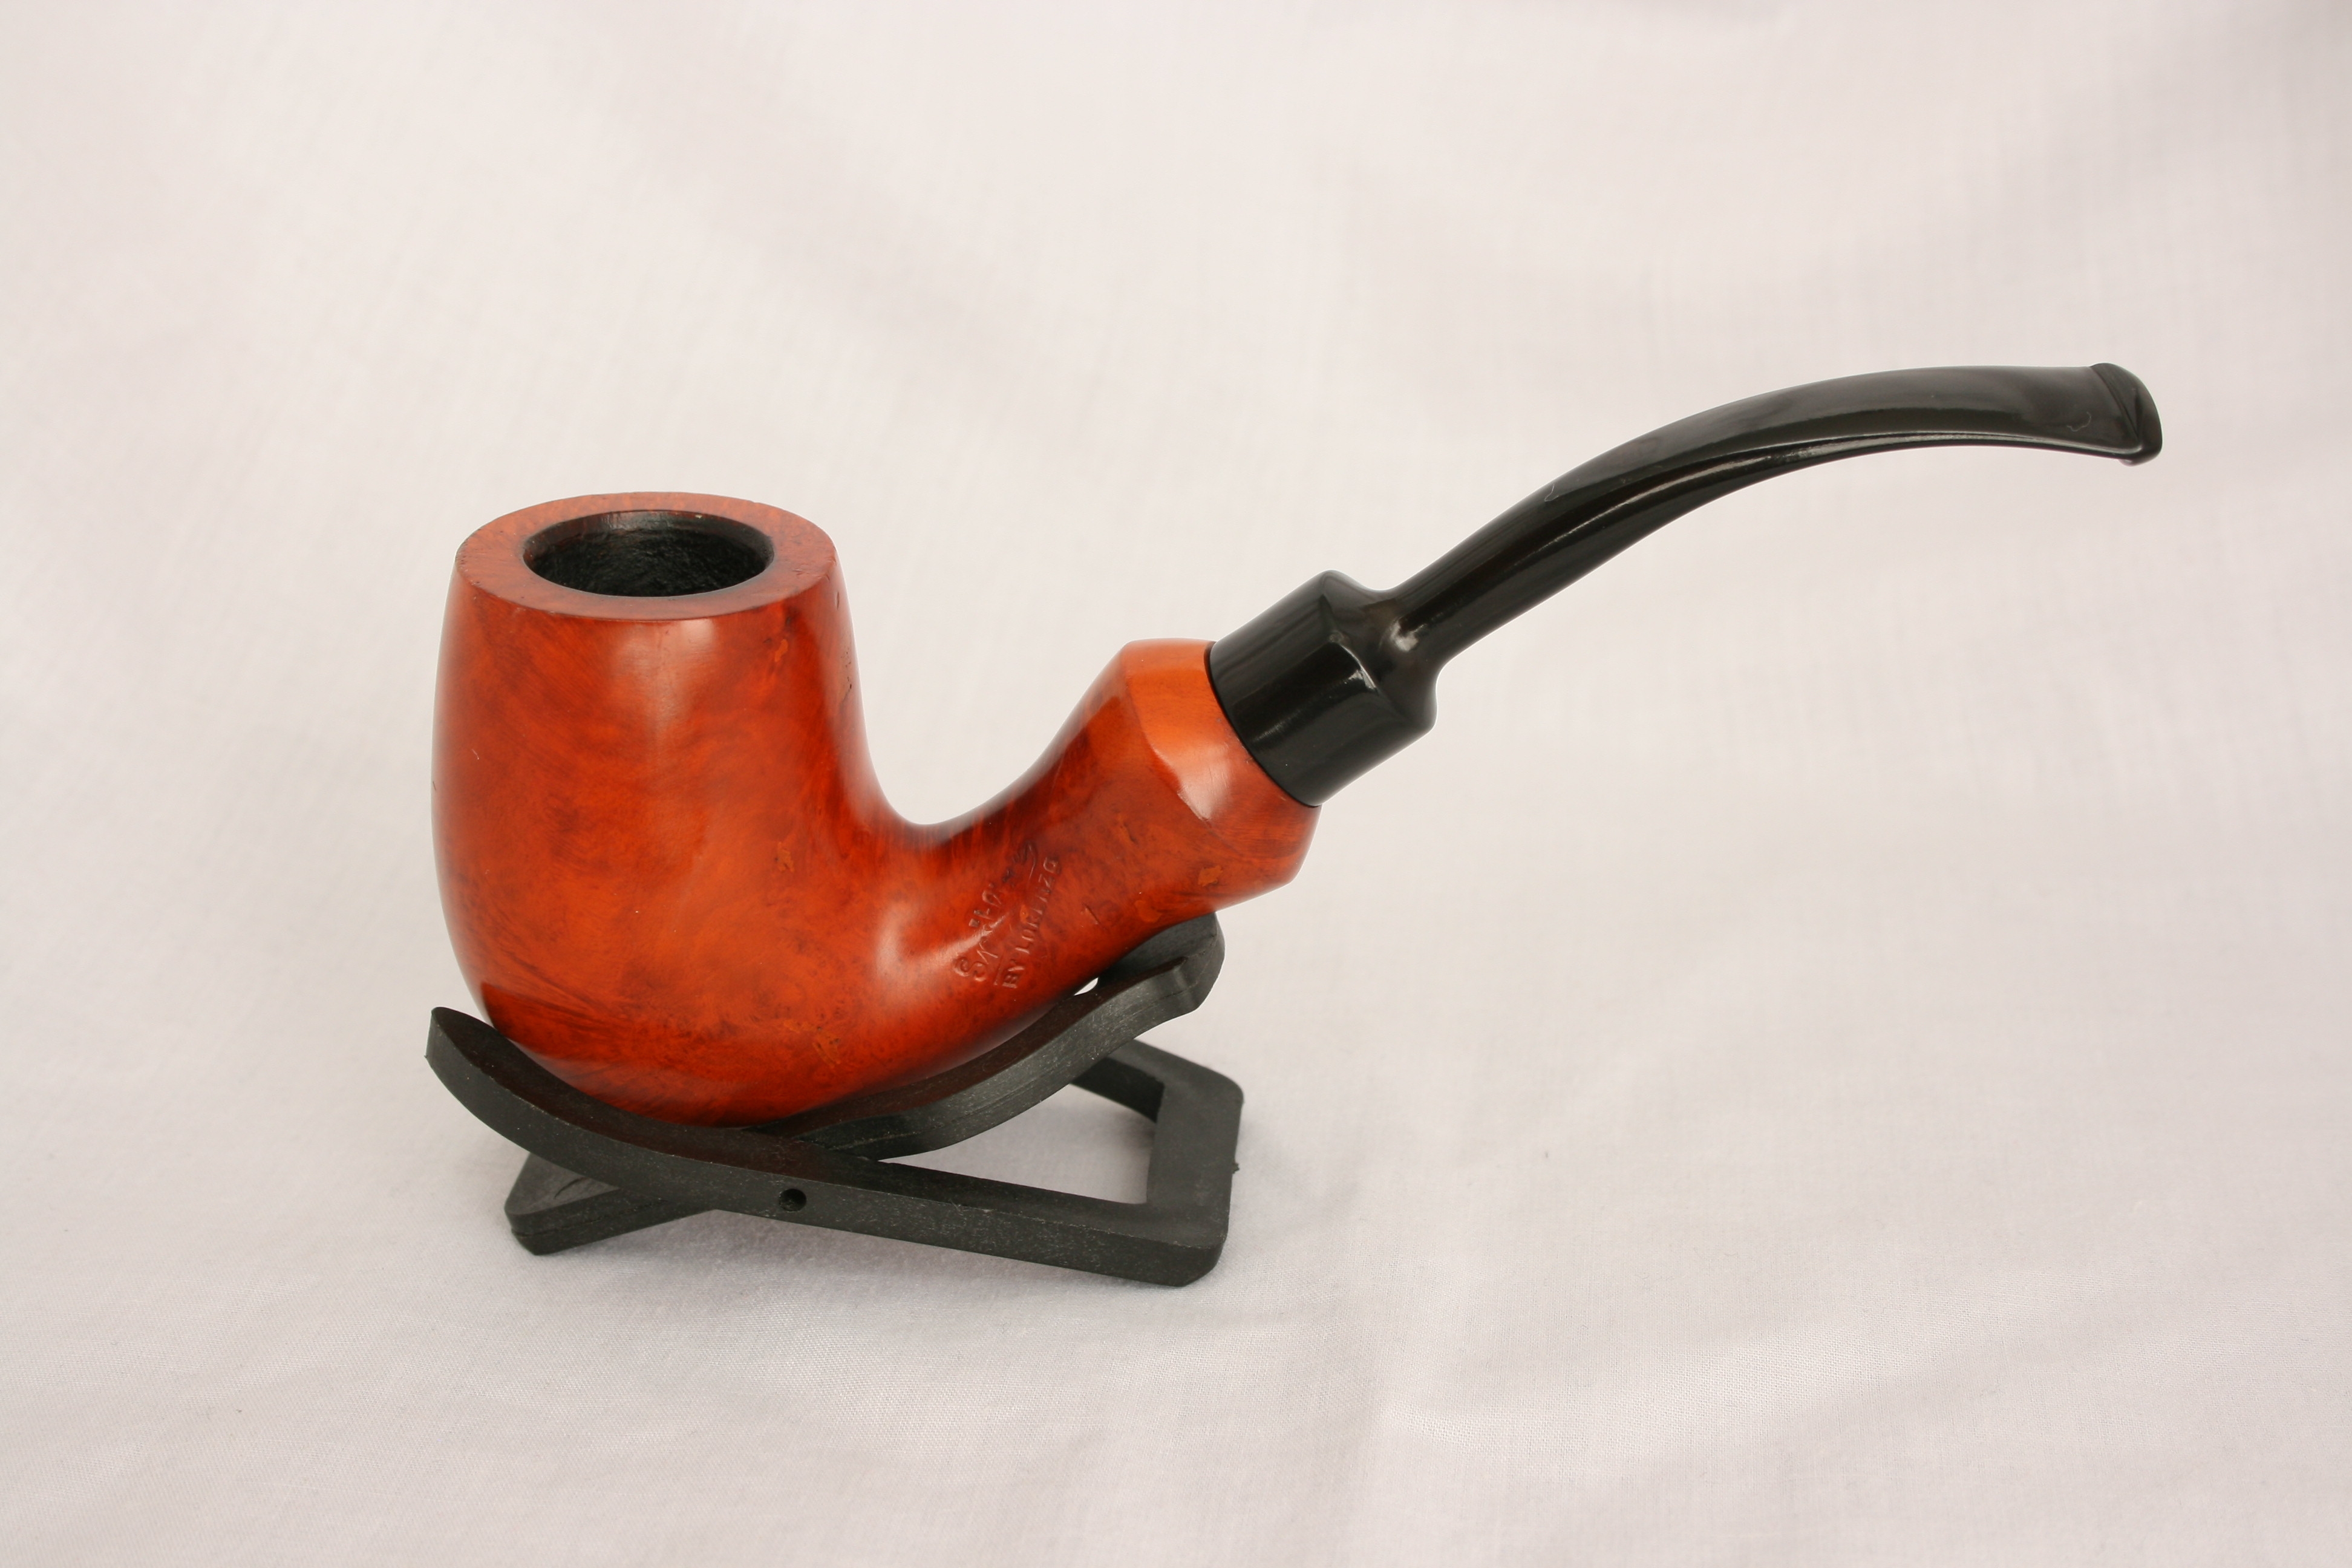
Tag Archives: waxing

Waxing a Pipe Using Only a Dremel – Bill Tonge


Those who have read Bill’s previous two articles you have seen what he accomplishes with his refurbs. He does beautiful work. This third article that he has written is one that he wrote to me about. I was excited to read what he wrote as it challenges the common thinking of buffing with a Dremel. Thanks Bill for the interesting piece. Well done.

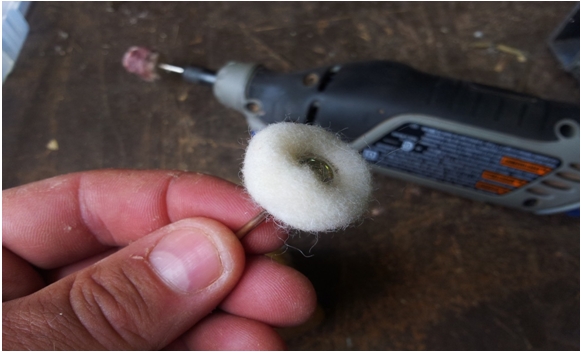
I thought I would ask Steve if I could do a little write up about waxing a pipe using only a Dremel, wool ball, fibre brush and Carnauba wax. I know there has been many a discussion about waxing this way and people say that you absolutely do not wax with a Dremel.

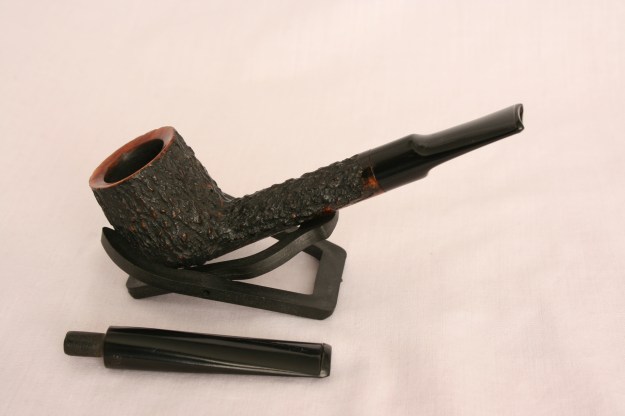
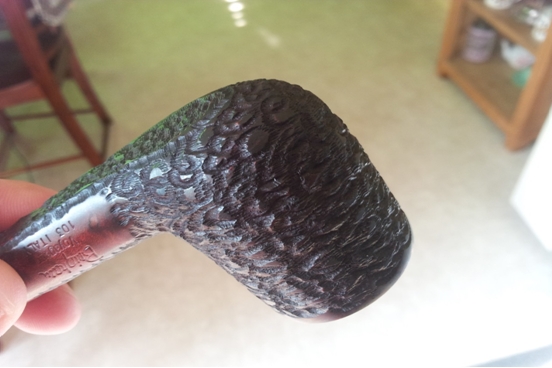
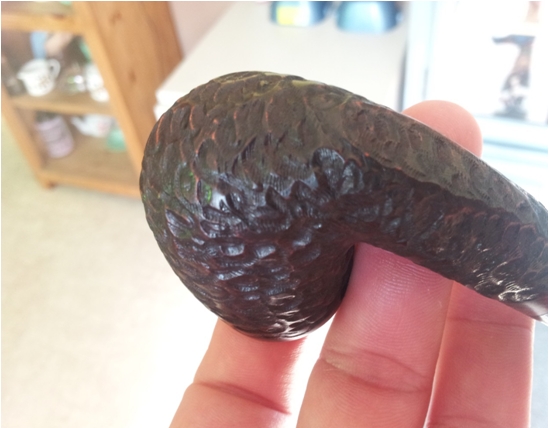
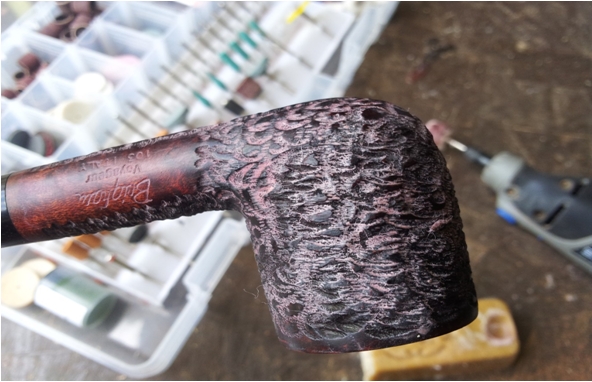
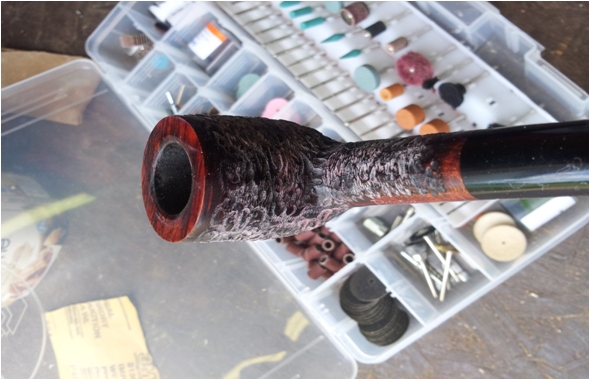
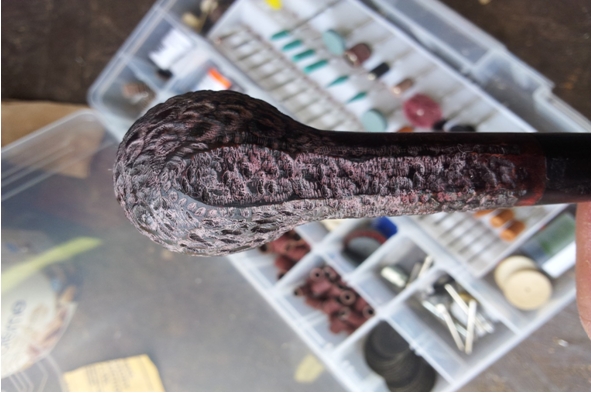
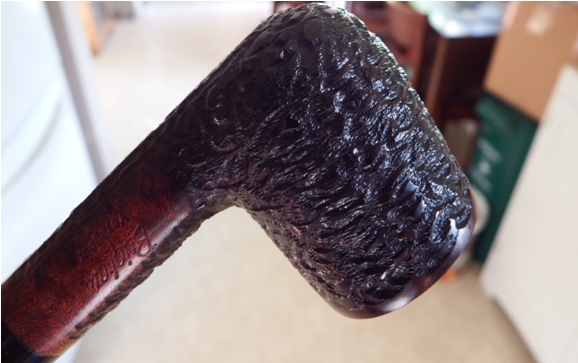
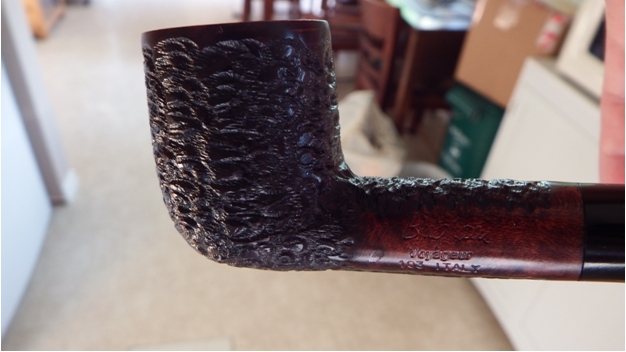
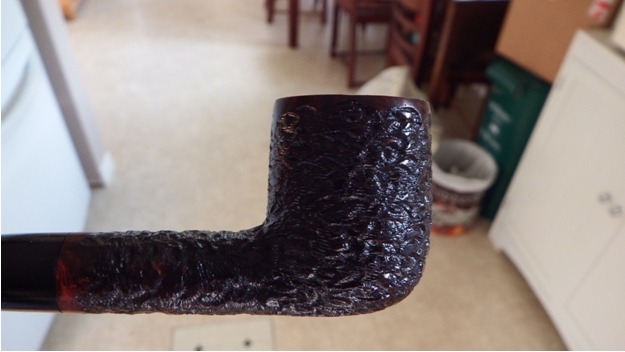
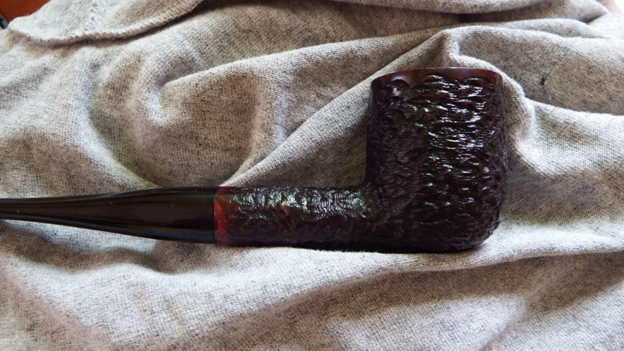
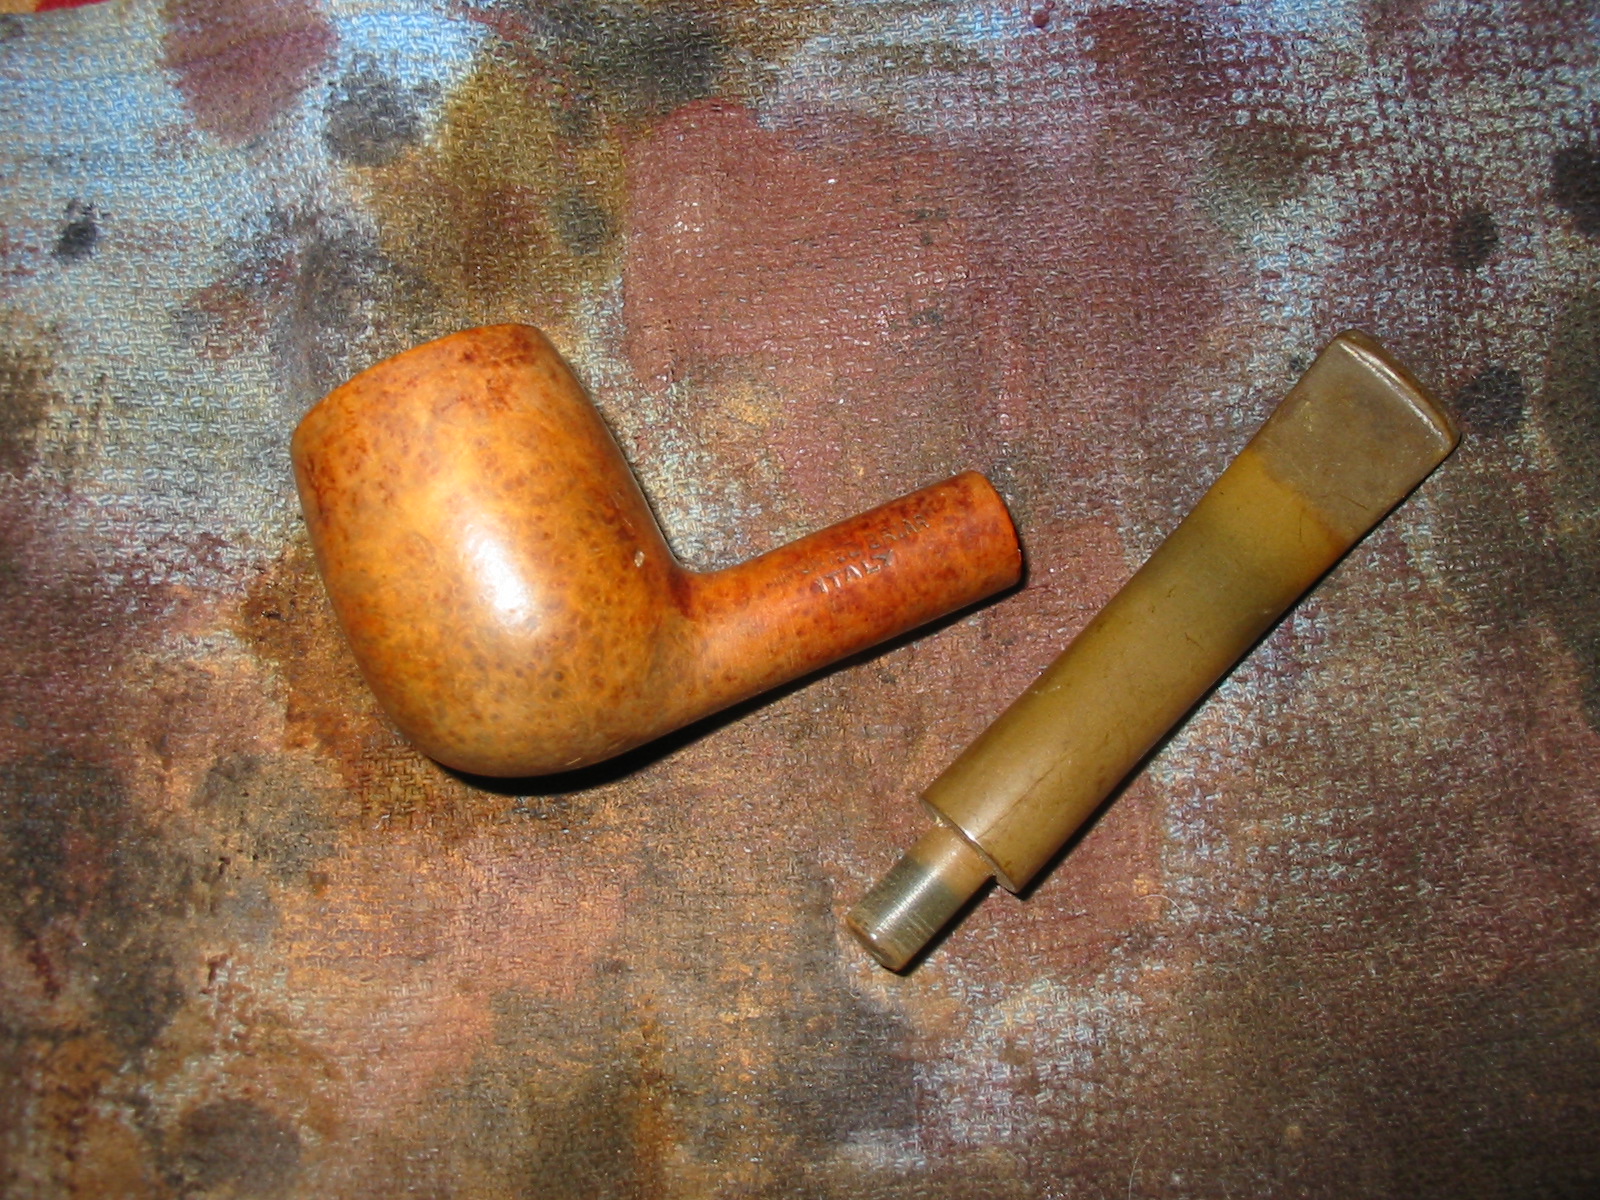
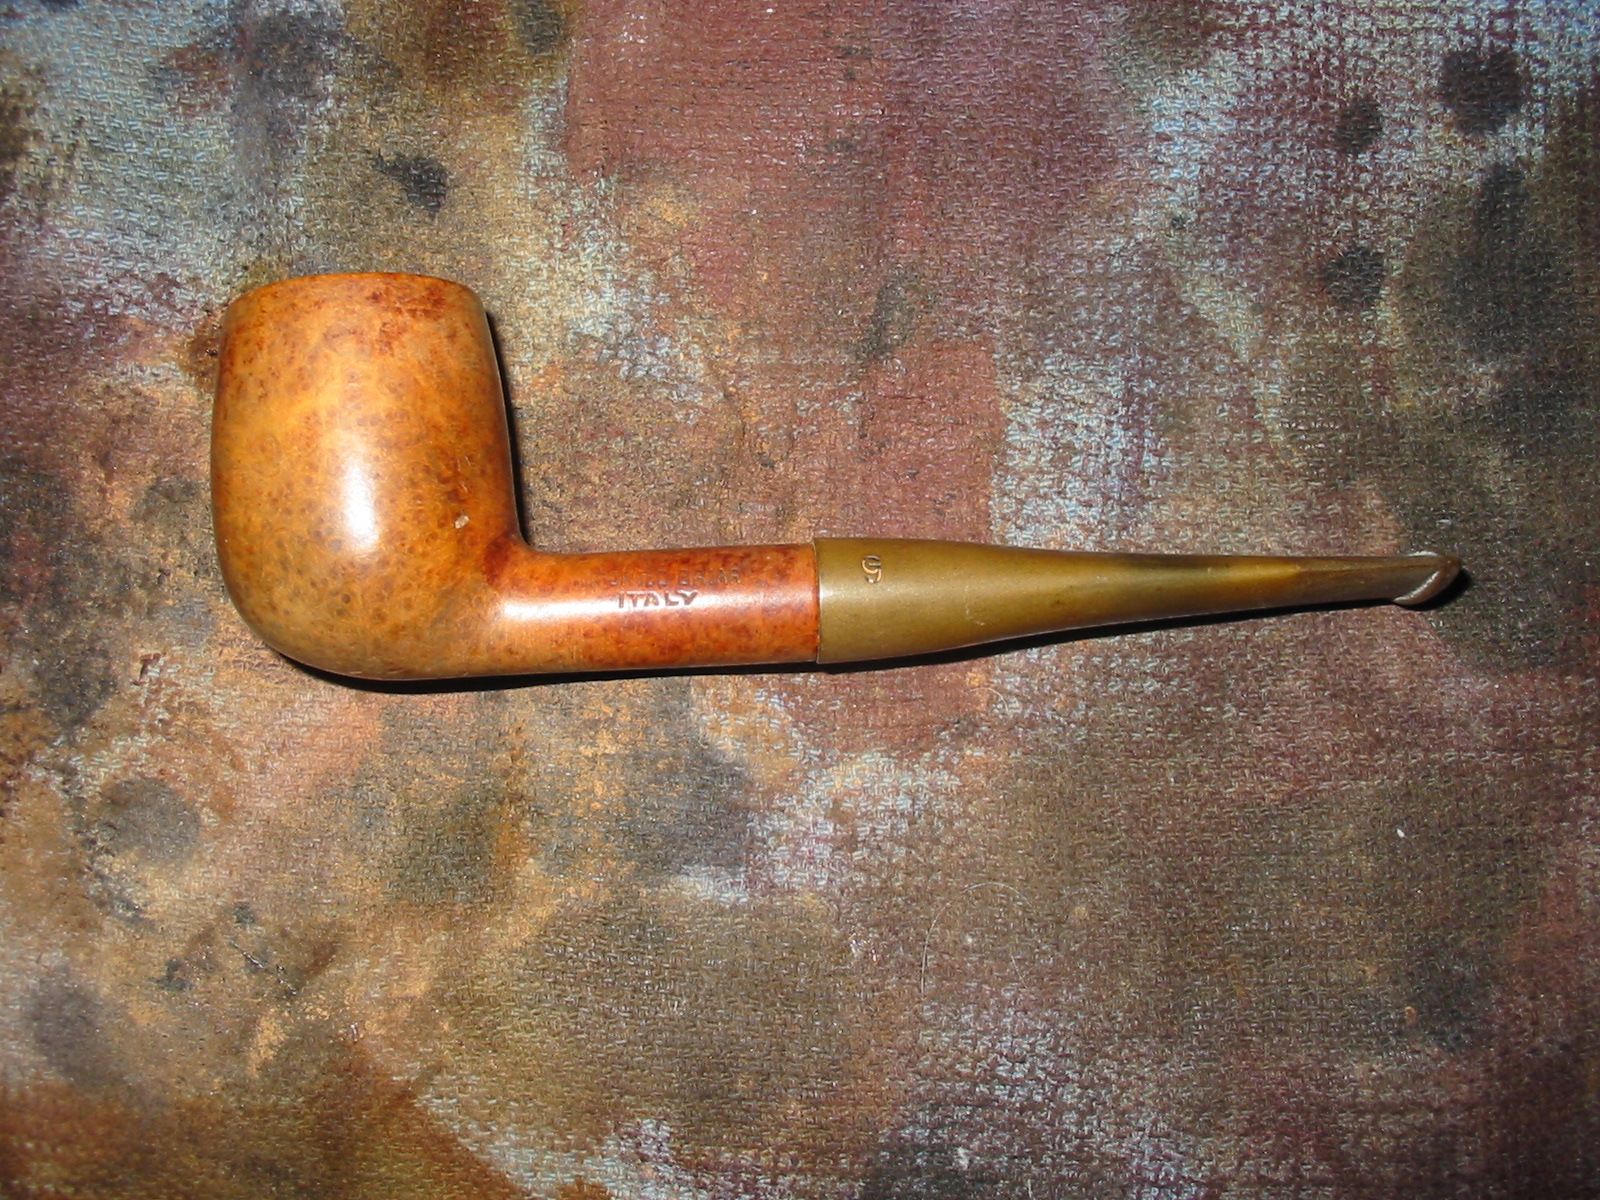
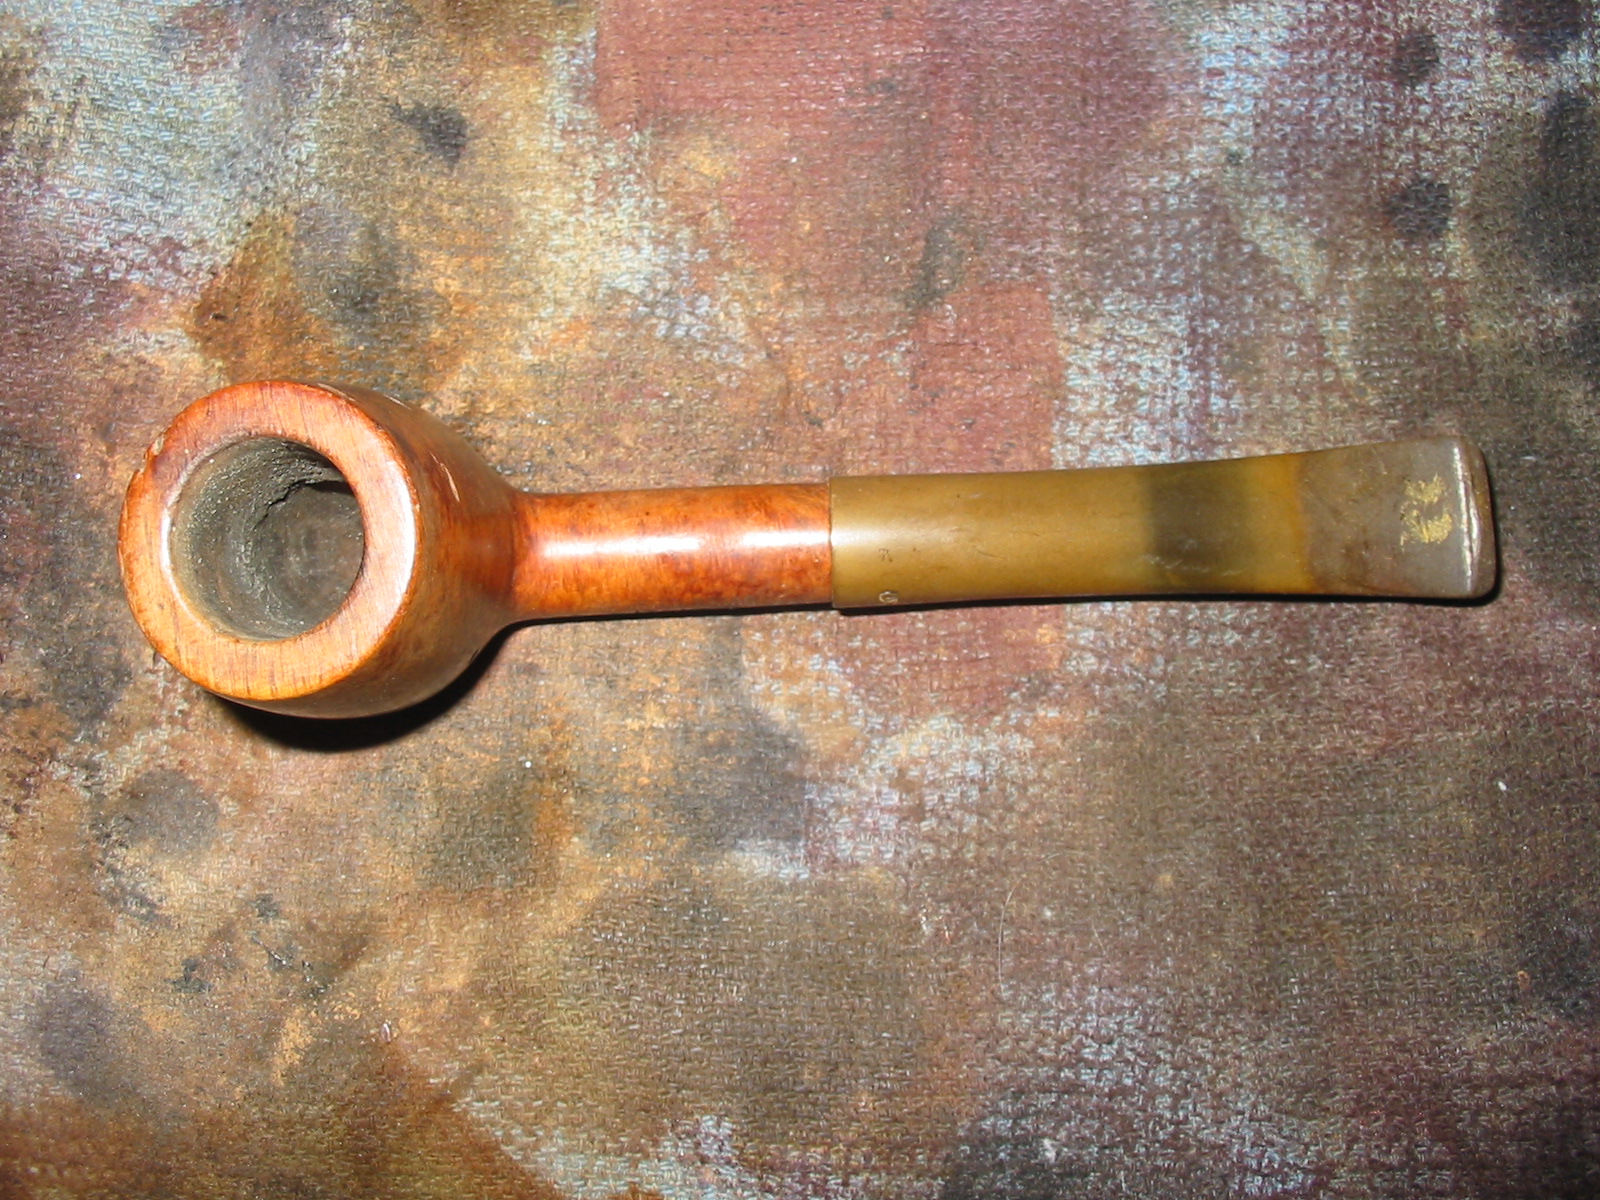
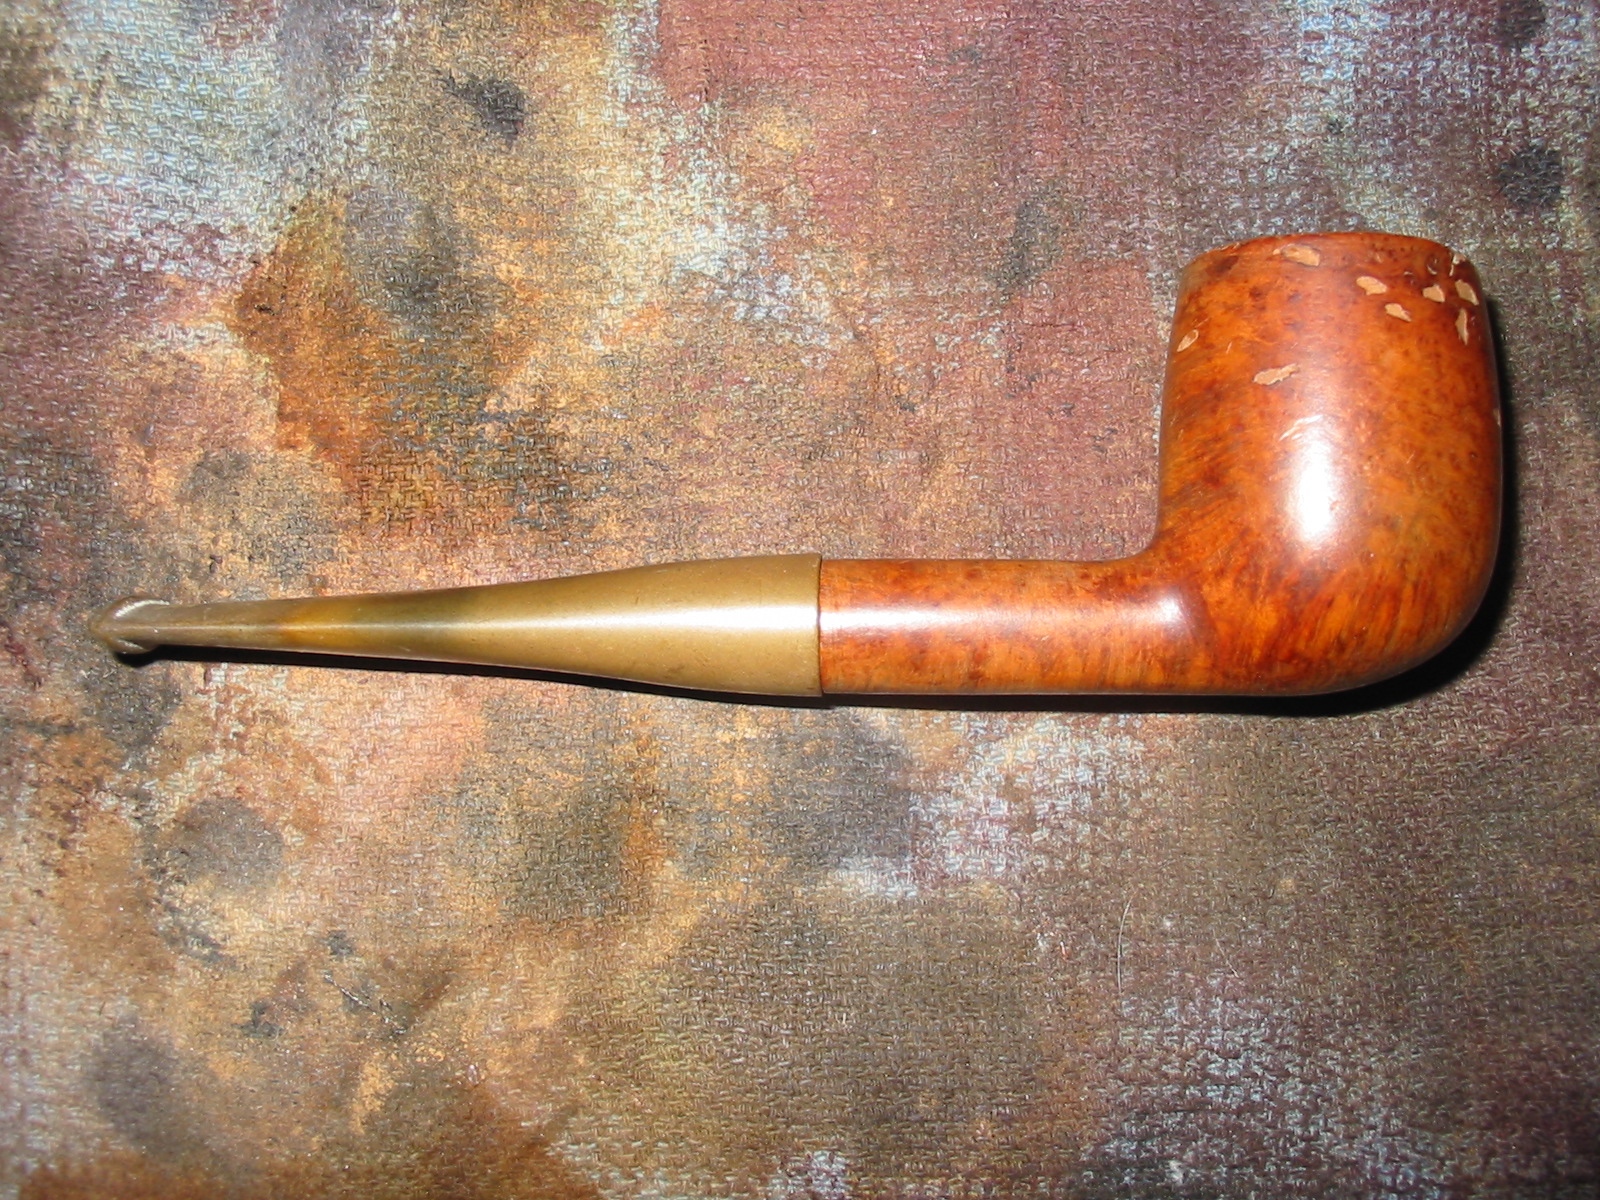
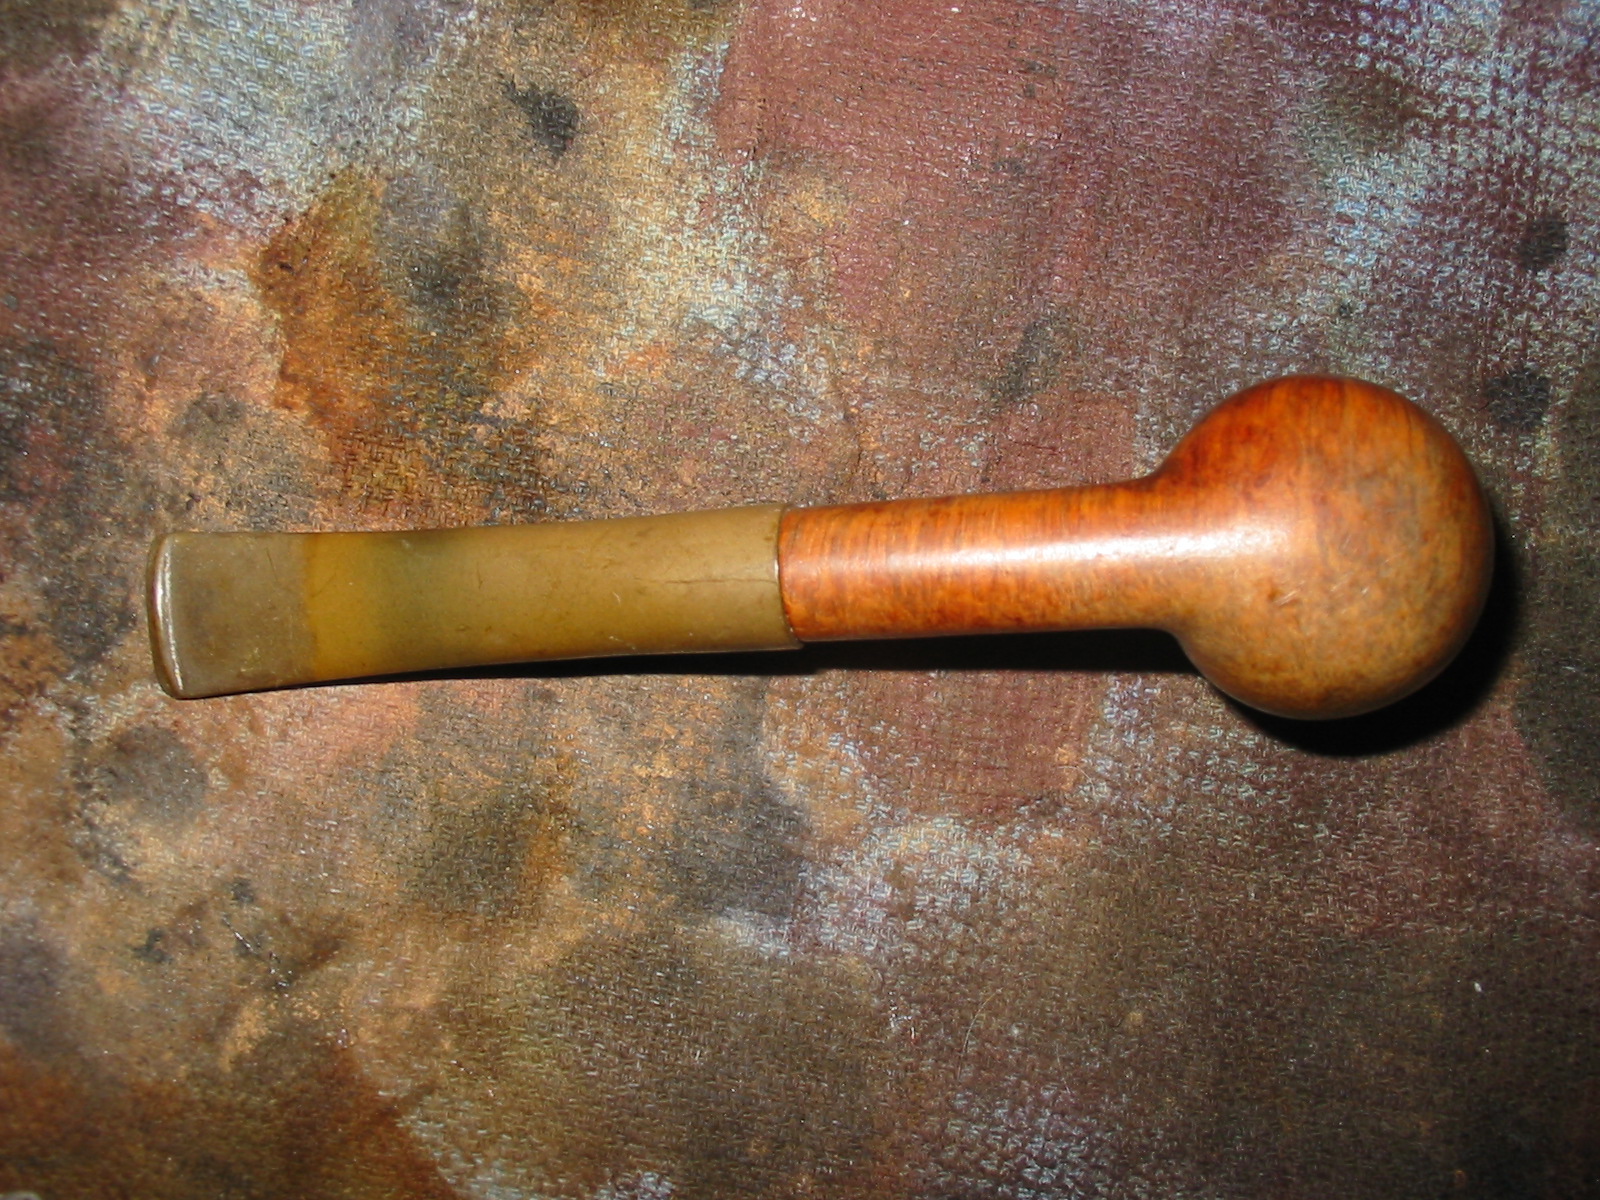
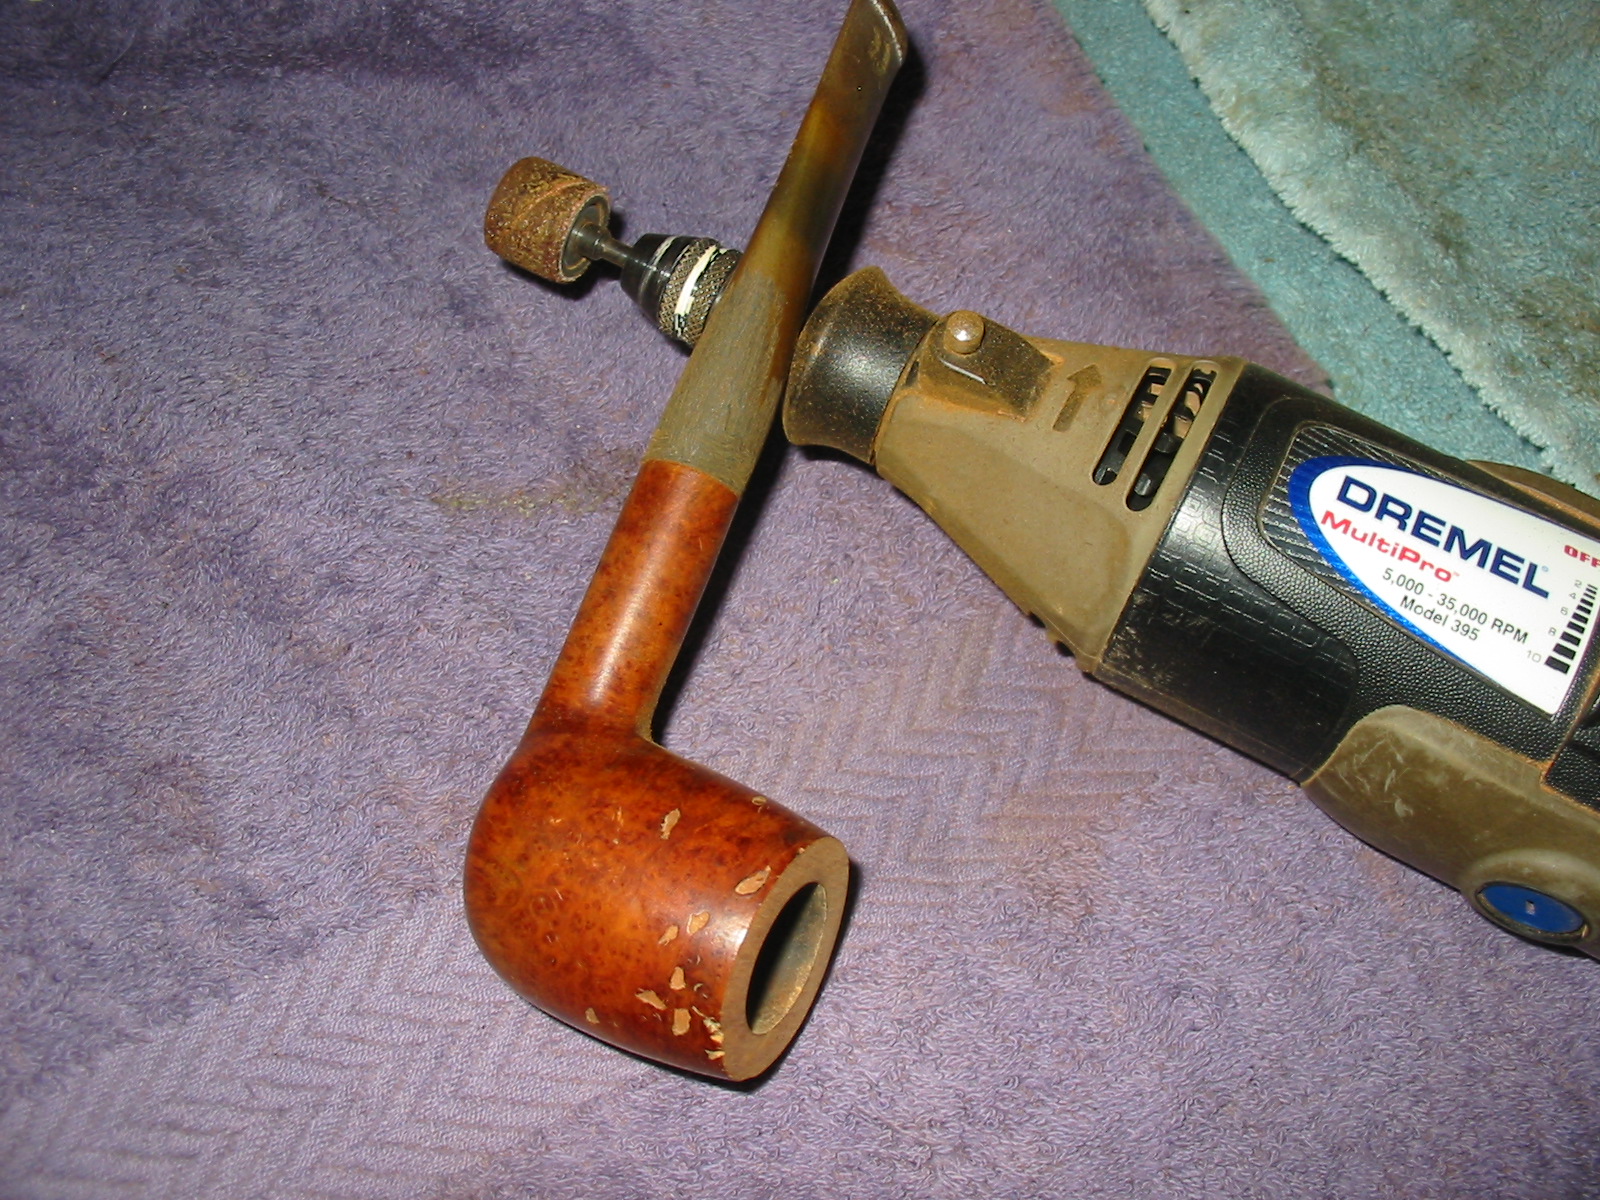
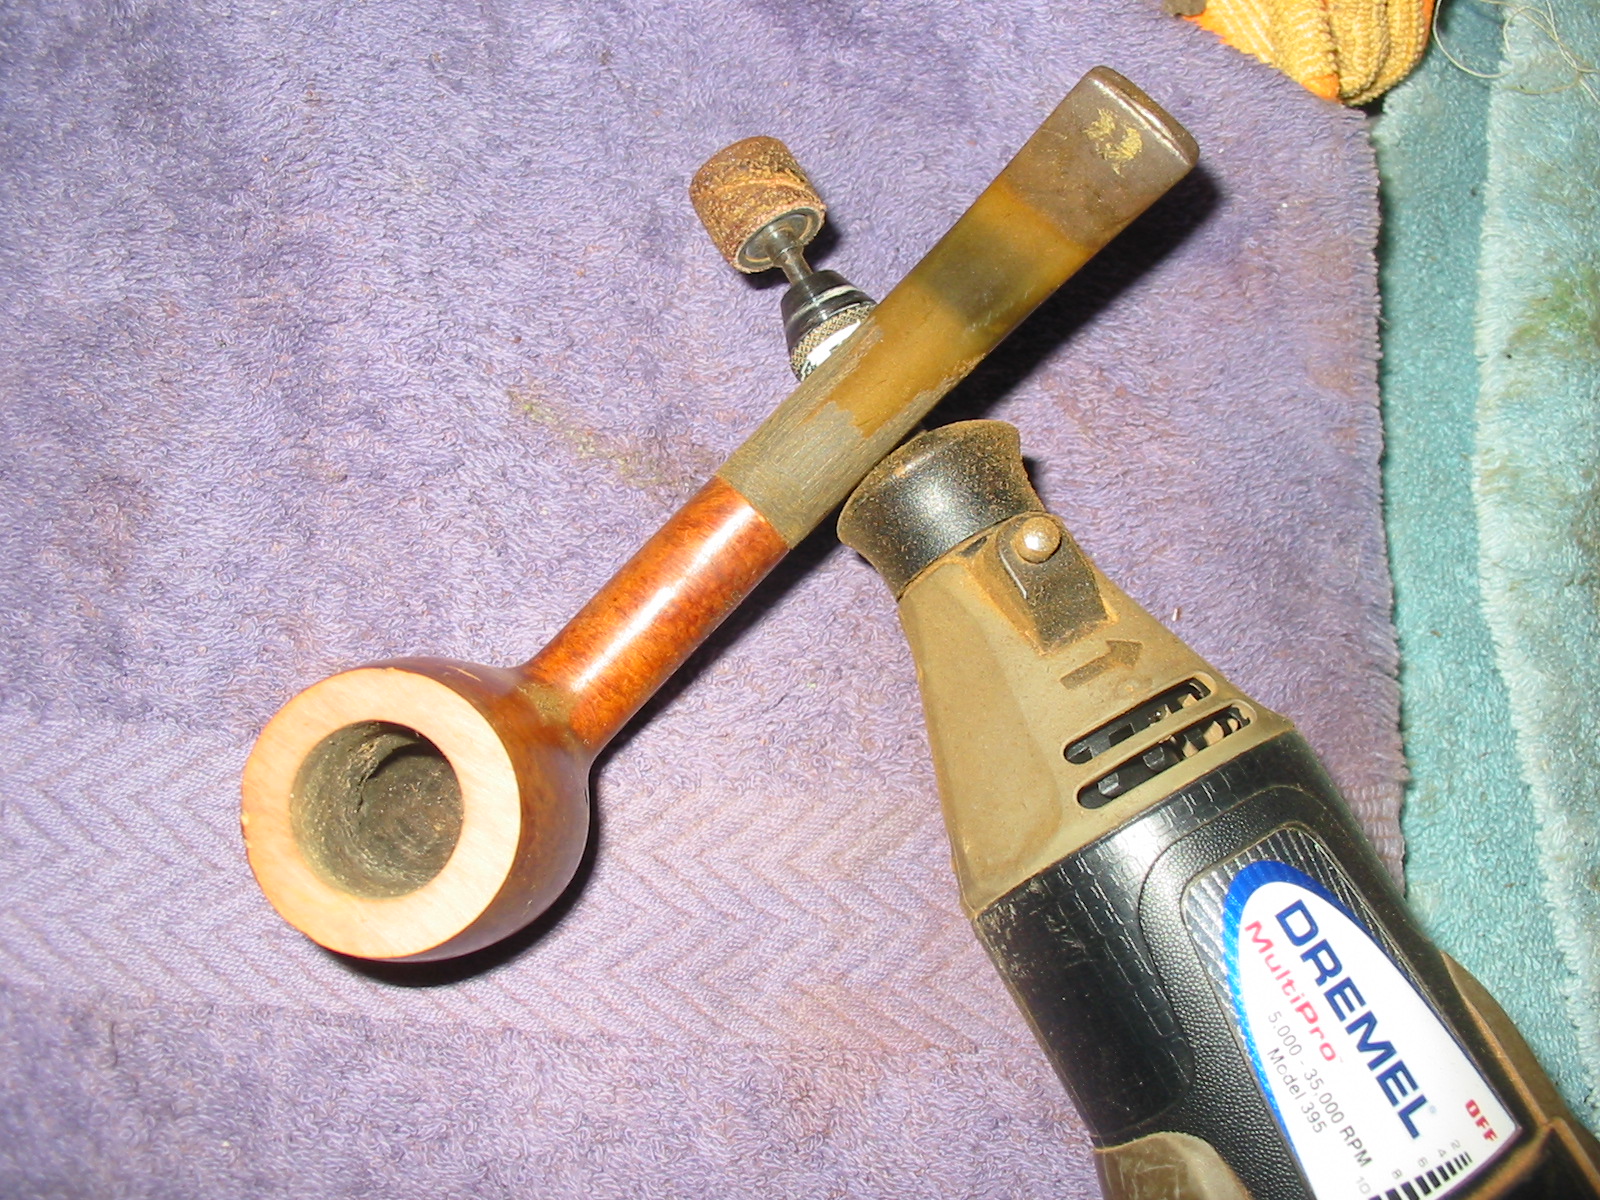
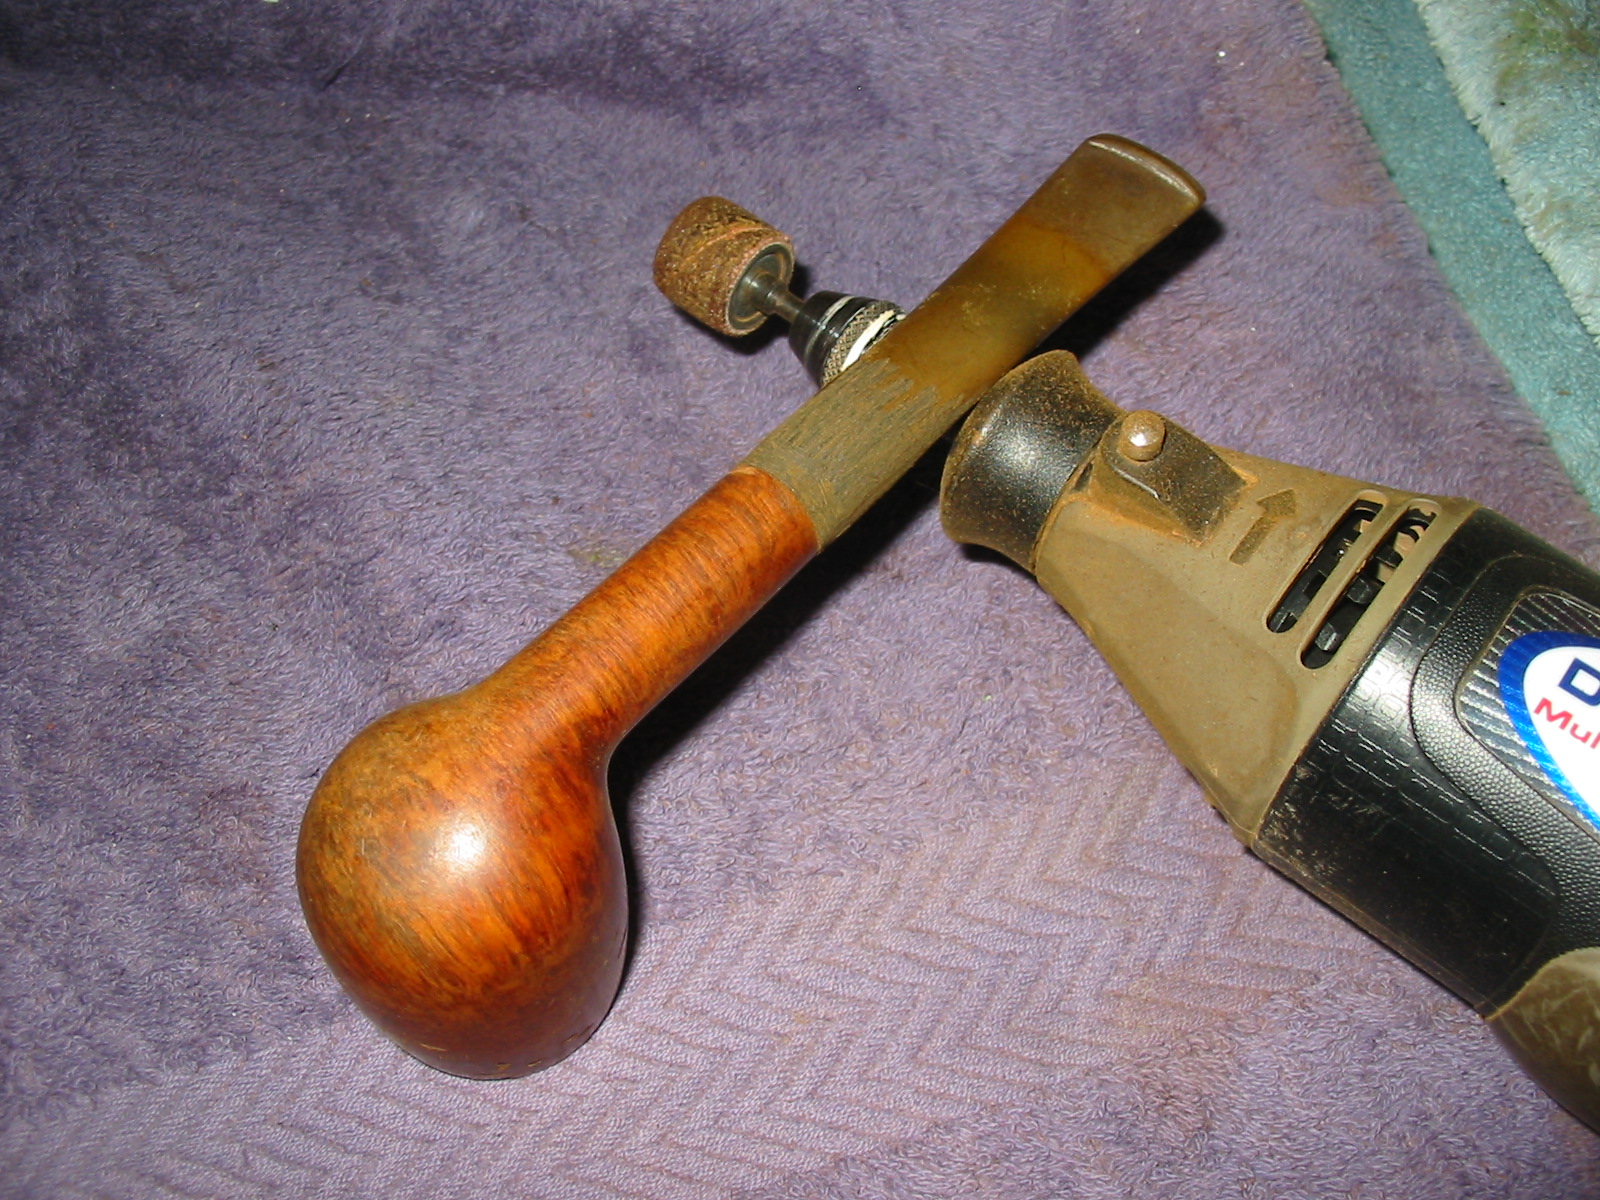
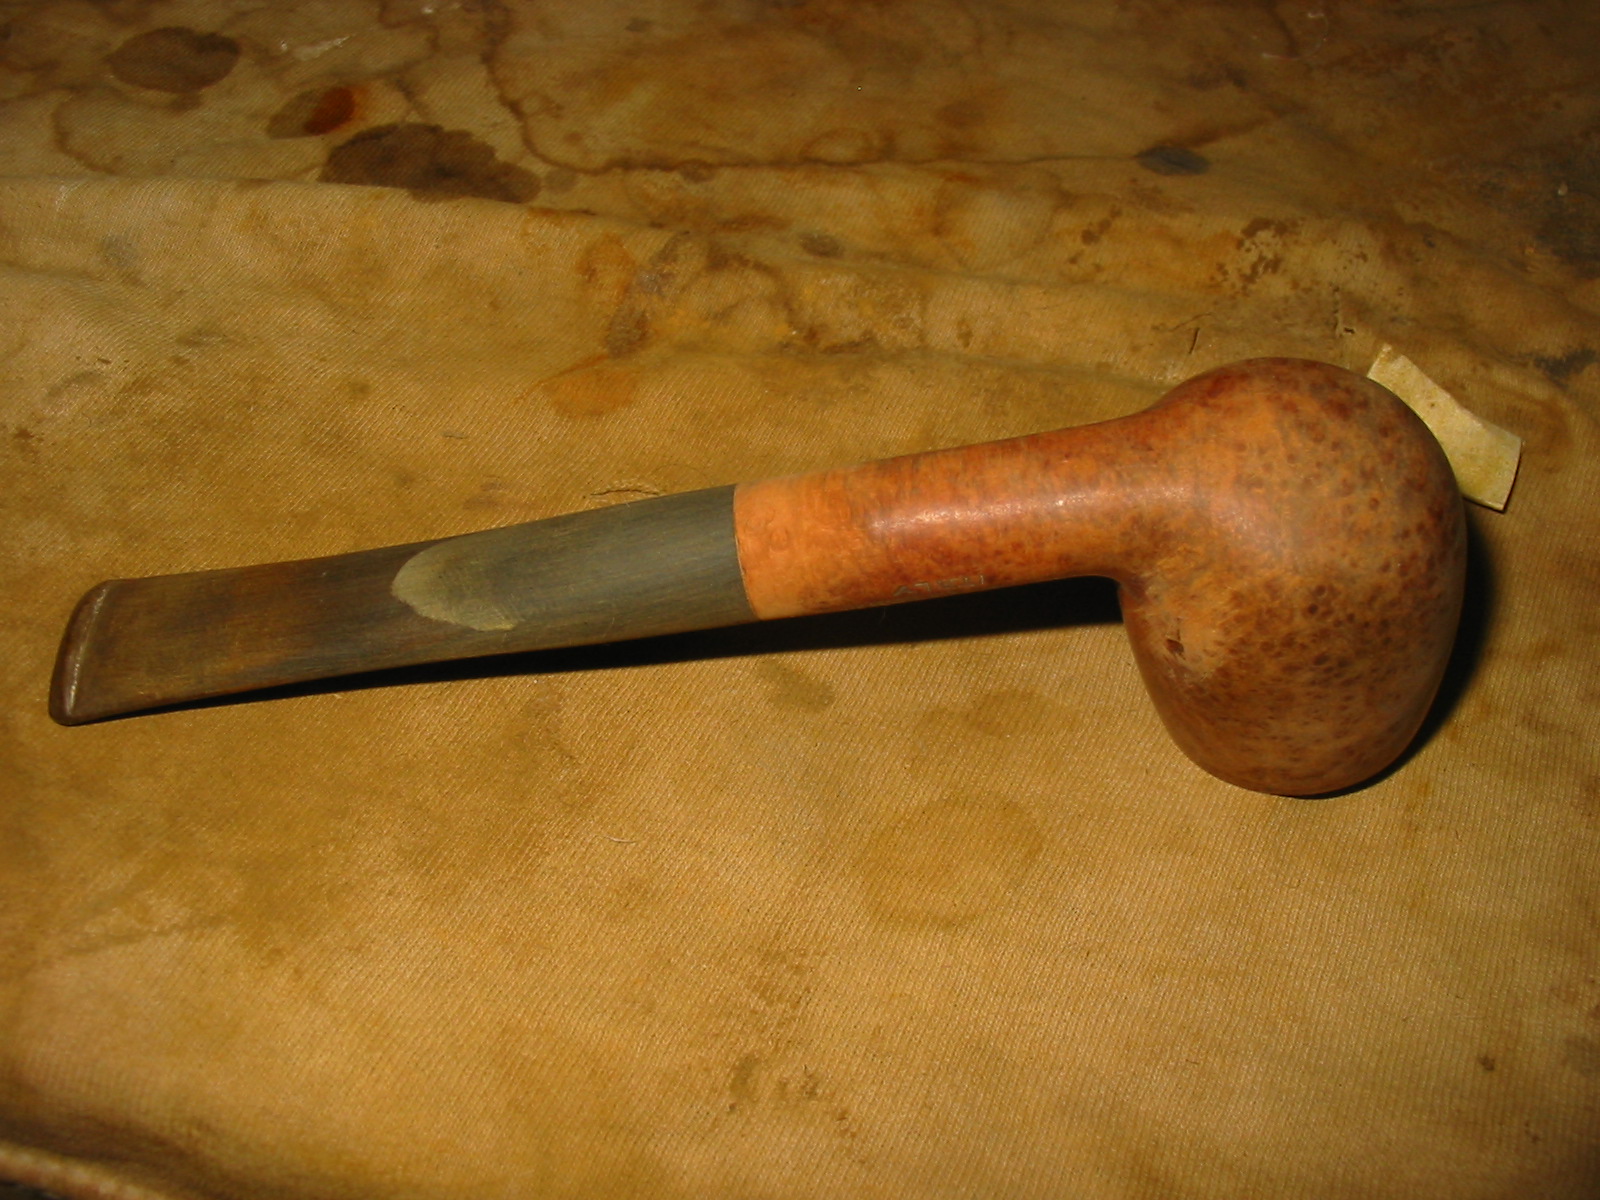
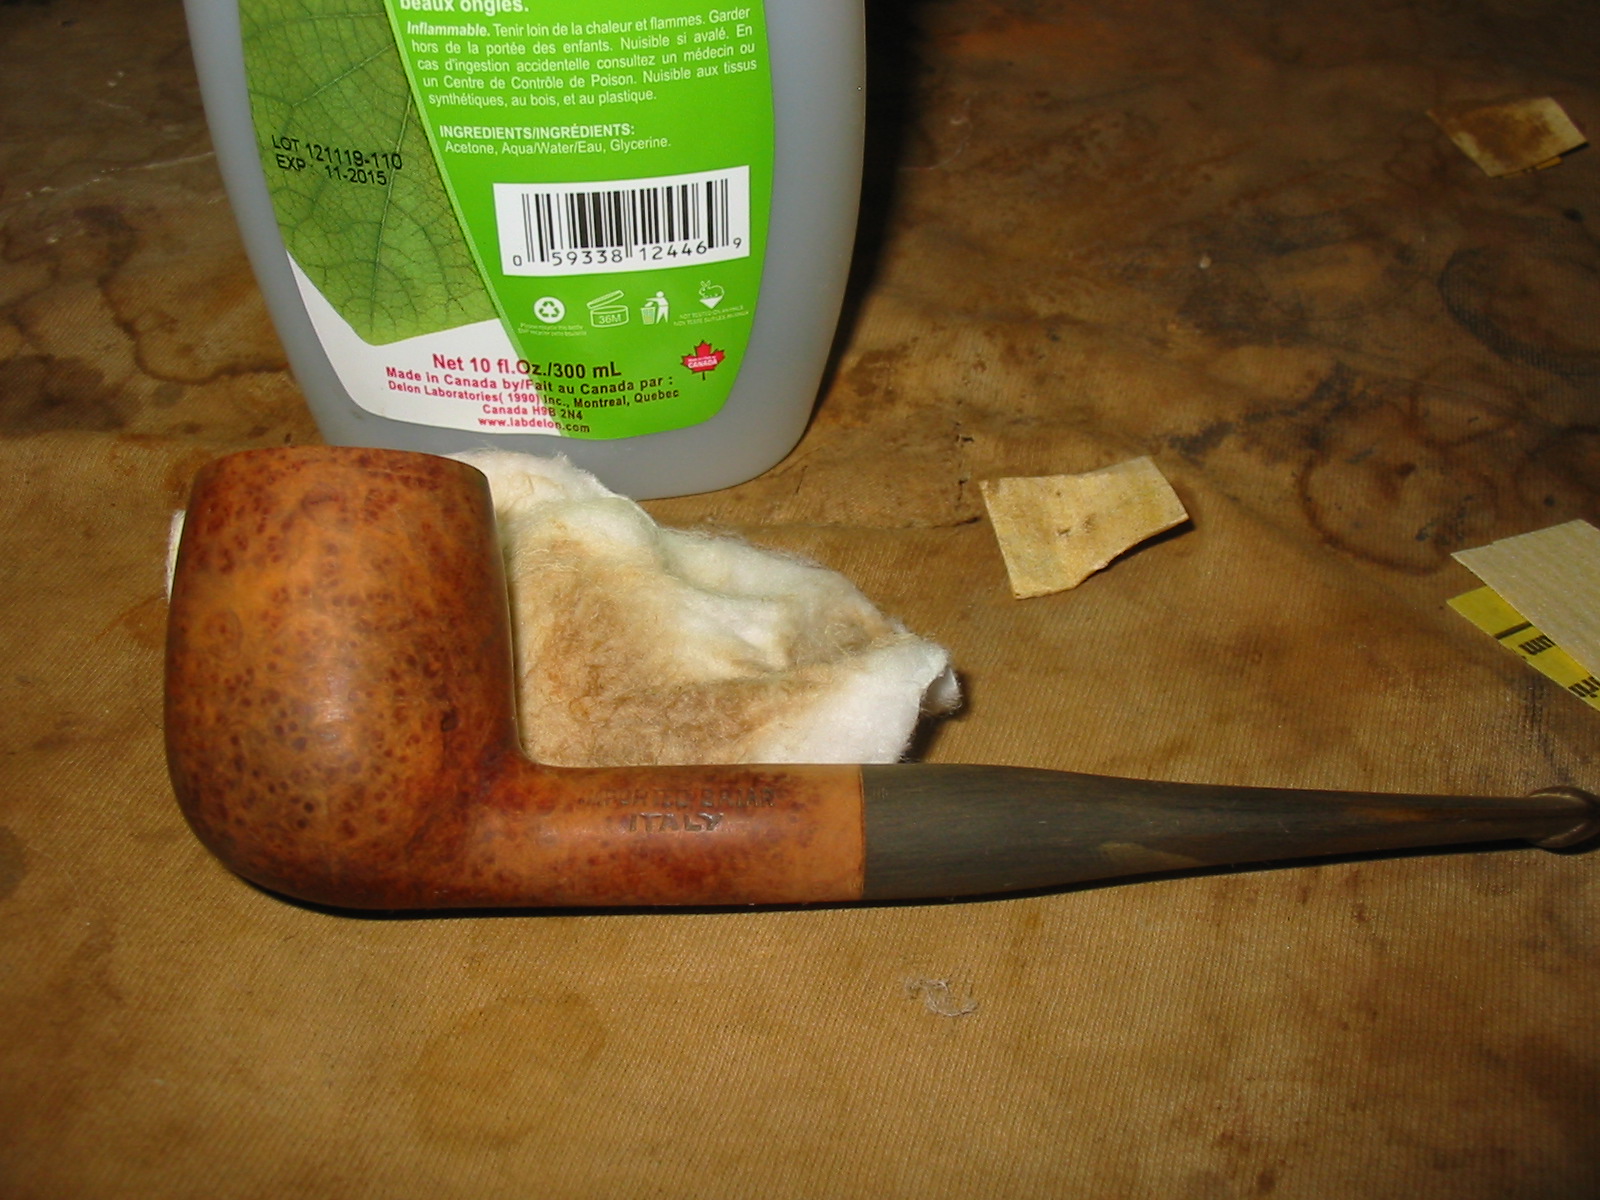
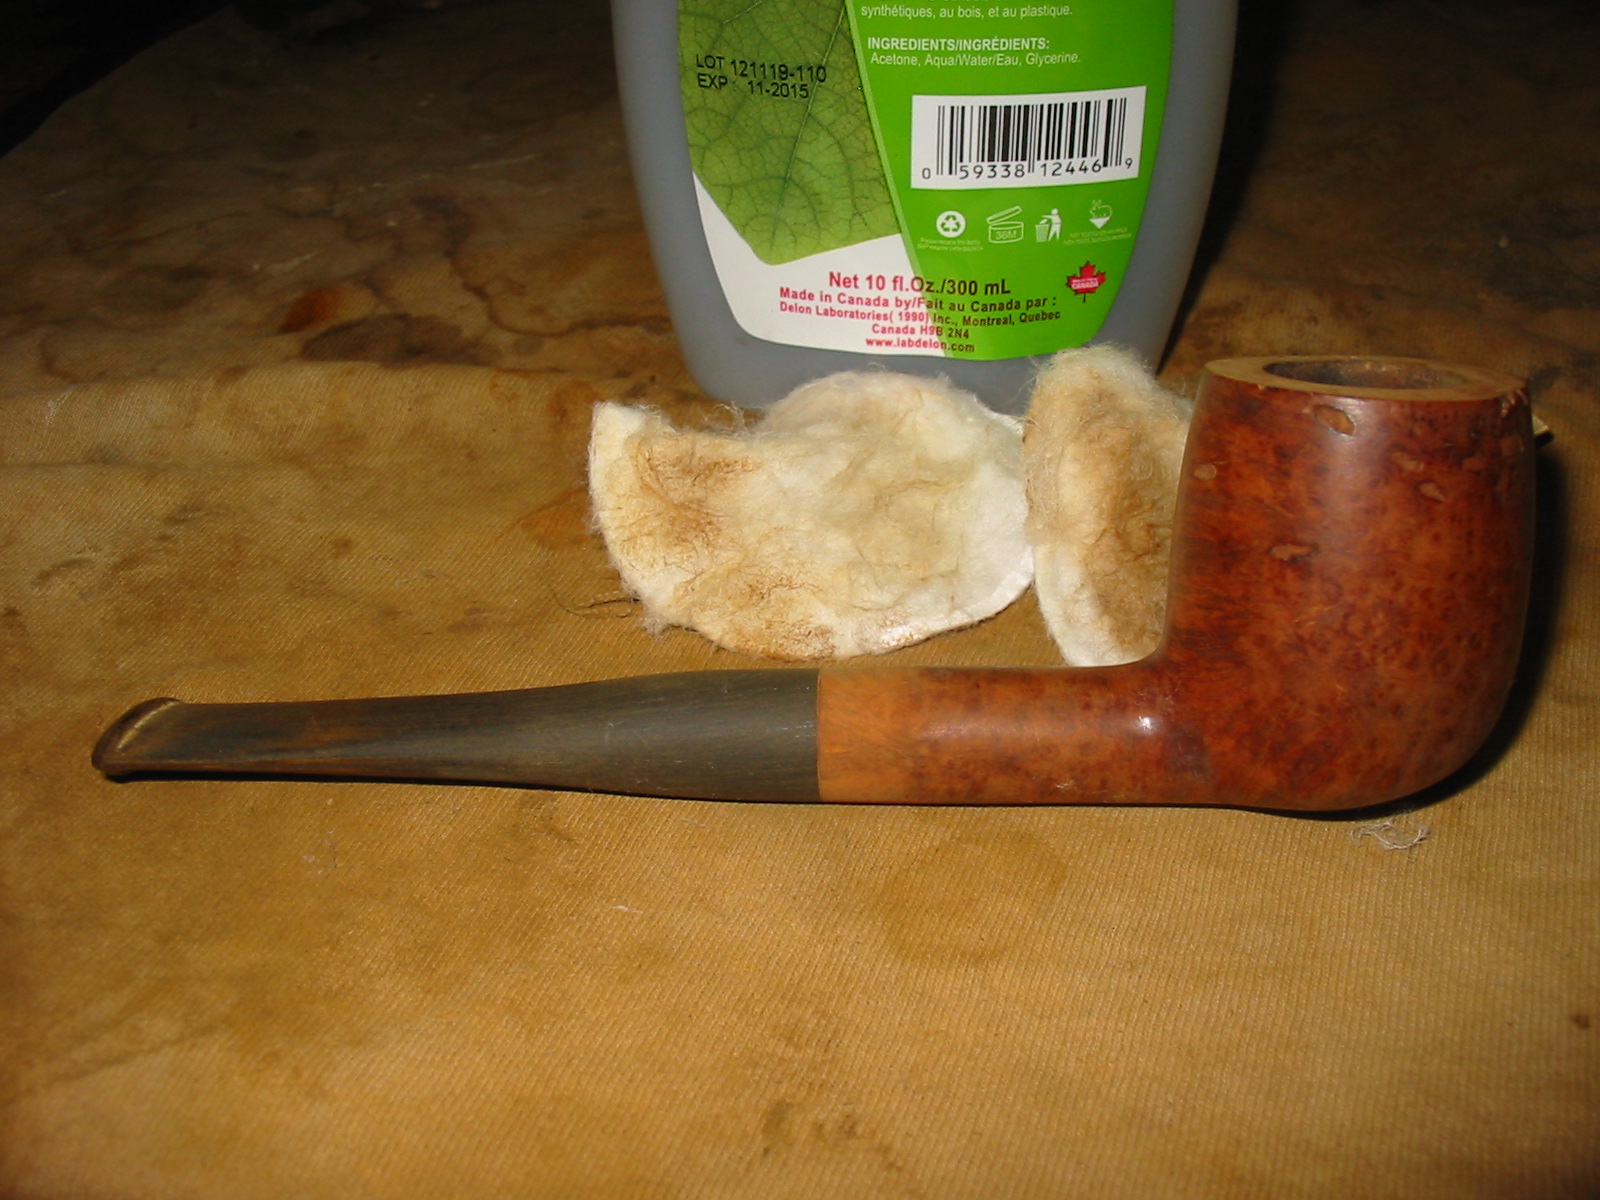
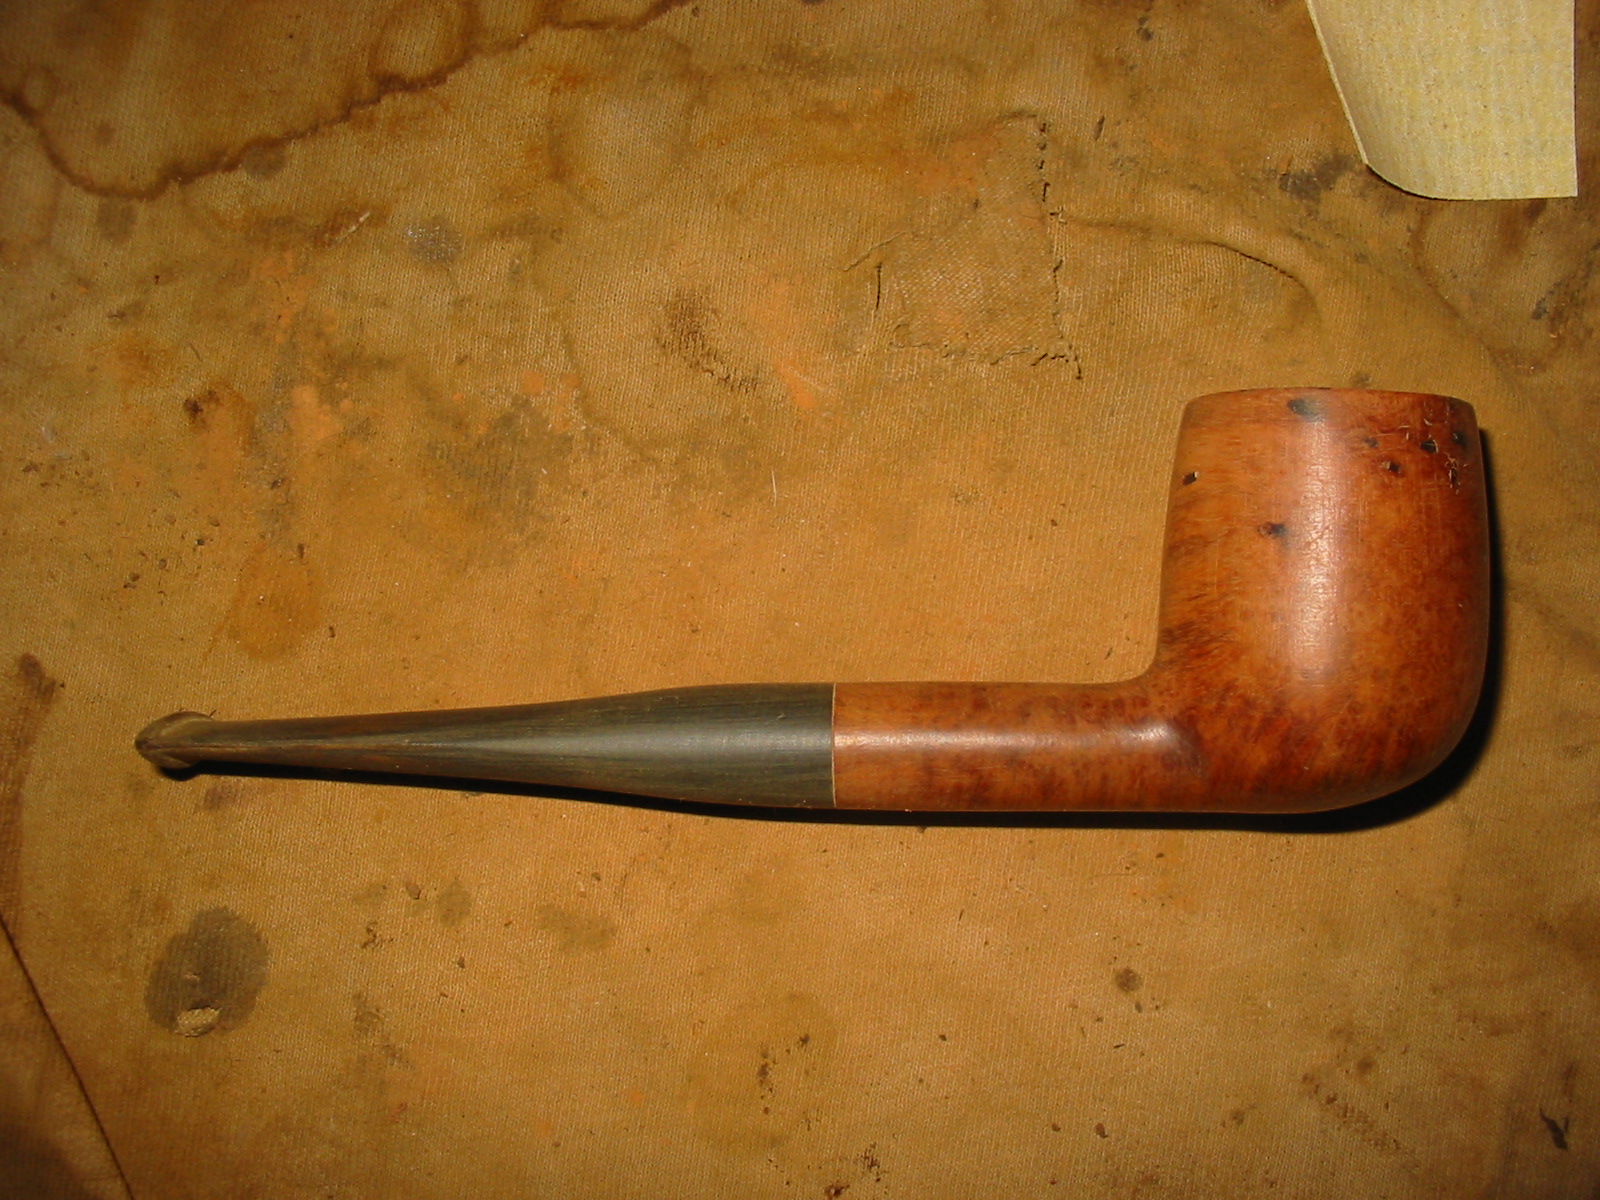
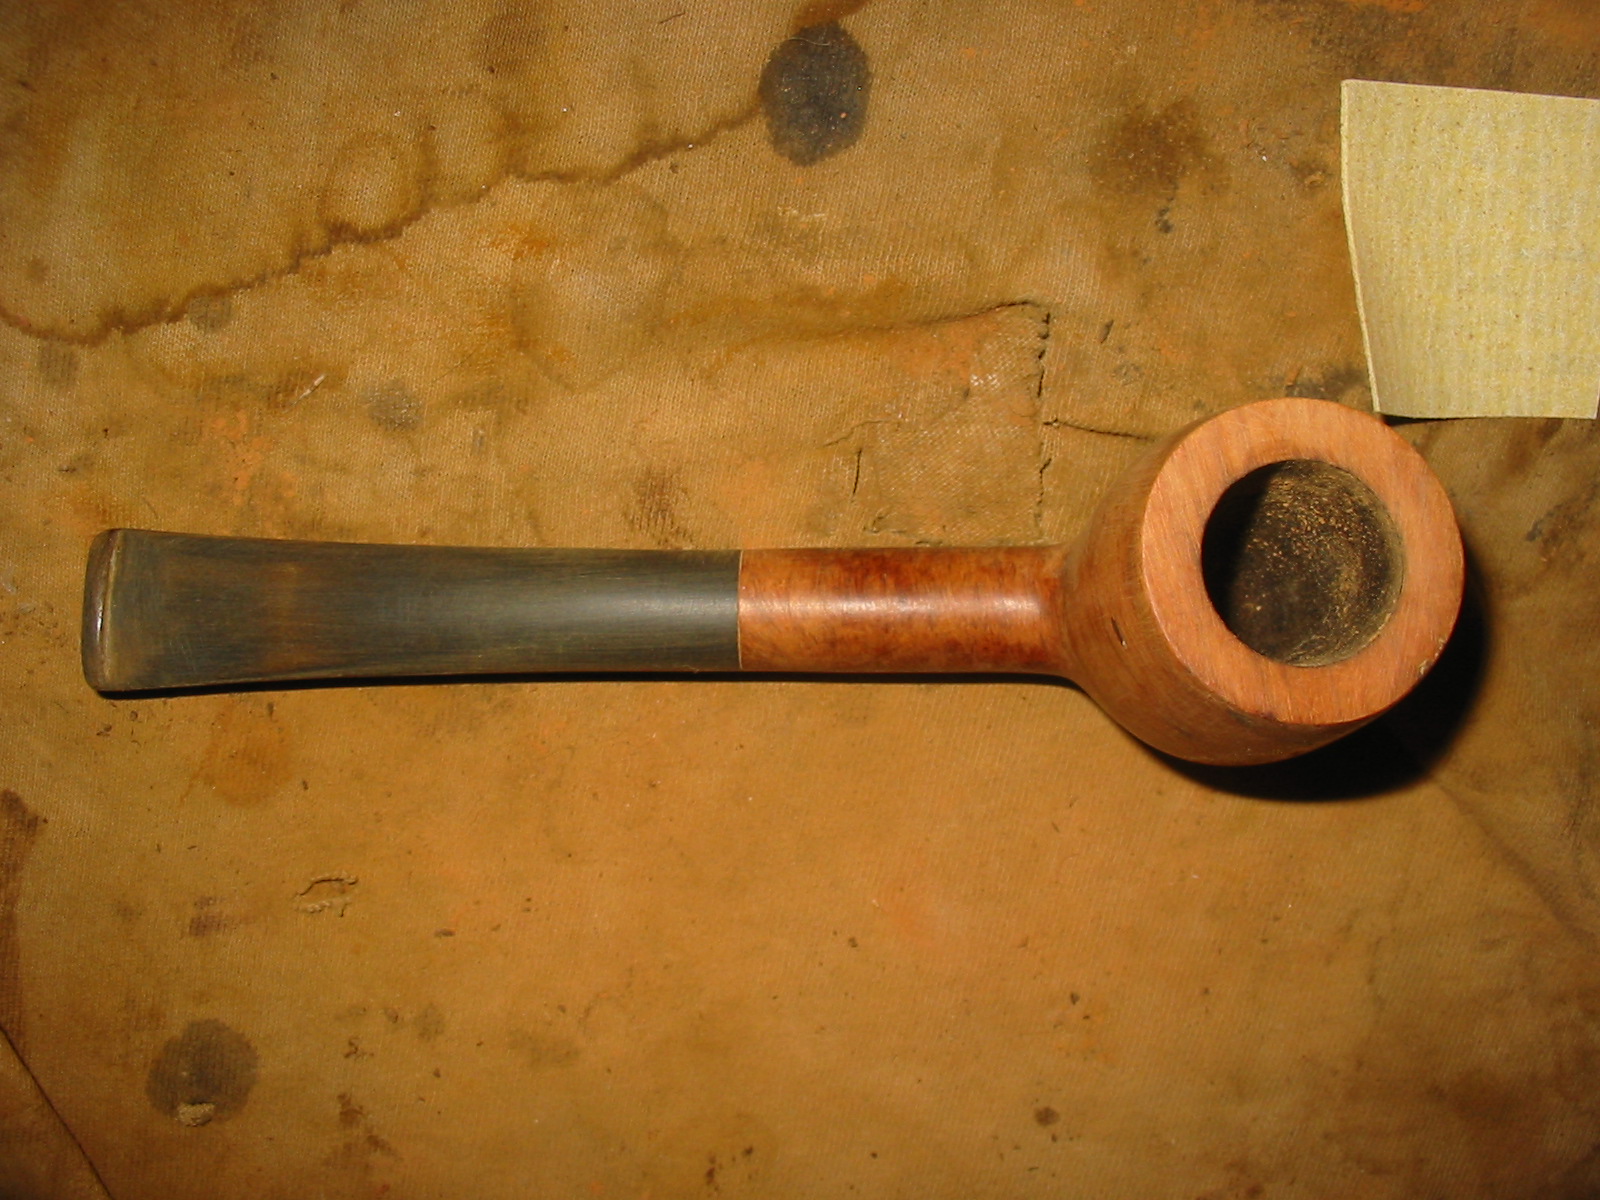
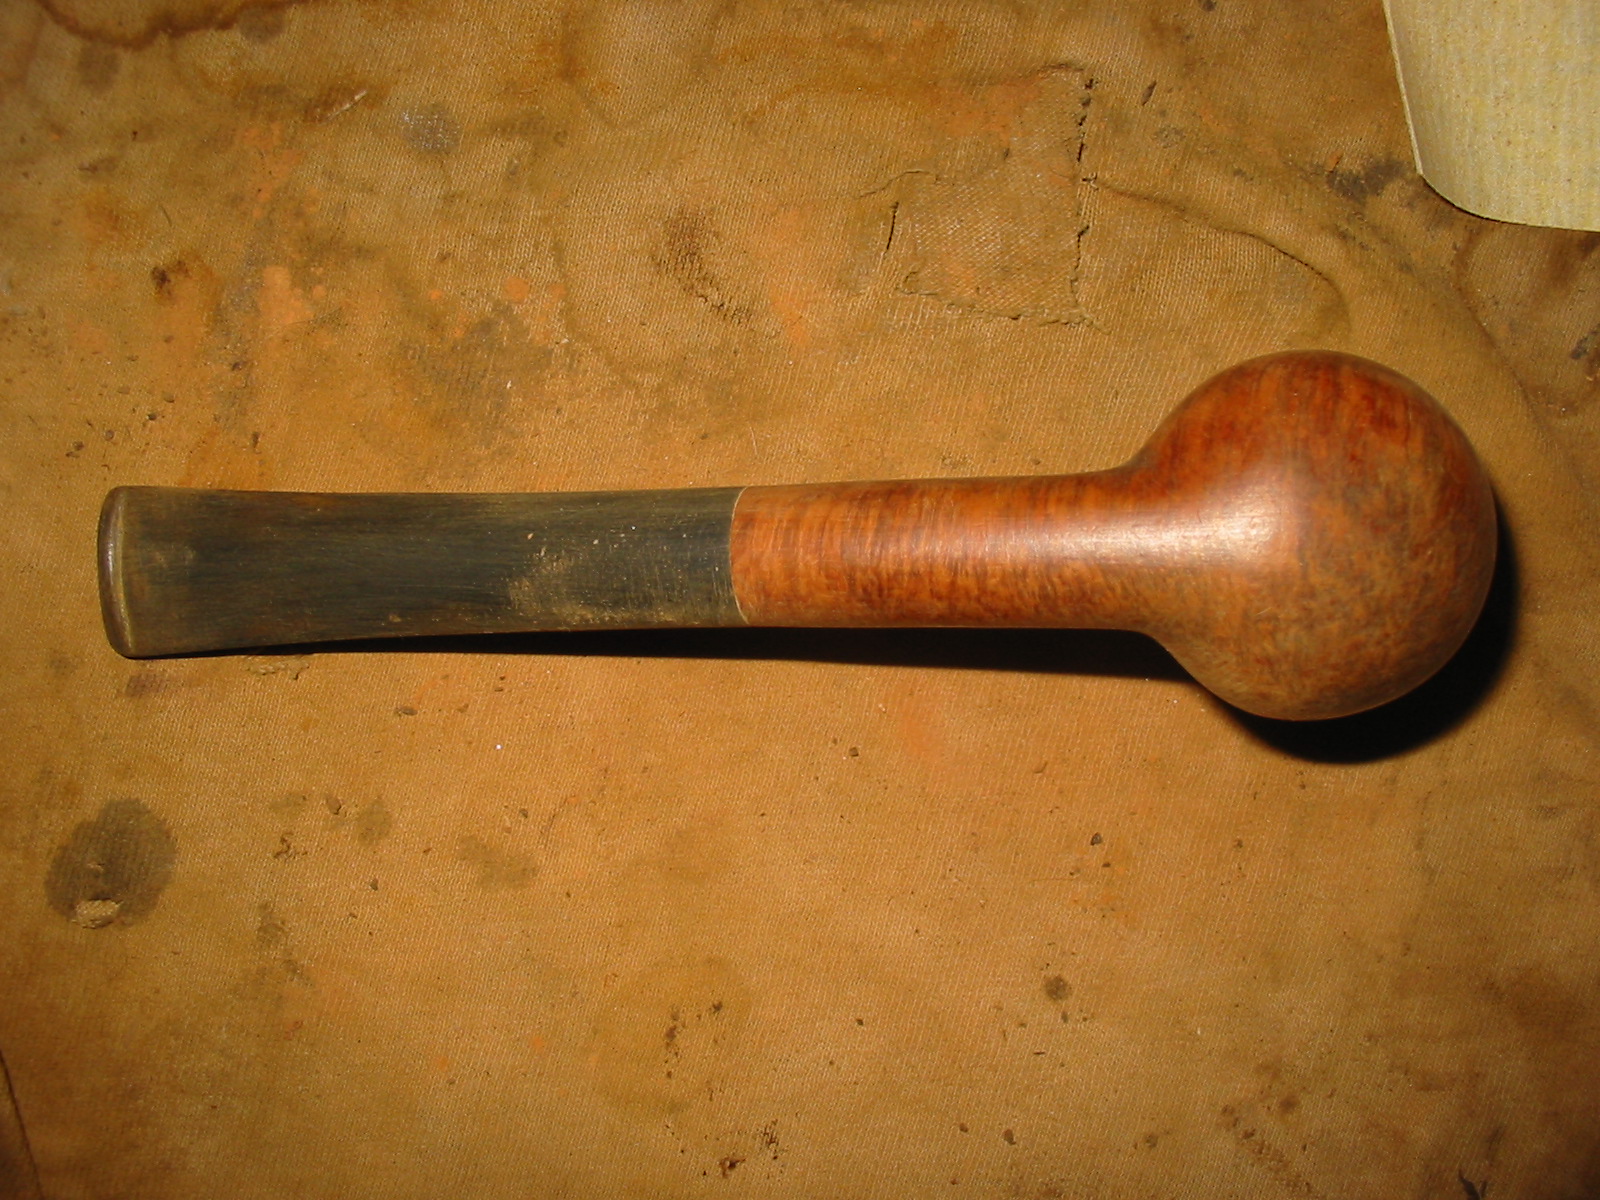
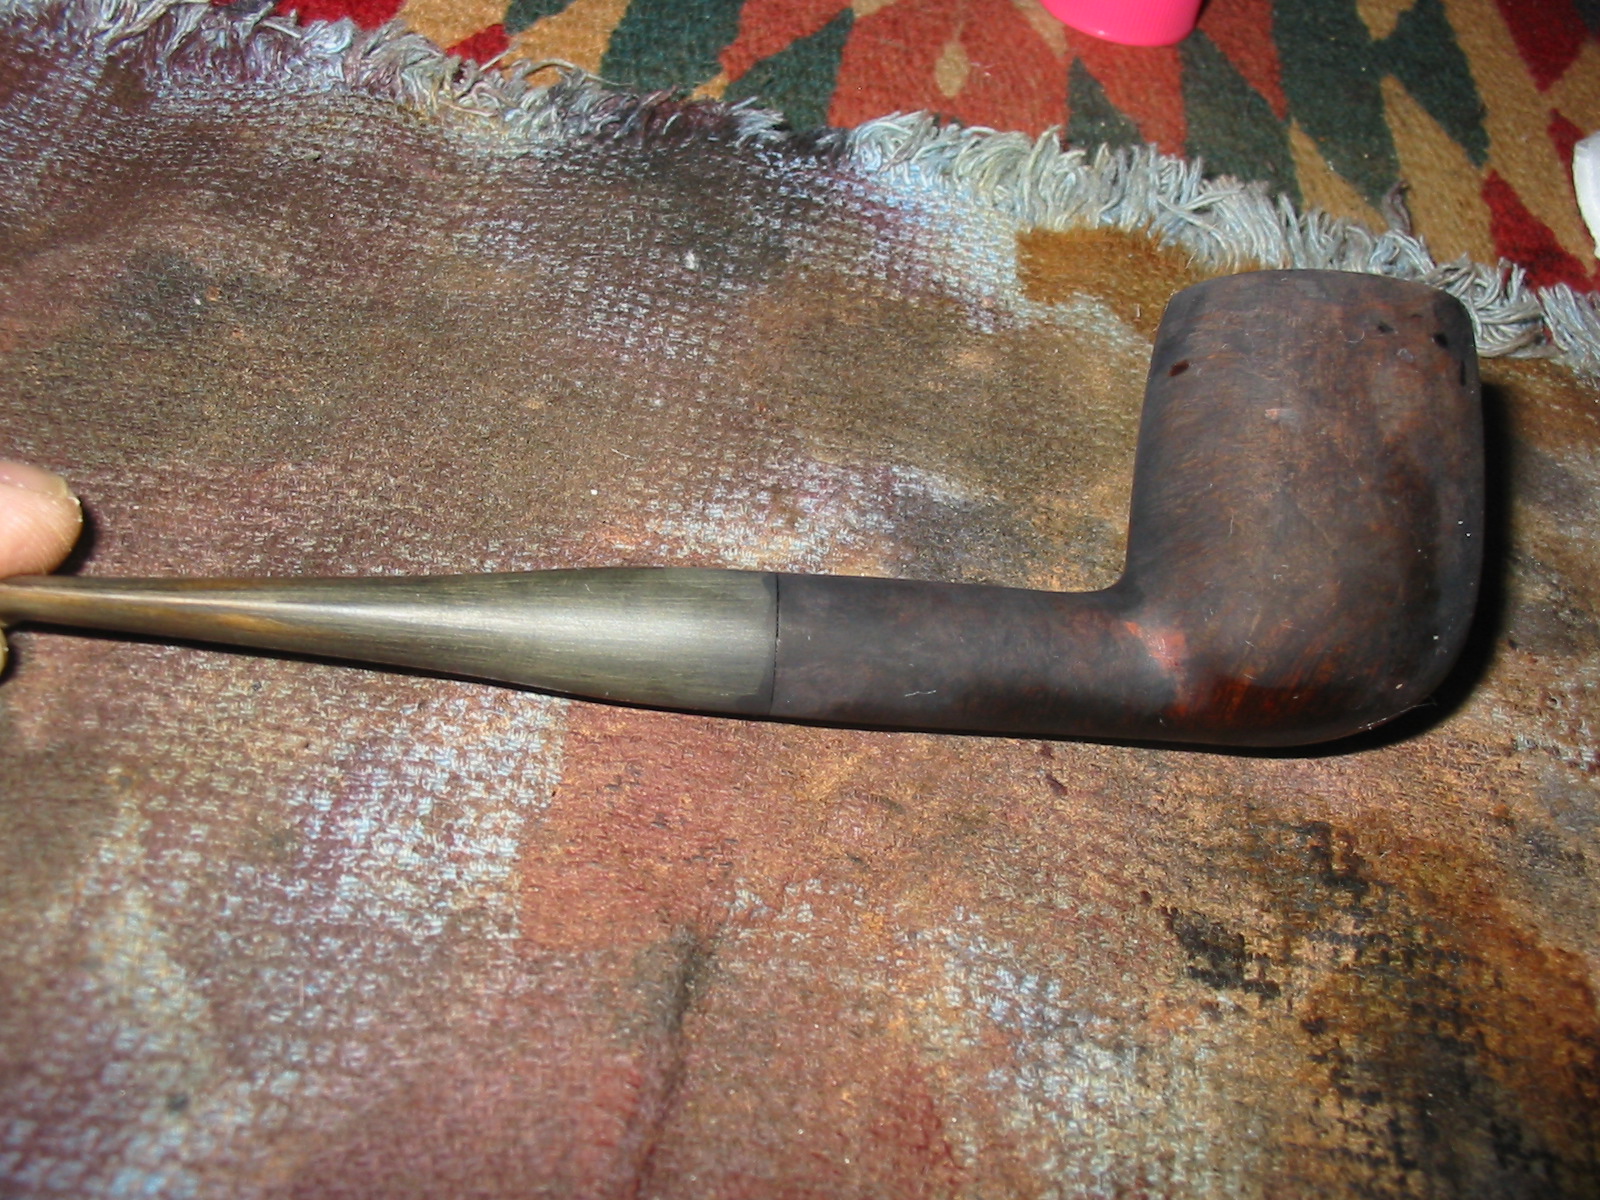
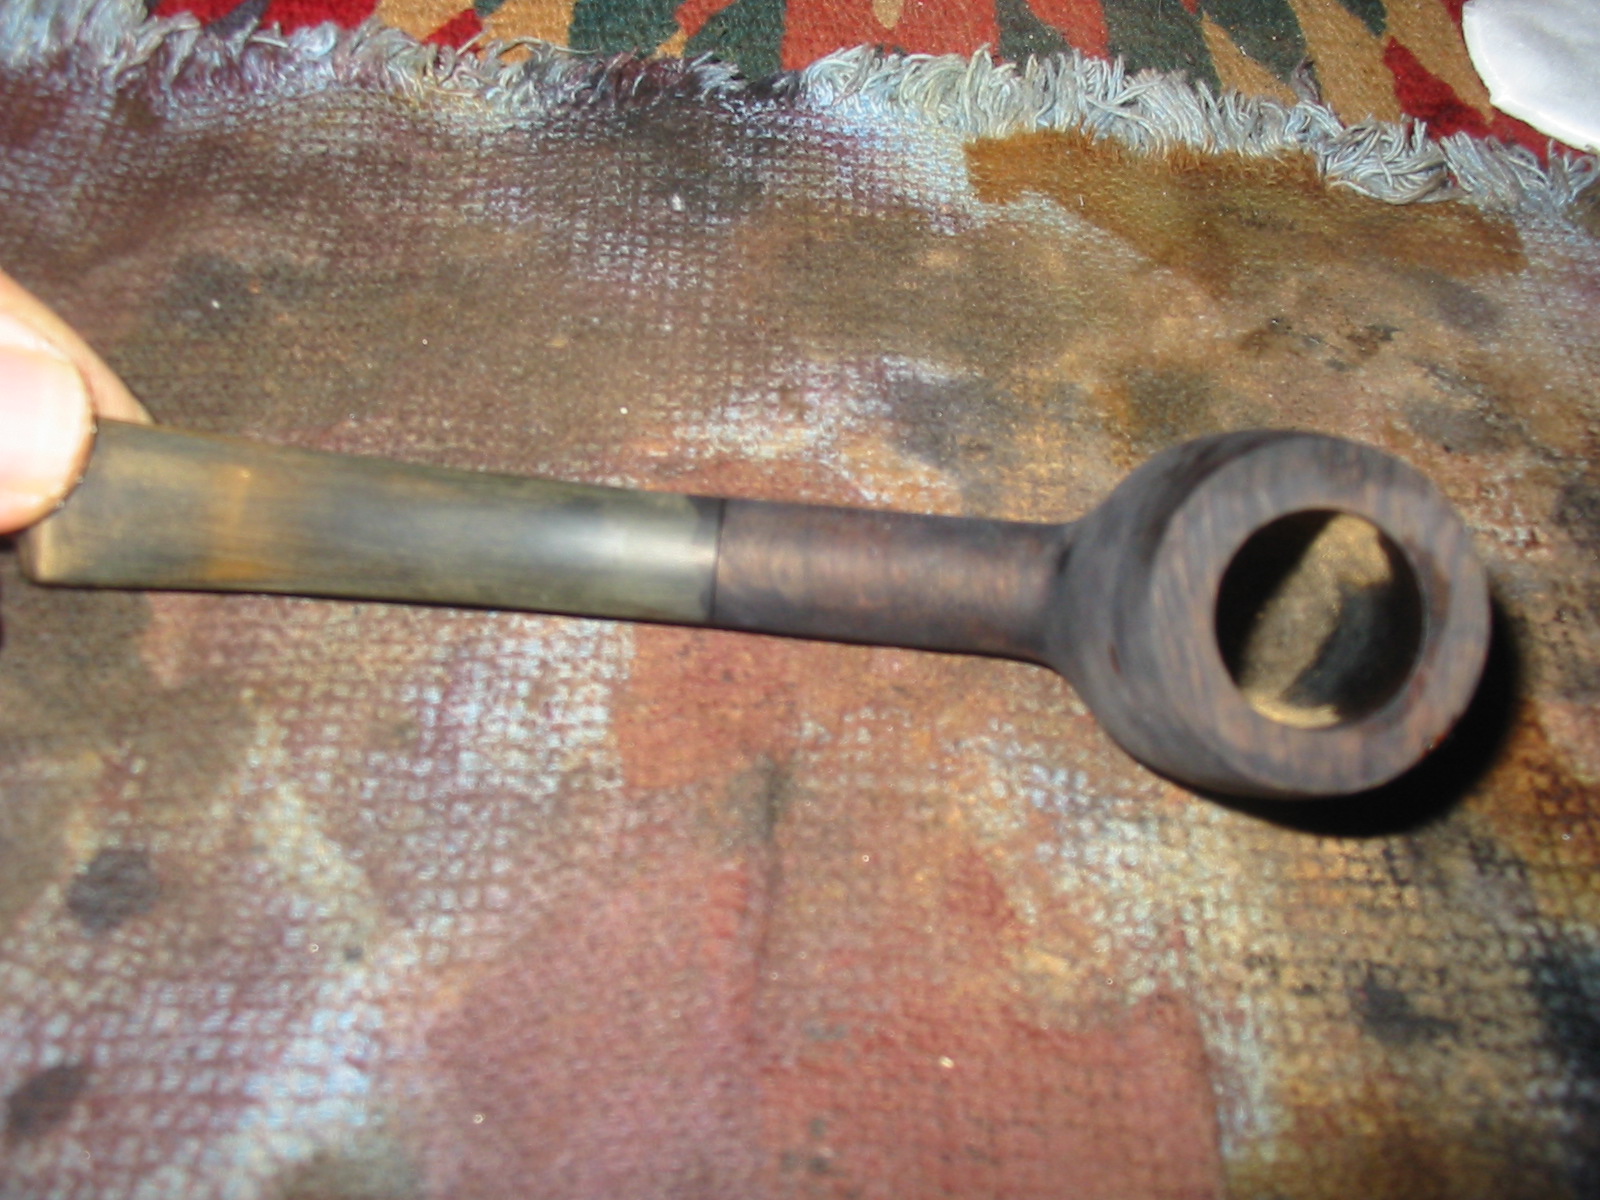
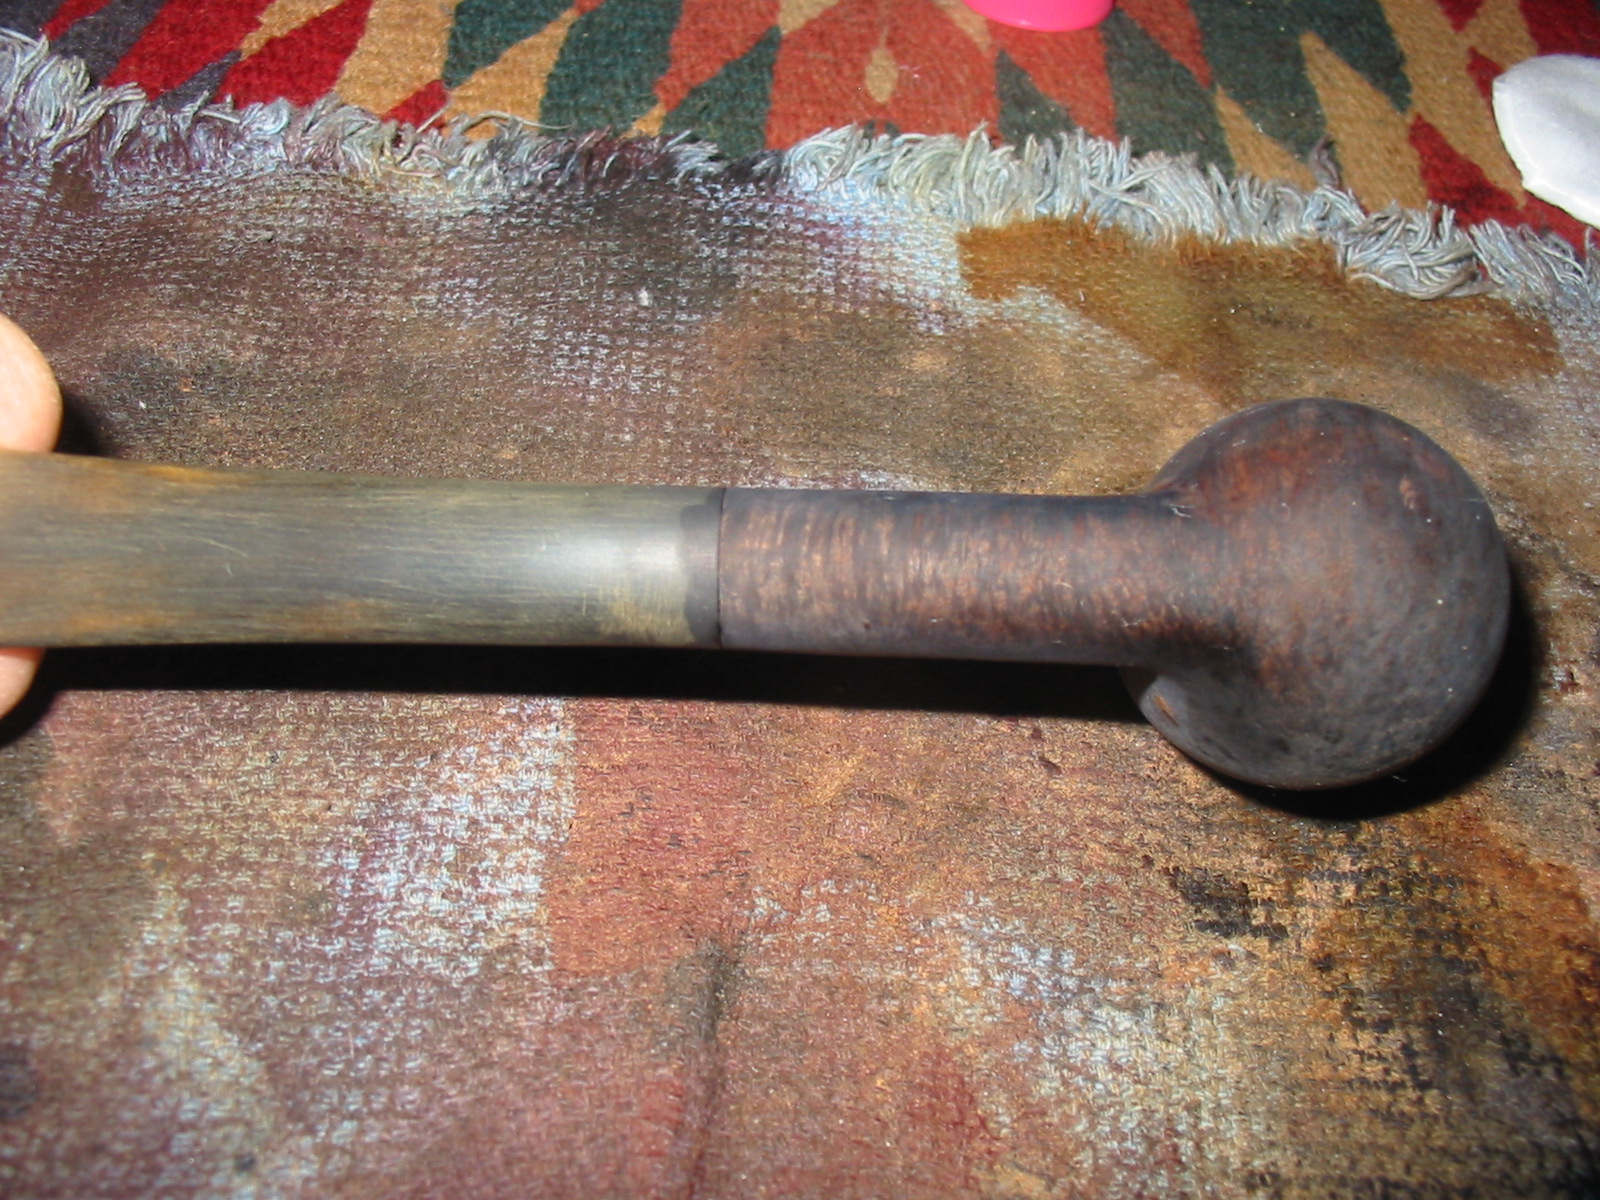
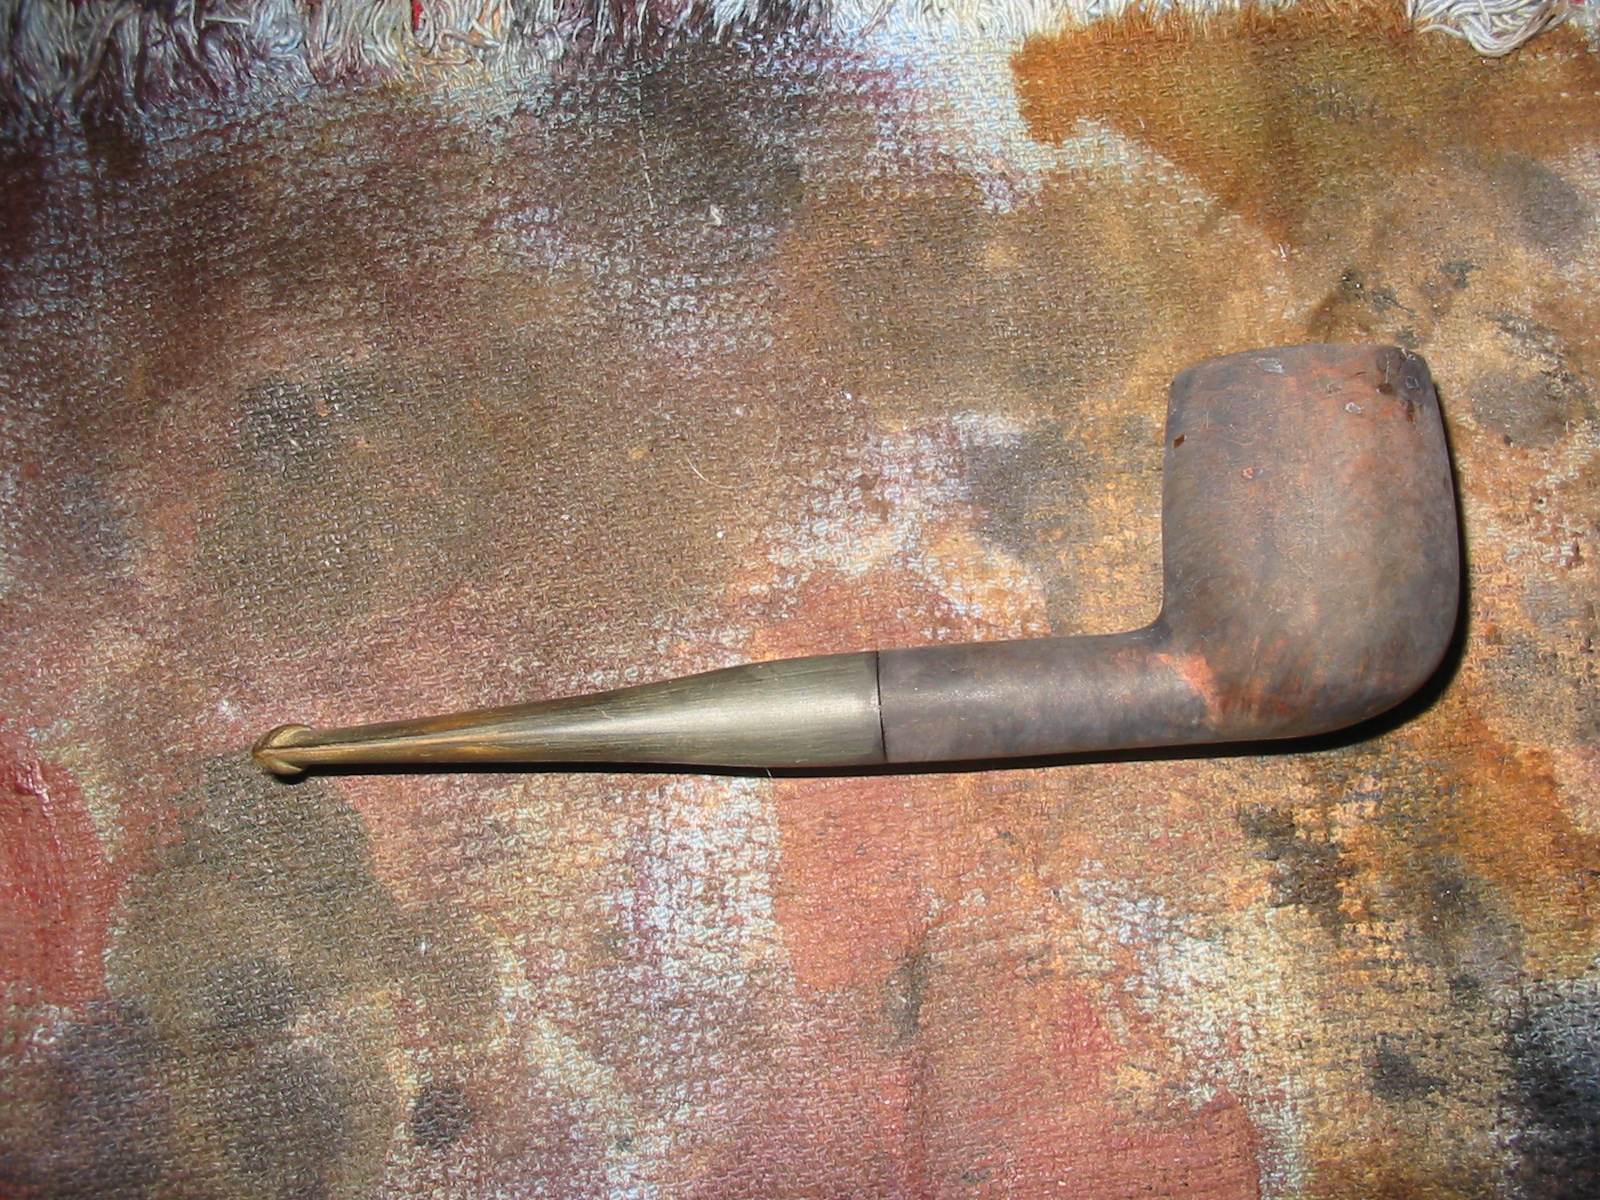
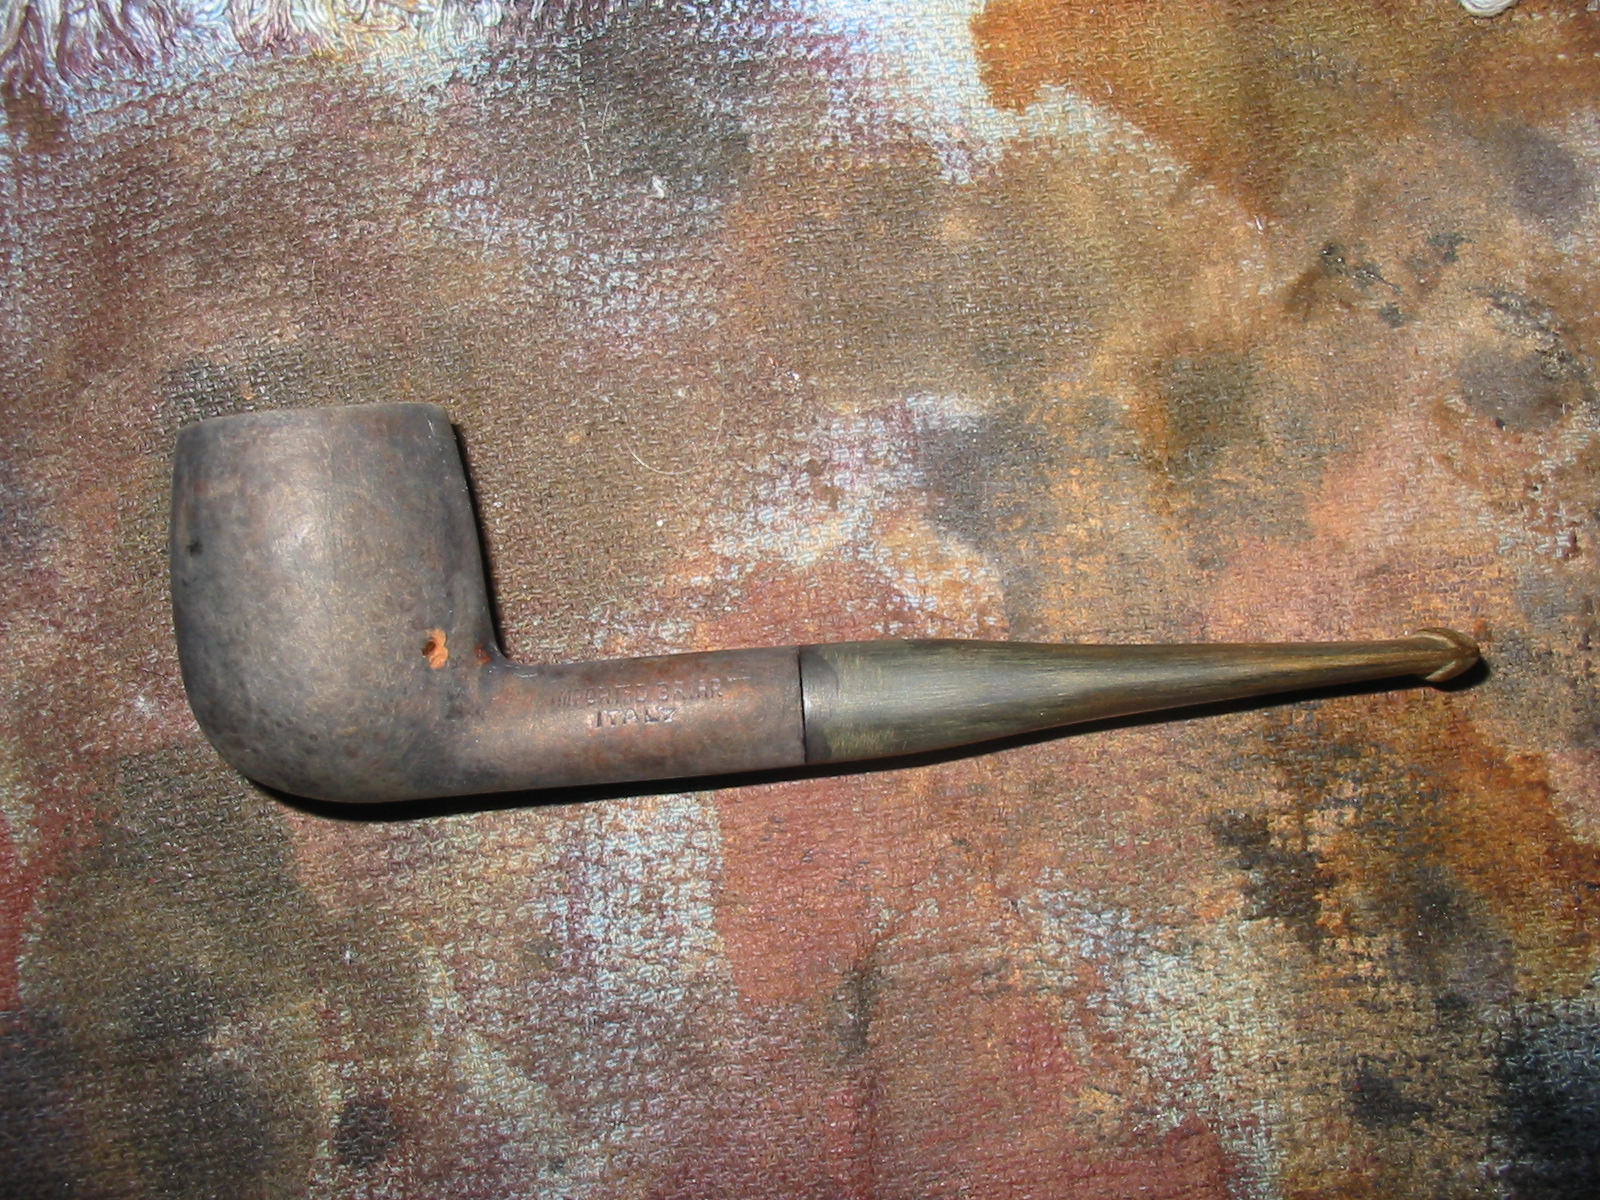
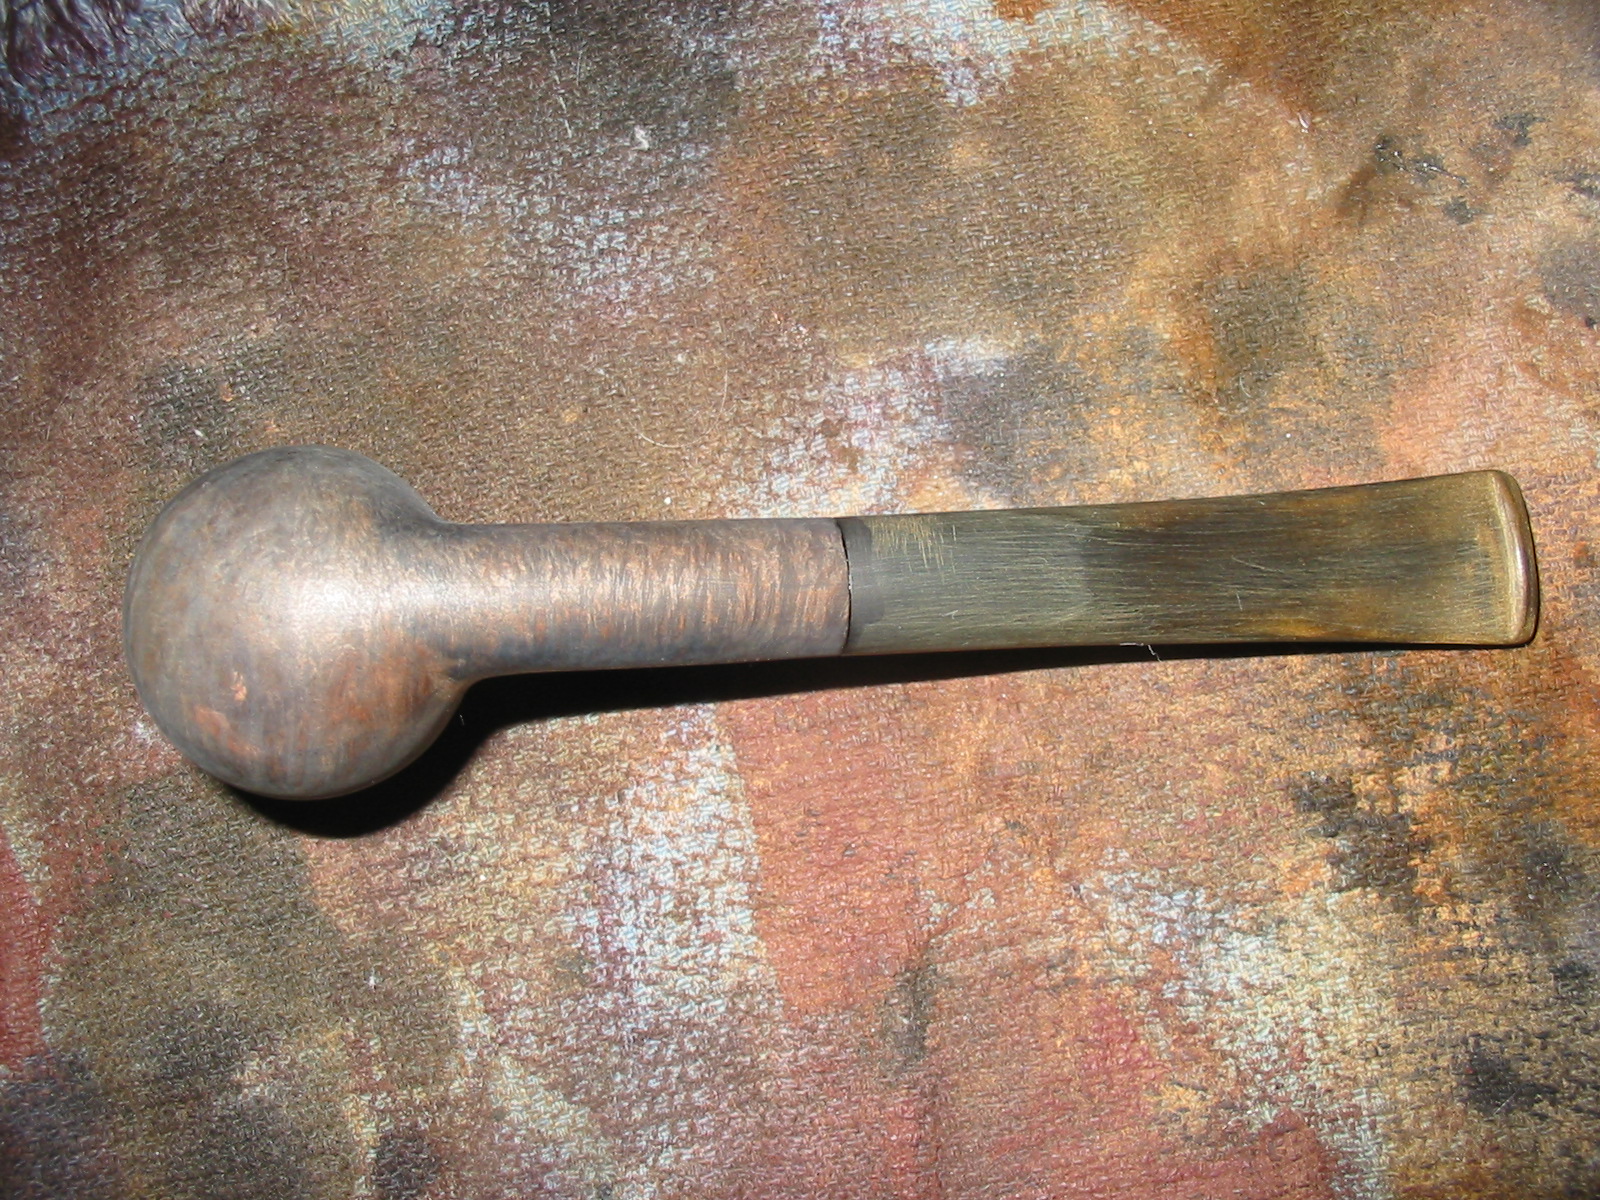
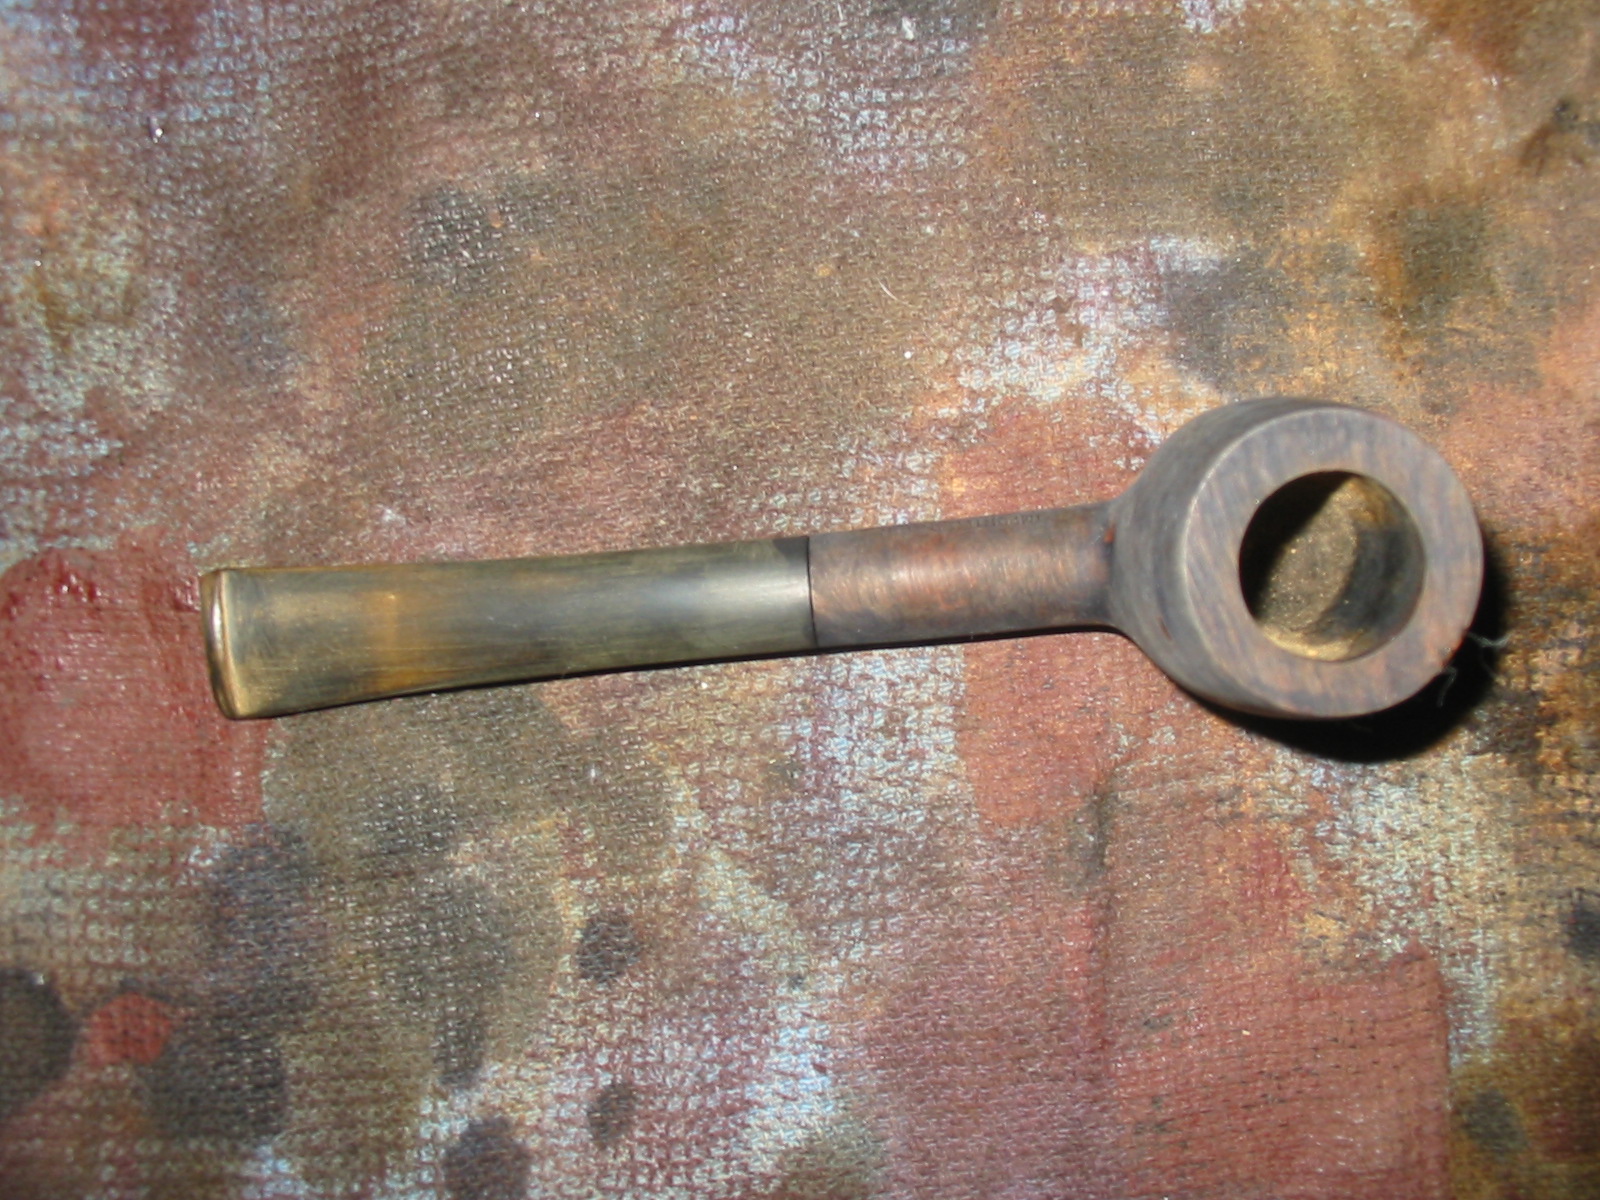
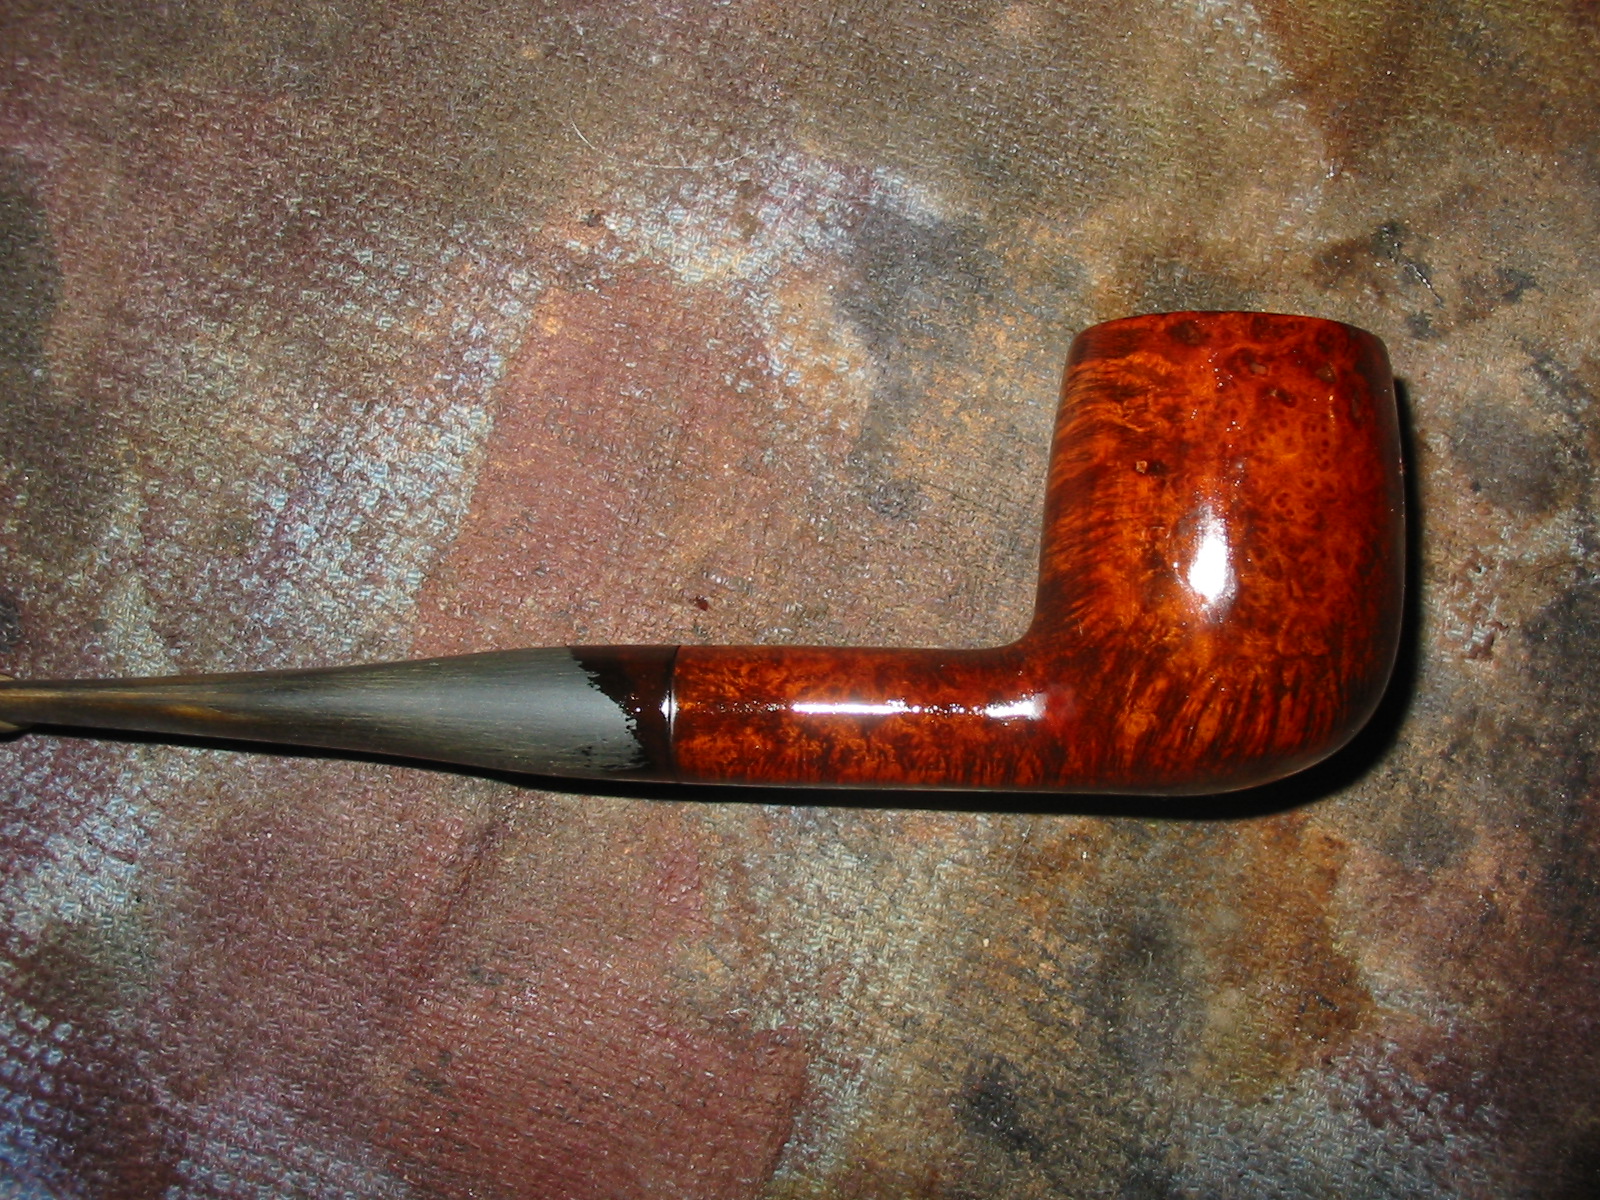
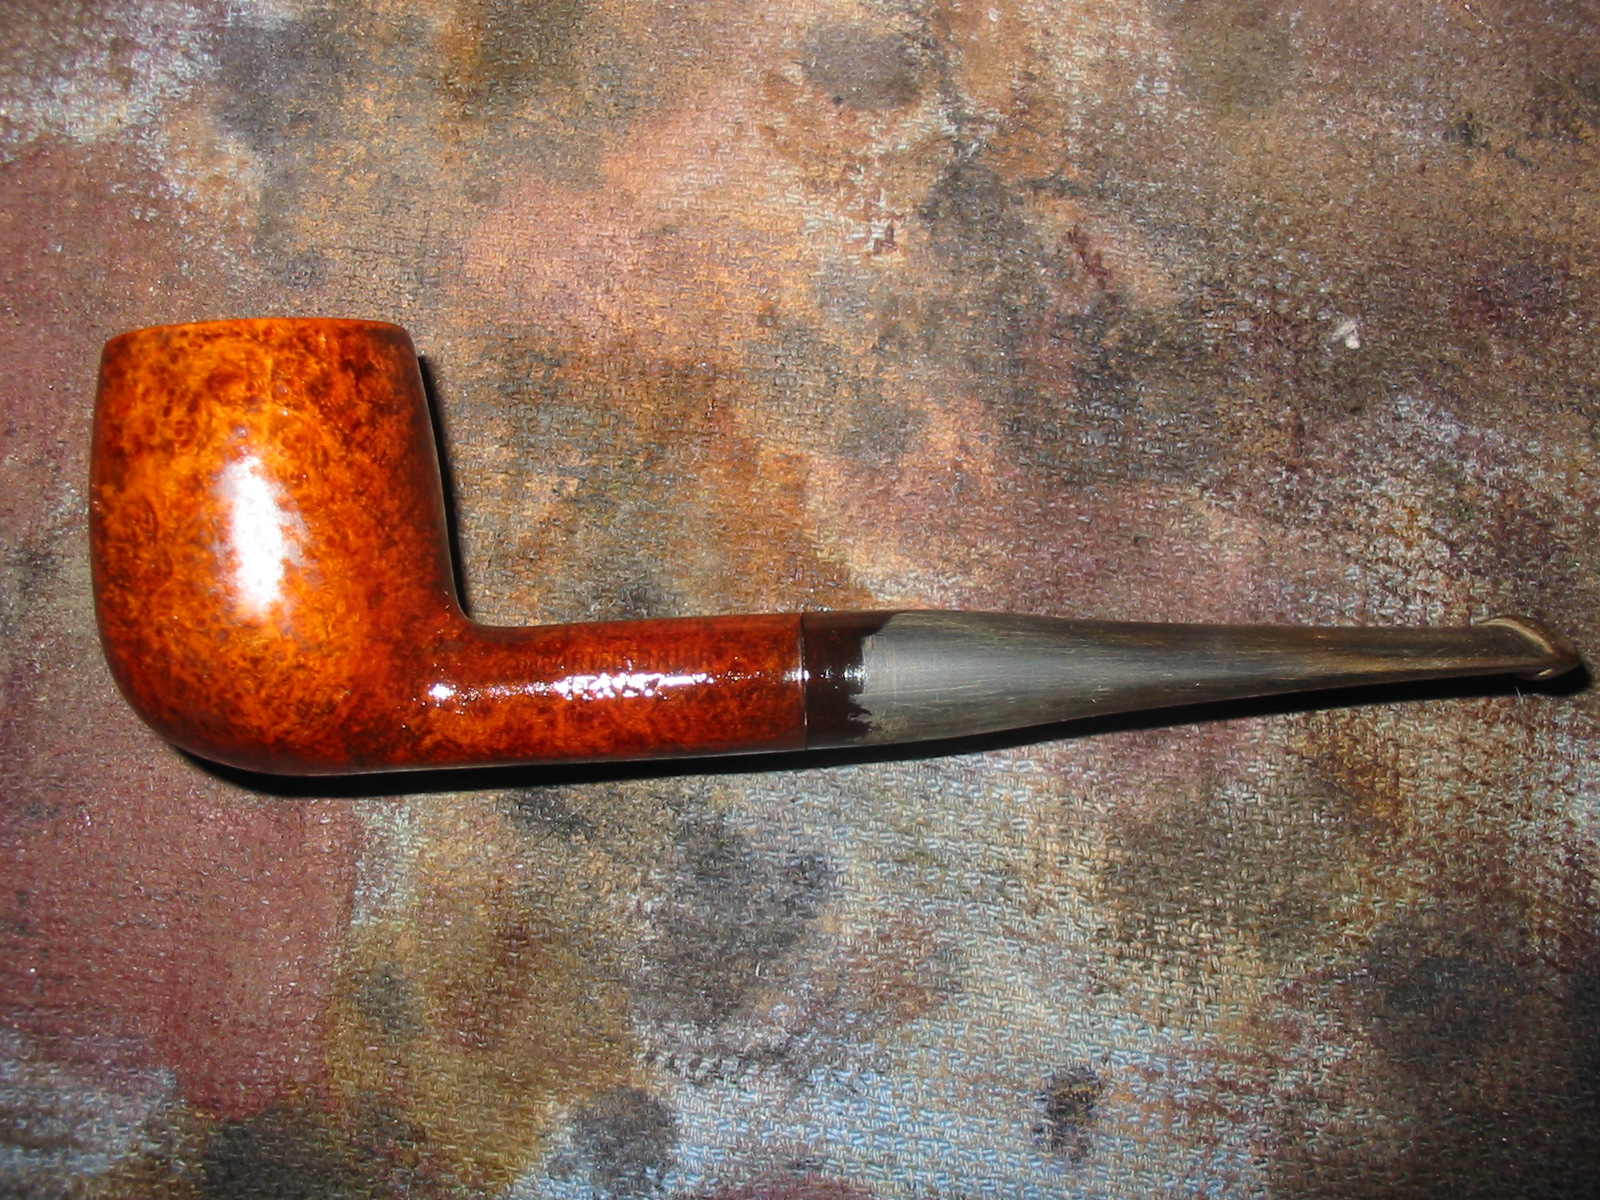
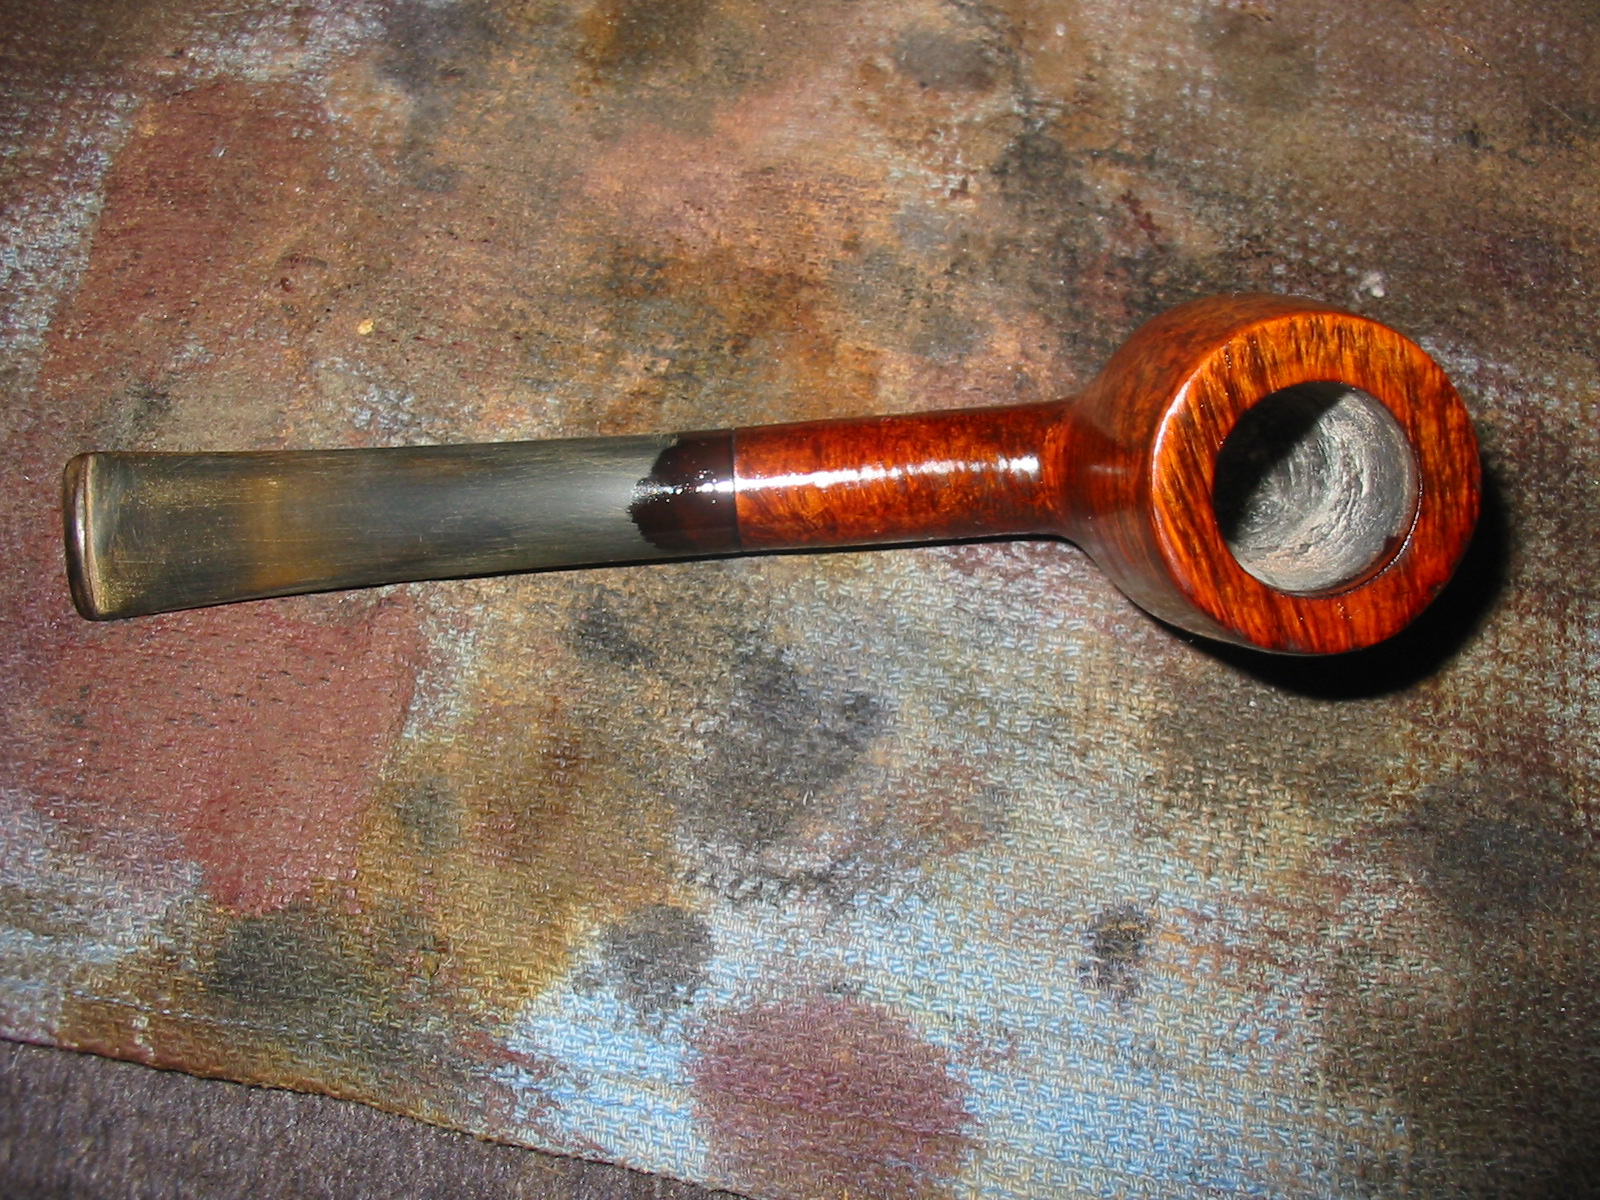
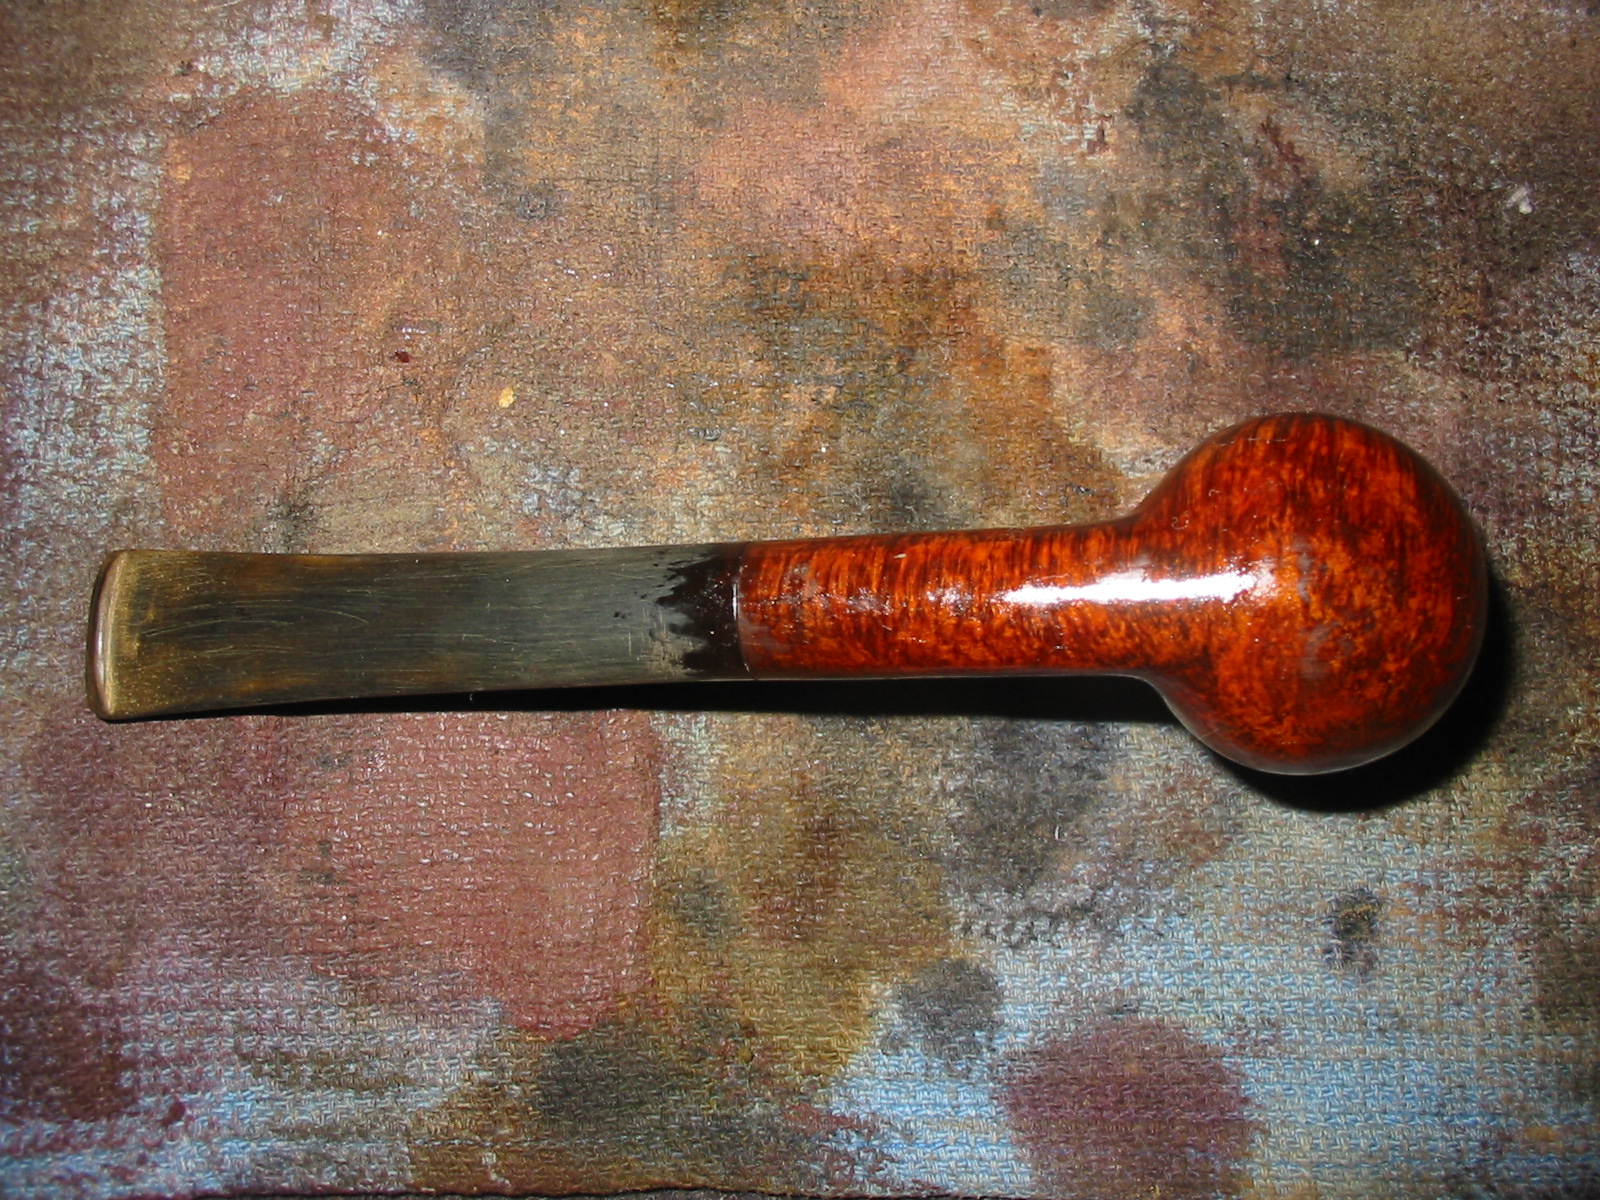
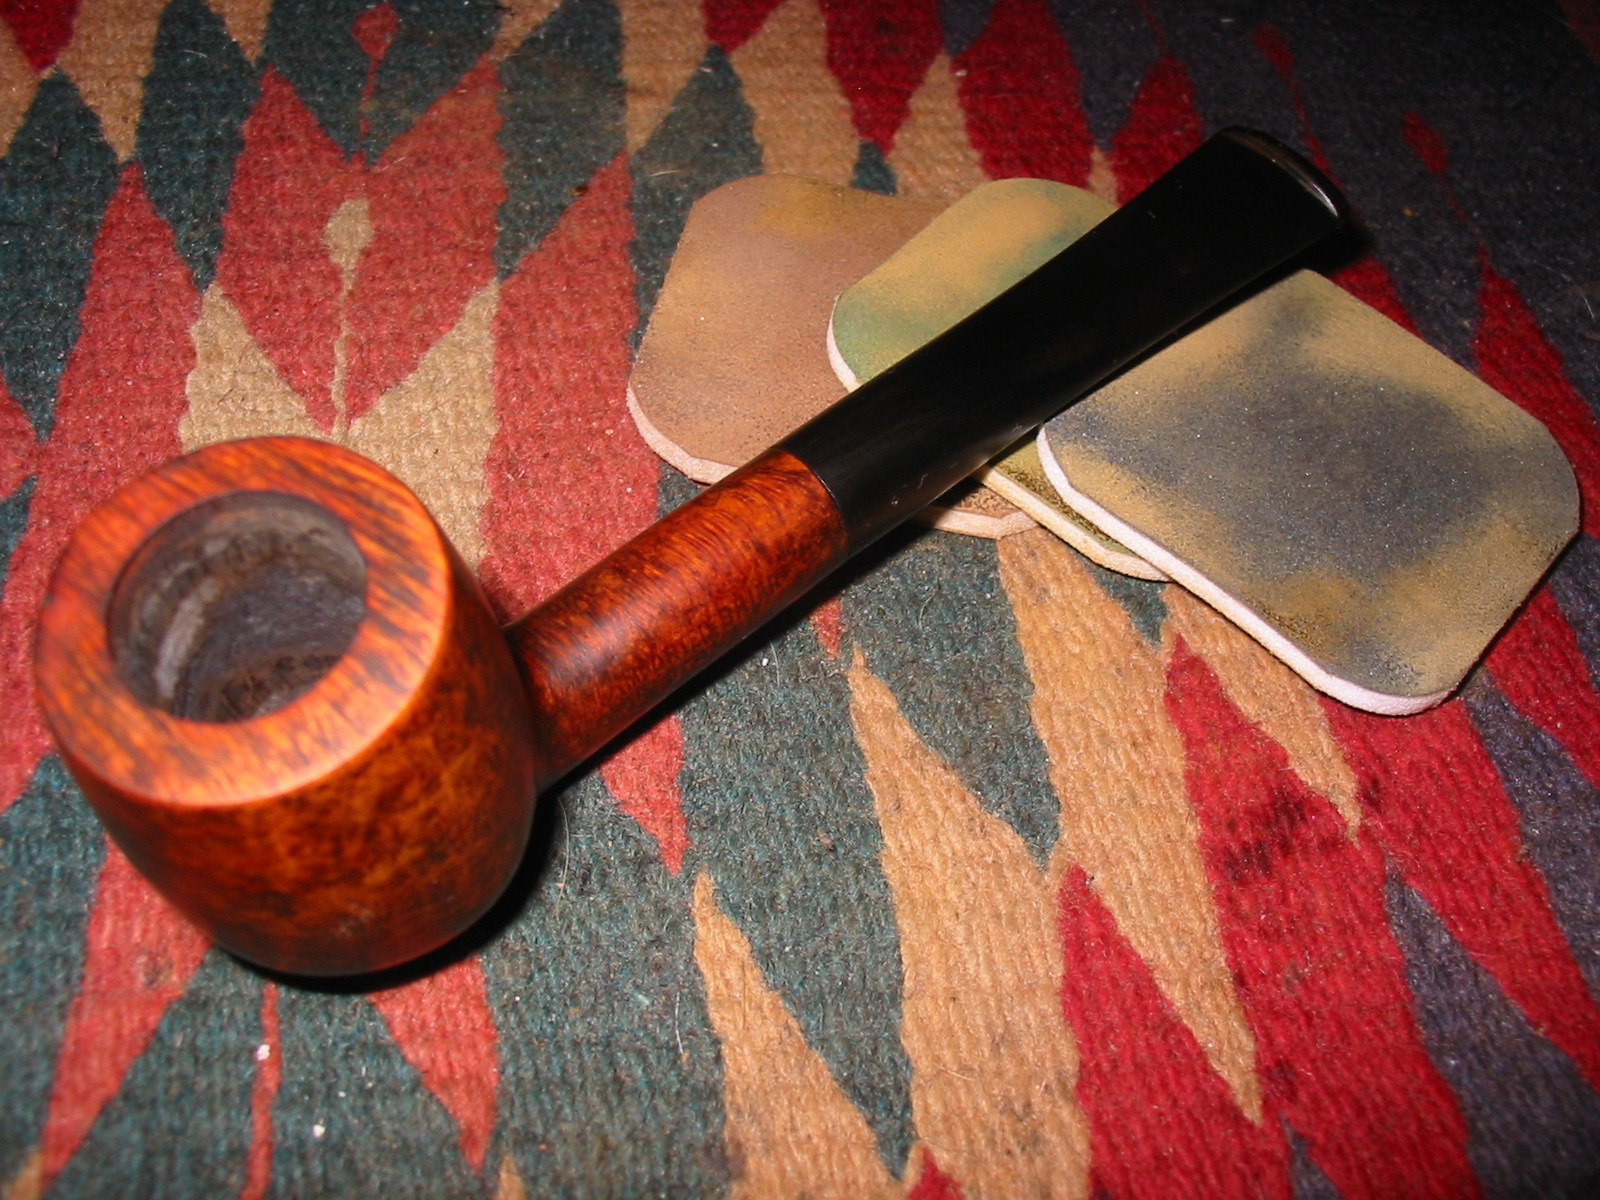
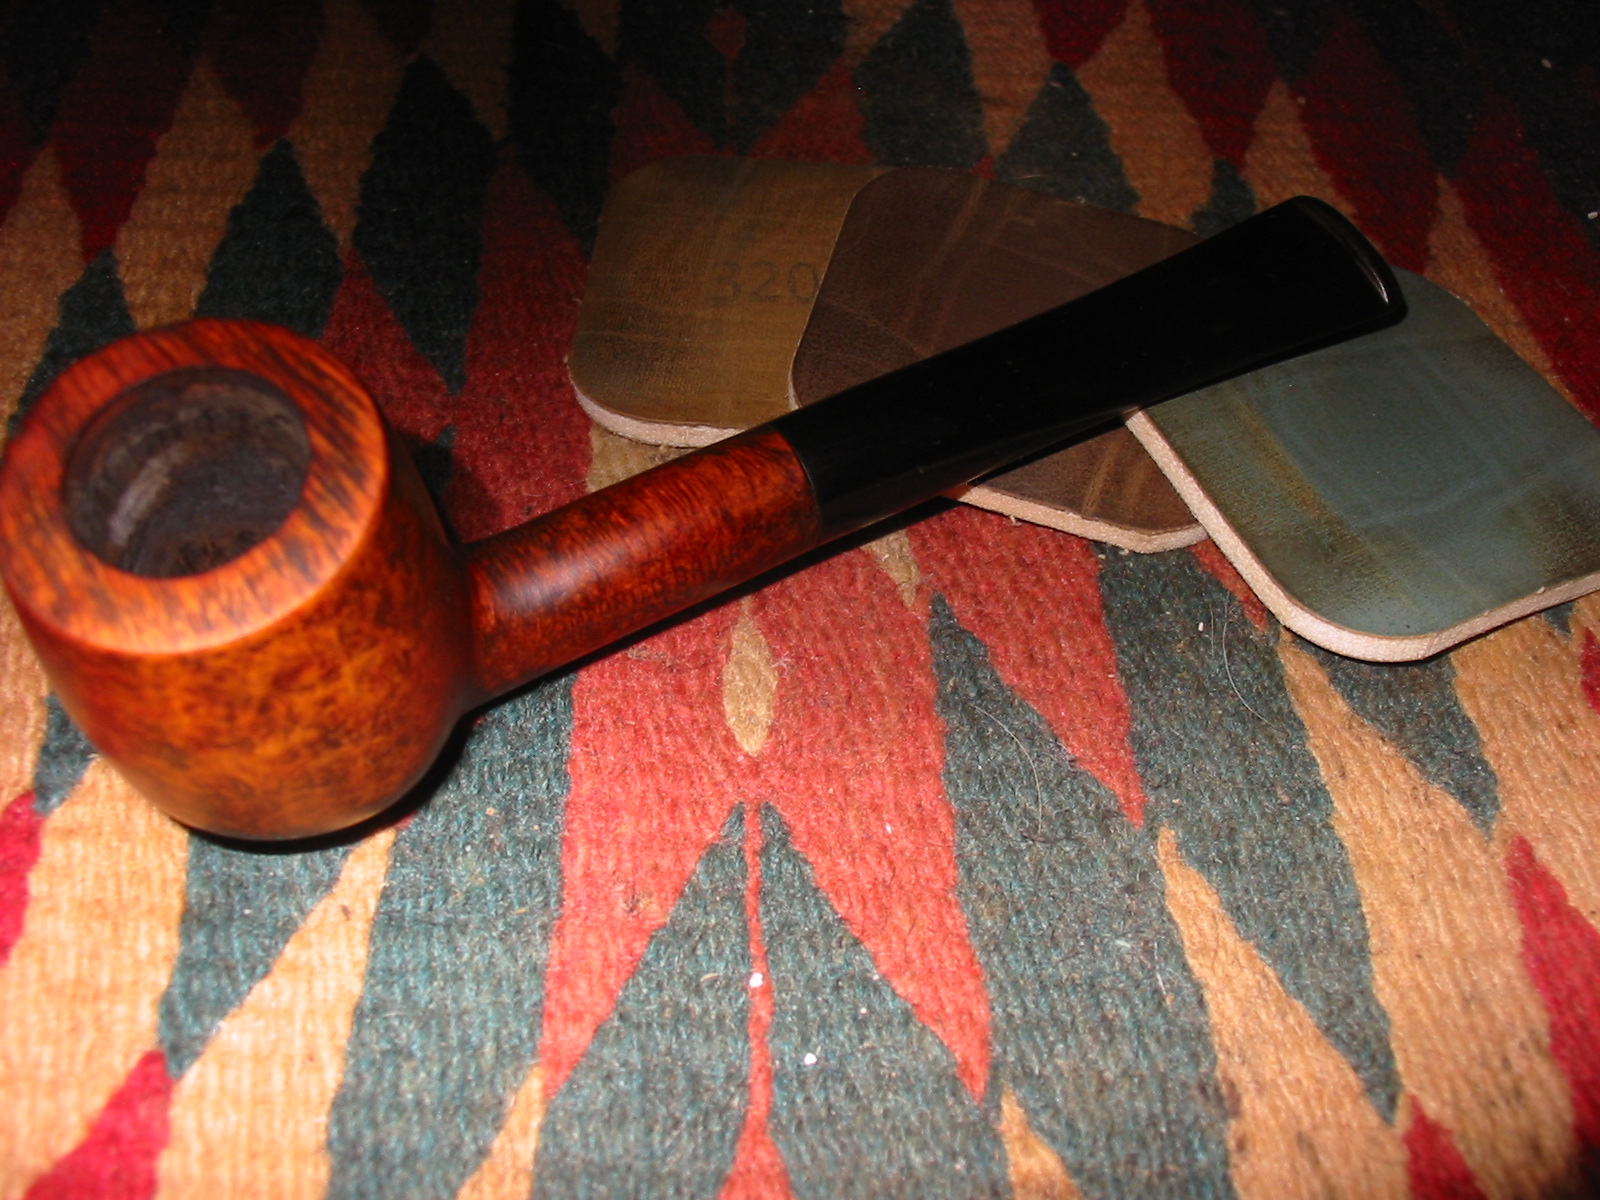
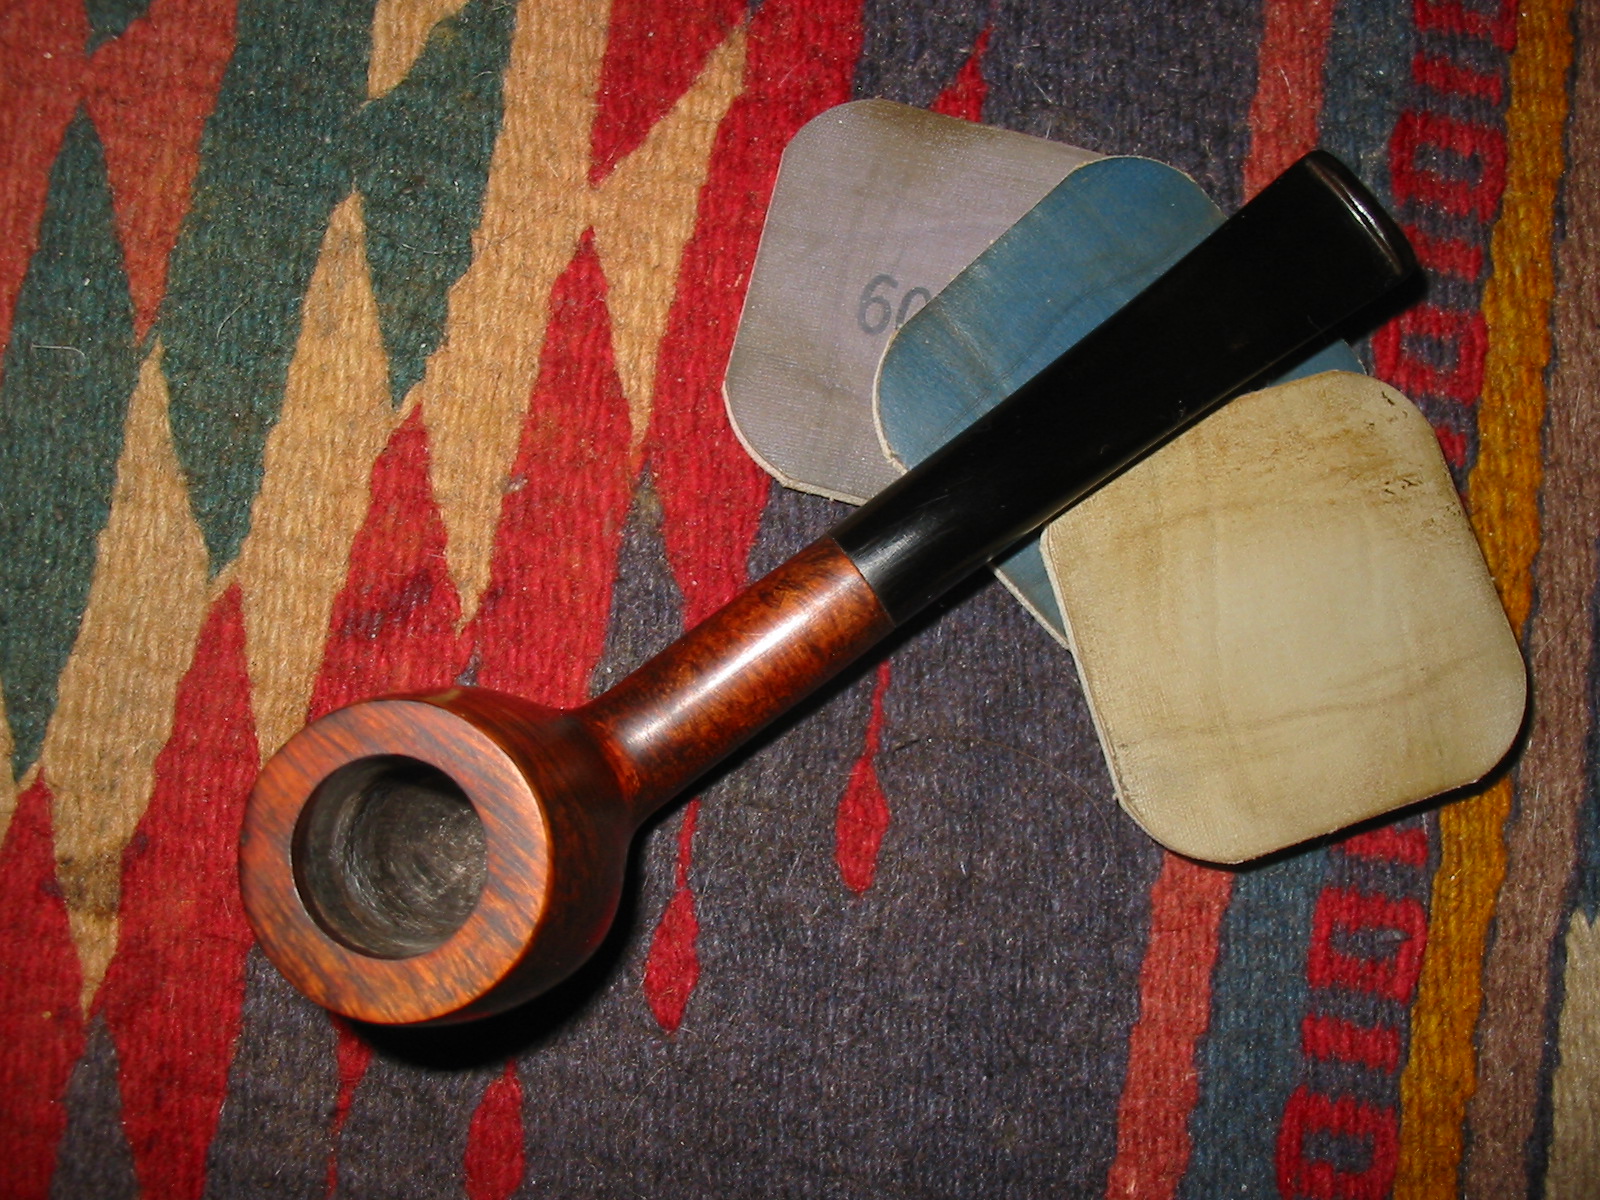
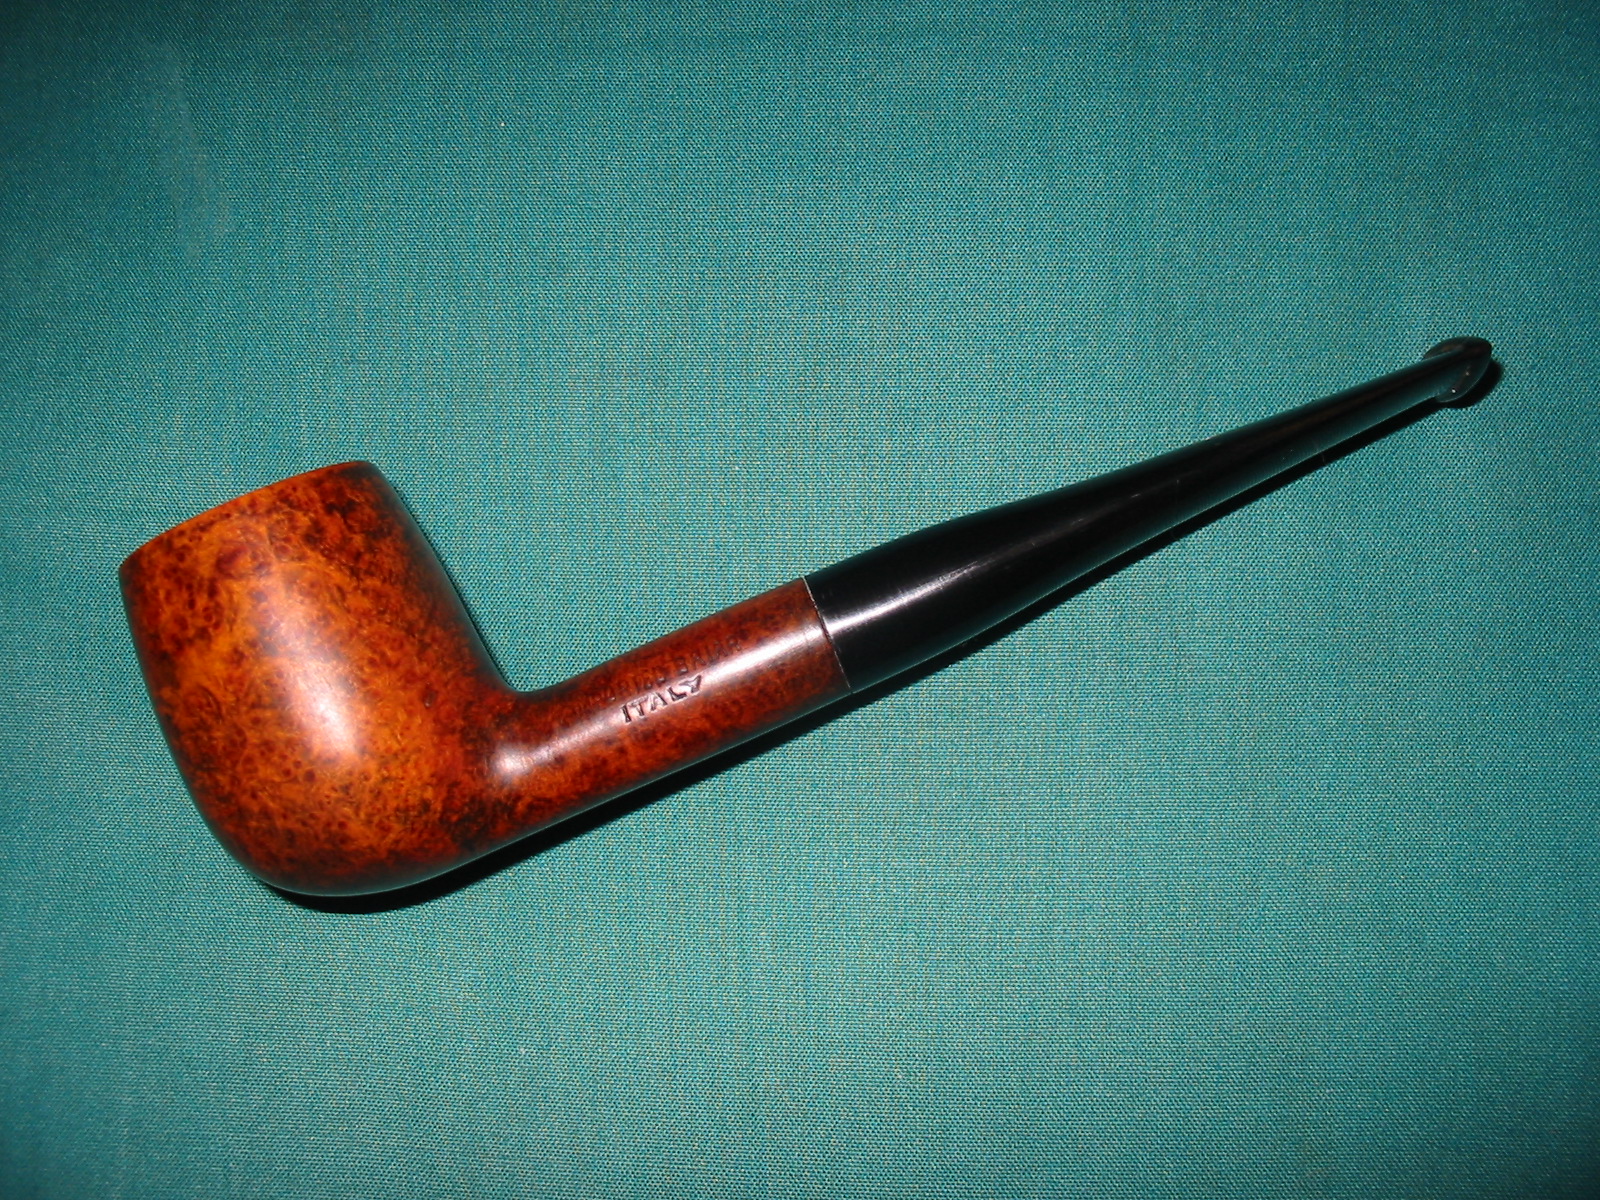
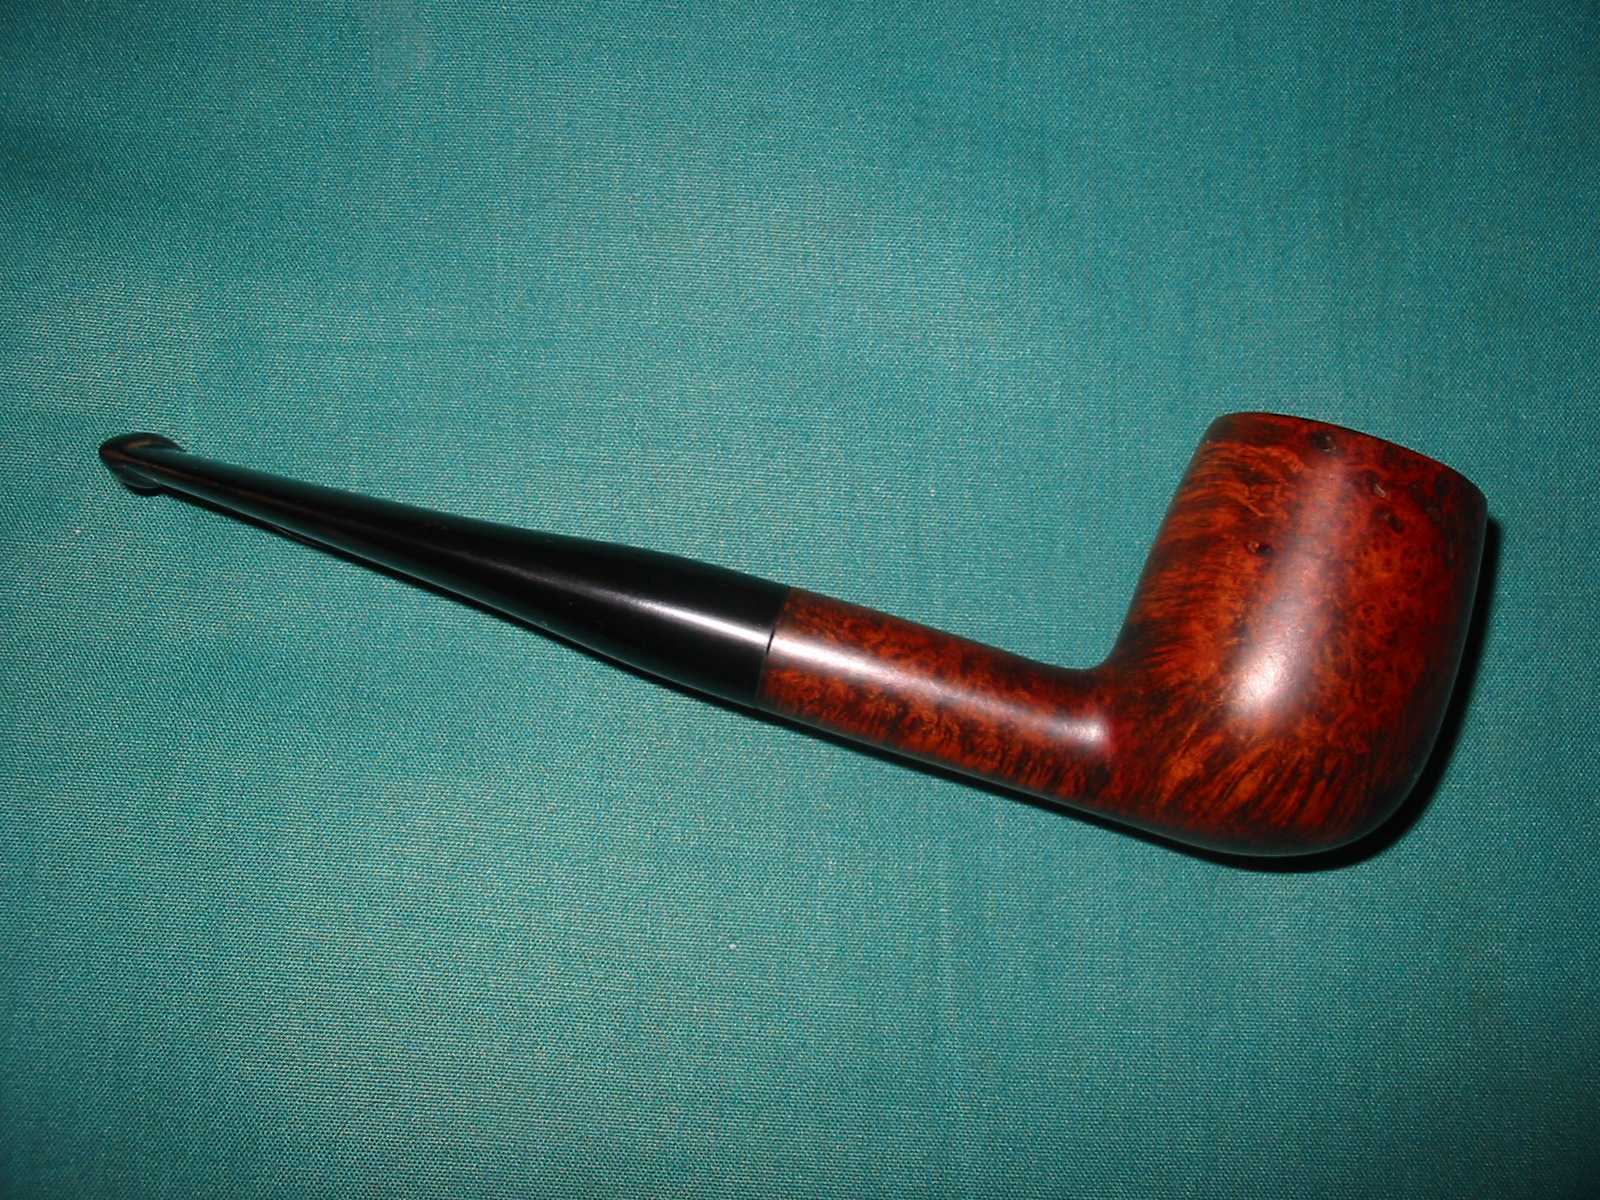
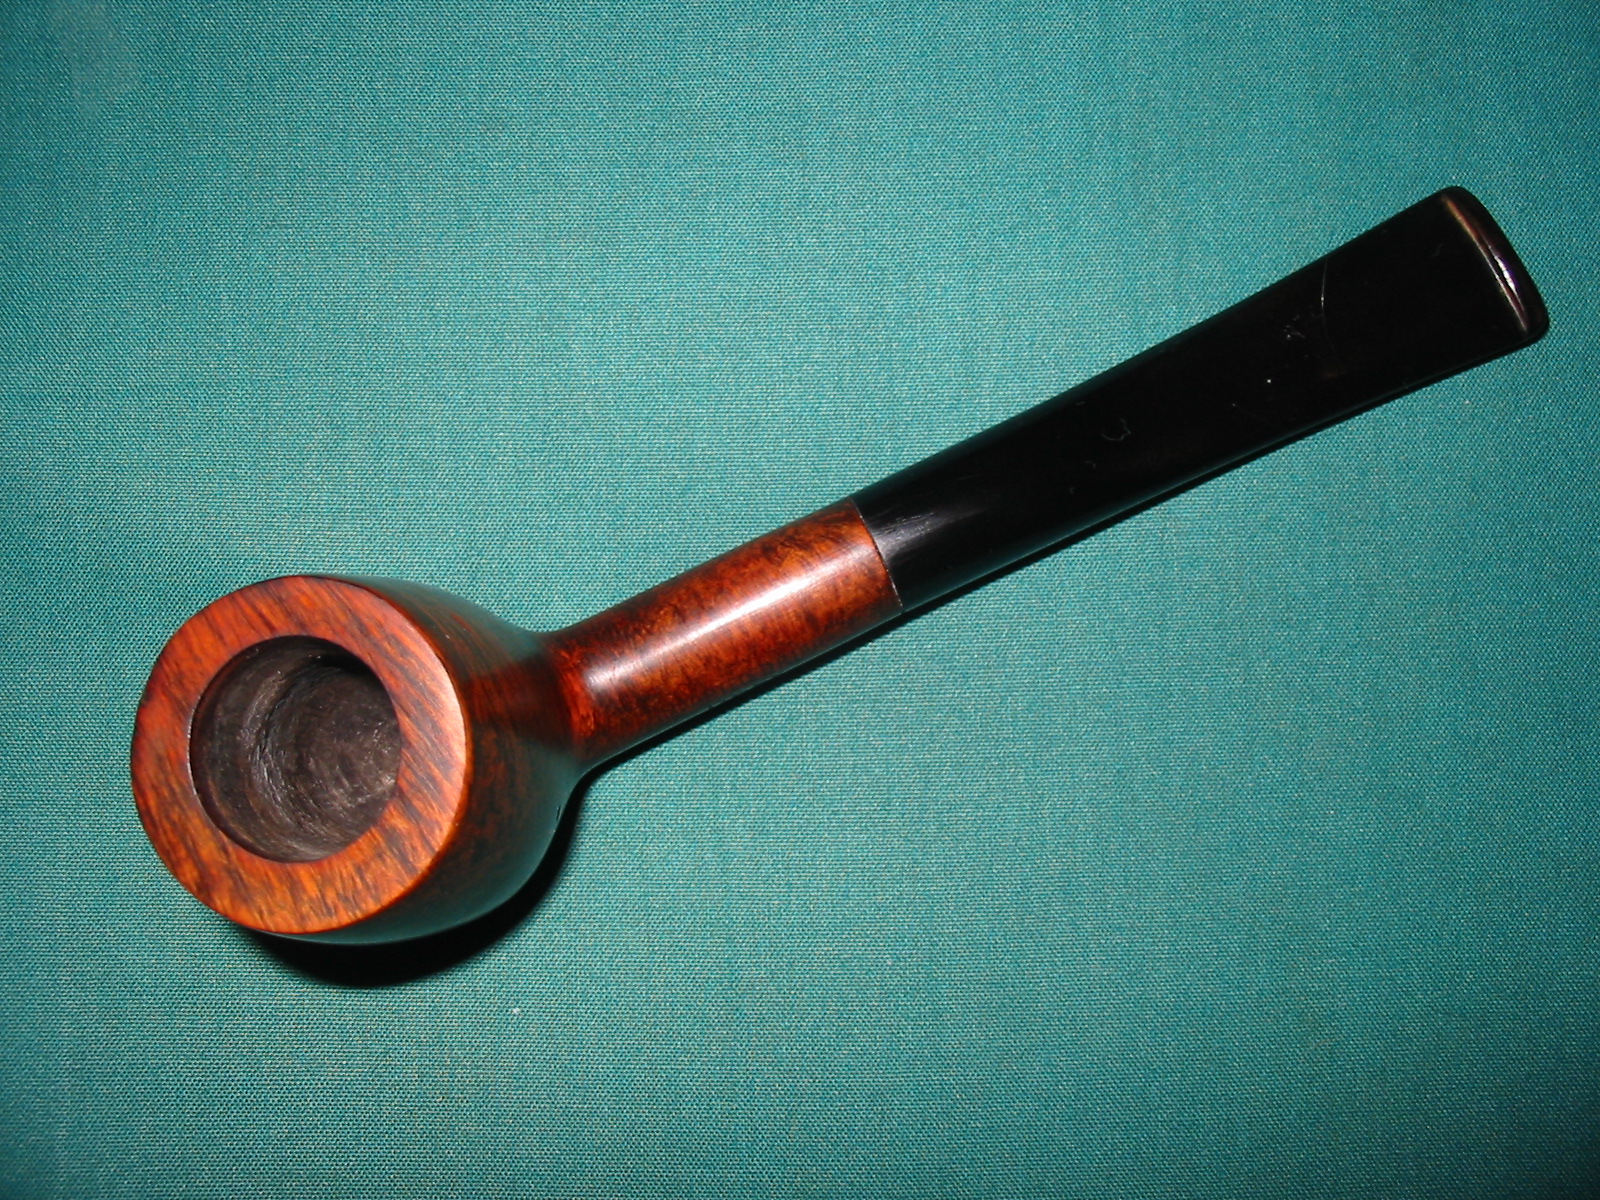
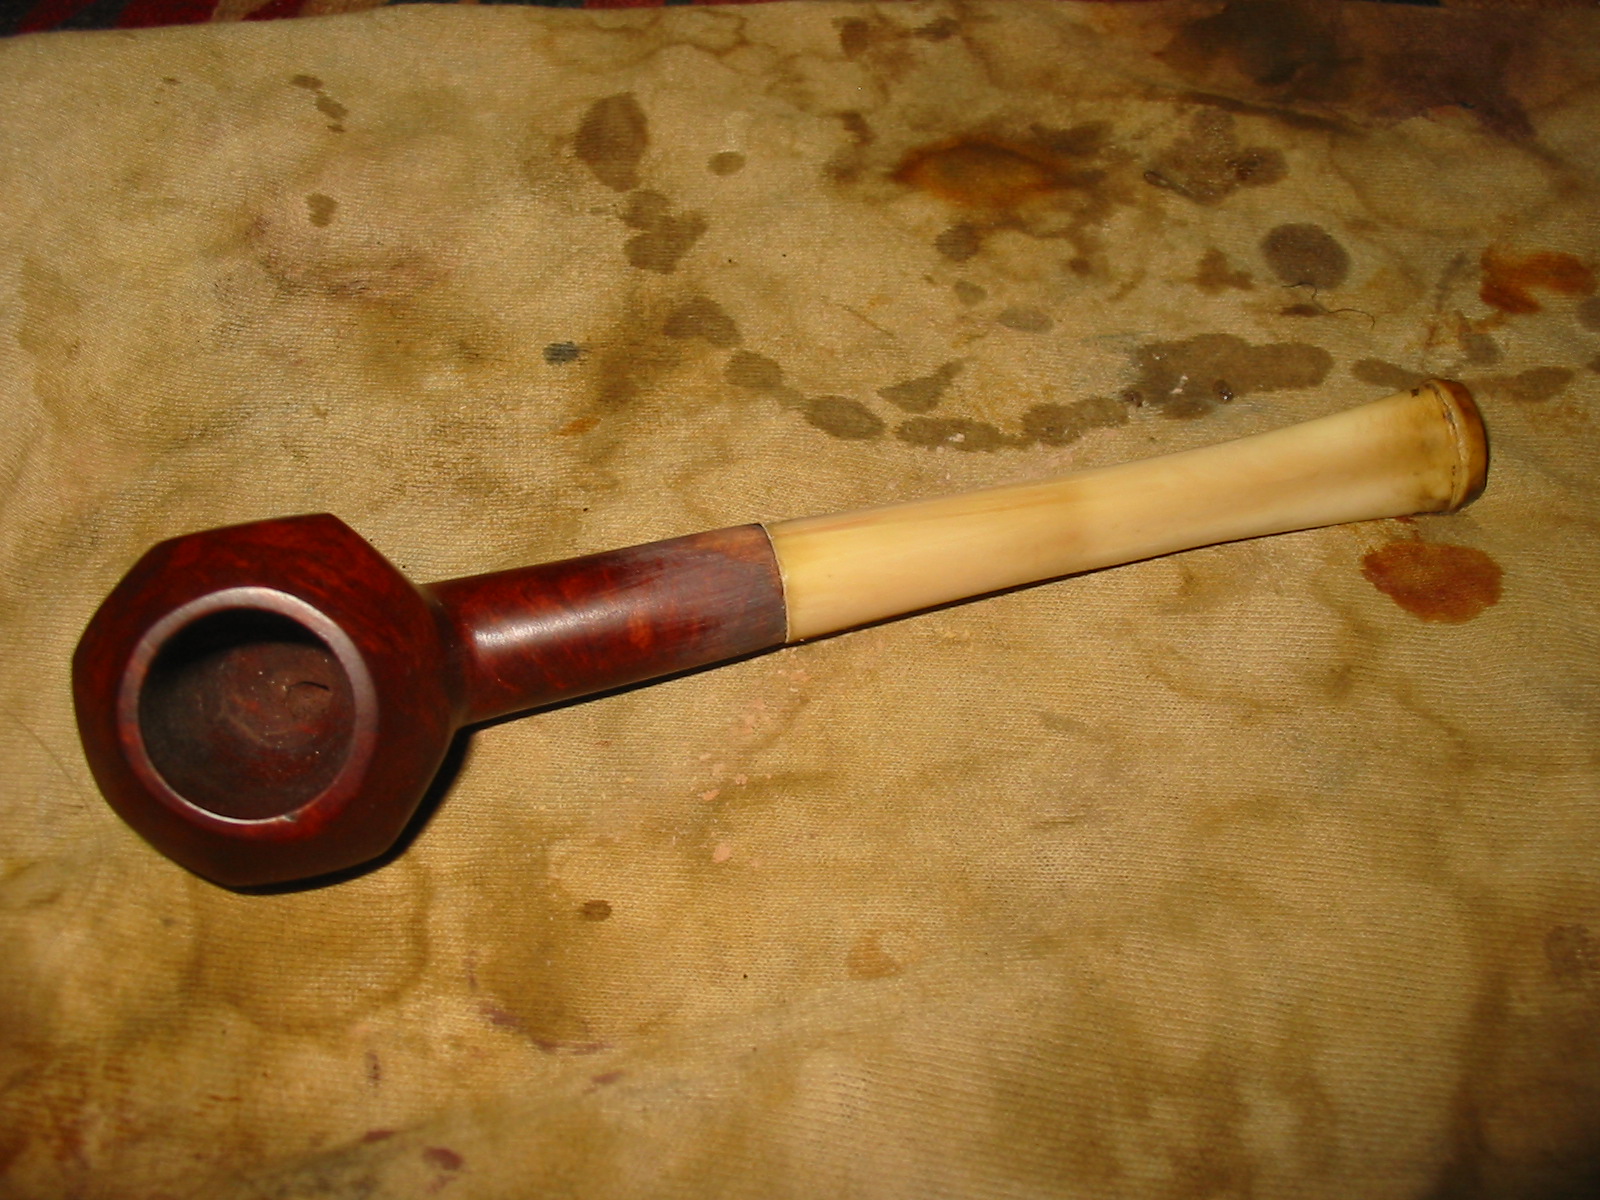
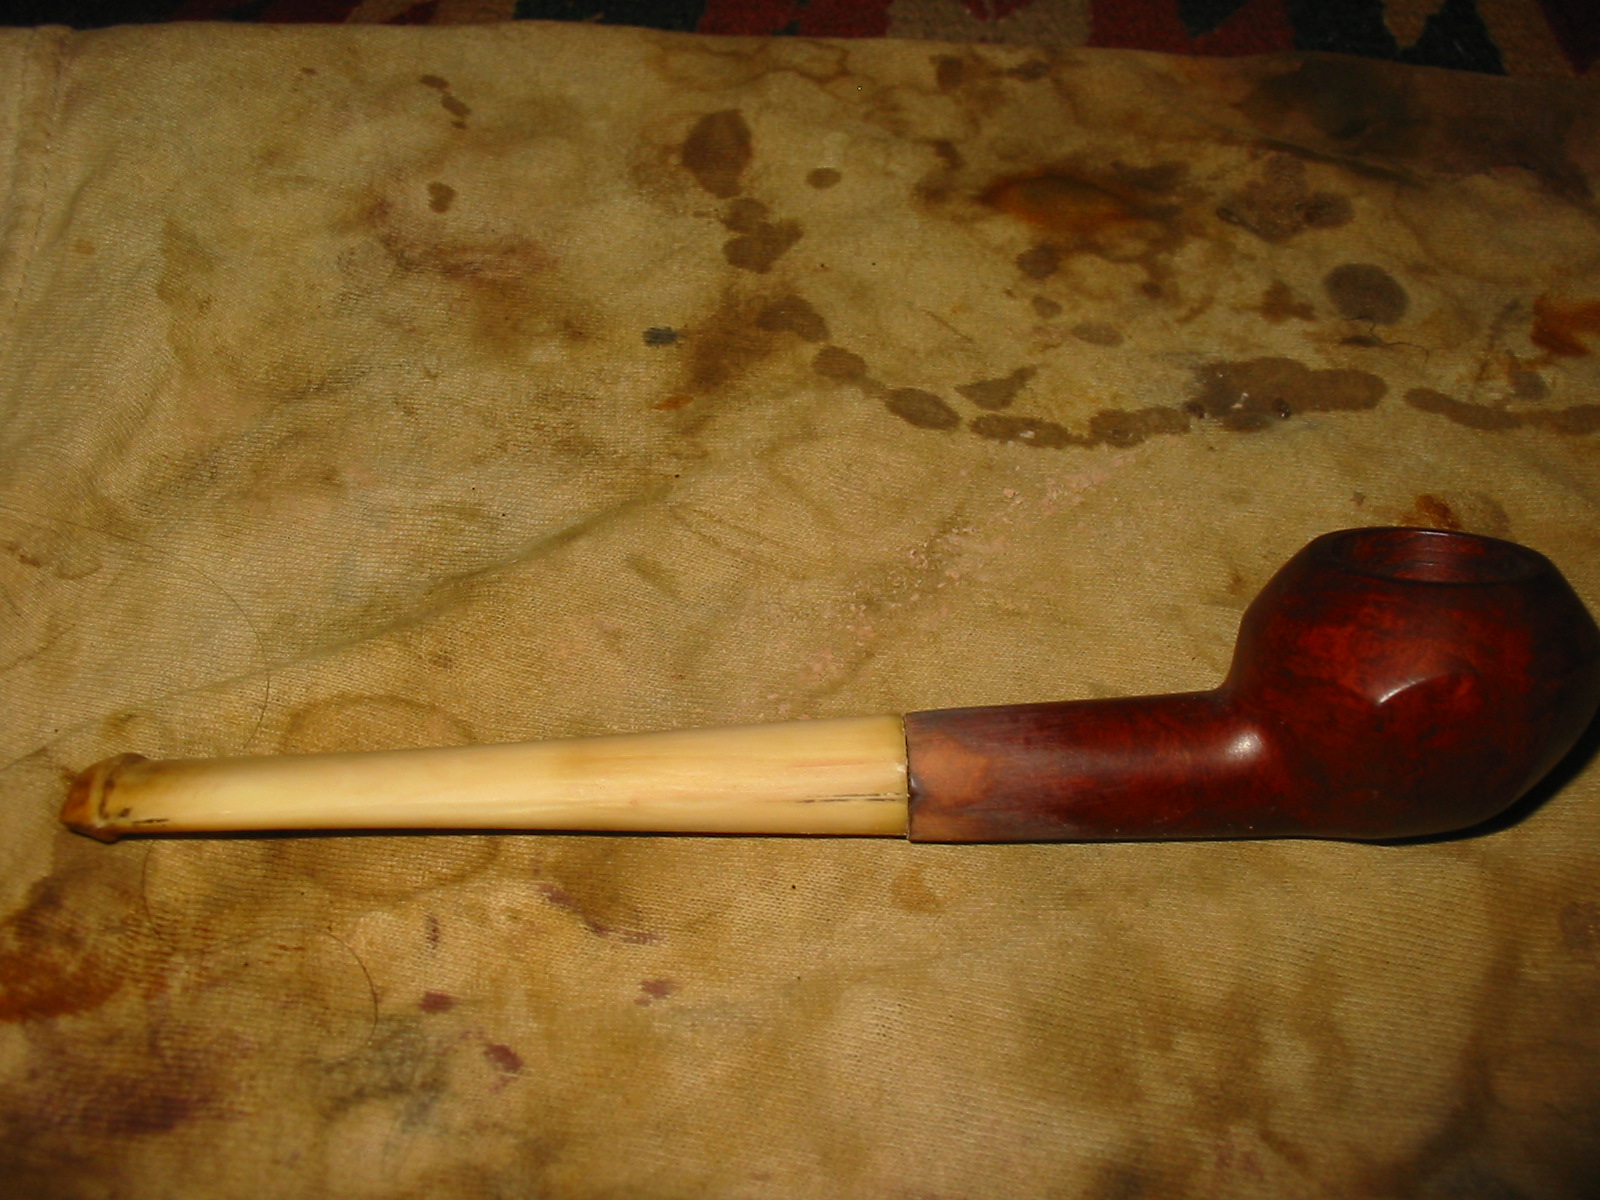
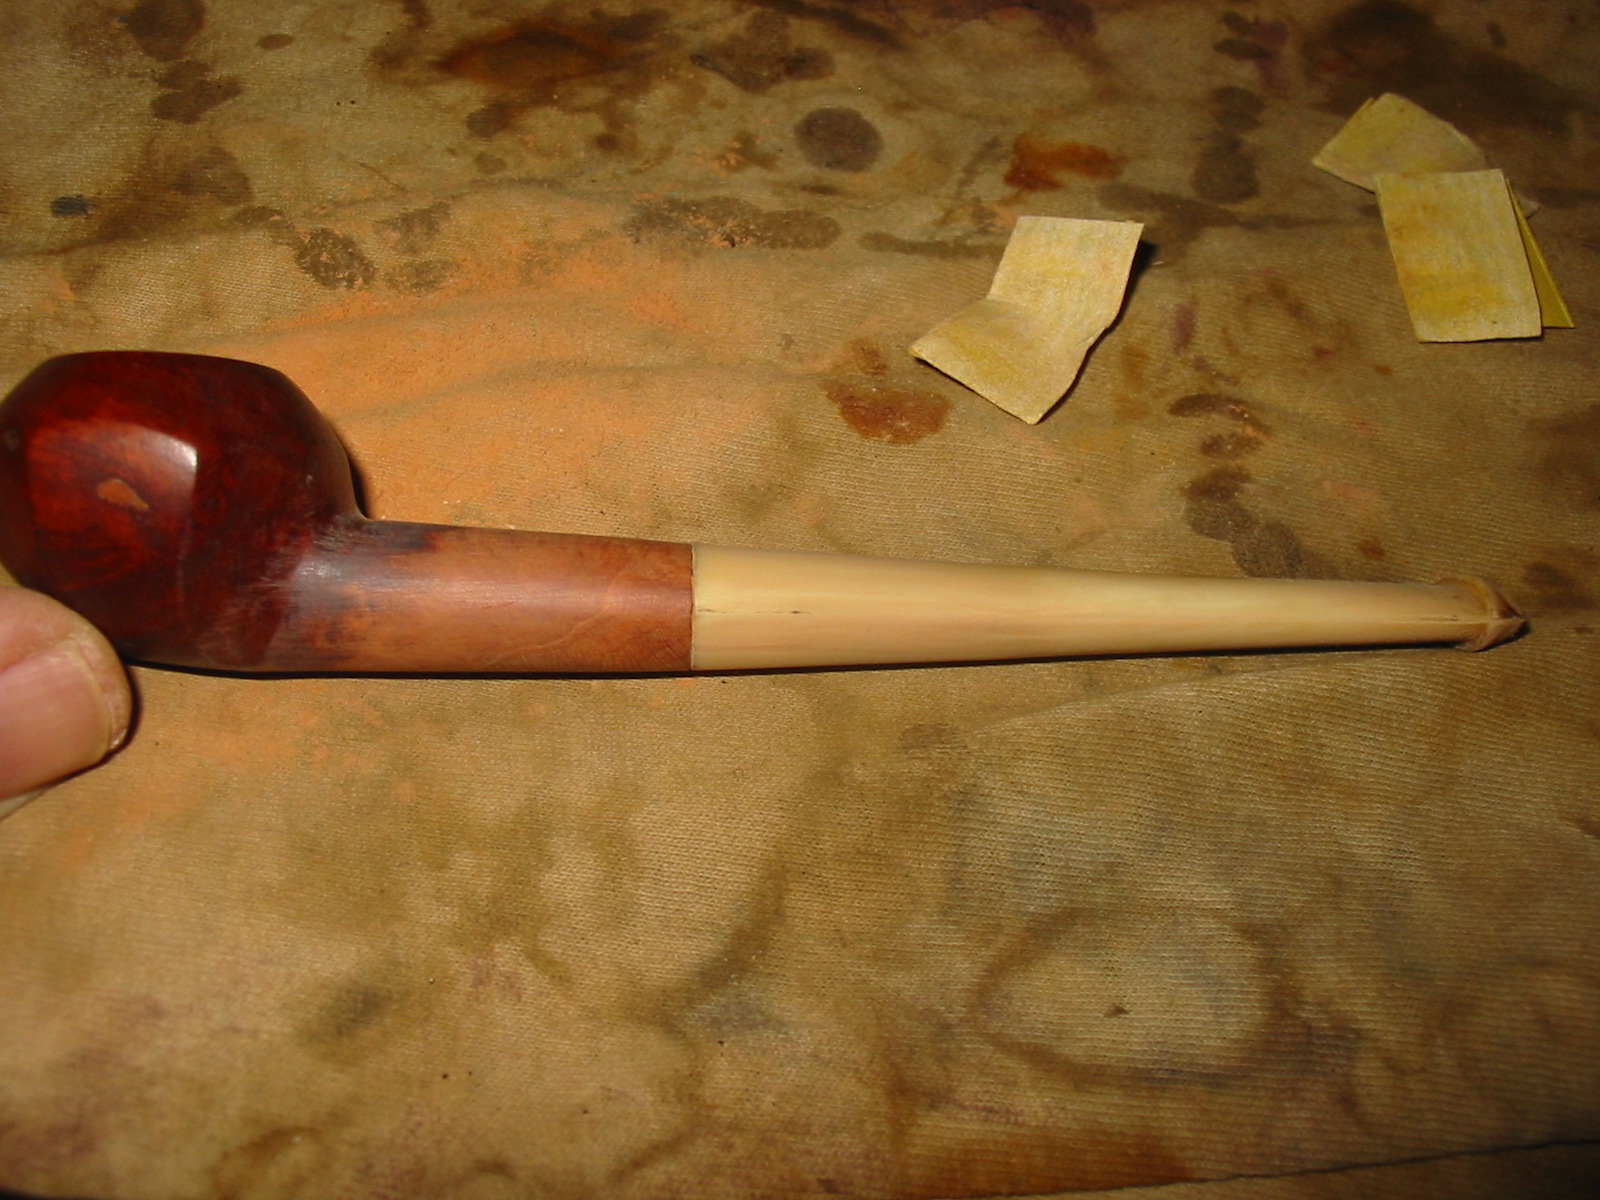
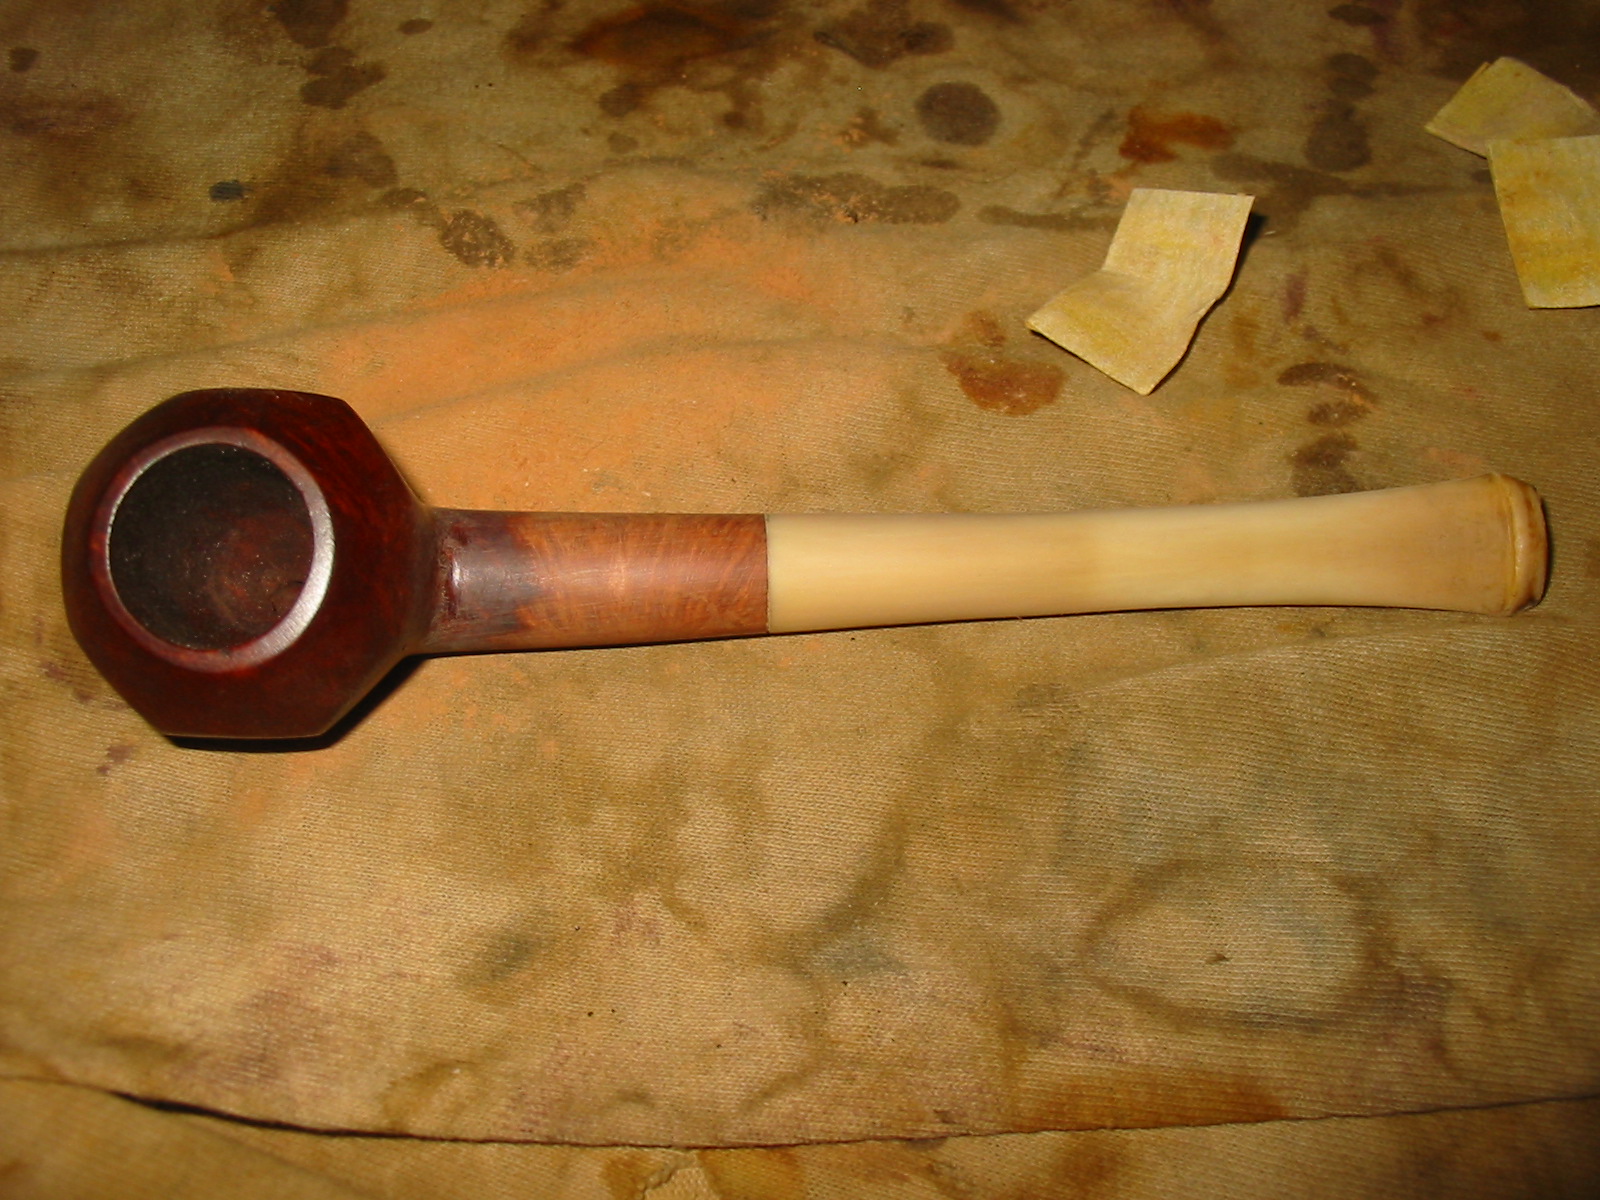
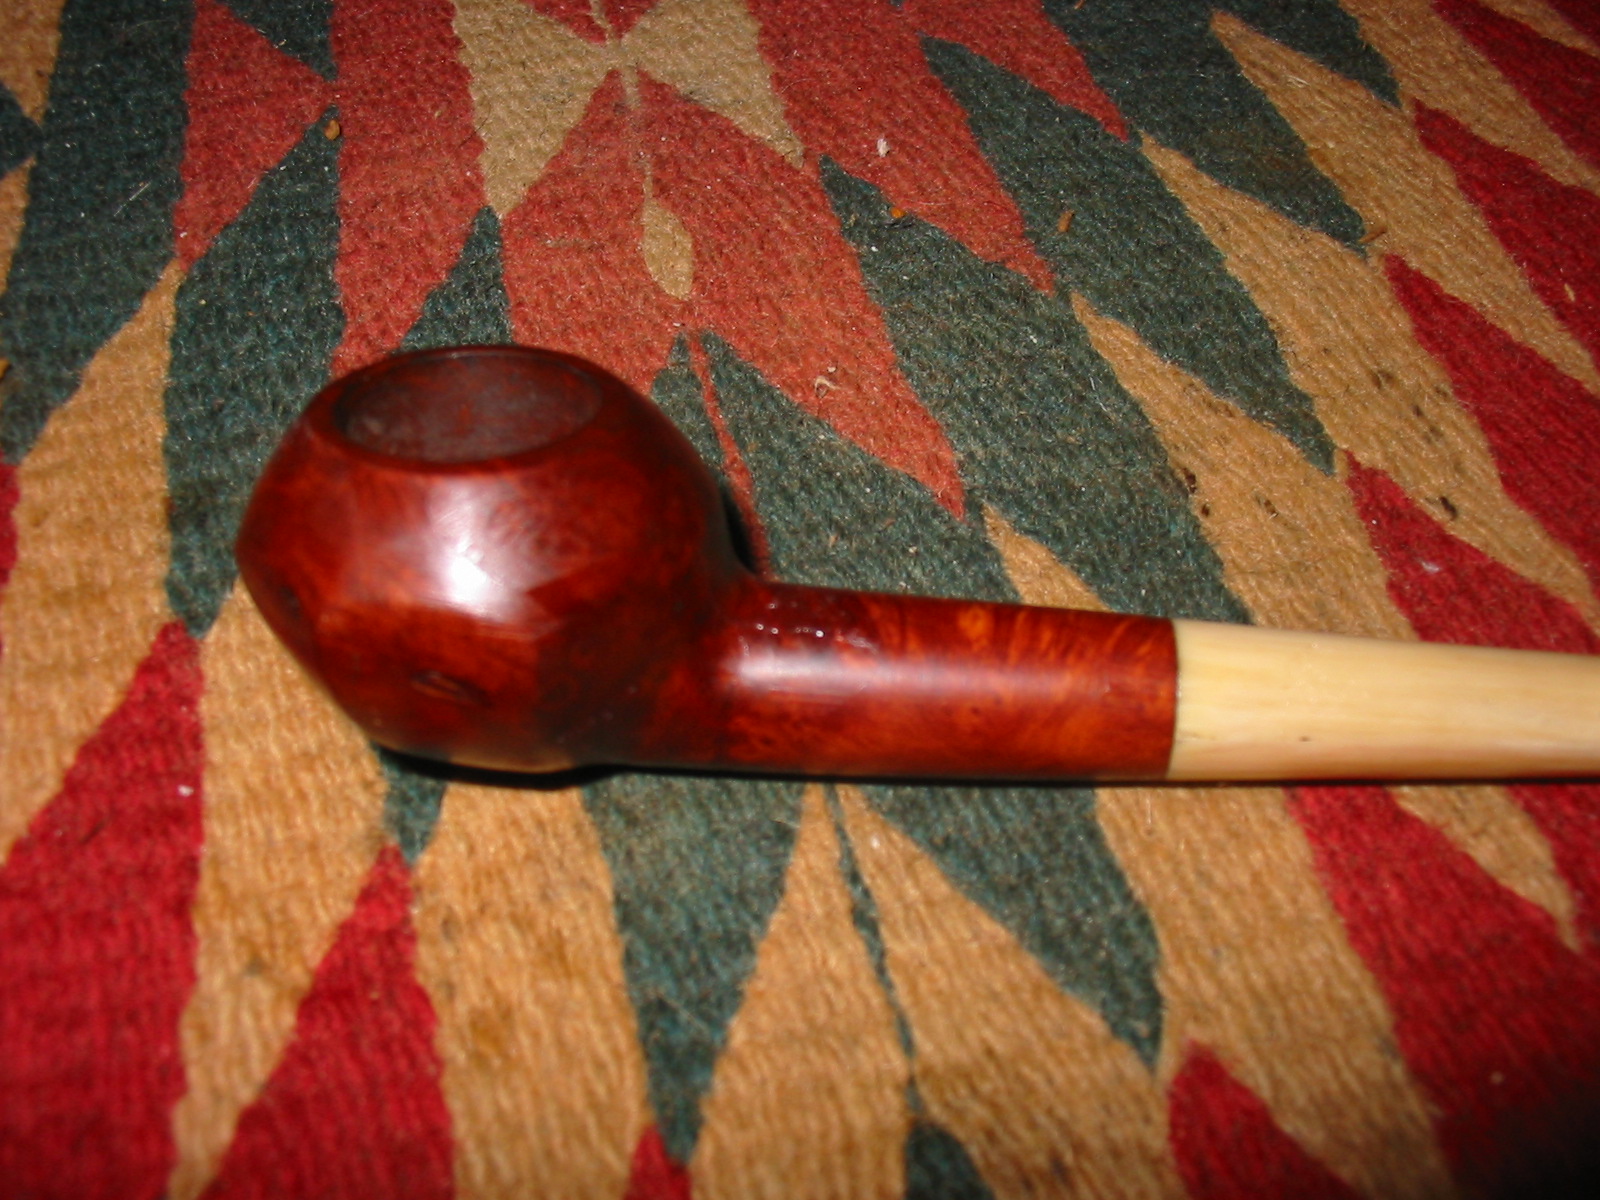
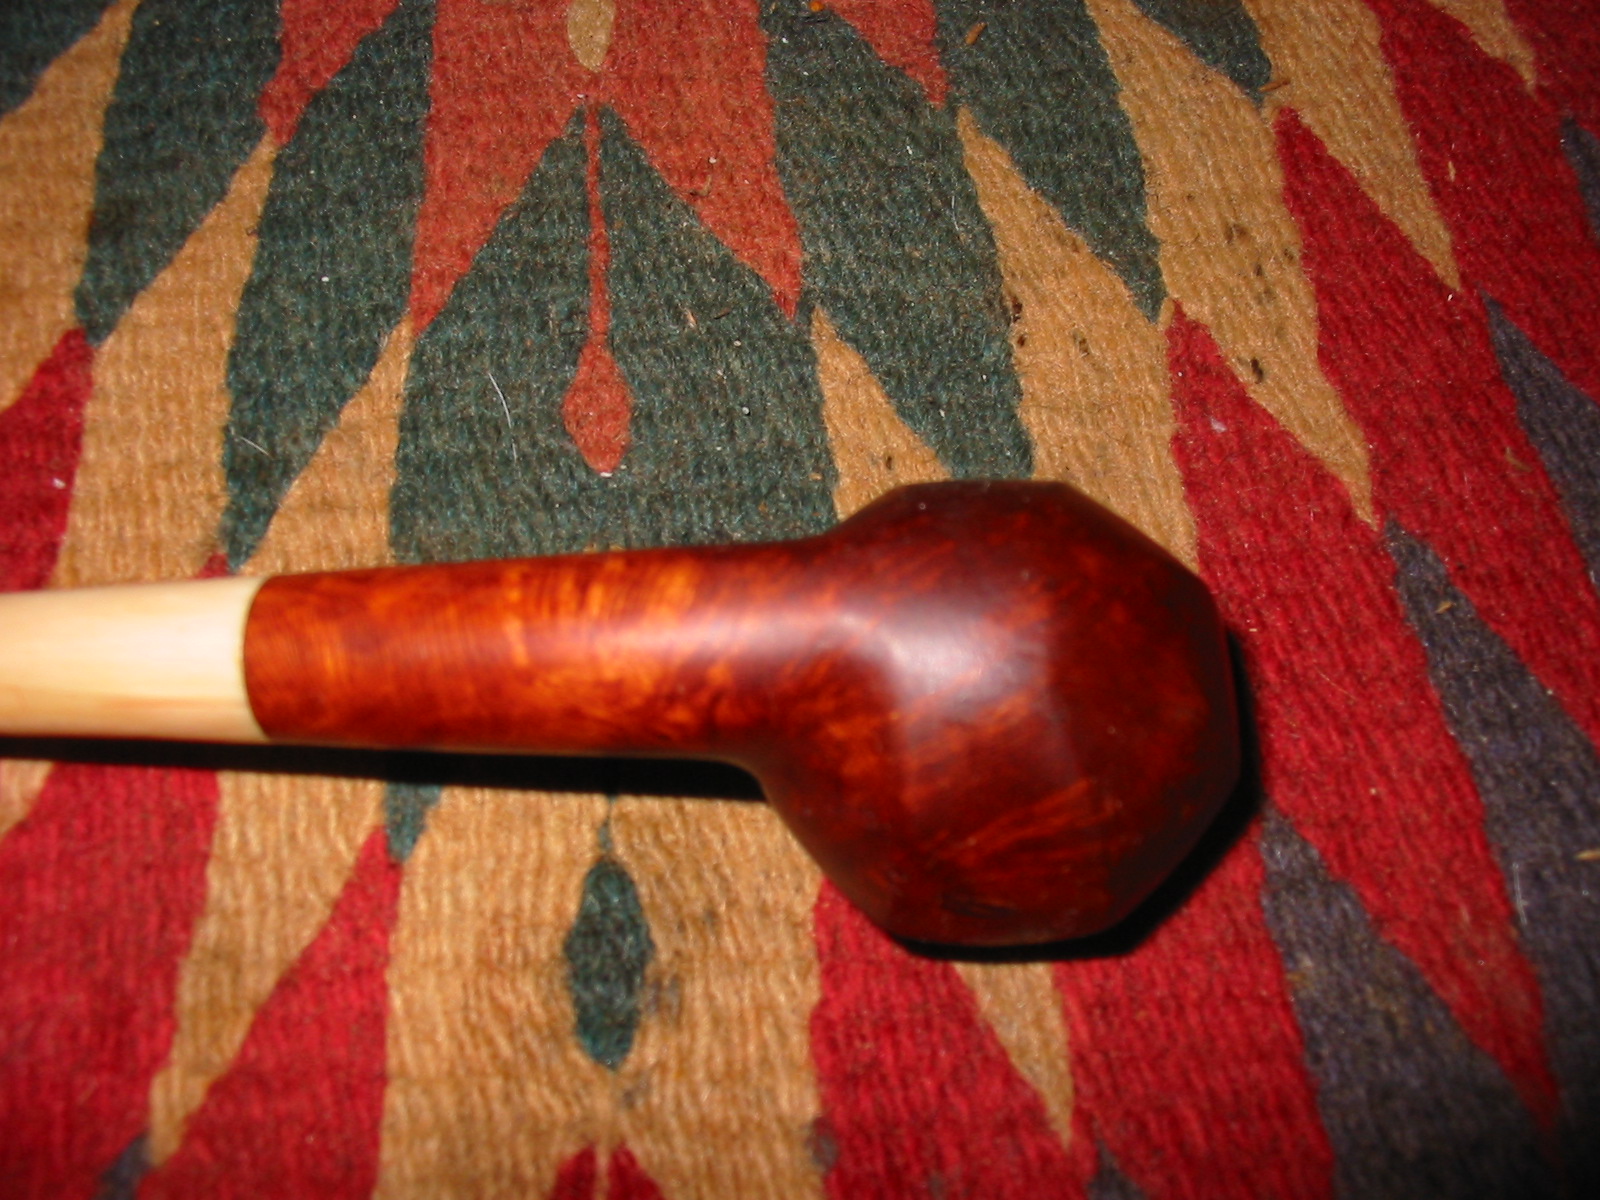
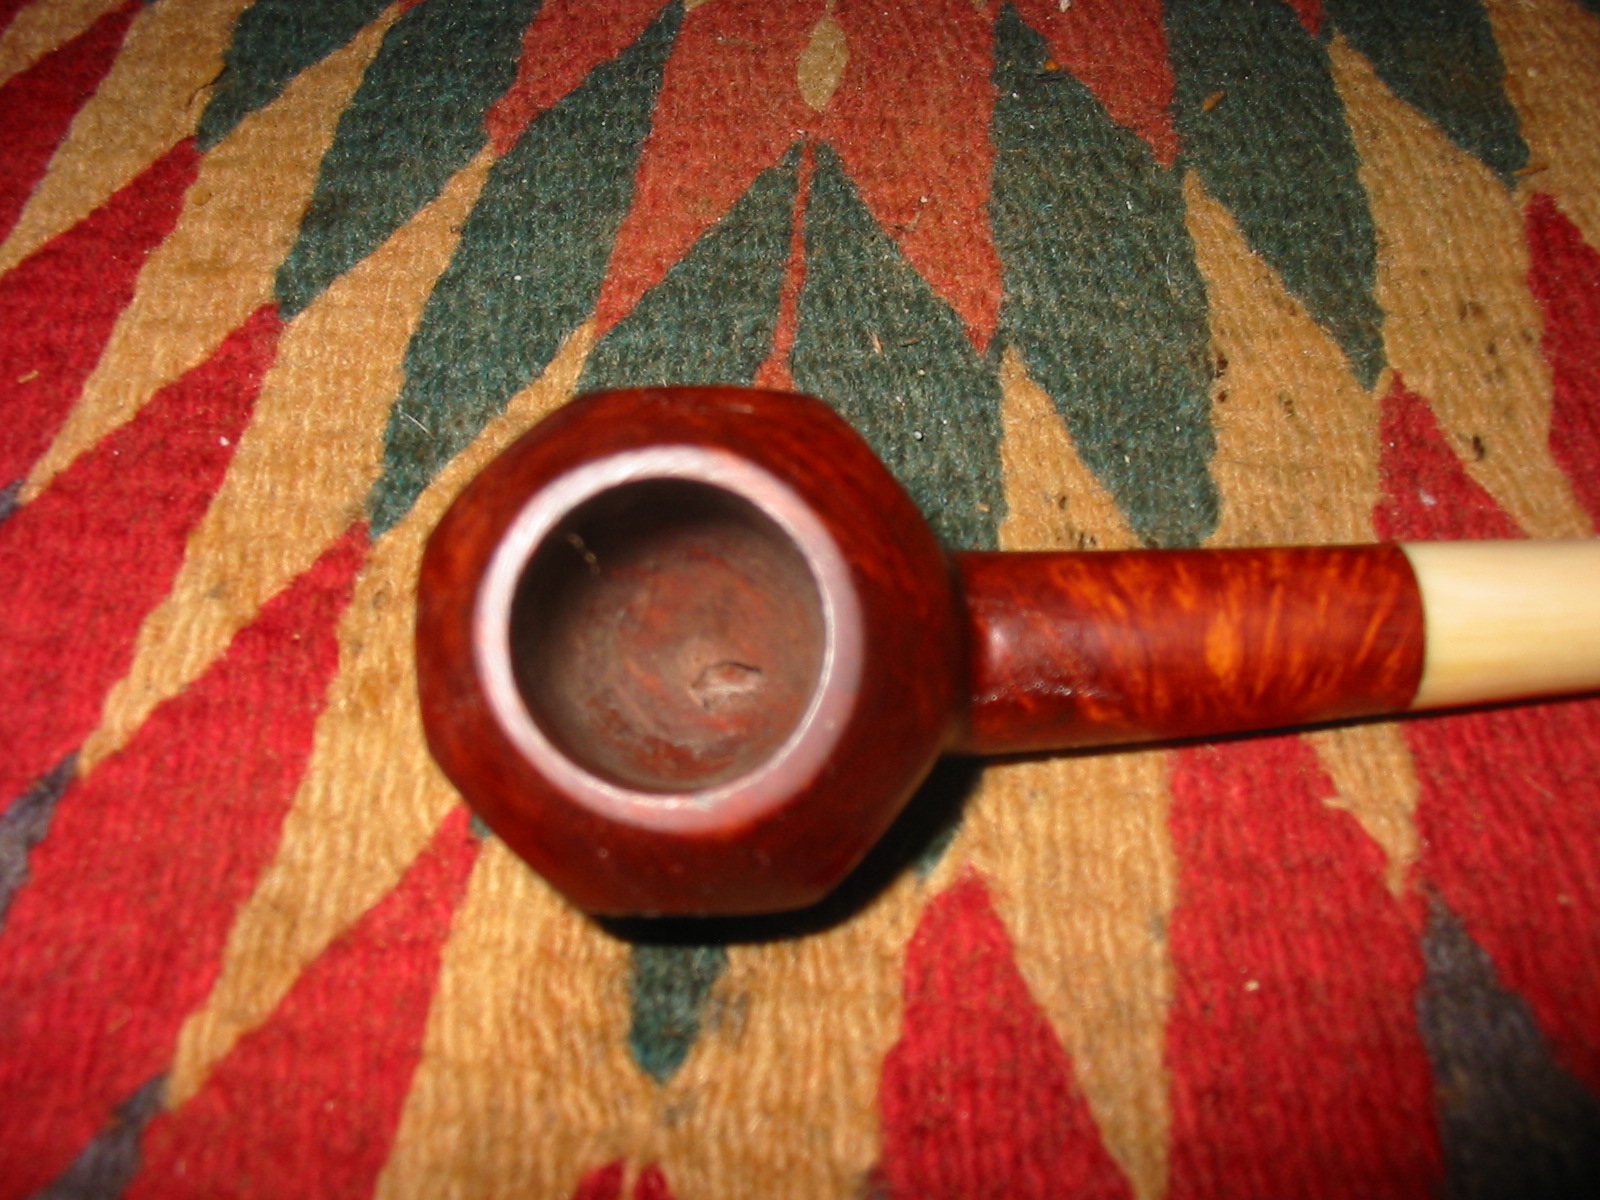
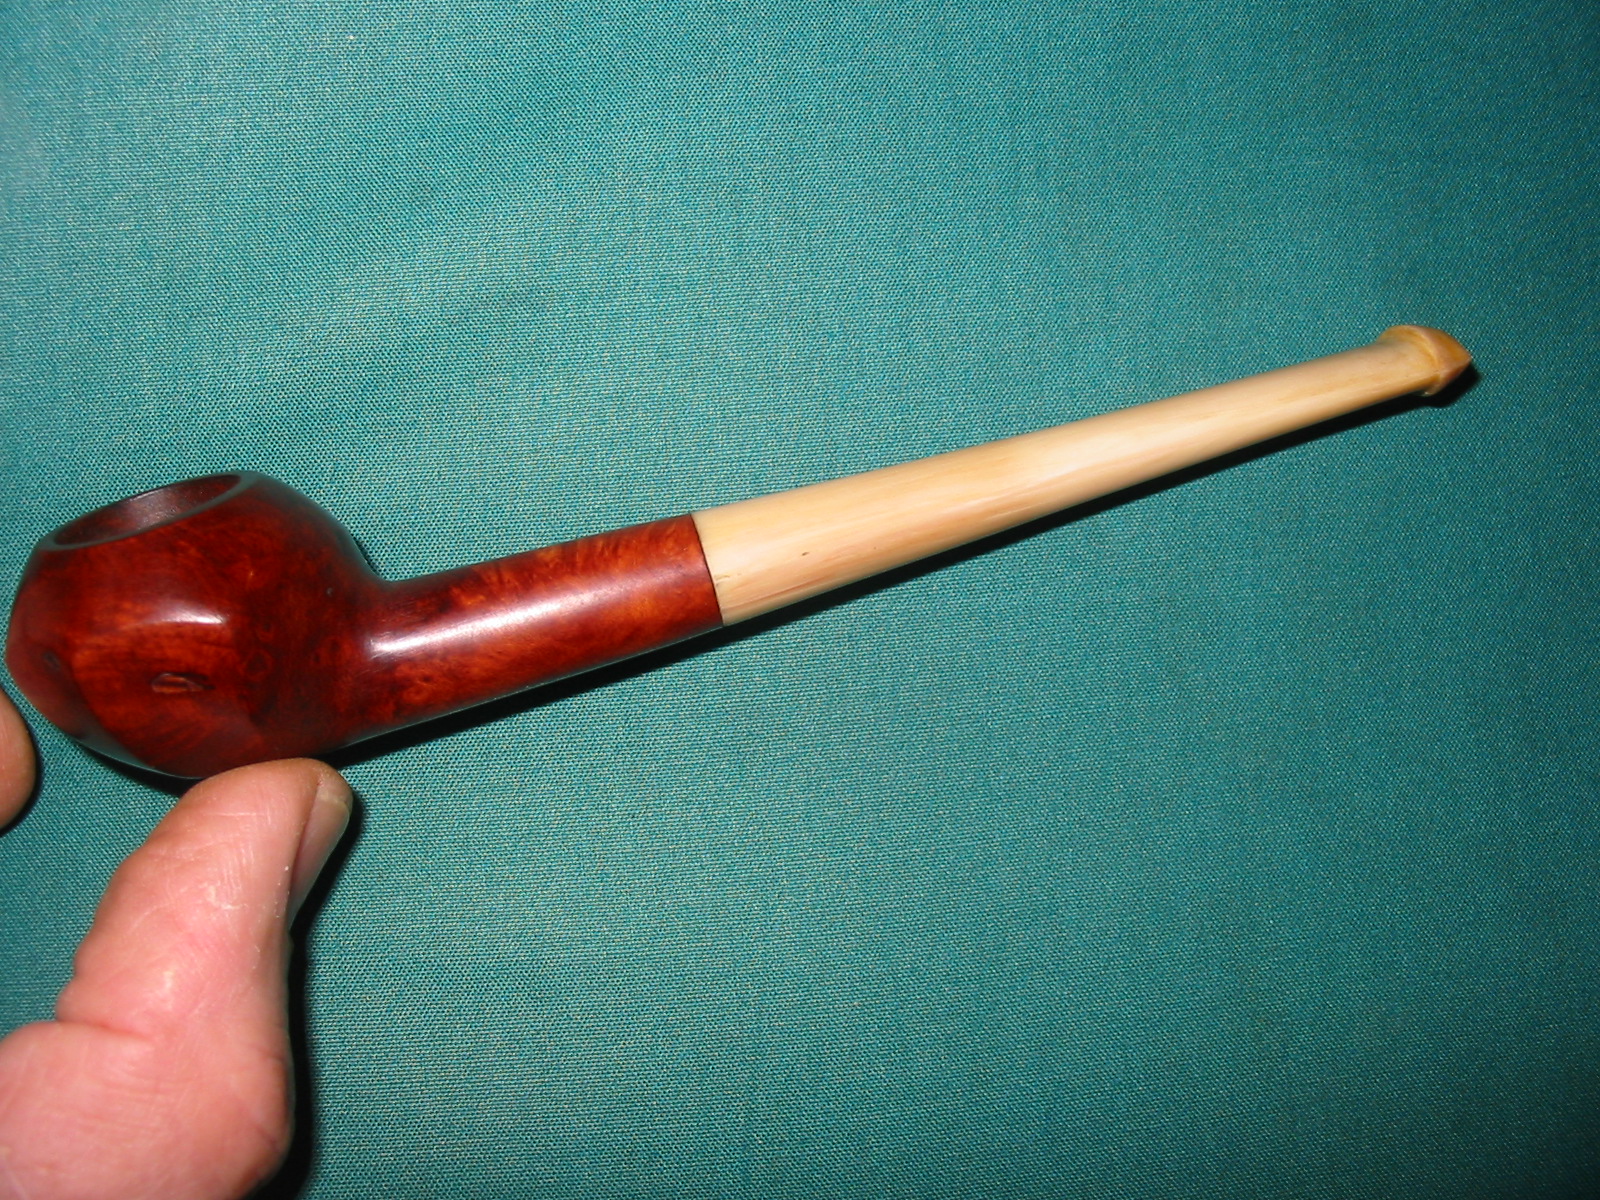
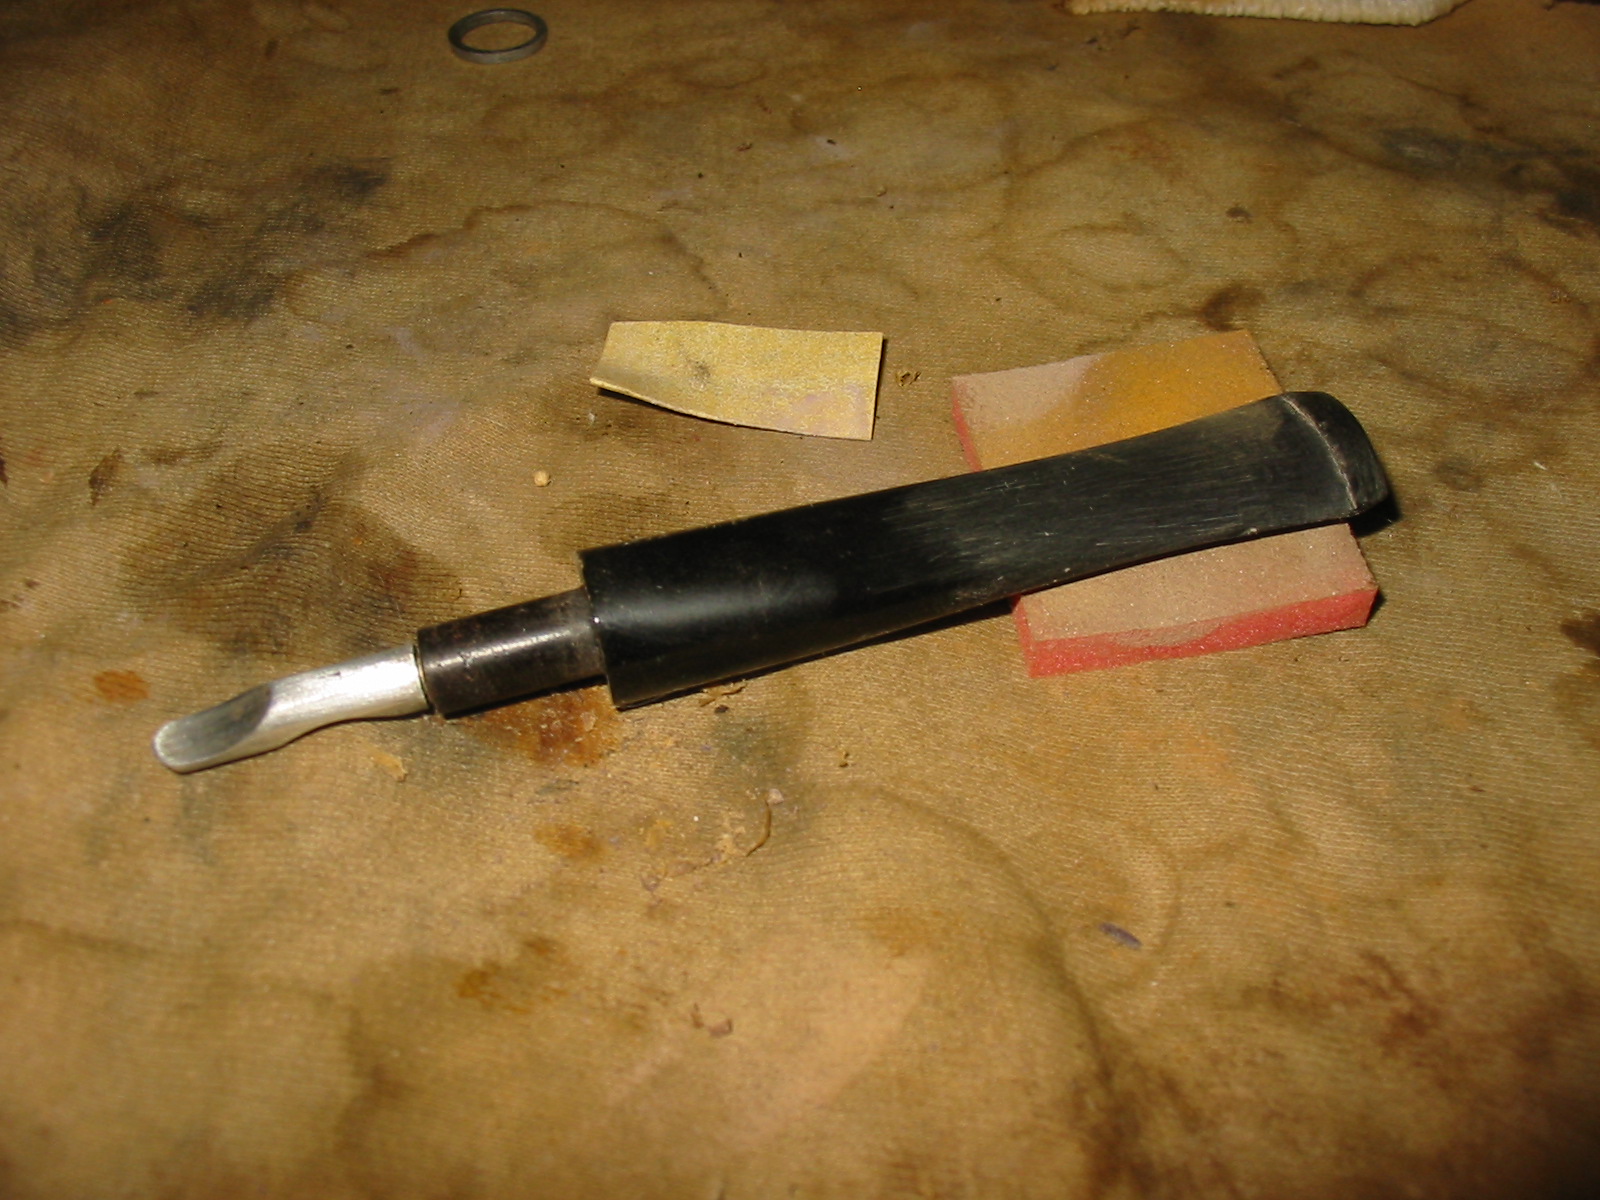
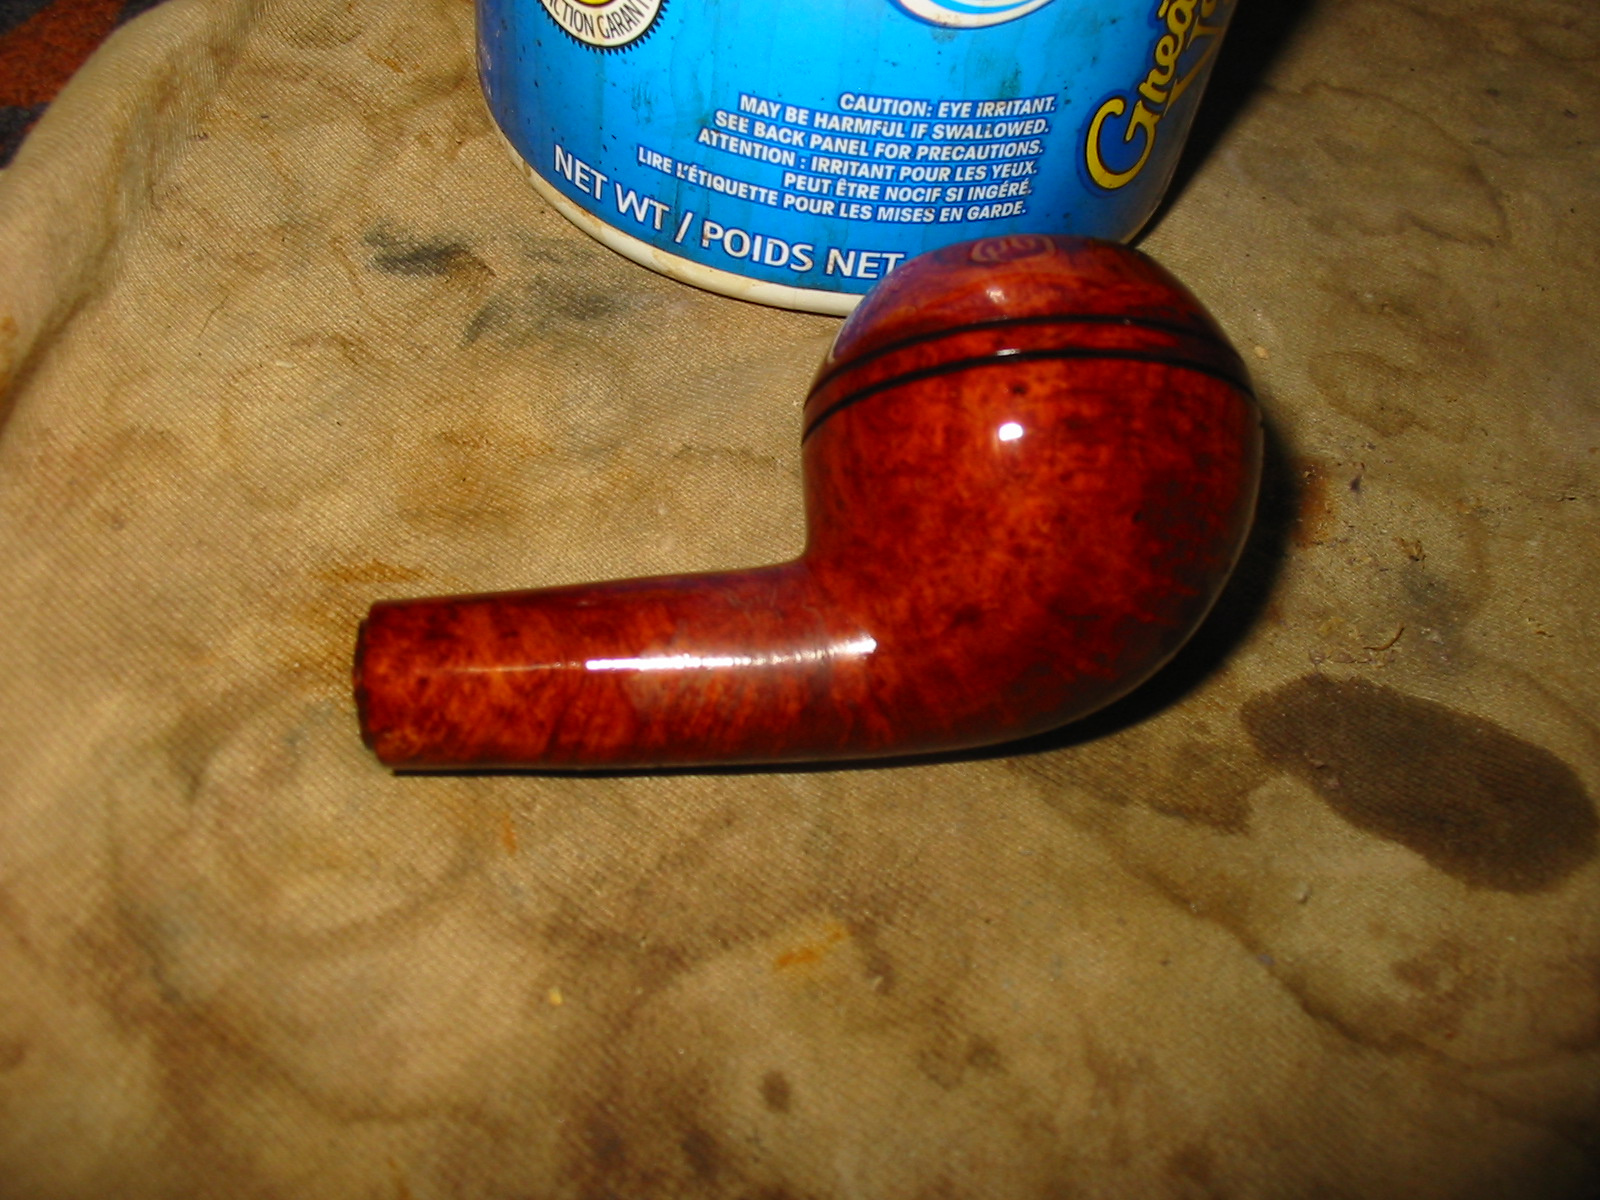
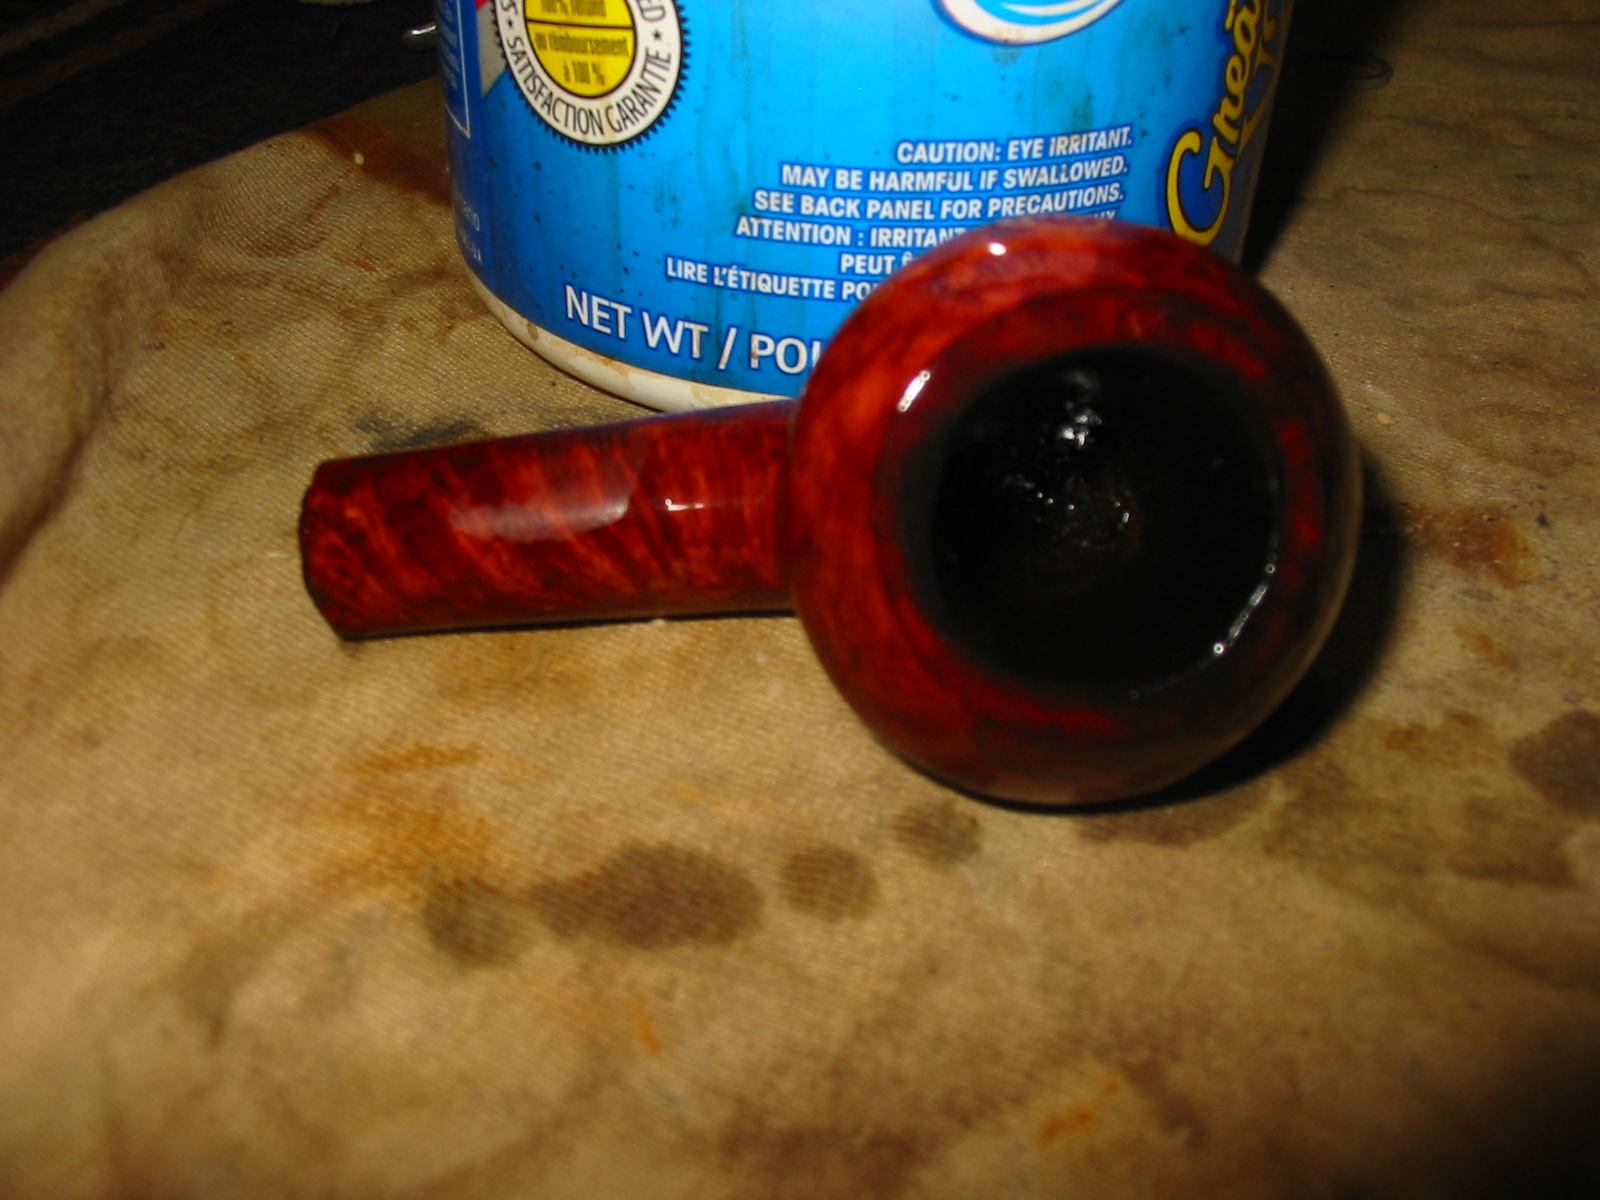
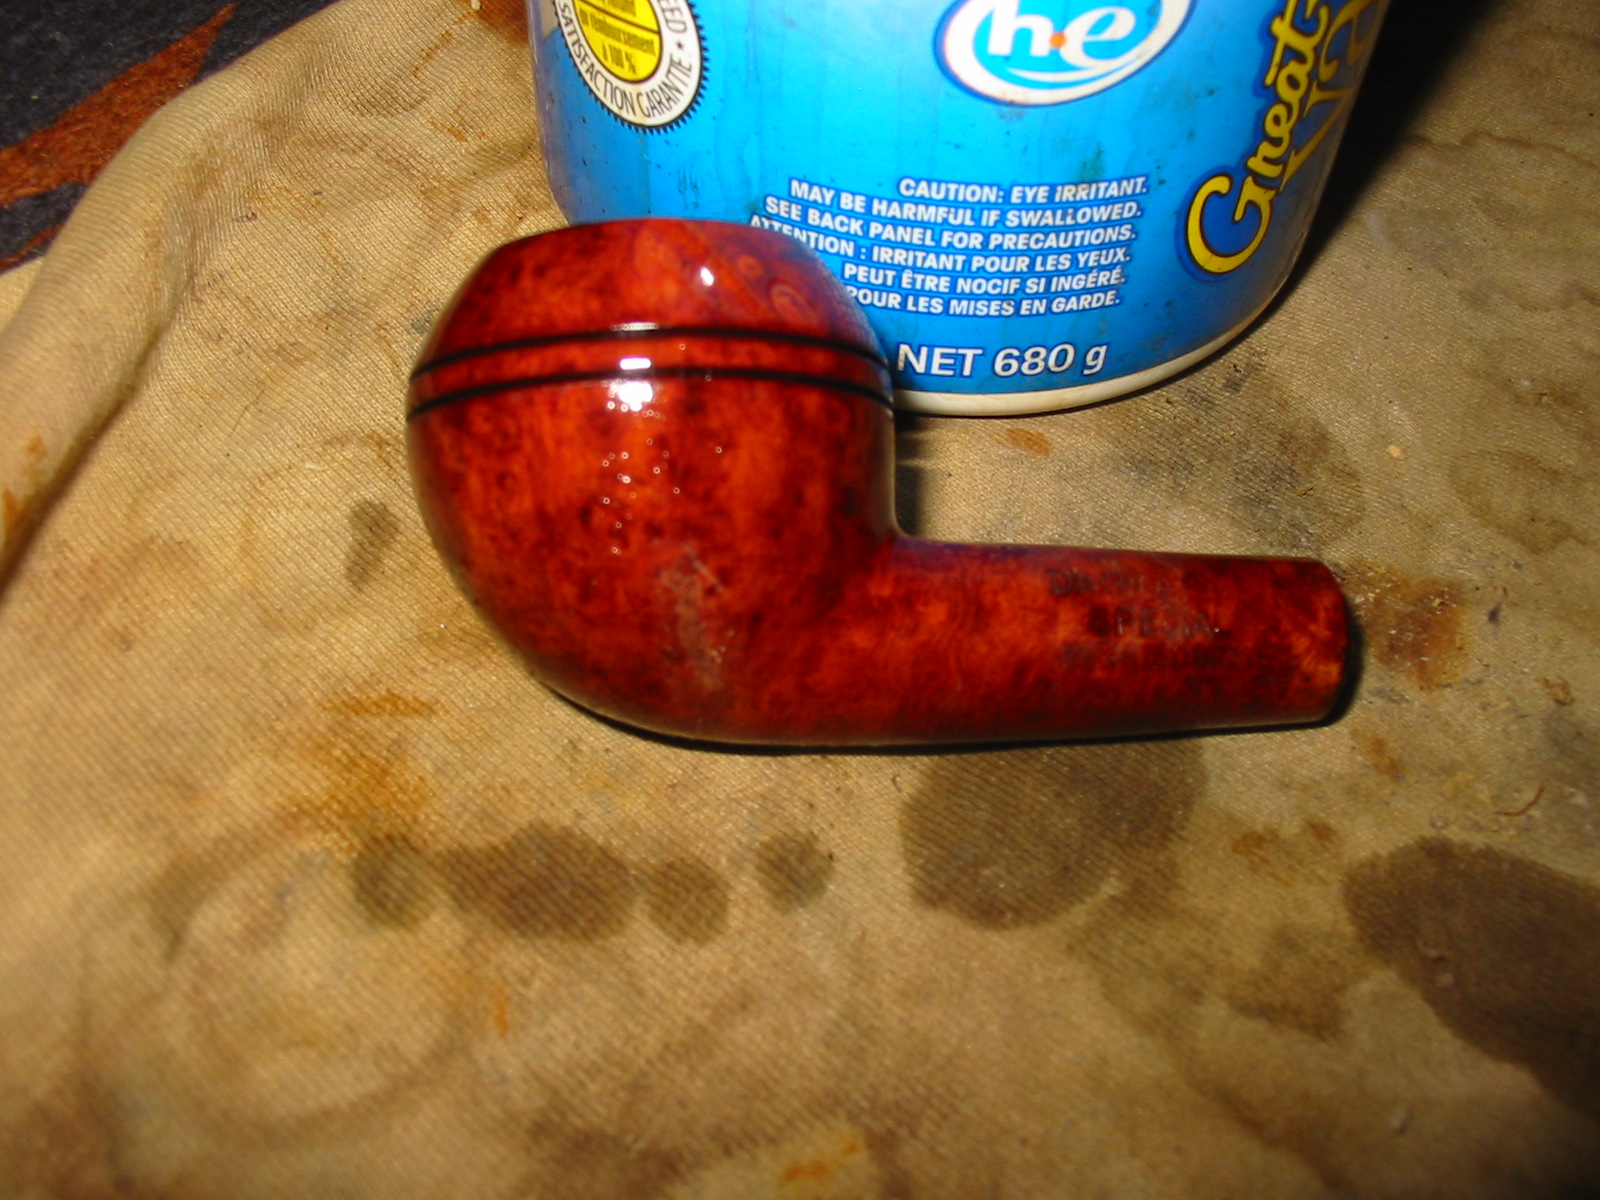
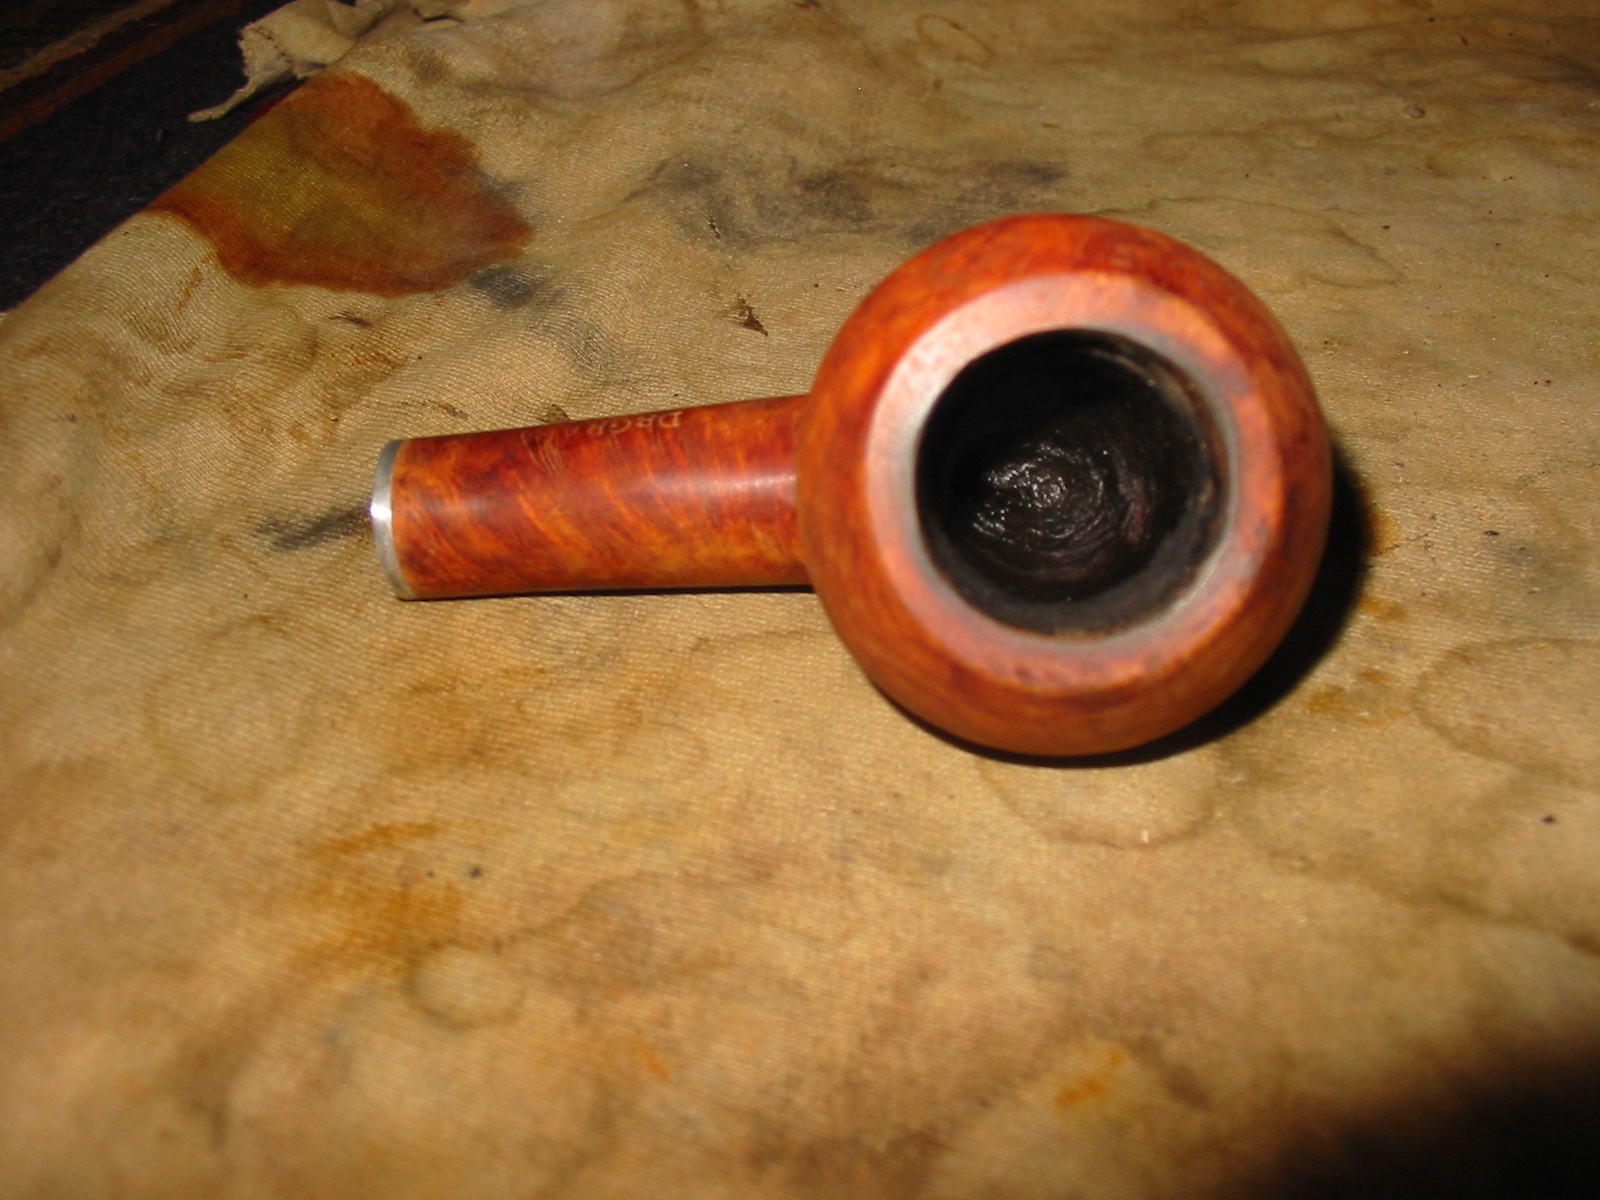
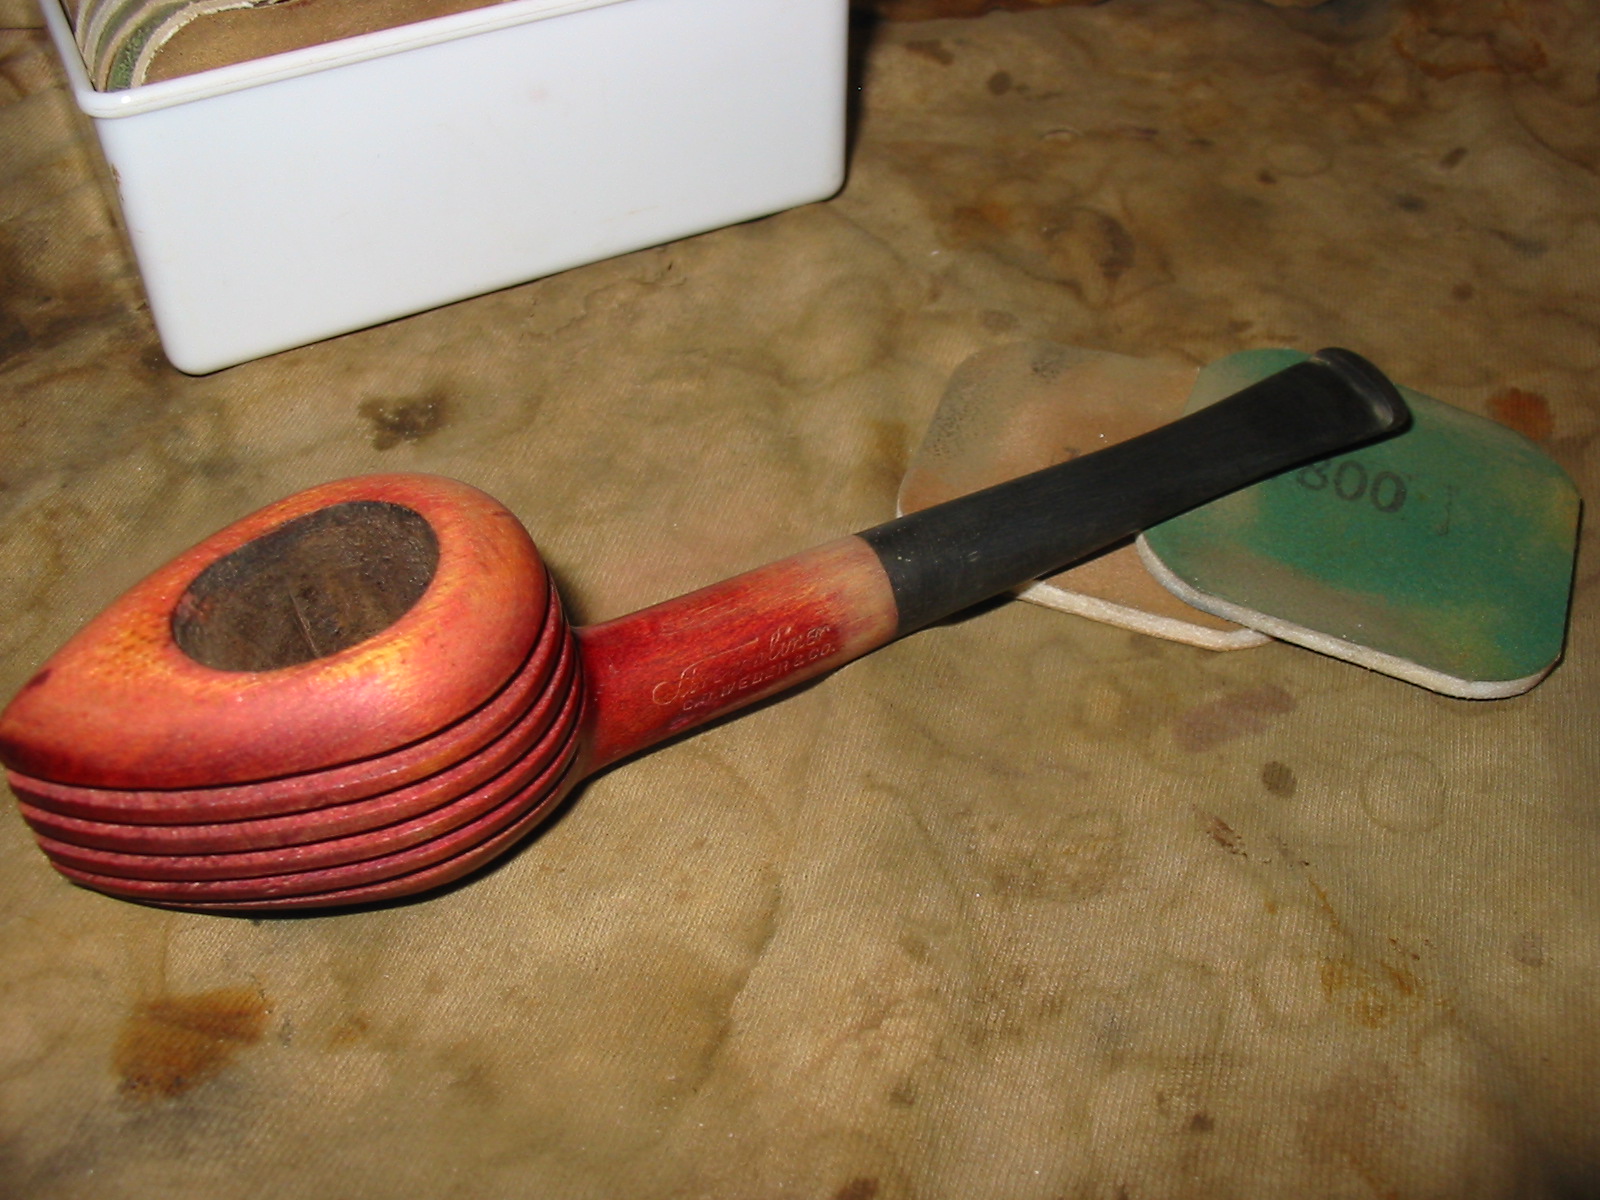
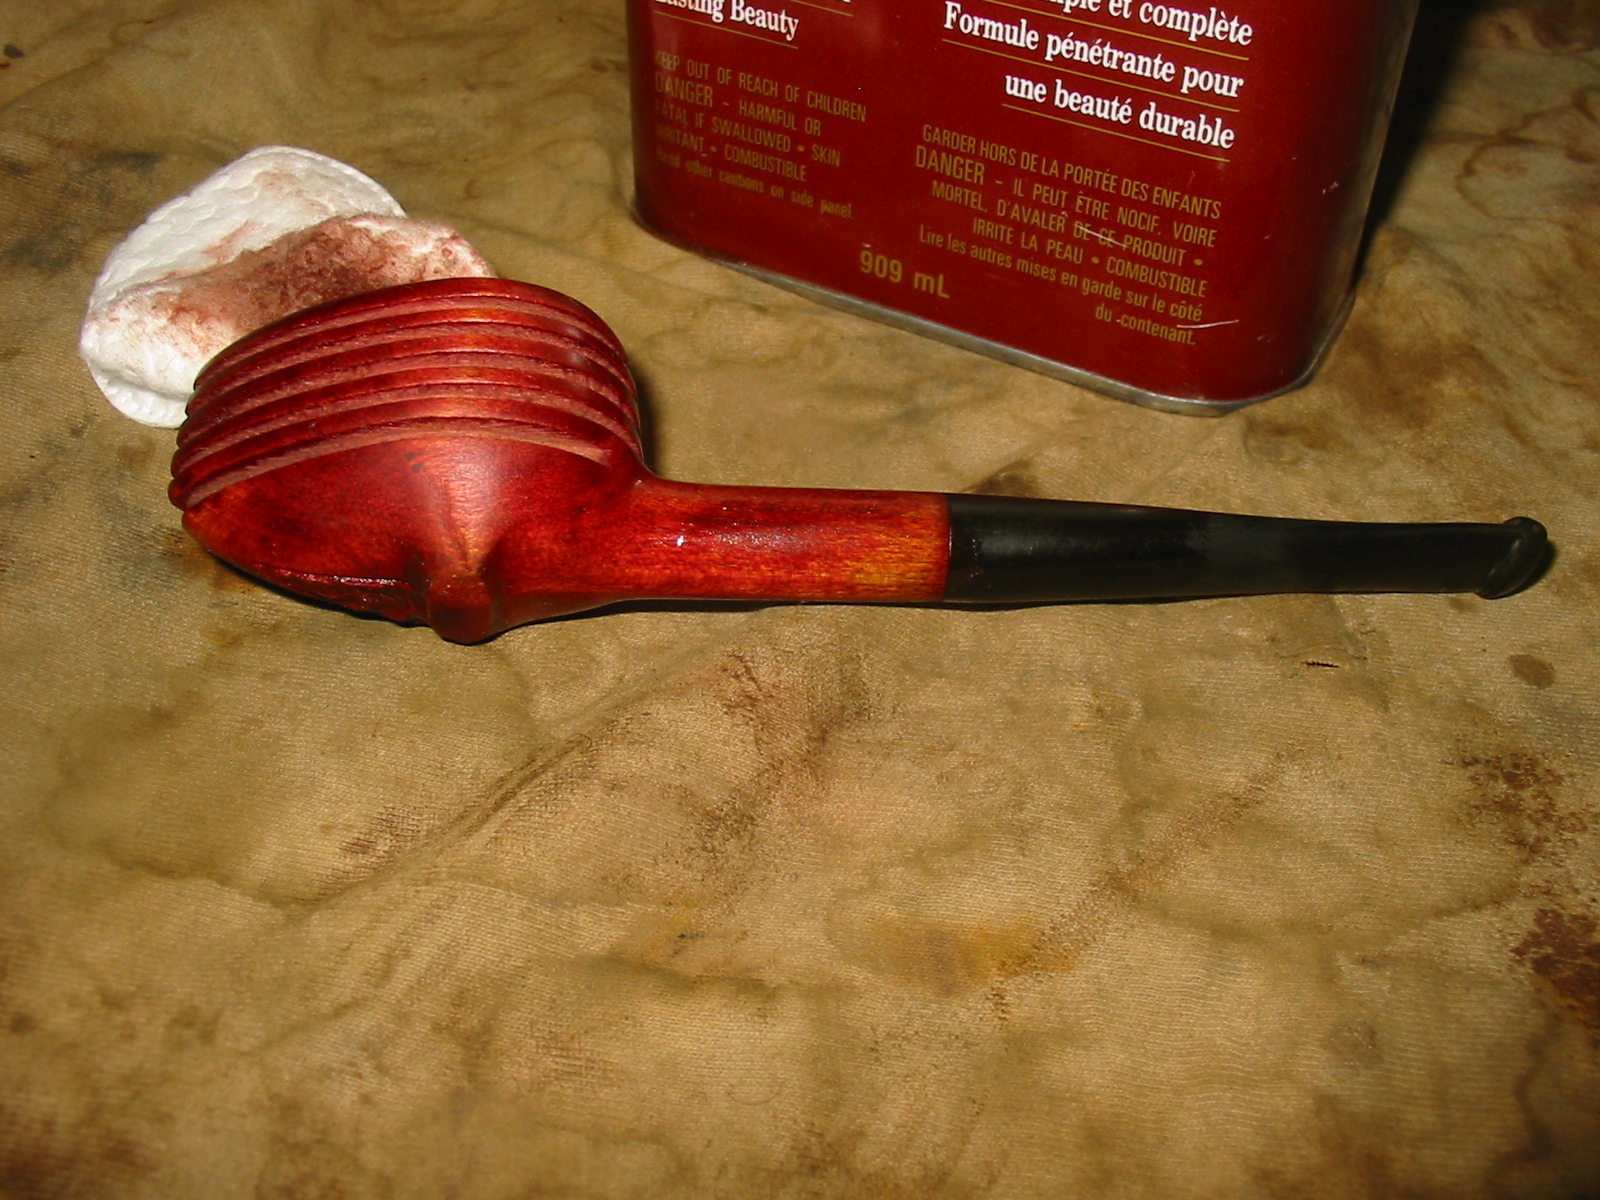
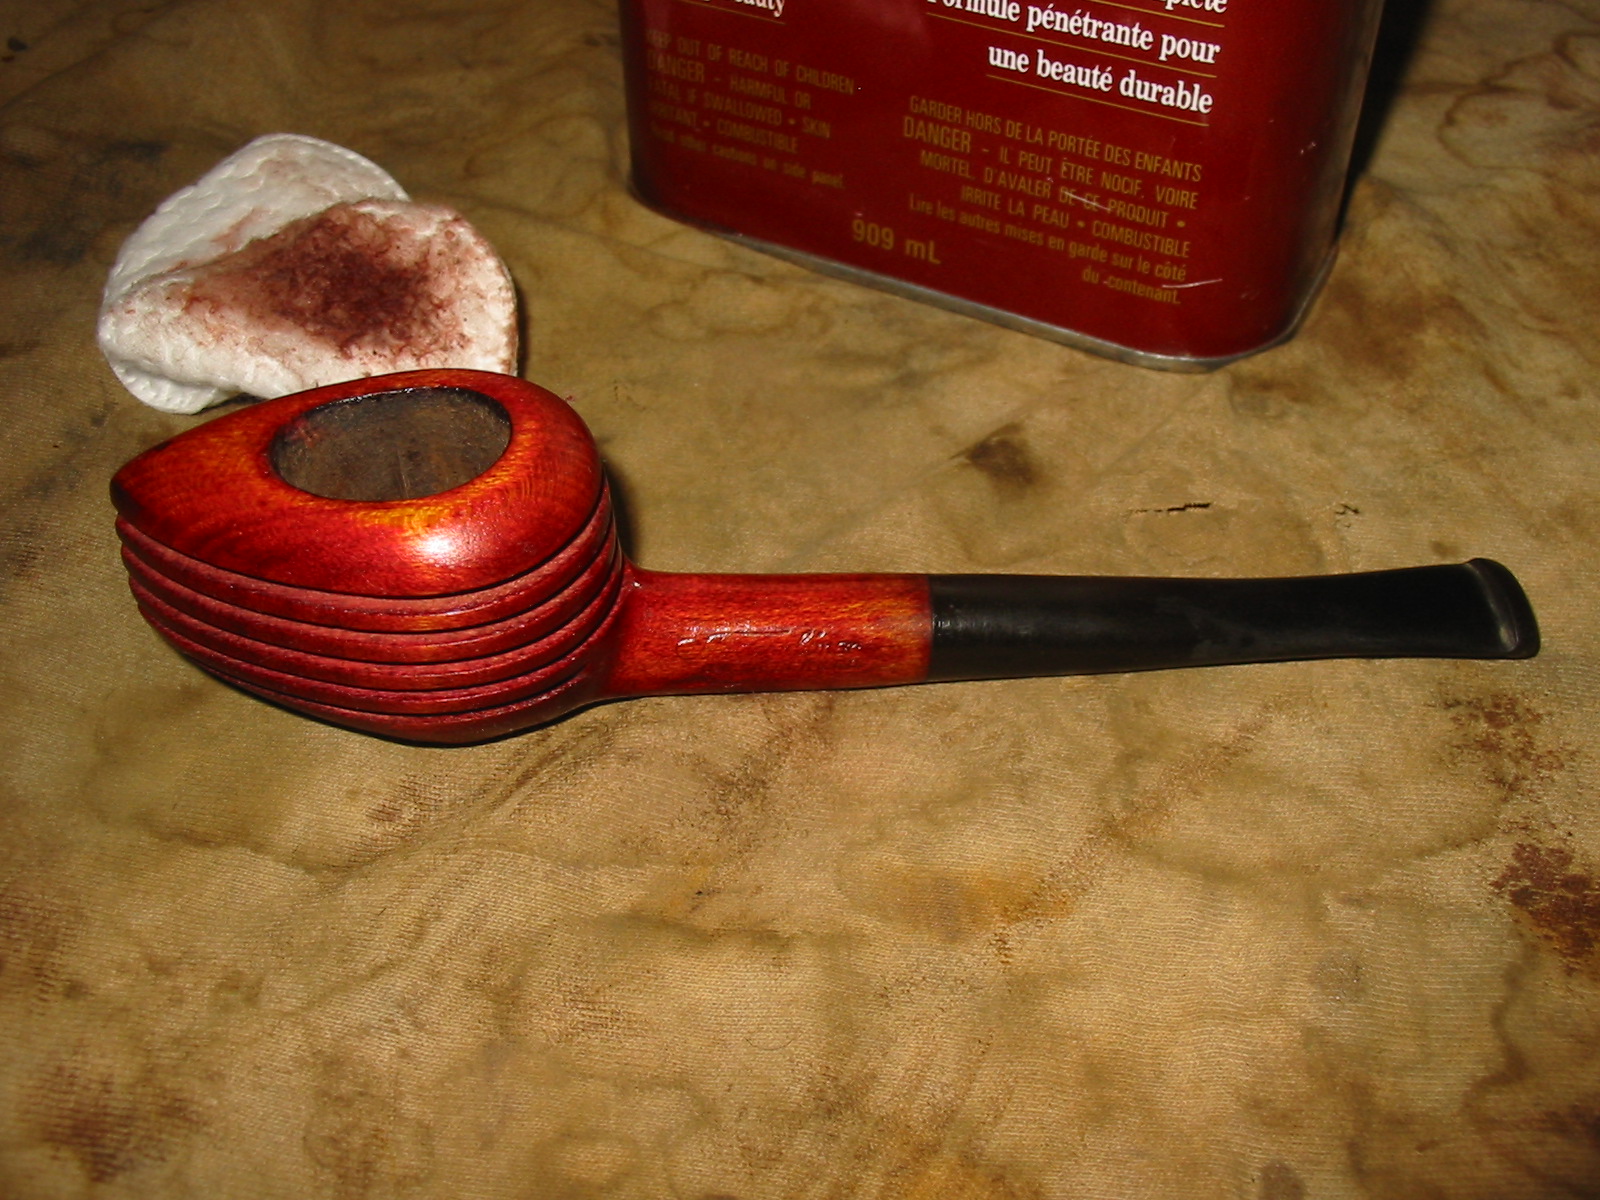
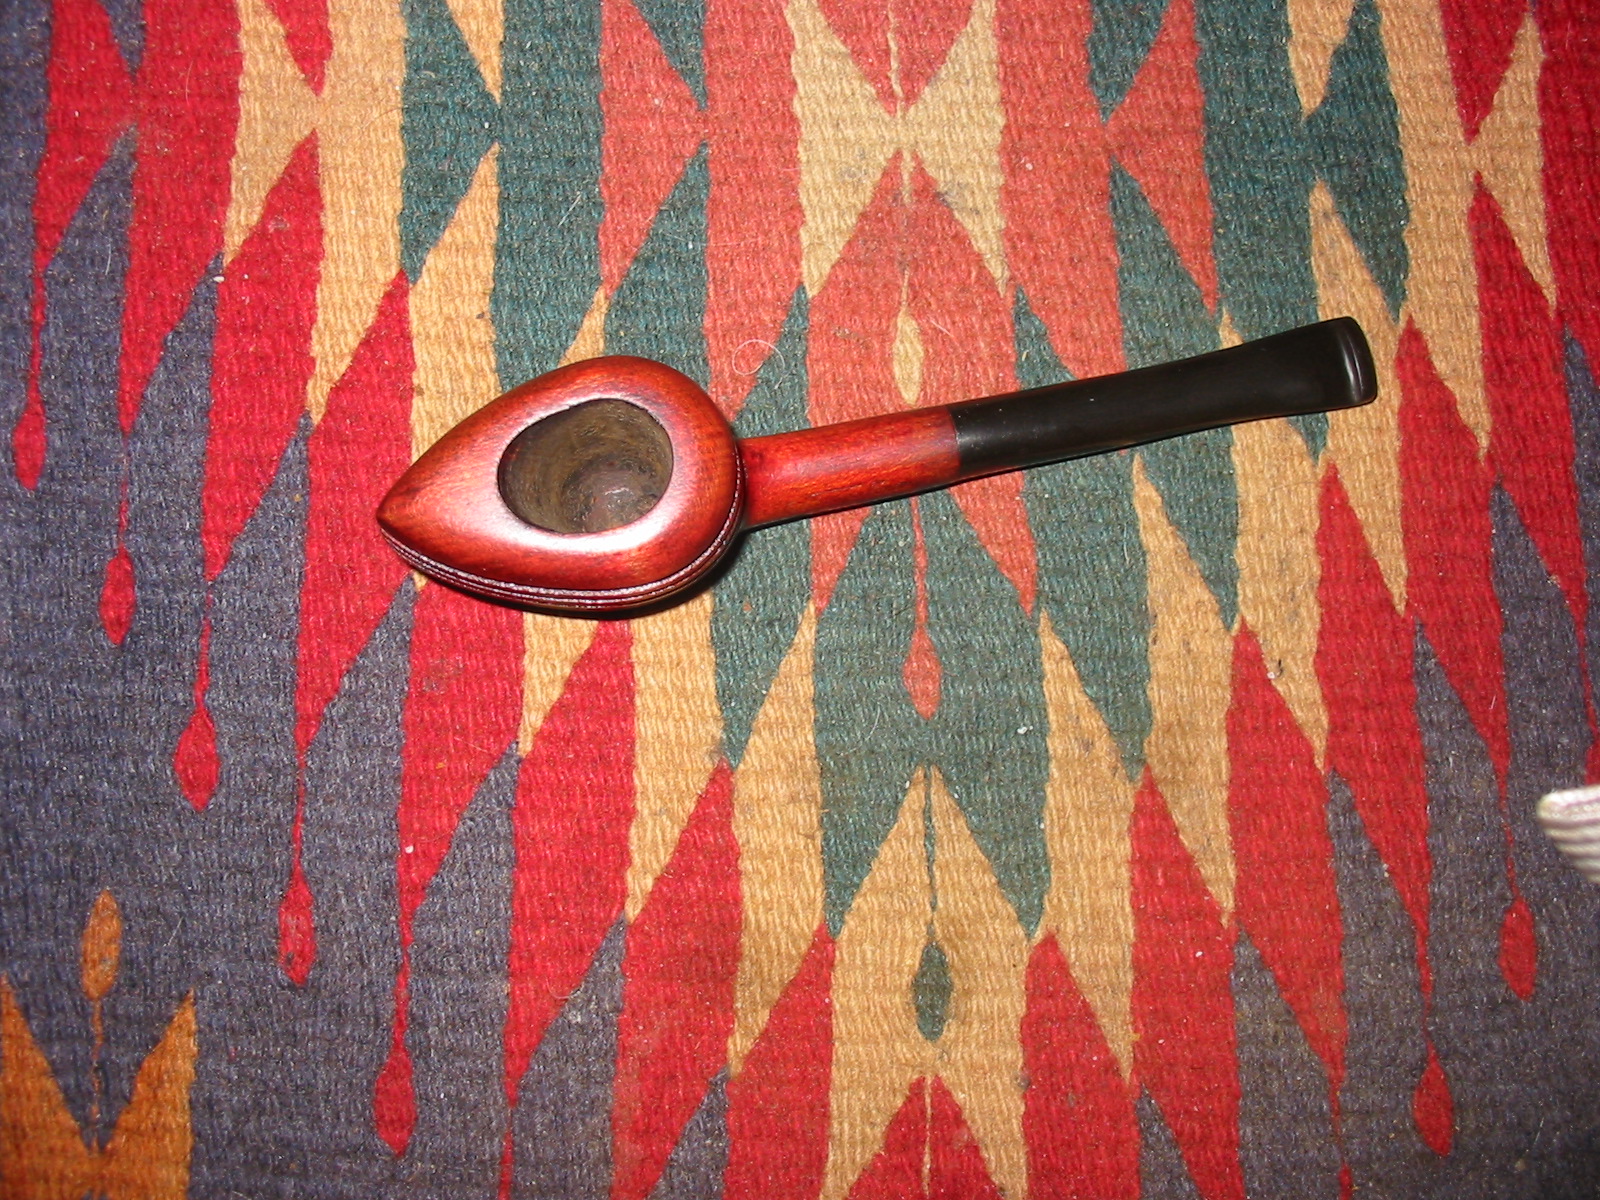
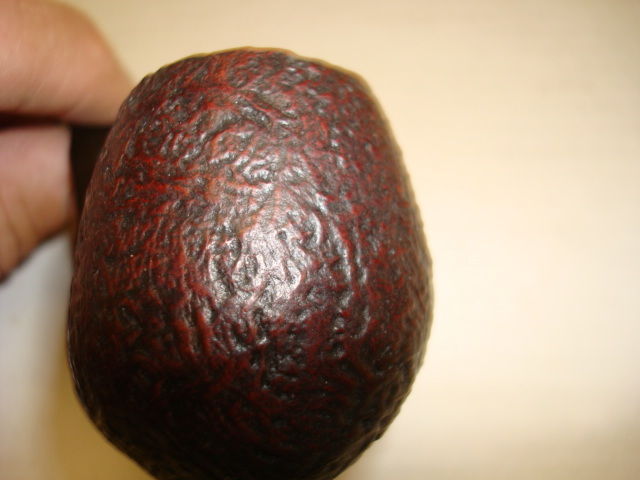
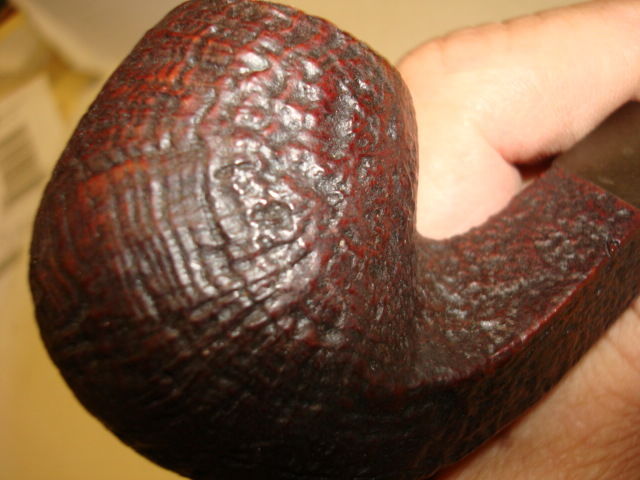
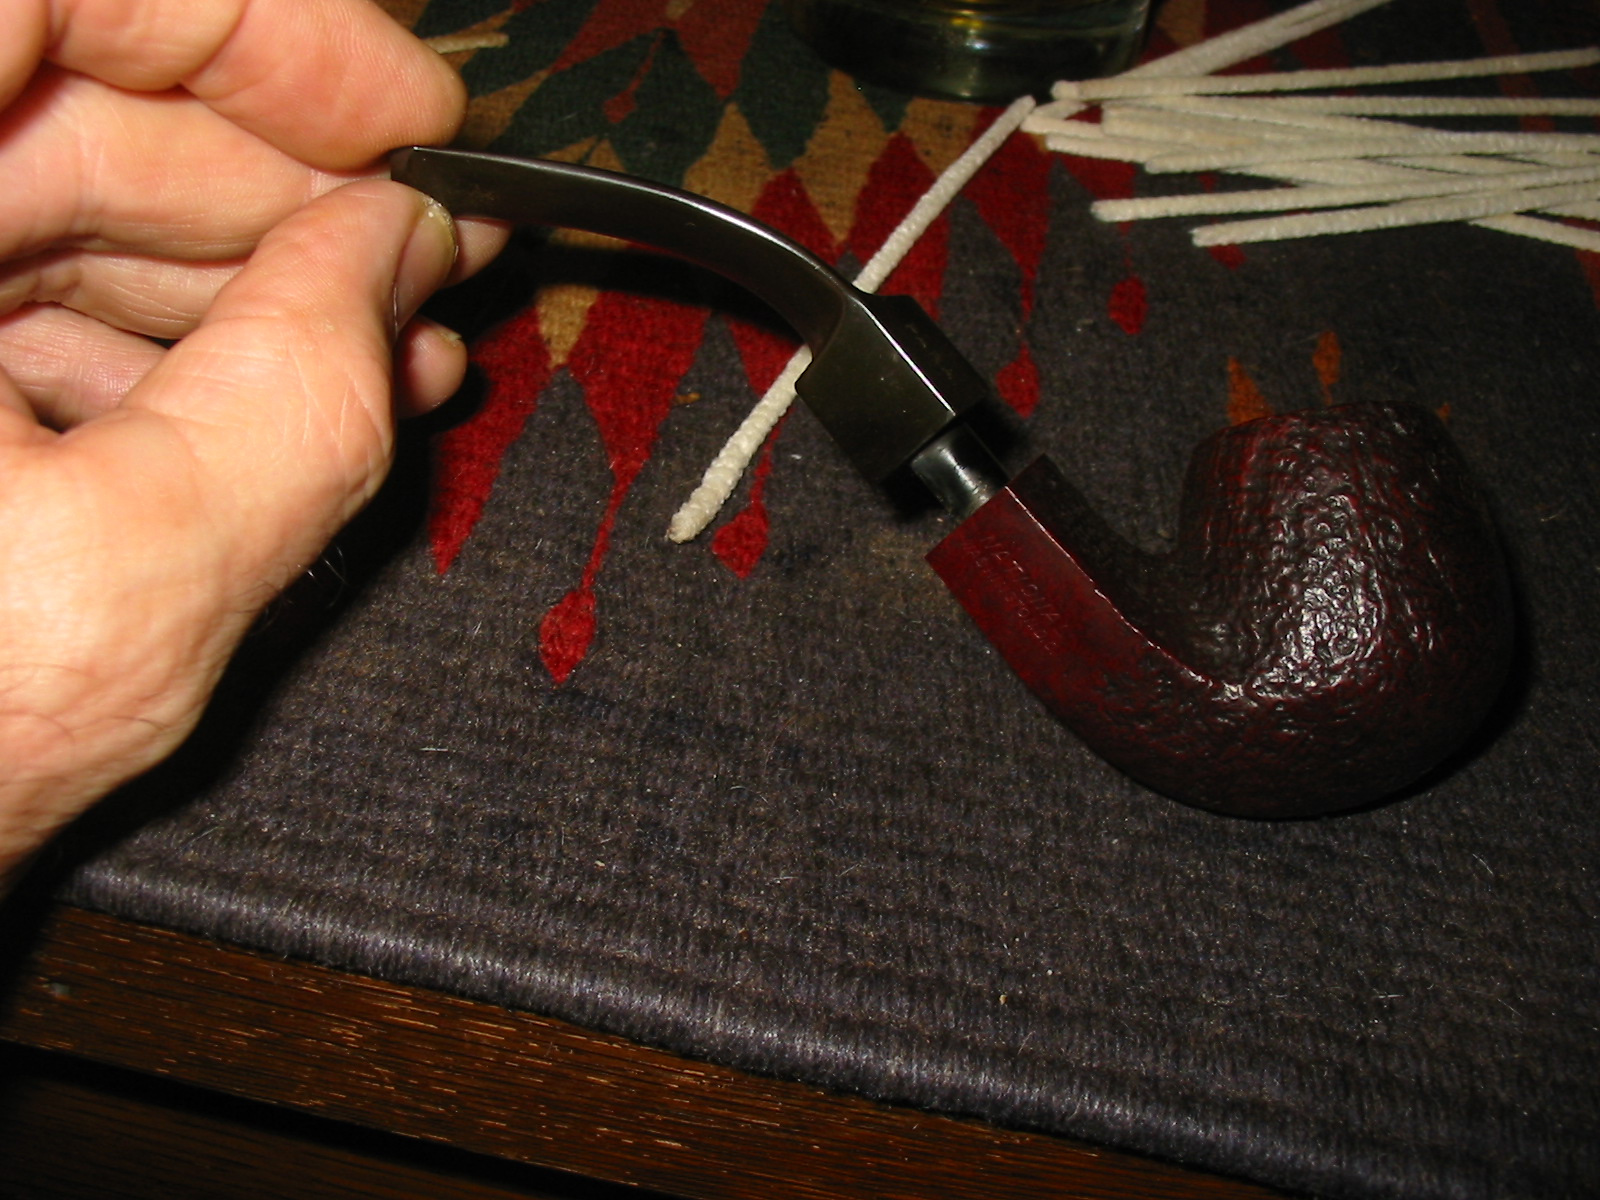
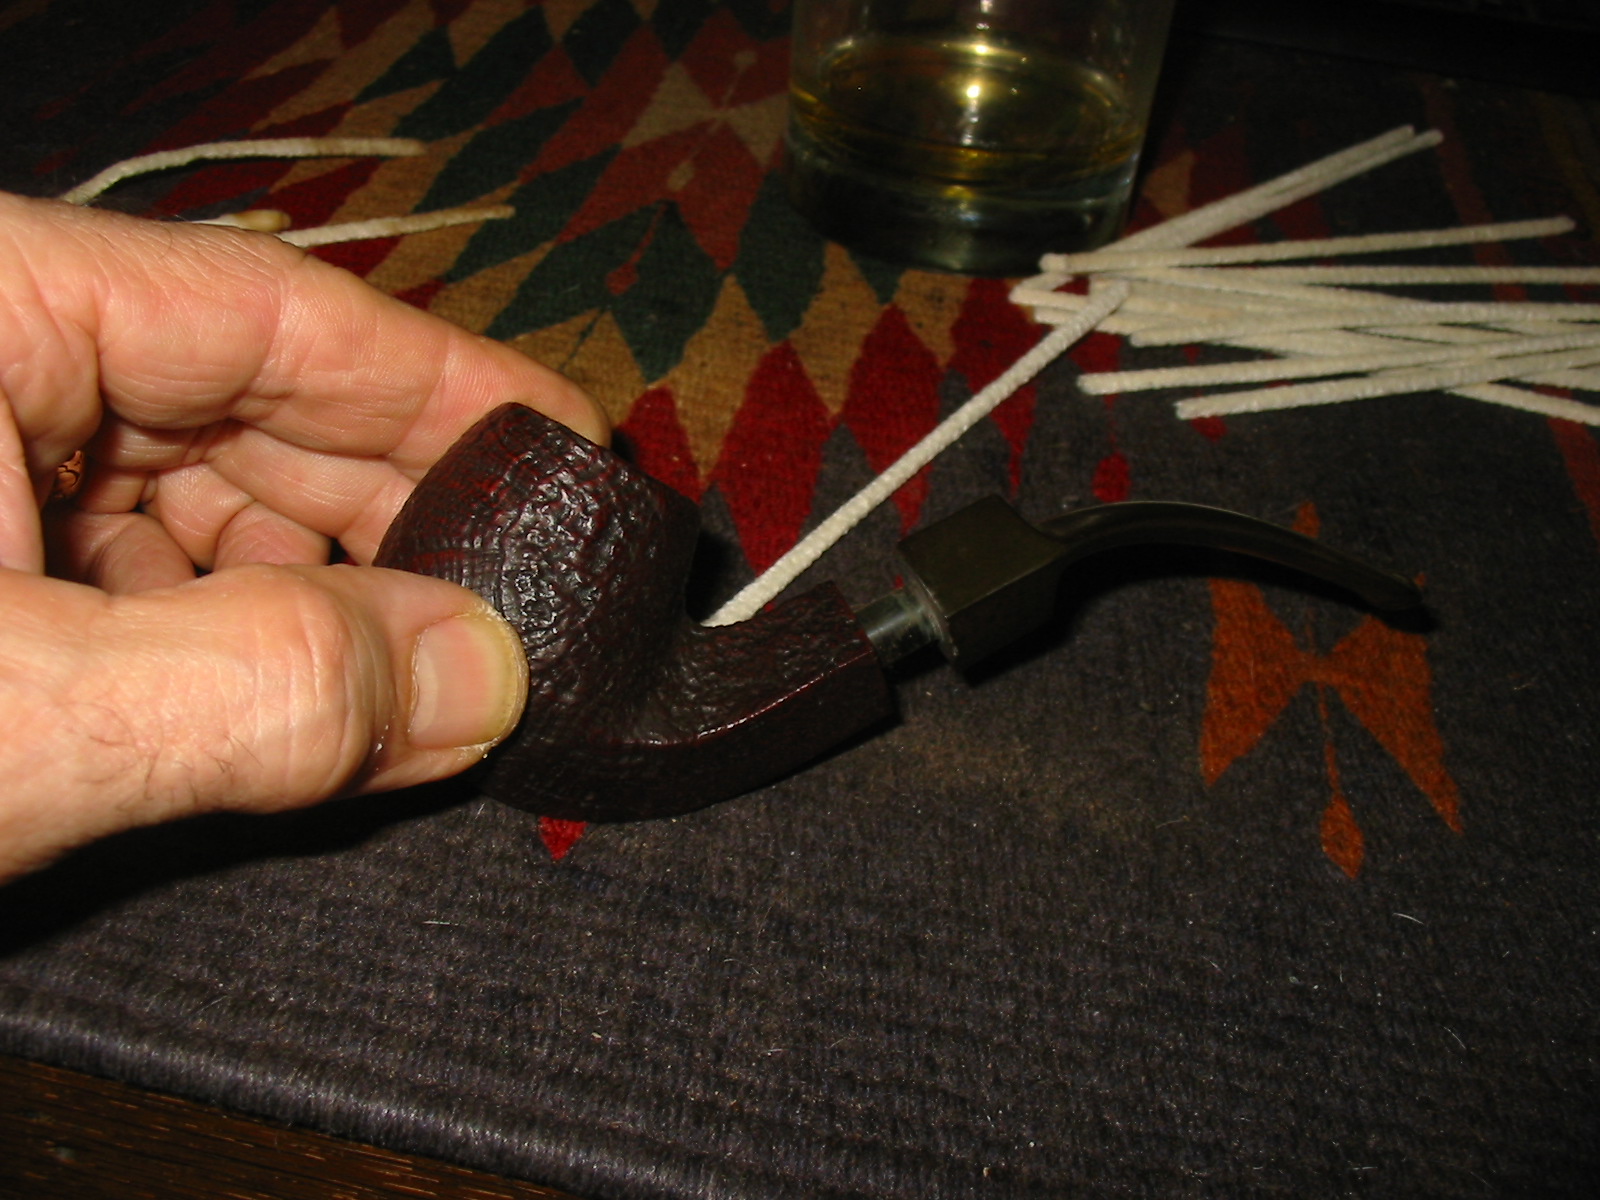
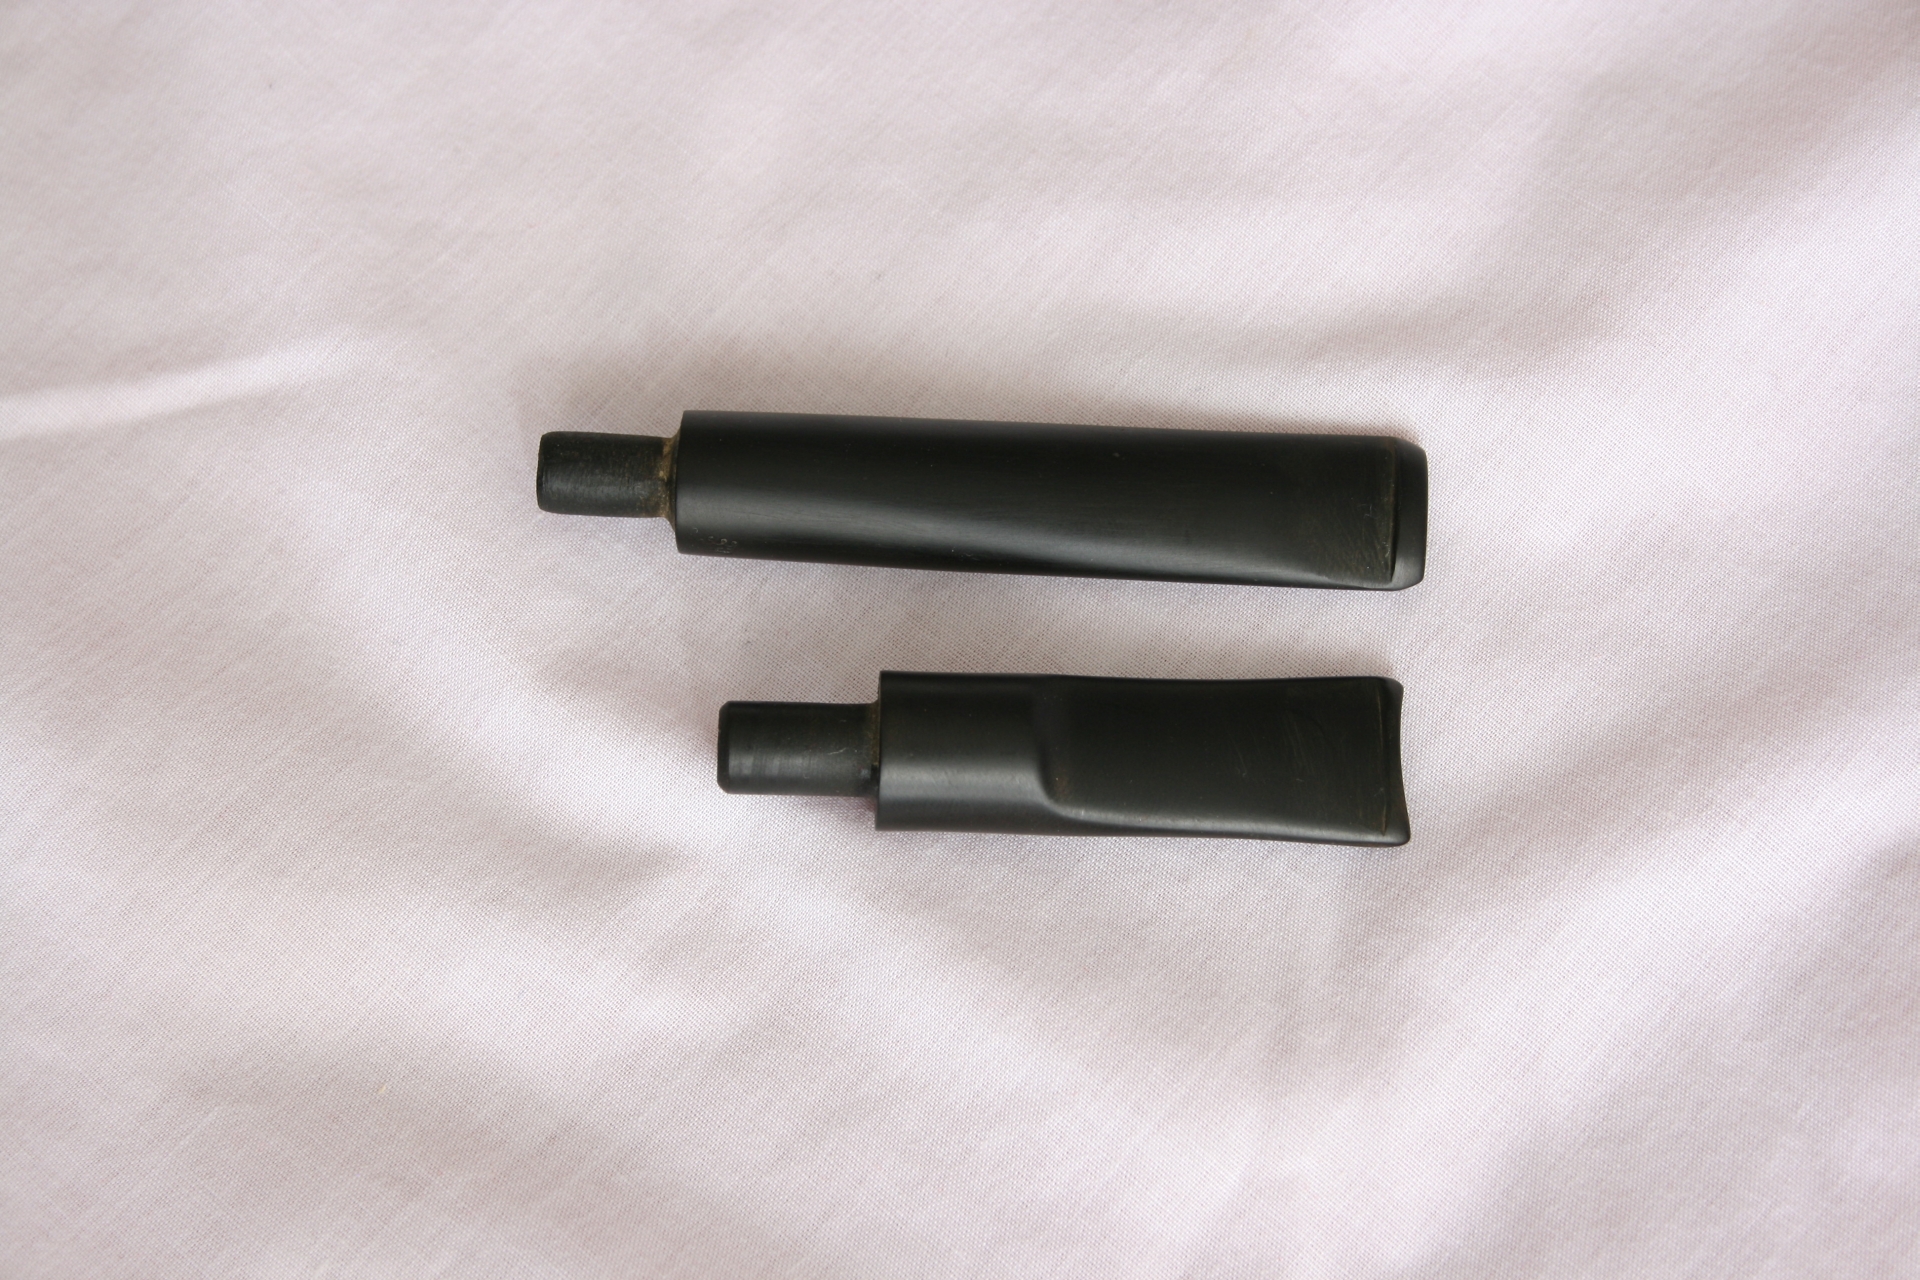
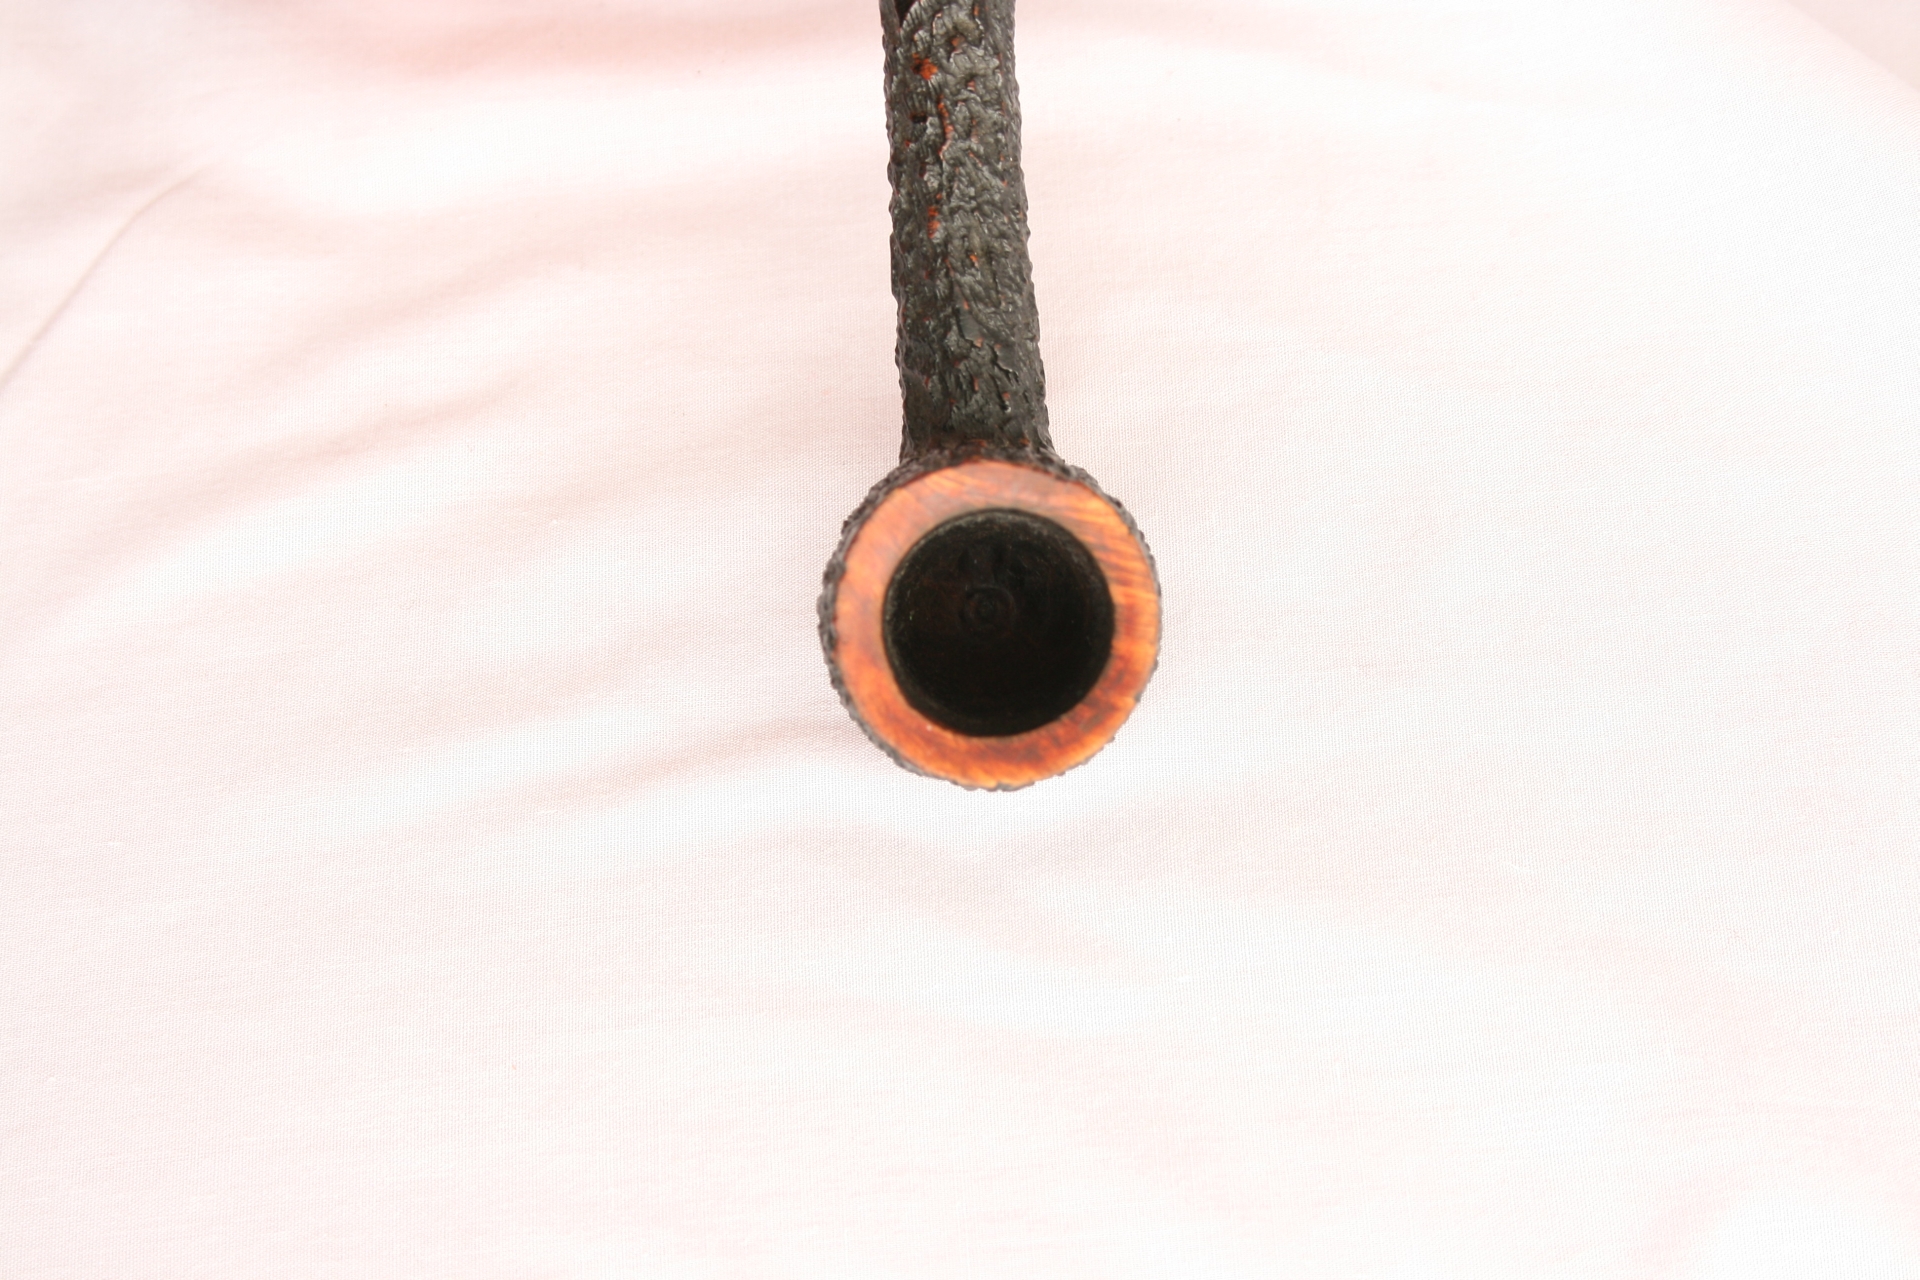
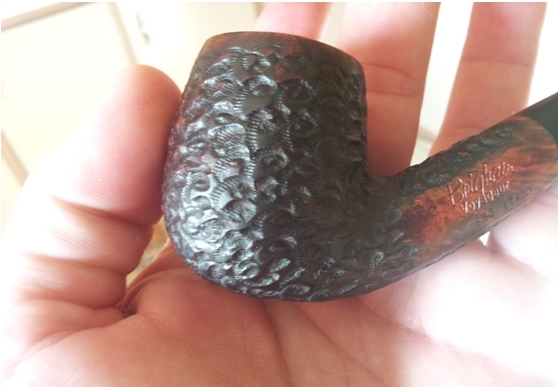
I want to show that with a little time, lots of patience and a steady hand, waxing any pipe especially a rusticated pipe is possible with a Dremel. This method may not be for everyone and please don’t try this for the first time on a good pipe. The first time I did this I melted an indent in a pipe stem. Practice, steadiness and constantly moving are the key. Do not worry about a build-up of wax because the step with the fibre brush will take care of that. Pictures are hard to show sometimes but hopefully you can see the difference from before to end. I am using a Brigham 103 Italy that I bought from Greg Wolford a little while back.
Billl1

Billl2

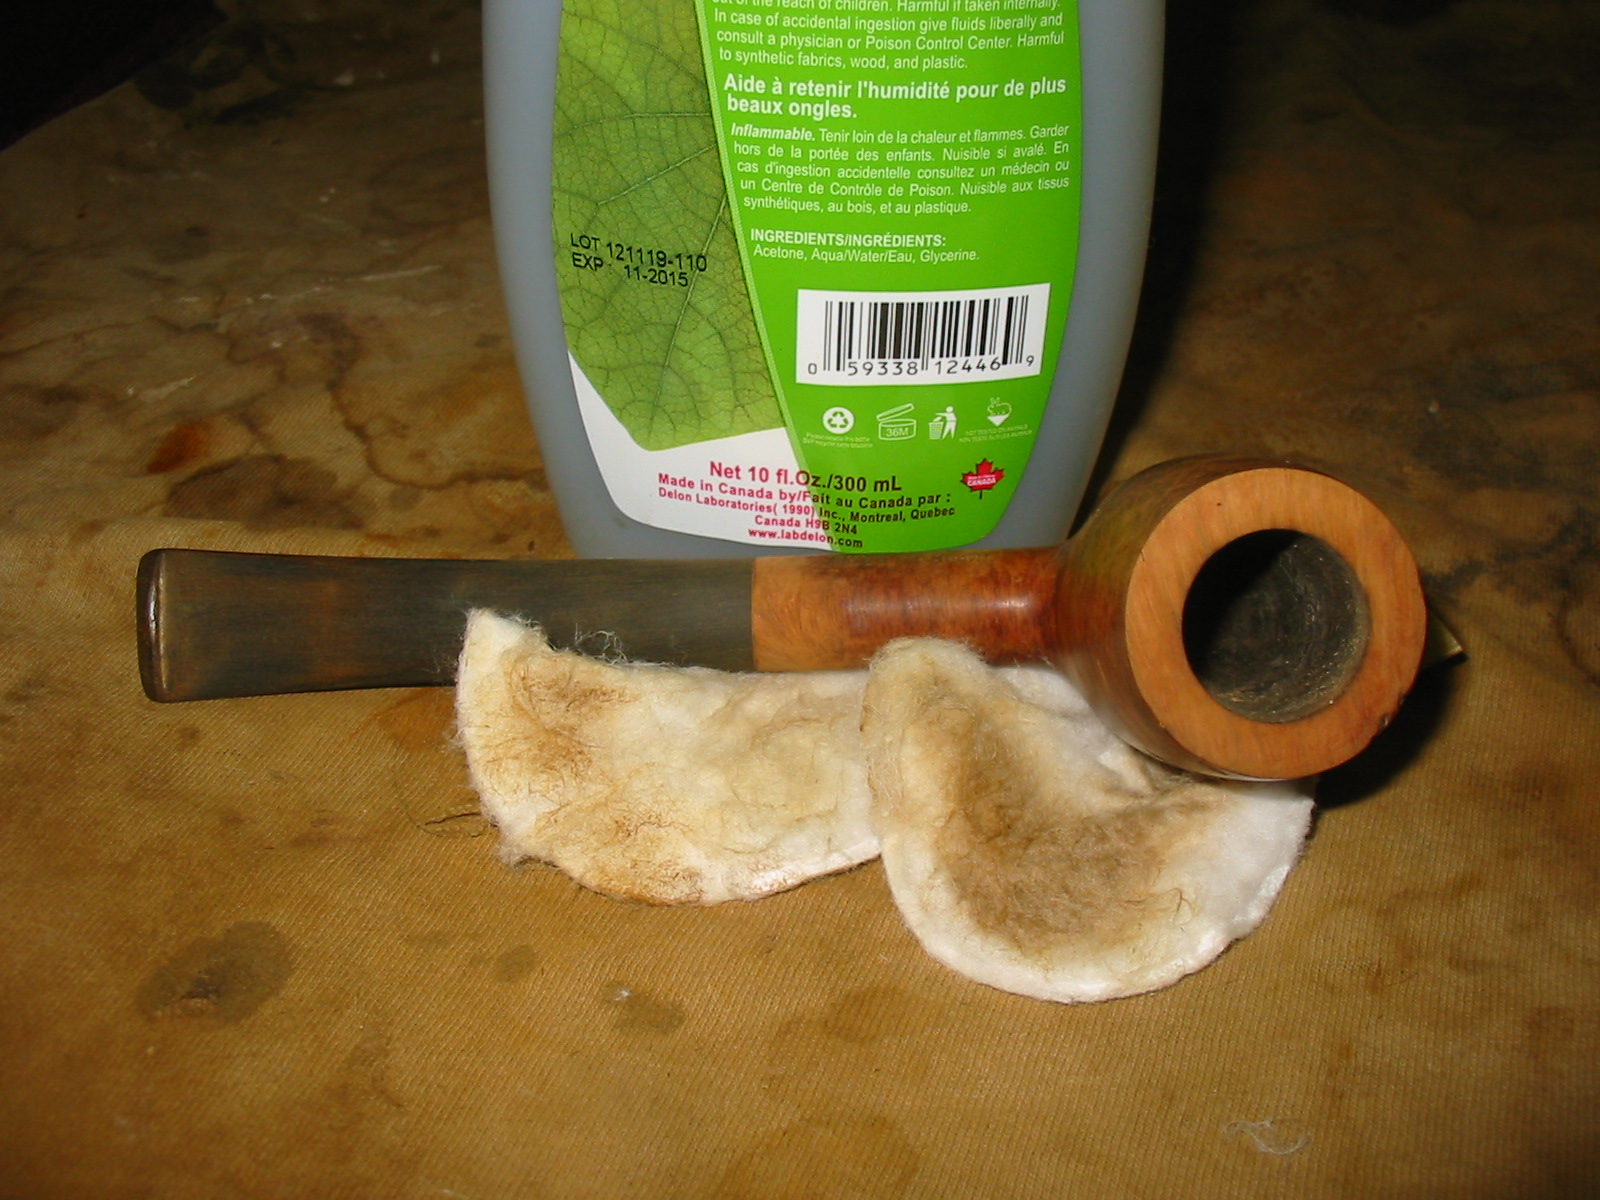
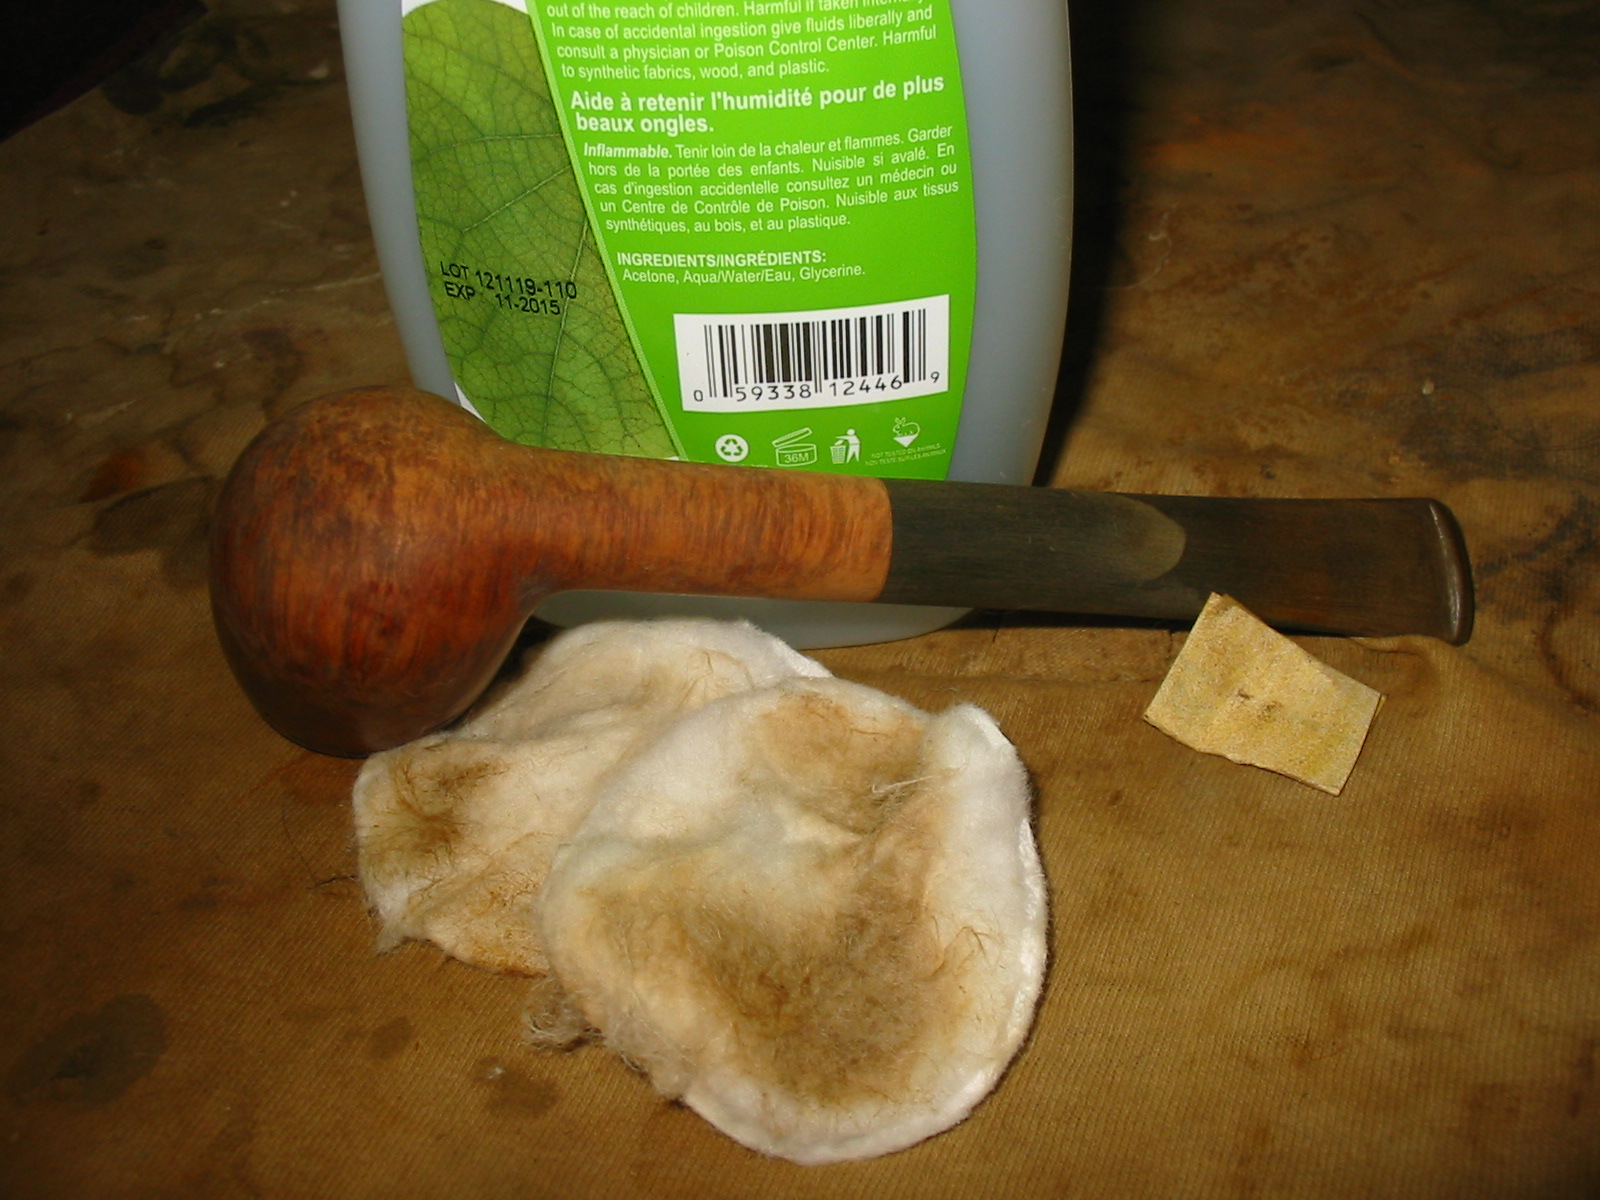
Bill3
I take the wool ball and run it into the carnauba wax until the ball is layered. I then run it across the rusticated and smooth parts reapplying wax to the ball as needed.
Bill4

Bill5

Bill6

Bill7

Bill8
Don’t be worried by the reddish colour on my pipe. Some of the Brigham’s pipes are known to bleed their colour.

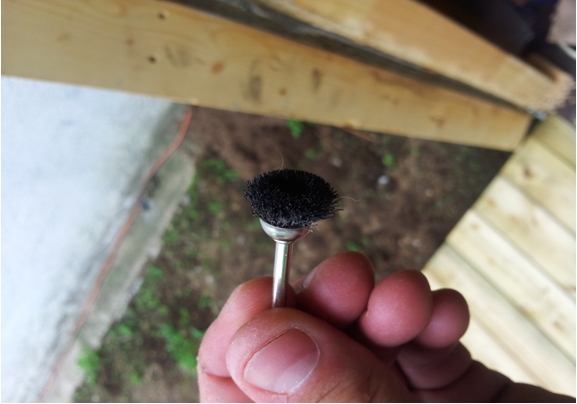
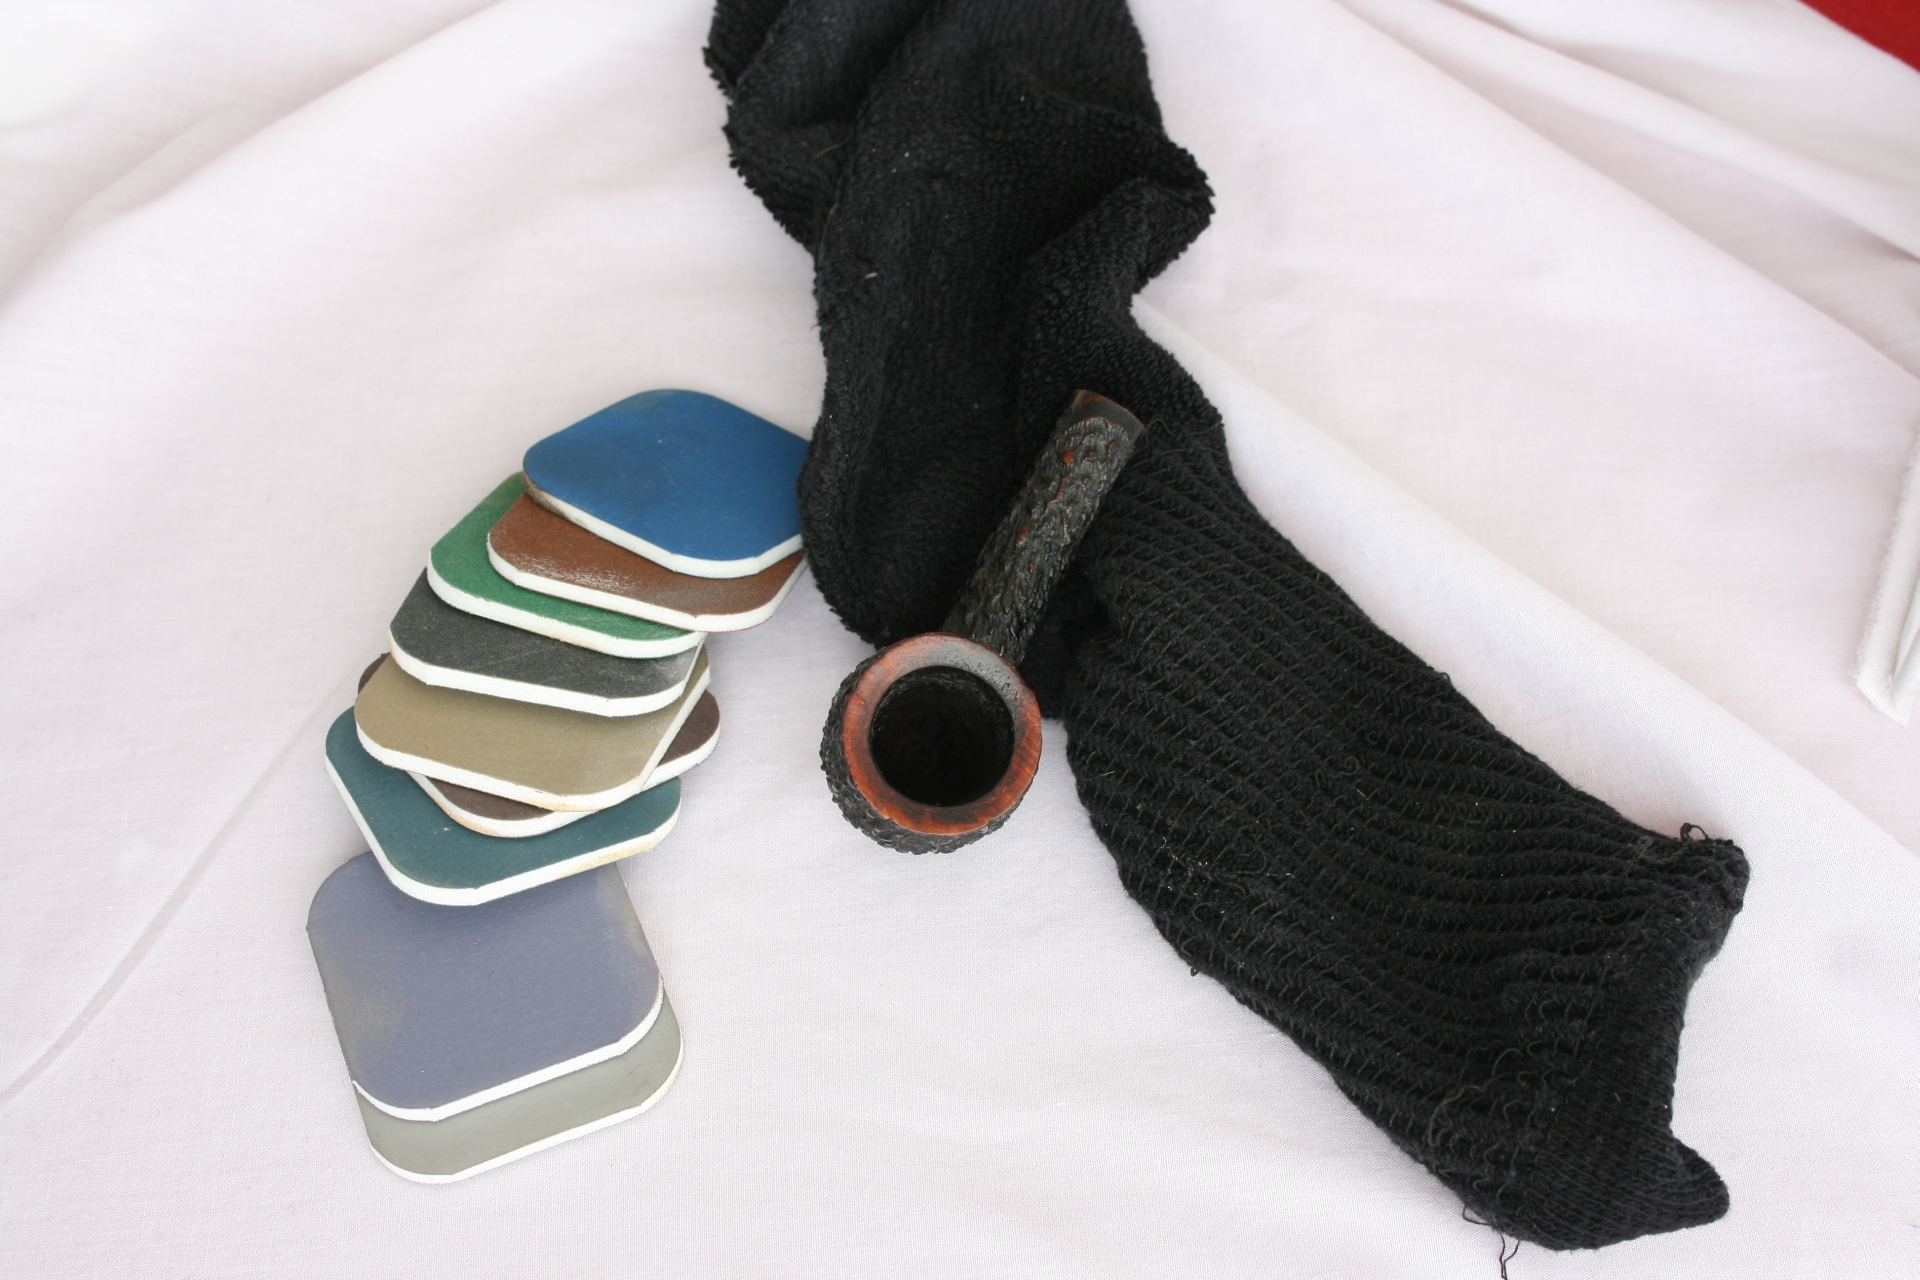
The next step is to take the fibre brush attachment and use it to remove the excess wax, hair from the wool ball and leave a nice shine. Afterwards you can hand polish with a clean rag and if necessary re-buff with the fibre brush after it has been cleaned. I use hot water &Oxi-Clean for soaking the fibre brush to clean it.
Bill9

Bill10

Bill11

Bill12

Bill13
I use the Dremel set to the lowest speed. The wool balls are fairly cheap to buy. I bought a 15 pack on eBay from China for around $6.00 with free shipping.

I know there will still be people that say you can’t do it, but I say you can..…just have patience.

A Kaywoodie Reworked, with a Little Mystery!


Blog by Greg Wolford

This year has not been a banner one, so far, for me personally. The harsh weather, an accident, and a failure of one of my orthotics has had me mostly sidelined since the first of the year. My workshop is downstairs, in the garage, and it isn’t exactly the warmest, most comfortable place to work in the temperatures we’ve had, not to mention the difficulty of actually getting myself up and down the stairs … but I digress … so I’ve been able to do very little work on either of my hobbies so far in 2014.

Last week my wife had a little pity on me and allowed me to bring a few necessary tools and supplies up to the kitchen so I could work on a few old pipes; leather work is out of the question until the temperature and my body cooperate. I think she knew I was getting a bit restless, not being able to get into any of my projects. When I said she “allowed” it, she corrected me with “I didn’t say you could do that” but she didn’t send it all back down to the shop either, so I take that as permission I told her! LOL

Now, I must admit that my photographs, when I remember to take them (that’s a preview hint that I haven’t remembered as often as I should have), aren’t as good as I would like but I don’t have as good a set-up as I normally do. So, I ask you to bear with me on the quality and quantity of them.

Sometime back I acquired an older Kaywoodie model 33. It is an apple shape with a rounded bowl-top. The pipe was in pretty good condition other than the front edge was damaged from being knocked-out and the bottom of the stem had been bitten off. because of the stem damage I put off working on this pipe for months; I wanted to save the stem but didn’t have the black super glue yet, which I planned on using, to do the job. Here are a couple of photos (all I could find) of it before I started working on it.

Kaywoodie Apple (10) Kaywoodie Apple (11) Kaywoodie Apple (13)

Unfortunately all I can find are some photos that I used it as a “prop” in and one of the underside of the stem. You can see the pipe itself wasn’t too bad but the stem was another story.

Initially I tried to patch the chip with black super glue; I tried this three times: the first attempt the pipe cleaner I was using as a plug absorbed all the glue and the other two times, using different materials for the plug, the patch failed. It turned out that the chip was just too large for me to patch well so I decided to cut it off and file a new button since there seemed to be plenty of room to work with on this stem.

I used a hacksaw on a small frame to remove just behind the bite through. When I looked at the air hole I noticed two things, neither good: first I had closed off the airway accidentally with the glue and second the air hole wasn’t drilled center. I fixed the glue-plug problem quickly by drilling out the hardened glue with a pin vice and then picking out the small fragments that were left. One problem down – now onto forming a new button and slot.

I used various needle files to shape the new button, being timid about not getting it too thin. I recently bought a new set of Kobalt needle files, a big upgrade from my old ones, and found that this (only my second or third time making a whole new button and transition) went much smoother and faster than in the past. I also used the files and a bit of sandpaper to open and funnel the slot, again I was a bit timid in not going too thin; I have done that once and suffered a cracked bit afterward. This is a fair representation of what I ended up with:

Kaywoodie Apple (8)

Once I had the stem to my satisfaction I turned to the stummel.

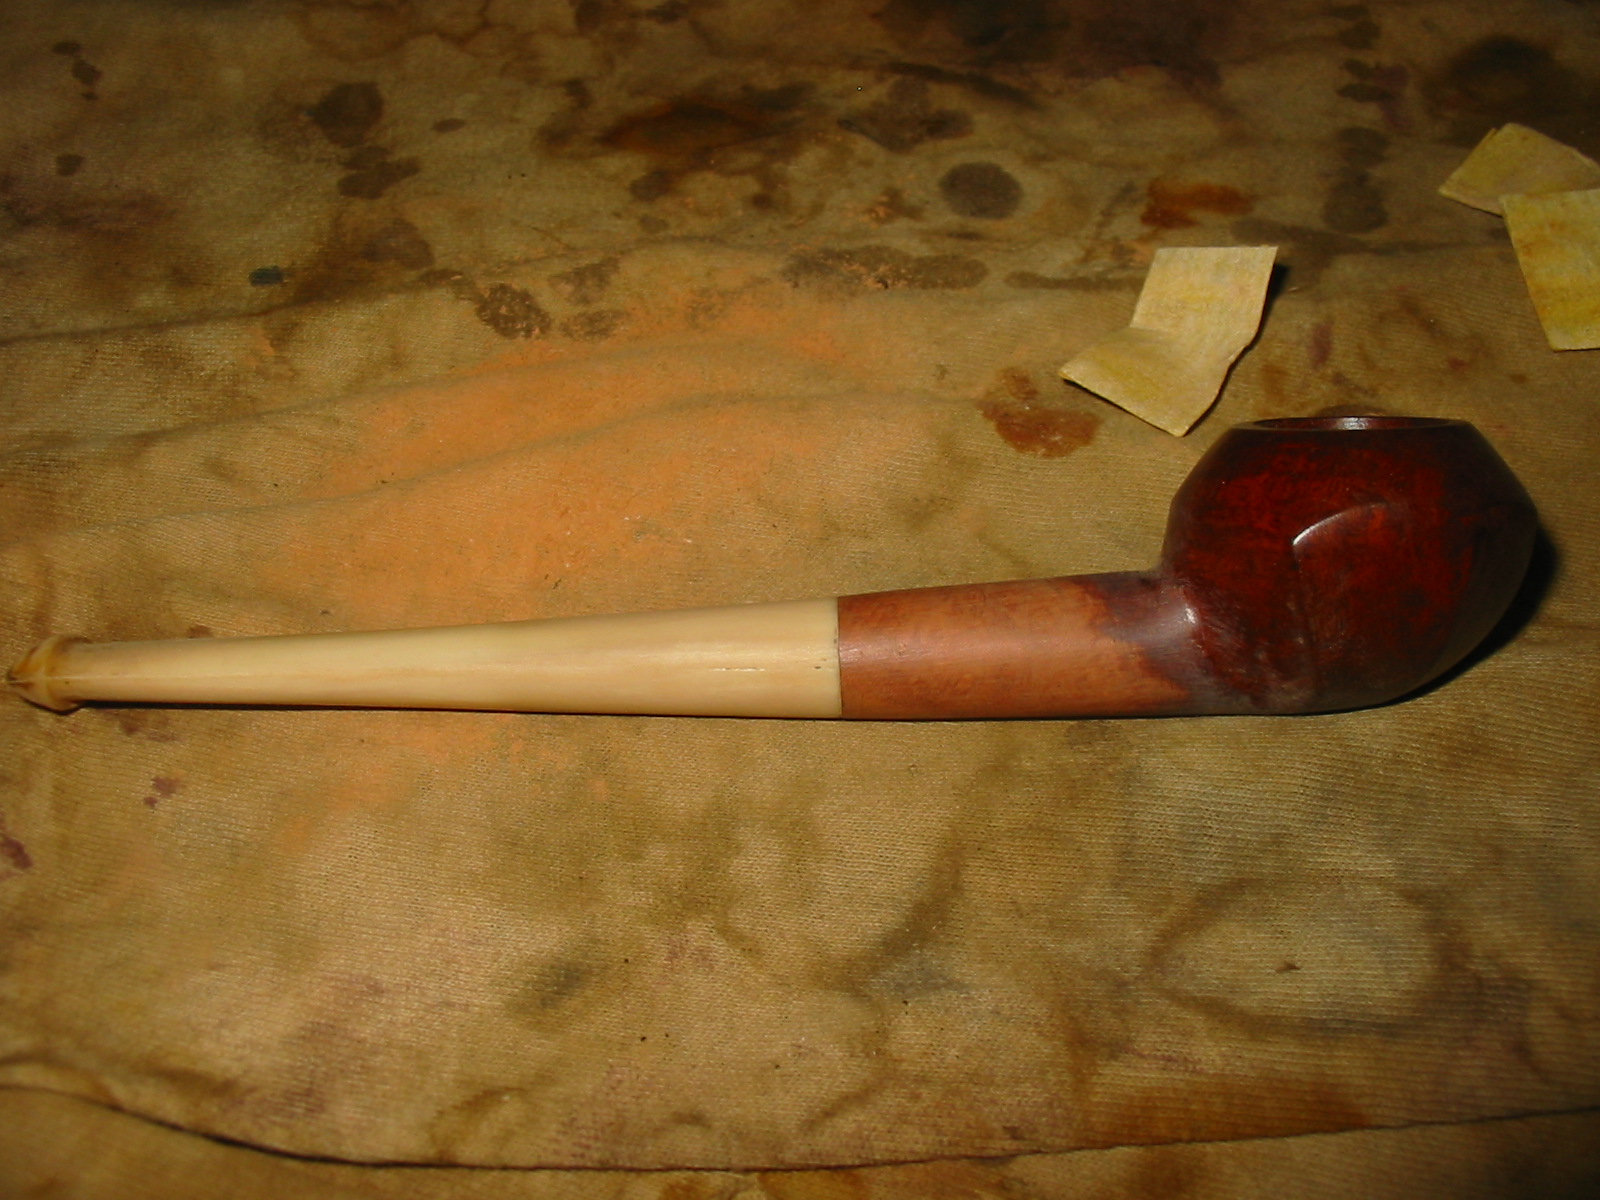
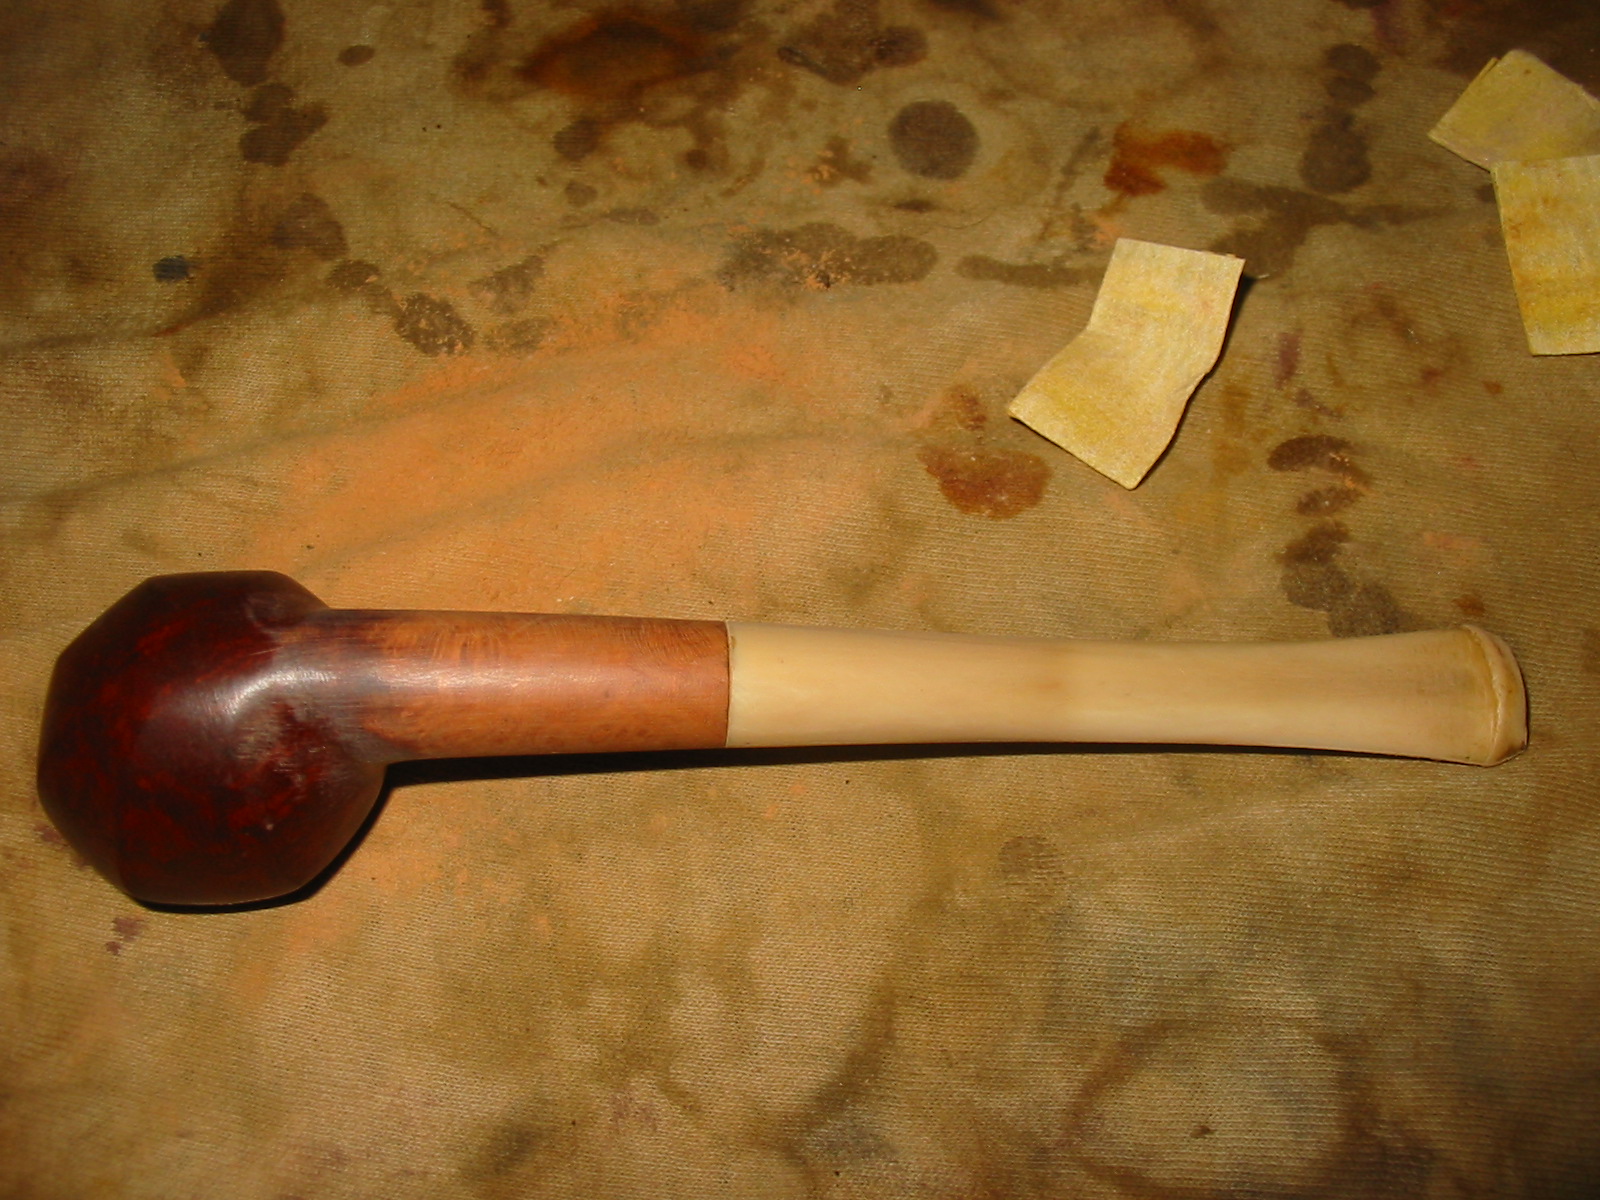
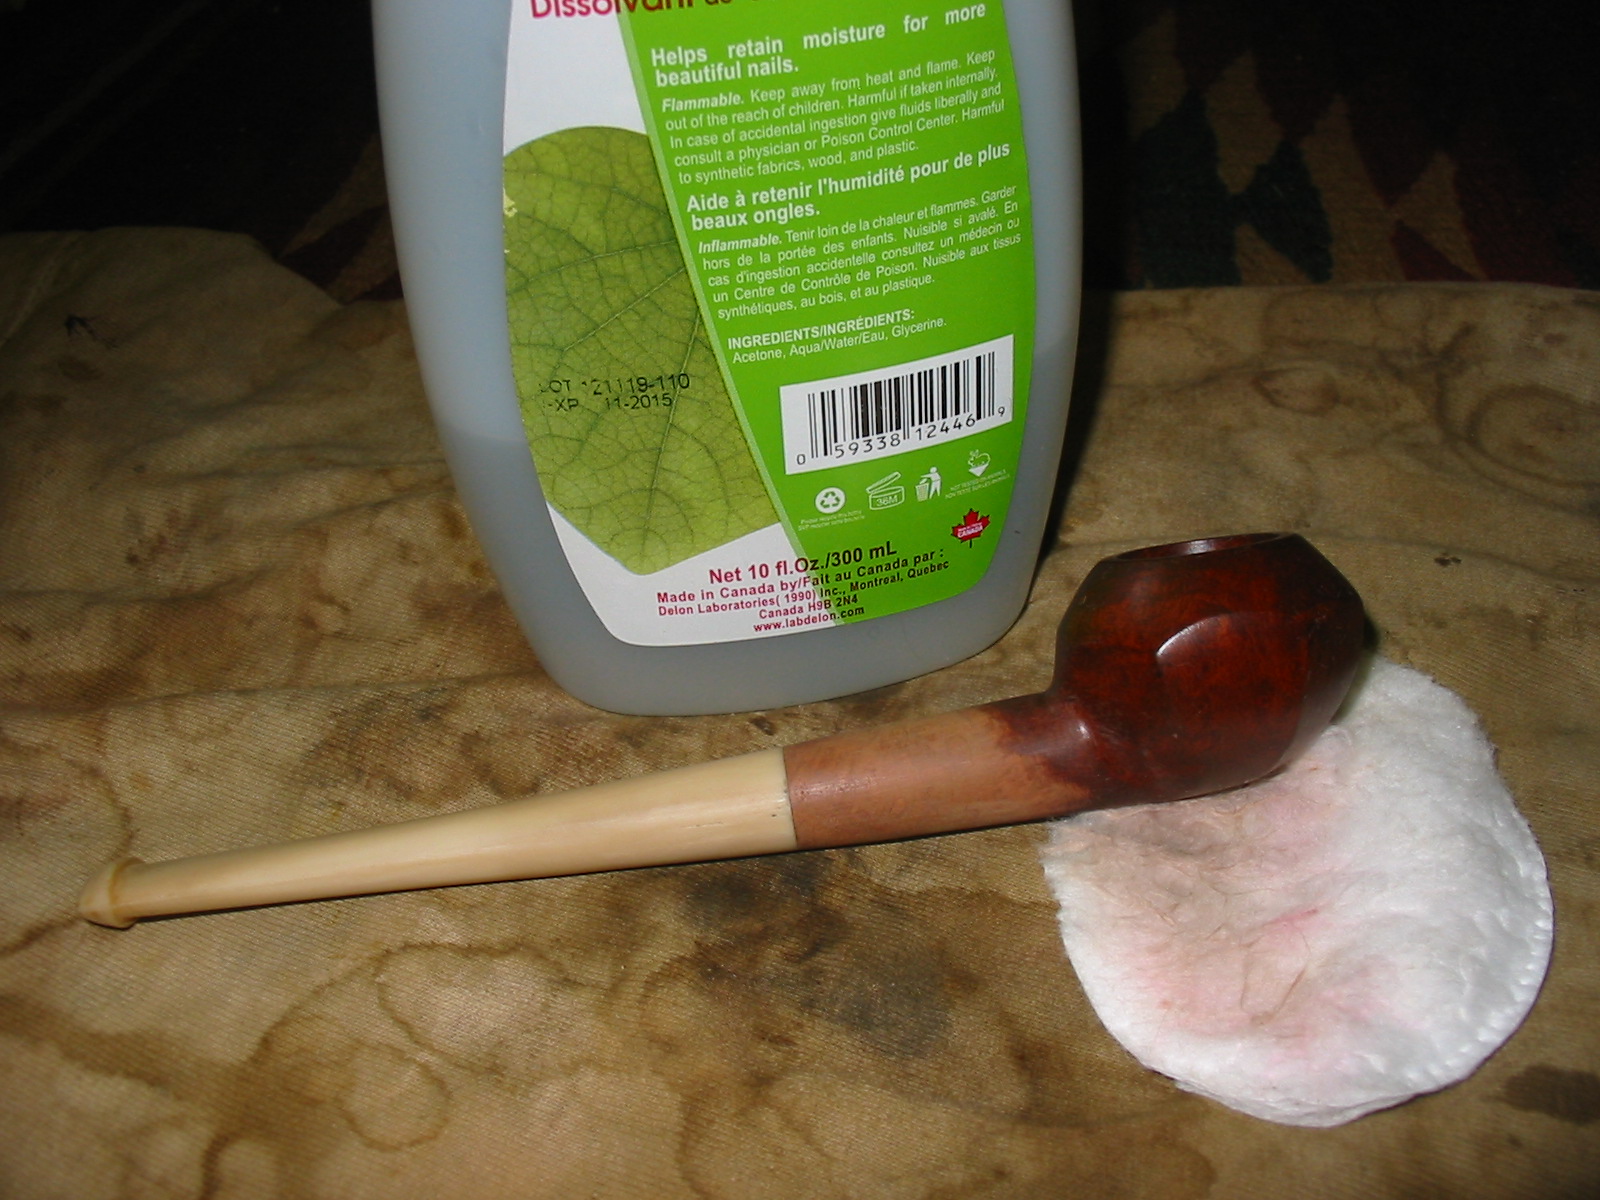
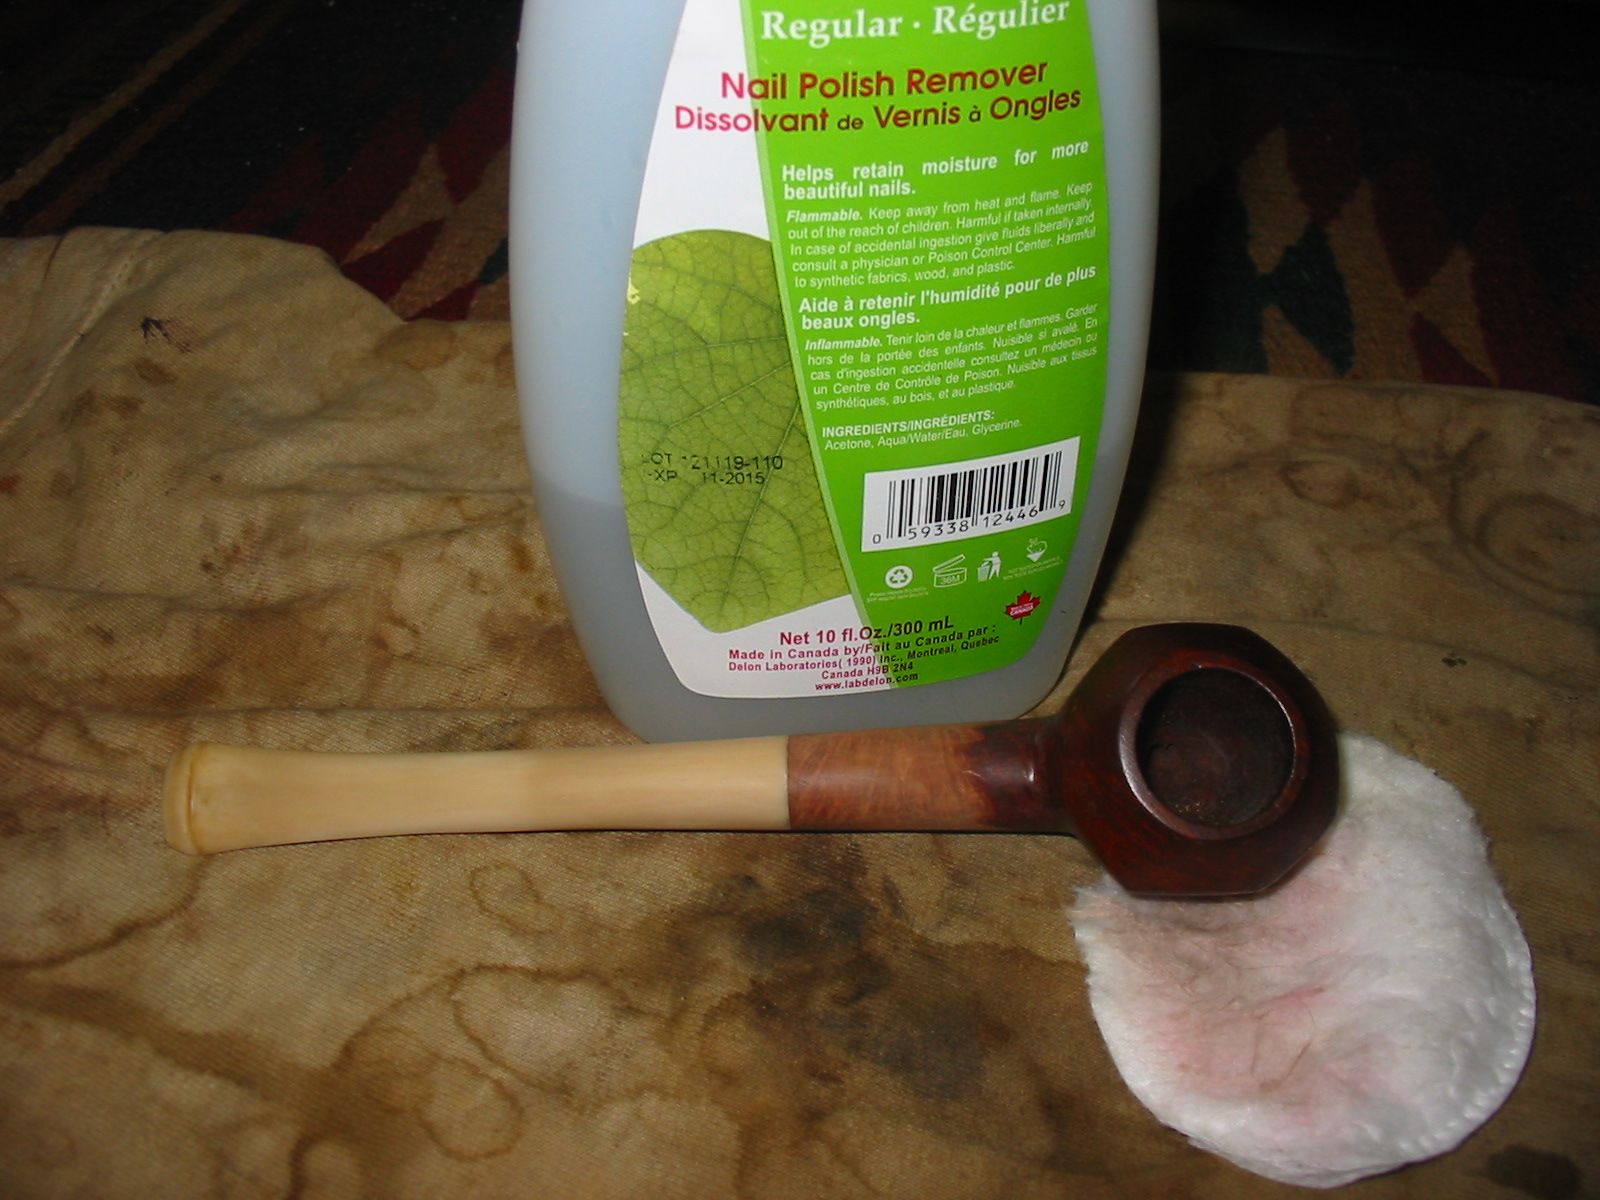
I had at some time past already reamed the bowl lightly, it had very little cake, and cleaned the shank and stem. I now began by cleaning the stummel with acetone wetted cotton pads to remove the old finish and dirt. After the acetone I moved on to some alcohol wetted pads to lighten up the grime on the bowl top. When it was sufficiently clean I decided to use some 400 grit sandpaper to lightly smooth the edge damage. I didn’t know it at the time – because I failed to look first, a fault I have all too often – but the rim was supposed to be rounded. Luckily I liked the general look of the rounded top and thought it might be the way it was supposed to be so I wanted to keep it rather than topping the entire bowl. I personally like, in general, the less sharp lines on a bowl top so this was an easy choice – one that turned out to be a good one as well.

Once I had reduced the damage to the rim and front, keeping the shape as close to original/symmetrical as I could, I moved to micro mesh pads to sand and polish the bowl top. After getting through the first two grades I thought the entire pipe would look nice just polished with the micro mesh. At this point I reassembled the pipe and began to look for nomenclature to avoid during my polishing; this is when I discovered my “mystery”.

On the bottom of the stem, a origianl Kaywoodie, three-hole stinger with white clover logo, I saw something I had never seen before: there was stamping on the vulcanite “D-2”. This immediately intrigued me; I knew I would have to find out more about that … but lets’ wait a paragraph or two on that.

Kaywoodie Apple (9)

I polished the entire pipe with all of the micro mesh grits in order from 1500 – 12000, avoiding all of the stamping, including on the stem. I wet sanded the stem (only) through 4000, then polished the stem with plastic polish, before finishing the entire pipe through 12000 grit. I then applied Halcyon II wax to the entire pipe and hand buffed it. I was really pretty pleased with the results, considering I didn’t have access to my buffer and this was, more or less, my first experience with the Halcyon wax.

Kaywoodie Apple (2) Kaywoodie Apple (3) Kaywoodie Apple (5)Kaywoodie Apple (4)Kaywoodie Apple (6) Kaywoodie Apple (7) 

I missed some file marks on the stem, and the “bits” near the bit; I figure when I can properly buff the pipe I will get those taken care of, as well as put a better shine on it with some carnauba wax. But until then I am enjoying this old gal just as she is!

The stem still has oxidation near that stamping, which I began to research after I finished the work on the pipe. None of the other Kaywoodies I have, or have ever had, have any stamping on their stems like this one does. I scoured the ‘net and asked as many folks as I could think of to no avail … well, almost none. I am a member of the Kaywoodie Pipes Group on Facebook and one of the members there is Bill Fuerbach is as well. He saw my question that I posted about the stamping in that group and replied as follows:

Hey guys. I’ve seen this also on some older Kaywoodie stems. unfortunately at this time I don’t know what the significance is. :(:(

So unfortunately there is not yet an answer to what the stamping means or its significance is – and the mystery remains …  If by chance anyone what reads this knows the answer I would really appreciate it is you would leave a comment with the answers!

Edit

I received an email from Chris at PipePages about this question. He said in his personal opinion, and that it is only a guess, that it could be a factory replacement stem and the number was a style/guide for the repairman to know which stem to use. Although it is only a shot-in-the-dark type of guess, it seems like a plausible answer to me.

Reworking a No Name Brand Italian Billiard


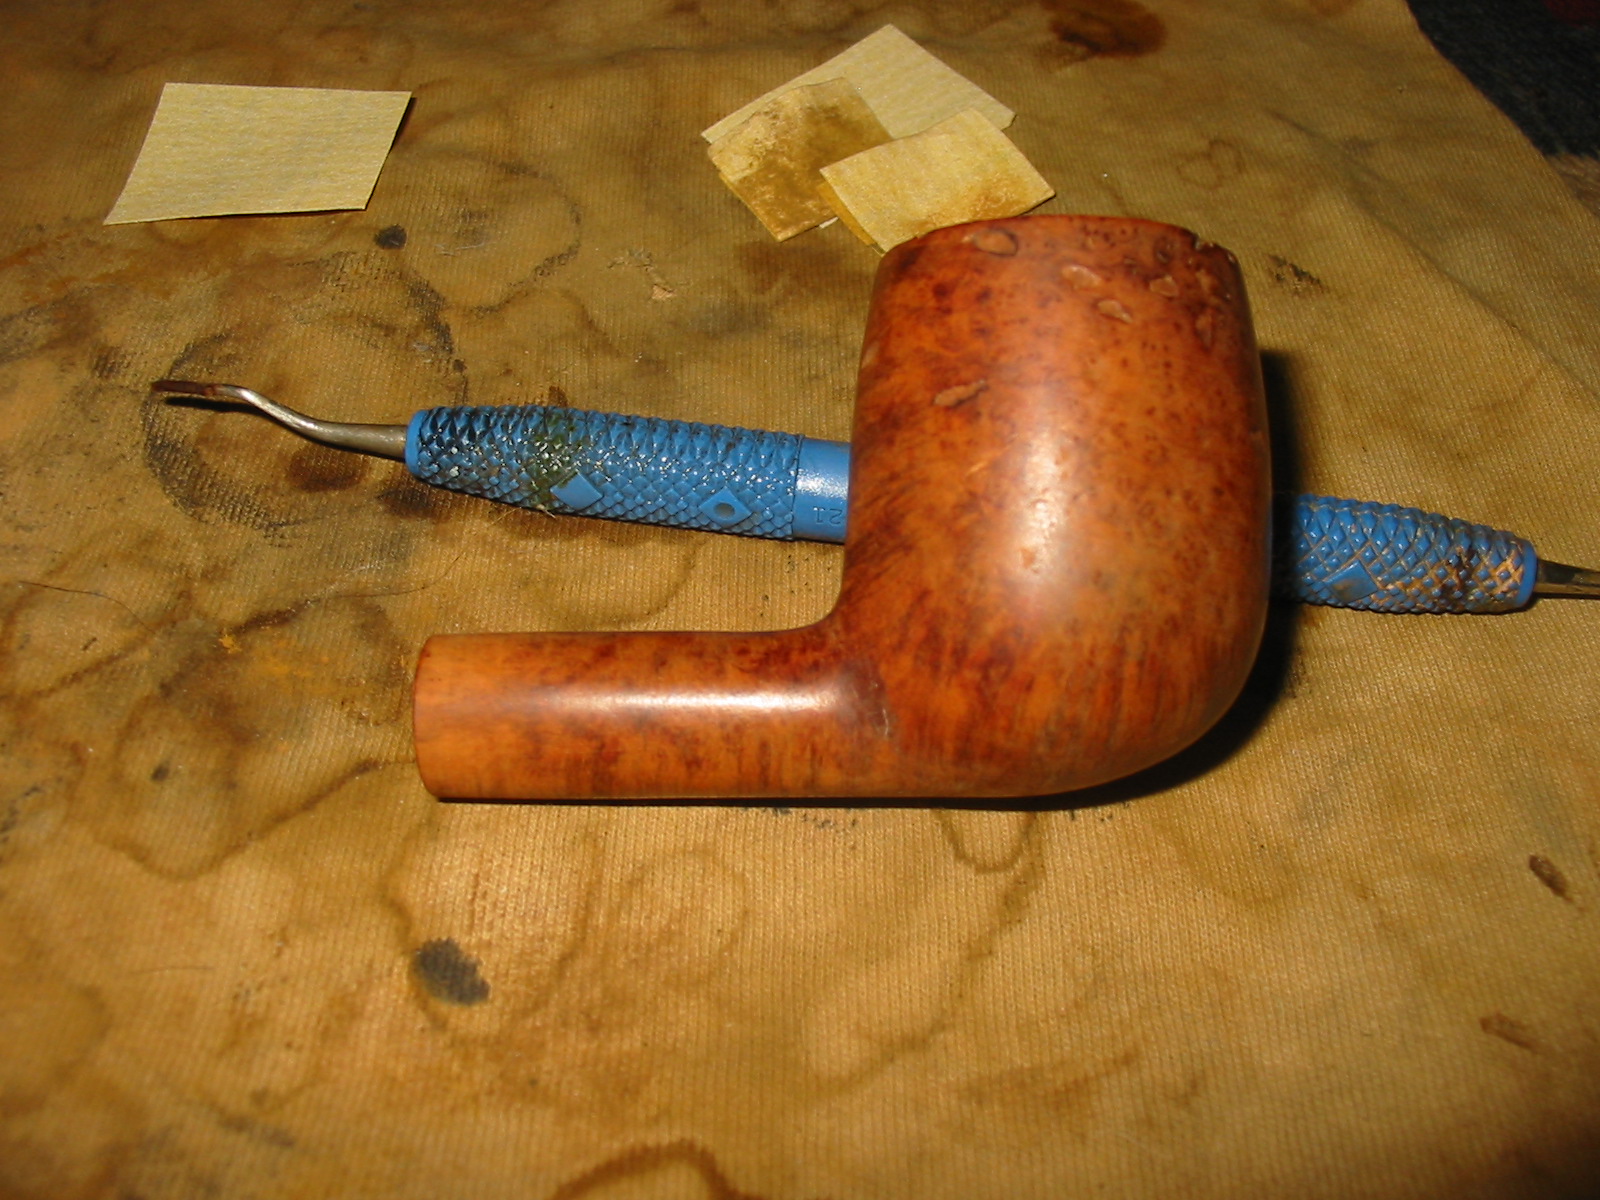
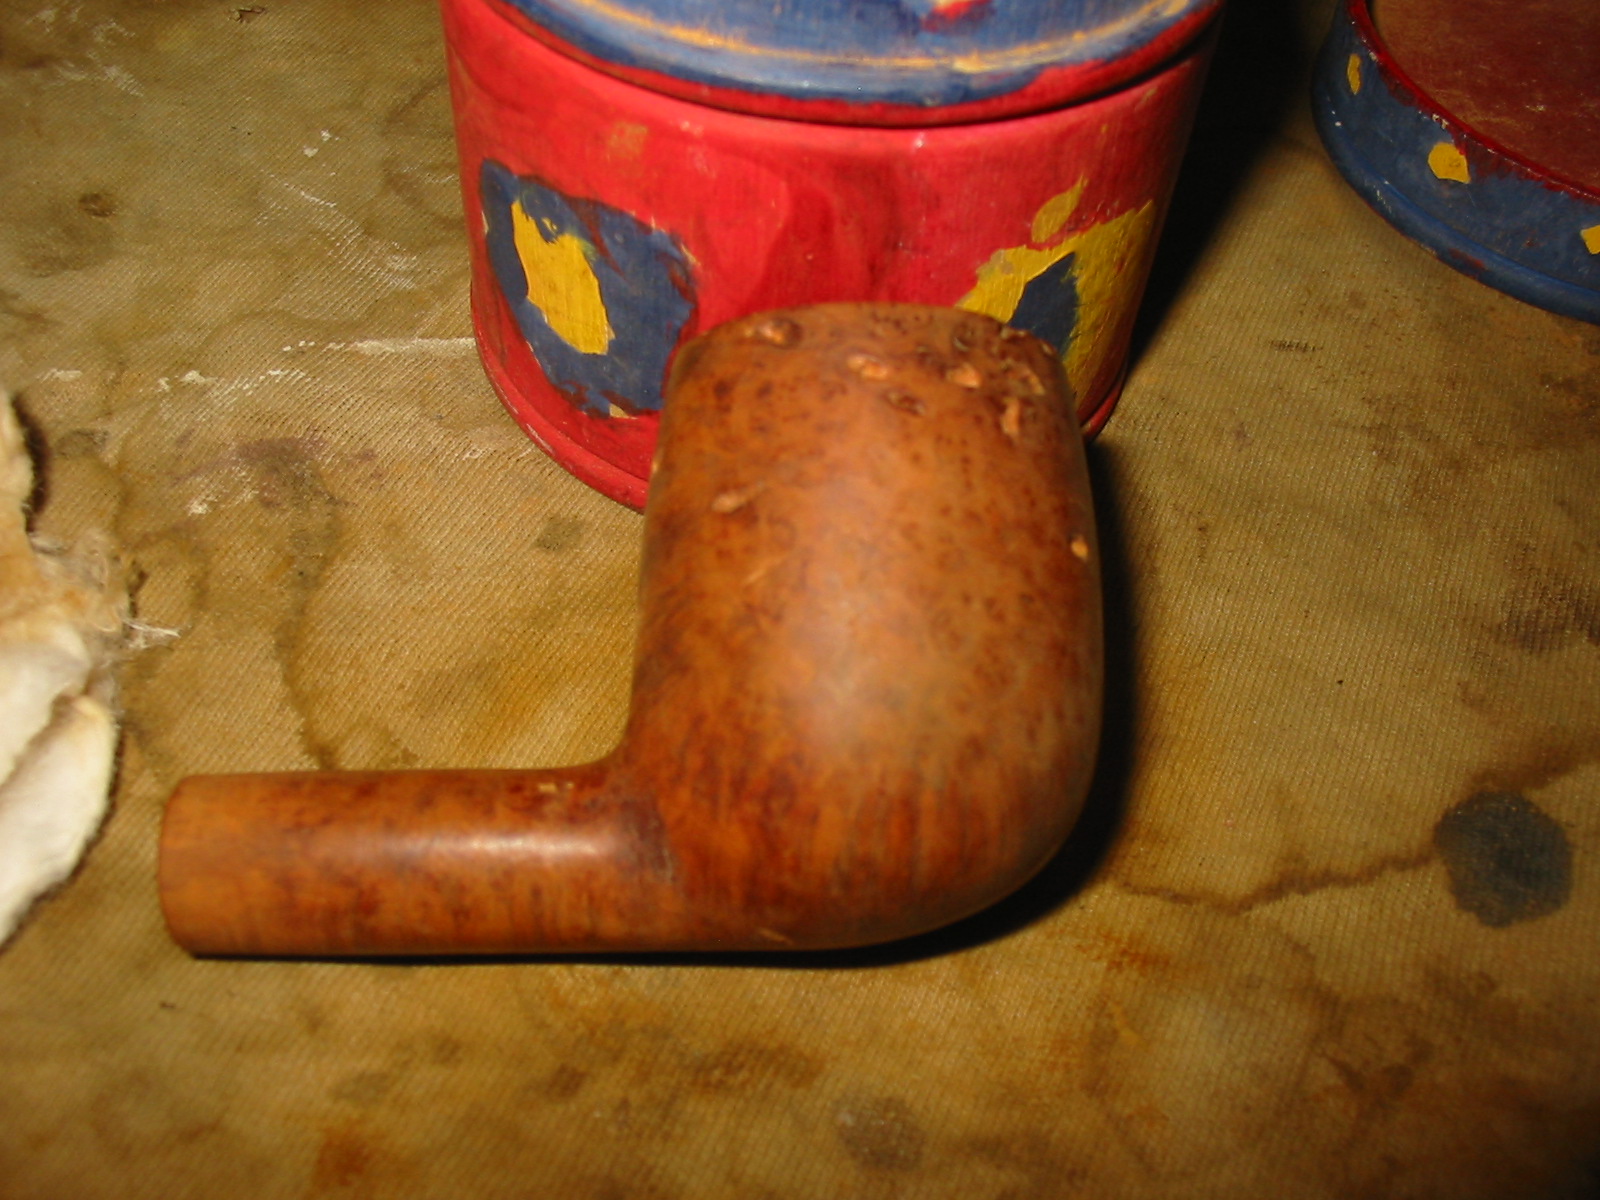
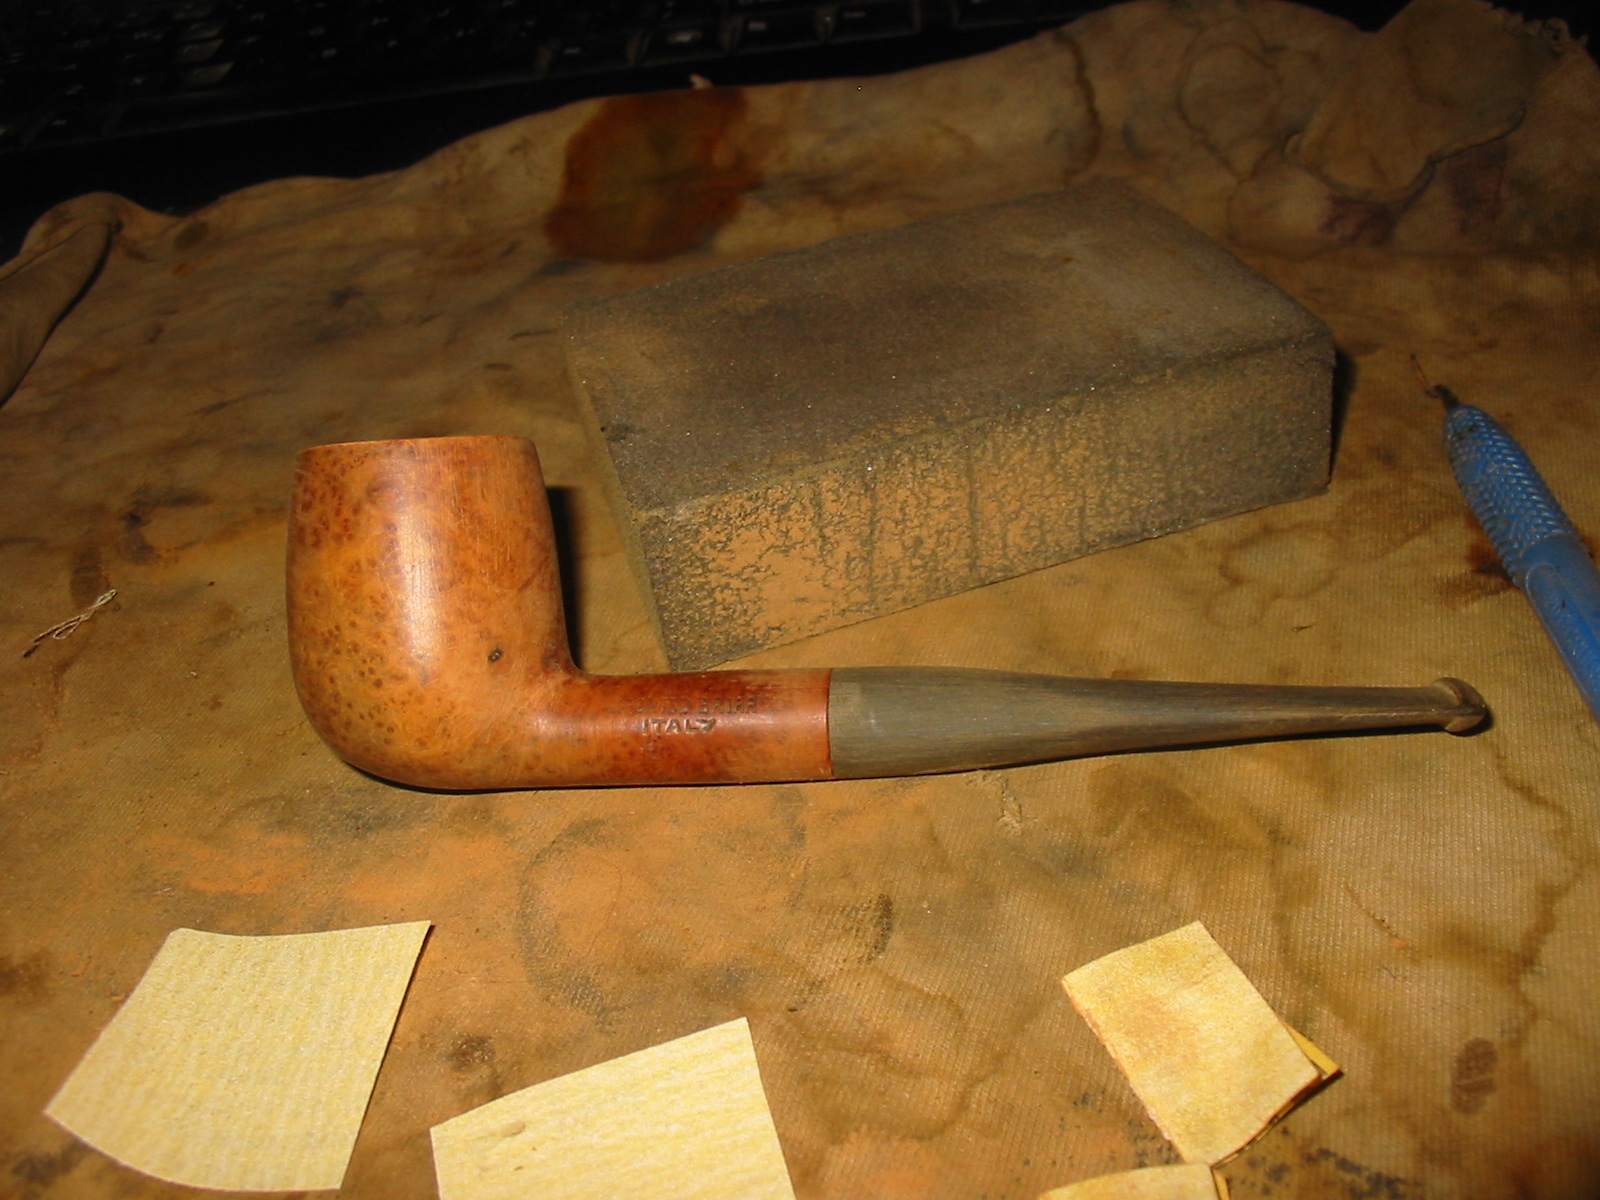
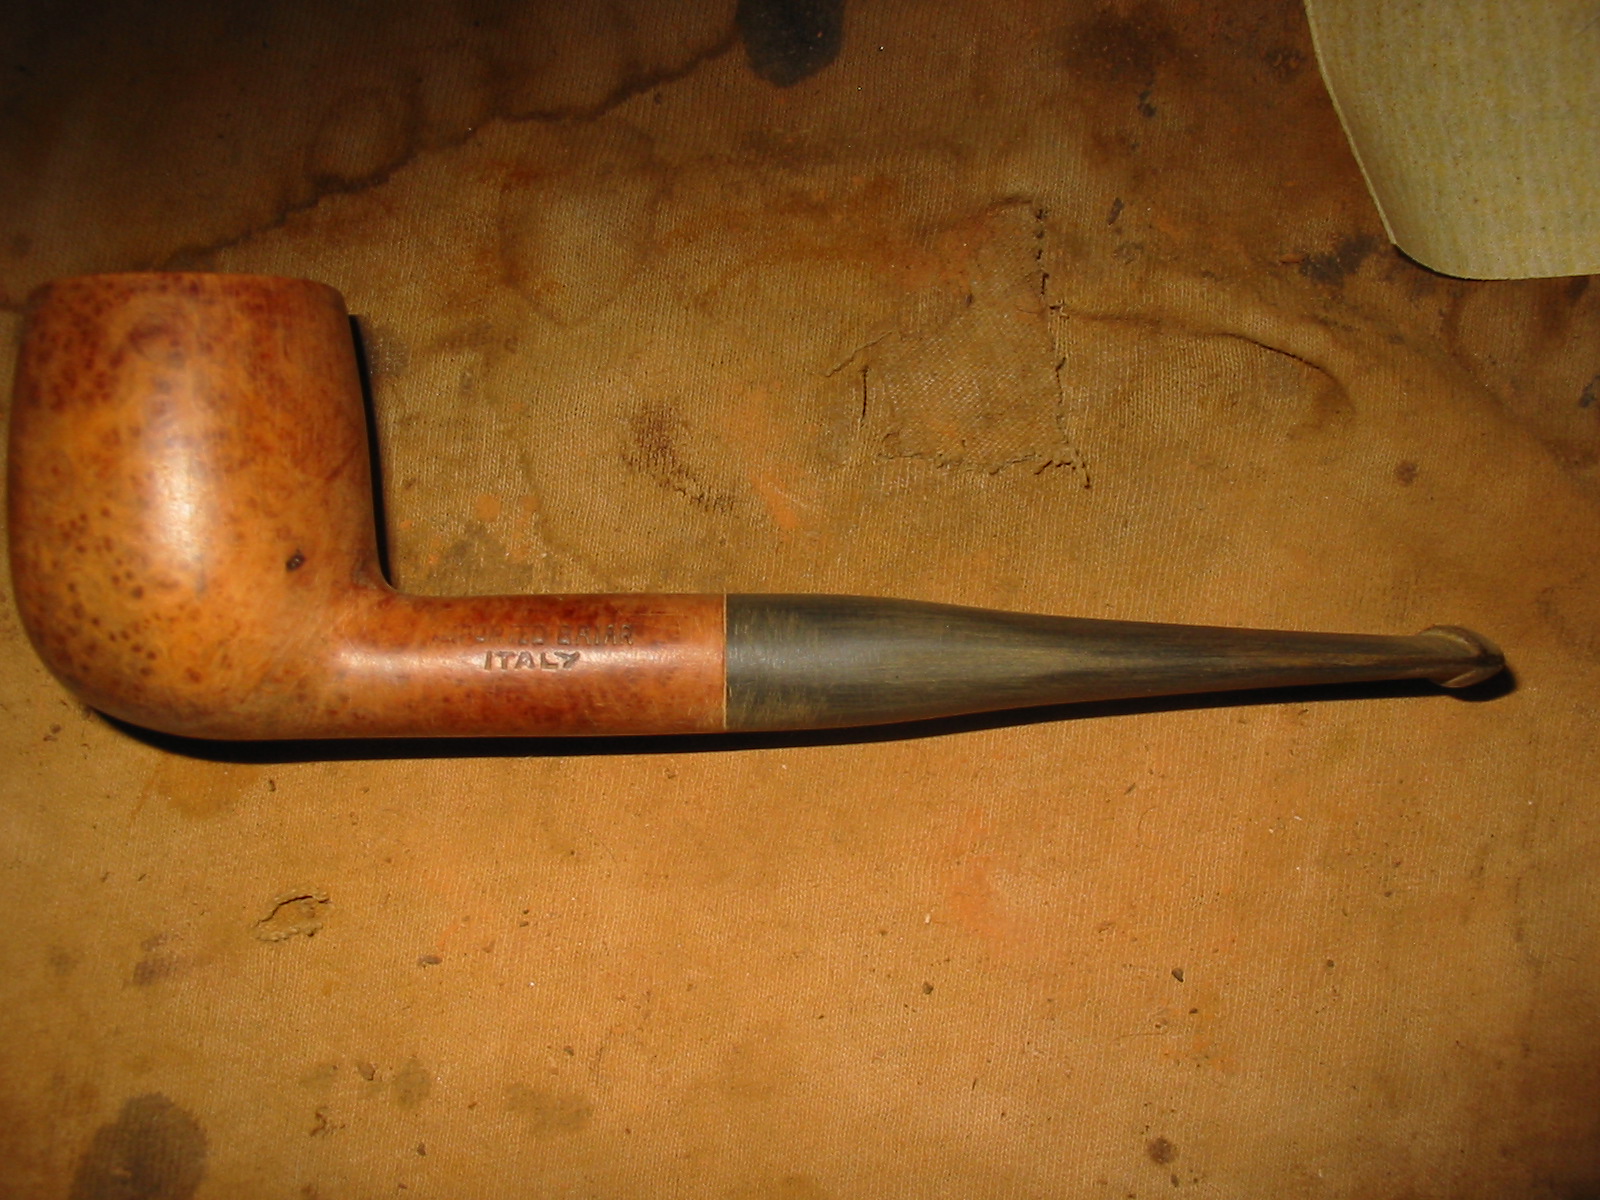
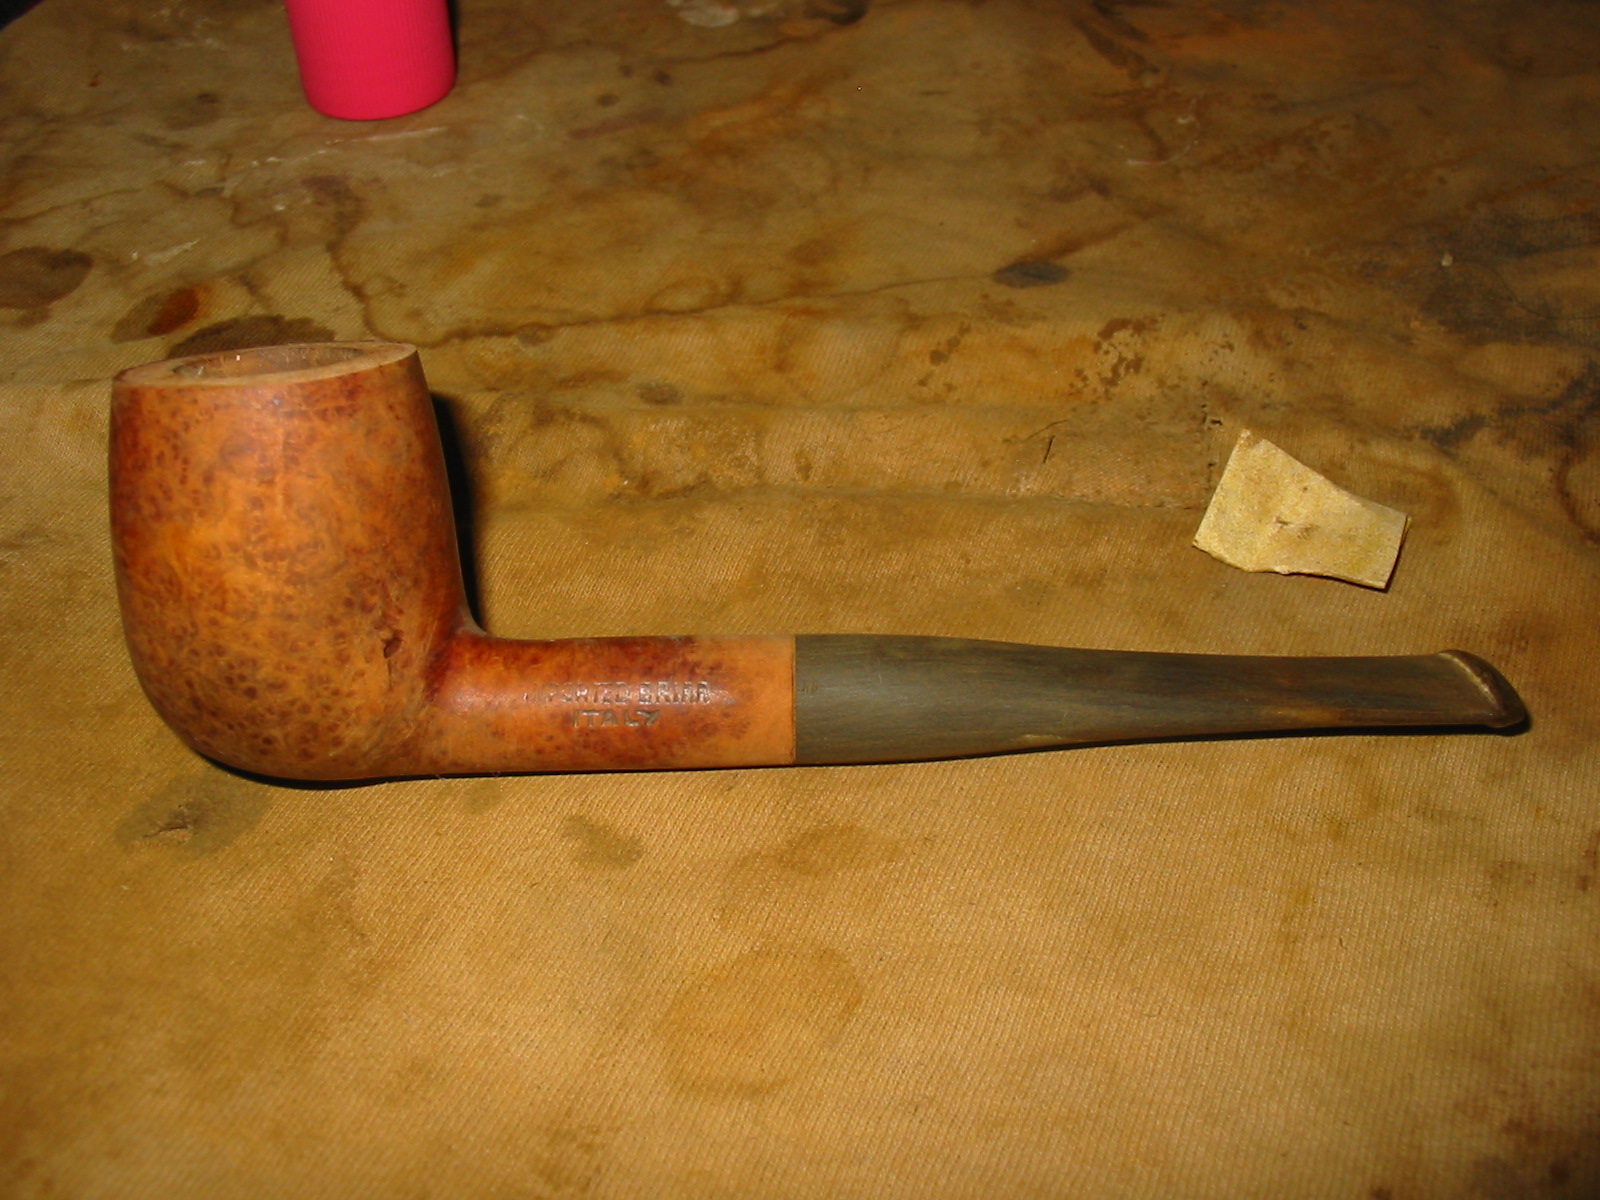
I am definitely getting to the bottom of the refurbishing box – this pipe and one other left before it is empty and I need to start hunting again for more. This old-timer is only stamped on the left side of the shank with IMPORTED BRIAR over ITALY. There is no other stamping on the right side of the shank. The bowl was in pretty decent shape – no real dents or scratches other than around the rim. The edges of the rim were rounded over. The left side showed some nice birdseye grain and the front and the back of the bowl were cross grain. The right side of the bowl was a mess. There were at least a dozen putty fills in various states of coming out of the briar. There were two on the rim that took a bite out of the outer edge of the rim. The finish was gone and the stain had faded. The bowl did not come with a stem so I hunted through my can of stems and found one that would do the trick. It took very little work to get the tenon to fit into the shank. It was a wide blade stem that previously had been on a George Jensen pipe at sometime in its life but that pipe bowl had long since disappeared. With some minor adjustments to the diameter of the stem it would make a great stem for the Italian billiard.
IMG_3288

IMG_3289

IMG_3290

IMG_3291

IMG_3292

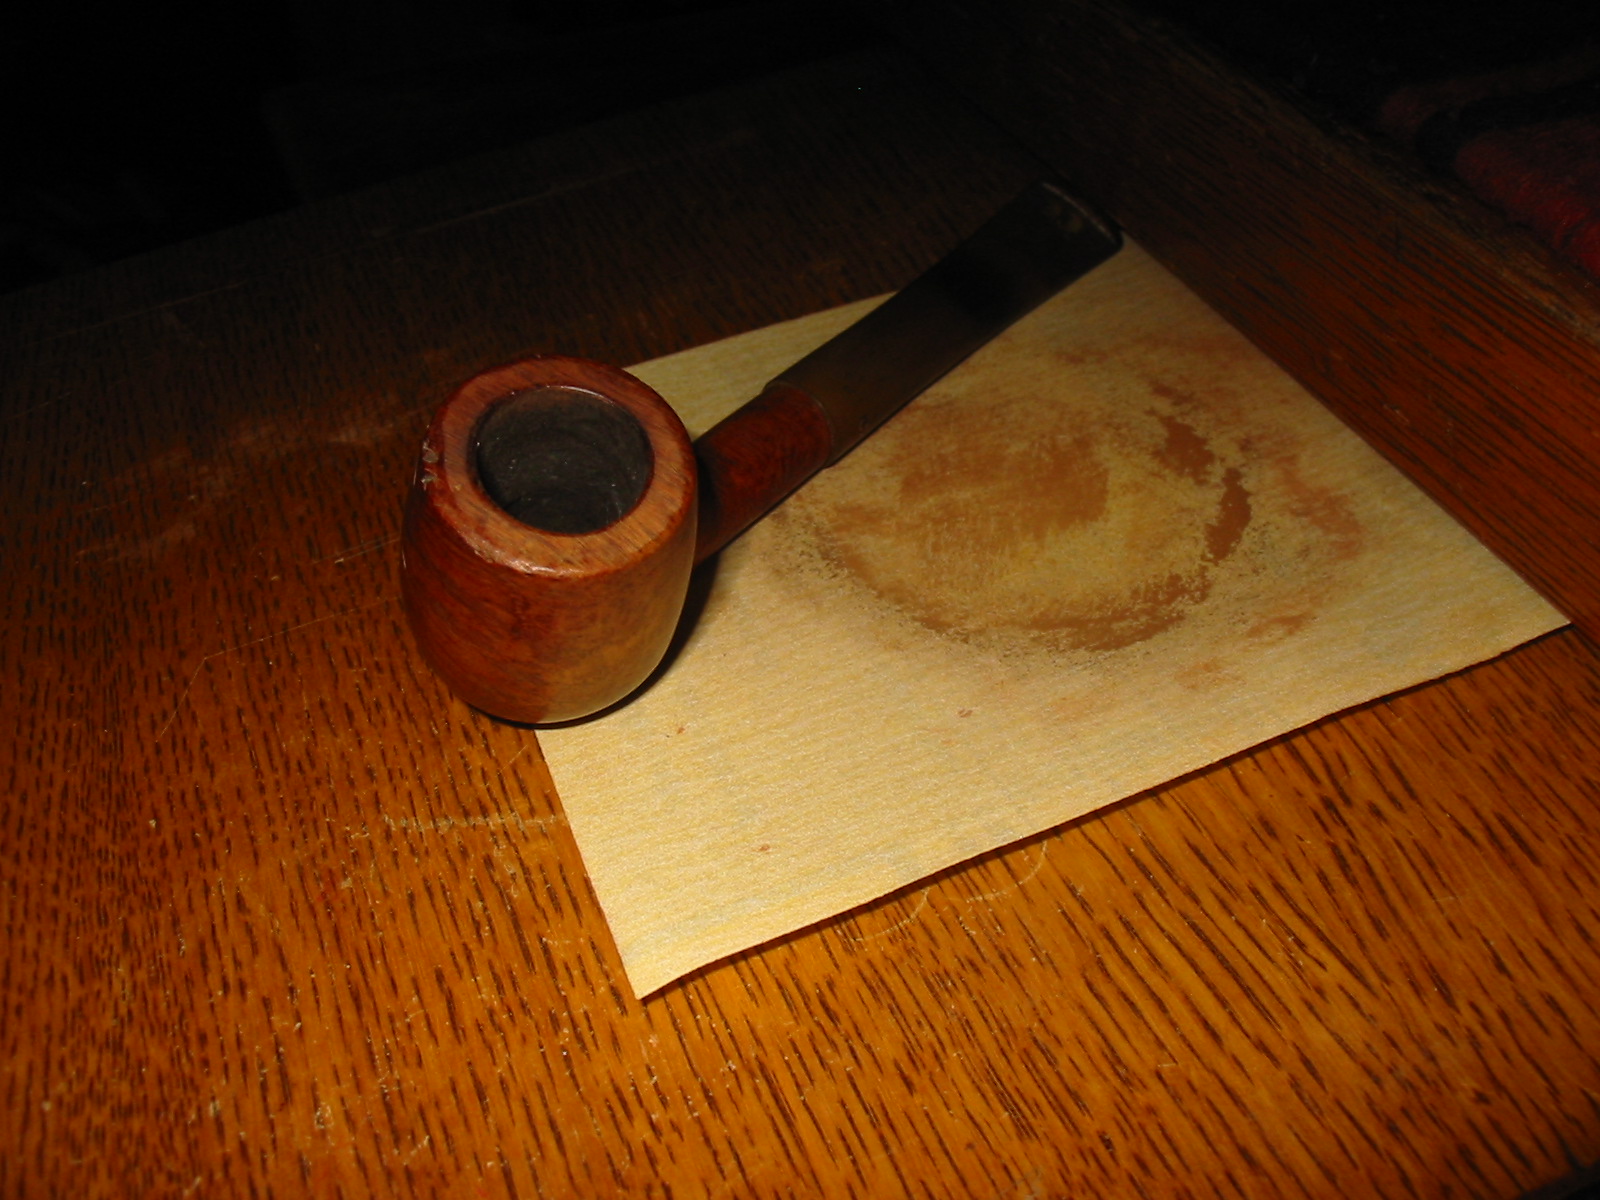
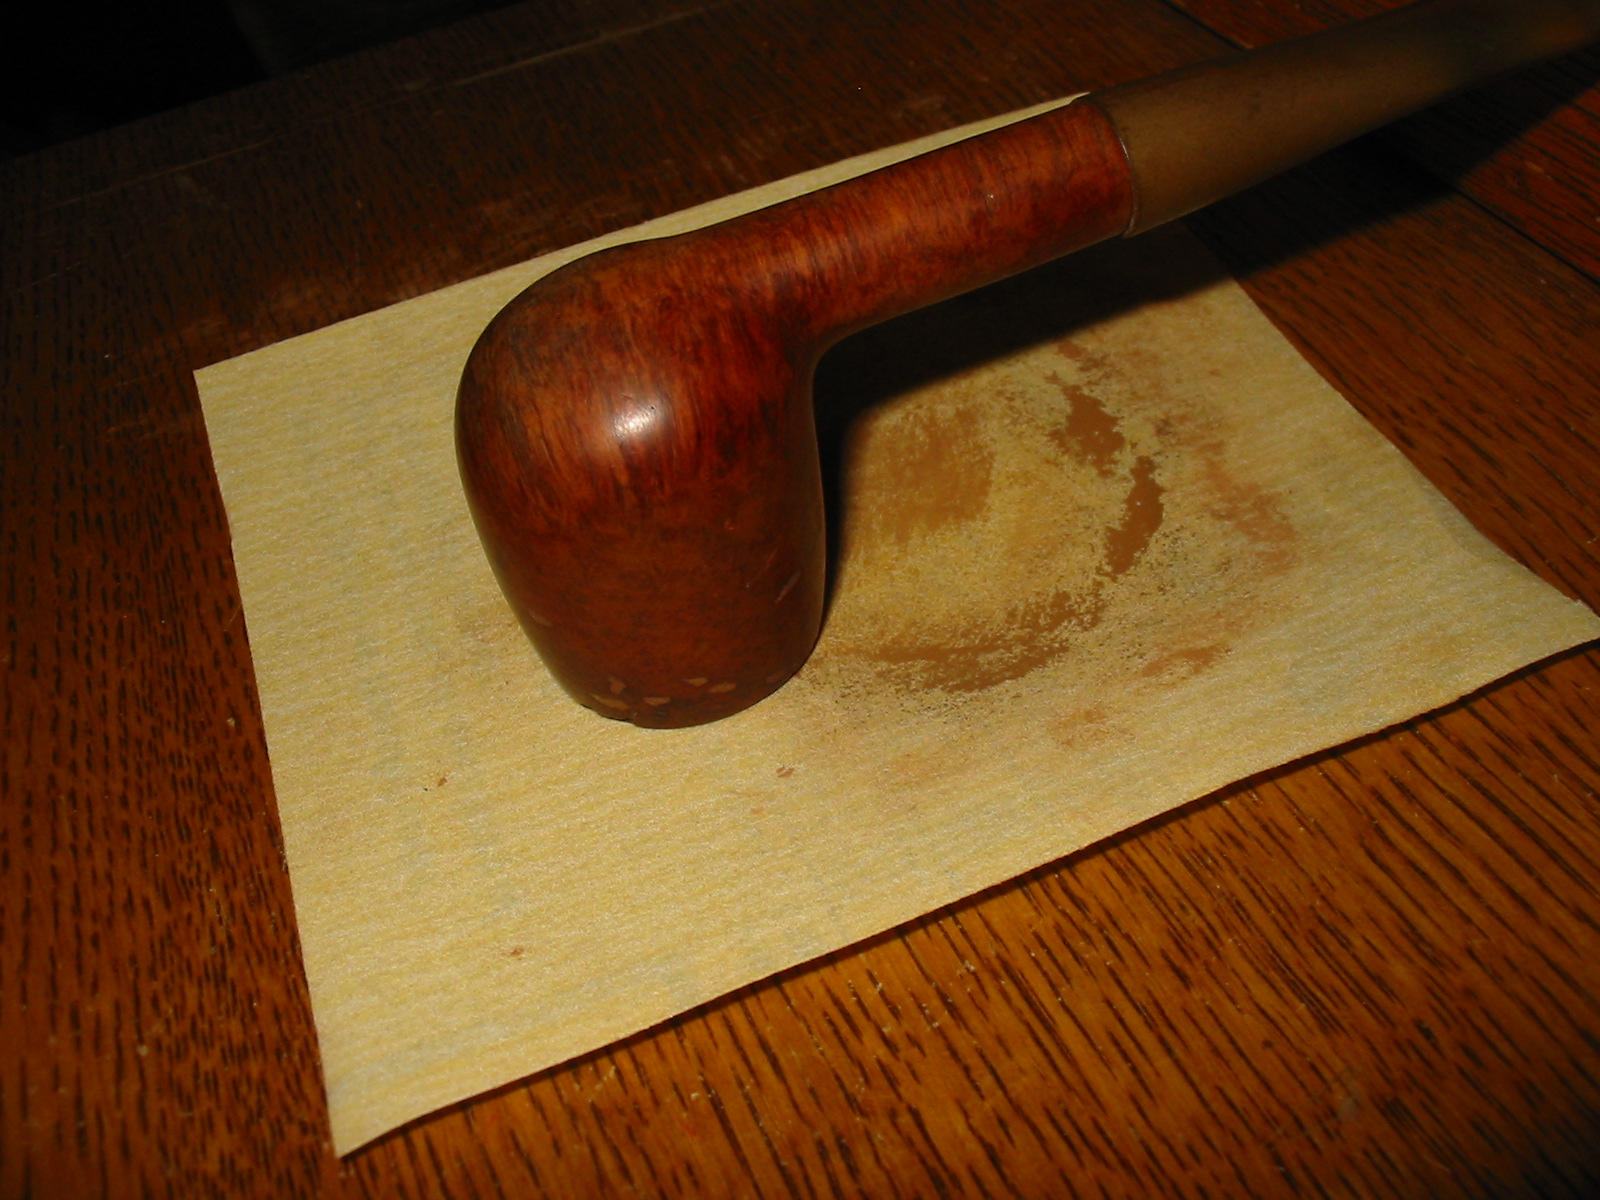
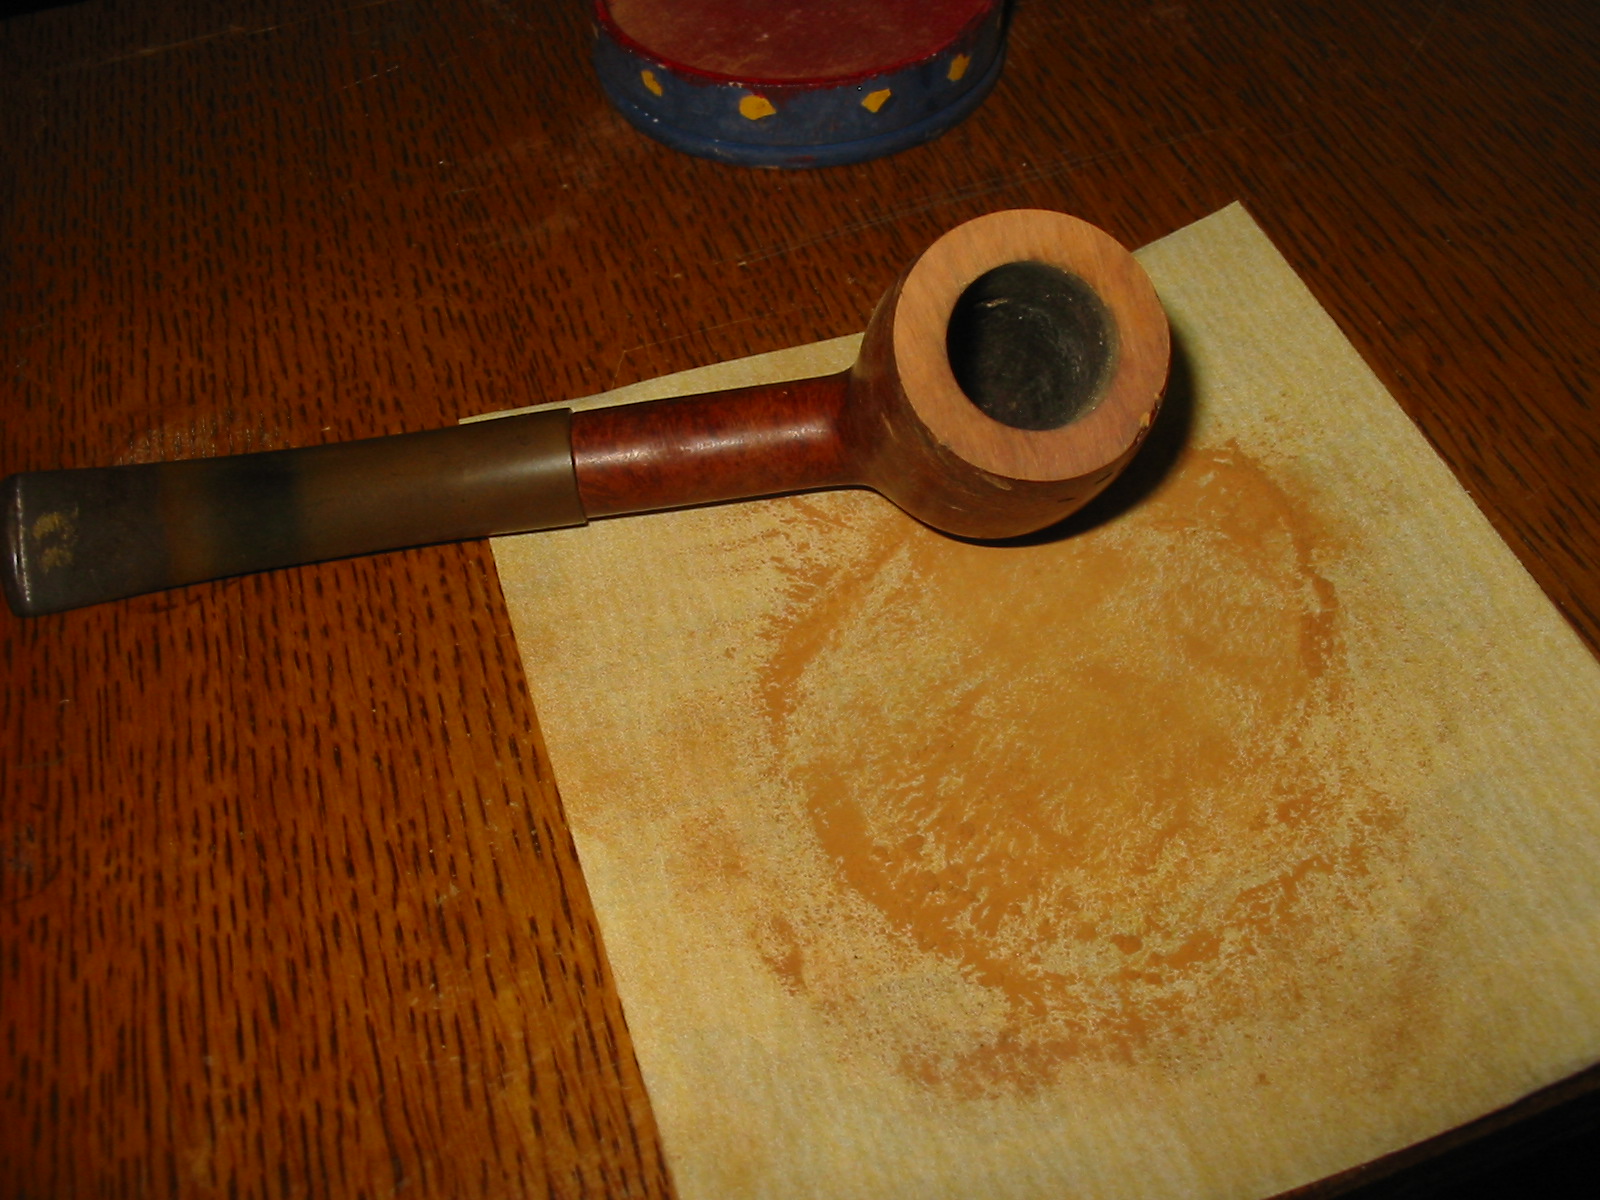
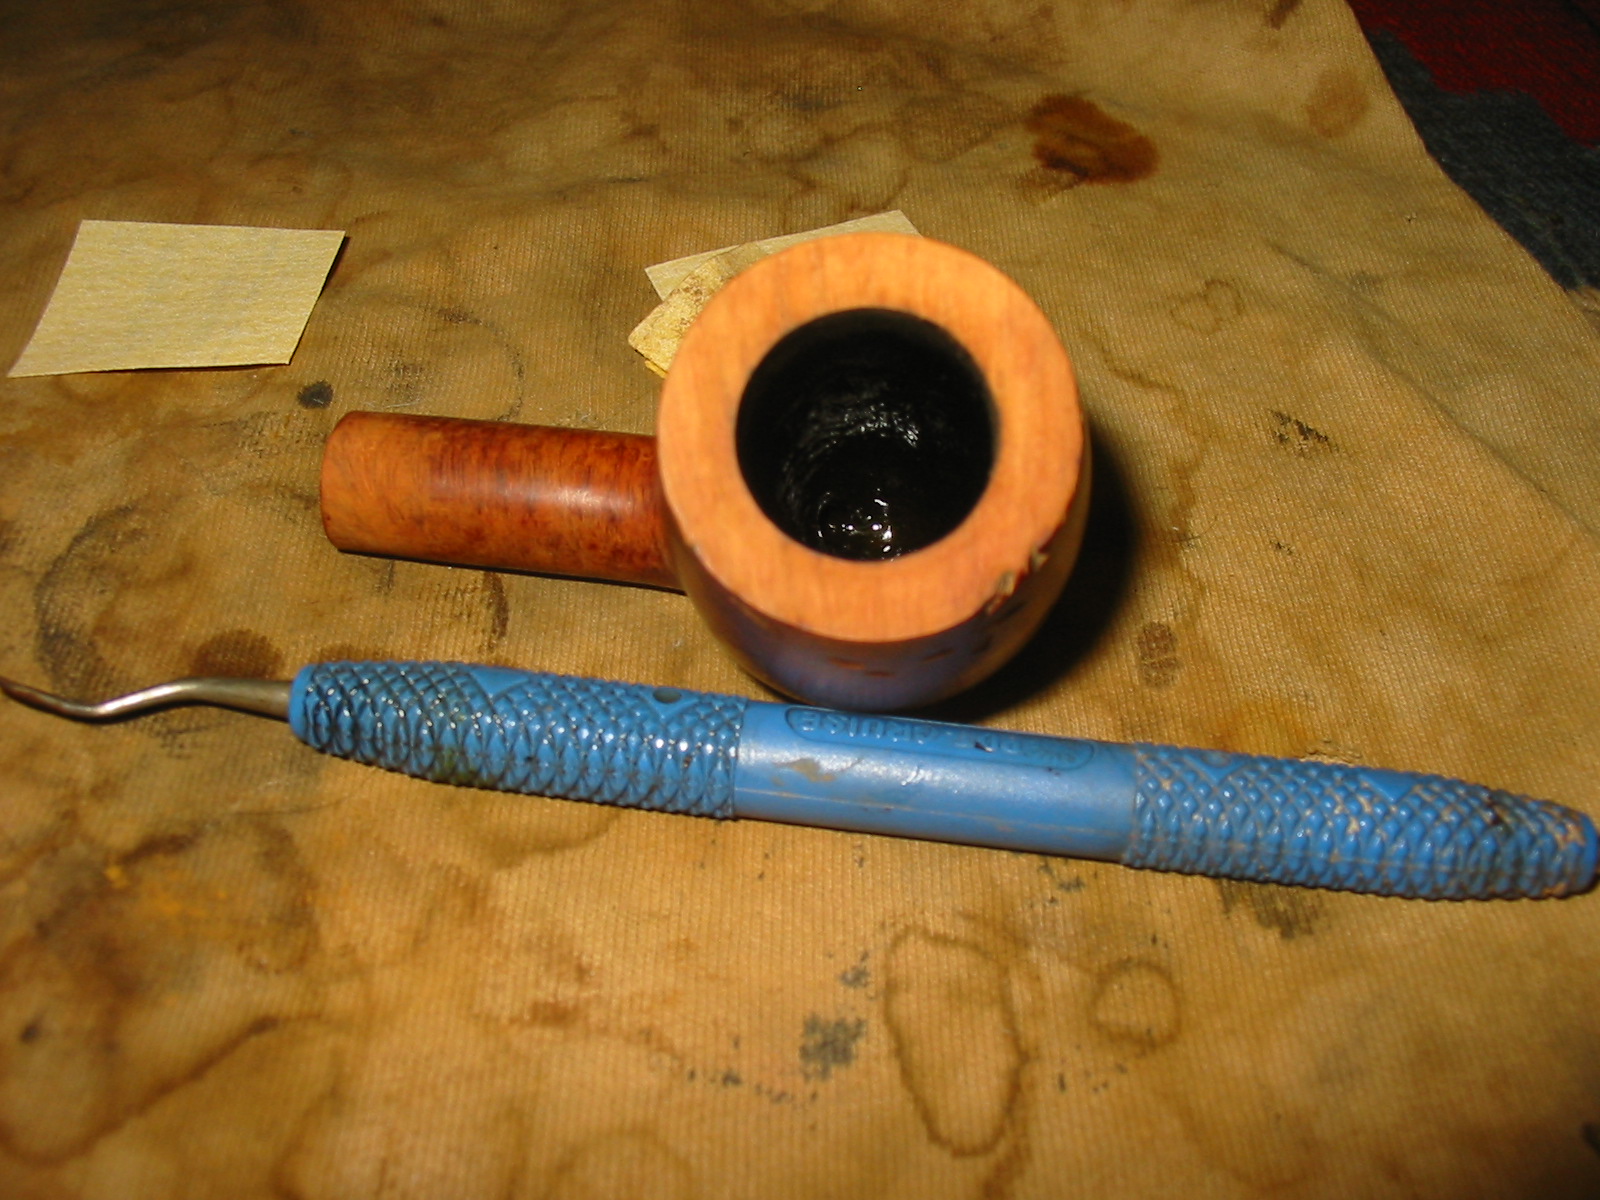
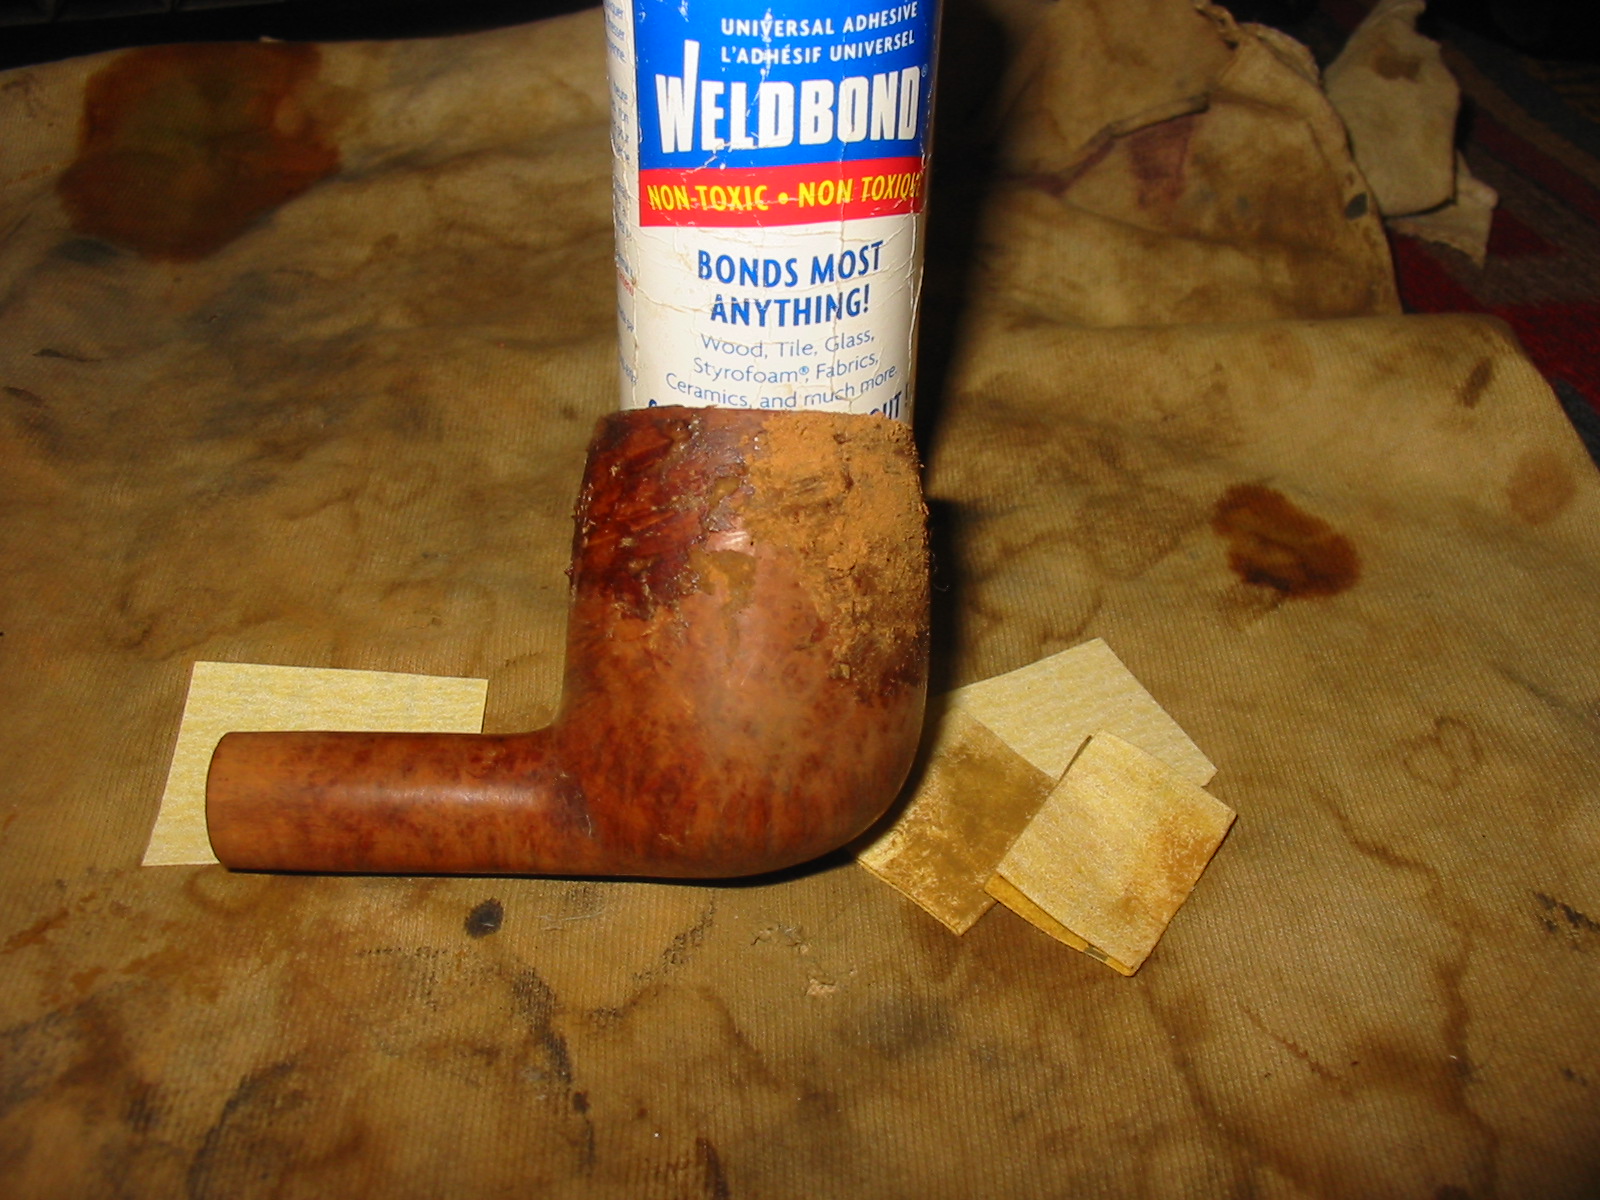
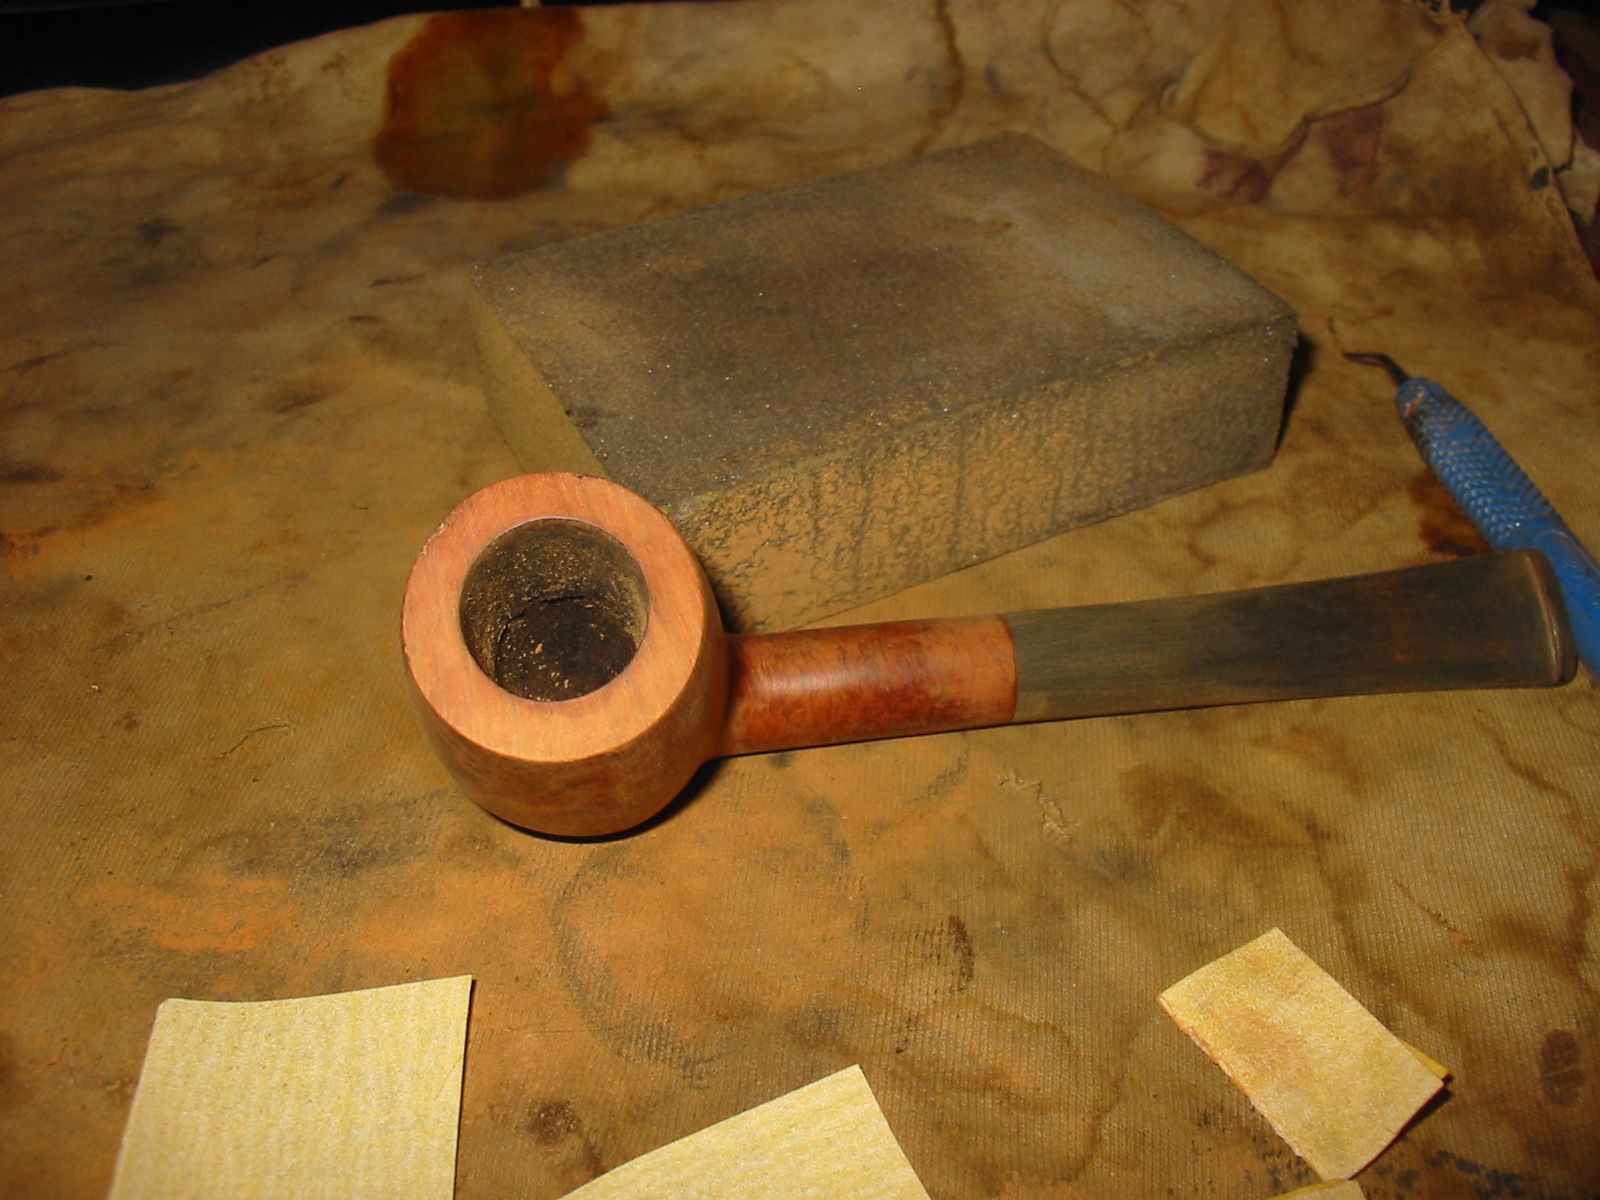
I decided to top the bowl to clean up the rounded edges on the outer rim and to minimize the damage from the two fills on the right edge. I set up my sandpaper on the flat board and turned the bowl top into the sandpaper. I work at this slowly and turn and sand and then tip the briar dust into a container that I have saved for repairs to fills. The first photo below shows the set up as well as the condition of the rim before I worked on it.
IMG_3302

IMG_3303

IMG_3304

I took the top down until the outer edges of the rim were sharp and clean. The damage from the fills is still visible but I stopped before I changed the overall shape of the bowl. I used a Dremel with a sanding drum to reduce the diameter of the stem to match the shank. I take it down as far as possible with the Dremel and then do the finish shaping by hand with sandpaper.
IMG_3305

IMG_3306

IMG_3307

IMG_3308

I sanded the stem with 220 grit sandpaper to remove the oxidation and to finish shaping the area around the shank and stem junction.
IMG_3309

IMG_3310

IMG_3311

IMG_3312

I wiped down the bowl with acetone on a cotton pad to remove the remaining finish.
IMG_3313

IMG_3314

IMG_3315

IMG_3316

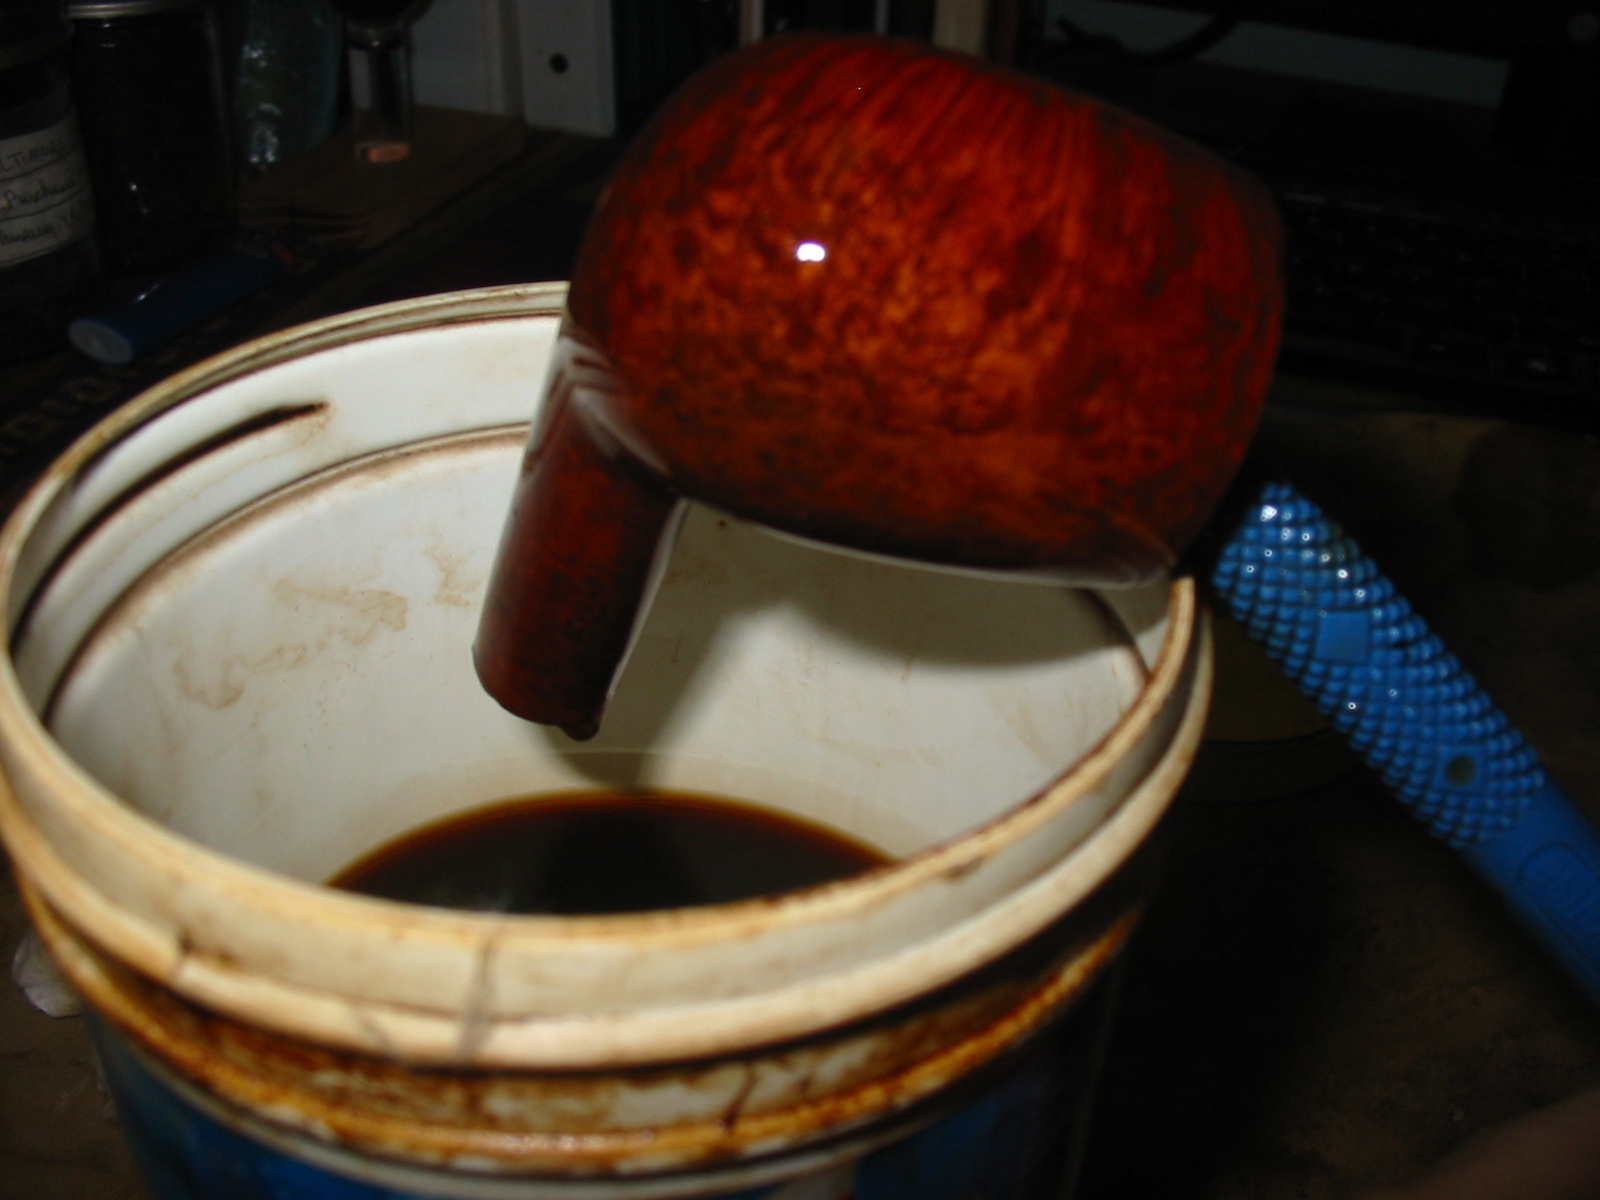
I dropped the bowl in an alcohol bath to soften the putty fills to make them easier to remove. It also removed the remaining finish to the bowl. The dark colour of the alcohol bath adds a patina to the bowl that is something that I appreciate. (I continue to use the bath and filter out the grit and grime from the alcohol every other month. The filtering removes the impurities but leaves the alcohol the colour of the stain that has been removed from the bowl. It is a uniform dark brown colour. I rarely change the bath, just refill it as the alcohol evaporates over time.)
IMG_3317

When I removed it from the bath I picked out the softened putty fills with a dental pick and lightly sanded the bowl and shank with a fine grit sanding sponge.
IMG_3318

IMG_3319

IMG_3320

IMG_3321

I am continuing to experiment with wood glue and briar dust combined to replace the fills. I am finding that the mixture gives virtually the same darkening of the fill as the mixture of briar dust and superglue so I am not convinced. The drawback to using the wood glue is the slow drying time. That probably is not an issue for some of you but if the result is the same I will opt for the quick results of the superglue. I packed in the briar dust, dribbled the glue into the fills and then added more dust to the mixture. When it dried I sanded it with 220 grit sandpaper to remove the buildup and smooth out the surface of the bowl. I then sanded the bowl with a fine grit sanding block to remove the scratches.
IMG_3322

IMG_3323

IMG_3324

IMG_3325

IMG_3326

IMG_3327

IMG_3328

IMG_3329

I am also continuing to experiment with the contrast staining process so I used it again on this bowl. I wanted to highlight the beautiful birdseye grain and cross grain on the bowl and hide the repaired fills as much as possible. I used a black aniline stain for the first coat of stain. I applied it and flamed it and repeated the process until I had good coverage on the bowl.
IMG_3330

IMG_3331

IMG_3332

I wiped down the bowl with Everclear on a cotton pad to remove the heavy black stain from the surface of the bowl while leaving it deep in the grain. I notice in the process that the stain did not soak into the areas around the fills where there was remnant of wood glue on the surface of the briar. It left a shiny spot of unstained briar. To remedy that I would need to sand those areas of the bowl before applying the second coat of stain.
IMG_3333

IMG_3334

IMG_3335

IMG_3336

I sanded the bowl with a fine grit sanding sponge and also with micromesh sanding pads from 1500-2400 grit. I wet sanded with these grits as they work well to remove scratches in the surface and also to remove the remaining glue on the surface. Once I had the bowl sanded smooth I wiped it down with a damp alcohol pad to remove surface dust and then restained the bowl with an oxblood aniline stain. The next series of photos show the freshly stained bowl before I flamed it. The undercoat of black comes through and highlights the grain very nicely. Once the bowl was dry I buffed it lightly with White Diamond.
IMG_3337

IMG_3338

IMG_3339

IMG_3340

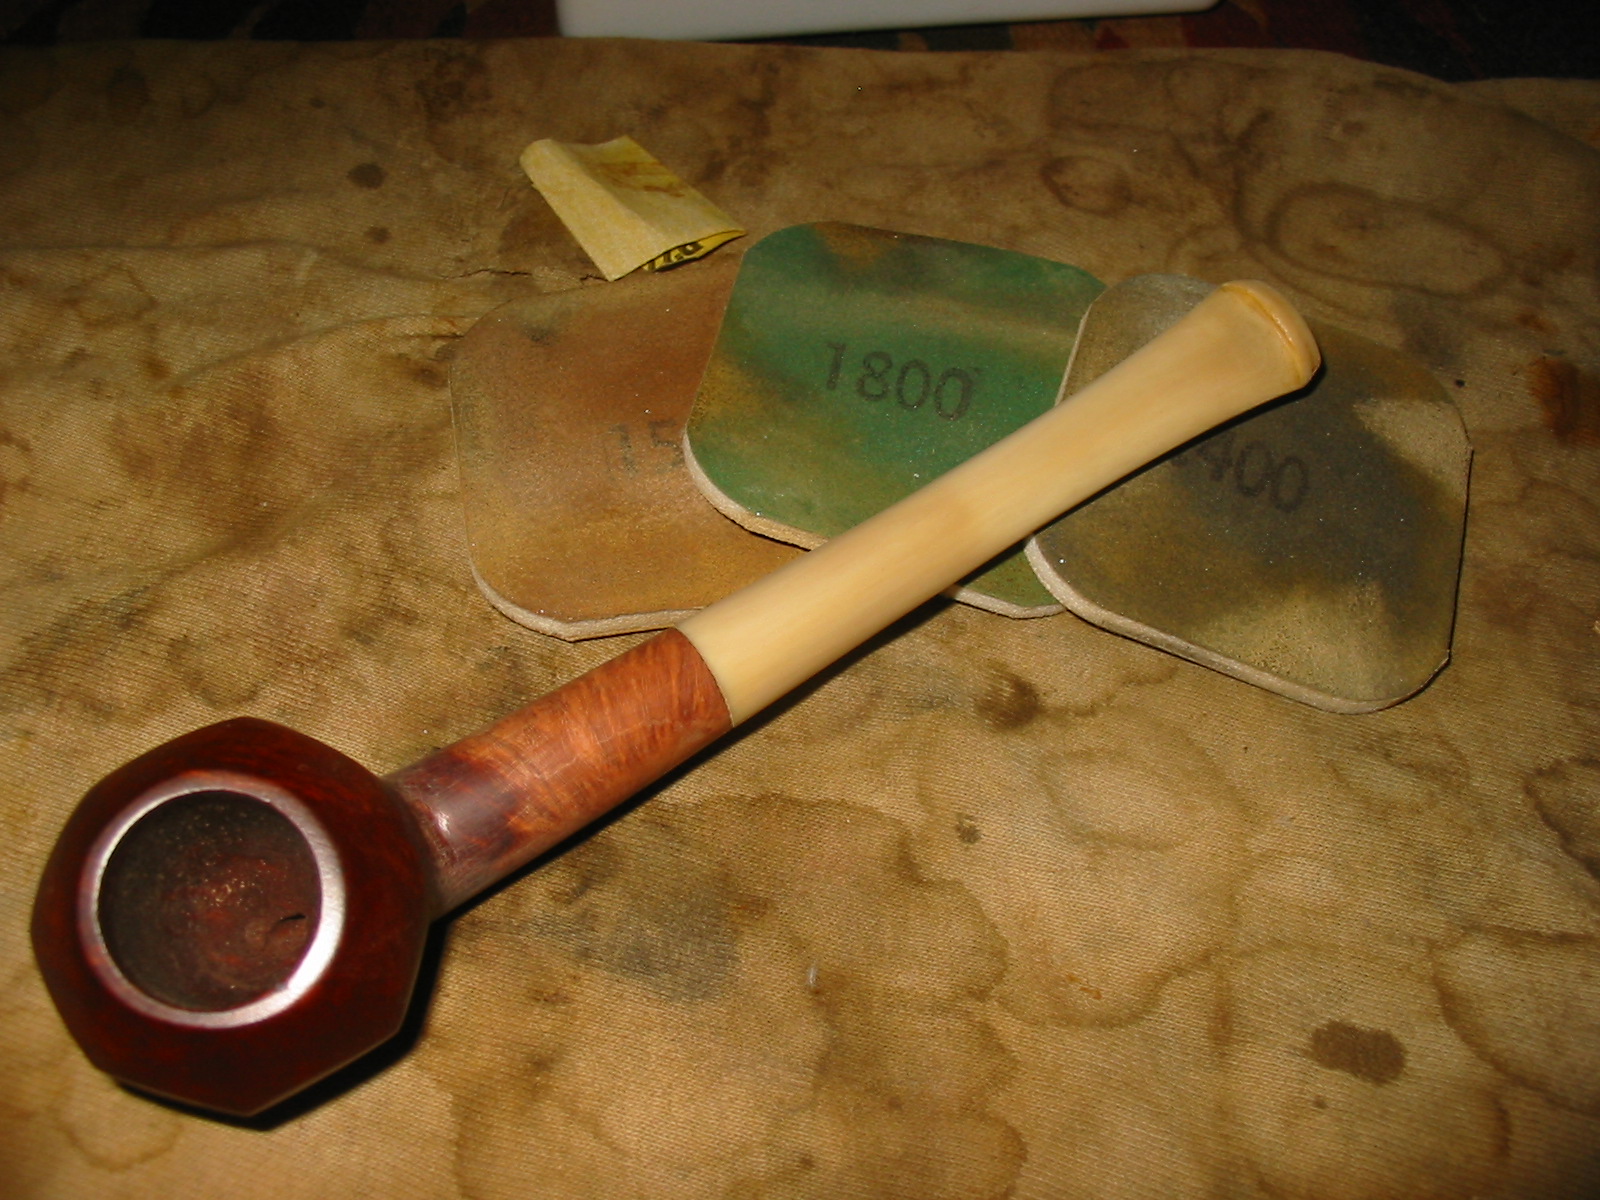
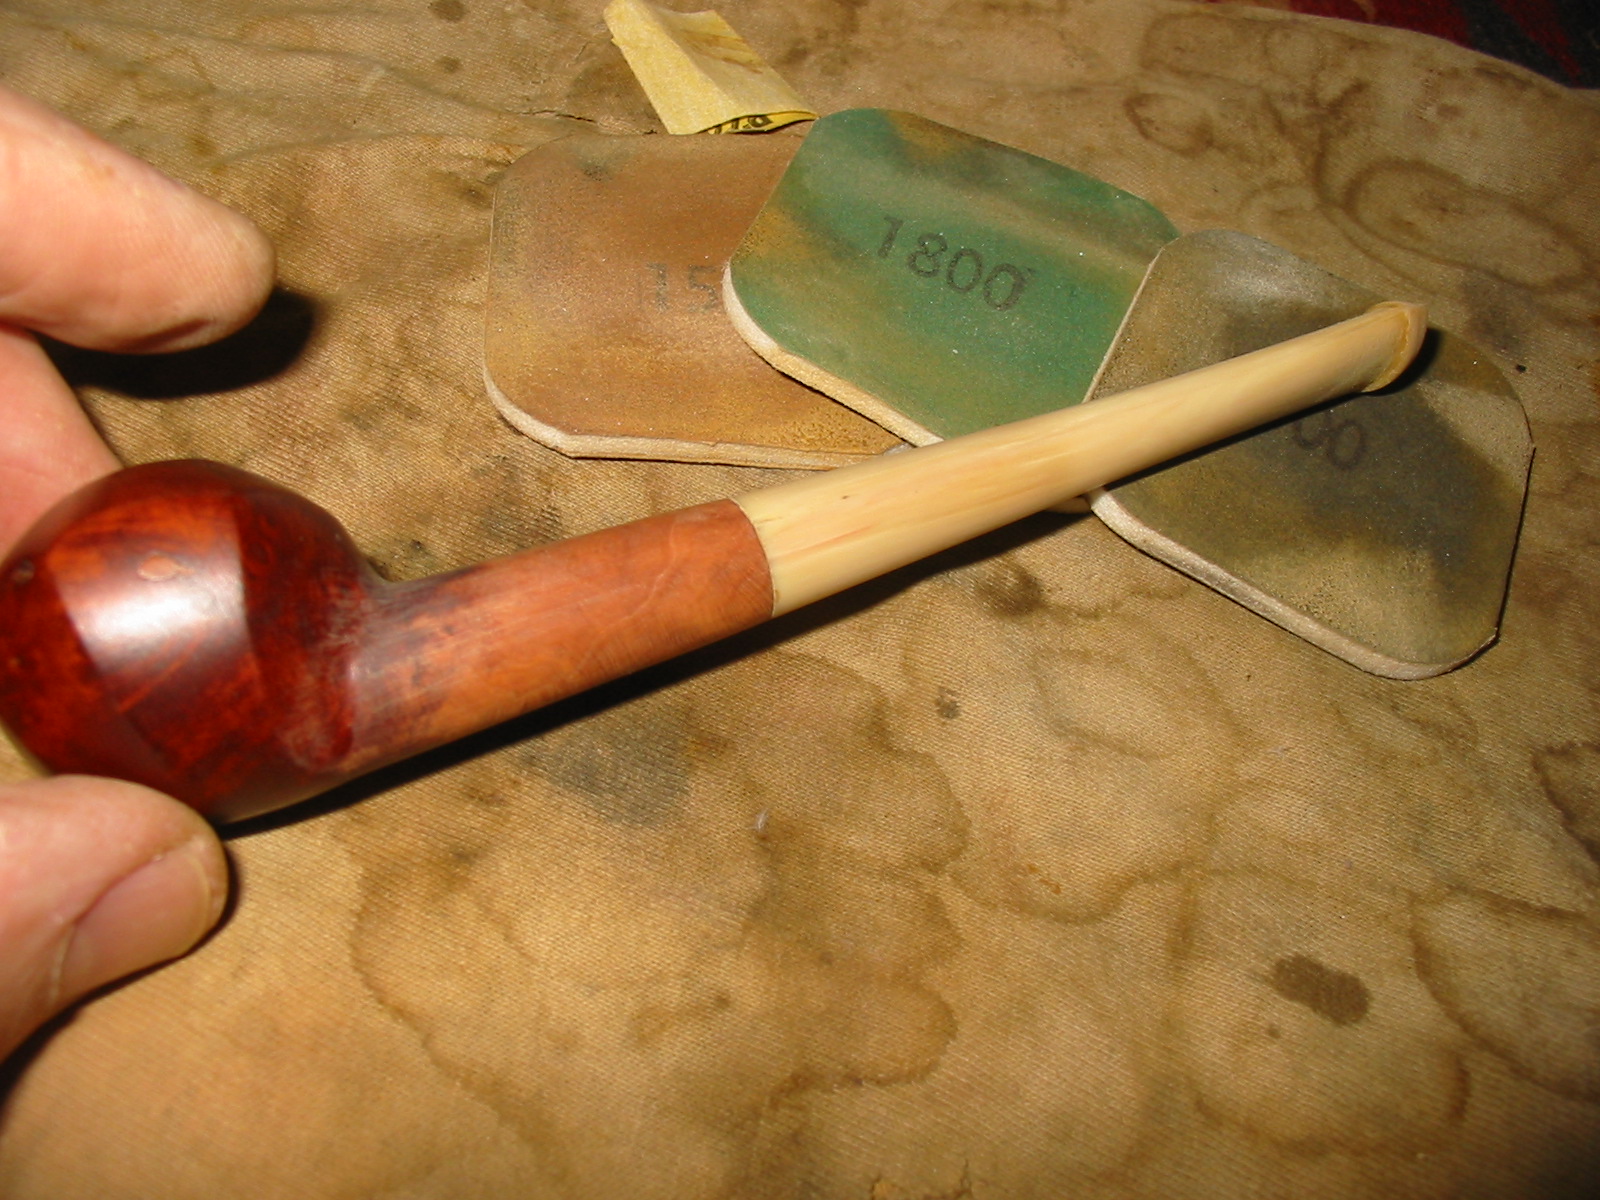
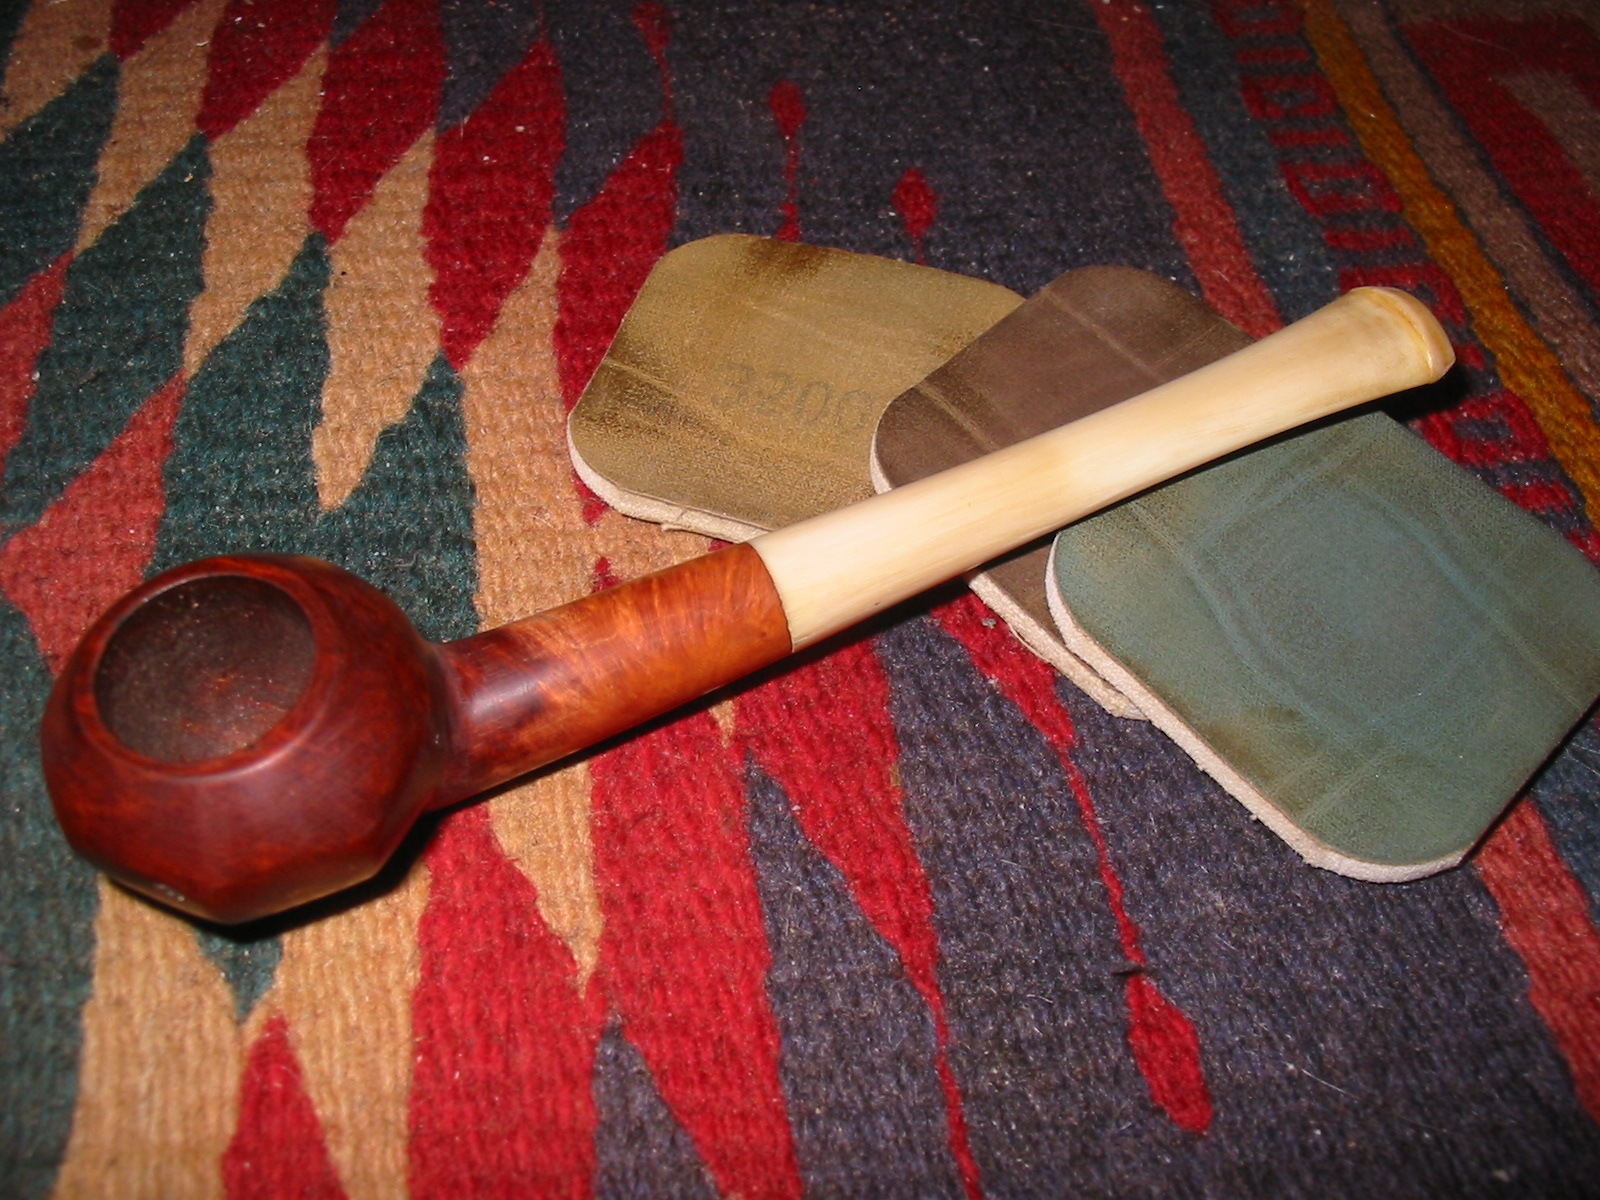
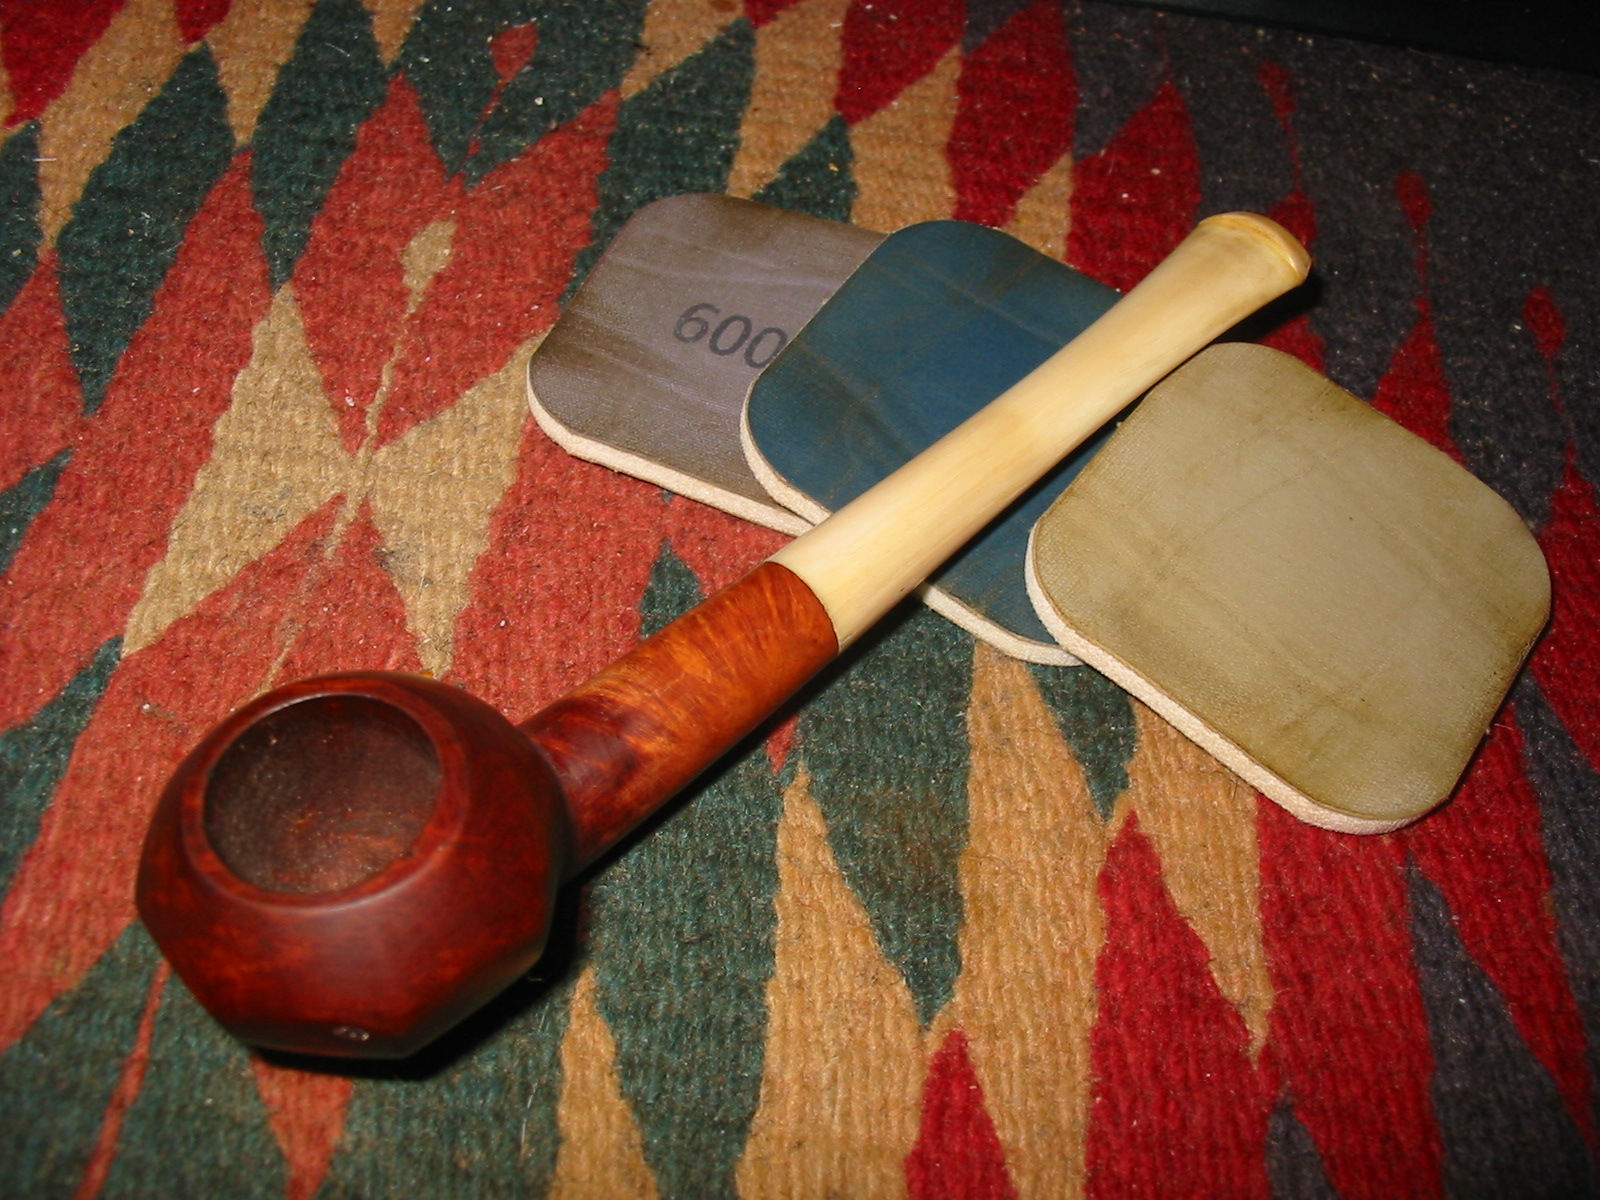
I sanded the bowl and stem with micromesh sanding pads to polish it further. I wet sanded with 1500-2400 grit and then dry sanded with 3200-12,000 grit pads. I find that the higher grit pads add a deeper level of shine with each successive grit. The next three photos show the stem and bowl after polishing with three grits of micromesh. The first photo shows 1500, 1800 and 2400 grit pads. The second photo shows 3200, 3600 and 4000 grit pads. The third photo shows 6000, 8000 and 12,000 grit pads.
IMG_3341

IMG_3342

IMG_3343

I rubbed the stem down with Obsidian Oil and when it was dry I buffed the stem and bowl with White Diamond. I gave the pipe multiple coats of carnauba wax to protect the finish and give it a shine. The contrast stain worked well with this pipe. The birdseye grain really pops and the cross grain is also highlighted. The black undercoat also minimizes the eyesore of the fills on the right side of the bowl and the small one on the left side has virtually disappeared. The final four photos below show the finished pipe. I am happy with the way it turned out – far better than I expected when I took it out of the box to refurbish.
IMG_3348

IMG_3349

IMG_3350

IMG_3351

Refurbishing and Restemming an Unsmoked Small Paneled Rhodesian


I am scraping the bottom of the box for pipes to refurbish. It is clear that I am going to have to go on the hunt again soon. At the bottom of the box I have a few small/tiny pipe bowls that have come to me from a variety of sources. I believe this little one came from Mark Domingues as well. It is unsmoked and stemless. The bowl was in pretty fair shape though the finish coat was varnish of some sort. The stain was spotty under the varnish coat. There was one dominant fill on the left side of the bowl on one of the panels. The drilling is a bit of centre in the bottom of the bowl – slightly to the left of centre. The drilling was wide open and the draught on the bowl was very good. The bowl did not have a ring around the top before the bevel to the rim. It was a smooth transition. I have had several of these older Rhodesian and Bulldogs in the past and they generally had horn stems. This one did not have any stamping on it so I have no idea as to the maker. There was also no stem present. I had a smaller nylon stem in my box of stems that took very little work on the tenon to make for a snug fit in the shank.
IMG_2798

IMG_2799

Once the stem fit well in the shank I sanded the shank and stem to get a good smooth transition between stem and shank. I used 220 grit sandpaper to do the rough work and then used a medium grit sanding sponge to clean up the shank and stem. The stem had casting marks on both sides of the stem and also heavy tobacco stains around the button and in the slot. The airway was virtually clogged and I could barely get a straightened paper clip through before I worked on it with Everclear and bristle pipe cleaners.
IMG_2800

IMG_2801

IMG_2802

I decided to sand the stain off the shank and rework the taper on the pipe from button to bowl. I sanded it with 220 grit sandpaper to remove the excess briar and nylon and smooth out the taper. What I wanted was a clean smooth line from button to bowl. The next four photos show the shank and the stem after sanding with the 220 grit sandpaper. The flow is smooth and even and the lines are very graceful. The casting marks are gone from both sides of the stem and the button is cleaned of the majority of the stains.
IMG_2803

IMG_2804

IMG_2805

IMG_2806

I wiped the bowl and shank down with acetone on a cotton pad to remove the varnish finish and some of the stain on the bowl in order to make it easier to match the stain on the newly sanded shank and the bowl. I also sanded the bowl, shank and stem with a fine grit sanding sponge to remove scratches left behind by the sandpaper and to prepare the stem for sanding with micromesh sanding pads.
IMG_2807

IMG_2808

I sanded the entire pipe and stem with micromesh sanding pads. I wet sanded the stem and the bowl with 1500-2400 grit sanding pads and dry sanded the bowl alone with 3200-12,000 grit pads. I did not want to make the briar to smooth to take a good coat of the stain.
IMG_2809

IMG_2810

IMG_2811

IMG_2812

I stained the bowl with a medium brown aniline stain mixed 2 parts stain with 1 part isopropyl alcohol to get the colour I wanted. I was going for more of a wash than a deep coat. I wanted the grain on the shank and bowl to come through the colour. I used a black permanent mark to draw grain marks on the two fills and to make it easier for the stain coat to blend in and hide the putty marks.
IMG_2813

IMG_2814

IMG_2815

IMG_2816

Once the stain was dry I buffed the bowl with White Diamond to give it a shine and then reinserted the stem and lightly buffed the stem with White Diamond as well. The nylon stems take a very soft touch or they are easily damaged. I gave the bowl and stem several coats of carnauba wax to protect them and then lightly buffed the pipe a soft flannel buffing pad. The finished pipe is pictured below. It is not a big pipe in any sense but should be a great flake pipe. The second photo below gives an idea of proportion by the inclusion of my hand with the pipe. The yellow nylon stem approximates the unique colour and look of the horn stem that must have originally graced this little bowl. The stem is thin and the new taper gives a very delicate look to the new pipe.
IMG_2817

IMG_2818

IMG_2820

IMG_2821

A Dr. Grabow Special Rhodesian/Bulldog – A Makeover


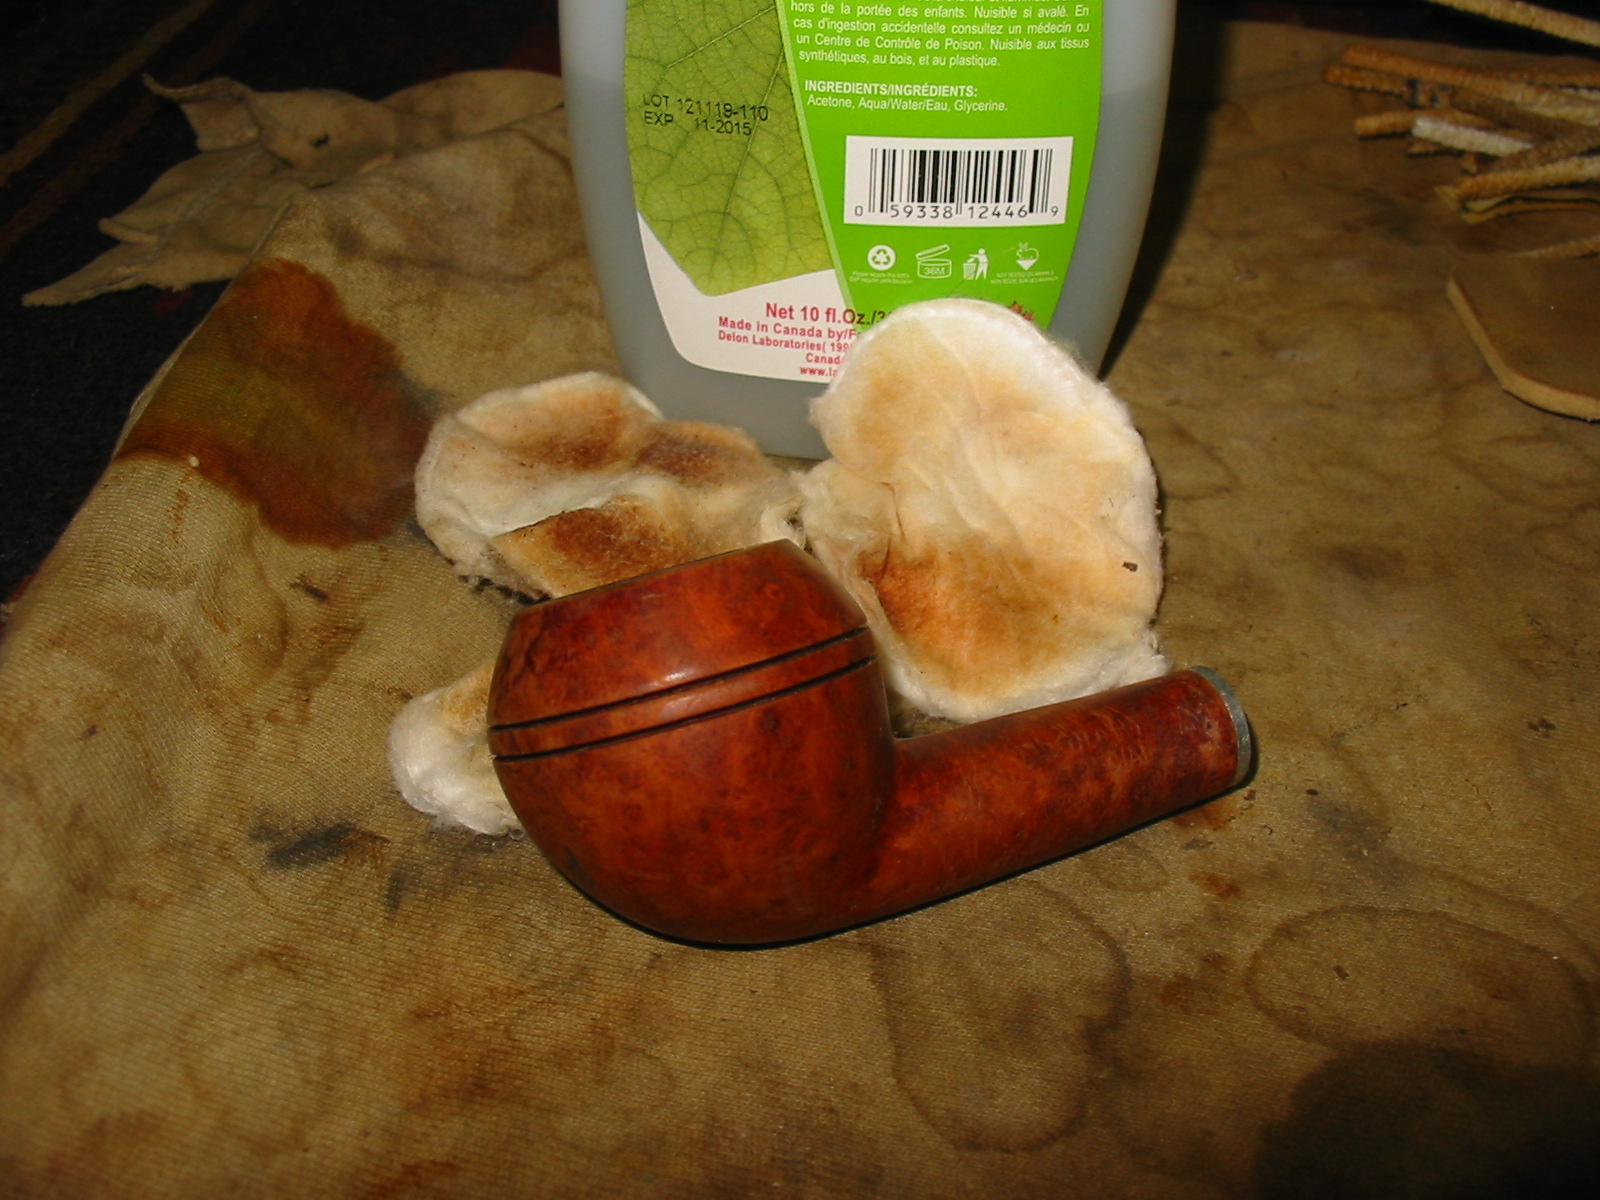
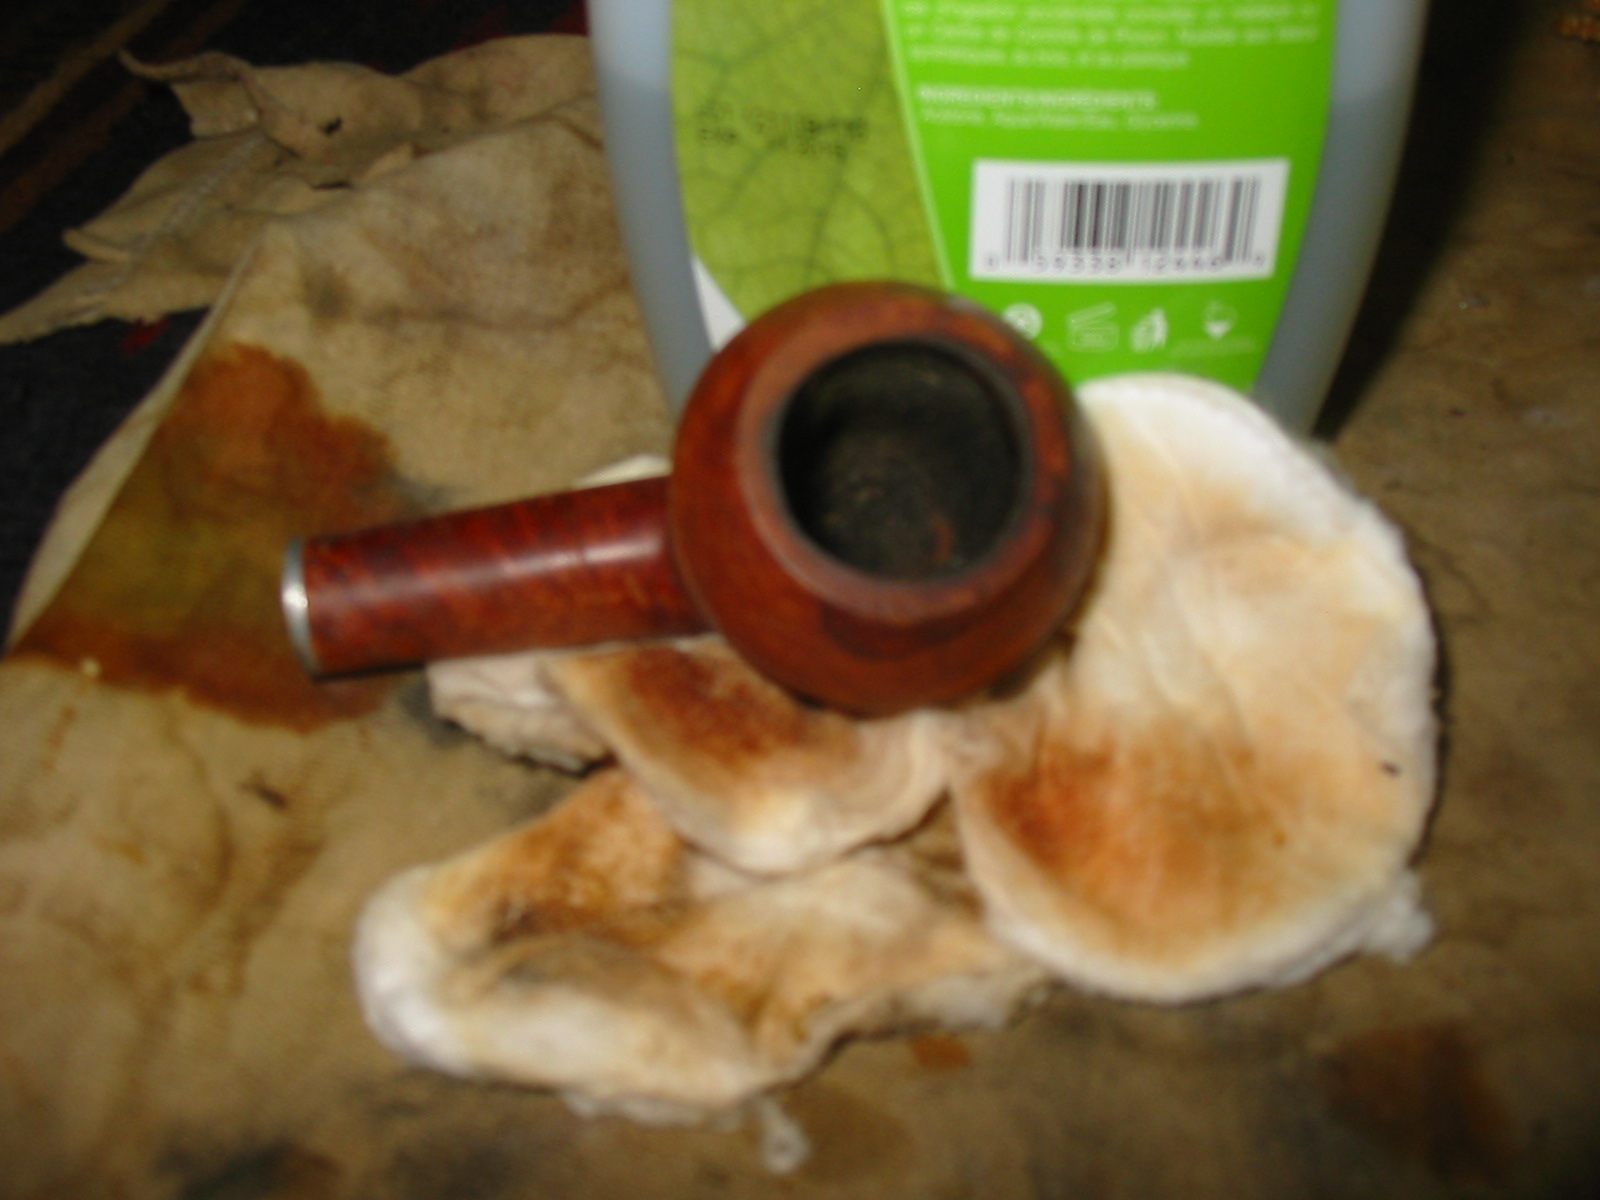
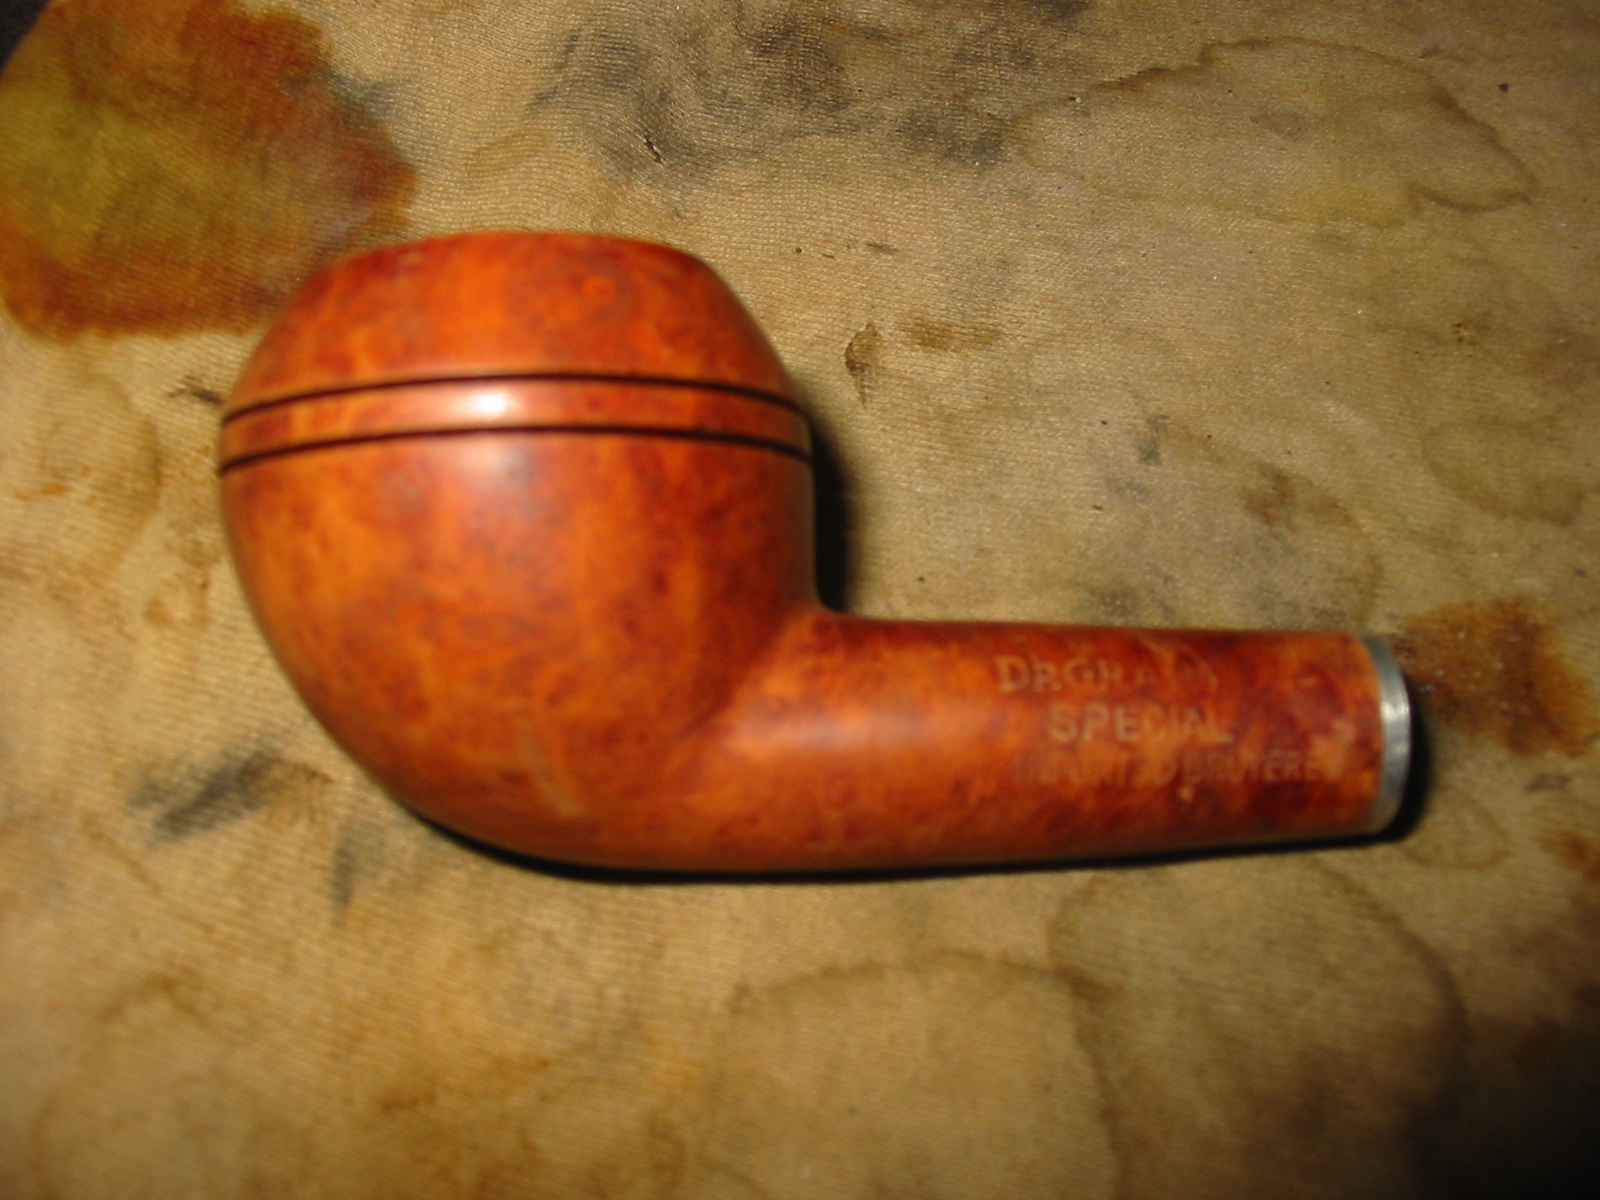
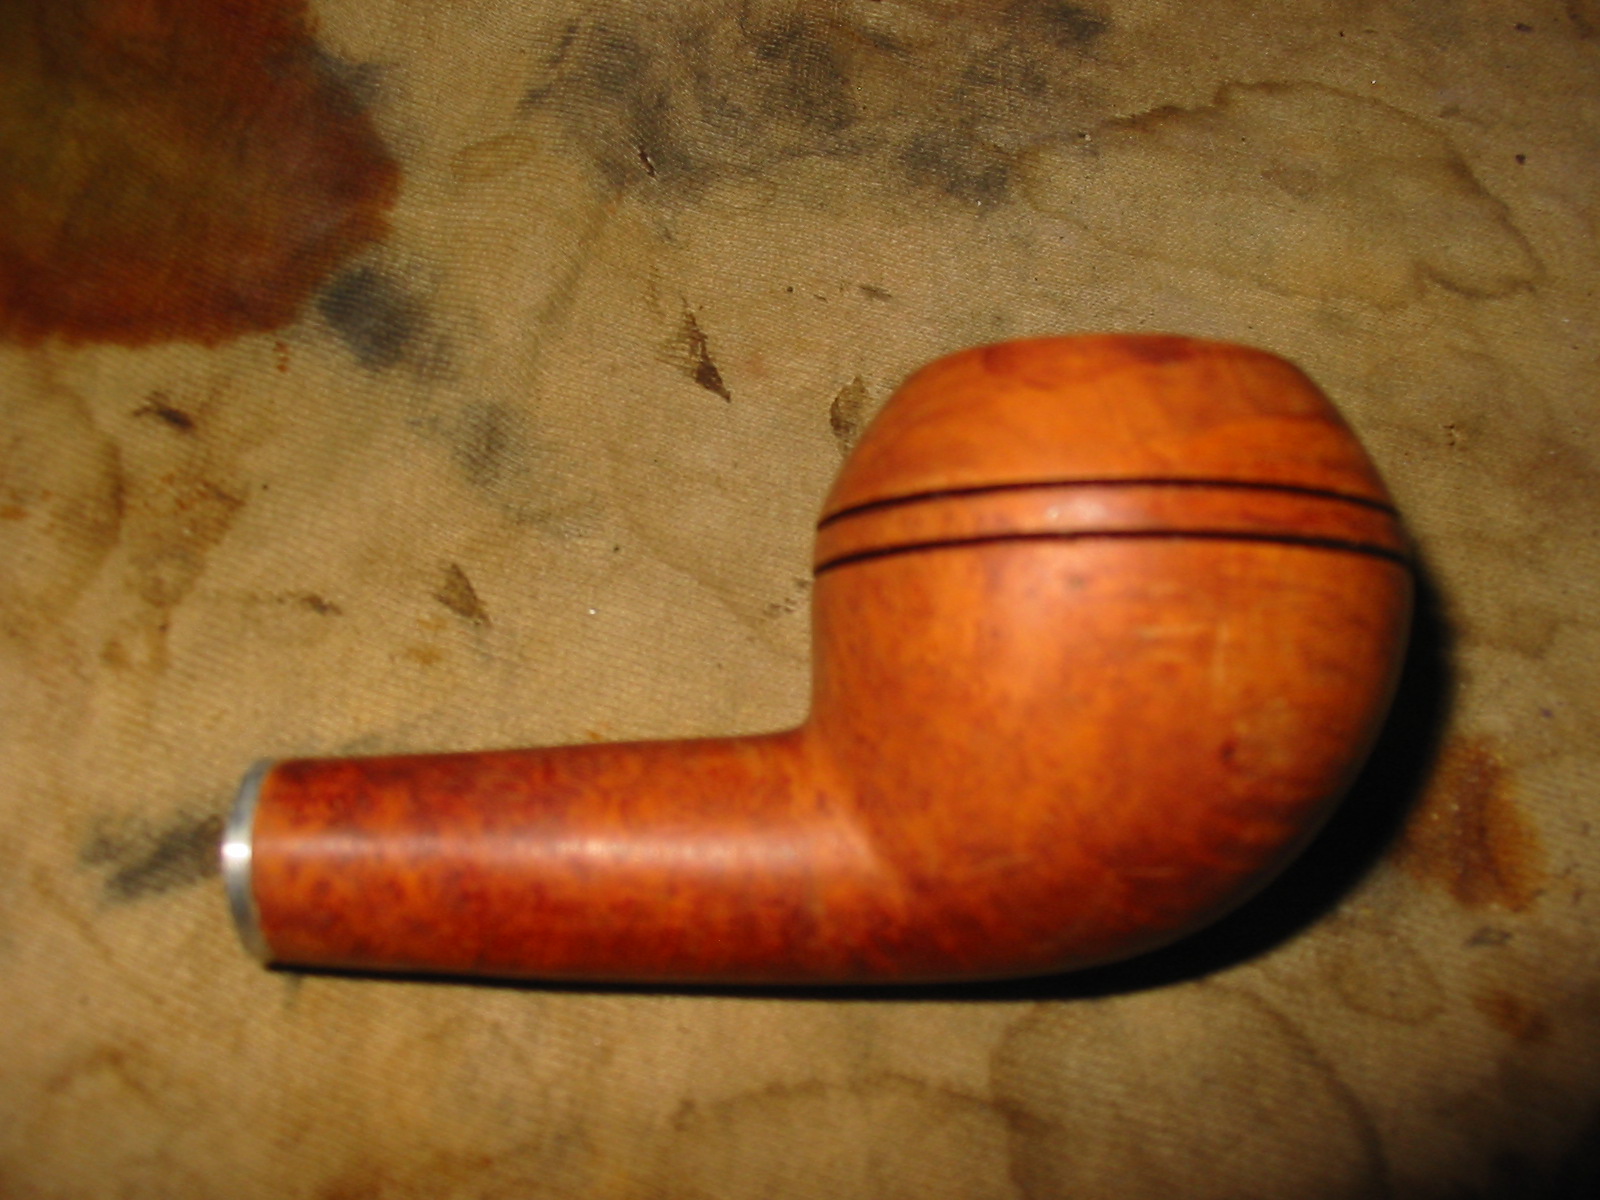
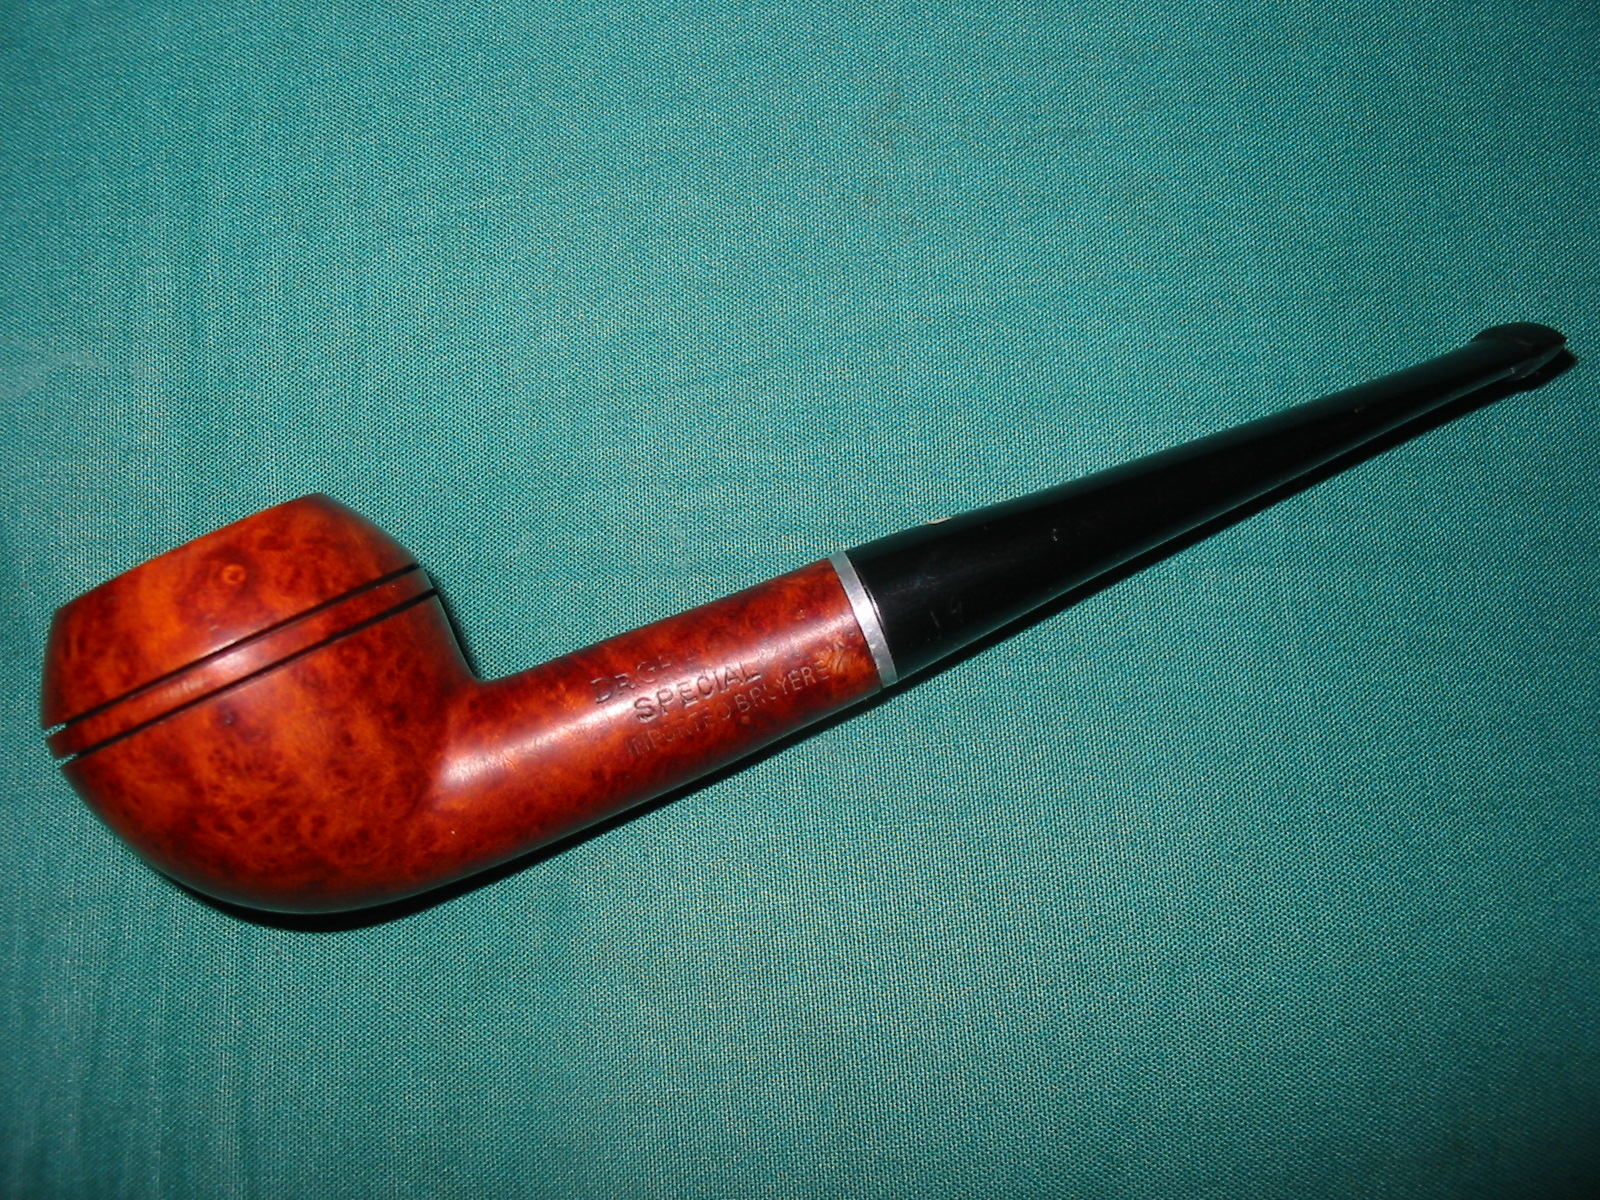
The last of the pipes from the Ebay lot below was the one in the bottom left corner of the photo. It was stamped Dr. Grabow over Special over Imported Bruyere on the left side of the shank. The finish was a varnish or polyurethane coat over the briar. It was bubbling and crackling. There was water damage on the edges of the rim. The briar itself was in good shape with no dents or roughening on the rim. The rim was slightly darkened but no dents or dings. The bowl was slightly out of round from poor reaming but very workable. The stem was a mess with chew marks on the top and the bottom for about an inch up the stem from the button. The stem was made of nylon and not vulcanite. The tenon was a push style and not a screw in stem. There was a shovel like stinger in the end of the tenon. The stem was loose in the shank and there was significant debris and buildup in the shank and in the stem. The second photo below shows the pipe as it was in the pictures from the seller.
pipes1

pipes3

I took it to my worktable this evening and went to work on it. I took the stem out and began to sand on the bite marks on the top and bottom of it. The next series of five photos show the progress of smoothing out the stem by sanding. I began with 220 grit sandpaper and worked up to a medium grit sanding sponge. By the fourth and fifth photo the bite marks are gone and some sanding scratches remain that will need to be worked out with micromesh sanding pads. I recut the edge of the button on the top and bottom with a needle file to clean up the angles. That is also visible in the last two photos. I also removed the stinger and cleaned it with 0000 steel wool and then polished it with micromesh sanding pads.
IMG_2564

IMG_2565

IMG_2566

IMG_2567

IMG_2568

While I worked on the stem the bowl had been soaking in an alcohol bath to help loosen the varnish or urethane finish. My plan was to remove the finish totally and sand and restain the pipe once it was cleaned and sanded.
IMG_2569

IMG_2570

IMG_2571

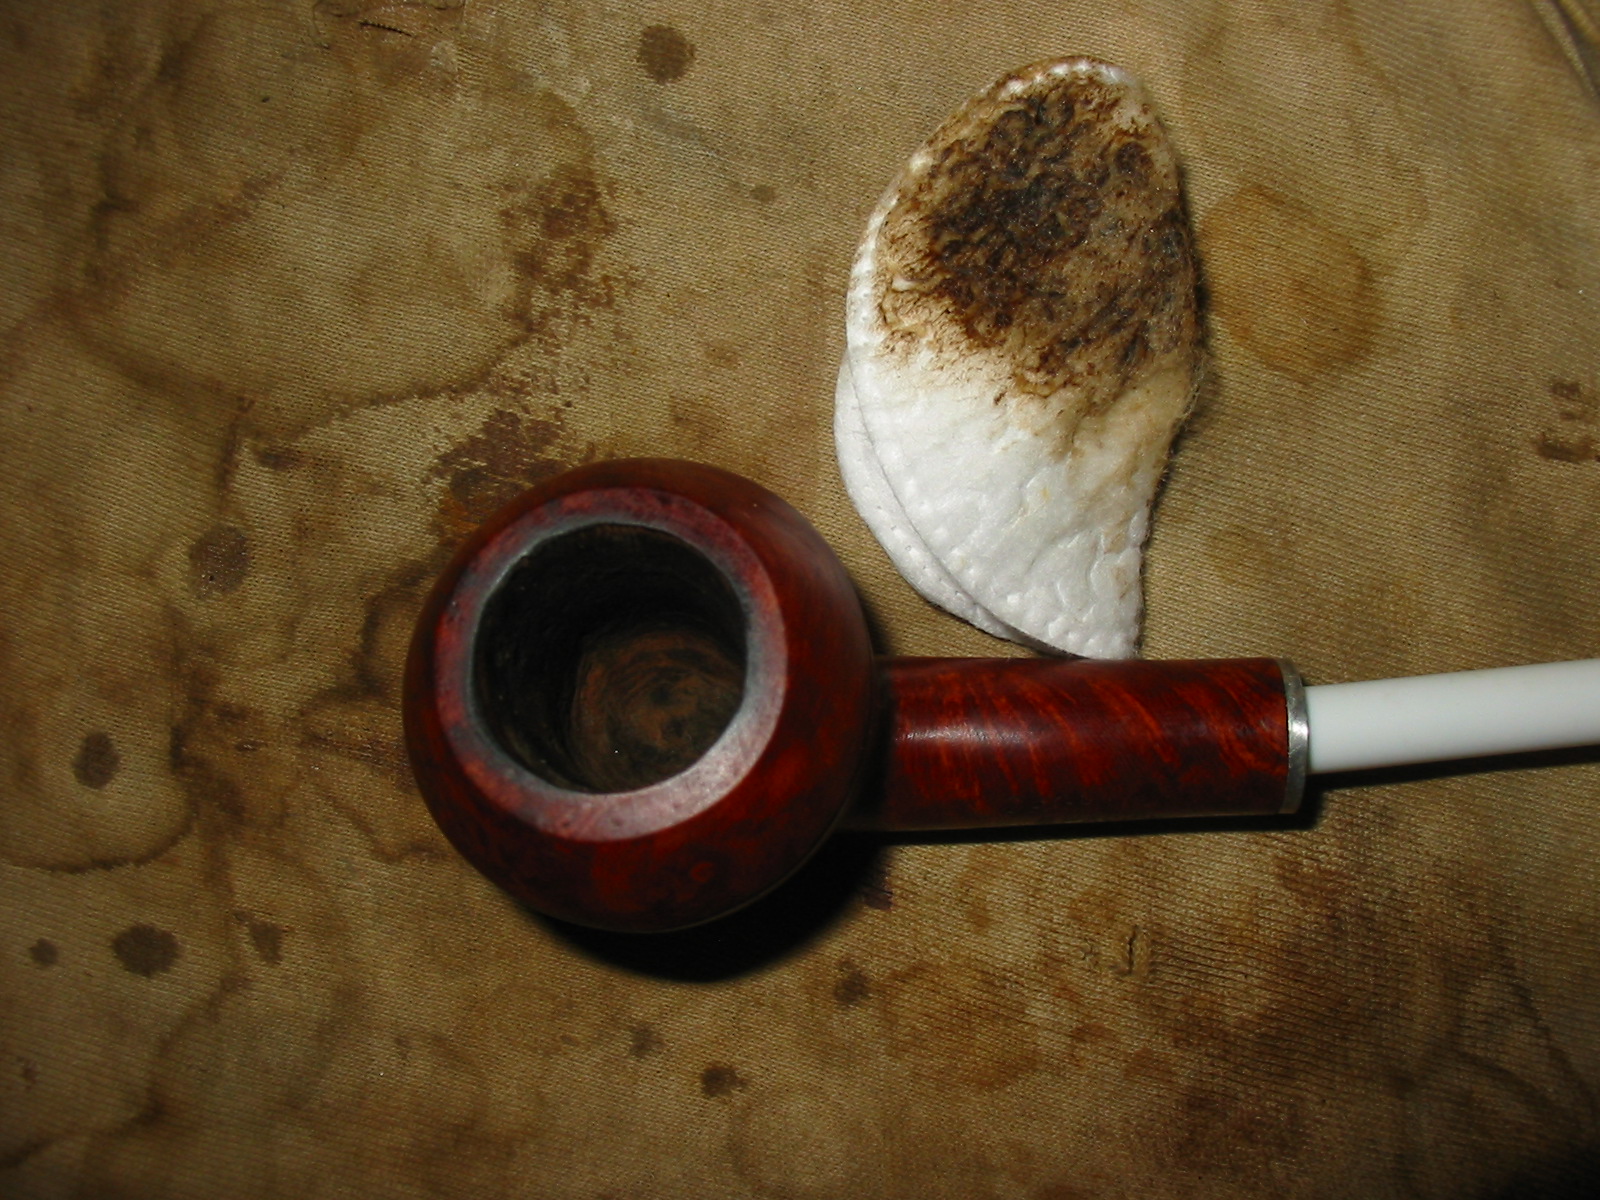
The alcohol bath softened the finish so when I dried it off the finish was cloudy. I have found that with this kind of finish I can use acetone on a cotton pad afterward to further remove the softened finish. The next two photos show the bowl with the finish removed. There is some nice looking birdseye grain coming through. Once the briar was clean I reglued the metal decorative band back on the shank and let it dry.
IMG_2572

IMG_2574

I sanded the bowl with the medium grit sanding sponge and then with 1500-2400 micromesh sanding pads. The next series of four photos are a little out of focus but the cleaned surface of the briar is visible and the grain that was underneath the finish is quite nice. I was also able to remove the water marks/damage that was along the outer edge of the rim and down the side of the bowl in the process of the sanding. I also cleaned out the shank with cotton swabs and Everclear. I did the stem as well and cleaned until the cleaners and swabs came out clean and white.
IMG_2575

IMG_2576

IMG_2577

IMG_2579

While the glue dried I worked on the nylon stem. I was able to remove all of the tooth damage. I wet sanded it with 1500-2400 micromesh sanding pads and removed the majority of the scratches left behind by the sanding sponge. I continued to rework the stem with these sanding pads until all of the scratches were gone and the stem began to take on a shine. (Photos 1-2 below show a top and bottom view of the stem).
IMG_2581

IMG_2582

I dry sanded with the remaining grits of micromesh sanding pads from 3200-12,000 grit. The stem took on its original shine. The next series of four photos show the stem as it moves through each level of polishing.
IMG_2583

IMG_2584

IMG_2585

IMG_2586

I wiped the bowl down a final time with acetone on a cotton pad to remove the sanding dust and grit. I dried it carefully and then it was ready to stain. I decided to use a linseed oil and medium walnut stain on this pipe. I felt it would make the grain show well and give the bowl a good protective coat. I applied the stain and wiped it off, reapplied and wiped it until I got the coverage I wanted on the bowl. The next series of four photos show the stained bowl.
IMG_2587

IMG_2588

IMG_2589

IMG_2590

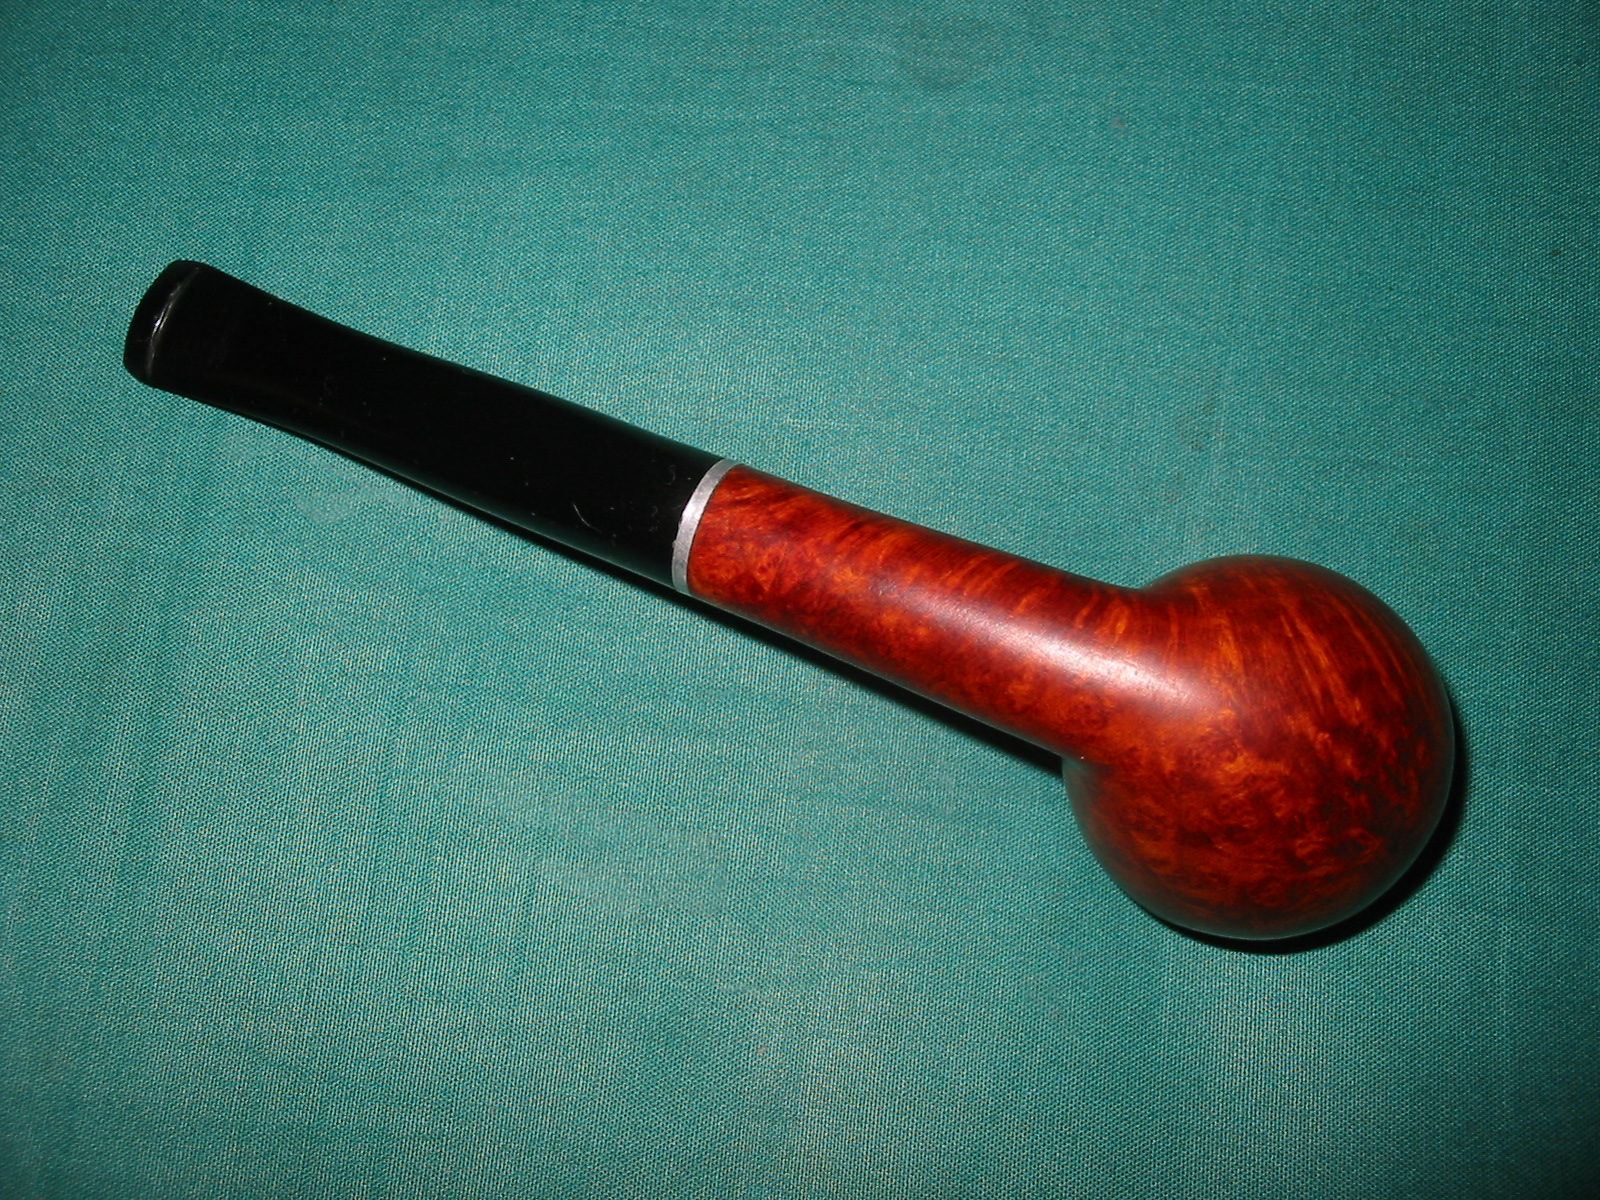
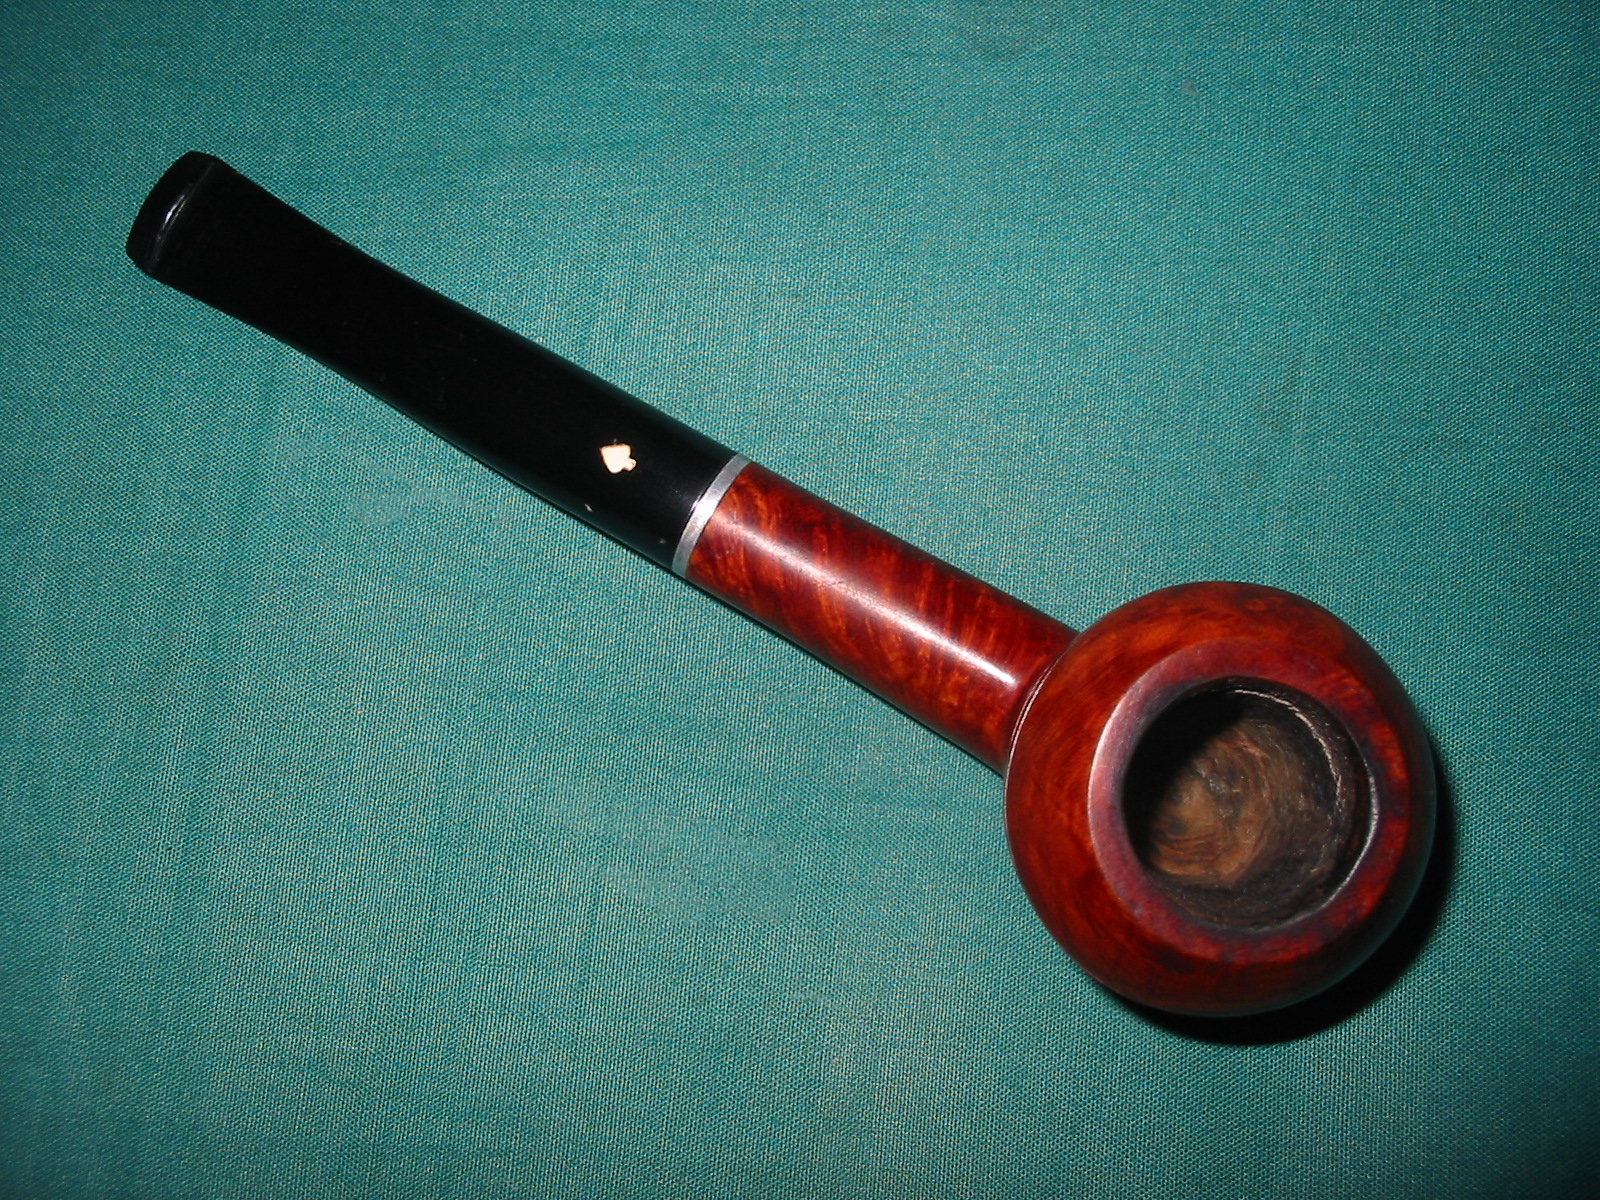
I buffed the bowl and shank on the buffing wheel lightly with Tripoli and then with White Diamond to give it a shine. I then buffed it with carnauba wax and gave it several coats to protect the wood. I did not buff the stem on the wheel as the nylon heats too quickly on the buffing wheel and melts. I have made a mess out of more than one nylon stem. It does not seem to matter how light a touch I use the wheel and the nylon stems do not work well together. I gave the stem a coating of Obsidian Oil and rubbed it into the stem. I then hand applied several coats of carnauba wax and hand buffed the stem with a shoe brush and a soft cotton cloth. The finished pipe is pictured below. All in all it is not a bad looking old Grabow. It is clean and should smoke very well.
IMG_2591

IMG_2592

IMG_2593

IMG_2594

A Canadian Pipe Maker I had never heard of: Leonard Payne Pipes


Blog by Steve Laug

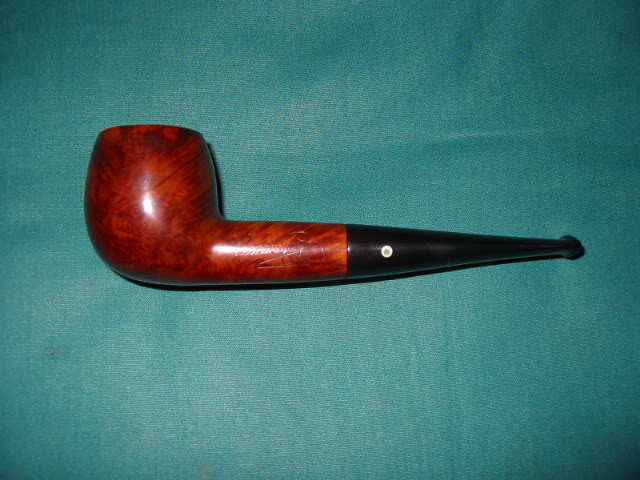
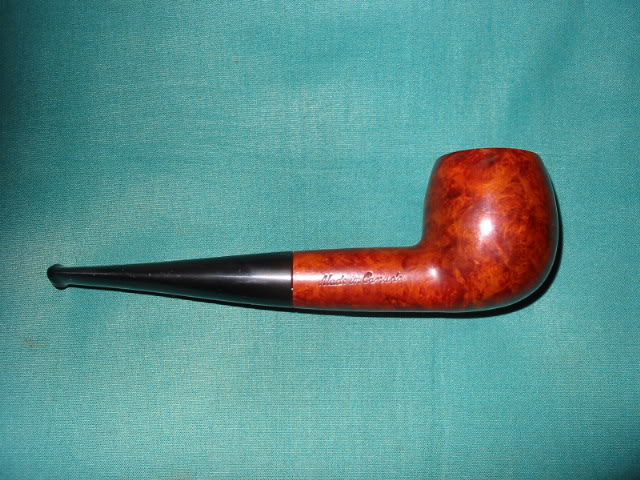
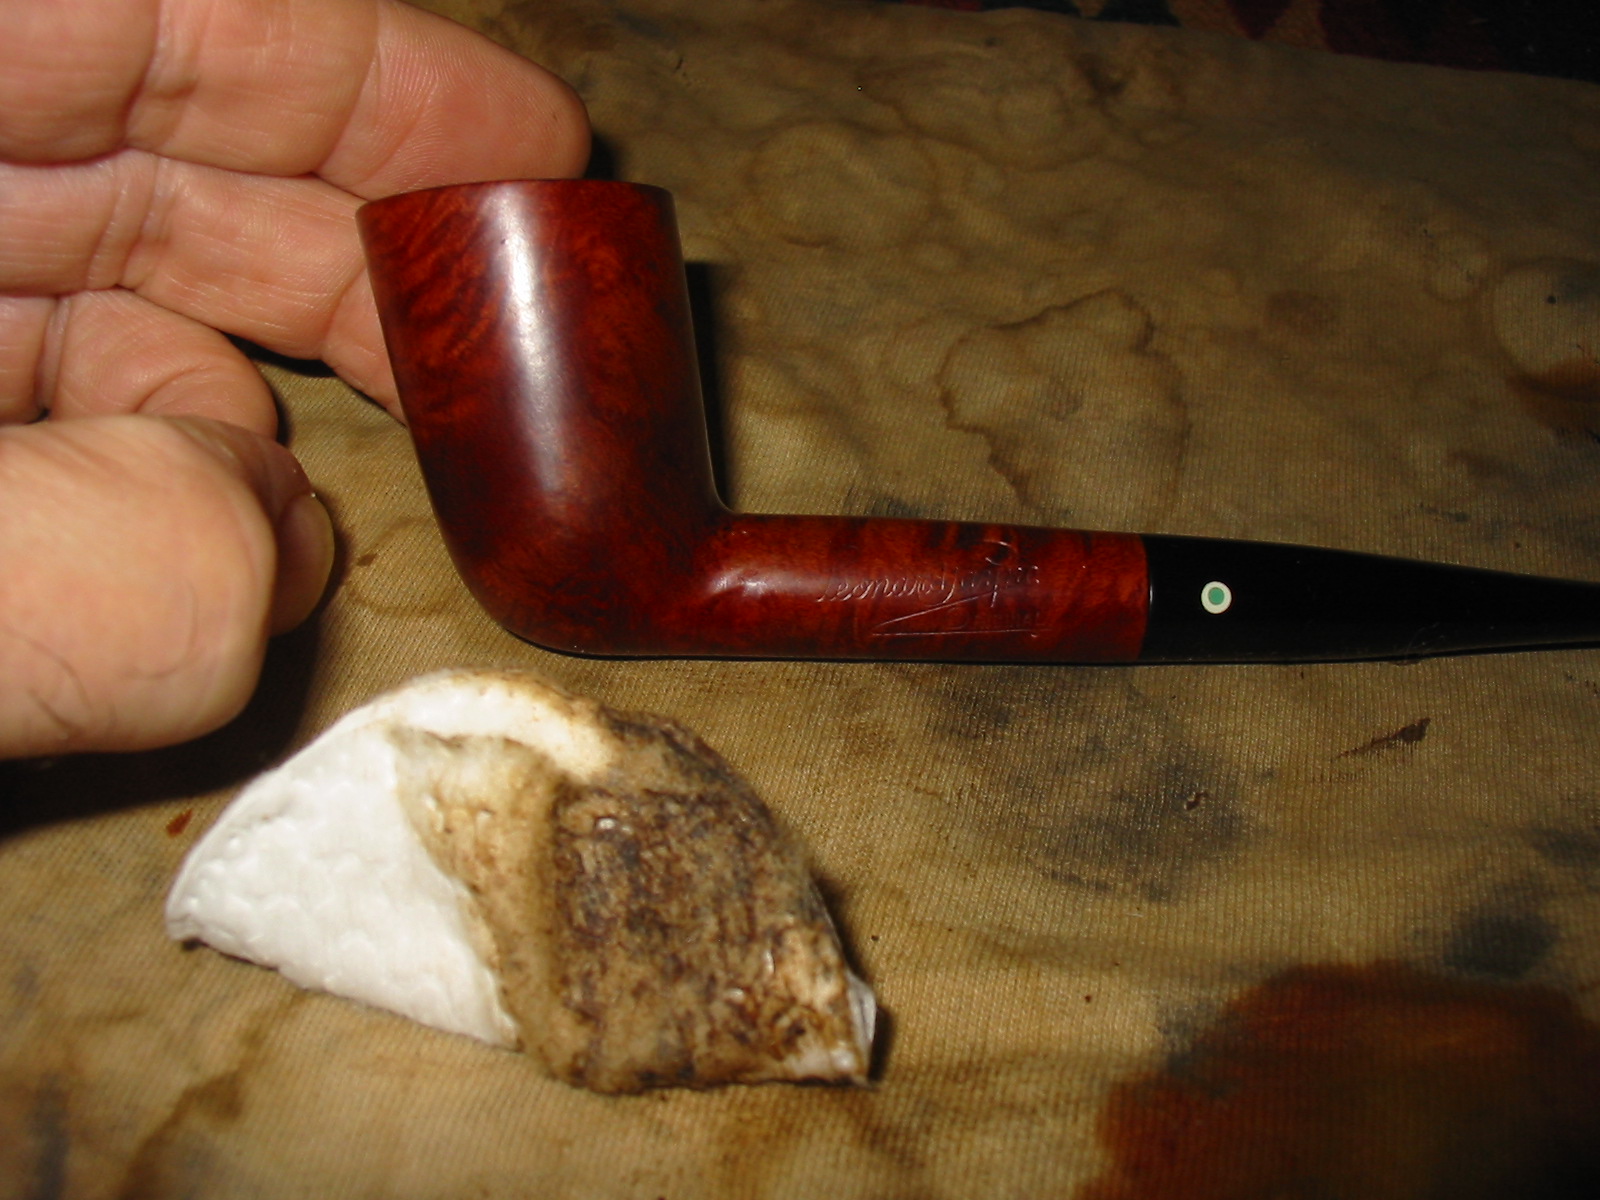
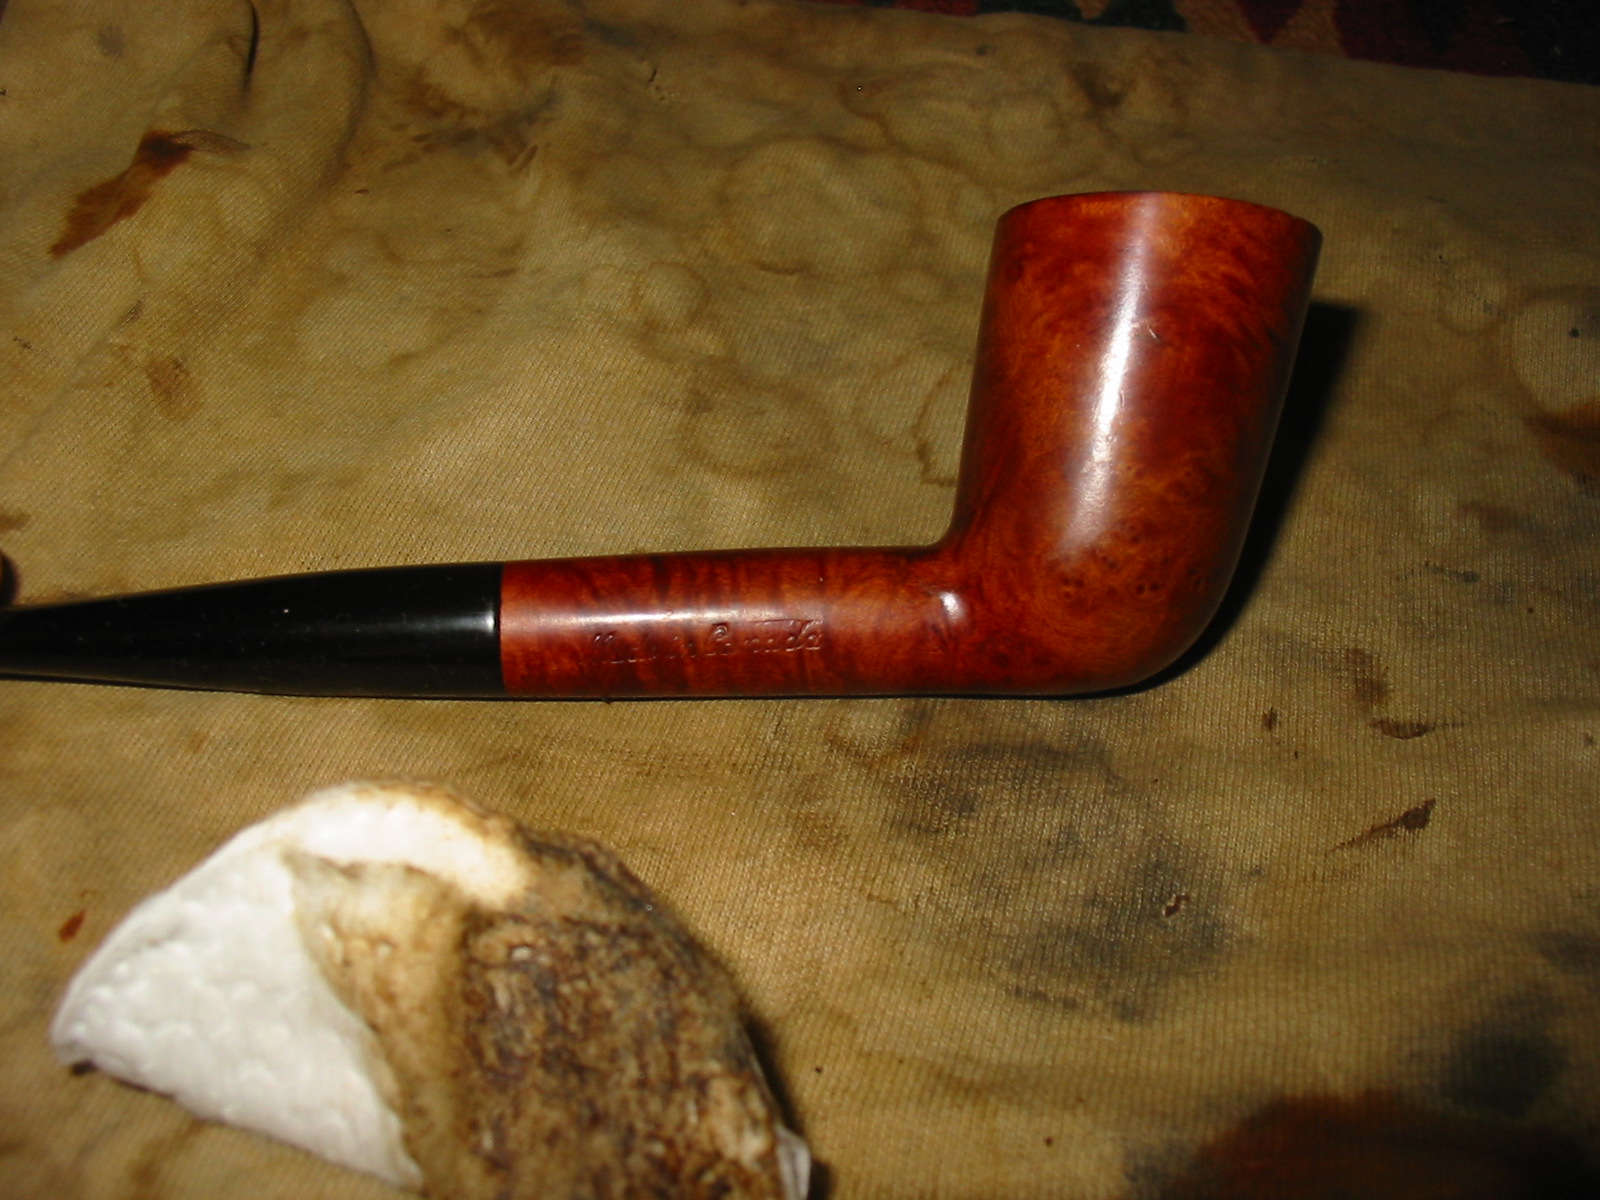
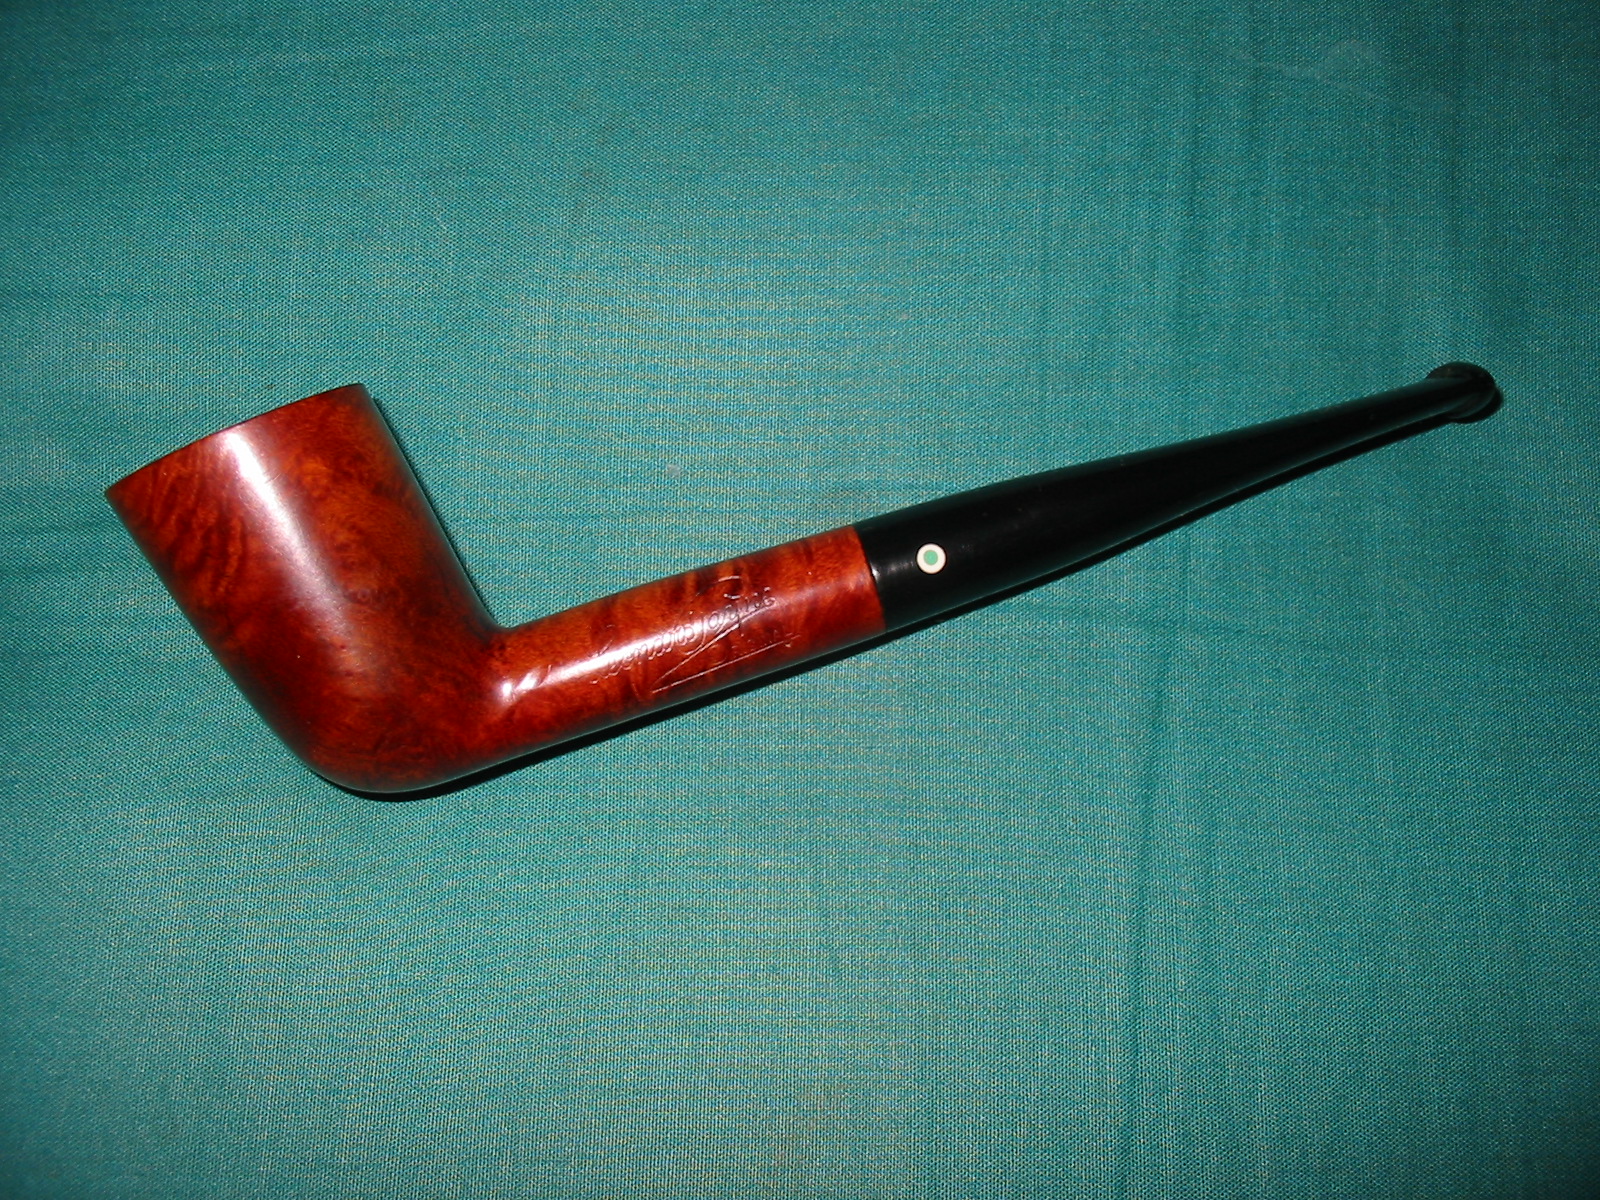
On a Saturday not too long ago I went on a pipe hunt in Vancouver. I began at the Vancouver Flea Market and worked my way back toward my home. I stopped a quite a few antique shops and “malls” in my hunt for old pipes. I found a few at the flea market and several old timers at the shops that I left behind. However, one pipe caught my eye. It was not a brand that I had seen before or heard of.It was a nicely shaped thick shanked apple that needed very little work. It had a bit of tarry build up on the rim, some tooth chatter on the stem and minor oxidation. It grabbed my attention. The stamping was Leonard Payne on the left side of the shank and Made in Canada on the right side. The stem bears a green dot in the centre of a white circle on the left side of the stem. I decided to do a bit of research on the web and found the following advertisement that highlighted the pipes.
Payne Pipes

Further digging with Google came up with this short note from alt.smokers.pipes forum. It was written by Mike Glukler of Briar Blues. I quote it below in full. (https://groups.google.com/forum/#!topic/alt.smokers.pipes/RrICLiVgE2o) “Leonard Payne was based in B.C. for many years. He came to Canada from England. He had shops in Surrey, B.C. and Kelowna, B.C.Interesting fellow. Gruff as the day is long. When you bought a pipe it was handed to you in a paper bag. No sock, no box. Most of his pipes carried a “carburetor” system at the shank / stem junction.Another Payne idea was his shanks. Almost all his pipes were two pieces. He’d turn the bowl and shank, then cut off the shank and reattach with glue (not always with the same piece of briar, so many did not match grains). His thinking was that the shank being the weakest link, if cut and glued would never break and thus “correcting”the weakest link.You may find his pipes on E-Bay on occasion listed as a Len Cayne. The P in his stamping looks more like a fancy upper case C.”

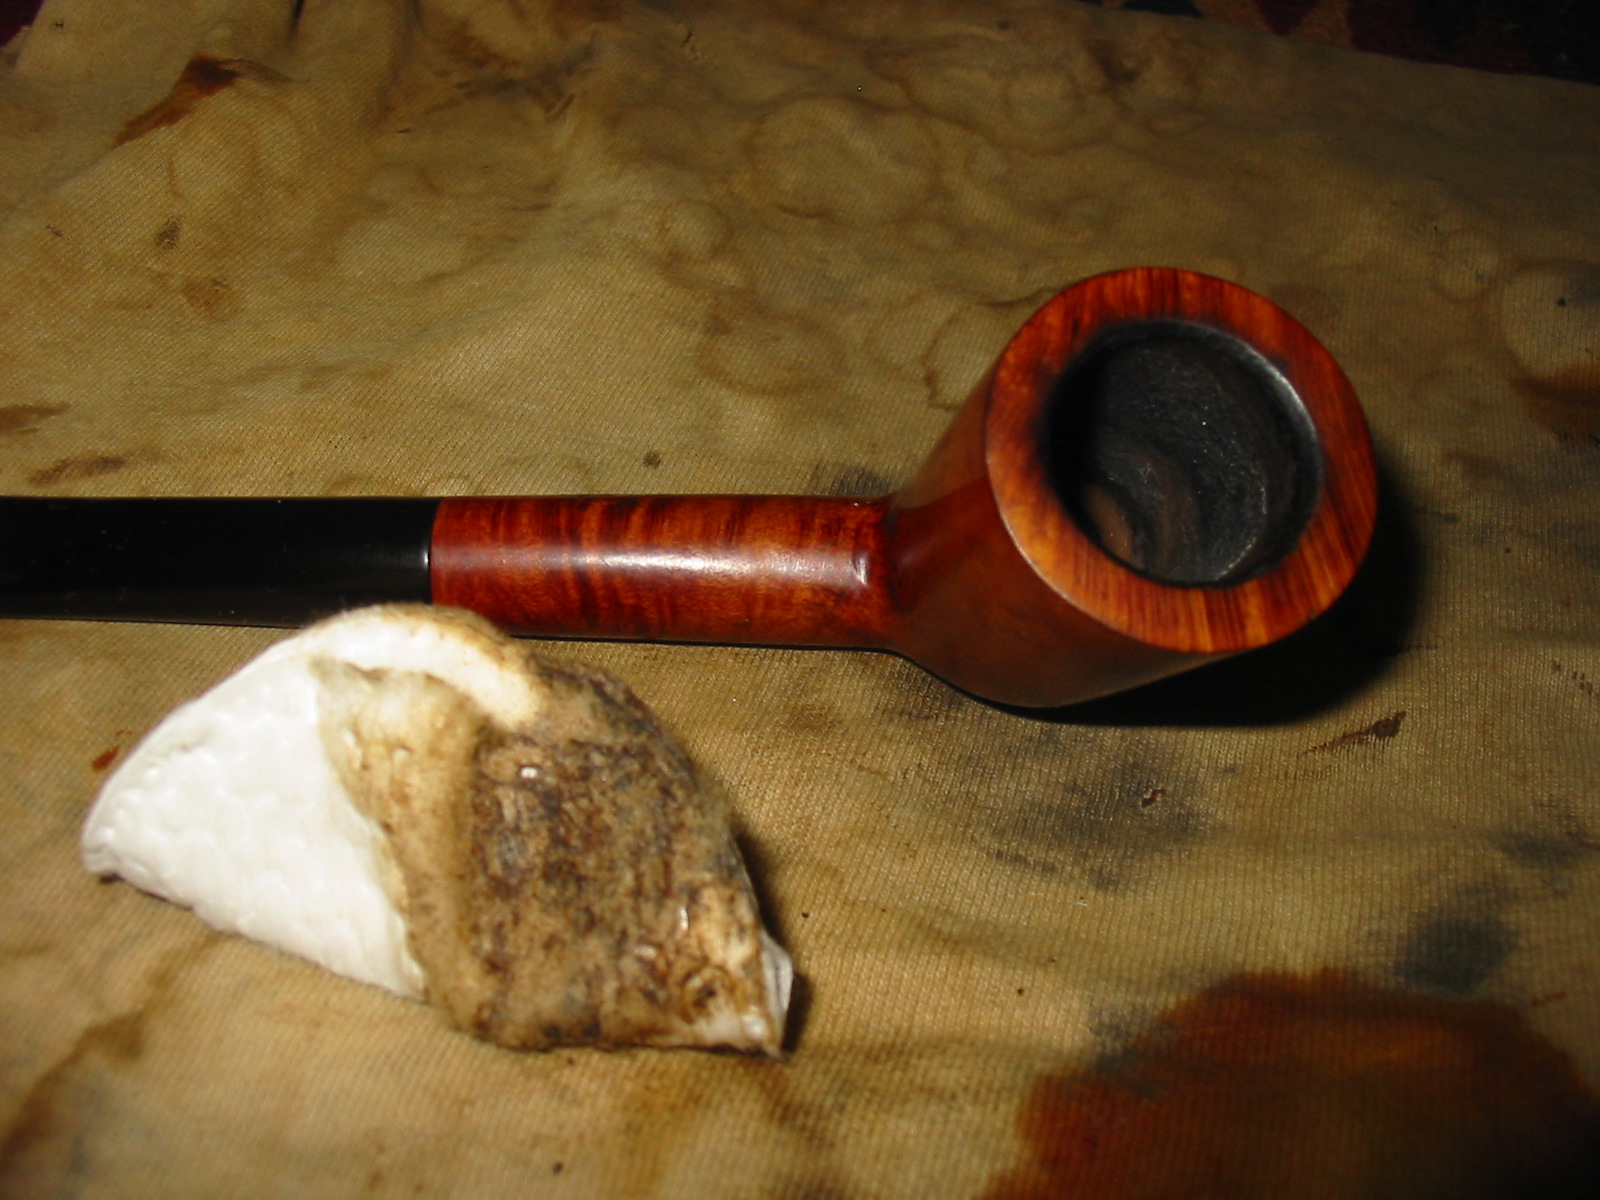
That is the extent of information that I could find on the pipe. It was a Canadian made pipe carved by an eccentric BC pipe carver. The one example I purchase was a single piece of briar without the broken and reglued shank that Mike mentions above. It is a light weight piece of briar and the fit of the stem and shank is very well done. The gap between the end of the tenon and the end of the mortise is very small – just enough to allow for expansion. The finish was very good and the stain well done.

My clean up on the pipe was very simple. I sanded out the tooth chatter on the stem near the button and polished the stem with micromesh sanding pads from 1500-12,000 grit. I then took it to the buffer and used red Tripoli and White Diamond on the buffing wheels to further polish the stem. I reamed the bowl and cleaned the tars off the rim and polished it as well with White Diamond. I am careful when buffing the shank area where the stamping is so that I do not harm the stamping. Once I was finished with the polishing I gave the bowl and the stem several coats of carnauba wax. I polished the pipe with a soft flannel buffing pad. The finished pipe is pictured below.
Payne1

Payne2

Payne3

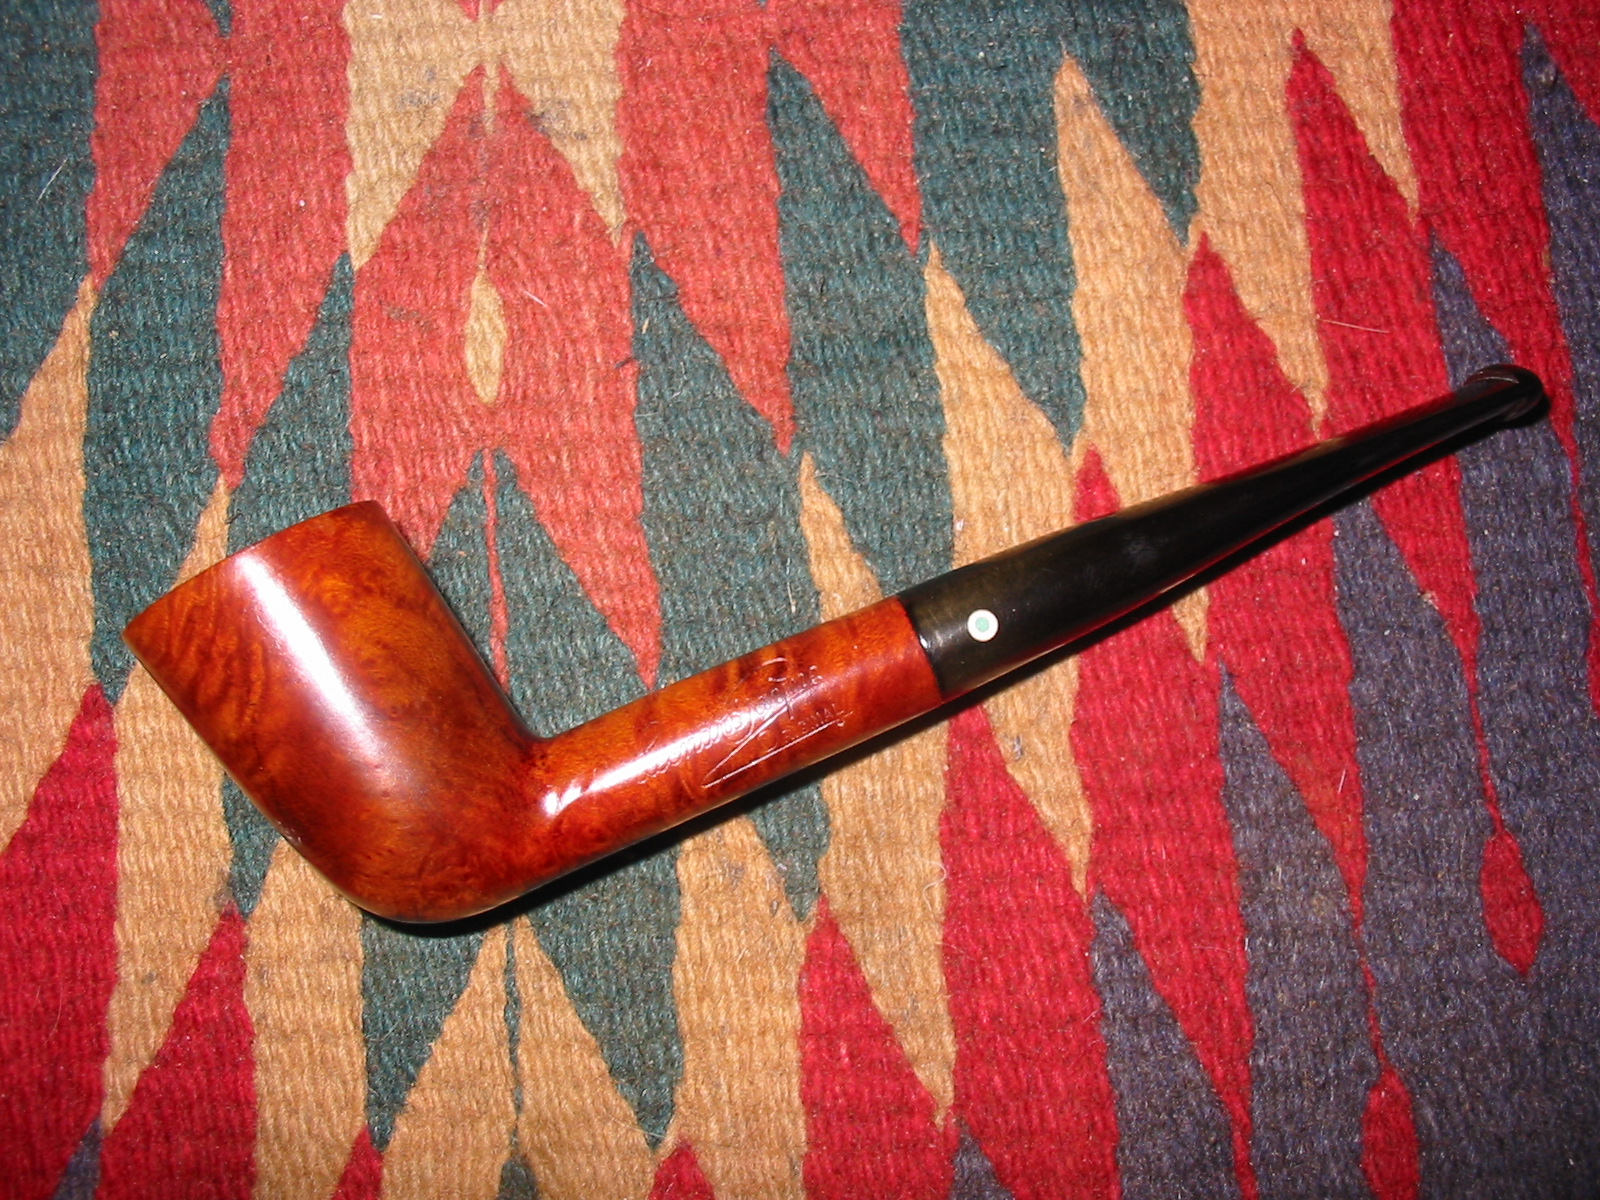
Fast forward several months to a conversation had with a friend in Ontario via email. She had come across several Leonard Payne pipes and done the same research I did. She found the same information I did and sent me photos of the three pipes she found. We talked for a while and I offered to restem a pipe of hers. She sent me the pipe for work and then also the nice little Leonard Payne Zulu/Dublin pictured below.

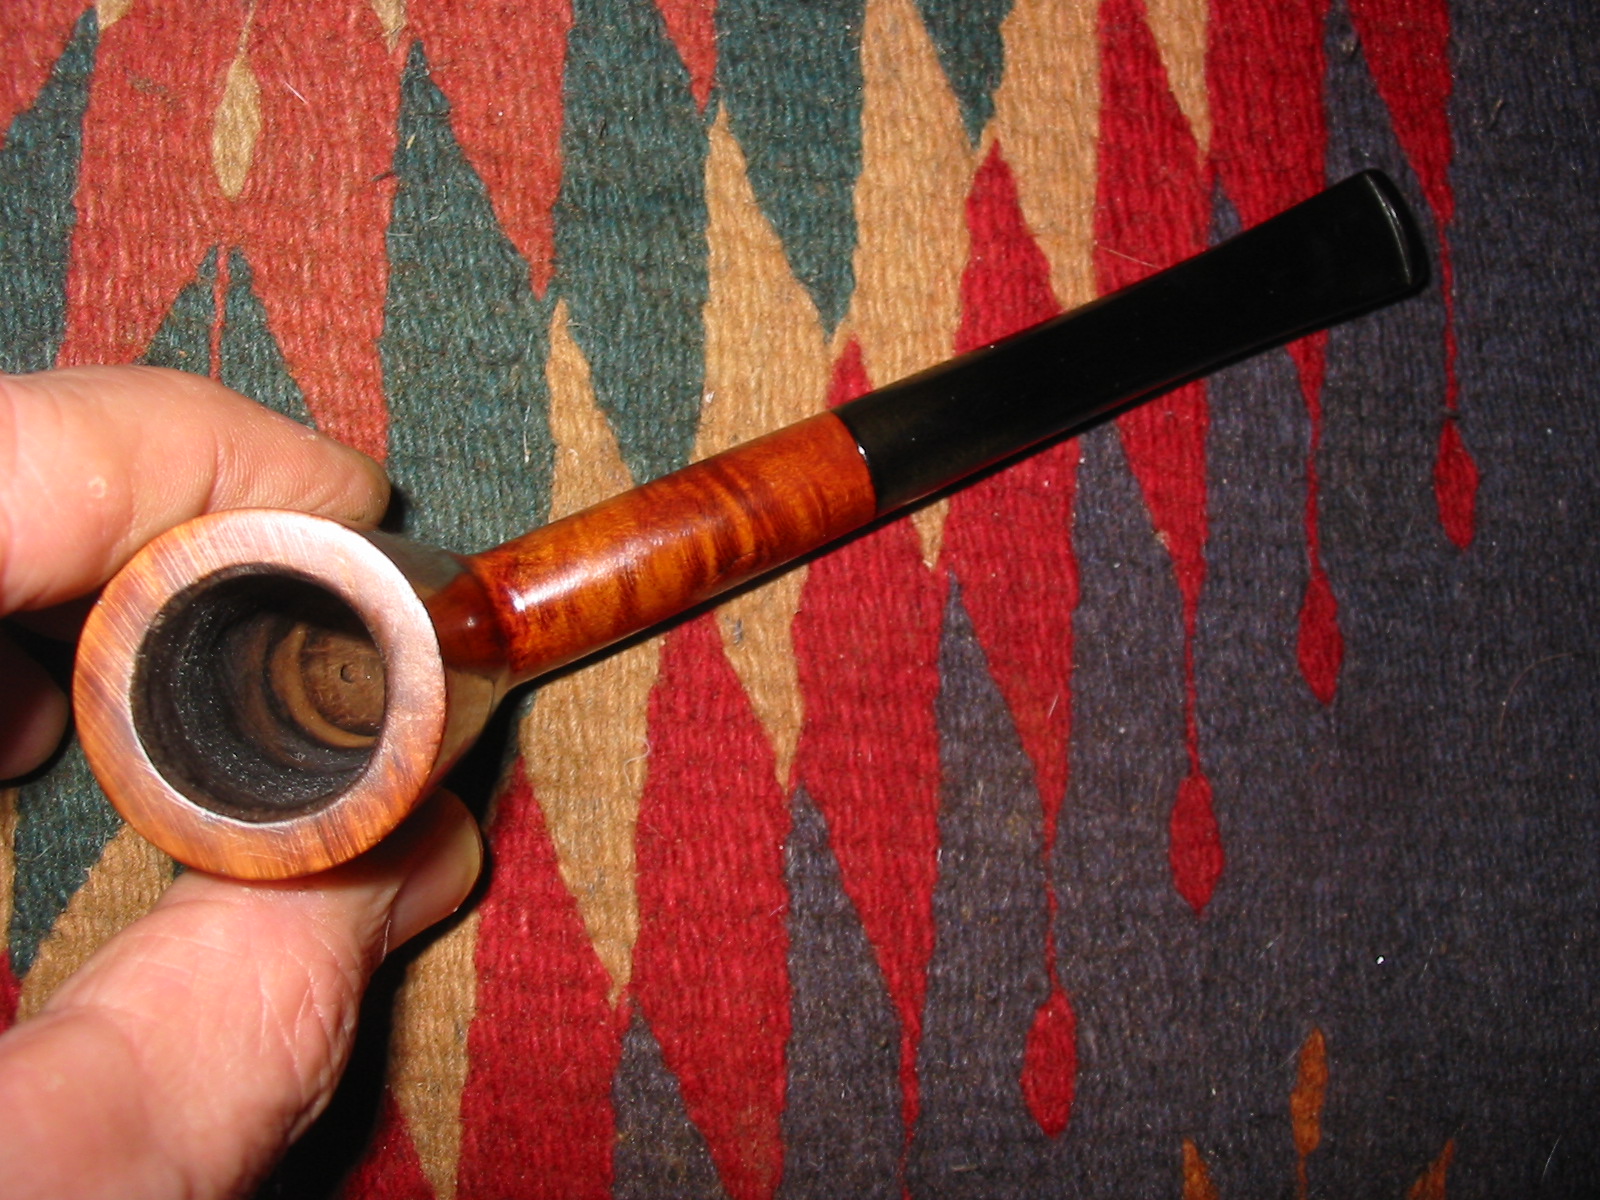
She said that it needed some TLC but it was really in quite good shape. The finish was clean, though somewhat spotty. There were very few scratches or dings. There was a scuff mark on the bottom of the shank next to the stem and the stem was slightly scuffed in the same area. The rim was also clean. The bowl was already reamed and relatively clean. The bowl and shank smelled of Latakia but the pipe really seemed to be hardly smoked and certainly not broken in to the bottom of the bowl. The stem had some ripples in the surface near the button and in those were the remnants of tooth marks. The shoulders of the stem at the stem/shank junction were slightly rounded from sanding or buffing with the stem off the pipe. There were two small spots of oxidation around the logo.
IMG_2520

IMG_2521

IMG_2522

IMG_2523

I sanded the stems and shank with a fine grit sanding sponge and used a sanding block to reduce the rounding to the shoulders of the stem. I then sanded the stem with micromesh sanding pads from 1500-12,000 grit to polish the vulcanite. I rubbed stem down with Obsidian Oil and let it soak into the surface. Once it was dry I buffed it with White Diamond and then carnauba wax. The ripples in the stem are gone and the oxidation around the logo is also gone. My Black and Tan Cocker Spaniel decided to sit and “help” me this morning. He has learned that I generally have some dog chews at the work table but he gives me the illusion that he is really interested in what I am doing!
IMG_2524

IMG_2525

IMG_2526

IMG_2527

I set the stem aside and worked on the bowl. I found that though the finish was clean it was faded and spotty in places. I decided to give it a coat of medium walnut aniline stain mixed with linseed oil to even out the finish and give it a shine. I applied the stain with a cotton pad and then buffed it by hand with a cotton cloth when it was dry.
IMG_2528

IMG_2529

IMG_2530

I reinserted the stem and gave the entire pipe a buff with White Diamond and then gave it several coats of carnauba wax. I finished by buffing the entirety with multiple coats of carnauba wax. The finished pipe is pictured below. This nice little pipe is cleaned, restored and ready to smoke. It joins the other Leonard Payne pipe in my collection.
IMG_2531

IMG_2532

IMG_2533

IMG_2534

Restoring An Interesting Piece of Pipe History – An Art Deco C.B. Weber Streamliner


Blog by Steve Laug

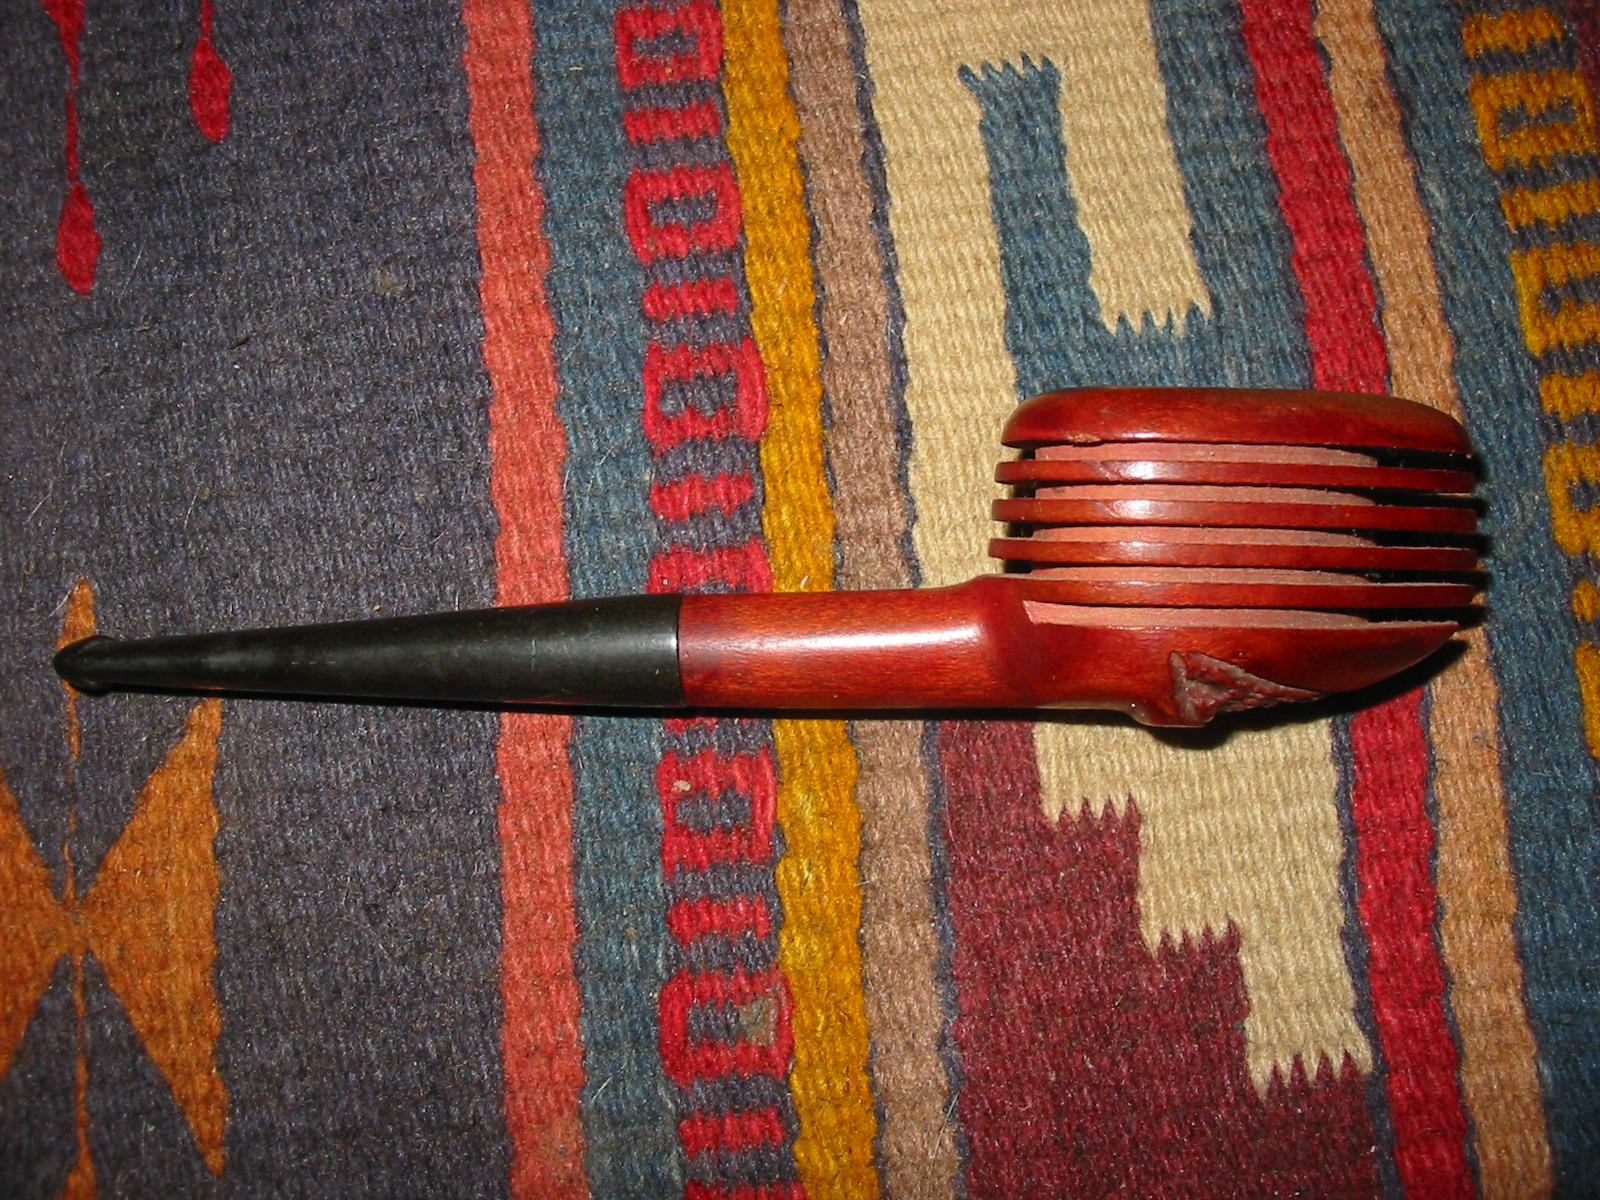
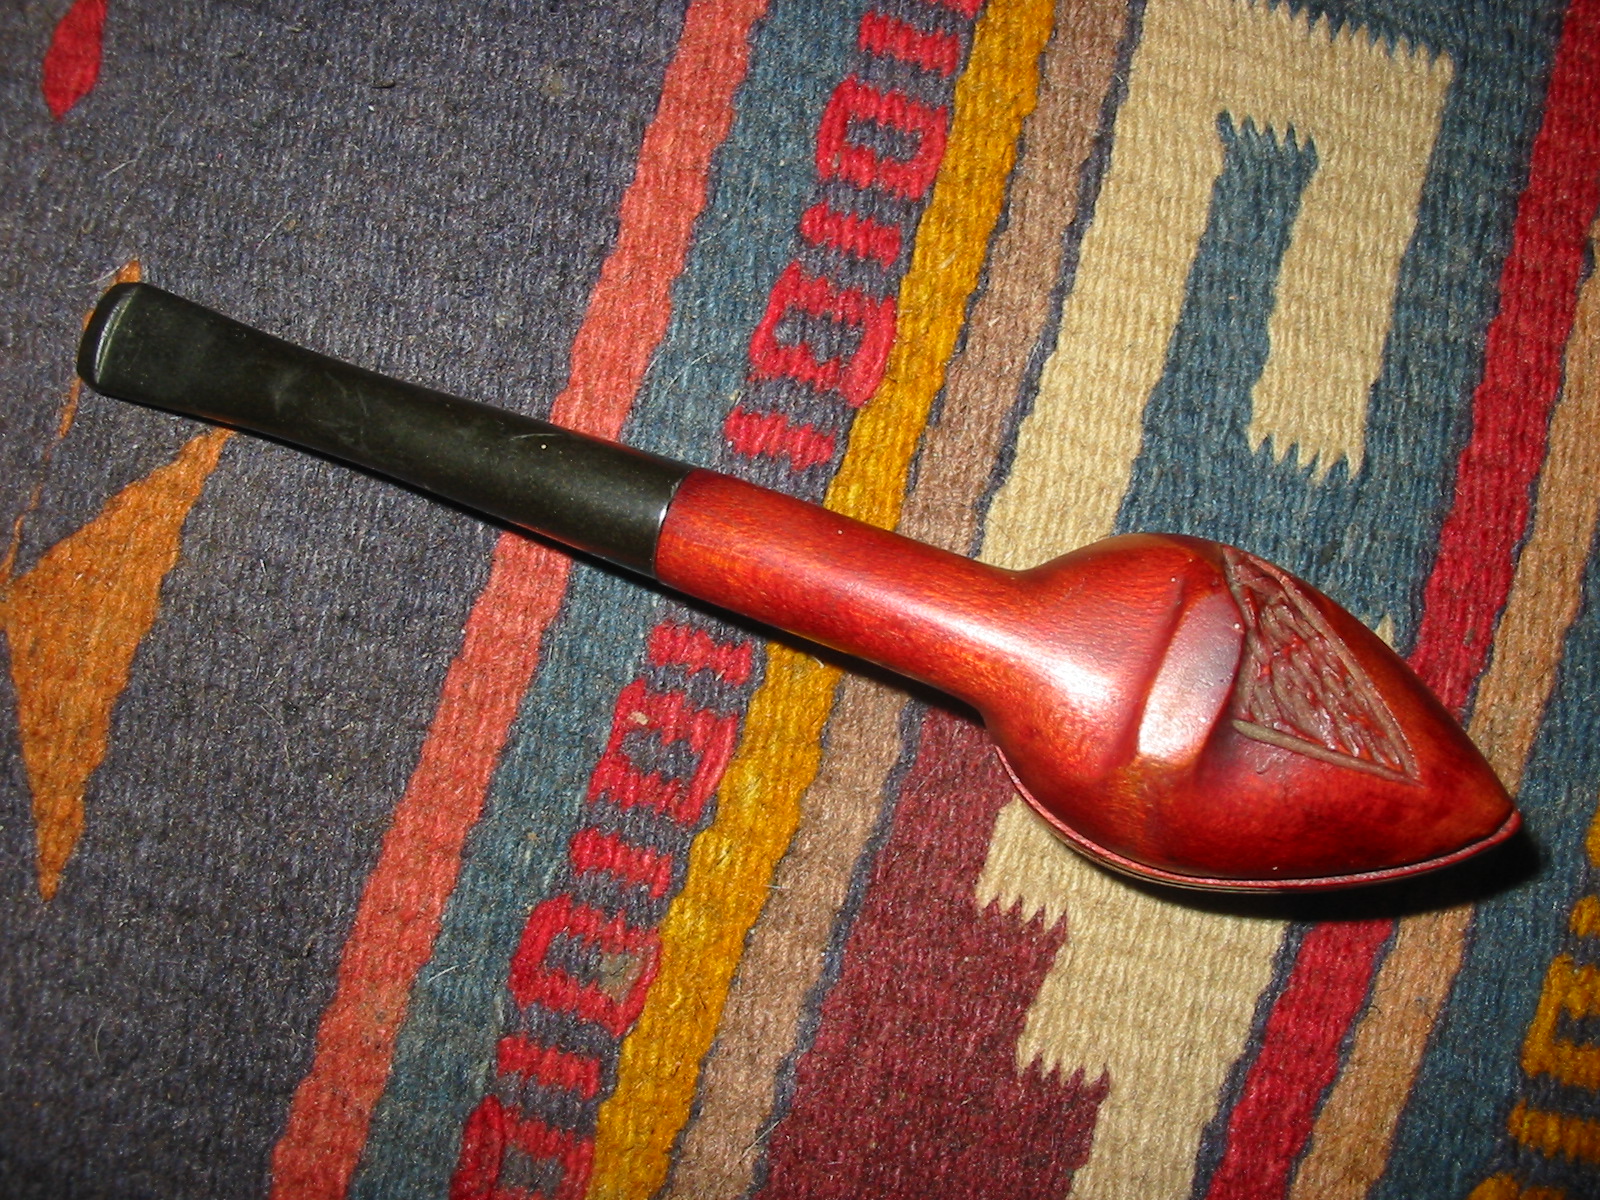
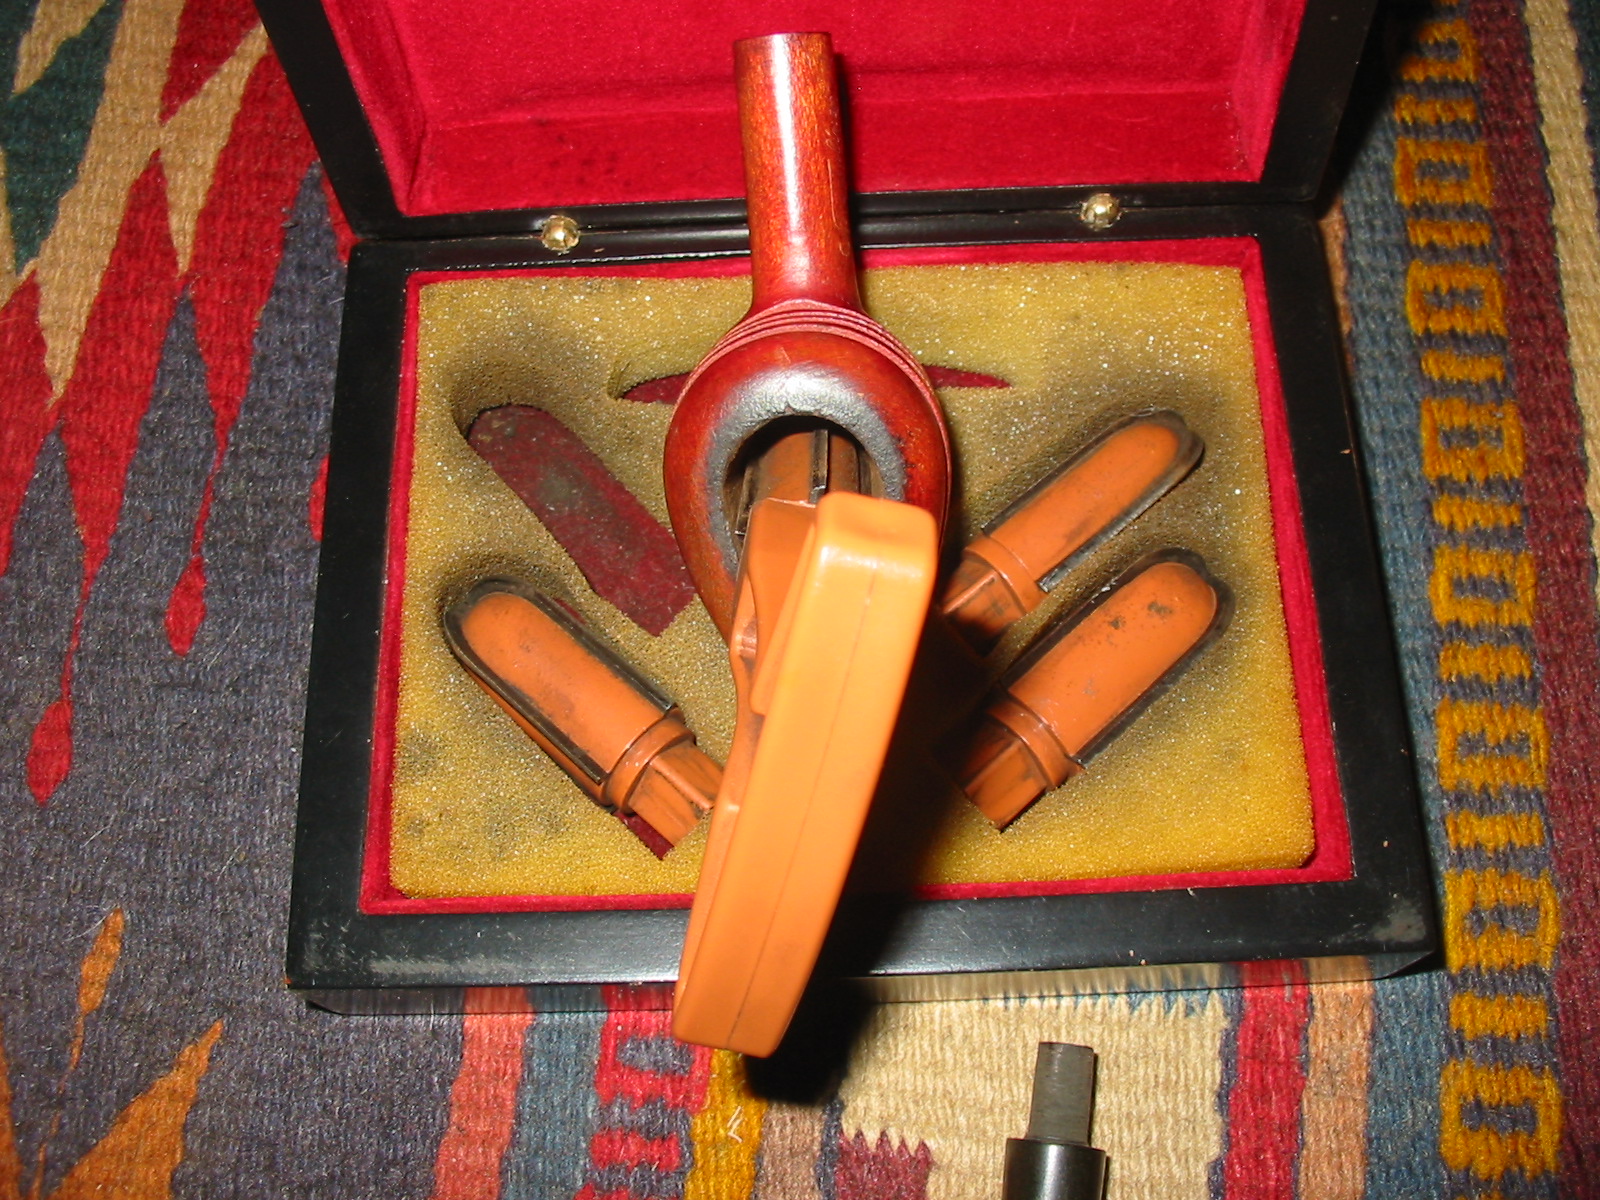
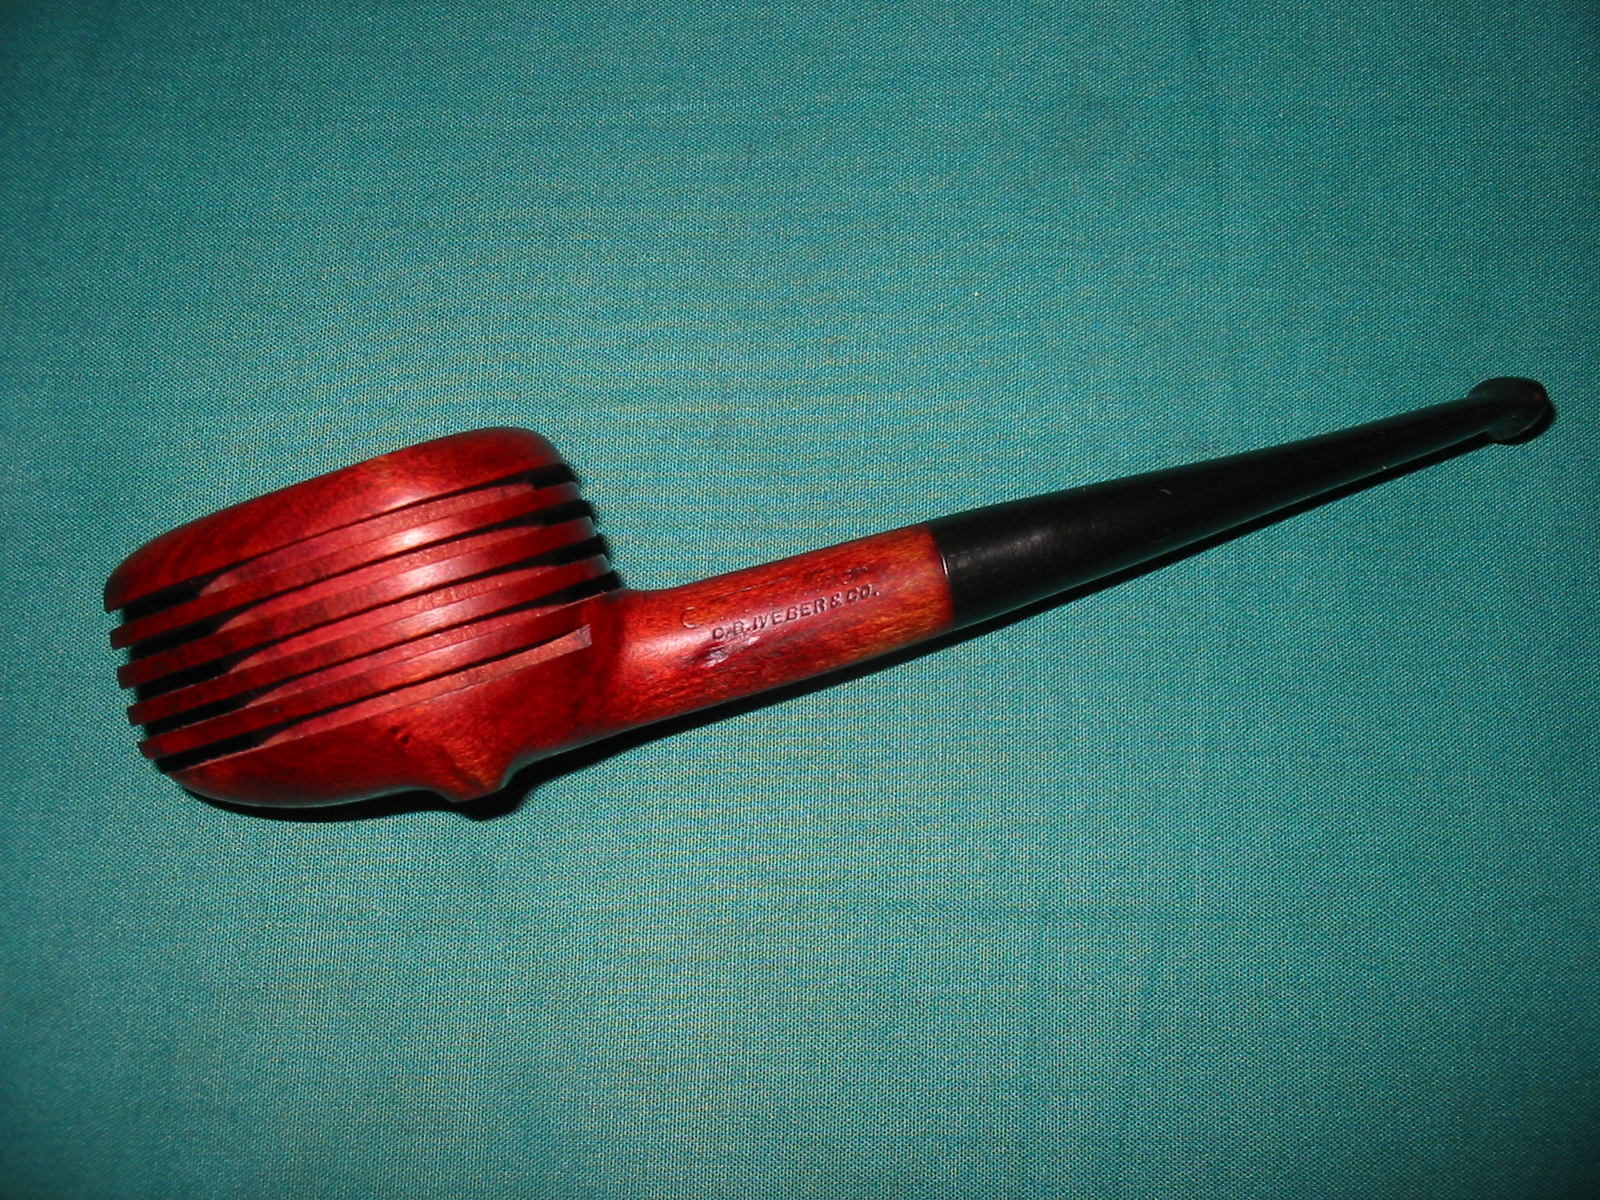
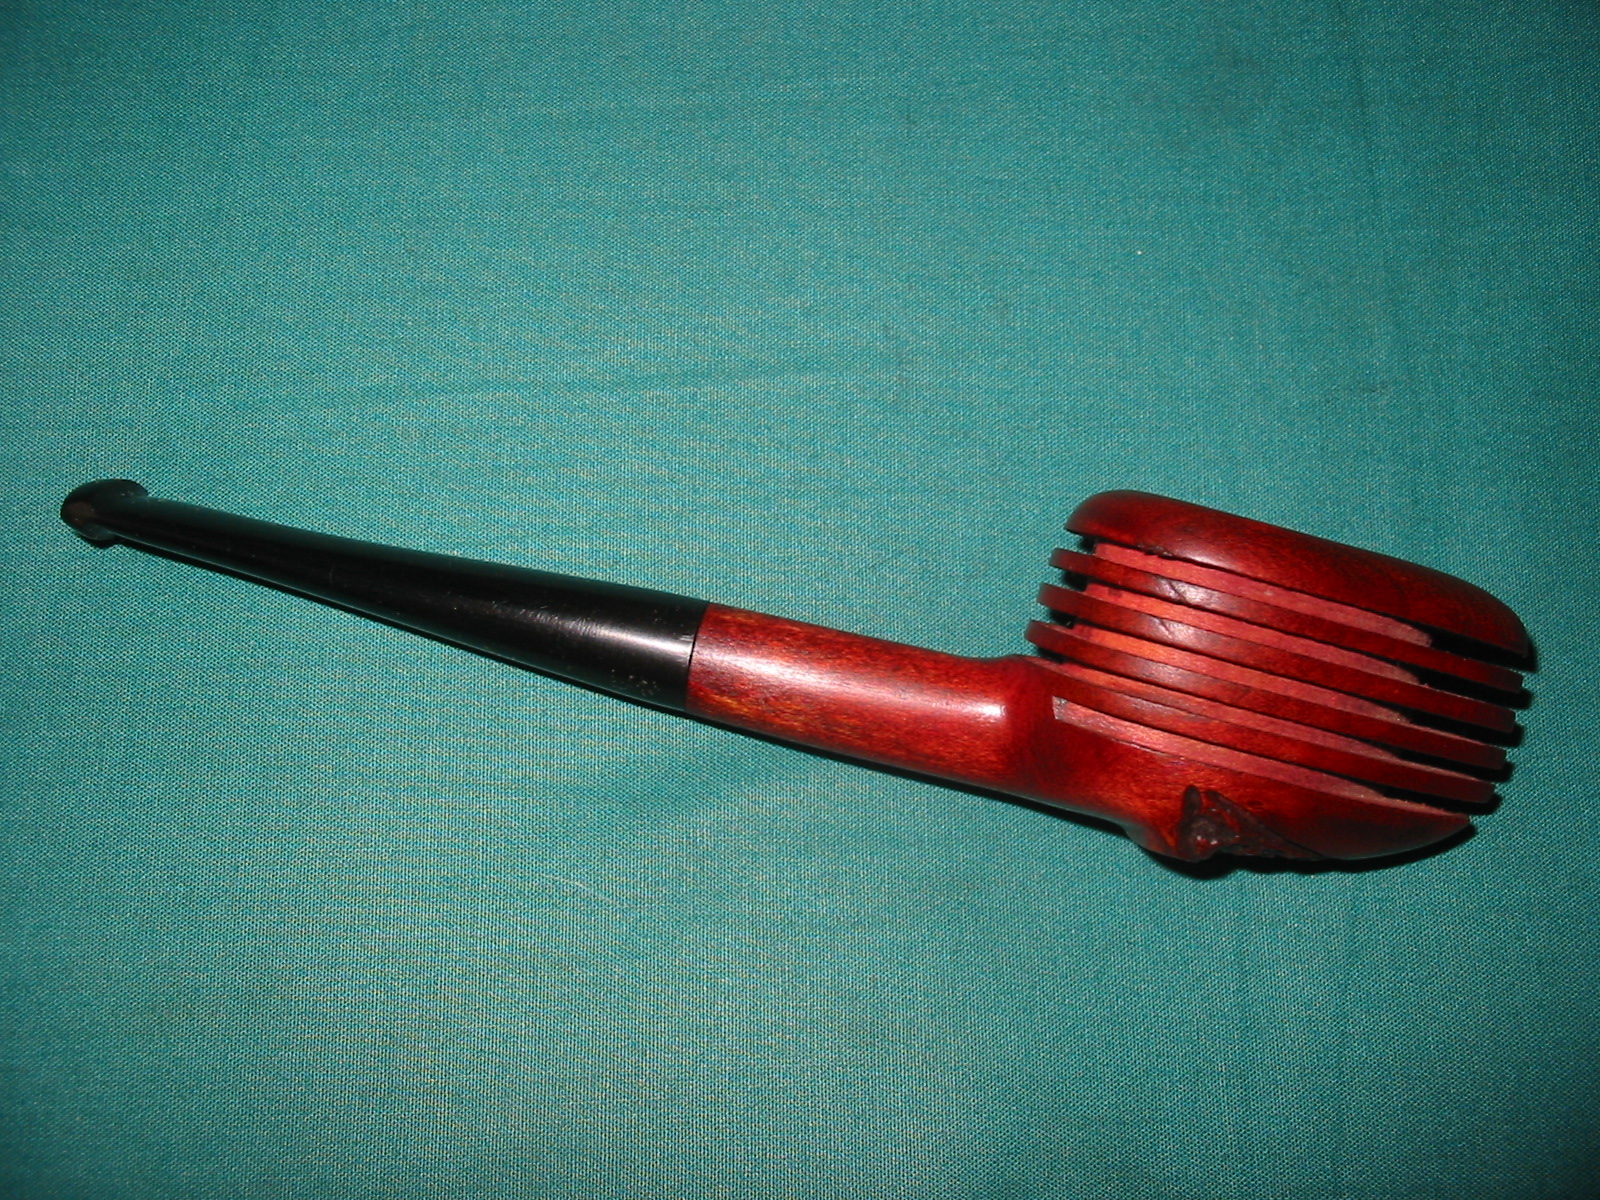
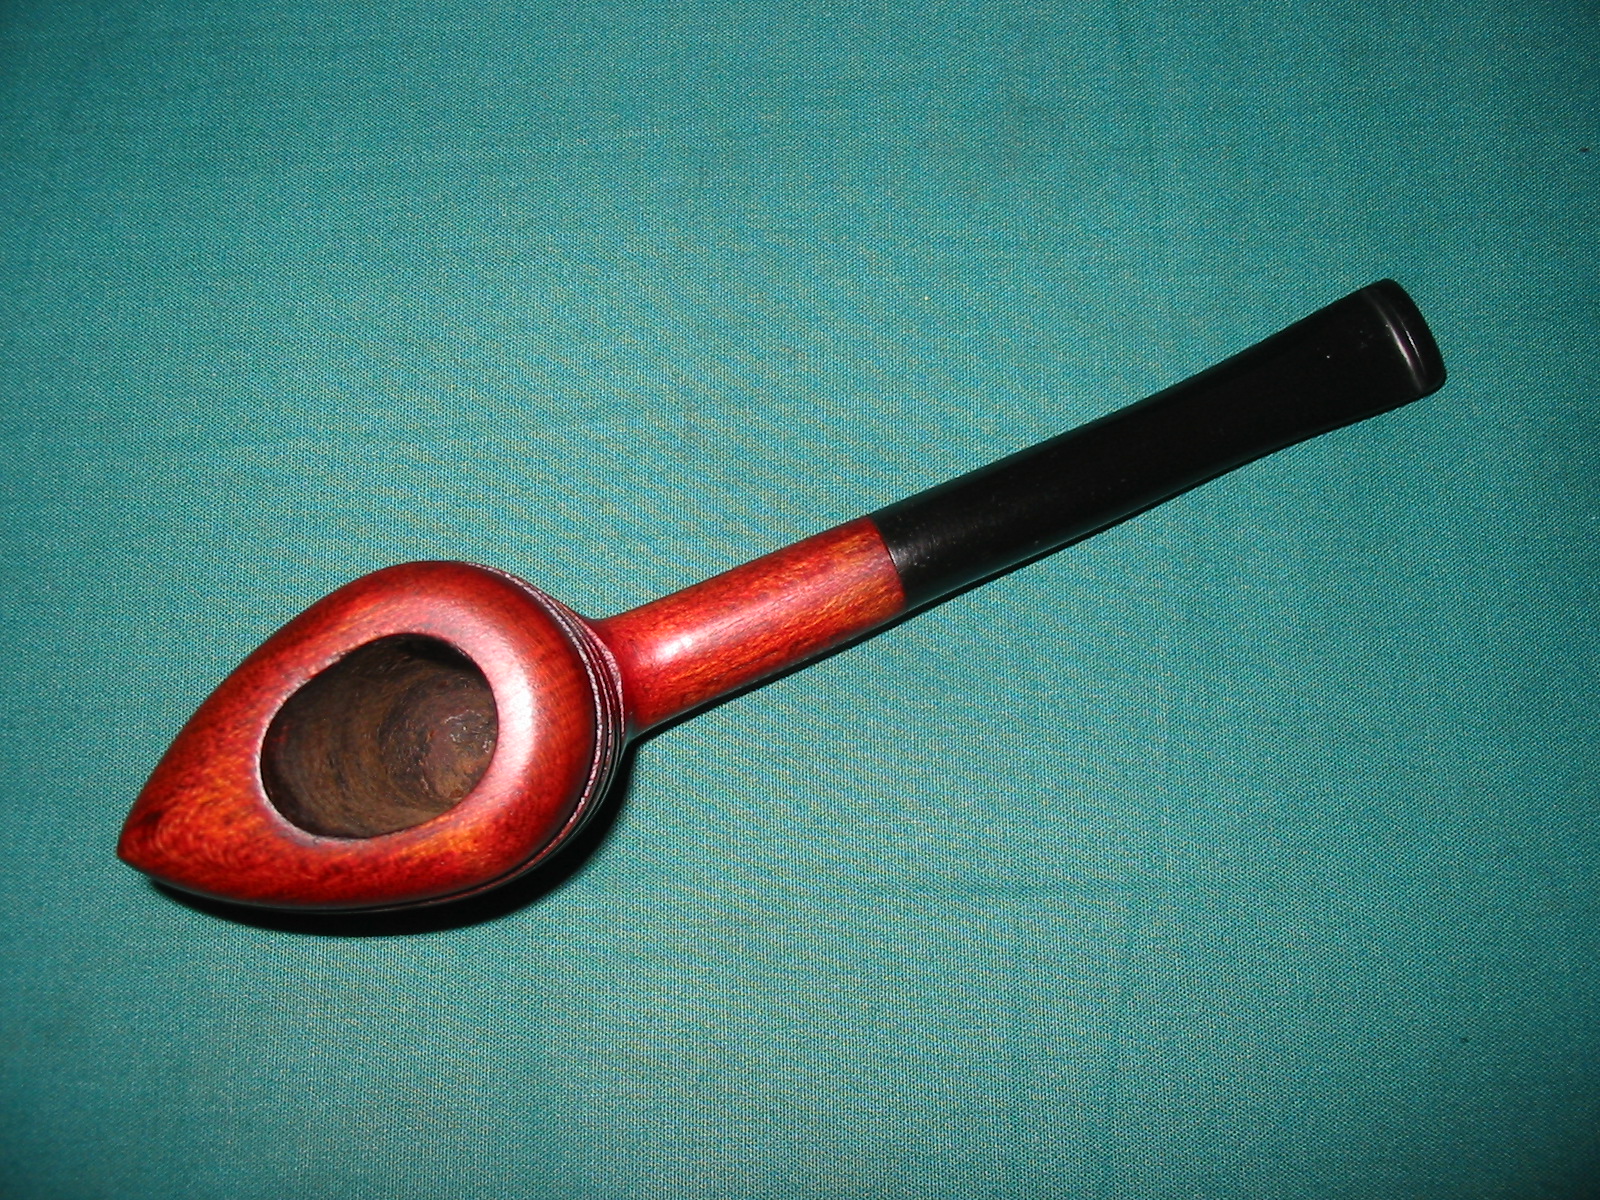
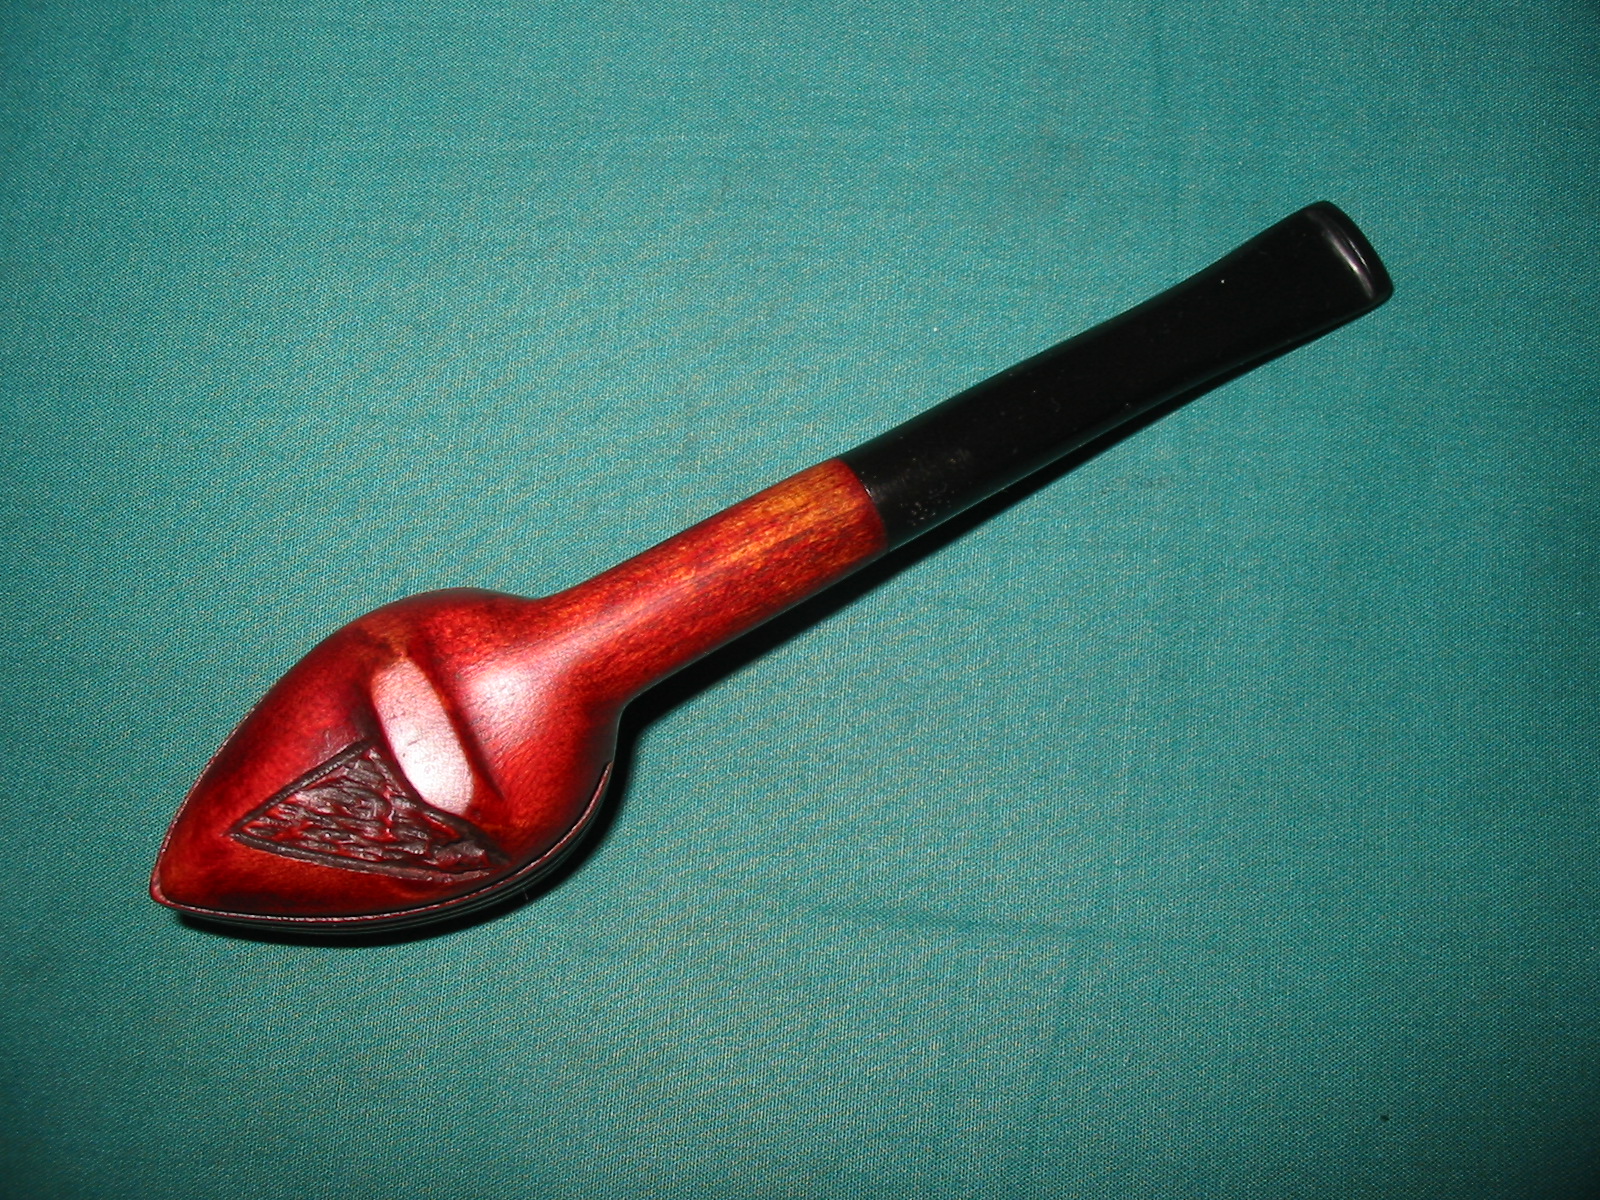
In a recent EBay purchase I picked up a unique pipe that has a flowing look to it. I was intrigued to figure out the history and any information I could find regarding it so I went on a hunt on the web. One of the first articles I came across is found in the link below. http://streamlinesdeluxe.wordpress.com/2012/06/01/weber-streamliner-pipe-2/ The author of the blog makes a brief reference the pipe I found and even has a picture of it. He speaks of the stem being made of something other than vulcanite. Other references I found in online pipe forums spoke of the fact that the bowl was not made of briar but of some composite material. Others said that the bowls were made of American hardwoods. Interestingly no one spoke of what hardwoods were used. I have hunted high and low on the web and can find nothing definitive on the pipe’s manufacture or composition.

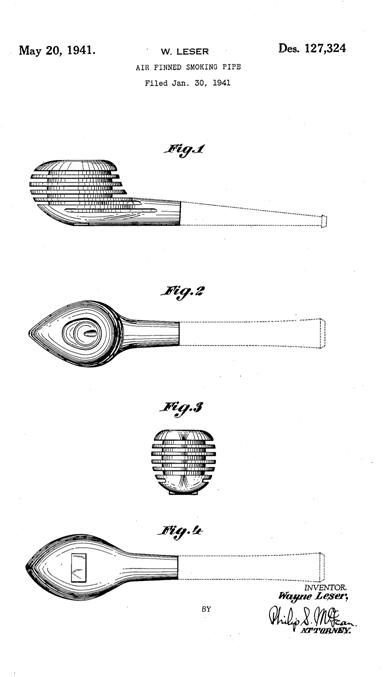
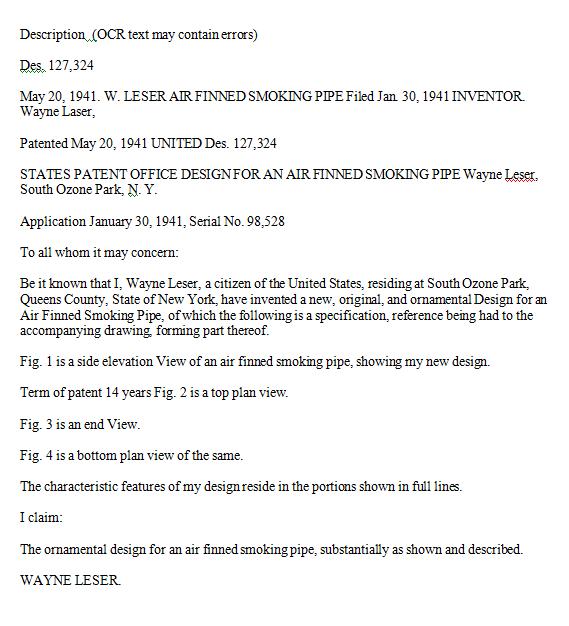
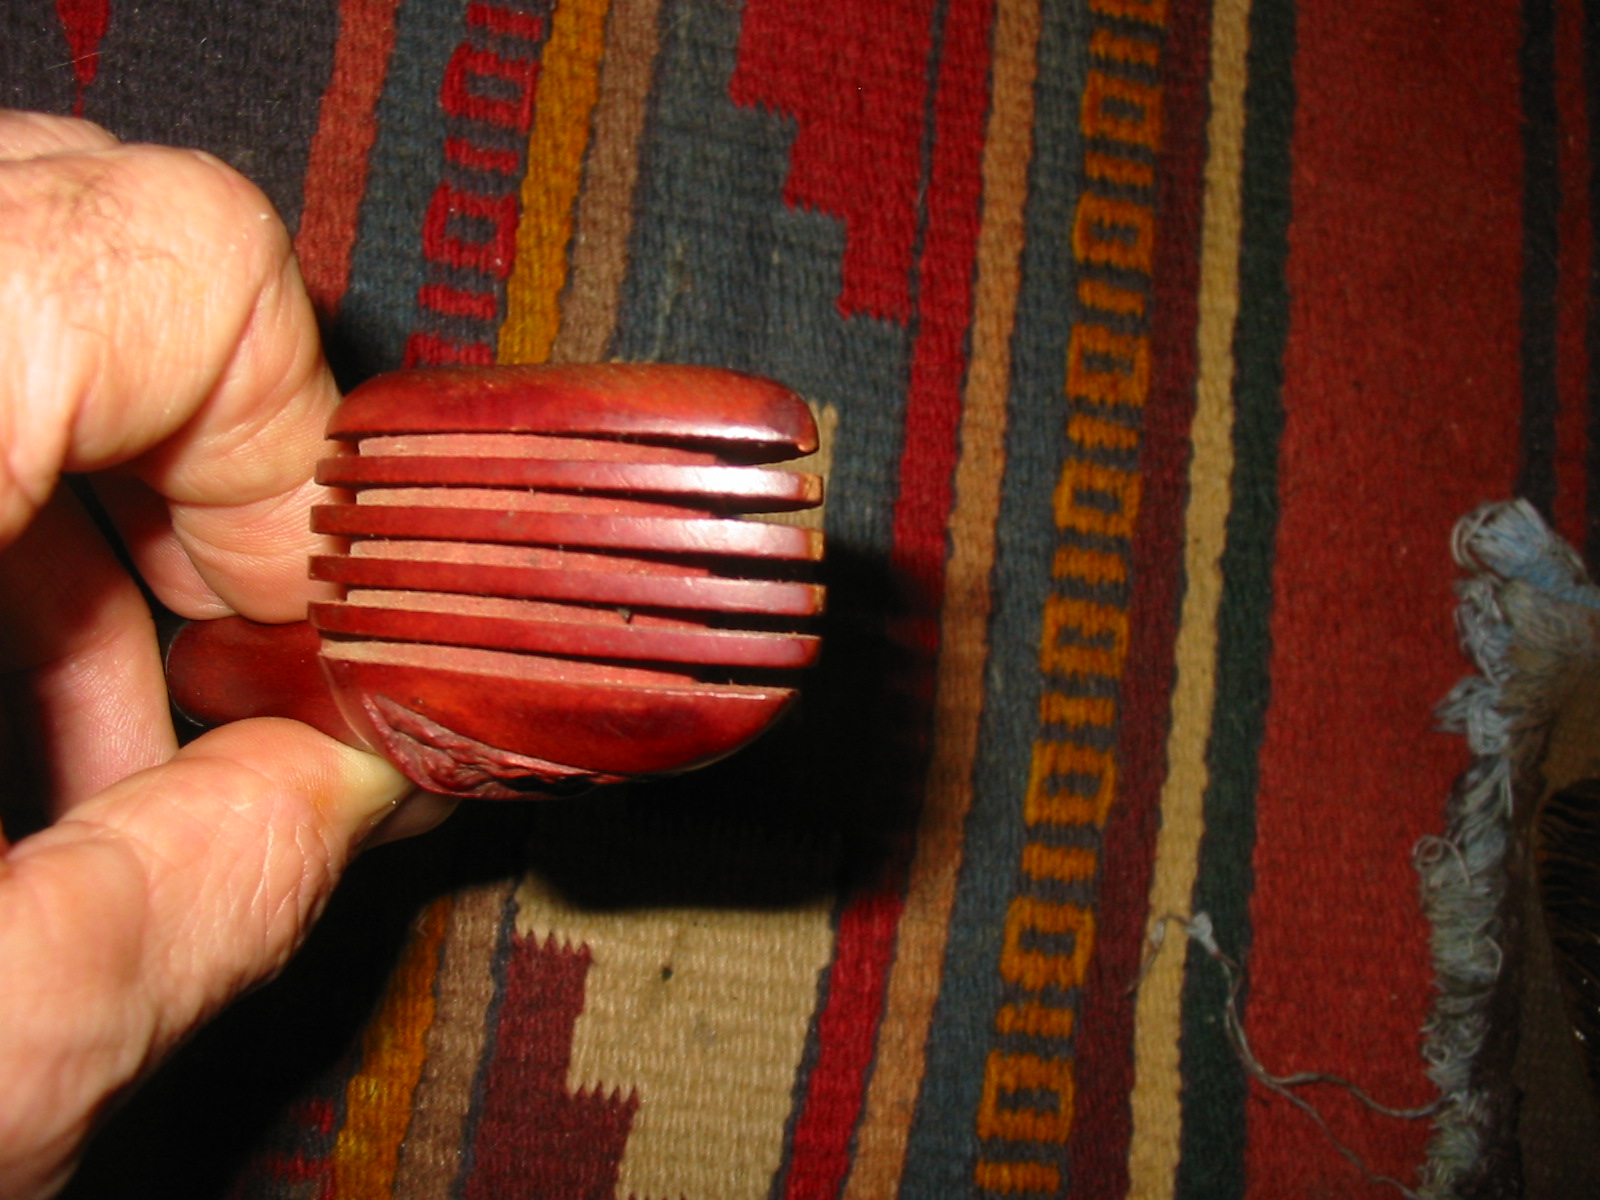
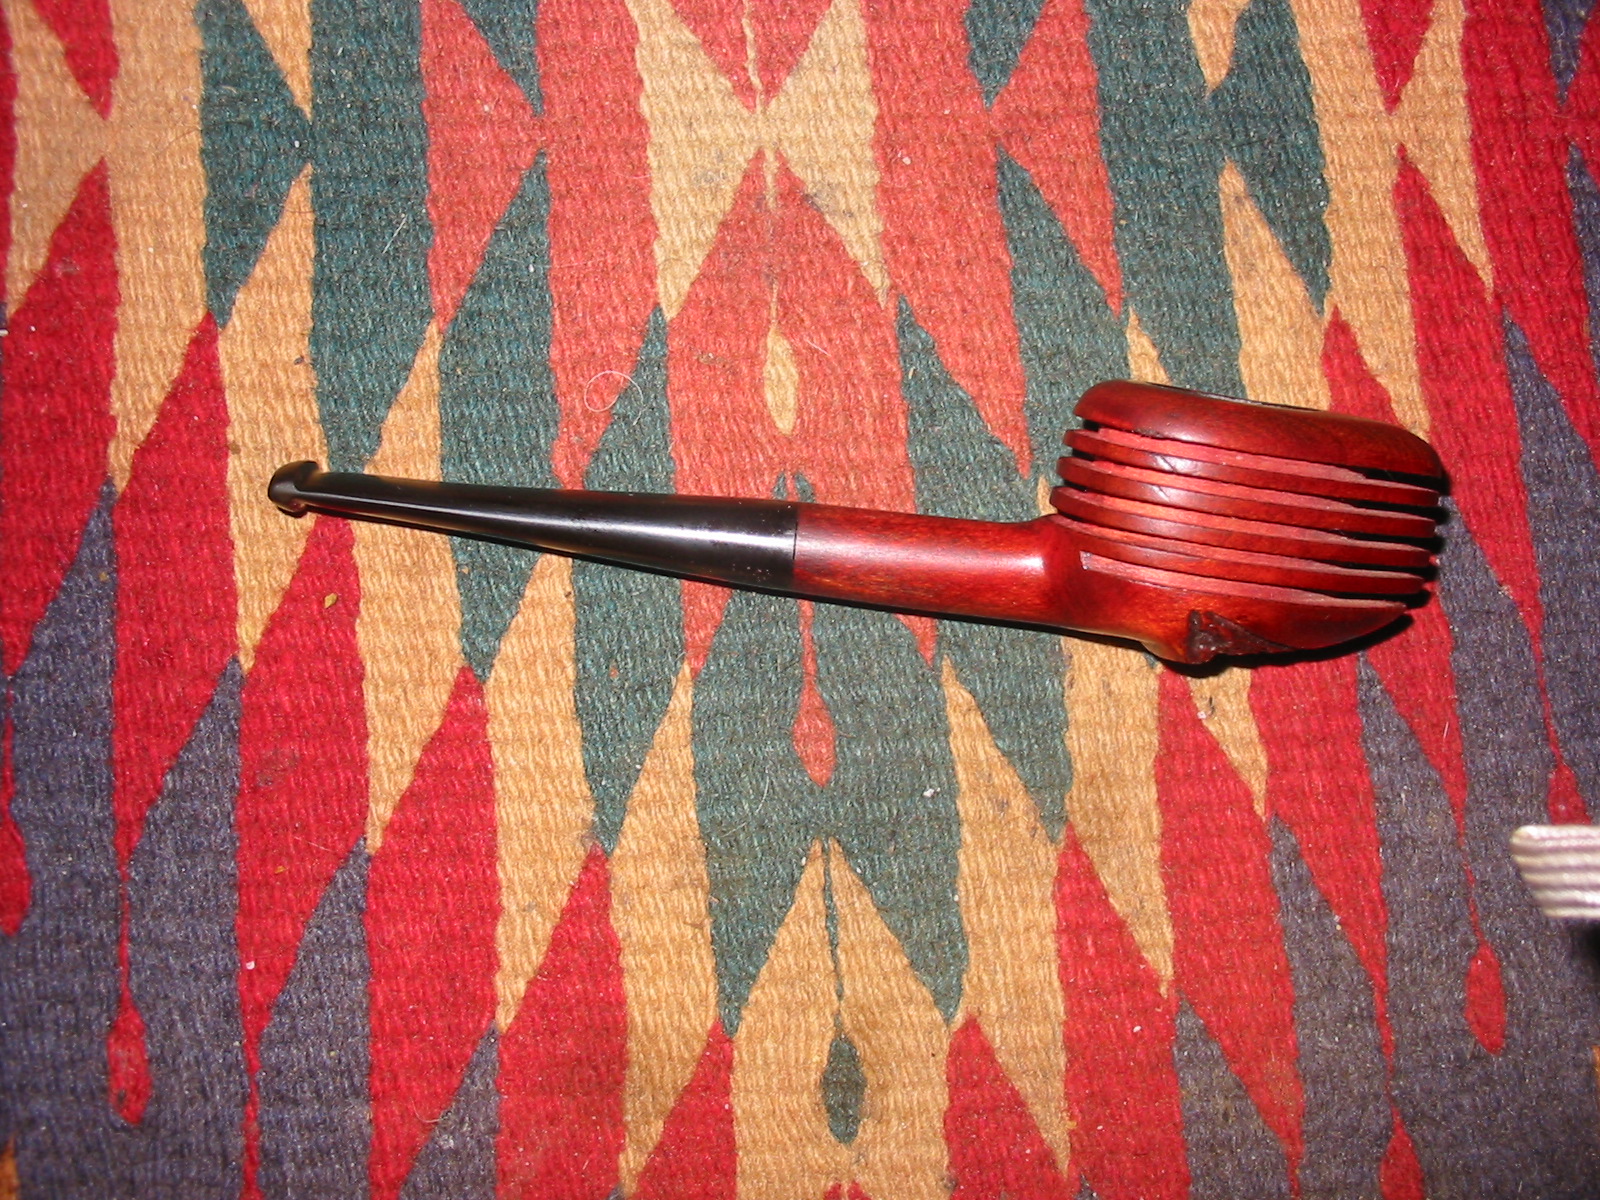
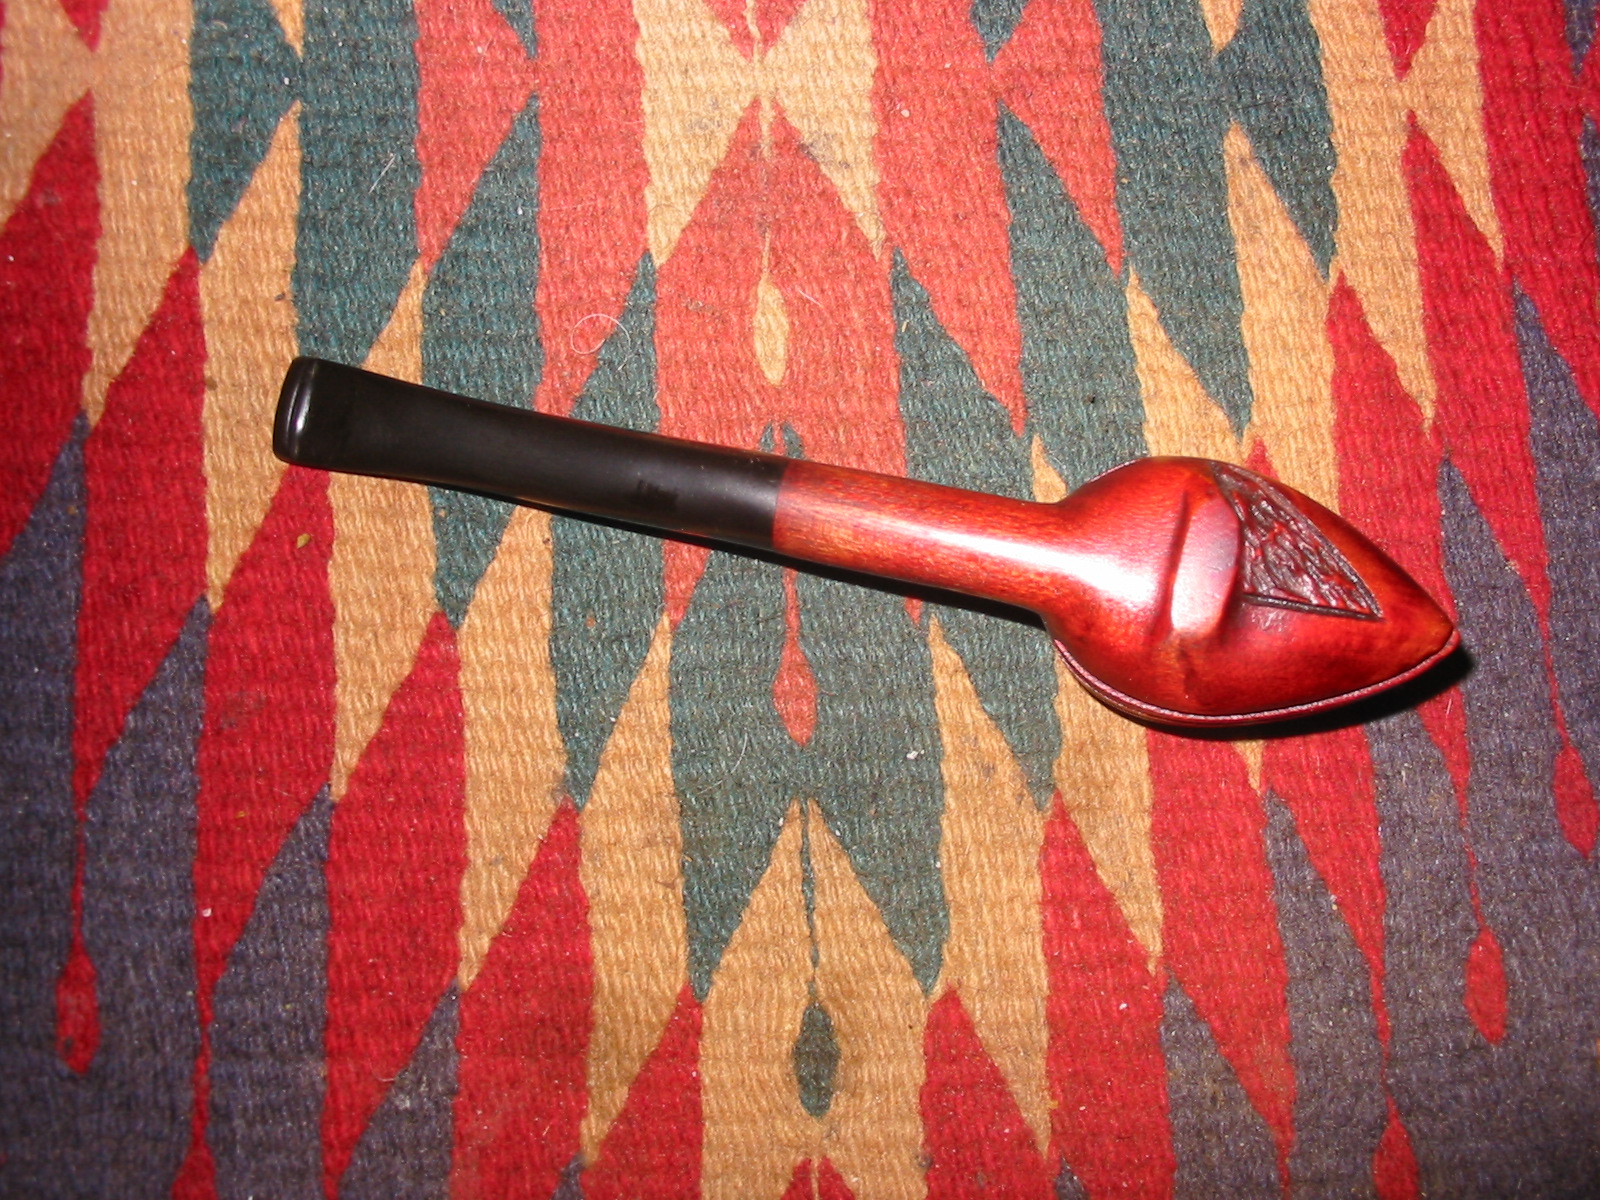
I broadened my search to information on finned pipes. I did not want information on Porsche design pipes or metal finned pipes but was looking for anything on wooden finned pipes. I came across the following information on a patent taken by a carver/designer named Wayne Leser. His diagrams and patent application is included below and it can be seen that it is actually very close to CB Weber’s Streamliner. His patent was applied for through the US Patent Office in January of 1941. I assume the patent was granted as it is on the Patent website. Weber’s design seems to be elongated a bit more than the Leser design but the tear drop shape of the outer bowl and the similarly tear drop shape of the drilling match quite well.

I can find no further information on Wayne Leser so I have no idea if he sold his concept to Weber, or worked for Weber. If anyone has further information on that connection it would be great to learn about it. Please post a response below.
Leser Patent Drawings

Leser Patent Application

The pipe I picked up is pictured below in photos from the EBay seller. The photos were not very clear so I could not see the condition of the pipe very well but I was intrigued by it nonetheless. It looked like the bowl was in good condition. The stem however, appeared to be a replacement stem and the fit was poorly done. In the second photo below it is evident that the junction of the stem and shank does not meet.
pipes2

Streamliner

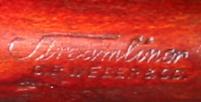
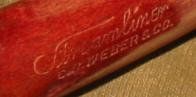
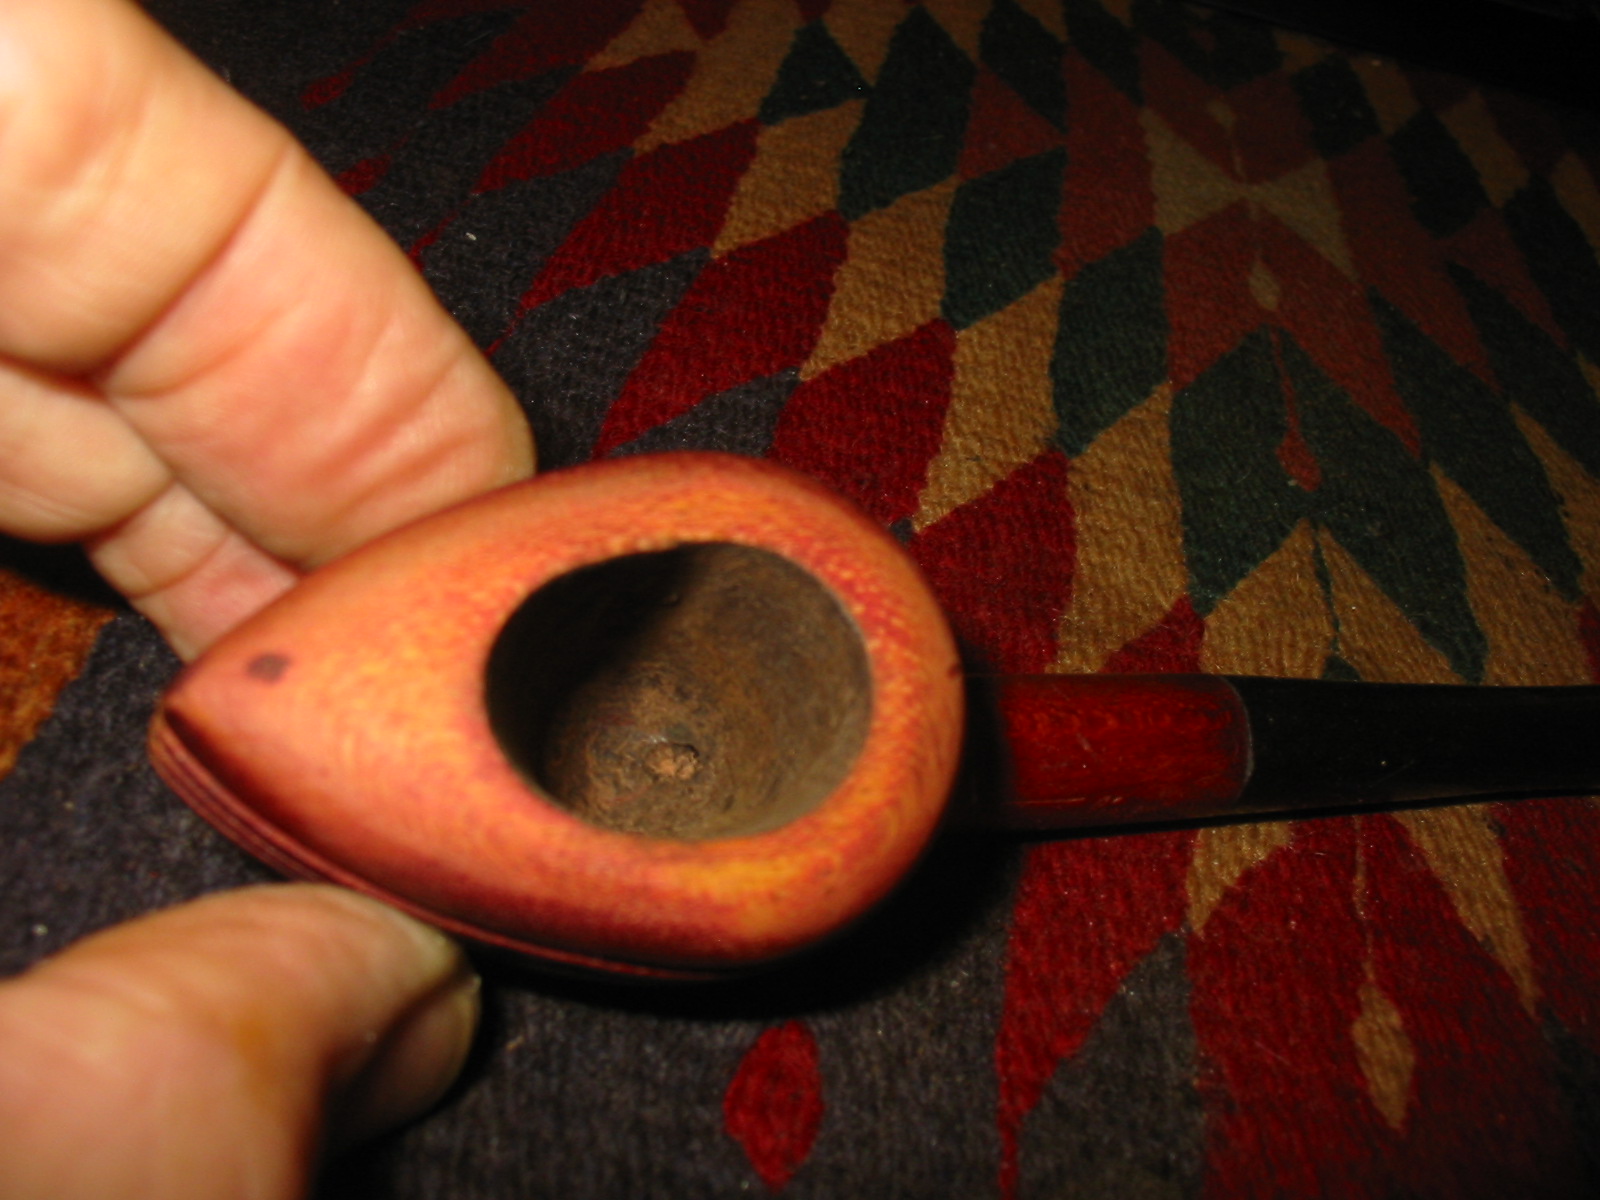
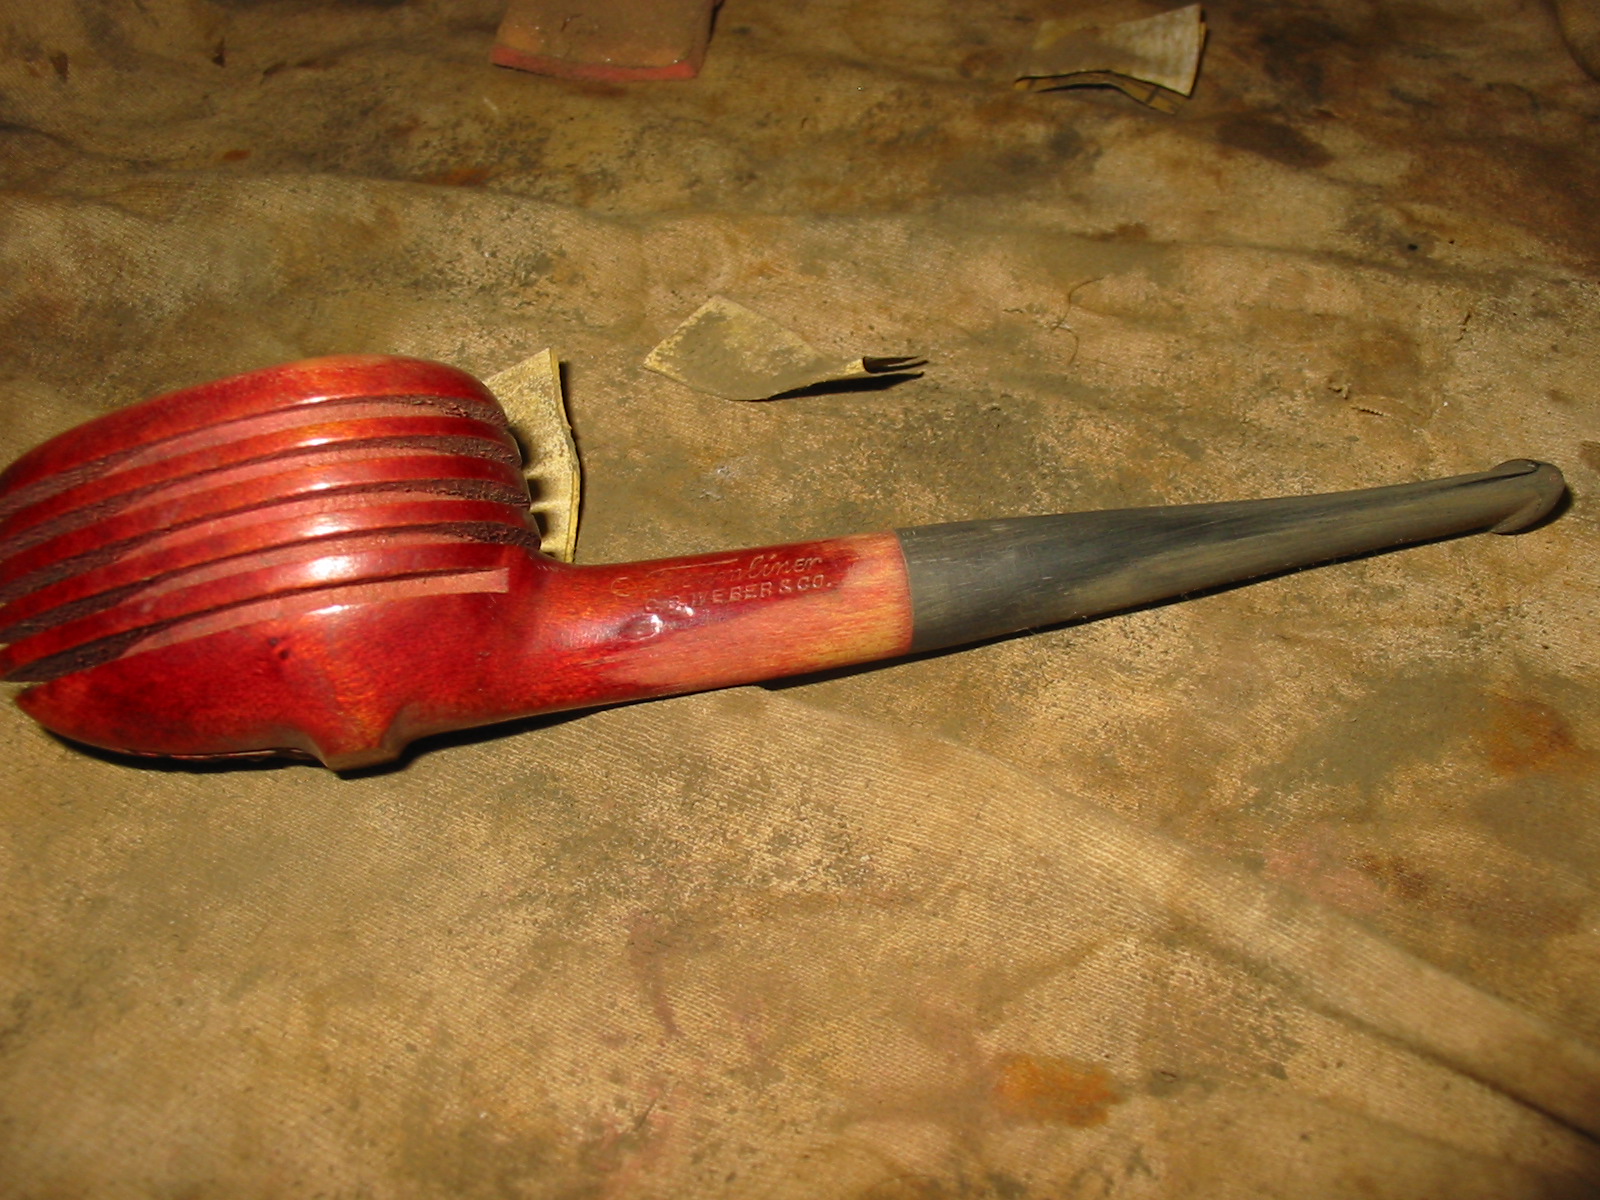
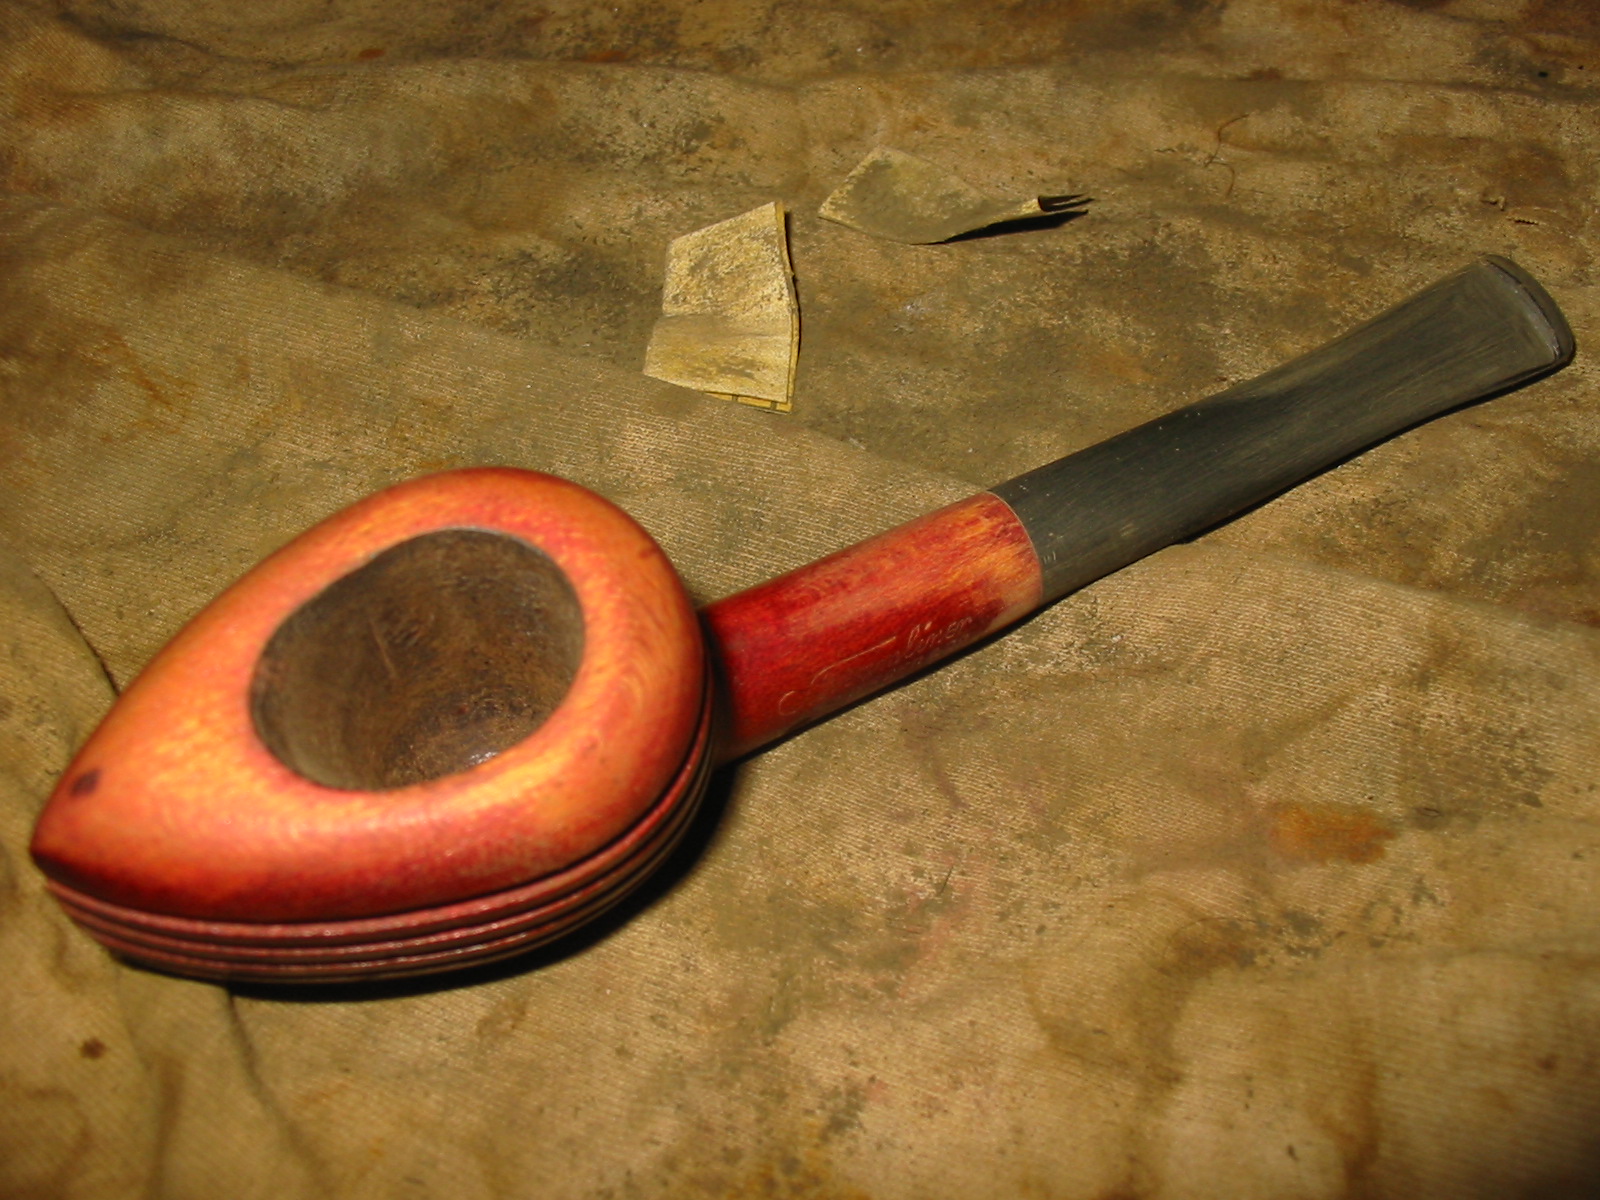
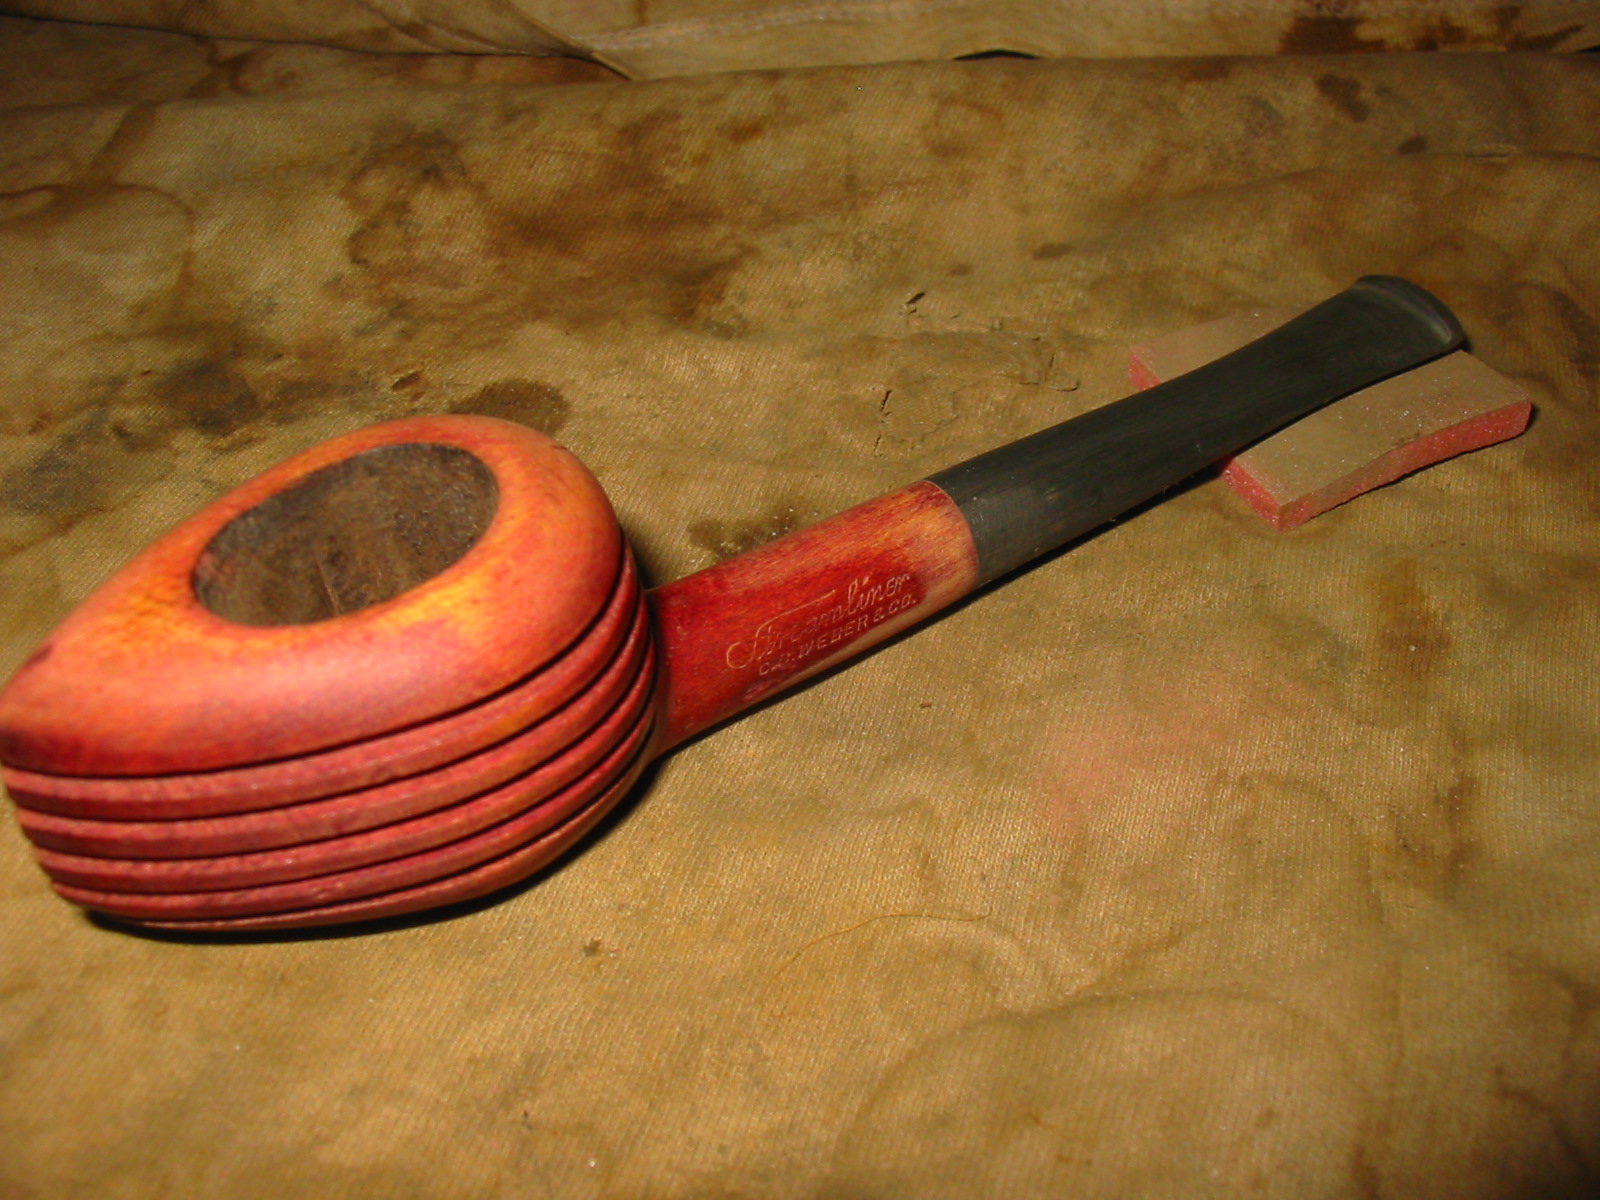
When the package arrived from the seller I took the pipe to my worktable and photographed the condition of the pipe. The pipe was in fairly decent condition. The left side of the bowl was clean. It is stamped Streamliner in script over C.B. Weber & Co.
Streamliner logo3

Streamlinerlogo2
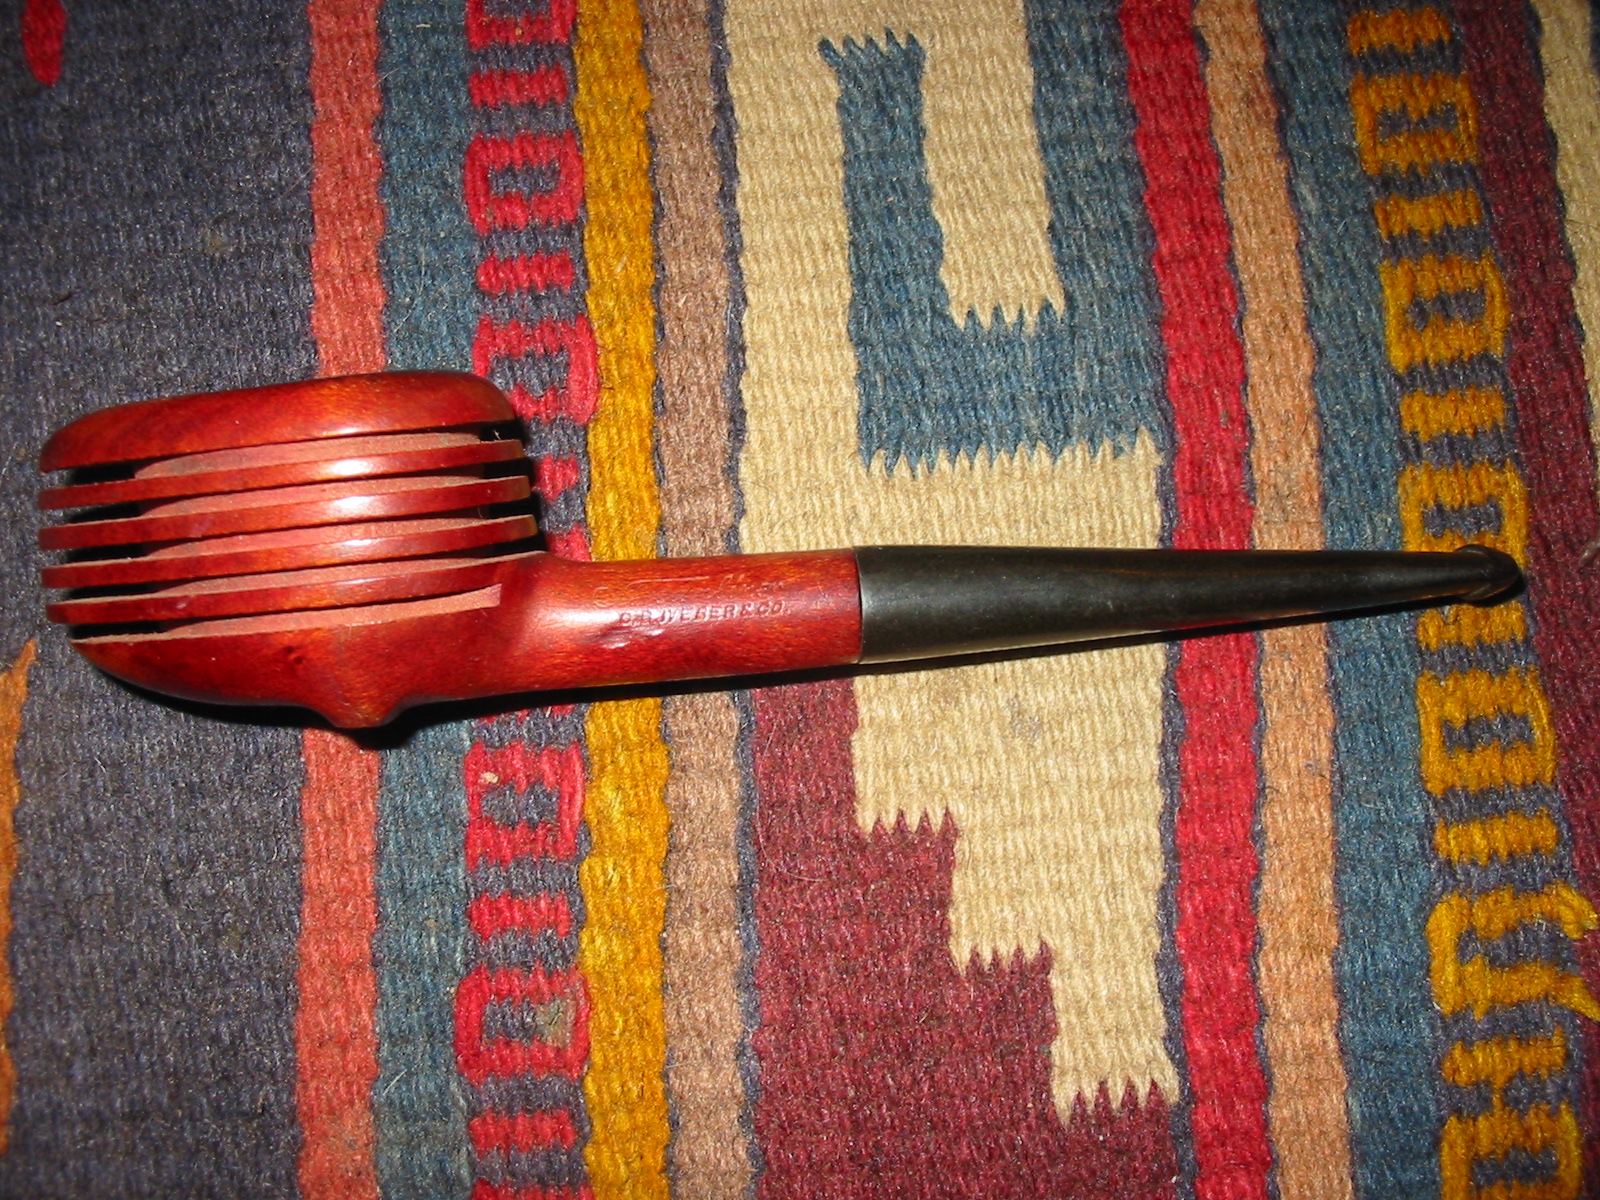
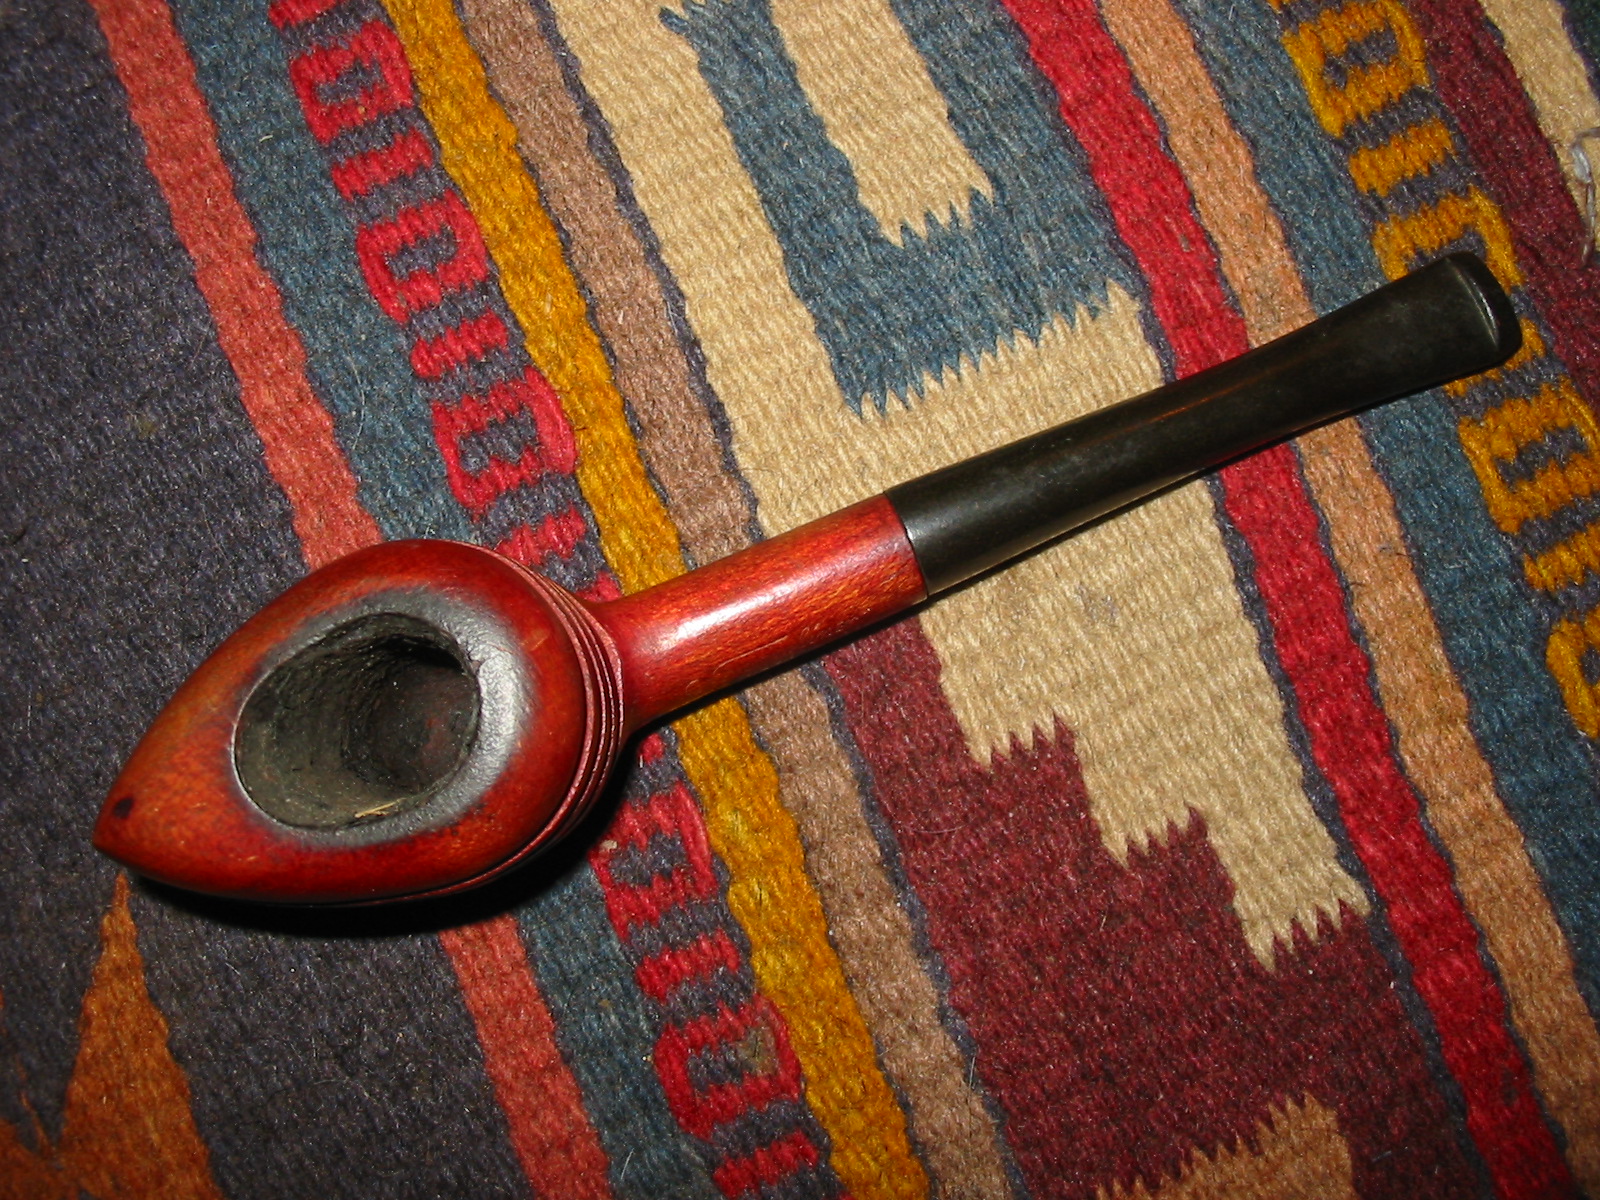
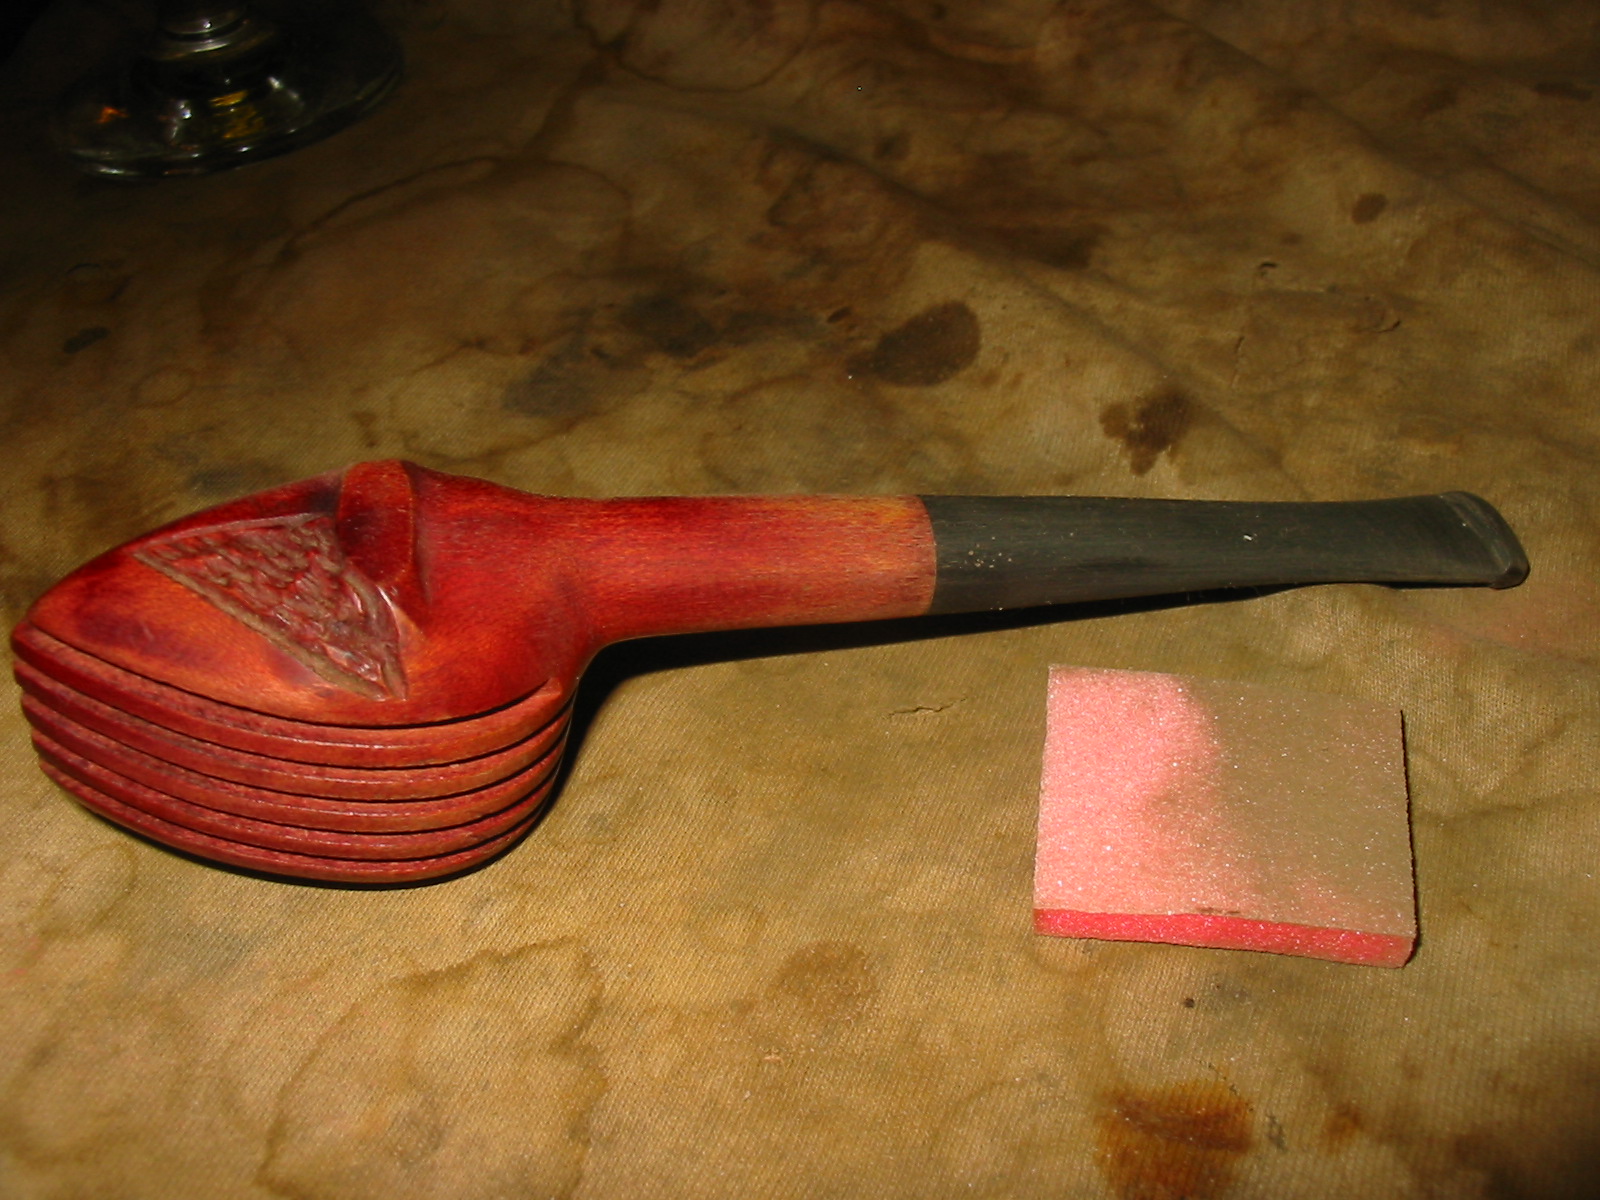
There were two small divots in the shank just below the stamping. I thought at first these might be dents but they are actually spots where the wood is missing. The right side of the bowl is also in good shape. The fins are intact all the way around the bowl with no chips or breakage. The rim was tarred and had a small burn spot on the point at the front of the bowl. The stem was definitely a replacement stem. In my reading I had found copies of the logo that was originally on the stem and also the fact that the stem had a stinger apparatus as part of the fitments. This stem had neither and the fit was wrong. The diameter of the stem was bigger; the tenon was off center therefore the fit was out of line with the left side being too large and the right side too small. The length of the stem was also too long and did not match the dimensions that I had found online regarding the overall length of the pipe. The bowl was in pretty decent shape though there was some kind of bowl coating on it that had broken free of the walls. It is a tear drop shaped bowl with a downward angle on the front portion so reaming it would be tricky. The wood on this one was definitely not briar. The bottom of the bowl has a foot that makes it a sitter and there is a rusticated pattern on the bottom of the bowl.
IMG_2425

IMG_2426

IMG_2427

IMG_2428

IMG_2429

I carefully reamed the bowl to remove the bowl coating and the slight cake that was there. I used two different cutting heads on the PipNet reamer. The first head was the same diameter as the main portion of the bowl. For the angle teardrop end I used the smallest cutting head. Between the two of them I was able to clean up the bowl and remove all of the coating.
IMG_2430

IMG_2431

Removing the tars from the rim was a bit of a challenge and combined with burn mark on the point I decided to sand off the rim with a medium grit sanding sponge. I would then have to restain the bowl. I sanded it with the medium grit sponge and then with a fine grit sanding block to work on the burn mark and the darkening of the rim.
IMG_2432

IMG_2433

IMG_2434

IMG_2435

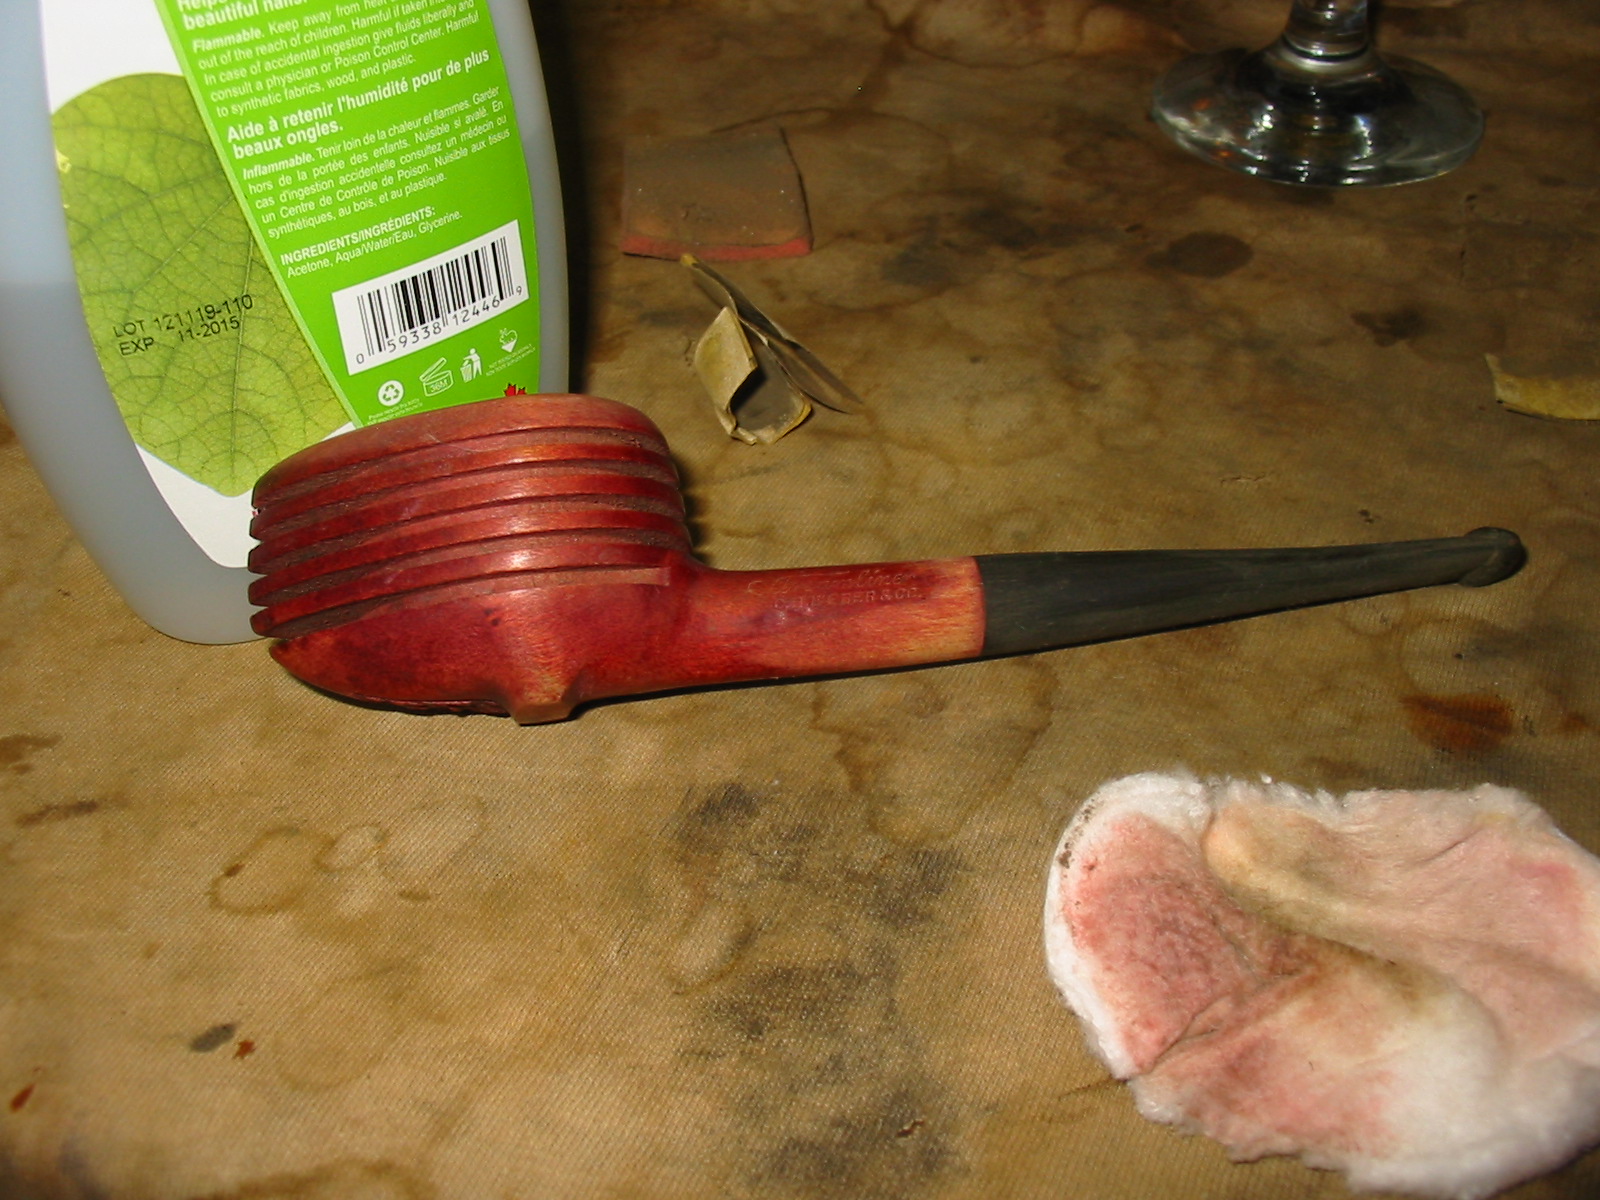
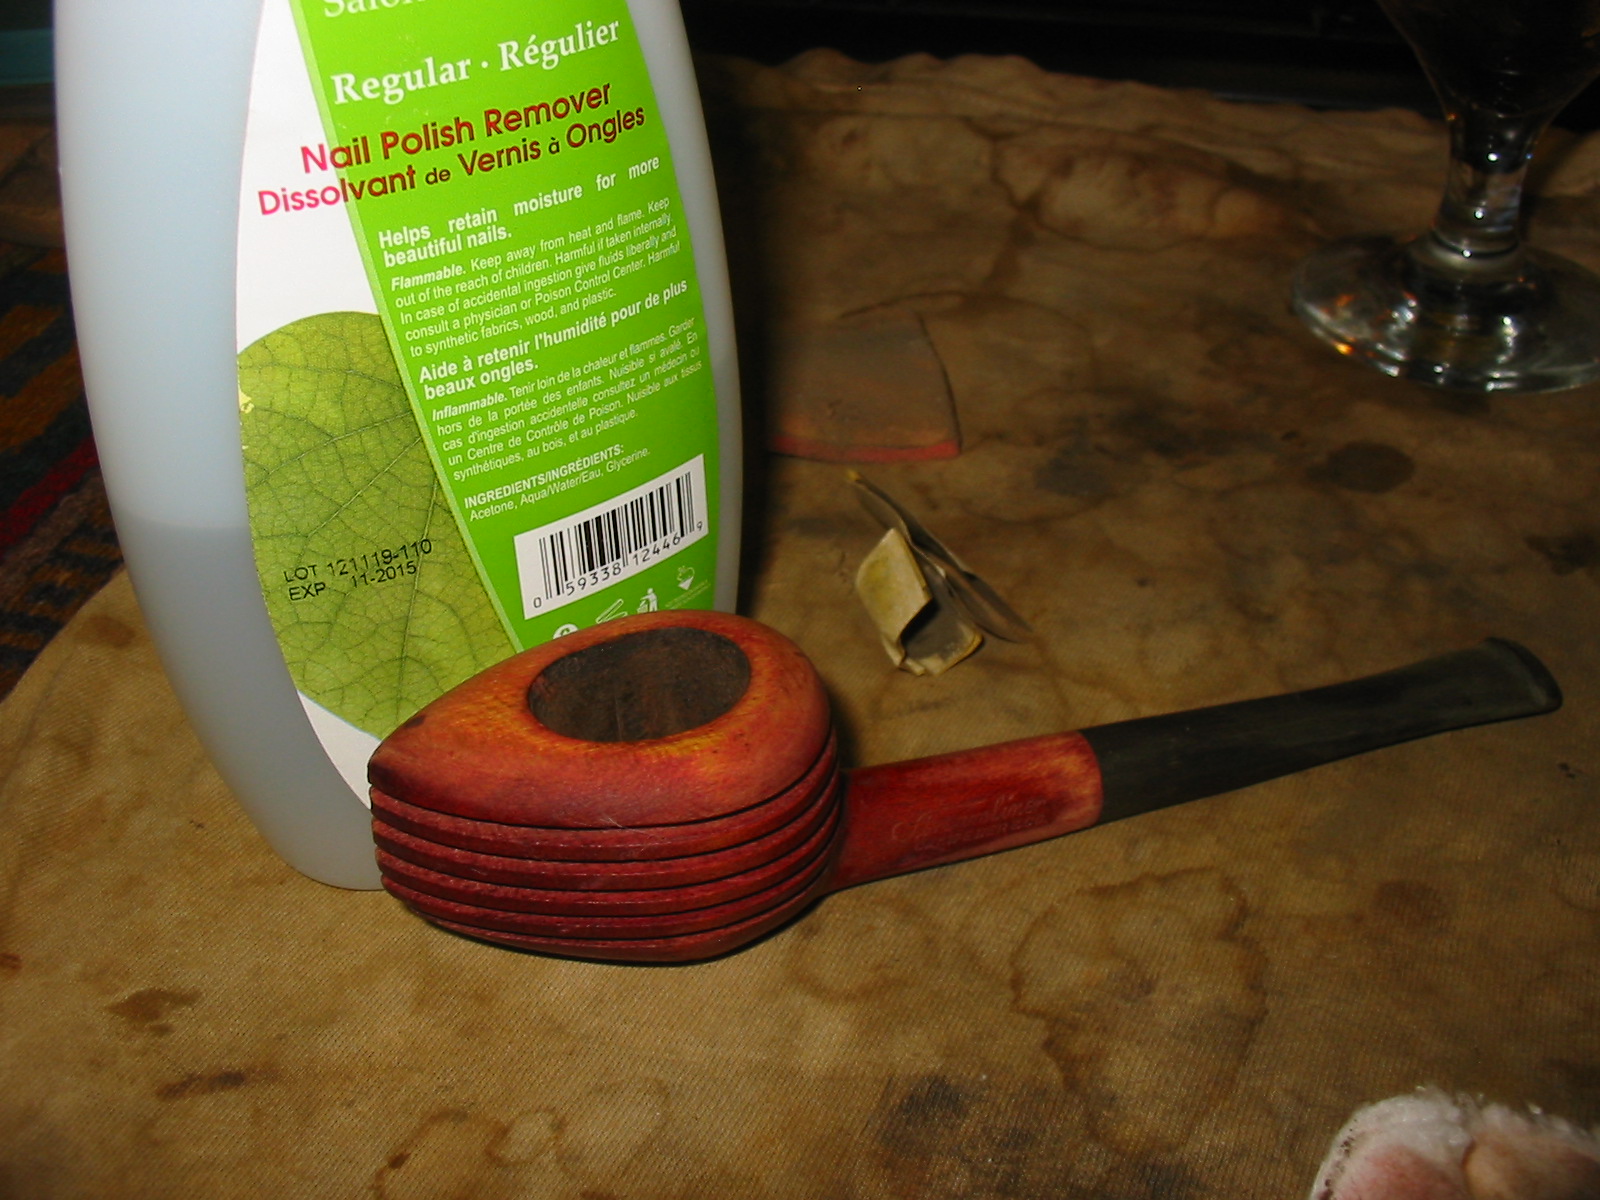
I finished the sanding by wiping down the bowl with acetone on a cotton pad. I was able to even out the finish on the bowl and rim so matching stain would be much easier to do. I was also able to lighten the burn spot with the same process to the point that a good coat of oxblood stain would make it fade into the surface of the rim.

I then set the bowl aside and went to work on fitting a new stem to the bowl and shank. In the first photo below I have the new stem blank fit to the shank. It still needs work to make the diameters match. The stem is about an inch shorter and brings the pipe back to the original length as noted from my online work. I also think that proportionally it works better with the elongated bowl and shank than the one that came with it.
IMG_2436

In order to get the fit good and tight I used a sanding block to make sure that the transition between the bowl and shank was smooth. This entailed sanding the shank slightly in the process. In the next series of four photos below the fit is finished. The transition is smooth and the fit is good and tight.
IMG_2437

IMG_2438

IMG_2439

IMG_2440

I wiped the pipe down with acetone once again to even out the finish on the shank. The grain in the original wood is quite visible in these photos and it is not briar.
IMG_2441

IMG_2442

IMG_2443

The flow of the taper on the stem was still too chunky in my opinion to match the Streamline concept of the pipe. I used 220 grit sandpaper and files to change the slope of the stem. When I had it the way I envisioned I sanded it with 220 grit sandpaper, a medium grit sanding sponge and also a fine grit sanding block. The angle was right and the profile looked much more “streamlined”.
IMG_2445

IMG_2446

I sanded the stem, bowl and shank with micromesh sanding pads. I wet sanded them with 1500-2400 grit sanding pads and dry sanded with 3200-12,000 grit pads.
IMG_2447

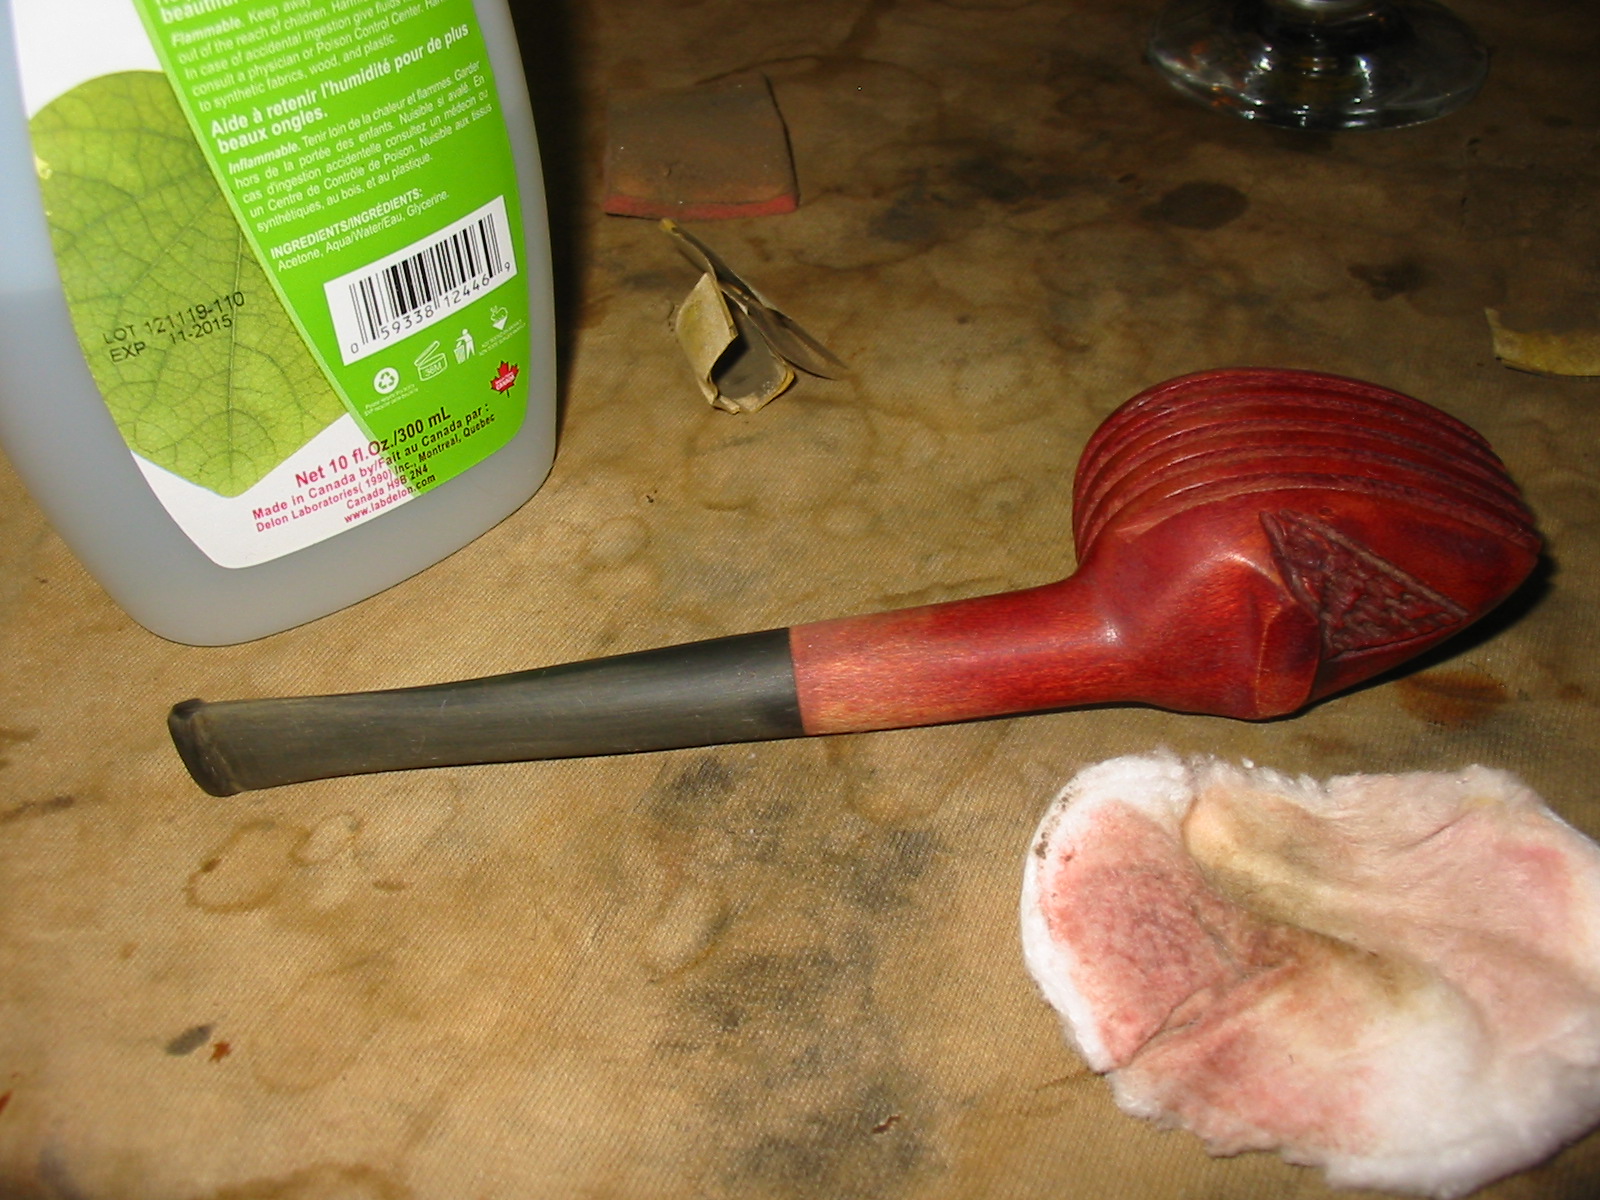
I decided to try to match the original stain using a Danish Oil (linseed oil with a cherry stain). I applied the stain with a cotton pad and wiped it down. When it had dried I was not happy with the coverage and appearance so I removed the stain with acetone to try a different stain.
IMG_2448

IMG_2449

IMG_2450

Once I had the finish removed I restained it with an oxblood aniline stain. I had to apply it and flame it several times to the top of the bowl and shank to get the stain to set deeply and match the rest of the bowl. This was a hard one to get a good stain on. I decided to not apply the stain in the grooves of the fins but just on the surface of the bowl. It worked quite well with the original stain in the fins matching the surface colour really well.
IMG_2452

IMG_2453

IMG_2454

IMG_2455

I did some further polishing on the stem with the higher grits of micromesh from 3600-12,000. Once I had finished the sanding I polished the stem with Maguiar’s Scratch X2.0 to deepen the shine. I coated the stem with Obsidian Oil and then buffed it with carnauba wax to seal it and protect it. The final buff on the stem was done with a soft flannel pad.
IMG_2457

IMG_2458

I reinserted the stem and gave the pipe a final buff with carnauba wax and a soft flannel buffing pad. The finished pipe clearly shows some of the grain pattern of the alternative wood on the shank and the top and bottom of the bowl. The stem came out fitting nicely and giving the overall pipe a new “streamlined” appearance more accurately approximating the original stem. The bowl feels great in the hand and is uniquely attractive as a piece of pipe history. Time will tell if I smoke this one or just keep it around for display purposes. Below are photos of the finished pipe.
IMG_2463

IMG_2464

IMG_2465

IMG_2466

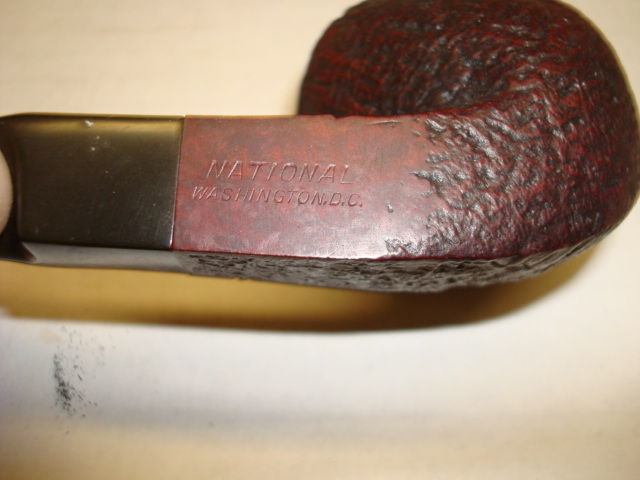
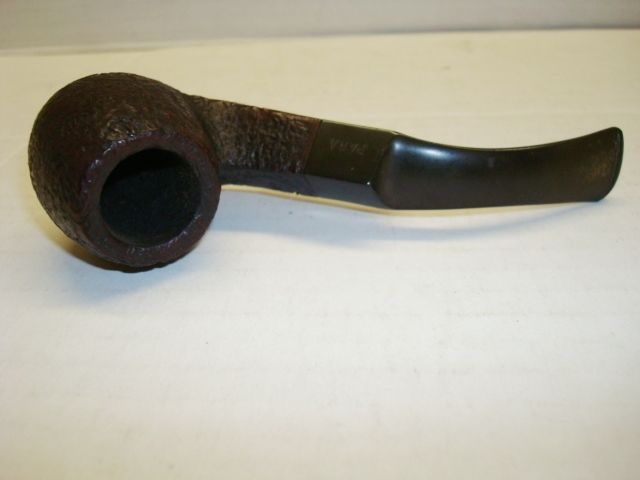
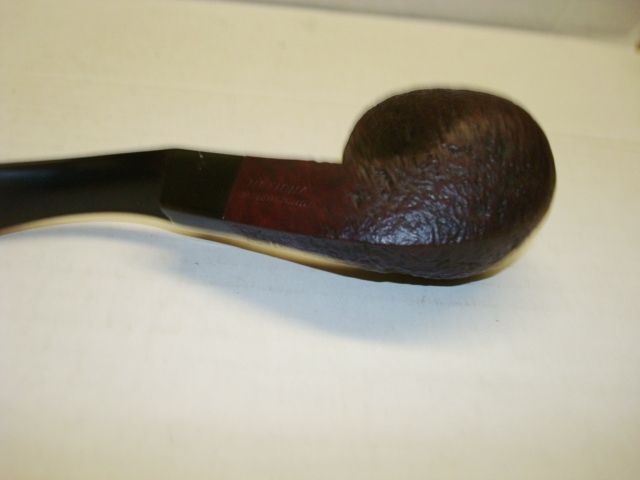
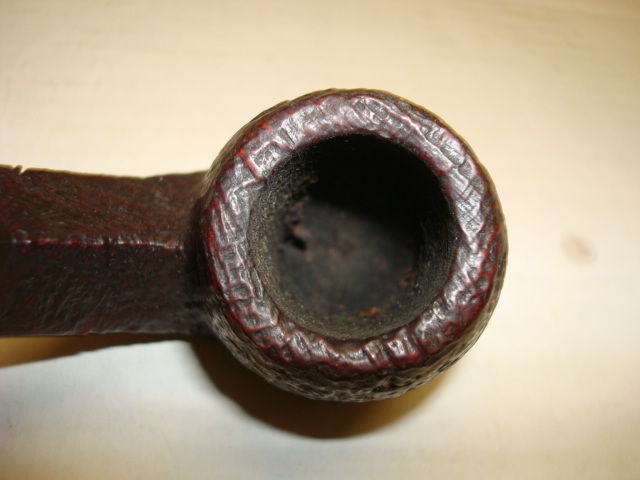
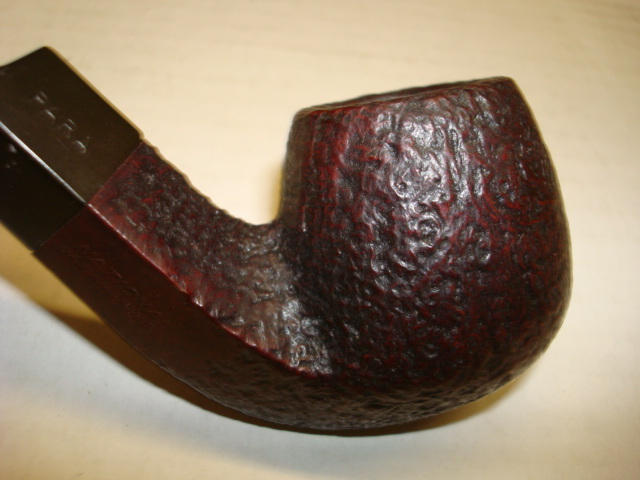
A National Bent Apple Diamond Shank Restored


A National Bent Apple Diamond Shank Restored
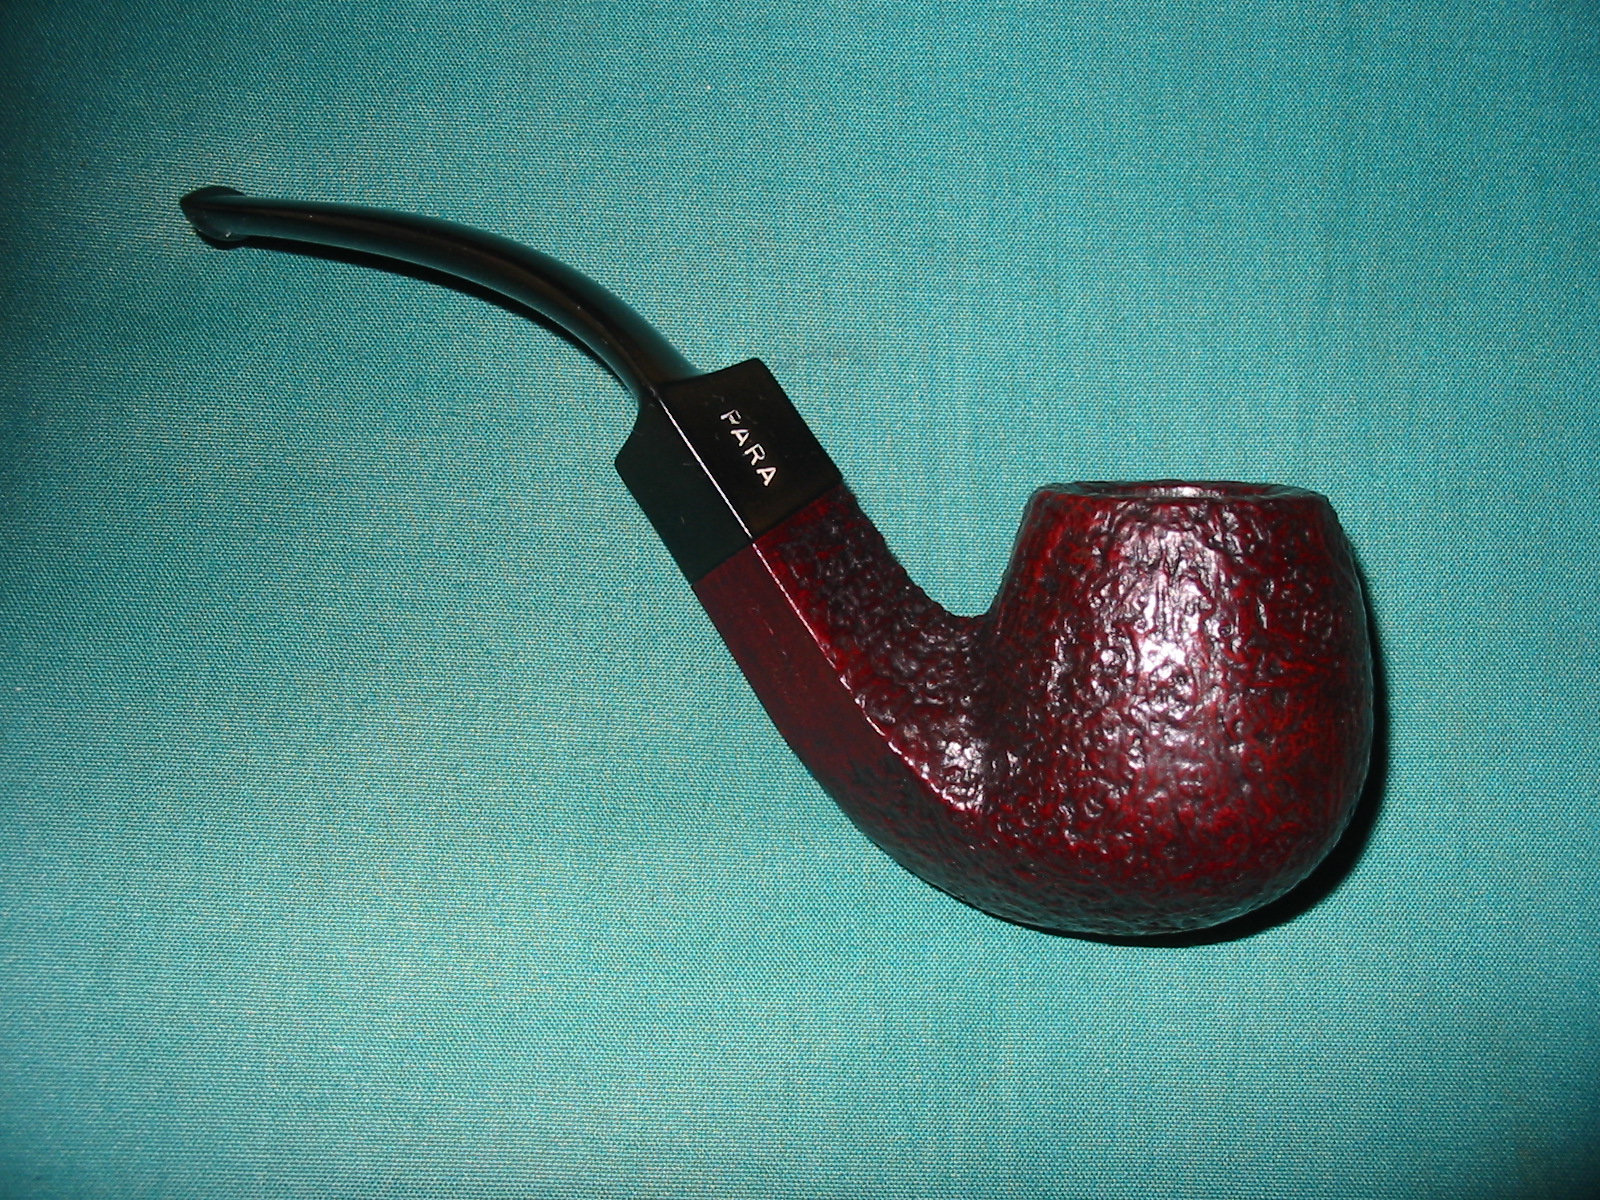
It is stamped NATIONAL in italics over Washington D.C. on the bottom right side of the diamond shank.
Wash11

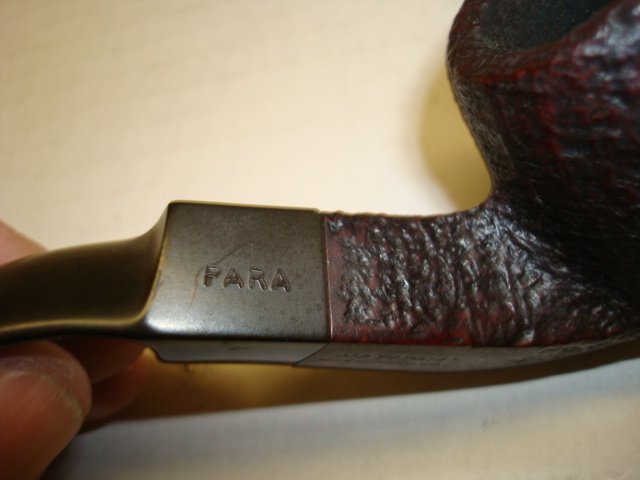
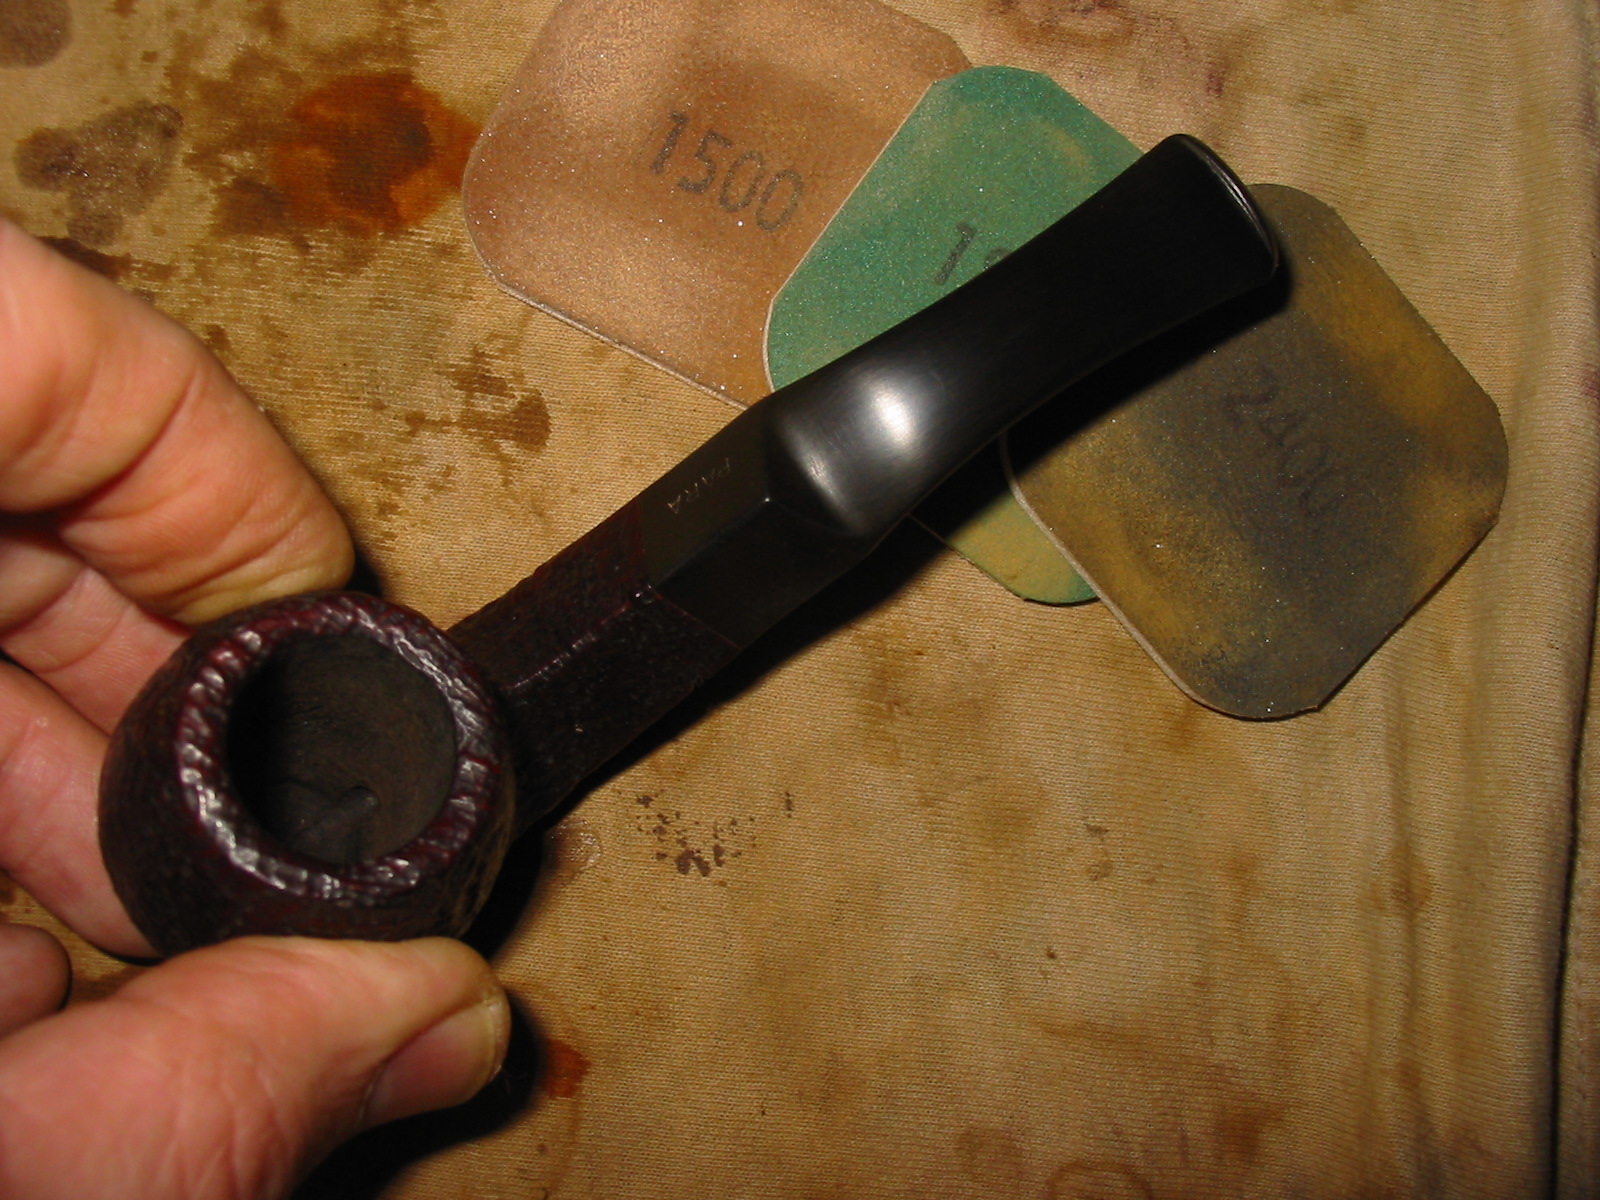
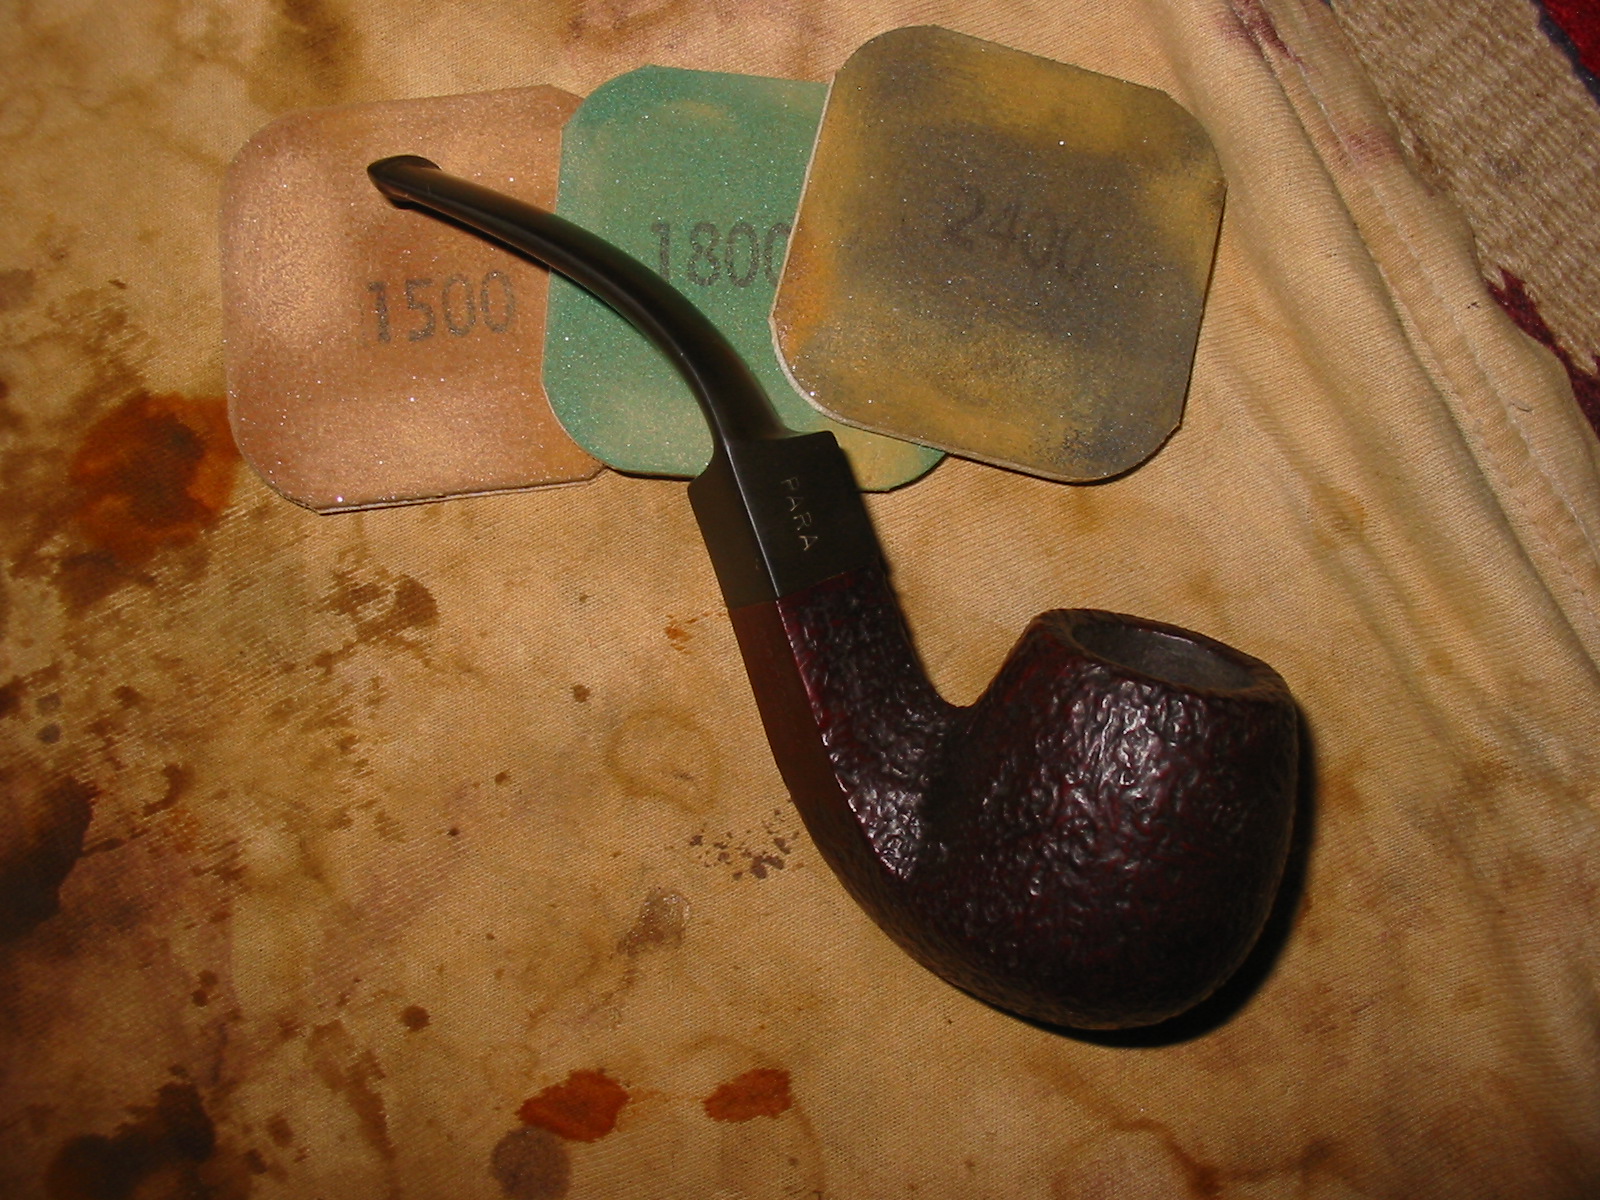
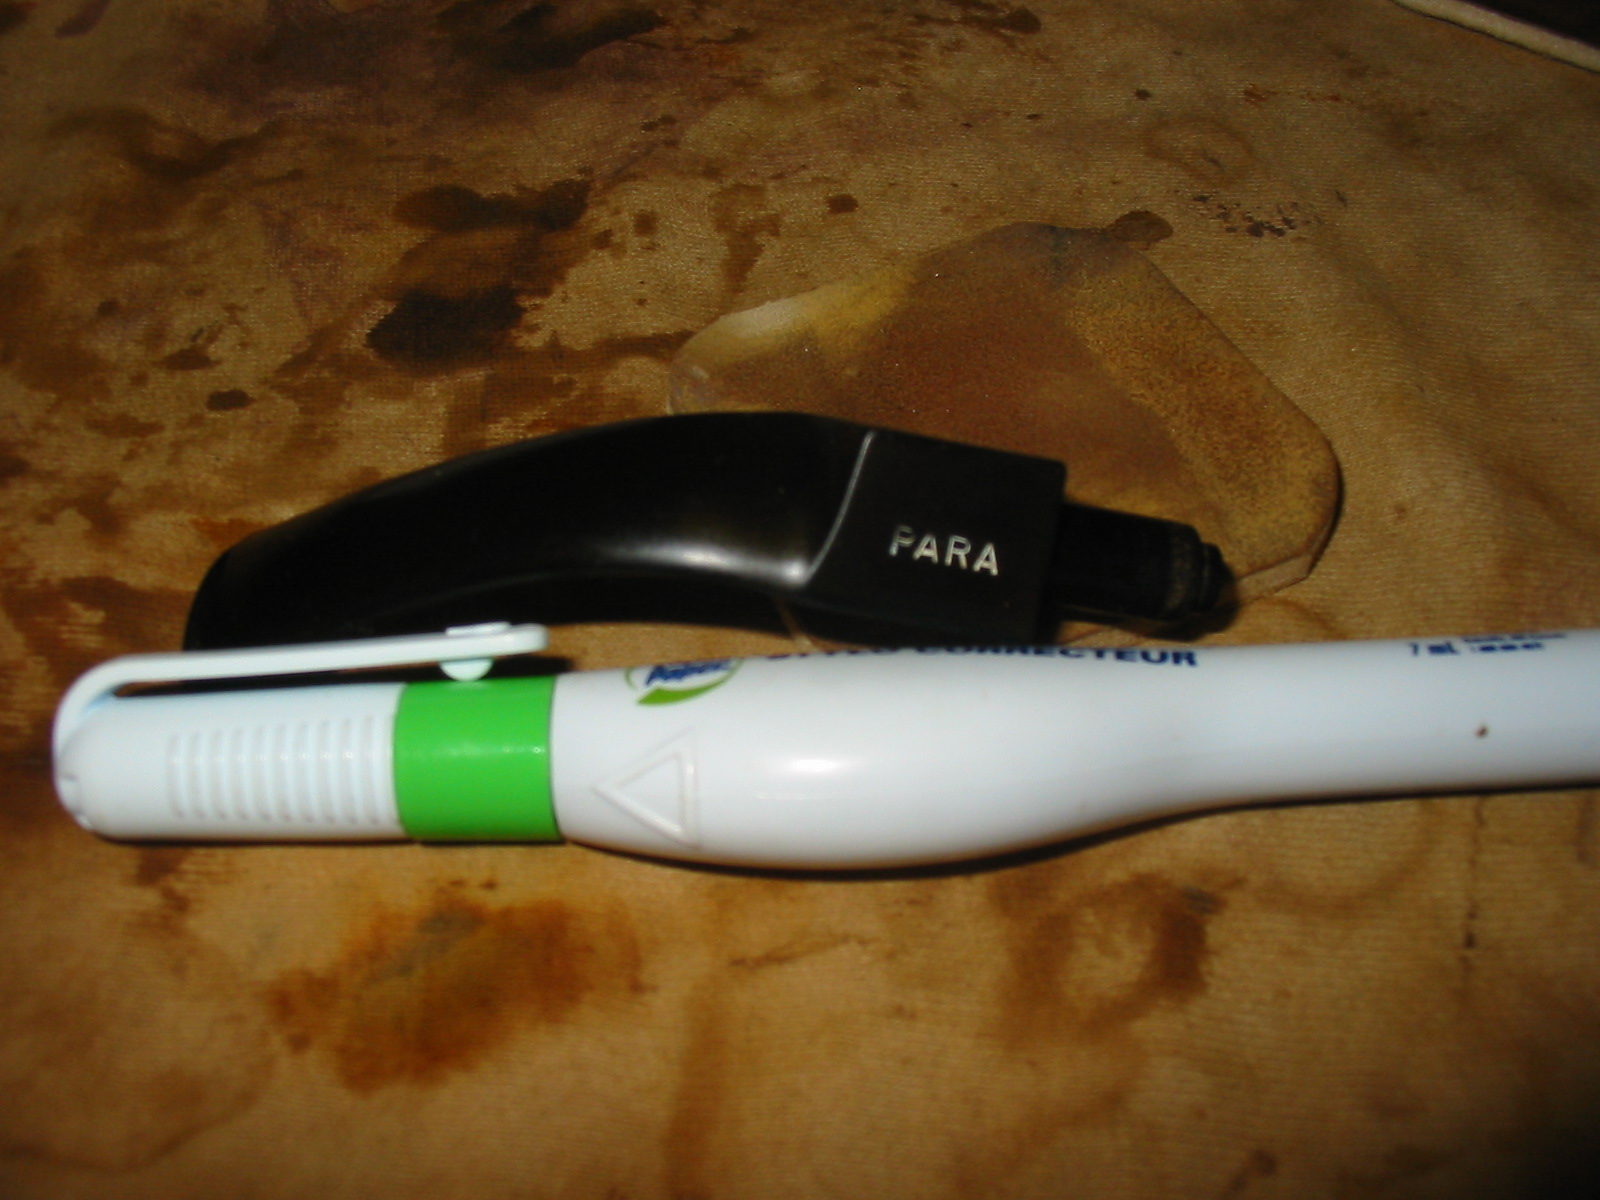
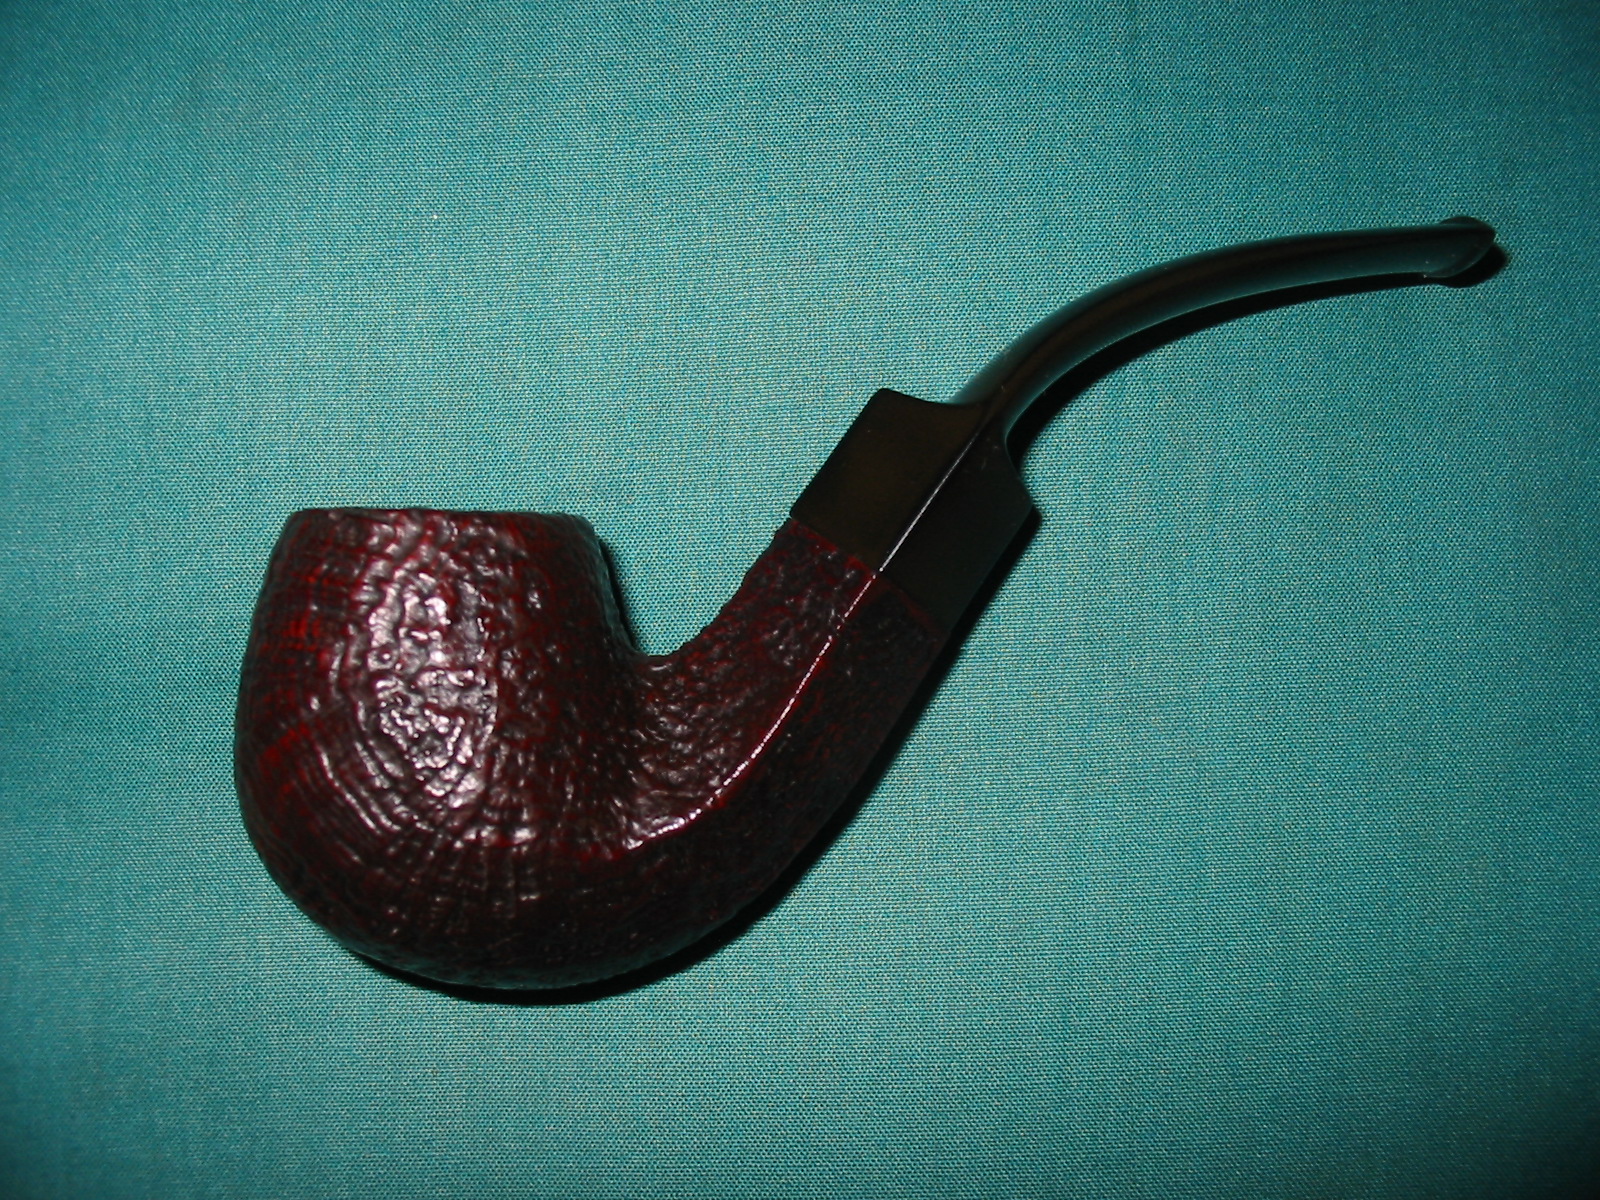
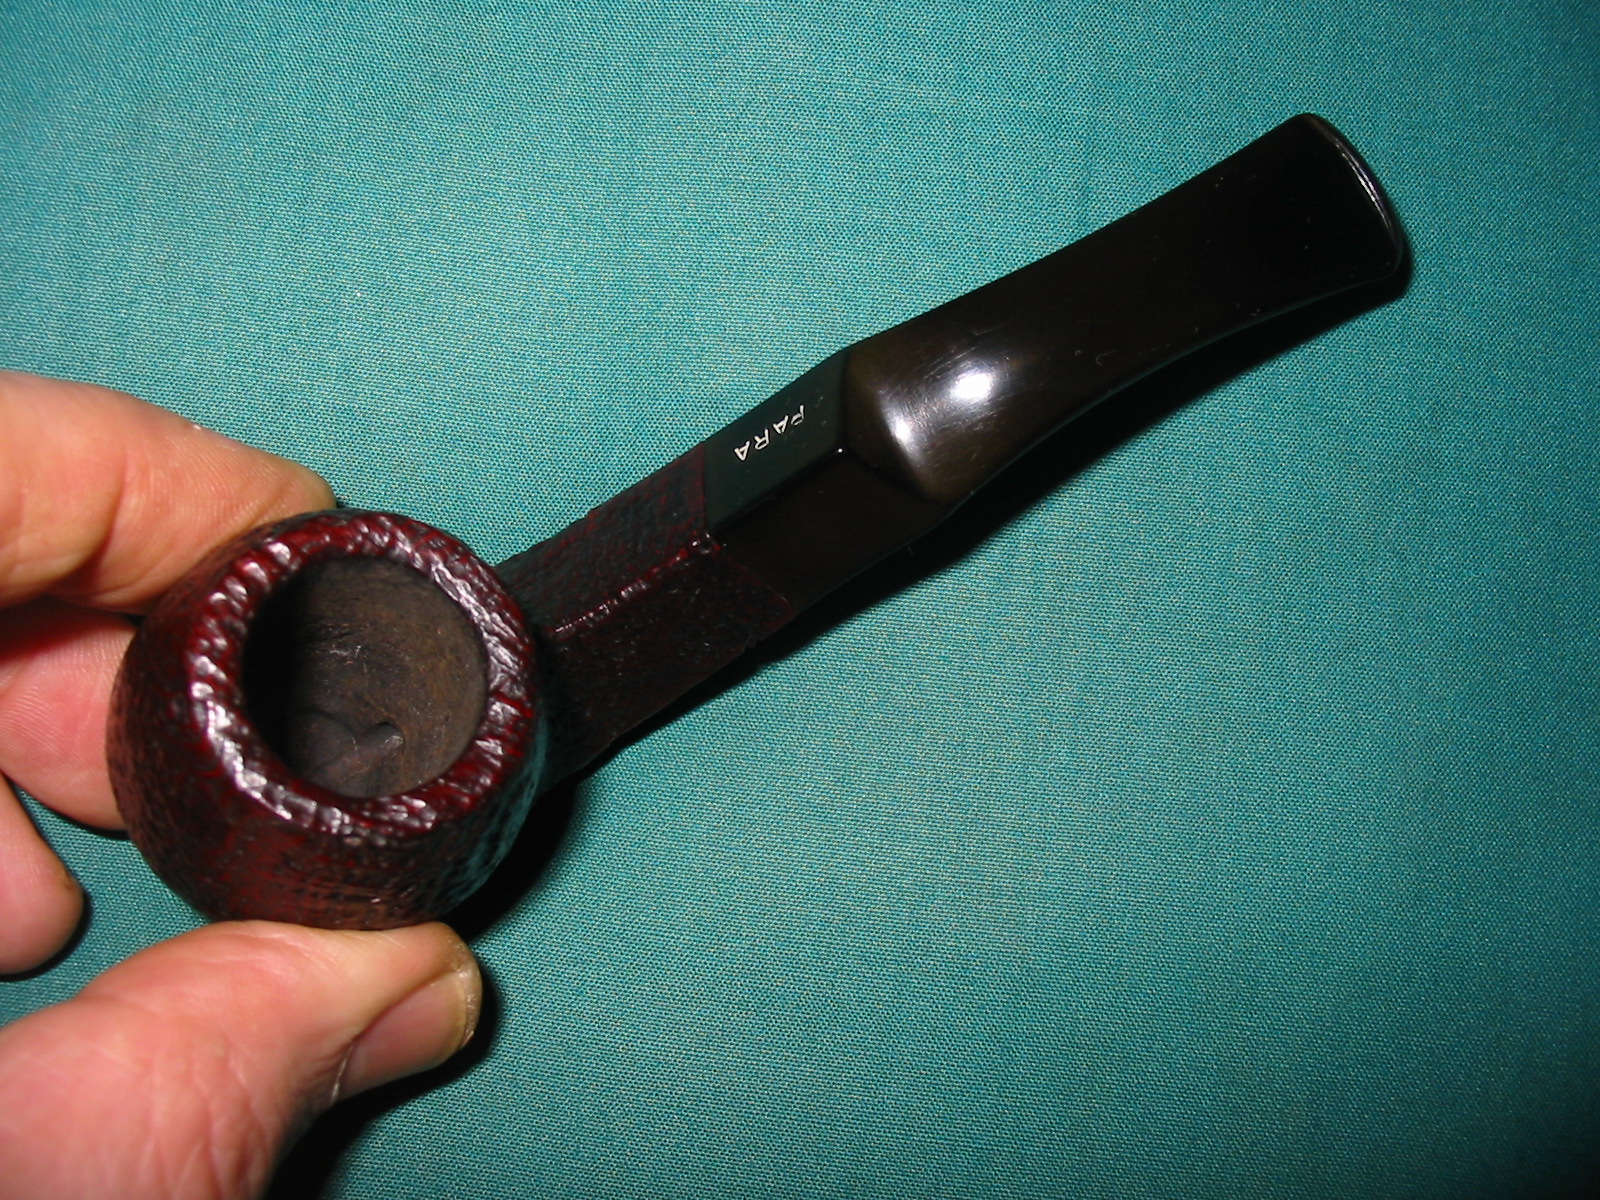
That portion of the shank is smooth. The remainder of the pipe has a deep, craggy sandblast that is quite nice. The stem has no logo or identifying marks other than being stamped PARA on the top right side of the saddle stem.
Wash12

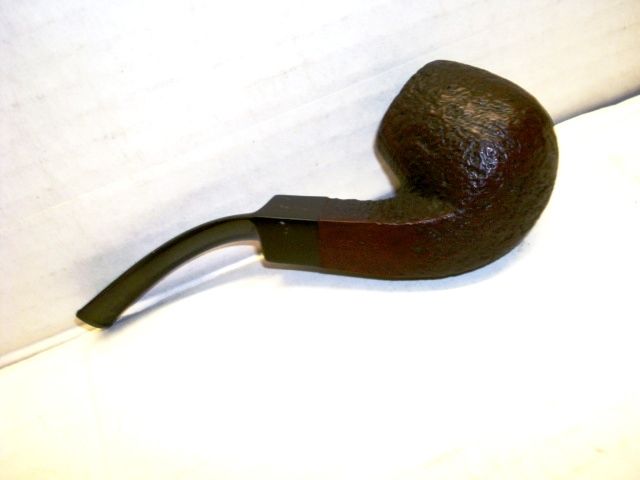
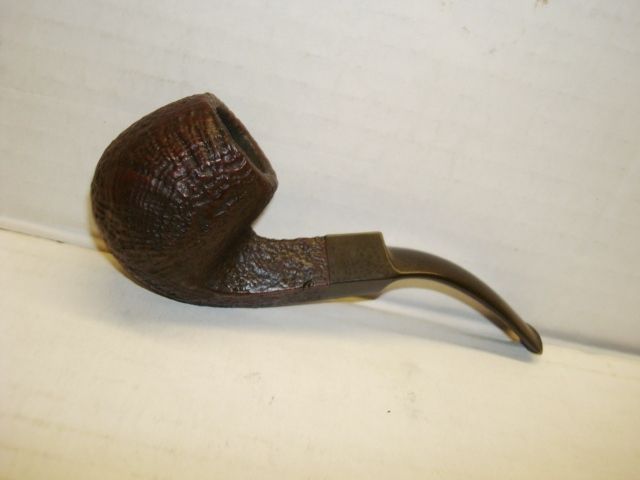
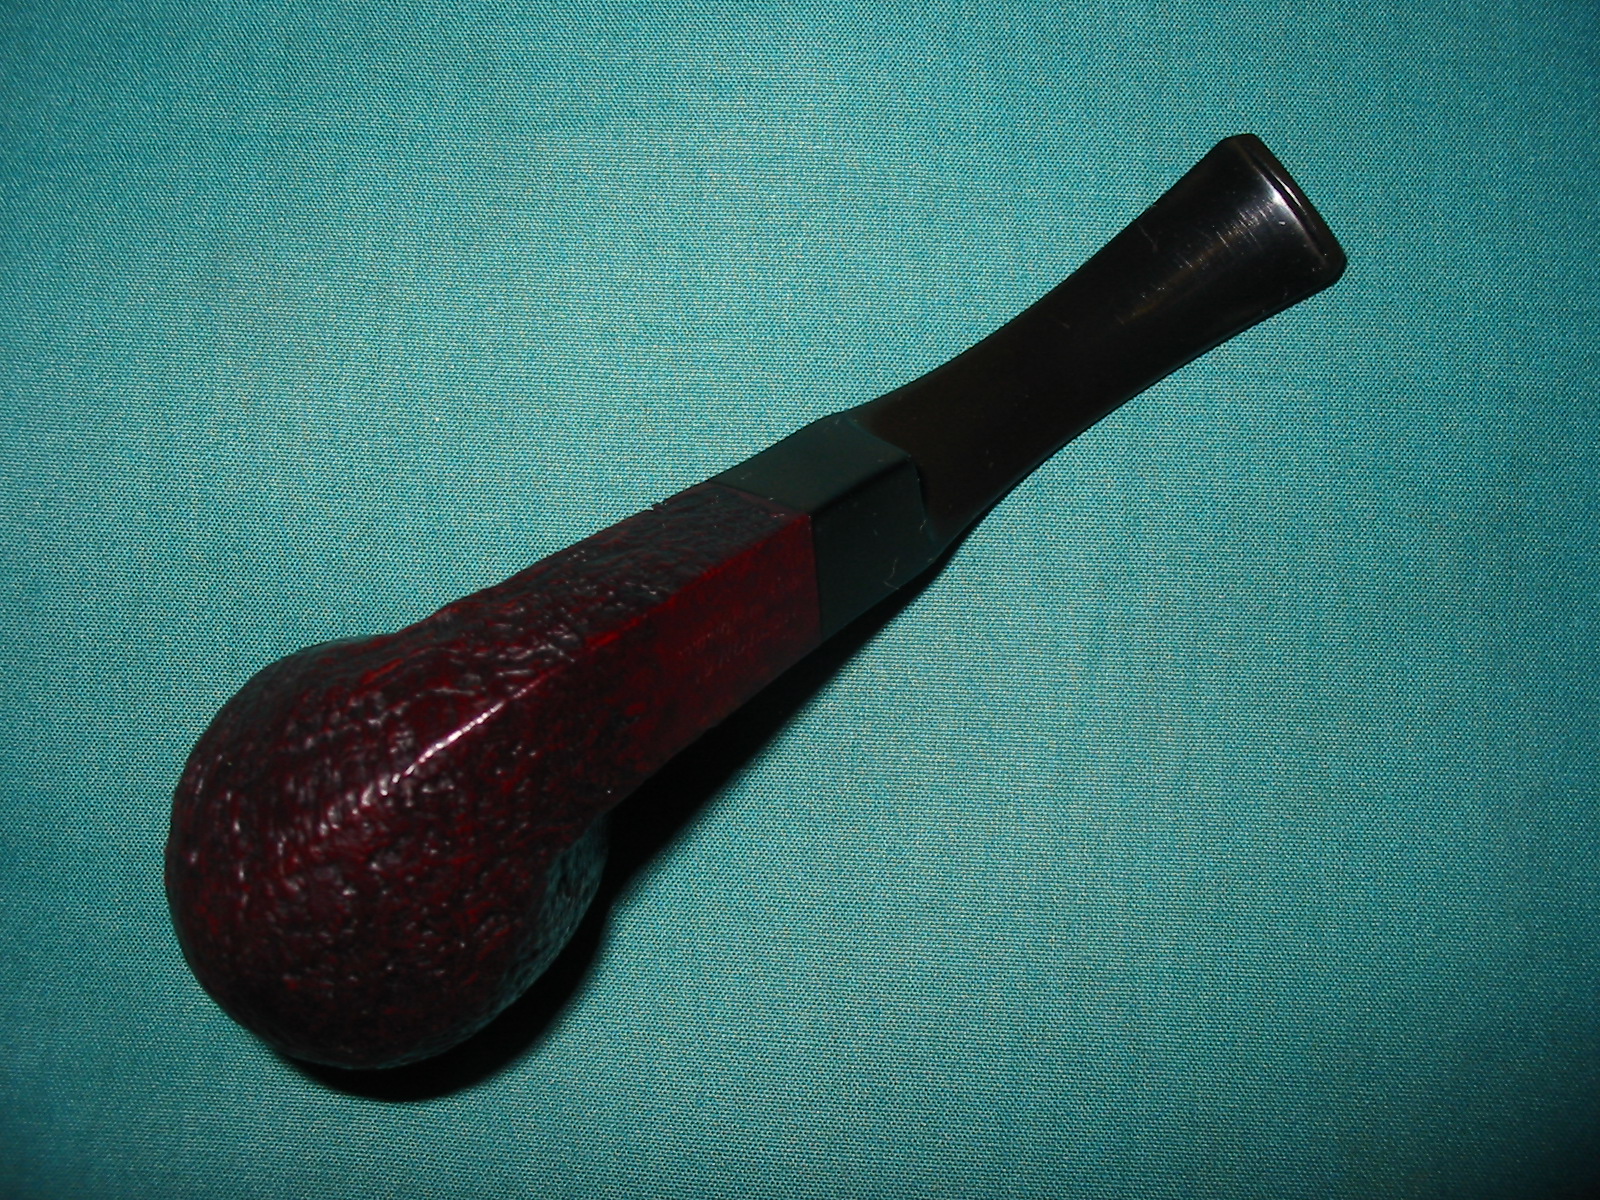
The two photos above and the series of ten photos below were included in the listing on Ebay. The pipe looked to be in excellent condition. I am uncertain as to the brand of the pipe. The book, Who Made That Pipe identifies the brand as being made by Comoy’s and stamped England. However, this pipe is clearly stamped Washington D.C. The book identifies a brand that is stamped National Mazda as made by LH Stern in the US. The pipe may have been made by LH Stern or possibly it was made for a pipe shop in Washington D.C. and made by Comoy’s. There is also a company called National Briar Pipe Company in Jersey City, New Jersey that could possibly have made the pipe as well. There is something about the stamping that reminds me of the Bertram pipes that also came from Washington D.C. This pipe is a bit of a mystery but I like the diamond shank apple shape and the nice blast on the bowl.
Wash1

Whoever made the pipe, it has a great looking sandblast as can be seen in the photos below.
Wash2

Wash3

Wash4

The bowl was lightly caked with carbon and was quite clean in the shank and stem. It appeared to have been barely broken in.
Wash5

Wash6

Wash7

Wash8

Wash9

The stem seemed to have light tooth chatter on the top and the bottom near the button. There appeared to be light oxidation on the vulcanite.
Wash10

When the pipe arrived, I unpacked it and took it to the worktable. I removed the carefully stem out of the shank because it was very tight and was hard to turn. I was just about ready to put it in the freezer for a few moments to let the contraction and expansion loosen the stem when it turned. I was able to remove it from the shank without damaging either shank or stem. Looking at the tenon I could see a slight buildup of grime that was on the last ¼ inch and looking into the shank the same band of grit was present. Interestingly to me, the shank was dirty but there was not a lot of tar or oils built up inside. There was bare briar clearly visible in the shank other than the band of grit that had held the stem tightly in place. I cleaned out the shank with cotton swabs dipped in Everclear and the inside of the stem with pipe cleaners and the same. It did not take too much work before they both came out clean and white.
IMG_2337

IMG_2338

IMG_2339

IMG_2340

IMG_2341

I reamed the bowl of the pipe with a PipNet pipe reamer to remove the slight cake and the tobacco debris that had built up on the walls. It was quite soft and came easily away from the wall of the pipe.
IMG_2342

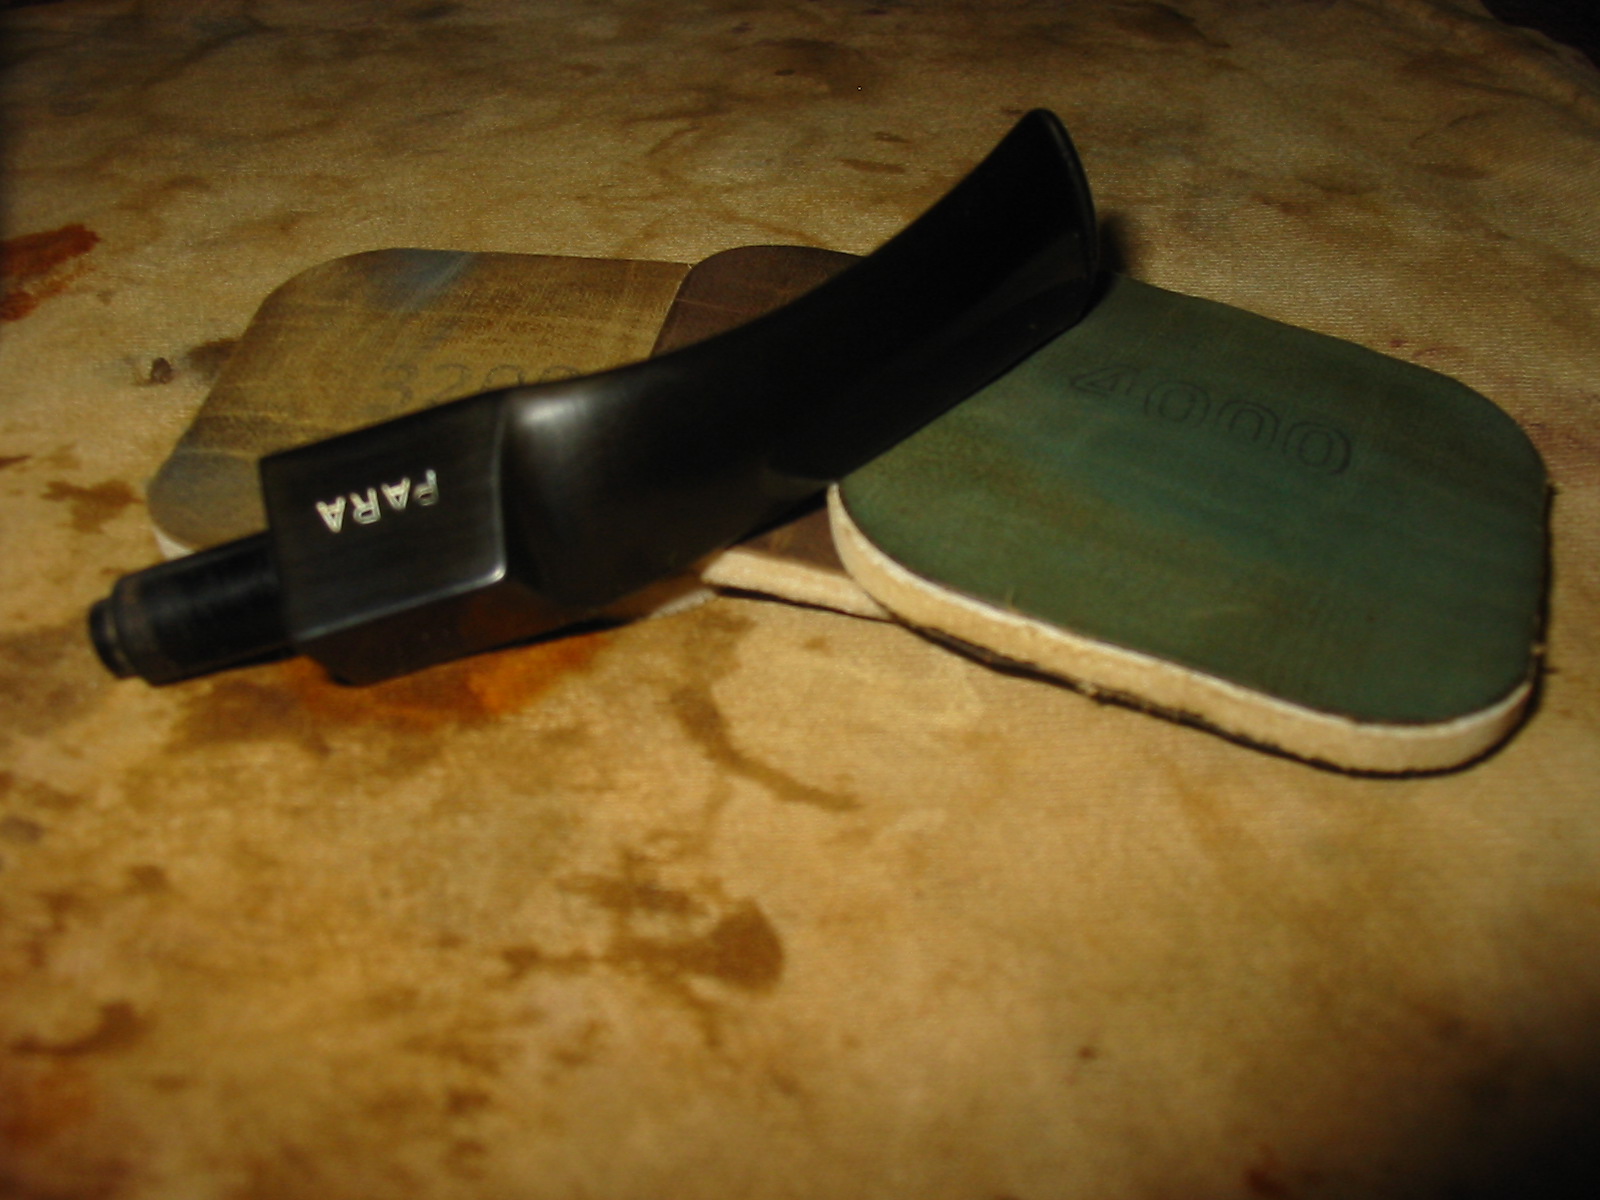
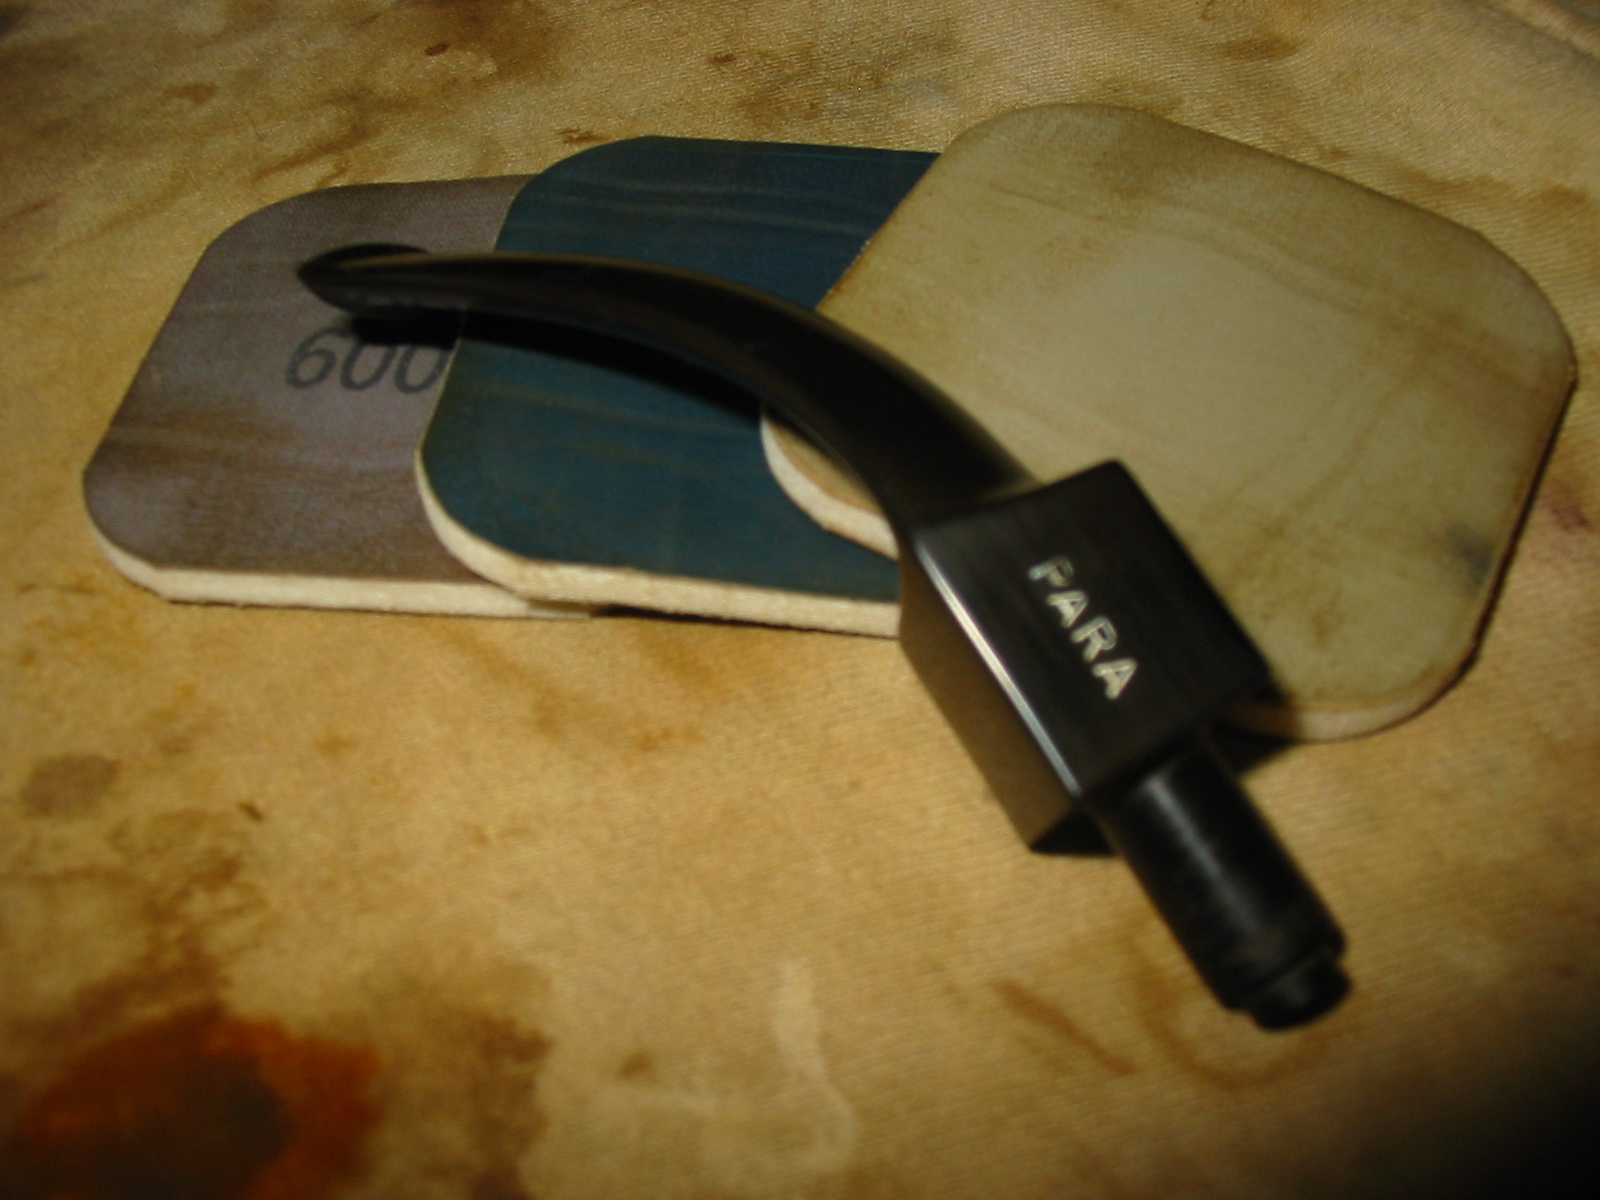
I buffed the bowl with White Diamond and then gave it a coating of Halcyon II wax to give the surface a shine. The finish was actually in excellent shape and after hand buffing the Halcyon II the pipe bowl looked as good as new. I set the bowl aside and worked on the stem. I sanded the stem with a medium grit sanding sponge to remove the surface oxidation and the slight tooth chatter at the button. There was also some calcification around the button that I sanded off as well. After the stem was clean of oxidation and debris I sanded it with micromesh sanding pads. I wet sanded with 1500-2400 grit micromesh and the dry sanded with 3200-12,000 grit pads.
IMG_2343

IMG_2348

IMG_2349

Just after wet sanding with the 1500-2400 micromesh pads I used a white out/correction pen to whiten the stamping on the stem. I applied the white out with the tip of the pen and when it dried sanded off the excess with the 1500-2400 grit pads.
IMG_2350

IMG_2351

IMG_2352

Once the stem was polished with the final grit of micromesh I rubbed the stem down with Obsidian Oil and when it was absorbed I buffed the stem with White Diamond on the wheel. I gave the bowl a light buff with White Diamond as well. I finished by buffing the stem with carnauba wax, giving it several coats and then buffing the entire pipe with a soft flannel buff to raise a shine. The finished pipe is pictured in the last four photos below.
IMG_2358

IMG_2359

IMG_2360

IMG_2361

An Ultrasonic Stem Cleaning Experiment – AJ Verstraten (aka Bananabox-Ninja)


What follows is another article by AJ on his use of the ultrasonic cleaning machine. He has written it in response to the many who asked to hear more about it after his first article here on rebornpipes. I wish to thank AJ for his contributions to the blog and to encourage him to continue to write for us. It is a pleasure to post his next contribution. Thank you AJ.

Greetings, when using a new technique I can’t help but experiment like a mad scientist. So when I heard of the ultra sonic cleaning from my fellow cleaner on the PRF (The Dutch Flemish pipe smoking forum) named ‘Meindert’ I dove into it, because science! One of the first try-outs was posted in my first article and I was carefully optimistic about the end result. During the course of this clean-up I learned why I was not completely happy about it.

When I read the comments on my first article, Mark Domingues mentioned the Oxyclean method. To be honest I never heard of Oxyclean but it triggered a mention done by another fellow PRF-er named ‘annie69’. Who once told me he used hand warm water and Oxi-Action to remove the heavy oxidation on a stem. I tried this method a few months ago, but was not very happy with the end results as it left the stems slippery and gooey, which in my eyes prevented the rest of the oxy-water reaching the stem.

As an ultrasonic vibrates the water I thought: “What if the water is in motion, would it remove the goo from the stem during the soak and so give a deeper penetration?” followed by: “What if I combine the oxy-method with the ultrasonic?” So I set up a test with two almost similar oxidized stems which are from my ‘bit-box’ of pipe heads and stems that are missing their counterpart.

Oh, I should mention I work for a company that supplies laboratory equipment and some of the tools are old stock that was distributed to personnel, hence the use of a magnetic stirrer.

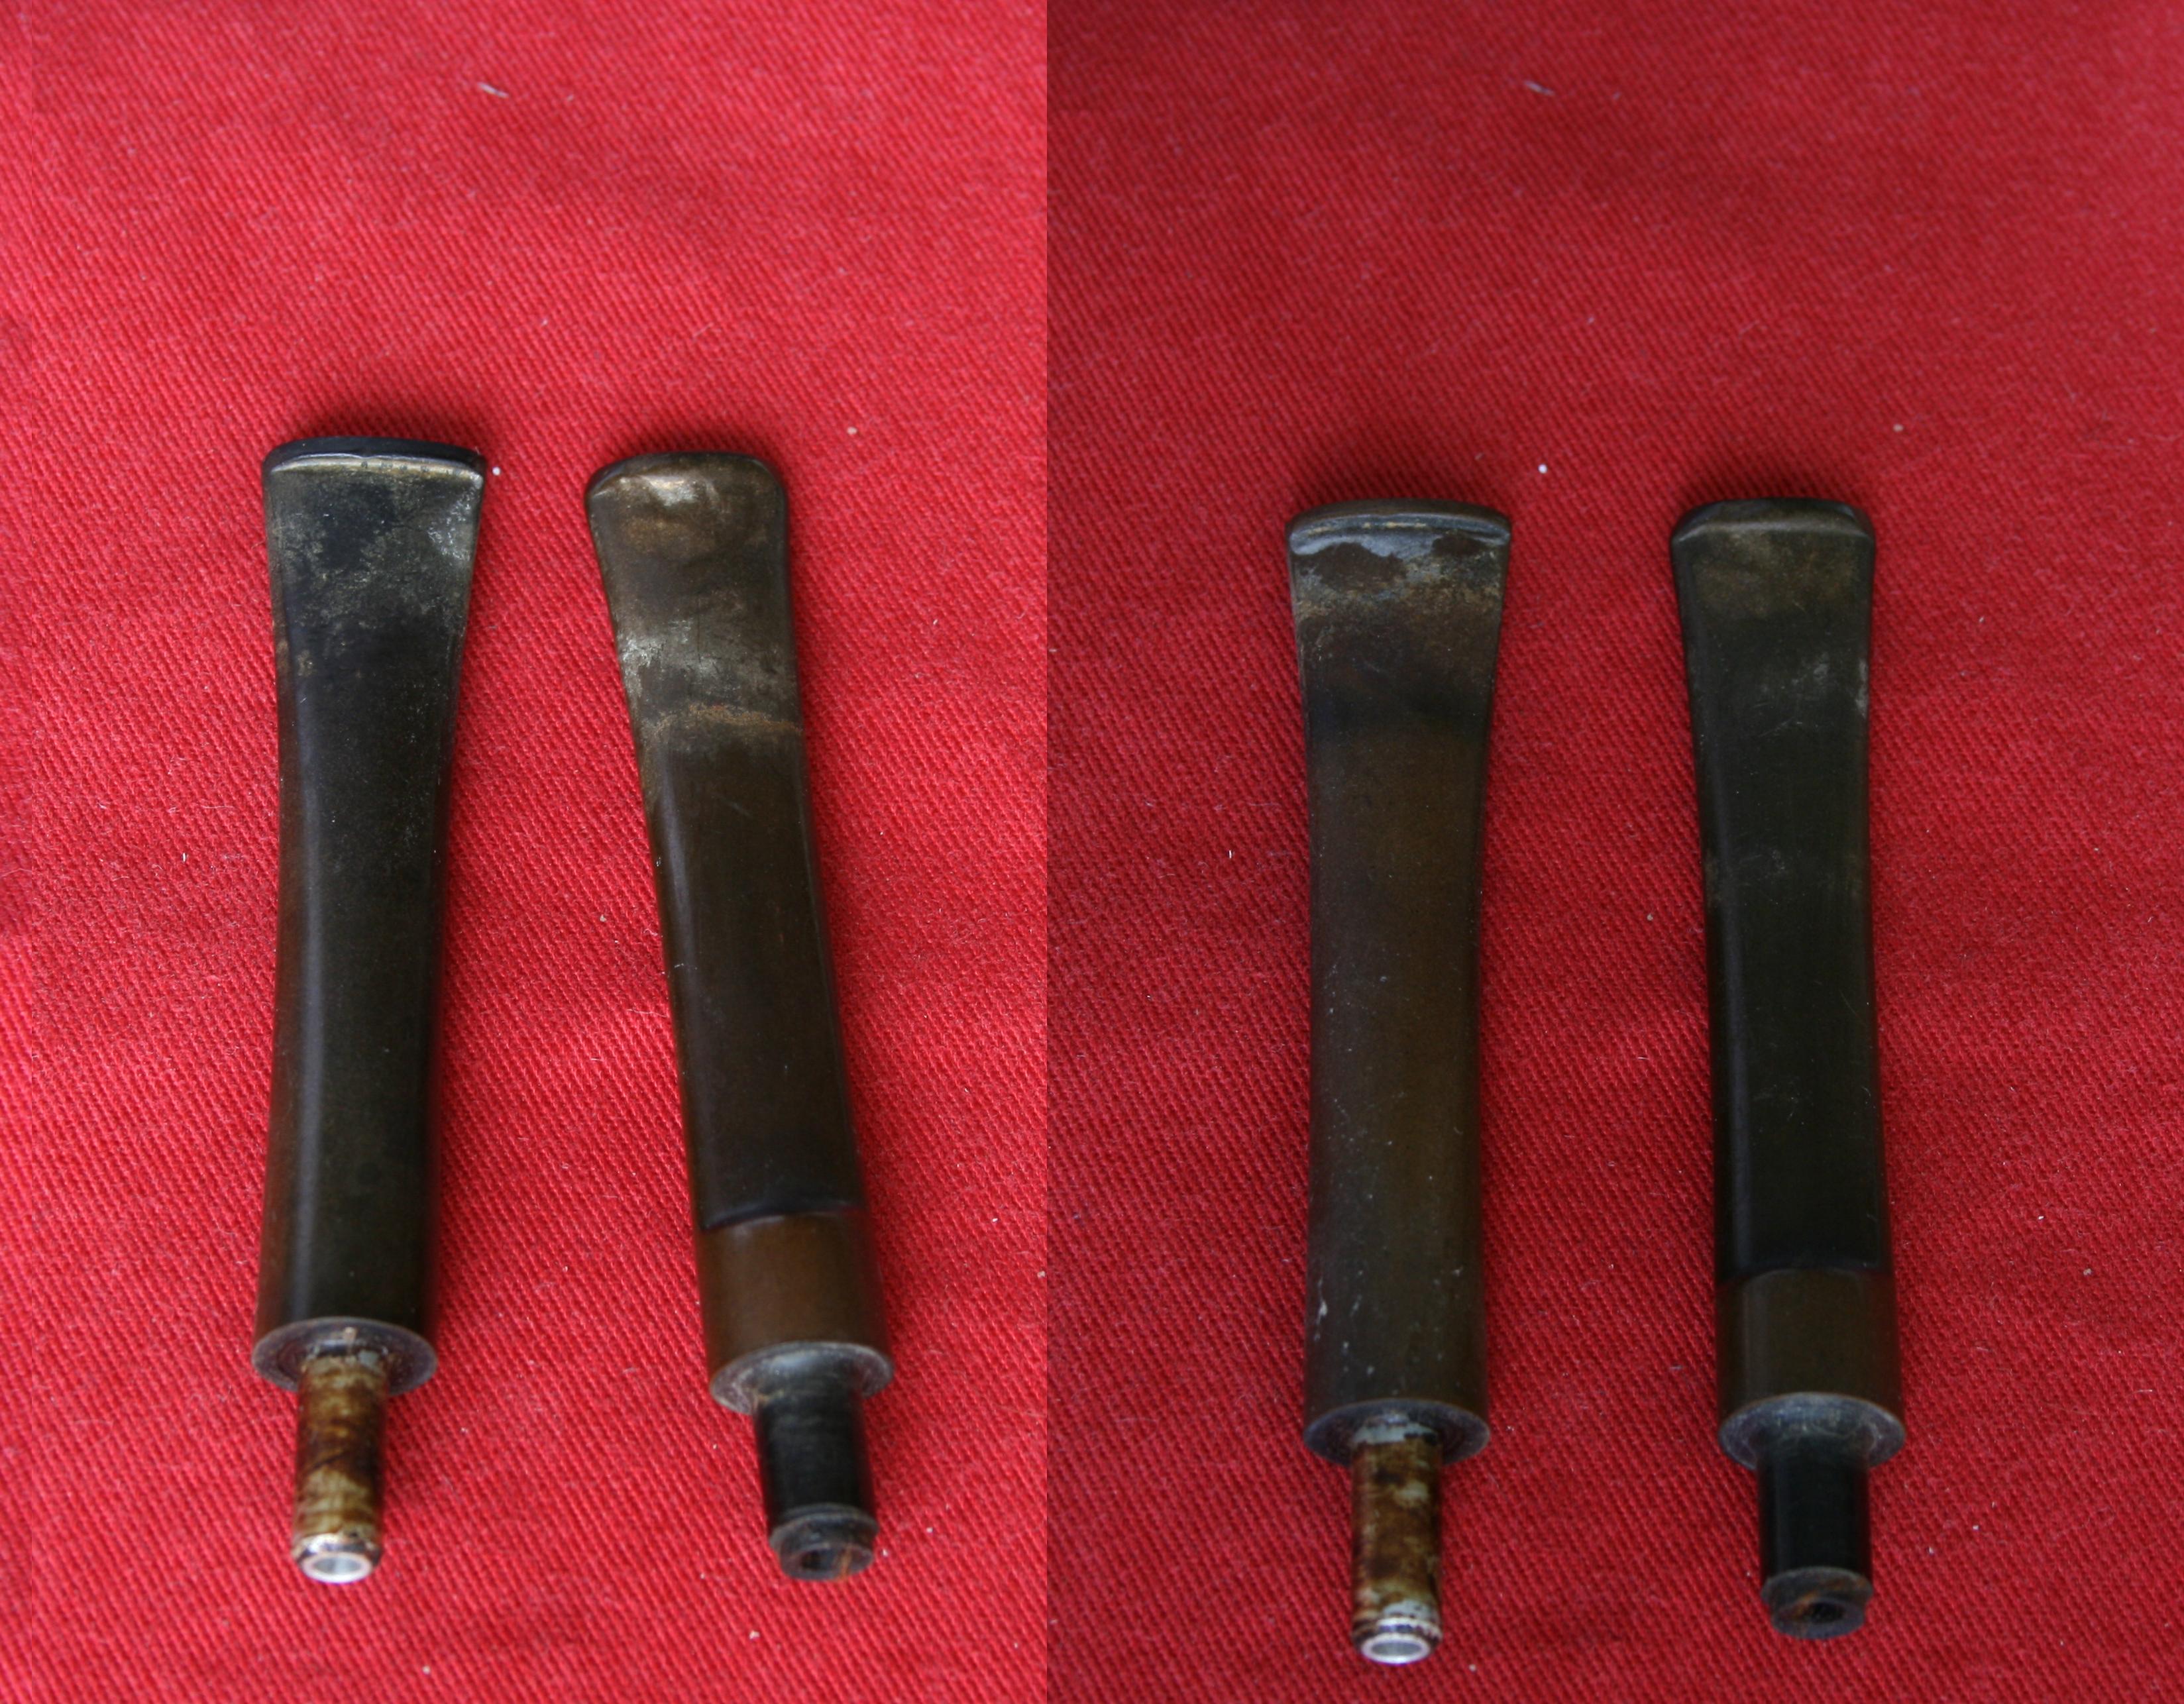
First the stems: The one on the left for the ultrasonic, the one on the right for the stirrer.
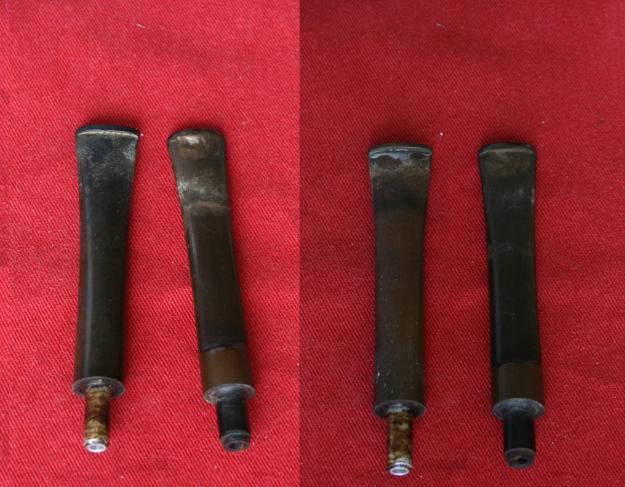
001 The stems

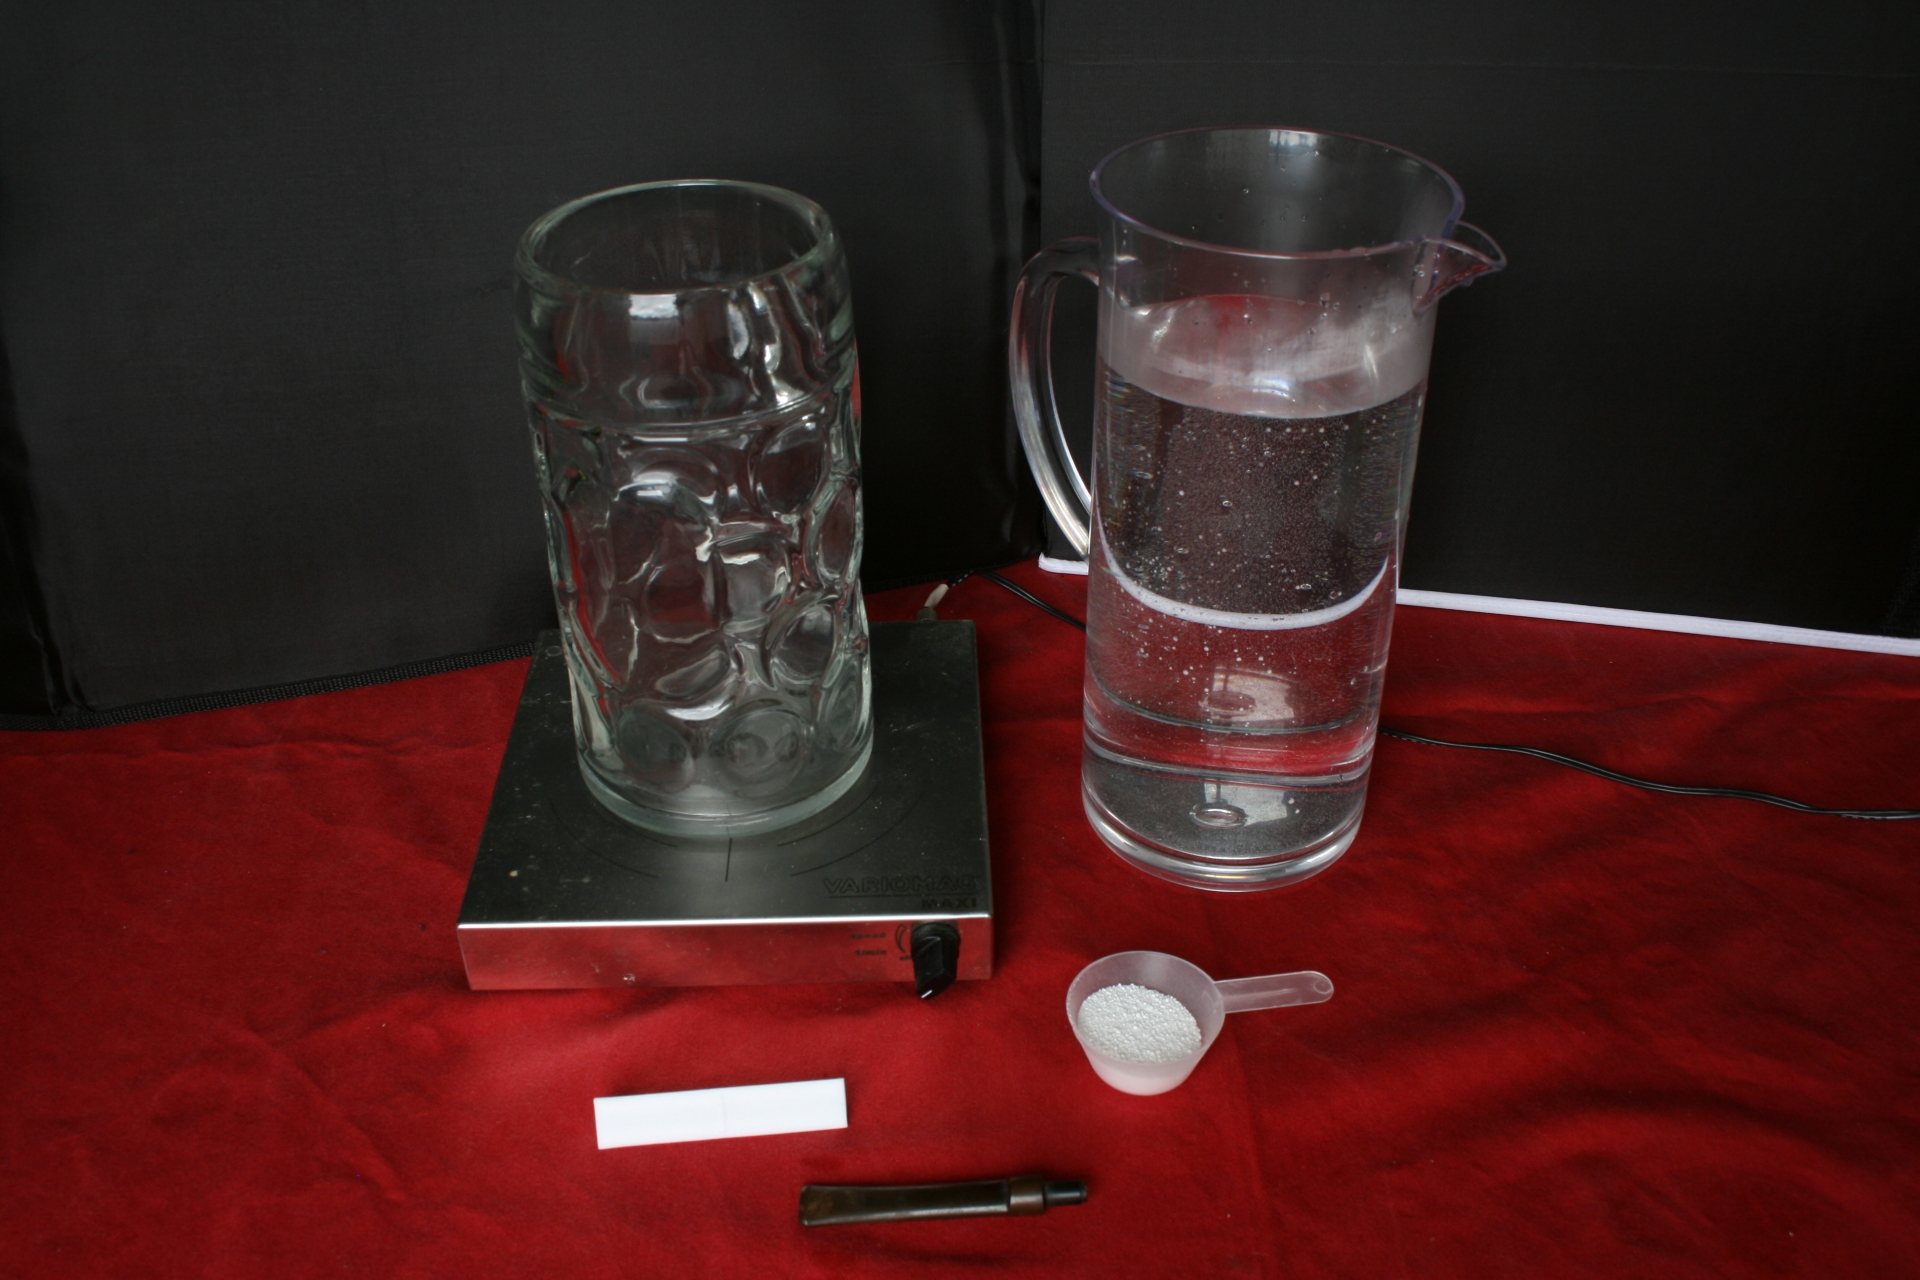
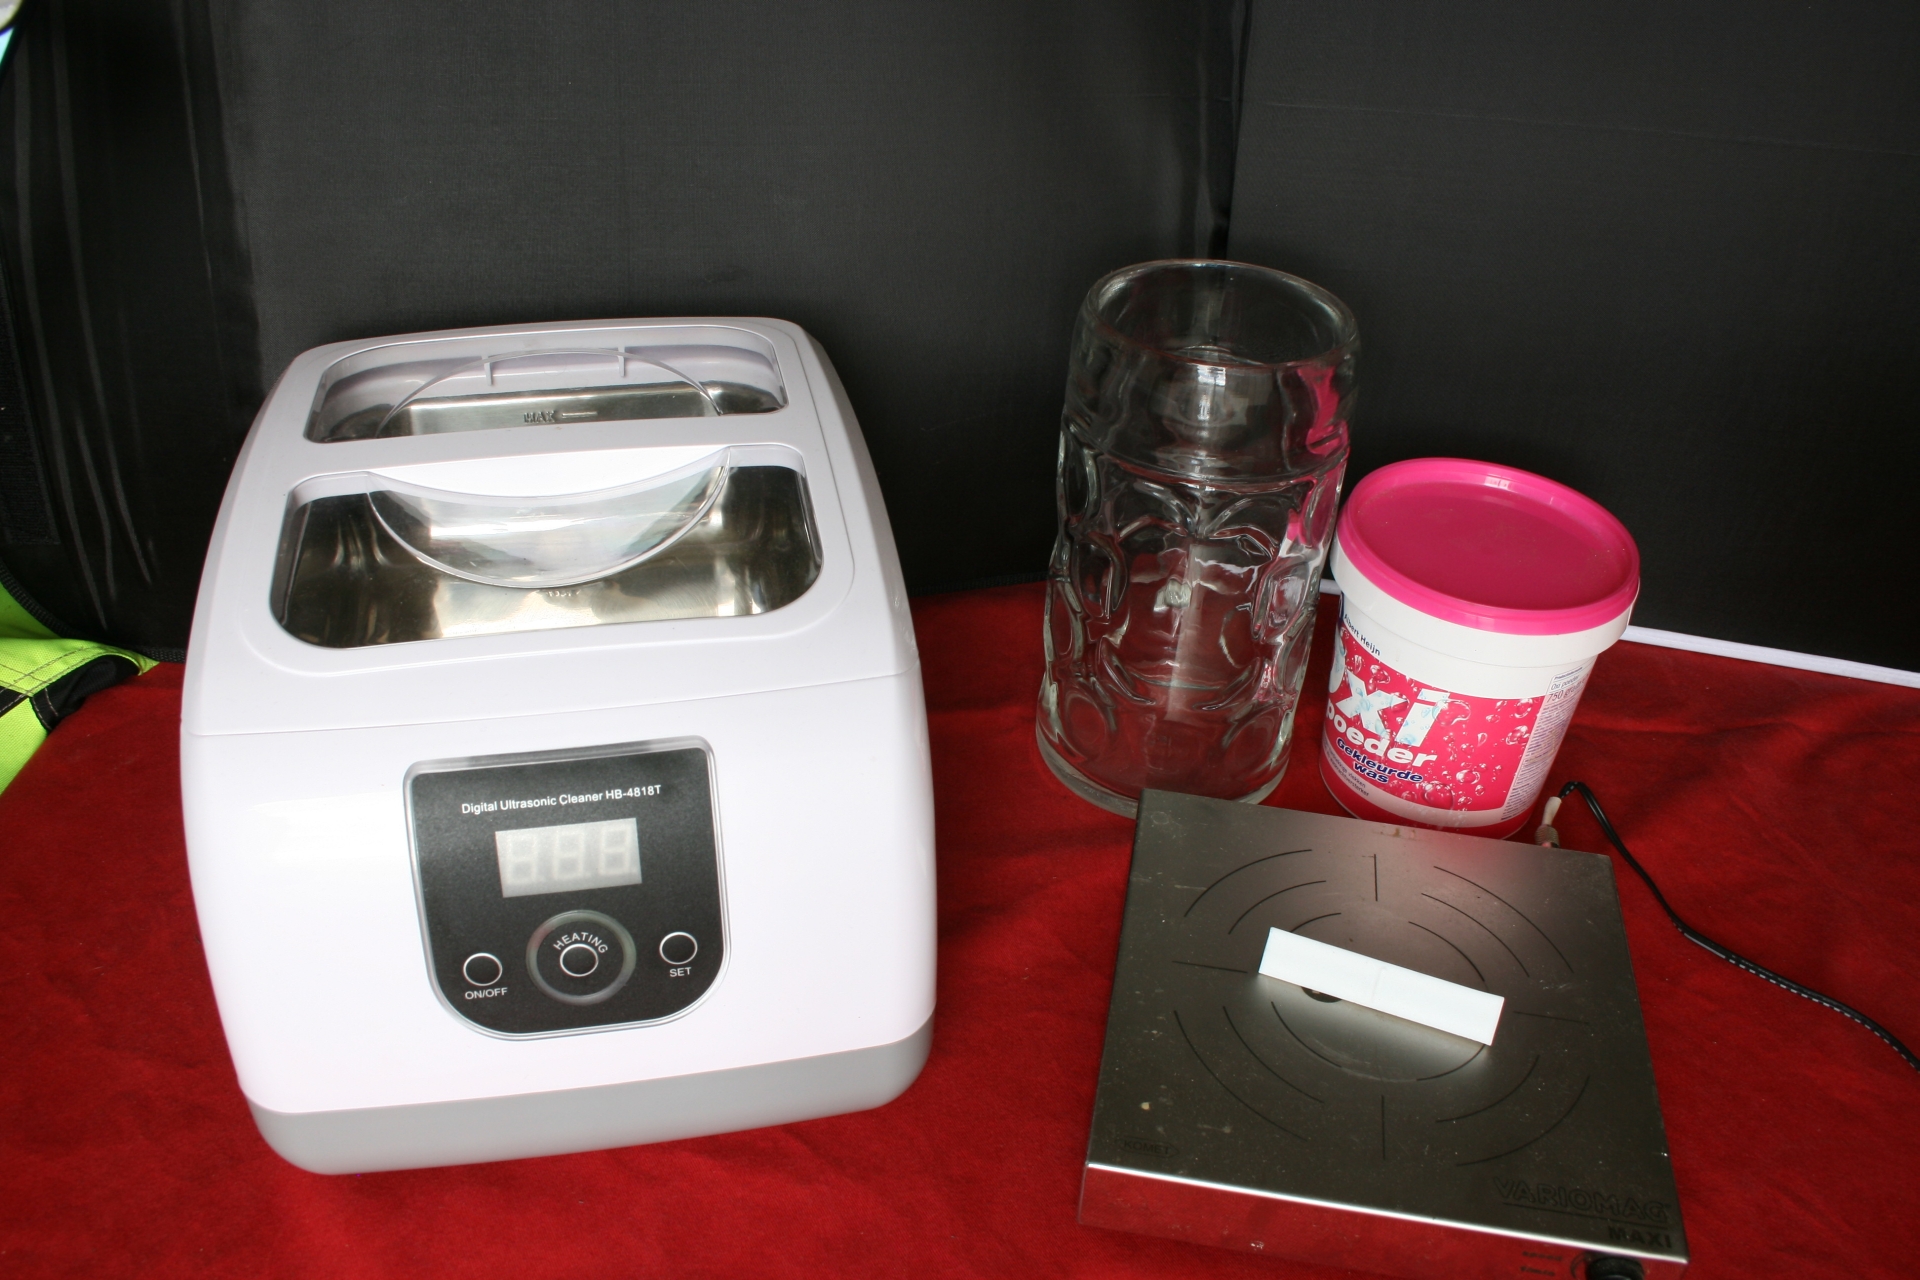
The stirrer setup: A glass on a magnetic stirrer, hand warm water, stirrer, amount of Oxi-Action and the stem.
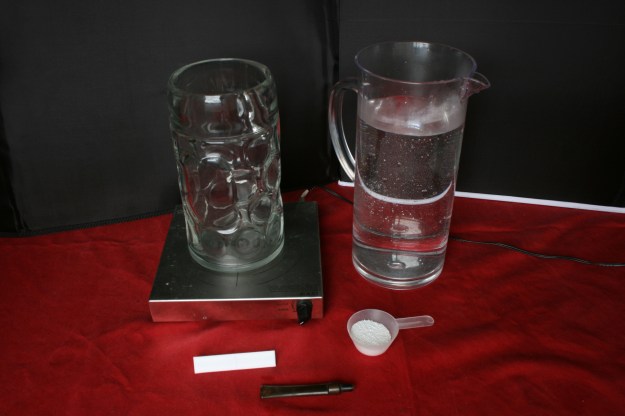
002 Stirrer set up

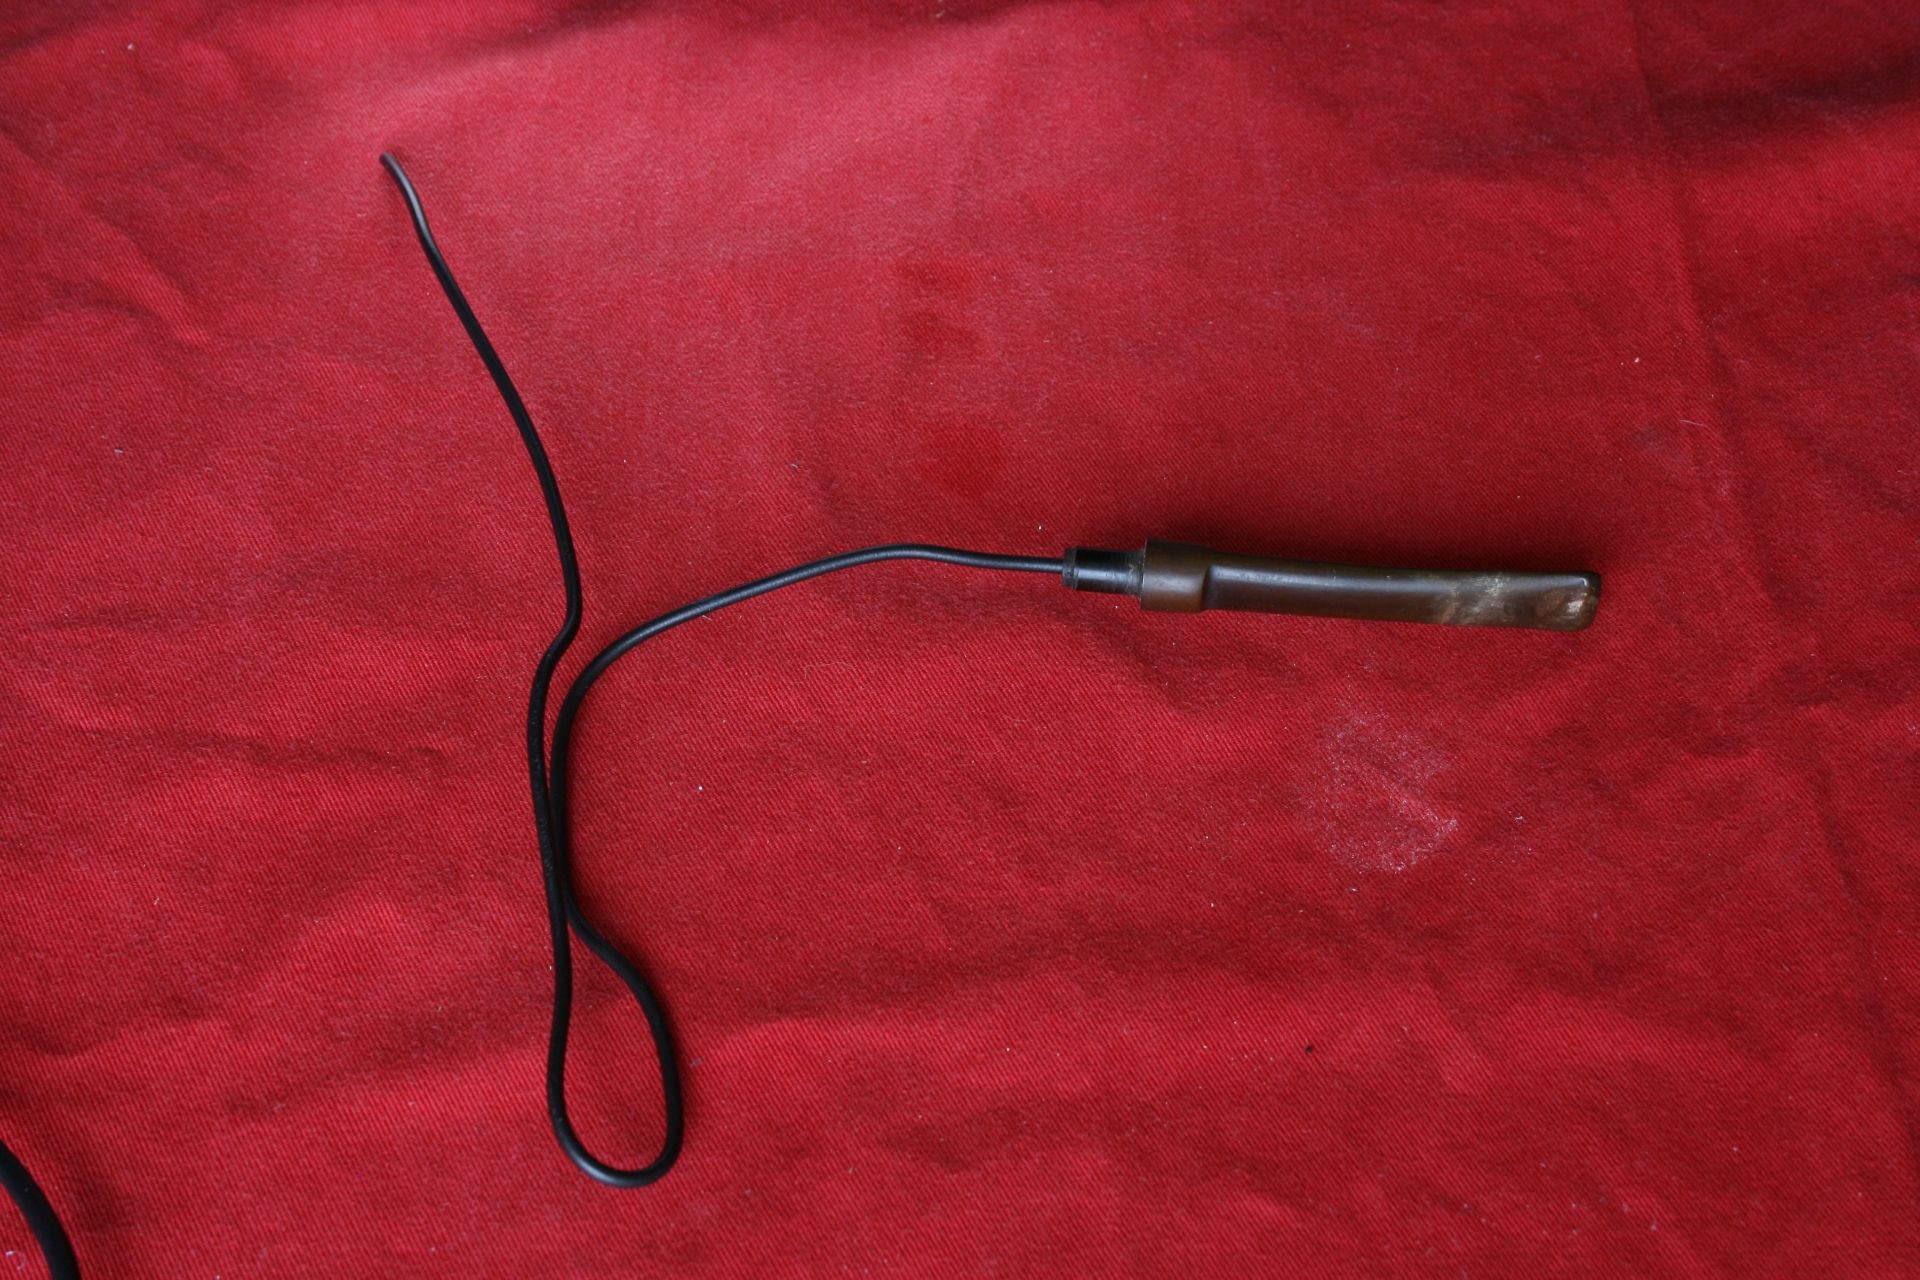
To keep the stem in the liquid I used a bent electric wire and hung it in the glass.
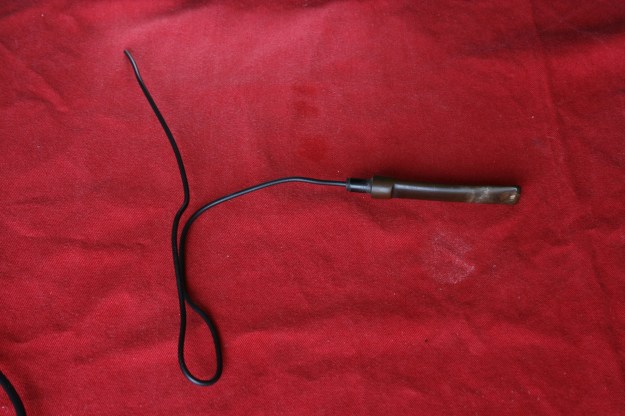
003 Stem holder

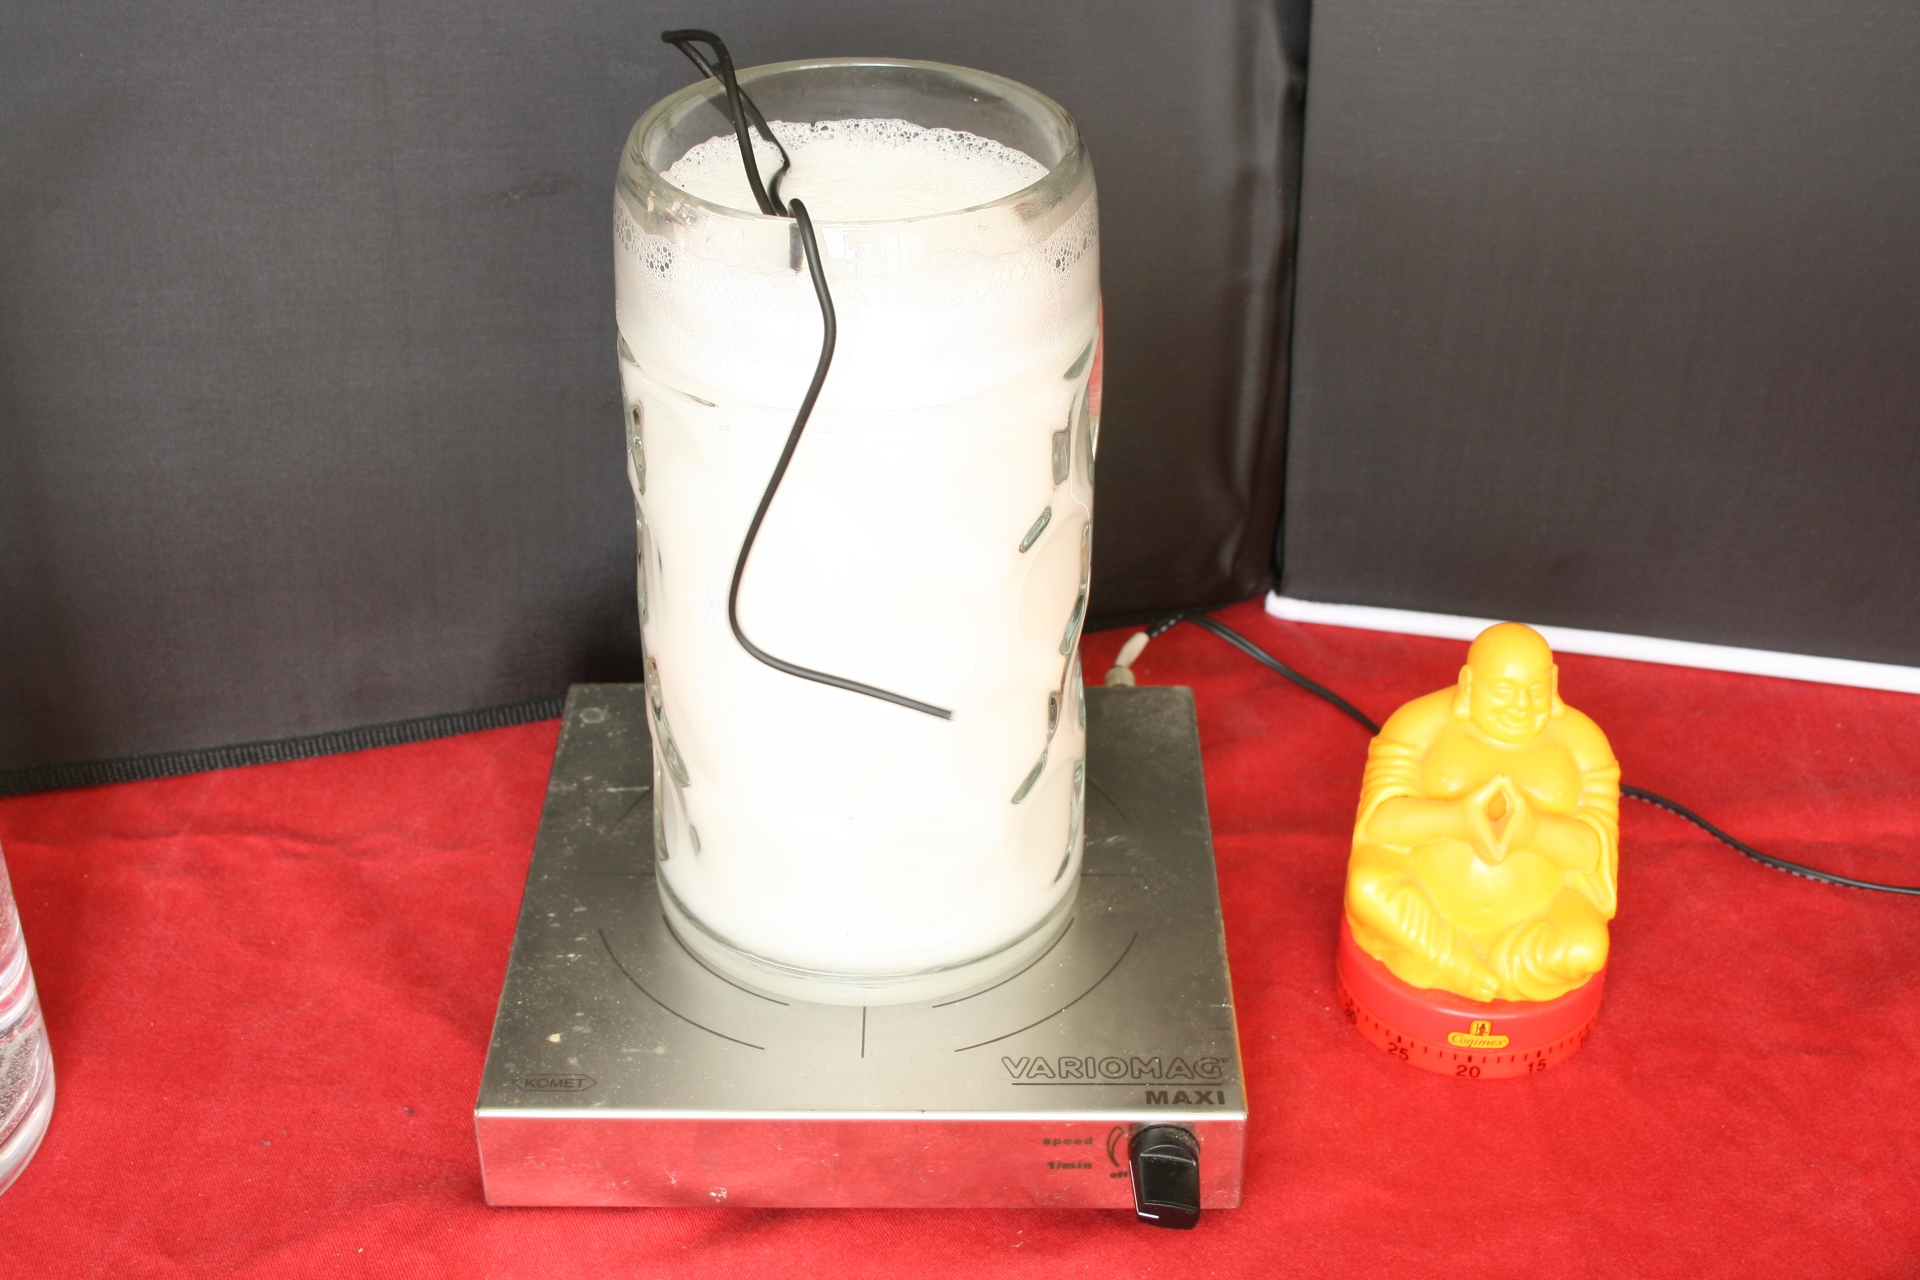
So I poured the hand warm water, the Oxi-Action, and the stirrer in the glass, hung the stem in the mixture and set the timer for 20 minutes.
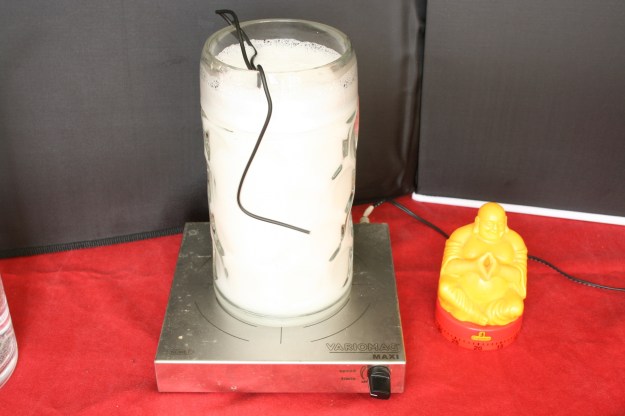
004 Here we go

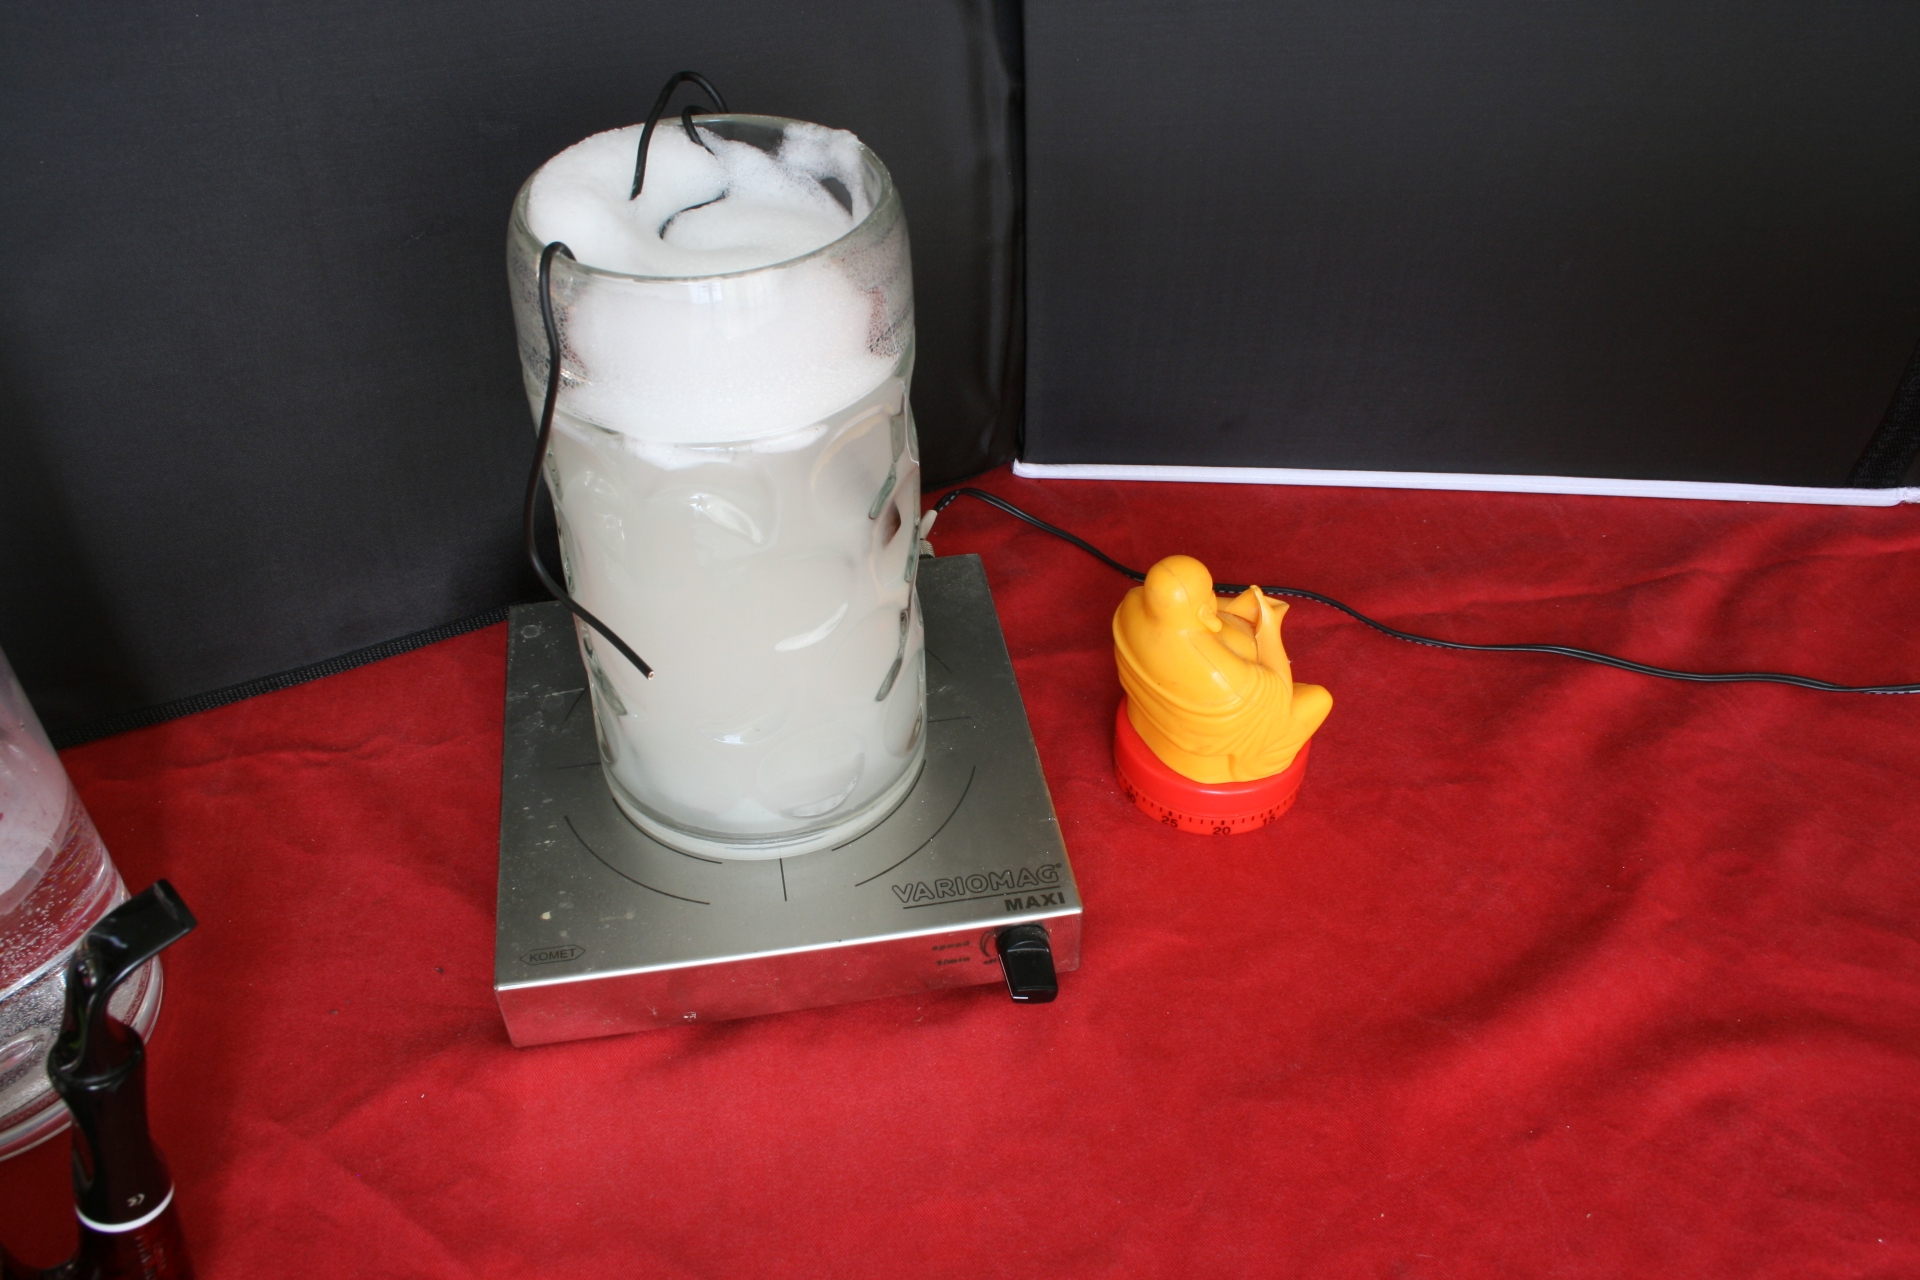
005 20Minutes later

What happens is that a rotating magnetic field lets the stir bar rotate in the liquid, creating a whirlpool inside the glass. Thus the water is in motion and hopefully rinses off the goo that is formed on the stem by the Oxi-Action.

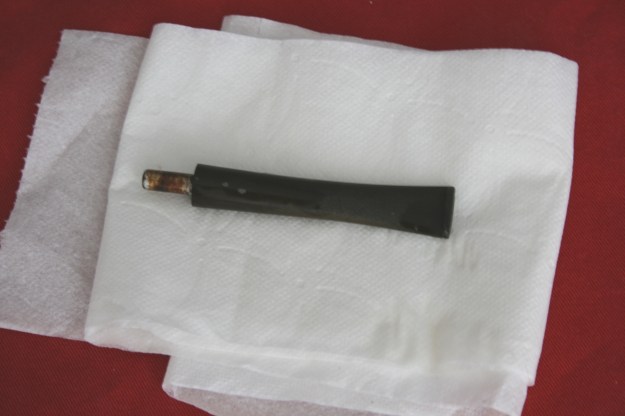
When I retrieved the stem and it was as I expected, greenish brown from the Oxi-Action. But not as gooey as before, so it worked to some degree.
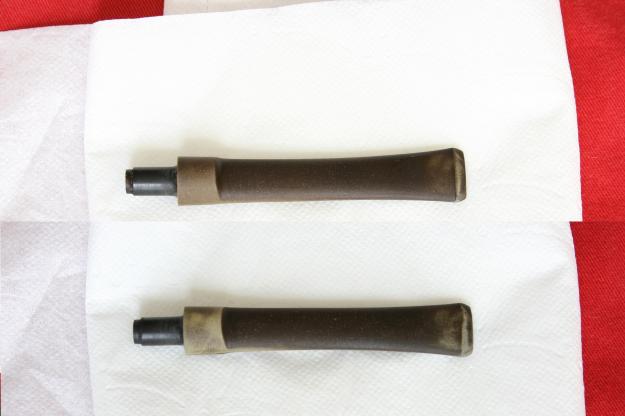
006 Dried

Then I put the stem to the grind wheel and it came out as normal.
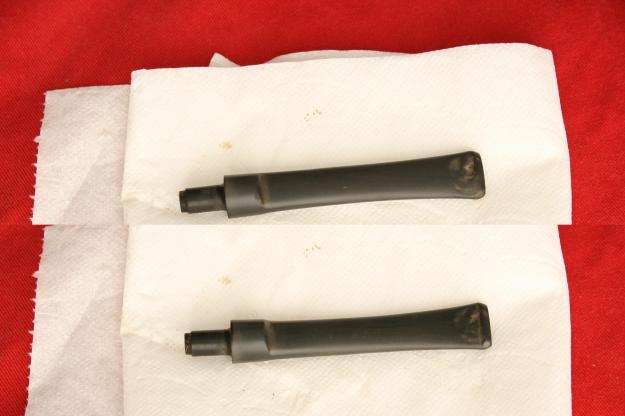
007 after the grind

The light brown patches are hard to reach for the wheel and I normally do those by hand.
To be honest, I was not really happy with the end result and did not finish all the way through with polishing and buffing the stem. In all it only saved me a little time and was a headache to set up right.

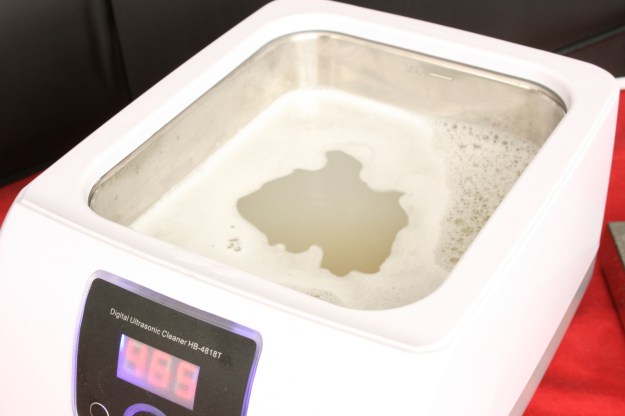
While I worked the previous stem on the grind wheel I let the ultrasonic do its thing. Again the setup: Warm water, ultrasonic with Oxi-Action and the stem.
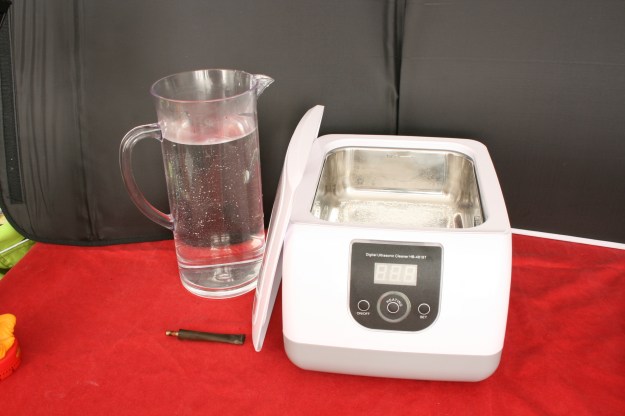
008 Ultrasnic setup

The ultrasonic in action.
009 Look at her go

The stem just removed from the bath.
010 On to something

When I retrieved the stem I was blown away by the result, the stem came out cleaner than with the normal soak method and less gooey as with the stirring method. (However the photo did not show this, so I had to lighten it to make it clearer.) Also when I put the stem to the grind wheel I found that the liquid was a deeper brown colour instead of the golden light-brown colour I usually get when grinding.

The result after grinding.
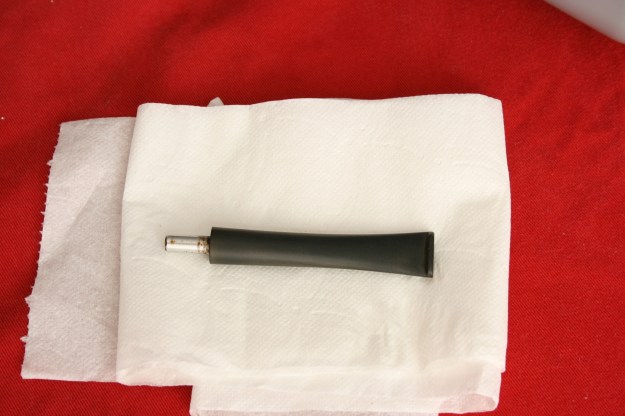
011 After the grind

Was I on to something or was it a fluke with this particular stem? I decided to leave the stems as is, find another stem in my ‘bit-box’ and try the ultrasonic again to see if I could duplicate the result. I found a stem without its tenon and dunked it in the ultrasonic.
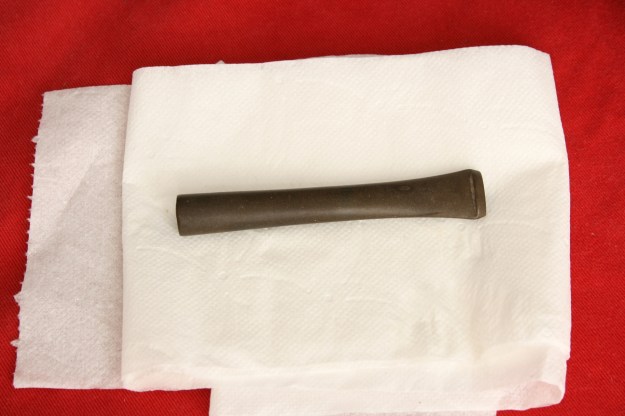
012 Before

While this was going on I Googled about ultrasonic cleaning and I stumbled on a very well written site: http://www.tmasc.com/qa%20process.htm by an unknown author. In it I found a certain line that made me stop the ultrasonic and reconfigure it, namely this:

‘Parts should be racked in a basket or work holder designed to handle your specific part. This is very important in high-end cleaning systems where you want the cleanest part possible. You should always use a stainless steel basket, as softer materials will absorb the ultrasonic energy. Never use plastic or other soft materials. If your part is easily damaged or scratched, stainless steel racks with Nylobond or Teflon coatings are available.’

Now if you look in the previous pictures you will notice I left the basket out of the cleaner thinking it was not needed for my purposes. Boy was I wrong. Having the stems in contact with the bottom meant that the sonic vibrations were interrupted and as such the cleaning was not optimum. Whoops. So I put the basket that came with the cleaner, put the stem in and let it go for 8 minutes. The end result really surprised me.

013 After

When I used the grind wheel on it the liquid was almost black. Here are the stems next to each other.
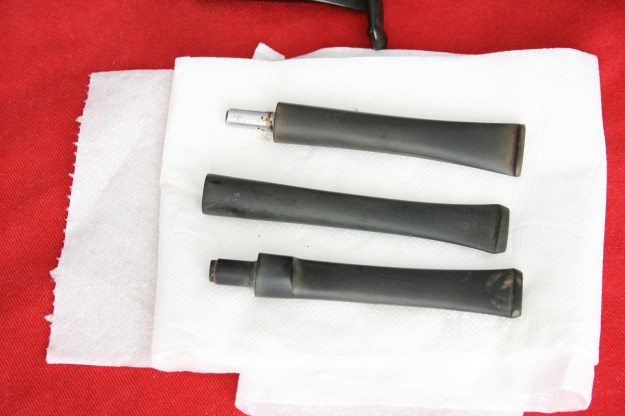
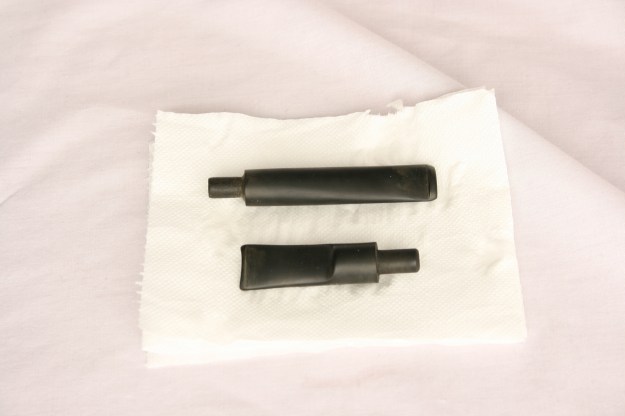
014 All three stems

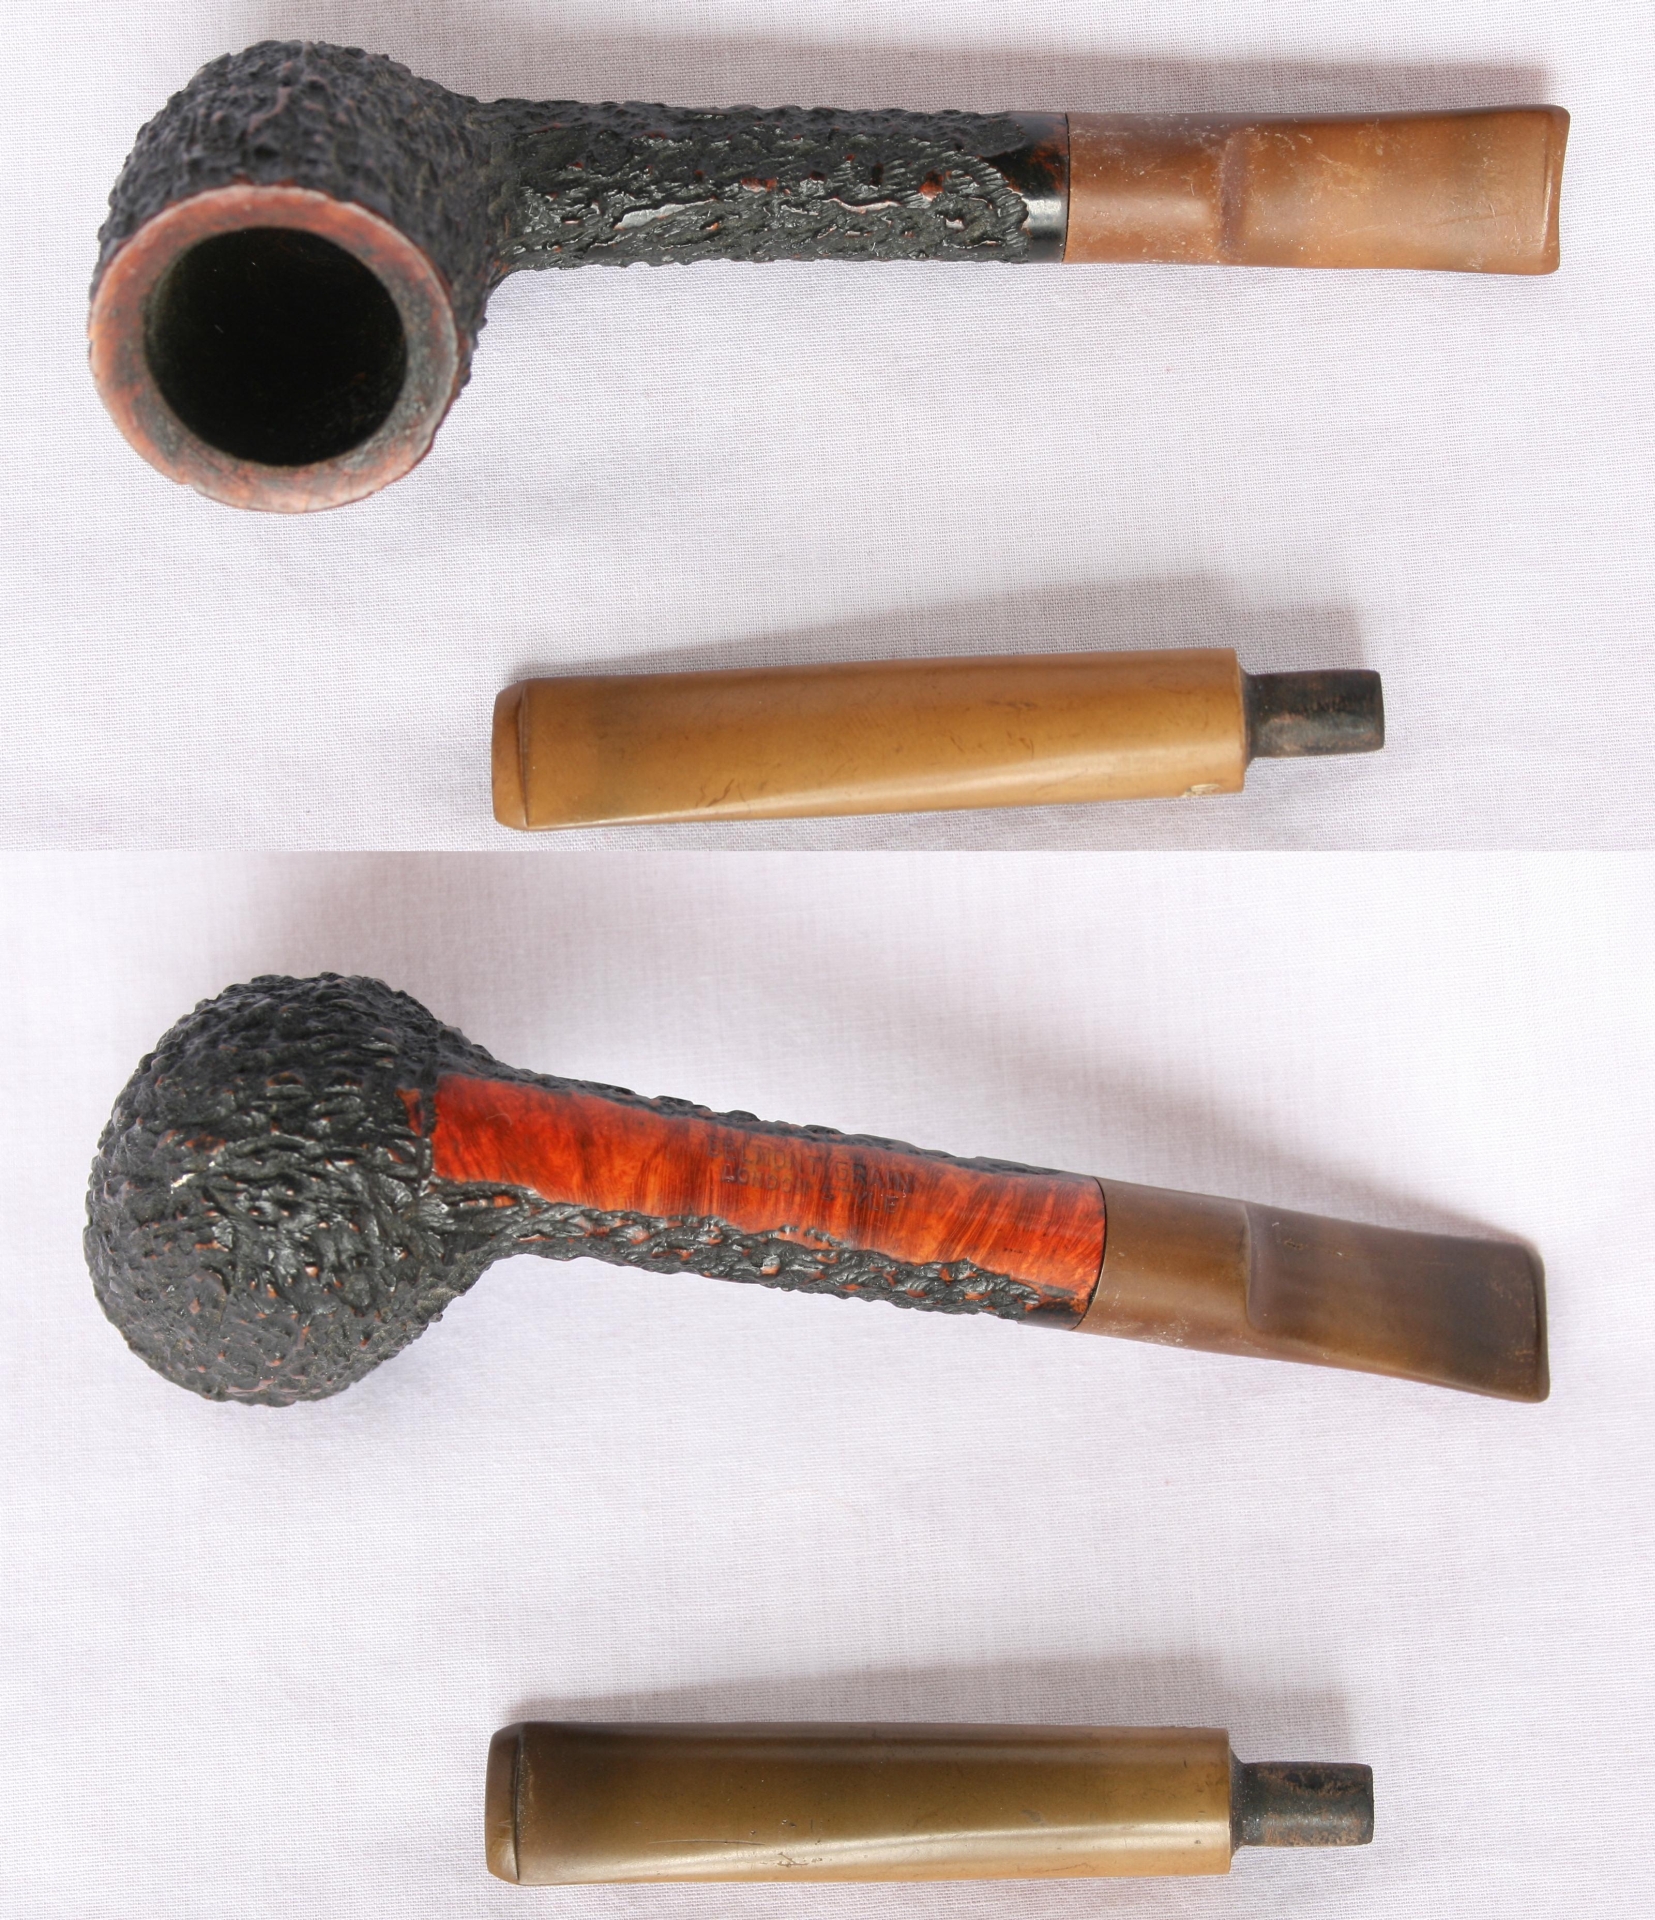
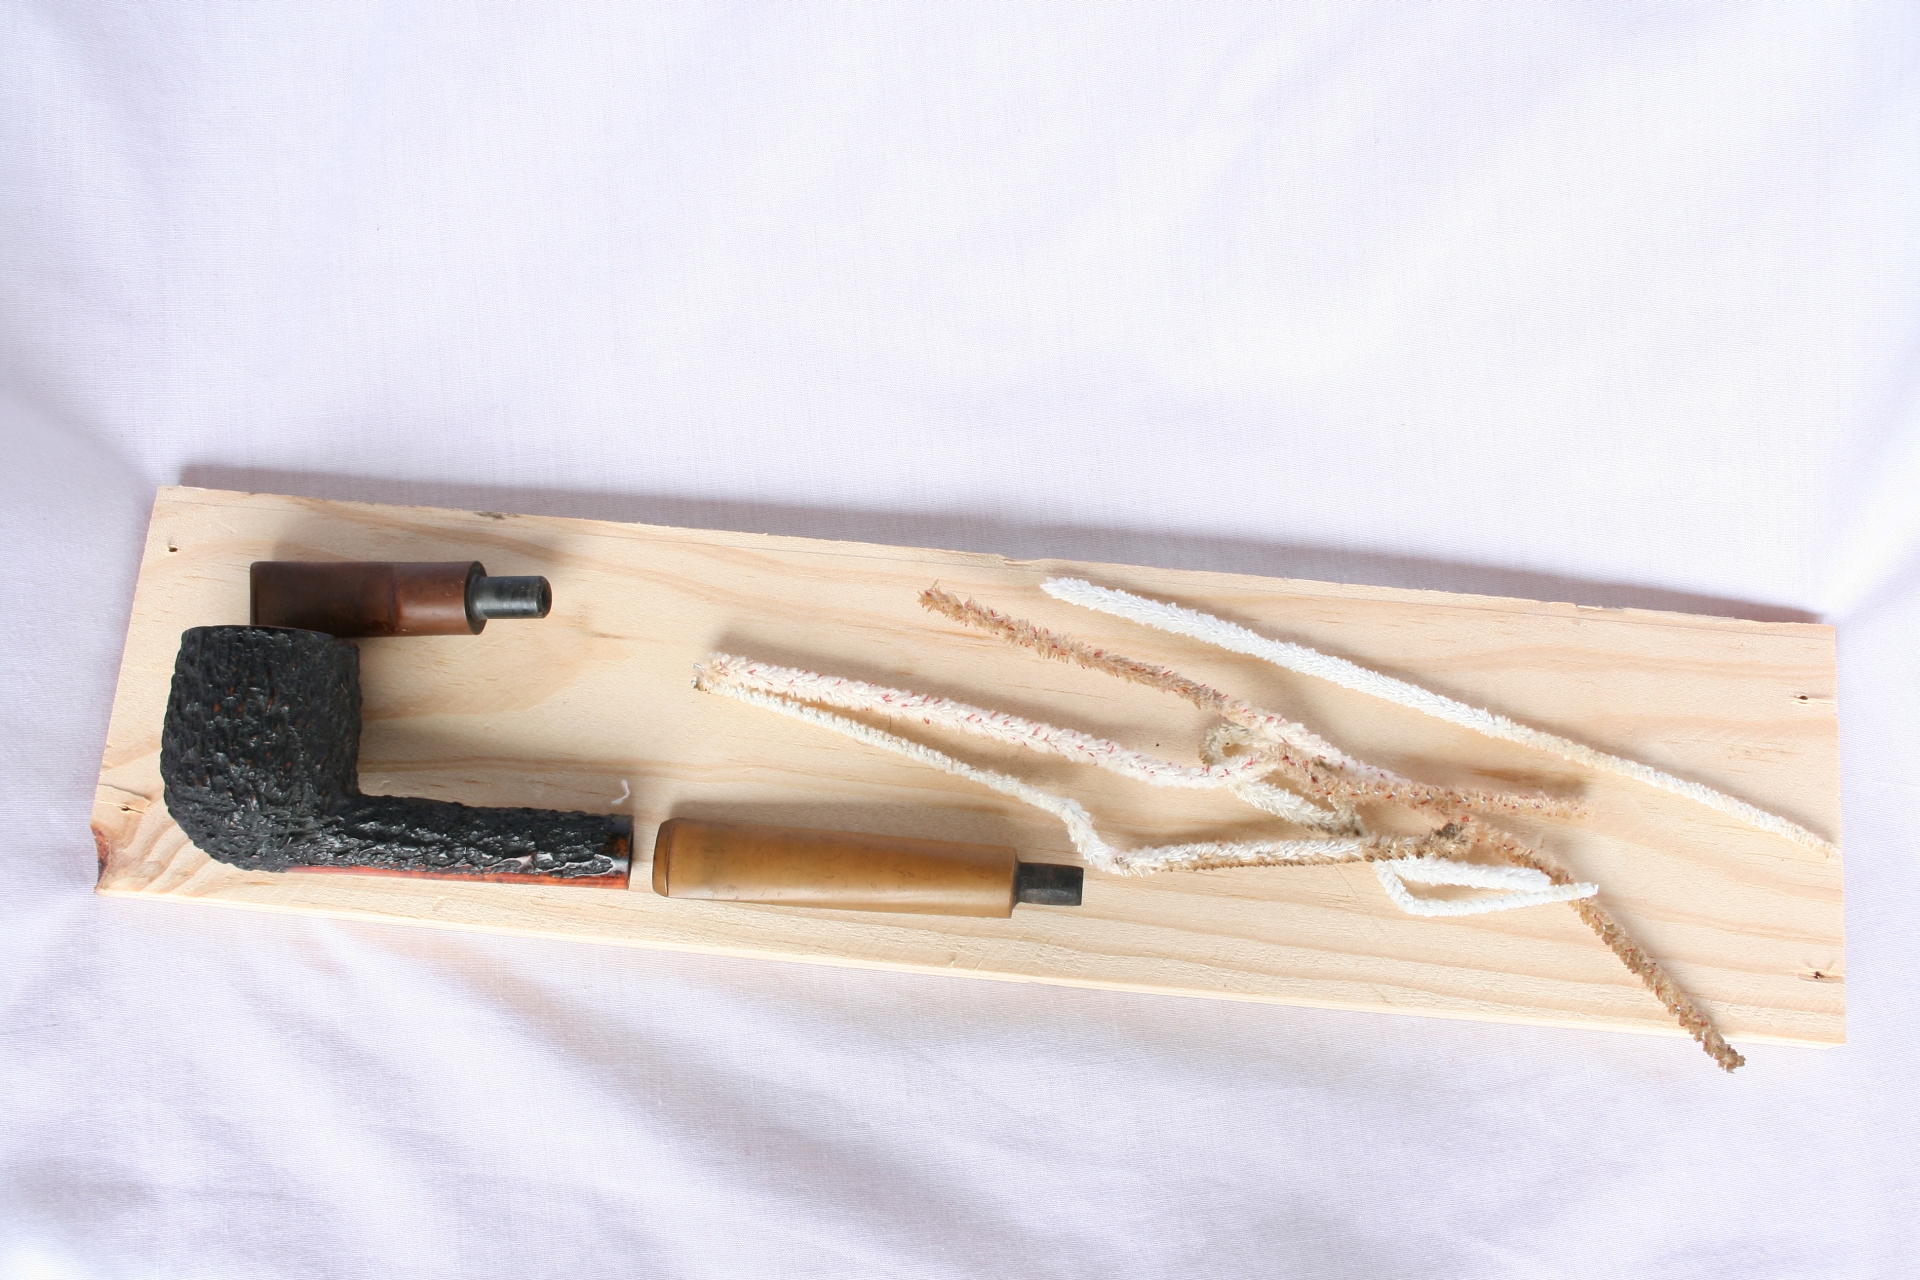
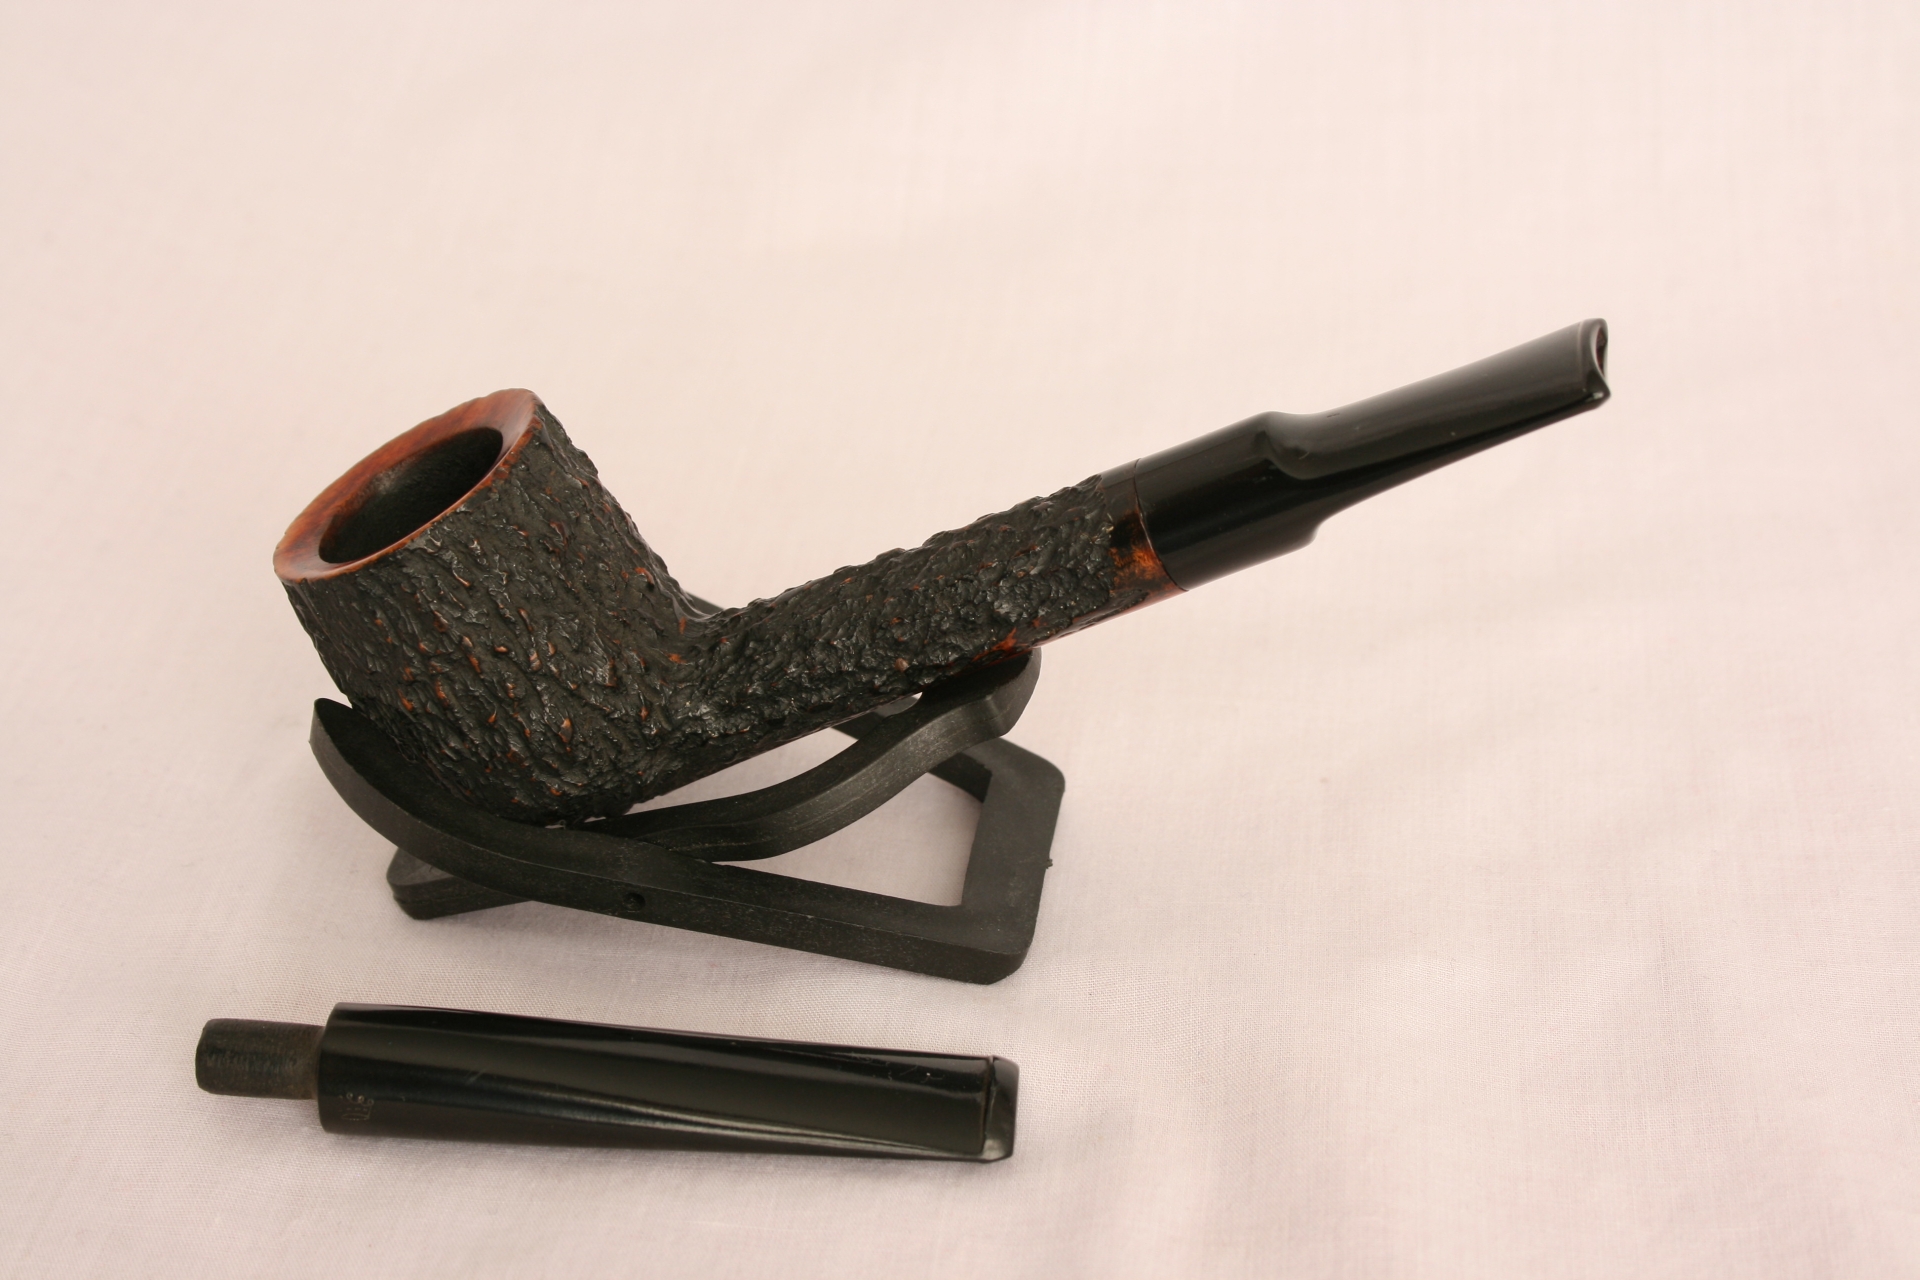
You can clearly see that the middle one has had more oxidation removed than the other two and in the case of the upper stem I blame my inexperience with the ultrasonic. Still the end result for me was quite exciting and I wanted to try it in a complete cleaning process. So I rummaged through my pipe- and bit-boxes to find almost equally oxidized stems. I found a ‘Belmont Grain London Style’ pipe and a loose stem.
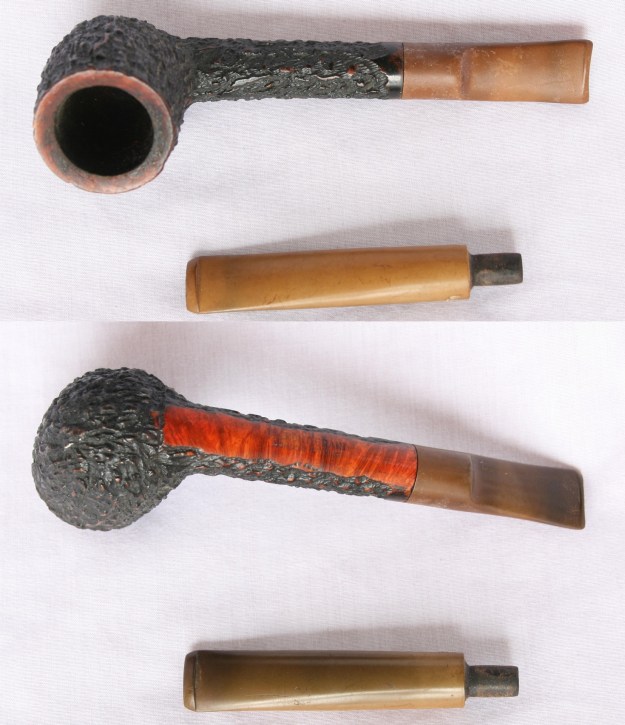
015 Pipe and stem

First I cleaned the inside using 96% alcohol and pipe cleaners, they came out pretty clean indicating that the stems were not heavily used.
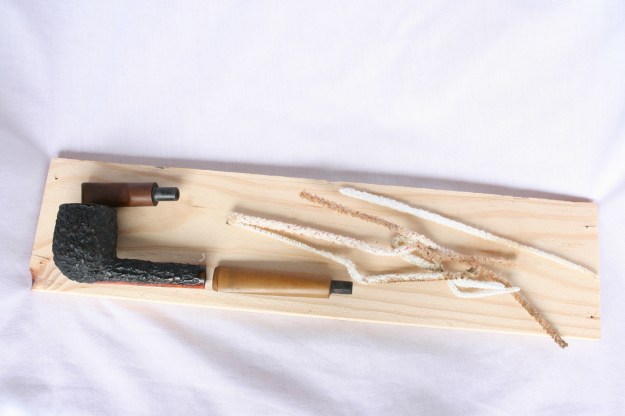
016 Cleaning inside

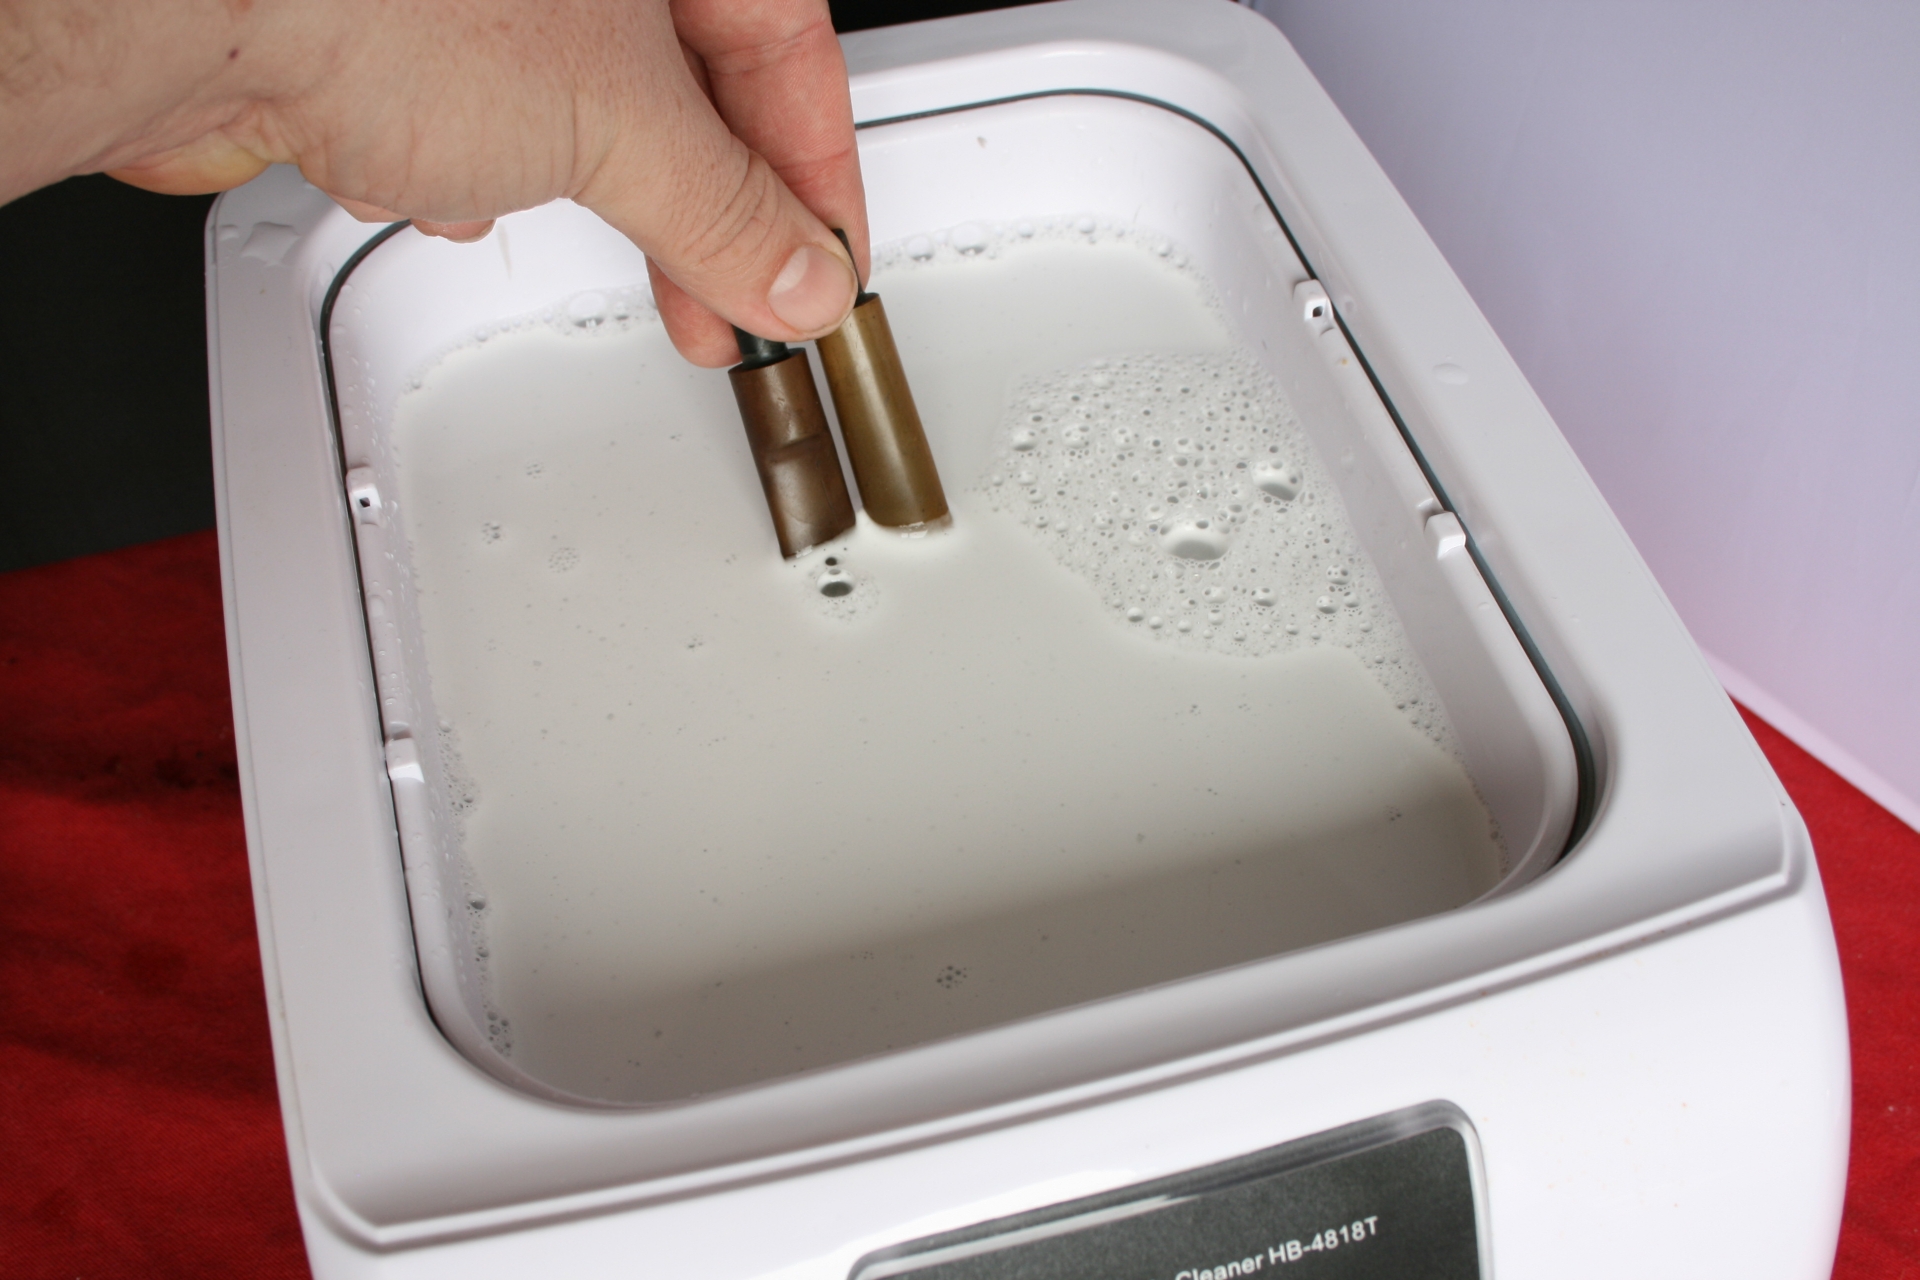
Then I set up the ultrasonic again with the Oxi-Action solution, warm water and the basket in place. The stems were placed in the basket and I let her go for 8 minutes.
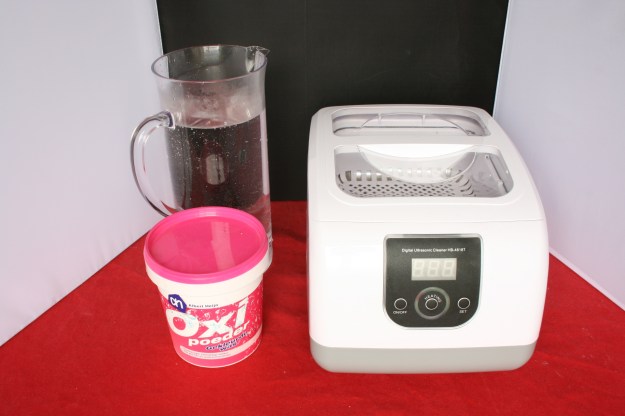
017 Setup

018 In they go

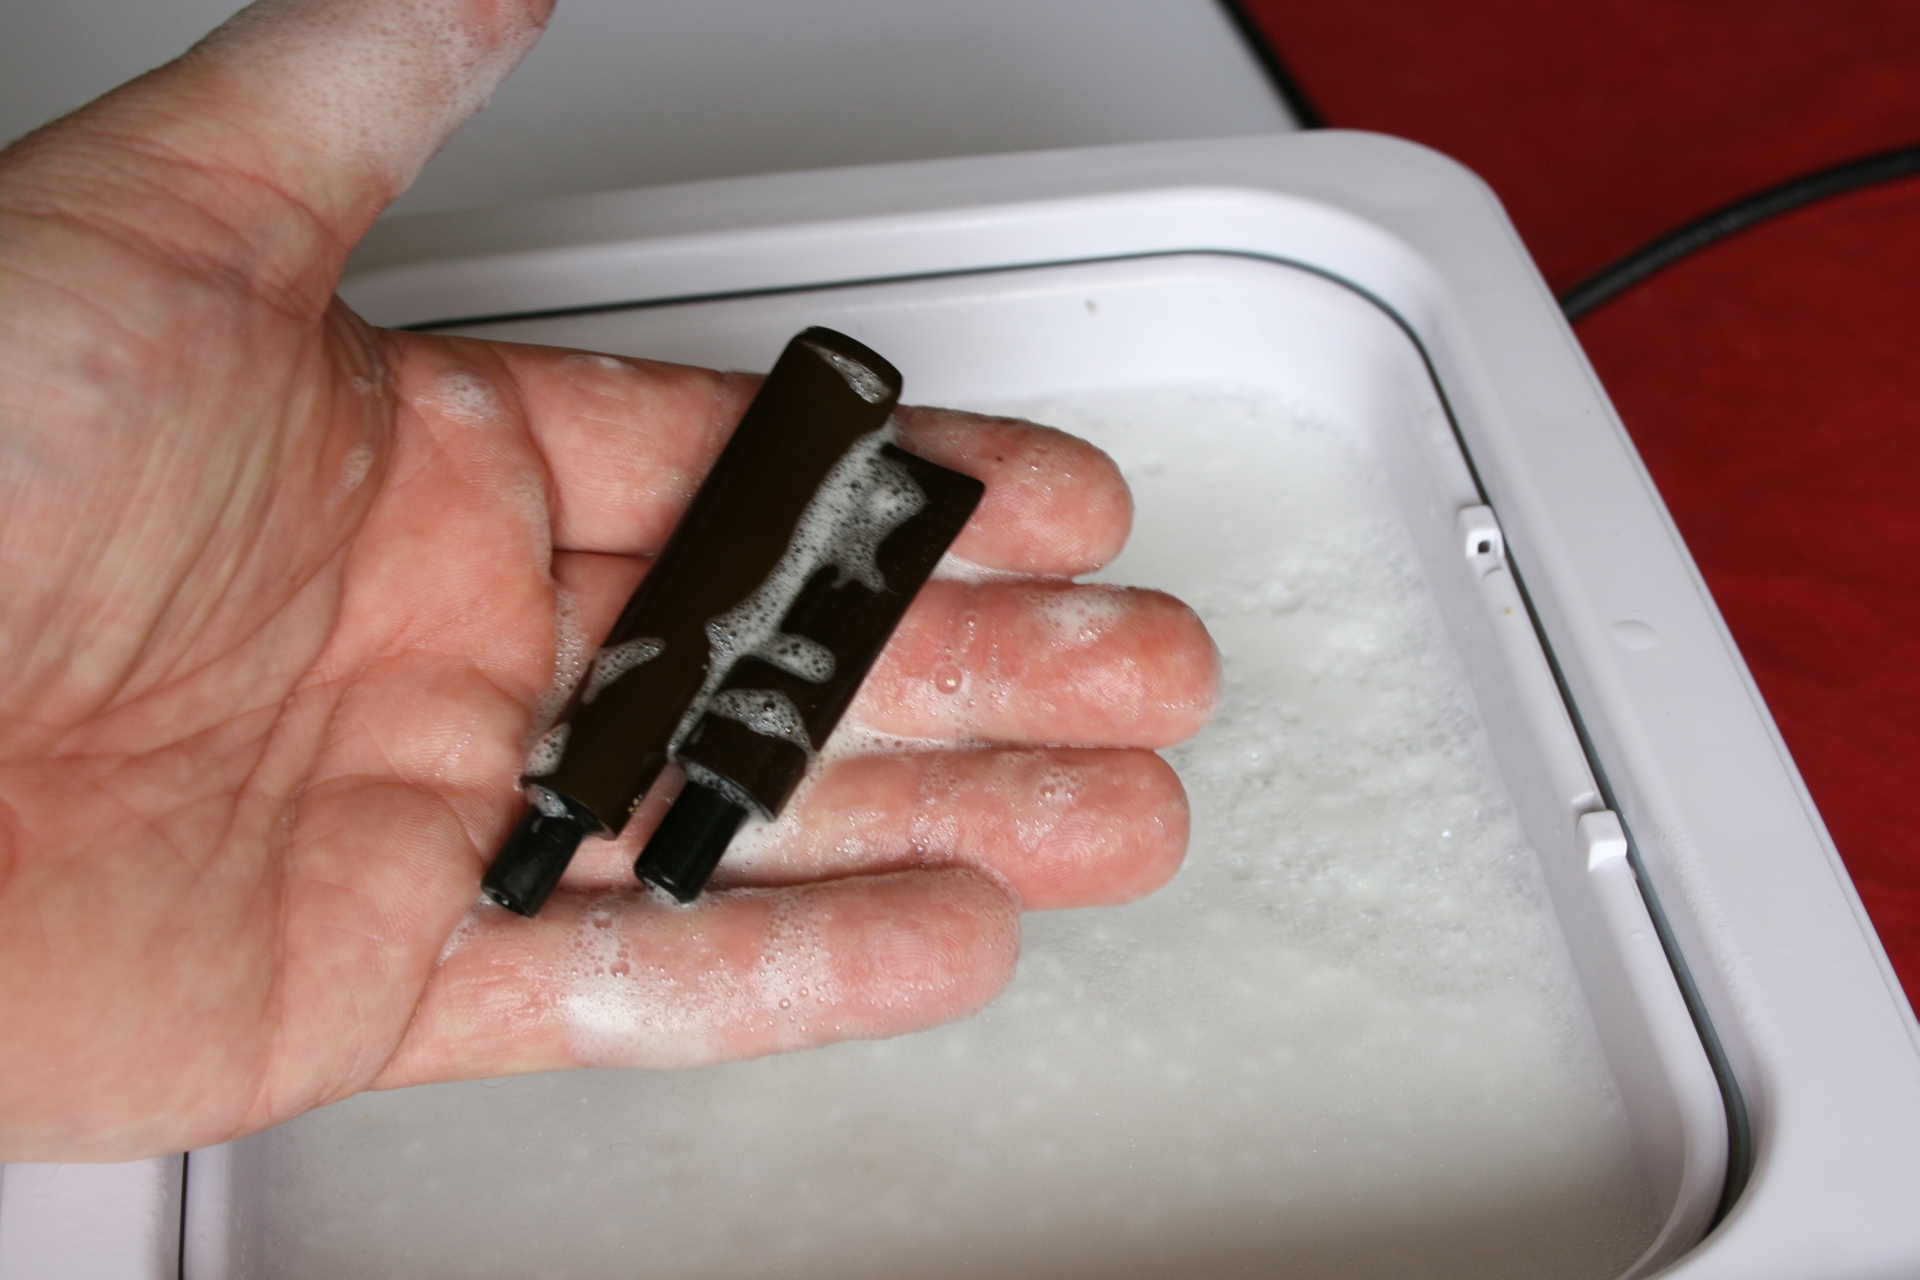
019 Retrieved

When I retrieved the stems, the first thing I noticed was that they were not as gooey as I was used to and the water smelled rather…..well….like oxidation but more moist. There is no good way to describe it.

I put the stems to the grind wheel and the oxidation came off way faster than if I would not have soaked them. Also the liquid that came off the wheel and stems was way darker as I mentioned before. At this time I also sanded the hard to get edges with 600 grit paper wrapped around a modelling file.
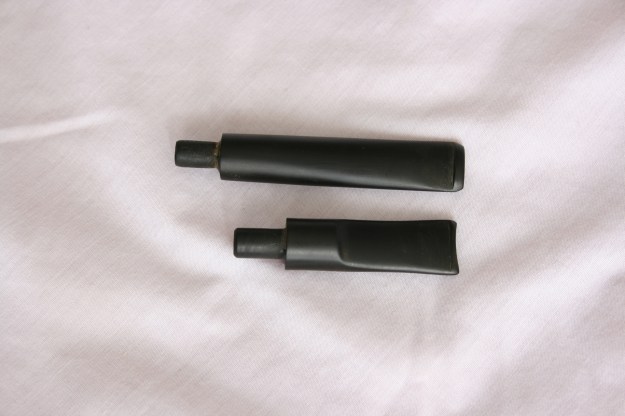
020 After the grind

021 After sanding

Then I proceeded to empty the ultrasonic and put in the 50-50 alcohol and water mixture with a dash of disinfectant.
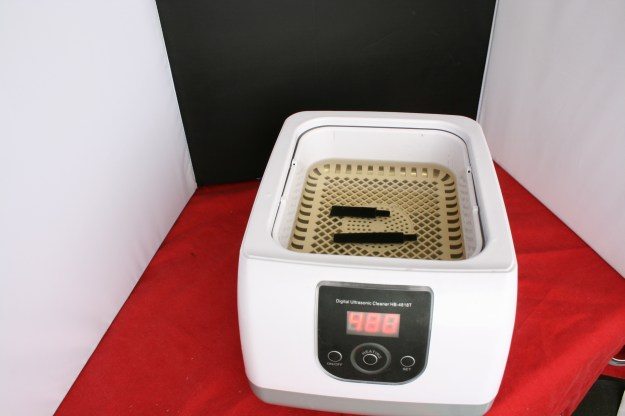
022 Ultra cleaning

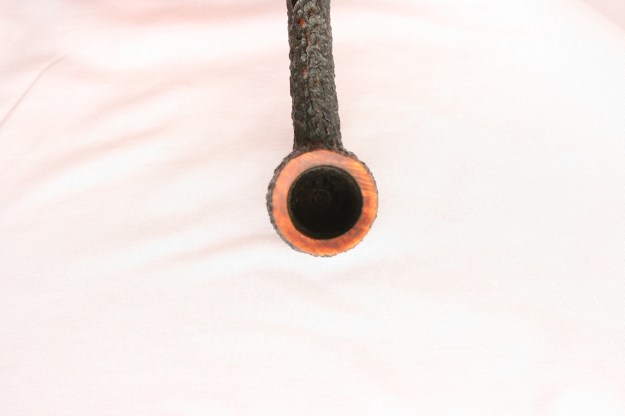
One of the positive things of the ultrasonic is that it goes on a timer and you have your hand free to do another thing until it is done, so I proceeded to clear the top of the bowl of its soot using a sock, salvia and the abrasive pads. Using the sock I got most of the soot build-up off the bowl and used the 1800 grit to get the thicker and harder pieces off.
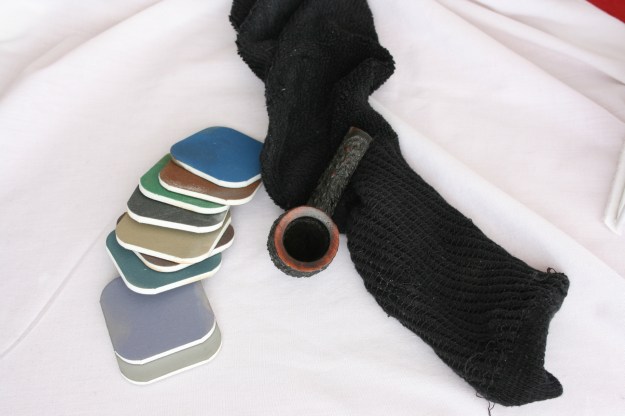
023 Bowl before

024 Bowl after

Then it was time to retrieve the stems. They came out nice and clean and when dried were a little dull. I pulled pipe cleaners through them and as you can see they were only a little brown at the beginning (right side).
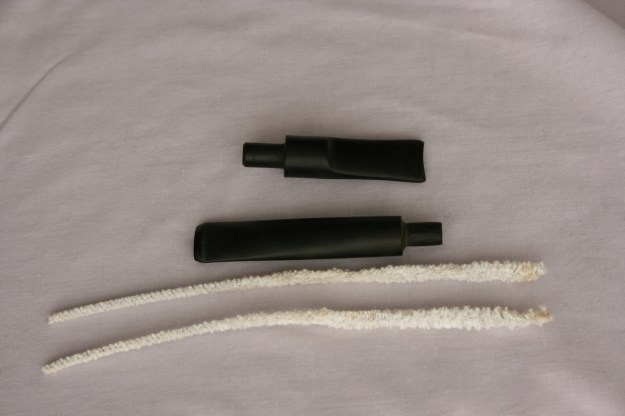
025 Pipe cleaners

Replacing the stem on the pipe I used the muslin buff wheels and polishing wheels to buff the stems to get a nice shine on them.
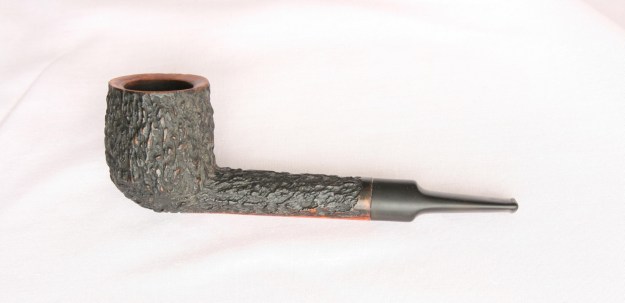
026 Attached

027 Done

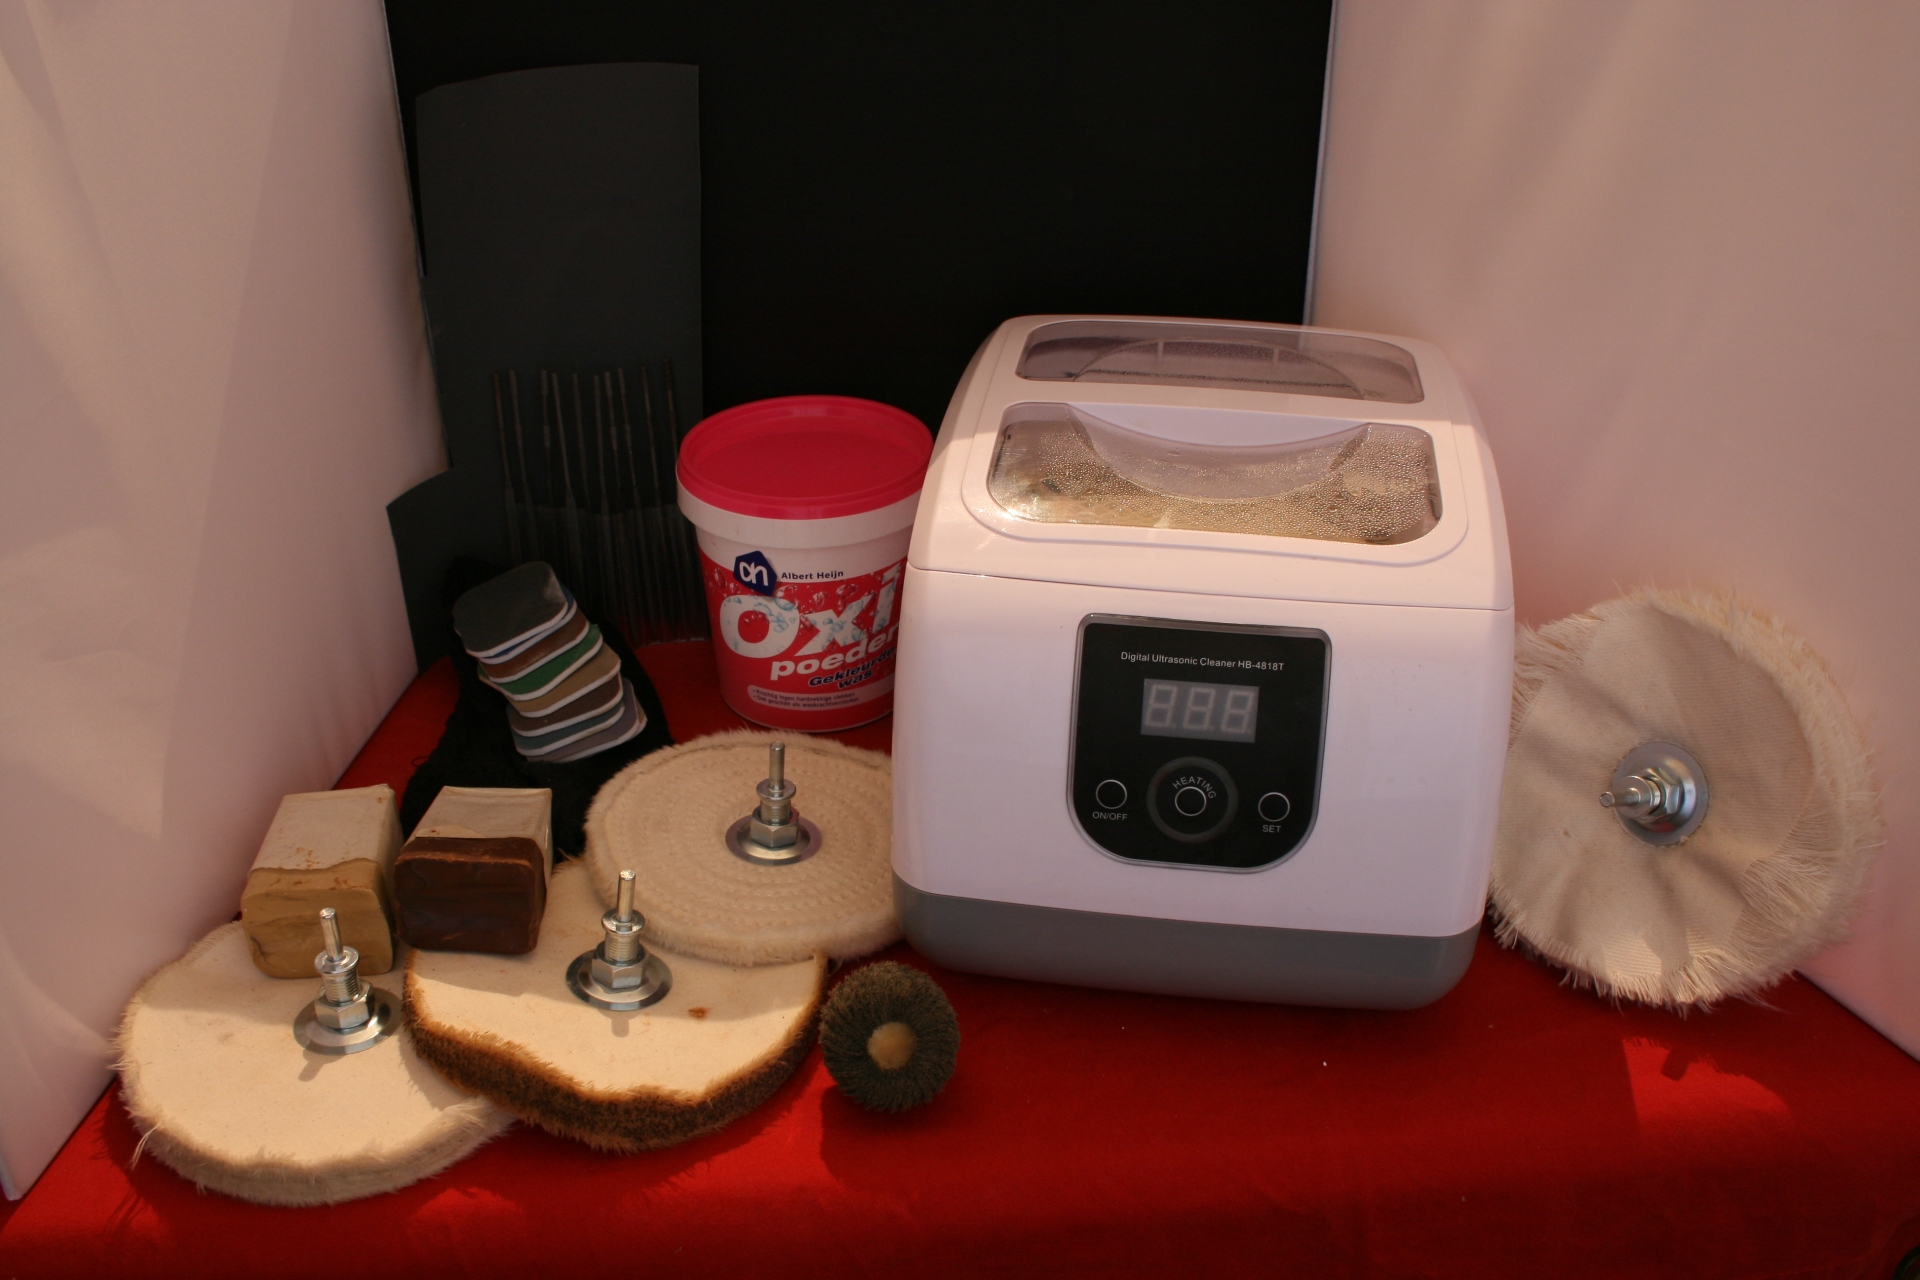
And the final pictures of the tools used in the experiment and the cleaning.
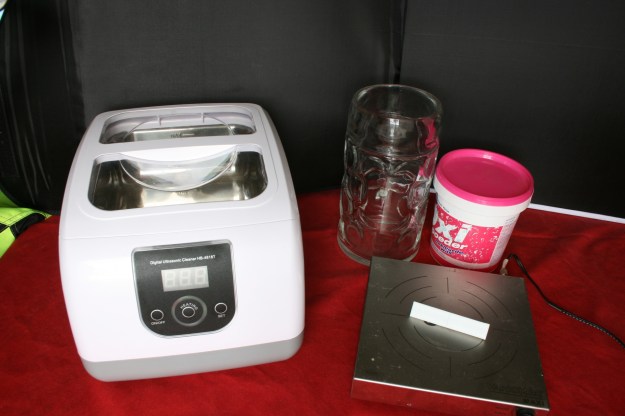
028 Tools used in experiment

029 Tools used

So far I am optimistic and happy with the end results using the ultrasonic cleaner with the Oxi-Action cleaning solution. The oxidation gets off rather well using the grinding wheel and it saves me roughly 30 minutes of work. This means a relief for my tennis elbow I have in both arms. So for me it is quite a pleasant addition in the cleaning process.

The negative aspect so far encountered was that this particular model ultrasonic bath is not very drain friendly, in this I mean that getting the liquid out is rather a messy business. Also I have no idea what will happen in the long run with the stem if you use it for a prolonged time. As I read that some items can turn brittle when used too much in an ultrasonic cleaner. But so far I have not found any evidence this is happening with the stems. And there is of course the fact that Vulcanite tends to bend back to its original form when heated too hot, so far this has not happened but I can imagine that if using water that is too hot in combination with the ultrasonic vibrations that add extra heat it can happen.

All-in-all an experiment that opened my eyes to two cleaning methods and I hope it was as informative for you to read as it was for me to do.

Repairing Deep Tooth Marks and Bite Throughs on Vulcanite Stems – AJ Verstraten


Blog by AJ Verstraten

It is with pleasure that I post AJ’s second post on rebornpipes. AJ is known to the online community as Bananabox-Ninja.
Greetings, today a small post about the use of black super glue on a few pipes I had previously cleaned and refurbished; before I found Rebornpipes. This did give me a small problem as I did not extensively take pictures of the process as I had no reason to share the process at that moment and as such I am missing a few ‘before’ pictures.

The pipes I revisited for this project were:
– 11 Wahl Filtro
– Lorenzo Elba
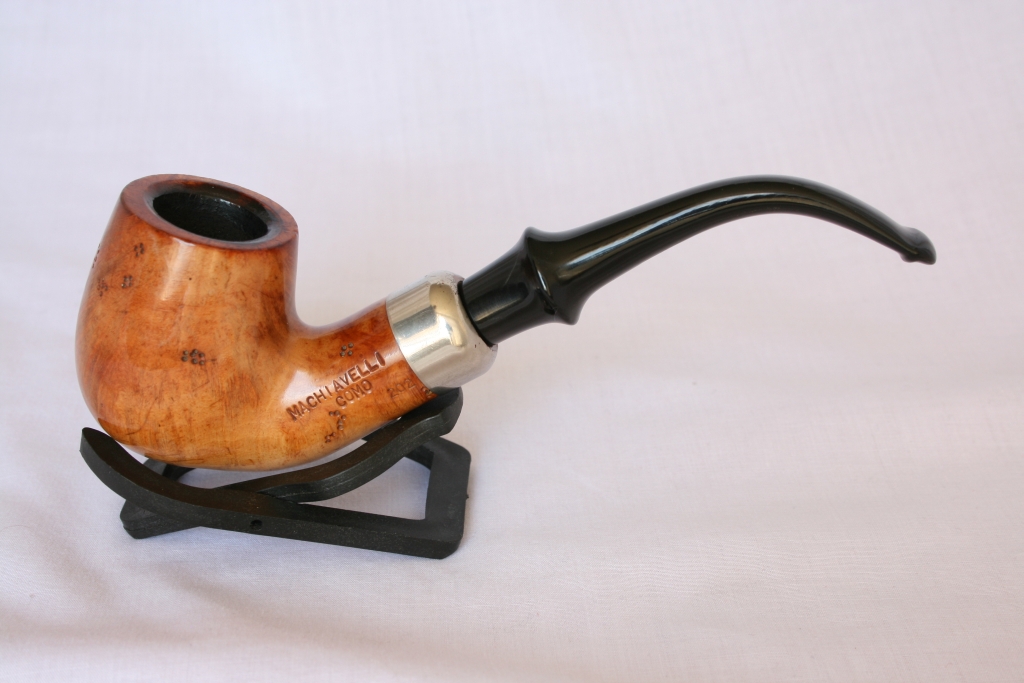
– Machiavelli Como
– BBB Medina
– Spitfire by Lorenzo Riviera
All of them had bite marks on the mouthpiece and the Riviera had even been bitten clean through.

Lorenzo is a good Italian brand that is quite popular in Germany. The BBB Medina is an old English made pipe that has a good reputation here in the Dutchlands. The Wahl and the Machiavelli pipes are a mystery to me. I can find some eBay listings for them but I cannot pinpoint their true origin.

First up the pictures I did have of the before process.

BBB Medina
001 BBB Before

Lorenzo Elba
002 Lorenzo before

11 Wahl
003 11 Wahl Filtro before

As these pipes had already been waxed I first removed the wax layer using my motor, water and grinding wheel. This only took a few moments, after which I used a cotton swab and some alcohol to really clean the surface of the mouthpiece.
004 Wax removed

The following steps I repeated a few times as I found I was a little impatient in the drying process, I advise to let the glue set for a night just to be sure it is dry to the core.

Using a piece of cardboard dipped in Vaseline (sorry no pictures) I closed the hole in the Riviera mouthpiece and with cotton swabs and toothpicks applied the glue to the bite marks on all the other mouthpieces.
005 Glue applied

When the glue had dried I used 600 and 1000 grit sanding paper wrapped around a model file to sand off the excess glue and smooth the mouthpiece.
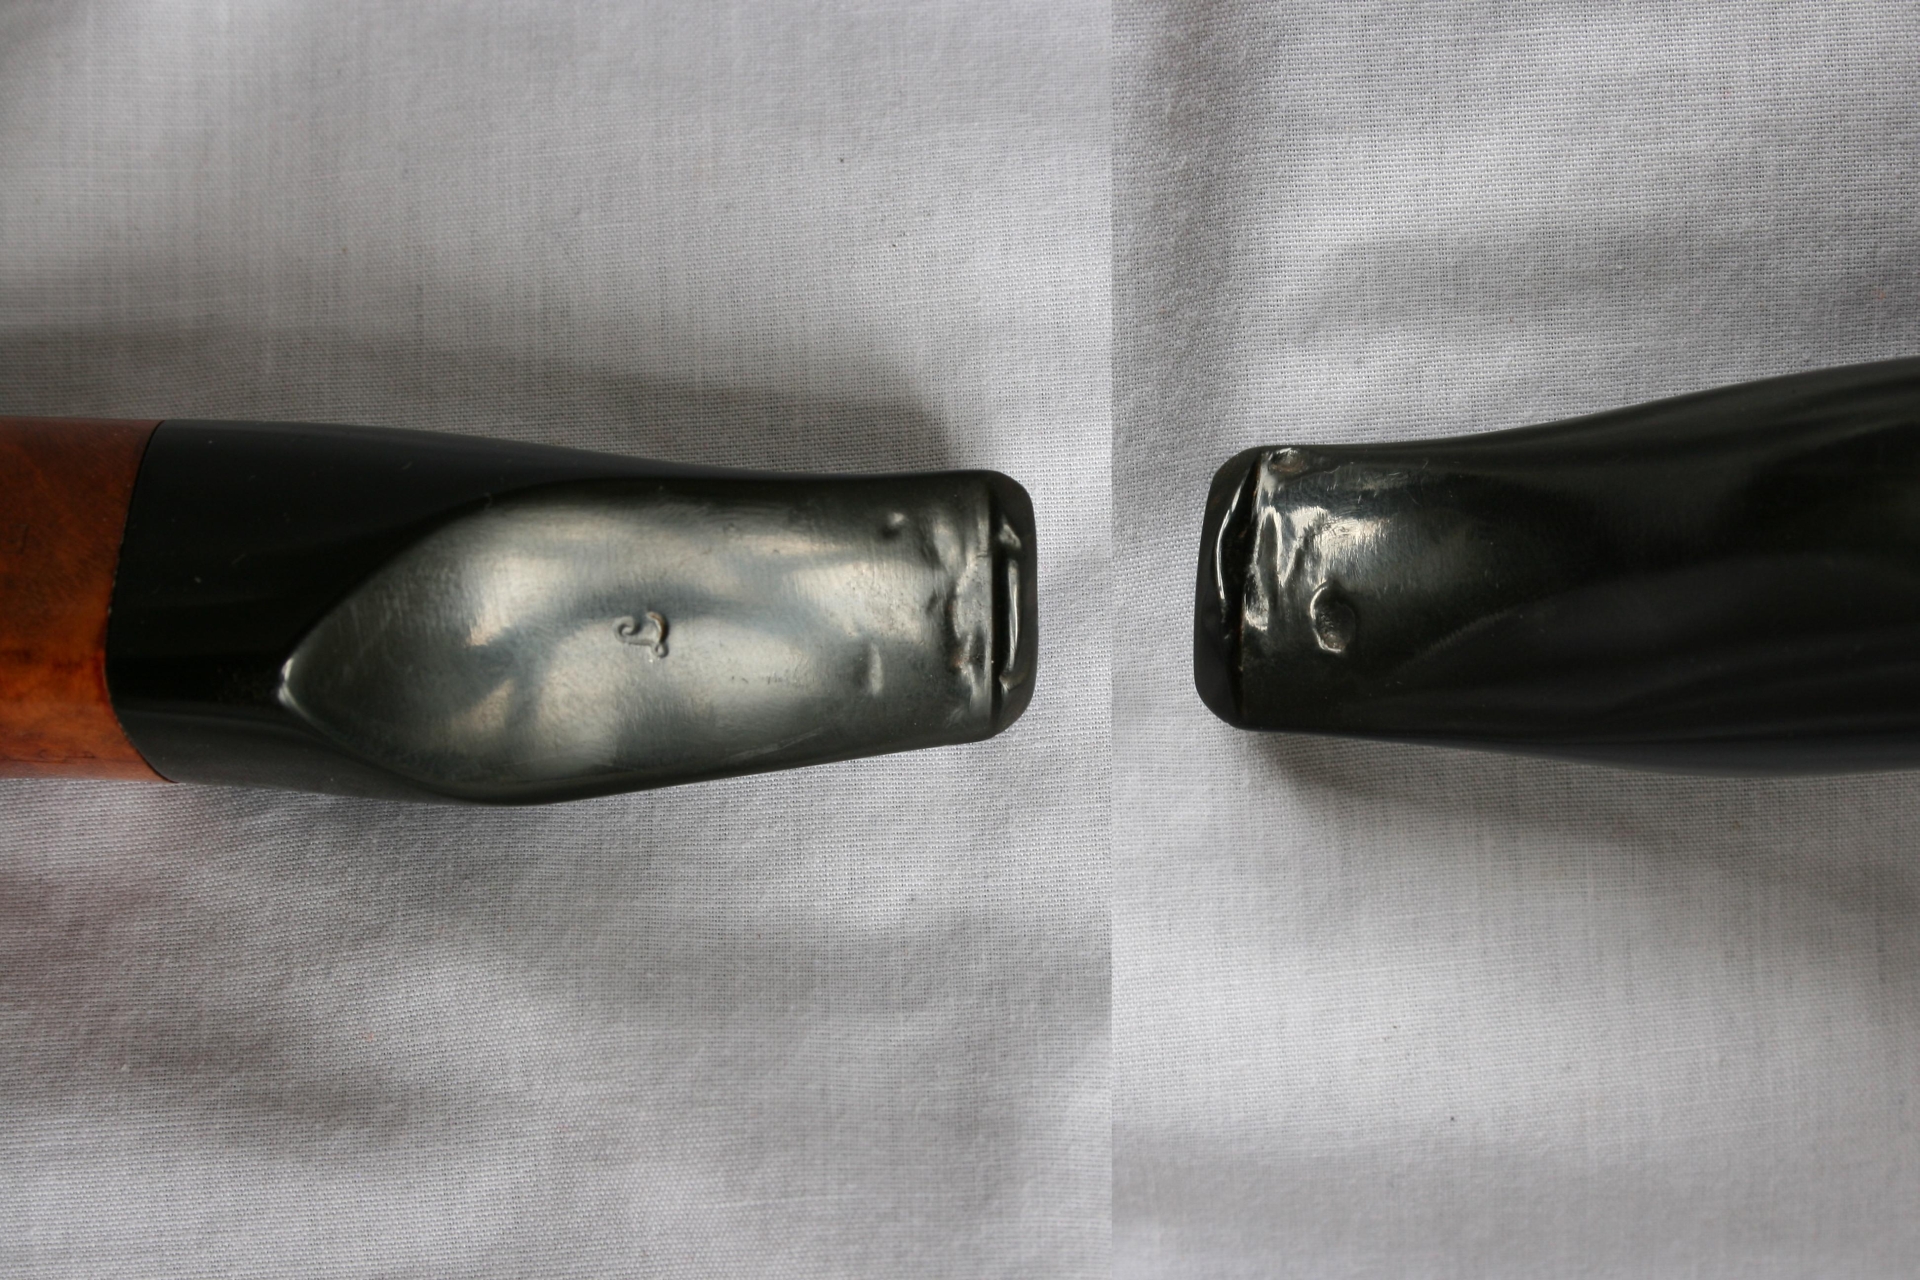
006 Top and bottom after sanding

I checked the smoothness using my mouth and tongue and although in all cases it felt smooth I noticed that in taking the pictures of the finished product the glue spots are visible. This bothered me, like when I sand a round shoulder or edge on the stem. A casual observer will not notice this, but I know it is there and it will bother me. However I decided against re-sanding them in the hopes of getting them perfect. Because in the end it is my lips and tongue that are handling the mouthpiece the most, not my eyes 

To finalize this short post here are the finished mouthpieces, pipes and the tools I used for this project.

11 Wahl Filtro
007 11 Wahl Filtro

008 11 Wahl Filtro

Lorenzo Elba
009 Elba mouthpice finished

010 Lorenzo Elba

Machiavelli Como
011 MAchiavelli Como finished mouthpiece

012 Machiavelli Como

BBB Medina
013 BBB Mouthpiece finished

014 BBB Medina

Spitfire by Lorenzo Riviera
015 Spitfire by Lorenzo Riviera Mouthpiece

016 Spitfire by Lorenzo Riviera

Tools used during this project
017 Tools used