Blog by Robert M. Boughton
Copyright © Reborn Pipes and the Author except as cited
https://www.roadrunnerpipes2k.com/
https://www.facebook.com/roadrunnerpipes/
Member, North American Society of Pipe Collectors
Be careful what you wish for, you may get it.
— Anonymous, quoted in “The Monkey’s Paw,” W.W. Jacobs, from The Lady of the Barge, 1902
INTRODUCTION
Whatever inspiration led Cliff Edwards to write the lyrics to the song that became Disney’s theme, “When You Wish upon a Star” – in which one’s heart need only be in the dream for no request to be too extreme, and fate will be kind – must have been, to be gentle to all of the Mouseketeers out there, in an alternate reality to mine. I’ve long had two rules: be careful what you ask for, lest you get it, and above all, never ask for what you deserve, because everyone has done things that should have had stiffer consequences. I’m not being cynical. From my experience, it’s just the way whatever Higher Power we call by various names helps us humans avoid being selfish and greedy, at least those who ask for guidance now and then if not more.
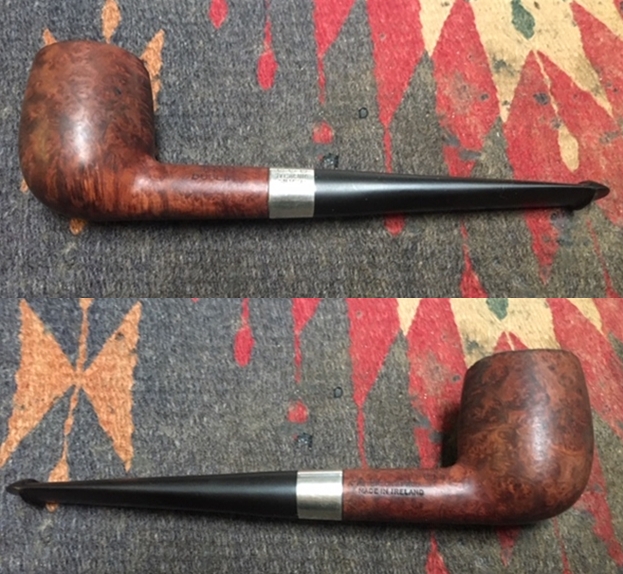
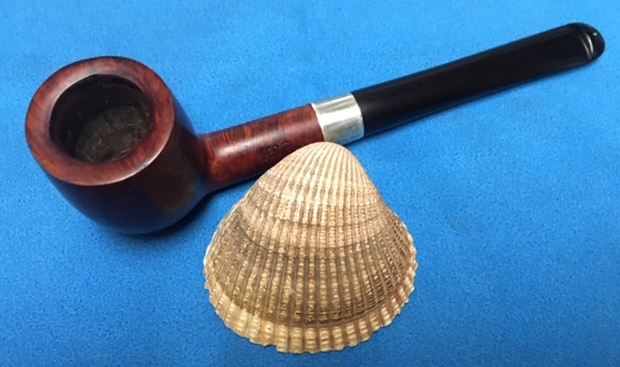
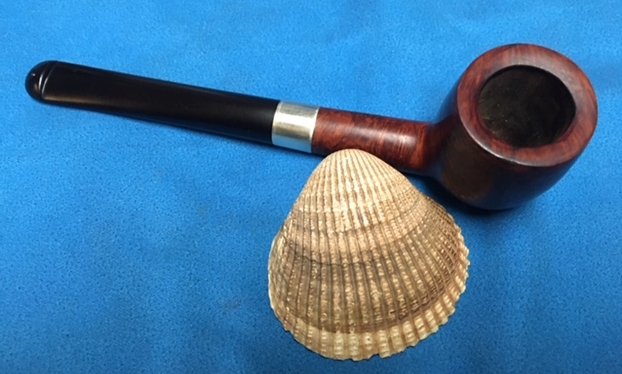
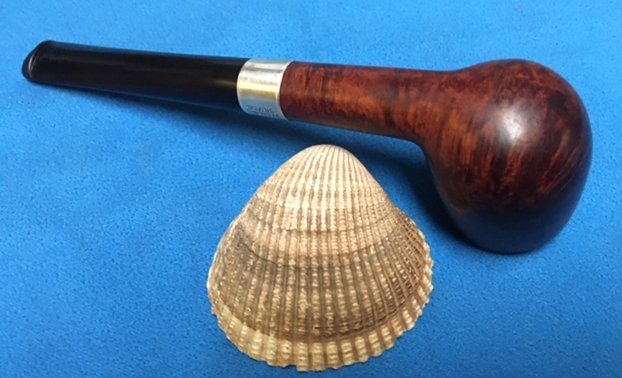
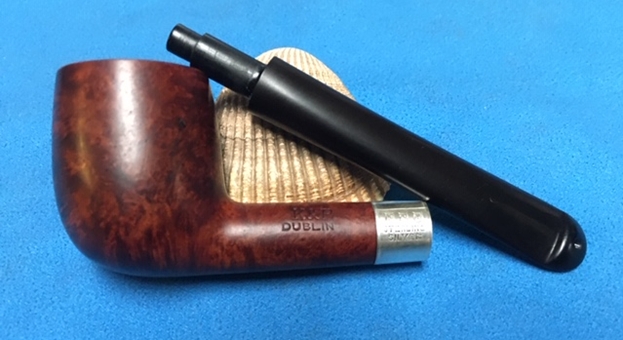
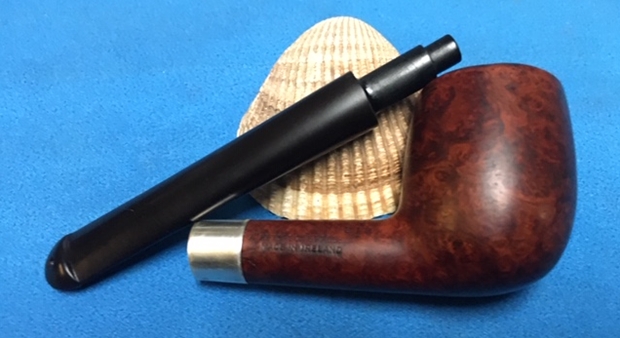
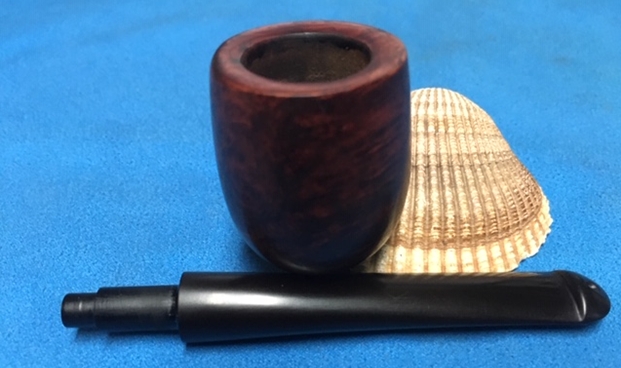
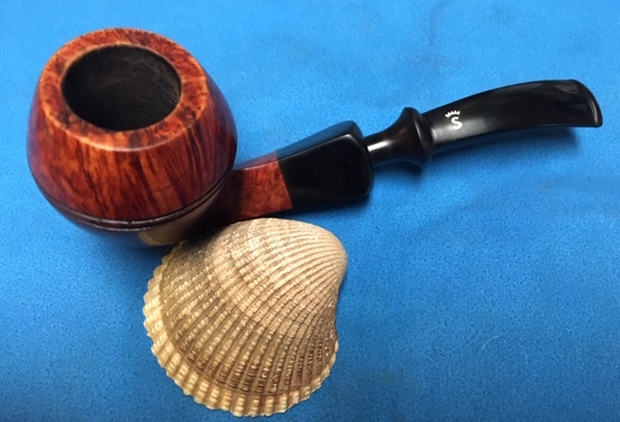
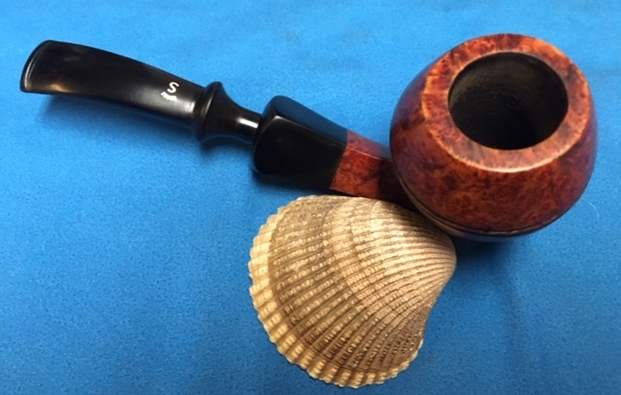
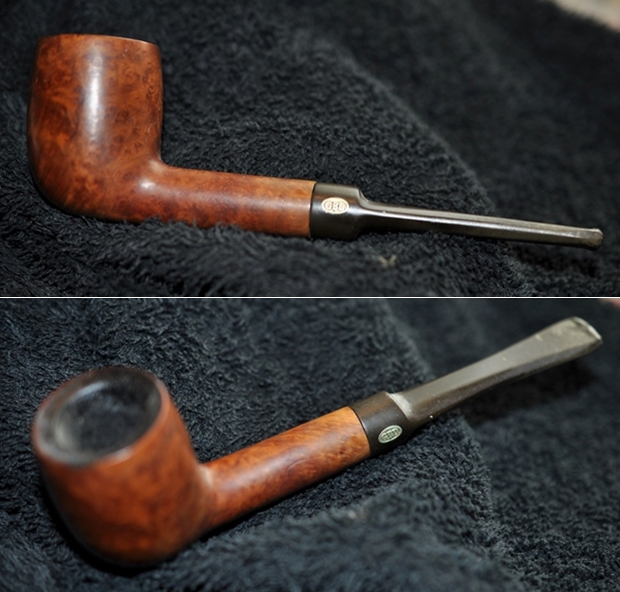
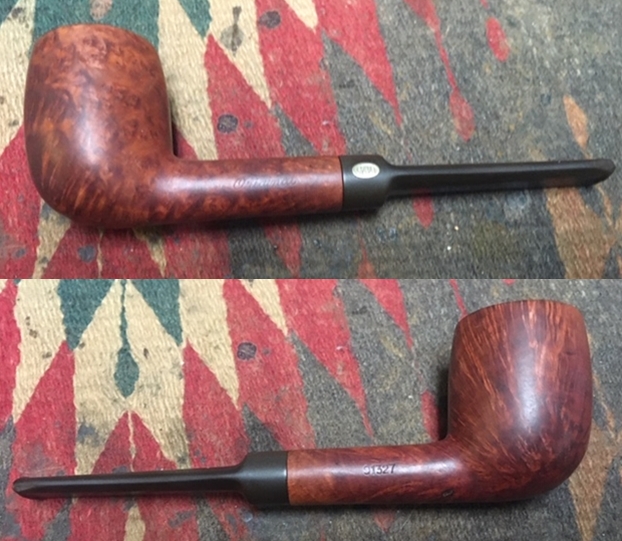
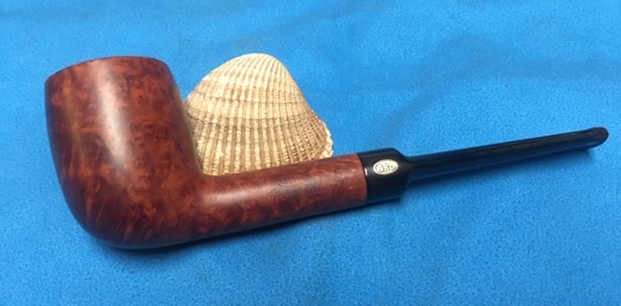
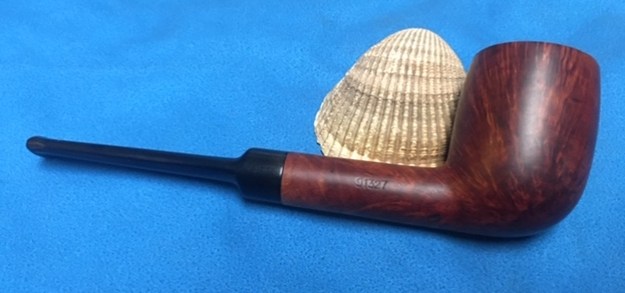
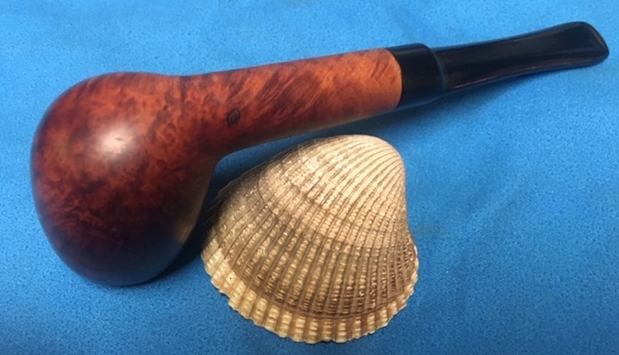
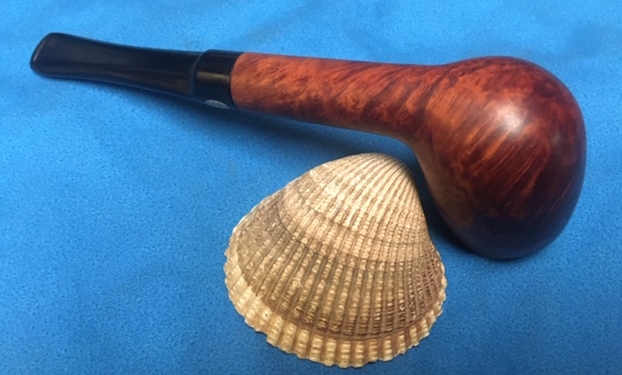
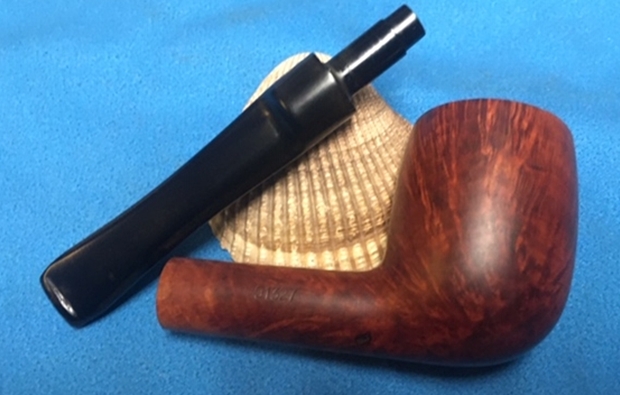
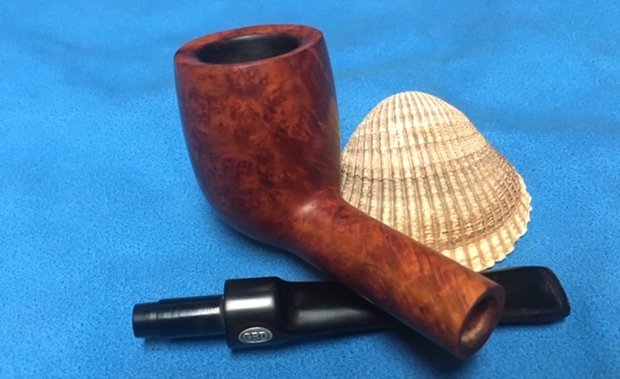
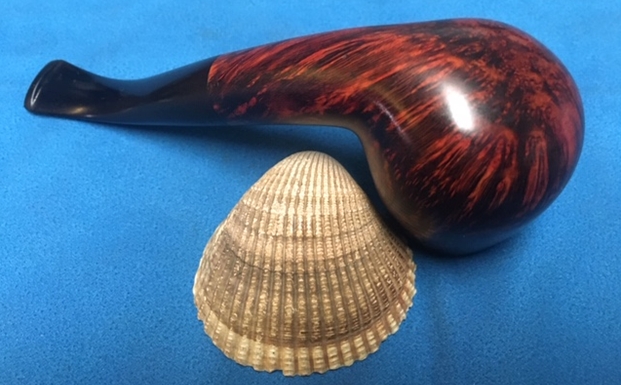
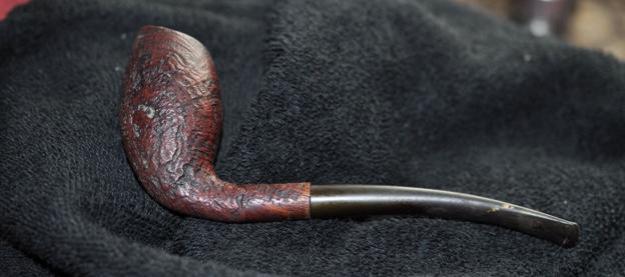
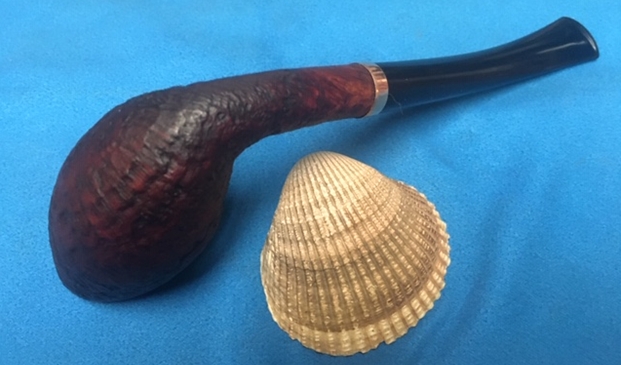
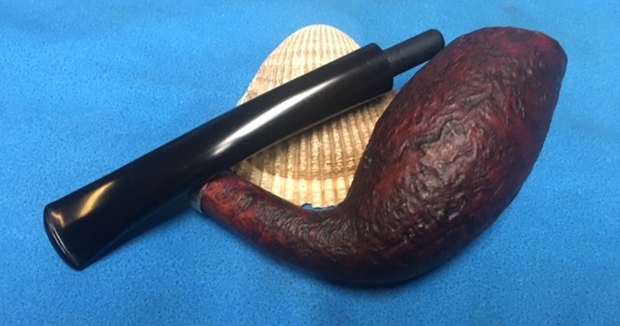
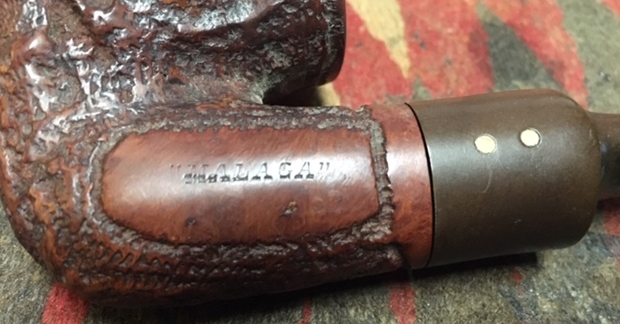
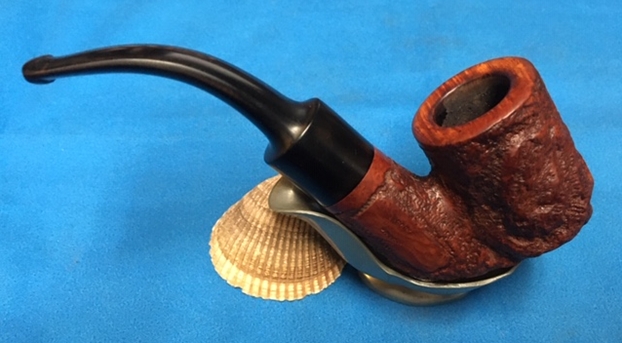
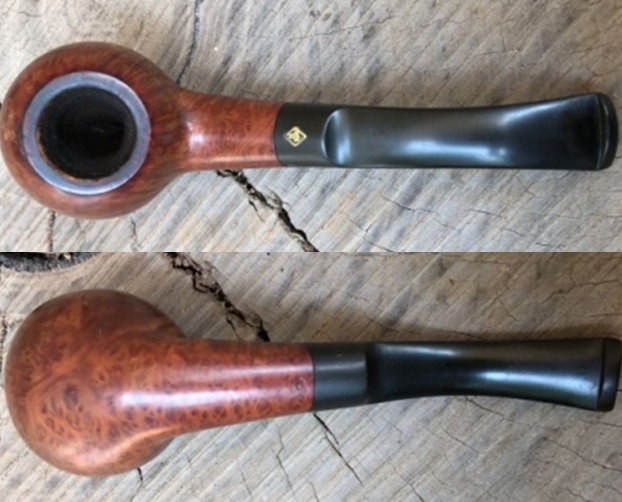
Of course, I’m not perfect, in fact, far from it. I found myself during the past two months or so becoming more and more fixated on acquiring not just any new pipe, but one made by the Colossus Pipe Factory. Then I began my hunt in earnest, with eBay searches and general Googling, but to no avail. At last I got a hit with a pair of pipes titled, in a somewhat jumbled way, “Vintage Smoking Pipe Tobacco Lot of 2 Arcadia CPF London England Briar.” From that description alone I thought maybe I was going to see something made by an Arcadia brand and a rare English CPF. There were enough photos, however, and they were good, to determine without doubt that a big, smooth poker stamped on the right MADE IN/LONDON ENGLAND was one mixed-up part of the seller’s heading, and CPF Arcadia was the other. The disarray of the title and the low price I paid – about $45 – told me the seller didn’t know what he had and the other bidders were not sure enough that the CPF was real to risk going higher.
Before bidding anything and after studying the pics of the alleged CPF – and I mean I really poured over every detail of them – I was certain it had to be a fake, except for the band on the shank.
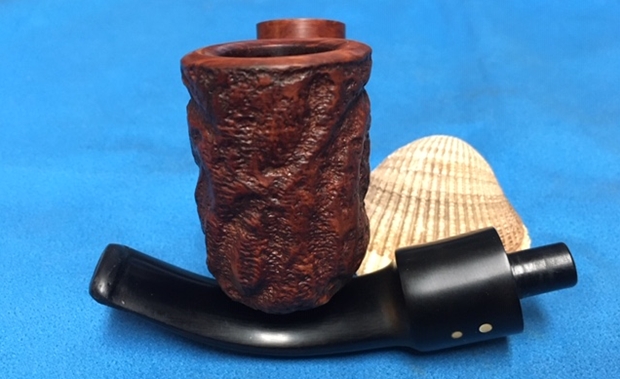
From the photos that I snapped when it arrived in the mail with the poker I believe is a Ben Wade reject, the only authentic-looking parts of a CPF are the band, bone tenon and stem. Otherwise, honestly, I could see where the basic chunk of wood could have been fashioned into a stummel long ago before some Flower Child got ahold of it and turned the bowl into a psychedelic pin cushion, but I could not imagine anyone alive more than a century ago, especially the Old World masters employed by CPF, fashioning such a monstrosity, as I saw the pipe before its comic beauty grew on me. I even used the “m” word in an email I sent to Steve, with a link to the eBay sale, in which I more or less implored him to tell me it wasn’t real, meaning a genuine CPF.
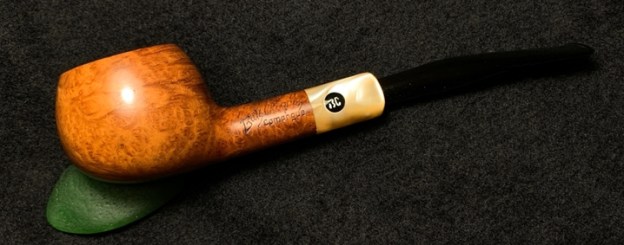
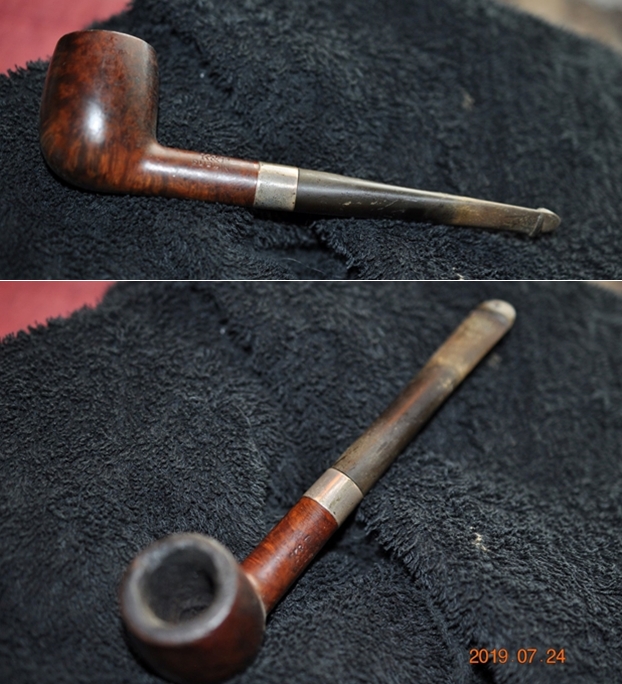
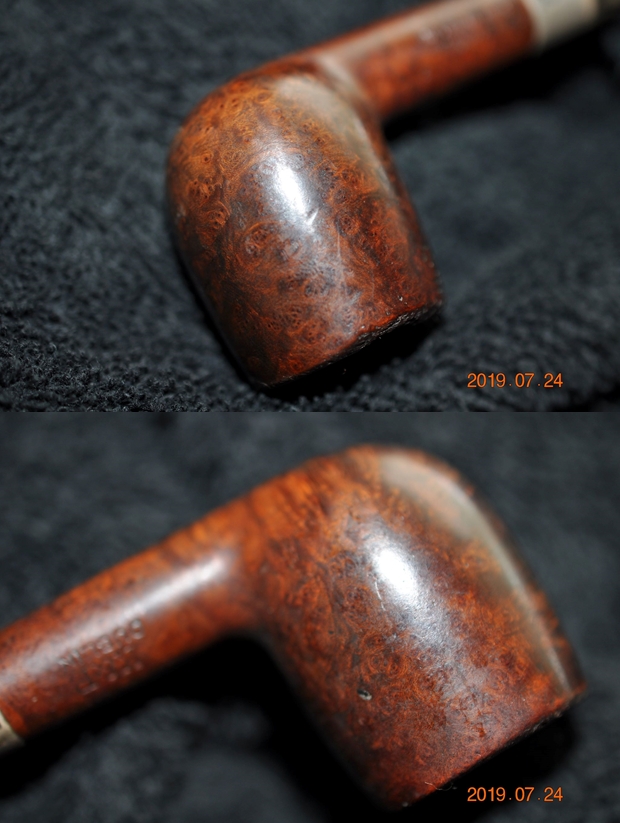
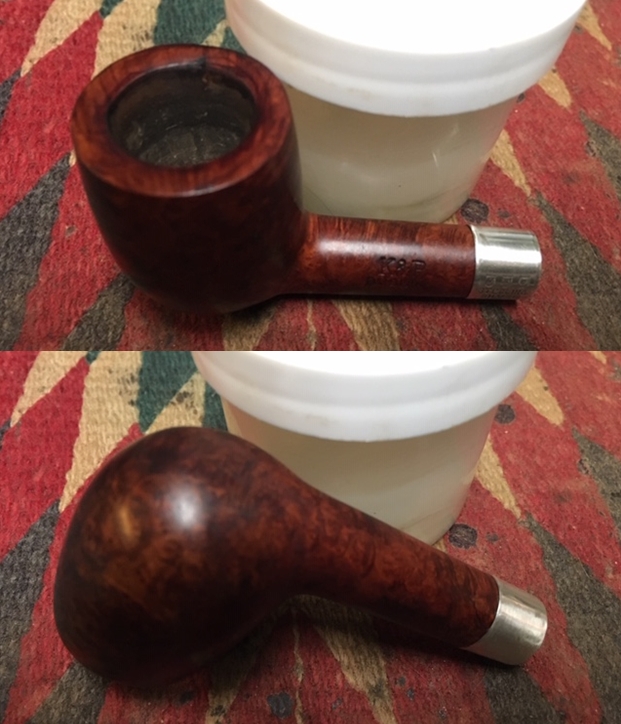
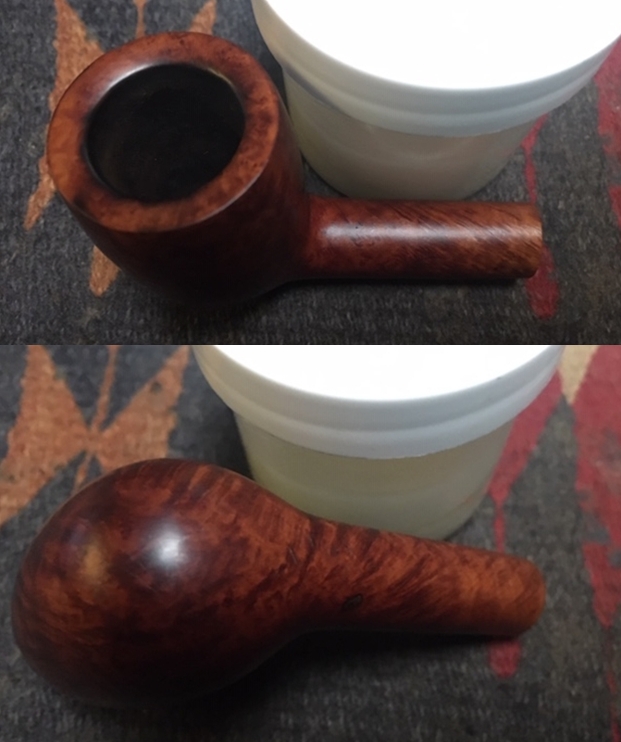
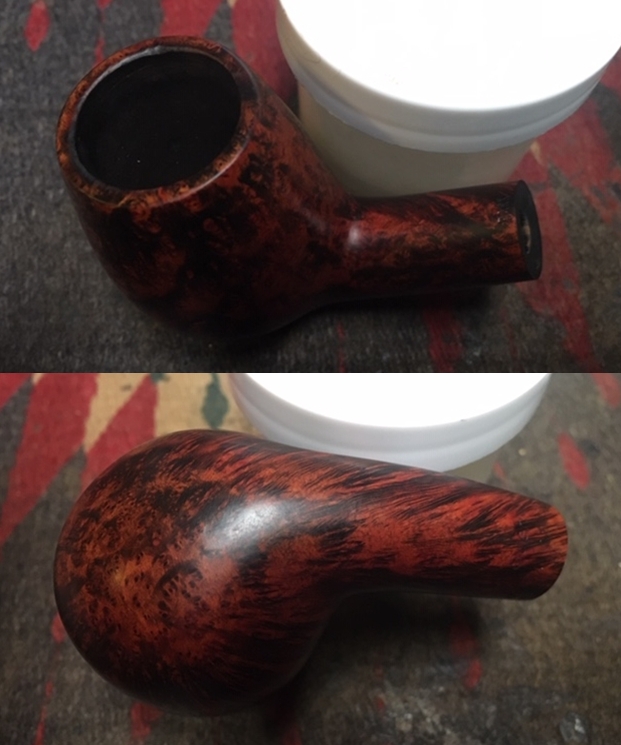
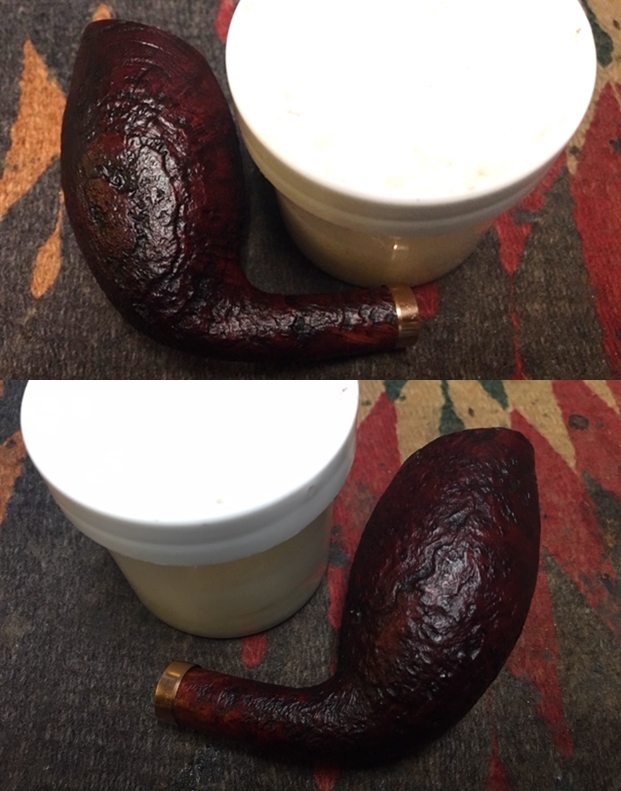
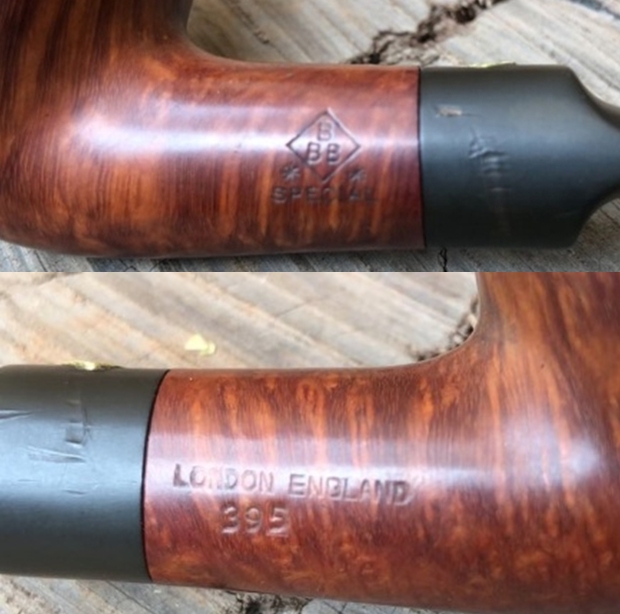
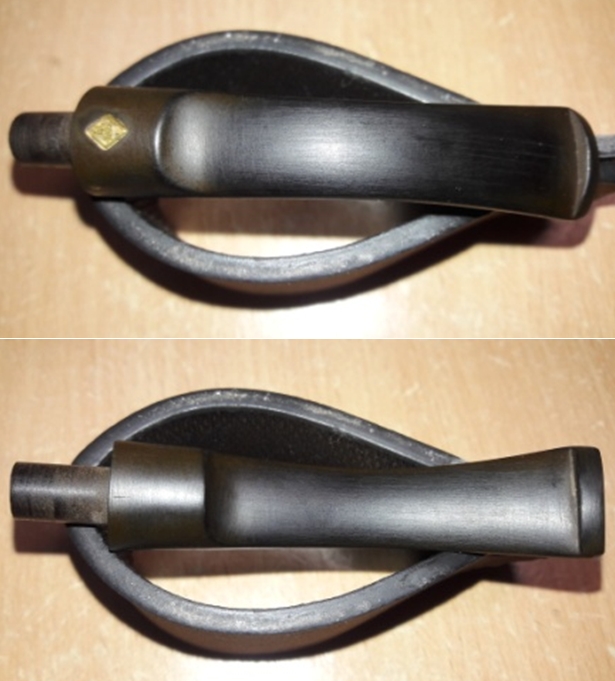
Needless to say, I was shocked when Steve not only replied that the Arcadia was real and “very old,” an age distinction he had never before made to me, but that he had worked on a meerschaum like it a couple of years ago. Here are some before and after shots of Steve’s meerschaum, which indeed bear a scary resemblance to my old briar.

A.F. & Co./BBB Spotted Meerschaum photos courtesy Steve Laug.
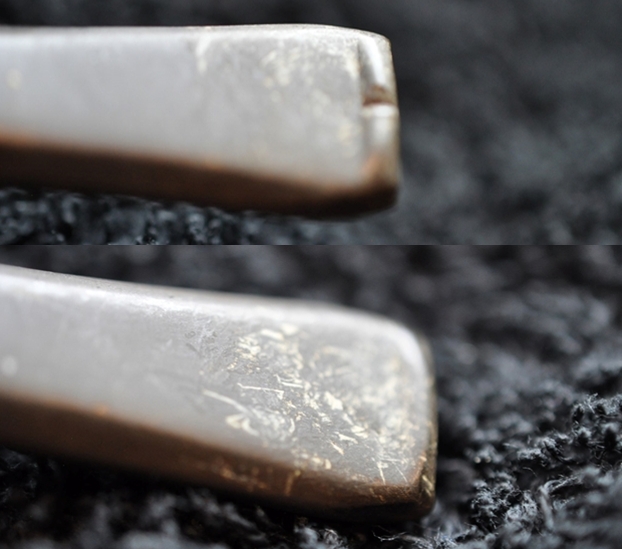
The severe chicken pox-like similarities are undeniable, and I scrutinized every word and photo of Steve’s blog in hopes of connecting the dots (I’m so sorry, that just popped out) of the definitely funky tobacco pipe specimens. Struck by a gung-ho fit to research the abbreviation “AF&C0” in Steve’s third photo above, I interrupted my reading to find the answer before continuing and learning Steve already had done so: Adolph Frankau & Co. of England. Steve’s work restoring the meerschaum that he also dated to 1905, thanks to great detective work tracing the unique hallmarks on the sterling silver band, was phenomenal, in particular the addition of a Bakelite stem that he not only fitted to the shank but made look as old as the original stummel.
Now, in case anyone thinks my choice of details a mere glut of disconnected trivia, I’ll make my point. Steve took one look at the weird pipe for sale on eBay, flashed on the A.F. & Co./BBB meerschaum he gave new life and instinctively sensed a connection. I have to say, I had doubts despite the almost genetic resemblance. After all, there was no indication my CPF Arcadia was a Frankau import. By the time Steve and I connected on the phone to discuss the two pipes and other matters, I had restored the Arcadia and warmed to its charms. Although lacking any proof of the pipe’s date of manufacture such as Steve dug up for the meerschaum, certain minute observations and research led me to conclude it was created in the latter part of the 19th century. Steve concurred.
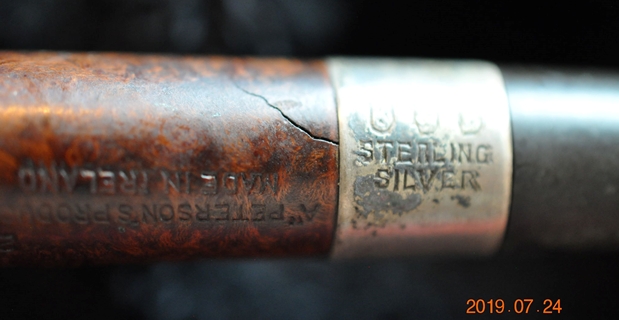
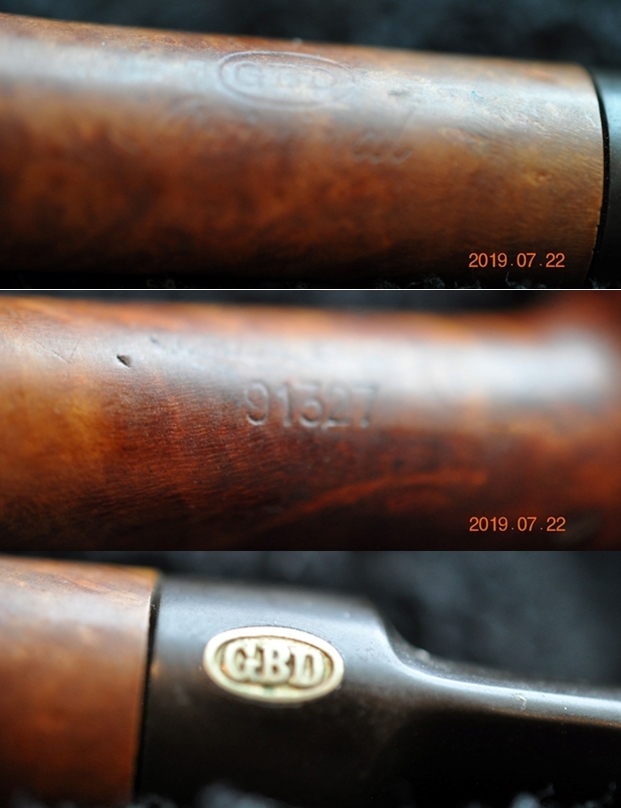
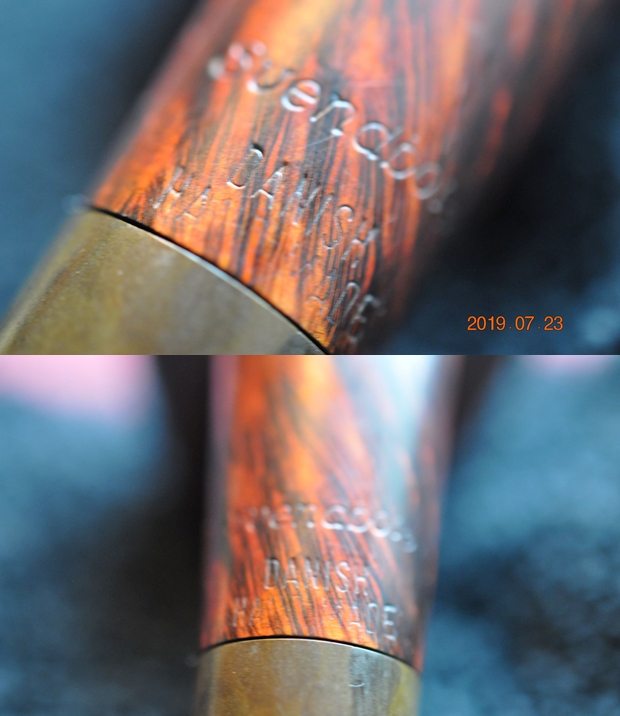
In particular, I finally figured out that the stem was not Vulcanite but black horn, and the metal band boasted that it was “Nickel Plated.” What kind of pipe brags about having a nickel plated band? Nowadays, that’s the bottom of the barrel. So I looked up nickel plating history online and learned that in 1837 the first crude electrochemical nickel plating of platinum was accomplished. Really? Someone thought to cover up the most precious metal with nickel? You bet he did, and in 1869 a better process that became the industry standard for 70 years was discovered. The purpose of nickel plating certain other metals, of course, remains nickel’s resistance to tarnishing and corrosion. The only logical explanation for the proud “NICKEL PLATED” stamp on the band of my CPF, therefore, is that the process was still relatively new. Given that point and the use of black horn stems being much less common in the late 19th and early 20th centuries, when amber and Bakelite predominated, I am satisfied the pipe was created in the waning years of the Victorian Era.
Returning to Steve and his inspired flash that the “knobby meer,” as he called it, and the CPF Arcadia are related, Steve told me he now questions whether the meerschaum is a real BBB, owing to certain unstated problems with the band. Steve is the expert, but this time I have to disagree and urge him to stick with his instincts. The notion of the meerschaum, knobs and all, being a bona fide BBB is no wilder than my briar, with its gaudy plastic bulbs and brass studs, being a genuine CPF, and I do not mean to suggest in a roundabout way that neither is the truth. Granted the extremity of different materials used to make the pipes, and the necessity of alternate methods for achieving the knobby looks, and still further suspending disbelief because of the admitted implausibility of the idea, I nevertheless can’t help thinking that the connection is the actual crafter of the two pipes. To be blunt, I think the same person made both of them. Of course, I will never be able to prove the theory. Well, isn’t that convenient, as the Church Lady used to say.
With a little more research, I was pleased to settle with much more certainty a question that nagged Steve in his blog of the unusual meerschaum: was there a connection between it and BBB? As several of the sources below show, the link is clear. Frankau, who started business in 1847, died in 1856. At that time, his widow was persuaded to continue operation of A.F. & Co. under the control of Frankau’s very young assistant, Louis Blumfeld, who was then only 18. Blumfeld started BBB (for Blumfeld’s Best Briar, later Britain’s Best Briar), the famous triangular symbol for which he trademarked in 1905 – again, the year Steve’s meerschaum was made – under the A.F. & Co. banner. BBB seems to be the first pipe maker with a trademark. And so the connection, if I haven’t made it obvious, is that A.F. & Co. owned BBB.
Arcadia, part of the modern-day Peloponnese, a peninsular region of southern Greece (capital, Tripoli), is also a reference to Greek mythology. The mythological Arcadia was named for Arcas, a hunter who became king of the utopic wilderness and is best remembered for teaching the skills of baking bread and weaving. In Arcadian myth, Pan, the god of shepherds, hunters and the wilds, is said to have roamed the region with dryads, nymphs and other spirits. The name, therefore, is an odd one for this pipe, unless it’s a reference to the Calydonian Boar killed by the king’s daughter, Atlanta.
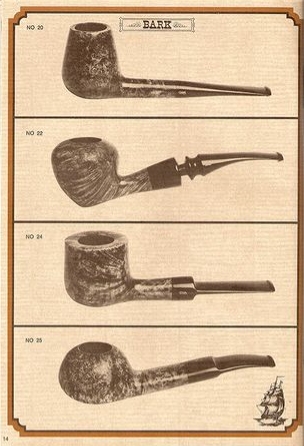
CPF had an ephemeral but brilliant run from 1851 to c. 1915, producing with the unparalleled skill of its Old World craftsmen some of the most astounding pipes, meerschaum and briar, ever created. That’s all I need tell of CPF’s history, as Steve’s account in the sources below is the definitive authority. Another link to a few of the CPF beauties in Steve’s Wonderland collection shows examples that are far closer to what I had in mind when I was wishing for a pipe of that great brand to find its way to me.
But that’s what can happen to someone who wishes for something.
RESTORATION

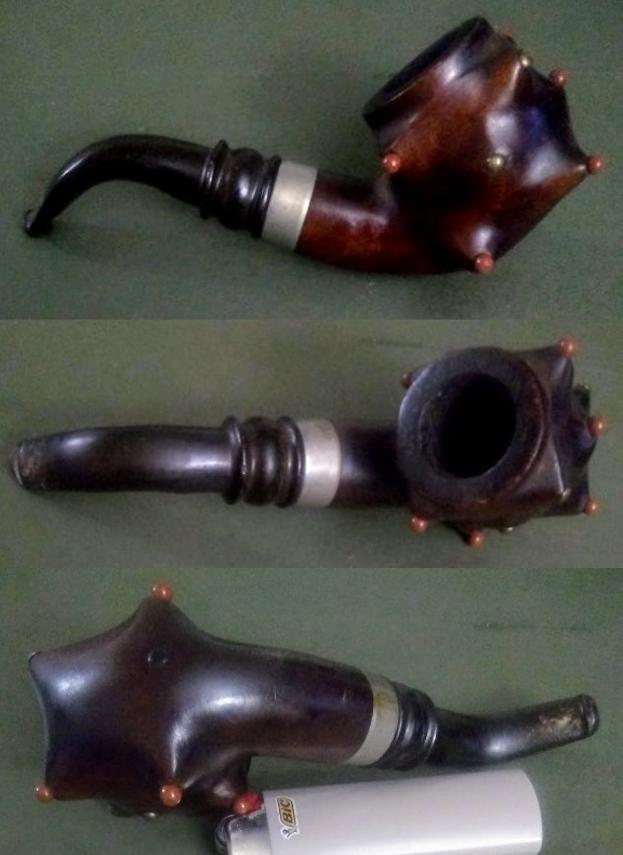
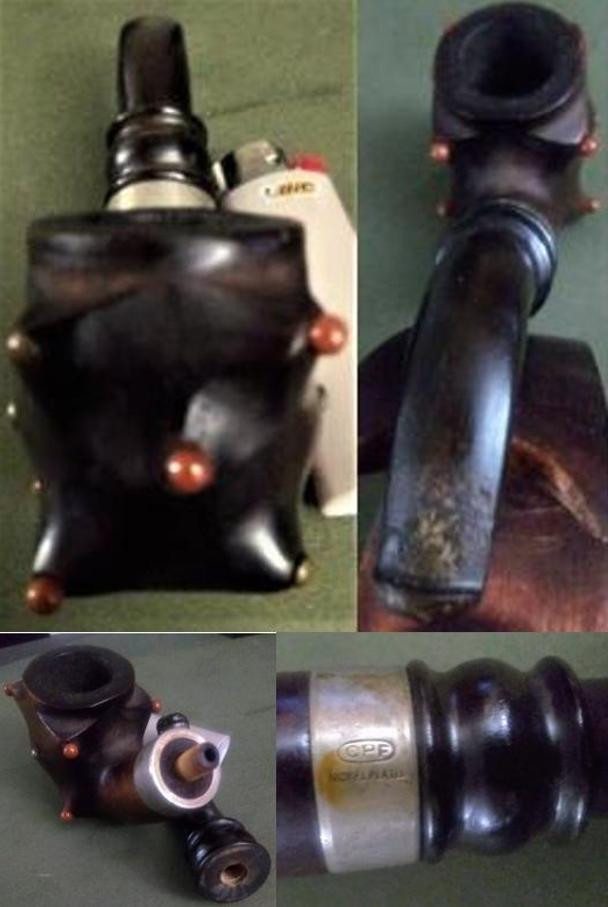
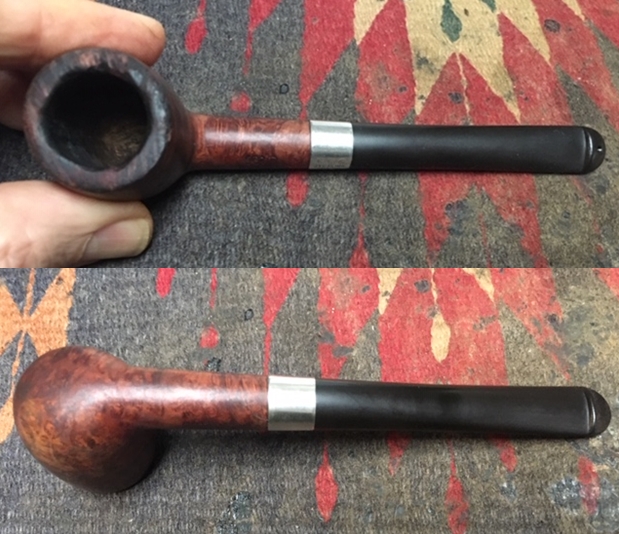
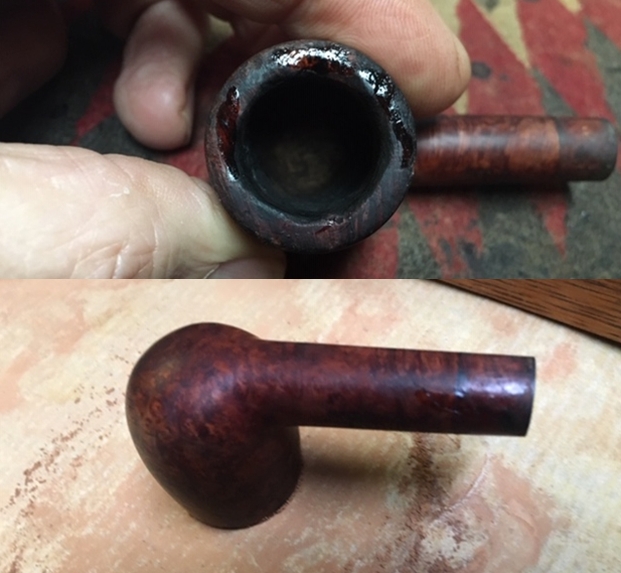
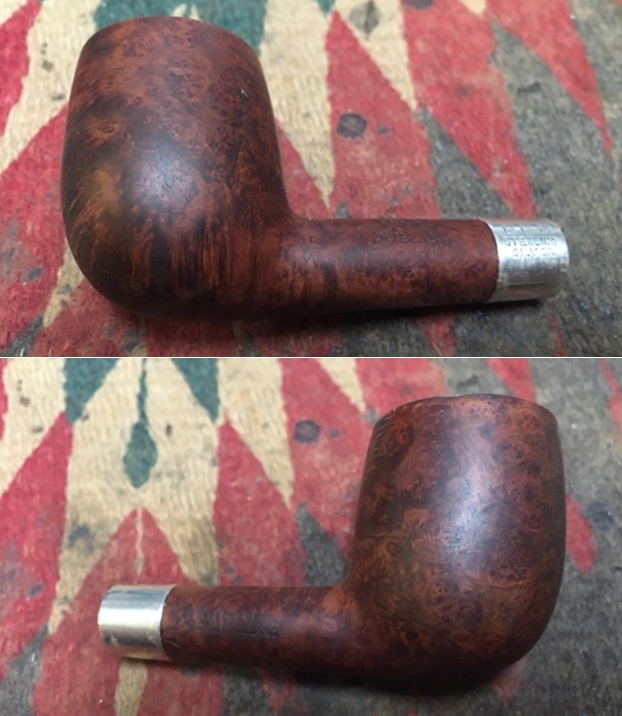
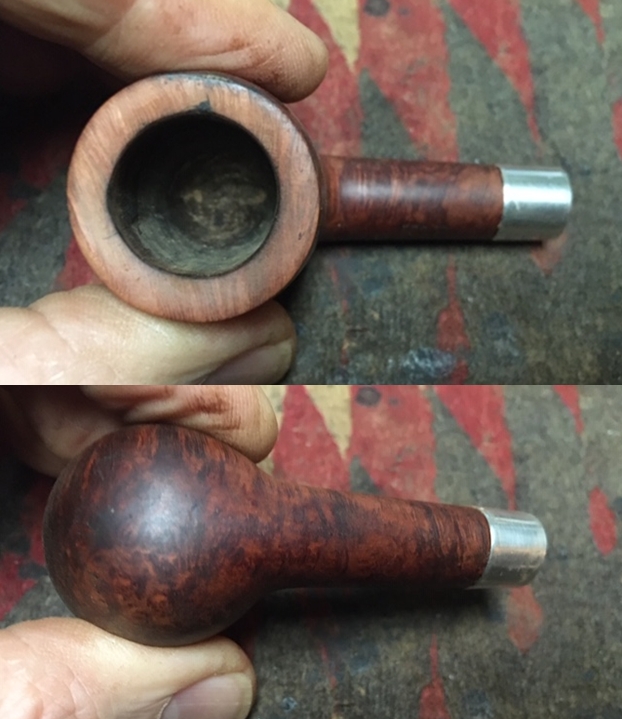
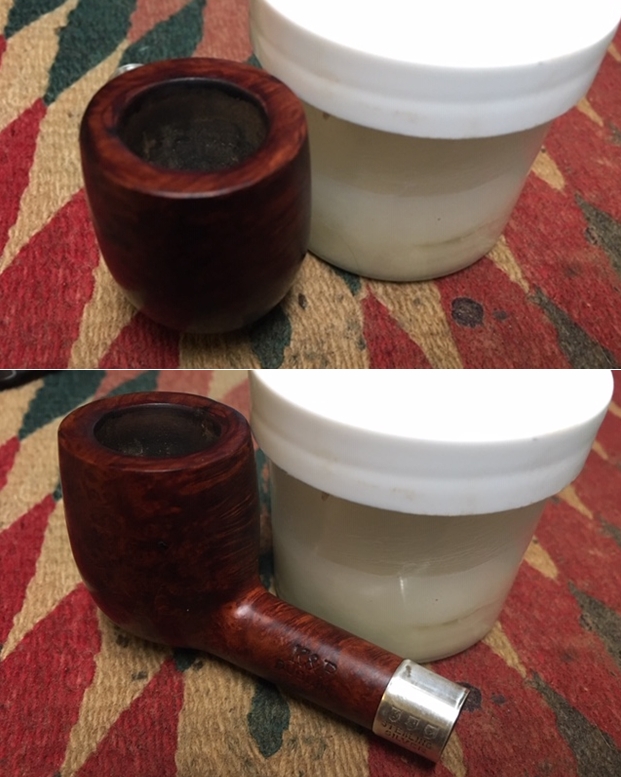
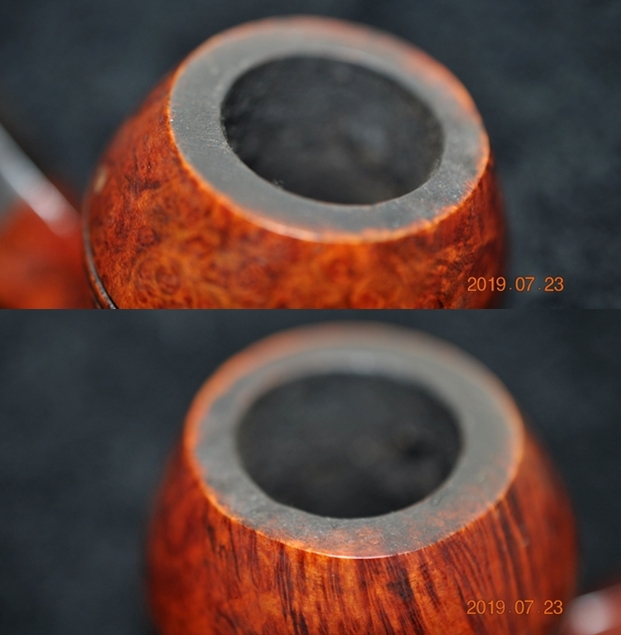
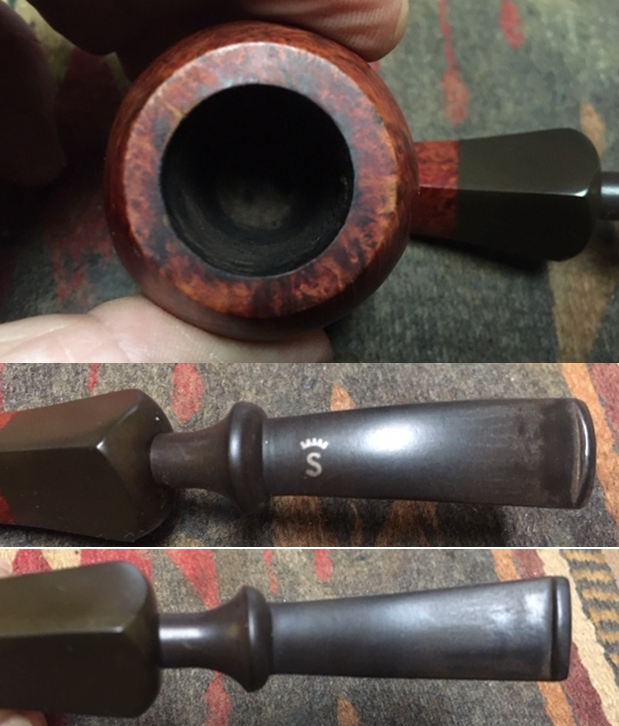
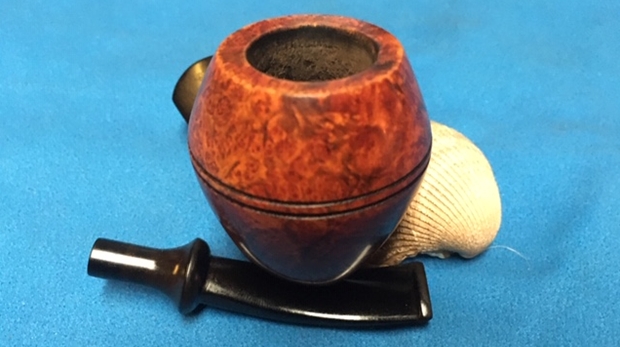
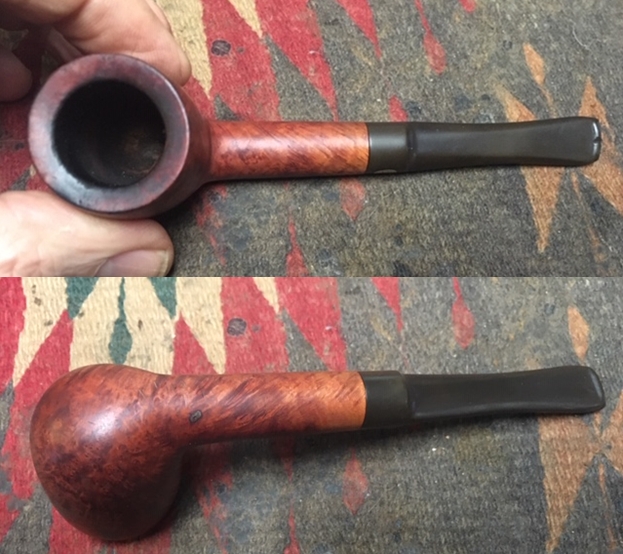
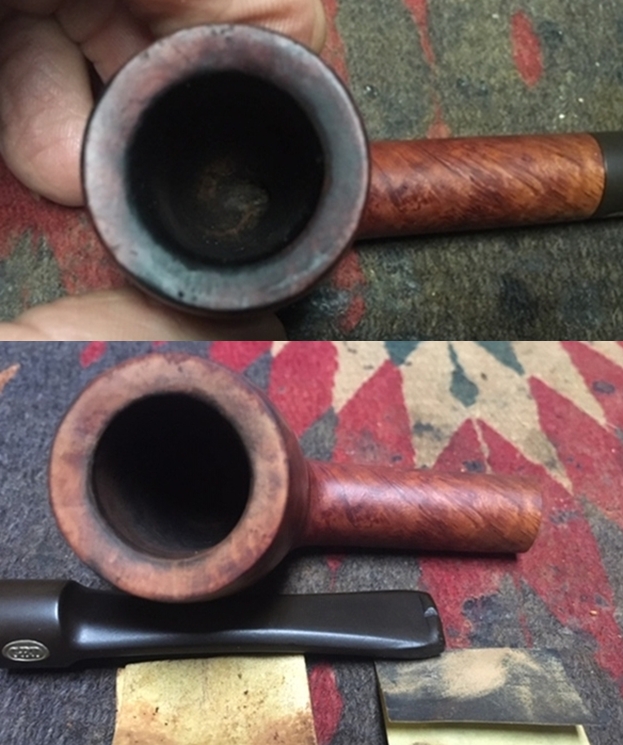
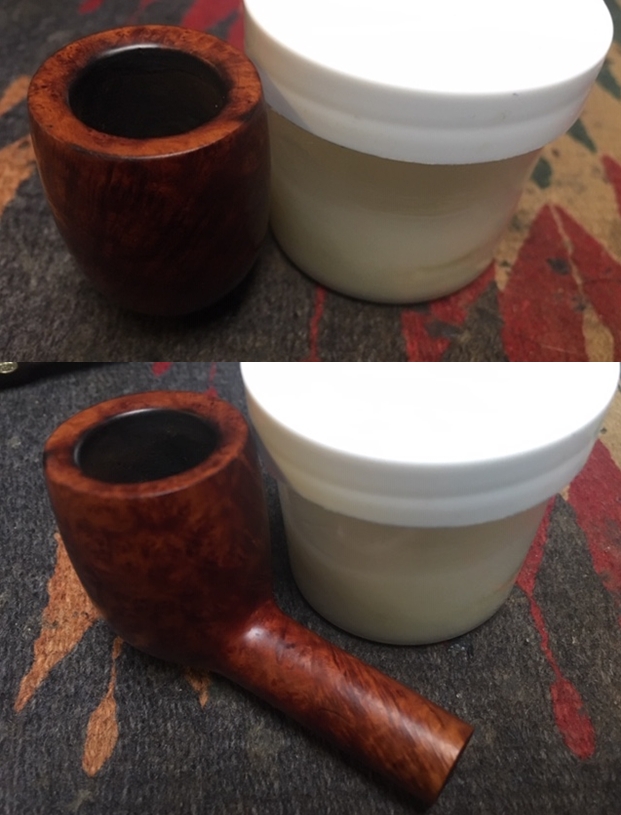
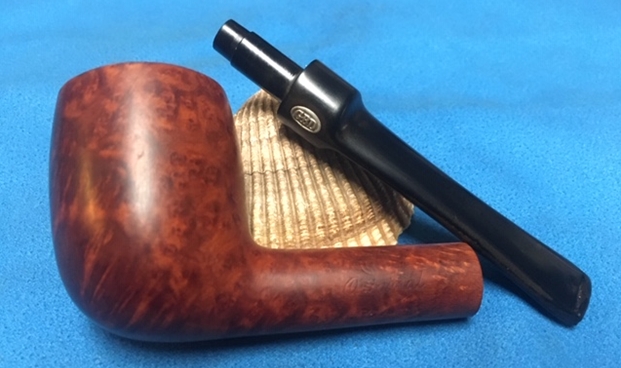
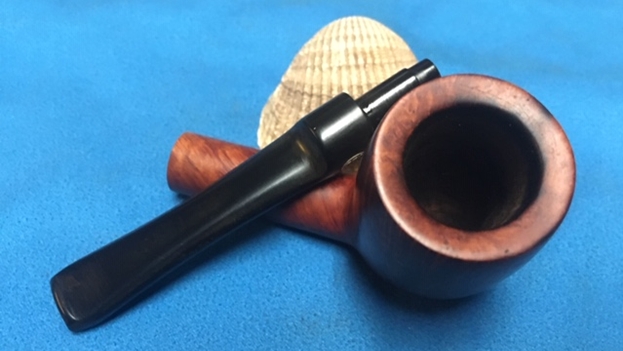
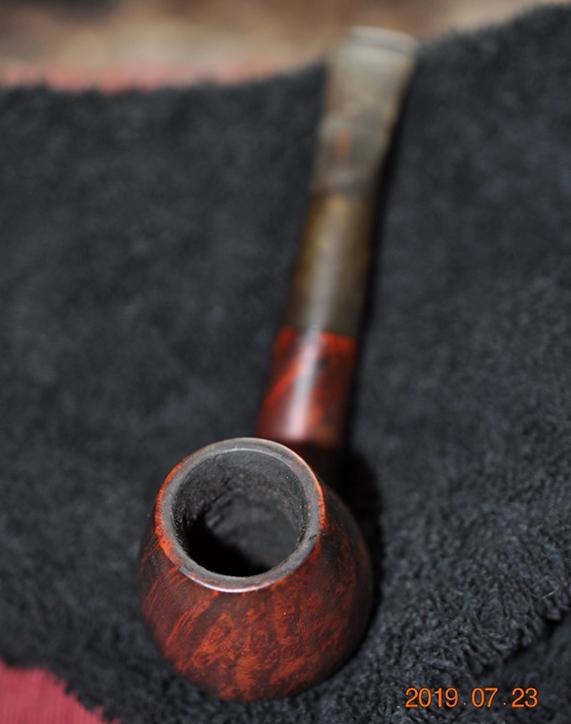
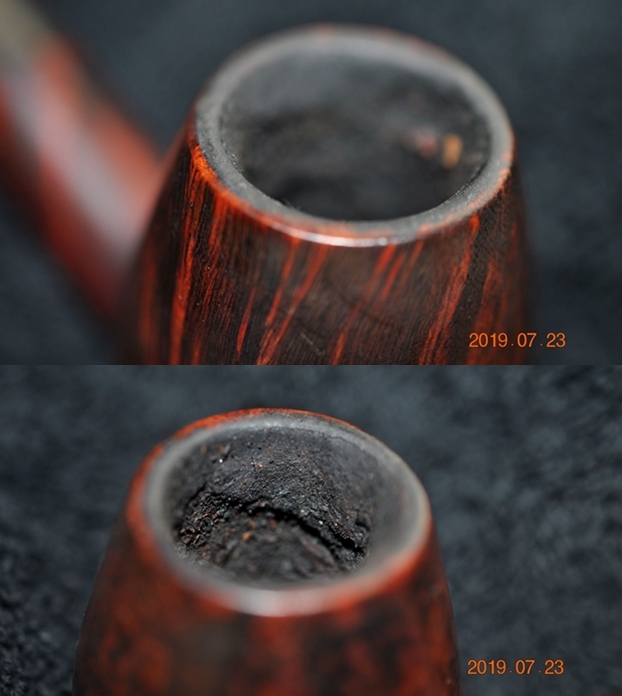
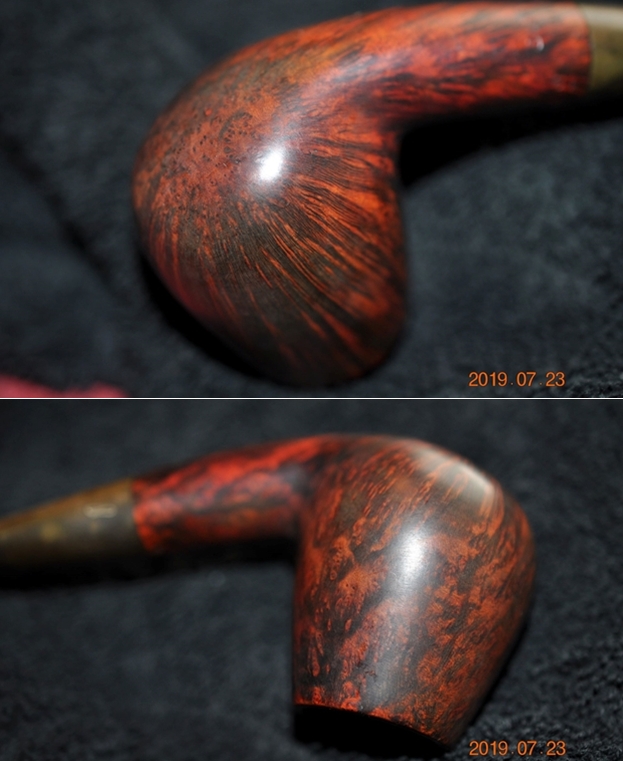
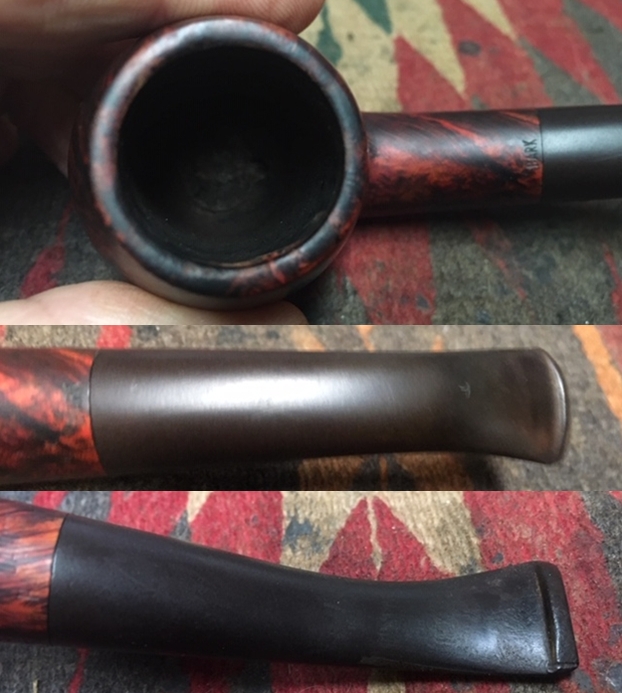
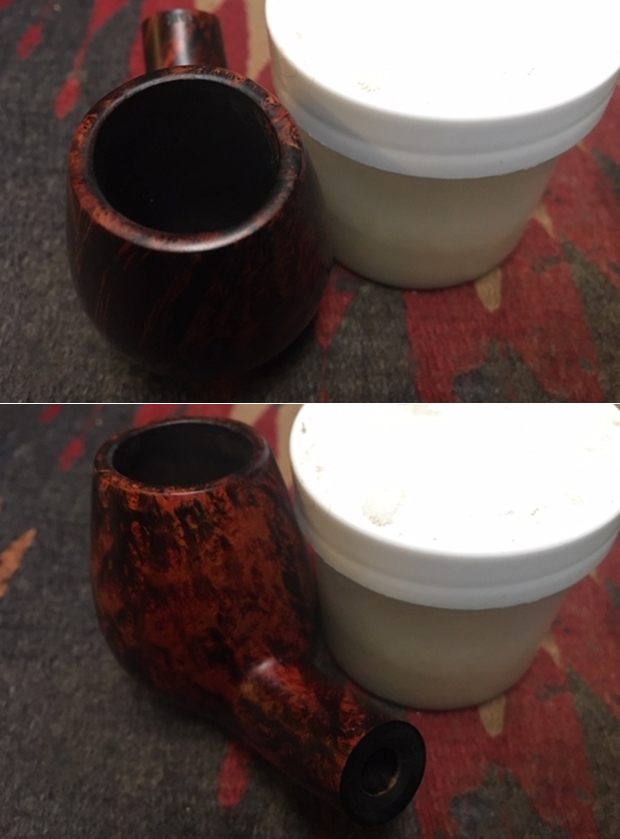
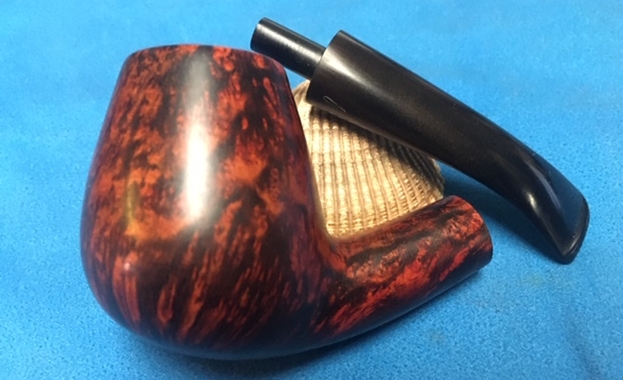
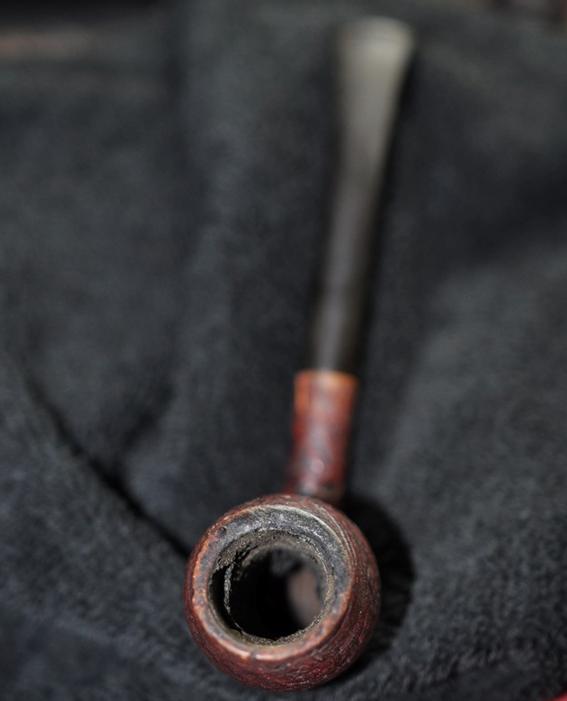
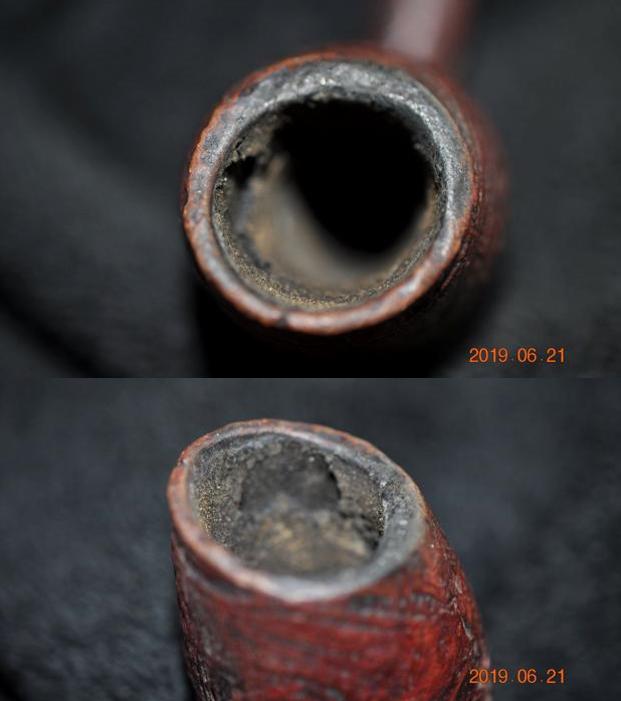
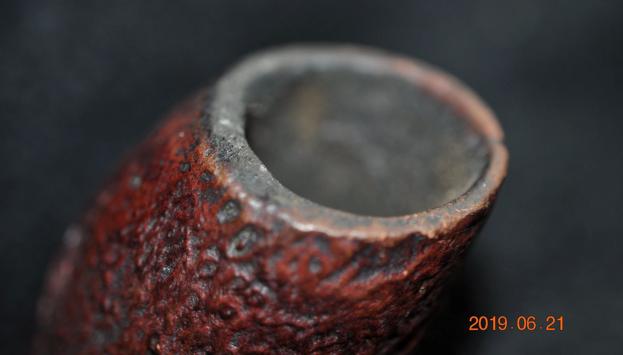
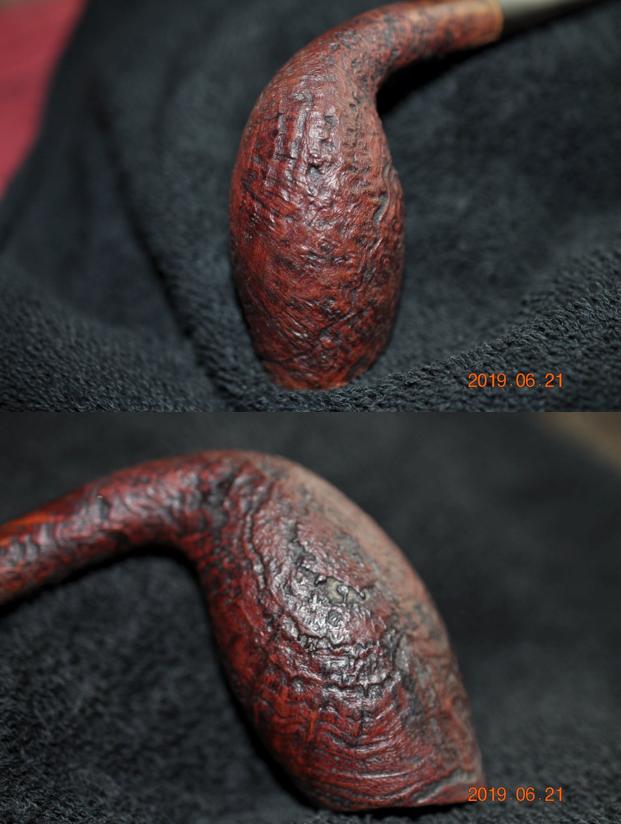
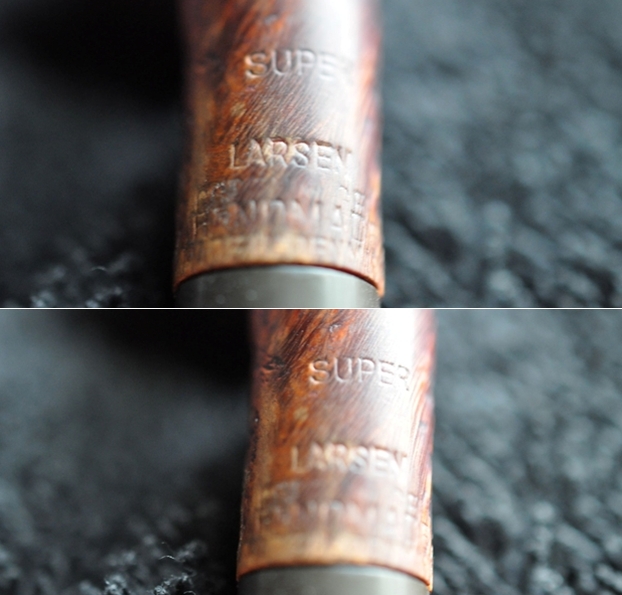
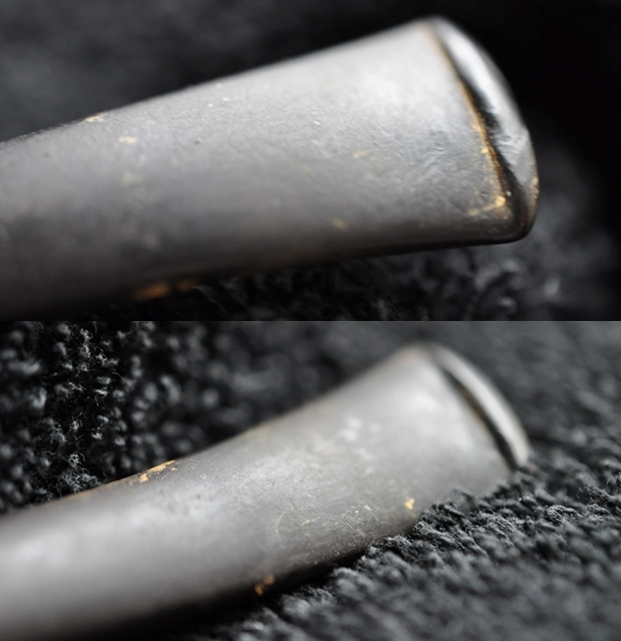
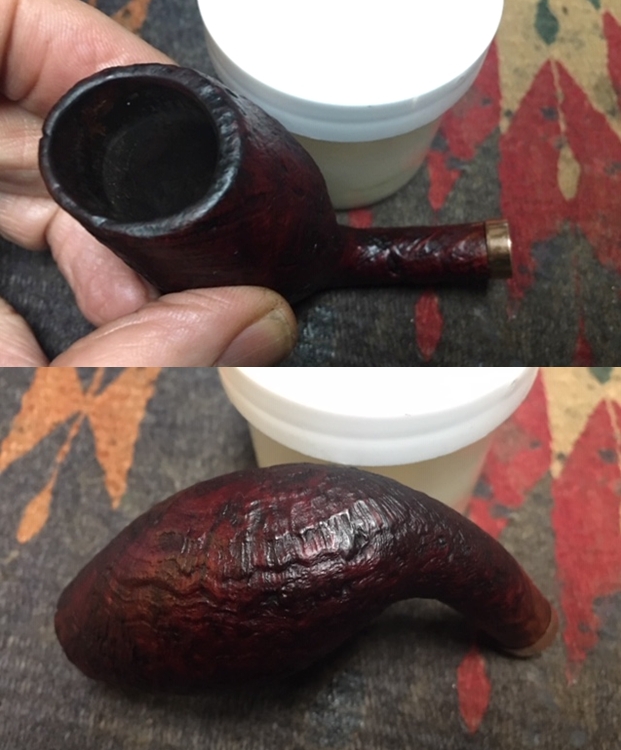
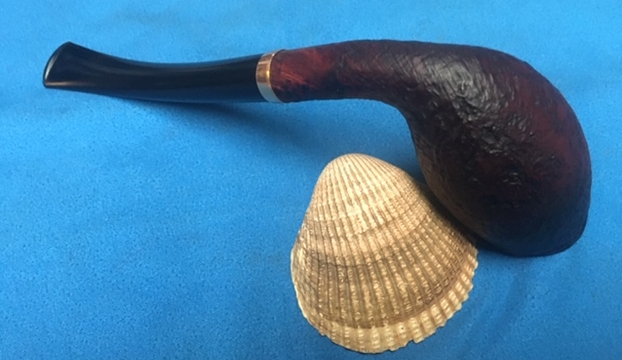
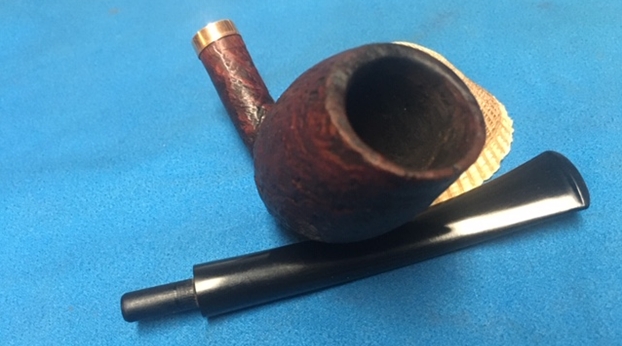
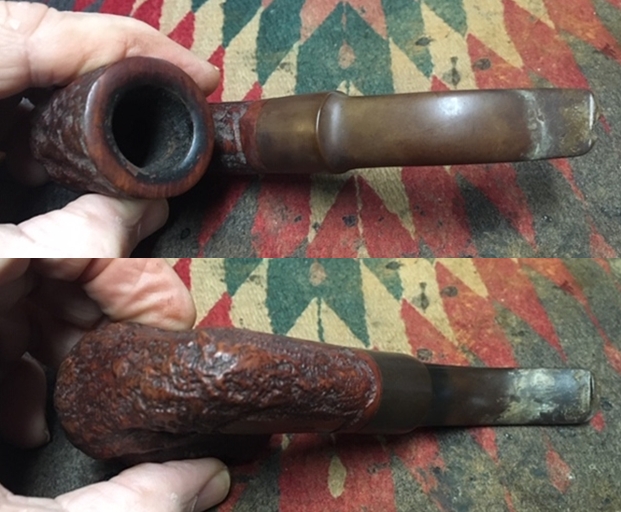
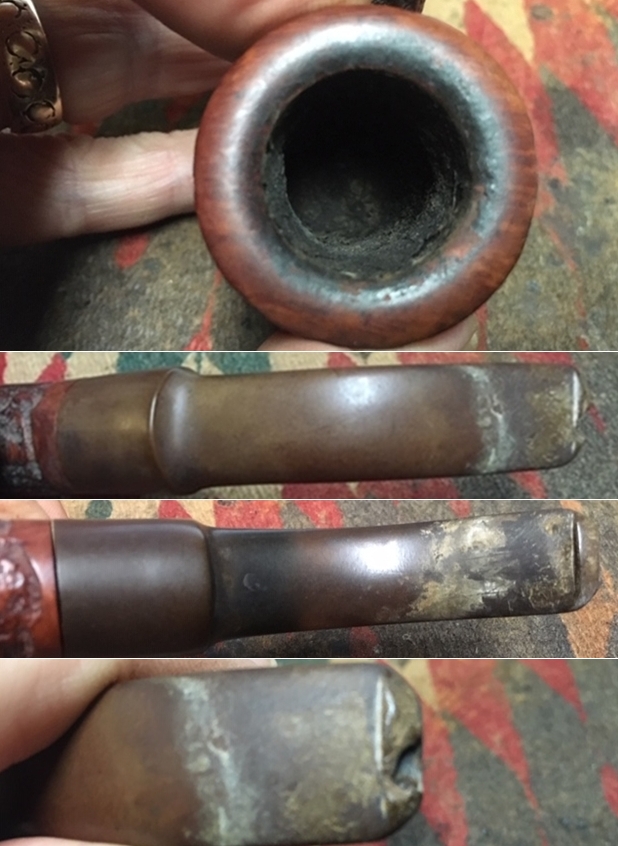
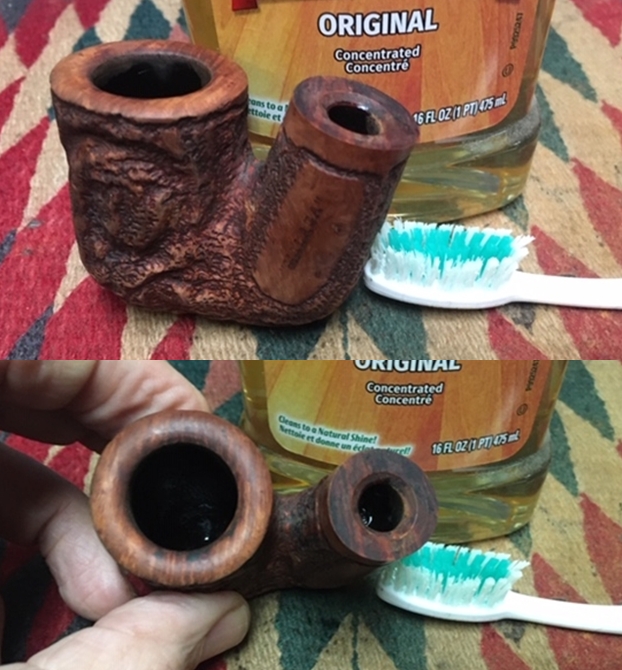
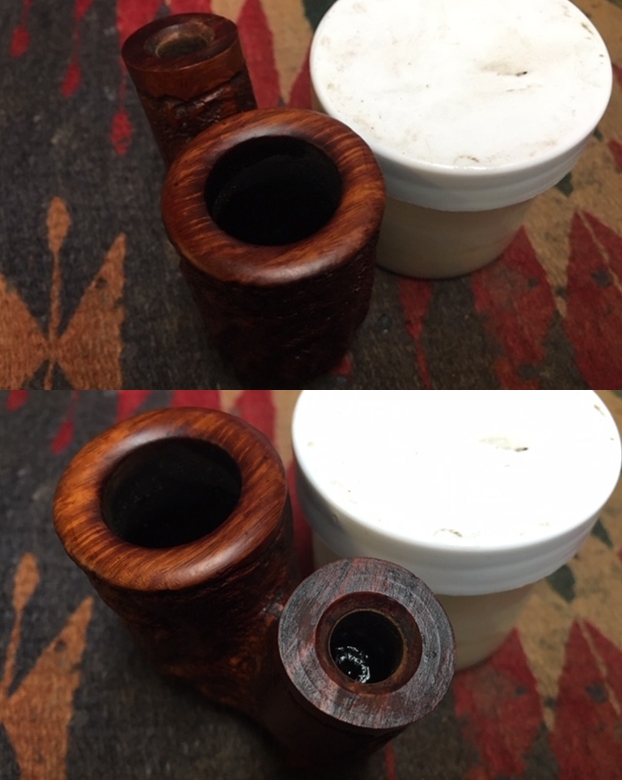
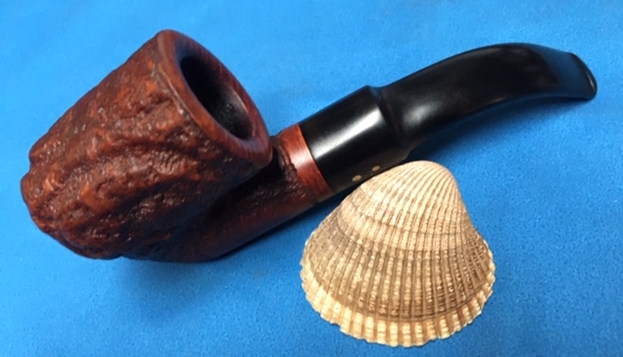
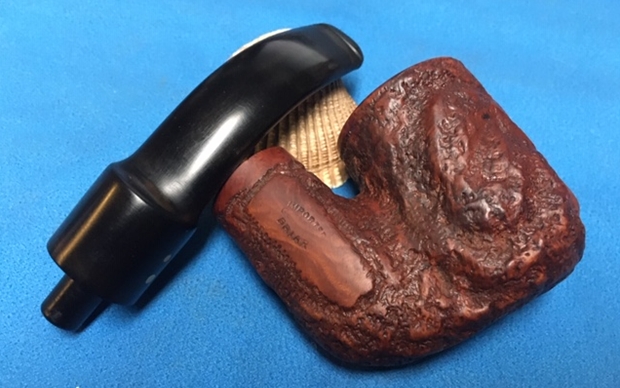
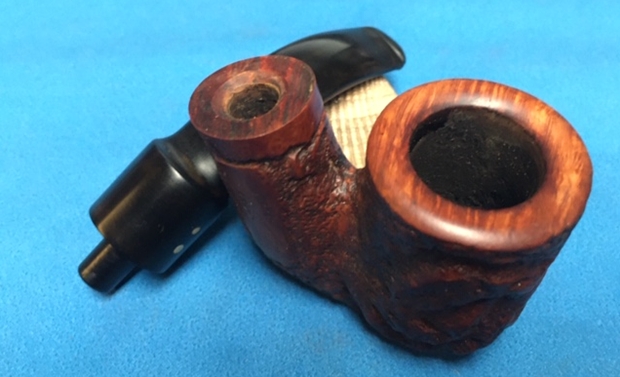
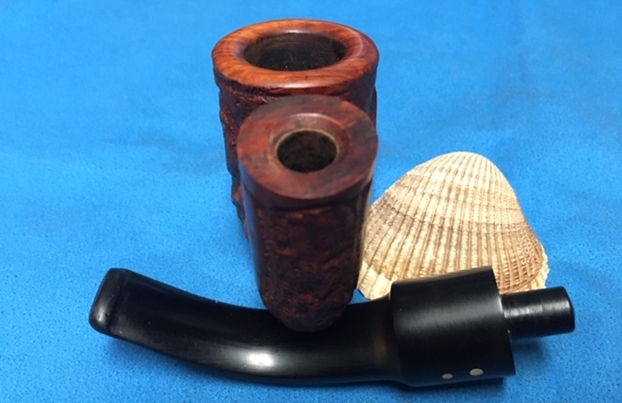
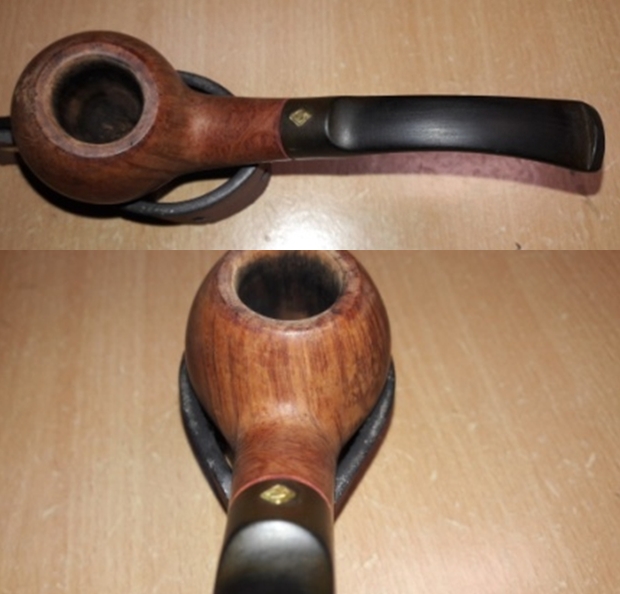
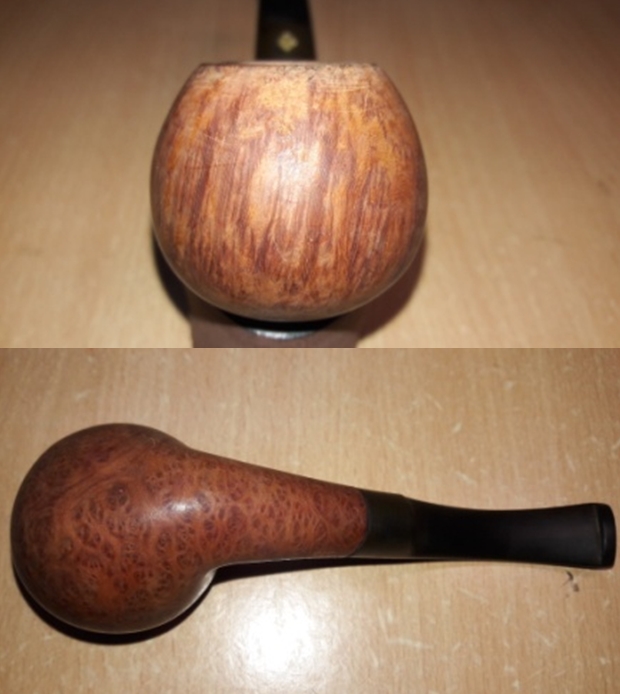
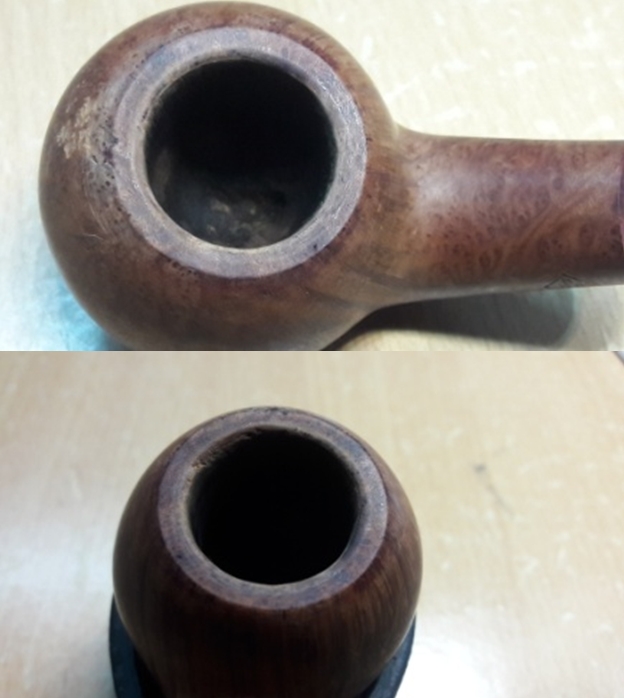
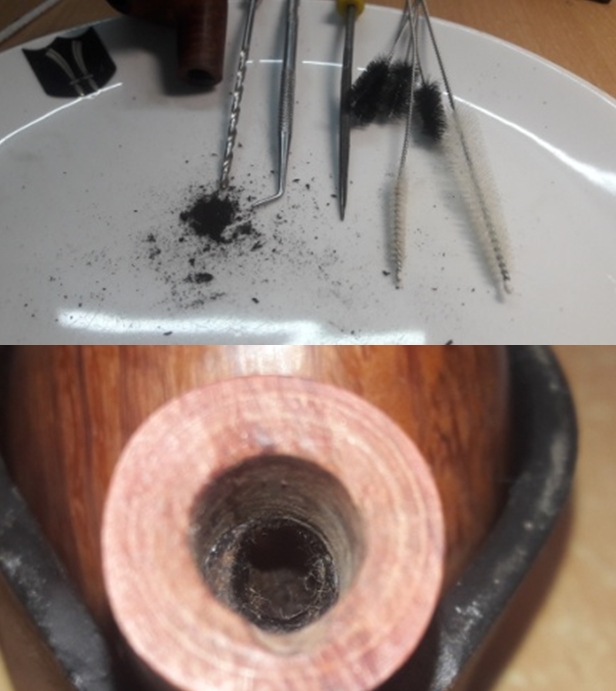
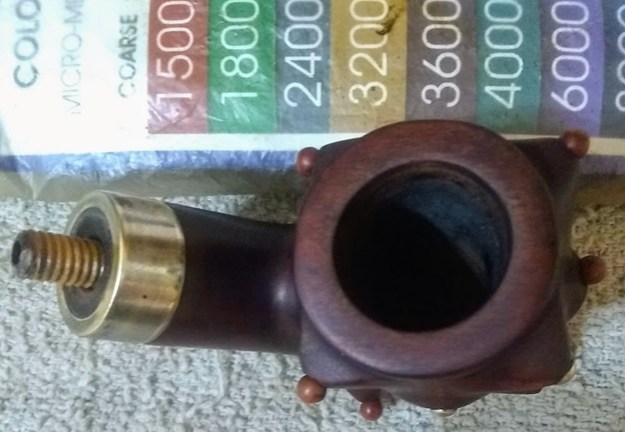
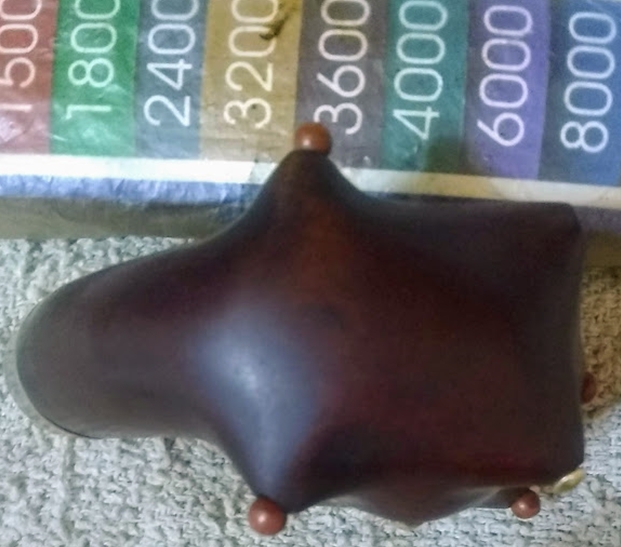
 A few close-ups show the peculiarities and problems I found. The first, featuring the front of the bowl, makes the little, round, plastic bulbs – which I did not yet know the means of connection to the bowl – appear red instead of their actual light brown. Scratches all over the uneven surface that is spotted with the bulbs and brass studs presented awkwardness to remove. The second shot, of the rim and chamber, has the correct color of the bulbs and at a glance seems the hardest part of the pipe’s repair but in fact was the easiest. The third pic made me happy the band was already spinning on the shank so I could leave it out of an early alcohol soak. The grime and stains would come off, but I knew I could not fill in the missing patches of nickel. Then there was the stem, top and bottom, with moderate tooth damage that would typically be no hassle to eliminate if it were Vulcanite.
 Be
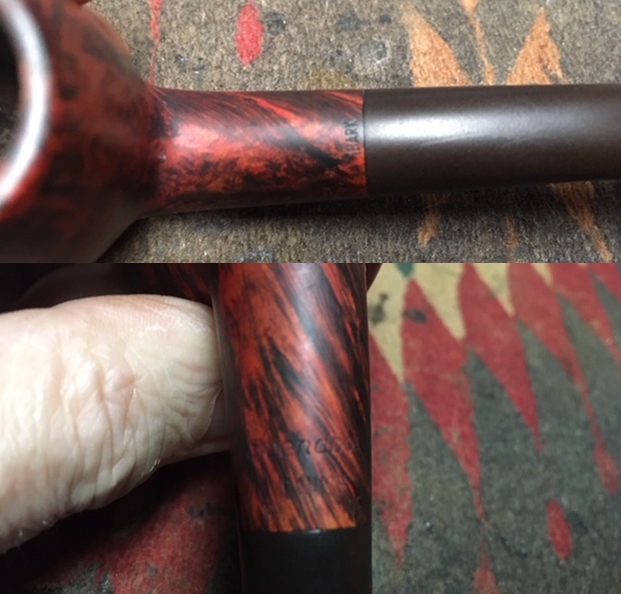
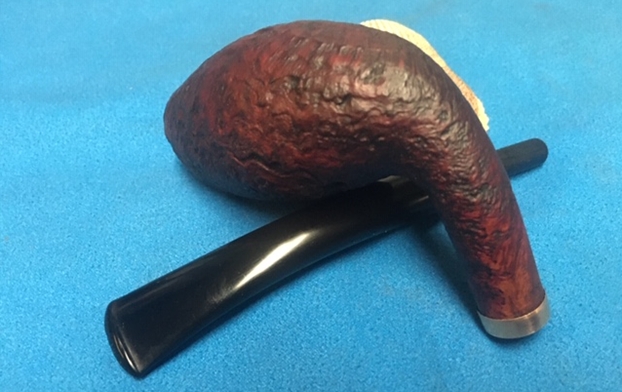
Be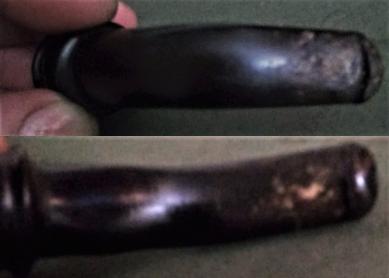 fore I continue, take a close look at the bowl and count the bulbs and brass studs. There are seven bulbs and four studs, and the arrangement may seem random. But look again, and you’ll see a very odd order: on the left side, the bulbs start on the top left to right and then down to the bottom right; the studs move diagonally from the lower left to the middle. On the right side, the opposite is true: the bulbs go from top left down to bottom left and then bottom right, and the studs are diagonal from top right to middle. On the front, three bulbs form a diagonal, tic-tac-toe line from top right to bottom left, or vice versa if you prefer. Finally, the back shows all four corners with bulbs. The person who crafted this pipe had a very playful sense of order.
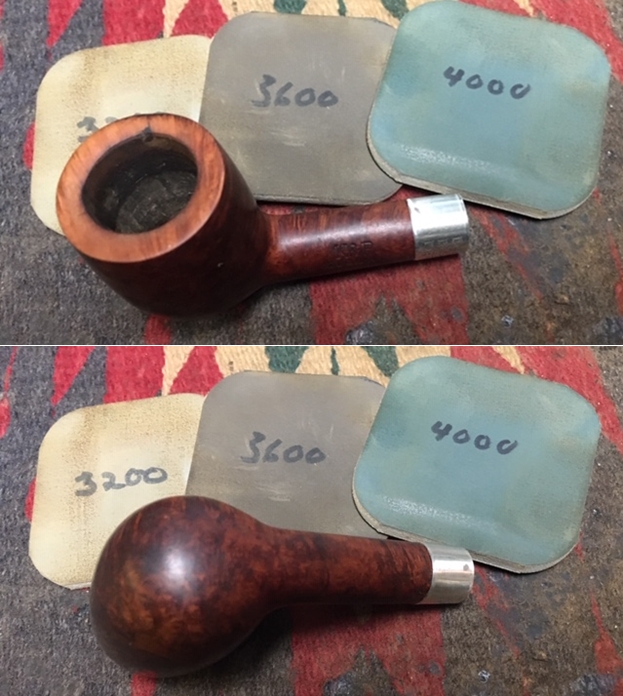
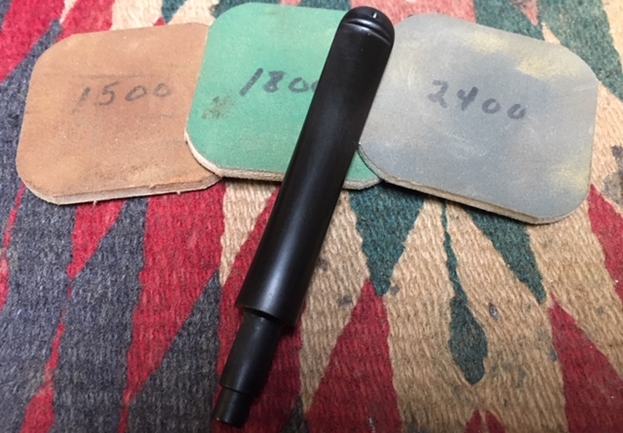
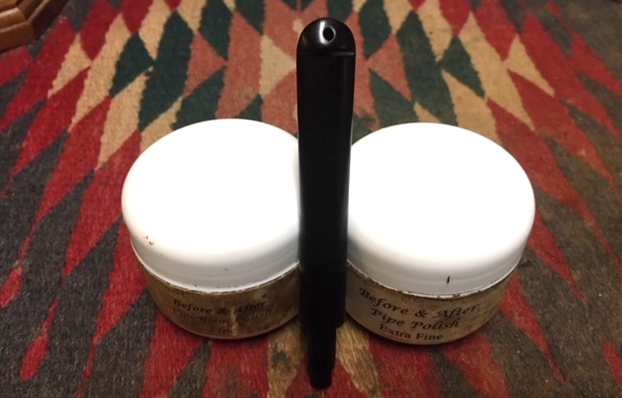
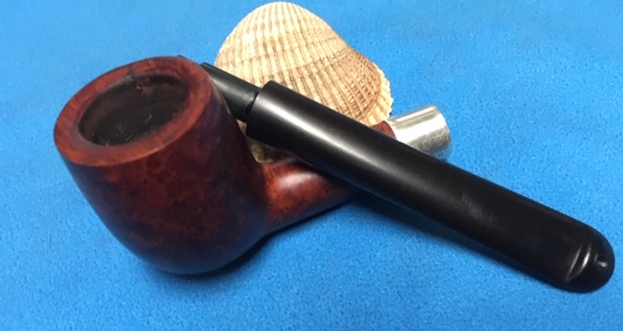
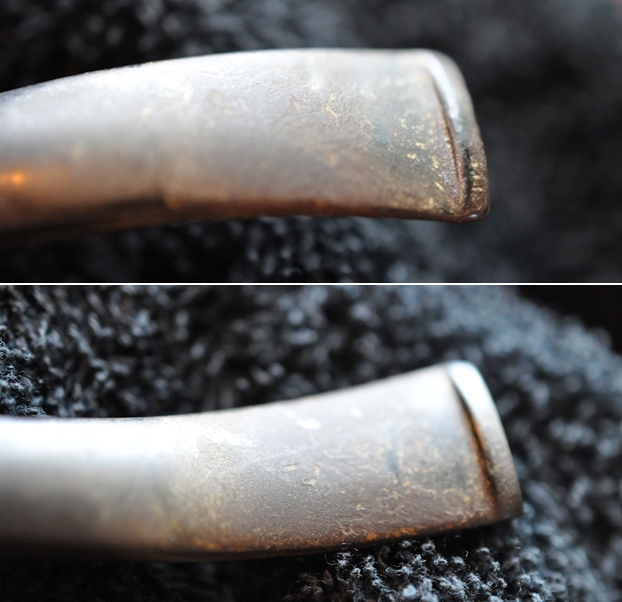
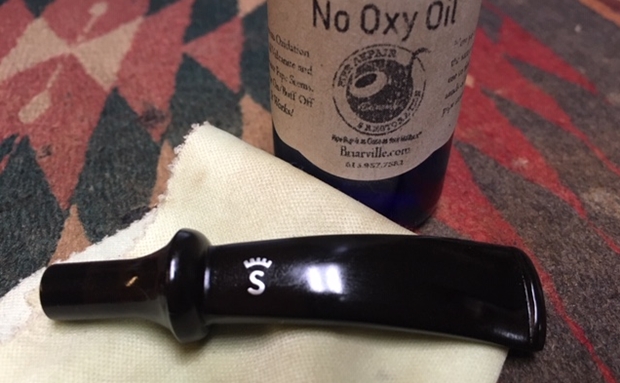
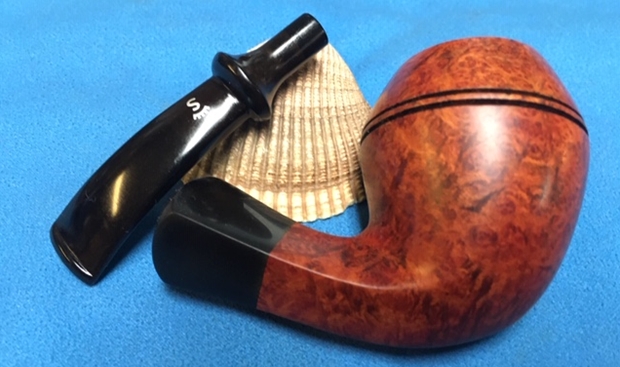
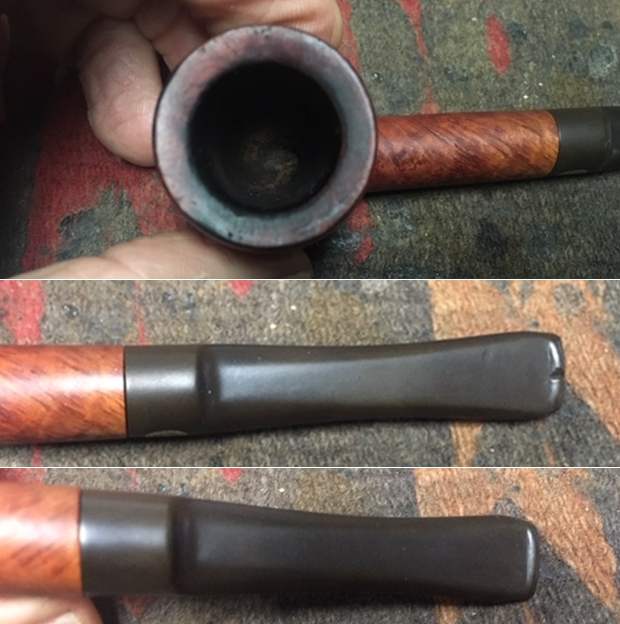
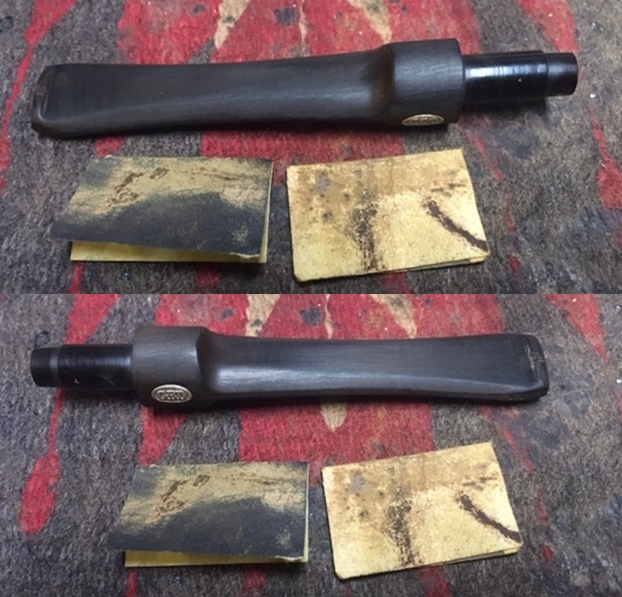
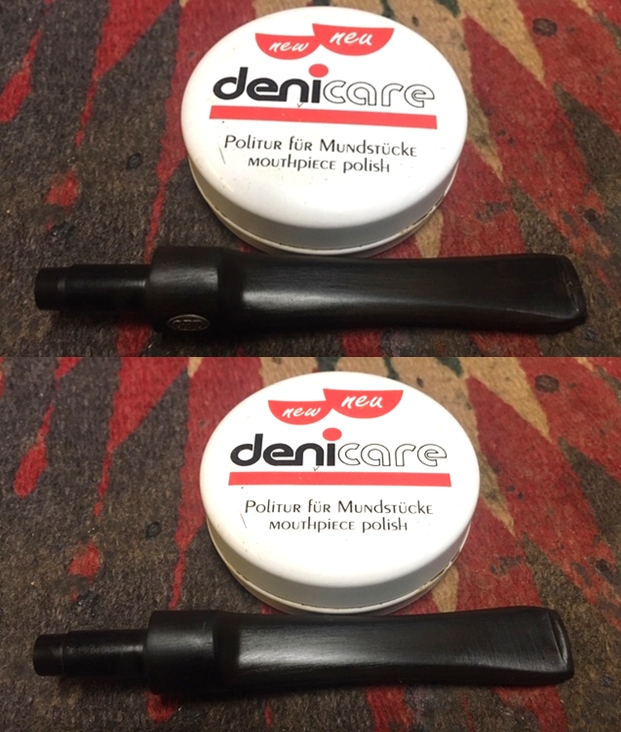
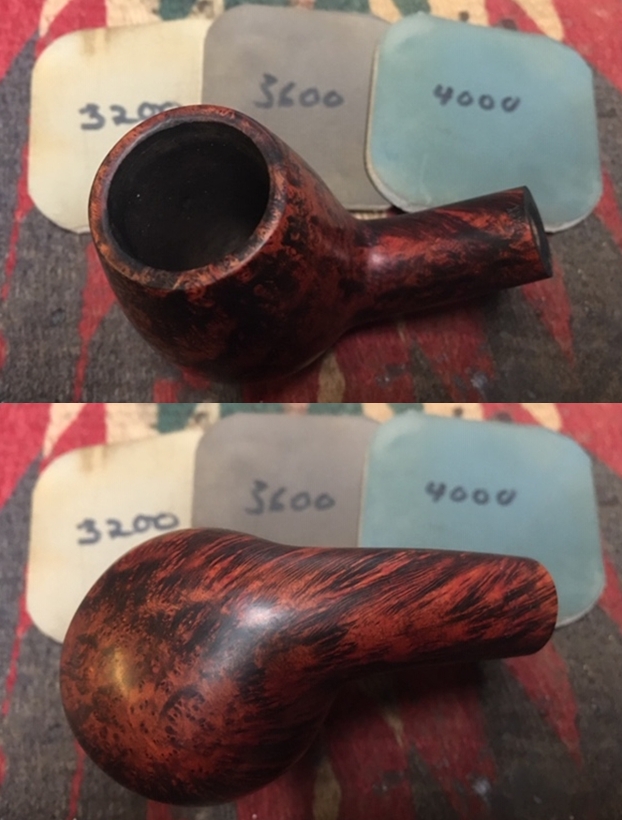
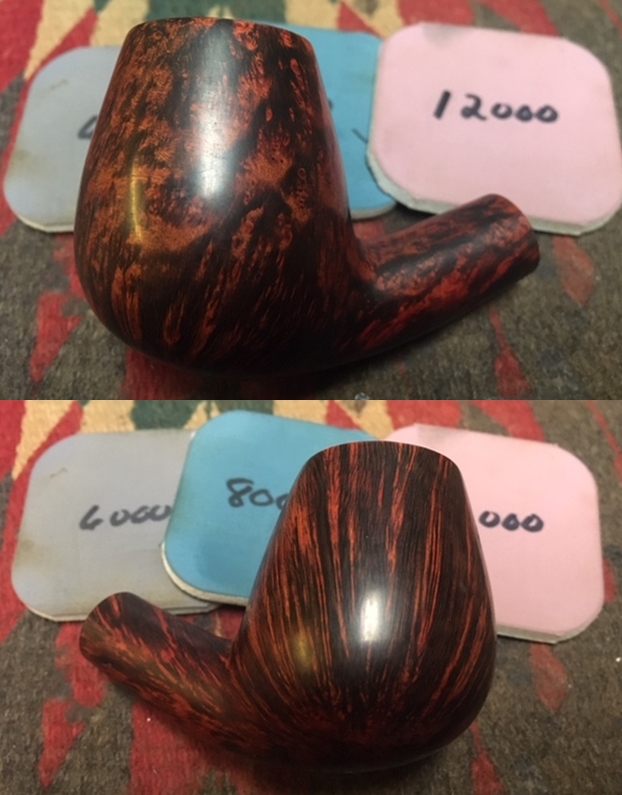
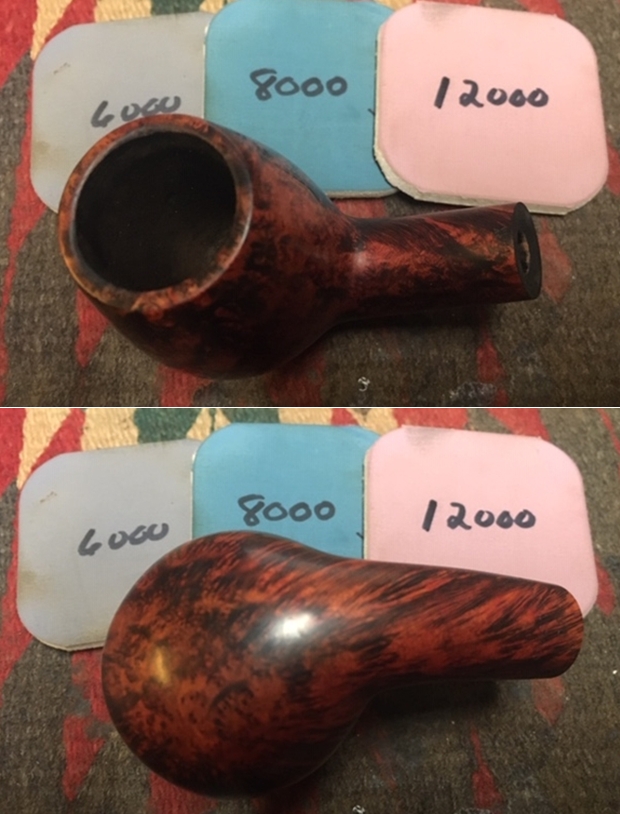
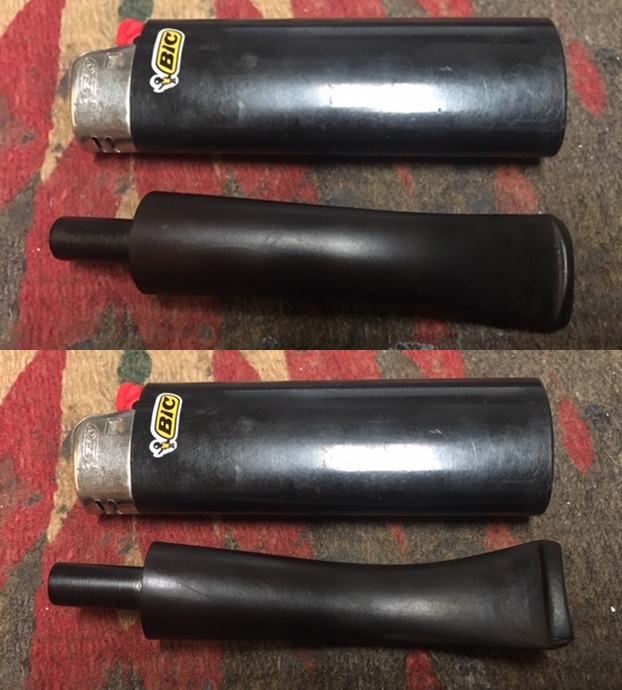
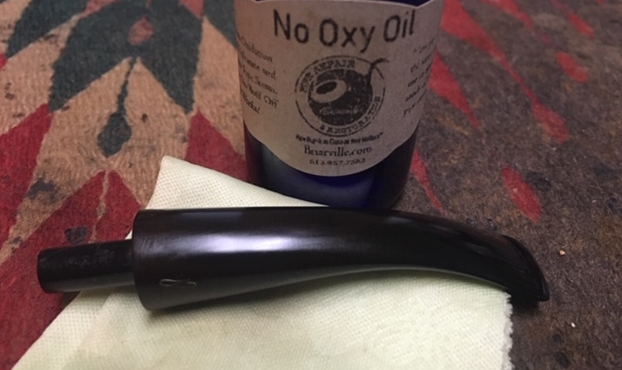
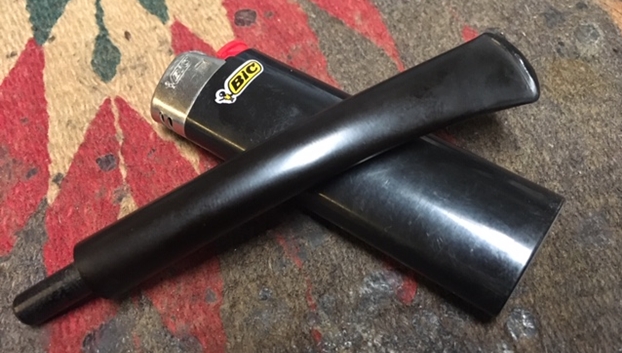
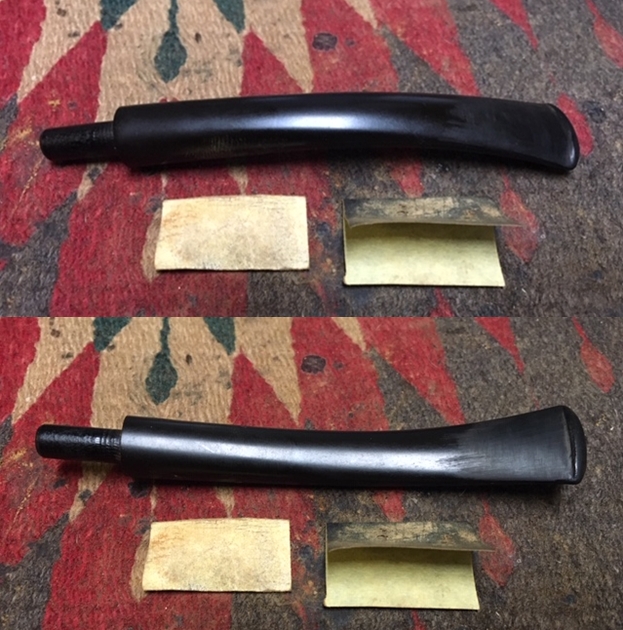
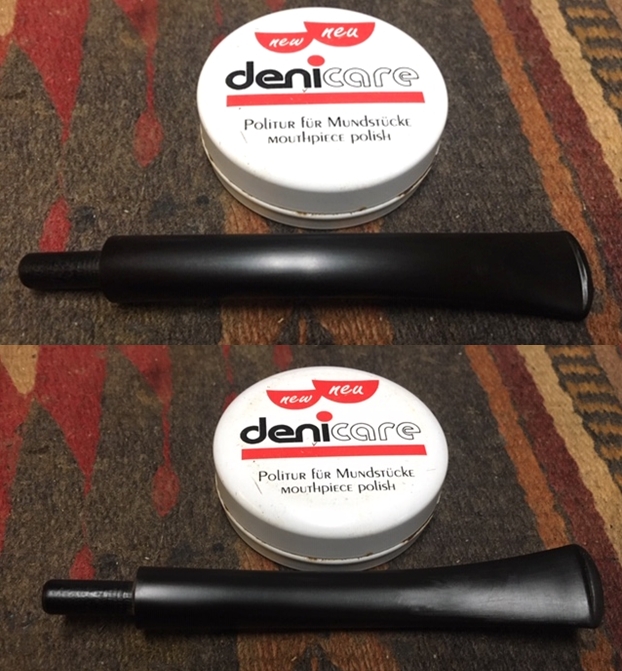
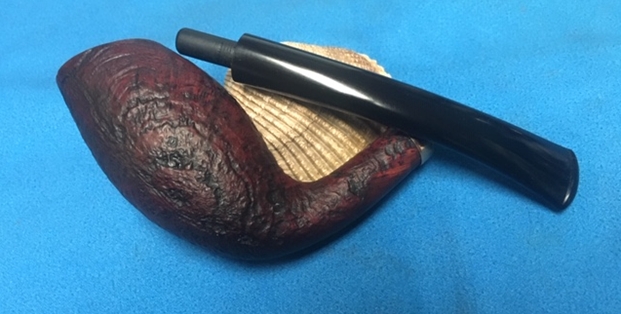
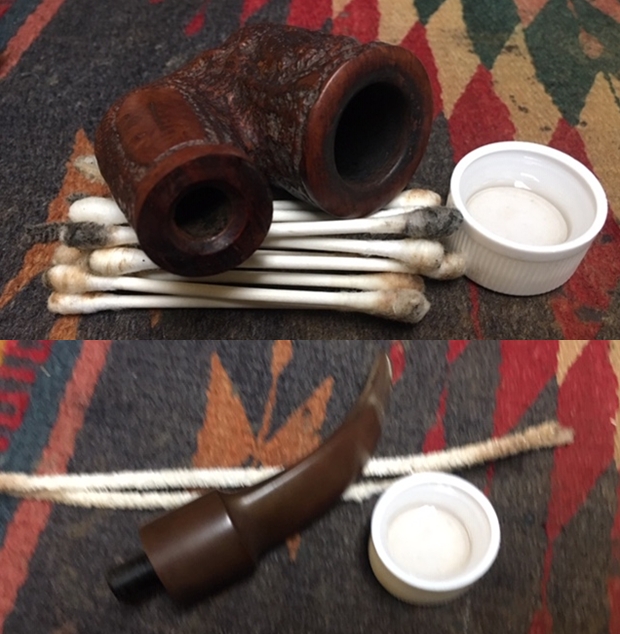
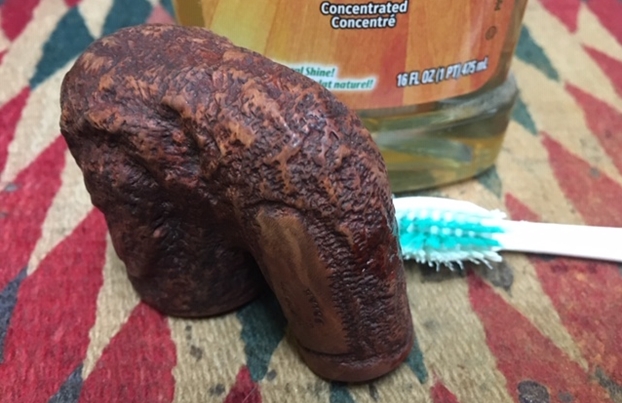
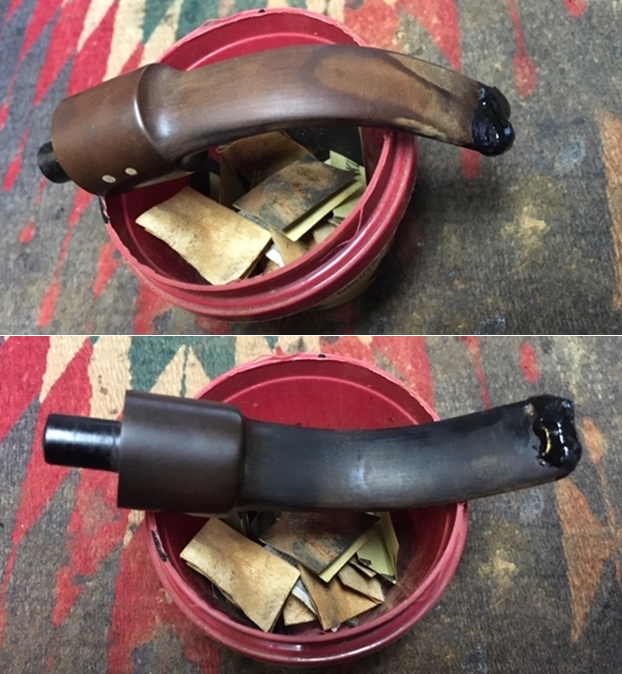
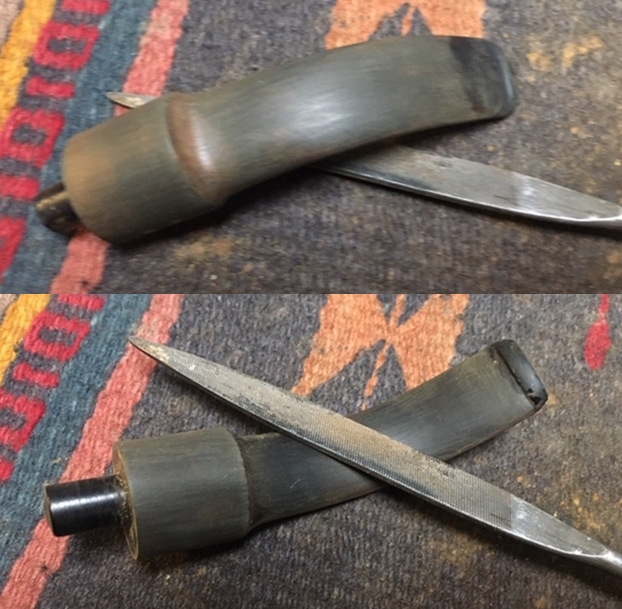
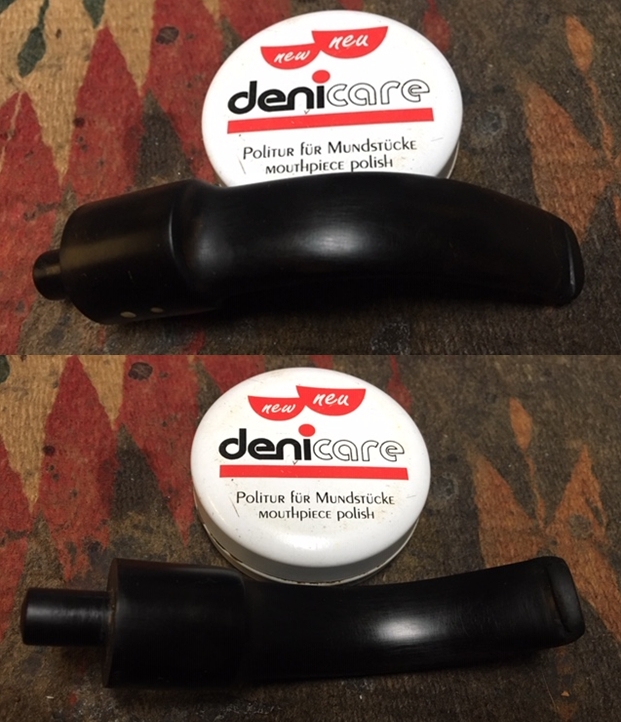
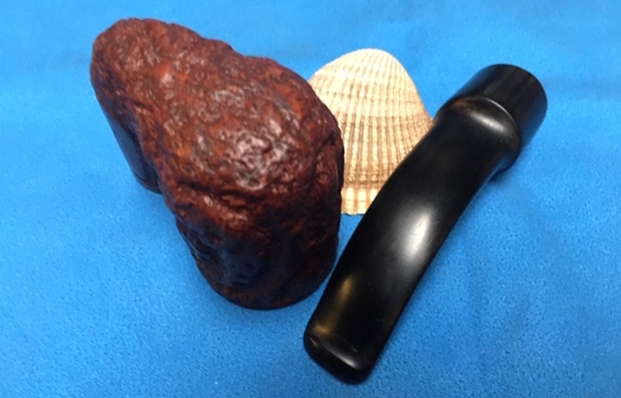
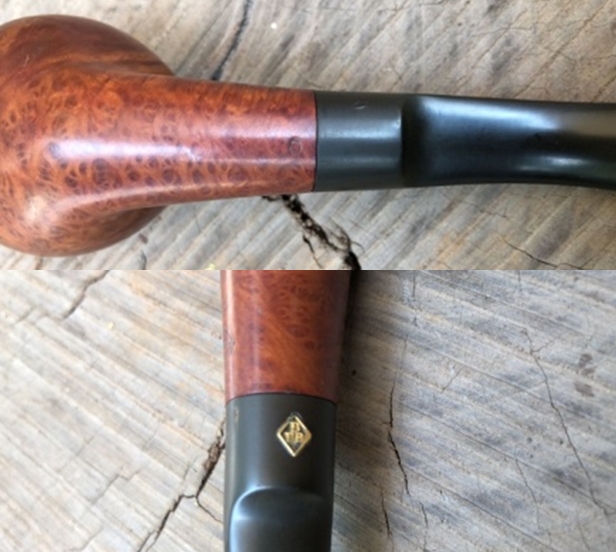
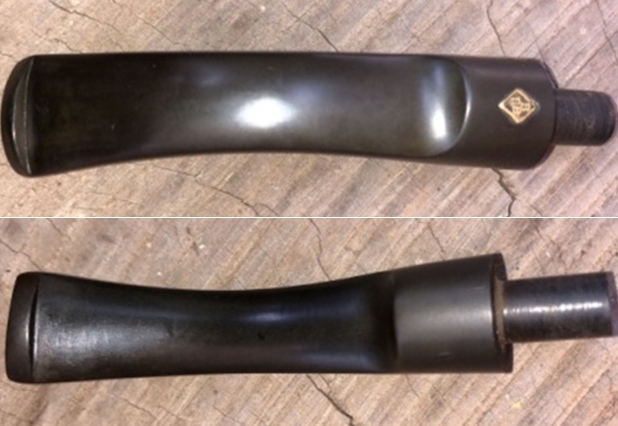
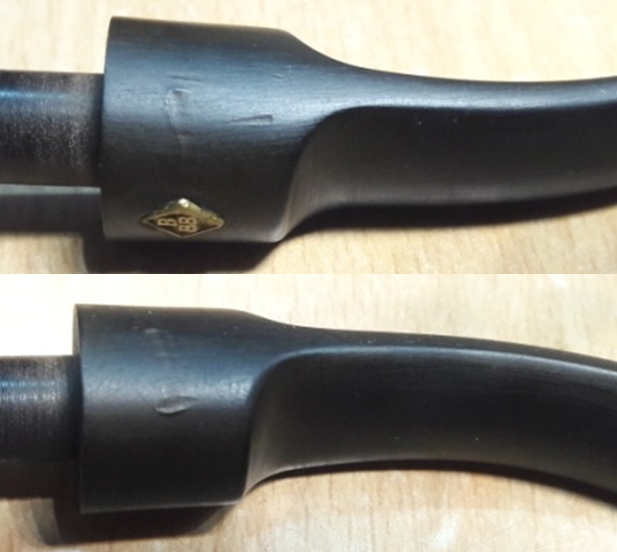
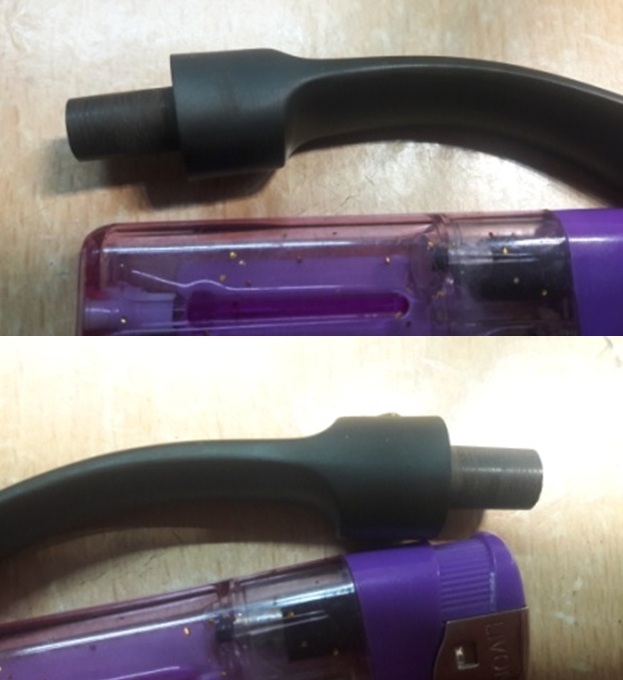
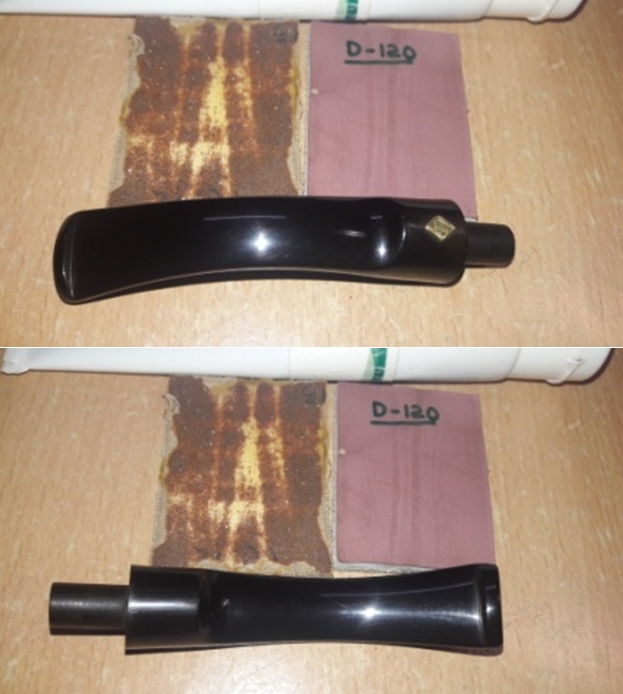
Thinking the Arcadia stem was Vulcanite but knowing it would do no harm anyway, I tossed it and the one from the Ben Wade reject candidate in an OxiClean bath. The usual old dirt and tobacco residue came off both. The first pictures after the bath show the stem not yet fully dried, and the next three dry.
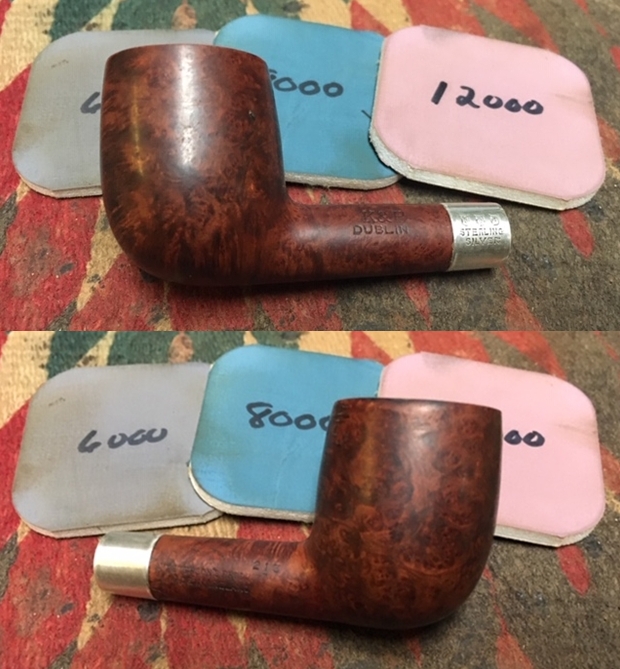
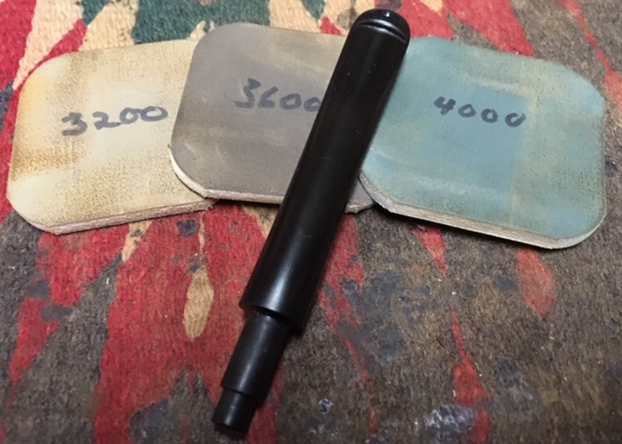
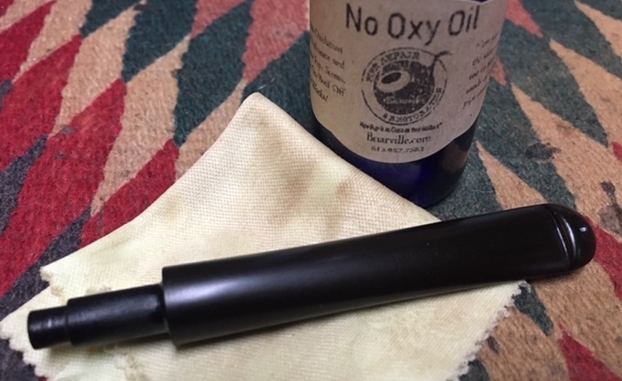
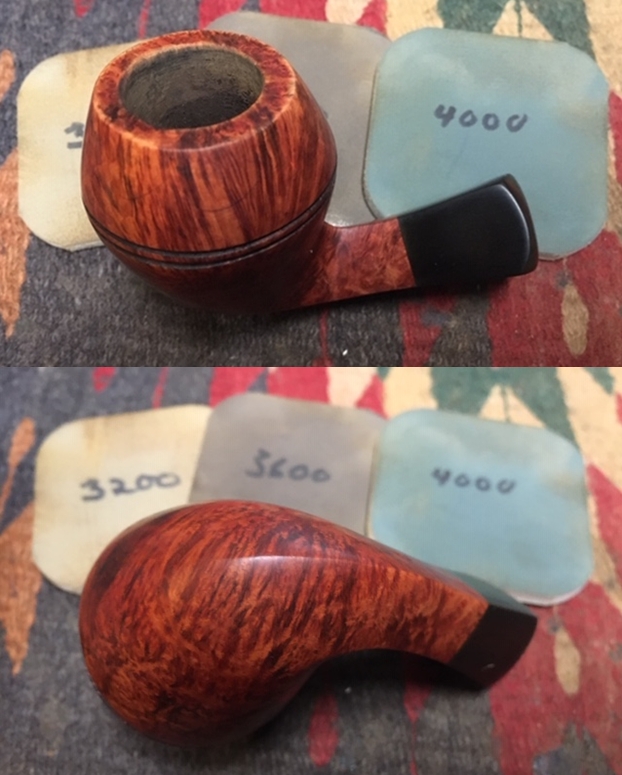
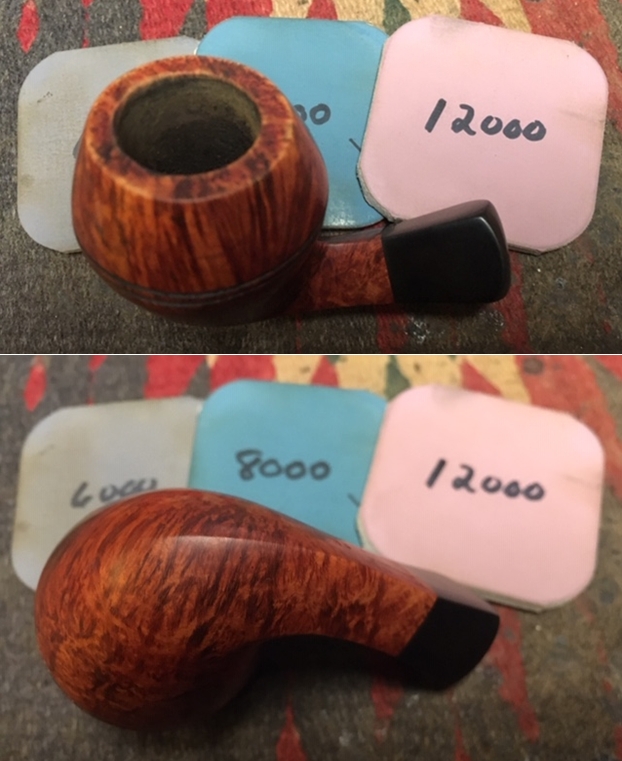
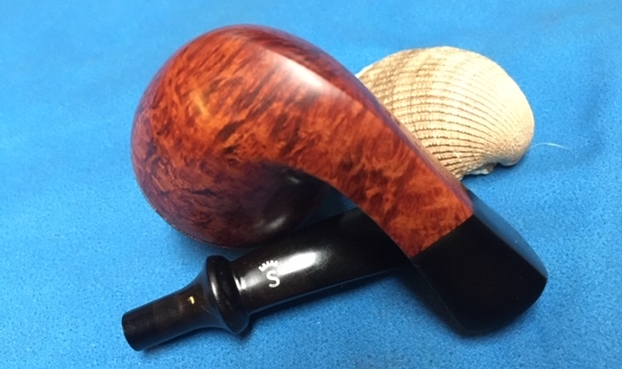
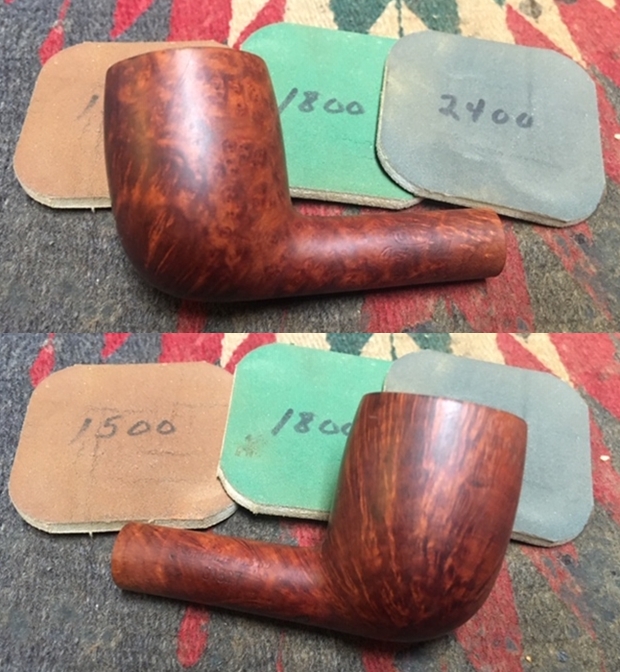
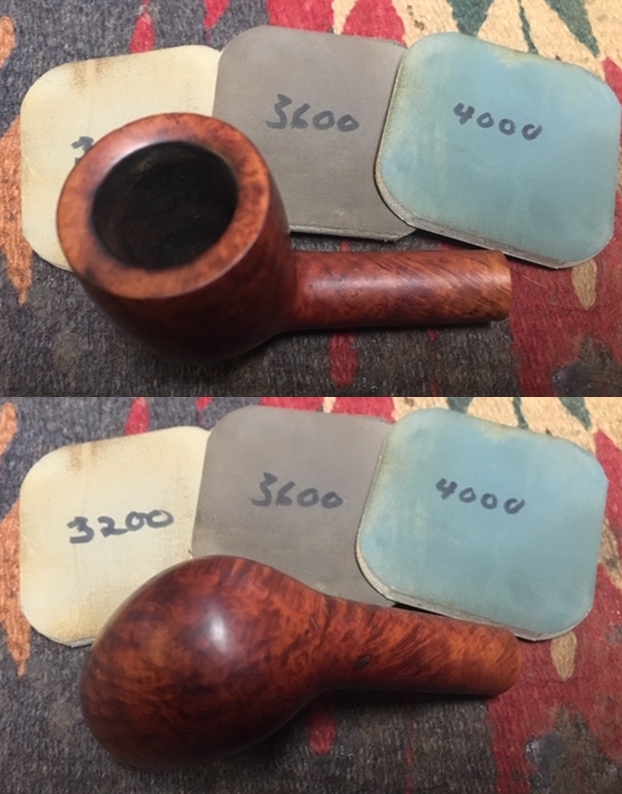
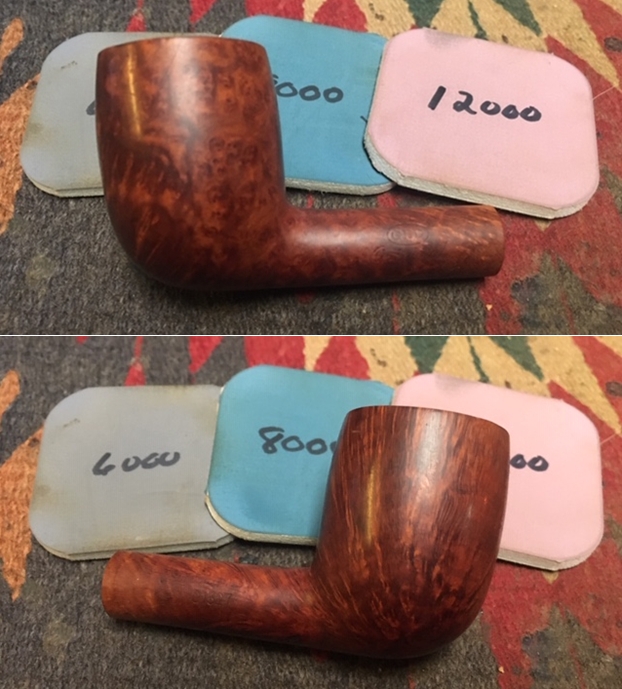
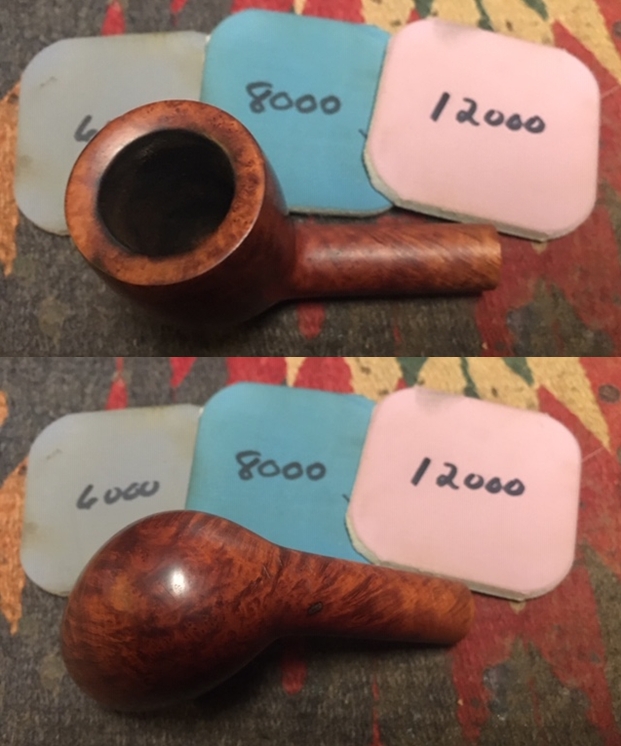
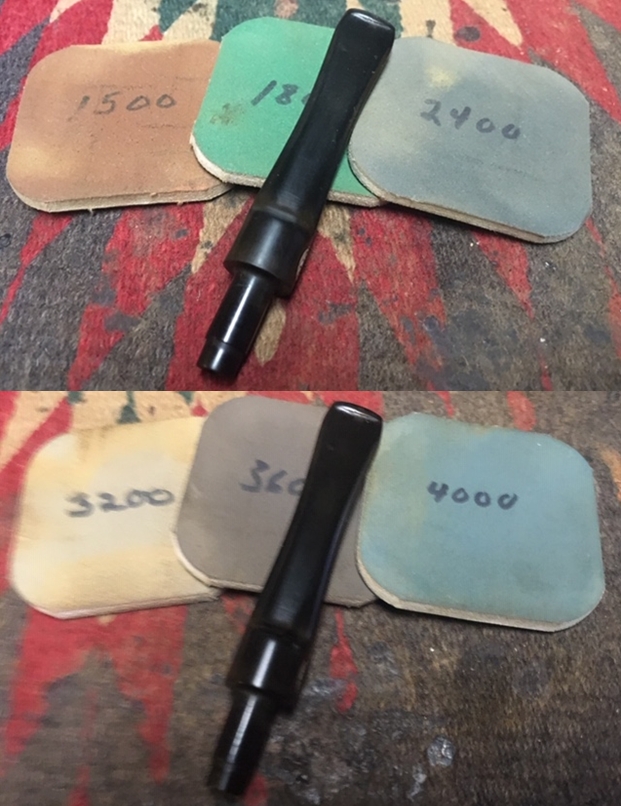
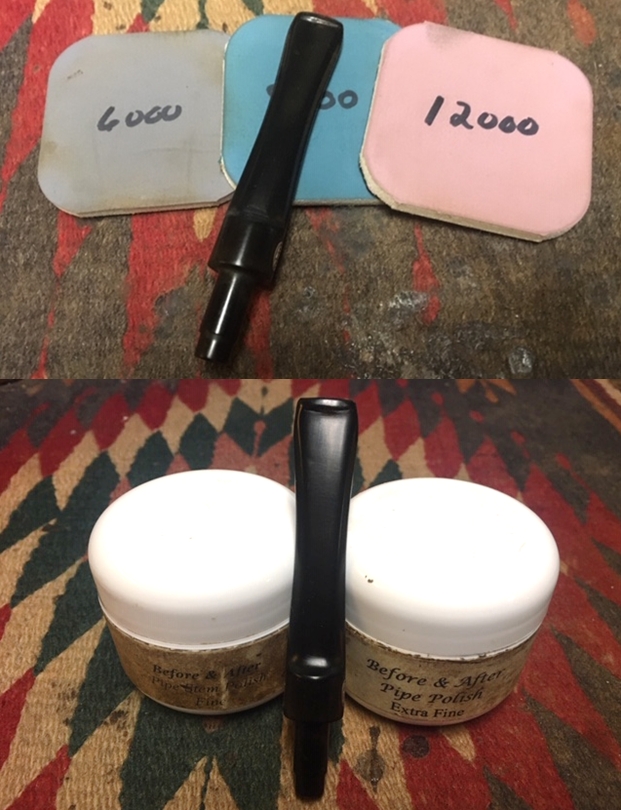
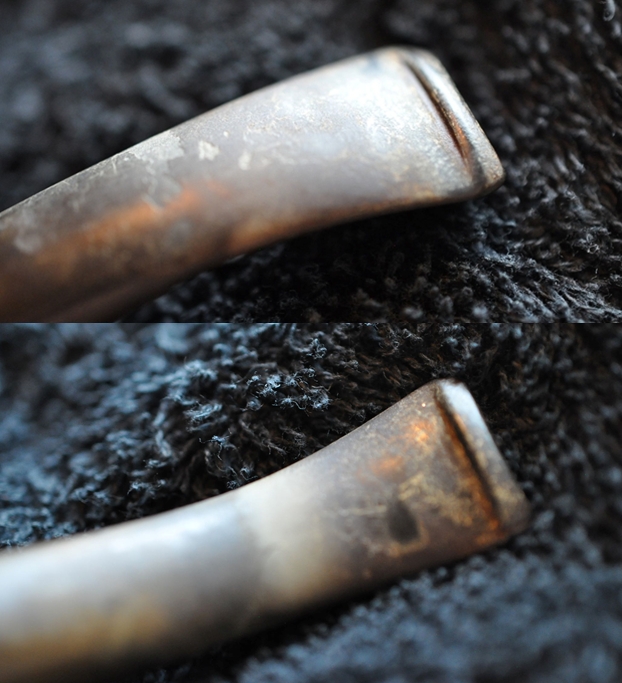
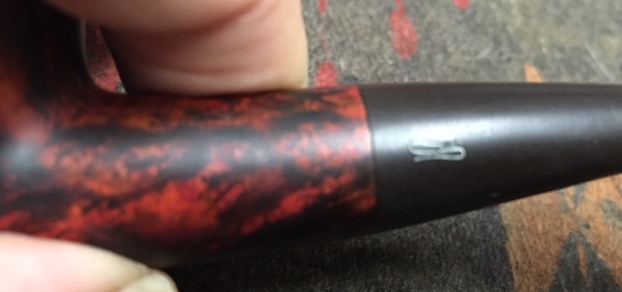
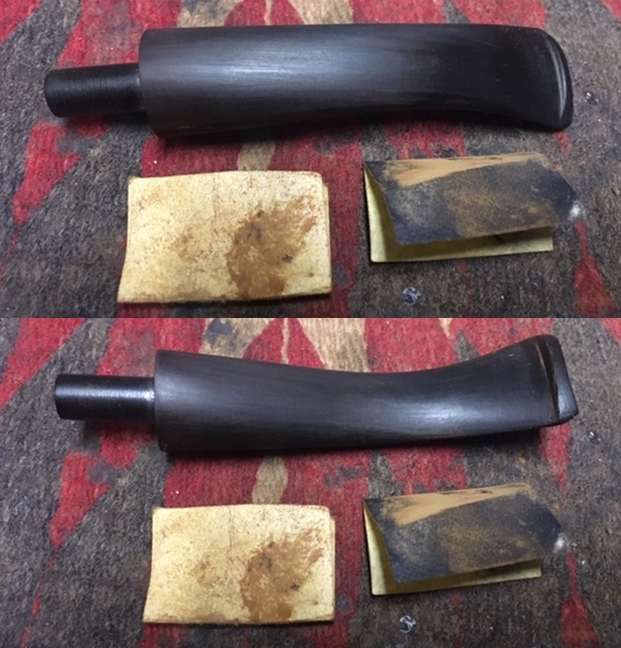
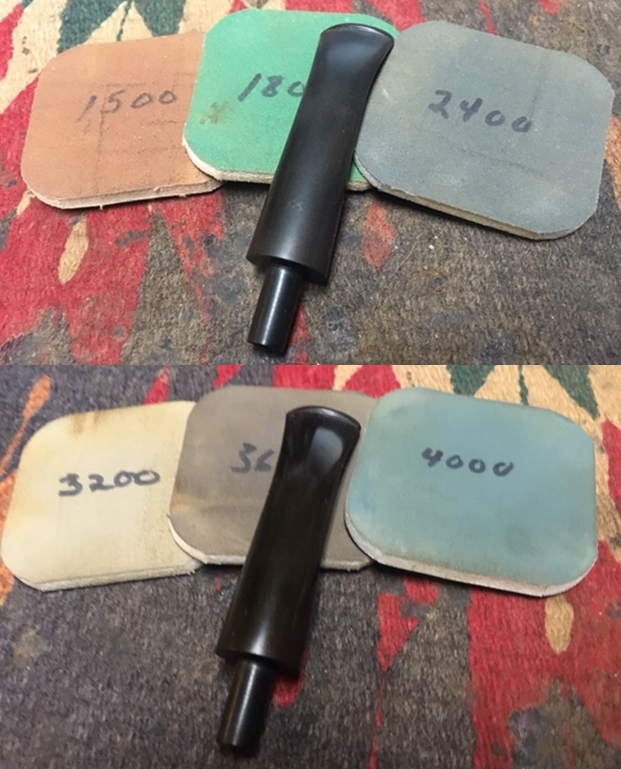
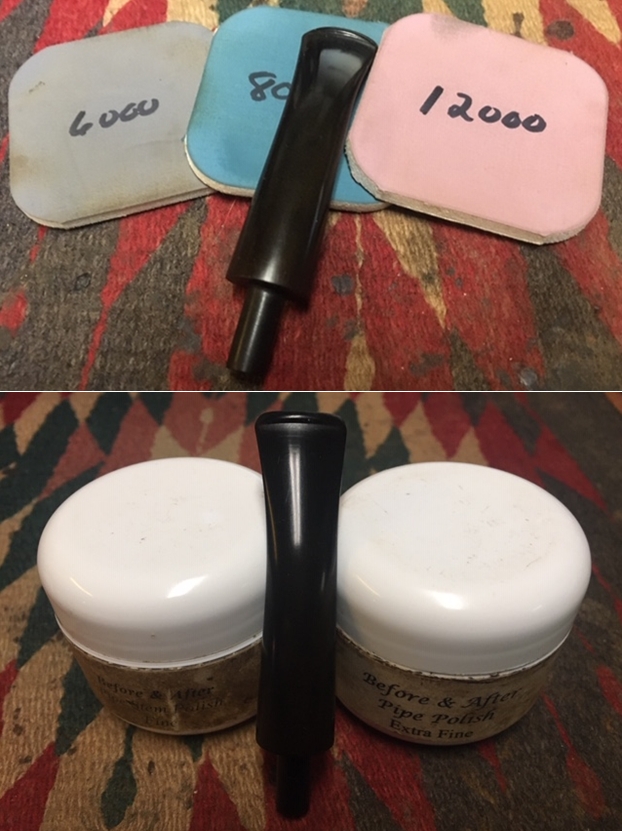
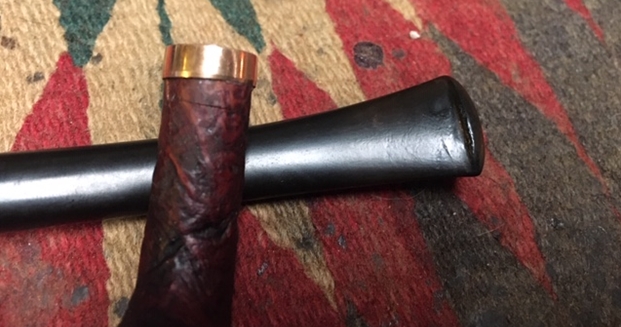
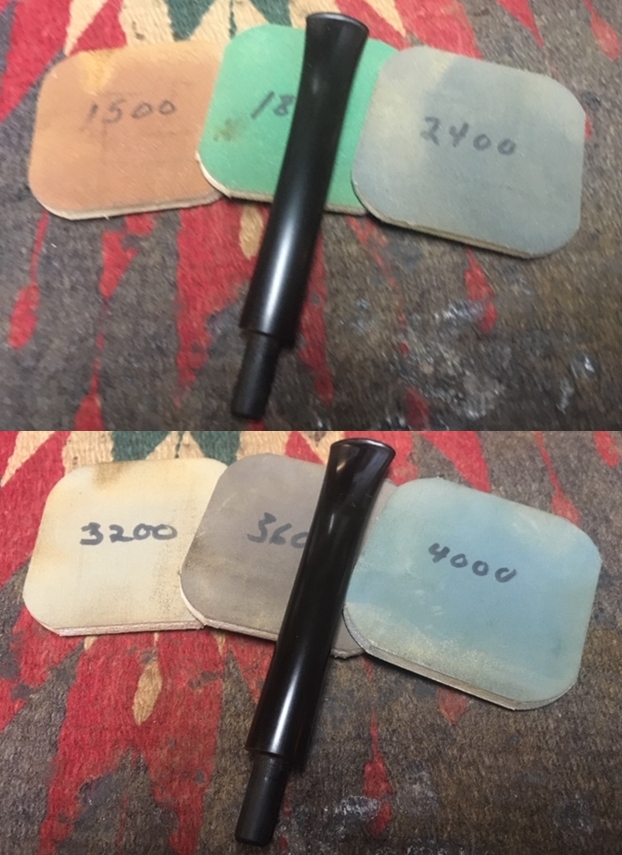
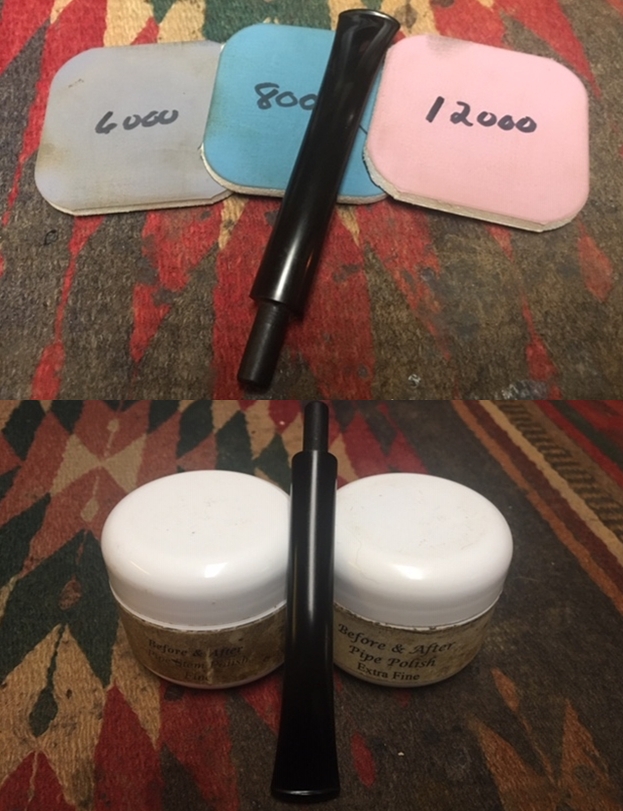
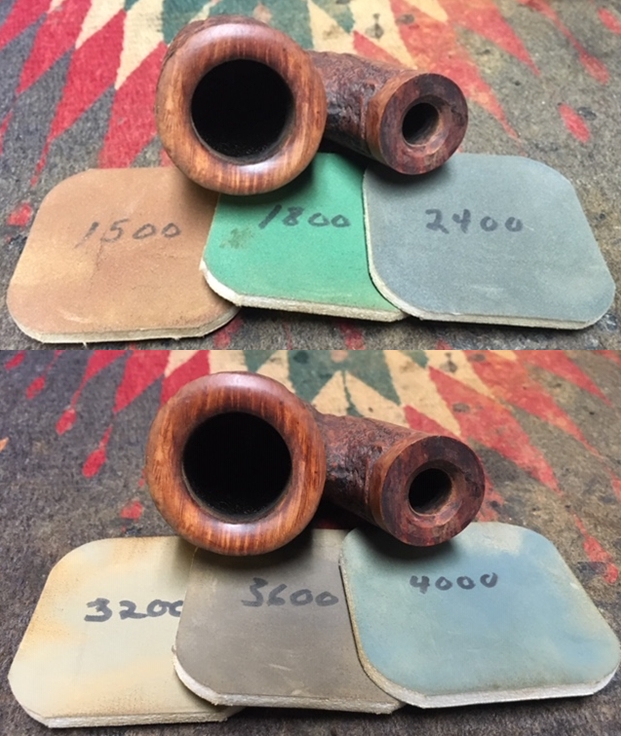
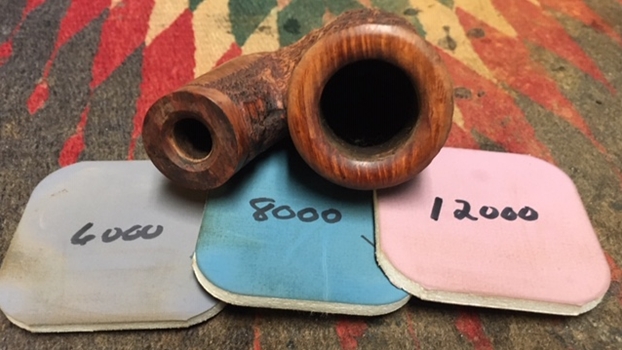
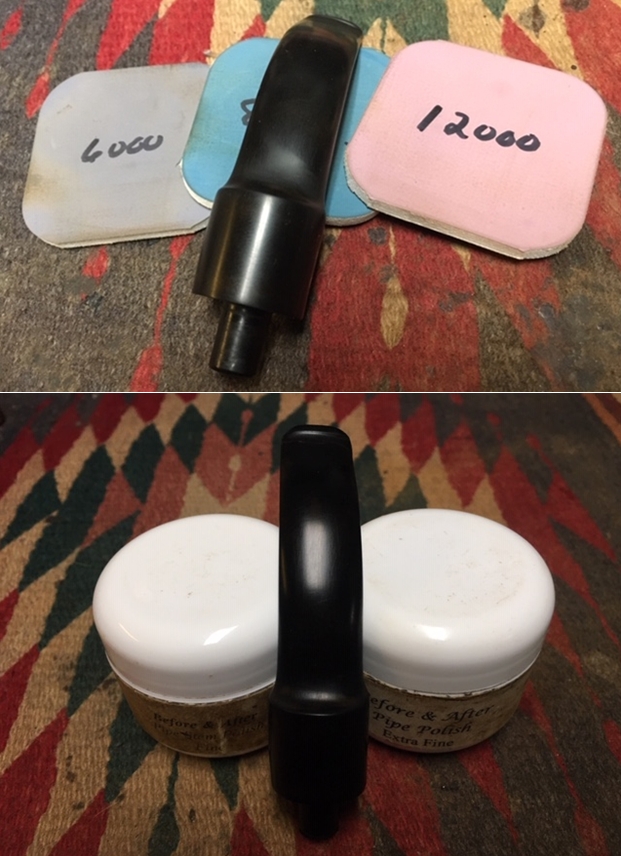
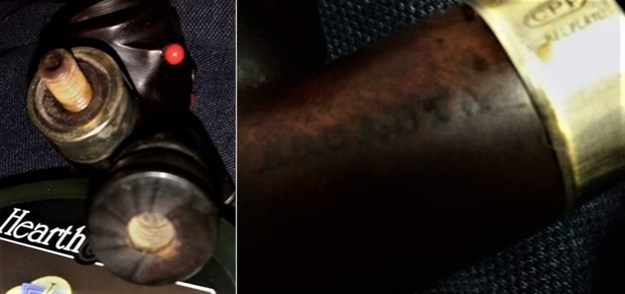
 This was when I snapped that perhaps the stem material was not Vulcanite and Googled black horn, although if I had ever heard of such a variety of that organic material, it was dredged up from my subconscious. I emailed Steve somewhat stupidly without photos. He replied that horn has striations that are visible under a magnifier, so I shot him back the above photos and asked if the last showed the kind of marks he meant. His brief response was, “Definitely horn.” In the meantime, I had followed up with 220-grit sanding and wet and dry micro meshing from 1500-12000.
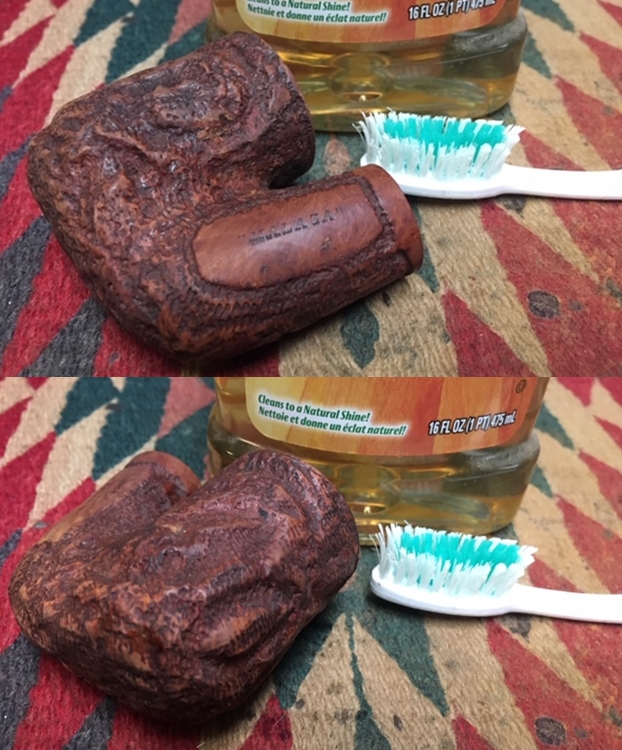
 While the stem had been taking a bath, I soaked the stummel in Isopropyl alcohol. I was worried about the possible effects of the alcohol on the bulbs, but somewhat less catastrophic in the potential result than the Trinity Tests of the atom bomb south of Albuquerque nearing the end of World War II, I took a gamble.
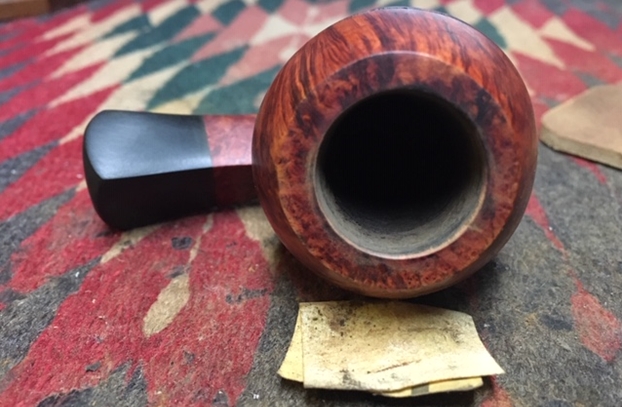
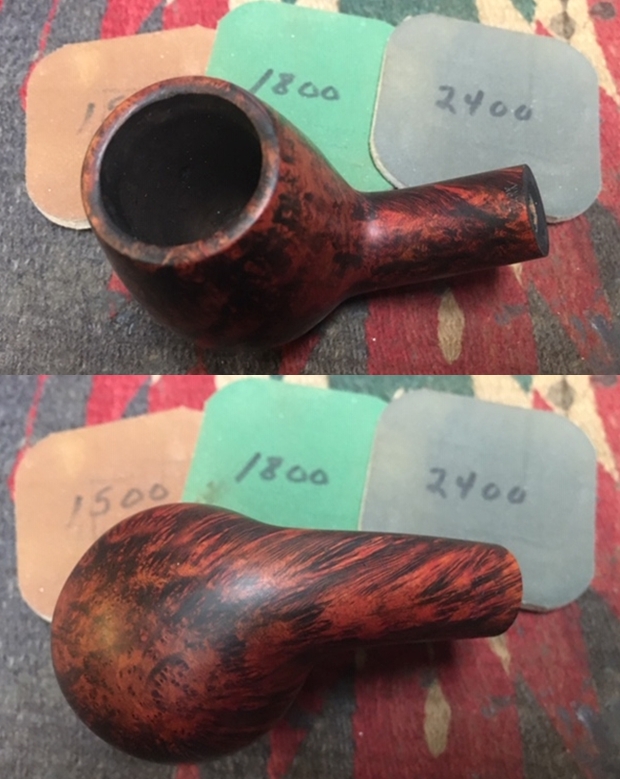
 I started the next longer part by sanding the rim with 400- and 1000-grit papers, then the rest with 1000.
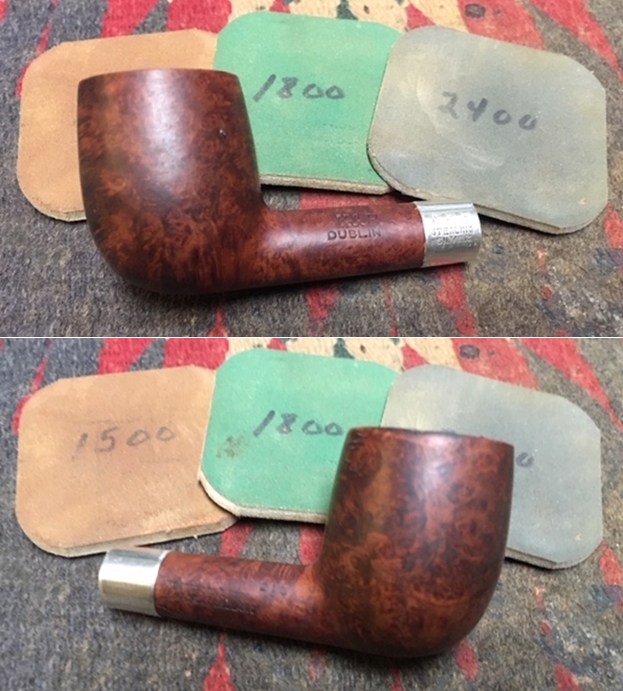
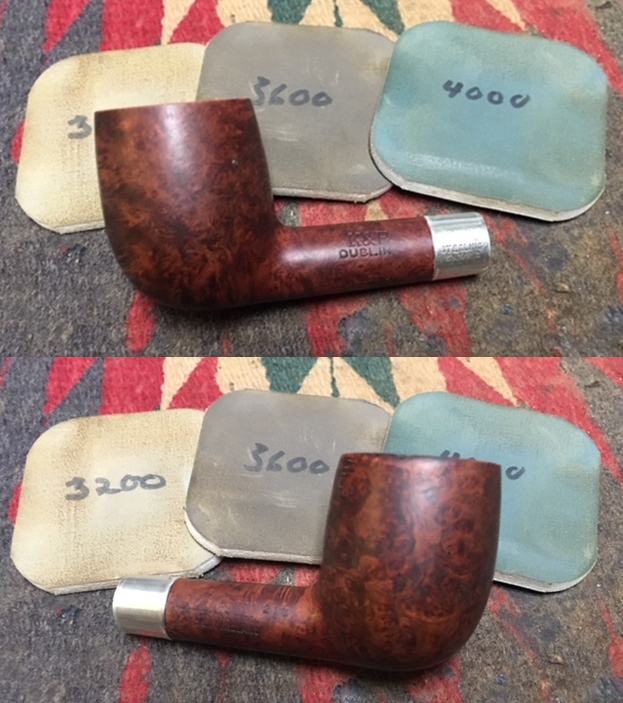
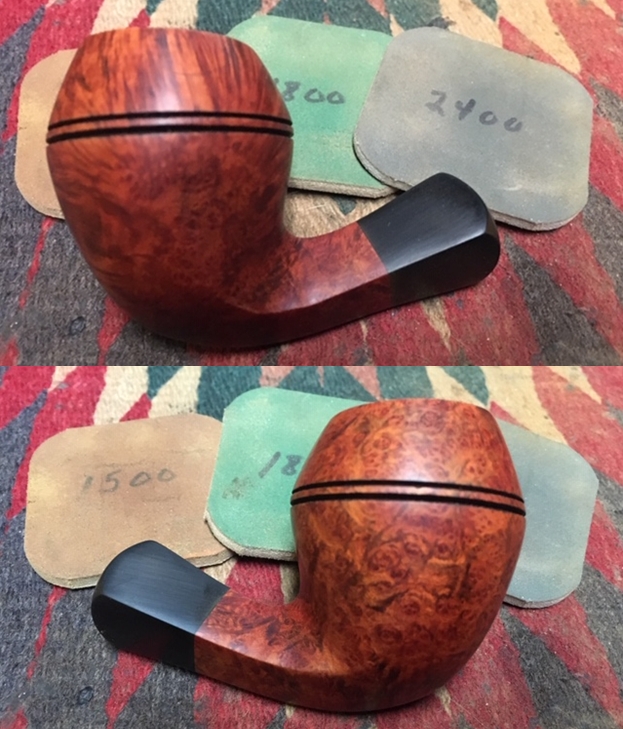
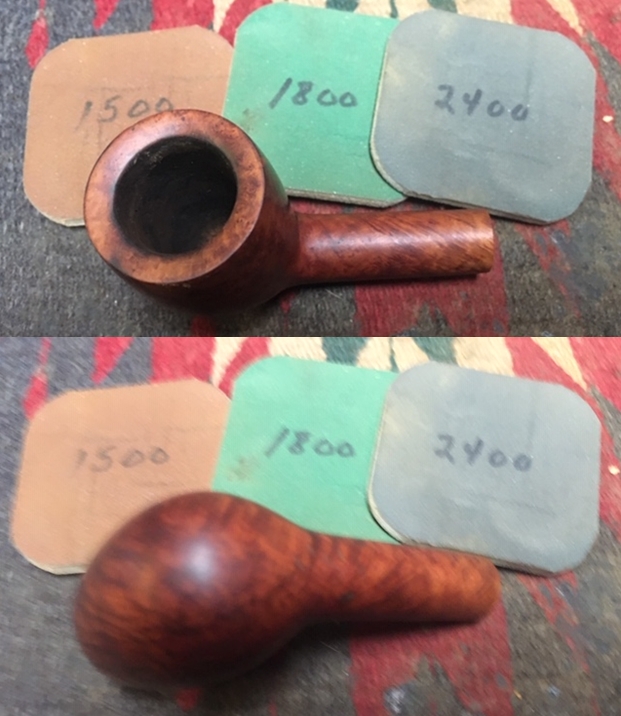
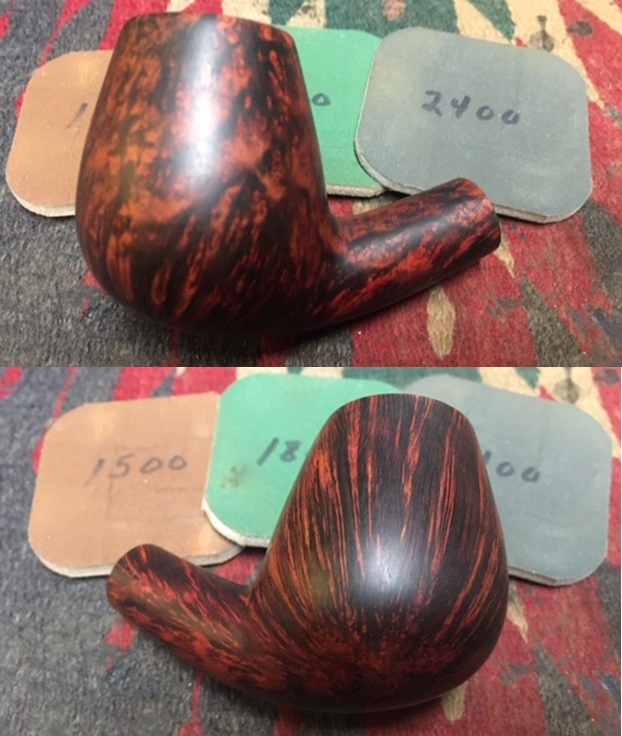
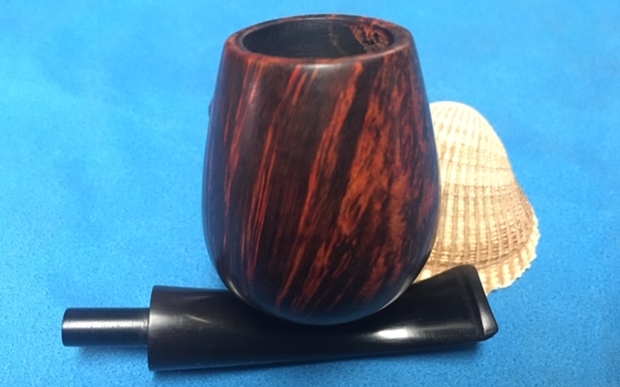
 Smoothing the chamber with 60- and 320-grit papers, I followed up with a full micro mesh of the rim and rest of the outer stummel.
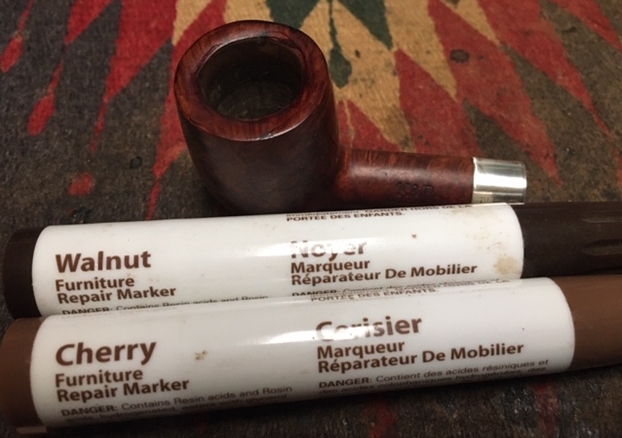
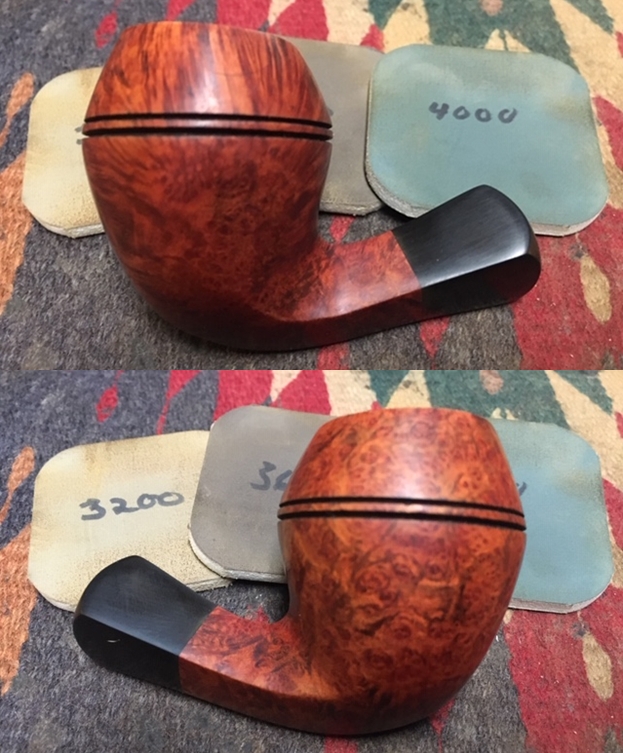
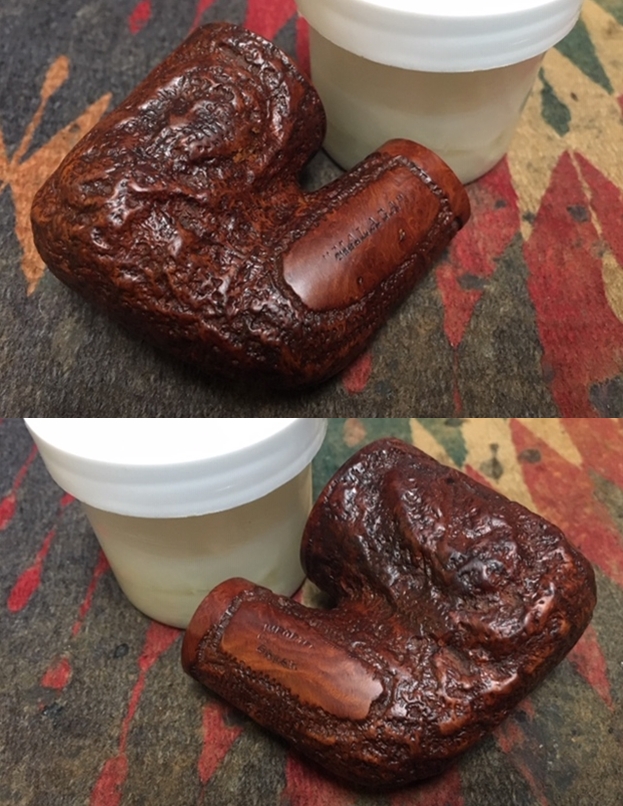
 I thought Fiebing’s Dark Brown leather stain would be good for the stain.
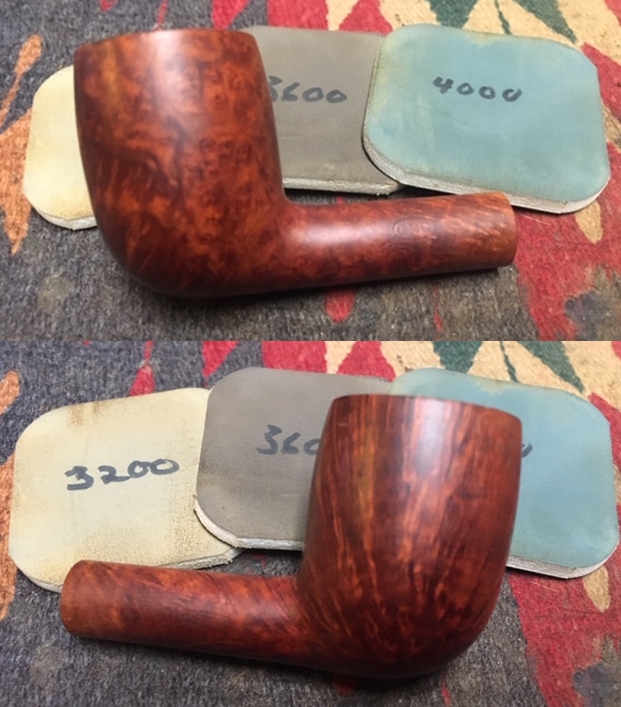
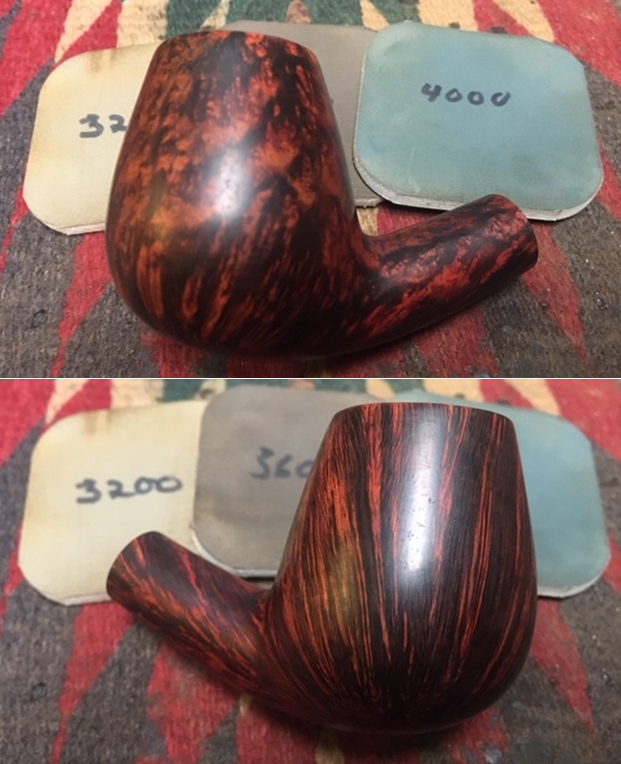
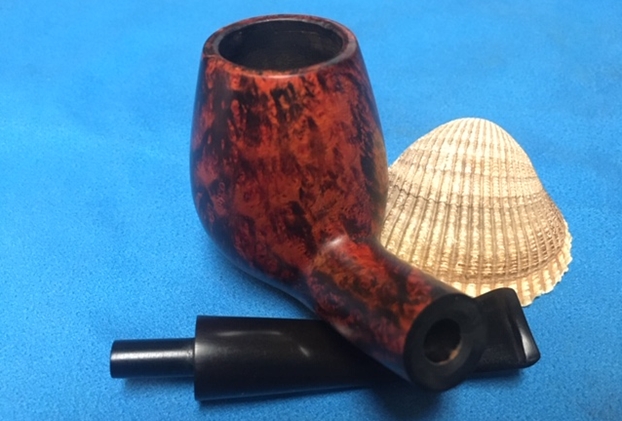
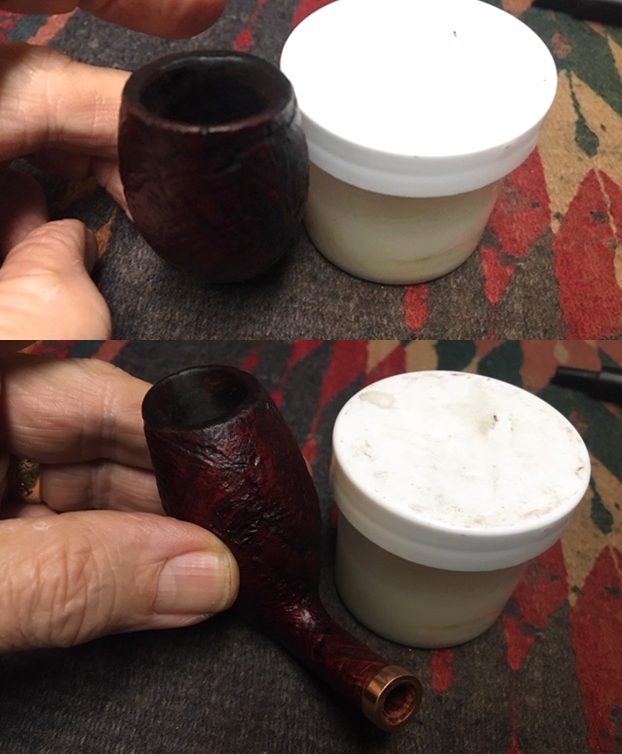
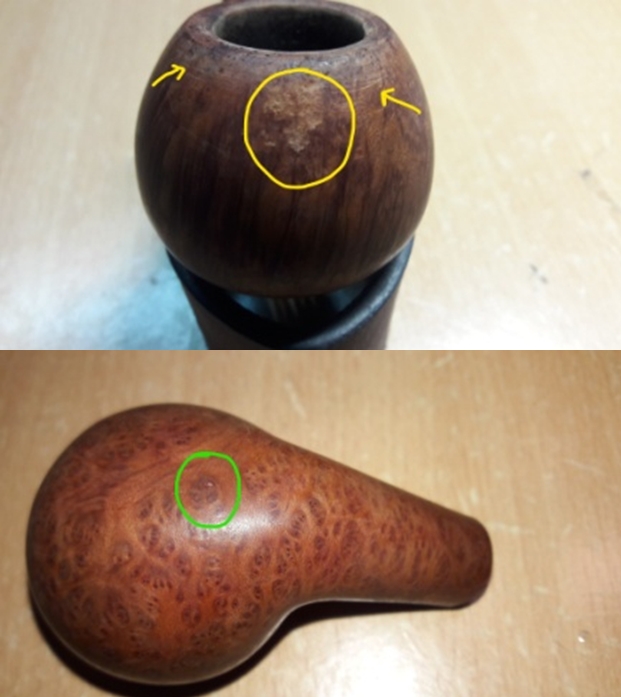
 I performed the retort and decided to add a coat of Fiebing’s Burgundy. I was satisfied with the color result, but in the process of flaming and micro meshing after the latter stain, a couple of the bulbs went M.I.A.


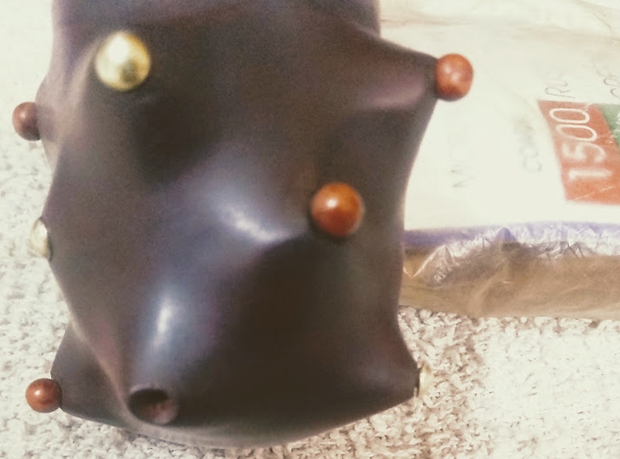
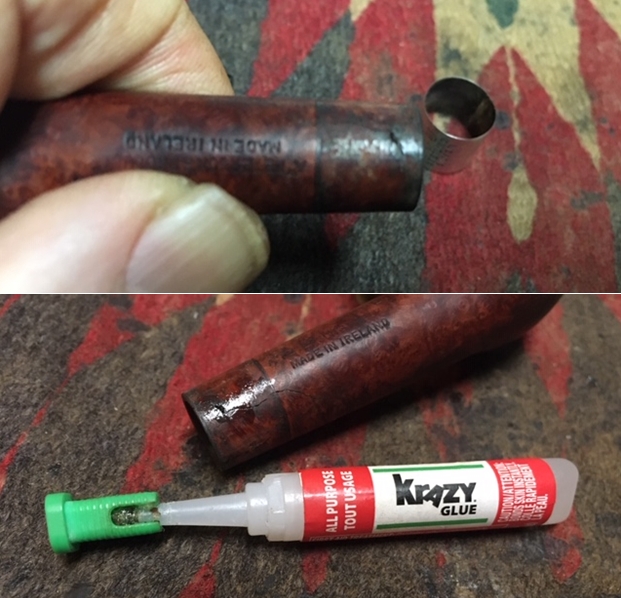
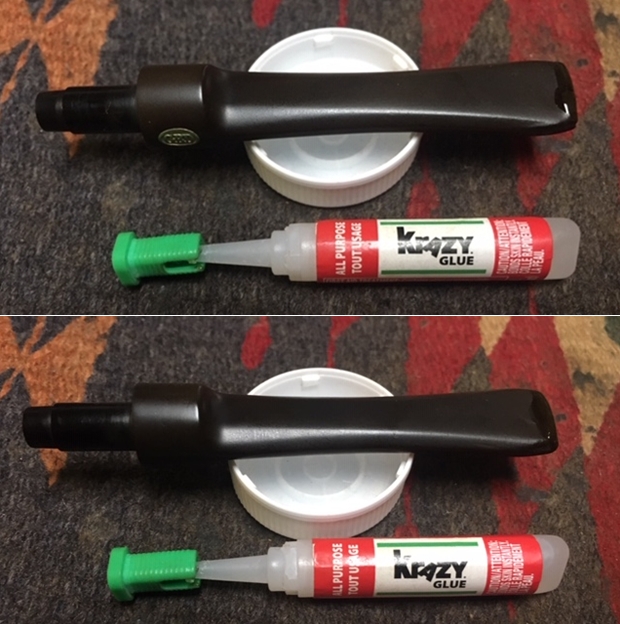
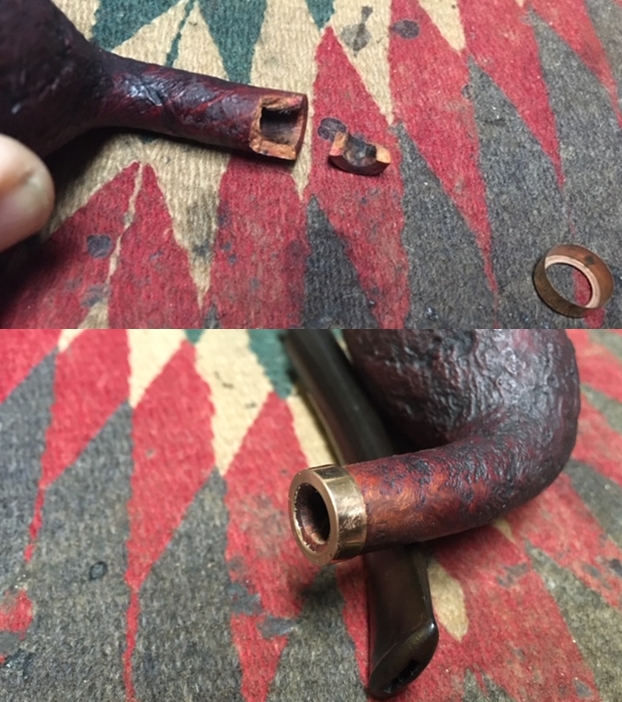
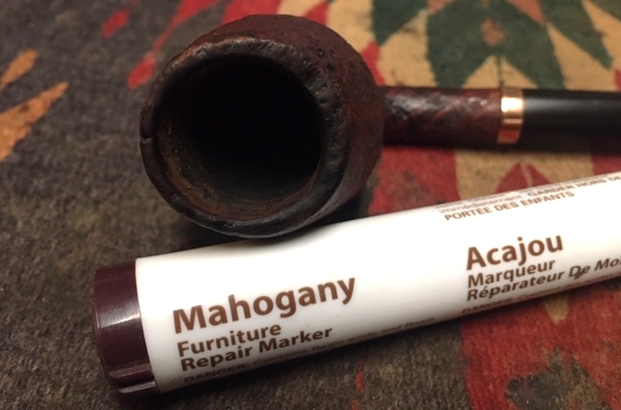
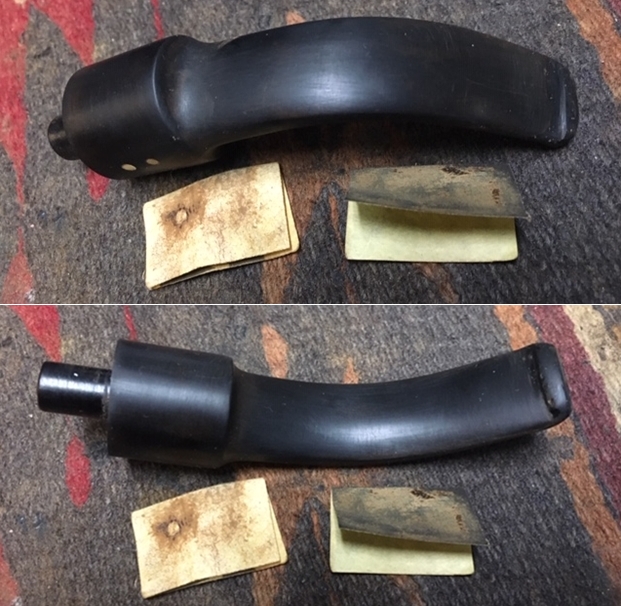
 Faced with the not altogether unanticipated contingency of somehow having to replace a bulb or two, as I still considered them, I had already considered using small push pins, the kind for wall maps, and had found a couple of places online that carried close to the same shade of brown in case it became necessary. Hoping to avoid the time waiting for them to arrive by mail, however, I scoured this wannabe big city that is lacking in so many of the amenities found in the real thing. The best I could find was the following box of 200 map pins in every color but brown (any shade of it!). The good news was that they only cost $2.99 minus tax at a hobby store. I concluded it would be necessary to replace all seven of the bulbs for the sake of consistency and suppose I might have opted for a conservative dark blue or even black, but as Tom Cruise’s high school character in Risky Business put it, “Sometimes you just have to say what the @#$*!” Besides, Christmas is coming up. The smaller brown pin below was an original I twisted out.
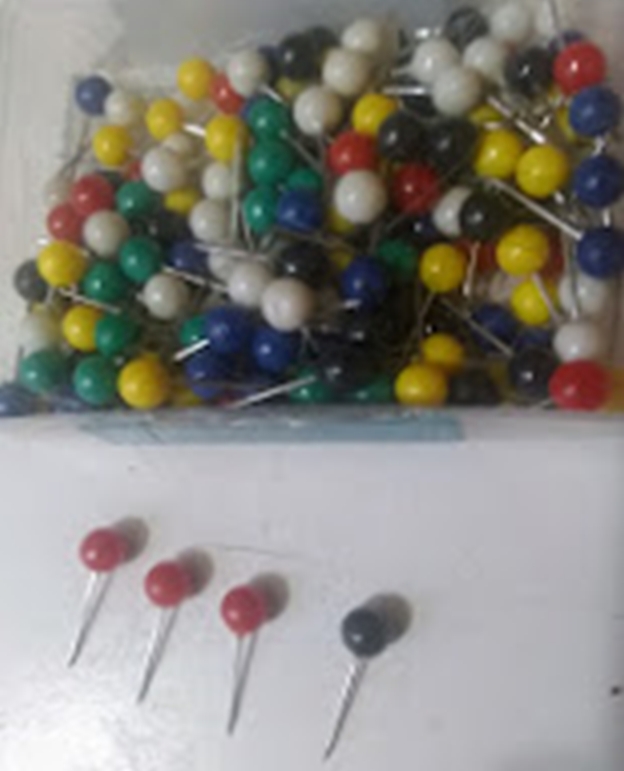 The one prospect I didn’t even consider until I examined the holes left by the missing “bulbs” was that some antique version of map pins might have been used when the pipe was adorned in such an unconventional way by its maker. But when the time came to remove the bulbs that were still intact, I found out they were indeed nothing more than map pins from more than a century ago. All I had to do was snip off the longer metal ends of the new ones and Super Glue them into the slots. I still don’t know how the brass studs are attached because I didn’t want to mess with them. I’m curious by nature, but I have limits. My dad always said, if it works, don’t fix it.
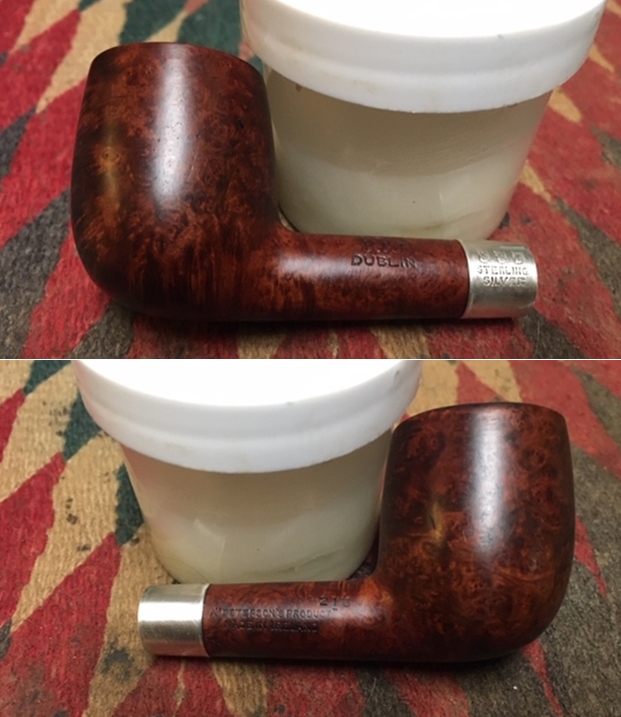
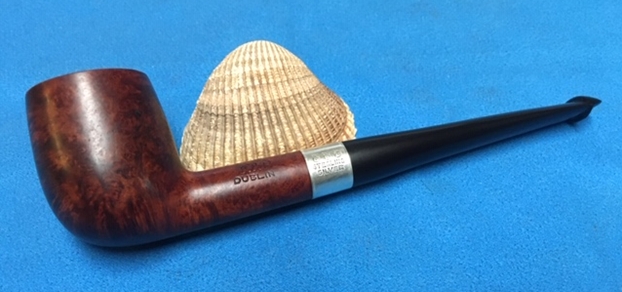
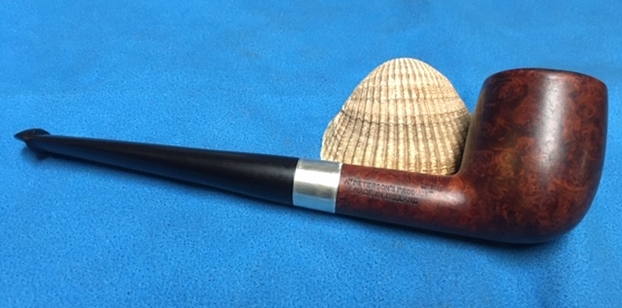
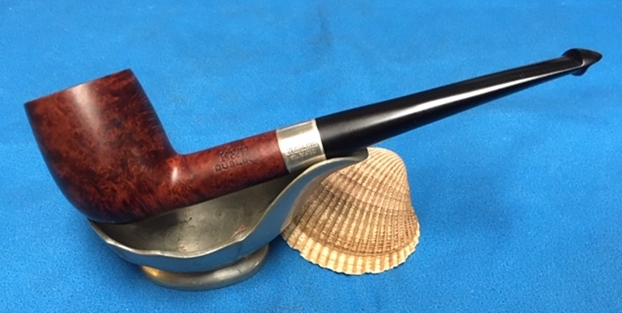
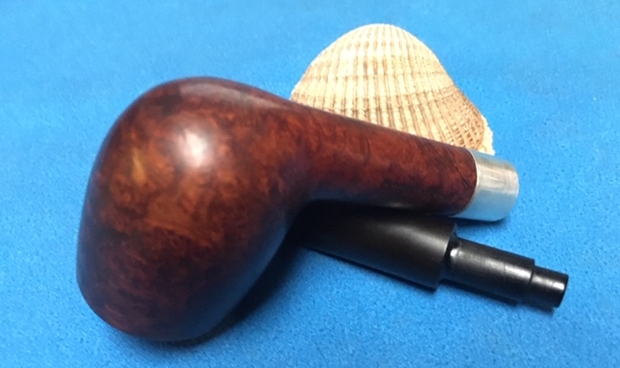
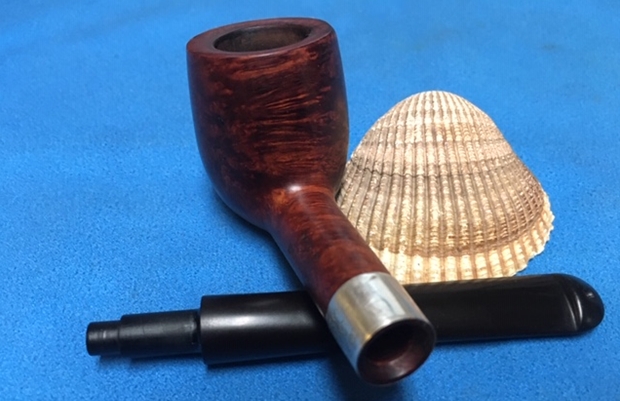
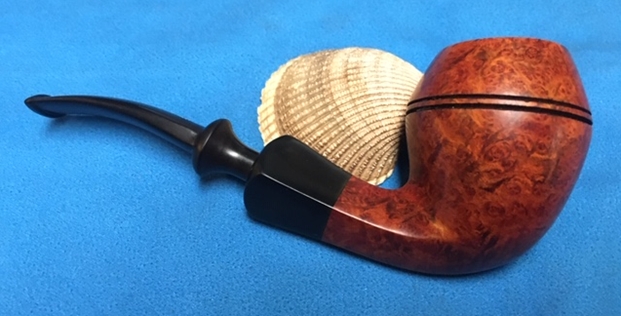
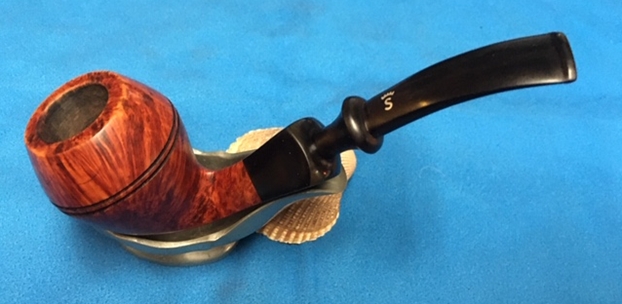
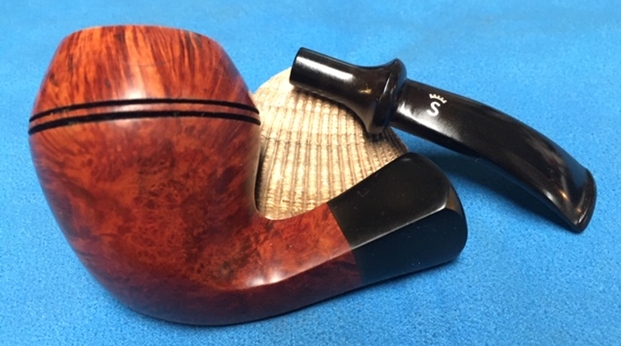
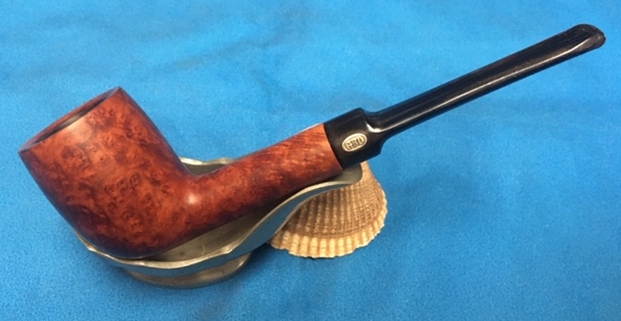
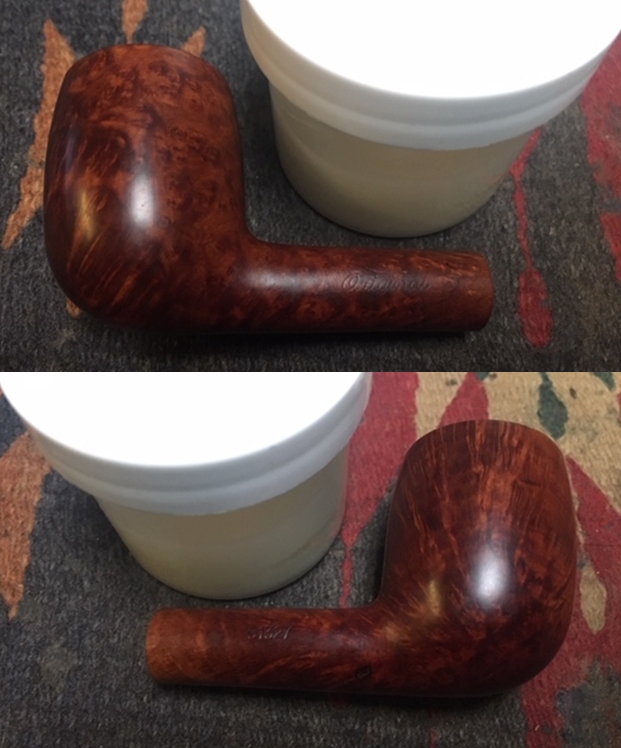
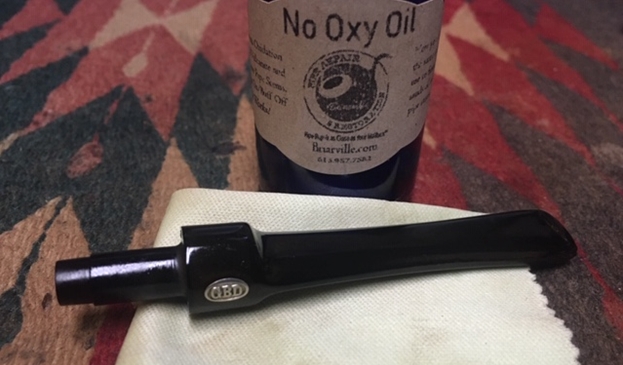
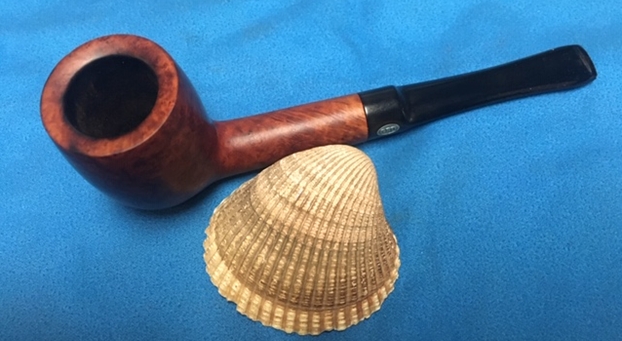
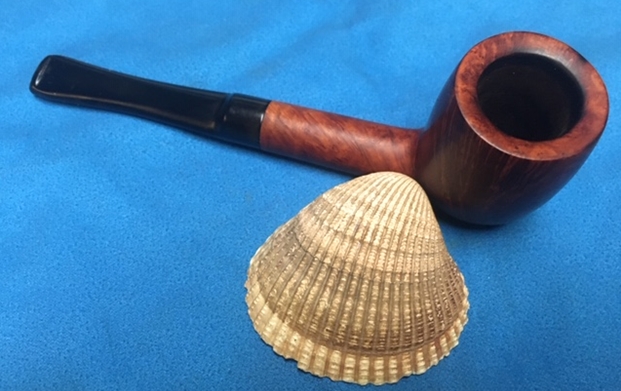
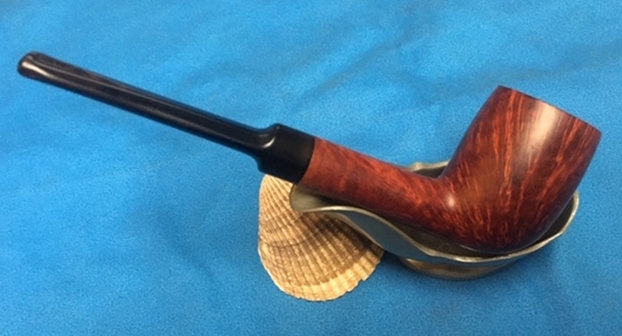
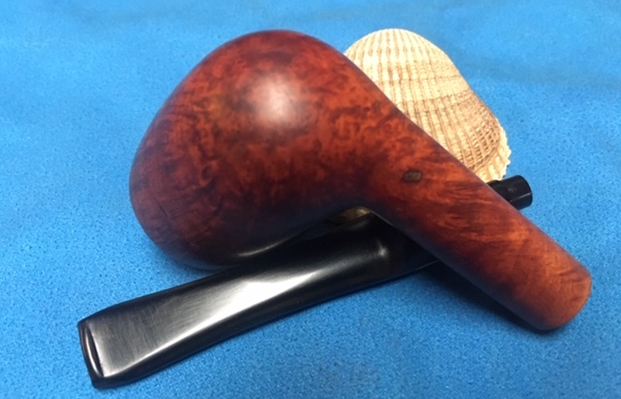
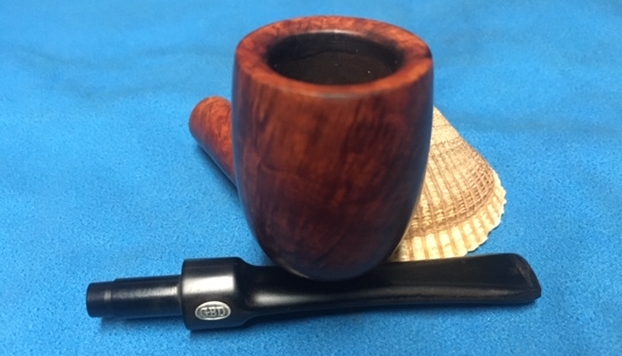
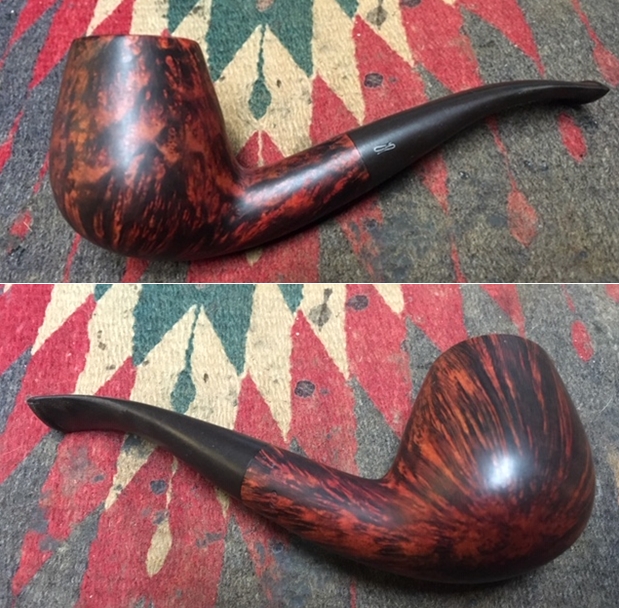
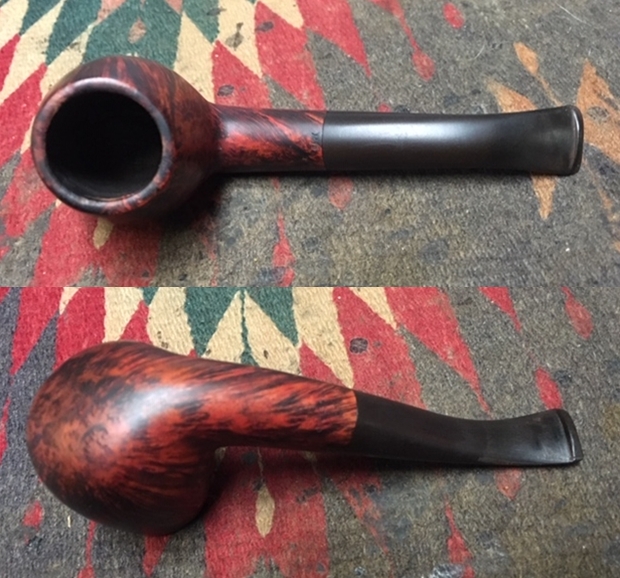
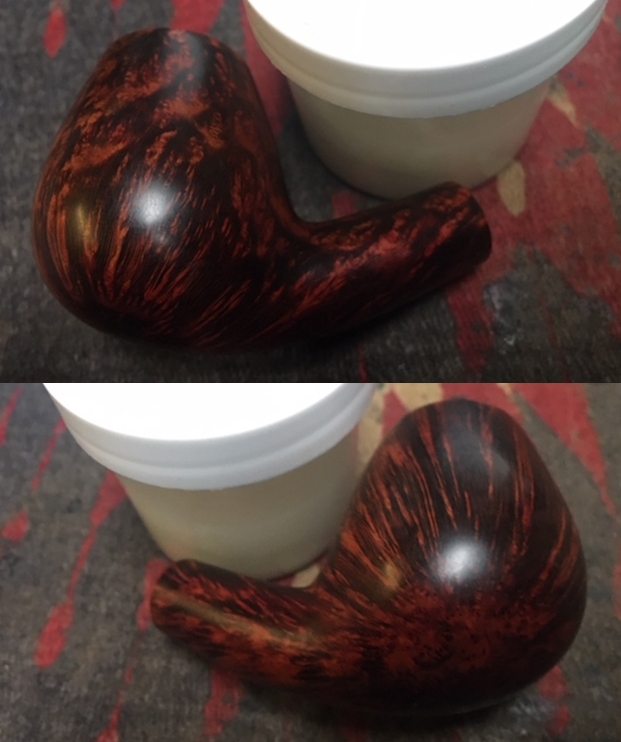
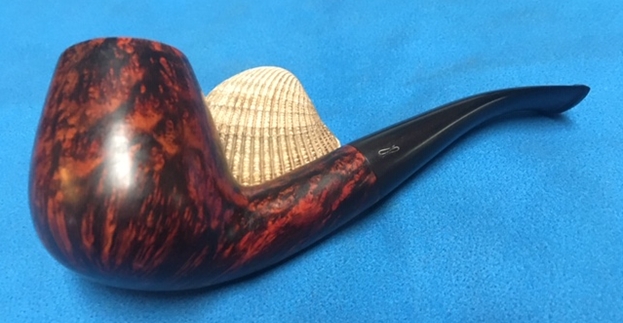
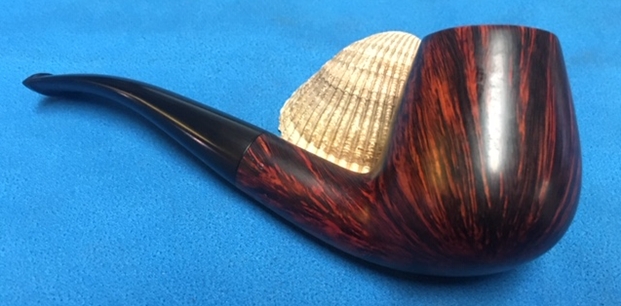
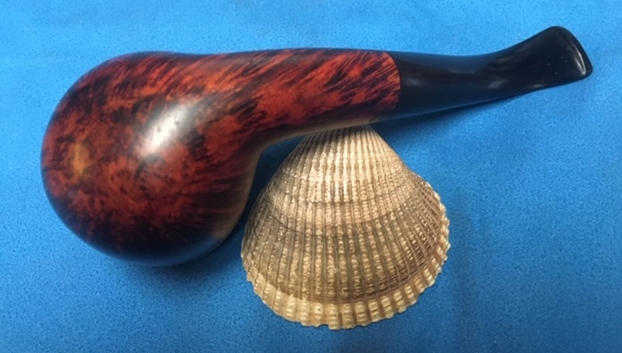
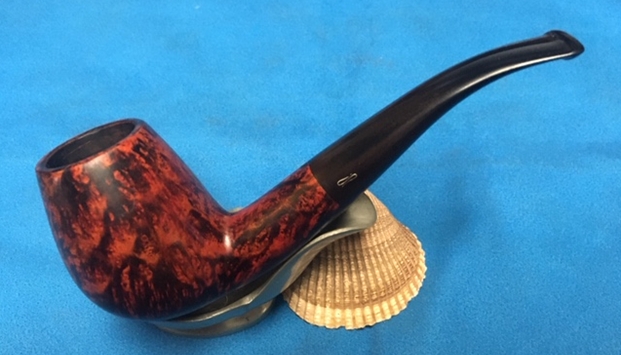
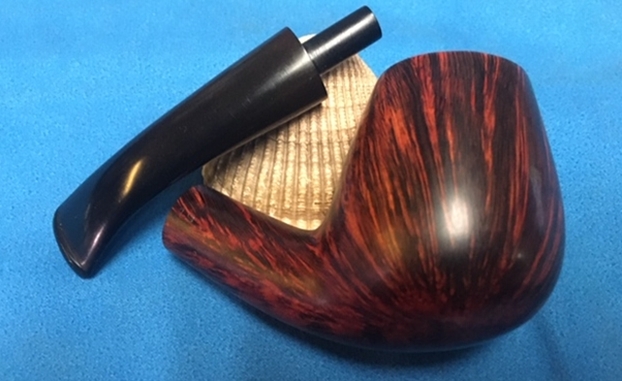
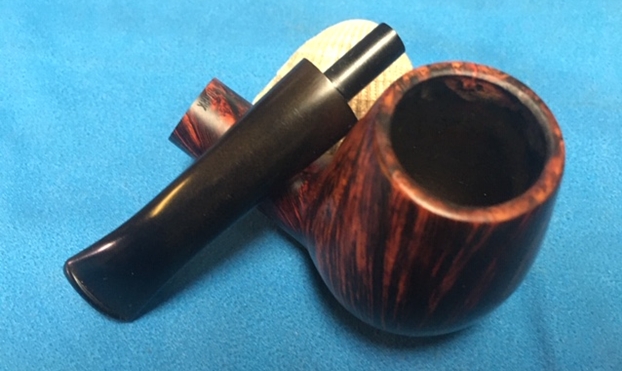
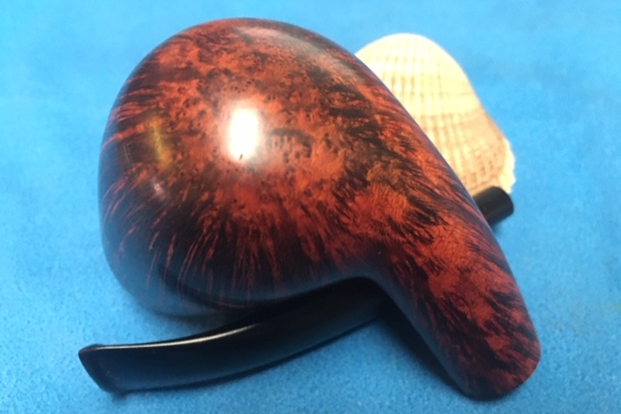
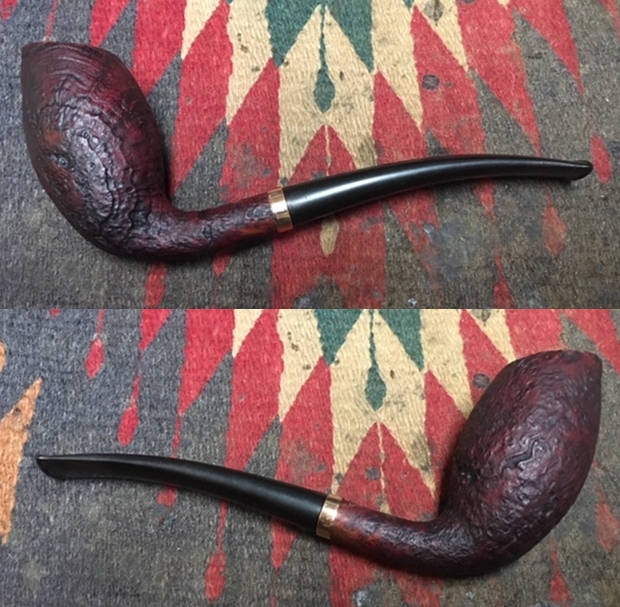
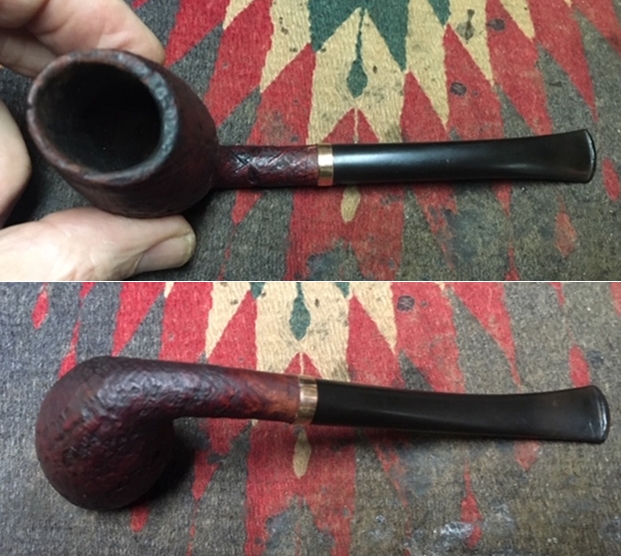
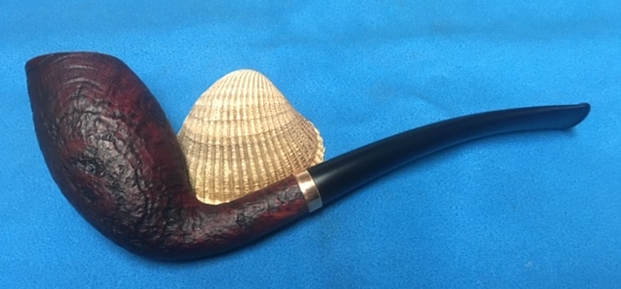
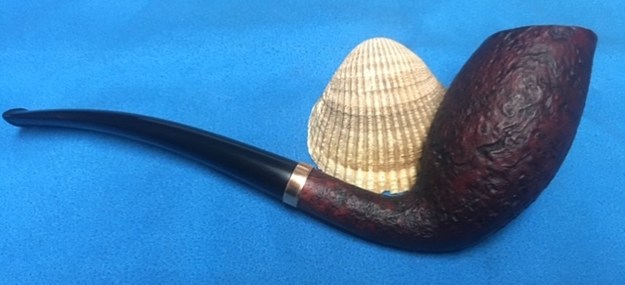
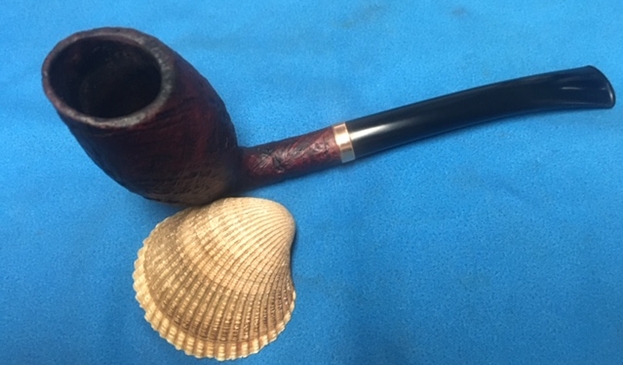
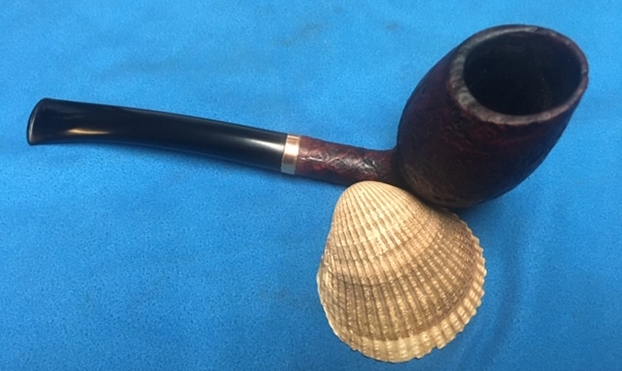
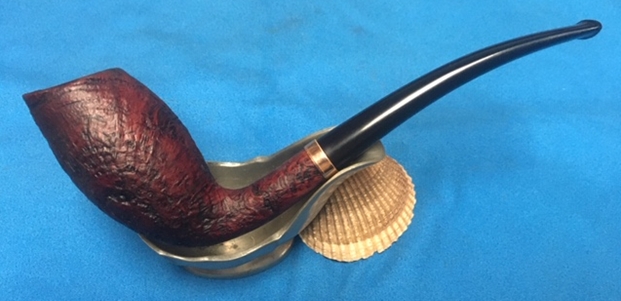
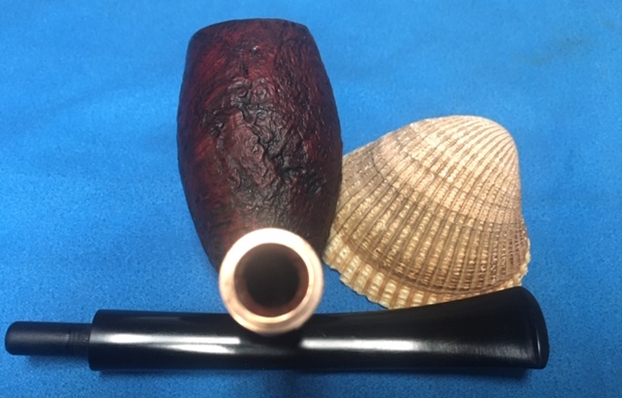
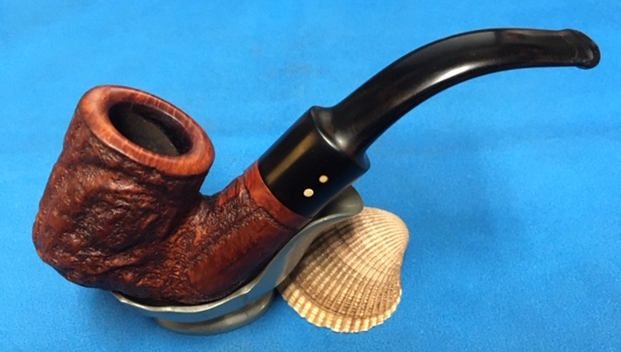
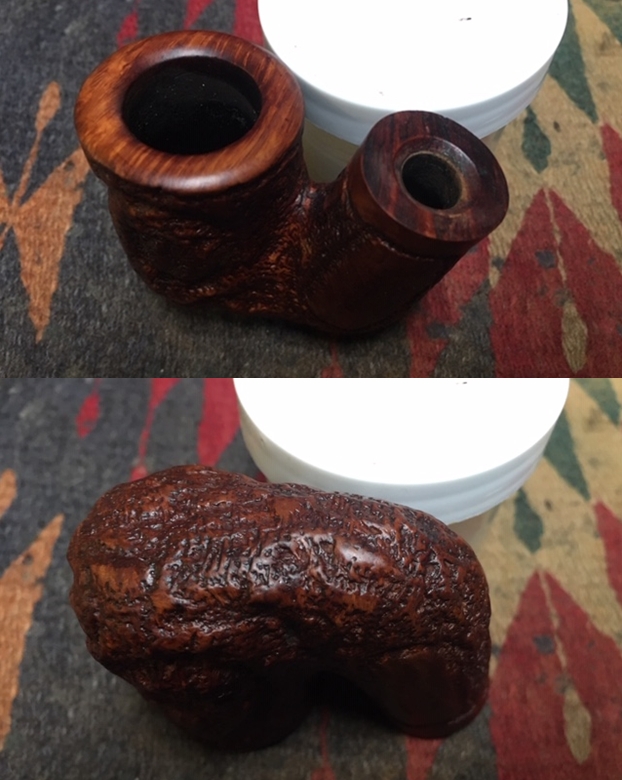
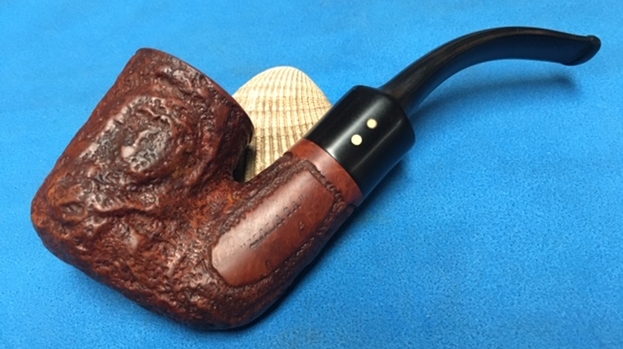
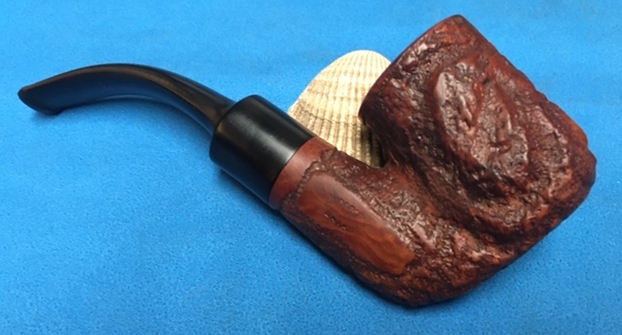
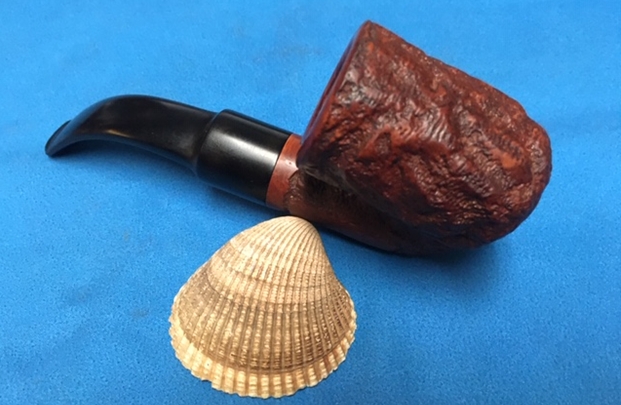
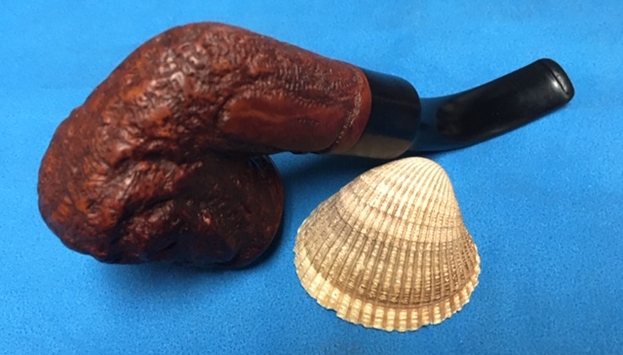
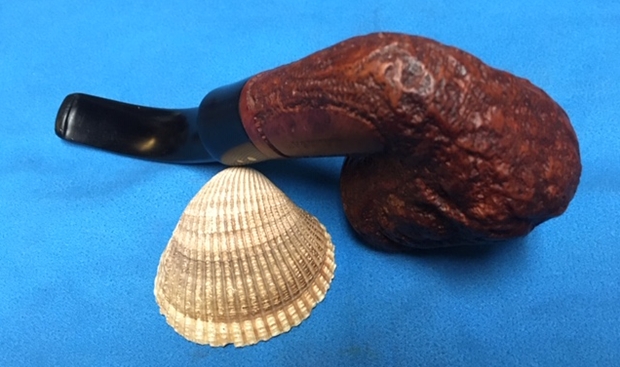
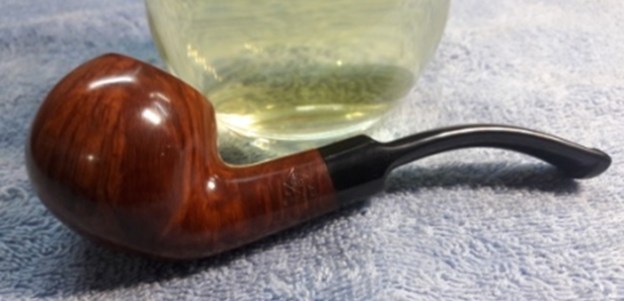
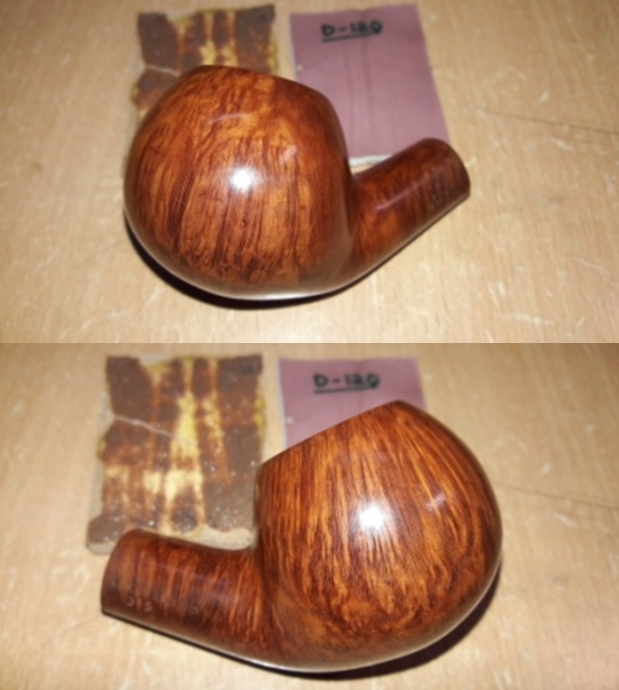
And so, without further ado, here is the finished CPF Arcadia.


 CONCLUSION
I’ve come to love this pipe out of time that should have been made in the Art Deco period, which didn’t really get rolling until 1925 and hit its peak in the 1930s art scenes of Europe and the U.S. – or even the hippie (or psychedelic, counterculture and what-have-you) movement of the 1960s into the ’70s). If this restoration taught me anything, it’s that sometimes wishing for something vague can lead to a happy ending. I’ve come to love this pipe and will happily keep it if it doesn’t sell. And it is for sale, for the right price on my site, or a good trade.
SOURCES
https://rebornpipes.com/2017/07/30/enlivening-a-mysterious-old-knobby-oval-shank-meerschaum-bowl/
https://rebornpipes.com/2019/02/22/reflecting-on-a-few-of-my-cpf-pipes-colossus-pipe-factory-pipes/
https://rebornpipes.com/2013/04/14/some-reflection-on-the-historical-background-on-cpf-pipes/
https://www.thomasnet.com/articles/metals-metal-products/nickel-plating-history/
https://www.google.com/search?q=when+you+wish+upon+a+star+lyrics&rlz=1C1CHBF_enUS857US857&oq=when+you+wish+upom+&aqs=chrome.2.69i57j0l5.7556j0j4&sourceid=chrome&ie=UTF-8
https://www.gracesguide.co.uk/Adolph_Frankau_and_Co
https://adolphs.weebly.com/blog/adolph-frankau-tobacco-pipes
https://pipedia.org/wiki/BBB
https://trademark.trademarkia.com/bbb-71008248.html