Blog by Paresh Deshpande
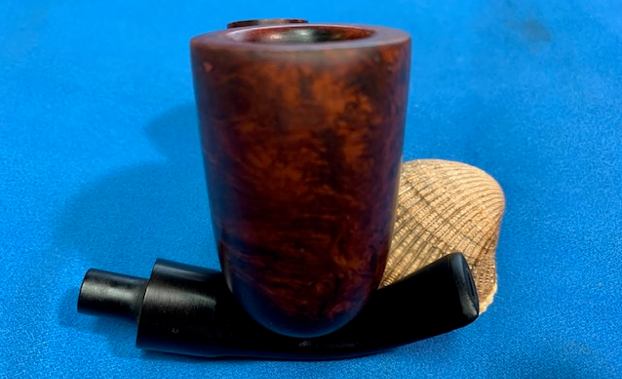
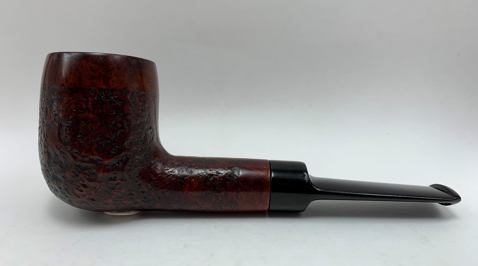
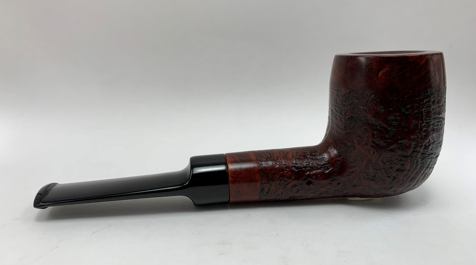
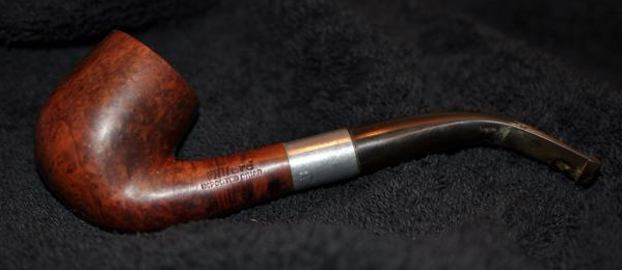
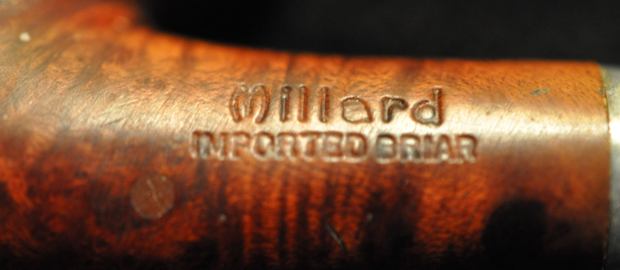
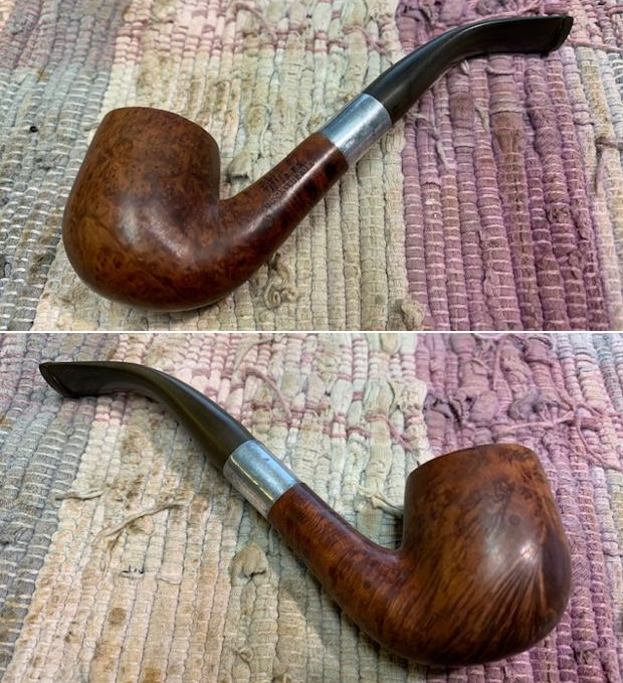
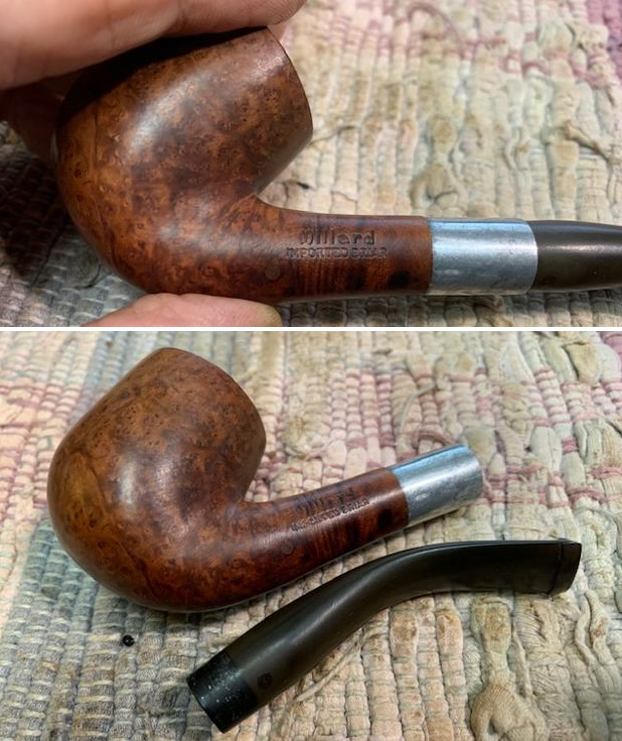
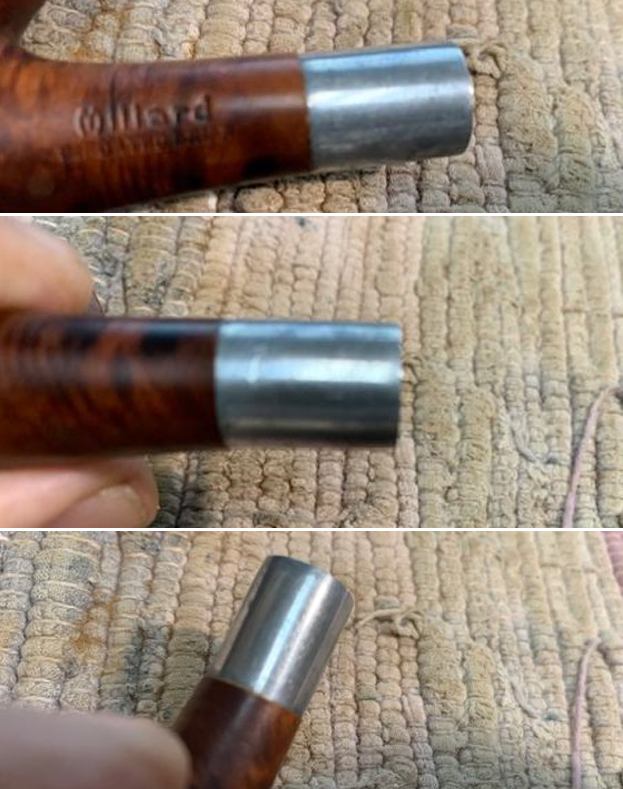
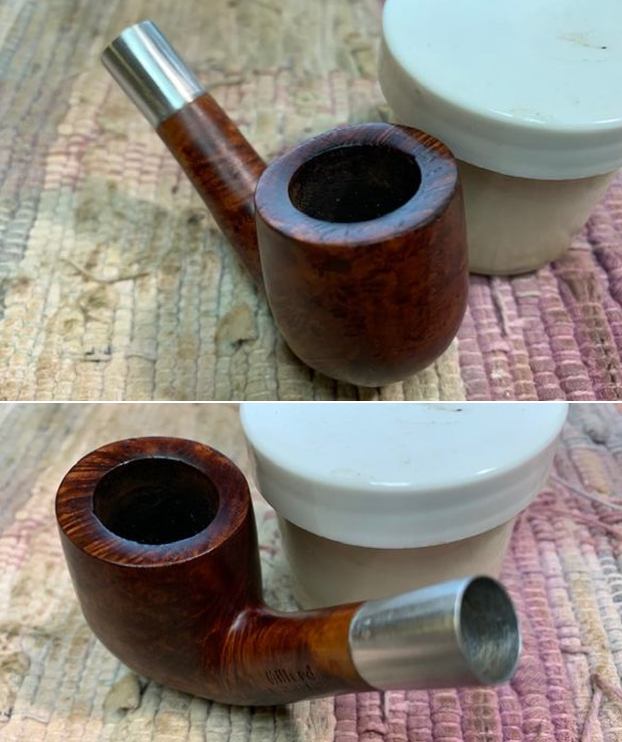
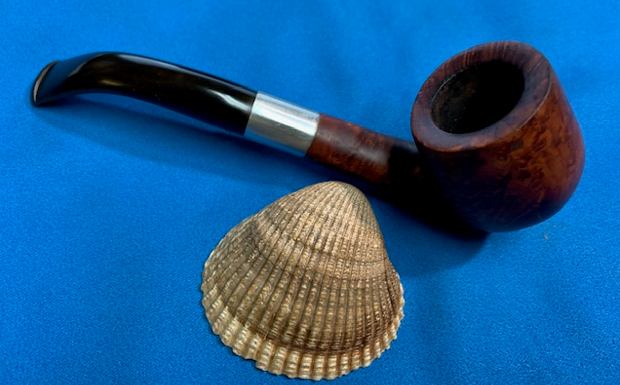
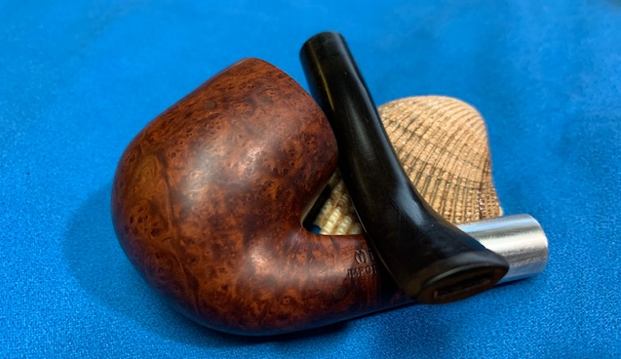
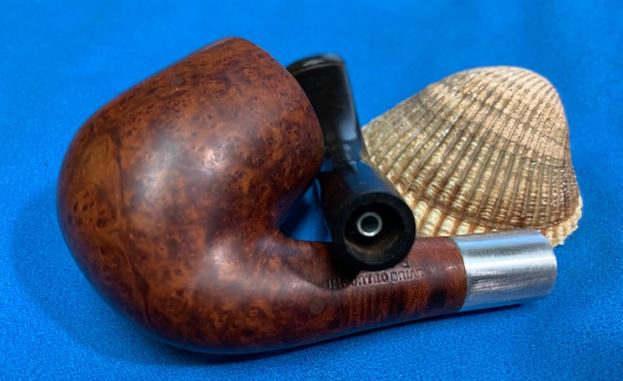
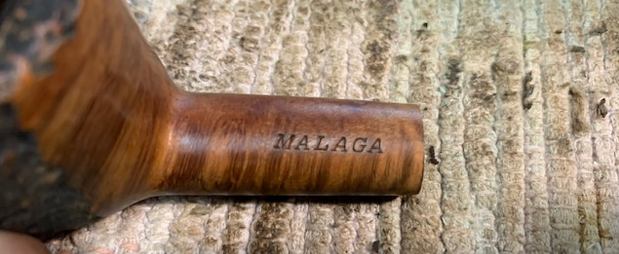
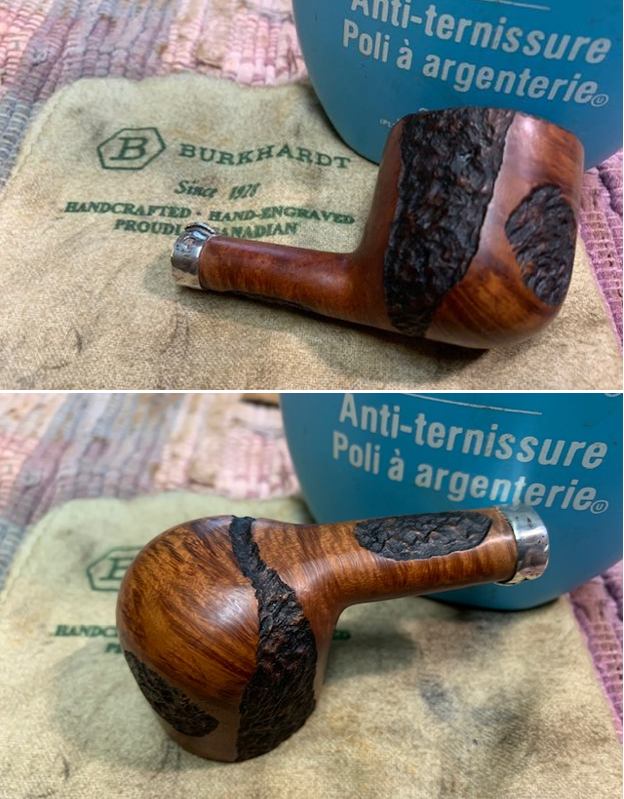
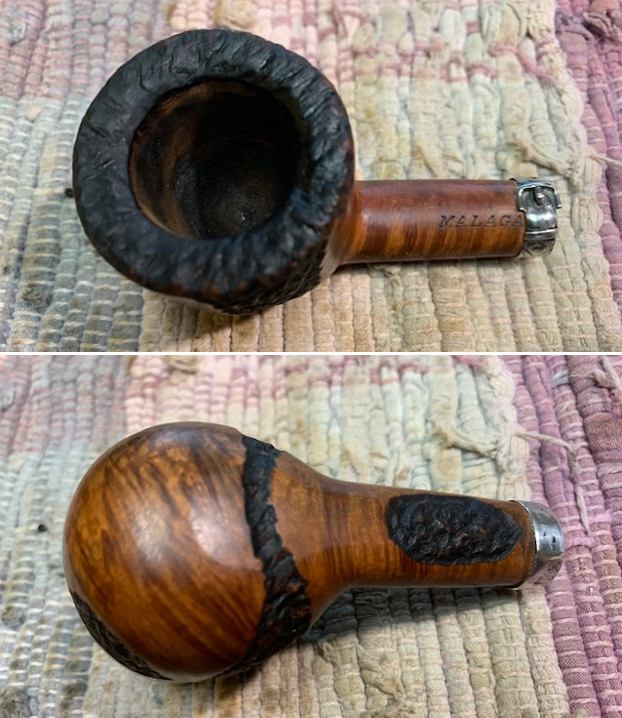
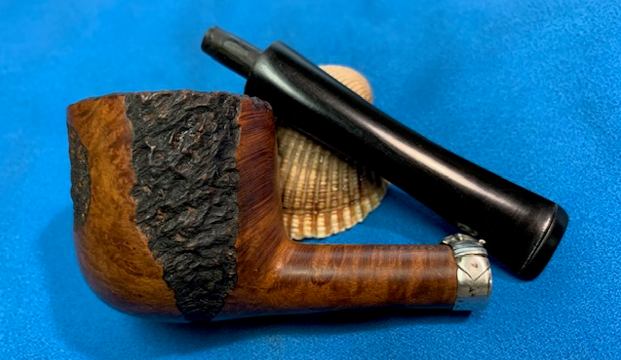
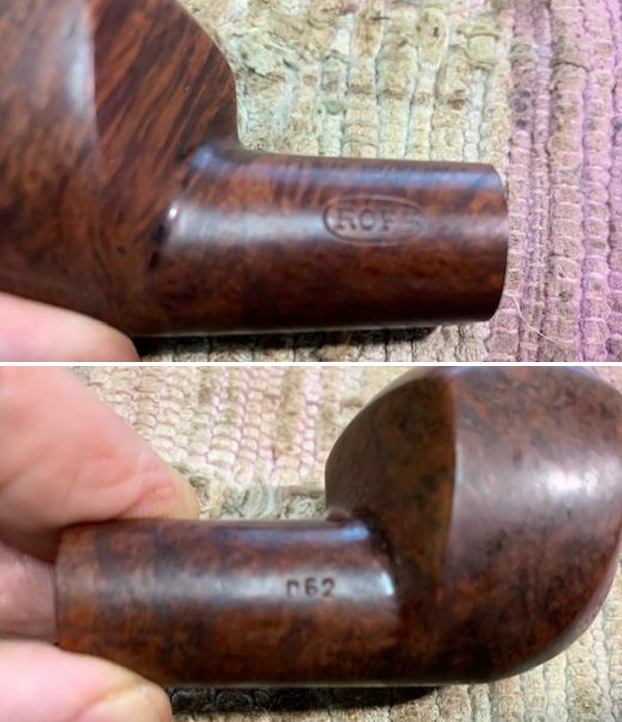
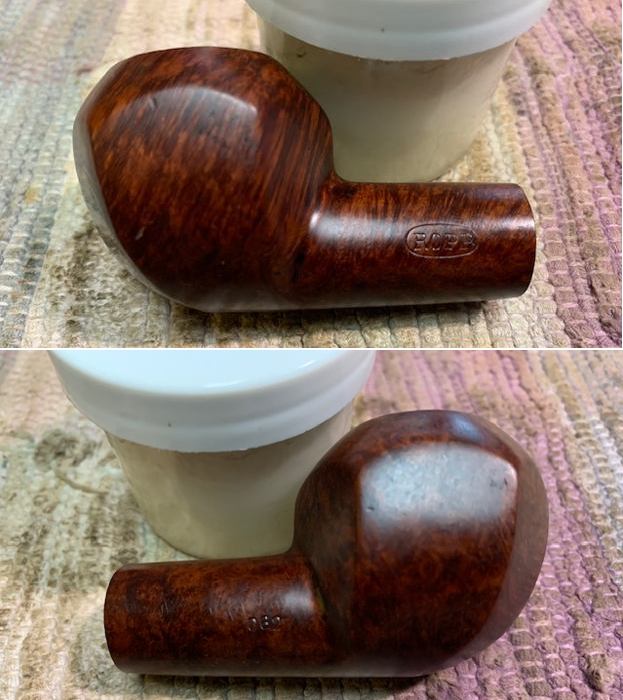
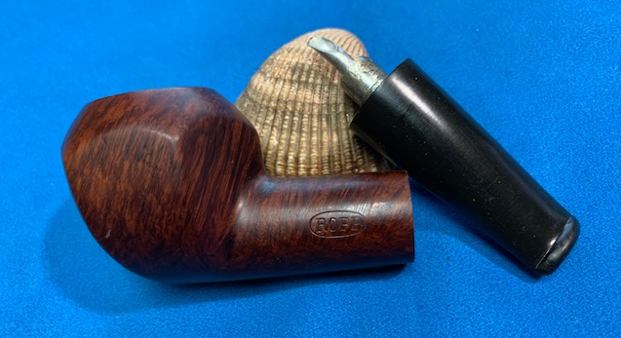
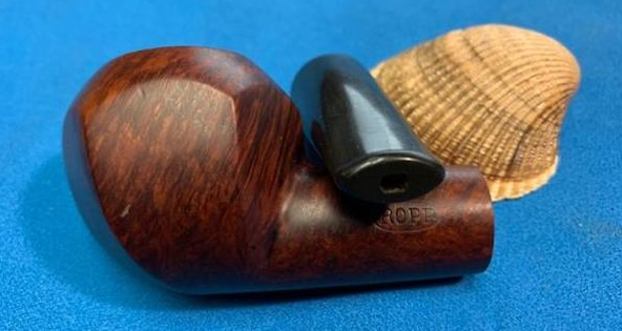
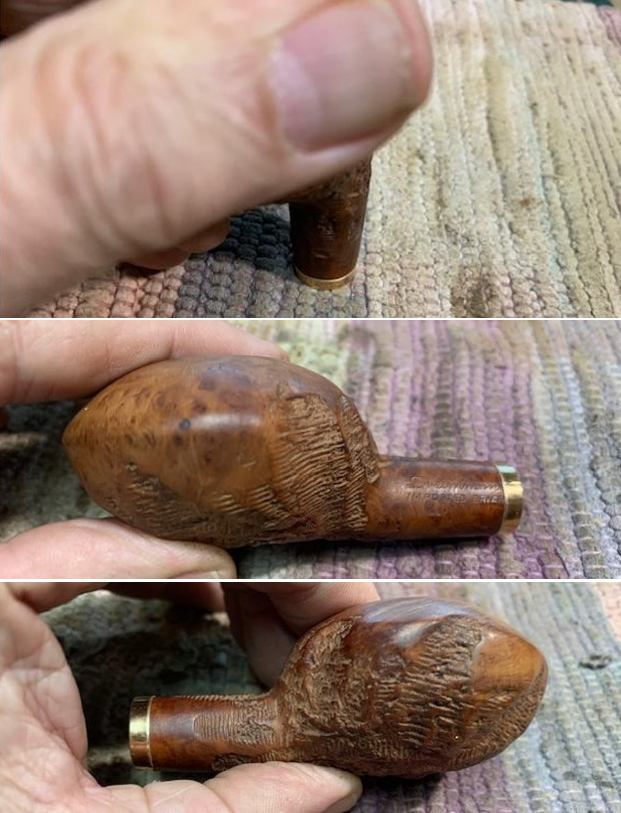
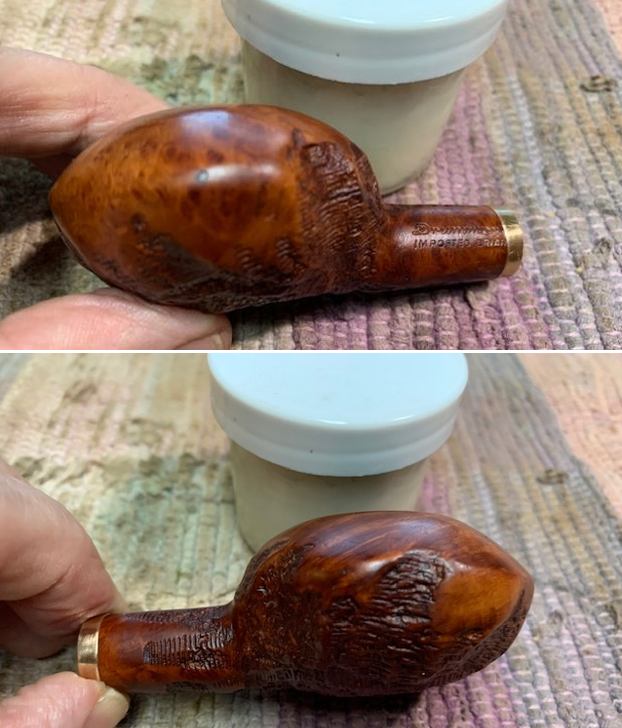
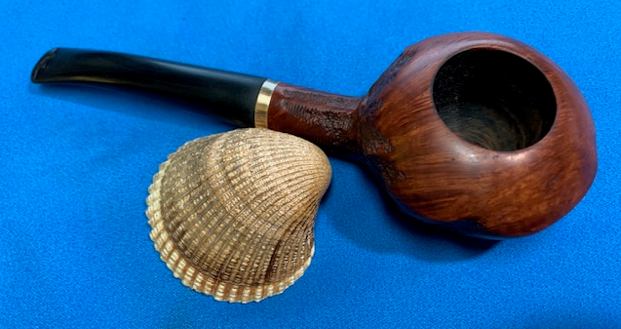
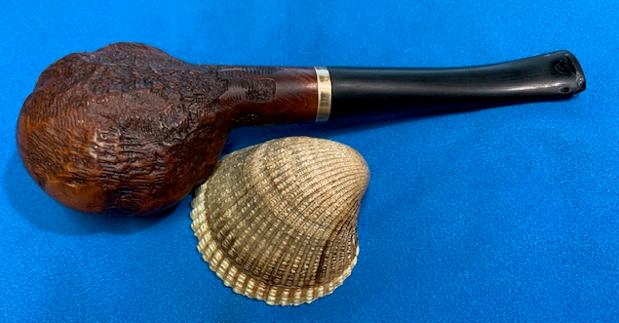
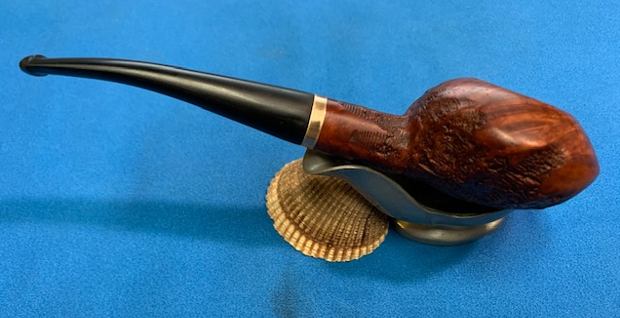
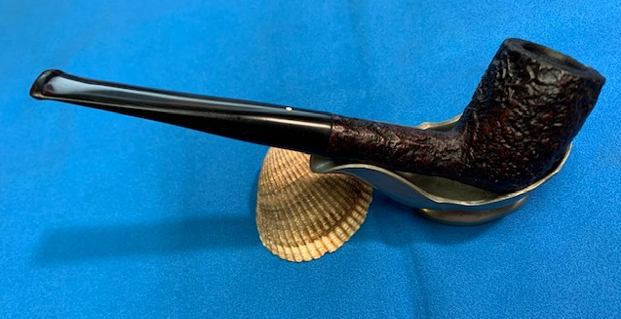
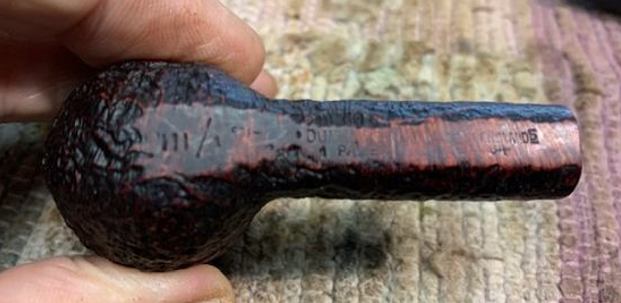
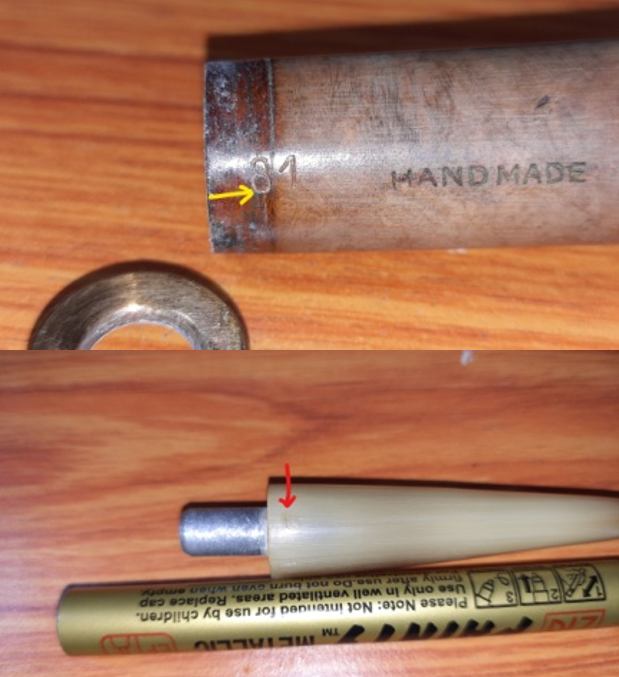
This is the third and the last Brakner pipe in my inherited collection that came in original Brakner box duly tagged, but I don’t think the box is original as the shape code on the pipe and the box do not match. I had been delaying restoring this pipe as I had my hands full with pipes that I had received for repairs and ones that were selected by brother pipers to be restored/ refurbished by me. In between these commitments, I took the time out to refurbish pipes for my personal collection and this is one such pipe.  This uniquely rusticated stacked billiard shaped pipe is stamped on the smooth surface on the left side of the shank as “BRAKNER ANTIQUE” over “DENMARK”. The smooth surface on the right side of the shank is stamped as “HAND-CUT” followed by # 129, the shape number. The vulcanite stem is adorned with a green dot (larger than a Dunhill stem logo), I think made of Jade stone, not sure though. There is a smooth band around the end of the shank.
  I have worked on Brakner pipes before and had read about Peter Brakner and his unique “micro-rustication” technique, which has been lost to the pipe community with his demise as he never did share this technique that he had developed. To refresh my memory, I revisited pipedia.org and read the article published therein. One can refer to the article at this link Brakner – Pipedia.
Peter Micklson (†) started his career at the Teofil Suhr workshop, Suhr’s Pibemageri, in Copenhagen, where Sixten Ivarsson was the foreman. He brought in Poul Rasmussen and taught him the two or three important things about pipemaking in a six weeks crash course, before he went off to join Poul Nielsen, the later Mr. Stanwell.
Micklson, who later changed his last name to Brakner,cannot have worked under Rasmussen too long before he felt to be good enough to go off on his own. Indeed he carved himself quite a good name as it was proudly announced 1955’s World Championship of Pipe Smoking was won by a smoker who employed a Peter Brakner pipe.
His fame based fairly on developing an unique and very special “micro-rustication” he called Antique. According to Kai Nielsen, Brakner kept this technique as a secret and only once he showed it to one person – Kai’s mother. Both have passed away, so this secret technique is lost. Kent Rasmussen was recently inspired by Brakner’s Antique finish when he created his new technique of rustication.
Brakner was a close friend of Ole Larsen, the proprietor of the famous W.Ø. Larsen tobacco shop and sold a lot of his pipes there, before Larsen hired his own indoor carvers. From the Larsen Export Catalog 1960/61 we learn a bit about Brakner pipes:
- Antique Antique finish in tan or black. Smooth pipes also. Each pipe 7.50 $.
- Bella Danica Antique finish in tan or black. Each pipe 10.00 $.
- Royal Danois Antique finish in tan or black. Each pipe 12.50 $.
The latter were named after the Royal Danish Guard Regiment, founded in 1689.
Brakner was one of the first high-end carvers from Denmark to enter the US market and was considerably successful there in the early 1970’s. After his sudden death Peter Brakner’s name faded back from the forefront, but his pipes speak to the injustice of that. His body of work has earned him a place in the important history of Danish pipemaking.
Further down the article, there were a few pictures of Brakner Pipes from the 1961-62 catalogs that I have reproduced below which has the shape code of the pipe currently on my work table, albeit in a smooth finish and indicated with a red arrow. Having read the detailed account, I feel blessed to be holding a piece of Danish pipe history.
Initial Visual Inspection
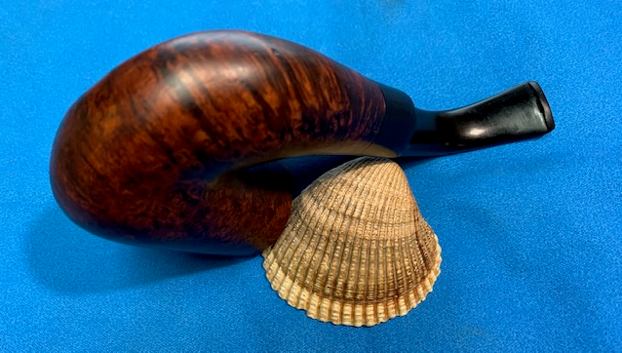
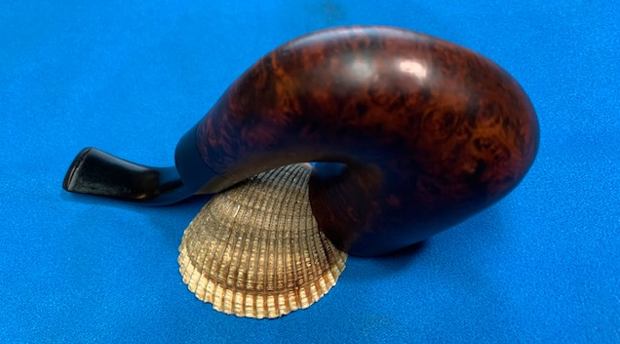
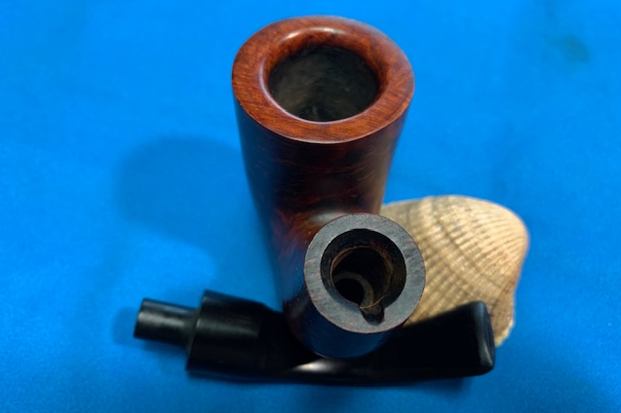
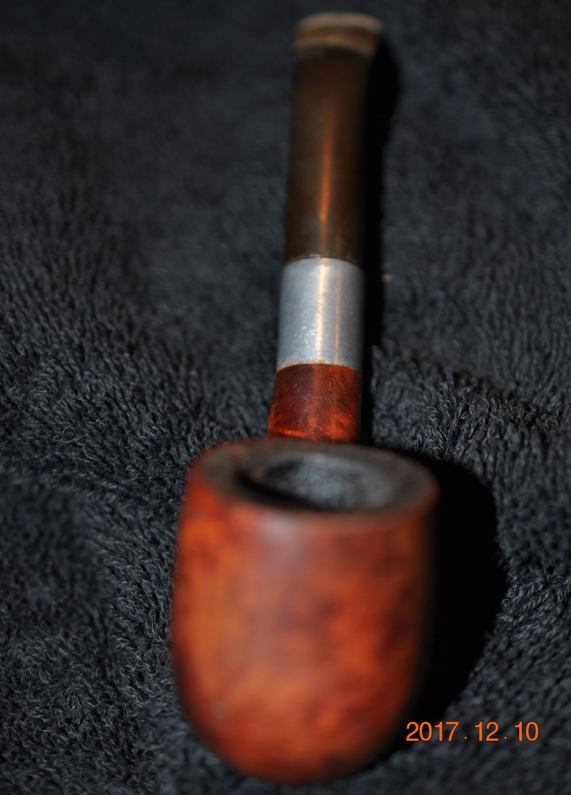
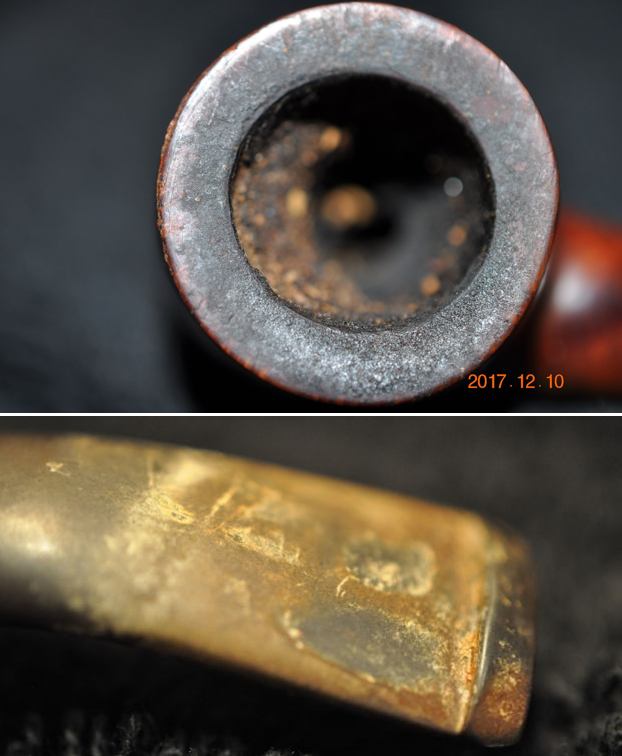
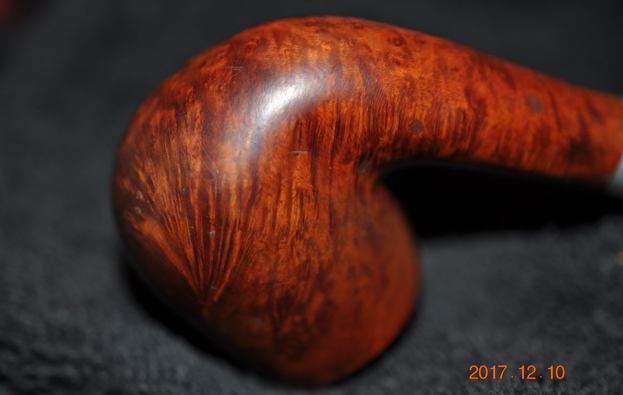
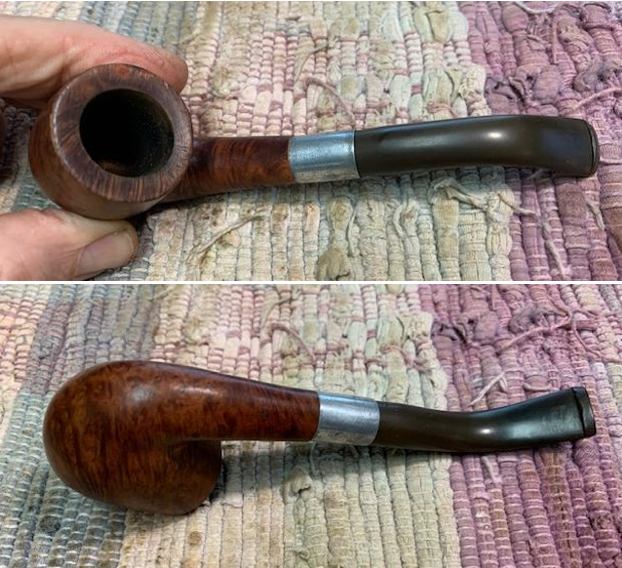
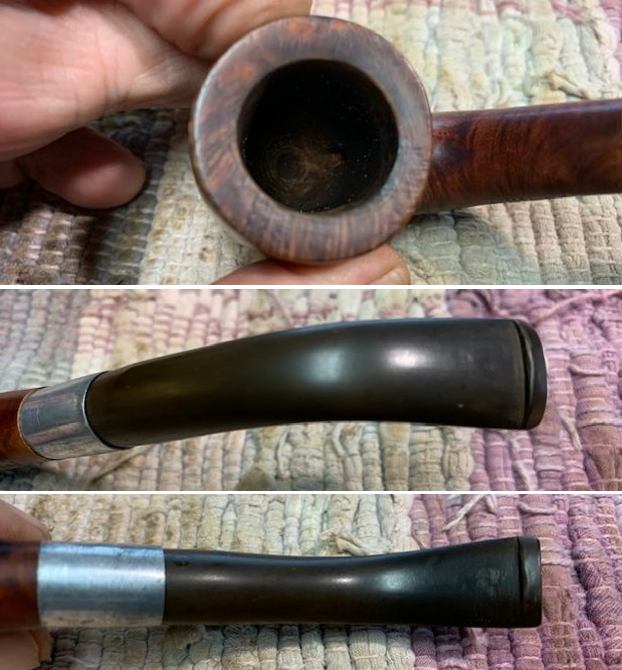
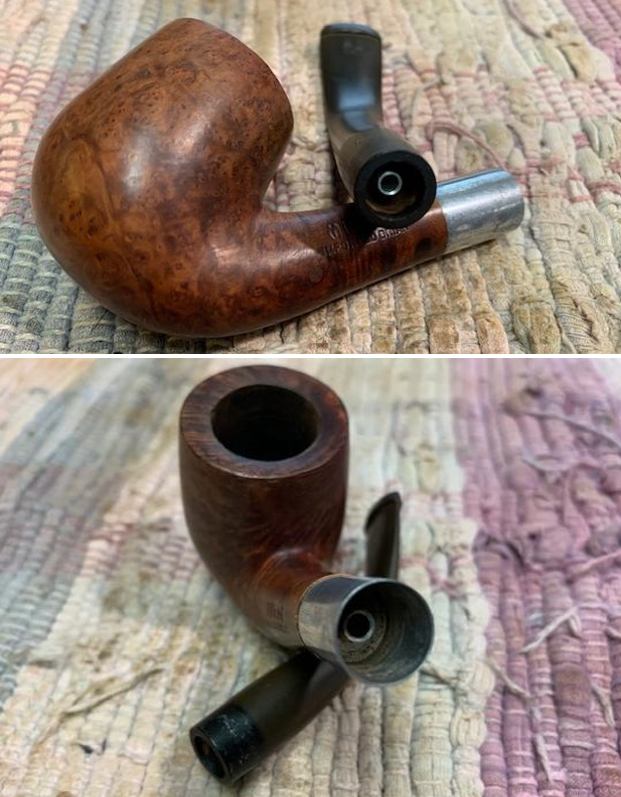
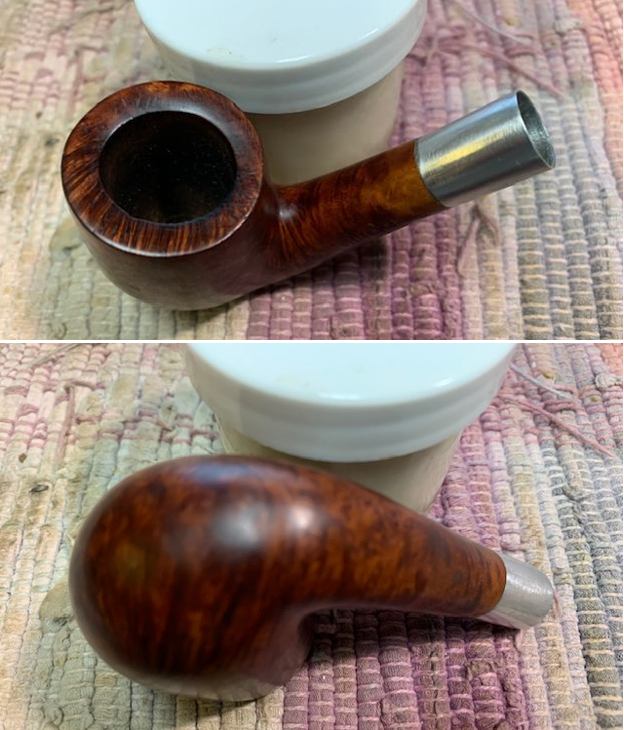
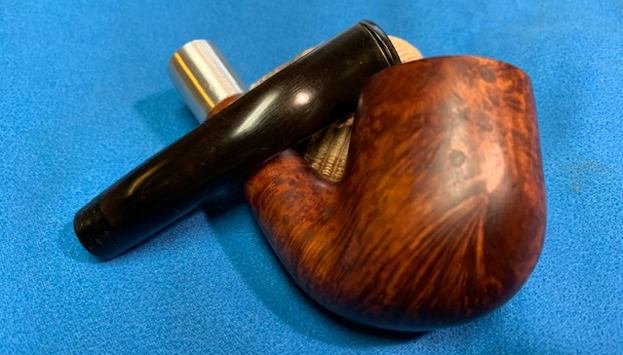
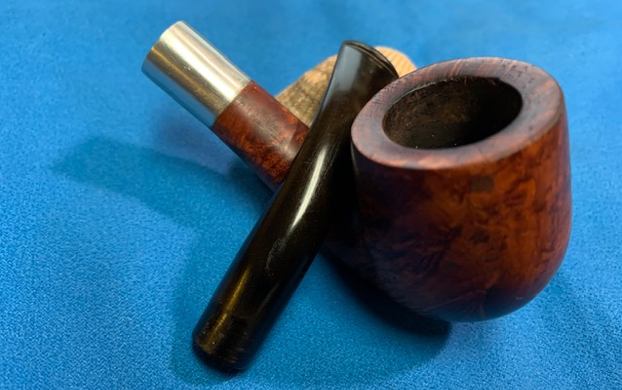
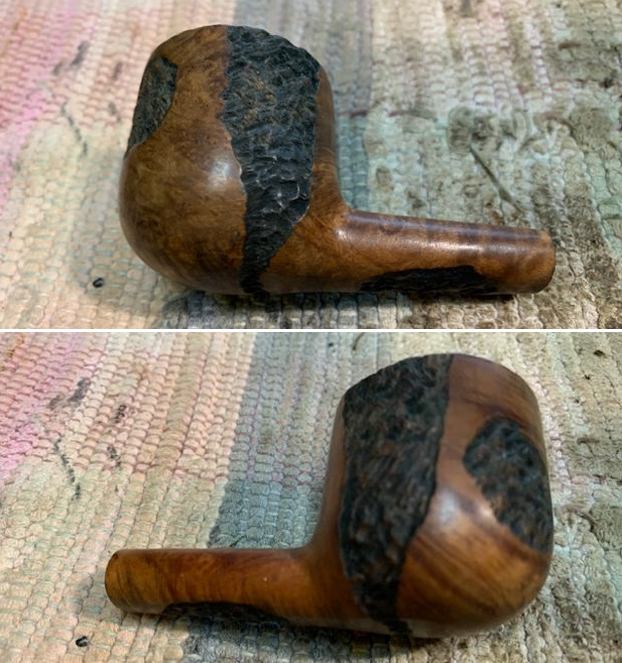
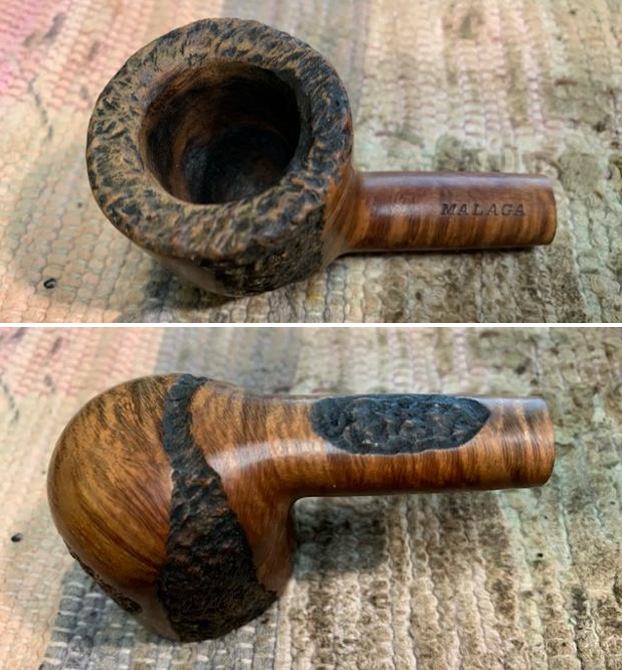
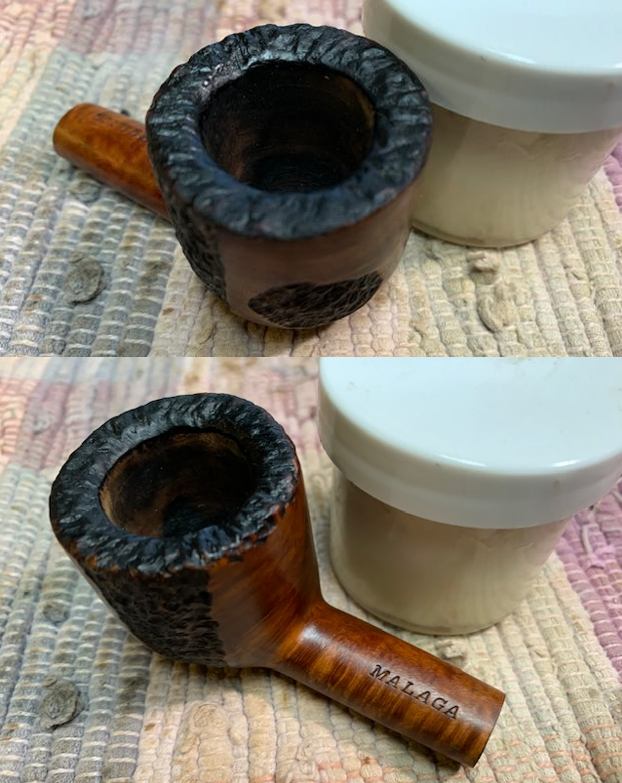
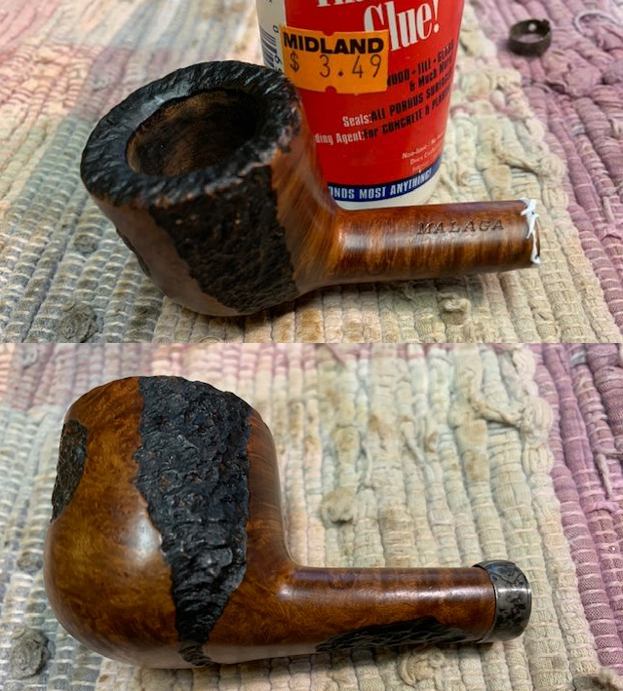
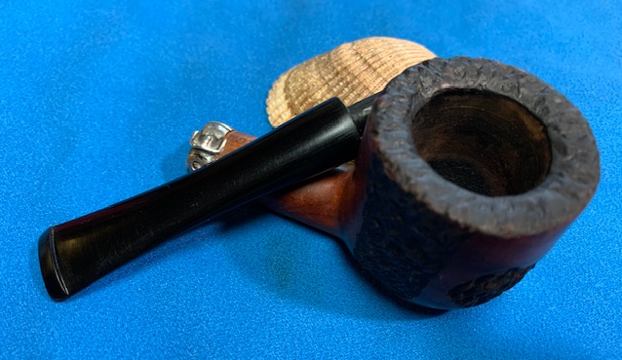
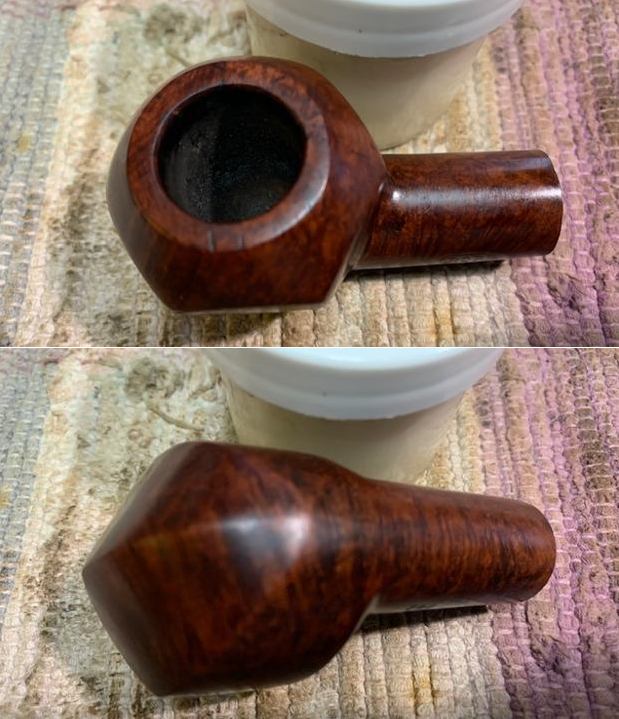
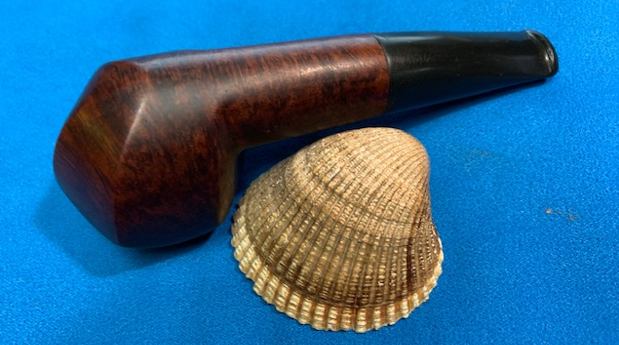
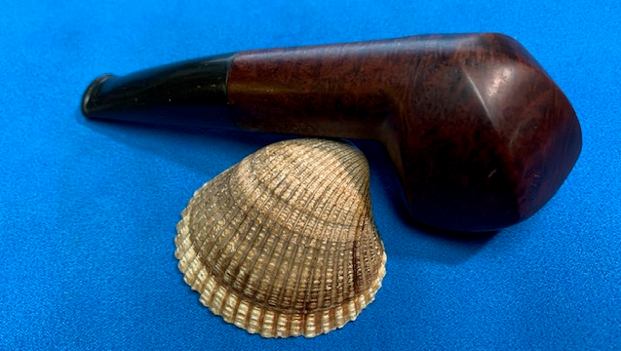
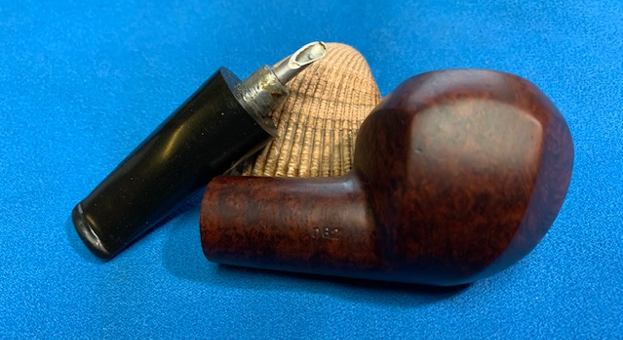
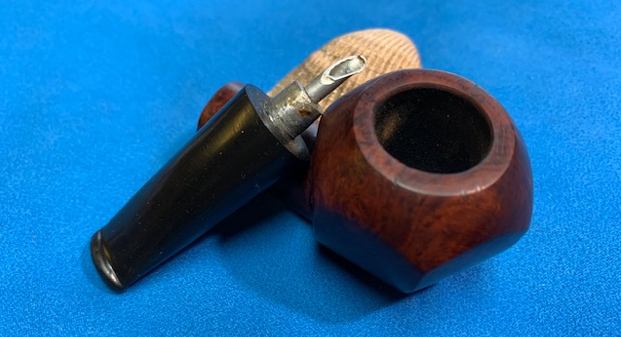
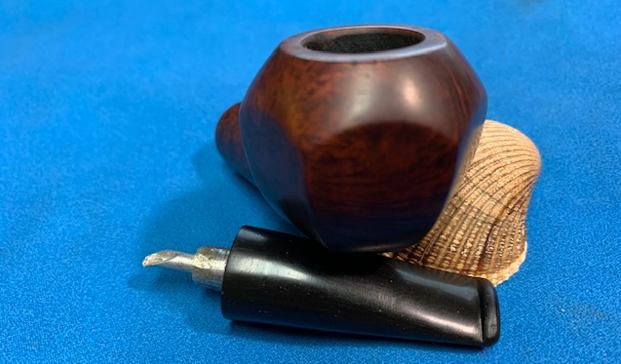
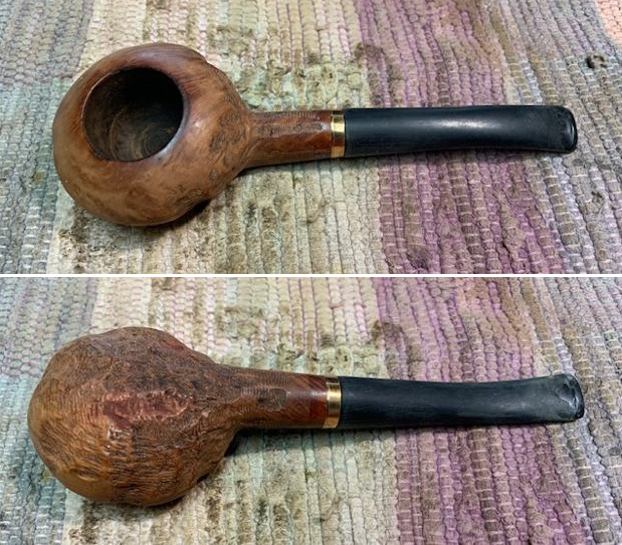
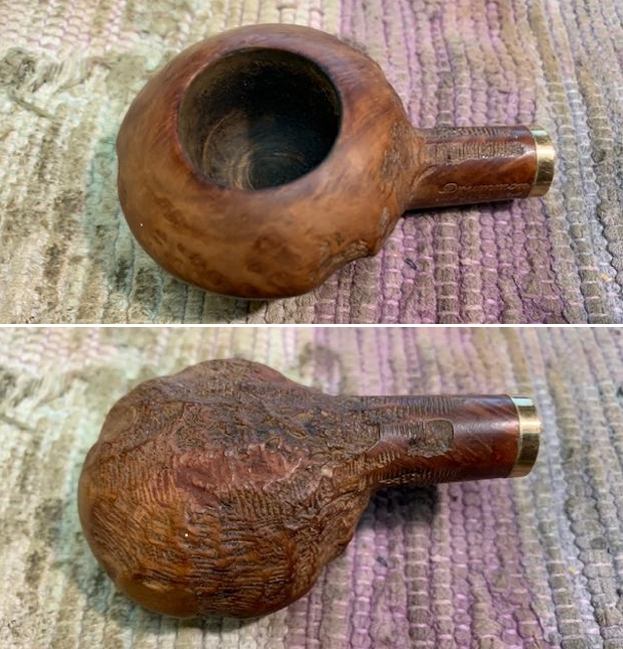
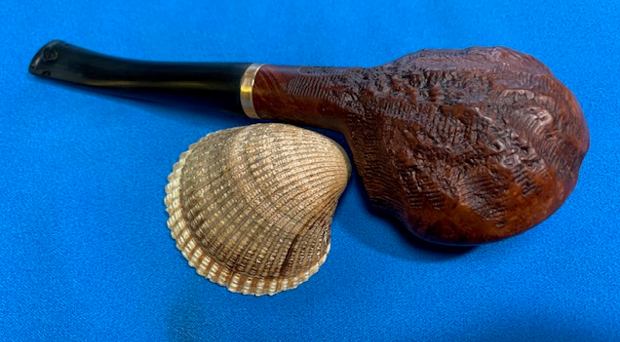
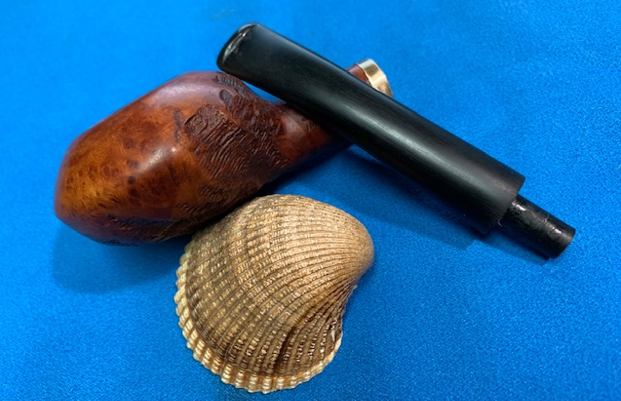
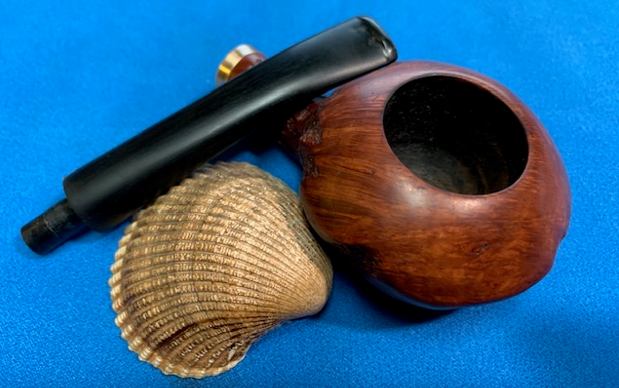
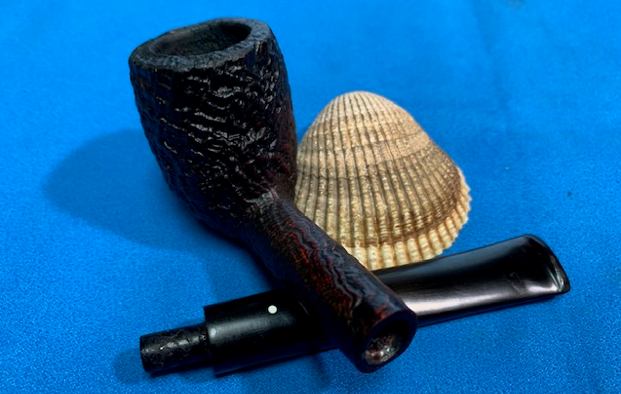
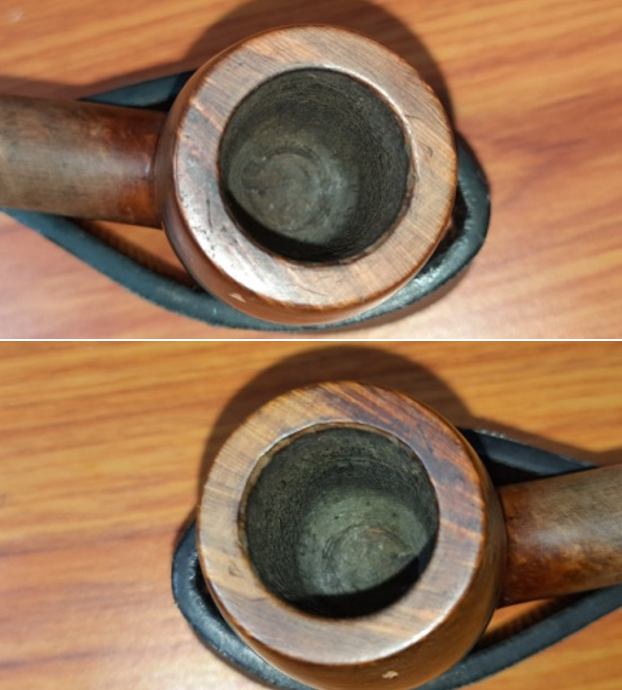
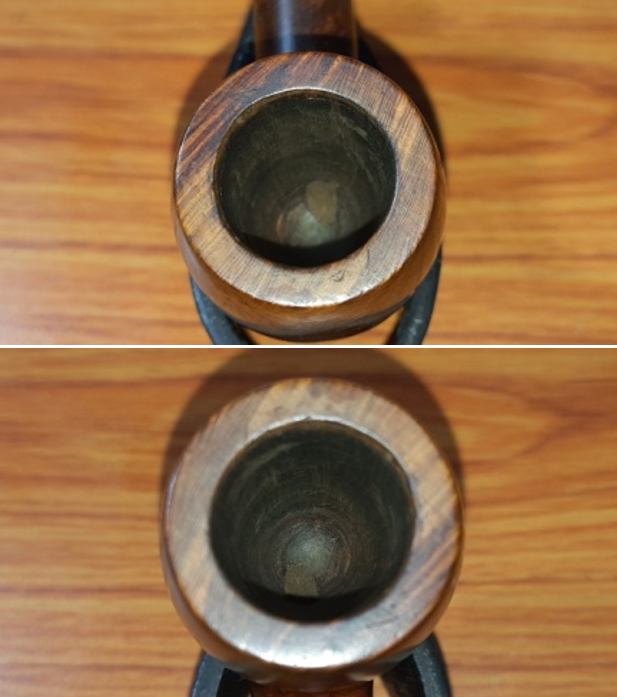
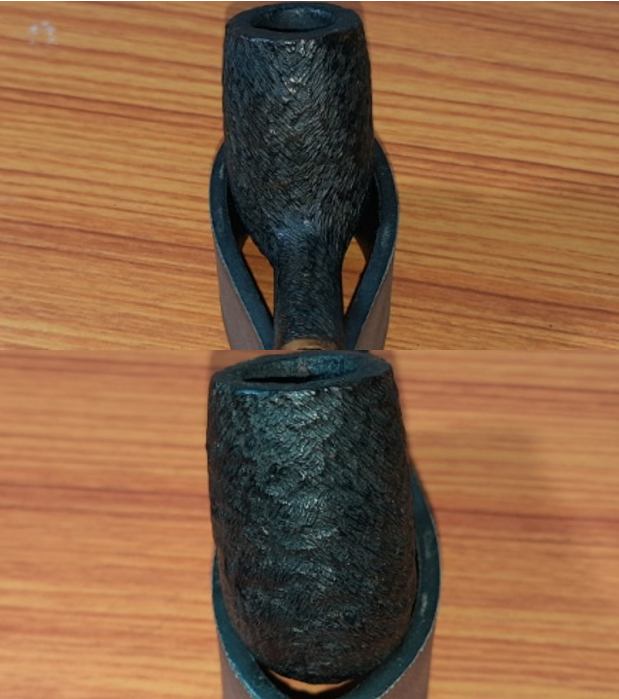
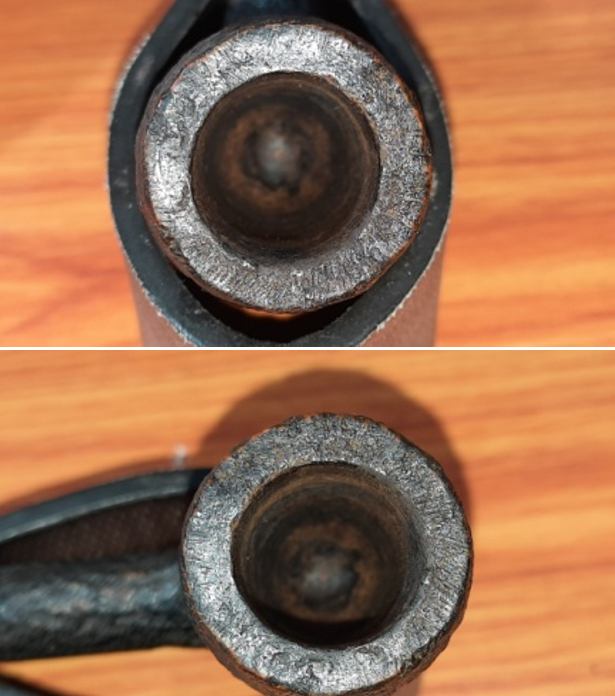
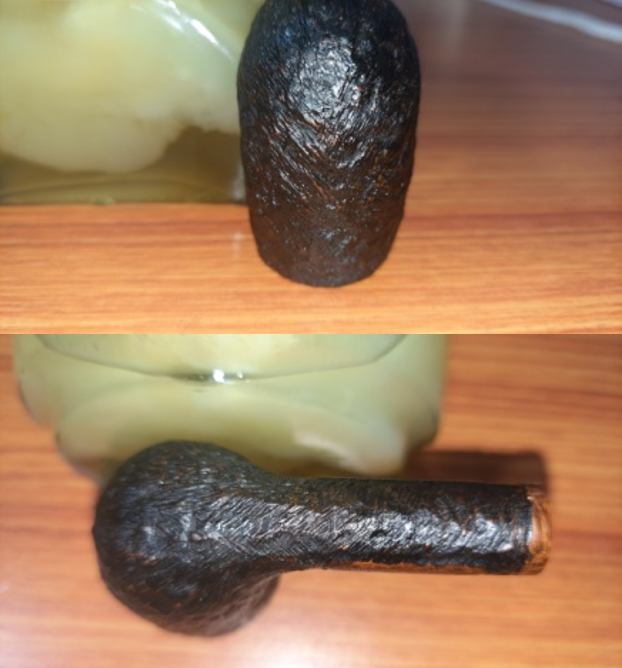
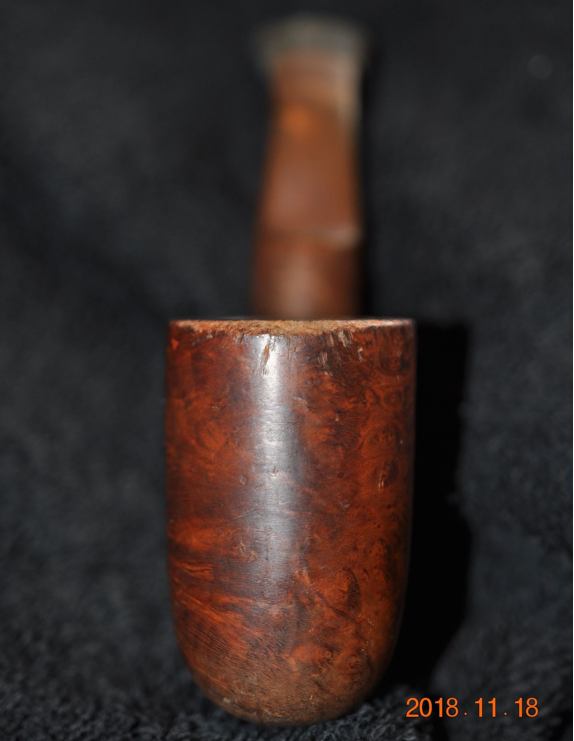
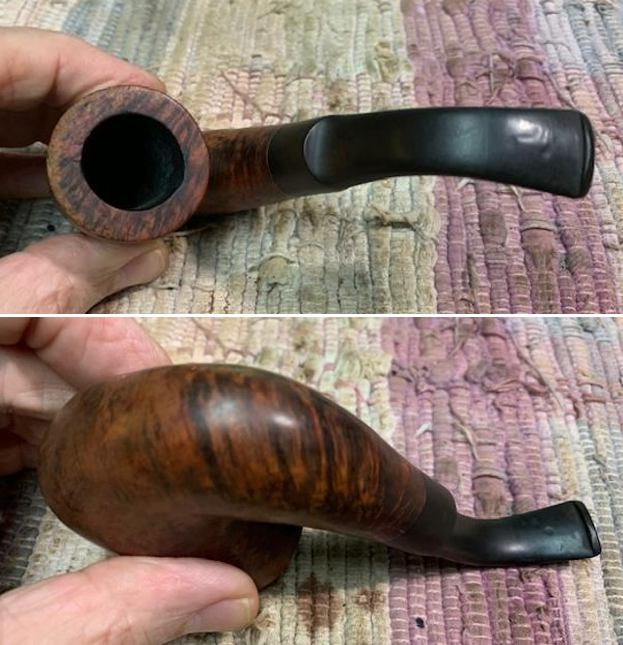
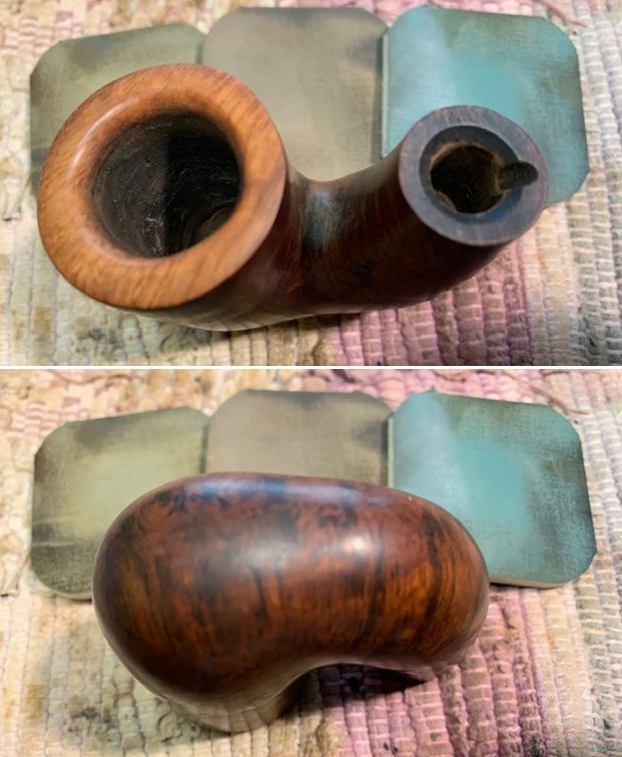
As is generally observed with most of my grandfather’s pipe, the chamber of this pipe too is filled with a thick cake with overflowing lava covering the rim top surface. The thick cake hides the condition of the inner walls of the chamber and will be ascertained only after the cake has been taken down to bare briar. Similarly, the condition of the rim top surface will be commented once the overflowing lava has been scraped off. However, the inner rim and outer rim edge appears to be in good condition with no tell tale signs of damage. There are strong smells emanating from the entire pipe and would need to be addressed.
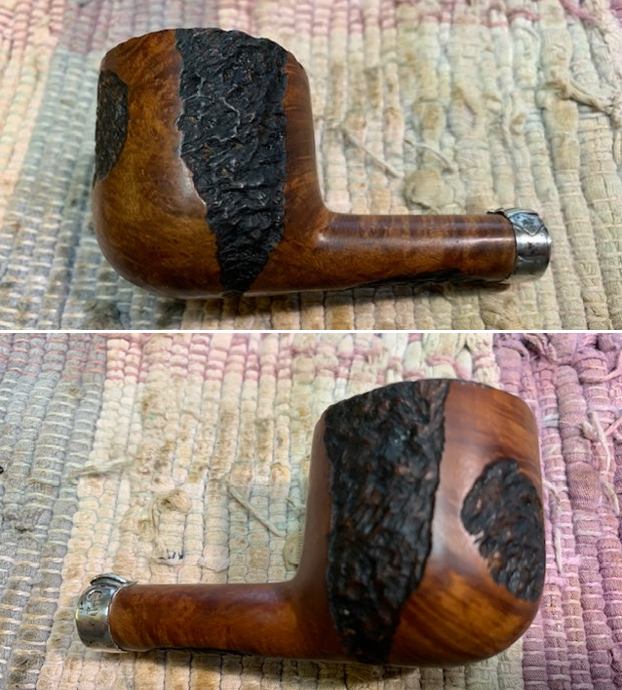
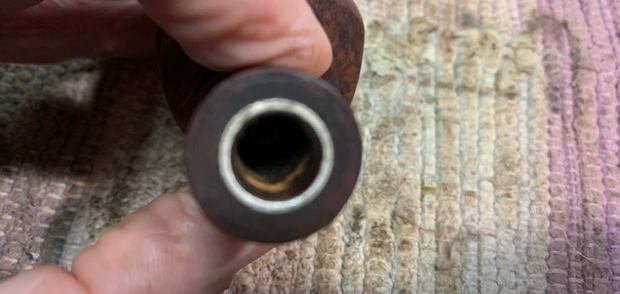
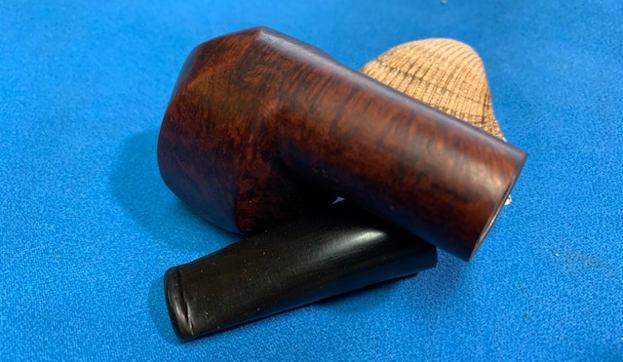
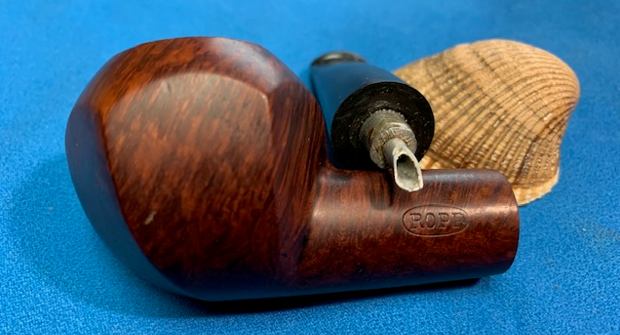
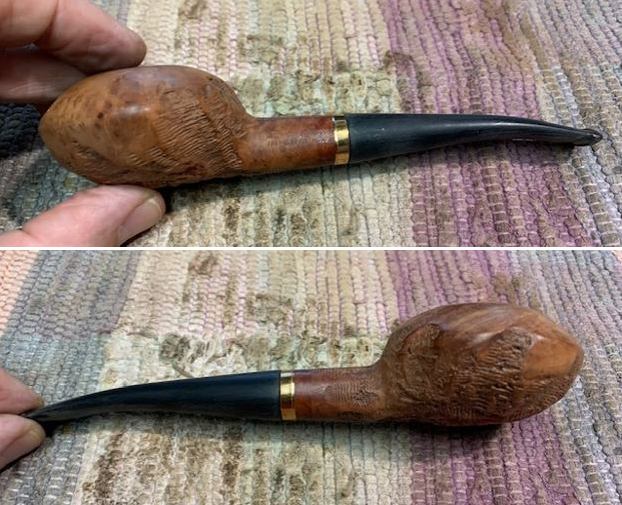
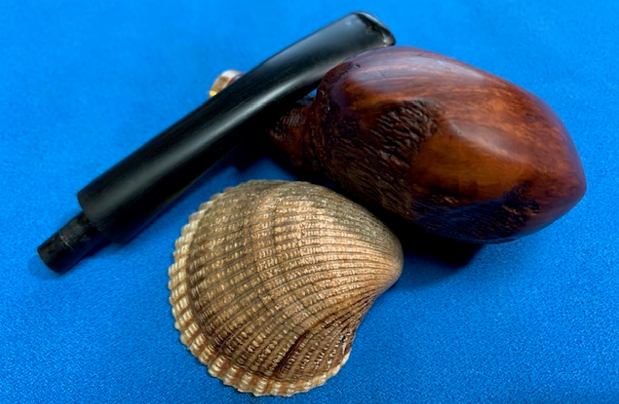
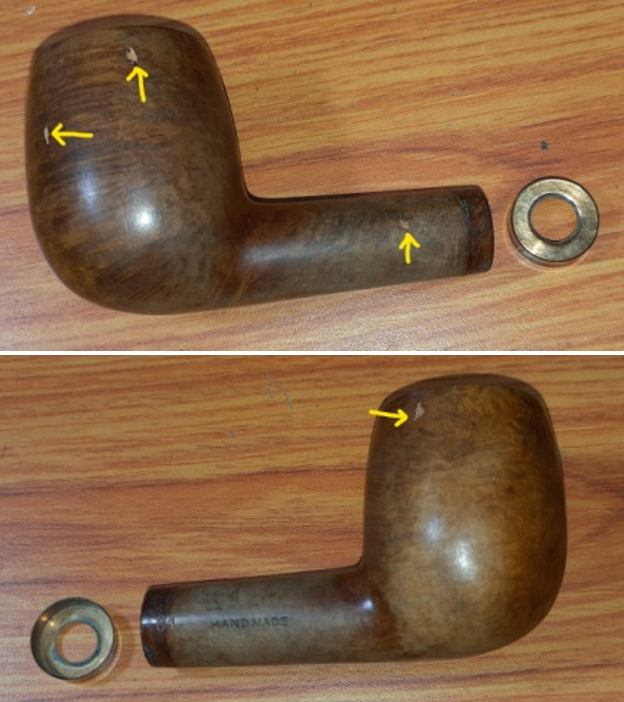
 Unlike the other two Brakners in my collection, this one does not have a smooth band below the outer edge of the rim, but has one at the shank end. It has smooth surfaces on either side of the shank which bears the stampings seen on this pipe. The unique rustications on the stummel surface are covered in oils, tars, grime and dust of all these years of use and storage. However, once cleaned up, the dark of the stummel should contrast beautifully with the smooth brown shank end band. The mortise and the shank air way are clogged as expected making the air flow anything but laborious. However, with the draught hole being right at the bottom of the chamber and the perfect alignment of the stem airway, tenon and the shank airway should make this one a fantastic smoker.
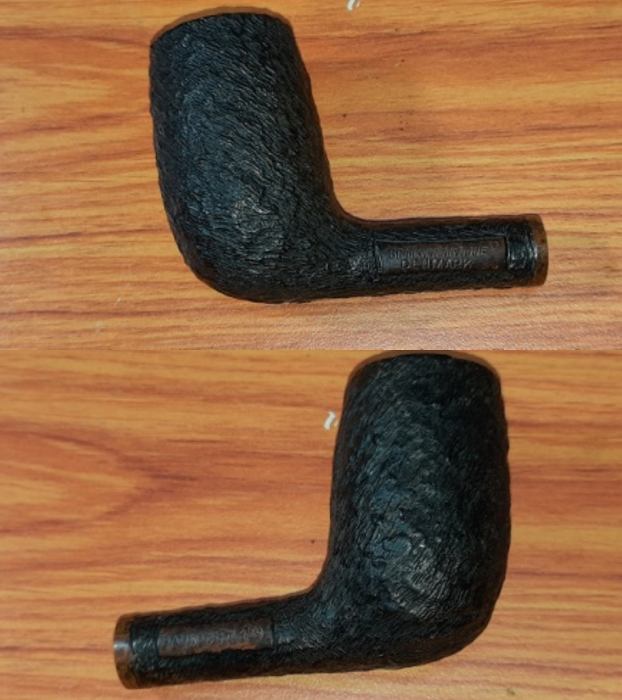
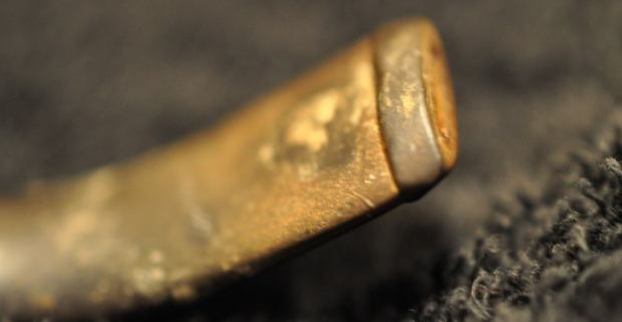
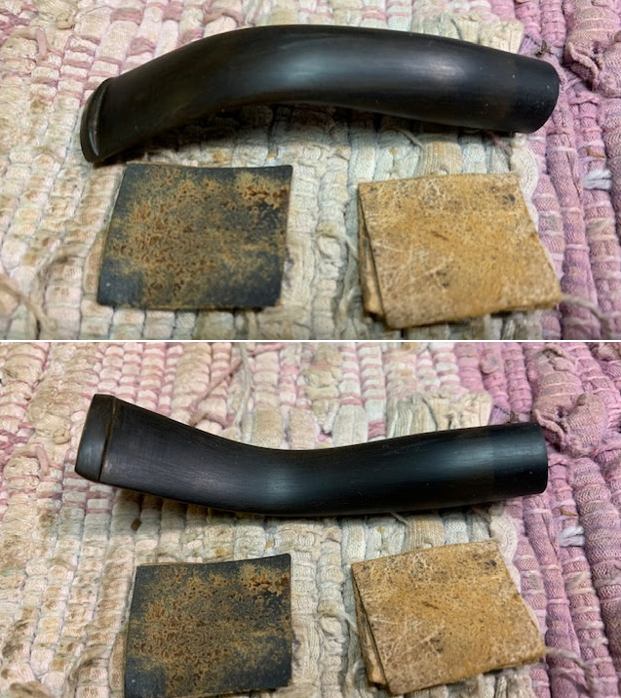
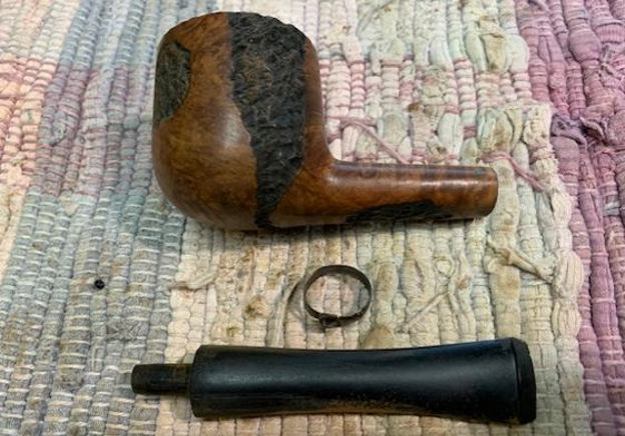
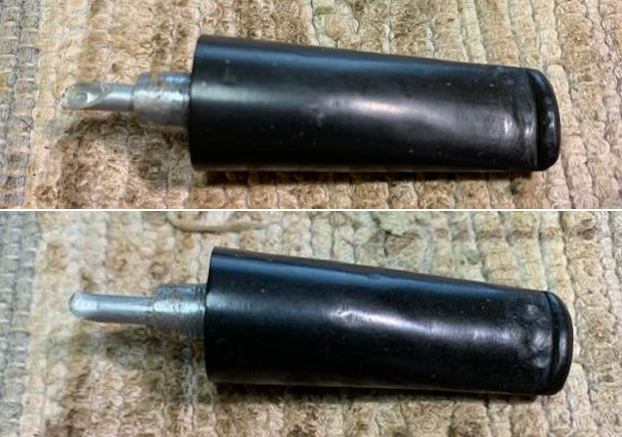
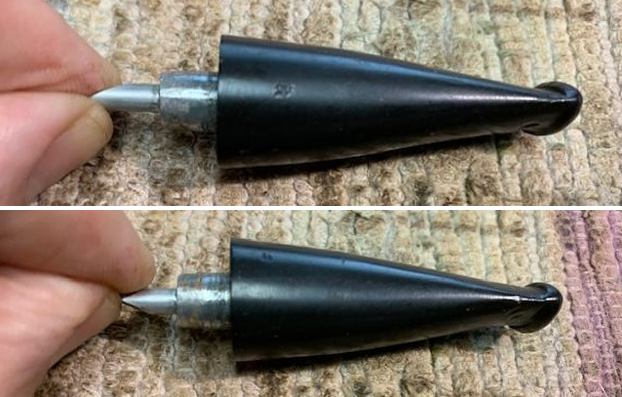
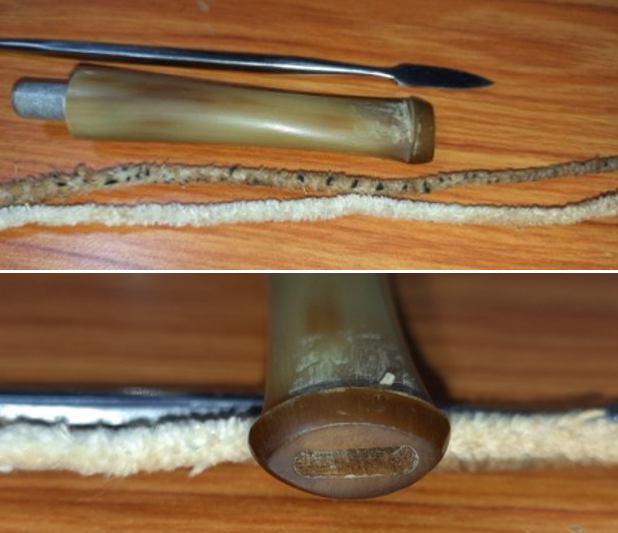
 The vulcanite stem is heavily oxidized with deep tooth marks on both the upper and lower stem surfaces. The buttons on the either surfaces are deformed due to tooth indentation and would have to be rebuilt and reshaped. The trademark green dot on Brakner pipe stem has dulled a bit and would benefit from a nice polish. The tenon end and the slot end showed heavy accumulation of dried oils and gunk.
 The cardboard box that housed the pipe for these many years does show its age. The edges have separated at the seams at a couple of places and the whites of the insides have yellowed. However, the posters and external surface are bright and in good condition.
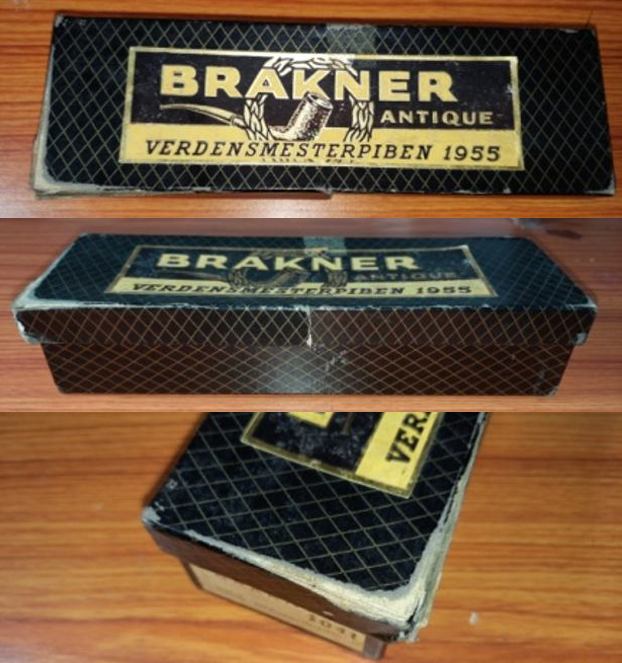
 All in all, judging from the initial examination, I do not envisage any major/ serious issues to present themselves in the course of restoring this beauty and should be an easy project.
The Process
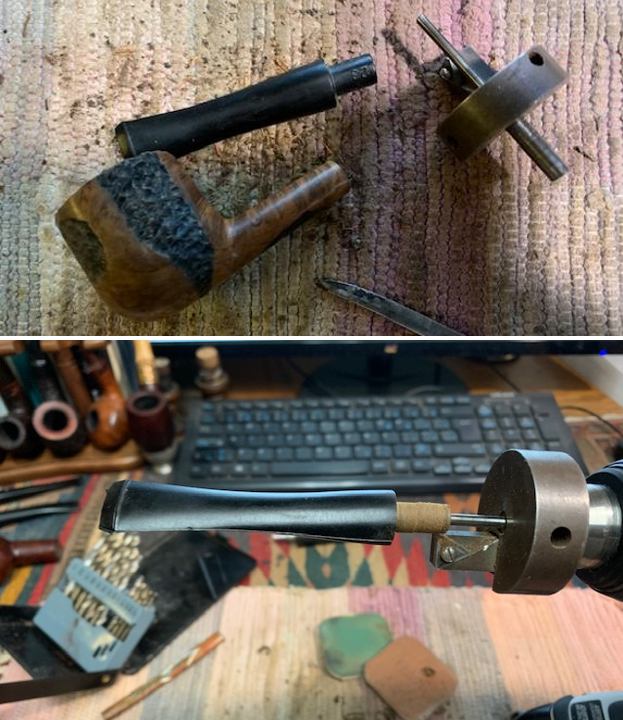
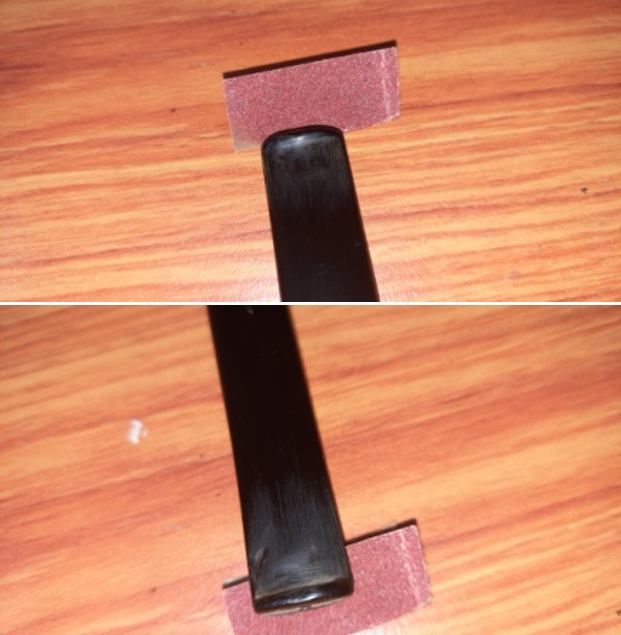
I began the restoration process by first cleaning the stem internals. I cleaned the internals of the stem using hard bristled pipe cleaners dipped in isopropyl alcohol and followed it by cleaning the air way using a small shank brush with anti oil dish cleaning soap. This helps in reducing the number of pipe cleaners required while ensuring a spotless and a very clean stem air way. Once the stem internals were clean, I sand the entire stem surface with a piece of 220 grit sand paper and cleaned the stem surface with Murphy’s Oil soap on a cotton pad. This step helps to remove surface oxidation to some extent while preparing the stem for a dunk in deoxidizer solution for better results.
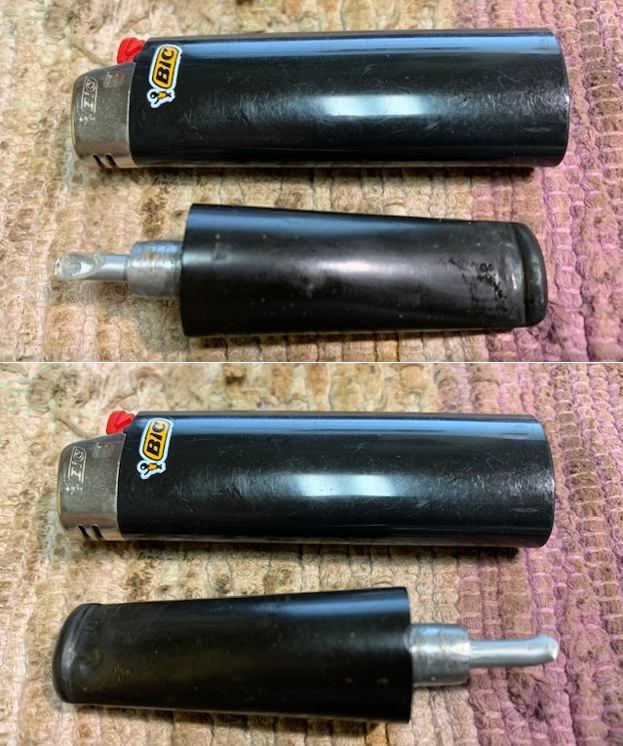
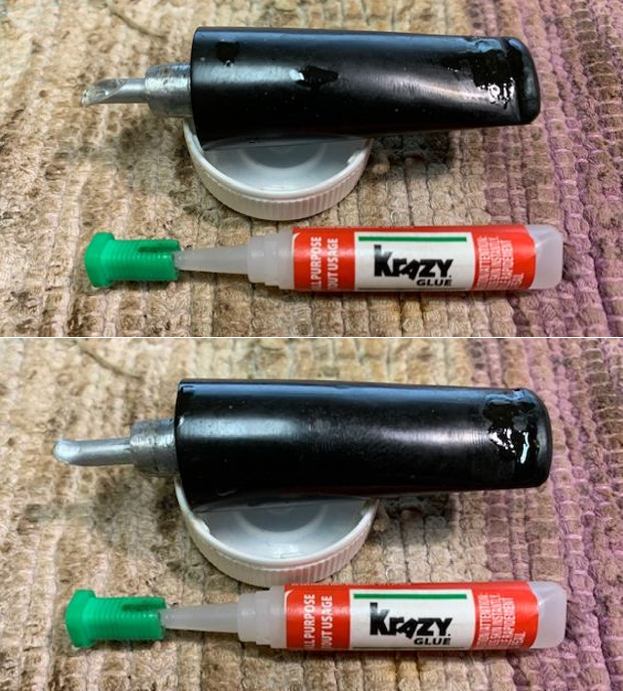
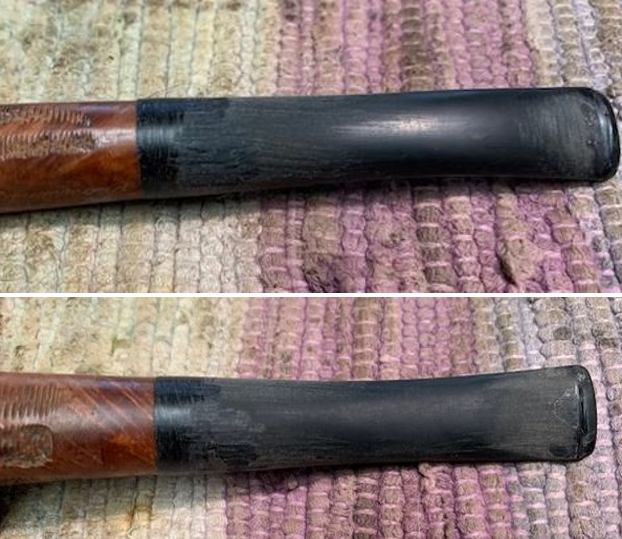
 To address the issue of bite marks and tooth chatter on the stem surfaces, I flamed the surface with a lighter. Vulcanite has the property to attain its original shape when heated and this is exactly what was being done. The tooth chatter and deeper bite marks were raised to the surface to a great extent. The remaining minor tooth indentations would be subsequently filled with a mix of clear super glue and activated charcoal. At this stage, I immersed the stem in to the De-oxidizer Solution developed by Mark Hoover. I generally allow the stem soak in the solution overnight.
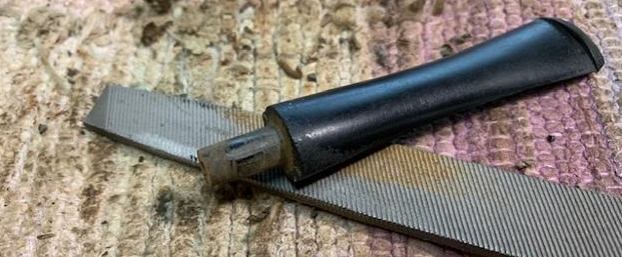
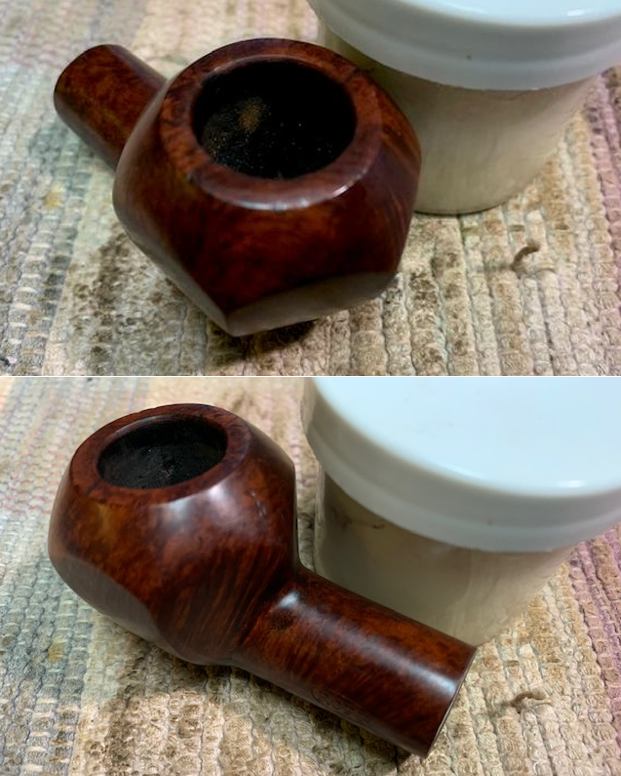
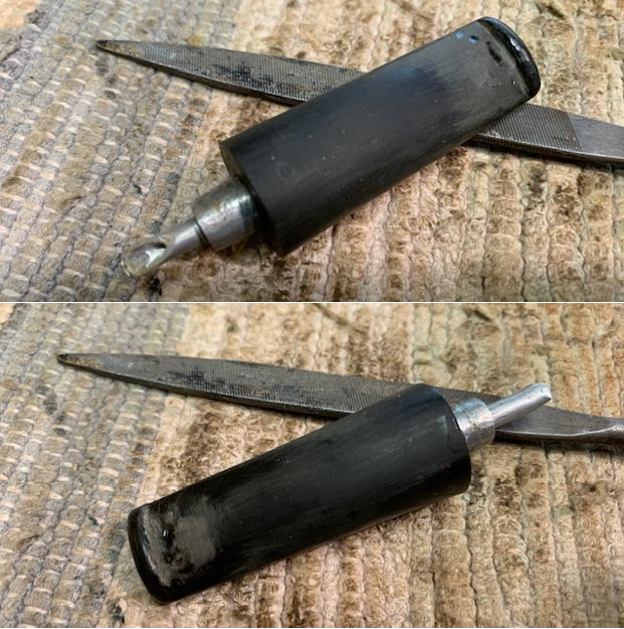
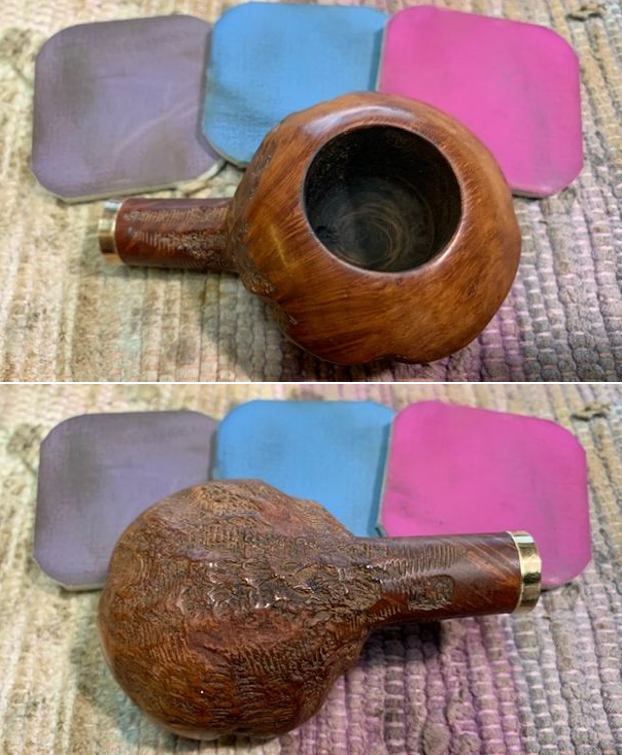
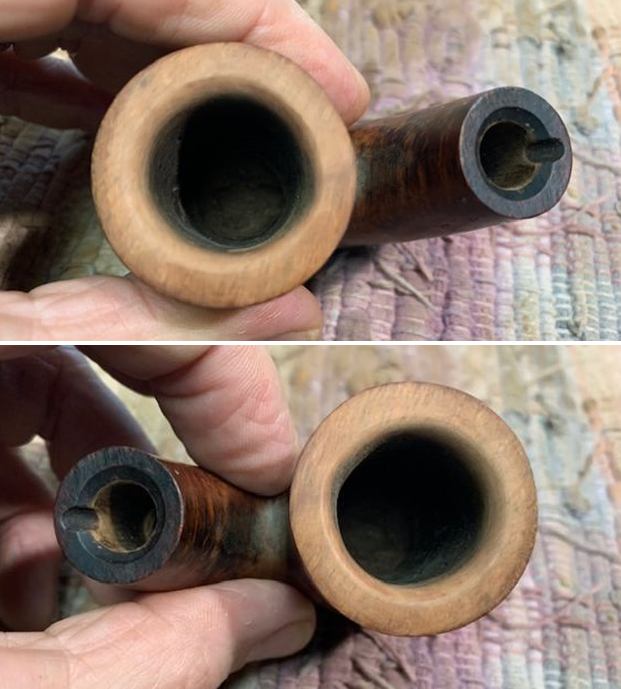
 While the stem was soaking in the De-oxidizer solution, I reamed the chamber with size 1 head of the PipNet pipe reamer. I removed the carbon from the areas where the reamer head could not reach with my fabricated knife. To completely remove the residual carbon from the walls of the chamber and smooth out the walls, I sand the chamber walls with a folded piece of 220 grit sandpaper followed by cleaning the chamber with a cotton swab wetted with isopropyl alcohol. The chamber walls are in pristine condition. I deliberately avoided scraping off the lava build up over the rim top to avoid damage to the micro-rustications over the surface.
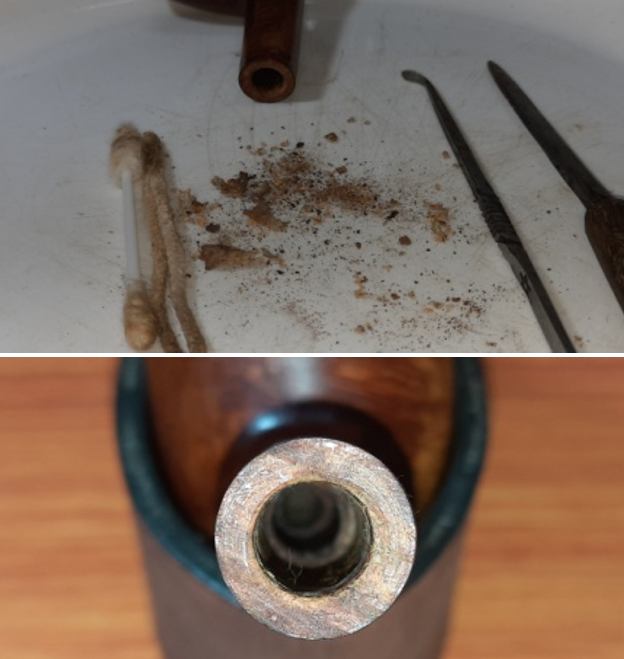
 I cleaned the mortise and shank airway using dental pick and hard/ soft bristled pipe cleaners dipped in isopropyl alcohol. I shall continue with further cleaning of the shank internals once I clean the external stummel surface.
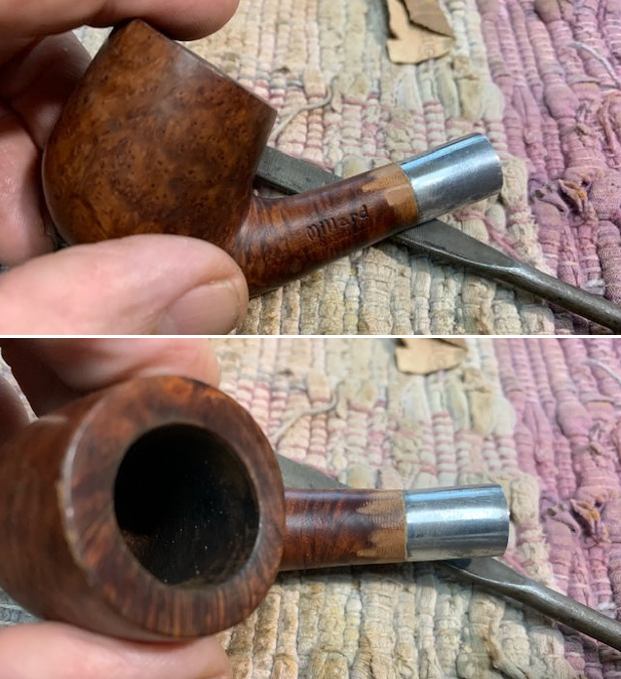
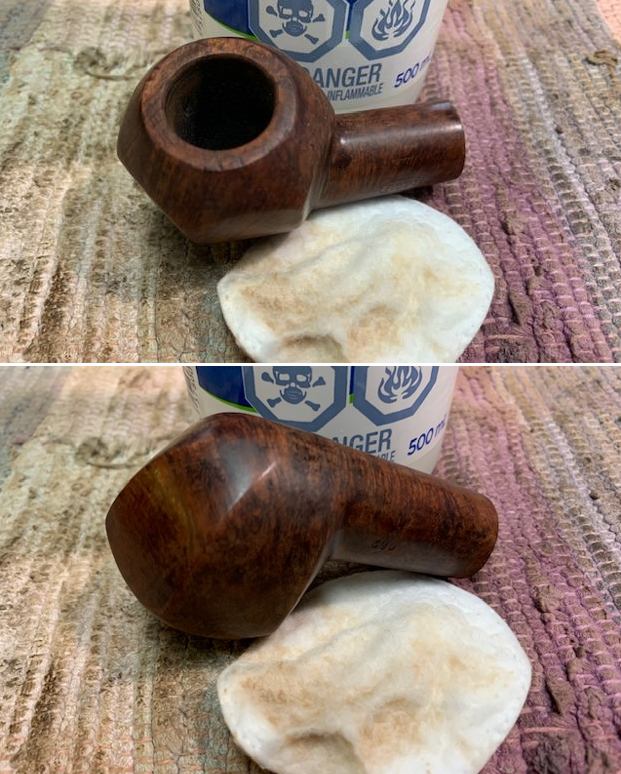
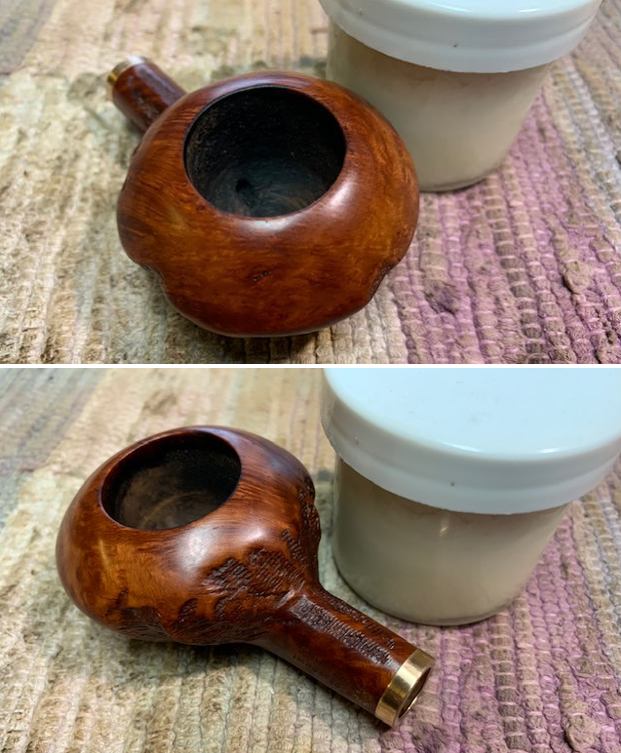
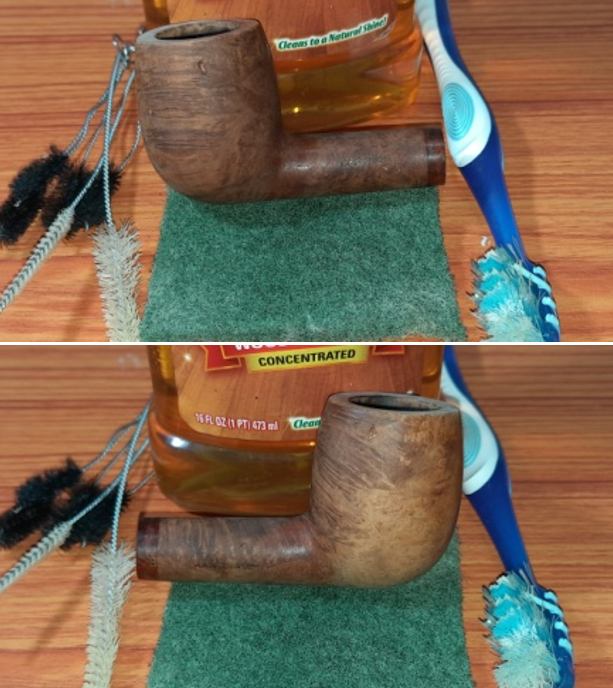
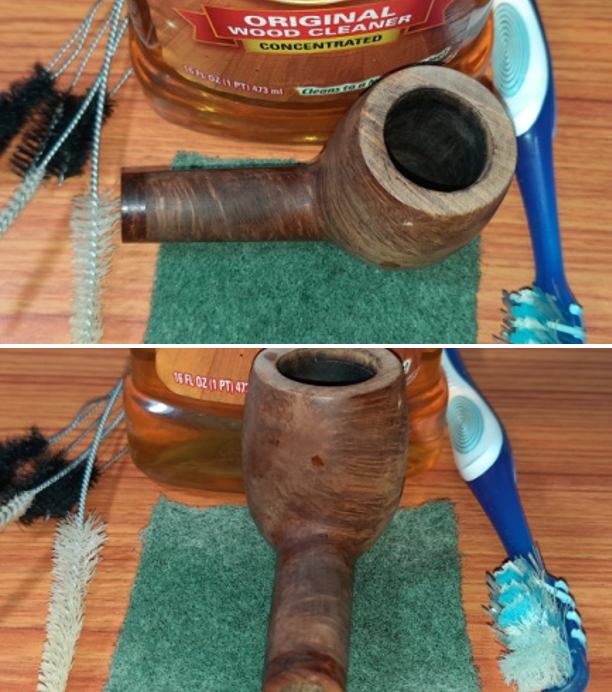
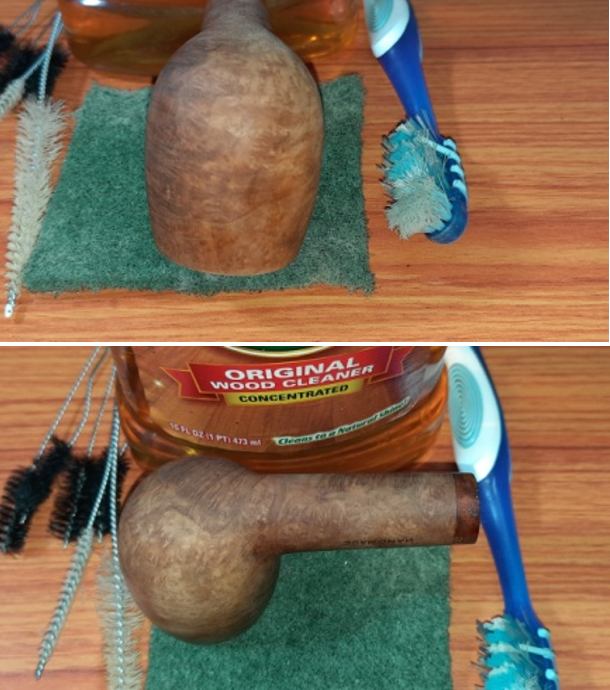
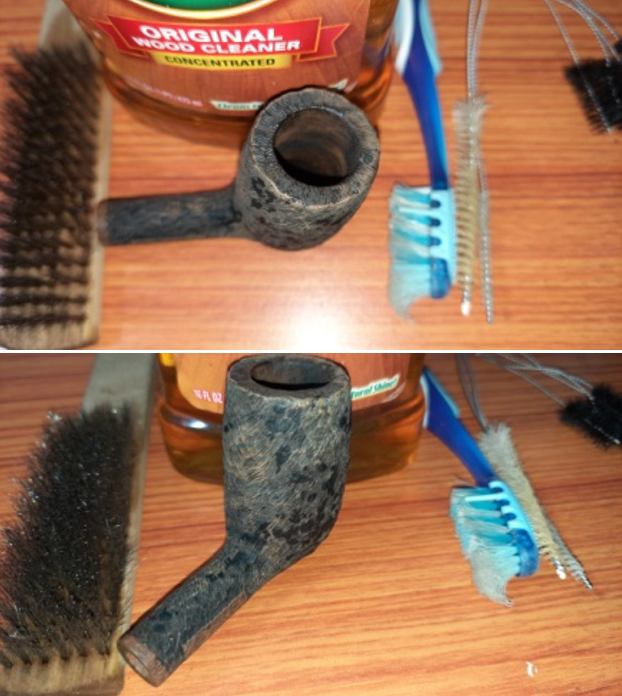
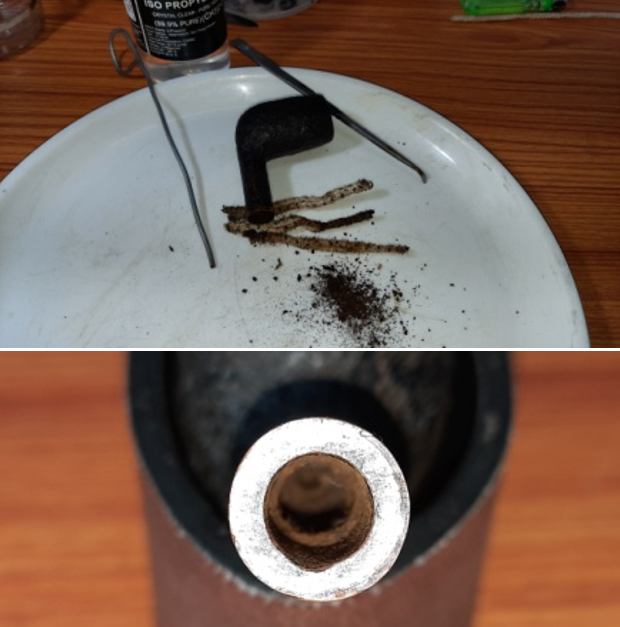 Once the internals of the chamber and shank were cleaned, I cleaned the external surface of the stummel with Murphy’s Oil soap and cotton swabs followed by scrubbing the rusticated surface with a toothbrush and dish washing soap. This rid the stummel rustications of all the accumulated dust, dirt and grime and the smooth brown band around the shank now contrasts beautifully with the dark stummel surface. Using a soft brass brush, I deliberately cleaned the rim top micro-rustications till clean. I also cleaned the shank internals with dish washing soap and shank brush.
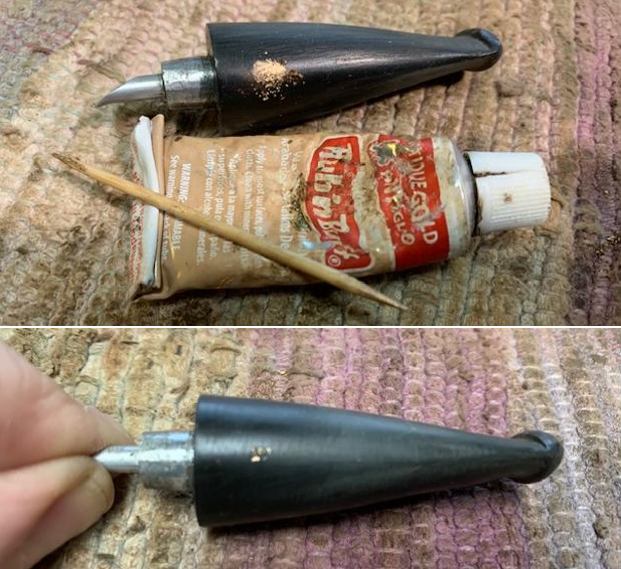
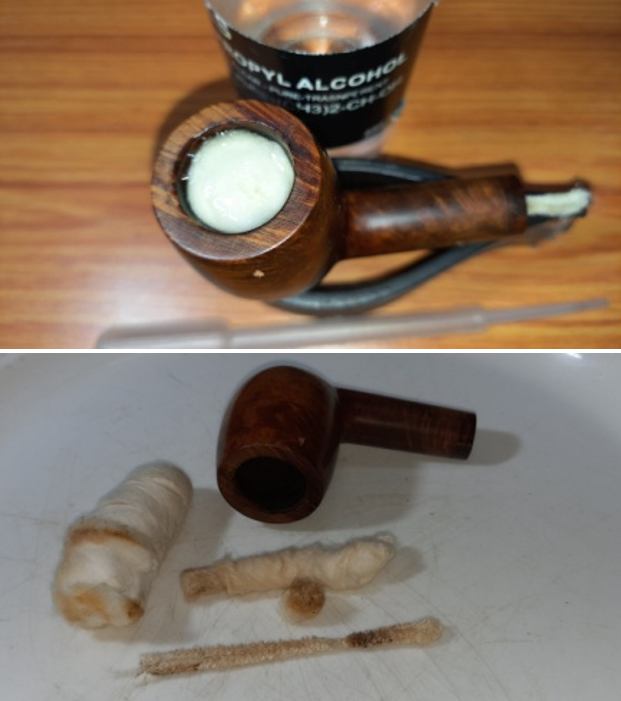
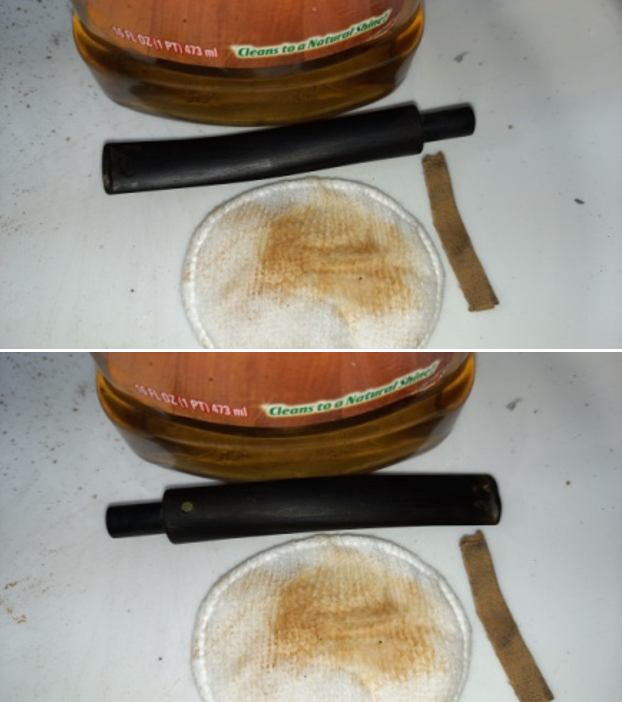
 I had expected that after such a thorough cleaning of the chamber and shank internals, the ghost smells would have been greatly reduced or eliminated completely, but that was not so. I decided to subject the chamber and mortise to cotton and alcohol bath. I packed the chamber with cotton and drew out a wick from the cotton and along with a folded regular pipe cleaner, inserted it into the mortise and through the draught hole into the chamber. I tightly packed cotton balls in to the remaining portion of the mortise. Thereafter, I soaked the cotton balls with isopropyl alcohol up to the brim. About half an hour later, the level of alcohol had gone down, having being absorbed by the cotton. I topped it up once again and set it aside overnight. By next afternoon, the cotton and alcohol had drawn out all the remaining oils and tars from the chamber and mortise. I removed the cotton balls and the dirt can be gauged by the appearance and coloration of the cotton balls and the pipe cleaner. With my fabricated knife and dental tools, I spent the next hour scrapping out the entire loosened gunk from the mortise. I ran pipe cleaners through the mortise and draught hole to clean out all the loosened tars and gunk that was lodged in the draught hole and mortise. The chamber and mortise now smelled clean, fresh and looked it too. I set the stummel to dry out naturally.
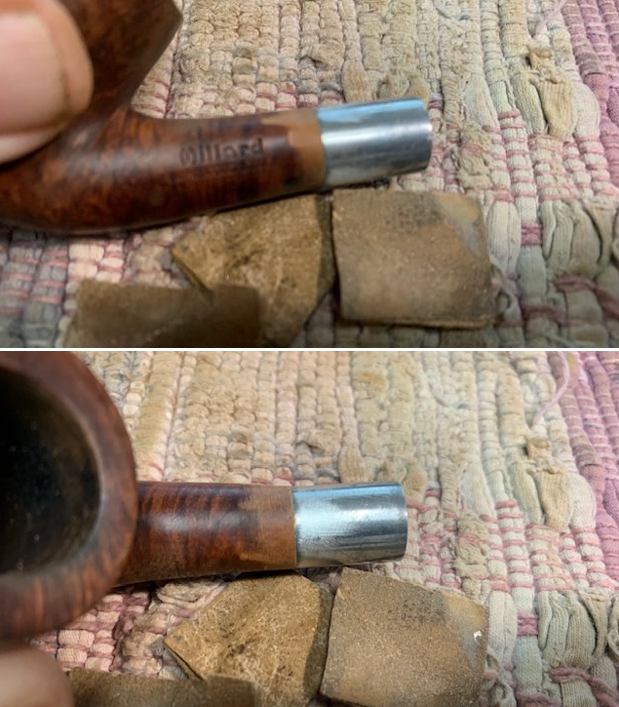
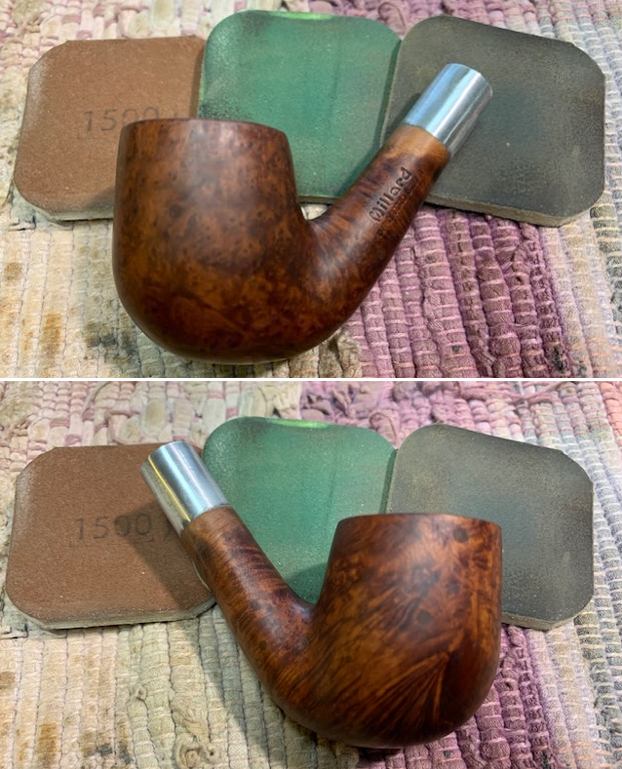
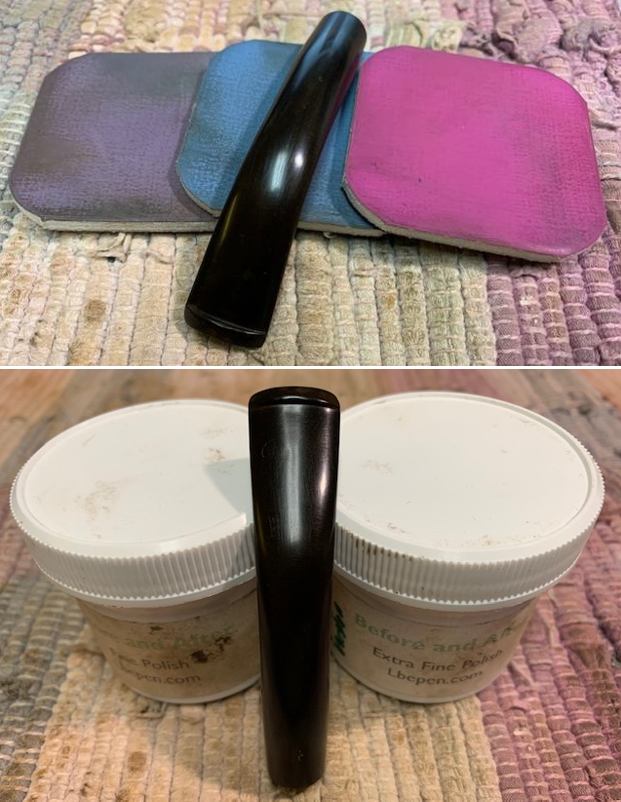
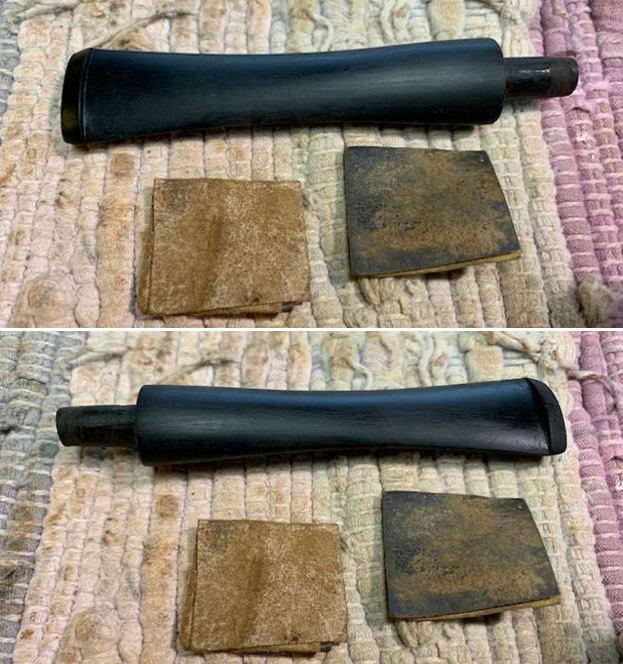
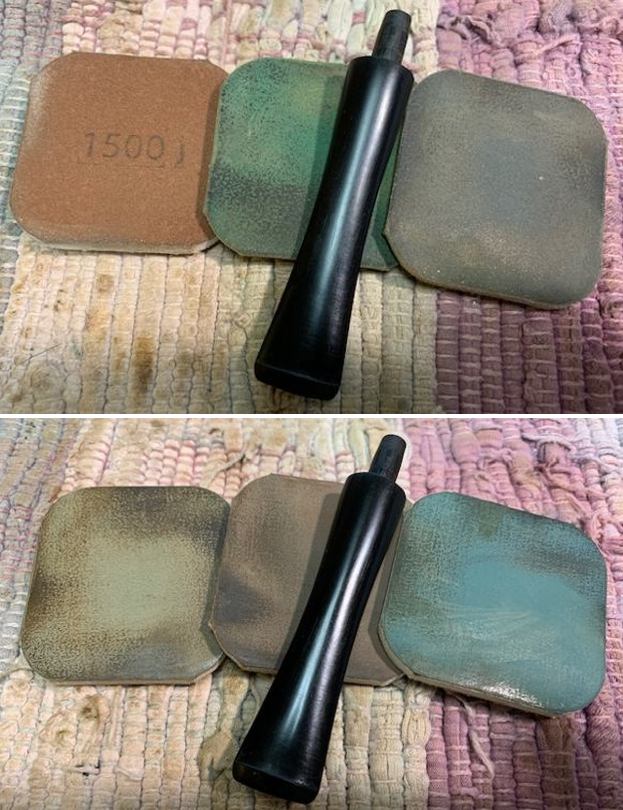
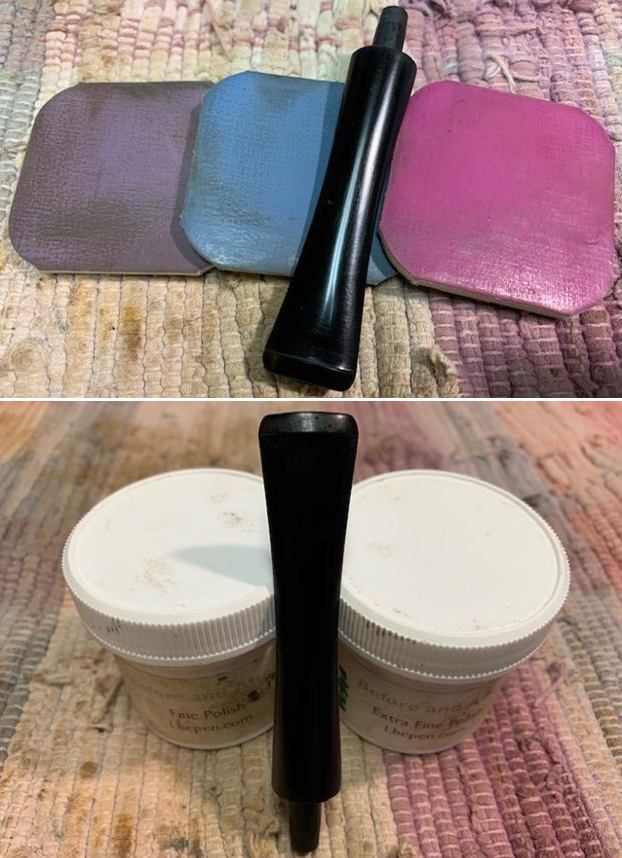
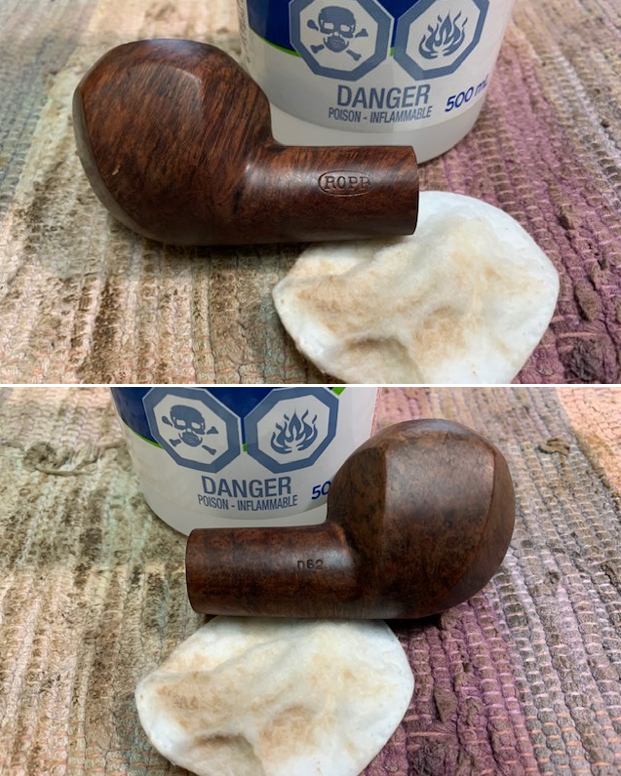
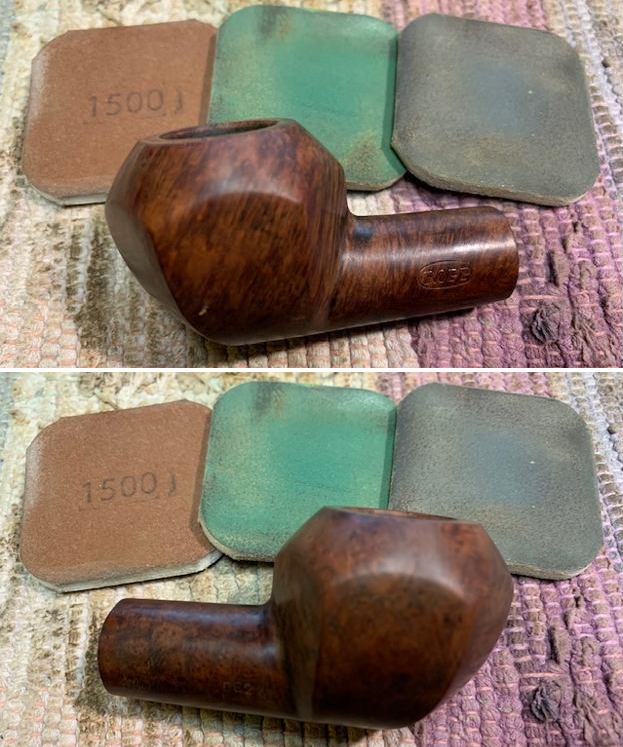
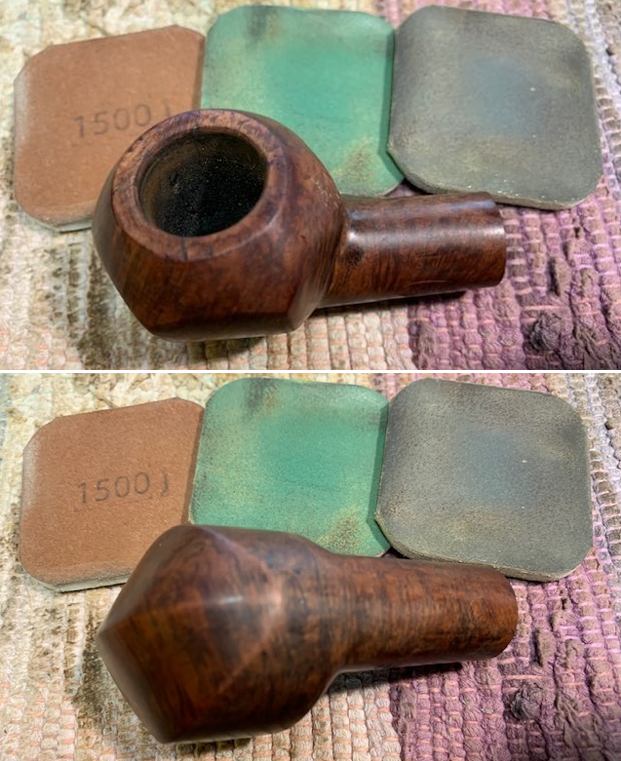
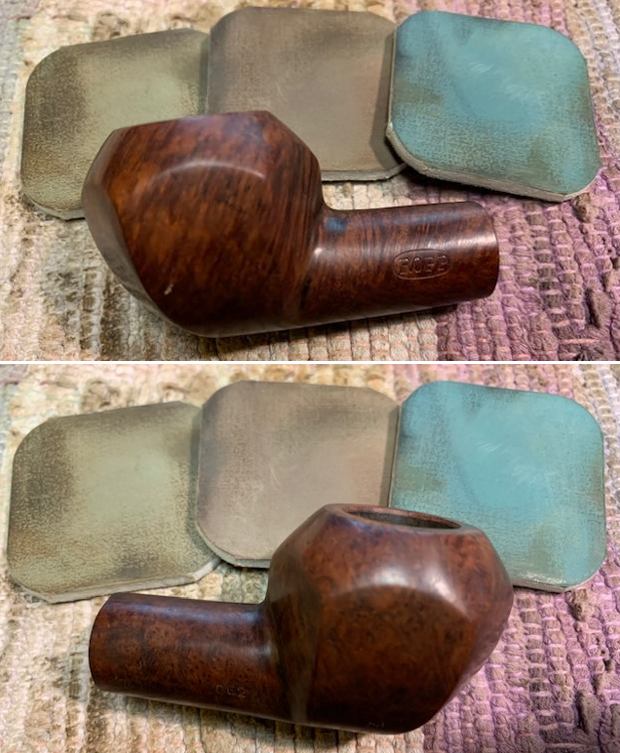
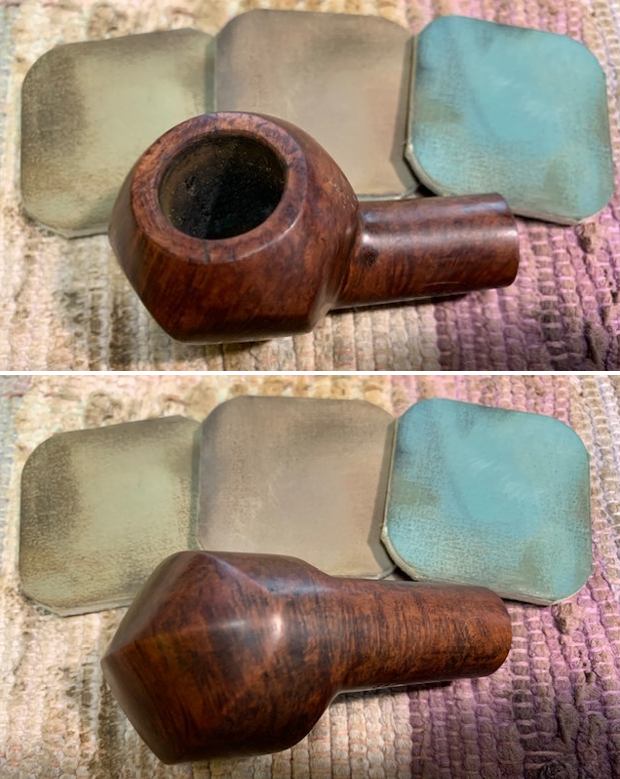
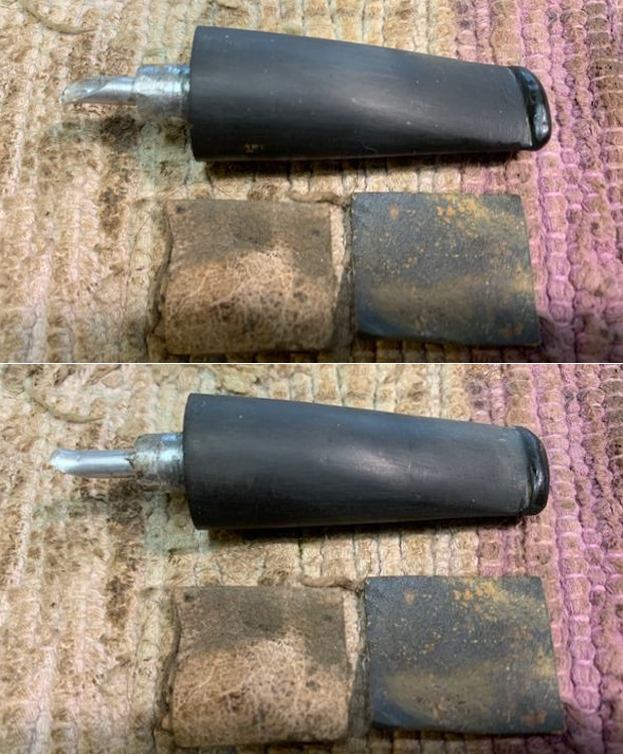
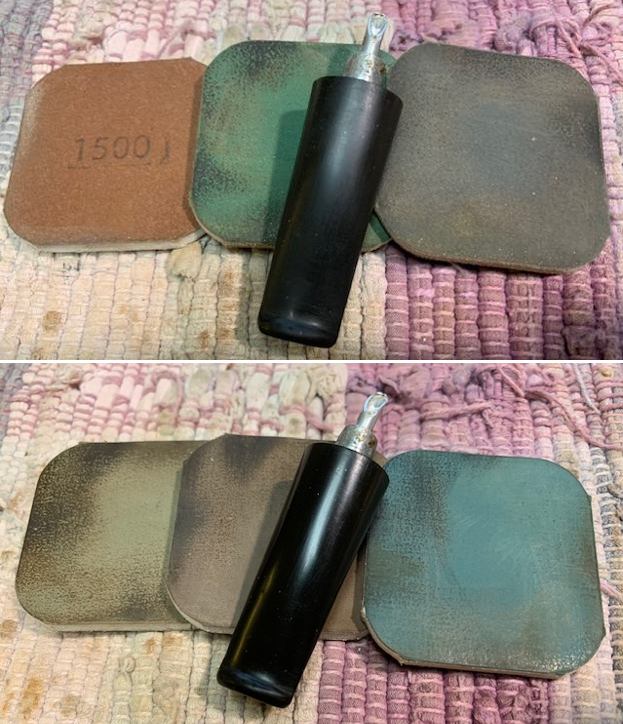
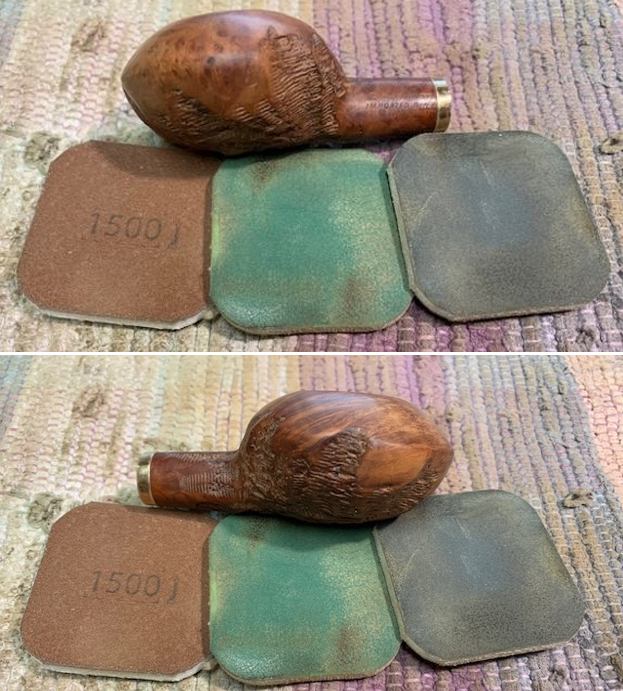
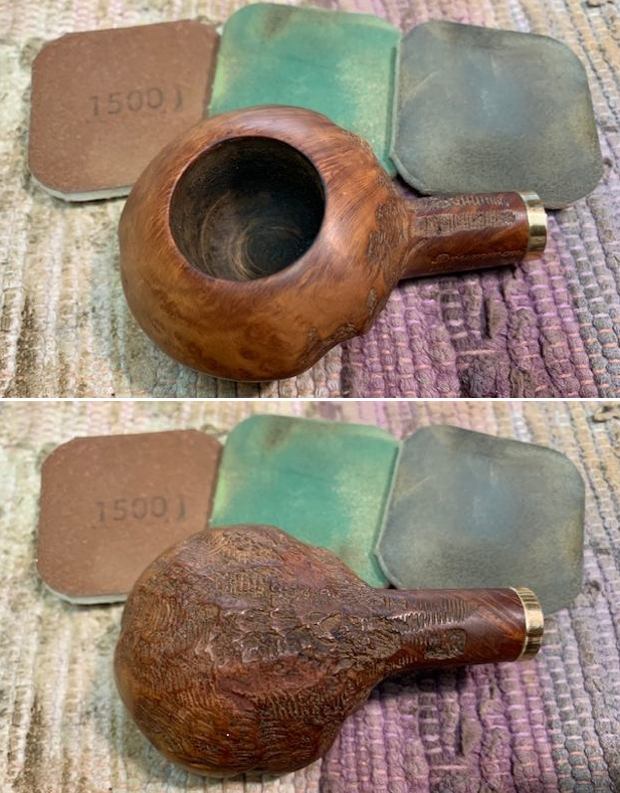
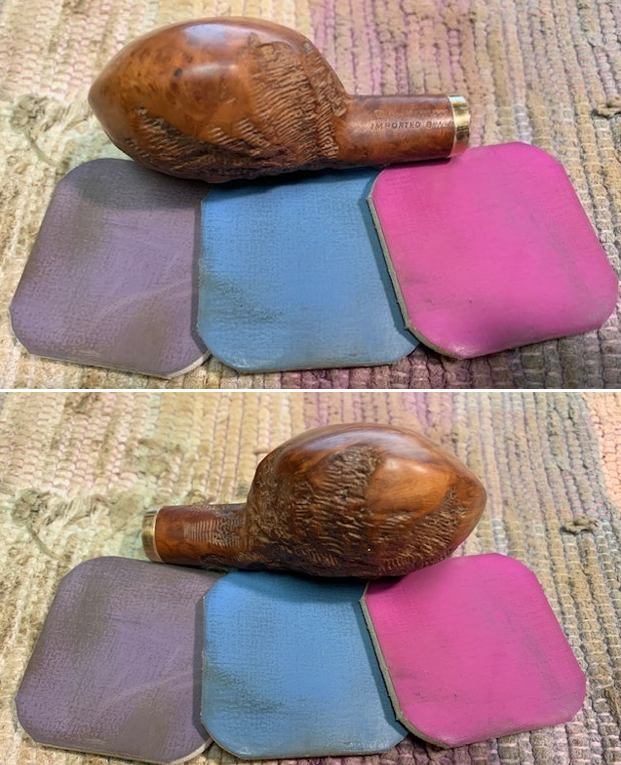
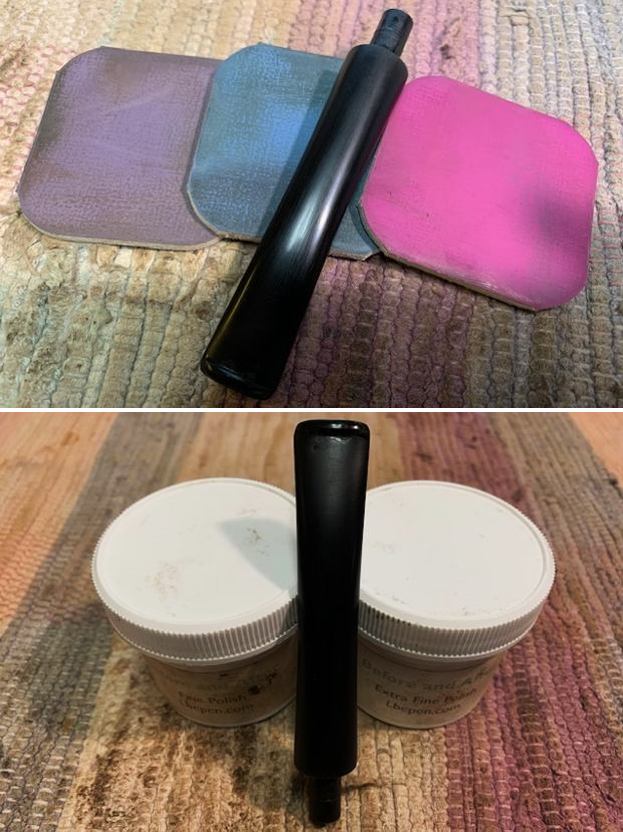
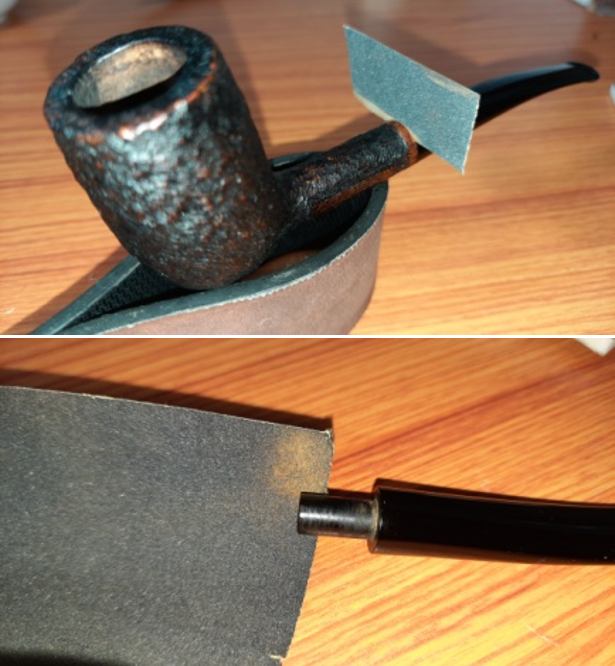
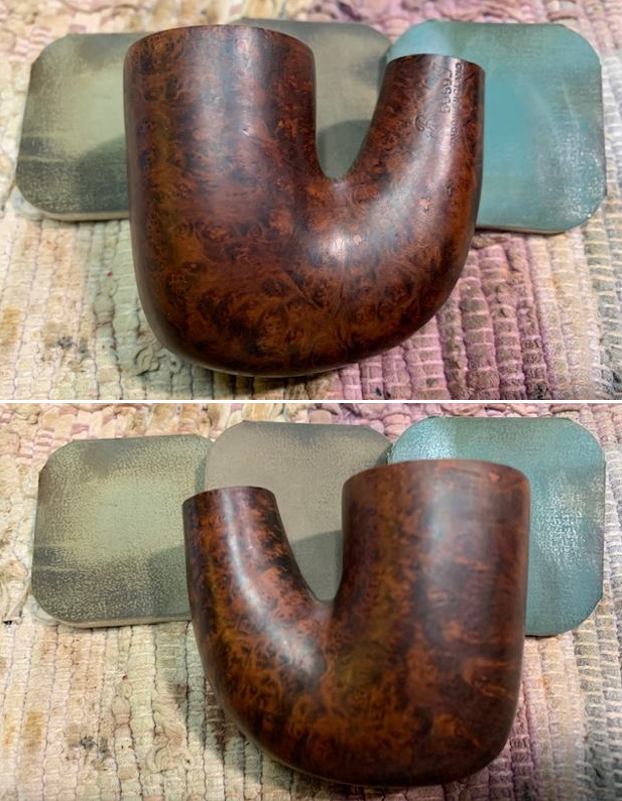
 To enhance the contrast and break the monotony of the black stained stummel and the soon-to-be shining black stem, I polished the smooth briar band at the shank end, dry sanding with 1500 to 12000 grit micromesh pads.
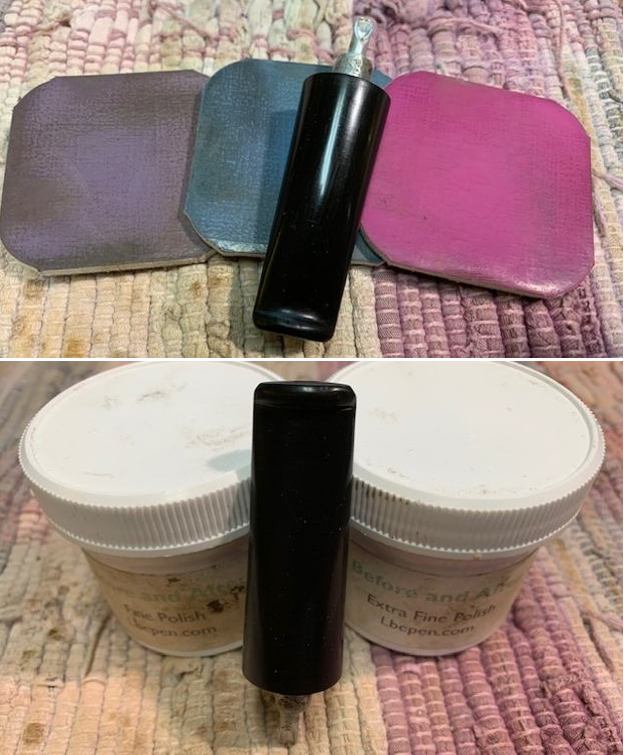
 To enliven the briar wood and further enhance the contrast of the band with the rest of the dark stummel surface, I rubbed a little quantity of “Before and After” balm in to stummel surface and set it aside for 20 minutes for the balm to be absorbed in to the briar. Thereafter I hand buffed it with a microfiber to deepen the shine. The stummel looks nice and vibrant.
 With the stummel refurbishment almost complete, I turned my attention to the stem which had been soaking in the solution now for nearly 24 hours. I cleaned the stem and the stem airway under running warm water and scrubbed the raised oxidation from the surface using a Scotch Brite pad and the airway with thin shank brush. I further removed the oxidation by scrubbing the stem with 0000 grade steel wool. Once the stem was dried with paper towels, I sand the bite zone to completely eliminate the raised oxidation in preparation for filling the tooth indentations and applied a little olive oil to rehydrate the stem.
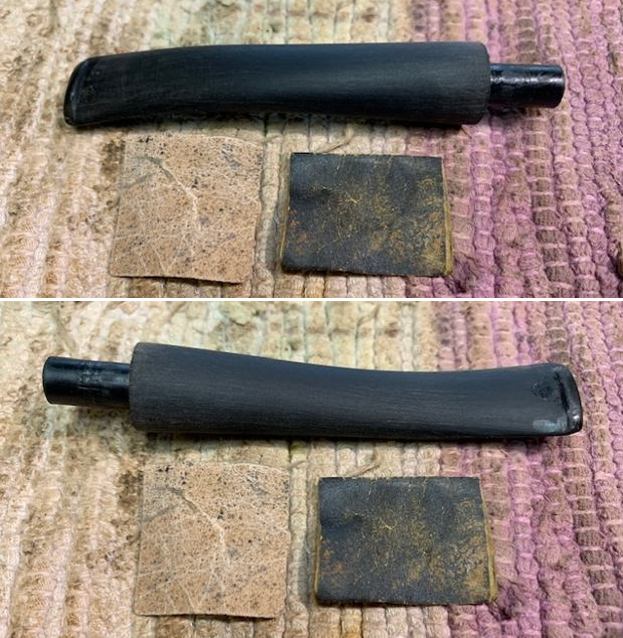
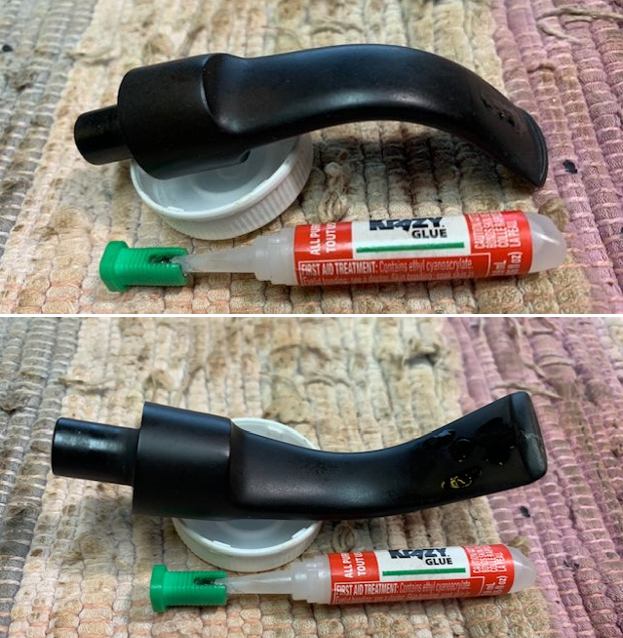
 I prepared a mix of CA superglue and activated charcoal and spot filled the tooth indentations and set it aside to cure overnight.
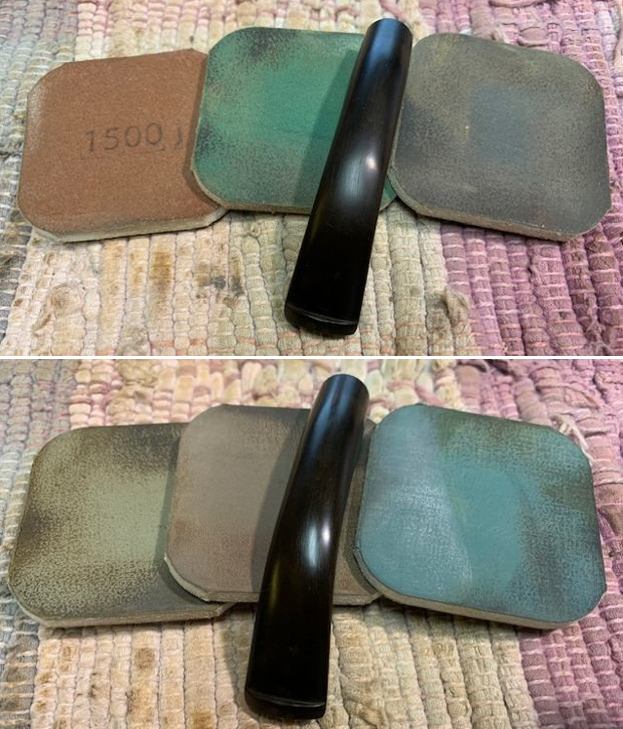
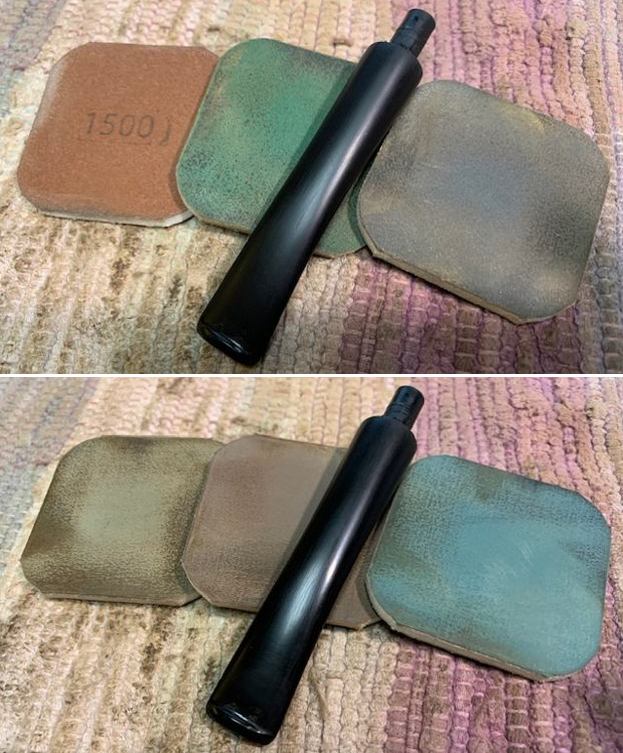
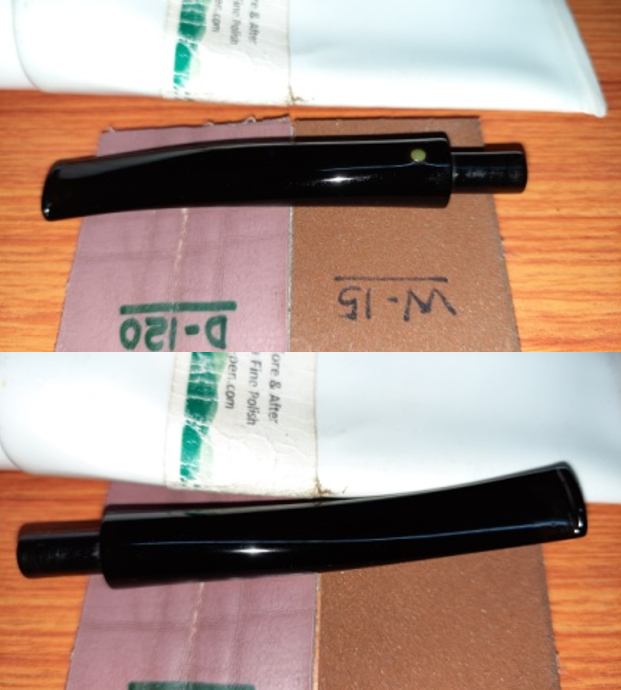
 Once the fills had cured completely, I sand the fill with a flat head needle file till I had achieved a rough match of the fill with the rest of stem surface. I continued the sanding cycle by dry sanding with 320, 400, 600 and 800 grit sand papers. I wet sand the entire stem with 1000, 1500 and 2000 grit sand papers. This not only ensured a nice blend of the filled areas with the rest of the stem surface, but also removed the oxidation from the surface. I rubbed the stem surface with some EVO and set it aside to be absorbed in to stem surface. Thereafter, I launched a second determined assault on the stem, subjecting it to the complete cycle of micromesh polish. The end result is a gorgeous, smooth and shiny looking black of the vulcanite stem.
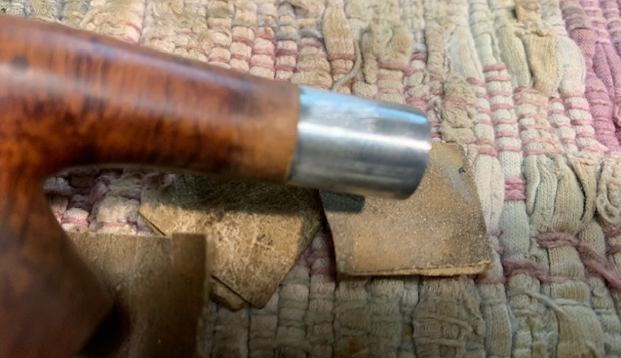
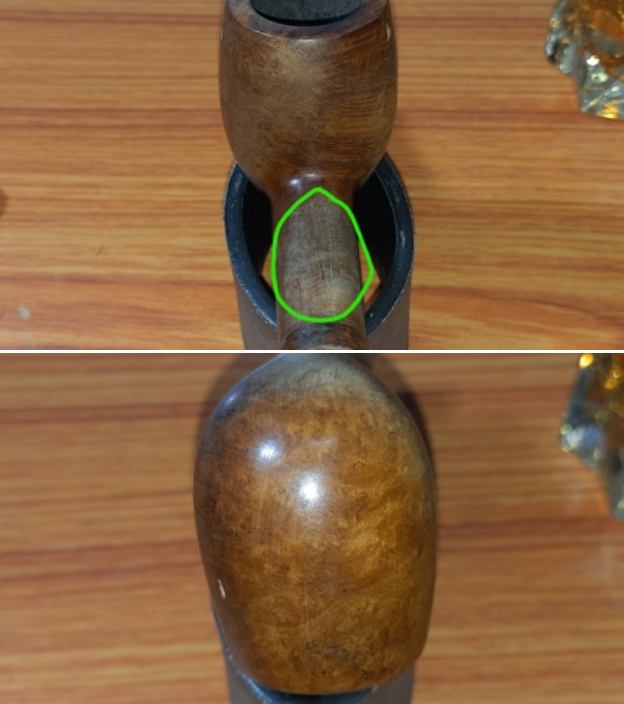
 When the stem and the stummel were united for a polish using carnauba wax, I saw a mysterious gap appear between the stem and shank face. This gap was definitely not noticed during my initial inspection and neither the stem face was shouldered during the polishing process. I really am not aware about the reasons for this happenstance, but now that it has been noticed, it needs to be addressed. I attach the stem to the shank and insert a piece of 320 grit sand paper between the two and sand the shank face opposite to the gap. I also gave a few turns to the tenon end over the same sand paper. I continued the micro adjustments till I had achieved a perfect seating of the stem in to the shank end. Just a word of caution here; please be extremely diligent and careful during this step as it has the potential to ruin the pipe completely due to over sanding. Remember “LESS IS MORE” and “SAND ONCE AND CHECK TWICE/ THRICE”.
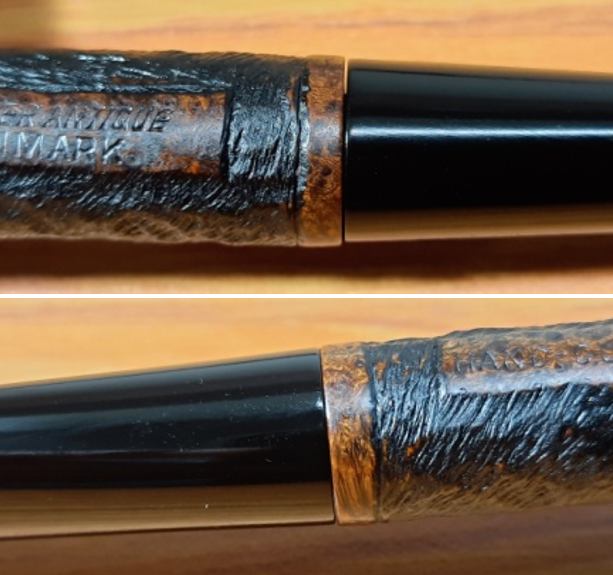
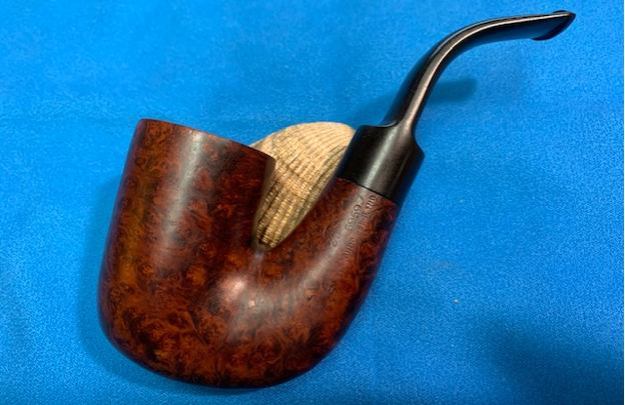
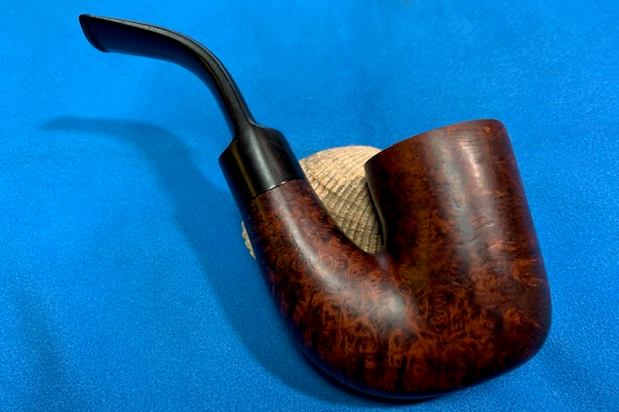
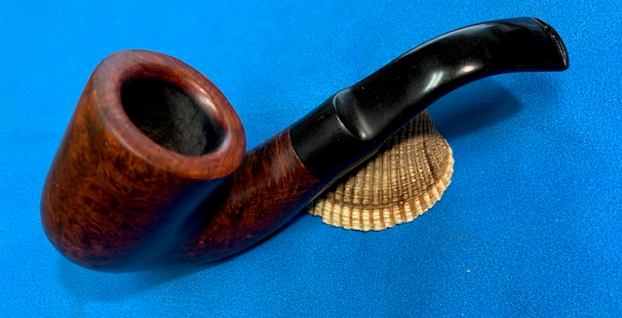
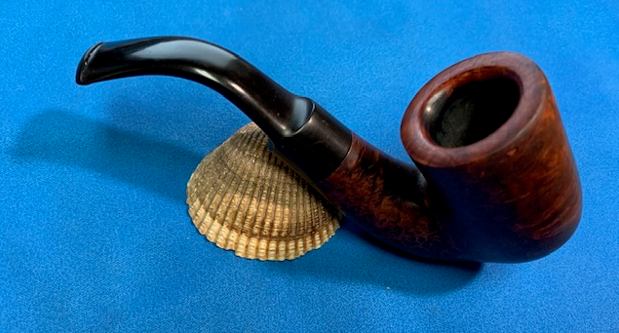
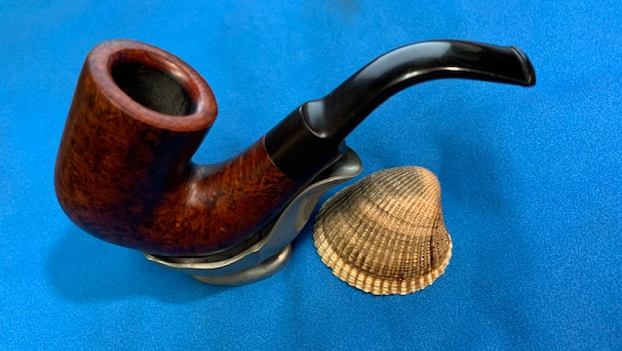
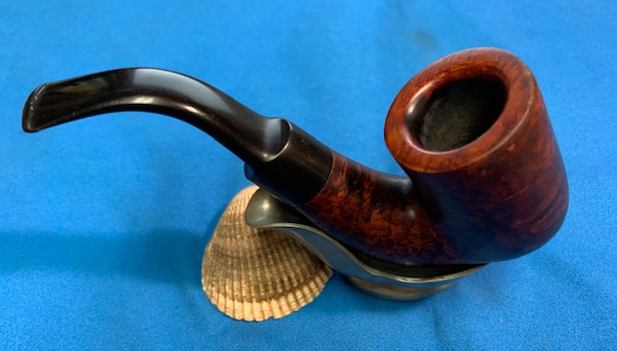
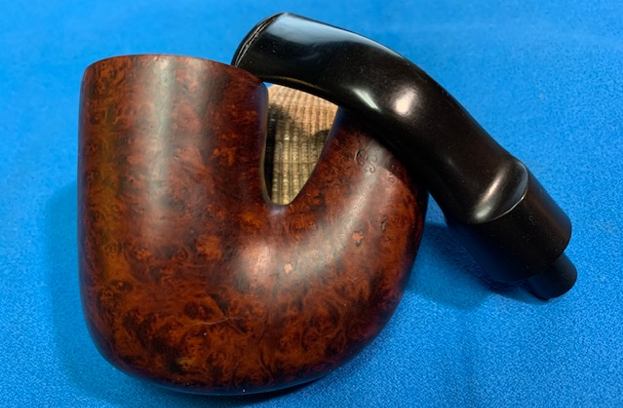
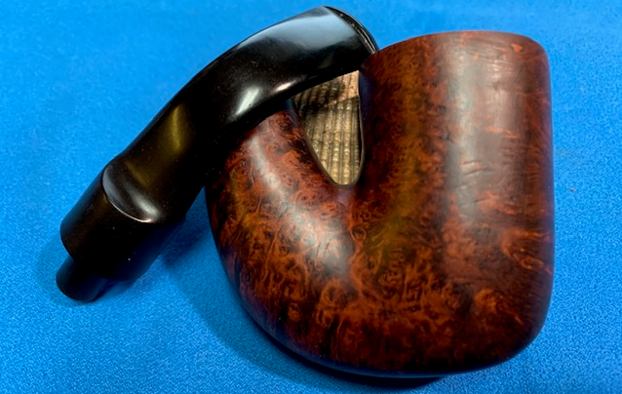
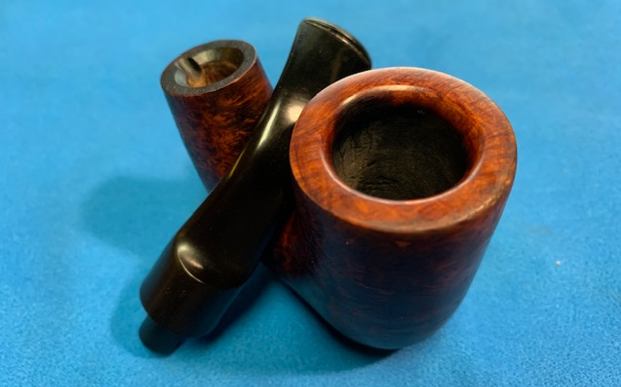
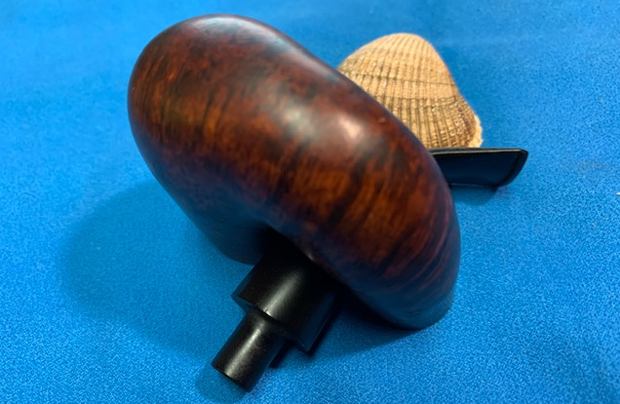
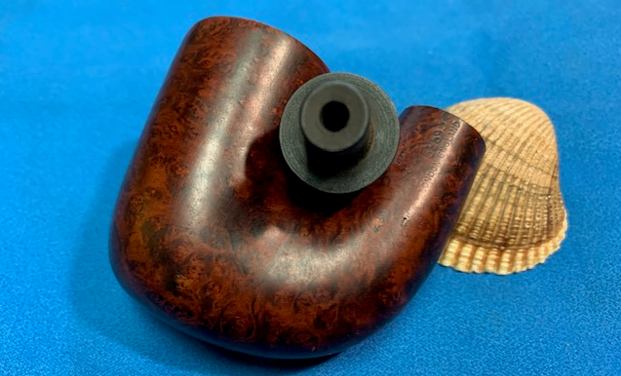
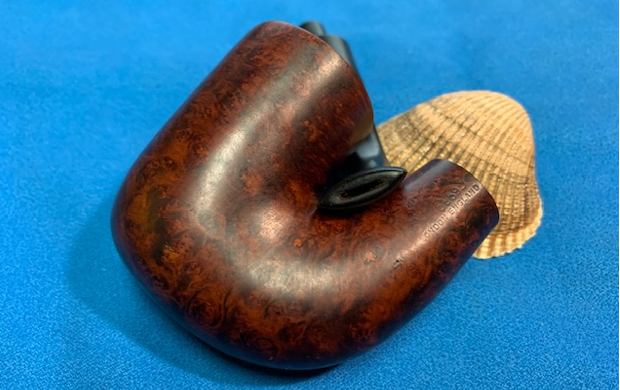
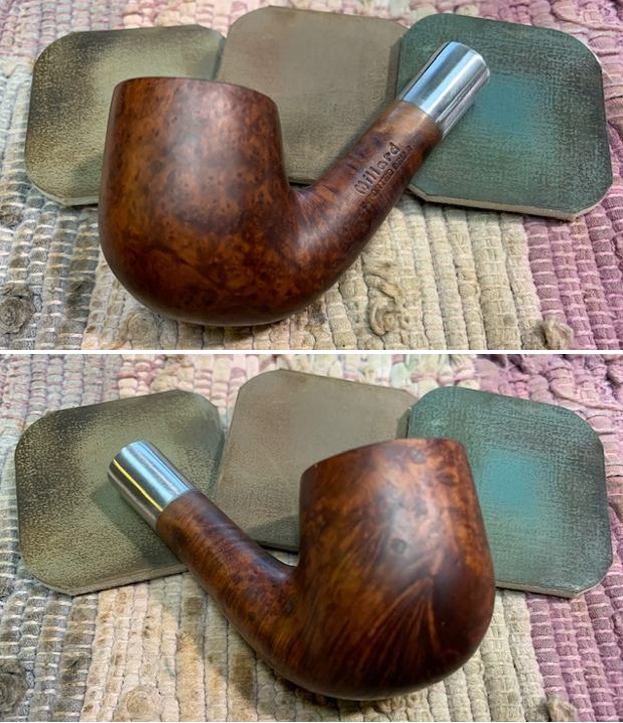
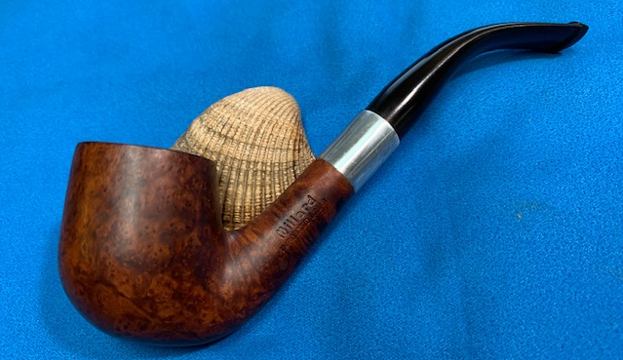
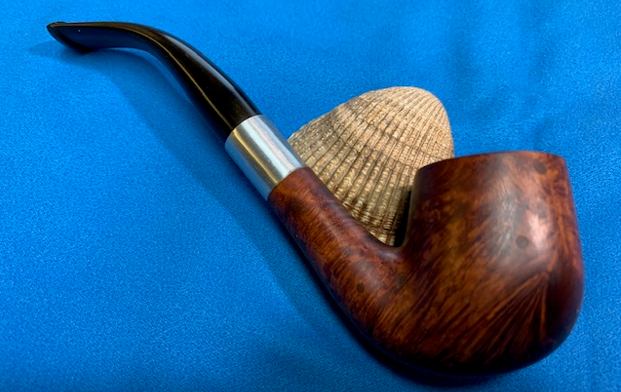
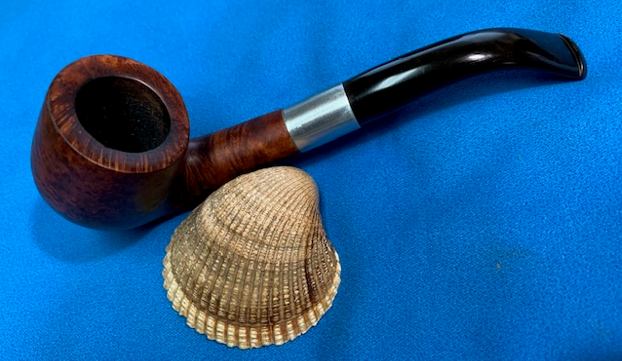
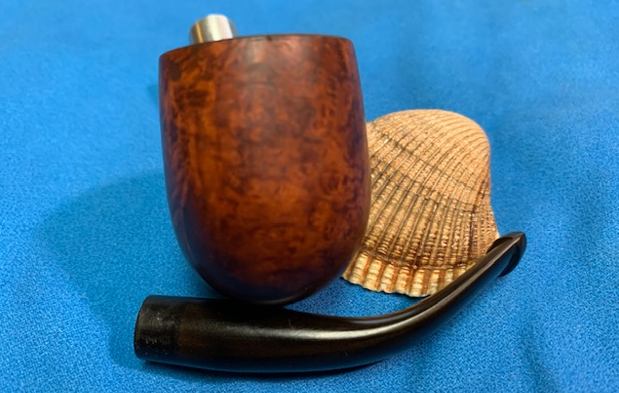
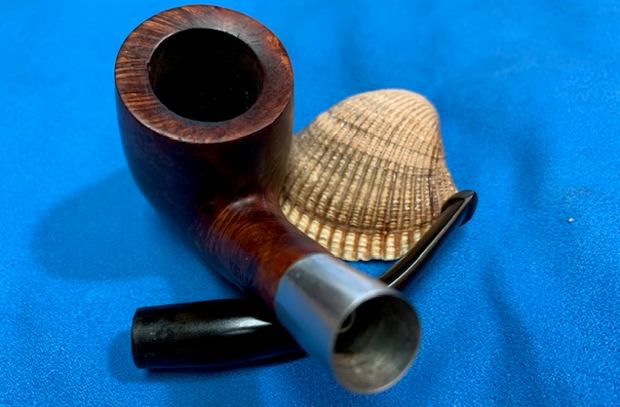
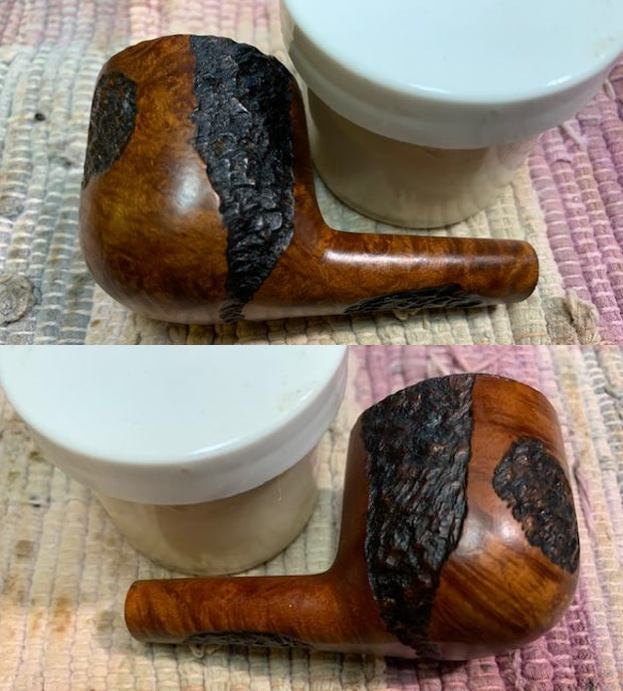
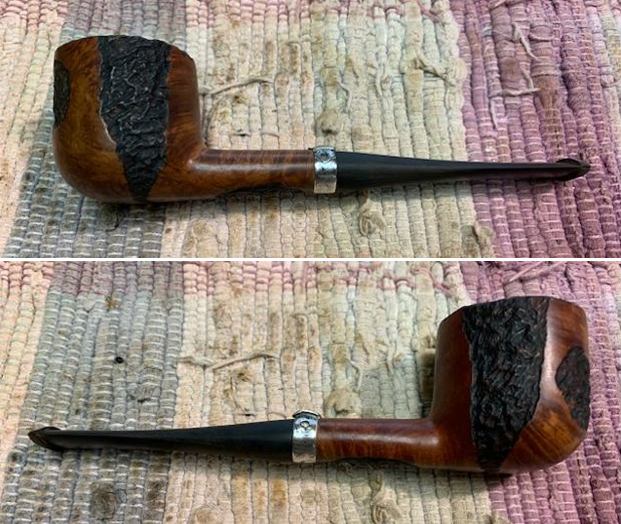
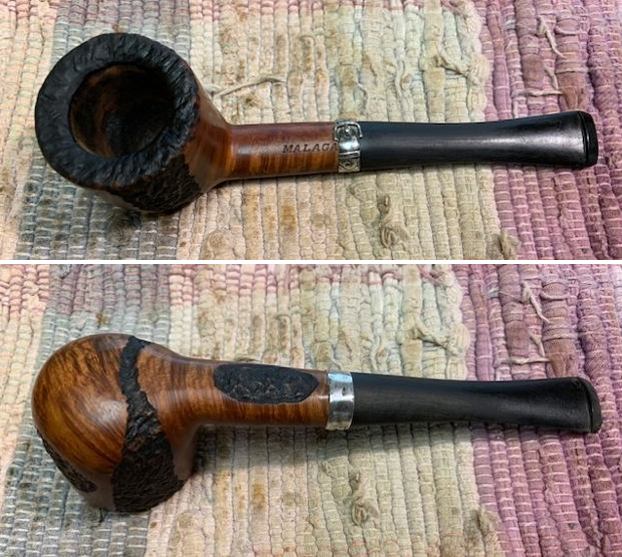
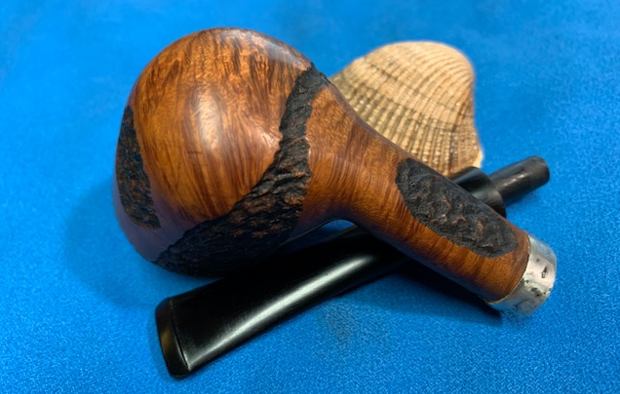
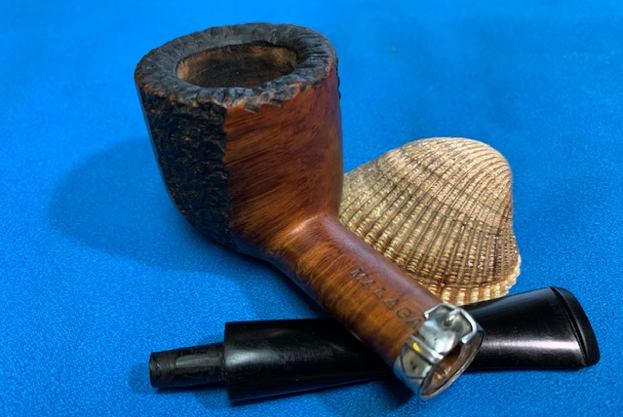
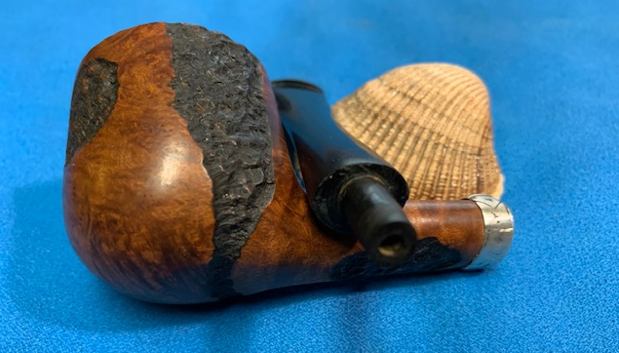
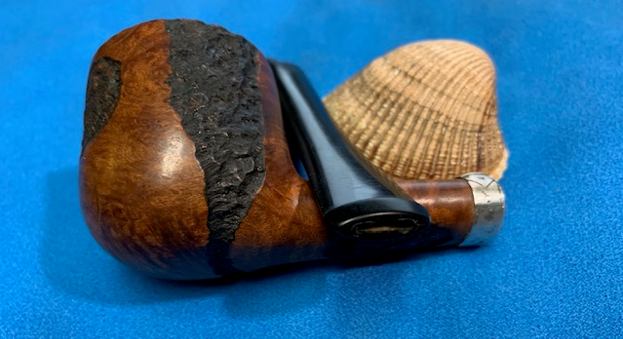
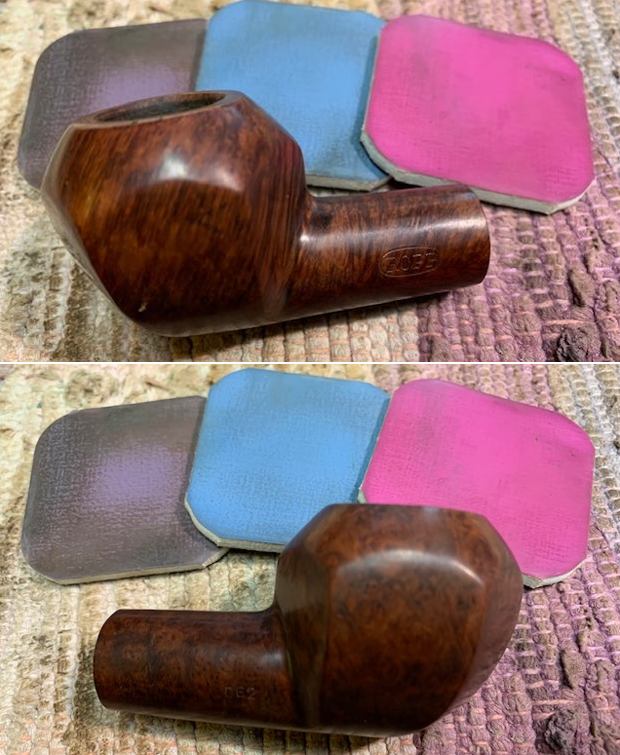
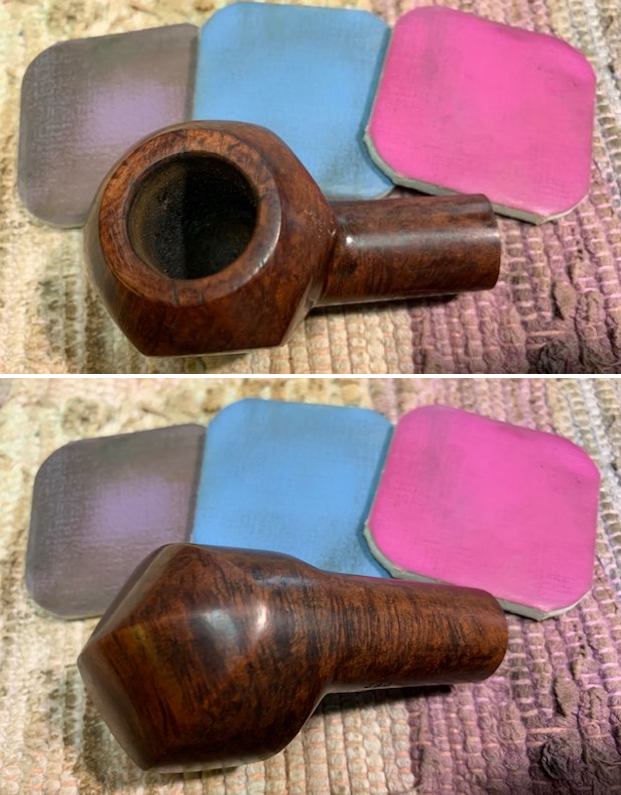
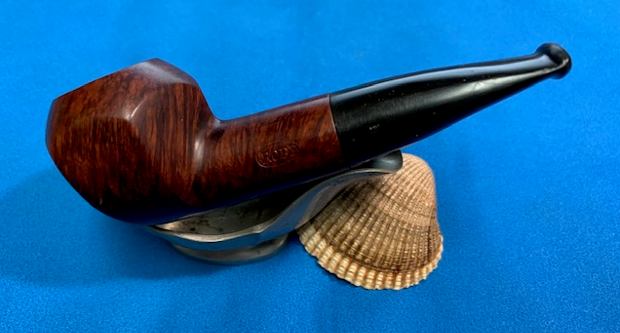
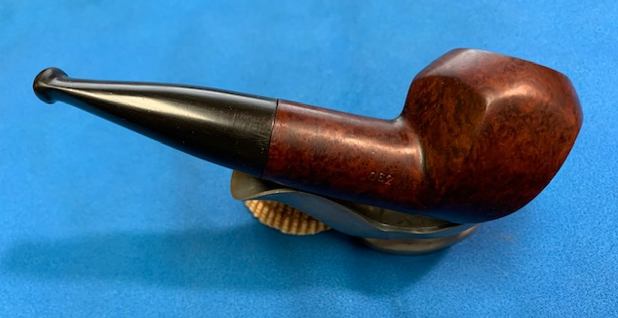
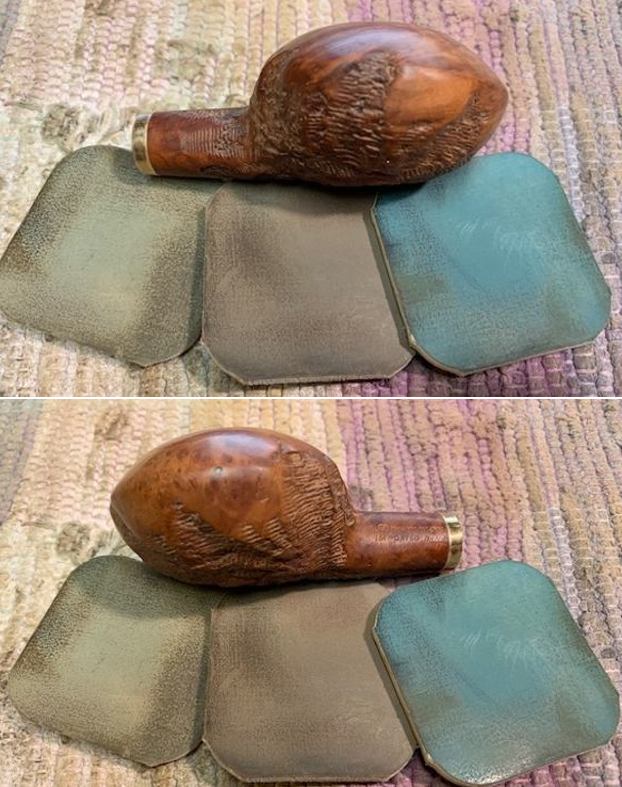
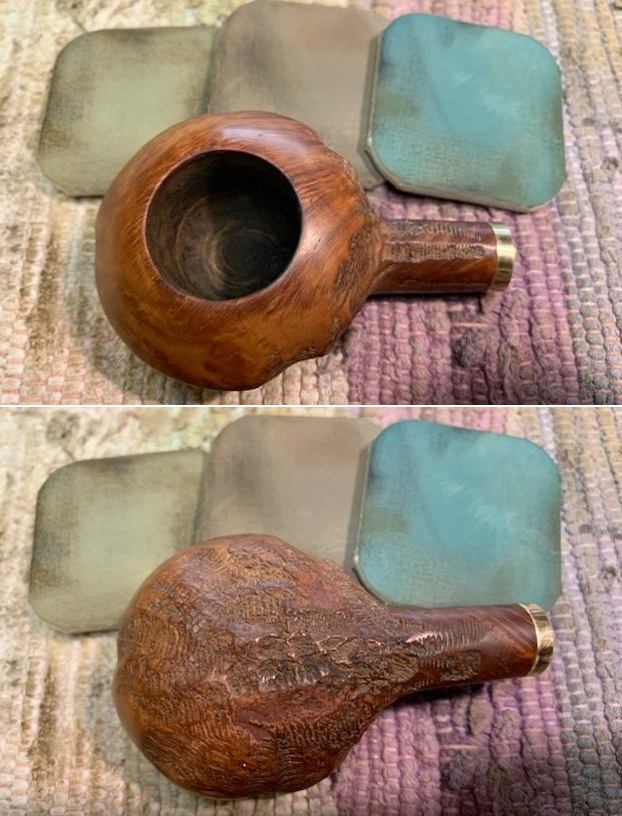
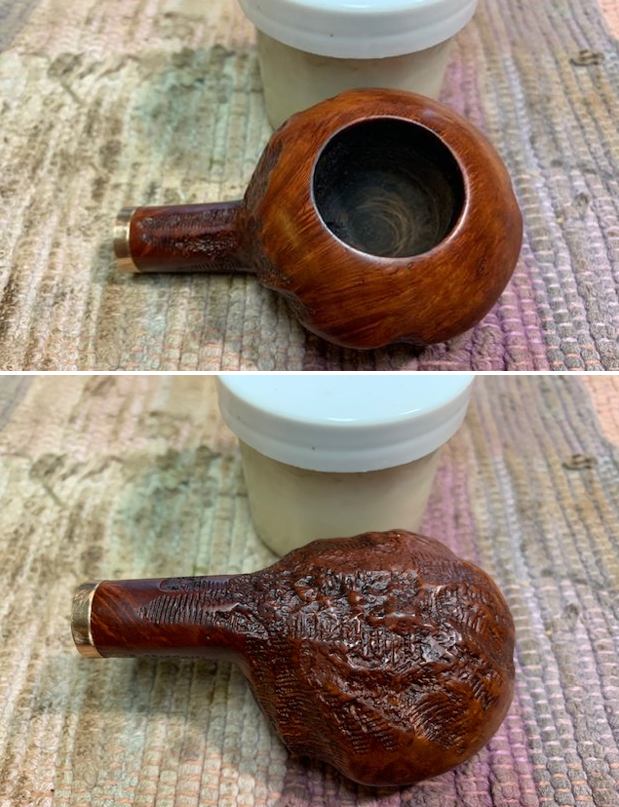
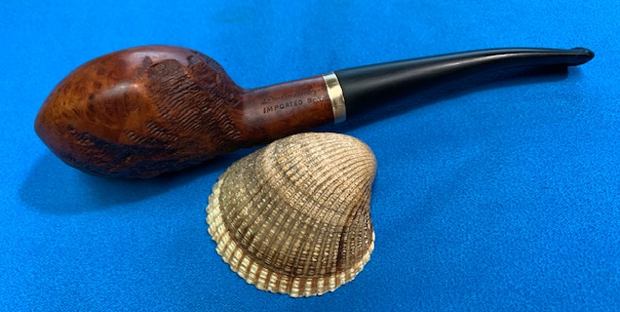
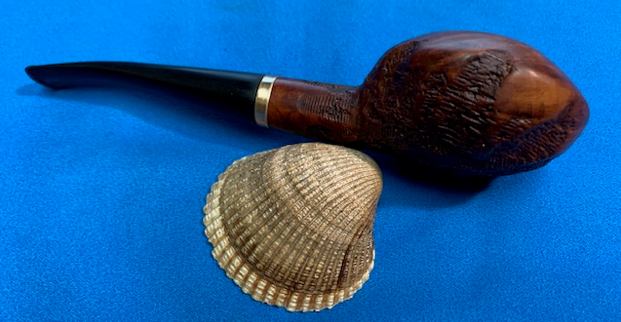
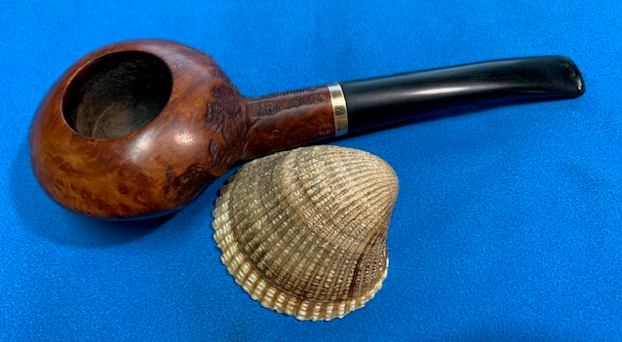
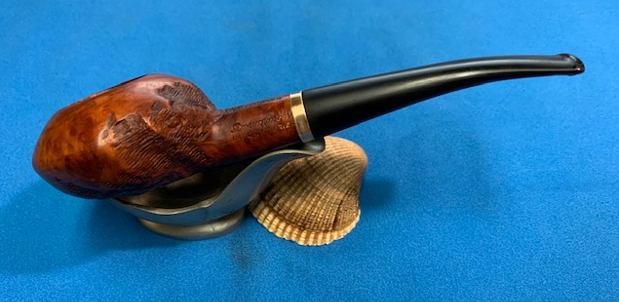
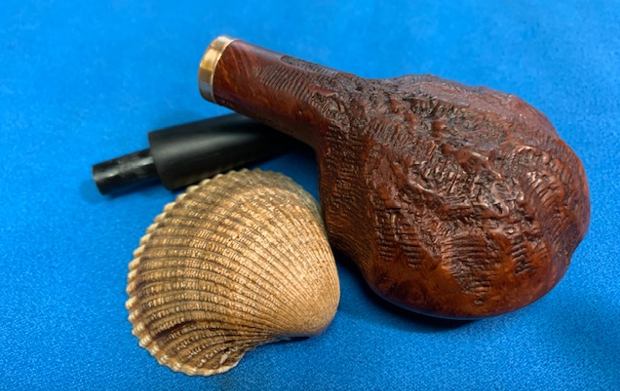
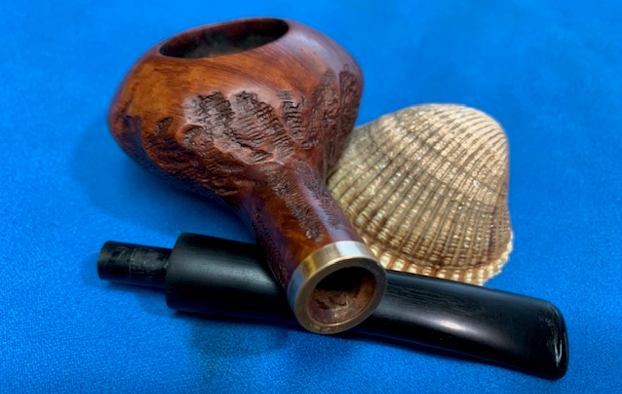
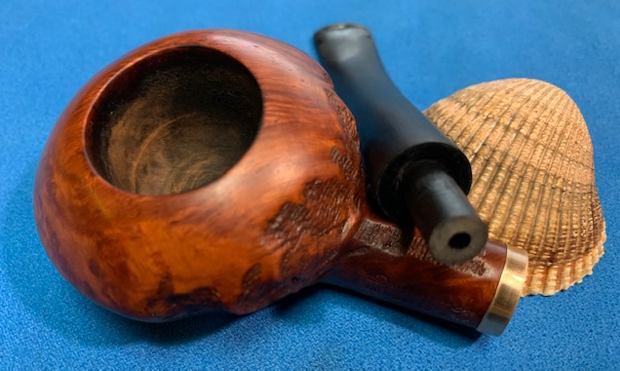
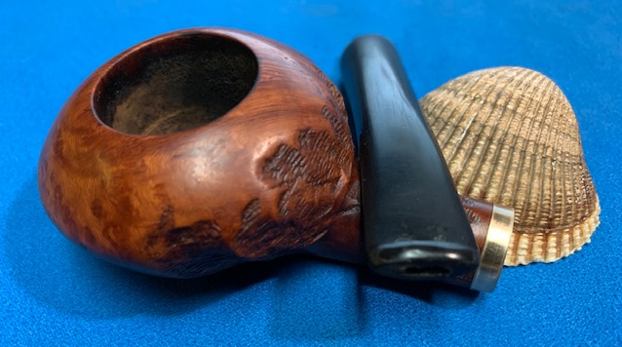
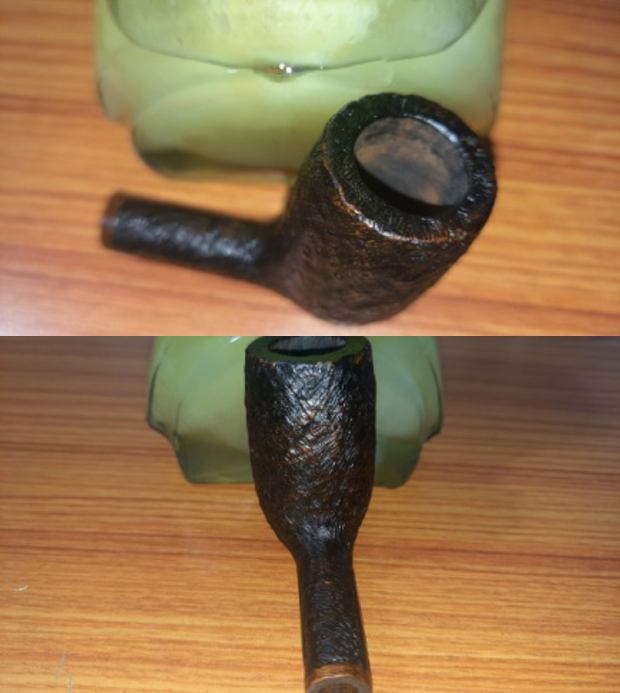
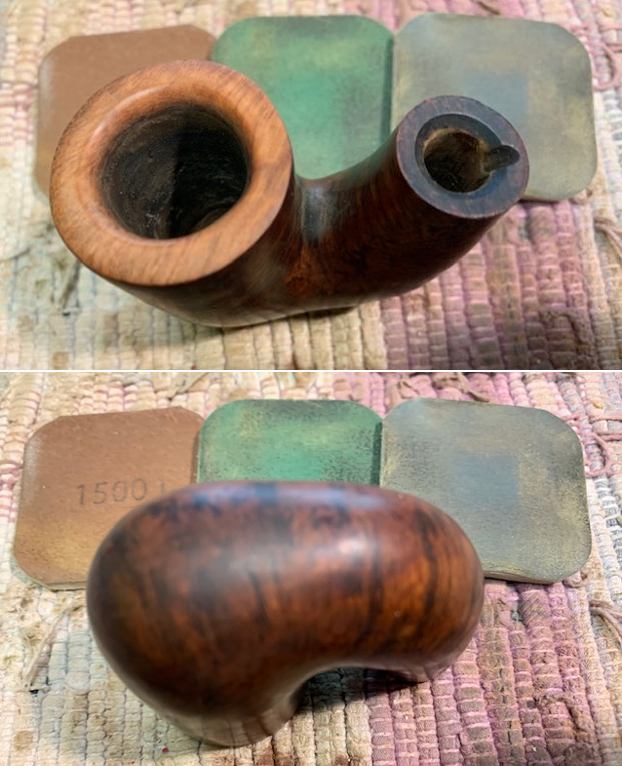
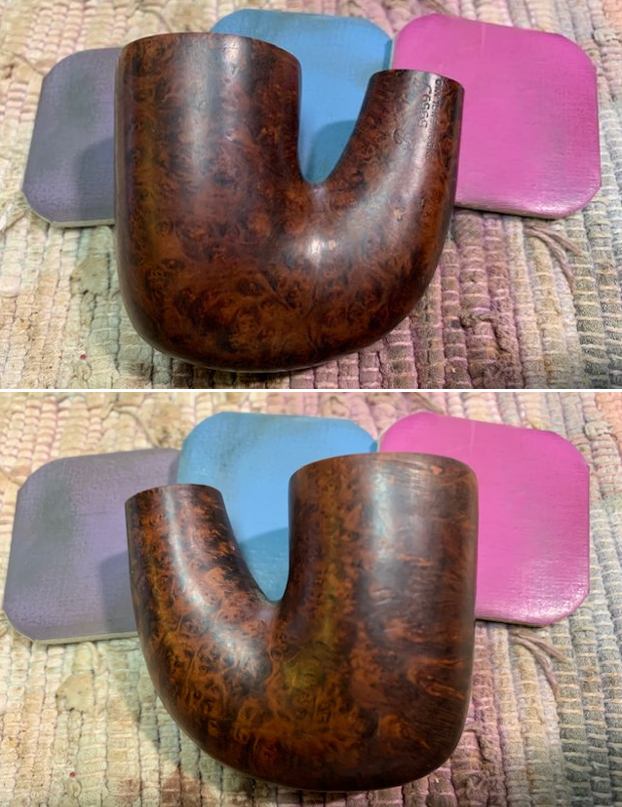
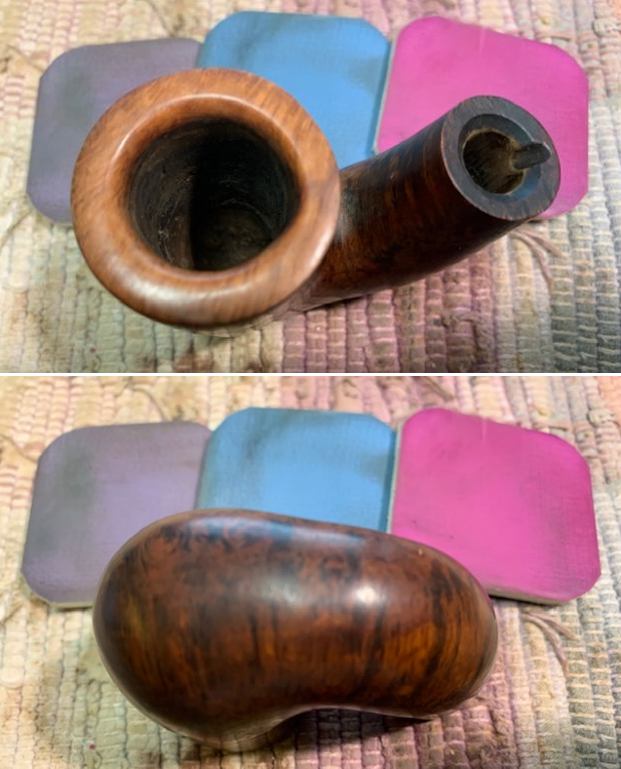
 This was followed by the routine regime of polish with carnauba wax using my hand held rotary tool. The Brakner looks unique and oozes quality.
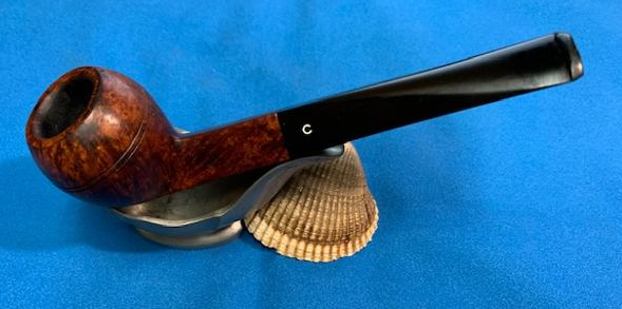
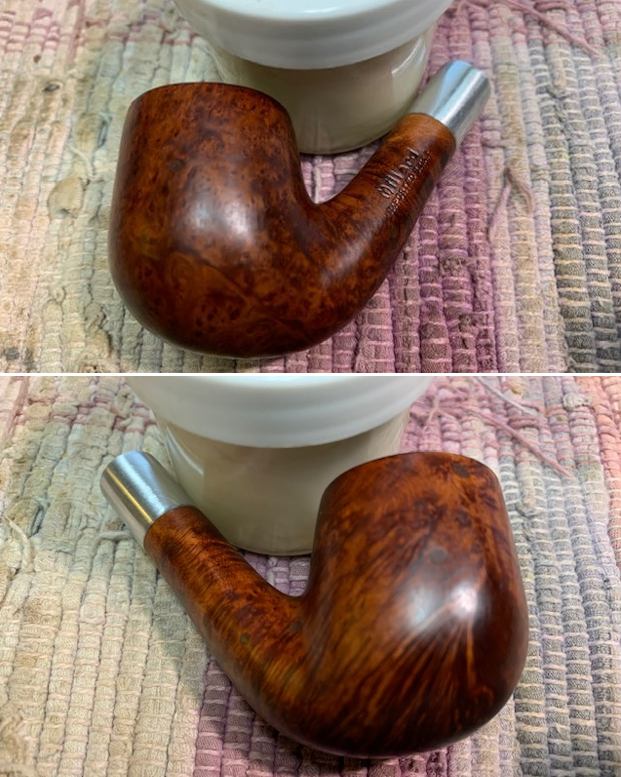
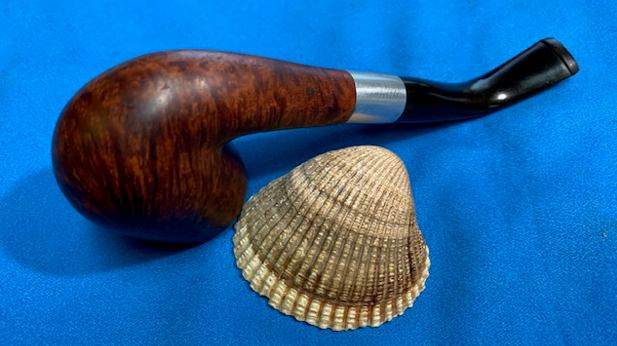
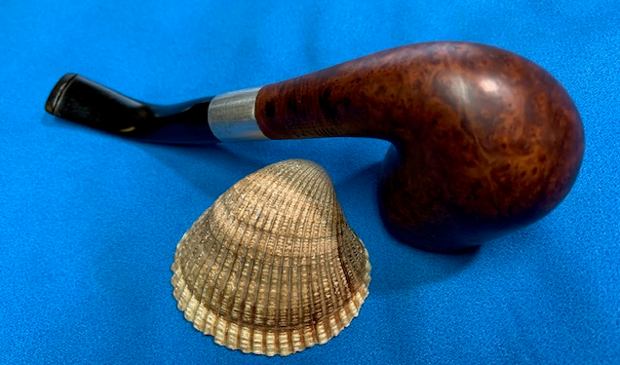
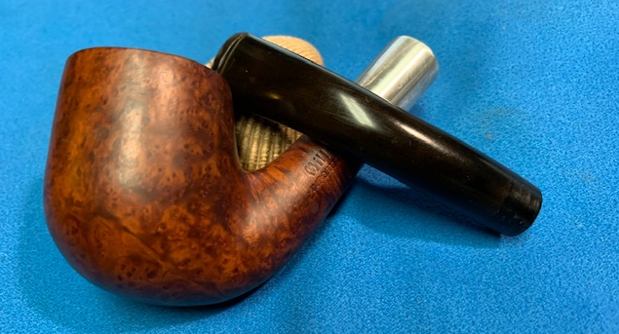
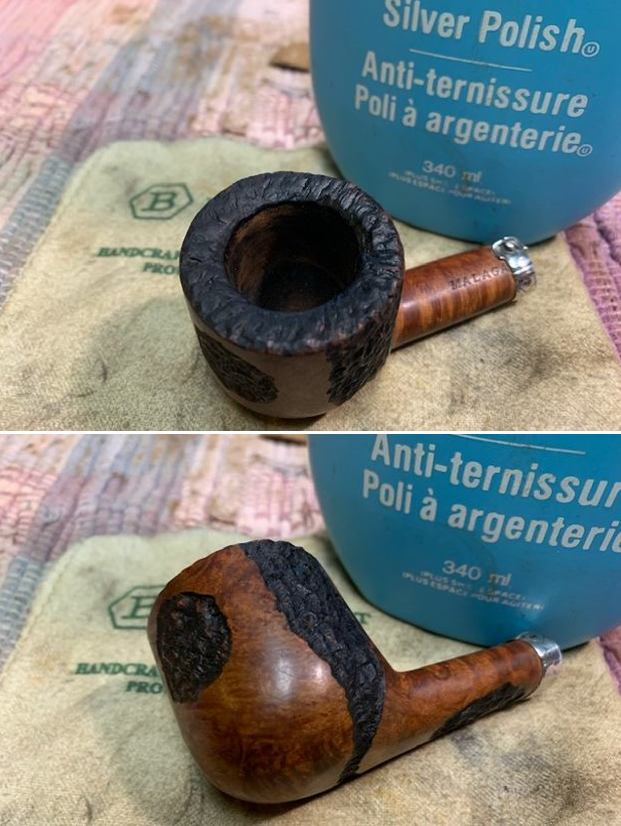
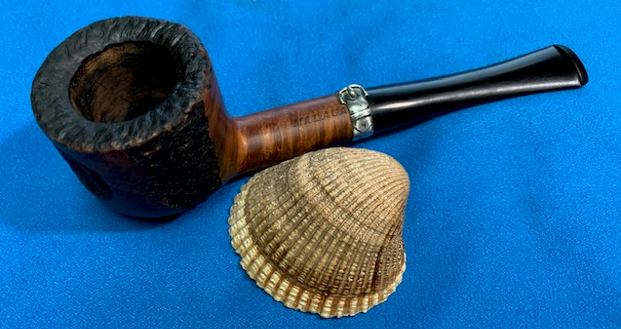
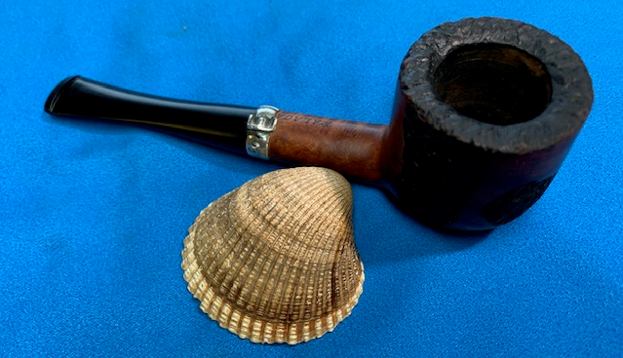
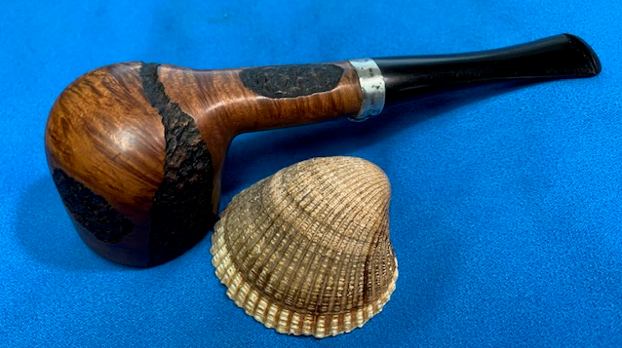
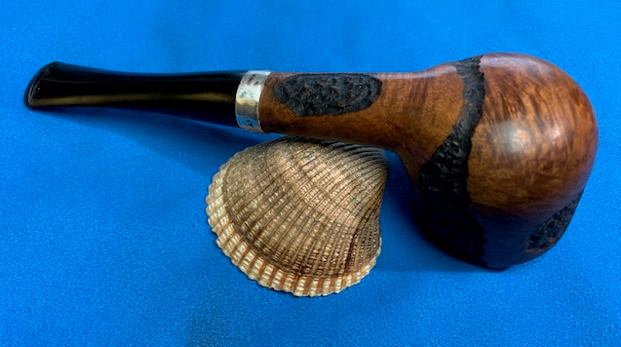
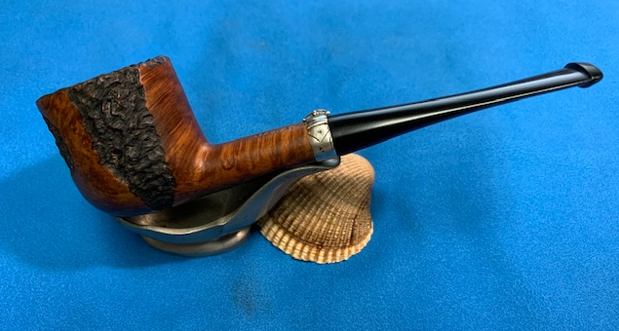
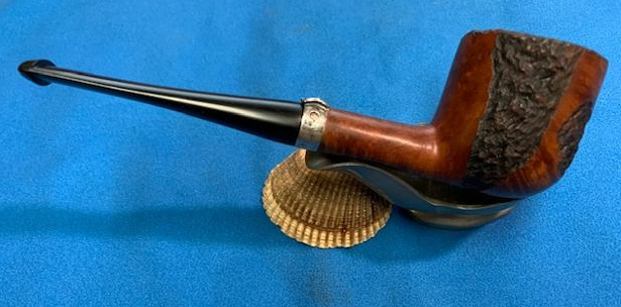
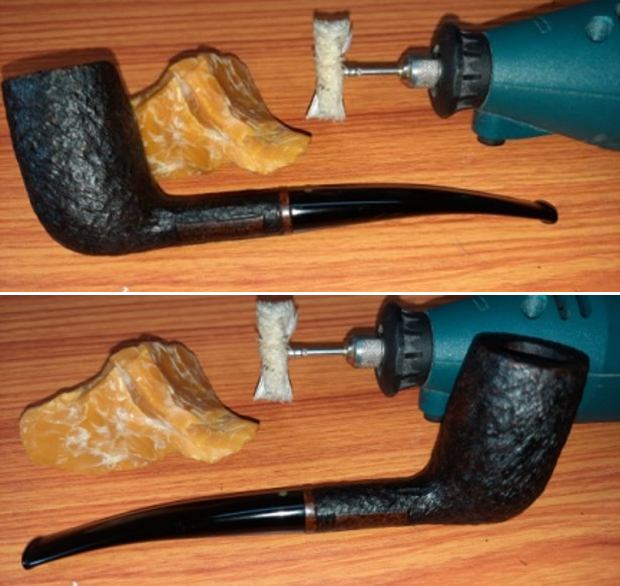 To deepen the shine, I gave a vigorous rub to the entire pipe with a microfiber cloth. This is truly a beautiful pipe and will be joining my now increasing personal collection. Here are a few pictures that should give you a fair idea about the end results…. Thank you all for being a part of this journey and support extended.


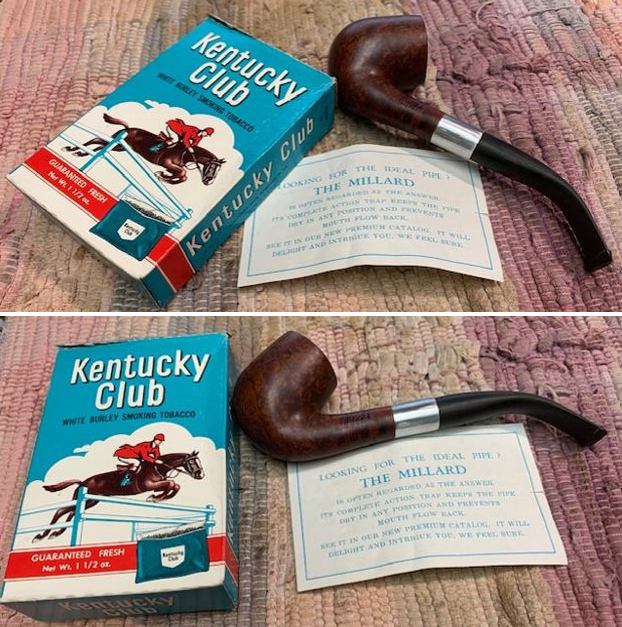
 P.S.- I had requested my youngest daughter, Pavni, to help me repair the box which housed the pipe. This kind of work is right up there in her alley and she did oblige me. The box has been repaired solid and cleaned. Here are a few pictures of the box with the pipe.
 Praying for the health and safety of you and your loved ones…
So long until the next project.


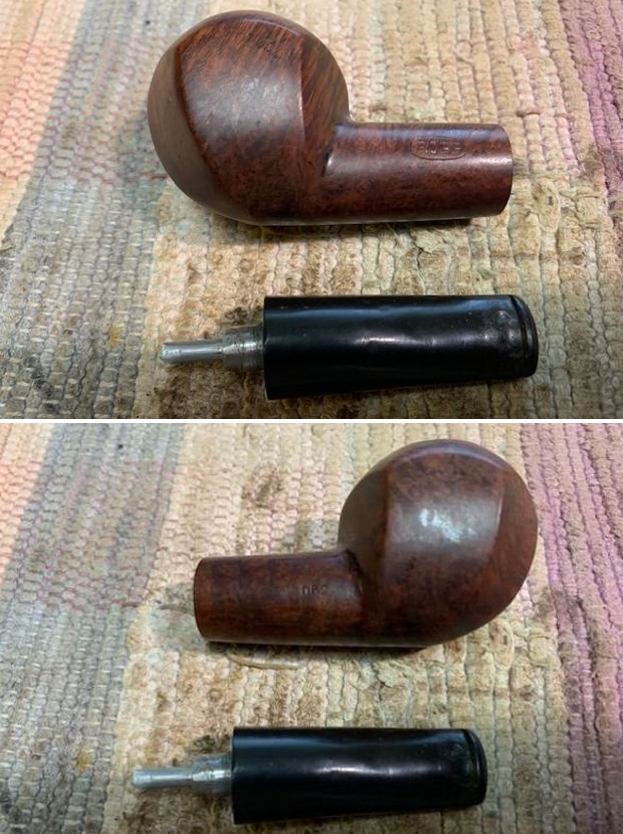
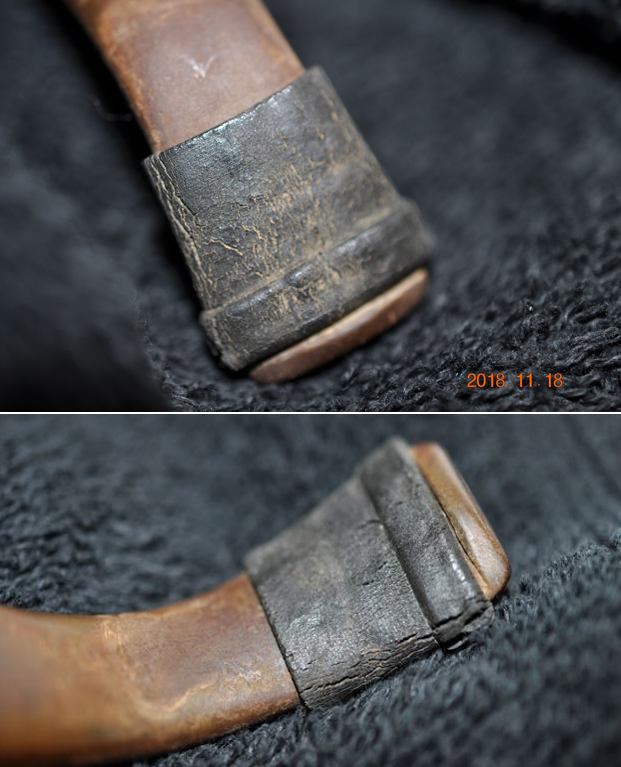
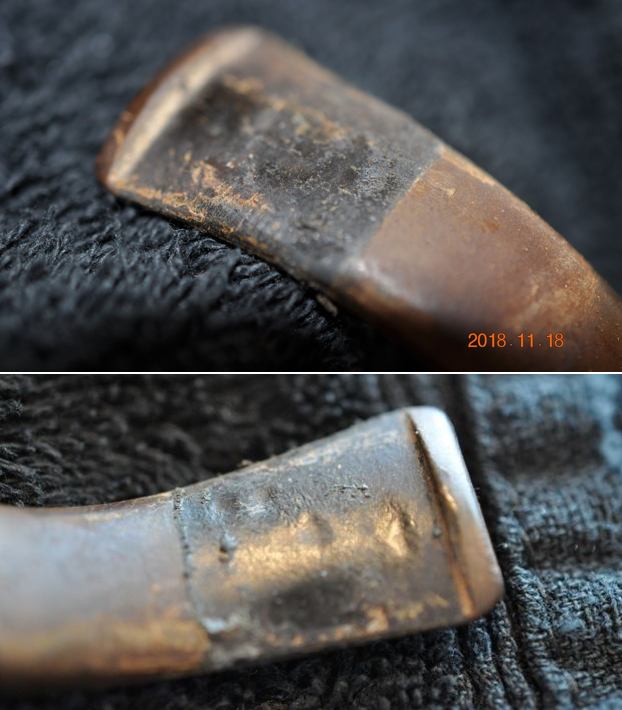
 He took some photos of the bowl, rim top and edges to show the condition of the pipe before he started. There appeared to be some damage on the inner edge at the back of the bowl. The outer edge at the front was a real mess. He took photos of the stem with the Softee Bit in place and with it removed. It really is a mess with oxidation, calcification and tooth marks and chatter on both sides of the stem.
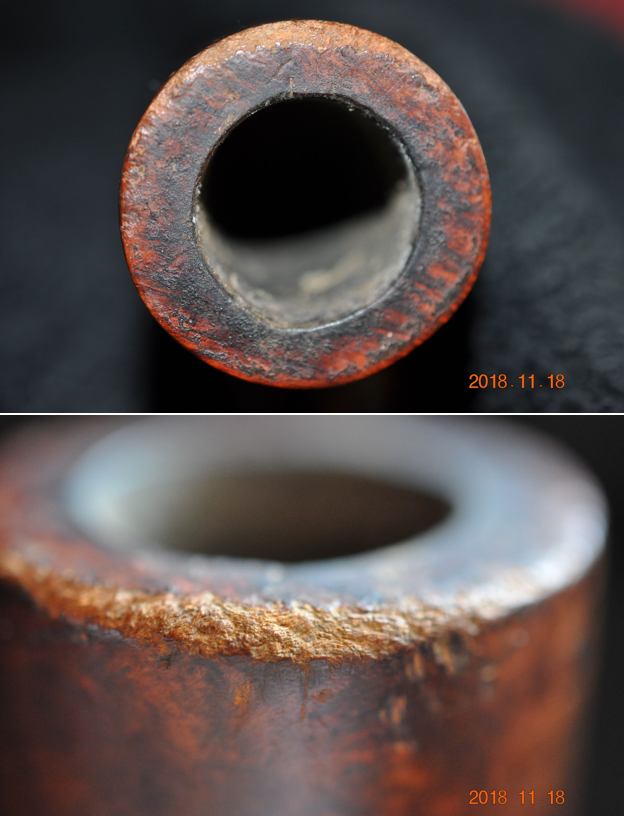
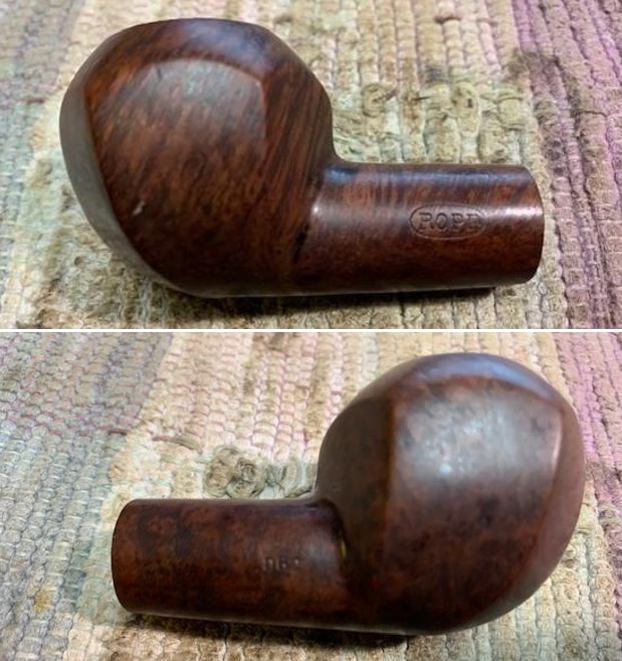
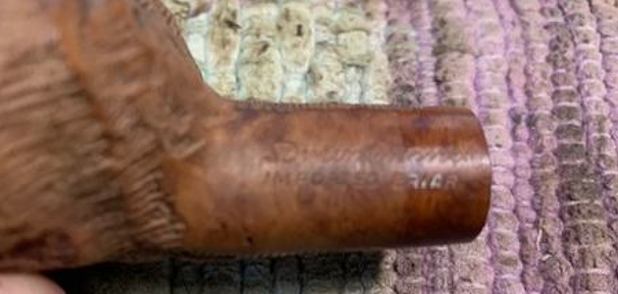
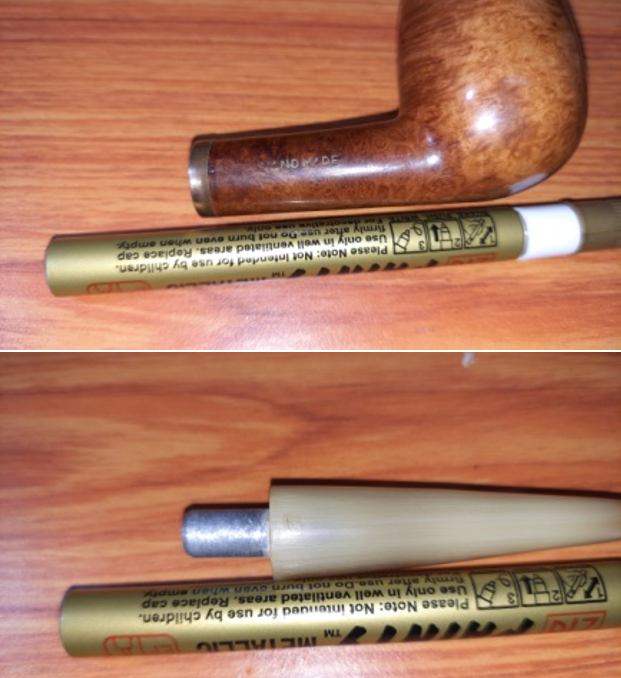
 He took photos of the stamping on the shank sides. It is clear and readable as is noted above.
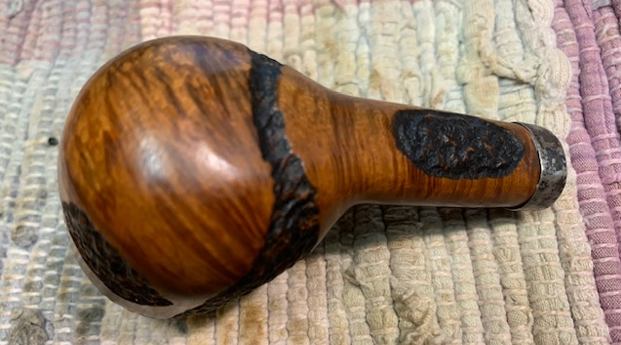
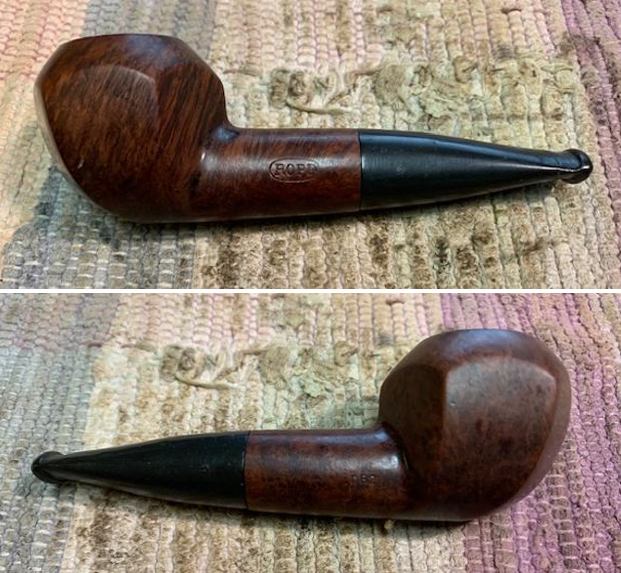
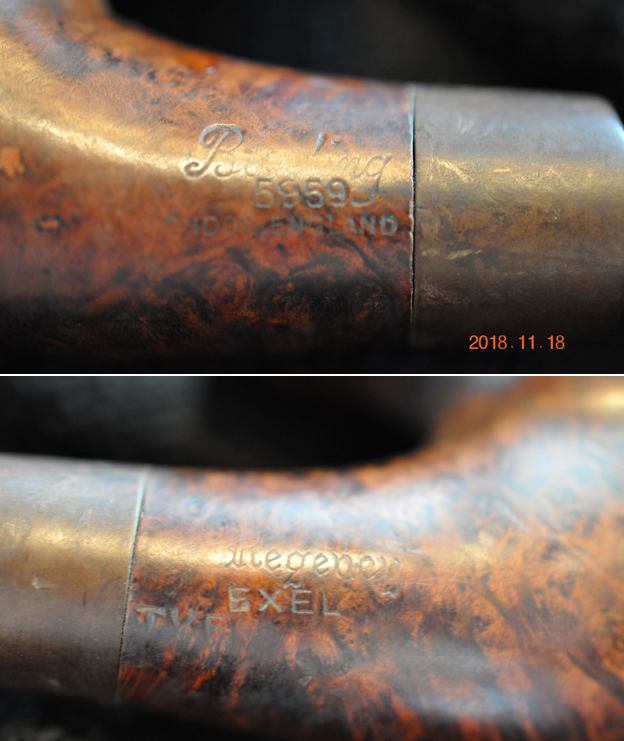 He took a photo of the side and heel of the bowl to show the grain that was on this particular piece of briar. It was a beauty.
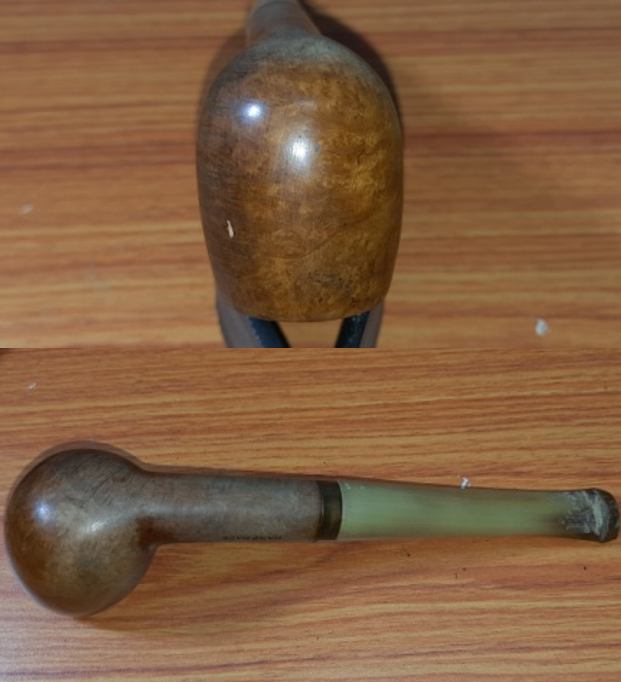
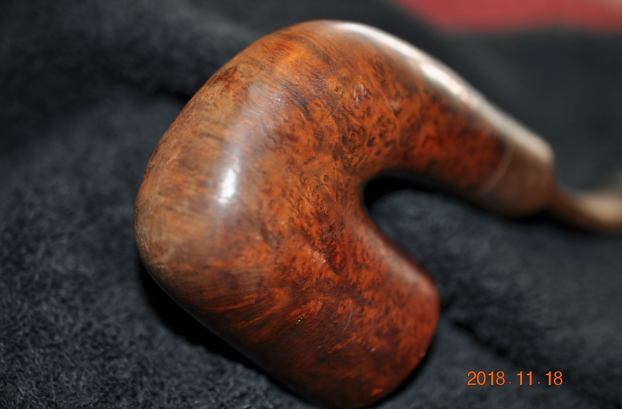 I checked the usual sources for information on the Barling Regency and did not come up with much. I am pretty certain it is a Post Transition Era pipe from the late 1960s to 1970s. I cannot narrow it down much further than that so I know that it is a new pipe (still over 50years old at least). Now it was time to move on to the pipe itself.
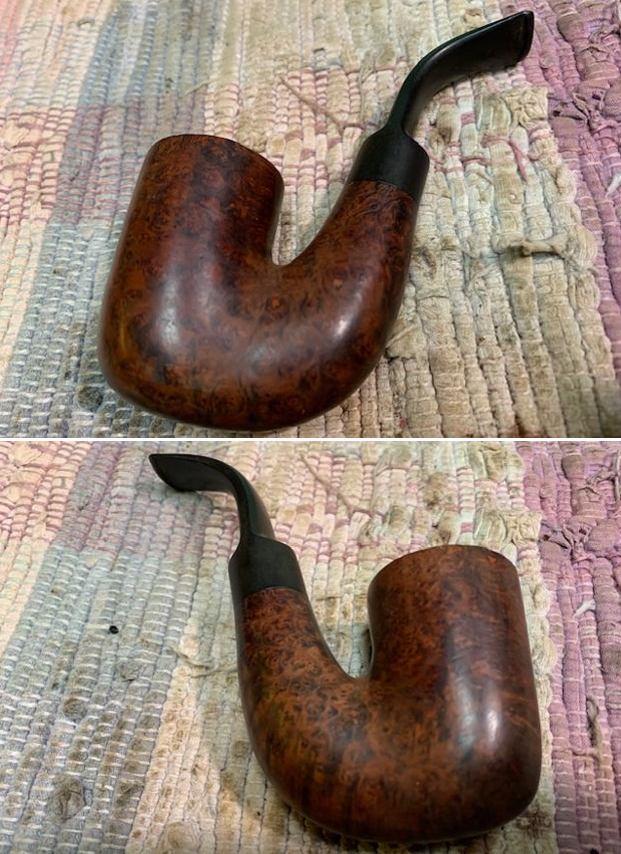
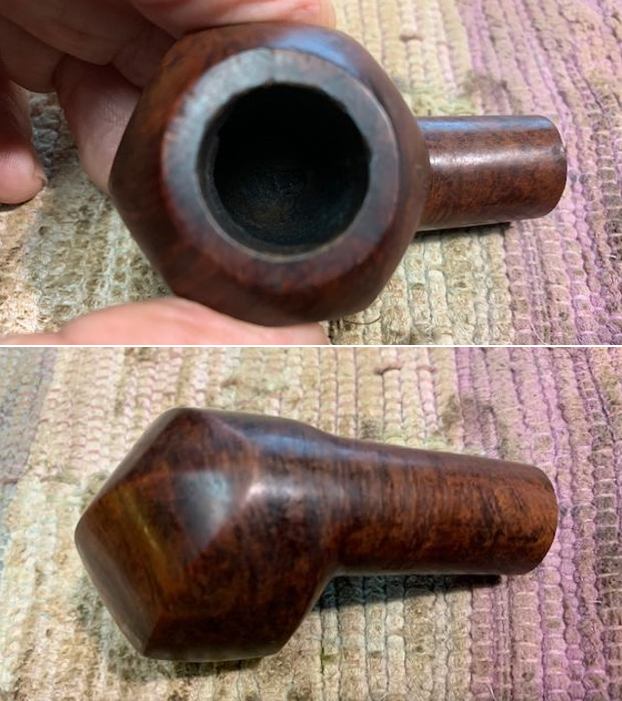
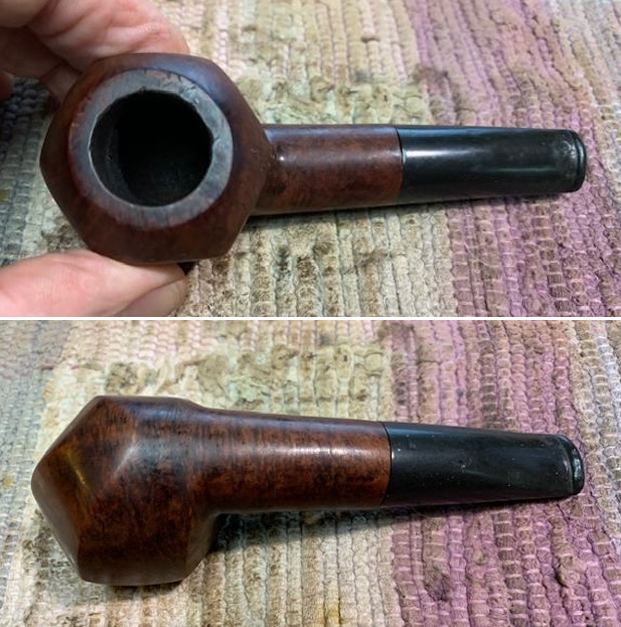
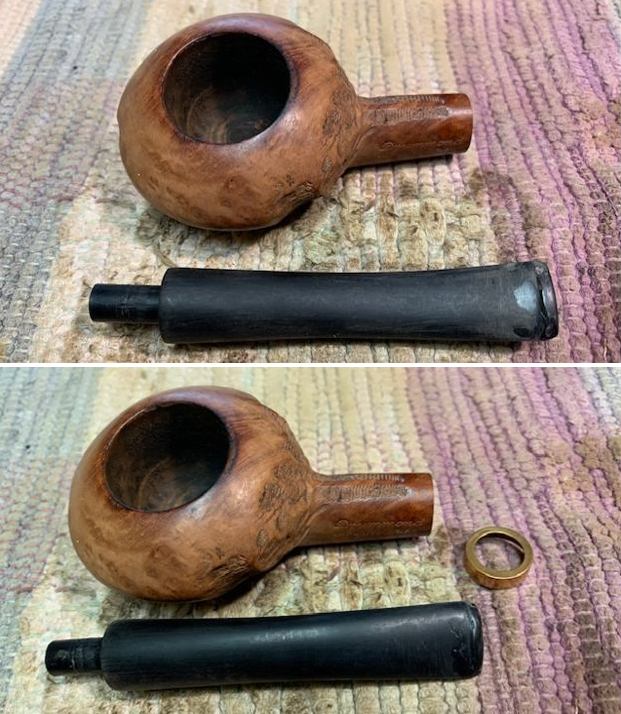
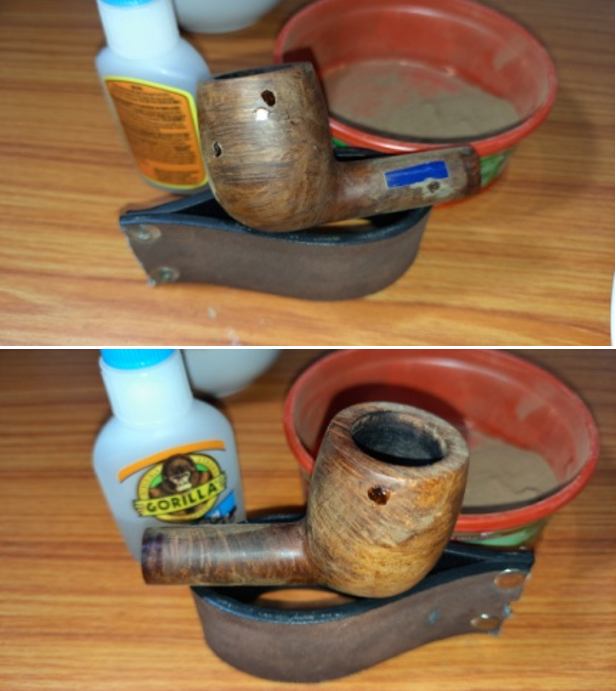
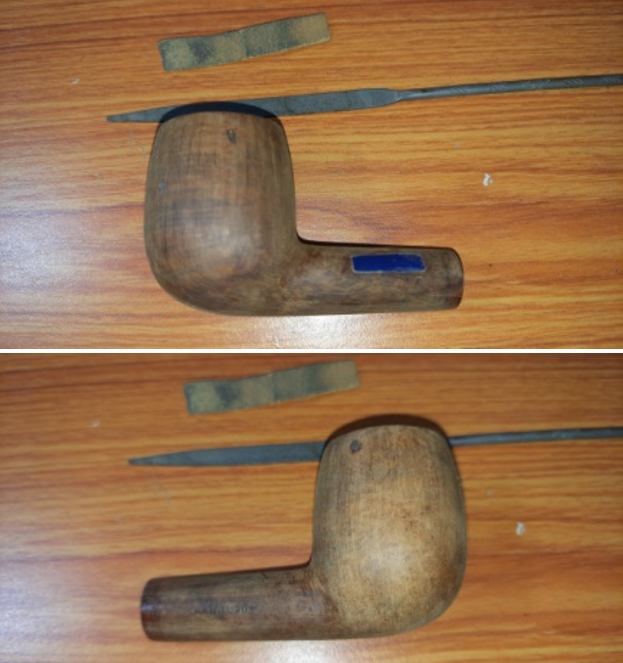
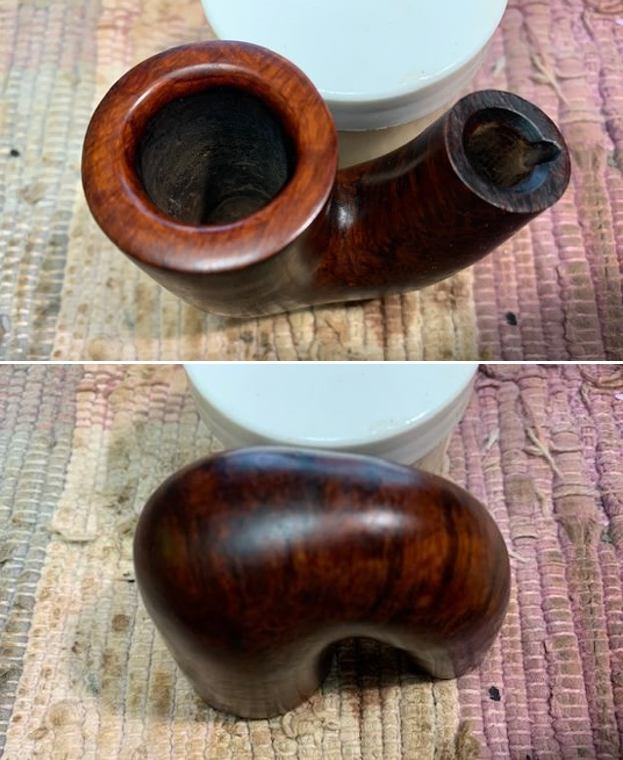
 I took a photo of the rim top and bowl to show the condition of the briar. You can see the damage on the outer edge of the bowl on the front side. The top surface is scratched and marred. The inner edge of the bowl shows some burn damage on the back of the bowl. The stem looked good but the tooth marks are very visible.
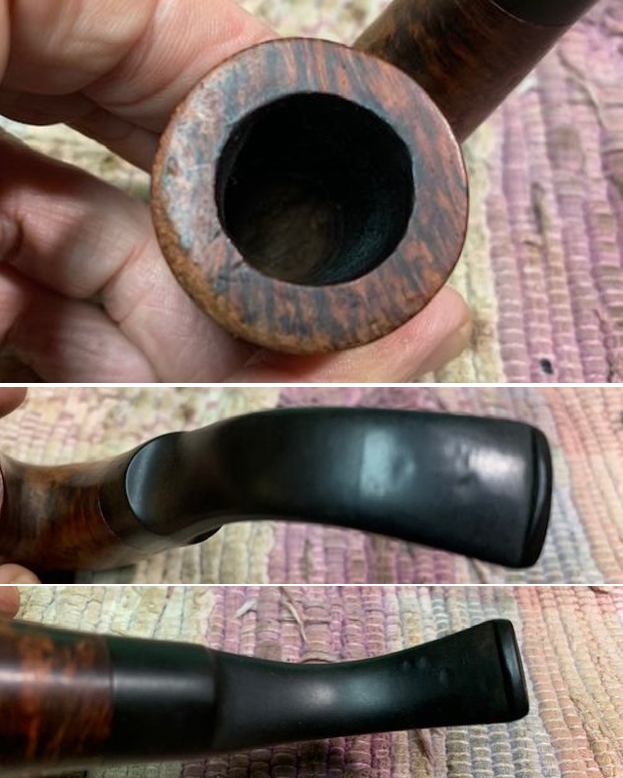 The next photos show the stamping on both sides of the shank. It is clear and readable though faint. The grain is also quite stunning.
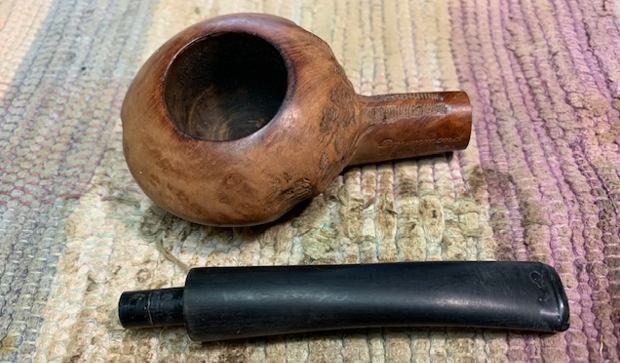
 I took a photo of the pipe with the stem removed to give a sense of the proportion of the bowl and the stem.
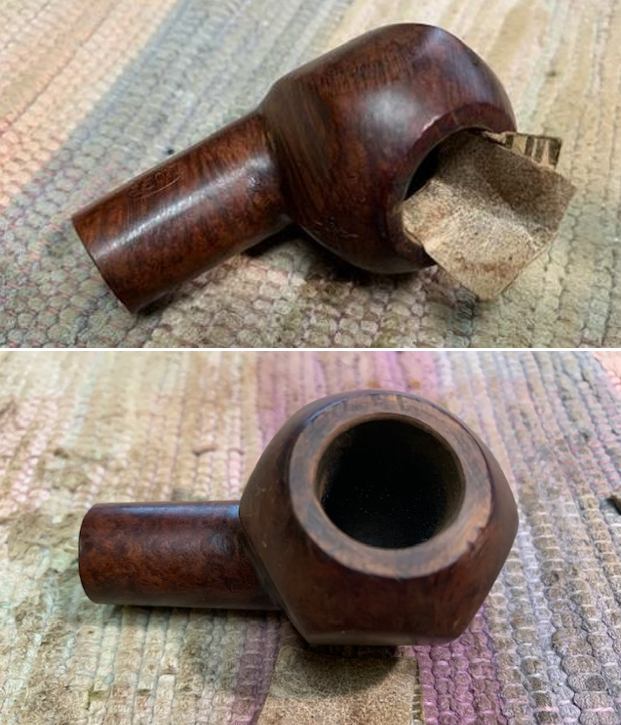
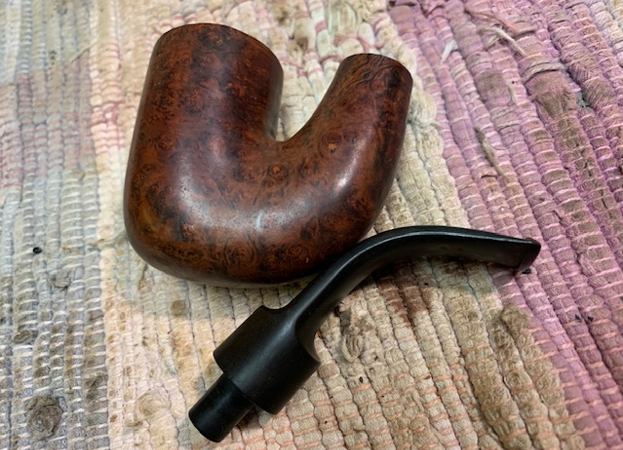 I decided to start by dealing with damage to the inner and outer edge of the bowl and clean up the rim top. I began with the inner edge and used a folded piece of 220 grit sandpaper to smooth out the damage there and begin a slight bevel on the edge. I topped the bowl to clean up the top and to deal with the damage on the front outer edge. I took photos of the refreshed rim top and edges. It looked much better.
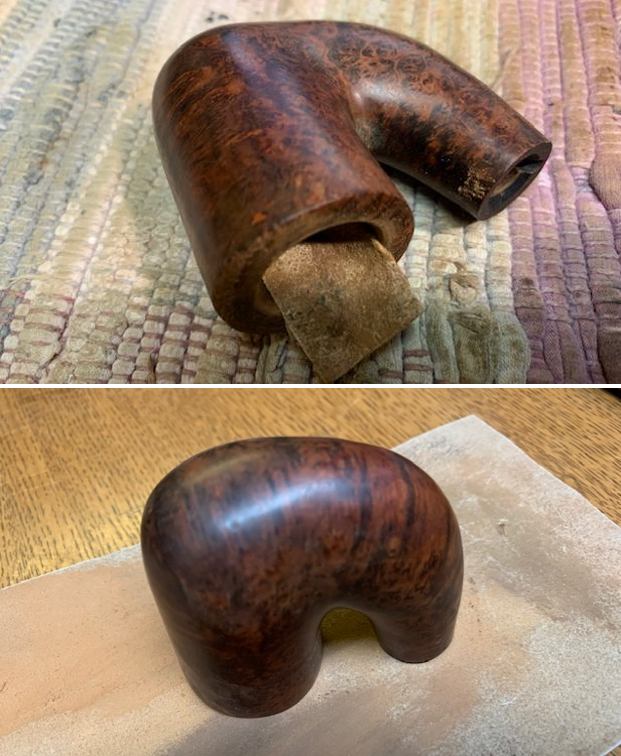
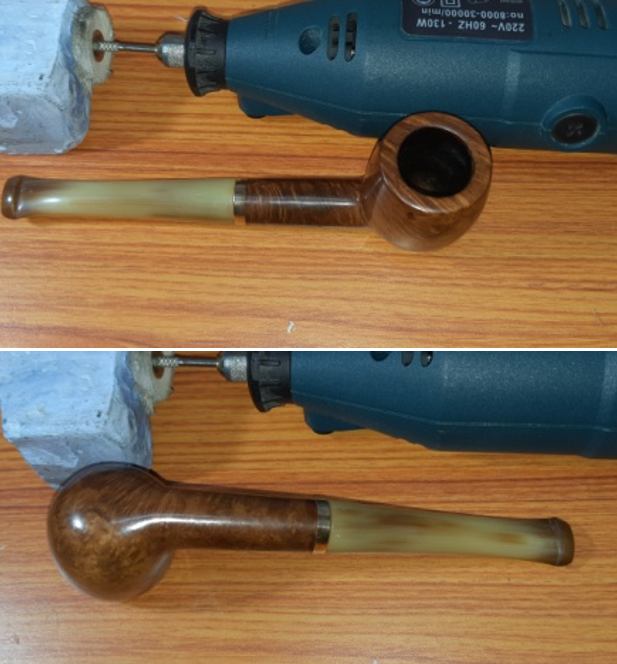
 I polished the rim top and the bowl with micromesh sanding pads – dry sanding with 1500-12000 grit pads. I wiped the bowl down with a damp cloth between each pad. The bowl began to take on a shine as I went through the various pads.
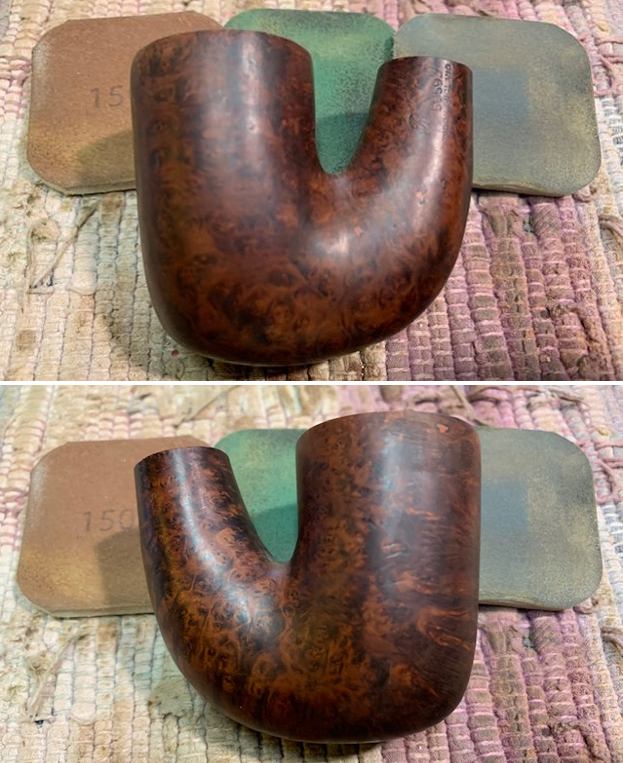
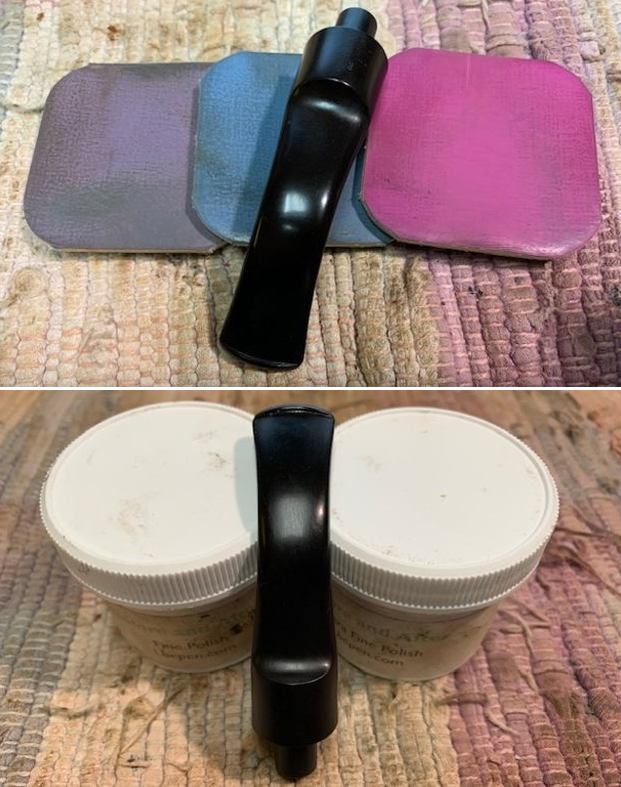
 I stained the top of the bowl with a Maple stain pen to blend in better with the rest of the bowl colour. It will definitely blend well once the pipe is buffed and polished.
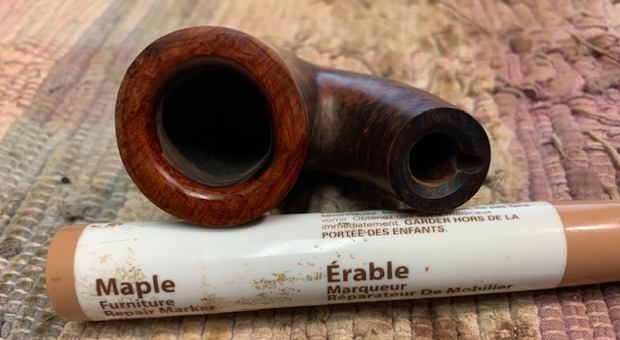 I rubbed the bowl and shank down with Before & After Restoration Balm. I worked it into the surface of the bowl sides and shank with my fingertips to clean, enliven and protect the briar. I let the balm sit for 10 minutes and then buffed with a cotton cloth to raise the shine. If you look you can see the many small fills in the briar but they actually blend in surprisingly well.
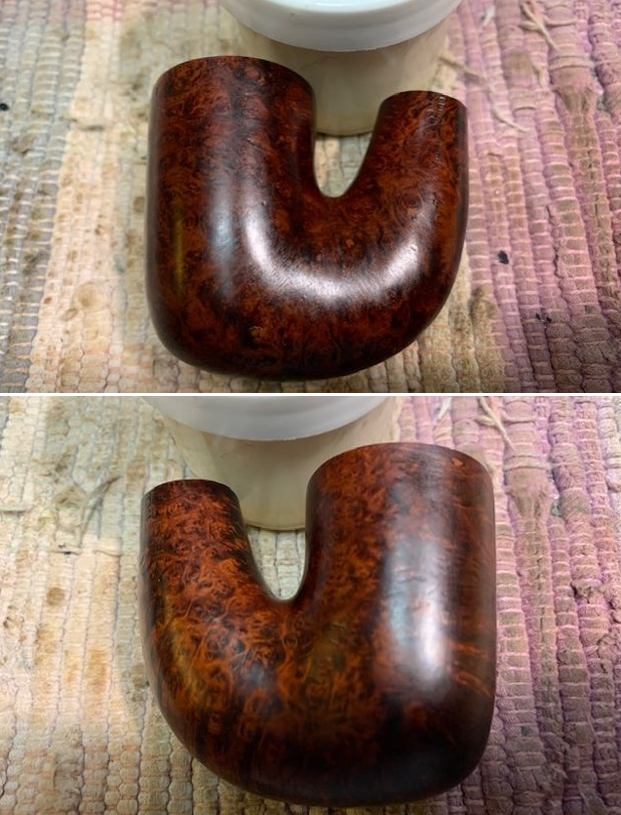
 I set the bowl aside and turned my attention to the stem. I “painted” the surface of the stem on both sides with the flame of a lighter. I was able to lift many of the tooth mark. I filled in the remaining tooth marks on the button surface and just ahead of it on the underside with clear super glue and set the stems aside to let the repairs cure.
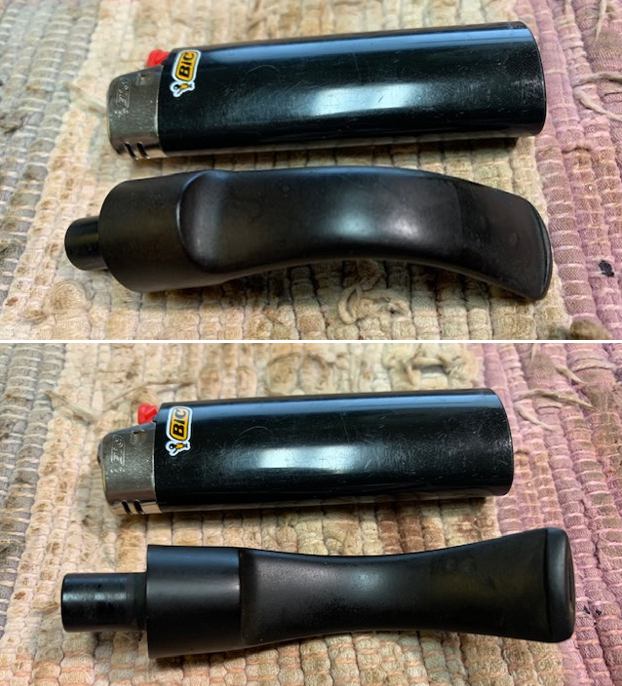
 Once they cured I smoothed out the repairs with a small file and started blending them into the surface of the stem (I forgot to take photos of that part of the process). I sanded the repairs with 220 grit sandpaper to further blend it into the stem surface. I started polishing it with 400 grit wet dry sandpaper.
 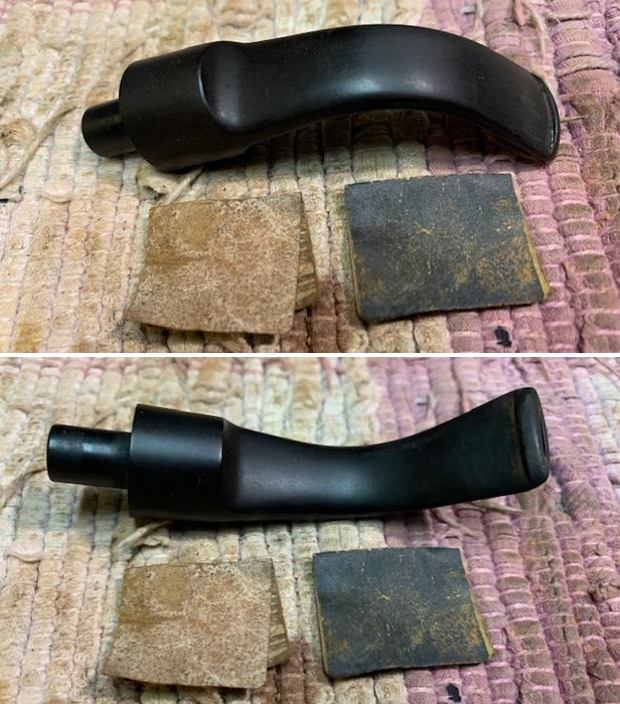 I polished the vulcanite stem with micromesh sanding pads – 1500-12000 grit pads. I wiped it down with a damp cloth after each sanding pad.
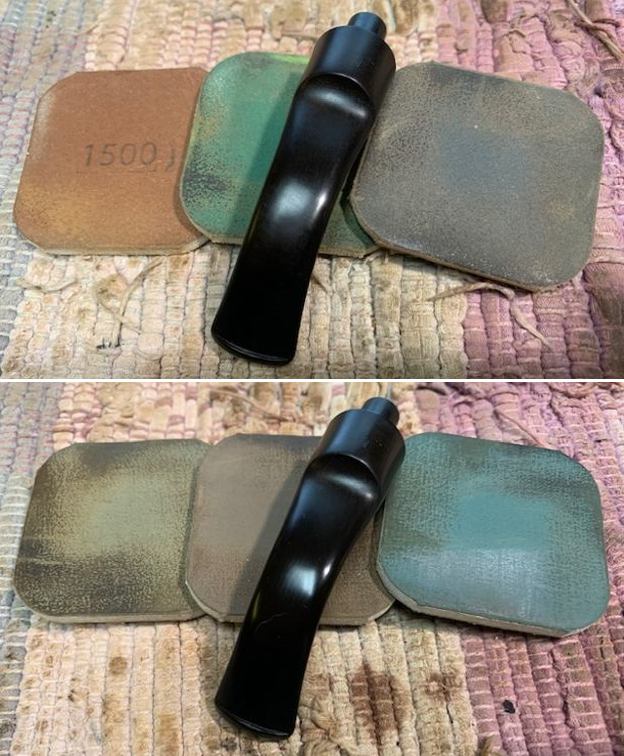
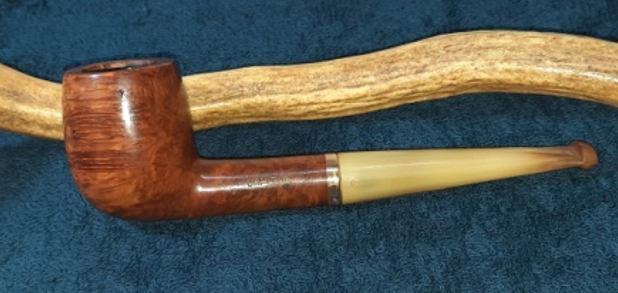
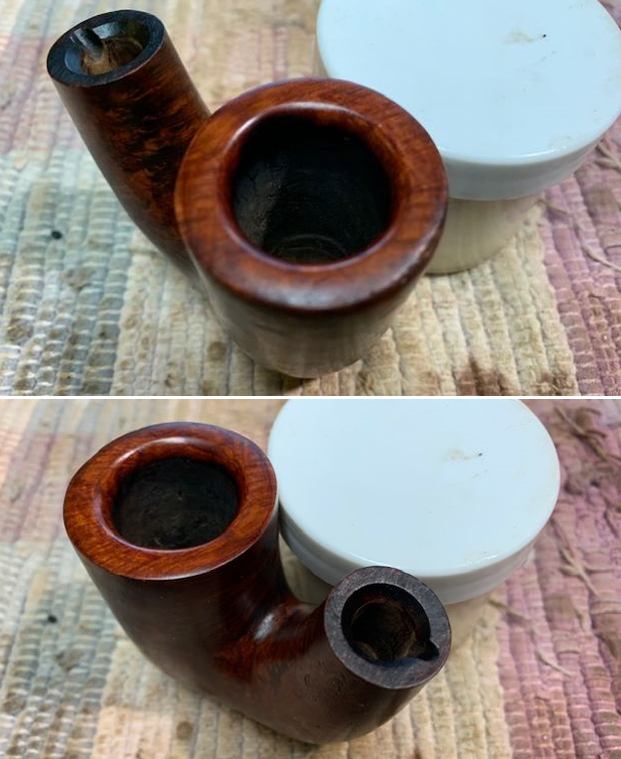
 This Barling Regency 5959 Oom Paul with a vulcanite saddle stem is a great looking pipe now that it has been restored. The rich browns and blacks of the contrasting stains came alive with the polishing and waxing. I put the stem back on the bowl and carefully buffed the pipe with Blue Diamond on the buffing wheel using a light touch on the briar. I gave the bowl and the stem multiple coats of carnauba wax on the buffing wheel and followed that by buffing the entire pipe with a clean buffing pad. I hand buffed the pipe with a microfiber cloth to deepen the shine. The finished Barling Regency Oom Paul is a beauty and fits nicely in the hand and looks very good. Give the finished pipe a look in the photos below. The dimensions of the pipe are Length: 4 inches, Height: 2 ¼ inches, Outside diameter of the bowl: 1 ½ inches, Chamber diameter: 7/8 of an inch. The weight of the pipe is 64 grams/2.26 ounces. I will be putting this Barling on the British Pipe Makers section of the rebornpipes store shortly if you want to add it to your collection. Thanks for reading this blog and my reflections on the pipe while I worked on it. There are many more to come!