by Steve Laug
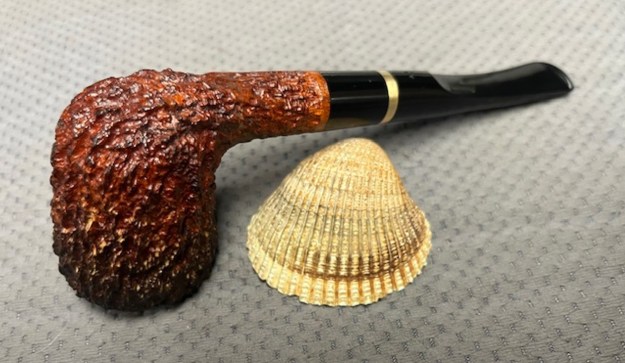
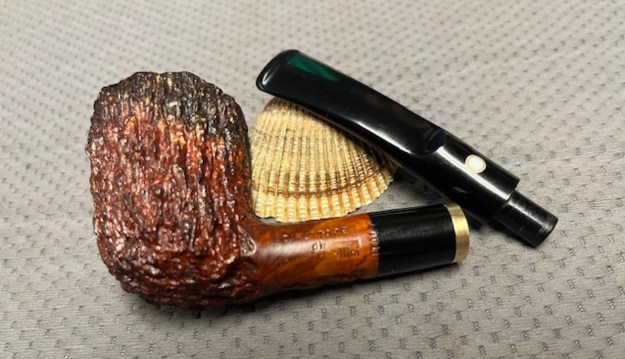
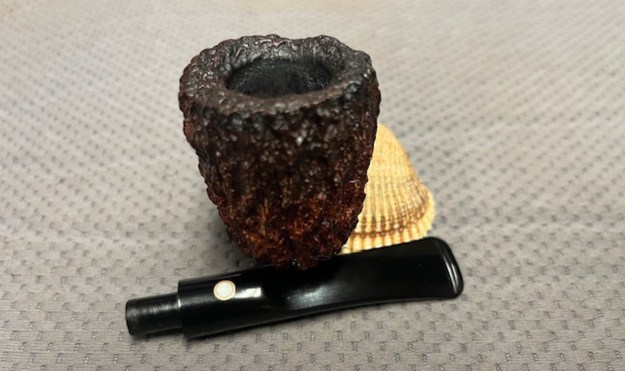
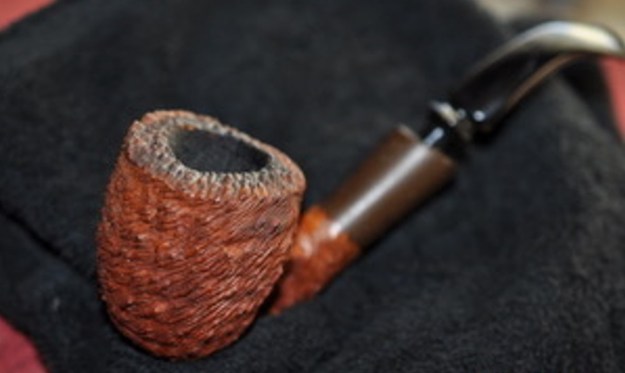
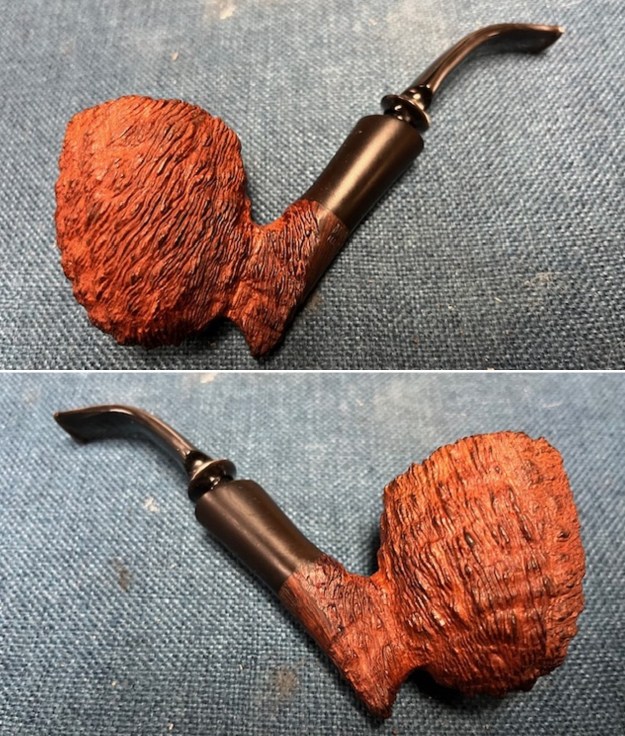
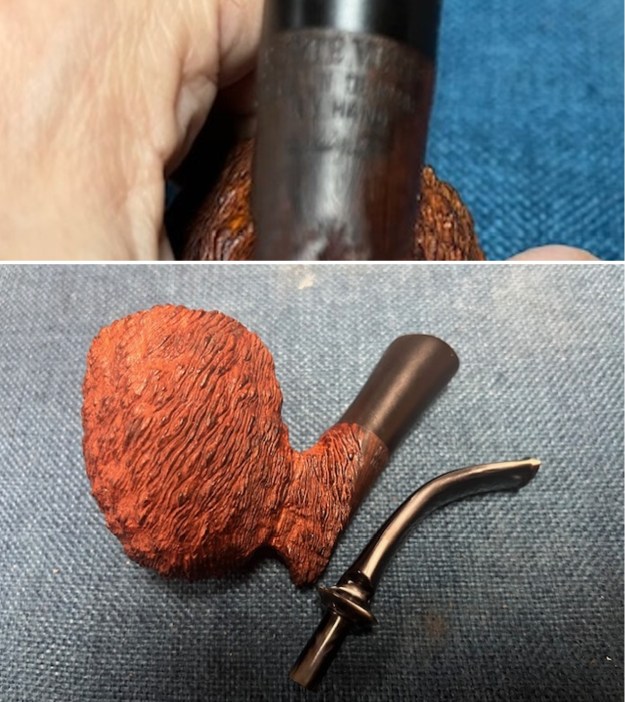
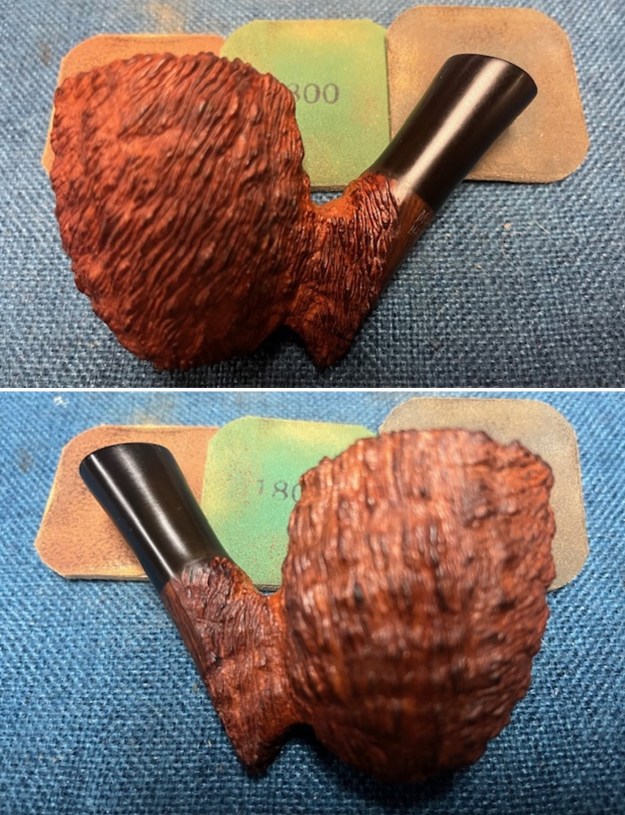
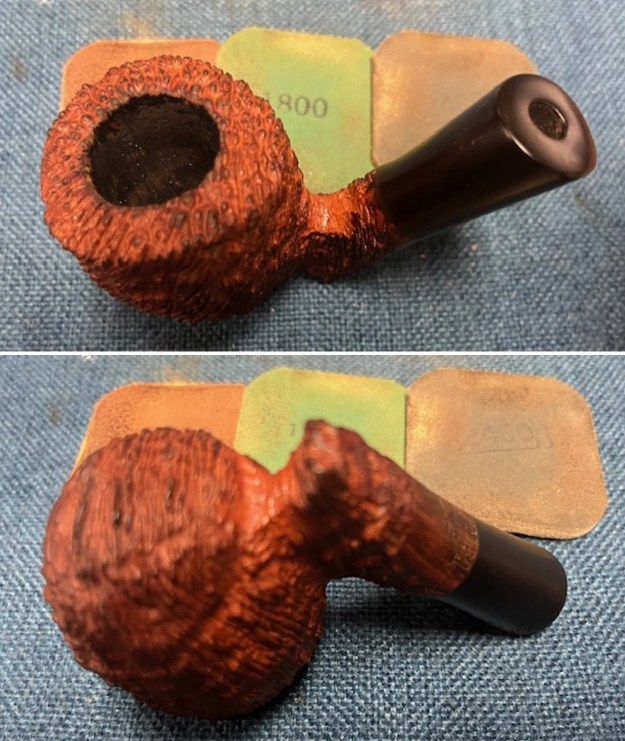
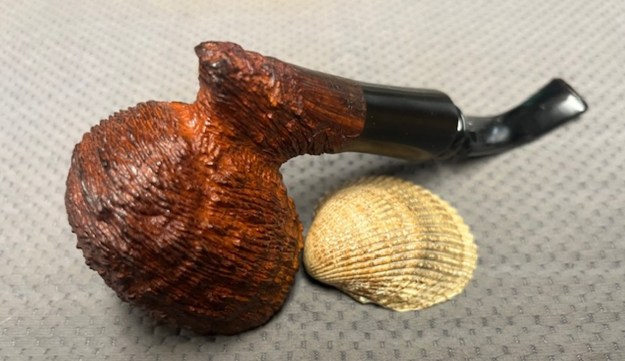
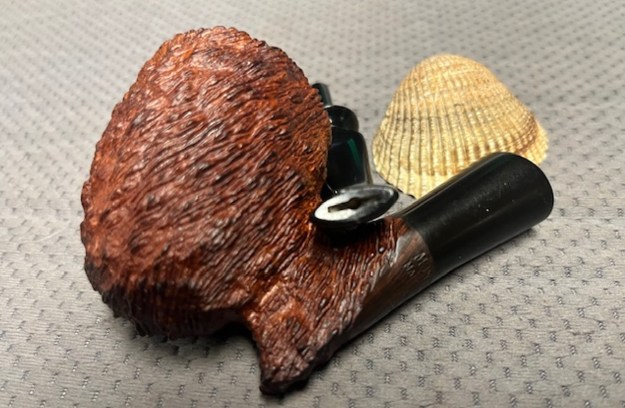
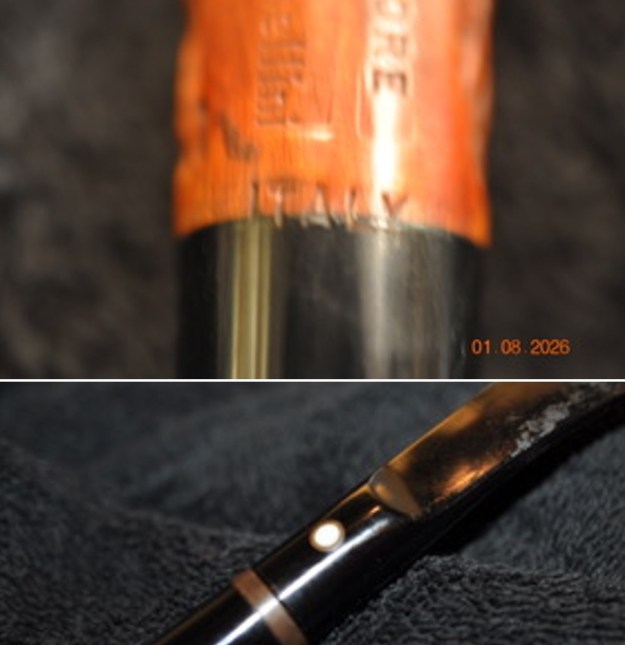
The next pipe I chose to work on was one that we purchased on 03/06/2025 from a seller in Macon, Georgia, USA. It is a deeply rusticated Dublin with a flumed rim top and top edges. It is stamped on the left side of the shank and reads Direttore [over] di [over] Mauro Armellini. On the junction of the stem and the shank it is stamped Italy with the bottom edge of the stamping on the stem. The pipe is a Dublin with an acrylic shank extension that combines black and a brass ring. The acrylic saddle stem is dirty with some tooth chatter and marks on both sides ahead of the button. There is an Armellini white dot enclosed in a brass circle on the top of the saddle. On the underside of the saddle it is stamped HAND [over] CUT. The heavily rusticated rim top thick with lava overflowing from a thick cake in the bowl. The exterior of the pipe had some oils and grime ground into the bowl sides under a shiny varnish coat. Jeff took photos of the pipe before he started his clean up work.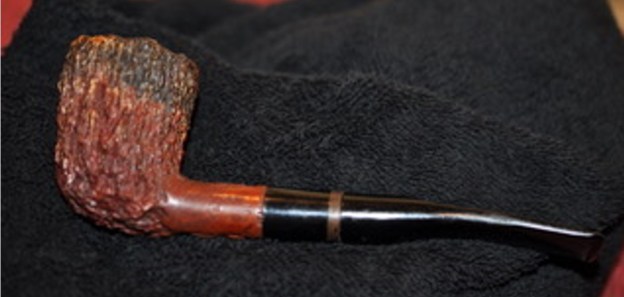
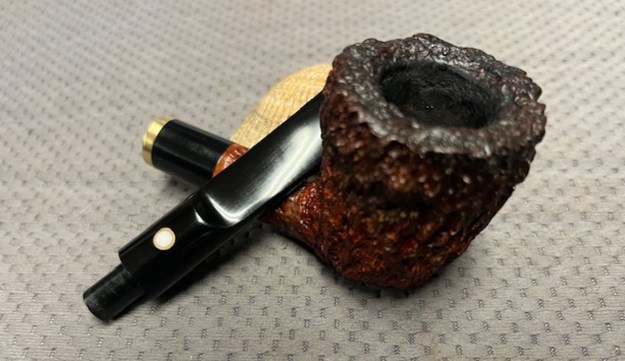
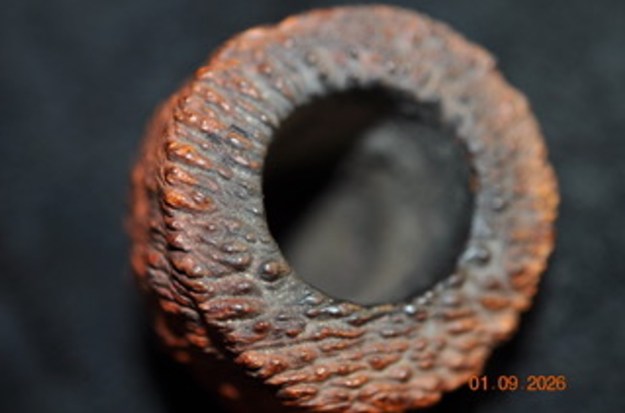
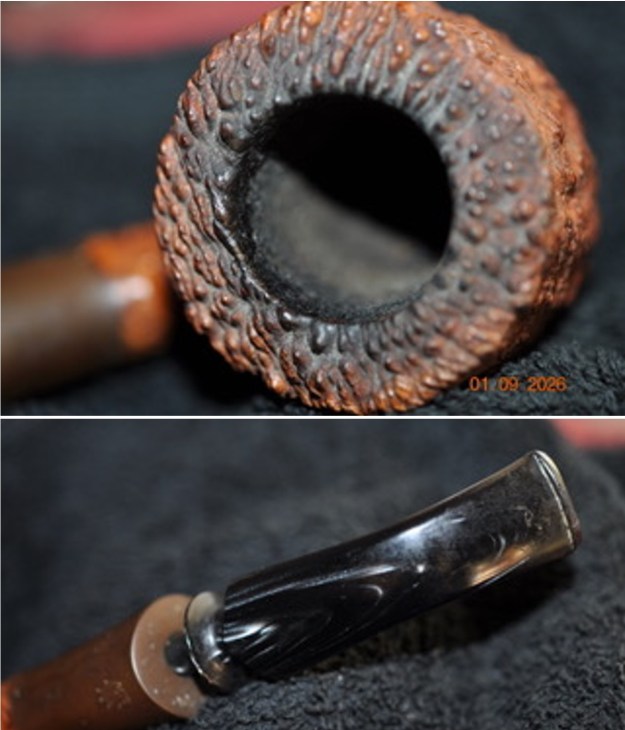
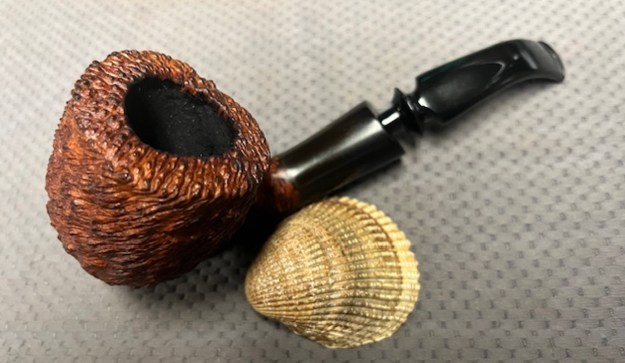
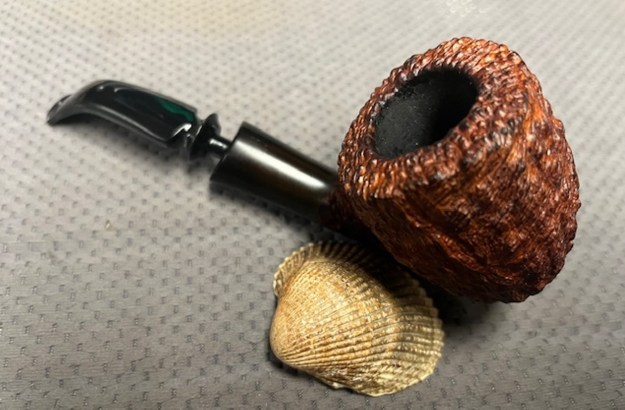
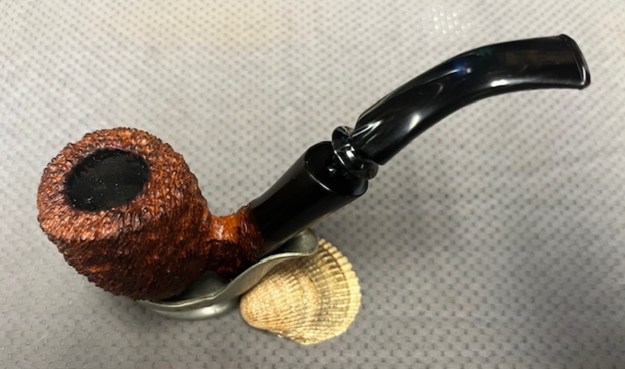
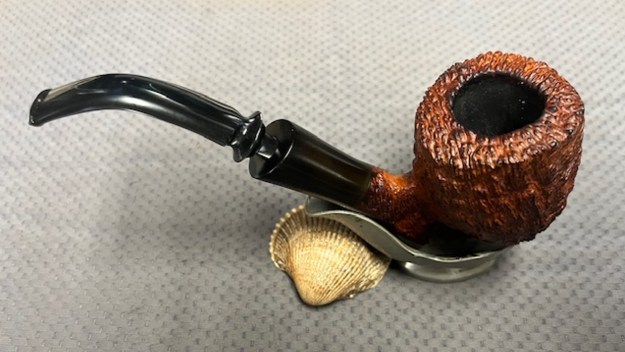
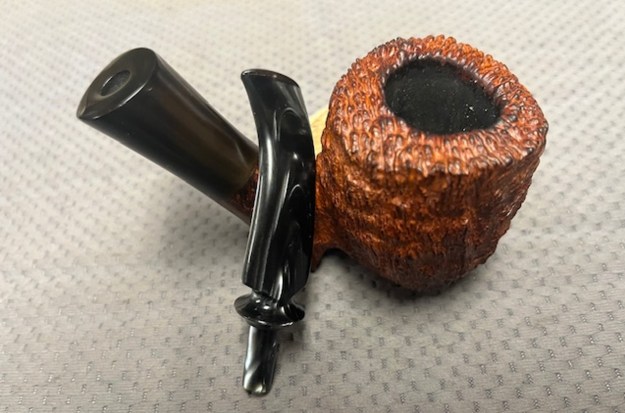
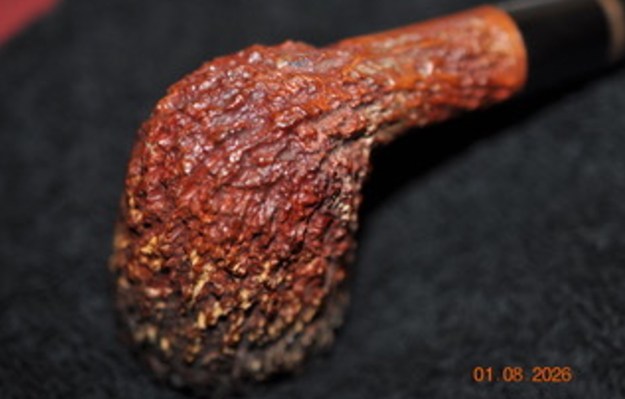
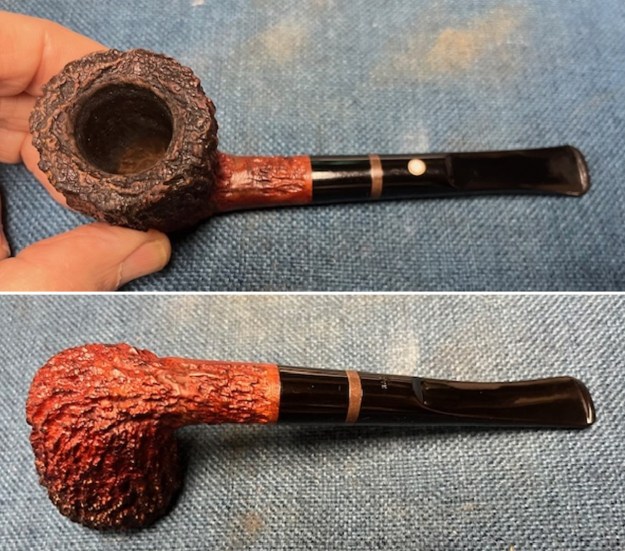
 Jeff took photos of the rim top and stem to show the general condition of the pipe. The bowl is heavily caked and there was heavy lava in the rustication on the rim top and inner edge. I am hoping that once the lava is removed the edge will be okay. The stem looked good under the dirt and grime. It had some light tooth marks or chatter. It should cleanup very well.
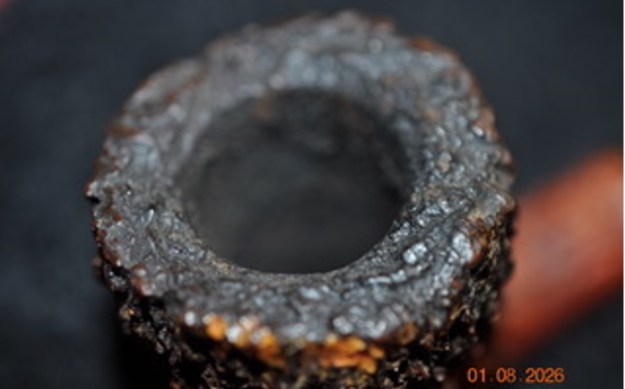
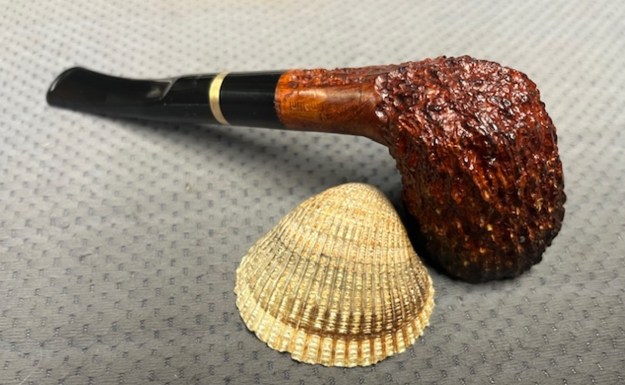
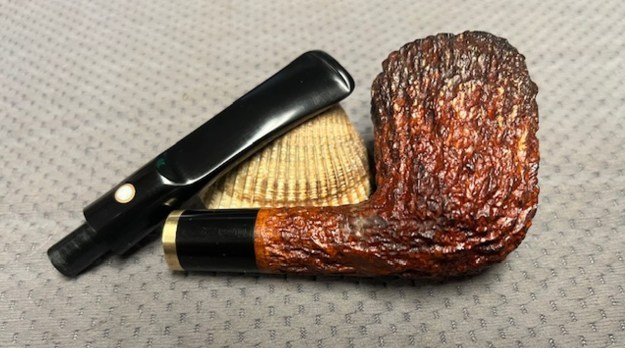
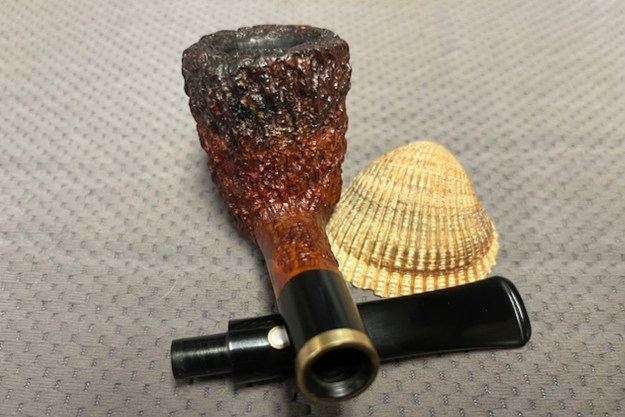
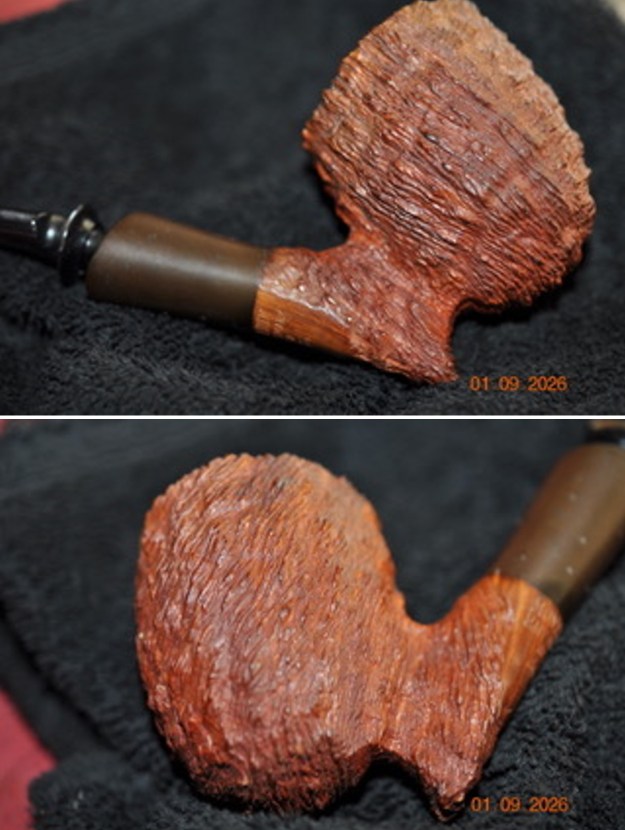
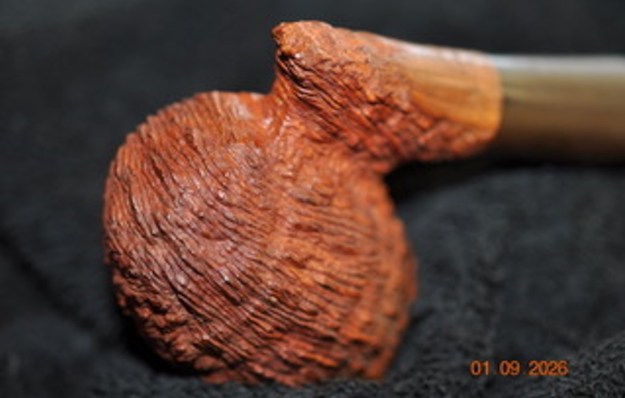
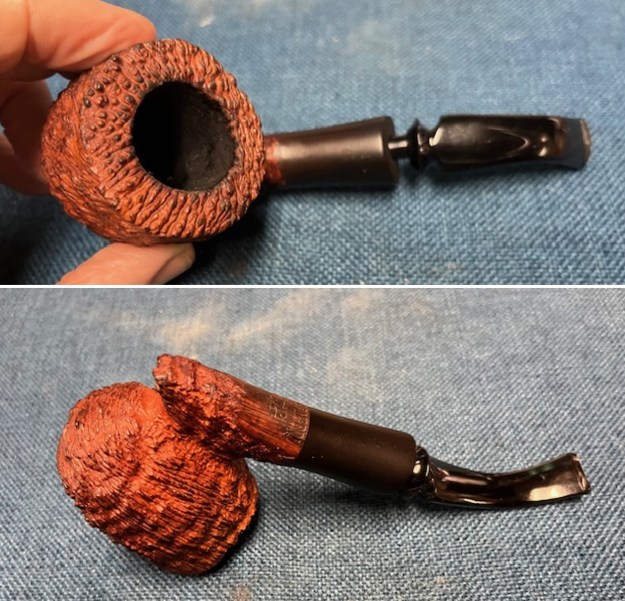
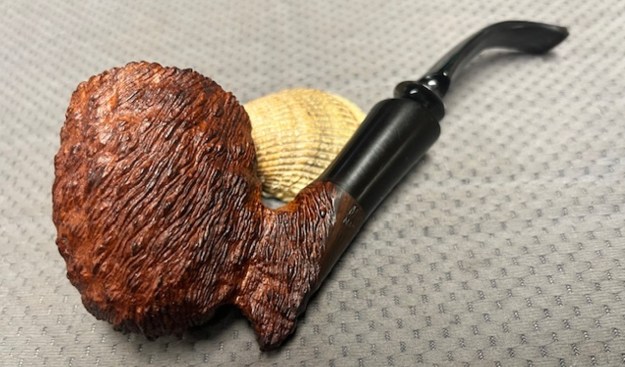
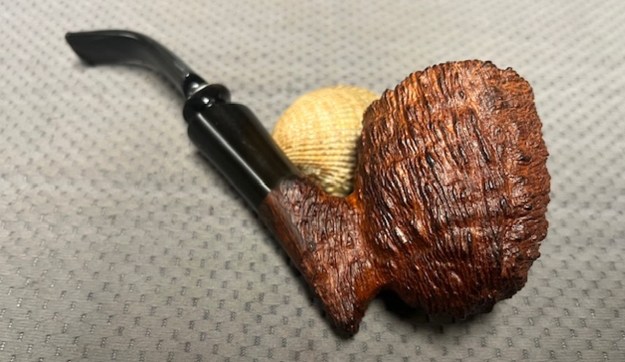
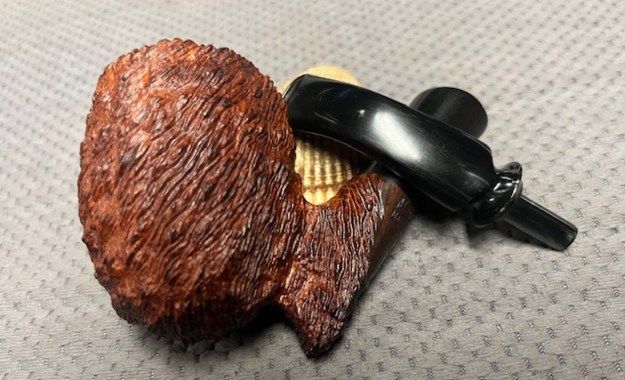
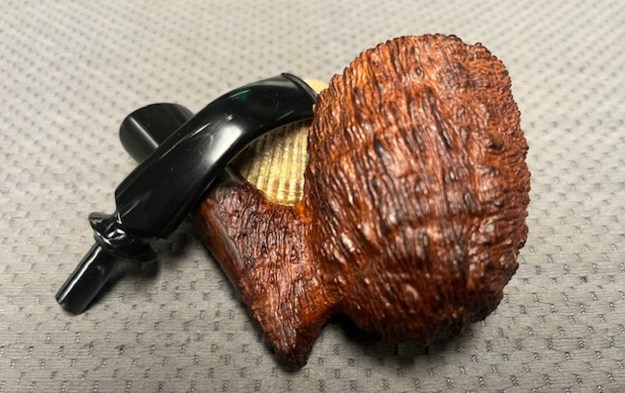
 Jeff took photos of the bowl sides and heel to show the details of the heavy rustication that was around this bowl even though the grime on the finish hides it some. The pipe had obviously been well loved and enjoyed by the previous pipeman.
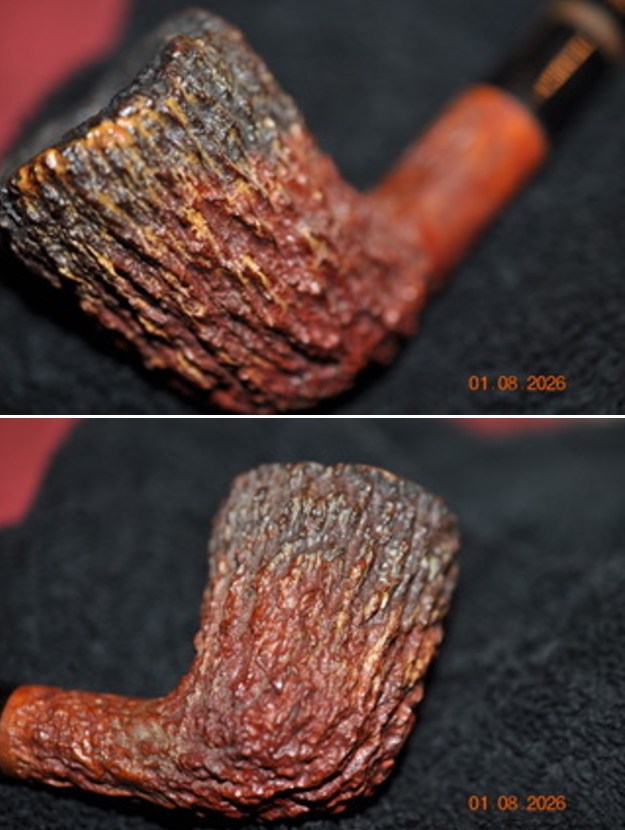
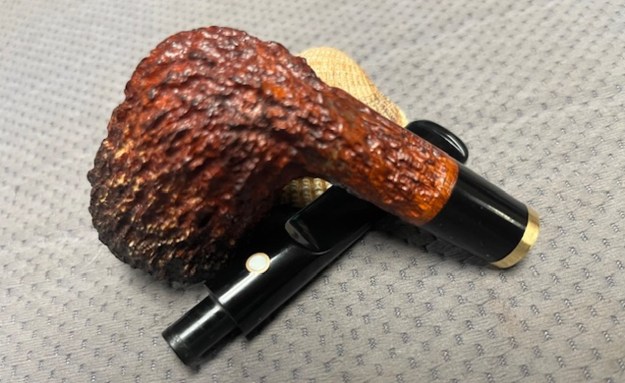
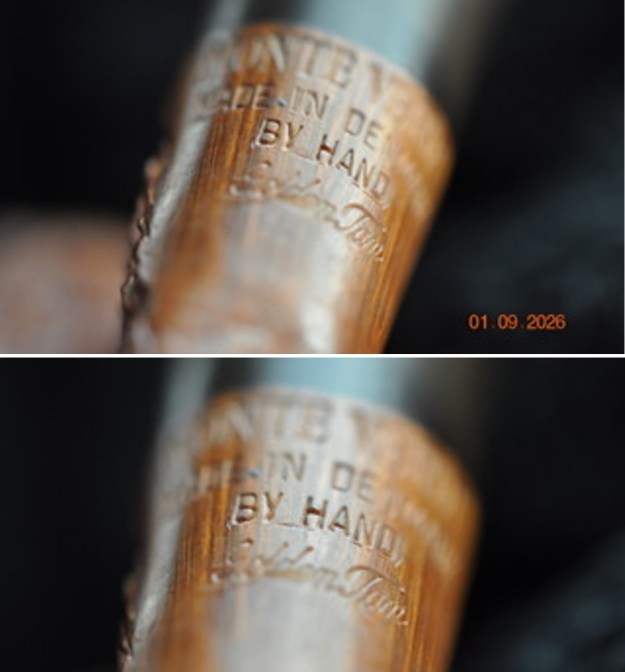
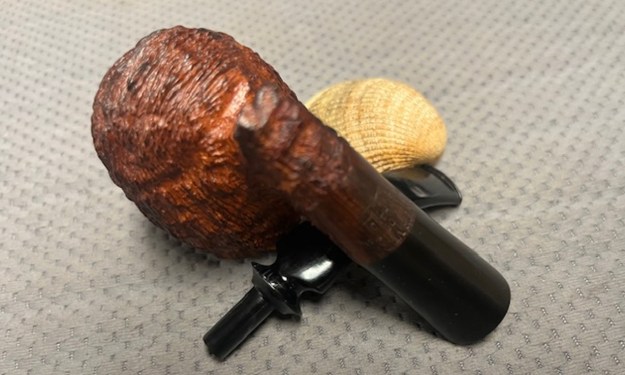
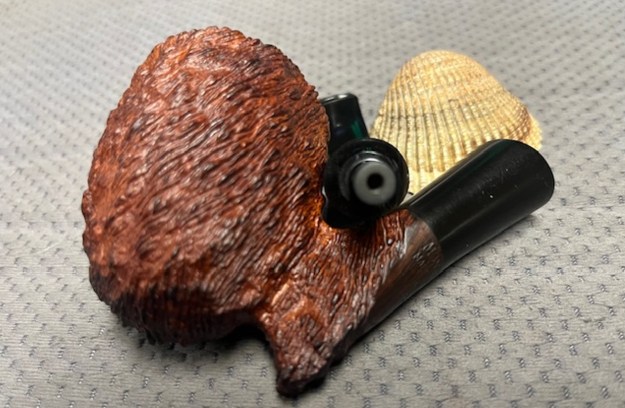
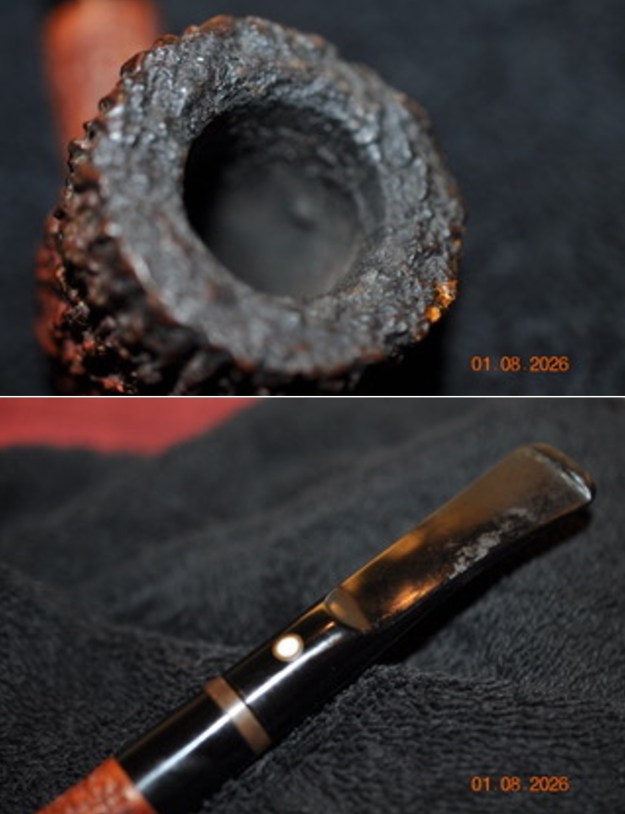
 He took photos of the left side of the shank to show the stamping. The stamping is faint in spots but is still readable in the photos below as noted above. The stem had a large Armellini white Dot surrounded by a brass circle on the topside and a small stamp HAND [over] CUT on the underside.
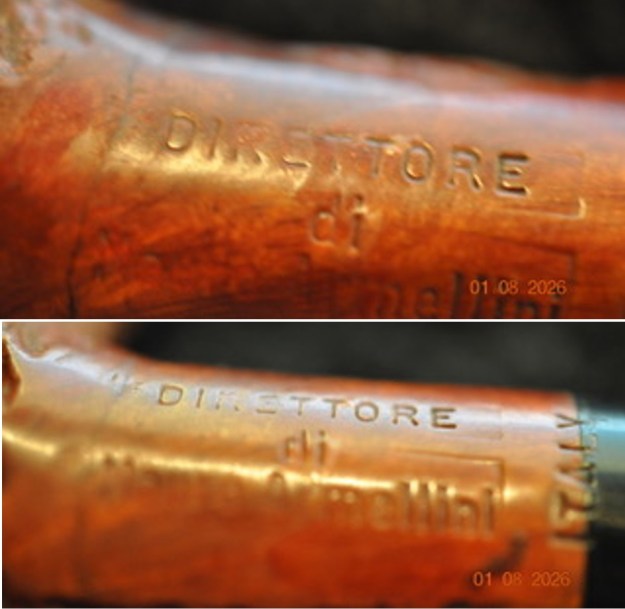
 I decided to hunt down a bit of background on the brand before I started my clean up on the pipe. I turned to Pipephil’s site (http://www.pipephil.eu/logos/en/logo-a7.html). It had a great summary listing and photos. I did a screen capture of the section and the side notes and have included them below.
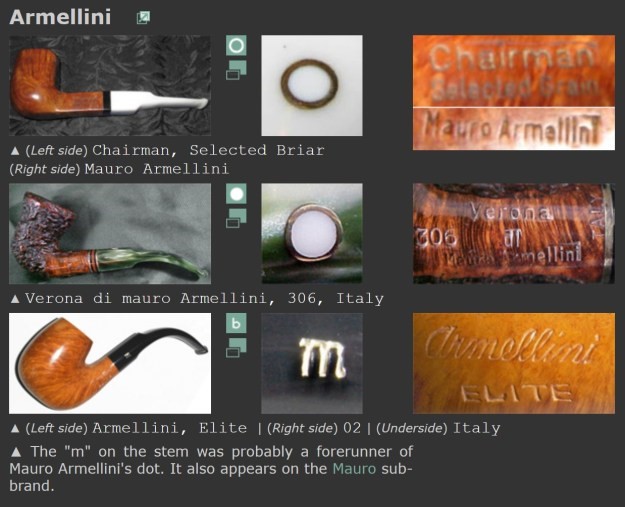 After Mauro Armellini passed (1936 – † 2004), his daughter Vilma Armellini answered for the brand’s destiny. Seconds: Mauro, Converti
For more detail on the brand than the notes above gave me about Armellini, I turned to Pipedia (https://pipedia.org/wiki/Armellini). I quote:
Mauro Armellini and Vilma Armellini. Courtesy of italianpipemakers.com
Mauro Armellini factory has born in 1960. When he was 24, my father decided to begin this business and after several difficult years, he was able to produce freehand pipes for foreign markets. Our factory has always been on the surf(?) because it has solid bases: quality and price.
I have always worked with my father and when I lost him, back in 2004, I had to learn to “walk on my own two legs”.
Someone called me “white fly” because I am probably the only women in Italy making pipes. I only work with briar which has been seasoned for at least one year; I think that after one year of seasoning the briar becomes old and dark. I prefer hand crafting, using only very few machines: in this way I am able to extole my predilection for freeforms.
Over the sale of pipes, I think that this work should transmit the genuineness and love for the pipe and for those who smoke it; The philosophy of the factory is the same that moves my work: quality and price
Mauro Armellini stands for the true meaning of self-made and self-taught pipe makers. He started his pipe making career back in the early 1960s, working at the famous Italian pipe factory “Rossi”. Years later, and when the Rossi factory shut its door, Armellini moved to Savinelli where he stood out immediately. He perfected the rustication technique and till today some of the most famous rusticated finishes, such as the “Roccia” and the “Corallo” exist only thanks to him. He worked for Savinelli for several years and till the day he realized that he decided to create his own workshop and make pipes under his own name. At those times, and in spite of the fact that the pipe market was huge, it was a big risk to start his own pipe brand, due to the costs involved and the difficulty of obtaining the right equipment and tools.
Once the name Armellini found its rightful place on a piece of briar, Armellini never looked back. Thanks to his friend and neighbor, Alberto Paronelli, he was able to attract foreign markets, such as the US one and that of other European countries. Armellini’s four daughters slowly and gradually became involved in the business by lending their dad a helping hand whenever possible. However, it was Wilma that became truly interested in the business and gradually became her father’s right hand, not only in the administrative aspect of the business, but also, and above all, the actual pipe making in all its various stages. Indeed, and many years later, Armellini retired from full-time pipe making, and it was Wilma who took over.
When Armellini passed away recently, it was natural, and yet very difficult, for Wilma to decide and continue the Armellini production, according to her father’s own standards and vision. What encouraged her is the fact that for over 20 years she had been making pipes, from A to Z, and so, she knew that the quality Armellini has always been known for could and would continue.
Today, in the small town Barasso, in northern Italy, Wilma and her 20-year-old son are running the workshop and producing all of the Armellini pipes. Matteo, Wilma’s son, is an enthusiastic young man with a love for pipes and pipe making that he could have only inherited from his grandfather. He’s determined to carry on and keep alive his grandfather’s pipe making tradition while creating new shapes and finishes that he is confident his grandfather would be proud of.
Today the name Armellini bears the dreams, the dedication, the passion, and the pipe making talent and expertise of three different generations, united by one objective: Offering the best pipes possible, out of the best material possible, at the lowest price possible. The legacy lives on …
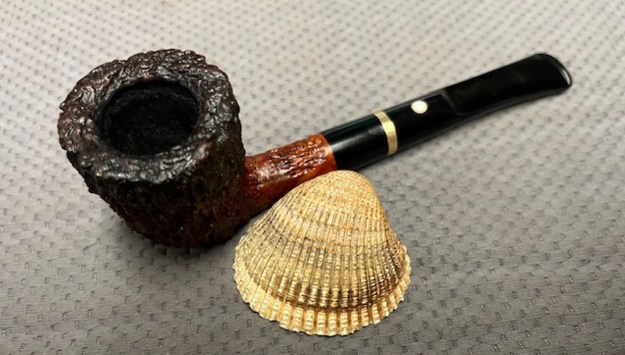
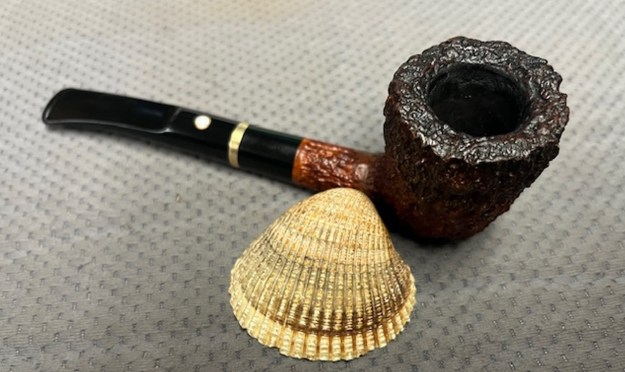
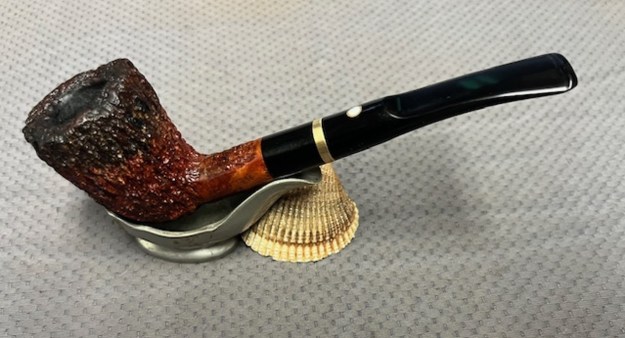
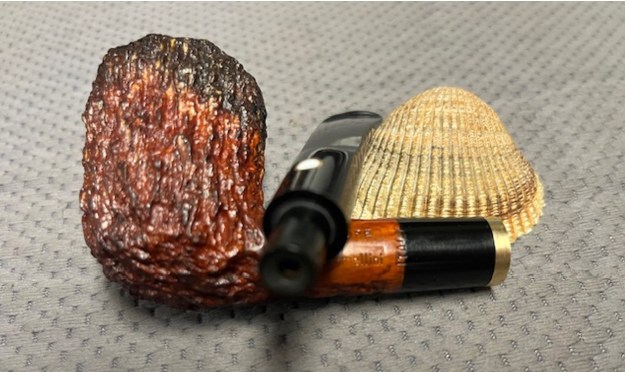
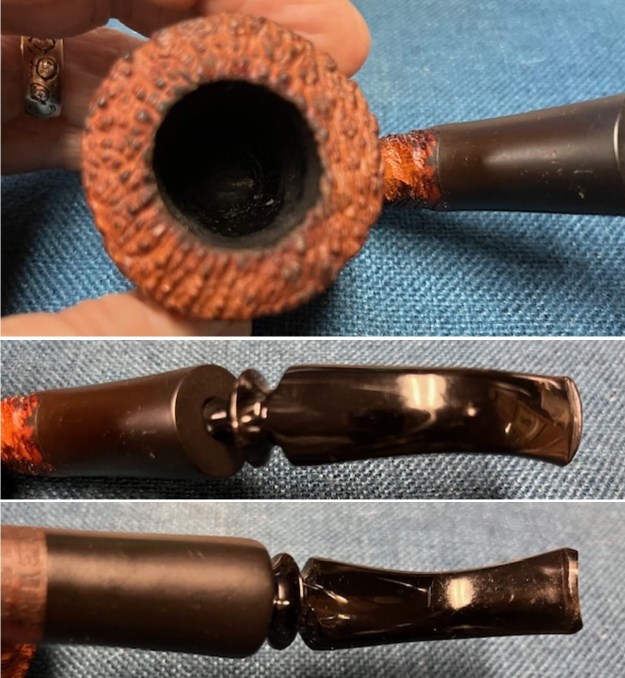
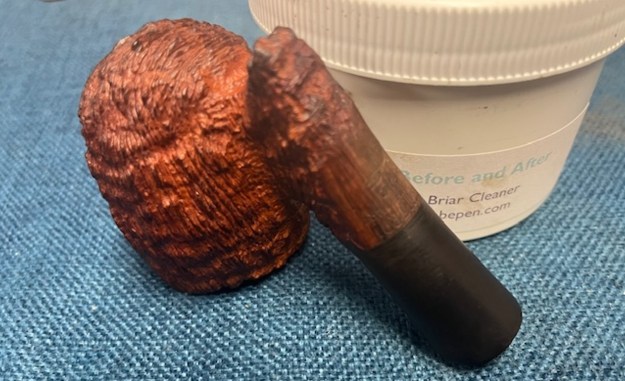
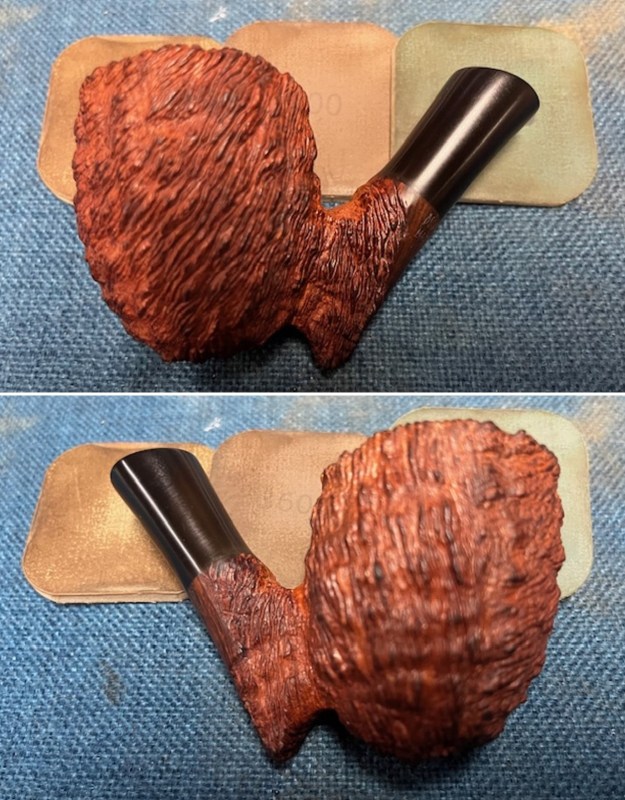
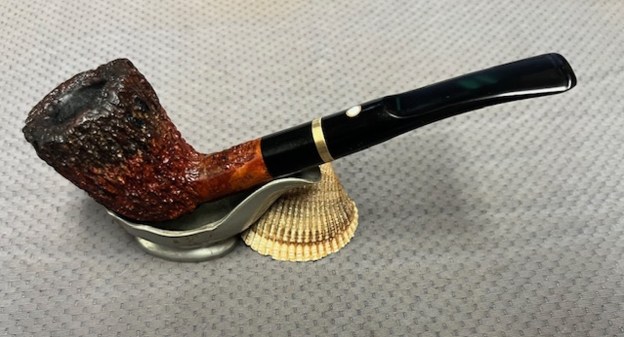
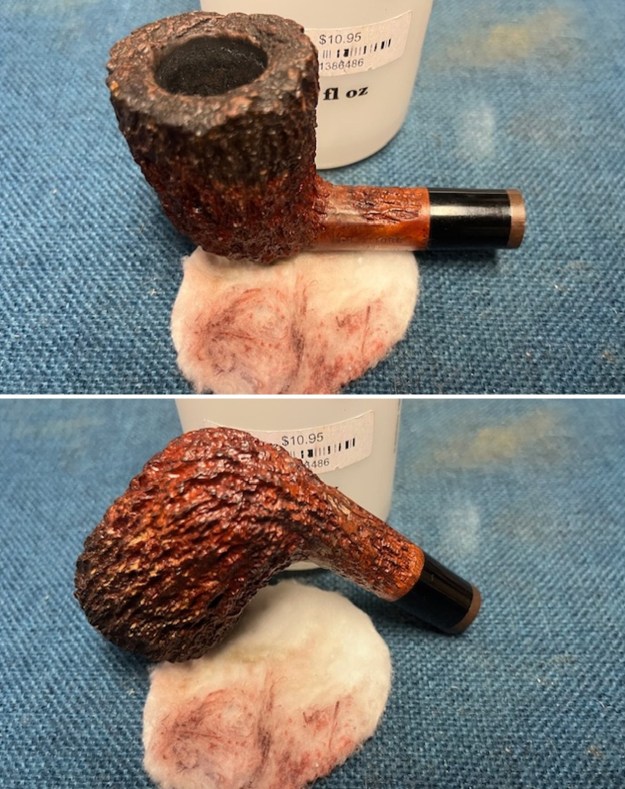
Jeff did a great job cleaning off the debris and grime on this old pipe. He reamed it with a PipNet reamer and smoothed the walls of the bowl with a Savinelli Fitsall pipe knife. He scrubbed out the mortise and the airway in the shank and the stem with alcohol, cotton swabs and pipe cleaners. He scrubbed the exterior of the bowl, rim and shank with a tooth brush and Murphy’s Oil Soap to the oils and tars on the bowl, rim and shank. He rinsed it under running water. He dried it off with a soft cloth. Once the grime was removed the finish underneath was in stellar condition. The rich patina of the rusticated briar looked great. He scrubbed the exterior of the stem with Soft Scrub then soaked it in a bath of Briarville’s Pipe Stem Deoxidizer. He rinsed off the deoxidizer with warm water and wiped the bowl and stem down with a light coat of olive oil to rehydrate both. The pipe really was quite stunning. I took photos of the pipe to show its condition before I started my work on it. 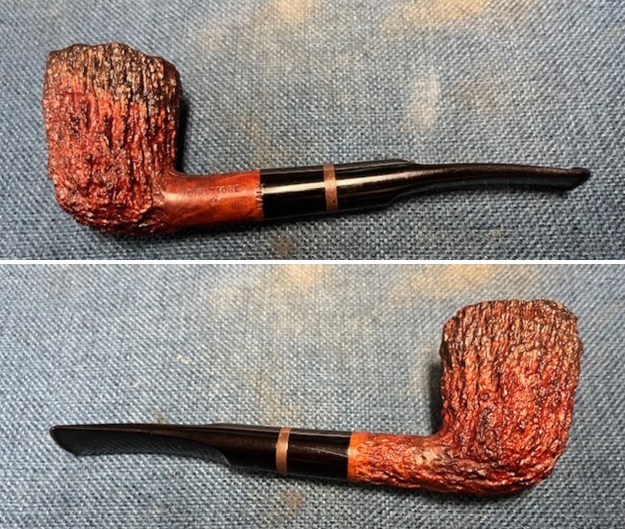
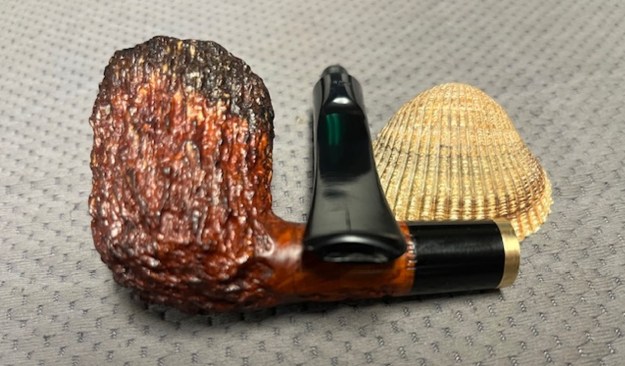
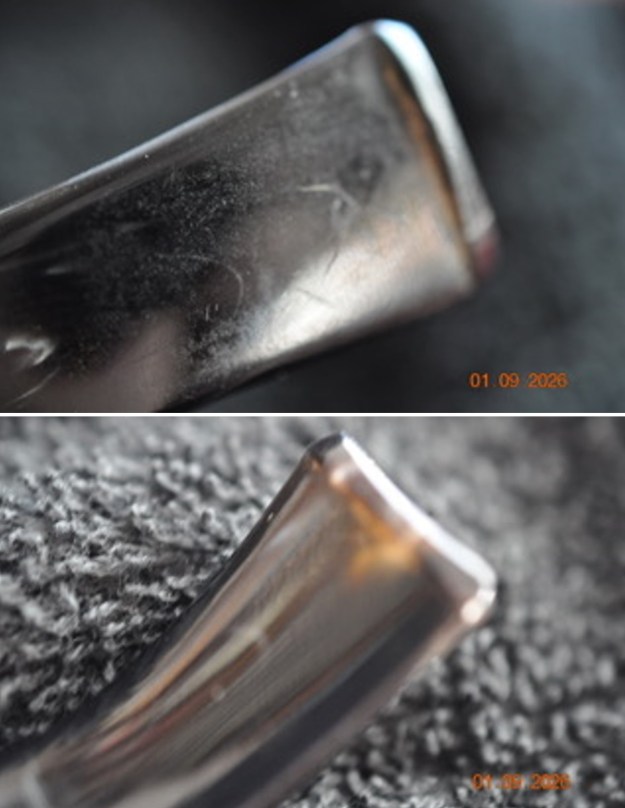
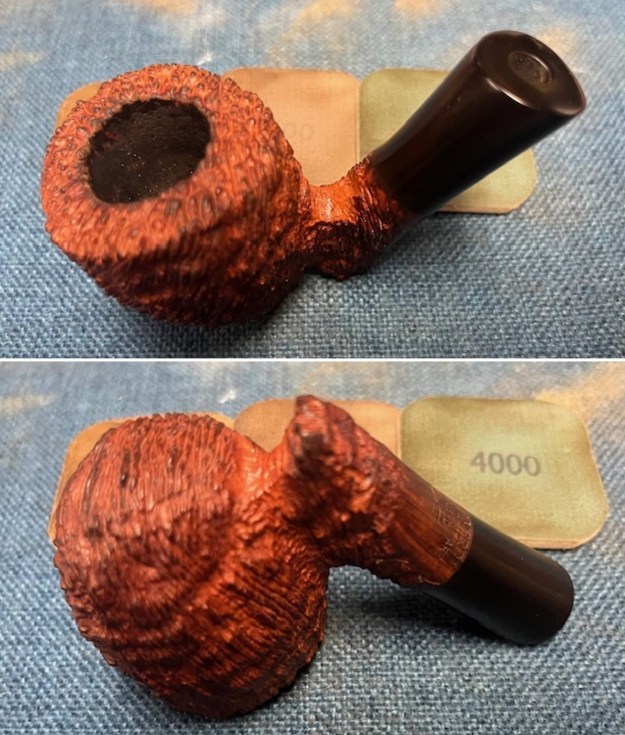
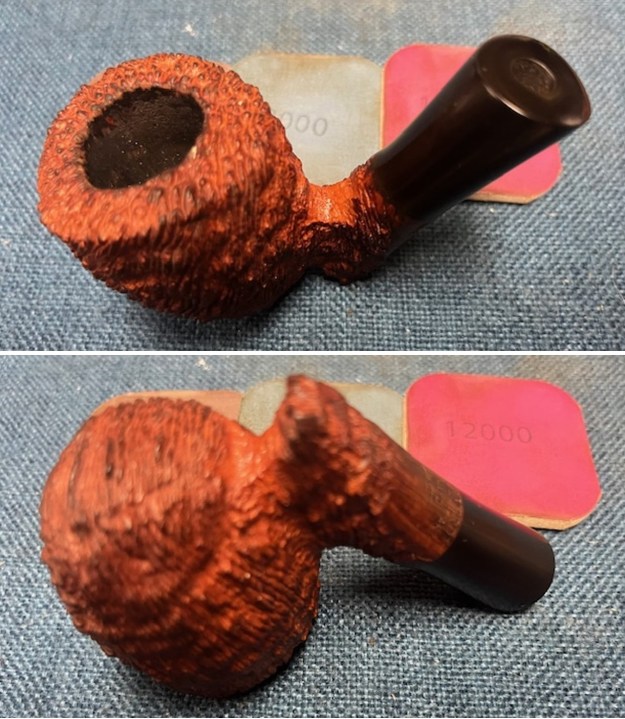
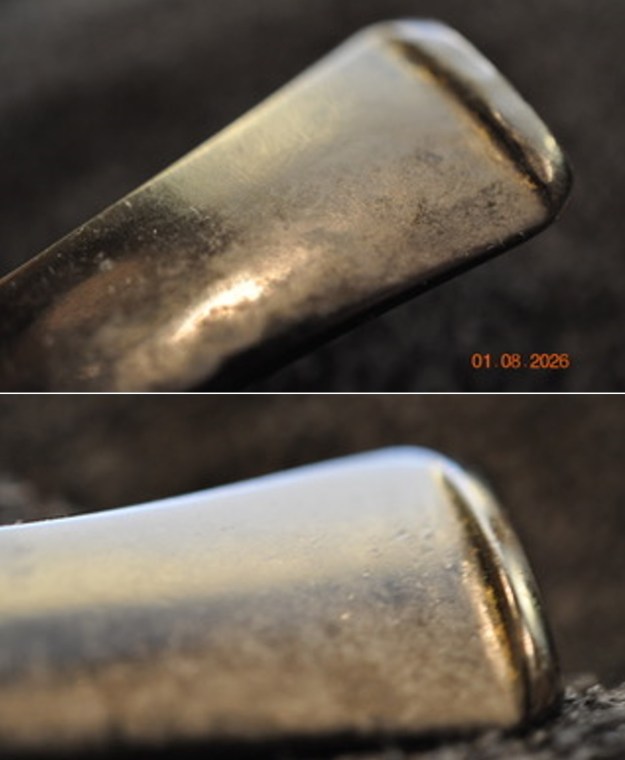
 I took a close up photo of the rim top and edges to show how well they had cleaned up. The flume around the rim top and sides looks very good. I also took close up photos of the stem to show the light tooth chatter on the surface ahead of the button on both sides.
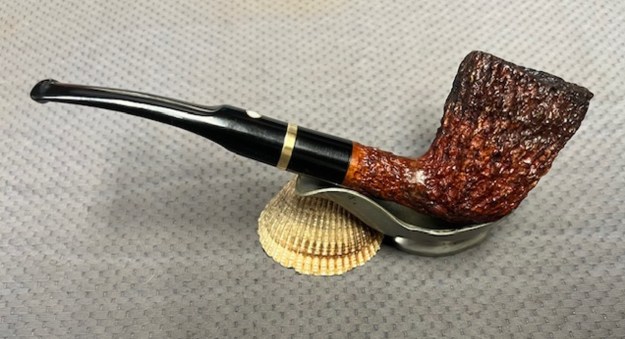
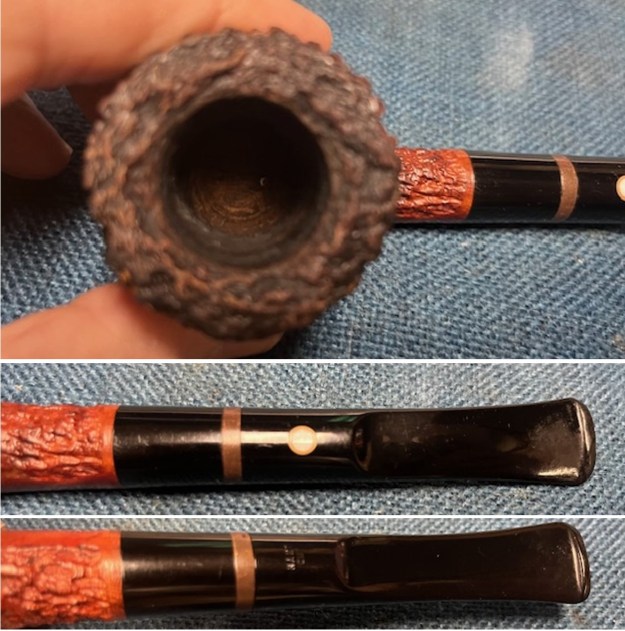 I took a photo of the stamping on the left side of the shank. It is readable as noted above. I removed the stem and took a photo of the parts to show the proportions of the pipe. It is a beauty.
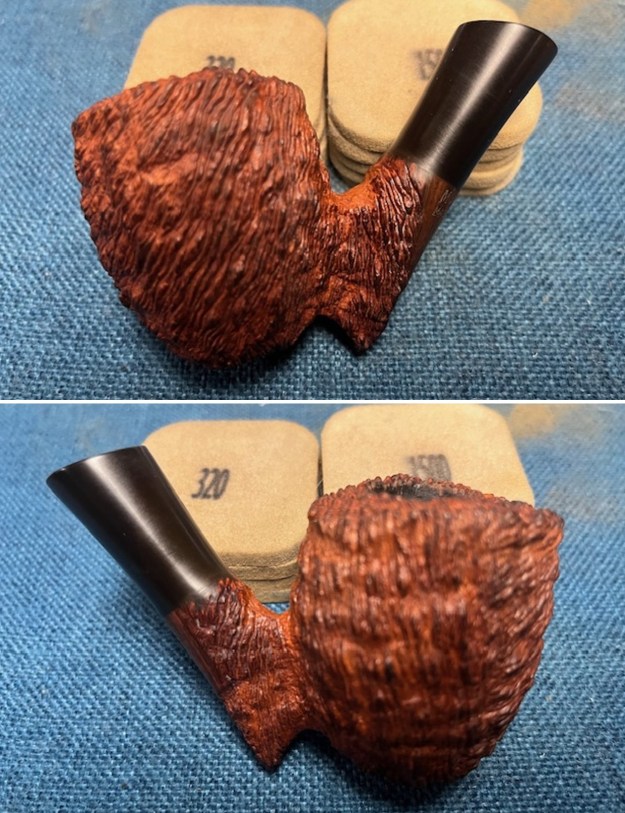
 There were spots of shiny varnish left on the shank, rim top and bowl sides. I wiped the bowl and shank down with acetone on a cotton pad and was able to remove the varnish spots and leave a cleaner natural finish.
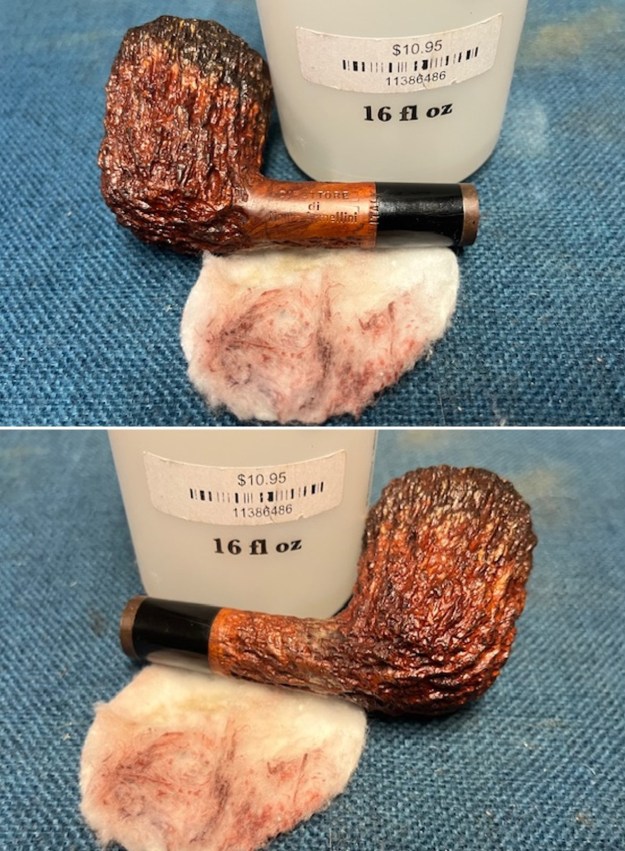
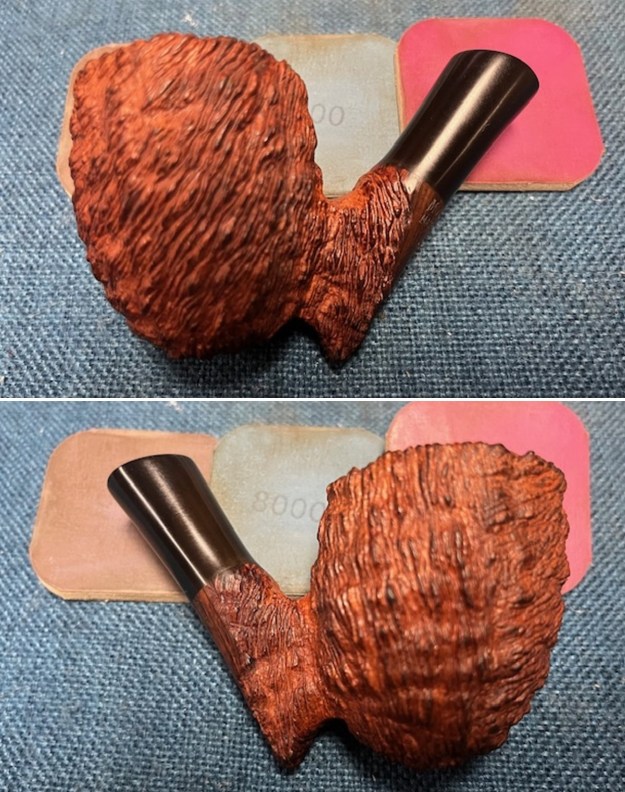
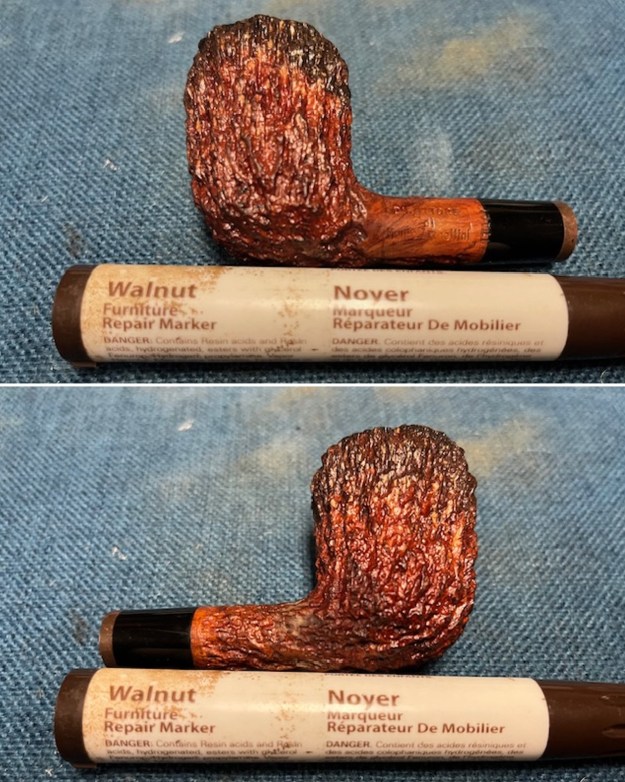
 I went over the rustication on the rim top and the fluming down the outer edge of the bowl with a brass bristle wire brush. Once I cleaned it up it looked better. I restained the fluming on the top and rim sides with a Walnut Stain Pen. It worked well.
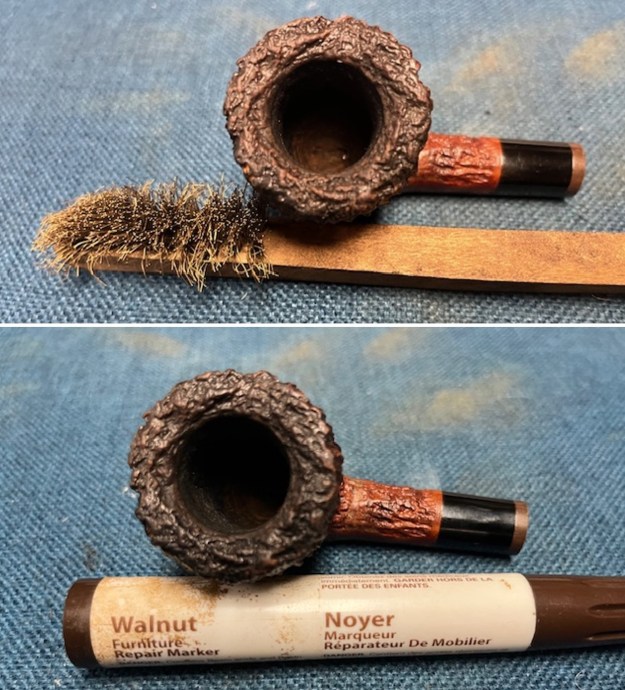
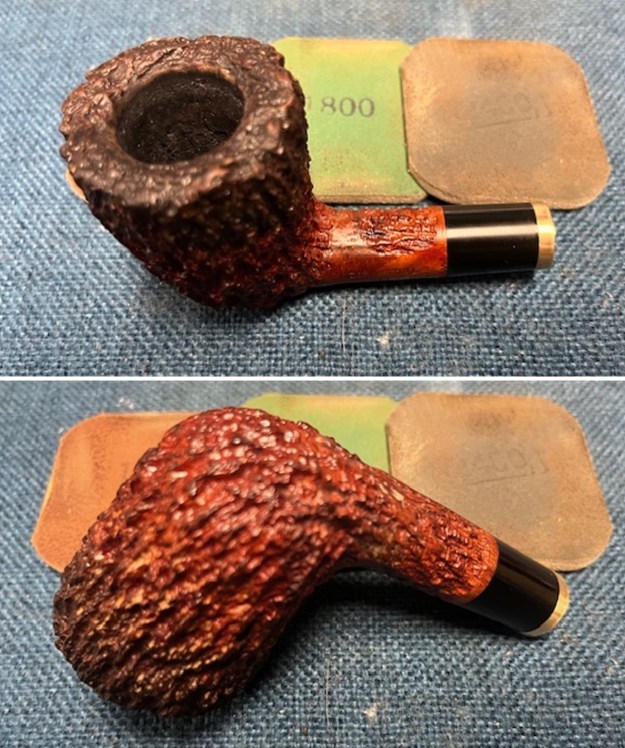
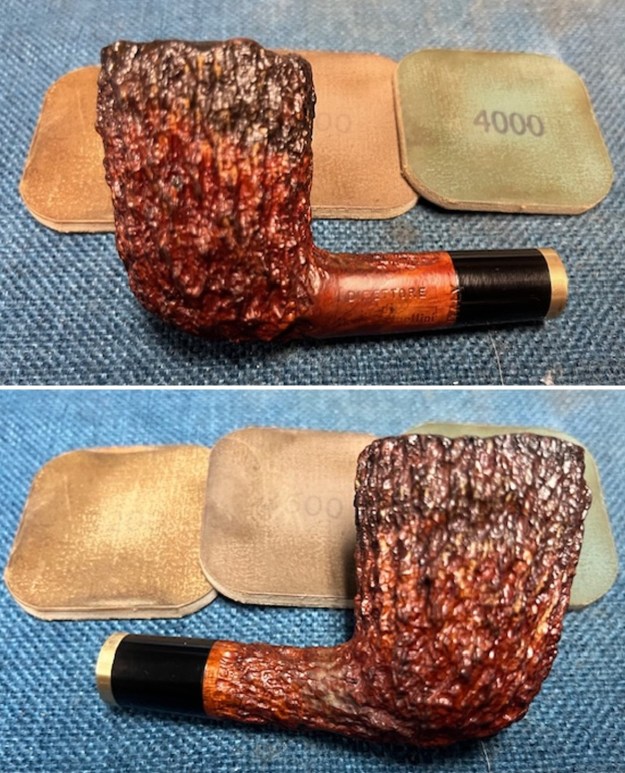
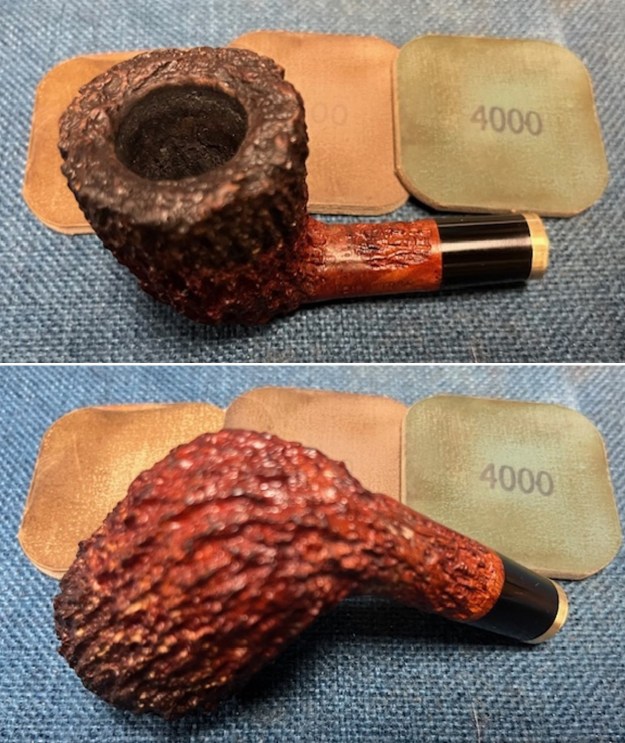
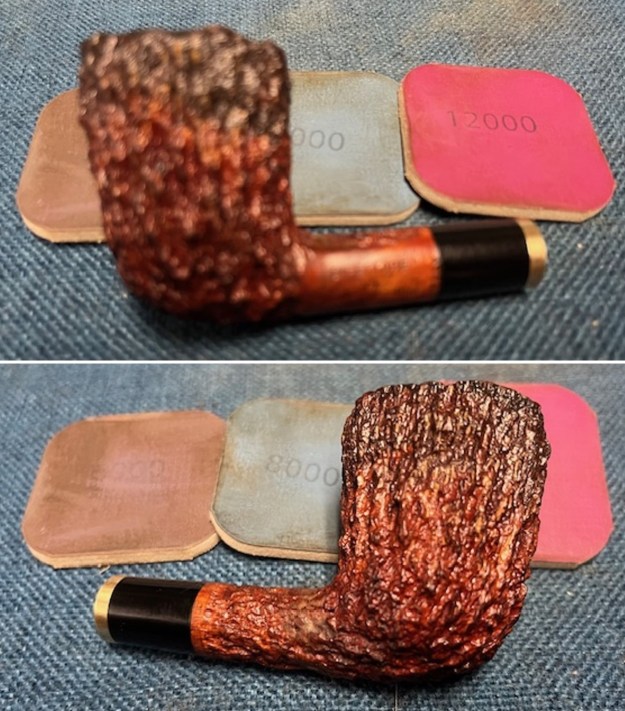
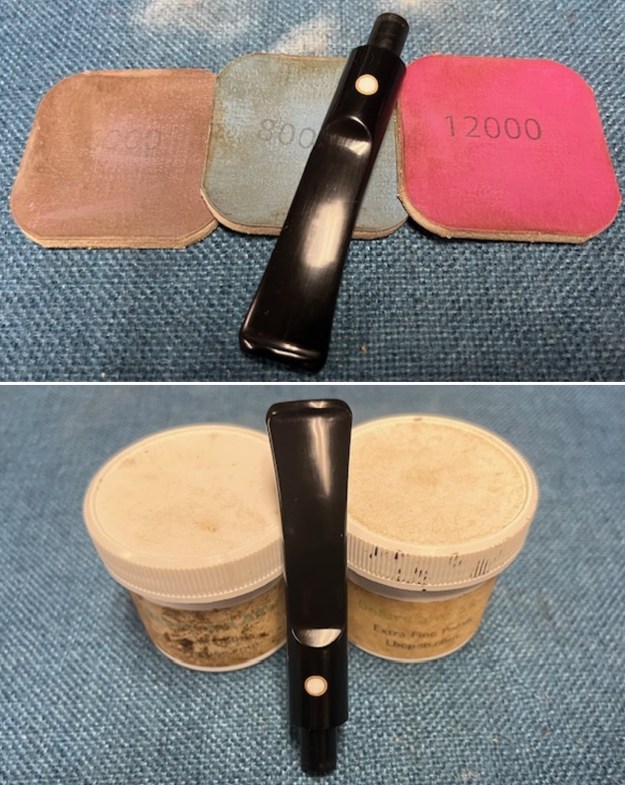
 I polished the acrylic shank extension and the tarnished brass band on the end with micromesh sanding pads – dry sanding it with 1500-12000 grit pads and polishing it with some Obsidian Oil on a cloth to remove the debris.
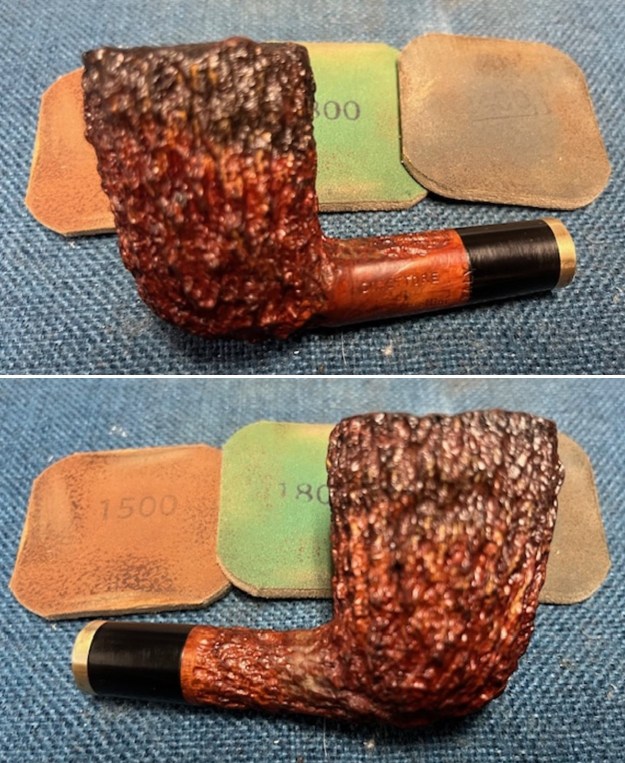
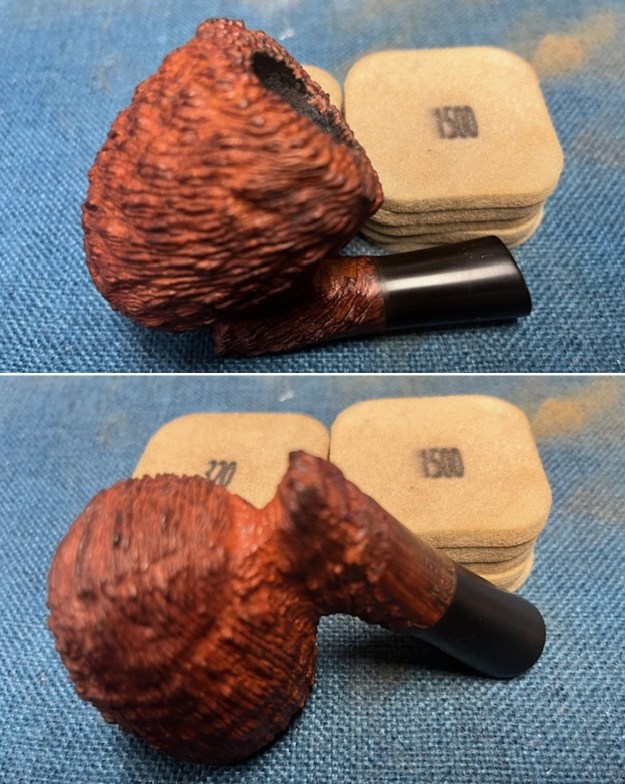
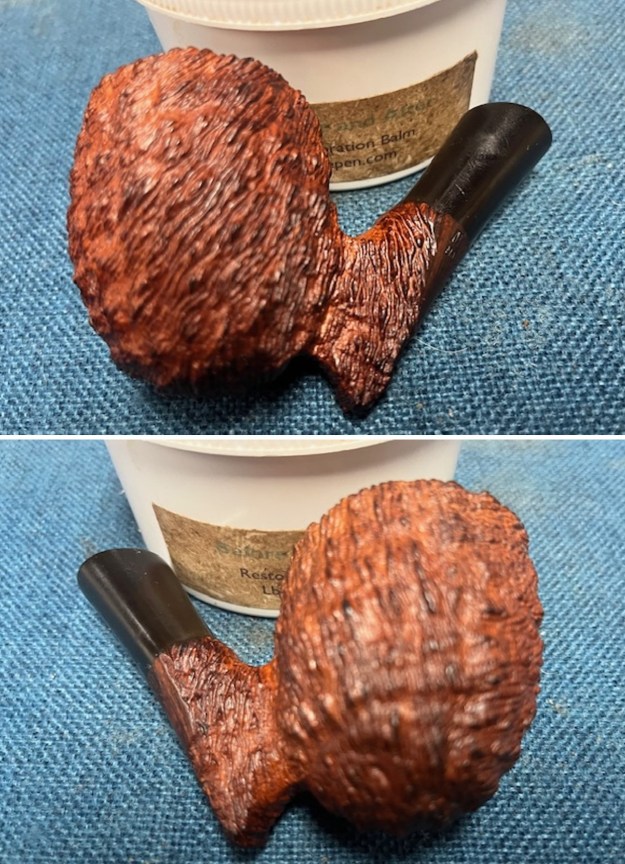
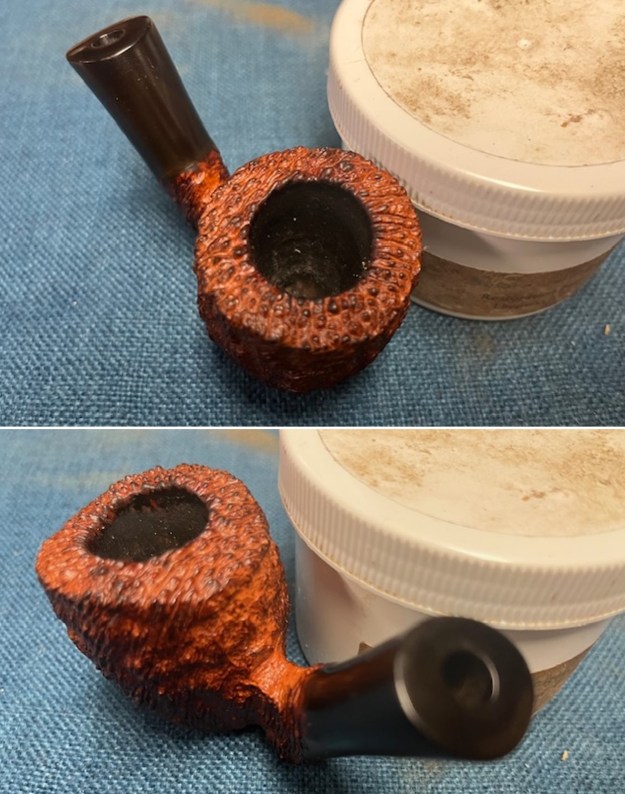
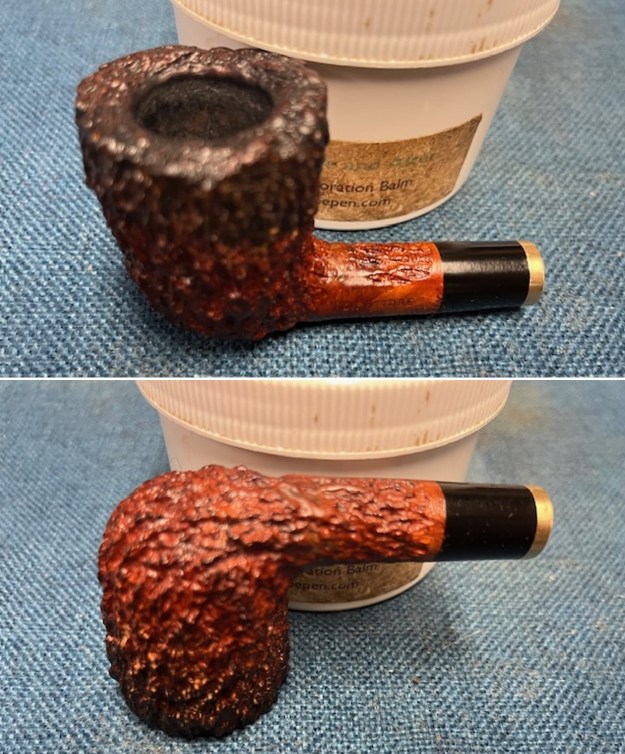
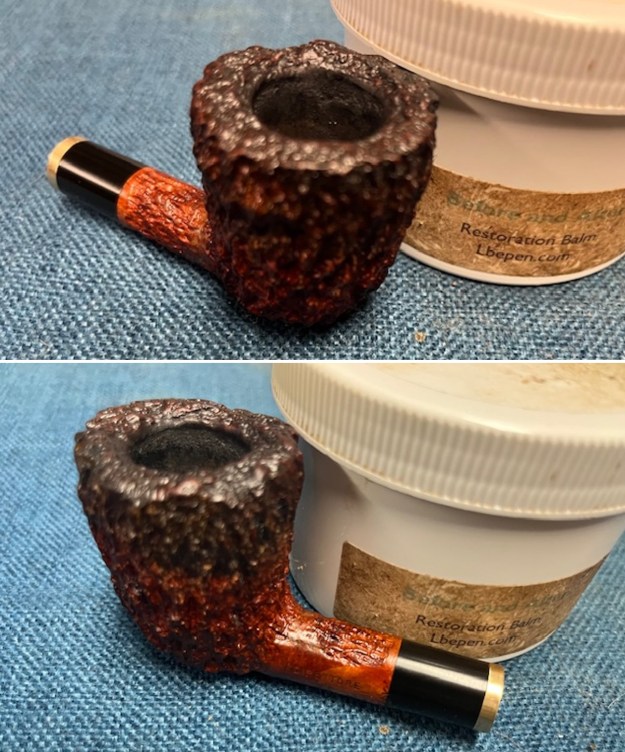
 I worked some Before & After Restoration Balm into the surface of the briar with my fingertips and a shoebrush to work it into the heavily rusticated briar. The product works to clean, enliven and protect the briar. I let the balm sit for 15 minutes and then buffed with a cotton cloth to raise the shine. The photos show the bowl at this point in the restoration process.
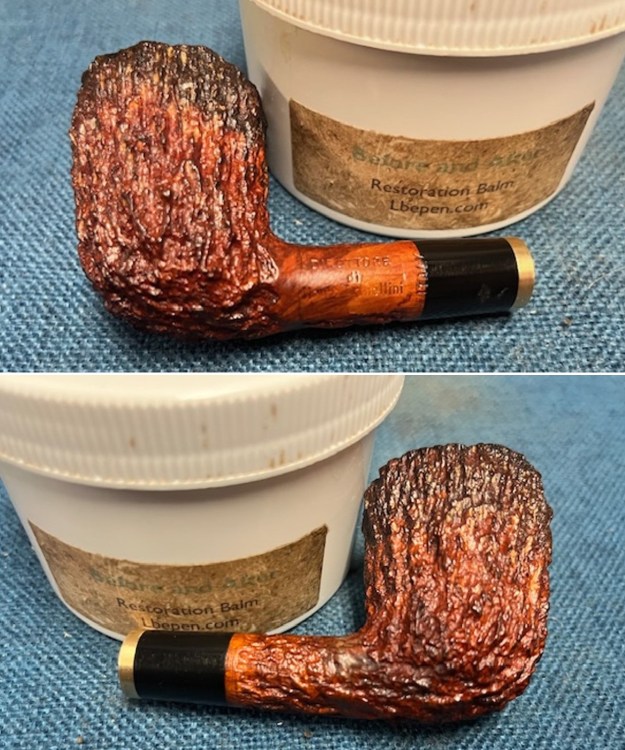
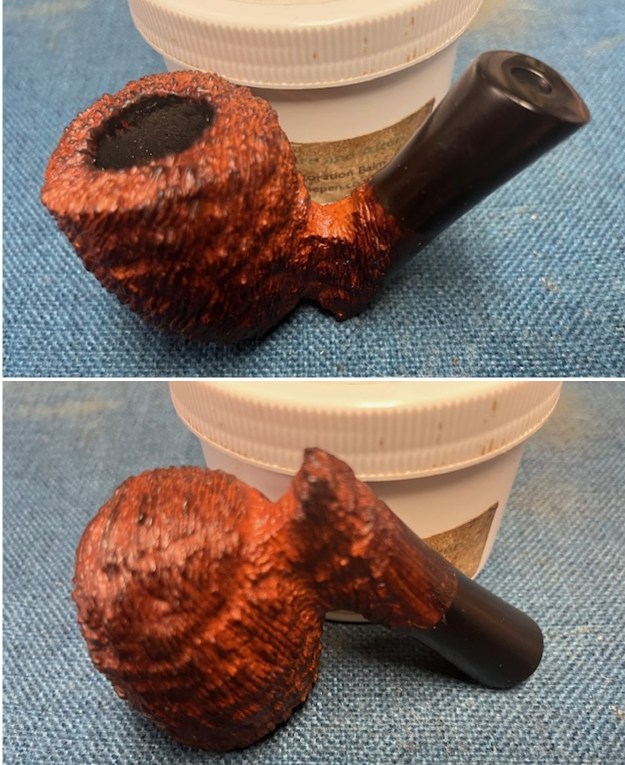
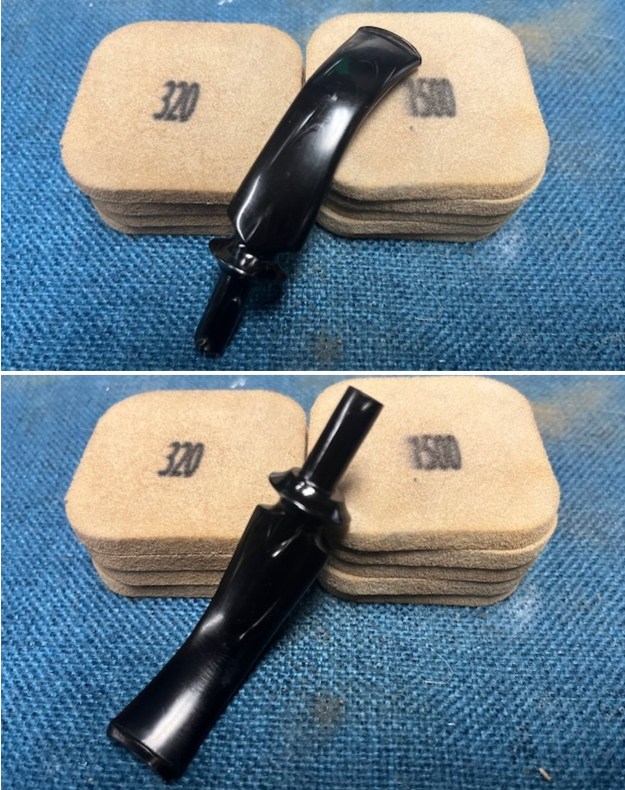
 I set the bowl aside and turned my attention to the stem. I set the bowl aside and turned my attention to the stem. I sanded the stem with 320-3500 grit 2×2 inch sanding pads to smooth out the tooth chatter. The pipe stem was looking very good.
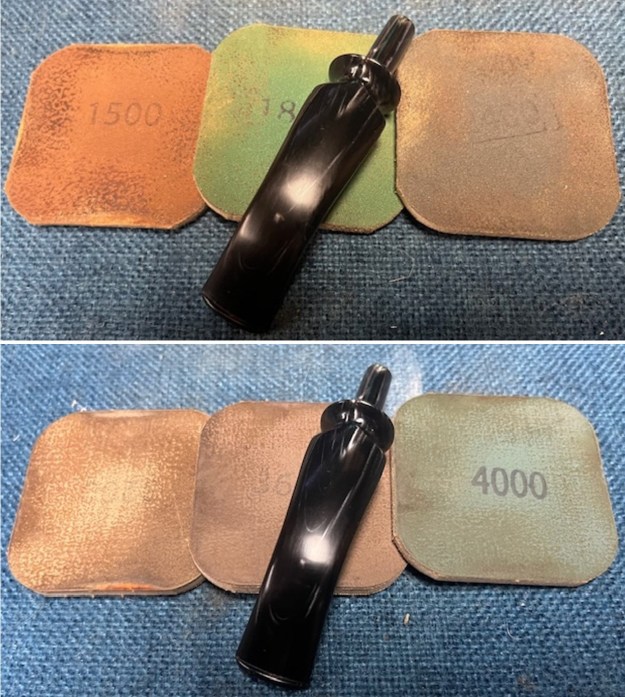
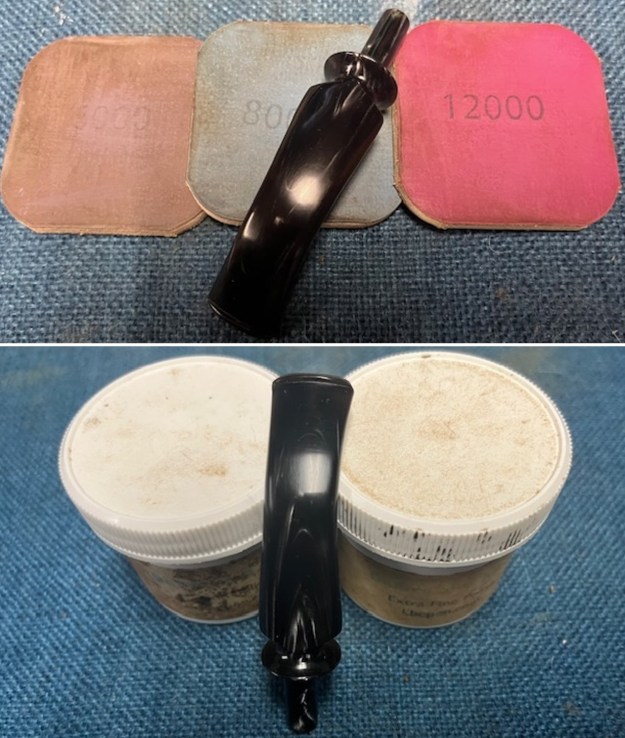
 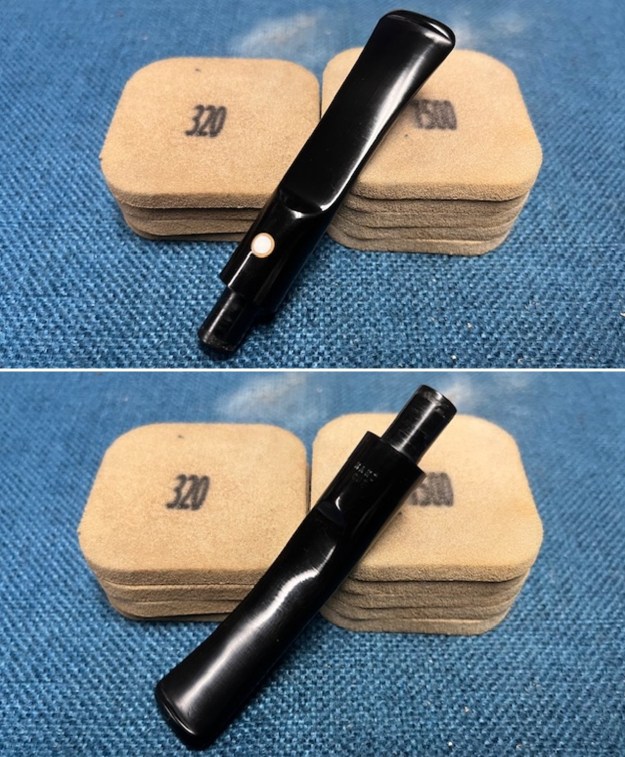 I polished the stem with micromesh sanding pads – dry sanding with 1500-12000 grit sanding pads. I wiped it down after each sanding pad with Obsidian Oil. I polished it with Before & After Pipe Stem Polish – both Fine and Extra Fine. I gave it another coat of Obsidian Oil.
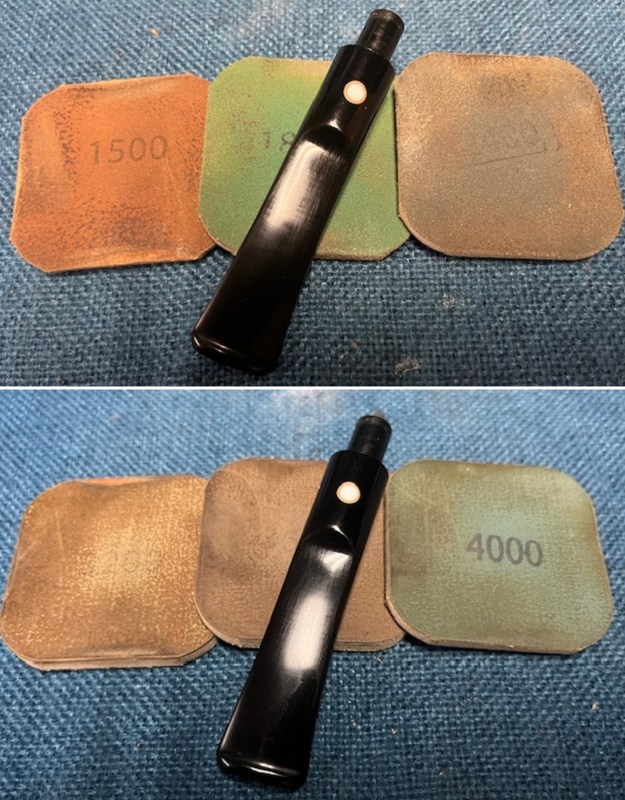
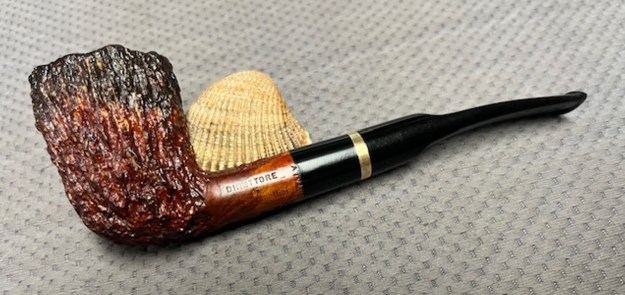
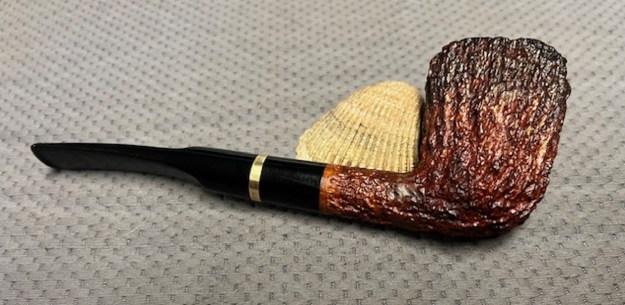
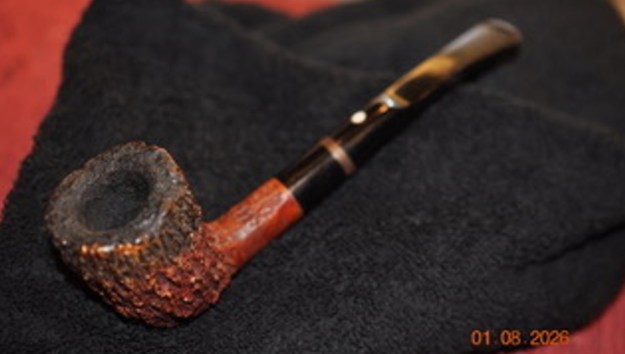
 As usual at this point in the restoration process I am excited to be on the homestretch. I look forward to the final look when it is put back together, polished and waxed. I put the Direttore di Mauro Armellini Italy Rusticated Dublin back together. I polished the bowl and stem with Blue Diamond to polish out the scratches in the briar and the vulcanite. I gave the bowl and the stem multiple coats of carnauba wax. I buffed the pipe with a clean buffing pad to raise the shine. I hand buffed it with a microfiber cloth to deepen the shine. The pipe polished up pretty nicely. The grain really pops with the wax and polish. The shiny black vulcanite stem is a beautiful contrast to the reddish, browns of the bowl. This Direttore di Mauro Armellini Italy Rusticated Dublin was a great pipe to spruce up. It is a very comfortable pipe to hold in the hand. The finished pipe is shown in the photos below. The dimensions of the pipe are Length: 6 inches, Height: 2 inches, Outside diameter of the bowl: 1 ½ inches, Chamber diameter: 7/8 of an inch. The weight of the pipe is 51 grams/1.76 ounces. This pipe will be going on the Italian Pipe Maker section of the rebornpipes store if you are interested in adding it to your collection. Thanks for reading this blog and my reflections on the pipe while I worked on it. This is an interesting estate to bring back to life.