Blog by Steve Laug
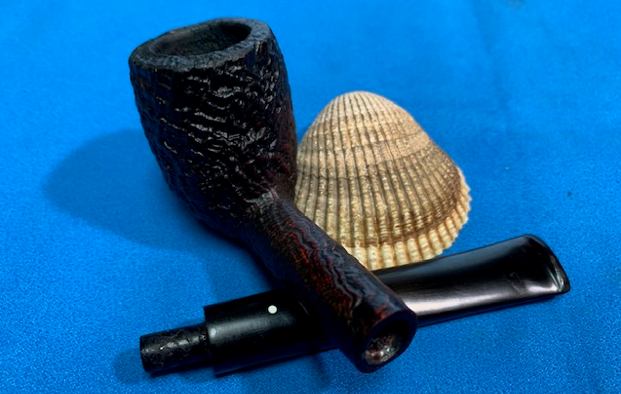
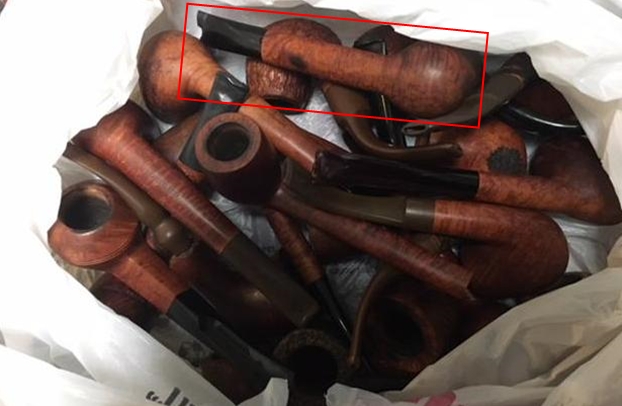
This is another of those pipes that has been laying around here for a very long time. It was in a small bag with a very dirty and calcified stem that I had assumed belonged to it. It was loose in the shank but the length and the diameter was correct. The bowl was very clean and had all the marks of having been cleaned up by Jeff. However, the stem really throws me as it has not been cleaned, sanitized or anything. It is a general mess. It reminds me a lot of some of the older estate Dunhill pipes that I have restored over the years. It really makes me wonder if somewhere along the way either Jeff or I threw in the Dunhill stem because it fit! I am pretty certain it is not the correct one but it will work. I don’t know if I will ever truly know where and when we received it.
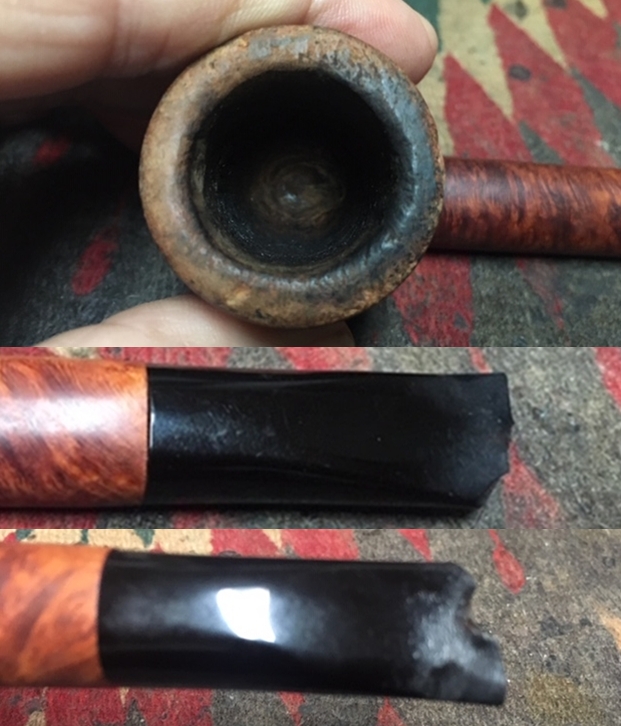
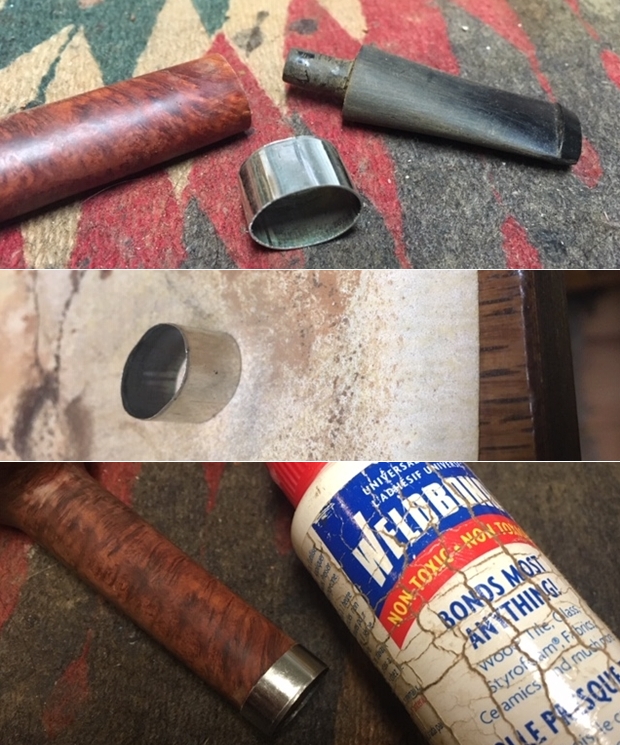
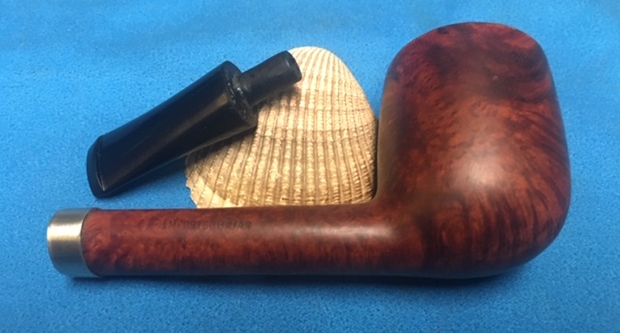
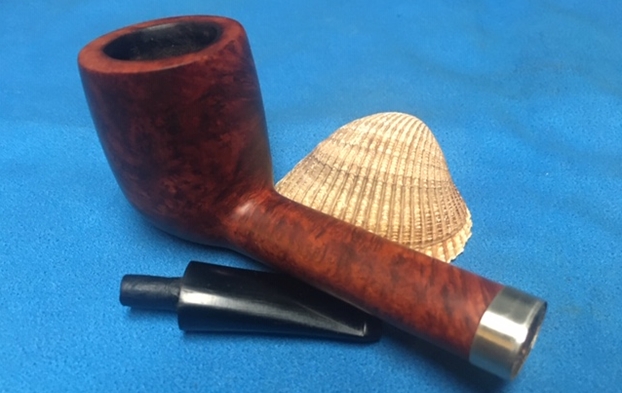
 The stem was in very rough shape. The calcification on the stem surface was thick and hard. I had to use a knife to scrape the heavy thickness off. I forgot to take photos of the stem before I scraped it but the next photos give a fair idea of what I was dealing with. There was a bite through on the underside of the stem next to the button and some deep tooth marks on both sides. The tenon had a thick shiny coat that would need to be sanded down and smoothed out.
 I took a photo of the stamping on the shank underside. The stamping on the pipe is 111/1 (smaller text) on the heel of the bowl with an upside down 125 above it and toward the shank. That is followed by Dunhill Shell [over] Patent No. 41754/34. Following the Dunhill Shell stamp is Made in England on one line with a superscript underlined 5. From what I can find I would date it to 1945. I spell out my process in the text that follows.
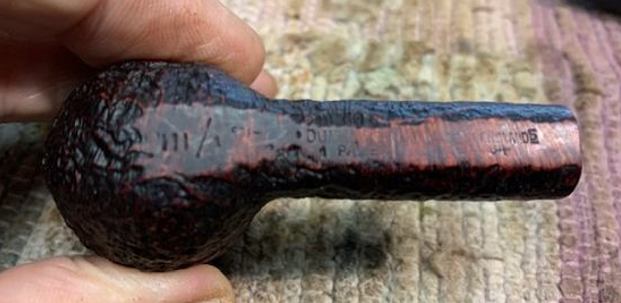 I turned first to Pipephil’s site because it has a great set of charts for dating Dunhill pipes that is kind of a flow chart. I find it incredibly helpful. I turned first to the section on Dunhill pipes to see if I could find similar stamping on the pipes he shows. I have included the following photos below (http://pipephil.eu/logos/en/dunhill/patent3.html#a1). The stamping is very similar on the first one from 1943 while the patent number on the second one (1950) is the same as mine.
 I turned then to the dating flow chart on the site (http://pipephil.eu/logos/en/dunhill/cledat-en1b.html). I have included Page 2 of the dating key below. I have circled the pertinent section in red in the photo below.
 Armed with that information I knew I was working on a 1945 Dunhill Shell 111 Billiard. I was uncertain about the stem being the original but it fit well and with some repairs it would serve to make the bowl smokable. Now it was time to work on the pipe itself.
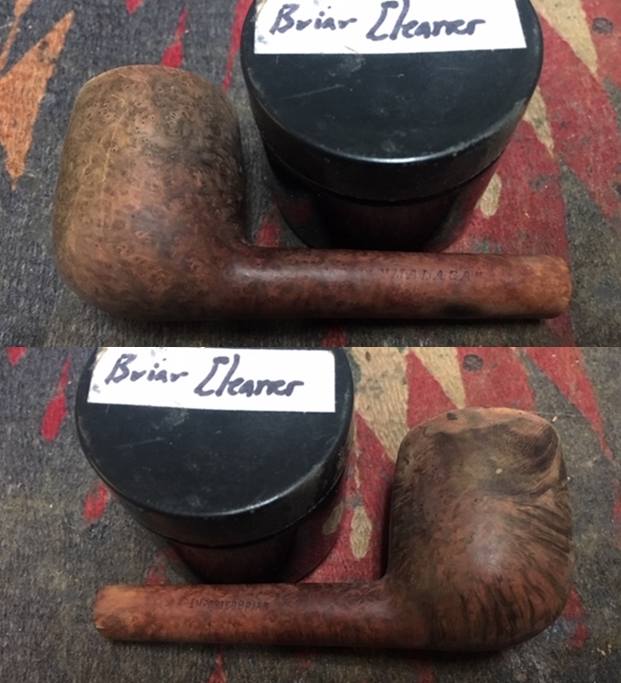
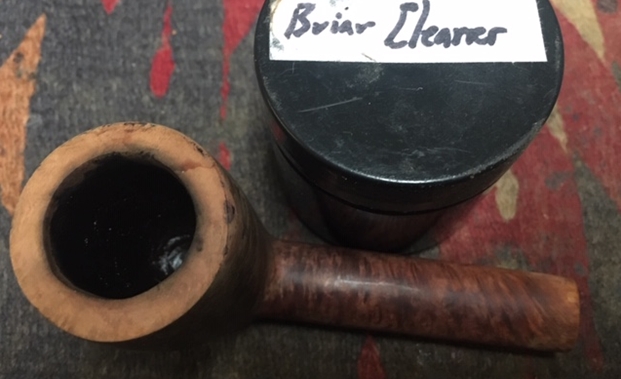
Since the bowl was very clean I decided to rub it down with some Before & After Restoration Balm. I worked it into the sandblast finish with my fingertips and a horse hair shoe brush to get it into the crevices. I let the product sit for 10 minutes before buffing it off with a soft cloth. The product works to clean, enliven and protect briar and I have found that it certainly does a great job of that on the pipes I work on.

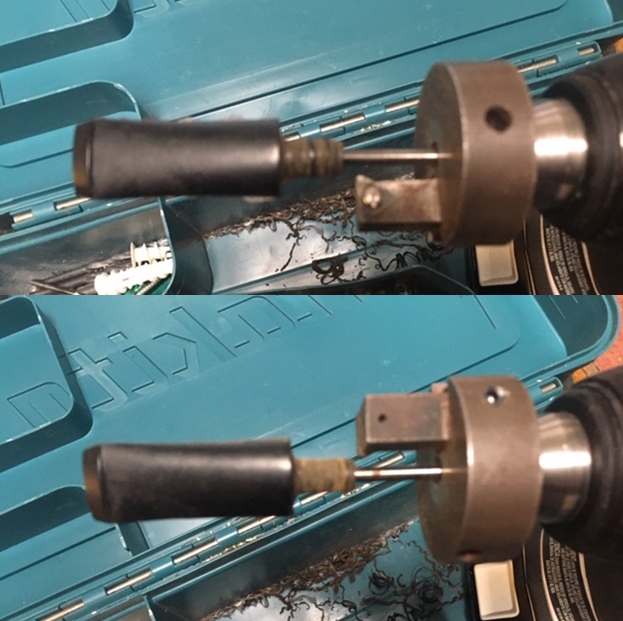
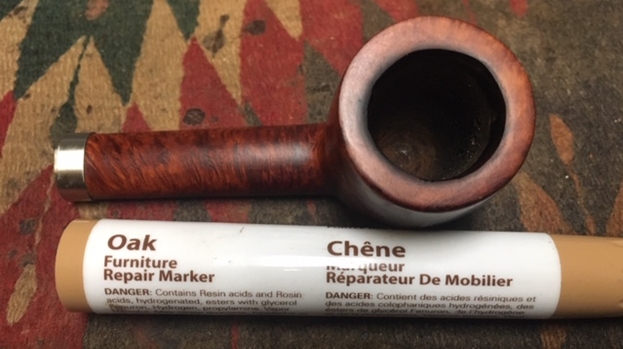
 I set the bowl aside and turned my attention to the stem. I scraped off the rest of the calcification on the stem with a pen knife and lightly sanded it to clean it up. I “painted” the stem surface with the flame of a Bic lighter to lift the tooth marks and the area around the bite through on the underside. There was still work to do but it was getting there. Notice the tenon still needs attention as there is some build up on it as well.
  I cleaned off the surface of the stem with alcohol and a cotton swab and then greased a folded pipe cleaner with Vaseline in preparation for the stem repair. I slide a greased pipe cleaner into the slot below the bite through and fill it in with black super glue. I built up the damage on the topside of the stem at the same time. I spread the glue with a dental pick to make sure the bite through was well covered. I sprayed the repair with an accelerator to harden the repair more quickly.
 Once it had hardened to touch I removed the pipe cleaner. Once the repair had cured overnight I used a small file to reshape the button edges on both sides and flatten the stem surface. The repair worked very well. I sanded the repaired areas with a folded piece of 220 grit sandpaper and started the polishing process with 400 grit wet dry sandpaper. I also worked on the tenon to smooth out the previous work that had been done. It is looking better.
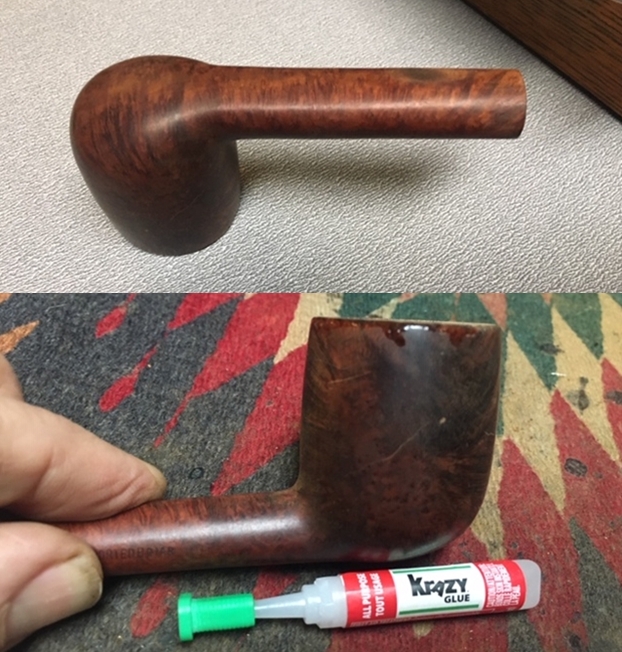
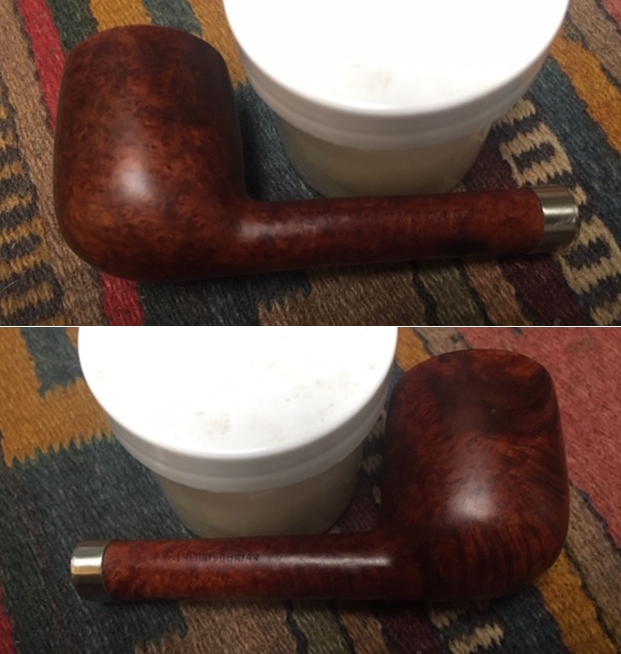
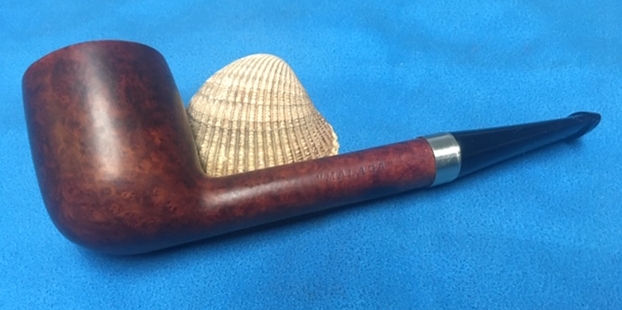
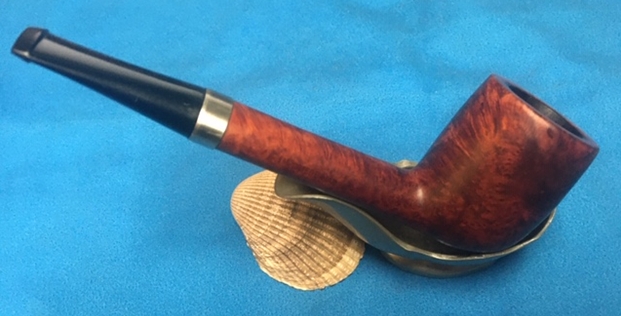
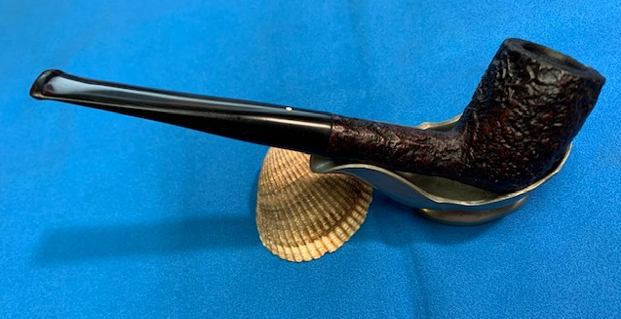
 At this point I decided to put the stem on the bowl and take some photos of it to get a sense of what the pipe looked like. I have included those below.
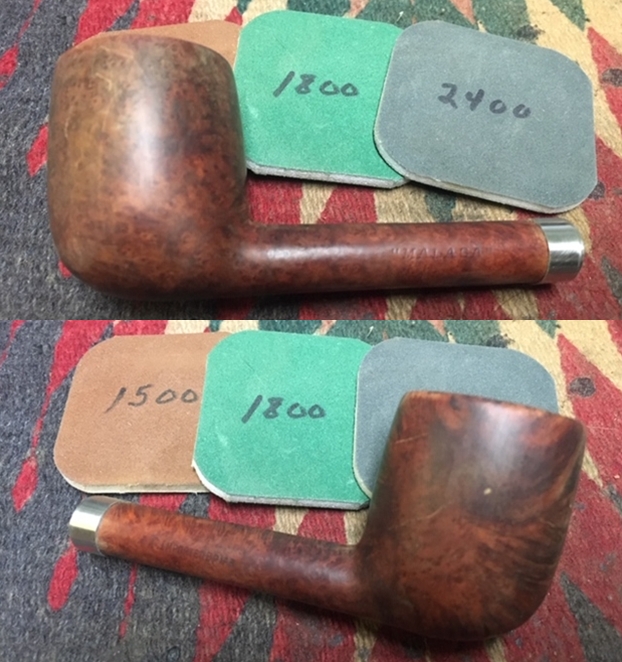
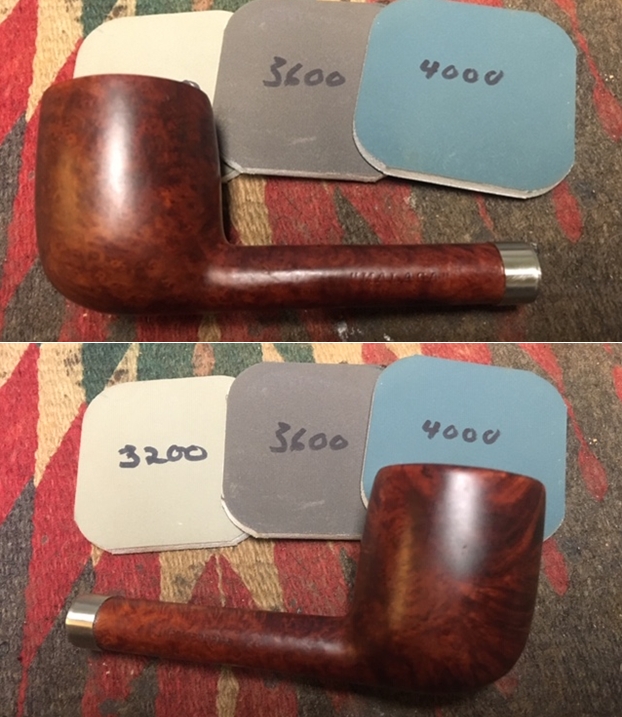
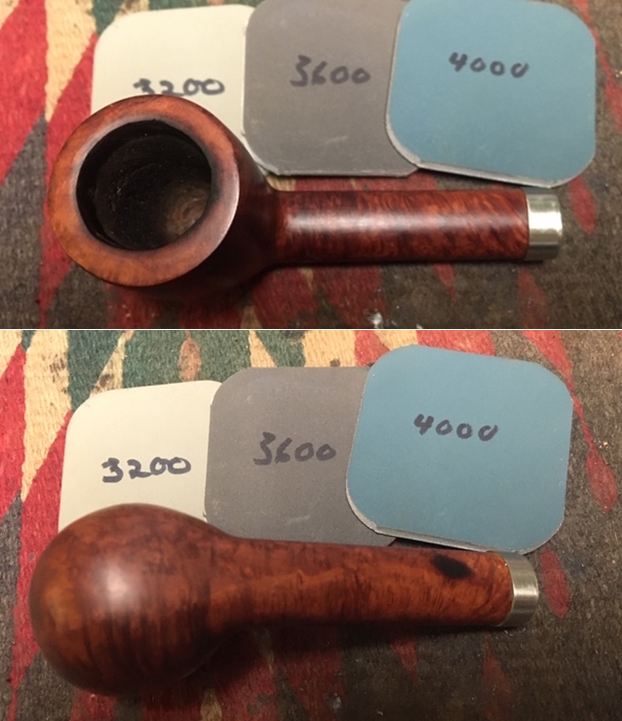
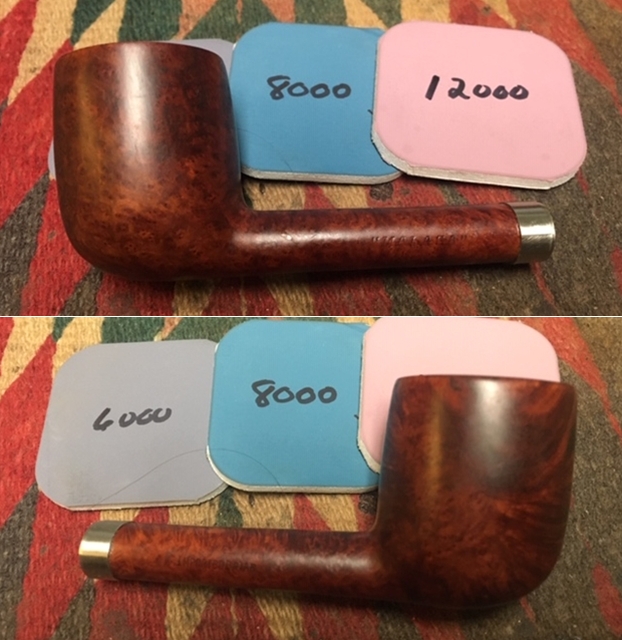
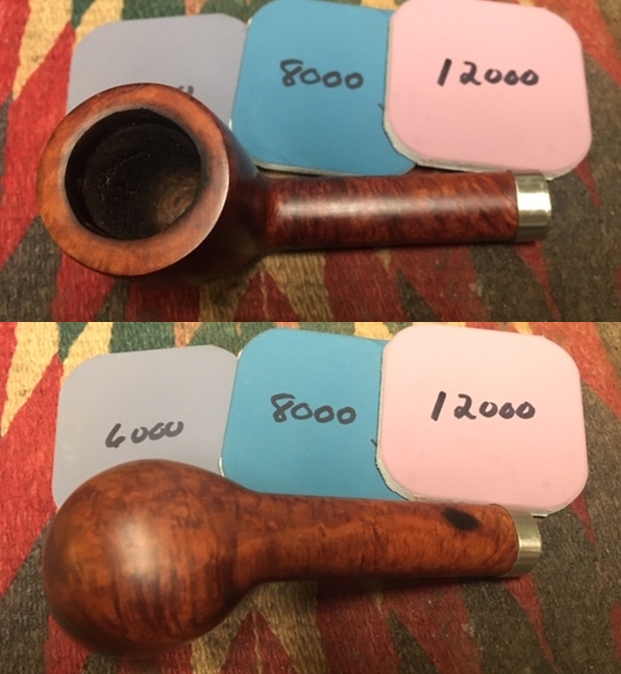
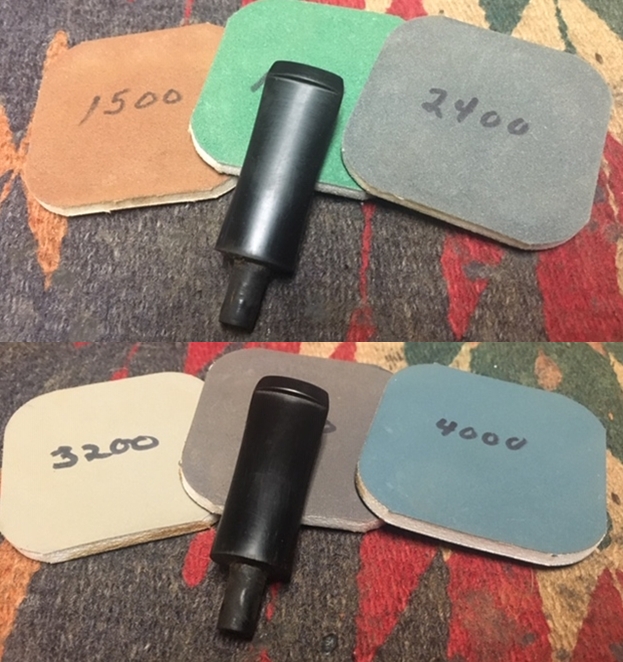
 There was still a lot of work to do on the stem. But the general shape and condition were looking much better. I spent quite a bit of time working on the shape of the stem with a 1500 grit micromesh sanding pad to smooth out the transition between the shank and the stem. I also worked on the button edge and the part of the stem just ahead of the button (some call it the bite zone, but honestly that name pains me given the number of chewed up stems I have worked on). I continued to polish the stem with the rest of the micromesh pads (2400-12000 grit pads). I rubbed the stem down after each pad with Obsidian Oil. I polished the stem with Before & After Pipe Stem polish – both Fine and Extra Fine. I gave it a final coat of Obsidian Oil and let it dry.
 Though the stem I have with the pipe is probably not the correct one for this 1945 Dunhill Shell 111 Billiard it will work and make the pipe usuable. It is far from perfect as far as stems go but it will work while I am on the lookout for the correct one. The stem cleaned up well and the finished pipe looks very good. The rugged looking sandblast and the polished black vulcanite stem work very well together to give the pipe a slender profile that is quite pleasing. The sandblast finish on the bowl came alive with the buffing. I used Blue Diamond on the buffing wheel on both the bowl and stem. I gave the bowl multiple coats of Conservator’s Wax and the stem multiple coats of carnauba wax on the wheel then buffed the pipe with a clean buffing pad to raise the shine. I hand buffed it with a microfibre cloth to deepen the shine. The Dunhill Shell 111 Billiard feels great in the hand. It is lightweight and the contrast in the stains on the briar and the polished vulcanite stem with the rugged sandblast bowl is quite amazing. The dimensions of the pipe are Length: 6 inches, Height: 1 ½ inches, Outer diameter of the bowl: 1 1/8 inches, Chamber diameter: ¾ of an inch. The weight of the pipe is 1.06 ounces/30 grams. It really is a beauty. Thanks for walking through the restoration with me. If any of you happen to have a Dunhill narrow stem or fishtail that you would be willing to part with let me know! Thanks!