Blog by Steve Laug
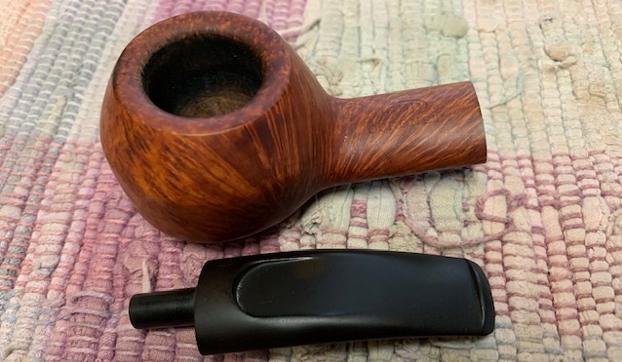
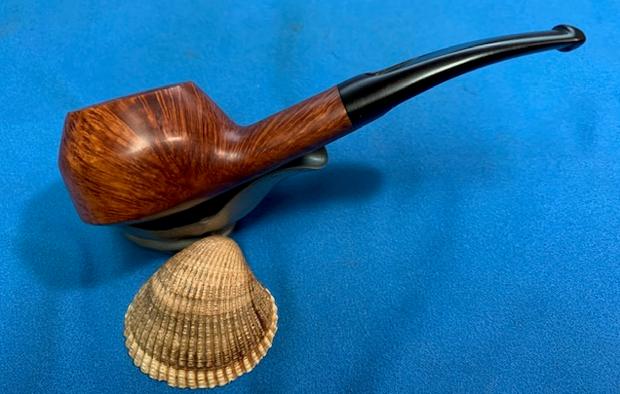
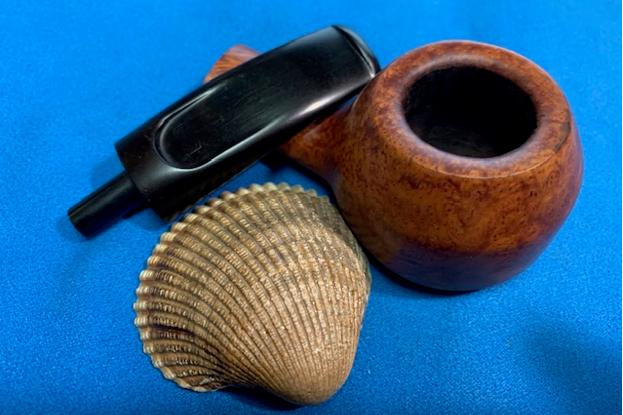
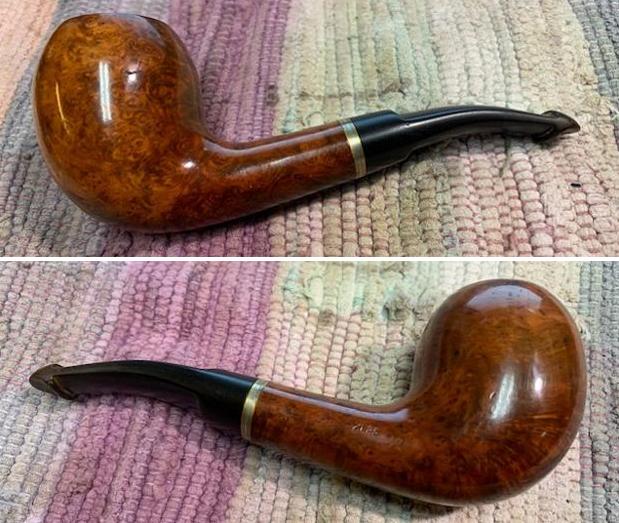
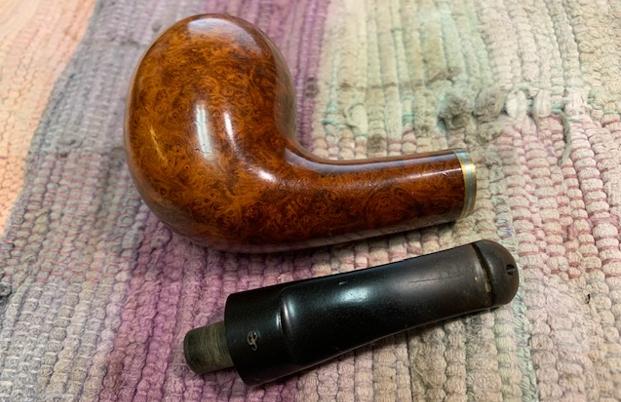
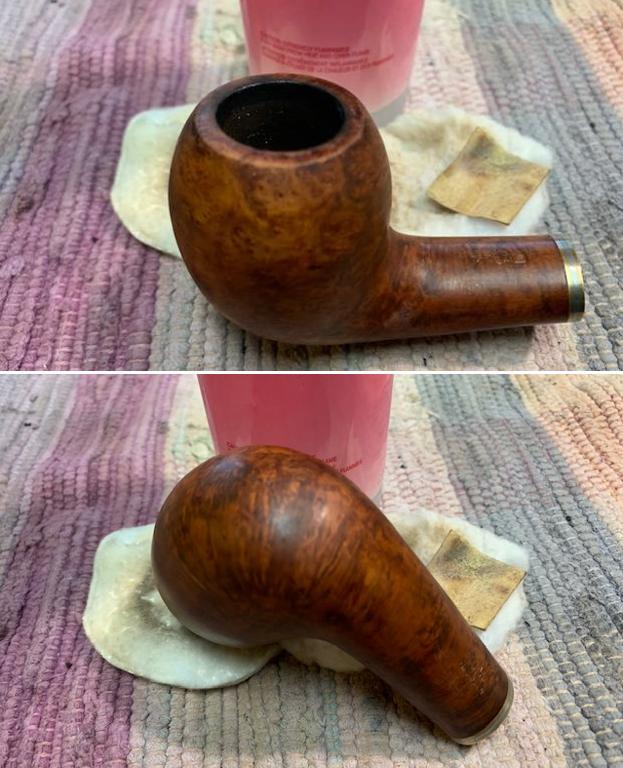
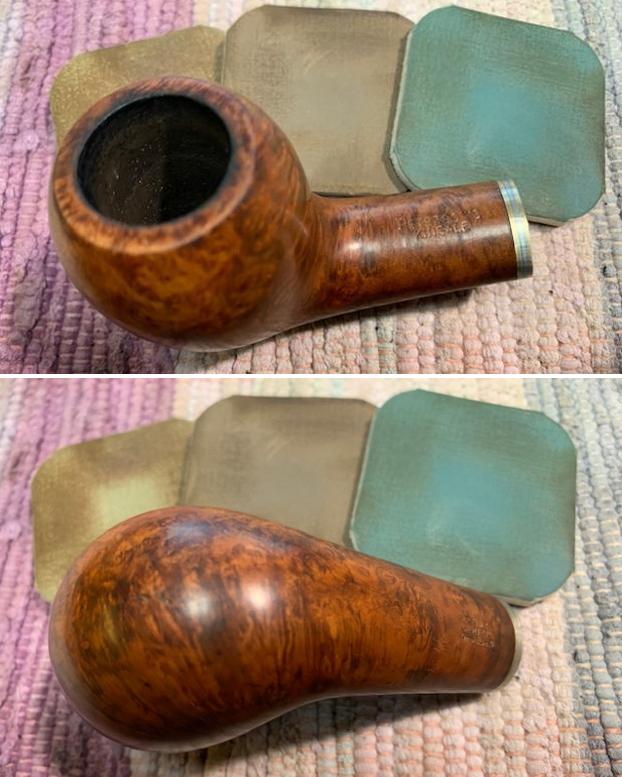
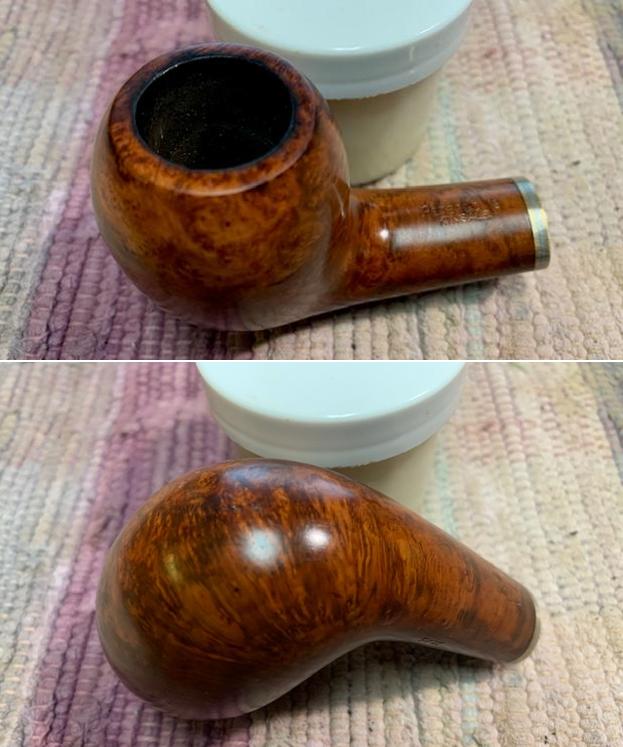
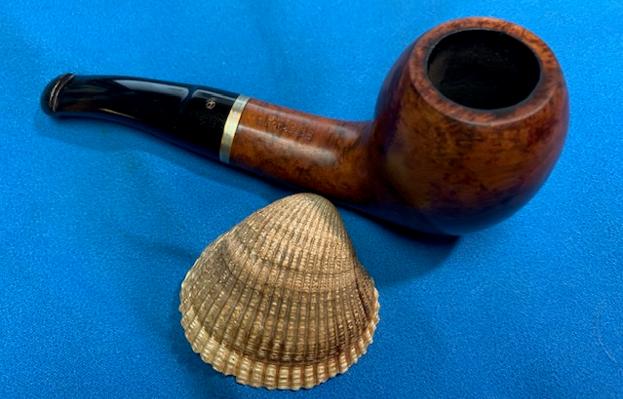
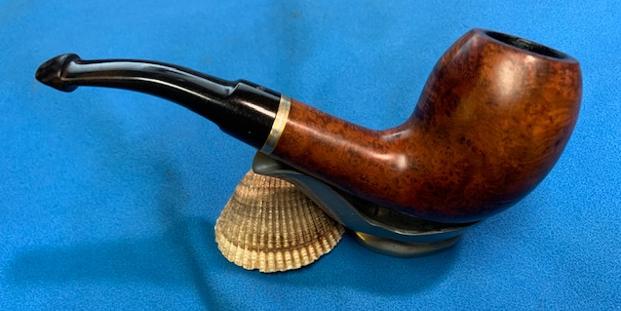
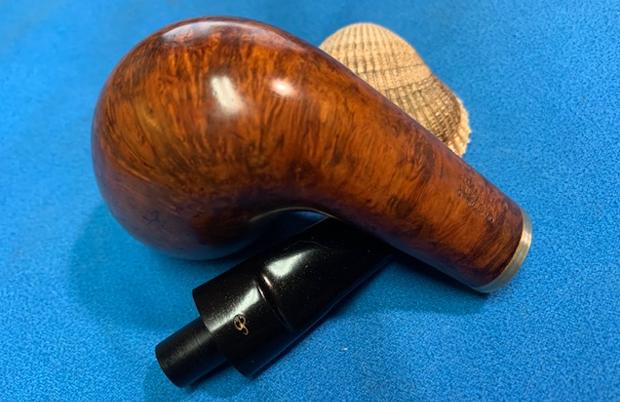
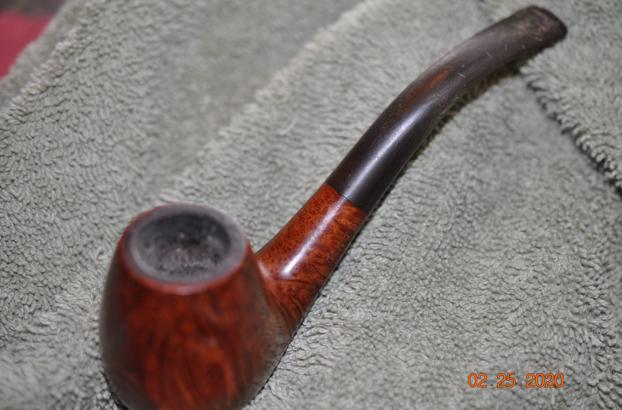
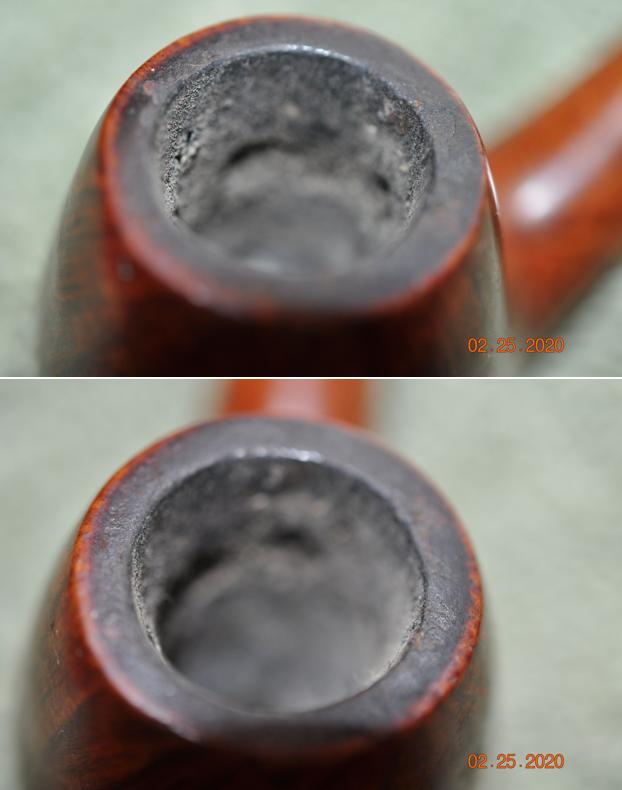
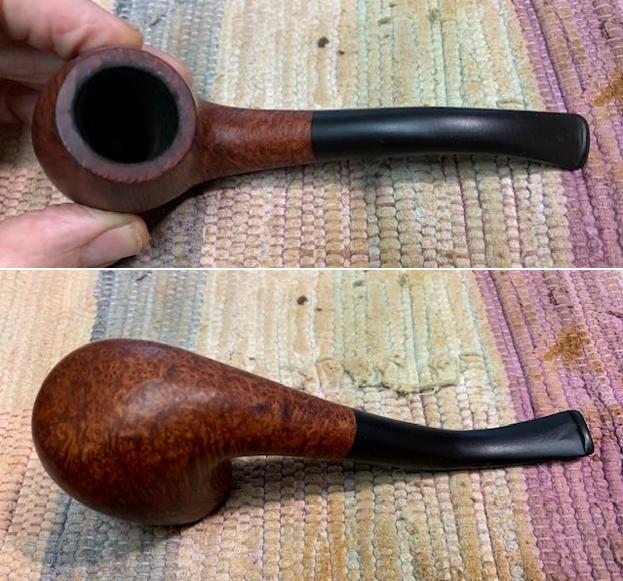
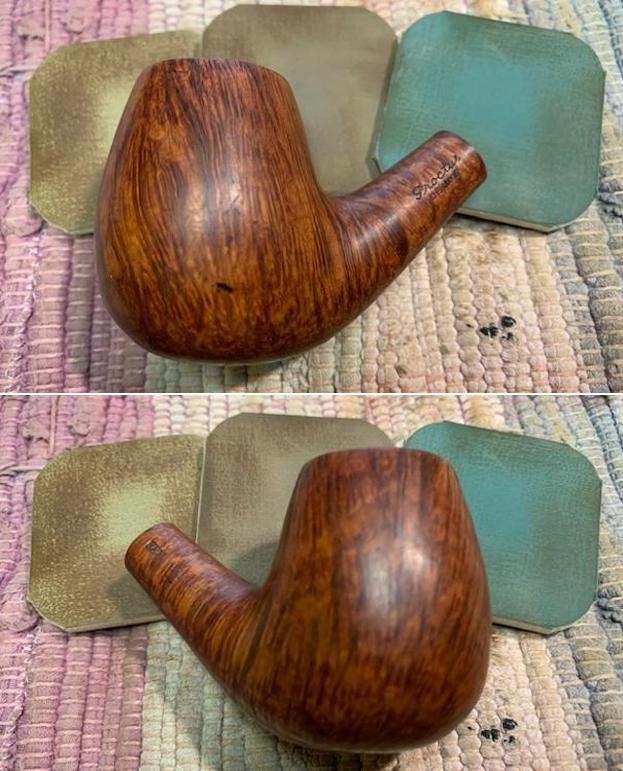
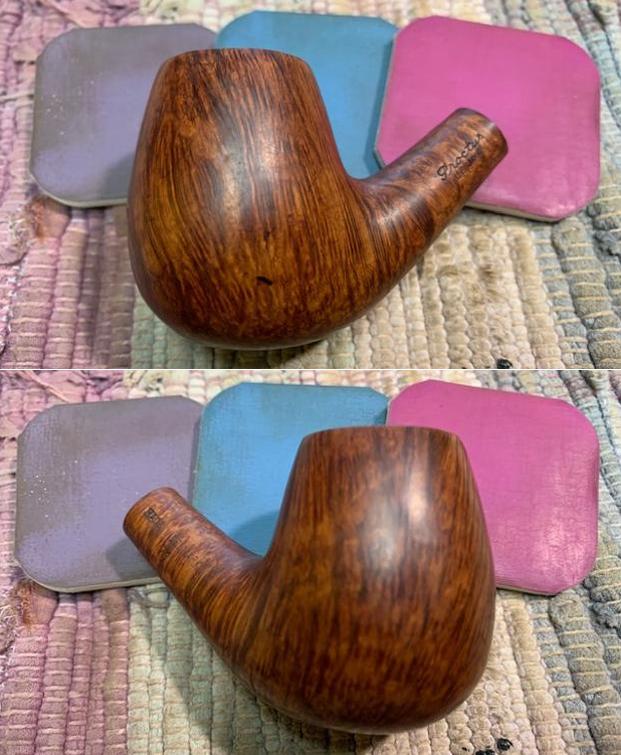
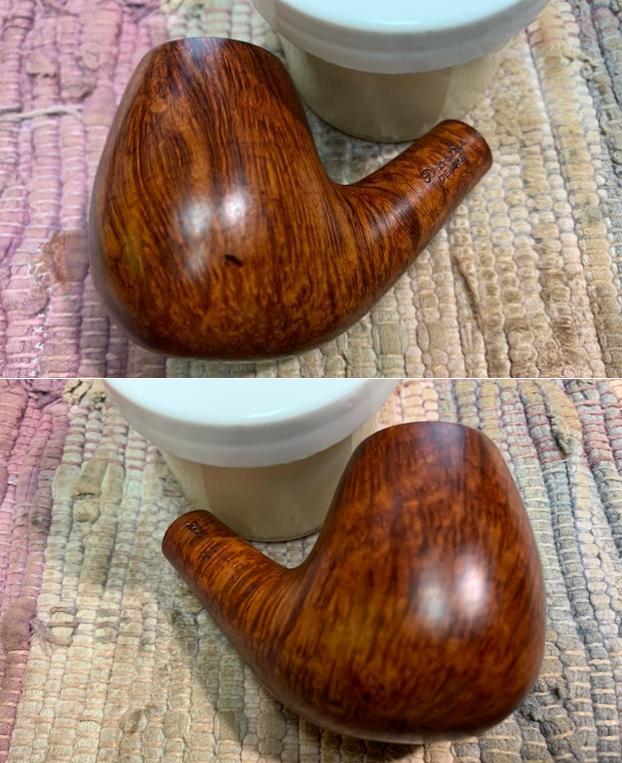
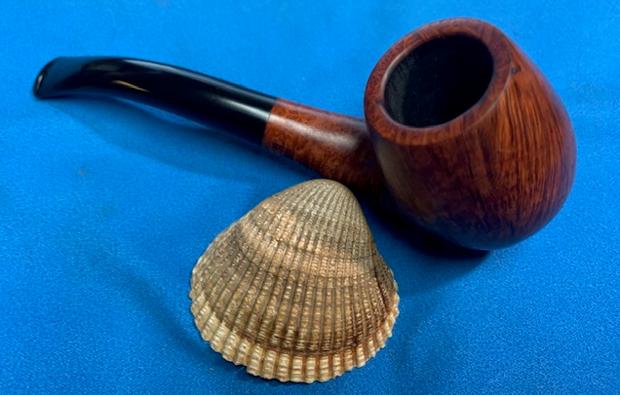
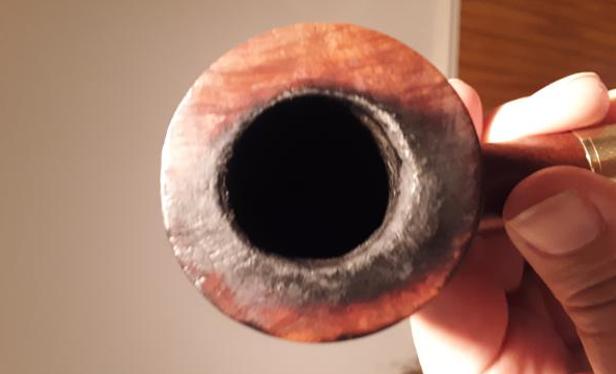
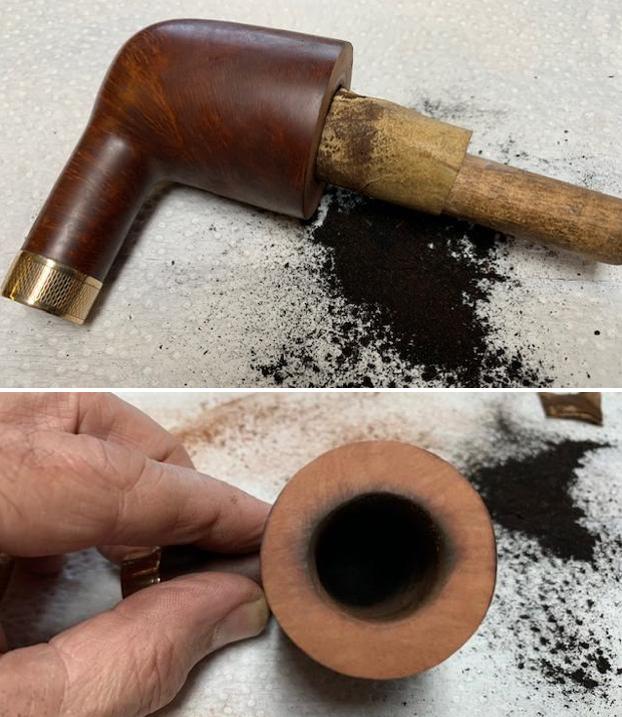
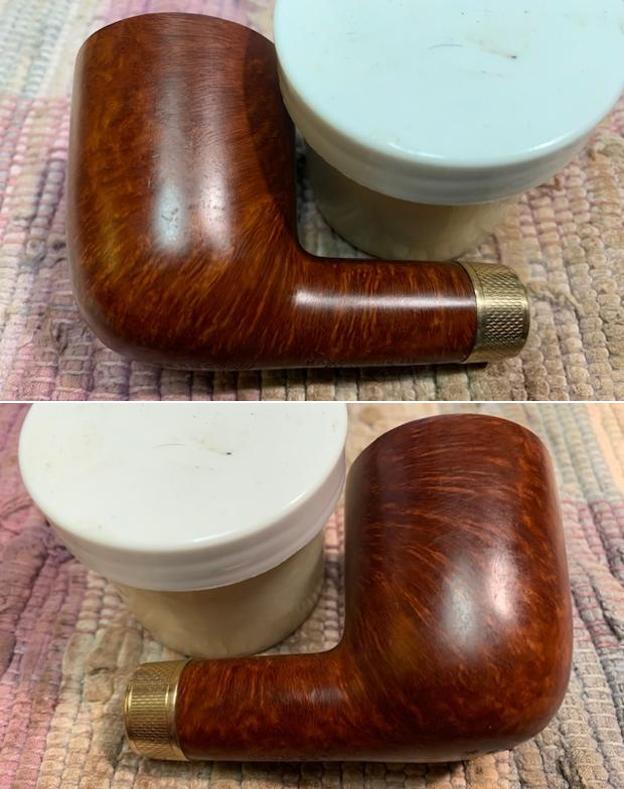
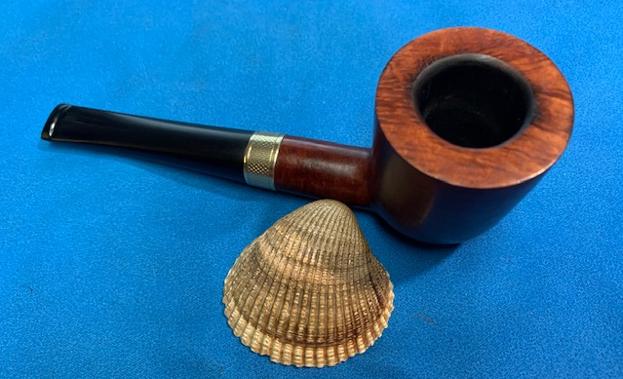
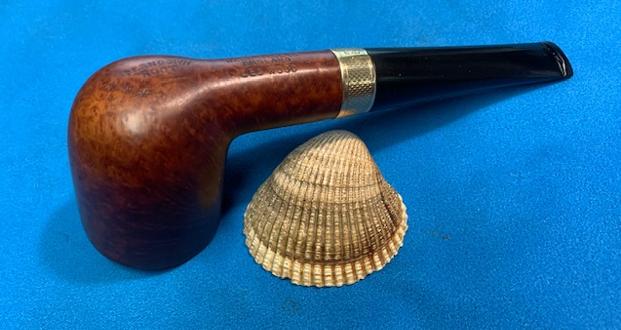
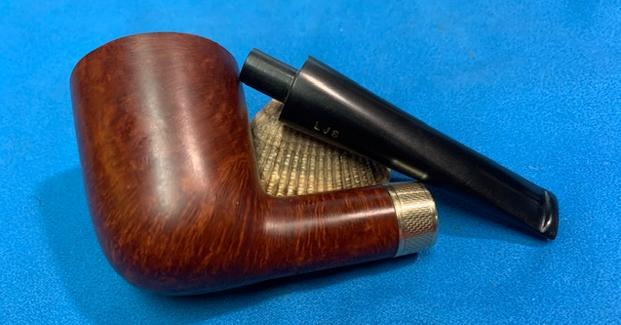
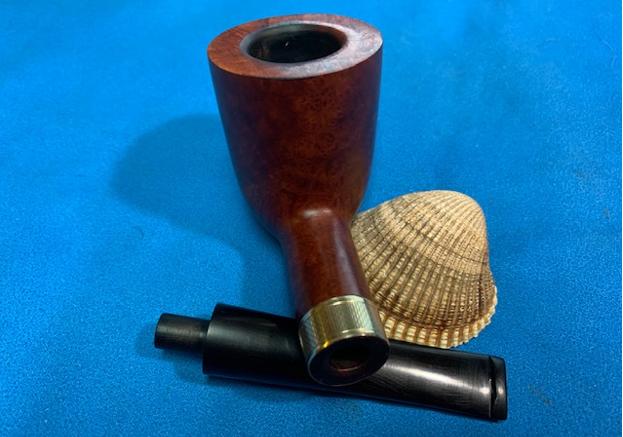
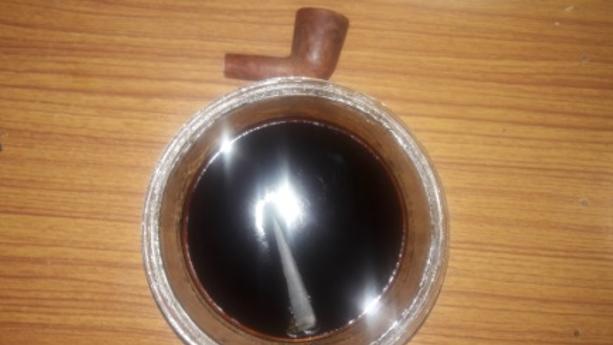
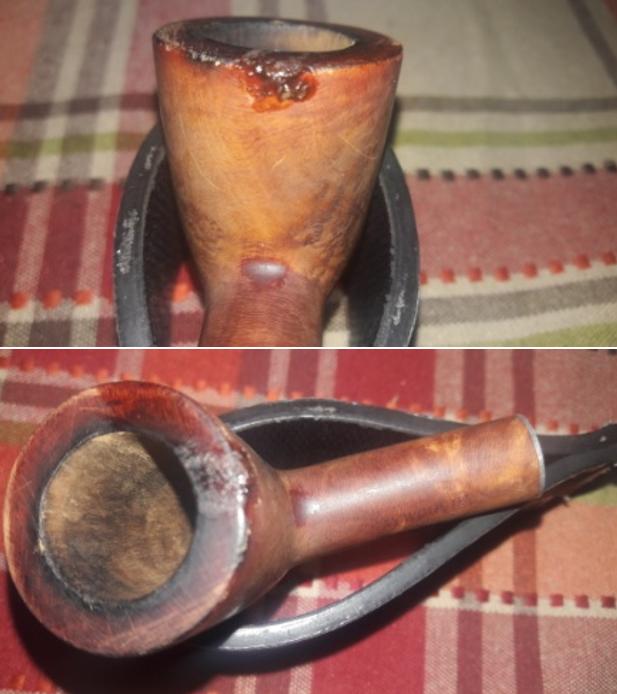
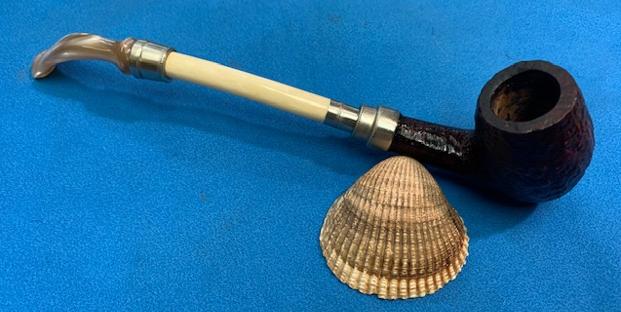
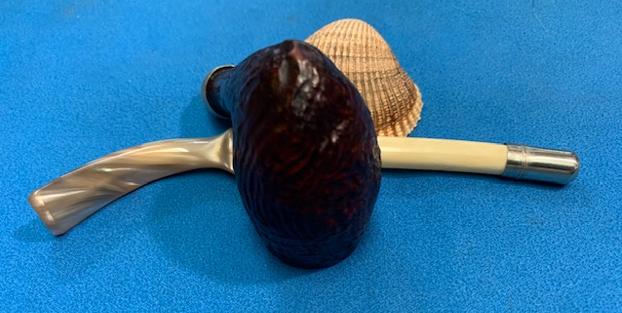
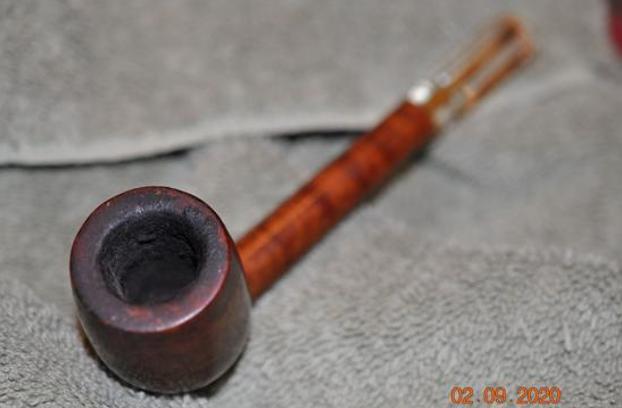
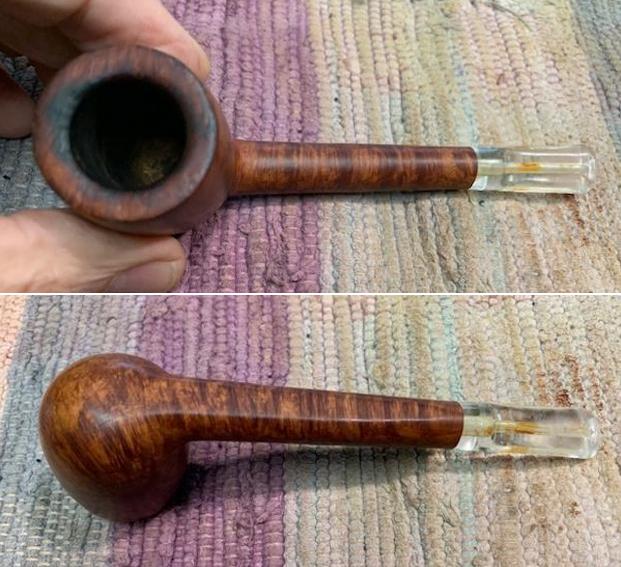
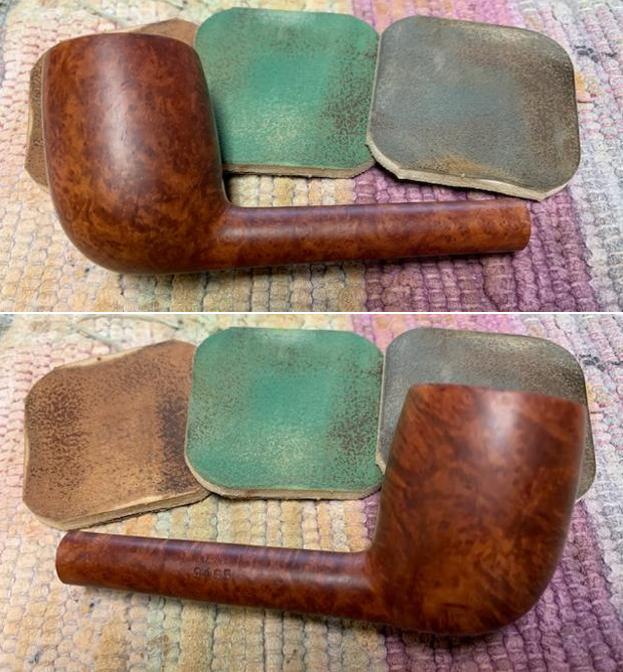
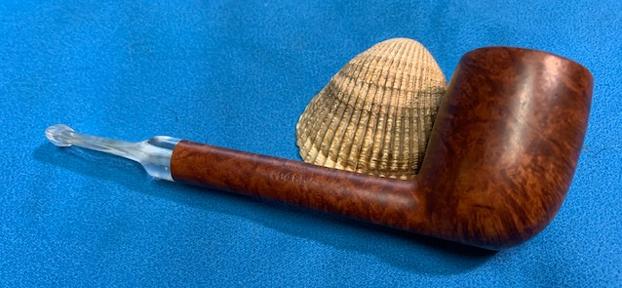
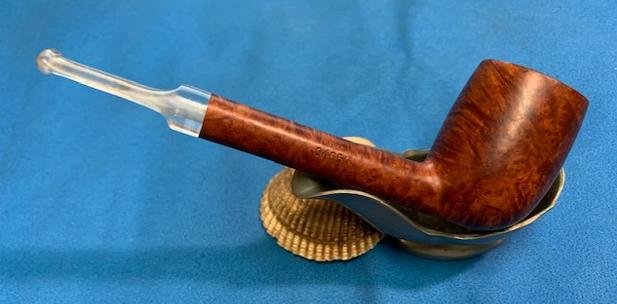
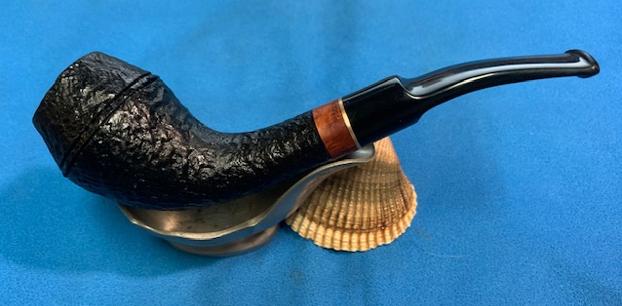
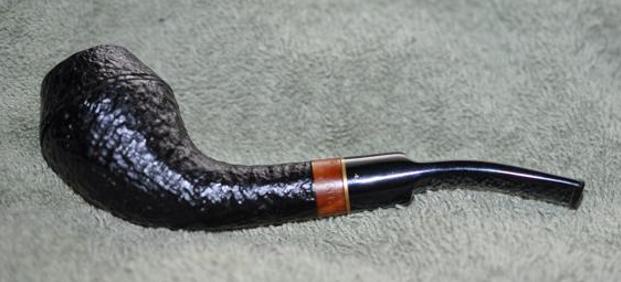
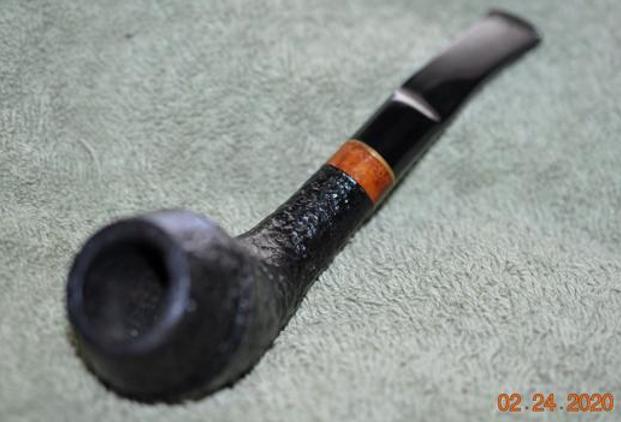
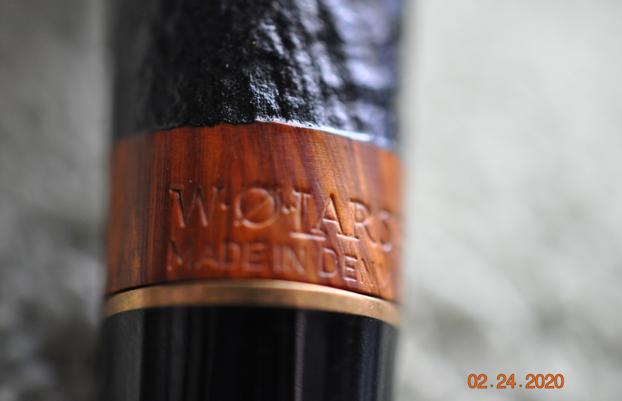
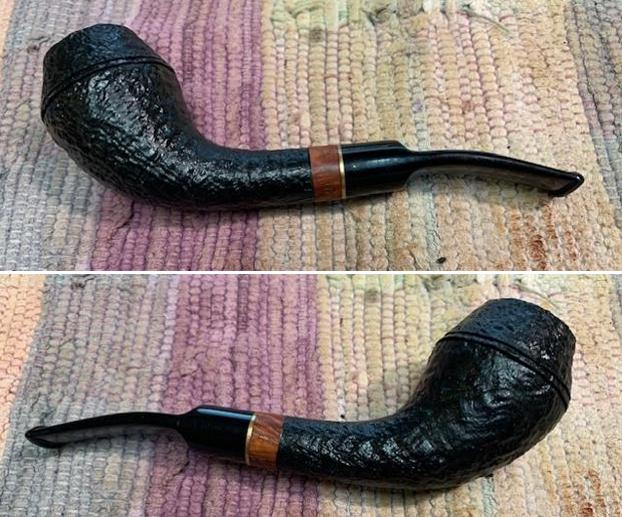
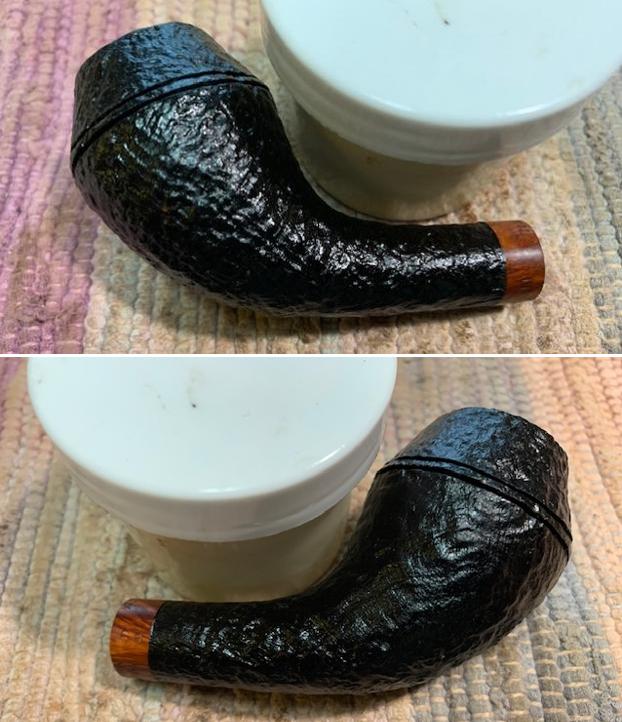
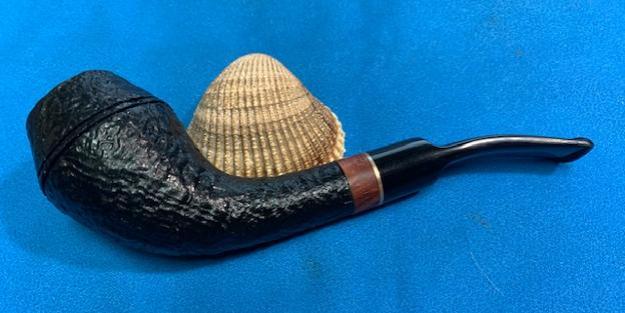
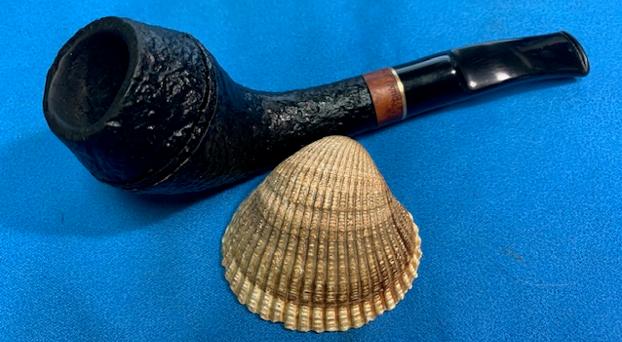
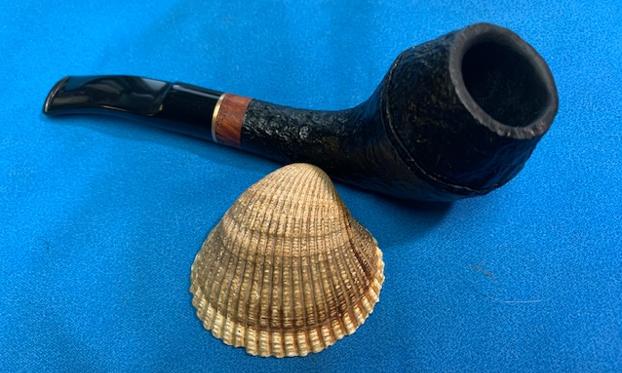
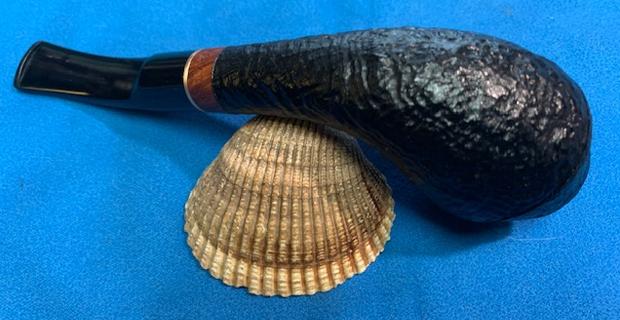
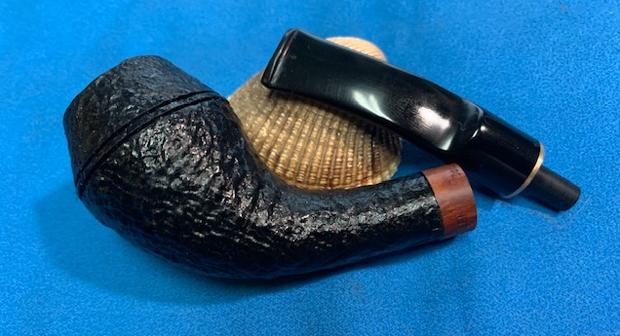
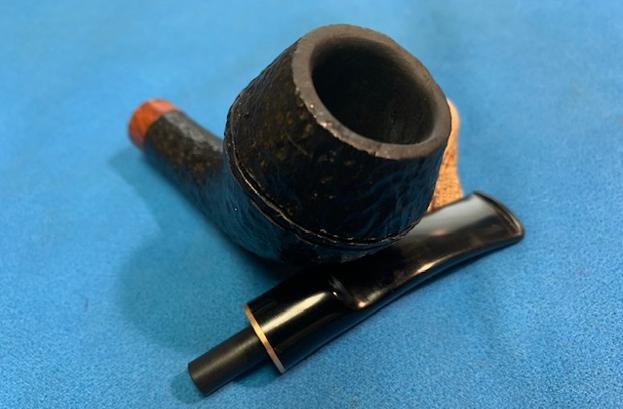
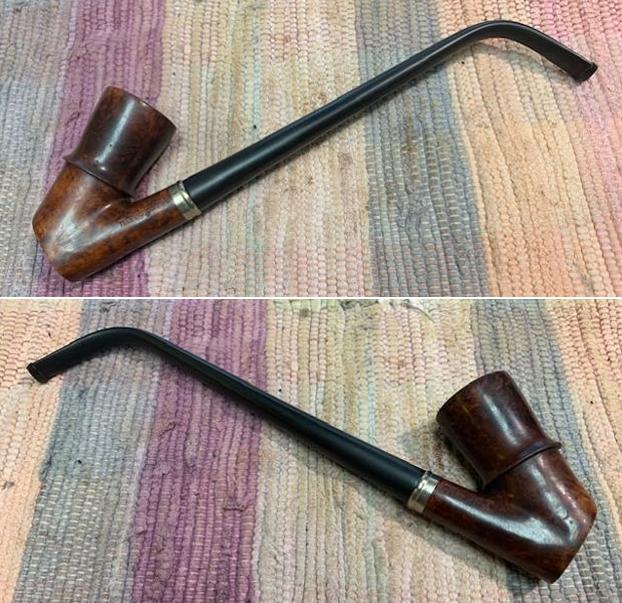
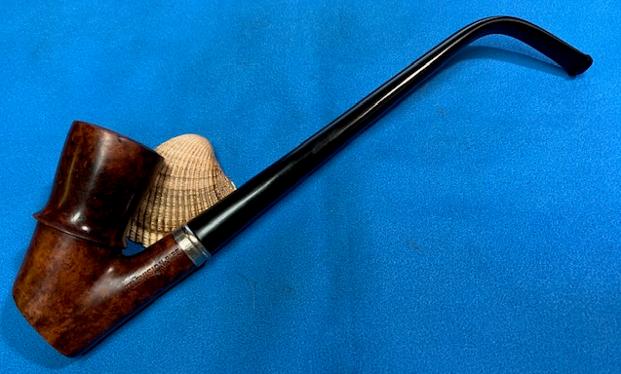
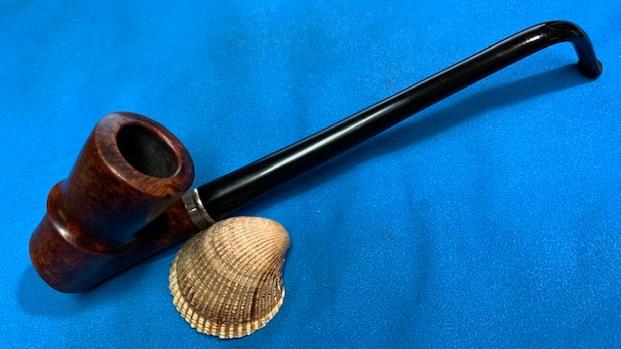
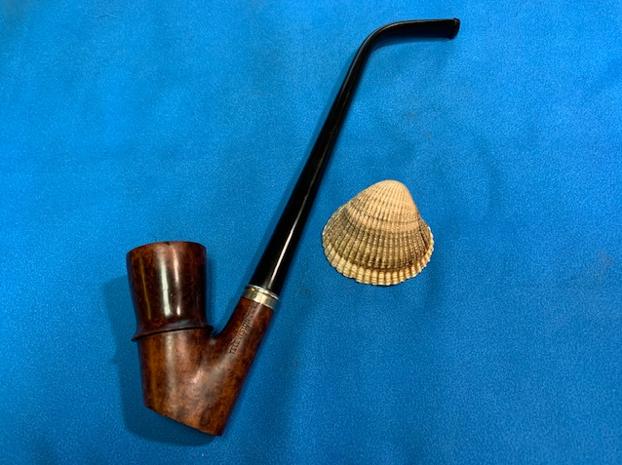
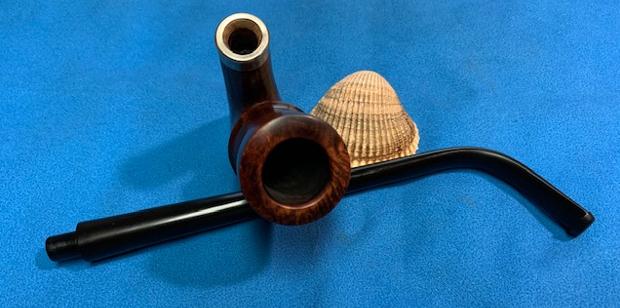
So when this Butz-Choquin A Metz Origine sandblast showed up in an auction Jeff was watching we went for it and picked it up. It was purchased late in 2020 from an online auction in Bloomingdale, New York, USA. I have worked on the older Origine and also one of these newer ones. While the 1858 Origine had an albatross wing bone for the shank extension the new one had a shorter acrylic look alike. The other one I had worked on was a smooth finished pipe while this one is sandblasted. The shape of the bowl is the same but the 1858 version’s horn stem was replaced by an acrylic stem that was nowhere near as elegant as the first. The pipe was in overall good condition. It is stamped on the left side of the shank and reads Butz-Choquin at an angle over A Metz over Origine. On the right side of the shank it is stamped St. Claude France over the number 2. The sandblast finish was dull and lifeless and a little dirty from sitting around. There was a thin cake in the bowl and a light overflow of lava on the rim top toward the back. There also appears to be some burn/charring damage on the inner edge in the same area. The acrylic shank extension had come loose from the metal end cap that fit in the shank. The silver (polished nickel) that caps the shank and the faux “bone” extension was tarnished but in good condition. The stem was amazingly clean with just some tooth chatter on both sides near the stem. Jeff took the previous and the following photos before he started his cleanup work on the pipe.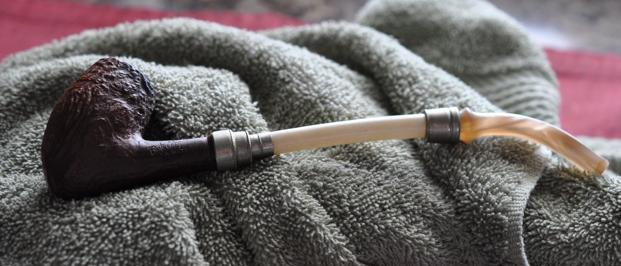
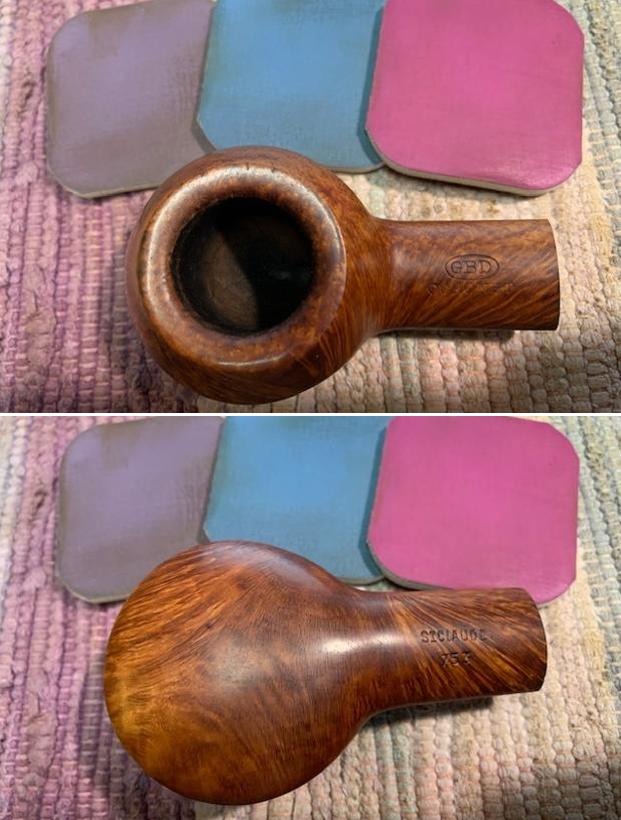
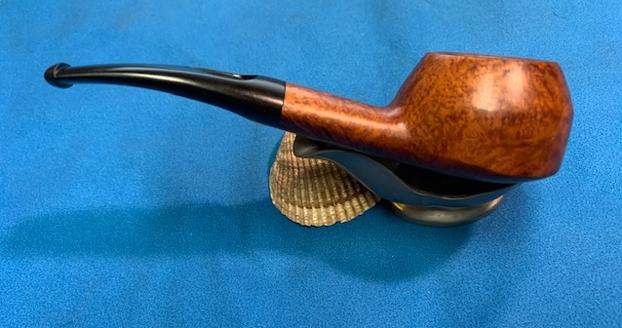
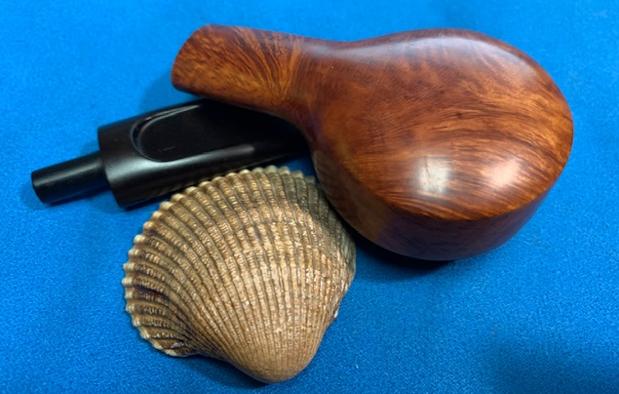
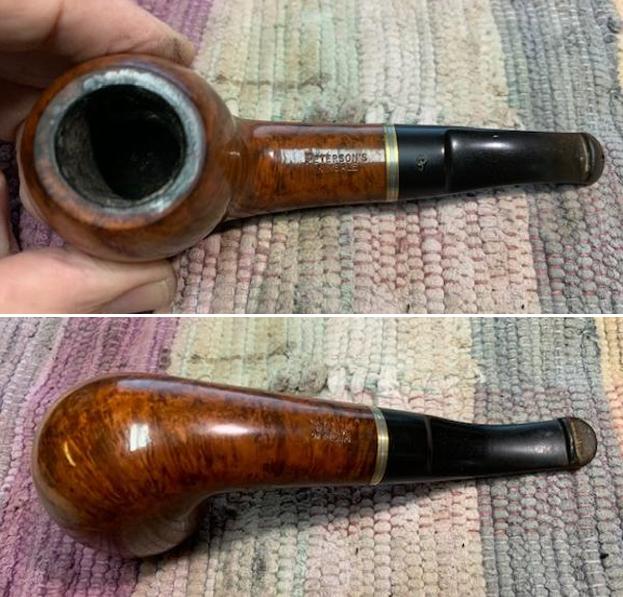
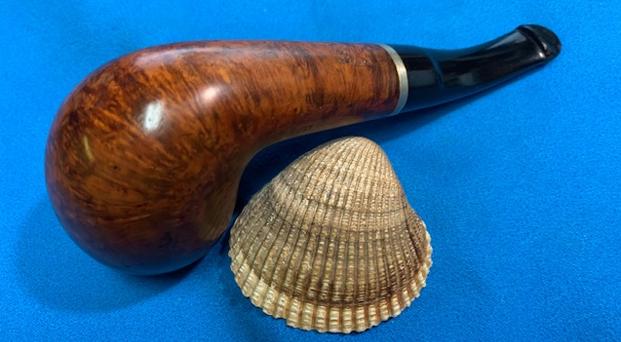
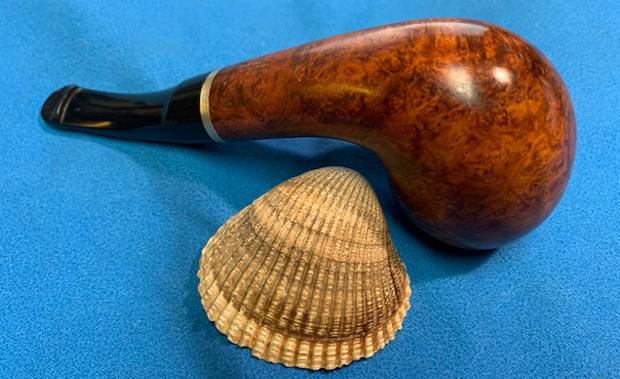
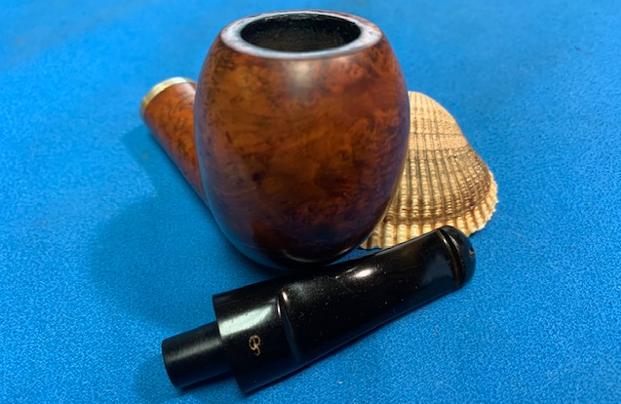
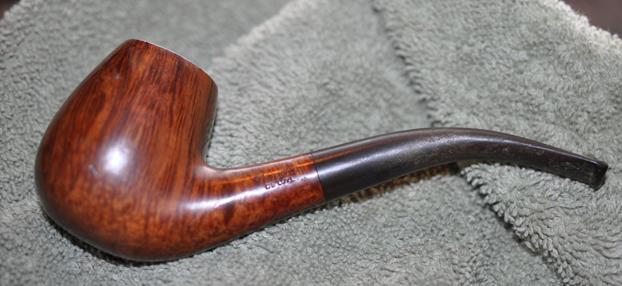
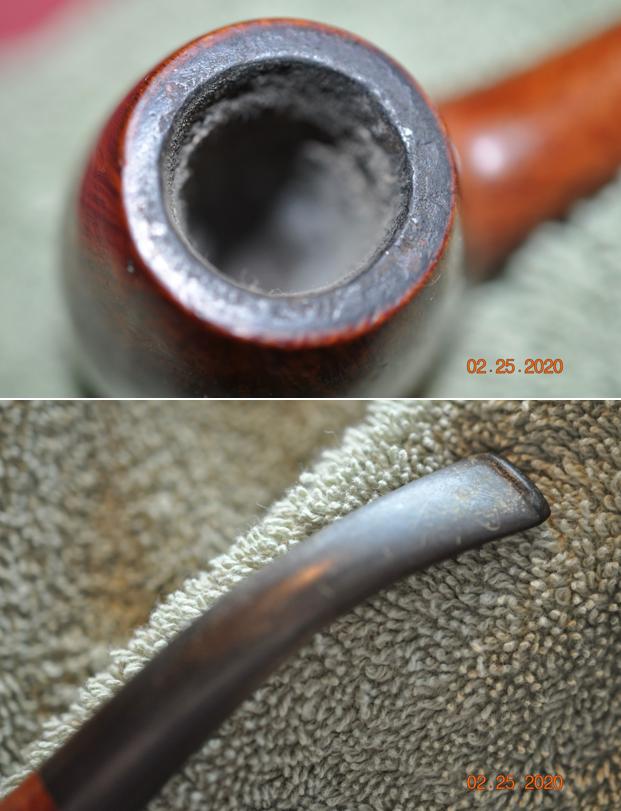
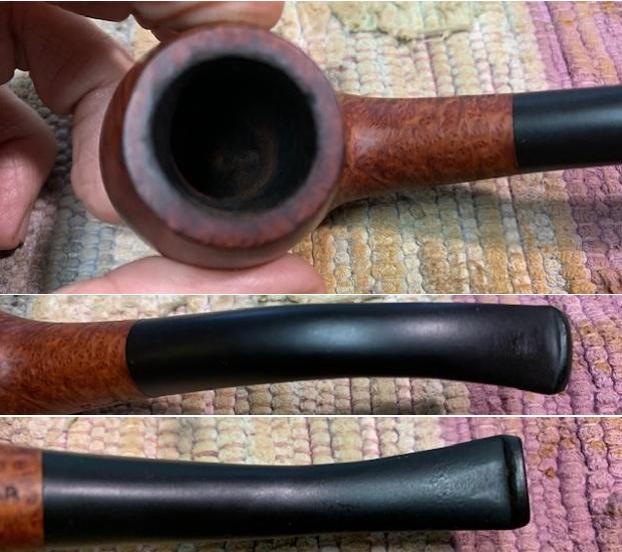
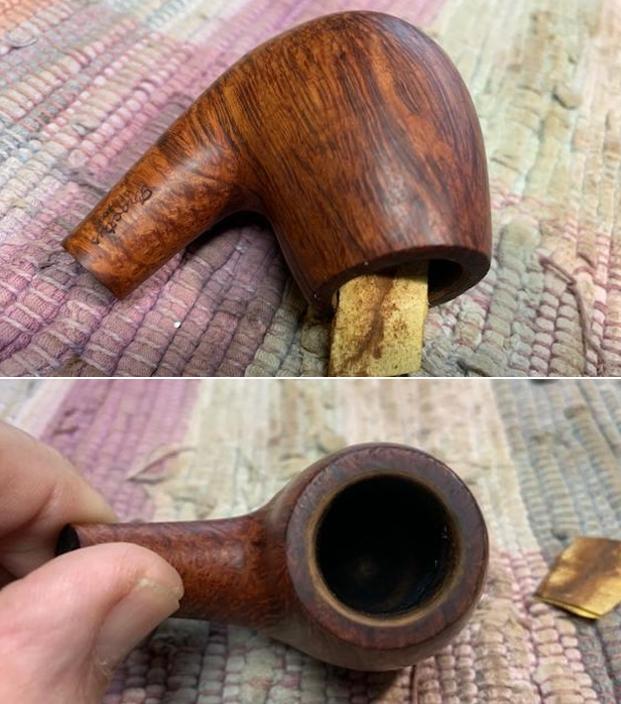
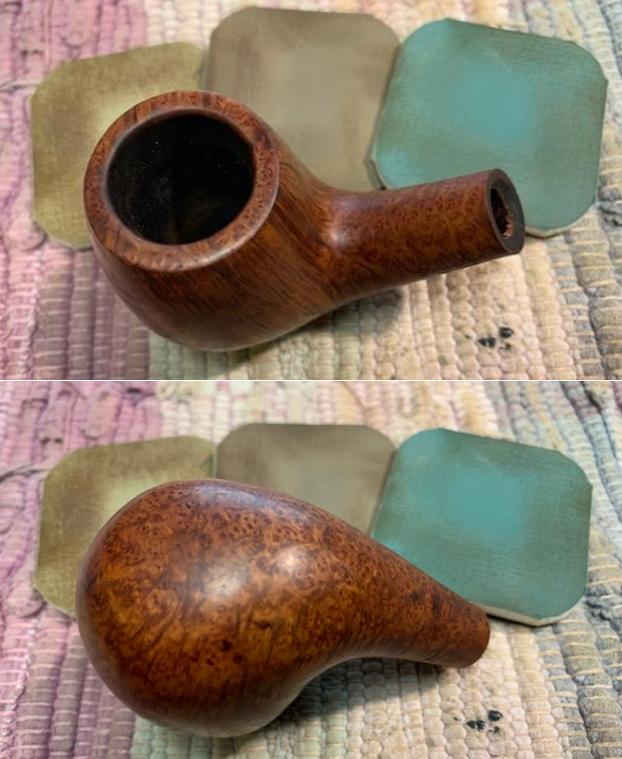
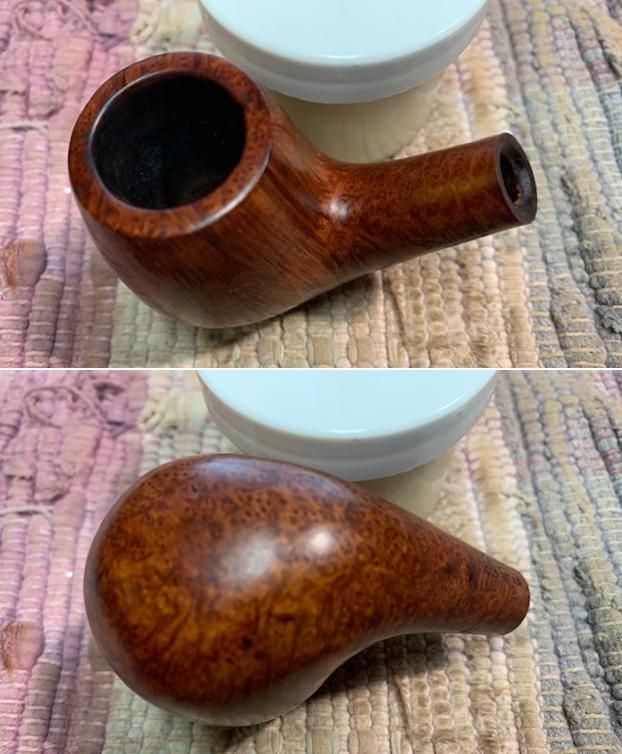
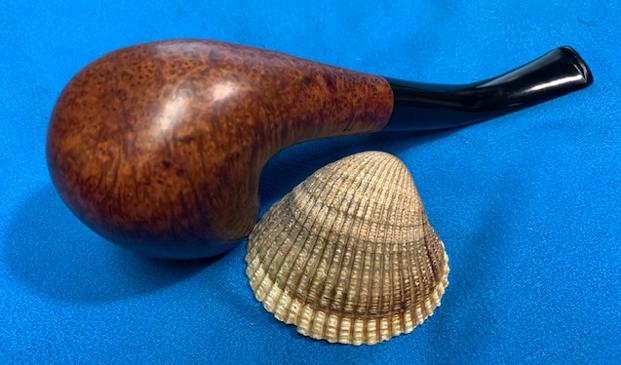
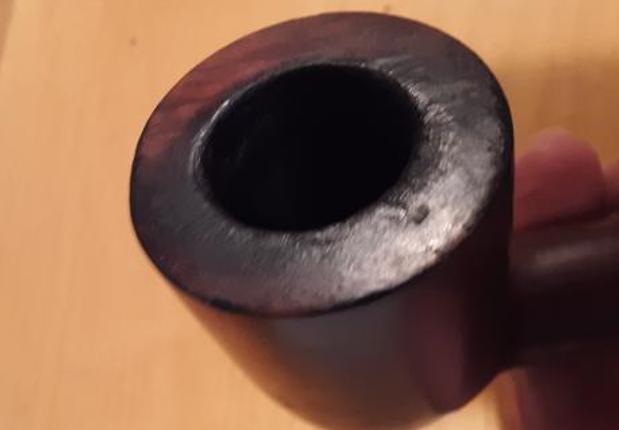
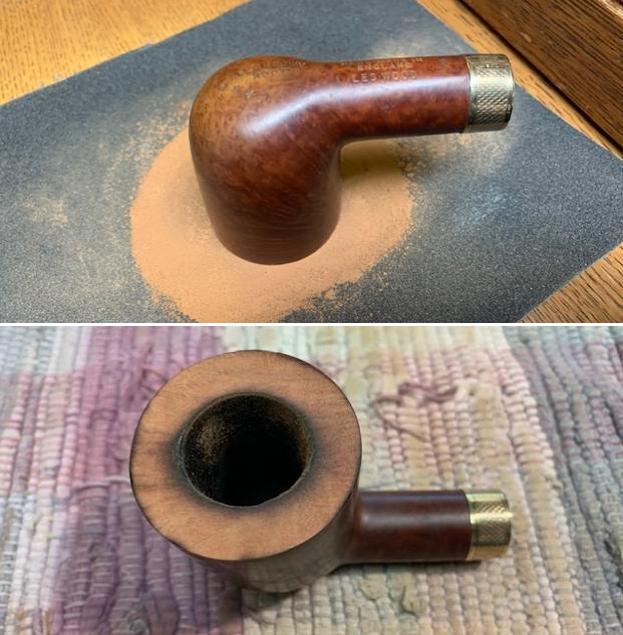
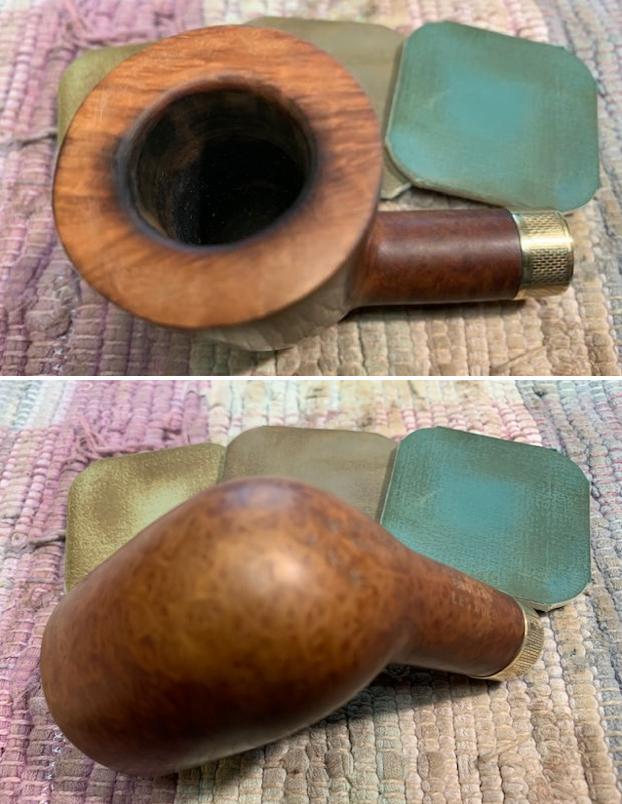
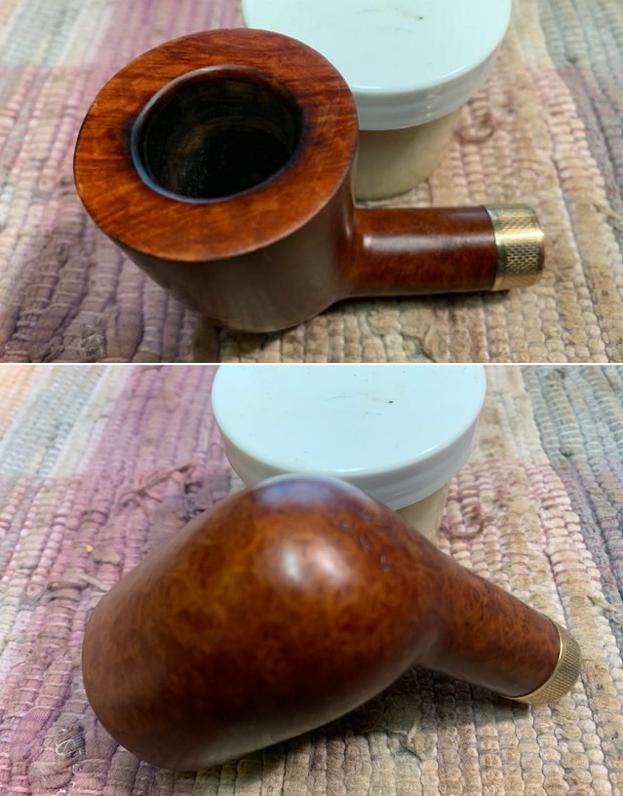
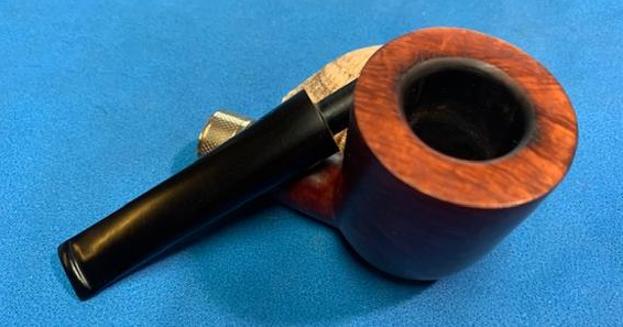
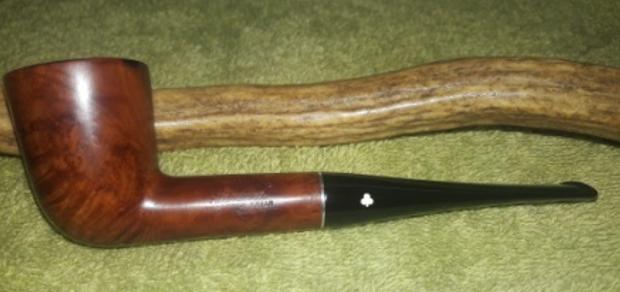
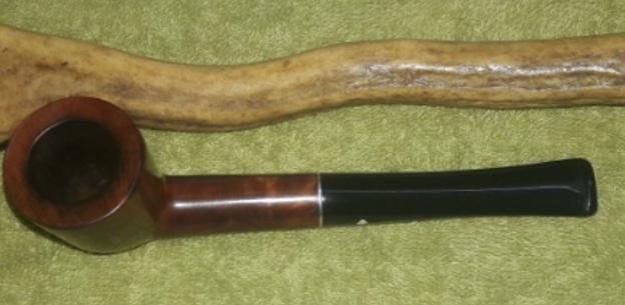
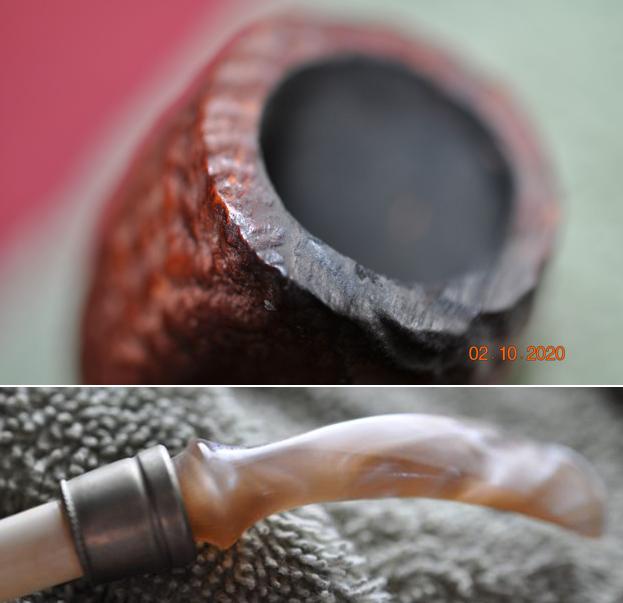
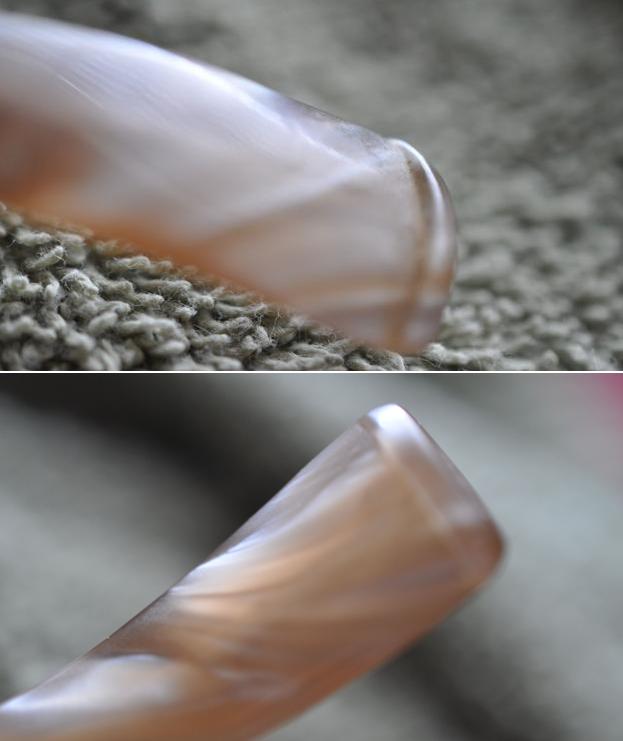
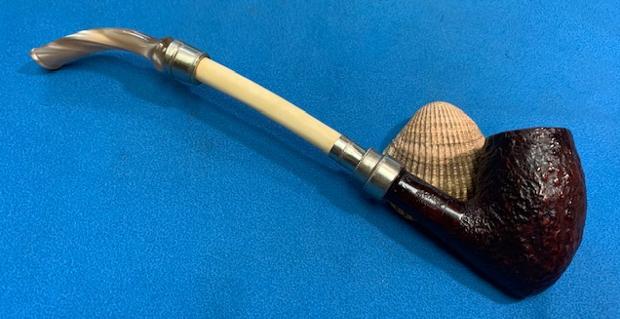
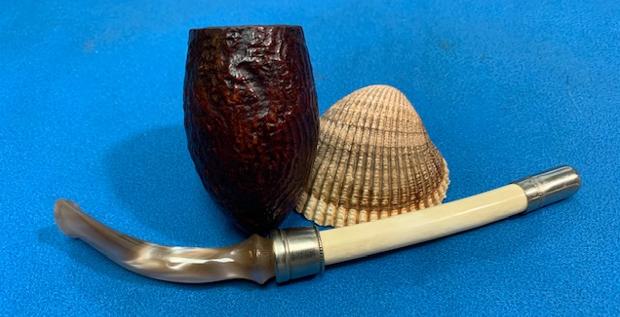
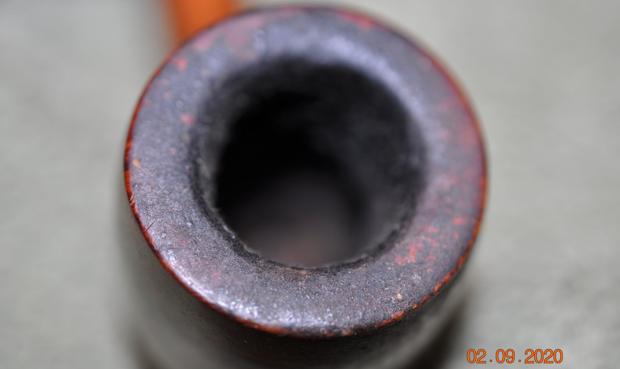
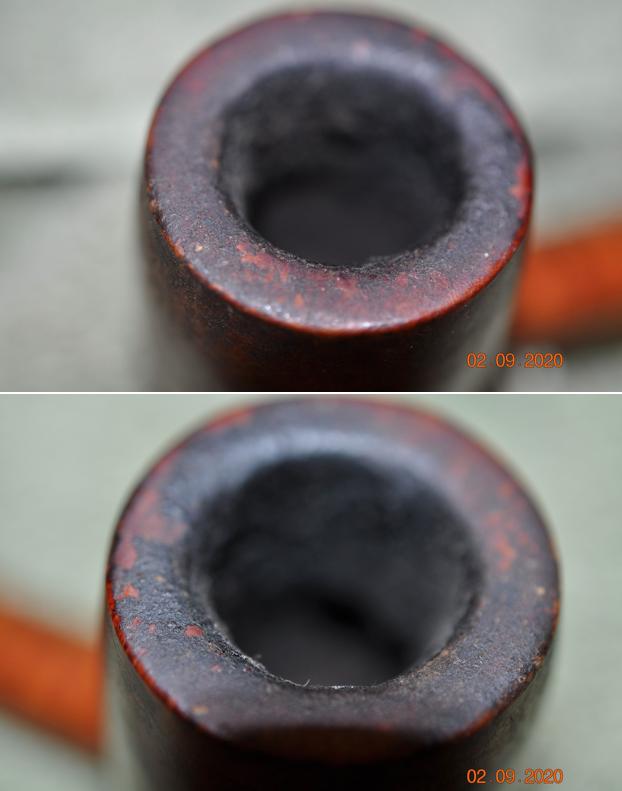
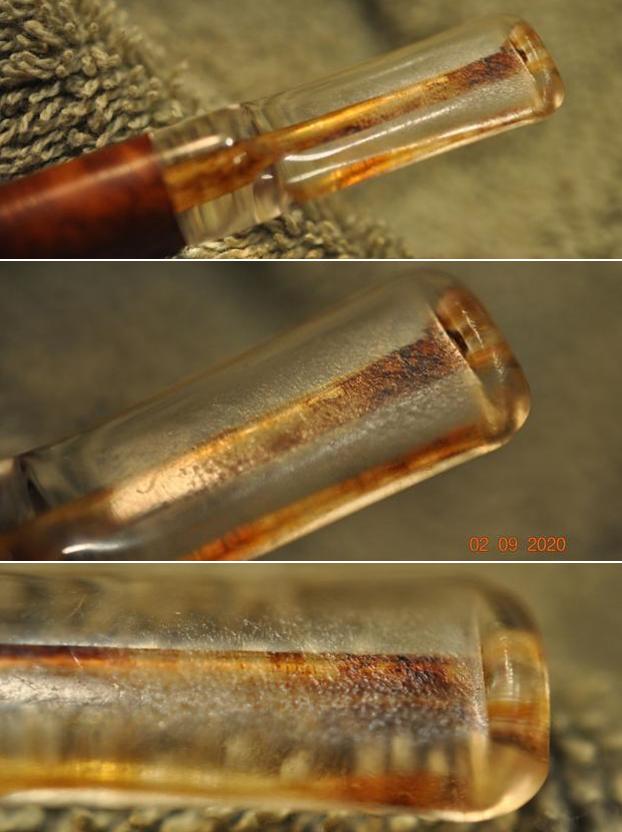
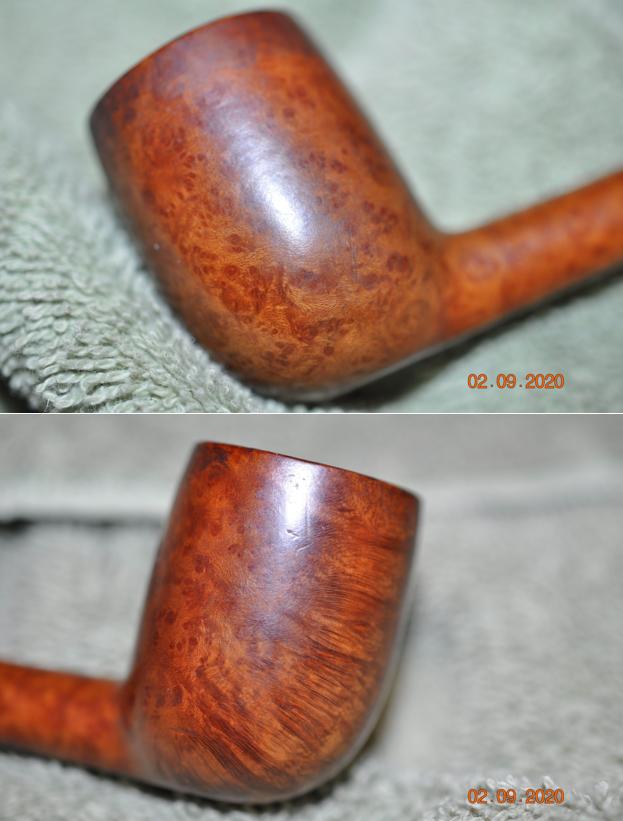
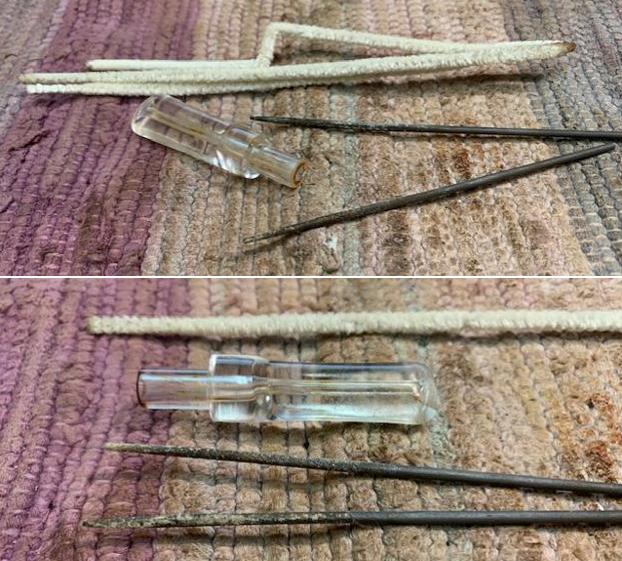
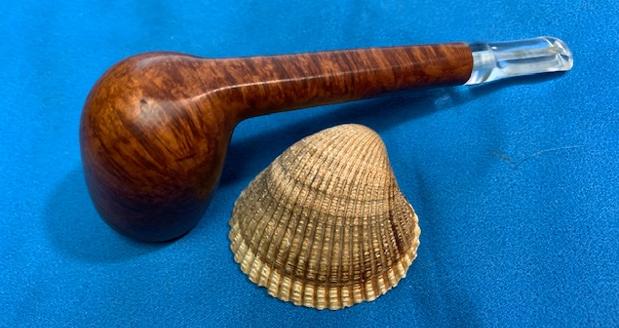
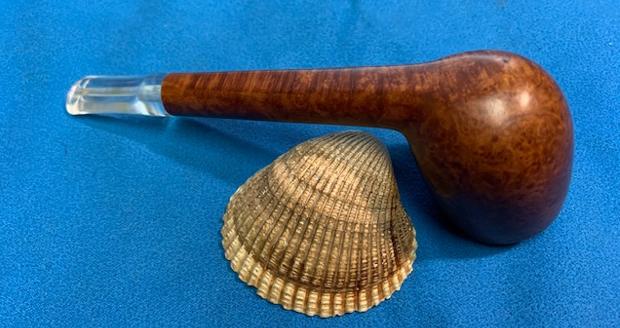
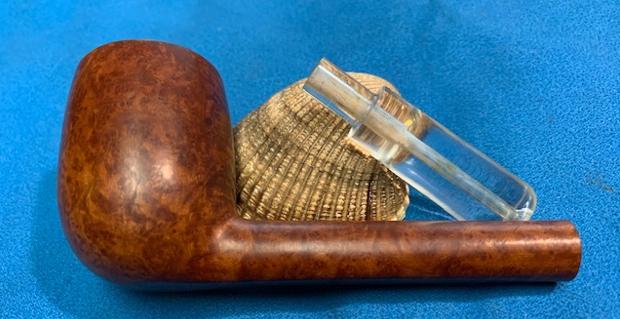
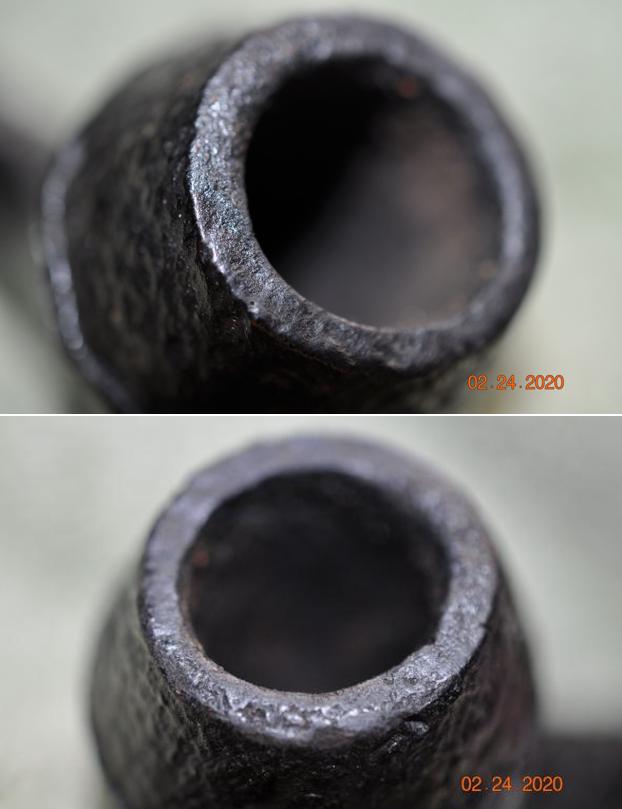
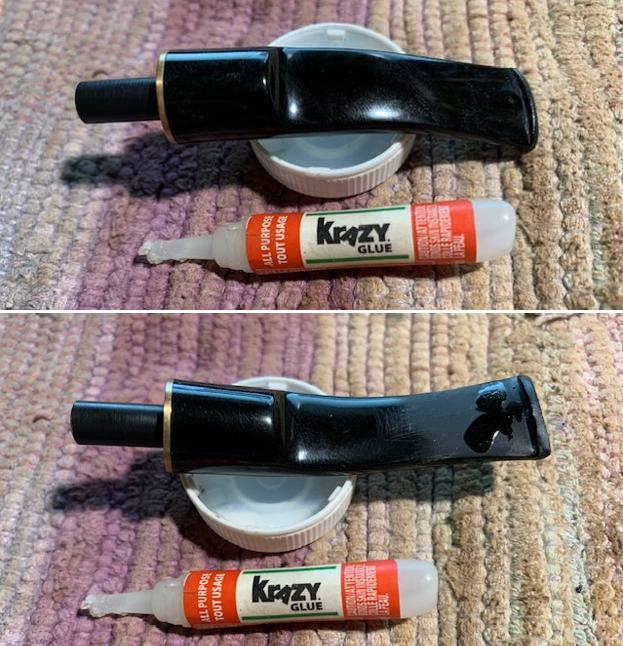
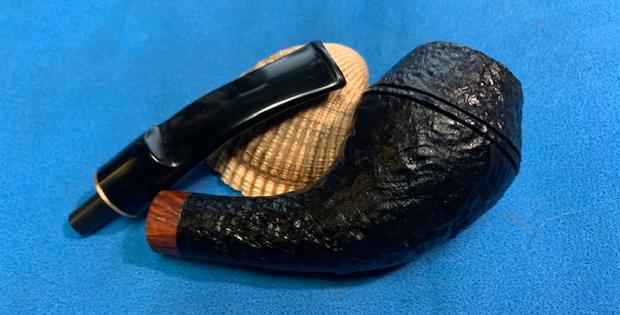
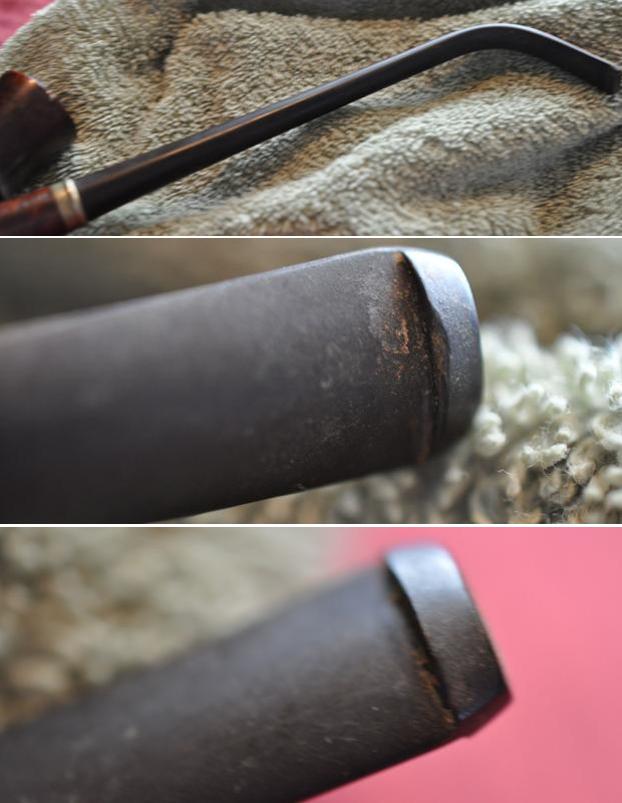
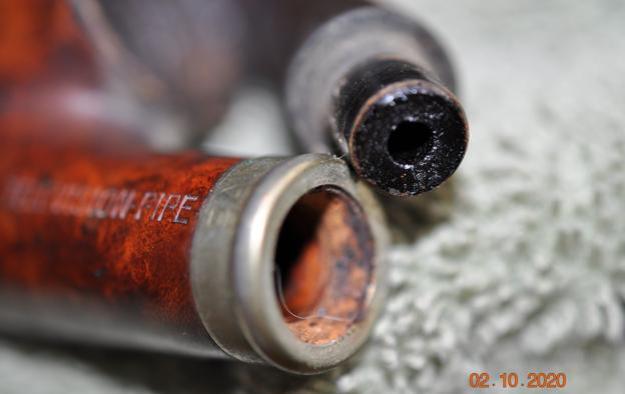
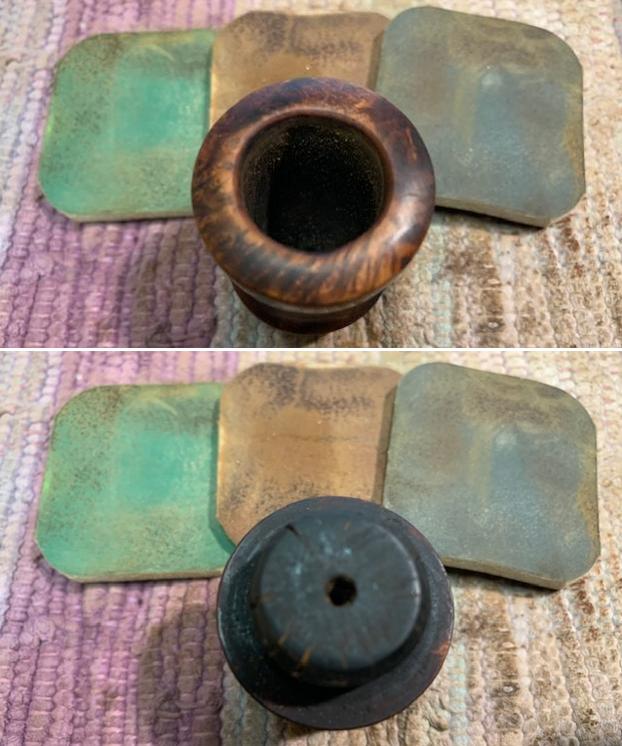
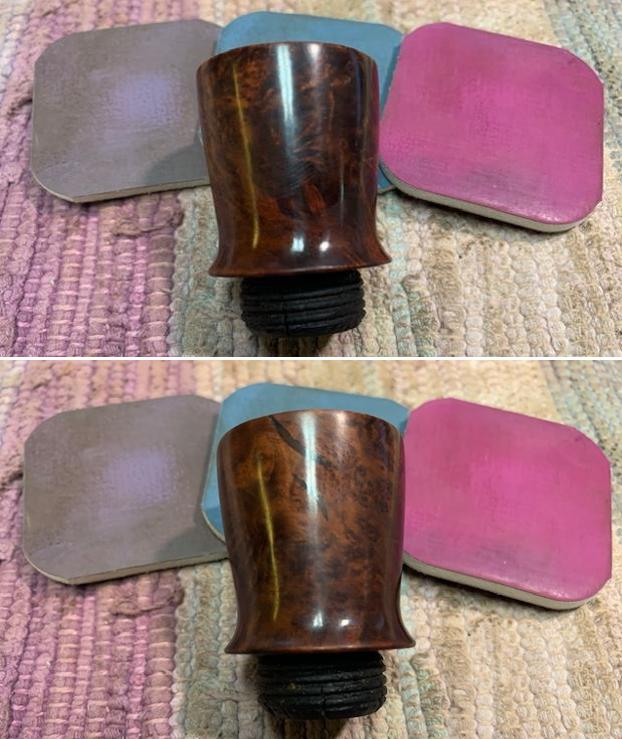
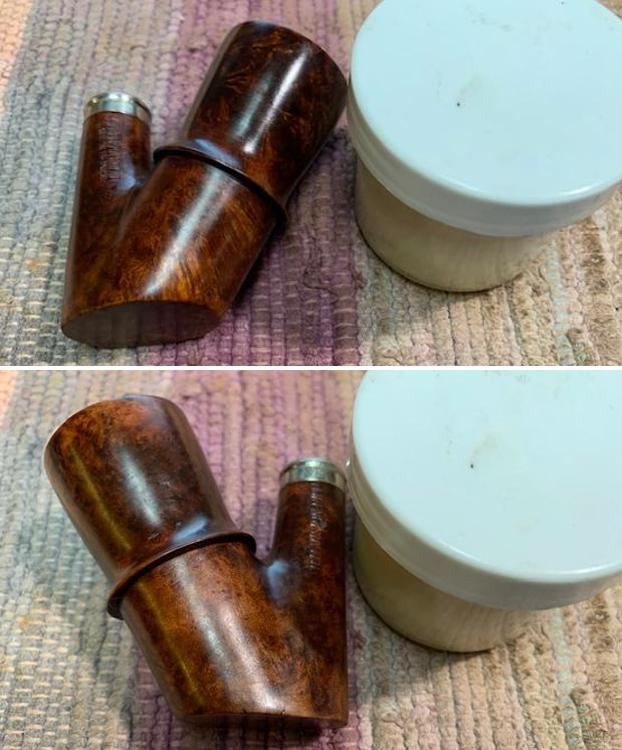
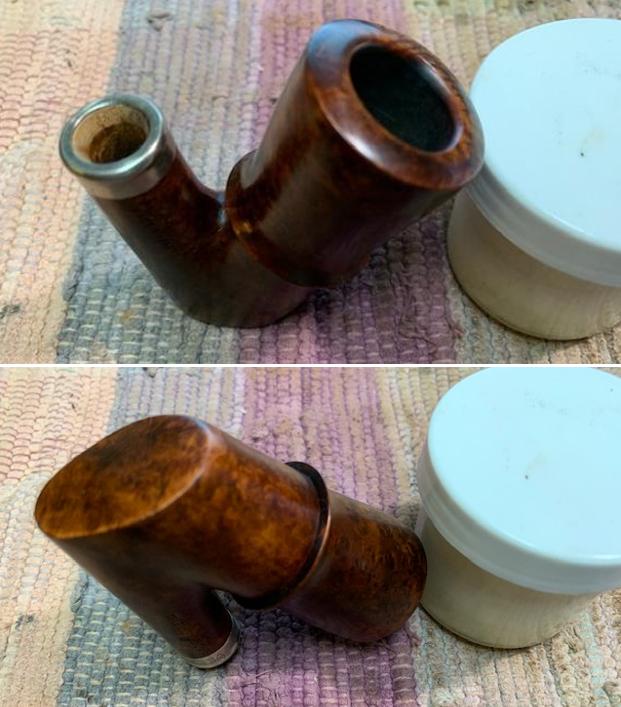
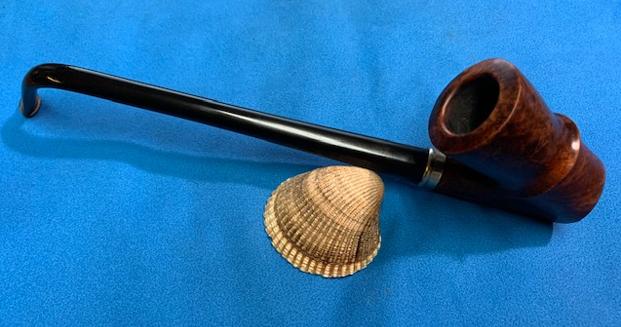
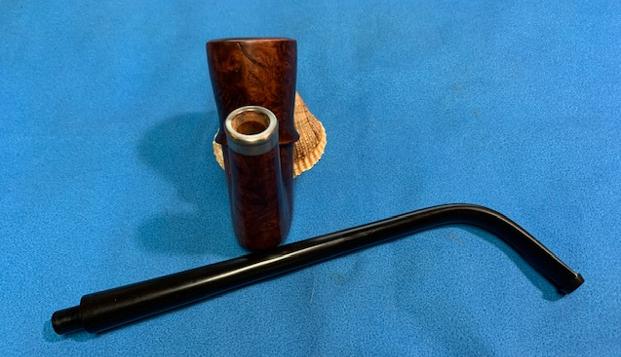
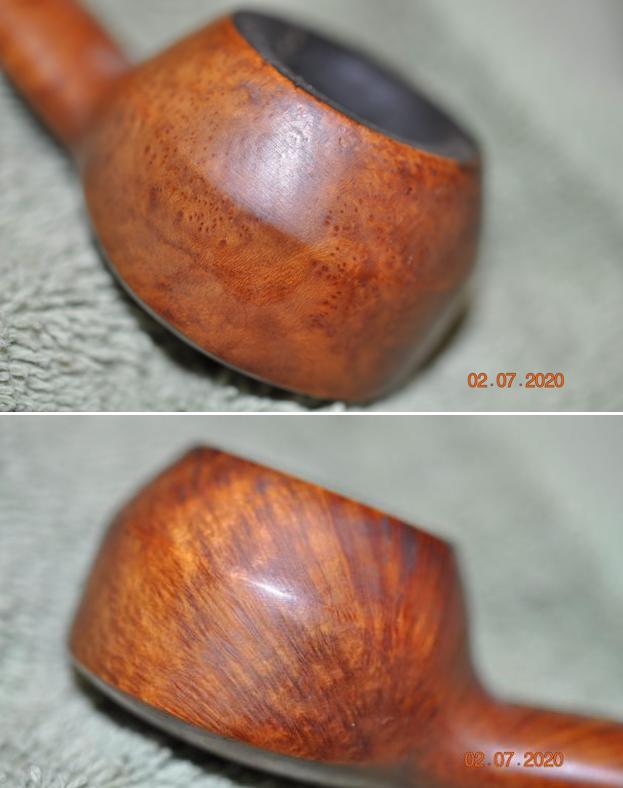
 Jeff took close-up photos of the bowl and rim top from various angles to capture the condition of the bowl and rim top edges. You can see the darkening around the inner edge of the rim and the top at the back of the bowl. The next photos of the stem show the general condition of the stem and angle of the stem. It is very similar to the shape of the original 1858 horn stem.
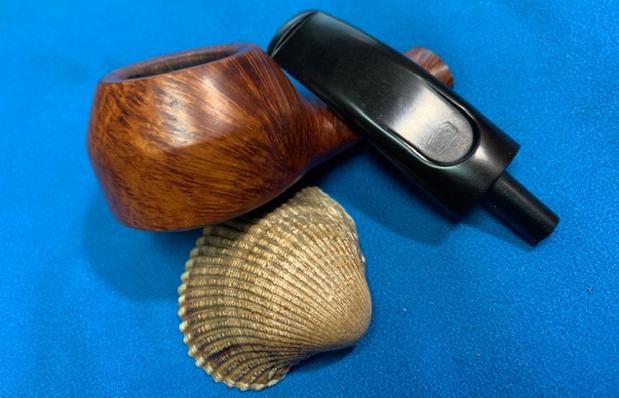
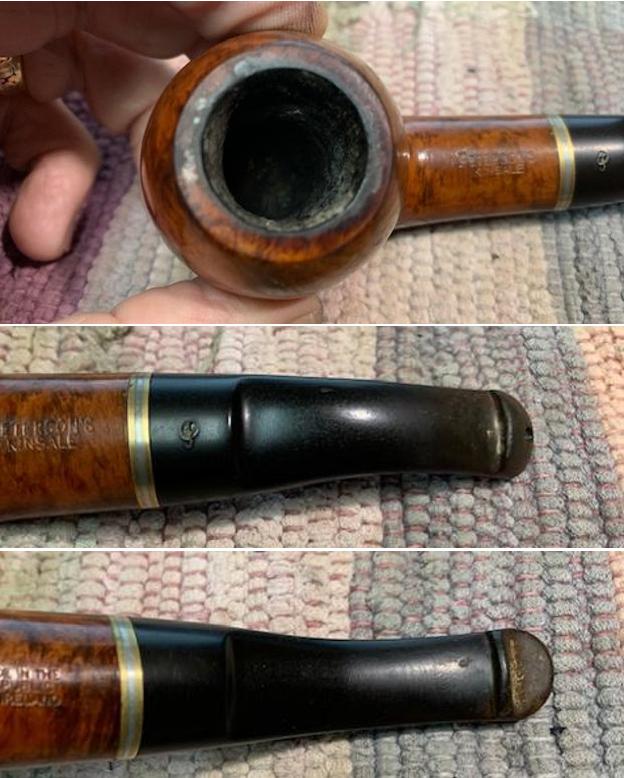
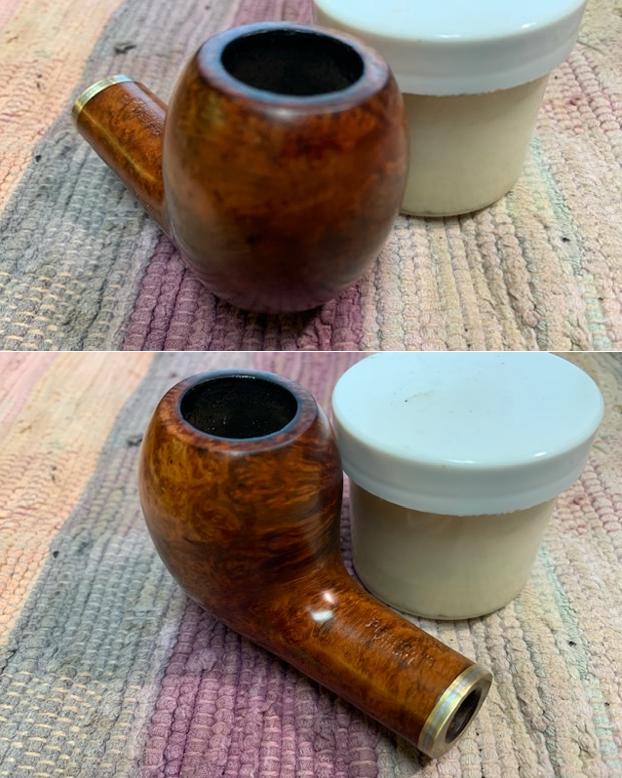
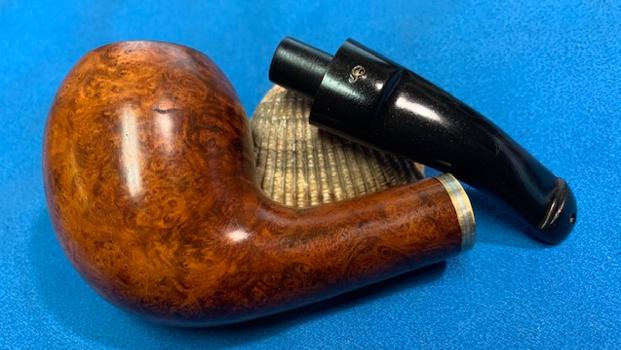
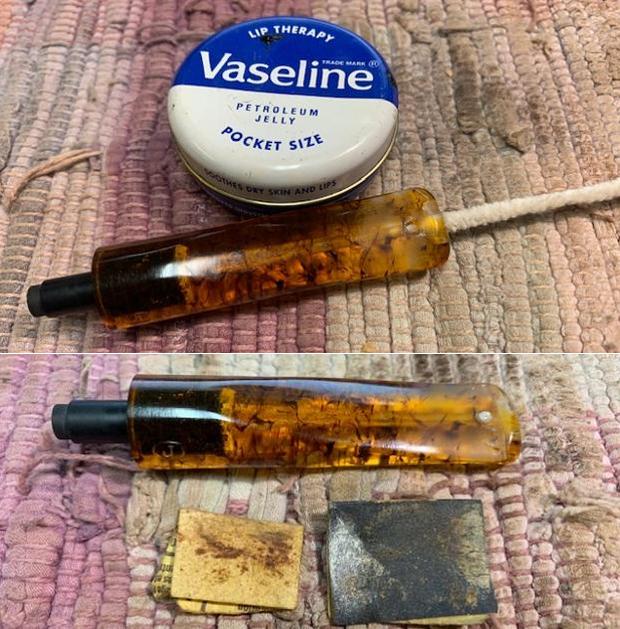
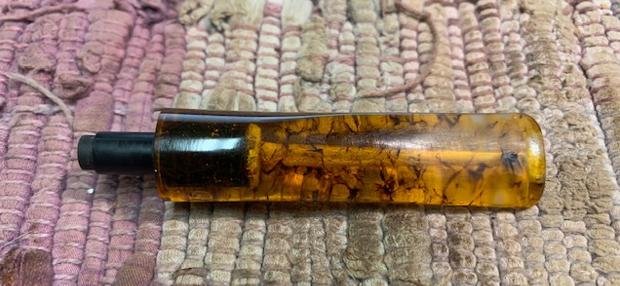
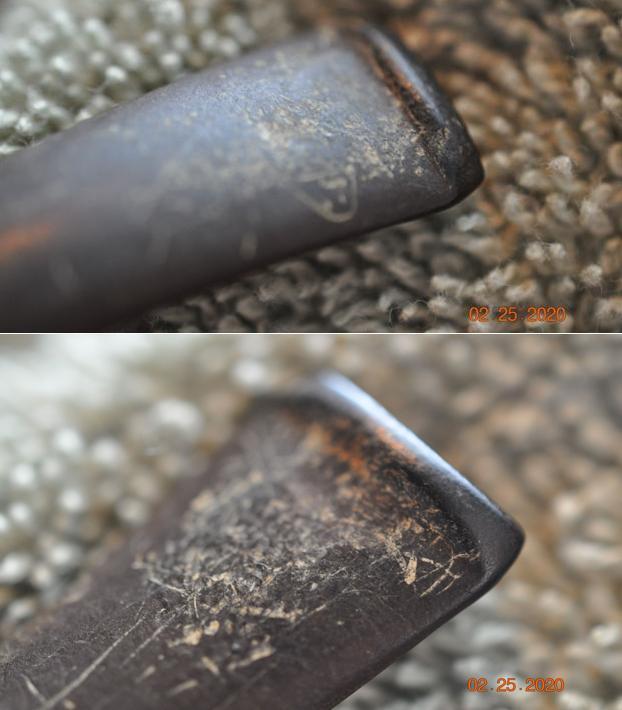
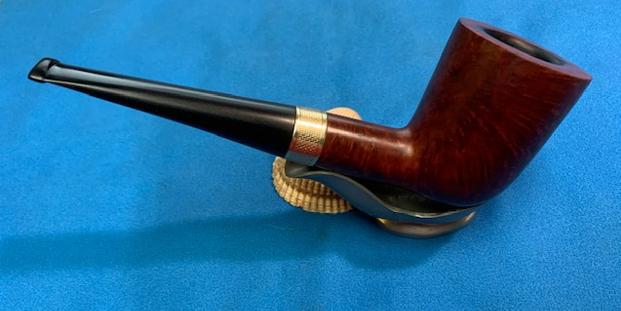
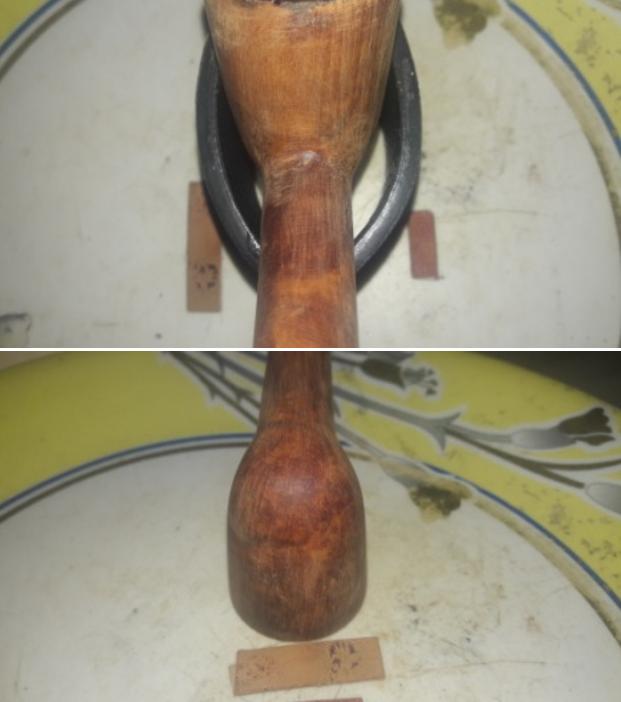
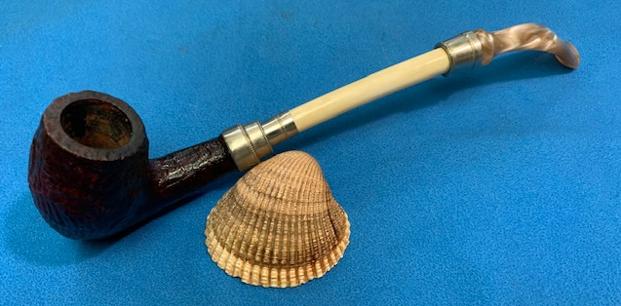
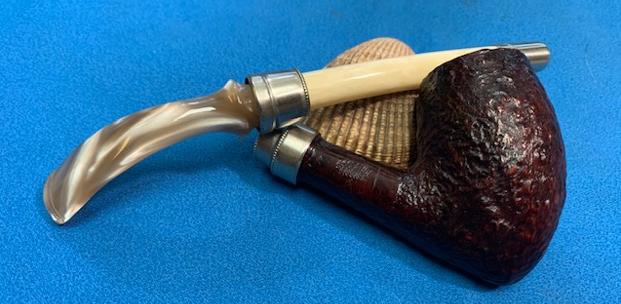
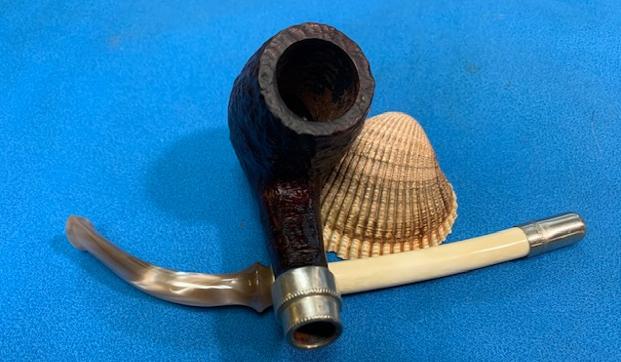
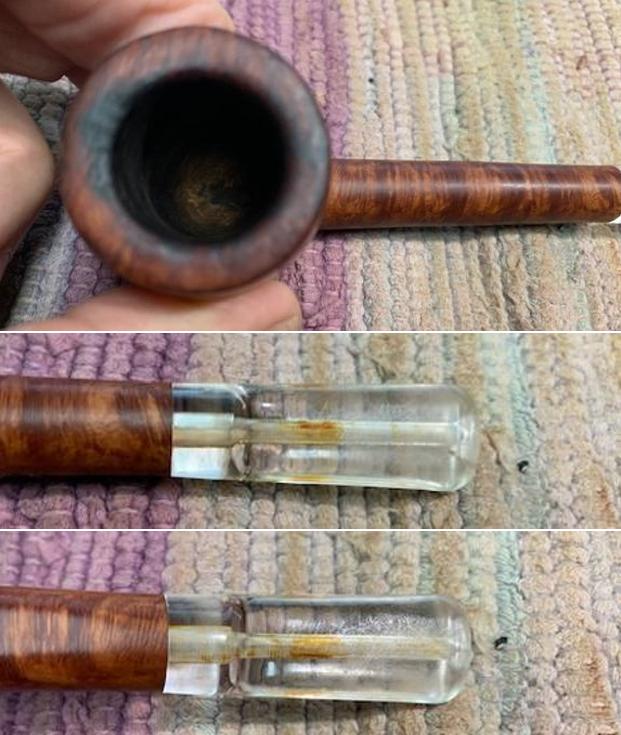
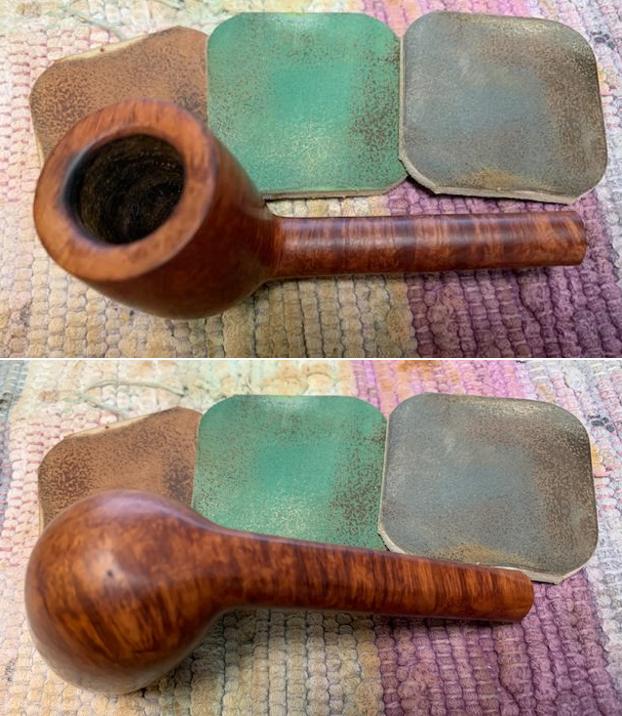
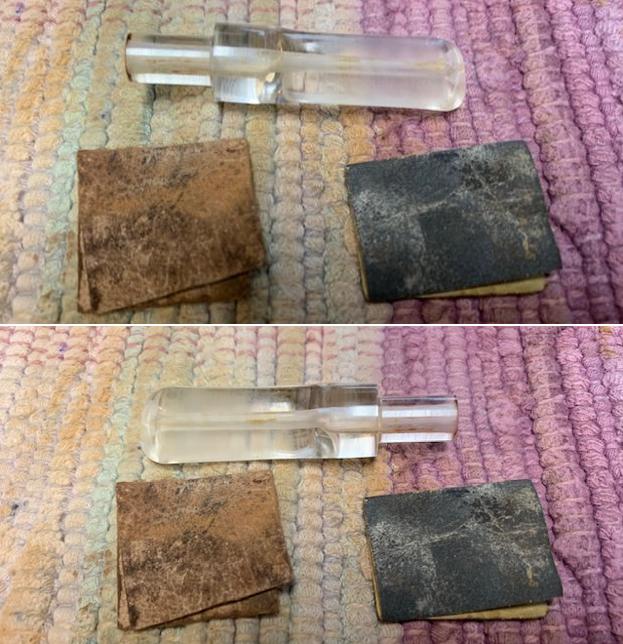
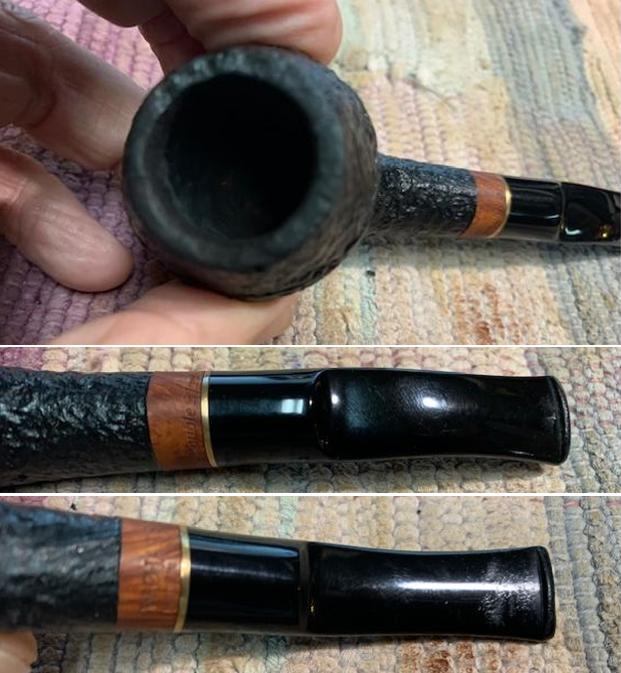
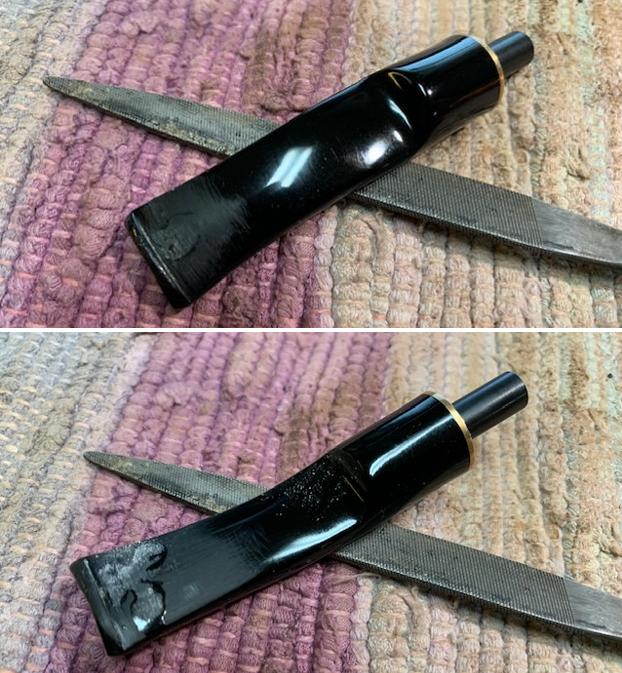
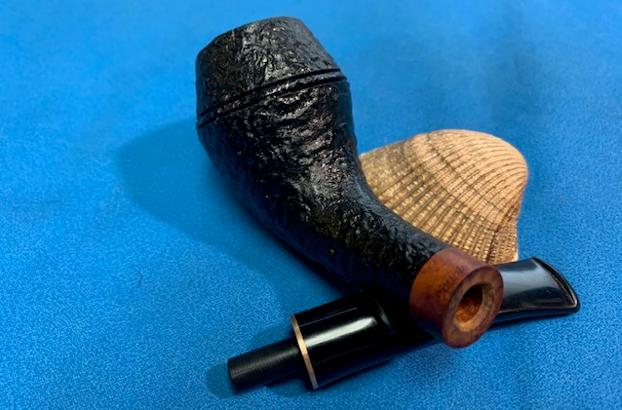
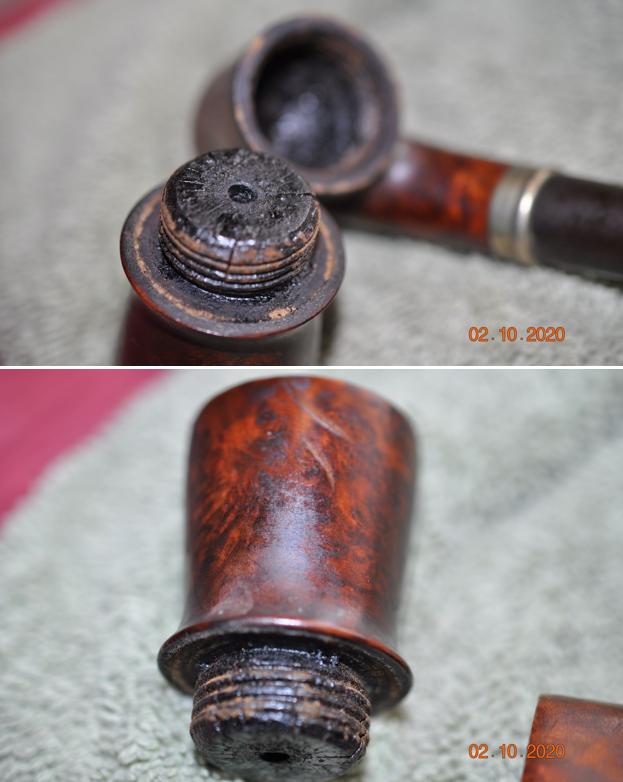
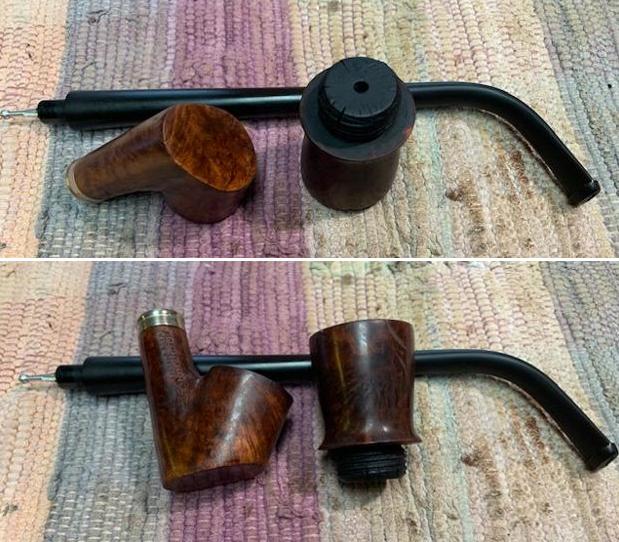
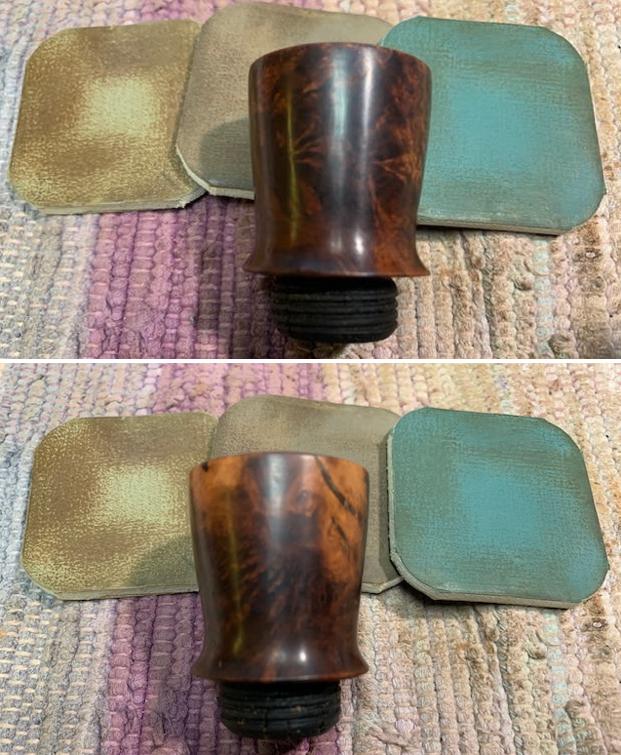
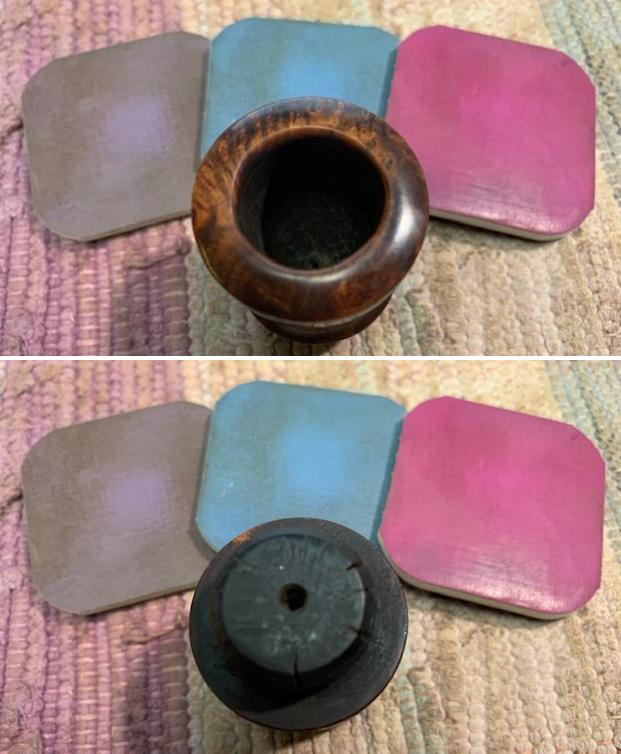
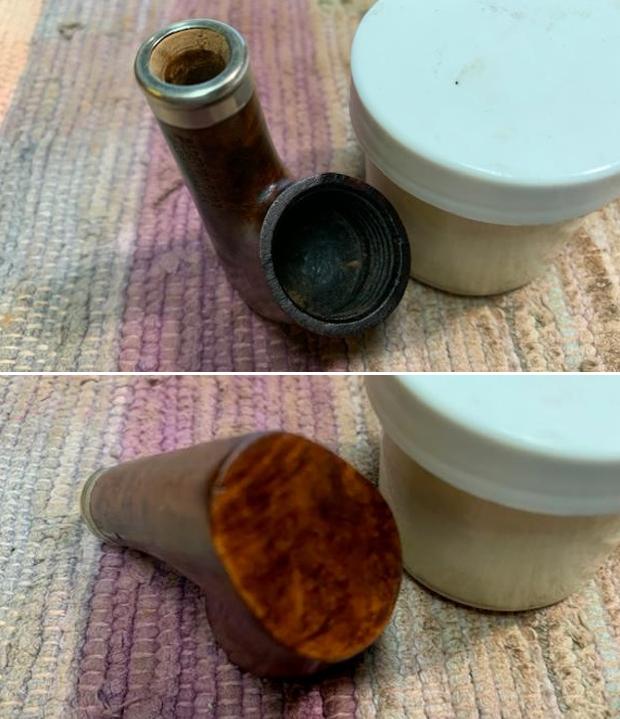
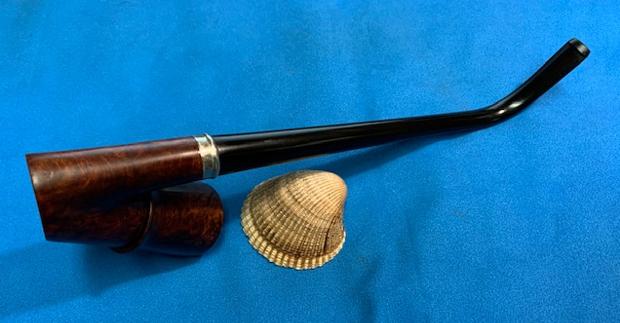
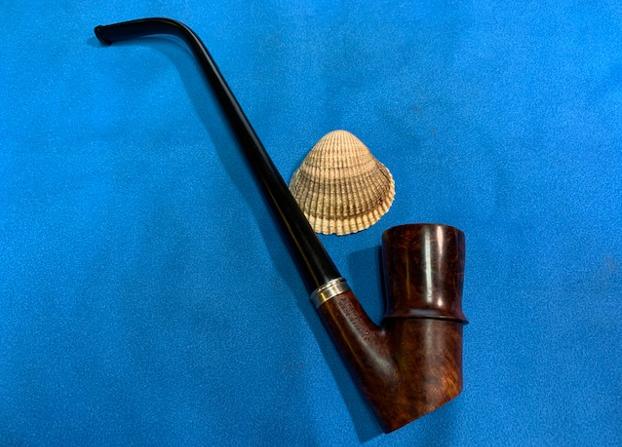
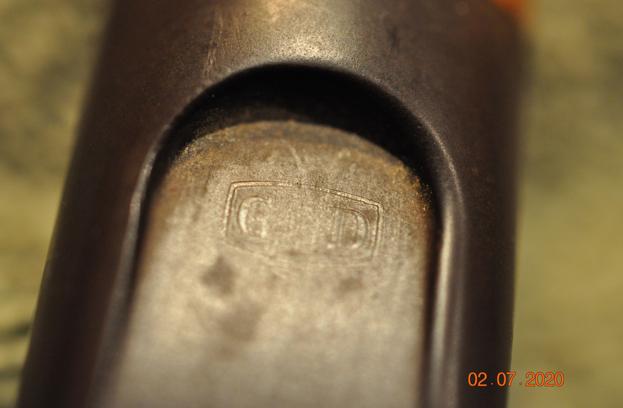
 The next photos show the metal end caps on the shank extension. The end that fits in the end of the shank is stuck in the shank and the acrylic extension was loose. The other end is fitted with the stem that was not able to be removed.
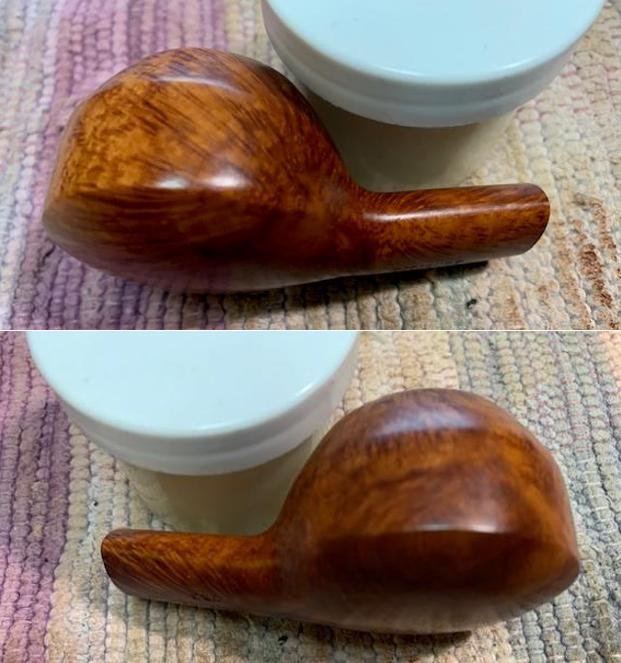
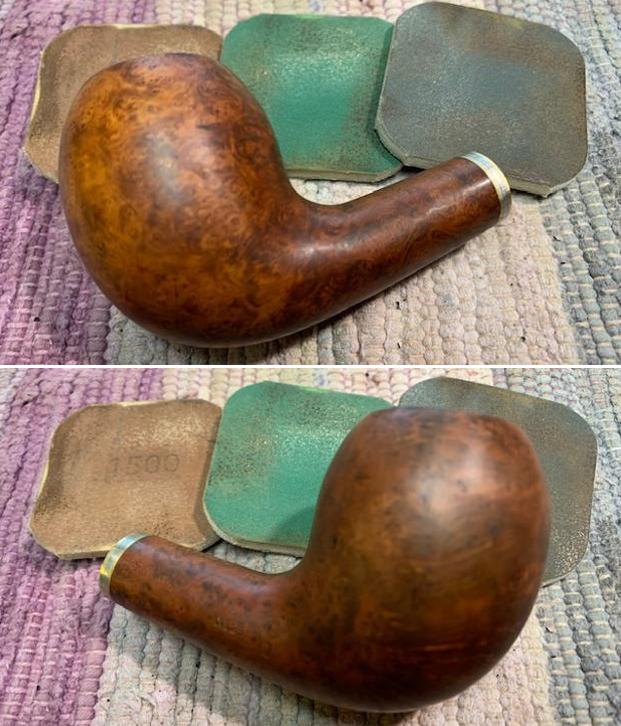
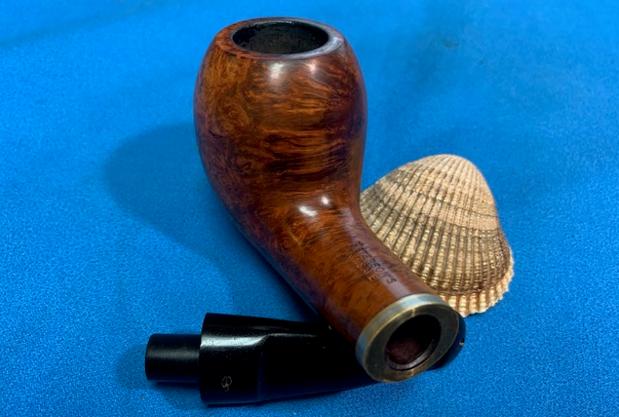
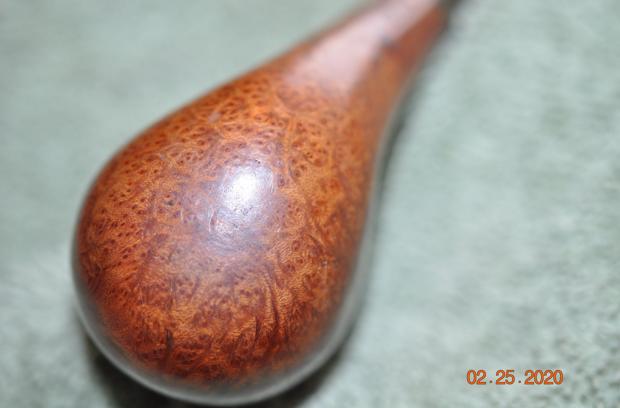
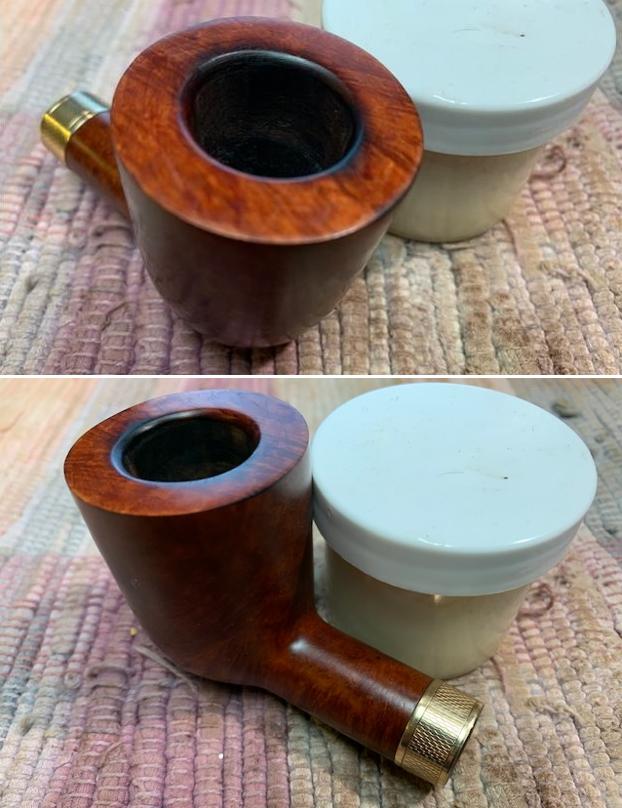
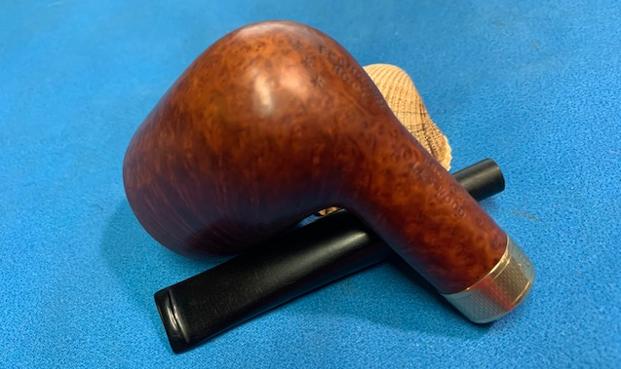
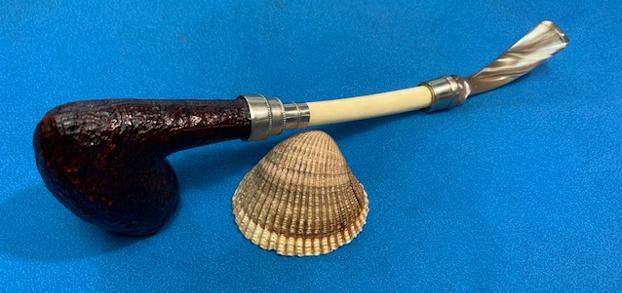
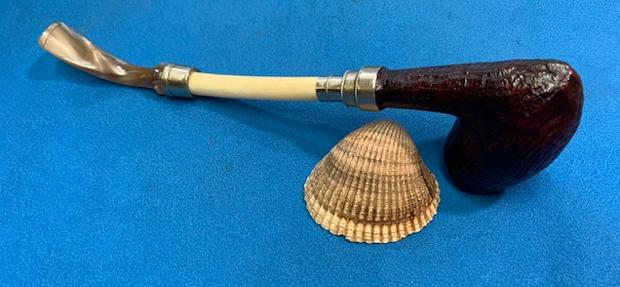
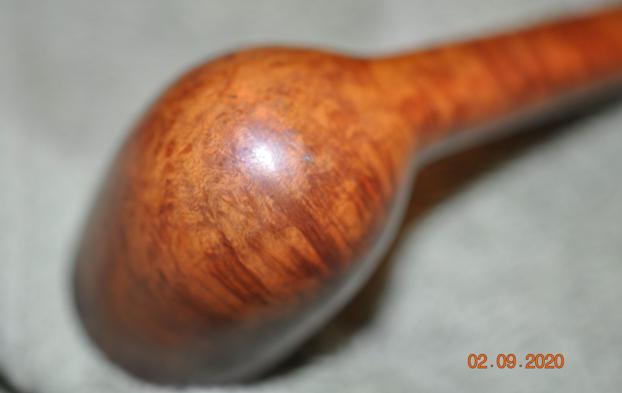
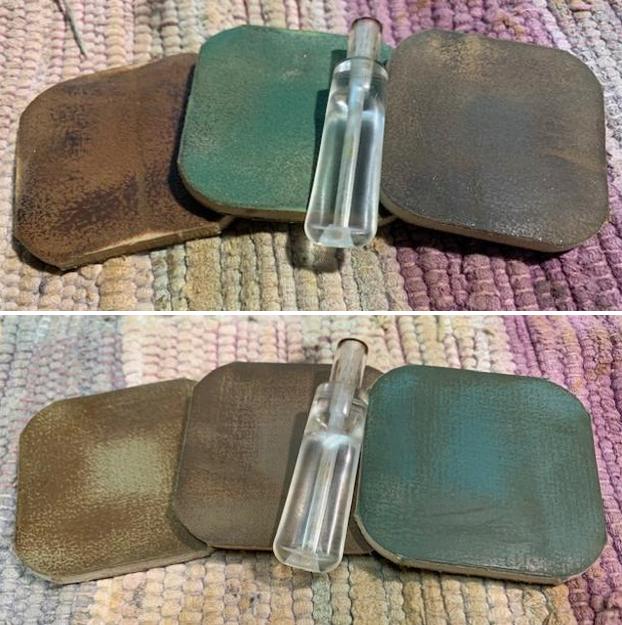
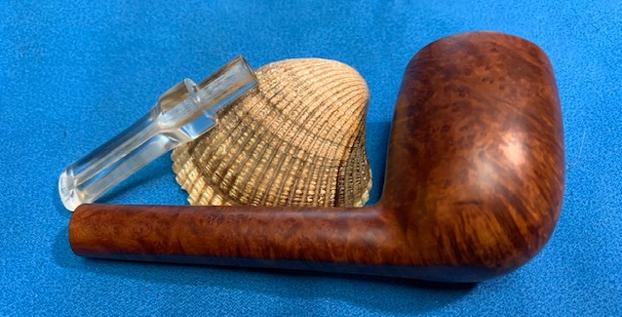
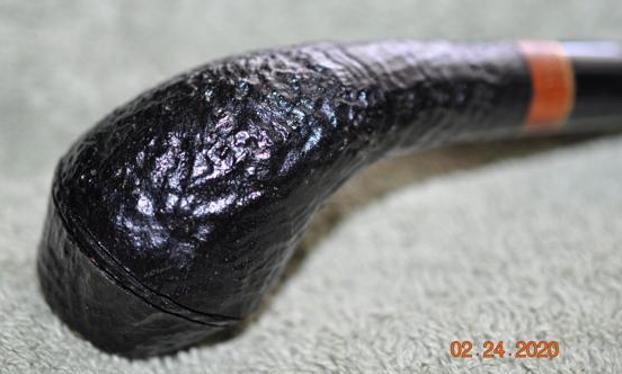
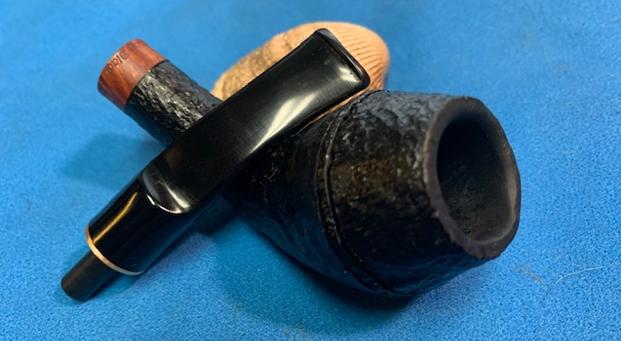
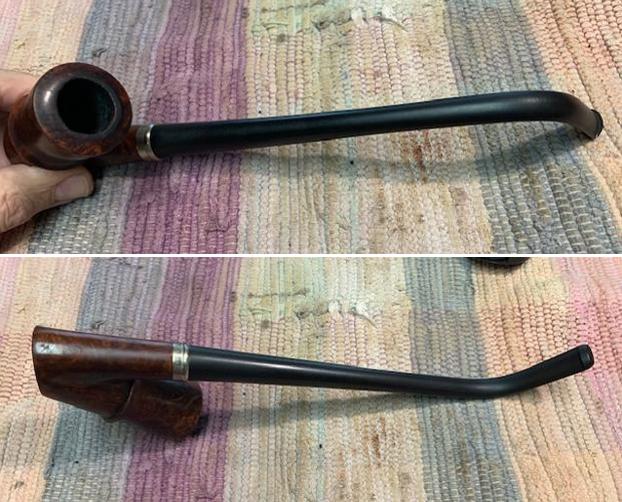
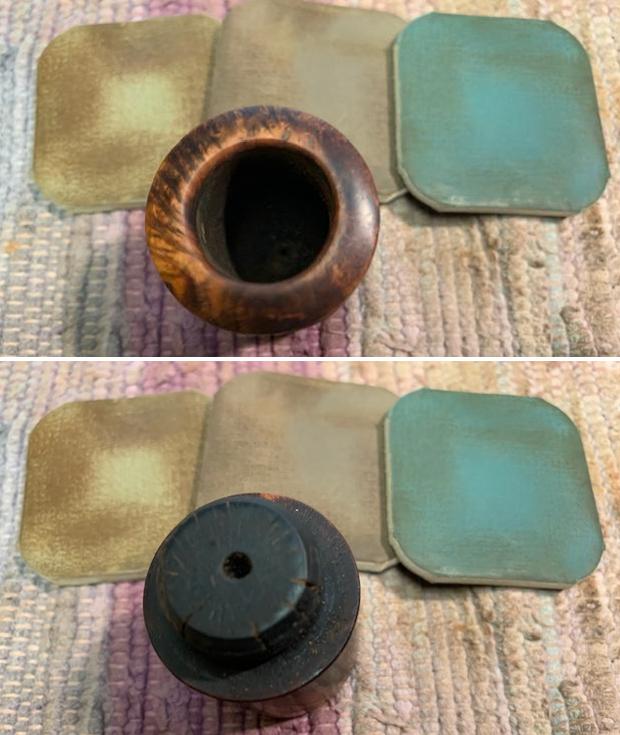
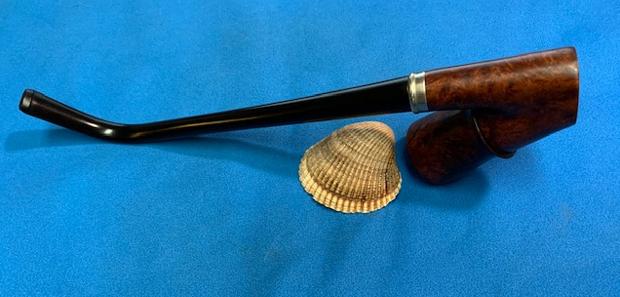
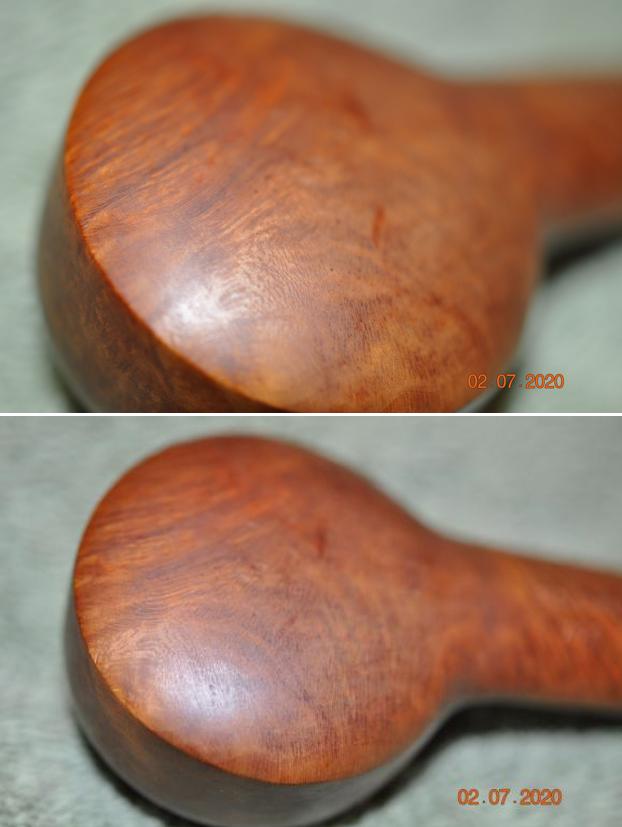
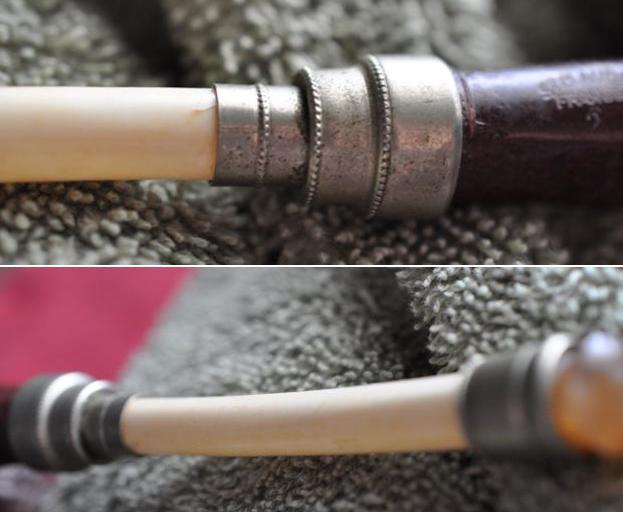 He took photos of the sides and heel of the sandblast bowl to show condition of the briar. You can see the swirls of grain in the blast on the sides of the bowl.
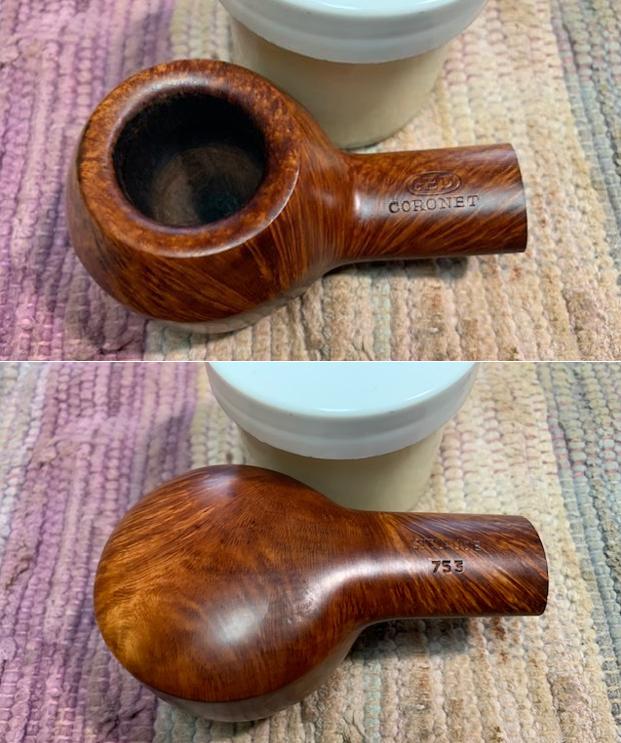
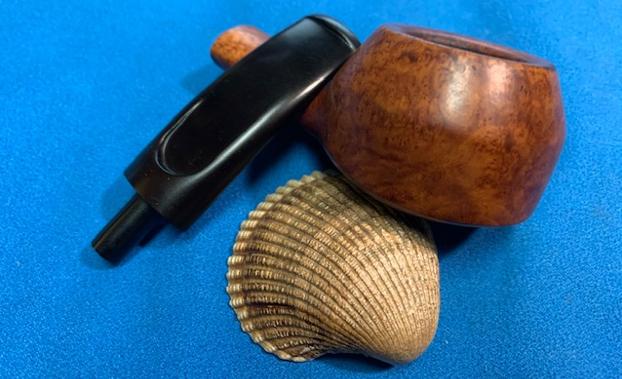
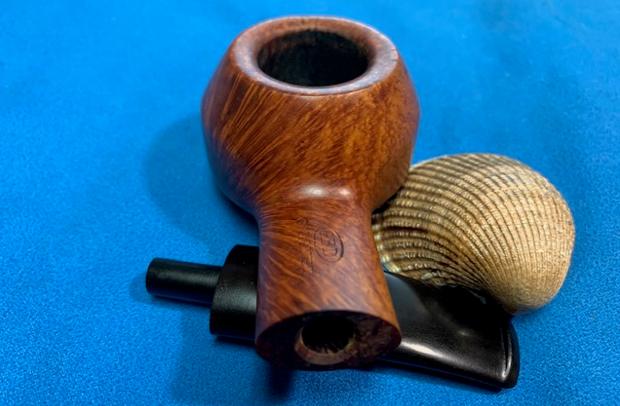
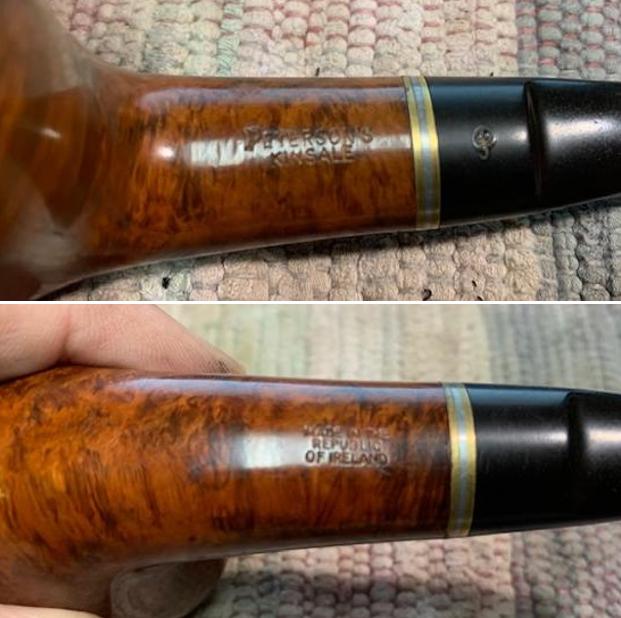
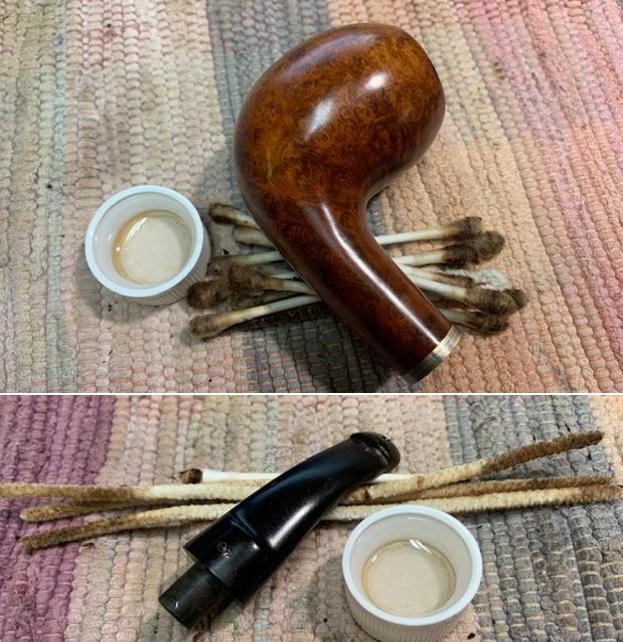
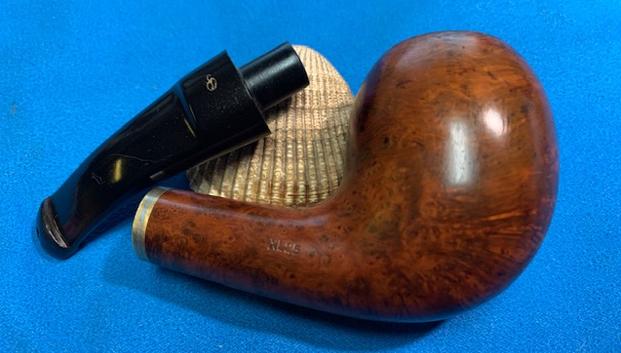
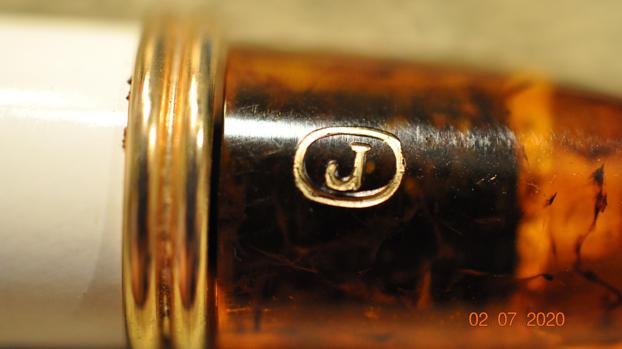
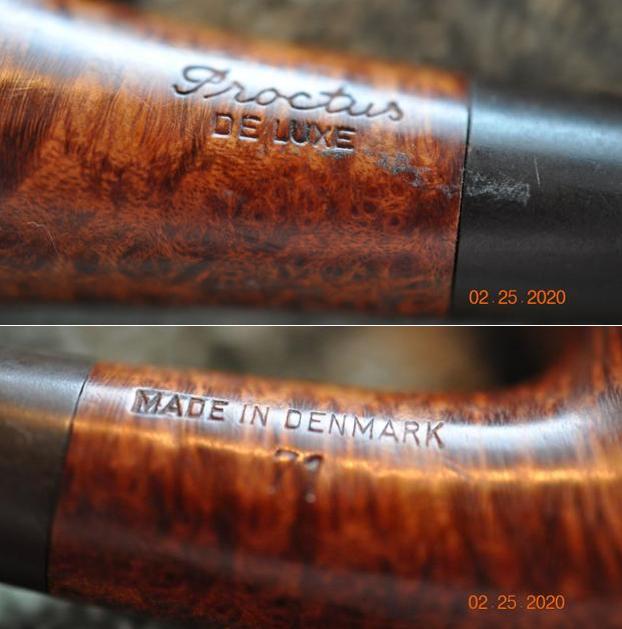
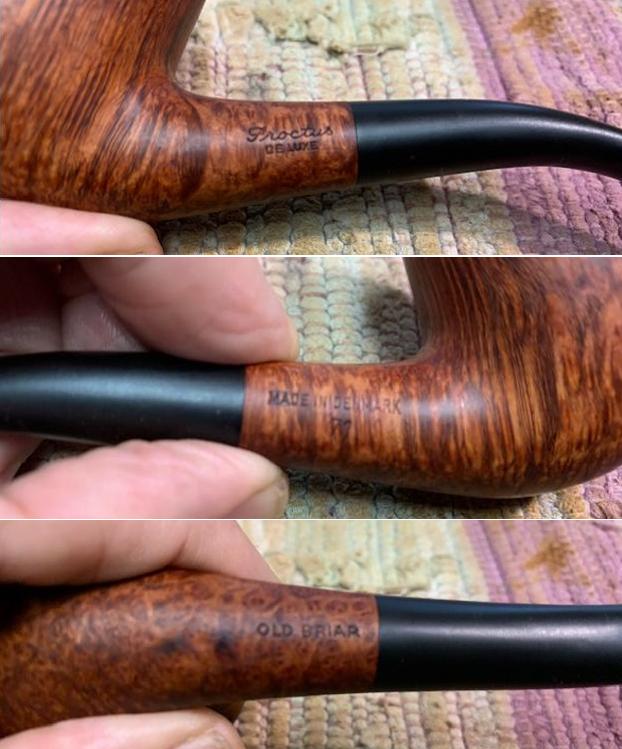
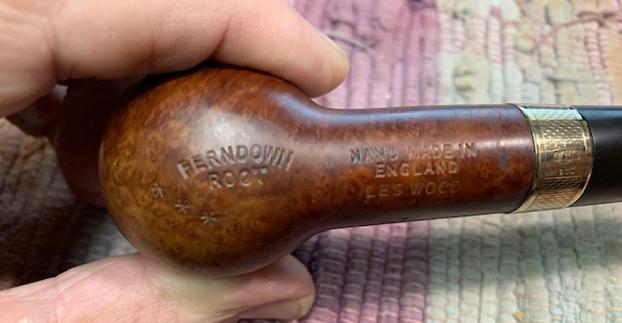
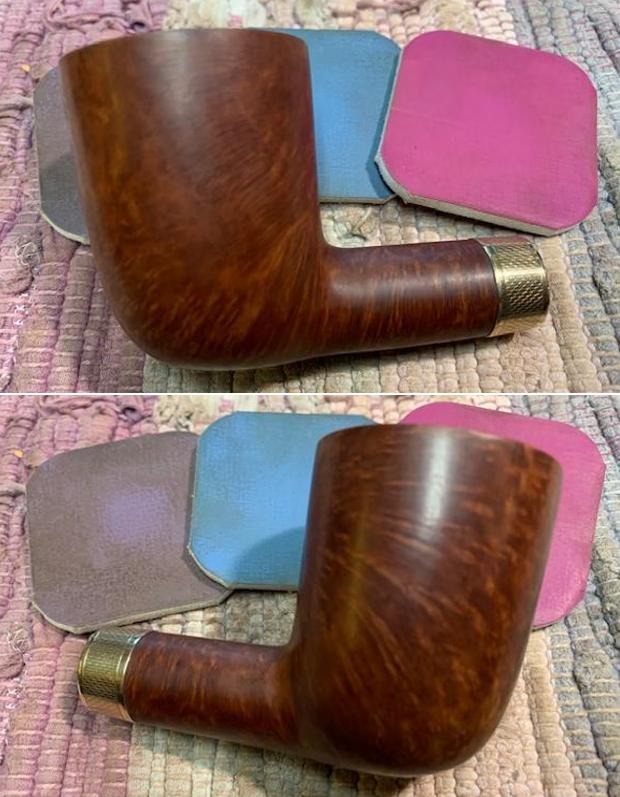
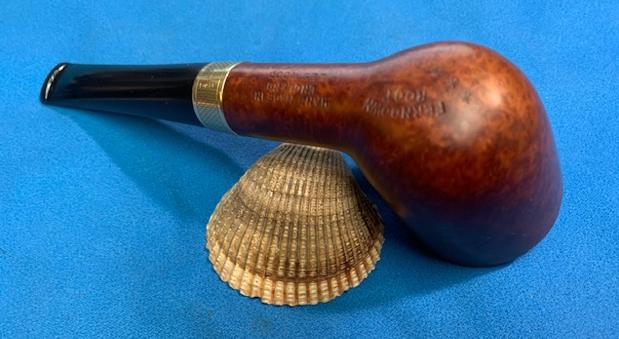
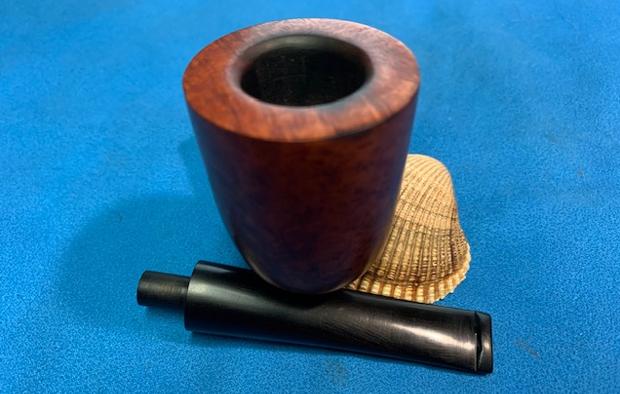
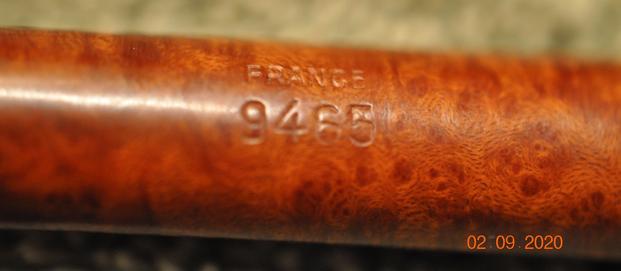
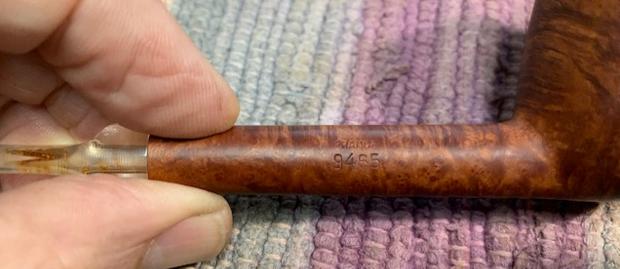
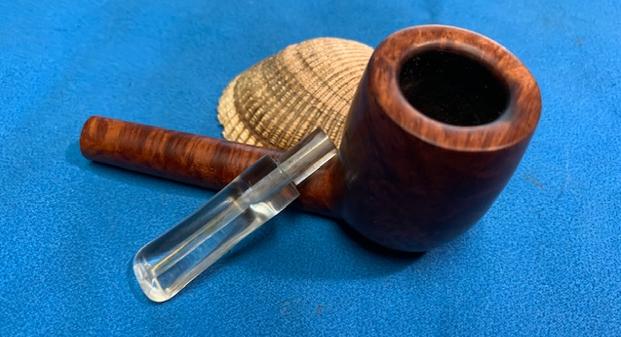
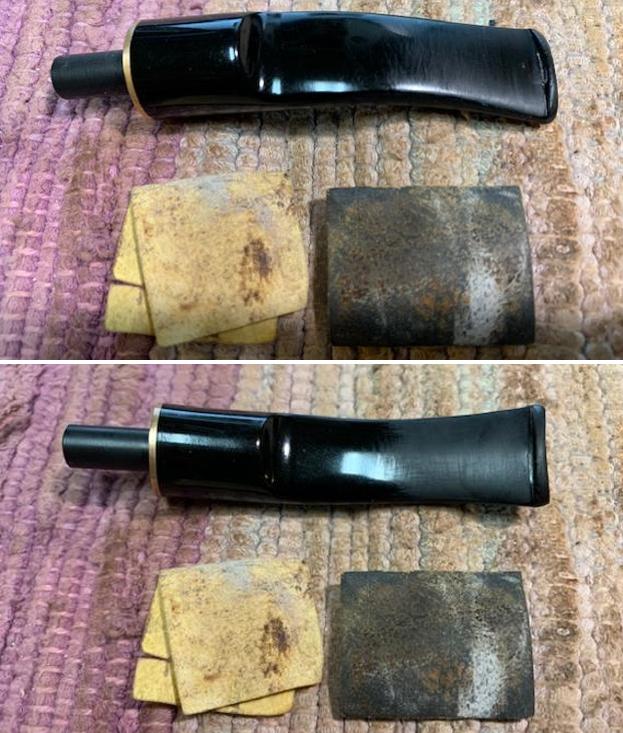
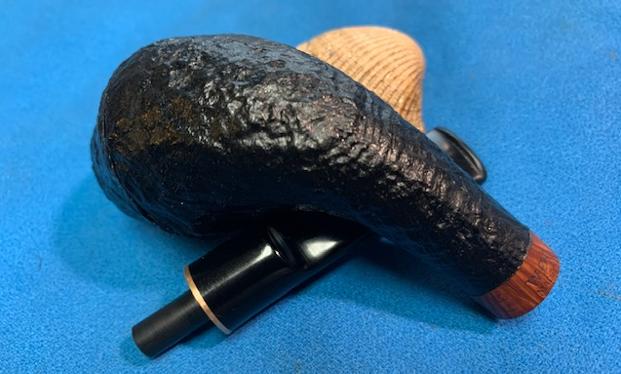
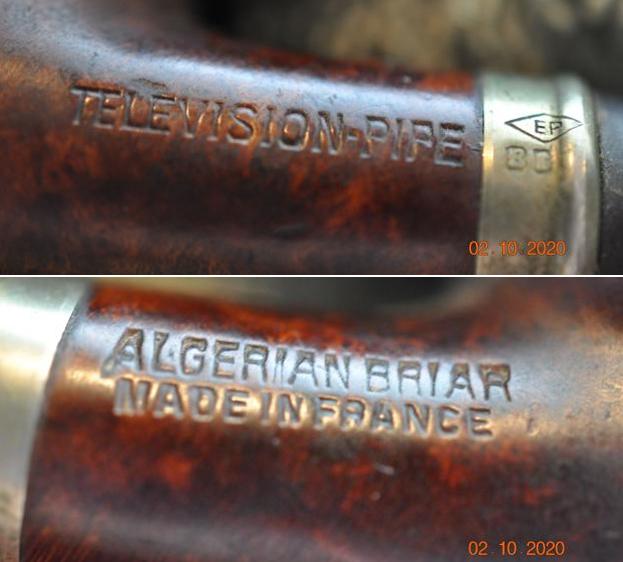
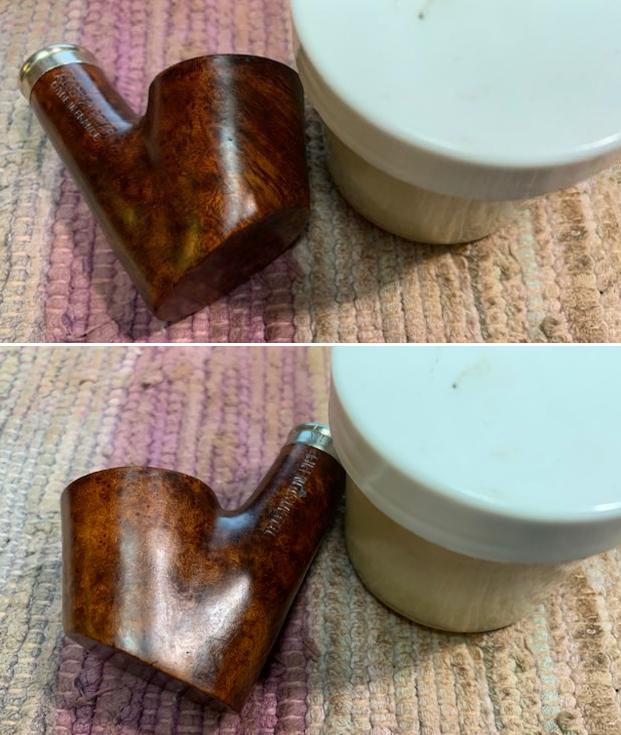
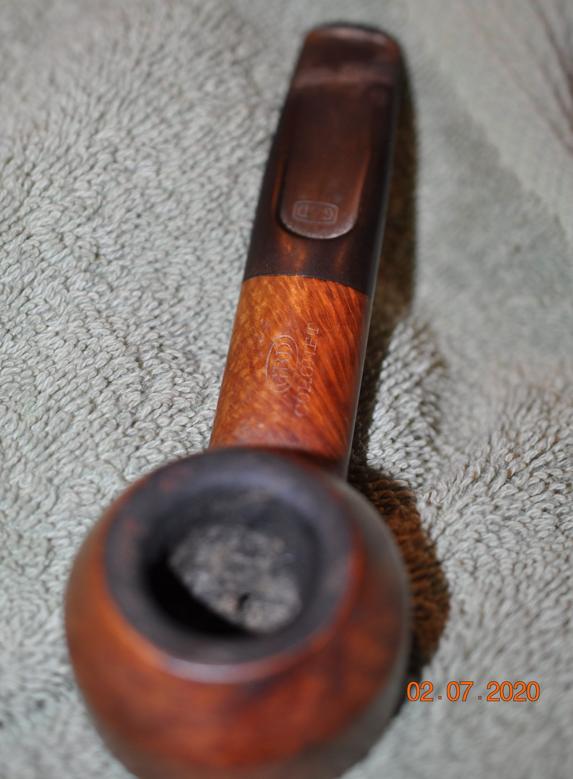
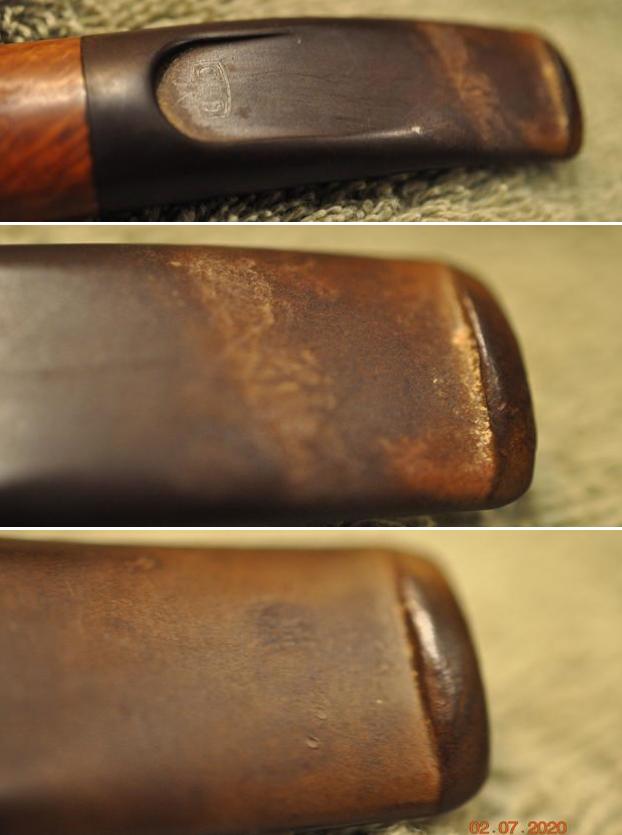
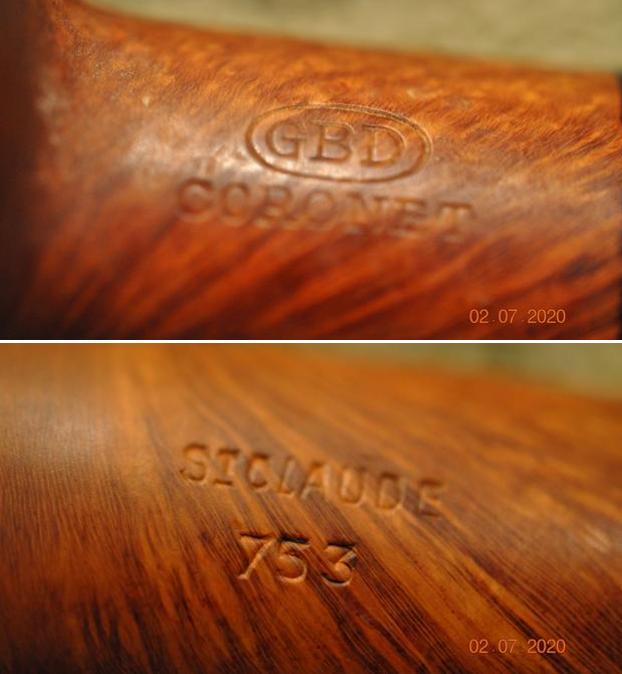
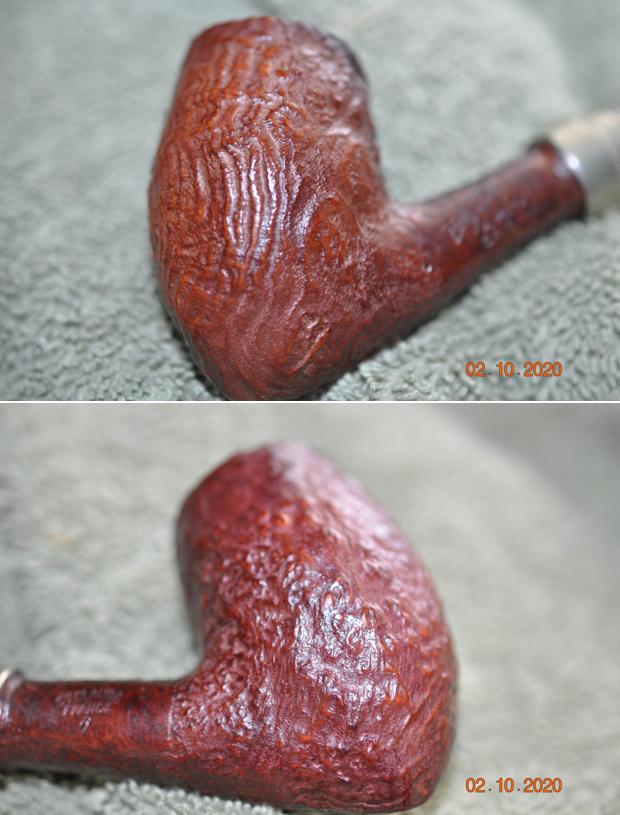 The stamping is very clear on both sides of the pipe. The next two photos confirm what I wrote about the stamping above.
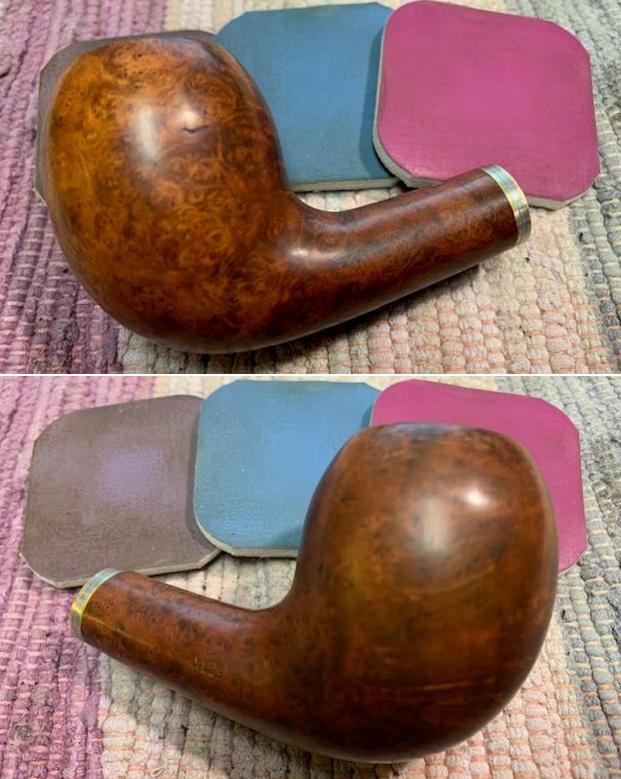
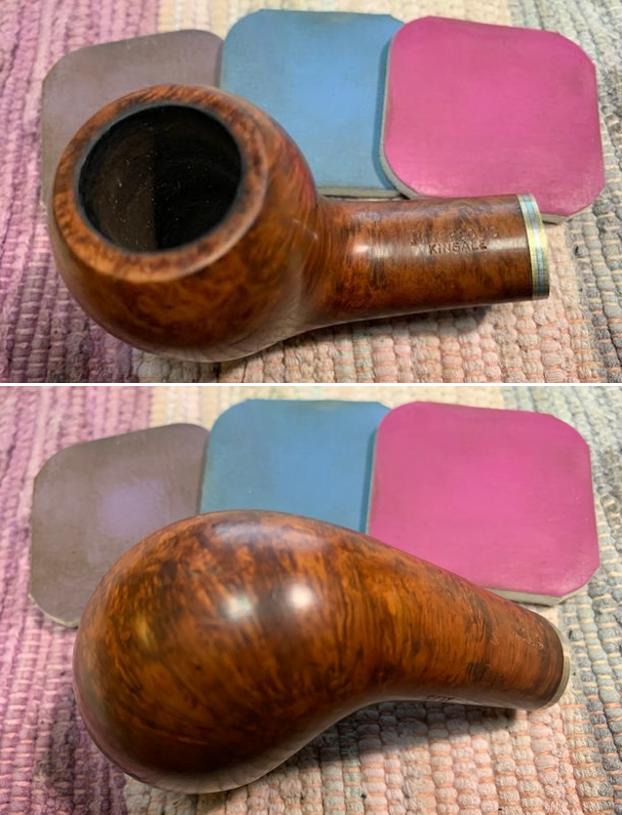
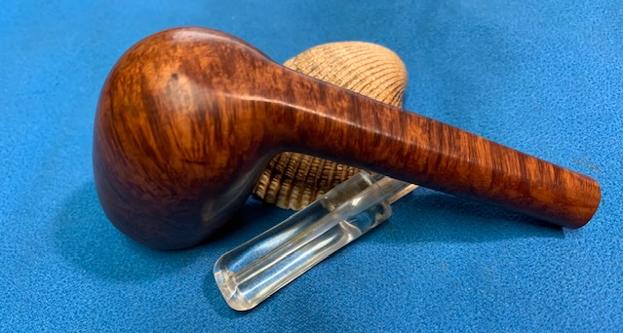
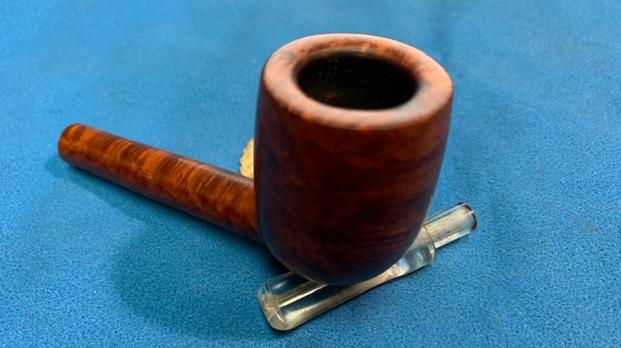
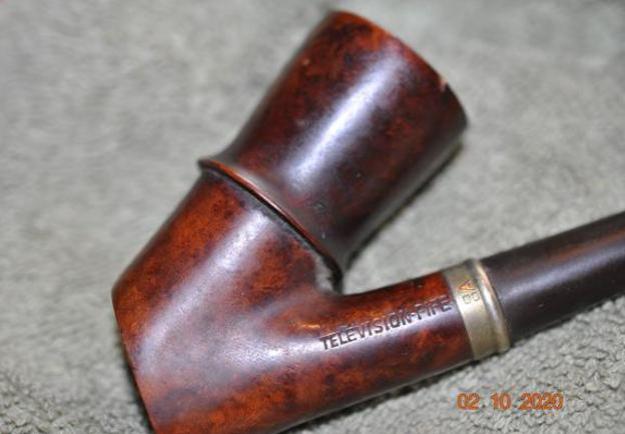
 I had written a previous blog on a restoration of a second generation Butz-Choquini A Metz Origine (https://rebornpipes.com/2020/04/13/new-life-for-a-second-generation-butz-choquin-a-metz-origine/). It was a smooth briar pipe but the information that I included was helpful and applicable. I am including some of that below.
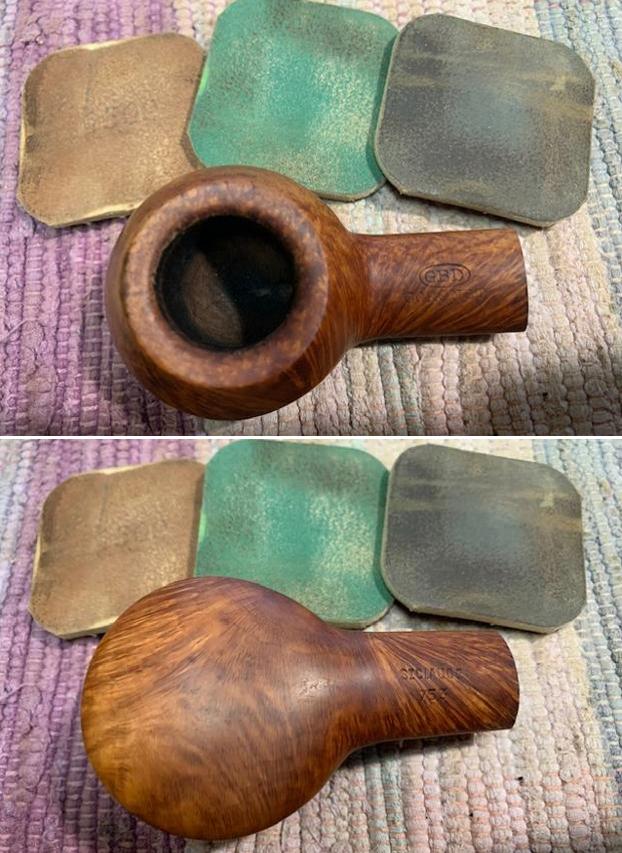
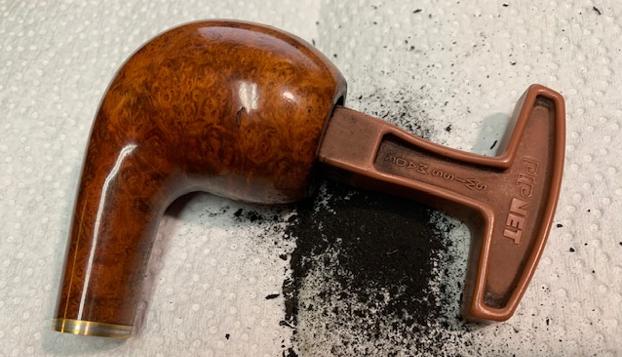
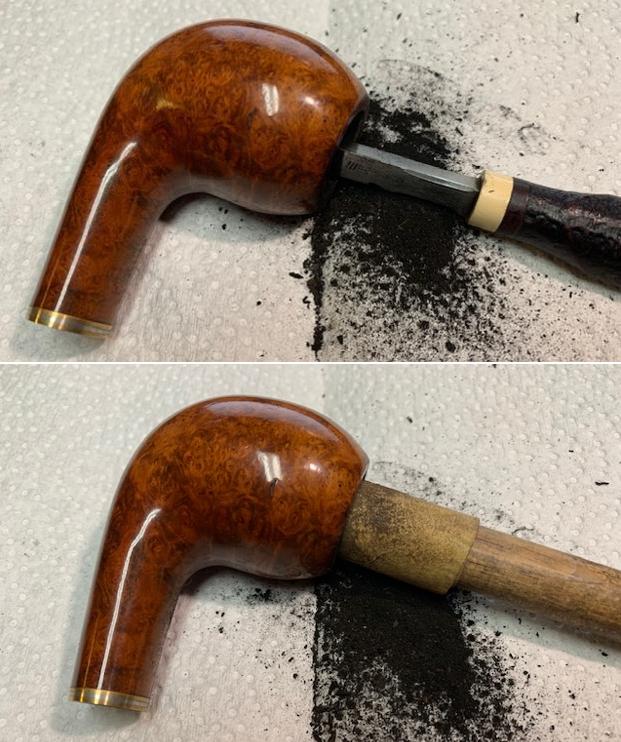
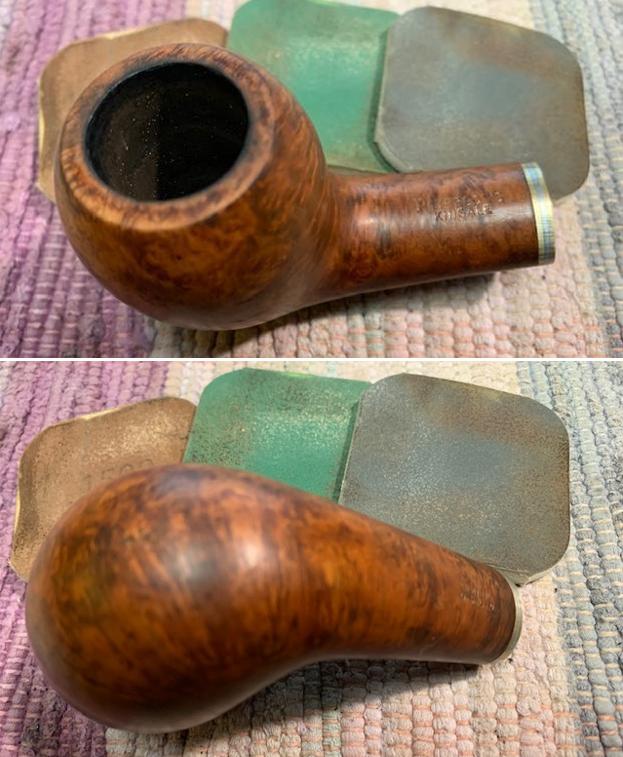
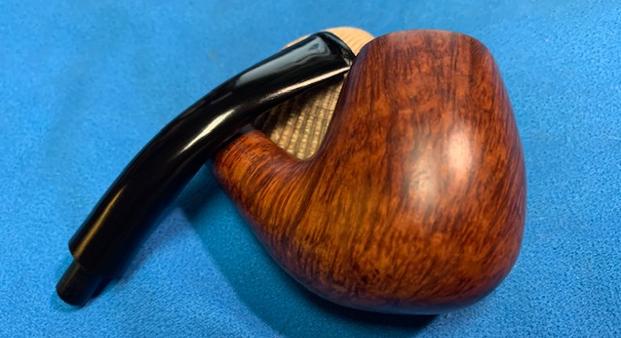
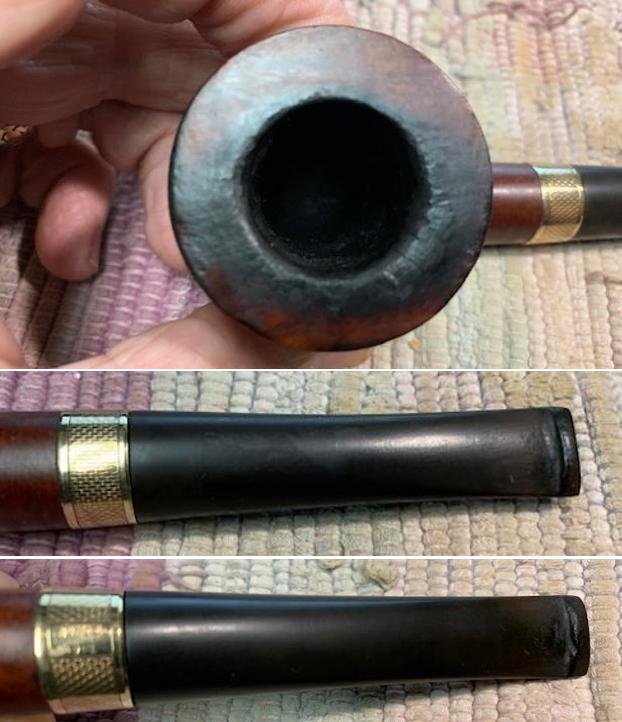
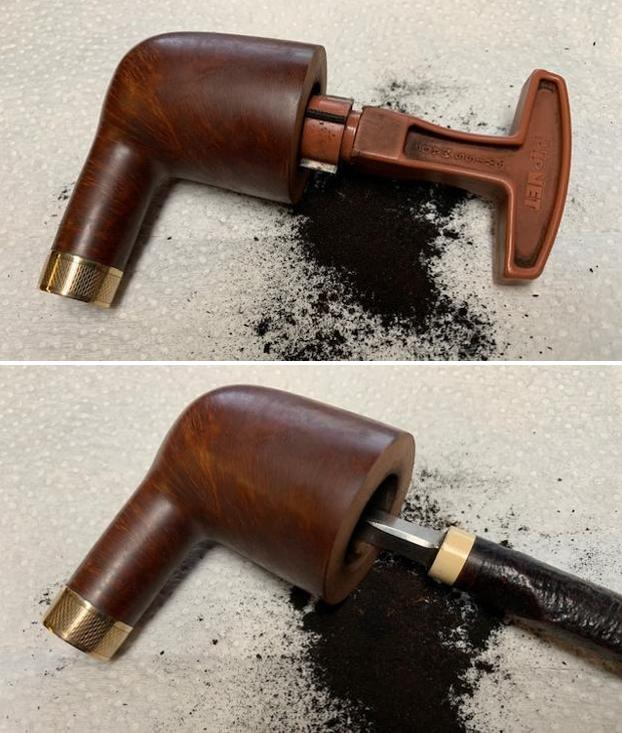
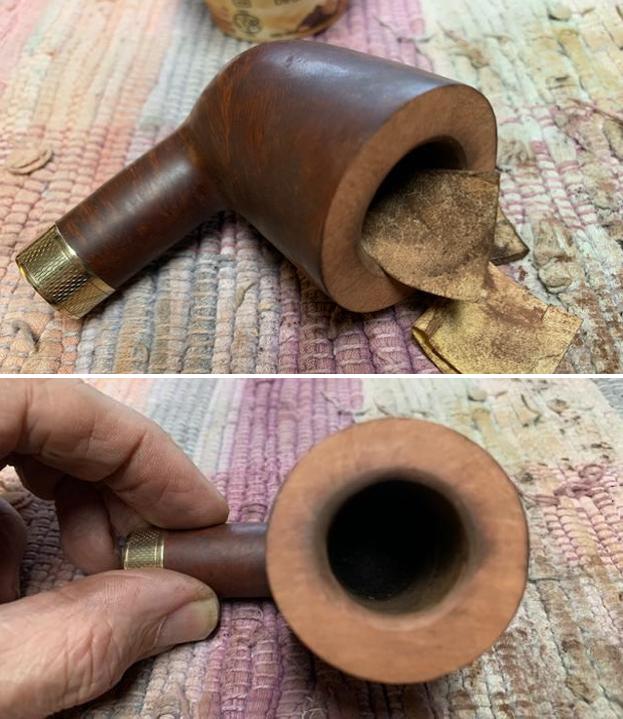
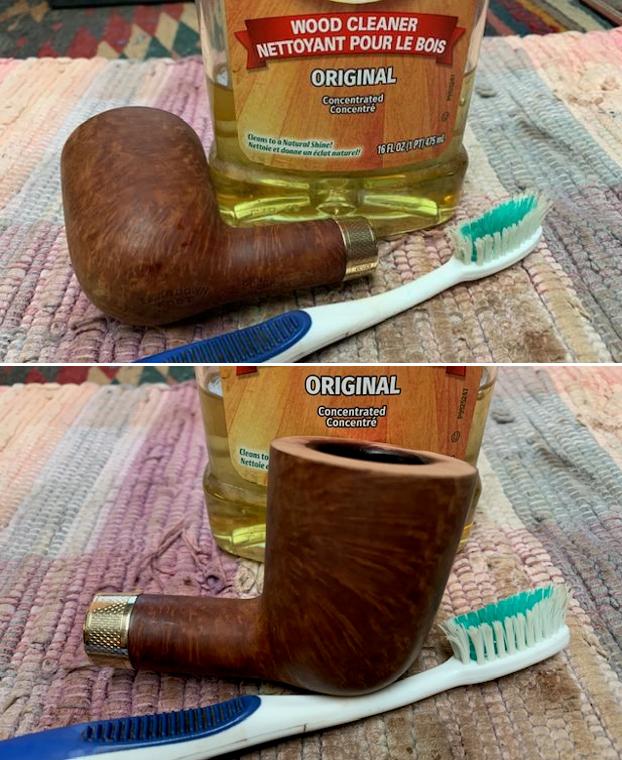
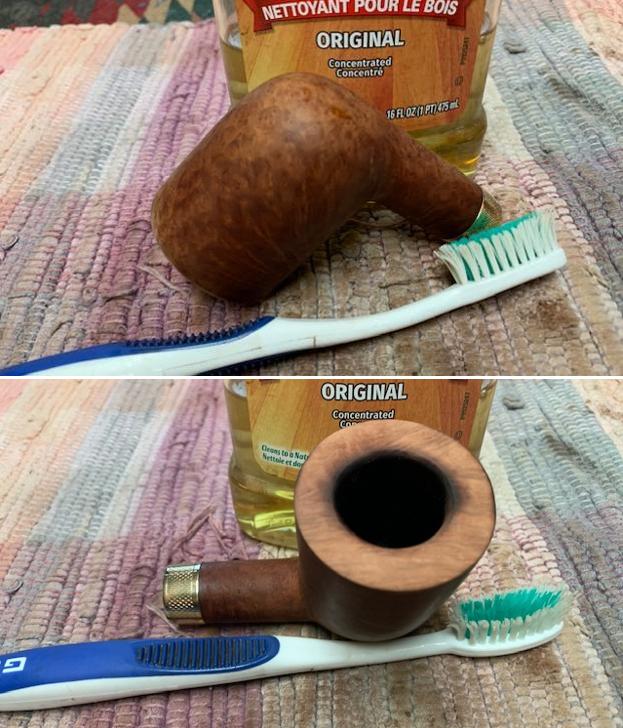
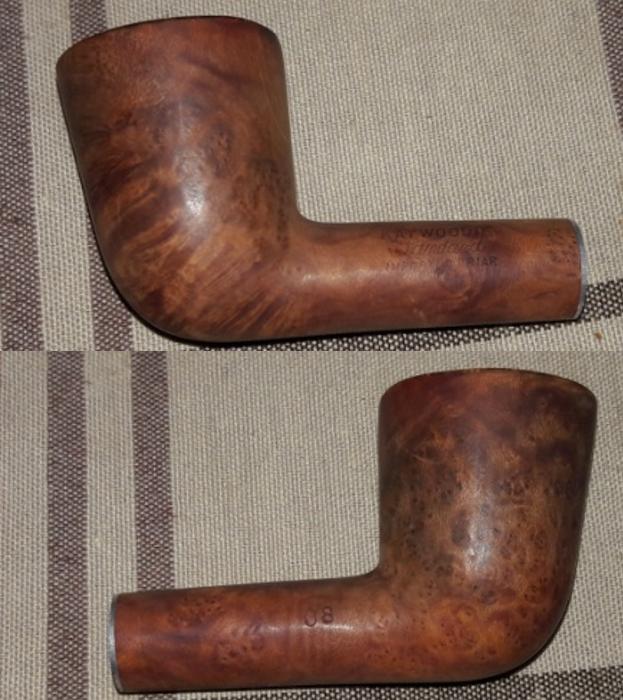
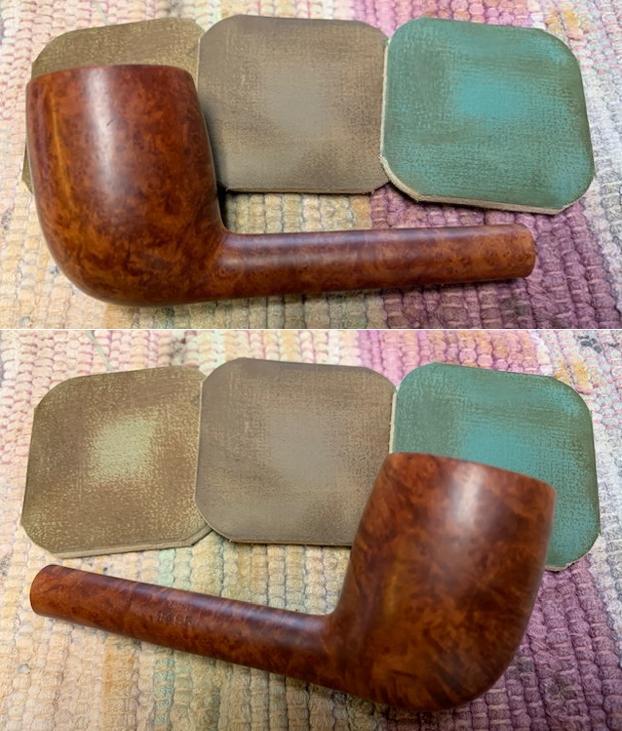
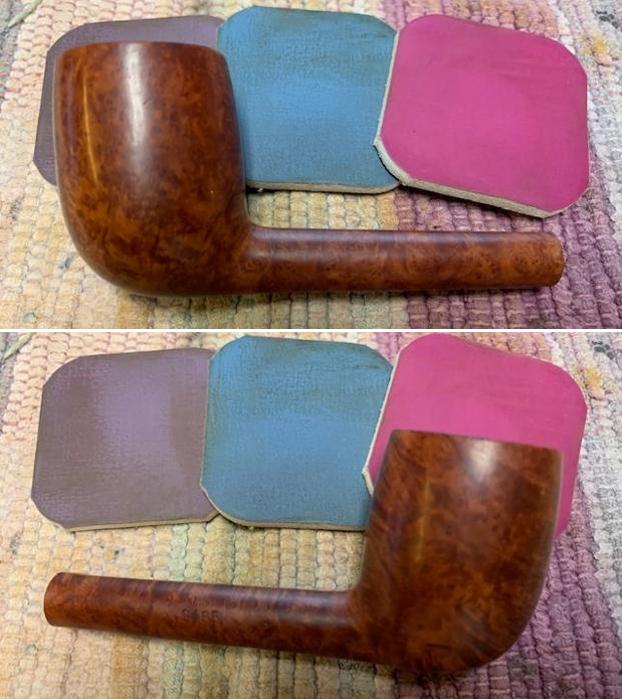
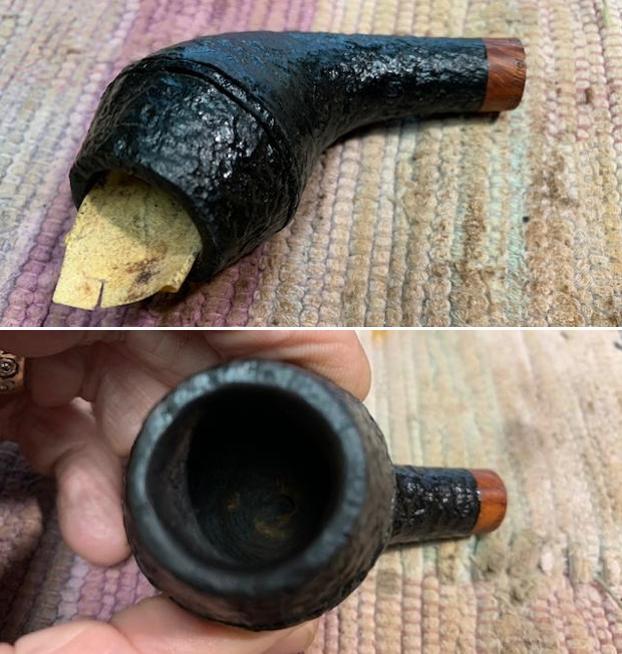
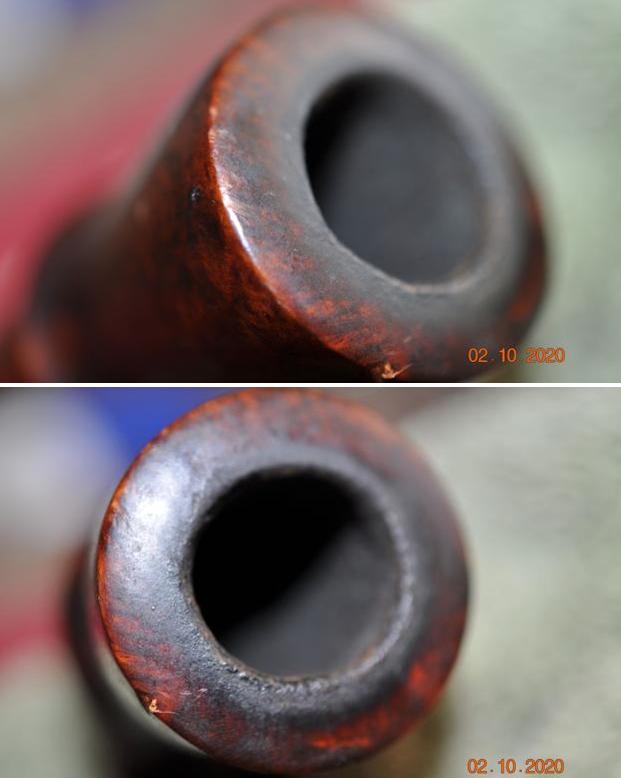
I turned to Pipephil (www.pipephil.eu/logos/en/logo-butzchoquin.html) to get a bit of background on the second or the modern version of the Origine pipe. I have included a screen capture of the pertinent section below. Now it was time to look at it up close and personal. Jeff had great job in cleaning up this Origine. He had reamed the bowl with a PipNet Pipe Reamer and cleaned up the remnants with a Savinelli Fitsall Pipe Knife. He took the cake back to bare briar so we could check the walls for damage and also see the extent of the burn damage on the back of the inner edge of the rim. He scrubbed the exterior of the bowl with Murphy’s Oil Soap and a tooth brush to remove the grime on the bowl and rim and was able to remove much of the grime and dirt. He cleaned out the interior of the bowl and shank with pipe cleaners, cotton swabs and alcohol until they came out clean. The rim top looked much better when you compare it with where it started. The damaged area is very clear now and the extent of the damage was clear. He cleaned the stem with Soft Scrub to remove the grime on the exterior and cleaned out the airway with alcohol, cotton swabs and pipe cleaners. I took some photos of the pipe as I saw it.
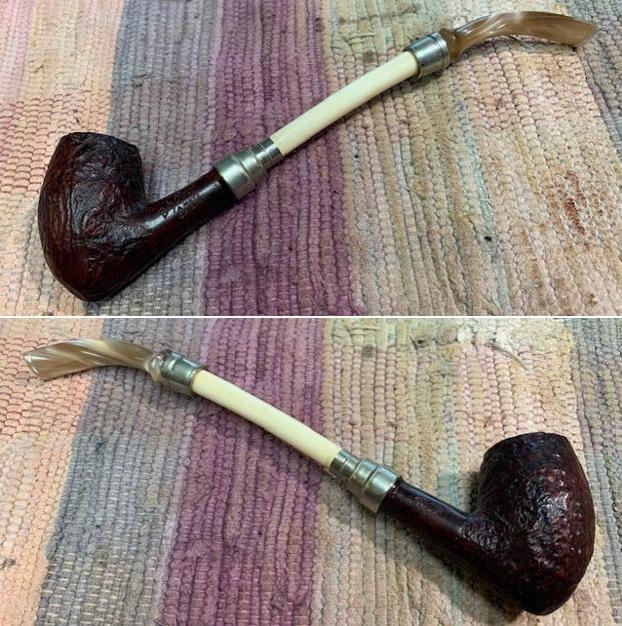
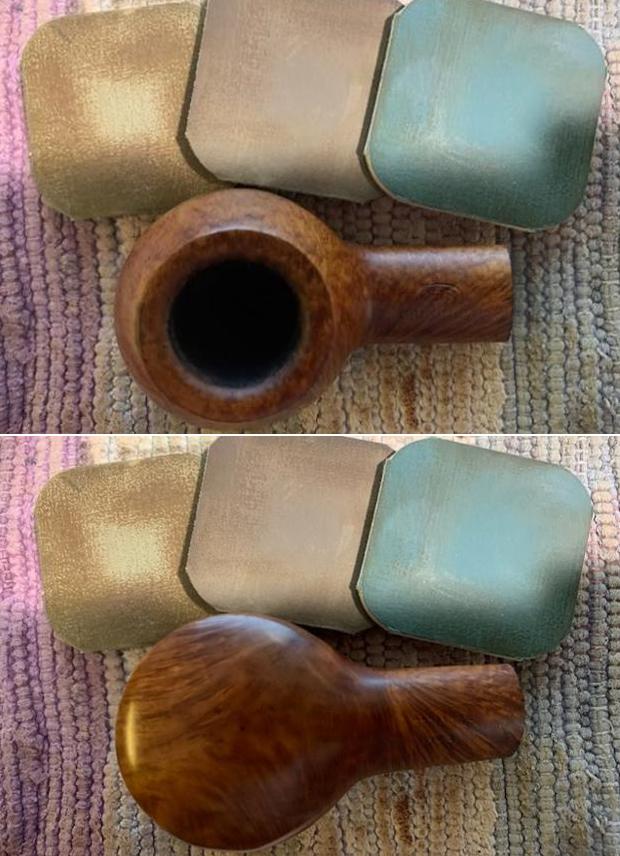
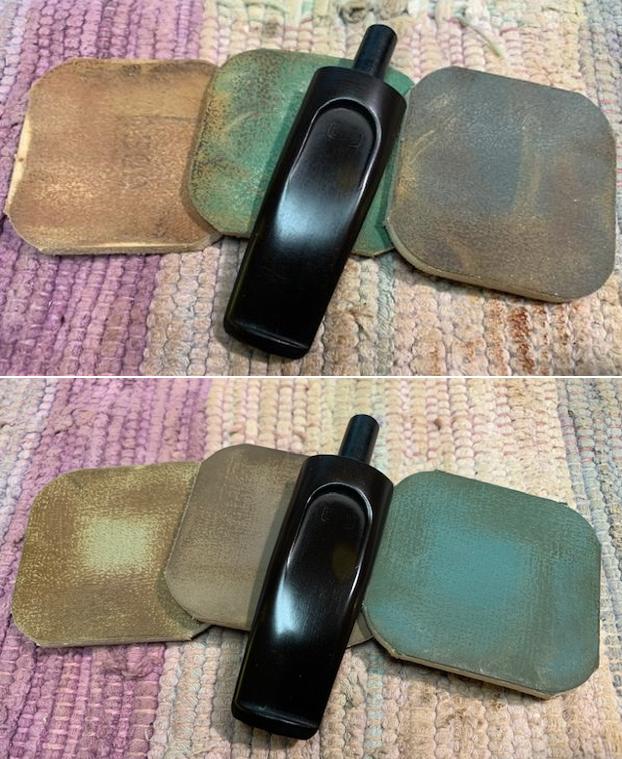
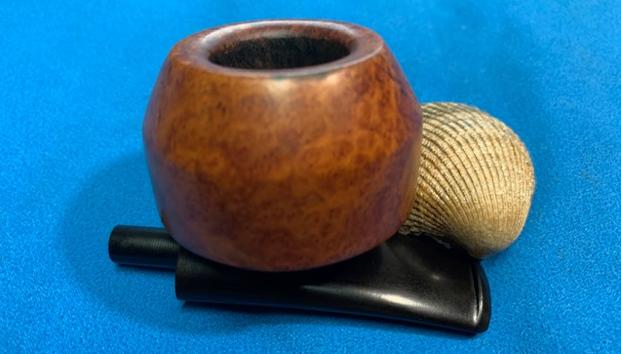
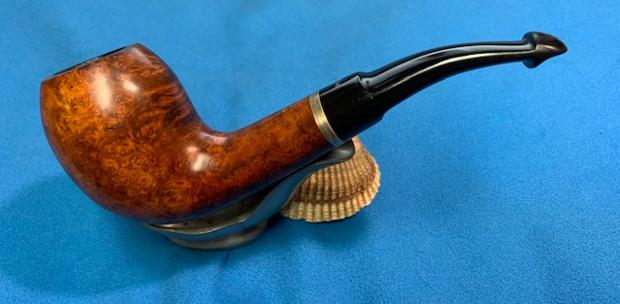
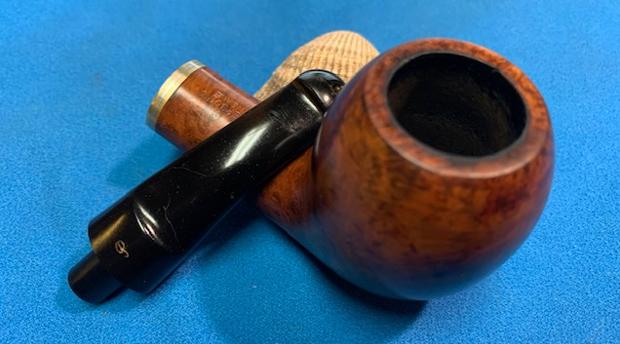
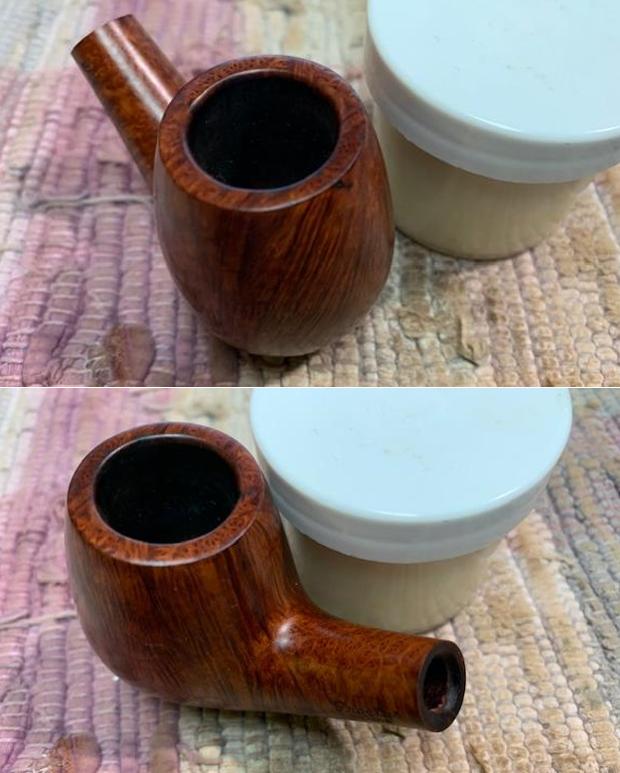
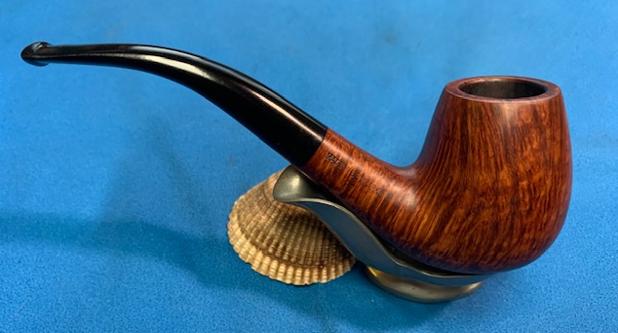
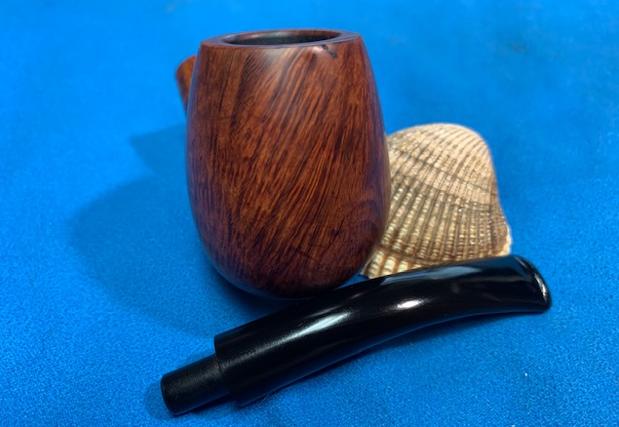
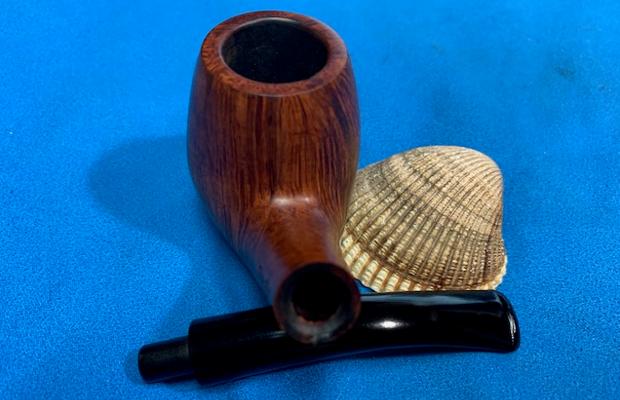
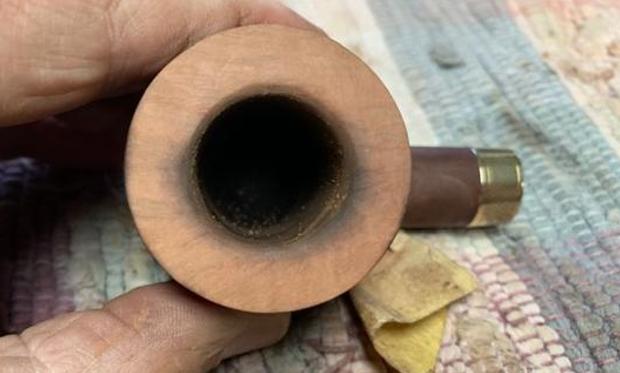
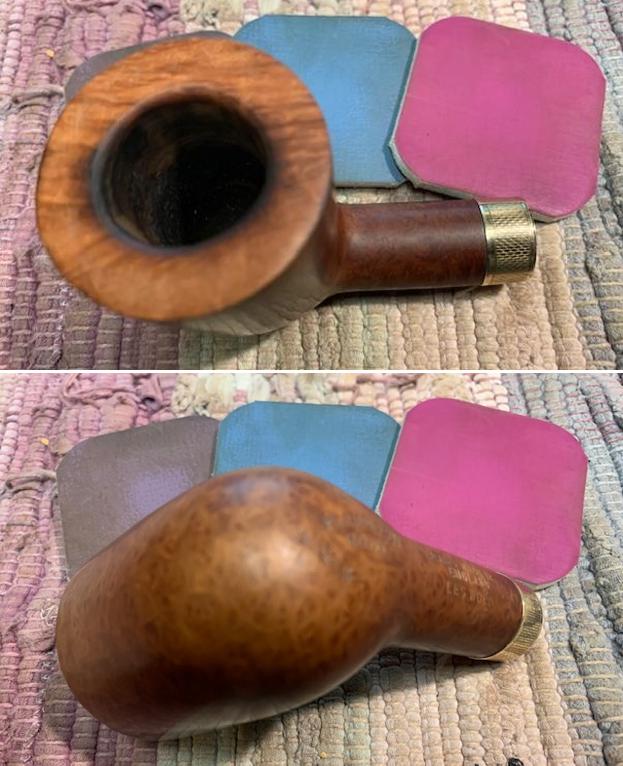
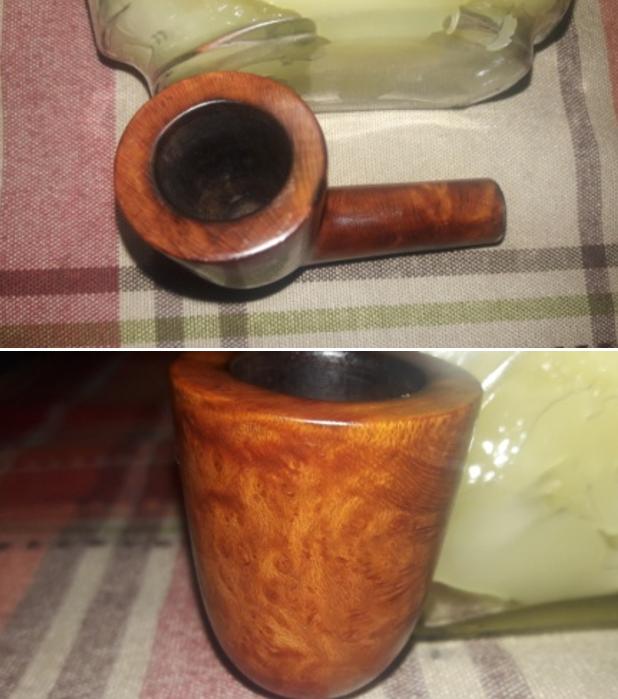
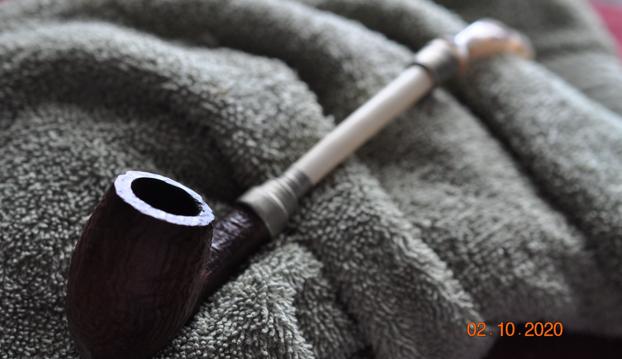
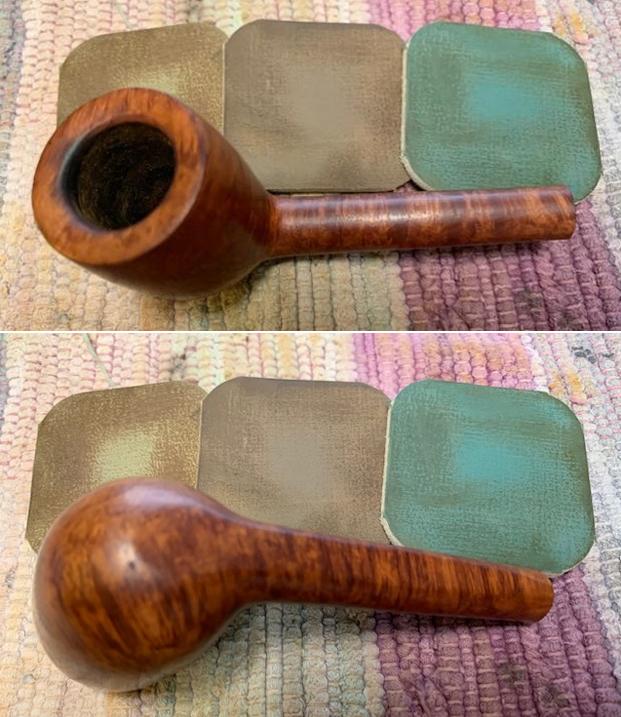
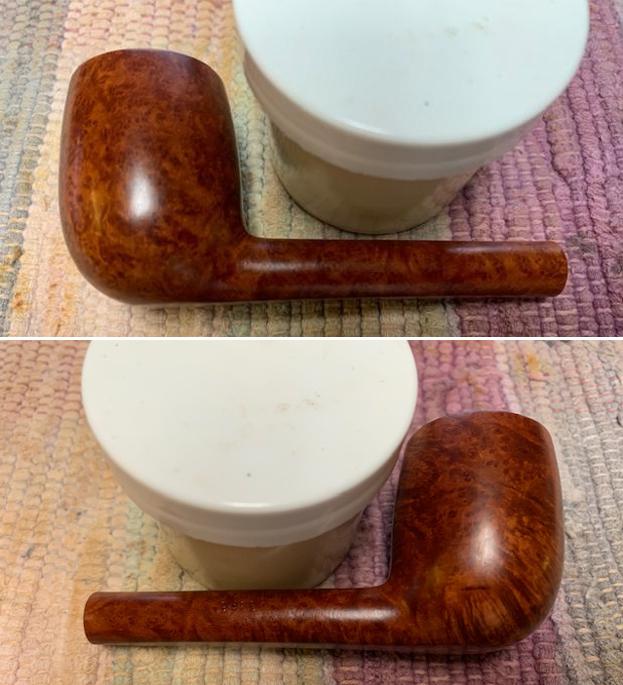
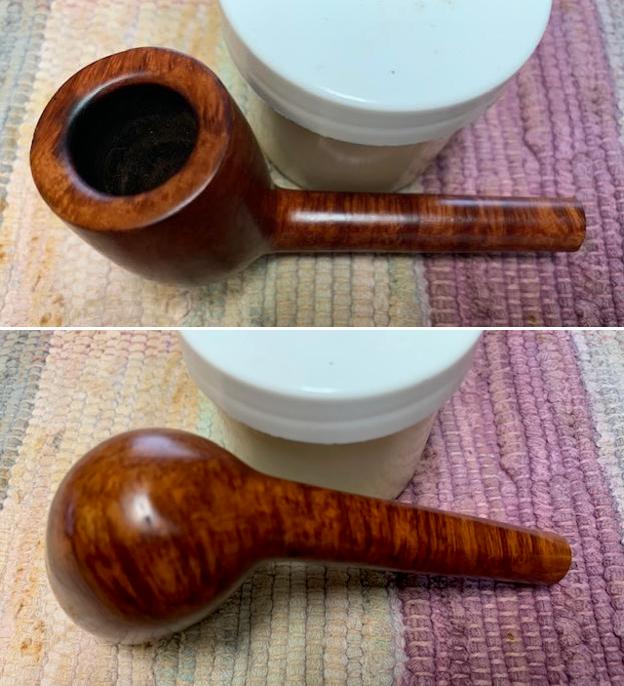
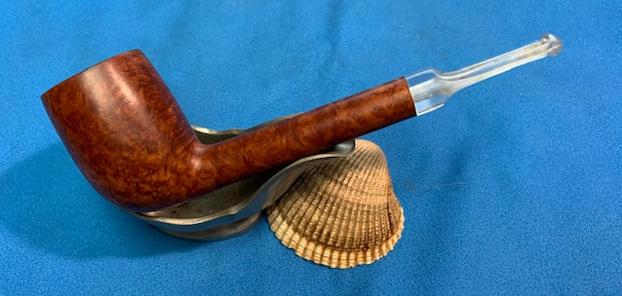
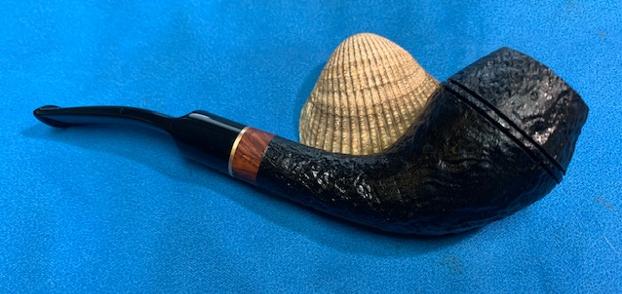
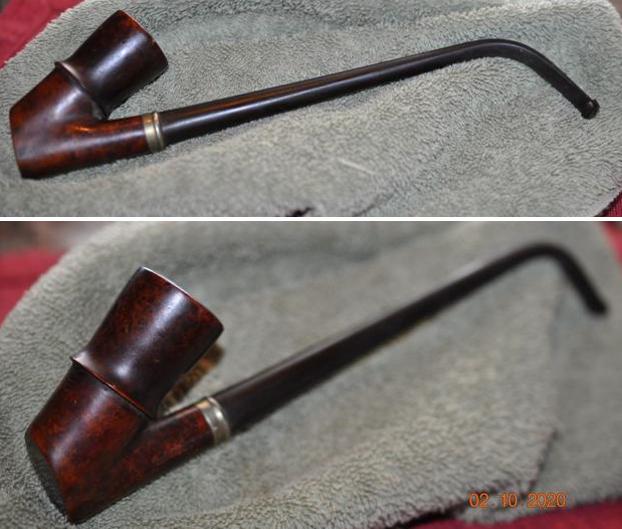
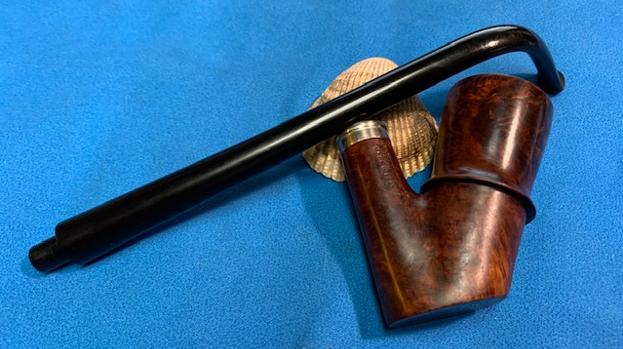
 To show how clean the rim top and stem really was I took a close-up photo of the rim and stem. The bowl was clean and cake free. The rim top is quite clean and the damage to the back rim top and inner edge of the bowl is clear. The tan/bone coloured acrylic stem looks very good. The surface and the button edge look really good. There are no issues that are there to address. The tarnished silver ends on the shank ends have a rich shine to it now as well.
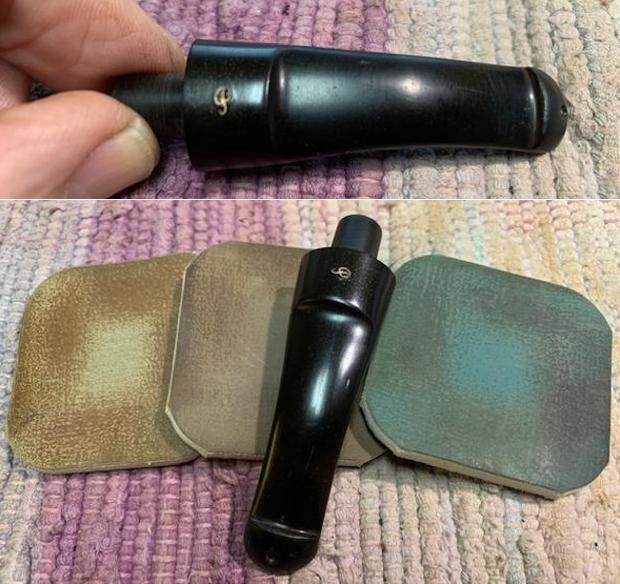
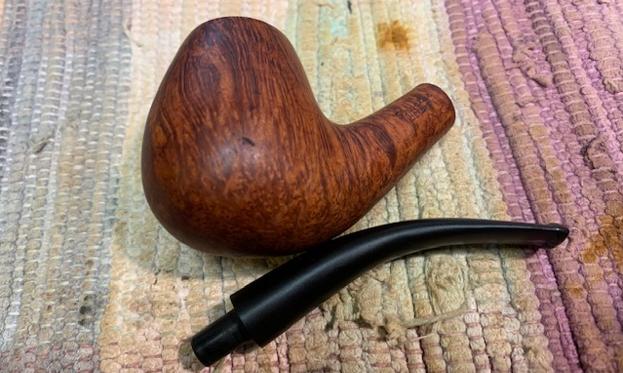
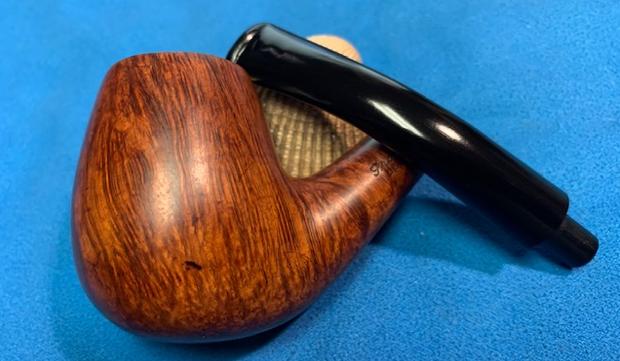
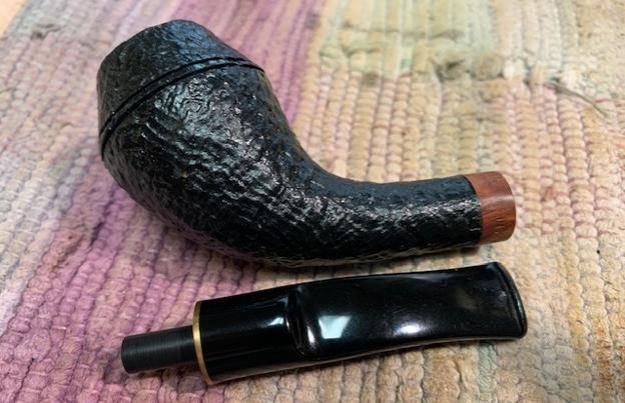
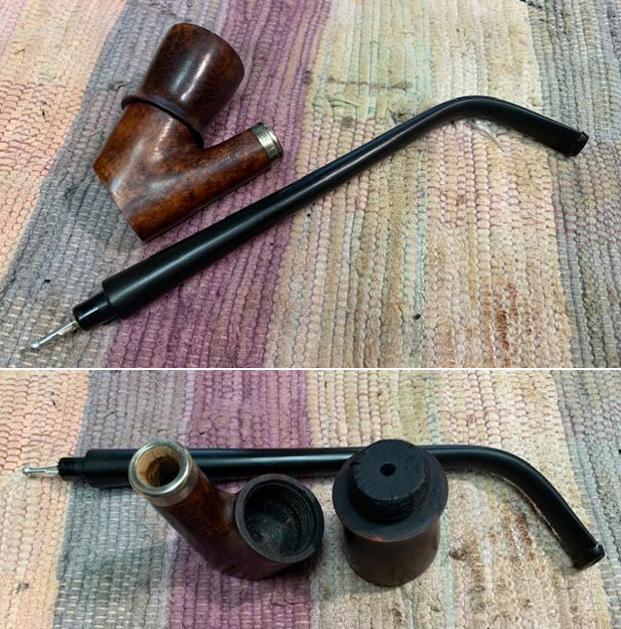
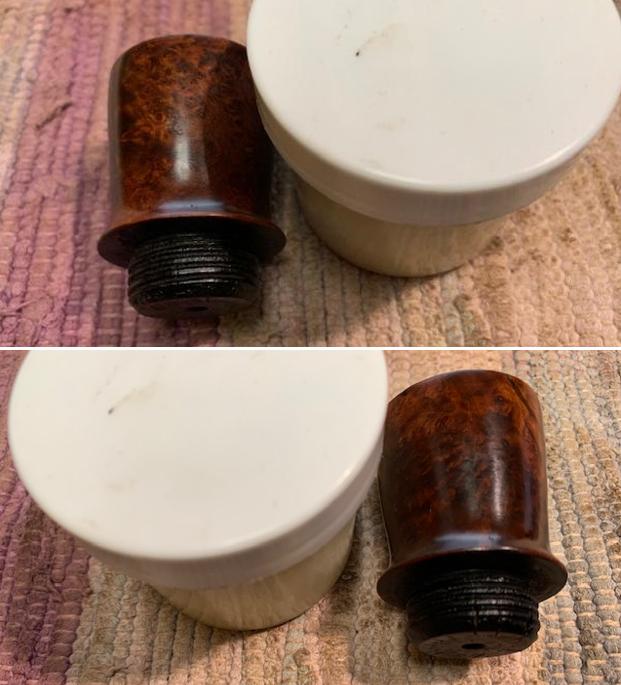
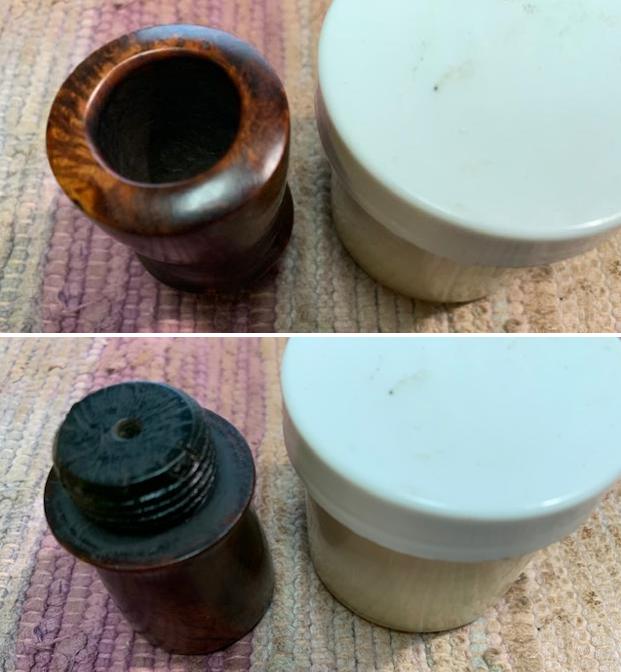
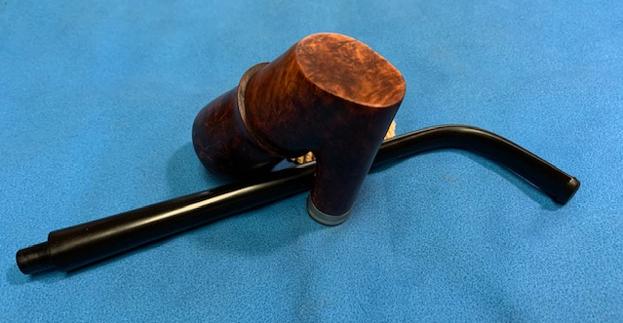
 I removed the stem from the bowl and took photos of the parts. The shank extension came apart at the shank end but not at the stem. The metal end on the acrylic shank extension came loose from the extension and was stuck in the shank. The stem was glued to the shank end and unmovable. The pipe looks pretty amazing – kind of a shorter version of the 1858 Origine.
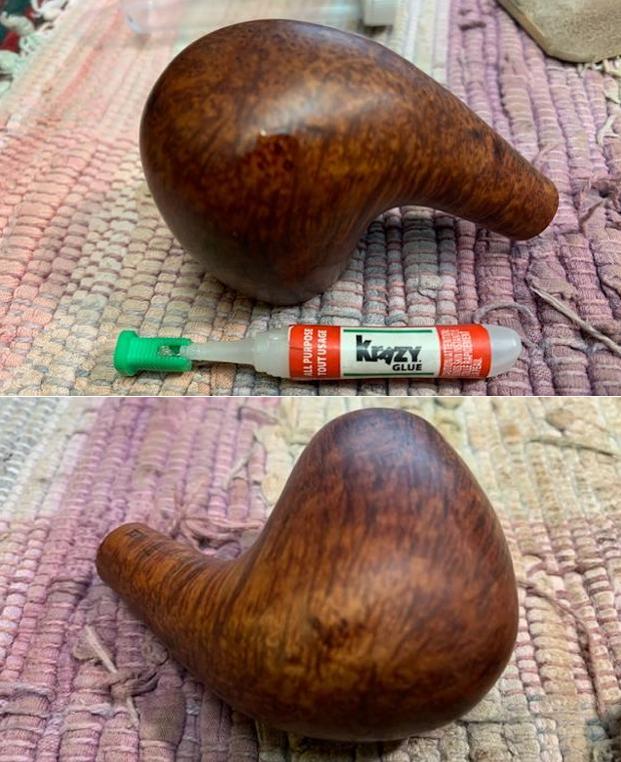
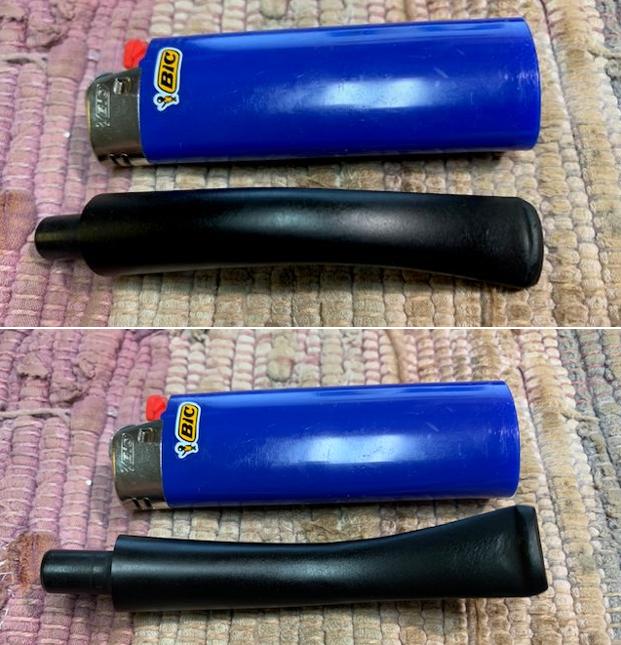
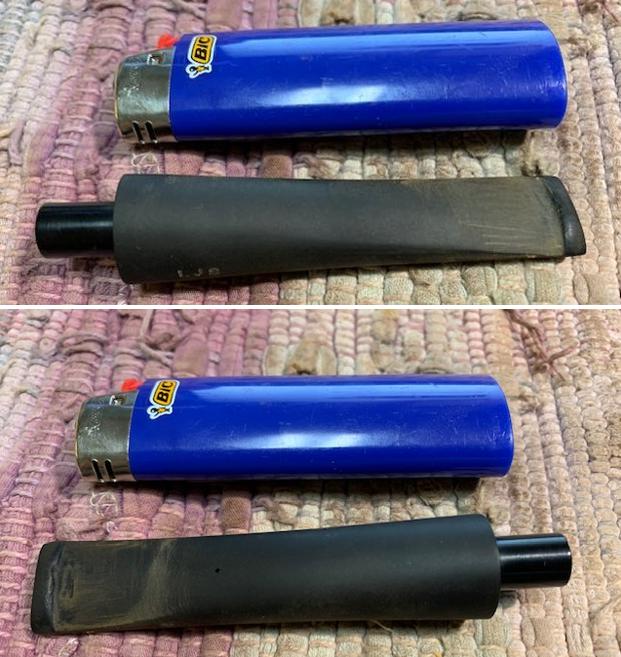
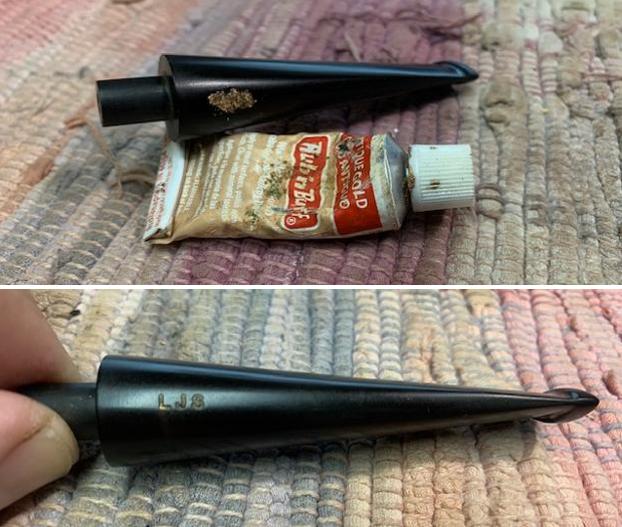
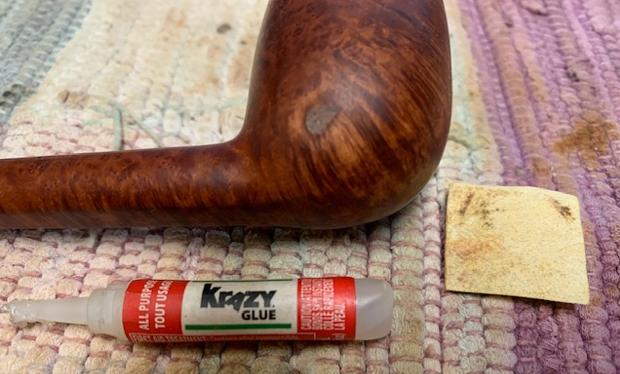
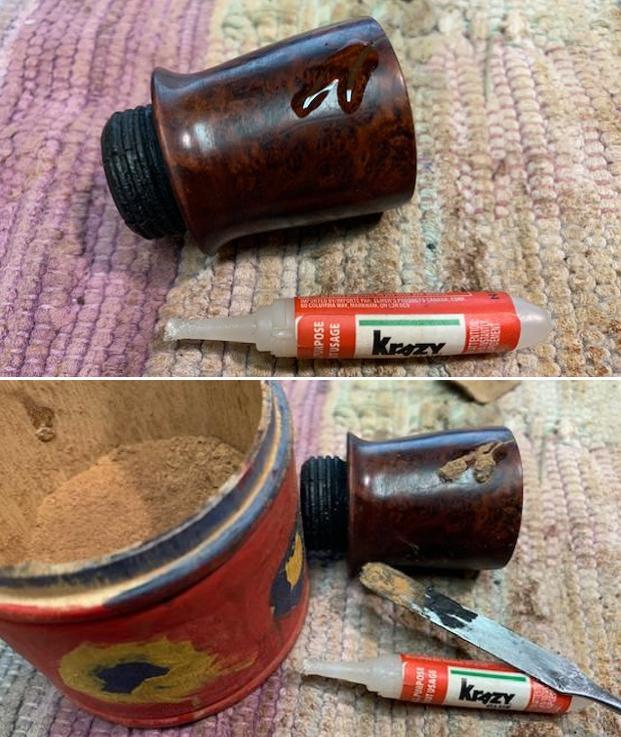
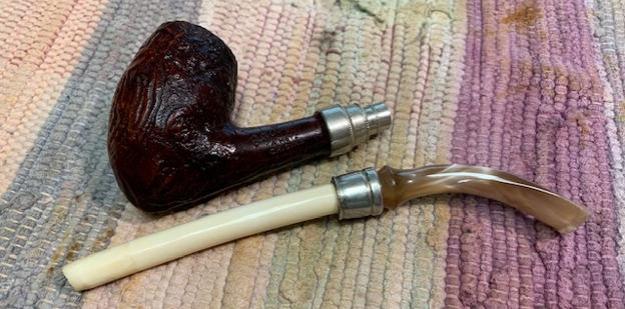 I decided to address the shank endcap that was stuck in the shank. I heated it with a Bic lighter and wiggled the end cap. I repeated the process until it finally came loose. Once it was loose I cleaned the inside of the cap and shank extension end so that I could reglue it.
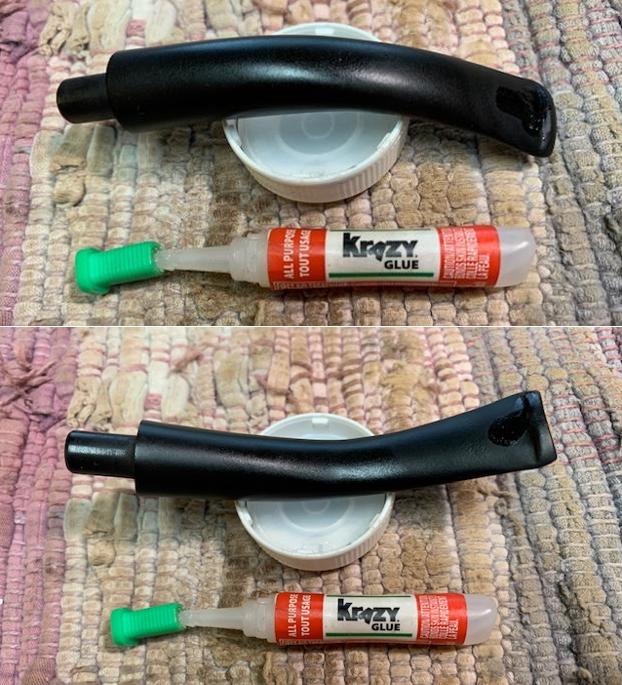
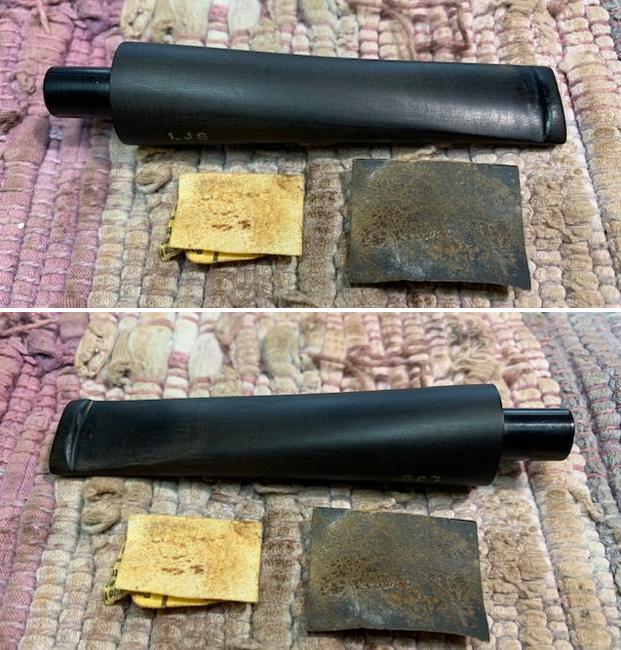
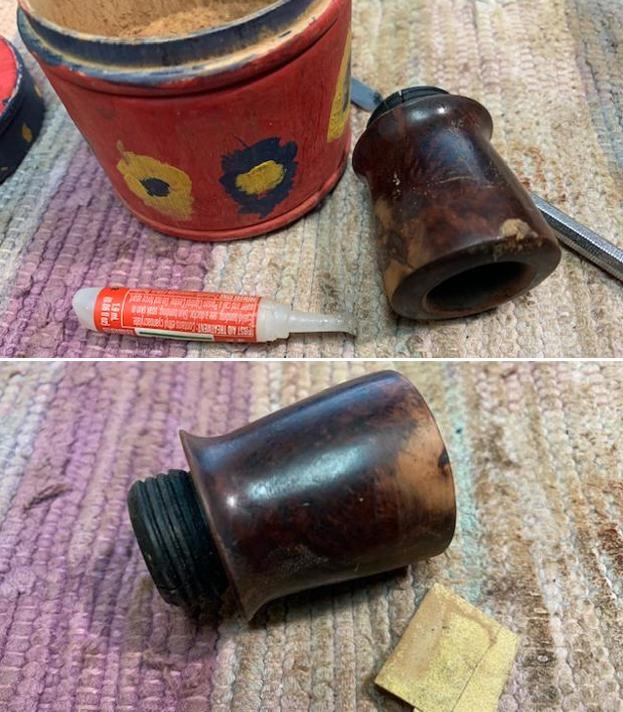
 I coated the end of the shank extension with all purpose white glue using a dental spatula. I spread it around with my fingers and pressed the cap on the shank extension. I wiped off the excess of the glue and let it cure and harden. I took photos of the repaired shank extension and have included them below.
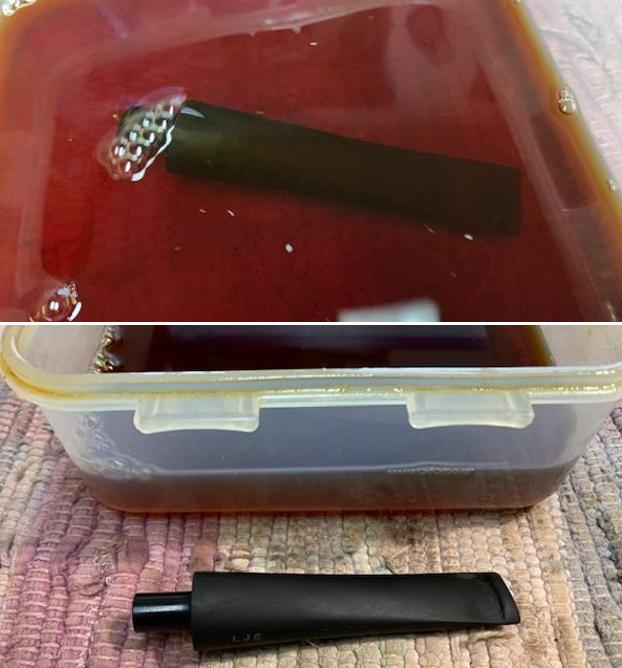
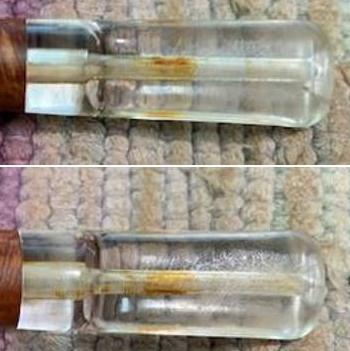
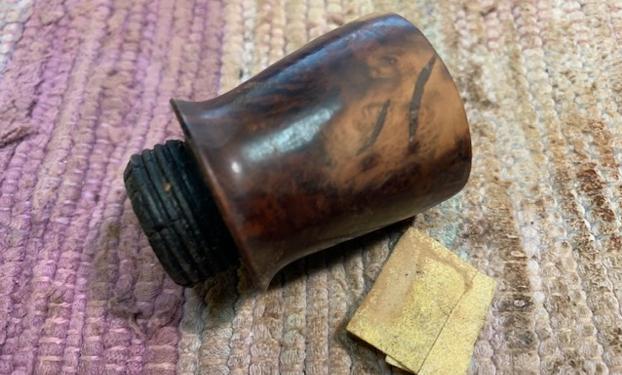
 I cleaned out the shank end with alcohol and cotton swabs to remove the tars and oils that had hardened in the metal end cap locking in the shank cap.
 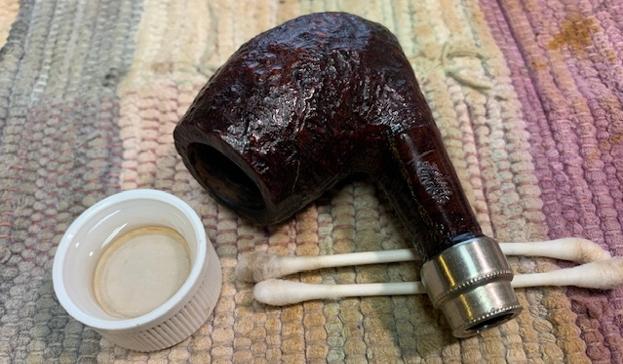 I sanded the shank cap with 180 and 220 grit sandpaper to reduce the external diameter of the cap. I needed to reduce it so that it fit in the shank end but did not lock it in place.
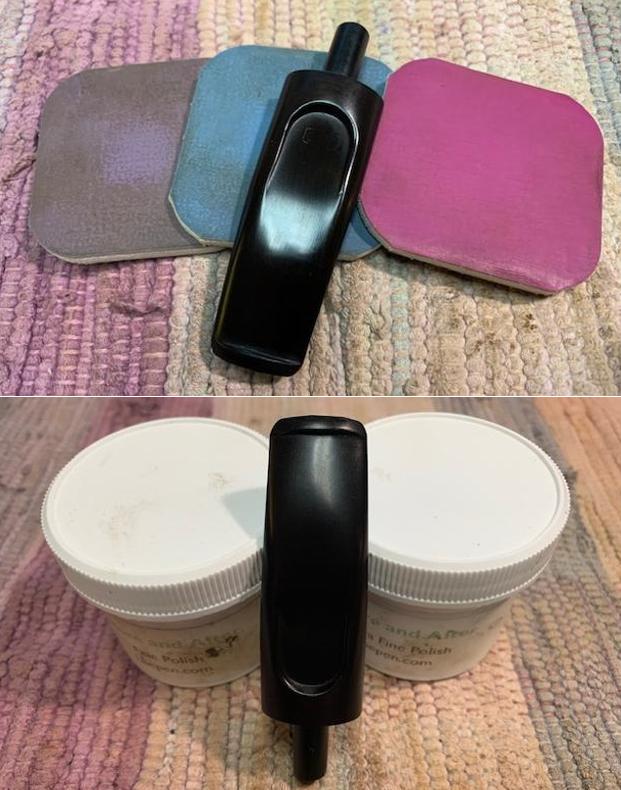
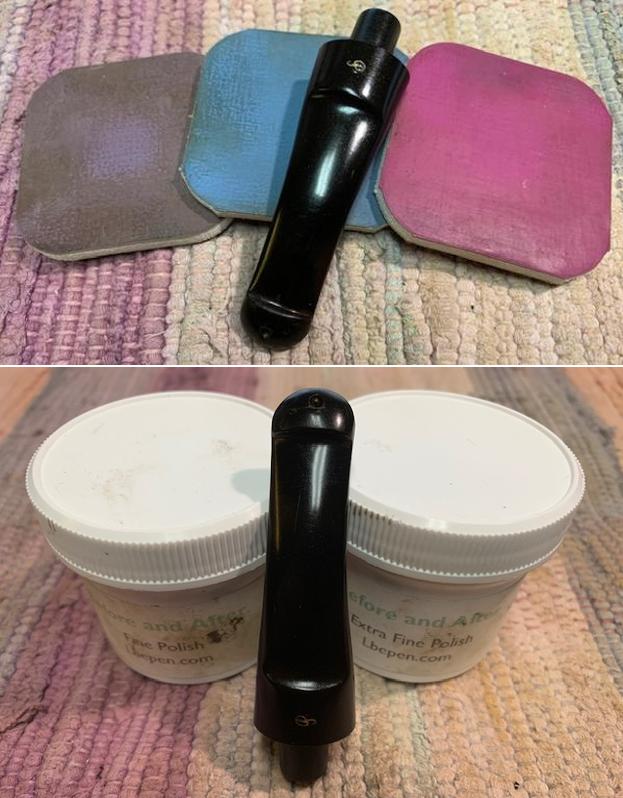
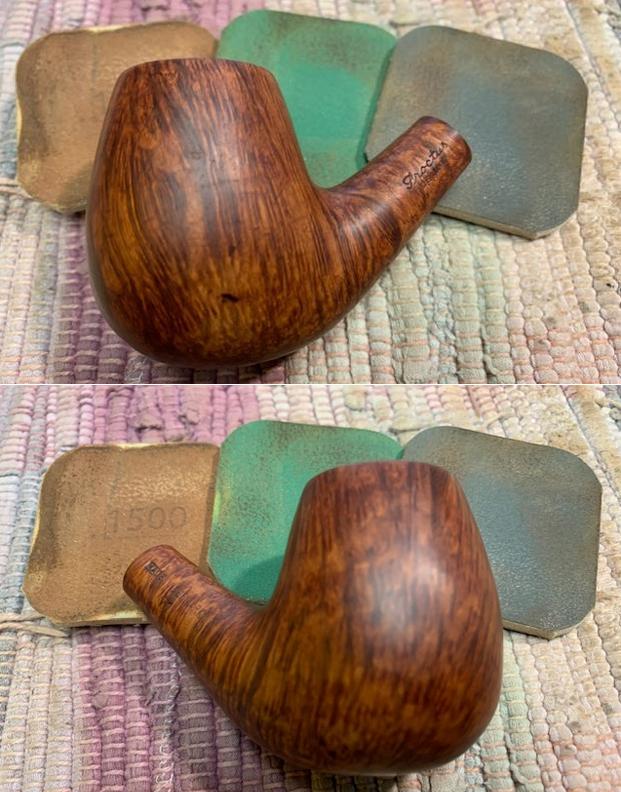
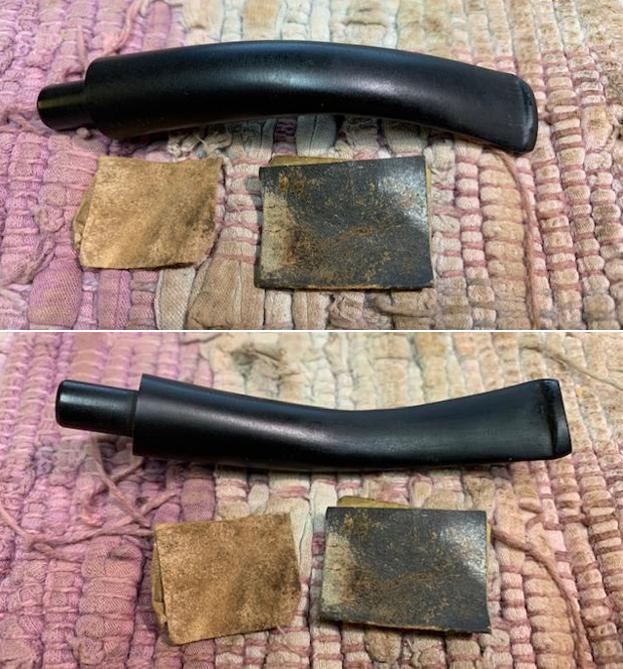
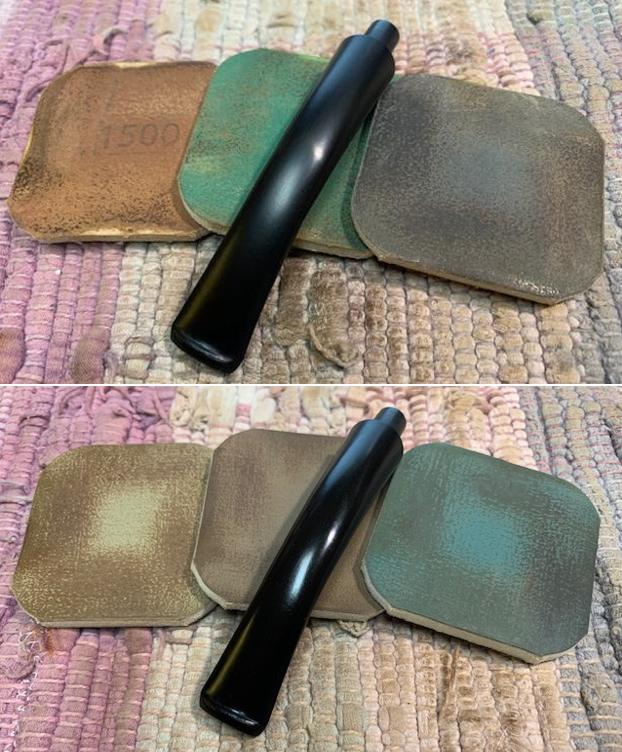
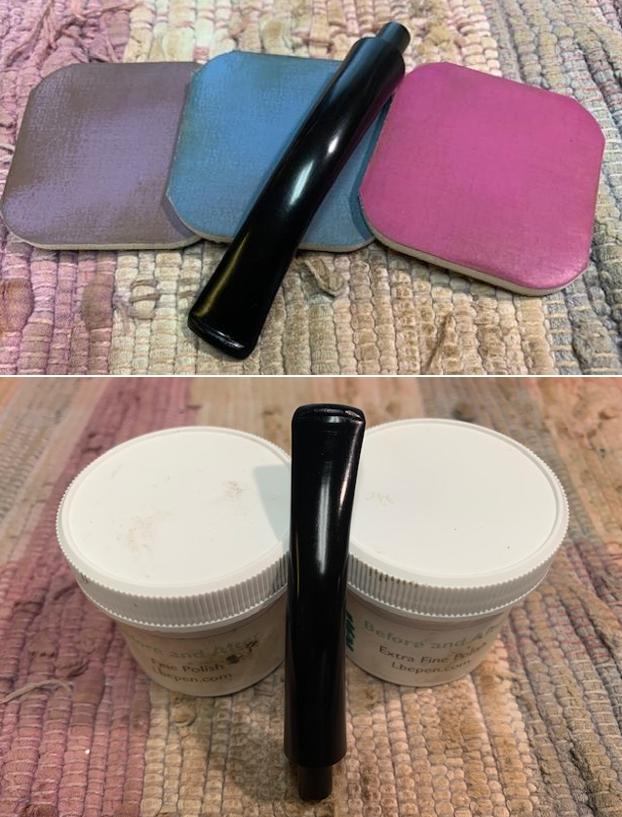
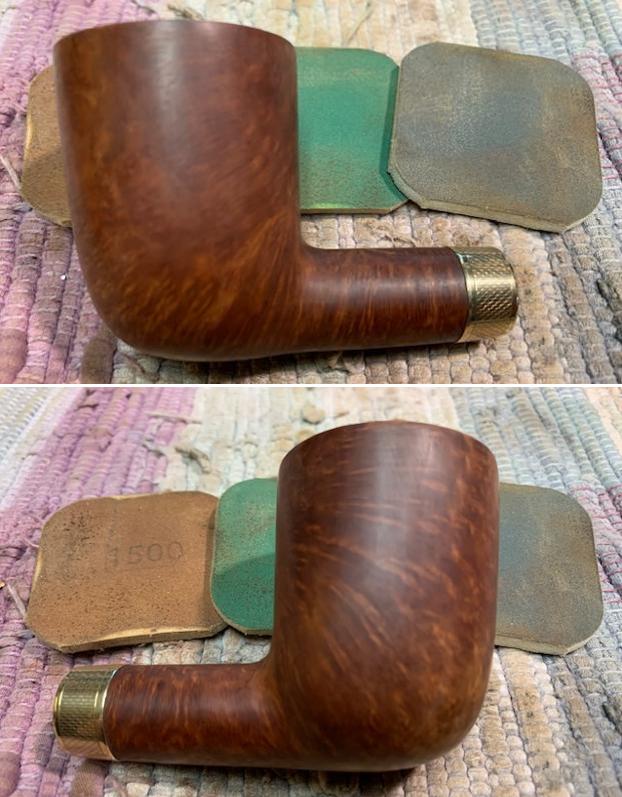
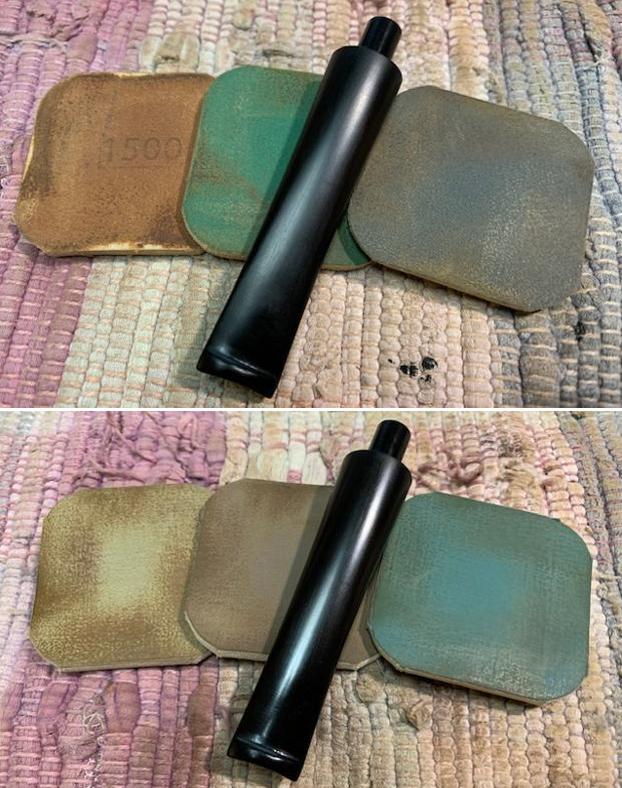
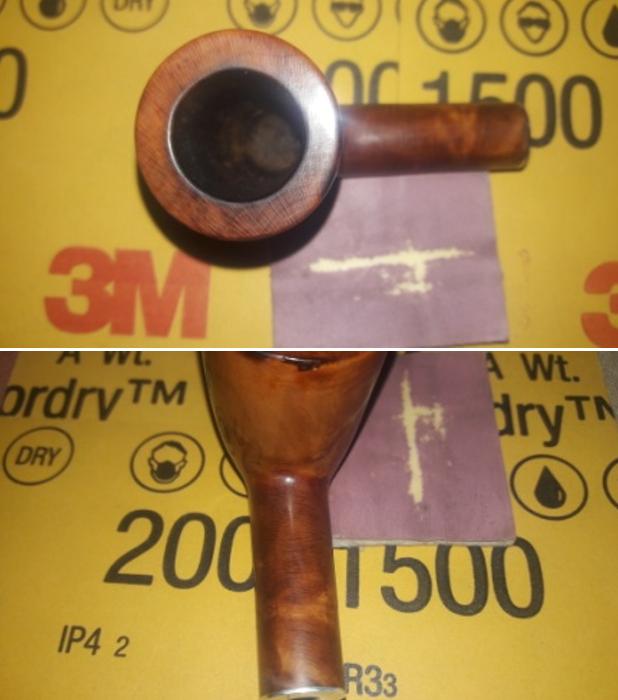
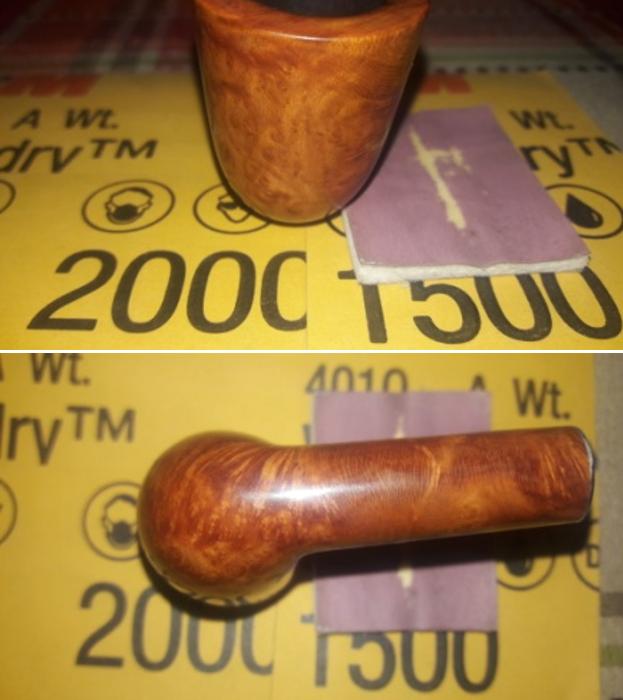
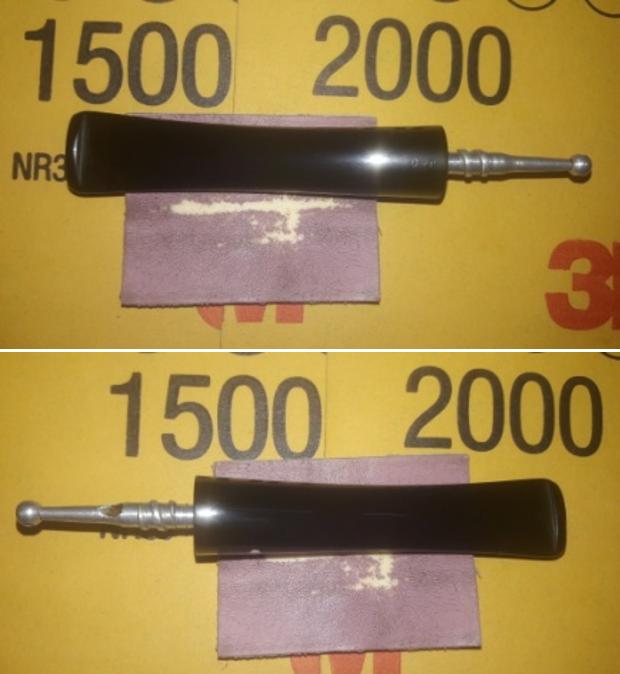
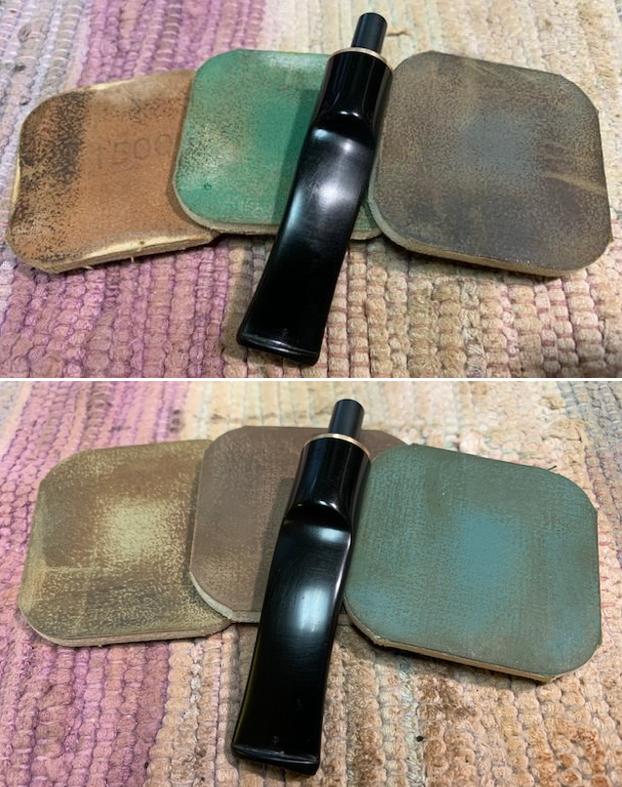
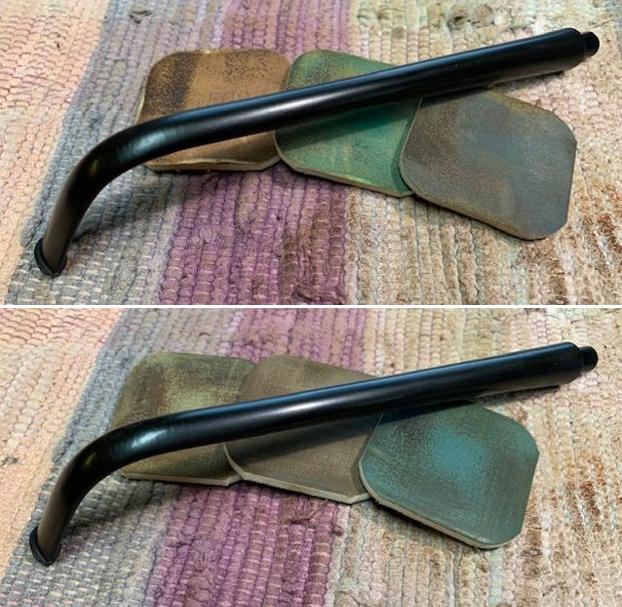
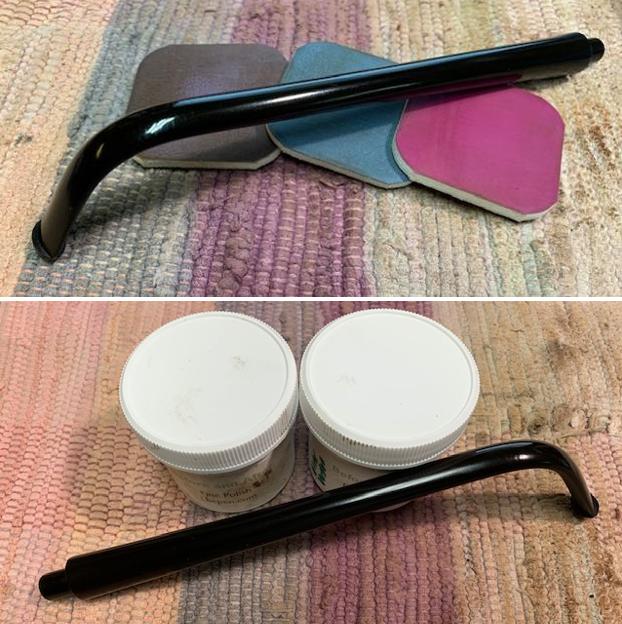
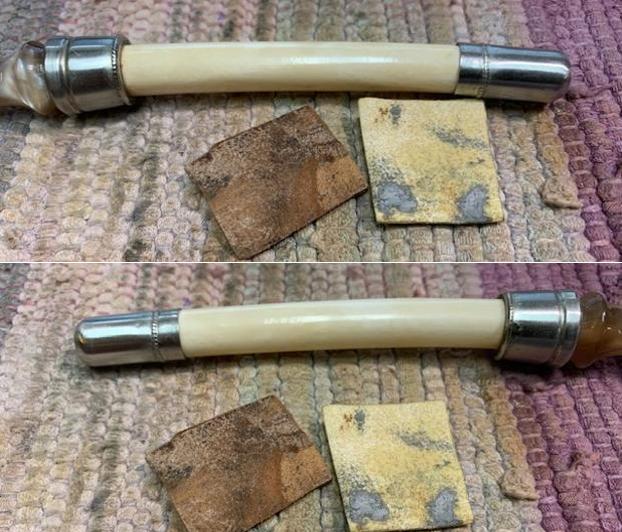 I checked the fit in the shank and it was smooth and snug. I polished the shank cap with micromesh sanding pads – wet sanding it with 1500-12000 grit sanding pads. I wiped it down after each sanding pad with a damp cloth. At the same time I also polished the acrylic stem to remove the tooth chatter and marks with the micromesh pads.
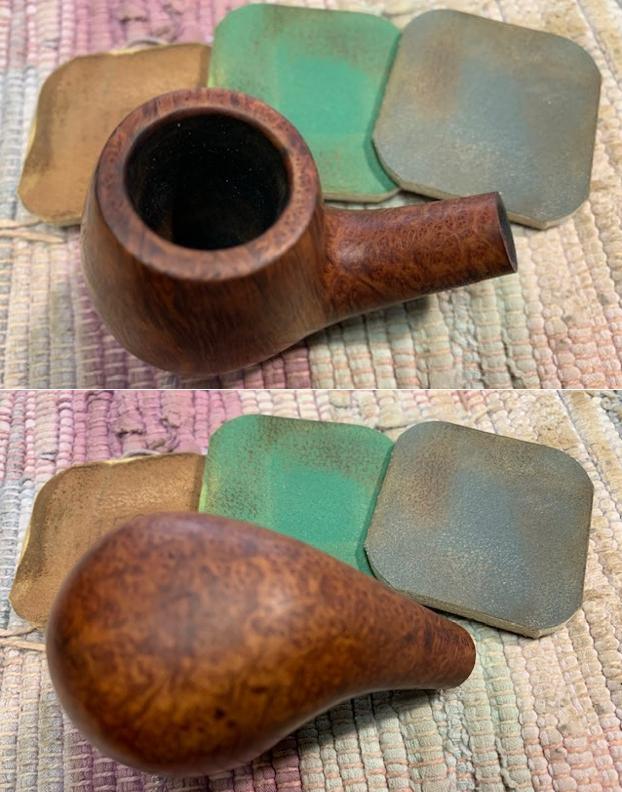
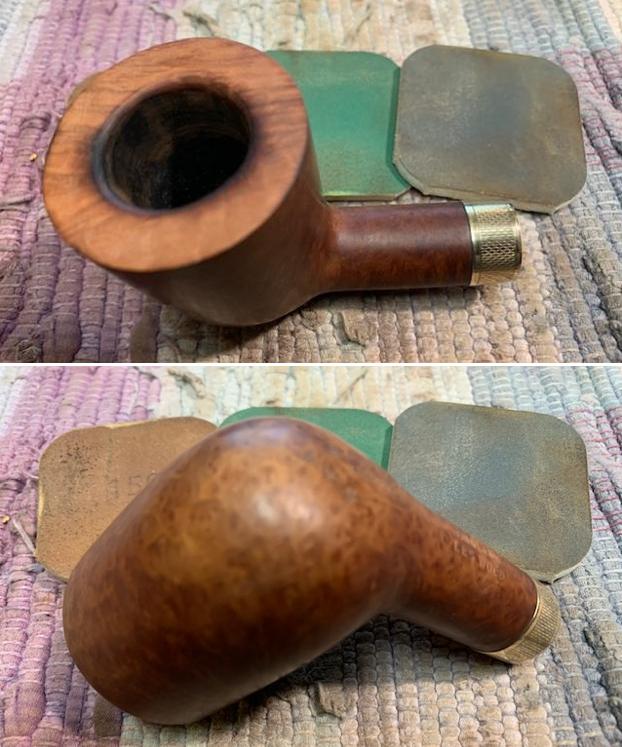
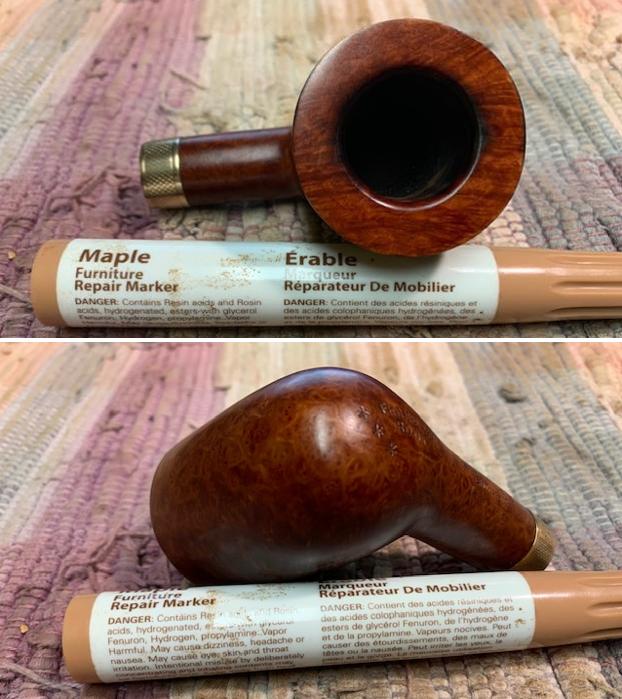
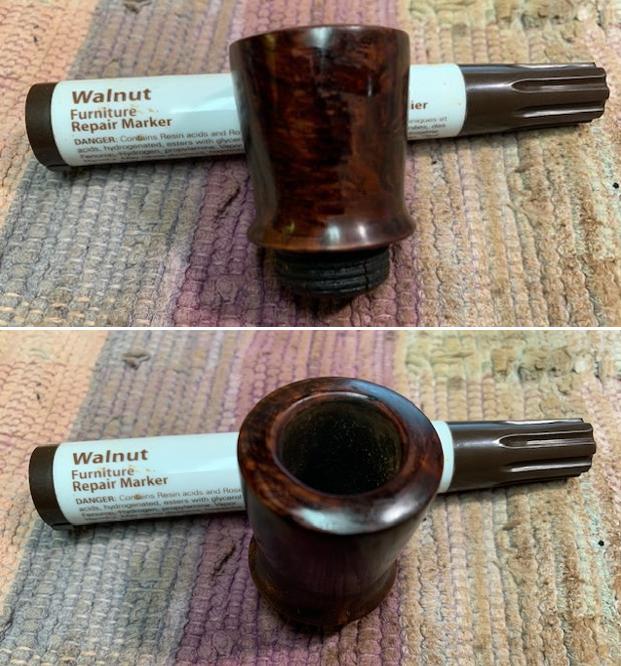
 I set the stem and shank extension aside and turned my attention to the damage rim top. I used a set of burrs to replicate the blast pattern on the burn damaged part of the bowl. It took all three burrs to replicate the pattern. Once it was finished I stained the top of the bowl with a Mahogany Stain Pen to match the rest of the bowl.
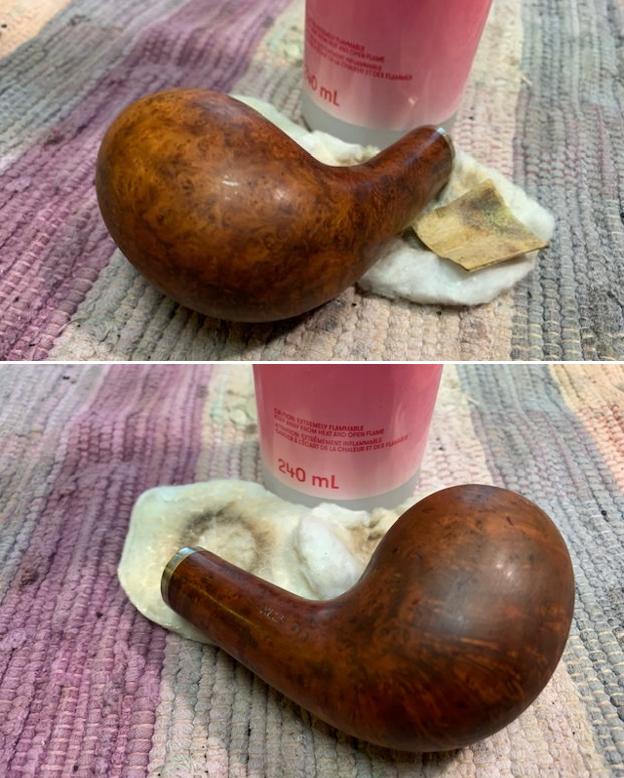
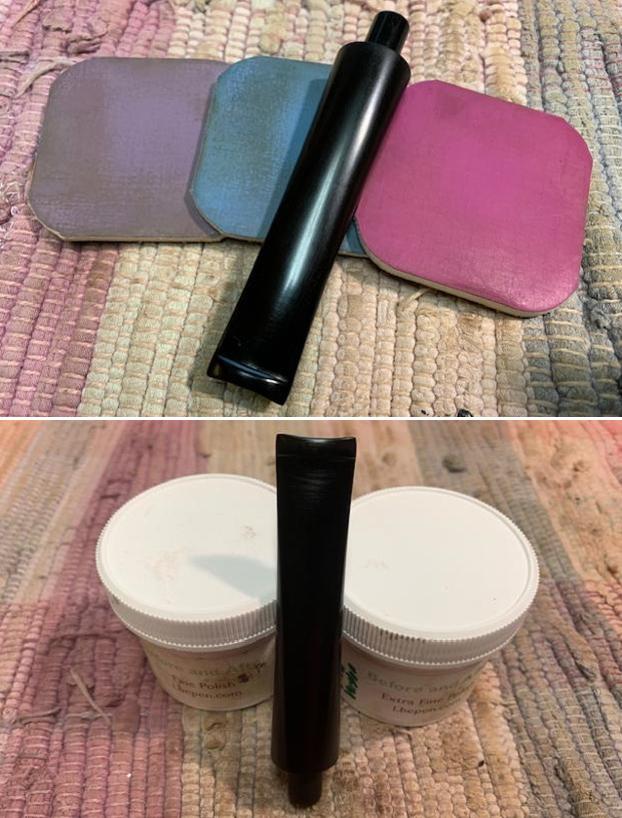
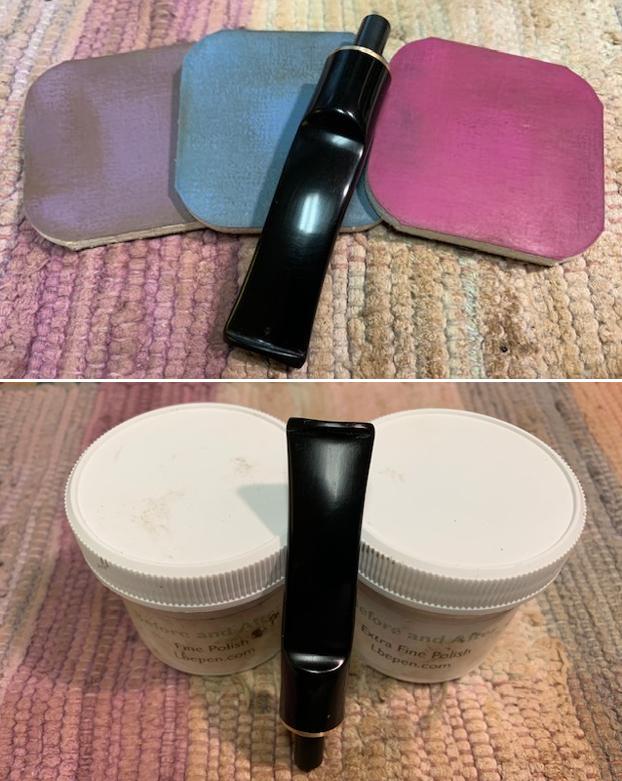
 I worked some Before & After Restoration Balm into the surface of the briar of the bowl with my finger tips and a horse hair shoe brush to work it into the grooves of the sandblast. The product is incredible and the way it brings the grain to the fore is unique. It works to clean, protect and invigorate the wood.

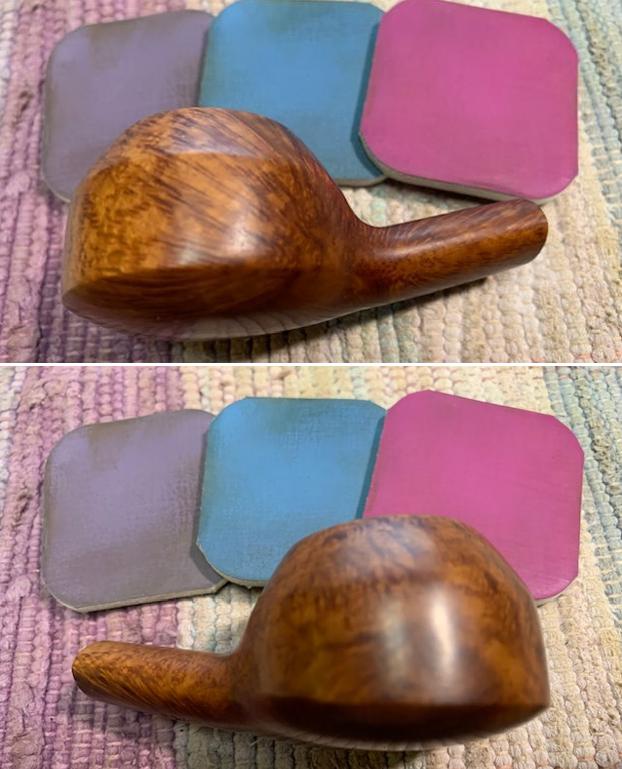
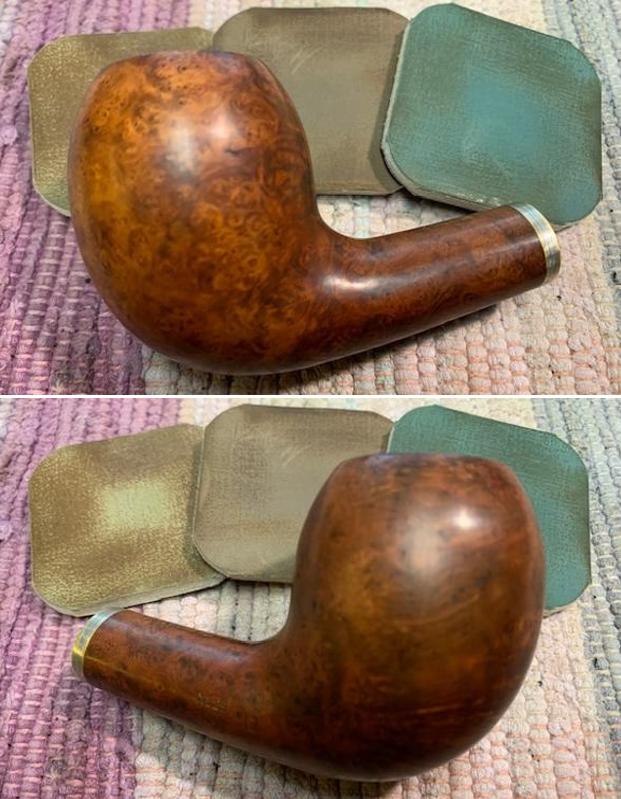
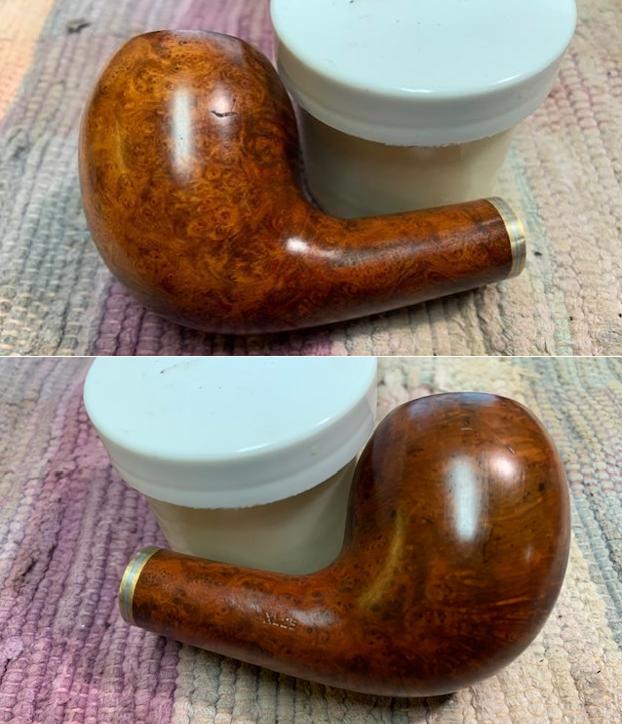
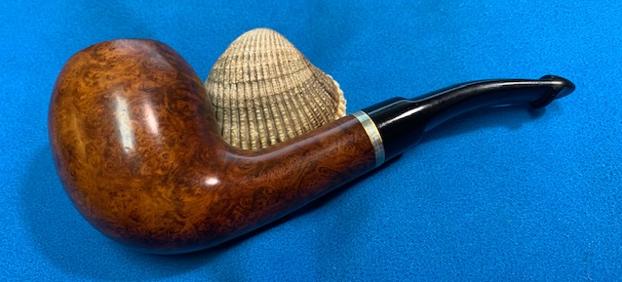
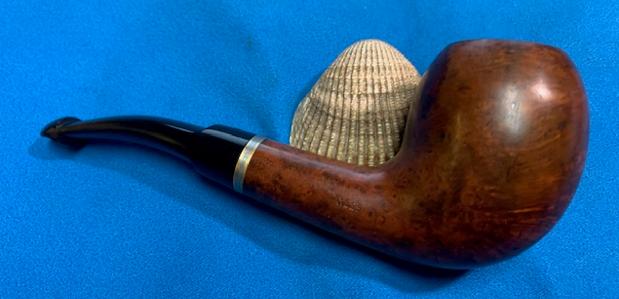
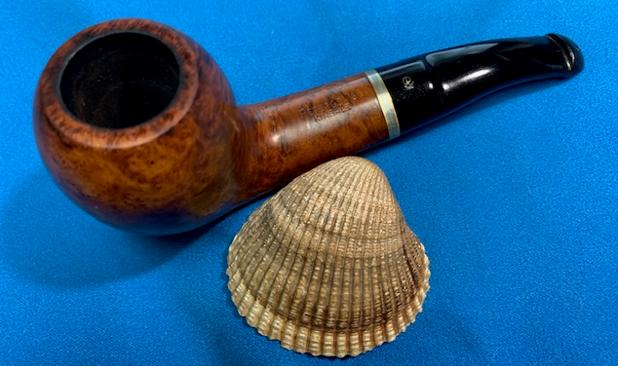
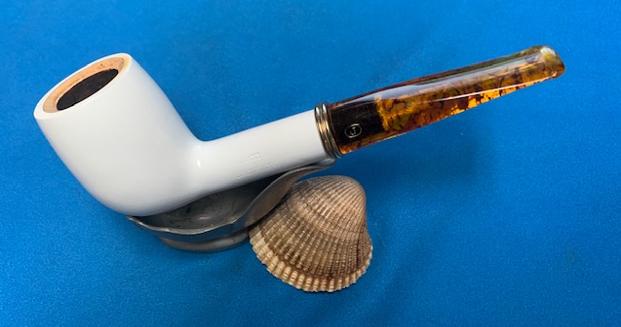
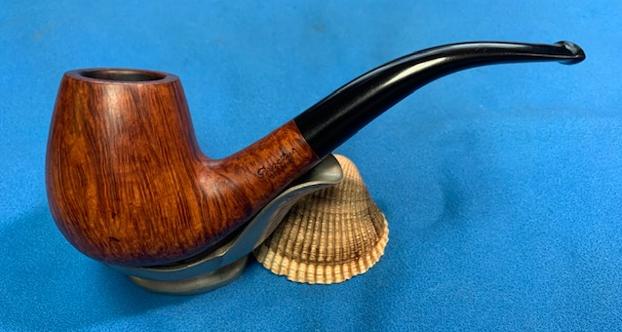
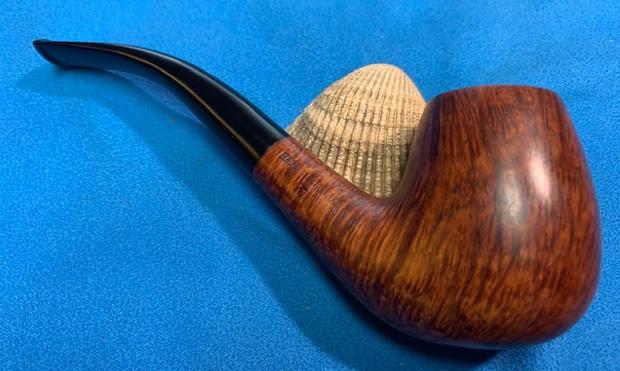
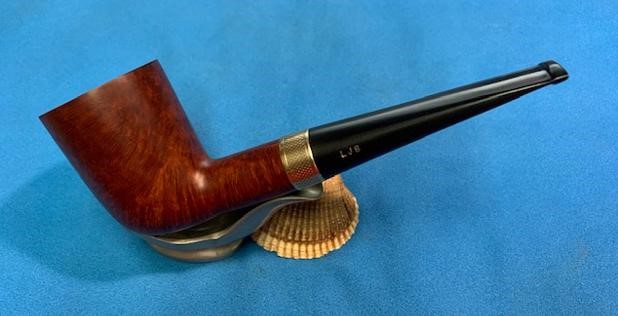
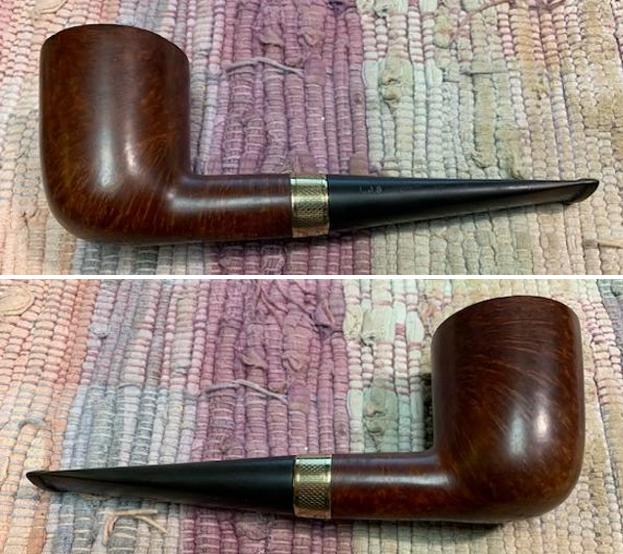
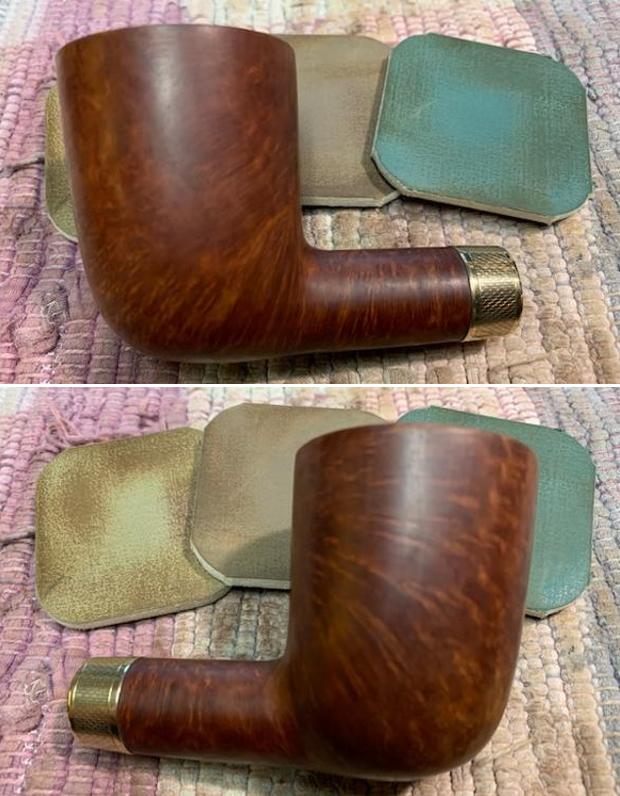
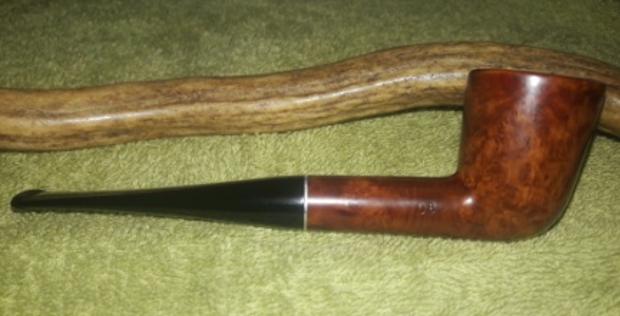
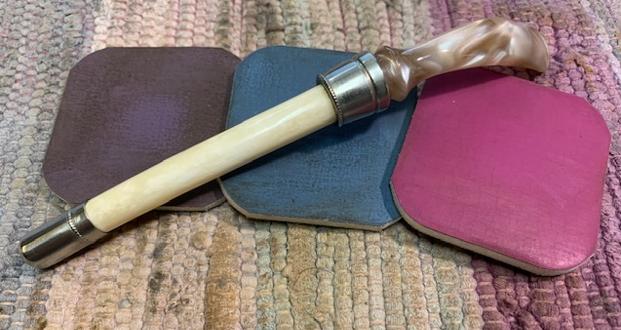
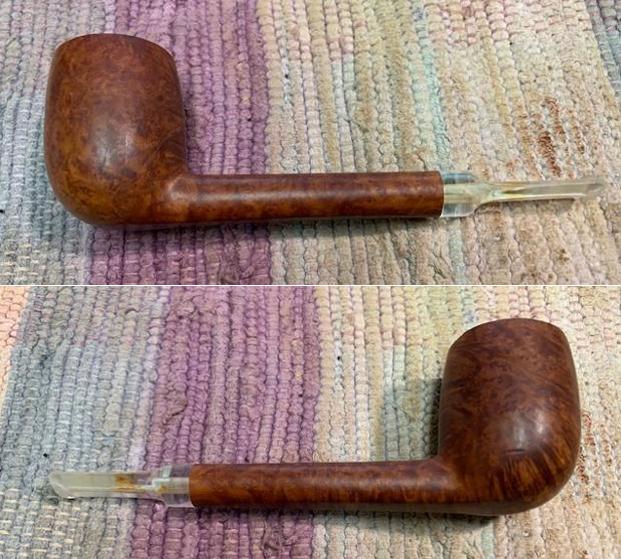
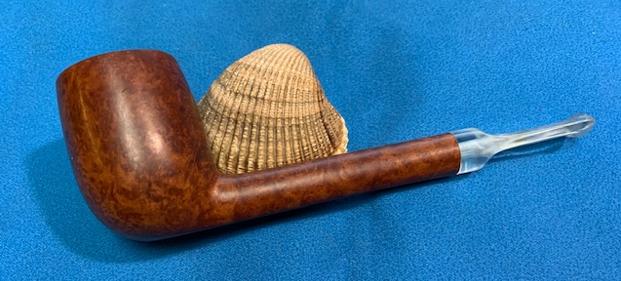
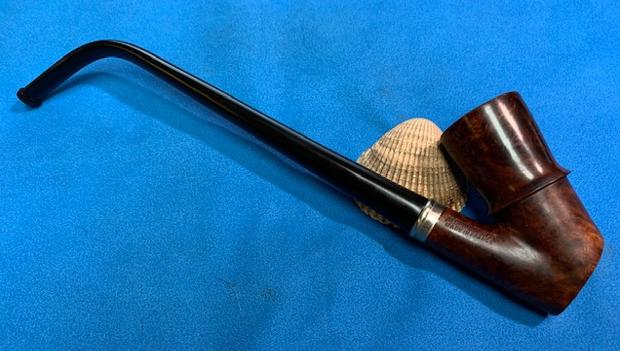
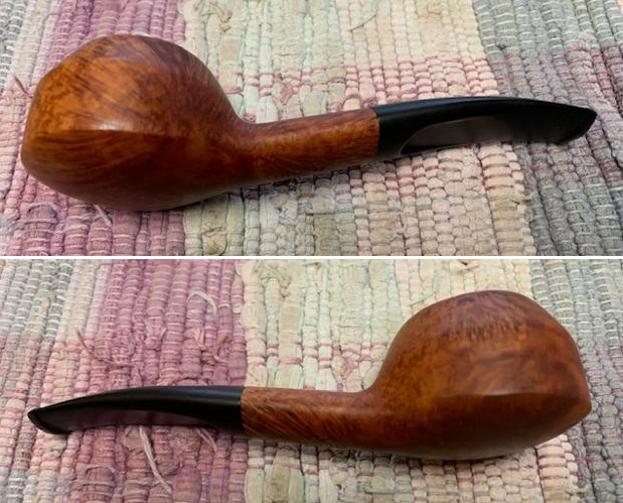
 I am really happy with the way that this Butz-Choquin A. Metz Origine 2 turned out. It really is a great looking pipe with character. The long acrylic shank extension is a unique feature of this pipe and I was able to repair the loose end cap. The blast really came alive with the buffing. The rich brown and mahogany stains gave the grain a sense of depth with the polishing and waxing. The grain really popped. I put the stem back on the bowl and carefully buffed the pipe with Blue Diamond on the buffing wheel using a light touch. I gave the bowl and the stem multiple coats of carnauba wax on the buffing wheel. I buffed the pipe with a clean buffing pad to raise the shine. I hand buffed the pipe with a microfiber cloth to deepen the shine. The finished Butz-Choquin A Metz Origine really is a beauty and feels great in the hand and looks very good. Give the finished pipe a look in the photos below. The dimensions of the pipe are Length: 8 ½ inches, Height: 2 inches, Outside diameter of the bowl: 1 1/8 inches, Chamber diameter: ¾ of an inch. The weight of the pipe is 45 grams/1.59 oz. The pipe will be going on the rebornpipes store soon. It will be in the section on French Pipe Makers if you would like to add it to your collection.Thanks for reading this blog and my reflections on the pipe while I worked on it. It was a fun one to work on!
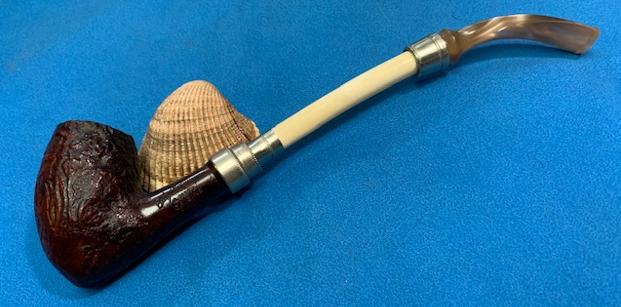


 I
I