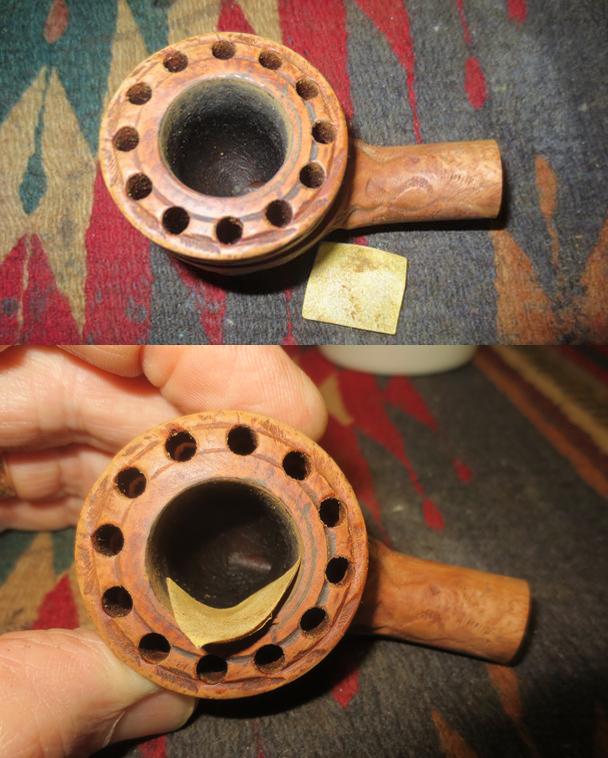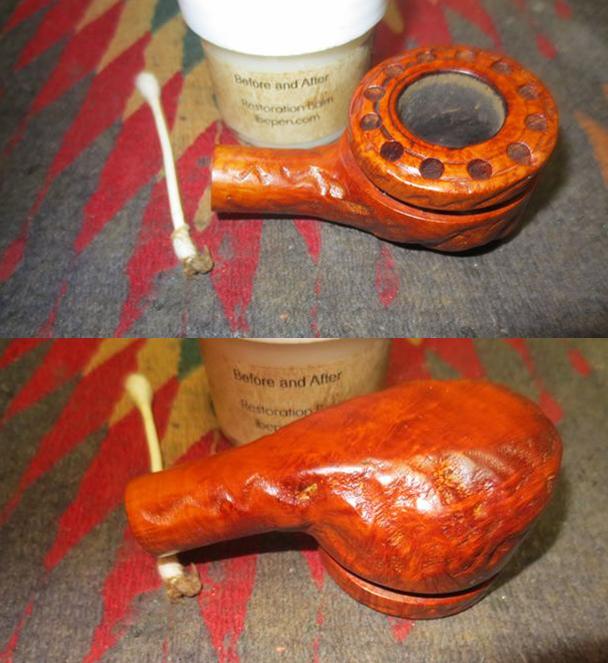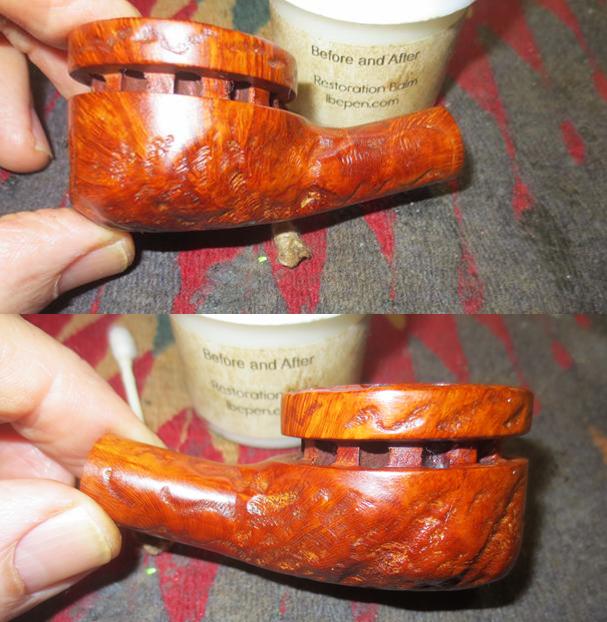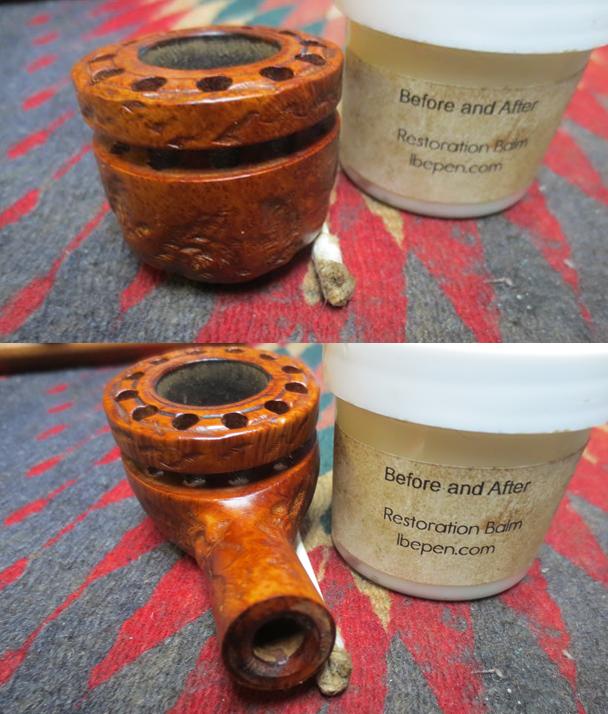
Tag Archives: bite marks

Kathy’s Dad’s Pipes #2 -Restoring George Koch’s “Malaga” Squat Bulldog


Blog by Steve Laug

This is the second of the “Malaga” pipes that I am working on from Kathy’s Dad’s pipes. Last fall I received a contact email on rebornpipes from Kathy asking if I would be interested in purchasing her late Father, George Koch’s estate pipes. He was a lover of “Malaga” pipes – all shapes and sizes and she wanted to move them out as she cleaned up the estate. We emailed back and forth and I had my brother Jeff follow up with her as he also lives in the US and would make it simpler to carry out this transaction. The long and short of it is that we purchased her Dad’s “Malaga” pipes. There are some beautiful pipes in that lot. I have never seen this many “Malagas” together in one place in all of my years of pipe restoring and refurbishing. They varied from having almost pristine to gnawed and damaged stems that will need to be replaced. Many of the pipes already had replacement stems or maybe George had the staff at the Malaga shop in Michigan put Lucite stems on them because he was such a gnawer. I don’t know if we will ever know the answer to that as Kathy did not know for sure. She did know though that he loved the brand and that most of the pipes he smoked he purchased from the shop. These were some well used and obviously well loved pipes. Cleaning and restoring them will be a tribute to this pipeman. (Here is a link to some history of the Malaga Brand if you are interested: https://rebornpipes.com/tag/malaga-pipes/. There are also links there to a catalogue and the maker George Khoubesser.)To me knowing about the pipeman who held the pipes in trust before me gives another dimension to the restoration work. As I mentioned before, I may well be alone in this but when I know about the person it is almost as if he or she is with me work on his or her pipes. In this case Kathy was more than happy to send us not only information on her dad but also a photo of her Dad enjoying his “Malagas”. Once again, I am including that information so you can know a bit about the pipeman who held these pipes in trust before they are passed on to some of you. I include part of Kathy’s correspondence with my brother as well…

Jeff…Here is a little about my dad, George P. Koch…I am sending a picture of him with a pipe also in a separate email.

Dad was born in 1926 and lived almost all his life in Springfield, Illinois. He was the youngest son of German immigrants and started grade school knowing no English. His father was a coal miner who died when Dad was about seven and his sixteen year old brother quit school to go to work to support the family. There was not much money, but that doesn’t ruin a good childhood, and dad had a good one, working many odd jobs, as a newspaper carrier, at a dairy, and at the newspaper printing press among others. He learned to fly even before he got his automobile driver’s license and carried his love of flying with him through life, recertifying his license in retirement and getting his instrumental license in his seventies and flying until he was grounded by the FAA in his early eighties due to their strict health requirements. (He was never happy with them about that.) He was in the Army Air Corps during World War II, trained to be a bomber, but the war ended before he was sent overseas. He ended service with them as a photographer and then earned his engineering degree from University of Illinois. He worked for Allis Chalmers manufacturing in Springfield until the early sixties, when he took a job at Massey Ferguson in Detroit, Michigan. We lived in Livonia, and that’s where his love for Malaga pipes began. After a few years he returned to Allis Chalmers and we moved back to Springfield. I remember that when we went back to Michigan to visit friends, Dad had to go to the Malaga store and acquire a few new pipes. Many a year I wrote to Malaga and they picked out a pipe for me to purchase that I could give Dad for a Christmas or birthday present. He was always pleased. His favorites were the straight stemmed medium sized bowl pipes, but he liked them all.  He had some other pipes, but the Malagas were his favorites. I remember him smoking them sitting in his easy chair after work, with feet up on the ledge by the fire burning in the fireplace.  Growing up it was my job to clean them and he liked the inner bowl and stem coated with Watkins vanilla, leaving a little of that liquid in the bowl to soak in when I put them back on the rack. Dad quit smoking later in life and so they’ve sat on the racks for many years unattended, a part of his area by his easy chair and fireplace. Dad passed when he was 89 years old and it finally is time for the pipes to move on. I’m very happy they are being restored by you and your brother and hope they find homes who enjoy them as much as Dad did. Thank-you for your care and interest. — Kathy, the oldest daughter

Kathy, once again I thank you for providing this beautiful tribute to your Dad. We will appreciate your trust in allowing us to clean and restore these pipes. I am also trusting that those of you who are reading this might carry on the legacy of her Dad’s pipes as they will be added to the rebornpipes store once they are finished.

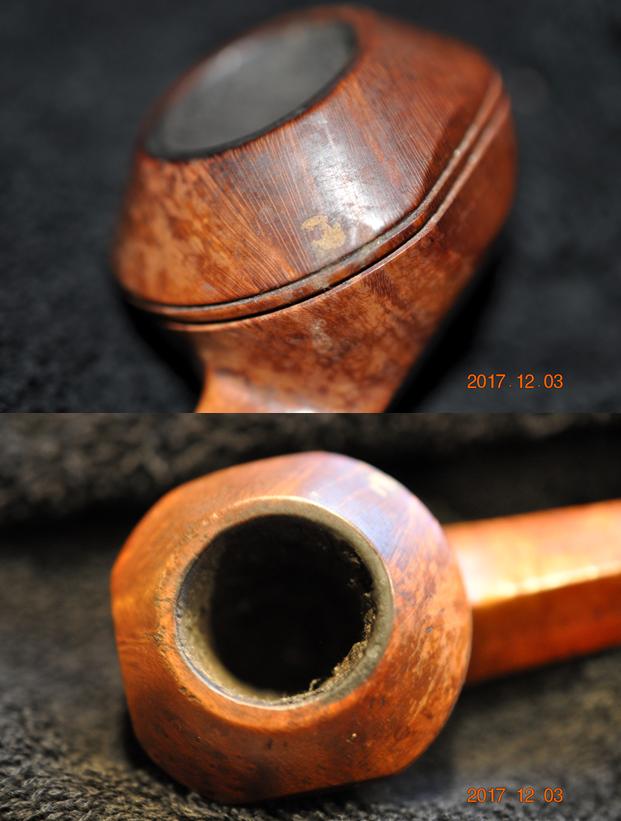
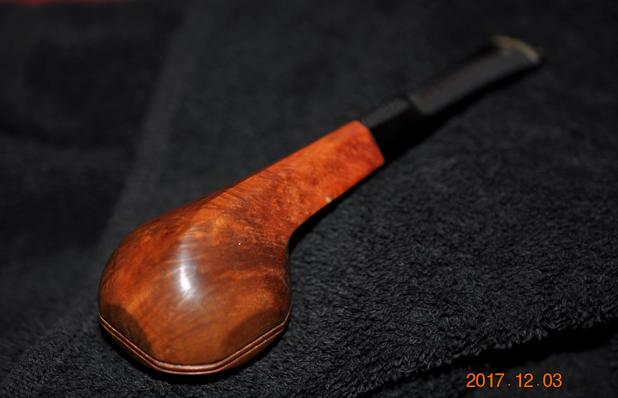
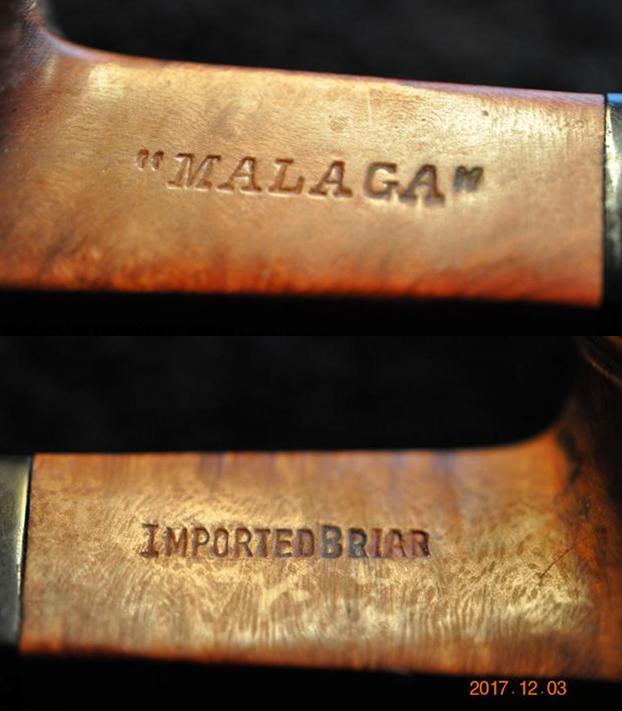
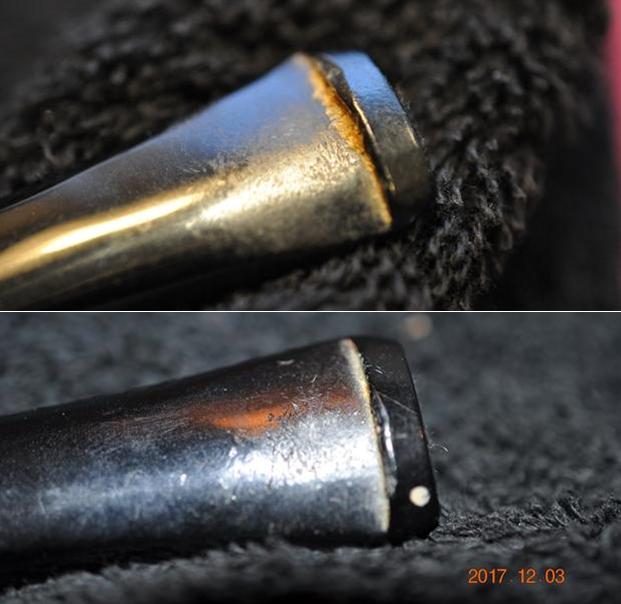
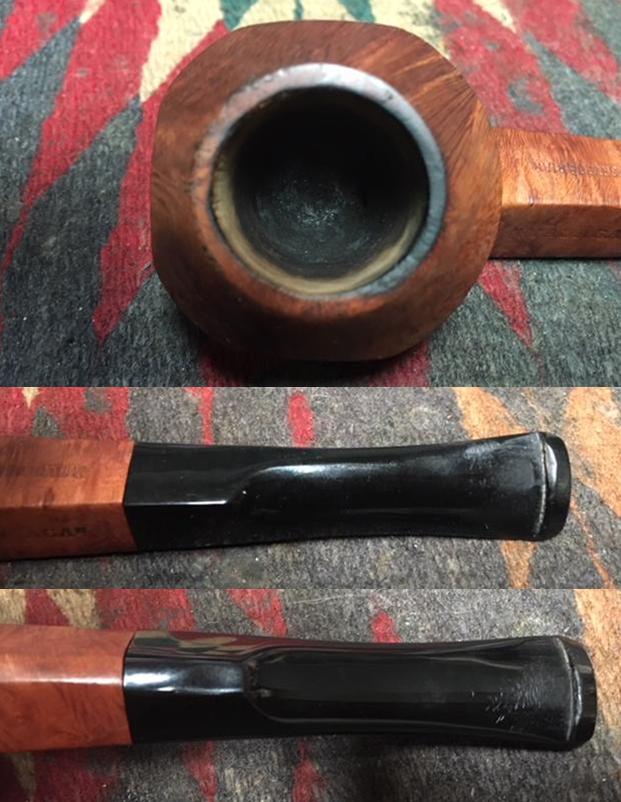
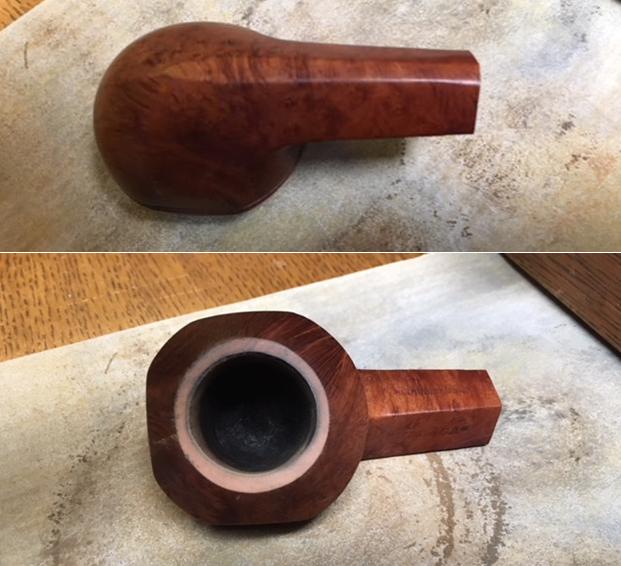
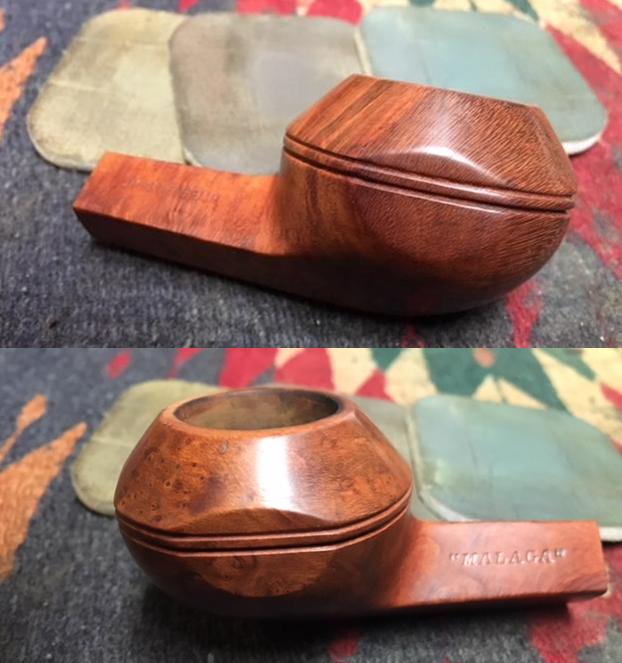
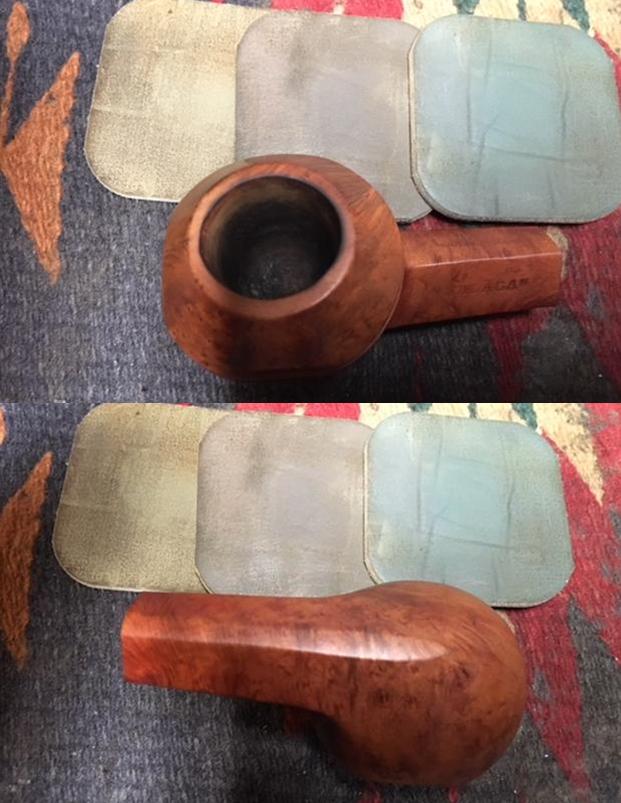
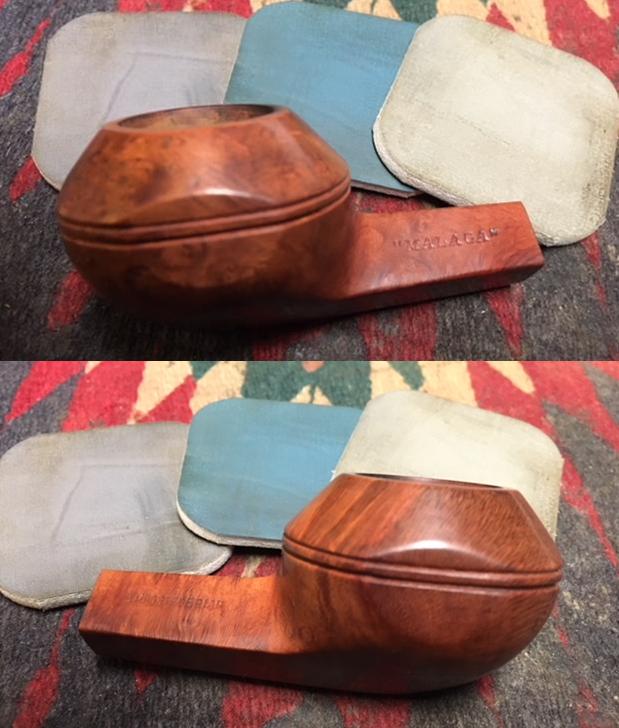
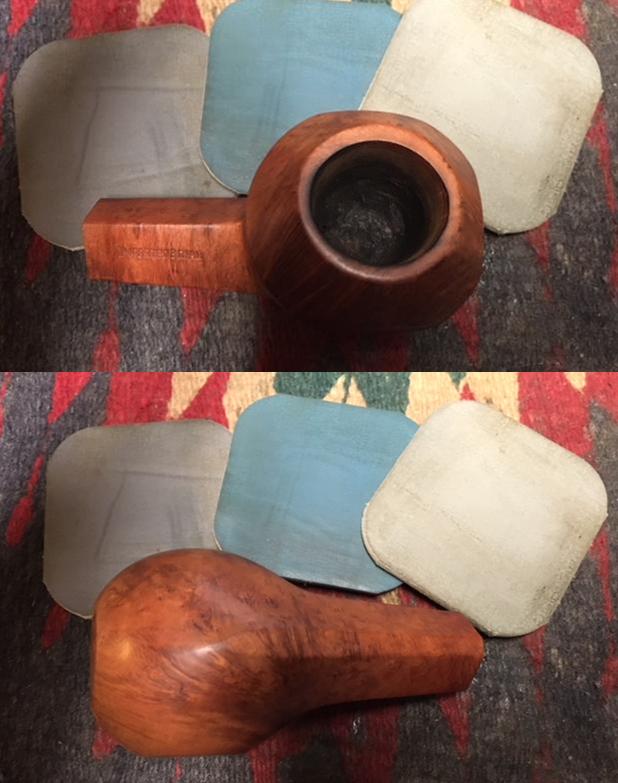
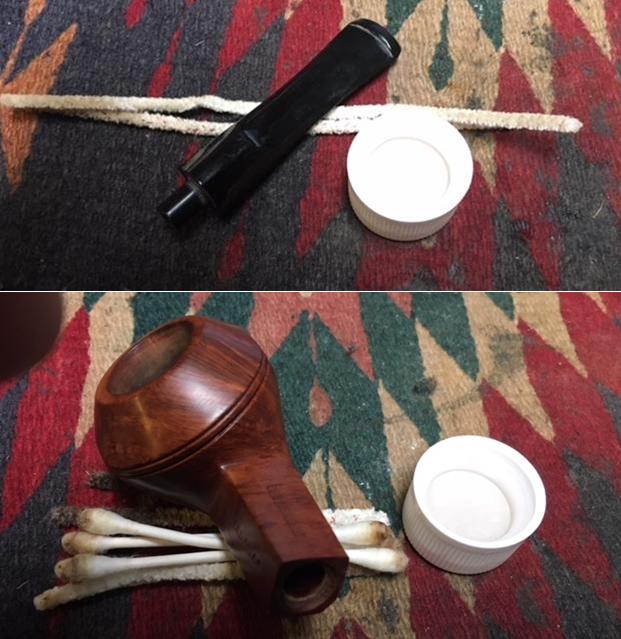
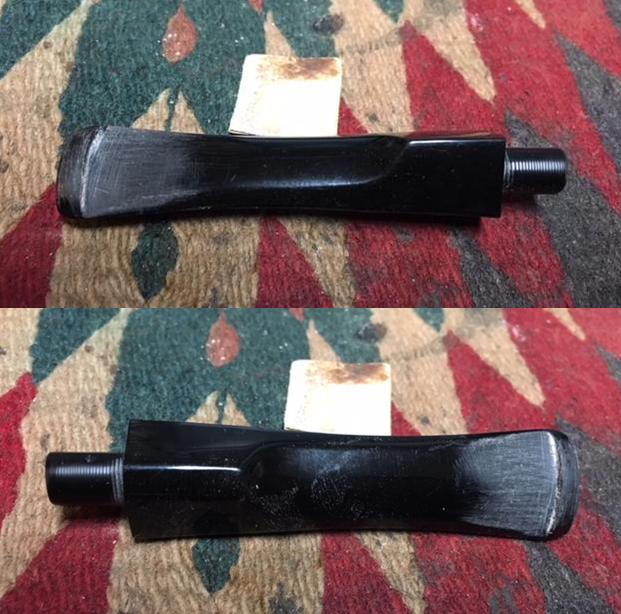
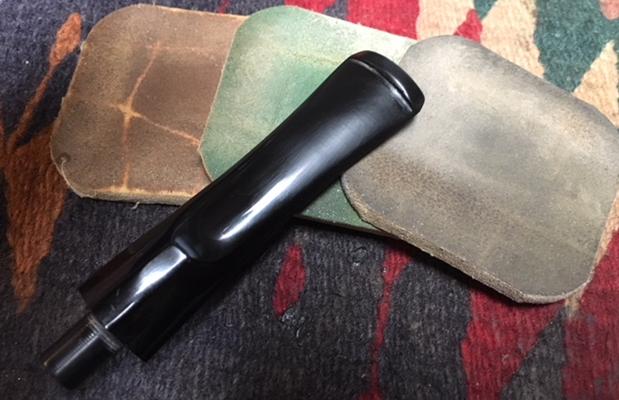
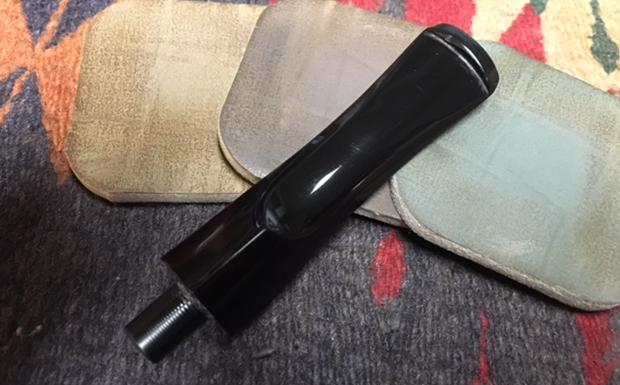
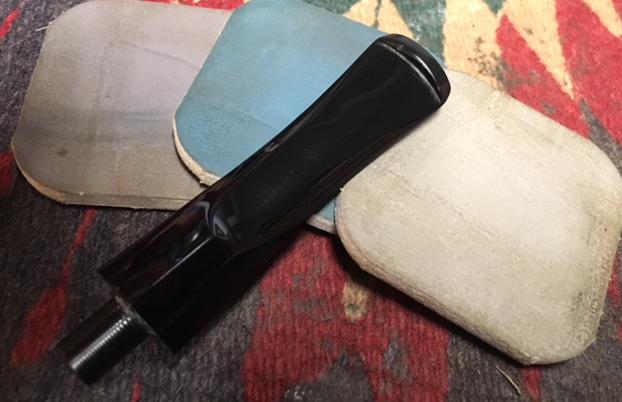
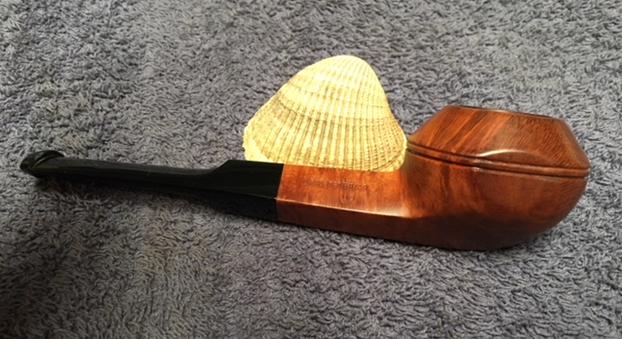
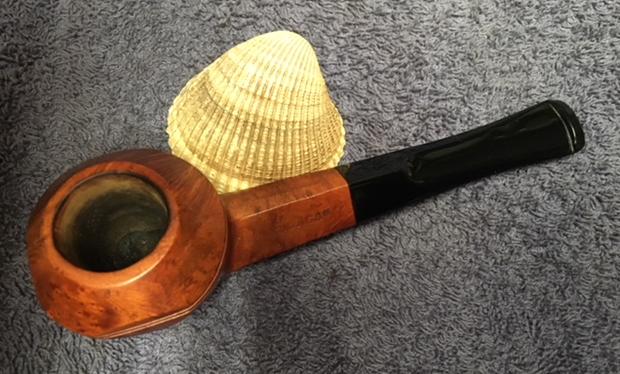
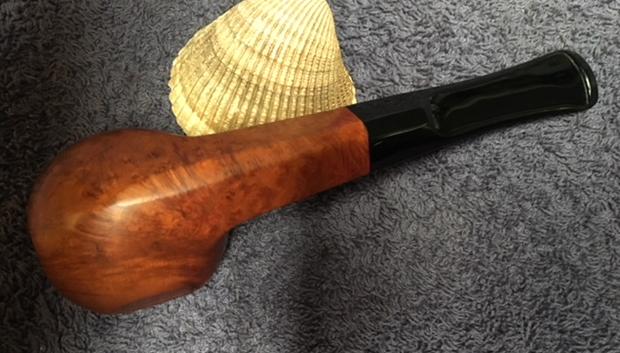
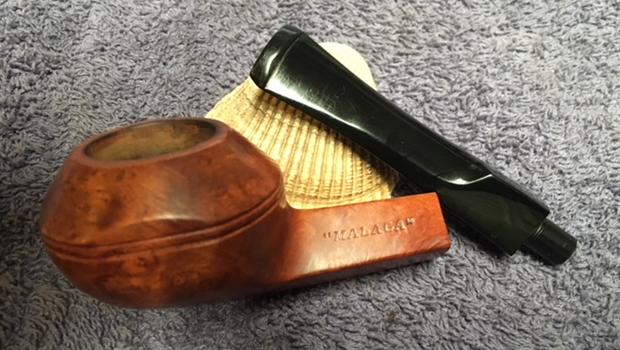
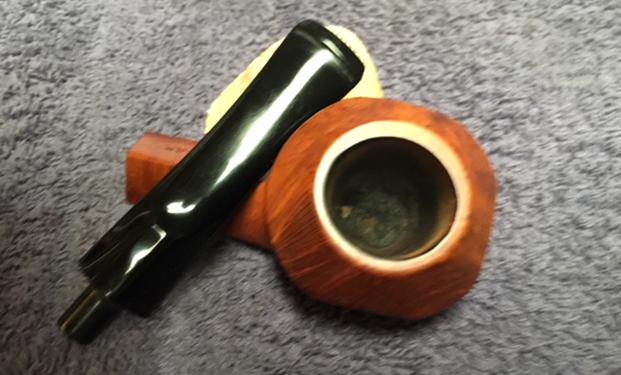
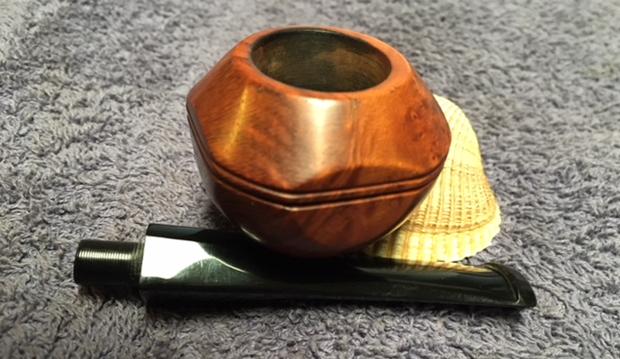
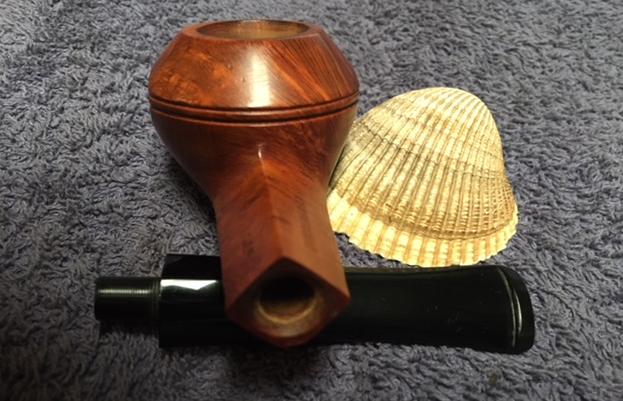
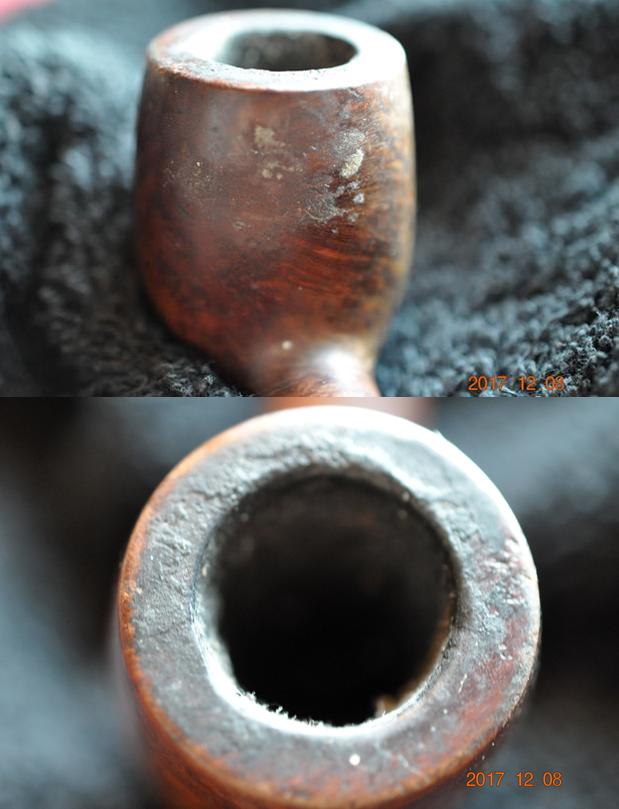
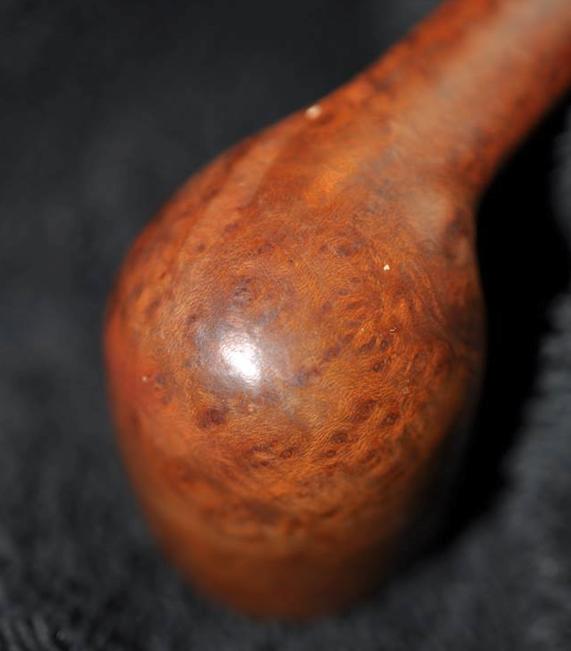
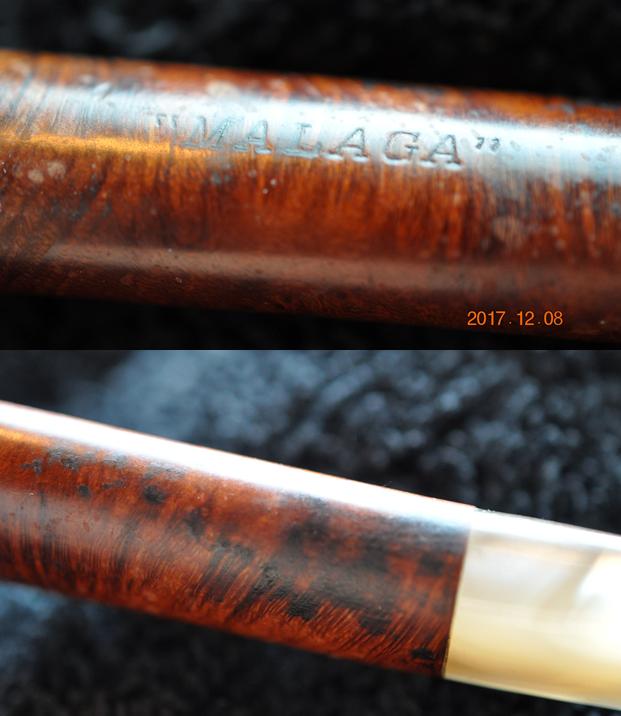
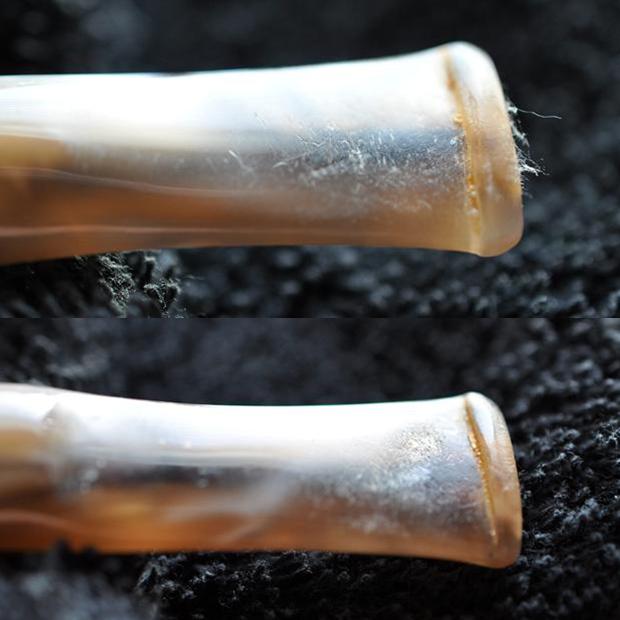
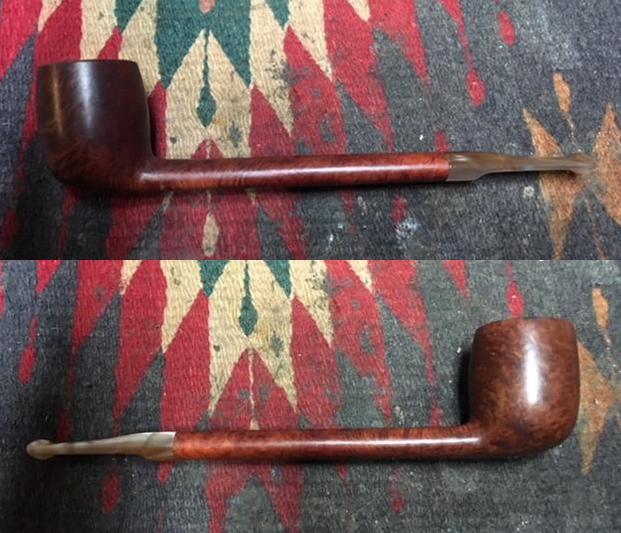
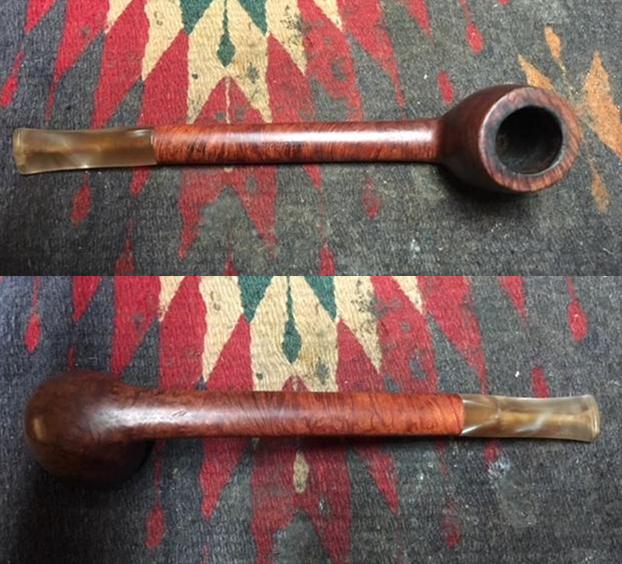
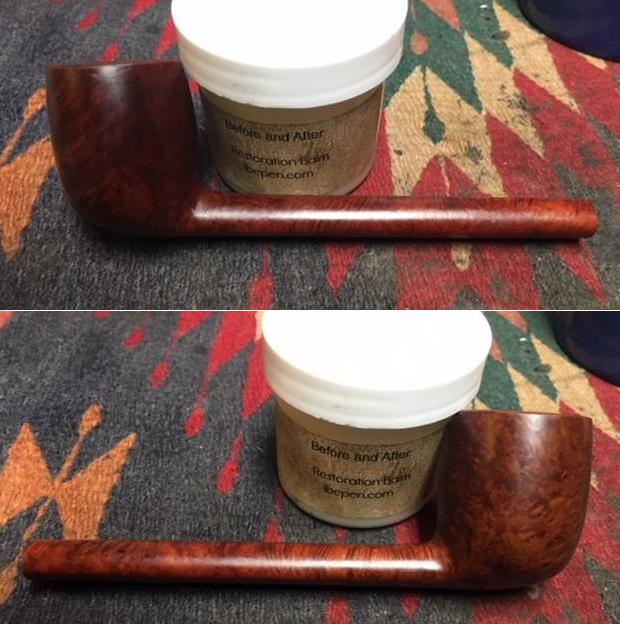
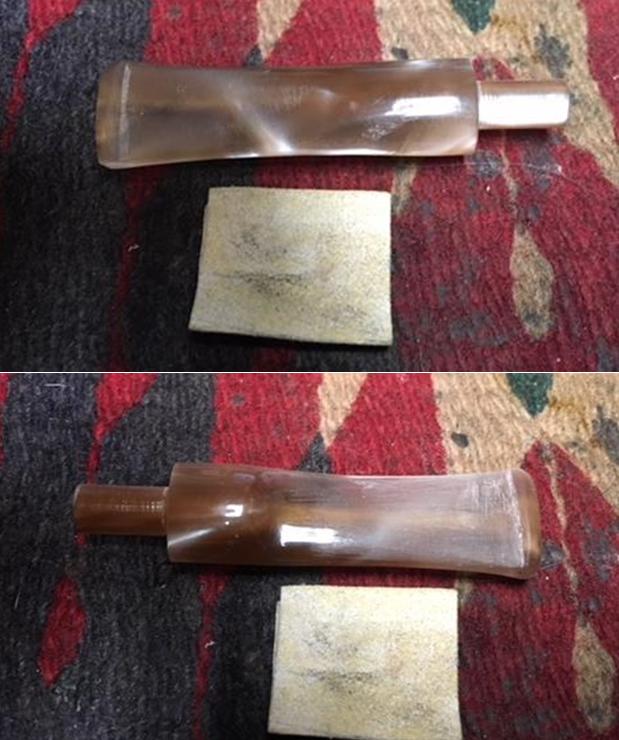
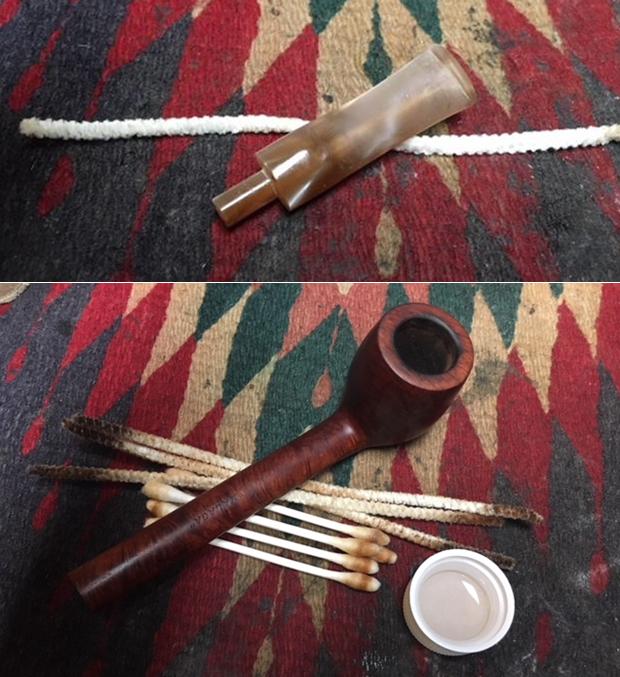
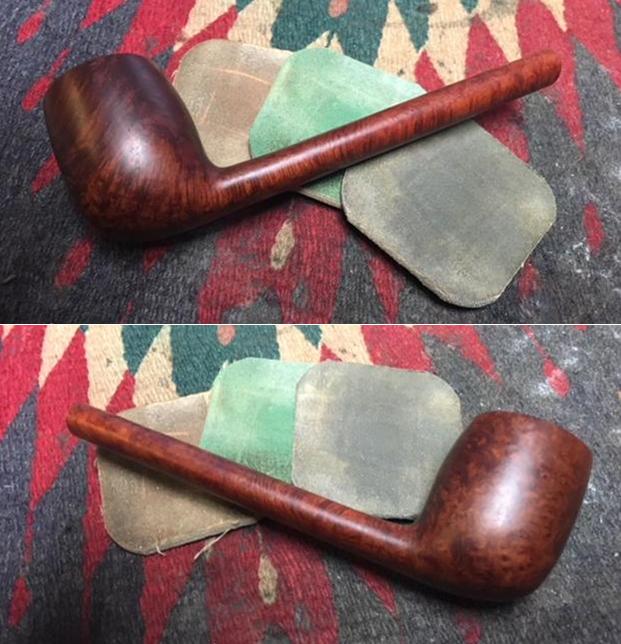
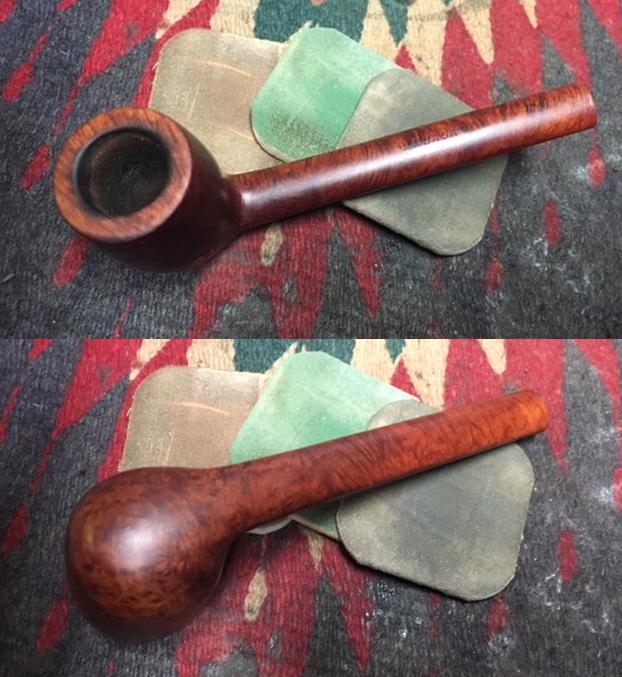
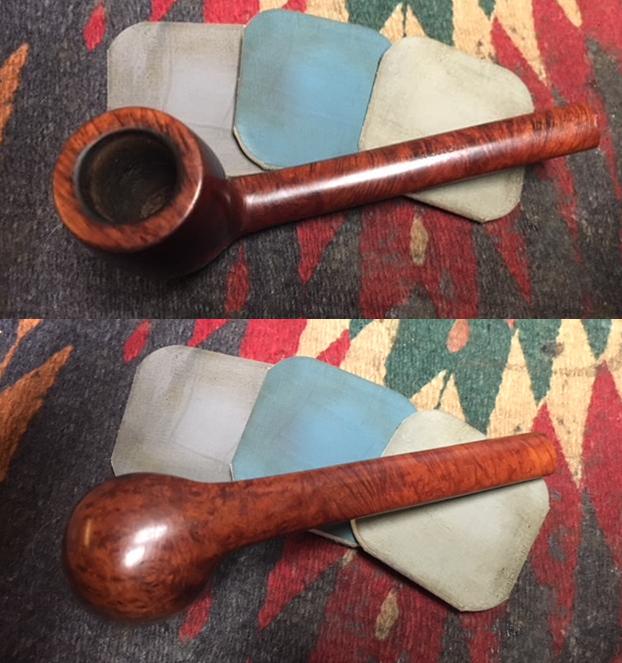
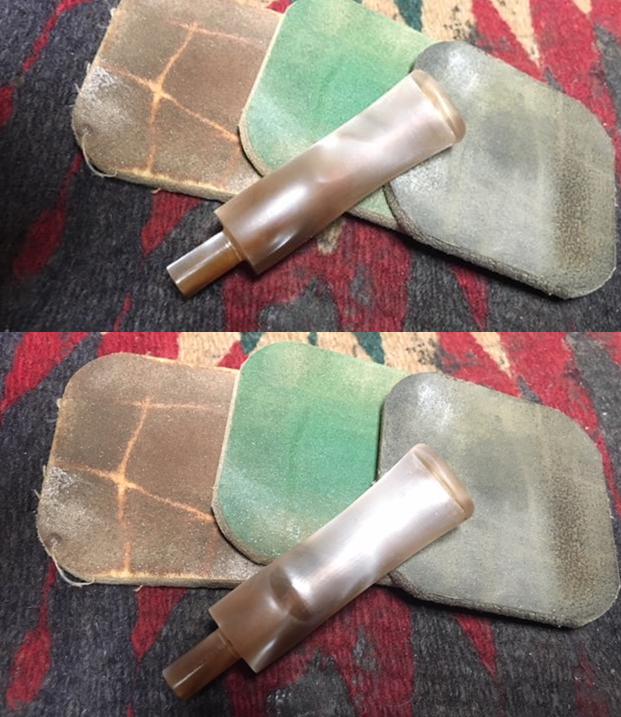
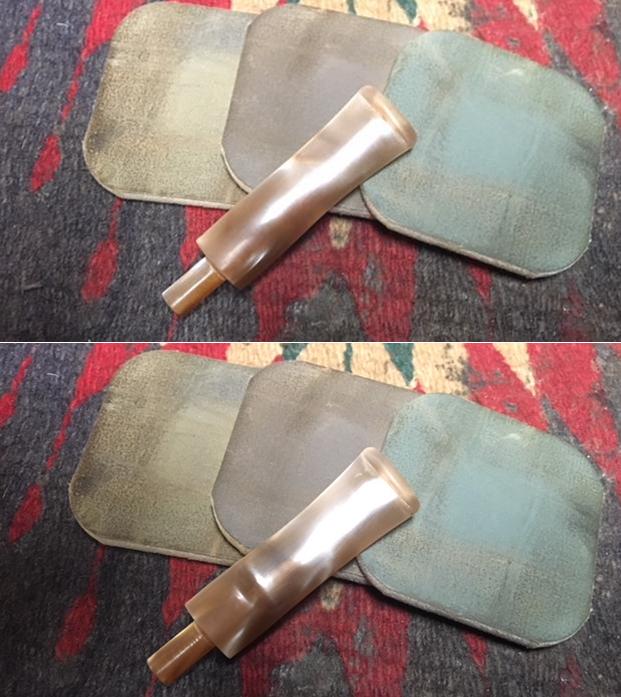
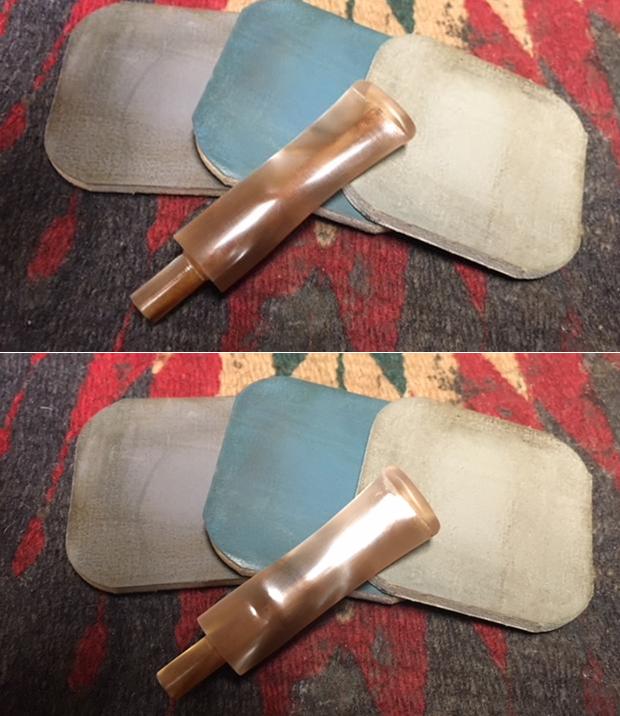
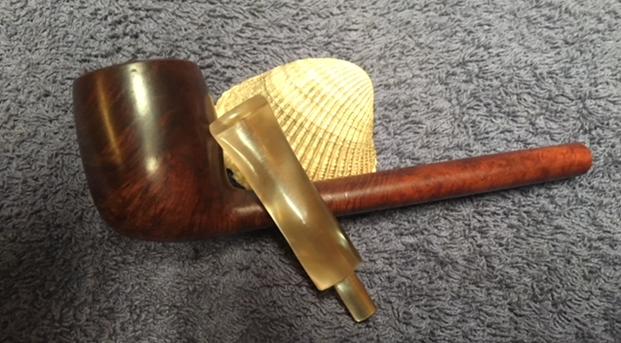
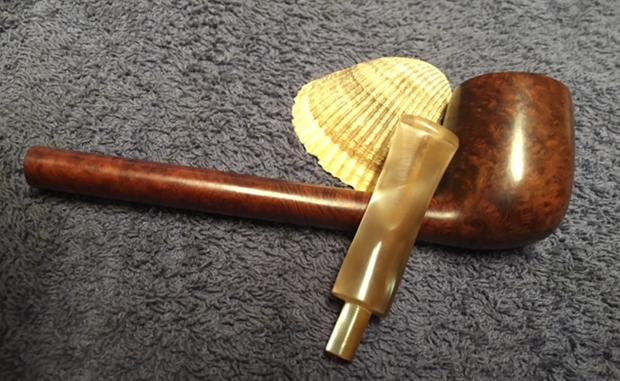
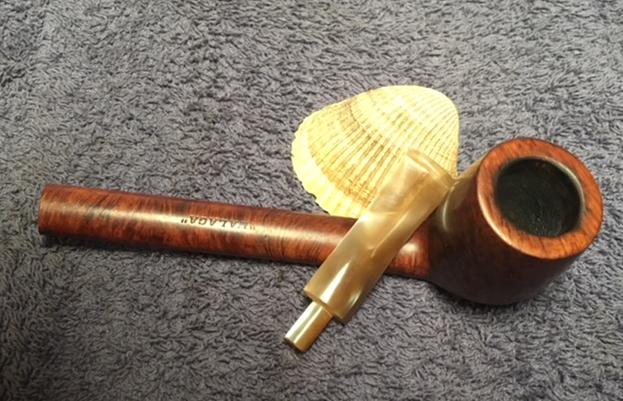
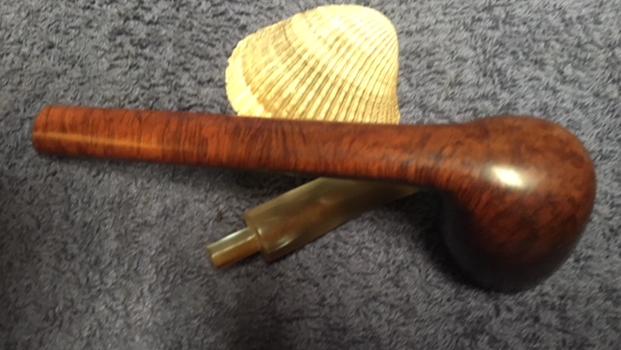
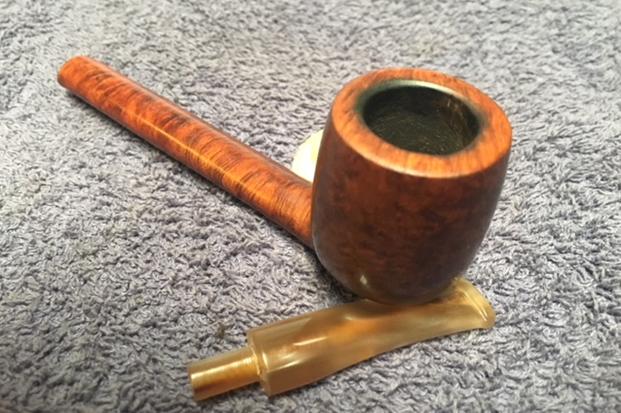
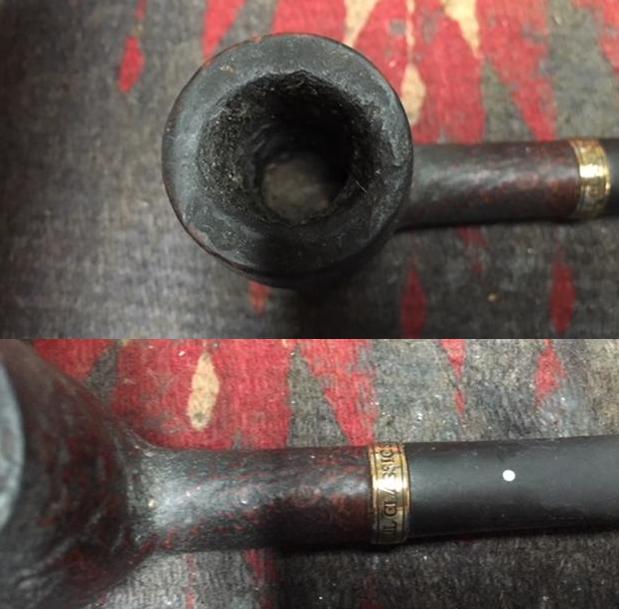
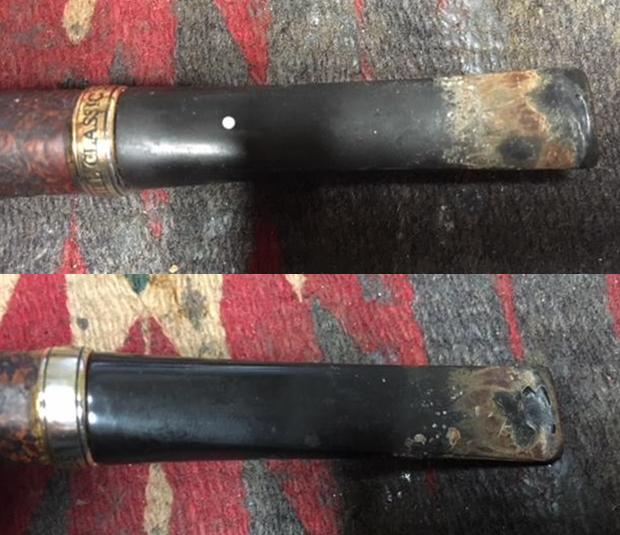
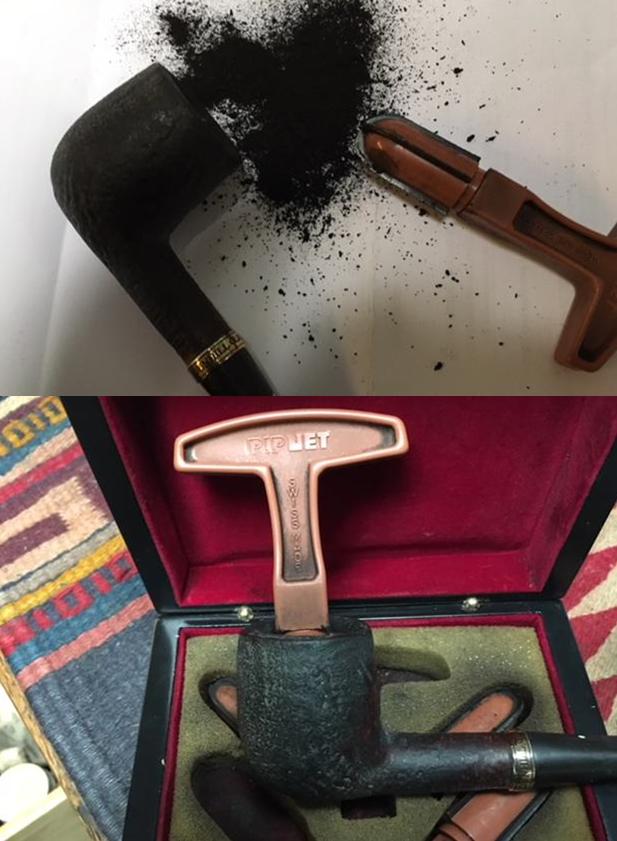
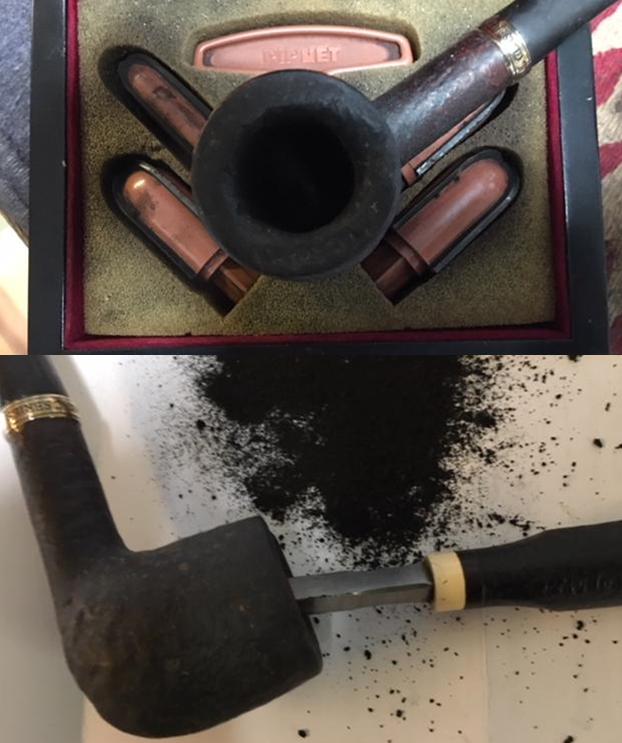
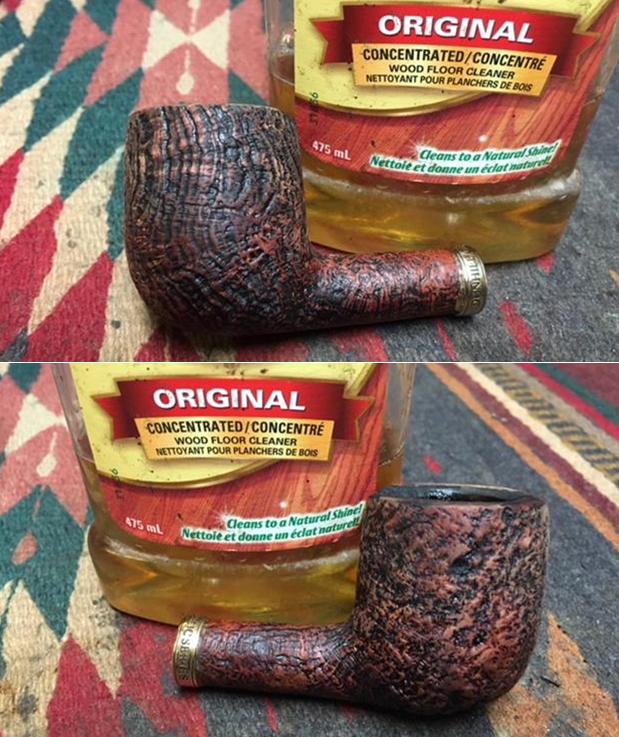
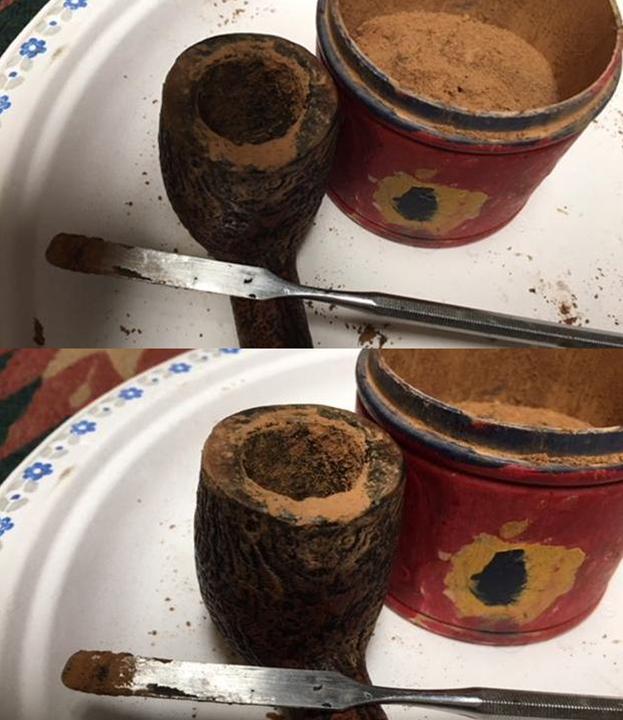
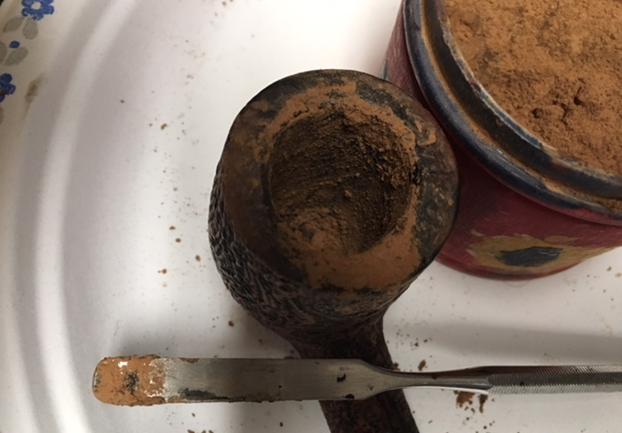
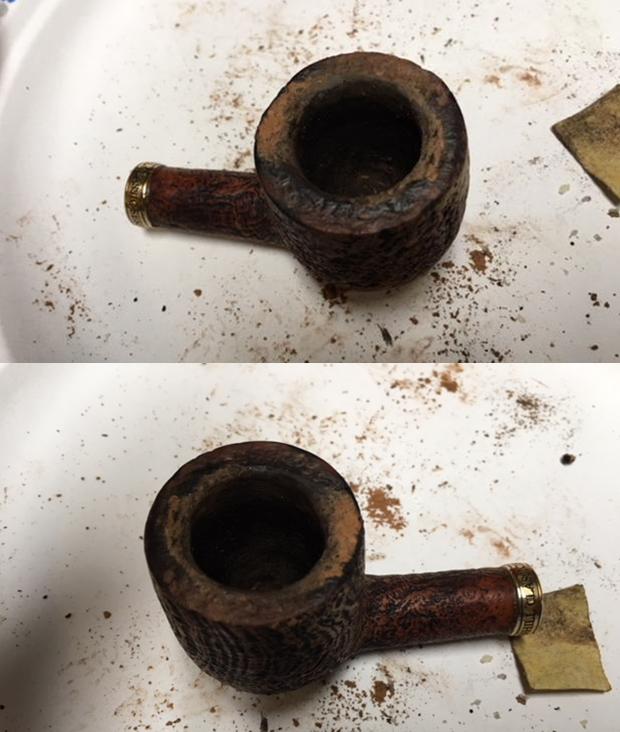
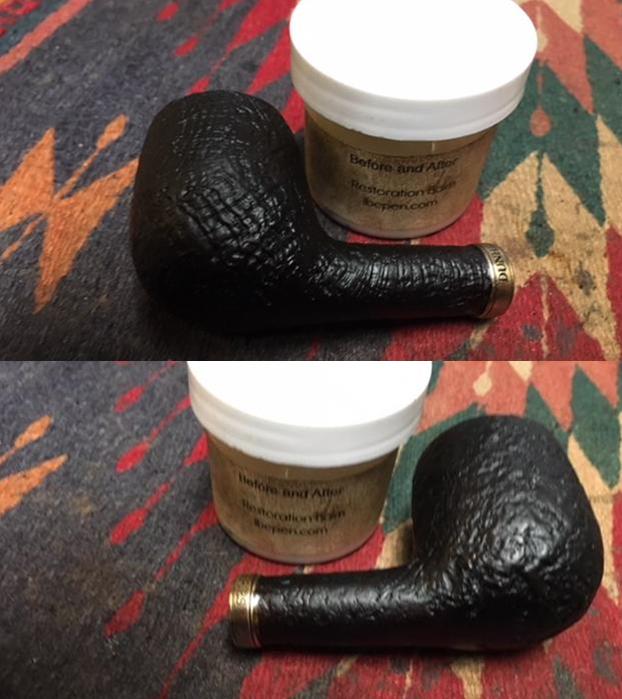
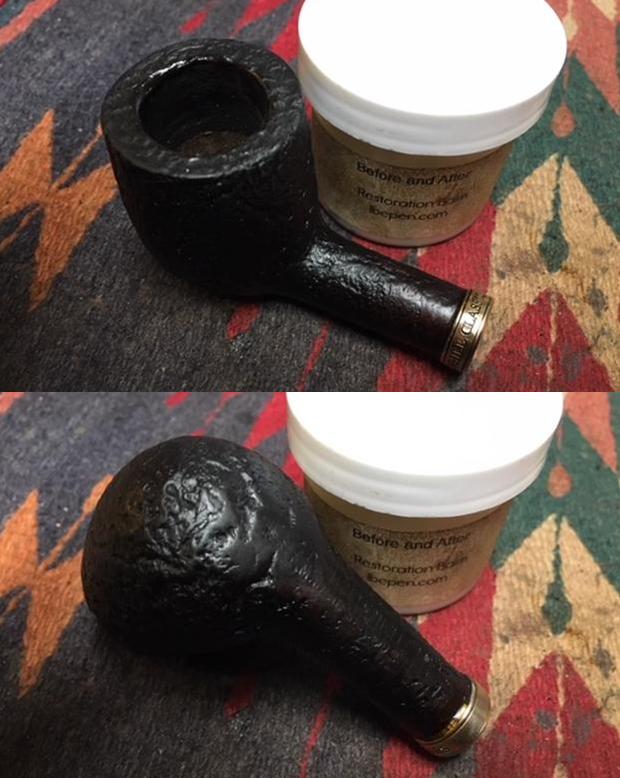
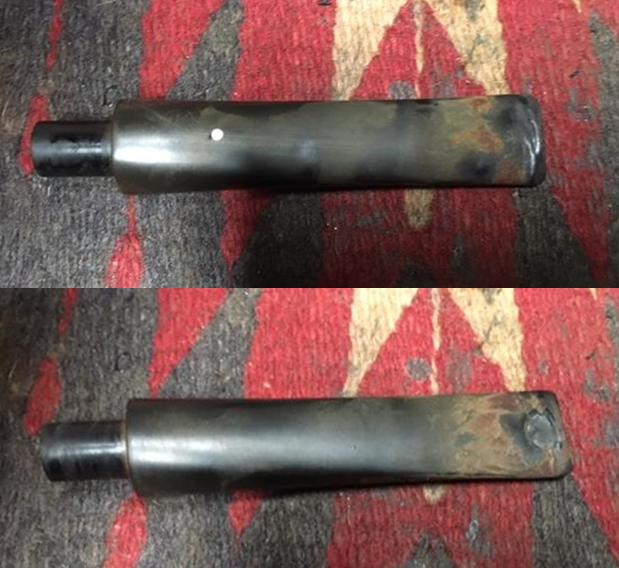
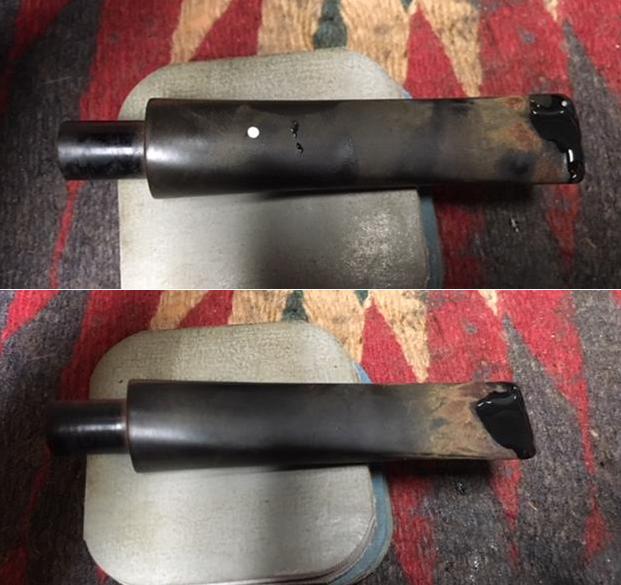
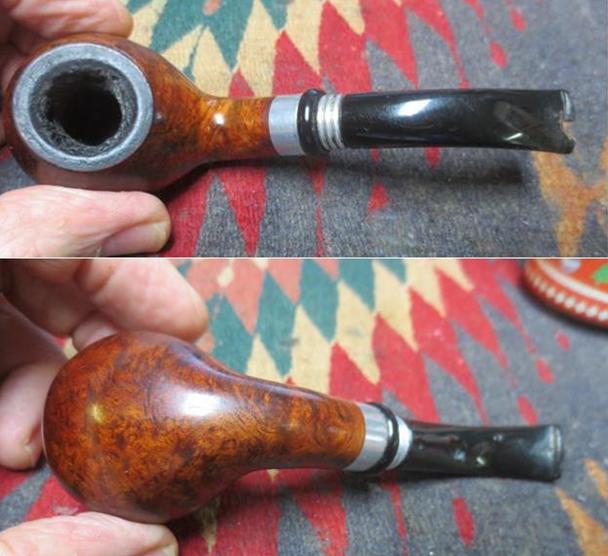
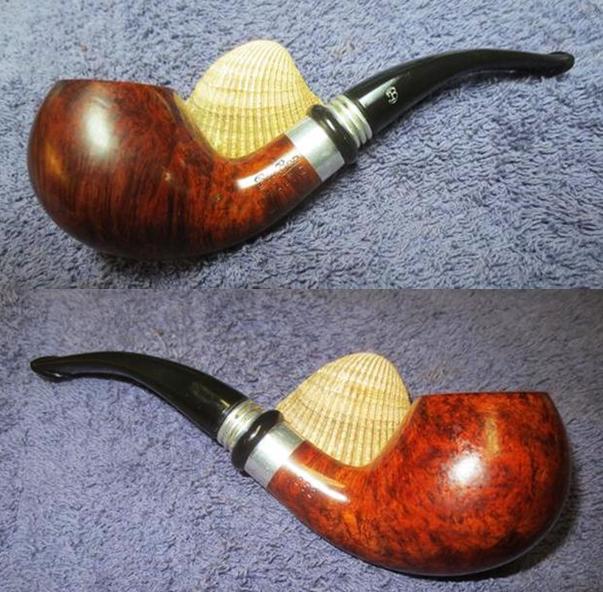
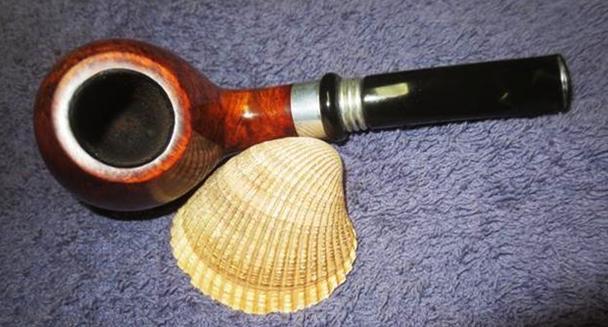
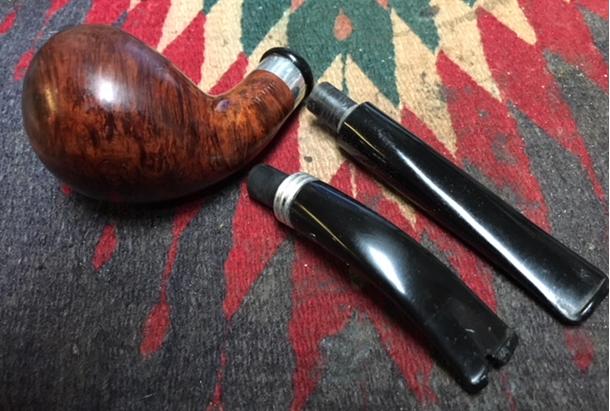
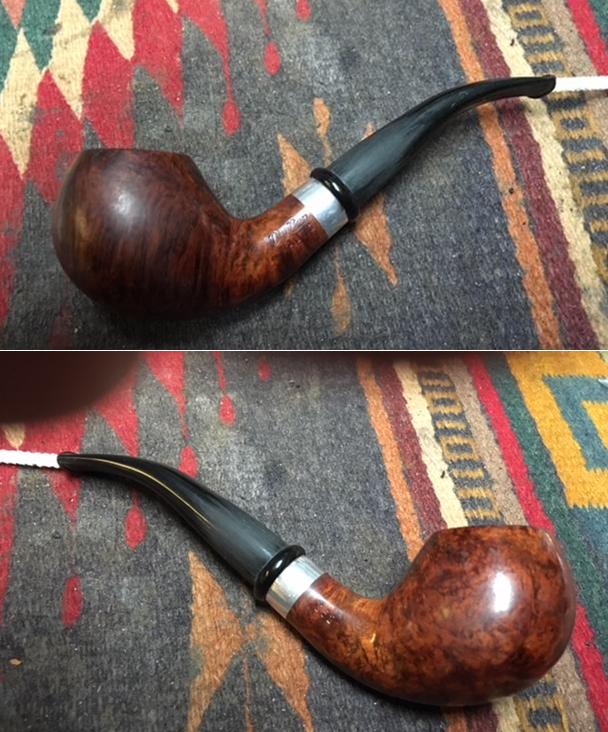
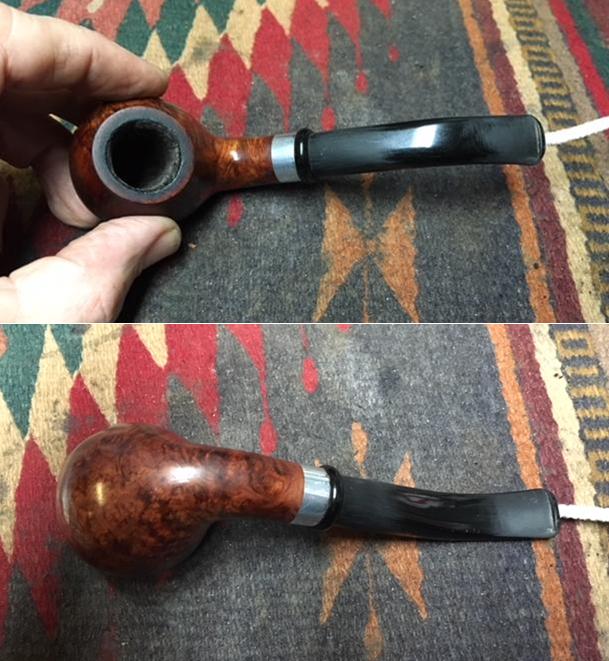
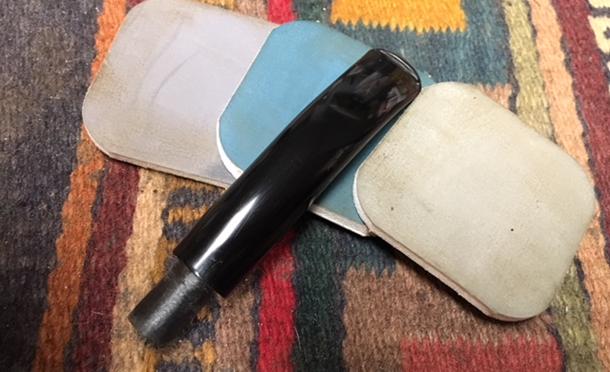
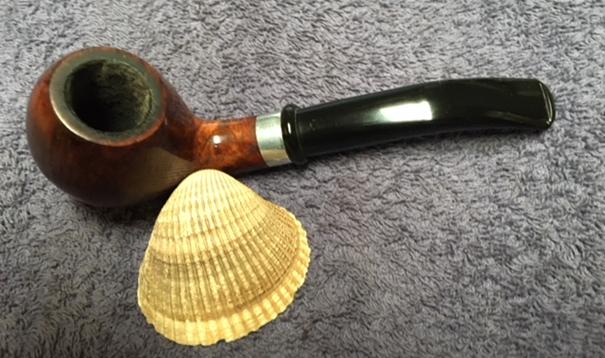
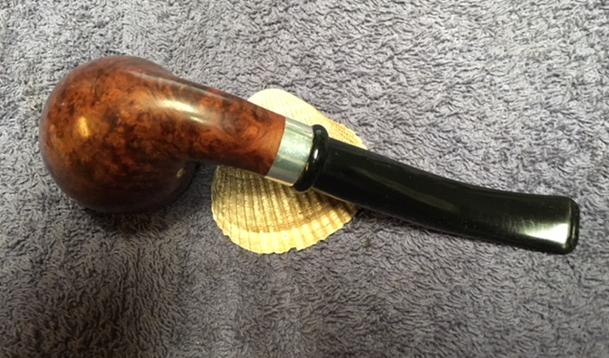
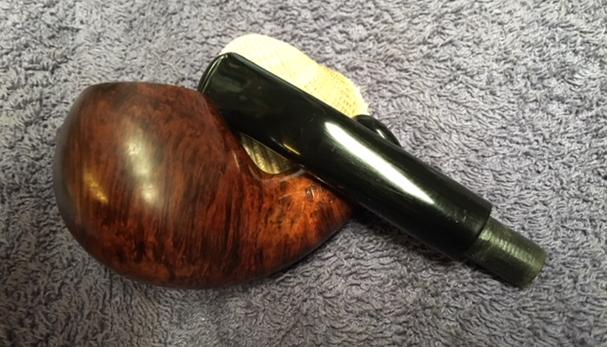
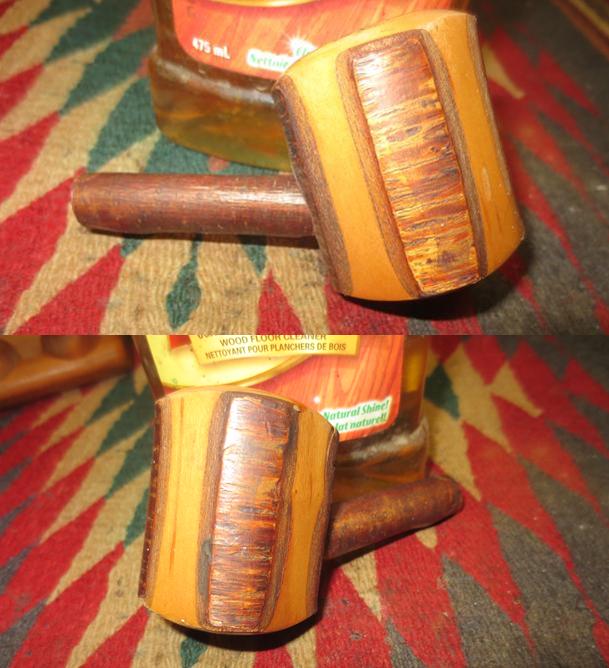
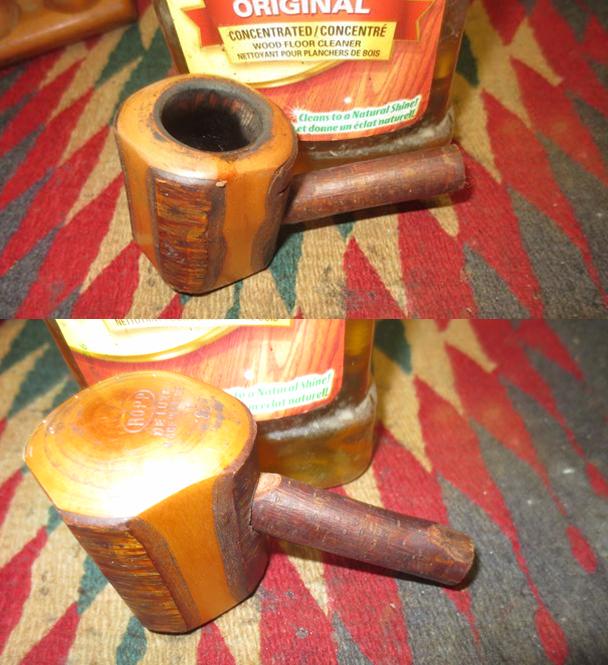
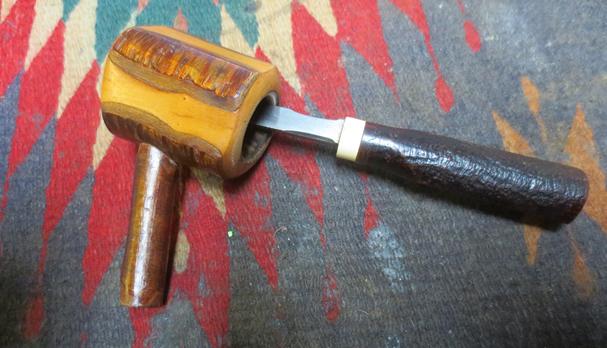
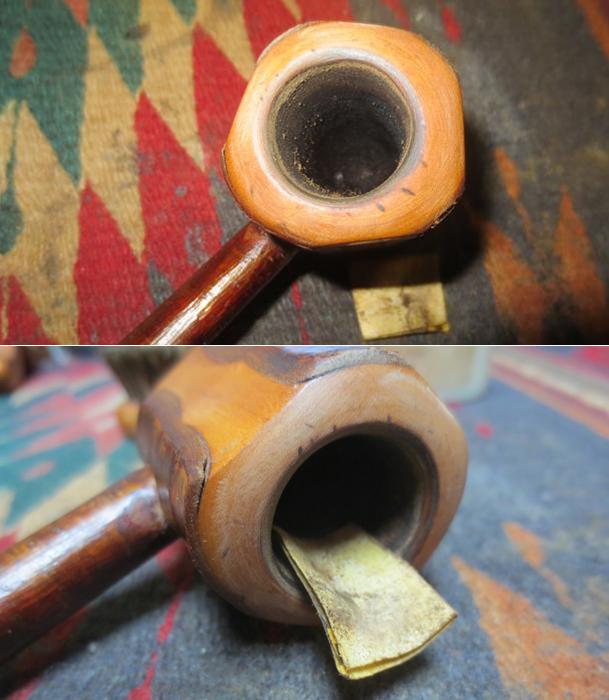
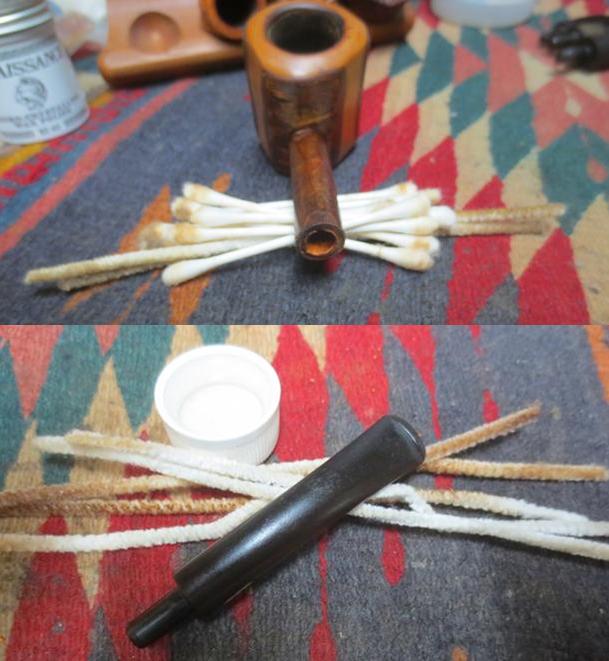
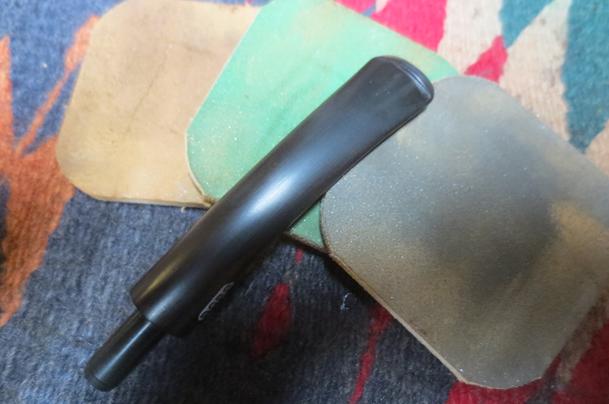
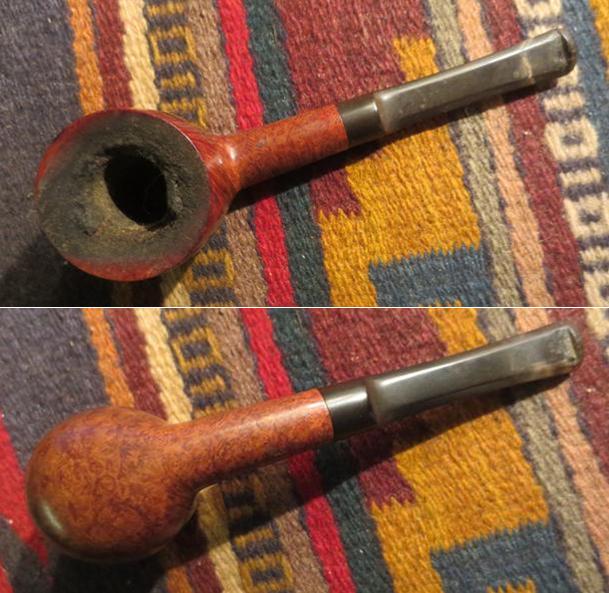
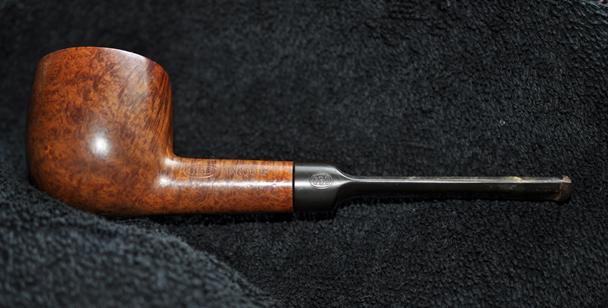
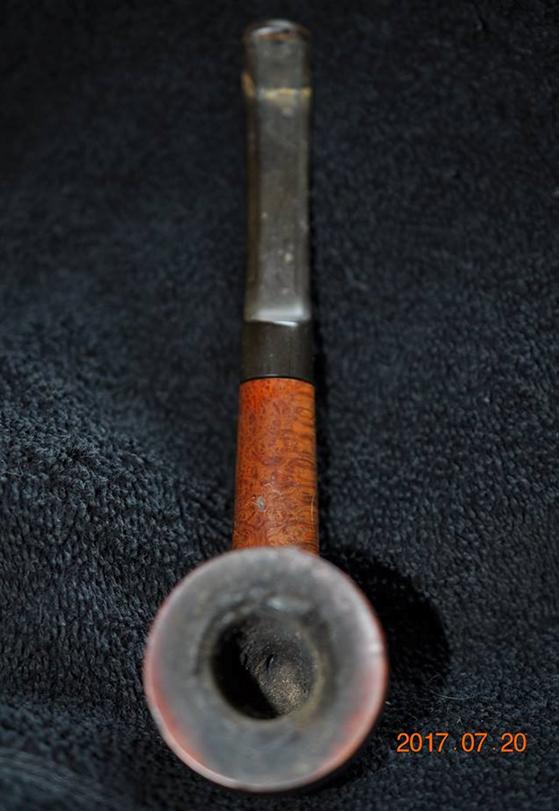
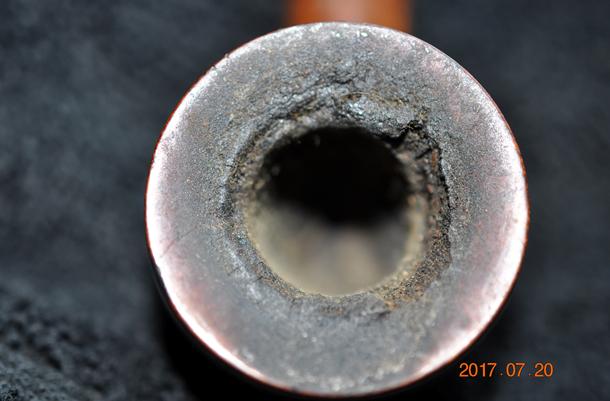
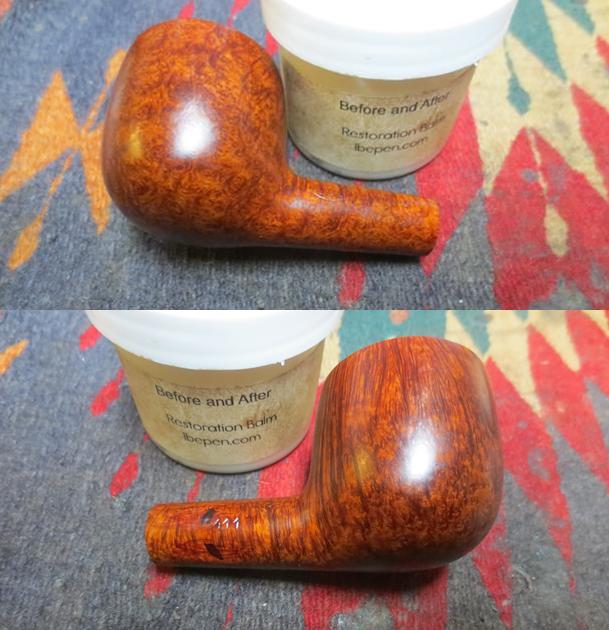
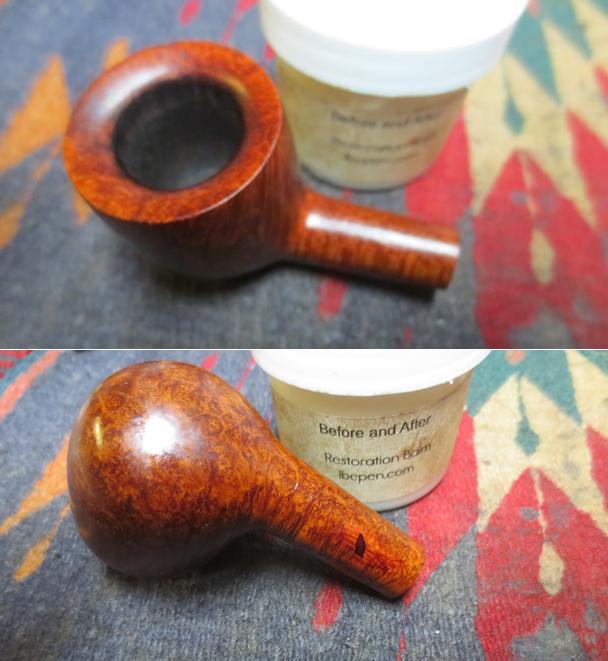
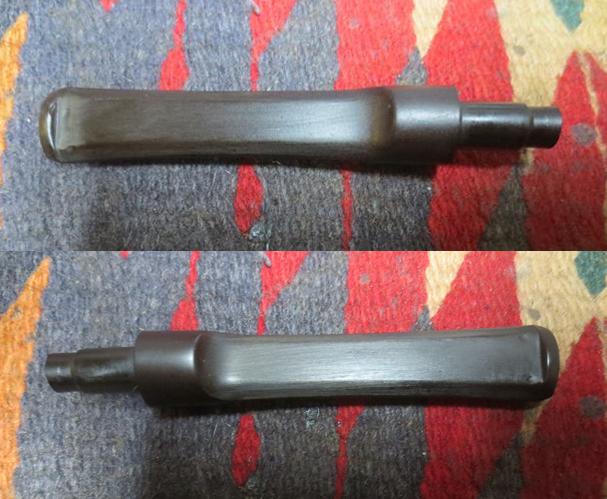
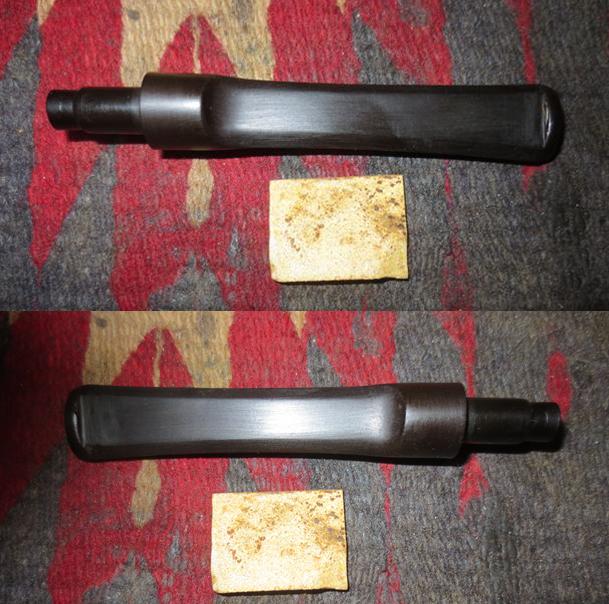
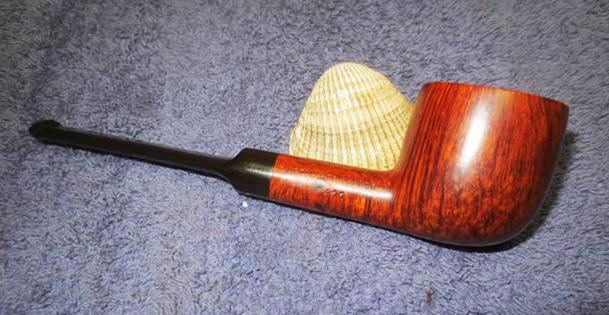
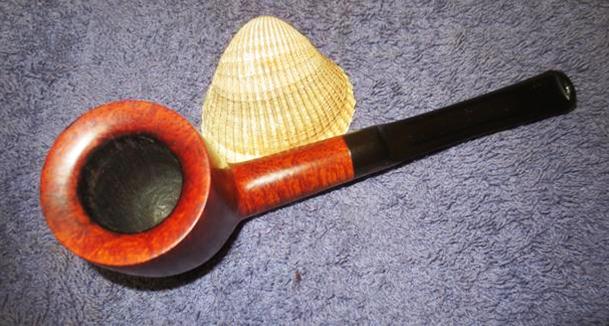
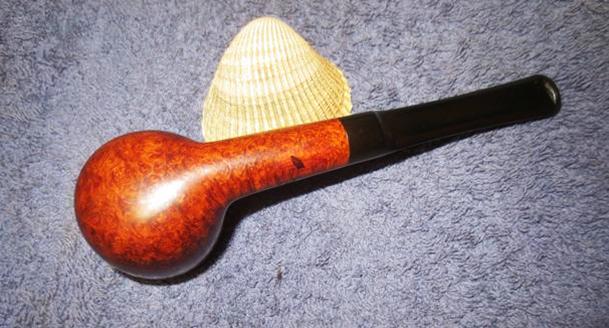
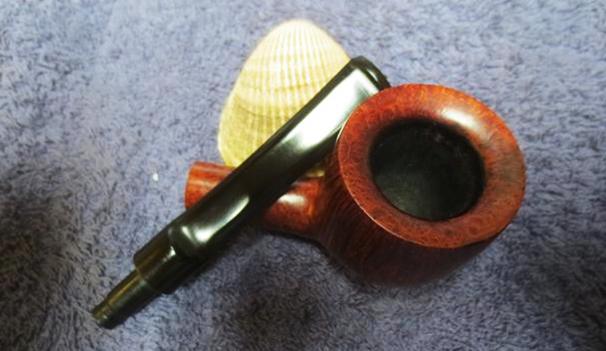
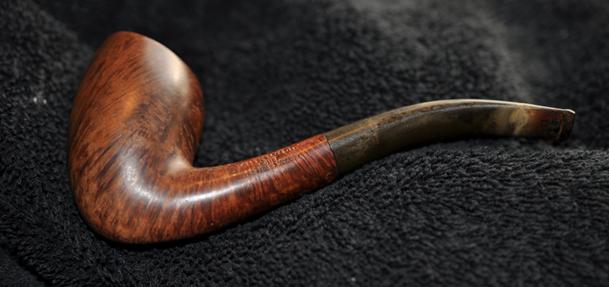
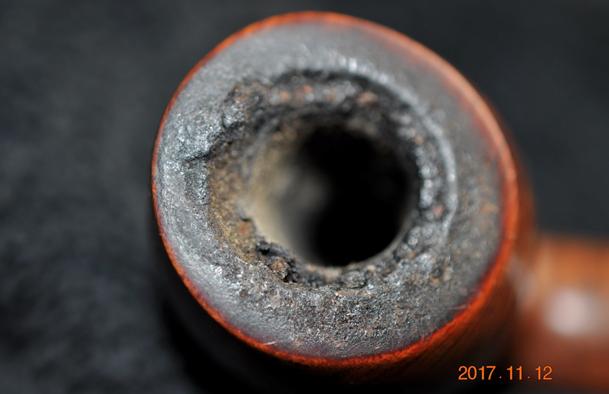
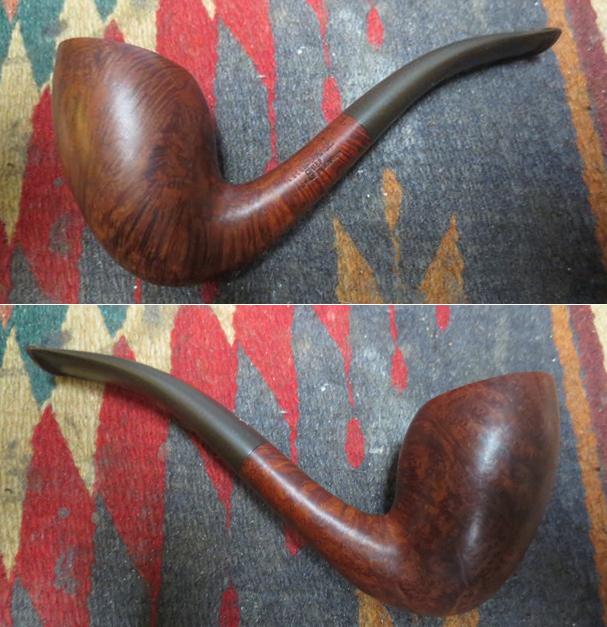
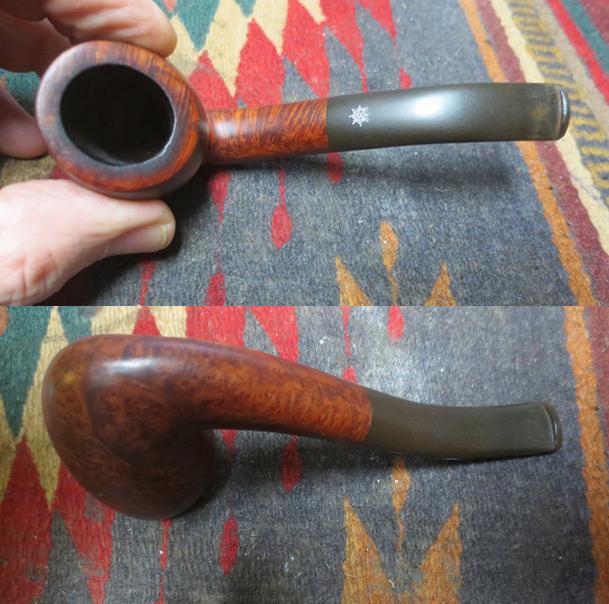
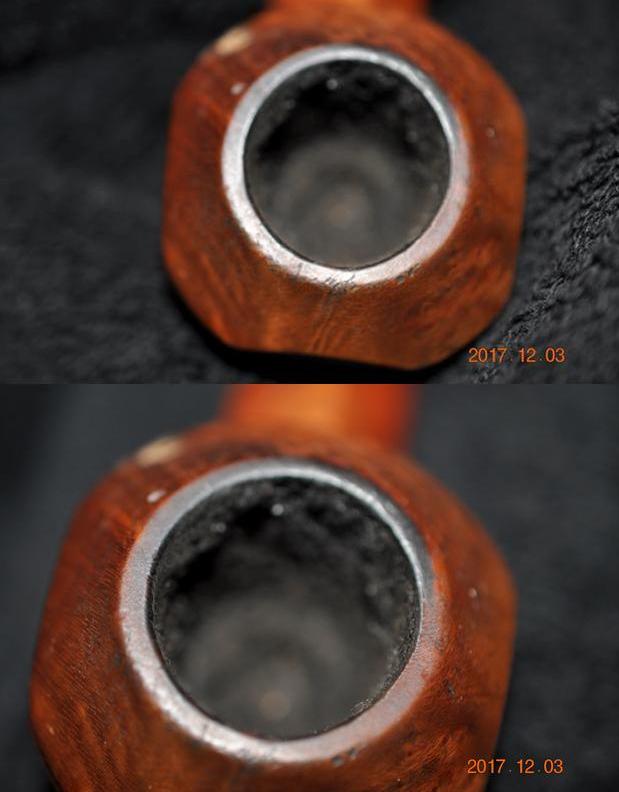
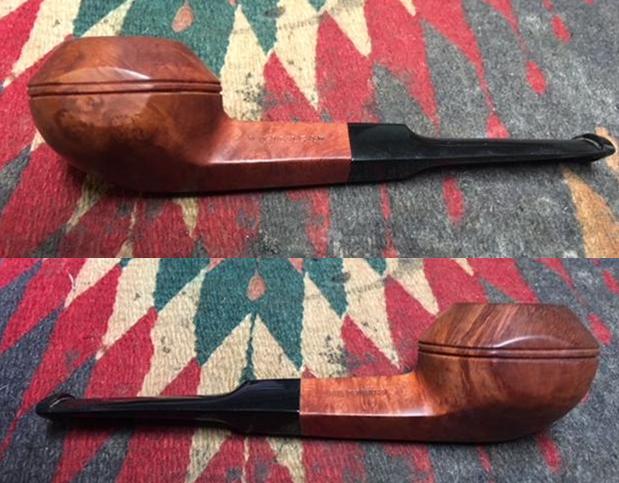
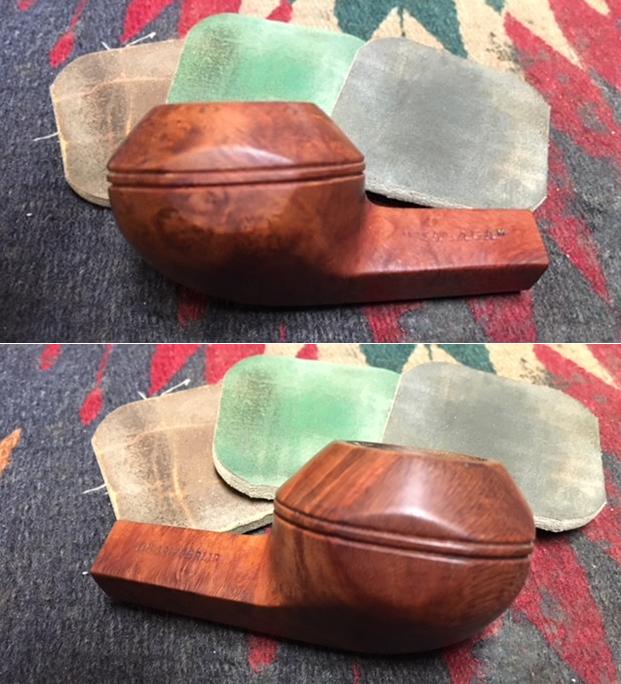
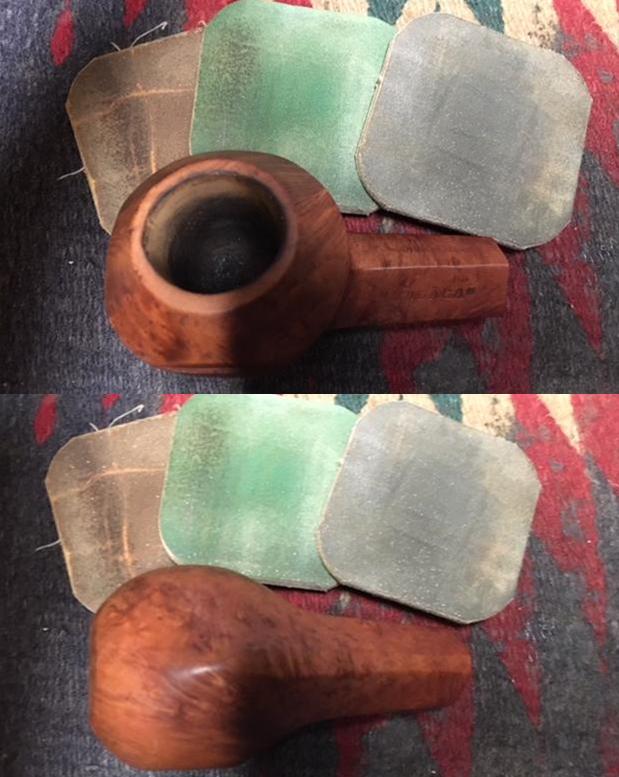
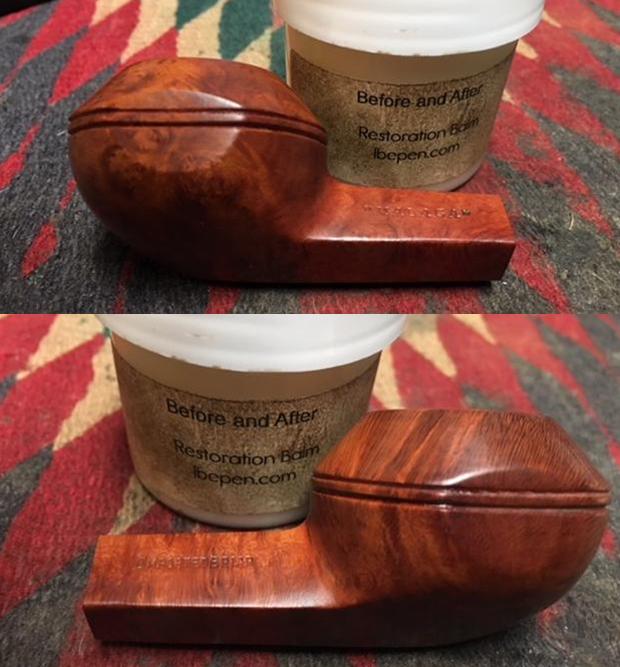
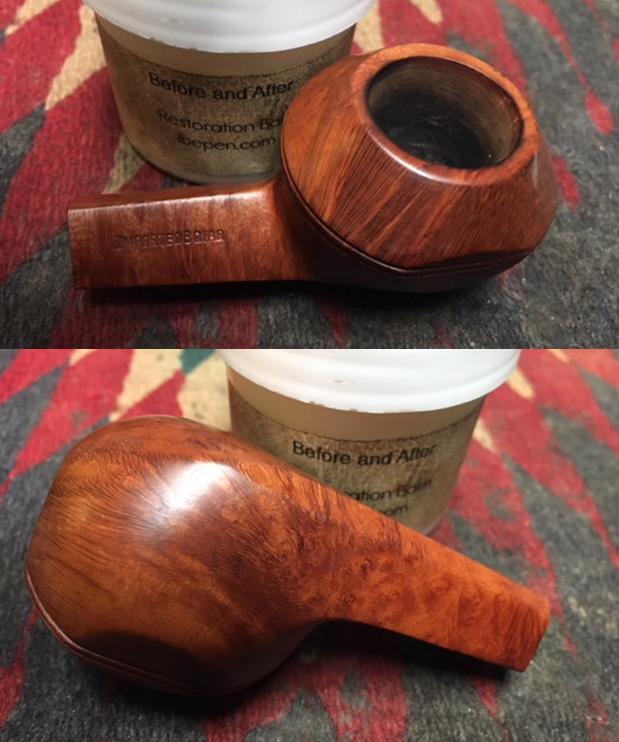
The second of the pipes that I chose to work on is a squat “Malaga” Bulldog with flattened panels on the front, right and left sides of the cap. It has a black Lucite saddle stem. It is another beautiful pipe underneath the grime and debris of the years. The warm brown finish on the bowl appeared to be good condition under the dust and tars of time. The rim top was covered with a light overflow of lava from the cake in the bowl. The inner and outer edge of the bowl had damage. There were some nicks on the cap of the bulldog. The outer edge and cap showed signs of being knocked against a hard surface to empty the dottle from the bowl. The twin rings around the top cap were dirty but solid. The stamping on the left side of the shank was clear and read “Malaga”. On the right side it was stamped Imported Briar. Once again there was no shape numbers on the pipe. The Lucite stem fit the shank quite well and was worn. There was tooth chatter and marks on both sides at the button. The interior of the pipe was dirty. I often talk about the wear and tear on the pipes I work on… this is not a bad thing. It actually shows that this was a well loved pipe and that the pipeman who used it held it often and enjoyed its company. Jeff took these photos before he started the cleanup work on the pipe. He took close up photos of the bowl and rim to show the condition of the pipe before he started to work his magic on it. The exterior of the bowl and shank were dirty. You can see the lava on the rim, the cake in the bowl and the nicks on the bowl cap and the outer edge of the rim. It is dirty but in otherwise good condition. He also took a photo of the side of the bowl and the underside of the bowl and shank. He also took photos of the shank to show the stamping and the condition of the overall shank so you could have an idea of where things were at before he cleaned it up.The photos of the stem show the fuzz of dust, calcification at the sharp edge of the button and the chatter and marks of teeth near the button. None of them are a real issue as much of the debris will wash away in the cleanup and the tooth chatter and marks will disappear in the restoration process.Working on this second pipe reminds me yet again how much I have missed working on the pipes that Jeff has cleaned. The last little while I have been working on pipes that I had to clean up and it was a real nice change to work on these. Jeff reamed the bowl with a PipNet pipe reamer and followed up with a Savinelli Fitsall pipe knife to remove the cake. He scrubbed out the mortise and the airway in the shank and the stem with alcohol, cotton swabs and pipe cleaners. He scrubbed the exterior of the bowl, rim, shank and stem with a tooth brush and Murphy’s Oil Soap to remove the oils and tars on the bowl, rim and shank. He rinsed it under running water. He dried it off with a soft cloth. The lava mess on the rim was thoroughly removed without harming the finish underneath it. Once the grime was removed the finish actually looked it was in excellent condition. I took photos of the pipe to show its condition before I started my work on it. I took a photo of the rim top to show the condition it was in after the cleanup. Jeff was able to remove all of the lava on the rim top and edges. There is still some darkening on the rim top.You can see the damage from knocking out the pipe on a hard surface on the top and outside edges of the bowl. There is general darkening and slight burn damage as well. The stem was clean and you can see the tooth chatter and marks on the surface near the button.I lightly topped the bowl on my topping board using 220 grit sandpaper. It did not take too much work to remove the nicks and damage to the rim top and edges. Once it was complete I topped it on a medium grit sanding sponge to smooth the surface even more.I worked on the rim top and the inner edge of the bowl. I used a folded piece of 220 grit sandpaper to smooth out the damage around the edge. I gave the rim a light bevel to remove the damage on the front side of the bowl. I sanded the rim cap with 220 grit sandpaper to remove as much of the damage as I could. I forgot to take photos of that part of the process. I polished the briar with micromesh sanding pads – wet sanding with 1500-2400 grit pads and dry sanding with 3200-12000 grit pads. I wiped the briar down after each pad with a damp cloth to remove the sanding dust. I rubbed the bowl down with Before & After Restoration Balm to deep clean the pores and grain of the smooth finish as well as to enliven and protect the briar. I hand rubbed it with my fingers and wiped it off with a soft cloth. I buffed the bowl with a horsehair shoe brush to polish it. The briar really began to have a rich shine. I took some photos of the bowl at this point to mark the progress in the restoration. I ran pipe cleaners dipped in alcohol through the airway in the stem to clean out the sanding dust. I cleaned out the slot and made sure the corners were all clean. I also ran pipe cleaners through the shank and used cotton swabs and alcohol in the mortise to remove any of the sanding dust from the rim work.I sanded out the tooth chatter and tooth marks with 220 grit sandpaper to smooth and blend them into the surface of the rest of the stem. I sanded the surface of the button to remove the marks on the top and underside.I polished the stem with micromesh sanding pads – wet sanding with 1500-2400 grit pads and dry sanding with 3200-12000 grit pads. I wiped the stem down after each pad with a damp cloth to remove the sanding dust. With the stem polished I put it back on the pipe and buffed it with Blue Diamond. I gave the bowl and the stem several coats of carnauba wax and buffed the pipe with a clean buffing pad to raise the shine. I hand buffed it with a microfiber cloth to deepen the shine. The pipe polished up pretty nicely. The finished pipe is shown in the photos below. This is the second of many “Malaga” pipes that I am restoring from Kathy’s Dad’s collection. I am looking forward to hearing what Kathy thinks once she sees the finished pipe on the blog. I will be posting it on the rebornpipes store very soon. It should make a nice addition to a new pipeman’s rack that can carry on the trust from her father. The dimensions are Length: 5 3/4 inches, Height: 1 1/2 inches, Outside diameter of the bowl: 1 3/4 inches, Chamber diameter: 3/4 inches. Thanks for walking through the restoration with me as I worked over this second Malaga of his estate. More will follow in a variety of shapes and sizes.
 

Kathy’s Dad’s Pipes #1 -Restoring George Koch’s “Malaga” Canadian


Blog by Steve Laug

Last fall I received a contact email on rebornpipes from Kathy asking if I would be interested in purchasing her late Father, George Koch’s estate pipes. He had predominantly been a lover of “Malaga” pipes – all shapes and sizes and she wanted to move them out as she cleaned up the estate. We emailed back and forth and I had my brother Jeff follow-up with her as he also lives in the US and would make it simpler to carry out this transaction. The long and short of it is that we purchased her Dad’s “Malaga” pipes. There are some beautiful pipes in that lot. I have never seen this many “Malagas” together in one place in all of my years of pipe restoring and refurbishing. They varied from having almost pristine stems to having gnawed and damaged stems that will need to be replaced. Many of the pipes already had replacement stems or maybe George had the staff at the Malaga shop in Michigan put Lucite stems on them because he was such a gnawer. I don’t know if we will ever know the answer to that as Kathy did not know for sure. She did know though that he loved the brand and that most of the pipes he smoked he purchased from the shop. These were some well used and obviously well loved pipes. Cleaning and restoring them will be a tribute to this pipeman. (Here is a link to some history of the Malaga Brand if you are interested: https://rebornpipes.com/tag/malaga-pipes/. There are also links there to a catalogue and the maker George Khoubesser.)

When working on an estate where I can know about the pipeman who the pipes belonged to, I like to have some background on the person. It just adds another dimension to the restoration work. I know I might be alone in this but when I know about the person it is almost as if he or she is with me as I walk through the restoration process on his or her pipes. In this case Kathy was more than happy to send us not only information on her dad but also a photo of him enjoying his “Malagas”. I am including that information now so you can know a bit about the pipeman who held these pipes in trust before they are passed on to some of you. I include part of Kathy’s correspondence with my brother as well…

Jeff… Here is a little about my dad, George P. Koch…I am sending a picture of him with a pipe also in a separate email.

Dad was born in 1926 and lived almost all his life in Springfield, Illinois. He was the youngest son of German immigrants and started grade school knowing no English. His father was a coal miner who died when Dad was about seven and his sixteen year old brother quit school to go to work to support the family. There was not much money, but that doesn’t ruin a good childhood, and dad had a good one, working many odd jobs, as a newspaper carrier, at a dairy, and at the newspaper printing press among others. He learned to fly even before he got his automobile driver’s license and carried his love of flying with him through life, recertifying his license in retirement and getting his instrumental license in his seventies and flying until he was grounded by the FAA in his early eighties due to their strict health requirements. (He was never happy with them about that.) He was in the Army Air Corps during World War II, trained to be a bomber, but the war ended before he was sent overseas. He ended service with them as a photographer and then earned his engineering degree from University of Illinois. He worked for Allis Chalmers manufacturing in Springfield until the early sixties, when he took a job at Massey Ferguson in Detroit, Michigan. We lived in Livonia, and that’s where his love for Malaga pipes began. After a few years he returned to Allis Chalmers and we moved back to Springfield. I remember that when we went back to Michigan to visit friends, Dad had to go to the Malaga store and acquire a few new pipes. Many a year I wrote to Malaga and they picked out a pipe for me to purchase that I could give Dad for a Christmas or birthday present. He was always pleased. His favorites were the straight stemmed medium sized bowl pipes, but he liked them all.  He had some other pipes, but the Malagas were his favorites. I remember him smoking them sitting in his easy chair after work, with feet up on the ledge by the fire burning in the fireplace.  Growing up it was my job to clean them and he liked the inner bowl and stem coated with Watkins vanilla, leaving a little of that liquid in the bowl to soak in when I put them back on the rack. Dad quit smoking later in life and so they’ve sat on the racks for many years unattended, a part of his area by his easy chair and fireplace. Dad passed when he was 89 years old and it finally is time for the pipes to move on. I’m very happy they are being restored by you and your brother and hope they find homes who enjoy them as much as Dad did. Thank-you for your care and interest. — Kathy, the oldest daughter

Kathy, thank you for providing this beautiful tribute to your Dad. We will take your trust to clean and restore these pipes. I am also trusting that you who are reading this might carry on the legacy of her Dad’s pipes as they will be added to the rebornpipes store once they are finished.

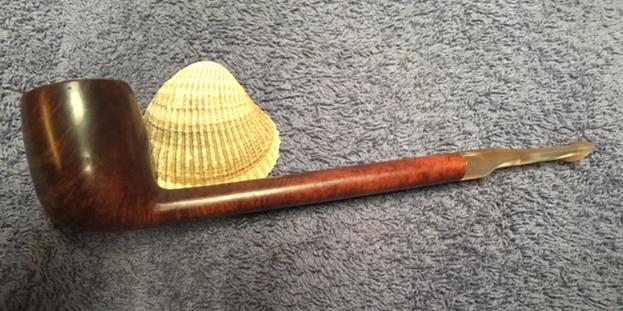
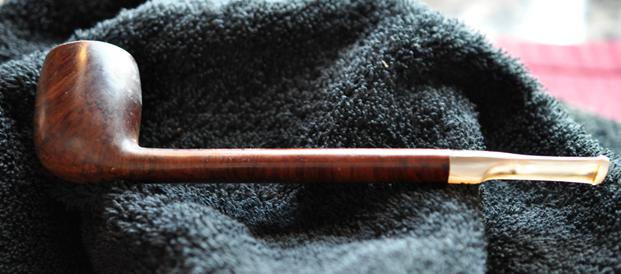
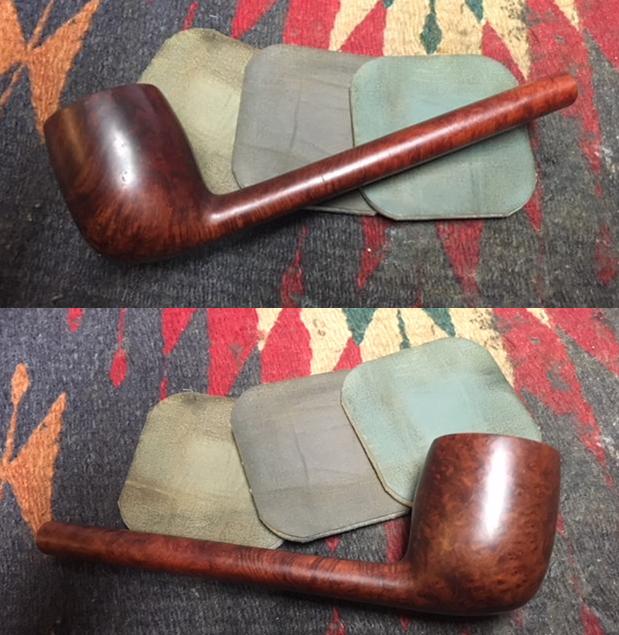
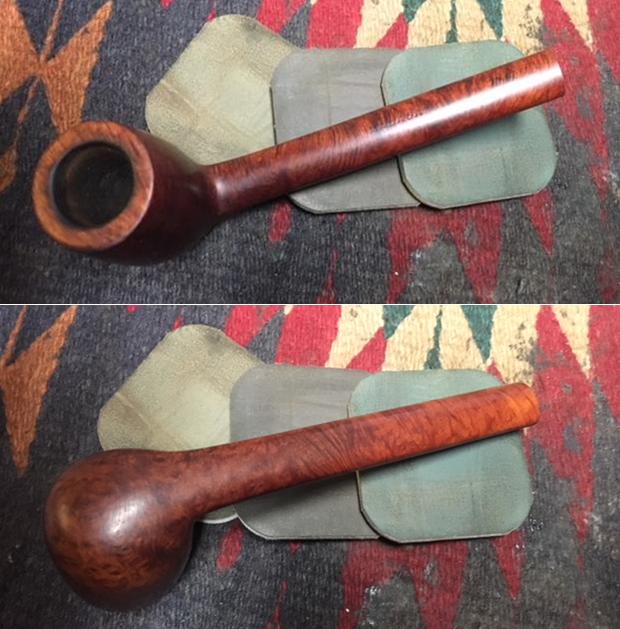
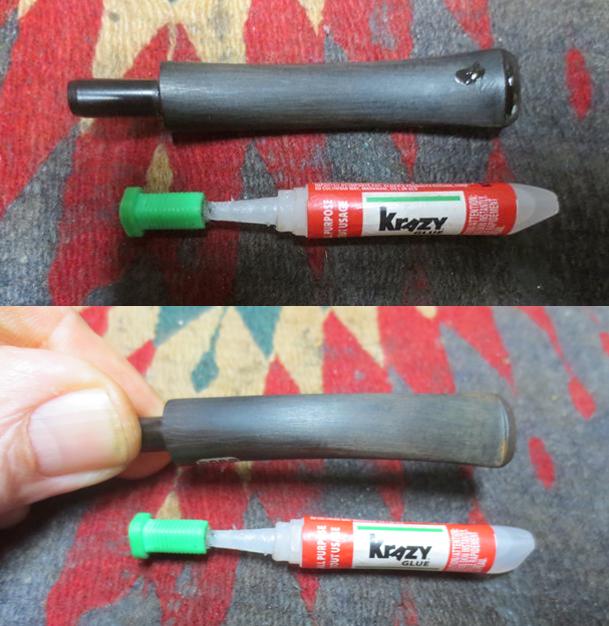
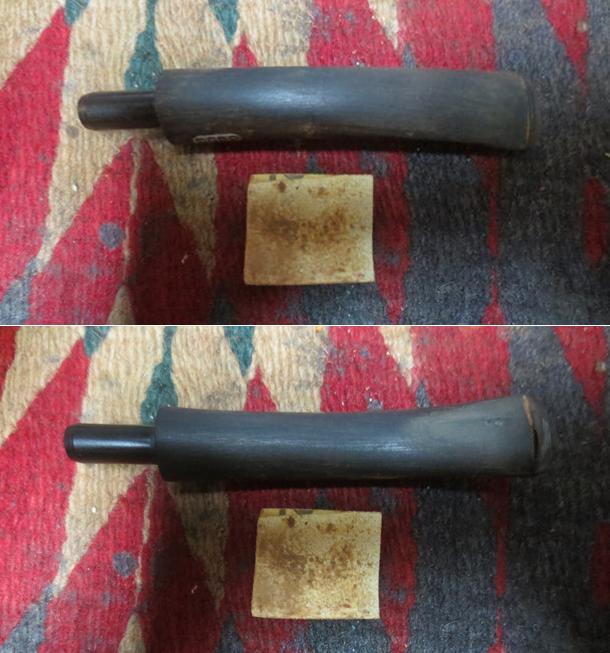
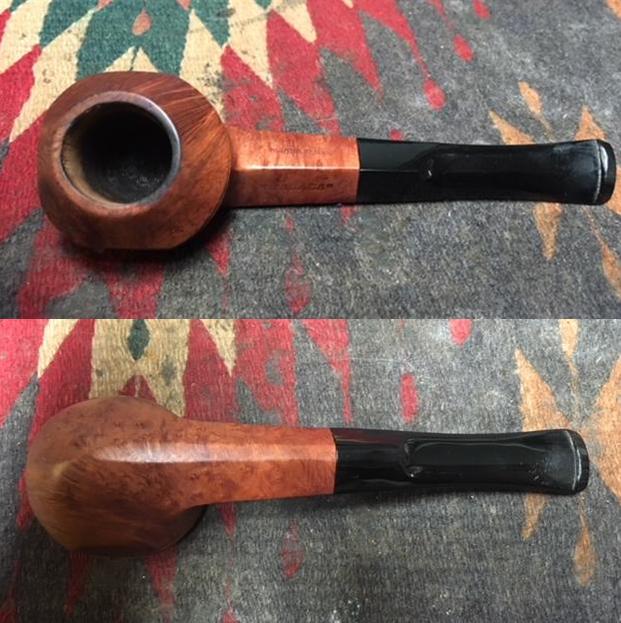
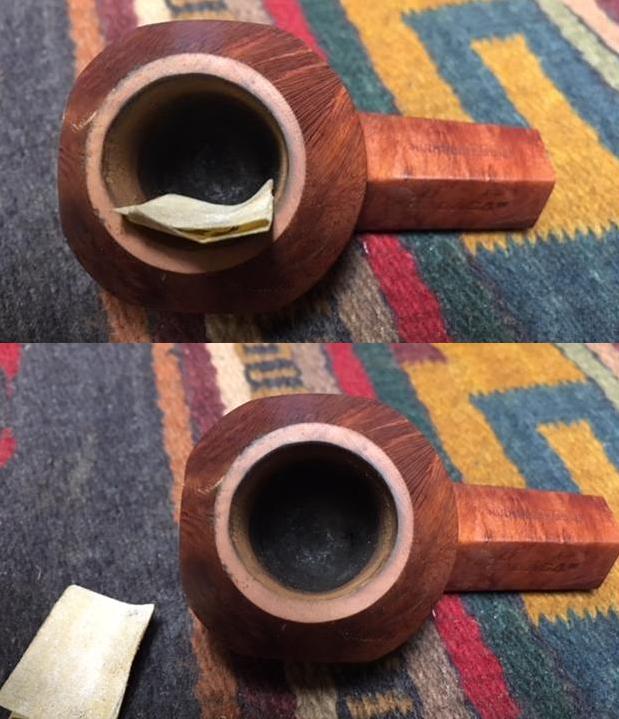
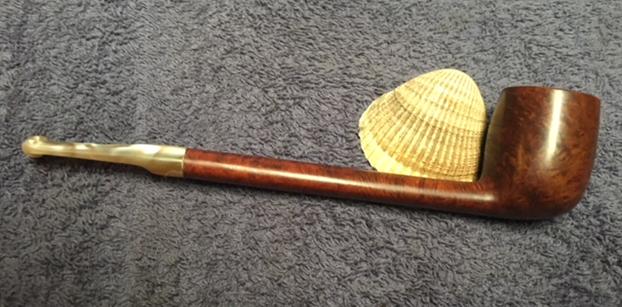
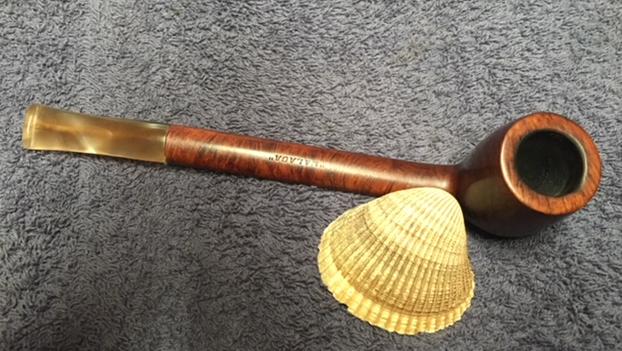
The first of the pipes that I chose to work on is a long shank “Malaga” Canadian with a variegated Lucite half saddle stem. It is really a beautiful pipe underneath the grime and debris of the years. The warm brown finish on the bowl was in good condition under the dust and tars of time. The rim top was covered with an overflow of lava from the cake in the bowl. The inner and outer edge of the bowl had damage. The inner edge was out of round on the right side and the outer edge showed signs of being knocked against a hard surface to empty the dottle from the bowl. The stamping on the shank was clear and read “Malaga” on the top of the oval shank. There were no other markings of shape numbers on the pipe. The Lucite stem fit the shank quite well and was worn. There was tooth chatter on both sides at the button and a large shallow tooth mark on the underside. The interior of the pipe was dirty. I often talk about the wear and tear on the pipes I work on… this is not a bad thing. It actually shows that this was a well loved pipe and that the pipeman who used it held it often and enjoyed its company. Jeff took these photos before he started the cleanup work on the pipe. He took close up photos of the bowl and rim to show the condition of the pipe before he started to work his magic on it. The exterior of the bowl and shank were dirty and you can see from the first photos how it had stuck to the sides. On the second photo you can see the lava on the rim, the cake in the bowl and the damage to the inner and outer edge of the rim. The third photo shows the underside of the bowl. It is dirty but in otherwise good condition. He also took photos of the shank to show the stamping and the condition of the overall shank so you could have an idea of where things were at before he cleaned it up.The photos of the stem show the fuzz of dust and the chatter and marks of teeth near the button. None of them are a real issue as much of the debris will wash away in the cleanup and the tooth chatter and marks will disappear in the restoration process.I can’t tell you how much I have missed working on the pipes that Jeff has cleaned. I think I got used to working on clean pipes so the last little while I have been working on pipes that I had to clean up. With this “Malaga” I am reminded of the work that he does every time before I even see the pipe. Jeff out did himself on the cleanup of this pipe. He reamed the bowl with a PipNet pipe reamer and followed up with a Savinelli Fitsall pipe knife to remove the cake. He scrubbed out the mortise and the airway in the shank and the stem with alcohol, cotton swabs and pipe cleaners. He scrubbed the exterior of the bowl, rim, shank and stem with a tooth brush and Murphy’s Oil Soap to remove the oils and tars on the bowl, rim and shank. He rinsed it under running water. He dried it off with a soft cloth. The lava mess on the rim was thoroughly removed without harming the finish underneath it. Once the grime was removed the finish actually looked it was in excellent condition. I took photos of the pipe to show its condition before I started my work on it. I took a photo of the rim top to show the condition it was in after the cleanup. Jeff was able to remove all of the darkening and tar on the rim top and edges. You can see the damage from knocking out the pipe on a hard surface on the top and outside edges of the bowl. You can also see the damage to the inner edge of the rim. There is damage on the front right side and toward the rear of the bowl. There is general darkening and slight burn damage as well. The stem was clean and you can see the tooth chatter and marks on the surface near the button.Because the stem was already clean I lightly sanded the tooth mark on the underside and wiped it off with a damp cotton pad. I used a drop of clear super glue to fill the divot. The glue came out a bit excessively but I figured I had to sand it anyway so I left it to dry.While the stem dried I worked on the rim top and the inner edge of the bowl. I used a folded pied of 220 grit sandpaper to smooth out the damage around the edge. I gave the rim a light bevel to remove the damage on the front side of the bowl. More of the damage would be removed when I topped the bowl.I lightly topped the bowl on my topping board using 220 grit sandpaper. It did not take too much work to remove the nicks and damage to the rim top and edges. Once it was complete I topped it on a medium grit sanding sponge to smooth the surface even more.I rubbed the bowl down with Before & After Restoration Balm to deep clean the pores and grain of the smooth finish as well as to enliven and protect the briar. I hand rubbed it with my fingers and wiped it off with a soft cloth. I buffed the bowl with a horsehair shoe brush to polish it. The briar really began to have a rich shine. I took some photos of the bowl at this point to mark the progress in the restoration. The repair on the Lucite stem had hardened at this point so I set the bowl aside and worked on the stem. I sanded the repair with 220 grit sandpaper to smooth and blend it into the surface of the rest of the stem. I sanded out the tooth chatter on the topside of the stem and smooth out the surface of the button to remove the marks.I ran a pipe cleaner dipped in alcohol through the airway in the shank to clean out the sanding dust and any reaming debris. I cleaned out the slot and made sure the corners were all clean. I also ran pipe cleaners through the shank and used cotton swabs and alcohol in the mortise to remove any of the sanding dust from the rim work. I also found that the entrance of the airway into the bowl had some hardened tars that came out as I cleaned the shank.I polished the briar with micromesh sanding pads – wet sanding with 1500-2400 grit pads and dry sanding with 3200-12000 grit pads. I wiped the briar down after each pad with a damp cloth to remove the sanding dust. I set the bowl aside and polished the stem with micromesh sanding pads – wet sanding with 1500-2400 grit pads and dry sanding with 3200-12000 grit pads. I wiped the stem down after each pad with a damp cloth to remove the sanding dust. With the stem polished I put it back on the pipe and buffed it with Blue Diamond. I gave the bowl and the stem several coats of carnauba wax and buffed the pipe with a clean buffing pad to raise the shine. I hand buffed it with a microfiber cloth to deepen the shine. The pipe polished up pretty nicely. The finished pipe is shown in the photos below. This is the first of many “Malaga” pipes that I am restoring from Kathy’s Dad’s collection. I am looking forward to hearing what Kathy thinks once she sees the finished pipe on the blog. I will be posting it on the rebornpipes store very soon. It should make a nice addition to another pipeman’s rack that can carry on the trust from her father. The dimensions are Length: 7 inches, Height: 1 3/4 inches, Outside diameter of the bowl: 1 1/4 inches, Chamber diameter: 3/4 inches. Thanks for walking through the restoration with me as I worked over this first Malaga of his estate. More will follow in a variety of shapes and sizes.
 

Farida’s Dad’s Pipes #2 – Restoring a 1990 LBS Classic Series Dunhill Shell Billiard


Blog by Steve Laug

The next collection of pipes that I am working on comes from the estate of an elderly gentleman here in Vancouver. I met with his daughter Farida last summer and we looked at his pipes and talked about them then. Over the Christmas holiday she brought them by for me to work on, restore and then sell for her. There are 10 pipes in all – 7 Dunhills (one of them, a Shell Bulldog, has a burned out bowl), 2 Charatans, and a Savinelli Autograph. His pipes are worn and dirty and for some folks they have a lot of damage and wear that reduce their value. To me each one tells a story. I only wish they could speak and talk about the travels they have had with Farida’s Dad.

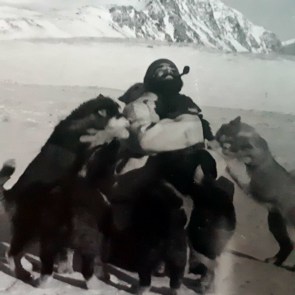
Dad in the Antarctic in 54/55.

In the midst of restoring this Classic Series Dunhill and thinking about its travels, Farida sent me an email with a short write up on her Dad. She remembered that I had asked her for it so that I could have a sense of the stories of her Dad’s pipes. Here is what she wrote: My dad, John Barber, loved his pipes. He was a huge fan of Dunhill and his favourite smoke was St. Bruno. No one ever complained of the smell of St. Bruno, we all loved it. I see the bowls and they’re large because he had big hands. When he was finished with his couple of puffs, he would grasp the bowl in the palm of his hand, holding the warmth as the embers faded. The rough bowled pipes were for daytime and especially if he was fixing something. The smooth bowled pipes were for an evening with a glass of brandy and a good movie. In his 20s, he was an adventurer travelling the world on ships as their radio operator. He spent a year in the Antarctic, a year in the Arctic and stopped in most ports in all the other continents. He immigrated to Canada in the mid-fifties, working on the BC Ferries earning money to pay for his education. He graduated from UBC as an engineer and spent the rest of his working life as a consultant, mostly to the mining companies. Whatever he was doing though, his pipe was always close by. 

Thanks Farida that explains a lot about their condition. If your Dad was rarely without a pipe I can certainly tell which pipes were his favourites. As I looked over the pipes I noted that each of them had extensive rim damage and some had deeply burned gouges in the rim tops. The bowls seemed to have been reamed not too long ago because they did not show the amount of cake I would have expected. The stems were all covered with deep tooth marks and chatter and were oxidized and dirty. The internals of the mortise, the airway in the shank and stem were filled with tars and oils. I took pictures of the Dunhill pipes in the collection. These were some nice looking pipes when her Dad bought them and they would be nice looking one more when I finished.

The second pipe that I am working on is a large Group 5 S Shell Billiard. I have circled in the above three photos in blue to identify it for you. It has a gold band that reads Dunhill Classic Series. It is good looking billiard. The Classic Series was produced by Dunhill in 199O as part of homage to their heritage and would make a great pipe for when you are out and about in the evening. When it was released it was a classic black Shell Briar in an equally classic shape, complete with a distinctive gold colored band. The pipe is stamped on the underside of the shank with the shape number LBS F/T. The first digit of the number is missing because of the sandblast, but it is a shape LBS and F/T for Fish Tail stem. Next to that it read Dunhill Shell over Made in England 30. There is a shape number after the Made in England stamping 997 (987?). Dating this pipe is a fairly easy proposition. You take the two digits following the D in England and add them to 1960. In this case it is 1960+30= 1980. (Pipephil’s site has a helpful dating tool for Dunhill pipes that I use regularly http://www.pipephil.eu/logos/en/dunhill/shell-briar1.html).

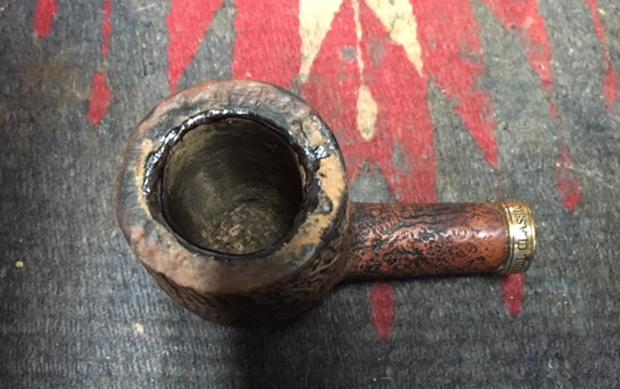
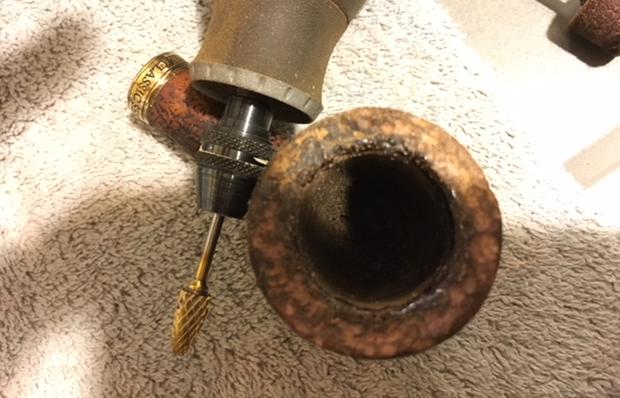
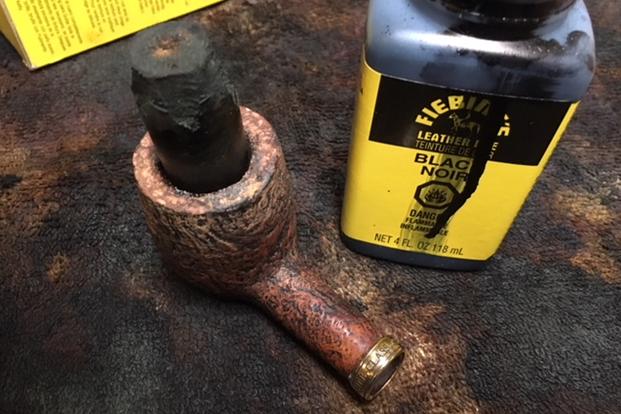
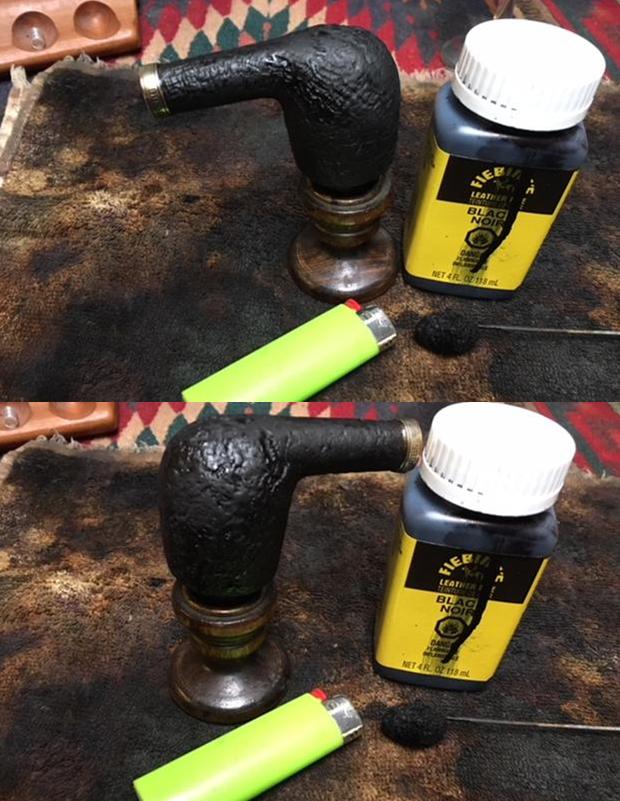
It was in pretty rough shape. The bowl was so dirty and caked with grime that it was very hard to tell what condition it was in. The finish was dull and caked with oils in all of the grooves and valleys of the sandblast. The top of the rim was rough and the inner edge was badly damaged. There were spots on the front of the rim top and at the rear that had deep burns into the briar just like the first pipe from this estate. The briar was burned to a point where I could pick it out with my fingernail. The shank was so dirty that the stem would not properly seat in the mortise. The stem was also a little rough – tooth marks on both sides near and in the button itself. The top side the button is quite thin and worn down. There is a deep tooth mark on the underside near the button and lots of chatter on both sides. It was oxidized and there was some calcification on the first inch of the stem. I took some photos of the pipe before I started to clean it up. I took close up photos of the rim top, the gold band and the stem. You can see from the photo the thick cake I the bowl overflowing lava onto the rim top. You can also see damage to the front, inner edge of the rim and the back left inner edge. There appears to be some serious gouges in those areas and also along the entire inner edge. The amount and extent of the damage will only be clear once the bowl is reamed and cleaned. The gold band on the shank says Dunhill Classic Series and it is in excellent condition. The stem has some deep bite marks on the top edge of the button and on the underside of the stem just ahead of the button. There is a lot of calcification and wear on the rest of the stem as well. I reamed the bowl with PipNet pipe reamer starting with the smallest cutting head and working my way up the third sized head. I took the cake back to bare briar. I used a Savinelli Fitsall Pipe Knife to finish up the reaming and also to clean up the damaged areas. They turned out to be burn damage so I scraped out the damaged briar until I got to a solid base. The bowl exterior was so encrusted in grime and oils that it was hard to see the sandblast finish. All of the grooves, nooks and crannies of the Shell finish were not visible due to the coating filling them in. I scrubbed the exterior of the pipe with a tooth brush and Murphy’s Oil Soap under warm running water to flush away the grime as the soap loosened it from the finish. I scrubbed until the finish was clean. The draw back in this case was that it removed the black Classic stain. The good news was that I could see some amazing grain in the sandblast. I knew that restaining it would not be an issue so it was good to see what was present. The damage to the rim top and inner edge is very visible in the third photo below. The heaviest damage is to the back edge of the rim top and it extends almost to the outer edge of the rim. I had several options to consider in repairing the damage. I could top the bowl and lose the rest of the nice blast on the rim top or I could repair and buildup the rim top with briar dust and super glue. To top it would require remove a lot of briar due to the depth of the damage on the back side. I decided to go with rebuilding the rim top and edges. I layered on clear super glue and briar dust with a dental spatula on both damaged areas until I had it built up even with the rest of the rim. I rebuilt the inner edge of the rim the same way keeping the super glue out of the bowl itself. You will notice in the three pictures that follow that I don’t worry too much about the dust in the bowl as I will sand it out once the repair is hardened. I scraped out the inside of the bowl with the edge of the spatula to knock off high spots along the inside edge. I sanded the bowl with a piece of 220 grit sandpaper to smooth out the inner edge and to sand down the walls of the bowl. I blew out the sanding dust through the shank. I also scraped the top of the rim with the edge of the spatula and knocked off high spots. The first three photos below show the repair rim top and edge. I put a dental burr in the Dremel and copied the sandblast pattern that was on the rest of the rim onto the repaired areas. I ran the Dremel at just below the 10 marker in terms of speed and carefully etched the surface of the briar. The fourth photo shows the rim top after I had used the Dremel on it. I used a brass bristle wire brush to clean up the surface of the rim and it was ready to stain. I put a cork in the bowl to hold on to and stained the entire pipe with a black aniline stain to bring it back to match the colour of the pipe in photos. I applied the stain with a dauber and flamed it. I repeated the process until the coverage was even all over the bowl. I set aside the bowl to let the stain dry overnight. In the morning I worked some Before & After Restoration Balm into the surface of the sandblast with my finger tips to deep clean the finish, enliven and protect the wood. I buffed the pipe with a horsehair shoe shine brush to get it into the grooves of the plateau. I let it sit for a few minutes and then buffed it with a cotton cloth. The pipe came alive and there was a rich shine to the briar. I took some photos of the bowl at this point to mark the progress in the restoration. With the bowl finished (except for buffing) I set it aside and worked on the stem. The stem was dirty and had some significant damage to the top side on the button and a large deep tooth mark on the underside. I cleaned up the damaged areas with alcohol and cotton pads. Once the areas were clean I built up the damaged areas on both sides of near the button with black super glue. I rebuilt the button on both sides as well. I set the stem aside to let the glue cure. Once the super glue patch had dried I sanded it with 220 grit sandpaper to smooth out the surface of the repairs. The topside of the button was far better than when I started. The tooth mark in the underside was filled in and smoothed out. More sanding and filling to do to cover the air bubbles but it was looking good.I decided to take a break from the sanding for a bit and cleaned out the stem and the shank. I cleaned out the airway and the slot in the stem and the mortise and airway in the shank with pipe cleaners, cotton swabs and alcohol. I worked them over until they were clean.I polished the stem with micromesh sanding pads – wet sanding with 1500-2400 grit pads and dry sanding with 3200-12000 grit pads. I wiped them down after each pad with Obsidian Oil after each pad. I polished it with Before & After Pipe Stem Polish – both fine and extra fine to take out some of the tiny scratches in the vulcanite. I finished by rubbing it down with a final coat of Obsidian Oil and set it aside to dry. With the stem polished I put it back on the pipe and lightly buffed the bowl with Blue Diamond being careful to not fill the grooves in the blast with the polishing compound. I used a regular touch on the stem to polish out any remaining scratches. I gave the bowl several coats of Conservator’s Wax and the stem several coats of carnauba wax and buffed the pipe with a clean buffing pad to raise the shine. I hand buffed it with a microfiber cloth to deepen the shine. The pipe polished up pretty nicely. The finished pipe is shown in the photos below. This is the second of six Dunhill pipes that I am restoring from Farida’s Dad’s collection. I am looking forward to hearing what Farida thinks once she sees the finished pipe on the blog. I will be posting it on the rebornpipes store as she wants to sell them for the estate. It should make a nice addition to a new pipeman’s rack that can carry on the trust from her father. The dimensions are; Length: 6 inches, Height: 2 inches, Outside diameter of the bowl: 1 ½ inches, Chamber diameter: 7/8 inches. Thanks for walking through the restoration with me it was a challenging and worthwhile pipe to work on. Cheers.
Is it a meerschaum? Looks like one, feels like one, but….


Blog by Steve Laug

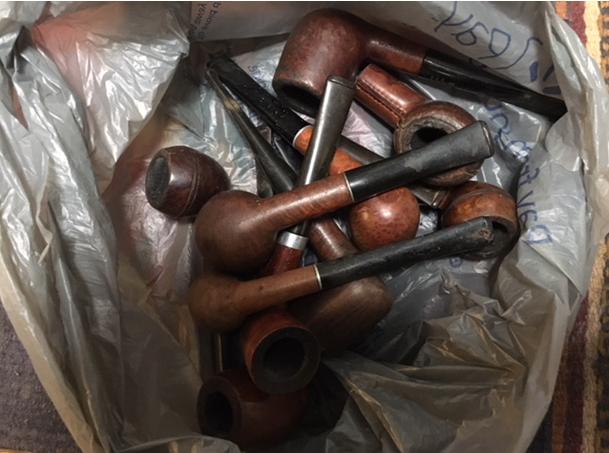
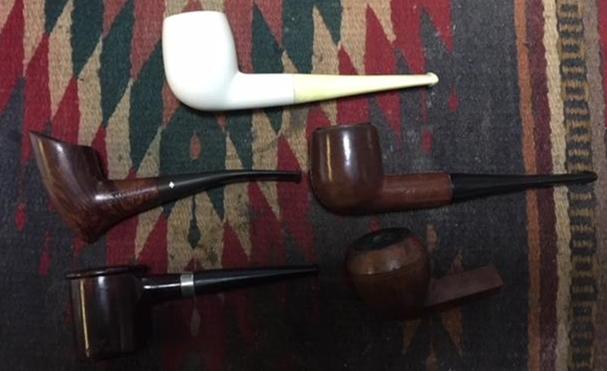
Not too long ago I received an email contact from a fellow, Craig on the rebornpipes blog. He sent me the following message: I was recently given a bag of pipes… Literally, a BAG of 20 or so pipes that are 50+yrs in age and VERY used. I was wondering if you would have time to either Skype or FaceTime with me, and go through what I have in order to determine which are worth sending to you to have them refurbished. If you would be so kind, I’d really appreciate it. I was interested in seeing what he had been given so we arranged a Facetime call. I was in Idaho with my brother so we both sat in on the call and had a look at his pipes. It was literally a big bag of pipes – all thrown into a plastic grocery bag with no rhyme or reason. The bag was filled with many no name or low end drug store pipes. There was really nothing stellar in the lot except for an old WDC Campaign pipe and maybe a Grabow Starfire. We went through the bag via Facetime and excluded most of the pipes. The amount of work necessary to bring them back was not worth the price. However, we picked some of the lot that were worth cleaning up for sure as they would make nice rack additions for a budding rotation. There were five that we pulled to work on.

  1. A No Name Meerschaum that looked interesting
  2. A Dr. Grabow Starfire 39 that had great grain
  3. A WDC Campaign underslung pipe
  4. A Wally Frank Bulldog marked Natural Unvarnished lacking a stem
  5. A leather clad billiard marked R20 and bearing a shield

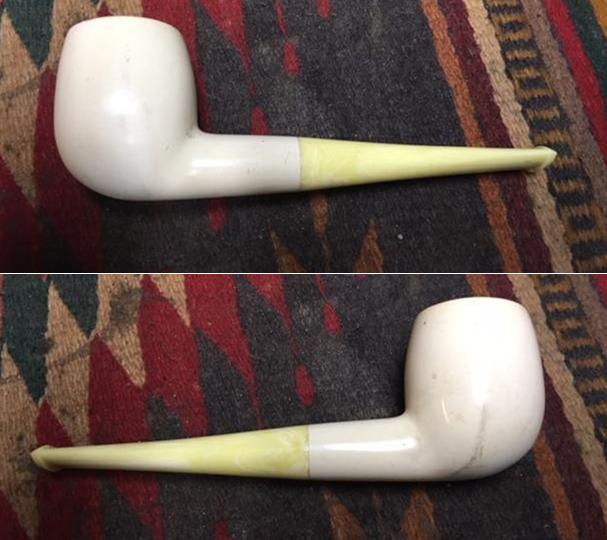
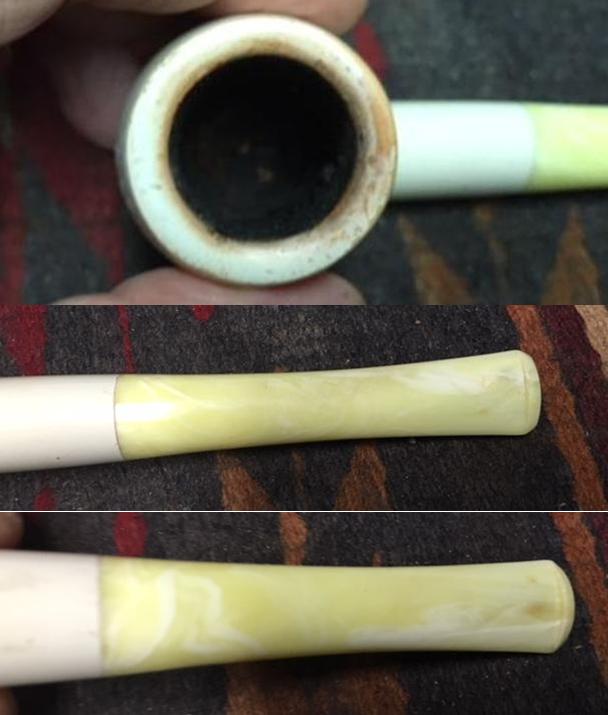
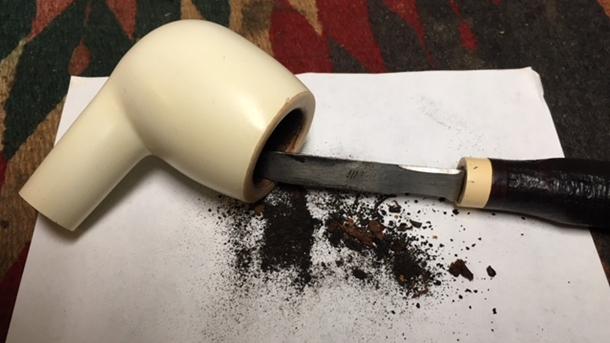
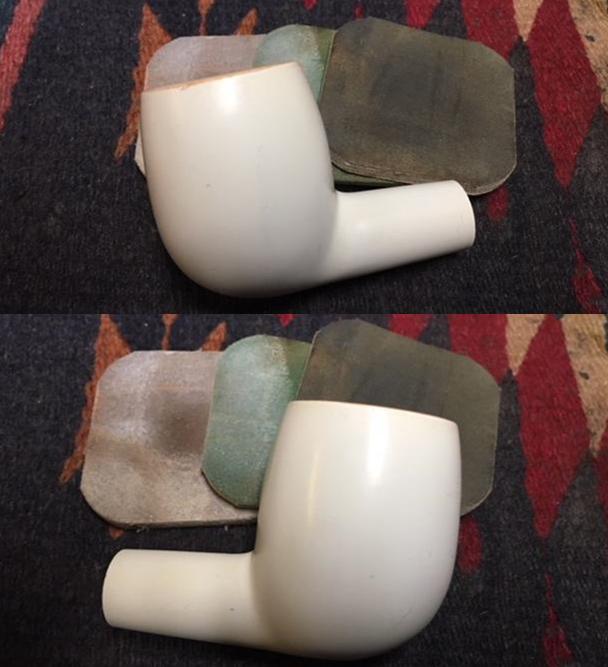
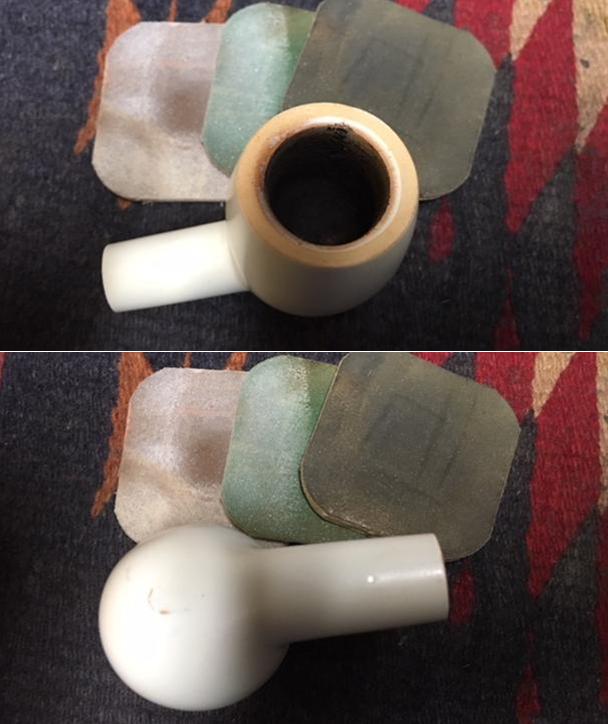
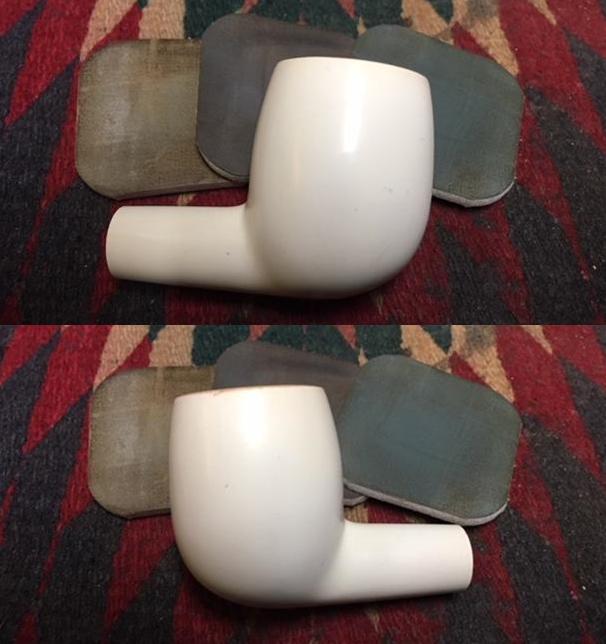
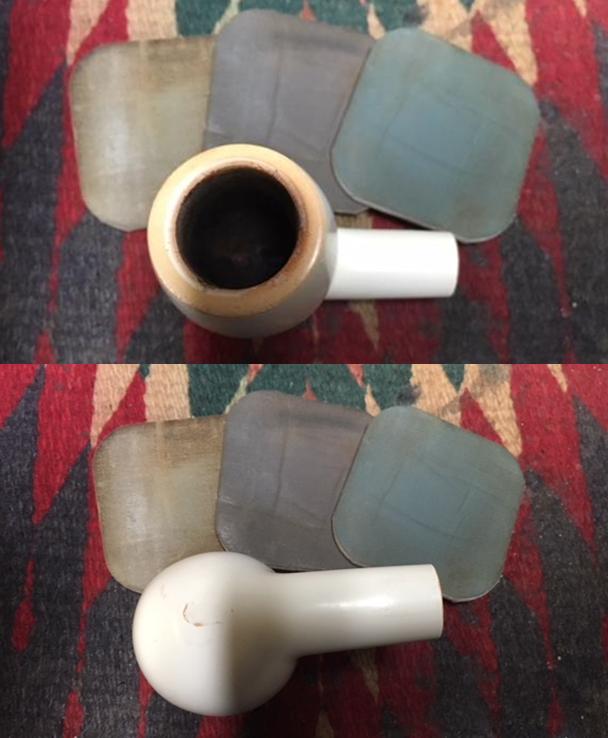
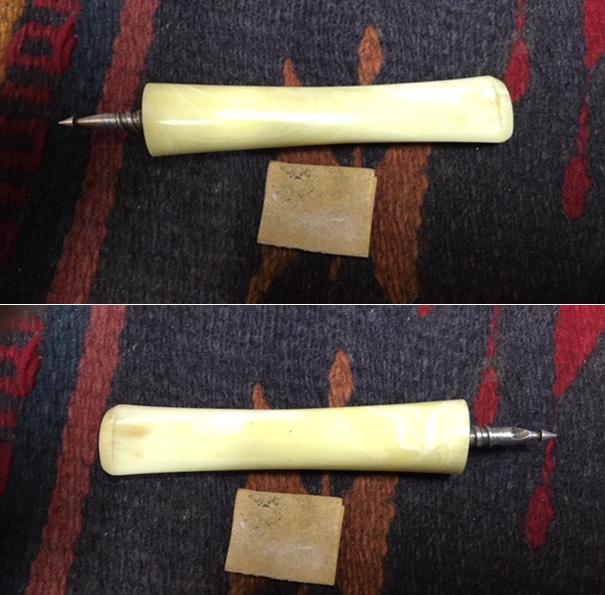
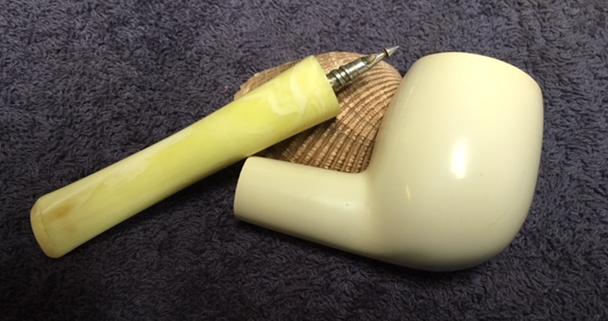
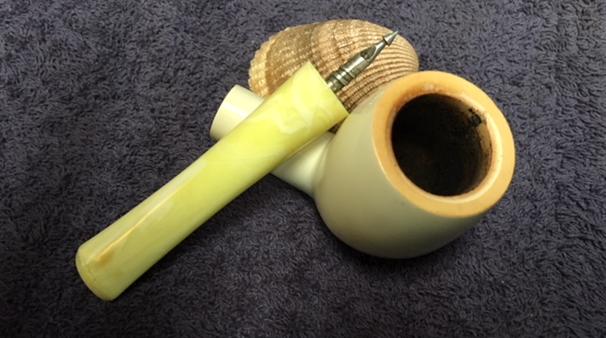
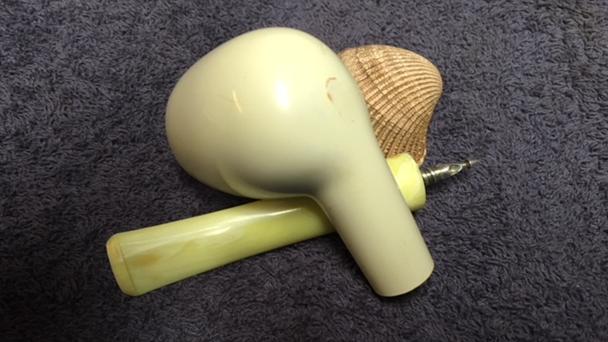
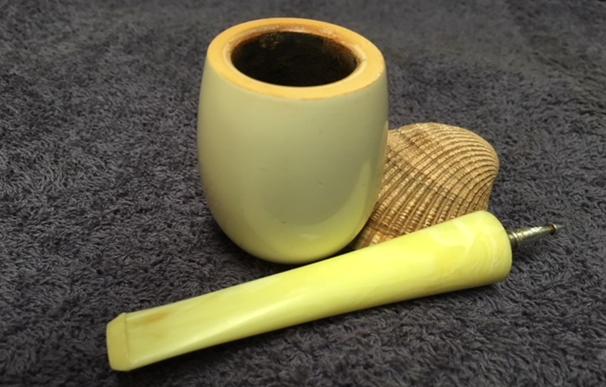
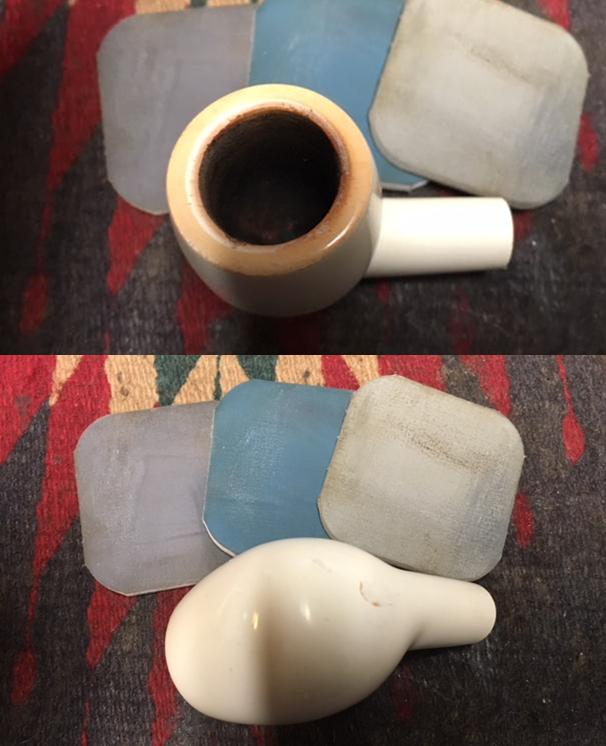
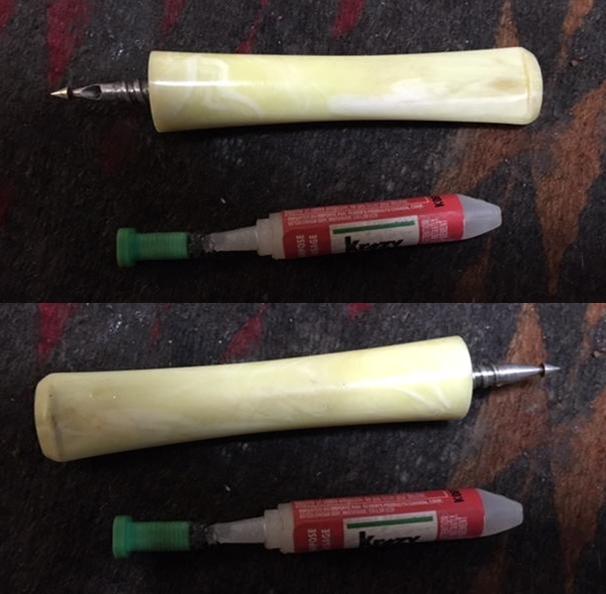
With that he packed up the pipes and through in the rest of the bags for me to scavenge parts from and put the box in the mail. It did not take too long for it to arrive in Vancouver and when it did I opened the box and had a look. Here are pics of what I saw – there were two bags inside. One bag held the discards for the scrap pile and the other held the five pipes he wanted restored. I chose to work on the No Name ?Meerschaum? first. It was very dirty and he was not even sure it was a meer. He thought it might be a painted pipe but I wondered about it. When it arrived I checked it out and the inside of the bowl that was visible looked like meer and the shank end with the threaded tenon looked like meer. From the look of the rim I wondered if it was not a pressed meerschaum – in fact it probably was. The bowl had a cake in it – not too thick but bothersome and the rim to had some darkening and some tan spots. The bowl was extremely dirty on the outside and there were black scuff marks on both sides. There were scratches and nicks on the bottom of the bowl. There was no stamping or identifying marks on the pipe. The stem was soft acrylic or plastic. There were tooth marks and chatter on both sides near the button. The exterior was dirty and dull looking. The slot had tars built up reducing the size of the slot by half. The pipe smelled like Half and Half tobacco – kind of that anise smell that clings to a pipe that has smoked that blend. I took close up photos of the bowl and rim top as well as the stem. The rim top had some overflow on the inner bevel and there was some odd coloration on part of the rim. It was almost as if the top coat of polished meer was compromised but it was hard to know. This area made me wonder about whether I was dealing with painted briar. The stem was another story – it was in decent shape with tooth marks and chatter on both sides near the button. There was a metal tenon like a spear tip on the end of the stem. It was very dirty.I used a Savinelli Fitsall Pipe Knife to clean out the cake and tobacco remnants from the bowl. As I worked on it I was even more certain that the tobacco of choice to the person who had smoked the pipe in the past was Half and Half.I polished the meerschaum bowl with micromesh sanding pads. The way the bowl acted with the micromesh and the sanding dust that came off on the pads it seemed to point to meerschaum. There was one spot on the underside of the bowl that had the same coloration as the rim top. The rest of the bowl cleaned up nicely and the black marks and surface scratching disappeared and was replaced by a shine. I wet sanded with 1500-2400 grit pads and dry sanded with 3200-12000 grit pads. I wiped the bowl down after each grit with a damp cotton pad to remove the dust. The more I worked with it the more I am convinced that I was dealing with a pressed meerschaum pipe. It acts like pressed meer and feels like in the hand. I repaired the deep tooth marks on both sides of the stem with clear super glue. Once the repair had cured I sanded them smooth with 220 grit sandpaper to blend them into the surface of the stem. I polished the stem with micromesh sanding pads – wet sanding with 1500-2400 grit pads and dry sanding with 3200-12000 grit pads. After each pad I wiped the stem down with Obsidian Oil. When I finished with the last pad I gave it a final coat of the oil and let it dry. When I finished polishing the stem and it dried I put it back on the bowl and took it to the buff. I gently buffed both the bowl and stem with Blue Diamond. I did not want to damage the bowl and the plastic material of the stem is very soft so I did not want to make more work for myself with it overheating and melting. I gave the bowl and stem several coats of carnauba wax and buffed them with a clean buffing pad to raise the shine. I hand buffed the pipe with a microfiber cloth to deepen the shine. This is the first restoration of the pipes Craig sent me. I look forward to the rest of them. I think he will enjoy this one when I send it back. The finished pipe is shown below. Thanks for looking.

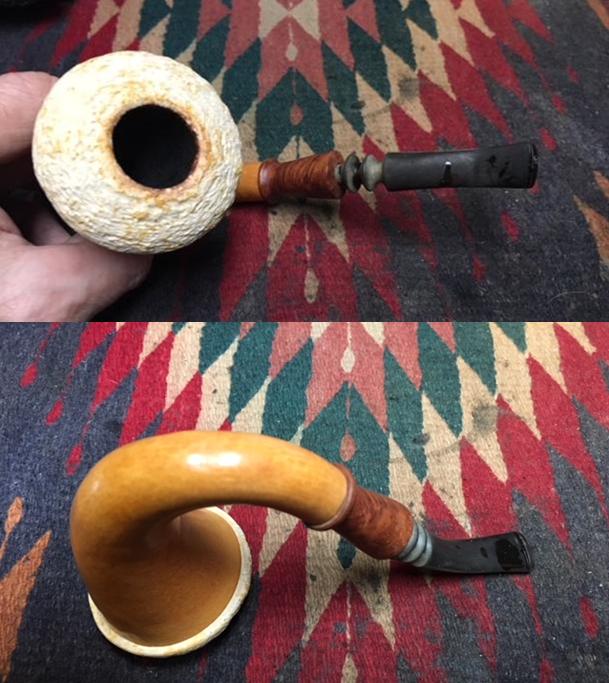
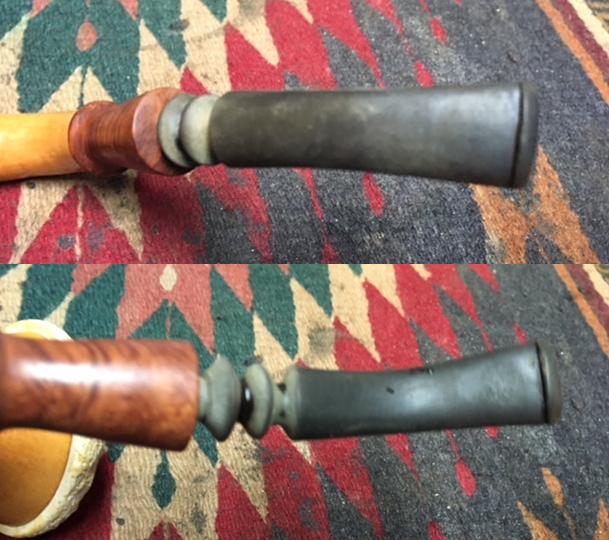
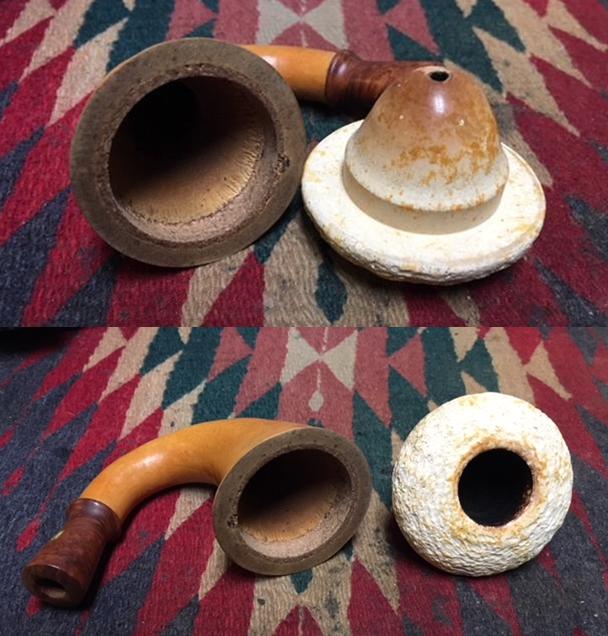
Restoring the second of three Jobey Gourd Calabashes with a Briar Shank Extension


Blog by Steve Laug

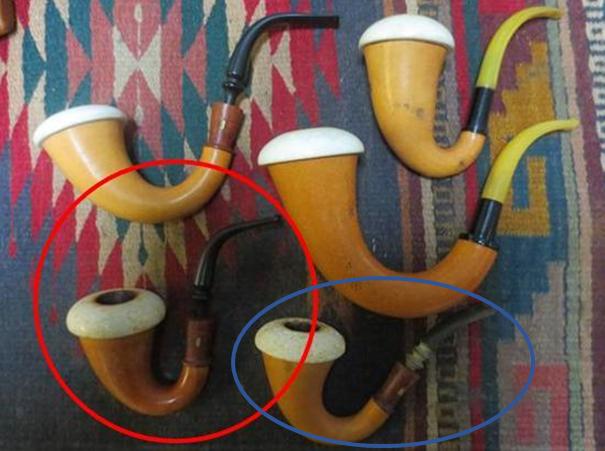
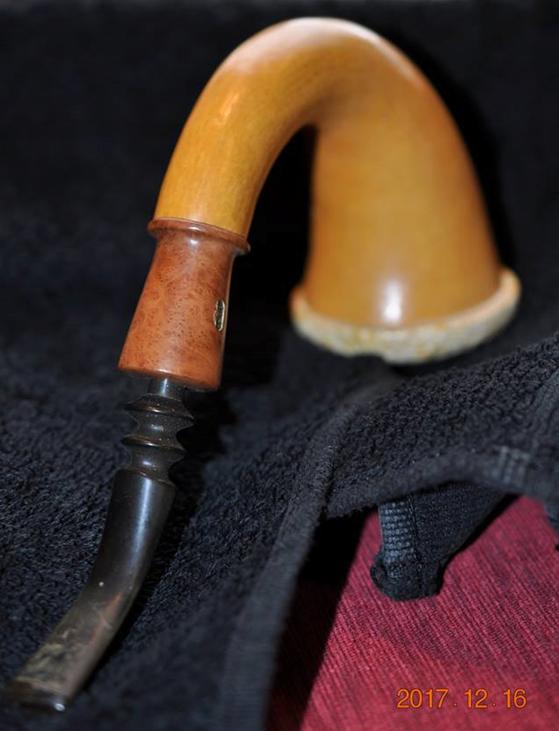
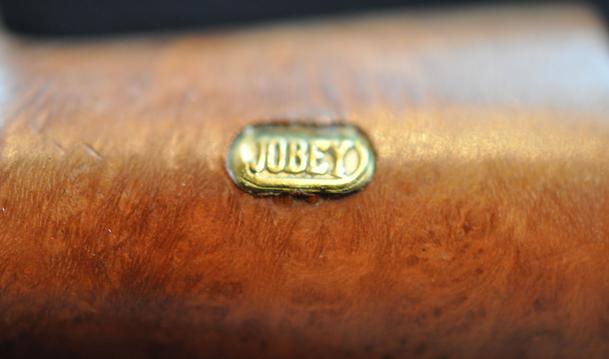
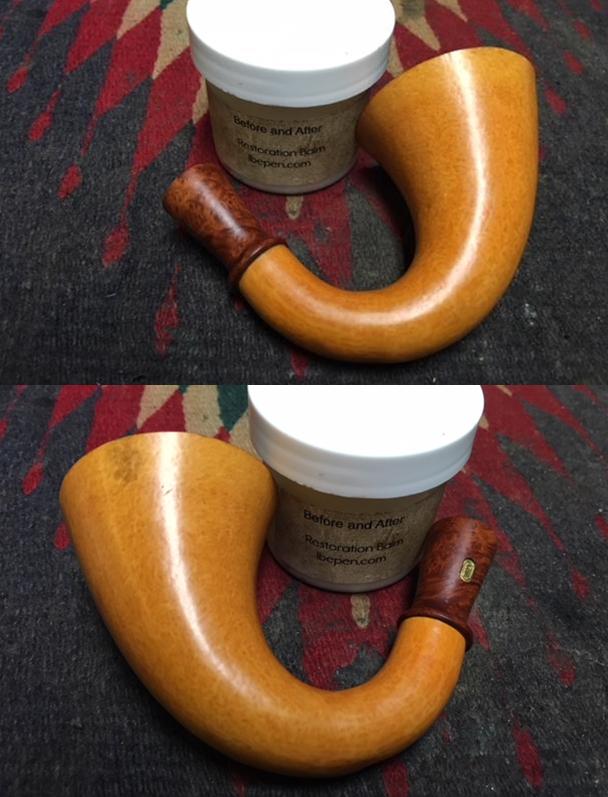
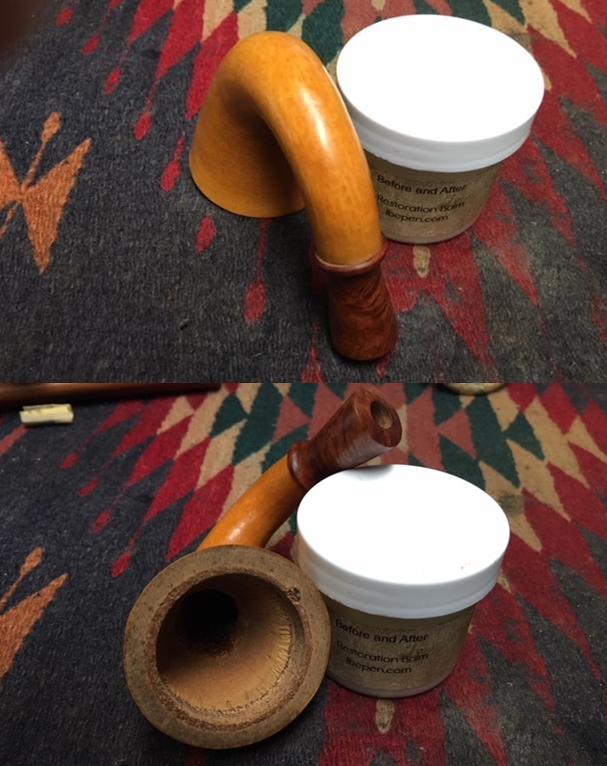
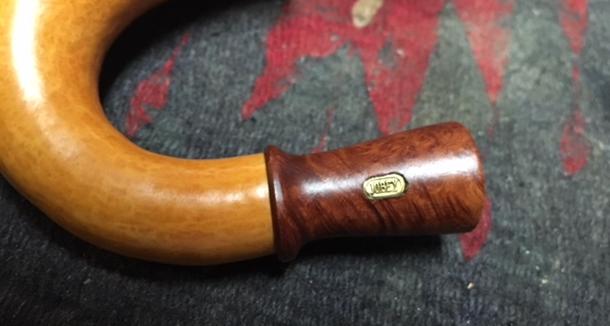
My brother Jeff has really gotten good at finding Gourd Calabash pipes on his recent “treasure” hunts. He picked up this batch recently. I posted about the large calabash in the middle of the right hand column recently and it is available on the rebornpipes store. It is by far the largest of the five calabash pipes that he found. I am working on the second one of these. It is the one on the right side at the bottom circled in blue. It is another unique looking Calabash to me in that it is a nicely shaped gourd with a briar shank extension on the end of the gourd. It bears the Jobey brass oval logo on the side of the briar extension. As I mentioned before, when I first looked these Jobey calabashes I wondered if any of them had the Jobey system tenon that I have come to expect on Jobey pipes. However, this was not the case on any of the three Jobey Gourd Calabashes in the bunch. All of them have the mortise drilled in the briar extension and is made for a push stem. Once again, I had never seen Jobey Gourd Calabashes before learned that they were probably made by Wally Frank. Here is the link to the first of the pipes I worked on – the one circled in red in the photos below:  https://rebornpipes.com/2018/01/09/restoring-a-full-bent-jobey-gourd-calabash-with-a-briar-shank-extension/

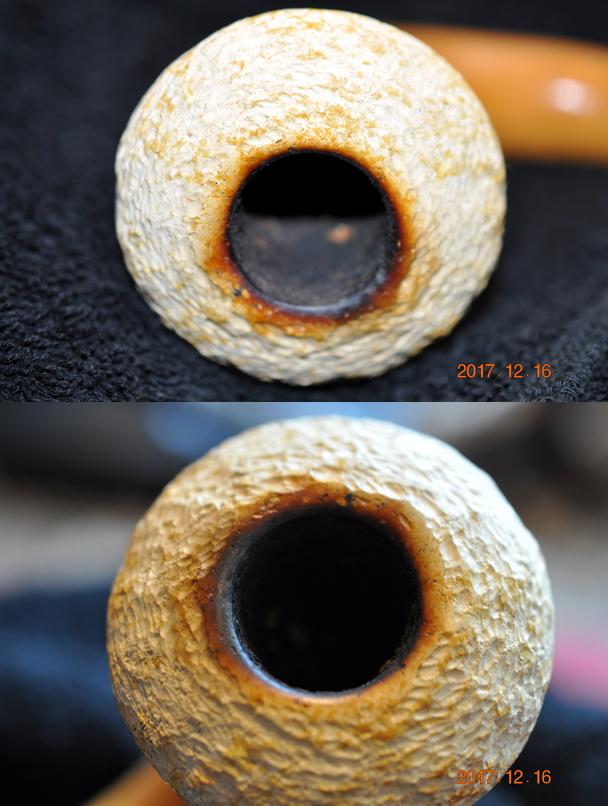
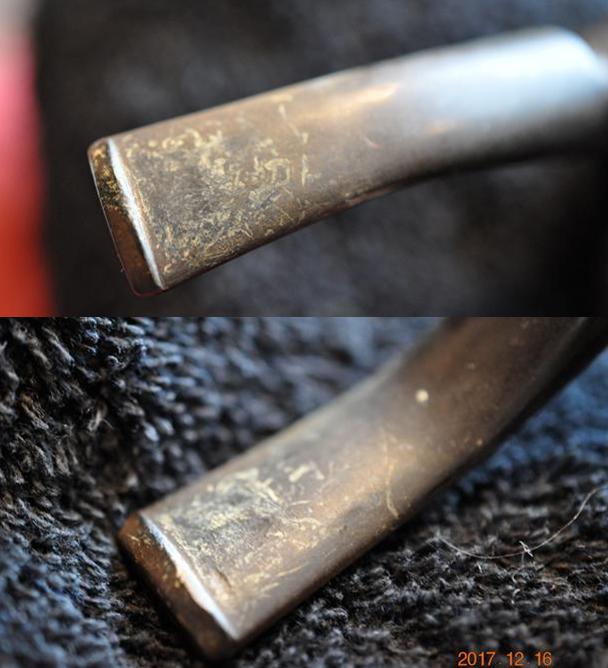
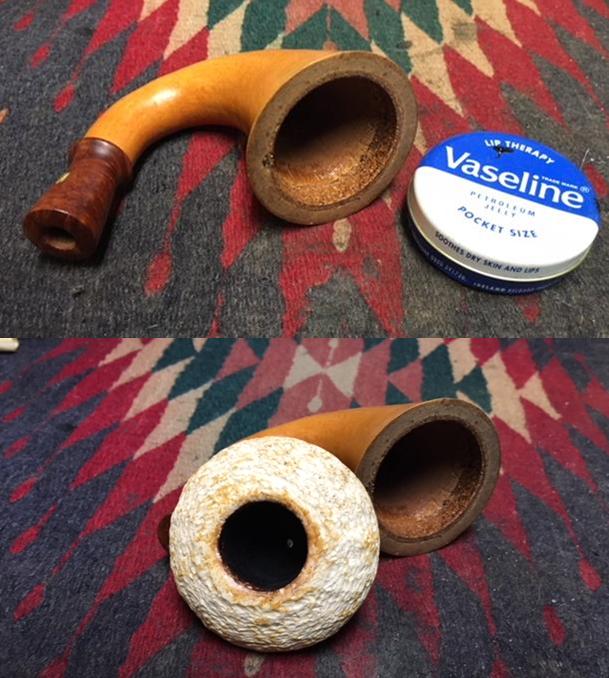
Once again Jeff took some photos of the pipe before he did his cleanup work on it. The photos below show it in the condition he found it in on one of his hunts. The gourd was dull looking and generally dirty. It had spots of sticky label material on the sides of the bowl. The briar shank extension was also dull and lifeless looking and there was a gummy substance in the brass logo on the shank extension. The meerschaum bowl on this pipe was also unique. It is light weight and appeared to be block meerschaum but it is rusticated and has flecks of colour shot throughout the entirety of the bowl. There was a thick cake in the bowl and the rim had a coat of lava that went almost all the way around the inner edge of the chamber onto the rim top. The chair leg style stem was oxidized and dirty. There were tooth marks and tooth chatter on both sides of the stem at the button. The next two photos show the condition of the meerschaum cup. The rim top of the meer was rusticated and there was some lava overflow on the rim top. There is also darkening around the inner edge of the bowl and cake in the bowl.The next two pictures show the condition of the underside of the bowl and the tars and oils on the walls of the gourd. The underside of the meerschaum cup was dirty but in good condition. There were tars and oils spotted on the underside of the bowl. The cork gasket on the inside edges of the gourd was in good condition but dried out. It needed some grease to liven it up.  The briar shank extension was dirty and there was debris around the outside of the oval and in the letters stamped in the brass.The stem had light oxidation and tooth marks and chatter on both sides near the button. It also had the same price tag glue on the top and underside of the stem.Jeff did a thorough cleanup on the meerschaum bowl, the inside of the gourd and the stem. He carefully scraped the cake in the bowl with a Savinelli Fitsall Pipe Knife. He cleaned the internals with alcohol, pipe cleaners and cotton swabs – scrubbing out the mortise as it was dirty. He scrubbed the exterior of the meerschaum cup and the gourd with Murphy’s Oil soap and a tooth brush and was able to remove all of the oils and dust ground into the gourd. He was able to remove all of the lava and overflow from the top of the meerschaum bowl and left it looking very clean. Once he had removed the lava on the rim top and inner edge they were cleaner than I expected. The scratches in the meerschaum were quite shallow and would be easy to polish out. He cleaned internals of the stem with alcohol. When it arrived I took some photos of it to show how it looked before I did the restoration. He did a great job of cleaning up the rim top including the tars and lava. The bowl is clean and smooth with all cake removed. The photo below shows the condition of the bowl and rim at this point.The stem had cleaned up nicely with relatively little oxidation. The tooth marks on the top and underside along with the chatter were still present.I took the stem and put in a bath of Before & After Pipe Stem Deoxidizer. I let it soak while I worked on the rest of the pipe.I took the bowl off the gourd to have a look at the inside of the pipe. The gourd was very clean. The cork gasket was dry but that could be remedied easily enough. The mottled appearance carried through to the inside of the meerschaum bowl and can be seen in the photos.I used my fingers to rub the gourd and briar extension down with Before & After Restoration Balm to bring life to both and to remove any residual dust or dirt in the surface of the calabash. I wiped it off with a cotton cloth and buffed it with a shoe brush. The next few photos show the gourd at this point in the process. I used some Vaseline petroleum jelly to lubricate the cork gasket and soften it. I have done this for years and I really like the effect of the jelly on the cork. I used 1500 grit micromesh sanded off the spots along the surface of the meerschaum cup where it sat against the cork and the top of the gourd to ensure a smooth fit.I checked the pliability of the cork gasket, rubbed a little more Vaseline into it and put the bowl back on the gourd. The fit of the cup against the gasket was snug but not hard to insert. It was perfect. The pipe was beginning to look finished. The shine on the gourd and the rim looked good. The briar extension had its own shine as well. I took the stem out of the bath, rinsed it off with warm water and dried it off with a coarse cotton towel to dry it and remove the remaining oxidation. The tooth chatter on both sides of the stem at the button is visible. The oxidation is gone other than some small amounts in the grooves of the stem.I sanded the stem with 220 grit sandpaper to remove the tooth chatter on the top and underside near the button. I sanded the rest of the stem to remove the remaining oxidation. I rolled the sandpaper to fit into the chair leg grooves on the stem and worked over the oxidation there until it was gone. I rubbed the stem down with Obsidian Oil at this point and let it sit for a little while.I cleaned out the airway in the stem with pipe cleaners and alcohol to remove any residual bath and also the sanding dust from the work on the stem surface and tooth chatter.I polished the vulcanite stem with micromesh sanding pads – wet sanding with 1500-2400 grit pads and dry sanding with 3200-12000 grit pads. I rubbed the stem down with Obsidian Oil between each sanding pad. After using the 12000 grit pad I buffed the stem with Blue Diamond to give a deep and rich shine. I polished the stem with Before & After Pipe Polish using both the fine and the extra fine product. I gave it a final coat of Obsidian Oil and set it aside to dry. Normally at this point I put the stem back on the bowl and take the pipe to the buffing wheel to work it over. This time I took the parts to the buffing wheel. I gently buffed the meerschaum cup and rim with Blue Diamond to lightly polish the meer. I carefully buffed the gourd base and briar shank extension with Blue Diamond being cautious about the pressure I put on the gourd. I buffed the stem with Blue Diamond to raise the gloss on the vulcanite. I took the pipe back to the work table and gave the gourd multiple coats of Conservator’s Wax. I gave the stem several coats carnauba wax. I buffed the parts of the pipe with a clean buffing pad to raise the shine. I hand buffed it with a microfiber cloth to deepen the shine. The finished pipe is shown in the photos below. Mark is adding this one to his uncle’s pipes when I send it back to him. It is a beautiful pipe. I think that he is going to really enjoy the unique look of his new pipe. Thanks for looking.

Back for a New Stem – Big Ben Nautic 252 Take Two


Blog by Steve Laug

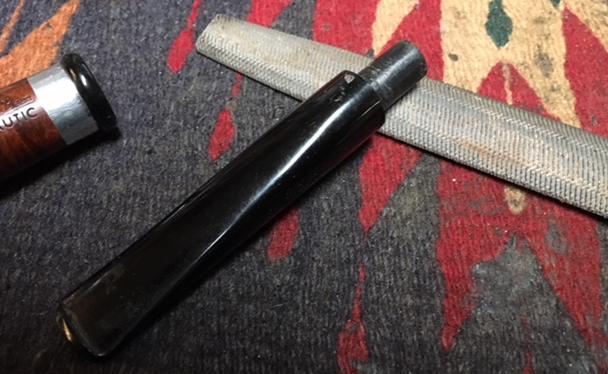
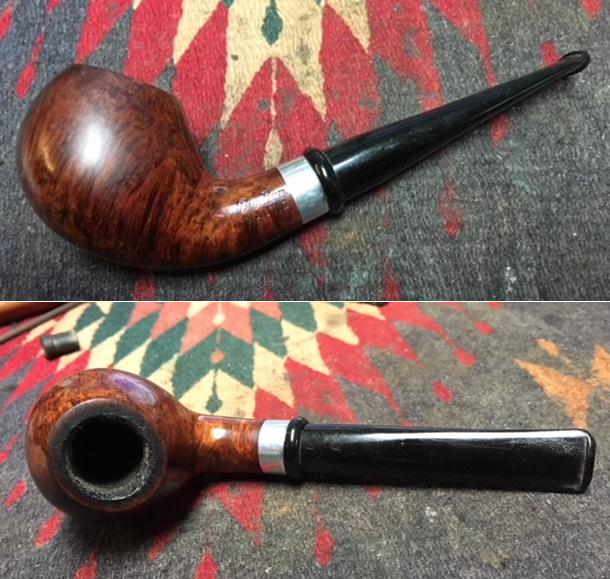
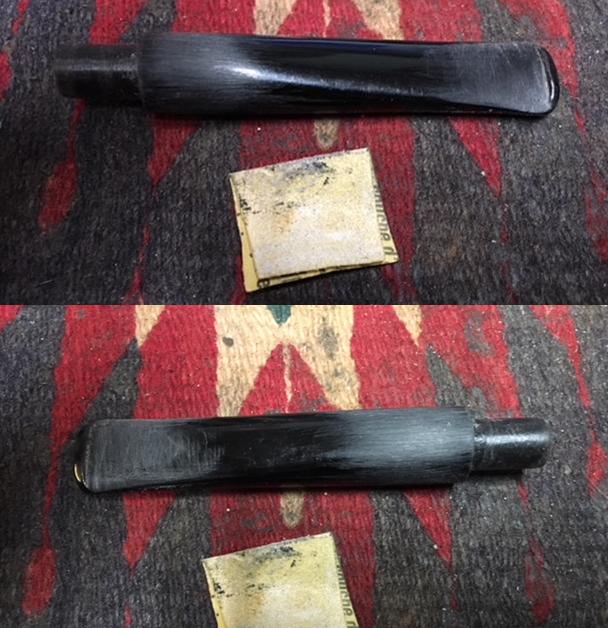
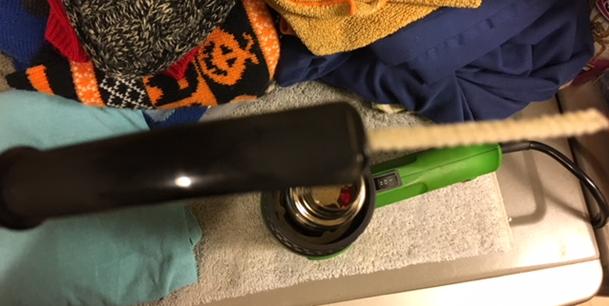
It was not too long ago that I repaired a stem for a fellow here in Vancouver. It was a Big Ben Nautic apple and it came to me looking like it had never been cleaned. I repaired the stem and suggested that the pipeman use a Softee bit to protect his stem from his incessant chomping. I even went so far as to put the rubber protector on the bit for him. It lasted may be a month and it is back for a restem. Here is the previous blog on the stem repair on this pipe. It was a lot of work to get it back to workable. https://rebornpipes.com/2017/12/22/restoring-repairing-a-damaged-stem-on-a-big-ben-nautic-252/. I have included before and after pictures from the previous blog to show what the pipe looked like when I started and when he picked it up. The pipeman and I were both very happy with the look of the pipe with the repaired stem and we were hoping that the warning and the rubber Softee bit would extend its life for a while. I had finished replacing the stem on his second pipe and I called him to come and pick it up and during the conversation he told me that he had chomped through the repair already – not even a month had passed and it was back to its original state. He dropped it off when he came to pick up his other pipe. It had not only broken but the bowl was already caking heavily. The shank and stem were filling up with tars once again and the rim top had darkened and was beginning to have a lava coat on it. We talked and decided it was time to make a new stem for this one. I reminded him that I could not do anything with the metal on the stem as it was unmovable at this point in its life. He was good with that and wanted his pipe workable. We were good to go. I went through my can of stems and found a likely candidate. It was acrylic and was a filter stem just like the one it would replace. It was a little longer but I think that it would work and look good. In the photo below you can see the two stems. Notice the chomped original stem.The tenon was slightly thicker in circumference than the original so I used a Dremel and sanding drum to take it down to the right size. The Dremel will not reach the end of the tenon as the stem so I used a rasp and needle file to clean it up. It did not take too much work to bring it down to size. I cleaned it up with 220 grit sandpaper and polished it with 1500-2400 grit micromesh sanding pads. I put it in the shank to check the fit and I was pleased with how it fit. I took photos of the stem in place on the pipe. It still needed to be bent but it would work nicely. The stem was not new – it was one of my scavenged stems so it had some tooth chatter on the surface on both sides near the button. It also had slight remnants of a logo on the top side that needed to be smoothed out. I sanded out the chatter and the remnants of the logo with 220 grit sandpaper.It is a rainy night in Vancouver so I did not want to do the stem bending out on the porch so I set up my heat gun on the top of the dryer. I put a pipe cleaner in the airway of the stem to protect the airway when I bent it. I did not want any kinks or collapsed areas in the stem. I heated it until the acrylic was pliable and bent it to the angle that I thought would look good on the stem. I set the bend with running water. I put the stem in the shank and took photos of the new look. I wanted to check out the bend and make sure it was sufficient. I smoothed out more of the areas around the button and the shank/stem junction with 220 grit sandpaper and then polished the stem with micromesh sanding pads. I wet sanded it with 1500-2400 grit pads and wiped it down with a damp cotton pad and dry sanded it with 3200-12000 grit pads and wiped it down after each pad with the damp cotton pad. With the stem polished I put it back on the pipe and buffed the entire pipe with Blue Diamond polish on the buffing wheel. I gave the entire pipe several coats of carnauba wax and buffed it with a clean buffing pad to raise the shine. I hand buffed it with a microfibre cloth to raise the shine. The new stem looked good to me and the bend was just right. The bowl polished up pretty nicely. I left the rim top pretty much as it was when it came to me this time. I wiped it down a bit with a cotton pad to clean off the tars but the darkening was left behind. The finished pipe is shown in the photos below. I will be calling the pipeman to pick it up this weekend. Thanks for looking.

Restoring a Beautiful ‘The Doodler” Bullmoose


Blog by Steve Laug

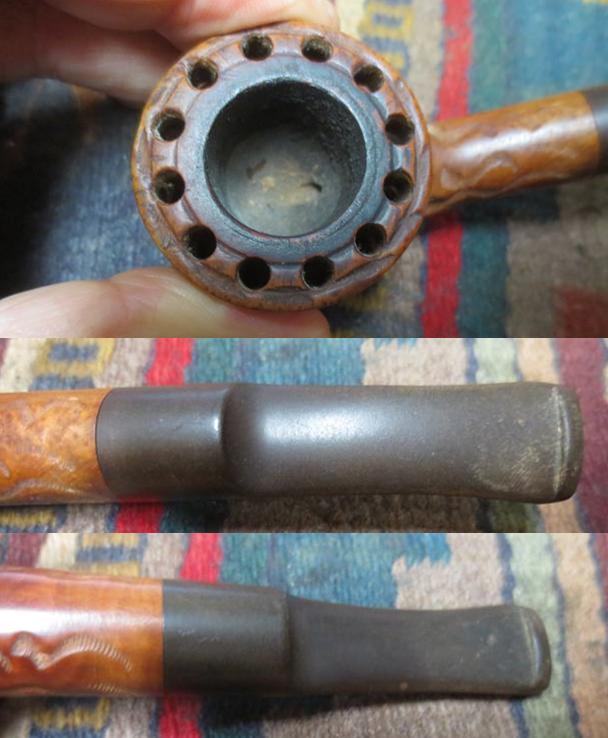
This blog is about the restoration of the second pipe from the lot of seven that a reader sent to me that had belonged to his uncle. He said that the pipes were in good condition in terms of the bowls (though in looking at them they were in need of a good cleaning). The finishes were in decent shape – just dirty. He said that the stems all had issues and he was right with that. Some were worn with tooth marks on the stem on both the top and underside at the button. Some had been chewed off. All were oxidized to varying degrees. He sent me the following photos of the pipes for me to have a look at and we talked back and forth via email. About a week ago or so they arrived here in Canada. He had done an amazing job packing the lot. Each one was packaged in its own baggy with the stem separated for shipping. They were nicely wrapped in bubble wrap and boxed with the return mailing address inside! Very nicely done package. I opened the box and unpacked each pipe. I went over them carefully to assess what was needed in terms of repair. I chose to work on “The Doodler” Bullmoose shaped pipe which is the sixth pipe down from the top of the first photo and on the second pipe in from the right side of the second photo. It is an interesting pipe. The Doodler was originally designed by Tracy Mincer of Custom-Bilt fame as a very cool smoking pipe. It combined the thick rustic shape of the Custom-Bilt with some unusual features. The rim has a series of vertical holes drilled down the sides of the bowl and around the rim top there is a groove. These both work together to provide a very cool smoke. Add to that the thick briar bowl and you have the promise of a cool smoking pipe.

I am including a piece of information from Pipedia about the Doodler. What I found confirms the information that I remembered. I quote in full. “After his loss of the Custom-Bilt name in 1953, Tracy Mincer’s next production pipe was The Doodler. The pipe was turned for Mincer by the National Briar Pipe Co. beginning in the early 1950’s, and that company eventually purchased the pipe design in approximately 1960. After that time Mincer’s former partner Claude Stewart began making a line of pipes called the Holeysmoke which were largely identical to the Doodler pipes, and National Briar continued to produce the Doodler. The pipe’s design centers around a series of vertically drilled holes in a ring around the combustion chamber, meant to provide airflow and a cooler smoke.” https://pipedia.org/wiki/The_Doodler

I checked the other site I turn to – Pipephil’s Pipes, Logos and Stampings to see if any additional information could be learned on the brand. It confirms the information I already had and gives some solid dates for the pipe. I quote: Tracy Mincer who founded the Custom-Bilt brand is the inventor of the famous Doodler pipe. All the pipes of this brand have vertical air shafts around the bowl crossed by horizontal rings cut into the bowl. These characteristics are supposed to increase the cooling area of the briar. After Mincer’s death in 1964 his company was sold to National Briar Pipe Co. which continued to make The Doodler until the early 1980s. During the same time Claude Stuart who worked with Mincer continued on his side to produce pipes of this type under his Holeysmoke label. http://www.pipephil.eu/logos/en/logo-t4.html#thedoodler

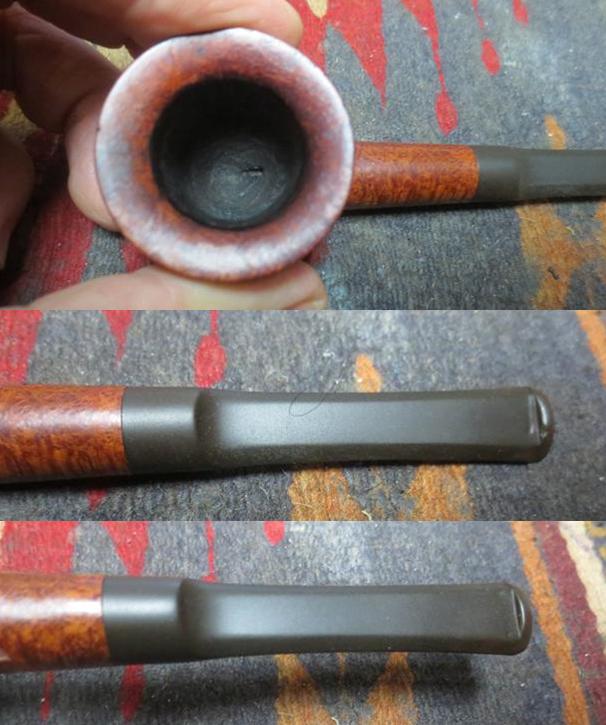
The bowl had a light cake in it. The rim top had an overflow of lava on the inner ring of the top that had overflowed from the bowl. The left side of the shank was stamped “The Doodler” in Germanic script and often folks read it as “The Boodler”. Underneath that it is stamped Imported Briar. The rustication on the bowl was quite dirty and there was dust and debris in the deep grooves and the ring around the top of the bowl. The stem had light tooth marks and tooth chatter on the both the top and underside near the button. The stem surface was oxidized. I took the following photos before I started to clean up the pipe. I took a close up photo of the rim top to show the lava build up and the light cake in the bowl. The previous pipeman kept the pipe relatively clean in terms of the cake. It appeared that the bowl had been reamed not too long ago. There were some remnants of the cake in the bowl. I took some close up photos of the stem to show the condition of both sides.This was the second of the four pipes that I chose to work on first and put the stems in the Before & After Pipe Stem Deoxidizer. I pushed them under the solution and left them to soak overnight.While the stems were all soaking I turned my attention to the bowl. I scrubbed the grooves and rustication on the surface of the briar with Murphy’s Oil Soap to clean off the dust and grime that sat on the surface. I scrubbed the surface with a tooth brush and rinsed it off with running water. I dried the bowl and shank off with a soft cotton towel. I took photos of the cleaned Doodler bowl. It actually looked really good. The rim top still needed work but it looked better. I cleaned up the inside of the bowl to remove the remaining bits of cake on the walls and the bottom of the bowl with a Savinelli Fitsall Pipe Knife.I used a folded piece of 220 grit sandpaper to sand off the remaining thick lava on the rim top and the damaged areas as well. I worked on it to smooth out the surface and then polished it with 1500-4000 grit micromesh sanding pads. I cleaned up the inner edge of the rim with a folded piece of sandpaper and removed the damaged areas there as well.I worked some Before & After Restoration Balm into the surface of the briar with my finger tips to deep clean the finish, enliven and protect the wood. I used a cotton swab to work the balm into the grooves in the rustication, the ring below the bowl top and into all the drilled holes on the rim top and down the sides of the bowl. I let it sit for a few minutes and then buffed it with a cotton cloth. The wood came alive and the grain had begun to show through at this point and there was a rich shine to the briar. I took some photos of the bowl at this point to mark the progress in the restoration. I set the bowl aside and called it a night. The bowl was ready other than touching up the cleaning of the shank. In the morning I removed the stem from the Before & After Stem Deoxidizer and wiped it off with a paper towel to remove the remaining oxidation and bath. I cleaned out the airway with pipe cleaners and alcohol until it was clean. I cleaned out the shank with alcohol, pipe cleaners and cotton swabs at the same time to remove any debris that remained inside. The stem was clean and there was still some oxidation on the surface with some scratching, tooth chatter and marks. It was ready to be sanded and polished. I sanded the stem to remove the scratching and tooth chatter. I heated the stem with a Bic lighter to lift the light tooth marks. The heat smoothed out the surface enough that I was able to sand out the rest of the remnants of the marks.I worked over the stem with micromesh sanding pads. I polished out the sanding scratches and marks in the vulcanite – wet sanding it with 1500-2400 grit pads and dry sanding it with 3200-12000 grit pads and wiped it down with Obsidian Oil after each one. When I finished with the 12000 grit pad I gave it a final coat of oil and let it dry. Once it had dried, I polished it with Before & After Pipe Stem Polish Fine and Extra Fine. I rubbed it down with final coat Obsidian Oil and took the following pictures. I put the stem back on the bowl and took the pipe to the buffing wheel to work it over. I buffed the bowl and stem with Blue Diamond to polish them. I gave the bowl and stem multiple coats of carnauba wax. I buffed the entire pipe with a clean buffing pad to raise the shine. I hand buffed it with a microfiber cloth to deepen the shine. The finished pipe is shown in the photos below. The briar has a shine and a rich glow to it and the vulcanite stem came out quite nice with a deep shine. The pipe came out really well. Now I have five more of the uncle’s pipes to finish up and then these will be heading back to the US. Thanks for looking.
Cleaning and restoring a Ropp Cherrywood De Luxe 805


Blog by Steve Laug

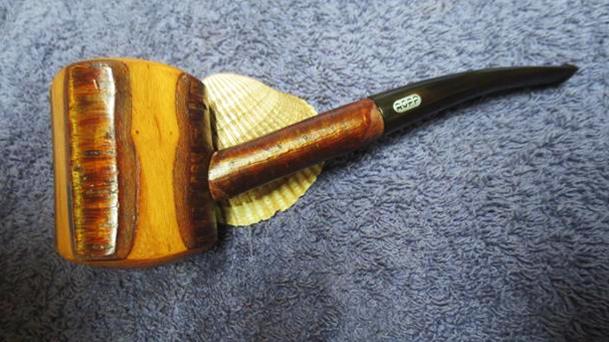
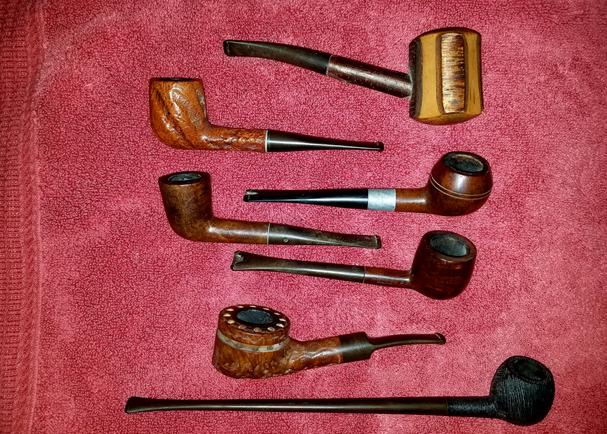
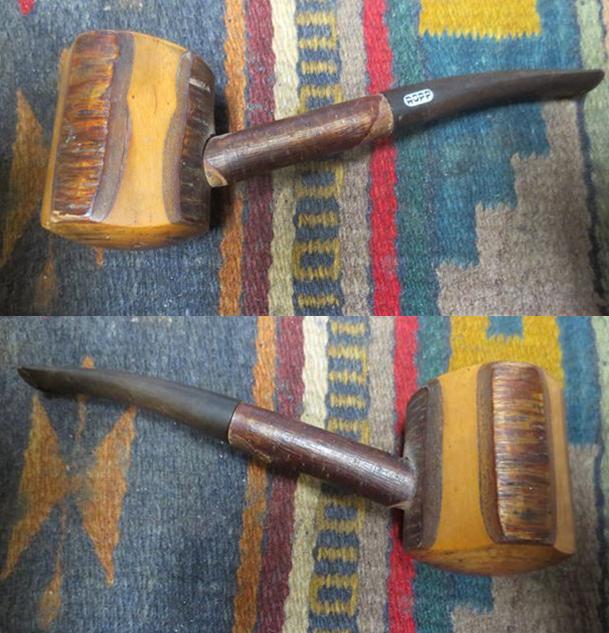
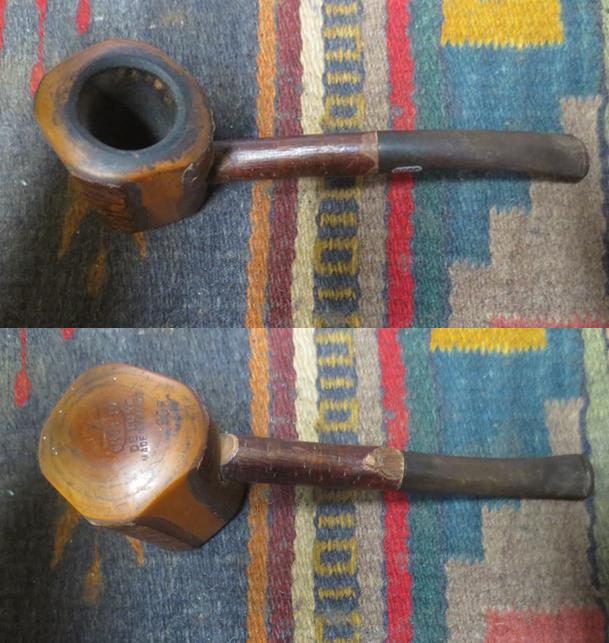
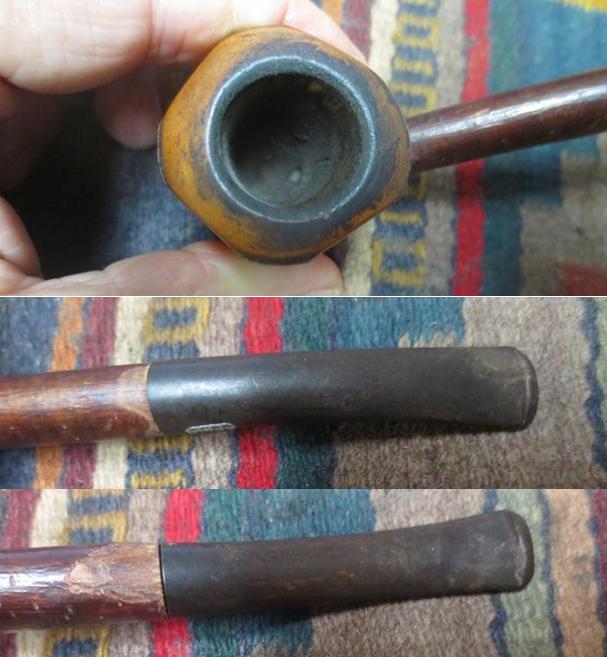
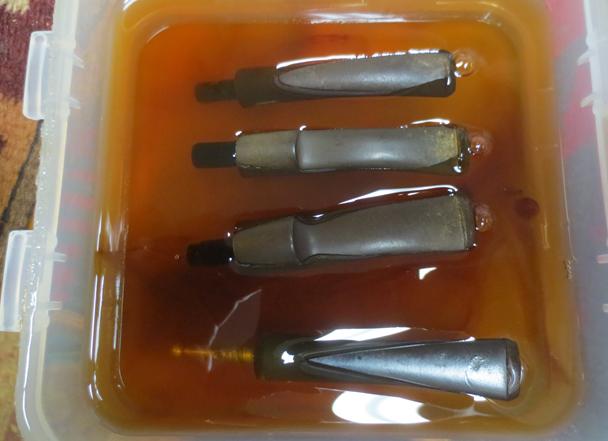
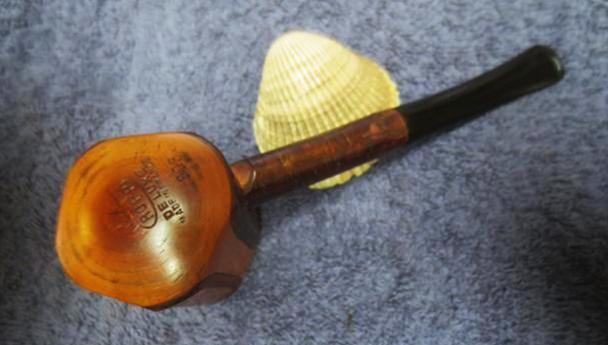
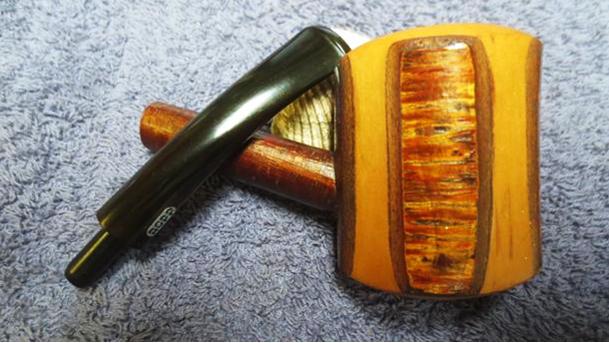
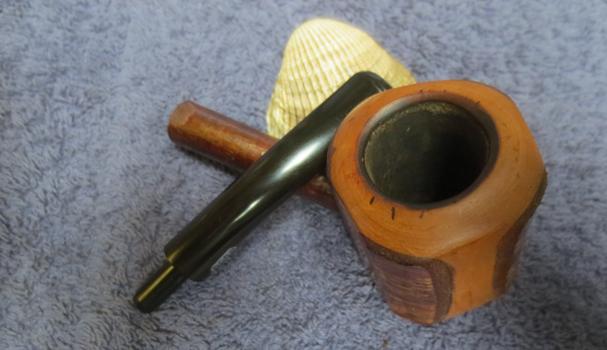
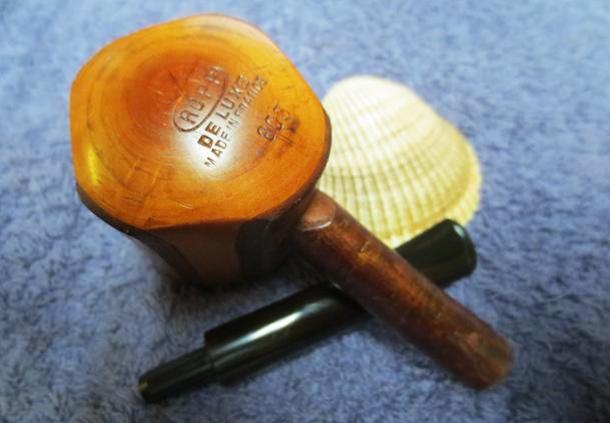
Not long ago I got an email from Mark, who had been reading the rebornpipes blog. He said that he had seven pipes that had belonged to his uncle that he was wondering if I would be interested in restoring. He said that the pipe were in good condition in terms of the bowls (though in looking at them they were in need of a good cleaning). The finishes were in decent shape – just dirty. He said that the stems all had issues and he was right with that. Some were worn with tooth marks on the stem on both the top and underside at the button. Some had been chewed off. All were oxidized to varying degrees. He sent me the following photos of the pipes for me to have a look at and we talked back and forth via email. About a week ago or so they arrived here in Canada. He had done an amazing job packing the lot. Each one was packaged in its own baggy with the stem separated for shipping. They were nicely wrapped in bubble wrap and boxed with the return mailing address inside! Very nicely done package. I opened the box and unpacked each pipe. I went over them carefully to assess what was needed in terms of repair. I chose to work on the Cherrywood pipe at the top of the first photo and on the far left of the second photo. It is a nice looking Cherrywood pipe with panels. The high points on the bowl all had bark on them with stripes without the bark. The shank also had bark on it. The bowl had a light cake in it. The rim top had a thick overflow of lava on it that had overflow from the bowl. There were also some light nicks in the rim top. The underside of the bowl was dirty but it was stamped ROPP over De Luxe over Made in France. Underneath that what the shape number 805. The stem had tooth marks and tooth chatter on the top side of the stem with some deep marks on the underside. The stem surface was oxidized. It had the ROPP oval on the left side of the stem. I took the following photos before I started to clean up the pipe. I took a close up of the rim top to show the lava build up and the cake in the bowl. It appeared that the bowl had been reamed before I received it but there were some remnants of the cake in the bowl. I took some close up photos of the stem to show the condition of both sides.I chose four of the pipes to work on first and put the stems in the Before & After Pipe Stem Deoxidizer. I pushed them under the solution and left them to soak overnight.While the stems were all soaking I turned my attention to the bowl. I scrubbed the surface of the Cherrywood with Murphy’s Oil Soap to clean off the dust and grime that sat on the surface. There were also some paint flecks that needed to be addressed as well. I scrubbed the surface with a tooth brush and rinsed it off with running water. I dried the bowl and shank off with a soft cotton towel to make sure I did not damage the bark. I took photos of the cleaned Cherrywood bowl. It actually looked really good. The rim top still needed work but it looked better. I cleaned up the inside of the bowl to remove the remaining bits of cake on the walls and the bottom of the bowl with a Savinelli Fitsall Pipe Knife.I used a folded piece of 220 grit sandpaper to sand off the remaining thick lava on the rim top and the damaged areas as well. I worked on it to smooth out the surface and then polished it with 1500-4000 grit micromesh sanding pads. I cleaned up the inner edge of the rim with a folded piece of sandpaper and removed the damaged areas there as well.I worked some Before & After Restoration Balm into the surface of the Cherrywood and the bark with my finger tips to deep clean the finish, enliven and protect the wood. I let it sit for a few minutes and then buffed it with a cotton cloth. The wood came alive and really had begun to show through at this point and there was a rich shine to the bark as well. I took some photos of the bowl at this point to mark the progress in the restoration. I set the bowl aside and called it a night. The bowl was ready other than touching up the cleaning of the shank. In the morning. In the morning I removed the stem from the Before & After Stem Deoxidizer and wiped it off with a paper towel to remove the remaining oxidation and bath. I cleaned out the airway with pipe cleaners and alcohol until it was clean. I cleaned out the shank with alcohol, pipe cleaners and cotton swabs at the same time  to remove any debris that remained inside. The stamping on the stem looked good. The stem was clean and black with the scratching, tooth marks and an odd red tint in the vulcanite visible on the left side. It was ready for repairs to the tooth marks and polishing. I lightly sanded the stem to remove the scratching and tooth chatter. I heated the stem with a Bic lighter to lift some of the tooth marks. Once that was done I built up the edge of the button on the underside and filled in the two remaining tooth marks on the underside of the stem with clear super glue. Once the repair had dried I sanded the repaired areas with 220 grit sandpaper to blend them into the surface of the stem. I sanded the rest of the stem as well working on getting rid of the red tint on the left side. I worked over the stem with micromesh sanding pads. I polished out the sanding scratches and marks in the vulcanite – wet sanding it with 1500-2400 grit pads and dry sanding it with 3200-12000 grit pads and wiped it down with Obsidian Oil after each one. When I finished with the 12000 grit pad I gave it a final coat of oil and let it dry. Once it had dried, I polished it with Before & After Pipe Stem Polish Fine and Extra Fine. I rubbed it down with final coat Obsidian Oil and took the following picture. I put the stem back on the bowl and took the pipe to the buffing wheel to work it over. I carefully buffed the bowl and shank with Blue Diamond. I did not want to damage the bark on the bowl or shank so I used a very light touch. I worked on the stem with Blue Diamond to polish it. I gave the bowl multiple coats of Conservator’s Wax and hand buffed it with a shoe brush. I gave the stem multiple coats carnauba wax. I buffed the entire pipe with a clean buffing pad to raise the shine. I hand buffed it with a microfiber cloth to deepen the shine. The finished pipe is shown in the photos below. The bark now has a rich glow to it and the peeled areas of the Cherrywood bowl look rich as well. The shank looks good. The hard rubber/vulcanite stem came out quite nice with a shine to the ROPP oval on the left side. The pipe came out really well. Now I have six more of the uncle’s pipes to finish up and then I will pack these back in their well packed box and send them back to the US to carry on life for the nephew of the pipe man who left them to him. Thanks for looking.


Restoring a Newer Cadogan Era GBD Marquis 411 Pot


Blog by Steve Laug

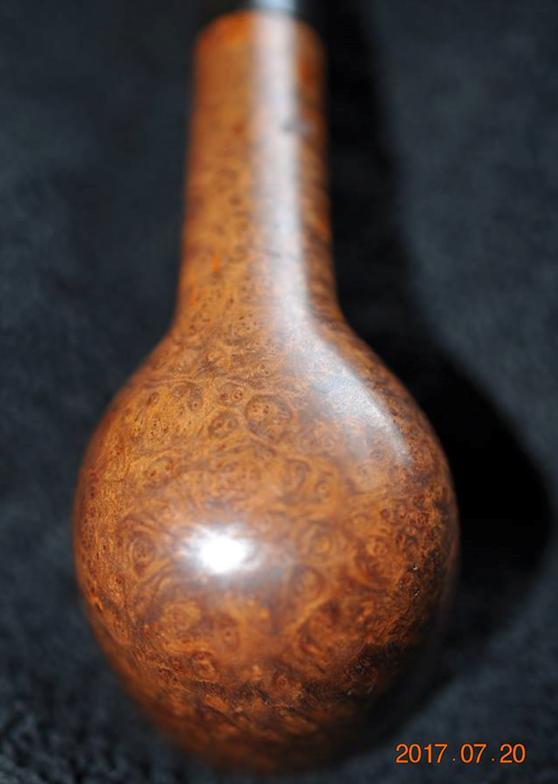
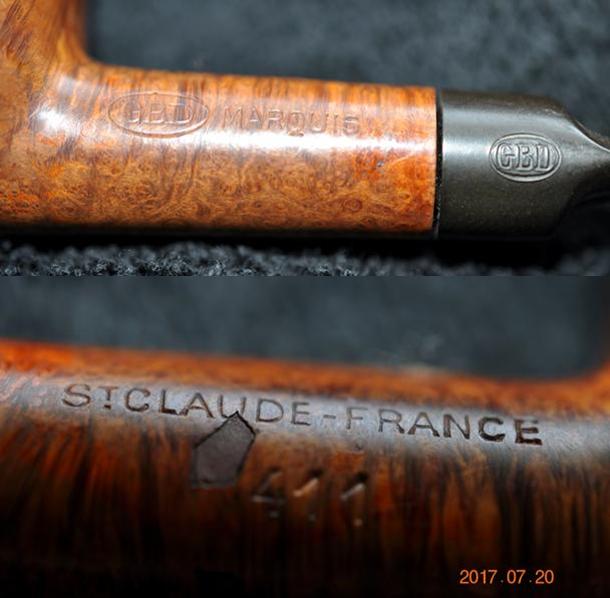
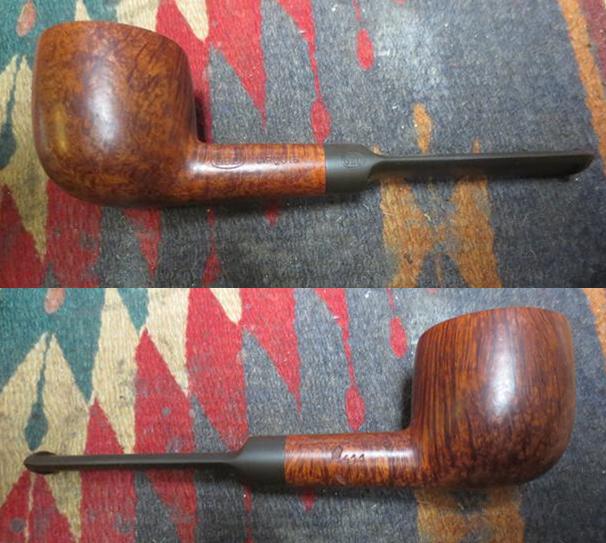
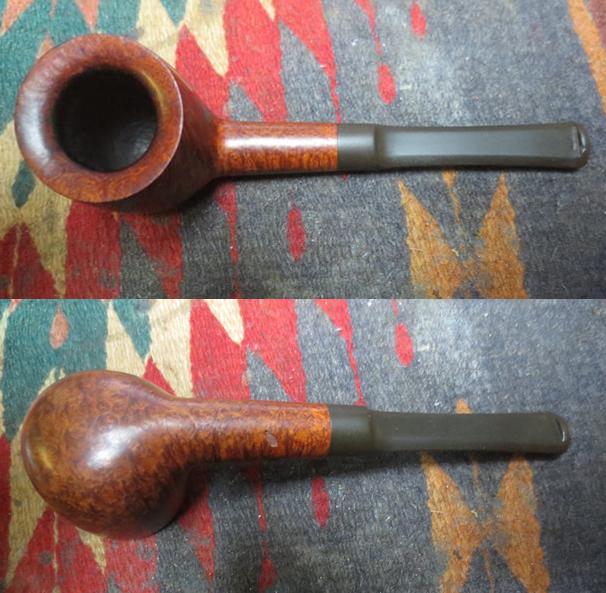
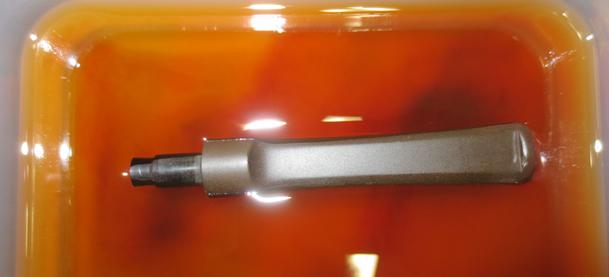
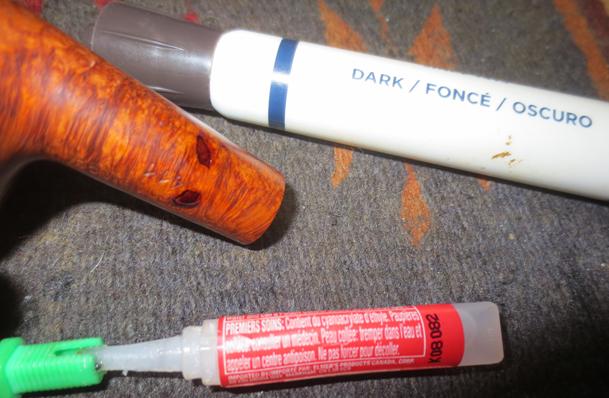
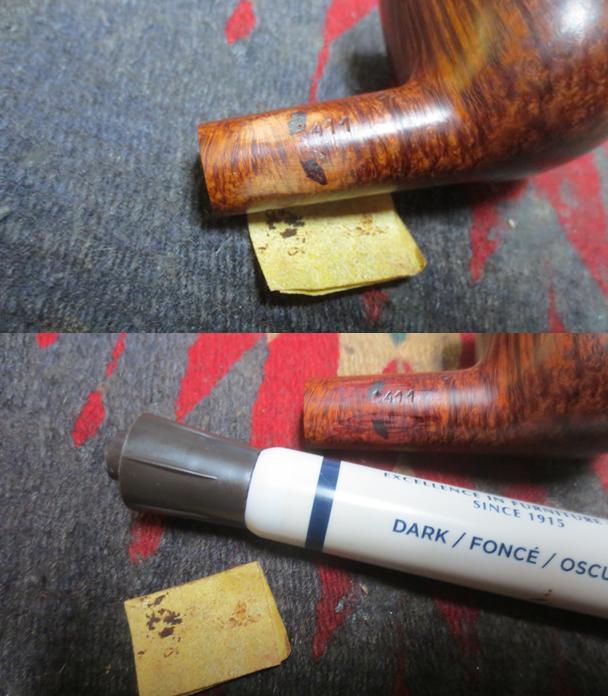
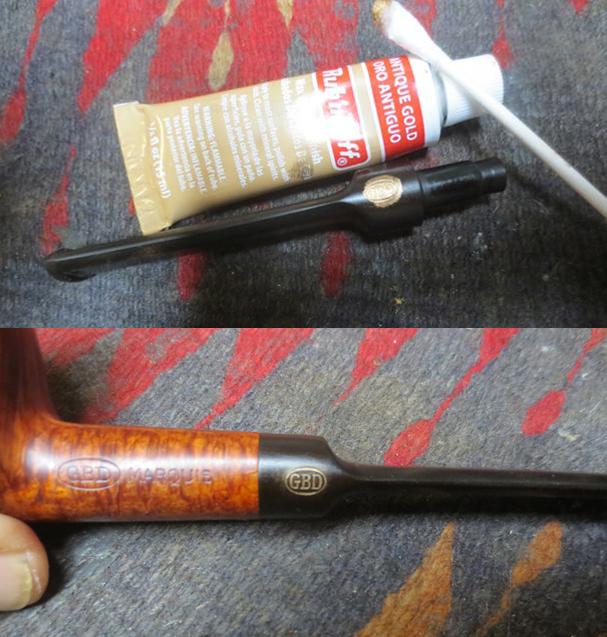
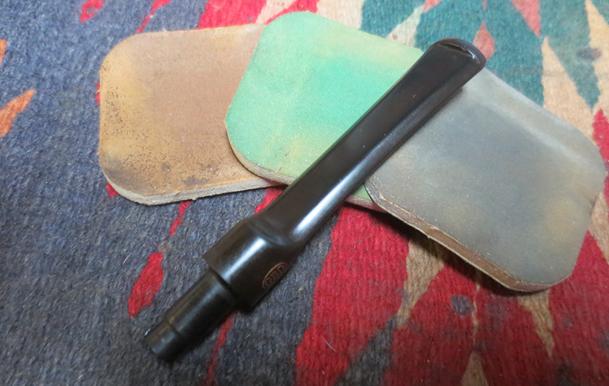
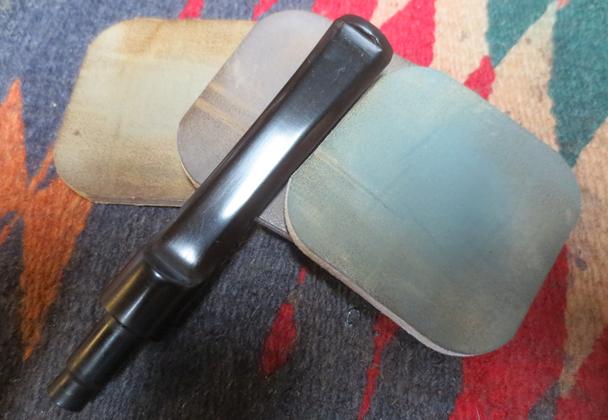
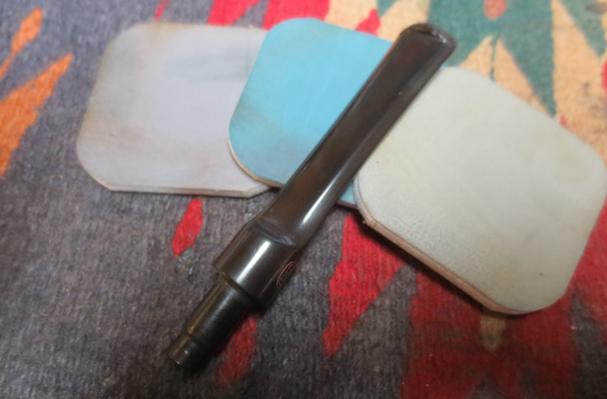
This GBD Marquis is the last of the local pipe shop pipes that I will work on for a bit. It came from the estate of the same older gentleman whose wife returned them to the shop for restoration and resale. This is a smooth finished GBD. The briar has some beautiful straight, flame and birdseye grain around the bowl. On the right side of the shank are two putty fills that have shrunk and left rough spots around the number stamp. It is stamped on the left side of the shank with the GBD oval logo next to the line stamp – Marquis. On the right side it is stamped St. Claude – France over the shape number 411. From the lack of a brass rondel on the stem and the GBD logo stamped on the left side of the saddle instead I am putting this pipe in the Cadogan era of the brand. The stem is original but is a stamped stem blank with none of the original GBD Charm. It is a pretty good looking pipe even though it is dirty. I included this little GBD pot in the box of pipes that I sent off to my brother for cleaning. This is the fourth pipe that I have brought to the work table from the lot of about 50 to rework. I can only repeat how thankful I am for his willingness to clean and ream the pipes for me. It really has allowed me to move through the repairs much more quickly. When he received the pipe he took a series of photos of it to show its condition. He took a close up photo of the beveled rim top showing the thick cake and the overflow of lava onto the top of the bowl. The lava pretty well hid the beveled rim top from view. The cake is very thick and hard. Like the rest of the pipes in this estate the cake made the bowl appear to be quite small and in this condition would hold very little tobacco. The photo of the underside of the bowl and shank shows the beautiful birdseye grain. The next photos show the stamping on the left and the right side of the shank. It is clear and readable. The GBD Oval stamped logo on the side of the stem is in very good condition.The next photo shows the two shrunken fills on the right side of the shank and on the underside edge. Other than those two the pipe is flawless.Jeff took a close up of the GBD oval logo stamped on the side of the saddle stem. It is great shape. The stem itself has some wear and tear with tooth chatter, tooth marks and oxidation but it should clean up well.Jeff cleaned the pipe up very well. He reamed the bowl with a PipNet Reamer and a Savinelli Fitsall Pipe Knife. He cleaned the mortise and the airway in the stem and shank with alcohol, pipe cleaners and cotton swabs. He scrubbed the exterior with Murphy’s Oil Soap to remove the grime and dust of time. When I received the pipe it was very clean. I took photos of it to record what it looked like before I started my work.   Jeff removed the thick hard cake and the lava buildup on the rim top and revealed a deep inward bevel to the rim. The inner and outer edges of the rim were in good condition. The top surface of the rim had some minor darkening and a few small nicks but otherwise looked very good. The vulcanite stem looked far better than when Jeff started the cleanup. There were a lot of scratches on the surface and a few tooth marks on both the top and underside if the stem. The GBD oval logo was undamaged.The stem still had some remaining oxidation in the vulcanite so I dropped it into the Before & Stem Deoxidizer bath and let it soak overnight. The photo below shows the stem before I pushed it into the bath.While the stem soaked I turned my attention to the bowl. I cleaned up the fills on the right side of the shank. I used a dark stain pen to try to blend them into the briar a little better (ineffective by the way). I filled in the dips in the fills with a few drops of clear super glue. I made sure to overfill the repairs as the glue shrinks as it dries. Once it cured I used a fold piece of sandpaper to sand the spots and blend them into the surrounding briar without damaging the stamping. That was a bit tricky because of the location of the fills. When I had the area smooth I used 1500-4000 grit micromesh sanding pads to polish those areas. I used a dark brown stain pen to blend the repaired areas into the surrounding stain. I hand buffed the shank to further blend the stain. I worked some Before & After Restoration Balm into the surface of the briar with my finger tips to deep clean the smooth finish, enliven and protect the briar. I let it sit for a few minutes and then buffed it with a cotton cloth. The grain of the briar really had begun to show through at this point and there was a rich shine to the briar. I took some photos of the bowl at this point to mark the progress in the restoration. I set the bowl aside and called it a night. In the morning I removed the stem from the Before & After Stem Deoxidizer and wiped it off with a paper towel to remove the remaining oxidation and bath. I cleaned out the airway with pipe cleaners and alcohol until it was clean. The stamping on the stem looked good. The stem was clean and black with the tooth marks very visible. It was ready for repairs to the tooth marks and polishing.I filled in the tooth marks with clear super glue on both sides of the stem and set it aside to allow the repairs to cure. When the repairs had dried I sanded them smooth and blended them into the surface of the stem. I reshaped the button on both sides of the stem with a needle file and sanded the stem down 220 grit sandpaper. The surface of the stem on both sides looks good. The tooth marks are gone and the surface is smooth. I carefully polished the saddle portion of the stem being careful to not damage the GBD oval stamping. Once the saddle portion was shining I applied some Antique Gold Rub’n Buff with a cotton swab to the stamped area. I made sure that it was deep in the stamp and let it sit for a few minutes before rubbing it off with the other end of the cotton swab and a cotton pad. I took all the excess away and left the stamping looking like brass. Once I buffed it the stem and logo would look like new.I worked over the stem with micromesh sanding pads. I polished out the sanding scratches and marks in the vulcanite – wet sanding it with 1500-2400 grit pads and dry sanding it with 3200-12000 grit pads and wiped it down with Obsidian Oil after each one. When I finished with the 12000 grit pad I gave it a final coat of oil and let it dry. Once it had dried, I polished it with Before & After Pipe Stem Polish Fine and Extra Fine. I rubbed it down with final coat Obsidian Oil and took the following picture. I put the stem back on the bowl and took the pipe to the buffing wheel to work it over. I buffed the bowl and stem once again with Blue Diamond to polish it. I gave the bowl and the stem multiple coats carnauba wax. I buffed the entire pipe with a clean buffing pad to raise the shine. I hand buffed it with a microfiber cloth to deepen the shine. The finished pipe is shown in the photos below. It is a really nicely grained GBD pipe 411 Pot that came out in the Cadogan era of the brand. Its amazing grain is only marred by the two fills on the right side of the shank. They are blended into the shank better than before but they still show. The pipe still looks great and feels comfortable in the hand. The medium brown stain and the polished black vulcanite work together to give the classic pot shaped pipe a rich look. It will make a great pipe addition to the rack and should be a great smoker.  The dimensions of the pipe are: Length: 6 inches, Height: 1 1/2 inches, Outer Diameter of the Bowl: 1 ½ inches, Diameter of the Chamber: 7/8 inches. I will be adding this one to the rebornpipes store shortly if you are interested in adding it to your collection. If you are interested email me at slaug@uniserve.com or send me a message on Facebook. Thanks for looking.
 

Restoring a Danish Handmade Kriswill Chief 40


Blog by Steve Laug

This Kriswill is yet another one from a local pipe shop. It came from the estate of the same older gentleman whose wife returned them to the shop for restoration and resale. This one is a smooth finished Kriswill. The briar is a combination of mixed grain around the bowl. It is stamped on the left side of the shank Kriswill over Chief over Handmade in Denmark. On the underside near the shank stem junction it has the shape number 40. I reviewed the information I had on Kriswill and have included some of that here.Kriswill was one of the large pipe manufacturers in Denmark during the 1960s and 1970s, and closed around 20 years ago. Their catalog cover read “By Appointment to the Royal Danish Court, KRISWILL, Kriswork Briar Trading, Briar Pipes Hand Made in Denmark.” After the Danish Kriswill enterprise ended, pipes were made in Norway and in France under the Kriswill label. In the 1970s Kriswill was bought by Lillehammer, and in the 1980s the pipes were made for a while at the Catalan factory, Iberica de Pipas. https://pipedia.org/wiki/File:Kriswill_Factory.jpg

The finish on the pipe was dirty and dull. The beveled rim top had lava built up that extended up and over the outer edge. It was hard to tell if there was damage to the inner edge of the rim. The bowl had a thick, hard cake filling the bowl. The stem was heavily oxidized and had some deep tooth marks on the top and underside at the button. It also appeared to have had a Softee bit at some point as the usual calcification was present on the stem from the button forward about an inch. This was included in the pipes that I sent off to my brother for cleaning. This is the third pipe that I have brought to the work table from the lot of about 50 to rework. I can’t say enough how much I appreciate his willingness to clean and ream the pipes for me. It allows me to move through the repairs much more quickly. When he received the pipe he took a series of photos of it to show its condition. He took a close up photo of the rim top showing the thick cake and the overflow of lava onto the top of the bowl. The cake is very thick and the lava hides the rim top. The bowl is quite small and in this condition would hold very little tobacco.The next photos show the stamping on the left and the underside of the shank. It is clear and readable. The Kriswill snowflake logo on the top of the stem is in very good condition and is undamaged.The vulcanite stem was heavily oxidized and had some deep tooth marks on both the top and underside near the button. They were deep but did not go all the way through the stem. There were scratches and nicks in the surface of the stem all the way around the stem. The button was worn down on both sides. There was some heavy calcification going on where there must have been a Softee bit covering the end of the stem. There were no surprises as this was true of most of the pipes in this estate.I am once again very grateful for the thorough cleanup that Jeff did on the bowl and stem. He carefully reamed the bowl back to bare briar with a PipNet Pipe Reamer and cleaned up the remnants with a Savinelli Fitsall Pipe Knife. He cleaned the internals of the bowl and stem with alcohol, pipe cleaners and cotton swabs – scrubbing out the mortise as it was dirty. He scrubbed the exterior of the pipe with Murphy’s Oil soap and a tooth brush and was able to remove all of the oils and dust in the smooth finish on the briar. He was able to remove all of the lava and grime from the beveled rim top and left it looking very clean. The inner edges of the bowl were slightly out of round and would need to be worked on. The outer edge of the rim top looked very good. He soaked the stem in an Oxyclean bath to remove the grime and calcification and to bring the oxidation to the surface. When the pipe arrived I took some photos to show how it looked before I did the restoration. It really is a beautifully grained piece of briar that should look amazing when it is polished. Jeff removed the thick, hard cake and the lava buildup on the rim top and clean off the inner and outer edges of the rim. The inner edge had some minor damage that made it slightly out of round. The outer edge looked really good. The top surface of the rim had some minor darkening but otherwise looked very good. The vulcnaite stem looked far better than when Jeff started the cleanup. There were a lot of scratches on the surface and a few tooth marks on both the top and underside if the stem. The snowflake logo was undamaged.The stem still had some deep oxidation in the vulcanite so I dropped it into the Before & Stem Deoxidizer bath and let it soak overnight. (The photo below shows the stem before I pushed it into the bath.)I used a folded piece of 220 grit sandpaper to reshape the inner edge of the bowl and to smooth out the surface and remove the darkening. I used 1500-4000 grit micromesh pads to polish the surface of the rim and the inner edge.I worked some Before & After Restoration Balm into the surface of the briar with my finger tips to deep clean the smooth finish, enliven and protect the briar. I let it sit for a few minutes and then buffed it with a cotton cloth. The grain of the briar really had begun to show through at this point and there was a rich shine to the briar. I took some photos of the bowl at this point to mark the progress in the restoration. I set the bowl aside and called it a night. In the morning I removed the stem from the Before & After Stem Deoxidizer and wiped it off with a paper towel to remove the remaining oxidation and bath. I cleaned out the airway with pipe cleaners and alcohol until it was clean. The stamping on the stem was untouched. The stem was pitted slightly and the tooth marks were very visible. It was ready for repairs to the tooth marks and polishing.I filled in the tooth marks with clear super glue on both sides of the stem and set it aside to allow the repairs to cure. When the repairs had dried I sanded them smooth and blended them into the surface of the stem. I reshaped the button on both sides of the stem with a needle file and sanded the stem down 220 grit sandpaper. The 3rd and 4th photos below show the stem at this point in the process. The surface of the stem on both sides looks good. The tooth marks are gone and the surface is smooth. I worked over the stem with micromesh sanding pads. I polished out the sanding scratches and marks in the vulcanite – wet sanding it with 1500-2400 grit pads and dry sanding it with 3200-12000 grit pads and wiped it down with Obsidian Oil after each one. When I finished with the 12000 grit pad I gave it a final coat of oil and let it dry. After the polishing I could still see light scratches in the vulcanite on the top at the curve and on the underside next to the stem. I buffed it on the buffing wheel with Red Tripoli and Blue Diamond and polished them out. I took it back to the work table and polished it with Before & After Pipe Stem Polish Fine and Extra Fine. I rubbed it down with some Obsidian Oil and took the following picture.I put the stem back on the bowl and took the pipe to the buffing wheel to work it over. I buffed the bowl and stem once again with Blue Diamond to polish it. I gave the bowl and the stem multiple coats carnauba wax. I buffed the entire pipe with a clean buffing pad to raise the shine. I hand buffed it with a microfiber cloth to deepen the shine. The finished pipe is shown in the photos below. It is a beautiful older Kriswill pipe in one of their classic shapes that looks great and feels comfortable in the hand. The reddish brown stain and the polished black vulcanite work together to give the pipe a rich look. If you are a fan of older Danish pipes this is one of the classic shapes from Kriswill. It will make a great pipe addition to the rack and should be a great smoker.  The dimensions of the pipe are: Length: 5 1/2 inches, Height: 2 1/4 inches, Outer Diameter of the Bowl: 1 1/4 inches, Diameter of the Chamber: 3/4 inches. I will be adding this one to the rebornpipes store shortly if you are interested in adding it to your collection. If you are interested email me at slaug@uniserve.com or send me a message on Facebook. Thanks for looking.