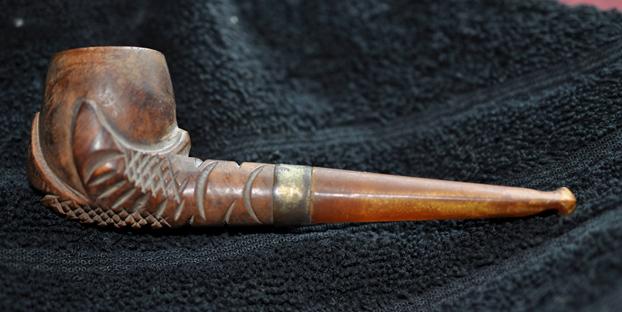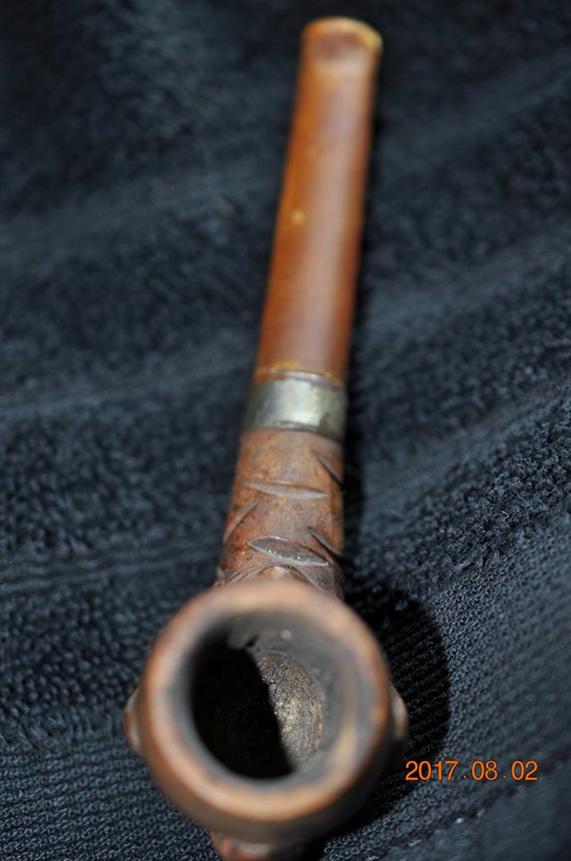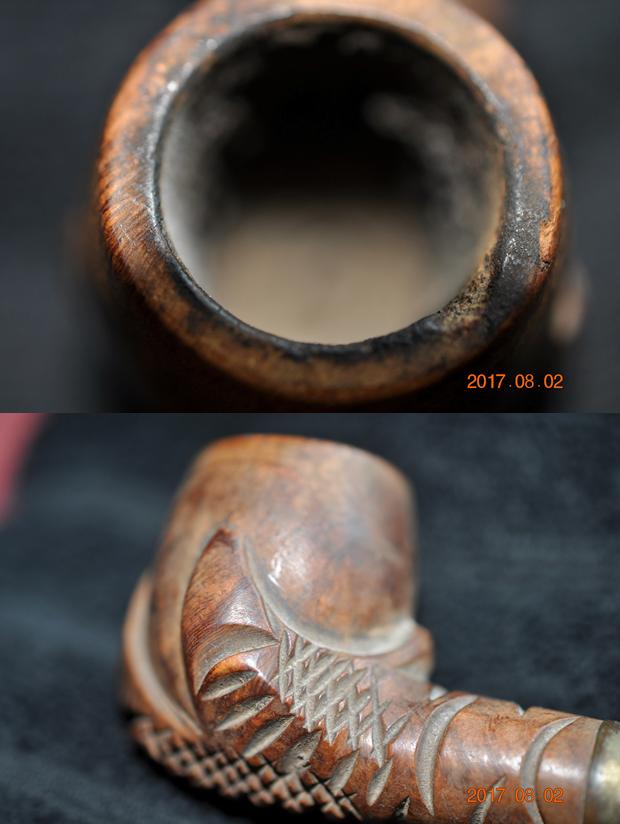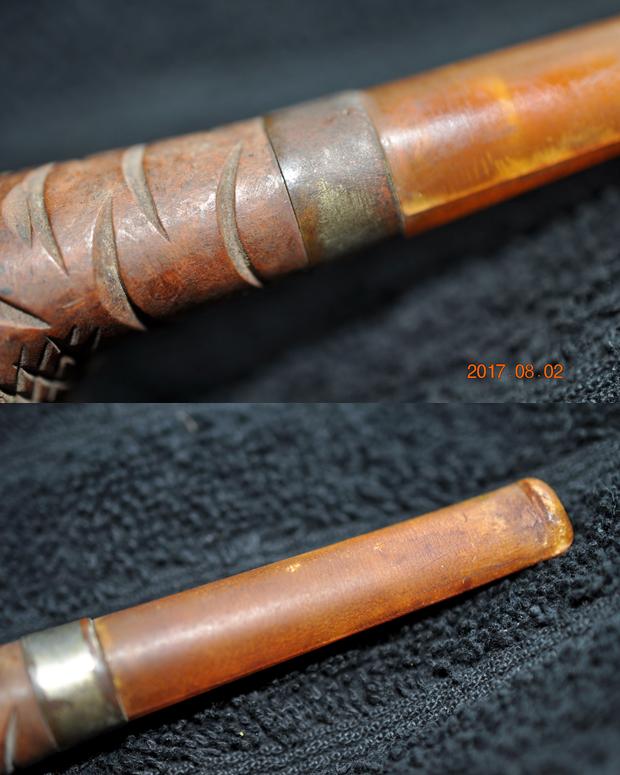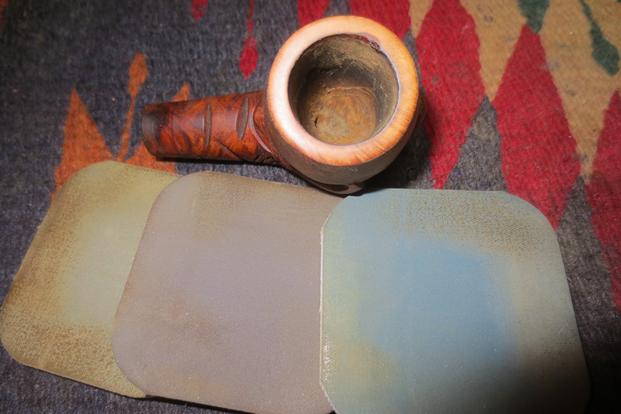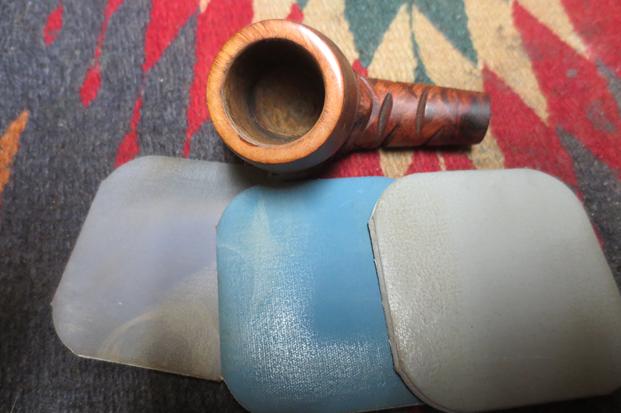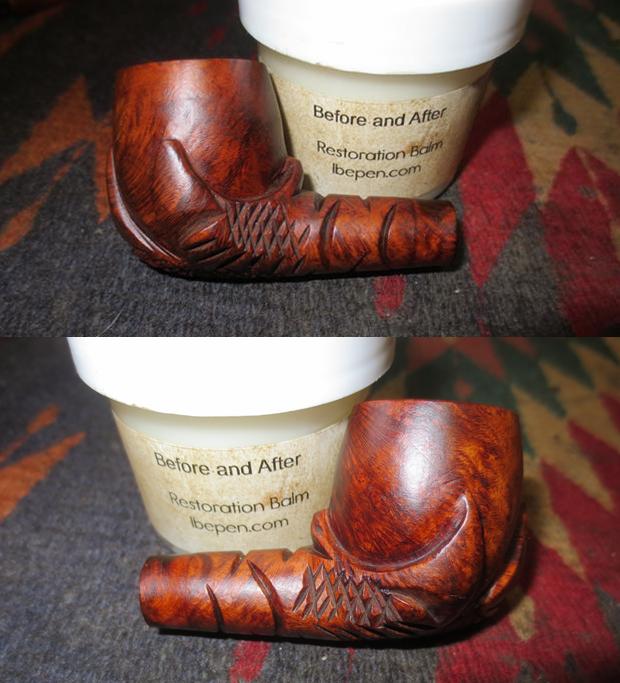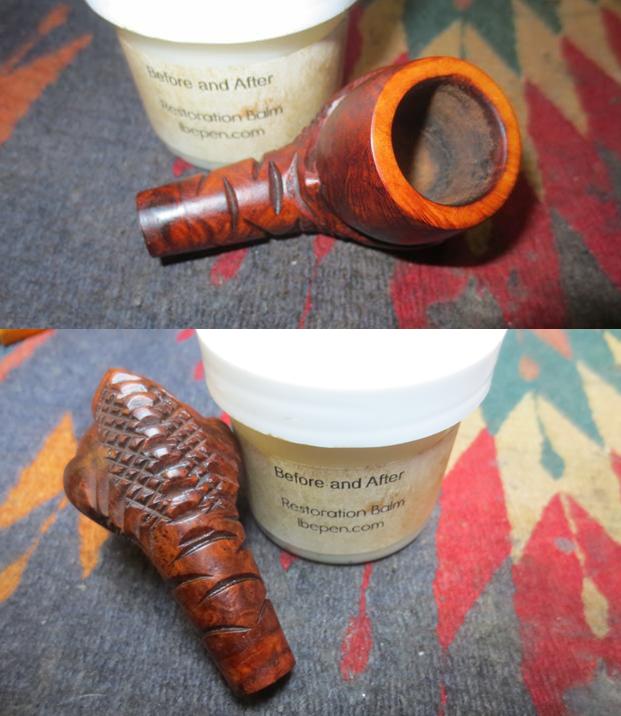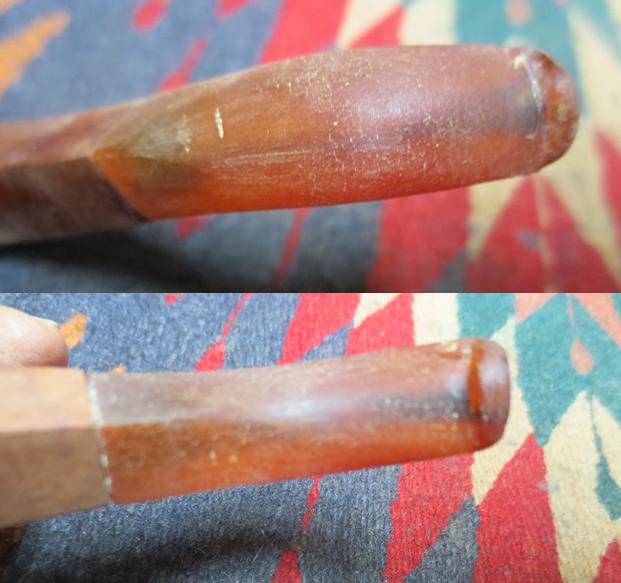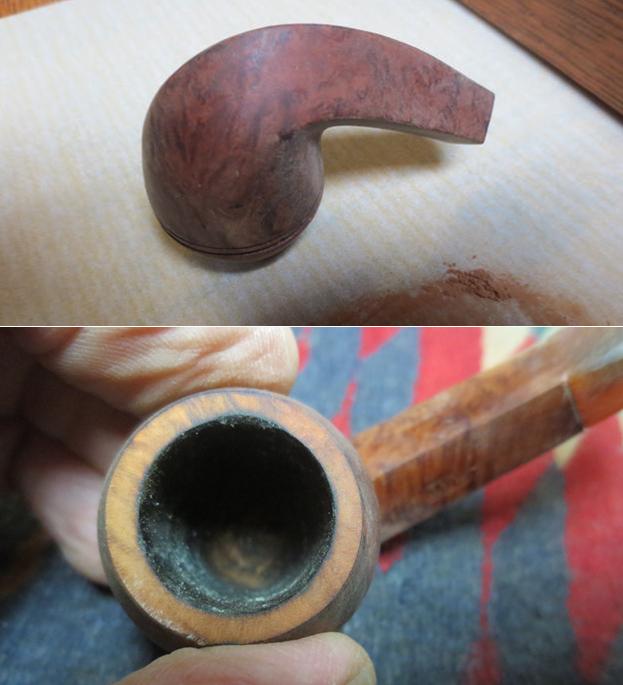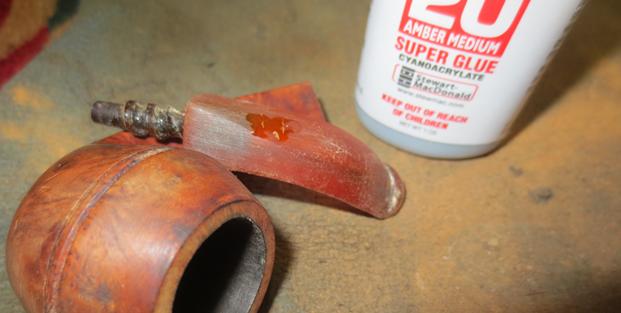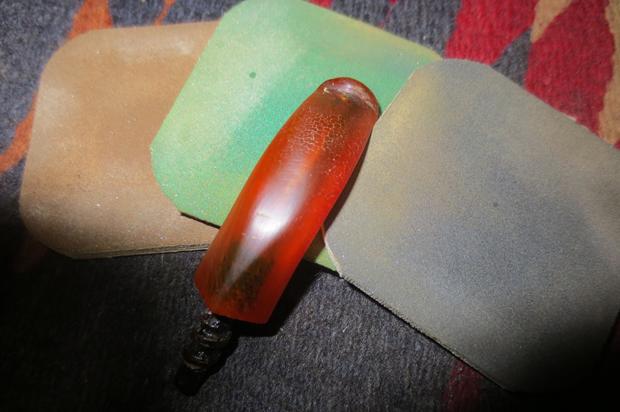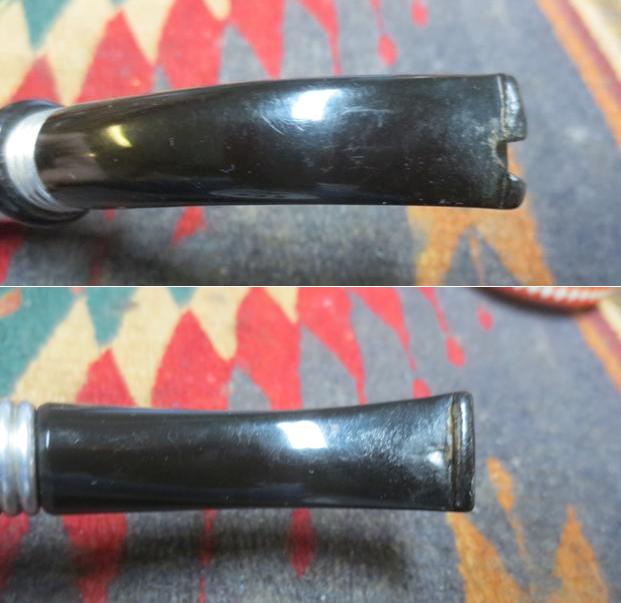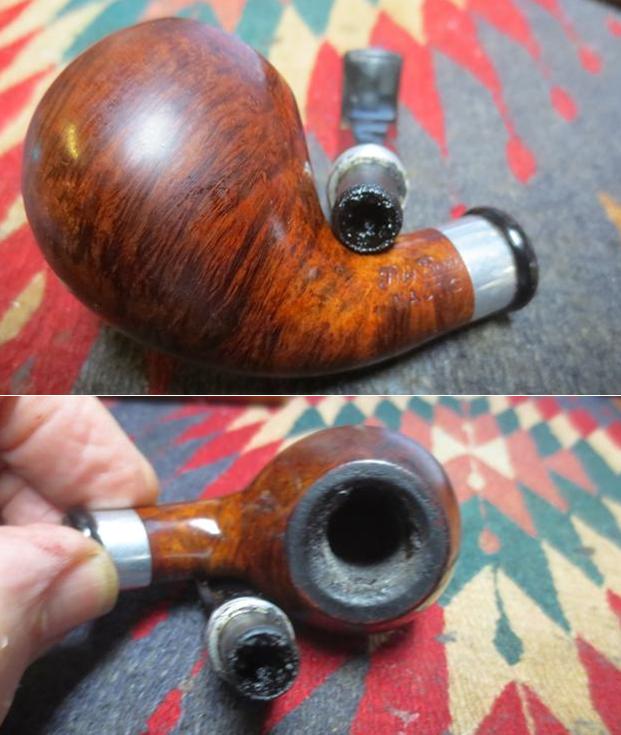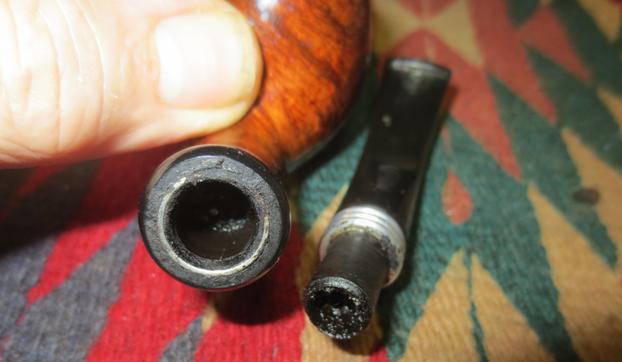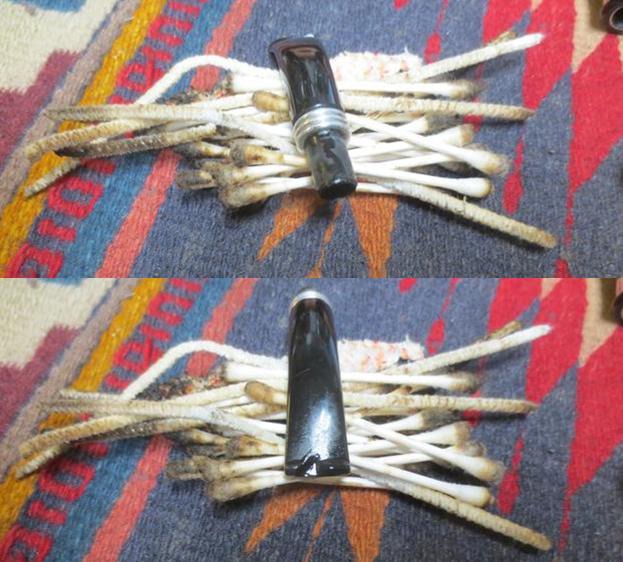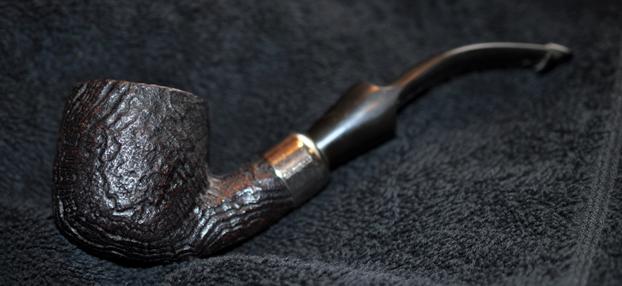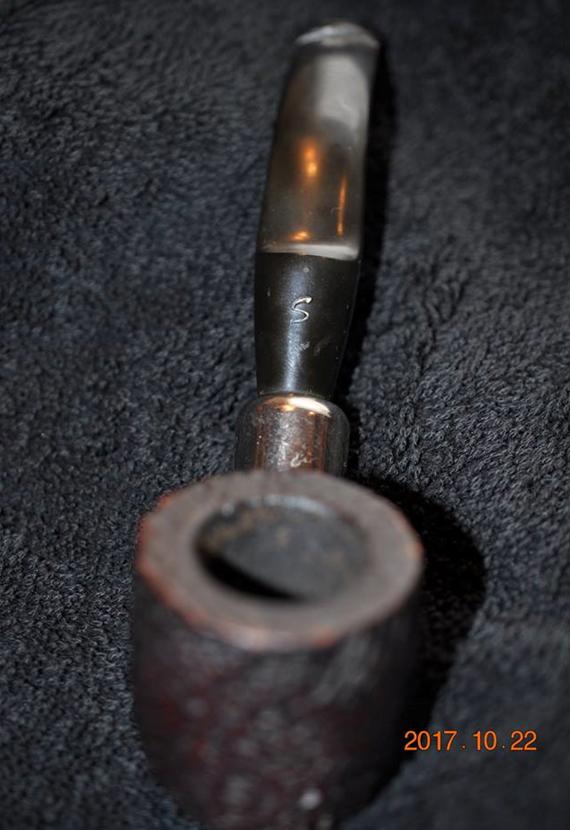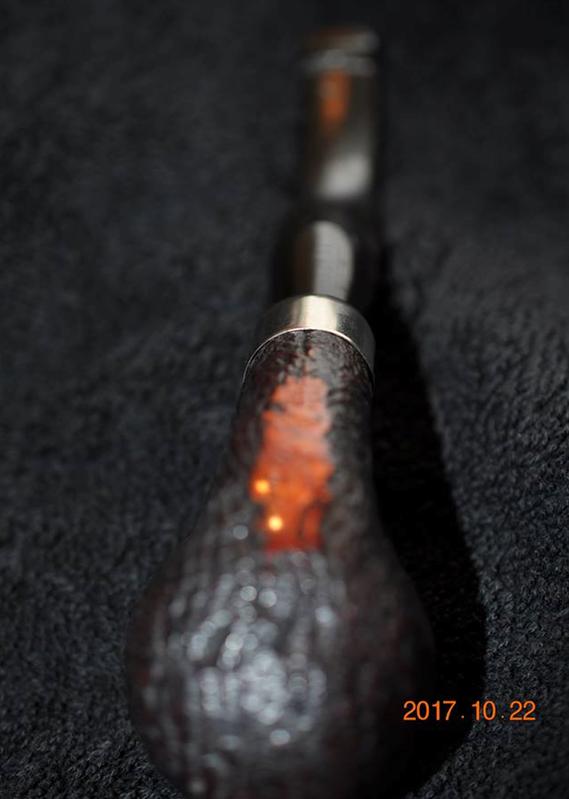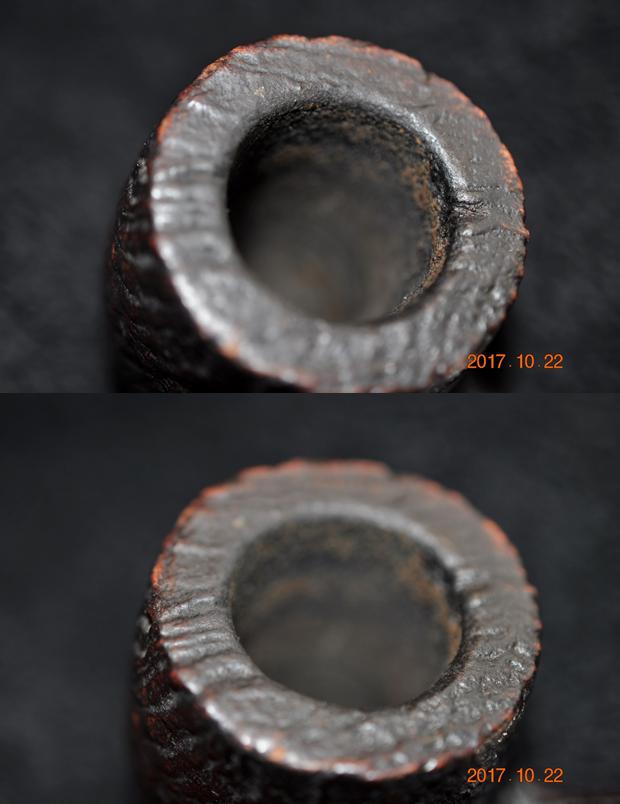
Tag Archives: bite marks

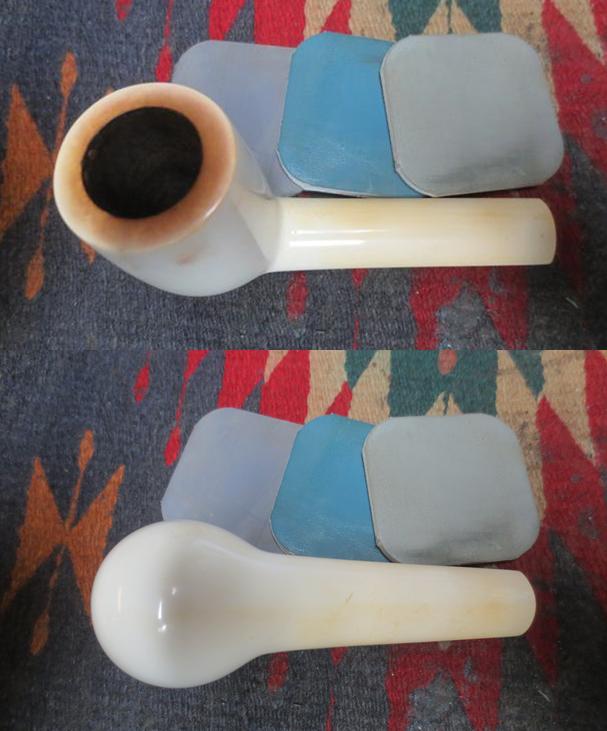
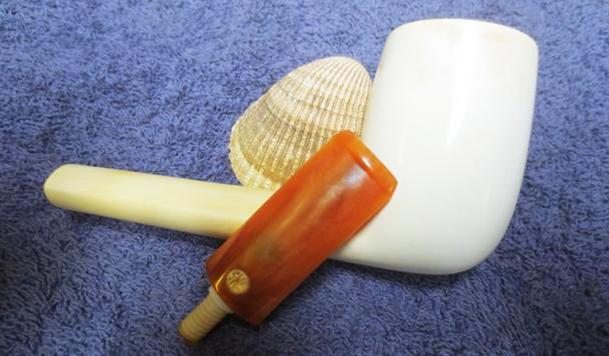
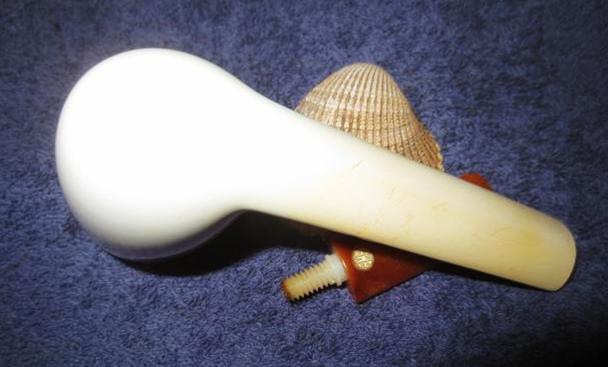
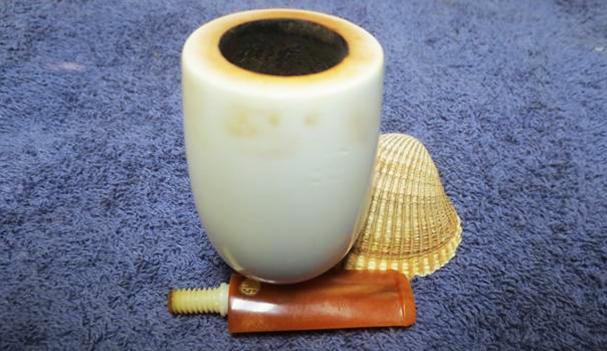
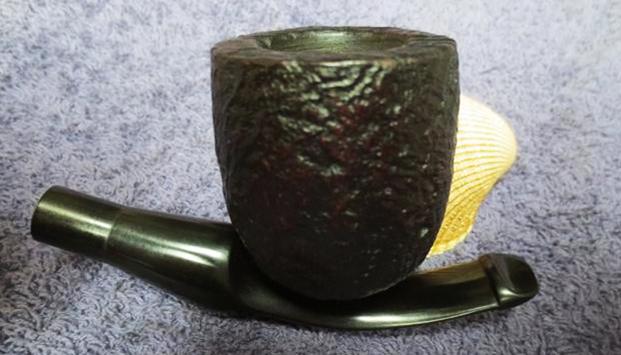
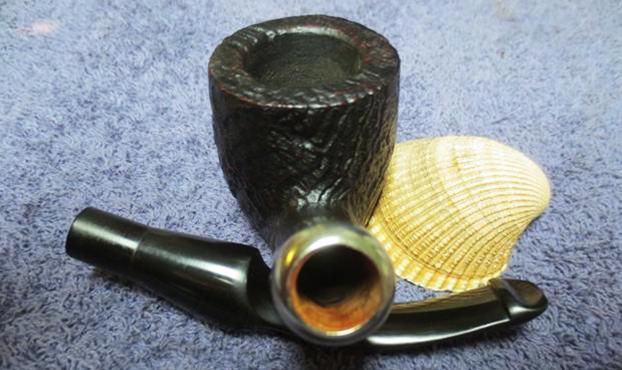
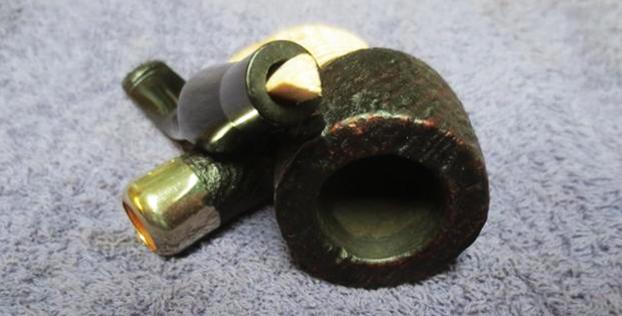
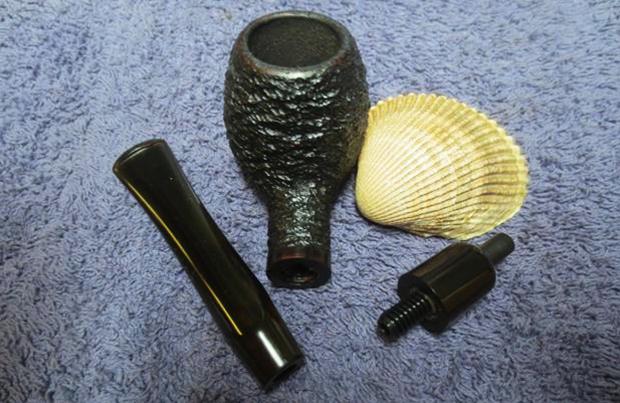
Restoring an interesting SMS Meerschaum Canadian


Blog by Steve Laug

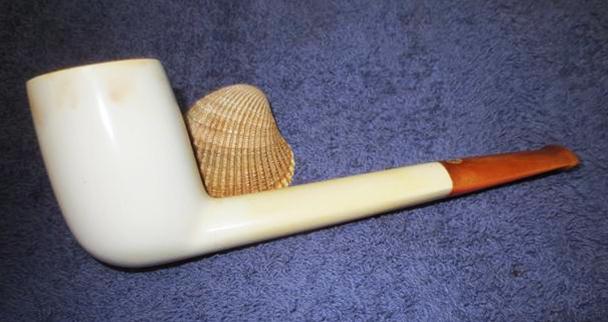
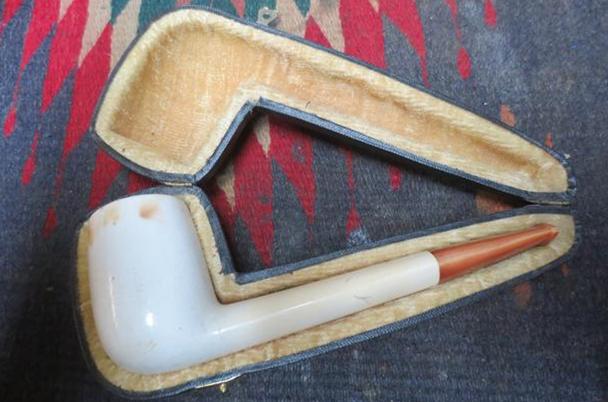
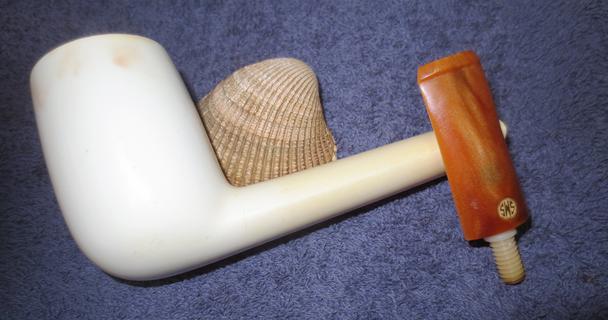
On a recent trip to Idaho to visit my parents, brothers and families I had the opportunity to go with my brother Jeff on a pipe hunt. We visited some of the shops where he has developed a relationship with the owners and had good luck on pipe purchases in the past. We visited a shop that belongs to the daughter of an old pipe man who I have known through business for quite a few years. I have purchased pipes and tobacco from him in years past and Jeff and I have bought a few estate pipes from him in recent years. On this trip we stopped and visited with his daughter a bit and had a look through her shop. Her dad had a few pipes there and a few sealed tins of Velvet Pipe Tobacco. These sealed tins still had the tax stamp on them and someone had the foresight to wrap a piece of duct tape carefully around the seal to keep the air out of the tin. I had to have one of those. There was one pipe that caught my attention – an oval shanked Meerschaum Canadian with an amber coloured acrylic stem made by SMS in a black vinyl covered case with a tan velour lining. I brought both the tin and the pipe to the counter and the daughter called her dad to let me dicker with him on the price.

We had a great conversation and caught up a bit regarding the past year for both of us. He is in his 80s and I always enjoy the conversation we have on all things pipe. I don’t think I have ever seen him without a pipe in his mouth and a wreath of smoke around his head. I expect that is what he looked like on the other end of the phone. We came to an agreed price for the pipe and tin. He always starts high in terms of price and I low ball him. We go back and forth and both end up feeling like we made a good deal. We said our good byes and I handed the phone back to his daughter. I paid the bill, said our good byes to his daughter and headed out to the next antique shop on the docket for the day.

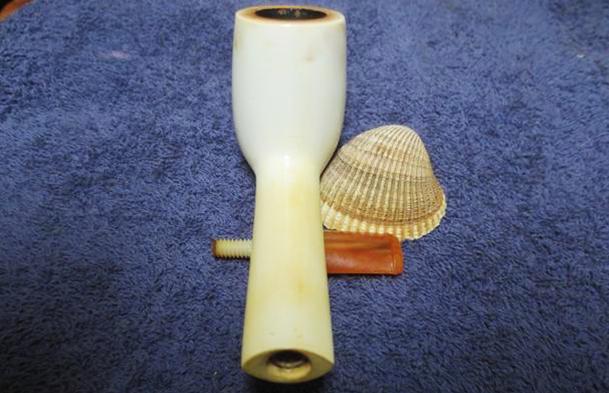
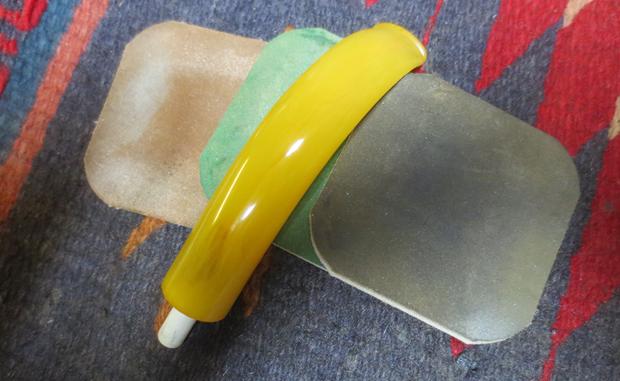
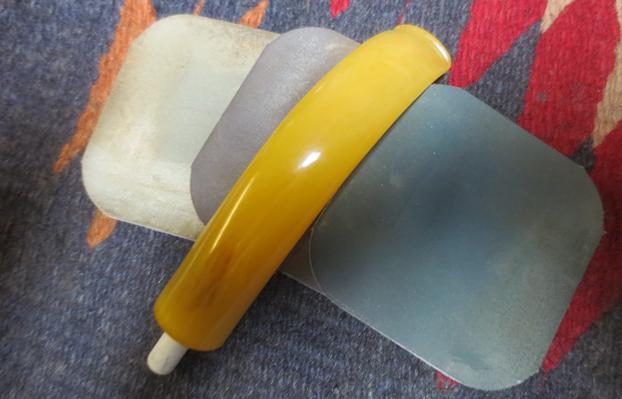
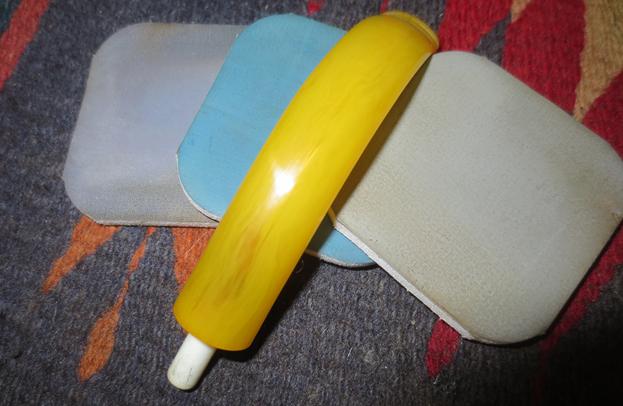
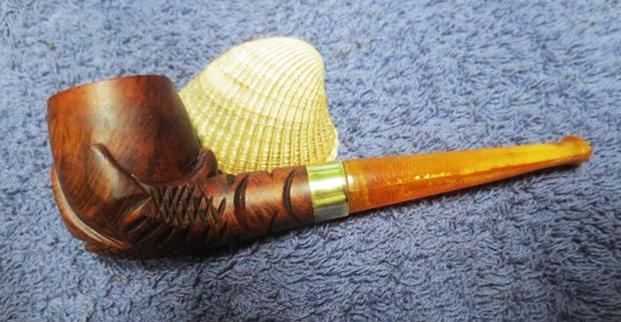
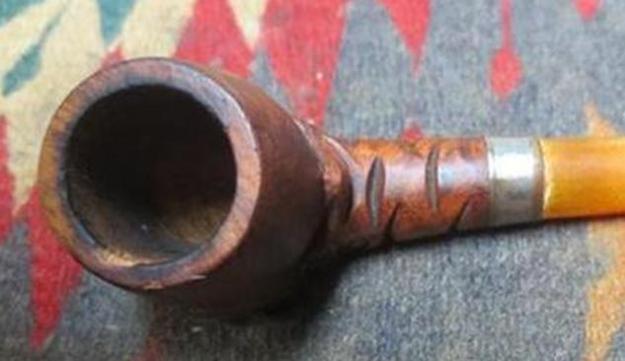
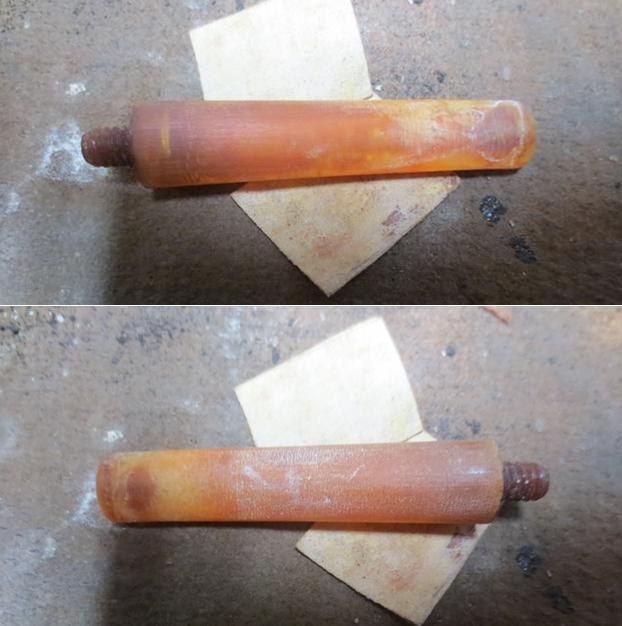
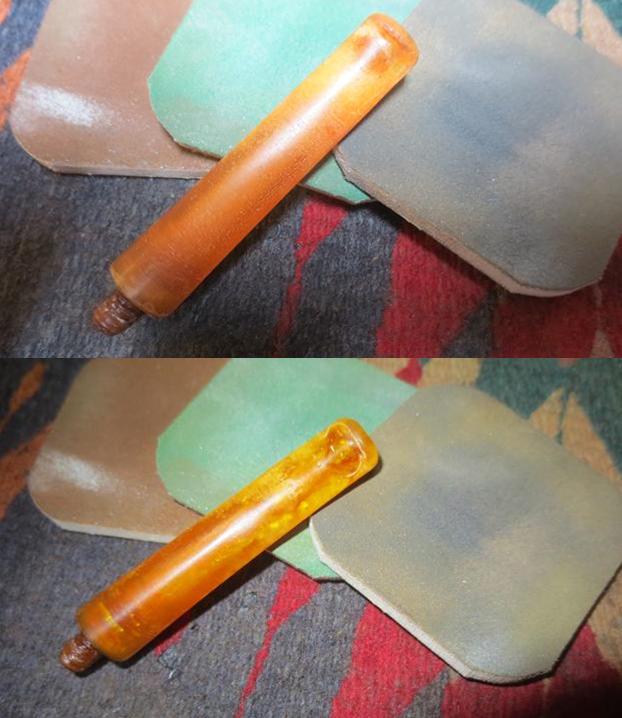
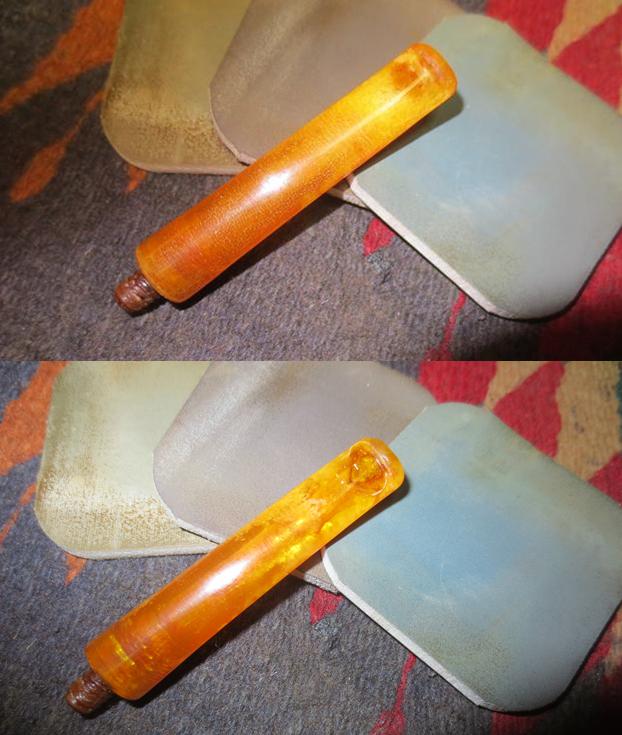
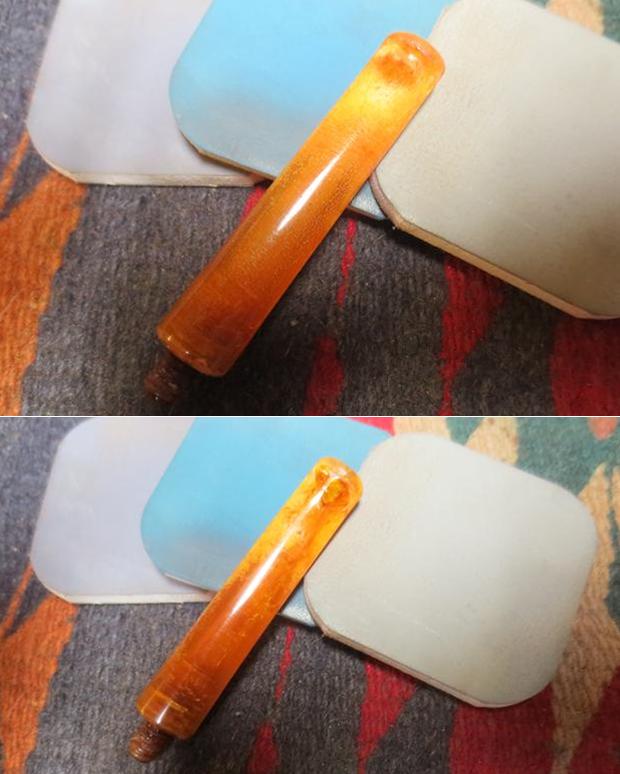
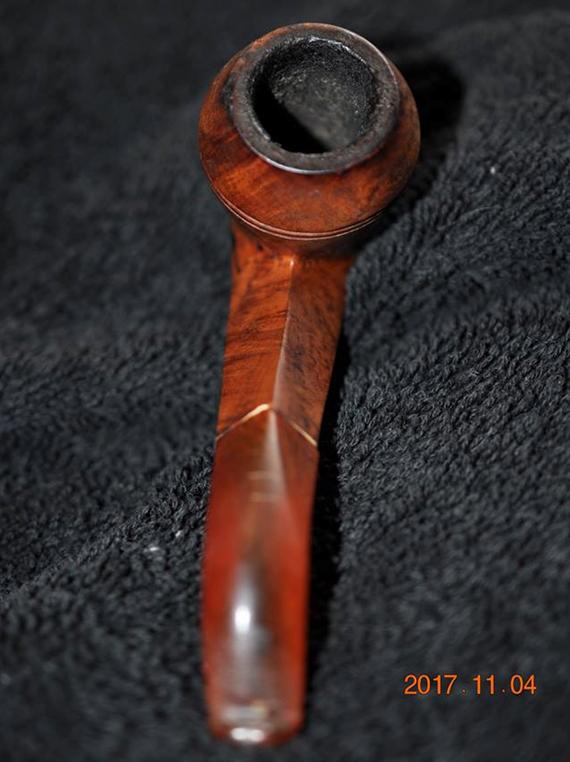
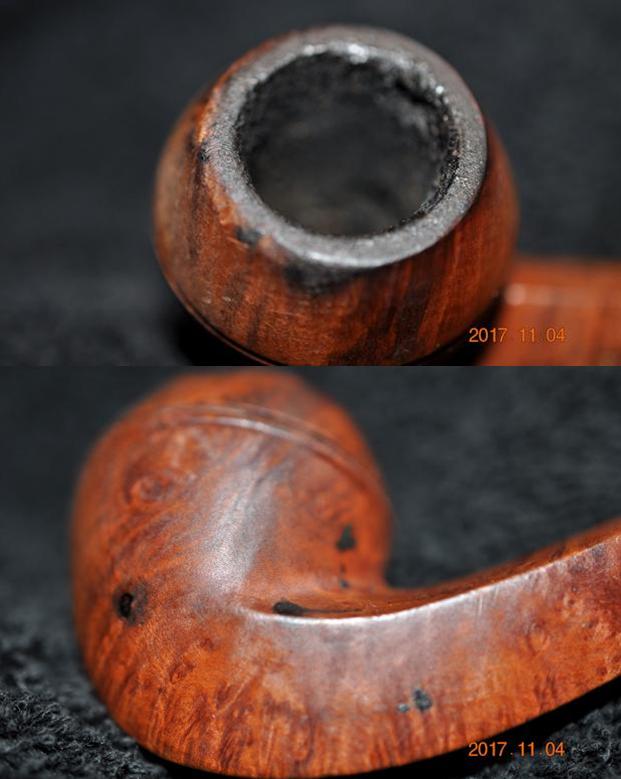
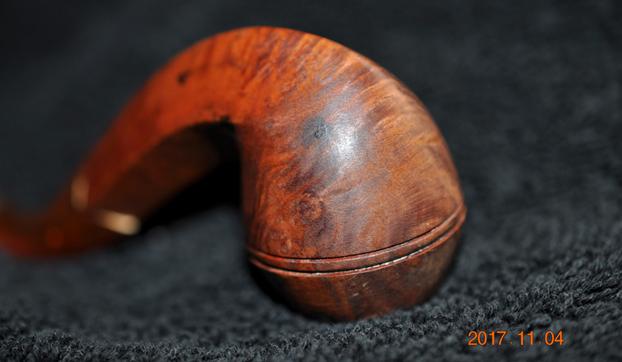
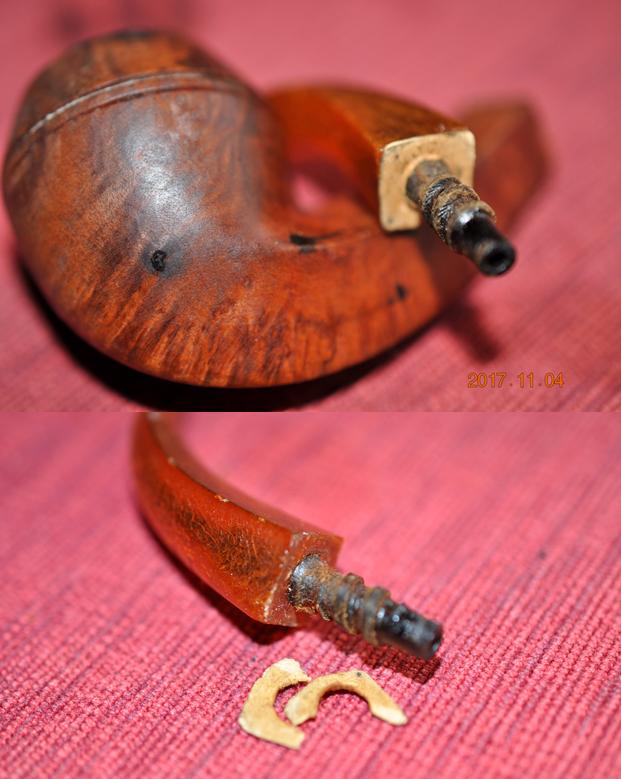
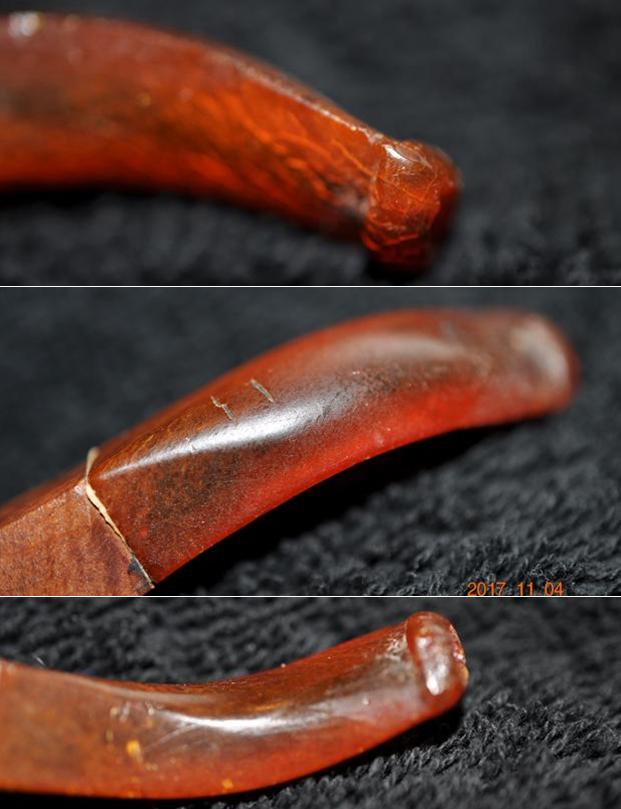
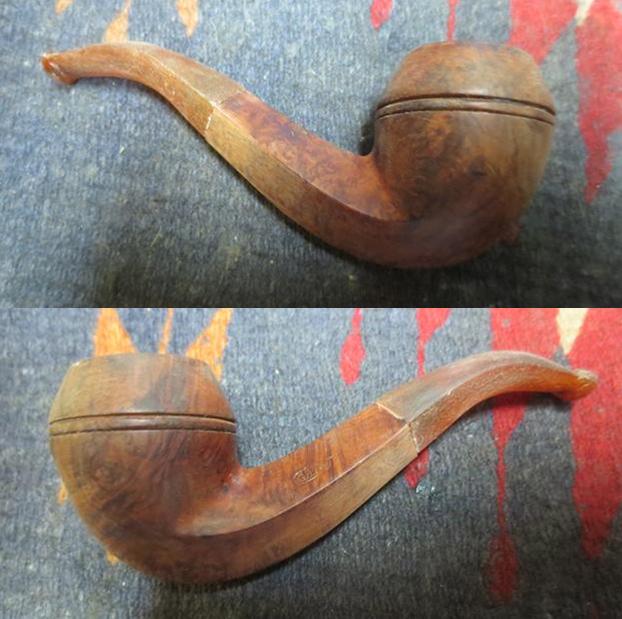
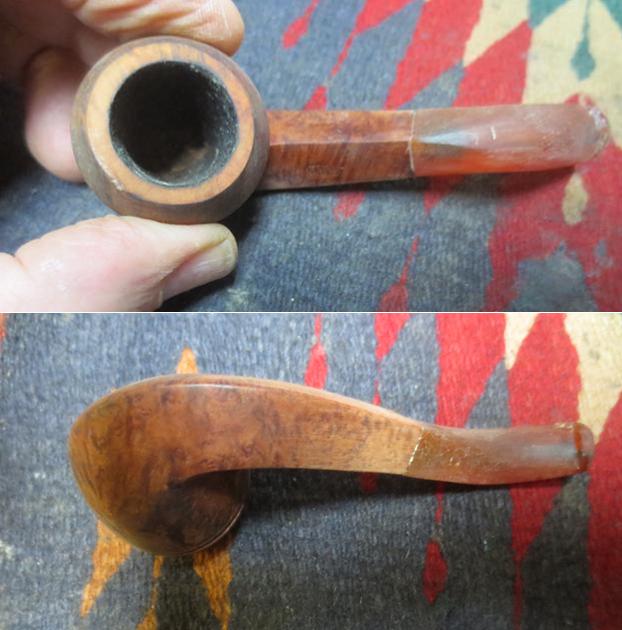
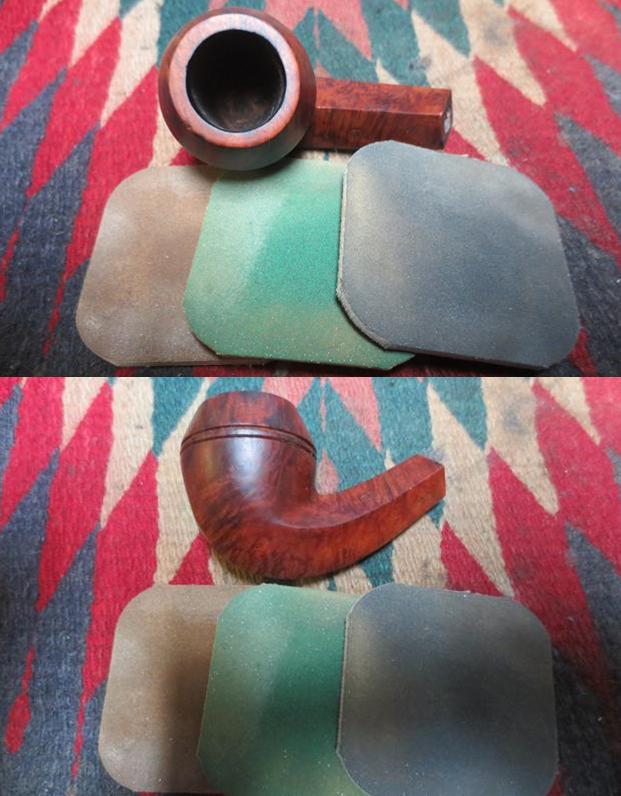
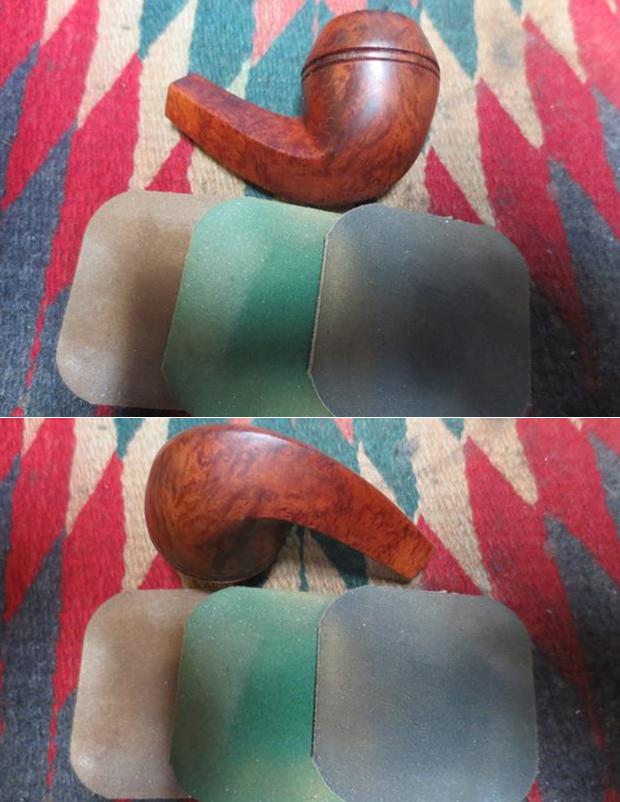
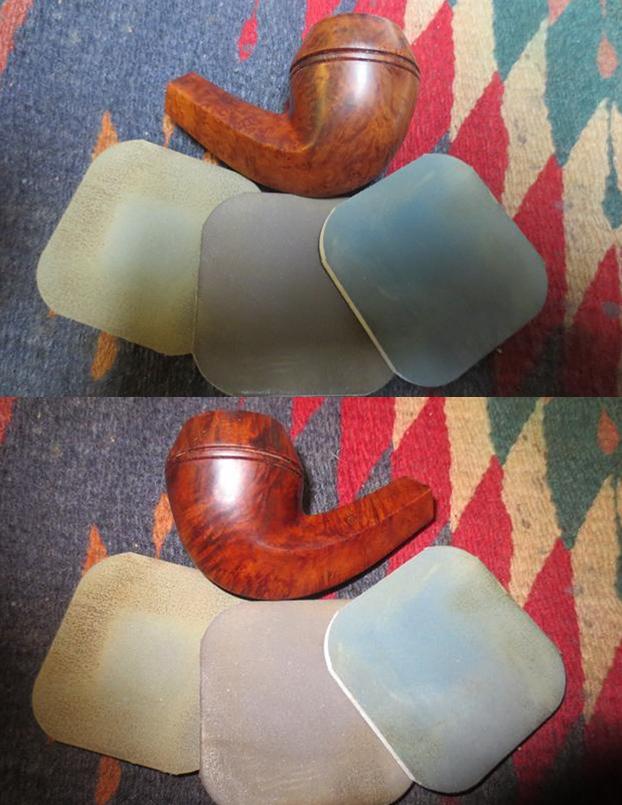
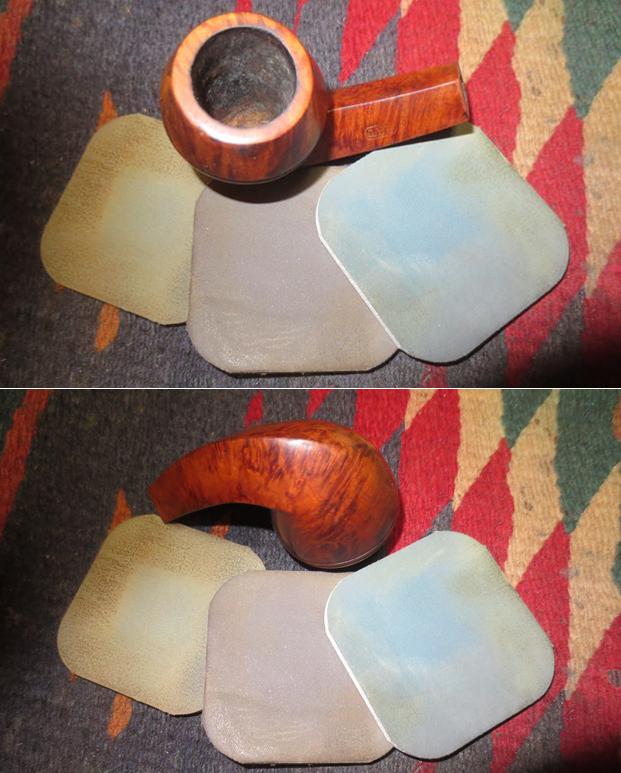
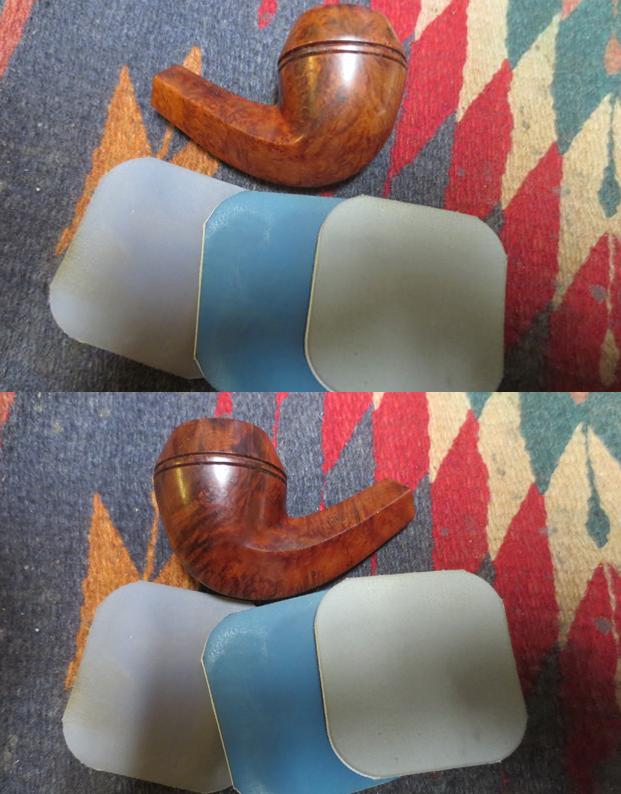
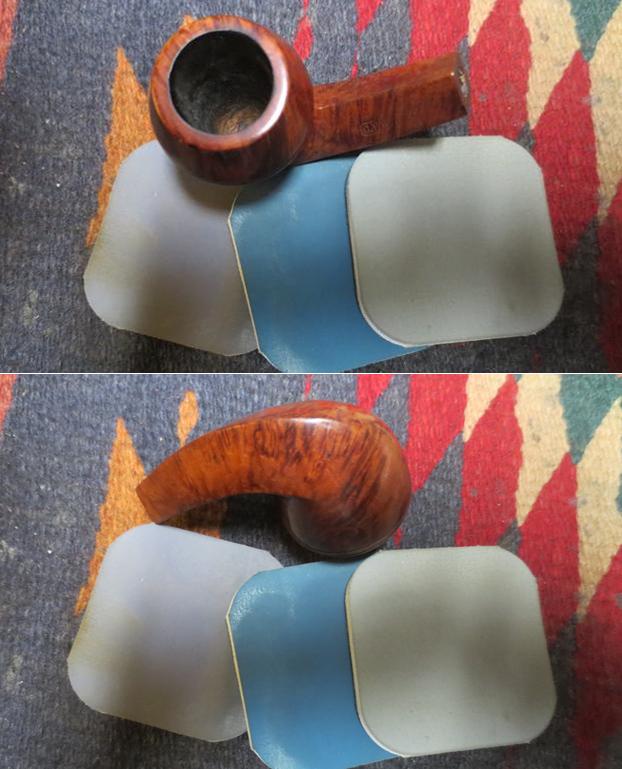
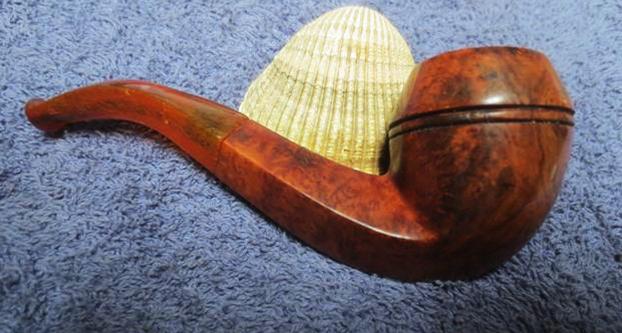
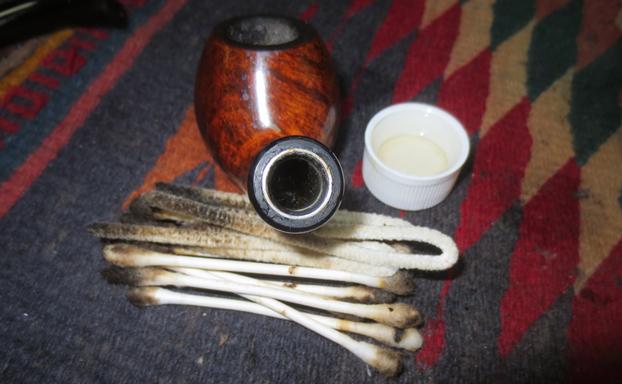
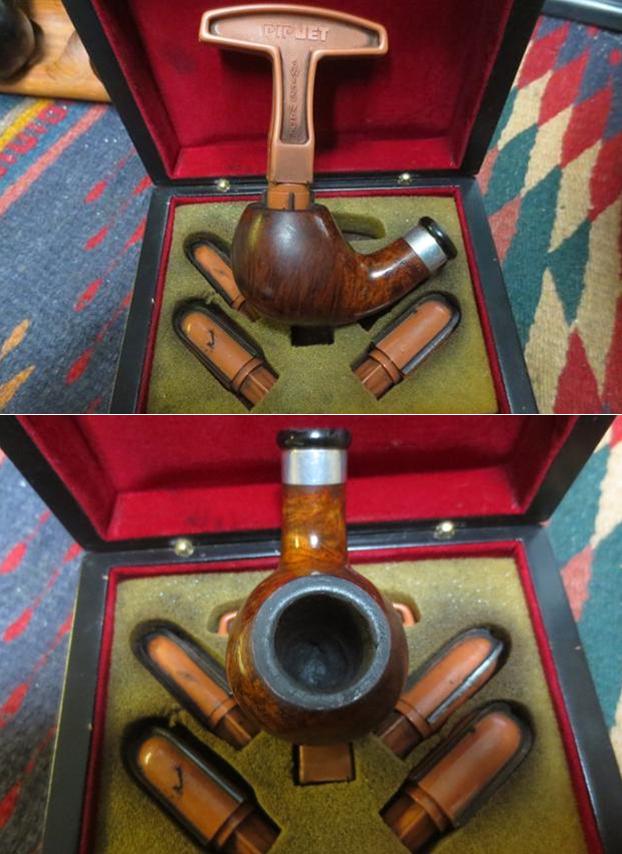
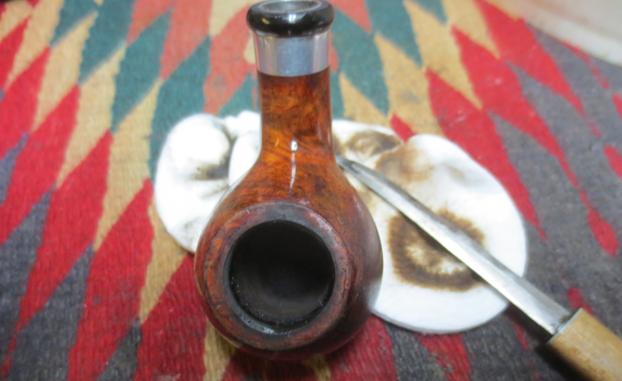
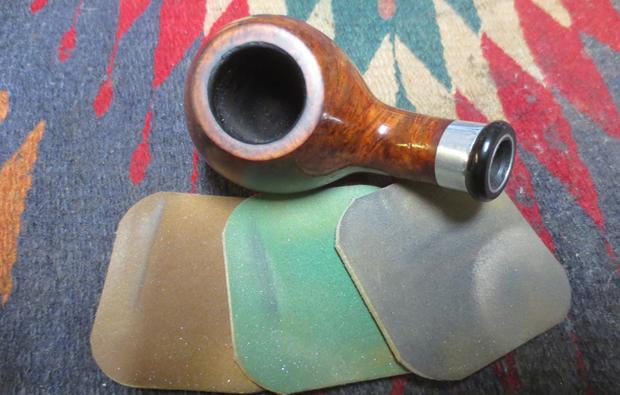
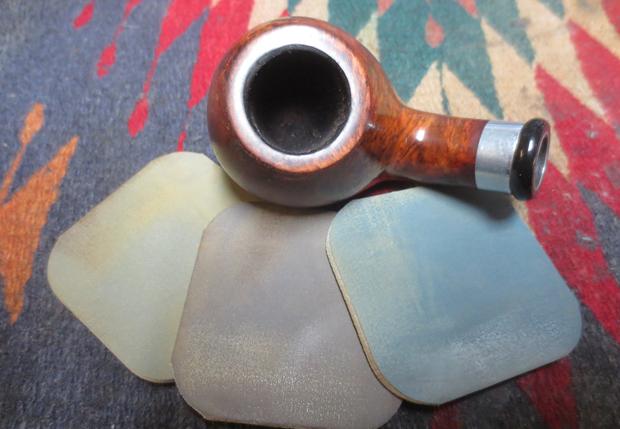
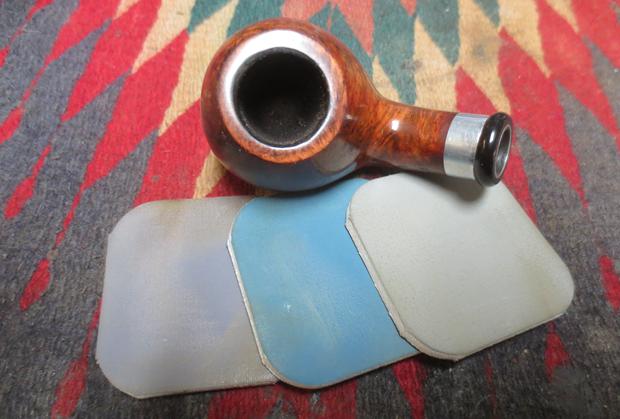
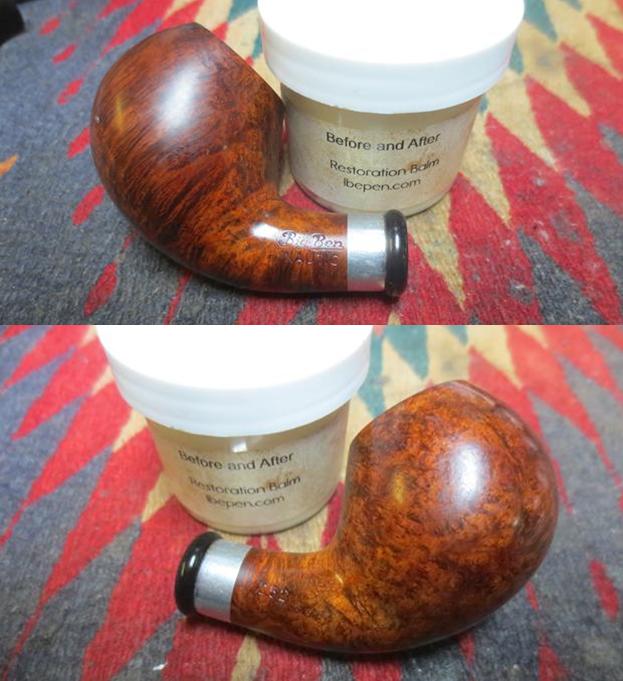
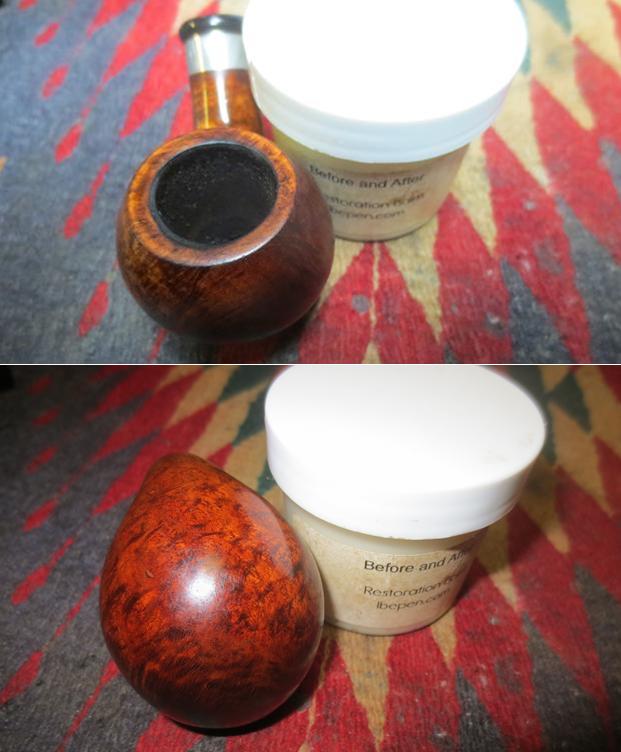
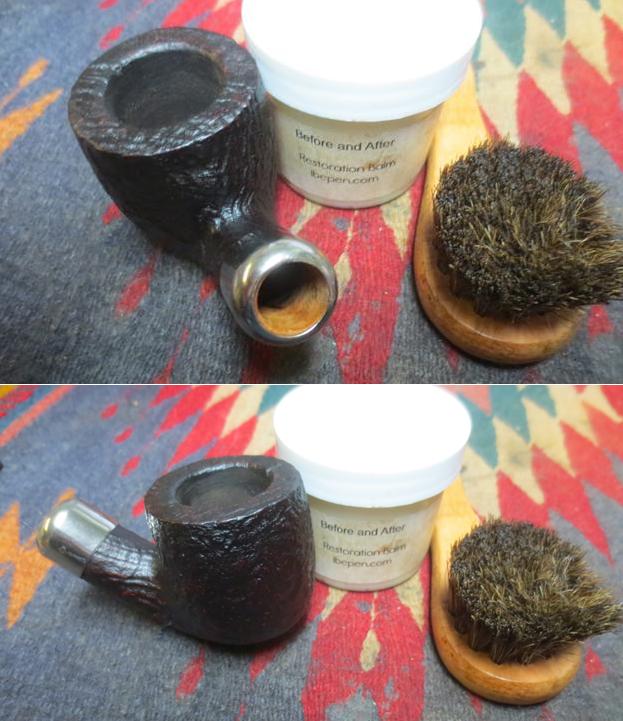
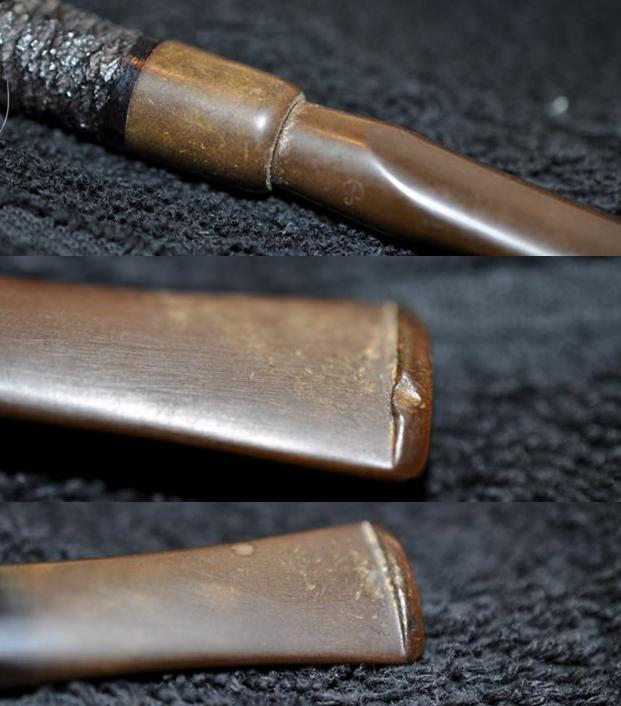
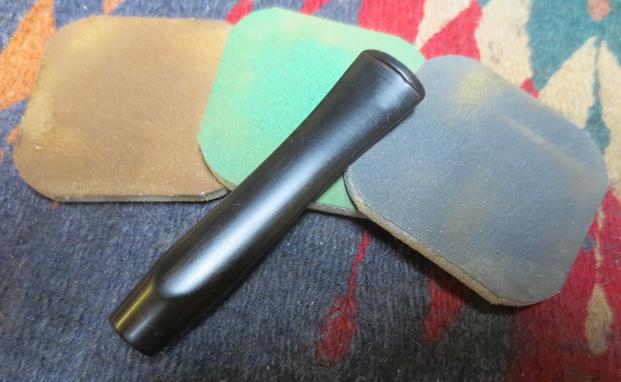
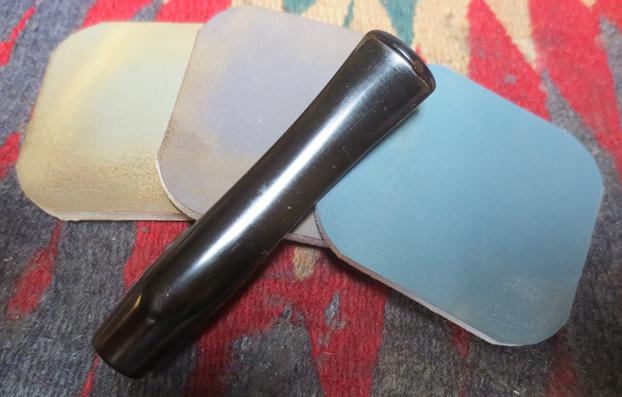
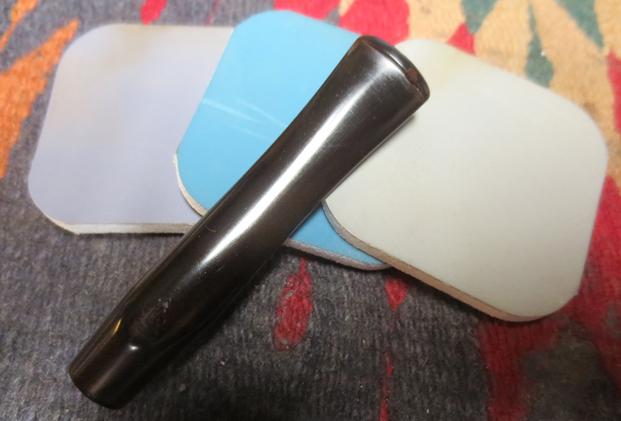
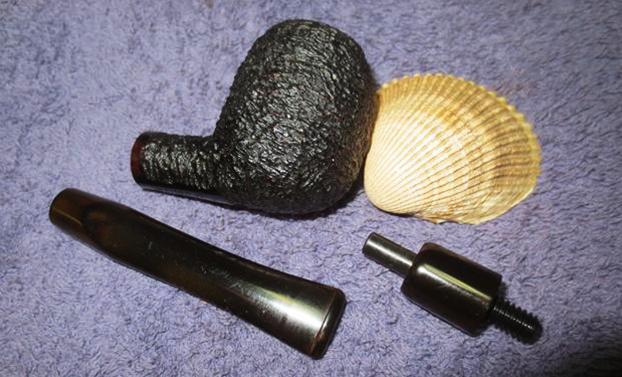
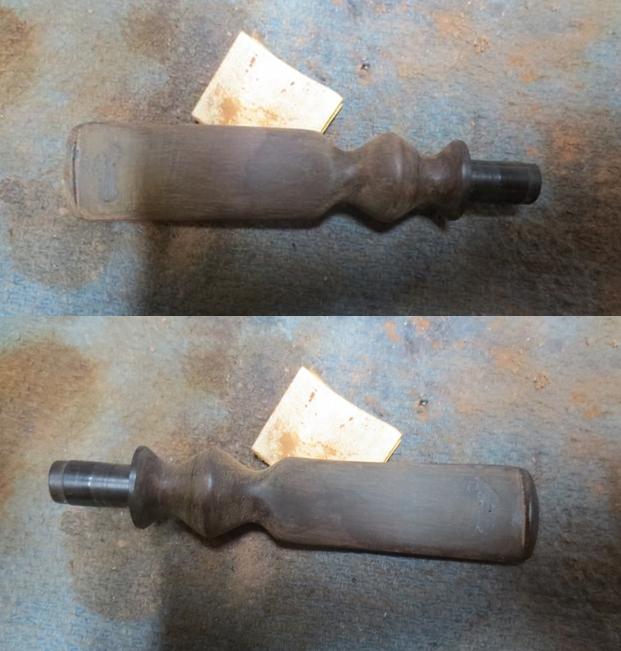
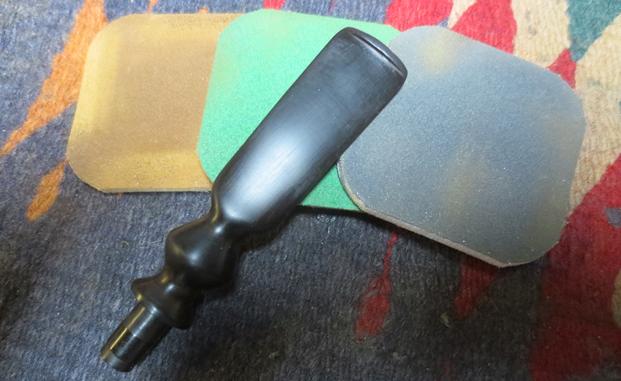
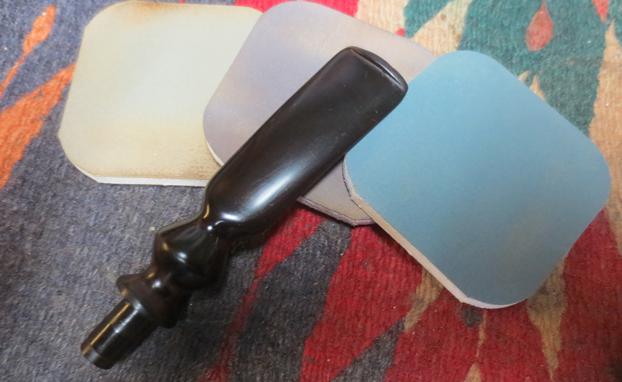
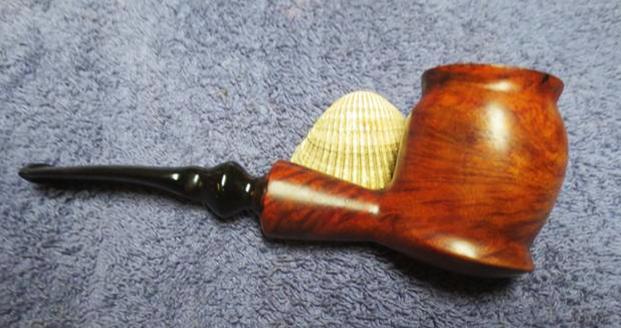
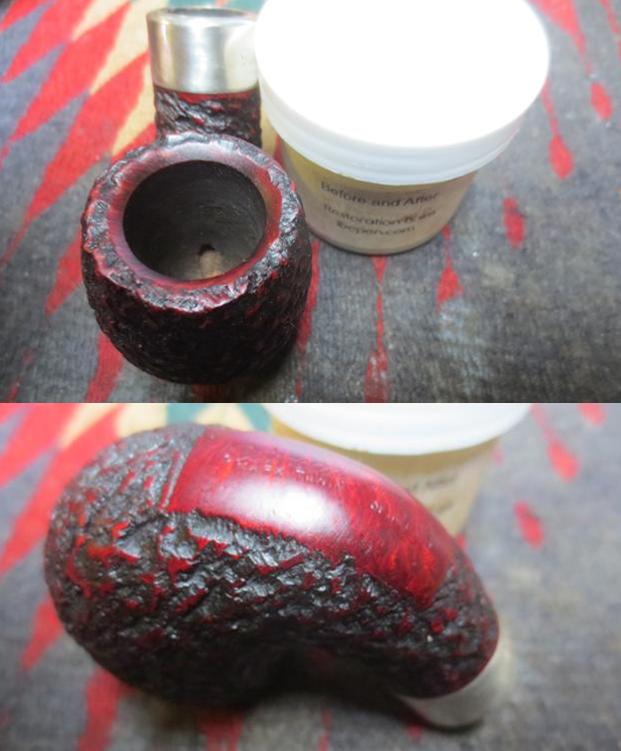
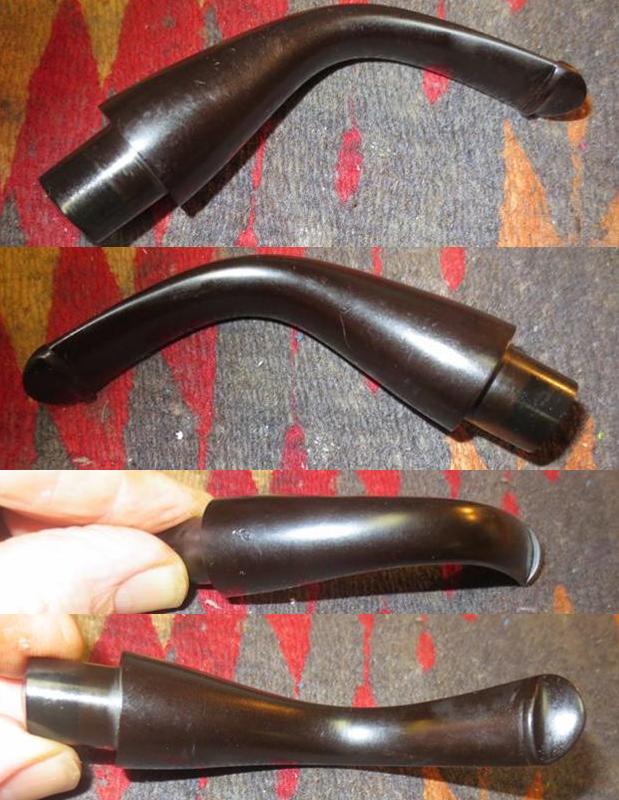
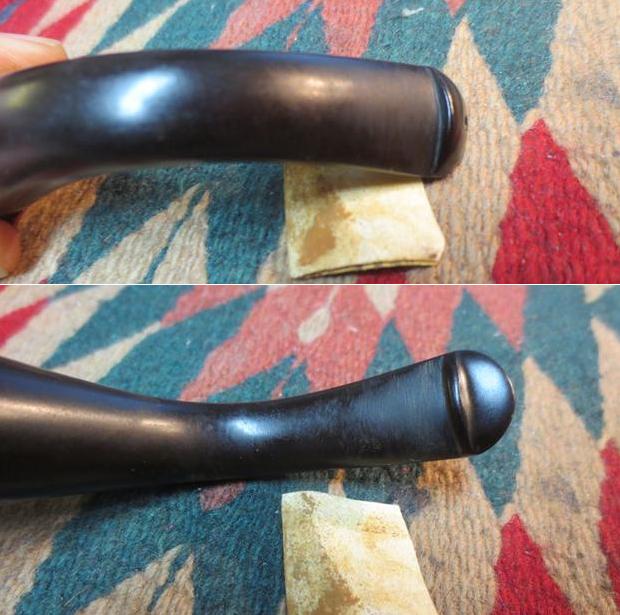
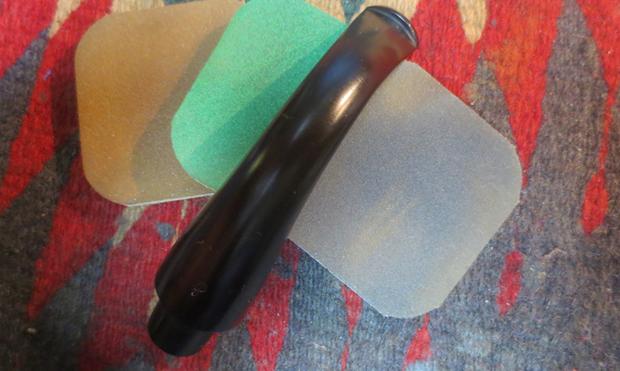
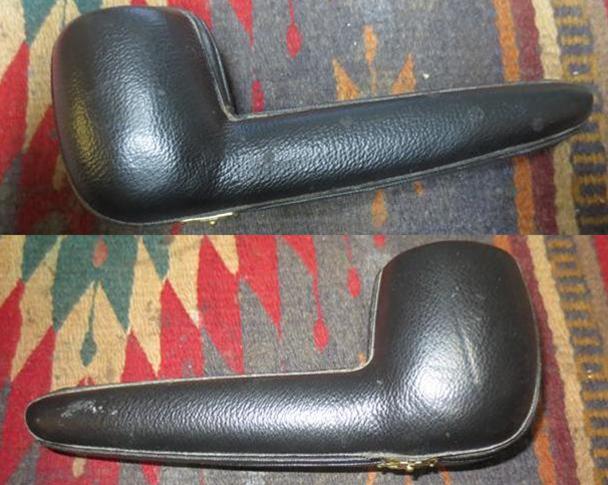
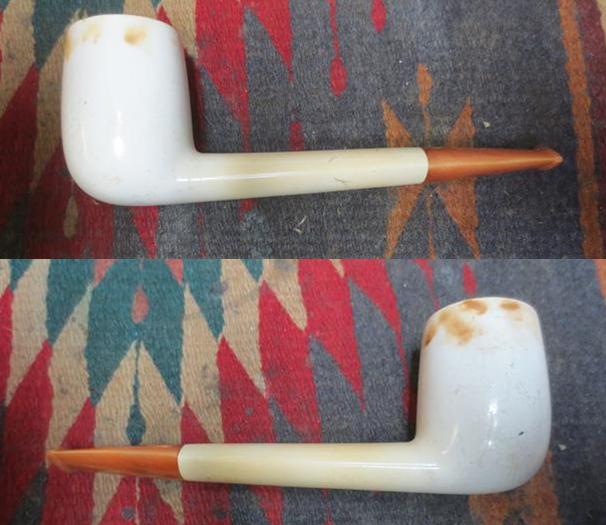
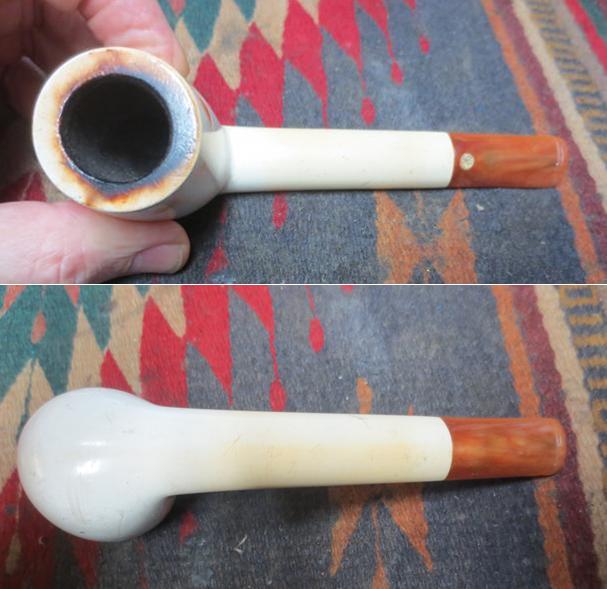
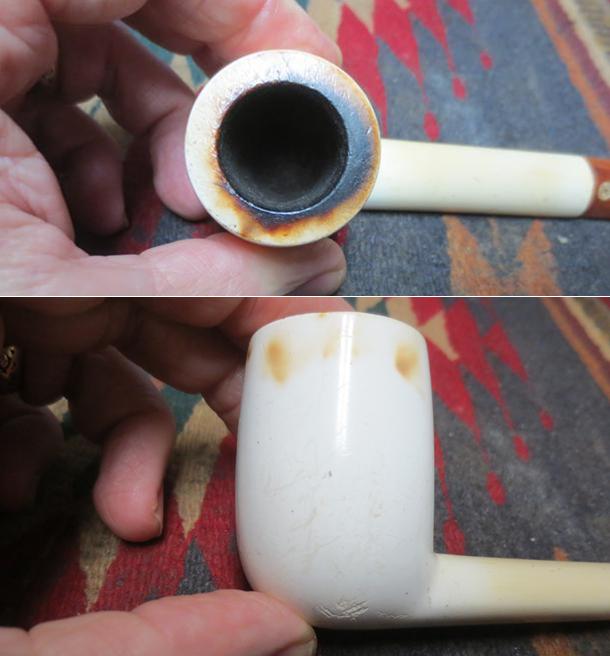
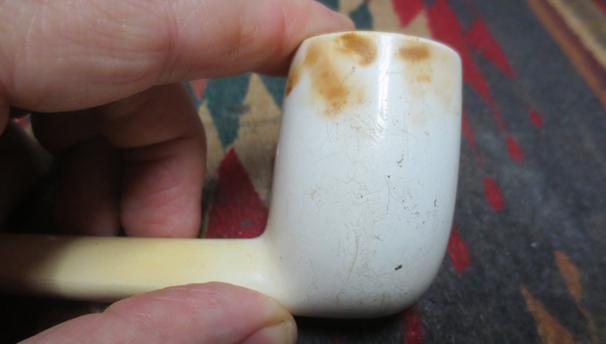
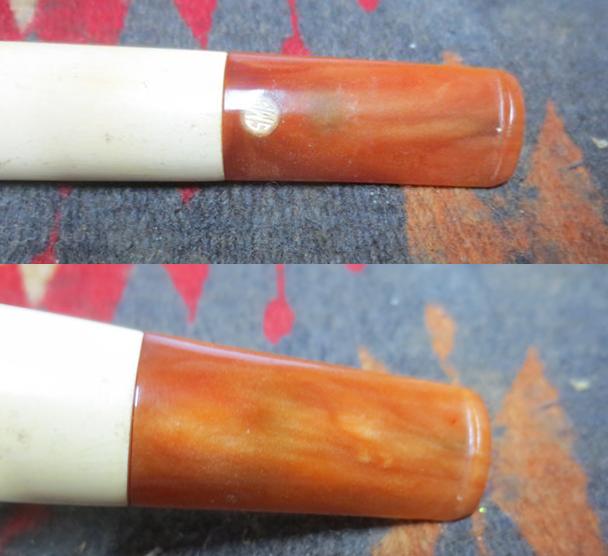
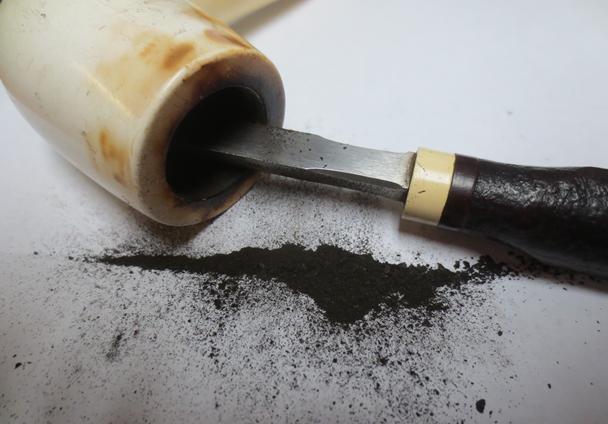
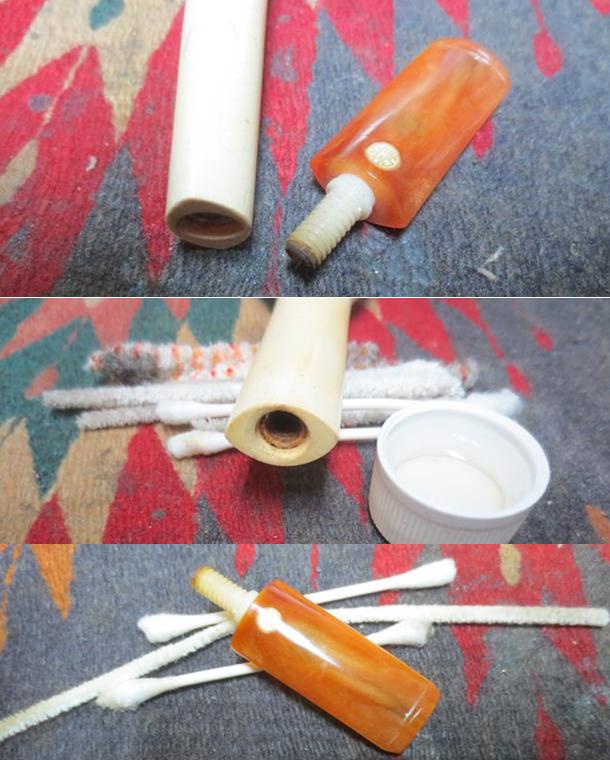
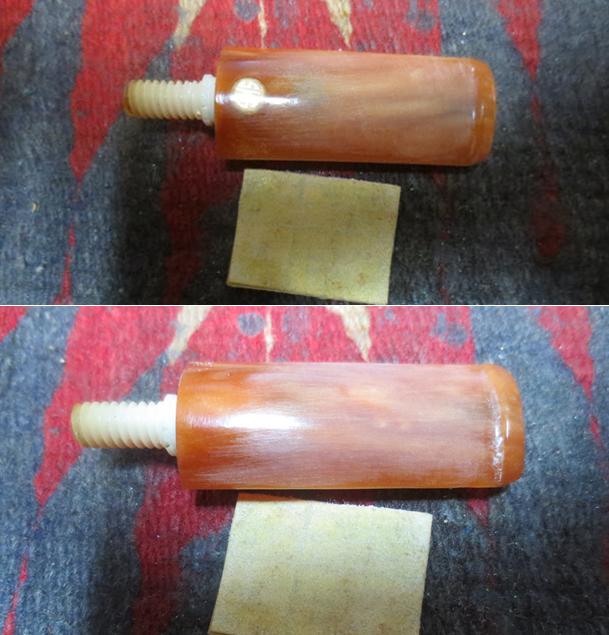
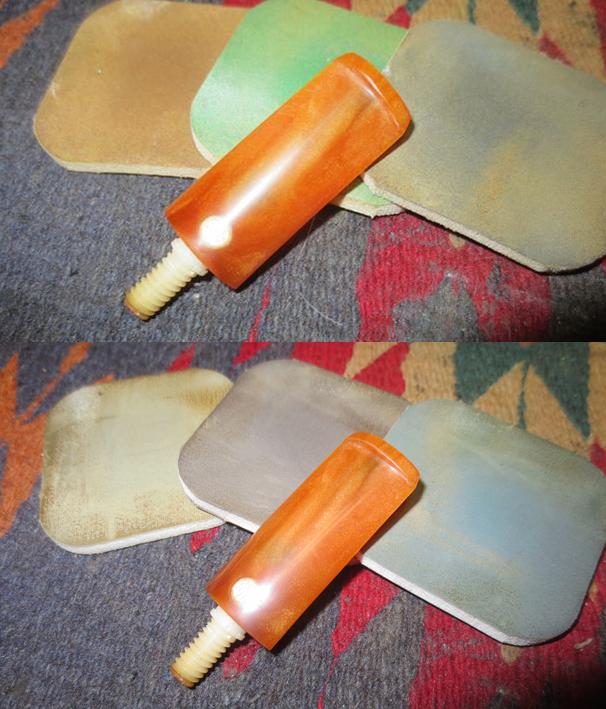
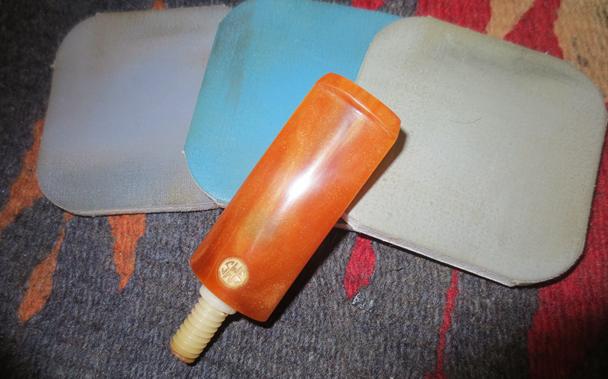
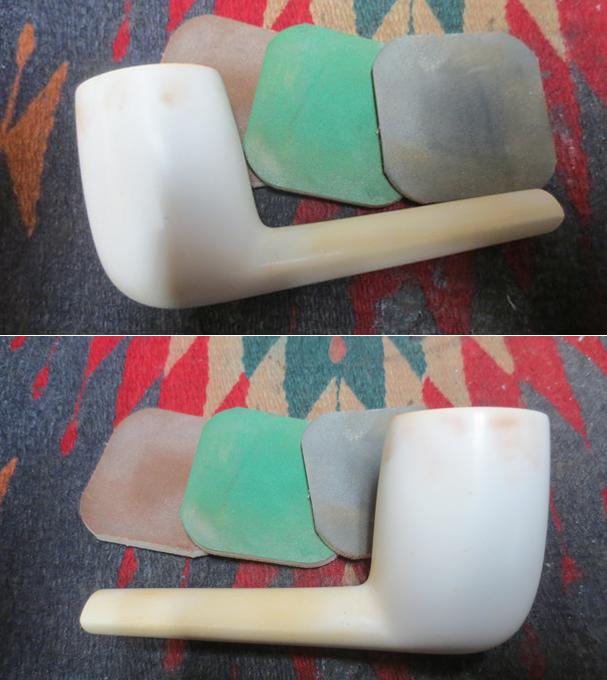
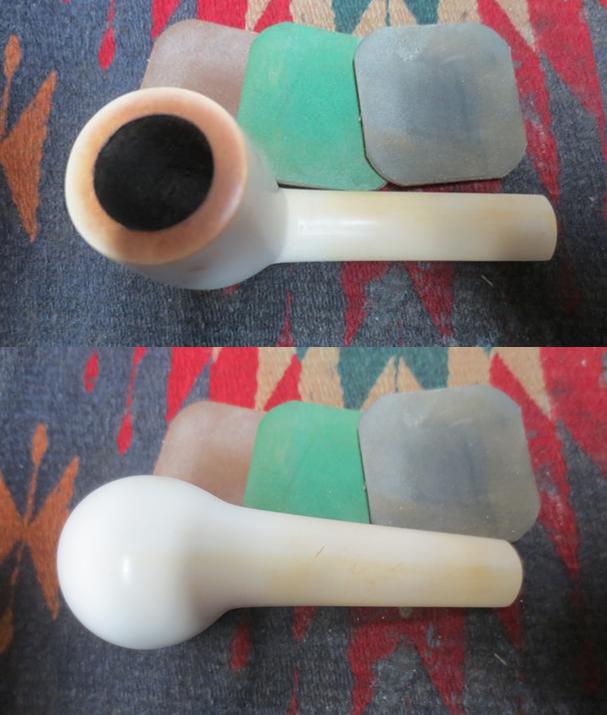
I took some pictures of the pipe case to show its condition before I started my restoration work on the pipe. The faux leather case is in pretty good condition – just a few scuff marks but the edges are smooth and there is no peeling happening with the covering. The golden/tan velour interior is also in good condition – a little dusty and a few flakes of tobacco left behind in the fabric. It should clean up nicely as well. The pipe inside was in pretty decent condition. There was a cake in the bowl and some rim darkening and lava overflowing over the back of the rim. The bowl and shank had a lot of scratches and nicks in the finish with a bit of “road rash” on the bottom edge of the left side of the bowl. There were also some colour developing on the long shank of the pipe and some odd spotting around the top of the bowl. It was patina developing but it was spotty and strange – I have never seen that kind of colouring on a meer before. The stem was in good condition but had tooth marks and chatter on both sides near the button. The stem had a threaded tenon that screwed into and inset in the shank. It aligned perfectly. The SMS brass logo was set in the top of the stem and had been covered with a spot of clear acrylic to make it smooth and even with the surface of the stem. It should clean up well with a few character marks from its journey through the hands of different pipe men. I took some close up photos of the bowl, rim top and sides of the bowl to show the scratching and general condition of the pipe. The nicks and scratches on the left side of the bowl are visible in the second photo. The colouration process on the pipe is also visible through the scratches. The tooth marks and chatter are visible in the photos of the stem. They are predominantly around the button area on both sides. There are also some scratches and nicks on the sides and close to the shank/stem junction.I have to say how spoiled I have become when it comes to cleaning up pipes before I can do the restoration work. Thank you Jeff for the great work that you have been doing behind the scenes at rebornpipes. It is times like this when I have to clean up a pipe before I begin working on it that I am reminded of how much you do before I ever get the pipes. On this one I began with the cleanup work. I reamed the bowl with a Savinelli Fitsall Pipe Knife and took out all of the cake on the walls.I unscrewed the stem from the shank and wiped down the tenon with a damp cotton pad to remove the tars and oils in the threads on the outer edge of the airway. Afterwards I cleaned out the mortise and the airway in the shank and stem with alcohol, cotton swabs and pipe cleaners until it was clean.I sanded out the tooth chatter and marks with a folded piece of 220 grit sandpaper. I also sanded out the nicks and marks further up the stem sides and near the shank/stem union.I worked over the stem with micromesh sanding pads. I polished out the sanding scratches and marks in the amber acrylic – wet sanding it with 1500-2400 grit pads and dry sanding it with 3200-12000 grit pads and wiped it down with damp cotton pad after each one. When I finished with the 12000 grit pad I wiped it down a final time and dried it off. I set the stem aside and turned my attention to the meerschaum bowl. I polished the meerschaum bowl and shank with micromesh sanding pads – wet sanding with 1500-2400 grit pads to remove the damage of the scratches and nicks in the bowl. I was able to remove almost all of the surface scratches (leaving behind only those that add character) and most of the heavy damage to the marks on the lower left side of the bowl. I dry sanded the bowl and shank with 3200-12000 grit pads. I wiped the rim down after each pad with a damp cotton pad. I put the stem back on the bowl and carefully worked the pipe on the buffing wheel with Blue Diamond to further polish the bowl and the shank. It really brought life to the meerschaum. I also buffed the acrylic stem at the same time and worked it to a shine. I gave it several coats of Conservator’s Wax and buffed it with a clean buffing pad. I hand buffed the pipe with a microfiber cloth to deepen the shine in the meerschaum. The finished pipe is shown in the photos below. The dimensions of the pipe are: Length: 6 1/4 inches, Height: 2 1/4 inches, Diameter of the bowl: 1 1/2 inch, Diameter of the chamber: 7/8 inches. I will be adding this one to the rebornpipes store shortly if you are interested in adding it to your collection. It is an unusual shape in my opinion and it will make a fine meerschaum addition to the rack. If you are interested email me at slaug@uniserve.com or send me a message on Facebook. Thanks for looking.
 

Cleaning up a 1962 Gourd Calabash Pipe


Blog by Steve Laug

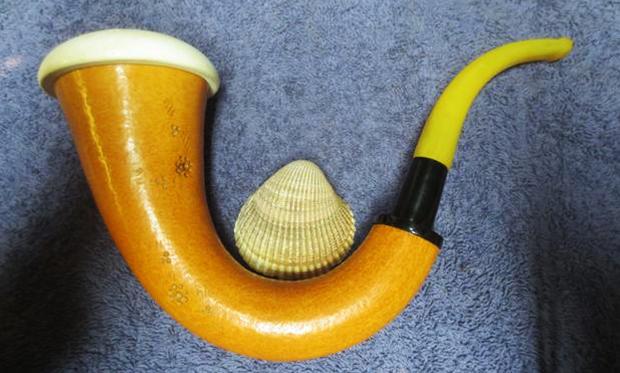
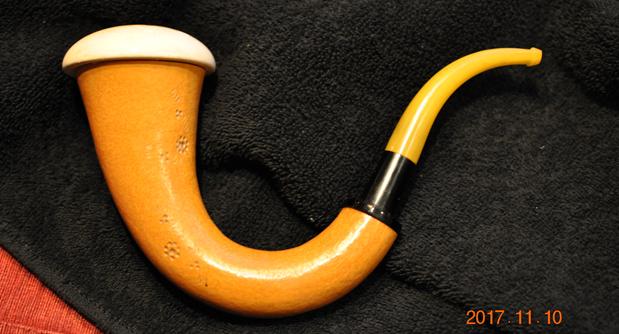
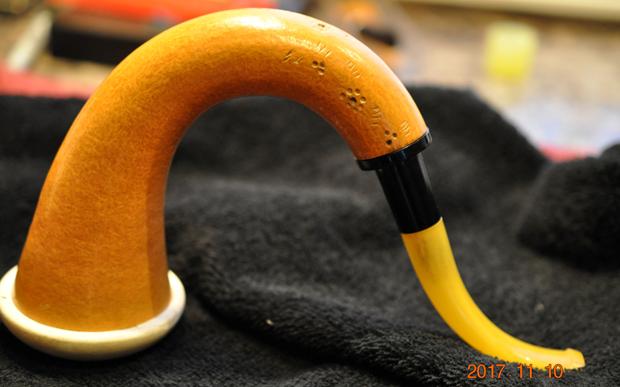
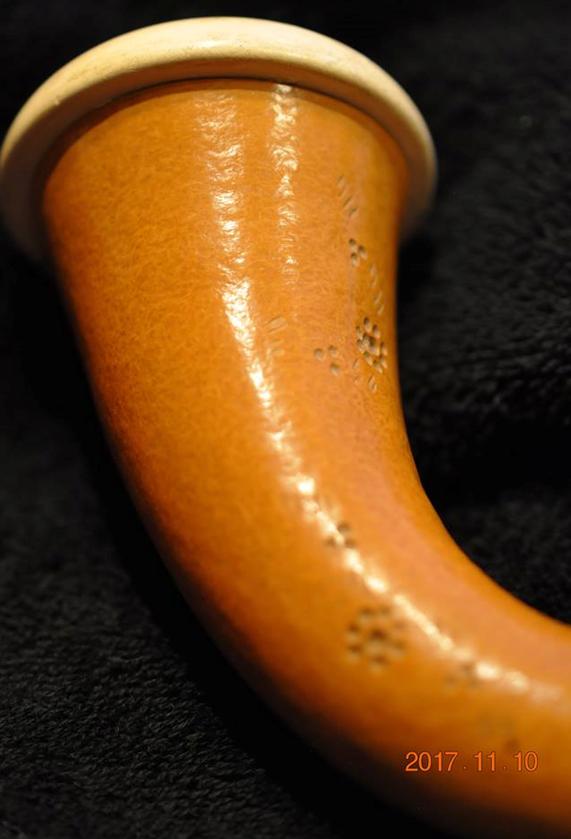
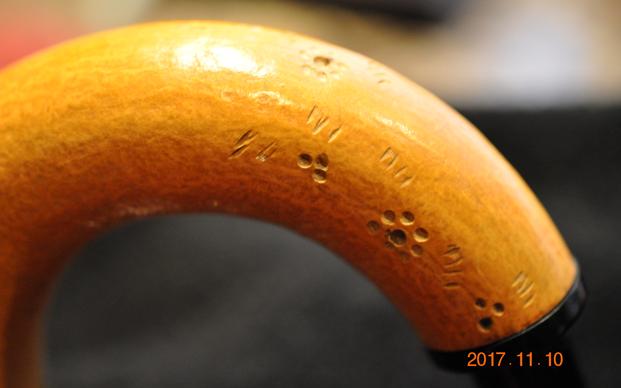
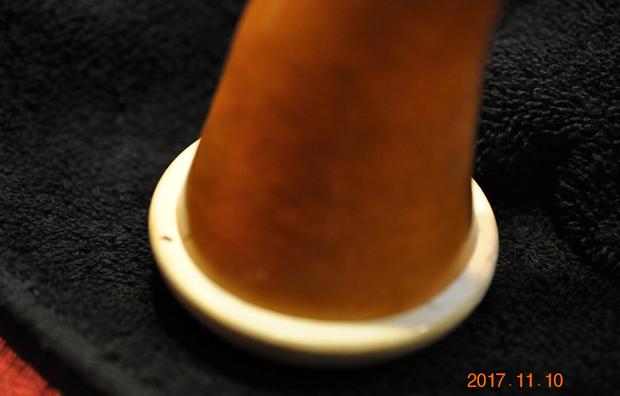
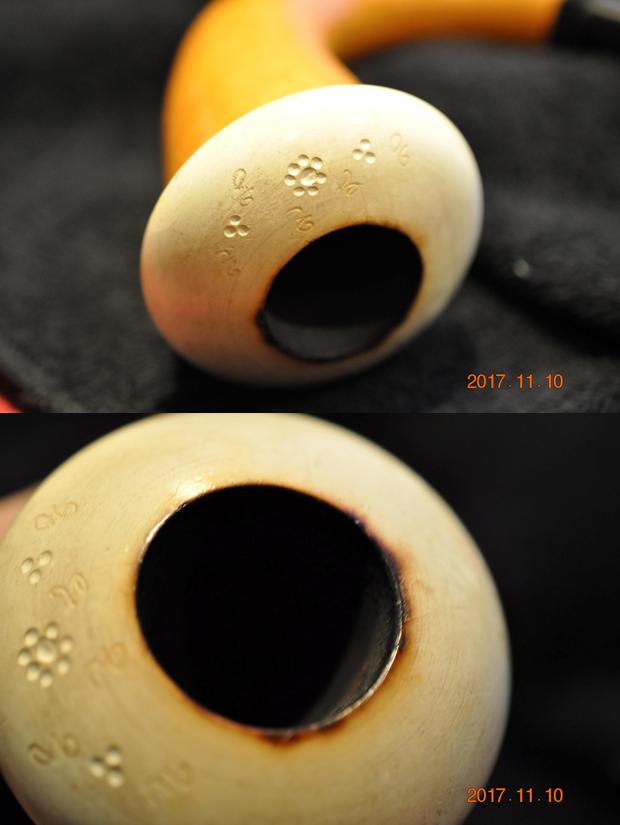
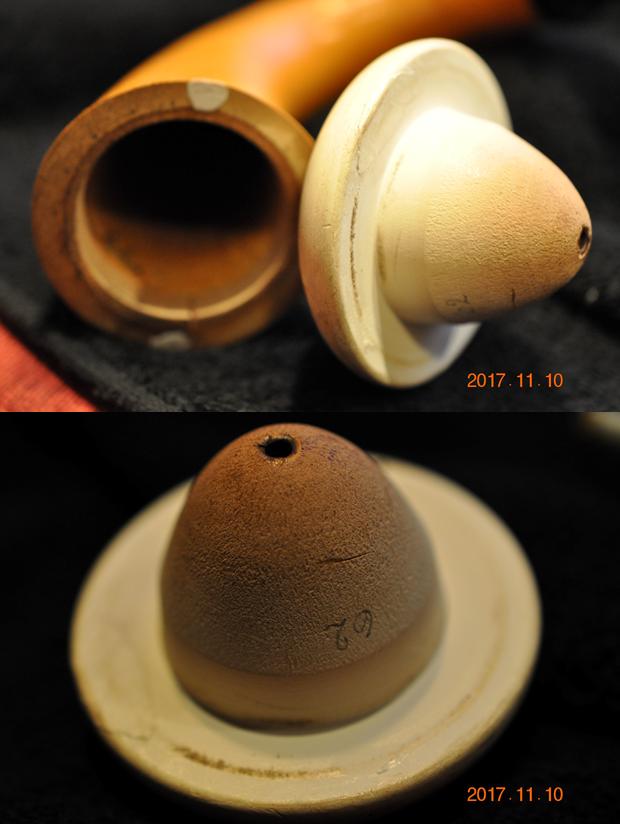
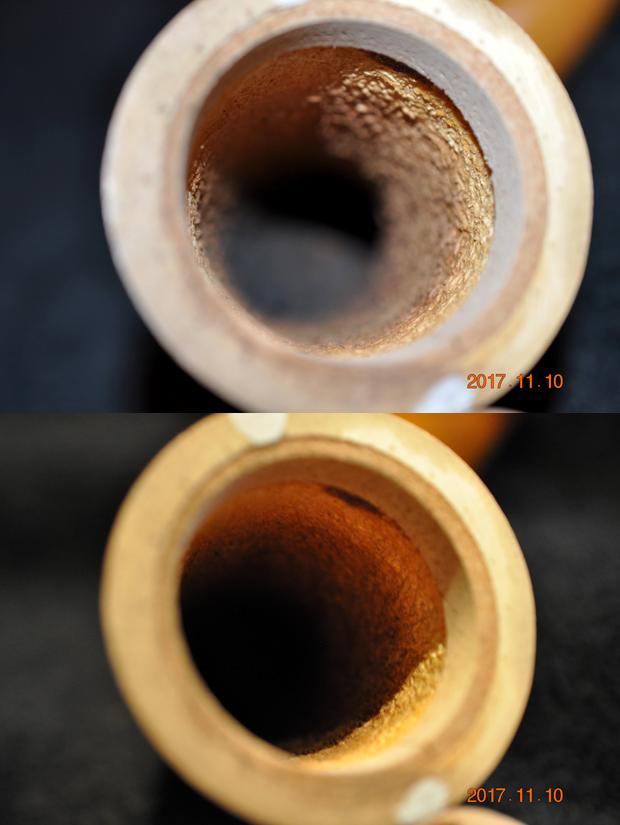
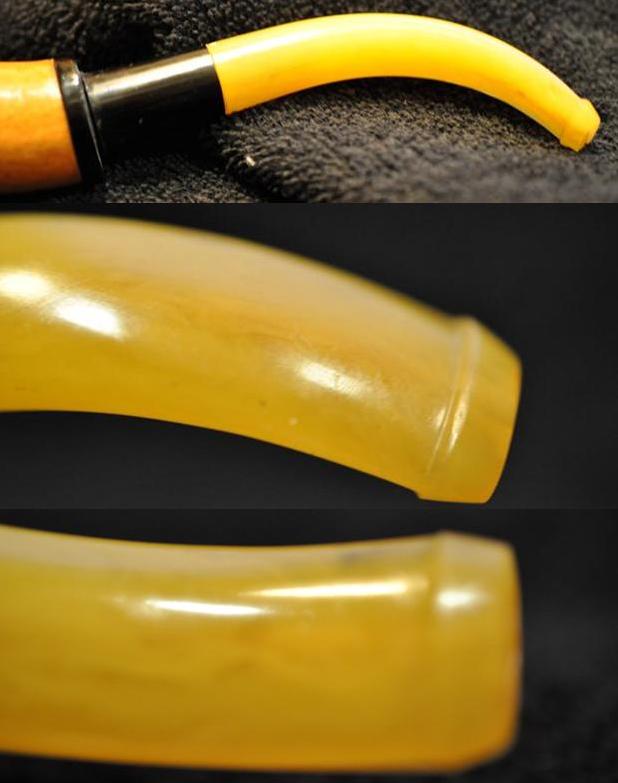
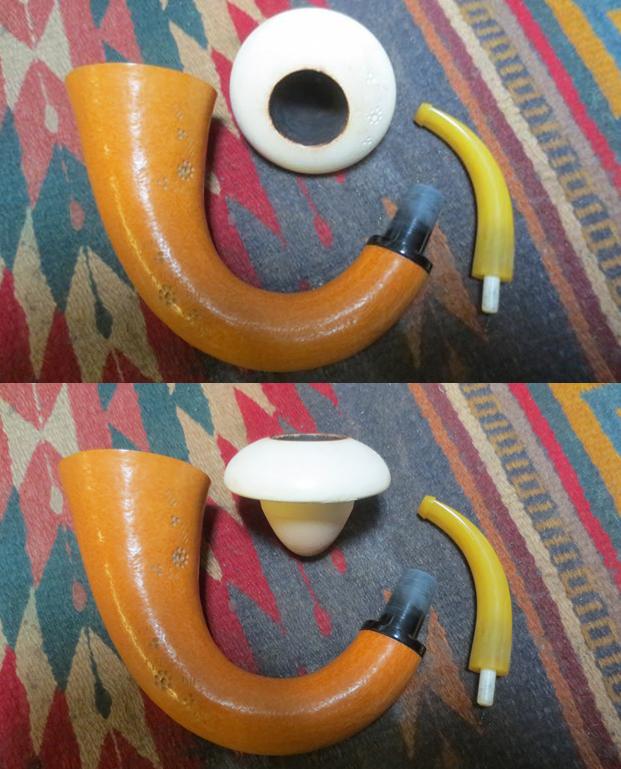
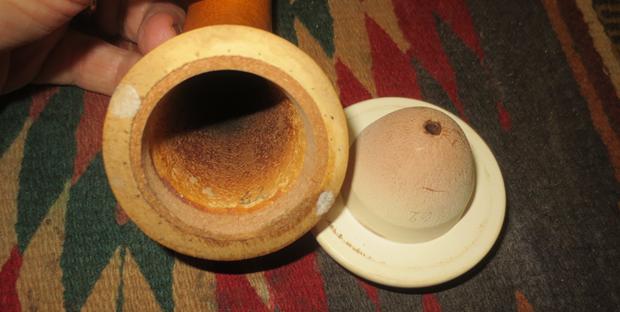
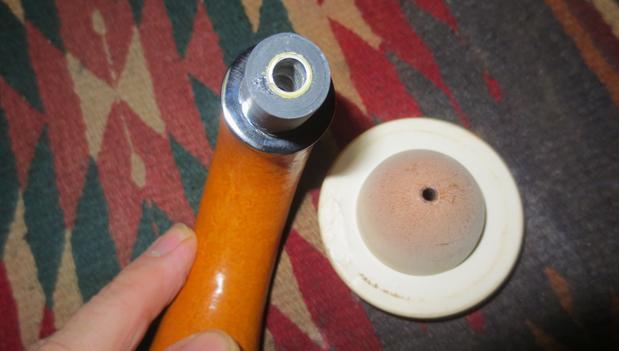
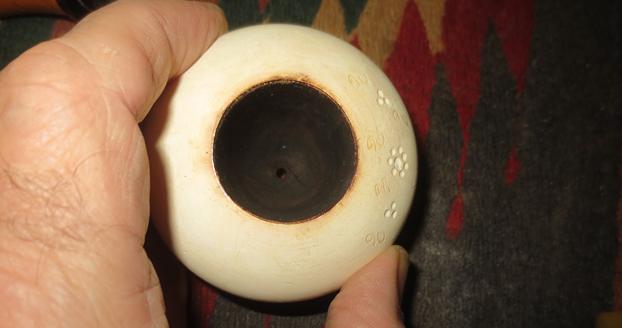
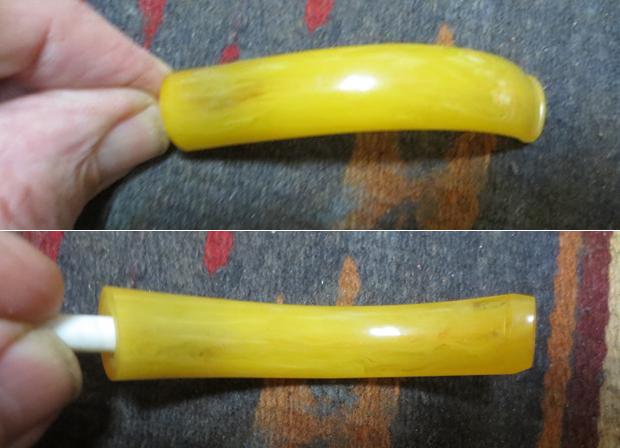
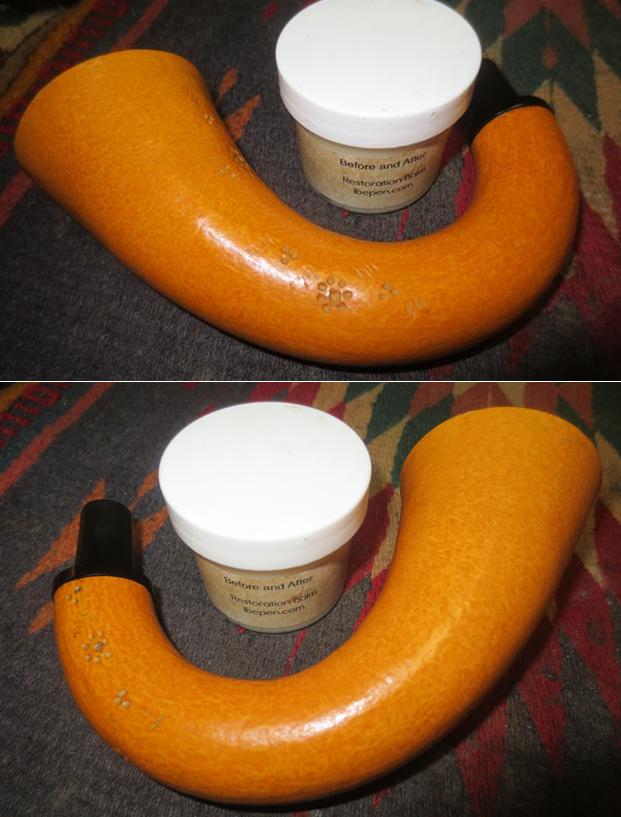
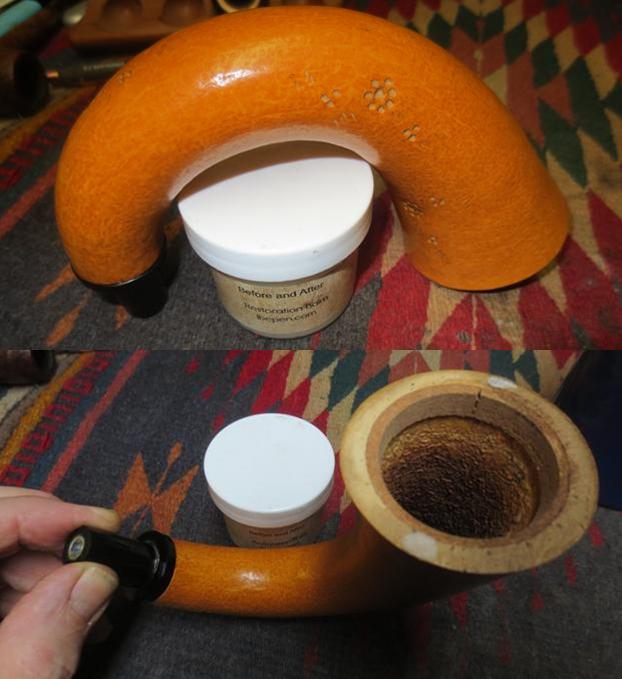
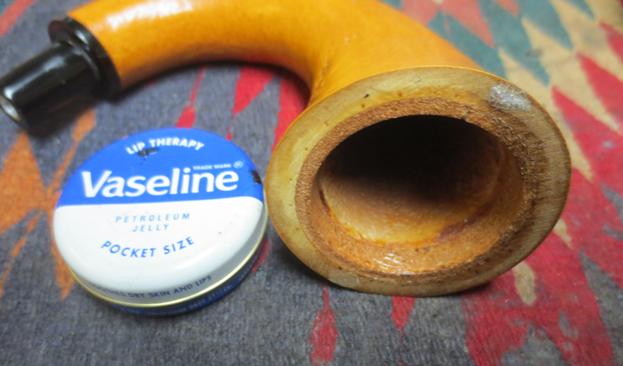
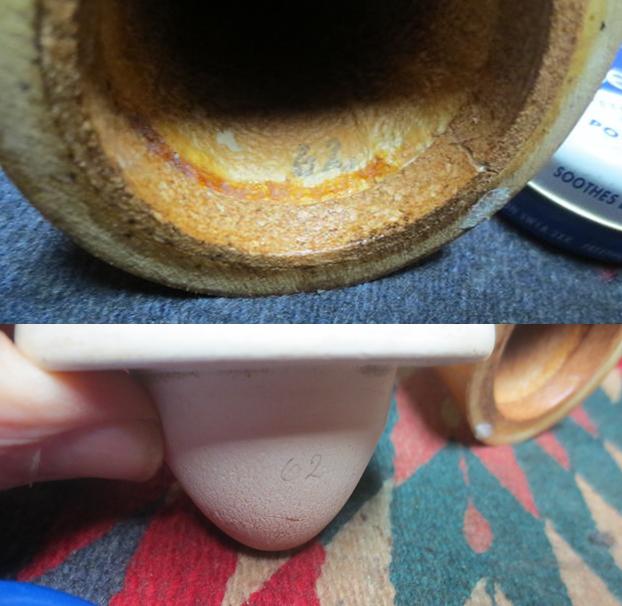
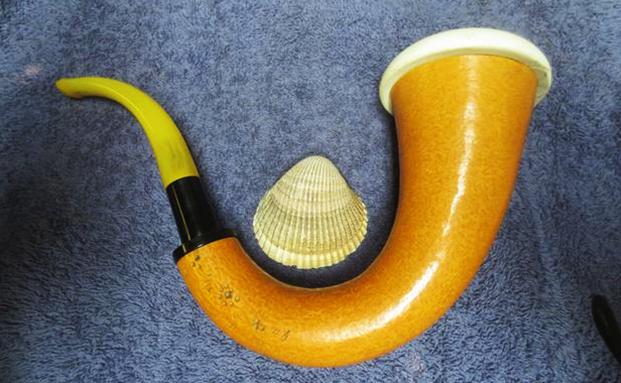
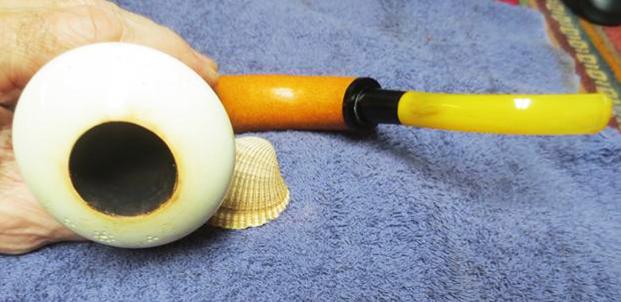
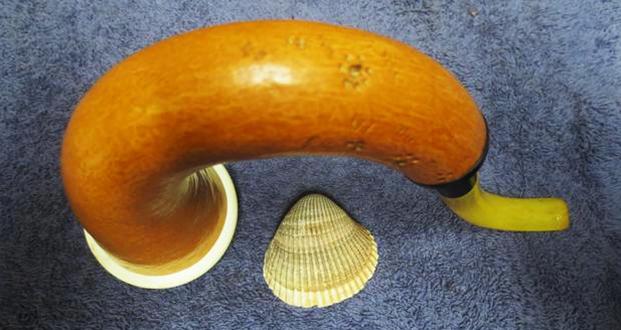
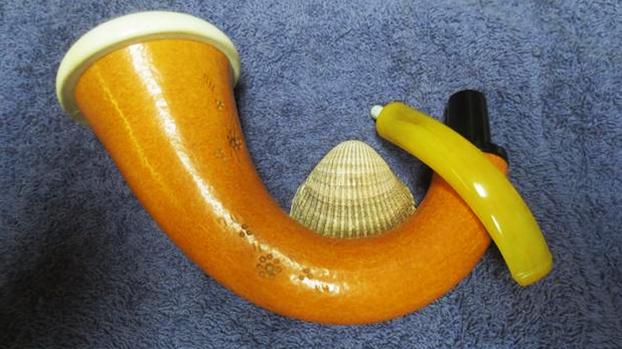
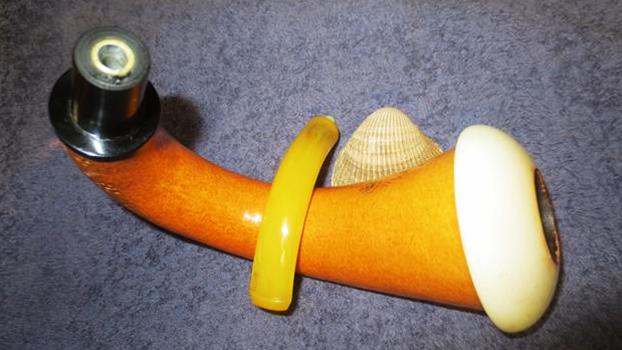
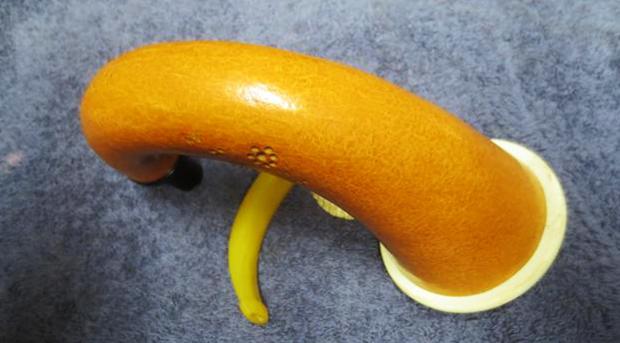
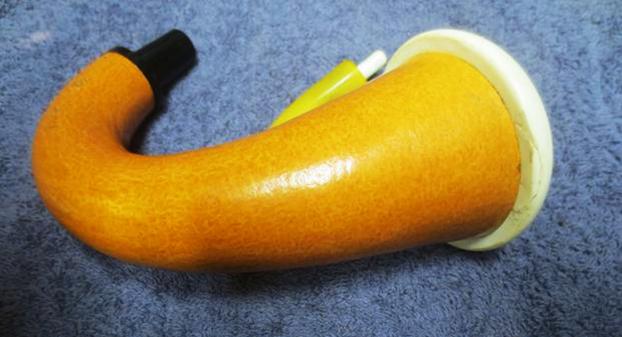
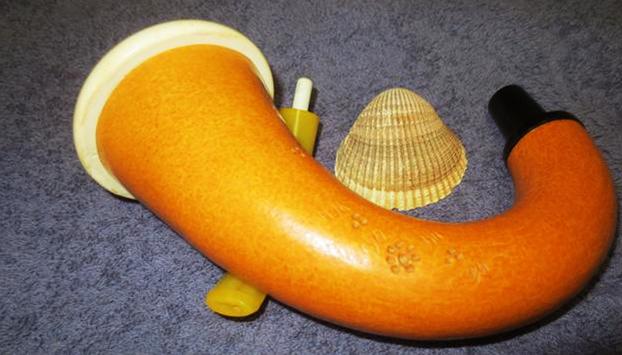
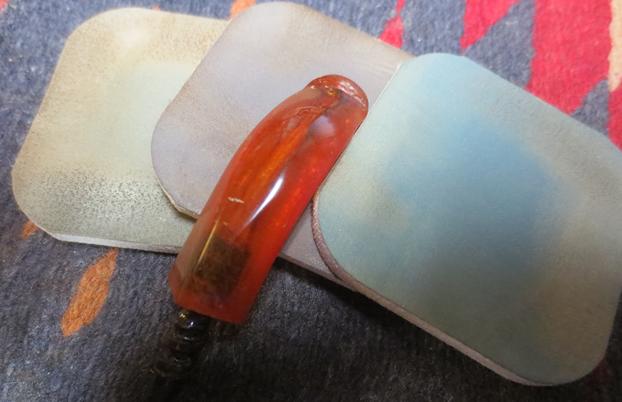
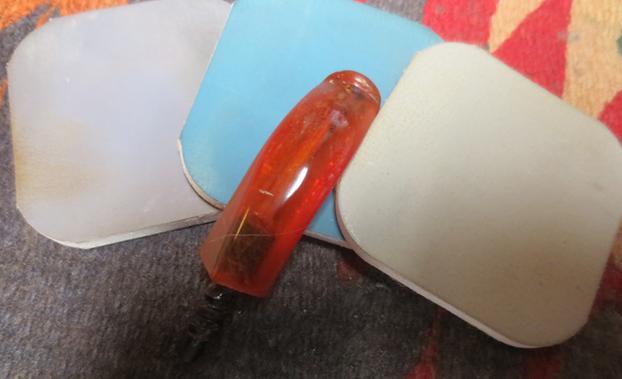
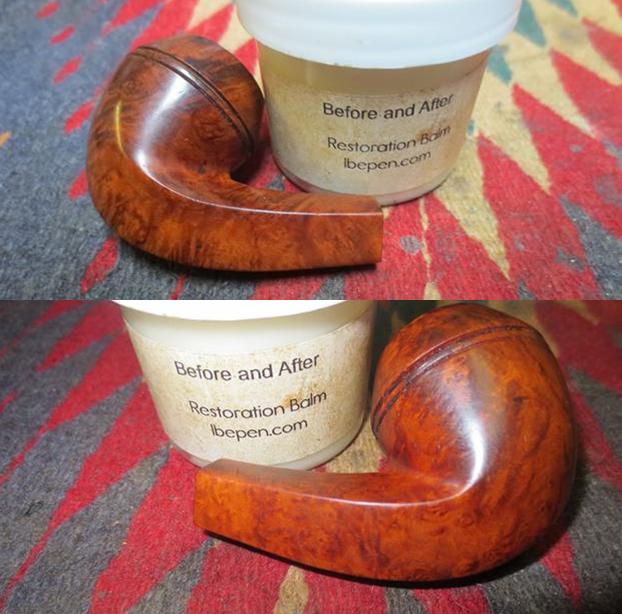
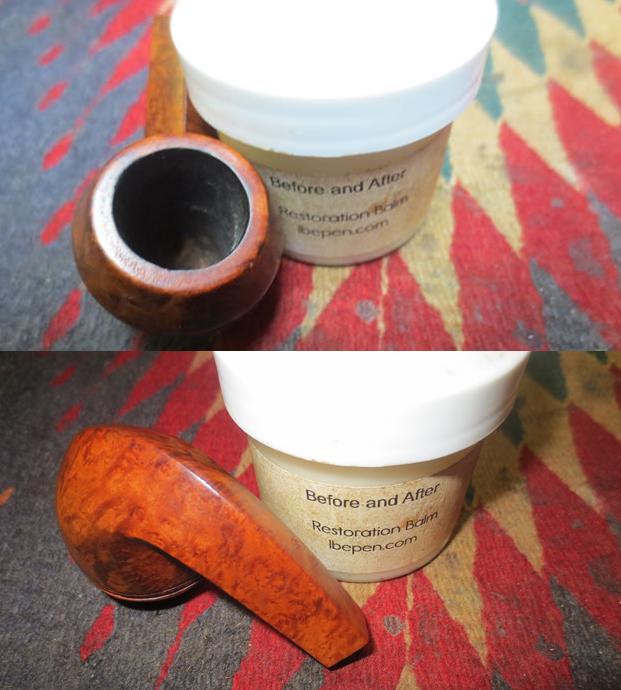
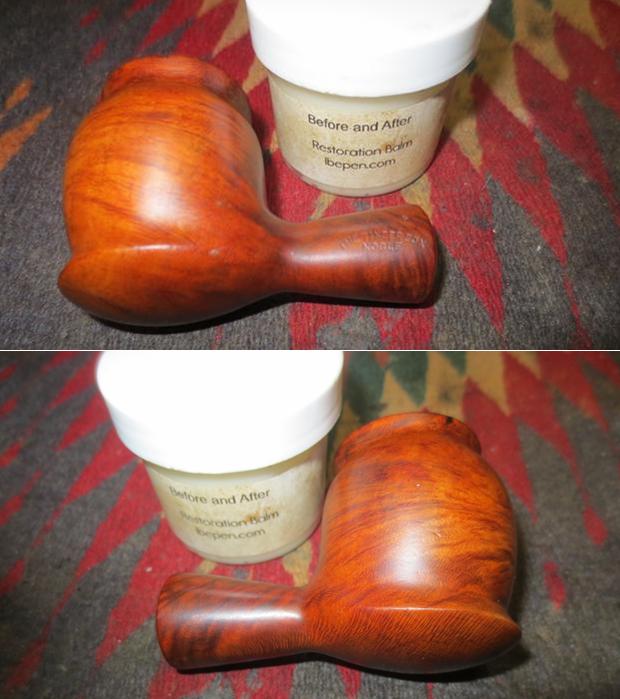
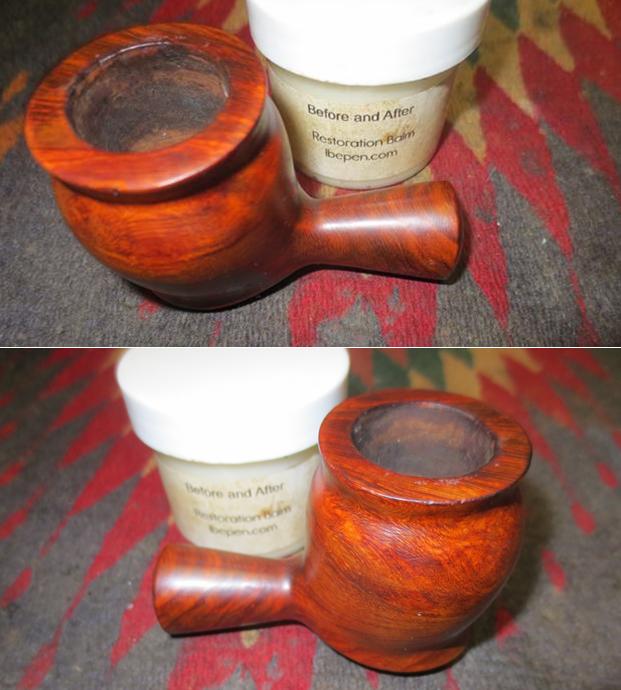
Jeff picked up this Calabash at a local estate sale in Idaho. It is a big pipe – large gourd, with the meerschaum insert and stem in place it is 8 ½ inches long and 5 inches tall. The diameter of the meerschaum cup is 2 ¾ inches and the chamber diameter is 1 1/8 inches. It is a bit different from other gourd Calabash pipes that I have worked on in that is has small flowers carved in the surface of the body of the gourd and in the meerschaum cup. The end of the gourd shank is capped with a plastic/hard rubber end cap and extension that are joined by a metal tube. The stem is acrylic and is a bright yellow colour. Jeff took some photos of the pipe before he started cleaning it. The gourd is in good condition and the overall appearance of the pipe is good. Jeff took some close up photos of the gourd to show its overall condition. You can see the carved flower patterns and small straight cuts around the flowers looking like blades of grass.The rim top had some scratching in the surface of the meerschaum as well as some more carved flower and leaf patterns. The bowl had some darkening around the inner edge of the bowl and there was a cake buildup in the bowl itself.Jeff removed the bowl to give a good look at the inside of the gourd. It was in good condition. Both the inside of the gourd and the underside of the meerschaum bowl had the number ’62 written on them in pencil. This makes me think that it is likely a date mark for the pipe – that is why I date it as a 1962 Calabash. The cork gasket around the inner edge of the gourd was in excellent condition. The cork was dry but otherwise undamaged. The black extension on the end of the shank was connected to the shank cap with a metal inner tube that lines the extension and provides a metal mortise for the stem. The stem was in excellent condition with light tooth chatter on the surface on both sides near the button with a little wear on the top and underside of the button itself.Jeff did a thorough cleanup on the meerschaum bowl, the inside of the gourd and the stem. He carefully scraped the cake in the bowl with a Savinelli Fitsall Pipe Knife. He cleaned the internals with alcohol, pipe cleaners and cotton swabs – scrubbing out the mortise as it was dirty. He scrubbed the exterior of the meerschaum cup and the gourd with Murphy’s Oil soap and a tooth brush and was able to remove all of the oils and dust in the carved flowers on the gourd and bowl. He was able to remove all of the grime from the top of the meerschaum bowl and left it looking very clean. Once he had removed the lava on the rim top and inner edge they were very clean appeared to be good shape. Some of the scratches in the meerschaum were deeper than others and would take some work to smooth them out. He cleaned internals of the stem with alcohol. When it arrived I took some photos of it to show how it looked before I did the restoration.  I took some close up photos of the bowl, rim and the stem to show how they looked after Jeff’s cleanup work. He was able to remove much of the grime and lave on the rim top. There was a little tar around the inner edge but the bowl itself was clean. The stem was in great condition. The Delrin push mortise was clean. It fit well in the metal tube in the mortise. I removed the meerschaum bowl and rubbed the gourd down with Before & After Restoration Balm to deep clean the smooth finish, enliven and protect the gourd. I hand rubbed it with my fingers and buffed it with a horse hair shoe brush to work it into the flower patterns on the gourd. I wiped it off with a soft cloth. The gourd really began to have a deep shine. I took some photos of the bowl at this point to mark the progress in the restoration. I rubbed Vaseline into the cork gasket to soften and enliven it. I rubbed it in, let it dry and repeated the process until the cork was softer.I took some photos of the pencil marks on the inside of the gourd and the underside of the meerschaum bowl. Both of the photos below show the marks and clearly reads 62.I polished out the sanding scratches and marks in the meerschaum with micromesh sanding pads – wet sanding it with 1500-2400 grit pads and dry sanding it with 3200-4000 grit pads. I wiped the bowl down with a damp cloth after each sanding pad. I dry sanded it with 3200-4000 grit pads and wiped it down with the damp cloth after each one. It looked better than before but I still was not satisfied so I buffed it again this time using Blue Diamond. I brought it back to the table and sanded it with the final three 6000-12000 grit pads. I wiped it down with the damp cloth after each pad. When I finished with the 12000 grit pad I gave it a final wipe down and set it aside. The final photo showing the underside of the meerschaum cup shows a previous repair that had been done before the pipe came to us. It was a good repair and the chip was smooth and there was no roughness to the outer edge of the cup. I polished out the tooth chatter in the acrylic stem with micromesh sanding pads – wet sanding it with 1500-2400 grit pads and dry sanding it with 3200-12000 grit pads. I wiped the stem down with a damp cloth after each sanding pad. I buffed the stem using a light touch with Blue Diamond on the buffing wheel. I brought it back to the table and did a final polish with the 12000 grit pad, gave it a final wipe down with a damp cloth and set it aside to dry. I worked over the black plastic end cap and extension with micromesh pads to polish them and remove all scratches in the surface. I gave the stem multiple coats of carnauba wax to protect and polish it. I gave the gourd bowl several coats of Conservator’s Wax and buffed it with a clean buffing pad to raise the shine. I hand buffed gourd and meerschaum cup with a microfiber cloth to deepen the shine. The finished pipe is shown in the photos below. The polished gourd, the rejuvenated meerschaum cup, black end cap and shank extension work very well with the bright yellow of the bent acrylic stem. The pipe is clean and ready to load and smoke with a favourite tobacco. It feels good in the hand and I would think it be cool, dry smoke. The dimensions of the pipe are: Length: 8 ½ inches, Height: 5 inches, Diameter of the meerschaum cup: 2 ¾ inches and Chamber diameter: 1 1/8 inches. I will be adding this one to the rebornpipes store shortly if you are interested in adding it to your collection. This is a larger pipe and it’s a nice addition to the rack. If you are interested email me at slaug@uniserve.com or send me a message on Facebook. Thanks for looking.

Breathing Life into an early 1900s Eagle Claw Billiard


Blog by Steve Laug

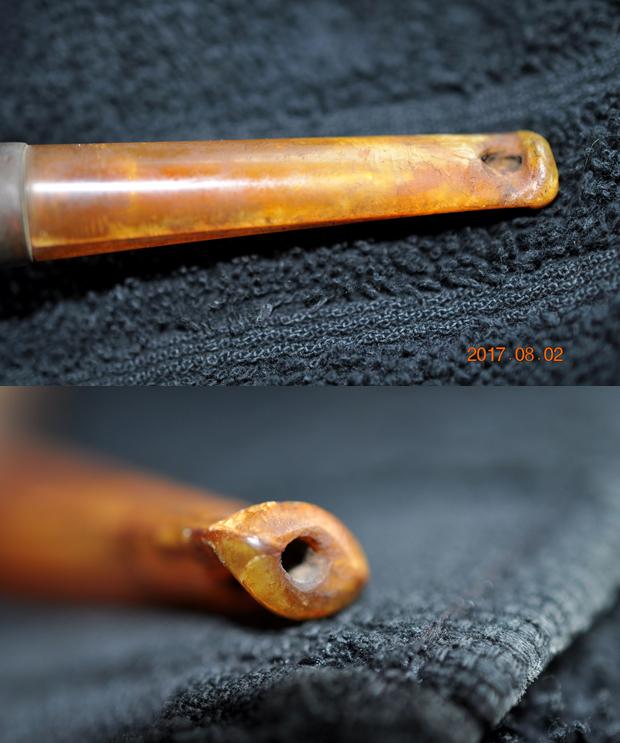
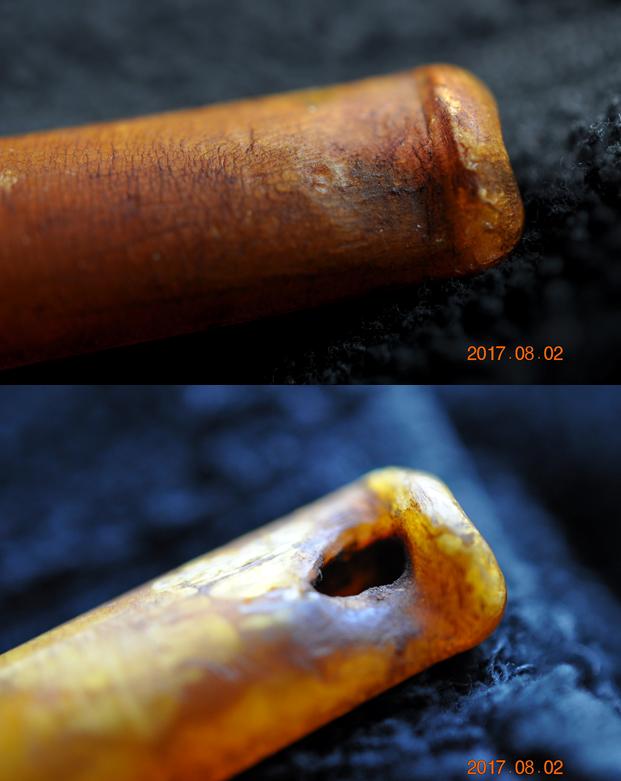
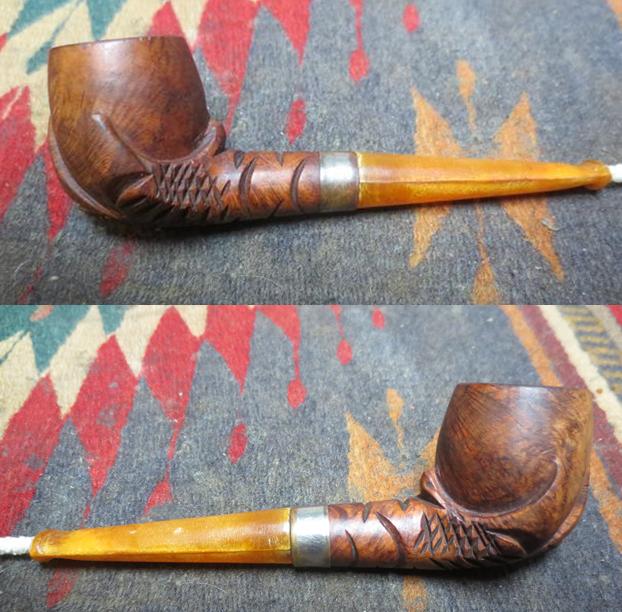
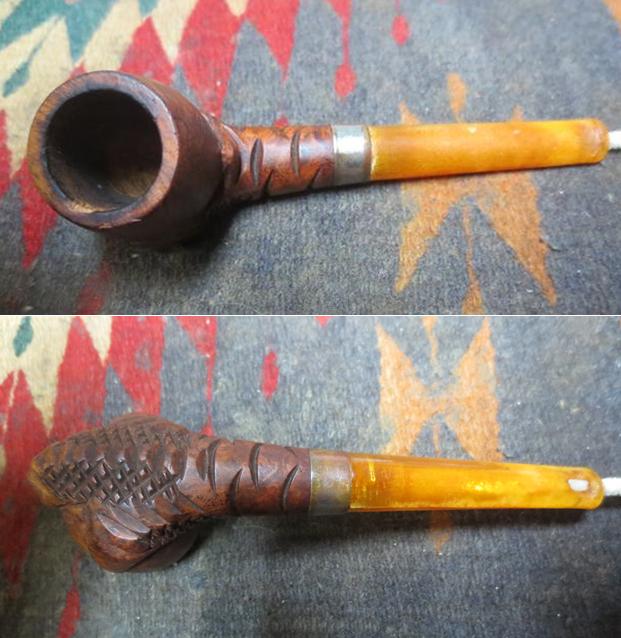
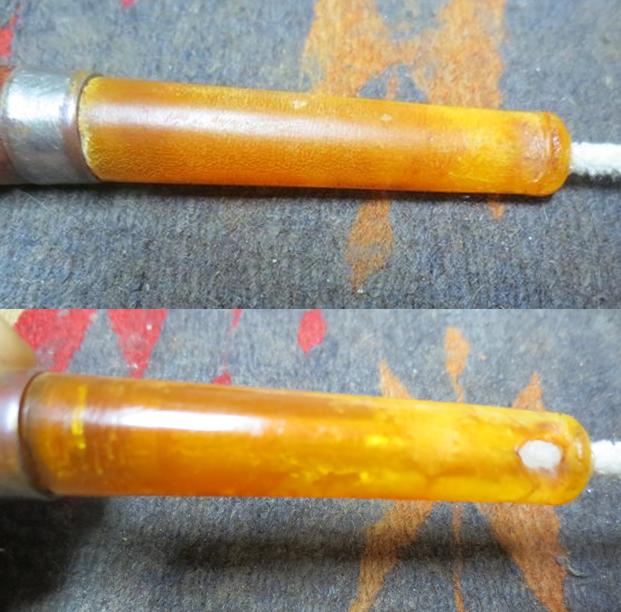
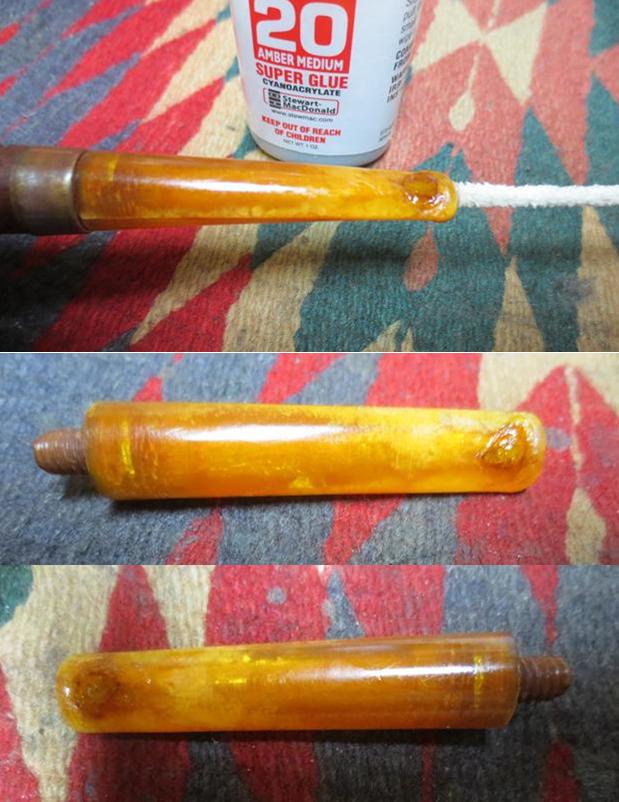
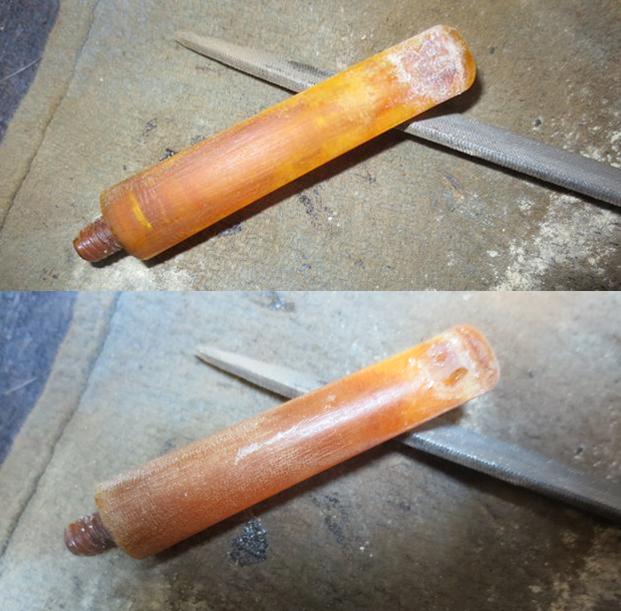
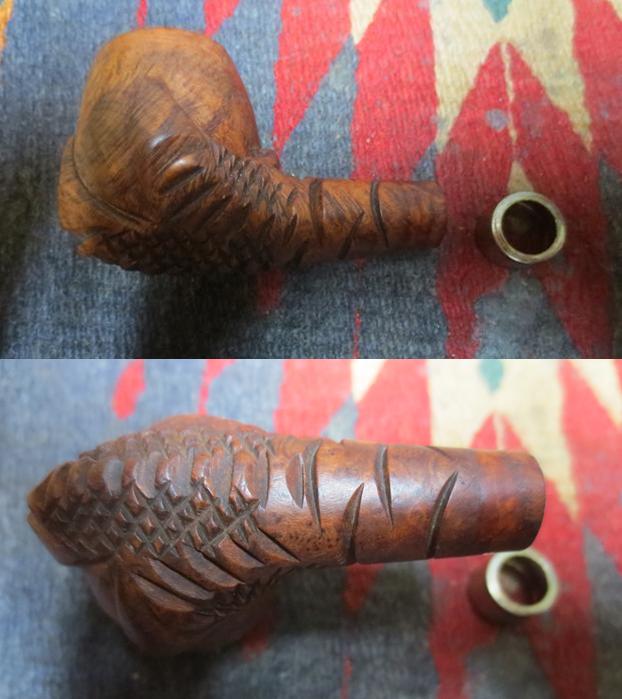
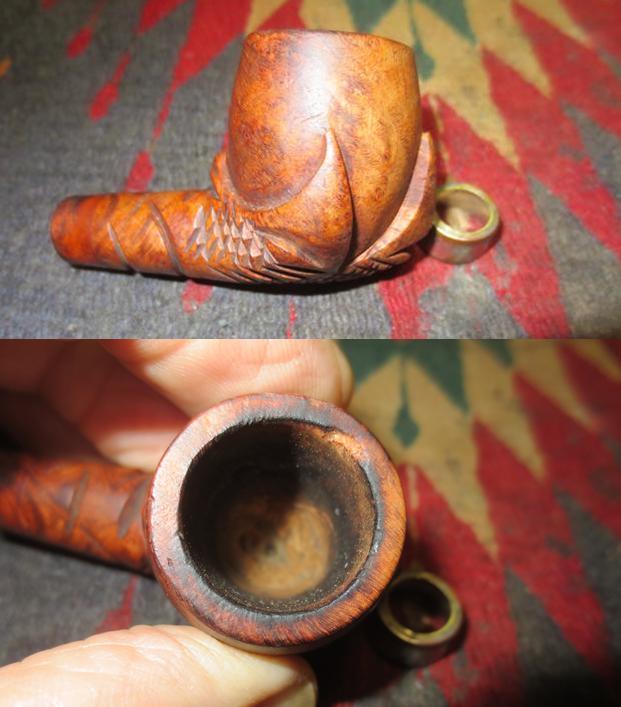
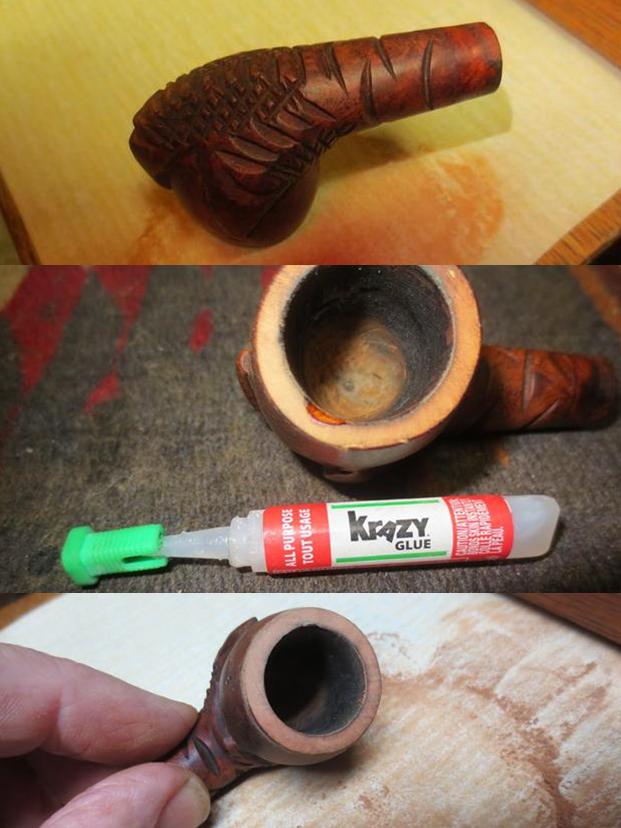
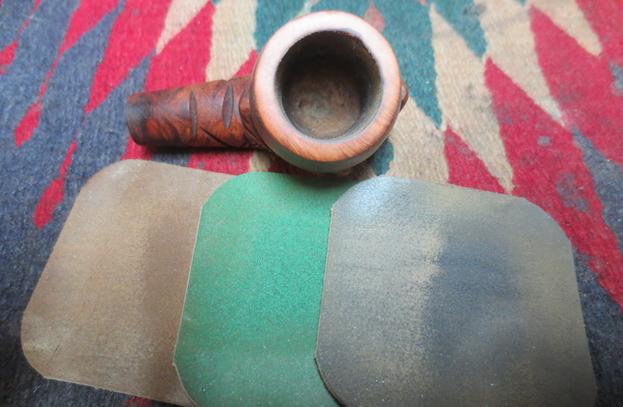
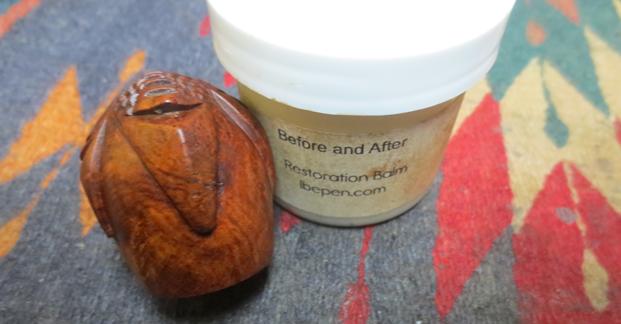
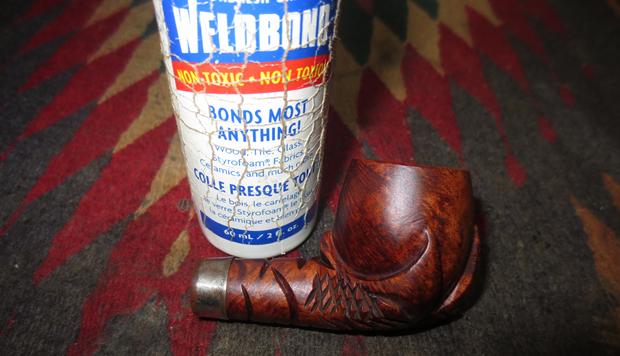
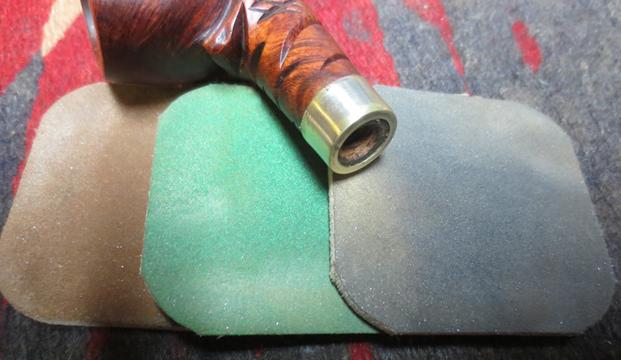
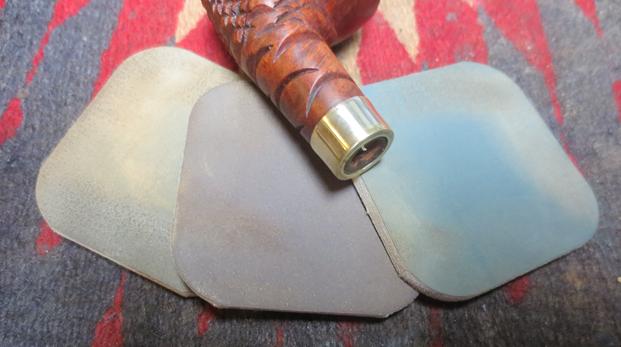
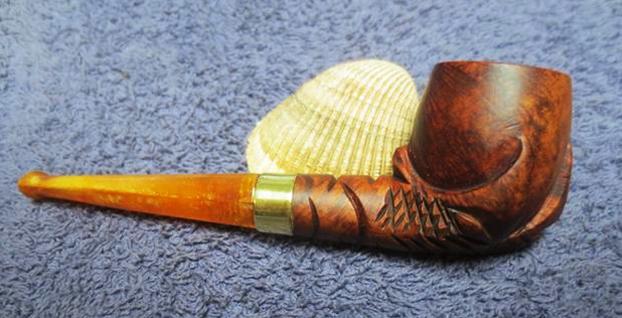
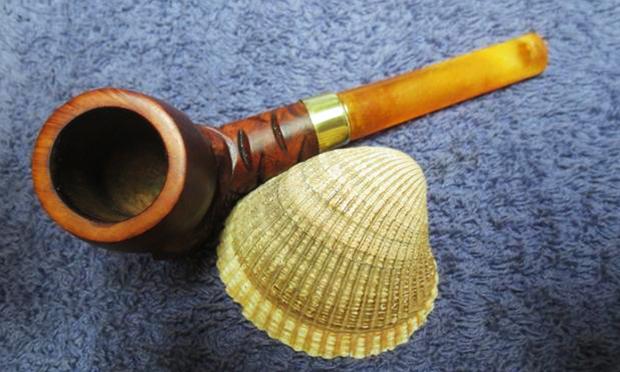
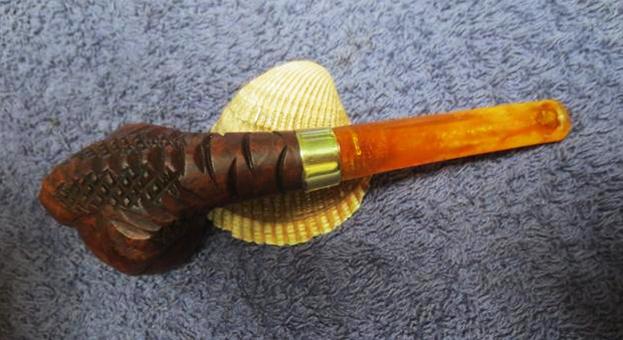
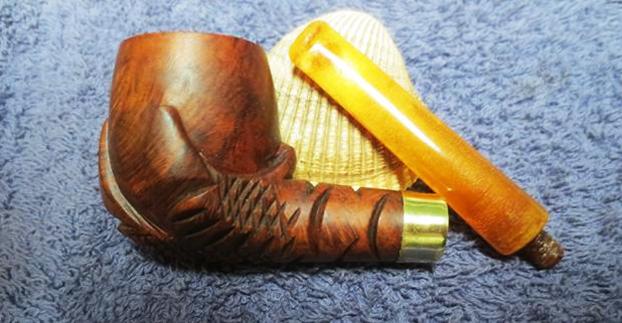
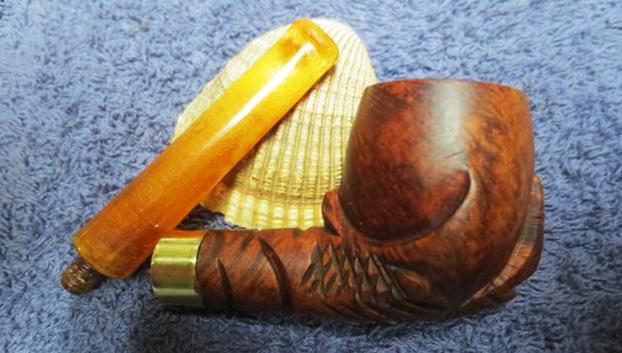
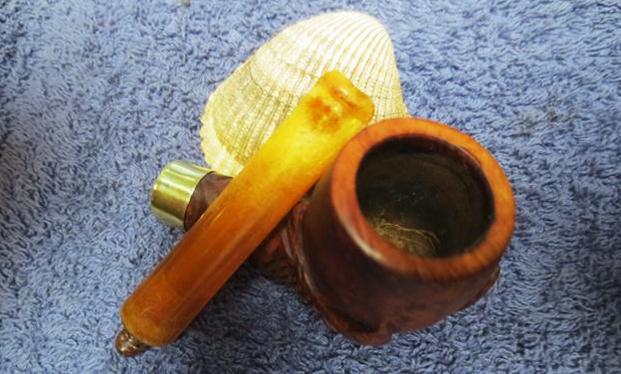
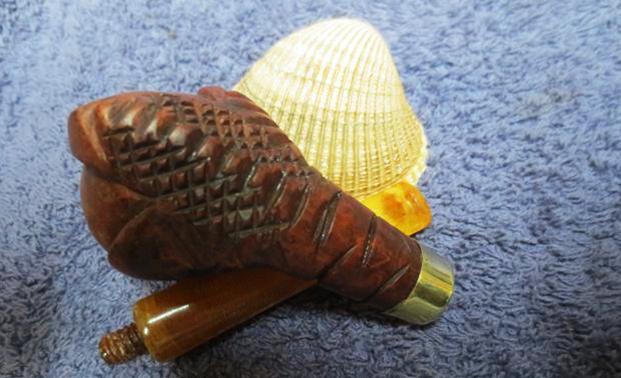
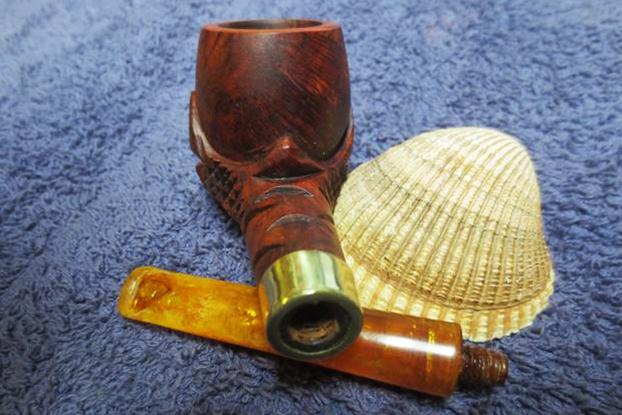
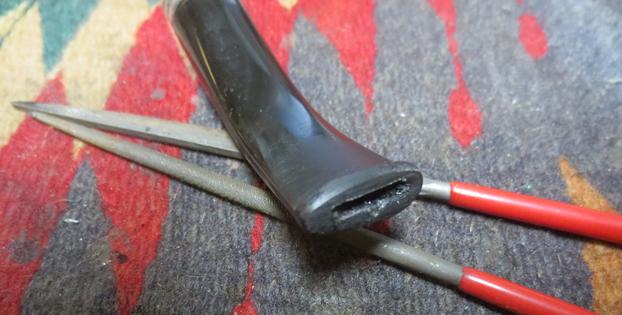
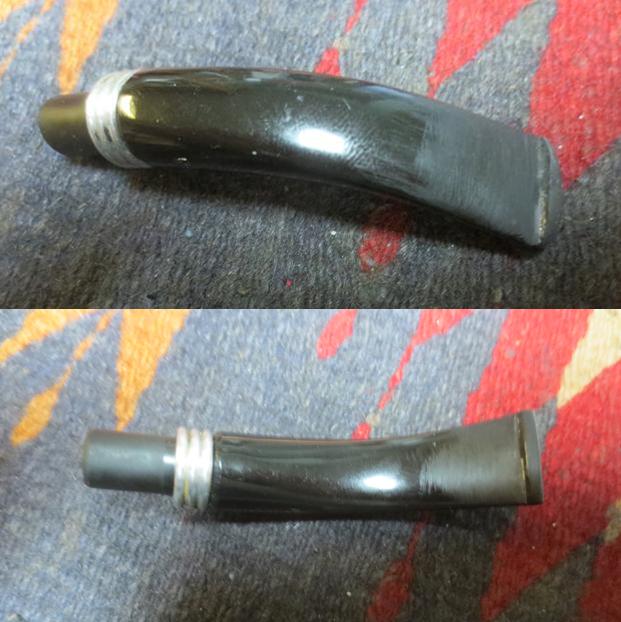
My brother Jeff picked up this interesting Eagle Claw pipe in Montana on one of his pipe hunts. It is well carved and is a well grained piece of briar. The finish was very dirty and worn but under the dirt and dust of years sat some beautiful briar. The bowl had a thin cake – almost like it had been cleaned. Sometime in the life of the pipe the inner edge of the bowl had been chipped on the left side of the bowl. I would almost bet that it happened the last time the pipe was cleaned as there was no buildup of tars or cake in the chip itself. There were remnants of lava on the top of the rim around the rim top but not too thick or too much. There was a very tarnished brass band on the shank that was loose. The stem was Bakelite and was overturned. It also was worn and the top surface at first appeared to be crazed but the more I looked at it the more I could see that it was actually deeply pitted. There were bite marks on the top of the stem and the top edge of the button was worn down. There was a large bite through on the underside of the stem and the button was worn. There was some chipping around the junction of the stem and the band on the shank. Jeff took the photos of the pipe that follow before he started his cleanup work. It is always good to have a baseline of what the pipe looked like when we began the work. The next two photos show the condition of the briar. The first shows the rim top and bowl. There is minor tar buildup on the left side rim top. The chip in the rim is also visible in that photo. The second photo shows the carving patterns on the side and bottom edge of the bowl and shank. Though they are dirty they are well executed and interesting.The band is worn and oxidized but appears to be brass underneath. The top side of the stem is worn and there appears to be casting marks on both edges.The next photos show the bite through in the underside of the stem and the shape and condition of the airway in the button end.The last two photos show the stem. The first is the top side showing the tooth marks near the button and the pitting and checking of the material. This photo shows why originally I thought that the stem had crazed. The second photo gives a close up look at the bite through in the underside of the stem. It was quite large and went from one side of the airway to the other.Jeff did his usual thorough cleanup on the bowl and stem. He used his two favourite reamers to clean up the bowl and rim edges – a PipNet pipe reamer a Savinelli Fitsall reamer. He cleaned the internals with alcohol, pipe cleaners and cotton swabs – scrubbing out the mortise and shank as it was very dirty. He scrubbed the exterior of the pipe with Murphy’s Oil soap and a tooth brush and was able to remove all of the tars and oils built up on the briar. He was able to remove all of the tars and lava on the rim top and left it looking very clean. The chip damage on the rim top and inner edge was clean and visible. He cleaned the stem with warm soapy water and pipe cleaners. He rinsed it with clean water to remove the soap in the airway. When it arrived I took photos of the pipe before I started to work on the restoration. I took a close up photo of the rim top to show how well it had cleaned up. The chip is on shown on the bottom of the photo (left side of the bowl). It would need to be repaired and topped to clean up the damage.The stem cleaned up nicely. The next two photos show the stem after Jeff’s clean up. You can see the pitting, chipping at the shank connection and the tooth marks on the top side. The bite through is clear on the underside and I have pushed a pipe cleaner through to show the size of the hole.Since the stem was quite clean, I wiped it down with a damp cotton pad and dried it off. I greased the pipe cleaner with Vaseline and inserted it into the airway. I filled in the bite marks on the top side and repaired the bite through with Amber super glue. I overfilled the two repairs to make sure that it would not shrink and require more as it dried. I sprayed it with an accelerator and set it aside to dry for an hour.Once the repair had cured for an hour I used a small file to smooth out the patch and reshape the edge of the button. At this point I was interesting in smoothing out the repair and the surface of the stem to match. I also wanted to have the edges of the button look as close as possible to their original shape.I sanded the repaired areas and the rest of the stem with 220 grit sandpaper to deal with the pitting and to blend the repair into the rest of the surface of the stem. The stem is starting to look pretty good and the button and shape are correct.I polished out the sanding scratches, pitting and marks in the Bakelite with micromesh sanding pads – wet sanding it with 1500-2400 grit pads and dry sanding it with 3200-4000 grit pads. I wiped the stem down with Obsidian Oil after each sanding pad. I carefully buffed the stem with Blue Diamond on the buffing wheel so as not to let it get too hot and damage the material. I brought it back to the table and sanded it with the final three 6000-12000 grit pads. After the final pad I gave it a final coat of oil and set it aside to dry. The band/ferrule on the end of the shank was loose so I removed it to clean up the pipe. The photos below show the beautiful grain in this pipe. I really like the looks of the grain and the carving. It is well laid out on the briar. In order to repair the damaged edge of the rim I wanted to top the bowl back to get rid of the other damage to the rim top and prepare it for the patch. I topped it on a topping board using 220 grit sandpaper. I removed enough of the rim top to take care of the other damage on the rim and the burned areas around the inner edge. I pushed some of the briar dust from sanding into the chipped area and put several drops of clear super glue on top of the dust. I repeated the process until the edge and the rim top were even. I sanded the inner edge with a folded piece of 220 grit sandpaper to smooth it out and finished by lightly topping the bowl. The repair looks really good.I polished the rim top using the micromesh sanding pads – wet sanding with 1500-2400 grit pads and dry sanding with 3200-12000 grit pads. I wiped the rim down after each pad with a damp cotton pad. When I finished the polishing I wiped it down a final time. I rubbed the briar down with Before & After Restoration Balm to deep clean the smooth finish, enliven and protect the briar. I hand rubbed it with my fingers and a cotton swab to get into the deep grooves of the carving. I wiped it off with a soft cloth and lightly buffed the bowl with soft cloth. I lightly buffed it with Blue Diamond on the wheel to polish it. It really began to have a deep shine in the briar. The rich reds and browns of the stain, which I have often found in briar of this age, made the grain really stand out. I took some photos of the bowl to mark the progress in the restoration. At this point I decided to not restain the rim top but let is remain natural. The balm that rubbed into the briar made it almost blend with the rest of the bowl. I used a cotton swab to paint some white glue around the shank end to hold the band firmly in place. Once it was evenly spread I pressed the band in place on the shank and let it dry. Once the band had cured I polished it with micromesh sanding pads and a jeweler’s cloth. The brass band really took on a rich glow that went well with the stain on the pipe. I put the stem back on the bowl and gently worked the pipe over on the buffing wheel using Blue Diamond to polish the bowl and shank. I lightly buffed the bowl so as not to get a lot of polishing compound in the grooves and feathers. I carefully buffed the stem to raise the gloss on the Bakelite without damaging it from the heat. I gave the bowl and stem multiple coats of Conservator’s Wax. I gently buffed the entire pipe with a clean buffing pad to raise the shine. I hand buffed it with a microfiber cloth to deepen the shine. The finished pipe is shown in the photos below. The rich reddish brown stain on the carved eagle claw and egg bowl works well with the yellow amber gloss of the Bakelite stem. This old carved pipe really has a nice mix of grain and now that it is restored it has lots of life in it. This is another pipe that I wish could speak and tell its story. As I hold it I wonder about its travels and how it came to rest in Montana before coming to Idaho and then up to Vancouver. It would be fascinating to be able to sit and have a chat with it while I fired up a bowl. I guess though I will have to be satisfied to add my own chapter to the ongoing saga of this old pipe. Thanks for looking.
 

Resurrecting an old GFB Bent Bulldog


Blog by Steve Laug

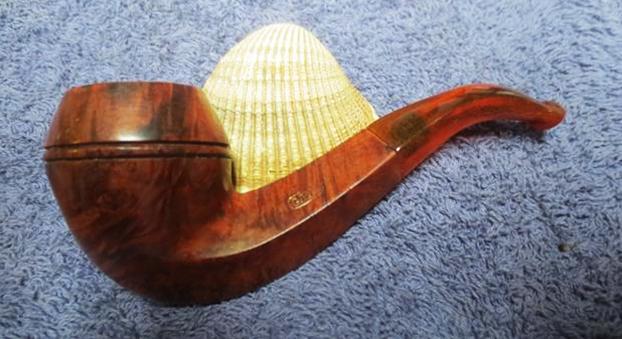
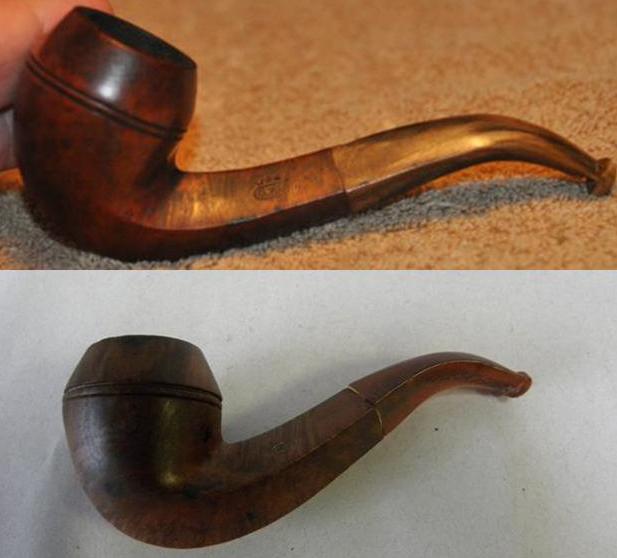
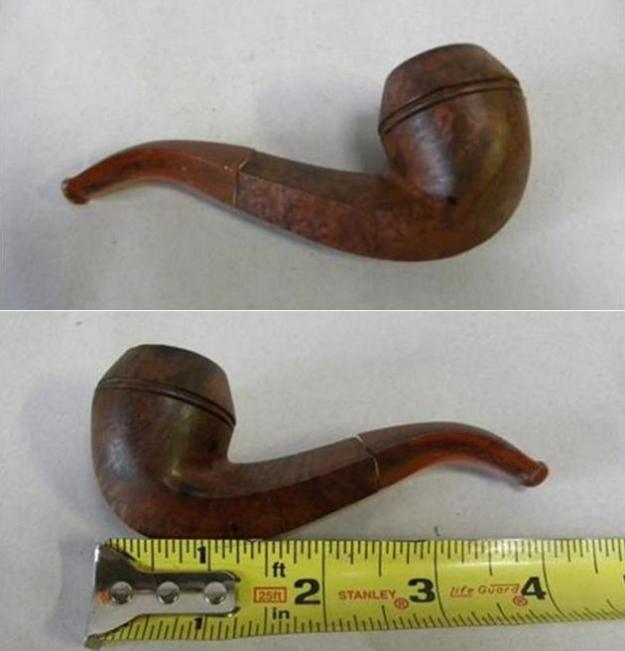
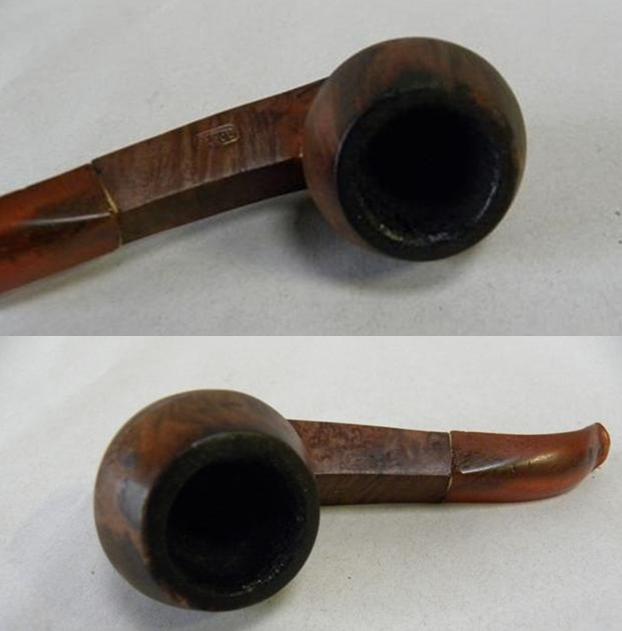
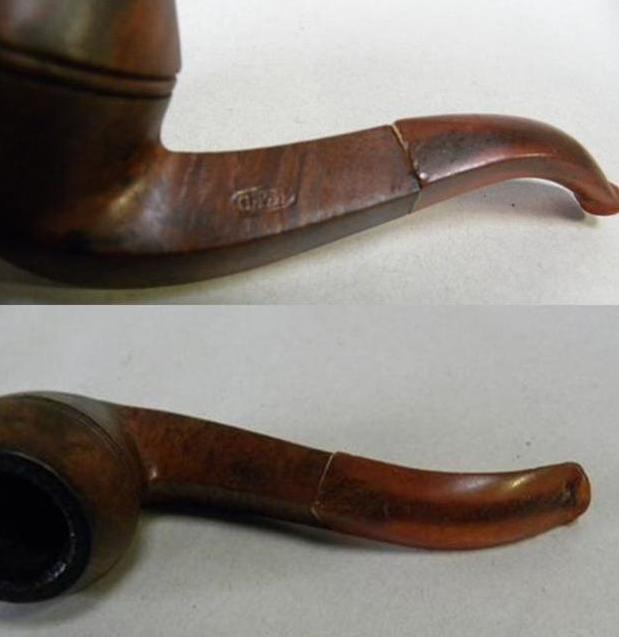
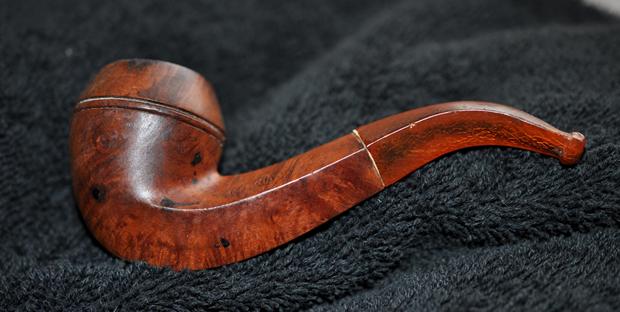
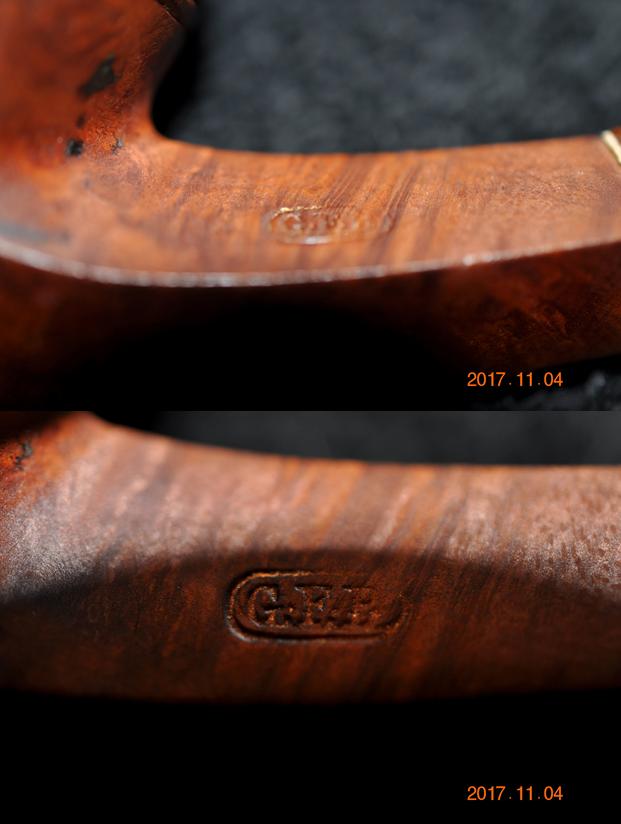
I have worked on three older GFB pipes over the past 4 years. One was an unsmoked briar calabash, one a military mount bent billiard and the final one a horn stemmed bulldog. All had the same stamping as the pipe I am working on now. All were made of a nice piece of briar and all had the same classic shape to them. When I saw this old pipe on eBay I wanted to add it to the collection. It was similar in shape to the little GFB horn stemmed bulldog though the stem was shorter. The first photo below shows the horn stemmed GFB and the second one was photo that the seller included in the eBay advertisement. The stem on the second one is a Bakelite amberoid stem. The finish on both pipes appeared to be similar. The shape is identical. The stamping on the top pipe was GFB in an oval with three stars over the oval. The second pipe has the same GFB oval but it did not have the stars on it. I am including the link to the previous blog. https://rebornpipes.com/2013/11/21/restoring-an-older-gfb-three-star-horn-stem-bent-bulldog/I am including the rest of the photos that seller attached to the item. They give a pretty good picture of what I saw when I was hooked by the pipe. The finish was very worn. The stem was the same size as the shank and lined up straight on all angles. The stem appears to have a paper washer between the shank and the stem to help keep things straight. It appears that there is a small gap between the shank and the stem but I would not know for sure until I saw it. It is a small pipe – just 4 inches long and 1 ¾ inches tall.The rim top looked to be darkened and possibly burnt in the next two photos but it is hard to tell by the dark quality of the photos. The stem shows some damage on the edge at the joint with the shank. The photos show that the pipe is clearly stamped with the GFB in an oval logo. In the article I noted above on the other GFB bulldog I found some interesting information that I have included here for ease of reference.

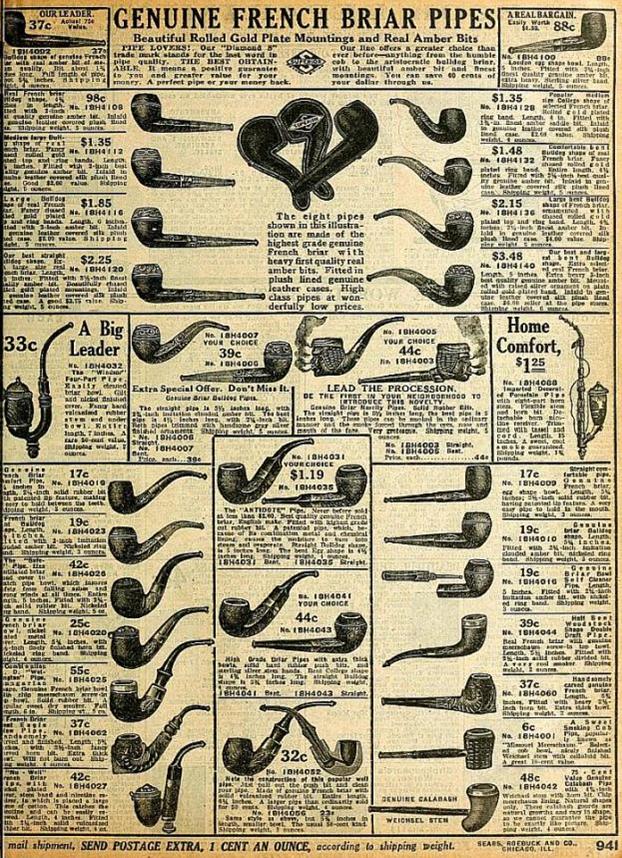
The first thing I found was information that the GFB brand was an older French Trademark and that it came from Saint Claude, France. A more focused search for GFB French Briar Pipes led to information that the stamping GFB stood for Great French Briar – something about that did not seem right to me so I continued to look and finally came across the following advertisement from a Sears Catalogue. It shows a full page of GFB pipes and the header says GENUINE FRENCH BRIAR. That made much more sense to me, and all three of my GFB pipes match the pipes in the catalogue. It was good to be reminded of the old brand. I am pretty sure that all three of my GFB pipes come from either the late 1890’s or the early 1900’s. Here are links to the other two GFB pipes that I restored and restemmed if you are interested in some further reading on the brand.

https://rebornpipes.com/2013/06/07/restemming-and-reclaiming-an-older-unsmoked-gfb-briar-calabash/

https://rebornpipes.com/2013/04/01/restoring-a-gfb-bent-billiard-another-reclamation-project/

When the pipe arrived in Idaho, Jeff took photos of it. His photos gave a more accurate look at the condition of the pipe before he cleaned it up. The bowl had a lot of black spots all around the sides of the bowl and the shank. The paper washer can be seen between the stem and the shank. It almost looks like a spacer. The Bowl had a thick cake that had overflowed onto the rim top and hardened like lava. The finish on the bowl was worn and tired but the original reddish brown stain still looked good underneath the grime. The rim top was so covered it was hard to know if the inner or outer edge had damage. The stem had tooth marks on both the top and the underside near the button itself was worn as was the slot in the end. The stem material was amberlike but was not amber. There was some crazing in the stem material on both sides of the stem. Jeff took a close up photo of the stem to show the condition of the bowl and the rim top. You can see the thick cake in the bowl and it appears that there may be a little damage on the front right side of the inner edge of the bowl. He also included a picture of the left side of the bowl with the black spots on the finish – it almost looked like tar. The next two photos show the stamping on the left side of the shank. It shows the GFB in an oval logo. It is slightly worn but still showed signs of the gold leaf that is stamped inside the logo.Jeff unscrewed the stem from the shank. In the next photos you can see the buildup of tars and oils on the bone tenon and the wear on it as well. The paper washer was torn and when he removed it off the tenon it fell apart.The next photos show the crazing in the stem and a few cut marks on the top side. The stem was worn, dirty and the sharp edge of the button had smoothed out and was worn into the surface.Jeff did a thorough cleanup on the bowl and stem. He reamed the bowl back to bare briar with a PipNet pipe reamer and cleaned up the remnants with a Savinelli Fitsall reamer. He cleaned the internals with alcohol, pipe cleaners and cotton swabs – scrubbing out the mortise as it was very dirty. He scrubbed the exterior of the pipe with Murphy’s Oil soap and a tooth brush and was able to remove all of the tars and oils built up on the briar. He was able to remove all of the tars and lava on the rim top and left it looking very clean. The damage on the rim top and outer edge was clean and visible. He cleaned the stem with warm soapy water and rinsed it with clean water to remove the soap in the airway. When it arrived I forgot to take photos of the pipe. I started to work on it before I took the photos. I remembered after I had topped the bowl and also started to sand the stem and fit it to the shank. I painted the worn tenon with clear fingernail polish to build it up. Then fit it to the shank and took some photos of it to show how it looked before I continued on the restoration. I took photos of the stem to show the crazing in the Bakelite and some of the damaged areas on the top and underside.I took some photos of the topping process on the bowl. I did not have to remove too much of the rim surface to get rid of the damage to that area. I used 220 grit sandpaper on the topping board and carefully worked on the rim top until it was smooth and the damaged removed.I set the bowl aside and turned my attention to the stem. I filled in the deep gouges on the top of the stem with amber super glue. I sprayed it with accelerator and when it dried I sanded out the repairs with 220 grit sandpaper to blend them into the surface. I polished out the sanding scratches and marks in the Bakelite with micromesh sanding pads – wet sanding it with 1500-2400 grit pads and dry sanding it with 3200-4000 grit pads. I wiped the stem down with Obsidian Oil after each sanding pad. I carefully buffed the stem with Blue Diamond on the buffing wheel so as not to let it get too hot and damage the material. I brought it back to the table and sanded it with the final three 6000-12000 grit pads. After the final pad I gave it a final coat of oil and set it aside to dry. I was able to polish out much of the damage to the stem. Most of crazing was on the surface so most of it is gone as well. The amber Bakelite polished up really well and almost glowed. That part of the restoration went well and the stem looked new and would look good on the finished pipe bowl.

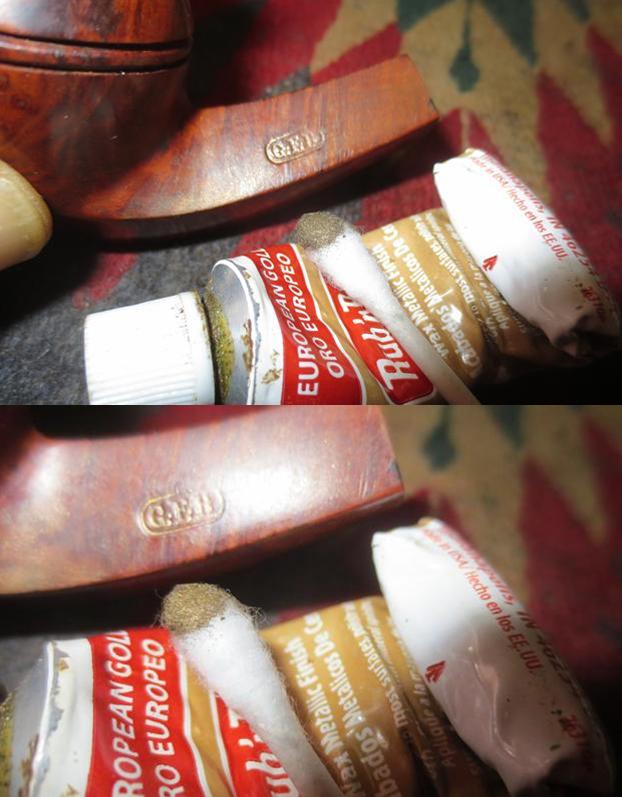
I set the stem aside and rubbed the briar down with Before & After Restoration Balm to deep clean the smooth finish, enliven and protect the briar. I hand rubbed it with my fingers and wiped it off with a soft cloth. I buffed the bowl with Blue Diamond on the wheel to polish it. It really began to have a deep shine in the briar. The rich reds in the briar and the brown stain really looked good at this point in the process. I took some photos of the bowl to mark the progress in the restoration. I decided to leave the small nicks in the bowl surface as marks of character rather than damage the original finish by sanding them all out. I polished the bowl and rim top using the micromesh sanding pads – wet sanding with 1500-2400 grit pads and dry sanding with 3200-12000 grit pads. I wiped the rim down after each pad with a damp cotton pad. When I finished the polishing I wiped it down a final time. I used some Rub’n Buff European Gold to touch up the GFB stamp on the left side of the shank. I applied it to the stamp with a cotton swab and worked it into the stamp. I repeated the process until the coverage was good. I wiped it off and buffed the shank with a cotton pad.I put the stem back on the bowl and worked the pipe over on the buffing wheel using Blue Diamond to polish the bowl and shank. I lightly buffed the stem to raise the gloss on the Bakelite. I gave the bowl multiple coats of carnauba wax and the stem multiple coats of Conservator’s Wax. I buffed the entire pipe with a clean buffing pad to raise the shine. I hand buffed it with a microfiber cloth to deepen the shine. The finished pipe is shown in the photos below. The rich reddish brown stain on the bulldog shaped bowl works well with the amber gloss of the Baklite stem. This old GFB pipe has a nice mix of grain and now that it is restored it has lots of life in it. It is pipes like this that I wish could speak and tell their story. I would love to know the length and breadth of its journey around the world from France to the US and now to Canada. I guess though I will have to be happy adding my own story to the ongoing saga of this old pipe. Thanks for looking.
 

Breathing Life into a Dr. Grabow Omega Bent Billiard


Blog by Steve Laug

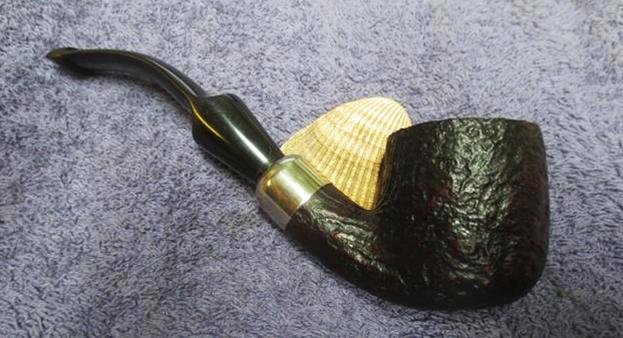
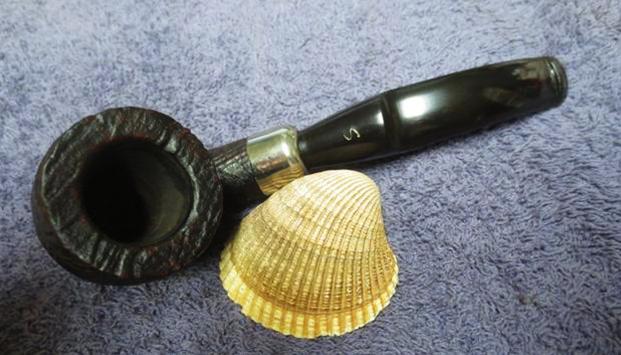
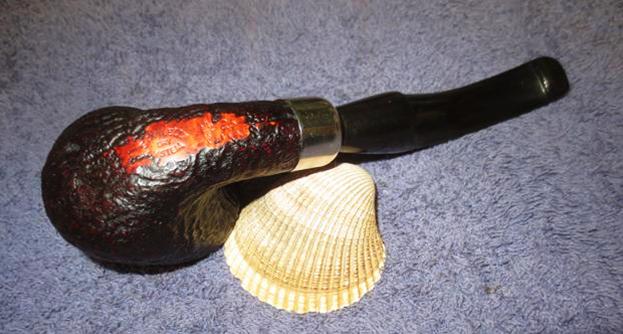
I have always liked the look of the Dr. Grabow Omega pipes. I have worked on quite a few over the years and have found them well made. The briar is a mixed grain pattern usually but the look of the classic shape and the feel in the hand is quite nice. The style of the stem mimics the Peterson P-Lip but up close it is very different. The airway exits not on the top of the button as in a P-Lip but out the end as in a standard fish tail stem. This old timer was no exception so when Jeff sent it I was interested in what it would look like after his cleanup. The bowl was structurally sound but the finish was worn and tired looking with a lot of scratches all around the sides and bottom of the bowl. The bowl had a thick cake that had flowed over the top. The rim was coated in lava and it was beat up. It had a lot of small holes in it like it had been knocked out on concrete and the outer front edge of the bowl was roughened and rounded over. The inner edge of the bowl looked like it was undamaged. The nickel ferrule was oxidized and scratched. The stem had some tooth marks on the top and underside near the button and was oxidized. Jeff took photos of the pipe to show its condition before he started his cleanup work. The next photo shows the cake in the bowl and the condition of the lava overflow on the rim top. You can see that it is quite thick. You can also see the rough condition of the outer edge of the bowl.Jeff took several photos of the bowl from various angles to show the general condition of the finish. There were scratches and nicks but none of them look too deep in the briar. The finish also appears to be very dirty and the varnish coat that is usually present seems worn and tired looking on the sides and bottom of the bowl. The next two photos not only show the stamping on the shank but also the buildup of tars and grime around the edges of the ferrule. It is almost as if the shank was weeping under the ferrule. The stamping is worn but readable. It is stamped OMEGA over Dr. Grabow on the left side of the shank and on the right Imported Briar.When Jeff took the pipe apart it appeared that the seller had put a newer Grabow Paper Filter in the shank of the pipe to make the pipe appear to have been cleaned. The next three photos show the condition of the tenon end of the stem and the filter. The oxidation on the stem is also visible in the photos below. The stem was scratched and worn but the Grabow Spade logo was in good condition on the left side of the shank. The top and underside of the stem had some deep tooth marks around the button and the sharp edge of the top of the button was quite worn and damaged.I did some searching to find out a bit of history about the Omega. I found that it was first released around 1975 and was a copy of a well pipe imported from Italy. It has continued to be offered for sale in their catalogues.

Jeff did a thorough cleanup on the bowl and stem. He reamed the bowl back to bare briar with a PipNet pipe reamer and cleaned up the remnants with a Savinelli Fitsall reamer. He cleaned the internals with alcohol, pipe cleaners and cotton swabs – scrubbing out the mortise as it was very dirty. He scrubbed the exterior of the pipe with Murphy’s Oil soap and a tooth brush and was able to remove all of the tars and oils built up on the briar. He was able to remove all of the tars and lava on the rim top and left it looking very clean. The damage on the rim top and outer edge was clean and visible. He soaked the stem in an Oxyclean bath to raise the oxidation to the surface of the vulcanite. When it arrived I took some photos of it to show how it looked before I did the restoration.  Jeff was able to remove the thick lava coat from the rim and revealed what I thought would be underneath the thick coat. The rim top was speckled with tiny dents and marks and the outer edge was damaged all the way around the bowl. There was a little damage on the inner edge on the right side of the bowl.The Oxyclean soak had really raised the oxidation to the surface. The stem was clean but heavily oxidized when it arrived.Because the was so oxidized after the soak in Oxyclean, I put it in a bath of Before & After Pipe Stem Deoxidizer to soak overnight and work on the vulcanite oxidation. In the morning I removed the stem from the deoxidizer and wiped off the excess deoxidizer from the surface of the stem with a paper towel. I cleaned out the airway in the stem with pipe cleaners and alcohol to remove any remnants of the bath from that part of the stem. The photos below show the stem after the soak and rub down. The oxidation looked much more manageable and what remained would be easily dealt with. The tooth chatter on the top and underside of the stem is hard to see in the photos, but it is present.I sanded the stem with 220 grit sandpaper to remove the tooth chatter and minimize the tooth marks on both sides of the stem. I reshaped the button with the sandpaper and a needle file. I sanded the rest of the stem to break up the remaining oxidation.I polished out the sanding scratches and marks in the vulcanite with micromesh sanding pads – wet sanding it with 1500-2400 grit pads and dry sanding it with 3200-4000 grit pads. I wiped the stem down with Obsidian Oil after each sanding pad. I buffed the stem with Blue Diamond on the buffing wheel being careful around the spade logo insert as they can easily be damaged. I brought it back to the table and sanded it with the final three 6000-12000 grit pads. After the final pad I gave it a final coat of oil and set it aside to dry. The outer edge of the rim was damaged all around the bowl but the worst damage was on the front edge. You can see the roughness of the rim edge in the next photo. With the small pin prick holes on the rim top and the damage on the inner edge of the right side of the bowl I decided to top the bowl. I top a pipe on a topping board with 220 grit sandpaper and work the bowl over the sandpaper holding the rim flat against the topping board and working the bowl to evenly sand the bowl top smooth and remove the damage. Once the rim edges were almost smooth I used a folded piece of sandpaper to smooth out the outer edge of the bowl all the way around the bowl. I polished the rim top with micromesh sanding pads – wet sanding with 1500-2400 grit pads and dry sanding with 3200-12000 grit pads. I wiped the rim down after each pad with a damp cotton pad. When I finished the polishing I wiped it down a final time. I blended some light and medium brown stain from a stain pen to restain the rim top and edges to match the colour of the rest of the bowl. The blend works well in trying to get this particular shade of brown. I hand buffed the stain to polish it and blend the colours together.I rubbed the bowl down with Before & After Restoration Balm to deep clean the smooth finish, enliven and protect the briar. I hand rubbed it with my fingers and wiped it off with a soft cloth. I buffed the bowl with Blue Diamond on the wheel to polish it. It really began to have a deep shine in the briar. I took some photos of the bowl at this point to mark the progress in the restoration. I decided to leave the small nicks in the bowl surface as marks of character rather than damage the original finish by sanding them all out. I cleaned and polished the nickel ferrule with micromesh sanding pads. I was careful in sanding the nickel in that the dust from the metal can discolour the briar and make more work. I was happy with the finished end cap. I buffed the briar on the wheel with Blue Diamond to polish it more. I was careful around the already light stamping. I hand buffed the bowl and ferrule with a microfiber cloth and took photos of the bowl at this point. I put the stem back on the bowl and worked the pipe over on the buffing wheel using Blue Diamond to polish the bowl and shank. I buffed the stem to raise the gloss on the vulcanite. I gave the bowl and stem multiple coats of carnauba wax. I buffed the entire pipe with a clean buffing pad to raise the shine. I hand buffed it with a microfiber cloth to deepen the shine. The finished pipe is shown in the photos below. The dark to medium brown stain on the billiard shaped bowl works well with the polished nickel ferrule and the rich black of the vulcanite stem. This old Omega pipe has some interesting grain and has lots of life in it to add your own story to the ongoing saga of the briar. The dimensions of the pipe are: Length: 6 inches, Height: 1 3/4 inches, Diameter of the bowl: 1 1/4 inches, Diameter of the chamber: 5/8 inches. I will be adding this one to the rebornpipes store shortly if you are interested in adding it to your collection. It will make a fine addition to the rack. If you are interested email me at slaug@uniserve.com or send me a message on Facebook. Thanks for looking.
 

Restoring & Repairing a Damaged Stem on a Big Ben Nautic 252


Blog by Steve Laug

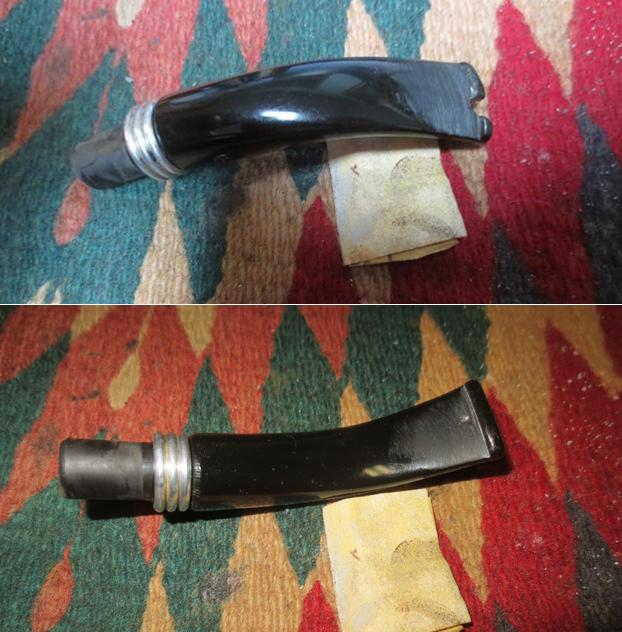
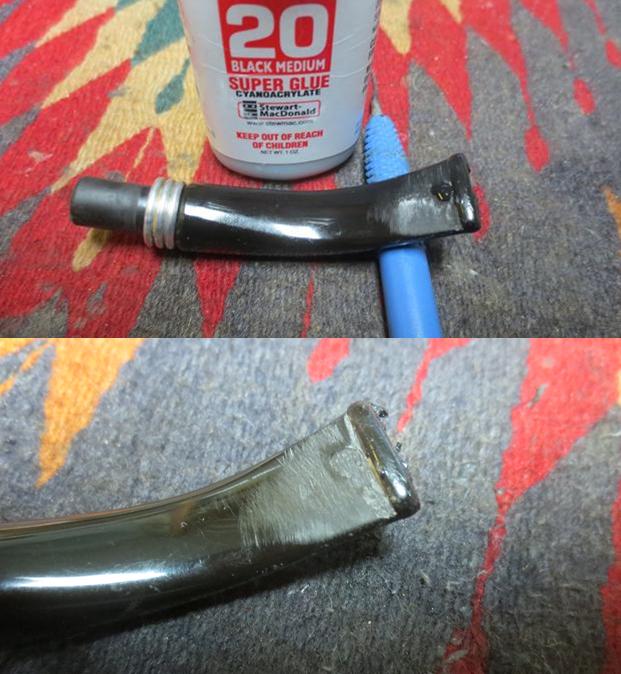
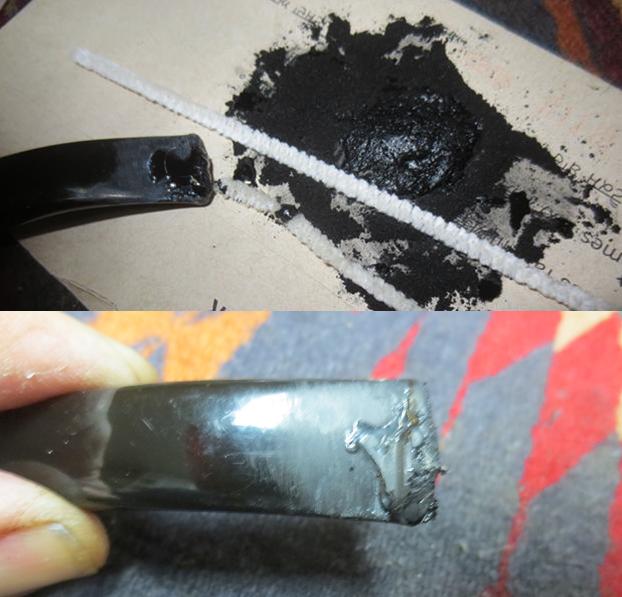
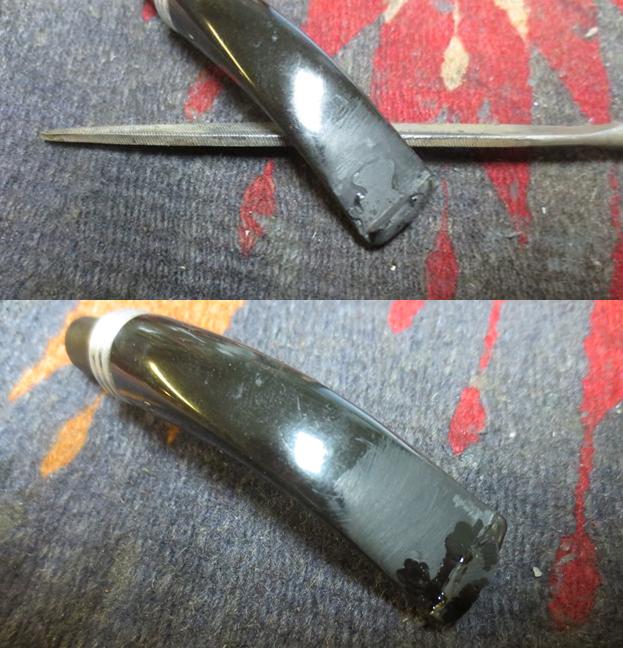
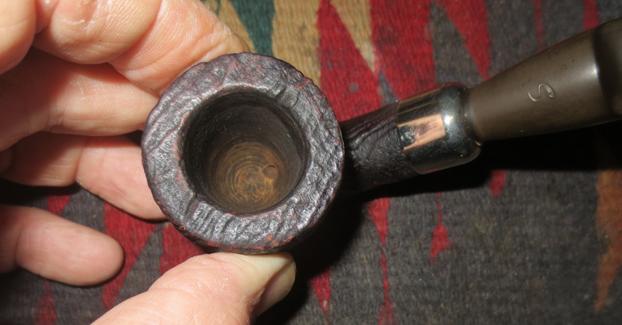
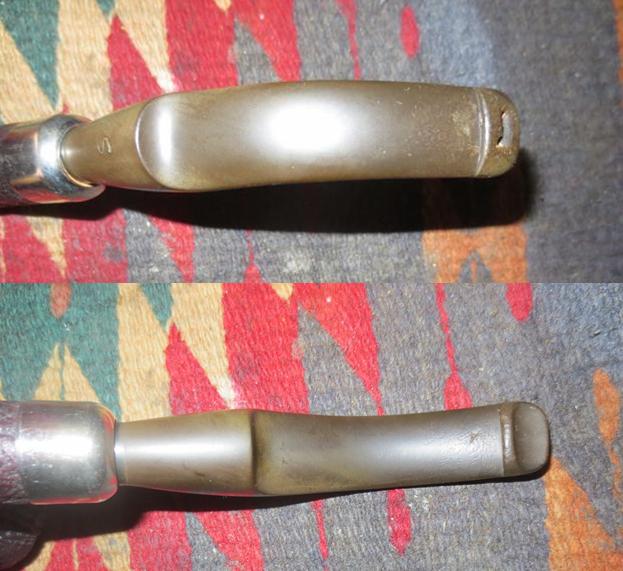
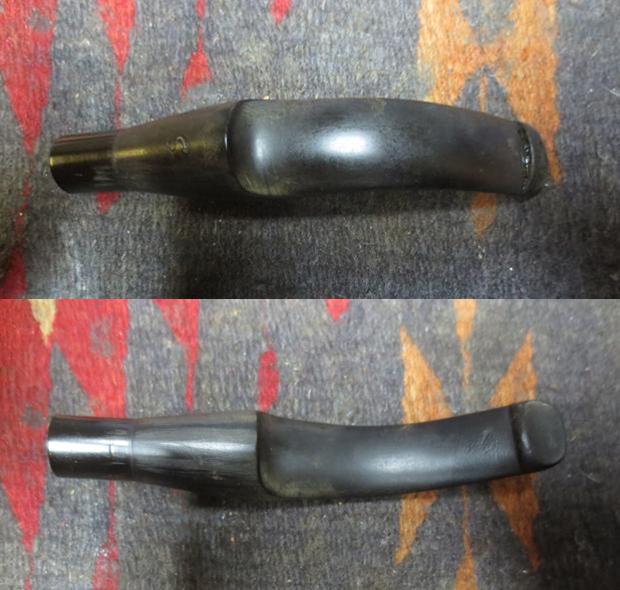
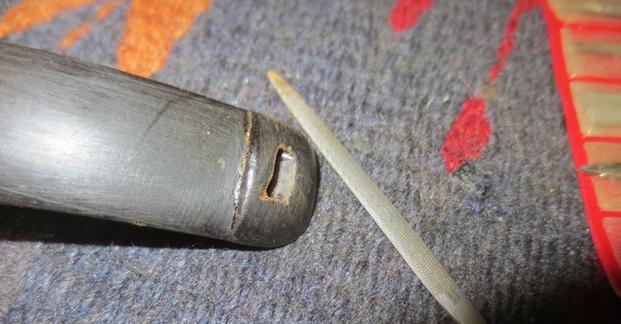
Not long ago I received a phone call from an interesting woman who had been given my phone number by a local pipe and cigar shop. She had a couple of pipes that needed some stem repair. In our conversation it turned out that they belonged to her husband and he had a total of two pipes. Both of them needed work and she was determined to get them repaired for him. In our talking we spoke of the options – either repairing the stem or making a new stem. She spoke with him and they decided to repair them. A few days later her husband stopped by the house to show me the two pipes. We talked and he decided to work on one pipe at a time so that he would have one to smoke while I repaired the other one. The first of these was a Big Ben Nautic shape 252. It is a bent apple kind of quasi brandy shaped pipe with some really nice grain on the sides of the bowl. I took some photos of the pipe to show the condition it was in before I started my clean up.From the side view photos above the pipe looked pretty good. The finish was dirty but the pipe appeared to be in decent condition. The next photos show what the bowl and stem looked like from the top and underside views. The bowl had never been reamed and there was a thick cake that was composed of aromatic tobacco. It was soft and sticky. The lava overflow on the rim top was also sticky to touch. The smell of the pipe was a sickly sweet and sour smell of a pipe that had never seen a pipe cleaner and never had been cleaned. The stem had suffered gnawing that had broken the top edge and a bit of the stem in front of the button. It was a mess. The underside had deep bite marks and was also damaged. The poor pipe was a mess but it was obviously his favourite pipe to smoke.I took a close up photo of the bowl and rim to show the thickness and composition of the cake and the thick overflow of lava on the rim top. The good news was that since it had never been reamed or scraped the edges of the rim looked to be in very good condition.I also took some photos of the stem damage so that you could see what I was up against. The sad thing to me was that his second pipe had exactly the same damage to the stem and the bowl looked identical as well.When I removed the stem I was not surprised to find that the mortise and the airways in the shank and stem had also never been cleaned. But even more surprising was the fact that the stem and shank were made for a 9mm filter and the pipe had been smoked sans filter to the point that the airway in both were almost closed off with the gunk (technical term for the black, oily, tarry stuff that filled the stem and shank). The next series of three photos show the clogged condition of the airways and mortise. I am amazed that the pipe man was able to load any tobacco in the bowl and draw any smoke through the pipe. I decided to rid the pipe of the smell that permeated my work space when I had the pipe on the worktable. I used pipe cleaners, cotton swabs and alcohol to clean out the interior of both. I used a dental spatula to scrape the walls of the shank and the filter tenon. It took a lot of pipe cleaners to remove all of the buildup but once it was clean the pipe smell better and would be easier to work on. I reamed the bowl back to bare briar with a PipNet pipe reamer. I started reaming it with the smallest cutting head and worked my way up to the cutting head that fit the diameter of the bowl. I touched up the reaming with a Savinelli Fitsall Pipe knife.I scraped off the thick lava coat on the rim top using a pen knife. I was able to remove all of it. There was still some rim darkening but I figured that it would also come of the rim. I scrubbed the rim top with saliva and cotton pads.I polished the rim of the bowl with micromesh sanding pads. I started by wet sanding it with 1500-2400 grit pads until all of the darkening and remnants of lava on the rim. I dry sanded it with 3200-12000 grit pads until the rim was shining. I wiped it down with a damp cotton pad after each micromesh sanding pad to remove the grime that came free. The rim began to look almost new again. I rubbed the bowl and shank down with Before & After Restoration Balm to deep clean the smooth finish, enliven and protect the briar. I hand rubbed it with my fingers and wiped it off with a soft cloth. I buffed the bowl with a soft cotton cloth to polish it. It really began to have a deep shine in the briar. I took some photos of the bowl at this point to mark the progress in the restoration. I sanded the top and underside of the stem with 220 grit sandpaper to clean up the edges of the damaged area on the top side of the stem and button and on the underside where there was a deep tooth mark and lots of tooth damage. I roughened the surface of the stem to give the glue and charcoal powder something to bite into and hold.I filled in the deep tooth mark on the underside of the stem with black super glue. The damaged area was not too large so the black super glue alone would work on this part of the stem. Once the repair had dried I used a needle file to sharpen the edge of the button and sanded out the repair to blend it into the surface of the underside of the stem.I greased a pipe fluffy pipe cleaner with Vaseline and flattened it to insert into the slot in the stem. I wanted to keep the airway open when I applied the repair material. I mixed some activated charcoal powder with black super glue to make a thick paste and applied it to the top of the stem with a dental spatula. I flattened it with the spatula and built it up heavier on the top of the button than on the flat portion of the stem. The repair dries fairly quickly to touch but I like to let it sit and cure for several days to make sure that the very centre of the patch is hardened.After the repair had cured I used a small flat bladed needle fill to recut the button and smooth out the repaired area on the stem. Once I had flattened out the repair there were some air bubbles in the patch that needed to be touched up. I filled in the air bubbles with clear super glue.When the repair had dried I used a knife blade and a round needle file to open and reshape the slot in the button.I sanded the repaired area with 200 grit sandpaper to smooth out the repair and blend it into the rest of the stem. I reshaped the button with the sandpaper at the same time so that it was the same all the way across the stem and on the top and underside of it.I polished out the sanding scratches and marks in the repaired area in front of the button on both sides of the stem and the button surface itself with micromesh sanding pads – wet sanding it with 1500-2400 grit pads and dry sanding it with 3200-12000 grit pads. I wiped the stem down with Obsidian Oil after each sanding pad. After the final pad I gave it a final coat of oil and set it aside to dry. I buffed the bowl with a soft cloth to polish away the remaining Restoration Balm. I worked the pipe bowl over on the buffing wheel using Blue Diamond to polish the bowl and shank. I hand buffed the stem to raise the gloss on the stem and polished the metal stem adornment with a silver polishing cloth. I gave the bowl multiple coats of carnauba wax and buffed it with a clean buffing pad to raise the shine. I gave the stem multiple coats of Conservator’s Wax. I buffed the entire pipe with a clean microfiber cloth to deepen the shine. The finished pipe is shown in the photos below. The medium brown stains on the apple/brandy shaped bowl works well with the rich black of the Lucite stem. The polish and the reworking of the stem material left this a beautiful and well-made pipe. Thanks for looking. I am recommending that the pipe man smoke this pipe with a softee bit in place to protect the repair. Once he has seen the repair I will install the softee bit on the stem. It should give some protection from his incessant chomping on the stem. If not the stem will face repeated repairs.

Restoring a Savinelli Dry System 2622 Bent Pot


Blog by Steve Laug

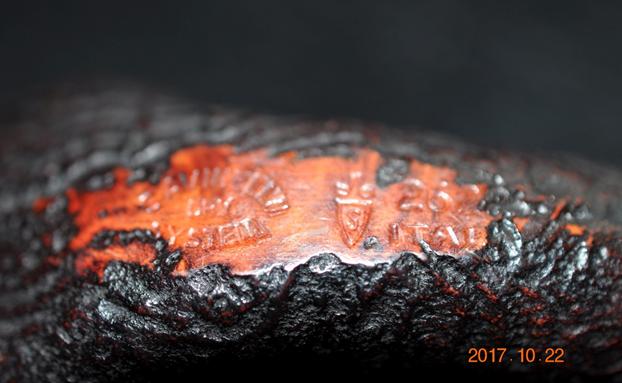
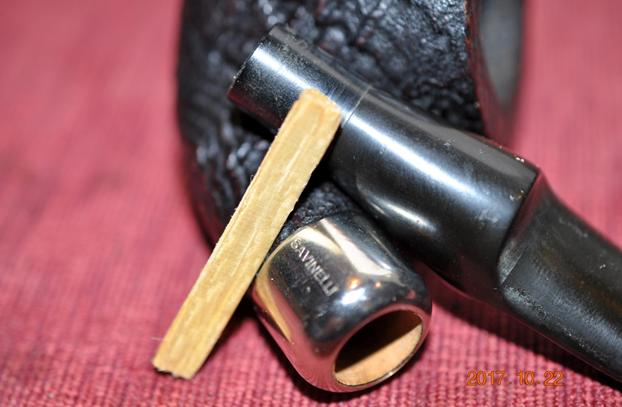
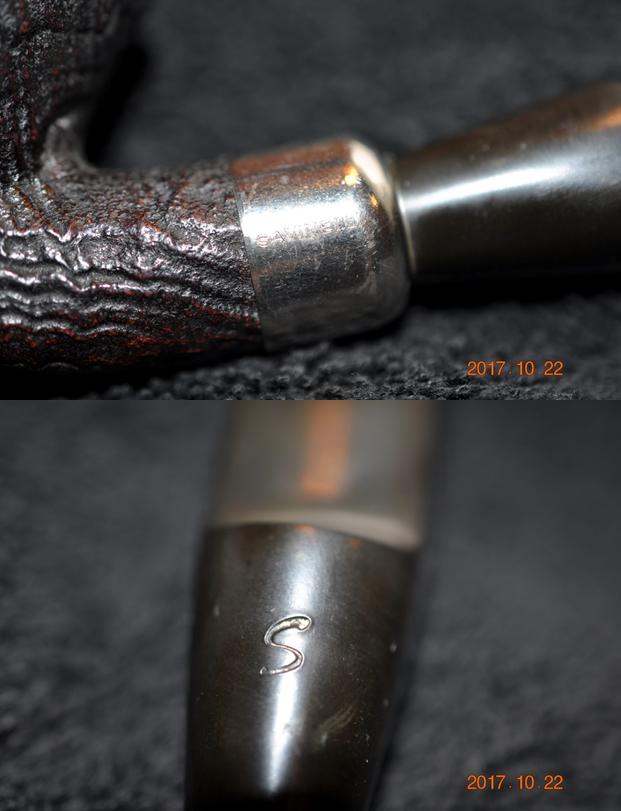
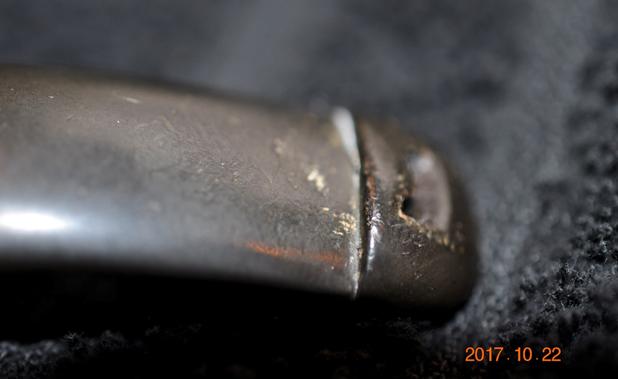
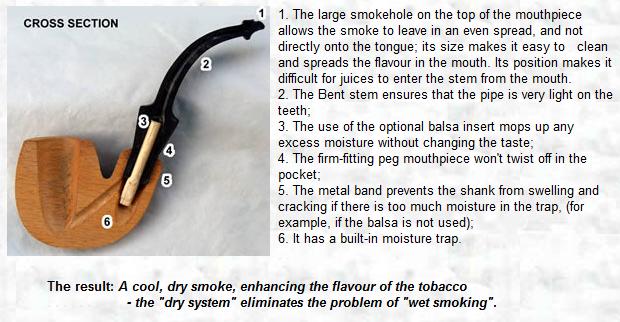
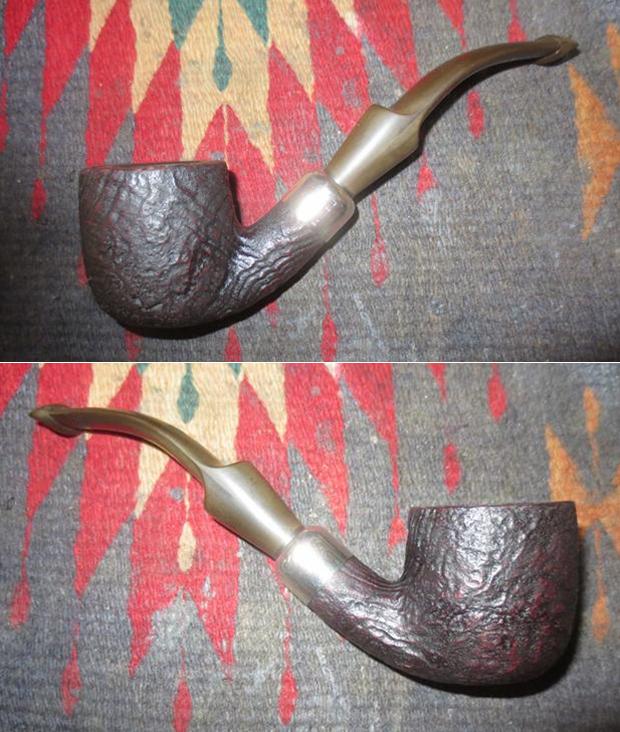
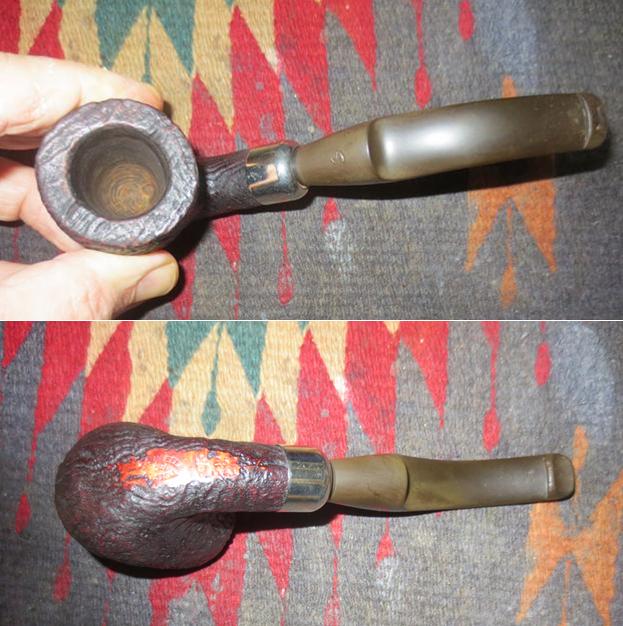
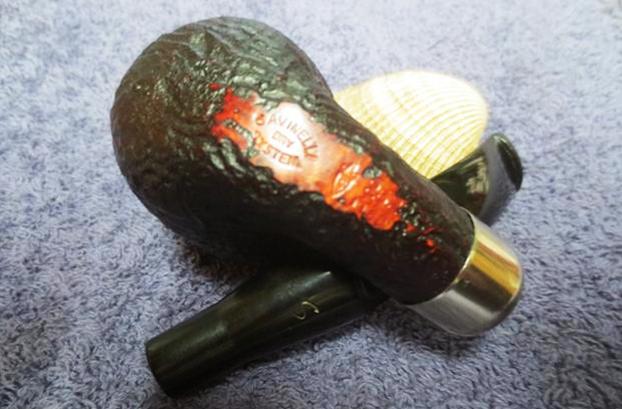
The next pipe I chose to work on was one my brother found one of his pipe hunting trips in Southern Idaho. It is a nice sandblasted Savinelli pipe. It is stamped on the underside of the shank and reads Savinelli over Dry over System. To the right of that the shape number 2622 is stamped along with the Savinelli shield and Made in Italy. The finish was very dirty and the bowl thickly caked. There was a buildup of lava overflowing onto the top of the rim. It was hard to know if there was damage to the inner edge or the top of the rim because of the buildup. The finish was very dirty with grime and dust of the years. The nickel ferrule was in very good shape with some scratching that could easily be polished out. The stem was oxidized and there were tooth marks on both sides at the button. The airway on the top of the P-lip style button was a slot and it was damaged along the top edge. The S stamp on the top of the saddle part of the stem was faded but deep enough that it would be easy to refill. It was a nice looking pipe under the grime and wear. Jeff took photos of the pipe before he started his cleanup work. The next two photos give and idea of the thickness of the cake in the bowl and the overflow of lava on the rim from two different angles. It is quite thick in the bowl and the lava overflow is also thick.Jeff took a photo of the underside of the bowl and shank showing the stamping. It is pretty clear stamping though the photo is a little blurry.When he took the stem off the bowl there was a Savinelli balsa filter in the stem. The inside of the shank looked really clean. I am assuming the seller cleaned up the shank and put a new filter in the shank to help sell it.The nickel ferrule on the end of the shank is in good shape. It is dirty and also scratched but would polish up nicely. The S stamp on the stem top was faded but in good condition otherwise.The stem was in good condition, lightly oxidized, tooth marks on the top and underside of the shank and some minor damage to the slotted airway in the top of the P-Lip stem.I did some research on the Dry System pipe to understand how it was designed. The stem was designed to hold triangular shaped Balsa filters. They are still readily available for the pipes.I also found a cross section diagram of the pipe. I have included that below with the explanation of how the system works with all pieces in place. The photo has a key attached with defines all the parts of the system. It is almost an Italian version of the Peterson System pipe with an added Balsa filter in the stem.Jeff did a thorough cleanup on the bowl and stem. He reamed the bowl with a PipNet pipe reamer and cleaned up the last bit of cake with a Savinelli Fitsall reamer. He cleaned the internals with alcohol, pipe cleaners and cotton swabs – spending extra time scrubbing out the mortise and sump as it was very dirty. He scrubbed the exterior of the pipe with Murphy’s Oil soap and a tooth brush and was able to remove all of the tars and oils built up on the briar. He was able to remove all of the tars and lava on the rim top and left it looking very clean. He soaked the stem in an Oxyclean bath to raise the oxidation to the surface of the vulcanite. When it arrived it looked like a different pipe. I took some photos of it to show how it looked before I did the restoration. He did a great job removing the cake in the bowl and the lava on the rim top. The rim looks really good and it was in very good condition with no damage to the edges of the rim.The oxidation came to the surface of the stem after the soak in Oxyclean. The bite marks are visible on the top and underside near the button. You can also see the damage on the edge of the slot toward the front of the stem.I was excited to start working on it so I pulled the stem off and put it in a bath of Before & After Pipe Stem Deoxidizer and left it to soak overnight. In the morning I removed the stem from the deoxidizer and wiped off the excess deoxidizer from the surface of the stem with a paper towel. I cleaned out the airway in the stem with pipe cleaners and alcohol to remove any remnants of the bath from that part of the stem. The photos below show the stem after the soak and rub down. The oxidation was pretty much gone and what remained would be easily dealt with. The tooth marks are visible on the top and underside of the stem in the photos.I used a small needle file to reshape the slot in the top of the button. I was able to square it up and remove the damaged area on the front side of the slot.I sanded the stem with 220 grit sandpaper to remove the oxidation from inside the tooth marks, reshape the button on both sides and wiped down those areas with alcohol to remove the sanding dust. I painted the tooth marks with the flame of a Bic lighter to lift them and they rose to the surface and I was able to sand them smooth.I polished out the sanding scratches and marks in the vulcanite with micromesh sanding pads – wet sanding it with 1500-2400 grit pads and dry sanding it with 3200-4000 grit pads. I wiped the stem down with Obsidian Oil after each sanding pad. I buffed the stem with Blue Diamond on the buffing wheel. I brought it back to the table and sanded it with the final three 6000-12000 grit pads. After the final pad I gave it a final coat of oil and set it aside to dry. I used a cotton swab to apply some European Gold Rub’n Buff into the S stamp on the top of the stem. I wiped off the excess with a cotton pad and buffed the stem with a bit of Obsidian Oil on an old cloth.I rubbed the bowl down with Before & After Restoration Balm to deep clean the nooks and crannies of the sandblast finish, enliven and protect the briar. I hand rubbed it with my fingers and wiped it off with a soft cloth. I buffed the bowl on the wheel with a horsehair shoe brush to polish it. It really began to have a deep shine in the briar. I took some photos of the bowl at this point to mark the progress in the restoration. I polished the nickel ferrule with a jeweler’s cloth to remove the tarnish and the scratching. I put the stem back on the bowl and worked the pipe over on the buffing wheel using Blue Diamond to polish the bowl and shank. I buffed the bowl with a light touch so as not to get any of the buffing compounds in the grooves of the sand blast. I buffed the stem to raise the gloss on the vulcanite. I gave the bowl multiple coats of Conservator’s Wax and gave the stem multiple coats of carnauba wax. I buffed the entire pipe with a clean buffing pad to raise the shine. I hand buffed it with a microfiber cloth to deepen the shine. The finished pipe is shown in the photos below. The dark and medium brown stains on the sand blast pot shaped bowl works well with the rich black of the vulcanite stem. The polish and the reworking of the stem material left this a beautiful and well-made pipe. The dimensions of the pipe are: Length: 6 ½ inches, Height: 2 inches, Outside Diameter: 1 5/8 inches, Diameter of the chamber: 1 inch. I will be adding this one to the rebornpipes store shortly if you are interested in adding it to your collection. It will make a fine addition to the rack. If you are interested email me at slaug@uniserve.com or send me a message on Facebook. Thanks for looking.

Cleaning up another new one for me – A Peterson’s Laxiom Apple


Blog by Steve Laug

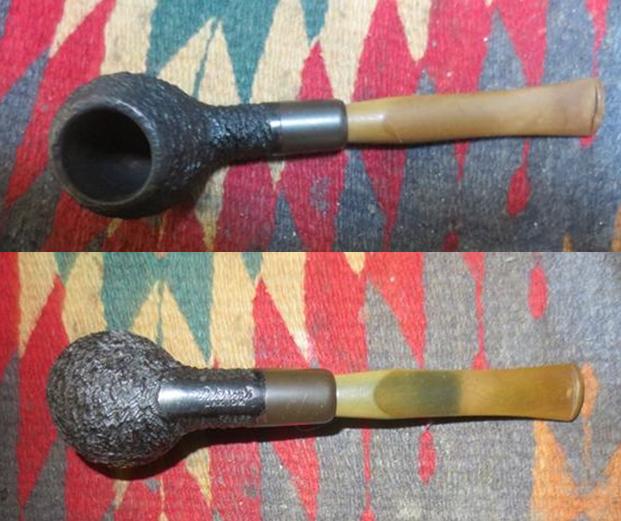
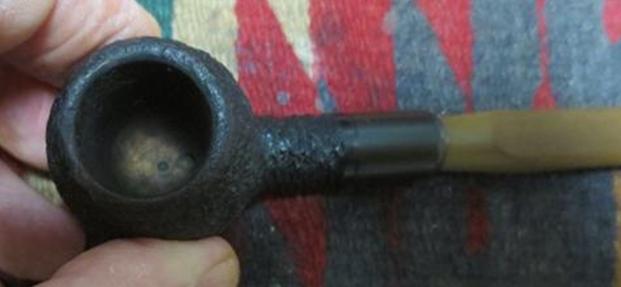
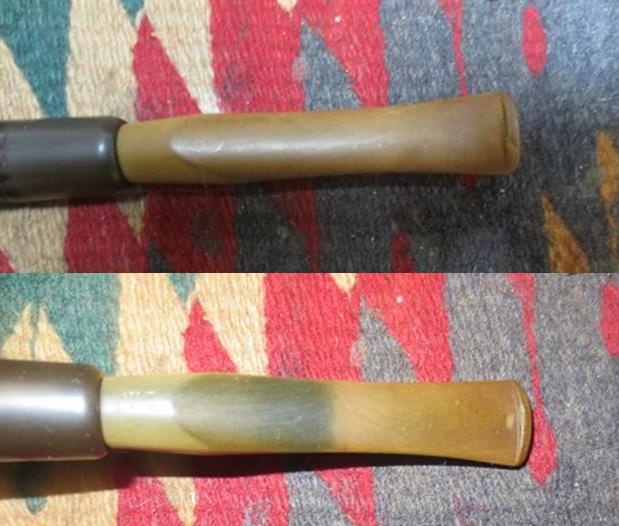
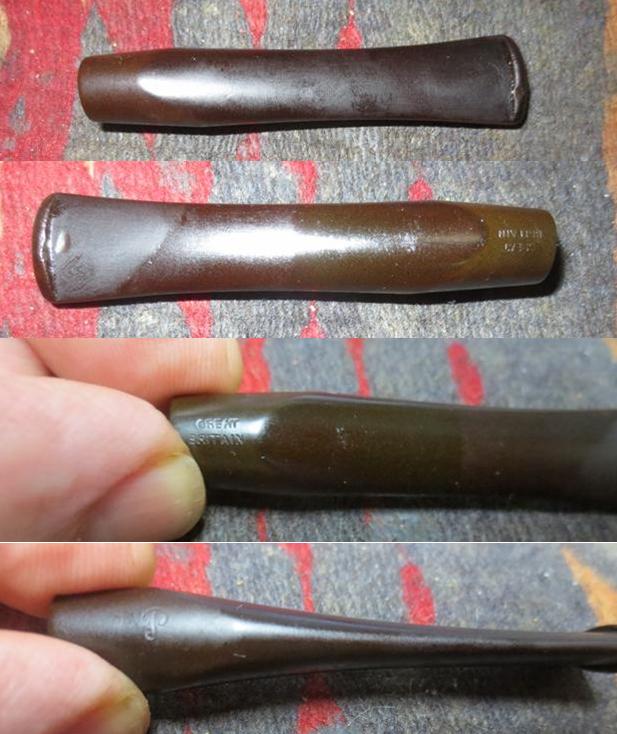
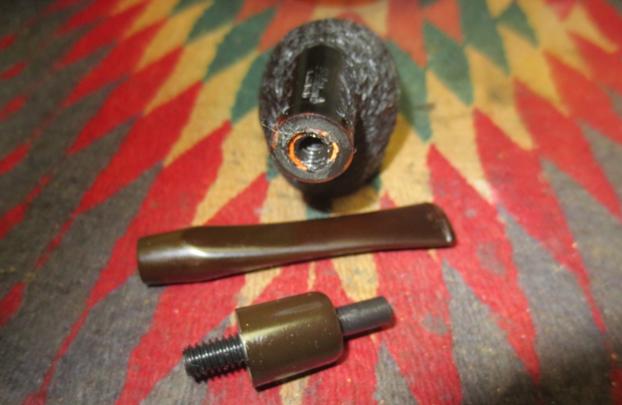
The next pipe on the table is Peterson’s Laxiom Apple with a Military bit and a vulcanite shank extension. My brother, Jeff picked this one up in Montana on a trip there is October. He was drawn to it because he had never seen a Peterson pipe like it before. It has a heavily rusticated finish on the bowl and shank and is stained a dark brown colour. There is a little translucency in the stain and you can see the wood underneath. While the finish is rough it has been buffed to take off the sharp edges so it has a very tactile finish on the bowl. There is a smooth band of unrusticated wood at the shank end next to the vulcanite shank extension. The pipe is stamped on a smooth portion of the underside of the shank with the words Peterson’s over Laxiom. The bowl had a light cake build up and light lava on the thin rim edge but was in great condition overall. The extension and the military style bit were both oxidized. On the left side of the stem it is stamped with the characteristic Peterson’s P and on the underside it is stamped Great Britain. There were some tooth marks on the stem and button on both sides. Jeff took photos of the pipe before he did his cleanup work. He took this close up photo of the bowl to show its condition. I am amazed that the pipe is in excellent condition overall with little wear or tear to the bowl and rim top. He also took some photos of the bowl from various angles to show the finish on the bowl. It is a unique and pretty little pipe. The next two photos show the stamping on the underside of the shank and the underside of the stem. Both are very clear and readable.The stem and shank extension/ferrule were oxidized with a deep oxidation that would take some time to remove. The condition is very clear in the photos below. The second photo shows tooth marks on the button itself and the third photo shows tooth marks and chatter next to the button.I did some hunting on-line to see if I could find any information on the brand and found a link on the pipesmagazine.com forum (http://pipesmagazine.com/forums/topic/peterson-laxiom-pipes). I did not find it too helpful in that the pipe I had in hand was not meerschaum but definitely wood. I quote it below in full because the one thing that was a clue was the Peterson Manx link that I knew was a fact.

I just picked up a couple Peterson Laxiom pipes that are quite unusual. Both are stamped “Great Britain” on the stem. Both are black rusticated models which reminded me of a black Pioneer Block Meerschaum in my collection, in large part due to their similar stem and ferrule design. The Petes are relatively lighter in weight and are not labeled as meerschaum.

I noticed that Laxey Pipes Ltd made African meerschaum bowls for Peterson and that it was a Peterson Manx partnership with a factory on the Isle of Man, which closed in 1981 when Peterson’s meerschaum production was moved to Dublin.

Putting two and two together, I’m guessing that Peterson Laxiom pipes are East African meerschaum, but it’s gnawing at me that they might be some sort of wild composite, like Brylon. I can say with almost 100% certainty that the draft hole was drilled and not molded, as one of the two is obviously off-center.

A post from a number of years ago regarding Laxiom pipes came up empty, even after inquiring with three longtime Peterson employees.

Now I had a link to Manx but I was pretty certain the pipe was not meerschaum. It felt and looked like briar. I wrote to a good friend and go to Peterson’s aficionado, Mark Irwin to see if he could help me with information. He wrote back with his usual great information and a couple of photos from a catalogue showing the brand. I quote Mark’s answer in part.

Hi Steve,

… let’s look at the Laxiom…Thanks for these great photos, first of all. I have never seen one with the vulcanite shank extension unscrewed, and did not know it worked that way.

When you complete your restoration, if you have time, would you send me a photo for the Encyclopedia chapter with the pipe broken down this way? One picture goes a long way in understanding how something is put together, and I want readers to see how the Laxiom worked.

Laxiom: 1971-1975 A briar line produced for Iwan Ries, black rustic or walnut smooth or sculpted finish with acrylic threaded (removable) ferrule and vulcanite Laxi P-Lip or fishtail mouthpiece, made at the Peterson-Manxman factory in seven shapes. See Laxi. 

…Laxi 1971-1975 Easy-push mouthpiece for Iwan Ries, often with ferrule, P-Lip or fishtail. Military stem extended into mortise of removable (threaded) acrylic ferrule. Stem could be re-ordered if broken.

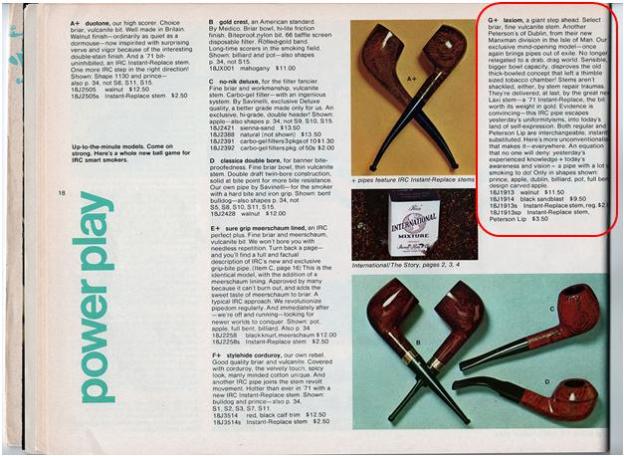
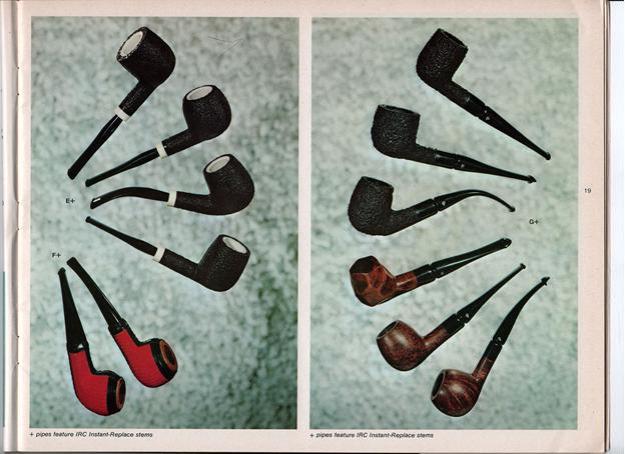
I have included 2 pages for your use in the blog from the 1971 Iwan Ries catalog. I’m beginning a series of articles on the Peterson – IRC connection, but I don’t mind a bit if you print these before I do! … Best, Mark The first page above describes the pipes and the second shows the variety of offerings. I have enclosed the description in a red box. Here is what it says:

Laxiom, a giant step ahead. Select briar, fine vulcanite stem. Another Peterson’s of Dublin, from their Manxman Division in the Isle of Man. Our exclusive mind-opening model – once again brings pipes out of exile. No longer relegated to a drab, drag world. Sensible, bigger bowl capacity disproves the old thick-bowled concept that left a thimble sized tobacco chamber! Stems aren’t shackled either by stem repair traumas. They’re delivered, at last, by the great new Laxi stem – a 71 Instant-Replace, the bit worth its weight in gold. Evidence is convincing – this IRC pipe escapes yesterday’s uniformityisms into today’s land of self-expression. Both regular and Peterson Lip are interchangeable, instantly substituted. Here’s more unconventionalism that makes it – everywhere. Yesterday’s experienced knowledge + Today’s awareness and vision = a pipe with a lot of smoking to do! Only in shapes shown – prince, apple, Dublin, billiard, pot, full bowl design carved apple.

I8J1913 Walnut $11.50

I8J1914 Black Sandblast $9.50

I8J1913s Instant-Replace Stem, reg. $2.50

I8J1913sp Instant-Replace stem, Peterson’s Lip $3.50

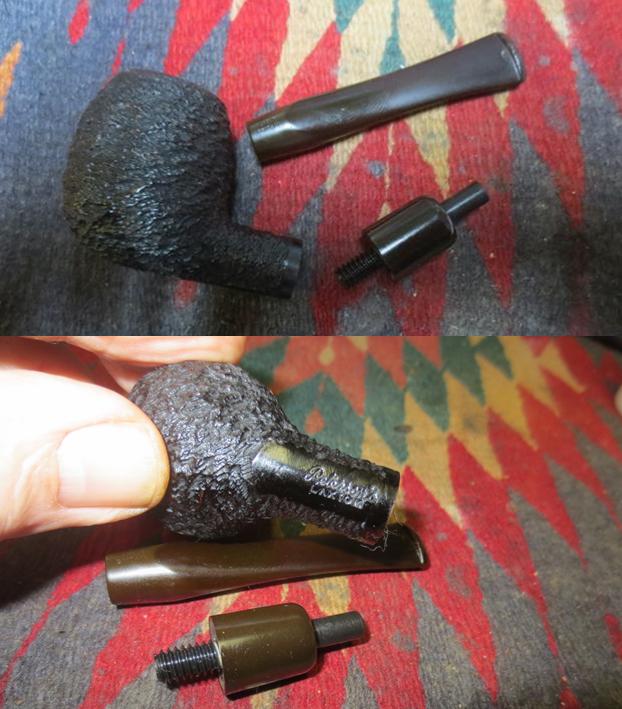
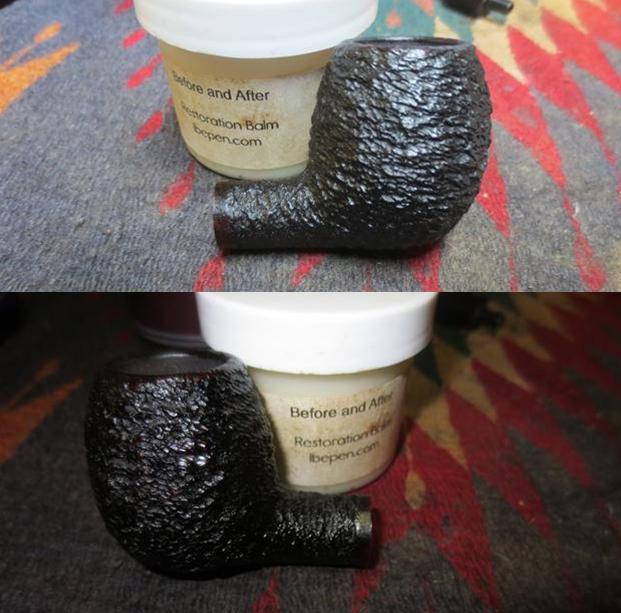
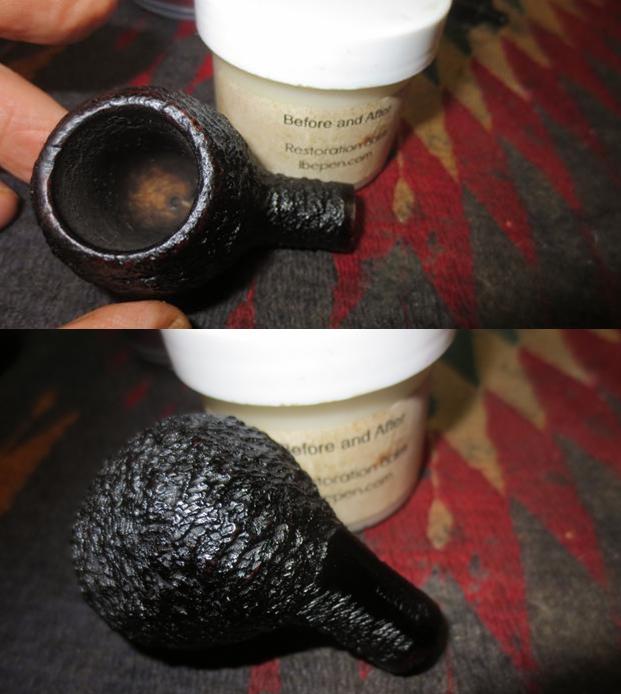
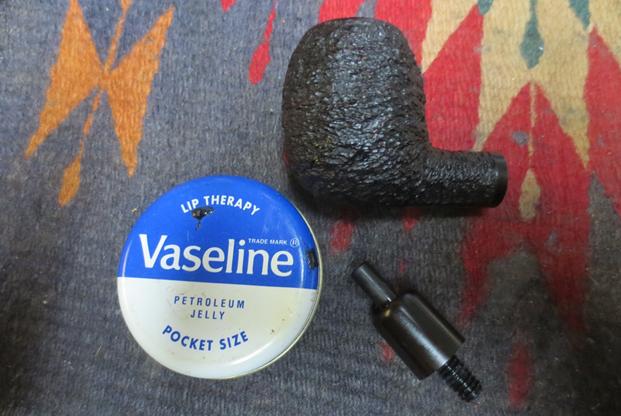
I am almost feel I don’t need to say this anymore as you all know by now that my brother Jeff does the cleanup on the pipes that we get. It is amazing to start with pipes that are already cleaned and reamed. In fact on the local repairs I do I have to do all the work and I really miss his work. He did the work on this one as usual. He reamed the bowl with a PipNet pipe reamer and cleaned up the last bit of cake with a Savinelli Fitsall reamer. He cleaned the internals of the shank and the stem with alcohol, pipe cleaners and cotton swabs. He scrubbed the exterior of the pipe with Murphy’s Oil soap and a tooth brush and was able to remove all of the dust, tars and oils built up on the briar. He was able to remove all of the tars and lava on the rim top and leave it looking very clean. He soaked the stem in an Oxyclean bath to raise the oxidation to the surface of the vulcanite. When it arrived it looked very clean. I took photos of the pipe before I started my restoration work. I took a photo of the bowl and rim to show its condition after his cleanup work. It looked really good.The Oyclean brought the oxidation to the surface of the stem and the tooth marks were very visible on both sides. This is when I wish I could order one of those Insta-Replace Lax stems and just put this one aside. But there are none available so it is a cleanup job.I pulled the stem off and put it in a bath of Before & After Pipe Stem Deoxidizer and left it to soak overnight. In the morning I removed the stem from the deoxidizer and wiped off the excess deoxidizer from the surface of the stem with a paper towel. I cleaned out the airway in the stem with pipe cleaners and alcohol to remove any remnants of the bath from that part of the stem. The photos below show the stem after the soak and rub down. It was still lightly oxidized but the oxidation was significantly less than when I started. I decided to work on it without further soaking. It would be a stem that I would have to hand work to get rid of all the oxidation. The tooth marks are visible on the top and underside of the stem in the photos.I noticed that while I was wiped the shank extension down with some Obsidian Oil there was a bit of give in the extension. Since I could find little information on the brand I had no idea what to expect in this case. I carefully turned the shank extension and it came unscrewed from the shank of the pipe. I was pleased in that it would be easier to work on with it separated. I took photos to show the parts of the pipe. With the shank extension removed I scrubbed out the airway with a pipe cleaner and alcohol to double check if there was debris in this section of the shank with the threaded tenon removed. It was very clean. I rubbed the bowl down with Before & After Restoration Balm to deep clean the smooth finish, enliven and protect the briar. I hand rubbed it with my fingers and wiped it off with a soft cloth. I buffed the bowl with a horsehair shoe brush to raise the shine. I took some photos of the bowl at this point to mark the progress in the restoration. I rubbed some Vaseline Petroleum Jelly on the threads of the shank extension to make it easier to turn into the shank and protect the threads in the process.I screwed the extension part way into the shank and polished it to remove the oxidation. I sanded it with 1500-4000 grit micromesh sanding pads and rubbed it down with Obsidian Oil after each pad. I buffed the shank extension with Red Tripoli and Blue Diamond on the buffing wheel to polish it further and remove the stubborn oxidation that was still present. I took it back to the work table and sanded it with 6000-12000 grit micromesh pads, once again rubbing it down with oil after each pad. After the final pad I gave it a final coat of oil and let it dry. I repaired the deep bite marks in the surface of the button and the underside of the stem near the button. I cleaned up the surrounding area and wiped it down with alcohol. I filled them in with black superglue.After the repairs had dried I sanded them to blend them into the surface of the stem. I used 220 grit sandpaper to smooth out the repaired areas and reshaped the top of the button.I polished out the sanding scratches and marks in the vulcanite with micromesh sanding pads – wet sanding it with 1500-2400 grit pads and dry sanding it with 3200-4000 grit pads. I wiped the stem down with Obsidian Oil after each sanding pad. I buffed the stem with Blue Diamond on the buffing wheel. I brought it back to the table and sanded it with the final three 6000-12000 grit pads. After the final pad I gave it a final coat of oil and set it aside to dry. I put the stem back on the bowl and worked the pipe over on the buffing wheel using Blue Diamond to polish the bowl and shank. I lightly buffed the bowl so as not to leave behind polishing compound in the rustication. I used more pressure on the stem to raise the gloss on the vulcanite. The P stamp on the side of the stem was not deep enough to hold a repaint so I left it. I gave the bowl multiple coats of Conservator’s Wax and the stem multiple coats of carnauba wax. I buffed the entire pipe with a clean buffing pad to raise the shine. I hand buffed it with a microfiber cloth to deepen the shine. The finished pipe is shown in the photos below. The dark brown stain on the rustication of the apple shaped bowl works well with the rich black of the vulcanite stem. This is a unique pipe the likes of which I have never before seen. It is a beautiful and well-made pipe. The dimensions of the pipe are: Length: 6 inches, Height: 1 3/4 inches, Diameter of the bowl: 1 inches, Diameter of the chamber: 3/4 inches. Thanks for looking.

New Life for an interesting Tinderbox Noble


Blog by Steve Laug

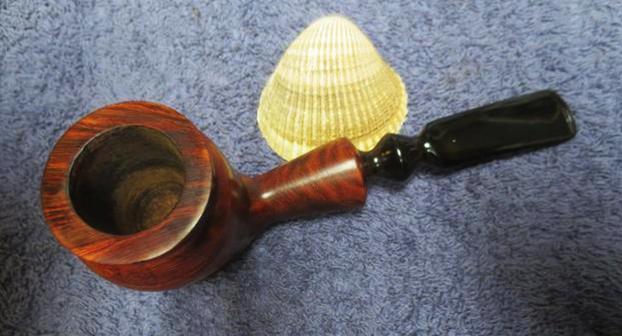
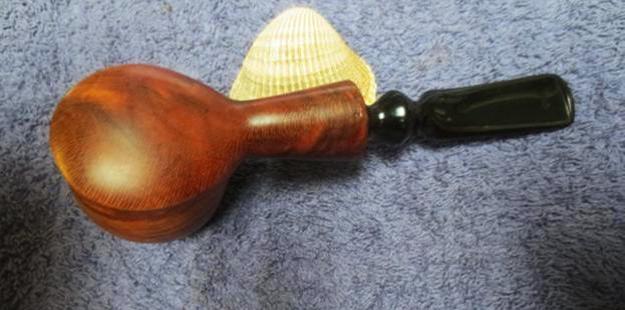
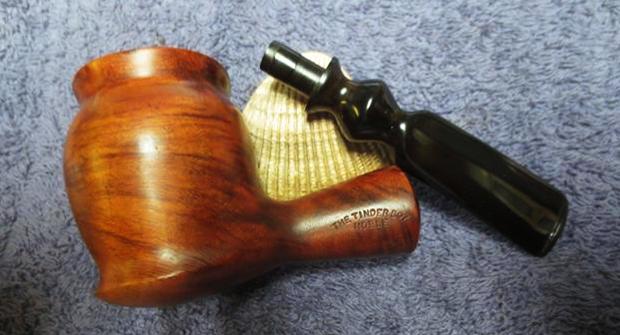
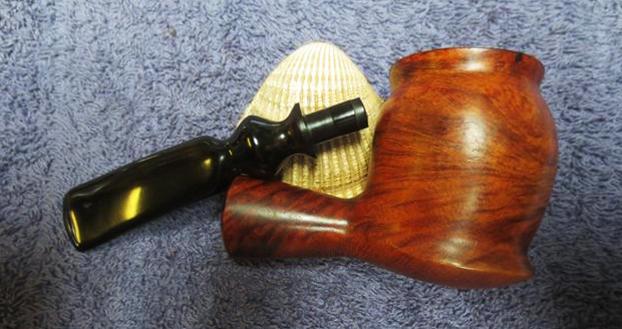
When this pipe arrived it had the look of an older Shalom pipe from Israel. The shape and style of the stem, the type of briar and the shape of bowl all said to me that it was pipe made by The Shalom Pipe Co. Once I looked over the pipe it was confirmed. It was stamped on the underside of the shank ISRAEL. On the side of the shank it reads The Tinderbox in an arch over Noble. So I was working on a Shalom pipe made for Tinderbox. The Shalom Pipe Factory in Israel was owned by Bernard Hochstein, former CEO of Mastercraft. The Alpha line was made exclusively for export to the United States. They were made in Israel from the 1970s into the 1980s. The Shalom Pipe Company made a lot of shop pipes for local pipe shops in the US. This is one of those pipes.

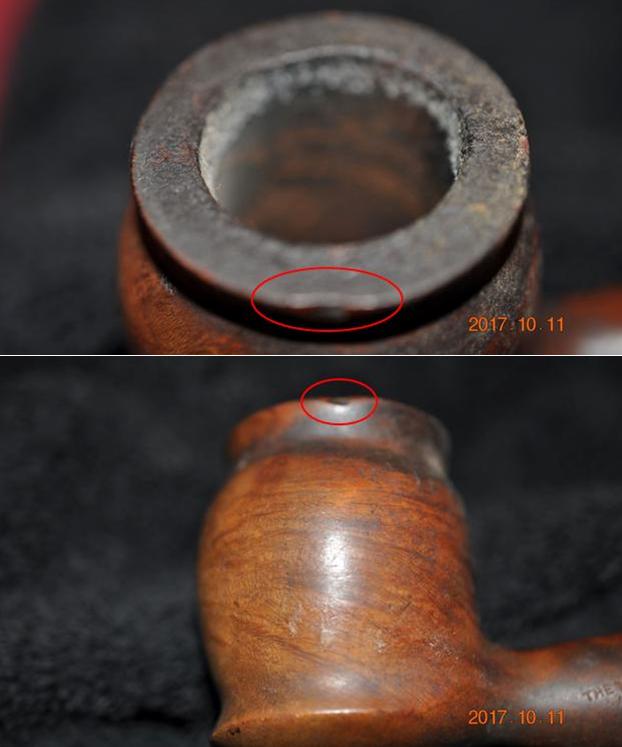
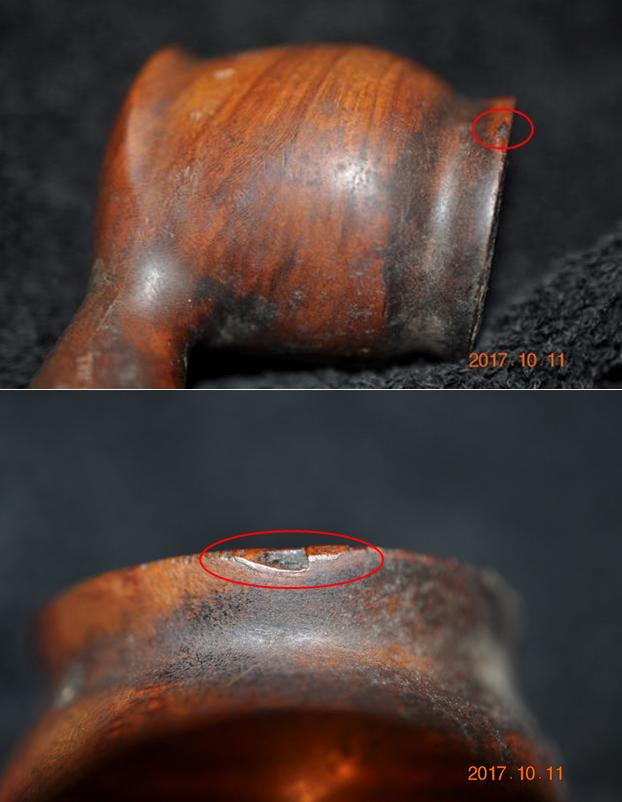
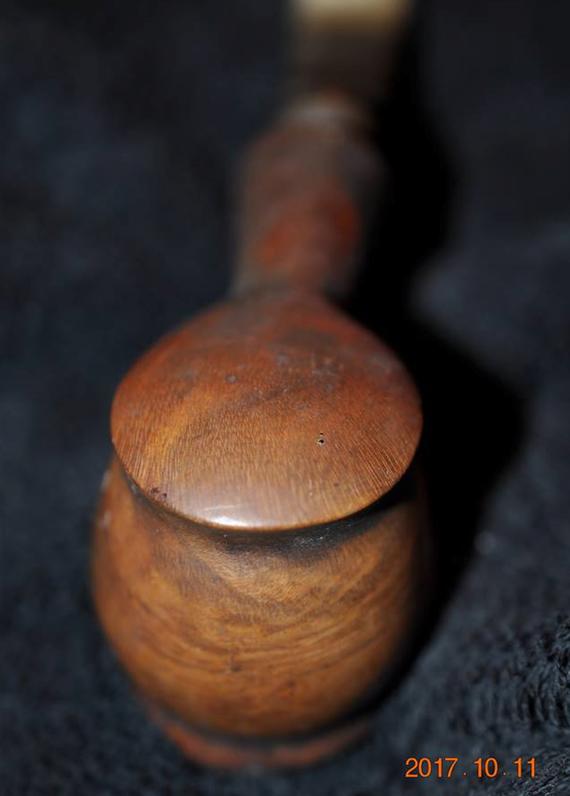
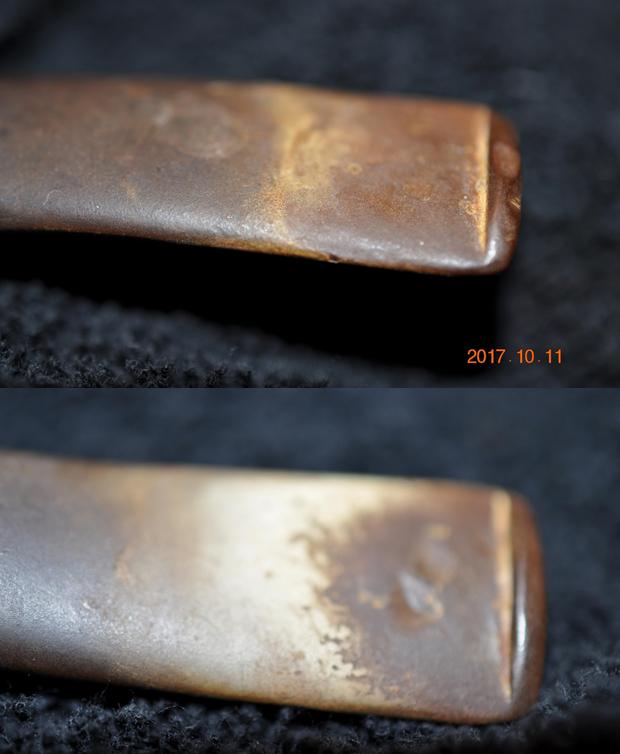
I am not sure where on his travels Jeff found this old tired pipe but it had a unique shape and look that I liked. It showed promise – the grain on the briar was a mix of cross grain, flame grain and birdseye. There was a chip out of the outer edge of the rim on the right side of the bowl and some light rash on the bowl side. The end of the shank was inset for the stem. It gave the pipe a dressy look. The bowl had a thick cake that had formed a hard lava coat on the rim top. The finish on the bowl was very dirty with a lot of oils and grime ground into the briar. The stem had deep oxidation in the vulcanite and there were very deep tooth marks on both sides near the button. Jeff took photos of the pipe before he started his clean up on it. He took a close up photo of the rim top and bowl. You can see the thickness of the cake in the bowl and the heavy lava coat on the top. The bowl exterior was also caked with tars and grime around the groove around the top of the bowl. Jeff also took photos of the sides of the bowl to show the condition of the pipe. The first four photos show the damaged area on the top edge of the right side of the bowl. I have circled the damaged areas in red on the photos to highlight the issue. The fifth photo shows the underside of the bowl. The grain is quite beautiful and shows through the grime on the finish. The stamping on the left side of the shank and the underside are very clear. The left side reads The Tinderbox in an arch over Noble as noted above. The underside is stamped Israel next to the shank end.The stem was pitted from the oxidation and it was deep in the surface of the vulcanite. There were visible tooth marks on both the top and underside of the stem as well as on the edges of the button itself.Jeff did his usual thorough clean up on the bowl and stem. He reamed the bowl with a PipNet pipe reamer and cleaned up the last bit of cake with a Savinelli Fitsall reamer. He cleaned the internals with alcohol, pipe cleaners and cotton swabs – Spending extra time scrubbing out the mortise as it was very dirty. He scrubbed the exterior of the pipe with Murphy’s Oil soap and a tooth brush and was able to remove all of the tars and oils built up on the briar. He was able to remove all of the tars and lava on the rim top and leave it looking very clean. He soaked the stem in an Oxyclean bath to raise the oxidation to the surface of the vulcanite.

When it arrived it looked like a different pipe. I was excited to start working on it so I pulled the stem off and put it in a bath of Before & After Pipe Stem Deoxidizer and left it to soak overnight. I totally forgot to take photos before doing this.I remembered in time to take photos of the bowl before I started working on it. It was very clean and would look amazing once it was finished. The shank end had been turned and was inset so that the stem could be inset into the shank giving it a unique and trim look.I filled in the chipped divot on the outer edge of the rim with clear super glue. I layered it into the divot until the edge matched the surrounding areas. I also applied it to the rim top to cover that damaged area. I used the super glue to fill in the road rash on the left side of the bowl below the chipped area.When the repair had dried I sanded the repaired areas with 220 grit sandpaper to blend them into the rest of the bowl. I was able to blend the chipped area into the surface of the bowl so that it was virtually invisible. I sanded the road rash area with 220 grit sandpaper as well and blended it into the bowl side. I sanded it with micromesh sanding pads – wet sanding it with 1500-2400 grit micromesh pads and dry sanding it with 3200-4000 grit pads. I stained the sanded areas with a dark brown stain pen to match it to the rest of the stain on the briar. I hand buffed it with a soft cloth to raise a shine.I rubbed the bowl down with Before & After Restoration Balm to deep clean the smooth finish, enliven and protect the briar. I hand rubbed it with my fingers and wiped it off with a soft cloth. I buffed the bowl on the wheel with Blue Diamond to raise the shine. I took some photos of the bowl at this point to mark the progress in the restoration. In the morning I removed the stem from the deoxidizer and wiped off the excess deoxidizer from the surface of the stem with a paper towel. I cleaned out the airway in the stem with pipe cleaners and alcohol to remove any remnants of the bath from that part of the stem. The photos below show the stem after the soak and rub down. It was still quite oxidized. The oxidation was significantly less than when I started but it was still present. I decided to work on it without further soaking. It would be a stem that I would have to hand work to get rid of all the oxidation. The tooth marks are visible on the top and underside of the stem in the photos.I sanded the stem with 220 grit sandpaper to remove the oxidation from inside the tooth marks, reshape the button on both sides and wiped down those areas with alcohol to remove the sanding dust. I painted the tooth marks with the flame of a Bic lighter to lift them as much as possible before repairing them. I filled in the tooth divots with black super glue and sprayed them with accelerator to speed the drying time. Once the repairs were dry I sanded them with 220 grit sandpaper to blend them into the surface of the stem. The first two photos below show the repairs after I first sanded them. The third and fourth photos show the stem after I had sanded the repaired areas to match the surface of the stem. I polished out the sanding scratches and marks in the vulcanite with micromesh sanding pads – wet sanding it with 1500-2400 grit pads and dry sanding it with 3200-4000 grit pads. I wiped the stem down with Obsidian Oil after each sanding pad. I buffed the stem with Blue Diamond on the buffing wheel. I brought it back to the table and sanded it with the final three 6000-12000 grit pads. After the final pad I gave it a final coat of oil and set it aside to dry. I put the stem back on the bowl and worked the pipe over on the buffing wheel using Blue Diamond to polish the bowl and shank. I buffed the stem to raise the gloss on the vulcanite. I gave the bowl and stem multiple coats of carnauba wax. I buffed the entire pipe with a clean buffing pad to raise the shine. I hand buffed it with a microfiber cloth to deepen the shine. The finished pipe is shown in the photos below. The medium brown stain on the cauldron shaped bowl works well with the rich black of the vulcanite stem. This is a unique, beautiful and well-made pipe. The dimensions of the pipe are: Length: 6 inches, Height: 2 inches, Diameter of the bowl: 1 1/2 inches, Diameter of the chamber: 7/8 inches. I will be adding this one to the rebornpipes store shortly if you are interested in adding it to your collection. It will make a fine addition to the rack. If you are interested email me at slaug@uniserve.com or send me a message on Facebook. Thanks for looking.
A Great Find – Peterson’s Mark Twain Rustic XL Boxed pipe


Blog by Steve Laug

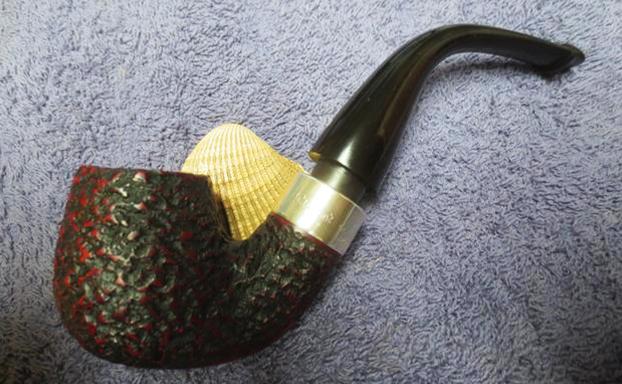
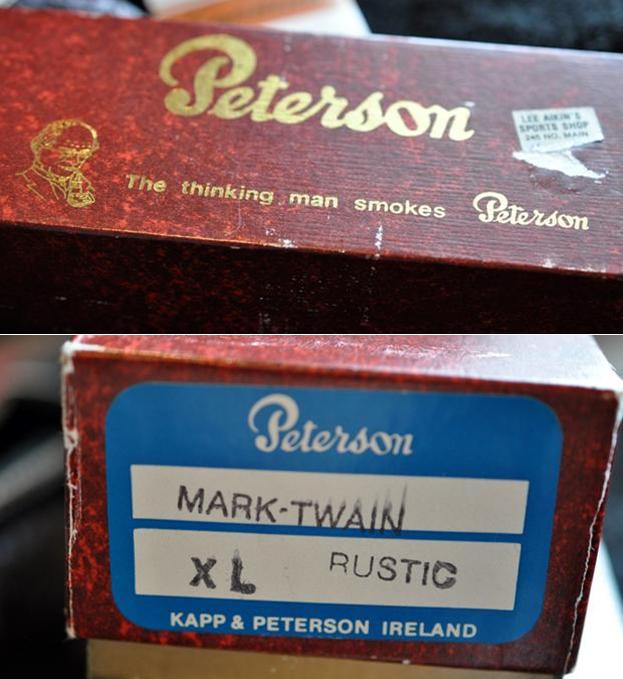
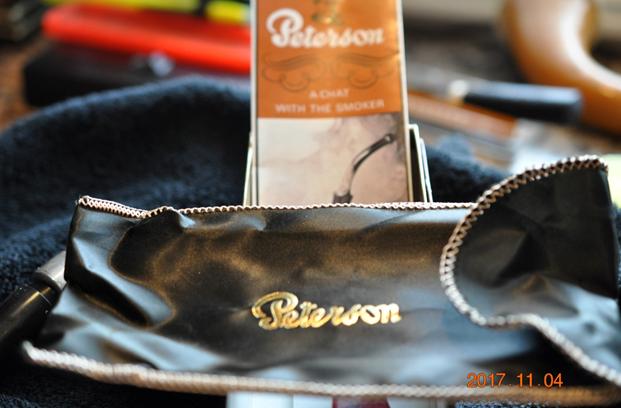
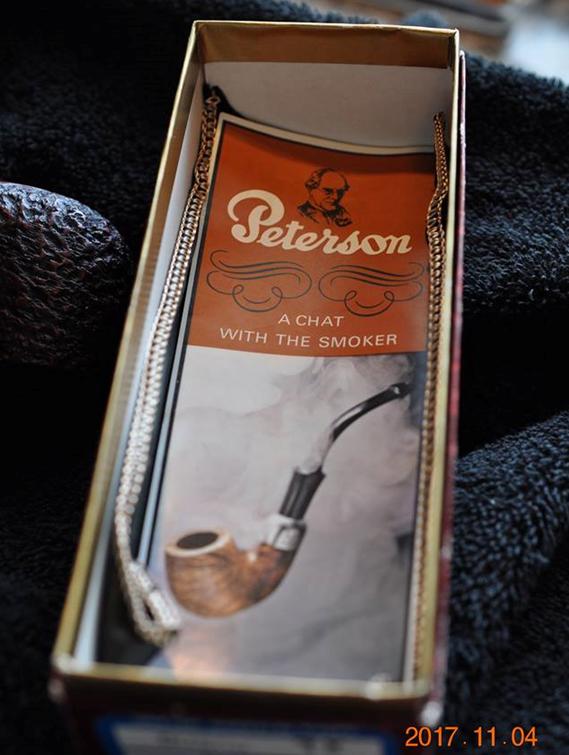
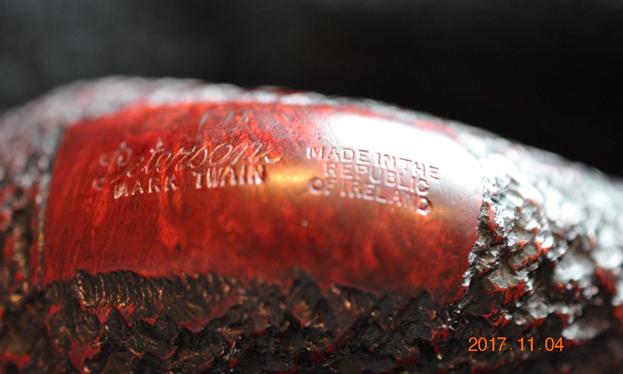
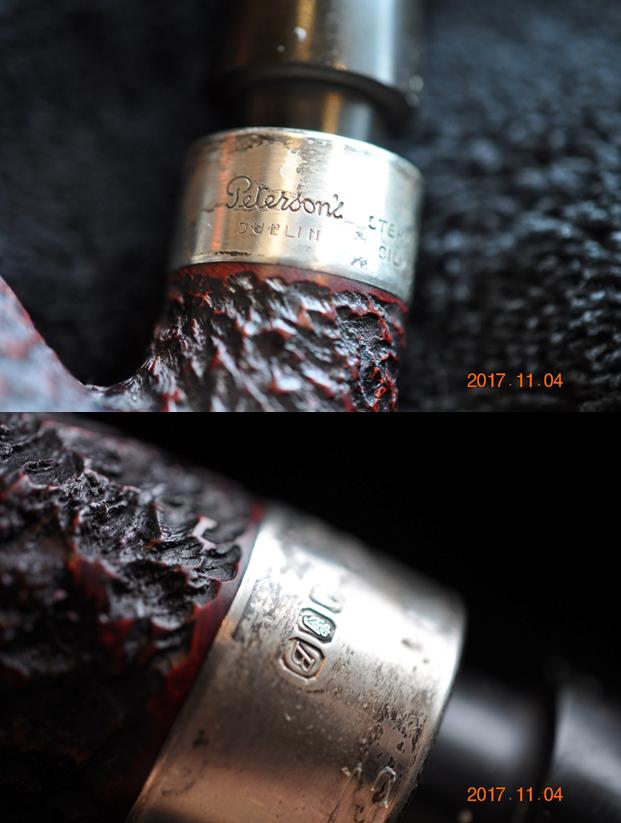
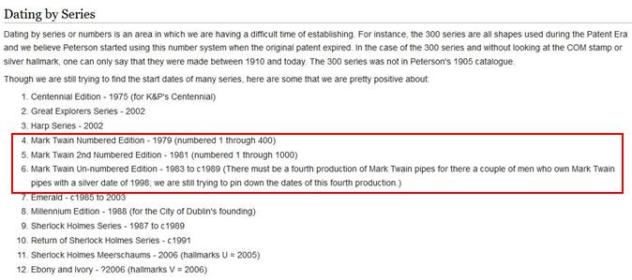
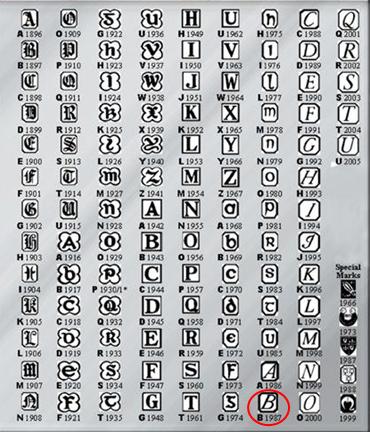
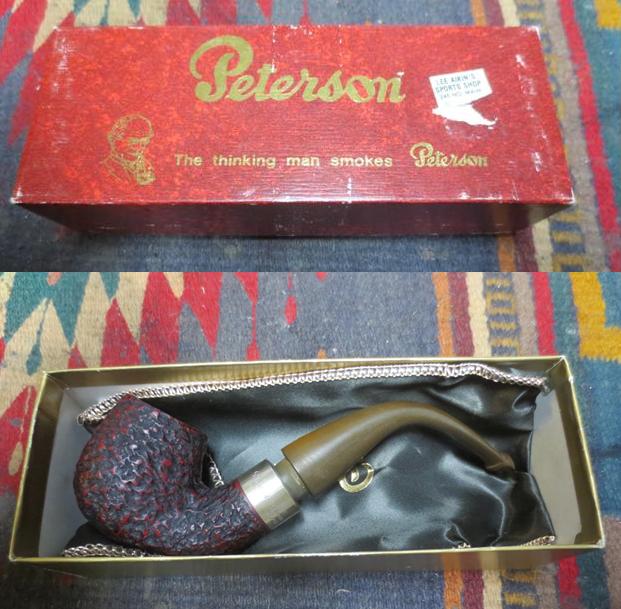
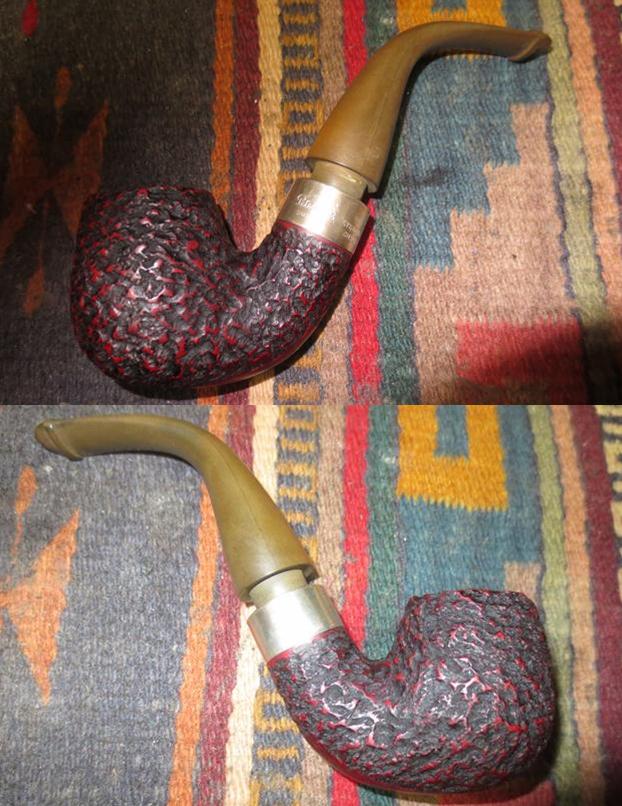
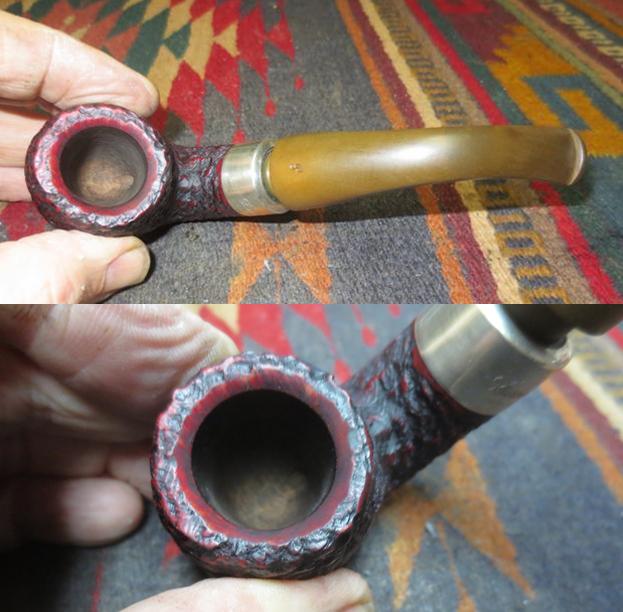
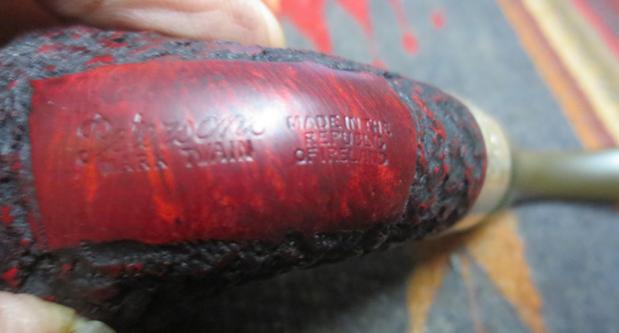
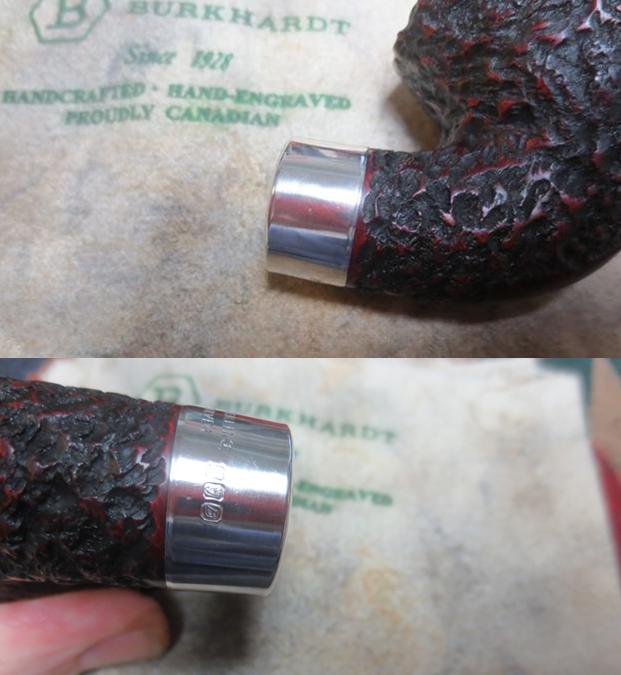
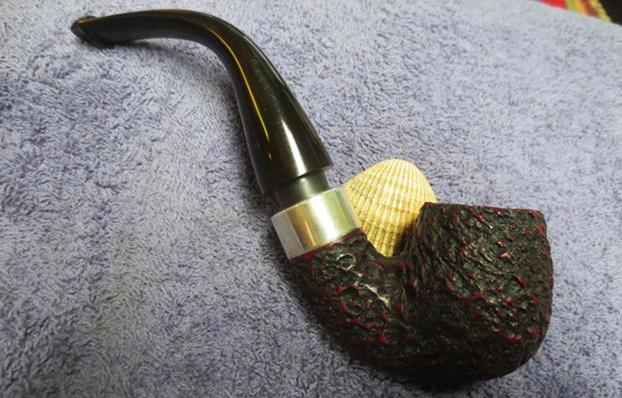
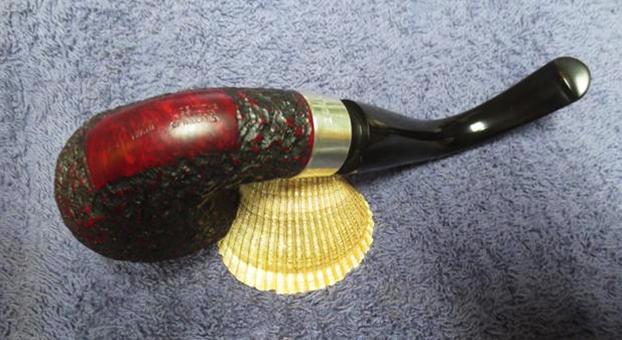
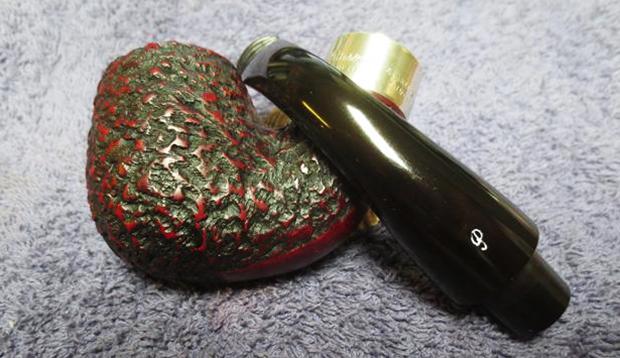
My brother Jeff found this Peterson on one of his trips. He showed me the box and then the end of the box first. The end of the box said it was a Peterson Mark Twain XL Rustic. I could not wait to see what was inside. I am slow to get my hopes up because often what the box says and what is inside are very different. He opened the box and inside was a Peterson black satin pipe sock and the factory brochure. This was definitely looking up. He took the pipe out and it was exactly what the box said it was – a Peterson’s Mark Twain Rustic XL. Jeff took pictures of the pipe to show the overall condition of the find before he started his cleanup work on it. The pipe was dirty with a lot of dust and debris in the crevices of the rustic finish and dull looking on the high spots. The bowl had a thick, hard cake and there was a heavy lava overflow on the rim top filling in the beveled area and the crevices in the finish. The inner and outer edges of the bowl looked to be in good condition.The underside of the bowl had a smooth spot that was stamped Peterson’s over Mark Twain. Next to that it was stamped Made in the Republic of Ireland.The pipe had a silver band/ferrule on the end of the shank that bore the typical Peterson’s of Dublin stamping and was stamped Sterling Silver. On the underside it had three hallmarks. The Irish sterling silver hallmarks are first a Hibernia mark (looks like a seated woman facing left) second a fineness mark (an Irish harp) finally the date code comes after those, in the form of a letter. In this case it is the upper case italic B.The hallmarks gave a good indication of the age of the pipe. I turned to Pipedia to have a look at the article by my old friend Mike Leverette to get a feel for the dating of the Mark Twain series. I knew there were several releases of the series but could not remember the dates. Here is the link to the article: (https://pipedia.org/wiki/A_Peterson_Dating_Guide;_A_Rule_of_Thumb). I have enclosed the section of the article pertaining in a red box in the pic below.I found a Peterson Sterling Hallmark chart on the web to help pin down the date associated with the Italic uppercase B. I have circled the letter on the chart to the left with a red circle. The pipe is clearly identified as a 1987 Mark Twain. That and the fact that it did not have any number on the shank puts it squarely in the Un-numbered Edition noted above from Mike’s article. That edition of the series was made between 1983 and 1989 so this one falls squarely in the middle of the series release.

The stem was lightly oxidized but the P stamp was very clear and deeply stamped in the vulcanite material. There were light tooth marks and chatter on both sides of the stem near the button and shelf.I could not wait to see the pipe after Jeff cleaned it up. He did his usual thorough clean up on the bowl and stem. He reamed the bowl with a PipNet pipe reamer and cleaned up the last bit of cake with a Savinelli Fitsall reamer. He cleaned the internals with alcohol, pipe cleaners and cotton swabs – scrubbing out the sump area that is generally very dirty. He scrubbed the exterior of the pipe with Murphy’s Oil soap and a tooth brush and was able to remove all of the dust and debris in the nooks and crannies of the rustication. He was able to remove all of the tars and lava on the rim top and leave it looking very clean. He soaked the stem in an Oxyclean bath to raise the oxidation to the surface of the vulcanite. I took photos of the pipe when it arrived. I opened the box that the pipe came in like a kid on Christmas morning. I wanted to see what he had been able to do with this pipe.I took the pipe out of the box and took photos of it before I did my part of the restoration work on the old Peterson. Other than the oxidized stem it looked pretty good.He did an amazing job on the rim top. It had come entirely clean under his workmanship on it. The inner bevel on the rim was flawless and the lava was gone leaving a clean bowl and rim. The underside of the bowl looked good and the stamping was very clear as I had surmised in the pre-cleaning photos.I took some photos of the stem to show the oxidation and the tooth chatter and marks.I put the stem to soak in the Before & After Stem Deoxidizer and left it overnight so that it could work its magic on the oxidation. I worked on the bowl while it soaked.I rubbed the bowl down with Before & After Restoration Balm to clean out the deep pits and crevices of the finish and enliven and protect the briar. I hand rubbed it with my fingers and used a shoe brush to get deep into the grooves. I rubbed it off with a soft cloth and buffed it with a microfiber cloth to give it a bit of a shine. I took some photos of the bowl at this point to mark the progress in the restoration. In the morning I removed the stem from the deoxidizer and wiped off the excess deoxidizer from the surface of the stem with a paper towel. I cleaned out the airway in the stem with pipe cleaners and alcohol to remove any remnants of the bath from that part of the stem. The photos below show the stem after the soak and rub down.I sanded out the tooth chatter and tooth marks on both sides of the stem with 220 grit sandpaper and was able to remove all of the damaged areas.I polished out the sanding scratches and marks in the vulcanite with micromesh sanding pads – wet sanding it with 1500-2400 grit pads and dry sanding it with 3200-4000 grit pads. I wiped the stem down with Obsidian Oil after each sanding pad. I buffed the stem with Blue Diamond on the buffing wheel. I brought it back to the table and sanded it with the final three 6000-12000 grit pads. After the final pad I gave it a final coat of oil and set it aside to dry. I used some acrylic paint to touch up the stamping on the stem. I puddled the paint over the stamping with small paint brush. Once the paint dried I polished it off with a cotton pad and 6000-12000 grit micromesh sanding pads.  I polished the silver band with a jeweler’s cloth to remove any tarnish and polish the band to a rich shine. The stamping really stood out with the polishing. I put the stem back on the bowl and worked the pipe over on the buffing wheel using Blue Diamond to polish the bowl and shank. I used a gentle touch on the rusticated briar when I was buffing it so that the nooks and crannies of the rustication would not be filled in and make more work for me. I buffed the stem with a harder touch to raise the gloss on the rubber. I gave the bowl multiple coats Conservator’s Wax and buffed it with a shoe brush. I gave the stem multiple coats of carnauba wax. I buffed the entire pipe with a clean buffing pad to raise the shine. I hand buffed it with a microfiber cloth to deepen the shine. The finished pipe is shown in the photos below. The combination of brown and red stain on the rustication and smooth rim and base of the pipe along with the rich black of the vulcanite stem make this an interesting and beautiful pipe. The dimensions of the pipe are: Length: 6 1/2 inches, Height: 2 inches, Diameter of the bowl: 1 3/8 inches, Diameter of the chamber: 7/8 inches. I will be adding this one to the rebornpipes store shortly if you are interested in adding it to your collection. It will make a fine addition to the rack. If you are interested email me at slaug@uniserve.com or send me a message on Facebook. Thanks for looking.