Blog by Steve Laug
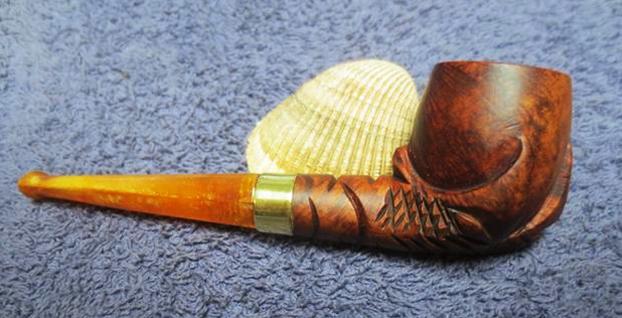
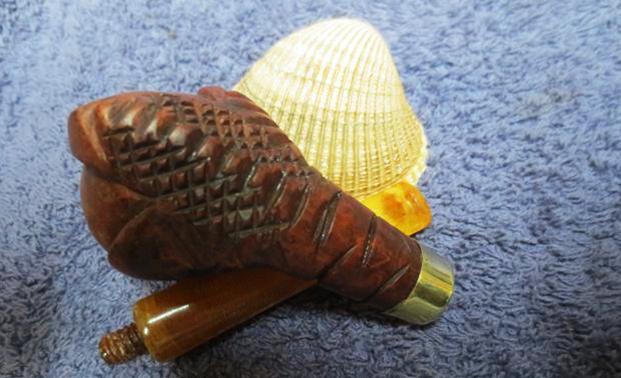
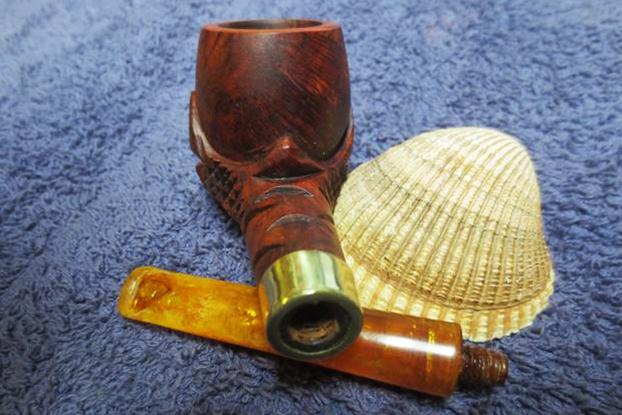
My brother Jeff picked up this interesting Eagle Claw pipe in Montana on one of his pipe hunts. It is well carved and is a well grained piece of briar. The finish was very dirty and worn but under the dirt and dust of years sat some beautiful briar. The bowl had a thin cake – almost like it had been cleaned. Sometime in the life of the pipe the inner edge of the bowl had been chipped on the left side of the bowl. I would almost bet that it happened the last time the pipe was cleaned as there was no buildup of tars or cake in the chip itself. There were remnants of lava on the top of the rim around the rim top but not too thick or too much. There was a very tarnished brass band on the shank that was loose. The stem was Bakelite and was overturned. It also was worn and the top surface at first appeared to be crazed but the more I looked at it the more I could see that it was actually deeply pitted. There were bite marks on the top of the stem and the top edge of the button was worn down. There was a large bite through on the underside of the stem and the button was worn. There was some chipping around the junction of the stem and the band on the shank. Jeff took the photos of the pipe that follow before he started his cleanup work. It is always good to have a baseline of what the pipe looked like when we began the work.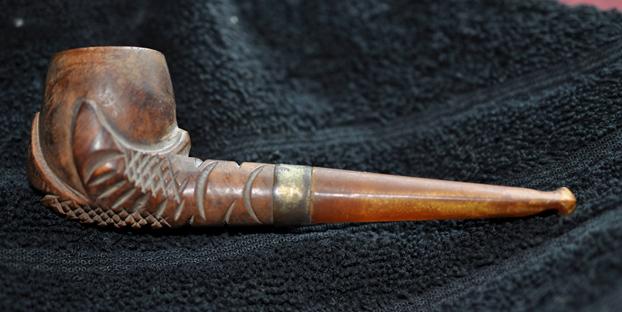
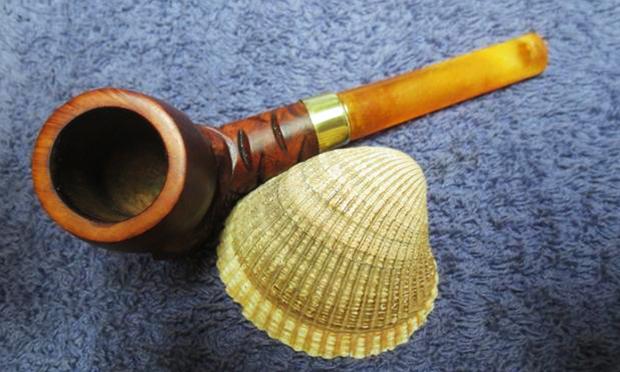
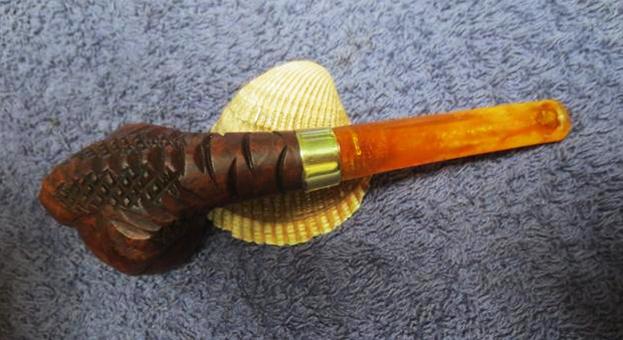
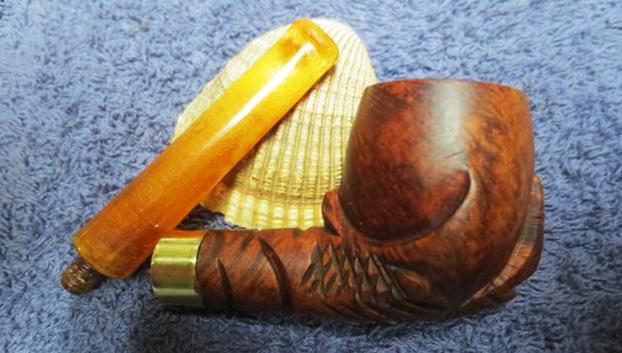
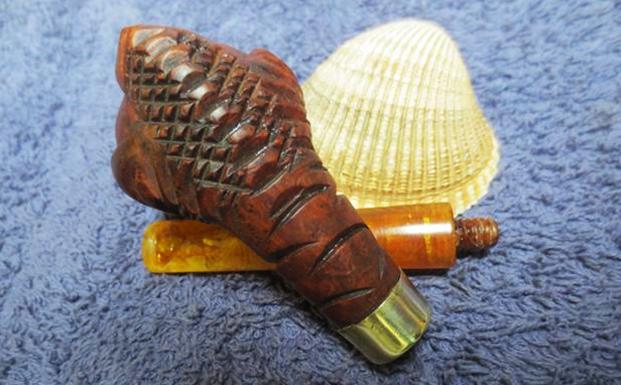
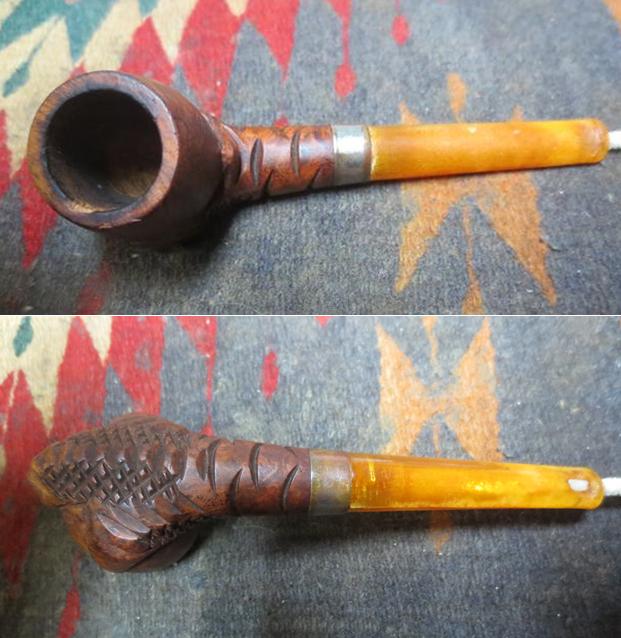
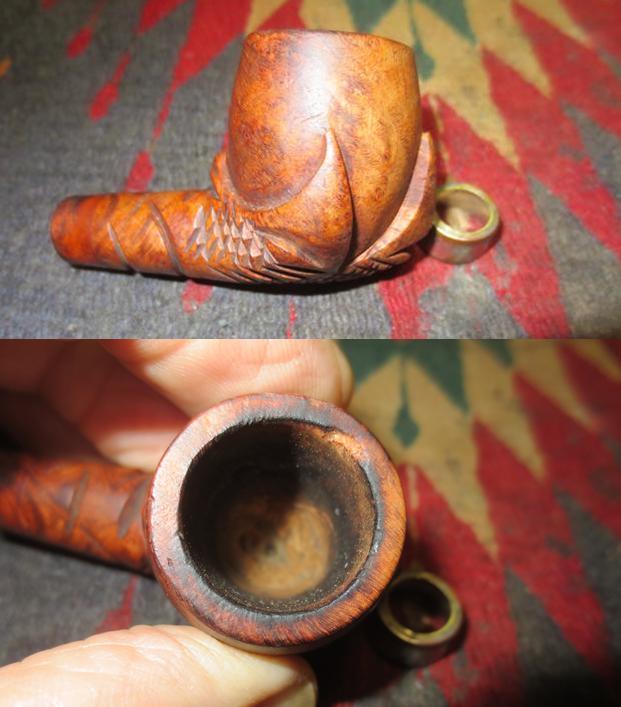
 The next two photos show the condition of the briar. The first shows the rim top and bowl. There is minor tar buildup on the left side rim top. The chip in the rim is also visible in that photo. The second photo shows the carving patterns on the side and bottom edge of the bowl and shank. Though they are dirty they are well executed and interesting.
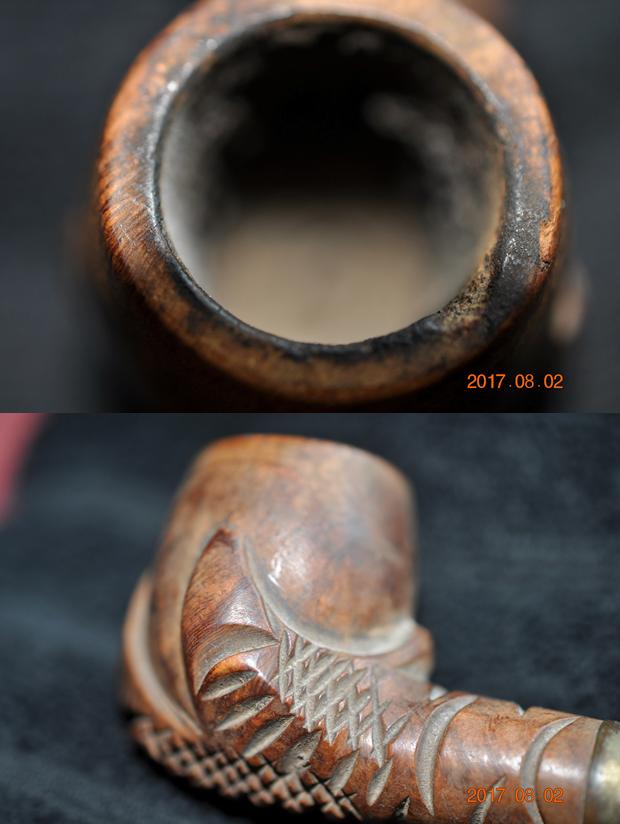 The band is worn and oxidized but appears to be brass underneath. The top side of the stem is worn and there appears to be casting marks on both edges.
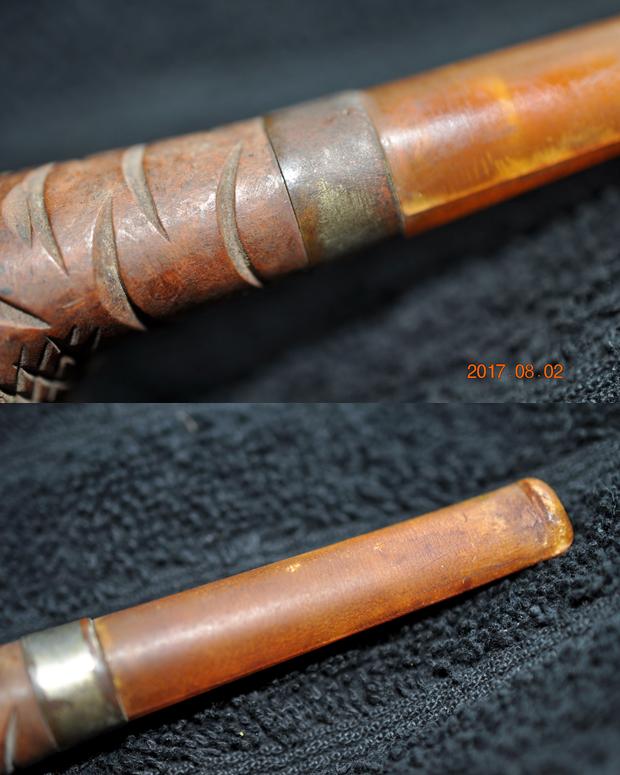 The next photos show the bite through in the underside of the stem and the shape and condition of the airway in the button end.
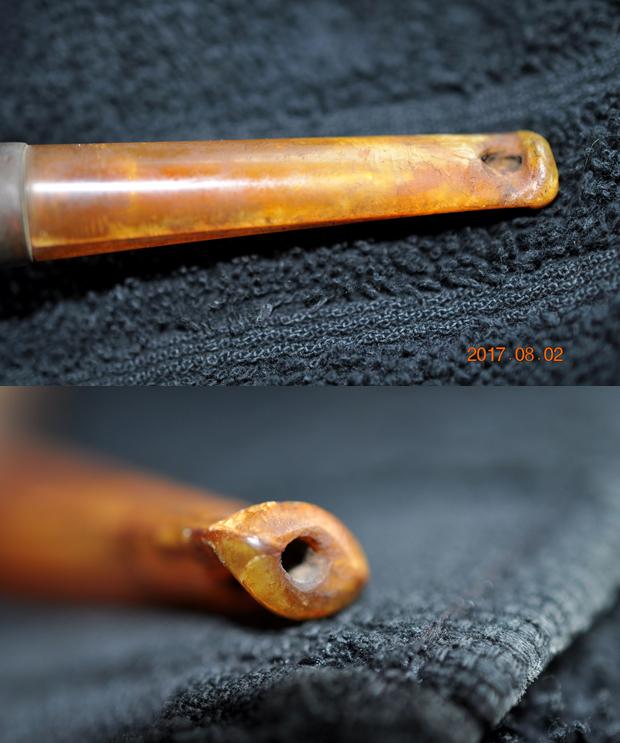 The last two photos show the stem. The first is the top side showing the tooth marks near the button and the pitting and checking of the material. This photo shows why originally I thought that the stem had crazed. The second photo gives a close up look at the bite through in the underside of the stem. It was quite large and went from one side of the airway to the other.
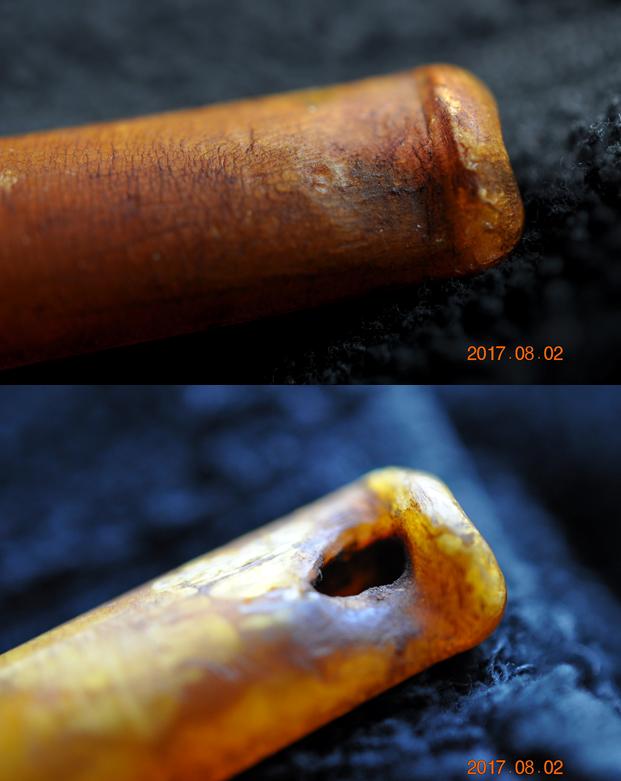 Jeff did his usual thorough cleanup on the bowl and stem. He used his two favourite reamers to clean up the bowl and rim edges – a PipNet pipe reamer a Savinelli Fitsall reamer. He cleaned the internals with alcohol, pipe cleaners and cotton swabs – scrubbing out the mortise and shank as it was very dirty. He scrubbed the exterior of the pipe with Murphy’s Oil soap and a tooth brush and was able to remove all of the tars and oils built up on the briar. He was able to remove all of the tars and lava on the rim top and left it looking very clean. The chip damage on the rim top and inner edge was clean and visible. He cleaned the stem with warm soapy water and pipe cleaners. He rinsed it with clean water to remove the soap in the airway. When it arrived I took photos of the pipe before I started to work on the restoration.
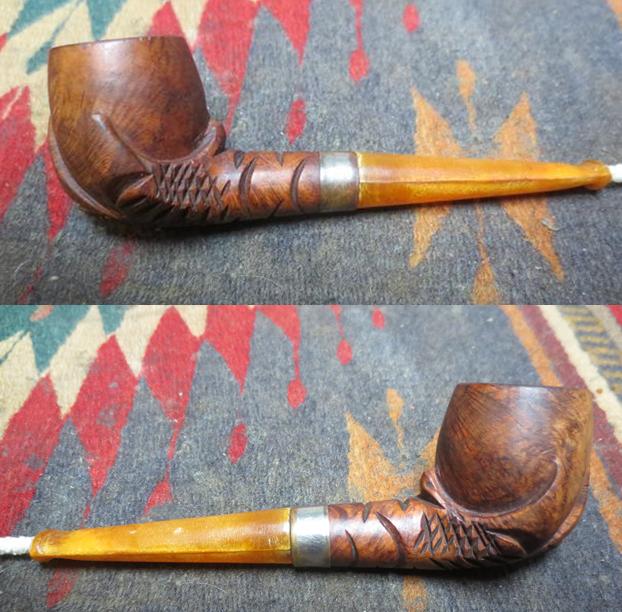
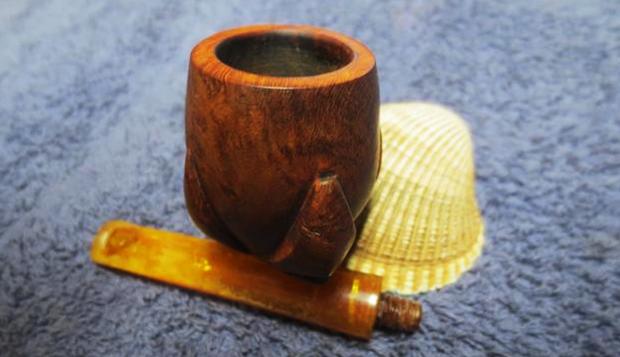
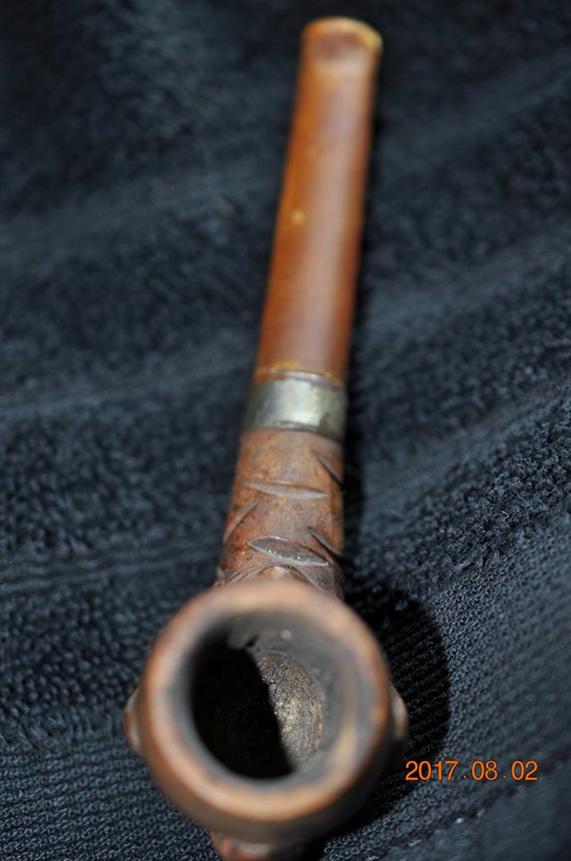
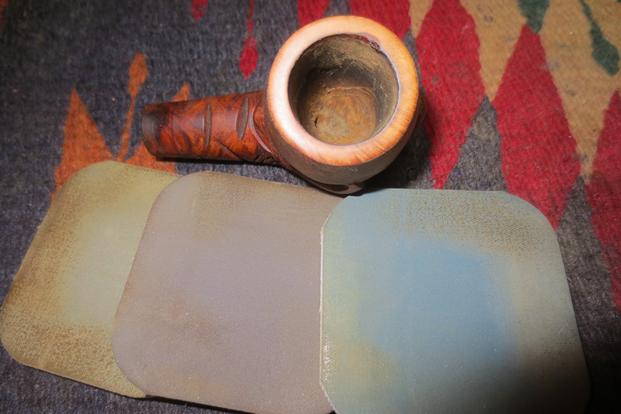
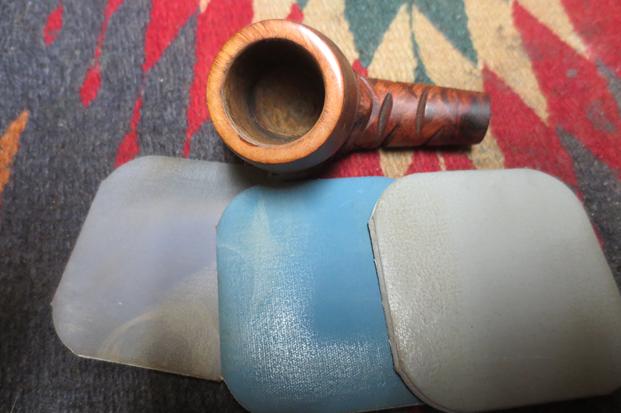
 I took a close up photo of the rim top to show how well it had cleaned up. The chip is on shown on the bottom of the photo (left side of the bowl). It would need to be repaired and topped to clean up the damage.
 The stem cleaned up nicely. The next two photos show the stem after Jeff’s clean up. You can see the pitting, chipping at the shank connection and the tooth marks on the top side. The bite through is clear on the underside and I have pushed a pipe cleaner through to show the size of the hole.
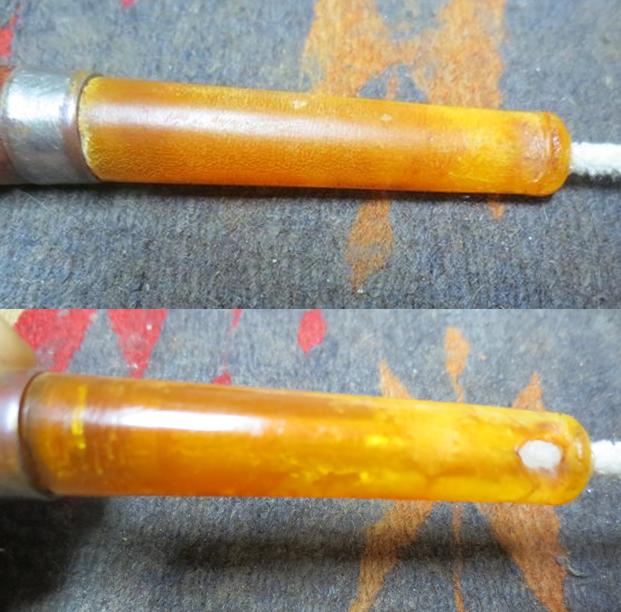 Since the stem was quite clean, I wiped it down with a damp cotton pad and dried it off. I greased the pipe cleaner with Vaseline and inserted it into the airway. I filled in the bite marks on the top side and repaired the bite through with Amber super glue. I overfilled the two repairs to make sure that it would not shrink and require more as it dried. I sprayed it with an accelerator and set it aside to dry for an hour.
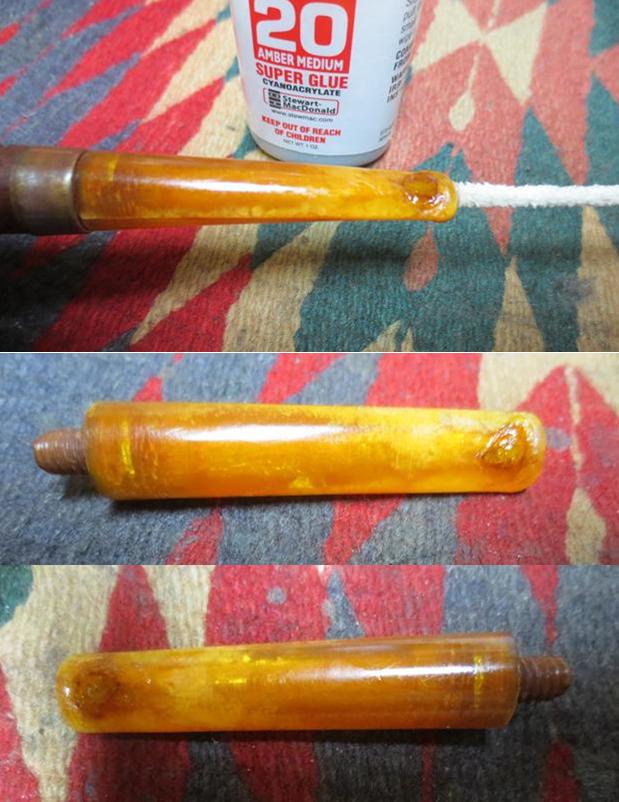 Once the repair had cured for an hour I used a small file to smooth out the patch and reshape the edge of the button. At this point I was interesting in smoothing out the repair and the surface of the stem to match. I also wanted to have the edges of the button look as close as possible to their original shape.
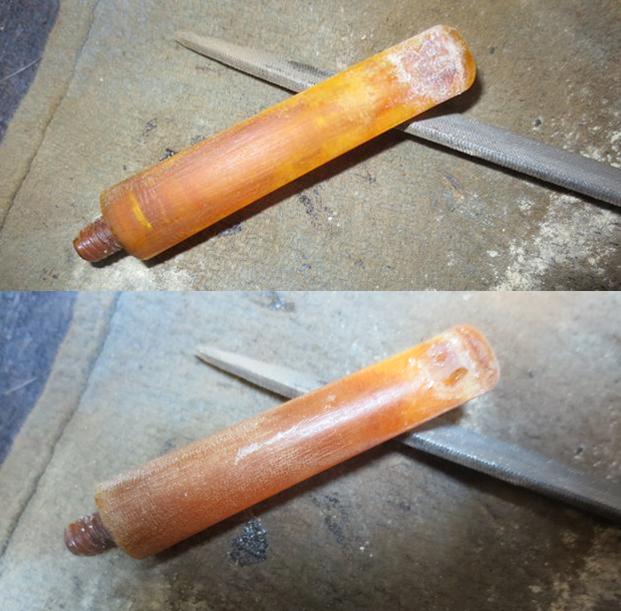 I sanded the repaired areas and the rest of the stem with 220 grit sandpaper to deal with the pitting and to blend the repair into the rest of the surface of the stem. The stem is starting to look pretty good and the button and shape are correct.
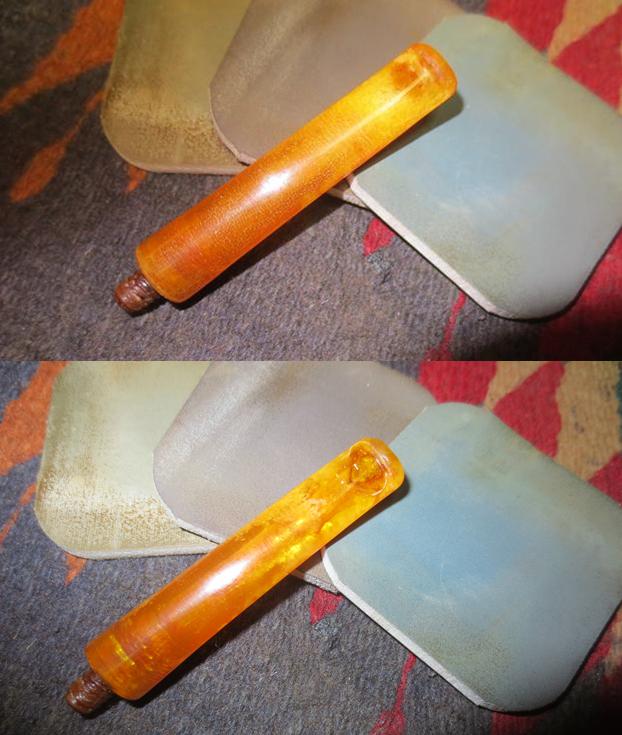
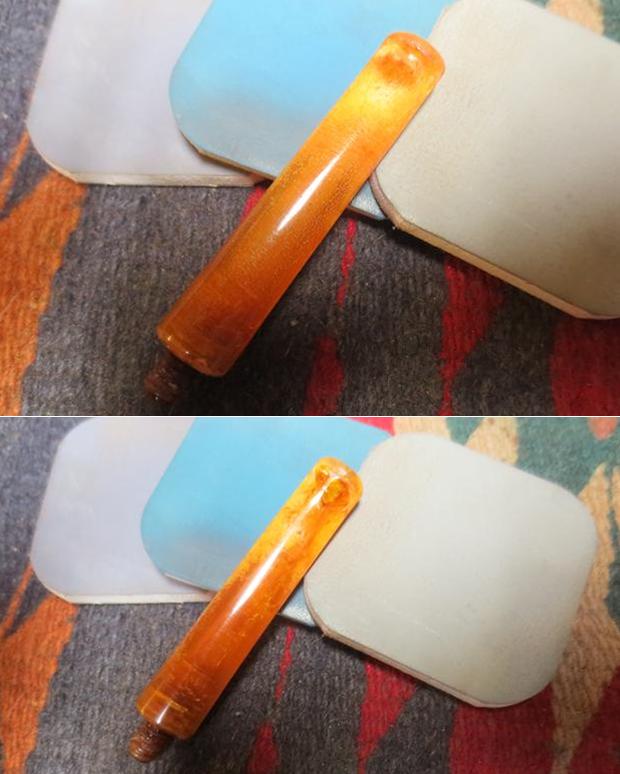
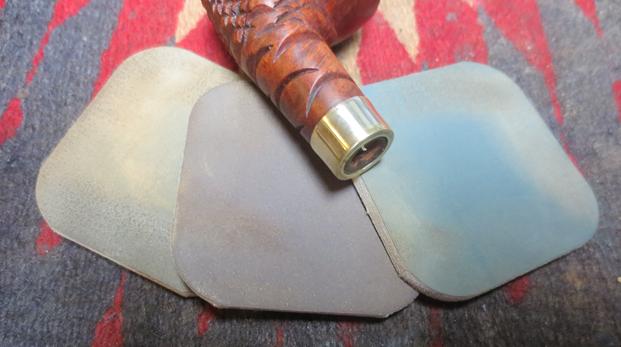
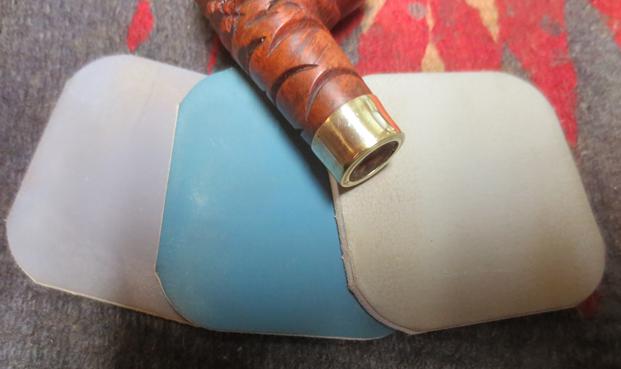
 I polished out the sanding scratches, pitting and marks in the Bakelite with micromesh sanding pads – wet sanding it with 1500-2400 grit pads and dry sanding it with 3200-4000 grit pads. I wiped the stem down with Obsidian Oil after each sanding pad. I carefully buffed the stem with Blue Diamond on the buffing wheel so as not to let it get too hot and damage the material. I brought it back to the table and sanded it with the final three 6000-12000 grit pads. After the final pad I gave it a final coat of oil and set it aside to dry.
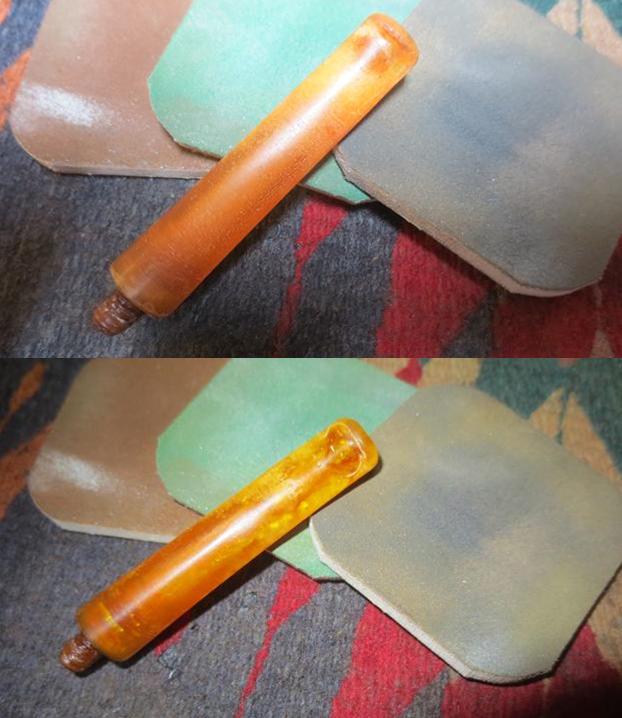
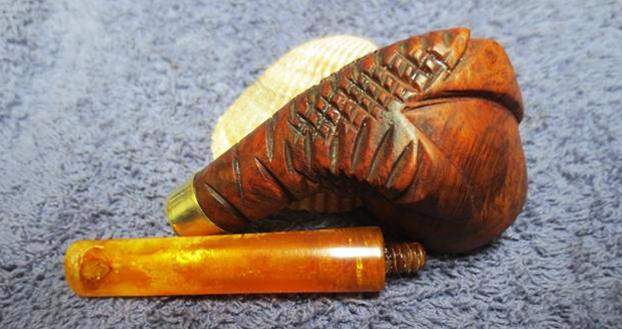
 The band/ferrule on the end of the shank was loose so I removed it to clean up the pipe. The photos below show the beautiful grain in this pipe. I really like the looks of the grain and the carving. It is well laid out on the briar.
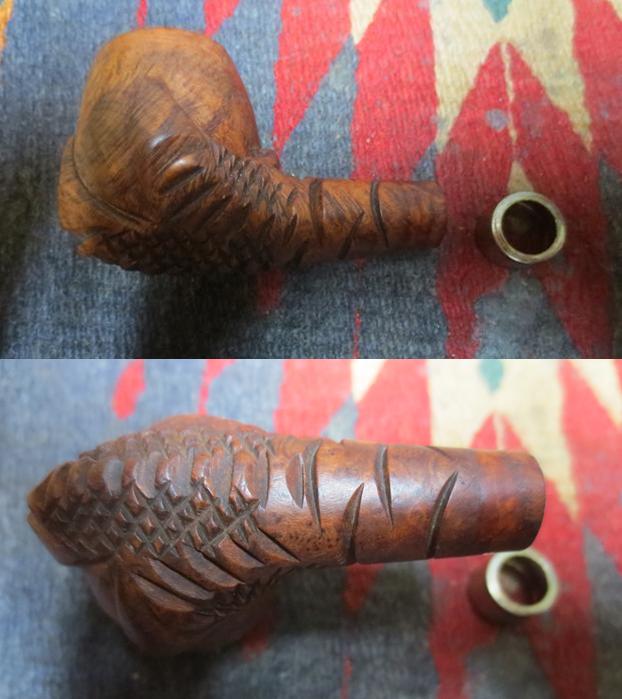
 In order to repair the damaged edge of the rim I wanted to top the bowl back to get rid of the other damage to the rim top and prepare it for the patch. I topped it on a topping board using 220 grit sandpaper. I removed enough of the rim top to take care of the other damage on the rim and the burned areas around the inner edge. I pushed some of the briar dust from sanding into the chipped area and put several drops of clear super glue on top of the dust. I repeated the process until the edge and the rim top were even. I sanded the inner edge with a folded piece of 220 grit sandpaper to smooth it out and finished by lightly topping the bowl. The repair looks really good.
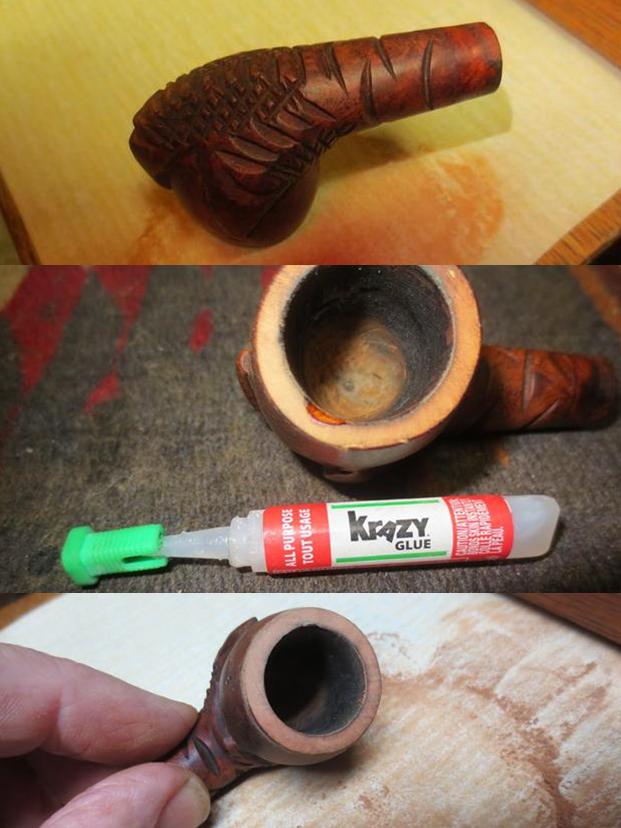 I polished the rim top using the micromesh sanding pads – wet sanding with 1500-2400 grit pads and dry sanding with 3200-12000 grit pads. I wiped the rim down after each pad with a damp cotton pad. When I finished the polishing I wiped it down a final time.
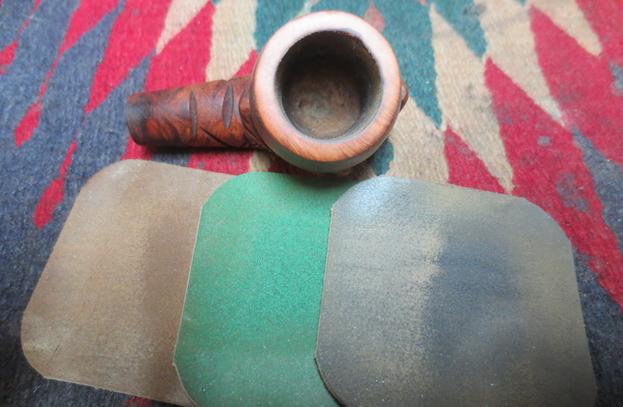
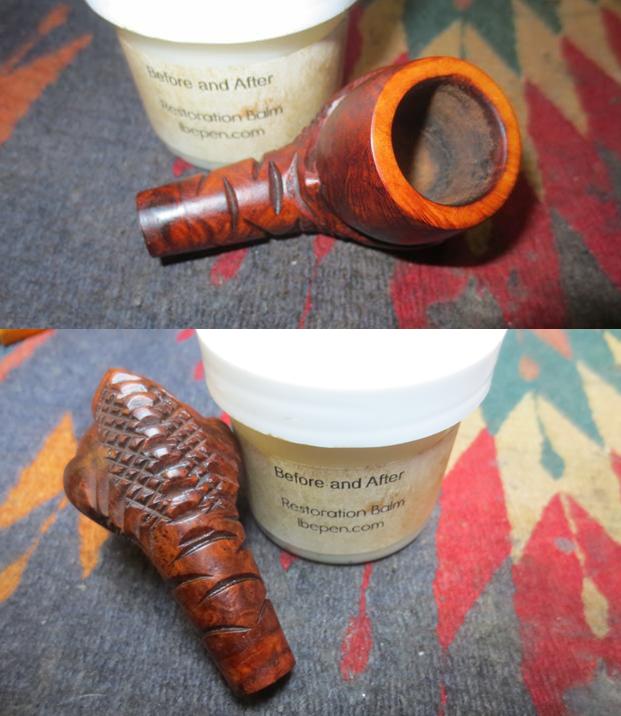
 I rubbed the briar down with Before & After Restoration Balm to deep clean the smooth finish, enliven and protect the briar. I hand rubbed it with my fingers and a cotton swab to get into the deep grooves of the carving. I wiped it off with a soft cloth and lightly buffed the bowl with soft cloth. I lightly buffed it with Blue Diamond on the wheel to polish it. It really began to have a deep shine in the briar. The rich reds and browns of the stain, which I have often found in briar of this age, made the grain really stand out. I took some photos of the bowl to mark the progress in the restoration. At this point I decided to not restain the rim top but let is remain natural. The balm that rubbed into the briar made it almost blend with the rest of the bowl.
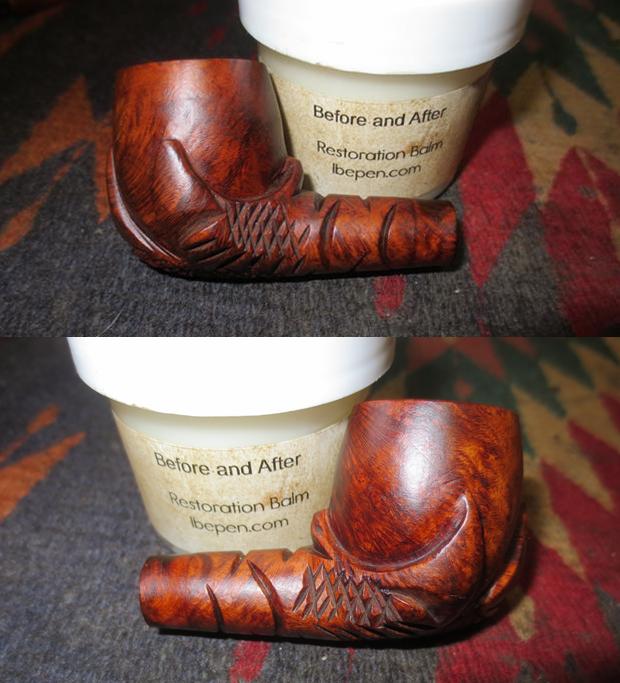
 I used a cotton swab to paint some white glue around the shank end to hold the band firmly in place. Once it was evenly spread I pressed the band in place on the shank and let it dry.
 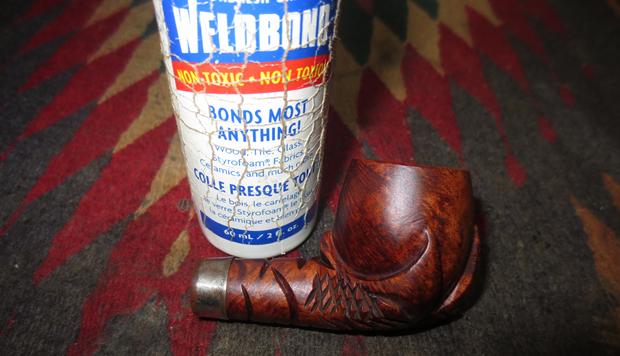 Once the band had cured I polished it with micromesh sanding pads and a jeweler’s cloth. The brass band really took on a rich glow that went well with the stain on the pipe.
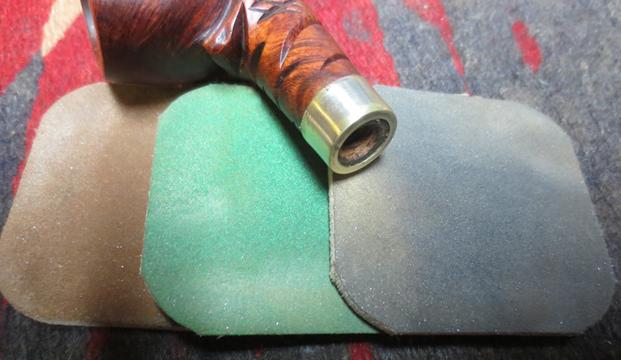
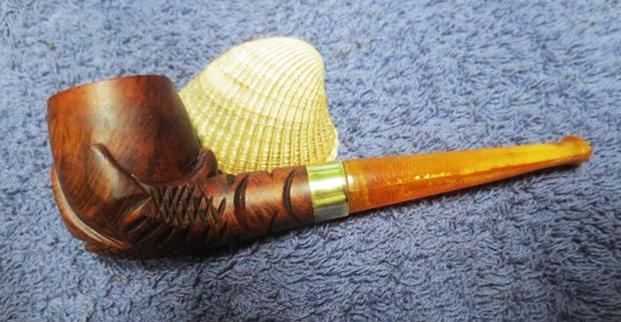
 I put the stem back on the bowl and gently worked the pipe over on the buffing wheel using Blue Diamond to polish the bowl and shank. I lightly buffed the bowl so as not to get a lot of polishing compound in the grooves and feathers. I carefully buffed the stem to raise the gloss on the Bakelite without damaging it from the heat. I gave the bowl and stem multiple coats of Conservator’s Wax. I gently buffed the entire pipe with a clean buffing pad to raise the shine. I hand buffed it with a microfiber cloth to deepen the shine. The finished pipe is shown in the photos below. The rich reddish brown stain on the carved eagle claw and egg bowl works well with the yellow amber gloss of the Bakelite stem. This old carved pipe really has a nice mix of grain and now that it is restored it has lots of life in it. This is another pipe that I wish could speak and tell its story. As I hold it I wonder about its travels and how it came to rest in Montana before coming to Idaho and then up to Vancouver. It would be fascinating to be able to sit and have a chat with it while I fired up a bowl. I guess though I will have to be satisfied to add my own chapter to the ongoing saga of this old pipe. Thanks for looking.