Blog by Steve Laug
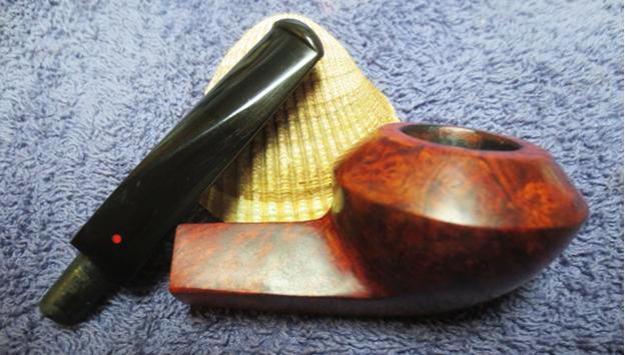
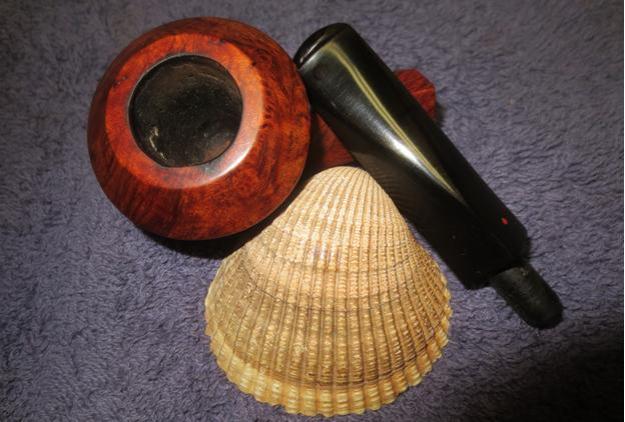
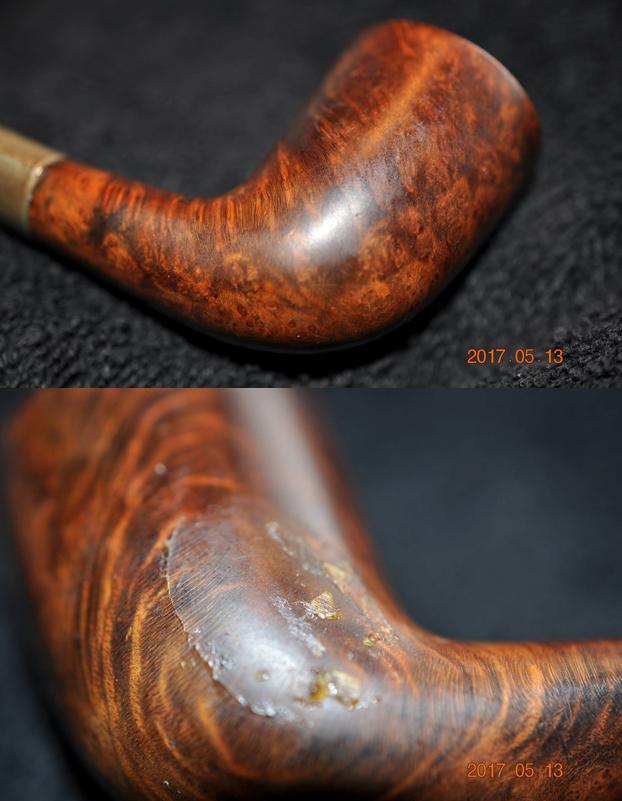
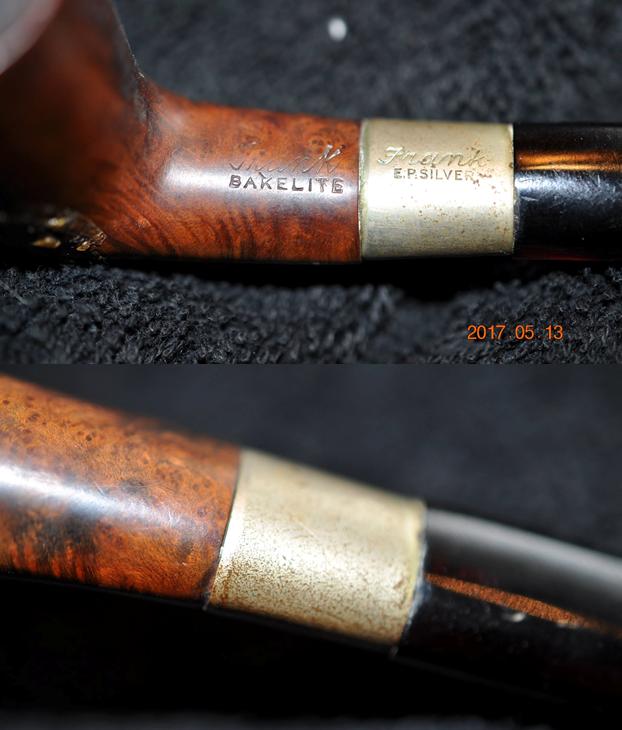
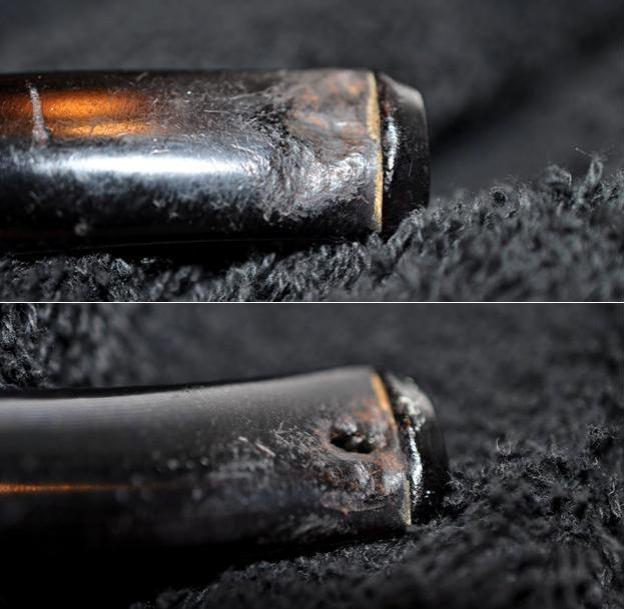
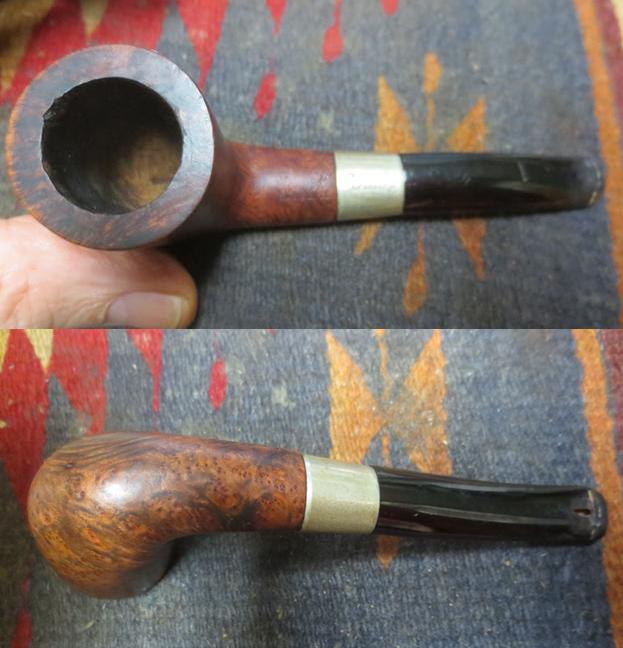
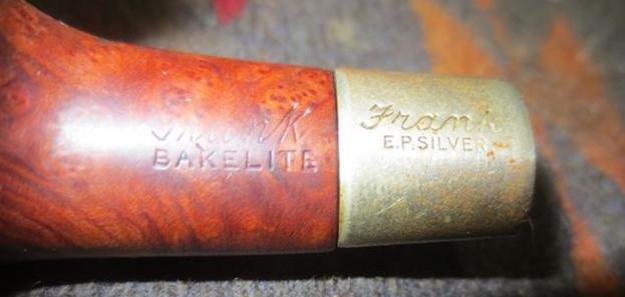
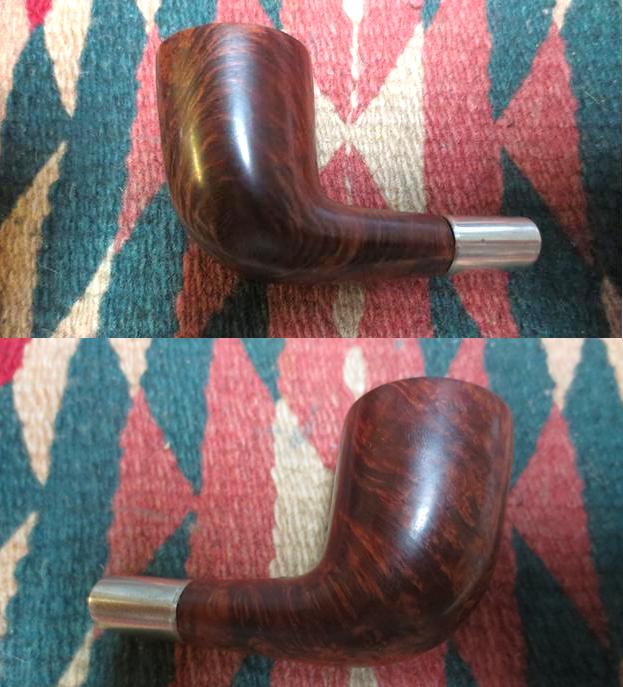
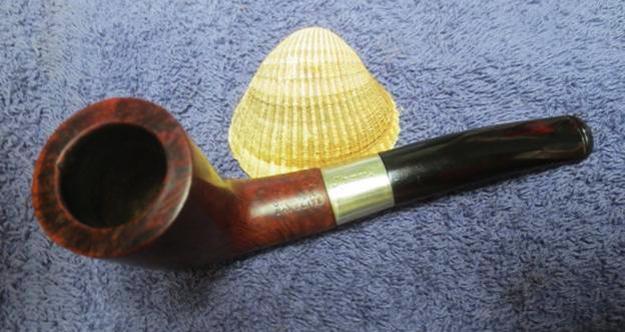
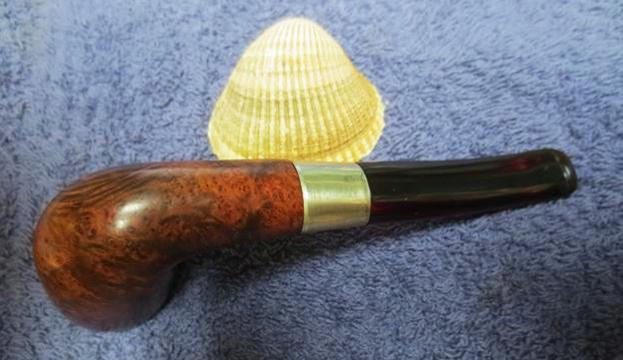
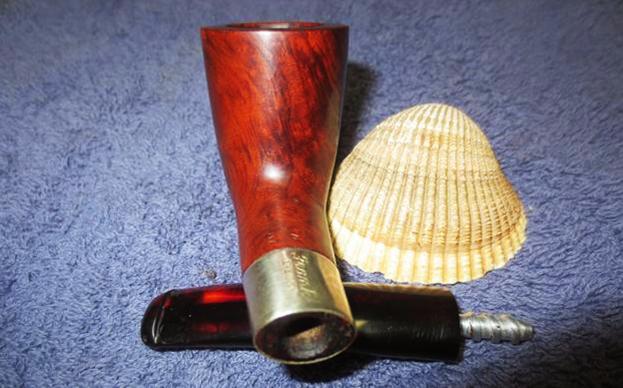
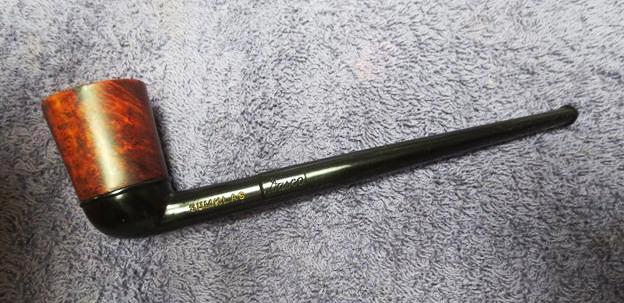
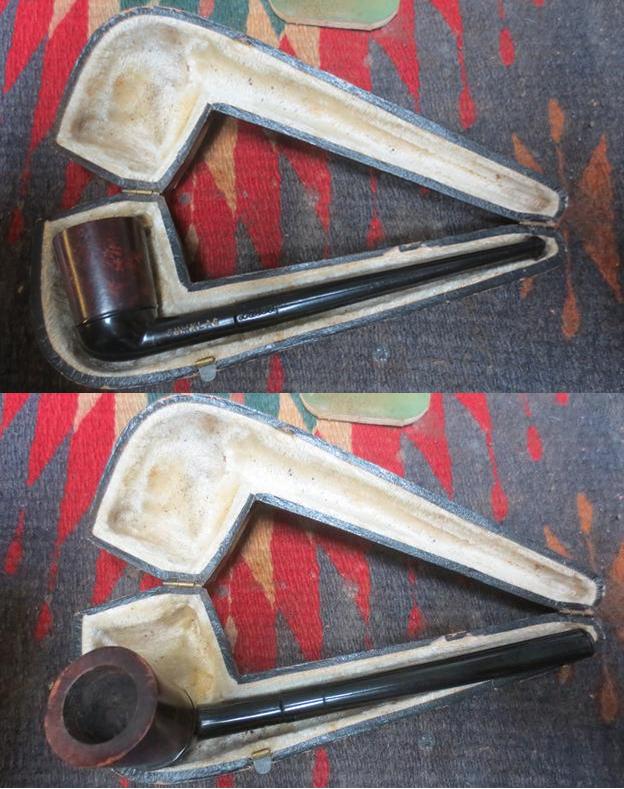
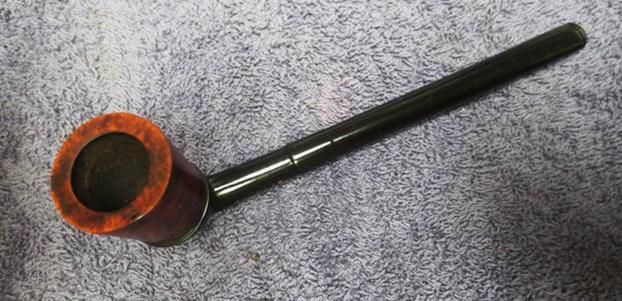
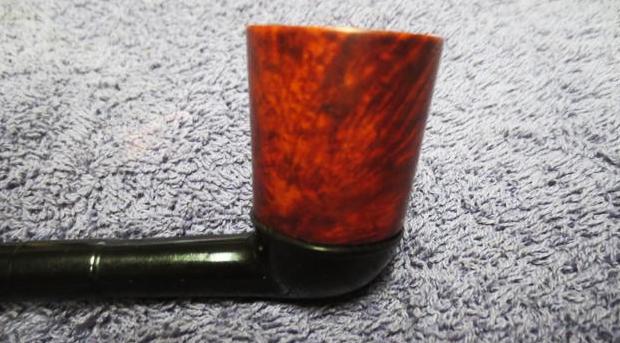
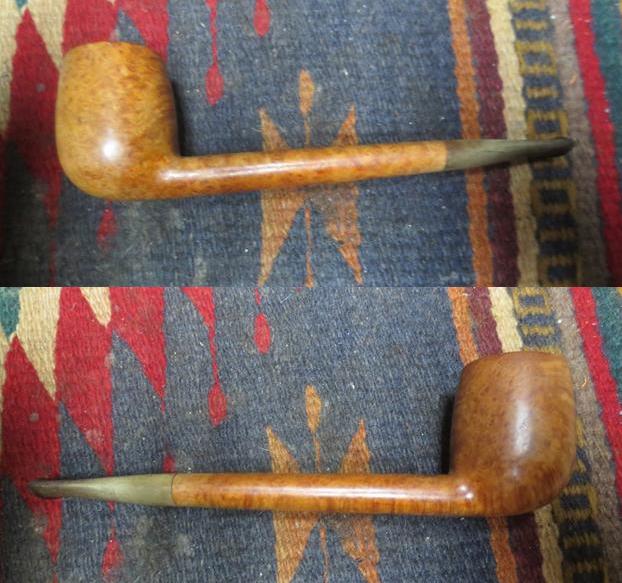
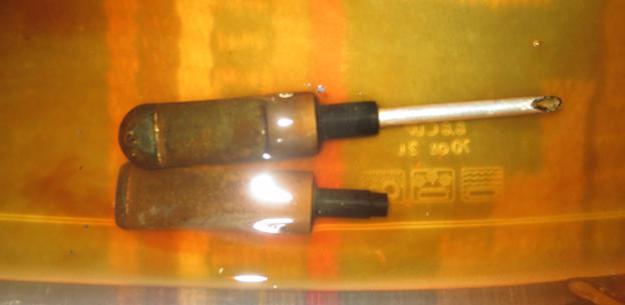
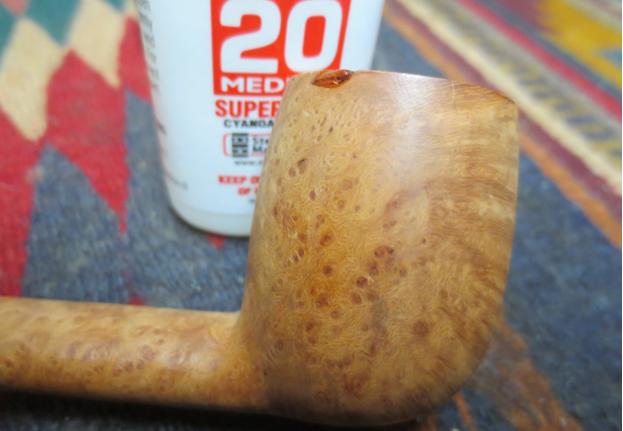
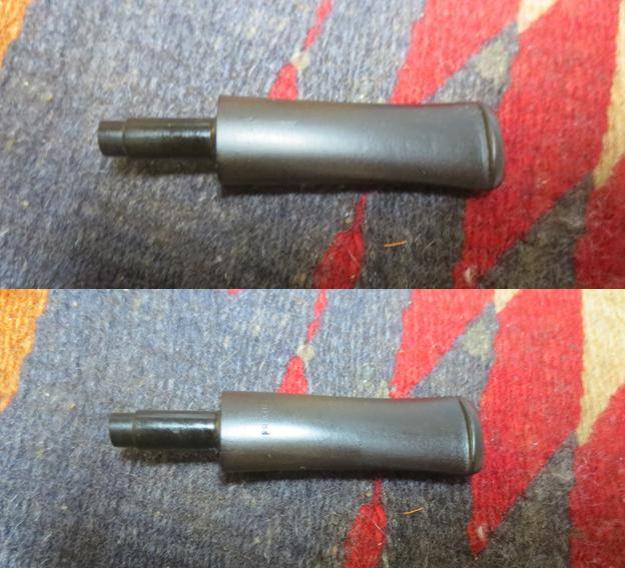
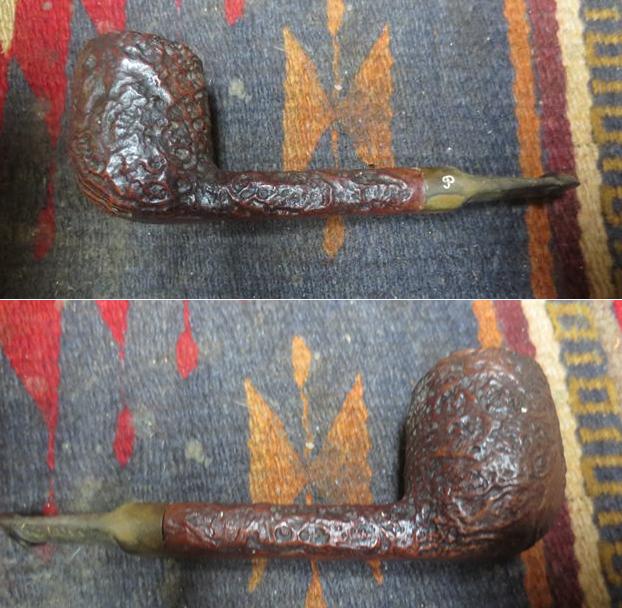
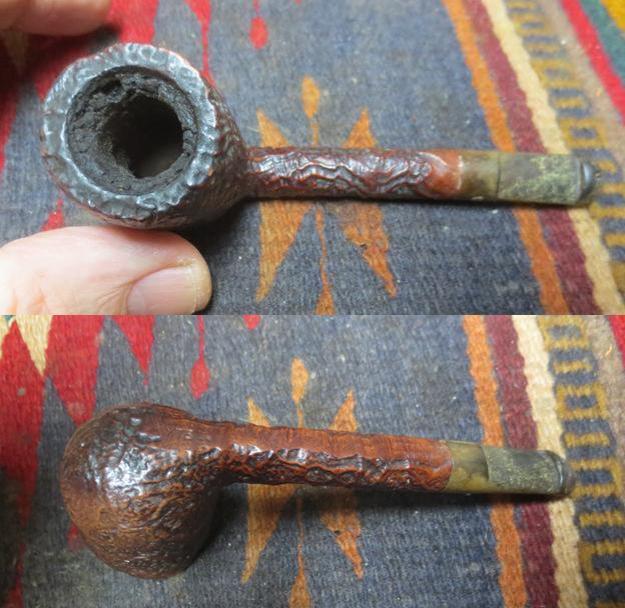
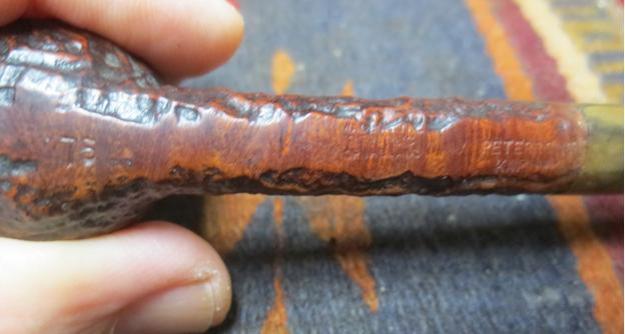
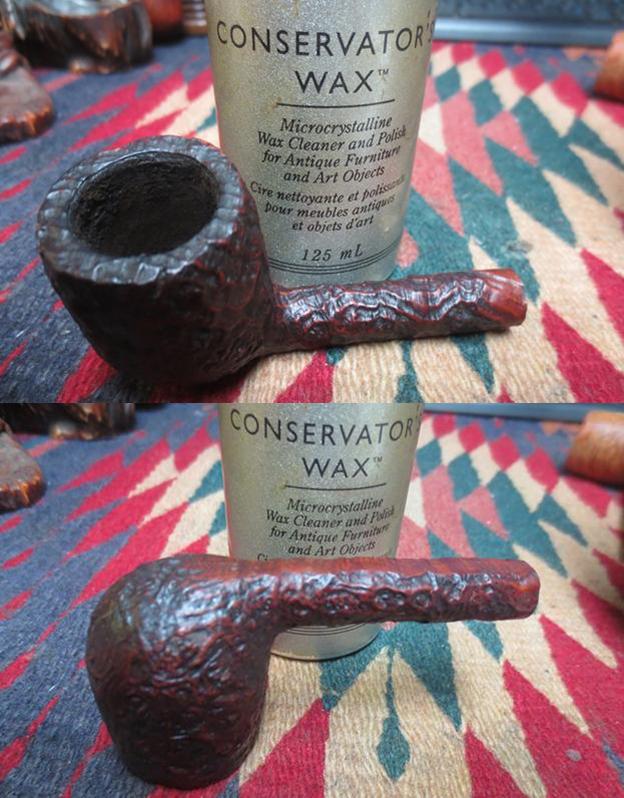
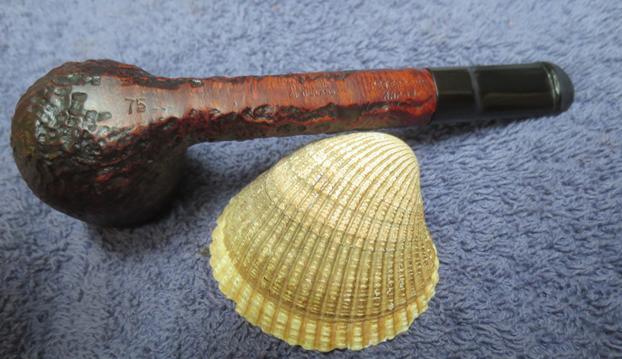
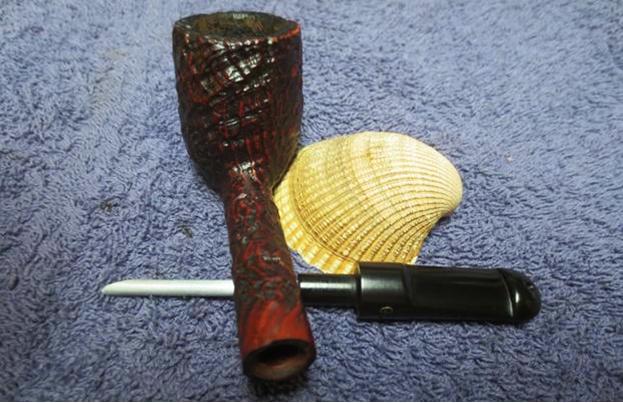
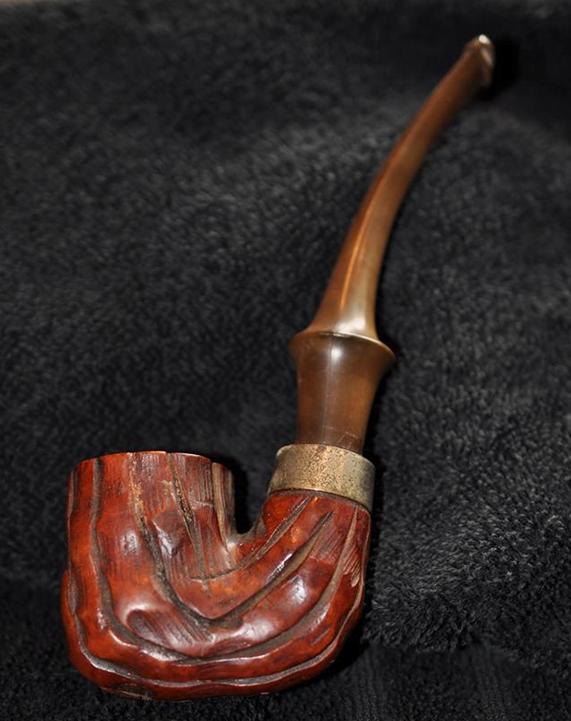
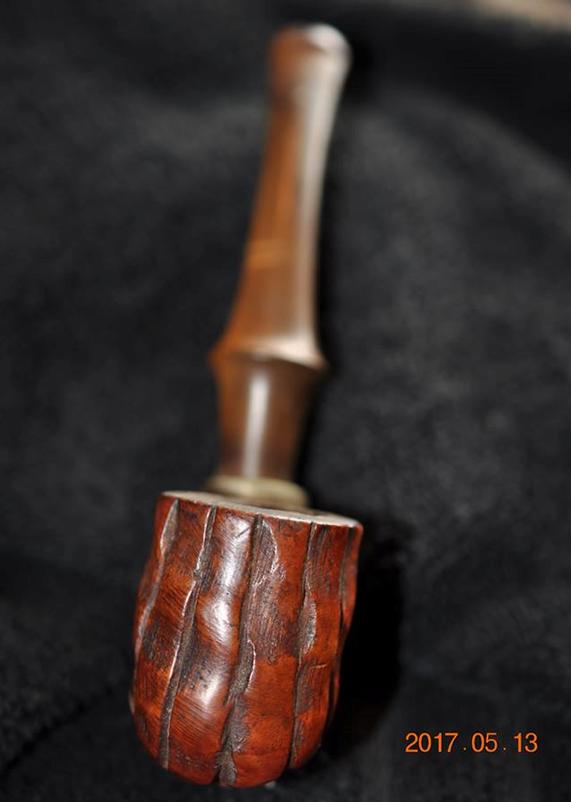
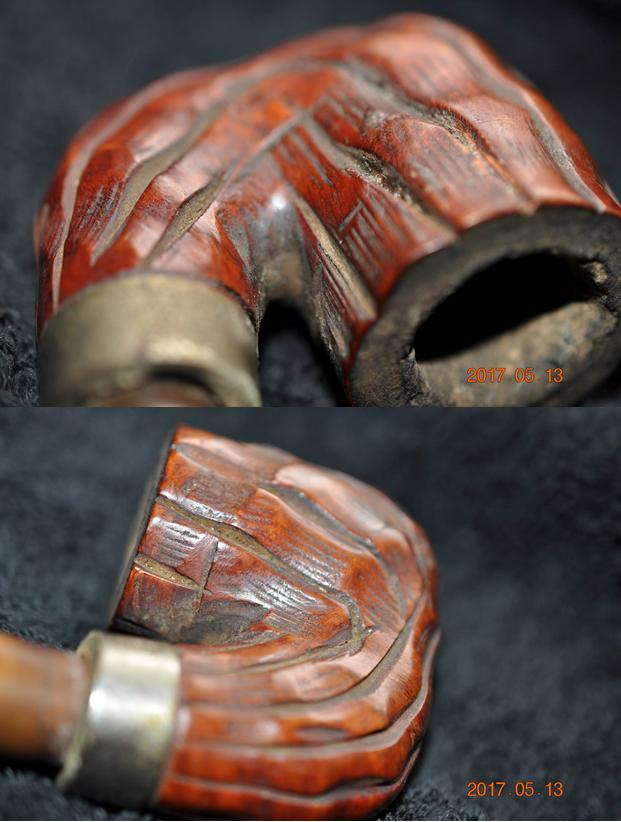
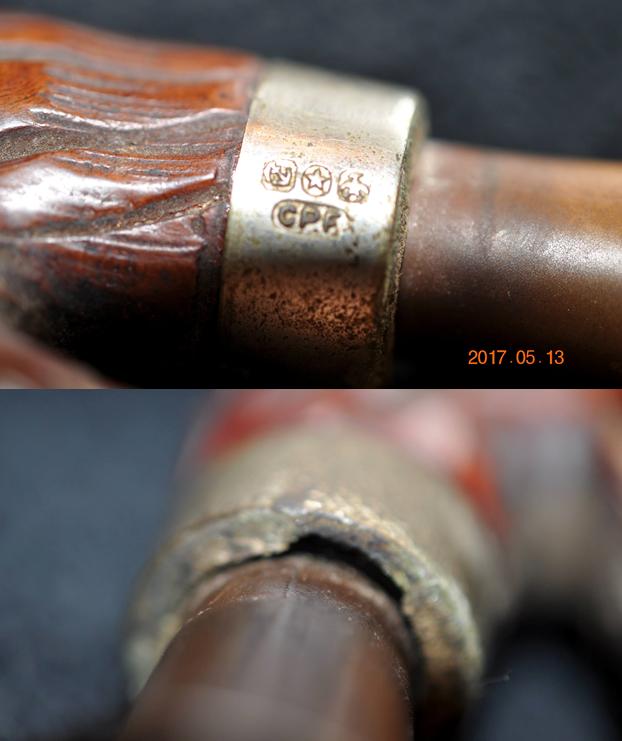
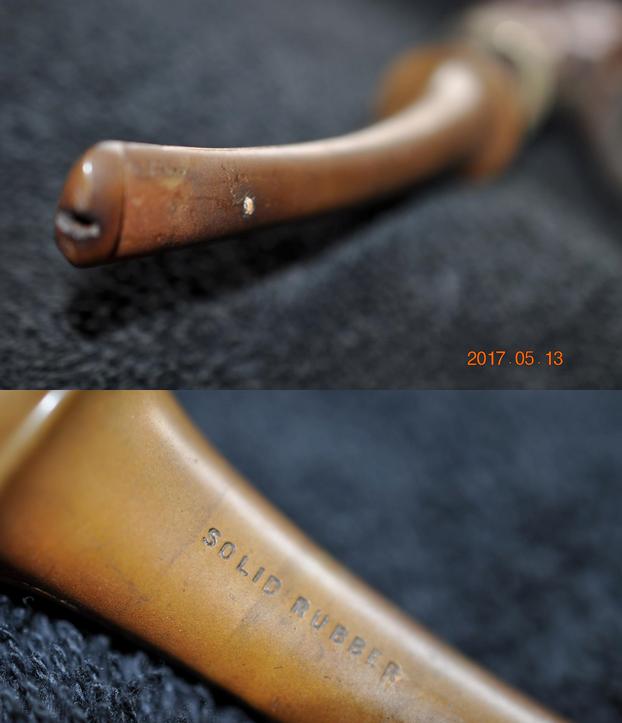
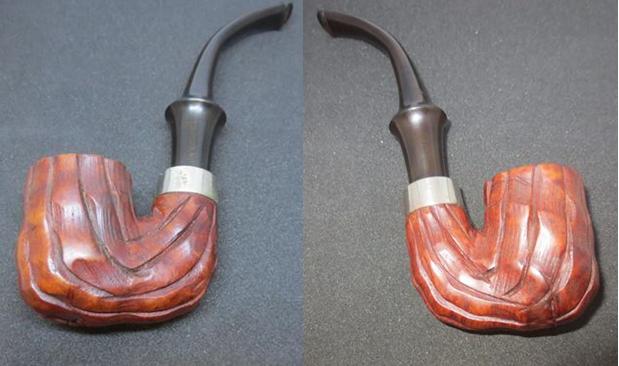
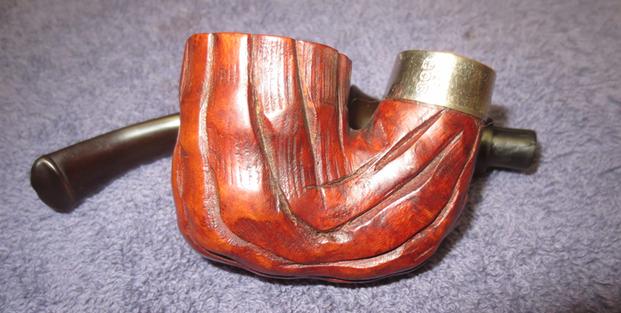
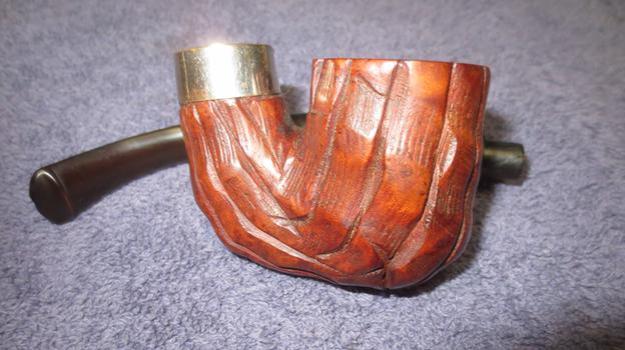
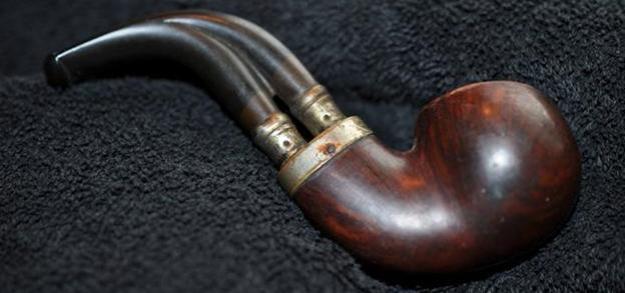
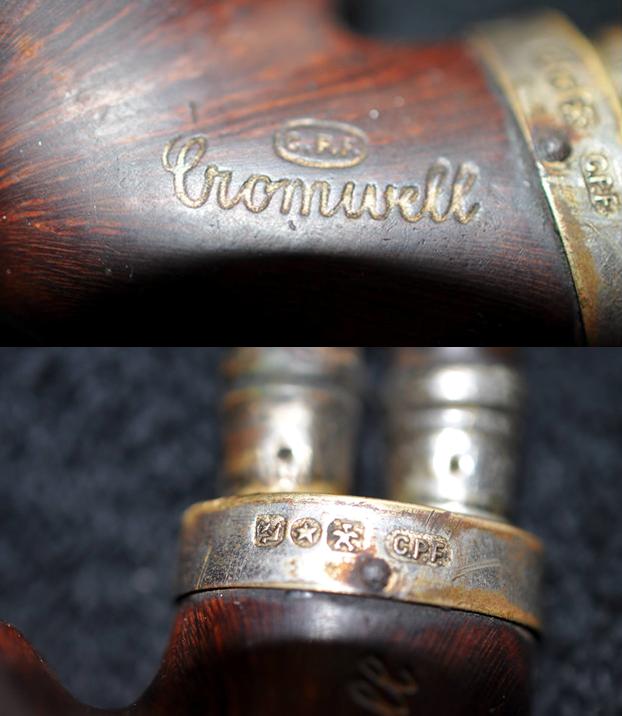
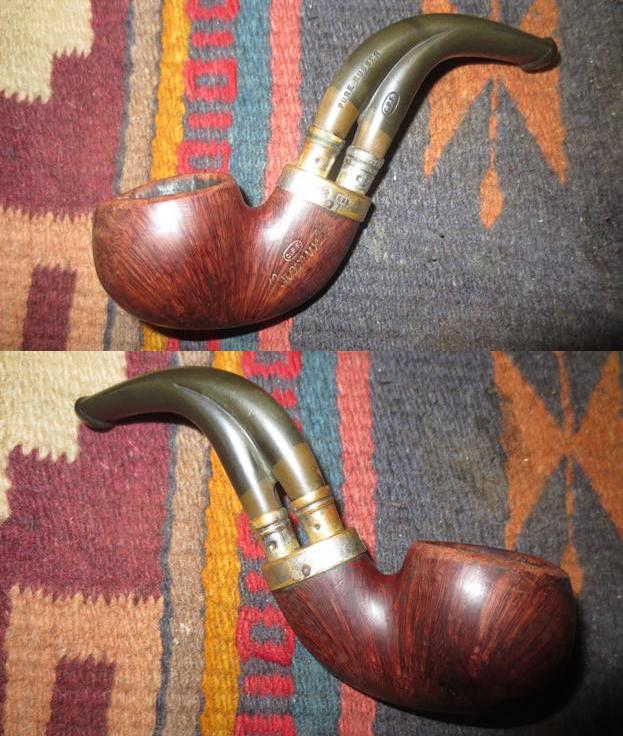
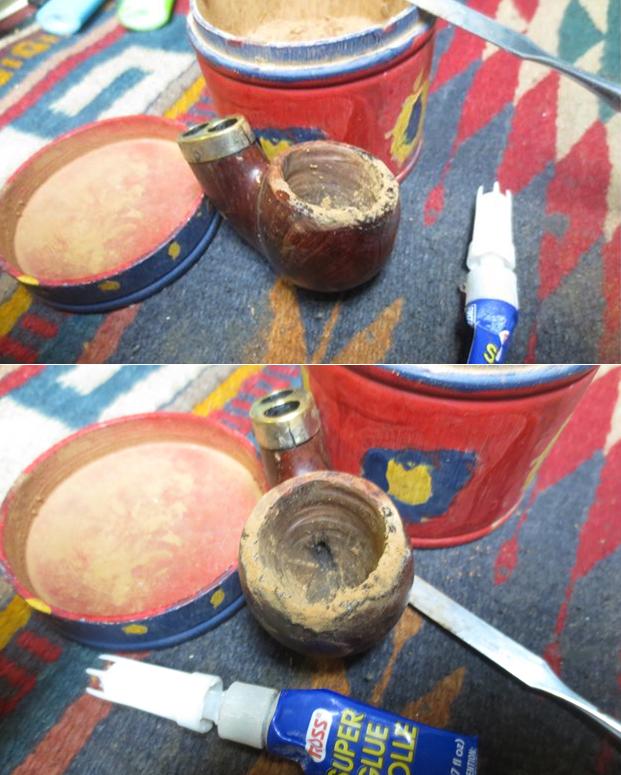
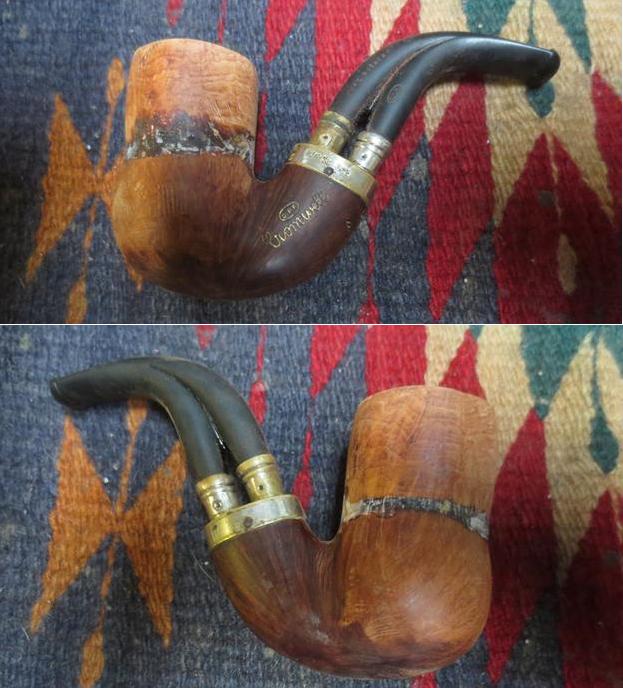
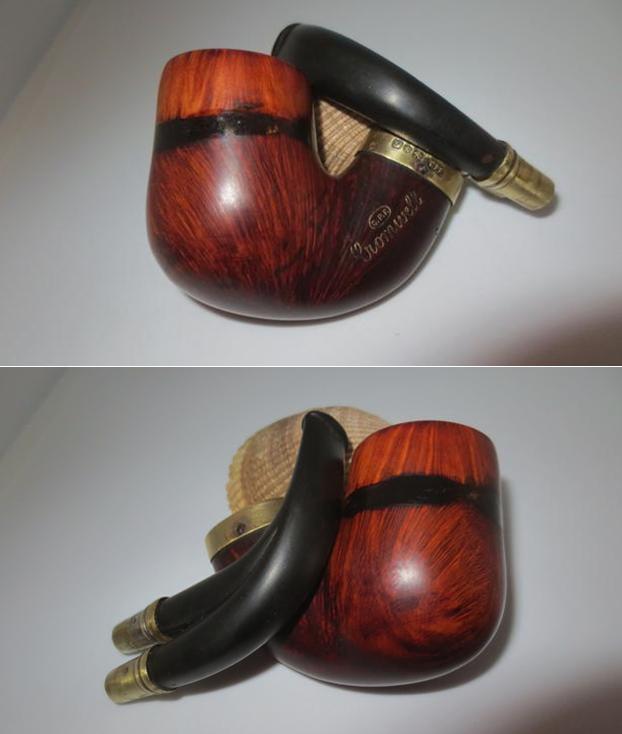
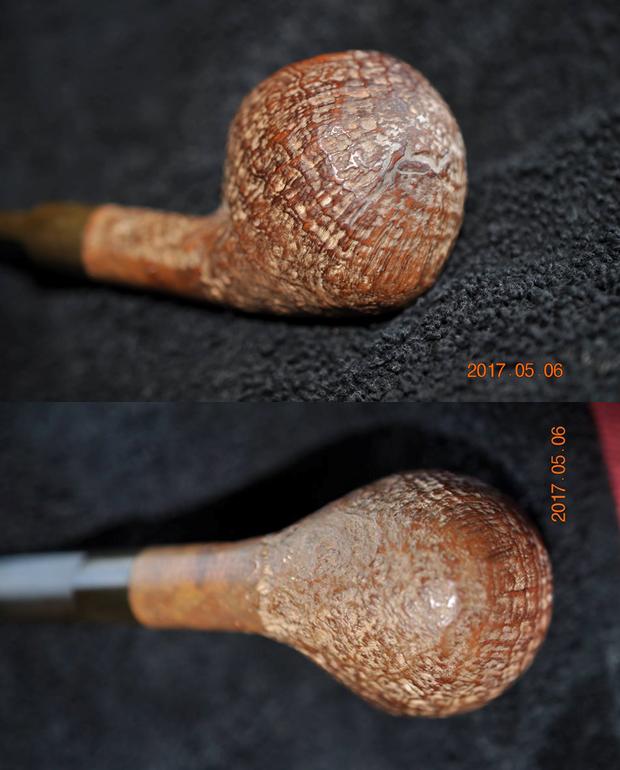
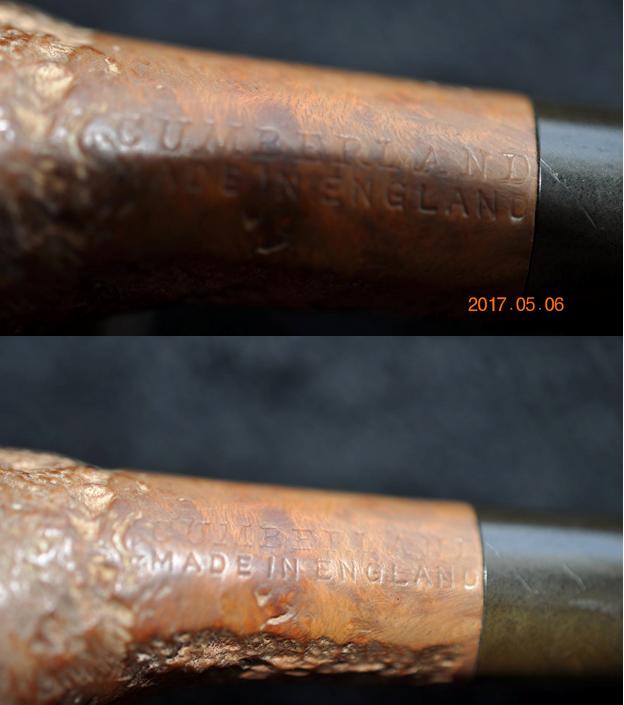
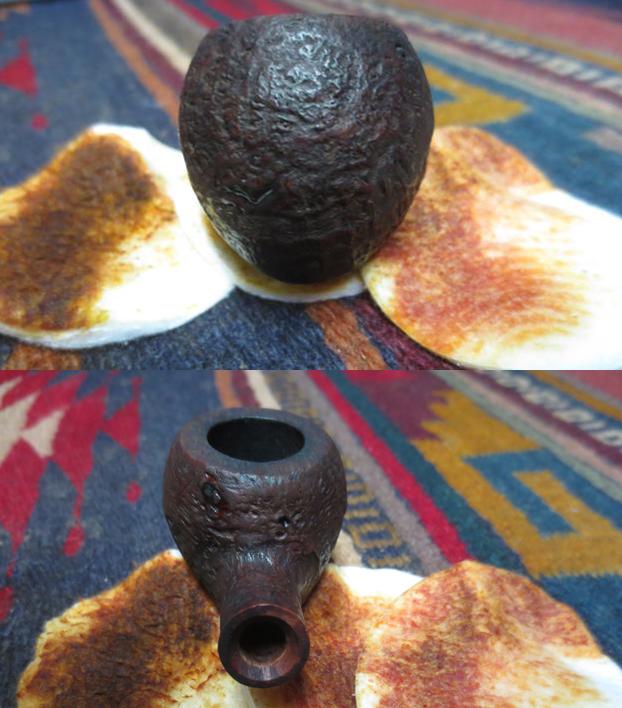
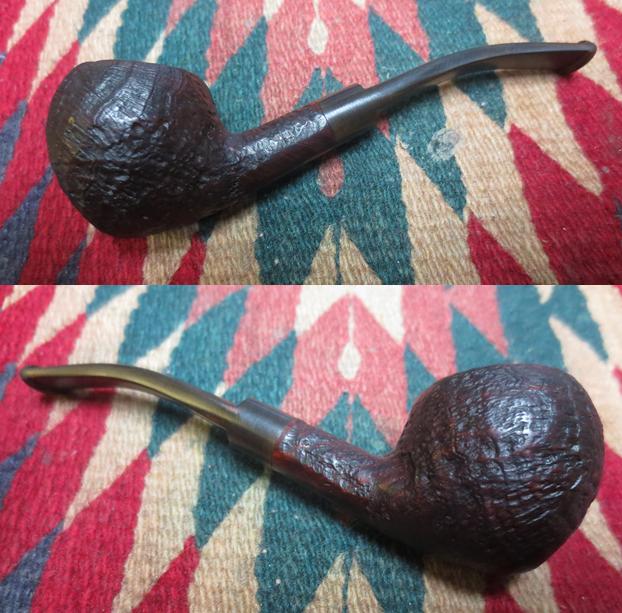
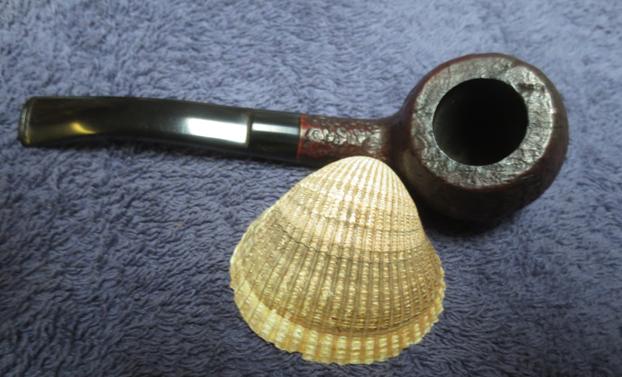
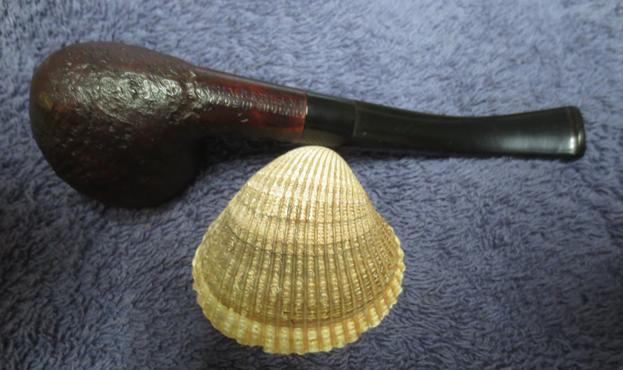
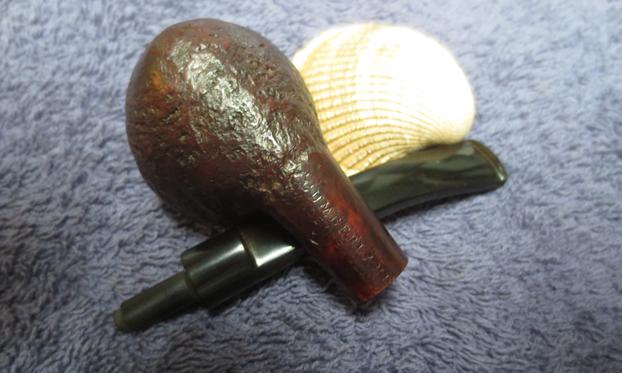
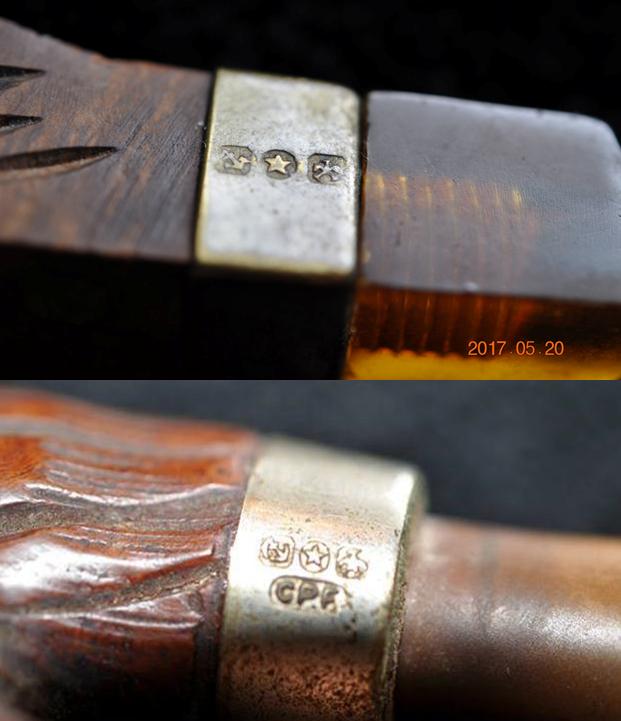
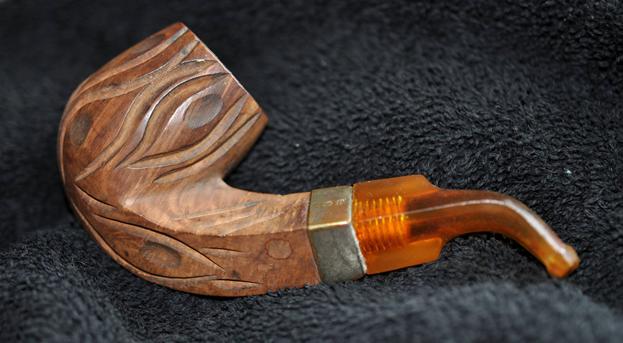
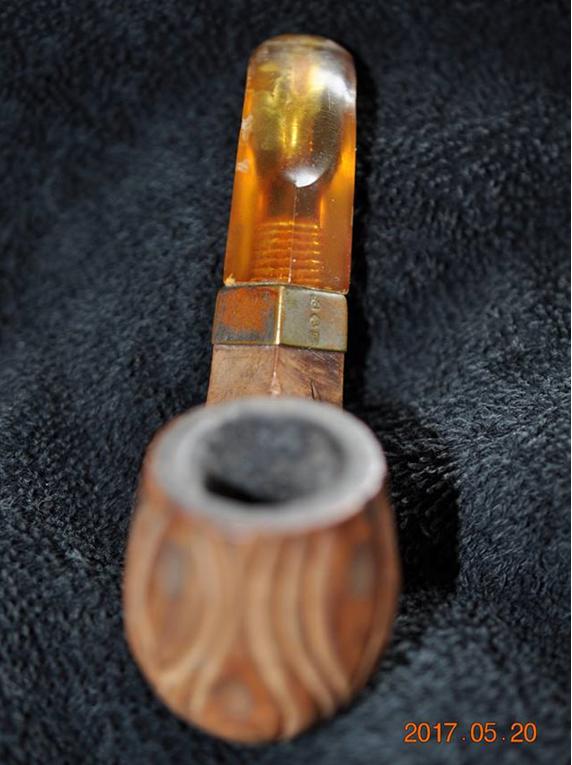
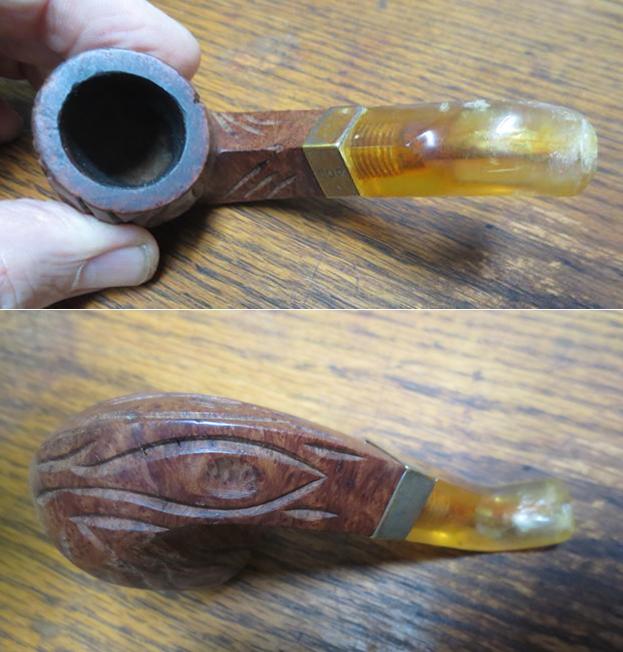
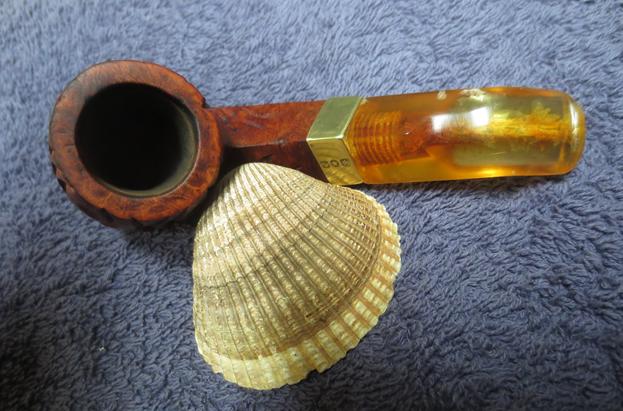
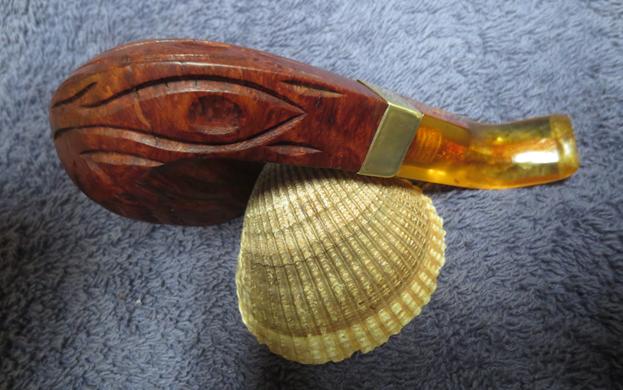
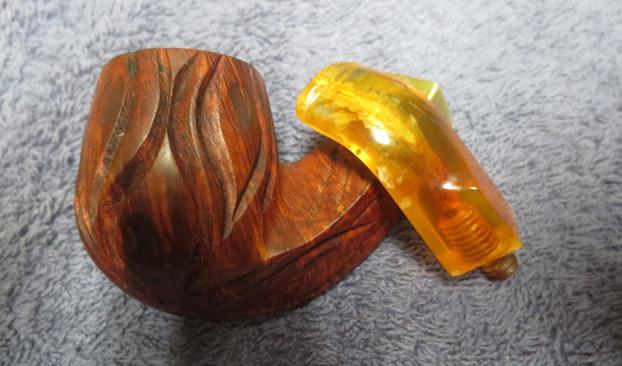
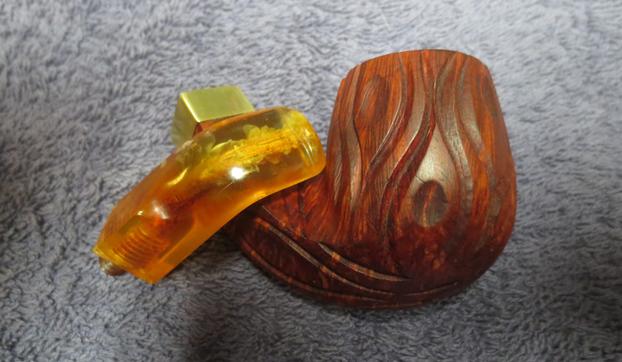
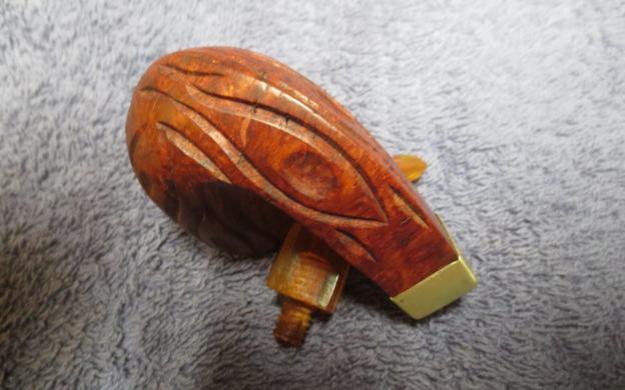
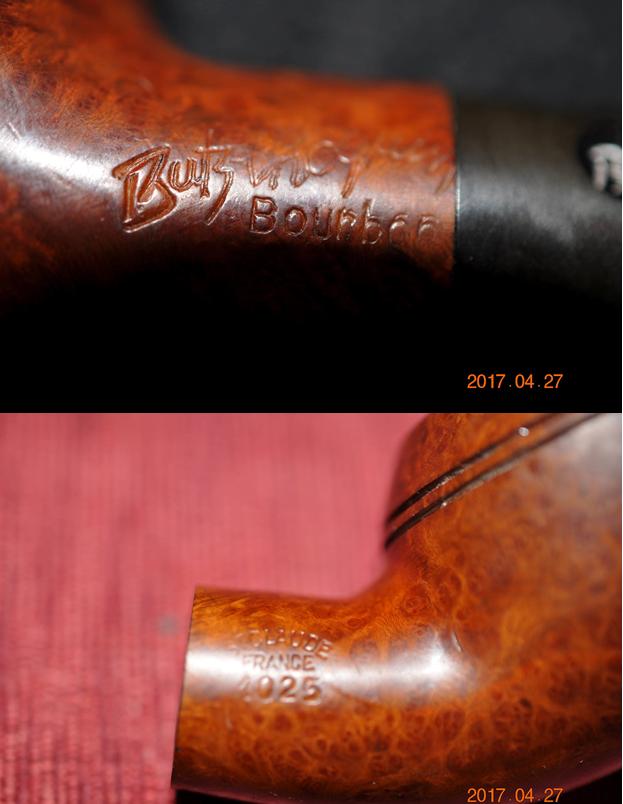
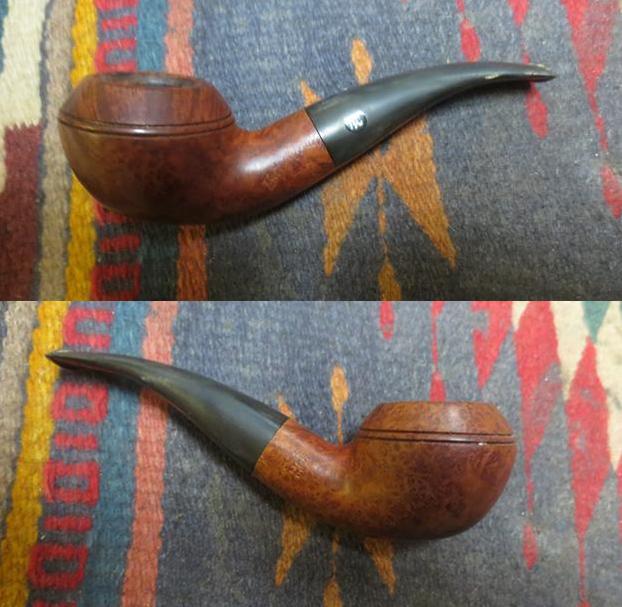
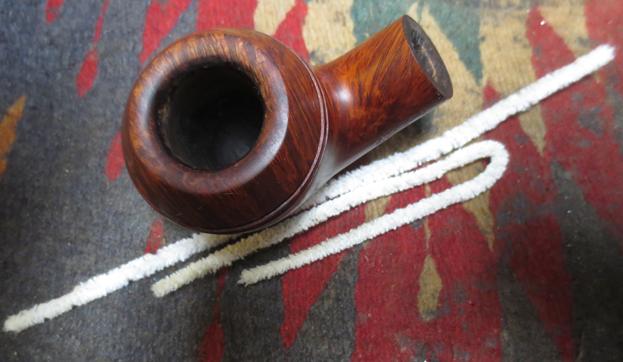
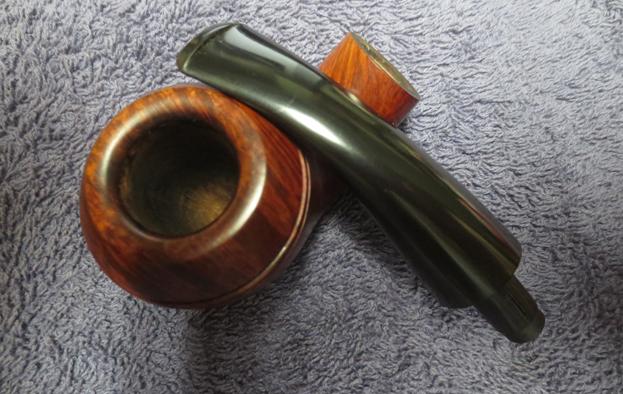
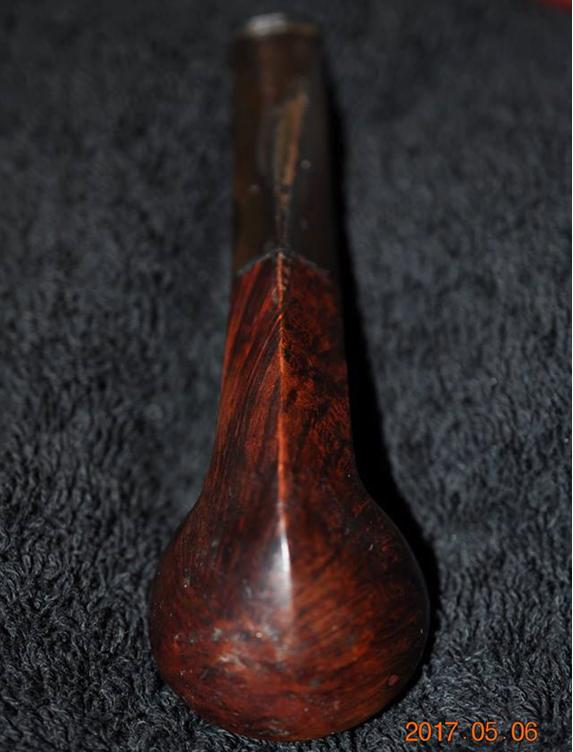
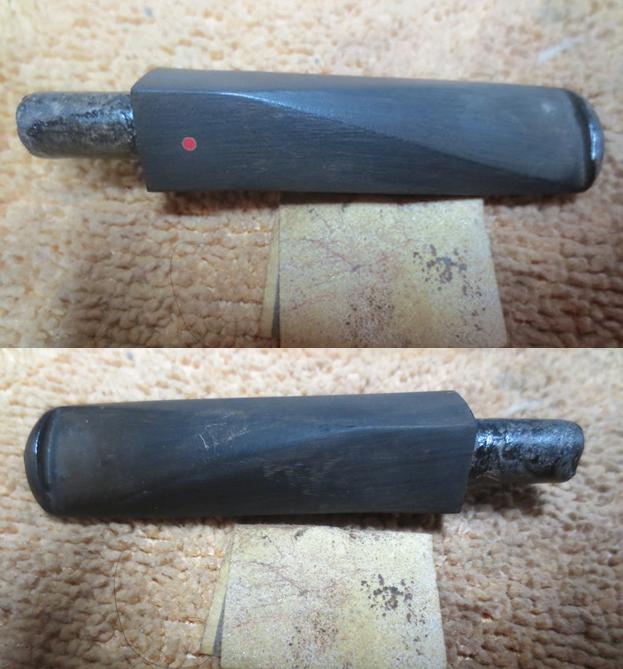
I am just about finished cleaning up and restoring the pipes my brother and I picked up on our Virtual Pipe Hunt in Montana. The next pipe that I brought to my work table was from that hunt. I think I may have two or three left two work on but this is one that I have picked up and put back several times since they arrived in Vancouver. As I mentioned in my last blog I have written several blogs about that hunt as it was one of those once it a life time finds. It contained a lot of late 1890s and early 1900 era pipes. These included C.P.F., W.D.C. and some no name pipes from the same era. Again if you are interested in reading about any of the restorations, a quick search on the blog for “Virtual Pipe Hunt” will give you the links to a blog about the hunt and to other pipes that were included. This particular little Bulldog shaped pipe had something about it that caught my eye. It combined some interesting grain (birdseye, swirled and cross grain) on the bowl and a diamond shaped taper stem with an orific button. The finish was worn and the stem was glued onto the shank. At this point in the process the stem would not move as the glue held it tightly in place. The top of the shank was stamped ITALIAN BRIAR in block print and no other stamping on the pipe on either side. The stem had a red dot on the left top side of the diamond. There were tooth marks and the stem was really dirty with an overflow of glue that was on both sides. My brother took photos of the pipe before he started the cleanup process.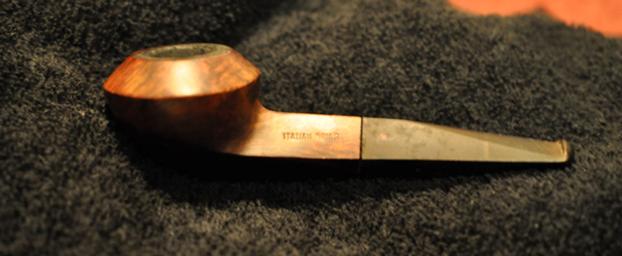 The next two photos show the pipe from the top side and the underside of the pipe. The topside shows the wear and tear to the finish. There were a lot of scratches and nicks in the briar and a cake in the bowl with lava overflow on the rim top. The underside of the bowl showed the nicks and scratches that went down both sides and the bottom of the bowl and shank.
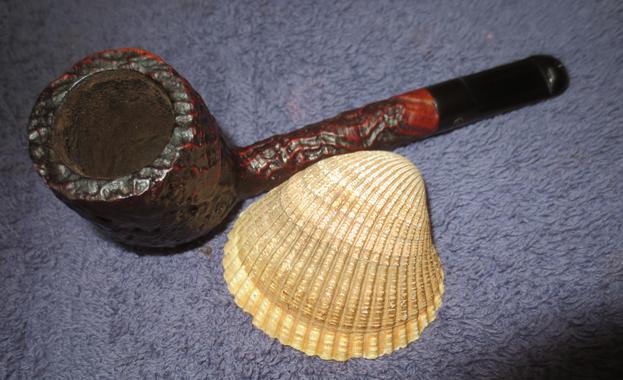
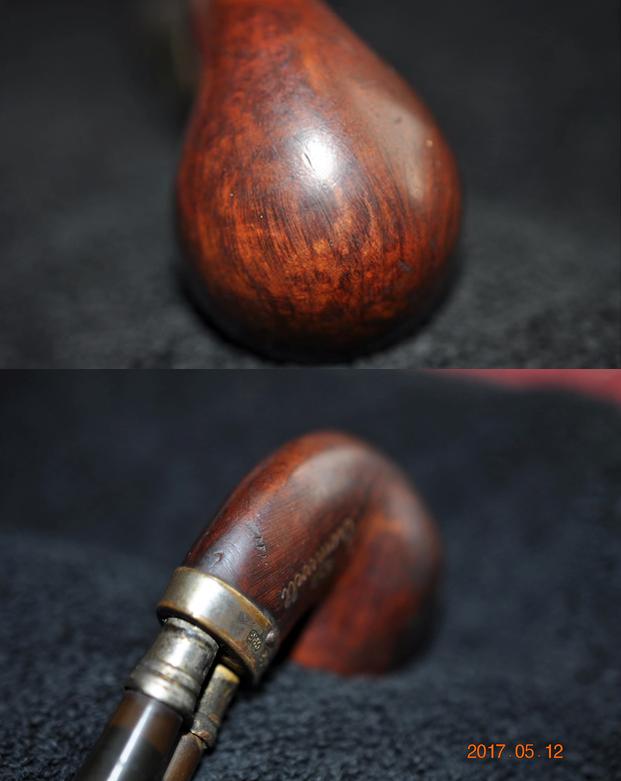
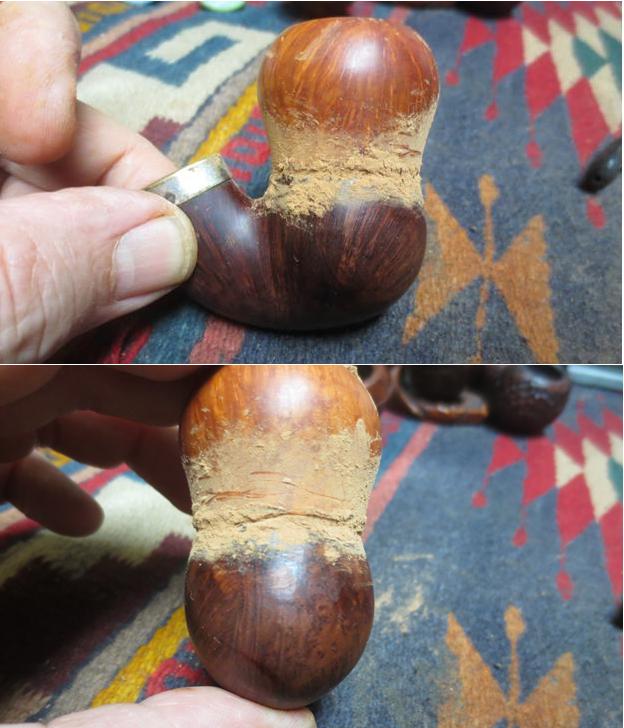
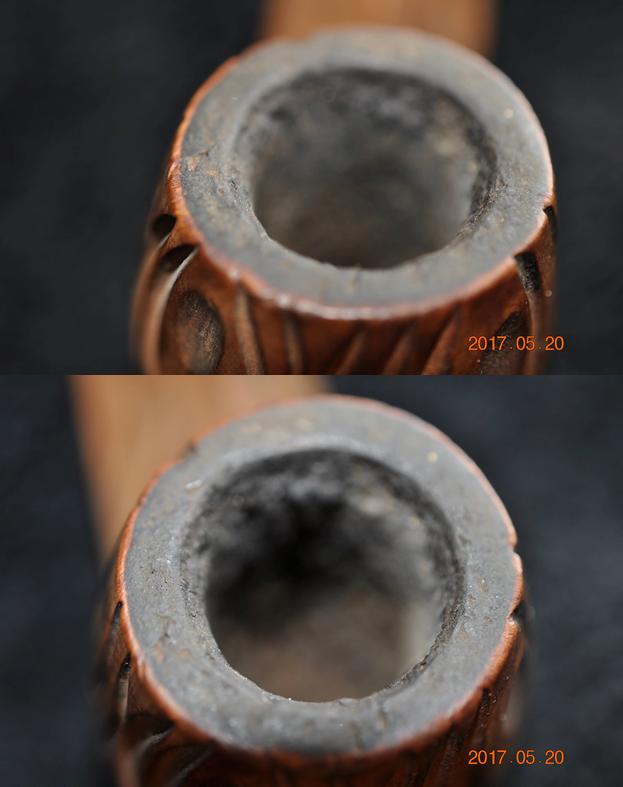
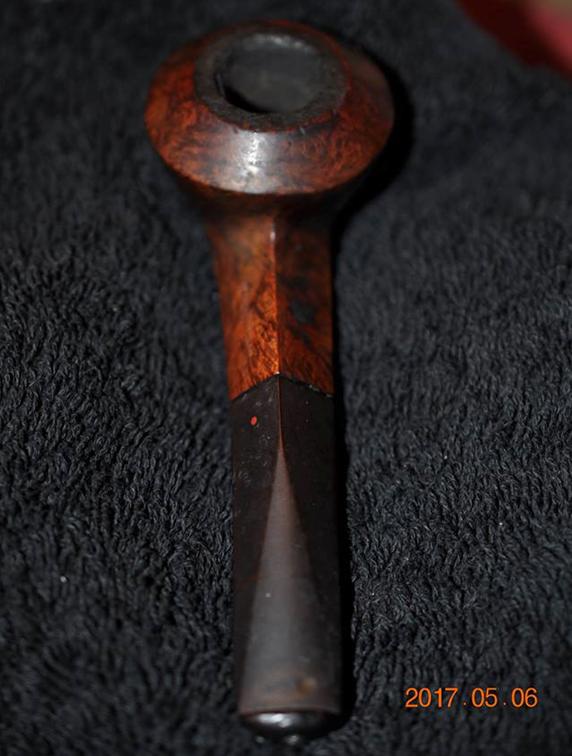
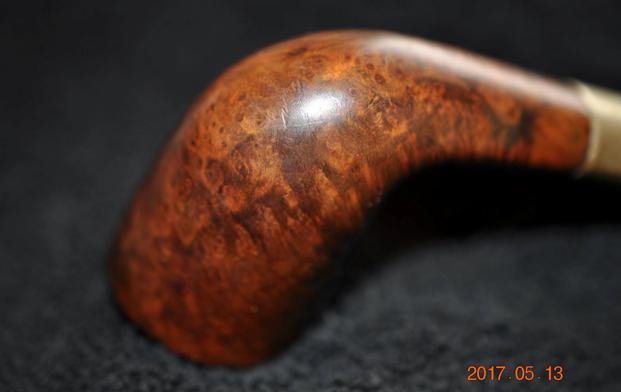
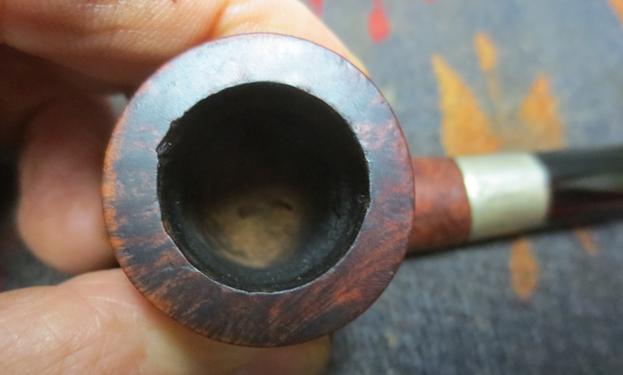
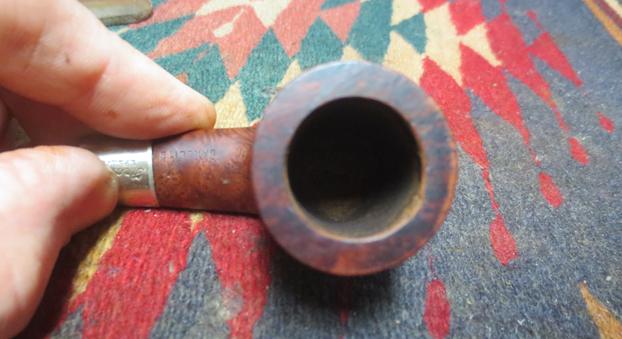
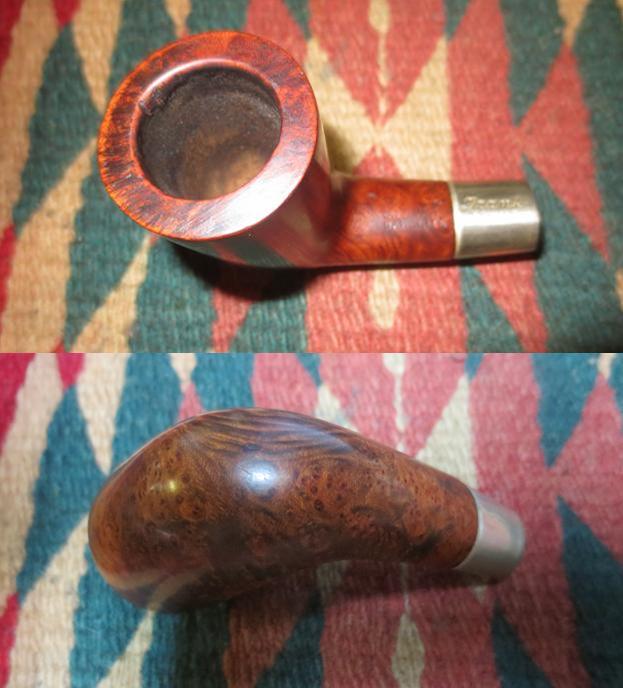
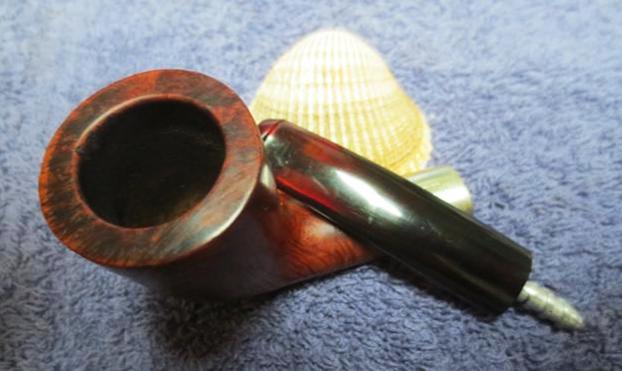
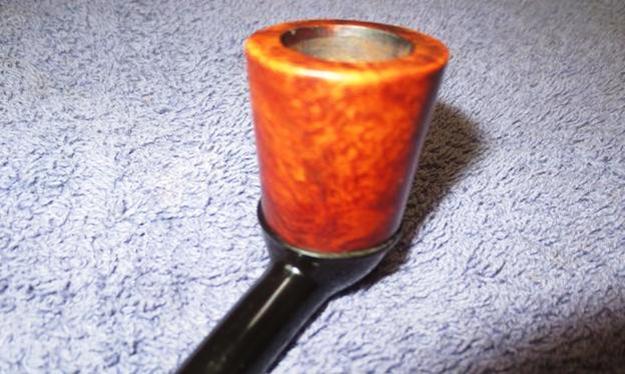
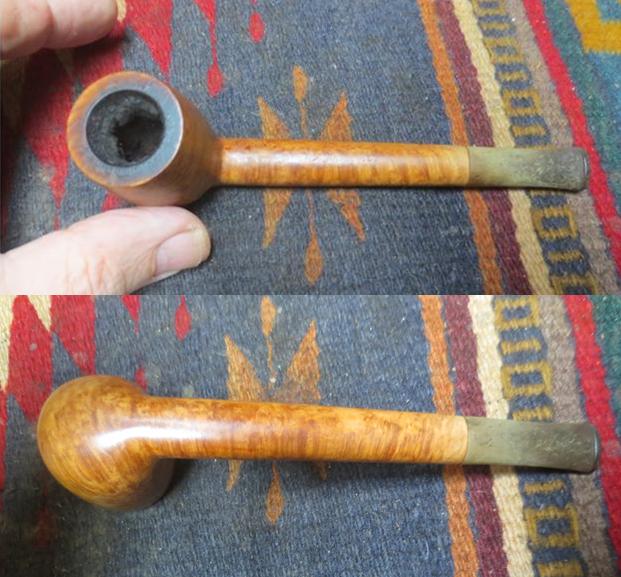
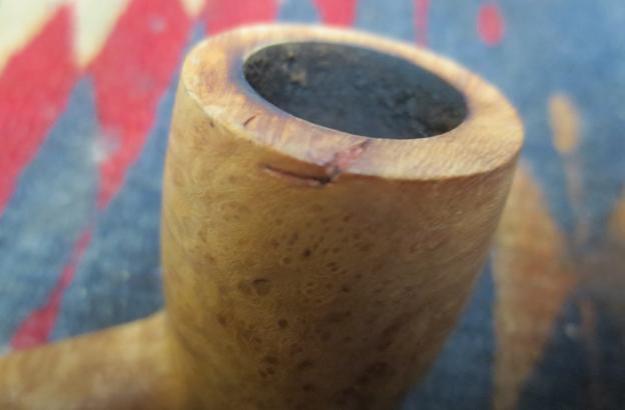
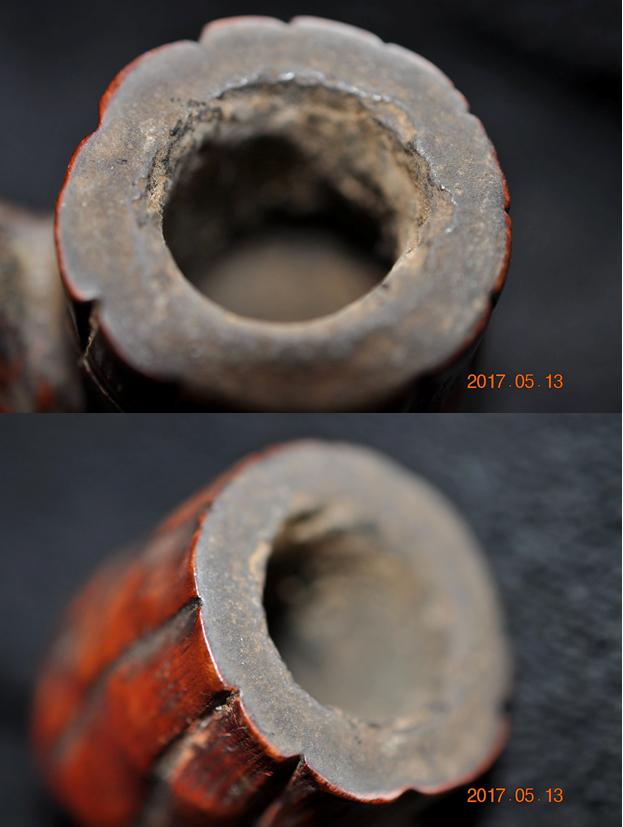
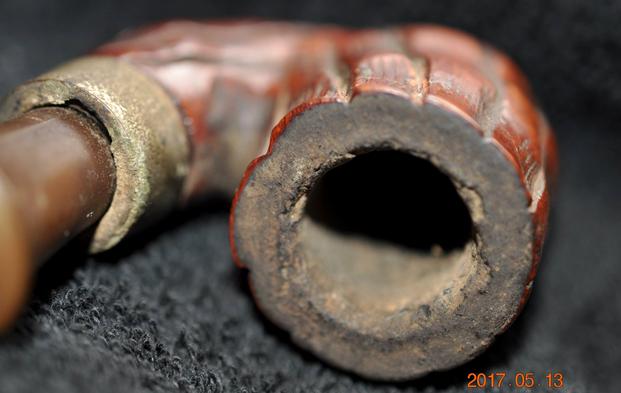
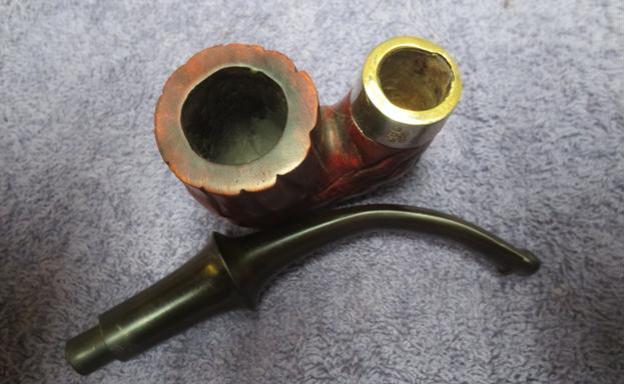
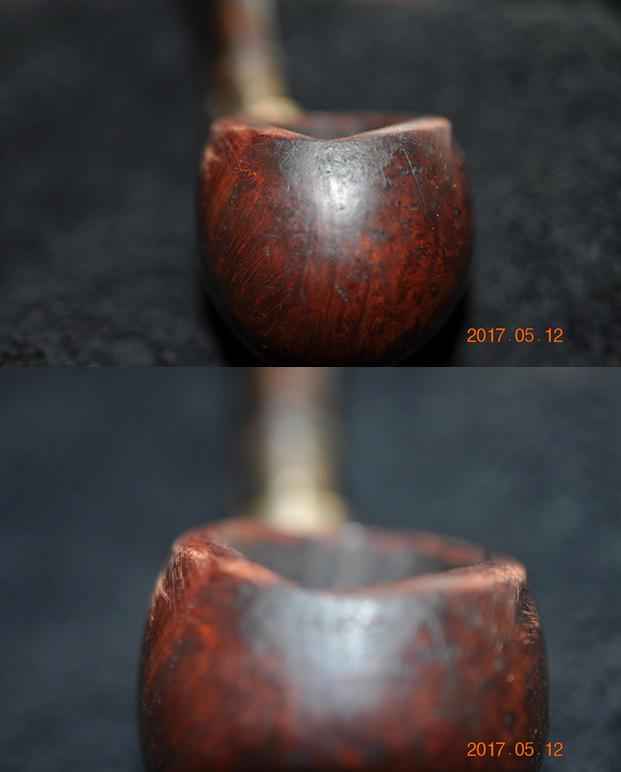
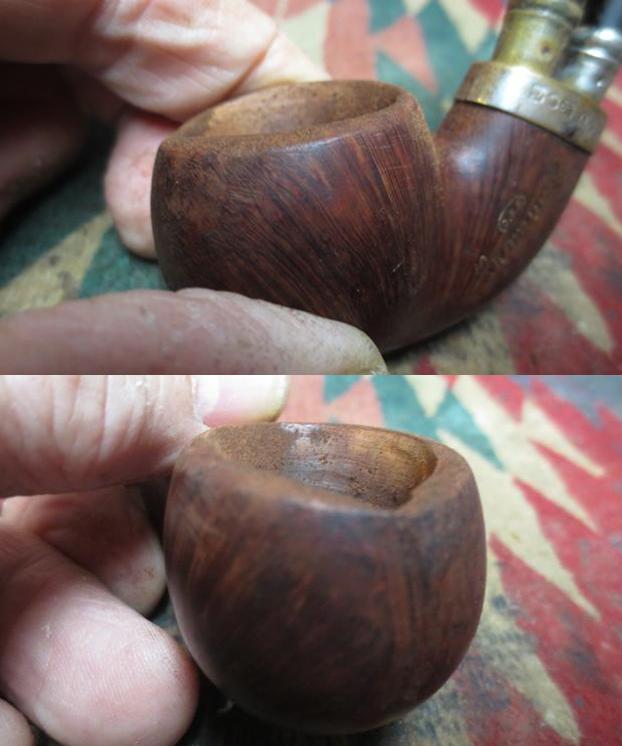
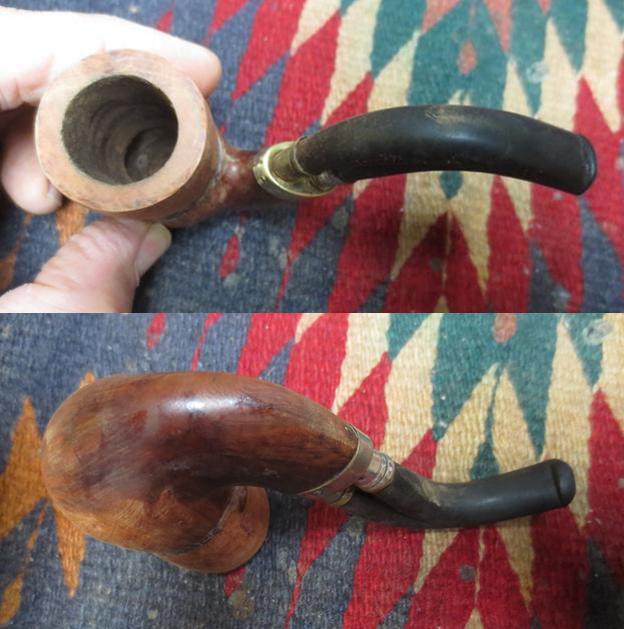
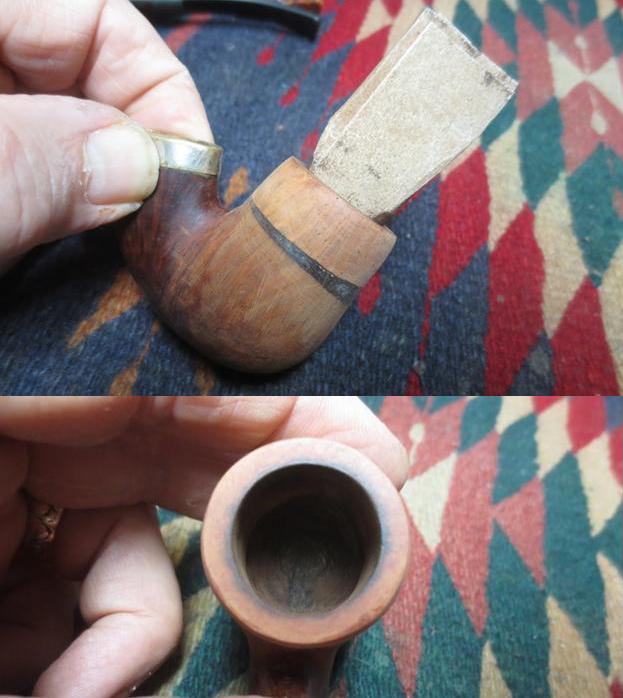
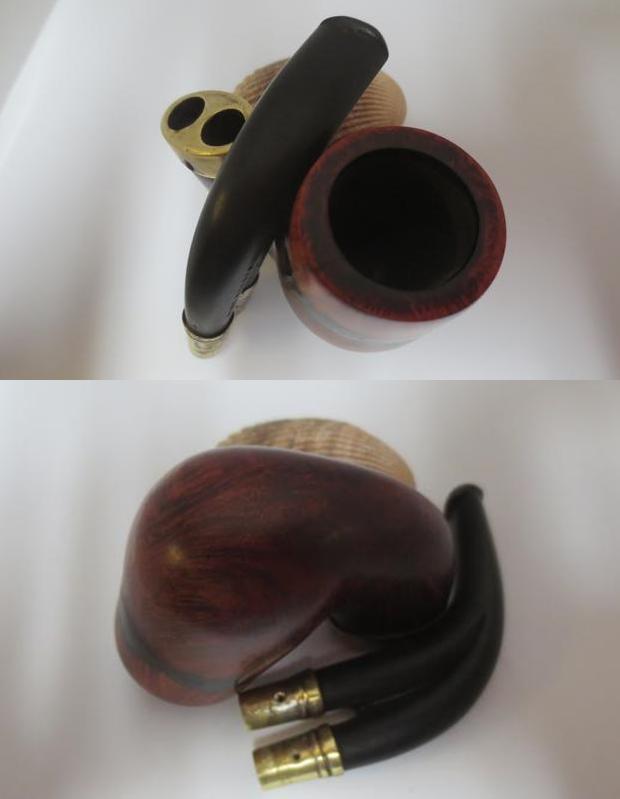
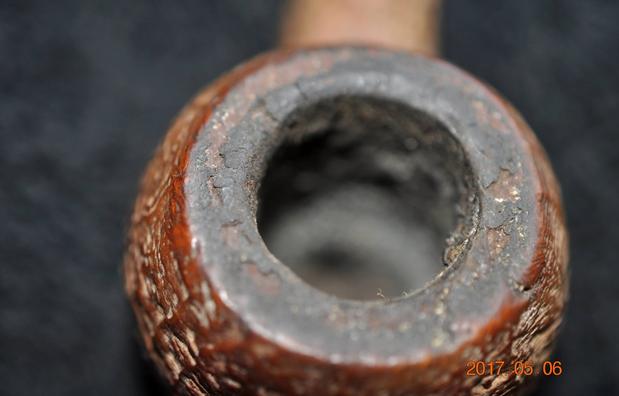
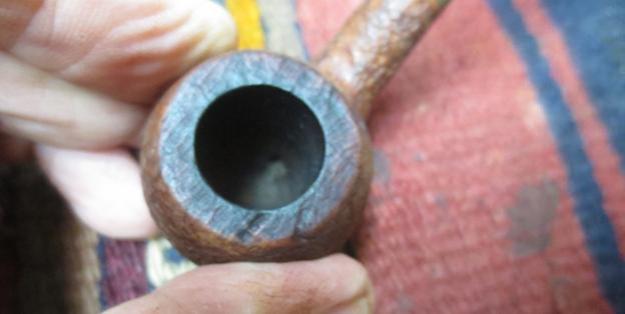
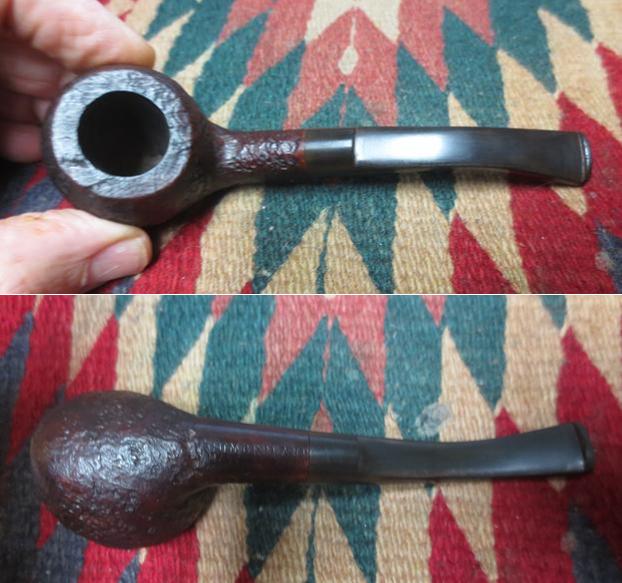
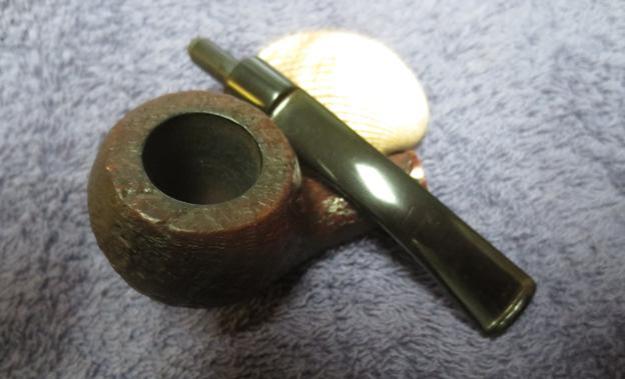
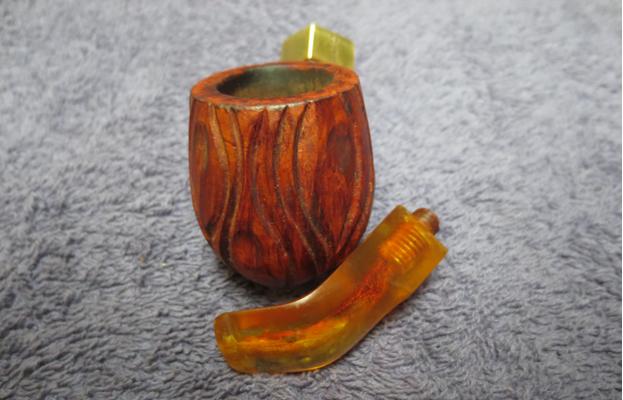
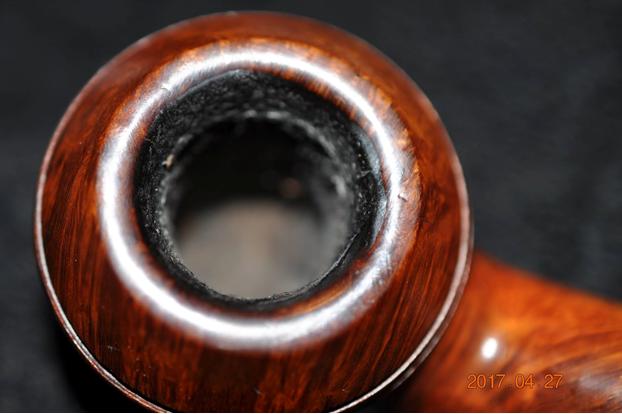
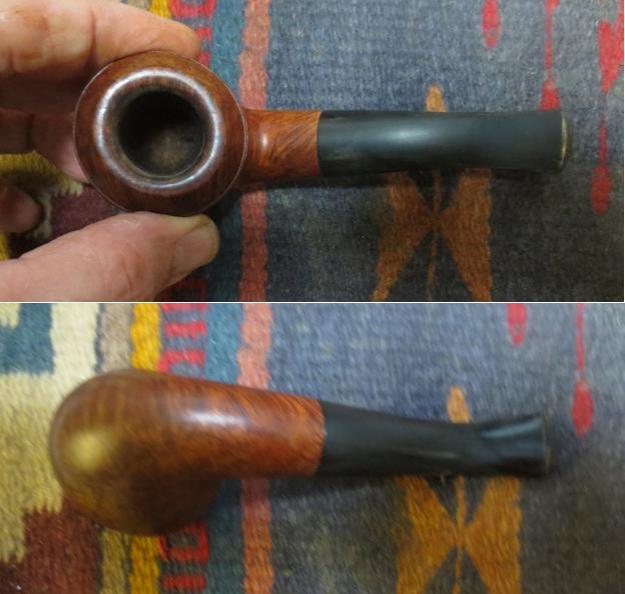
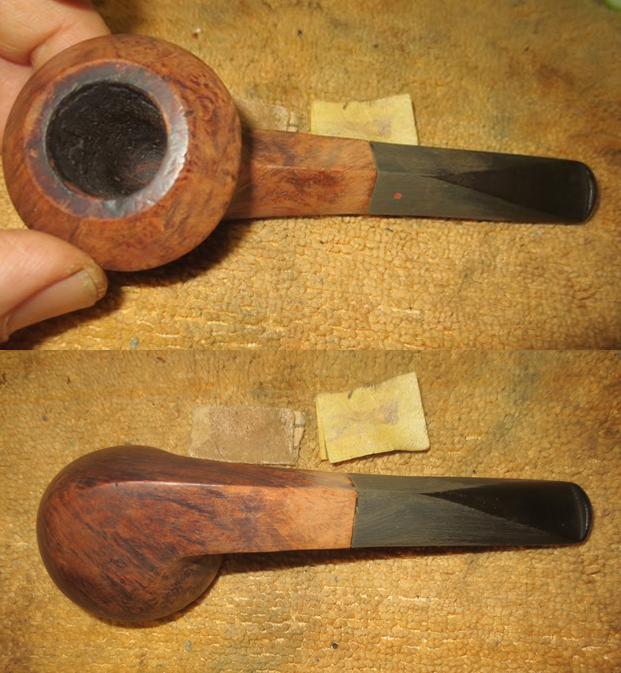
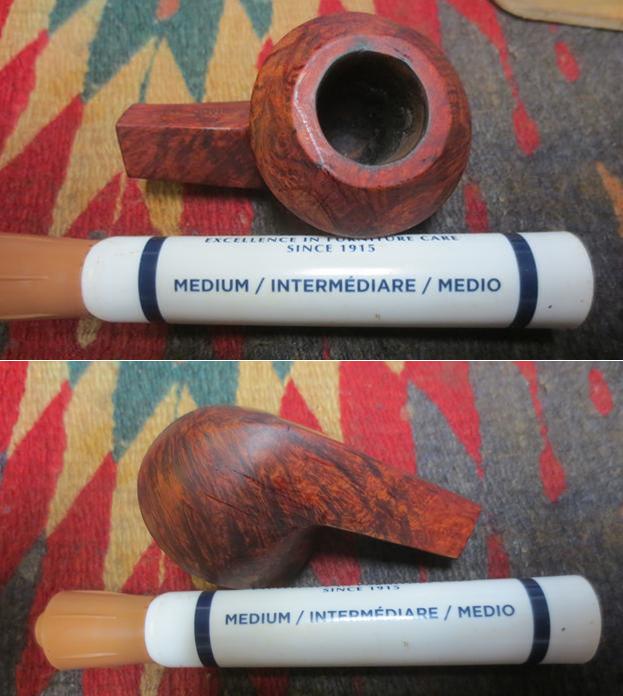
 He took some photos of the rim top and bowl. Both photos show the thick cake in the bowl and a thick lava coat on the rim top. It is hard to know if there was any damage to the inner edge of the bowl or on the top surface of the rim.
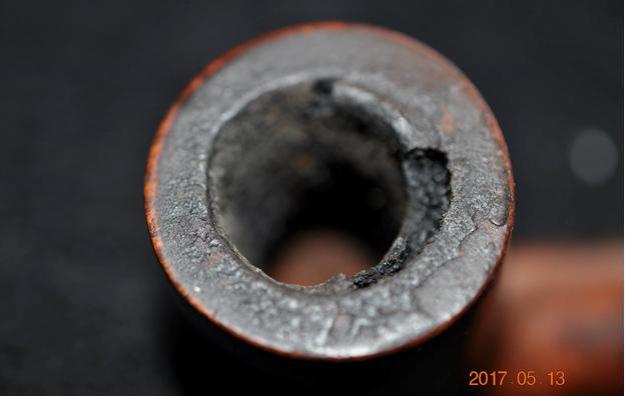
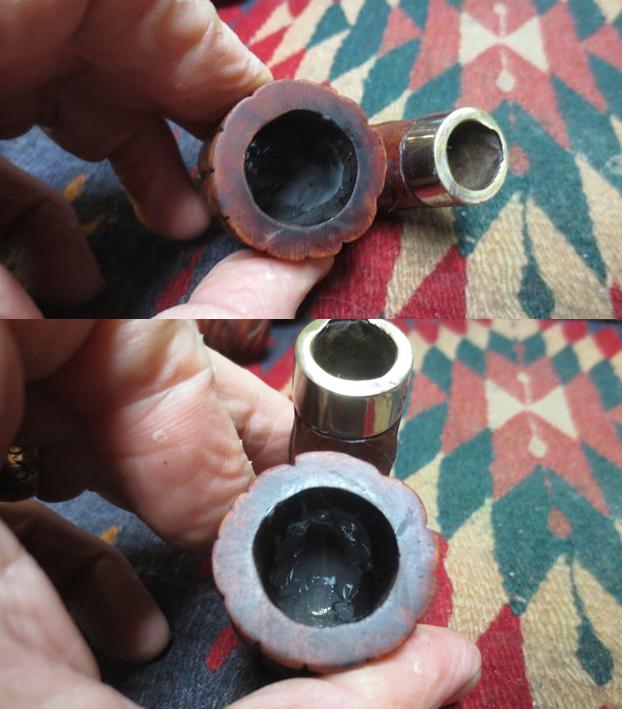
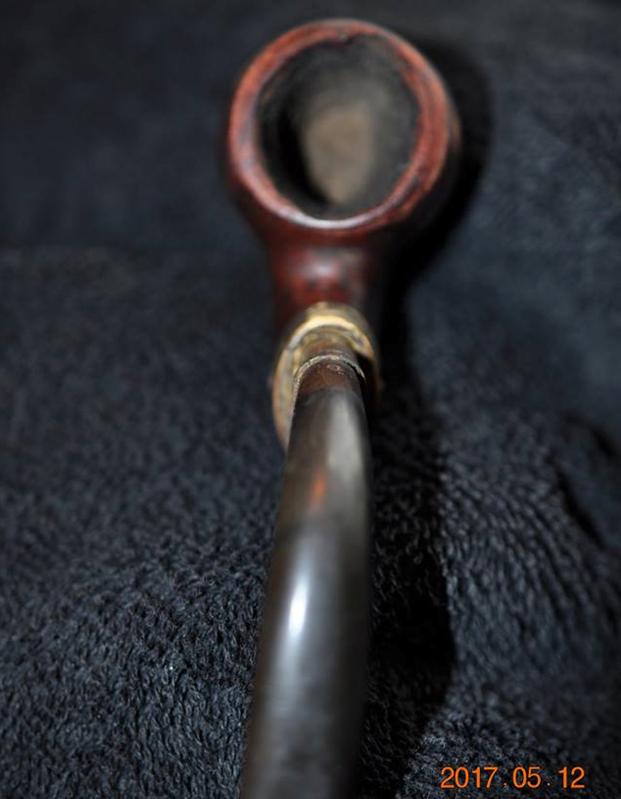
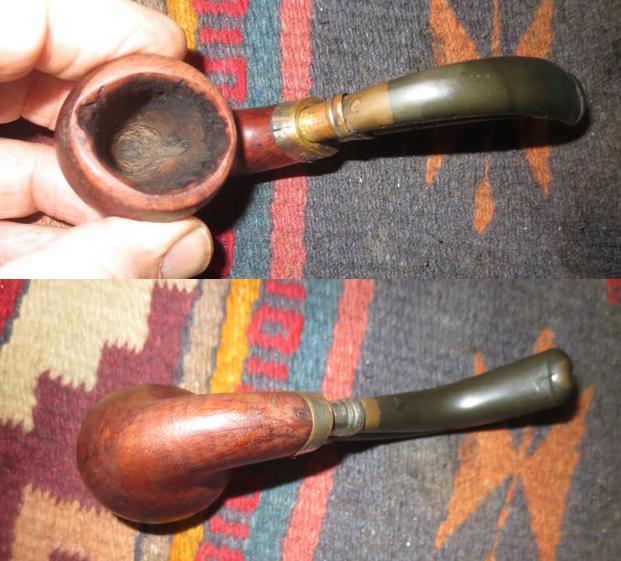
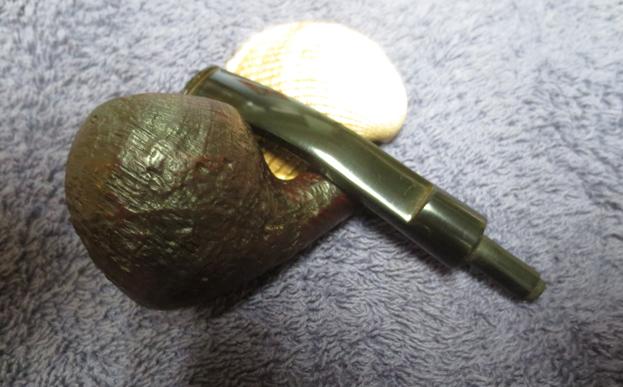
 The close up of the underside of the bowl and shank shows the glue buildup in the gap between the shank and the stem.
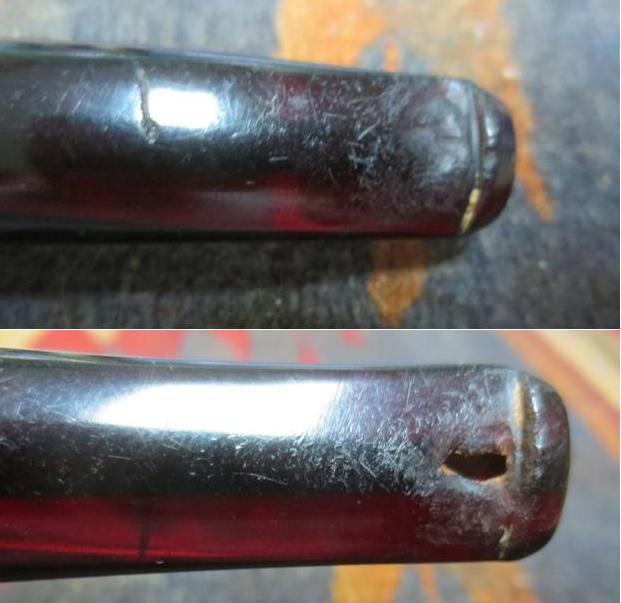
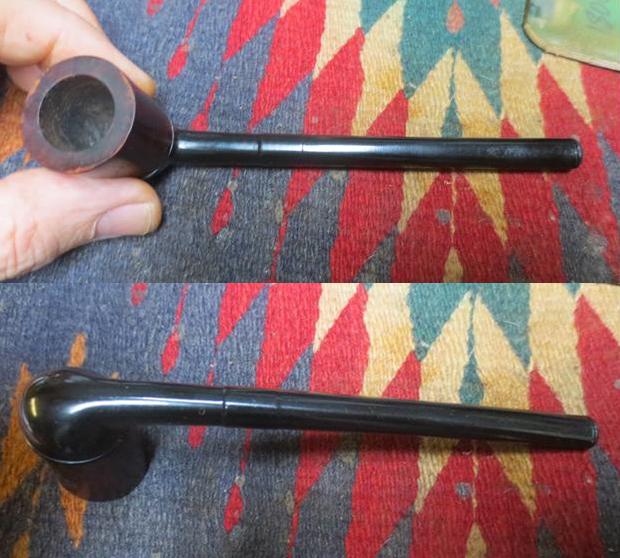
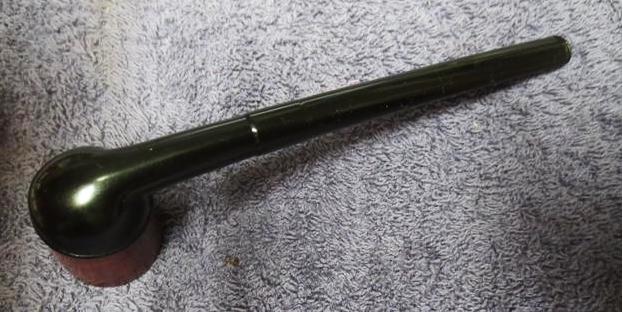
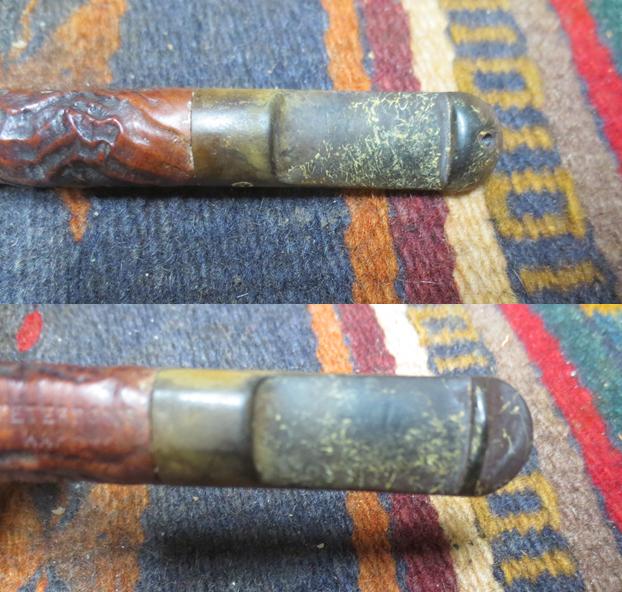
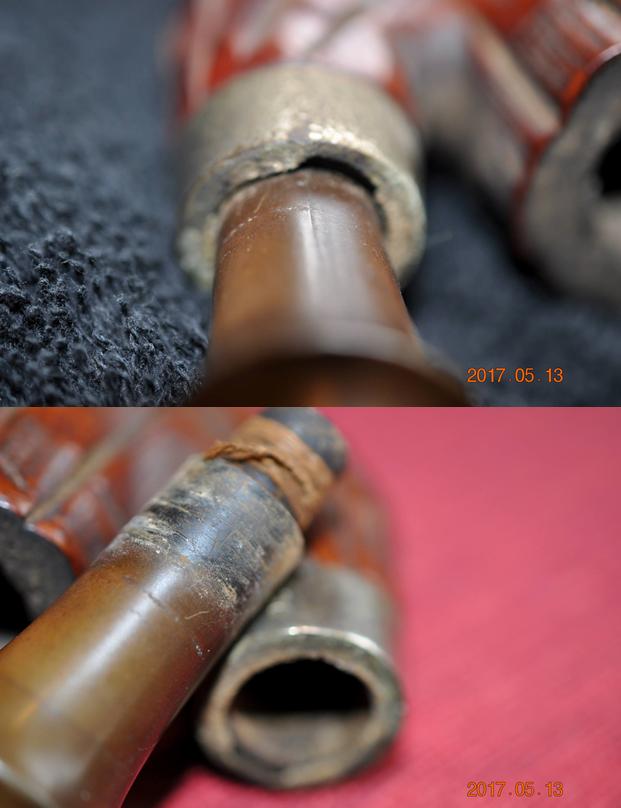
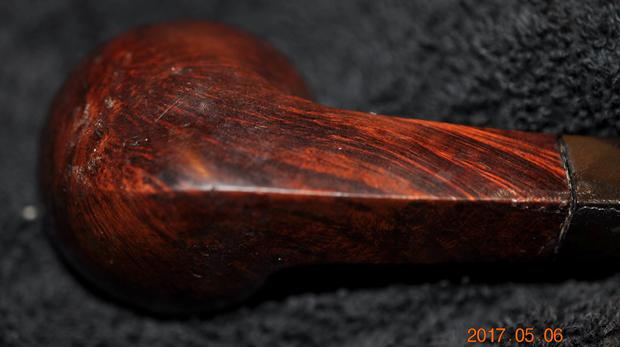 The stem looked like it was in rough shape. There were some peeling flakes on the surface of the stem. They could either be glue or damage to the stem.
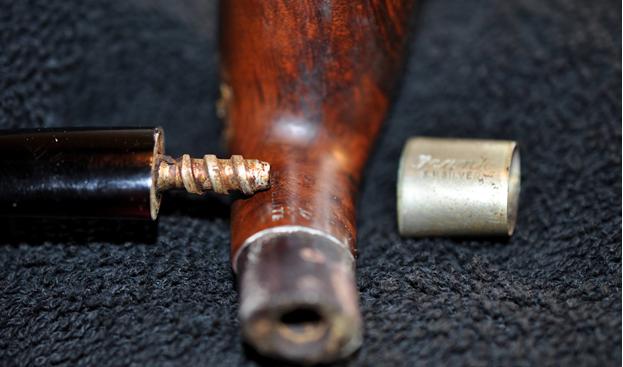
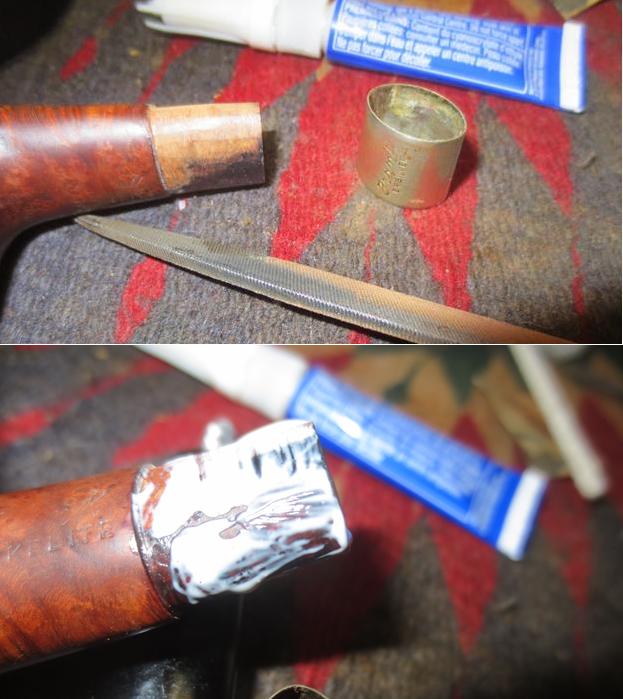
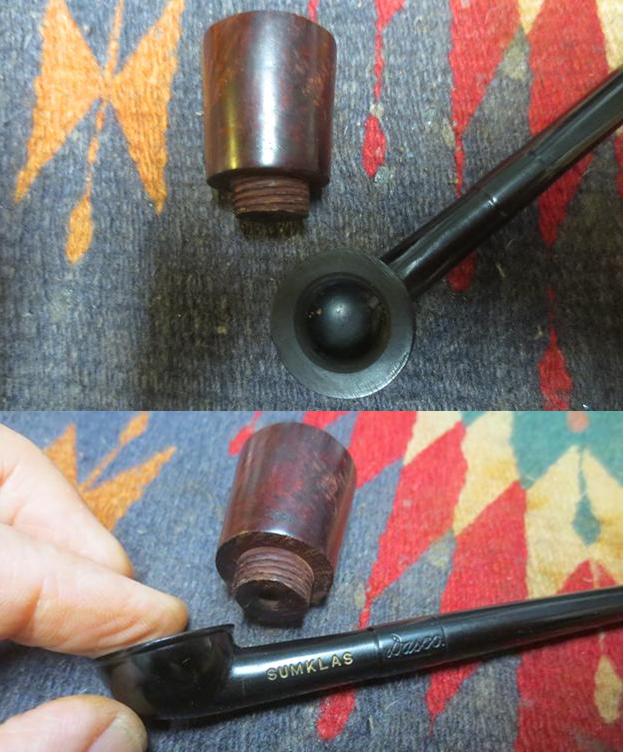
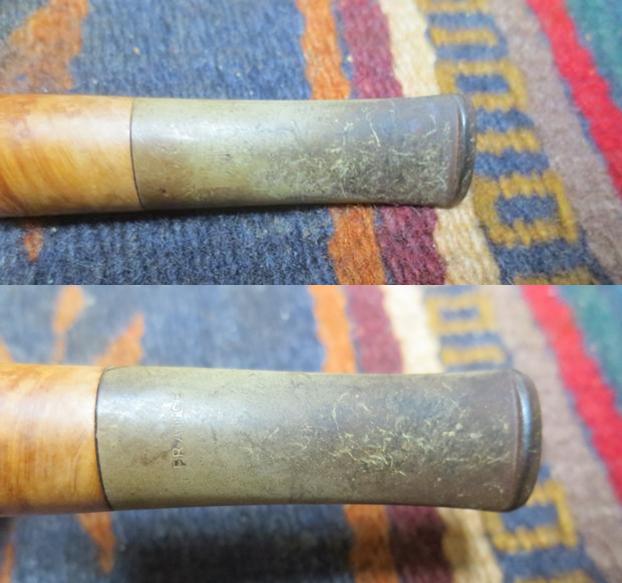
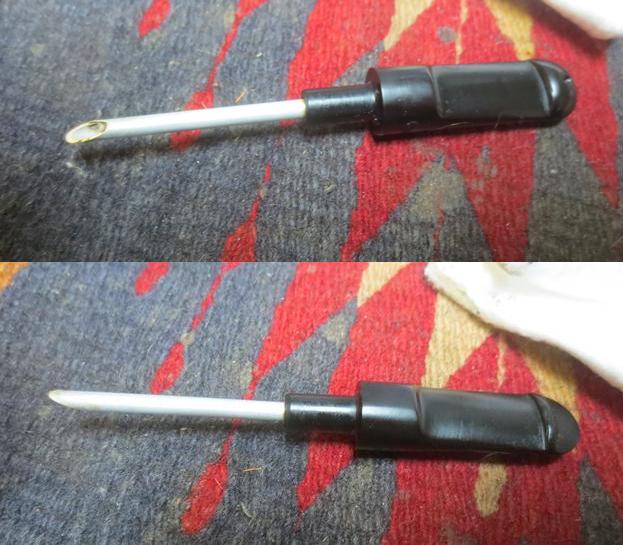
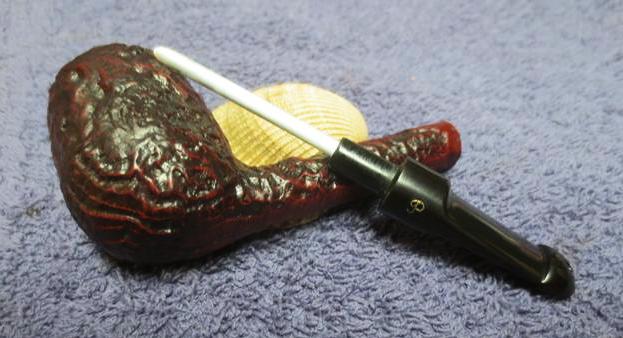
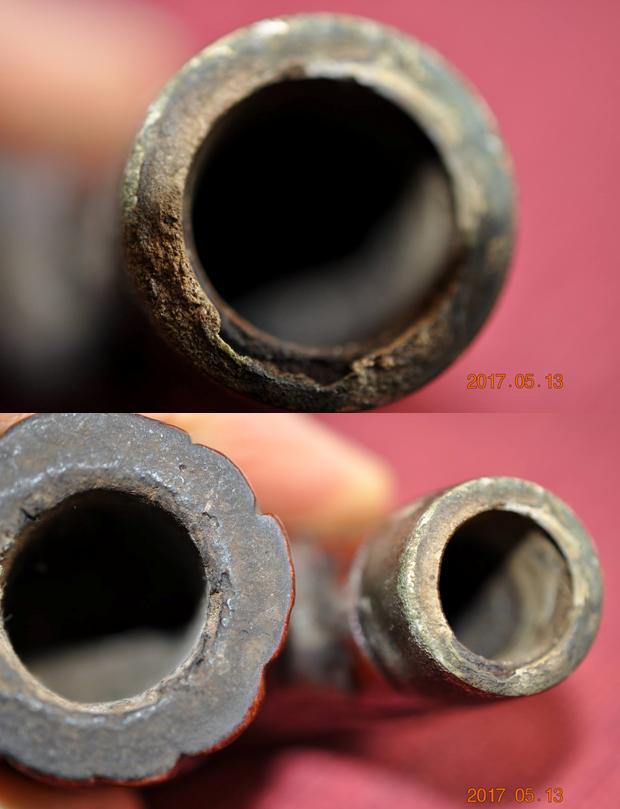
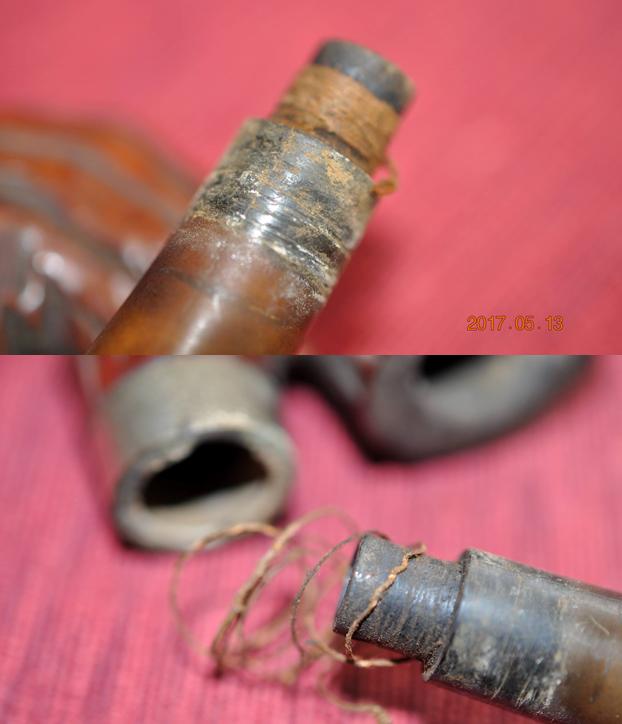
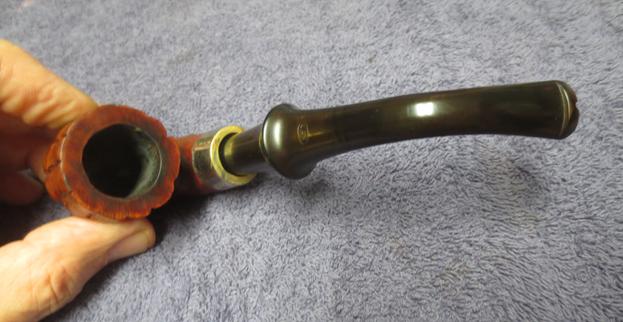
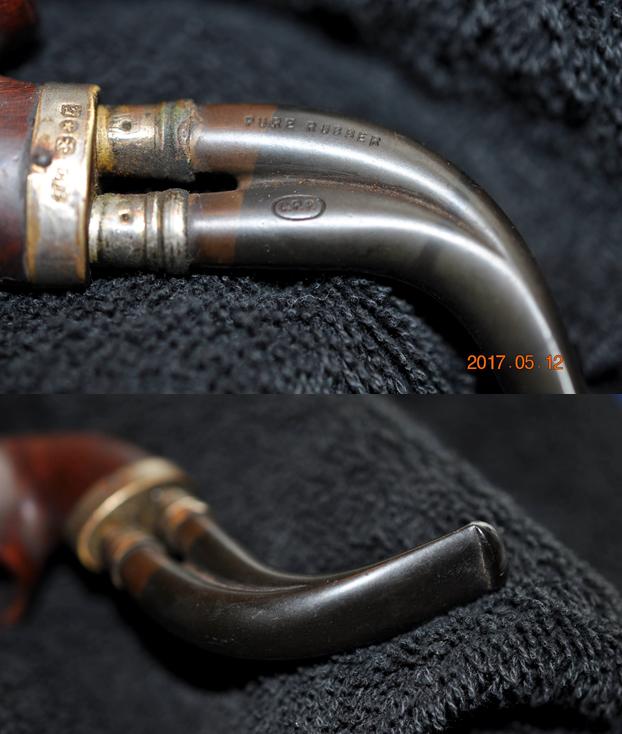
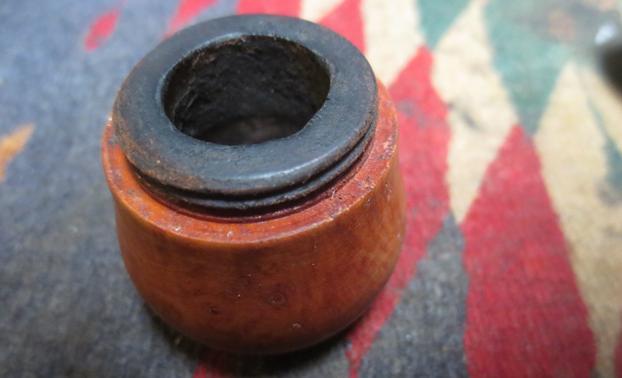
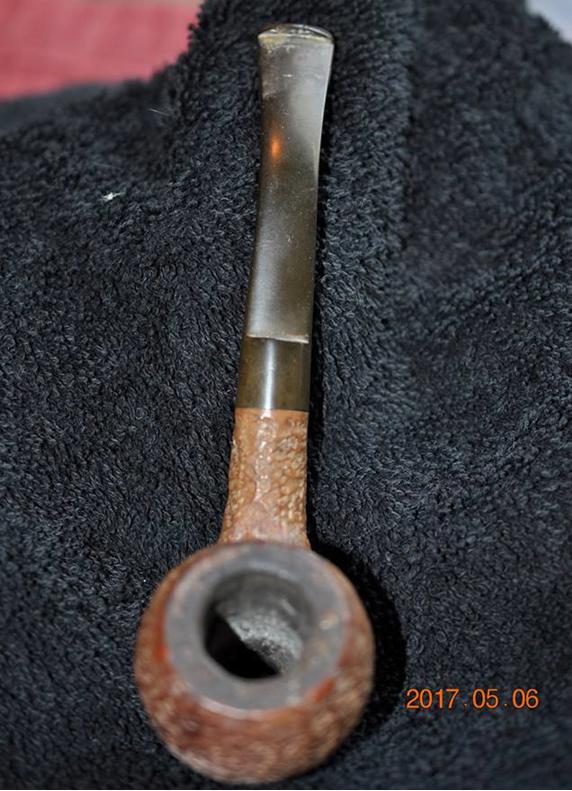
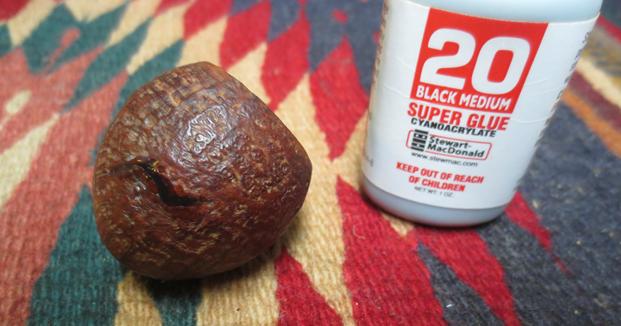
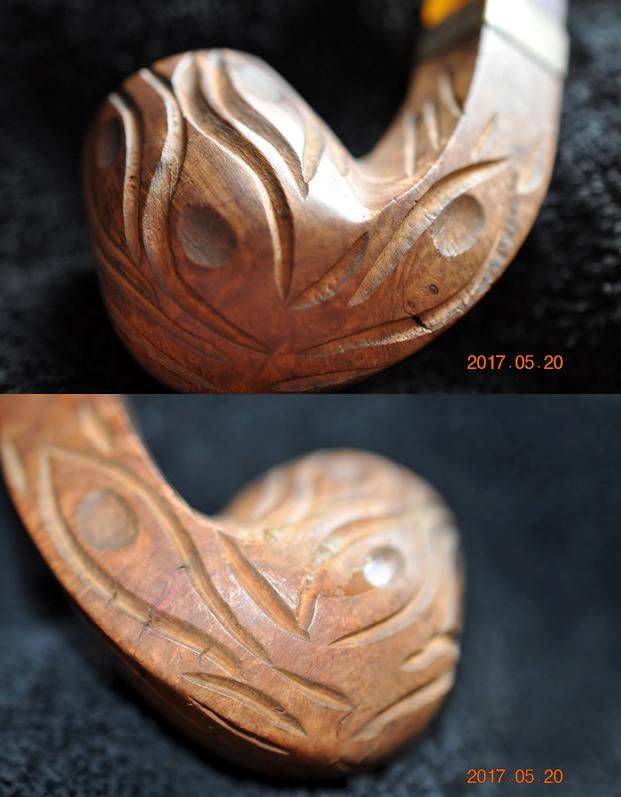
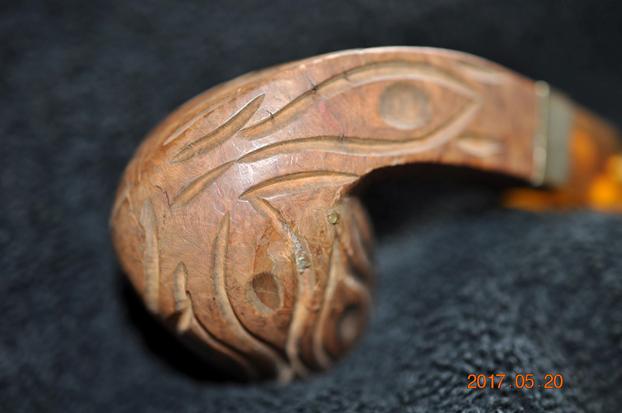
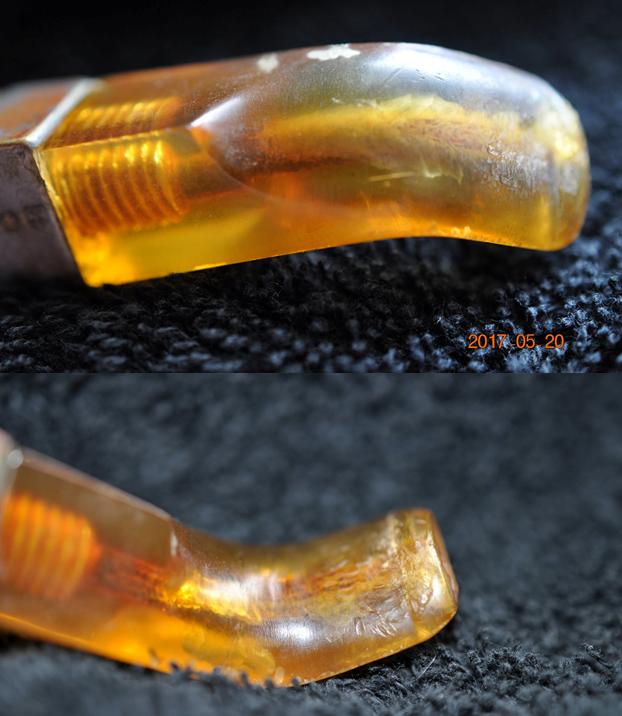
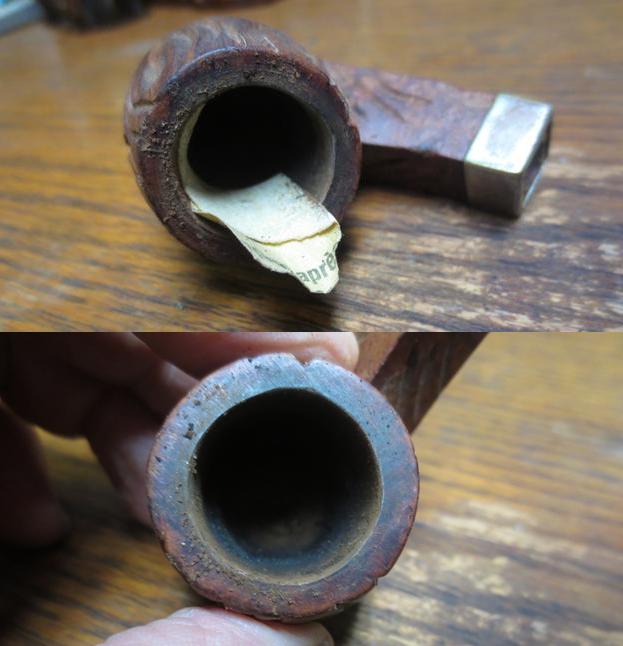
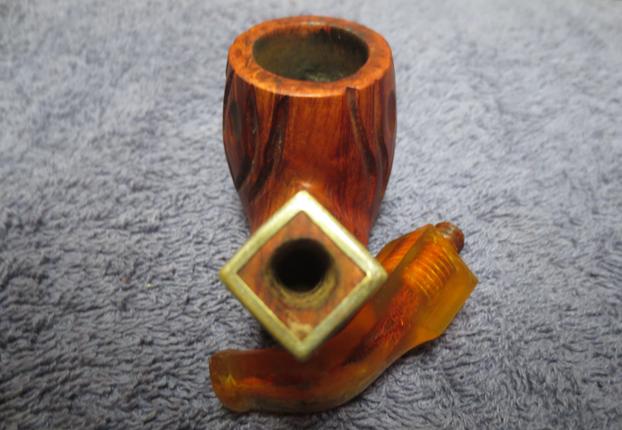
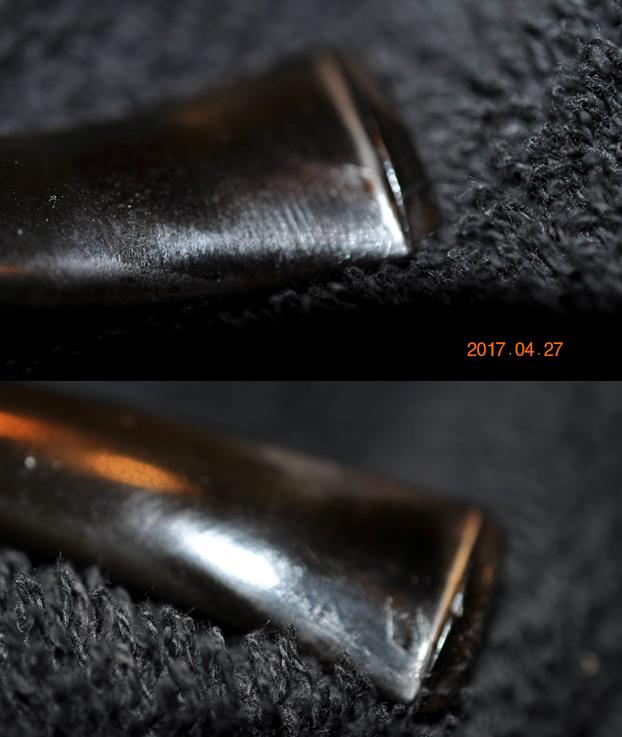
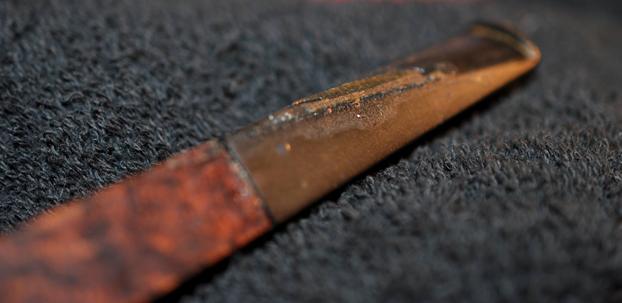 I was really surprised that my brother was able to get the stem off the shank. It turned out that the broken tenon was glued in the shank and a piece of inner tube was glued into the broken tenon. About an inch of the tube extended beyond the shank and the stem fit on the tube. The glue was painted onto the end of the shank and the end of the stem and the two parts were held together until the glue set. Jeff used some acetone to eat through the glue in the gap between the stem and the shank and was able to pry the pieces apart.
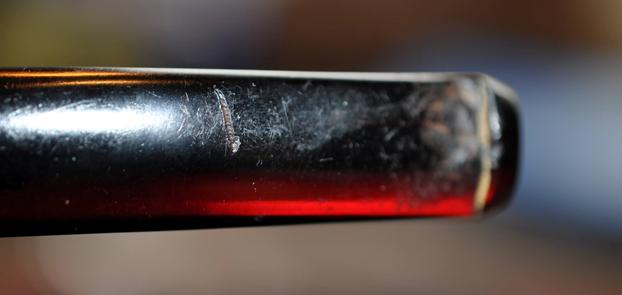
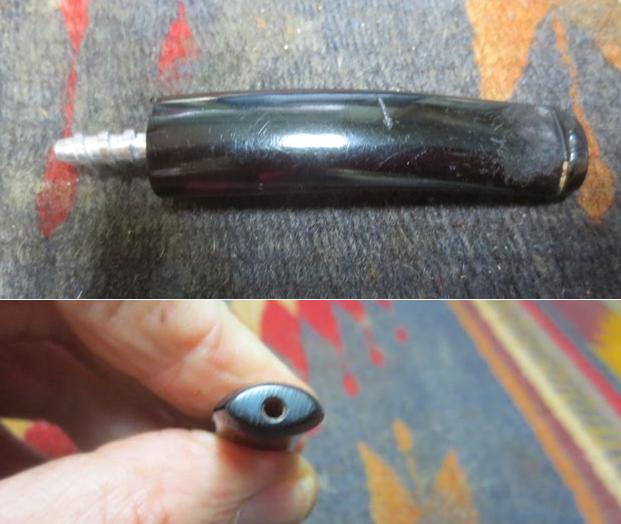
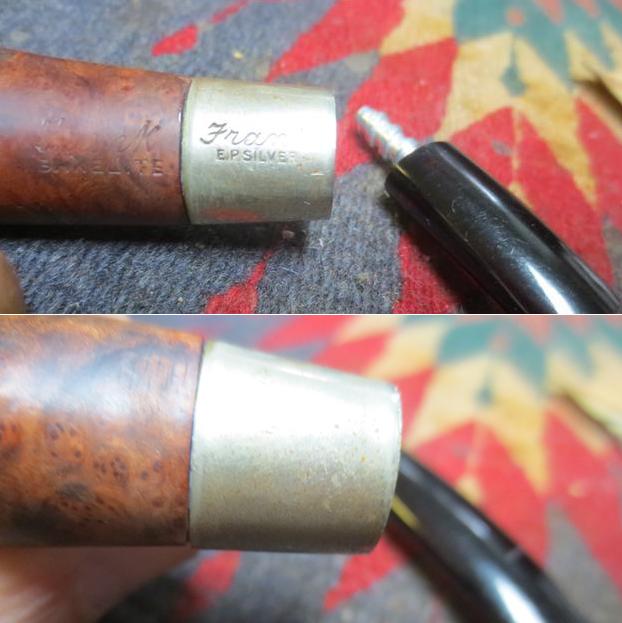
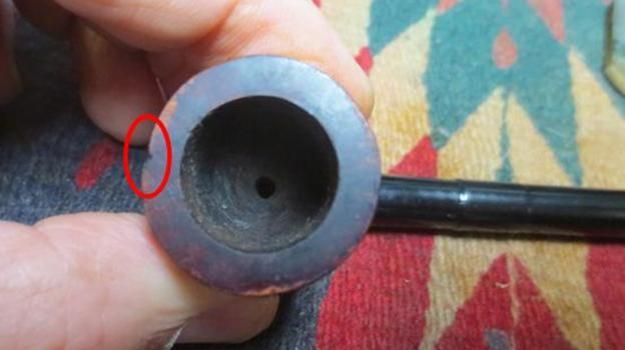
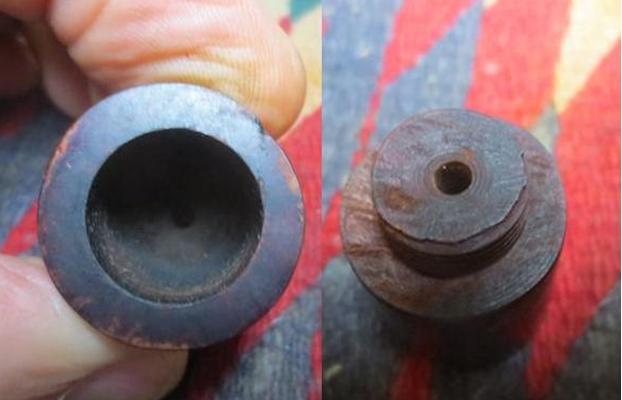
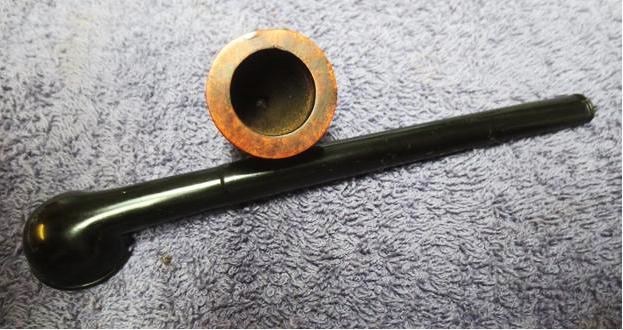
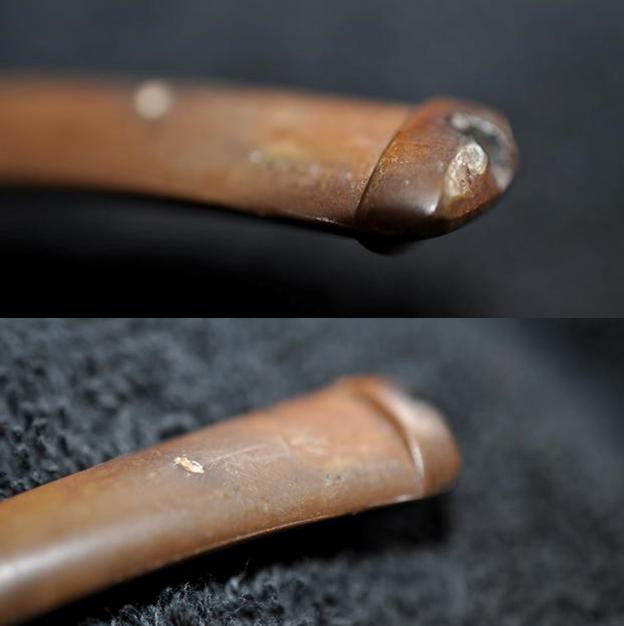
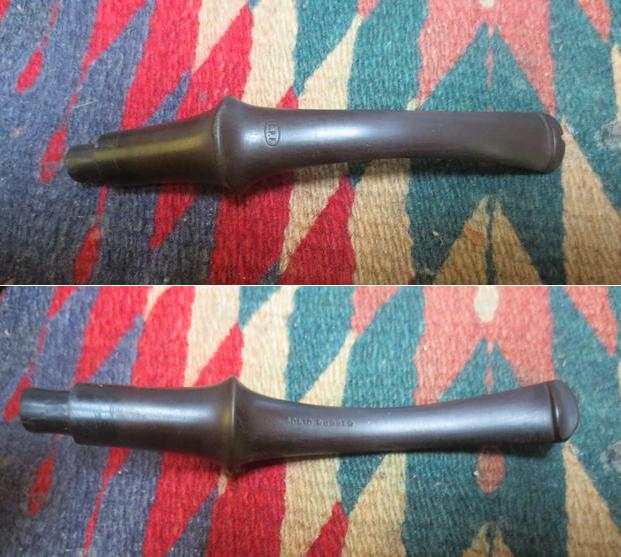
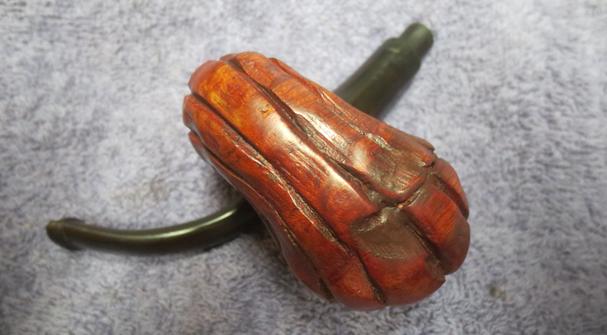
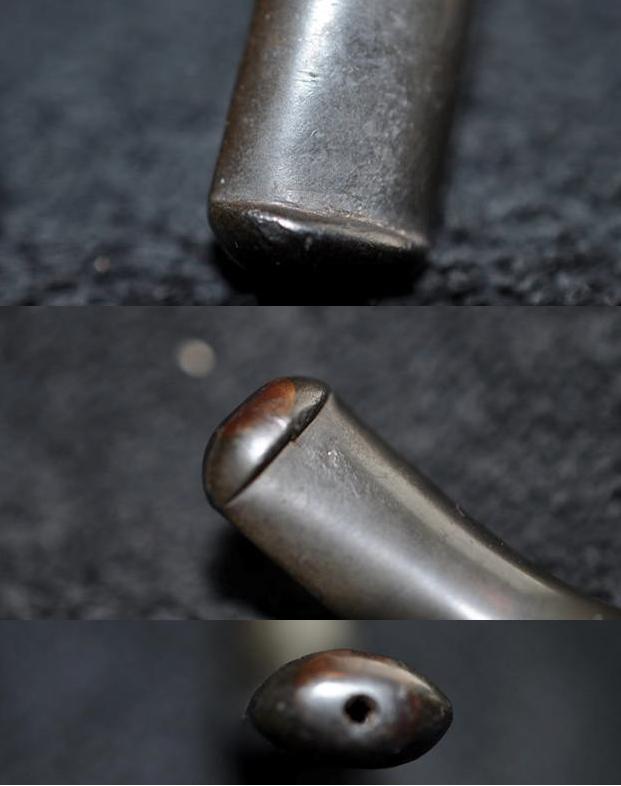
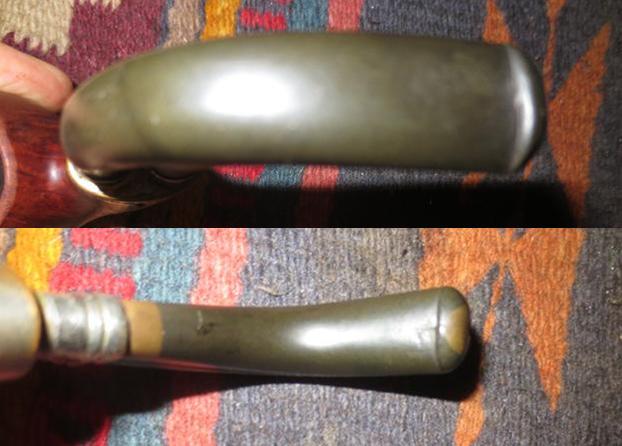
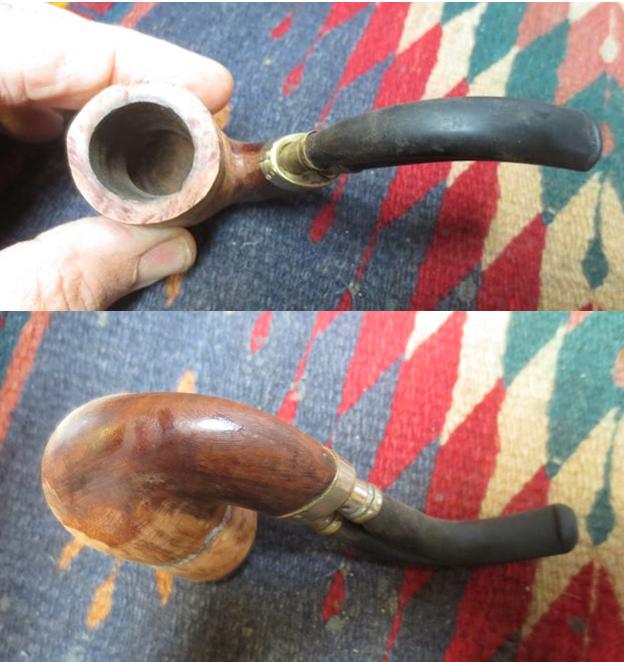
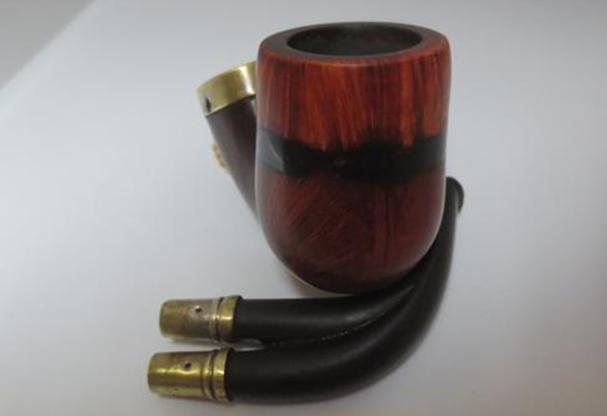
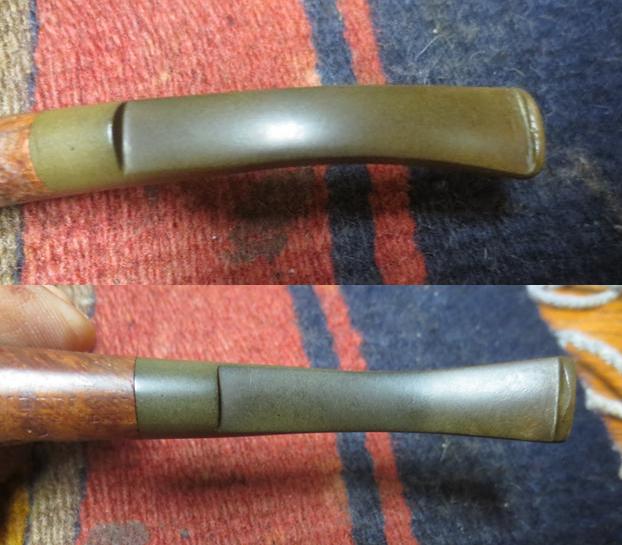
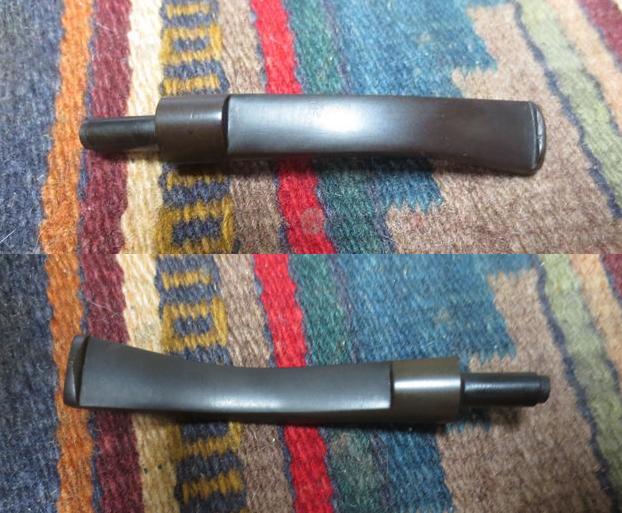
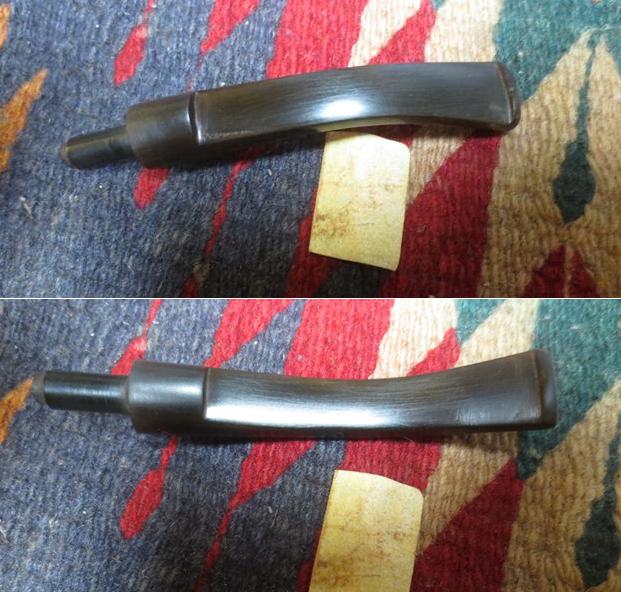
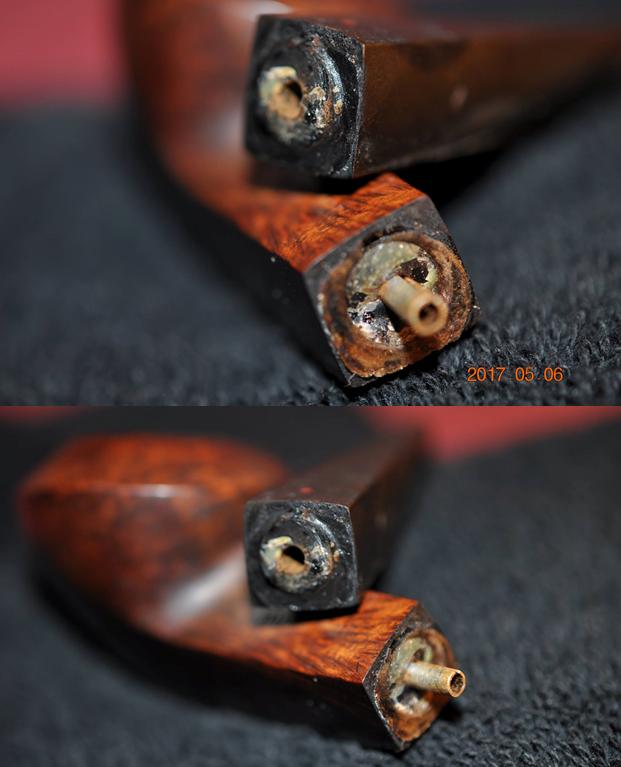 The next photos show the damaged stem. It looked like the repair had also included painting the surface of the stem with glue. The glue had bubbled, cracked and peeled leaving behind a messy chipped finish. The orific button on the rounded stem end was in good shape. It appeared that the glue mixture had protected the stem from a lot of tooth marks and chatter.
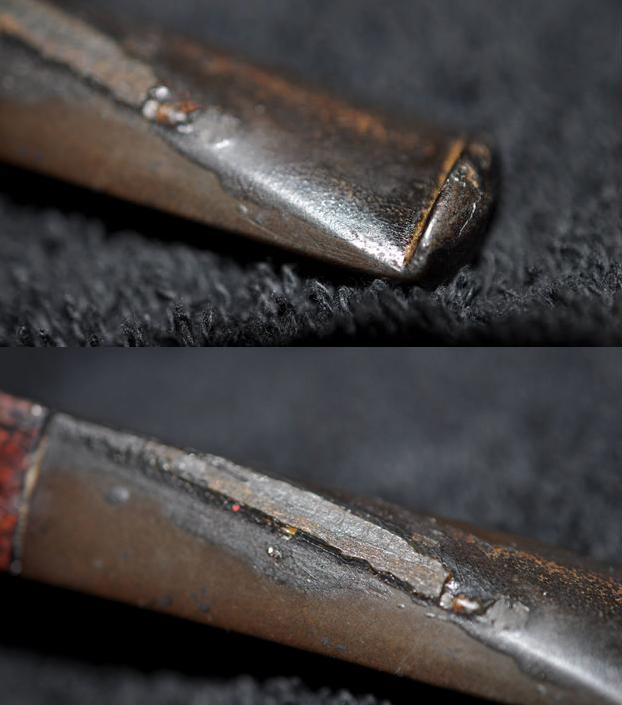
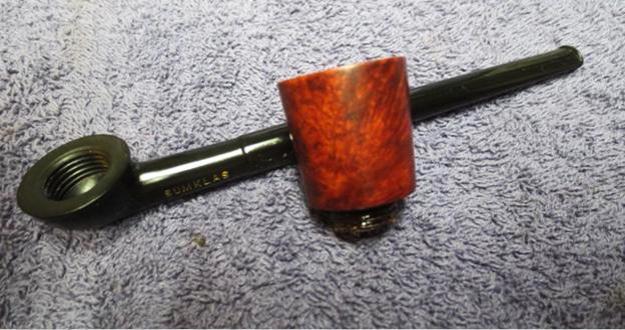
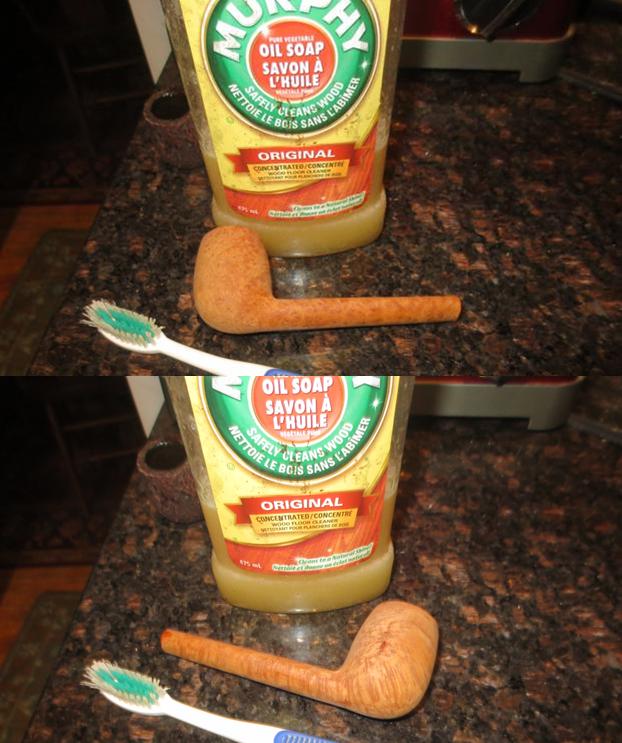
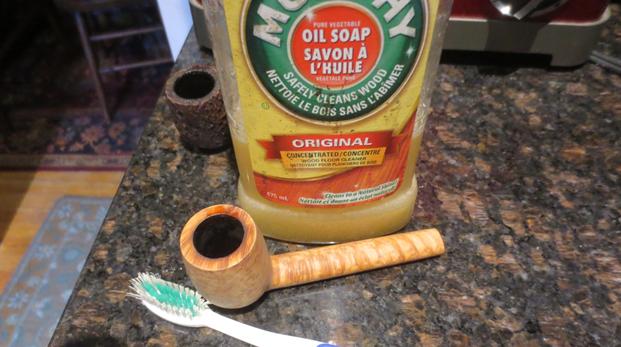
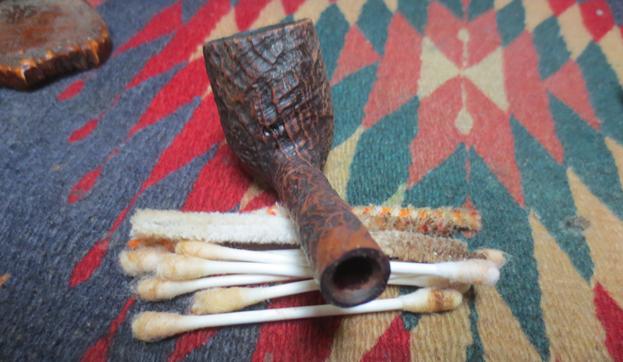
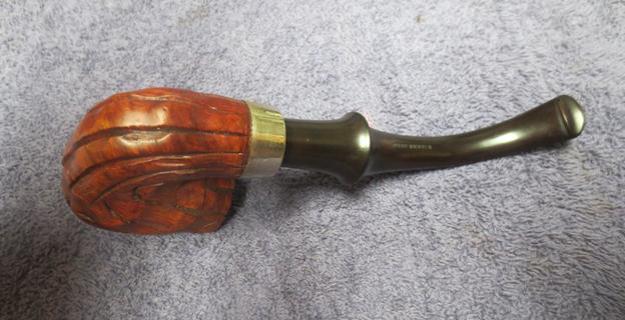
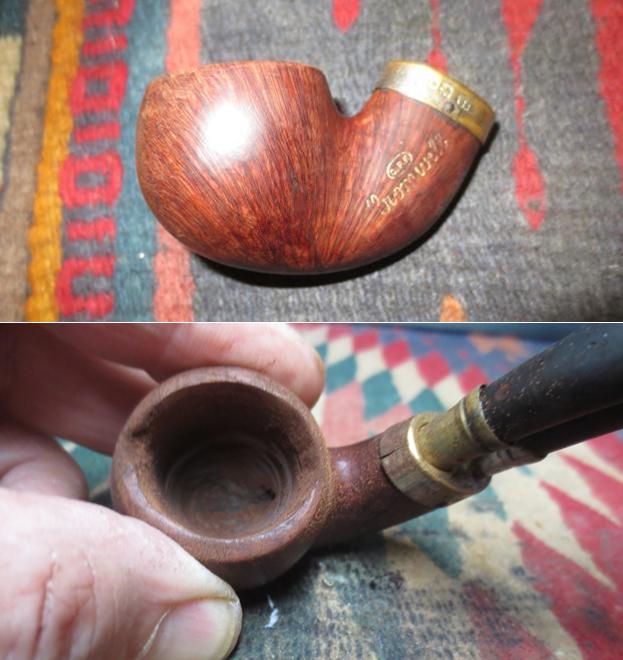
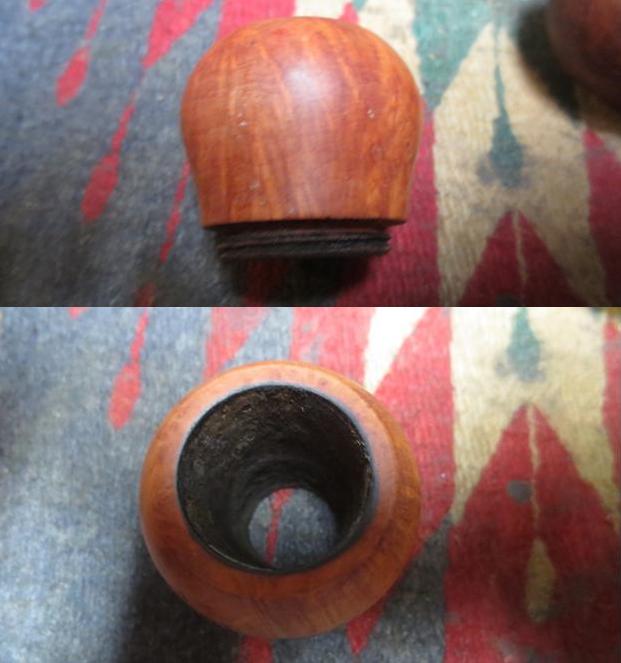
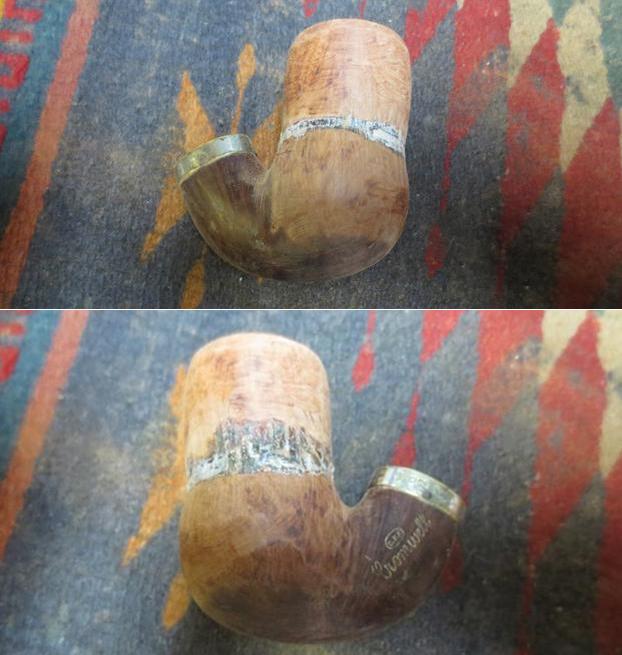
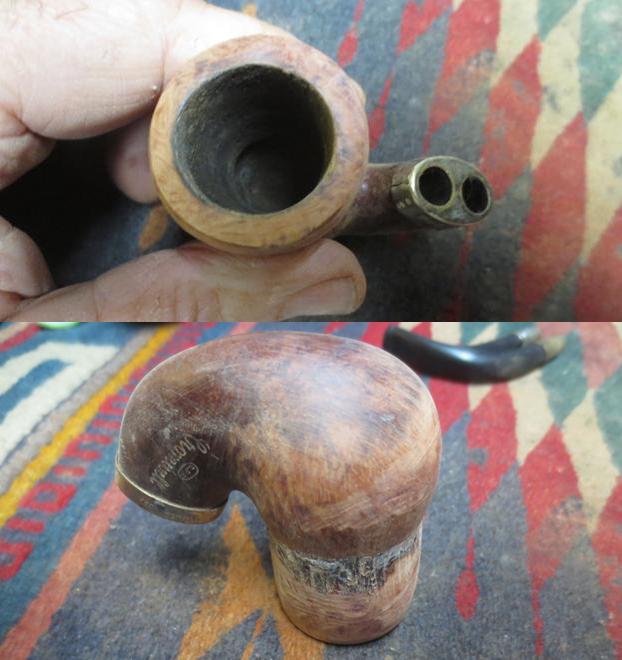
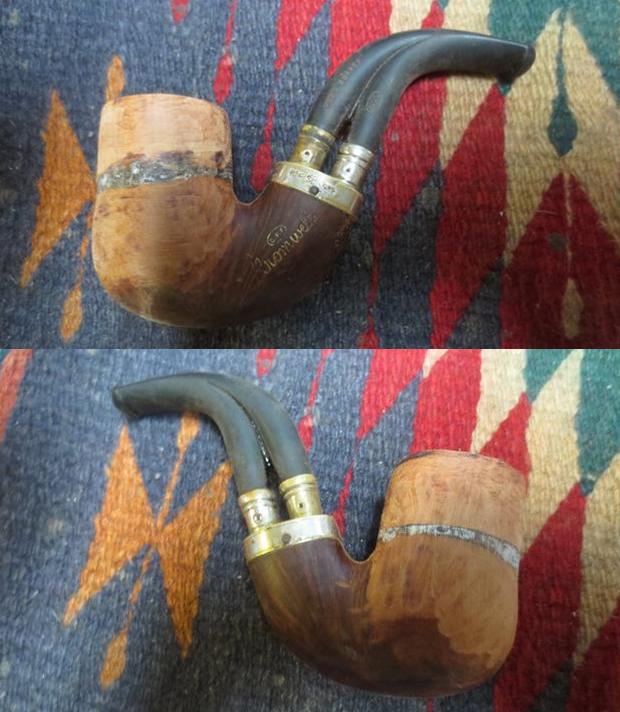
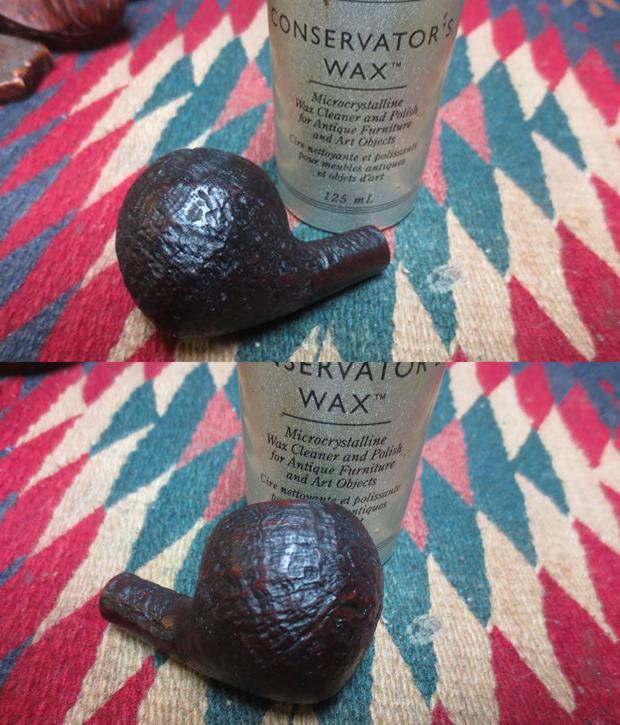
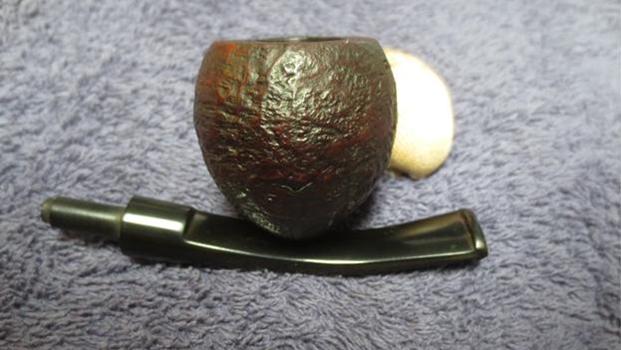
 Jeff did his usual thorough cleanup of the pipe. I am coming to expect nothing less when he sends me pipes that have gone through his cleaning process. He reamed the bowl with a PipNet reamer, scraped the bowl and the rim top with a Savinelli Fitsall Pipe Knife to clear off the lava build up. He cleaned out the internals in the airway in the shank as much as possible with the broken glued in tenon in the way. He used alcohol, cotton swabs and pipe cleaners. He cleaned out the airway in the stem with alcohol and pipe cleaners. He scrubbed the exterior of the briar and the stem with Murphy’s Oil Soap and a tooth brush to remove all of the grime on the briar and the hardened, chipped glue on the finish of the stem. He rinsed the parts under running water and dried it with a soft cloth. He soaked the stem in OxyClean to clean off the glue on the surface. When the pipe arrived in Vancouver it looked different than it did when we picked it up in Montana. I forgot to take photos of the pipe before I started on it because I was excited to pull the broken tenon from the shank. You can see the clean bowl and stem in the photos.
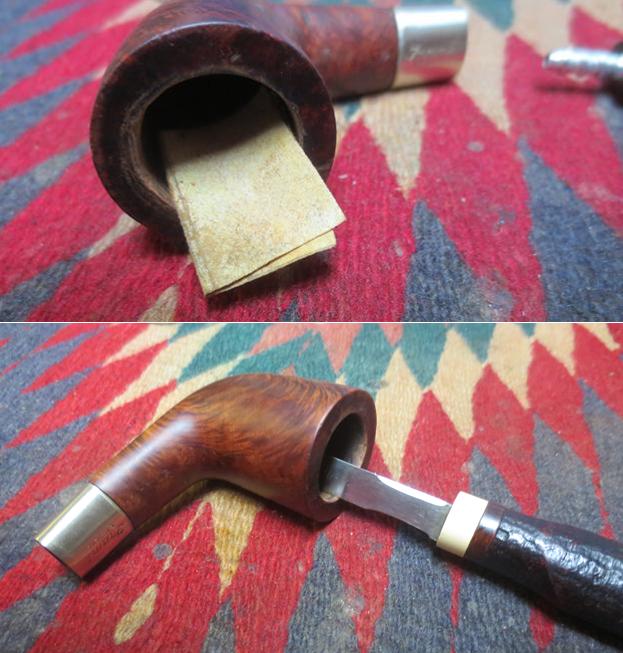
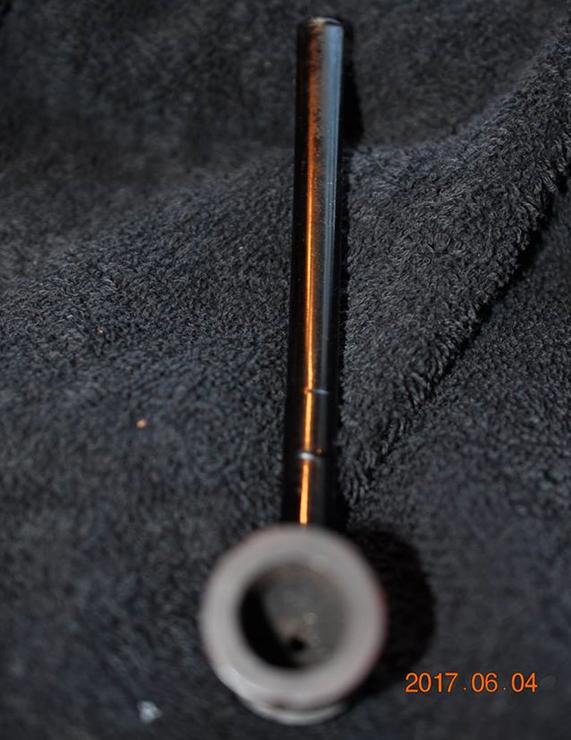
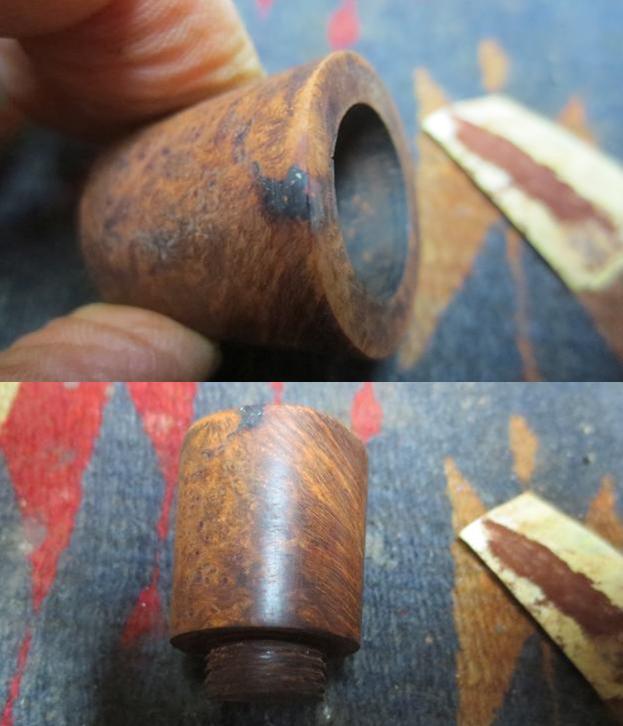
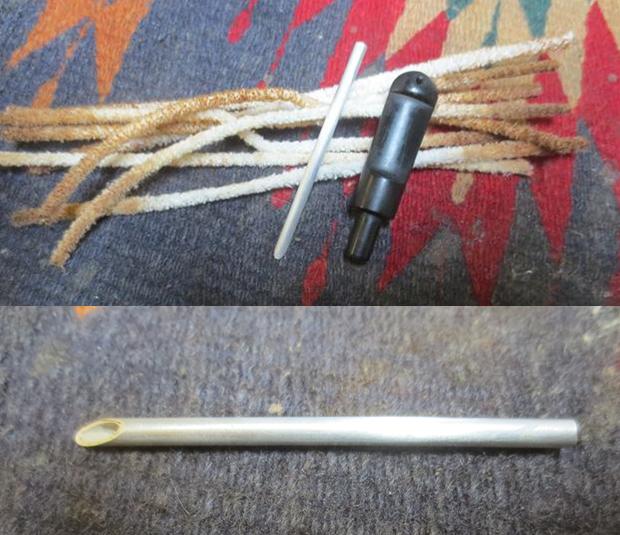
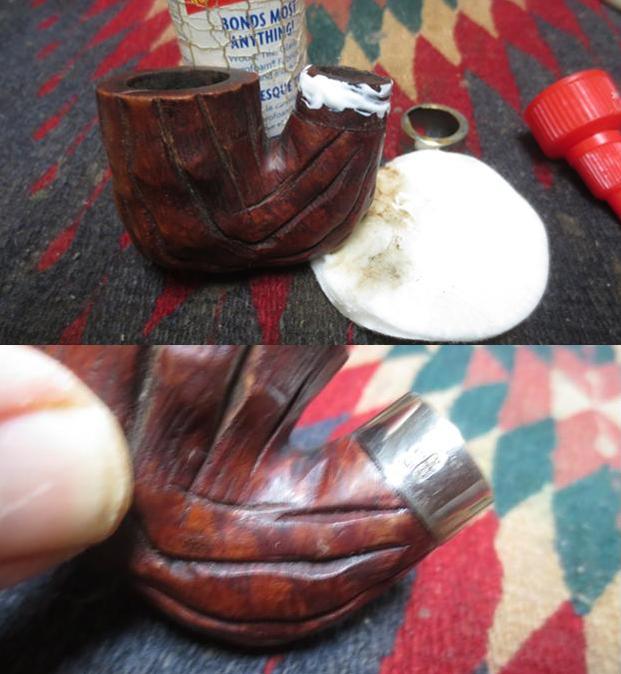
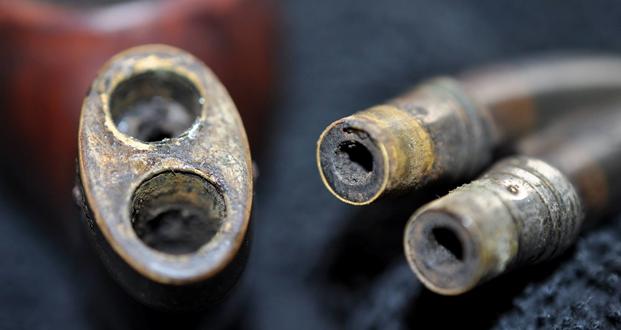
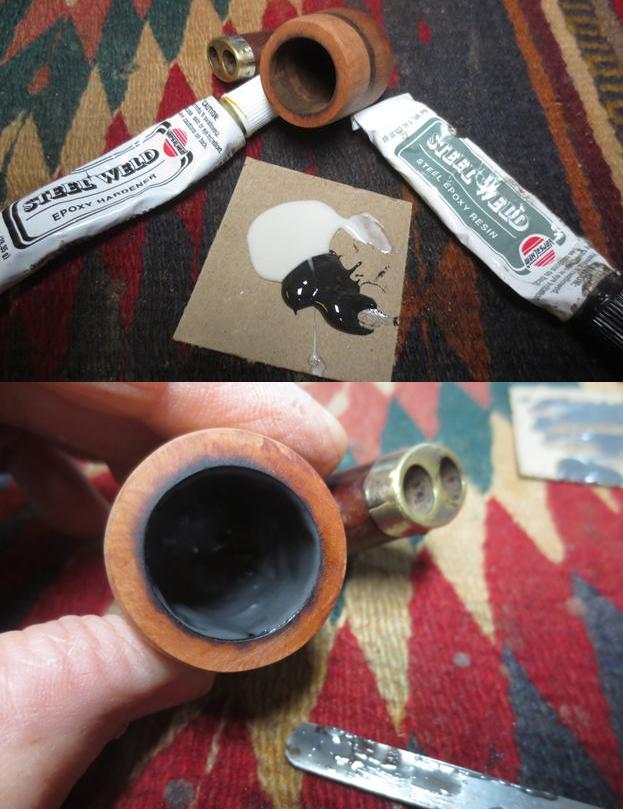
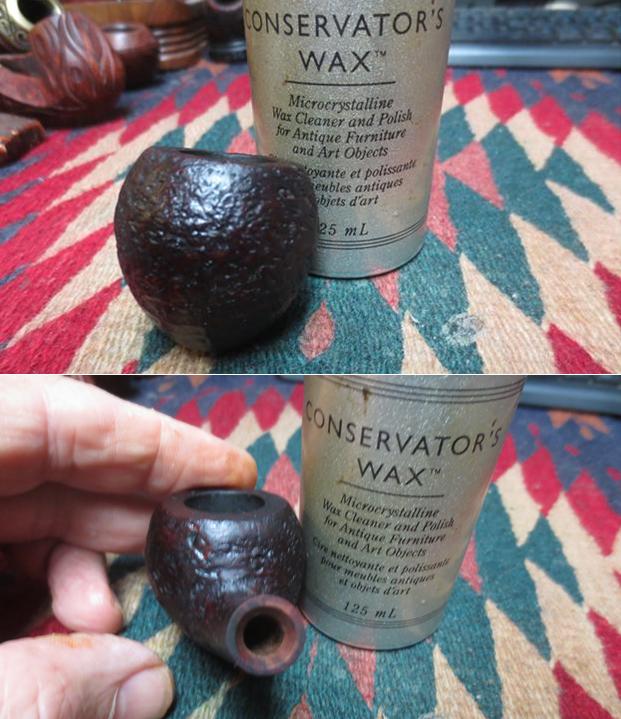
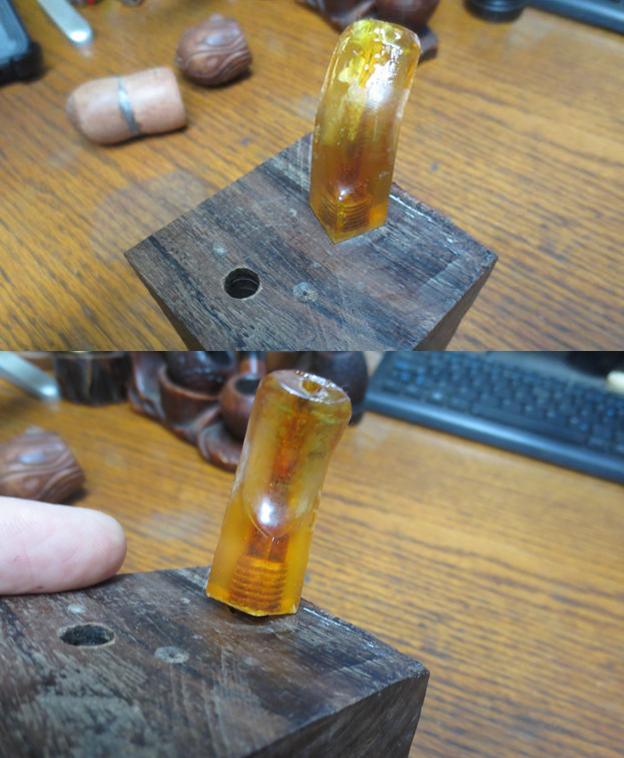
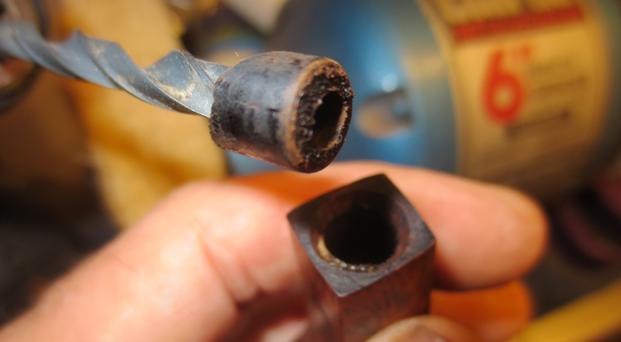
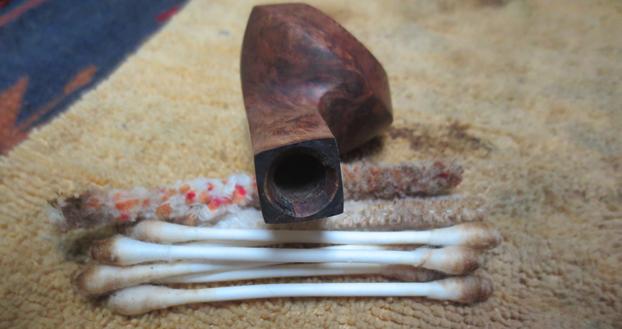
I put a drill bit in the chuck of my cordless drill and turned the bowl as the bit went into the airway on the broken tenon. I used one that was slightly larger than the airway and worked my way up to the one in the second photo. Some of the tenon crumbled away and the remainder stuck on the drill bit. I pulled it out of the shank and that part of the process was complete. The shank was clear.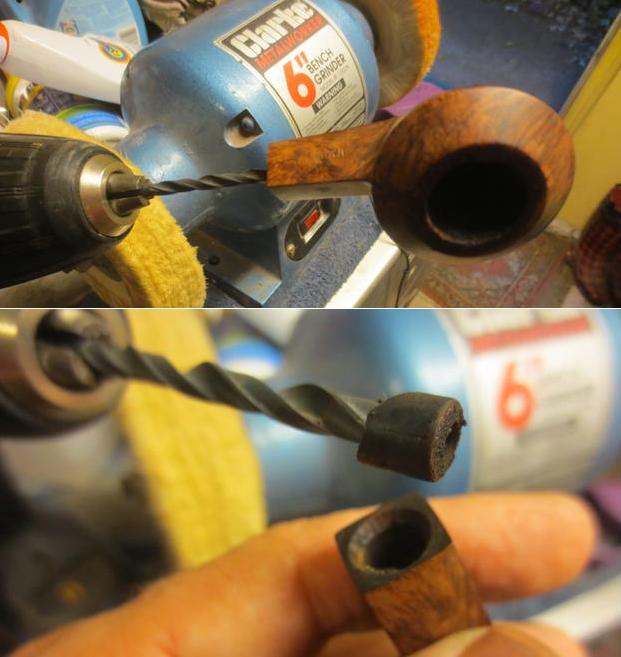
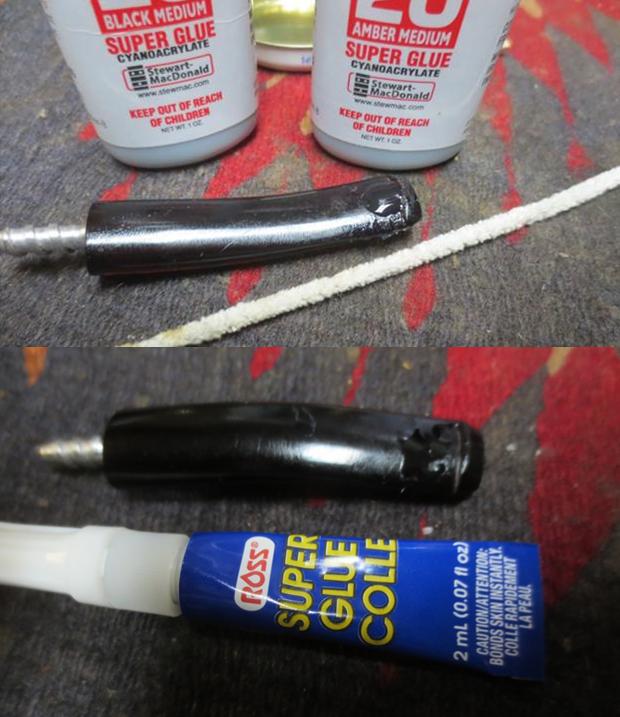
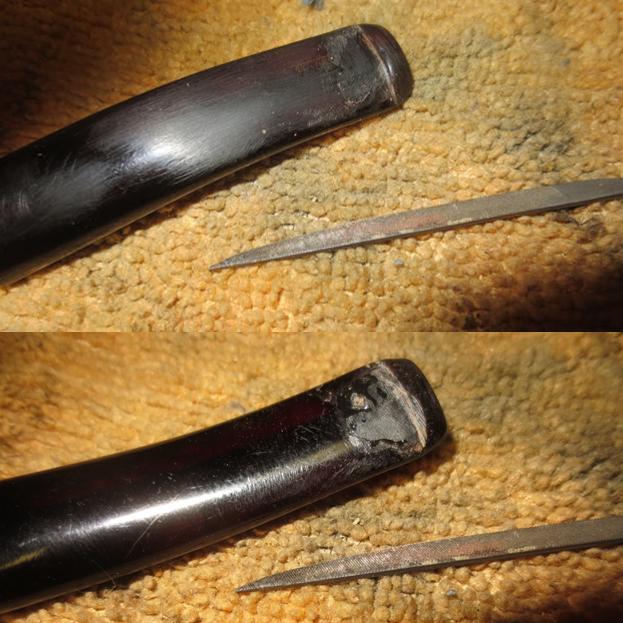
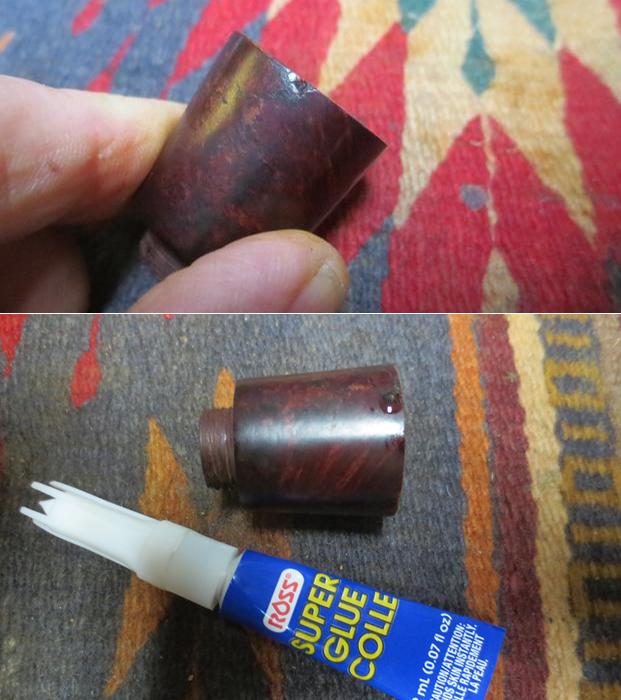
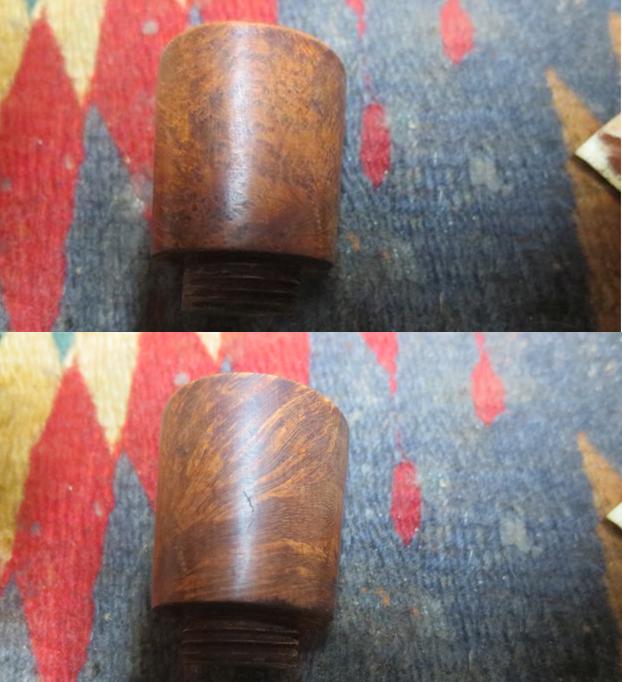
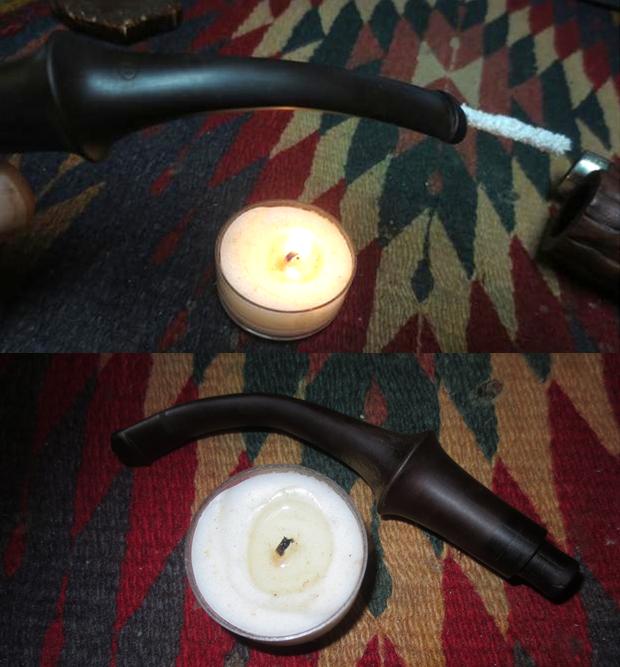
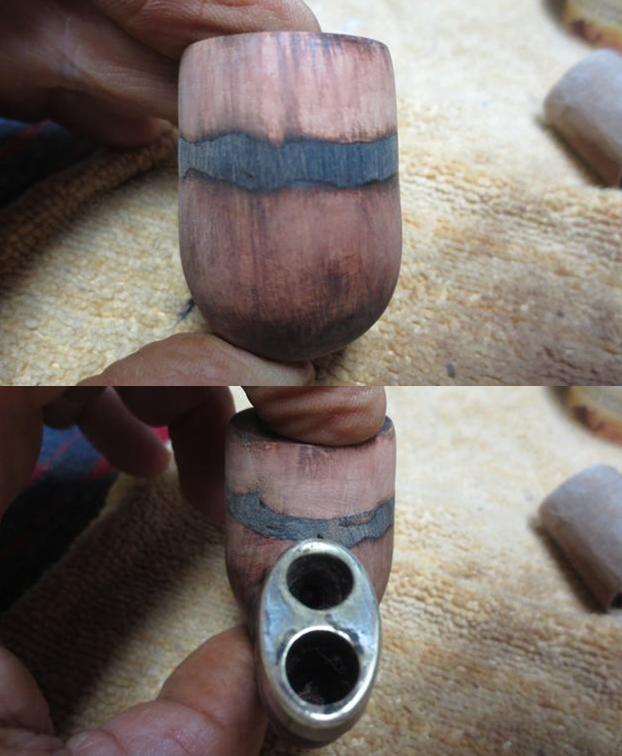
 I used a Dremel and sanding drum to smooth out the broken edges of the tenon on the end of the stem. I smoothed it out until the broken tenon was smooth against the end of the stem. I put a drill bit in the chuck of my cordless drill and turned the stem onto the bit to open the airway for the new threaded Delrin tenon. I increased the size of the bit until it was the same size as the threaded tenon end. I cleaned up the newly drilled airway with a dental burr on the Dremel.
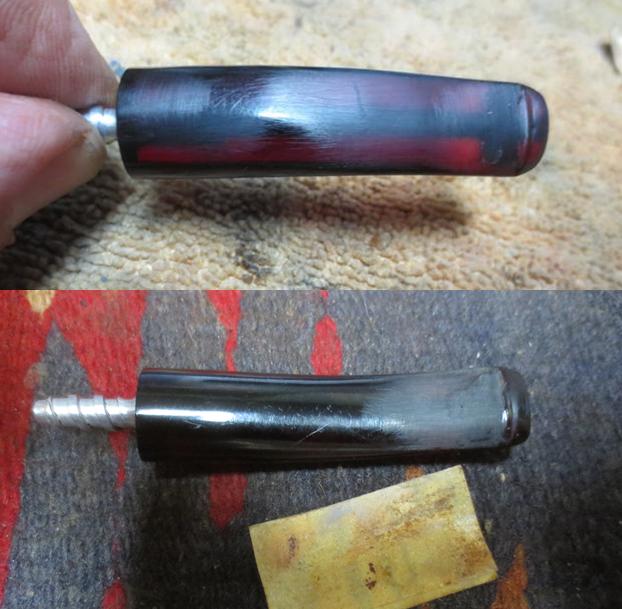
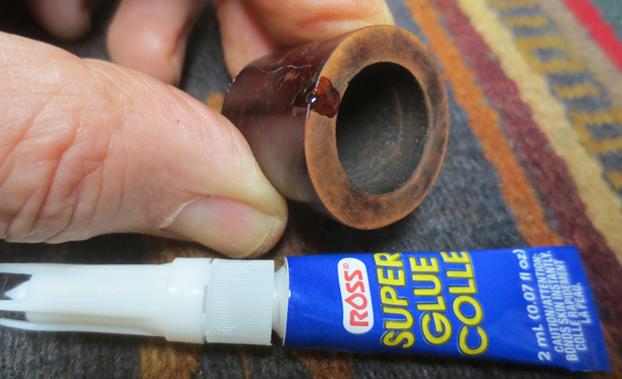
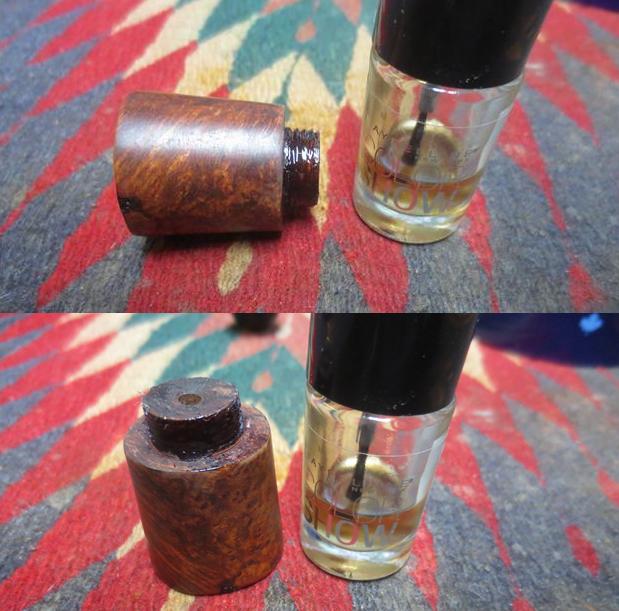
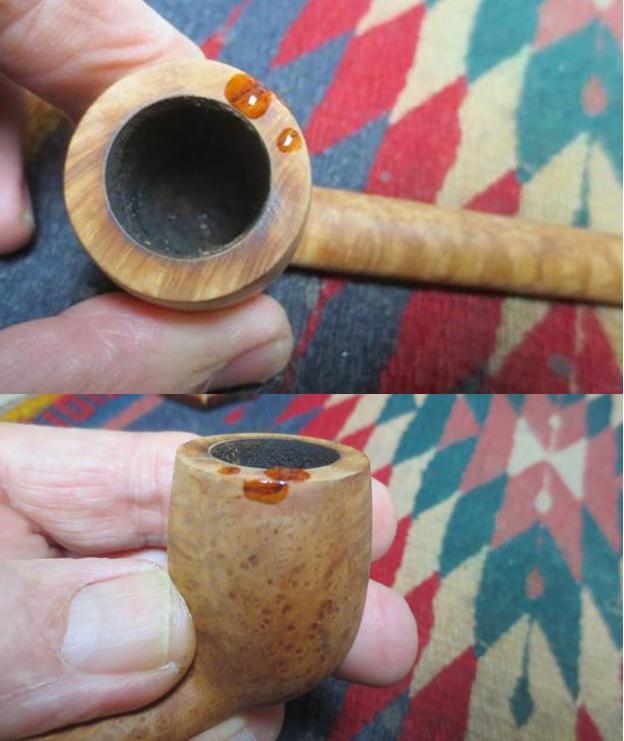
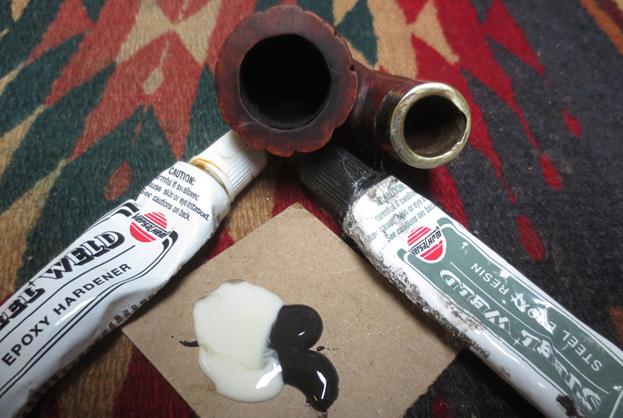
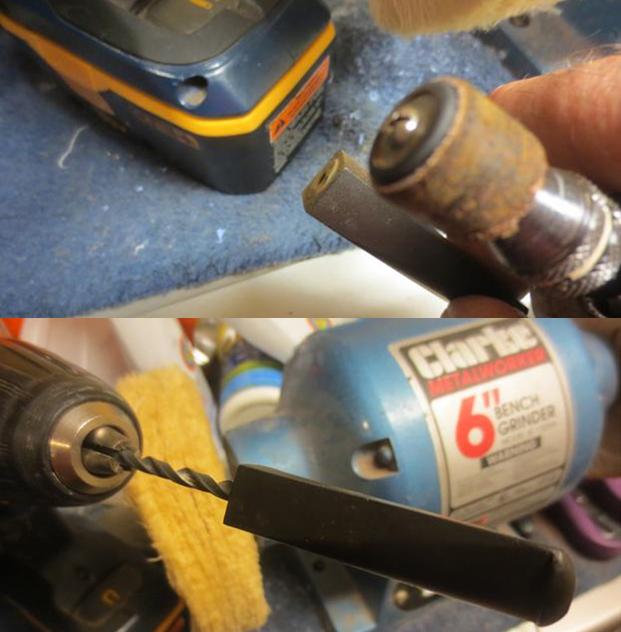 I took the stem back to the work table and took pictures of the process of inserting the new tenon in the stem. The photos show the progress. I turned the tenon into the stem and put glue on the final few threads and use a pair of pliers to turn it into the stem until it was seated against the flush end.
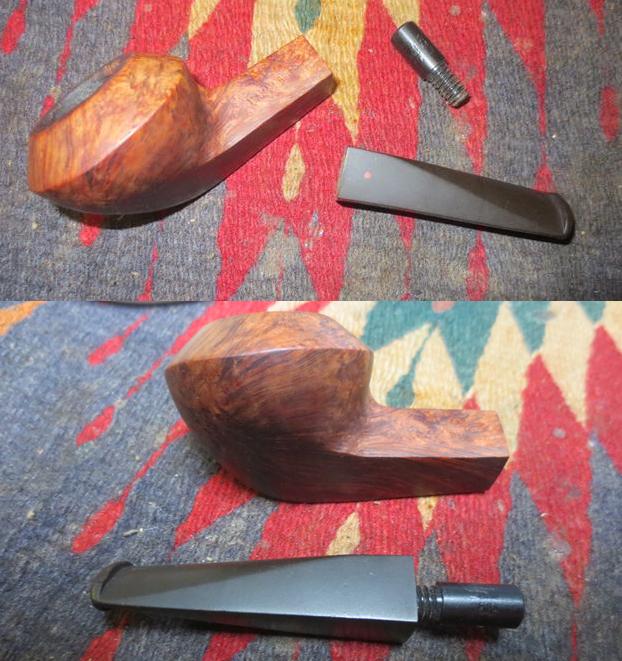
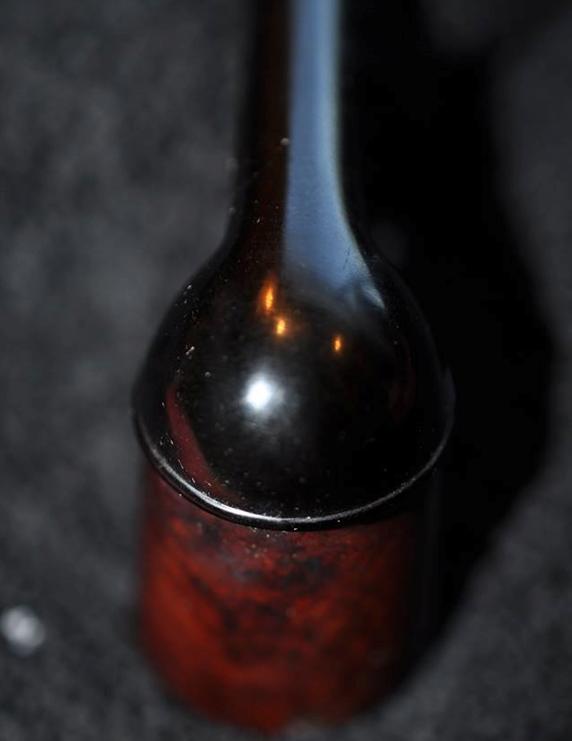
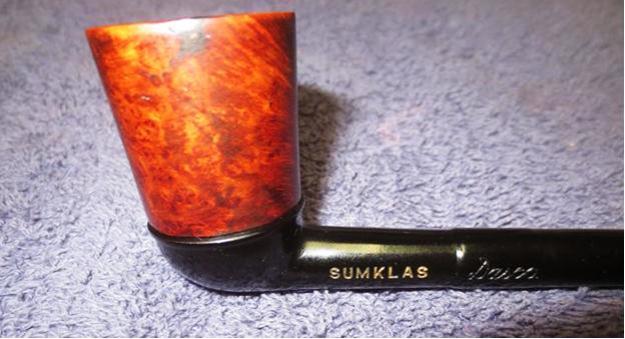
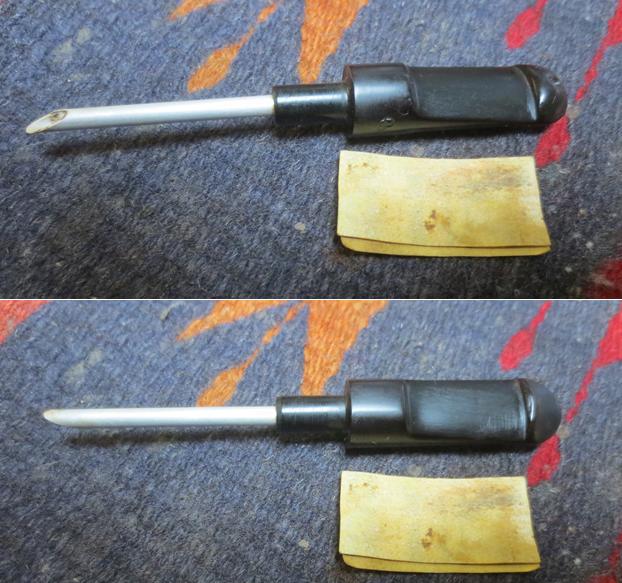
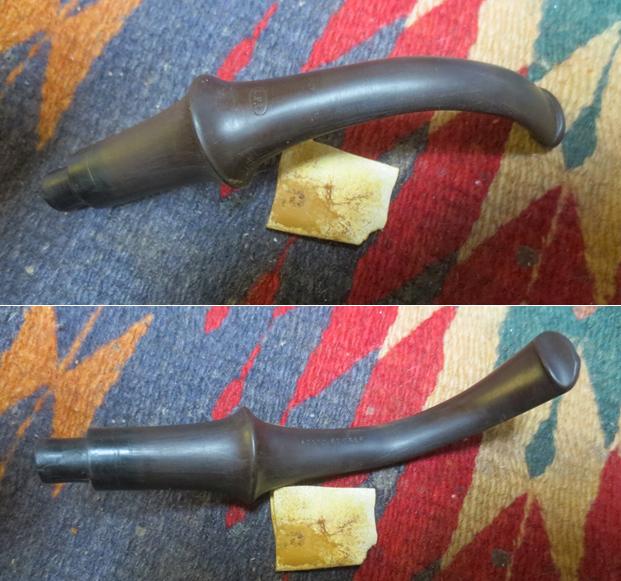
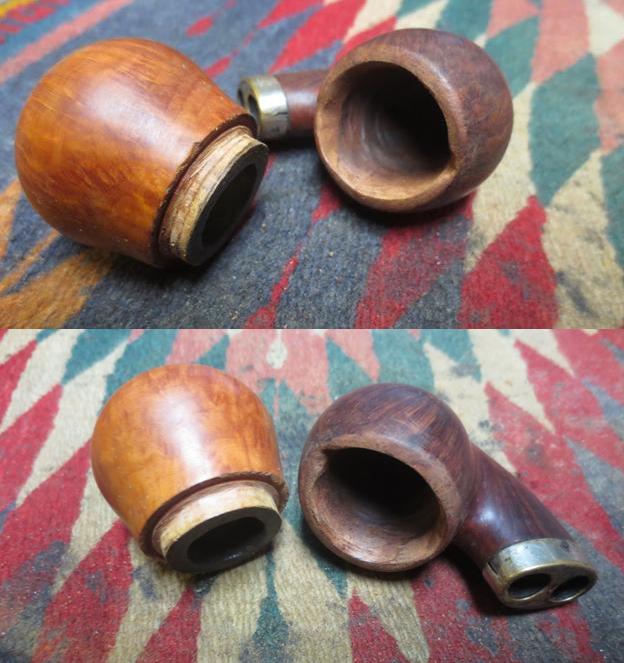
 I put the stem in the shank and took some photos. The alignment is always a little off when the stem is first inserted. In this case the fit against the shank was perfect. The sides on the old stem and shank were just a little bit off. The left and top side aligned almost perfectly but the right and underside of the stem need some minor adjustments to fit properly.
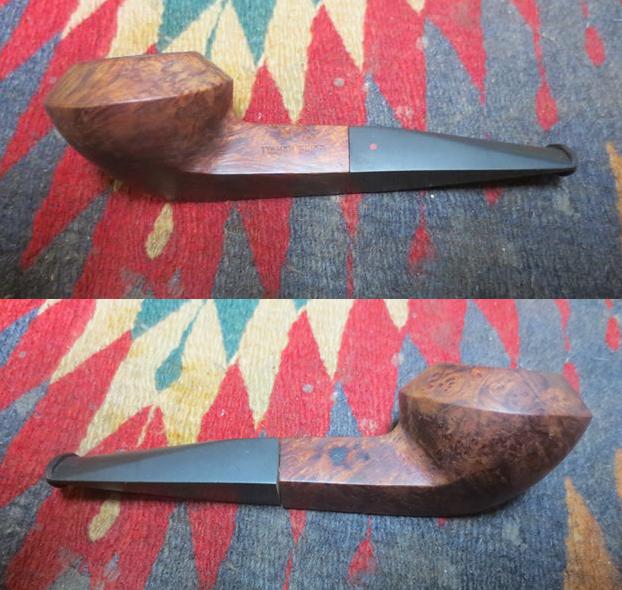
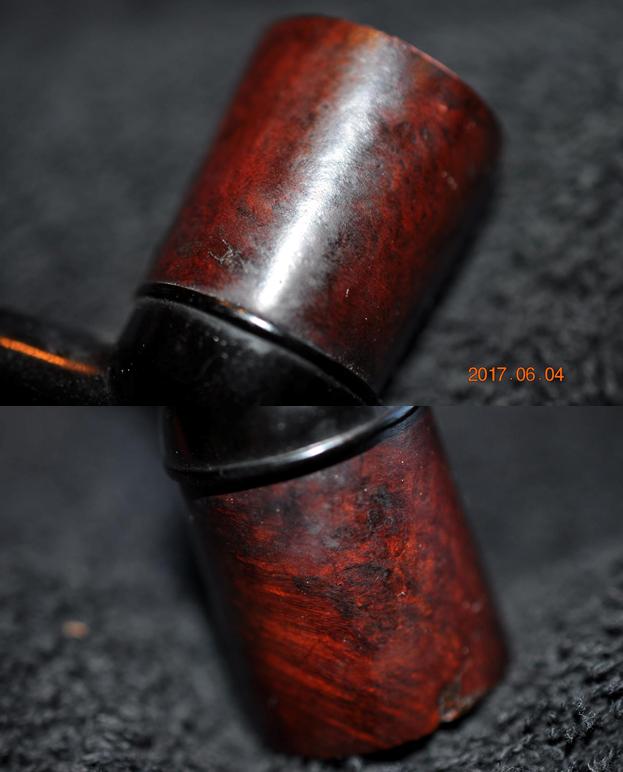
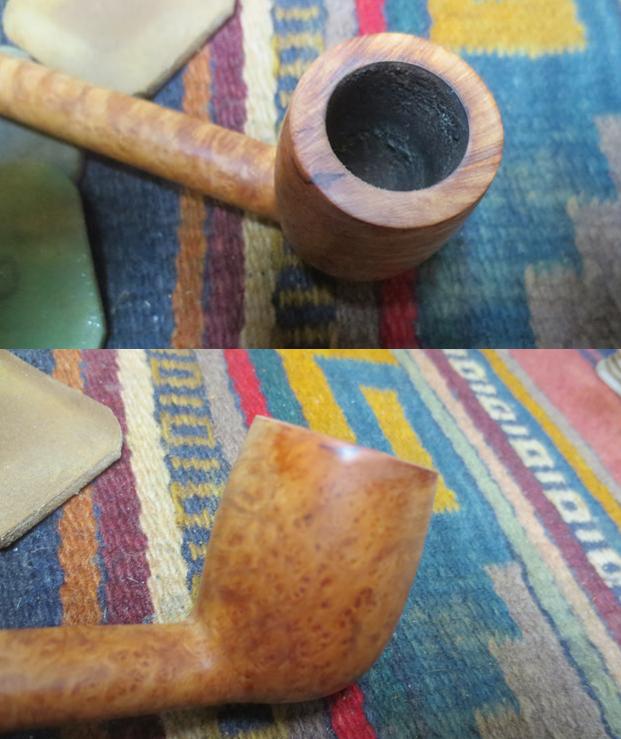
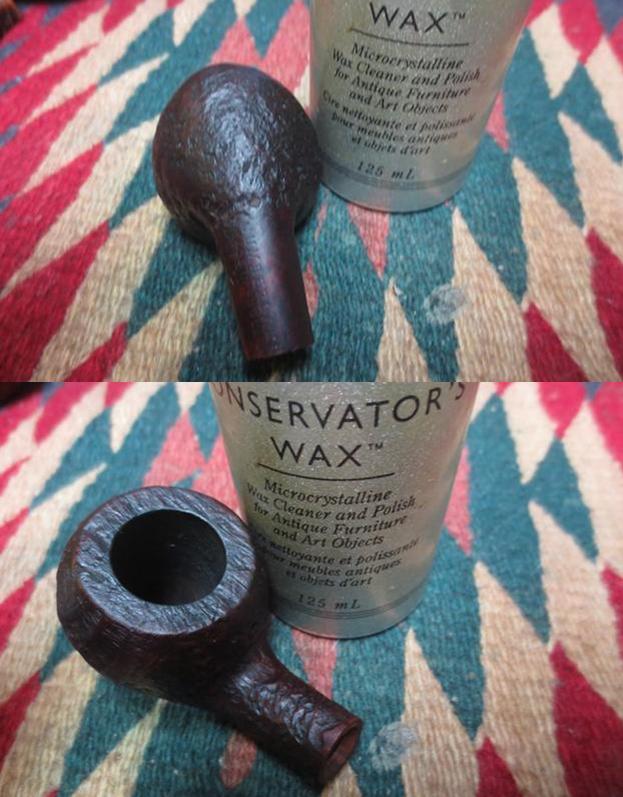
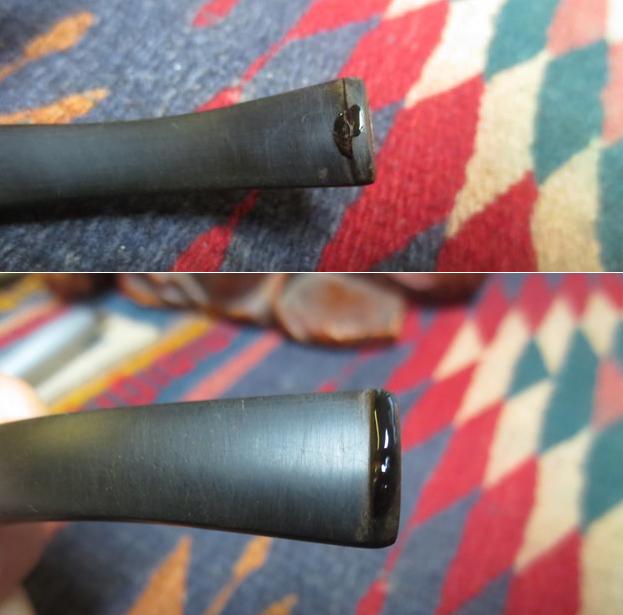
 I sanded the stem/shank connection with 220 grit sandpaper to smooth out the transition and make it smooth to touch. I wiped the bowl down with acetone on a cotton pad to remove the remaining finish from the bowl. When I was finished I took photos of the fit and it was looking really good.
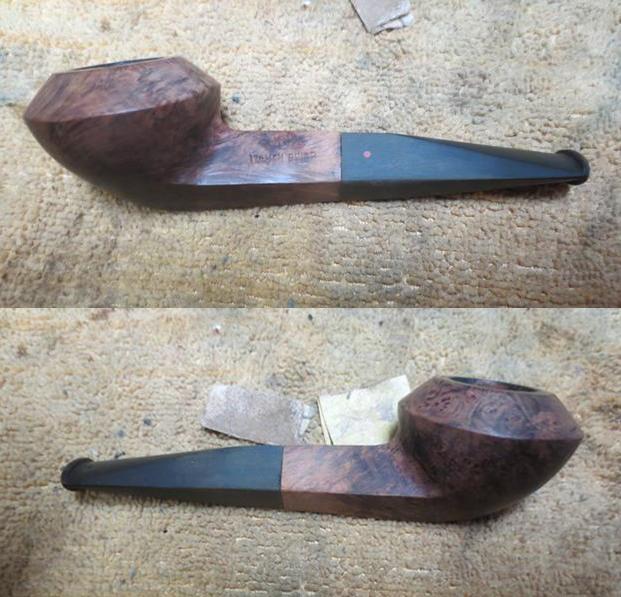
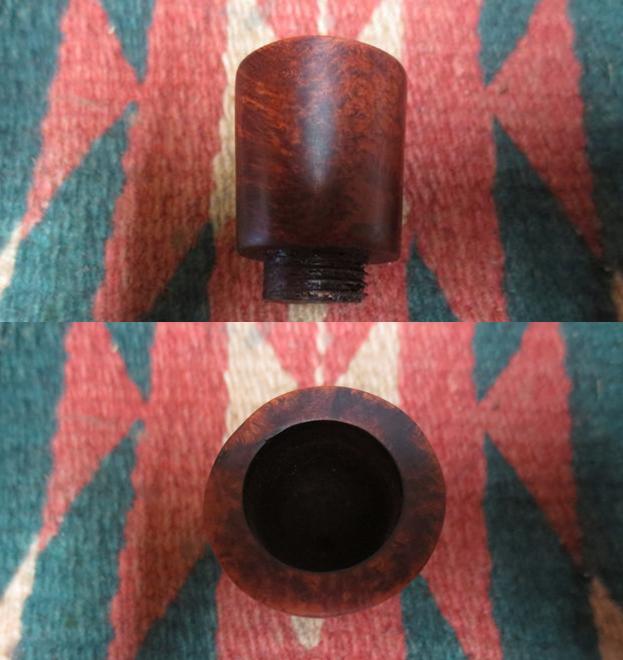
 I topped the bowl with 220 grit sandpaper on a topping board. I topped it until the surface was smooth and the damaged areas were removed. I used a folded piece of sandpaper to smooth out the inner edge of the bowl.
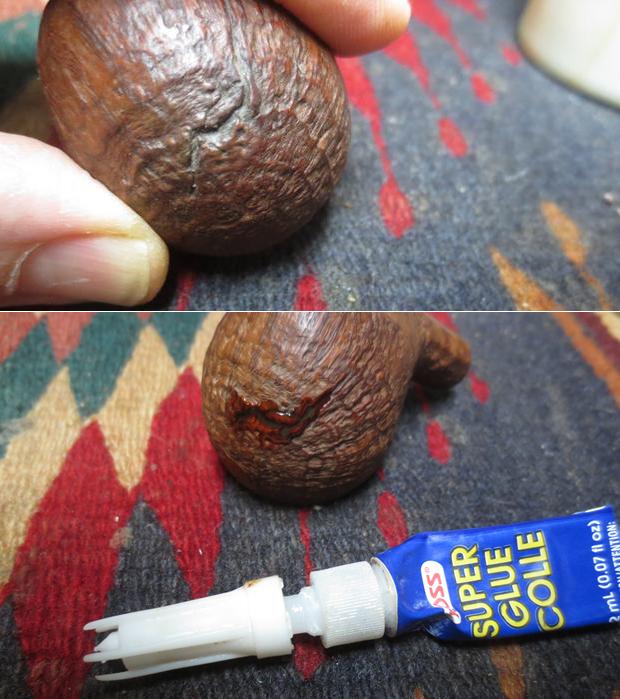
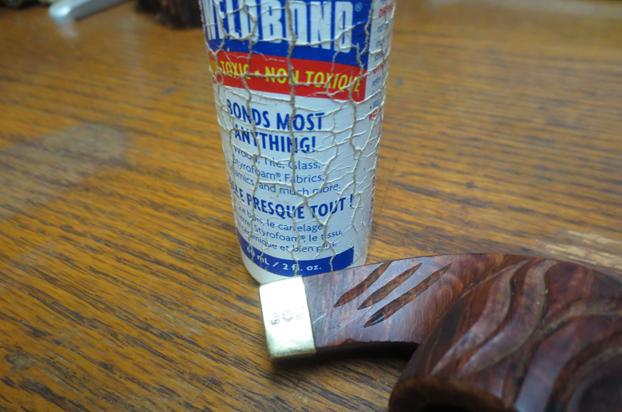
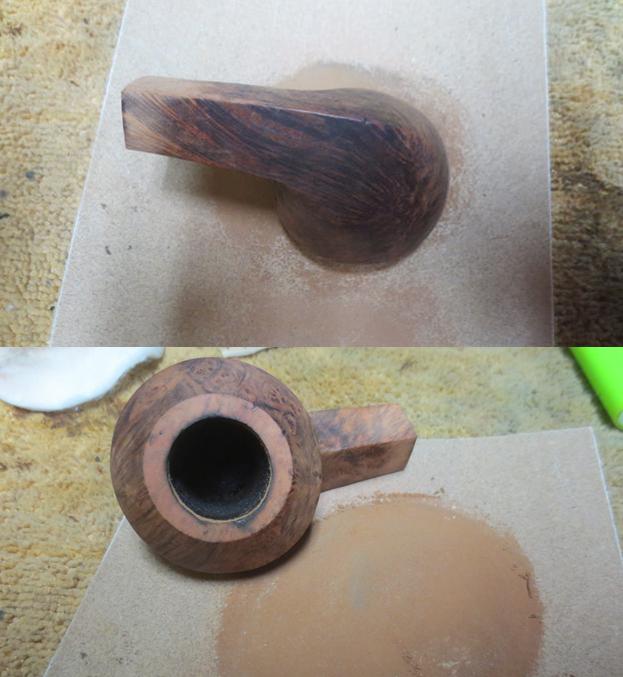 I sanded the stem surface to remove the scratches and damage to the flat sides of the diamond and also the flat angle to the button. I wiped the stem down with alcohol on a cotton pad and removed the debris left behind by the sanding. I filled in the tooth marks with clear super glue and when the glue dried I sanded the repairs smooth with 220 grit sandpaper. I put some clear super glue on the tenon to build it up so that the fit in the shank would not be too loose. When the glue dried I sanded the surface of the tenon until it was smooth.
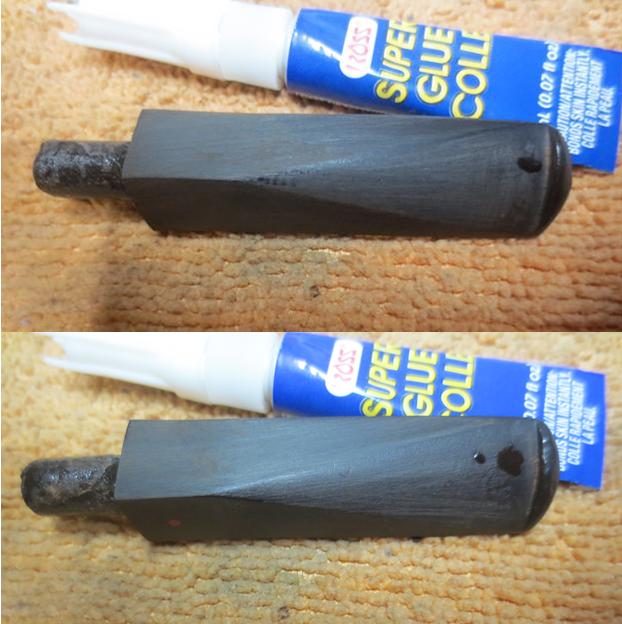
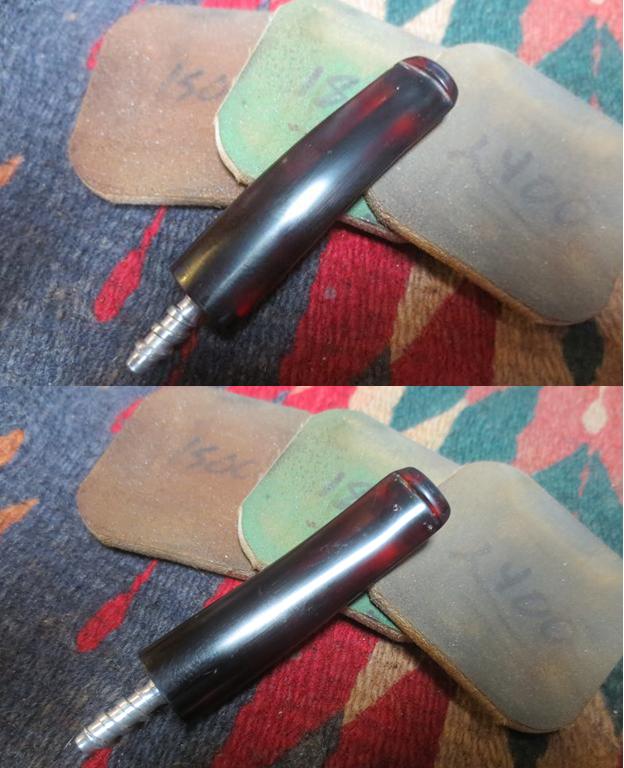
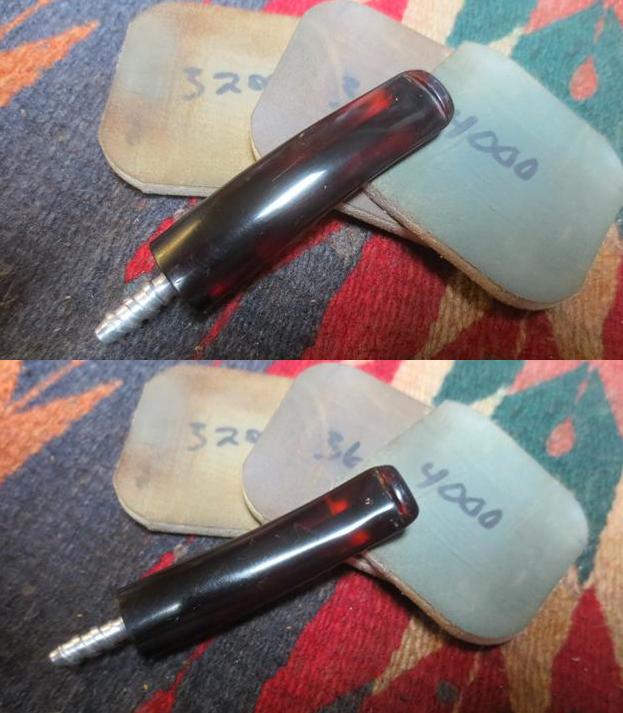
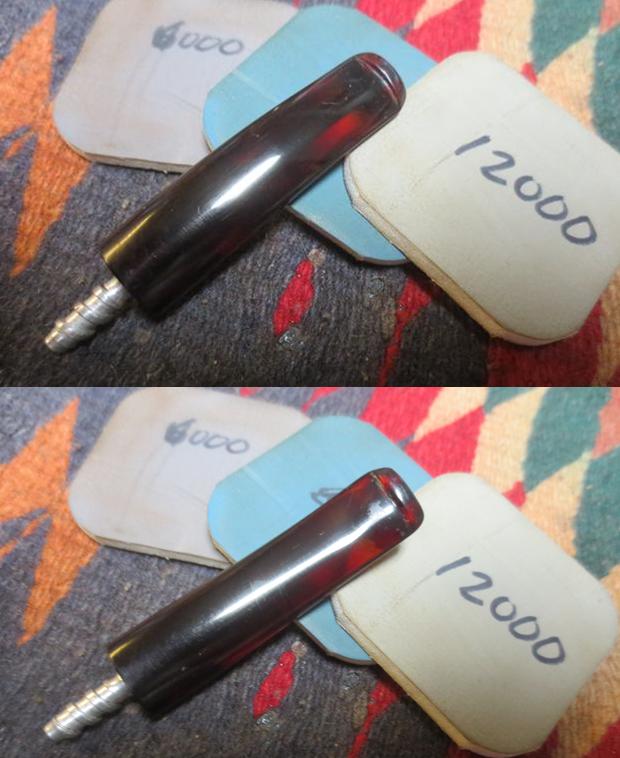
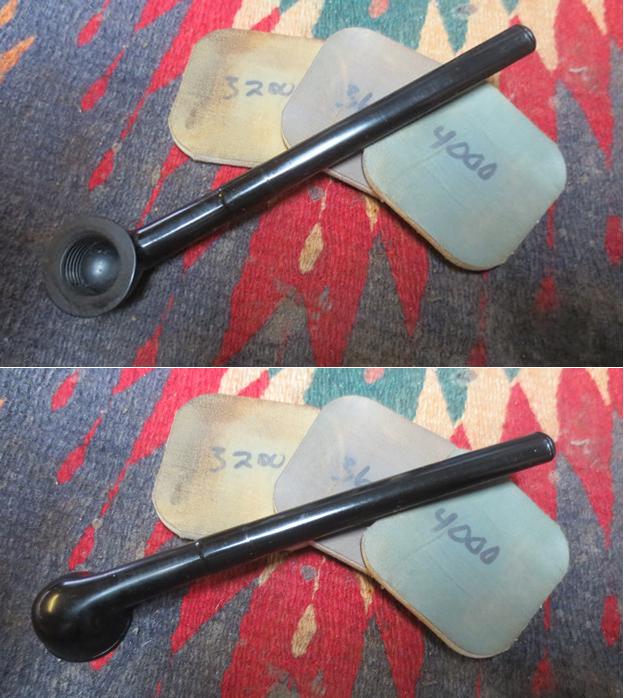
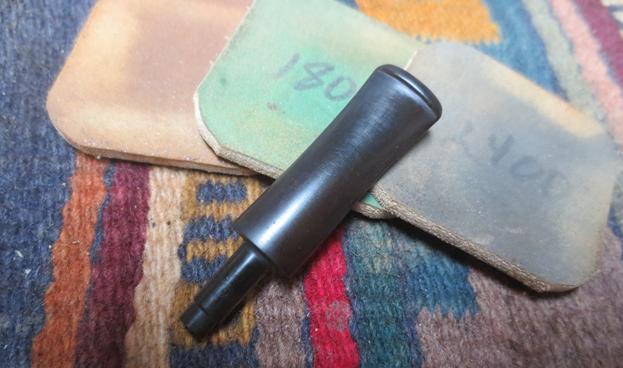
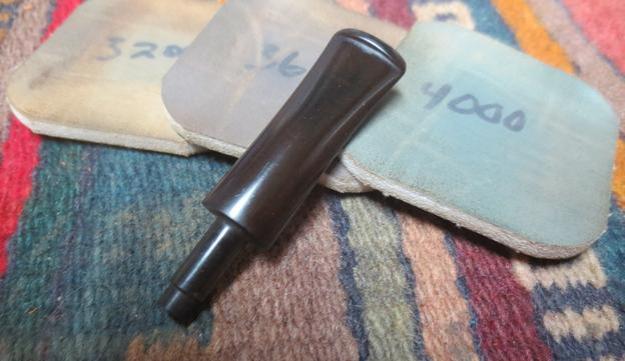
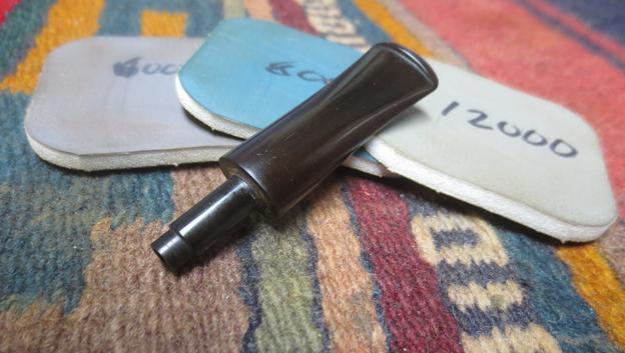
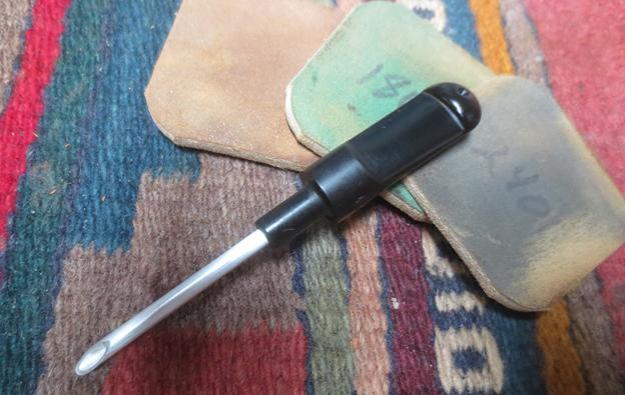
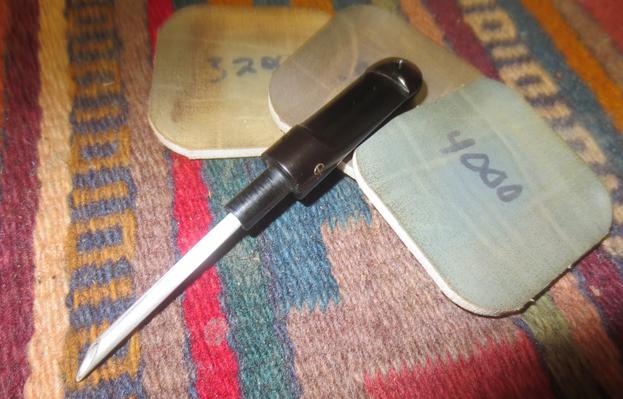
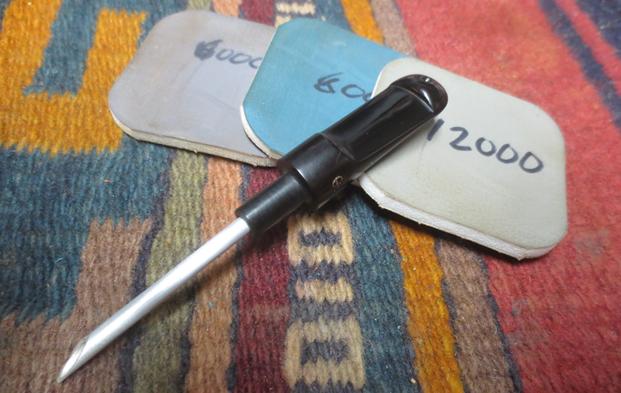
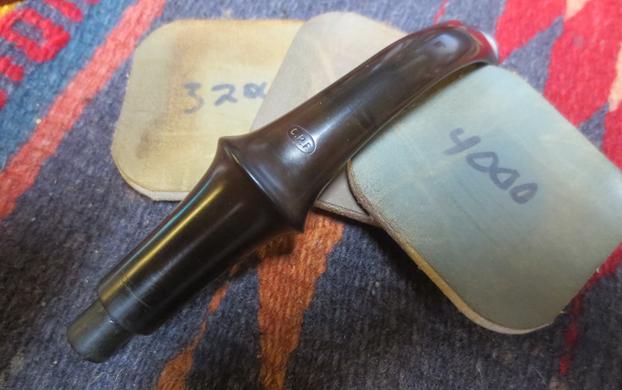
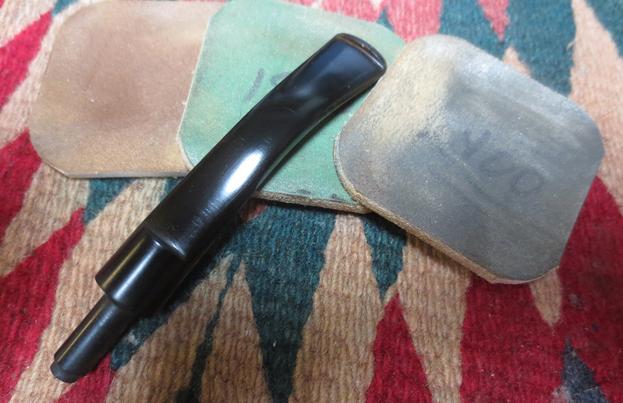
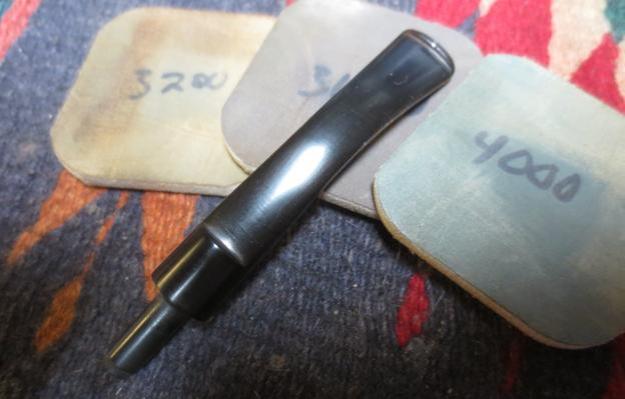
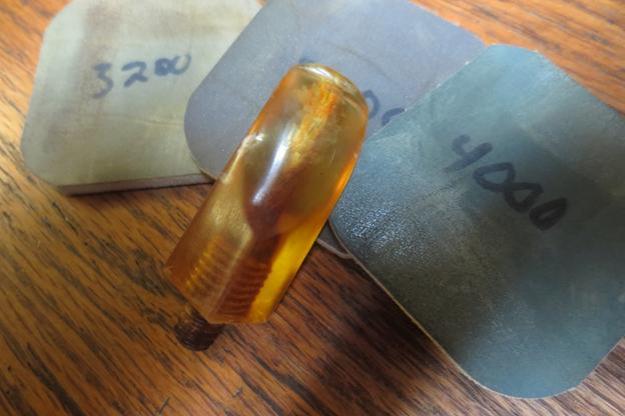
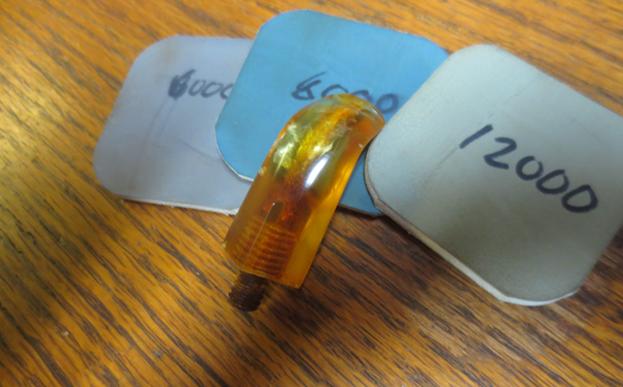
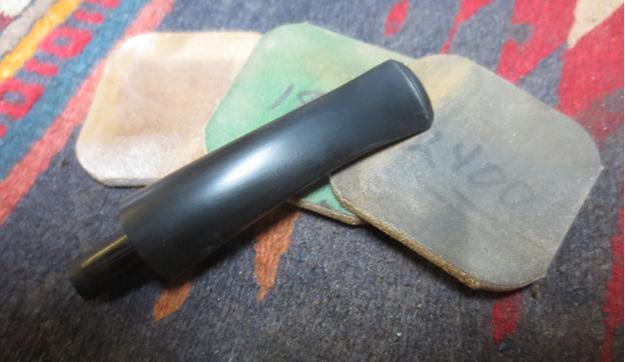
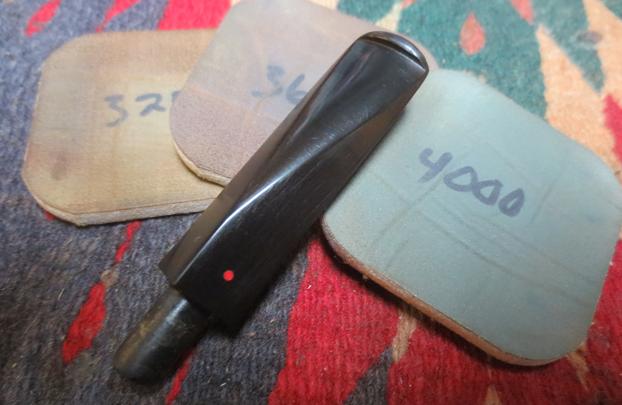
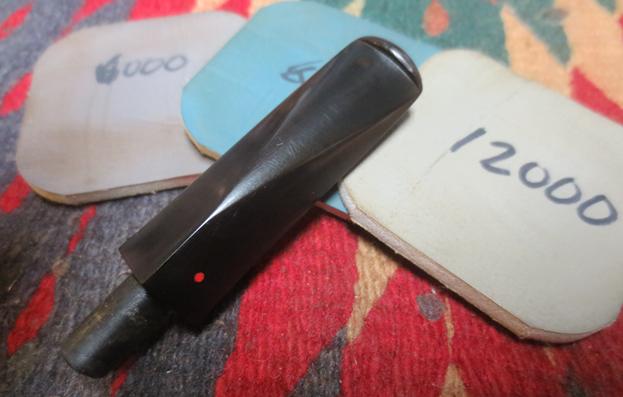
 I polished the stem with micromesh sanding pads – wet sanding it with 1500-2400 grit pads and dry sanding it with 3200-12000 grit pads. I rubbed the stem down with Obsidian Oil after each pad and after the final pad I gave it a final coat of oil. I set it aside to let it dry.
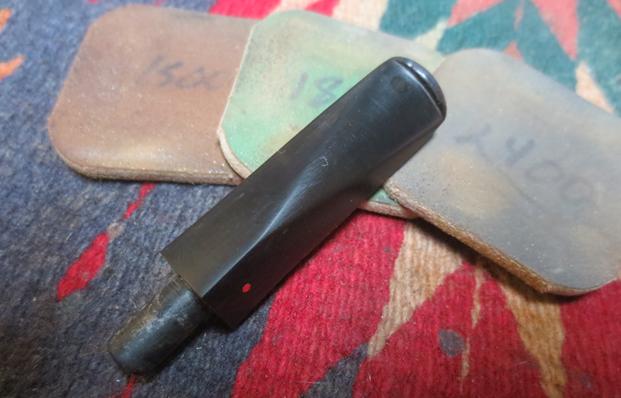
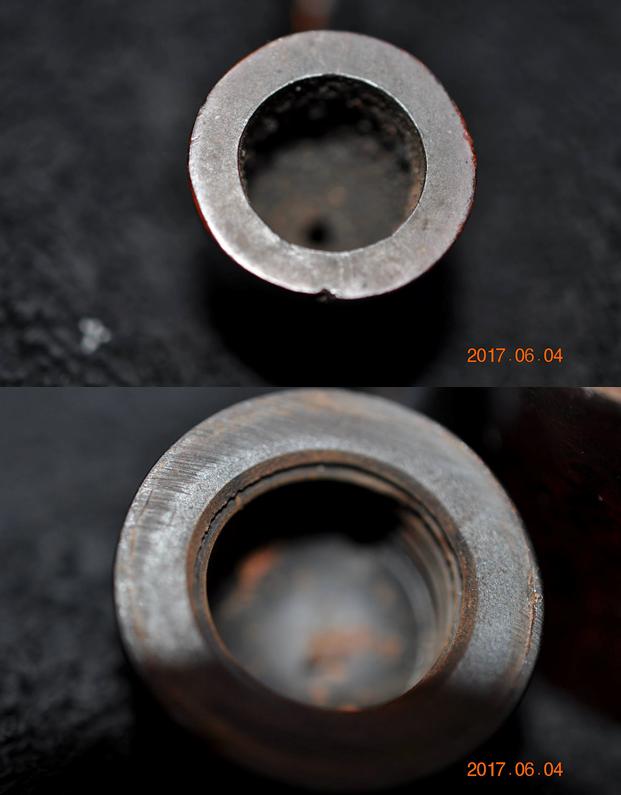
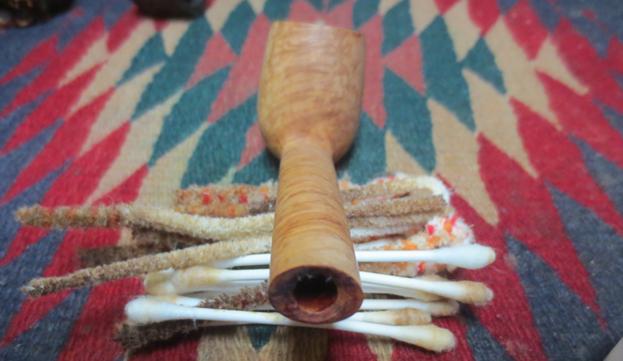
 I scraped out the inside of the mortise with a pen knife to remove the glue build up on the walls. I cleaned up the bevel with the blade of the knife at the same time to make sure that it did not interfere with the fit of the stem against the shank. I cleaned out the airway and mortise with pipe cleaners, cotton swabs and alcohol to remove the debris that remained once I pulled the old tenon. It took a few pipe cleaners and swabs but it did not take too long to clean it up.
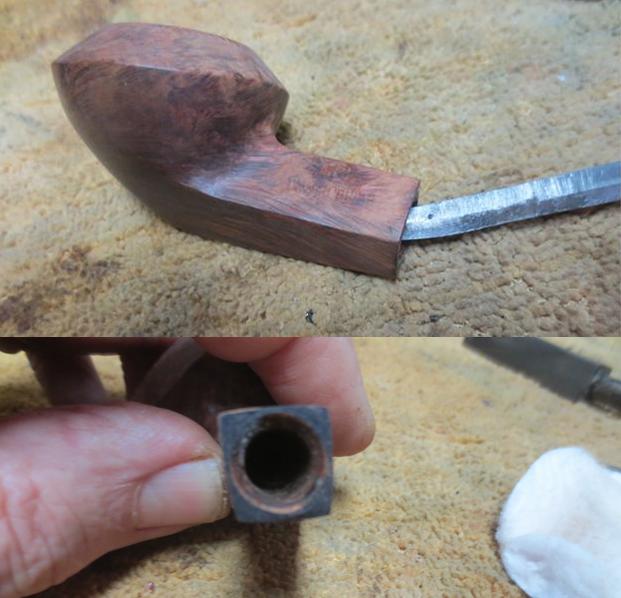
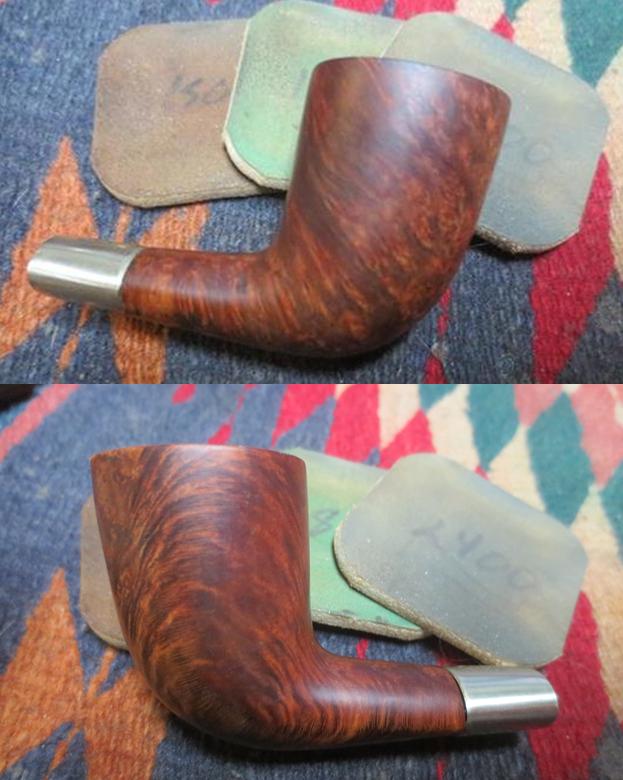
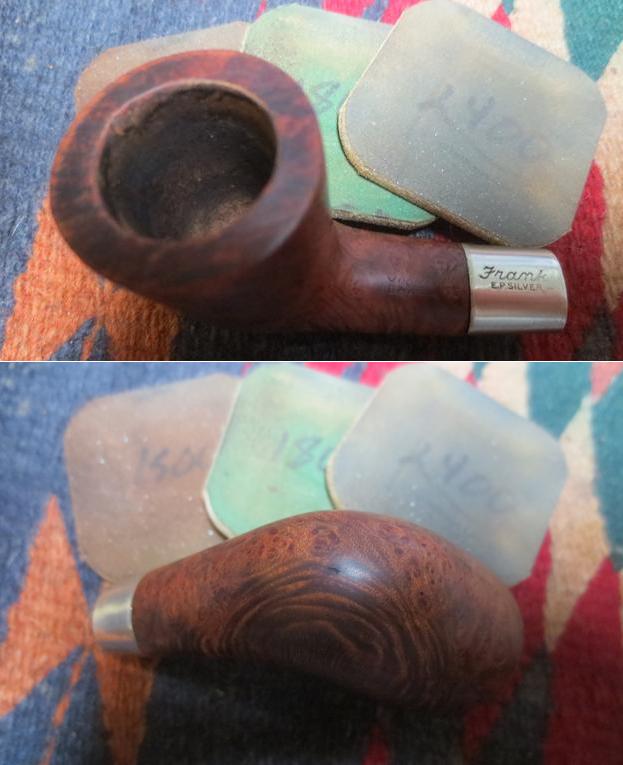
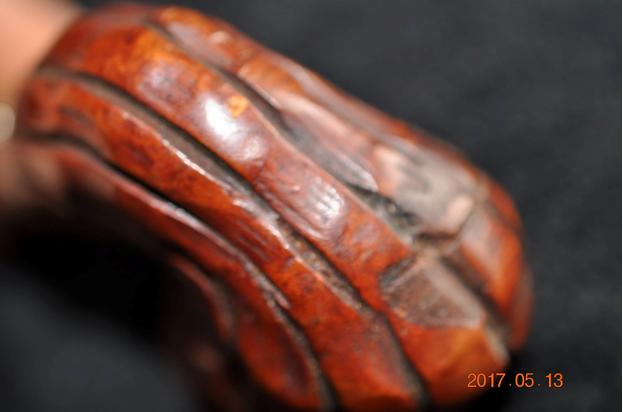
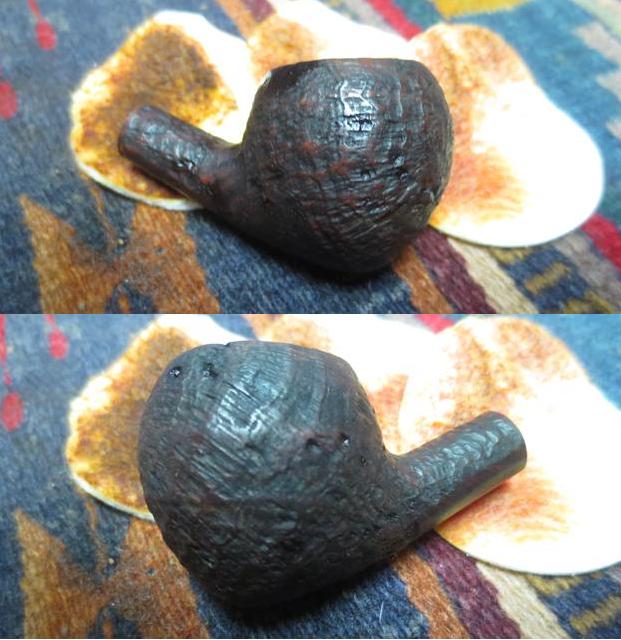
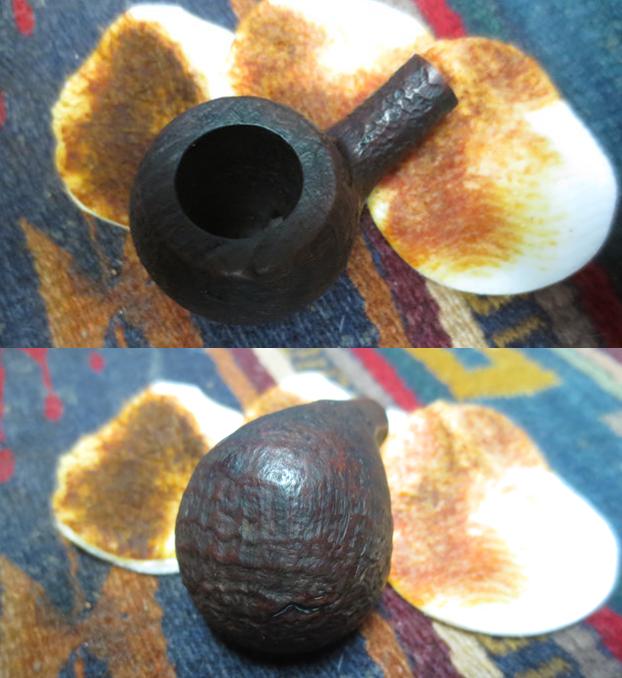
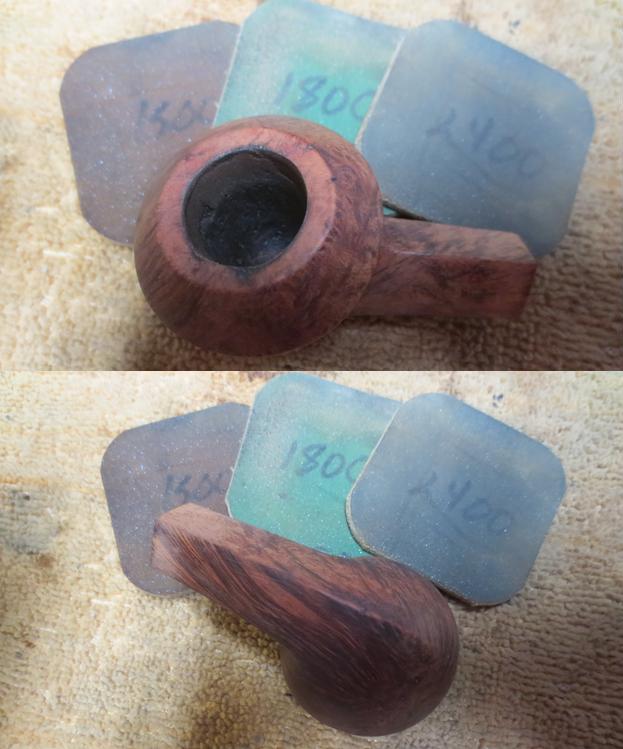
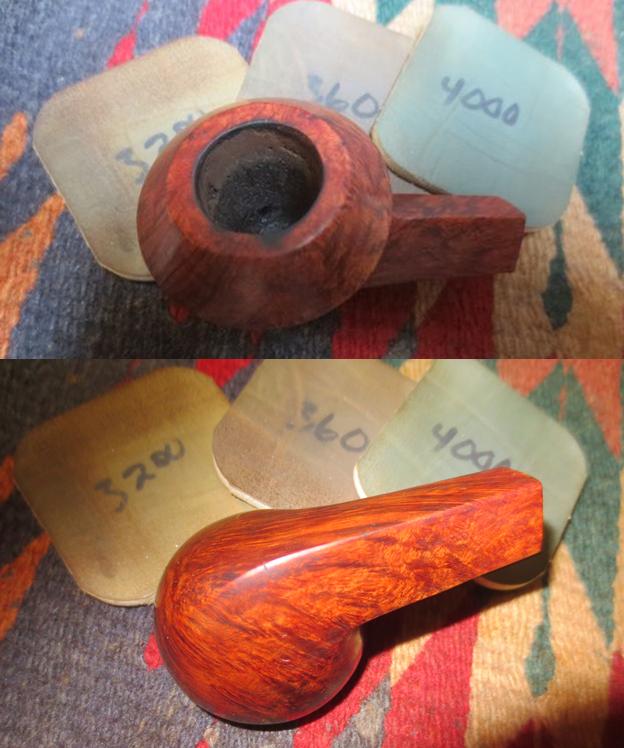
 I polished the briar with micromesh sanding pads – wet sanding it with 1500-2400 grit sanding pads. I worked around the stamping so I would not damage it in the process.
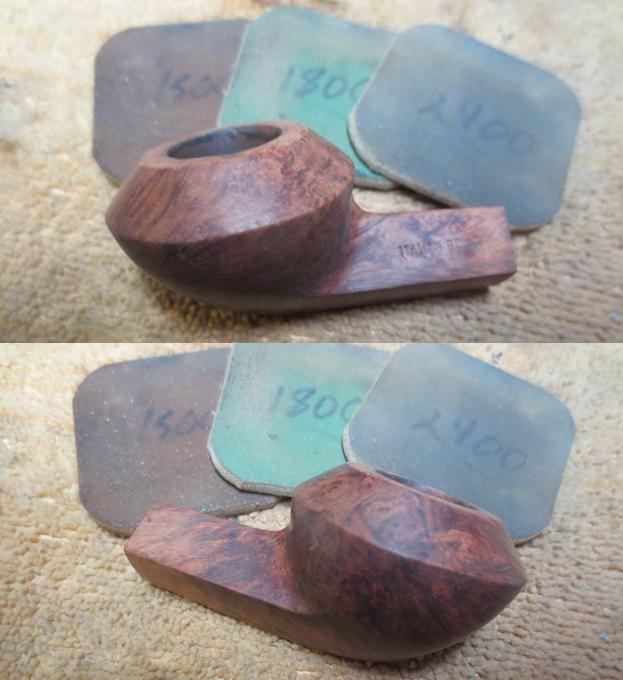
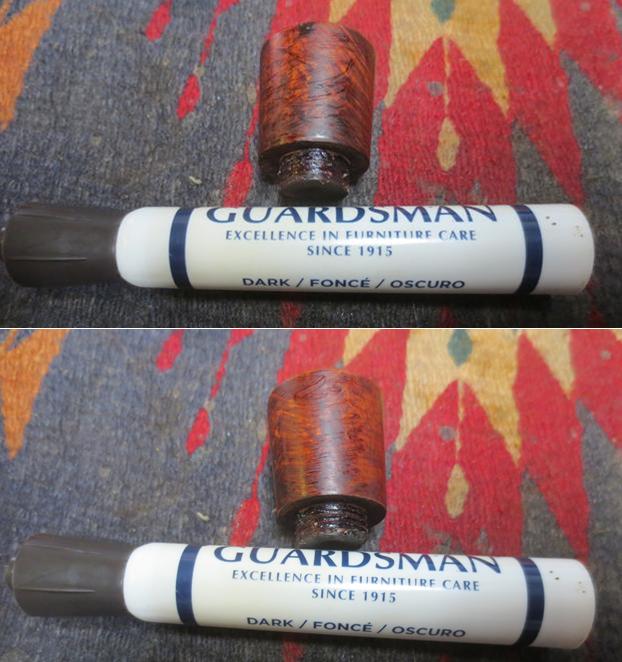
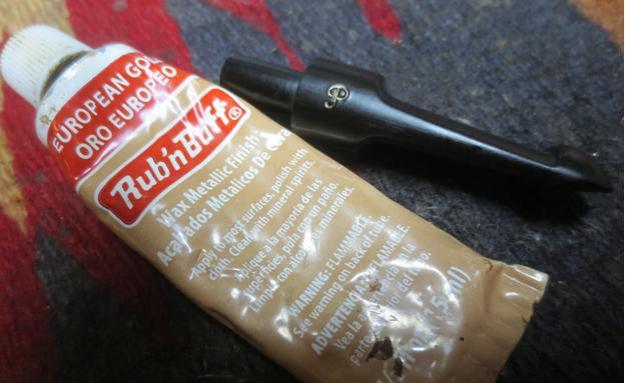
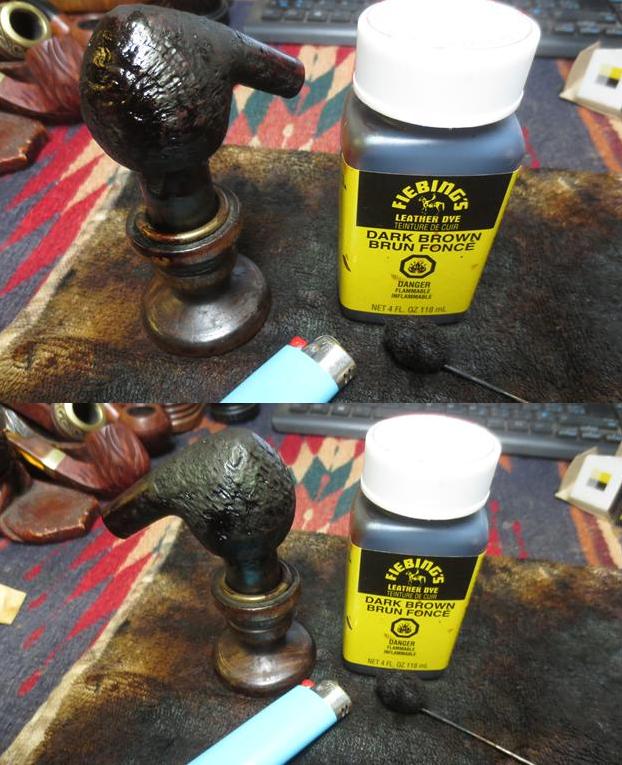
 I decided to stain the bowl with a medium brown stain pen rather than my regular aniline stain. I covered the sanded rim top, bowl sides and the shank with the stain.
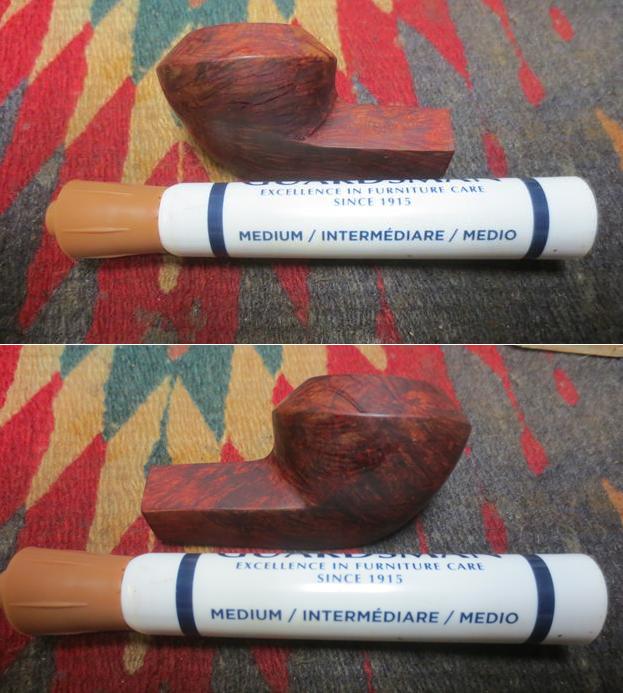
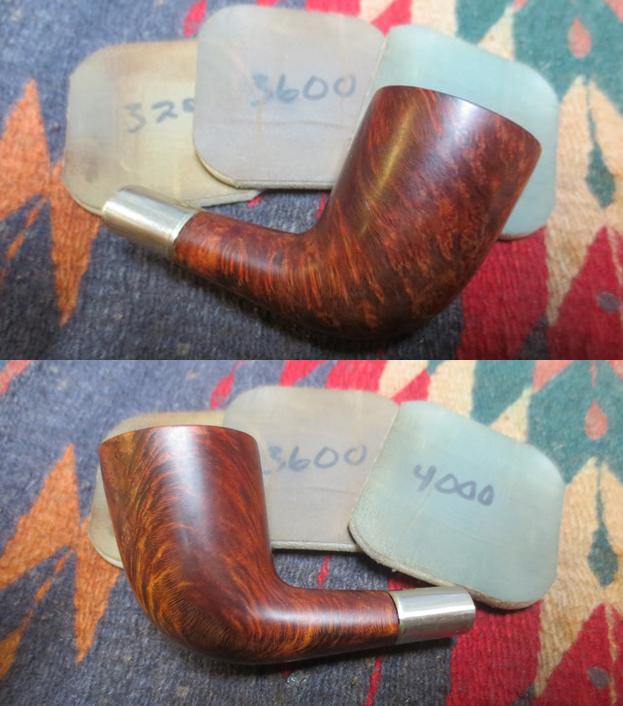
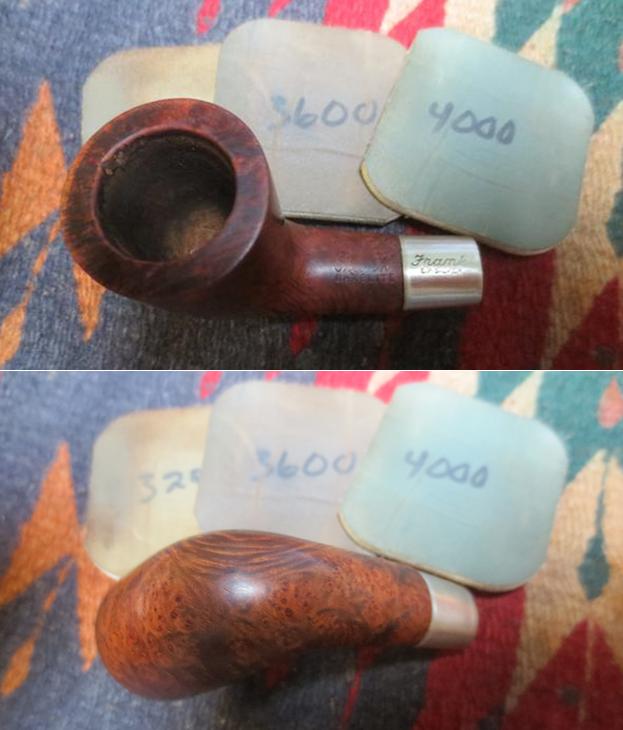
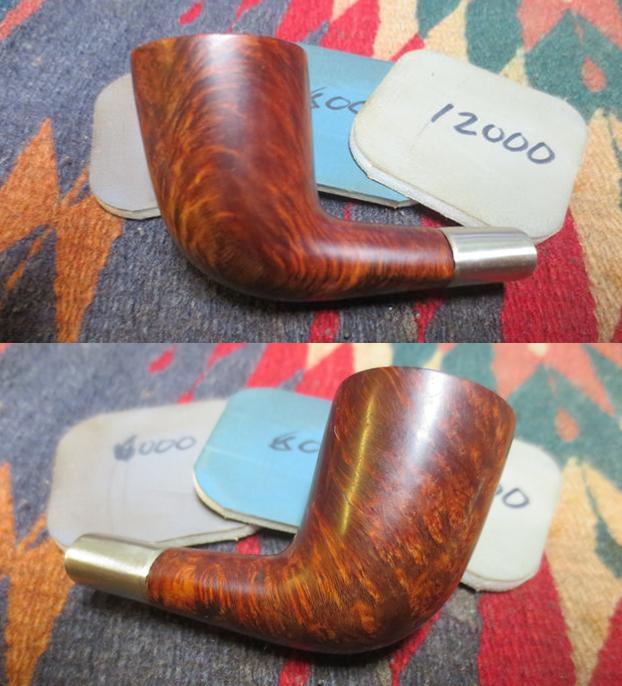
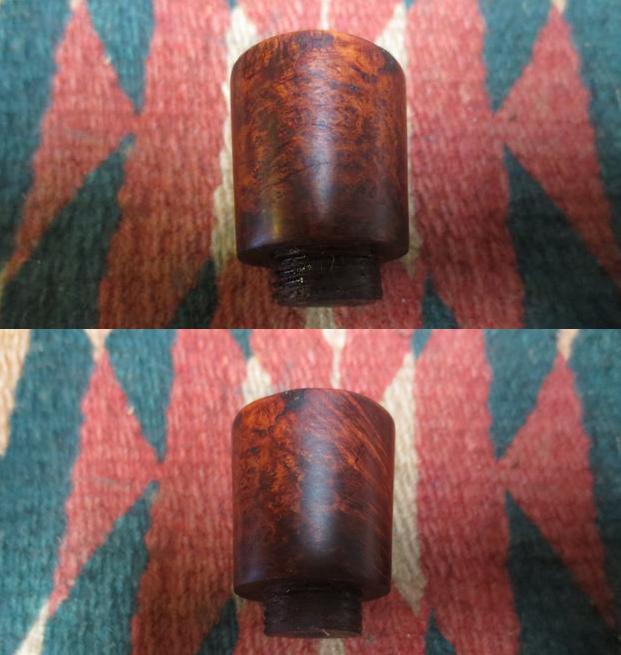
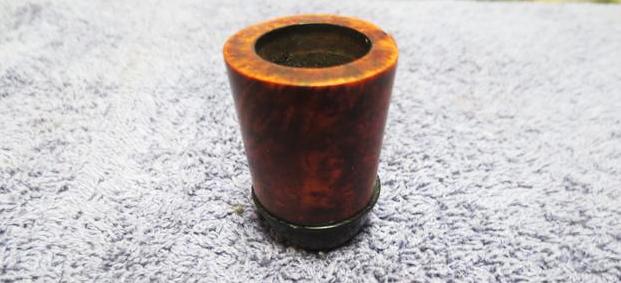
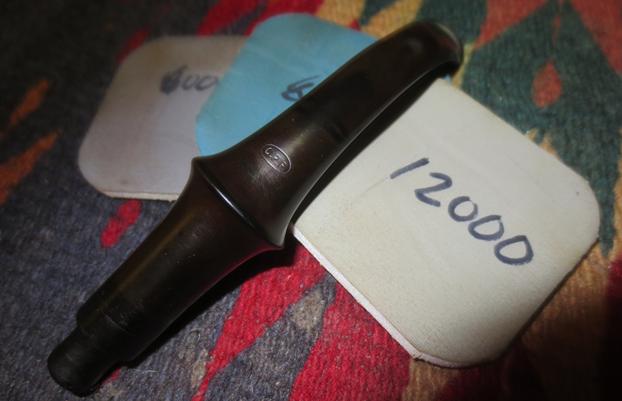
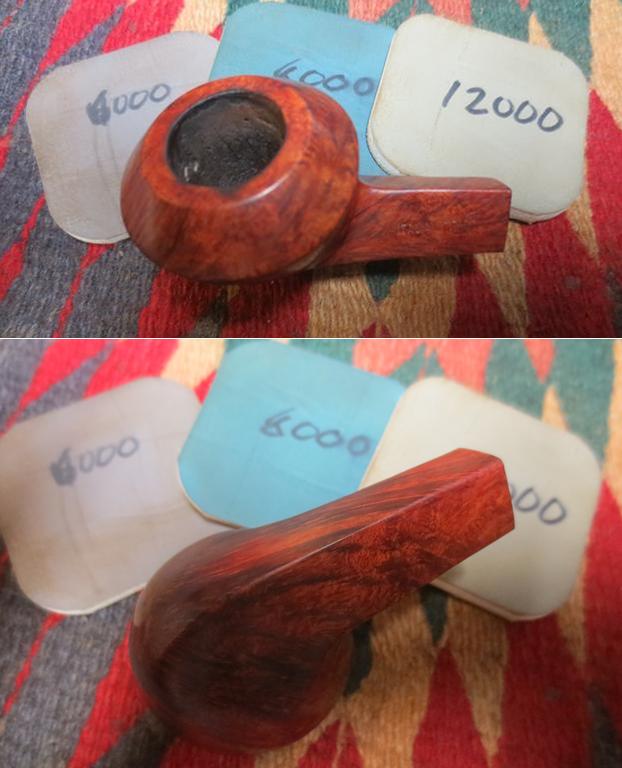
 I continued to polish the bowl with micromesh sanding pads – dry sanding it with 3200-12000 grit sanding pads. I wiped it down after each pad with a damp cotton pad. The briar began to really shine as I worked through the micromesh sanding pads.
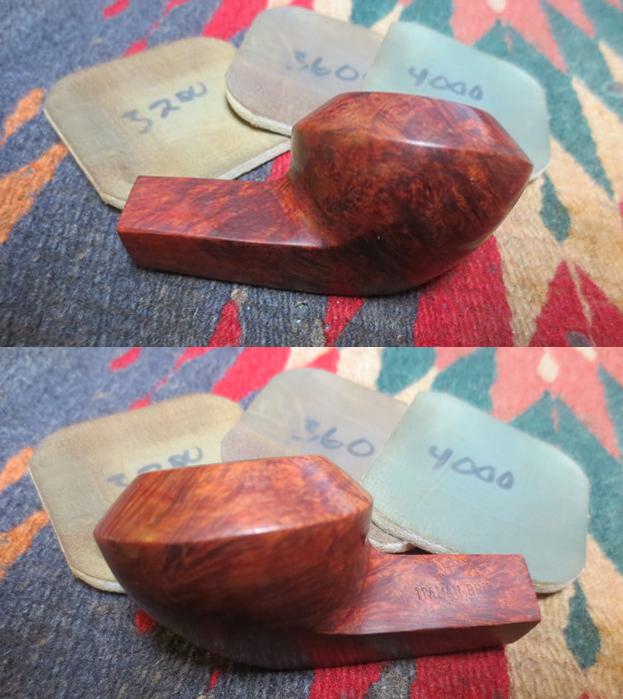

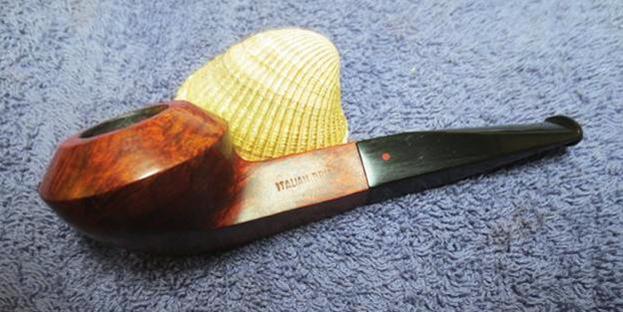
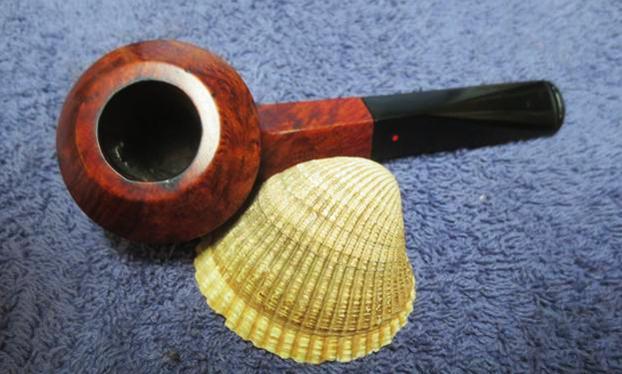
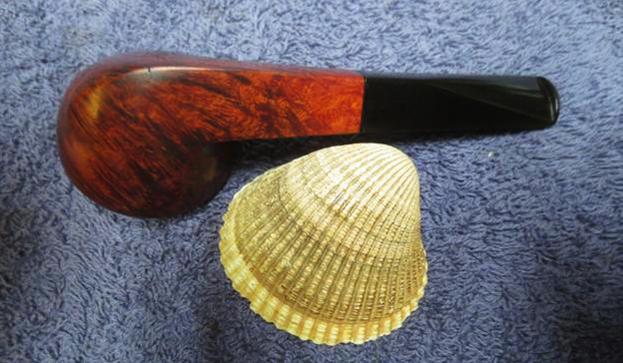
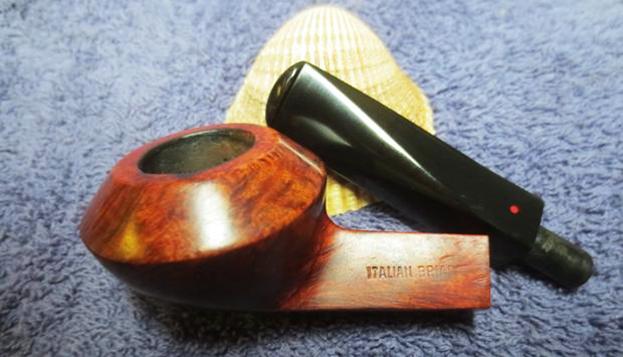
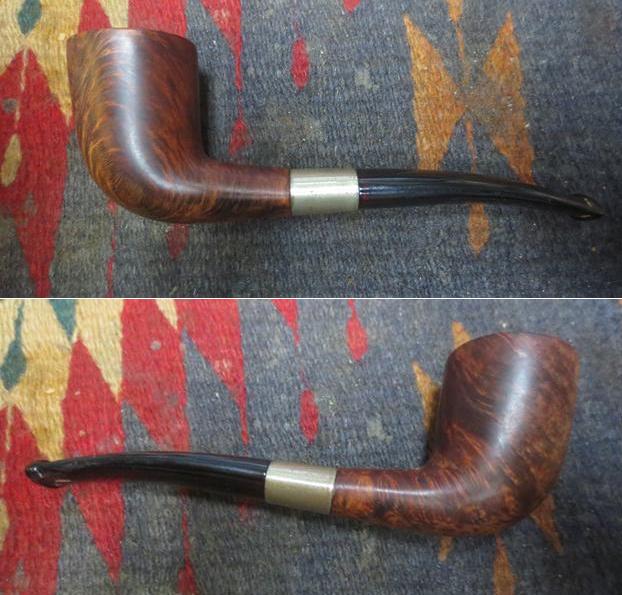
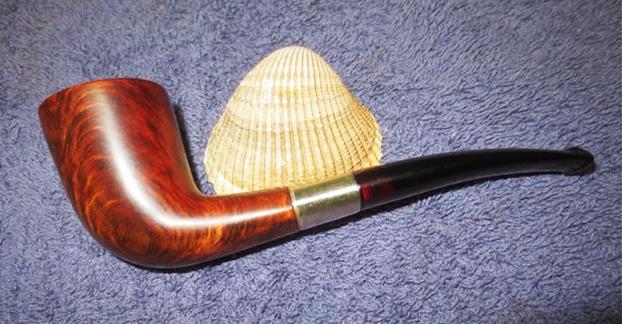
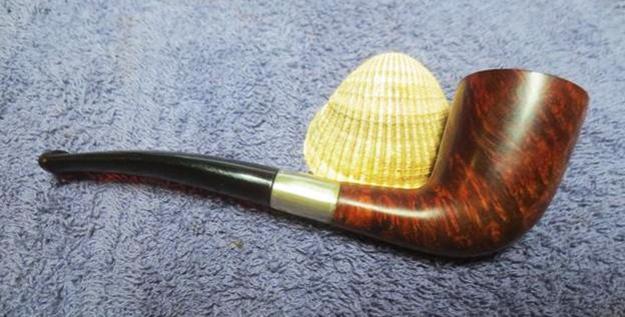
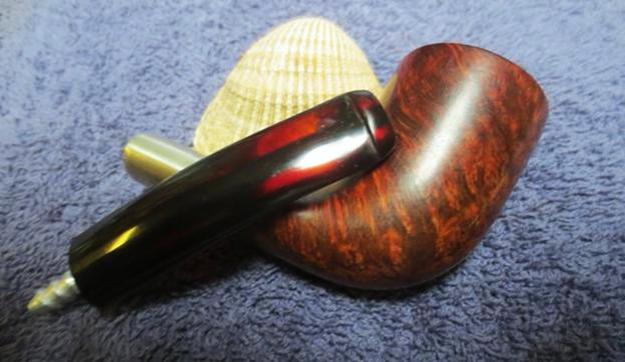
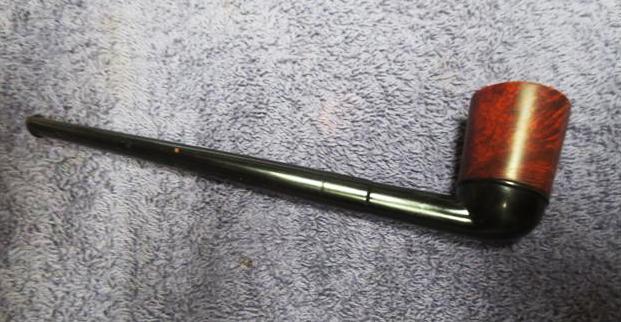
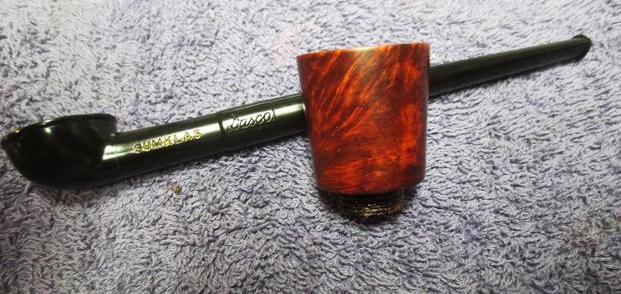
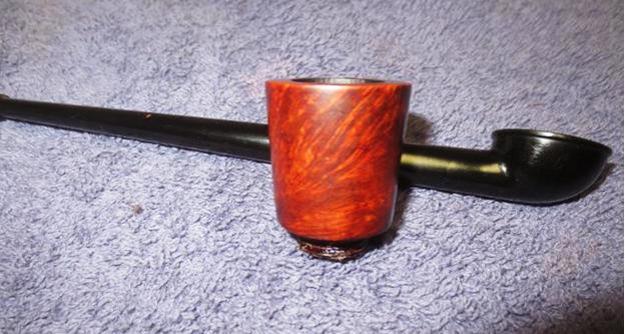
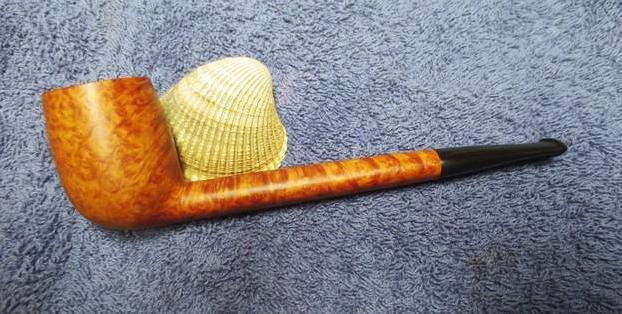
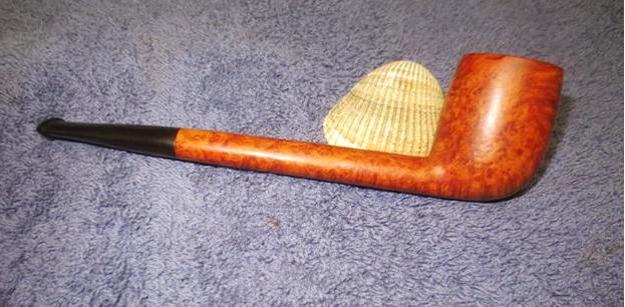
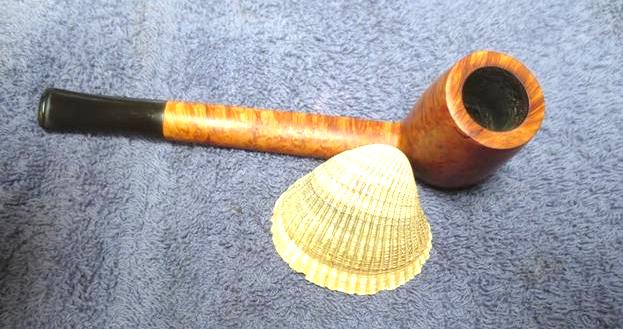
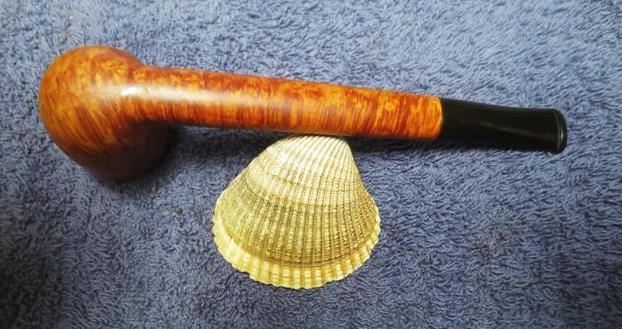
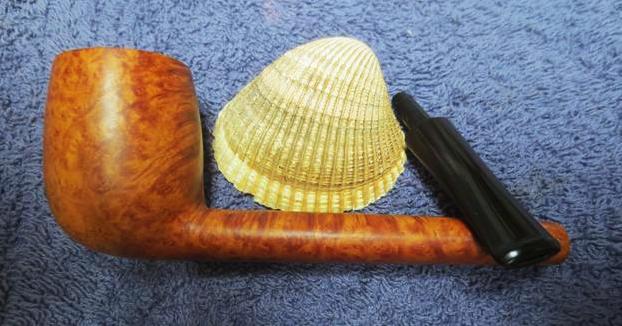
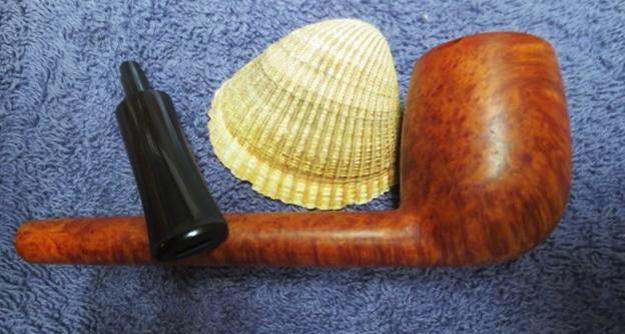
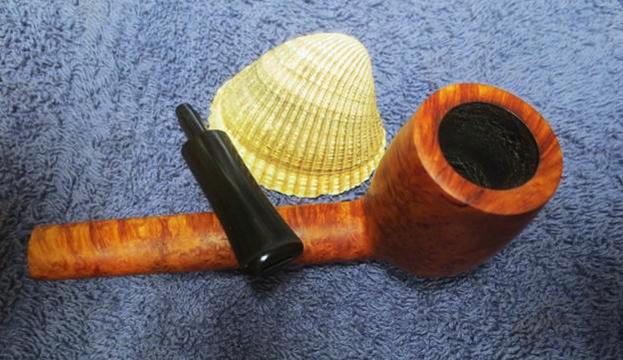
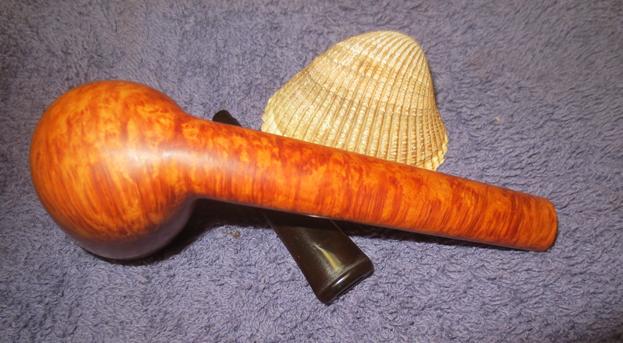
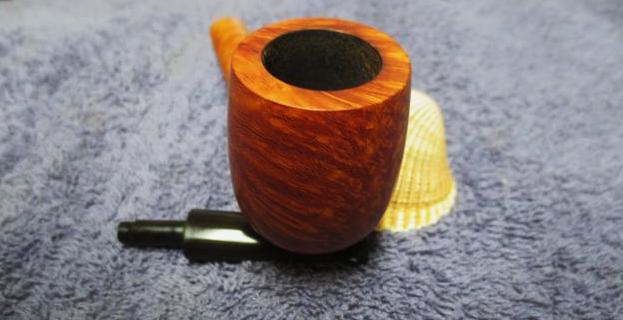
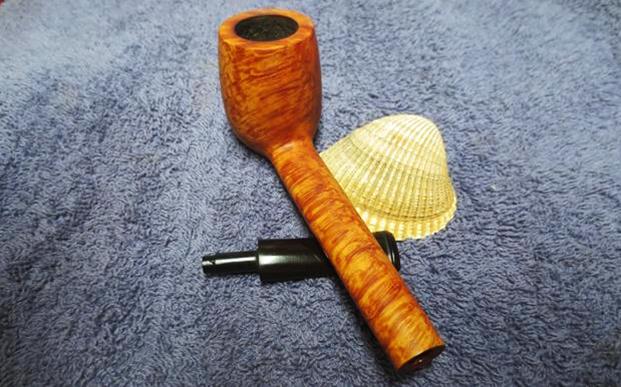
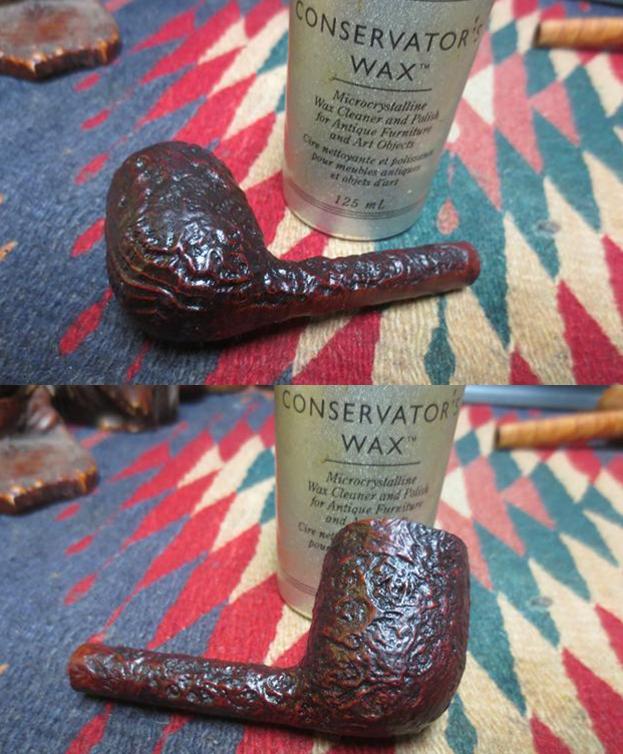
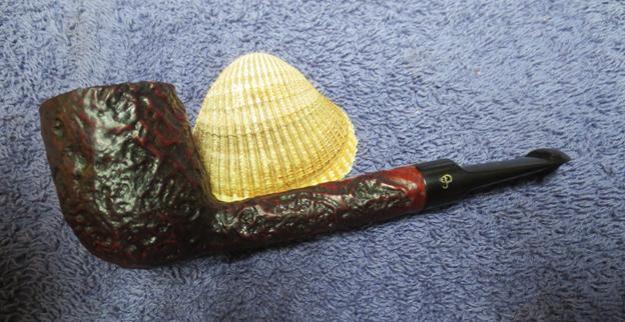
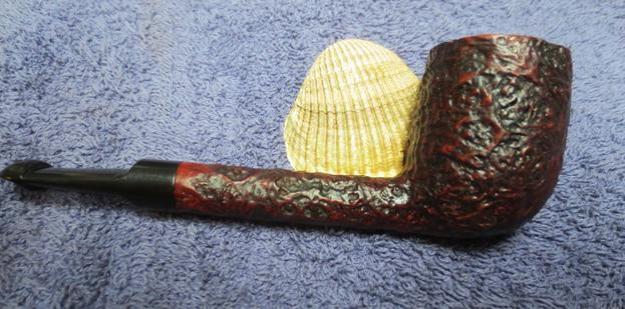
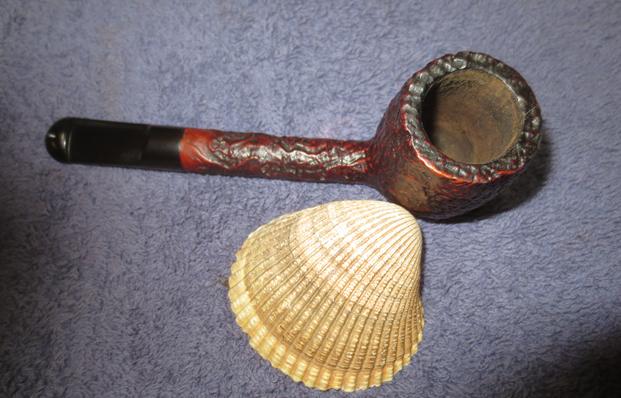
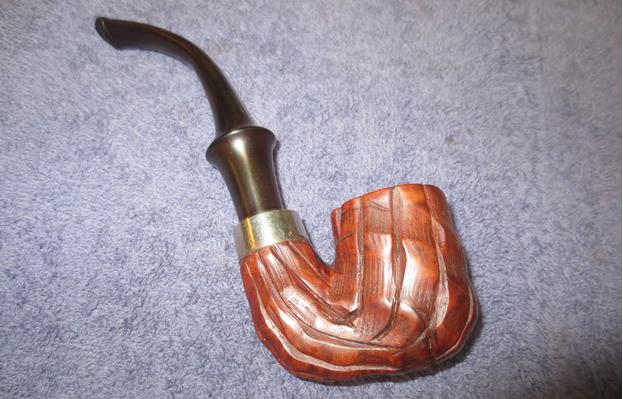
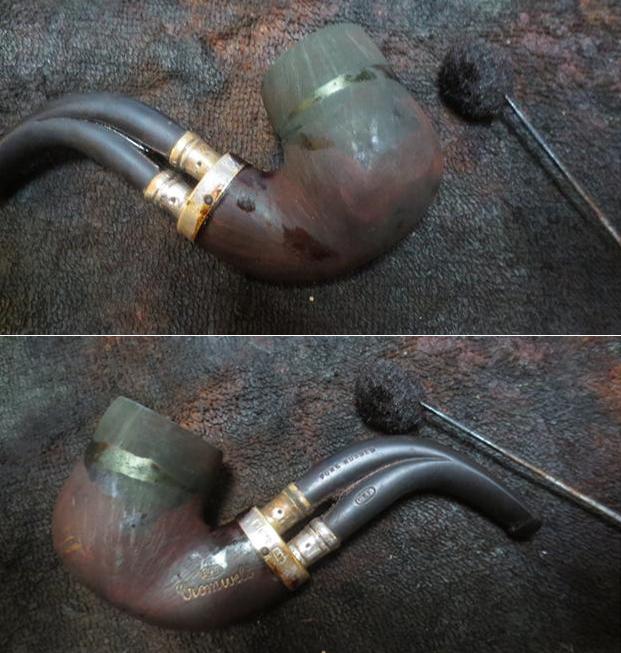
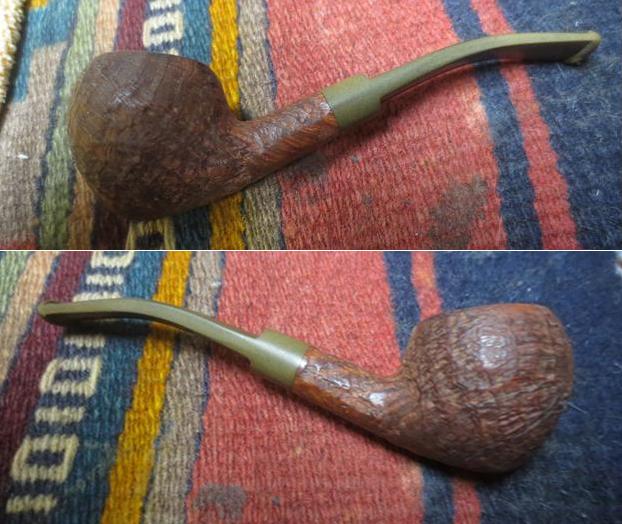
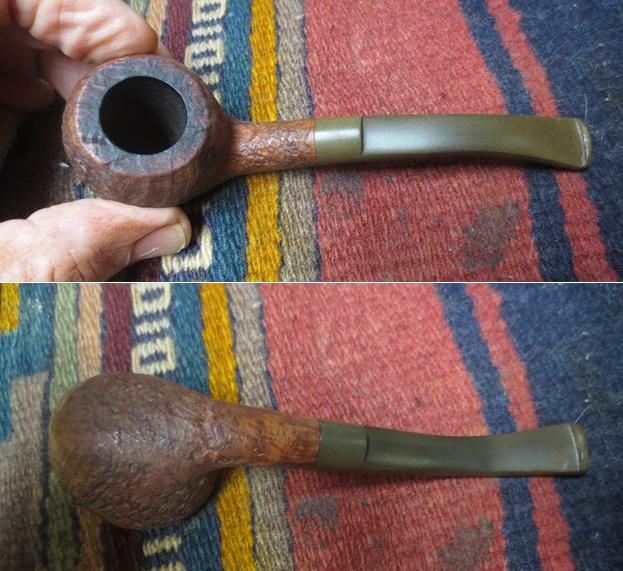
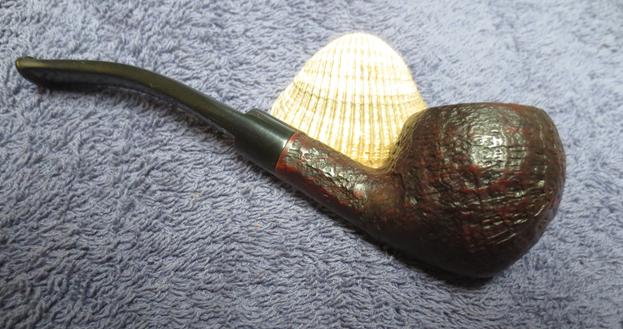
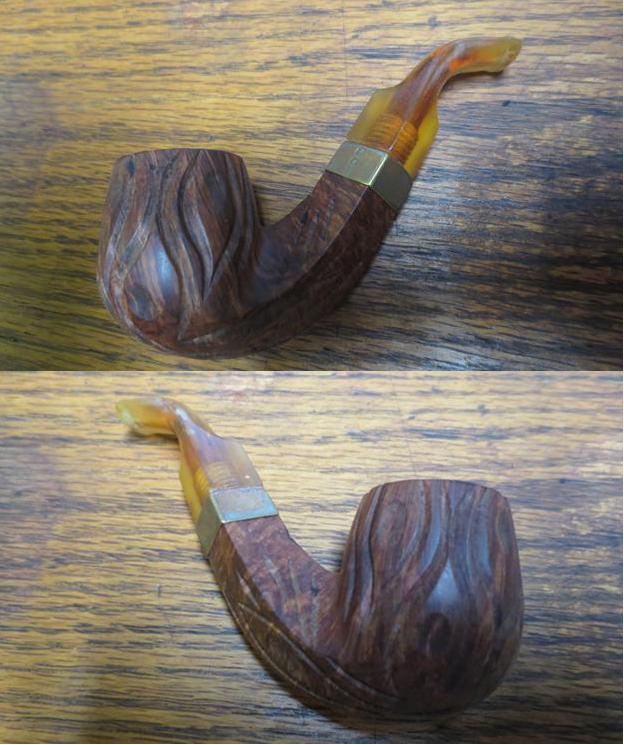
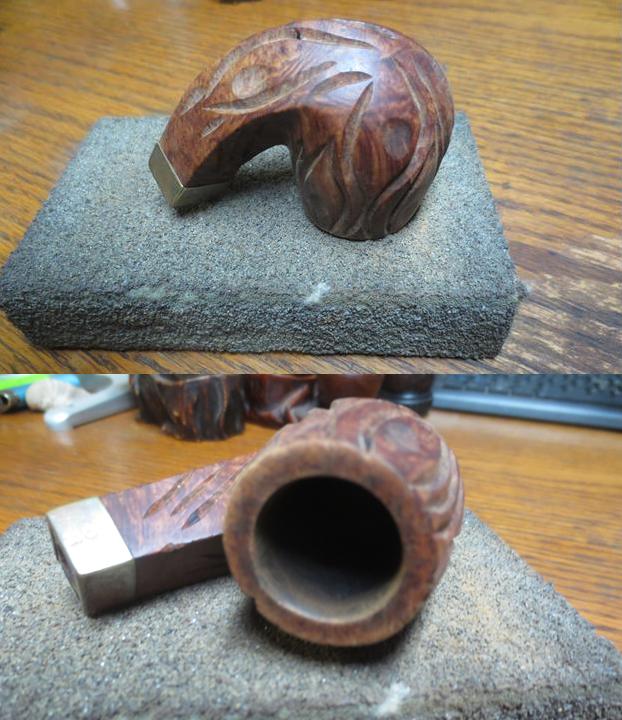
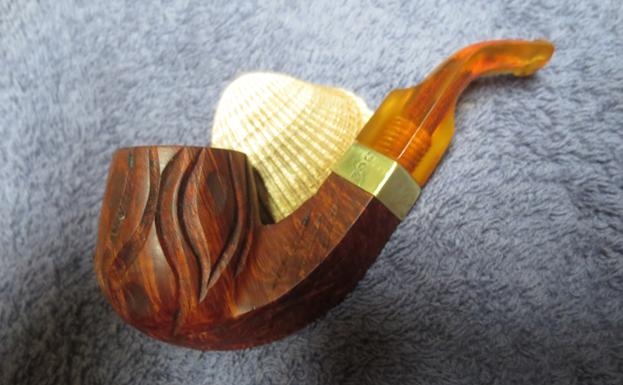
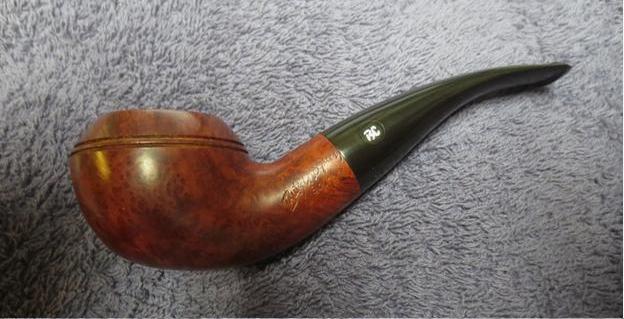
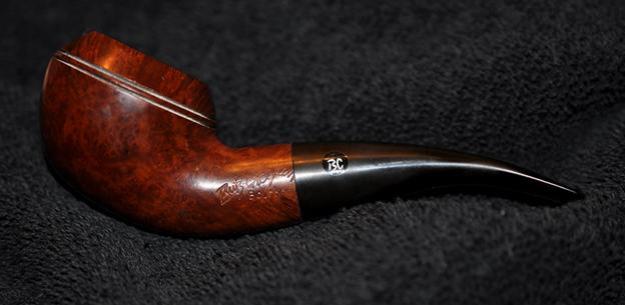
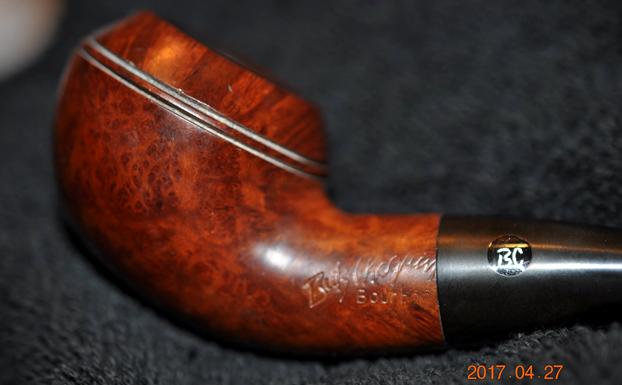
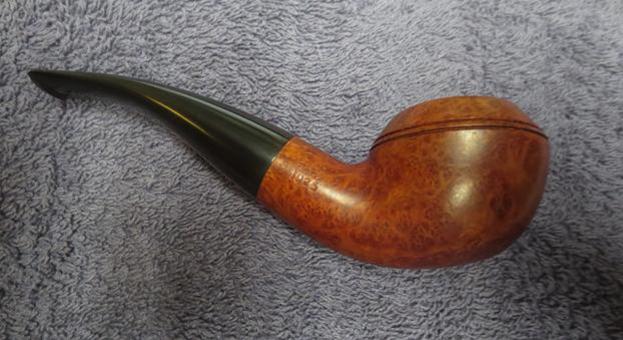
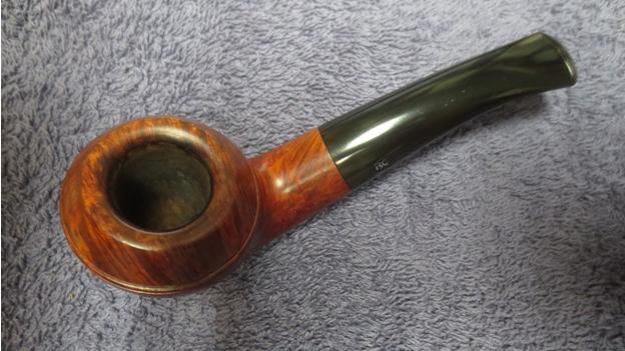
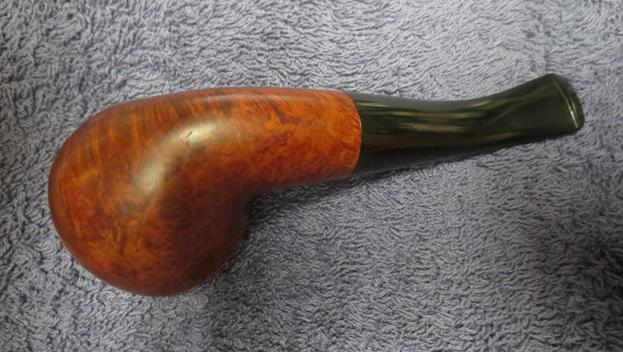
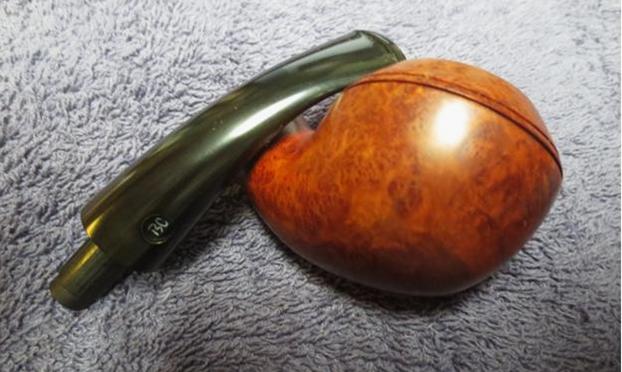
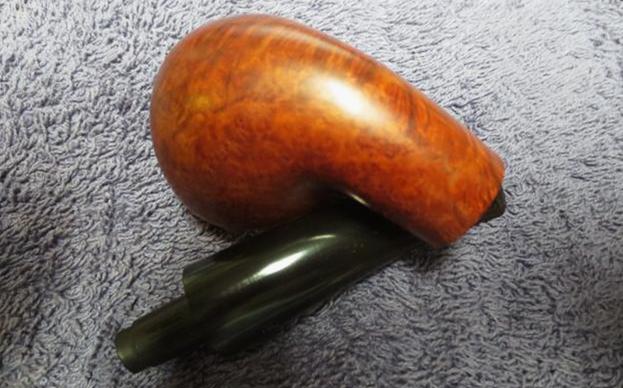
 I put the stem back on the bowl and buffed it with a carnauba wax buffing pad. I gave the stem and bowl multiple coats of wax. I buffed the completed pipe with a clean buffing pad to raise the shine. I hand buffed the pipe with a microfibre cloth to deepen the polish. The finished pipe is shown in the photos below. It turned out to be a pretty pipe. The black vulcanite stem with the red dot works well with the reddish colour of the briar. The grain stands out well with the colours of the stain. I like the look of finished pipe a lot. This one will probably stay in my own collection. Thanks for following along with me on this refurbishing journey.