Blog by Steve Laug
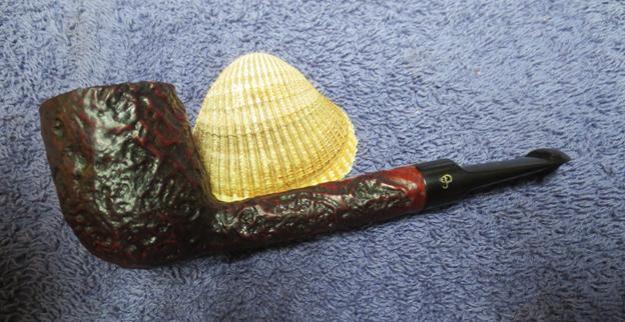
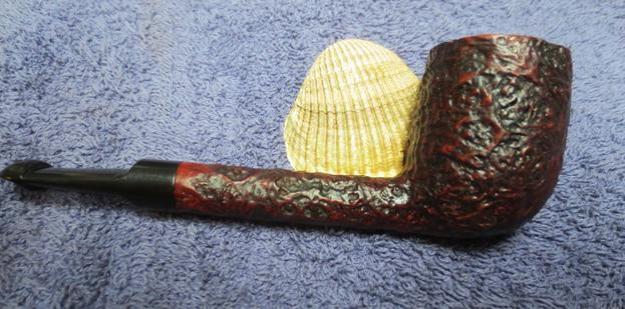
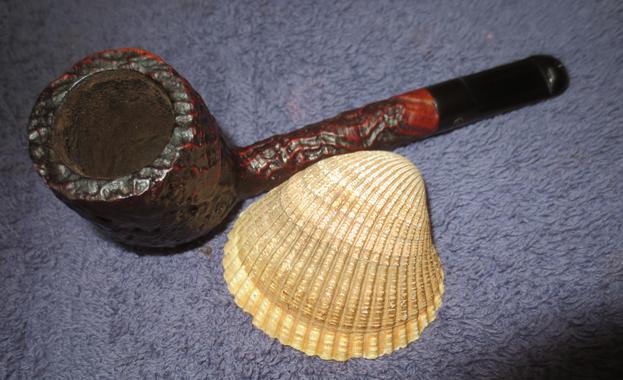
I received a private message on Facebook from a friend of mine in Calgary about a couple of pipes that he found when he was traveling. He stopped by a little flea market in Winfield, B.C. and picked up a little Peterson Lovat and another that he thought might be a Peterson Canadian. I wrote him back and said that at least one was a Peterson but I was not sure of the other. He sent me a message with the photo below saying that he thought both were. He asked if would be willing to refurbish them for him. I wrote back and told that both were nice pipes and I would be happy to work on them for him. He laughed and said they were on their way to Vancouver.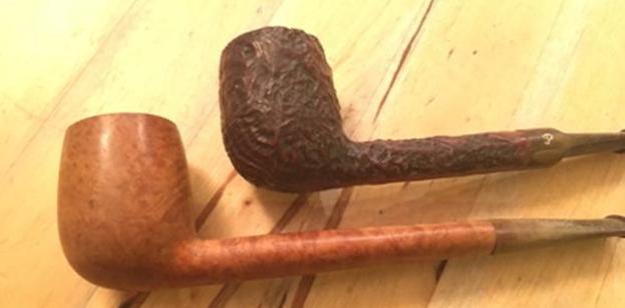 The pipes arrived early this week and I unpacked them both. The first pipe above was indeed a Peterson Lovat. It is stamped on the underside of the shank with the shape number 75 near the heel of the bowl. It is followed by Made in the Republic of Ireland mid shank and finally Peterson’s over Kapruf near the shank/stem junction. The finish on the pipe was very dirty with lots of grime and dust in the deep grooves of the sandblast finish. There were spots where the finish was almost smooth there was so much debris. The rim top was dirty but surprisingly free of lava overflow from the thick cake in the bowl. The stem was oxidized and dirty. The “P” stamp on the left side of the saddle portion had obviously been touch up with what looked like white out. There was still white debris overflowing the stamping. There were tooth marks like a line across middle of the stem on both sides. The airway in the p-lip button was still round and undamaged. This was a good find. I took the following photos of the pipe before I started the cleanup work.
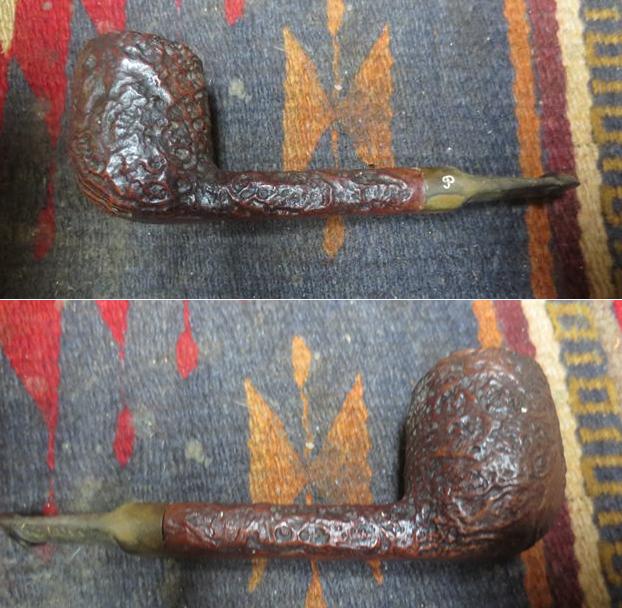
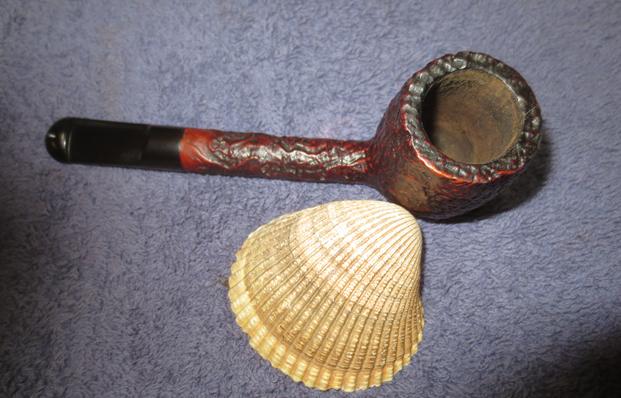
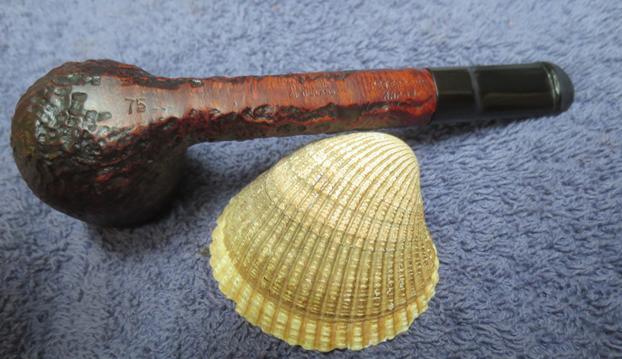
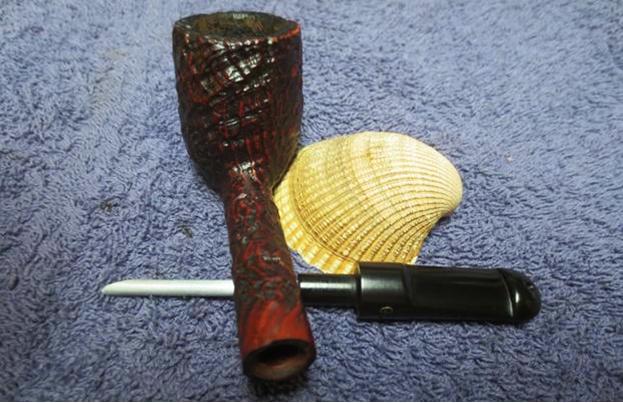
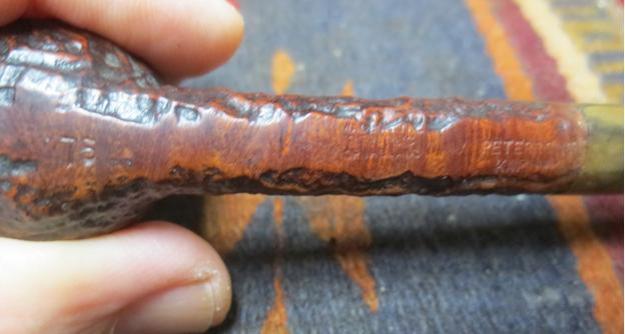
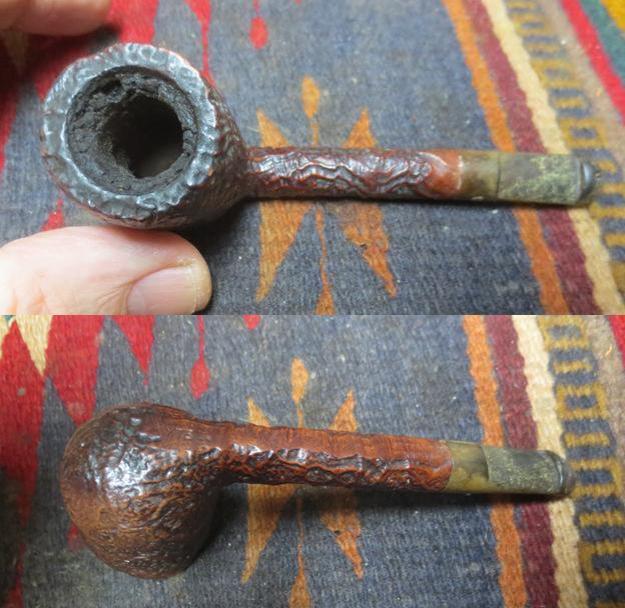 I took a close up photo of the bowl and rim top to show the condition it was in when I received the pipe. The cake was thick but was crumbly. I was pretty glad it was not a hard cake. This would come out quite nicely with a reamer. I also took a photo of the stamping on the underside of the shank. It is faint in spots but it is still readable. I looked up the dates for the Republic Era on Pipedia and found that it extended from 1950 to the present time. The stamp for this era is “Made in the Republic of Ireland” in a block format generally in three lines but two lines have been used with or without Republic being abbreviated. https://pipedia.org/wiki/Peterson

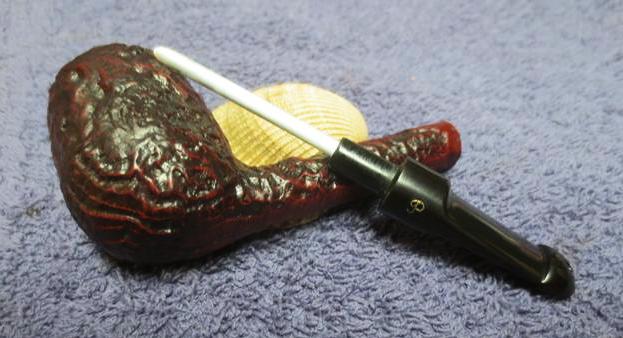
 The close up photos of the stem show the overall condition. It is pretty decent shape other than some light tooth marks on both sides mid stem and a lot of tooth chatter. There was some oxidation and what looked like the gummy substance from a price tag.
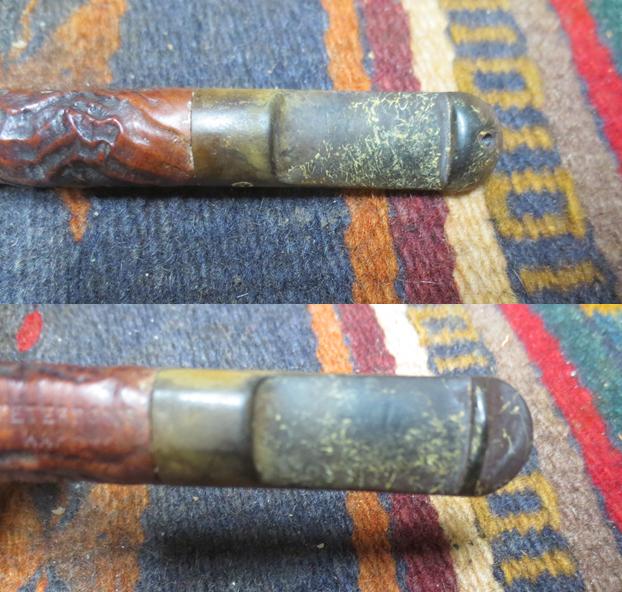 I reamed the bowl with a PipNet pipe reamer to remove the thick cake. I started with the smallest cutting head and worked my way up to the second cutting head to remove the cake and leave the inside of the bowl bare. I wanted to be able to check to see if there was any heat damage in the bowl walls (I was glad to see that there was not).
 I removed the stem and was surprised to see that it had an inner tube that extended the length of the shank. I lightly wiped off the debris from the stem, wiped it down lightly with alcohol to remove the gummy substance and put it in the Before & After Pipe Stem Deoxidizer to soak overnight.
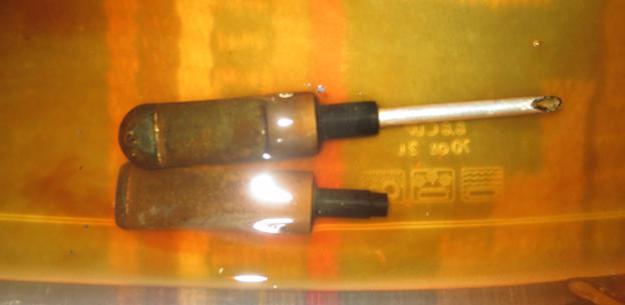 While the stem soaked it was time to work on the stummel. I scrubbed it down with undiluted Murphy’s Oil Soap and a tooth brush. I scrubbed hard to remove the debris from all of the nooks and crannies of the sandblast. There were spots of paint splatter on the surface of the bowl as well as dirt and the scrubbing removed that. I rinsed the bowl down with running water to wash off the soap and the debris. I scrubbed it under the running water with the tooth brush and when it was finished, dried it off with a towel. The pipe was looking pretty good at this point in the process.
 With the externals cleaned and debris free I worked on the internals. I cleaned the mortise and airway in the shank with cotton swabs, pipe cleaners (bristle and smooth) and alcohol to remove all of the oils and tars from the shank.
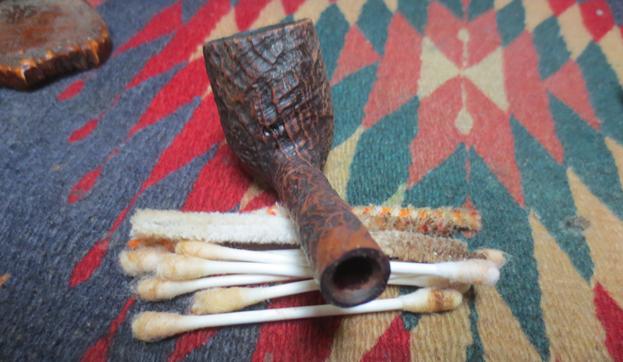 I laid the bowl aside and called it an evening. In the morning I removed the stem from the Before & After Stem Deoxidizer bath and dried it off. It looked significantly better than when I put it in the night before. The next photos show what it looked like when it was dry.
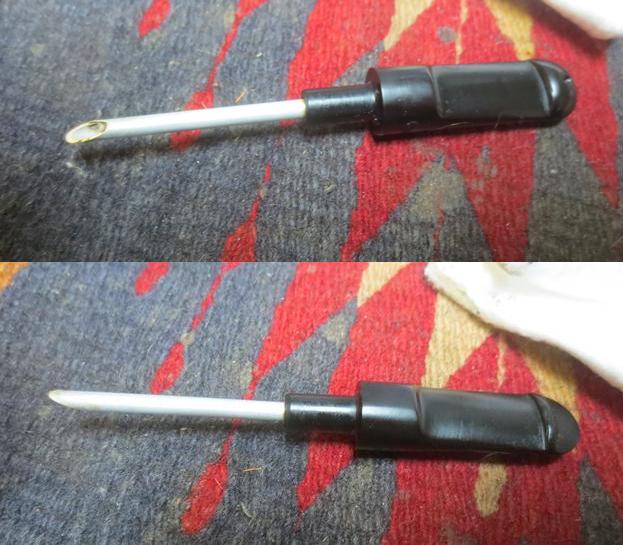 I scrubbed around the inner tube with a cotton swab and alcohol to loosen the tars that held in place. I scrubbed out the airway from both ends with pipe cleaners (bristle and smooth) and alcohol until it was clean. I was careful inserting pipe cleaners in the airway in the p-lip button as it is easy to damage the stem and opening. I scrubbed out the aluminum inner tube and polished the outside with 0000 steel wool. Once it was clean and polished I put it back in the tenon as it provided a nice handle for me when I was sanding the stem.
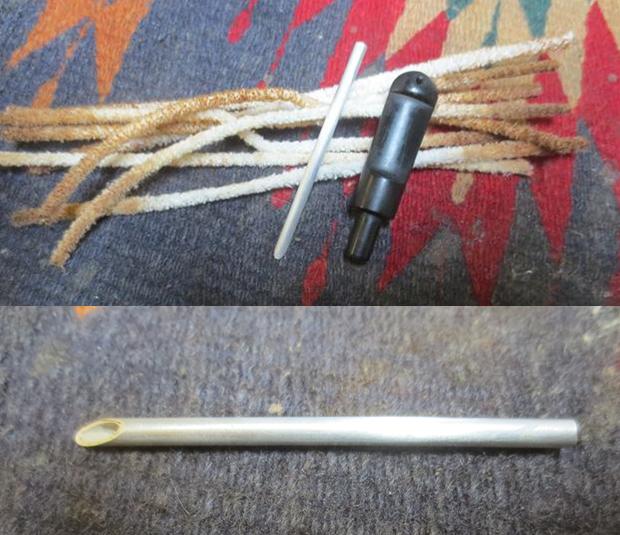 I sanded out the tooth marks and chatter with 220 grit sandpaper on both the top and underside of the stem. It was a simple job as they were not too deep in the vulcanite.
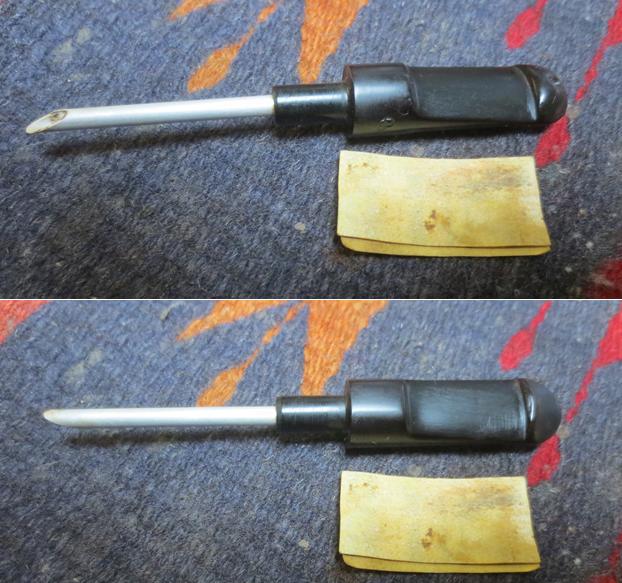 When I took the stem out of the bath the white material in the P stamp had dissolved. My thought that it was not acrylic was confirmed. Whatever it was it dissolved in the bath. I decided to use some Rub’n Buff European Gold to touch up the letter stamp. I applied it with a cotton swab and wiped off the excess with a cotton pad. The new look of the letter is shown in the photo below.
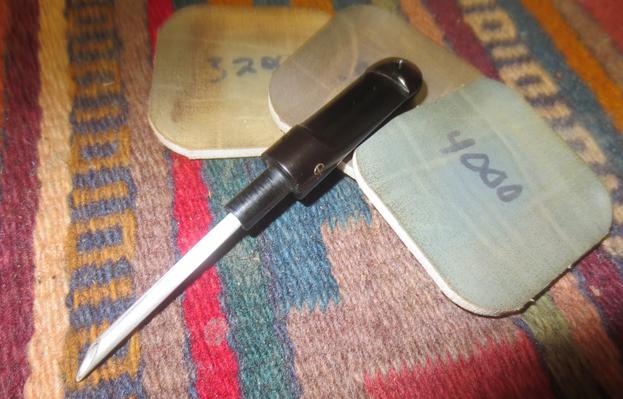
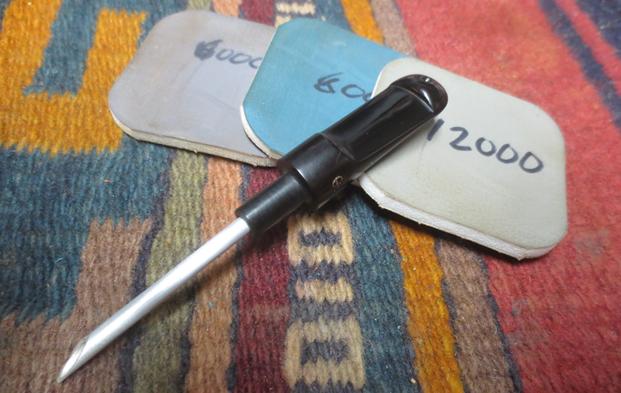
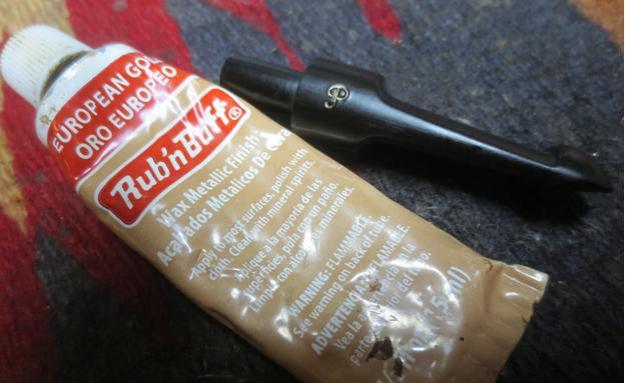 I polished the stem with micromesh sanding pads – wet sanding with 1500-2400 grit pads and dry sanding with 3200-12000 grit pads. I wiped the stem down with Obsidian Oil after each pad. I gave it one final coat after the 12000 grit pad and set it aside to dry.
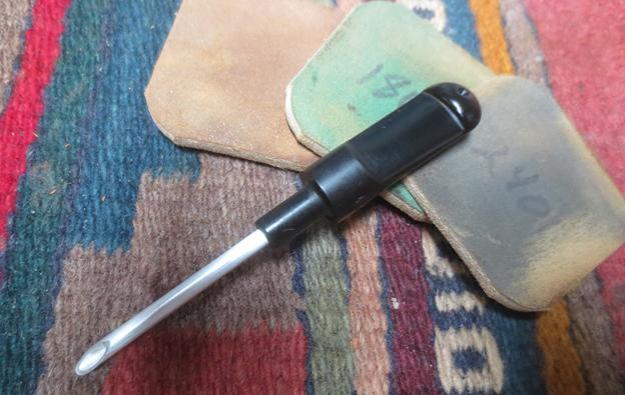
 I wiped the bowl down with a light coat of olive oil to give back some life to the briar. I gave it multiple coats of Conservator’s Wax and buffed the bowl with a shoe brush and again with a clean buffing pad. The briar is really nice and the sandblast is a landscape of contrasts.
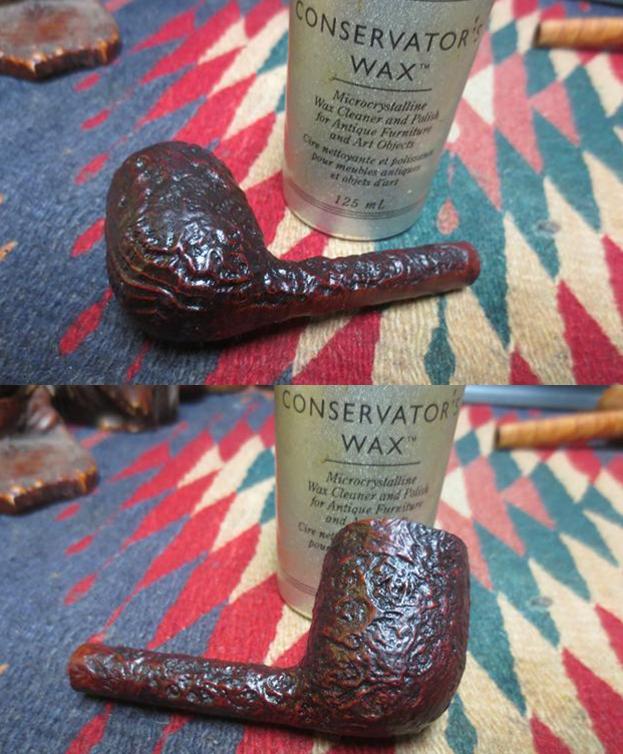
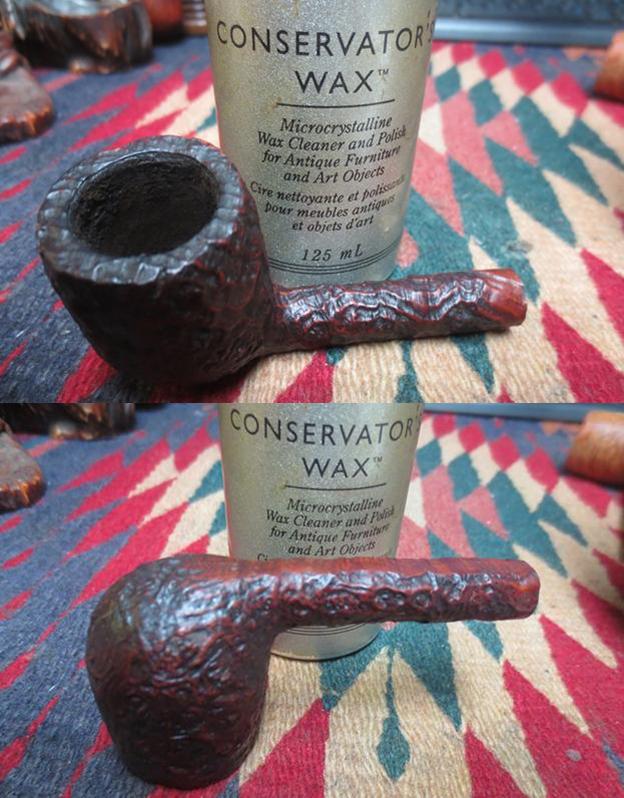 I buffed the stem with Blue Diamond on the buffing wheel and gave the stem several coats of carnauba wax. I buffed the stem and the bowl with a clean buffing pad to raise a shine on the briar and the vulcanite. I hand buffed it with a microfiber cloth to deepen the shine. The finished pipe is shown in the photos below. It really is a nice pipe with a beautiful finish. I think my friend in Calgary is going to enjoy this little beauty. Thanks for following along the restoration path on this one with me.