Blog by Steve Laug
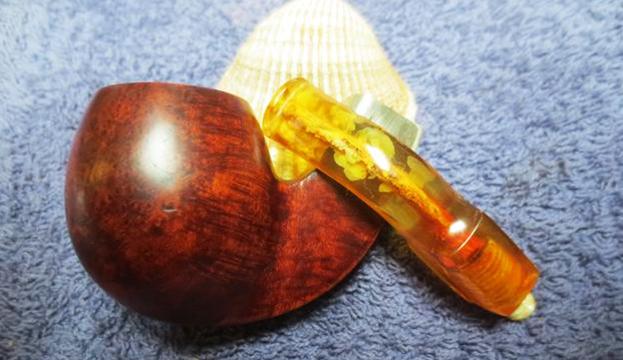
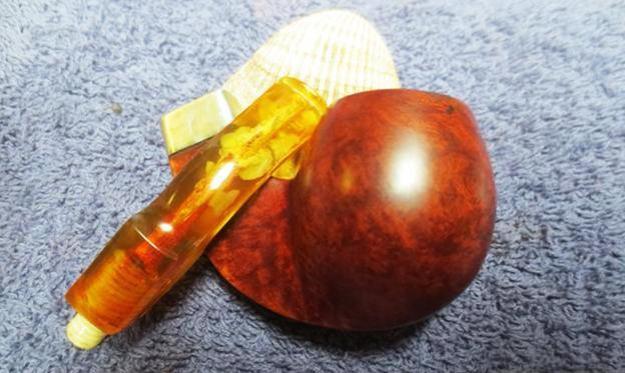
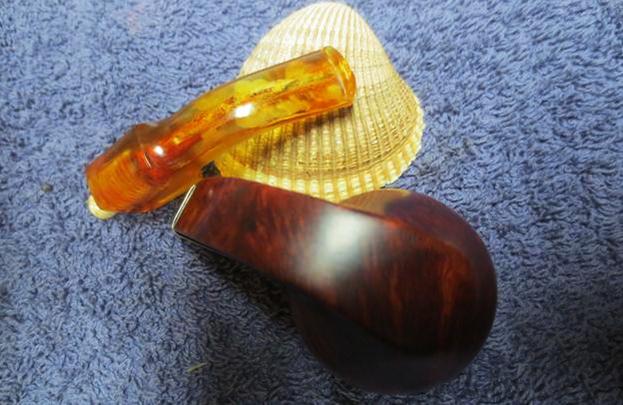
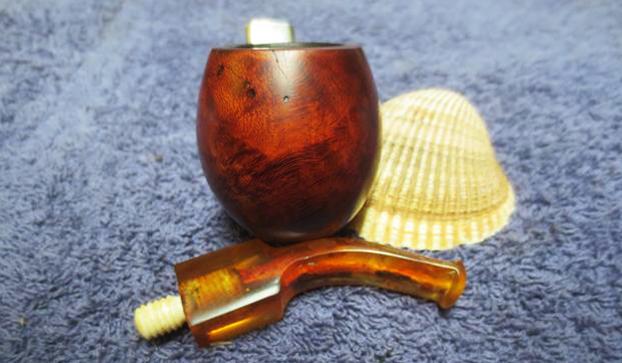
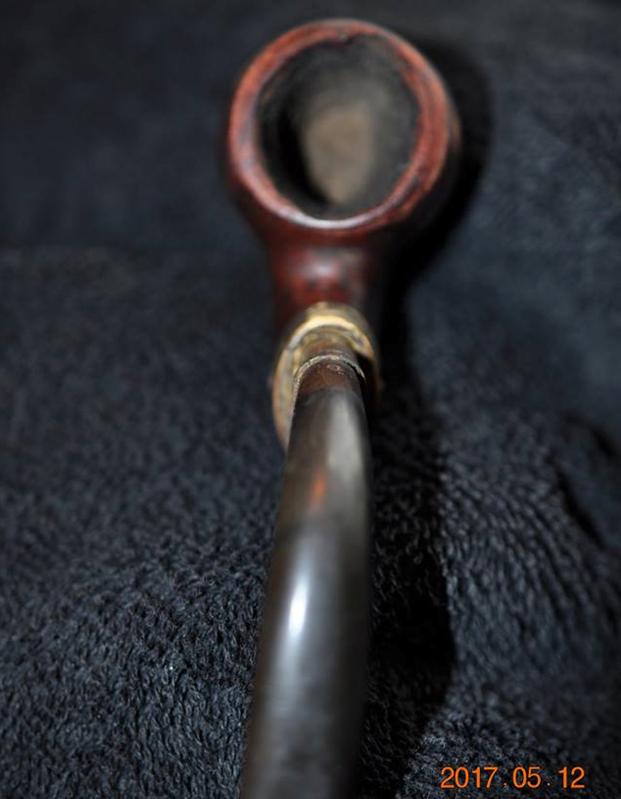
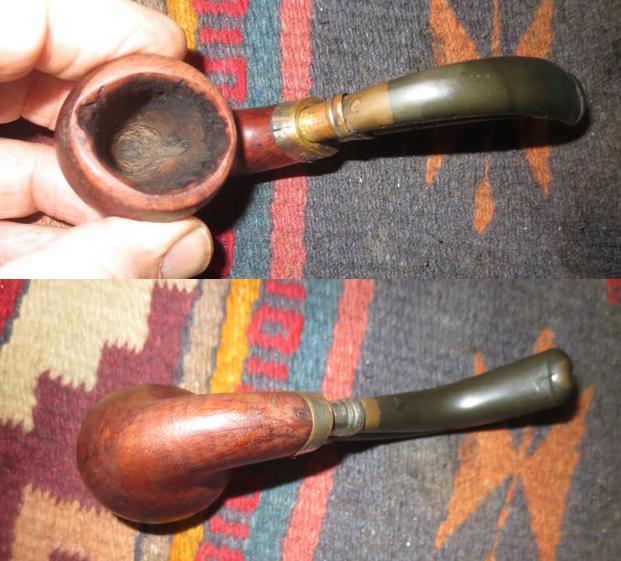
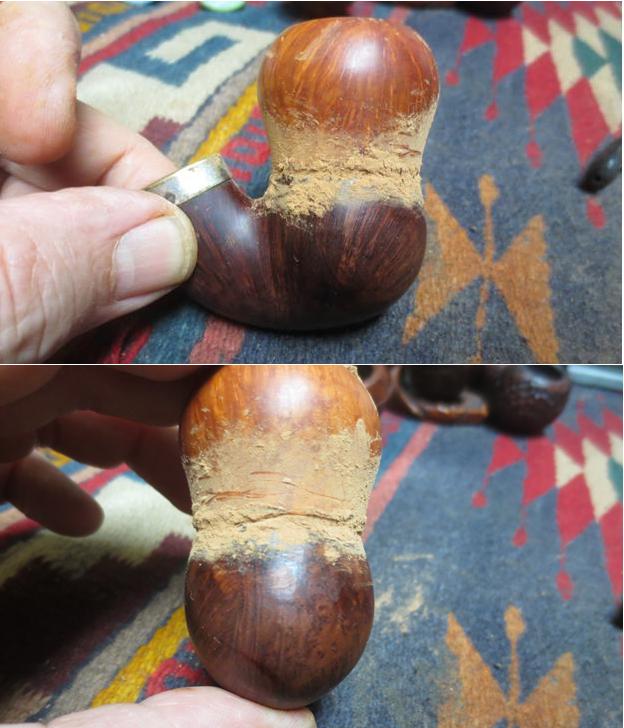
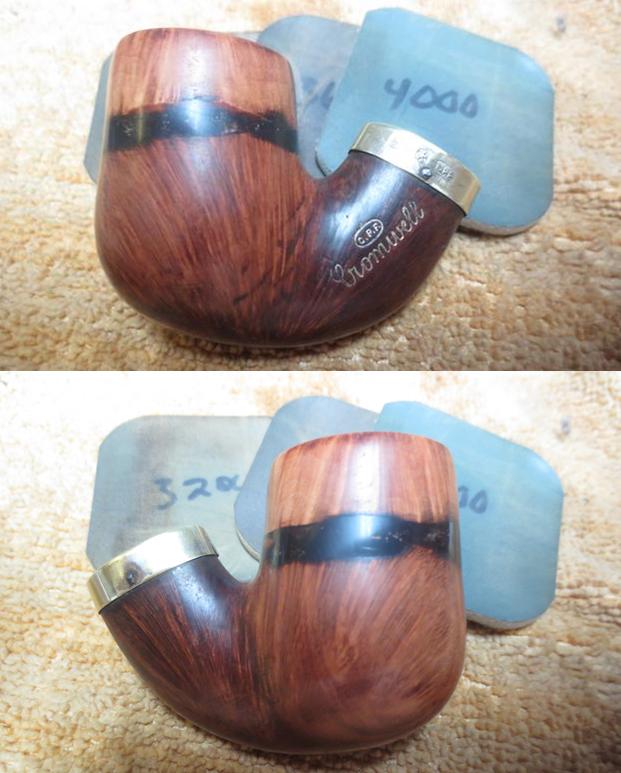
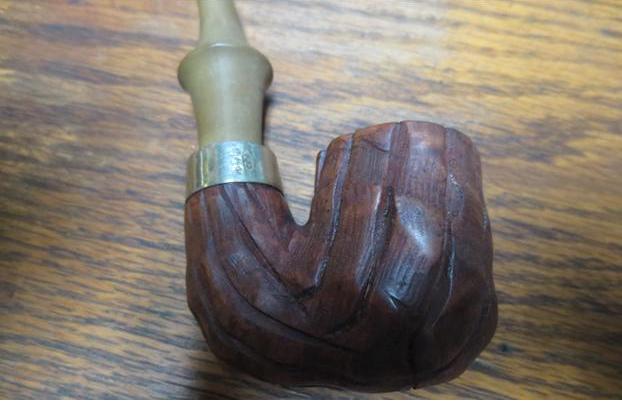
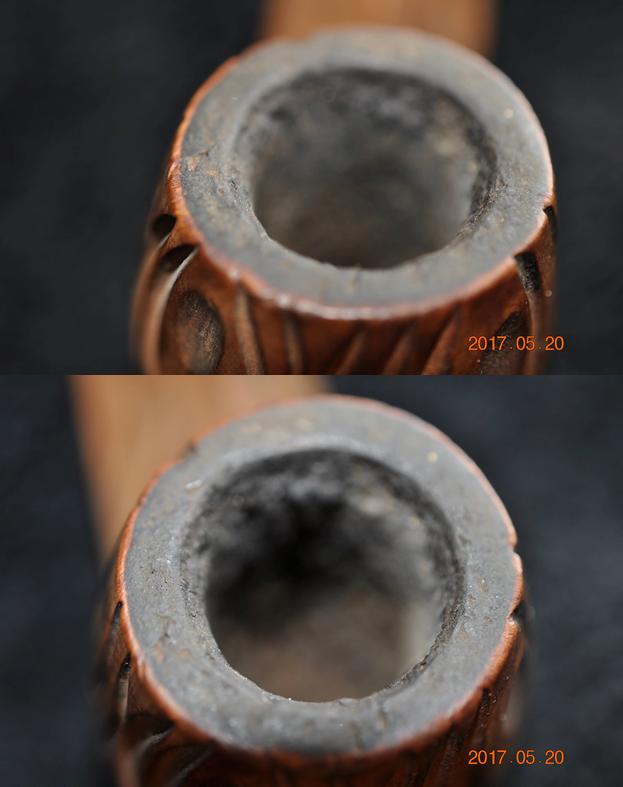
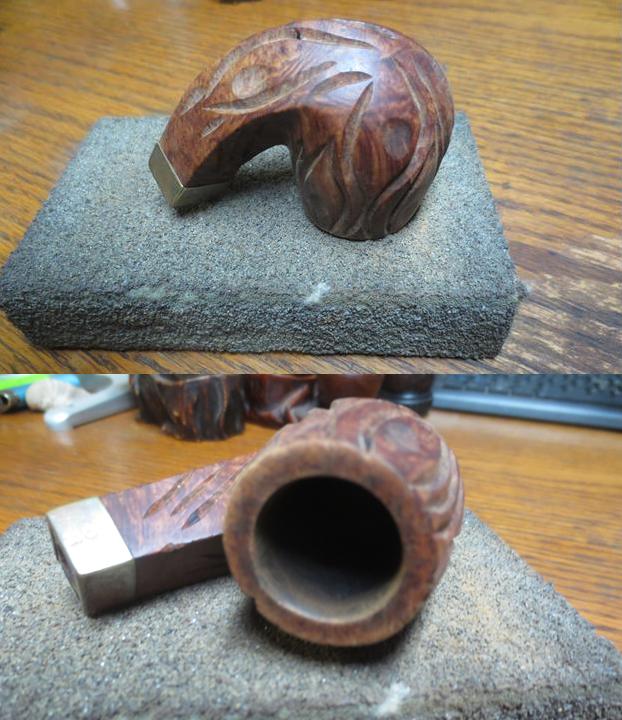
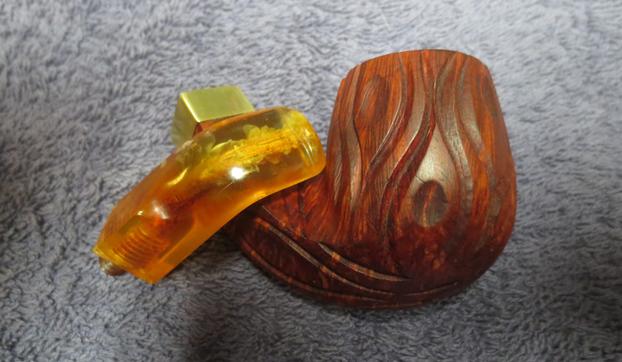
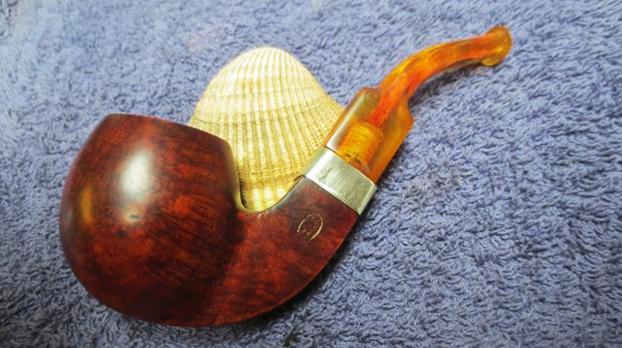
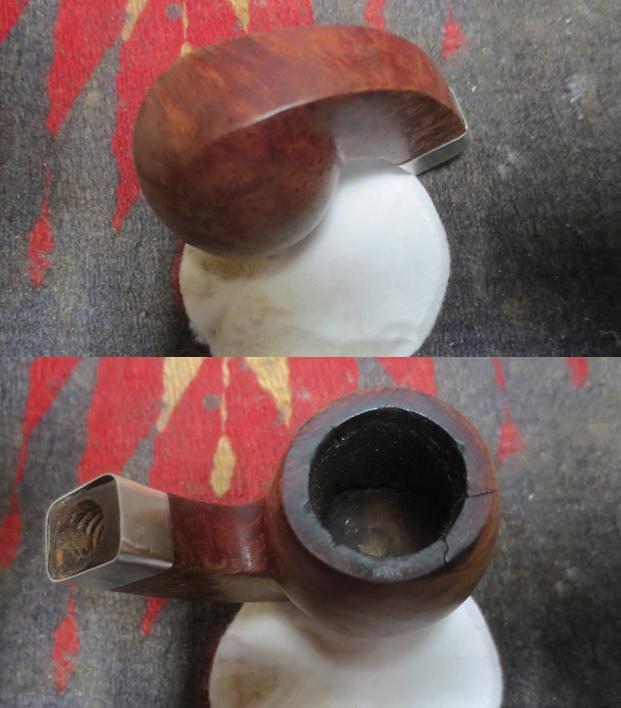
This poor old C.P.F. rectangular shank bent egg was in rough shape when it arrived in Vancouver. Not only was the tenon broken but the stem was in pretty damaged. There were tooth marks and chatter on the top and underside of the stem. The sides of the rectangular saddle portion of the stem were very damaged with deep casting marks and gouges. I think the stem is made of Bakelite but it was really a mess. Add to that the condition of the bowl – three cracks running down the front right side from the rim down and across the bowl, a cracked shank, no band, a scratched and damaged finish and you have a clear picture of the condition of the tired old pipe. There was a day when I would have retired this one and moved on to a different pipe but today it is a challenge worth taking and seeing what I can do with it. Jeff took various photos of the pipe to show what it looked like when he picked it up.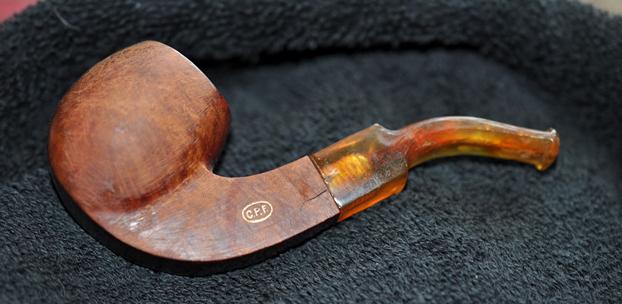 The rim top was a mess. There was an overflow of lava that had hardened on the rim top. There was an average cake in the bowl that would need to go in order to repair the damaged areas. The inner edge of the rim was probably damaged though it was hard to tell at this point. There were to cracks on the right side of the rim toward the front of the bowl.
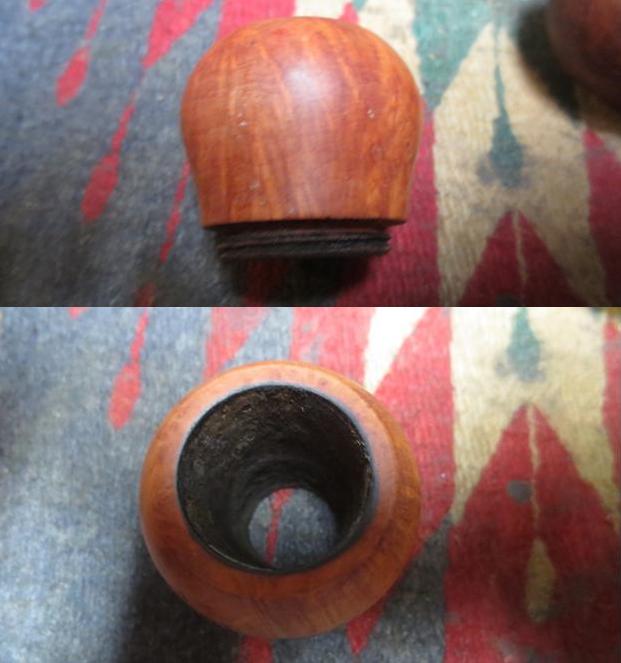
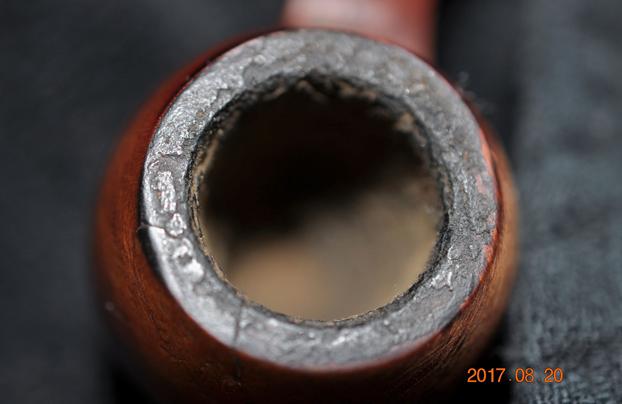
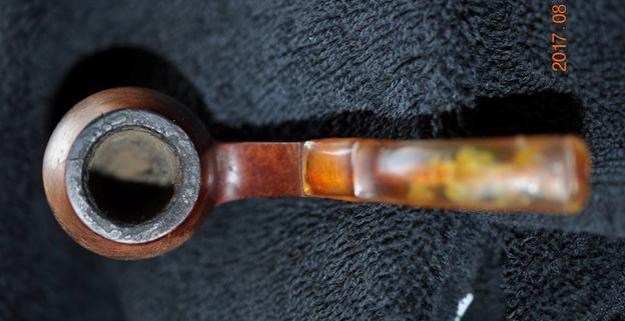
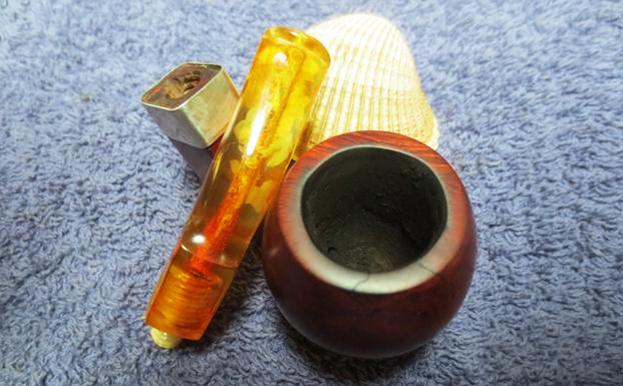
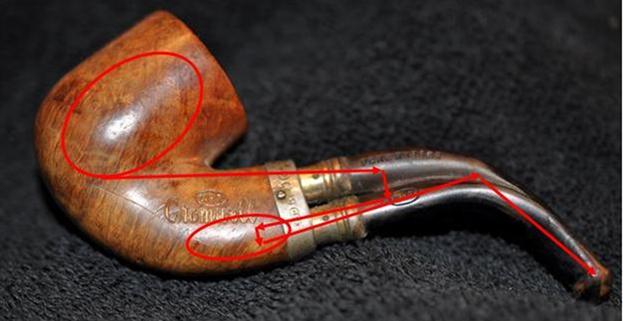
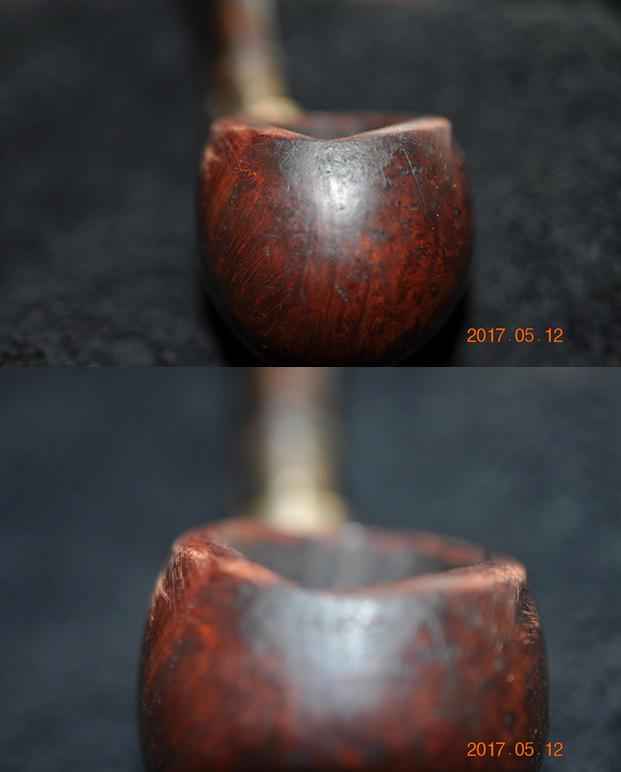
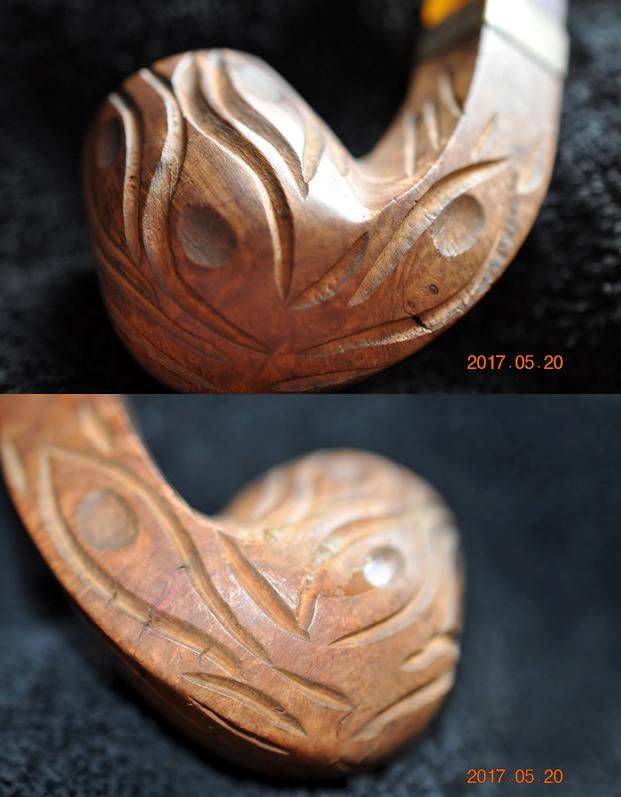
 I have included two photos to show the cracks in the same area from the rim down and across the bowl on the top right side. I have used red arrows to point them out in both photos.
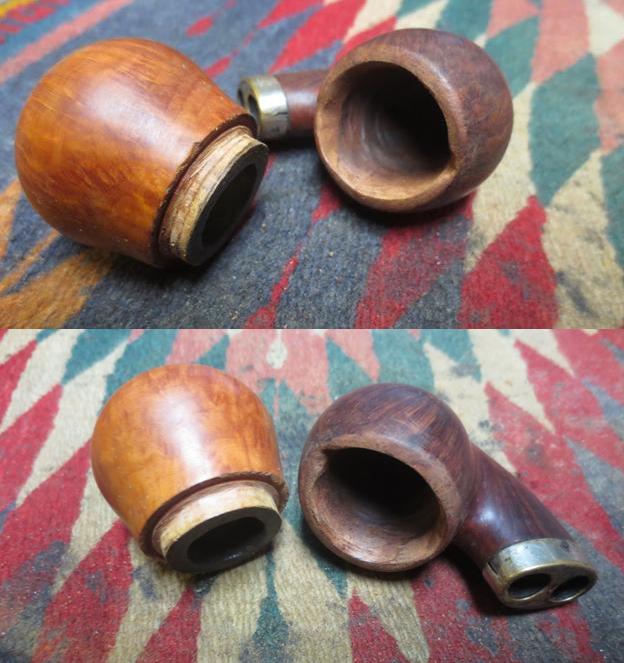
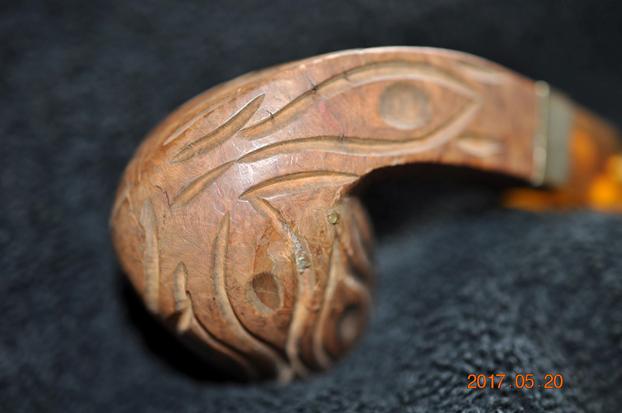
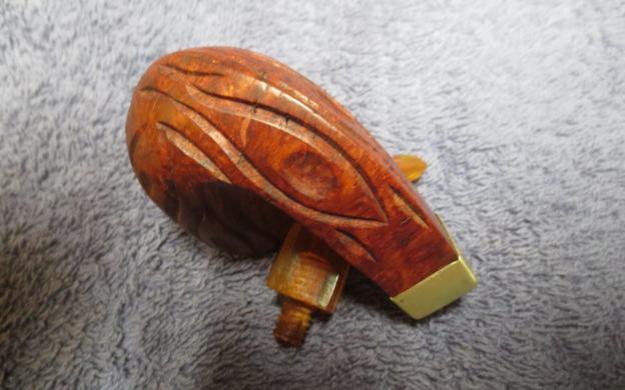
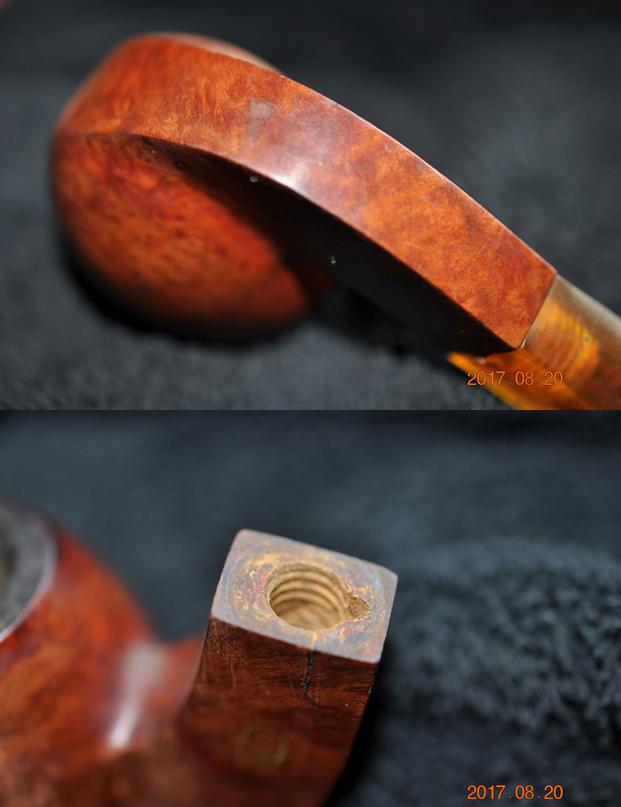
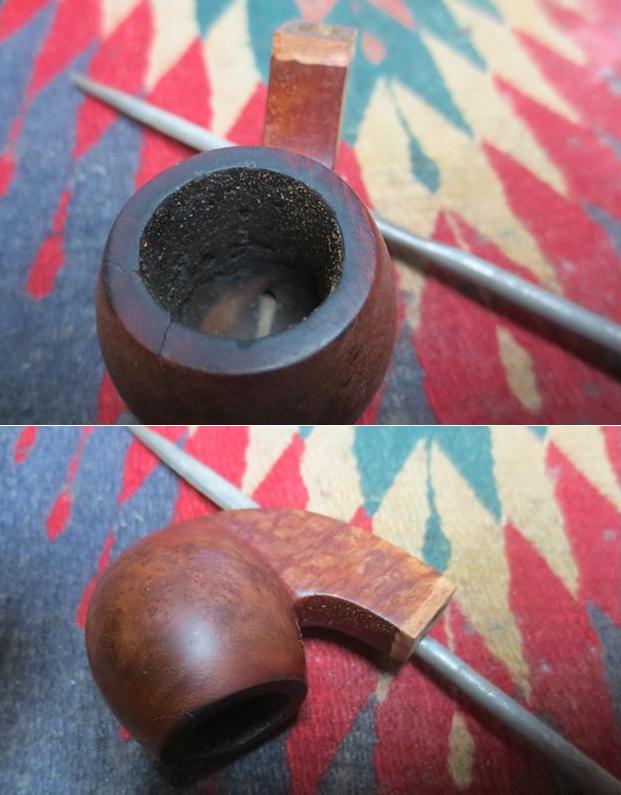
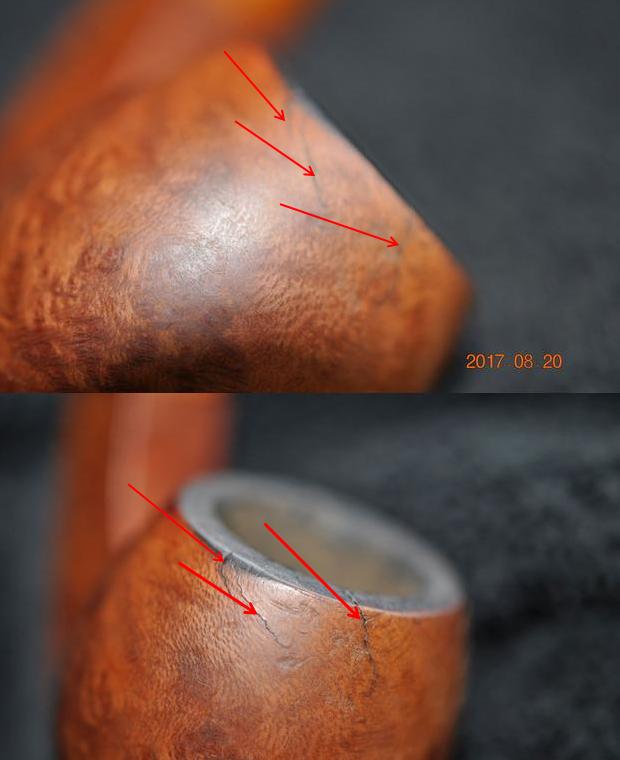 The crack in the shank is very obvious in the photo below. It was quite deep and had begun to separate. You can also see the damage to the stem at the stem/shank junction. But even with all of the damage there was still some charm to the briar. The grain was interesting – a combination of birdseye and cross grain all around the bowl. The flat bottom portion had nice cross grain that would stand out once the pipe was restained. The threads in the mortise were in excellent condition. The U-shaped divot at the bottom of the mortise shows how the airway was drilled into the bowl. The threads on the tenon looked good at this point.
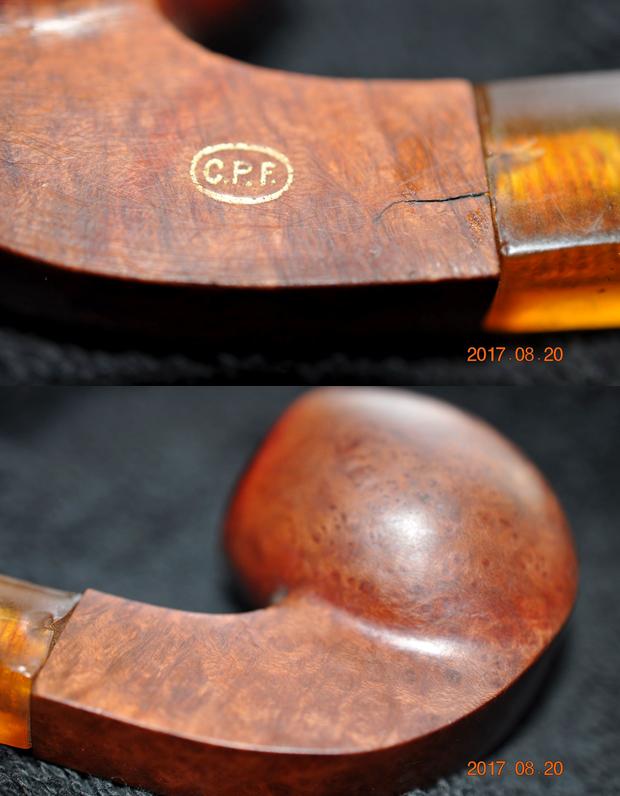
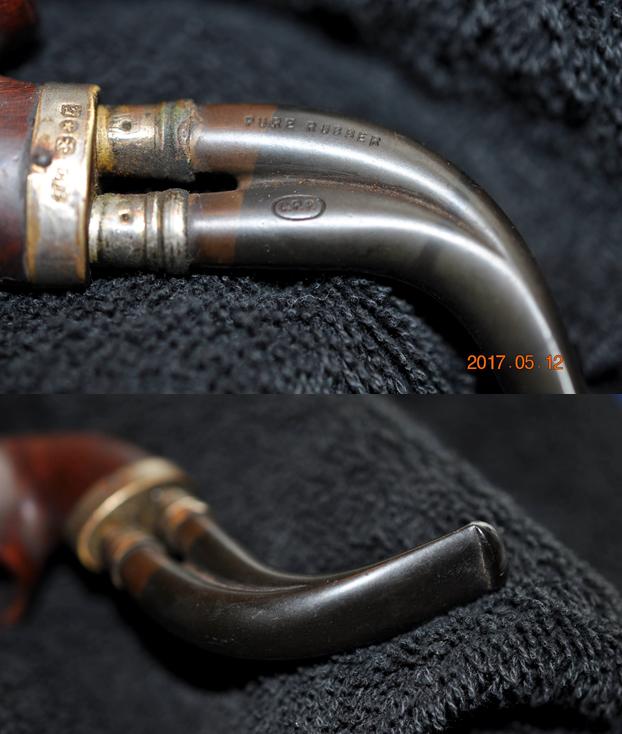
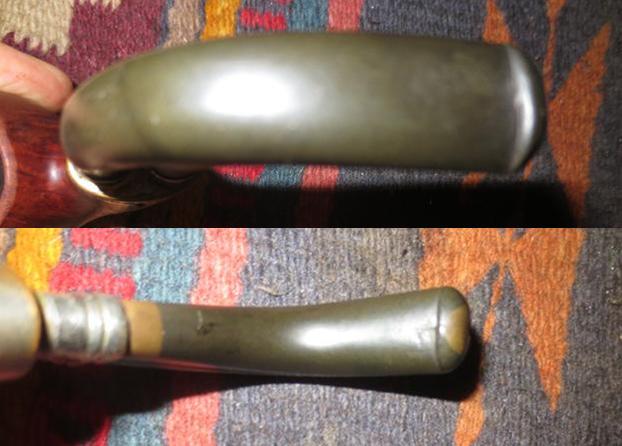
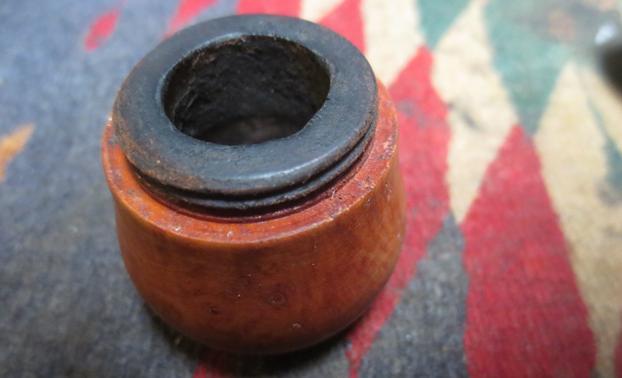
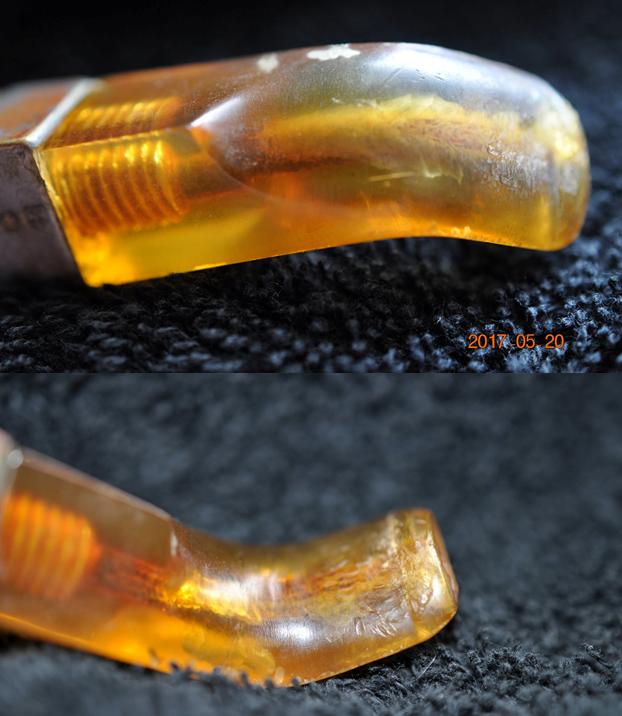
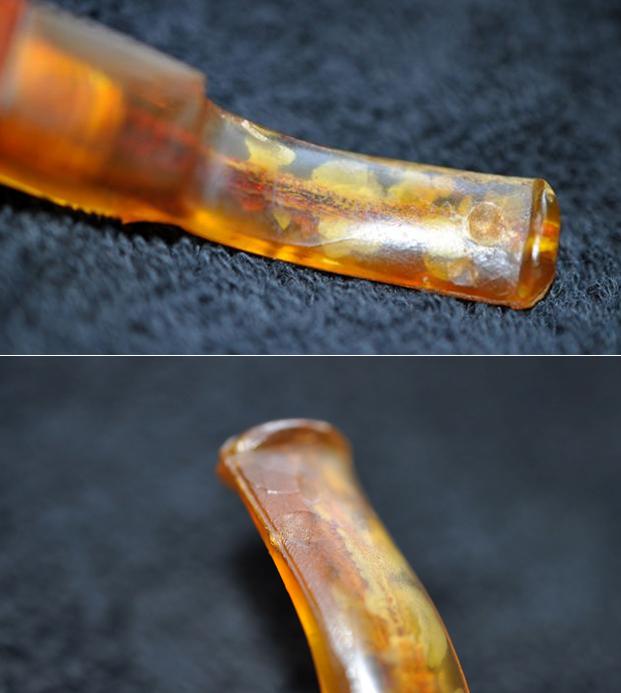
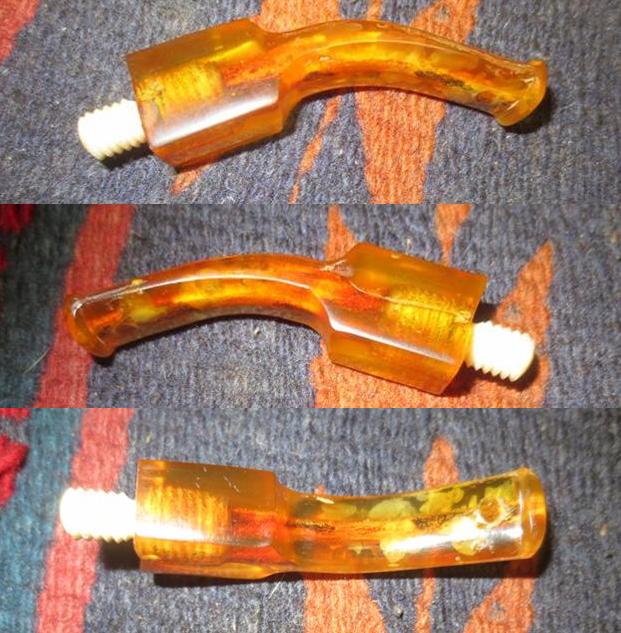
 The next photos show the extensive damage to the sides of the saddle stem. It was rough. It almost looked as if someone had tried to pry it free from the shank rather than unscrewing it. There were some deep tooth marks and a lot of chatter on both sides of the stem in front of the button.
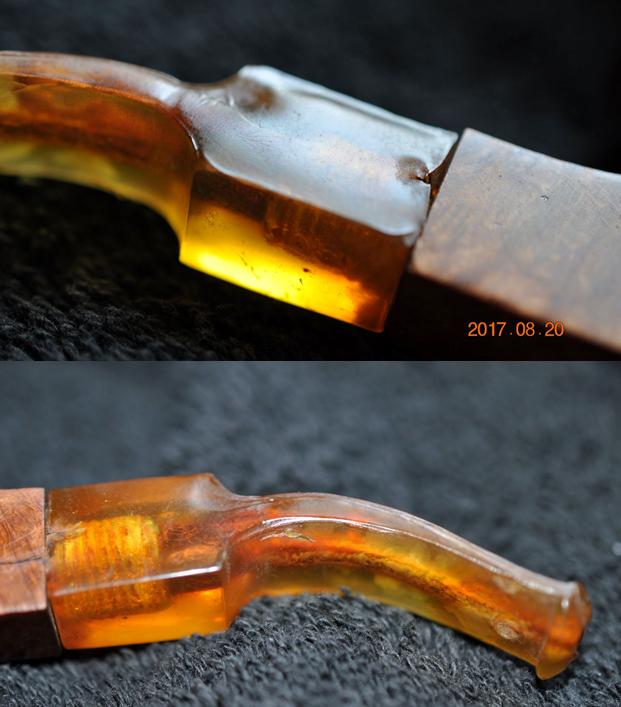
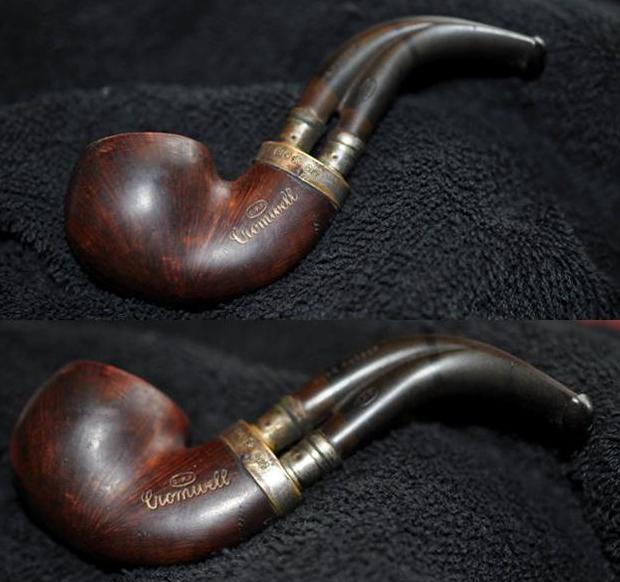
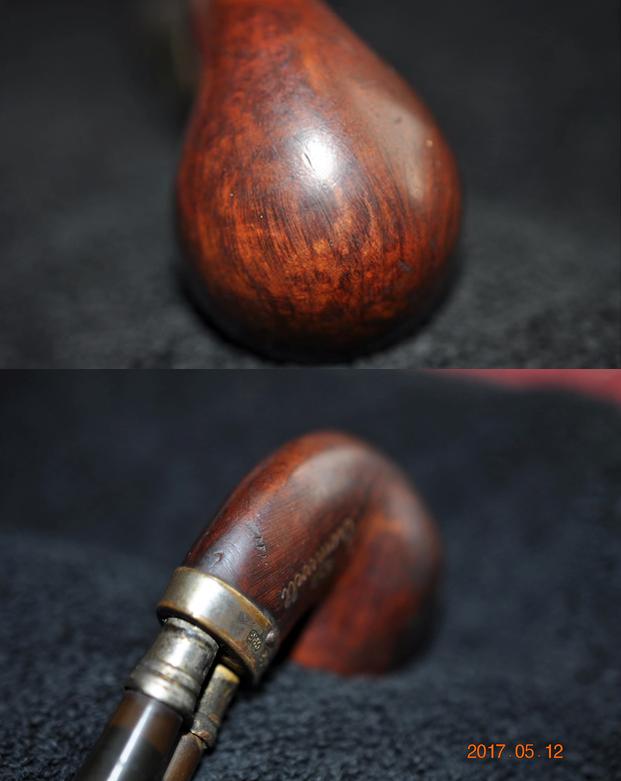
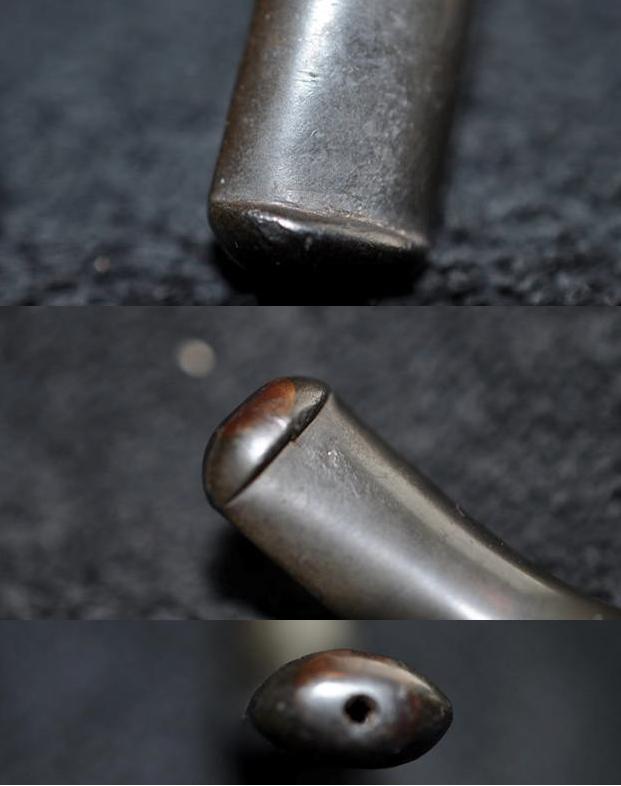
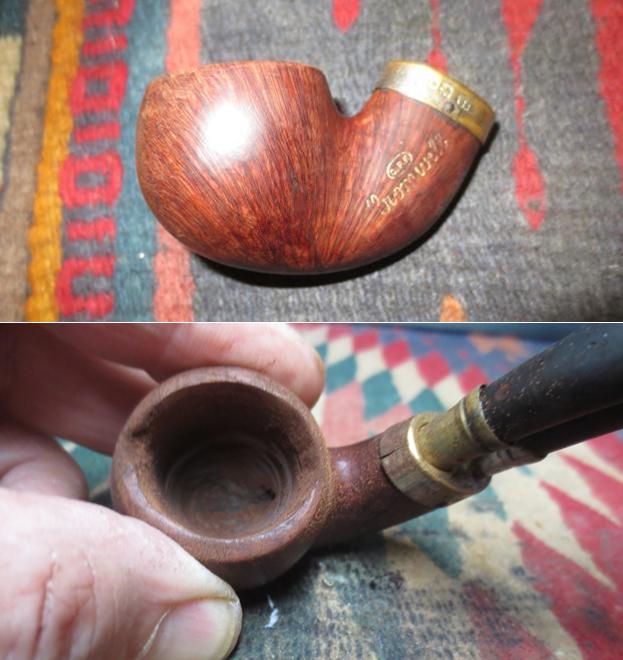
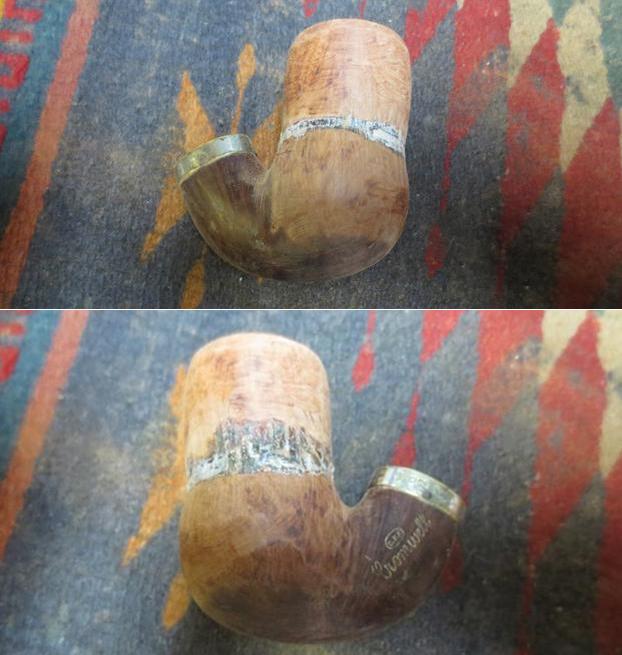
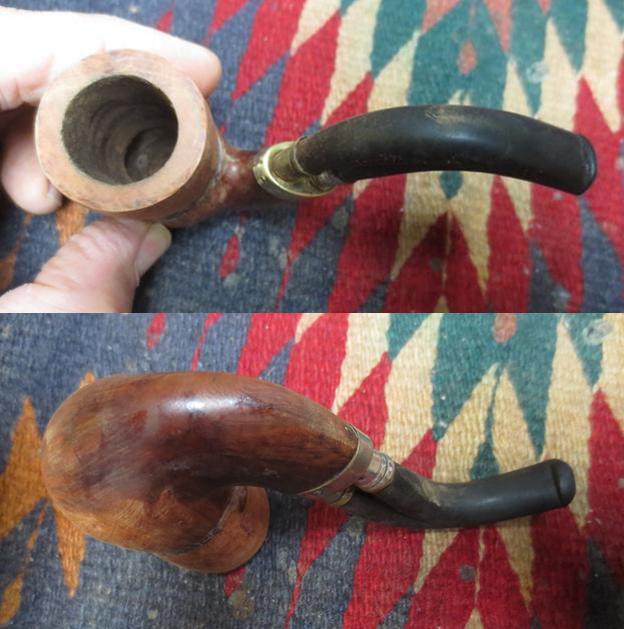
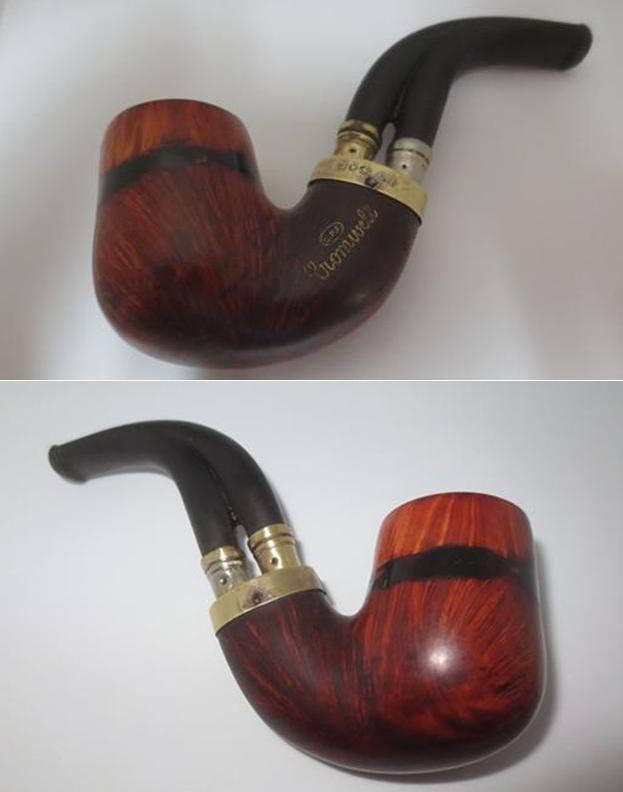
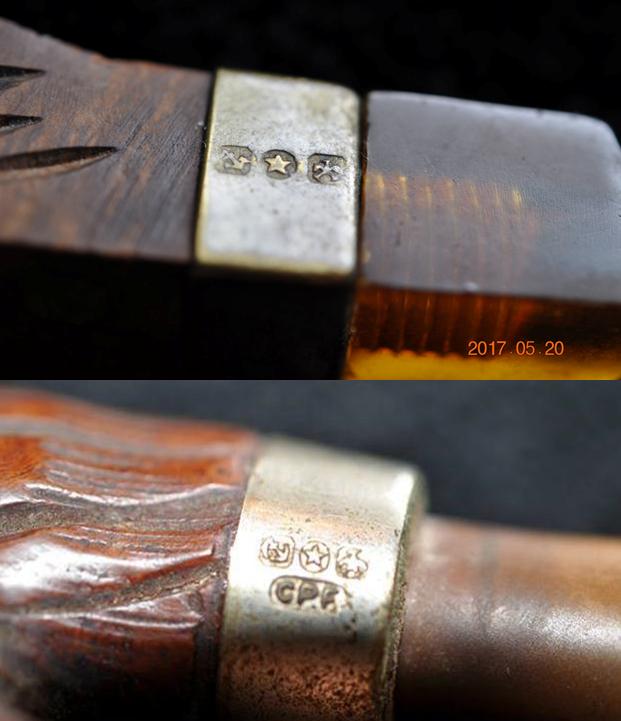
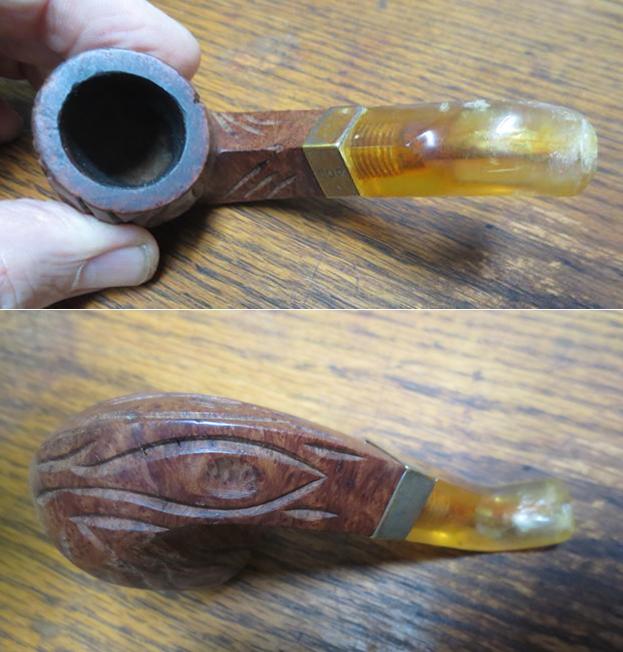
 Once again when the pipe arrived in Vancouver, I could see that Jeff had done his magic in cleaning and scrubbing it. He had reamed the bowl with a PipNet pipe reamer and a Savinelli Fitsall Pipe Knife. He cleaned up the rim and the exterior of the bowl with Murphy’s Oil Soap to remove the grime and debris on the briar itself. He had exercised care around the gold stamping on the left side of the shank. He had cleaned out the mortise and the airway in the shank and the stem with alcohol, cotton swabs and pipe cleaners. The stem damage was clearly visible and the gouges on the sides of the saddle stem stood out in clarity. There were some deep tooth marks on both sides of the stem at the button. When I brought the pipe to my work table I took some photos of it as I opened the case. It really was a beautiful old pipe.
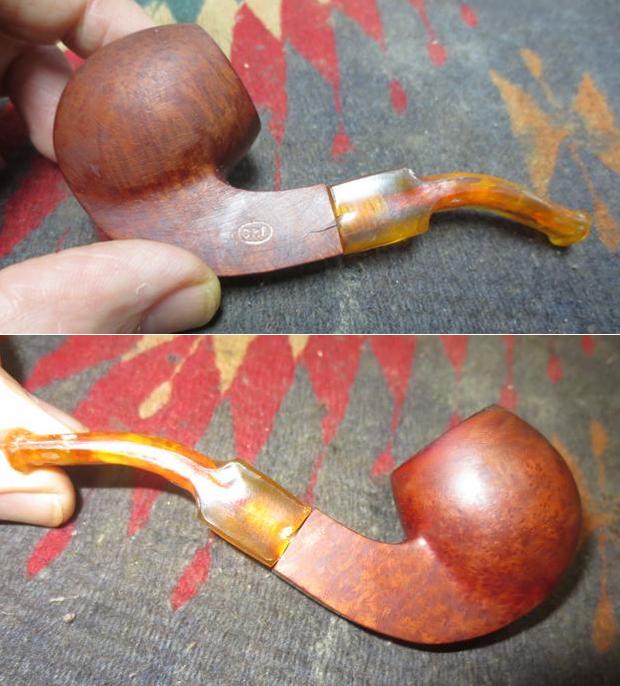
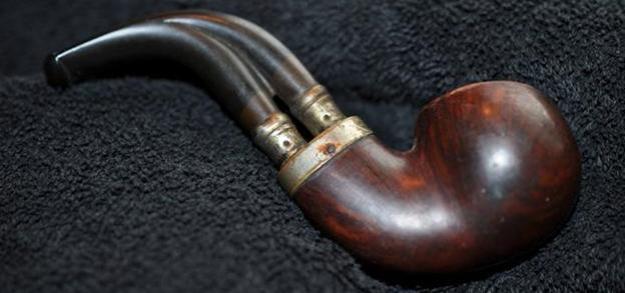
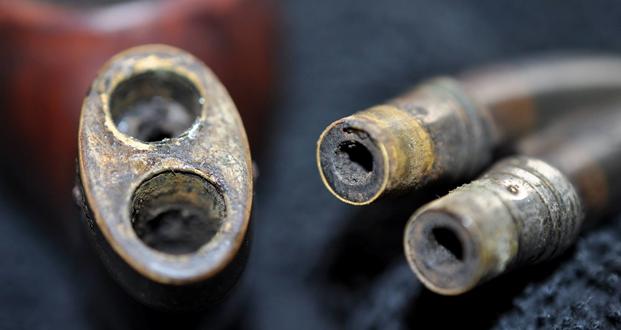
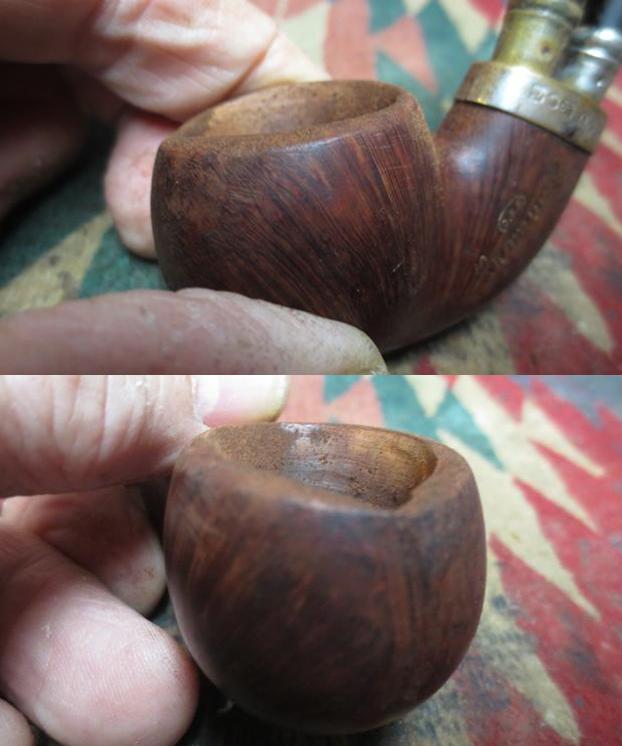
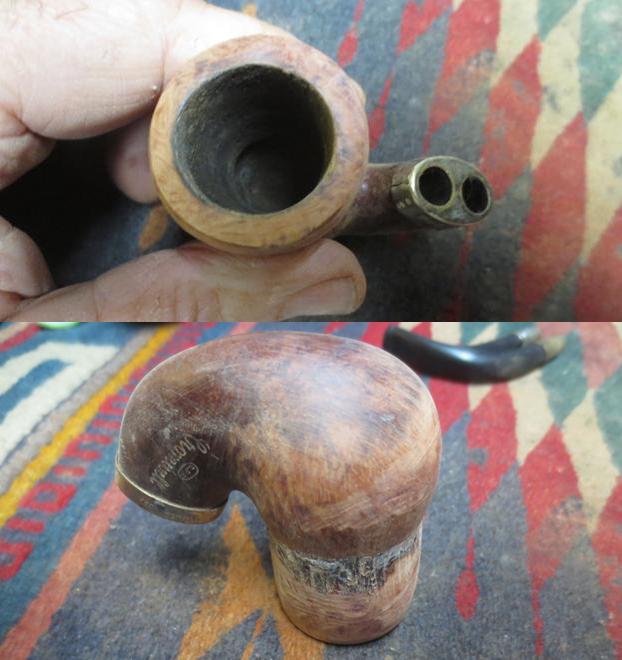
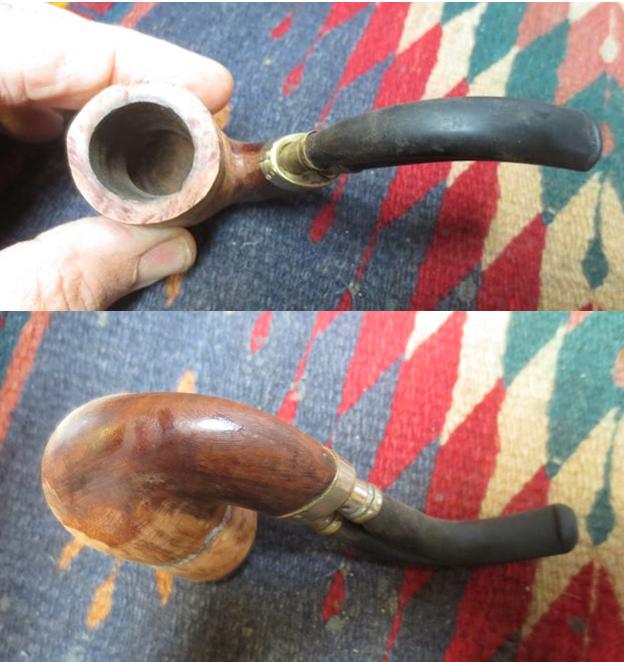
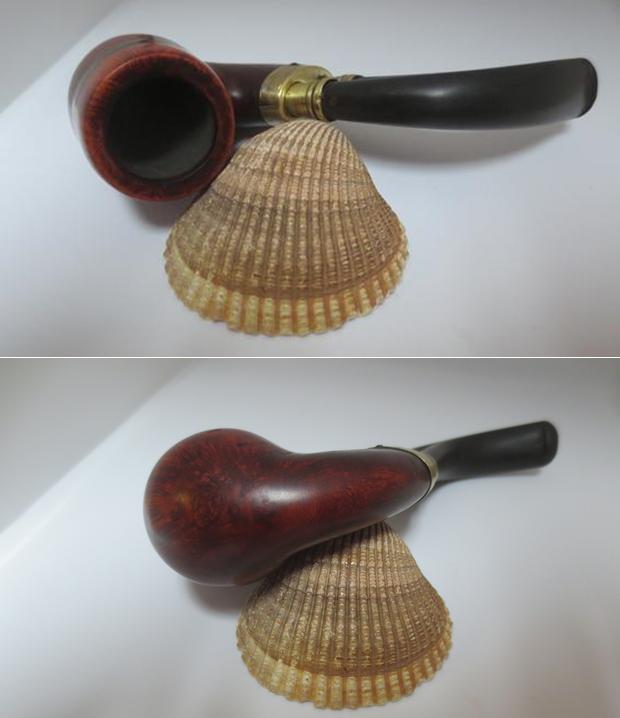
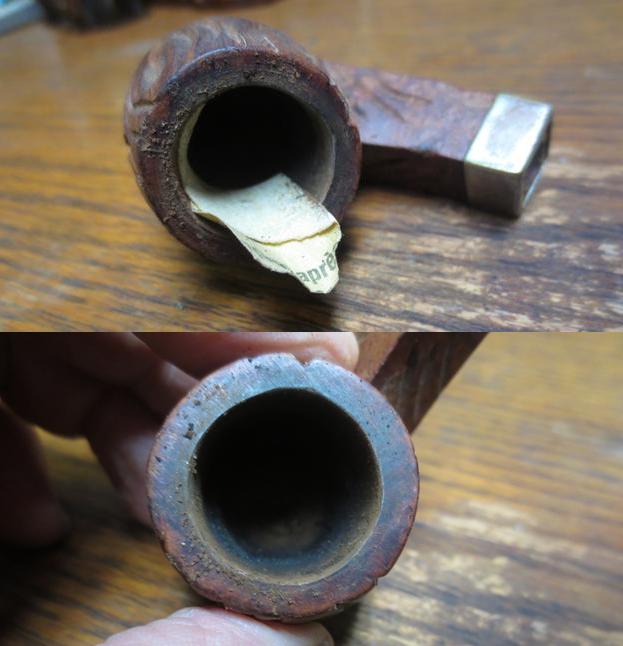
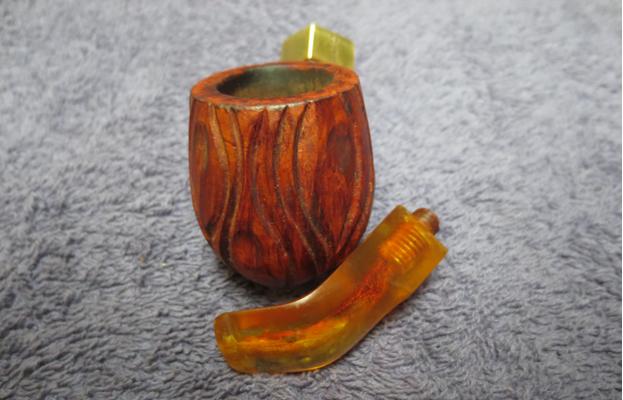
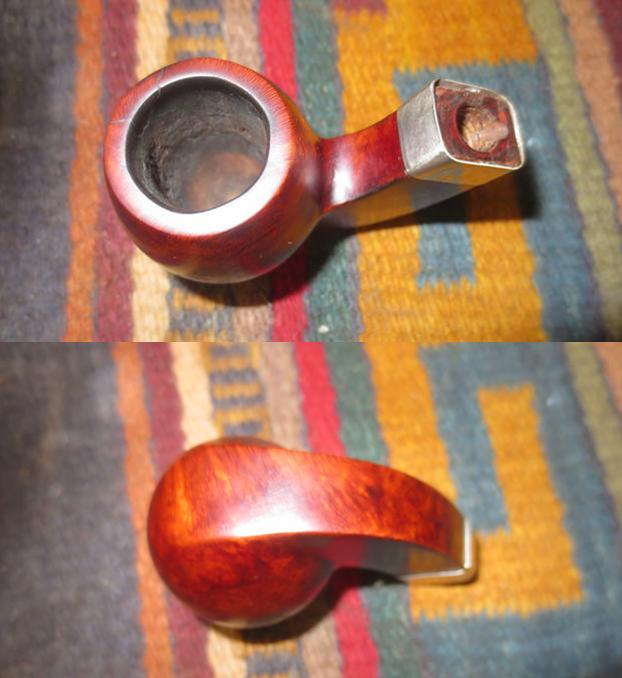
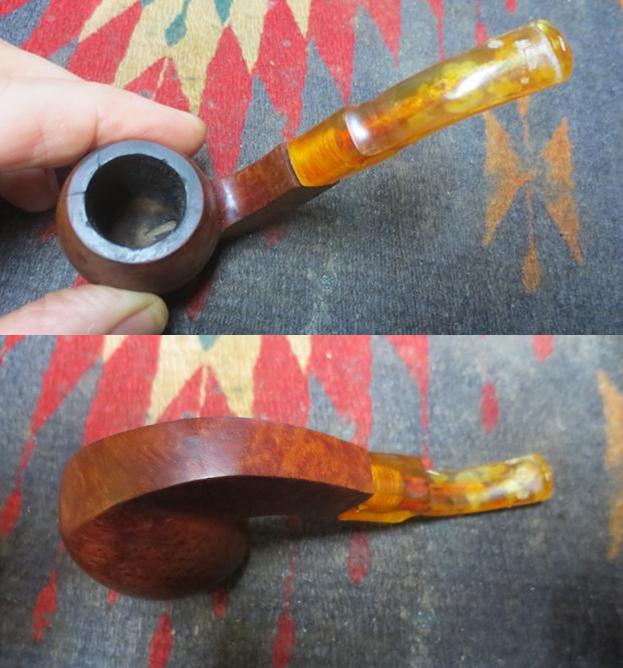 I took a photo of the rim top and bowl to show the issues there. The bowl was very clean. The rim top photo shows the cracks very clearly and the scars on the inside edge of the rim. The right side photo also shows the cracks.
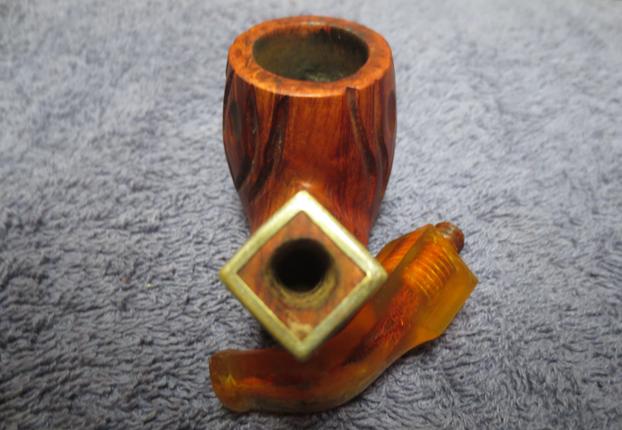
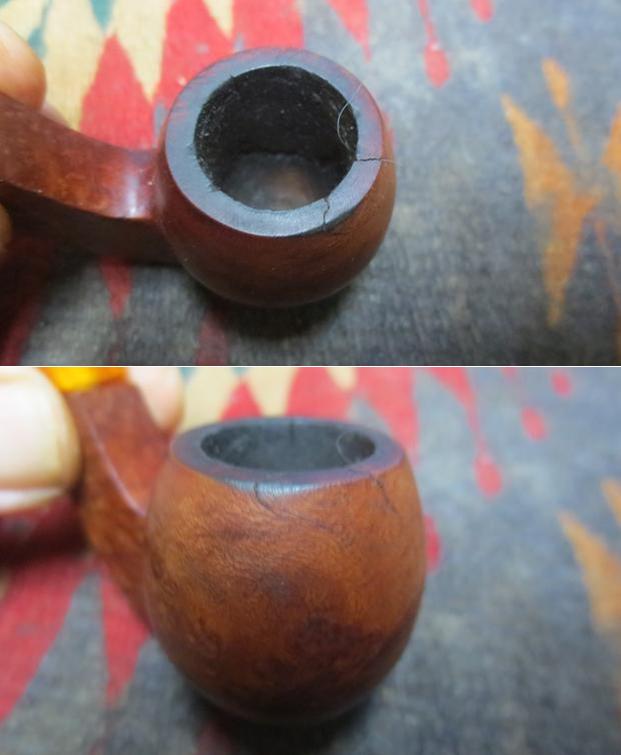 The stem has some beauty still, but the deep tooth marks would need a lot of work to bring them back to a smooth condition.
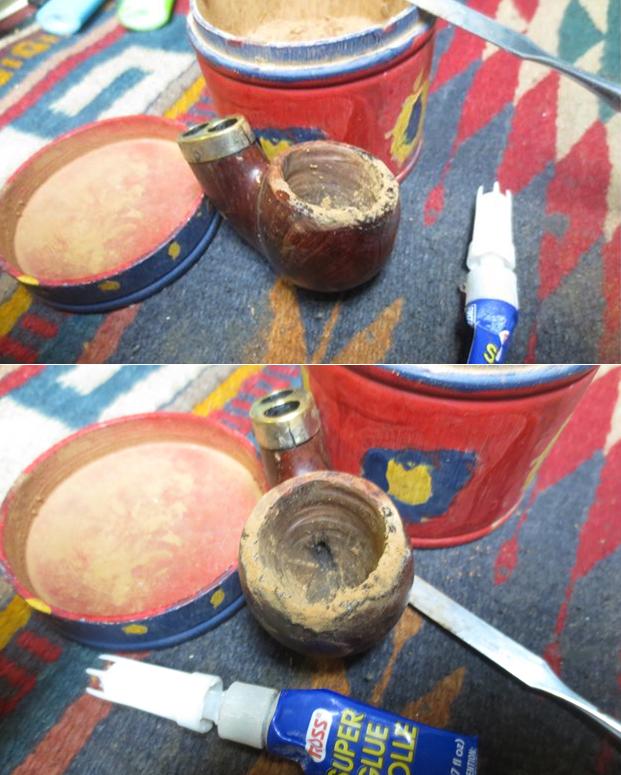
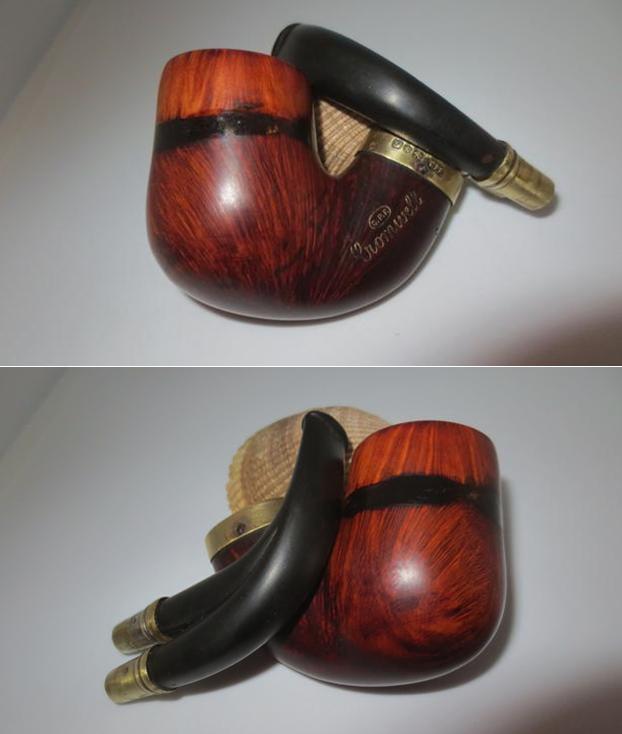
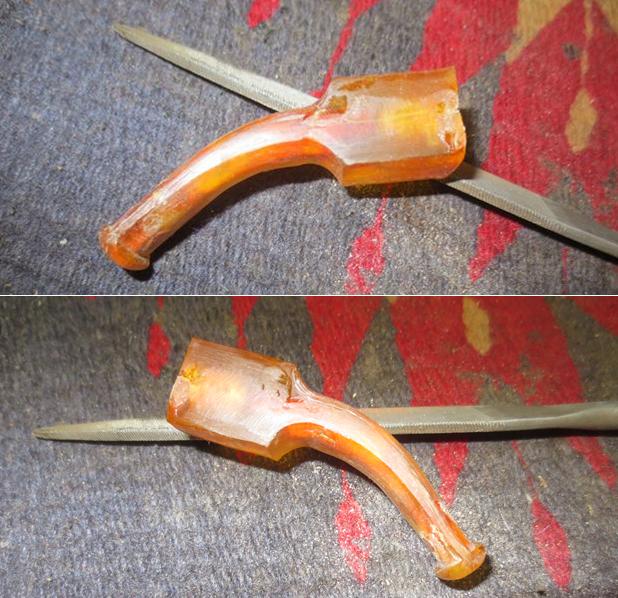
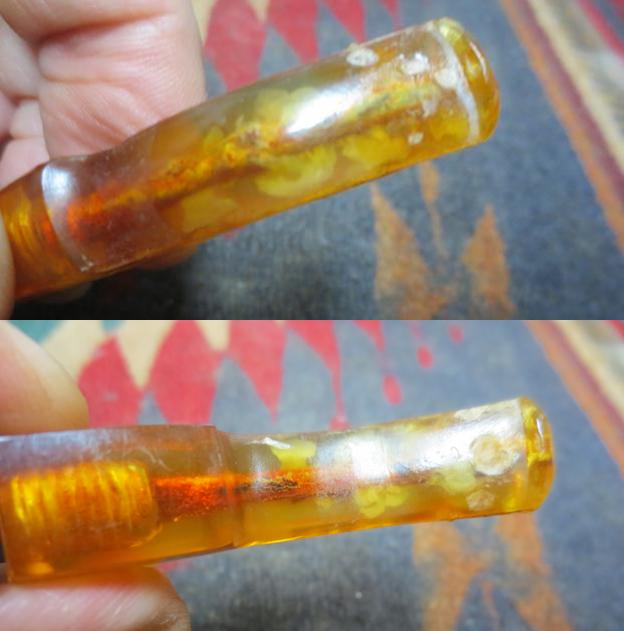 This is where some of the issues show up. The tenon had broken when Jeff was cleaning it up. Fortunately it had not broken off in the shank or the stem so it was a clean repair. I would need to fit a new threaded tenon in the shank and stem. The gouges and nicks in the sides of the saddle are very clear in the next photos.
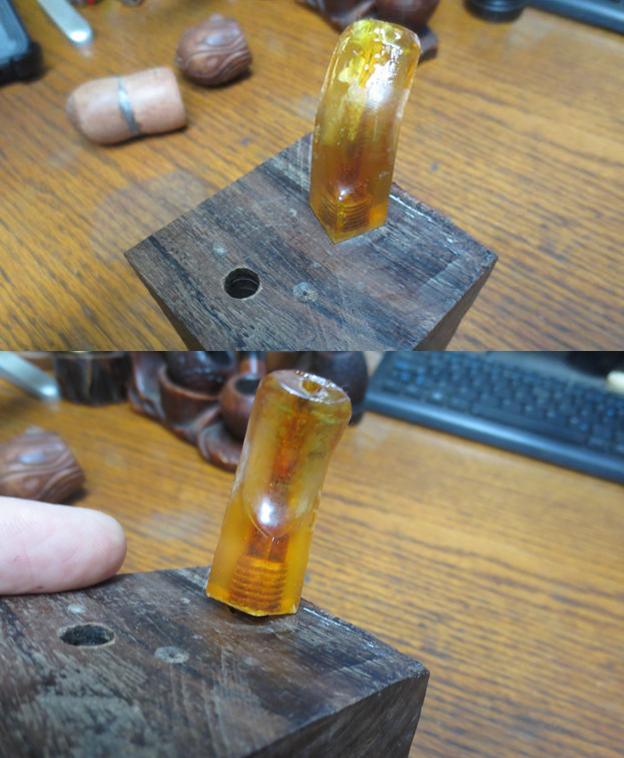
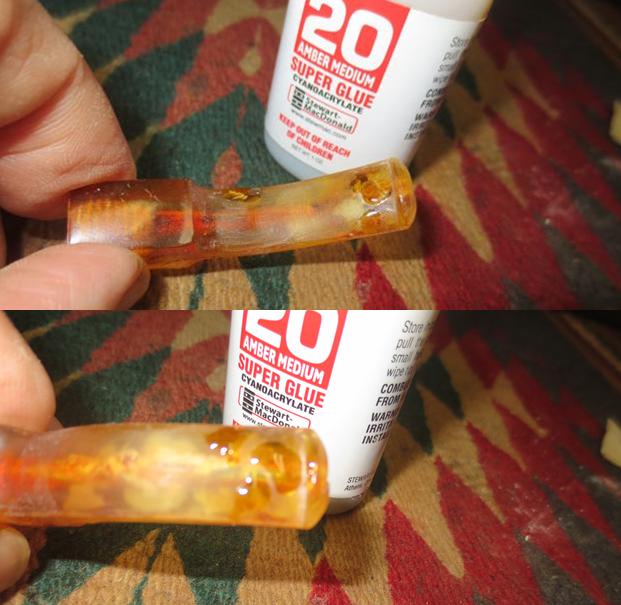
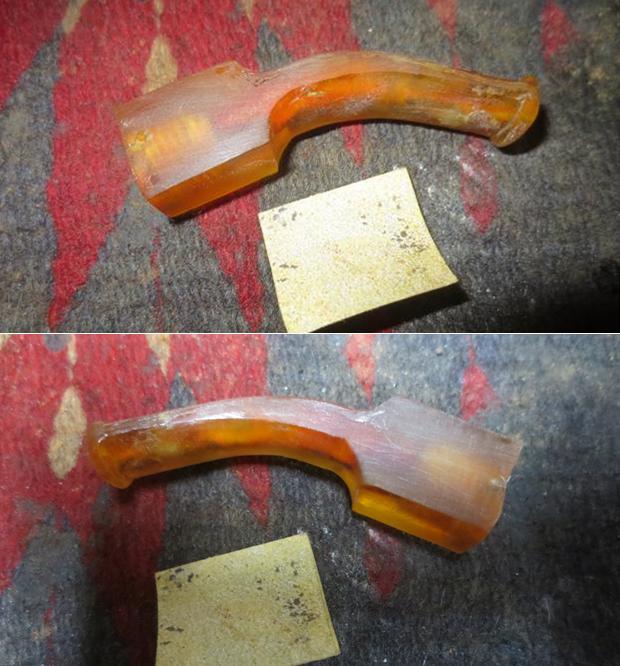
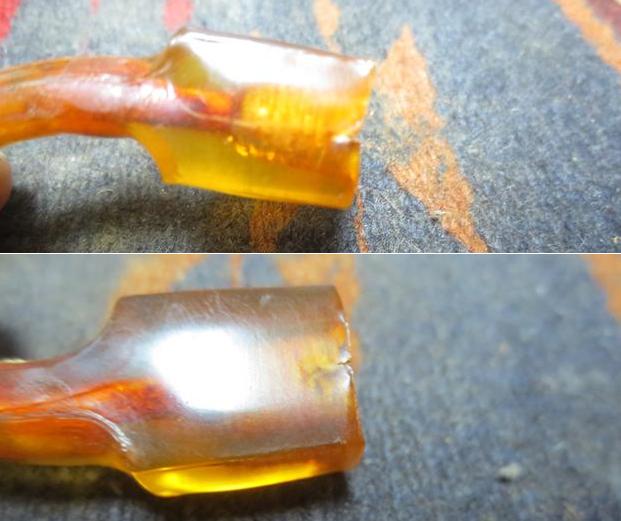 Since the stem was such a mess and would take time to work on I started with it. I sanded the sides and top of the stem and filled in the damaged areas with amber super glue. In the next photos you can see the extent of the damage from the size of the glue repairs. I set the stem aside to dry and went for lunch with my wife and daughters. When I returned the repairs would have cured and I could continue.
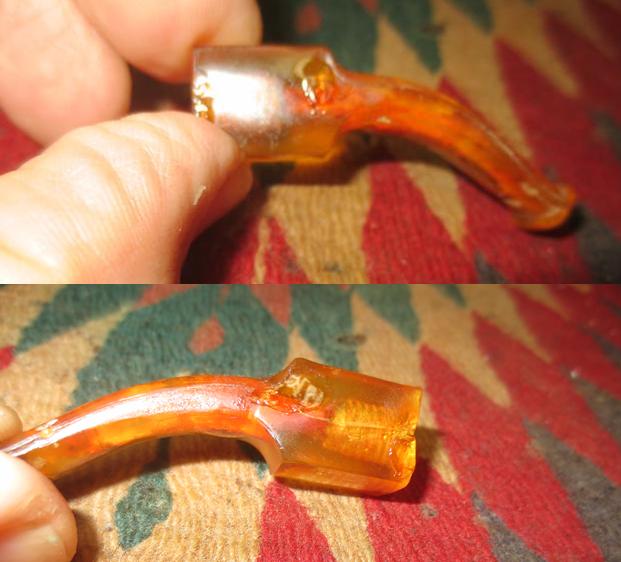
 When I returned I used a needle file to smooth out the repaired areas and flatten out the sides of the saddle. I sanded the stem with 220 grit sandpaper to further blend in the repaired areas.
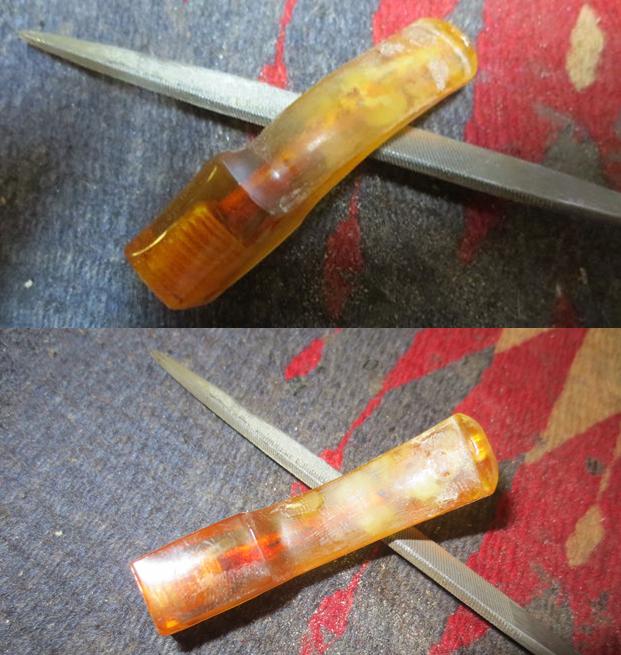
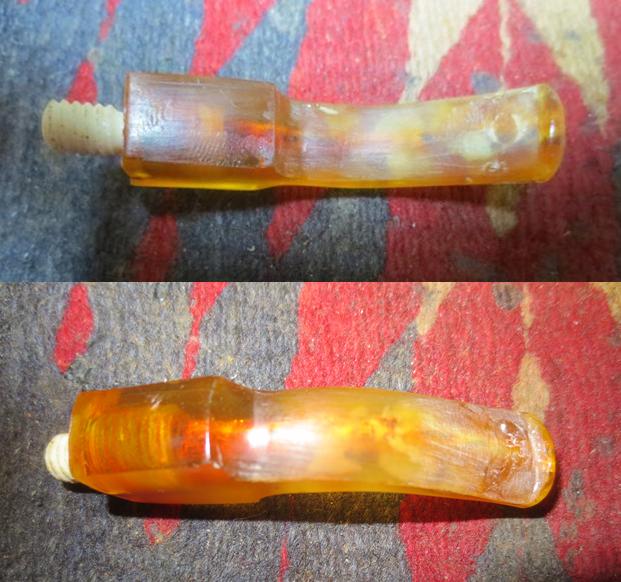
 I fit a new threaded tenon in the stem and set it in place. I sanded the stem more, to smooth things out. In the first photo below there looks like a crack runs along the middle of right side of the saddle. It was not a crack but a flaw in the stem material. There was still a lot of sanding to do before the stem was acceptable.
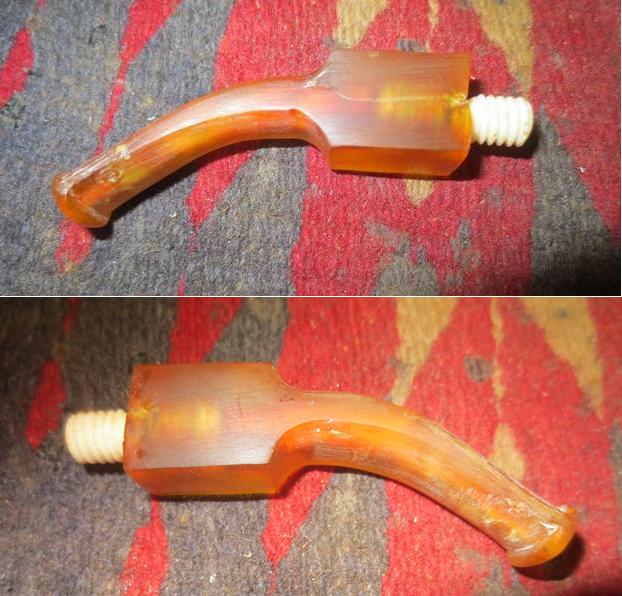
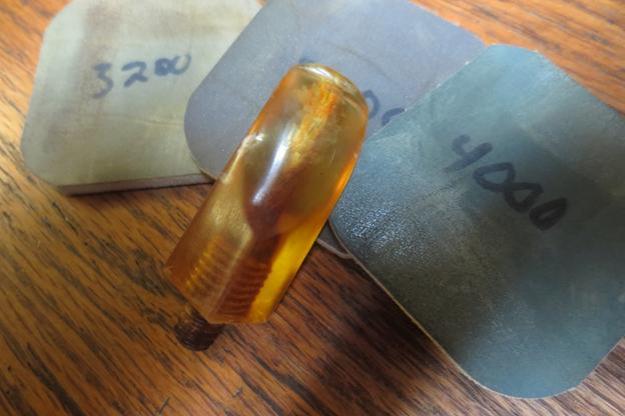
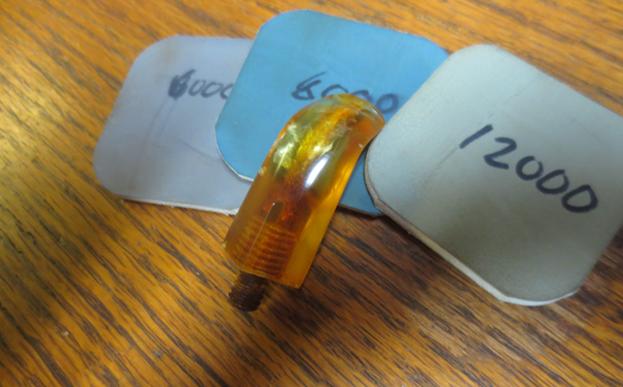
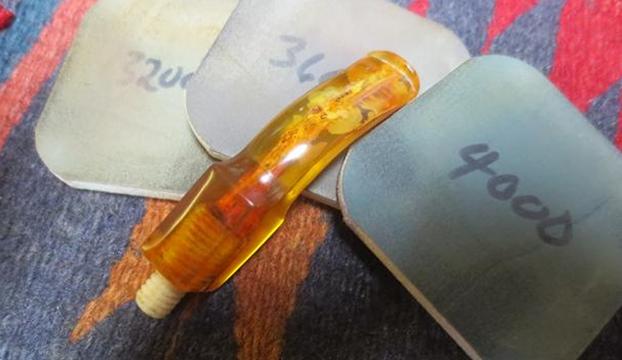
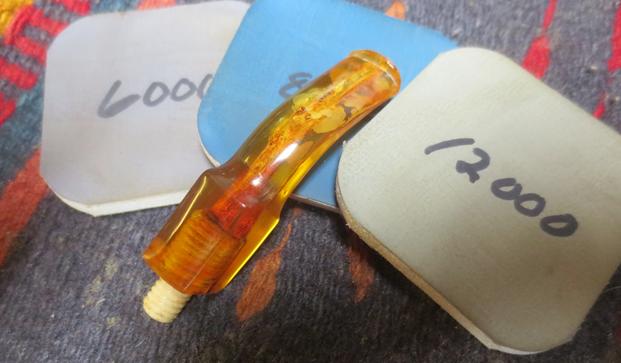
 I sanded the stem surfaces until they were smooth and the repairs were unnoticeable. It took quite a bit of sanding to achieve this. I polished the stem with micromesh sanding pads – wet sanding it with 1500-2400 grit pads and dry sanding it with 3200-12000 grit pads. I rubbed the stem down with Obsidian Oil after each pad to give traction to the next pad and also bring a little life to the Bakelite stem.
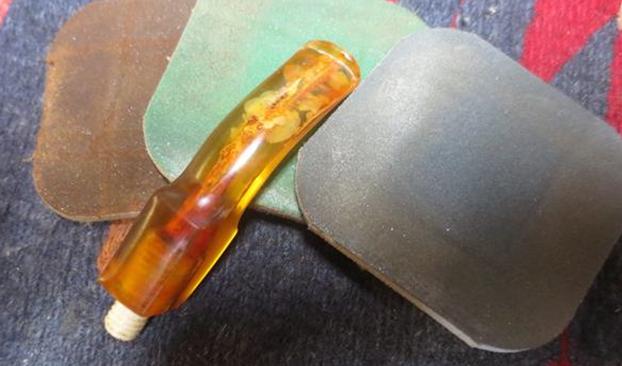
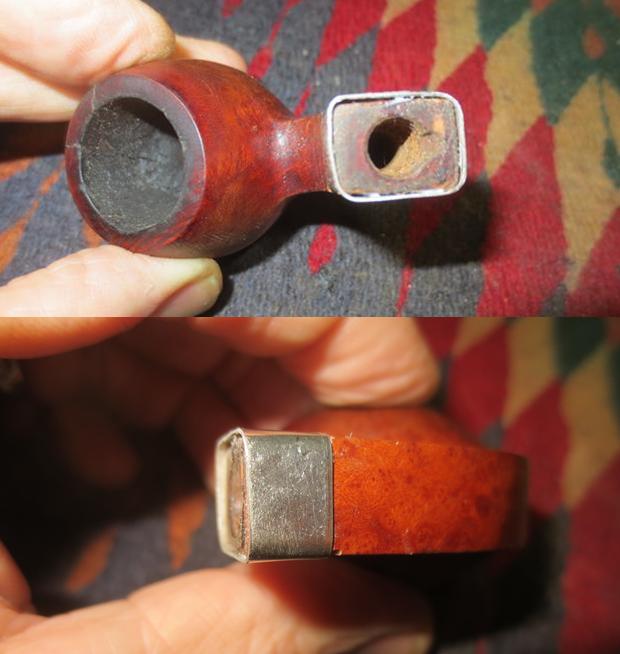
 With the work on the stem complete I set it aside and turned my attention to the issues with the bowl and shank. I decided to address the cracked shank first. I would need to fit a band on the shank. I did not have any brass bands so a nickel one would have to suffice. I used a needle file to work on the shank end to get it ready for the band. I started with the file and finished with the Dremel and sanding drum.
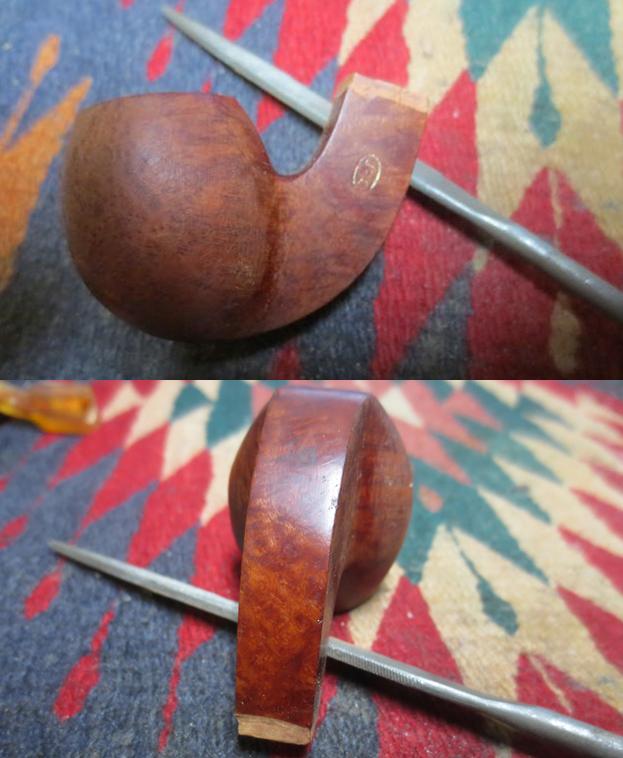
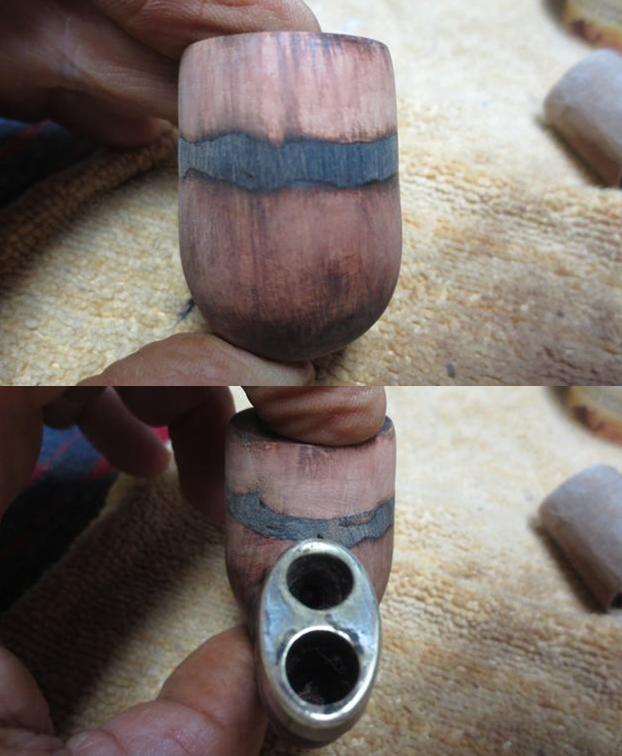
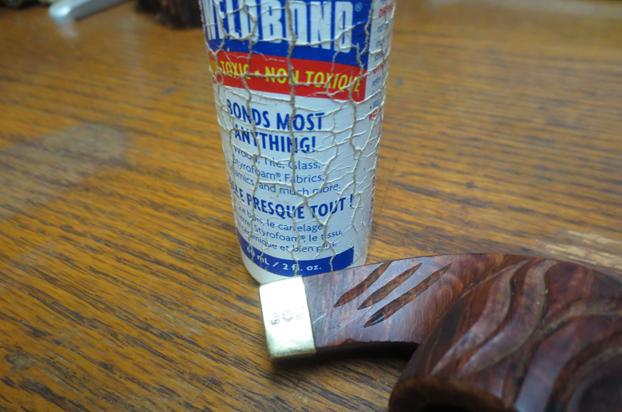
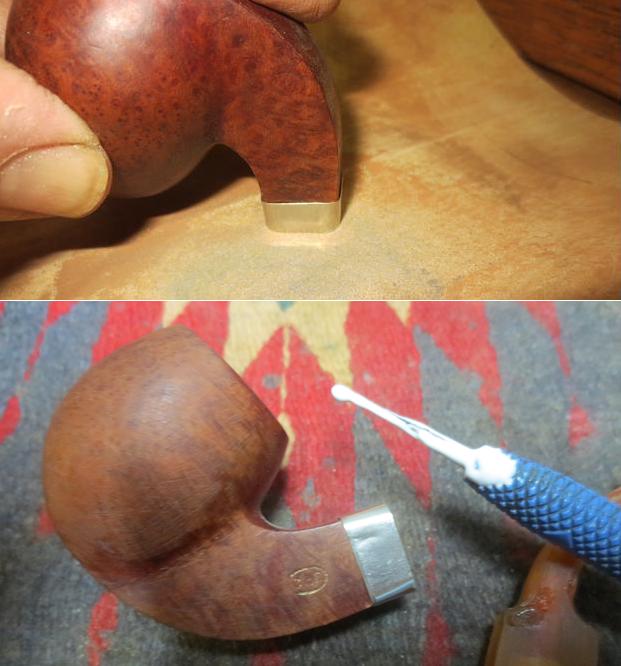
 Making a band that would fit took some work. I only had round bands so I needed to shape one that would work. I used a small nail hammer and the square edges of the needle file to make the round band rectangular. It was tedious but the finished band is shown in the photo below. I pressed it onto the shank of the pipe. It was still too large and if pressed all the way onto the shank would look awkward. I used the Dremel and sanding drum to cut the height of the band in half. It takes time and care to slowly grind the metal away. I used the topping board to smooth out the sharp edges of the band. I used an all-purpose glue to repair the crack and to anchor the band on the shank. I pressed the band in place on the shank.
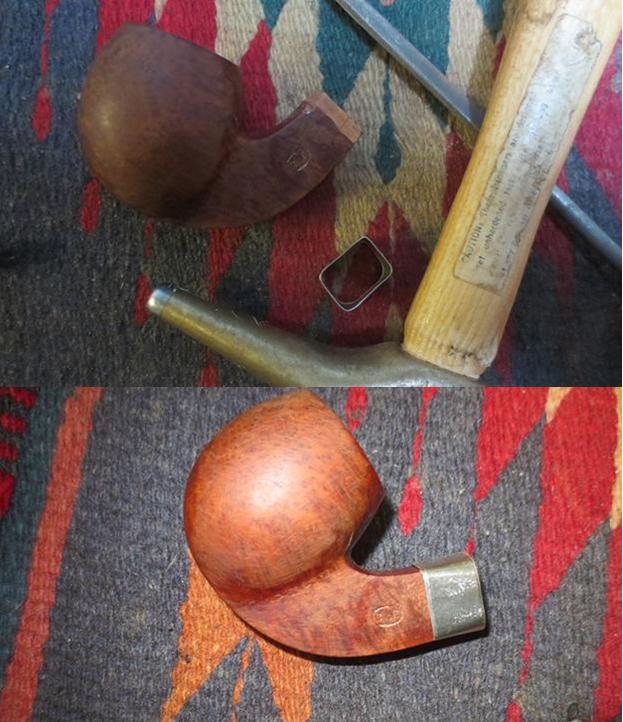
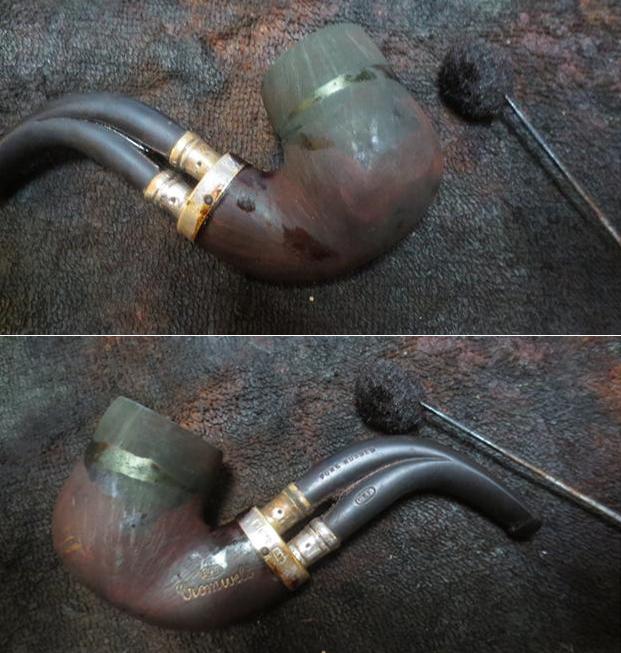
 I took photos of the banded shank to remind myself of what it looked like at this point in the process. I still needed to polish the metal but it was looking better.
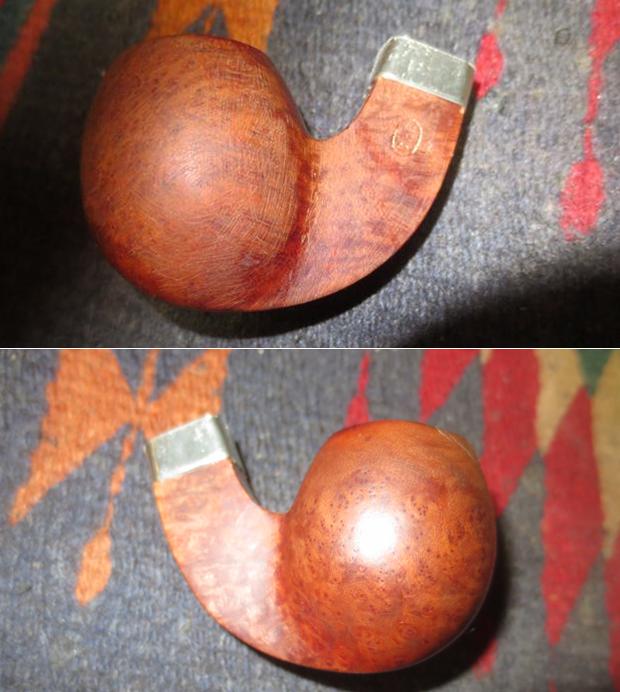
 The bowl still had remnants of the old varnish coat in the angles and on the shank bottom. I wiped it down with acetone on a cotton pad to remove the rest of the finish in preparation for the repairs that I needed to do on the cracks.
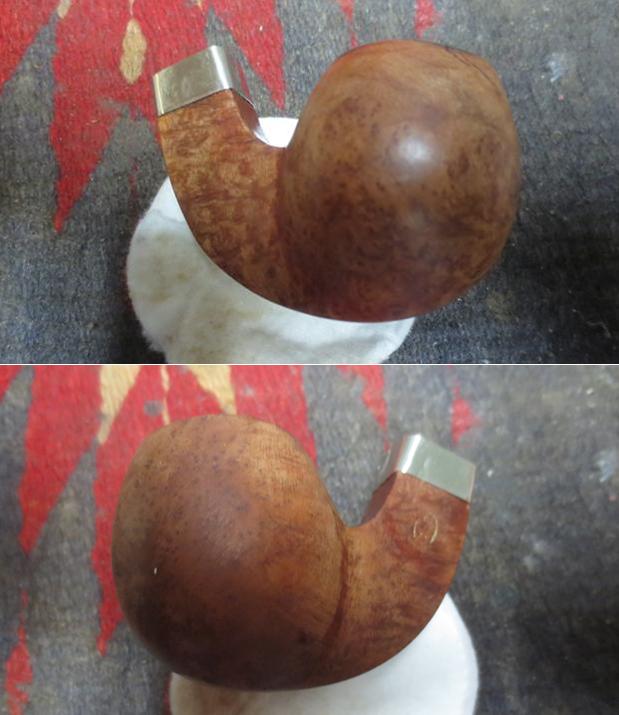
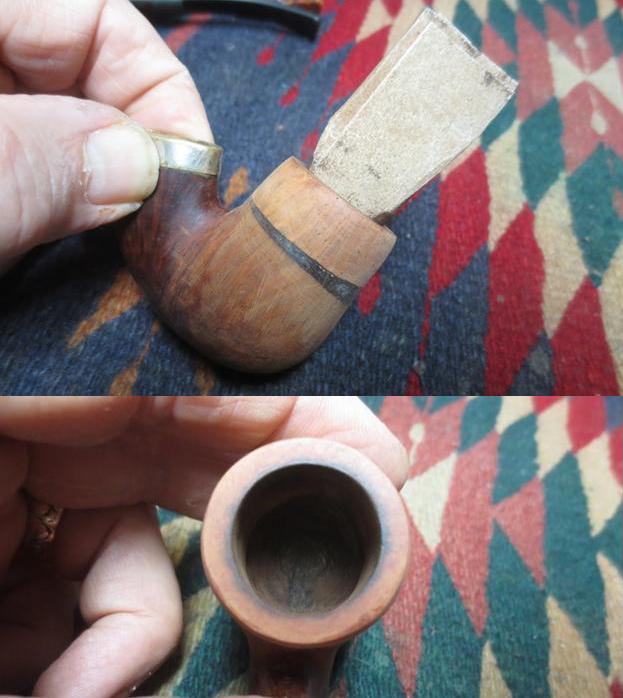
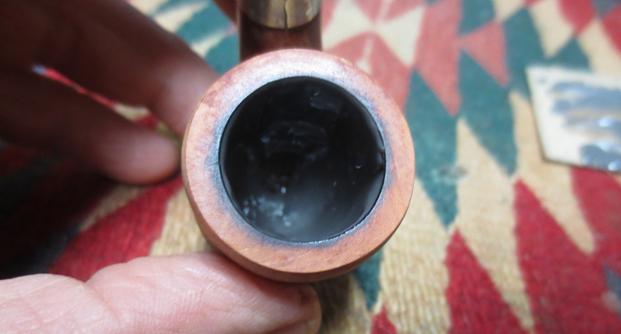
 I topped the bowl to remove the damaged areas on the rim top and to clean up the inner edge damage.
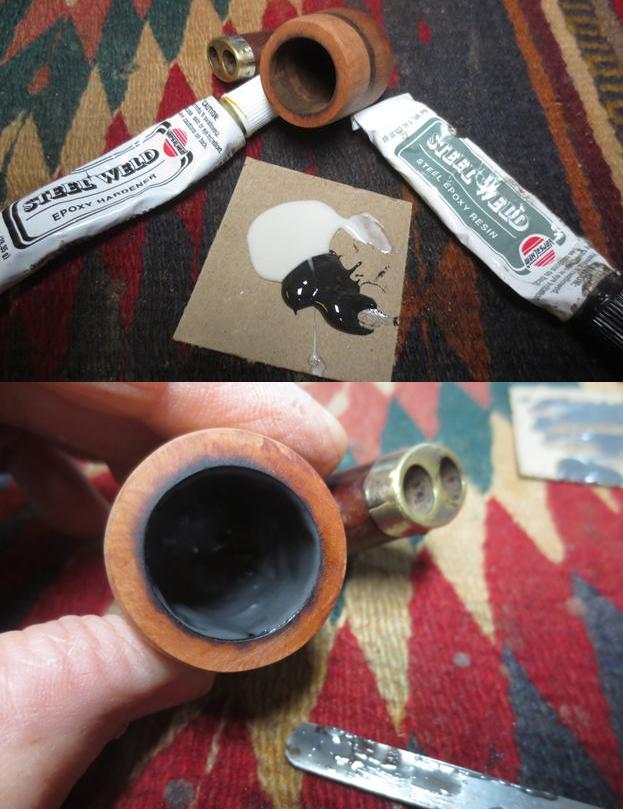
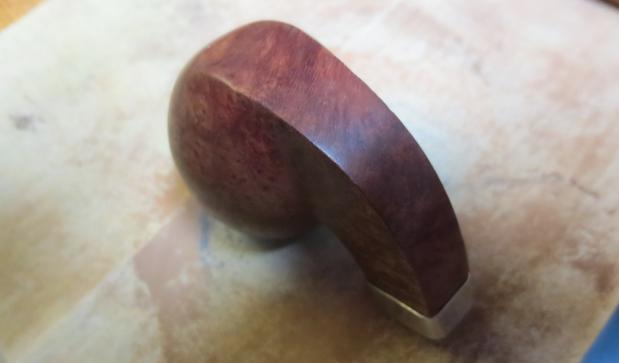 I marked the ends of the cracks with a black Sharpie pen and drill the spots with a microdrill bit on my Dremel. I put these pin holes at the end of each crack to stop it from spreading further. I filled in the drill holes with clear super glue and smeared the glue over the cracks themselves. When the repairs dried I sanded them smooth with 220 grit sandpaper to blend into the surface of the briar. I also sanded the inner edge of the rim to minimize the damage there.
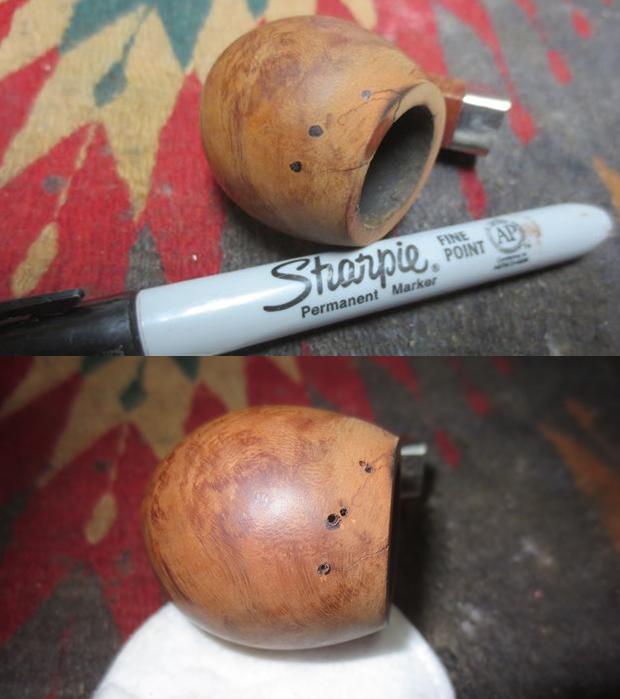
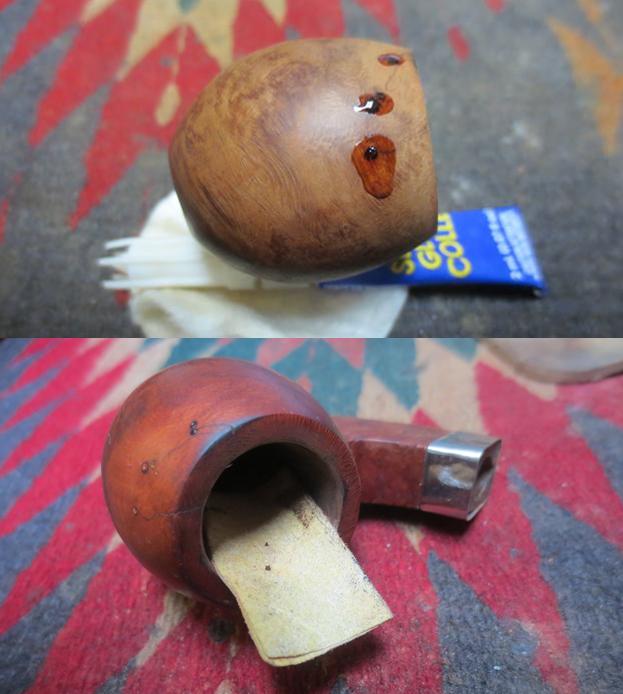 With the repairs completed it was time to stain the bowl and blend them into the rest of the briar. For me the staining process on this pipe would be done in several steps. I stained the bowl with a dark brown aniline stain, flamed it and repeated the process to ensure an even coverage over the bowl. I wiped the bowl down with alcohol on cotton pads to make the stain more transparent.
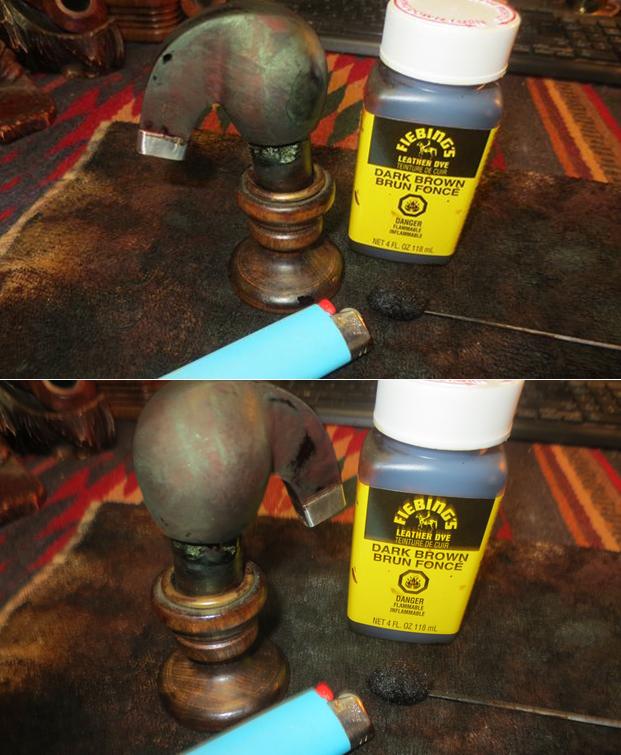
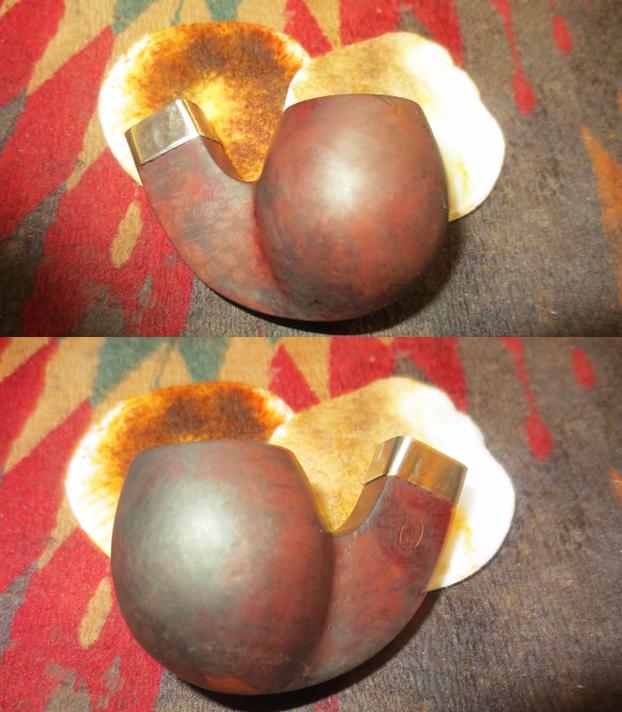
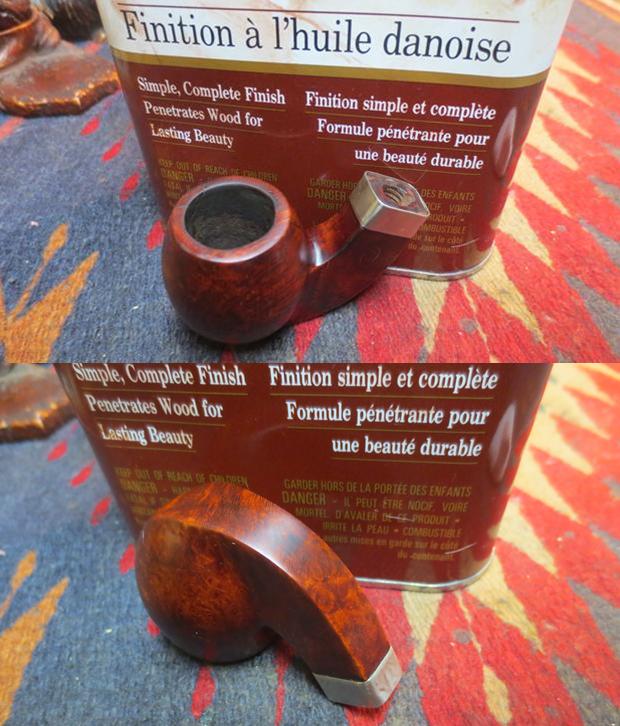
 I sanded the bowl down with 1500-4000 grit micromesh sanding pads to make the grain more transparent and polish it in preparation for the next contrast coat of stain. I wiped it down with alcohol once more and then gave it a coat of Danish Oil Cherry stain for the top coat. I really like the way it brings out the reds in the grain of the briar.
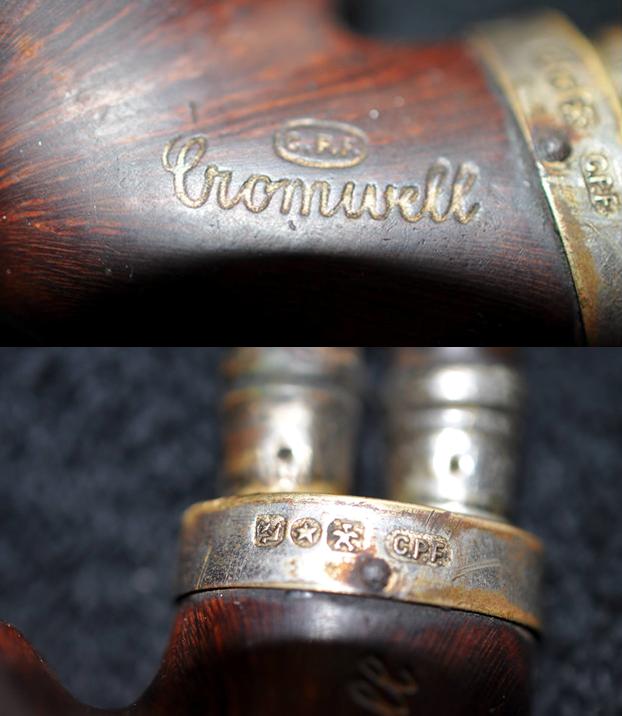
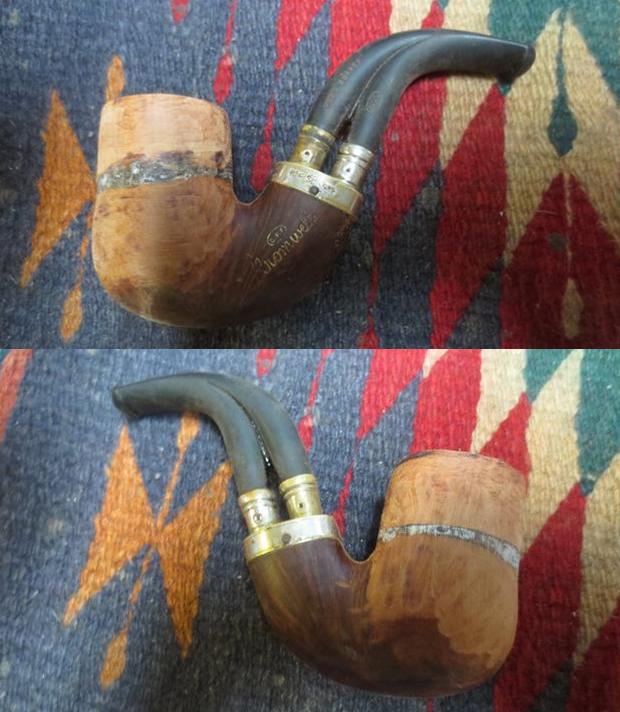
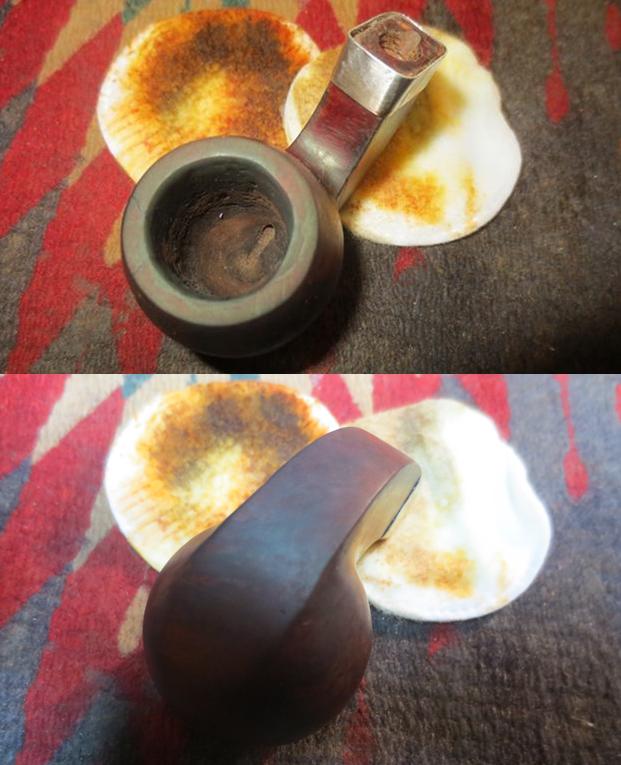
 I touched up the gold stamping with Rub’n Buff European Gold. I rubbed it on and off leaving it in the light C.P.F. oval logo. It is faint in some places but it is readable. I gave the bowl several coats of Conservator’s Wax and buffed it with a microfiber cloth. The photos below show the renewed stamping and the waxed finish on the bowl.
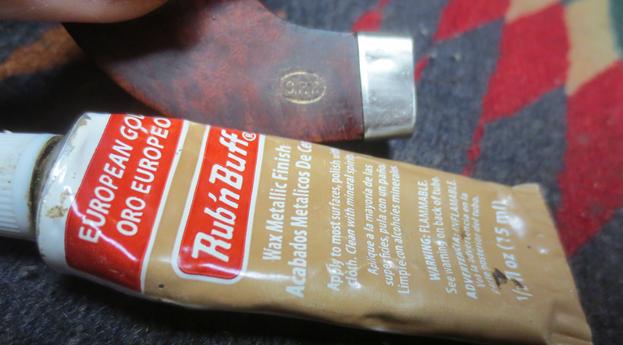
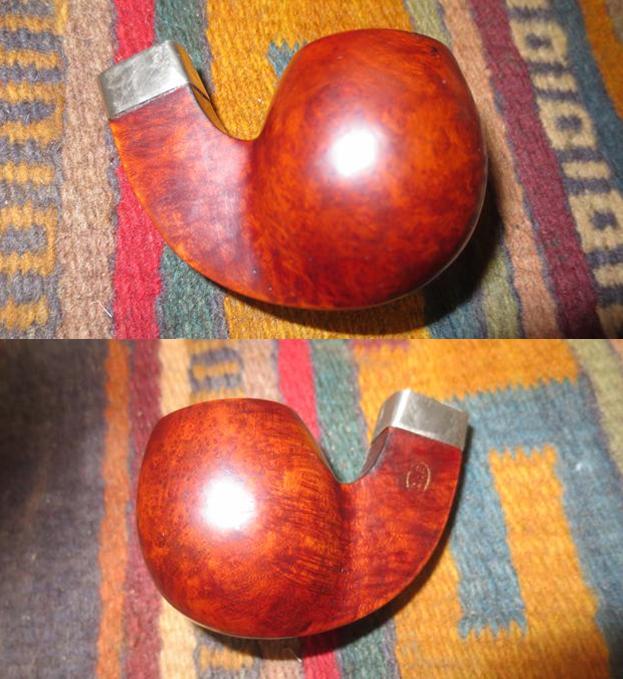
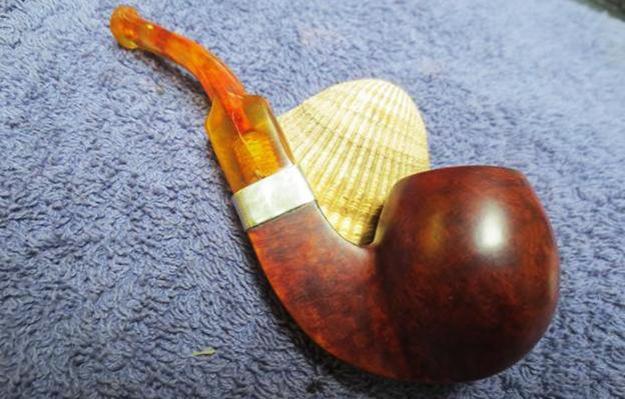
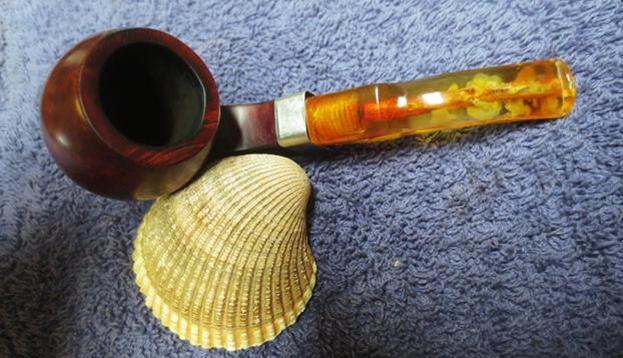
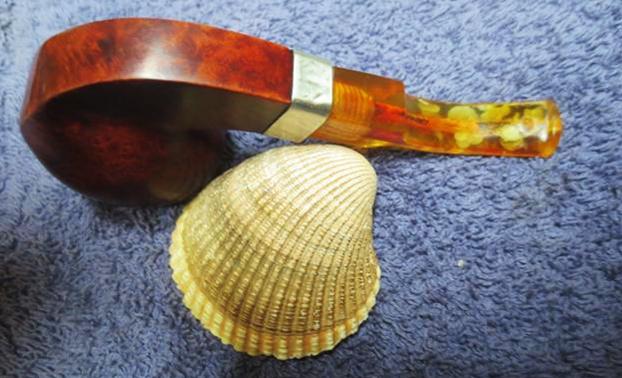
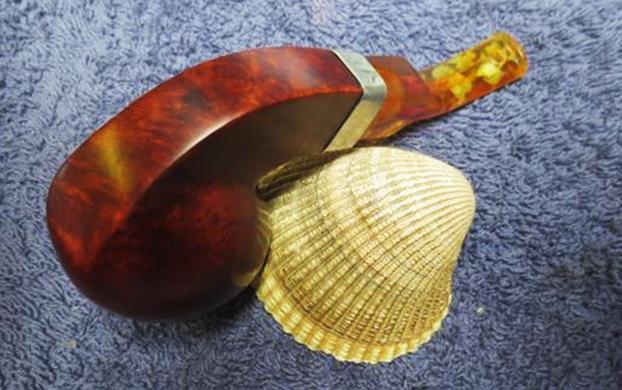
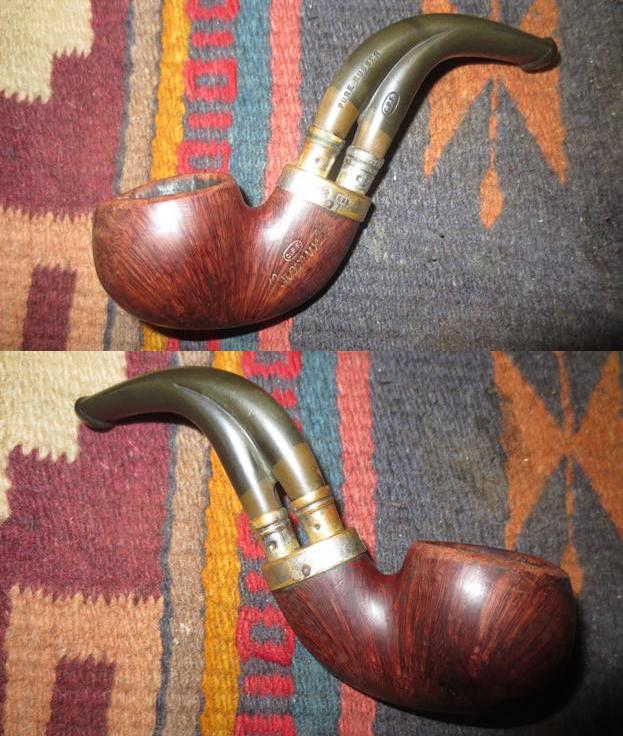
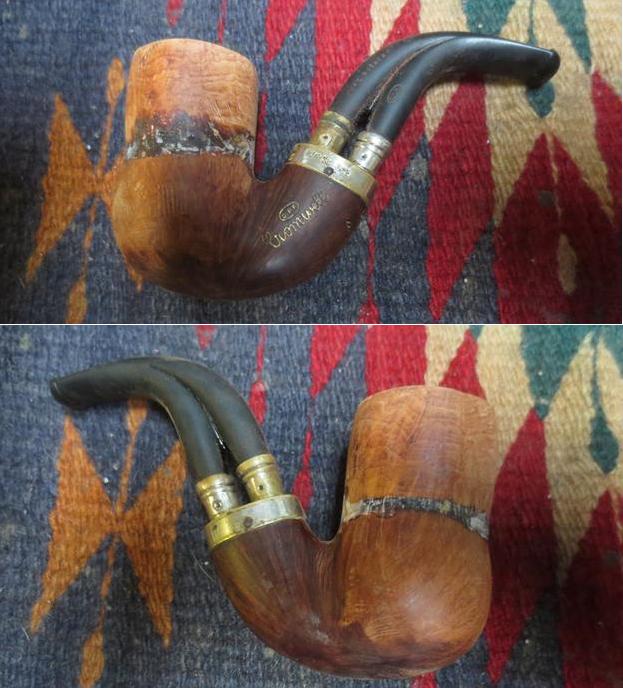
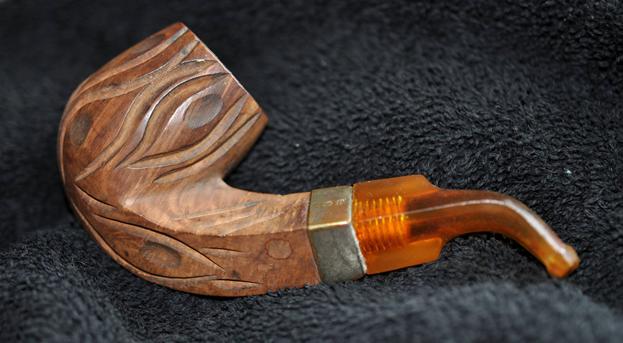
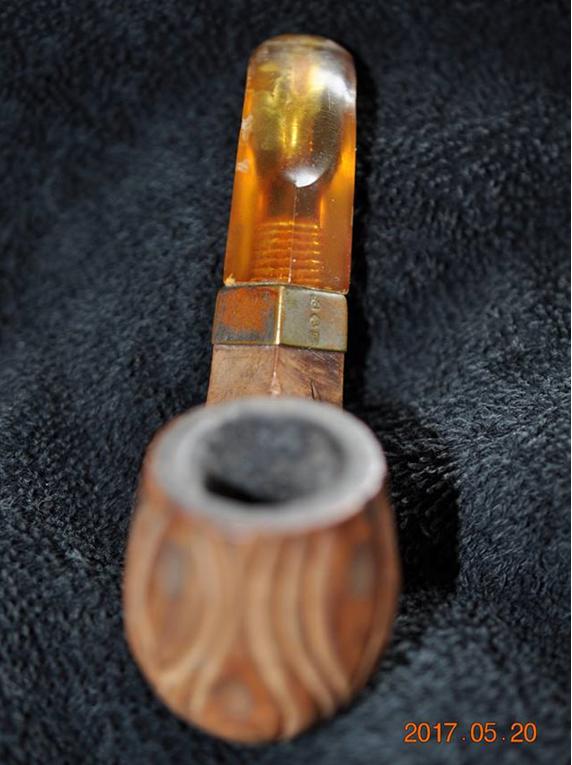
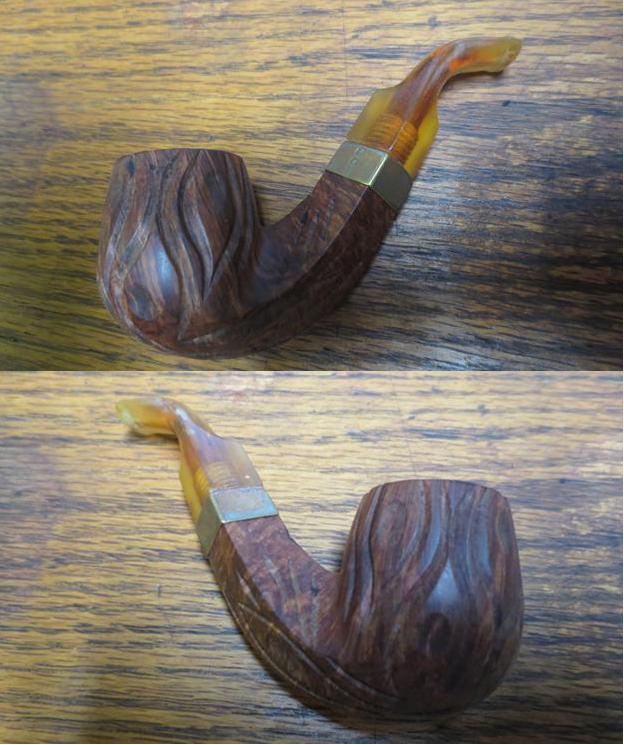
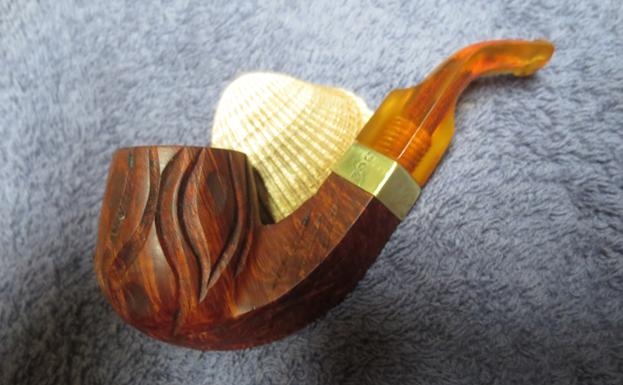
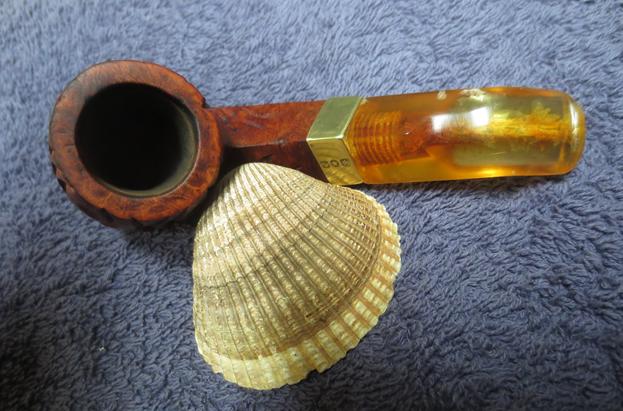
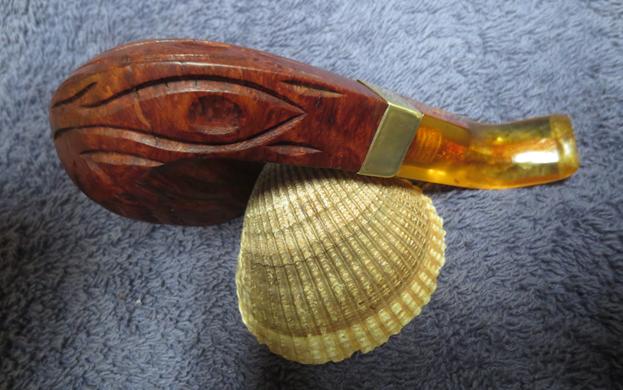
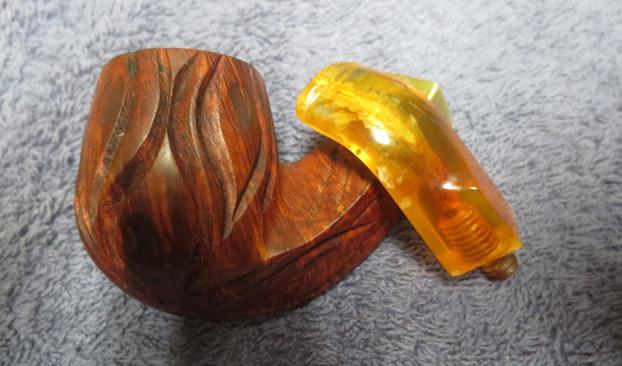
 I used the Savinelli Fitsall Pipe Knife to clean up the remnant of the cake on the wall that is shown in the above photos. I buffed the pipe bowl and stem independently with Blue Diamond on the buffing wheel to polish them both. I worked over the briar around the bowl with the Blue Diamond. I carefully gave the briar several coats of carnauba wax and then Conservator’s Wax in the hard to reach spots. I buffed the waxed briar with a clean buffing pad to a raise a shine. I gently buffed the stem with Blue Diamond so as not to melt it or cause damage. I gave the stem multiple coats of carnauba wax and buffed it with a clean buffing pad to raise the shine. I hand buffed bowl and stem with a microfibre cloth to deepen the shine. I put the stem in the shank and hand buffed it once more. I am quite happy with the finished pipe. It is a beautiful piece of briar and the stem picked up a nice shine that brought it back to life. The damage on the stem is almost invisible now and the amberlike Bakelite looks translucent. The repairs to the cracks in the briar on the side of the bowl and the shank have disappeared into the contrast stain. The nickel band works alright with the finished look of the pipe and takes care of the shank damage. The finished pipe is shown in the photos that follow. Thanks for putting up with my passion for these old C.P.F. pipes from another time. Thanks for looking.