Blog by Steve Laug
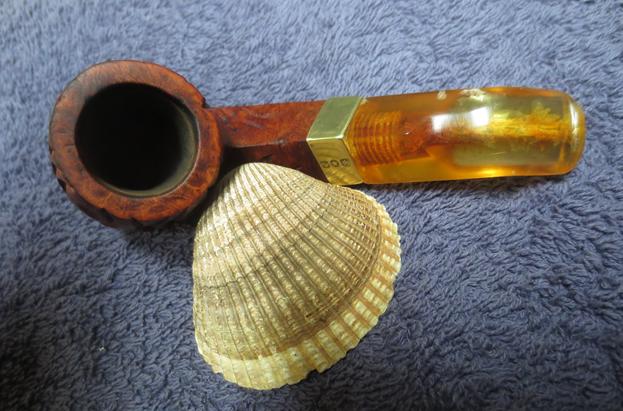
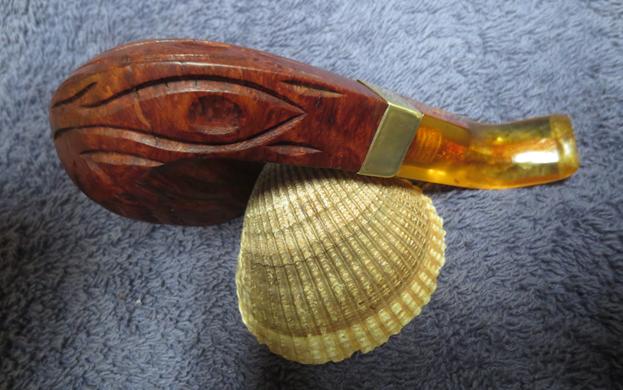
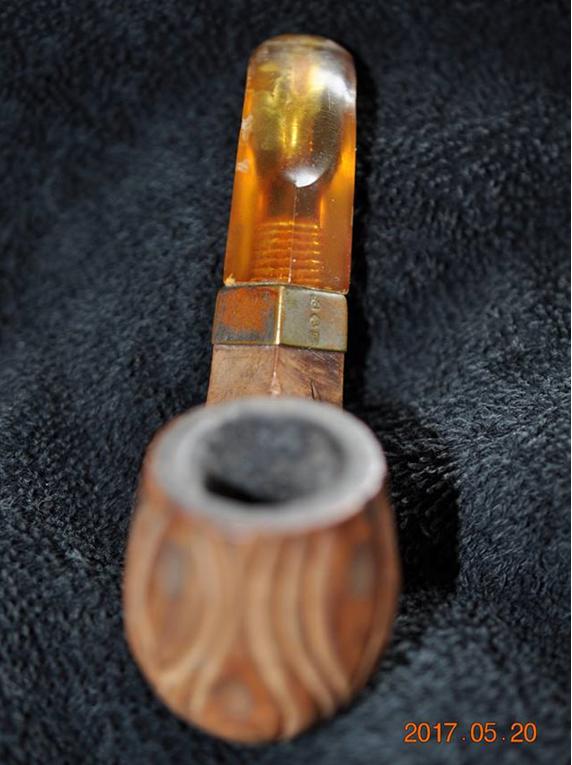
This old-timer came from the lot we purchased on our virtual pipe hunt in Montana. It has no stamping anywhere on the sides of the shank. There are faux hallmark on the oxidized brass band that don’t really help in identifying the pipe. The bowl and the shank have an interesting rustication pattern of swirls and divots. The finish was long gone from the bowl and the briar was worn and dirty. Some of the grooves were stained from oils and tars. There was a bone tenon in the stem that screwed into the shank of the pipe. The stem was worn and chipped with deep tooth marks on the top and underside near the button and on the button edges itself. My first impressions of it make me think it is Bakelite not amber. It is not heavy and it is warm to touch. The chips along the edges look like chips in Bakelite not amber and the tooth dents also go along with the theory of it being Bakelite.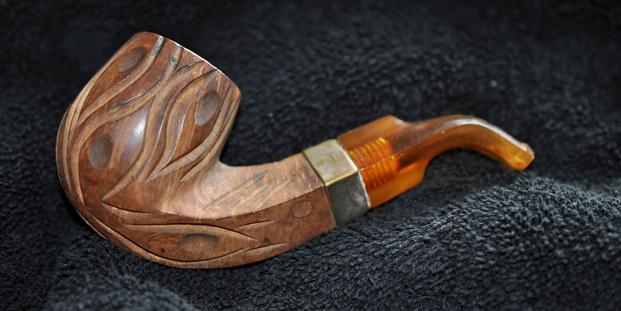 There was something about the rustication pattern that reminded me of some of the rustication patterns that I have seen on older Wellington style C.P.F. pipes. The next two photos show one with a similar style of rustication and it was in the same lot of pipe from the virtual pipe hunt.
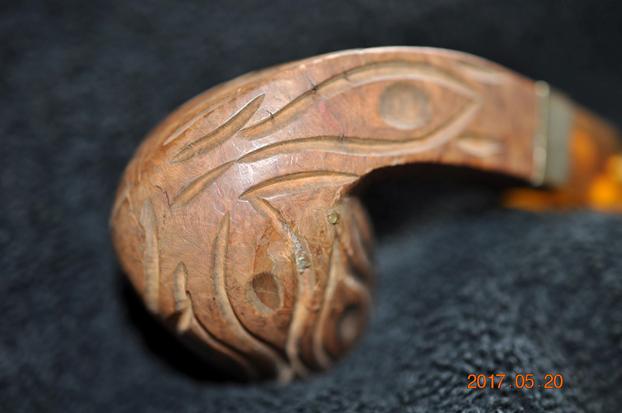
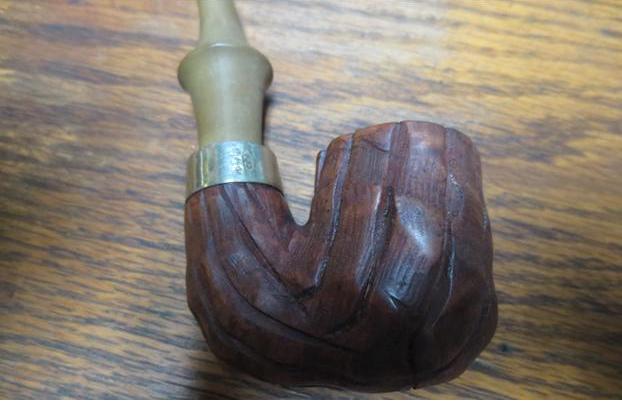 The C.P.F. pipe above has a nickel band that had similar faux hallmarks as the one I am working on but it also has the C.P.F. oval stamped in the metal. The hallmarks are an anchor, a star and a bird of some sort. The first photo below is from the pipe I am working on and the second one is the C.P.F. Wellington.
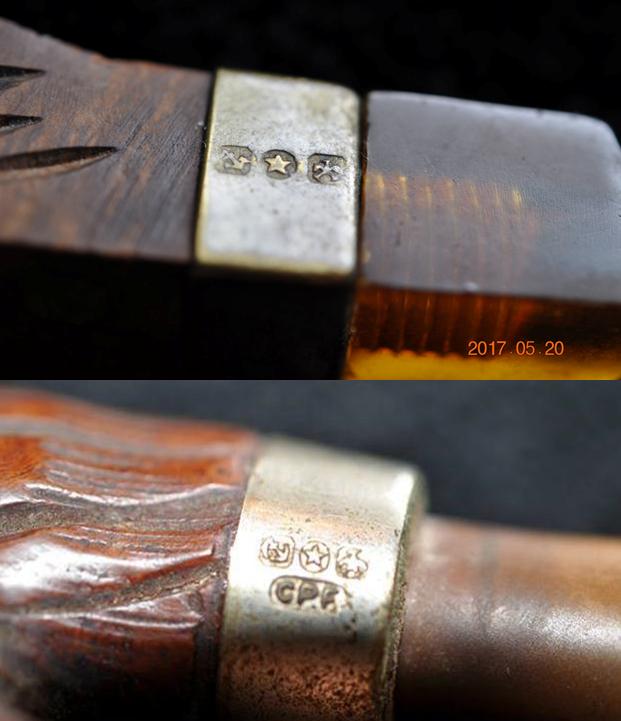 It also has the same kind of work on the edges of the ferrule that are folded over the end of the shank. All of these parallels make me wonder if the pipe I am working on was also made by C.P.F. I may never know but I think that it is a pretty good guess.
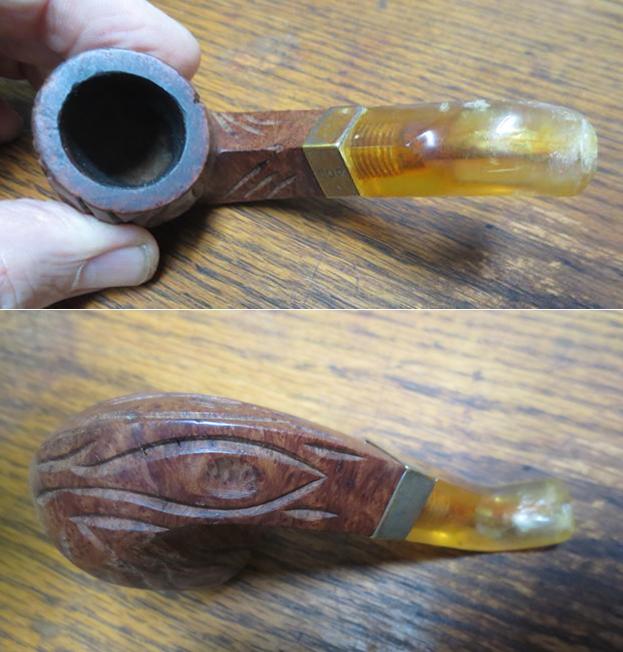
Jeff took the first photo above and the others that follow before he cleaned up the pipe to give me some idea of what we were dealing with. It is an interesting old pipe and the mystery of the trying to figure out who carved it may never fully be answered. The next photos show the pipe from various angles – looking at it from the left side, the front of the bowl and the underside of the bowl and the shank. You can see from the photos that the finish is almost nonexistent. There are spots on the briar that look like water stains but we won’t know until Jeff does his cleanup work on it.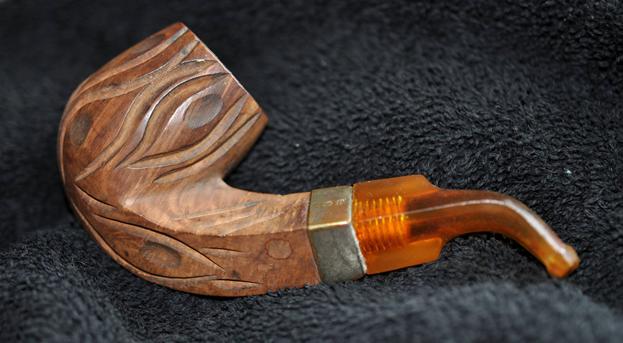
 Looking at the pipe from the top down you can see the thick overflow of lava on the top of the rim and the thick cake in the bowl. Remarkably the inner and outer edge of the bowl appear to be in good condition with no damage but I would know for sure once it had been cleaned and reamed.
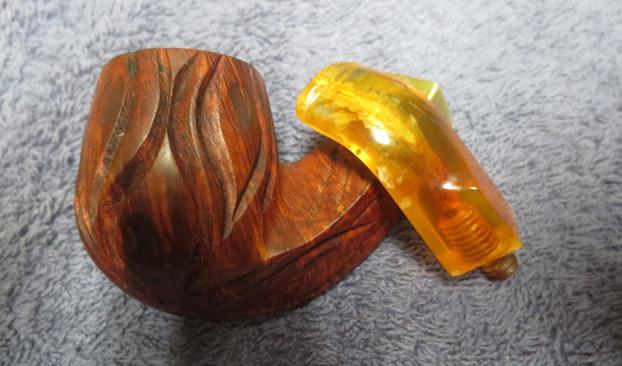
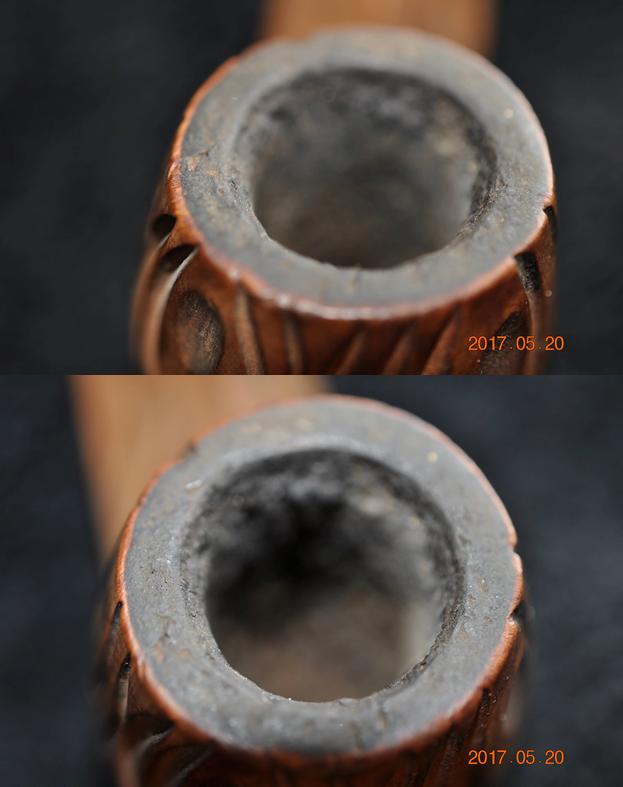 The next close up photos show the swirling carving and divots on the sides and bottom of the bowl. There is some sticky substance like that found on sales labels on several spots on the briar. It is interesting to me that you can see the grain in the wood and some fills peeking through the remnants of the finish. It appears to have some beautiful grain.
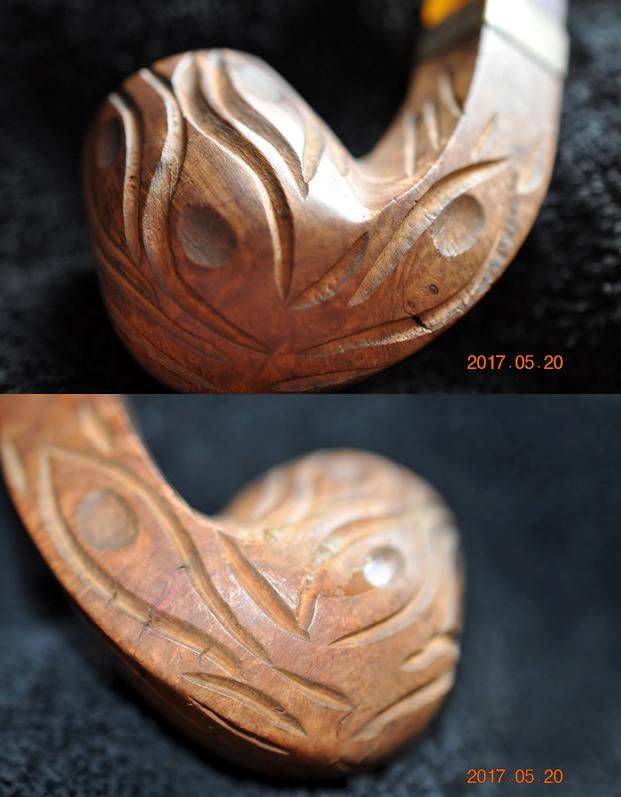
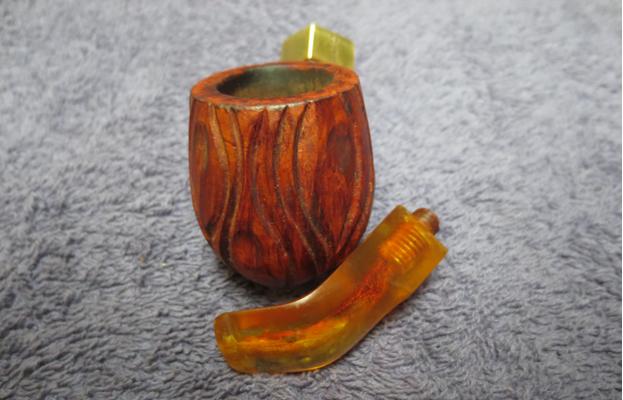
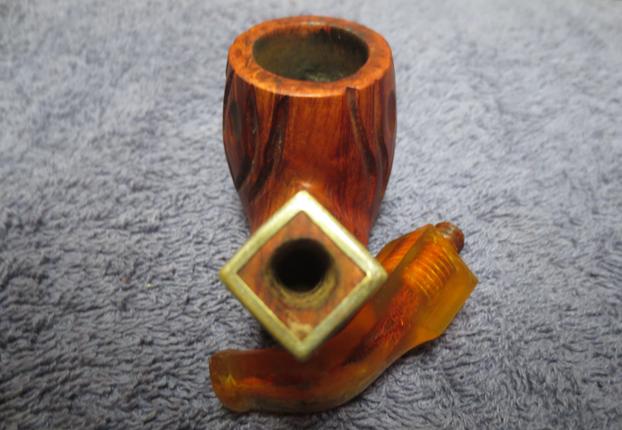
 There were some chips and nicks along the sharp edges of the diamond shaped stem. There was tooth chatter and tooth marks on the top and underside near the button. The surface of the button itself had tooth marks on the left side. All were repairable but all were quite deep.
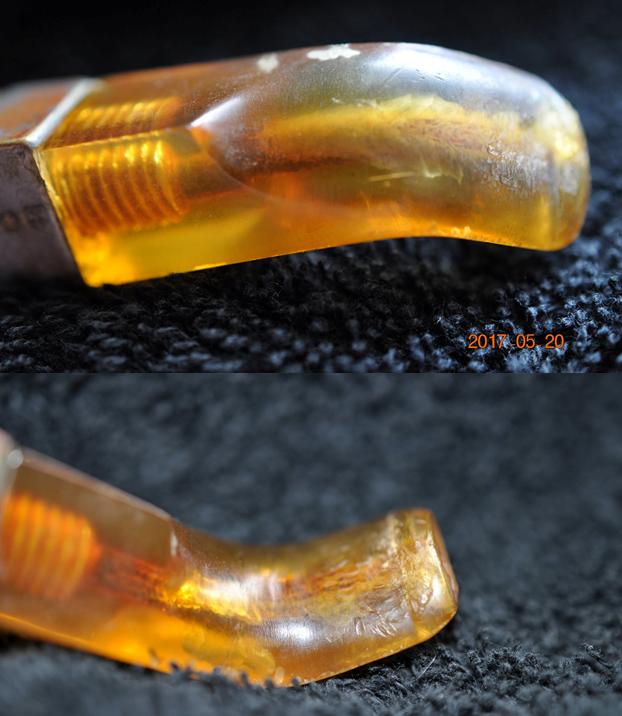 Jeff reamed the bowl with a PipNet reamer and a Savinelli Fitsall Pipe Knife to finish the cleanup of the bowl. He scrubbed the exterior of the pipe using Murphy’s Oil Soap and a tooth brush. He worked the crevices and carvings over carefully to remove the sticky substance and the dirt and grime that were ground in there. When he finished scrubbing the briar he rinsed it off under running water. He dried it off with a soft cloth and the soap had removed the deeply ground in grime on the finish and the lava on the rim edges. He ran pipe cleaners and alcohol through the mortise and the airway in the shank and stem to remove dust and debris that had collected there. He carefully scrubbed out the nicks and tooth marks on the saddle stem using a tooth brush and rinsed it with water. Once the pipe was clean, he packed it up and sent it my way for the repair and restoration work. I took photos of the pipe when I brought it to my worktable. It is another intriguing little pipe from the collection of older C.P.F. and WDC pipes from our Montana pipe hunt.
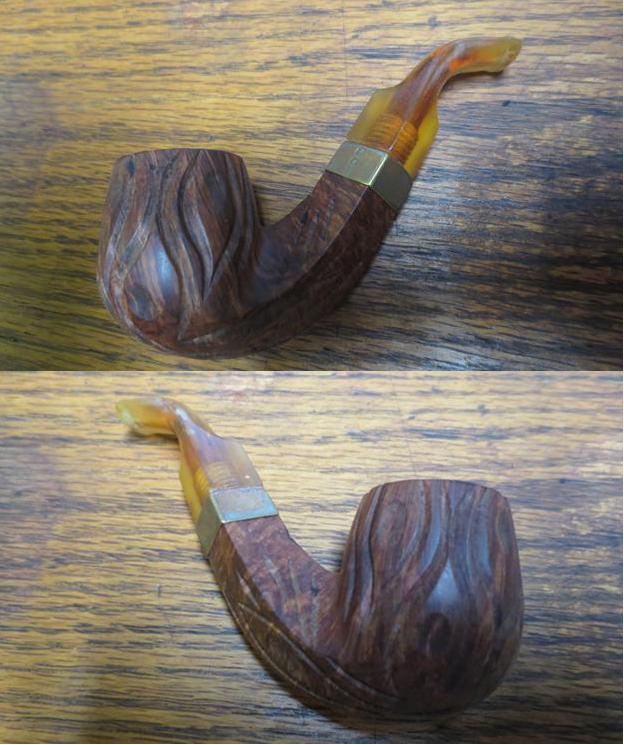
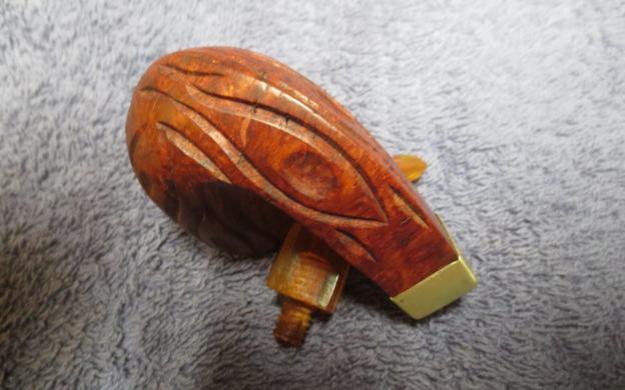
 Once the rim top was cleaned I found that there was damage to the inner edge. There was also some darkening and surface damage on the flat of the rim as well that would need work.
 Jeff had been able to remove the debris from the chips and tooth marks on the stem surface. It was rough to touch but should clean up well. He had also removed all the tars and oils in the airway of the stem.
 I filled in the tooth marks and chips in the stem with amber super glue and set the stem aside in my drilled block to dry. This block allows me to work on both sides at the same time thus cutting my drying/curing time.
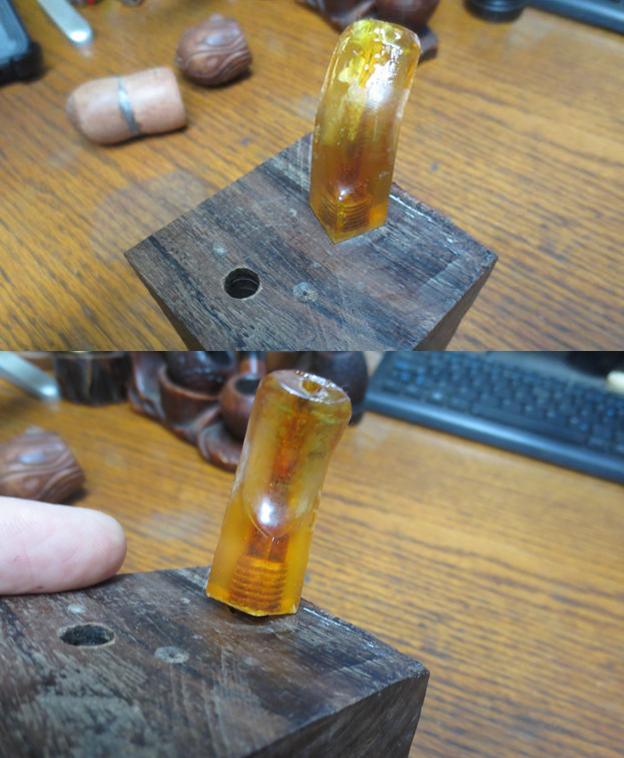 While the repair on the stem cured I turned my attention to the inner edge of the bowl. I used a folded piece of 220 grit sandpaper to smooth out the damaged edge and bring the bowl back to round.
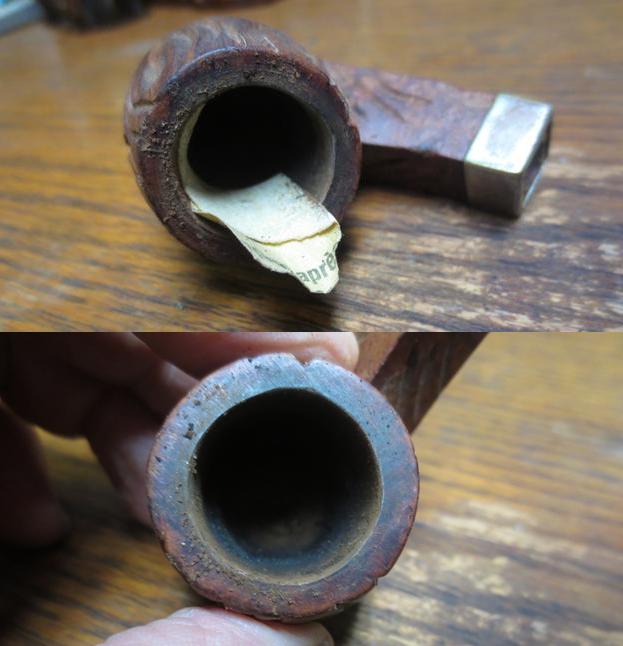 To smooth out the surface of the rim I used a coarse, medium and a fine grit sanding sponge like a topping board. This method removes the grime and build up without removing briar from the rim surface.
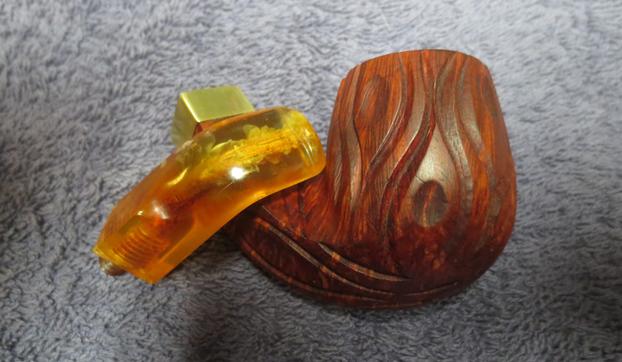
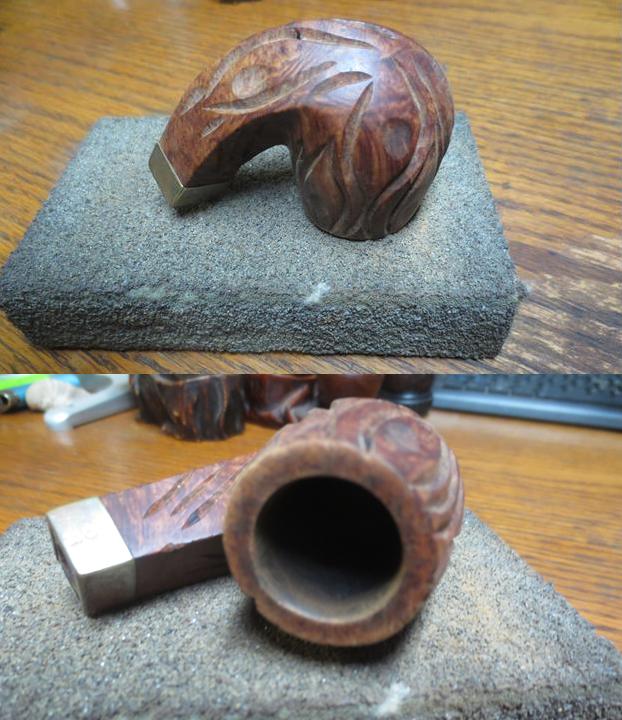 The band was loose on the shank so I removed it and polished it with micromesh sanding pads and a jeweler’s cloth to remove the tarnish. I used a pick to put some all-purpose glue on the surface of each side of the diamond shank and pressed the band in place. I set the bowl aside to let the glue dry.
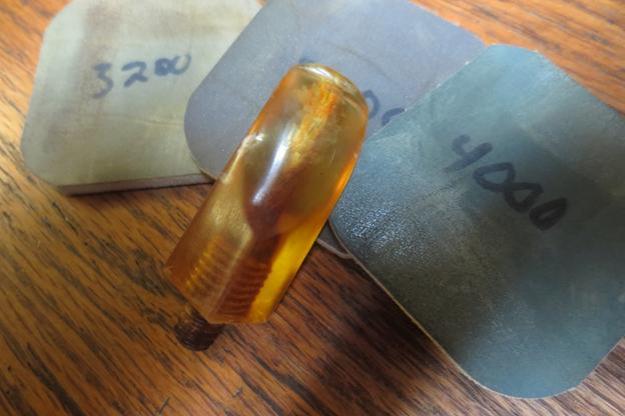
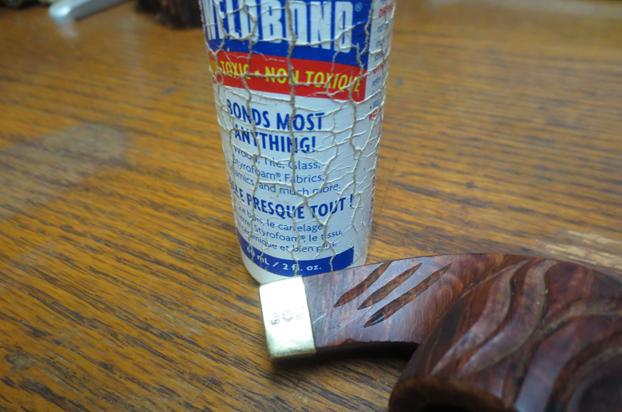 I polished the stem with micromesh sanding pads. I could not do anything about the spidering around the internal airway but the stem was very clean. The repairs polished up nicely. I wet sanded the stem with 1500-2400 grit pads and dry sanded with 3200-12000 grit pads. I wiped it down with Obsidian Oil after each pad and set it aside to dry after the final coat of oil.
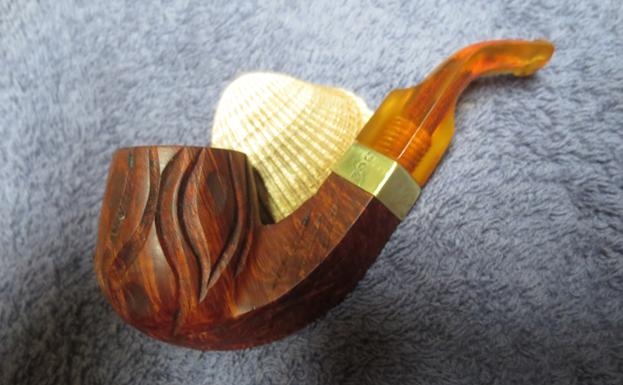
 I polished the pipe with Blue Diamond on the buffing wheel. You have to have a light touch on the old Bakelite as it will melt and become deformed if you have too heavy a touch. At this point in the process I did not want to make more work for myself. I gave the stem multiple coats of carnauba wax and polished it with a clean buffing pad. I hand waxed the rusticated bowl with Conservator’s Wax and buffed it with a clean buffing pad. I hand buffed the bowl and stem with a microfiber cloth. This turned out to be a pretty little pipe – its dimensions are Length: 4 ½ inches, Height: 1 ¾ inches, Bowl diameter: 1 ¼ inches, Chamber diameter: ¾ inches. The finished pipe is shown in the photos below. If it interests you send me an email to slaug@uniserve.com or a message on Facebook. Thanks for looking.