Blog by Steve Laug
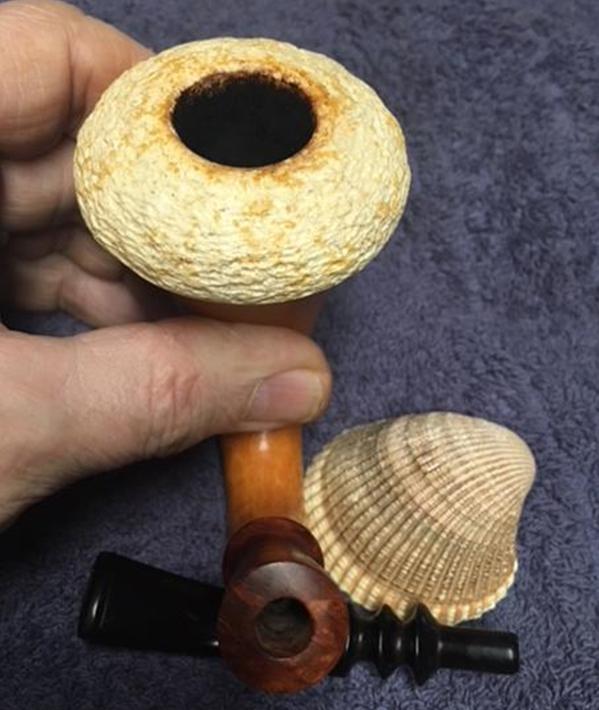
 As I have mentioned before my brother Jeff has really gotten good at finding Gourd Calabash pipes when he is pipe hunting. He picked up this batch recently. I posted about the large calabash in the middle of the right hand column recently and it is available on the rebornpipes store. It is by far the largest of the five calabash pipes that he found. The second one I am working on is the pipe at the bottom right of the photo. It is another unique looking Calabash to me in that it is a nicely shaped gourd with a briar shank extension on the end of the gourd. It bears the Jobey brass oval logo on the side of the briar extension. The third of the calabash pipes that I worked on was a second Jobey calabash. It is the one on the bottom left of the photo below. As I mentioned before, when I first looked these Jobey calabashes I wondered if any of them had the Jobey system tenon that I have come to expect on Jobey pipes. However, this was not the case on any of the three Jobey Gourd Calabashes in the bunch. All of them have the mortise drilled in the briar extension and is made for a push stem. Once again, I had never seen Jobey Gourd Calabashes before learned that they were probably made by Wally Frank. Here is the link to the first of the pipes I worked on – the one circled in red in the photos below: https://rebornpipes.com/2018/01/09/restoring-a-full-bent-jobey-gourd-calabash-with-a-briar-shank-extension/. Here is the link to the second of the three circled in blue: https://rebornpipes.com/2018/01/28/restoring-the-second-of-three-jobey-gourd-calabashes-with-a-briar-shank-extension/. Today I am working on the third of the Jobey Calabash pipes and the fourth of the lot. It is the pipe on the top left of the photo below.
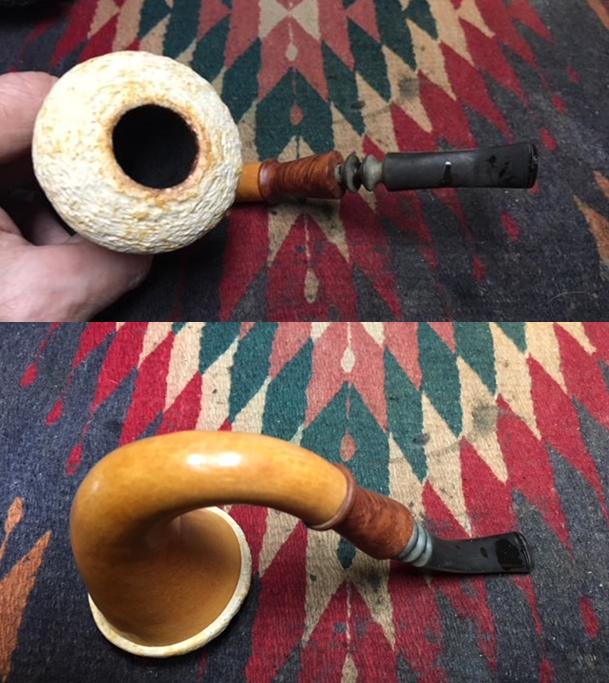
Once again Jeff took some photos of the pipe before he did his cleanup work on it. The photos below show it in the condition he found it in on one of his hunts. The gourd was dull looking and generally dirty. It had spots of sticky label material on the sides of the bowl. The briar shank extension was also dull and lifeless looking and there was a gummy substance in the brass logo on the shank extension. The meerschaum bowl on this pipe was light weight and appeared to be block meerschaum. There was a thick cake in the bowl and the rim had a coat of lava that went almost all the way around the inner edge of the chamber onto the rim top. The chair leg style stem was oxidized and dirty. There were tooth marks and tooth chatter on both sides of the stem at the button.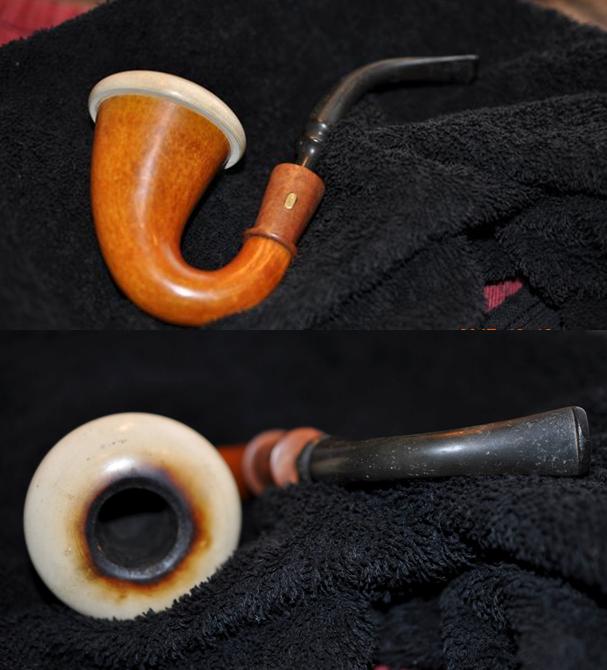
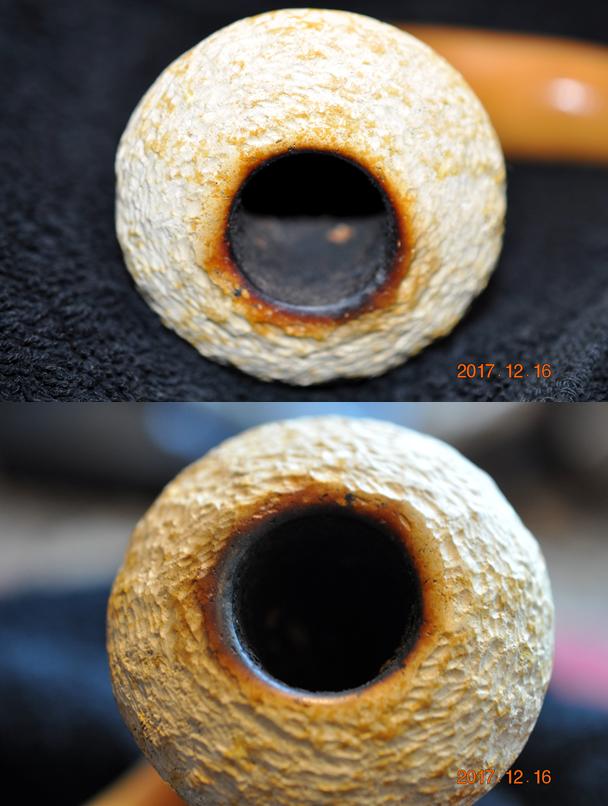
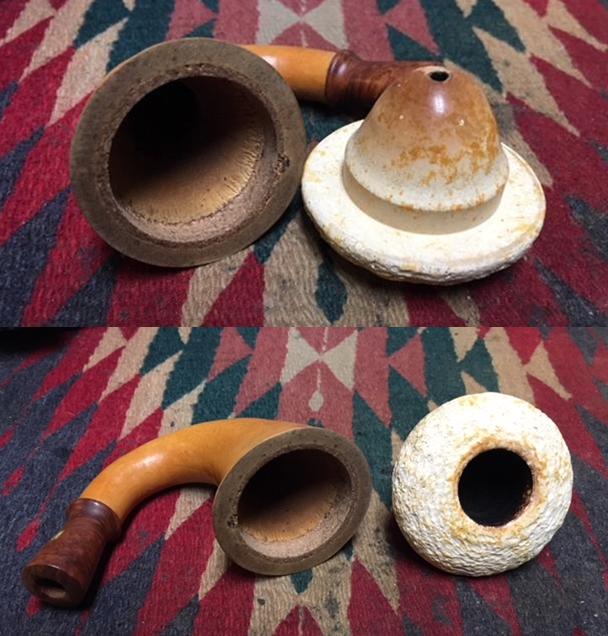
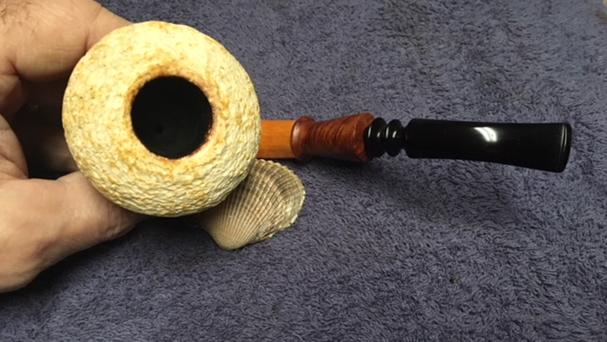
 The next photo shows the condition of the meerschaum cup. The cup of the meer was had some lava overflow from the bowl on the inner edge and top. There is also darkening around the inner edge of the bowl and cake in the bowl.
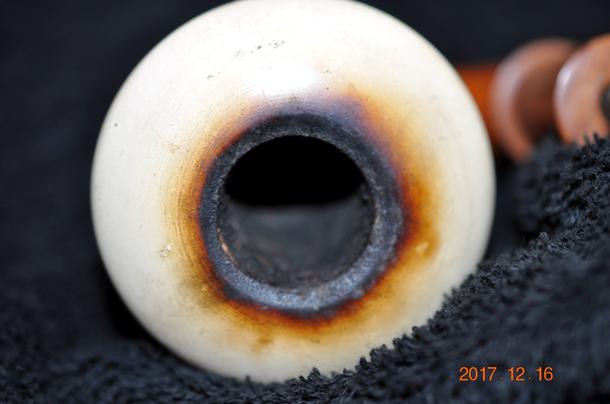 The next two pictures show the condition of the underside of the bowl and the tars and oils on the walls of the gourd. The underside of the meerschaum cup was dirty but in good condition. The cork gasket on the inside edges of the gourd was in good condition but dried out. It needed some grease to liven it up.
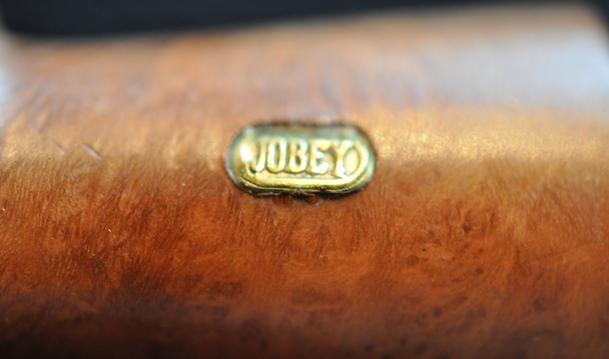
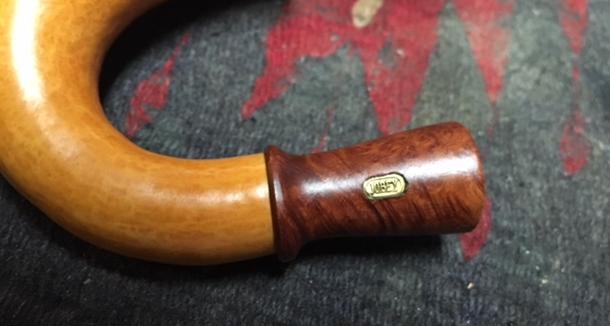
 The briar shank extension was dirty and there was debris around the outside of the oval and in the letters stamped in the brass.
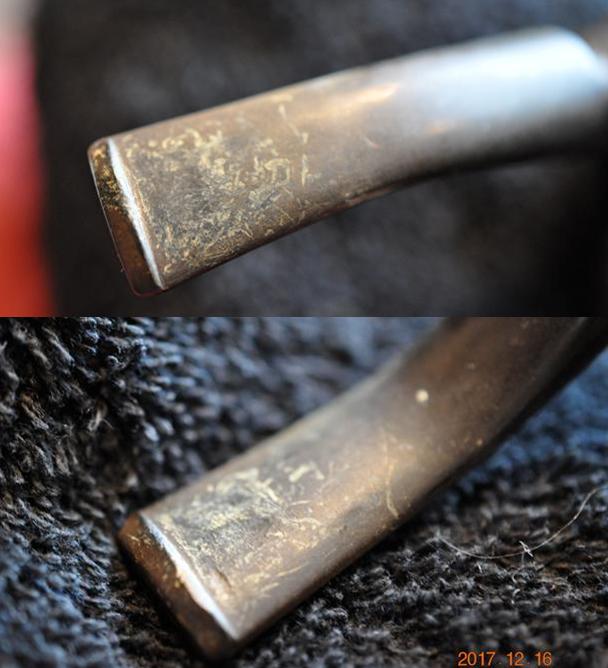
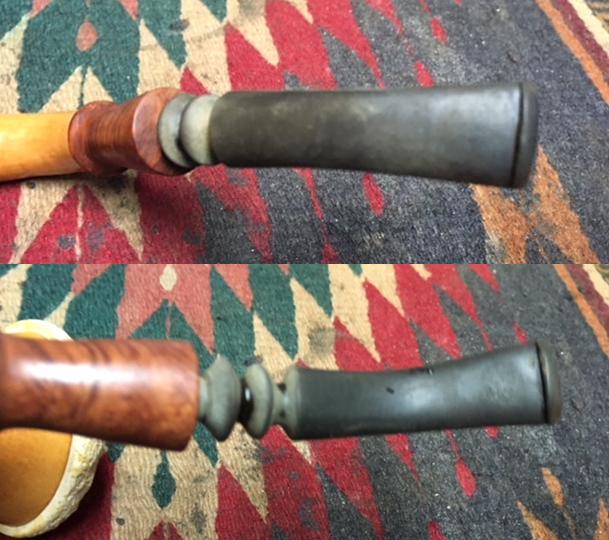
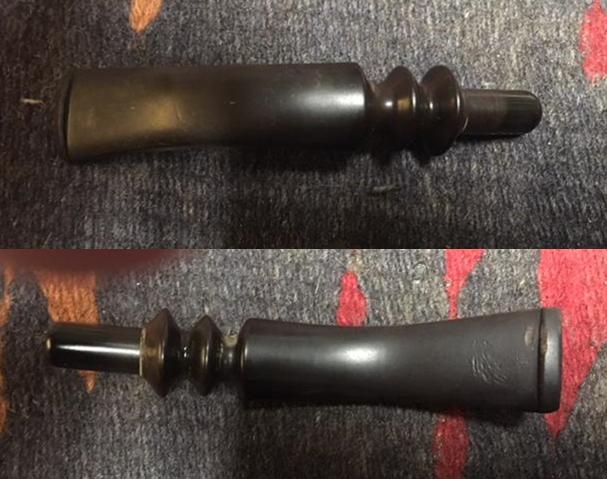
 The stem had light oxidation and tooth marks and chatter on both sides near the button. It also had the same price tag glue on the top and underside of the stem.
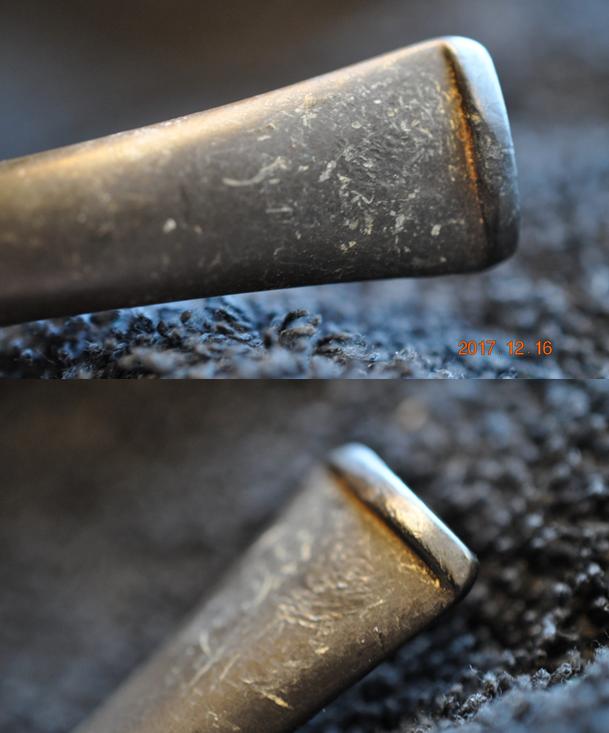 Jeff did a thorough cleanup on the meerschaum bowl, the inside of the gourd and the stem. He carefully scraped the cake in the bowl with a Savinelli Fitsall Pipe Knife. He cleaned the internals with alcohol, pipe cleaners and cotton swabs – scrubbing out the mortise as it was dirty. He scrubbed the exterior of the meerschaum cup and the gourd with Murphy’s Oil soap and a tooth brush and was able to remove all of the oils and dust ground into the gourd. He was able to remove all of the lava and overflow from the top of the meerschaum bowl and left it looking very clean. Once he had removed the lava on the rim top and inner edge they were cleaner than I expected. The scratches in the meerschaum were quite shallow and would be easy to polish out. He cleaned internals of the stem with alcohol. When it arrived I took some photos of it to show how it looked before I did the restoration.
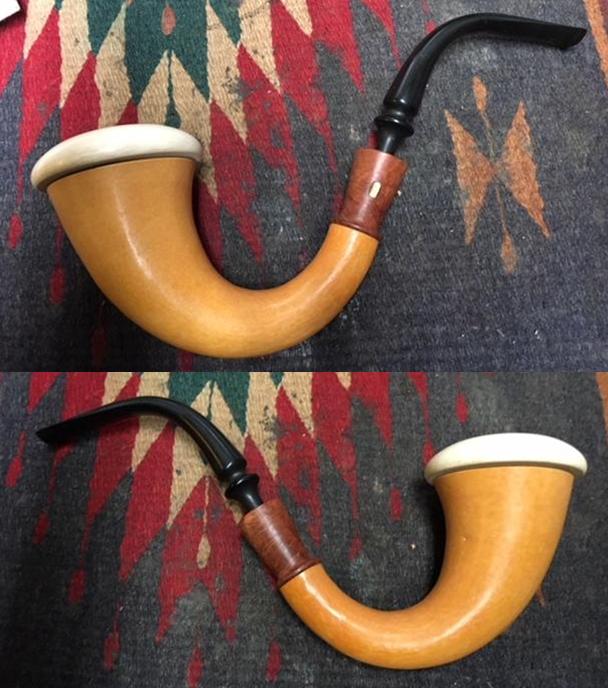
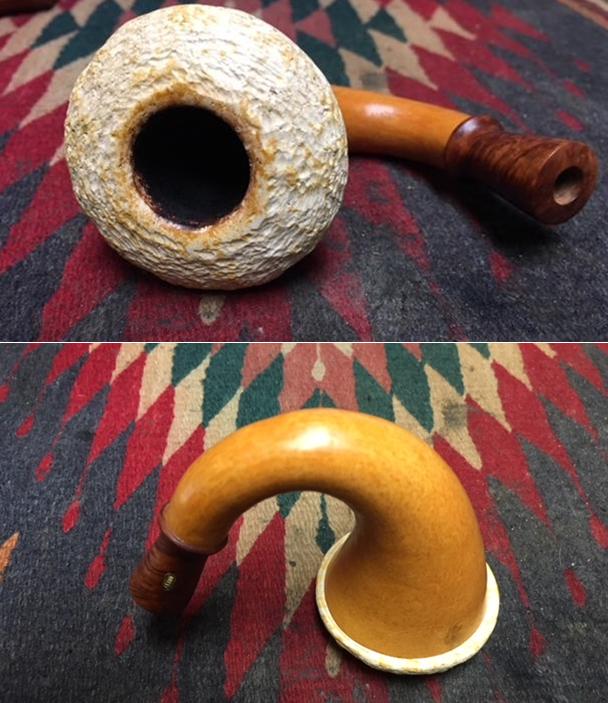
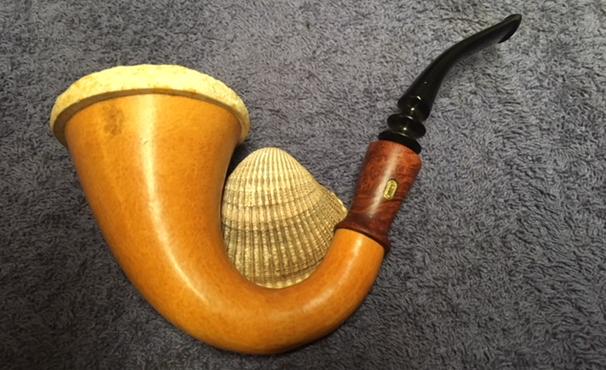
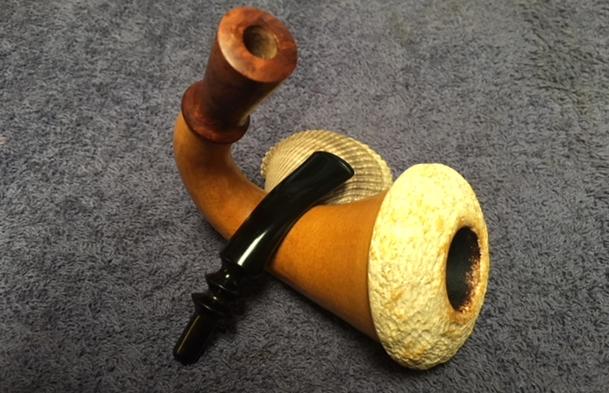
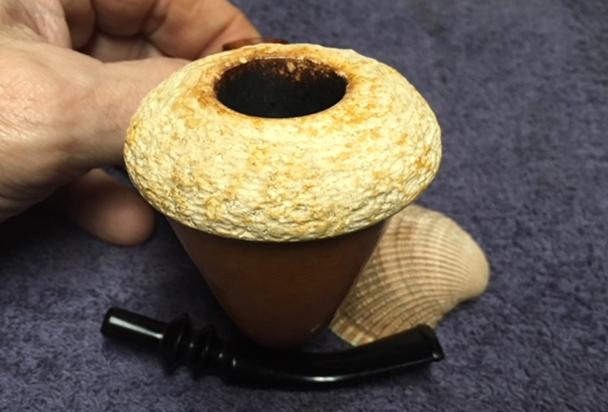
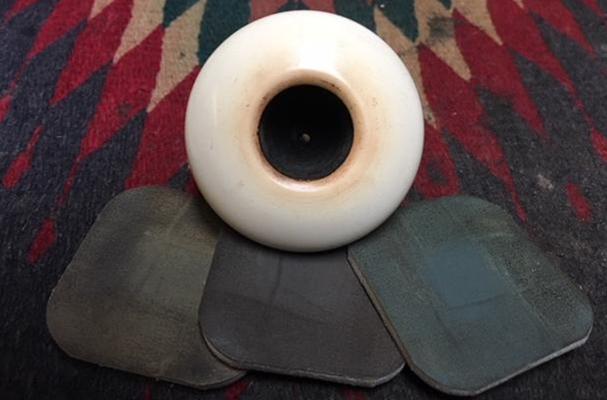
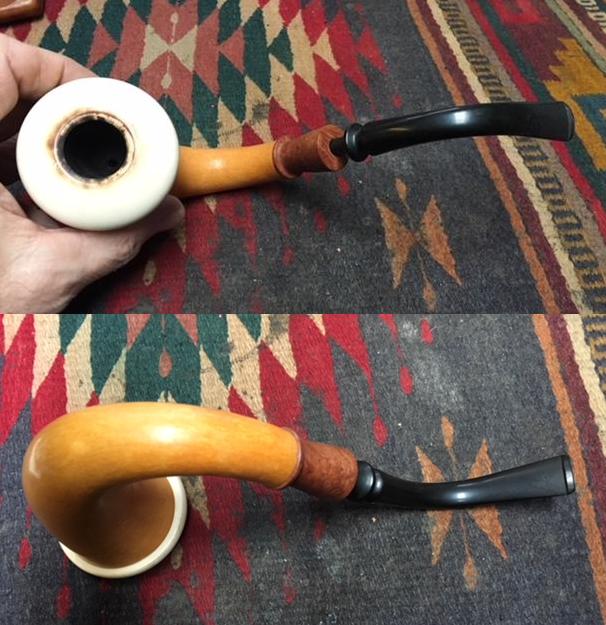 He did a great job of cleaning up the rim top including the tars and lava. The bowl is clean and smooth with all cake removed. The photo below shows the condition of the bowl and rim at this point. The inner edge of the bowl is clean but there is some wear and damage to the edge. The stem had cleaned up nicely with relatively little oxidation. The tooth marks on the top and underside along with the chatter were still present.
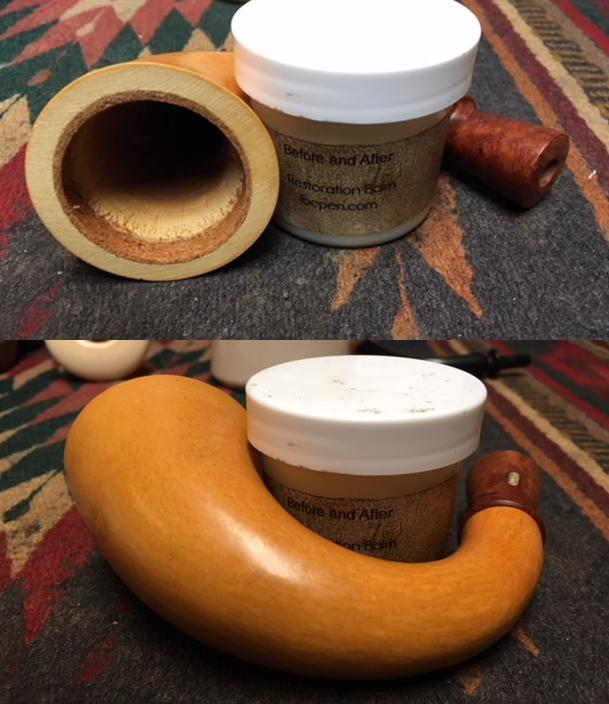
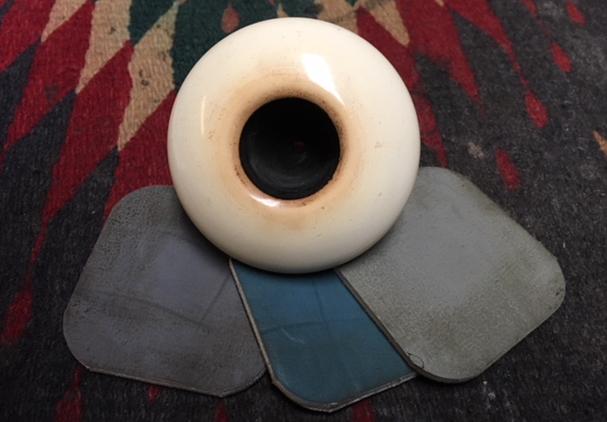
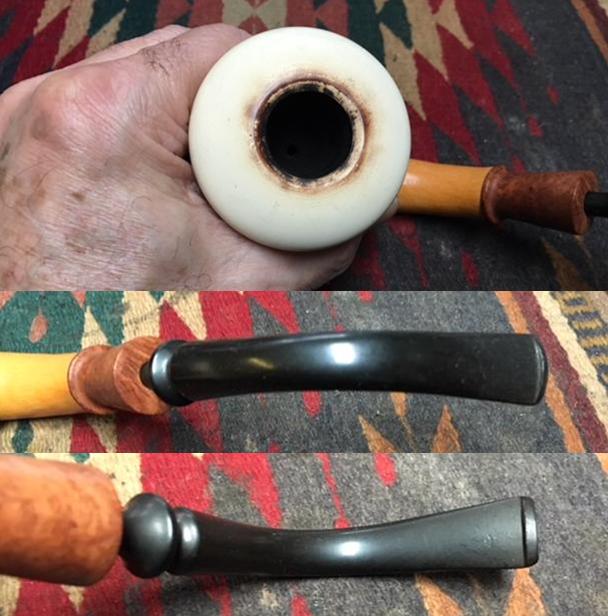 I took the bowl off the gourd to have a look at the inside of the pipe. The gourd was very clean. The cork gasket was dry but that could be remedied easily enough. The mottled appearance carried through to the inside of the meerschaum bowl and can be seen in the photos.
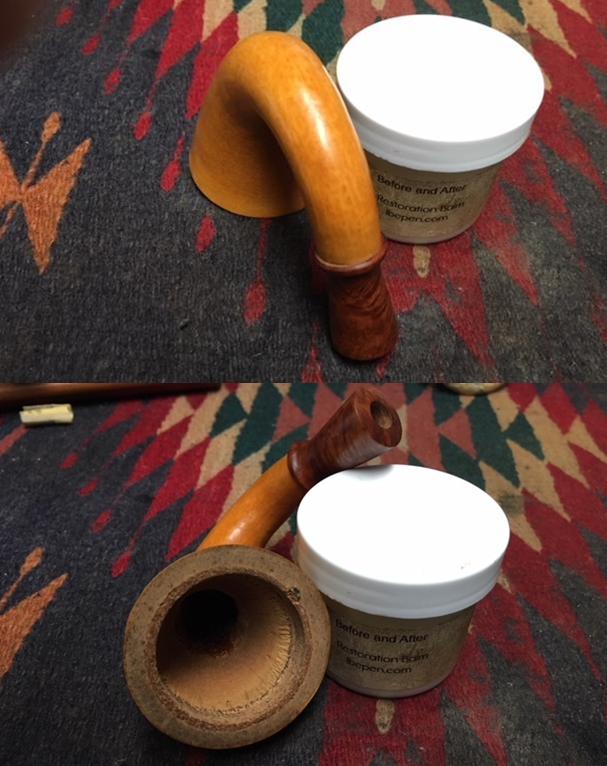
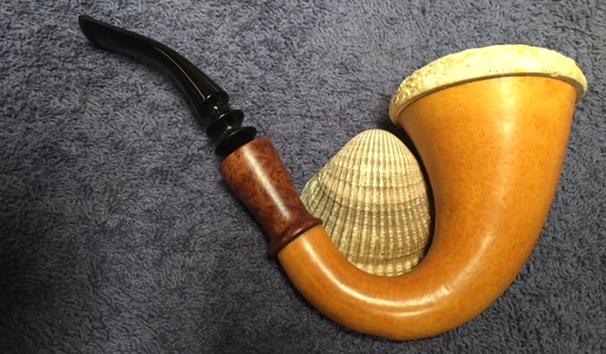
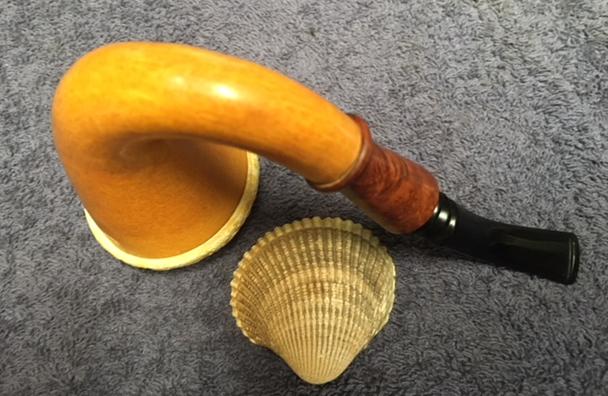
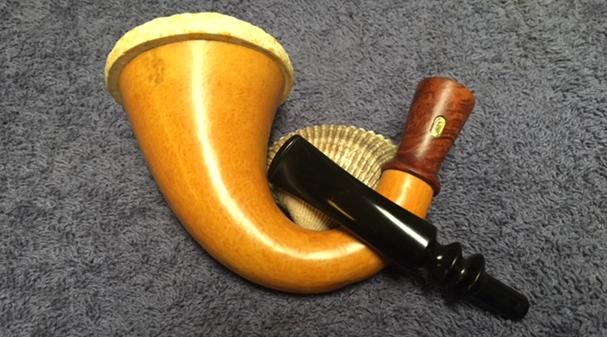
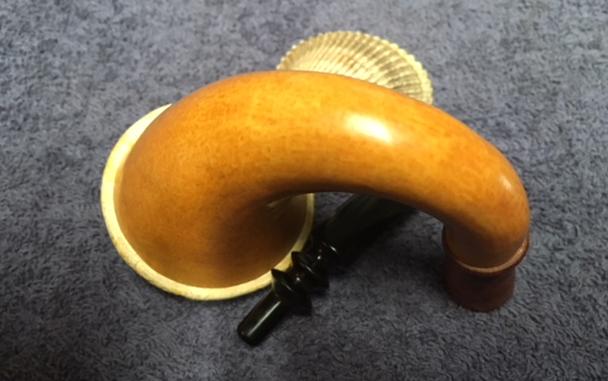
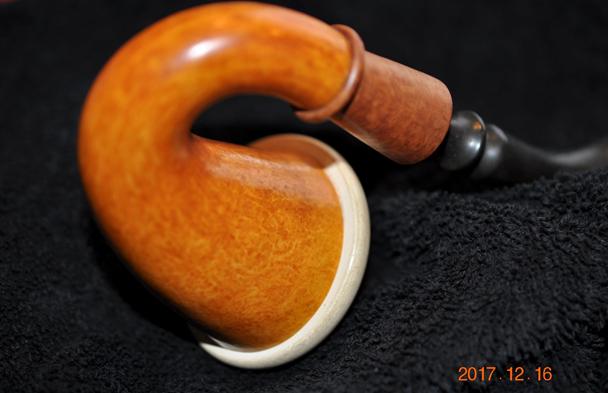
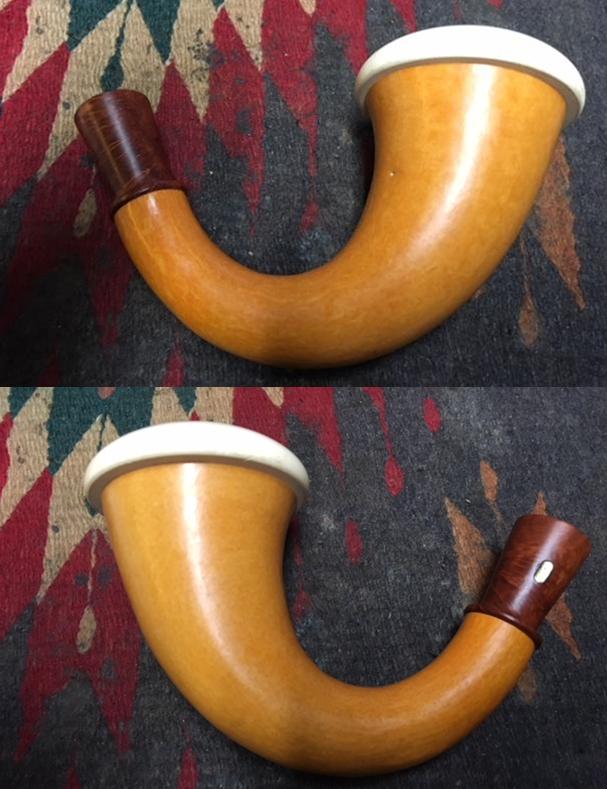
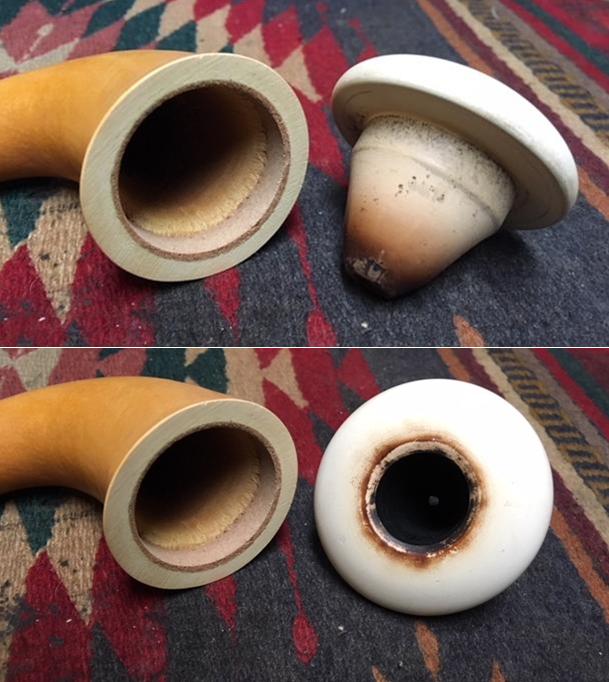 I used my fingers to rub the gourd and briar extension down with Before & After Restoration Balm to bring life to both and to remove any residual dust or dirt in the surface of the calabash. I wiped it off with a cotton cloth and buffed it with a shoe brush. The next few photos show the gourd at this point in the process.
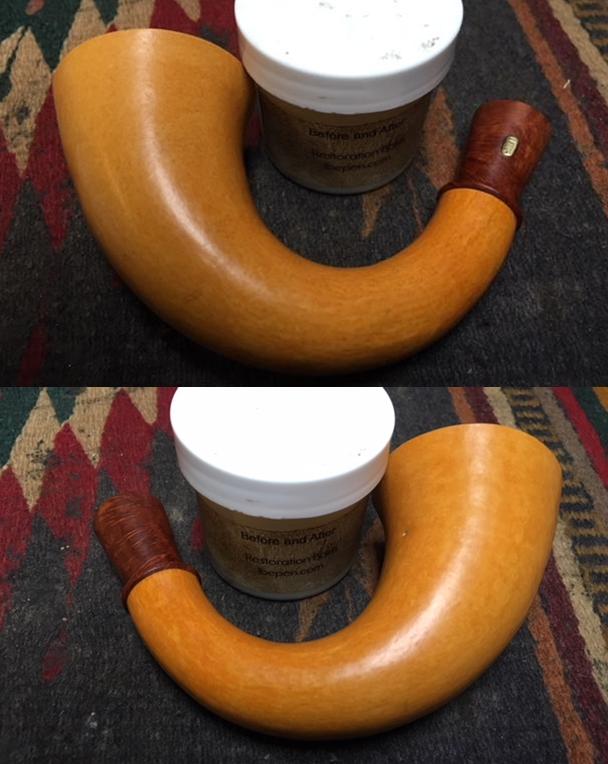
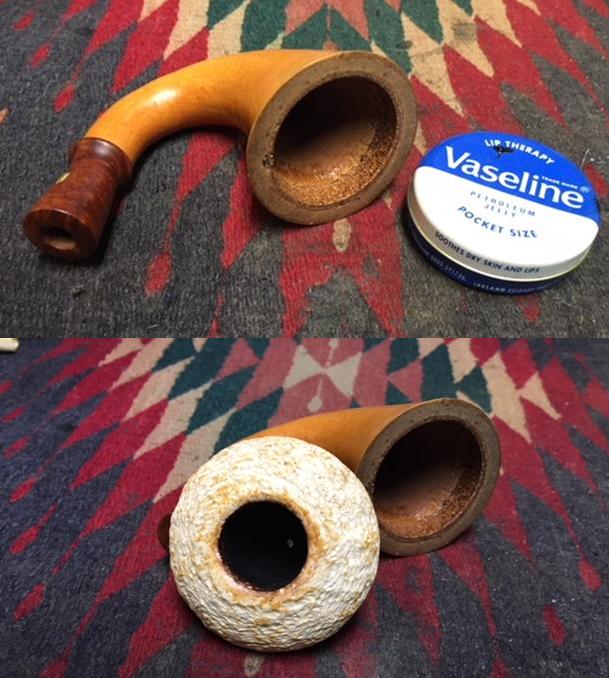
 I used some Vaseline petroleum jelly to lubricate the cork gasket and soften it. I have done this for years and I really like the effect of the jelly on the cork. I used 1500 grit micromesh sanded off the spots along the surface of the meerschaum cup where it sat against the cork and the top of the gourd to ensure a smooth fit.
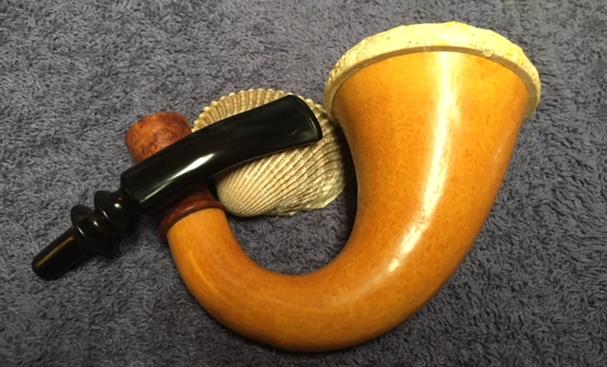
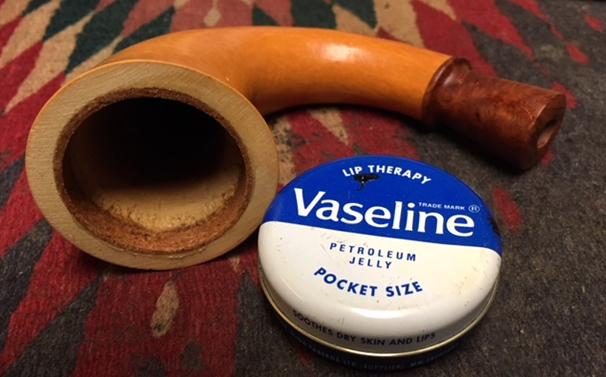 I checked the pliability of the cork gasket, rubbed a little more Vaseline into it and put the bowl back on the gourd. The fit of the cup against the gasket was snug but not hard to insert. It was perfect. The pipe was beginning to look finished. The shine on the gourd and the rim looked good. The briar extension had its own shine as well.
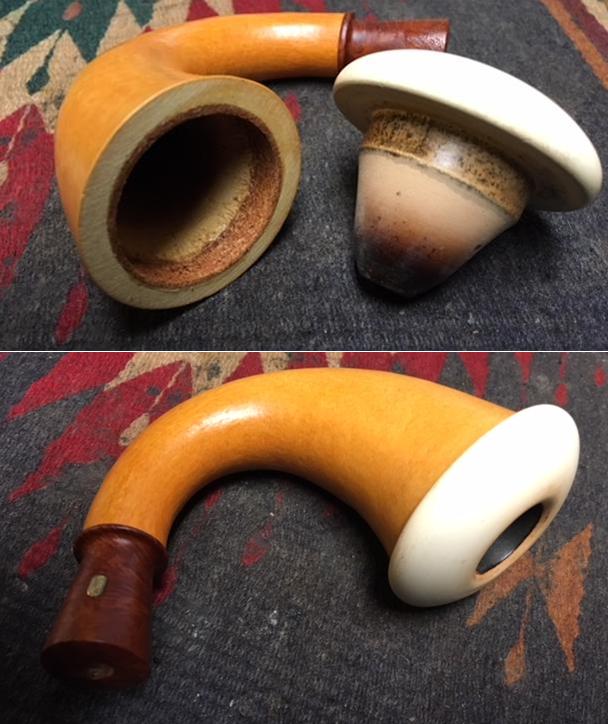
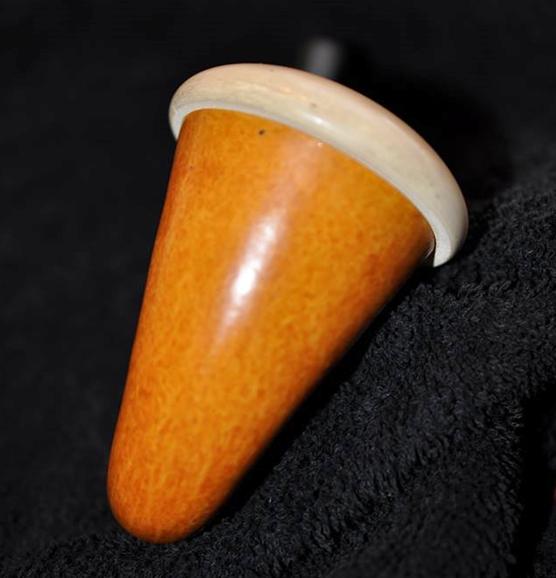
 I took the cup off the gourd and polished it with micromesh sanding pads – wet sanding with 1500-2400 and dry sanding with 3200-12000 grit pads. I wiped the bowl down after each sanding pad with a damp cloth to remove the sanding dust. I buffed the cup with a microfiber cloth to polish it.
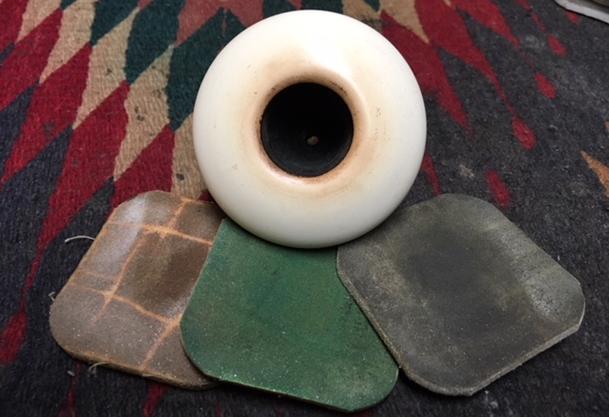
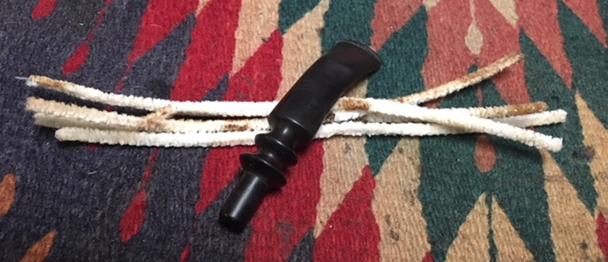
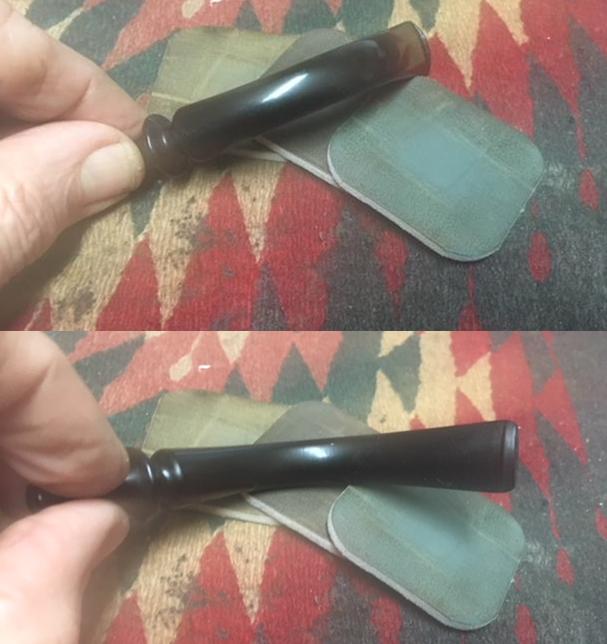
 I sanded the stem with 220 grit sandpaper to remove the tooth marks and chatter on the top and underside near the button. The rest of the stem was in decent condition. I rubbed the stem down with Obsidian Oil at this point and let it sit for a little while.
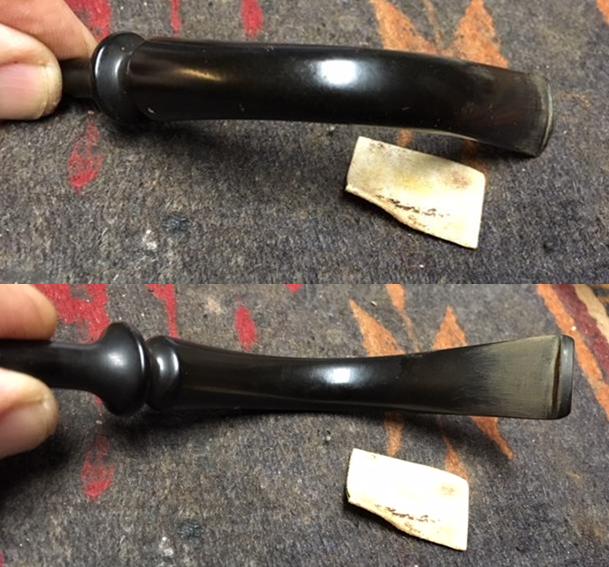 I cleaned out the airway in the stem with pipe cleaners and alcohol to remove any residual bath and also the sanding dust from the work on the stem surface and tooth chatter.
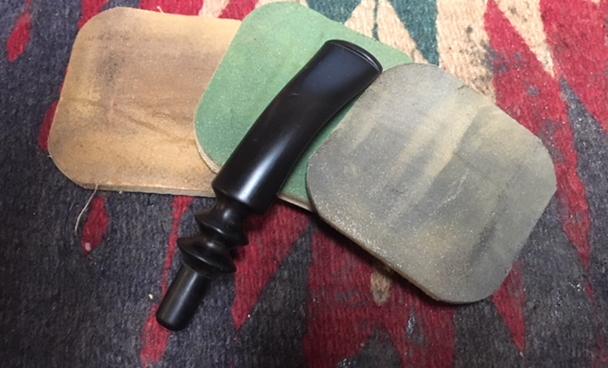
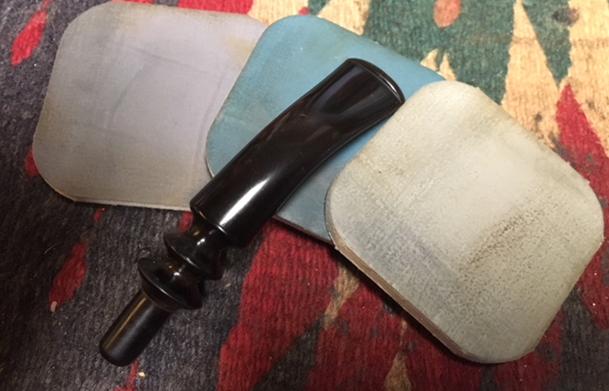
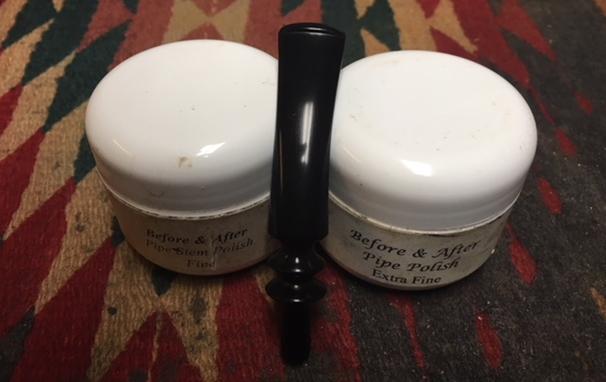
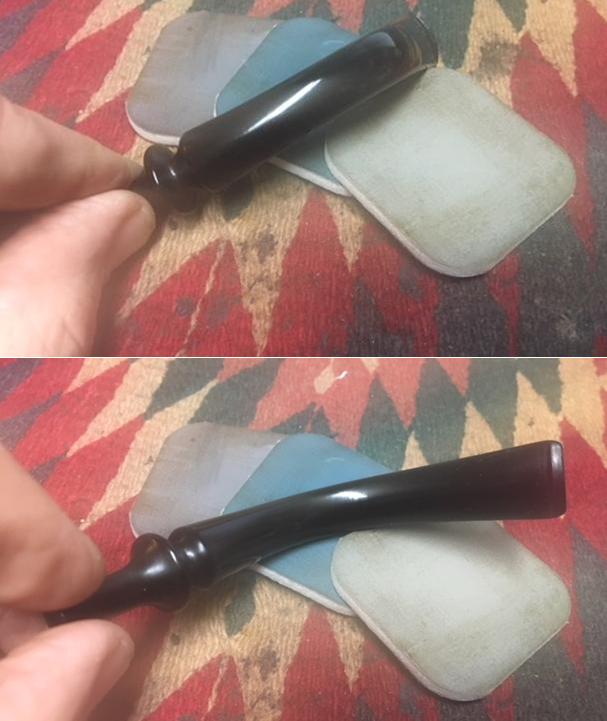
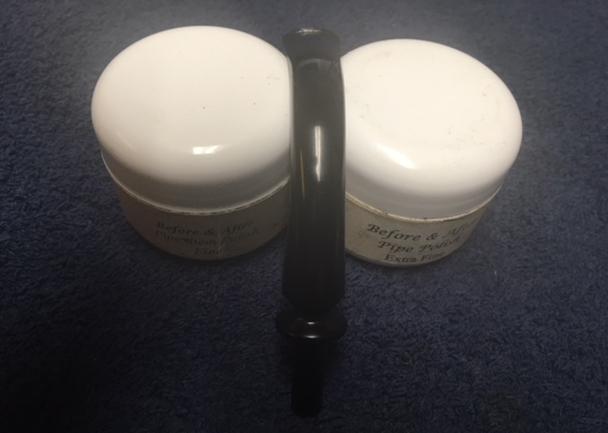
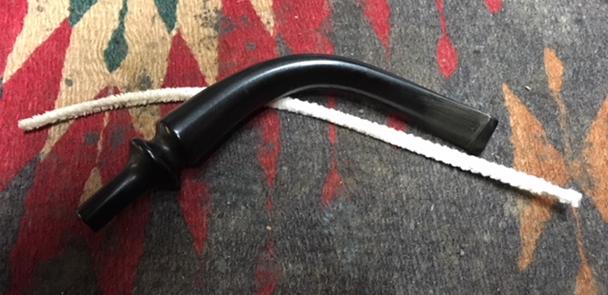 I polished the vulcanite stem with micromesh sanding pads – wet sanding with 1500-2400 grit pads and dry sanding with 3200-12000 grit pads. I rubbed the stem down with Obsidian Oil between each sanding pad. After using the 12000 grit pad I buffed the stem with Blue Diamond to give a deep and rich shine. I polished the stem with Before & After Pipe Polish using both the fine and the extra fine product. I gave it a final coat of Obsidian Oil and set it aside to dry.
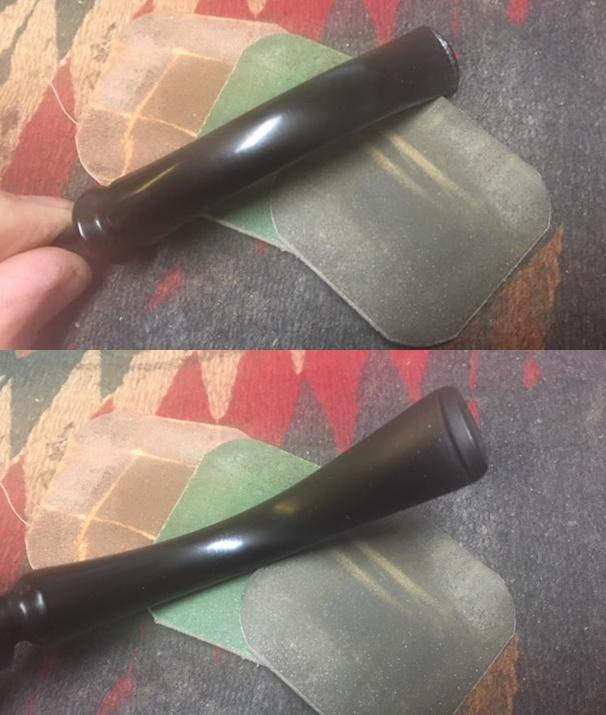
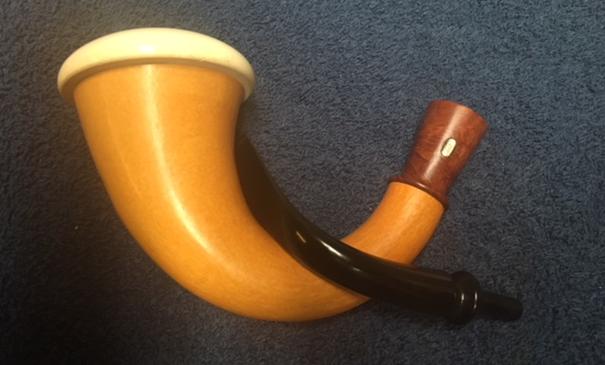
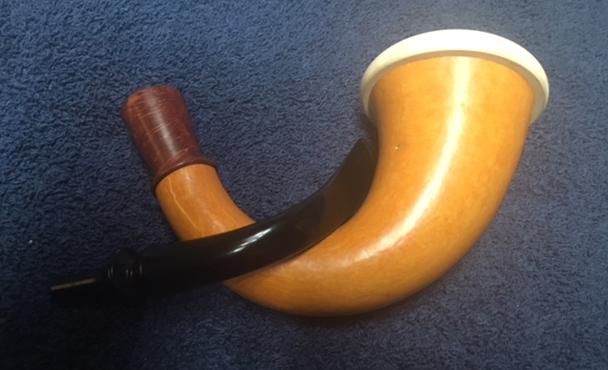
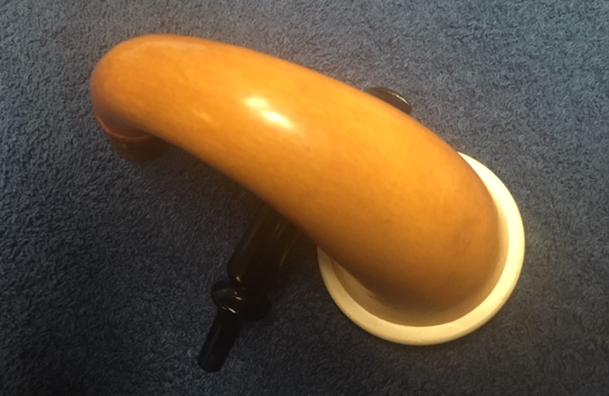
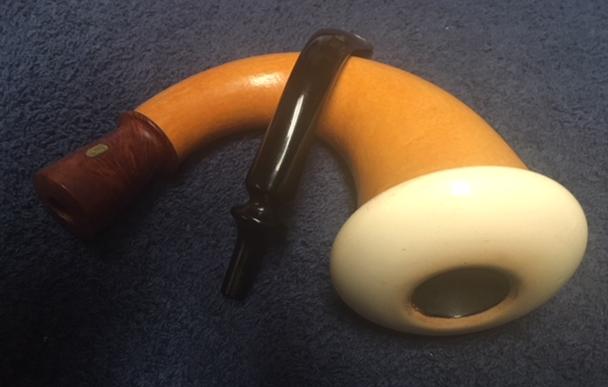
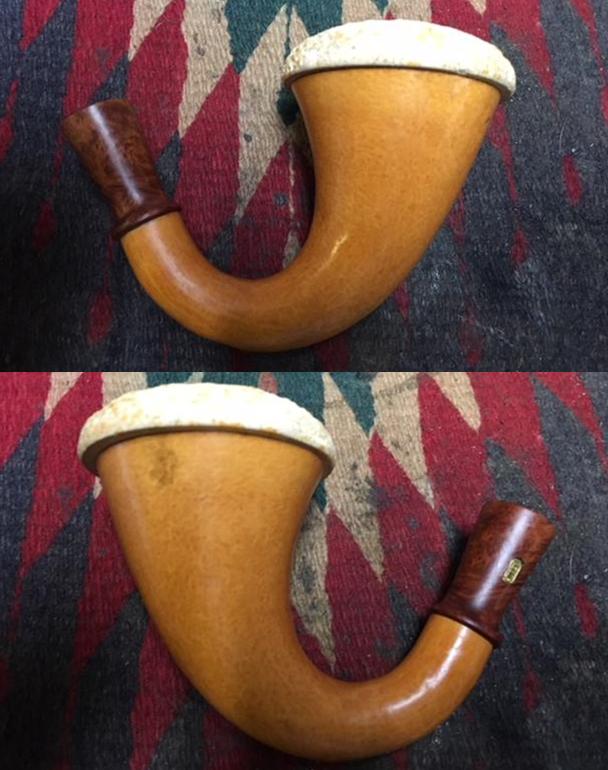
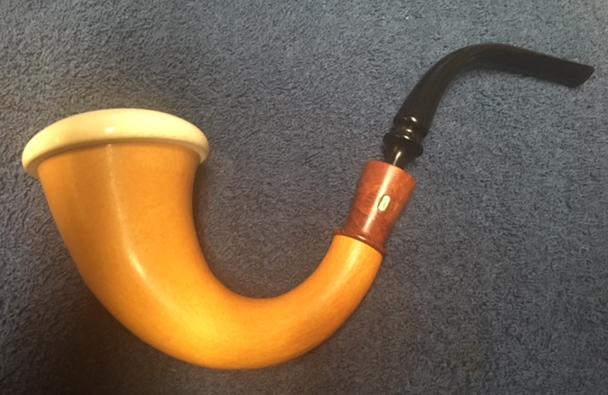
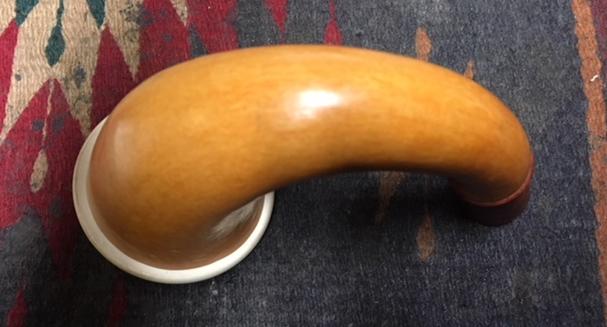
 Normally at this point I put the stem back on the bowl and take the pipe to the buffing wheel to work it over. This time I took the parts to the buffing wheel. I gently buffed the meerschaum cup and rim with Blue Diamond to lightly polish the meer. I carefully buffed the gourd base and briar shank extension with Blue Diamond being cautious about the pressure I put on the gourd. I buffed the stem with Blue Diamond to raise the gloss on the vulcanite. I took the pipe back to the work table and gave the gourd multiple coats of Conservator’s Wax. I gave the stem several coats carnauba wax. I buffed the parts of the pipe with a clean buffing pad to raise the shine. I hand buffed it with a microfiber cloth to deepen the shine. The finished pipe is shown in the photos below. The dimensions of the pipe are, Length: 9 inches, Height: 3 ½ inches, Diameter of the cup: 2 ½ inches, Diameter of the chamber: 7/8 inches. I will be adding this one to the rebornpipes store shortly if you are interested in adding it to your collection. Thanks for looking.