by Steve Laug
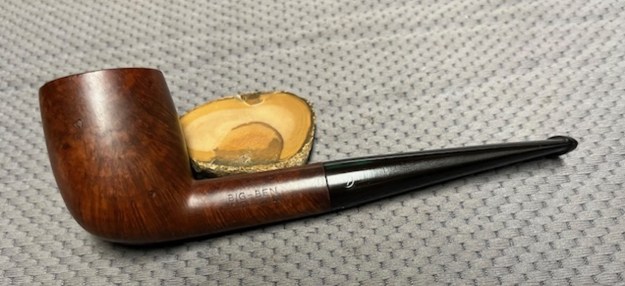
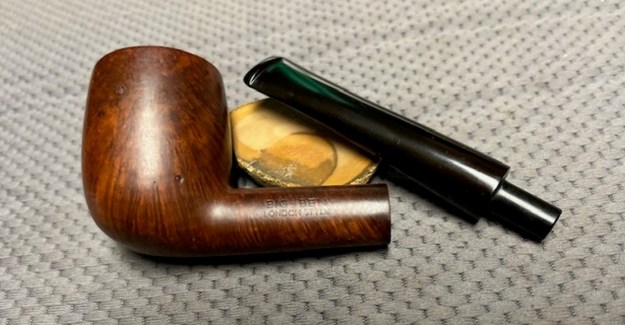
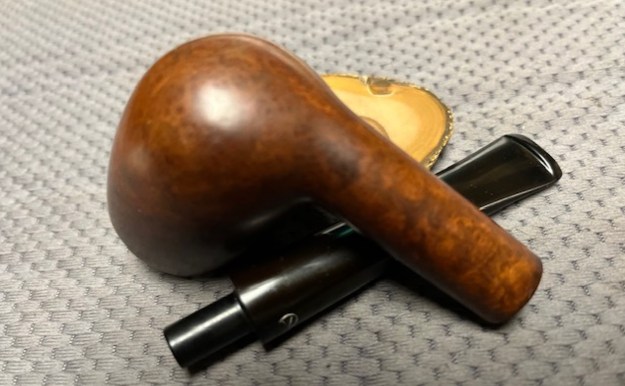
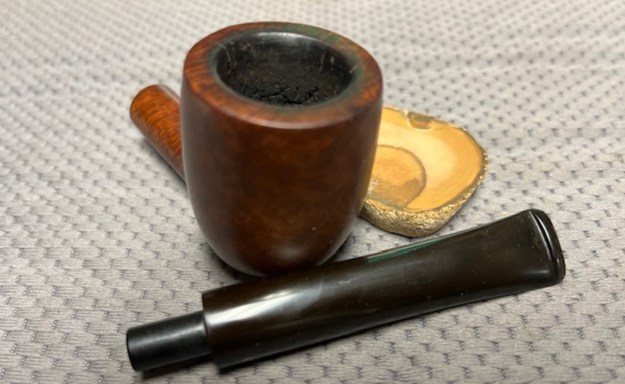
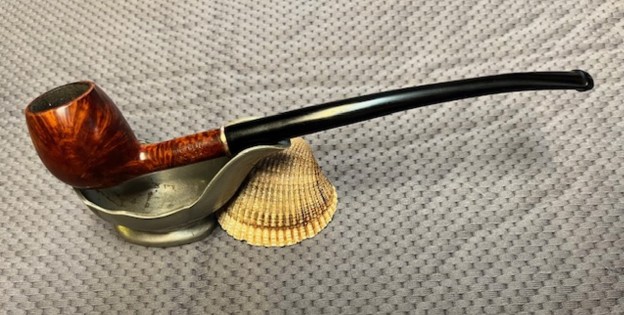
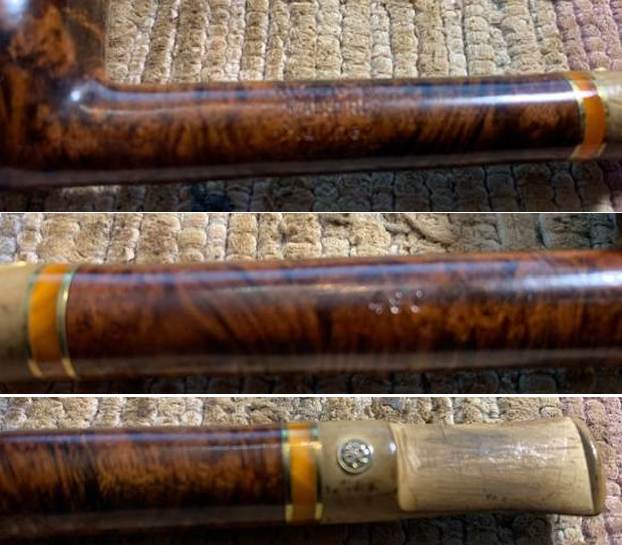
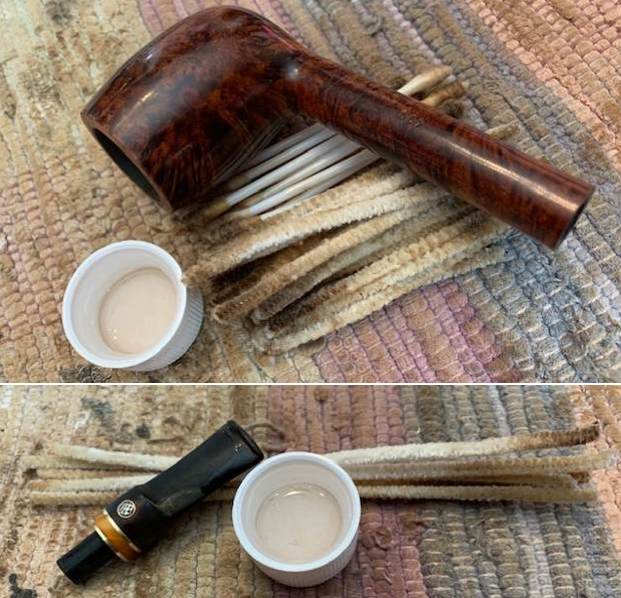
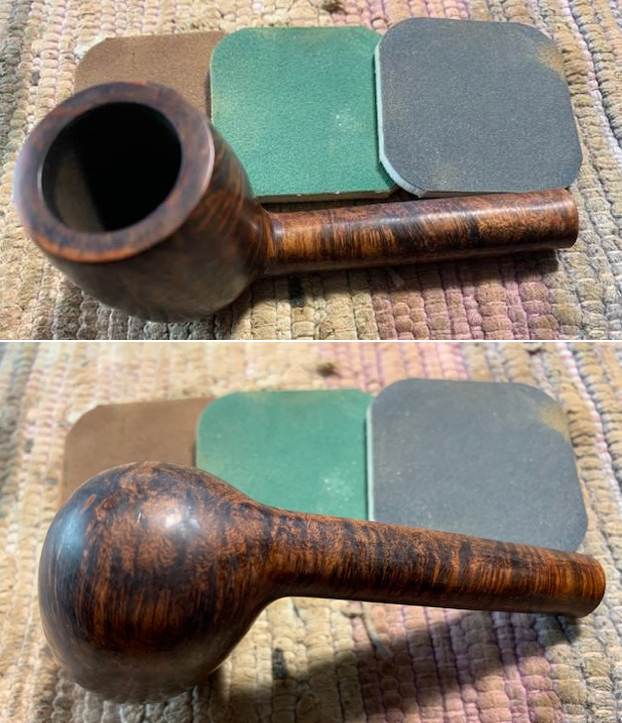
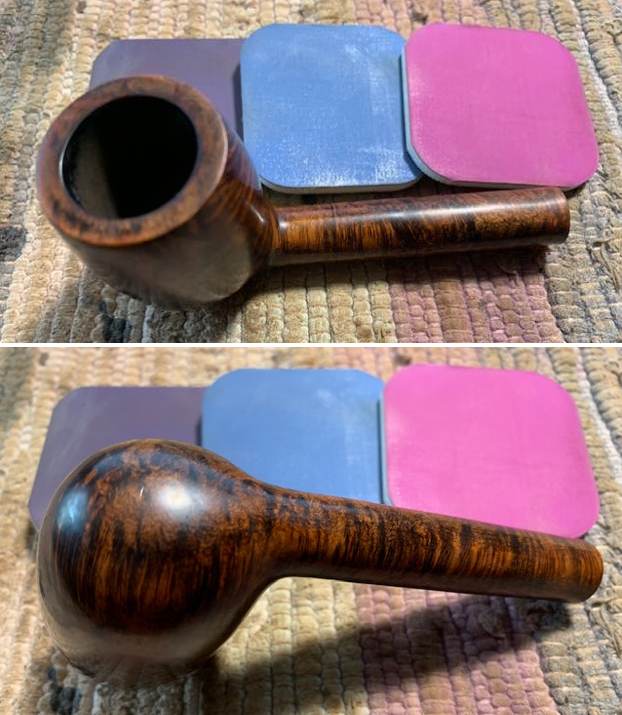
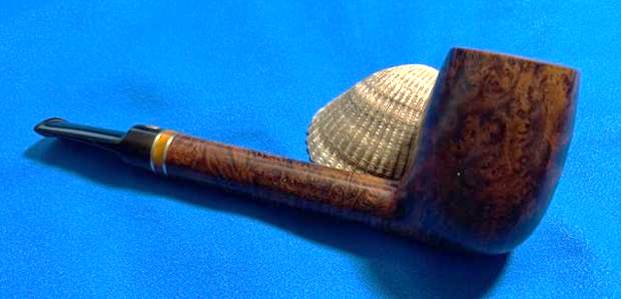
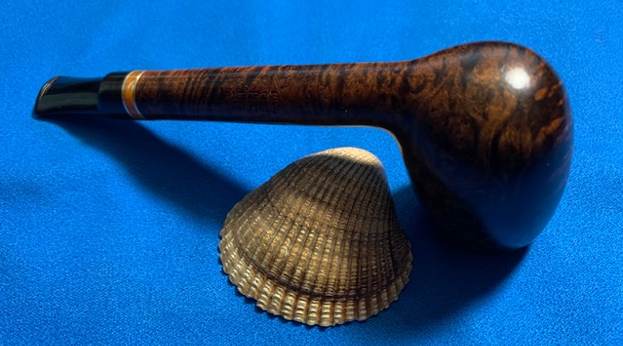
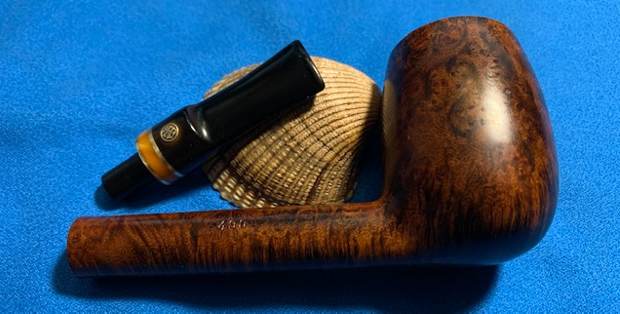
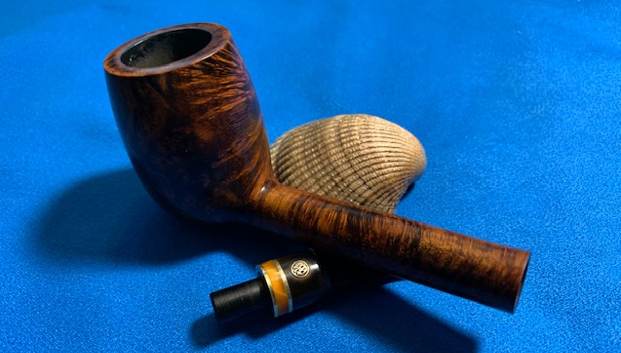
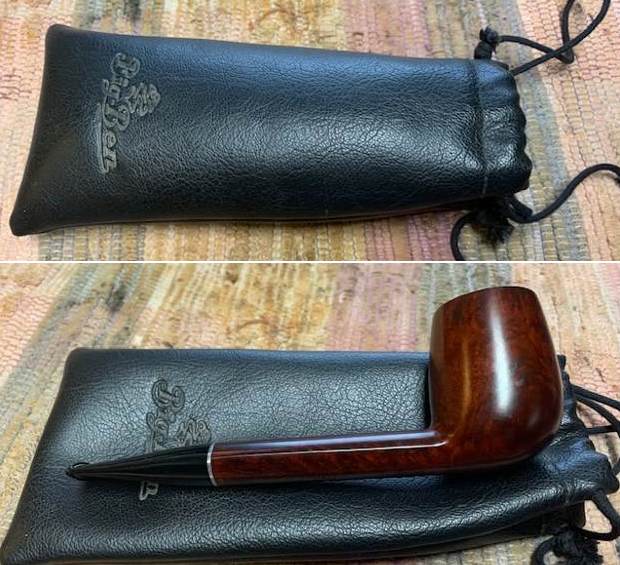
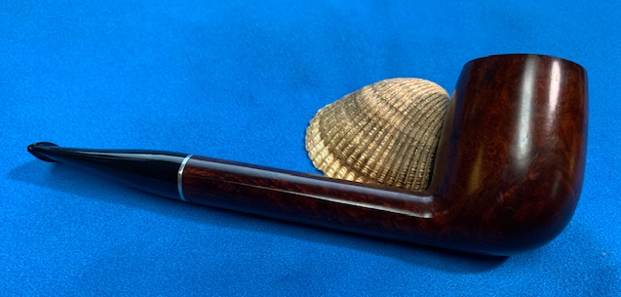
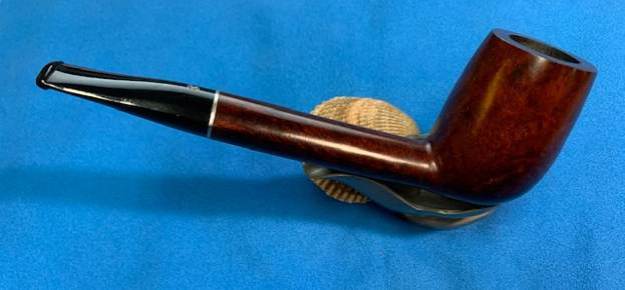
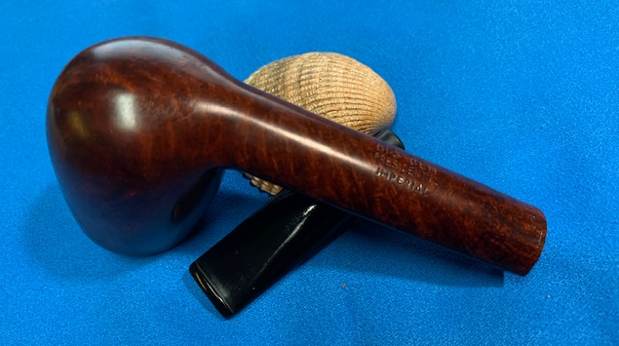
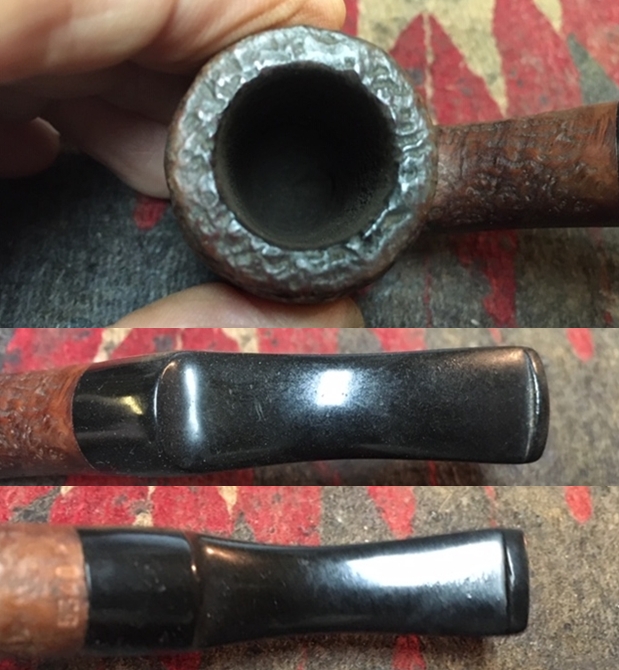
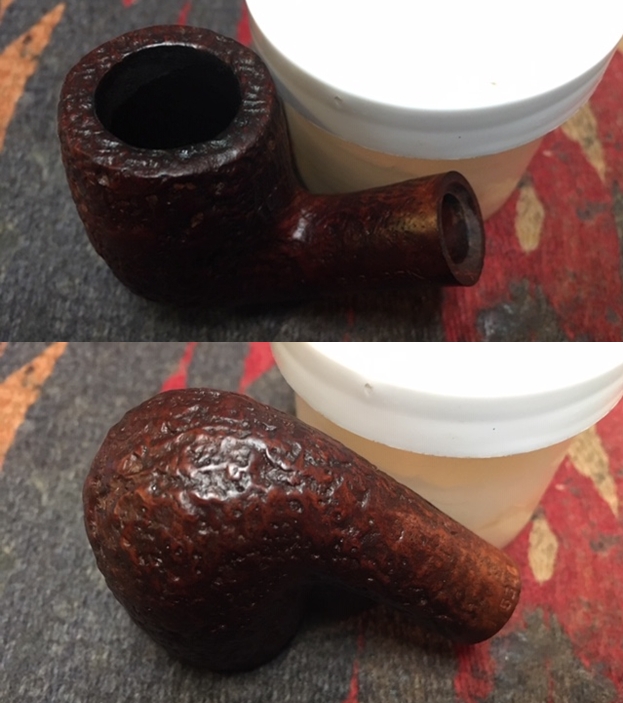
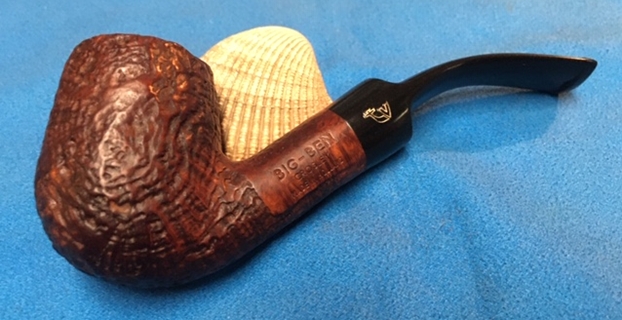
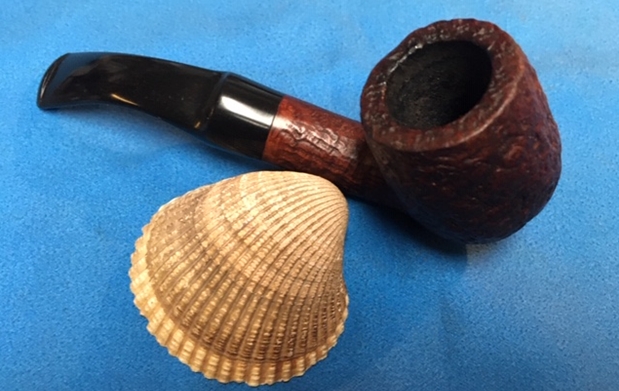
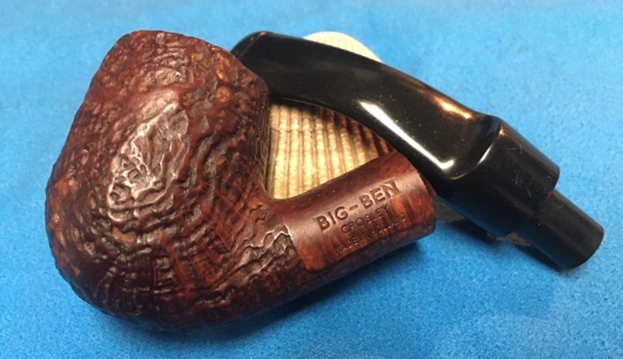
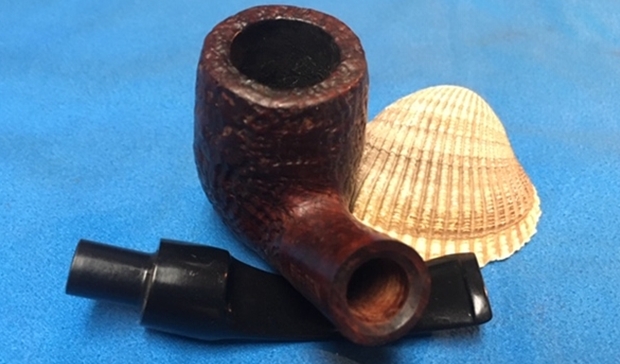
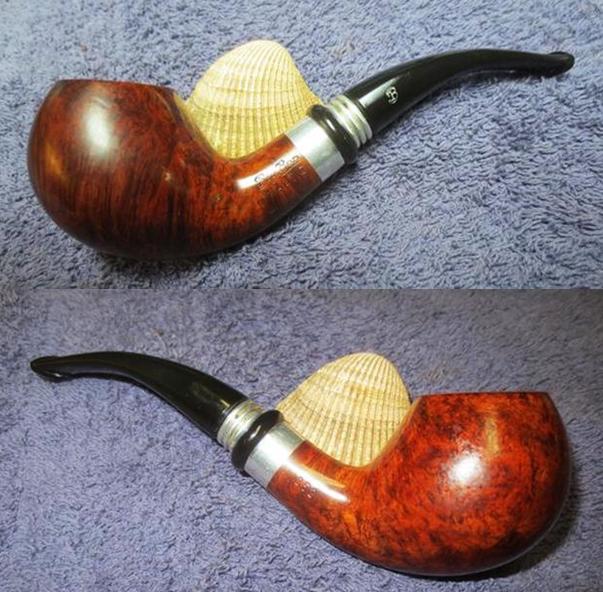
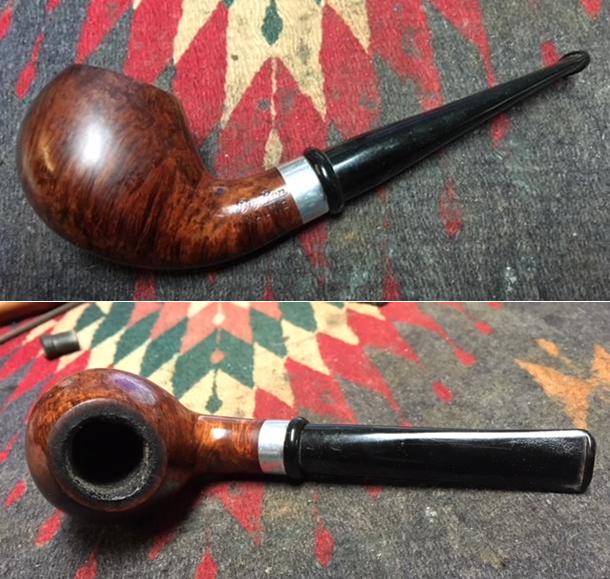
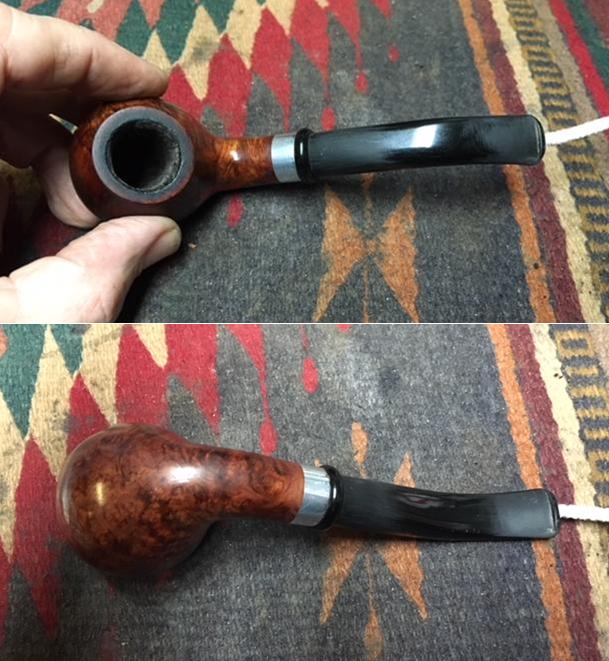
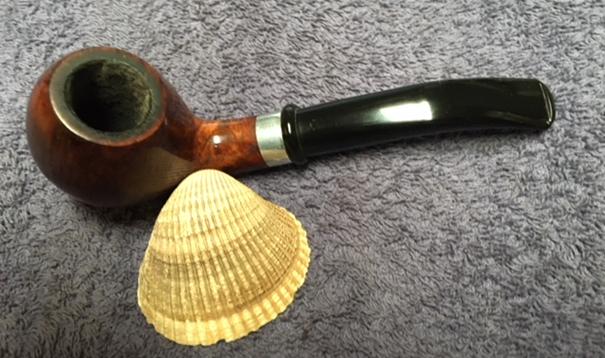
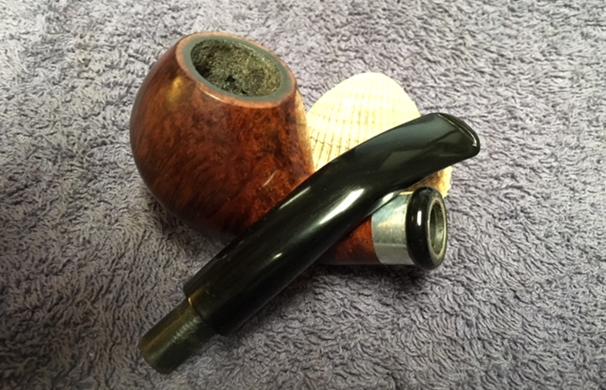
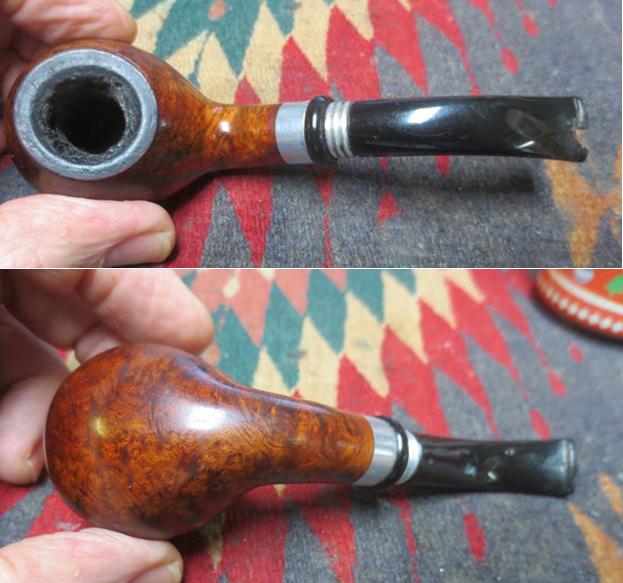
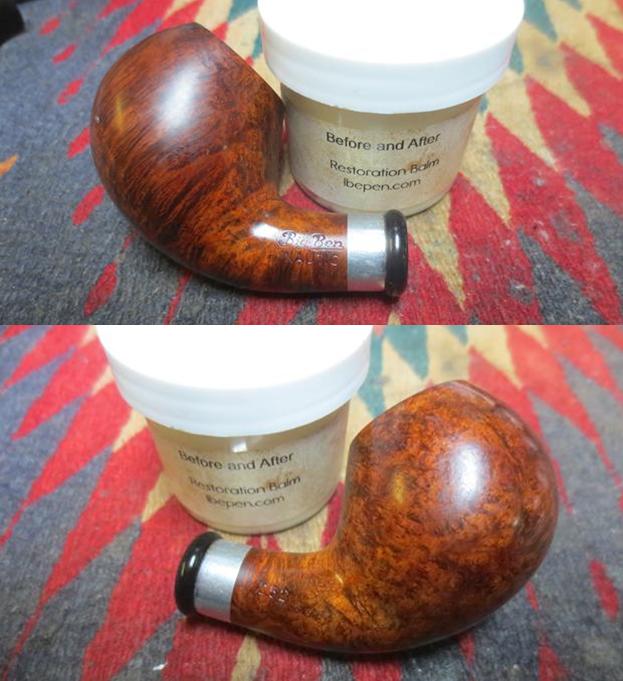
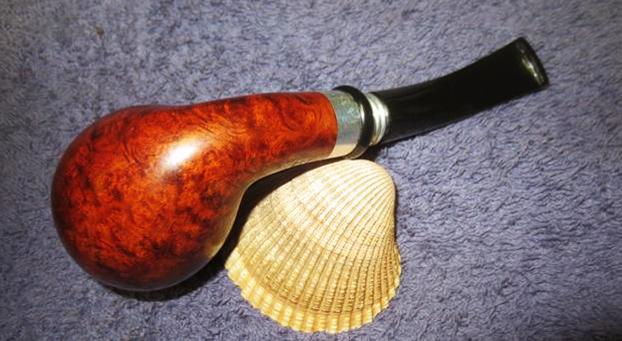
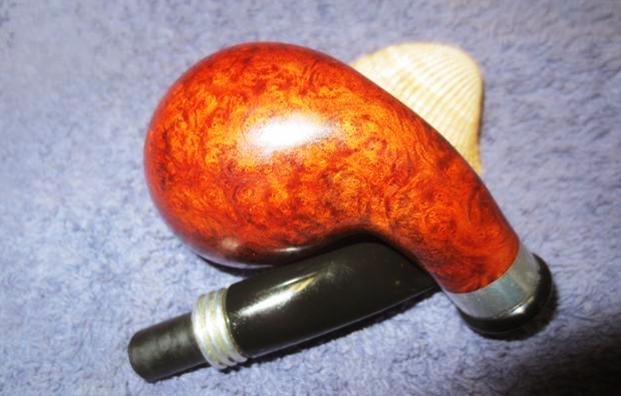
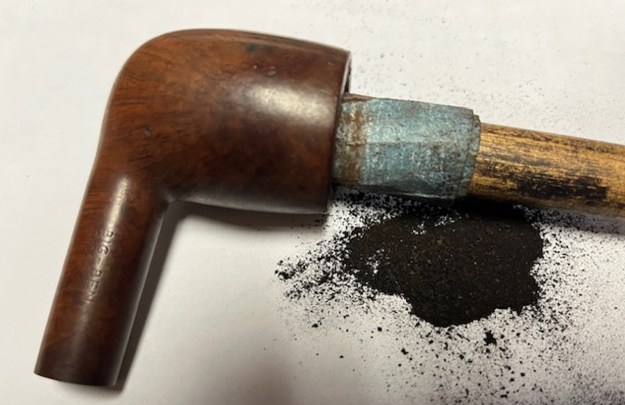
The next pipe on the table was one that I really have no memory of where it came from. In fact, to be honest I just stumbled on it in a box of pipes that had all been cleaned by Jeff. This one was not clean so I knew it did not come from him. The pipe is stamped on the left side of the shank and reads Big Ben [over] London Style. On the right side of the shank it is stamped Extra over the shape number 2405 [over] Made in Holland. The taper vulcanite stem had a stamped logo that read V in a circle. The bowl had a thick cake and there was a light lava overflow on the rim top. The finish was coated with a varnish coat that would need to go once I cleaned off the lava on the rim top. The inner and outer edges looked to be okay. The pipe had some nice-looking grain under the dirty, oily debris on the finish. The stem was oxidized and had tooth chatter on both sides near the button. I took photos of the pipe before I cleaned it up. 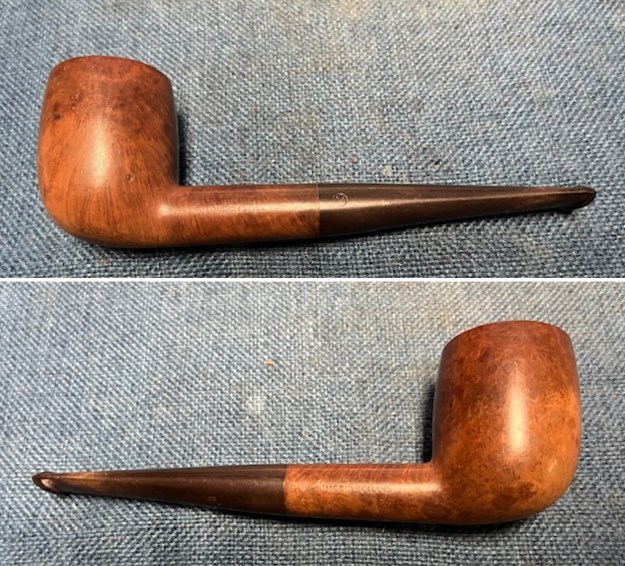
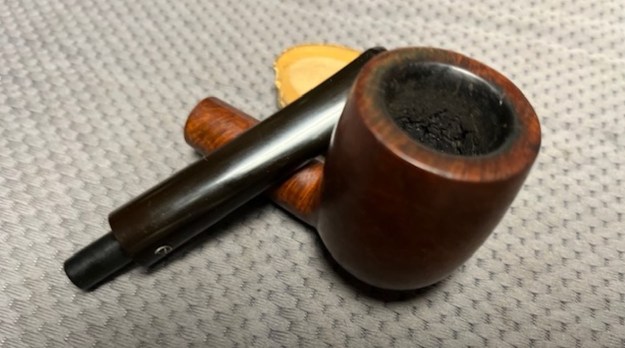
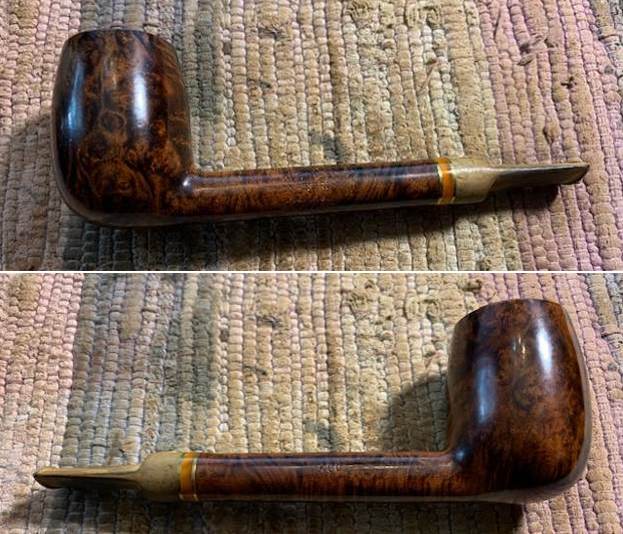
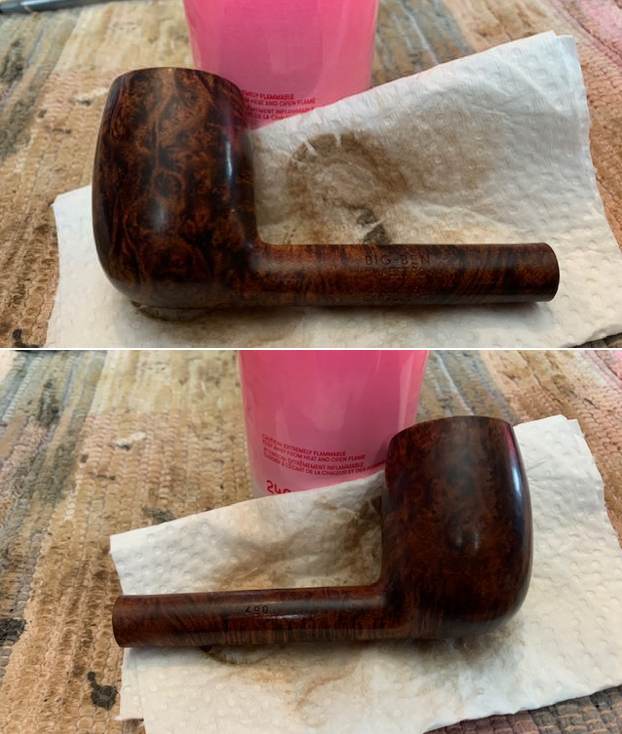
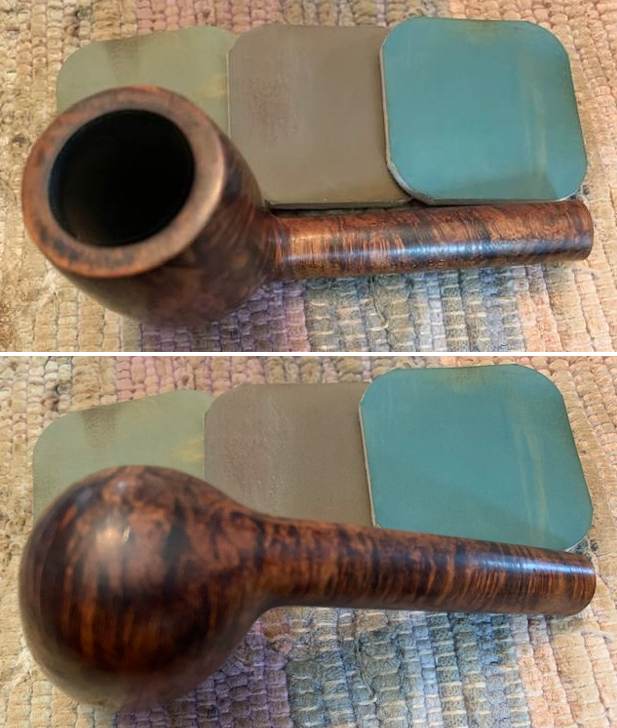
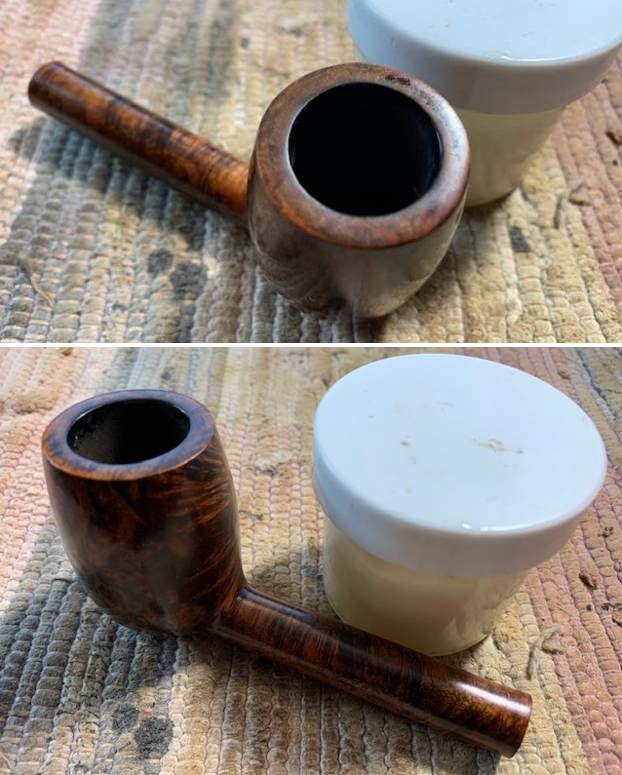
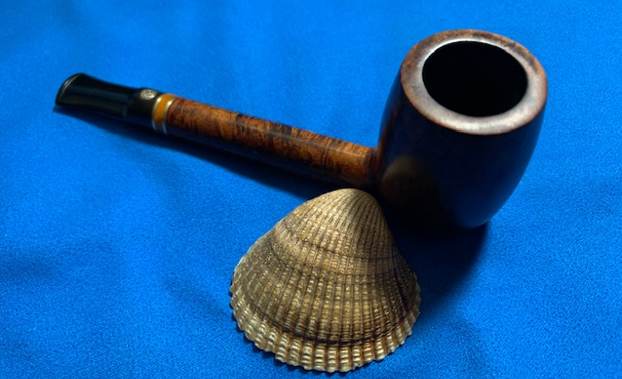
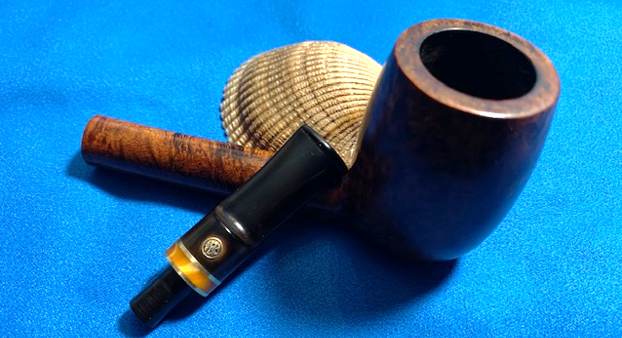
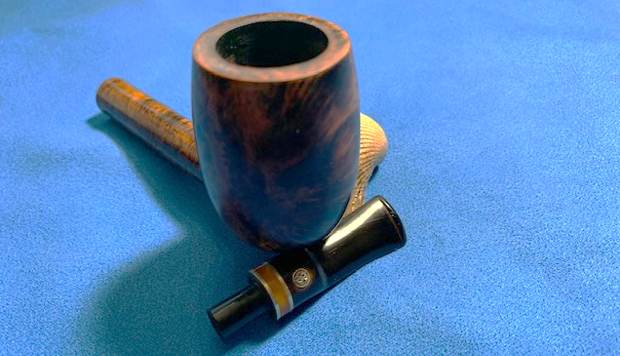
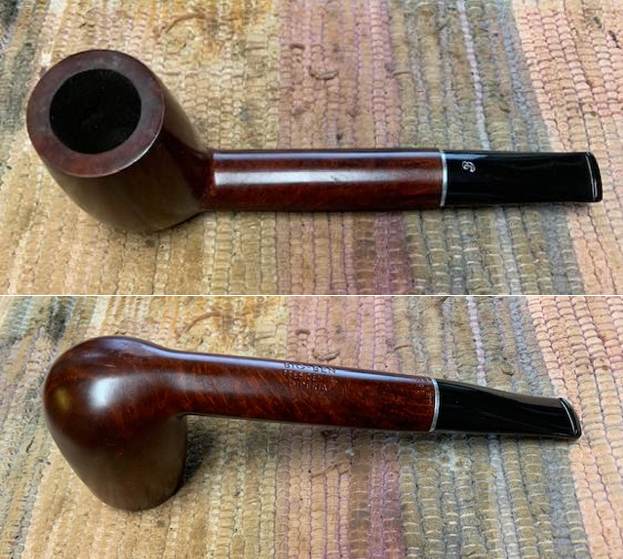
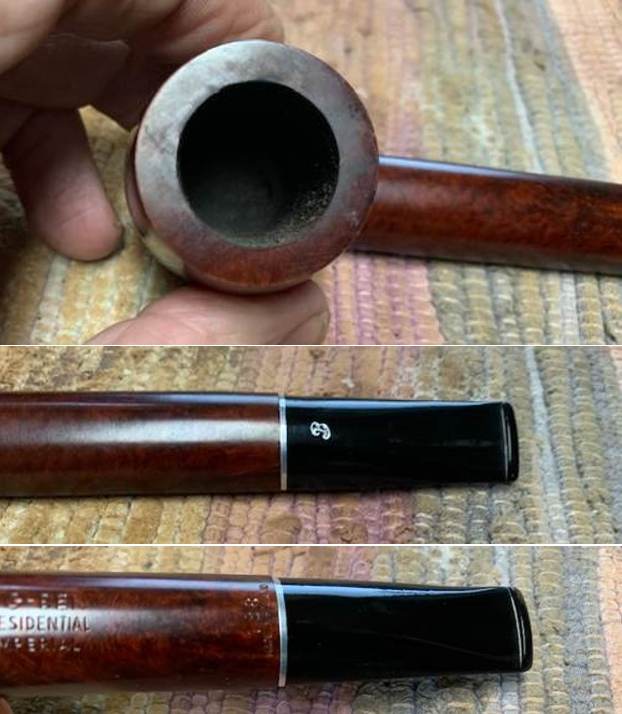
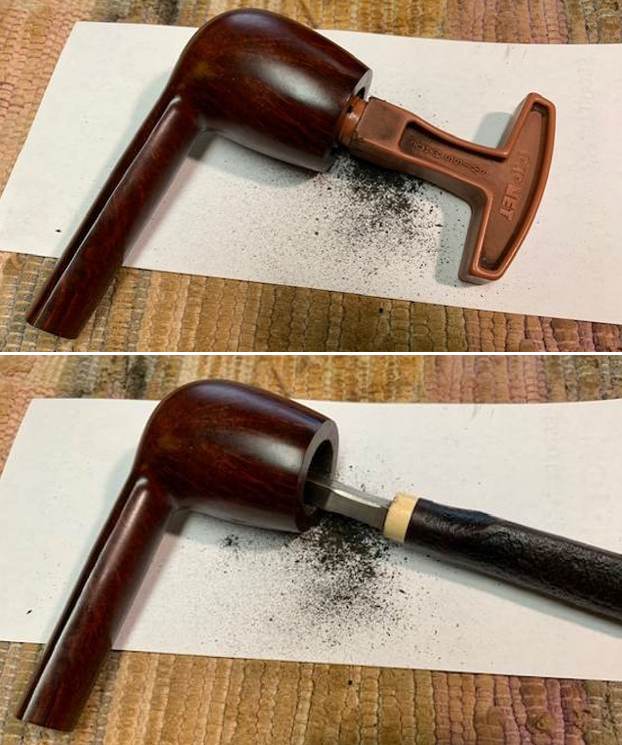
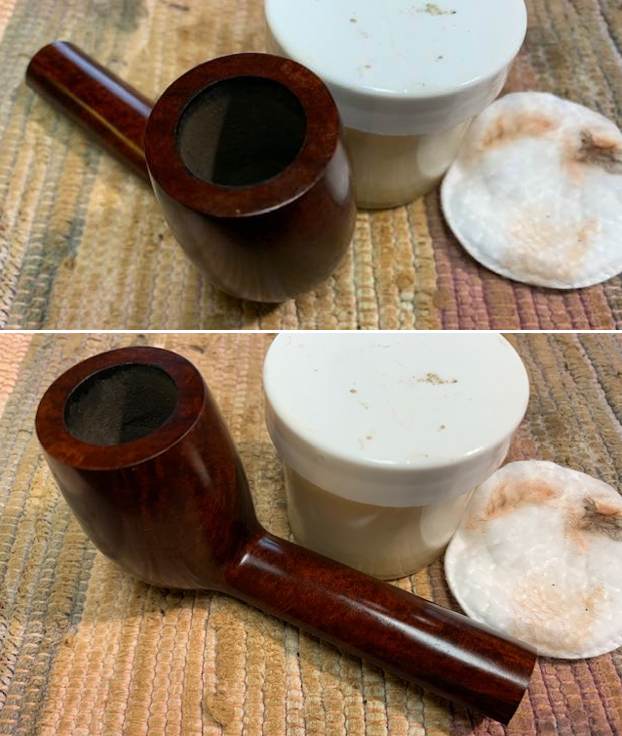
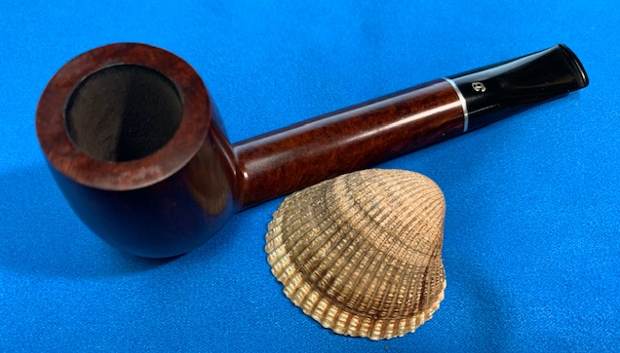
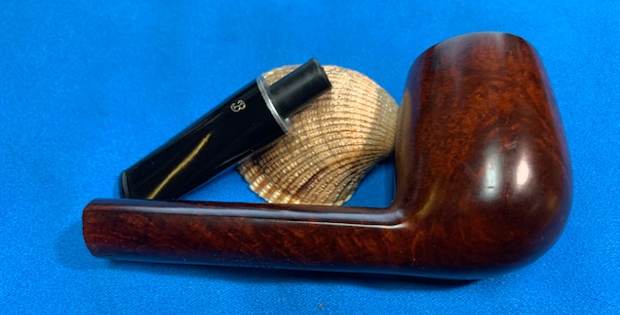
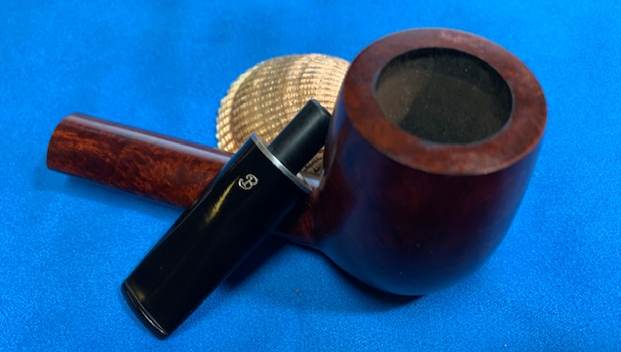
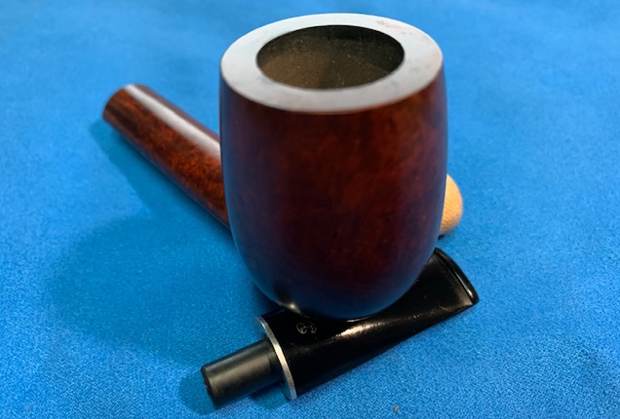
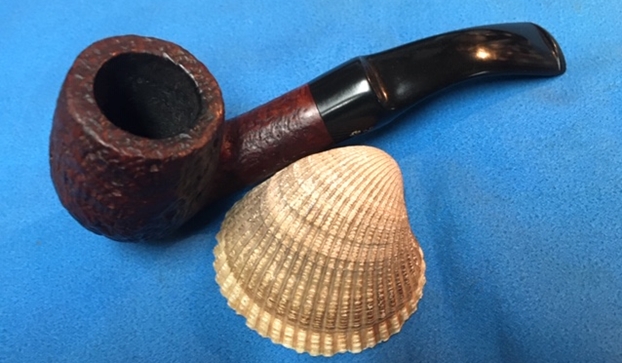
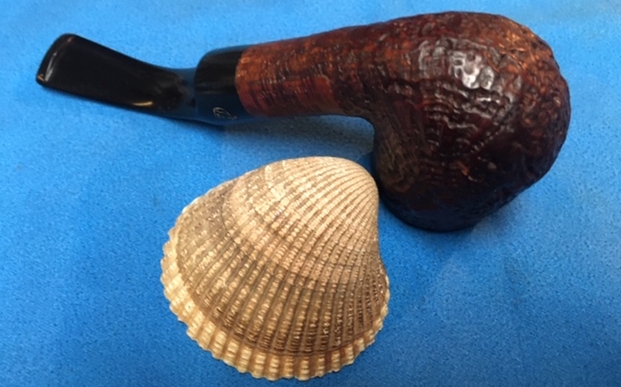
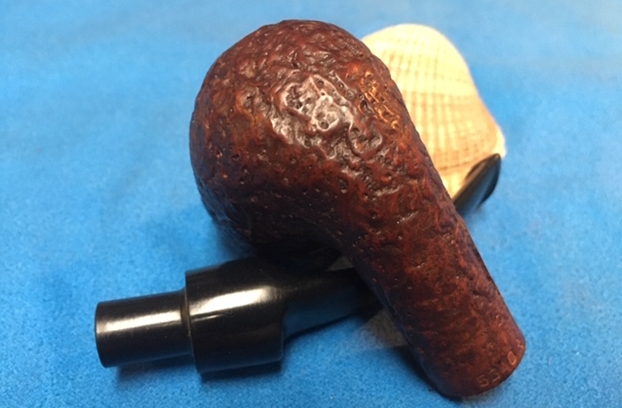
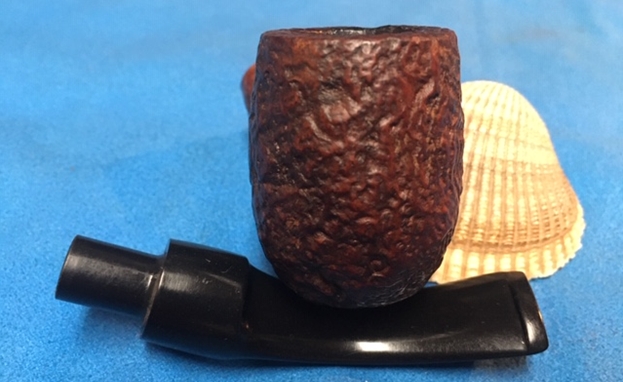
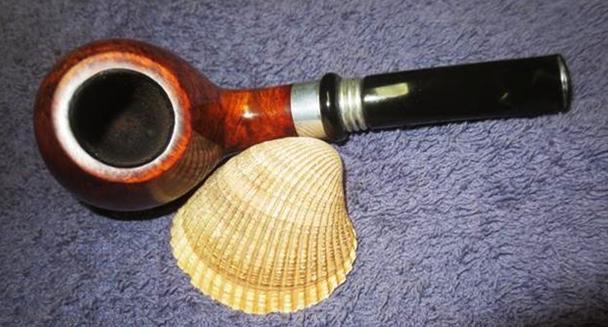
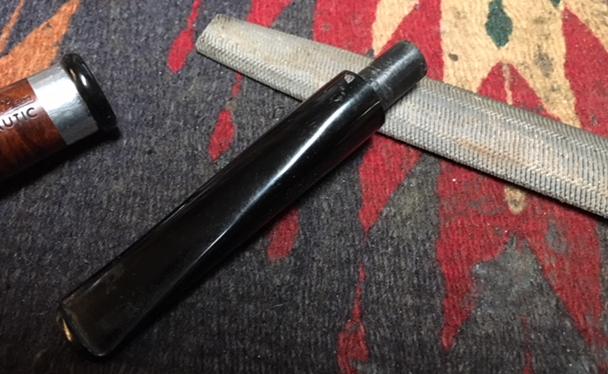
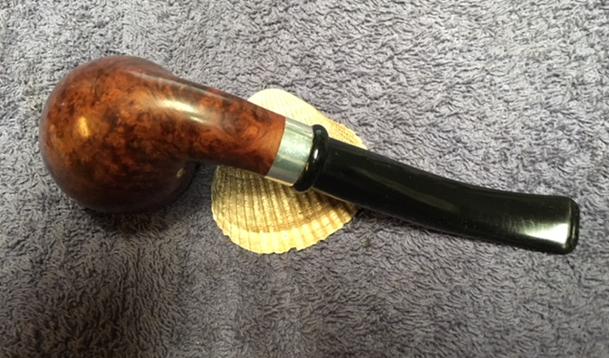
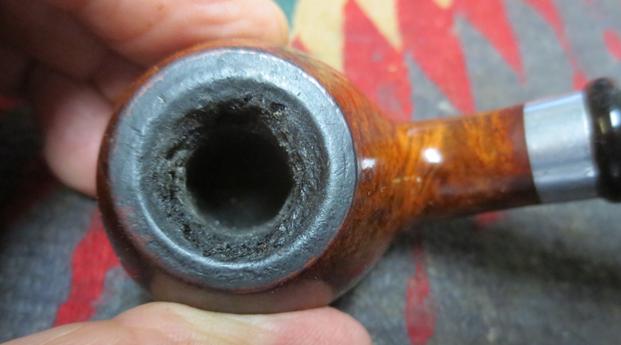
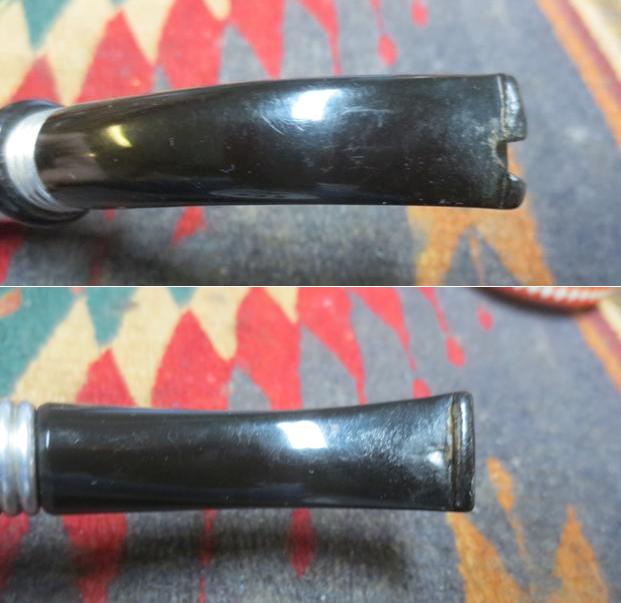
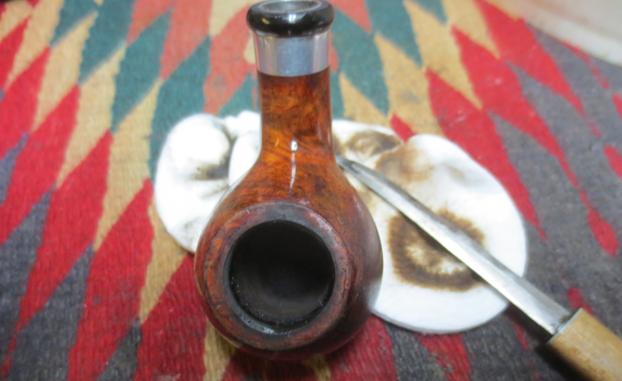
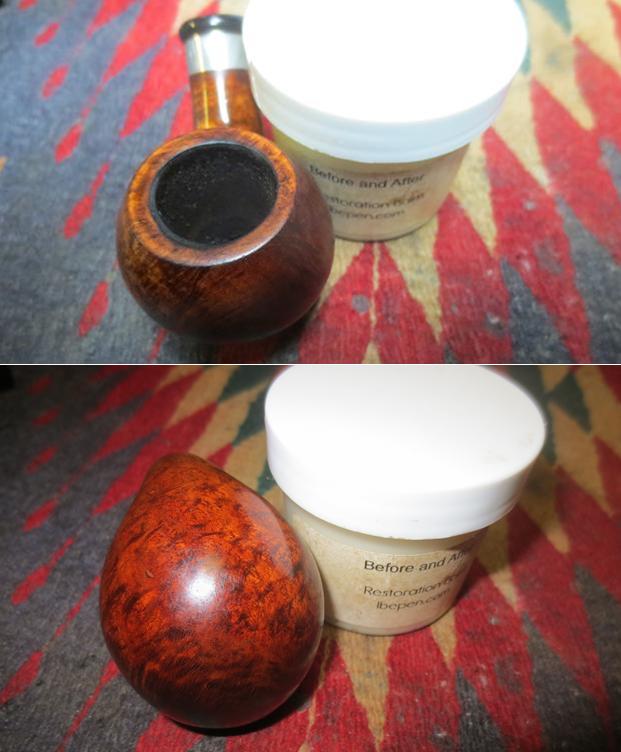
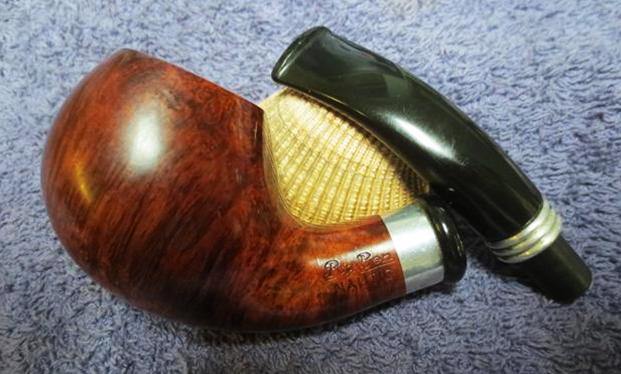
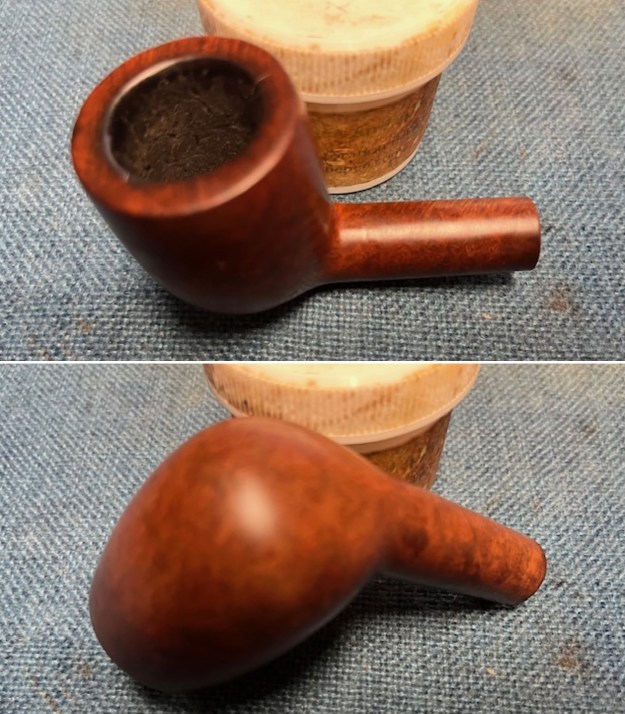
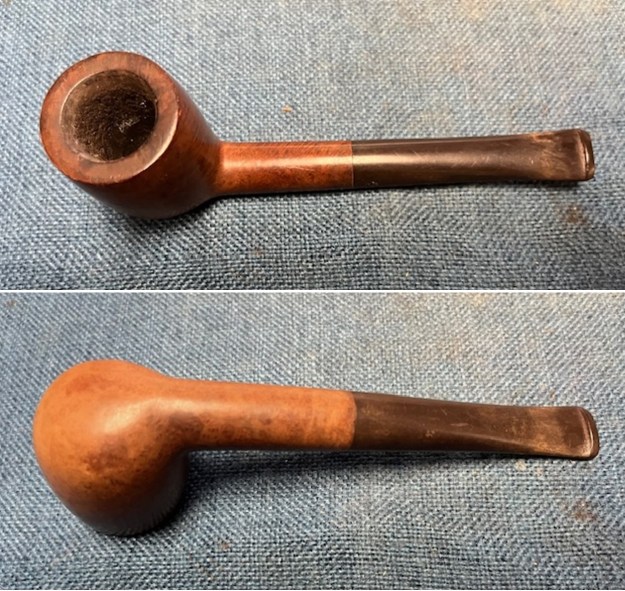 I took a photo of the bowl and rim top to show the condition. The rim top has a coat of lava on it and the edges looked to be in good condition. The photos of the stem show the oxidation and the tooth chatter on both sides of the stem near the button.
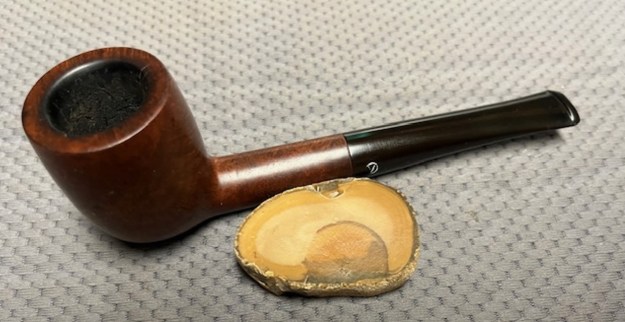
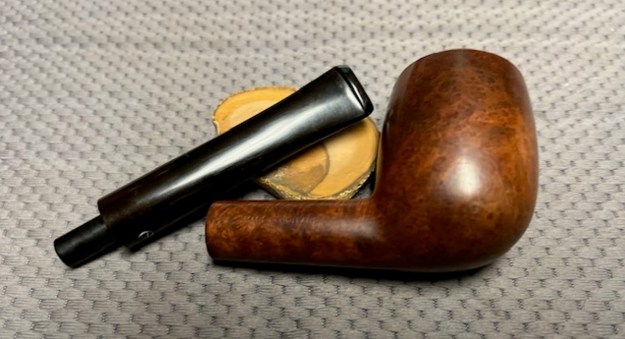
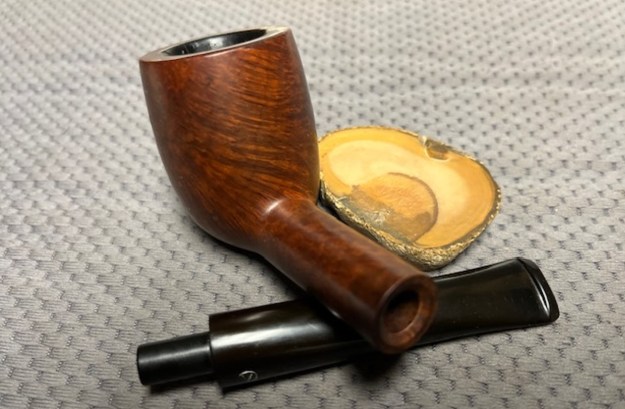
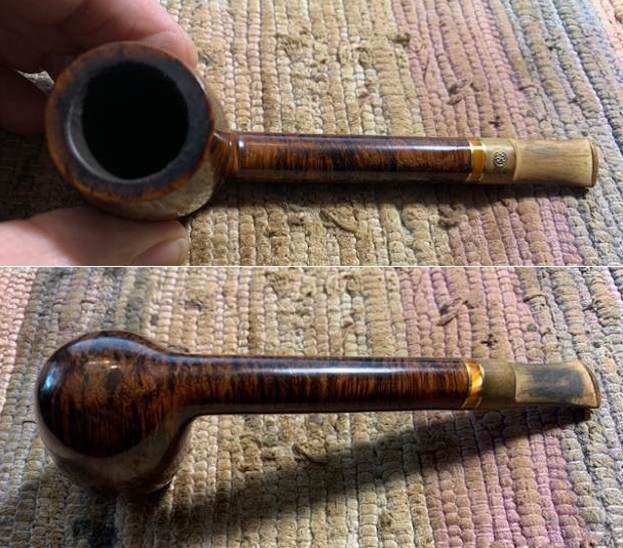
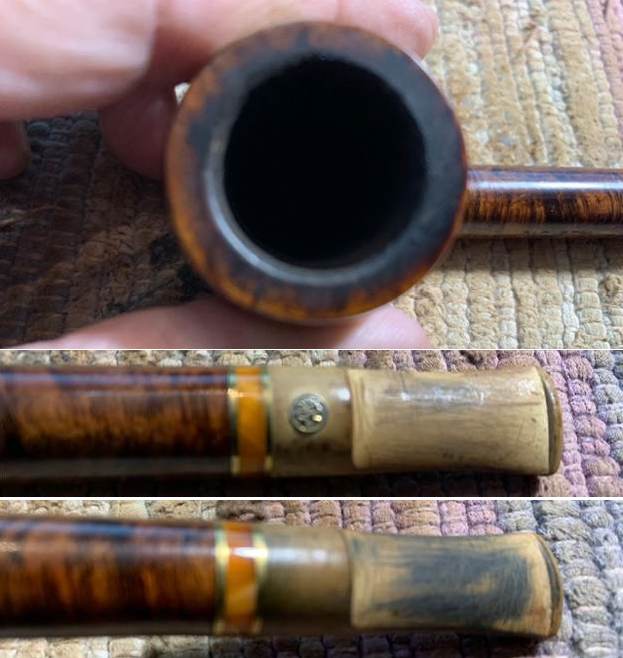
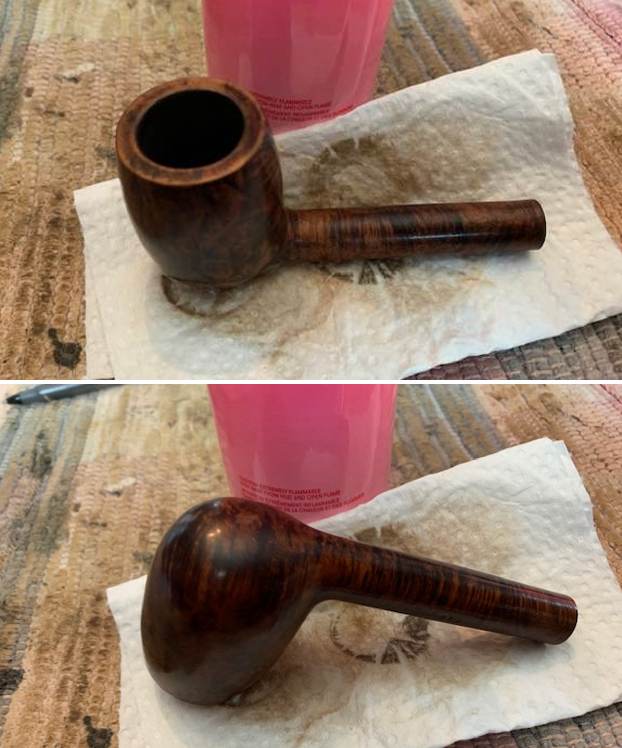
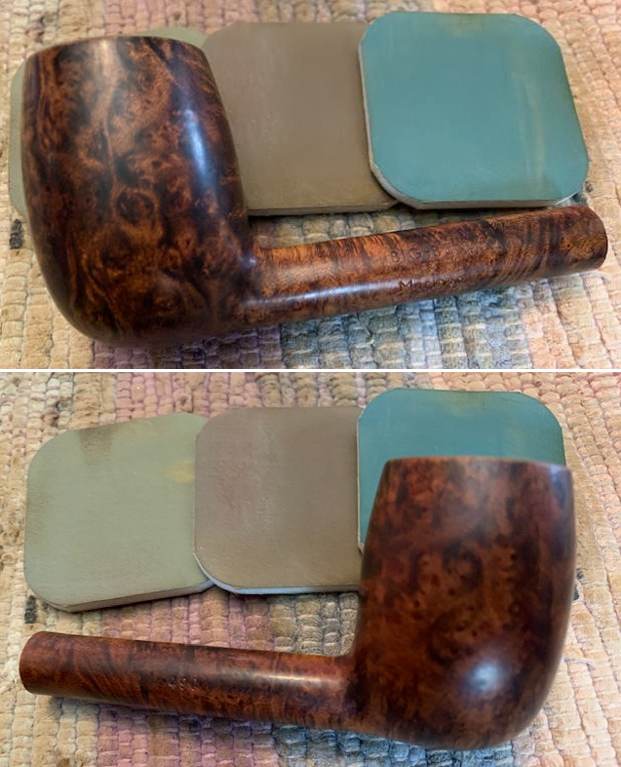
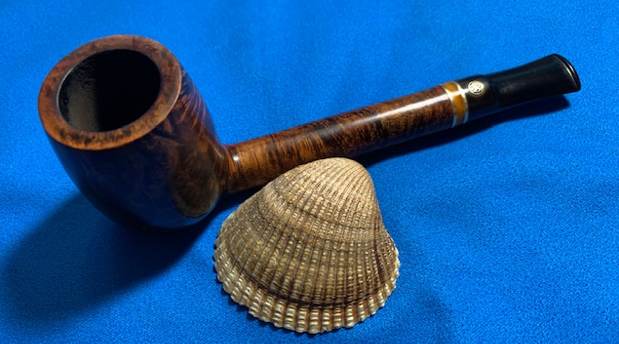
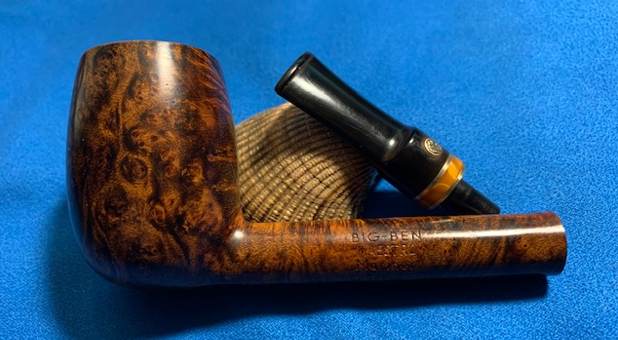
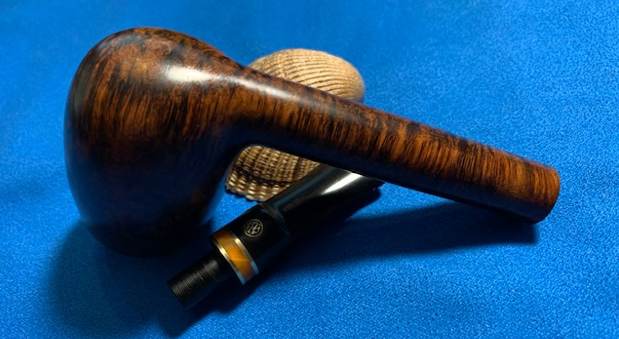
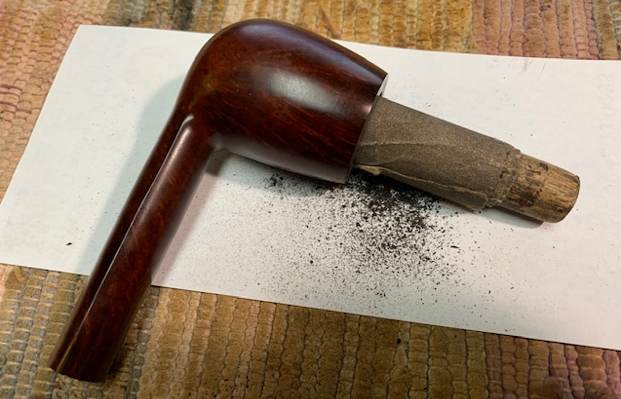
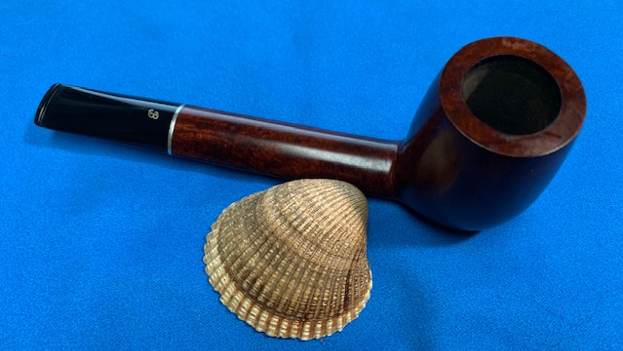
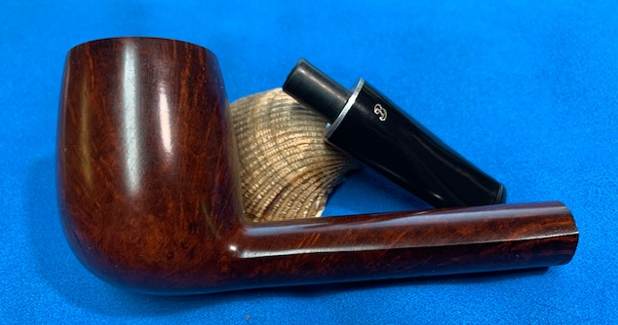
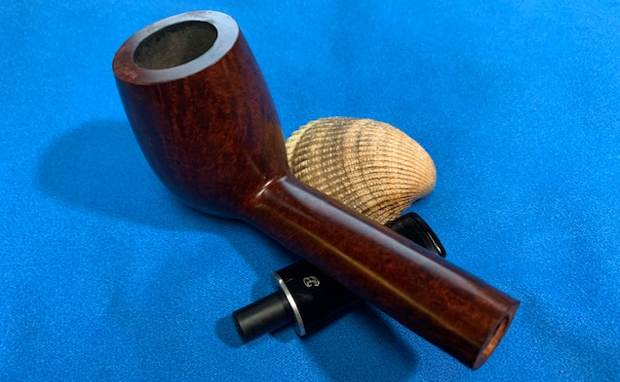
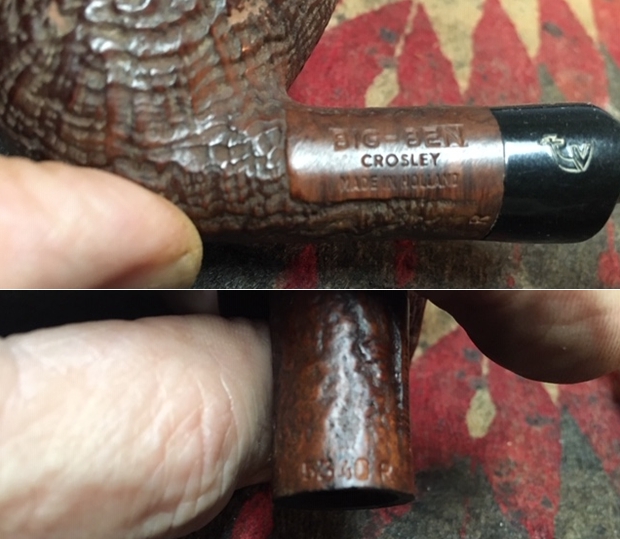
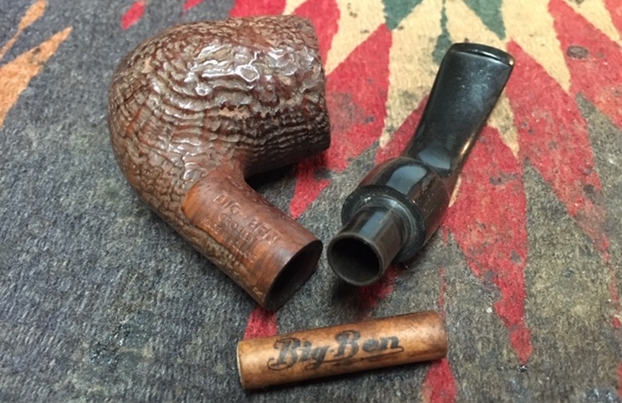
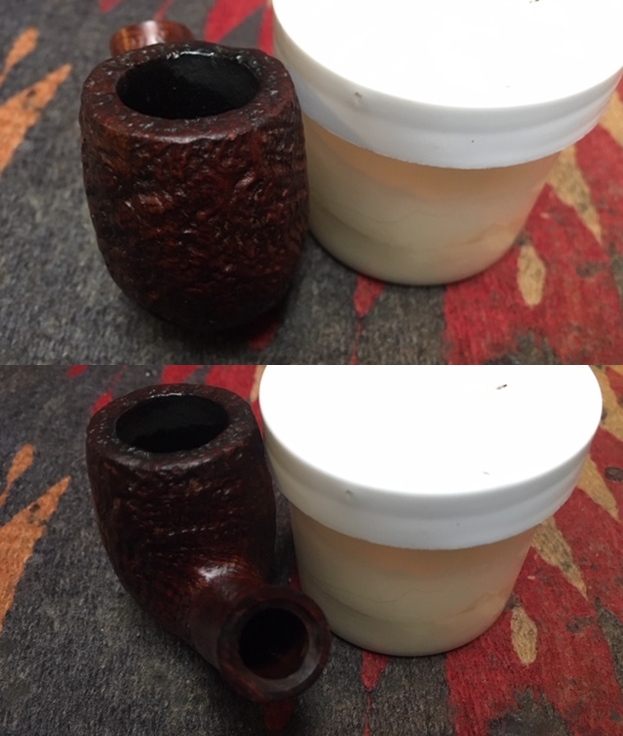
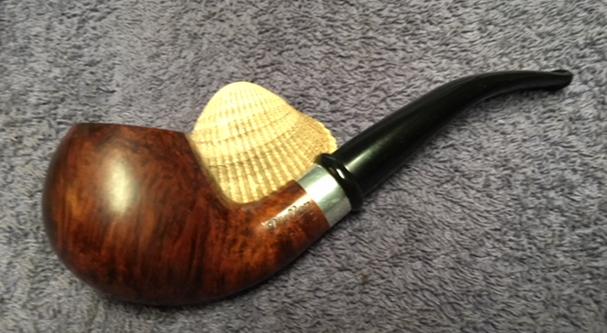
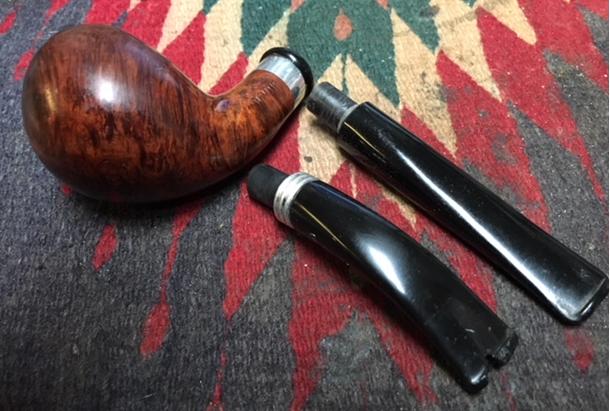
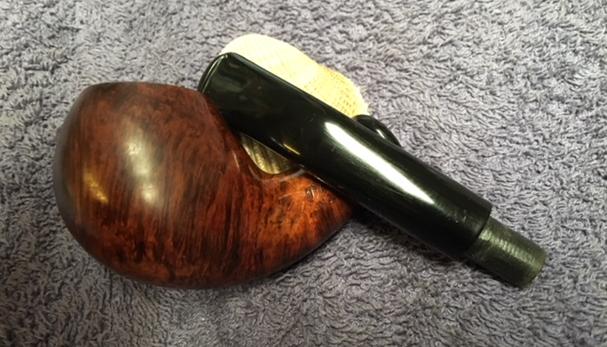
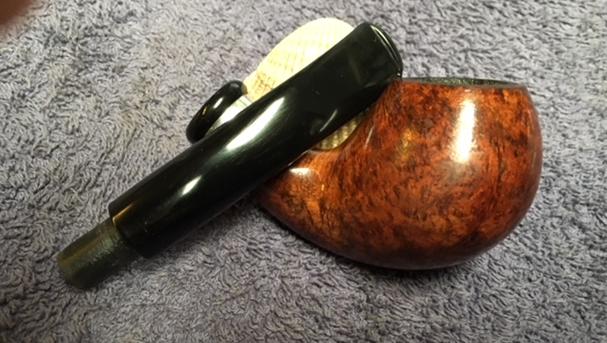
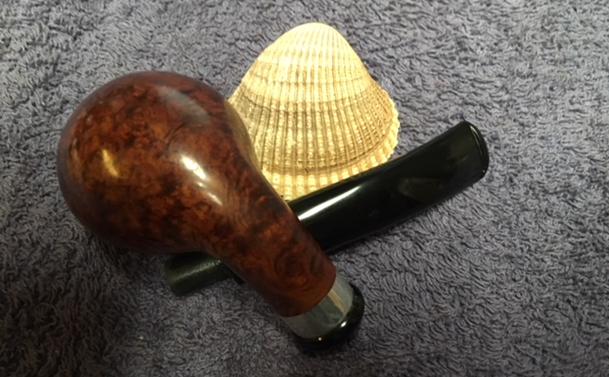
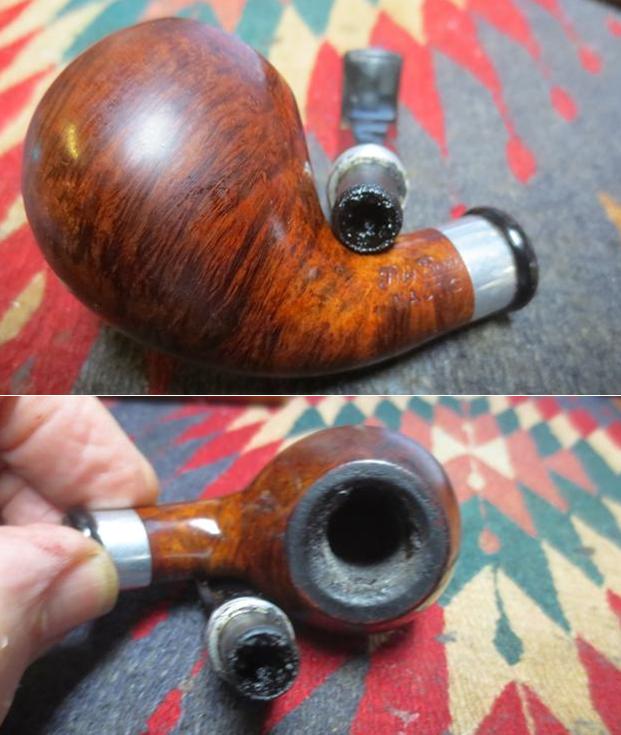
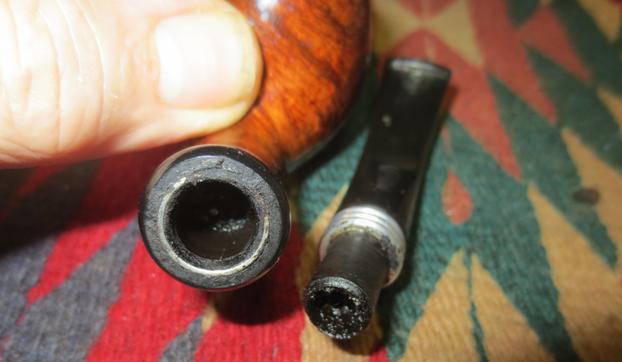
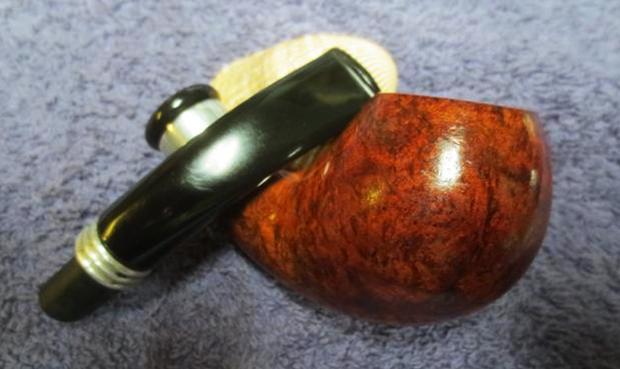
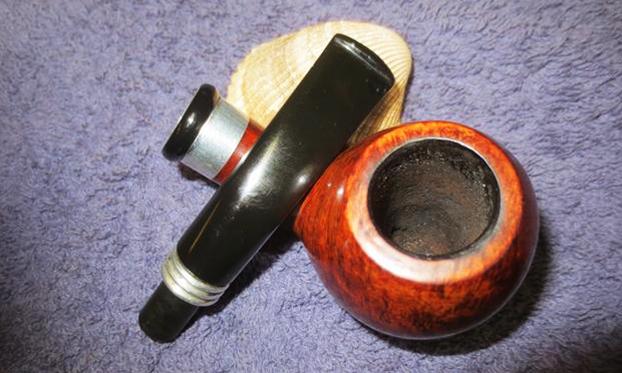
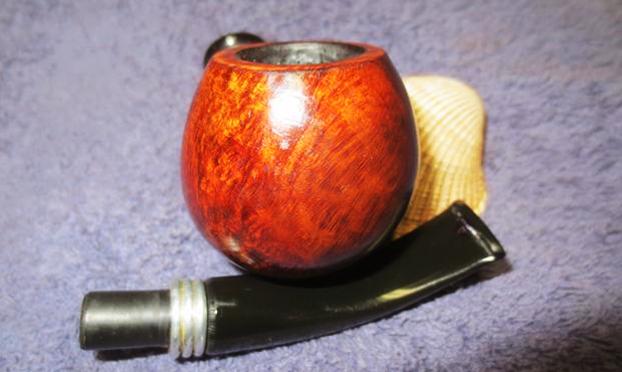
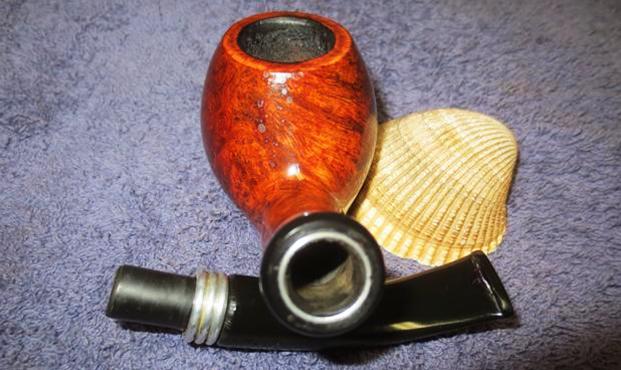
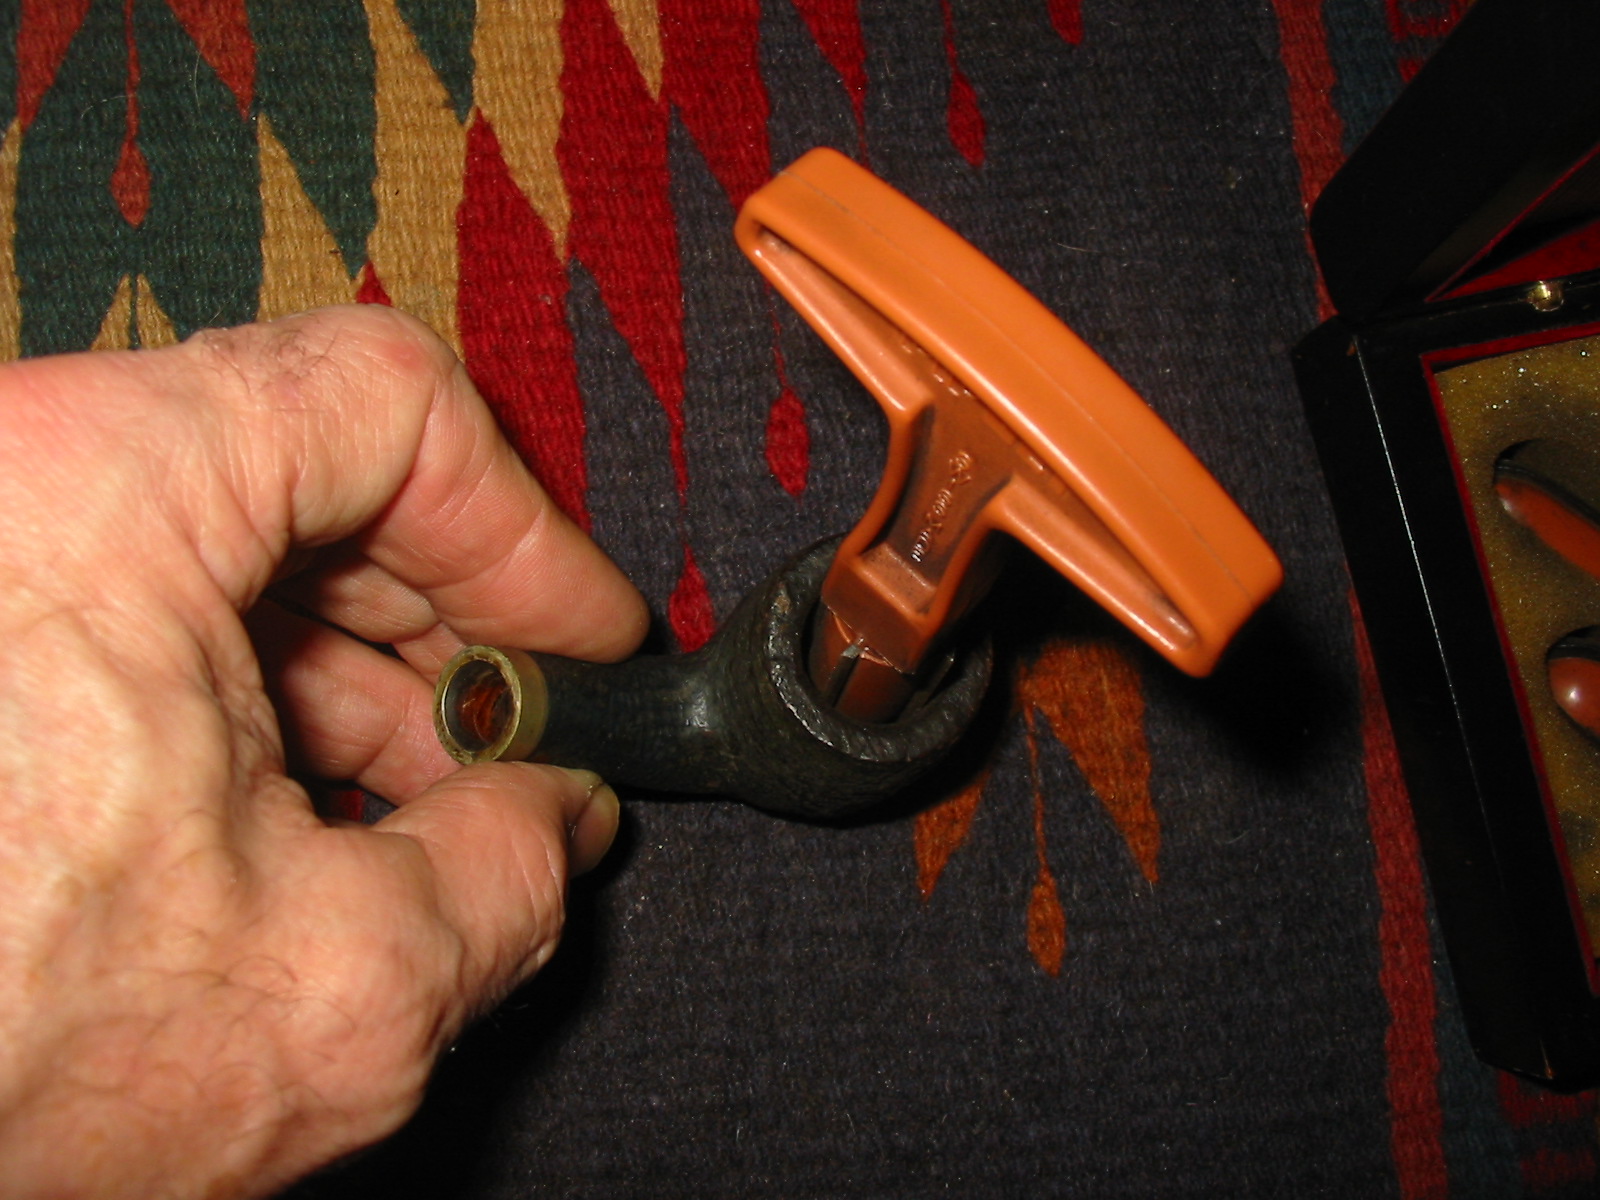
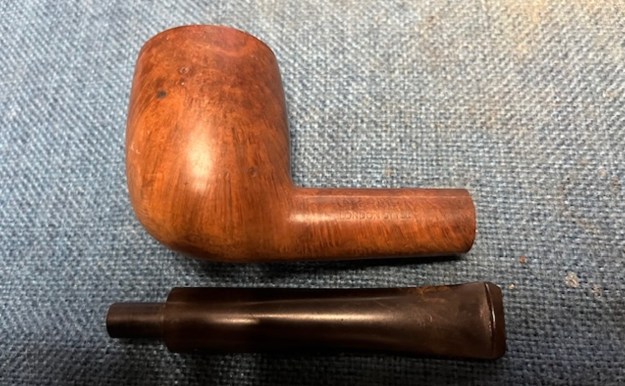
 I took photos of the stamping on both sides of the shank and the top of the stem. It is quite a nice looking pipe. The stamping is clear and readable as noted above. I removed the stem from the shank and took a photo to give a sense of the parts of this pipe. I think it will clean up to be a real beauty.
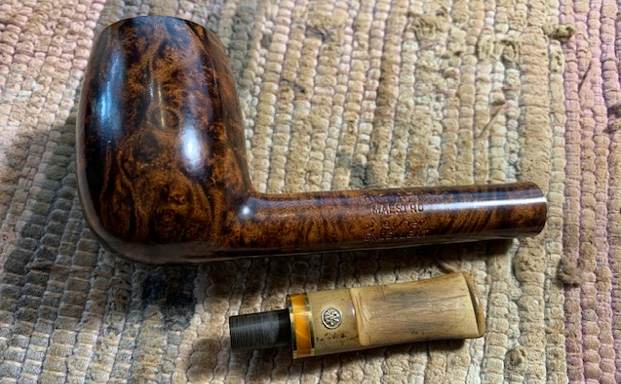
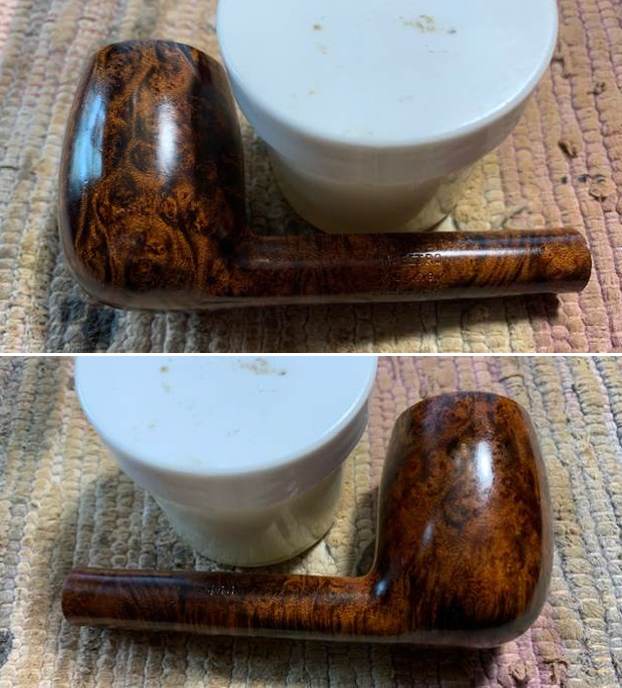
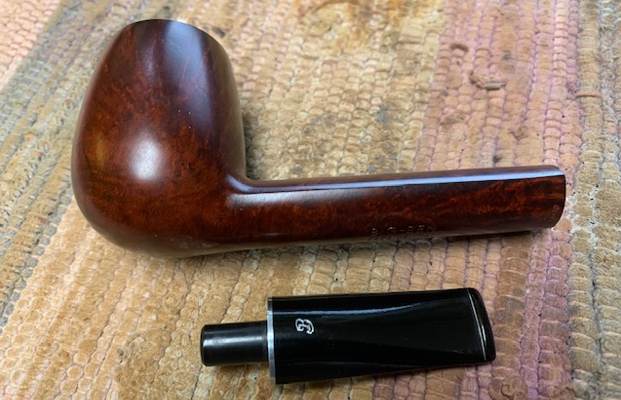
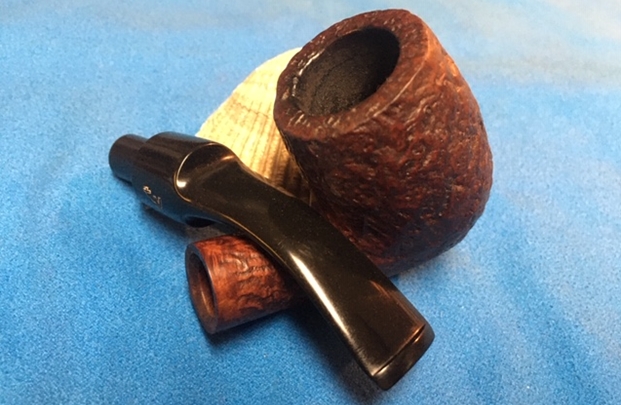
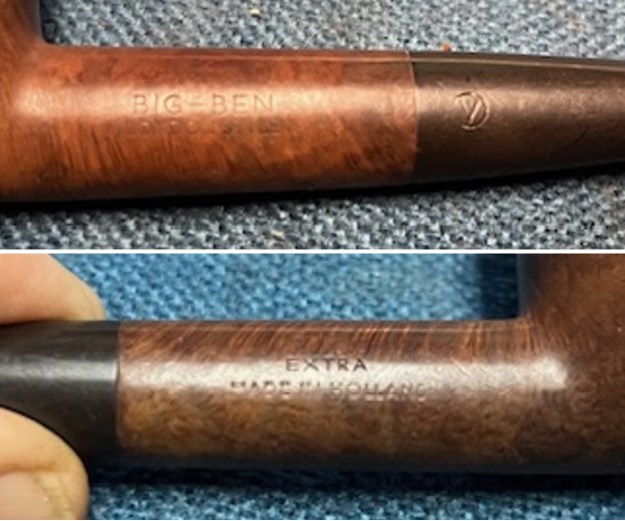
 For historical background for those unfamiliar with the brand I turned to Pipephil’s site (http://pipephil.eu/logos/en/logo-bigben.html). There were not any pictures of the series but the introductory information was helpful so I am including that.
Big-Ben is a brand of the Elbert Gubbels & Sons – Royal Dutch Pipe Factory. The company has gone bankrupt on March 2012. Production (2009): 250000 pipes/year See also: Amphora, Humbry, IRC, Roermond, Royal Dutch, Thompson and Porsche Design
I then turned to Pipedia for more information (https://pipedia.org/wiki/Big_Ben). I quote below:
The brand name Big Ben was originally owned by a small trade company in Amsterdam which was already well established in several countries selling pipes among other goods. The firm was bought by Elbert Gubbels & Zonen B.V. – see Gubbels – who were in search for a suitable brand name to further expansion on international markets. Big Ben became Gubbels’ mainstay brand with its own website.
There was a further link to the Gubbels listing on Pipedia (https://pipedia.org/wiki/Gubbels).
With the help of his family the father of Elbert Gubbels Sr. started a retail shop for tobacco pipes and other smoker’s equipment in 1870.
In 1924 Elbert Gubbels Sr., now father/grandfather of the present owners, transformed it into a wholesale trade business. The company grew steadily and imported pipes from various countries as there were no factories producing briar pipes in the Netherlands. The most important suppliers came from France and England.
When German troops occupied the Netherlands in May of 1940, a period of almost five years began in which the Gubbels family could hardly operate their business at all. During this years of forced rest Elbert Gubbels had a notion to become independent of foreign suppliers and he drew up plans to start his own production of tobacco pipes after World War II.
Immediately succeeding the war, it was very difficult to obtain good pipes for the import of foreign pipes was limited and so the time was right to go for something new. In 1946 he launched pipe production at Godsweerdersingel No. 20 in Roermond with a couple of new machines and some workers, a couple of them being foreign specialists and considered himself to commence. Yet the cramped accomodations and the needy equipment of the workshop showed the limits all too soon. It was obvious that the workshop was inadequate and Mr. Gubbels invested in another building covering an area of 900m² that also offered a sufficient warehouse. Now the production could be increased going hand in hand with developing new models and improving the quality of the pipes being produced.
The production grew steadily but it showed now that an “international” brand name was required for further expansion on international markets – obviously no one cared too much for pipes made in the Netherlands. Feeling that the time involved to get a new brand established was too lengthy, Mr. Gubbels bought a small trade company in Amsterdam which owned all the rights to the brand Big Ben and was already well established in other countries selling pipes among other goods. A real happenstance – Gubbels products could be marketed now in all European countries, the USA, Canada and many other countries, and nowadays they can be found in almost every country world-wide.
In December 1972 the company opened new and very modern factory in Roermond at Keulsebaan 505. With the official opening by the Governor of the Province of Limburg, the Gubbels company was, on behalf of Her Majesty Queen Juliana of the Netherlands, granted the title “Royal” so that the official name became: Elbert Gubbels & Zonen – Koninklijke Fabriek van Tabakspijpen (Elbert Gubbels & Sons – Royal Dutch Pipe Factory).
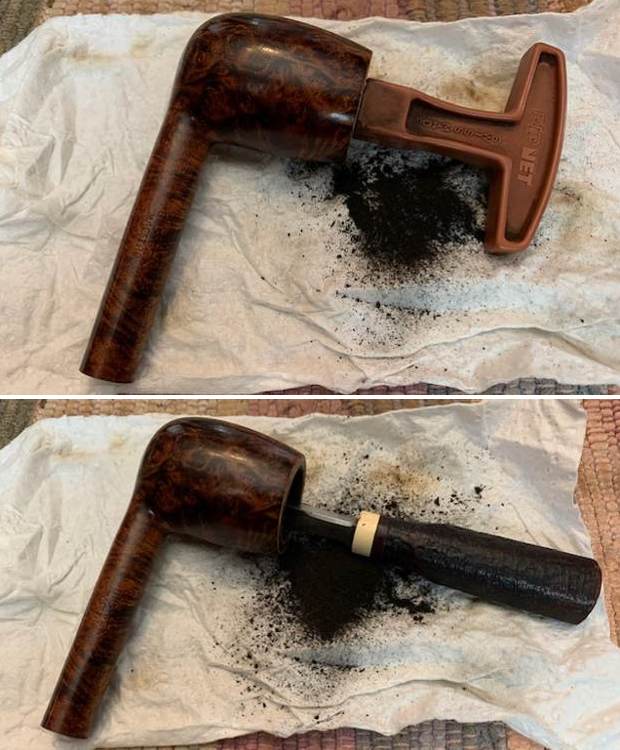
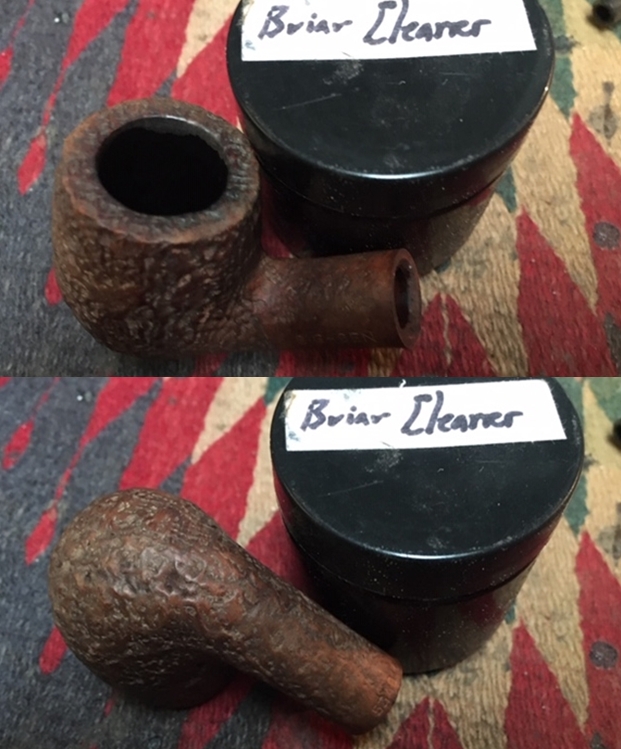
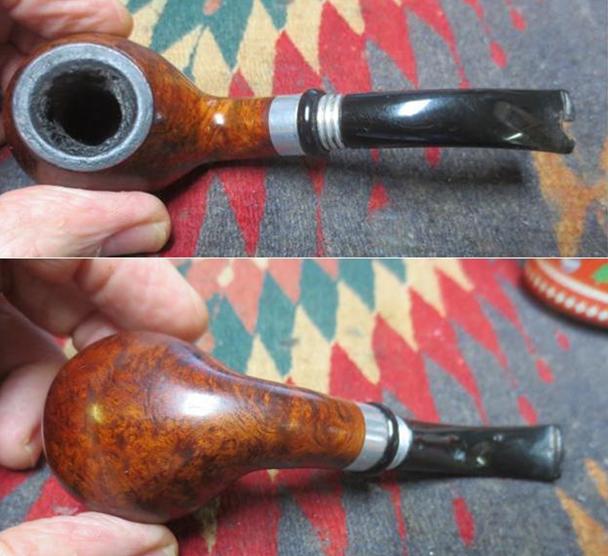
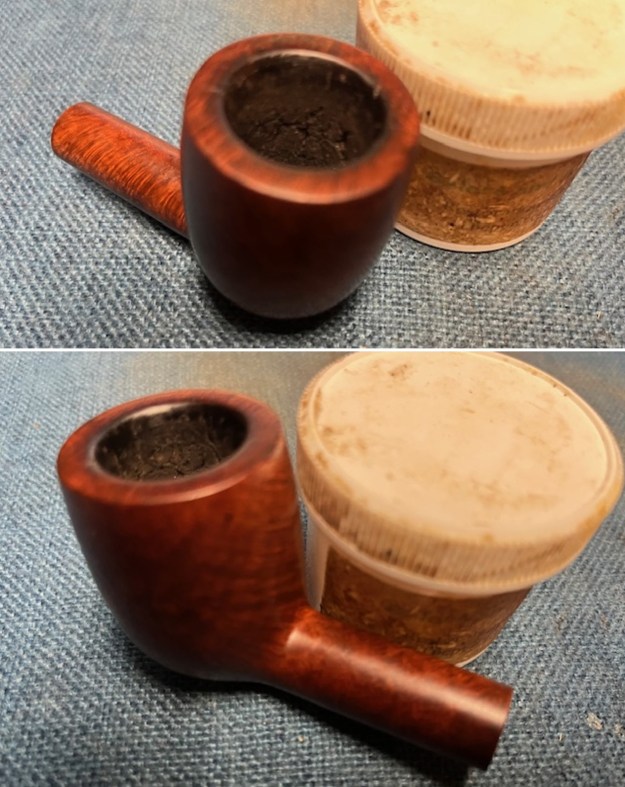
Armed with that history and having a sense of the brand it was now time to work on the pipe itself. I reamed the bowl with a PipNet Pipe Reamer and took the cake back to bare briar. I cleaned up the reaming with a Savinelli Fitsall Pipe Knife. I sanded the bowl walls with 220 grit sandpaper wrapped around a piece of dowel. The walls looked to be in good condition and there was not damage.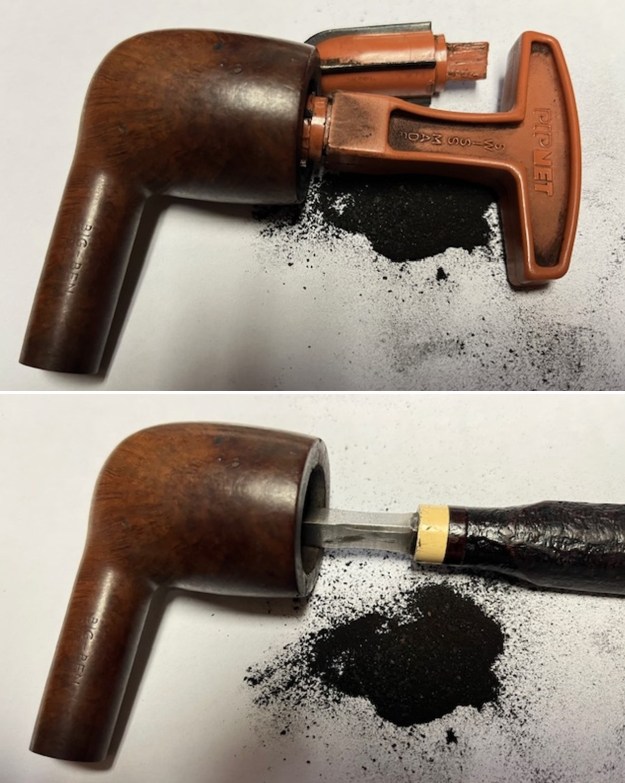
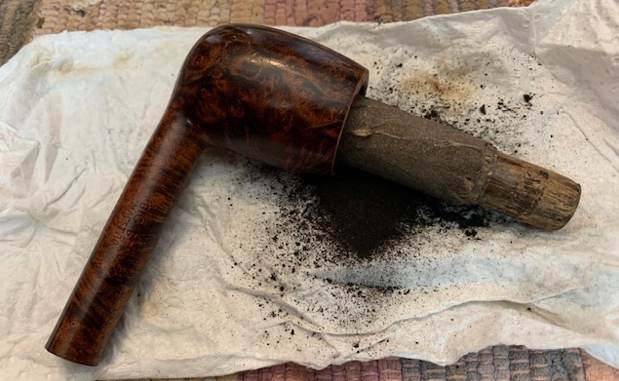
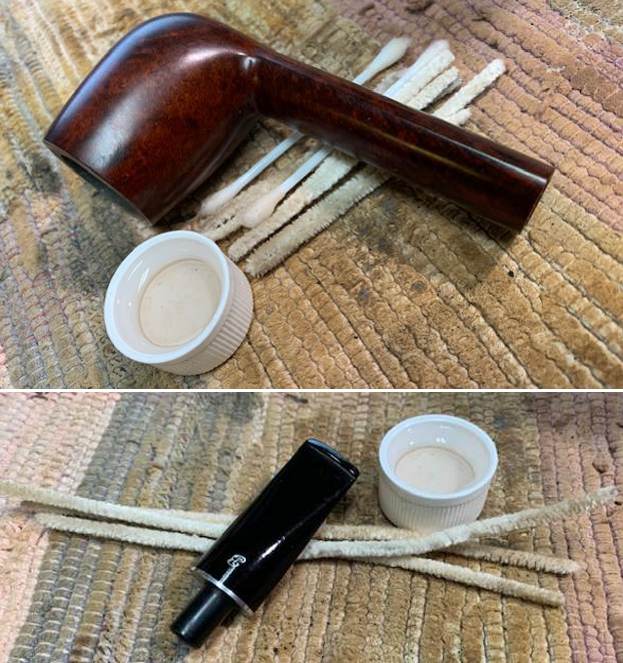
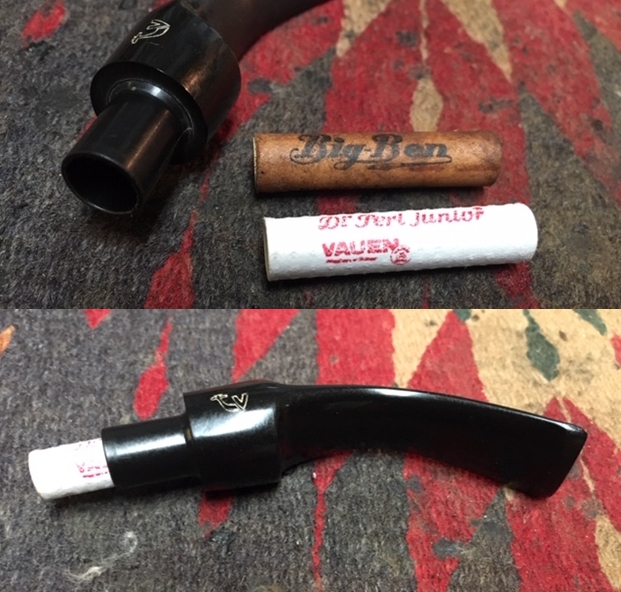
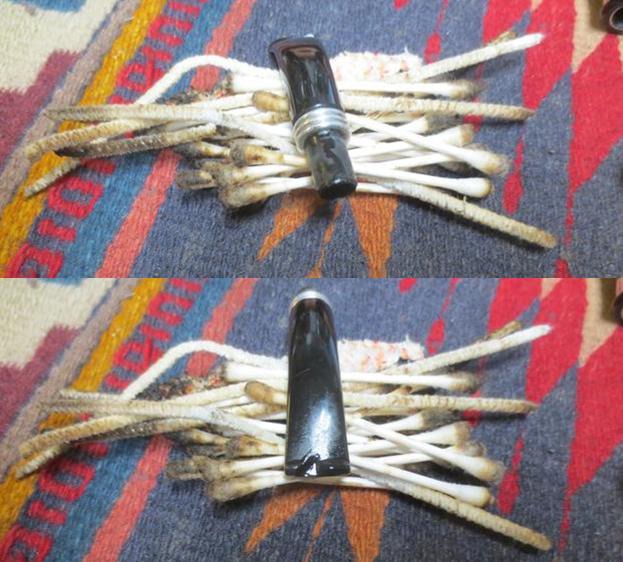
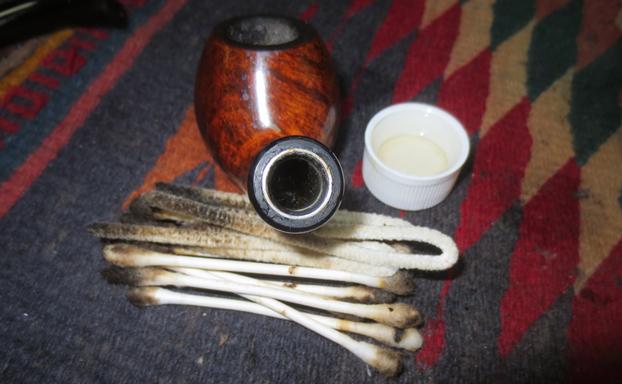
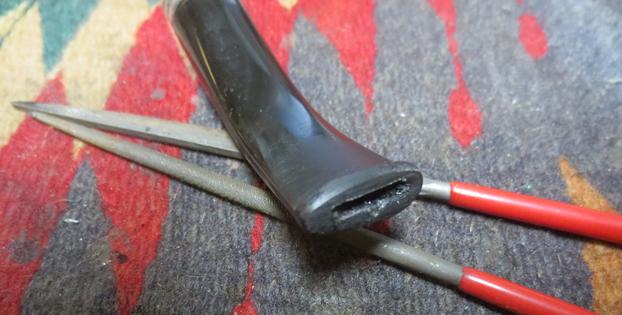
 I cleaned out the inside of the mortise and the airway in the shank and stem with pipe cleaners, cotton swabs and isopropyl alcohol. It was a dirty pipe.
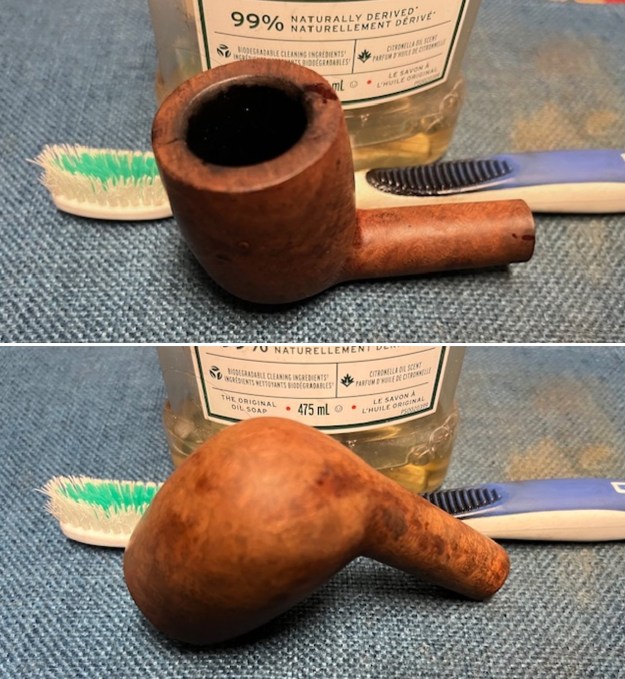
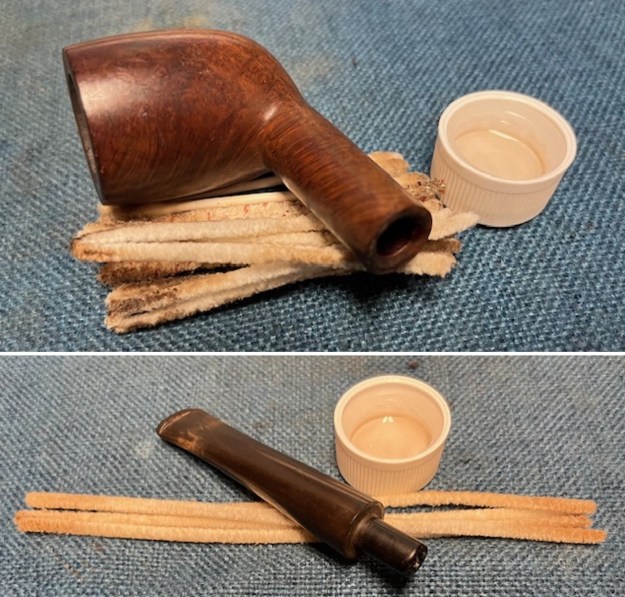 I scrubbed the exterior of the bowl down with undiluted Murphy’s Oil Soap and a tooth brush. I rinsed off the grime and the soap with running water. It was definitely looking better.
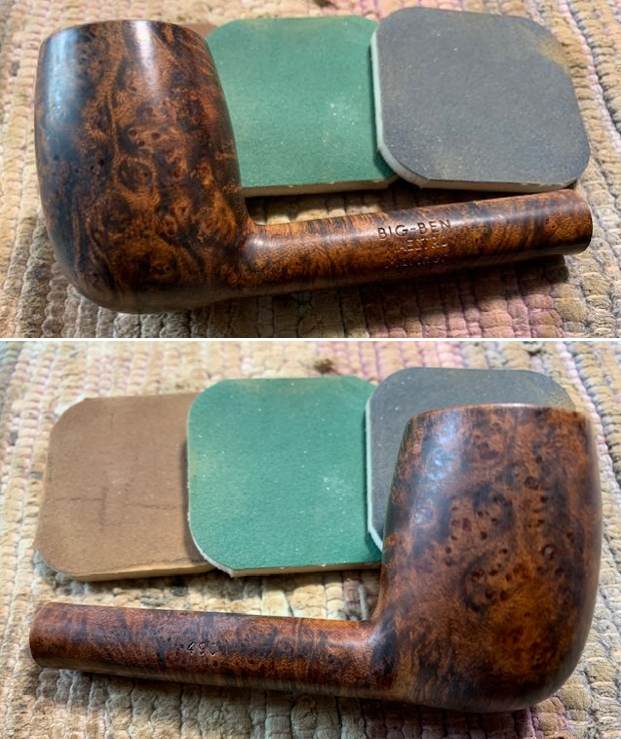
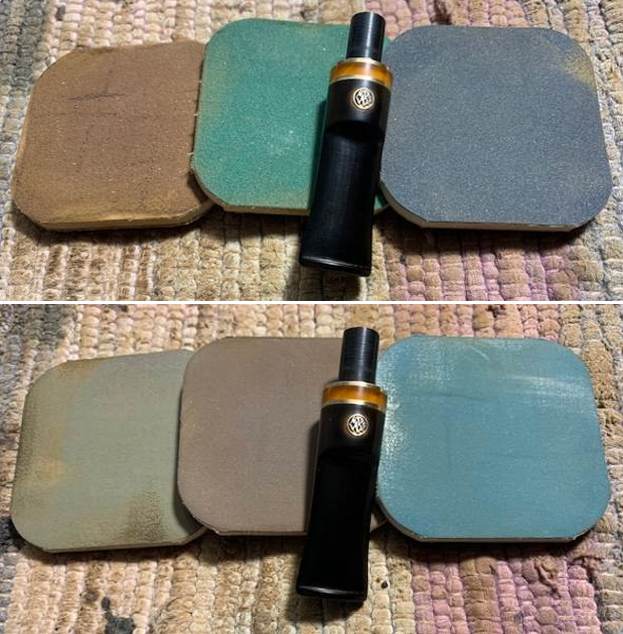
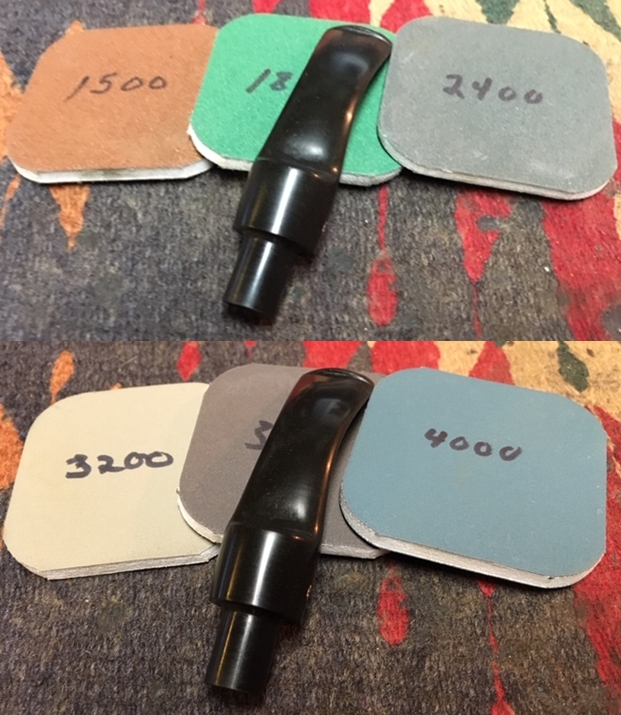
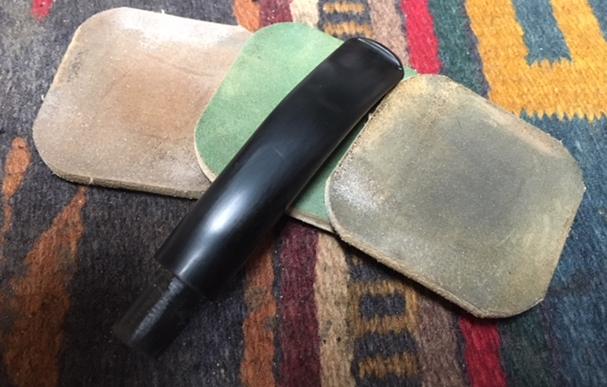
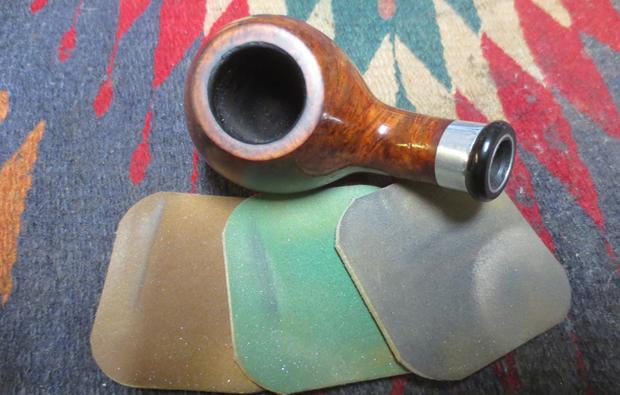
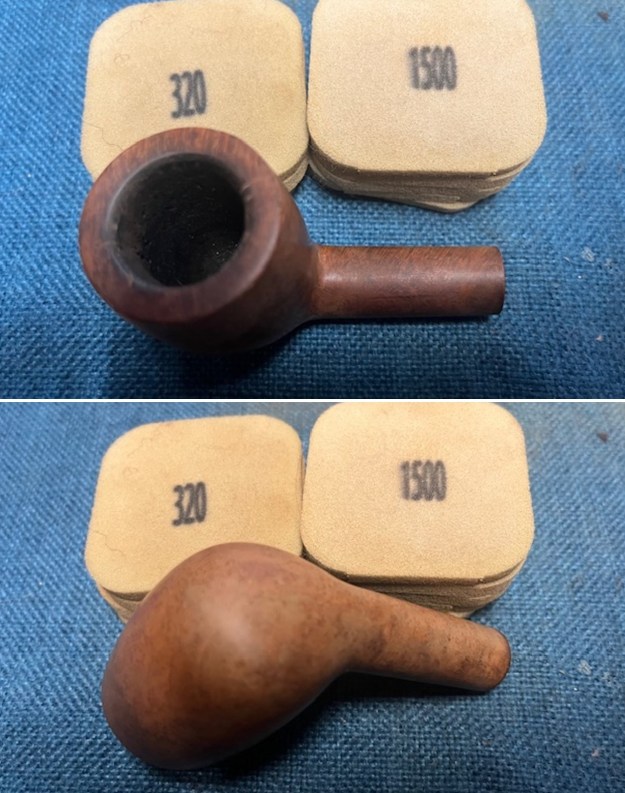
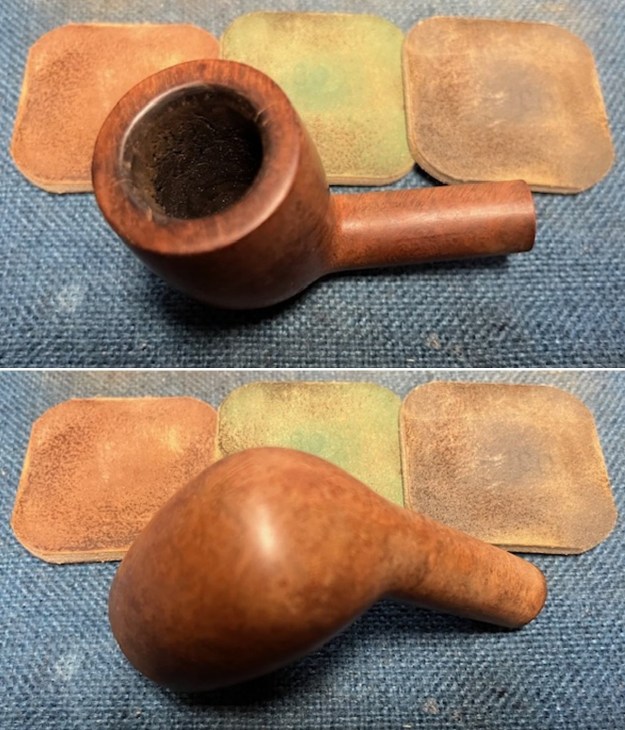
 I sanded the briar with 320-3500 grit 2×2 inch sanding pads to smooth out the scratching in the surface. I wiped the briar down after each pad with a damp cloth to remove the dust and debris.
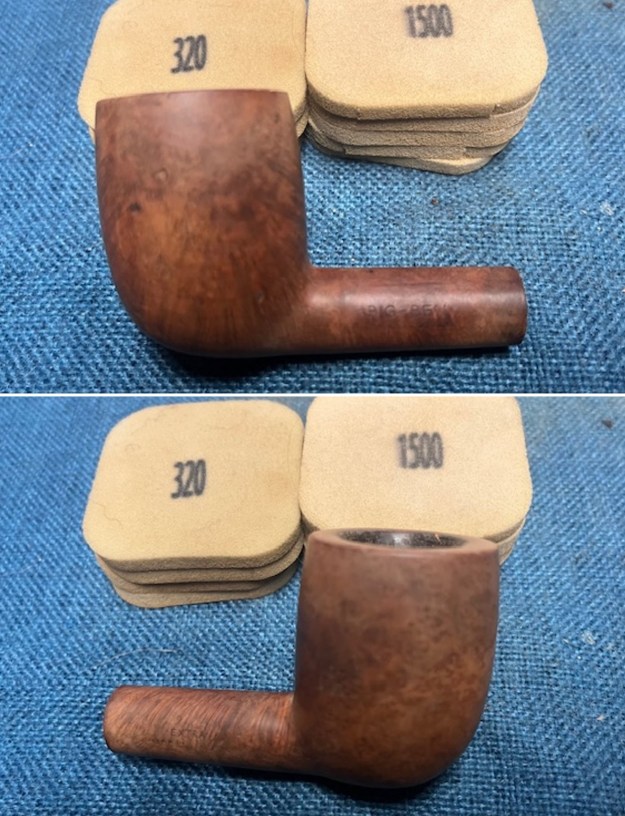
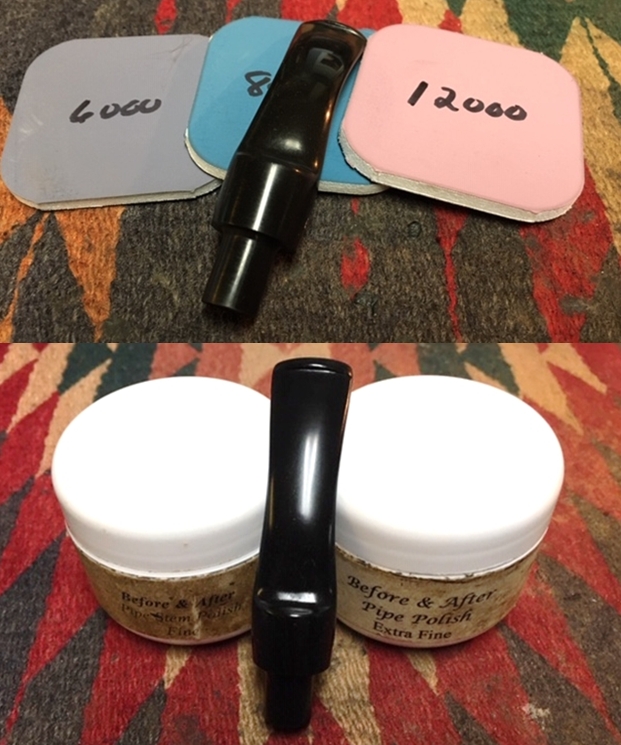
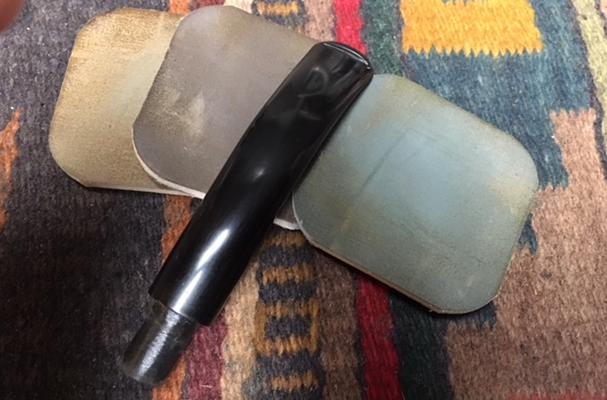
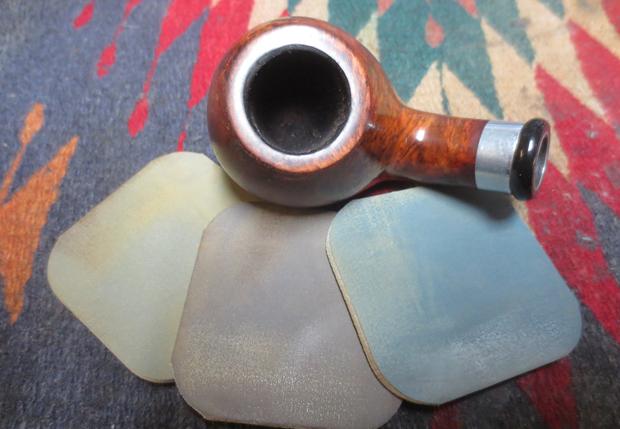
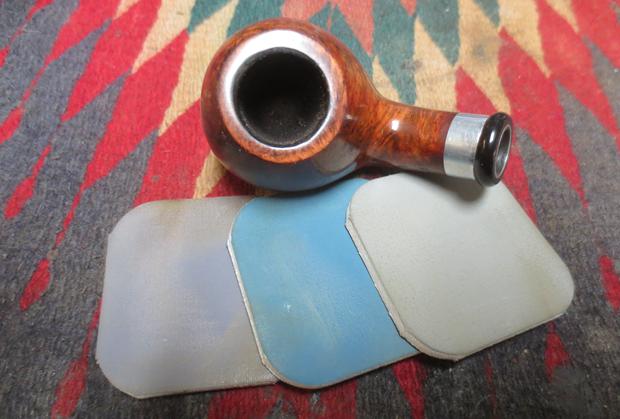
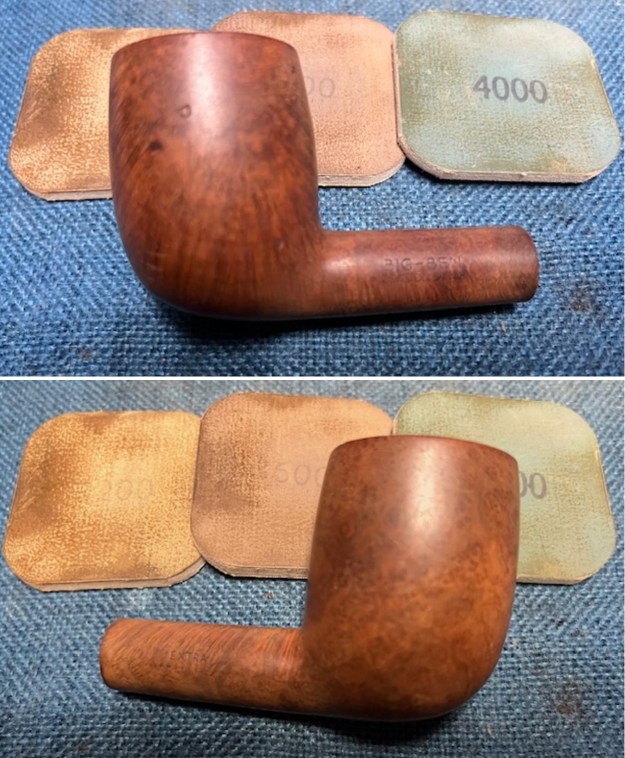
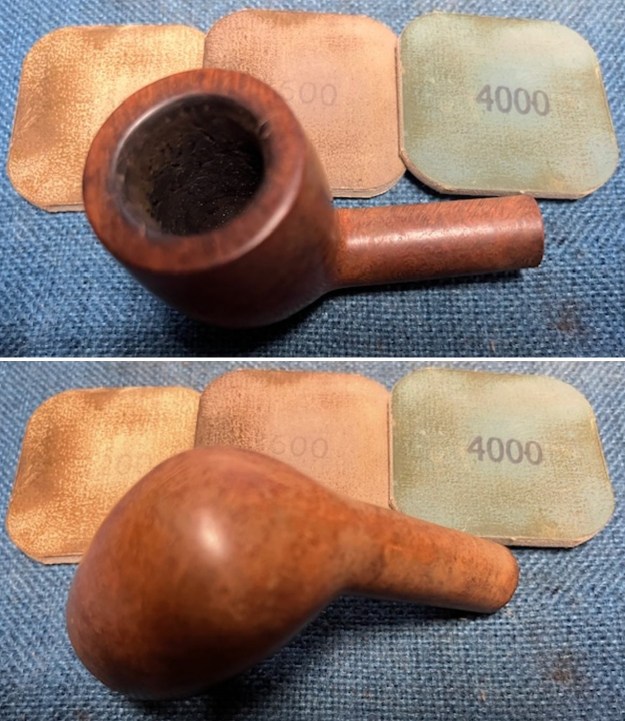
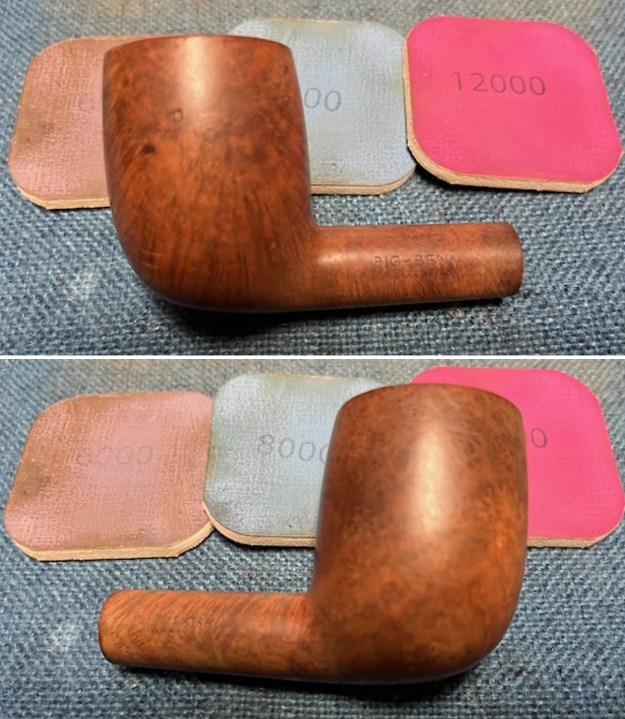
 I polished the briar with micromesh sanding pads – dry sanding with 1500-12000 grit pads. I worked over the inner and outer edge of the rim as well. After each pad I wiped the bowl down with a damp cloth to remove the sanding debris. It really took on a shine by the last three sanding pads.
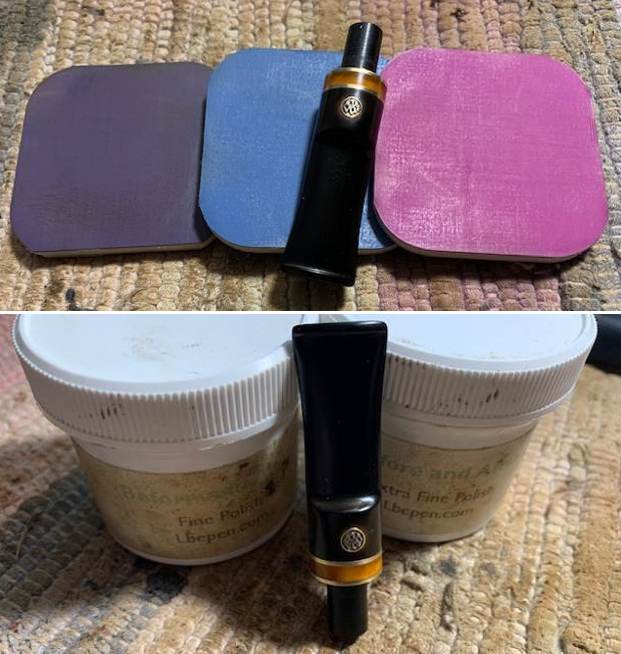
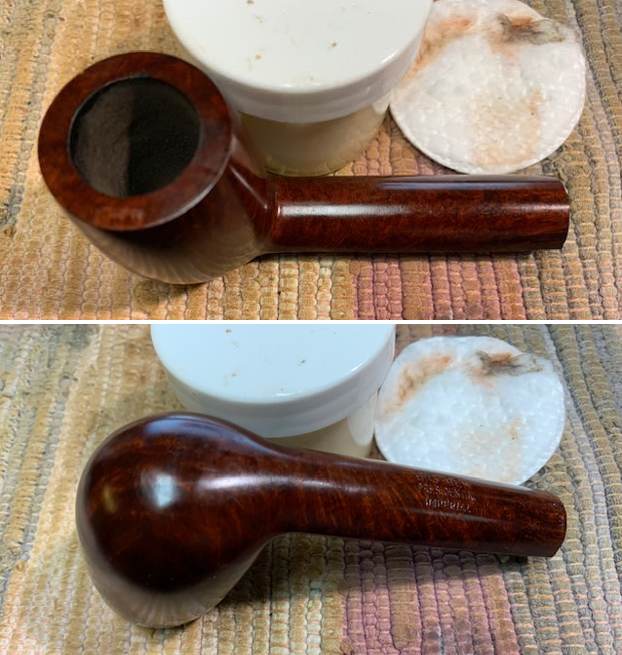
 I rubbed the bowl down with Before & After Restoration Balm. I worked it into the surface of the briar with my fingertips where it works to clean, restore and preserve the briar. I let it do its magic for 15 minutes then buffed it off with a cotton cloth. The pipe looks incredibly good at this point in the process.
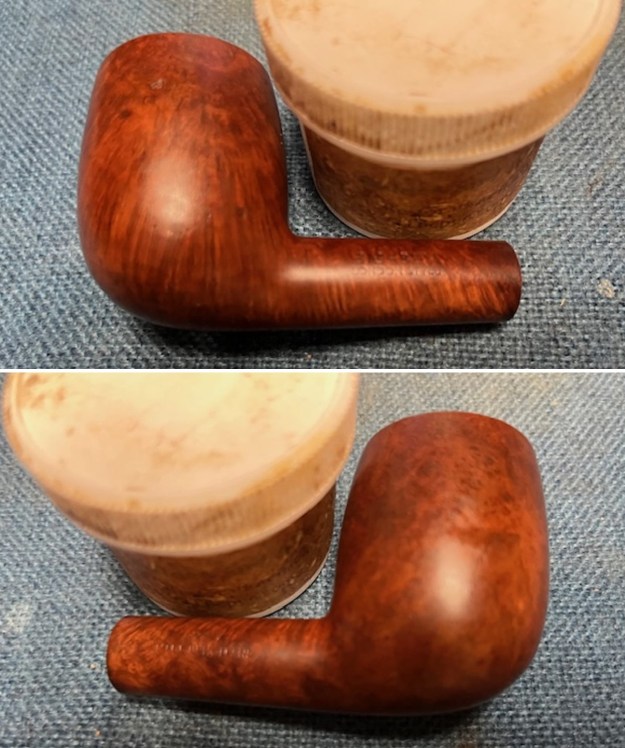
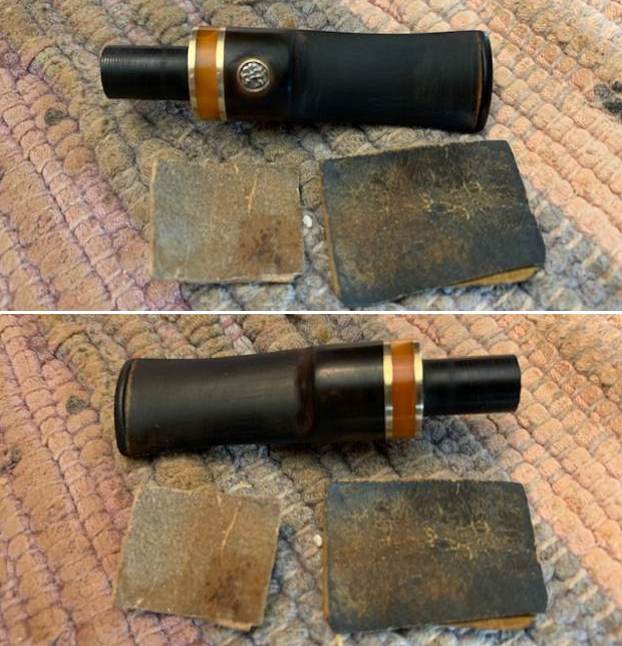
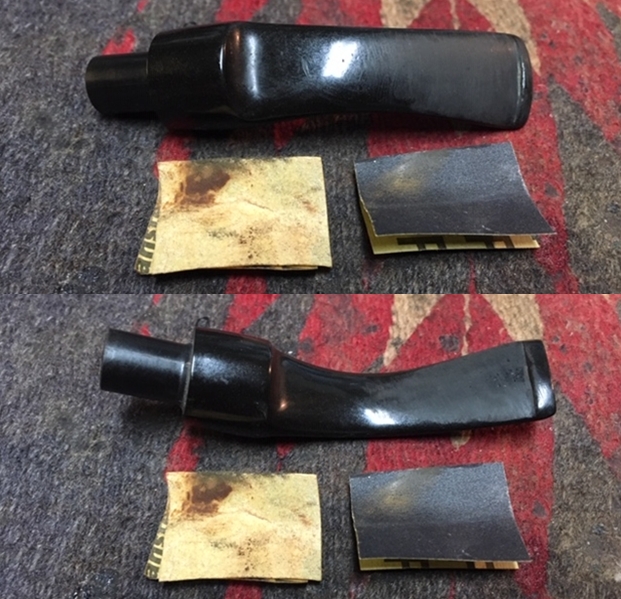
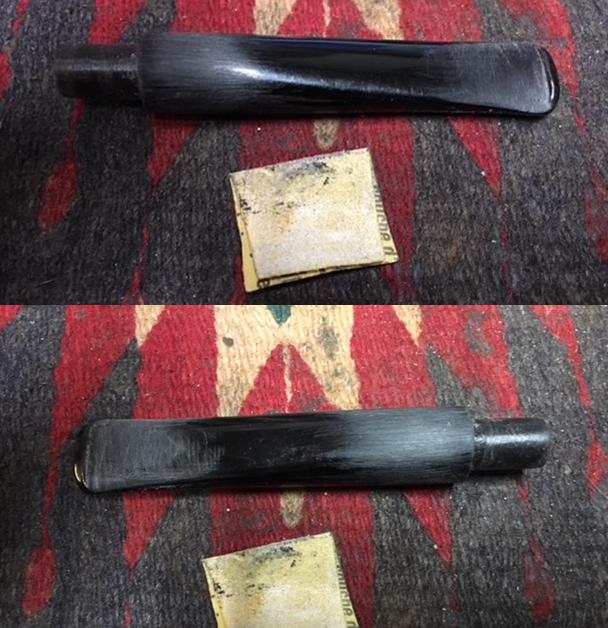
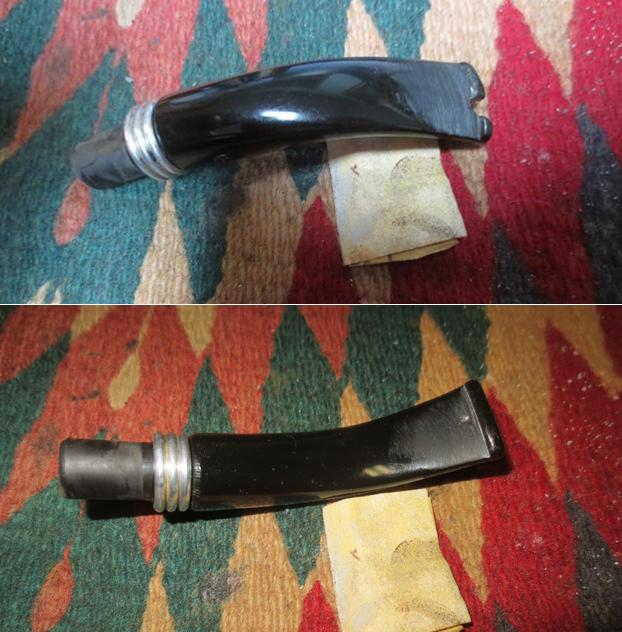
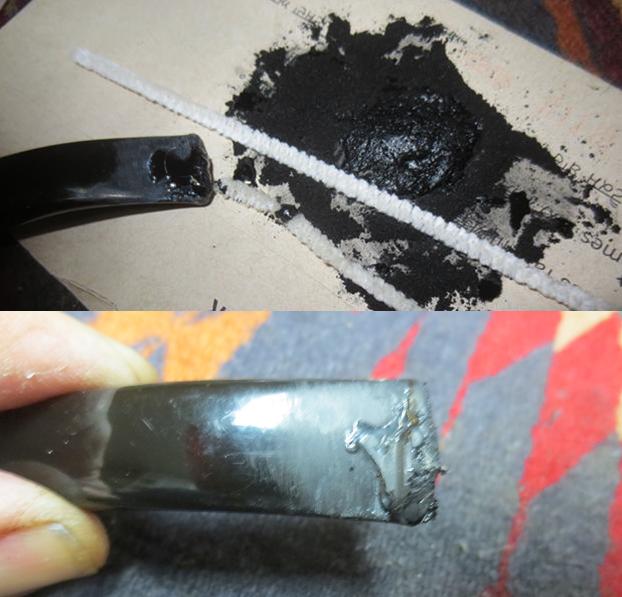
 I set the bowl aside and turned my attention to the stem. I sanded out the tooth chatter and marks with a folded piece of 220 grit sandpaper. It looked much better at this point in the process.
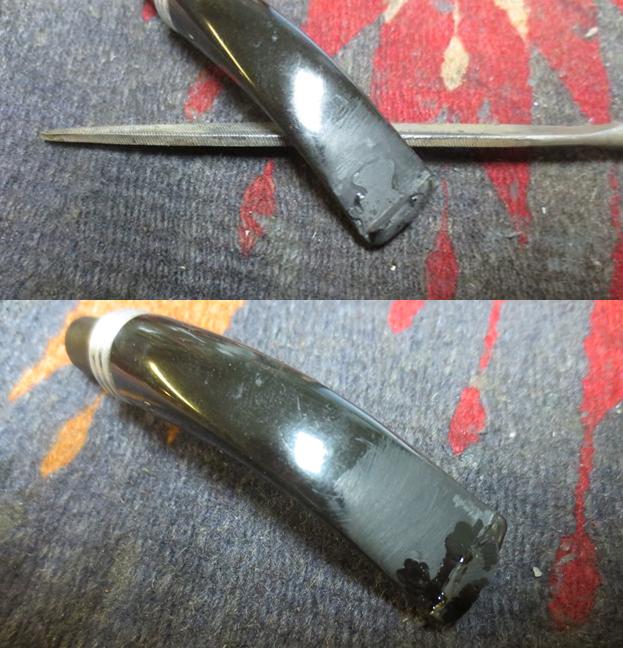
 I sanded the stem surface with 320-3500 grit 2×2 inch sanding pads. I wiped the stem down with a damp cloth after each sanding pad to remove the sanding debris.
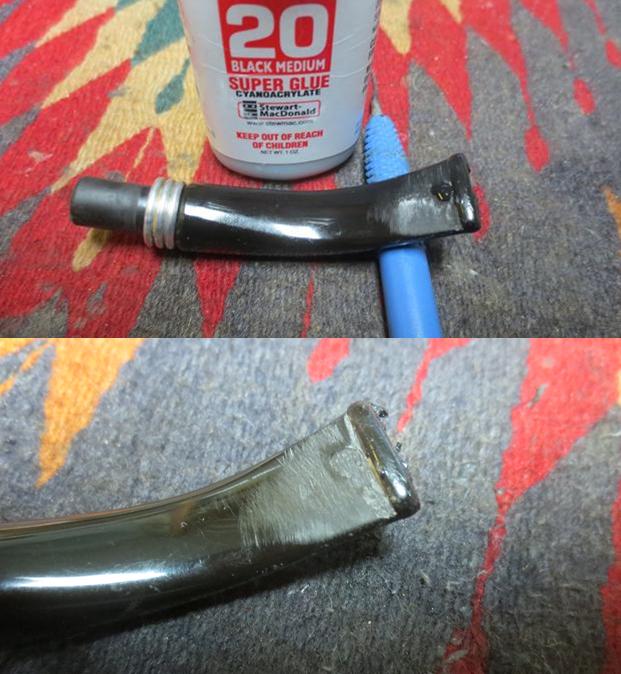
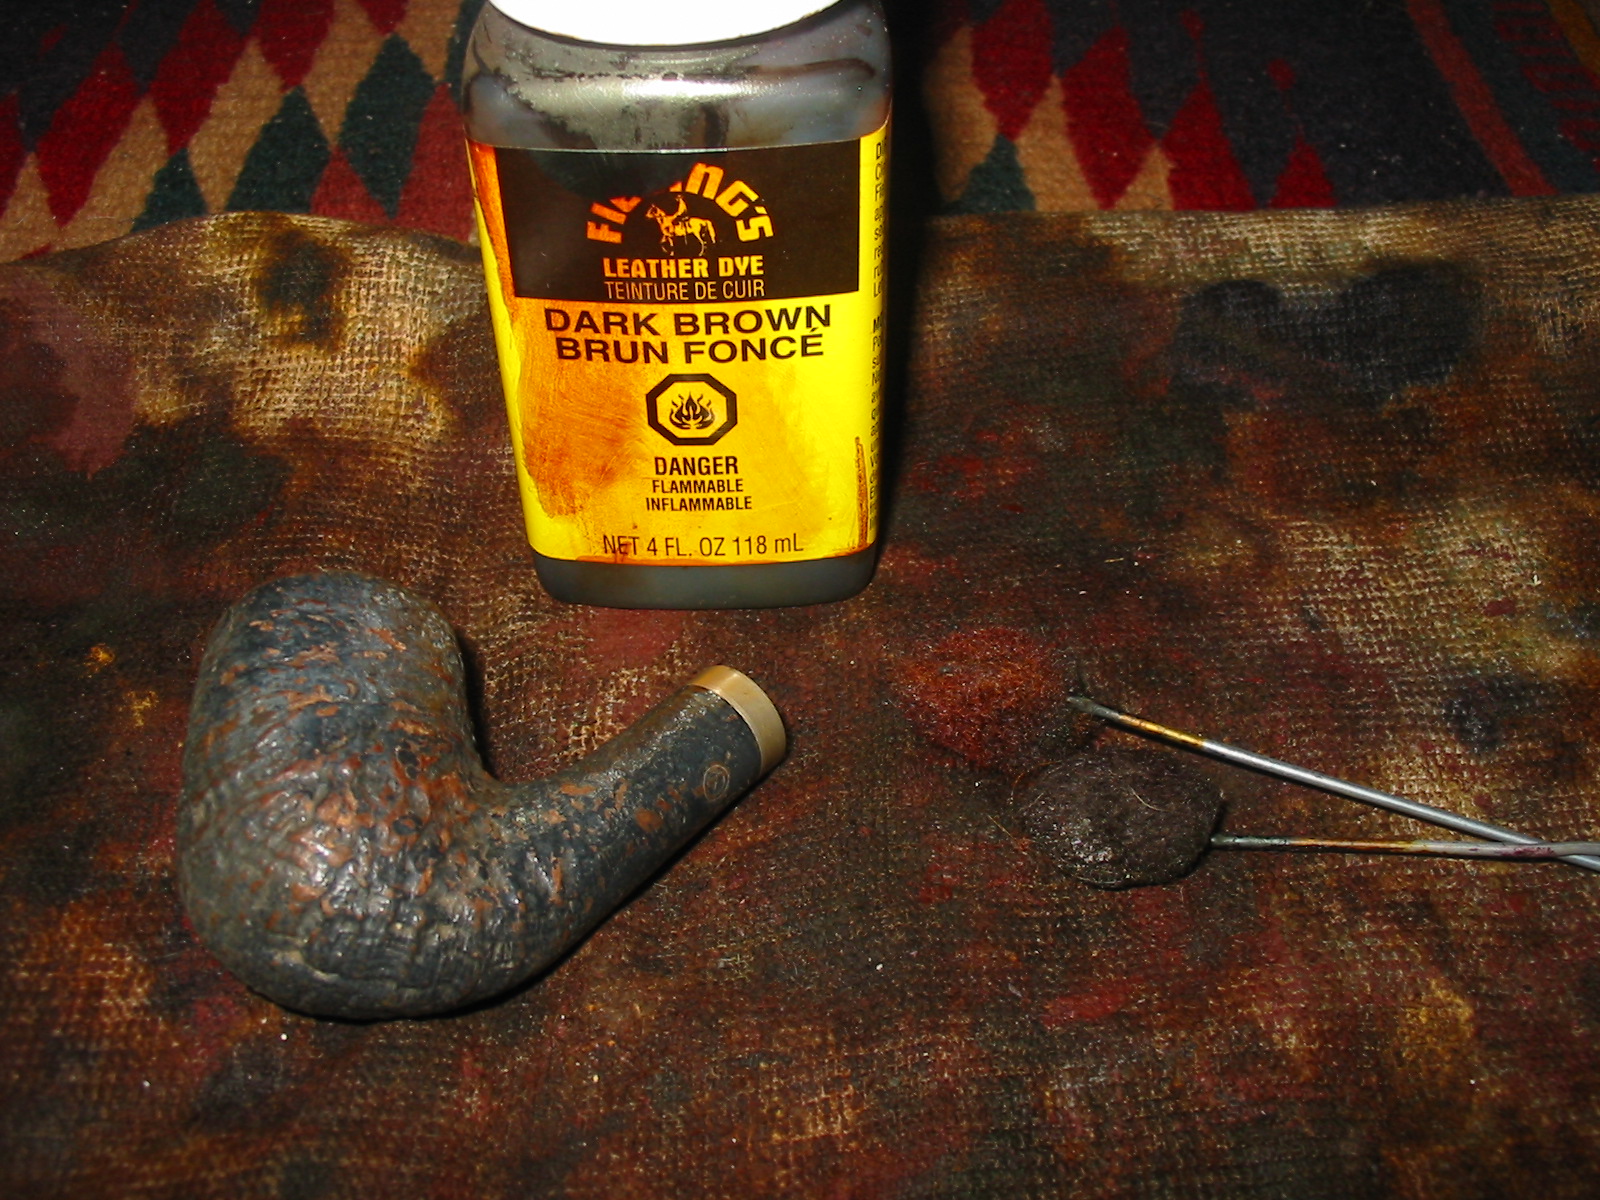
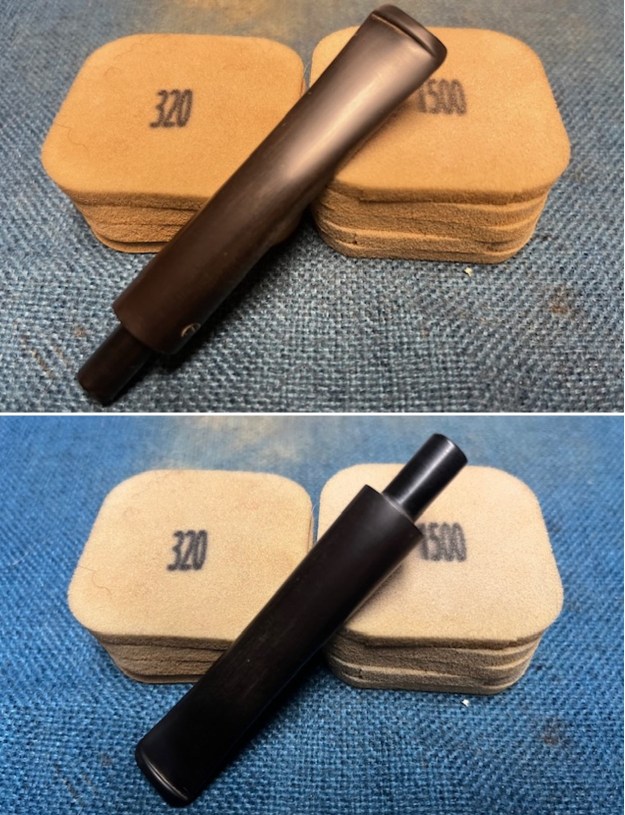 I touched up the stamping on the left side of the stem. It was faint on the front part of the stamp so I was unsure what would happen. I filled in the stamping with white acrylic fingernail polish. I scraped it off with my fingernail and lightly sanded the excess with a worn 320 grit sanding pad. The stamping is fine on the right side of the stamp with the left side more worn.
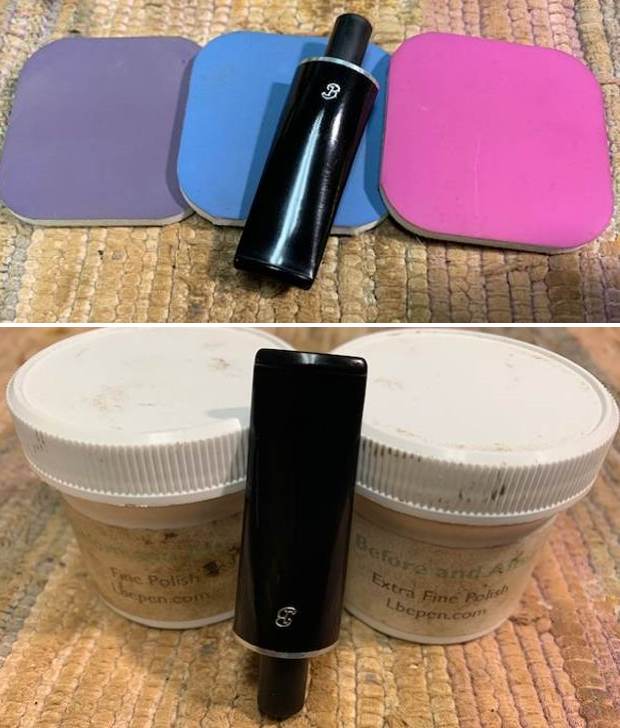
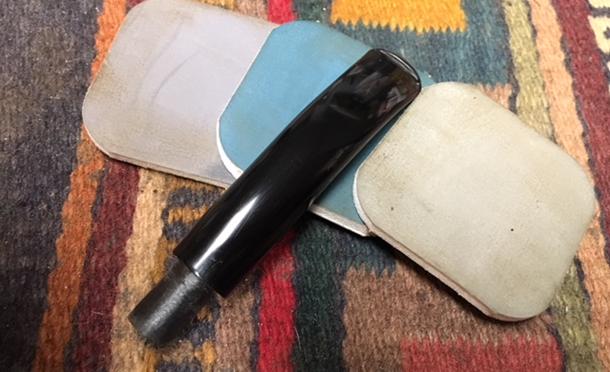
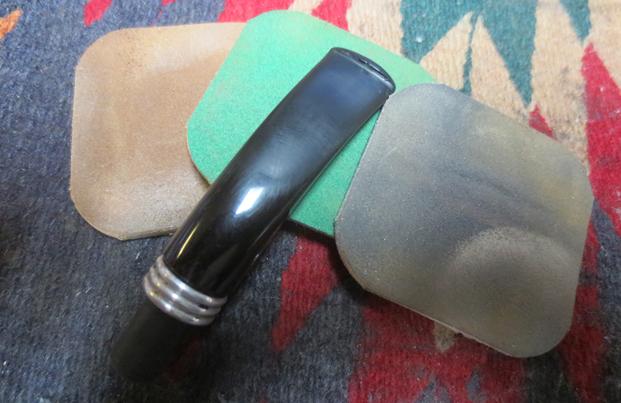
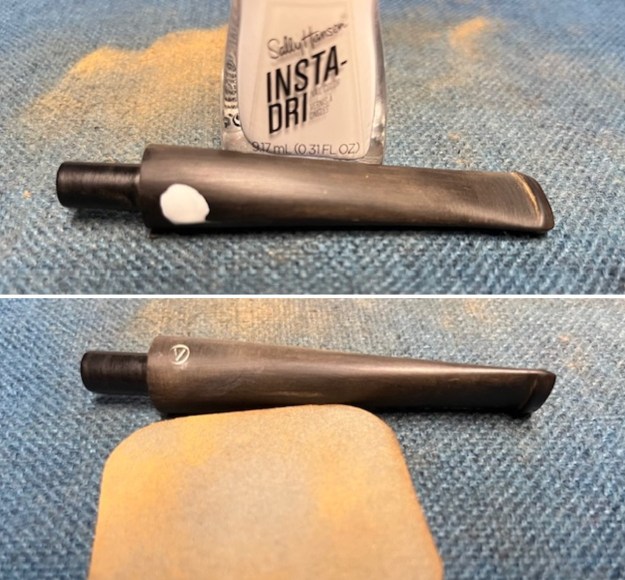 I continued to polish the stem with micromesh sanding pads – wet sanding with 1500-12000 grit sanding pads. I wiped it down after each sanding pad with Obsidian Oil. I polished it further with Before & After Stem Polish – both Fine and Extra Fine. I gave it a final coat of Obsidian Oil and set it aside to dry.
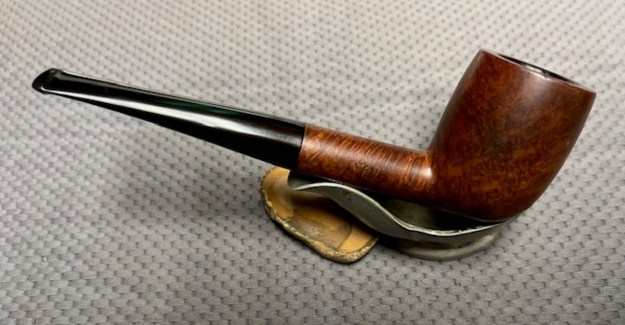
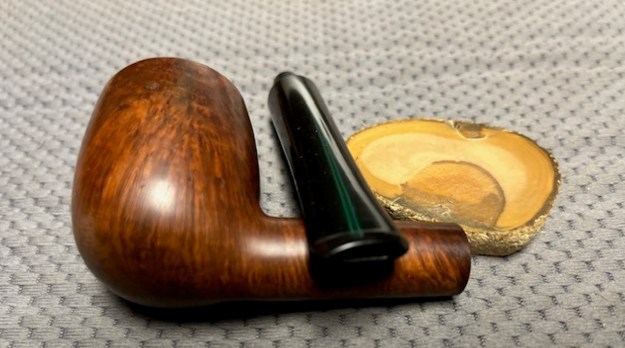
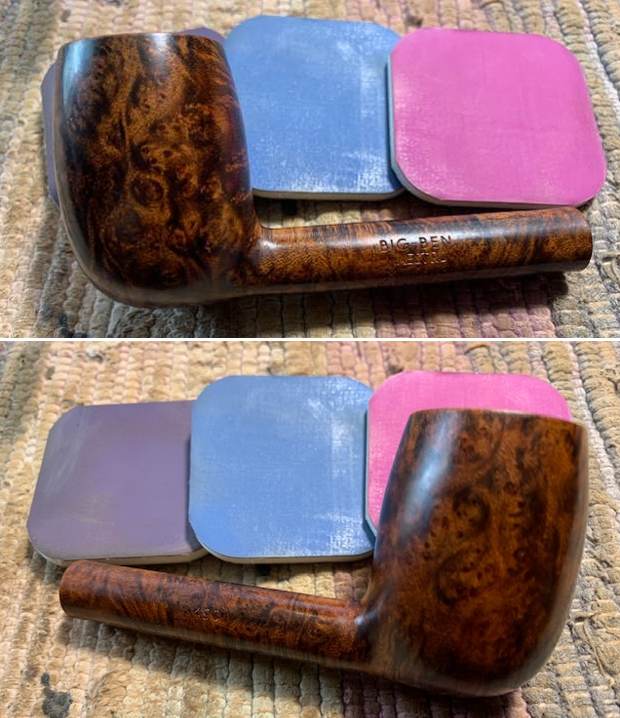
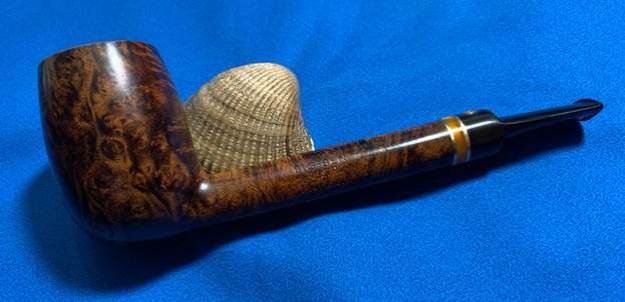
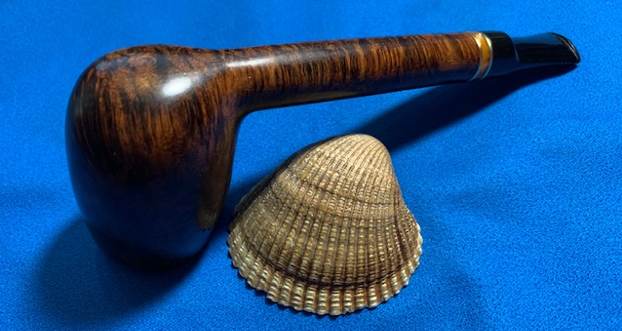
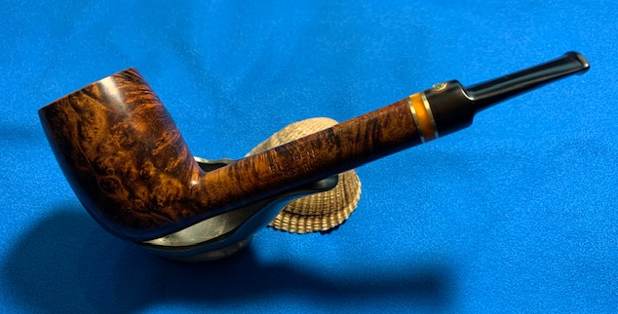
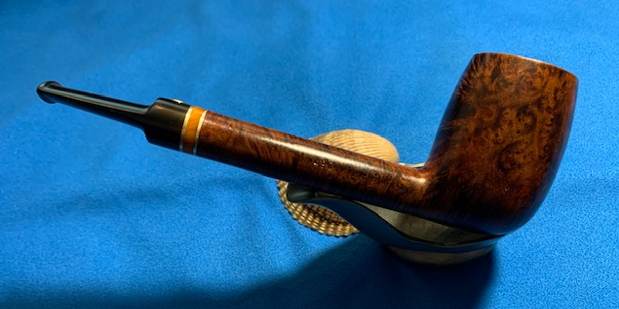
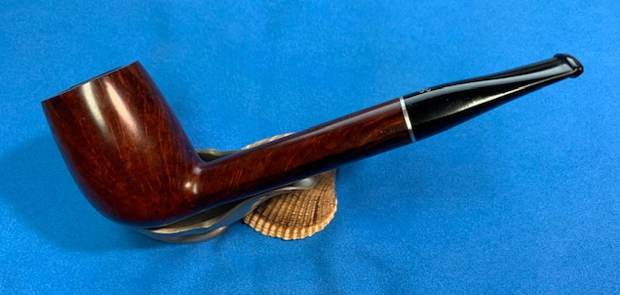
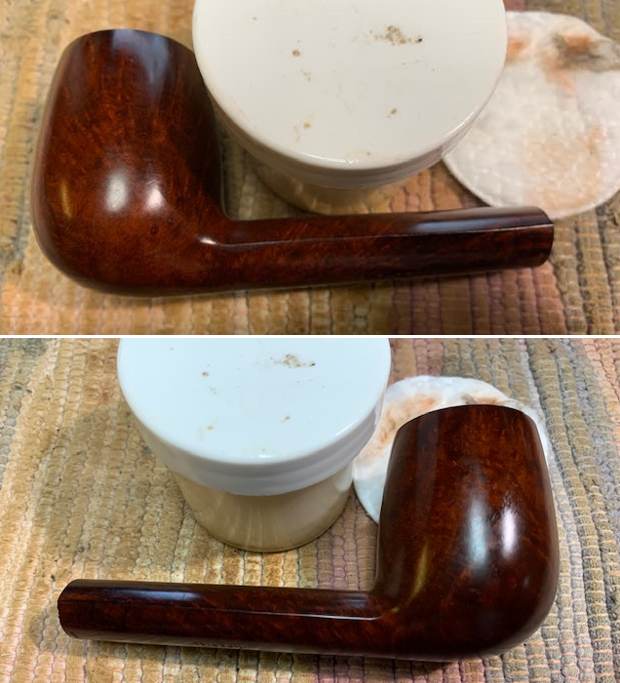
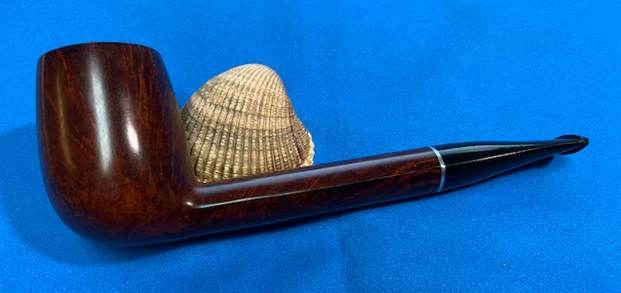
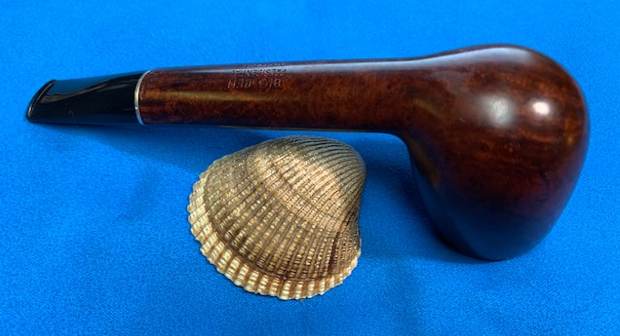
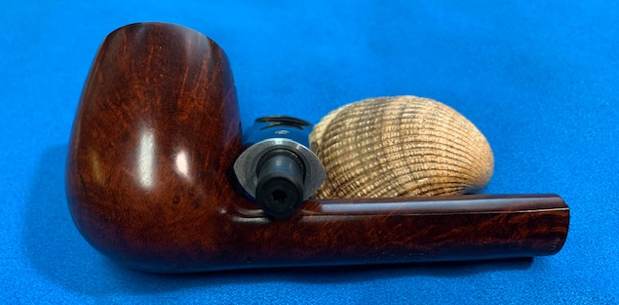
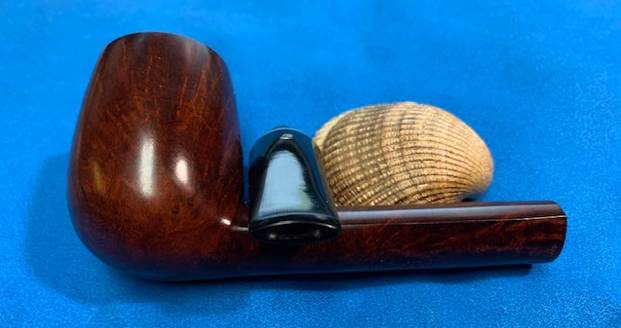
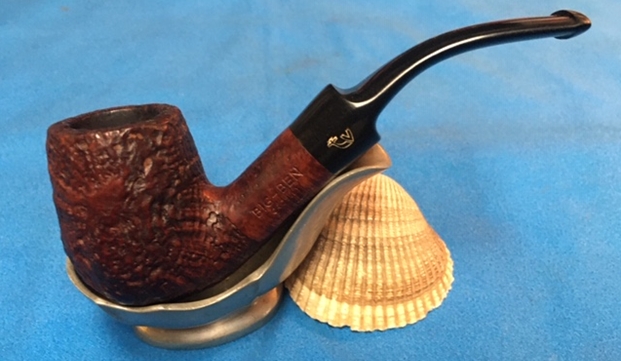
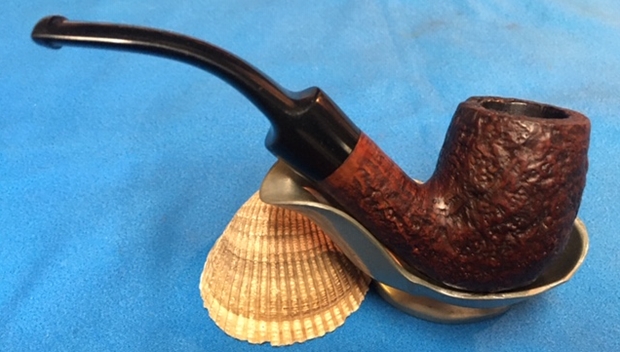
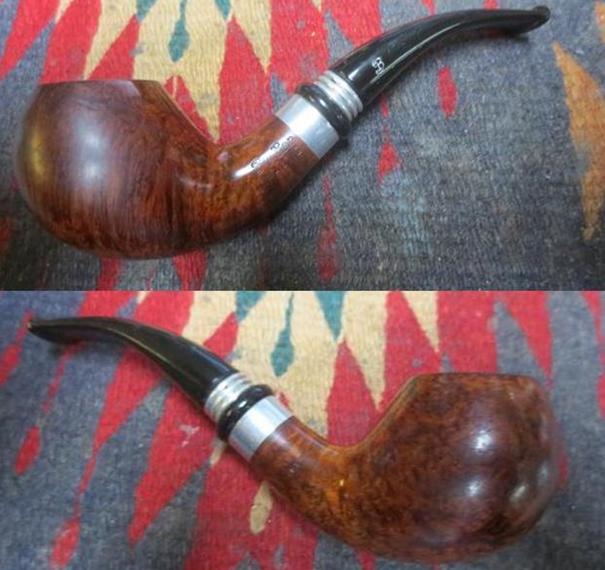
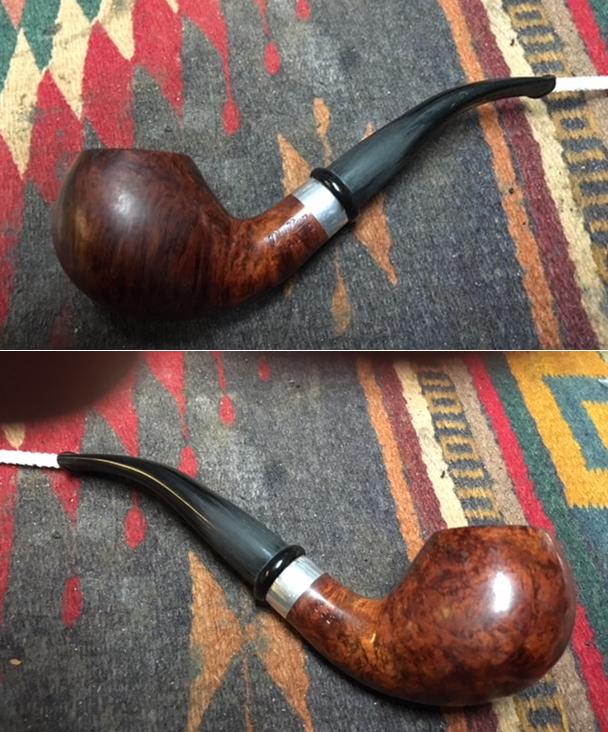
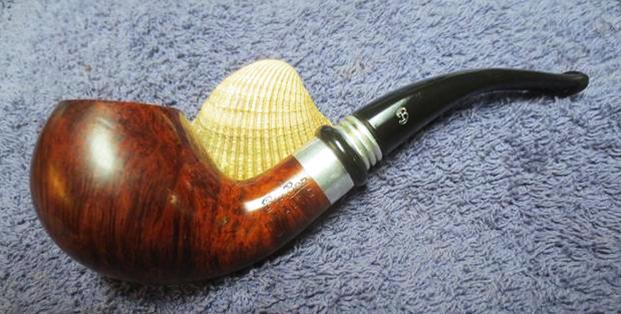
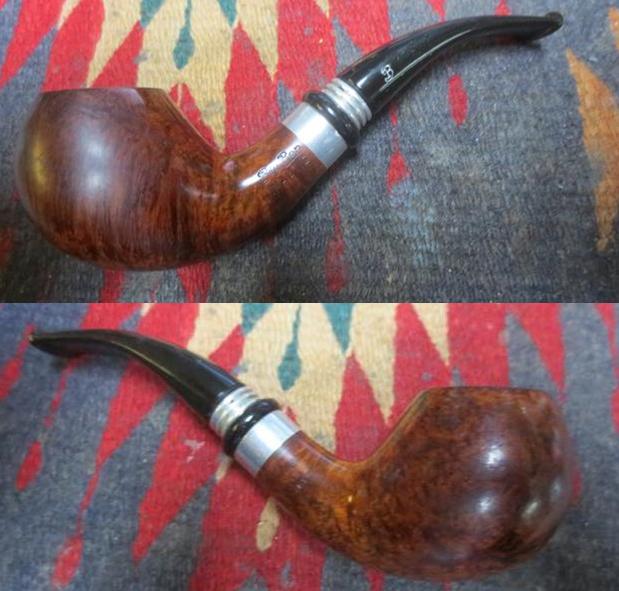
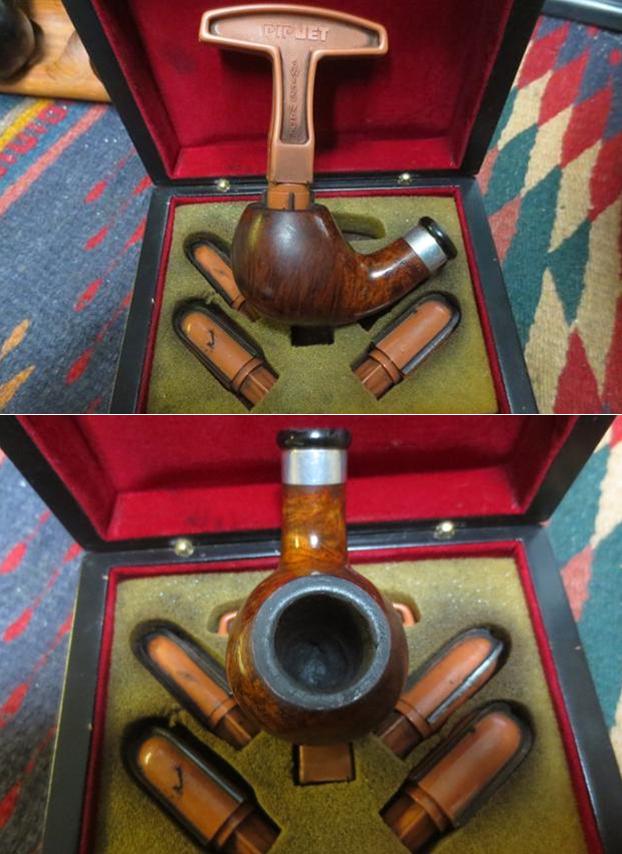
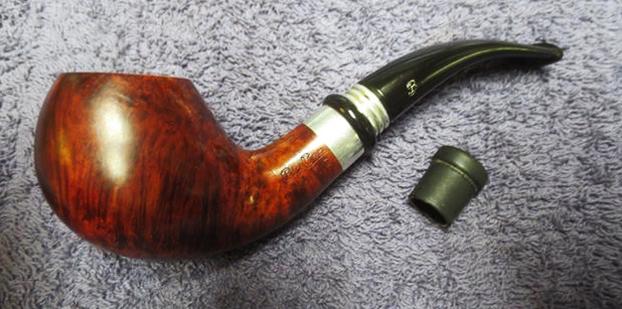
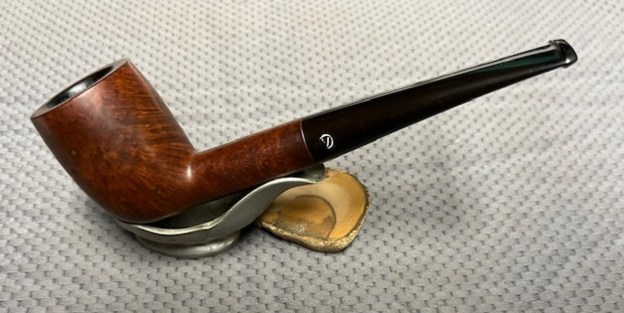
 I am excited to finish this Big Ben London Style 2405 Extra Billiard. I put the pipe back together and buffed it with Blue Diamond on the buffing wheel. I gave the bowl and the stem multiple coats of carnauba wax. I hand buffed the pipe with a clean buffing pad to raise the shine. It is fun to see what the polished bowl looks like with beautiful mixed grain all around it with just a few small flaws in the briar. The polished grain on the pipe looks great with the black vulcanite stem. This smooth Big Ben Billiard is great looking and the pipe feels great in my hand. It is light and well balanced. Have a look at it with the photos below. The dimensions are Length: 6 inches, Height: 2 inches, Outside diameter of the bowl: 1 ¼ inches, Chamber diameter: 7/8 of an inch. The weight of the pipe is 48 grams/1.69 ounces. It turned out to be a beautiful pipe. I will soon be putting it on the rebornpipes store in the Pipe From Various Makers section. If you are interested in adding it to your collection let me know. Remember we are the next in a long line of pipe men and women who will carry on the trust of our pipes until we pass them on to the next trustee. Thanks for your time reading this blog.