Blog by Steve Laug
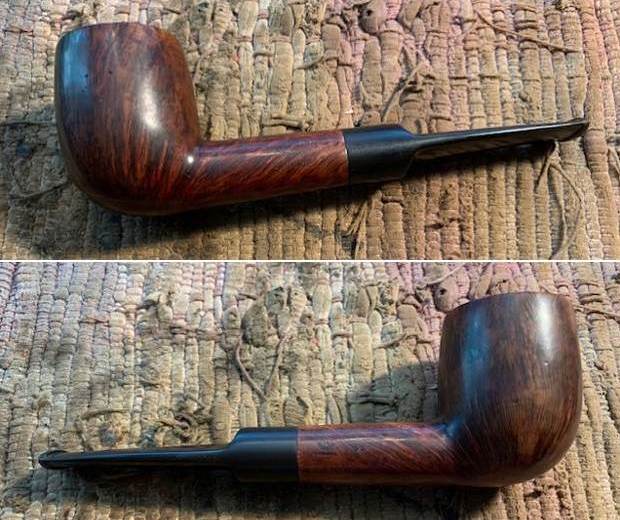
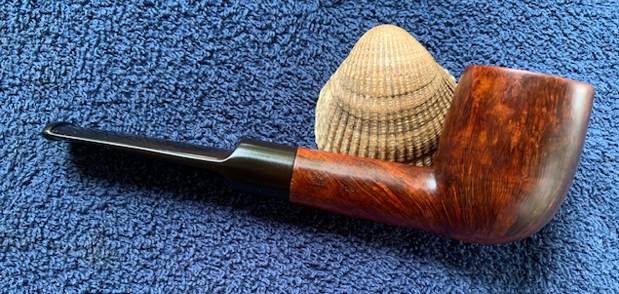
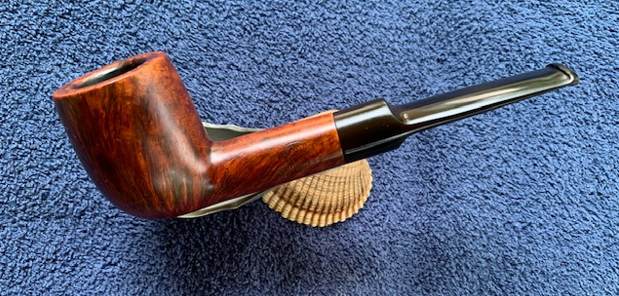
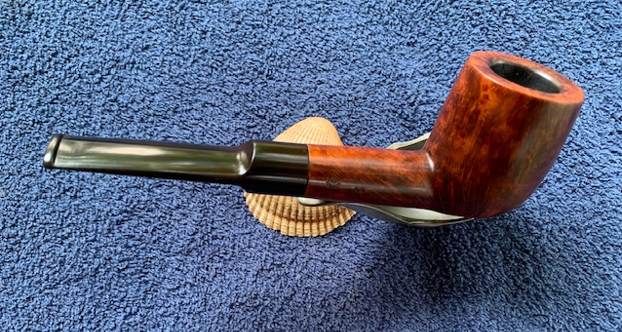
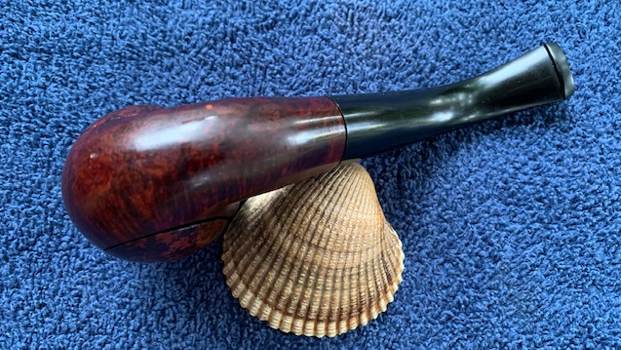
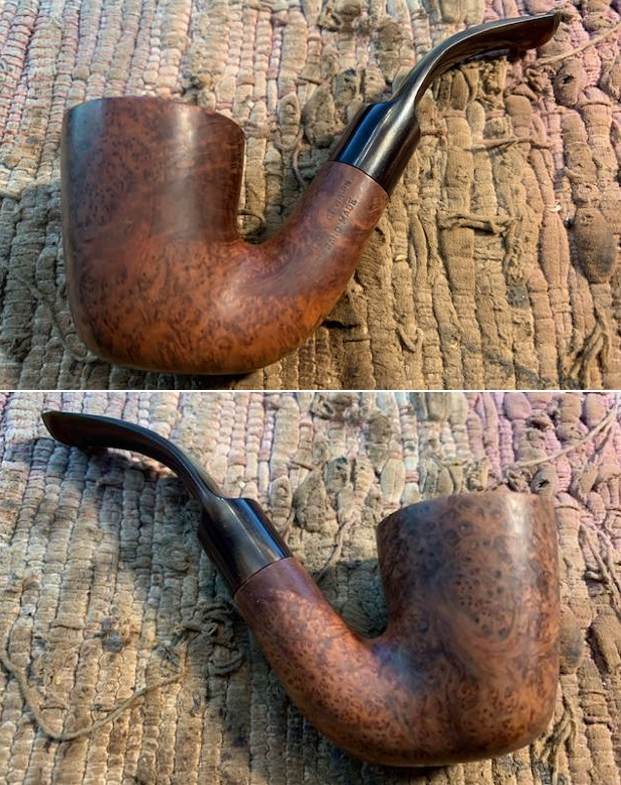
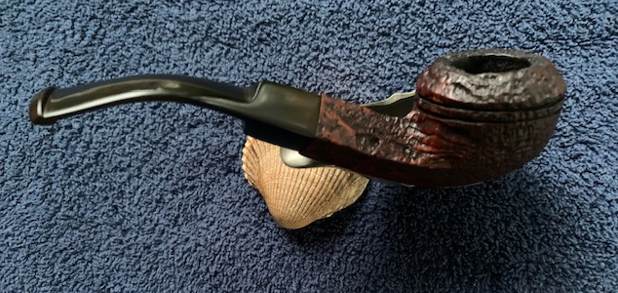
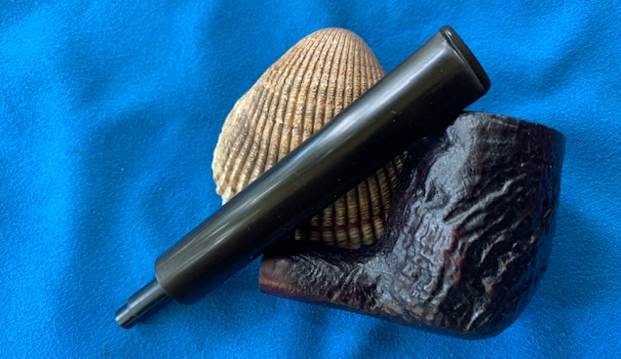
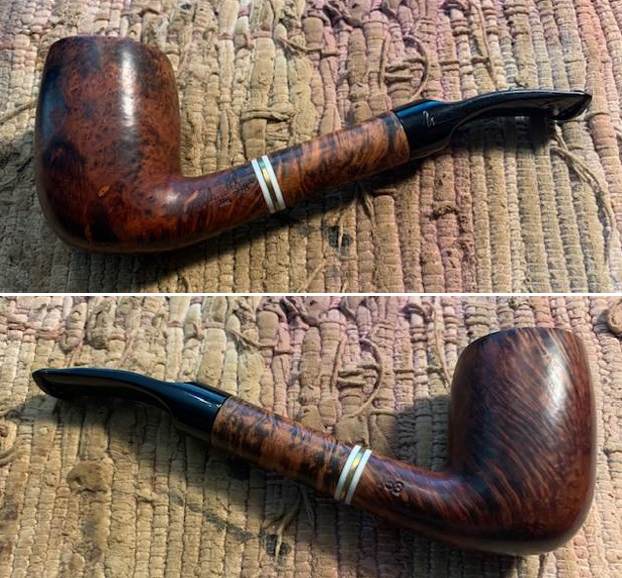
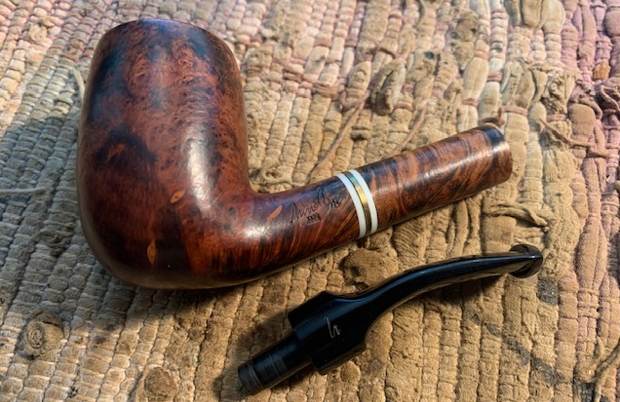
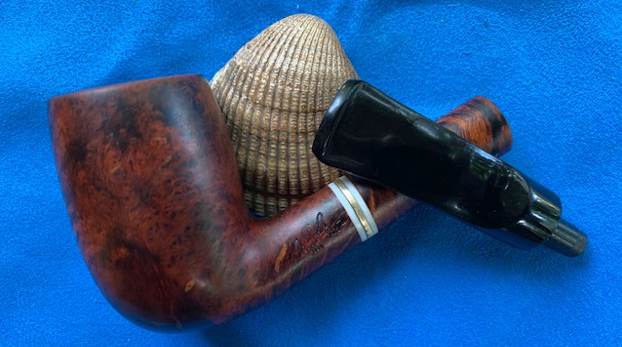
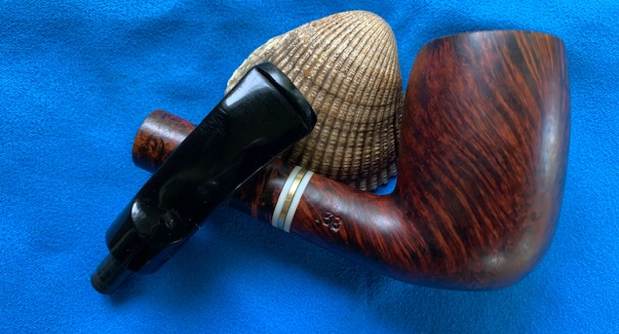
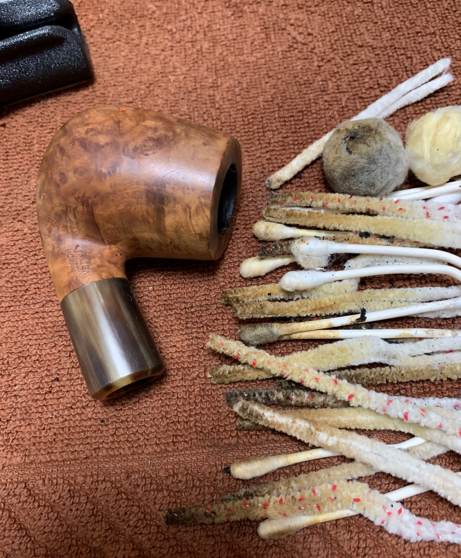
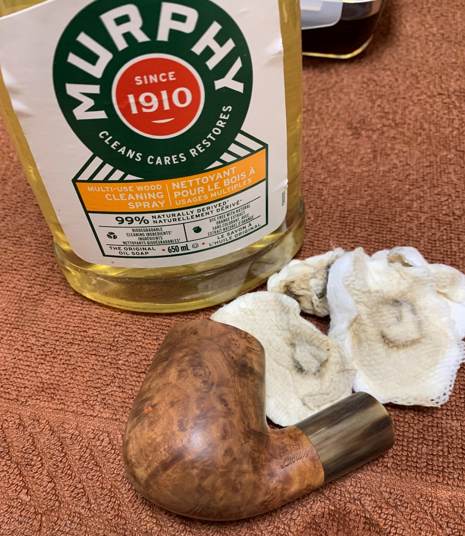
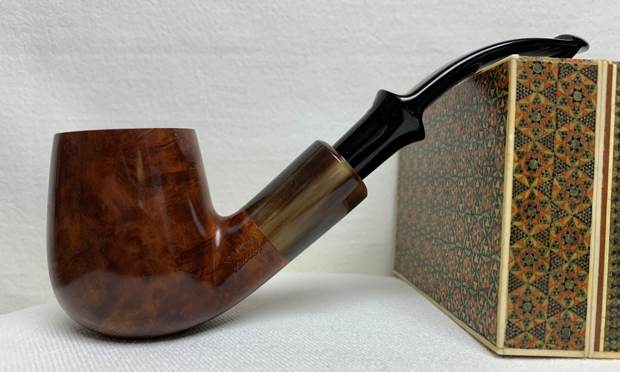
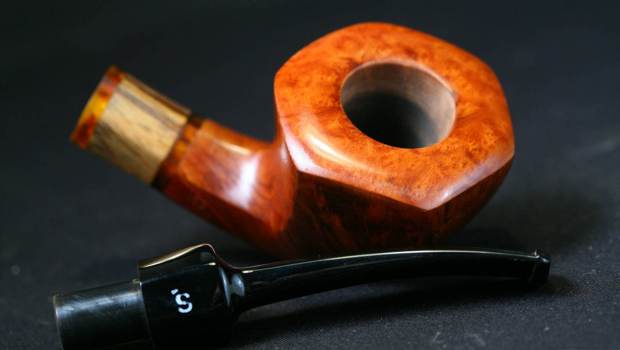
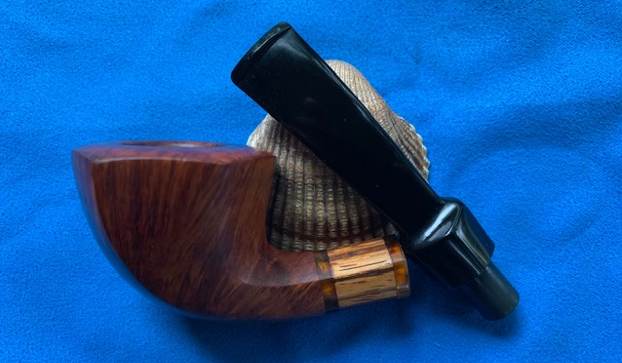
Jeff and I know longer remember where or when we purchased this pipe. It is a small pipe with nice grain and a saddle stem. It is stamped on the left side of the shank and reads COMOY’S [over] TRADITION. The right side is very faintly stamped Made in England. The rest of the stamp was unclear as was the shape number. It had a flat bottom on the shank and heal of the bowl that made it a sitter. We don’t have any photos of the pipe before Jeff cleaned it. But Jeff did his usual cleanup. The bowl was reamed with a PipNet reamer. He cleaned it up with a Savinelli Fitsall Pipe Knife. He scrubbed the internals with alcohol, pipe cleaners and cotton swabs. He did the same with the airway in the stem. The rim top and the beveled inner rim edge were damaged and showed burn marks on the front and back of the bowl. The outer edge of the bowl was damaged on the front side. The bowl was also out of round and damaged. The vulcanite saddle stem is clean but has some tooth marks on the top and underside ahead of the button. The stem has a 3 part C on the left side of the saddle. I took some photos of the pipe before I started my work on it. 
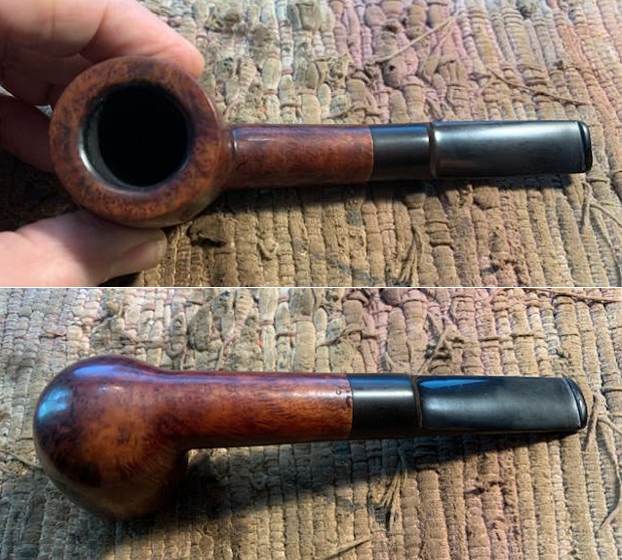
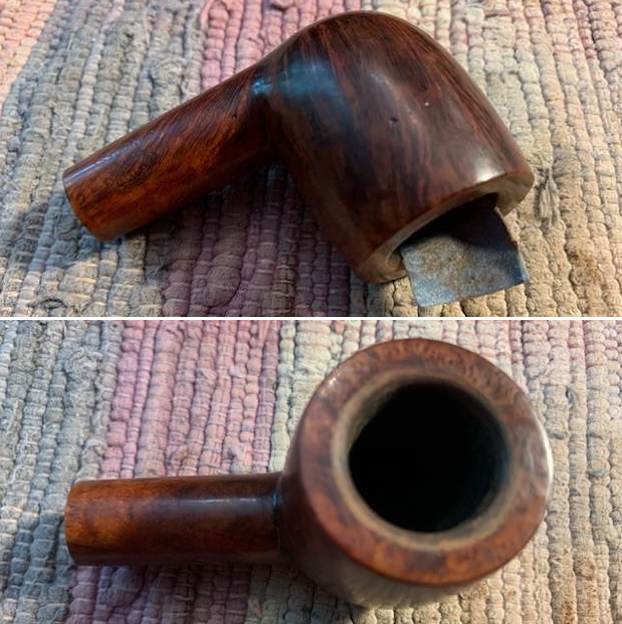
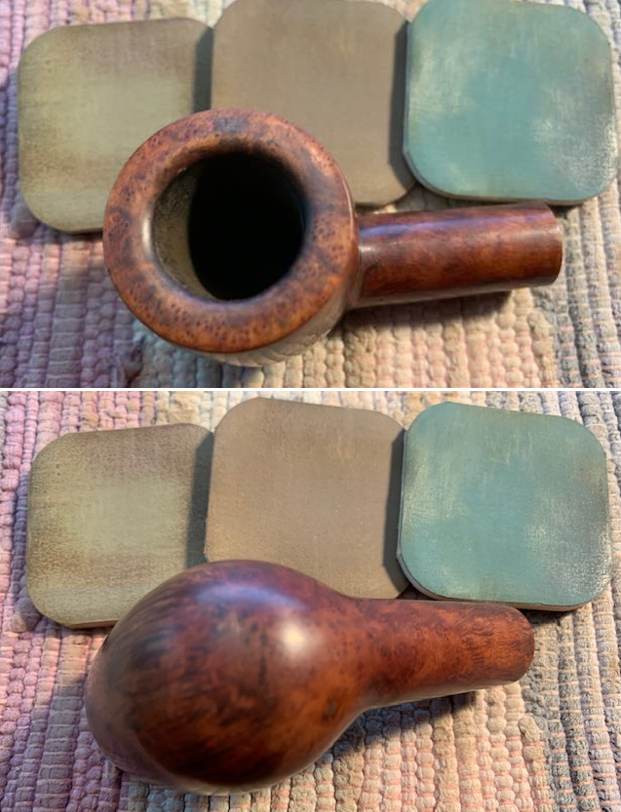
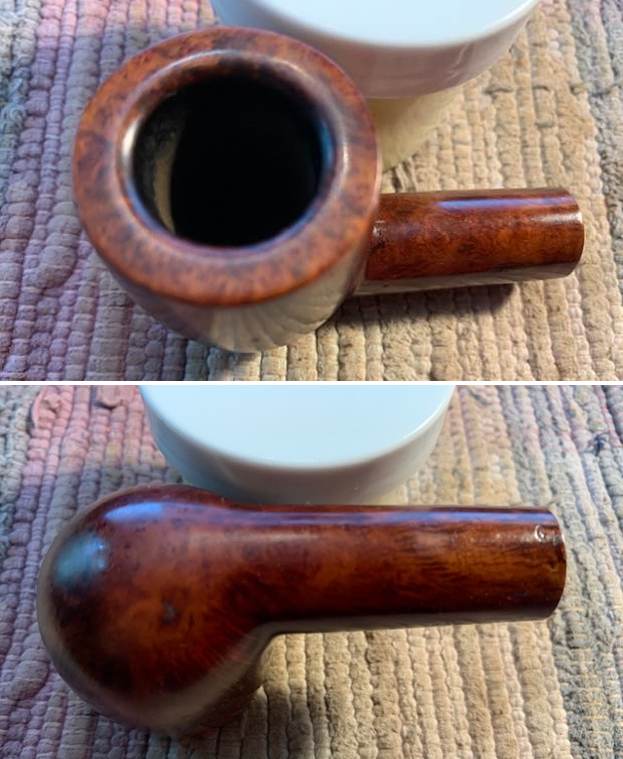
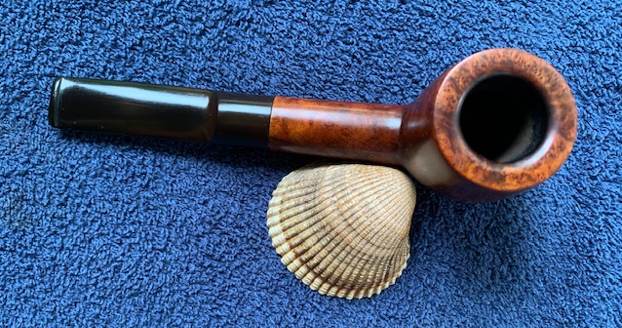
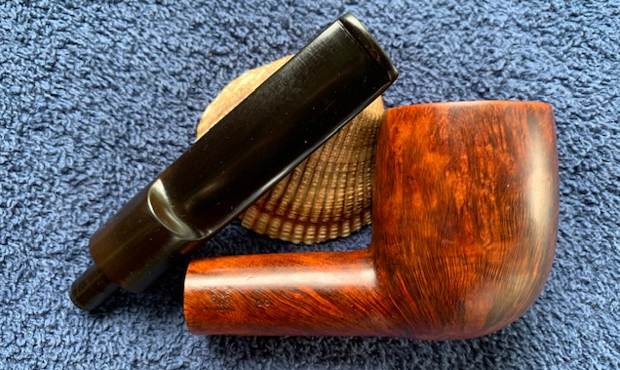
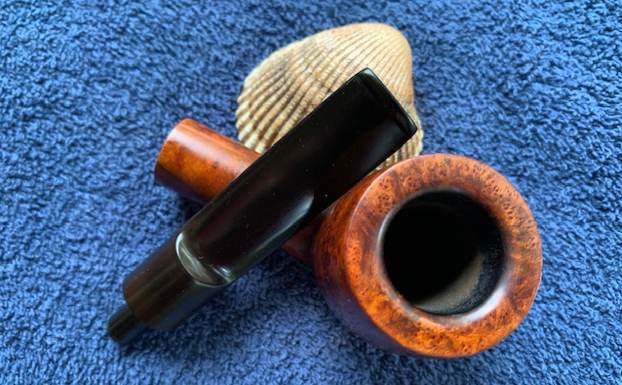
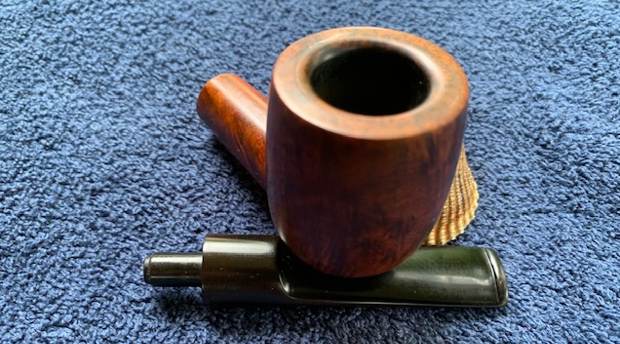
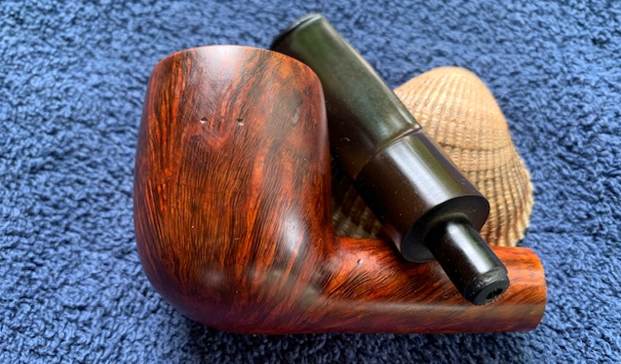
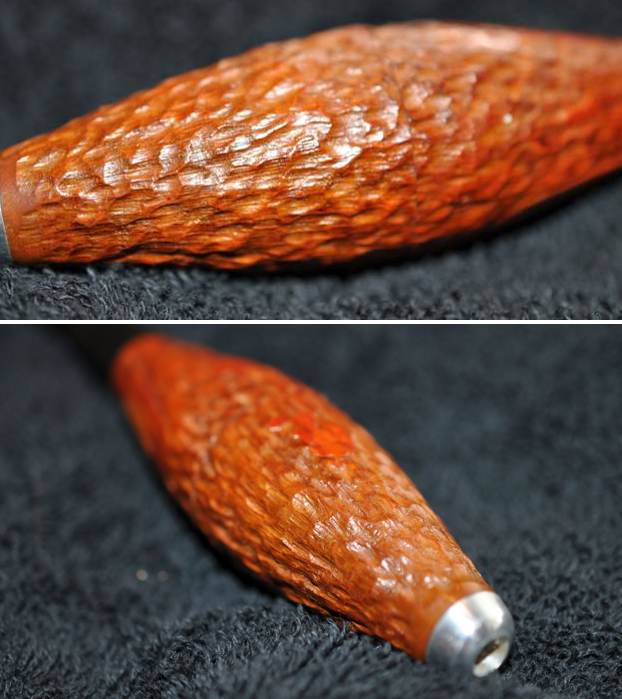
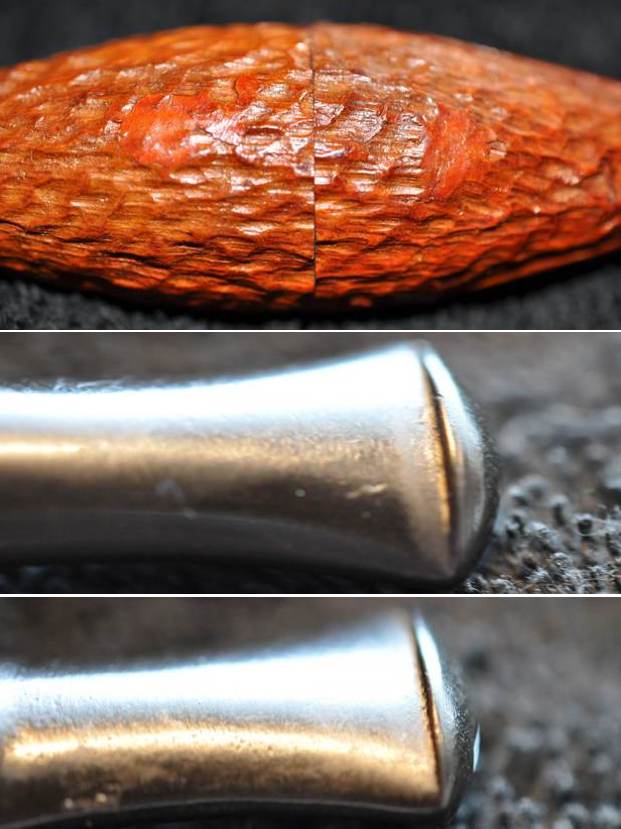
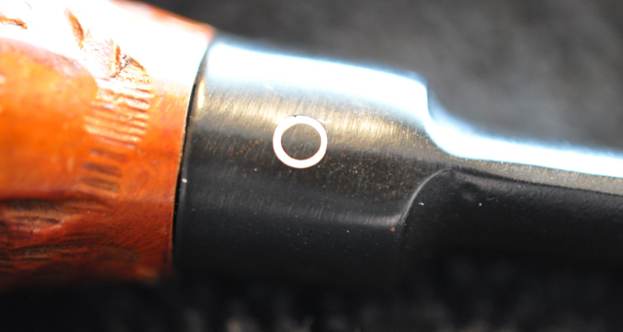
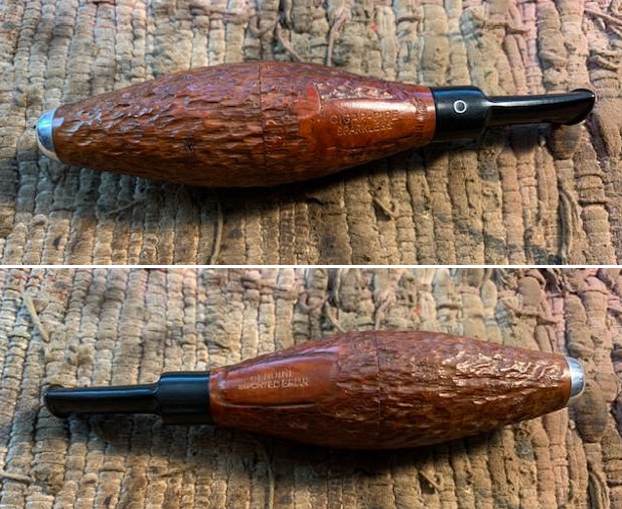
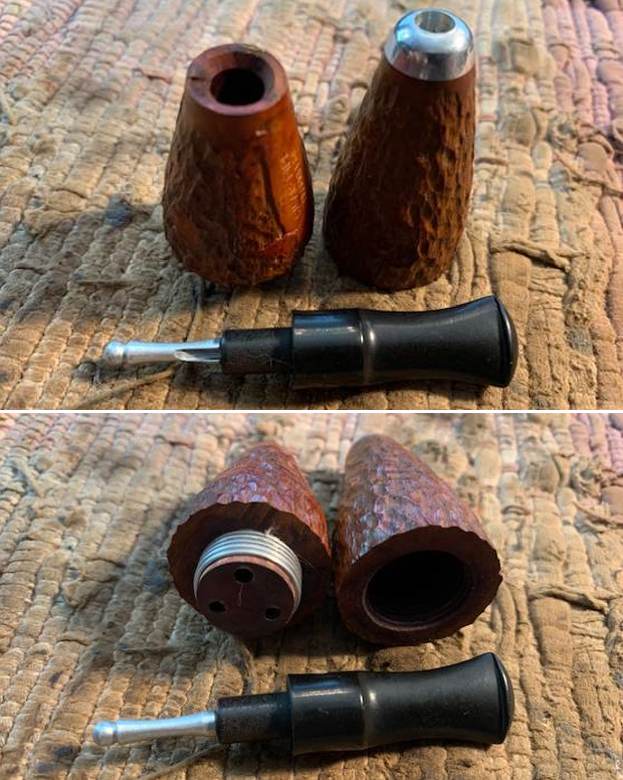
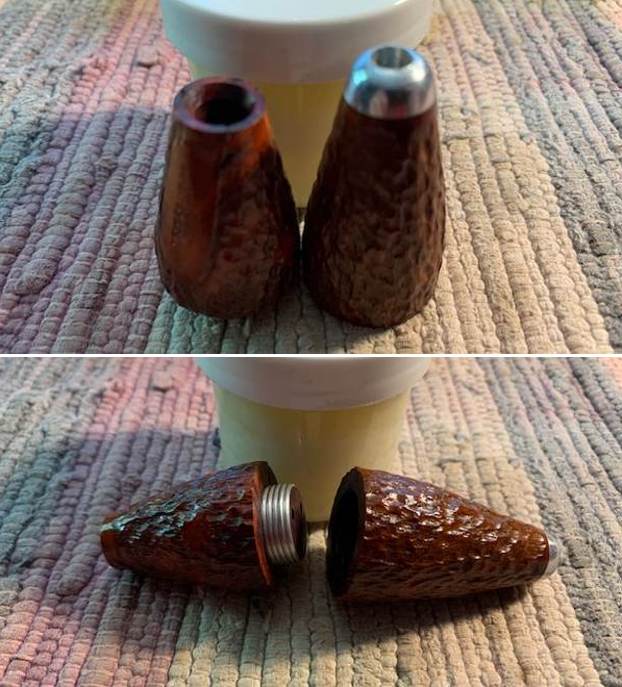
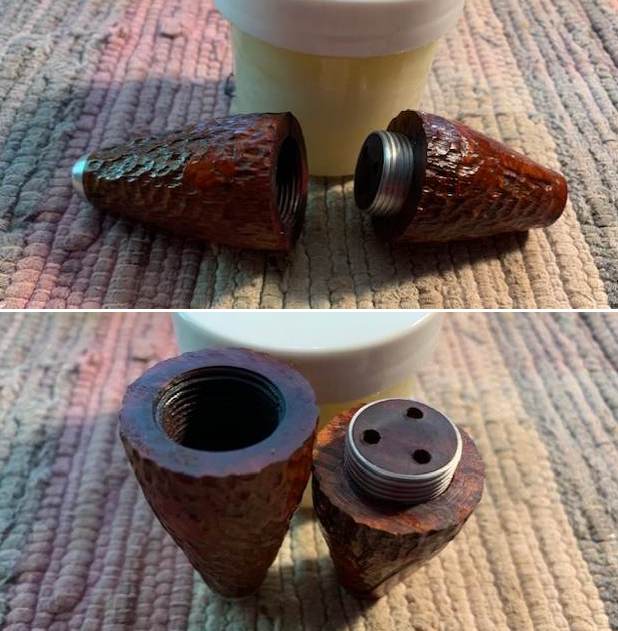
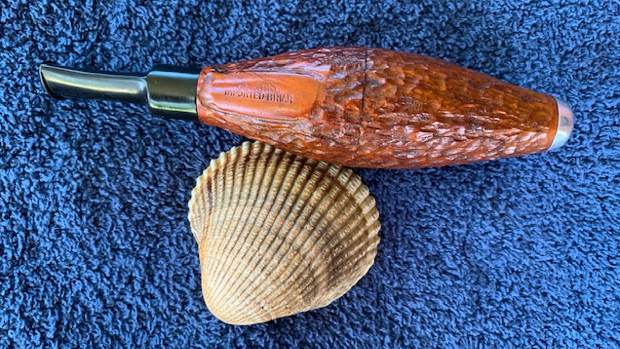
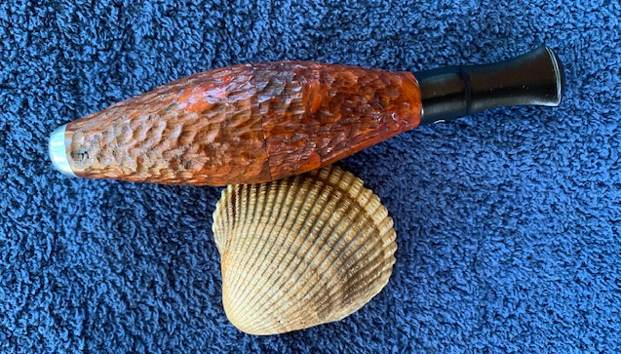
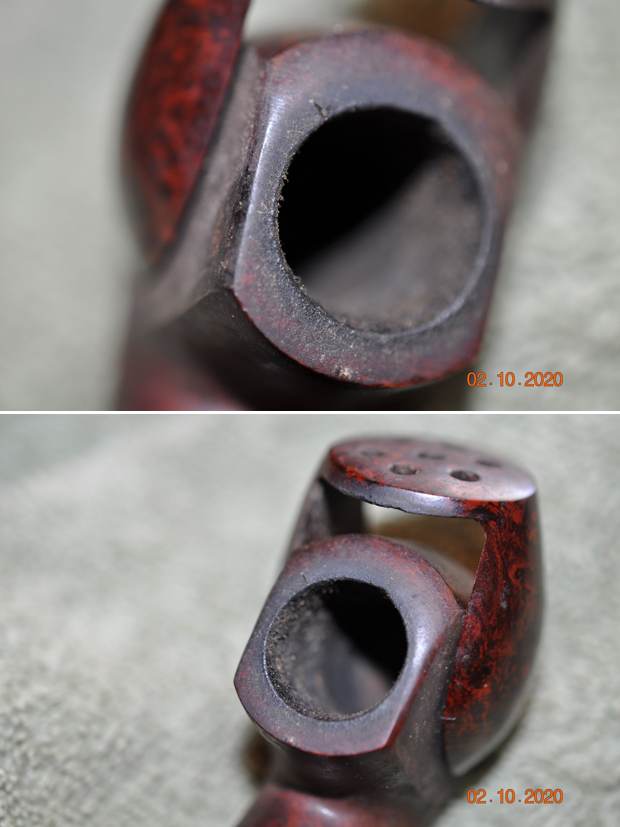
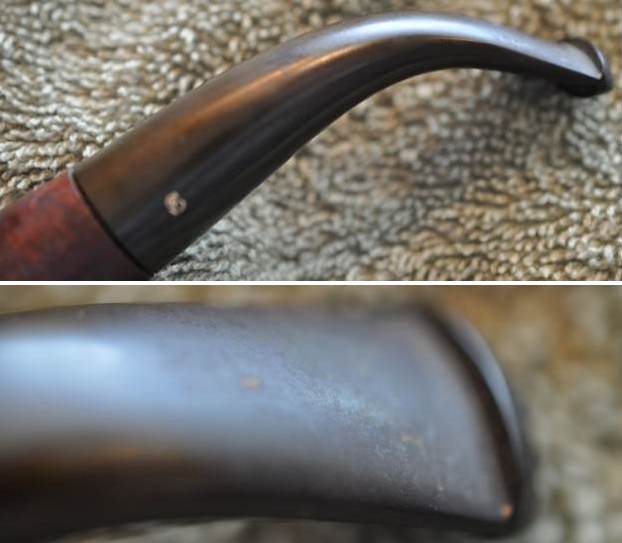
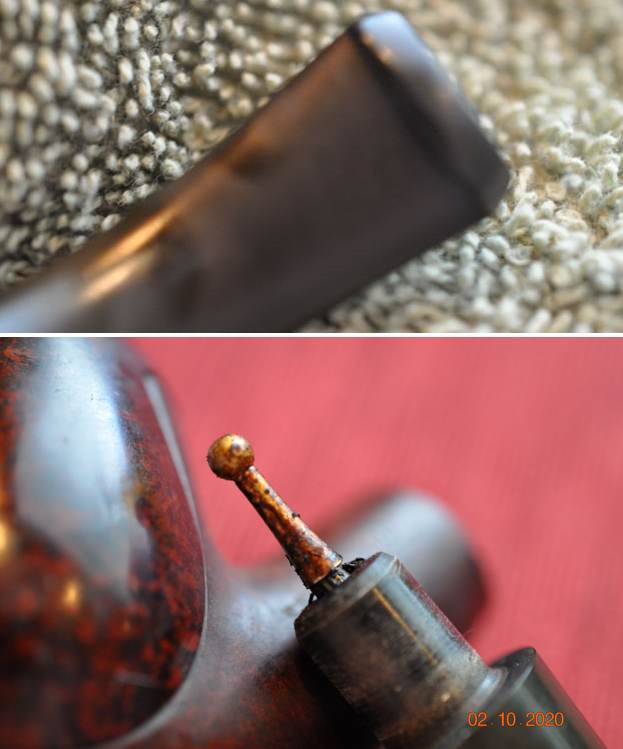
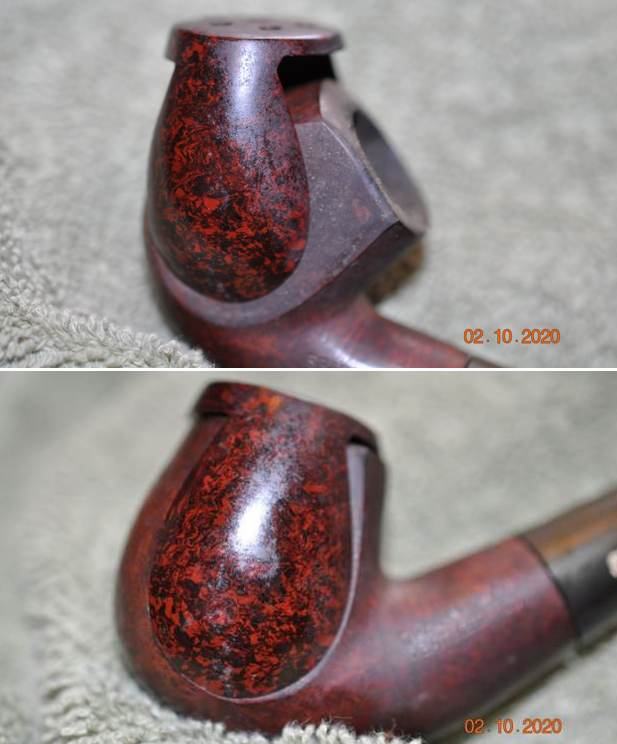
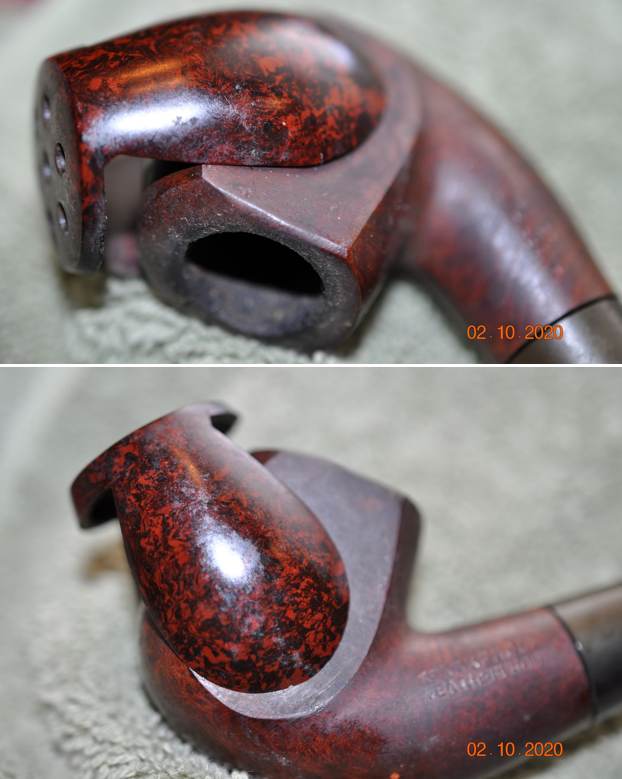
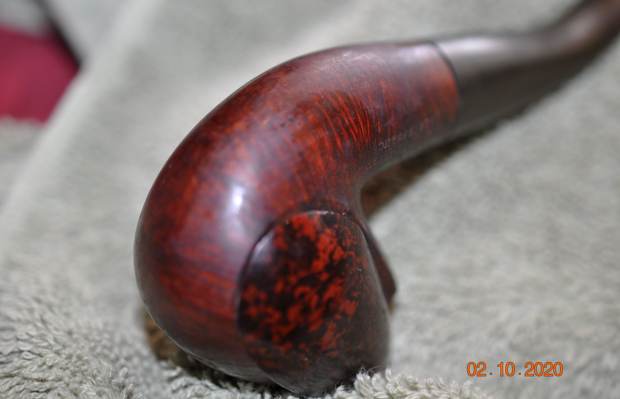
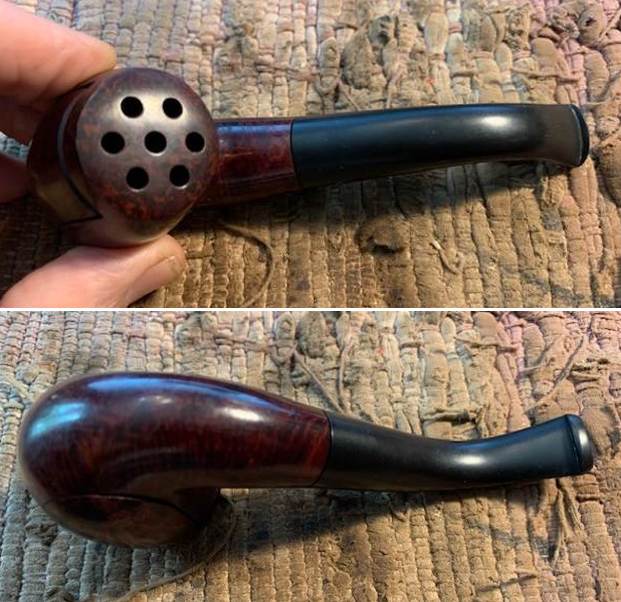
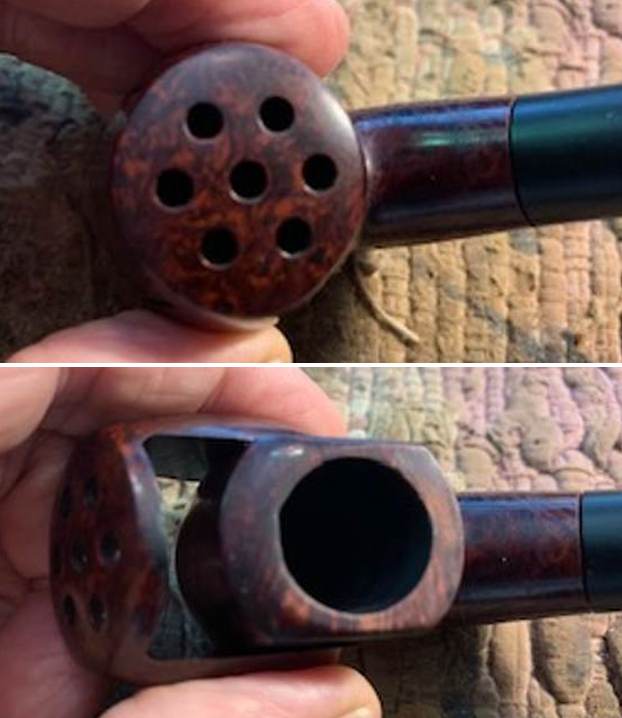
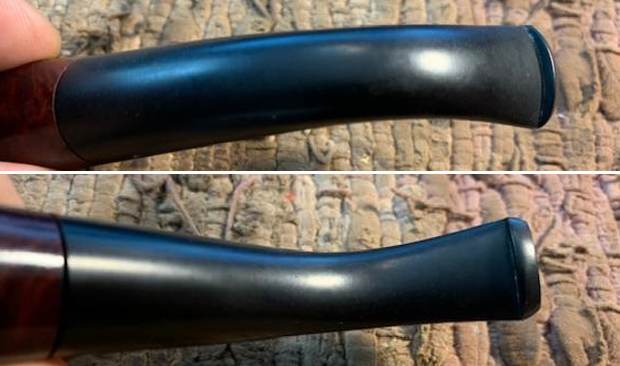
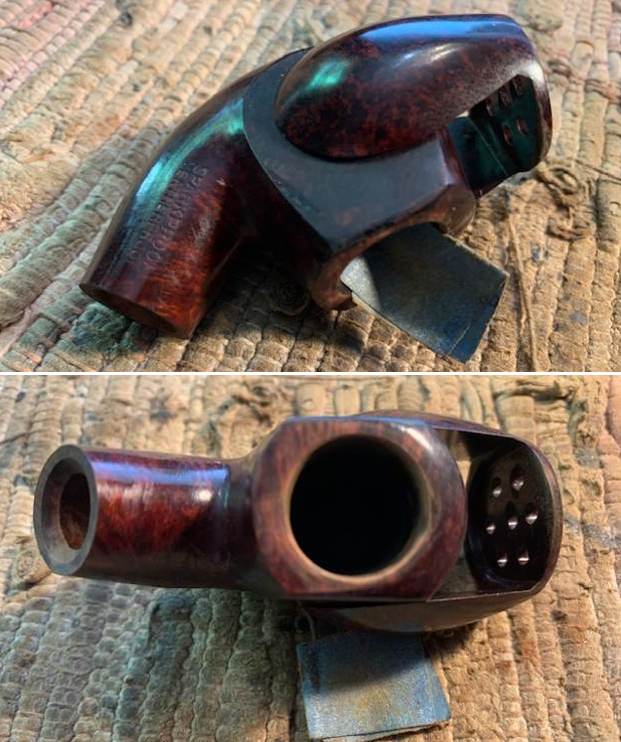
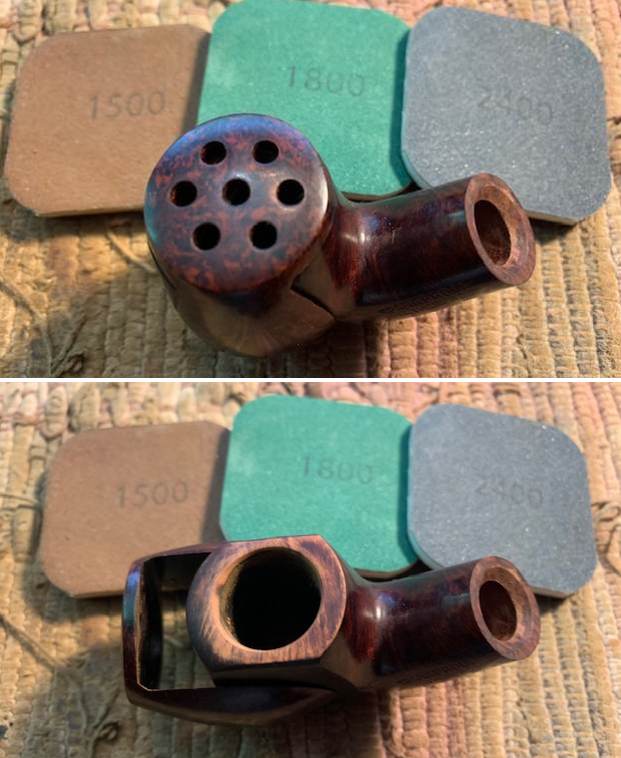
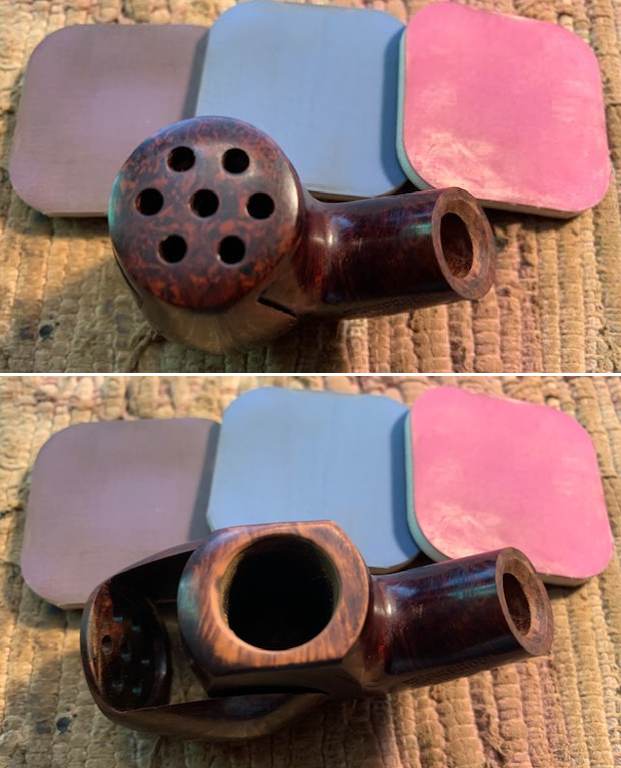
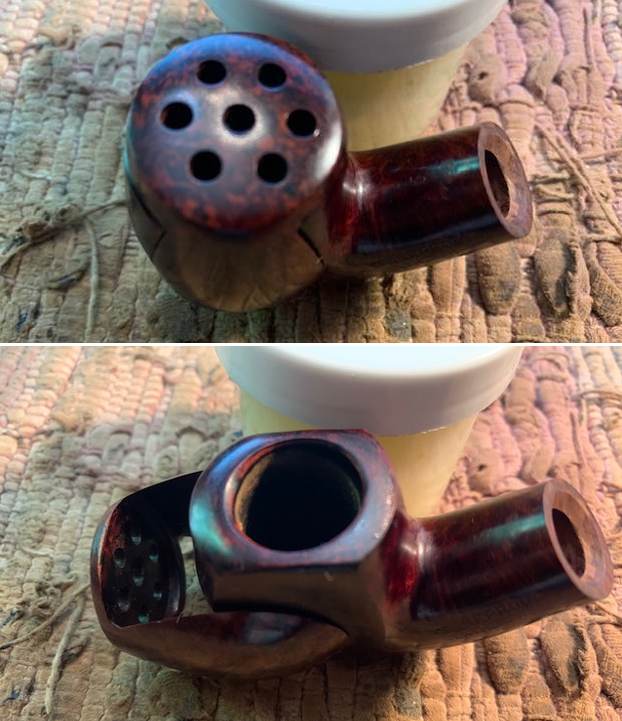
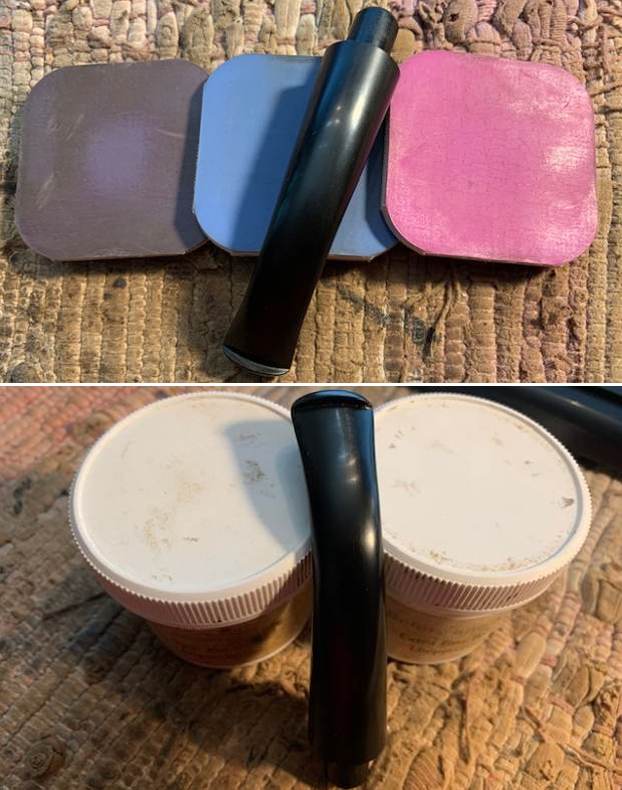
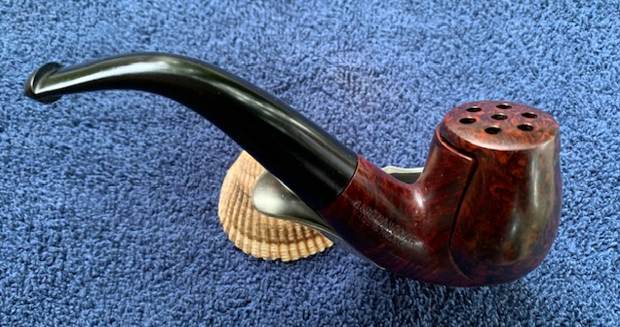
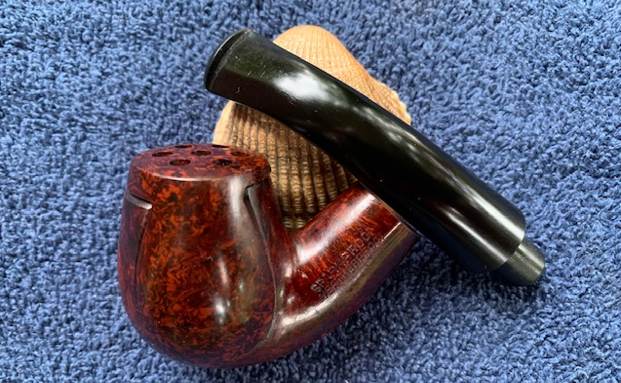
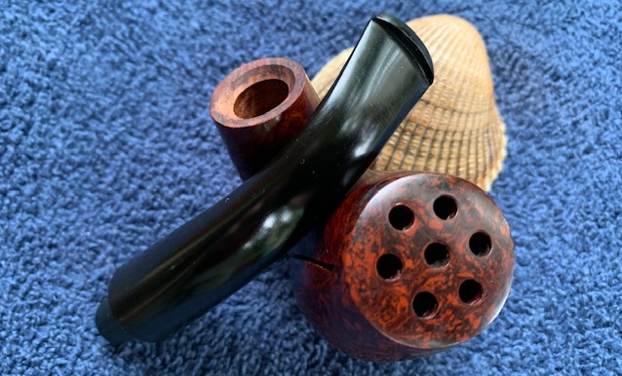
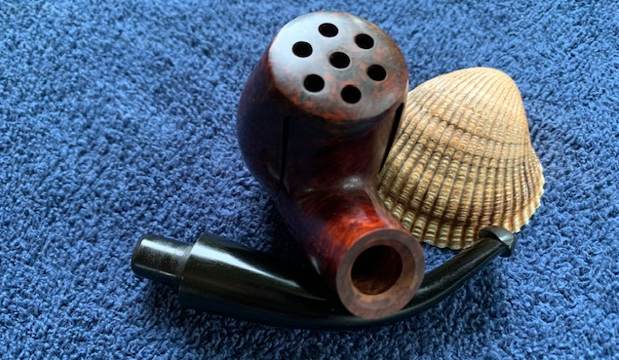
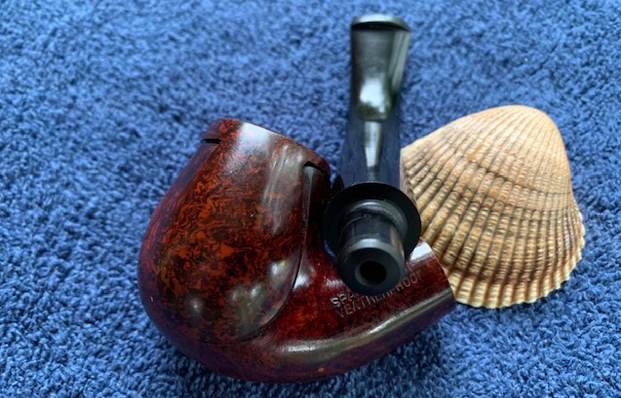
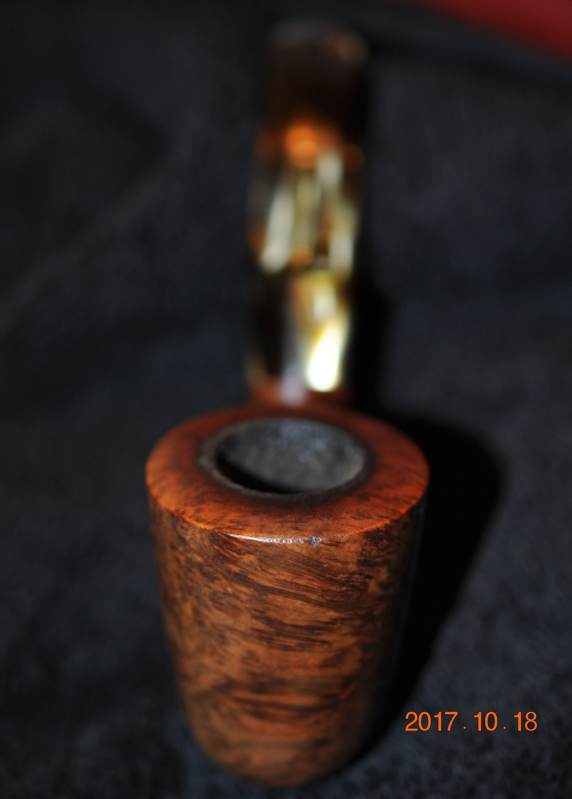
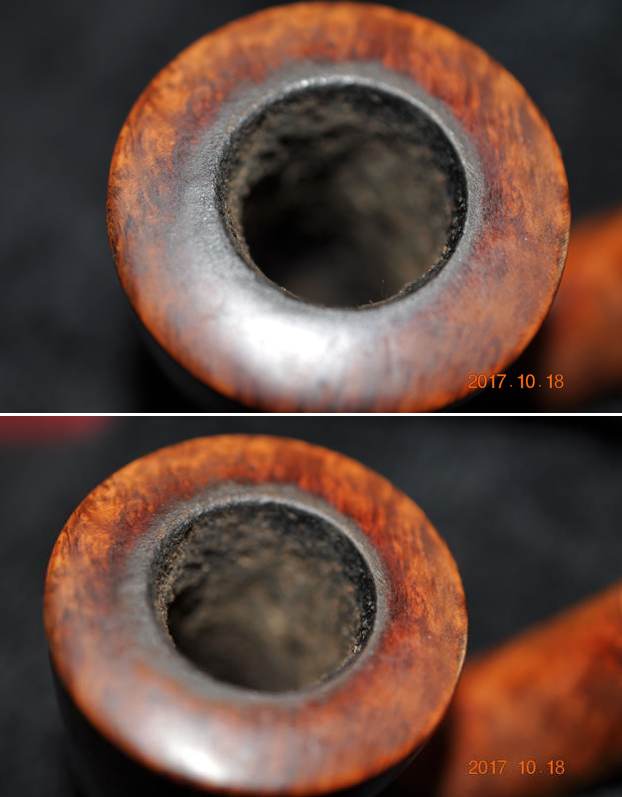
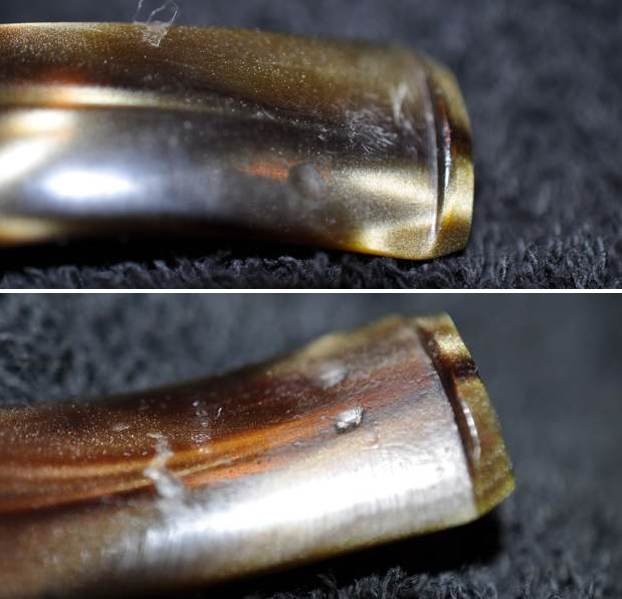
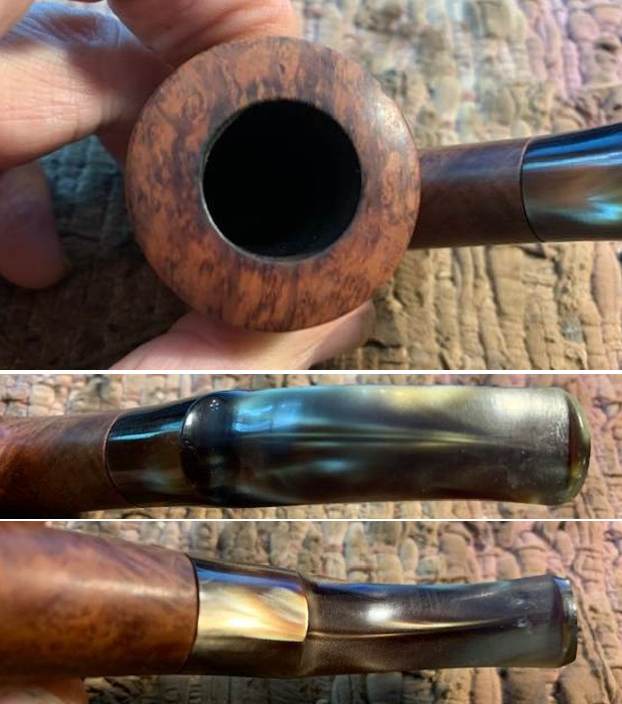
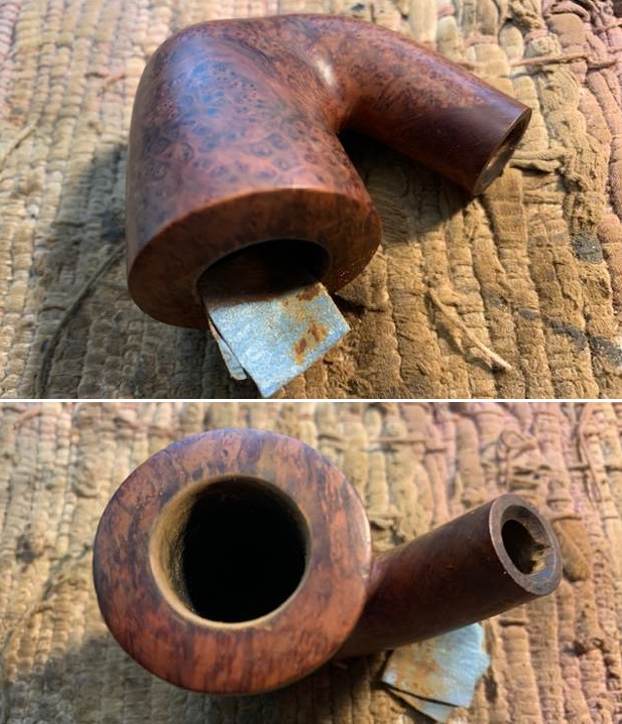
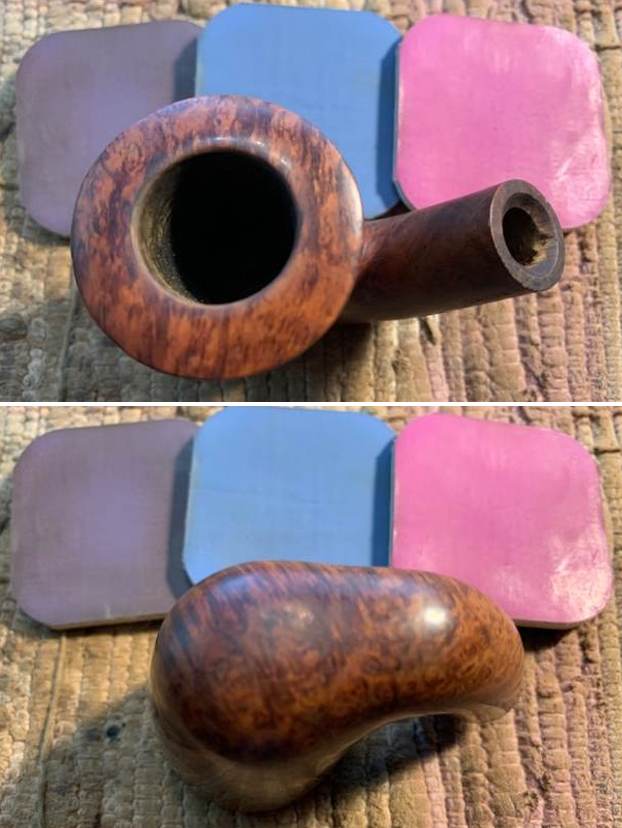
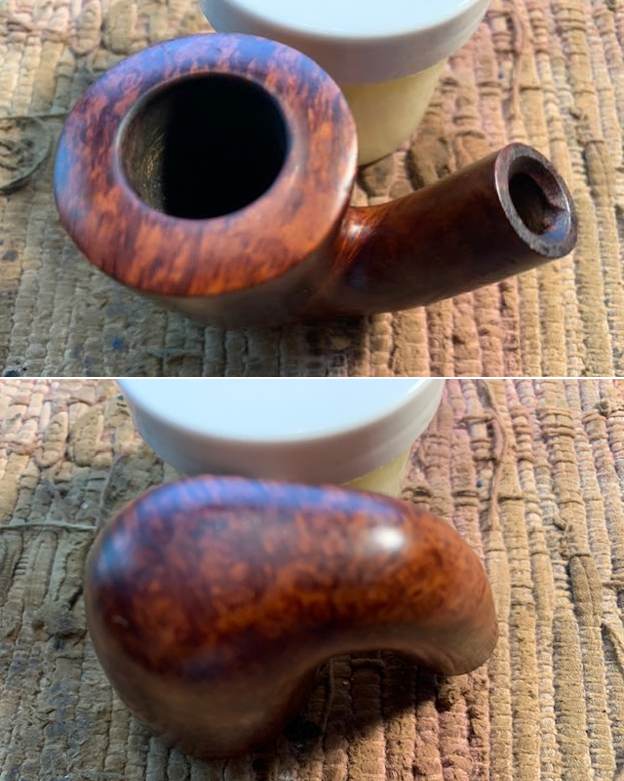
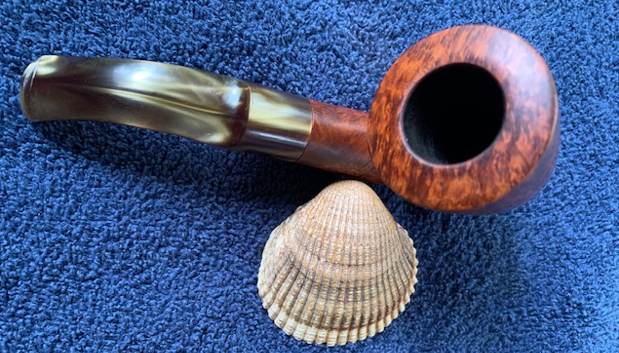
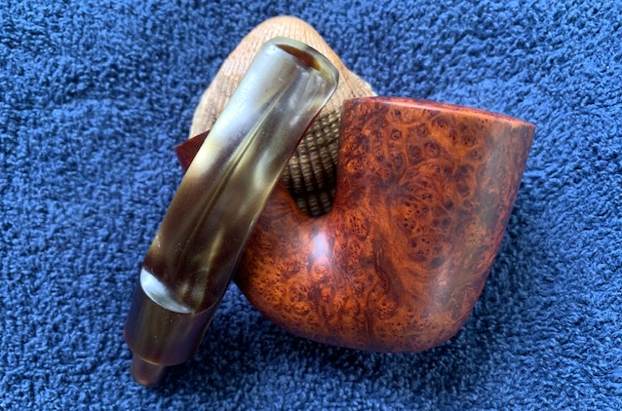
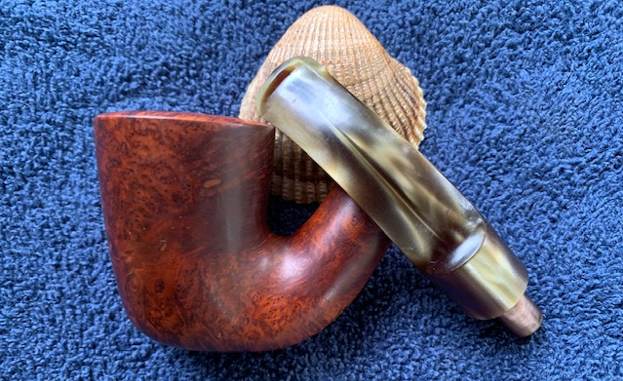
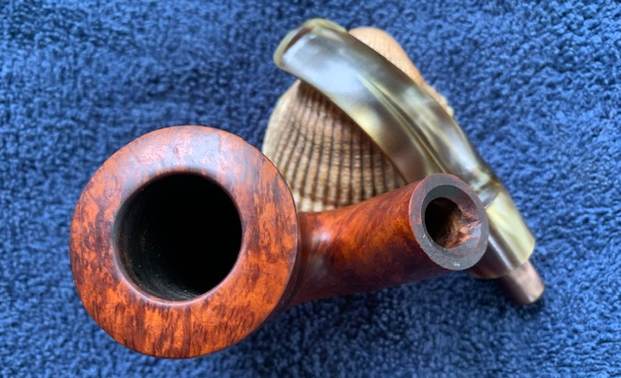
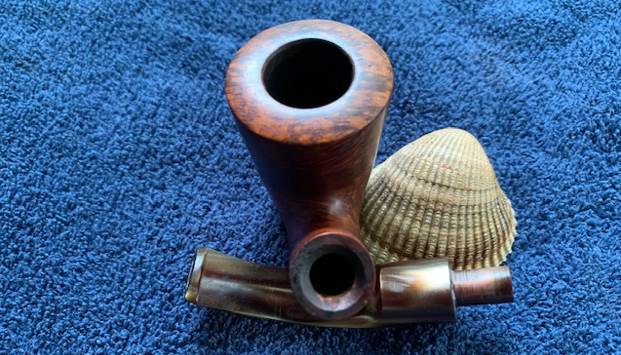
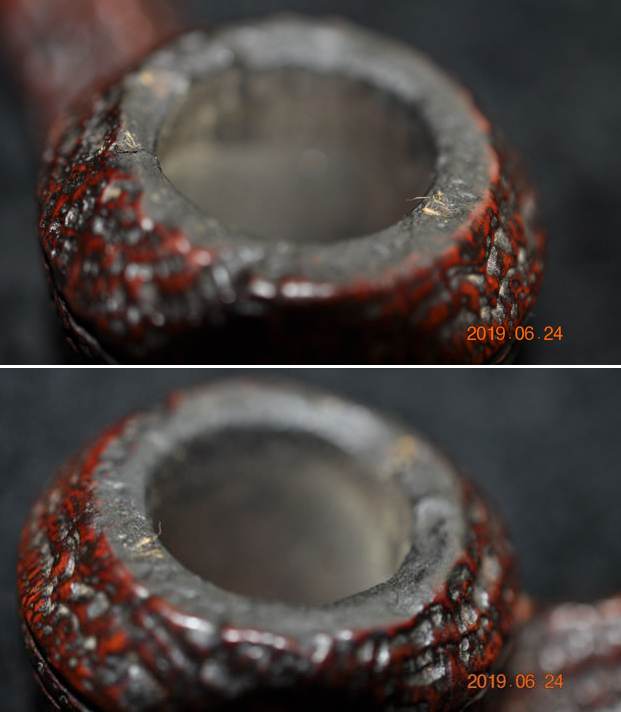
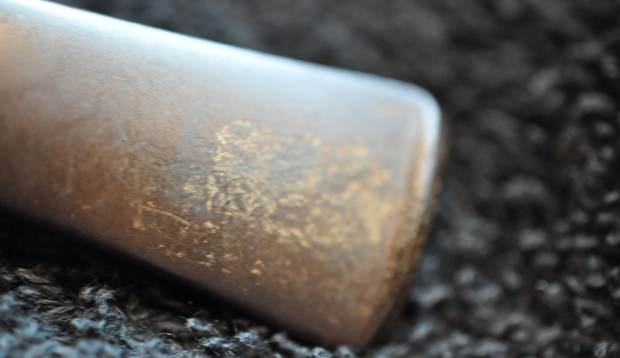
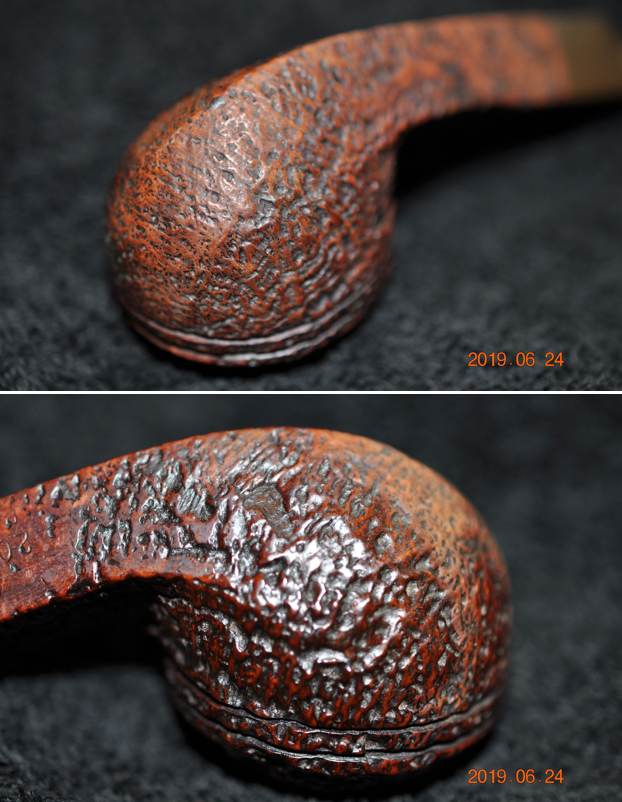
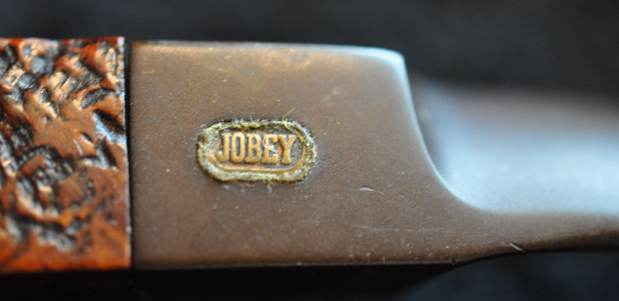
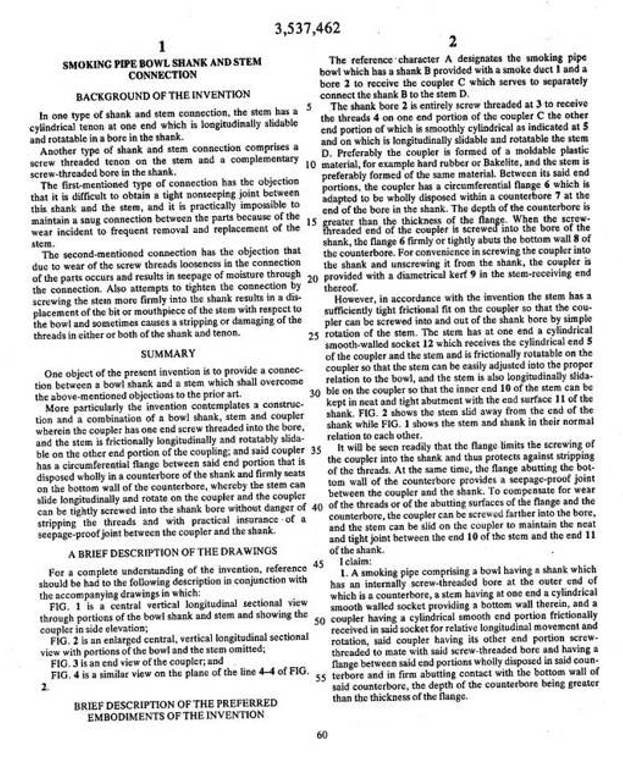
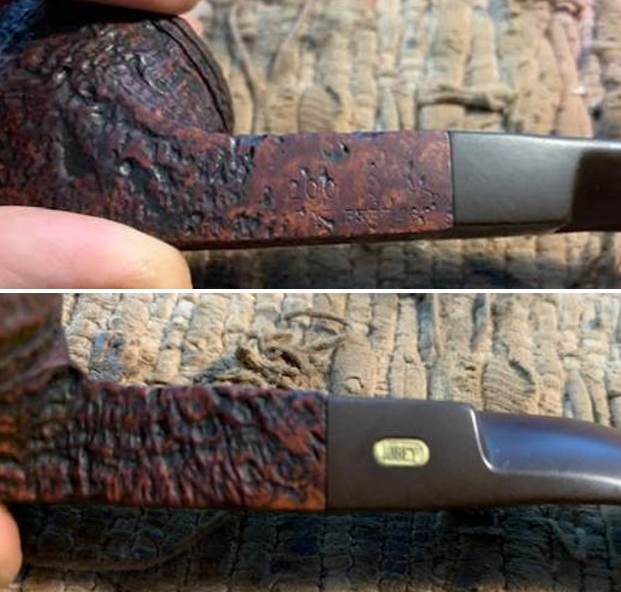
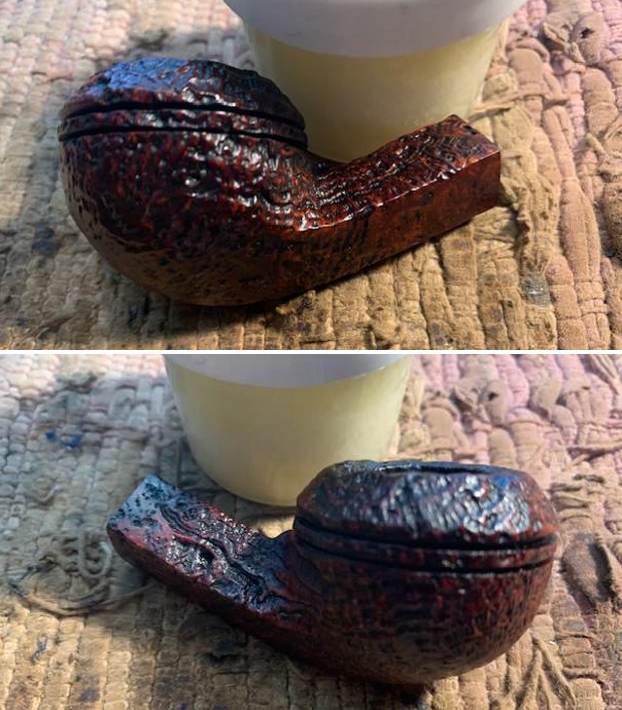
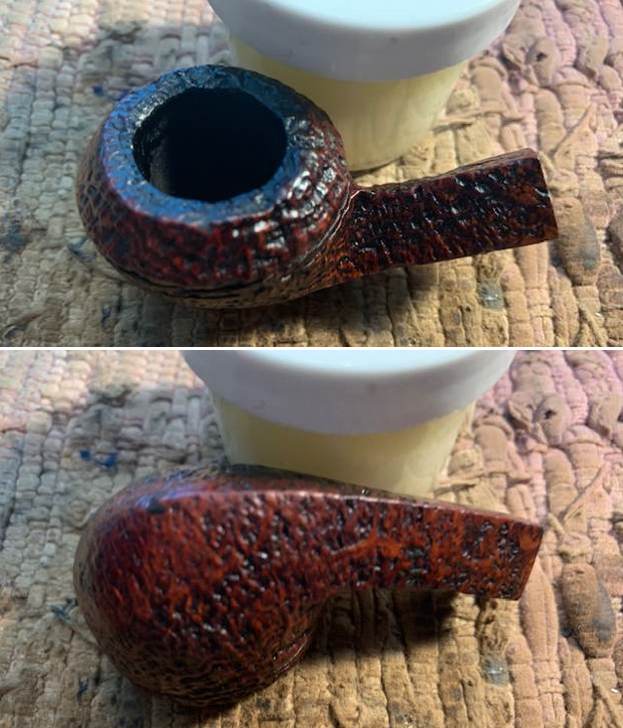
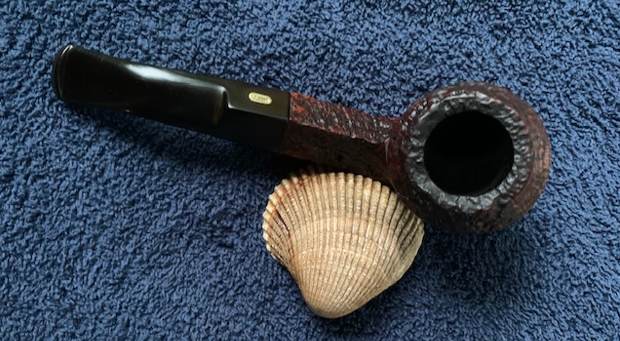
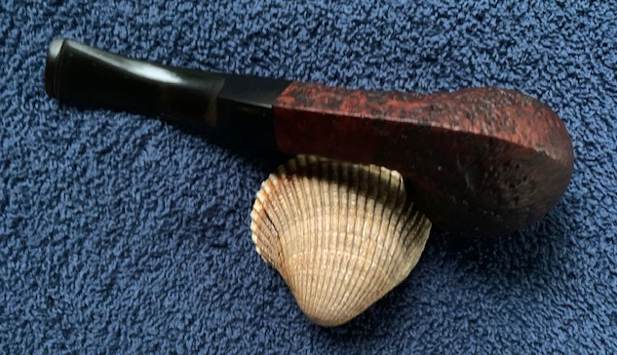
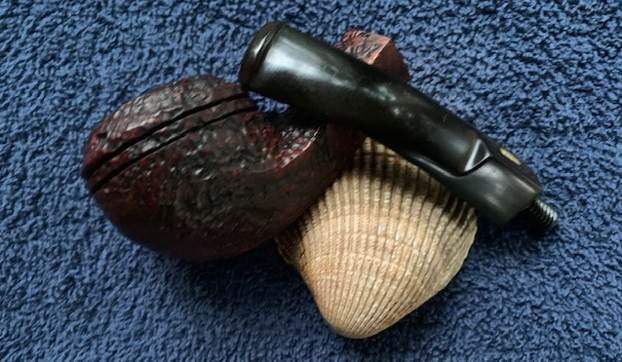
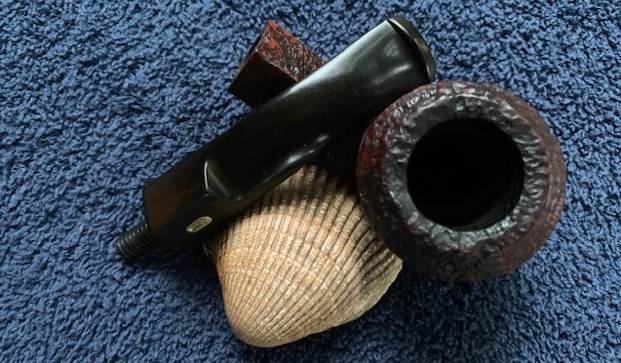
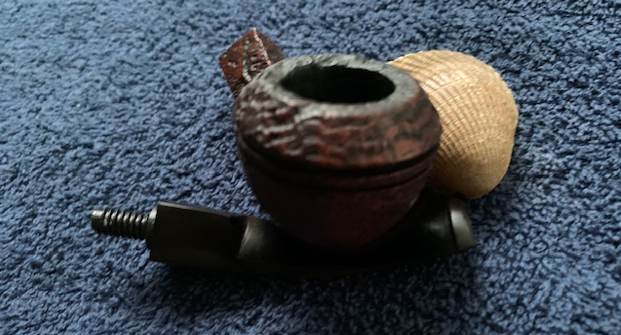
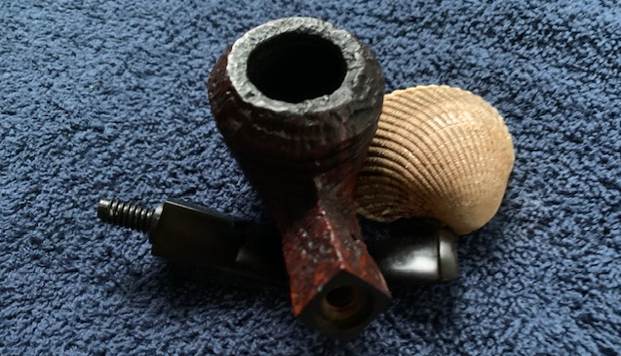
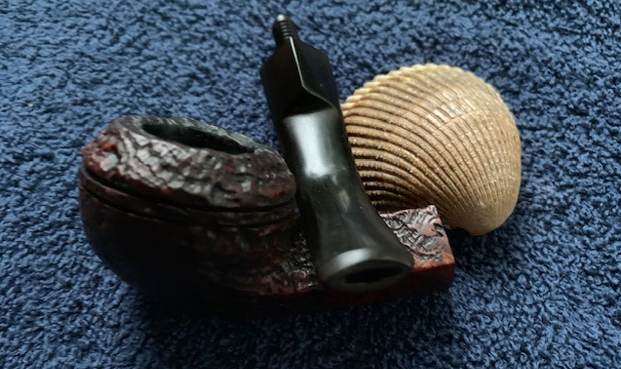
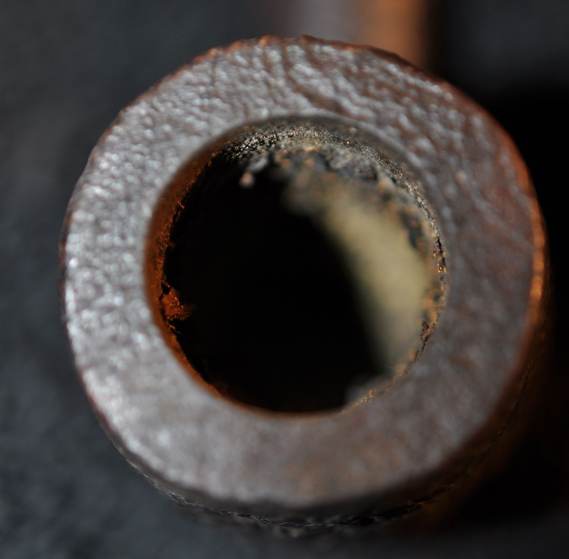
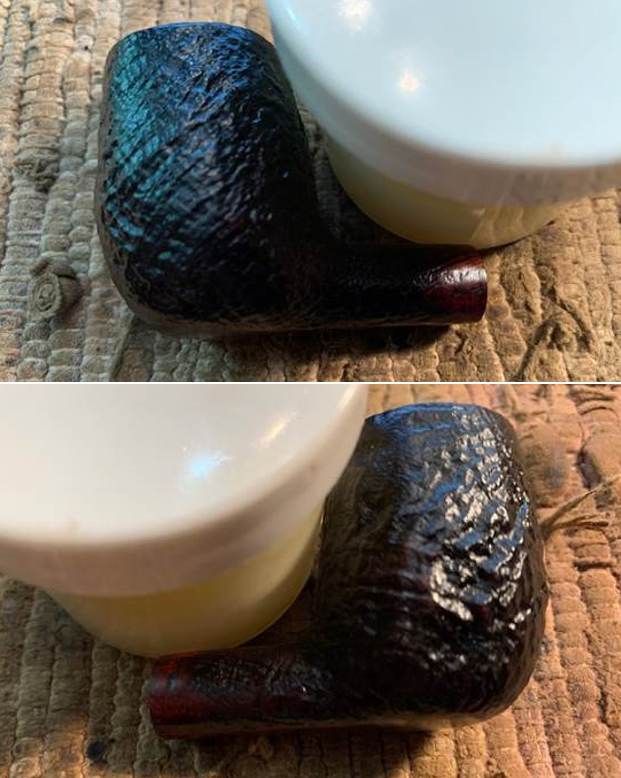
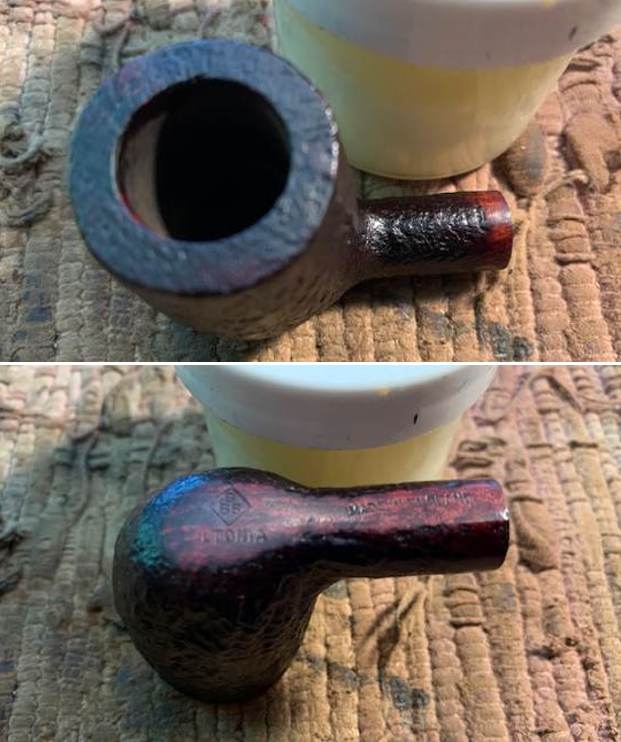
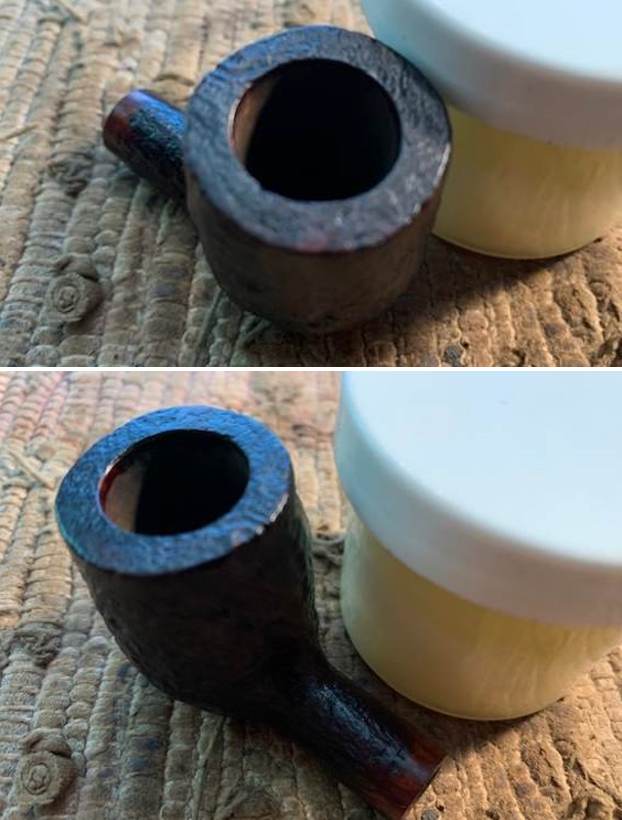
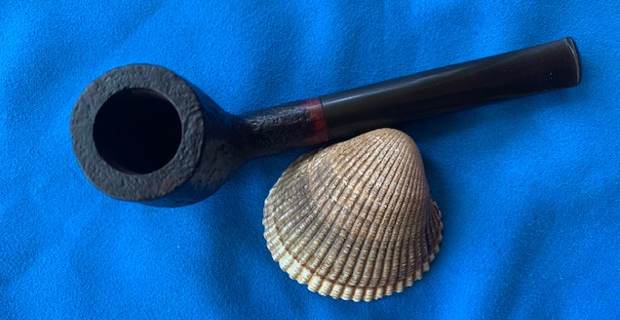
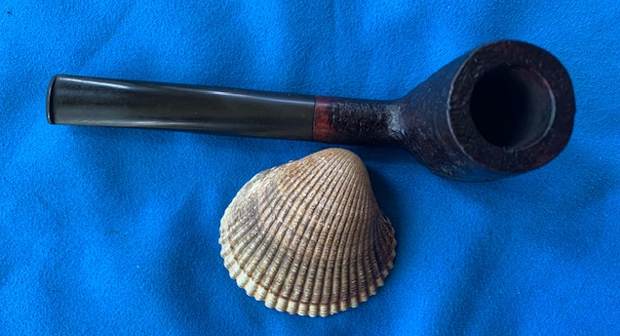
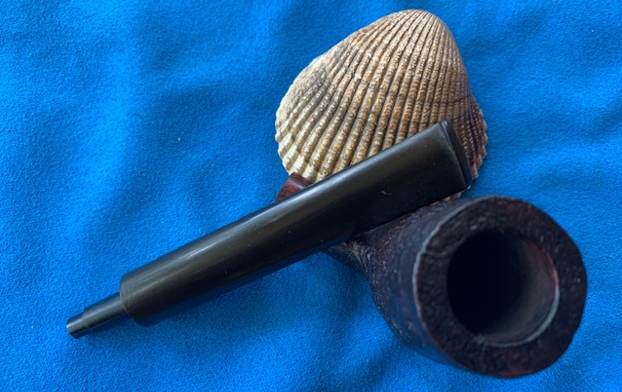
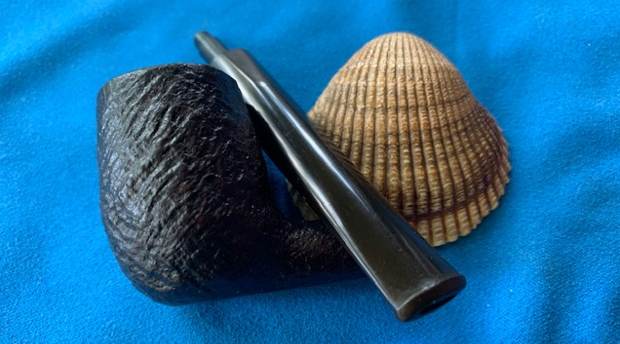
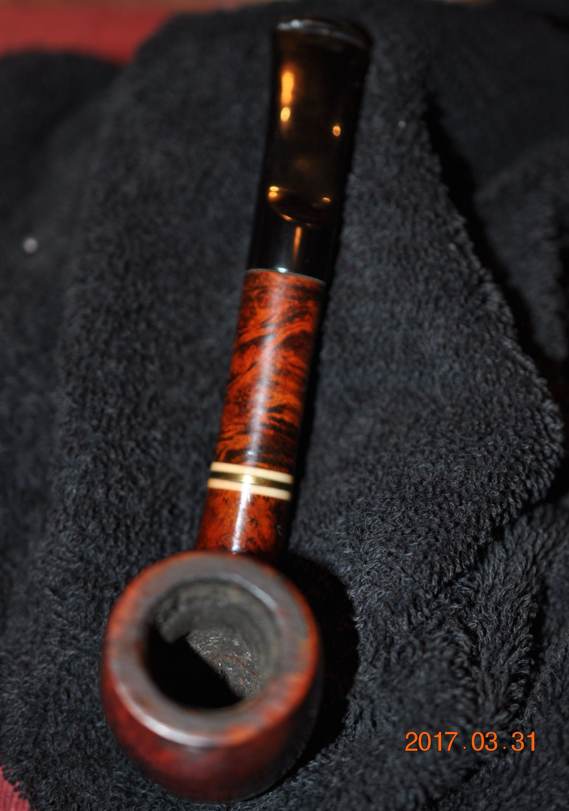
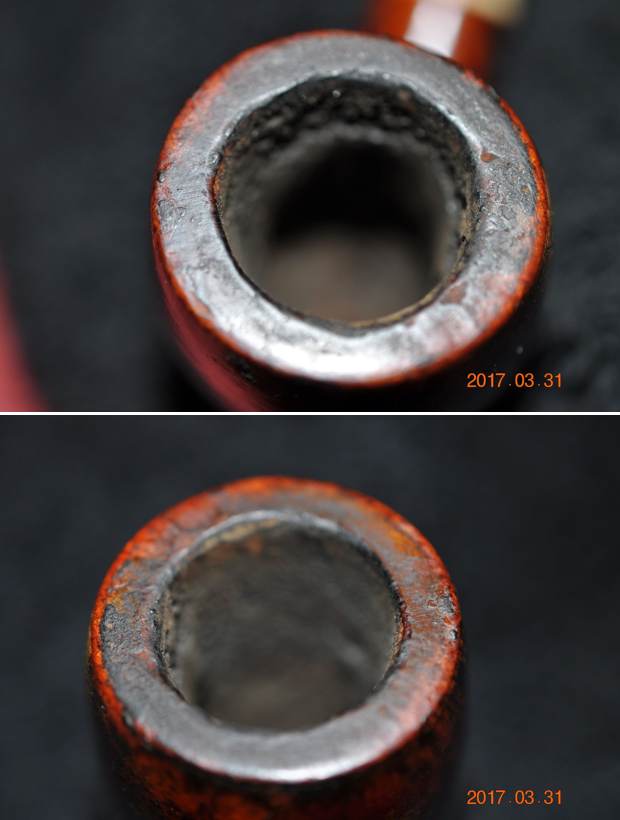
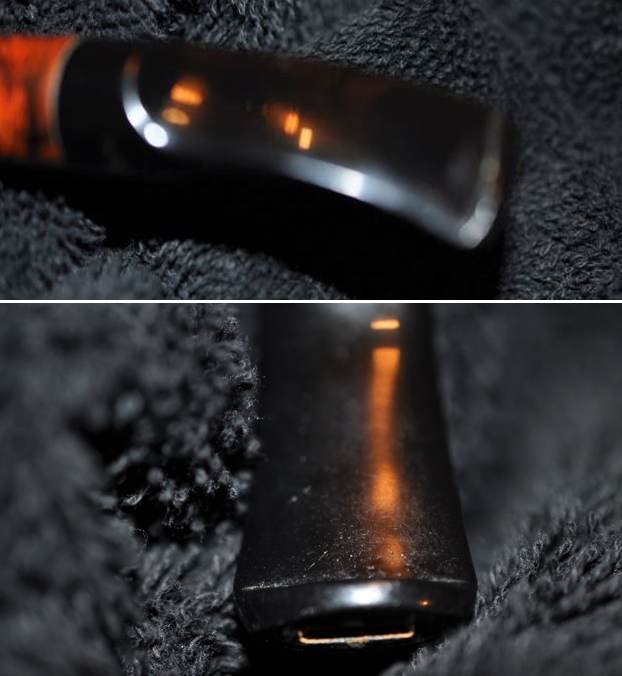
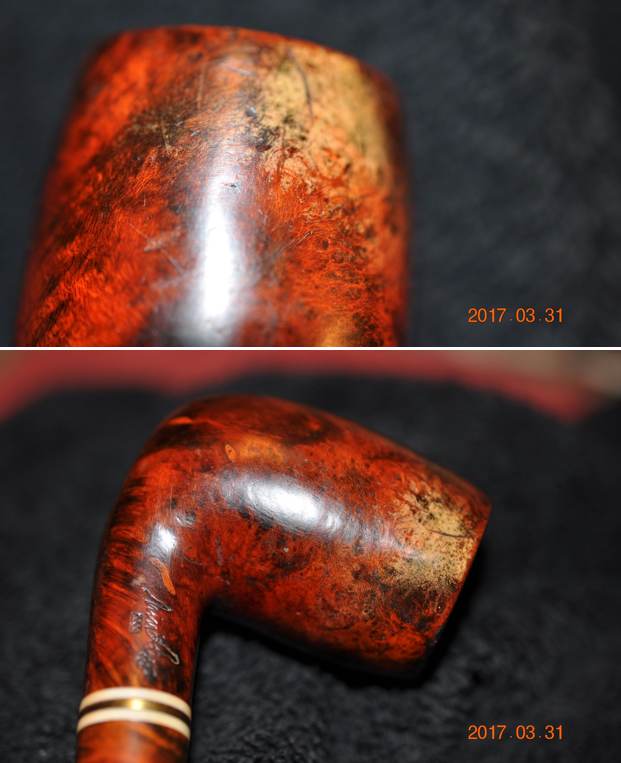
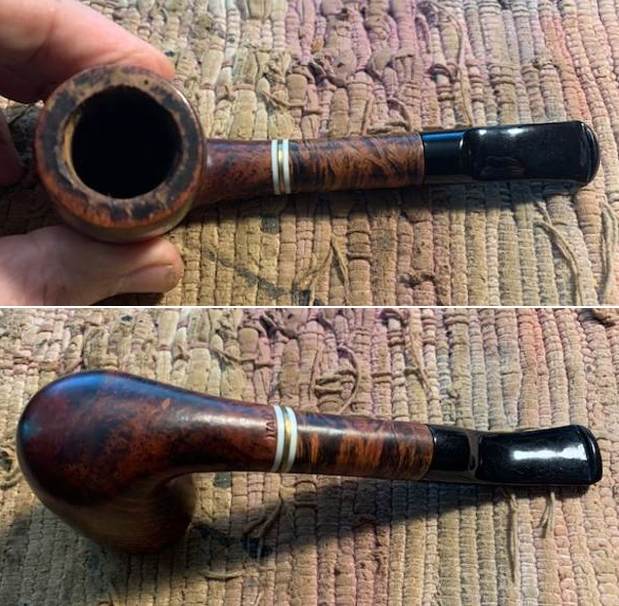
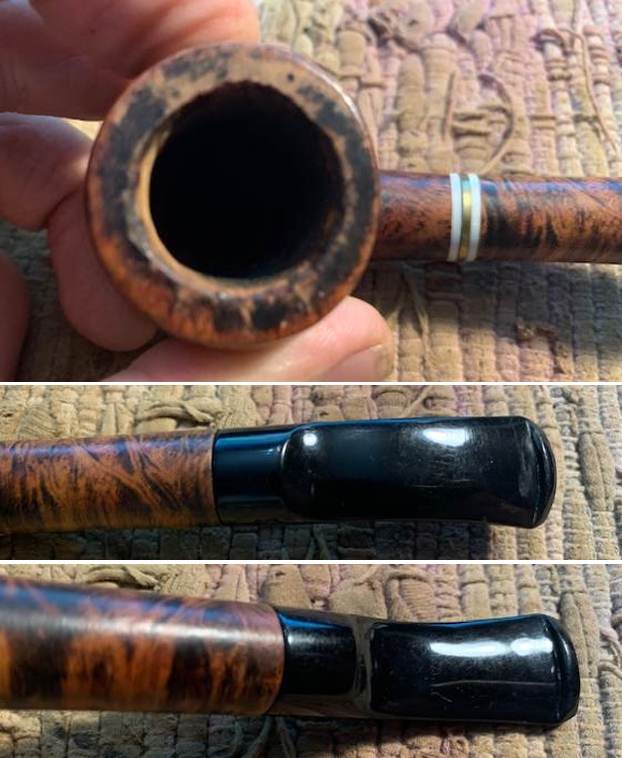
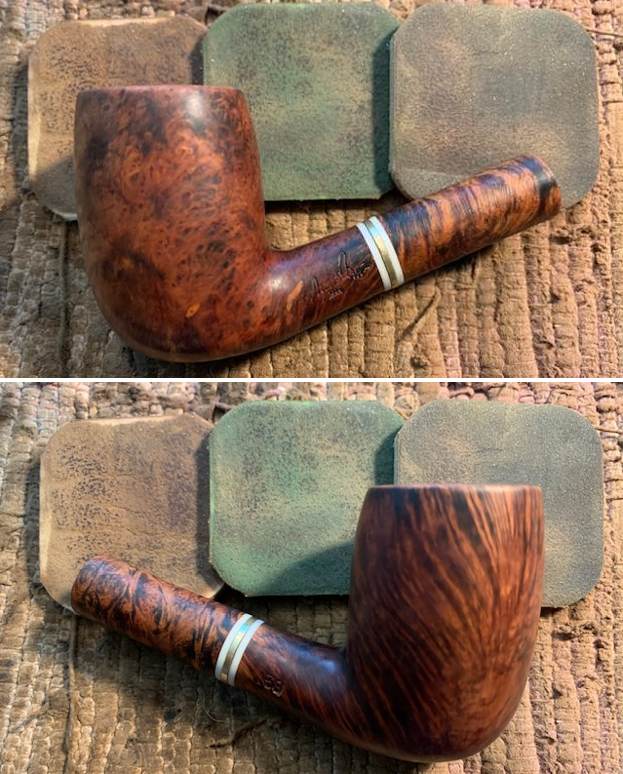
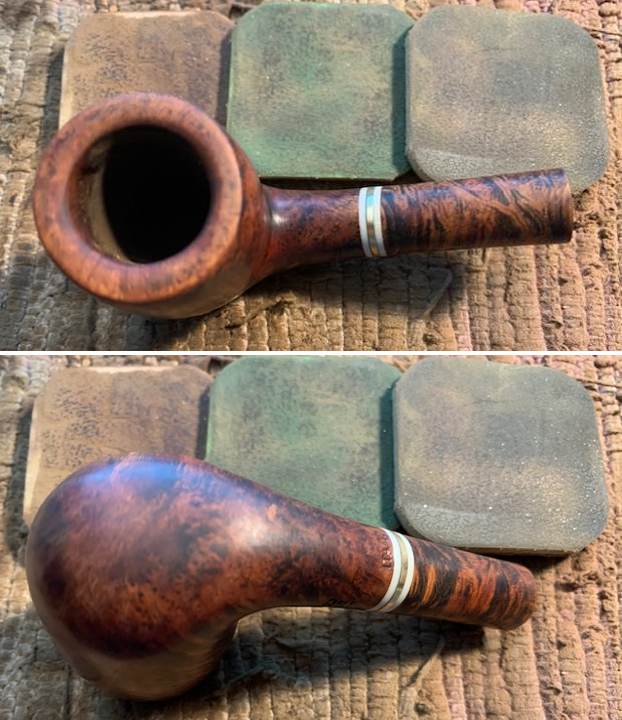
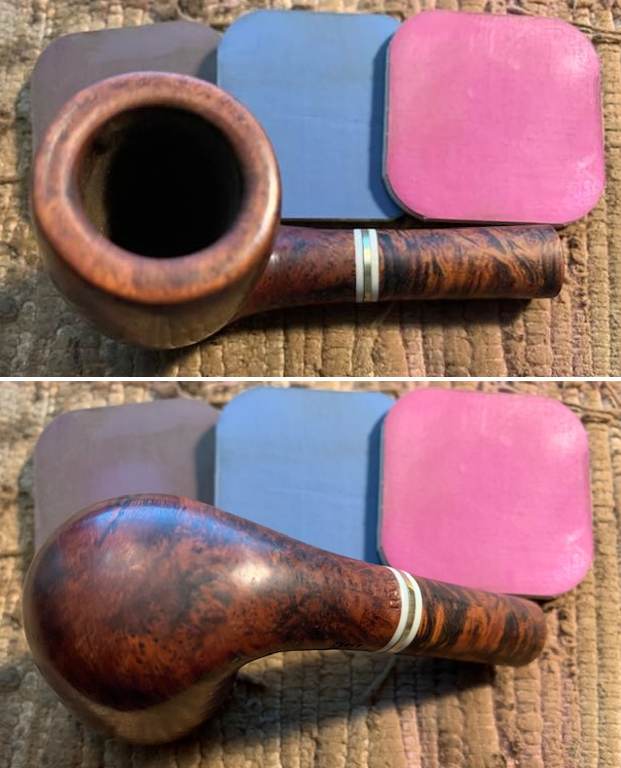
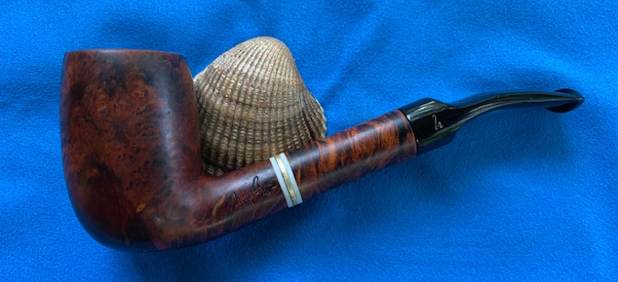
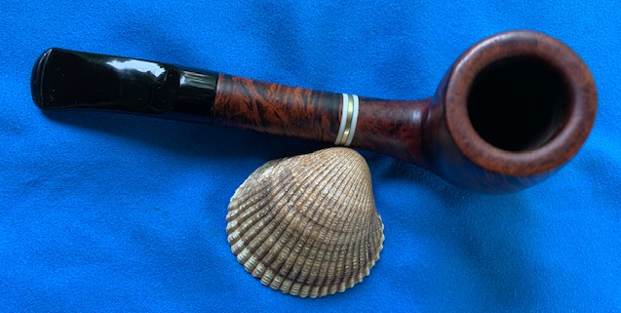
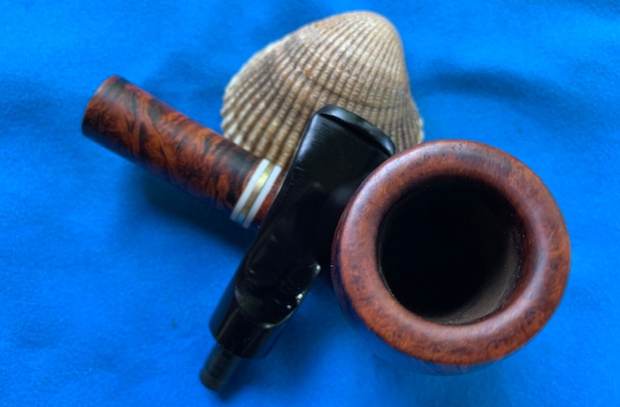
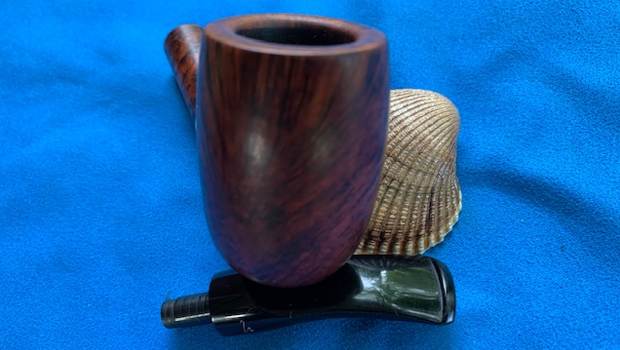
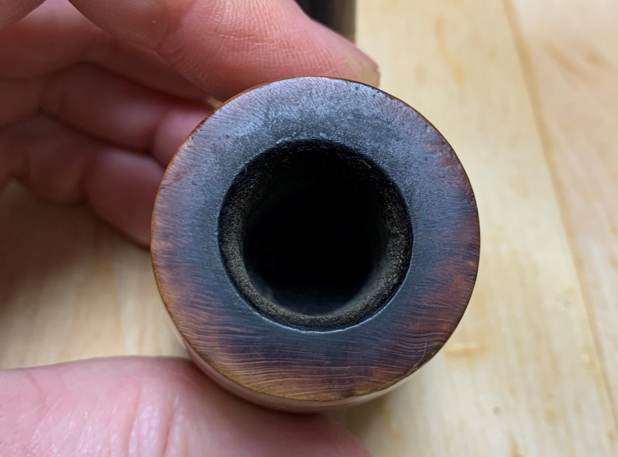
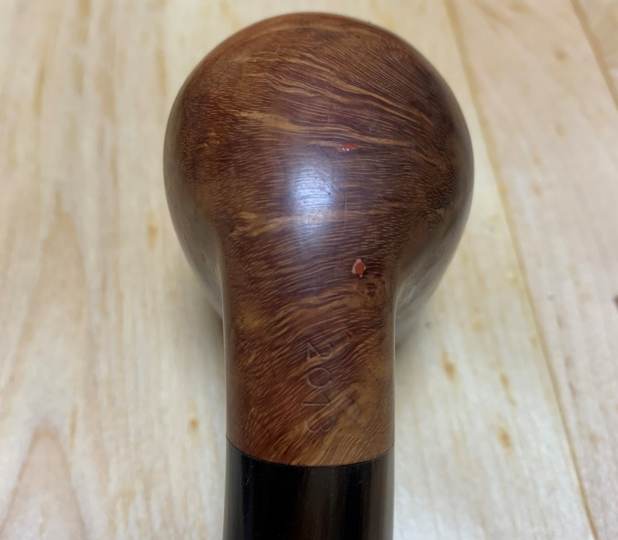
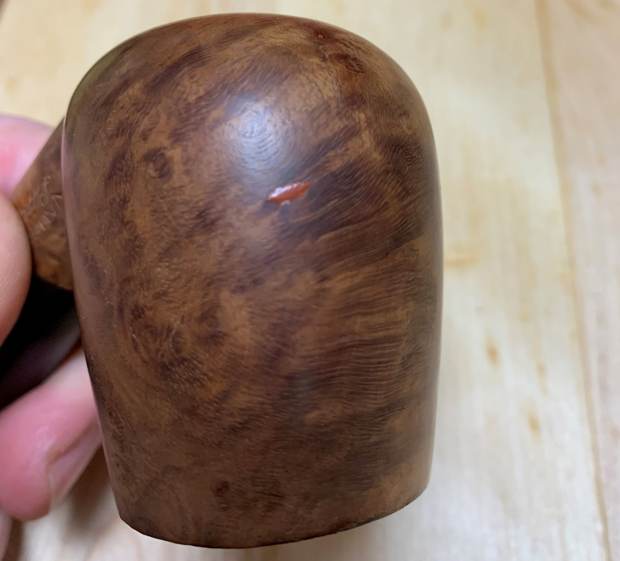
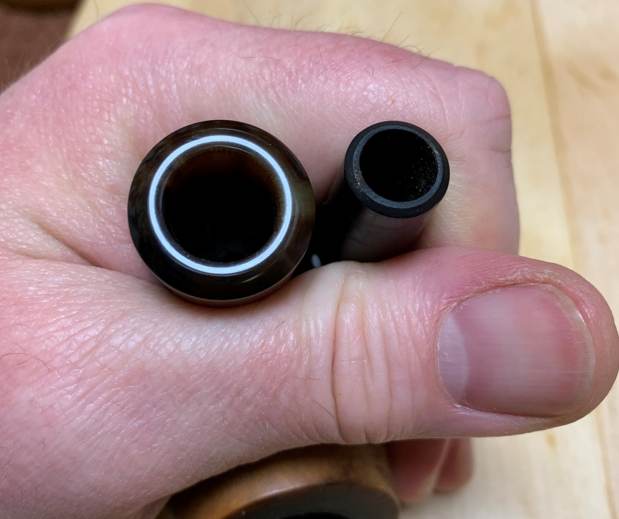
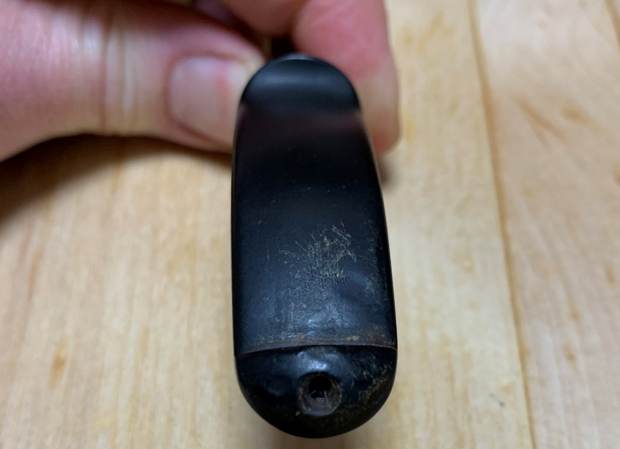
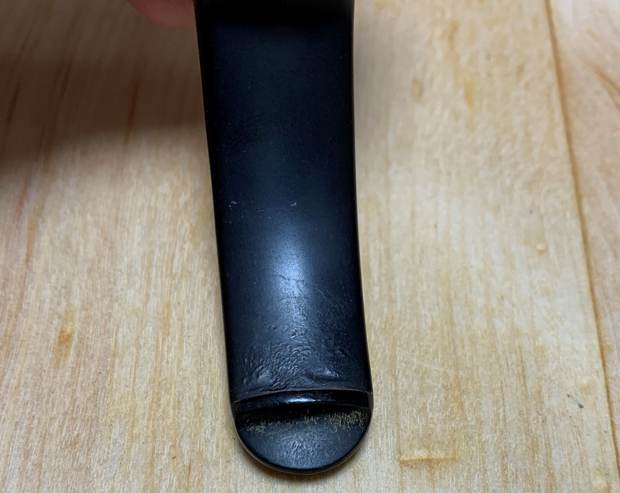
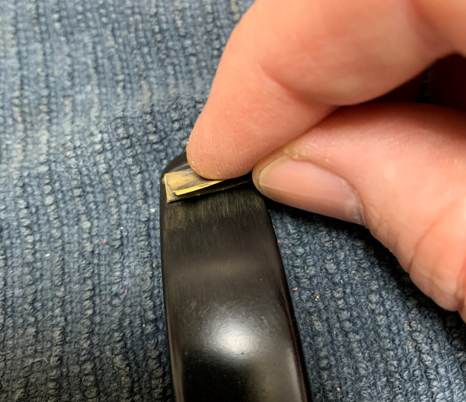
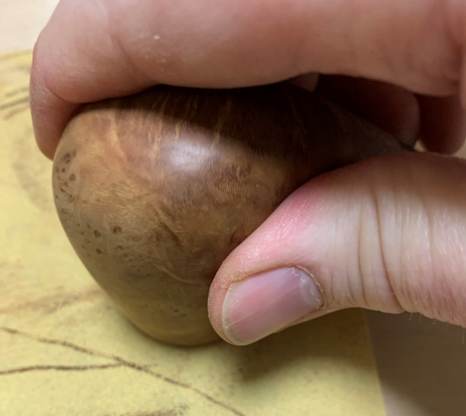
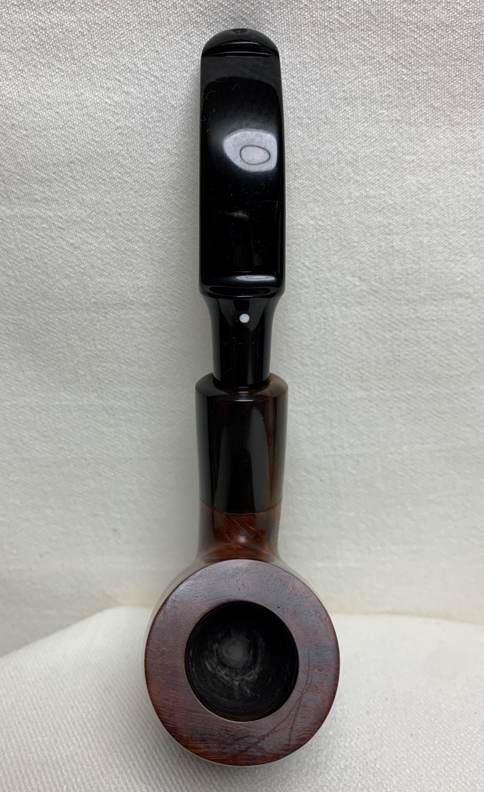
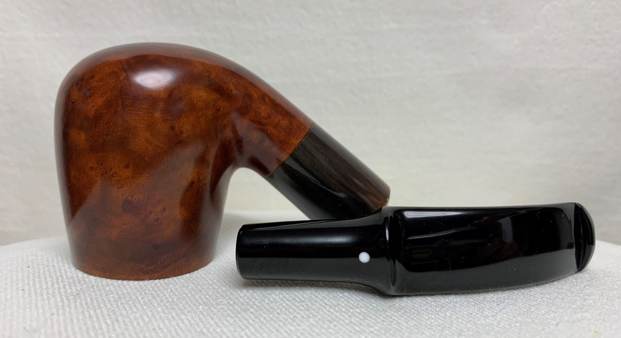
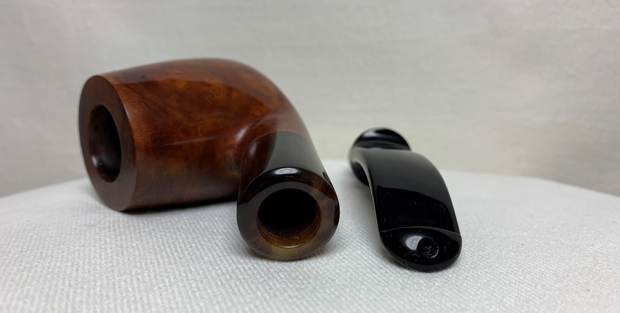
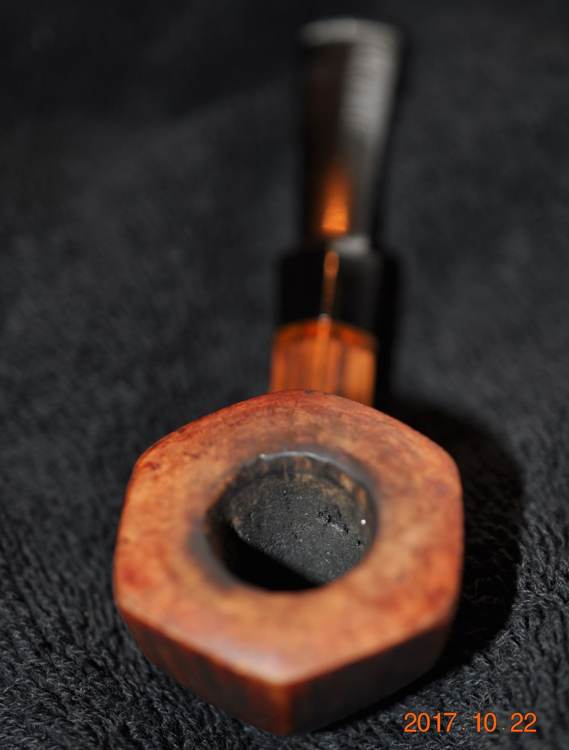
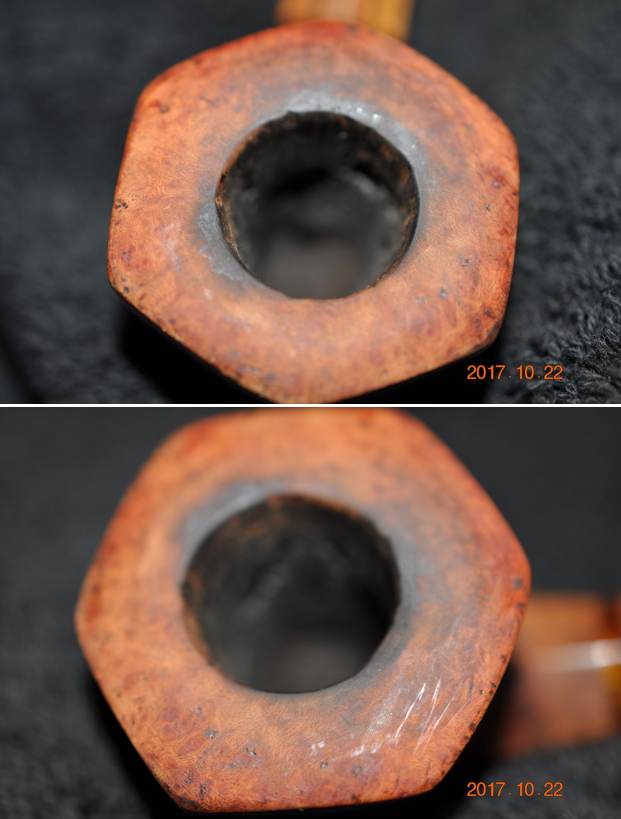
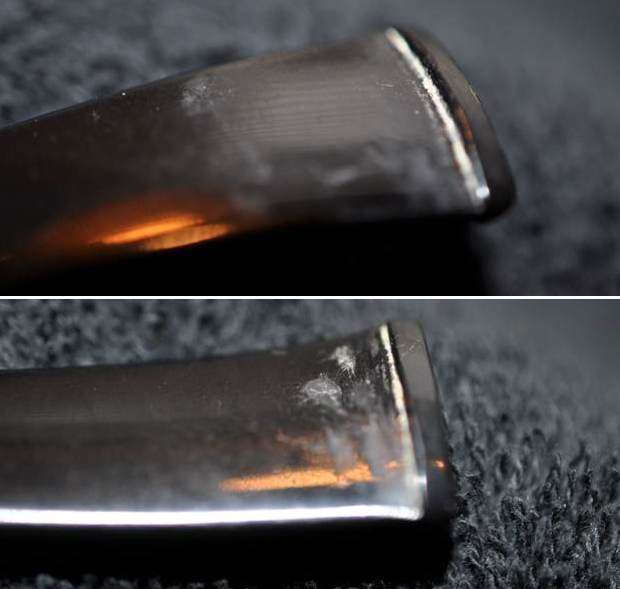
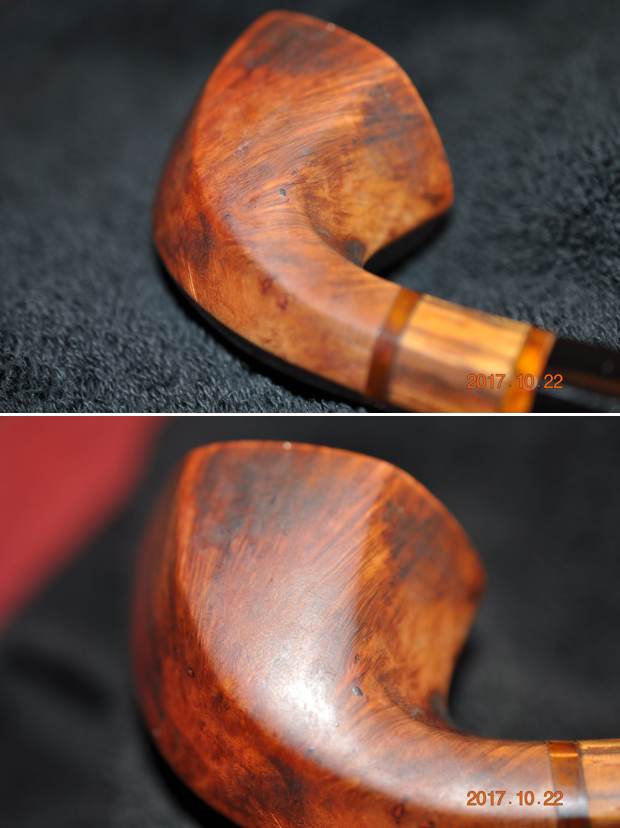
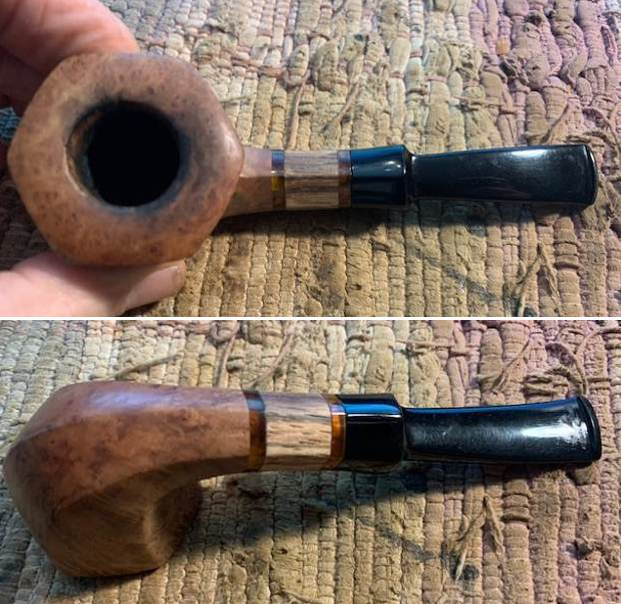
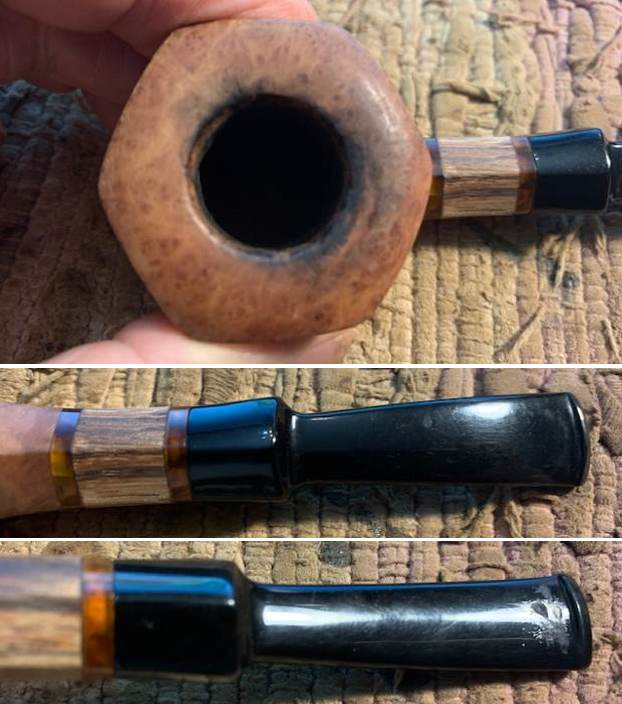
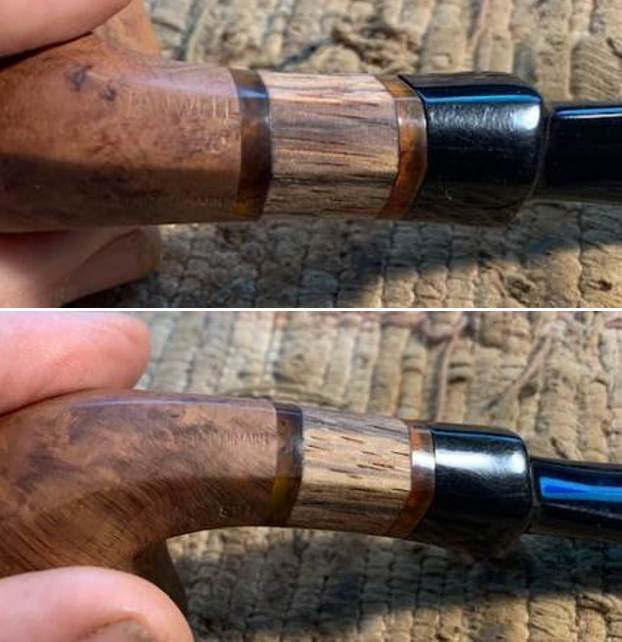
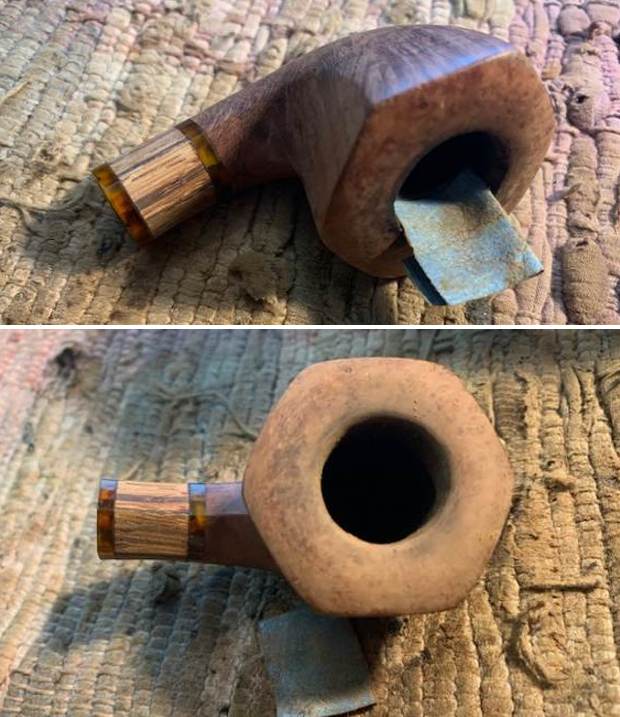
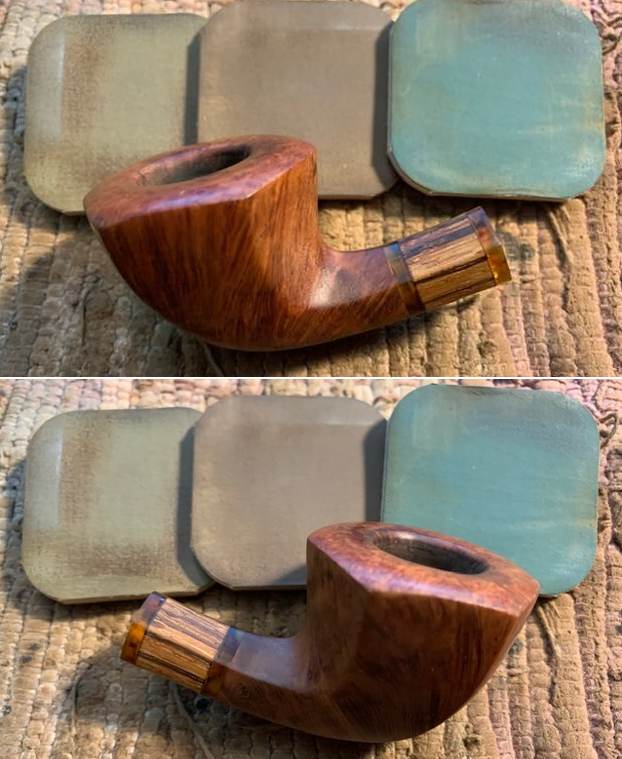
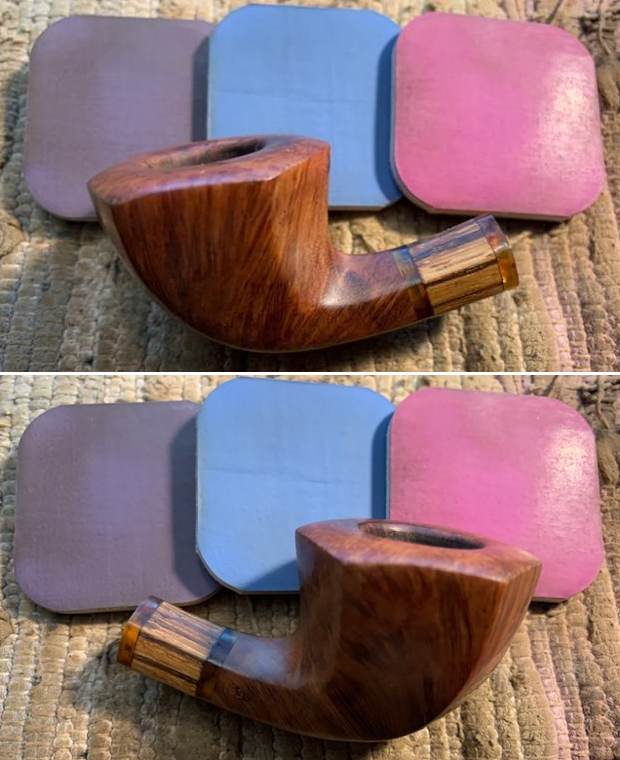
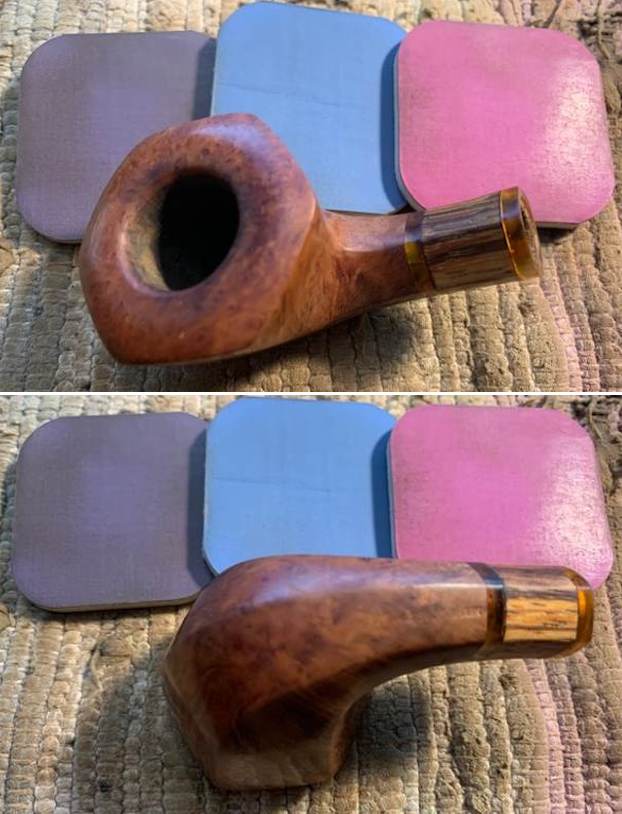
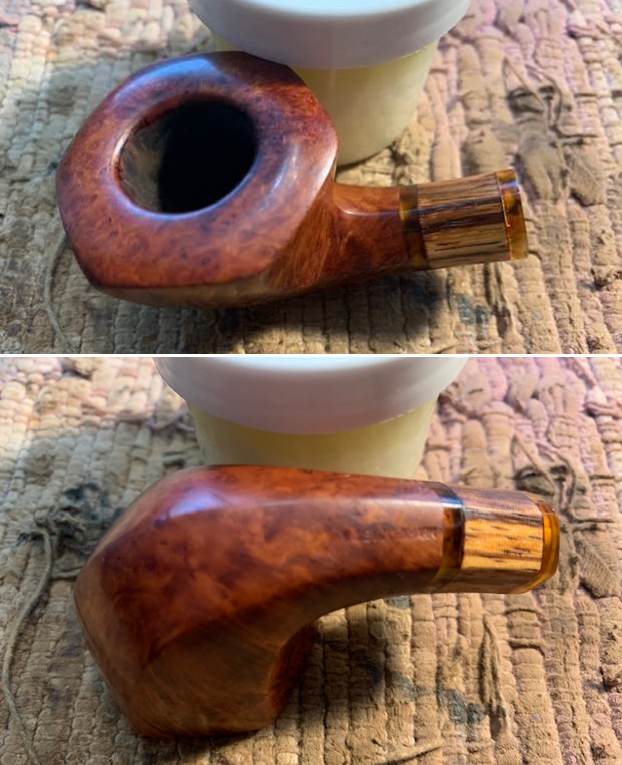
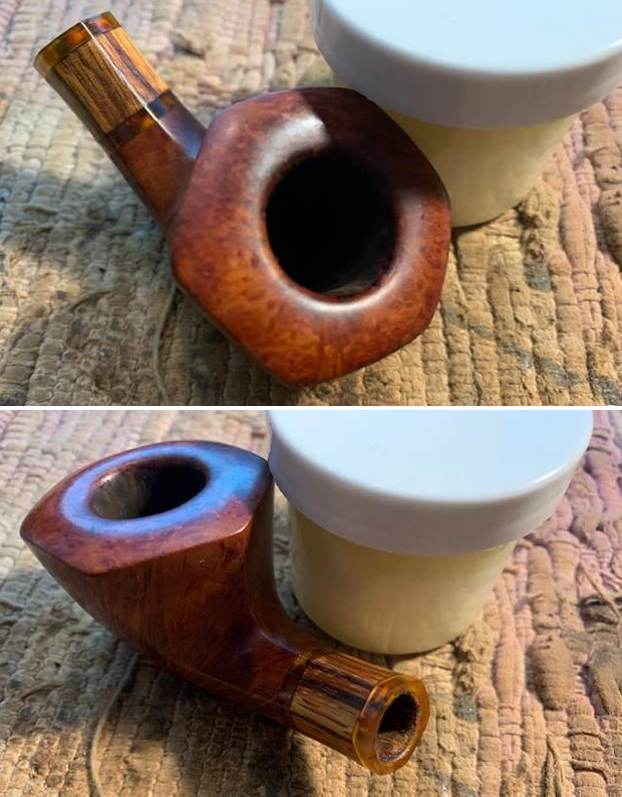
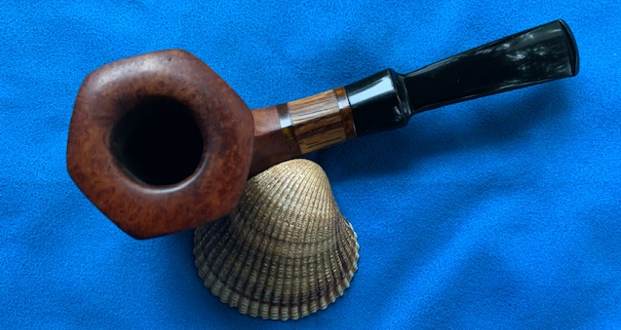
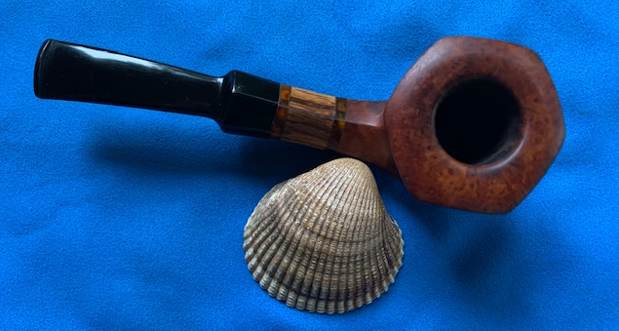
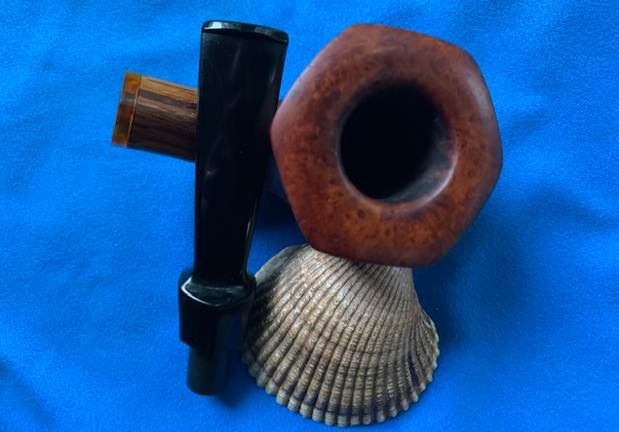
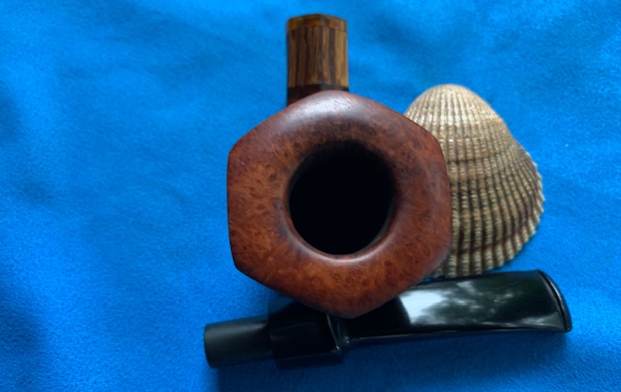
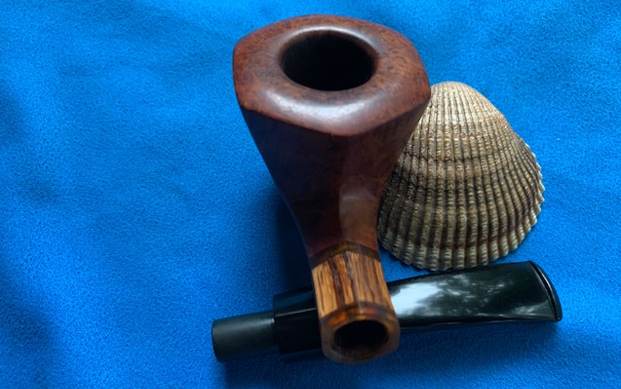
 I took photos of the bowl and rim top to show the condition of both. The bowl is very clean but you can see the burn damage on the top front and rear of the bowl and on the beveled inner edge. There was some darkening all over the rim top. It really was quite a mess. I took photos of the stem as well to show the tooth dents on the top and underside ahead of the button and on the button surface as well. There was three part C logo on the left side of the saddle.
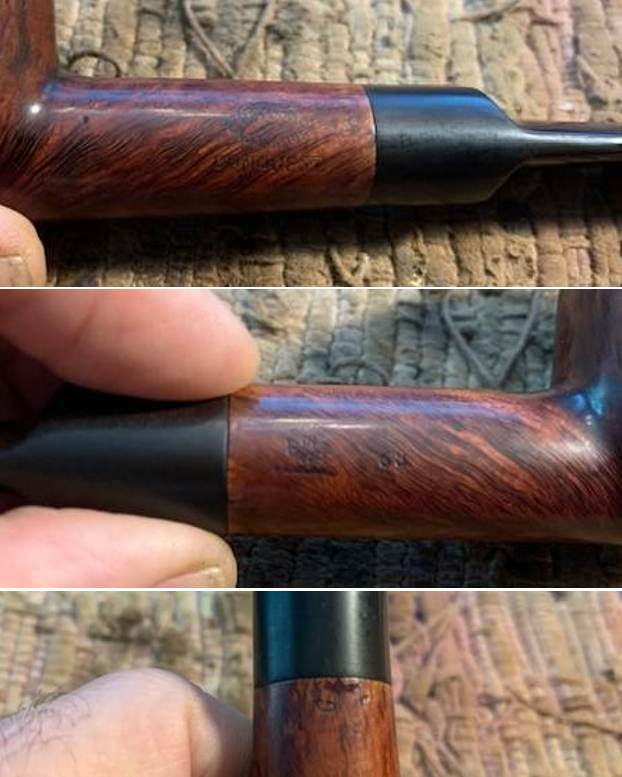
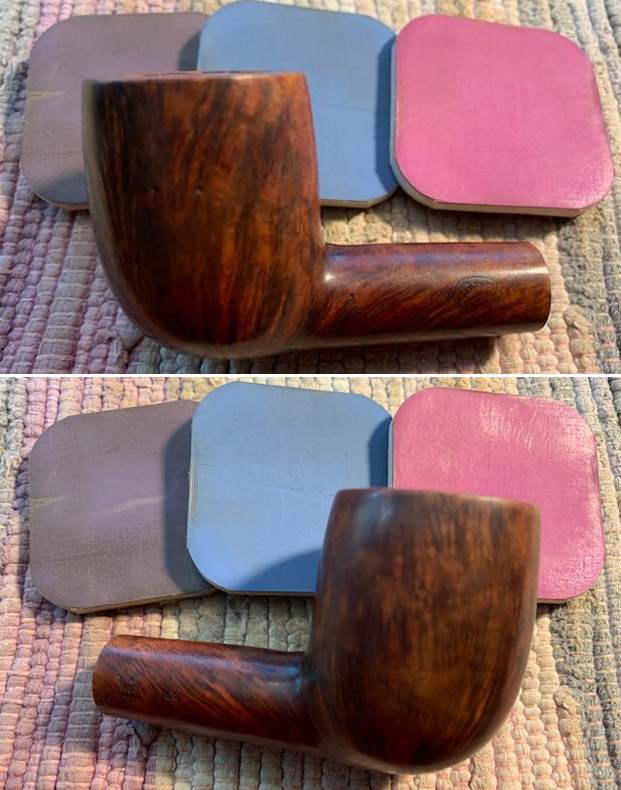
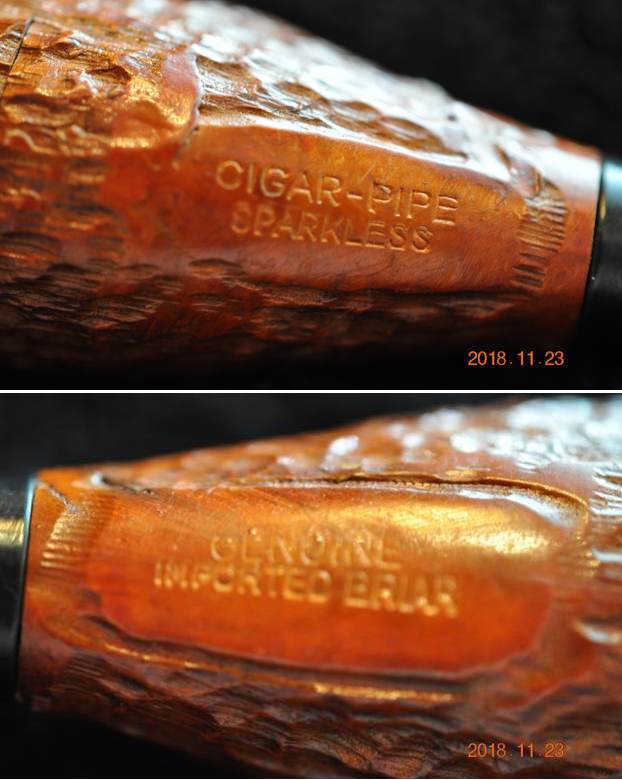
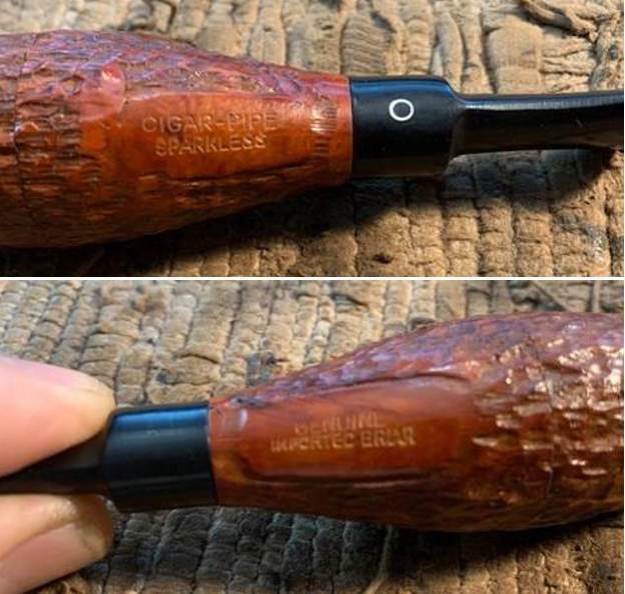
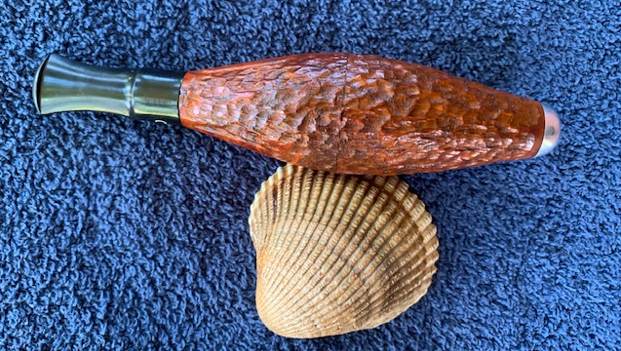
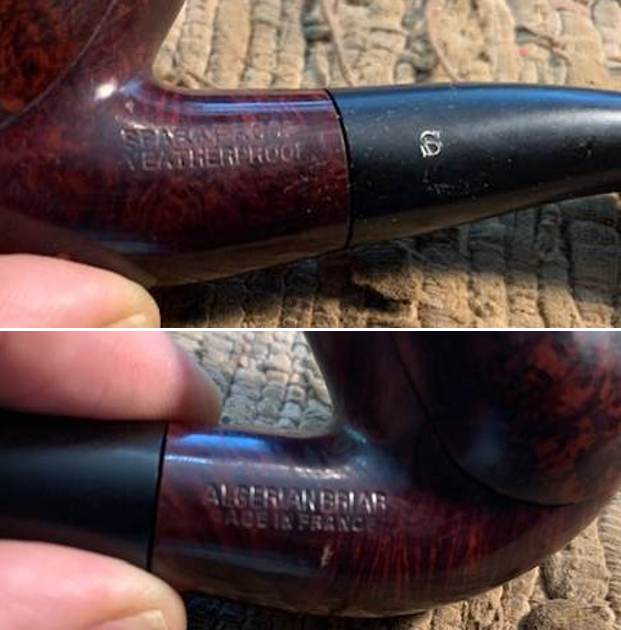
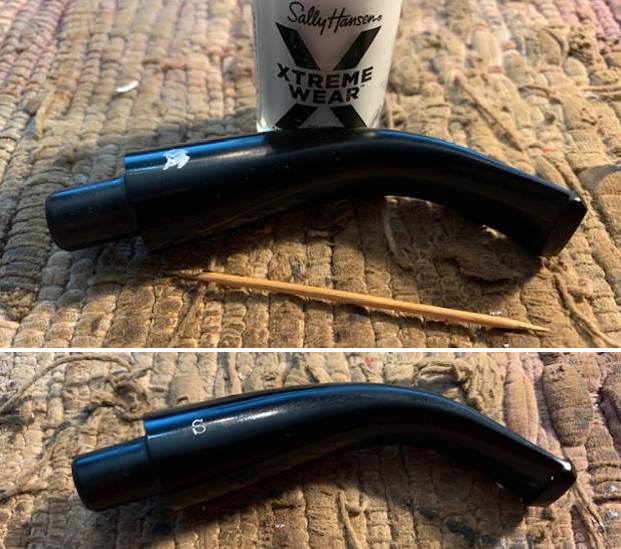
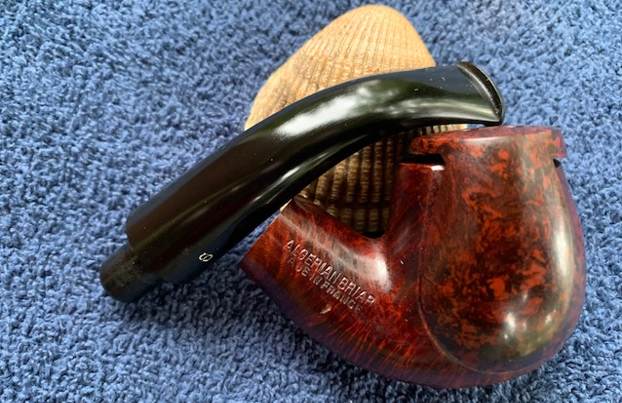
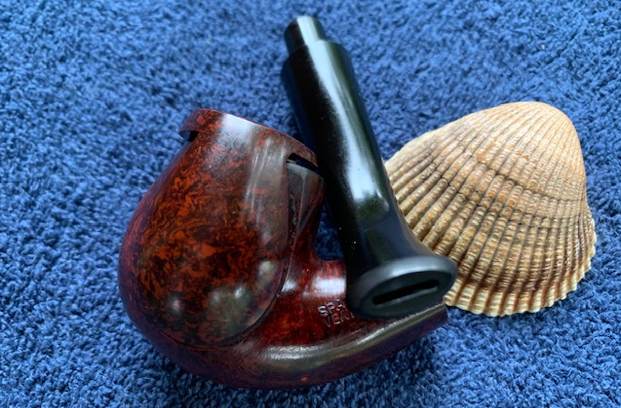
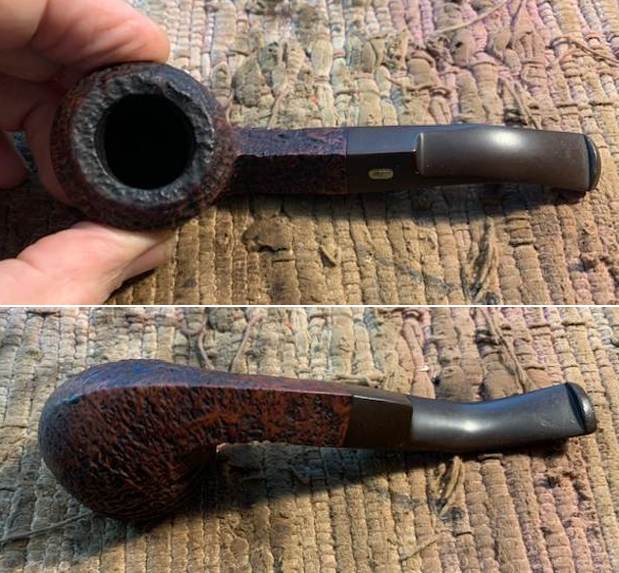
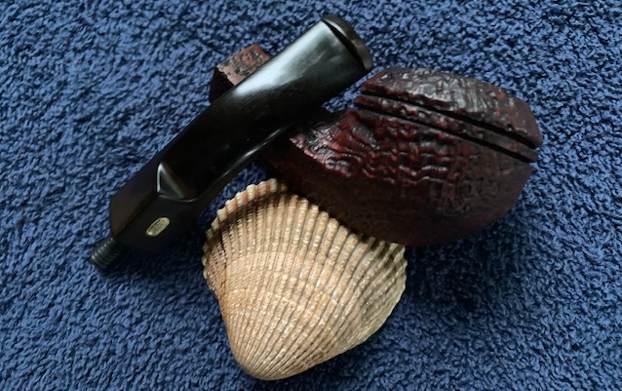
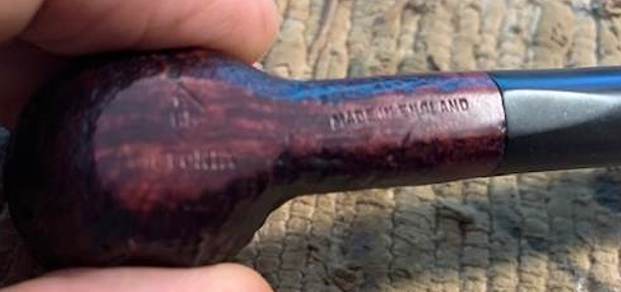
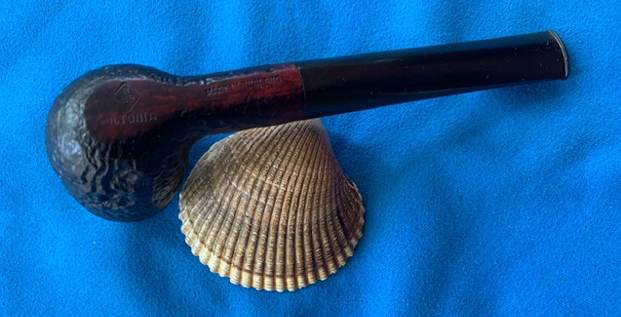
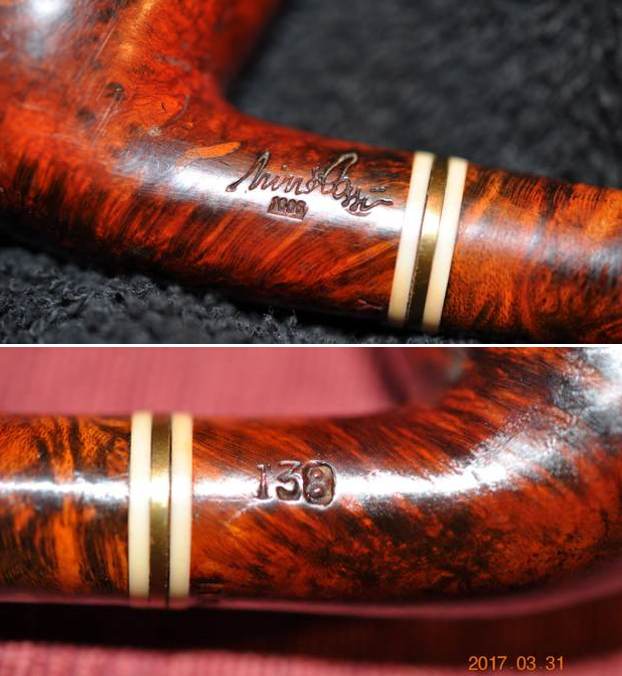
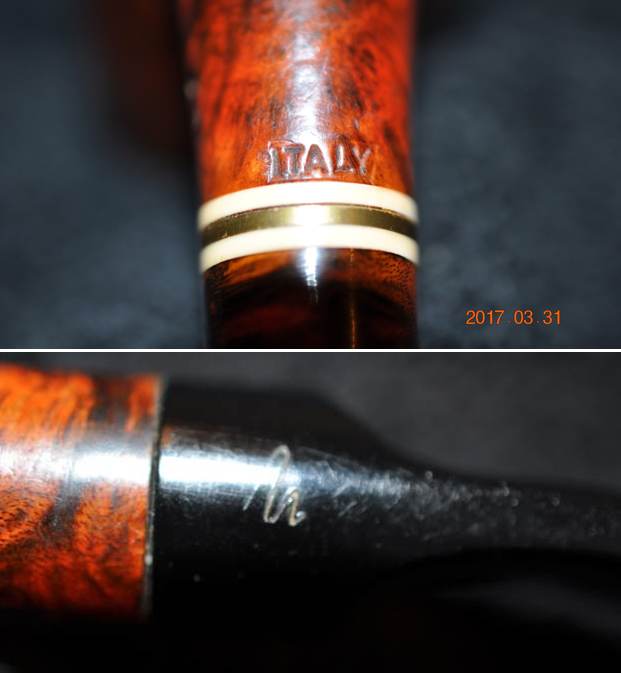
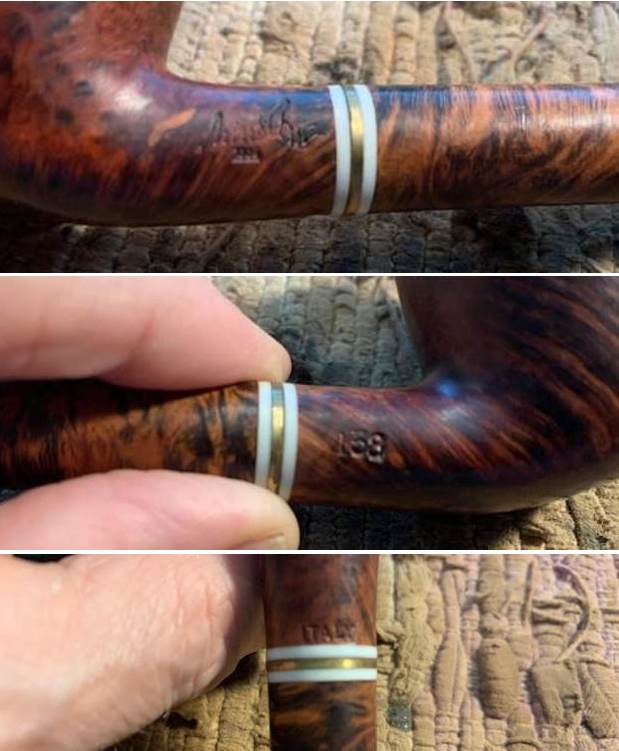
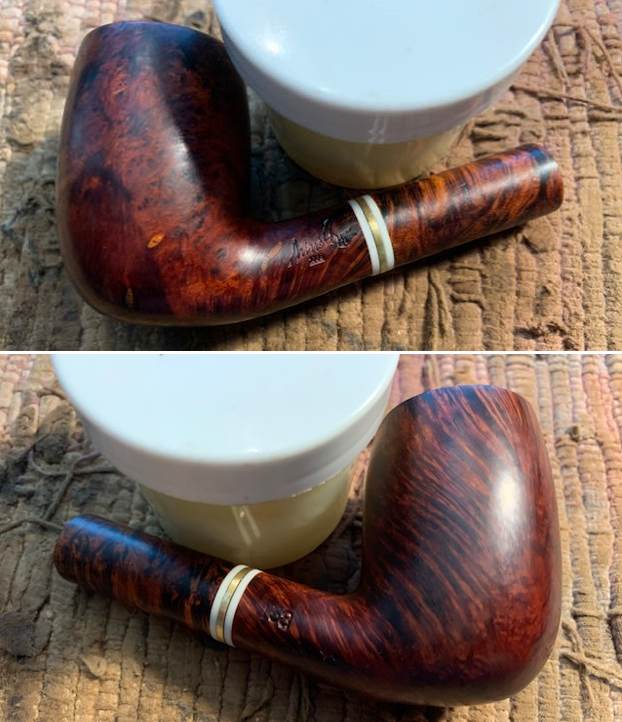
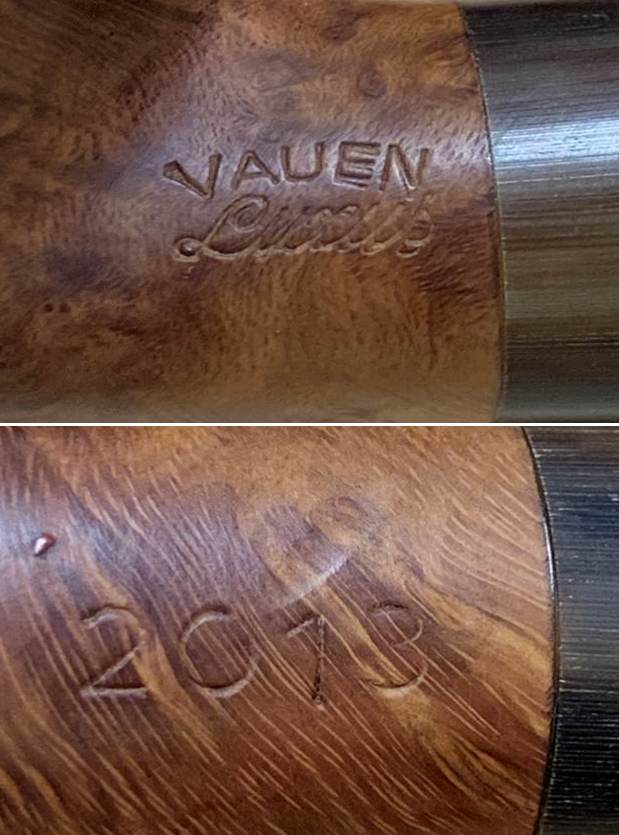
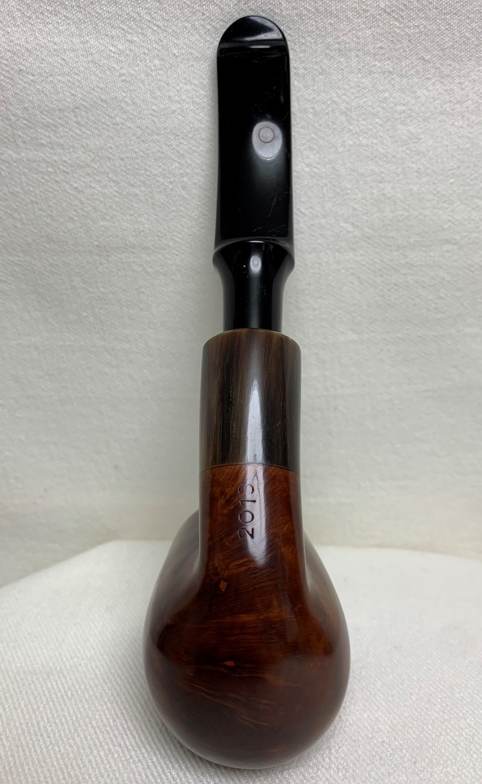
  I took a photo of the stamping on the left side of the shank. The stamping on the right is very faint and I could not capture the Made in England stamp that was faint. There was no shape number on the shank.
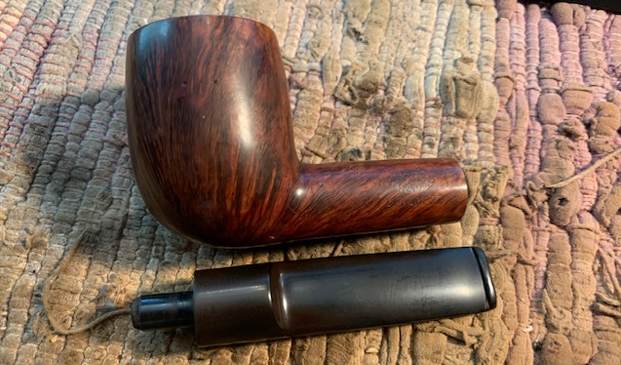
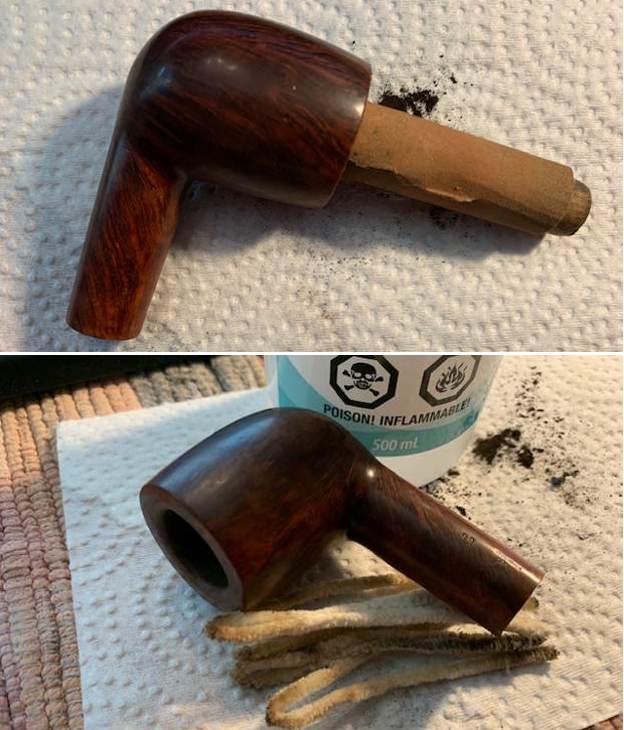
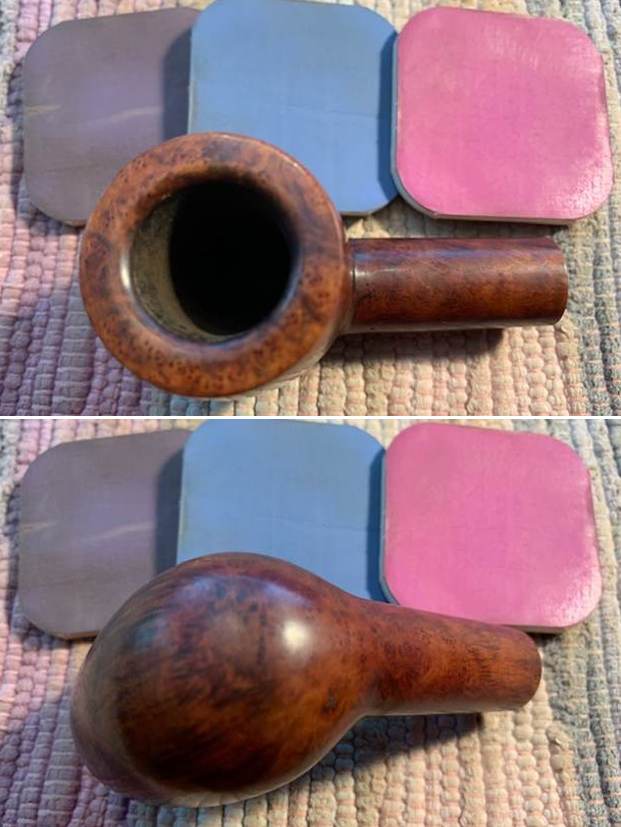
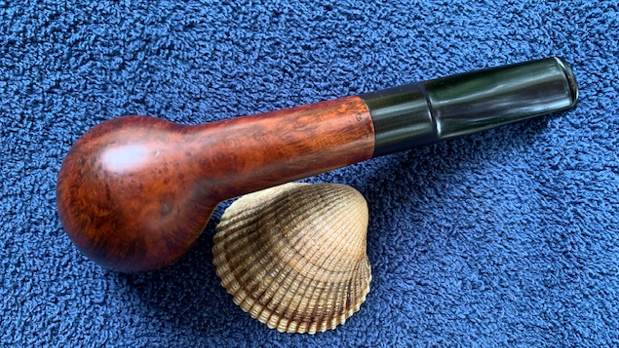
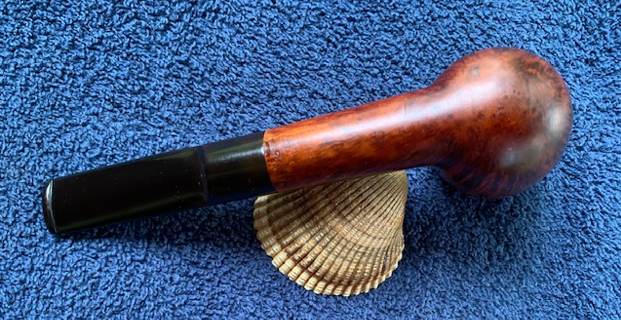
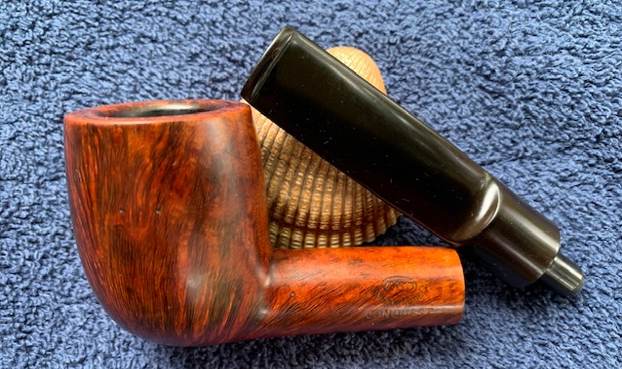
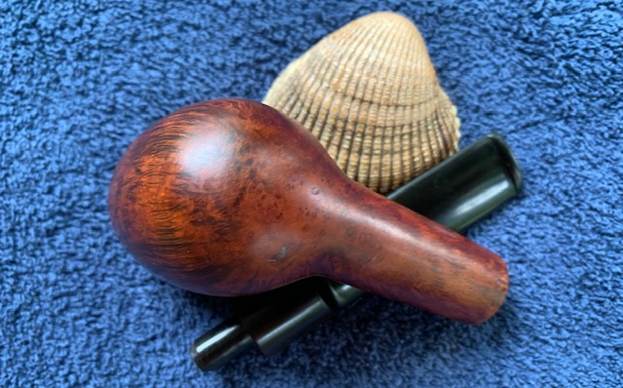
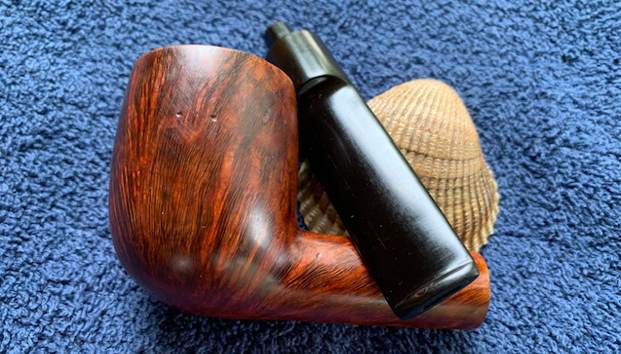
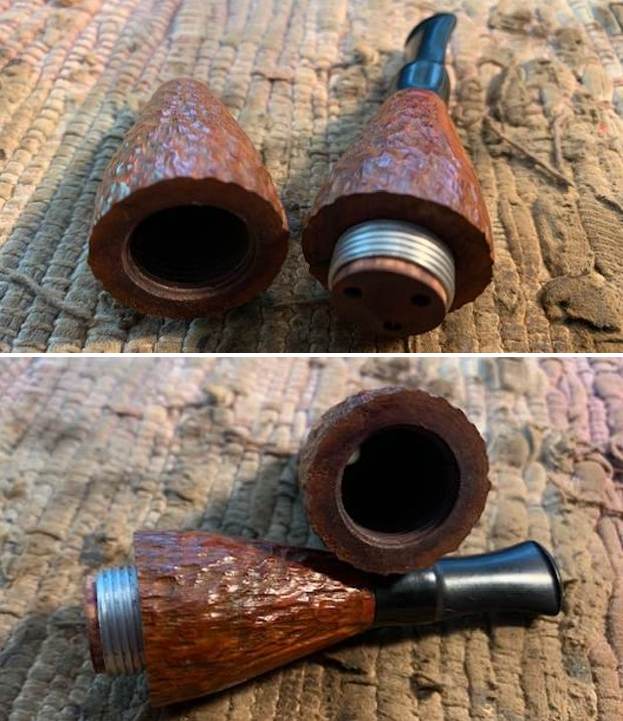
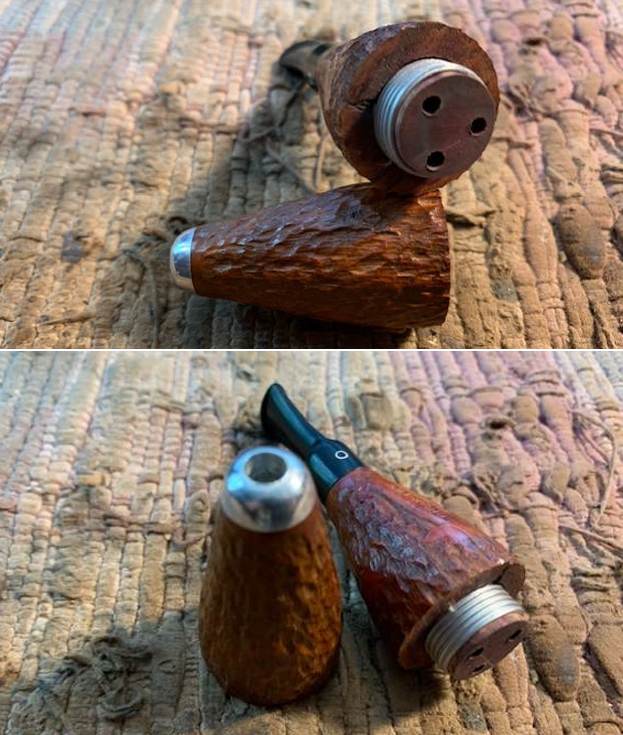
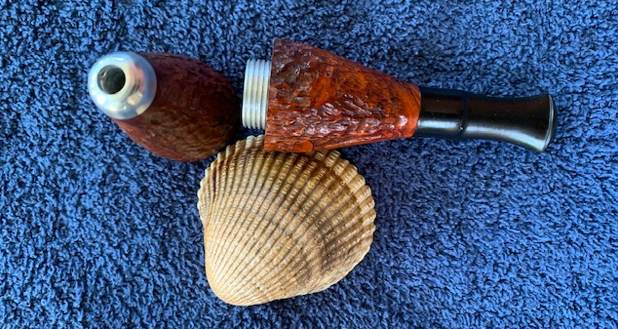
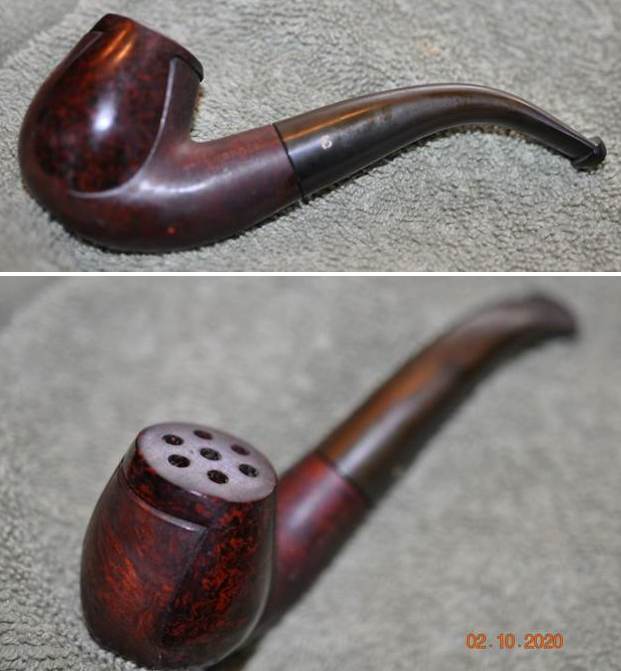
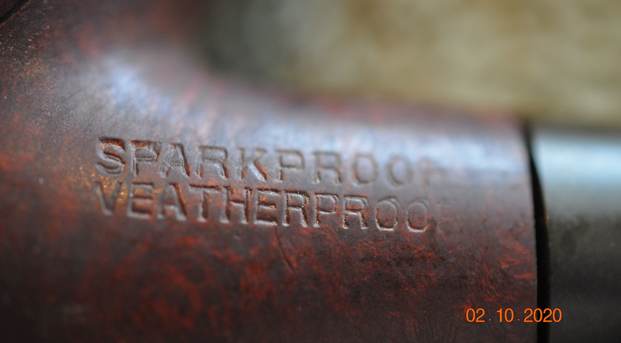
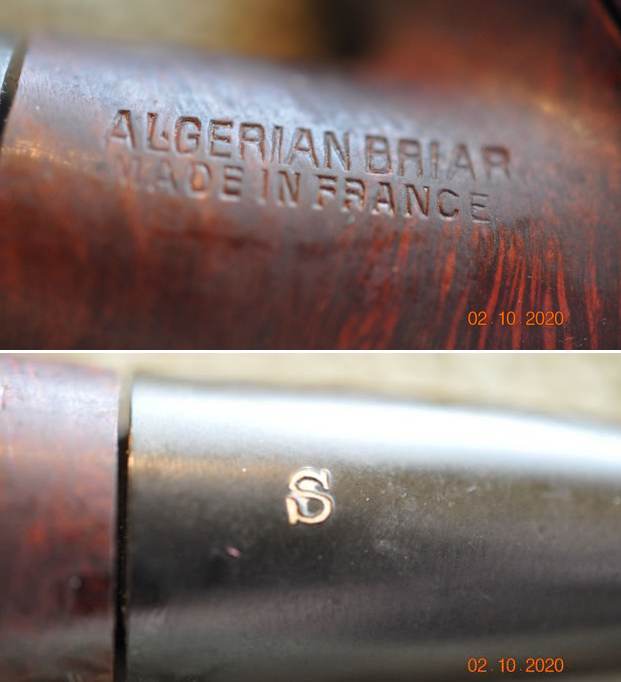
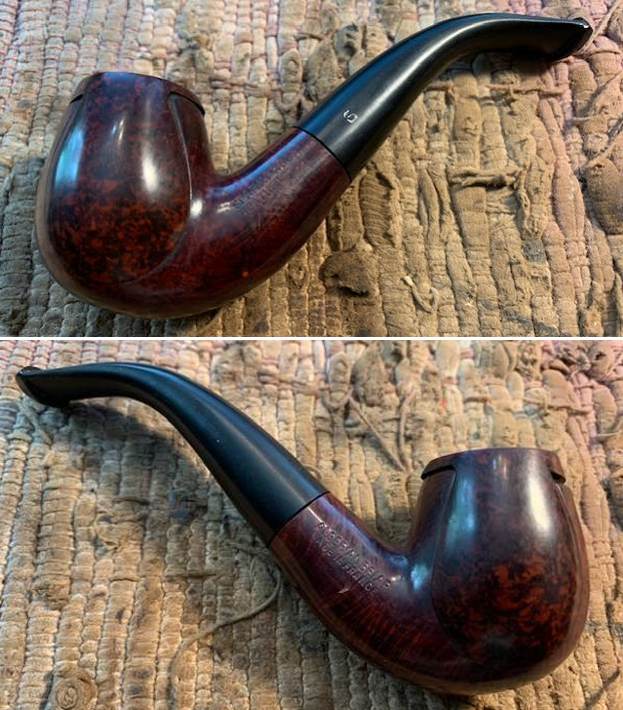
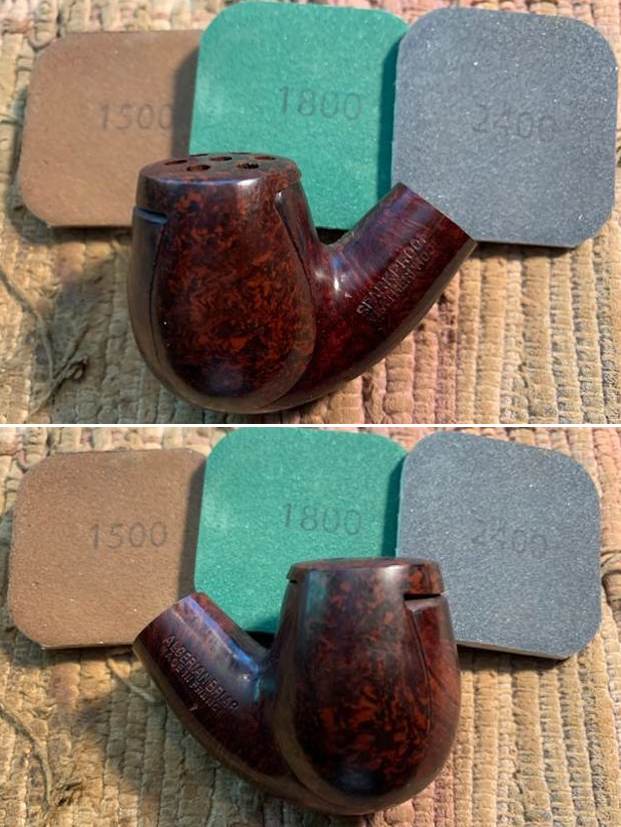
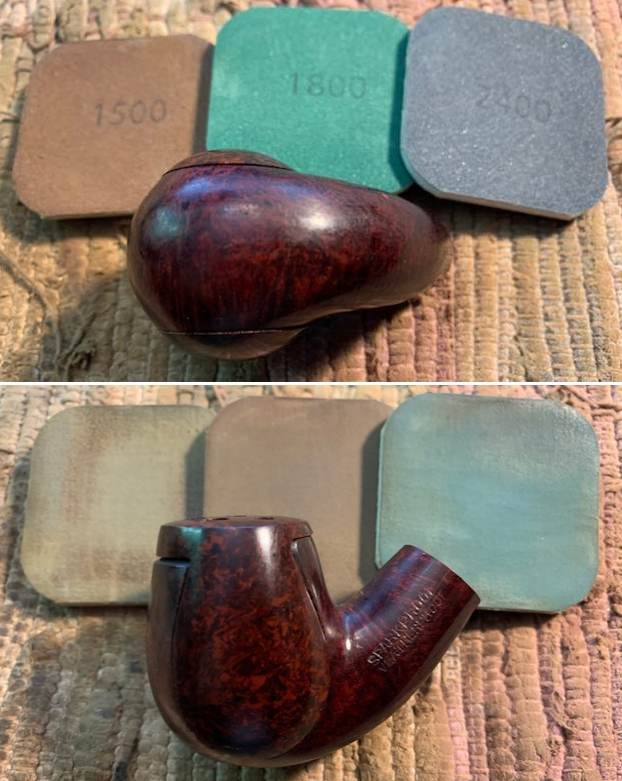
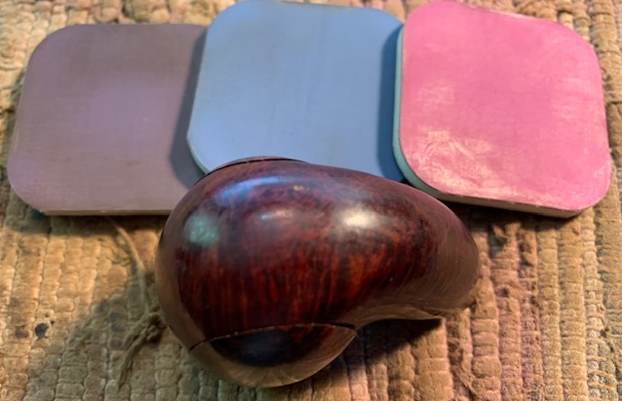
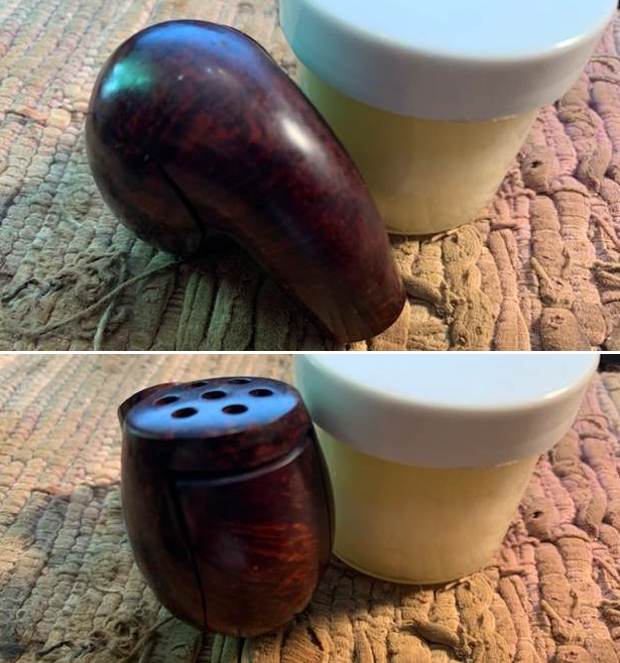
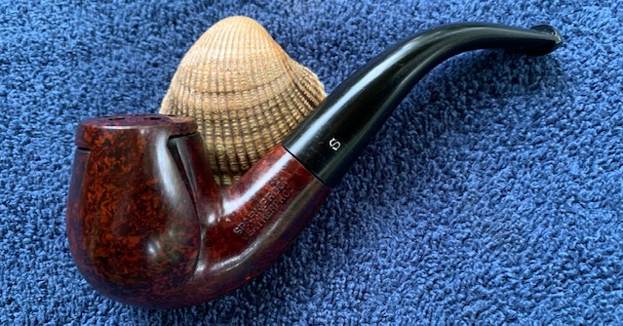
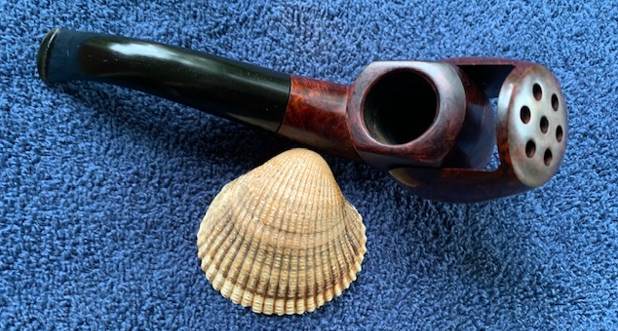
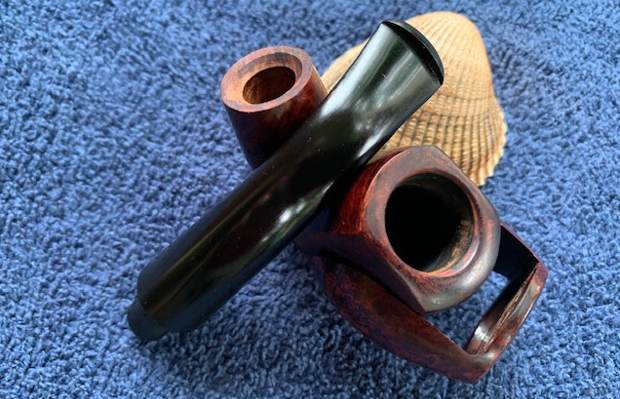
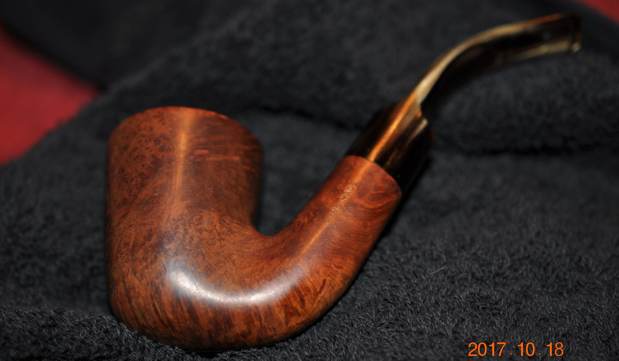
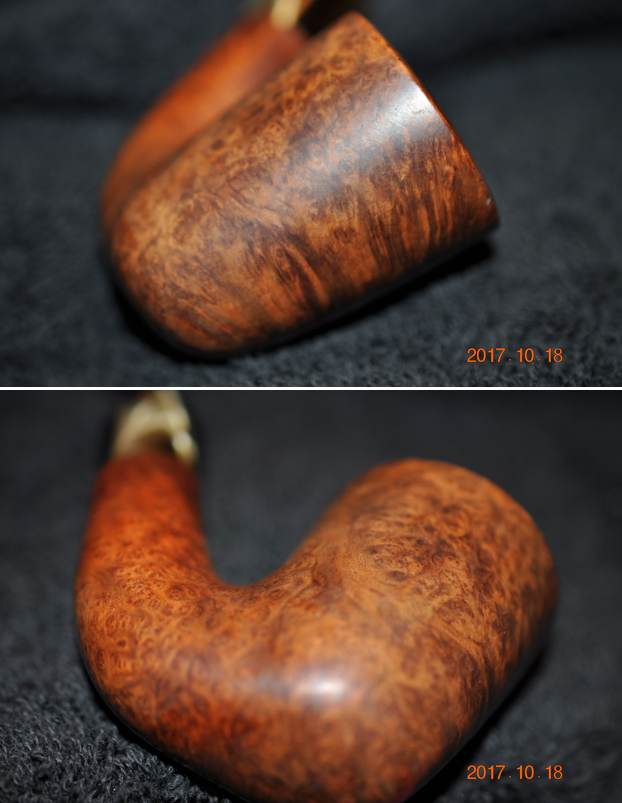
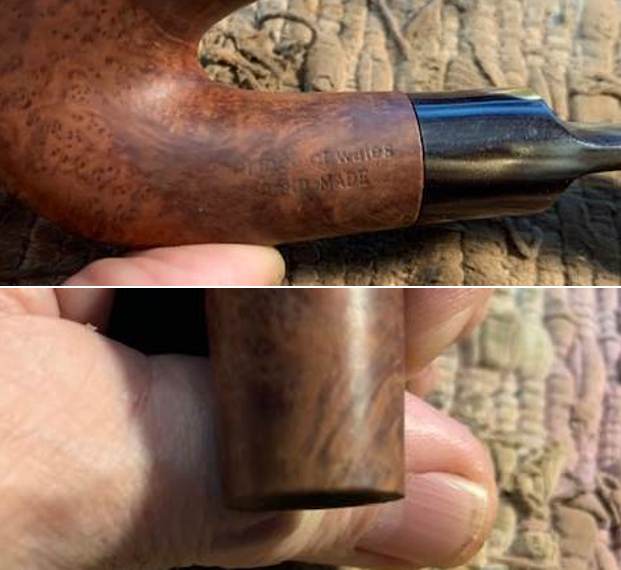
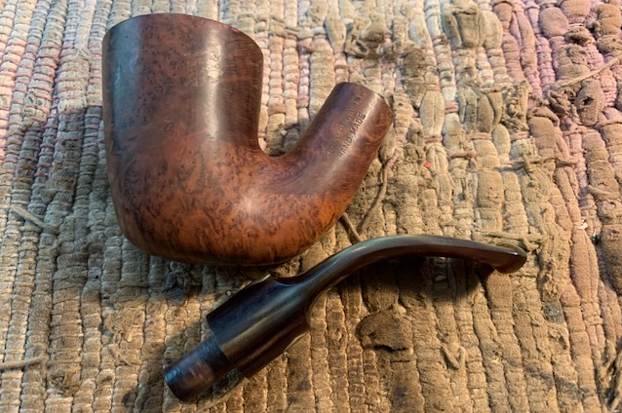
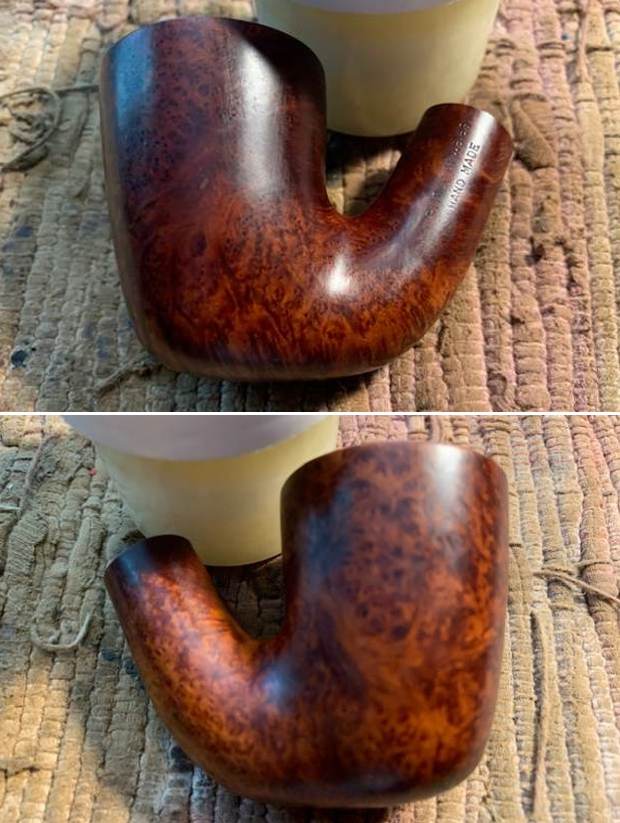
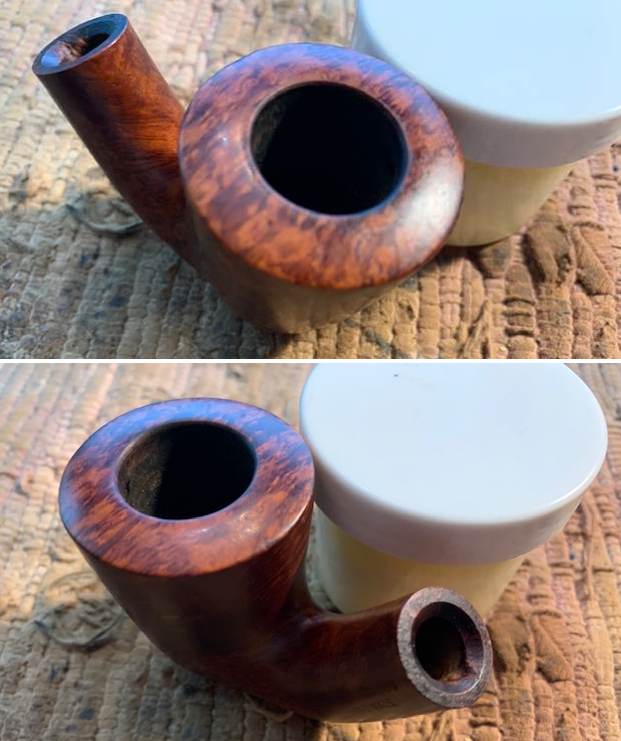
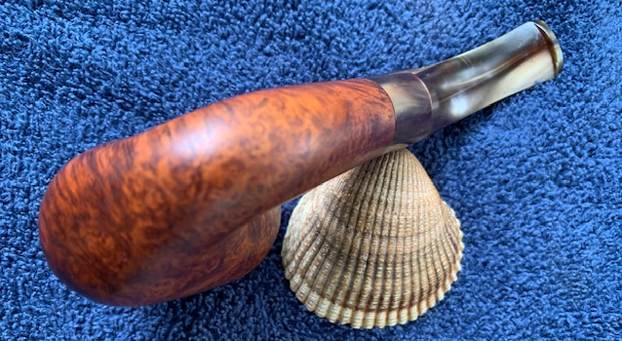
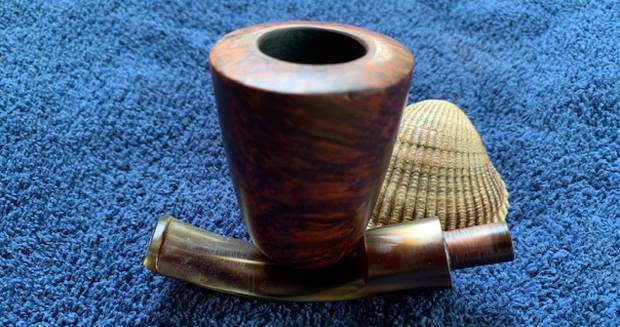
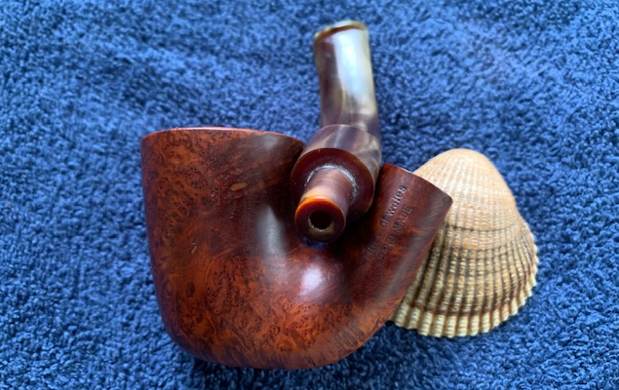
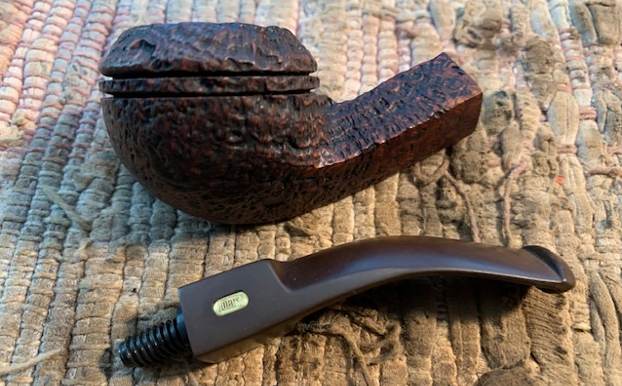
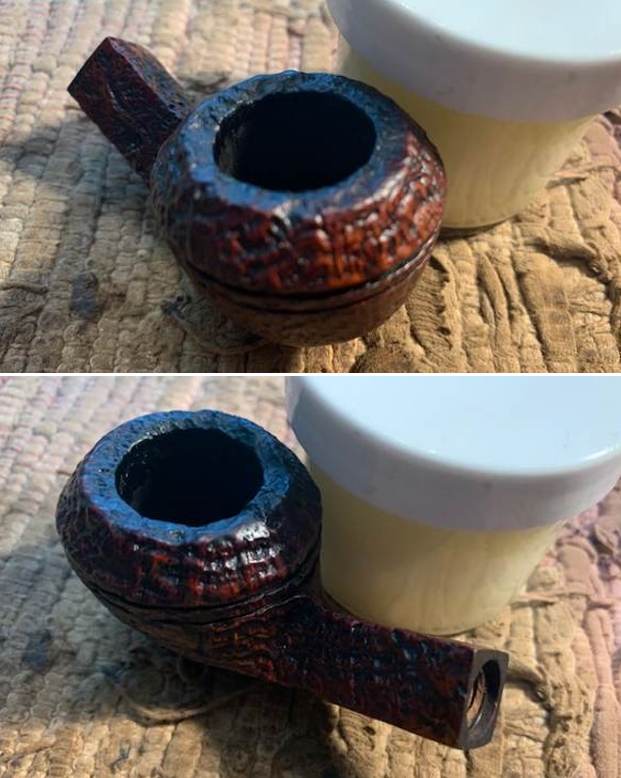
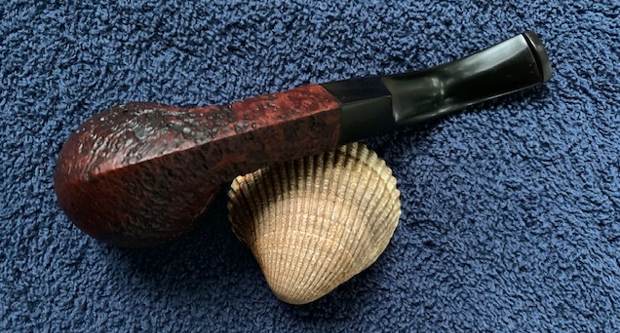
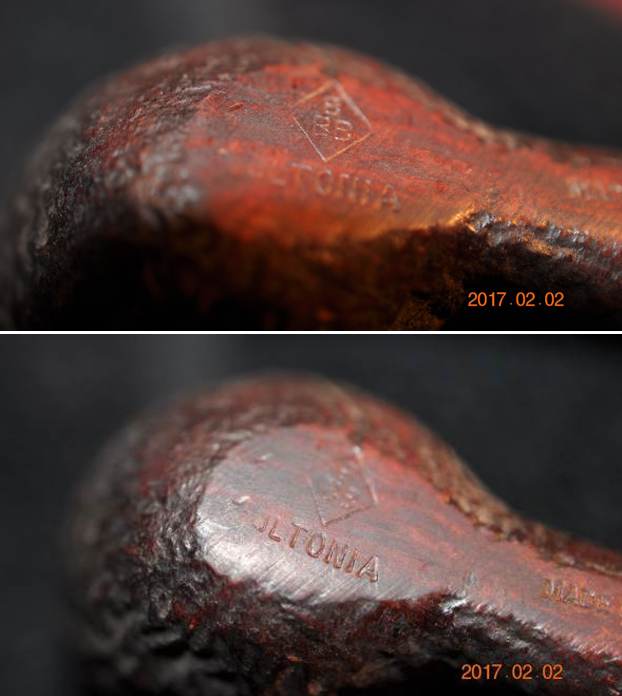
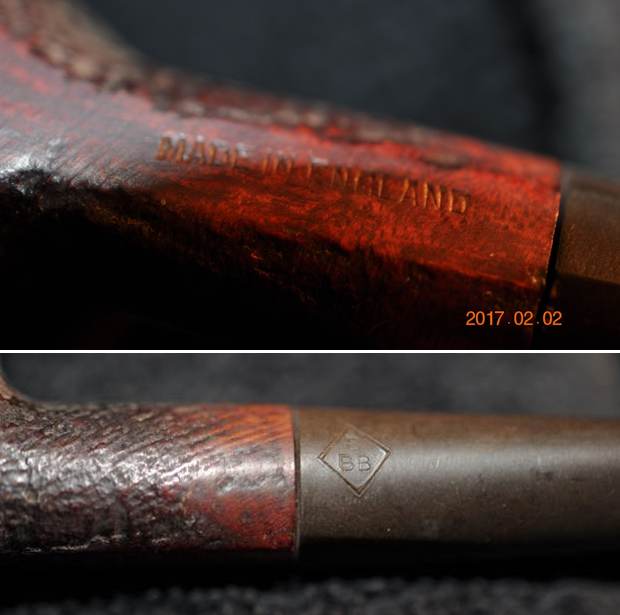
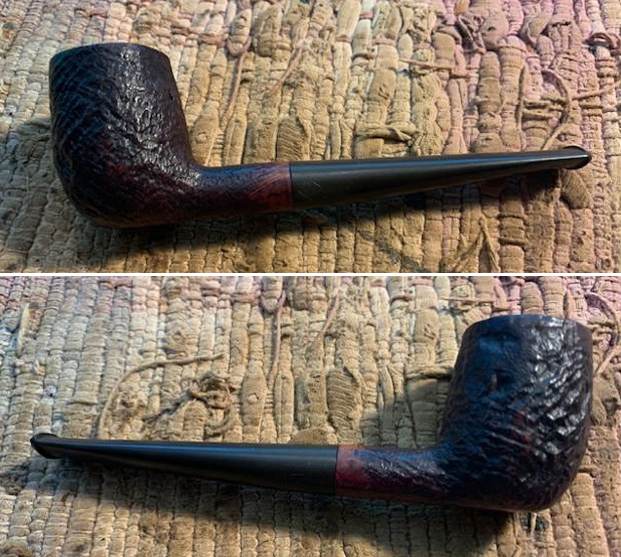
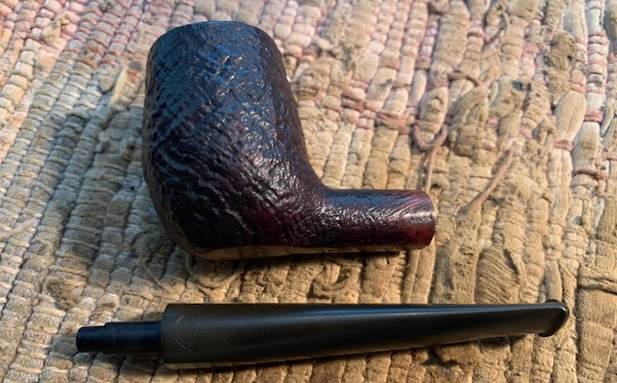
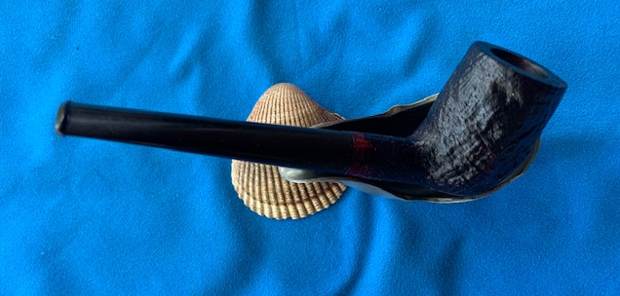
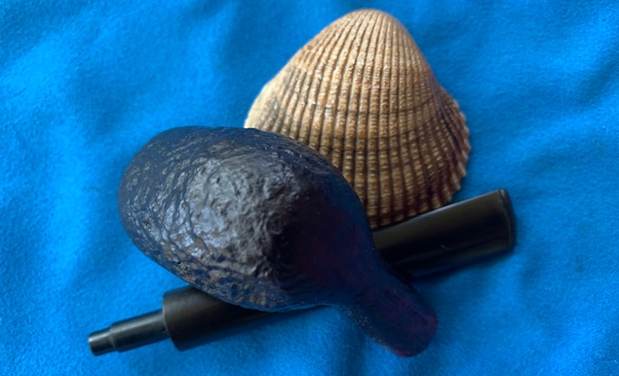
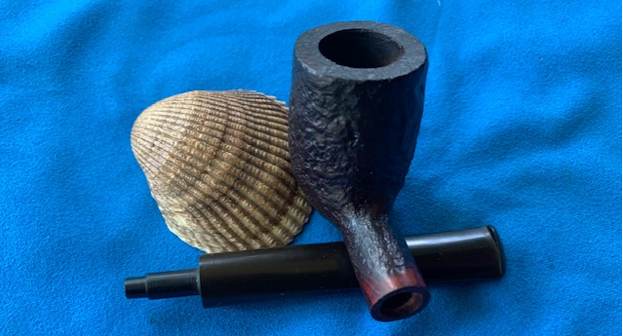
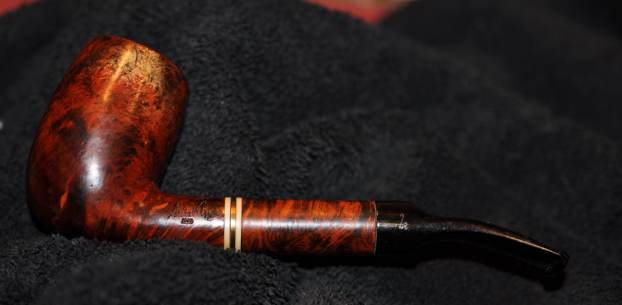
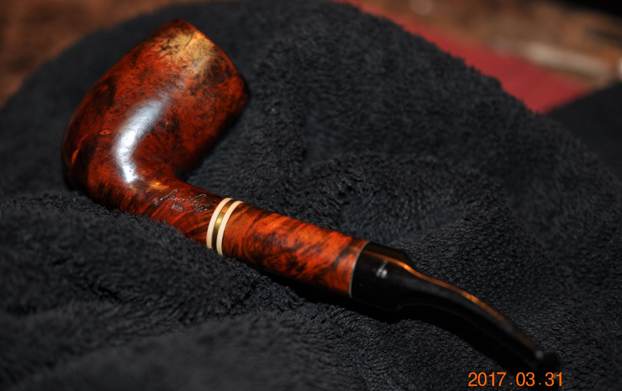
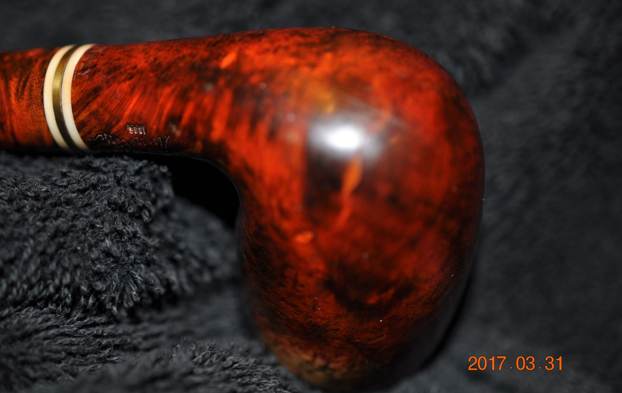
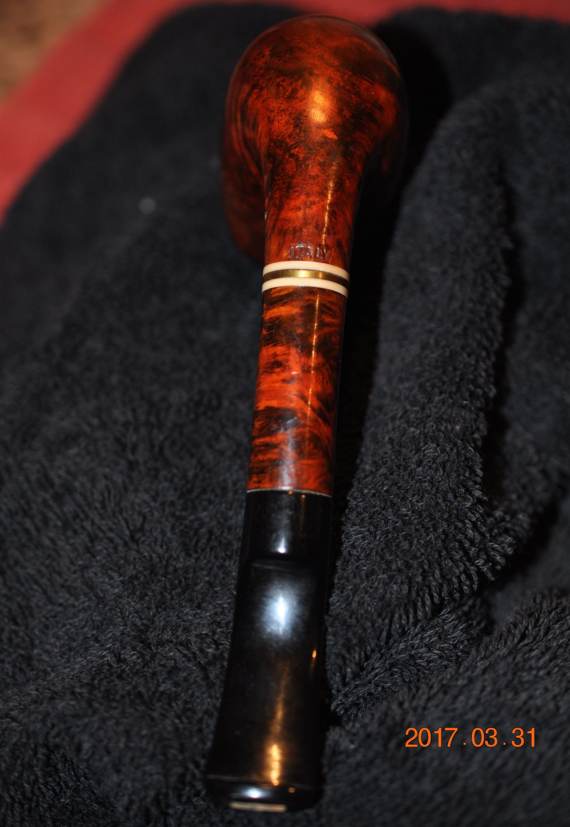
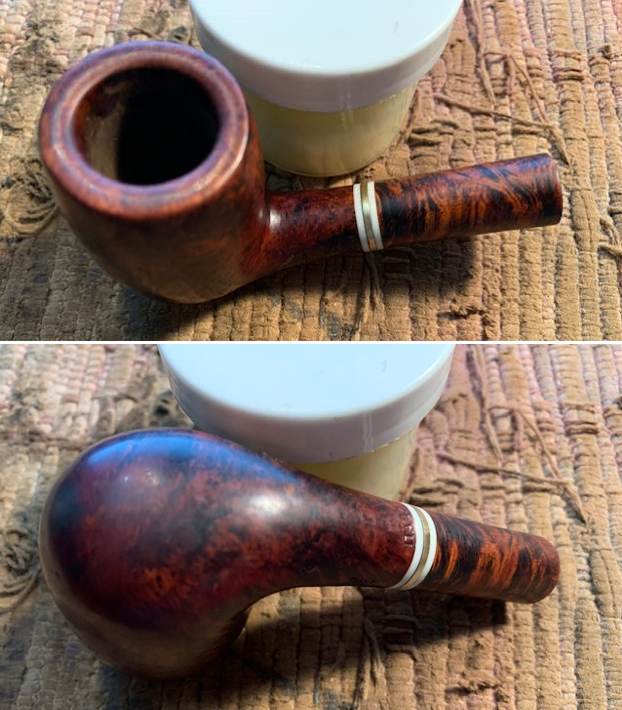
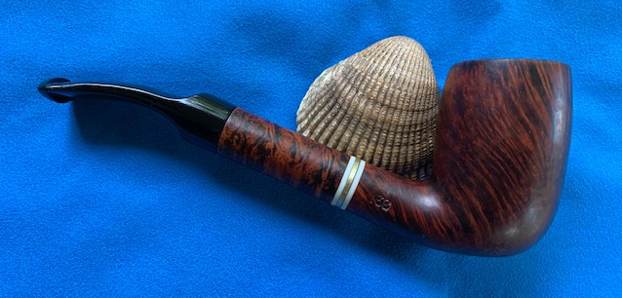
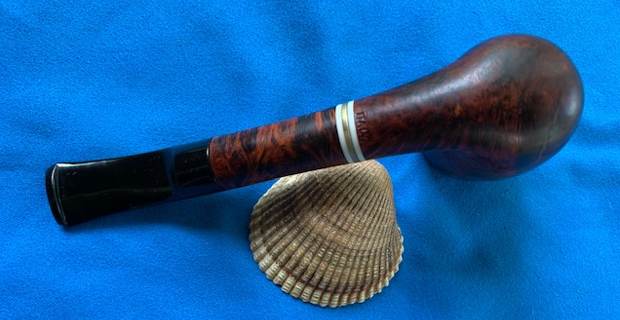
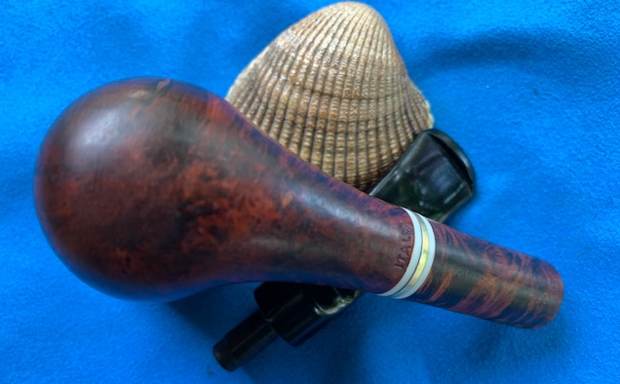
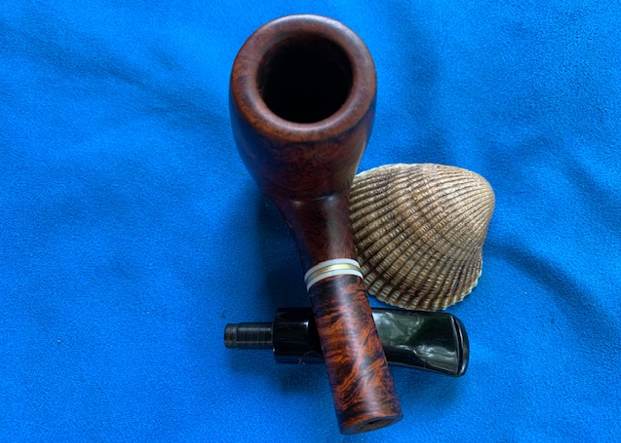
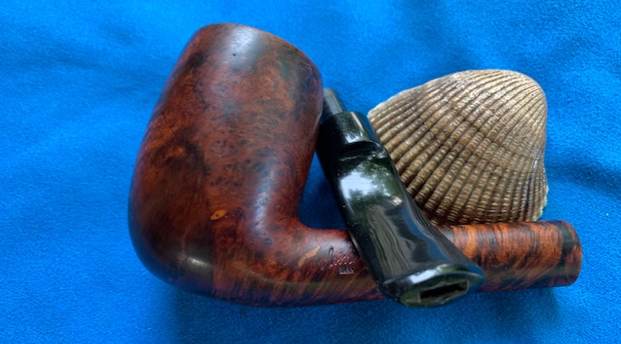
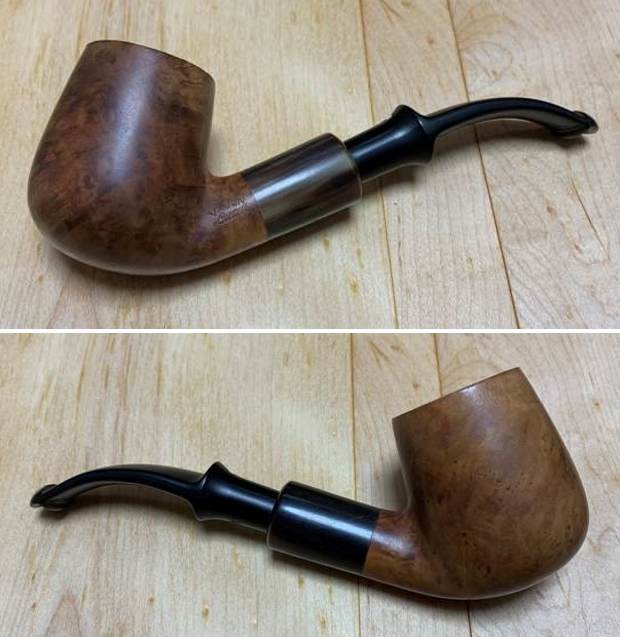
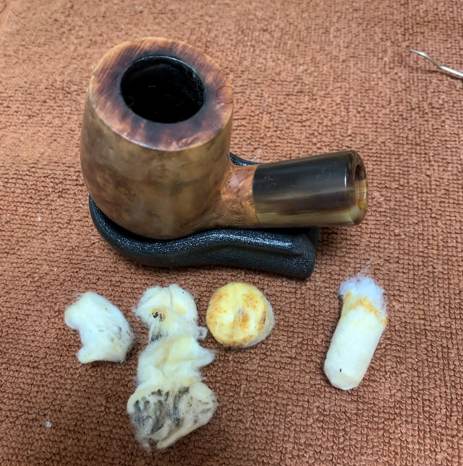
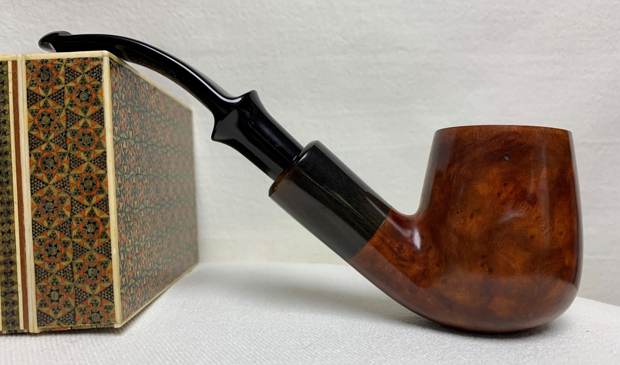
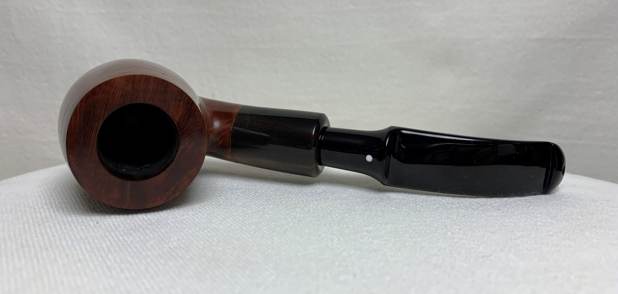
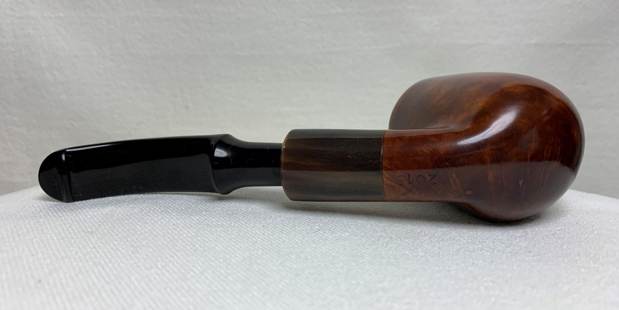
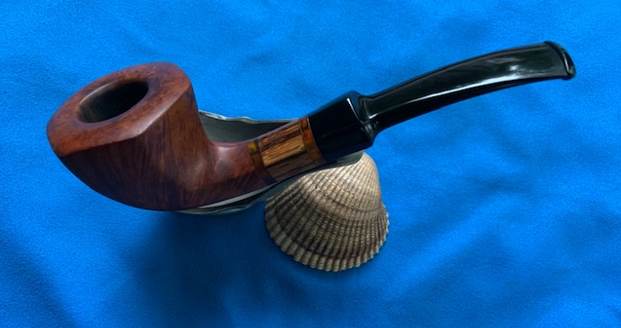
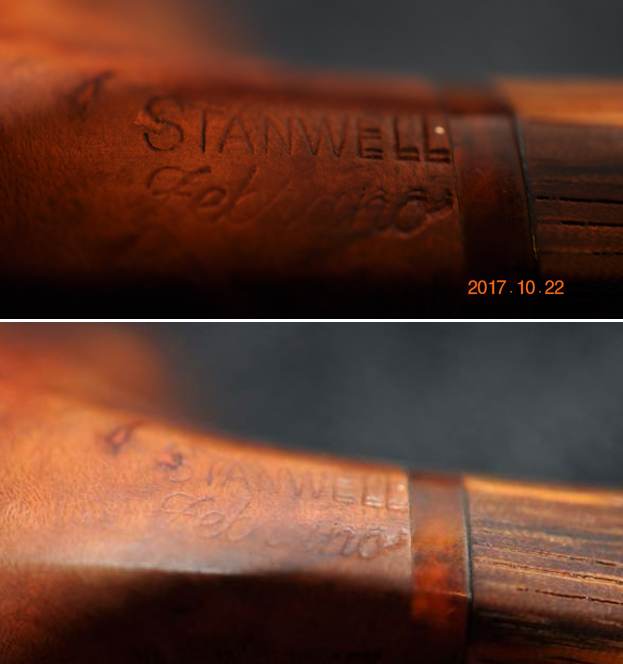
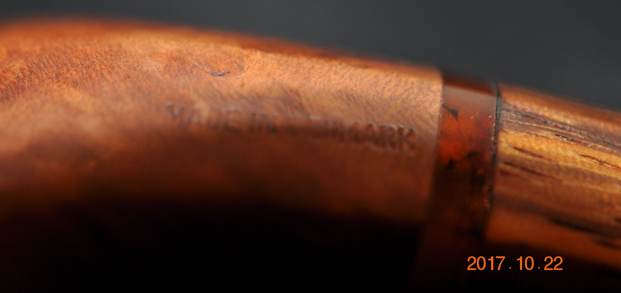
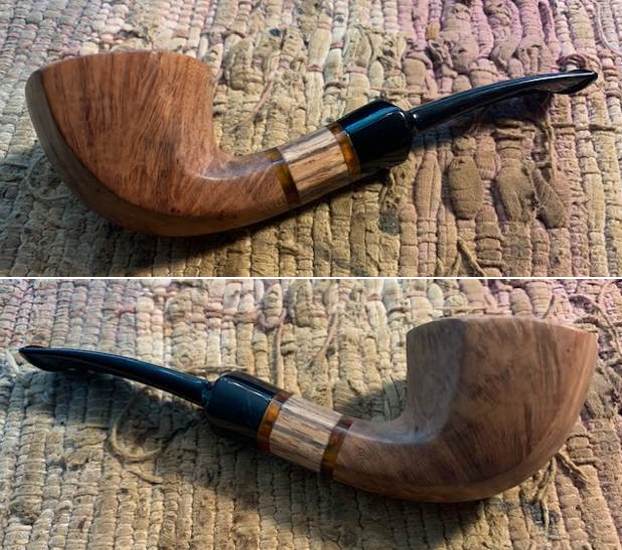
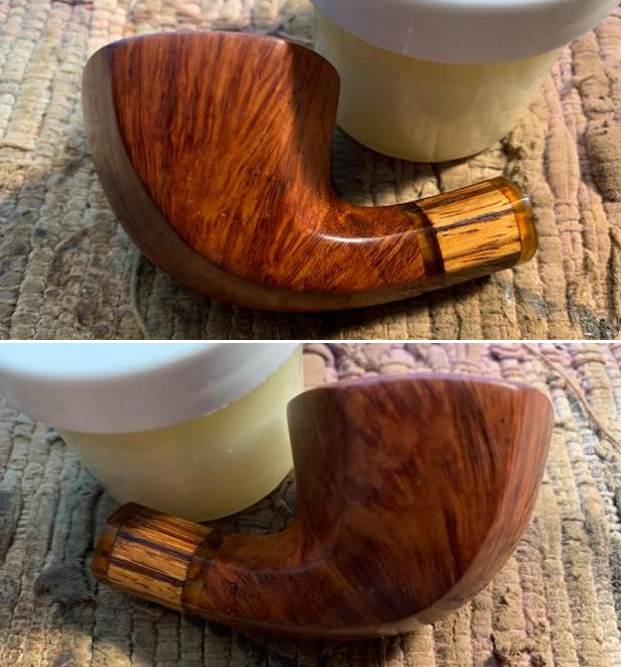
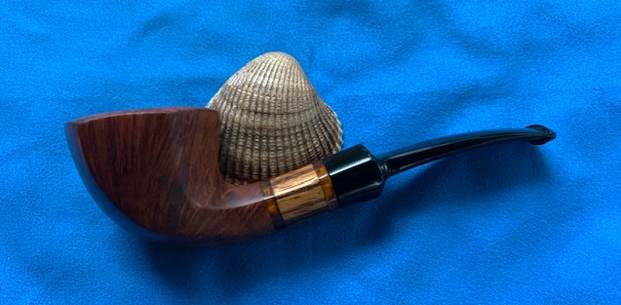
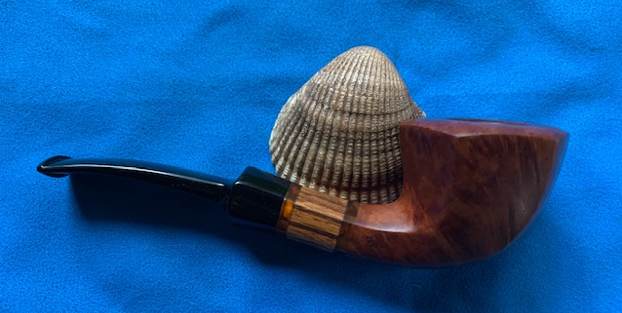
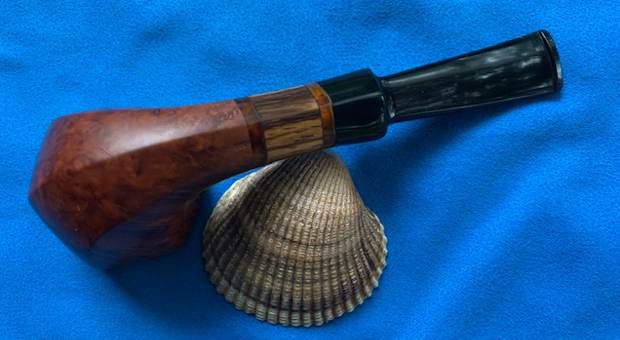
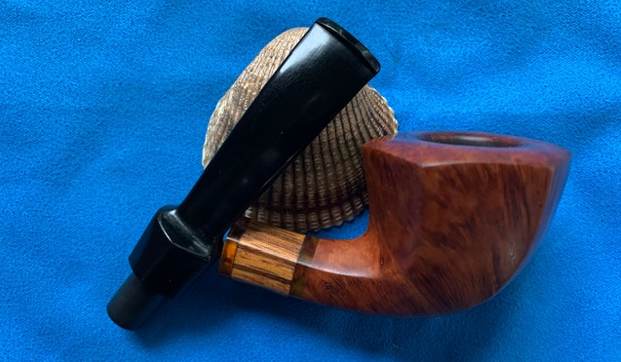
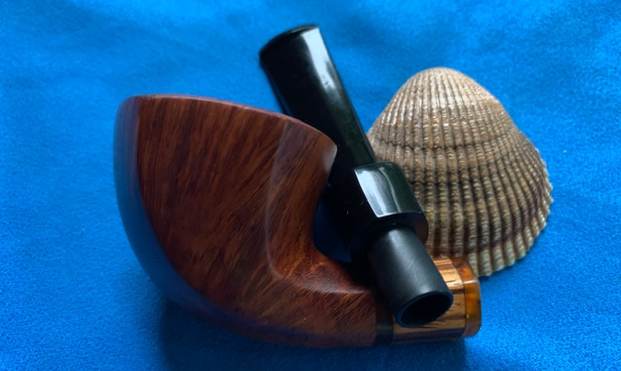
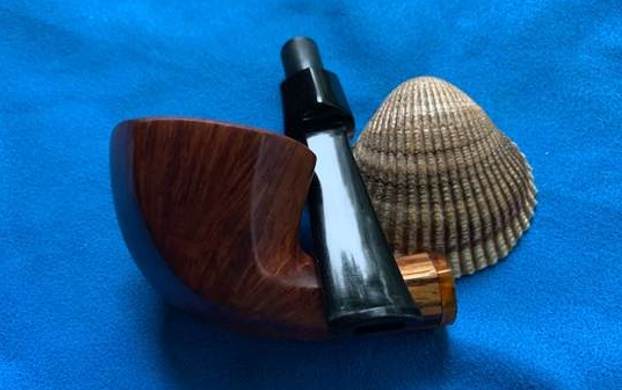
 I removed the stem from the shank and took a photo of the pipe. It is proportionally pleasing and quite an eye catching pipe.
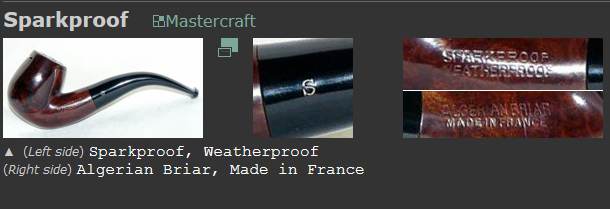
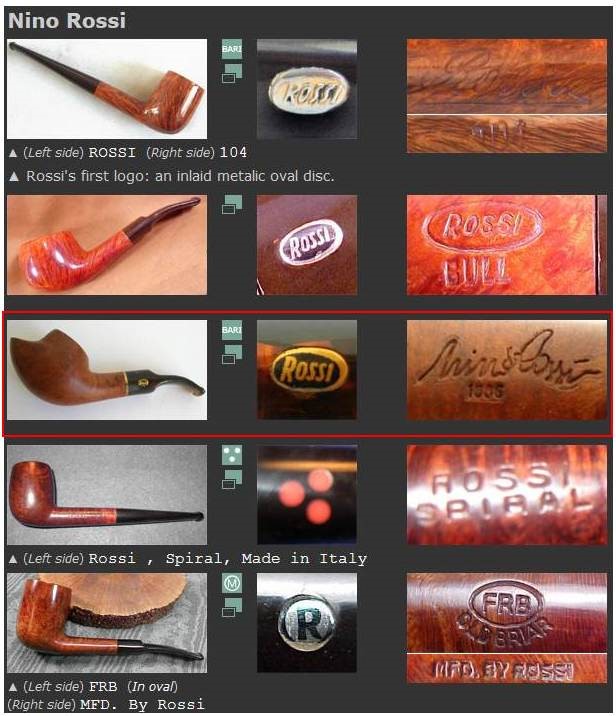
  I looked on Pipephil’s site for information on the Comoy’s Tradition and found the following information I have included a screen capture (http://www.pipephil.eu/logos/en/logo-comoy.html). It has the three part C which dated it to 1946 and following. The stamping is the same as the one I am working on.
  I turned to the article on Pipedia about dating Comoy’s pipes but the style of the stamping (https://pipedia.org/index.php?title=Comoy%27s_Dating_Guide#1917_to_the_end_of_the_1930.27s_.28at_least_1938.29). I have include the section in the screen capture below that date this pipe to the 1950s.
Now the Comoy’s stamp can be found in three variants in the 1950s
- A simple block-letter style without serifs but with the C larger than the other letters and the apostrophe before the “S”.
- A return to the slightly more fancy block letters with serifs and the apostrophe. (It seems that some grades carried different stamps, or at least that the stamping changed in different years for some grades.)
- A simple block-letter style without serifs and without the apostrophe and with the “C” the same size as the rest of the letters. This stamp was probably not used very long.
- A simple block-letter style without serifs but with the apostrophe before the “S” and with the “C” the same size as the rest of the letters.
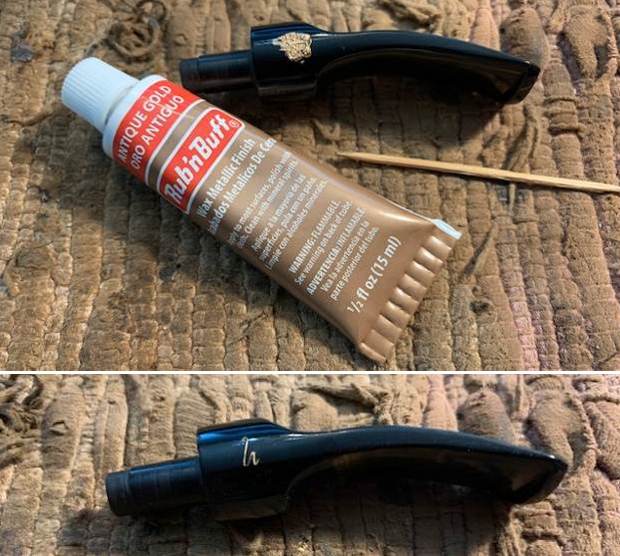
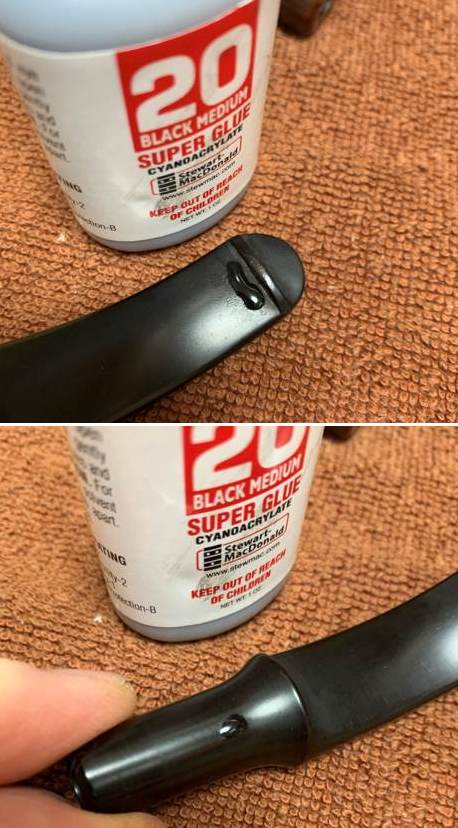
Inlaid “C” on the stem
 “C” was first inlaid in the side of the mouthpiece around 1919. This was a complex inlay needing three drillings. First, a round white inlay was inserted, then the centre of the white was drilled out, and a smaller round black inlay was inserted. Finally, another drilling was made to remove the open part of the “C,” and an even smaller black inlay was inserted. This inlaid “C,” known as the “three-piece C,” was continued until the Cadogan era in the 1980s. However, the “C” in the 1920s and early 30s is much thinner and more delicate than the one post-WW II.
That article gave me some helpful information regarding the pipe that I was working on. I knew that the stamping and logos identified the pipe as having been made in following WW2 and from what I can see from the above information it is a 1950s era pipe.
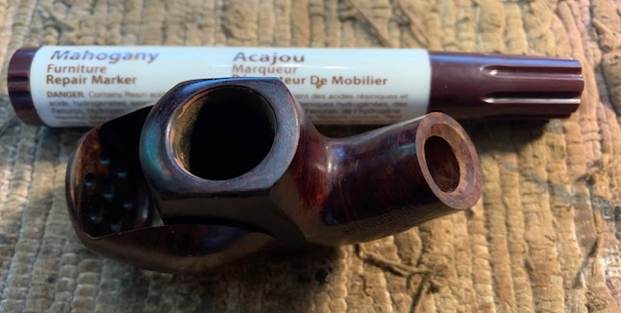
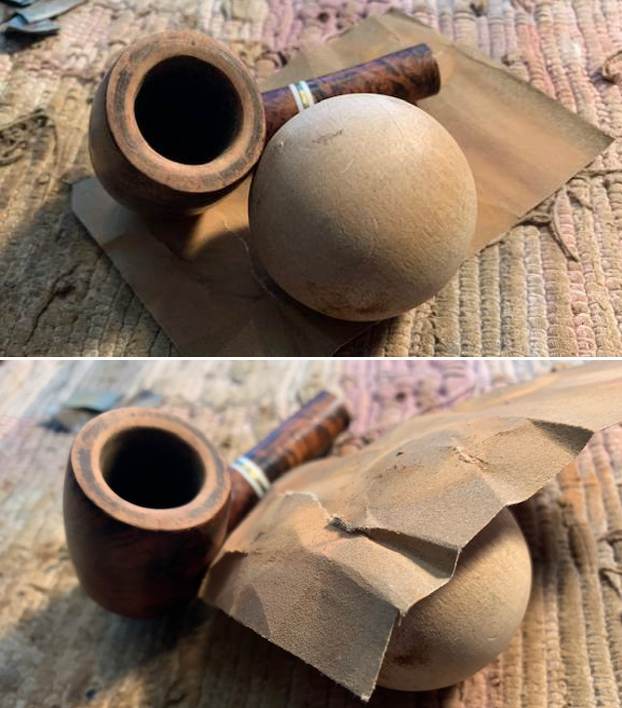
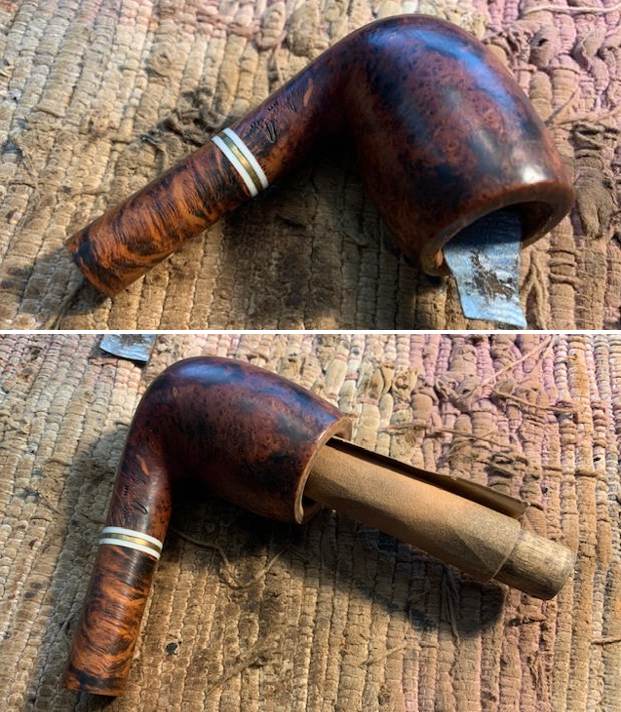
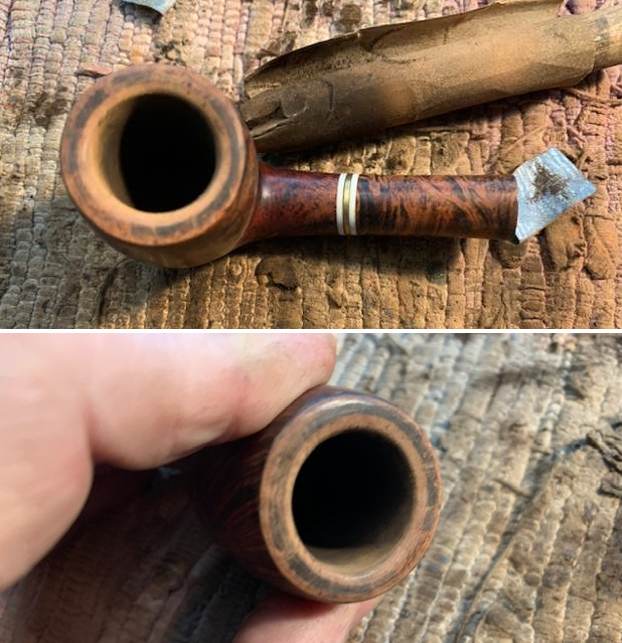
I started my work on the pipe by addressing the damage on the rim top, outer edge and the inner beveled edge of the bowl. I topped the bowl on a topping board with 220 grit sandpaper. I filled in the deep damage on the outer edge and rim top with clear super glue and briar dust. I used a wooden ball and 220 grit sandpaper to give the rim top and inner edge a bevel and minimize the burn damage to the top and edges.

 I stained the rim top with an Oak Stain Pen to match the colour around the sides of the bowl. It took several coats but it matched quite well.
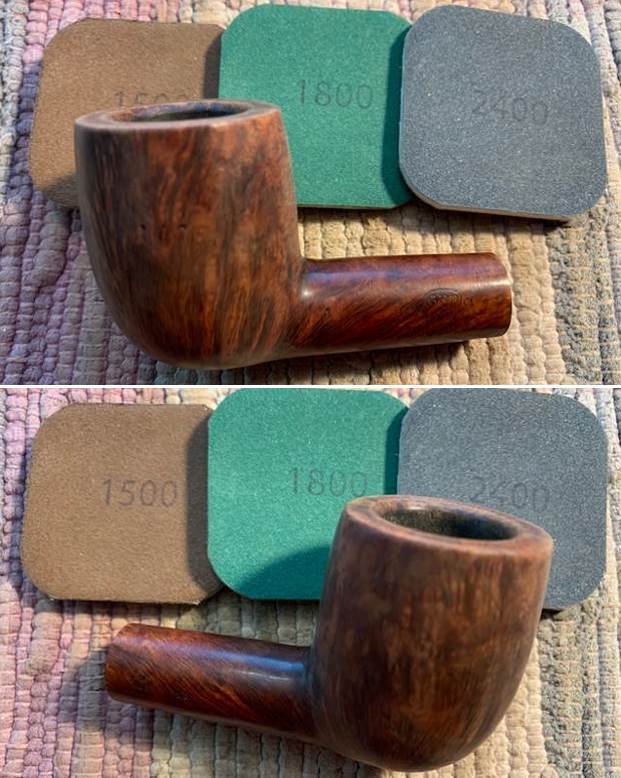
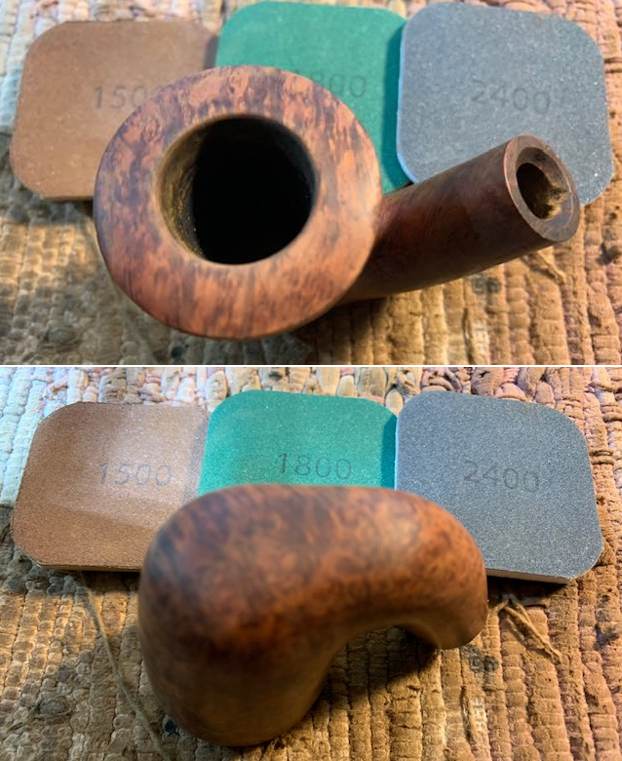
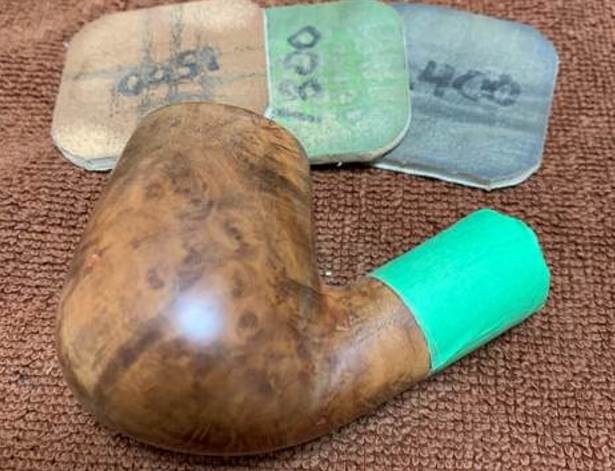
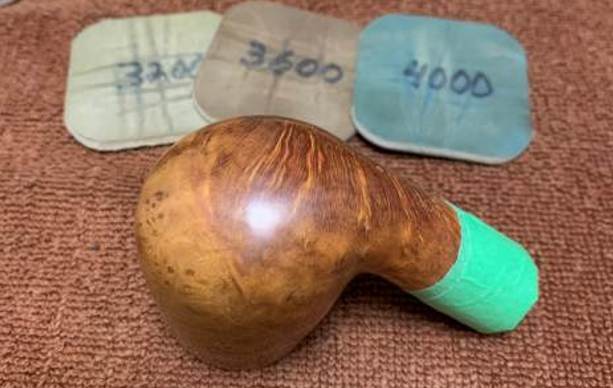
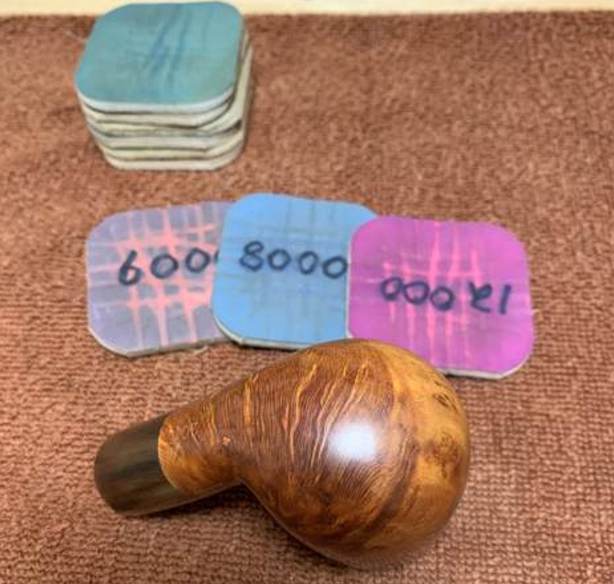
 I polished the briar on the rim top and the rest of the bowl with micromesh sanding pads – dry sanding it with 1500-12000 grit pads. I wiped the briar down with a damp cloth to remove the sanding dust. The briar really took on a rich shine with the polishing.


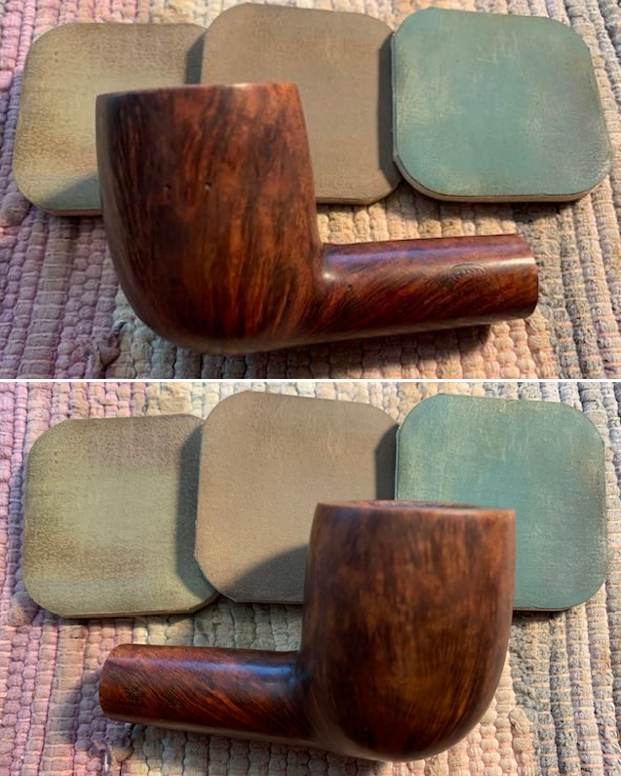
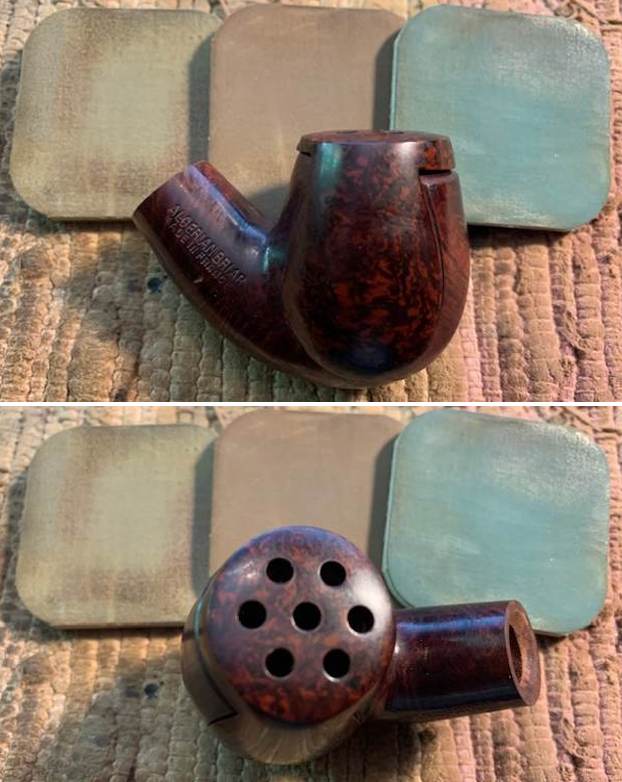
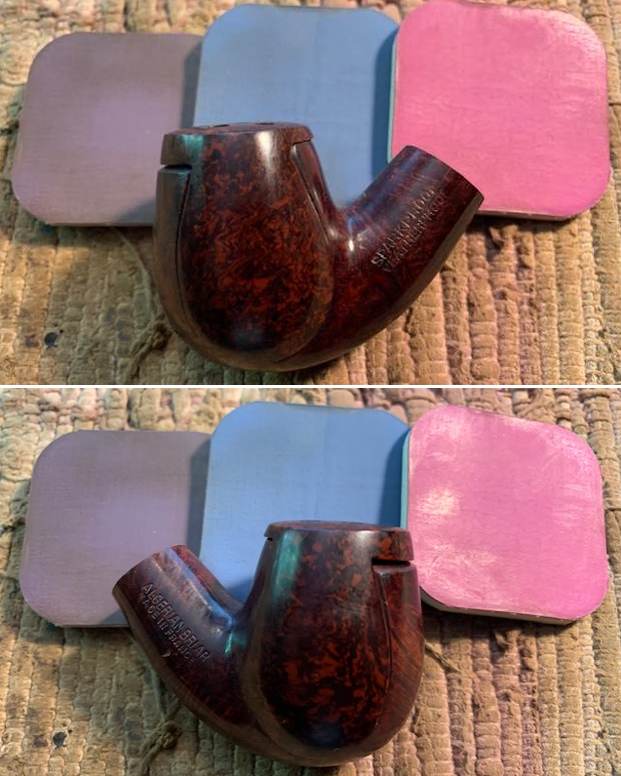
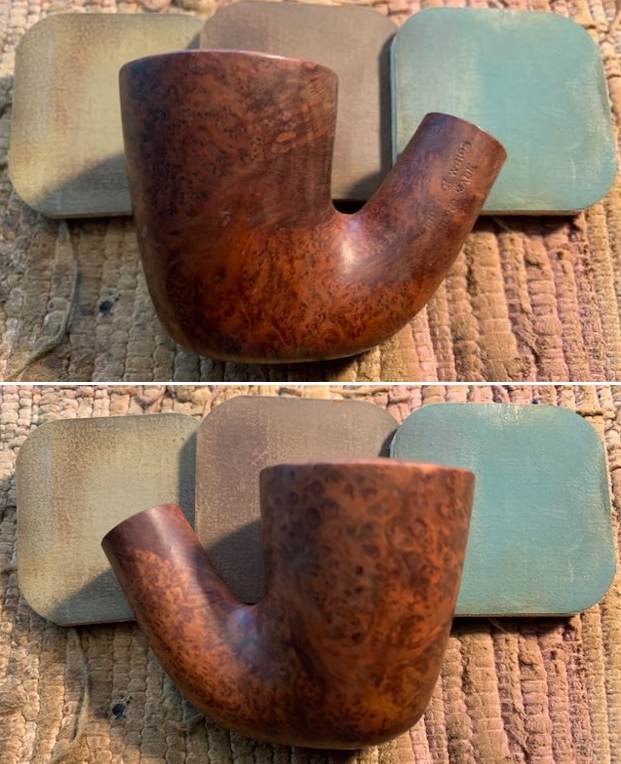
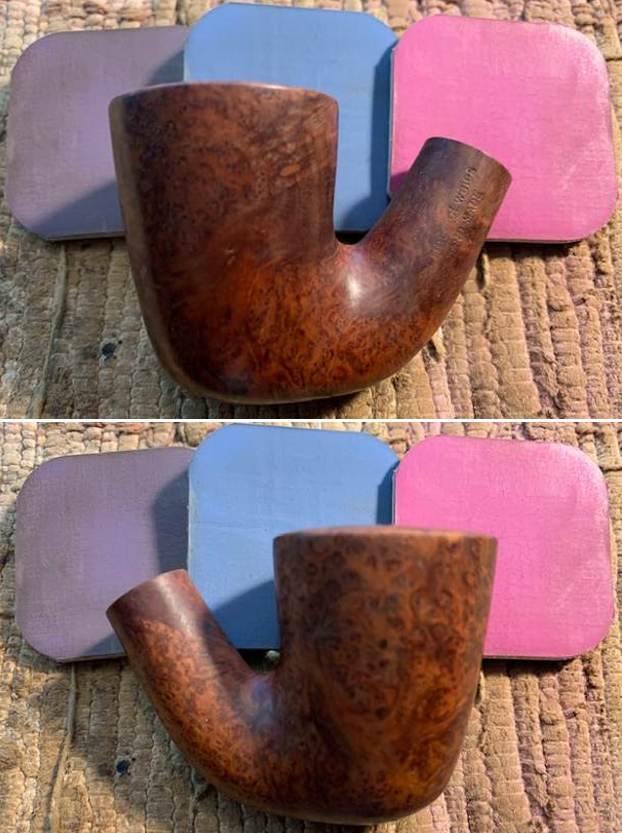
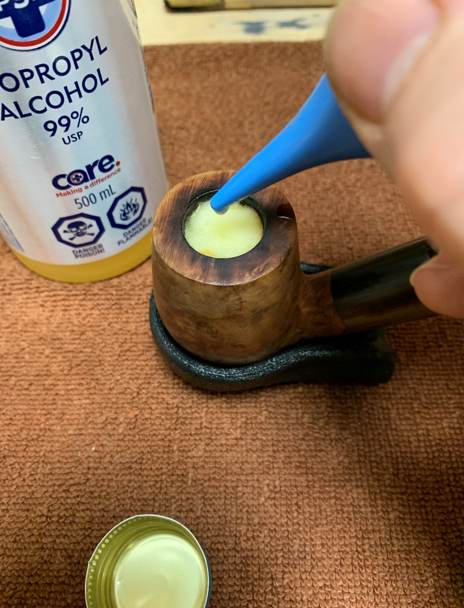
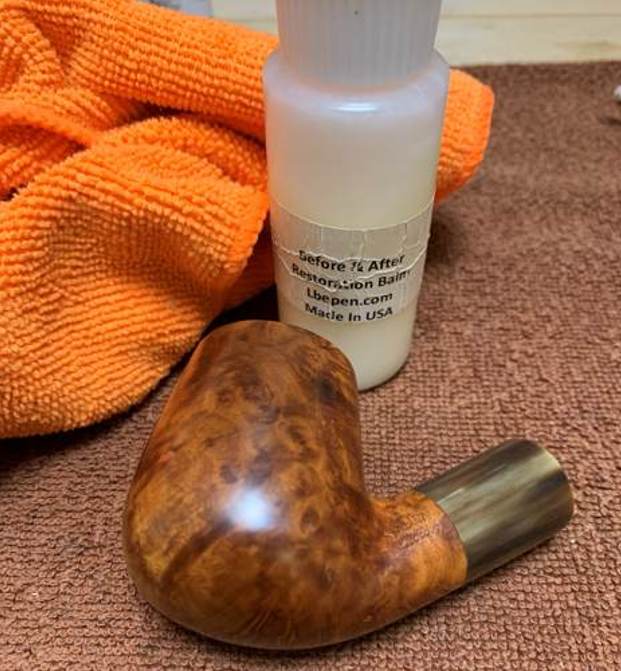
 I rubbed the bowl down with some Before & After Restoration Balm. I worked it into the briar with my finger tips to clean, revive and preserve the wood. It really brings the grain alive once again. I let it sit for 15 minutes then buffed it off with a soft cloth. The grain really pops at this point in the process.

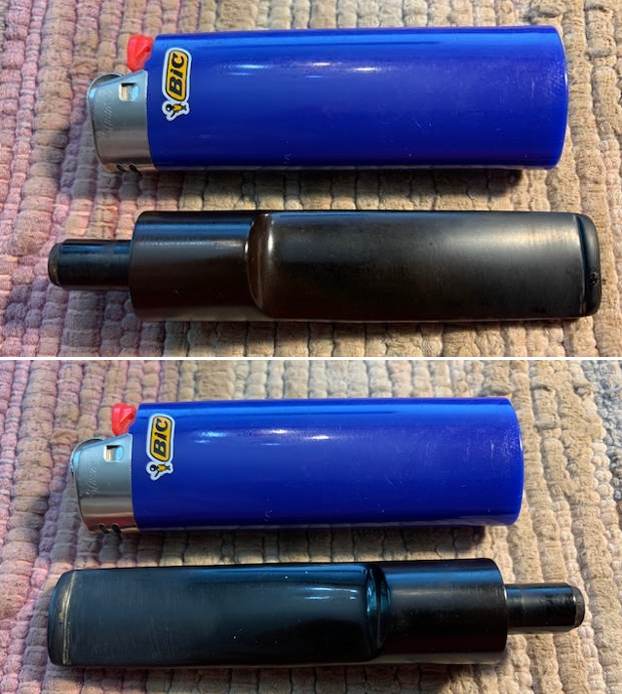
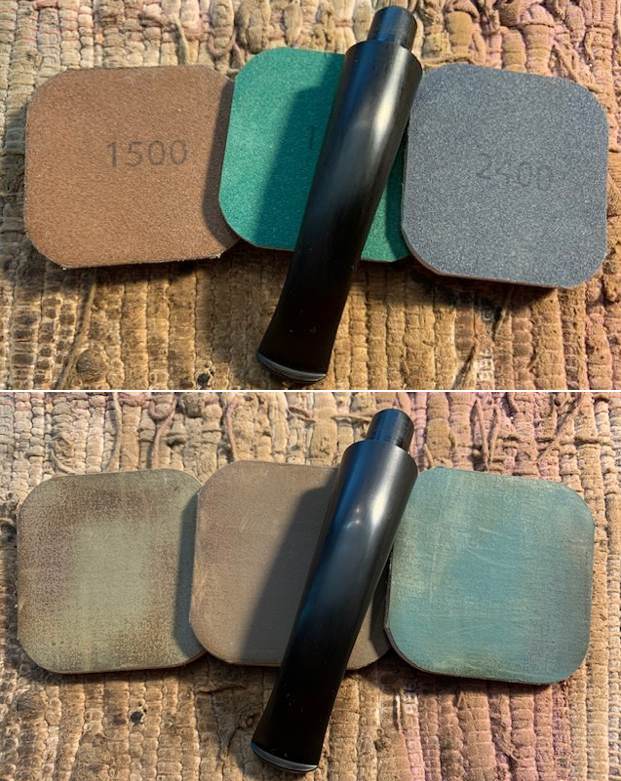
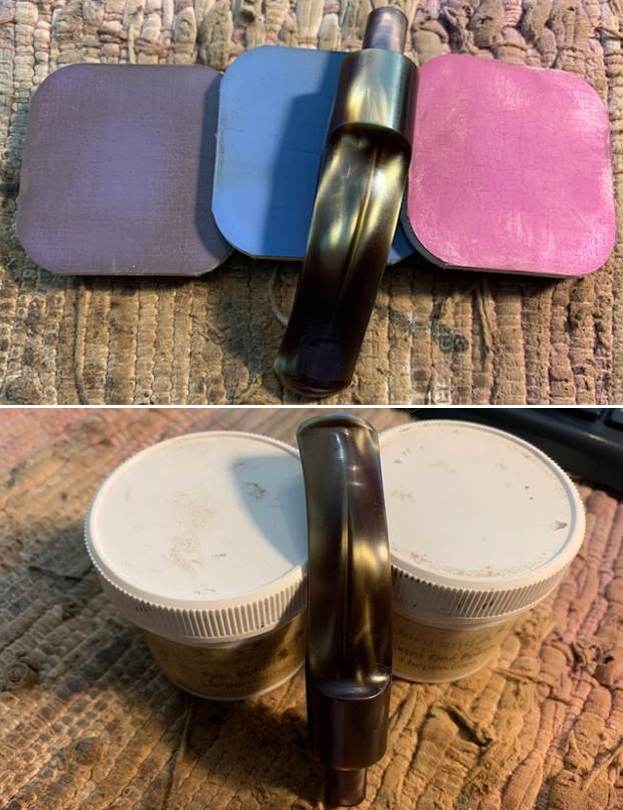
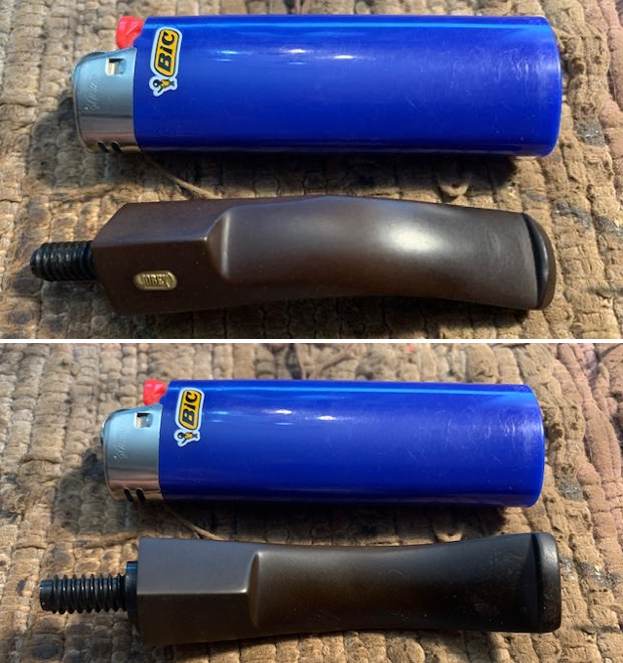
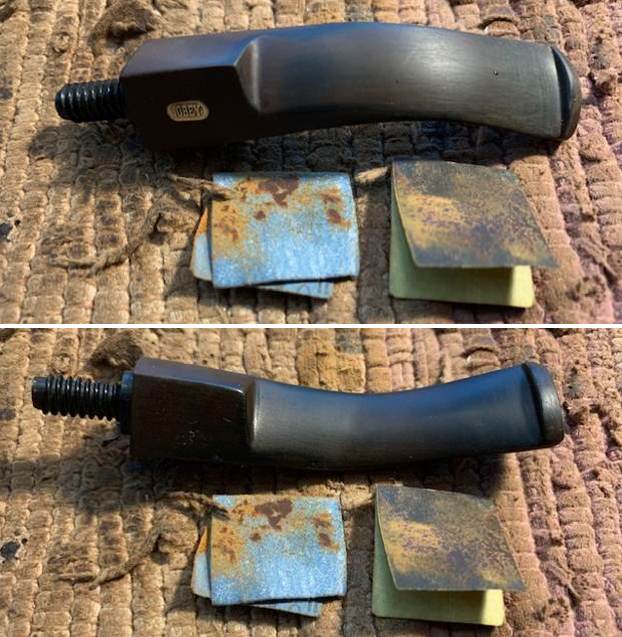
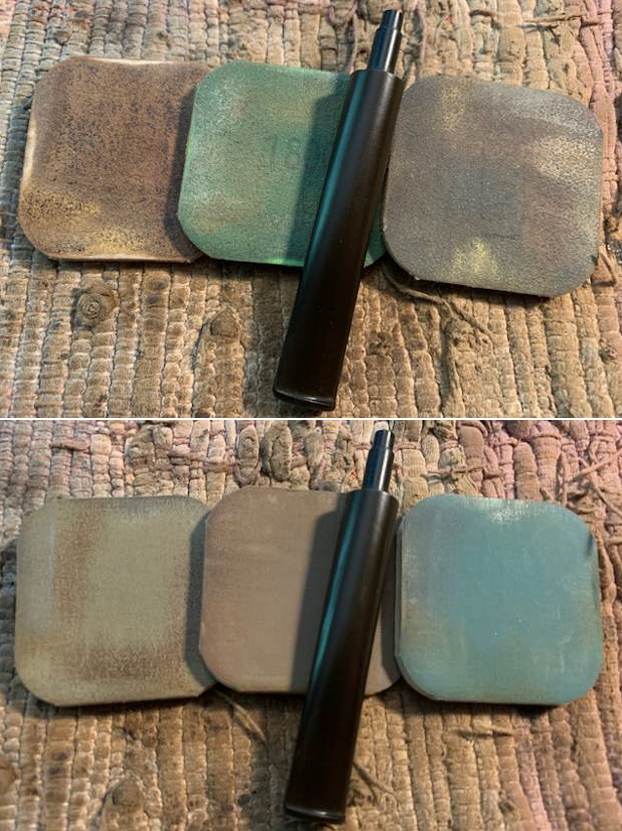
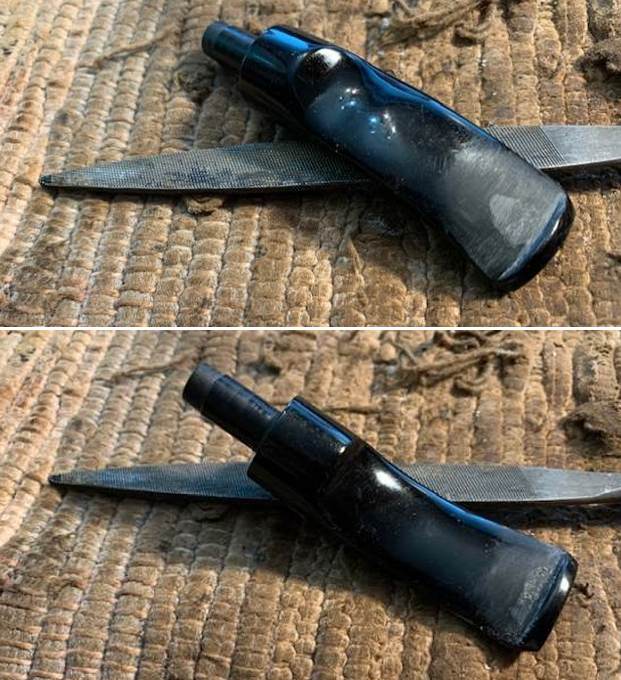
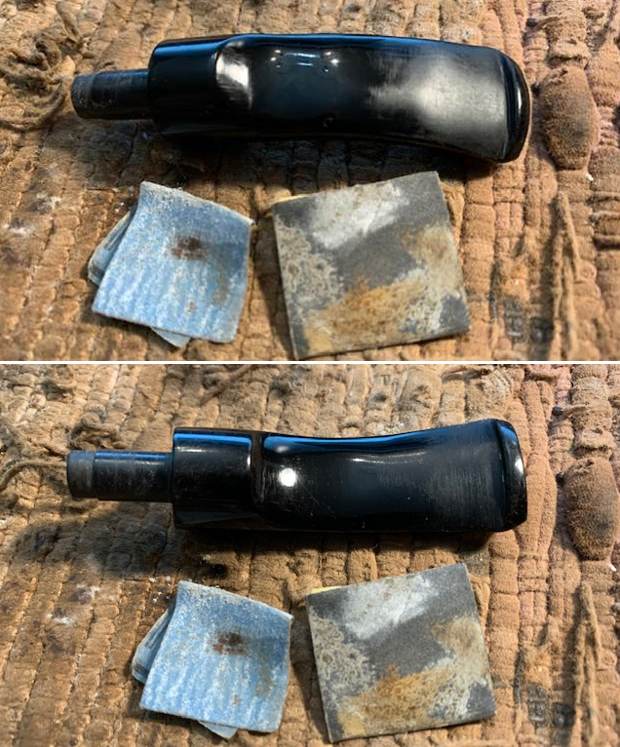
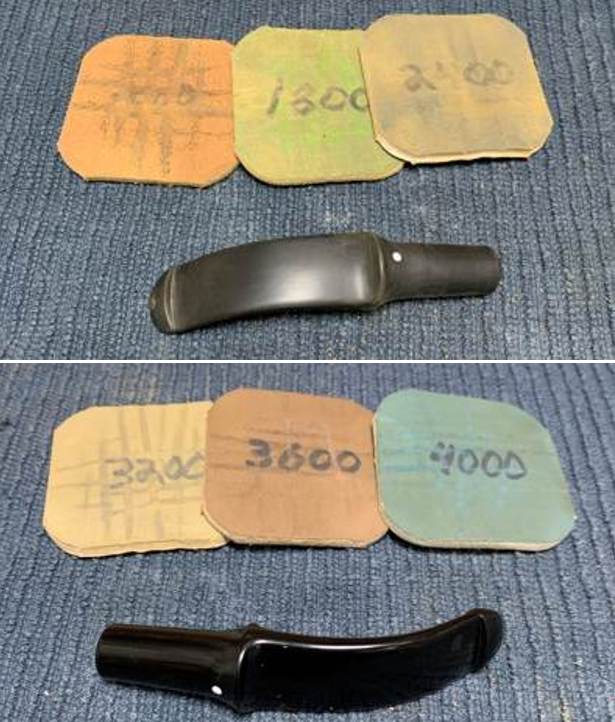
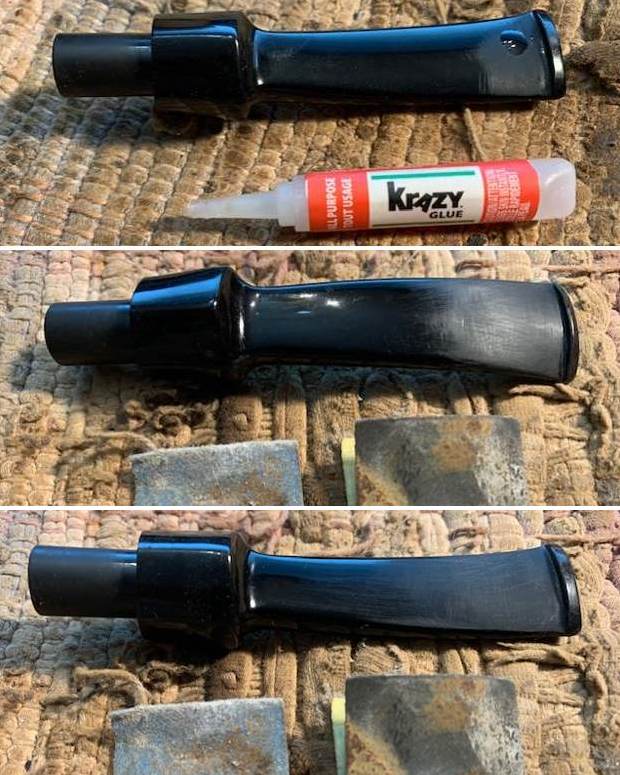
 I set the bowl aside and turned my attention to the stem. I “painted” the surface of the stem with the flame of a Bic lighter and was able to lift the tooth marks and chatter significantly. I sanded out those that remained with 220 grit sandpaper and started polishing it with 400 grit wet dry sandpaper. It was starting to look very good.
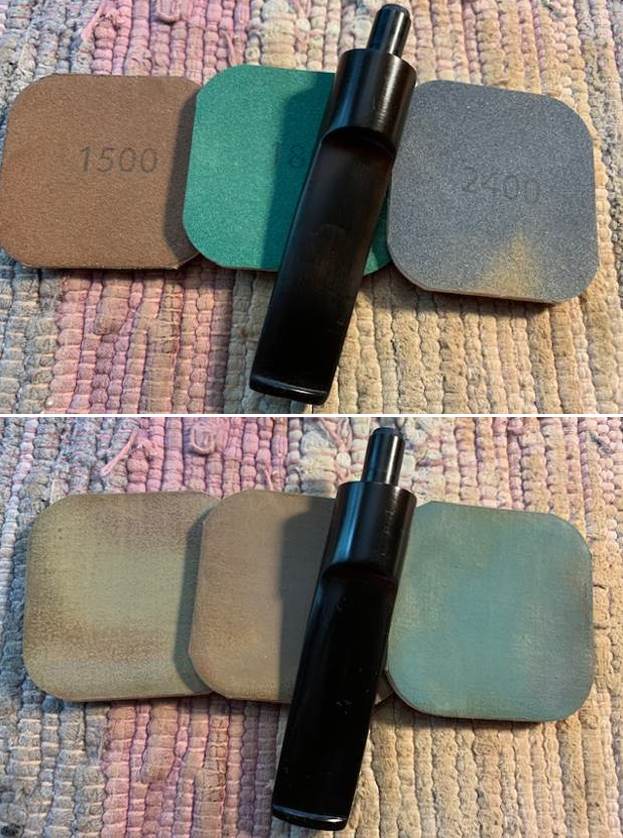
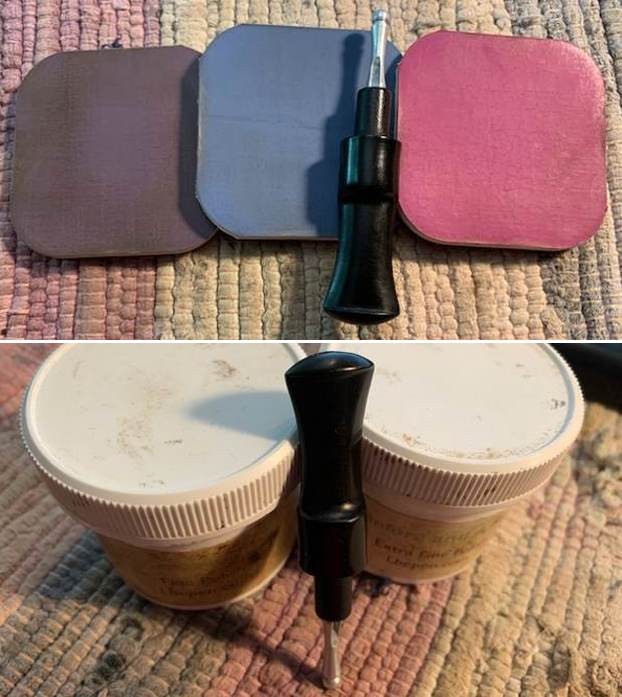
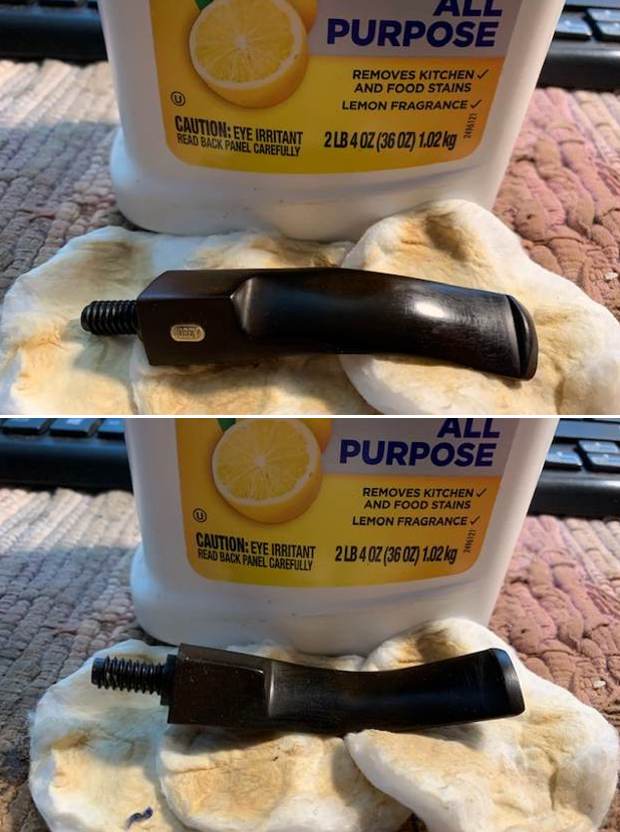
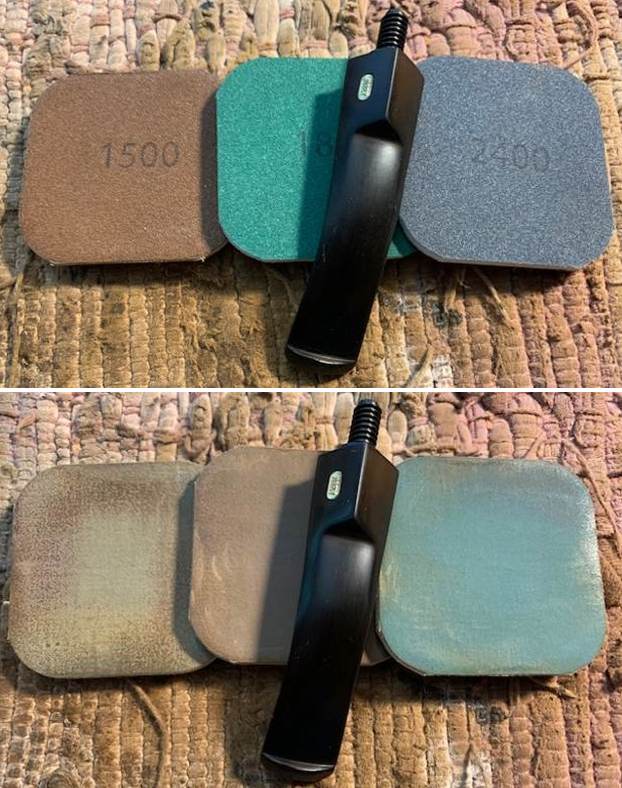
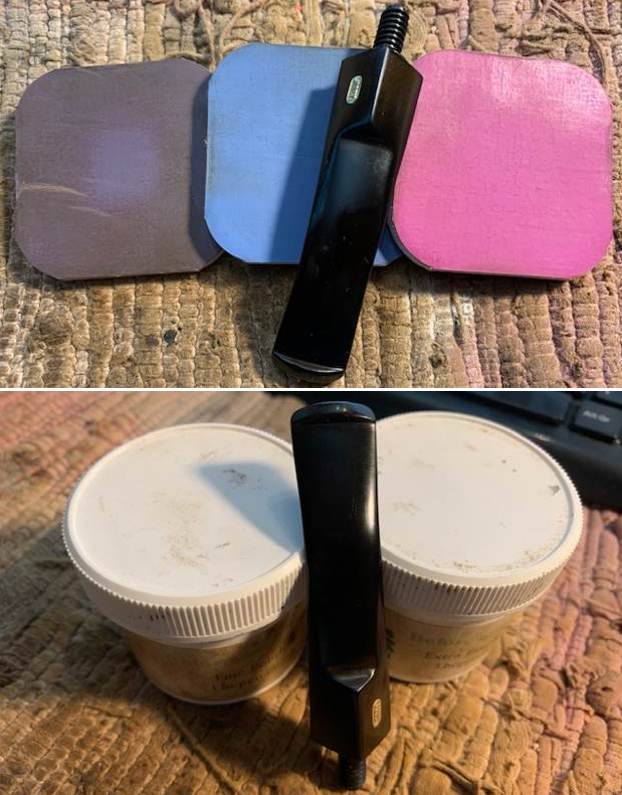
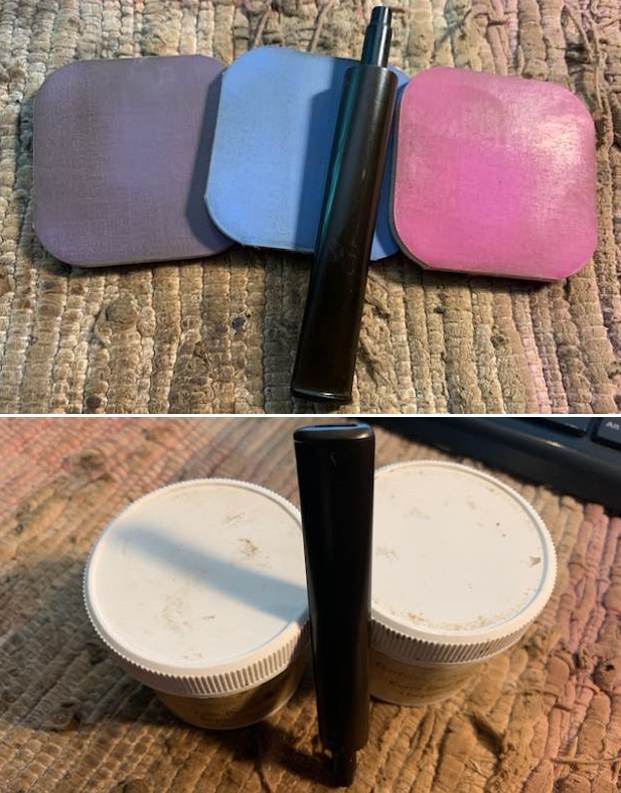
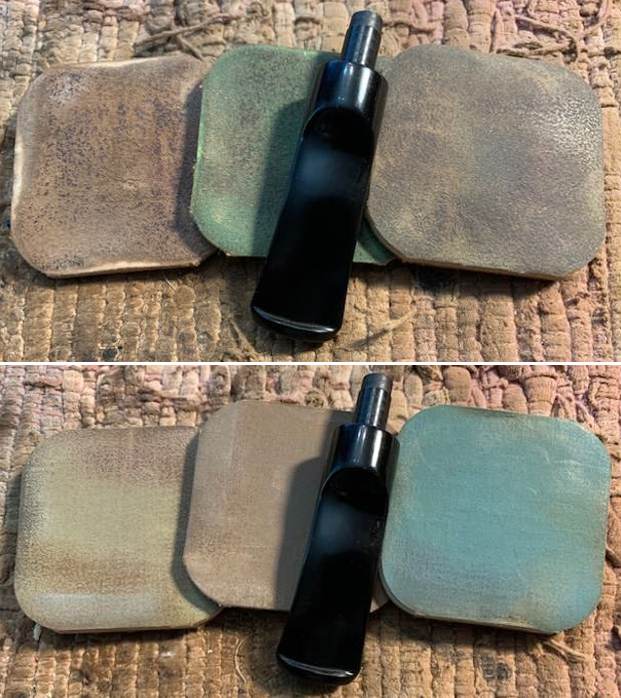
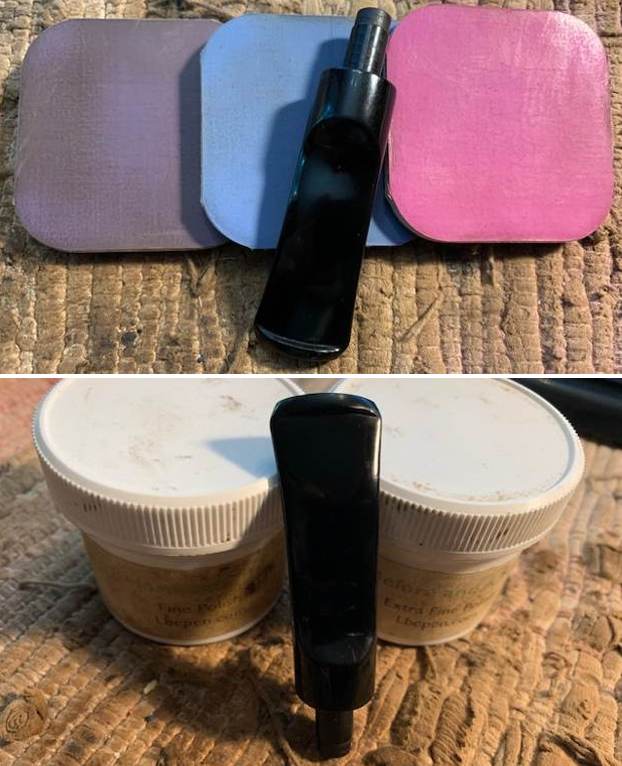
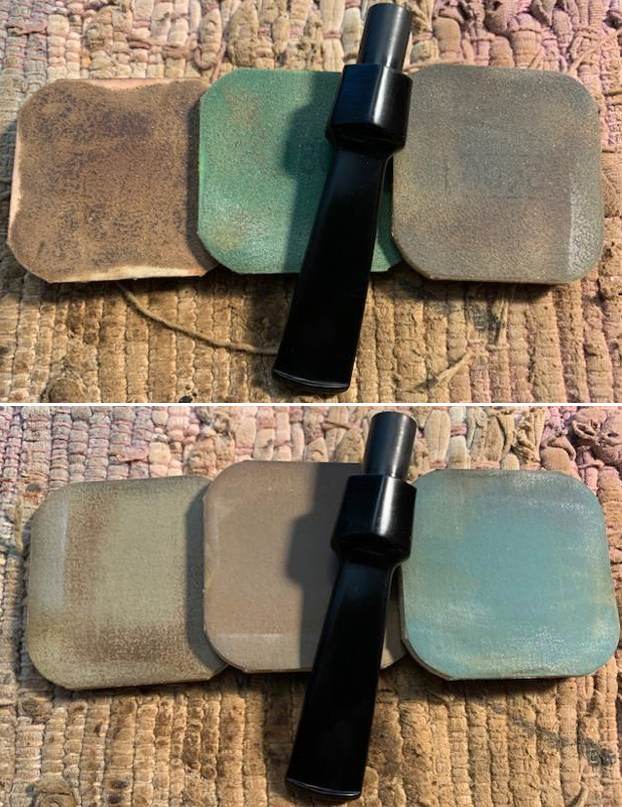
 I polished the stem with micromesh sanding pads – 1500-12000 grit pads. I wiped the stem down after each pad with a cloth impregnated with Obsidian Oil. I finished the polishing with some Before & After Pipe Stem Polish – both Fine and Extra Fine. The stem looked very good.
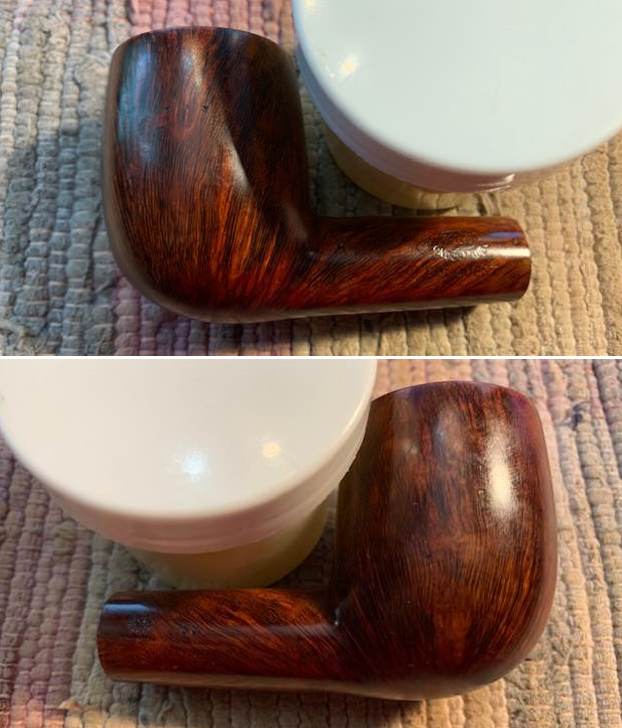
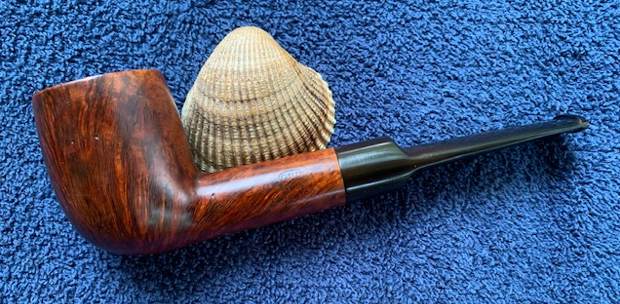
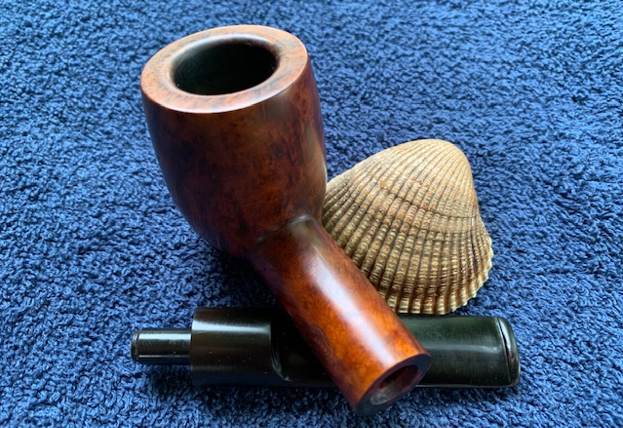
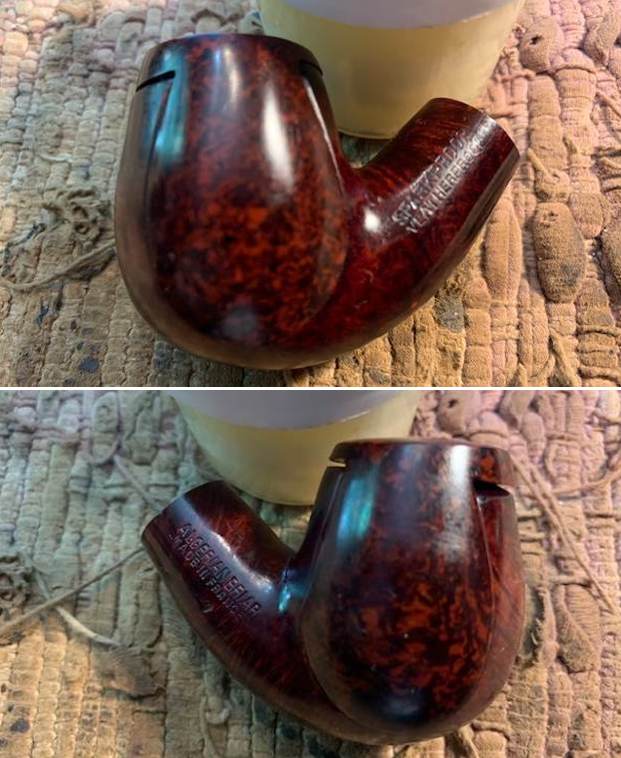
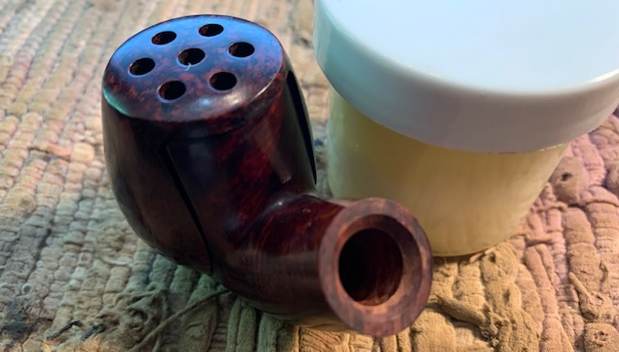
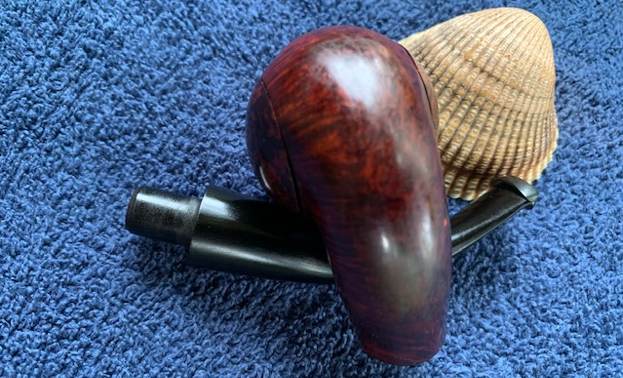
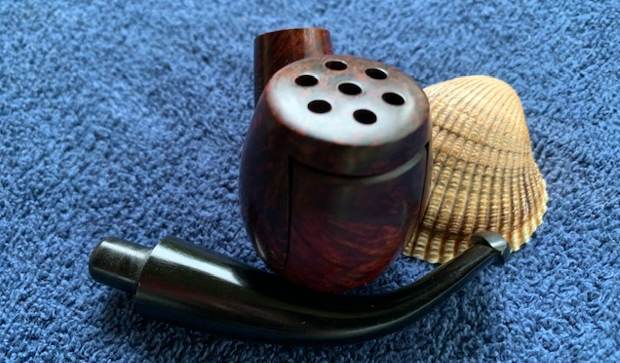
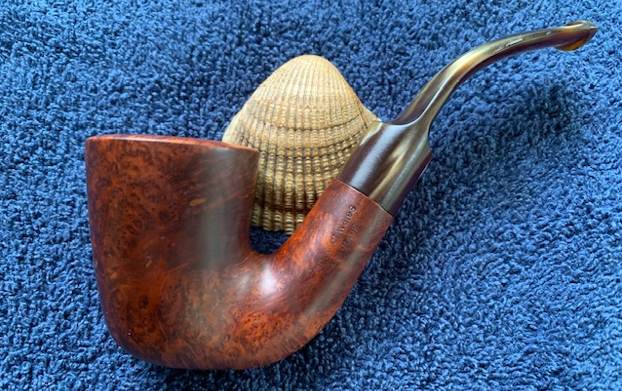
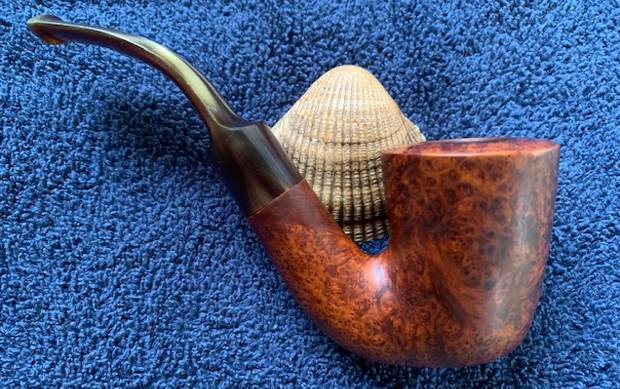
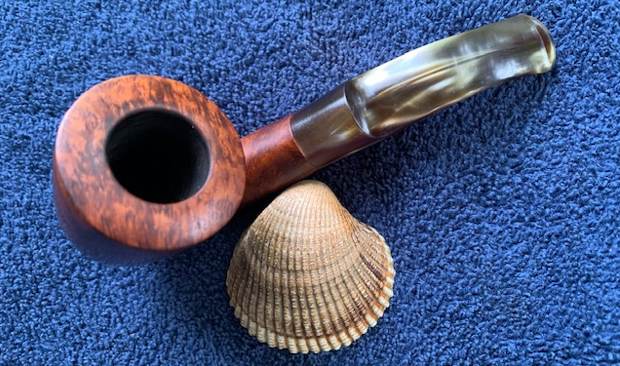
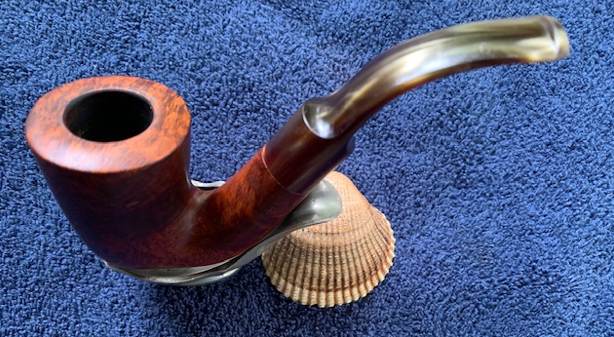
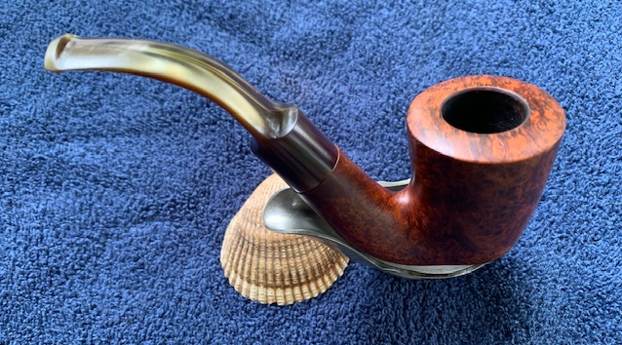
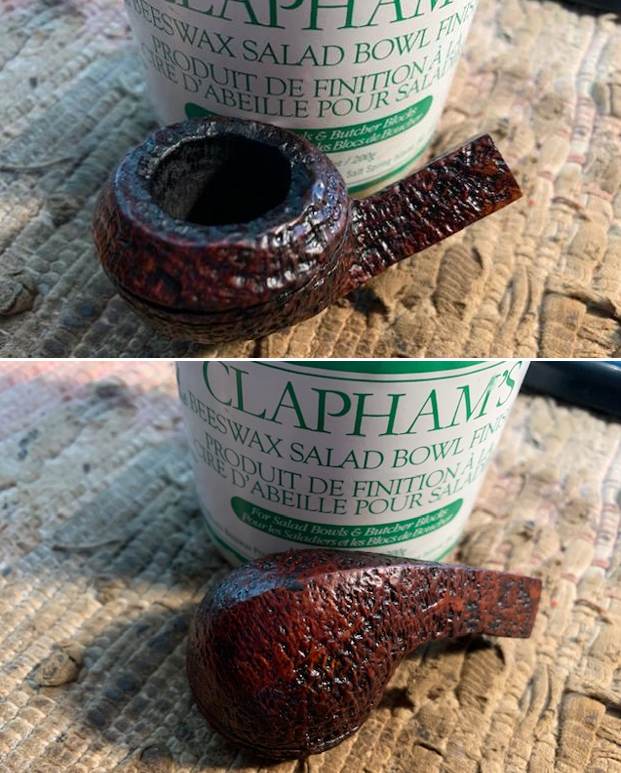
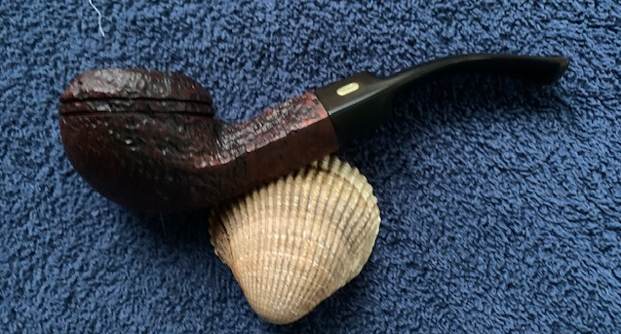
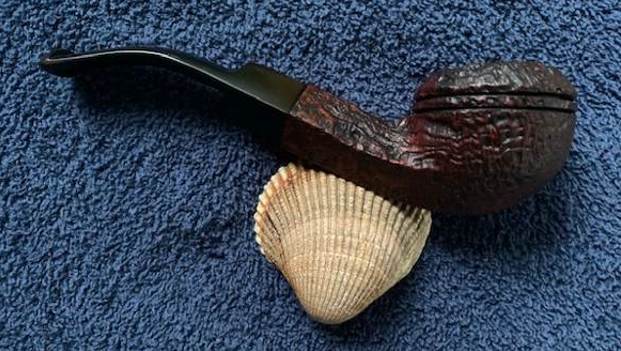
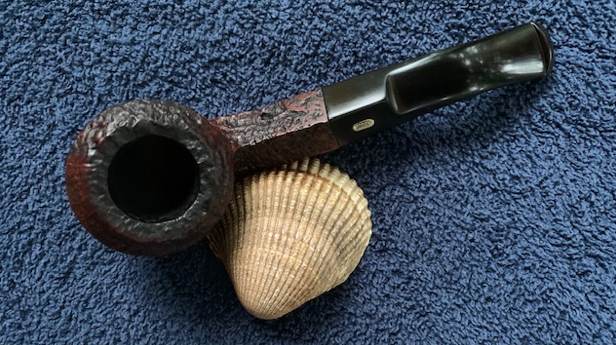
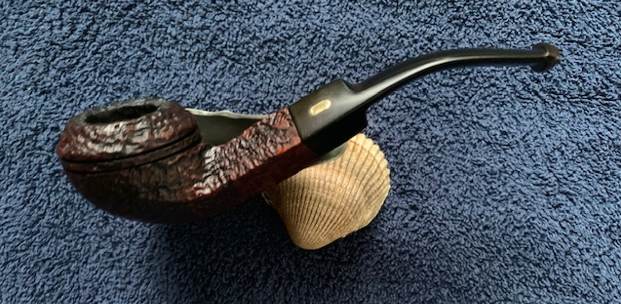
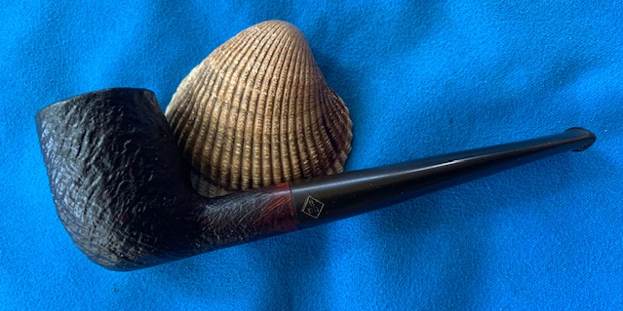
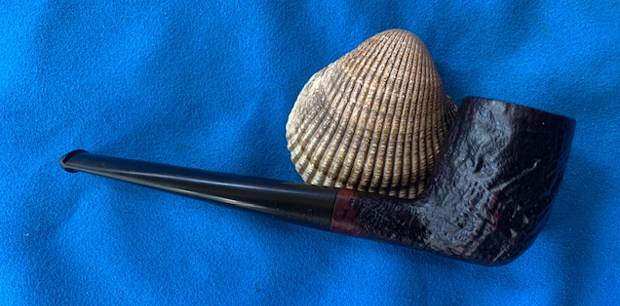
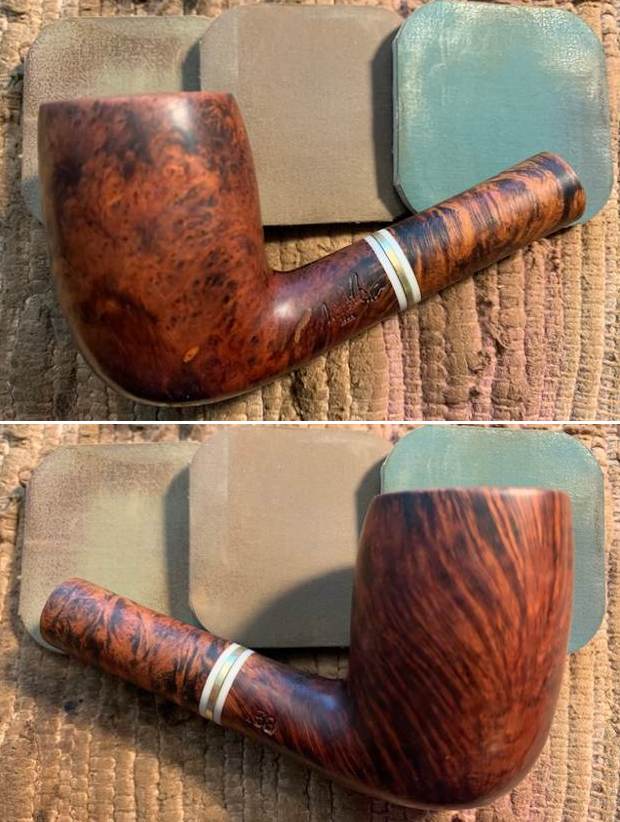
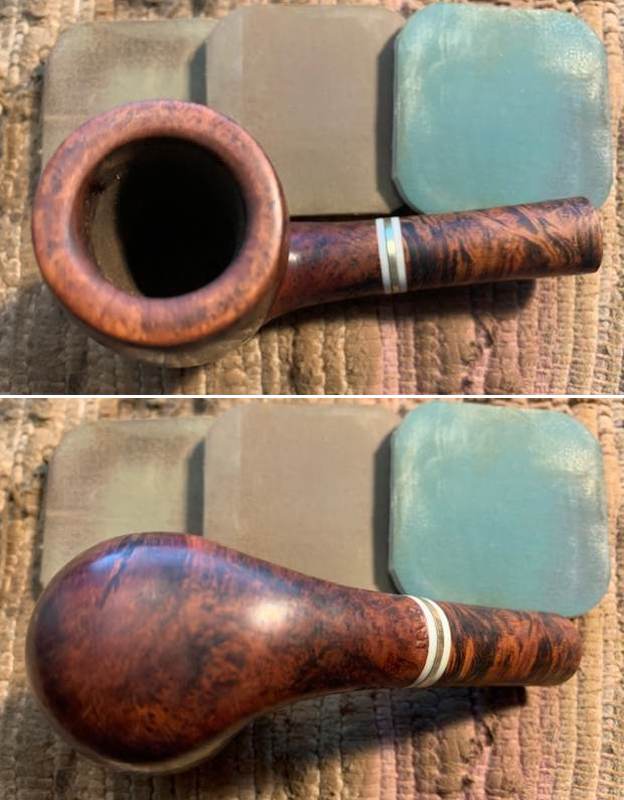
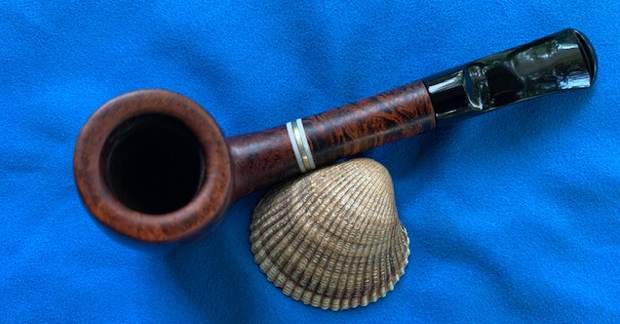
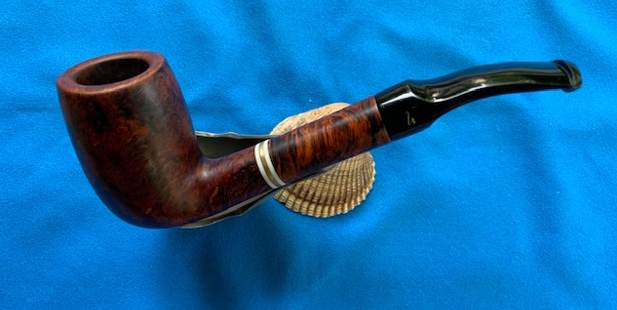
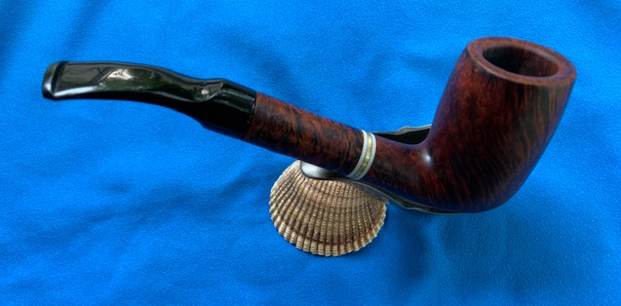
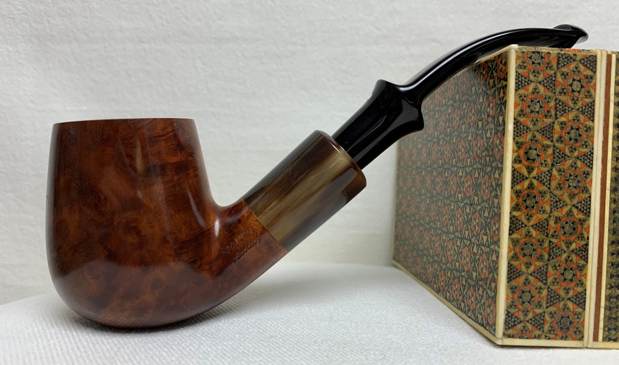
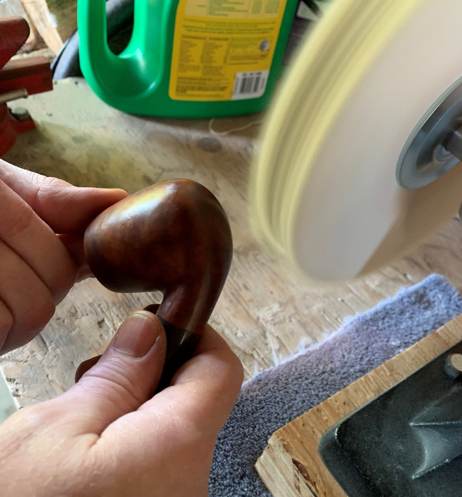
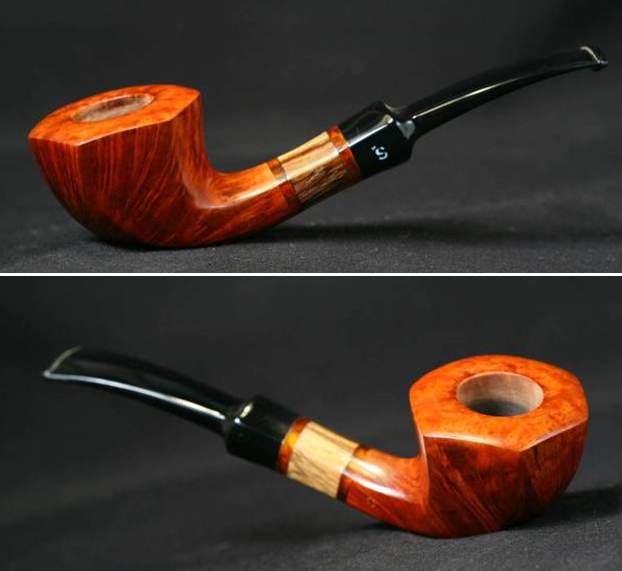
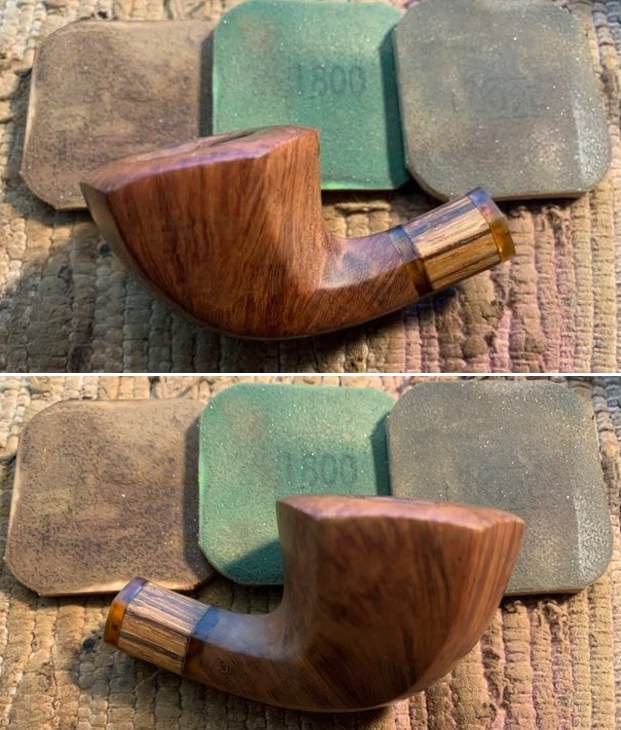
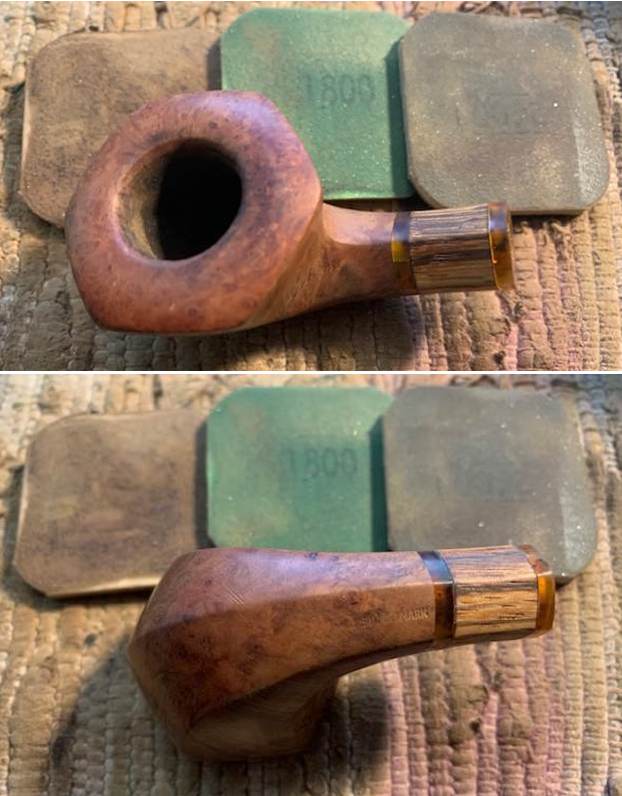
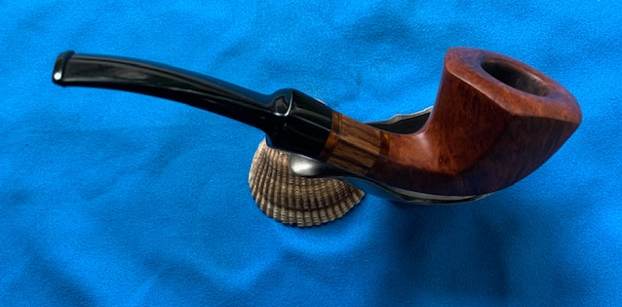
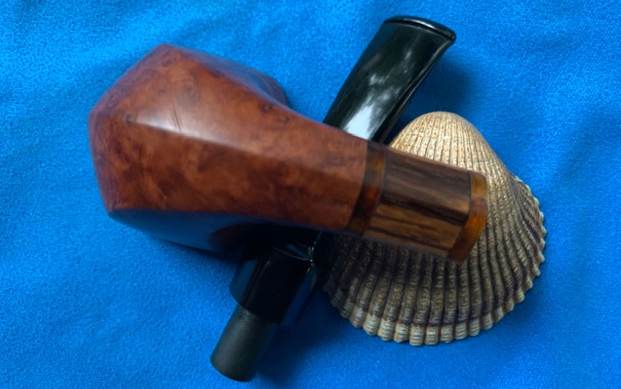
 As always I am excited to finish a pipe that I am working on. I put the Comoy’s Tradition Pot back together and buffed it with Blue Diamond on the buffing wheel. I gave the bowl and the stem multiple coats of carnauba wax. I buffed the pipe with a clean buffing pad and hand buffed it to raise the shine. It is fun to see what the polished bowl looks like with the grain popping around the bowl and shank. Added to that the polished vulcanite saddle stem was a beautiful touch. It is light and well balanced. Have a look at it with the photos below. The dimensions are Length: 5 inches, Height: 1 ½ inches, Outside diameter of the bowl: 1 ¼ inches, Chamber diameter: ¾ of an inch. The weight of the pipe is 34 grams/1.20 ounces. It is a beautiful pipe and one that will be on the rebornpipes store in the British Pipe Makers section. If you are interested in adding it to your collection let me know. Thanks for walking through the restoration with me as I worked over this pipe. Thanks to each of you who are reading this blog. I want to keep reminding us of the fact that we are not pipe owners; we are pipemen and women who hold our pipes in trust until they pass on into the trust of the next trustee.